Bronco Buffalo MPCV " BoneCrusher"
- Thread starter TBadger
- Start date
TBadger
Demolitions Expert
- Joined
- Mar 5, 2012
- Messages
- 782
Everything I've found shows most of the interior aside from the anti-spall fabric covering....all indications point to a grey or black so far, but I'm glad to have found better shot of the ceiling so i can just keep it light primer gray. Gonna be fun tryin to sort it all out and piece it together. Hoping to get some more work done this weekend ( Mother In-Law is in town so I'm otherwise pressed into dinners and outings )
S
ScaleModelMadman
Guest
that much photo etch makes me dizzy
TBadger
Demolitions Expert
- Joined
- Mar 5, 2012
- Messages
- 782
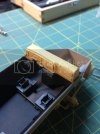
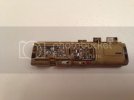
Dashboard all mocked up and has been primed along with the AC unit pictured below
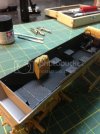
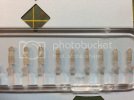
I put a lot of effort into the radio rack. I'm very pleased with the results, even the off color and slightly dirty water in the bottles.
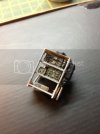
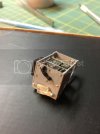
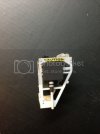
With Shweinhund's reference photo and advice I repainted the anti-spalling cushion fabric in accordance with the photos we found. I mounted the radio rackin it's proper spot too
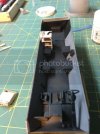
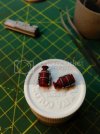
Here's the fire extinguishing units all painted and grimed up with a little dirty wash from painting the radio rack.
Hoping to have the seats assembled, dash painted and decaled with some light European earth dusted over the entire interior.....dust effects on the central flooring with boot prints pressed in as well.
letsgobrowns82
Active Member
- Joined
- Feb 27, 2011
- Messages
- 1,368
Wow, great update Tbadger. The work you put into the radio rack was definitely worth it, it came out great. Thats an awesome idea to put boot prints inside!! Cant wait to see some more updates on this. At this rate I'm not going to be able to hold out much longer with my Buffalo. ;D
TBadger
Demolitions Expert
- Joined
- Mar 5, 2012
- Messages
- 782
Painted up the AC Unit and fire extinguisher
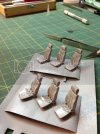
Dashboard painted and seats constructed/ primed
Parts installed
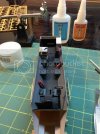
Added detail paint and decals to the dash, decided to grime up the water bottles and paint their caps while on the sprue to maintain consistent finishes
The drivers area turned out pretty well if I may say. Aside from not having the seats ready to mount just yet
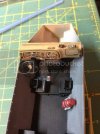


Dashboard painted and seats constructed/ primed


Parts installed

Added detail paint and decals to the dash, decided to grime up the water bottles and paint their caps while on the sprue to maintain consistent finishes


The drivers area turned out pretty well if I may say. Aside from not having the seats ready to mount just yet

adampolo13
New Member
- Joined
- Dec 7, 2011
- Messages
- 2,633
DUDE!!! Looking great!
TBadger
Demolitions Expert
- Joined
- Mar 5, 2012
- Messages
- 782
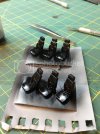
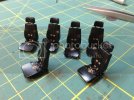
Painted the seats and belts a semigloss black since all the photos and a quick call to the MSFB Platoon verified that the seats are a urethane coated high density foam. I chose a dull Copper for the hardware so it won't be too obscured by dust later.
Have the bumper essentials complete....8 pieces of PE just on this alone. The next phase of building is 75% PE work....I'm sure you all can't wait for my in depth review of LionRoar's upgrade kit!
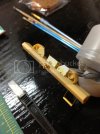


Have the bumper essentials complete....8 pieces of PE just on this alone. The next phase of building is 75% PE work....I'm sure you all can't wait for my in depth review of LionRoar's upgrade kit!

letsgobrowns82
Active Member
- Joined
- Feb 27, 2011
- Messages
- 1,368
You are doing great work on this!! Watching this build come together is awesome, cant wait to see what it looks like when your finished.
dasboote34
New Member
- Joined
- Apr 21, 2012
- Messages
- 35
great to see your work! i am working on the same build with the same etch set 

TBadger
Demolitions Expert
- Joined
- Mar 5, 2012
- Messages
- 782
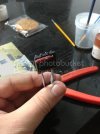
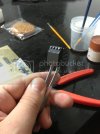
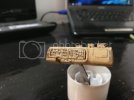
Started in on some of the photoetch this afternoon before the wife got home from work. This is the bumper attachment and the front grille area. I scrapped the entire photetch front grill because the grill was not cooperating and before I got angry I just decided to use the plastic one that came in the kit with some PE detail pieces from Lionroar
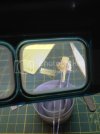
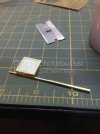
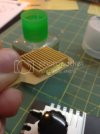
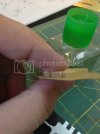
Here's the side grilles for the hood nearly ready to get the slats installed......after all this grief. I'm glad to see that they've included some handy jig frames for the slat armor that i must painstakingly assemble by by bar
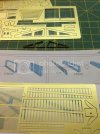
THANKS FOR ALL THE WORDS OF ENCOURAGEMENT....I'm could use the extra push


Here's the side grilles for the hood nearly ready to get the slats installed......after all this grief. I'm glad to see that they've included some handy jig frames for the slat armor that i must painstakingly assemble by by bar

THANKS FOR ALL THE WORDS OF ENCOURAGEMENT....I'm could use the extra push
