Border models zero

Scale Model Addict - Model Tips, Guides, Tools & Tech, Tutorials, and Community

Help Support Scale Model Addict:

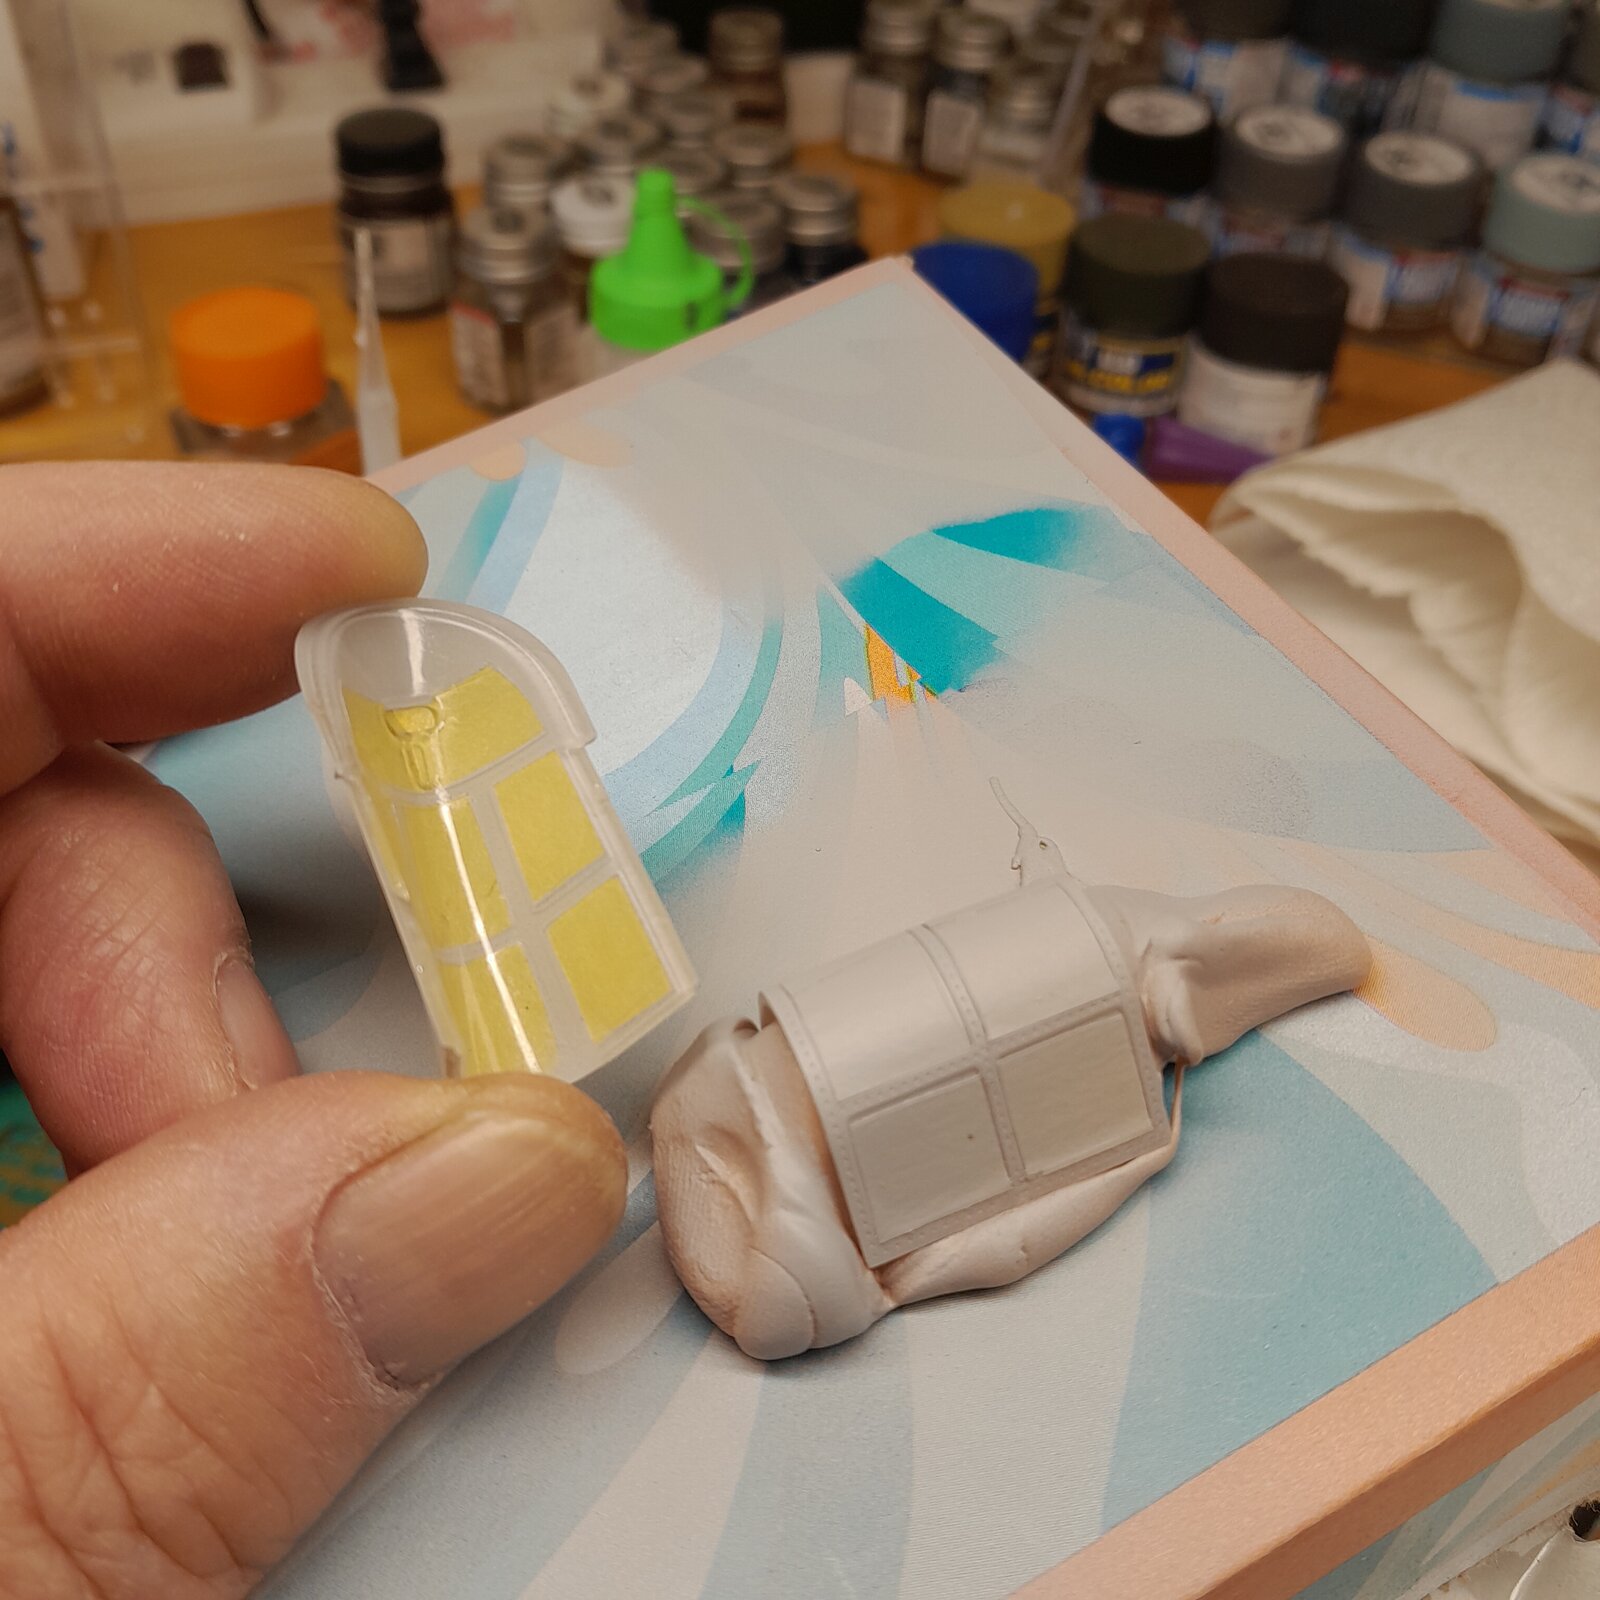
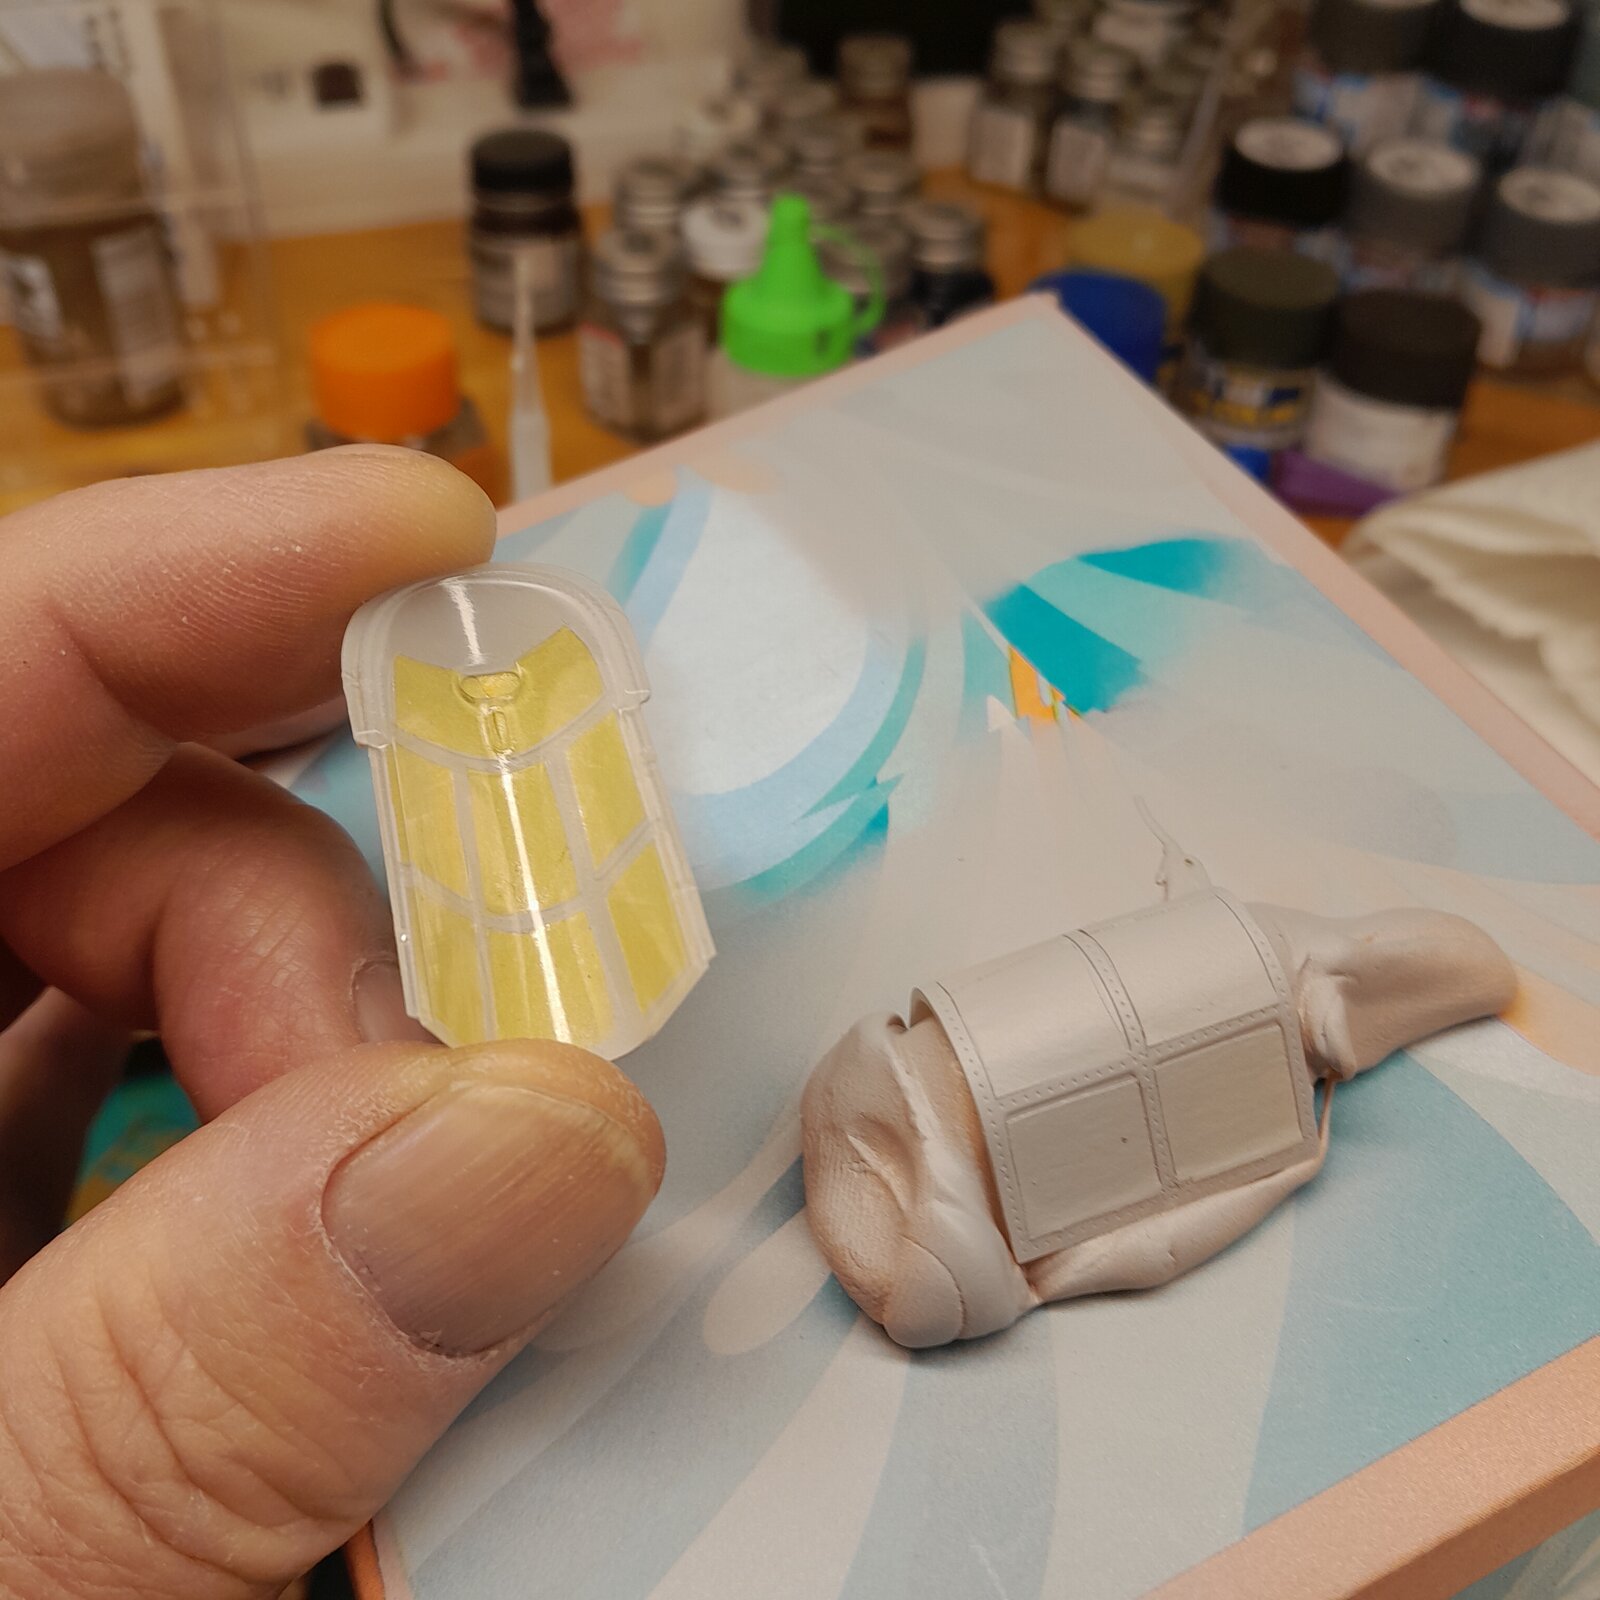
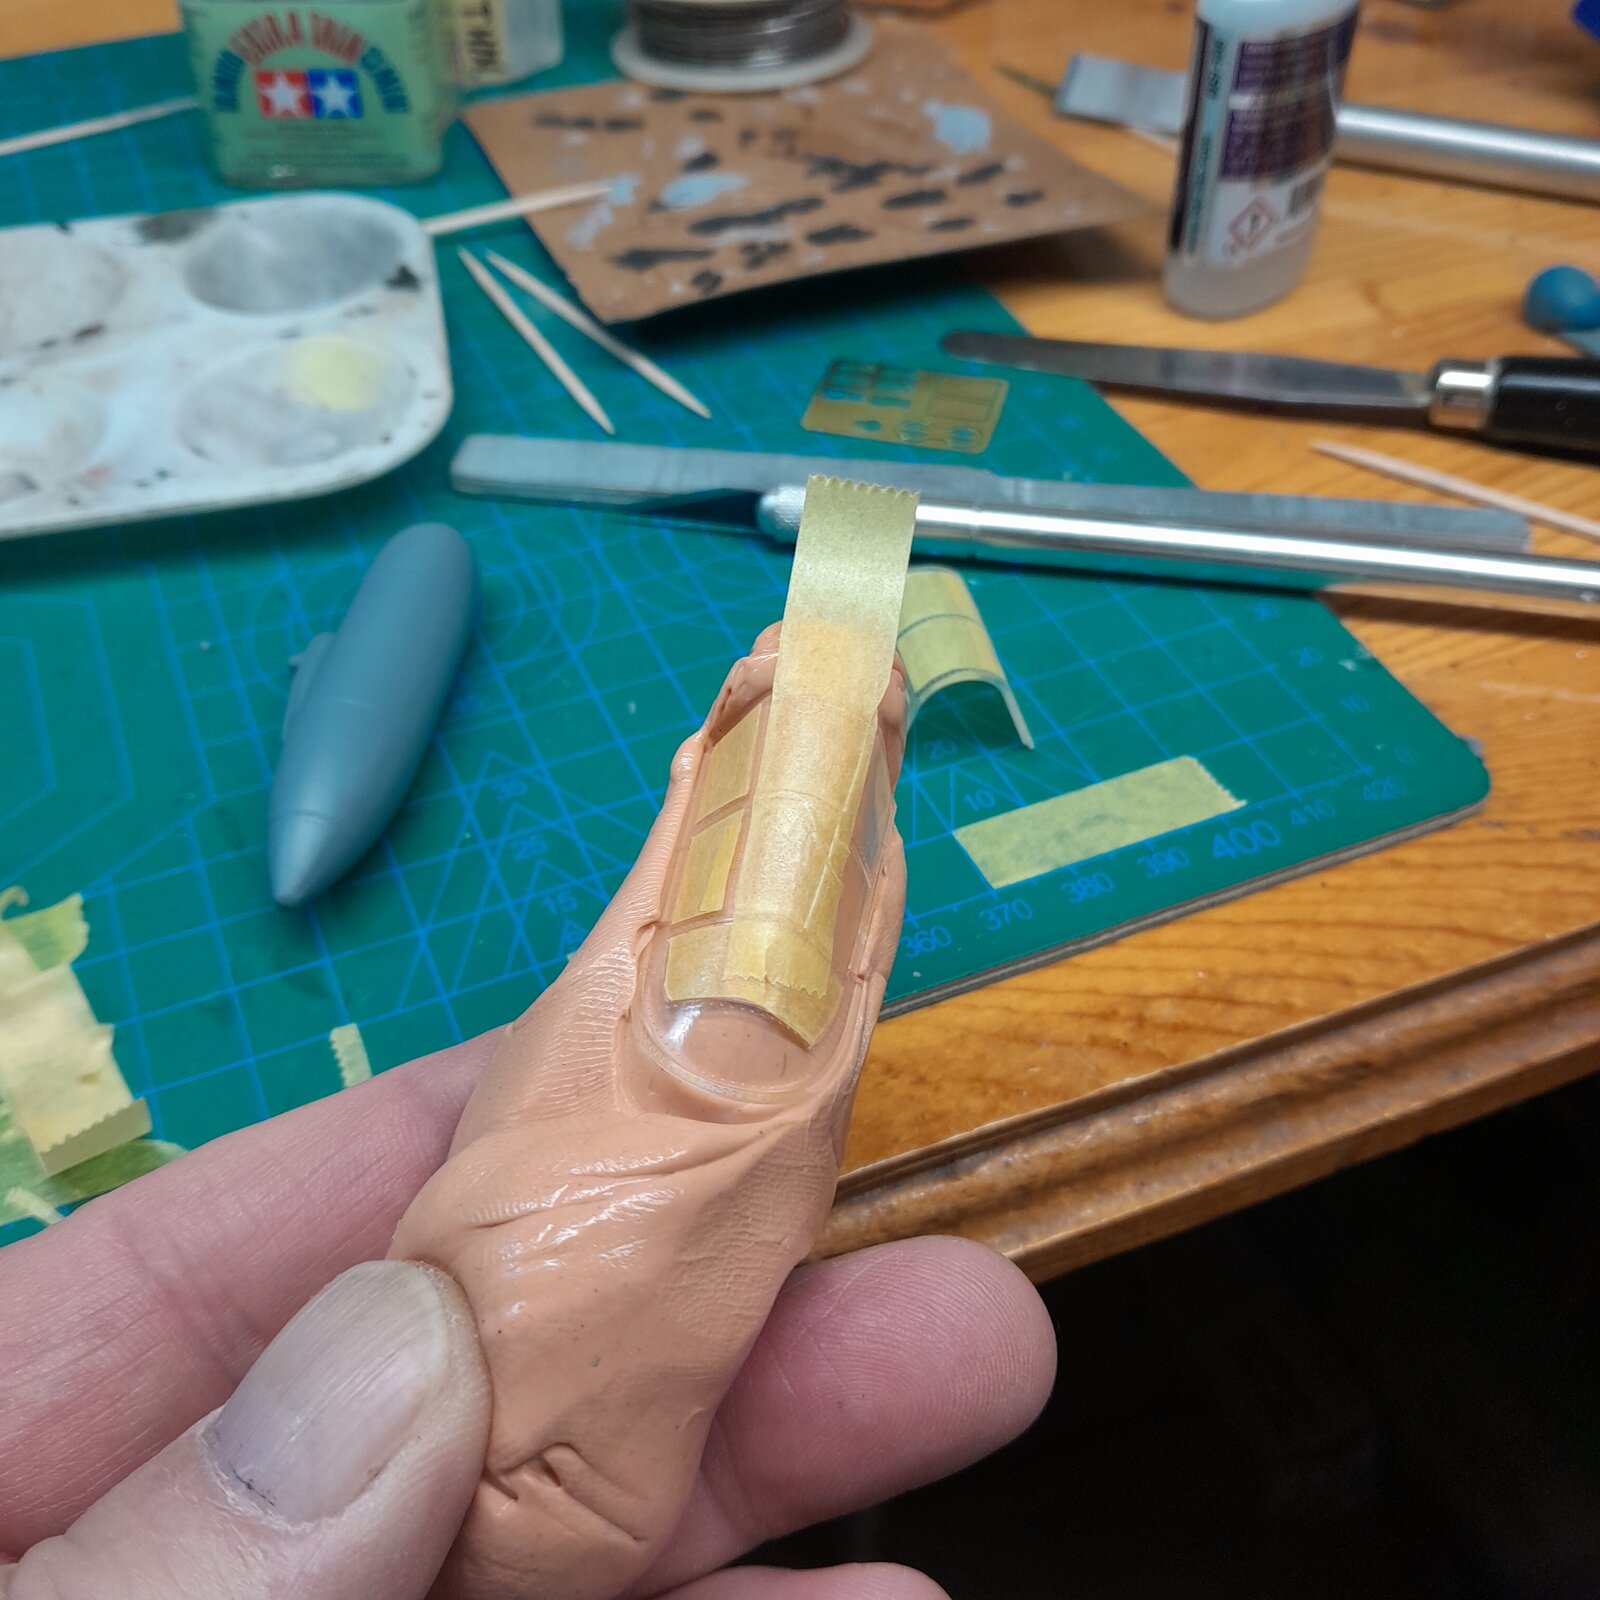
Unless they're really simple canopies? I'm going to have to buy a mask I said from now on cuz this sucks
20250408_162015.jpg
 
As an Amazon Associate we earn from qualifying purchases. Product prices and availability are accurate as of the date/time indicated and are subject to change.
Now that silly putty is relatively new it's only had paint sprayed on it twice I think. So if you kneed the silly putty with a lot of paint in it I can't vouch for how it will maybe do something to the canopy
 
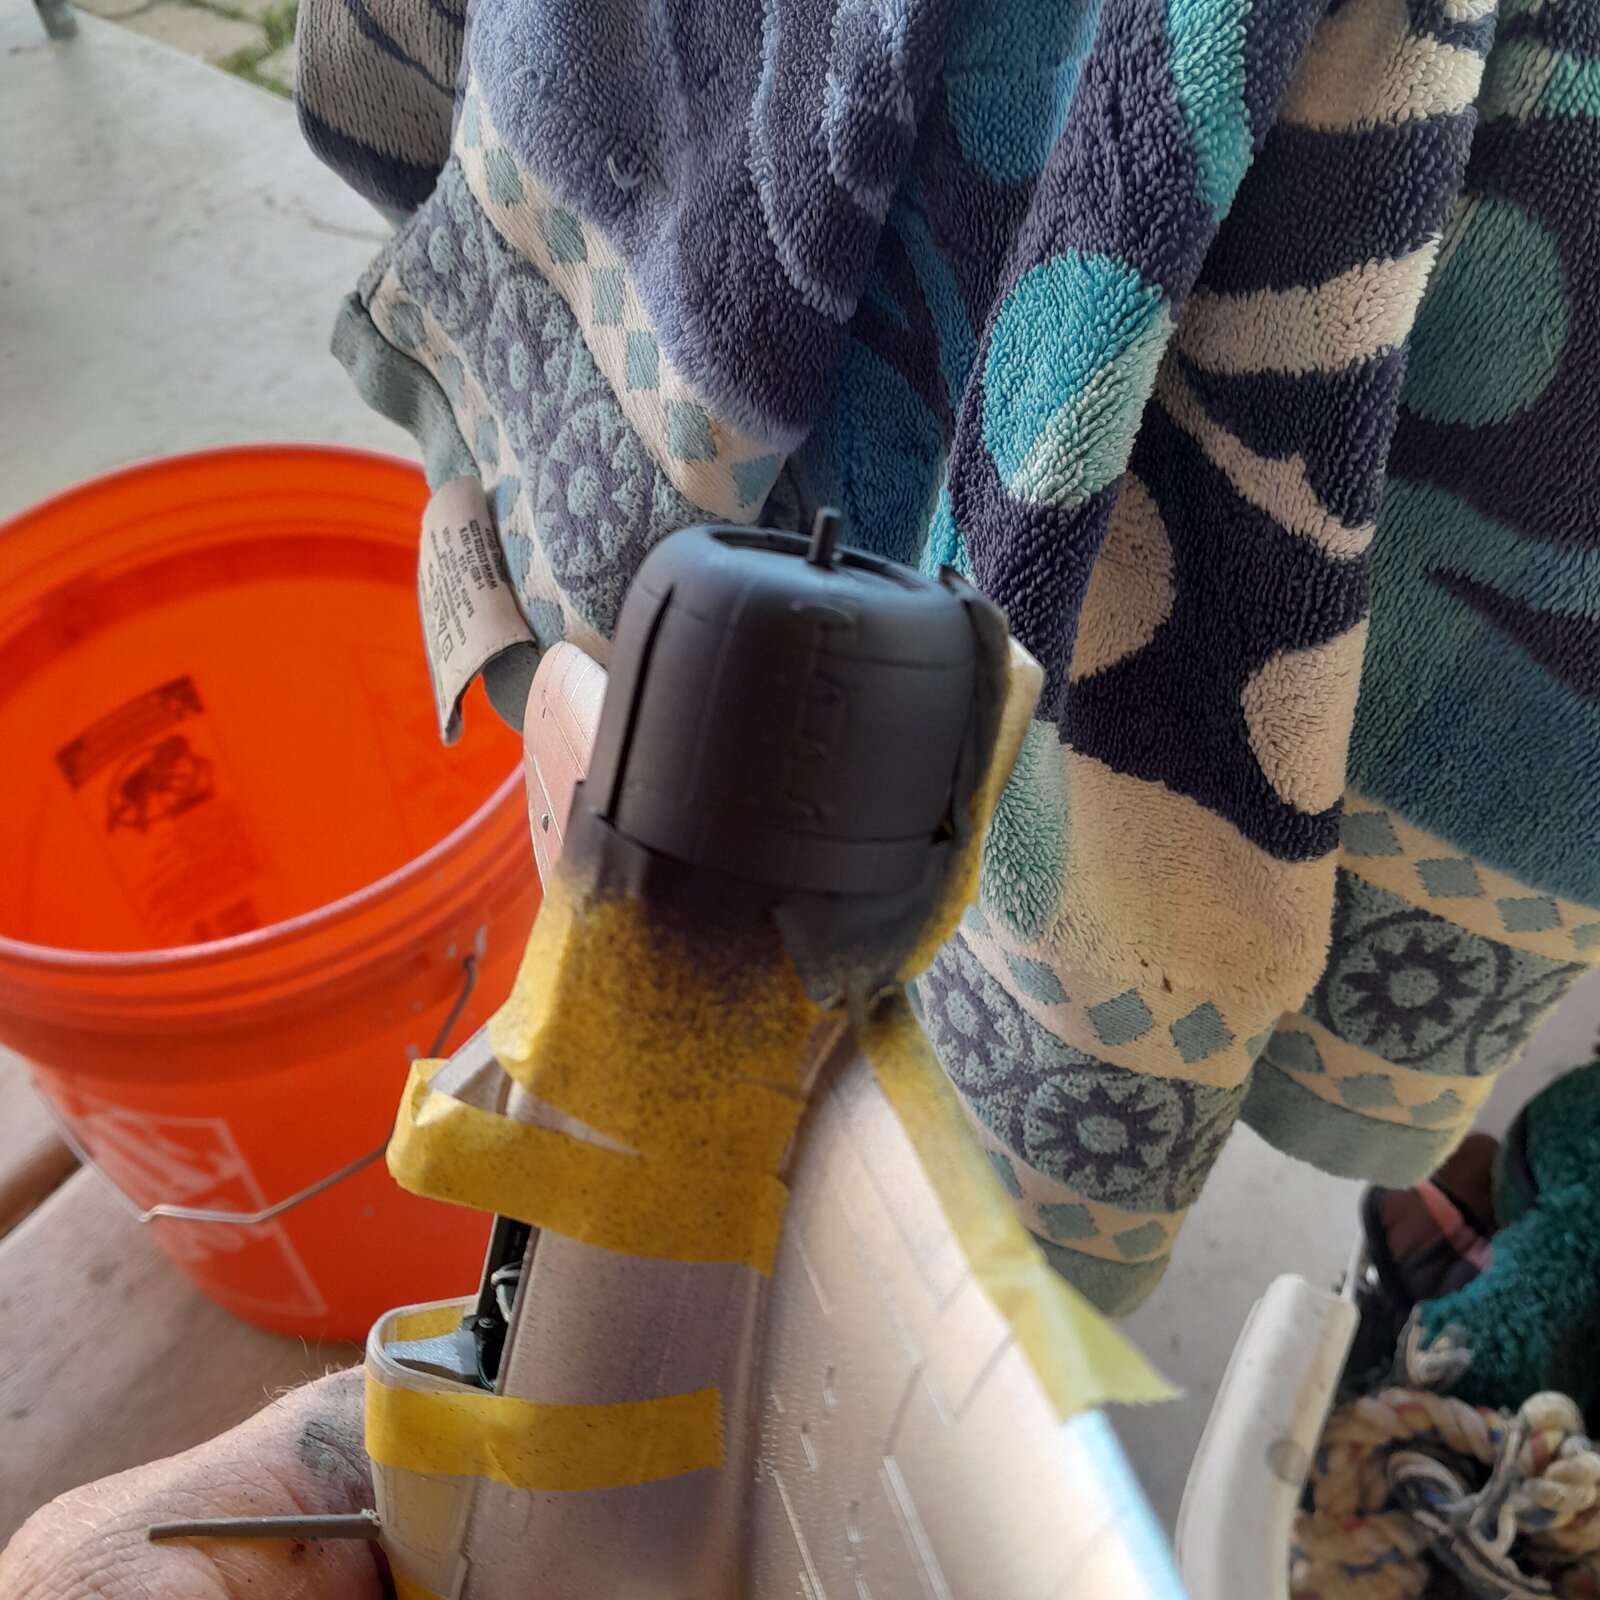
And I do have a confession. When I was spraying primer on the canopies I didn't like how the Silly Putty would kind of pull away by relaxing. While I was spraying I thought to myself a piece of tape would have been a hell of a lot better on the inside of the canopy which is what I usually do
 
And I do have a confession. When I was spraying primer on the canopies I didn't like how the Silly Putty would kind of pull away by relaxing. While I was spraying I thought to myself a piece of tape would have been a hell of a lot better on the inside of the canopy which is what I usually do
Learned something new today. Thanks!
 
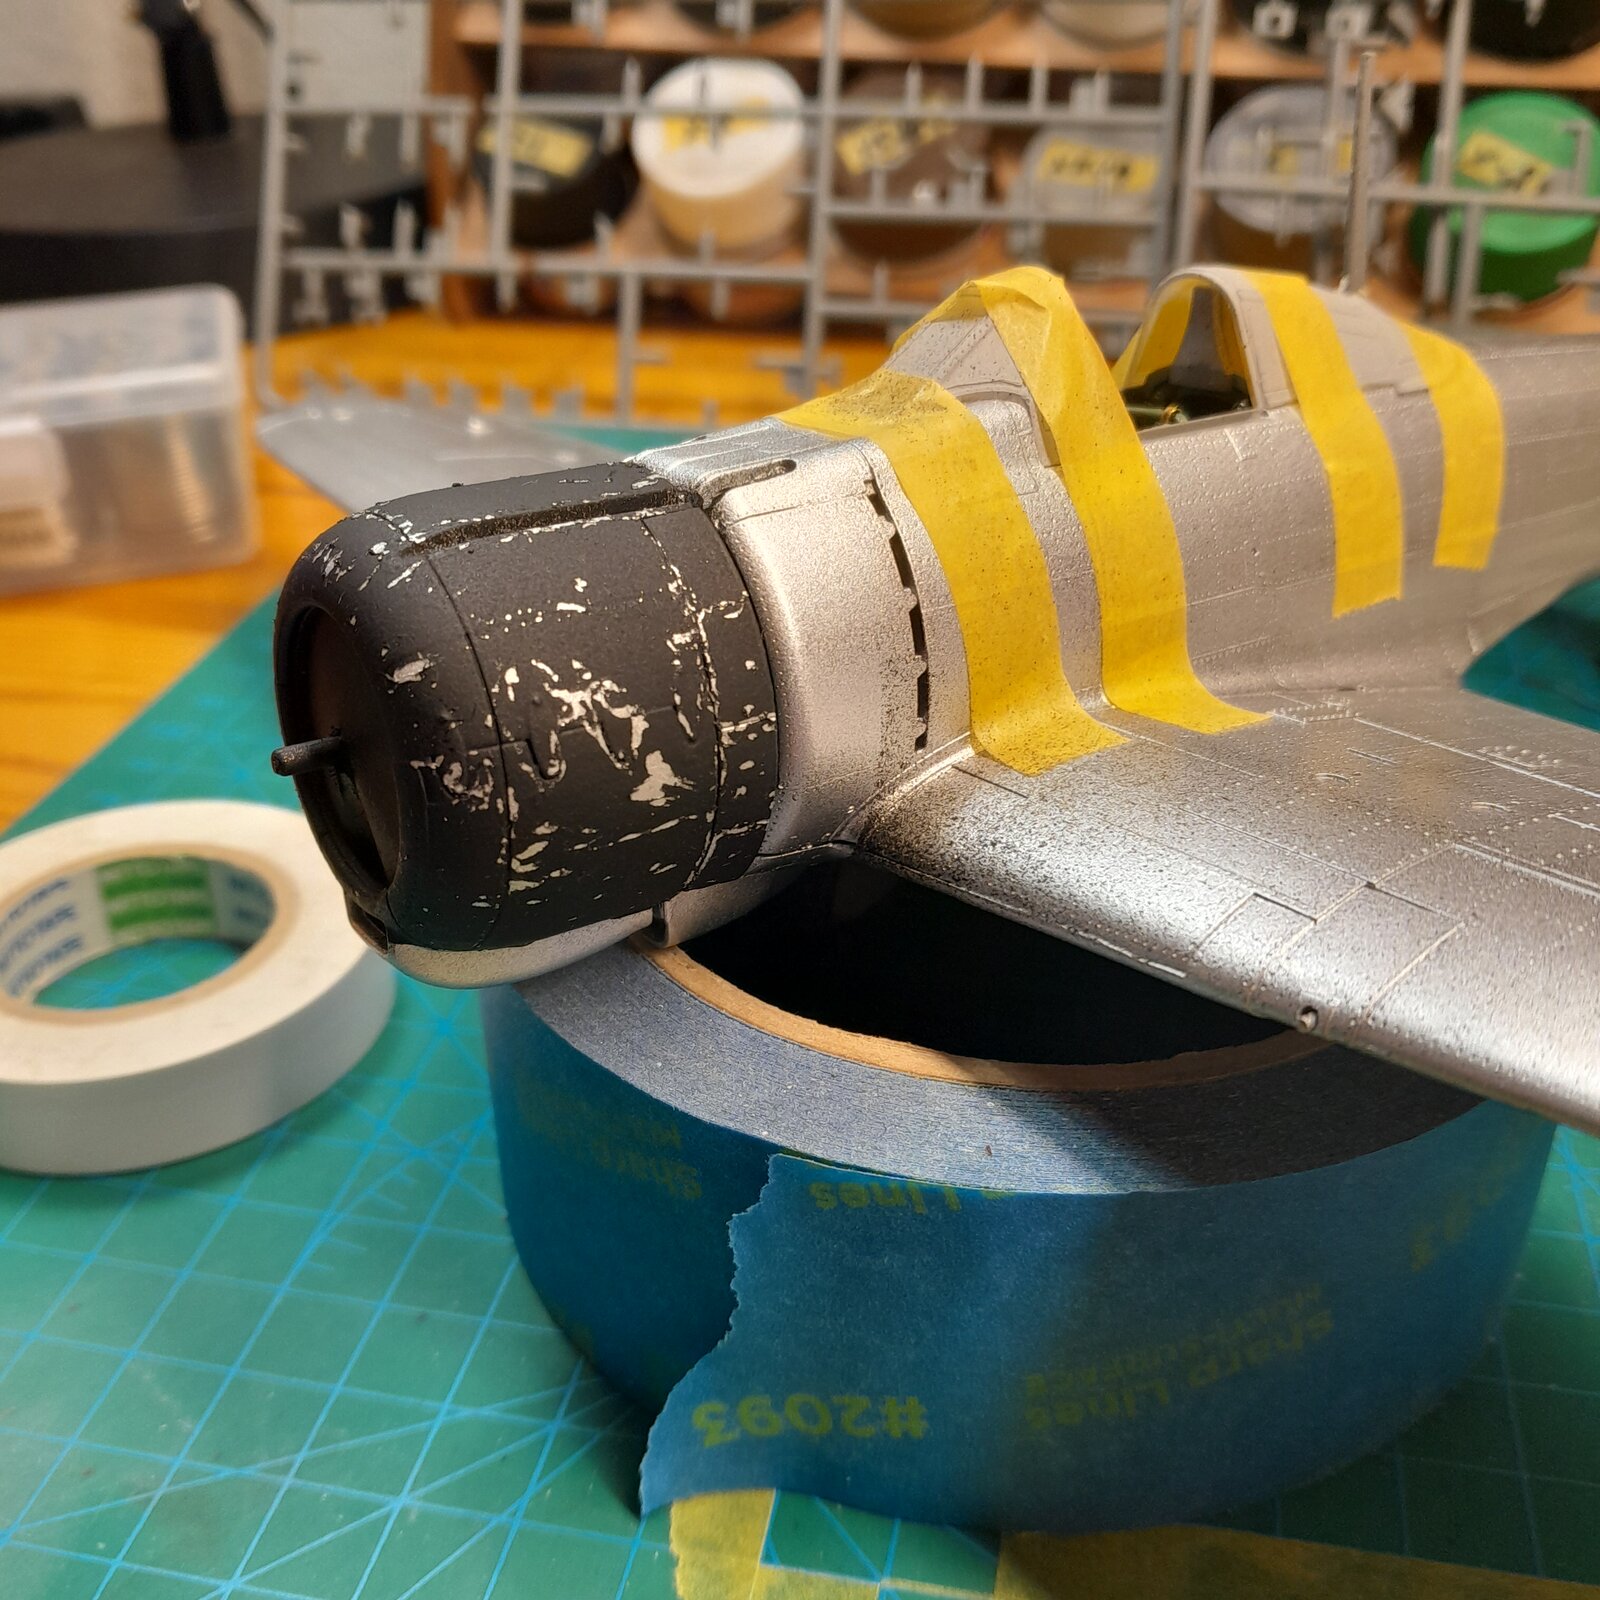
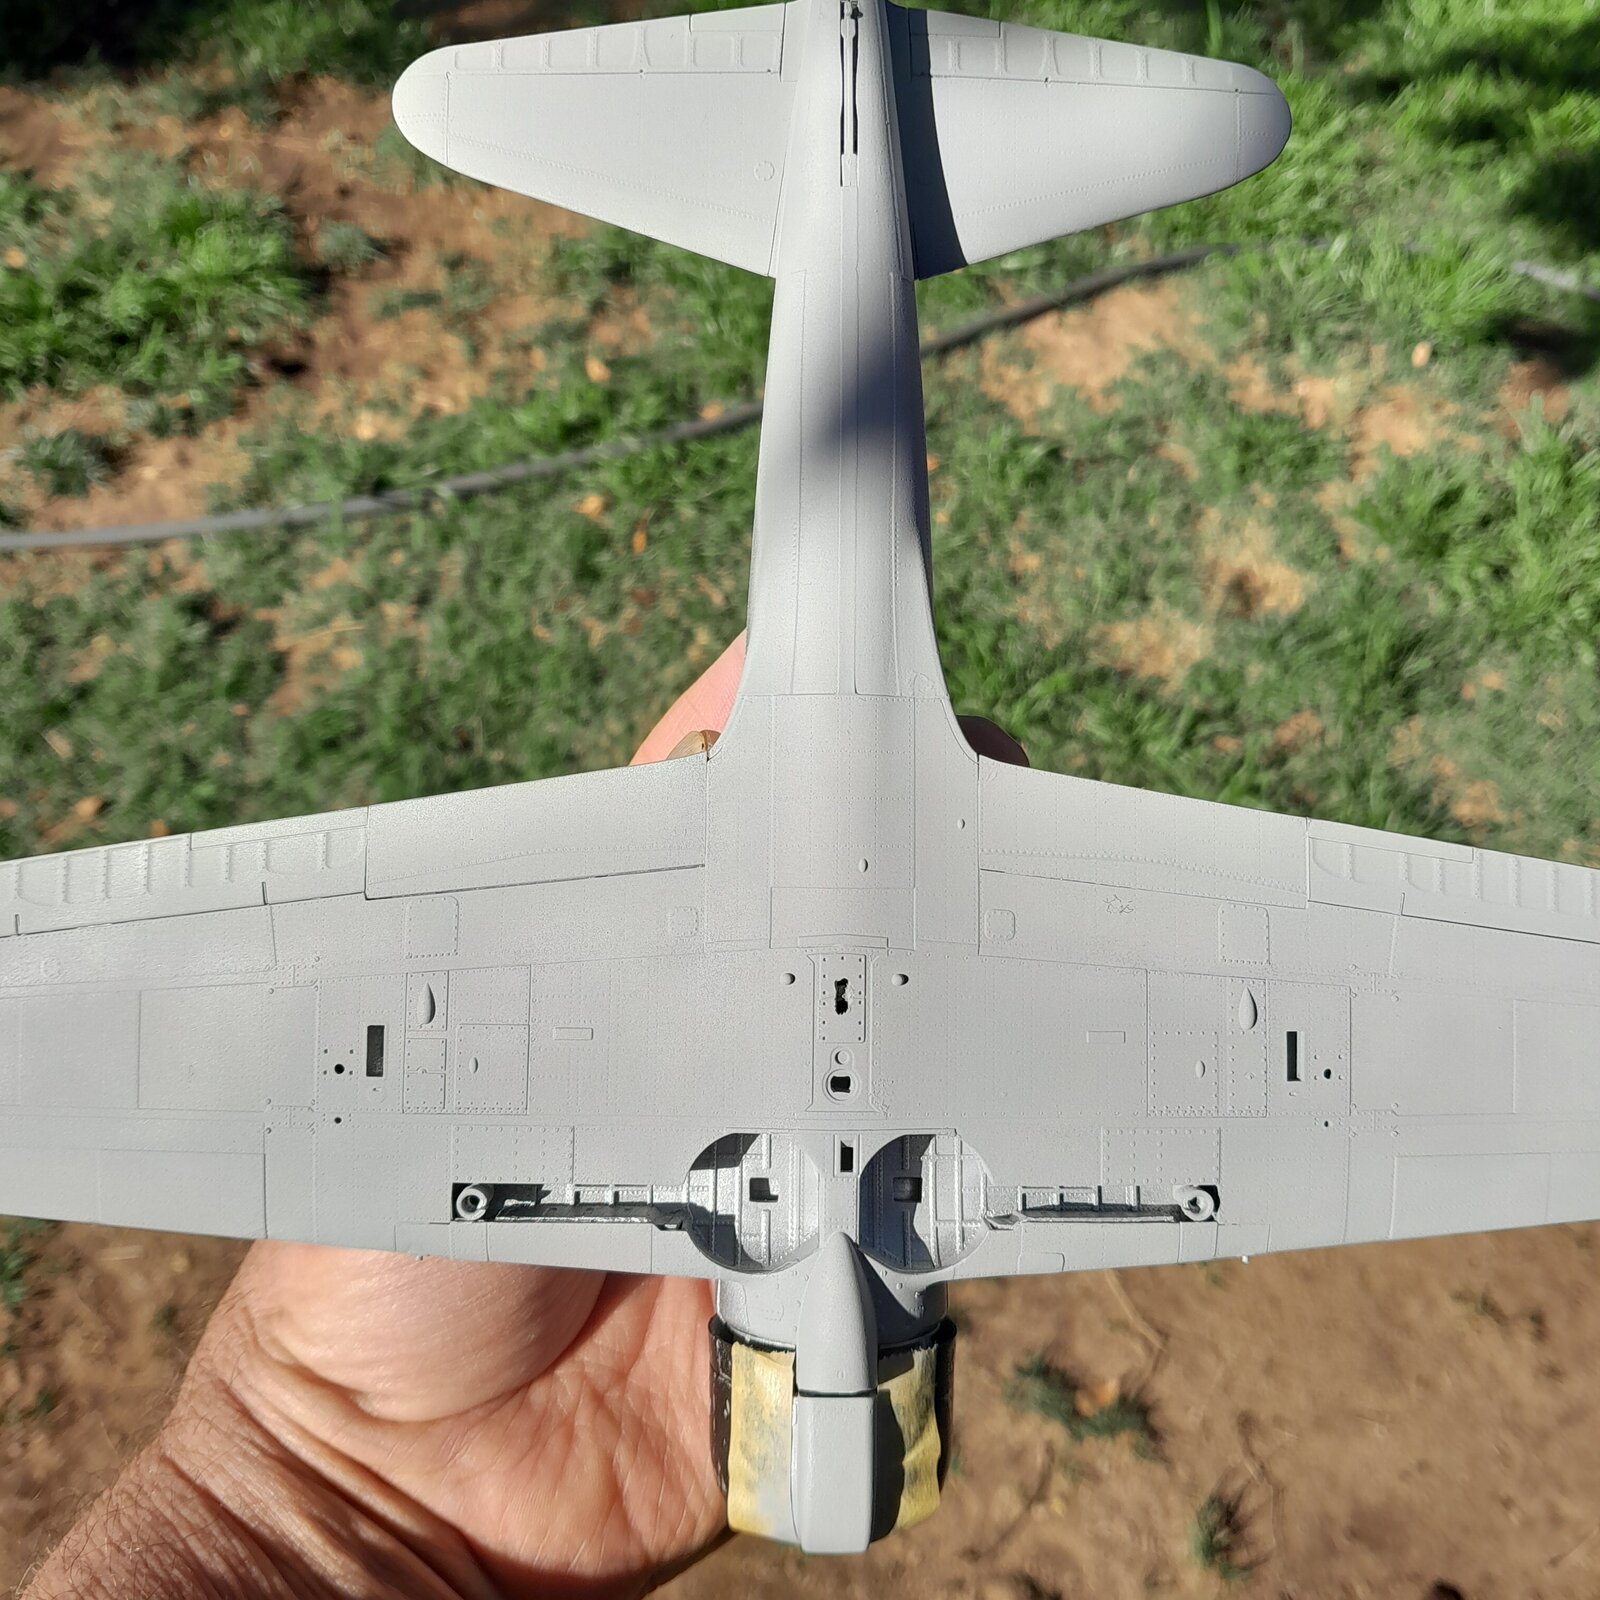
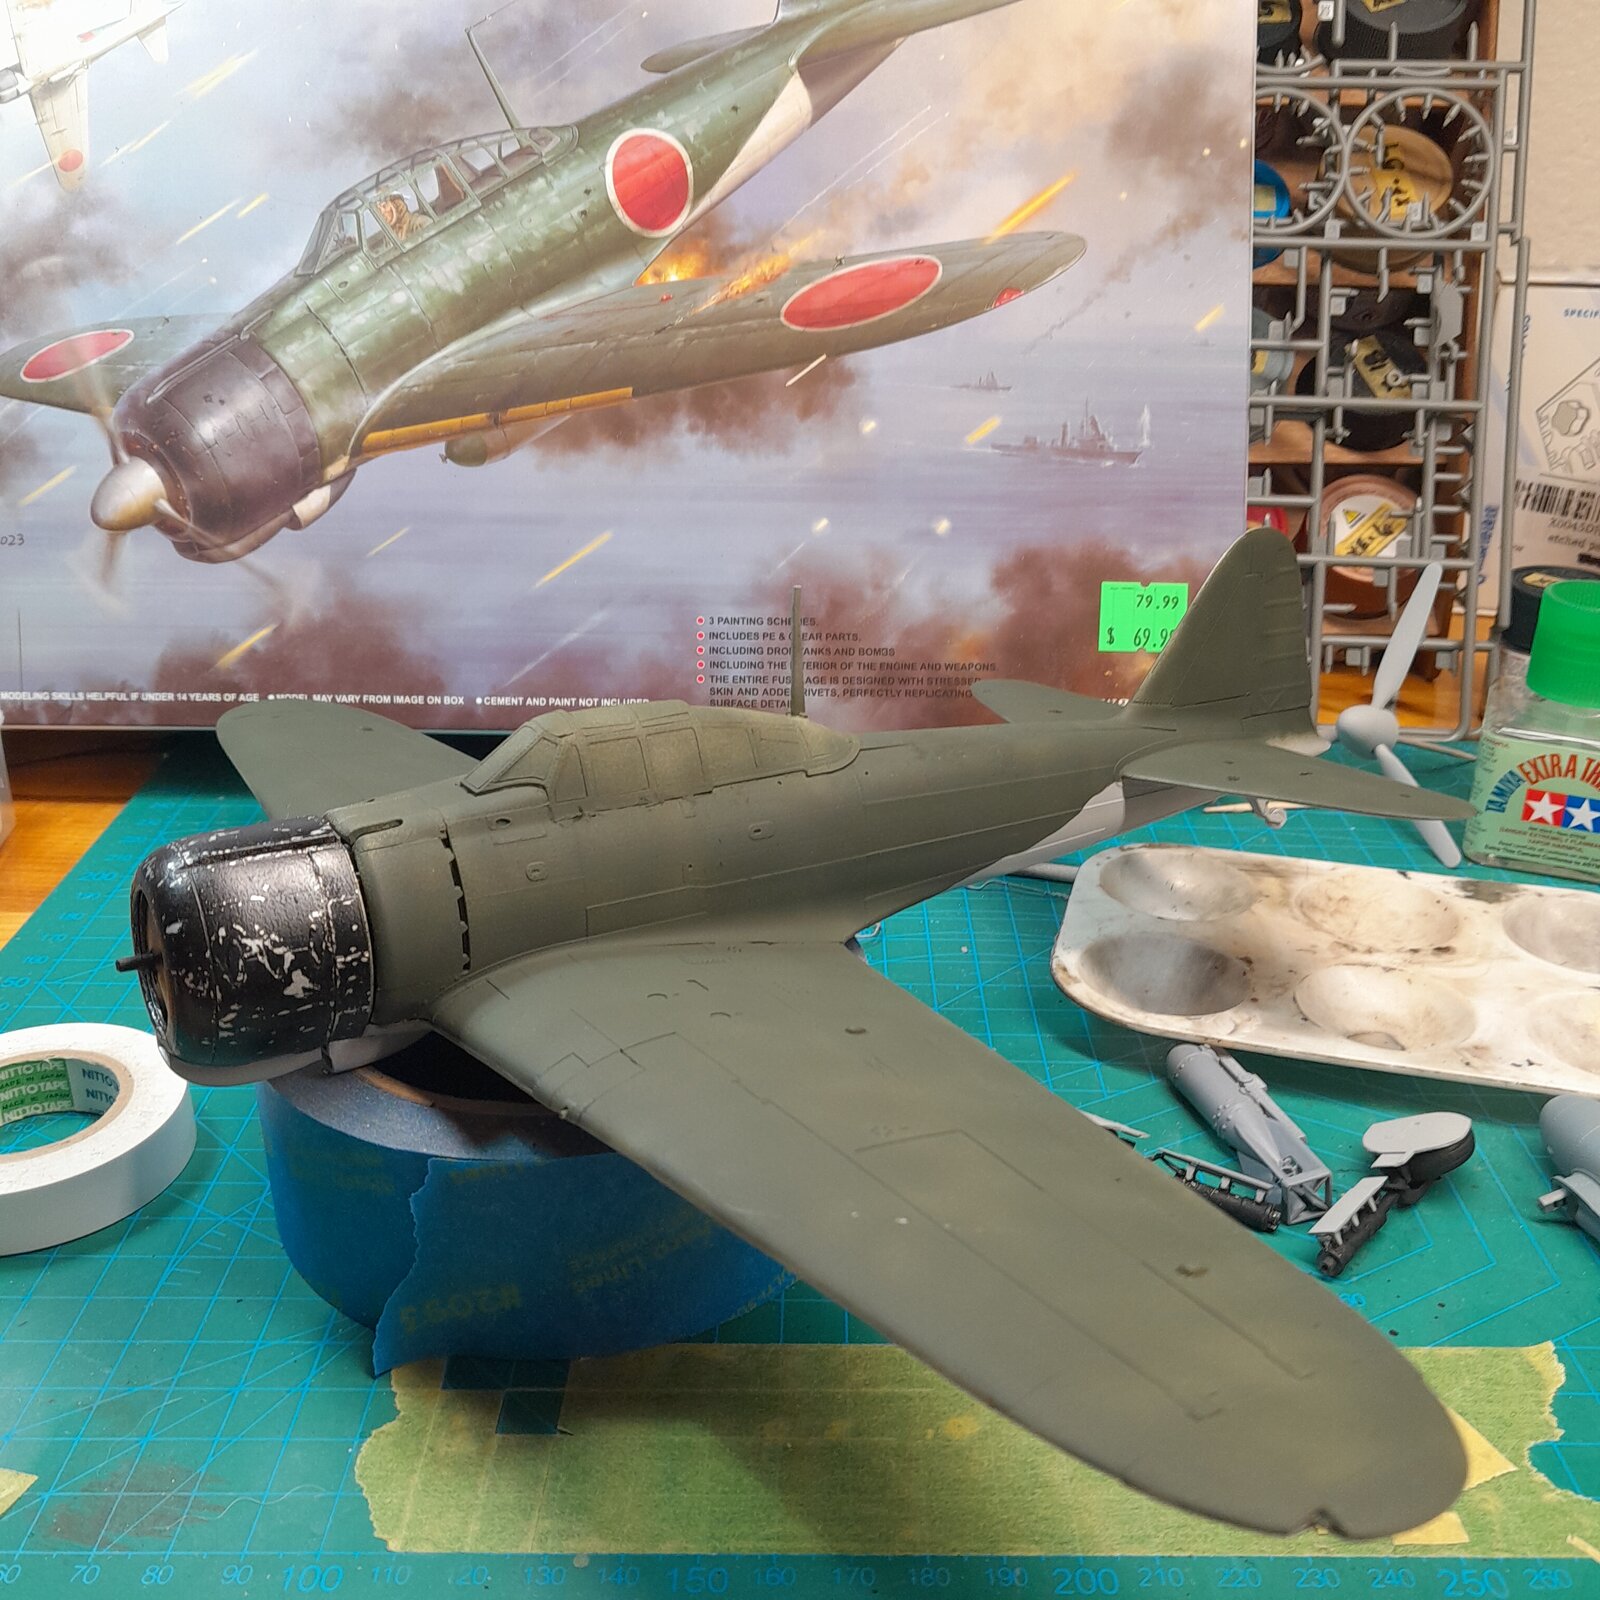
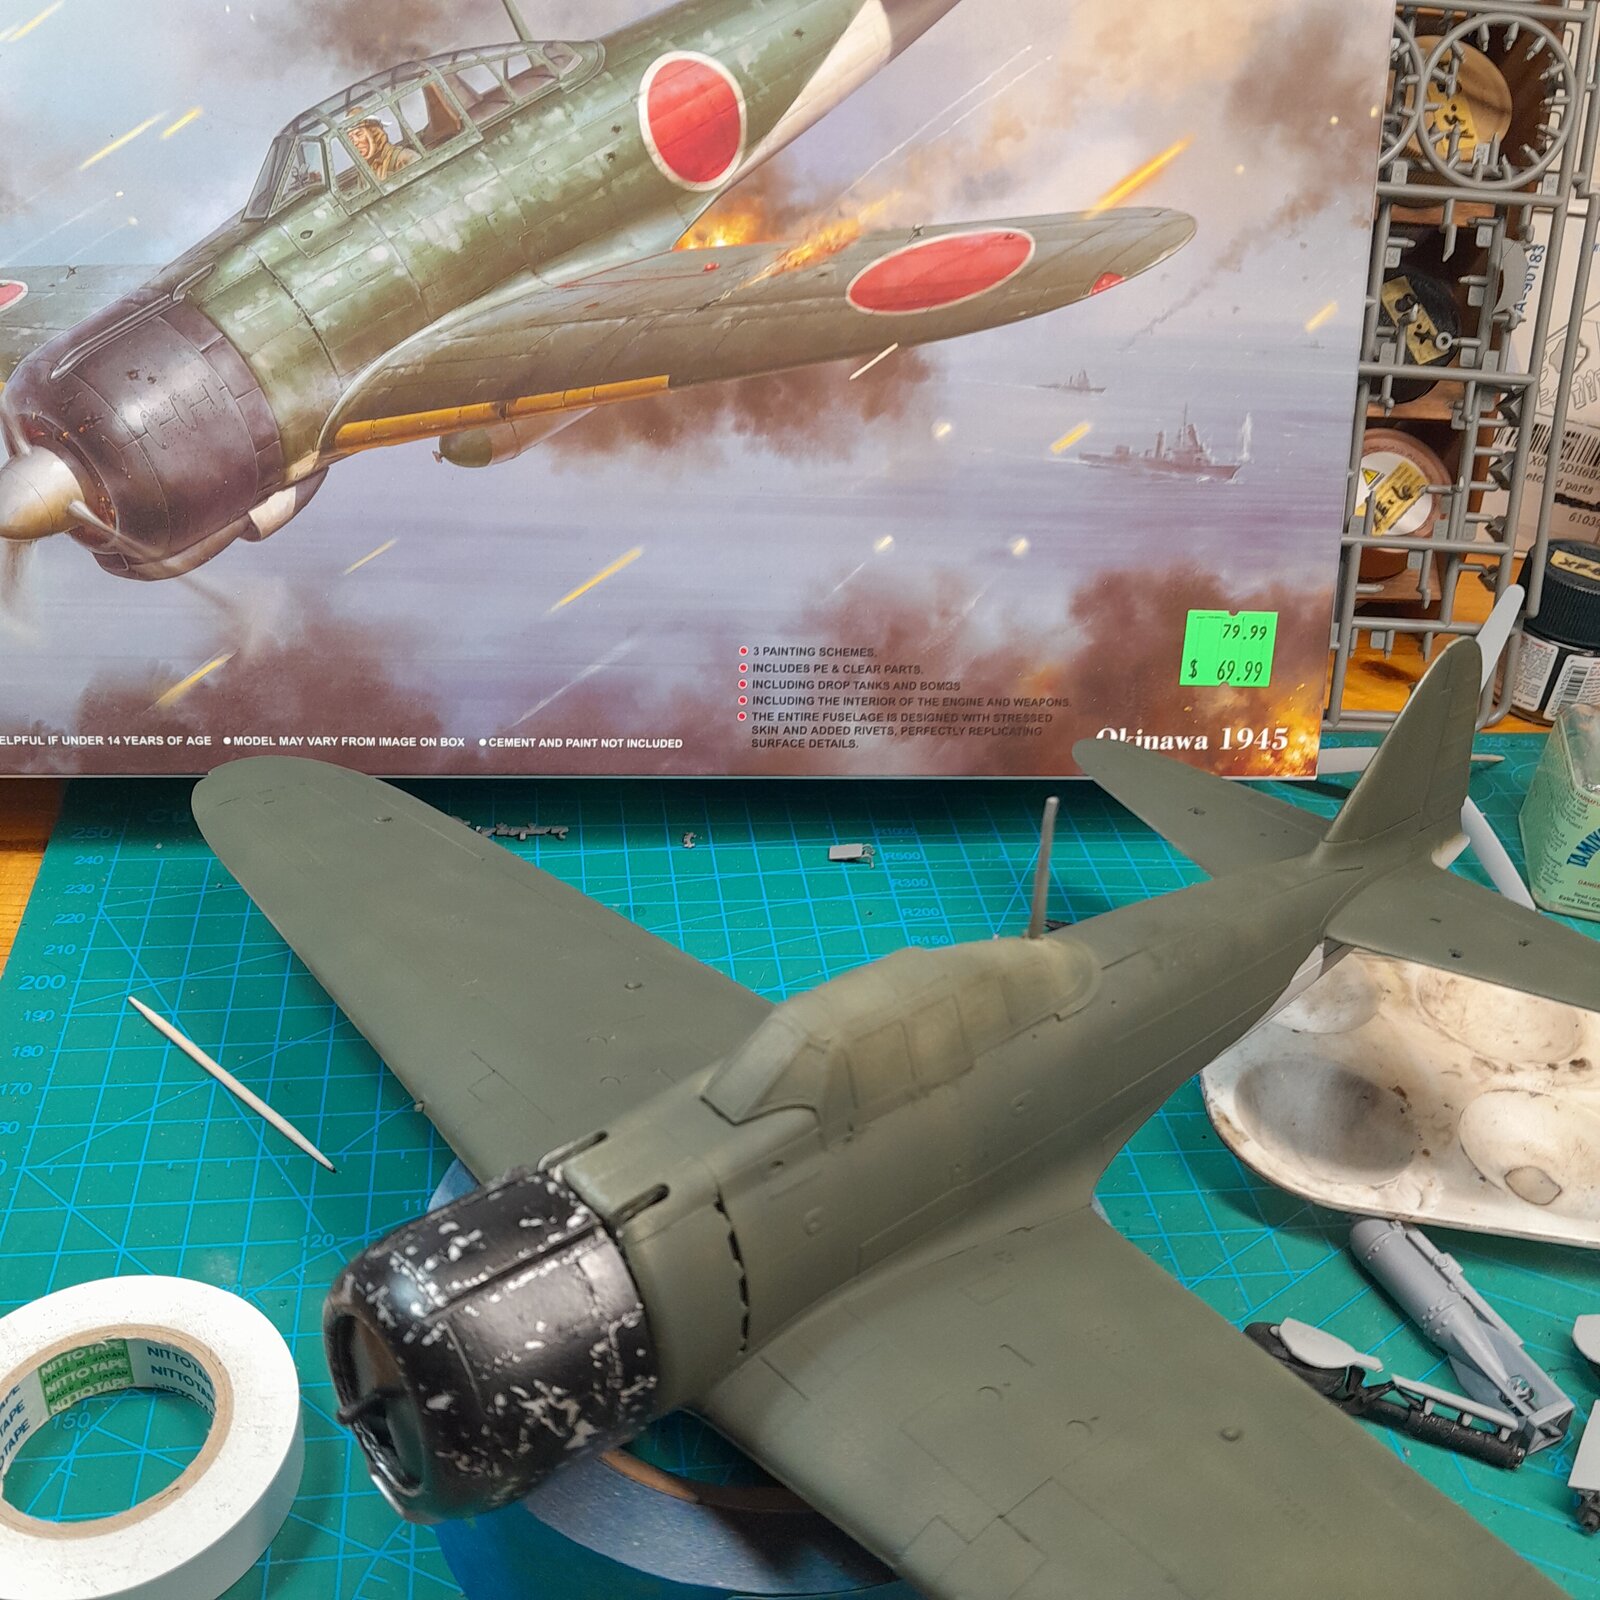
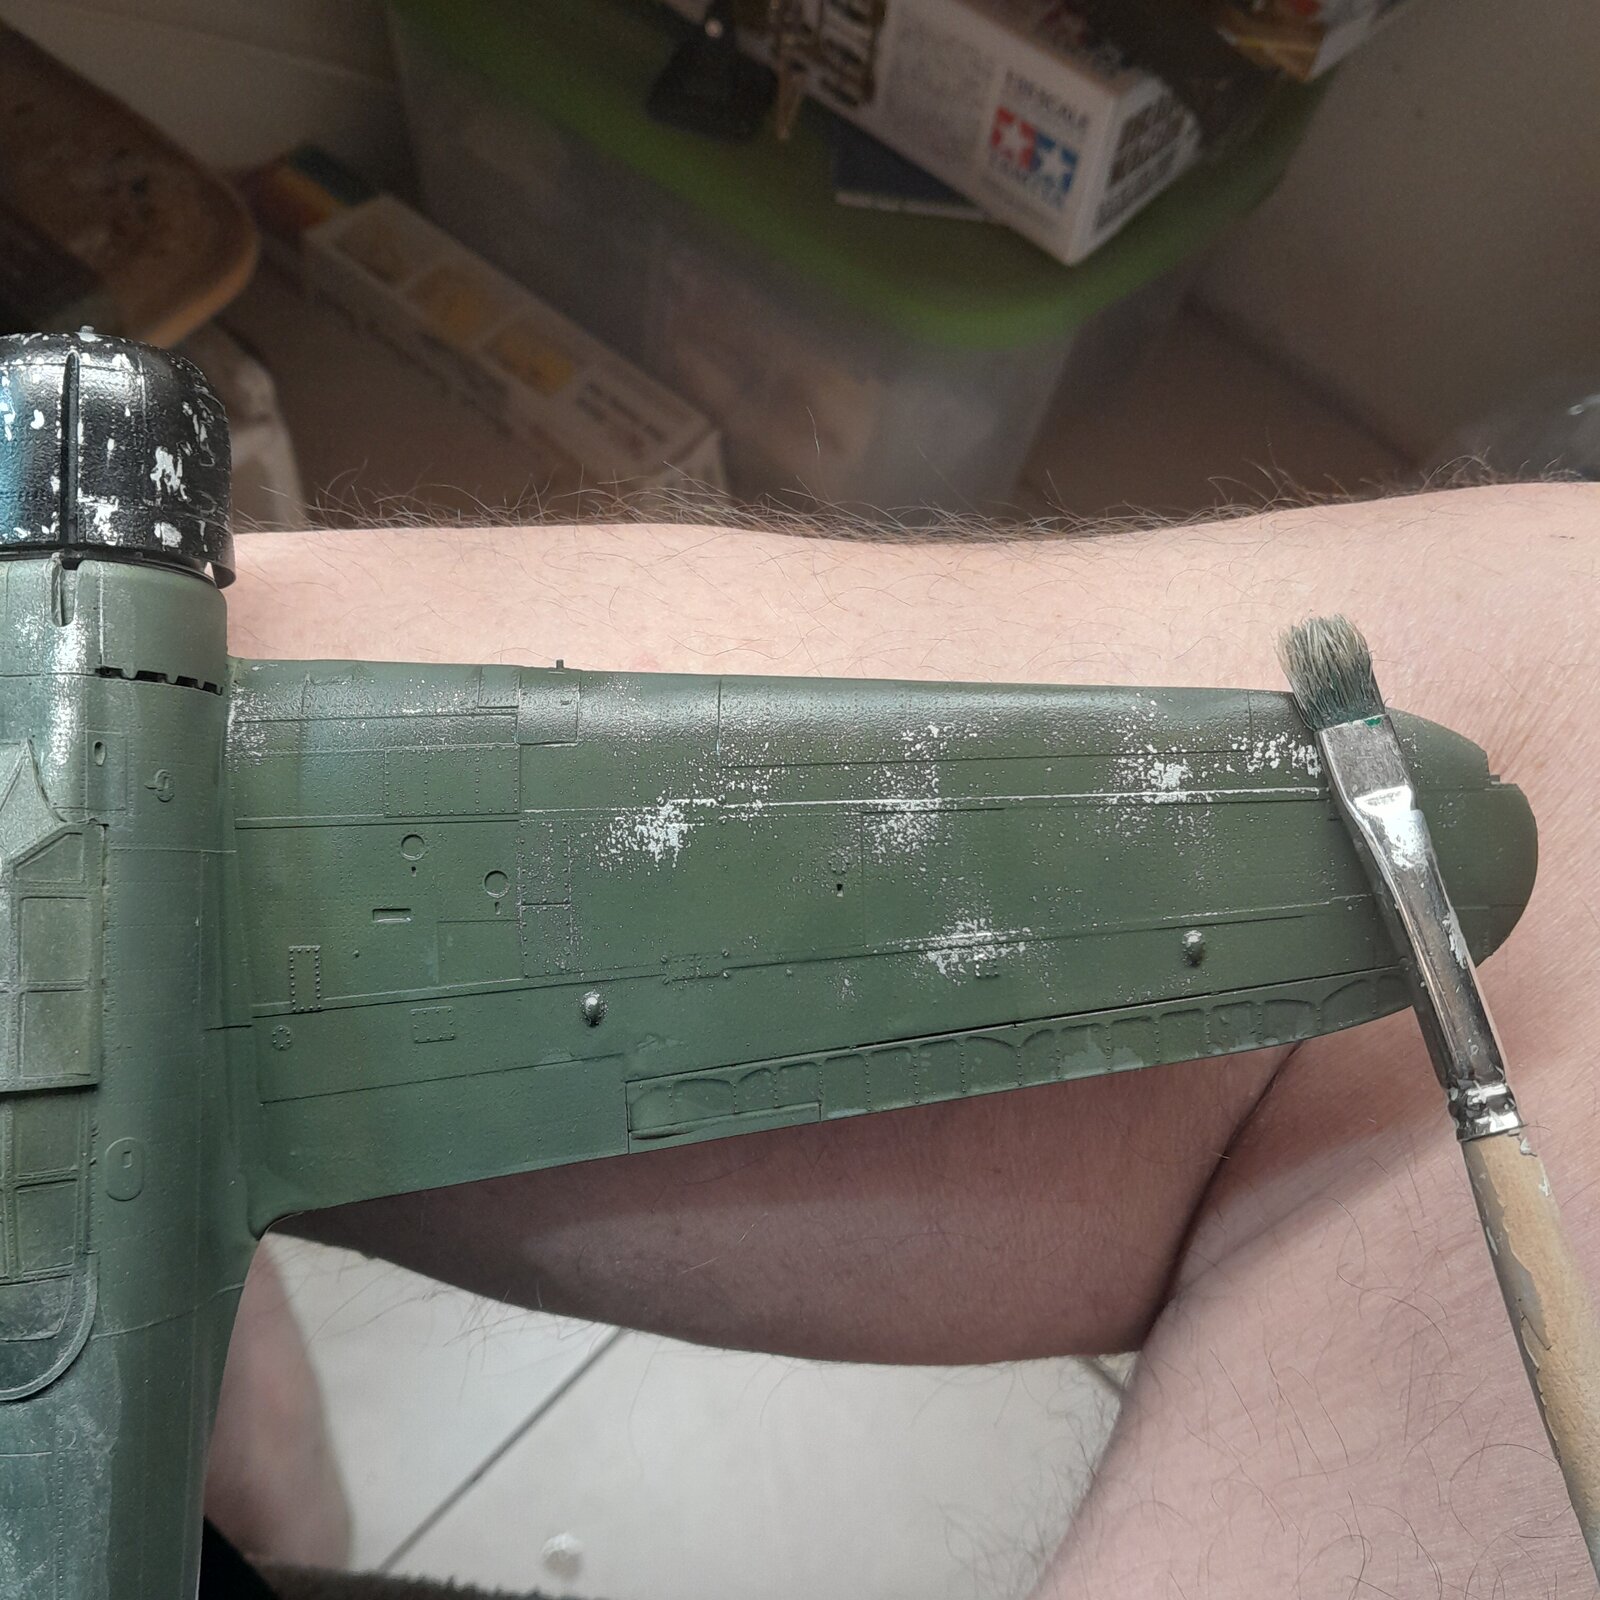
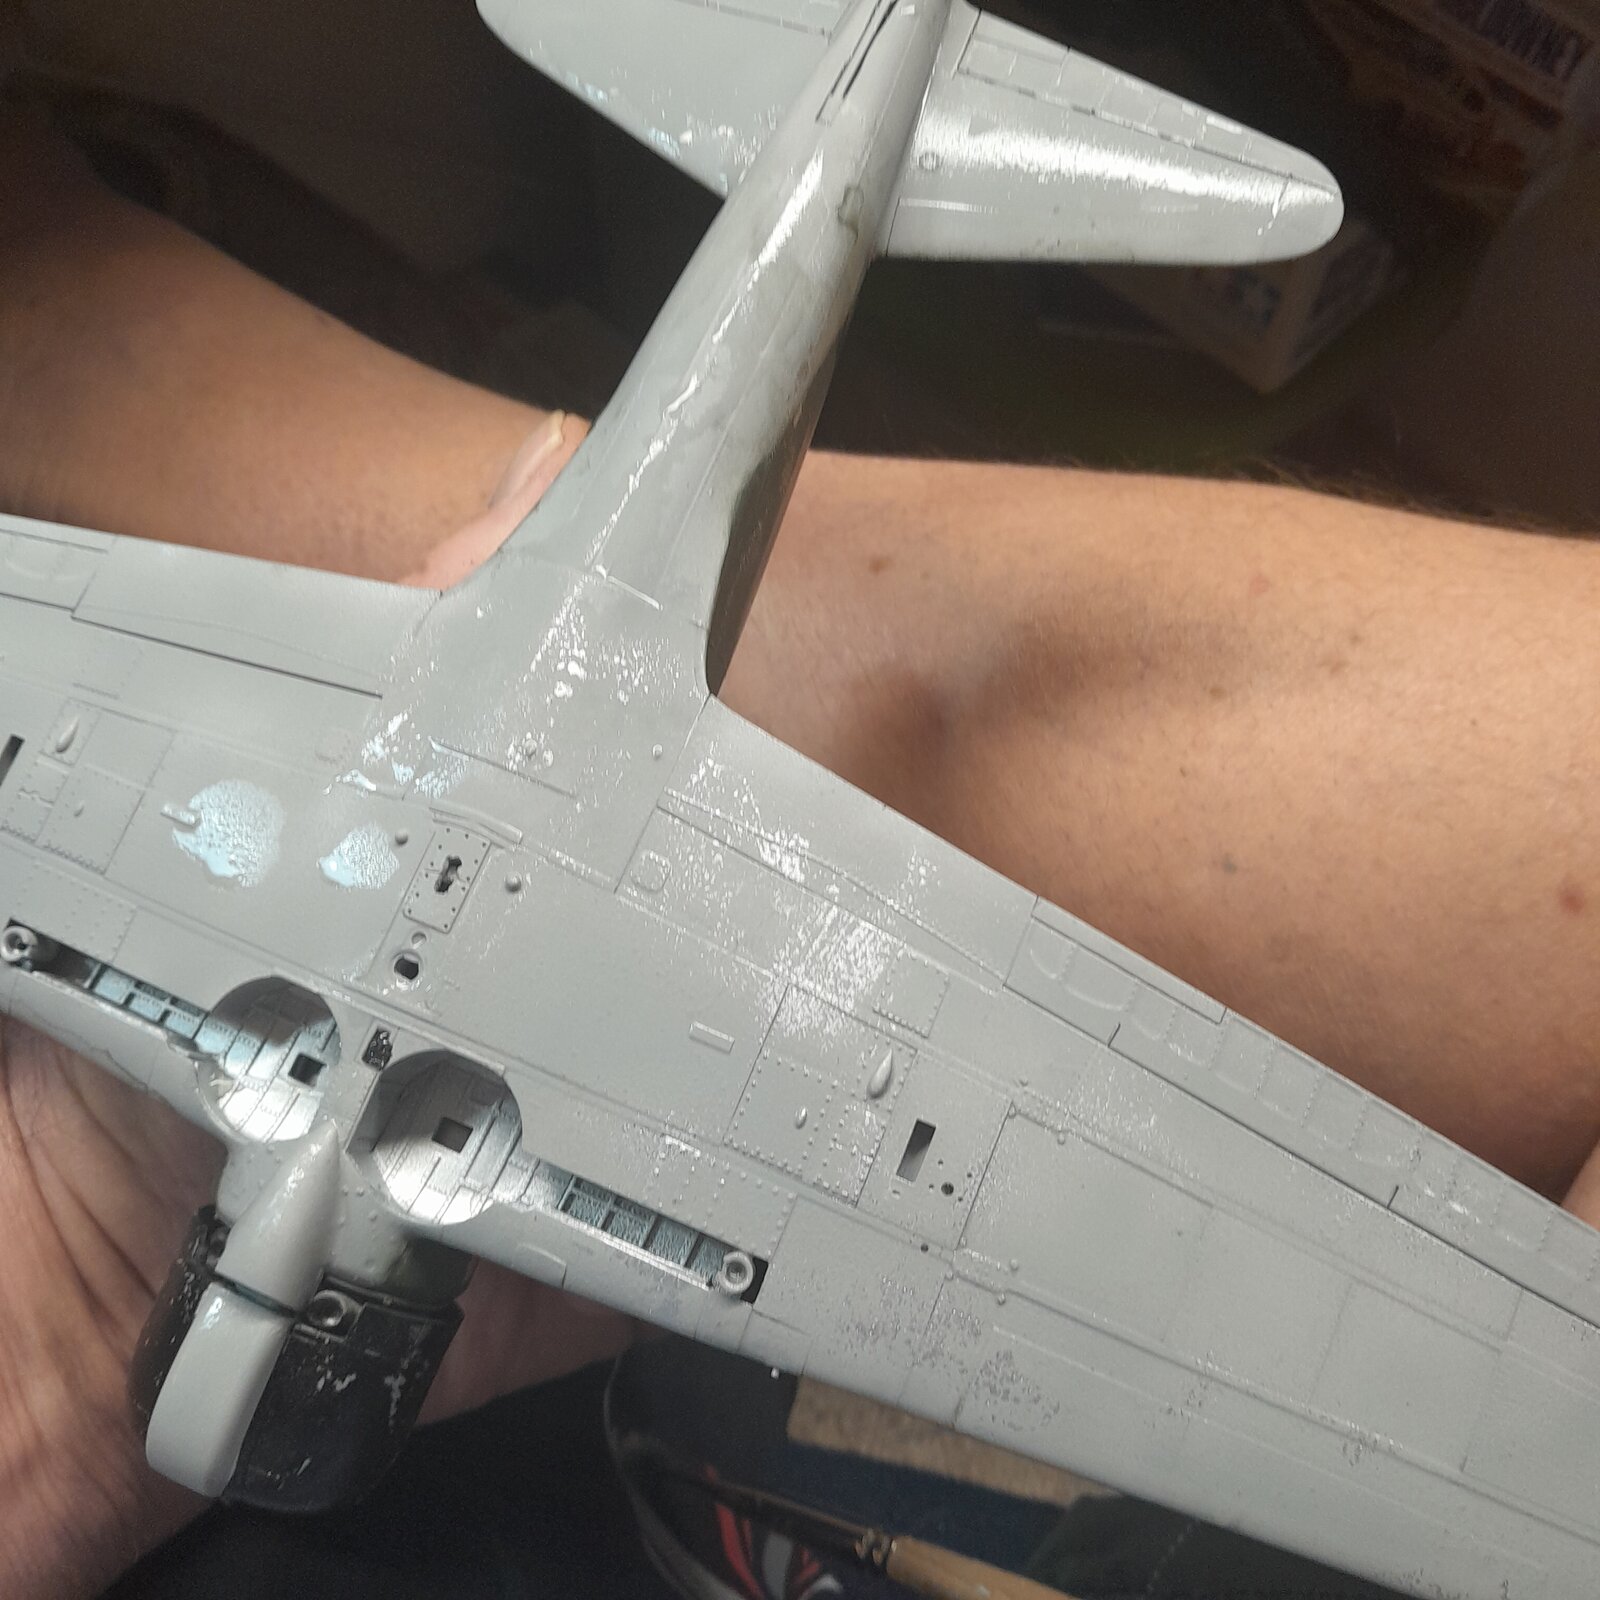
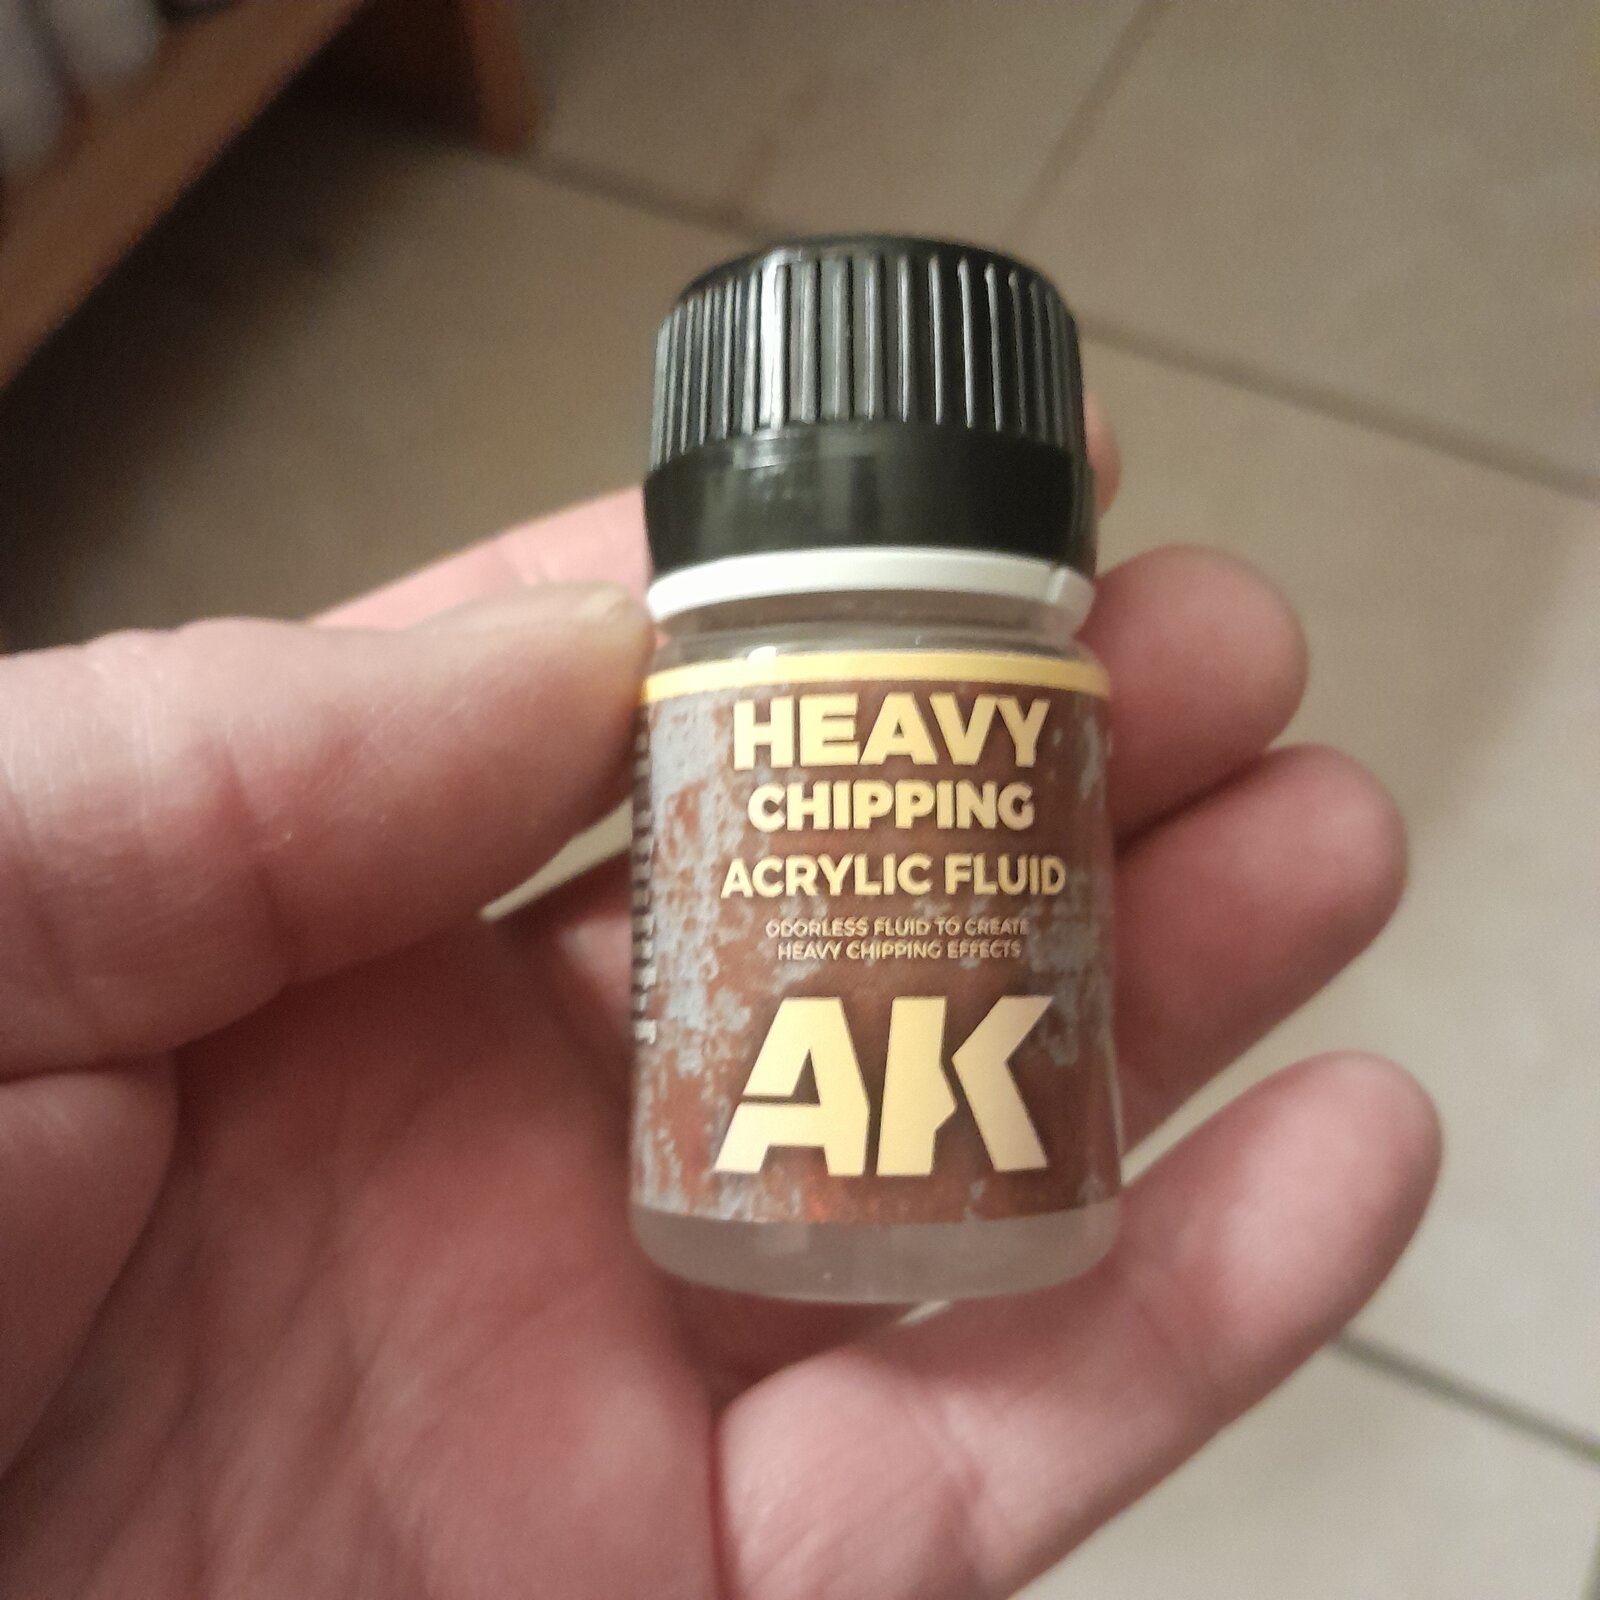
Okay. Let's see if I can remember the order of my pictures. I started with the nose of the airplane sprayed it with chipping fluid thinned with Mr color leveling fluid. I then went to clean my airbrush with lacquer thinner and it turned into goo. So then I sprayed xf1 on the nose and chipped it a little bit and it was really easy and fun. So I sprayed a coat of clear on the nose and I don't no why I didn't do this earlier but I asked my phone what to thin AK heavy chipping fluid with and it says you can use their thinner or water. So I felt real stupid and thinned it with water. And let it dry for 15 minutes and sprayed the bottom with xf19 Sky Gray and the top with x13 j a green. I'll probably maybe do a little chipping tonight but more than likely tomorrow

20250409_203209.jpg


20250410_105410.jpg


20250410_112601.jpg


20250411_163550.jpg


20250411_172638.jpg


20250411_173048.jpg


20250411_173055.jpg
 
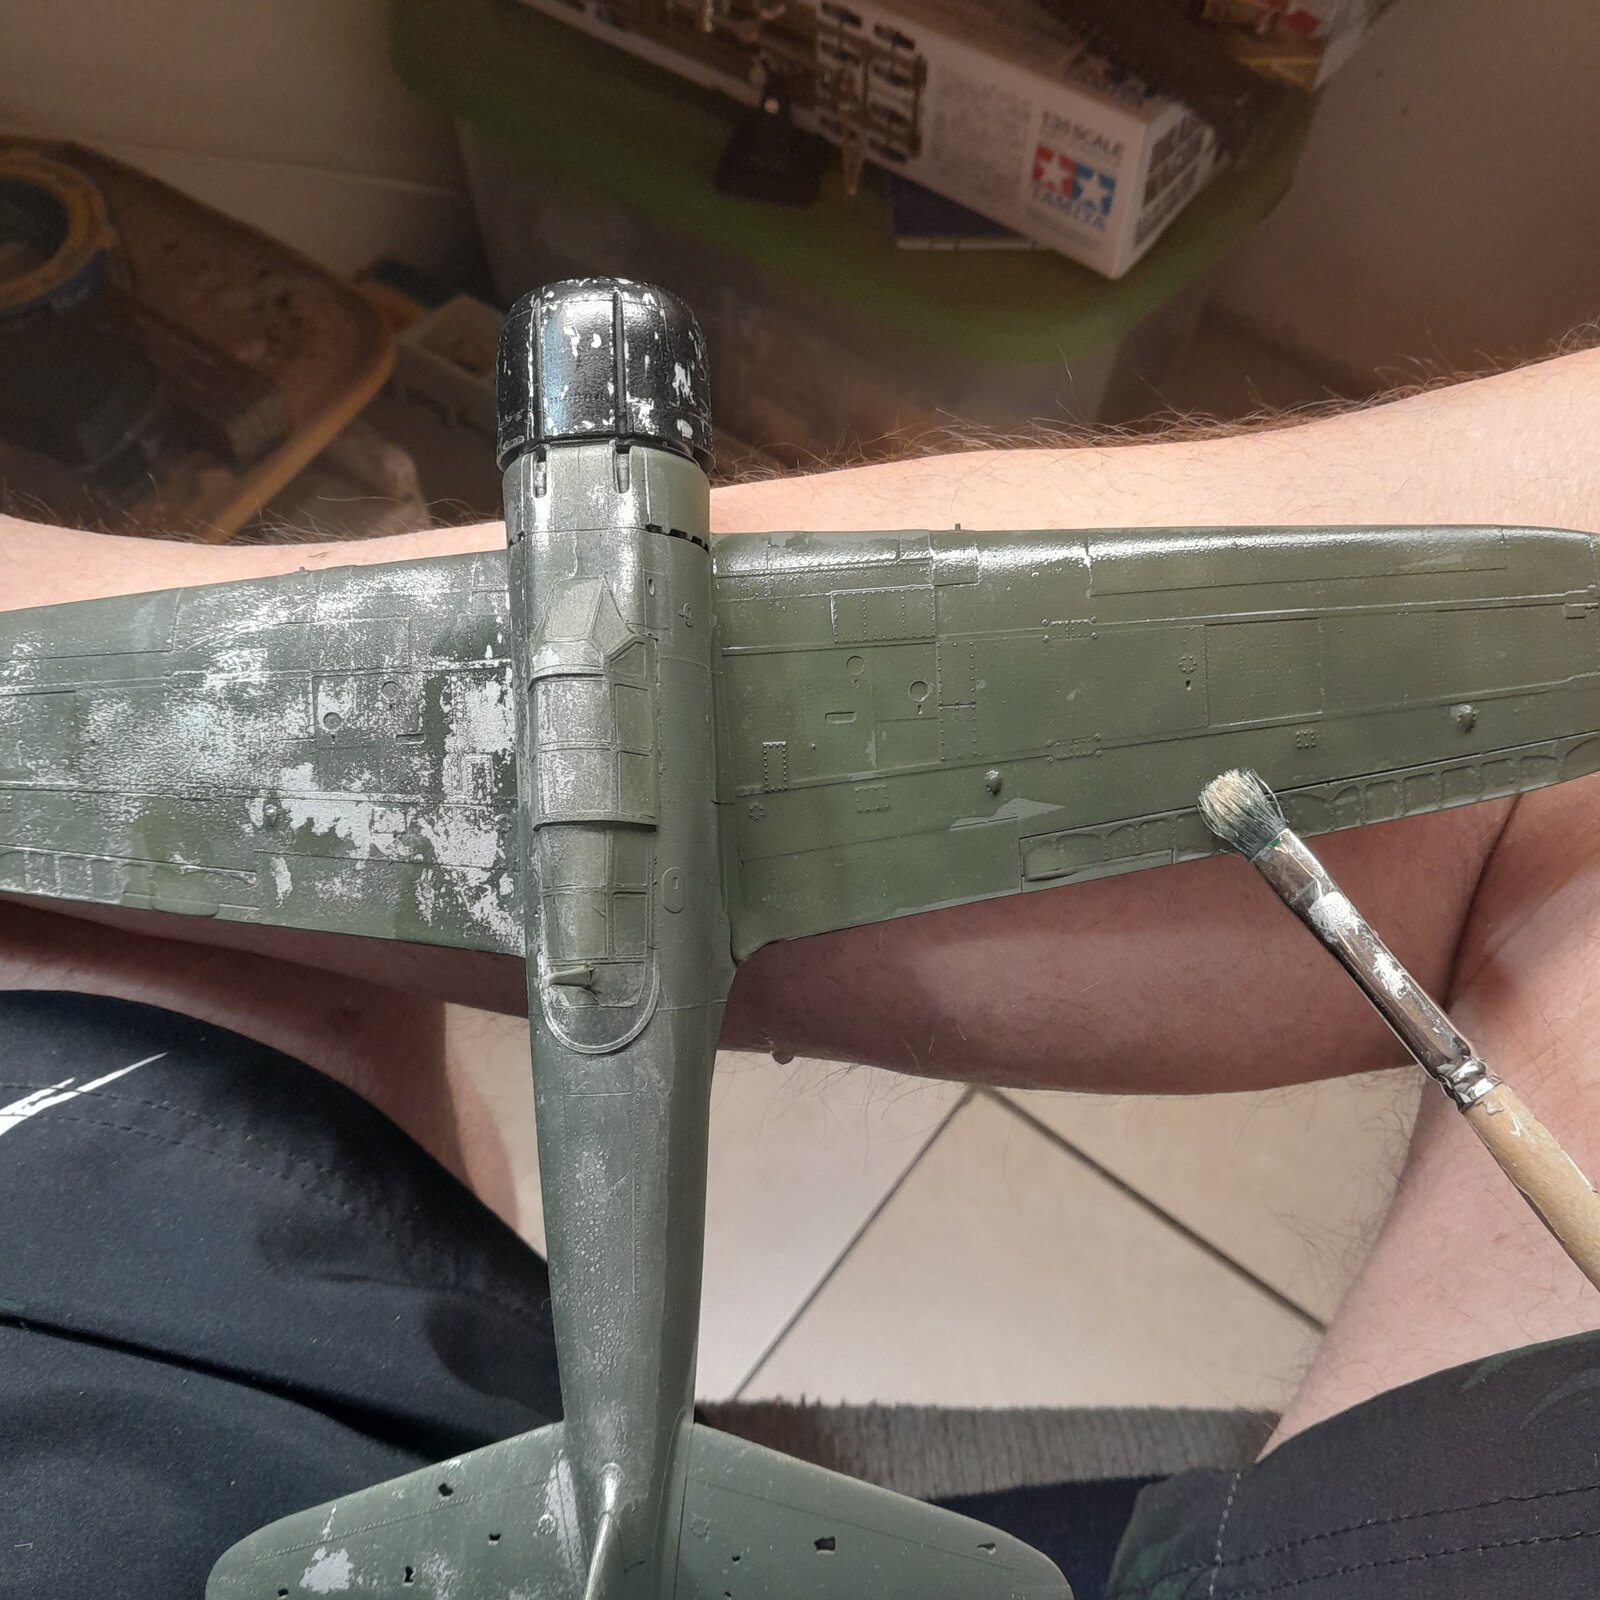
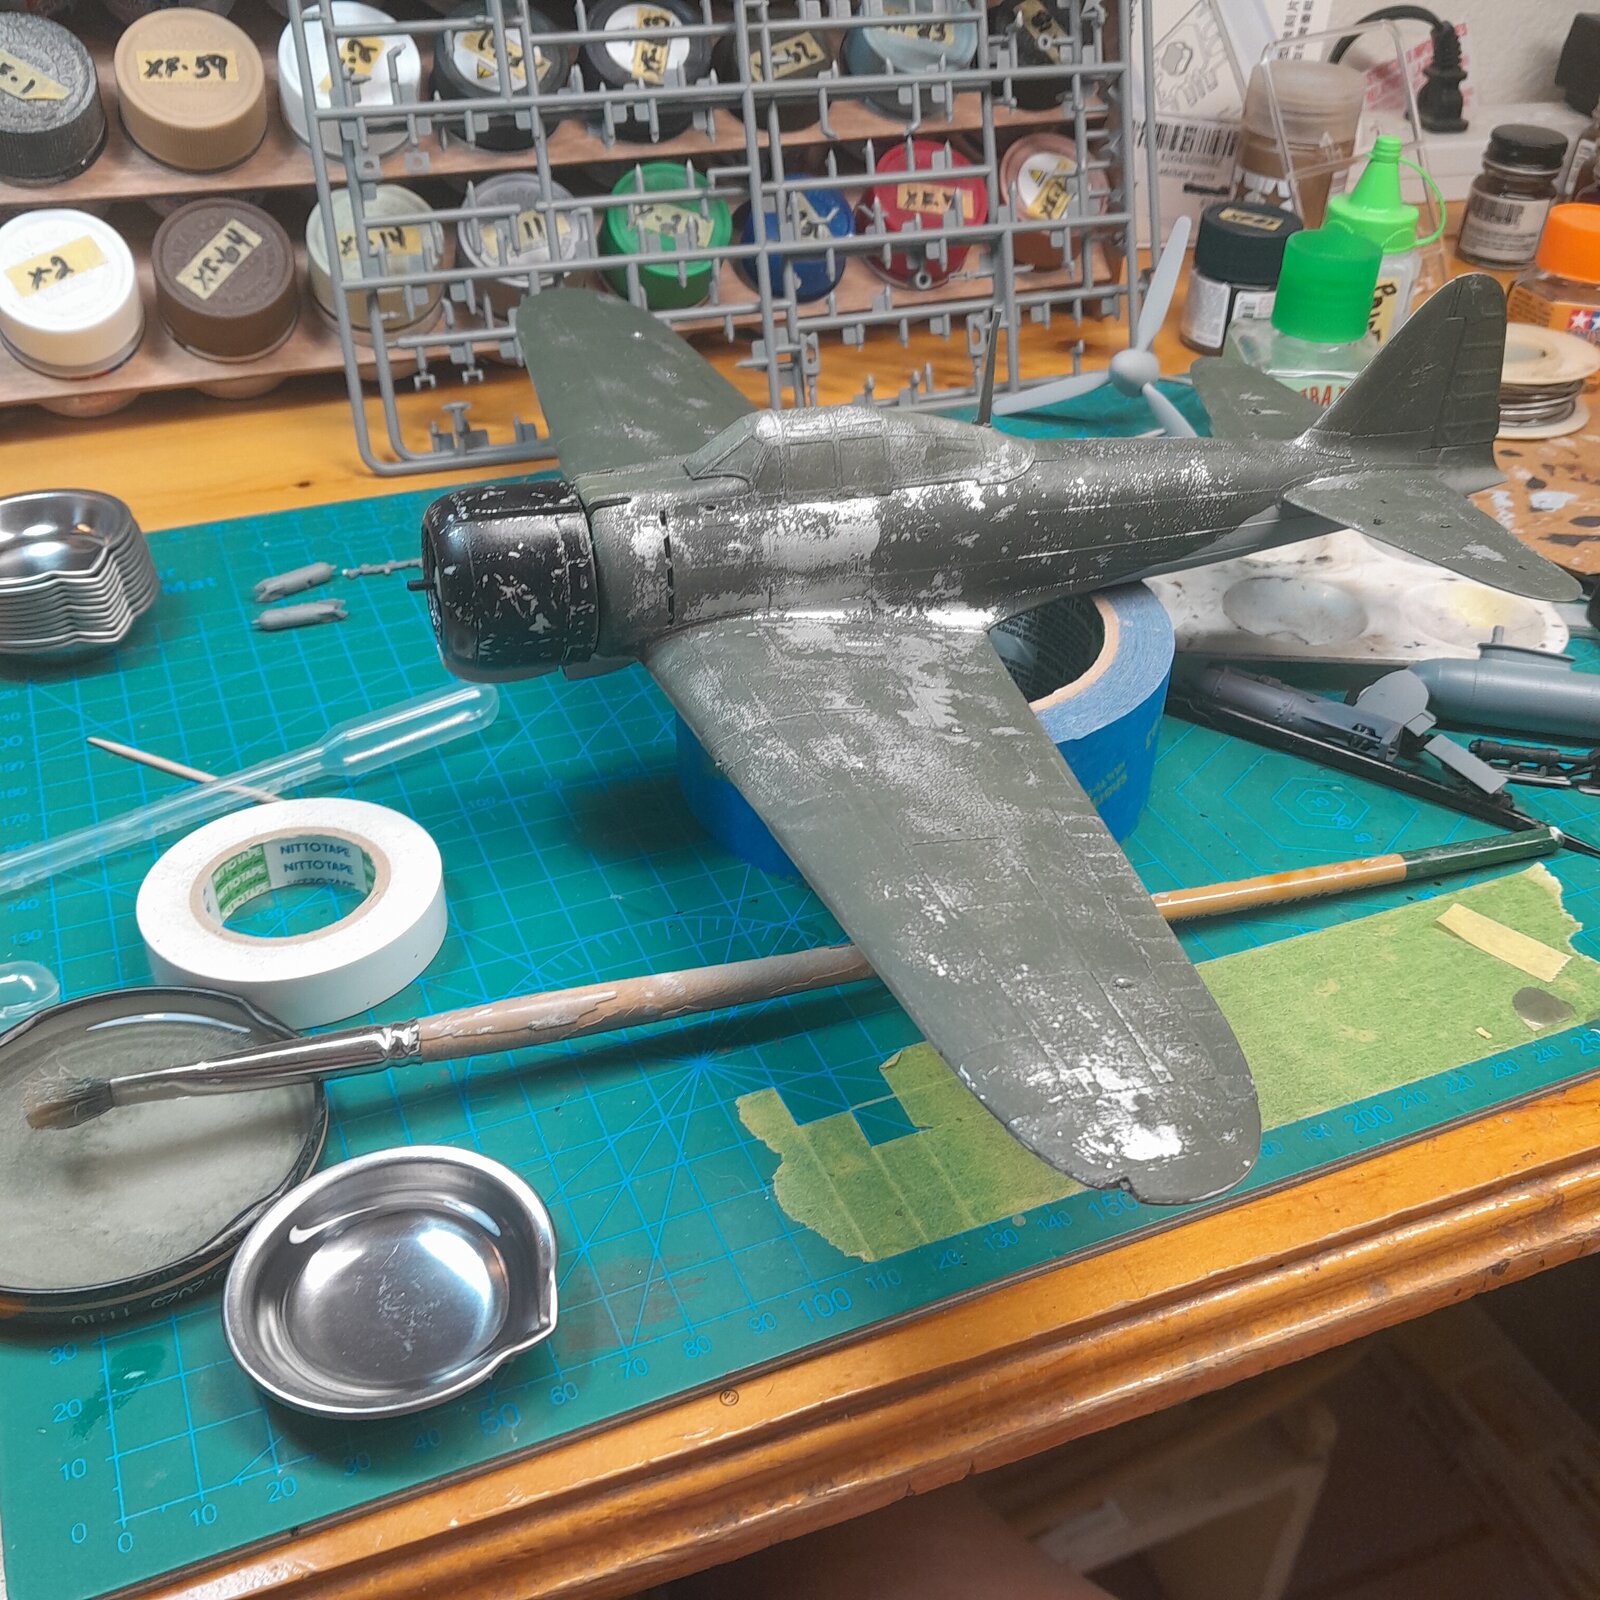
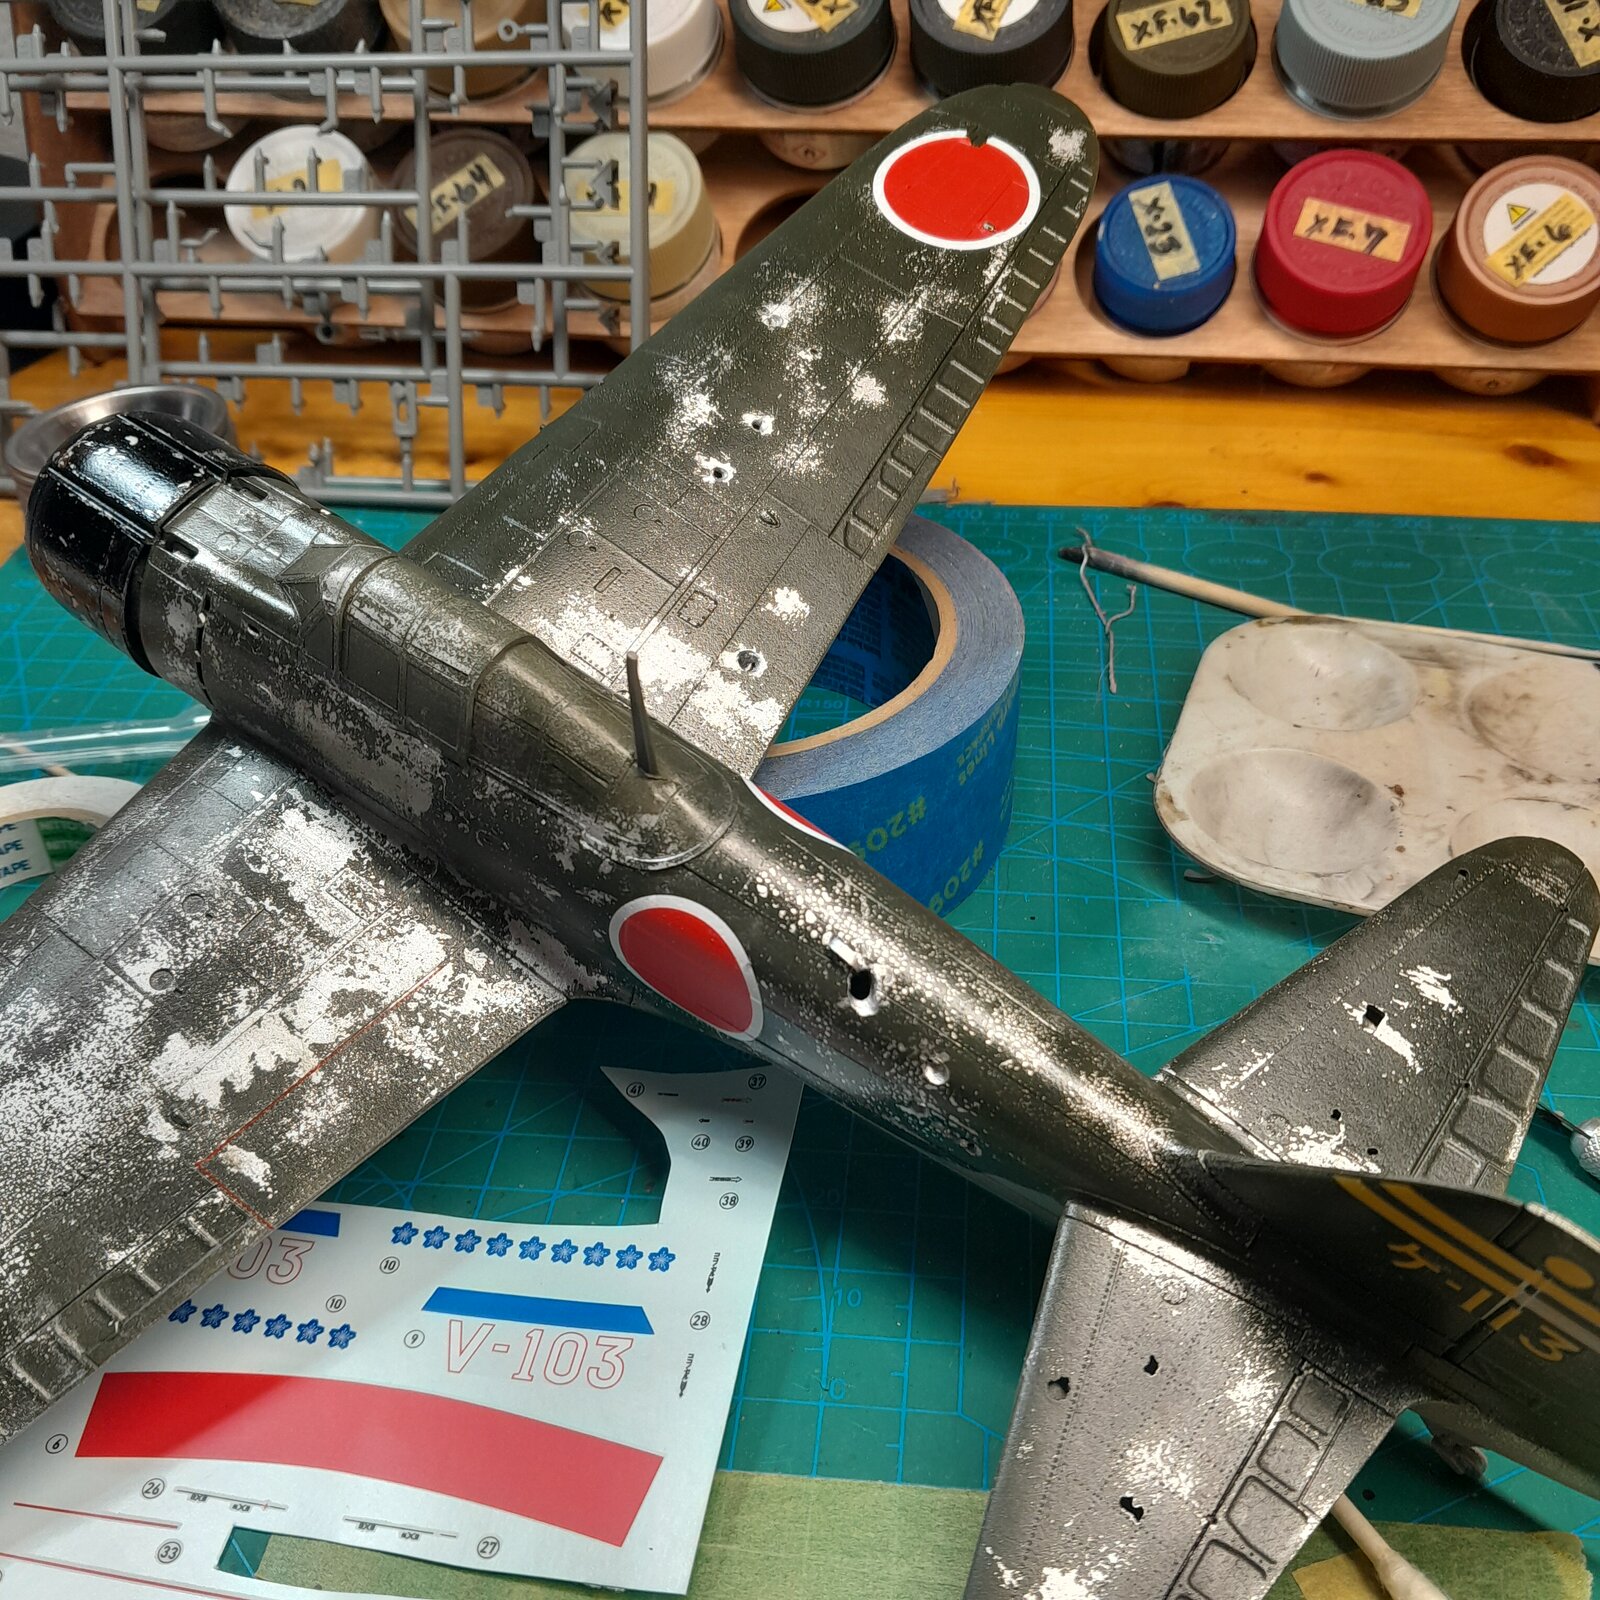
So how I did that is I got a little thingy of clean water and an old brush kind of a stiff one and I brushed water on one section at a time and let it soak in a minute or two which made it easier and just use the brush to chip the paint off. Actually it doesn't really chip it kind of just wears off just keep rubbing that brush on it and the more time you let the water sit the easier and the bigger the green comes off. But I wanted to hear what others think cuz this is my first time. The next thing to do is give it a clear coat and start panel line and weathering and engine exhaust and, and,..

20250412_094905.jpg


20250412_095110.jpg


20250412_100719.jpg


20250412_102853.jpg
 
Pretty gutsy attack!

I paint with a brush... so I always thought the chipping fluid was applied to specific areas; when I tried that, I couldn't remember all the spots!
By airbrushing it everywhere, that somewhat simplifies the process I guess. I imagine you can always go back in with airbrush or drybrush if you want to back out a little, or have flakes of paint still adhering inside wider chipped areas.

Thanks for walking us through your exploration!
 
Pretty gutsy attack!

I paint with a brush... so I always thought the chipping fluid was applied to specific areas; when I tried that, I couldn't remember all the spots!
By airbrushing it everywhere, that somewhat simplifies the process I guess. I imagine you can always go back in with airbrush or drybrush if you want to back out a little, or have flakes of paint still adhering inside wider chipped areas.

Thanks for walking us through your exploration!
I thought about brushing on chipping fluid here and there but looking at pictures of late War planes they are messed up. Well I figure if I'm going to take the time to post pictures you might as well make it interesting for the new guys out there soaking up information
 
Looking good. One thing I learned with chipping is if you overdo it, or the chips are too big, or a shape you don't like.....go back in with the base color on a scrap of sponge or a tiny brush. And if you overdo that, just chip some more .....because it is fun.


Oh, how are you gonna add the flames, like in the picture? :)
 
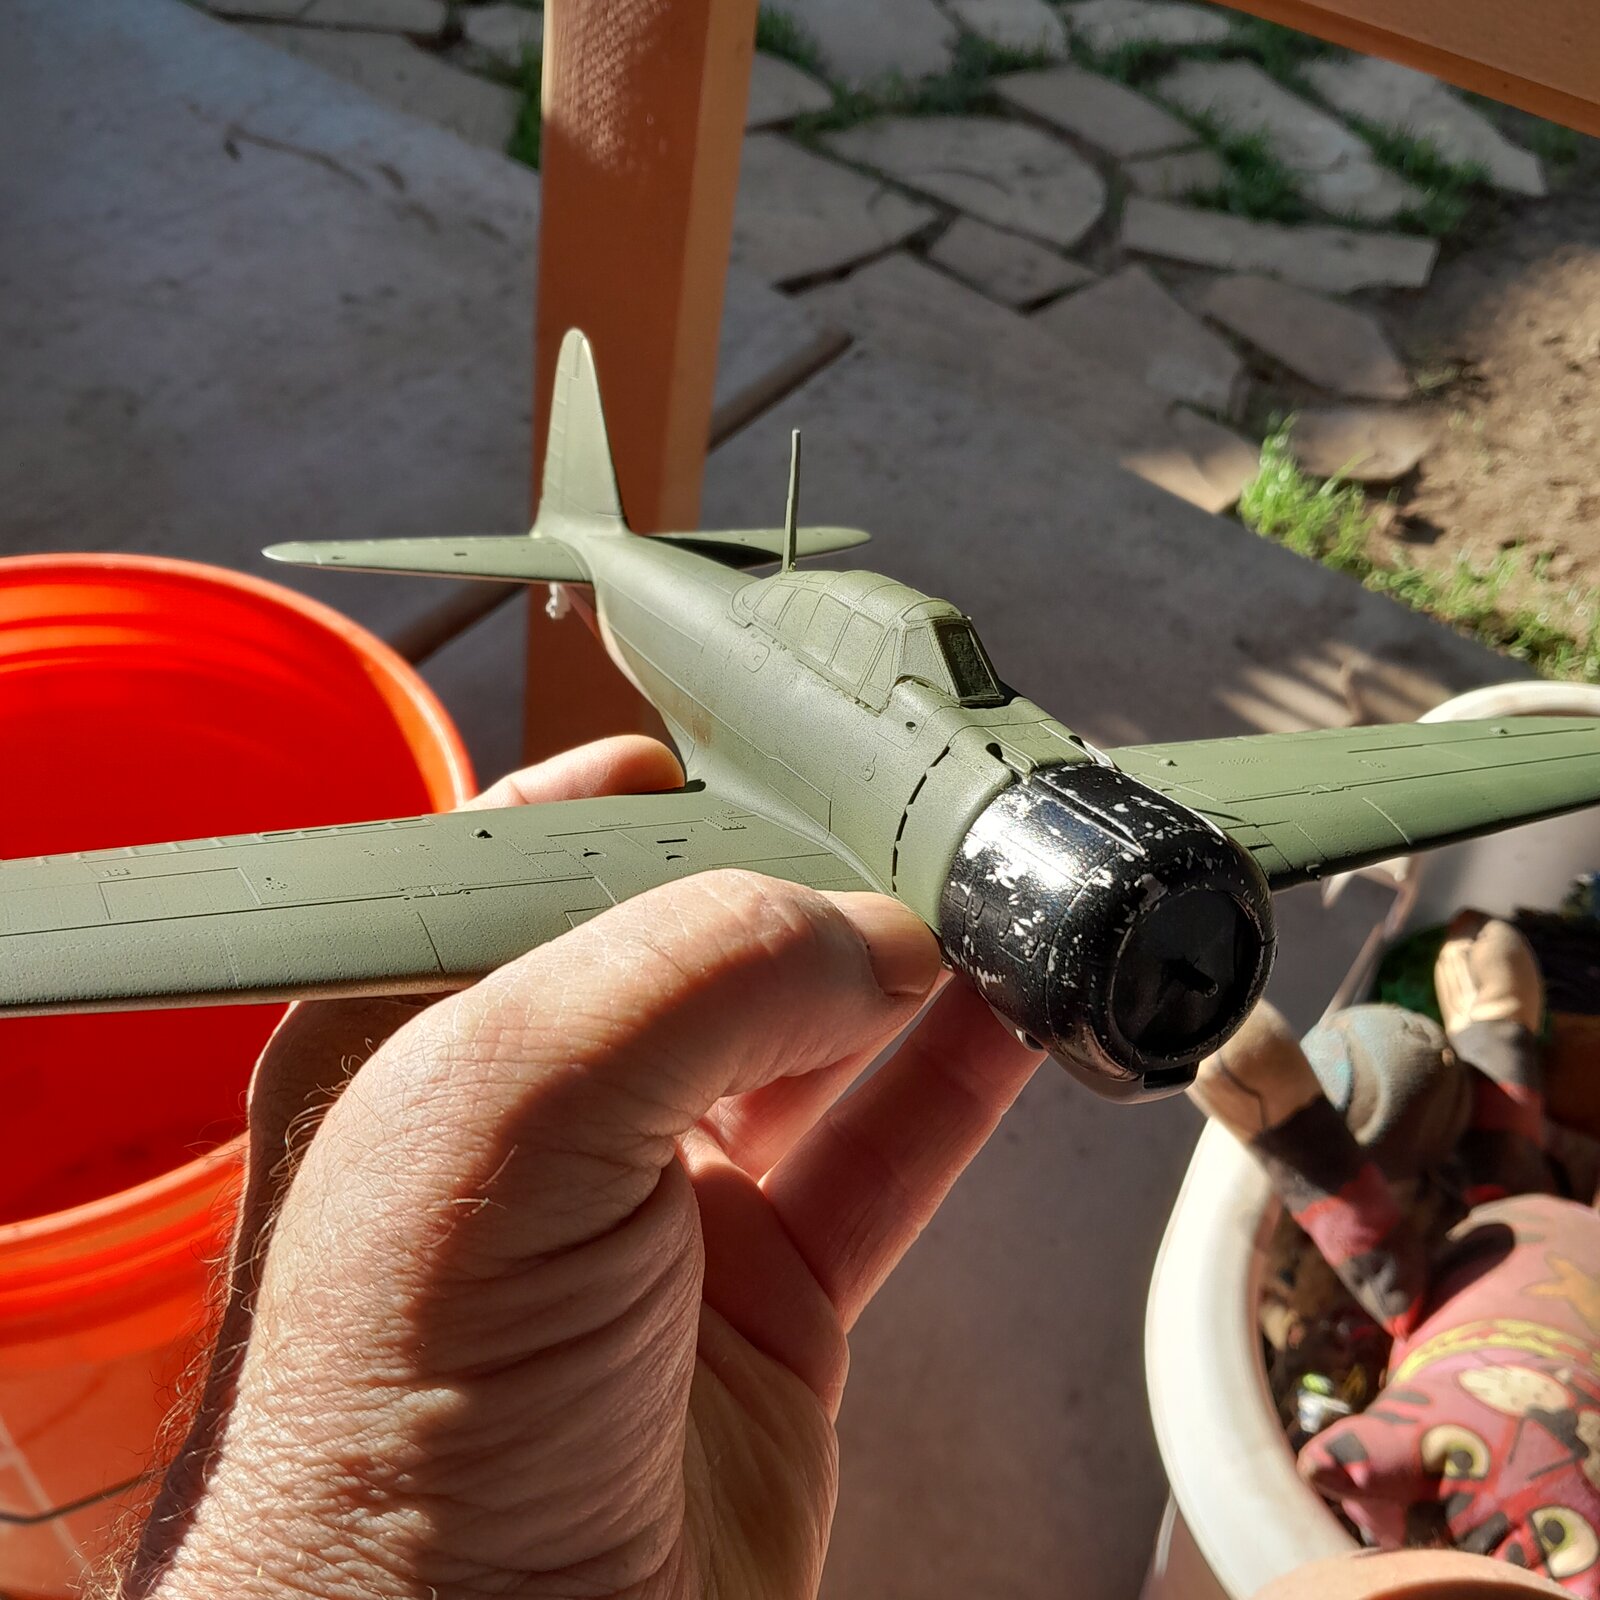
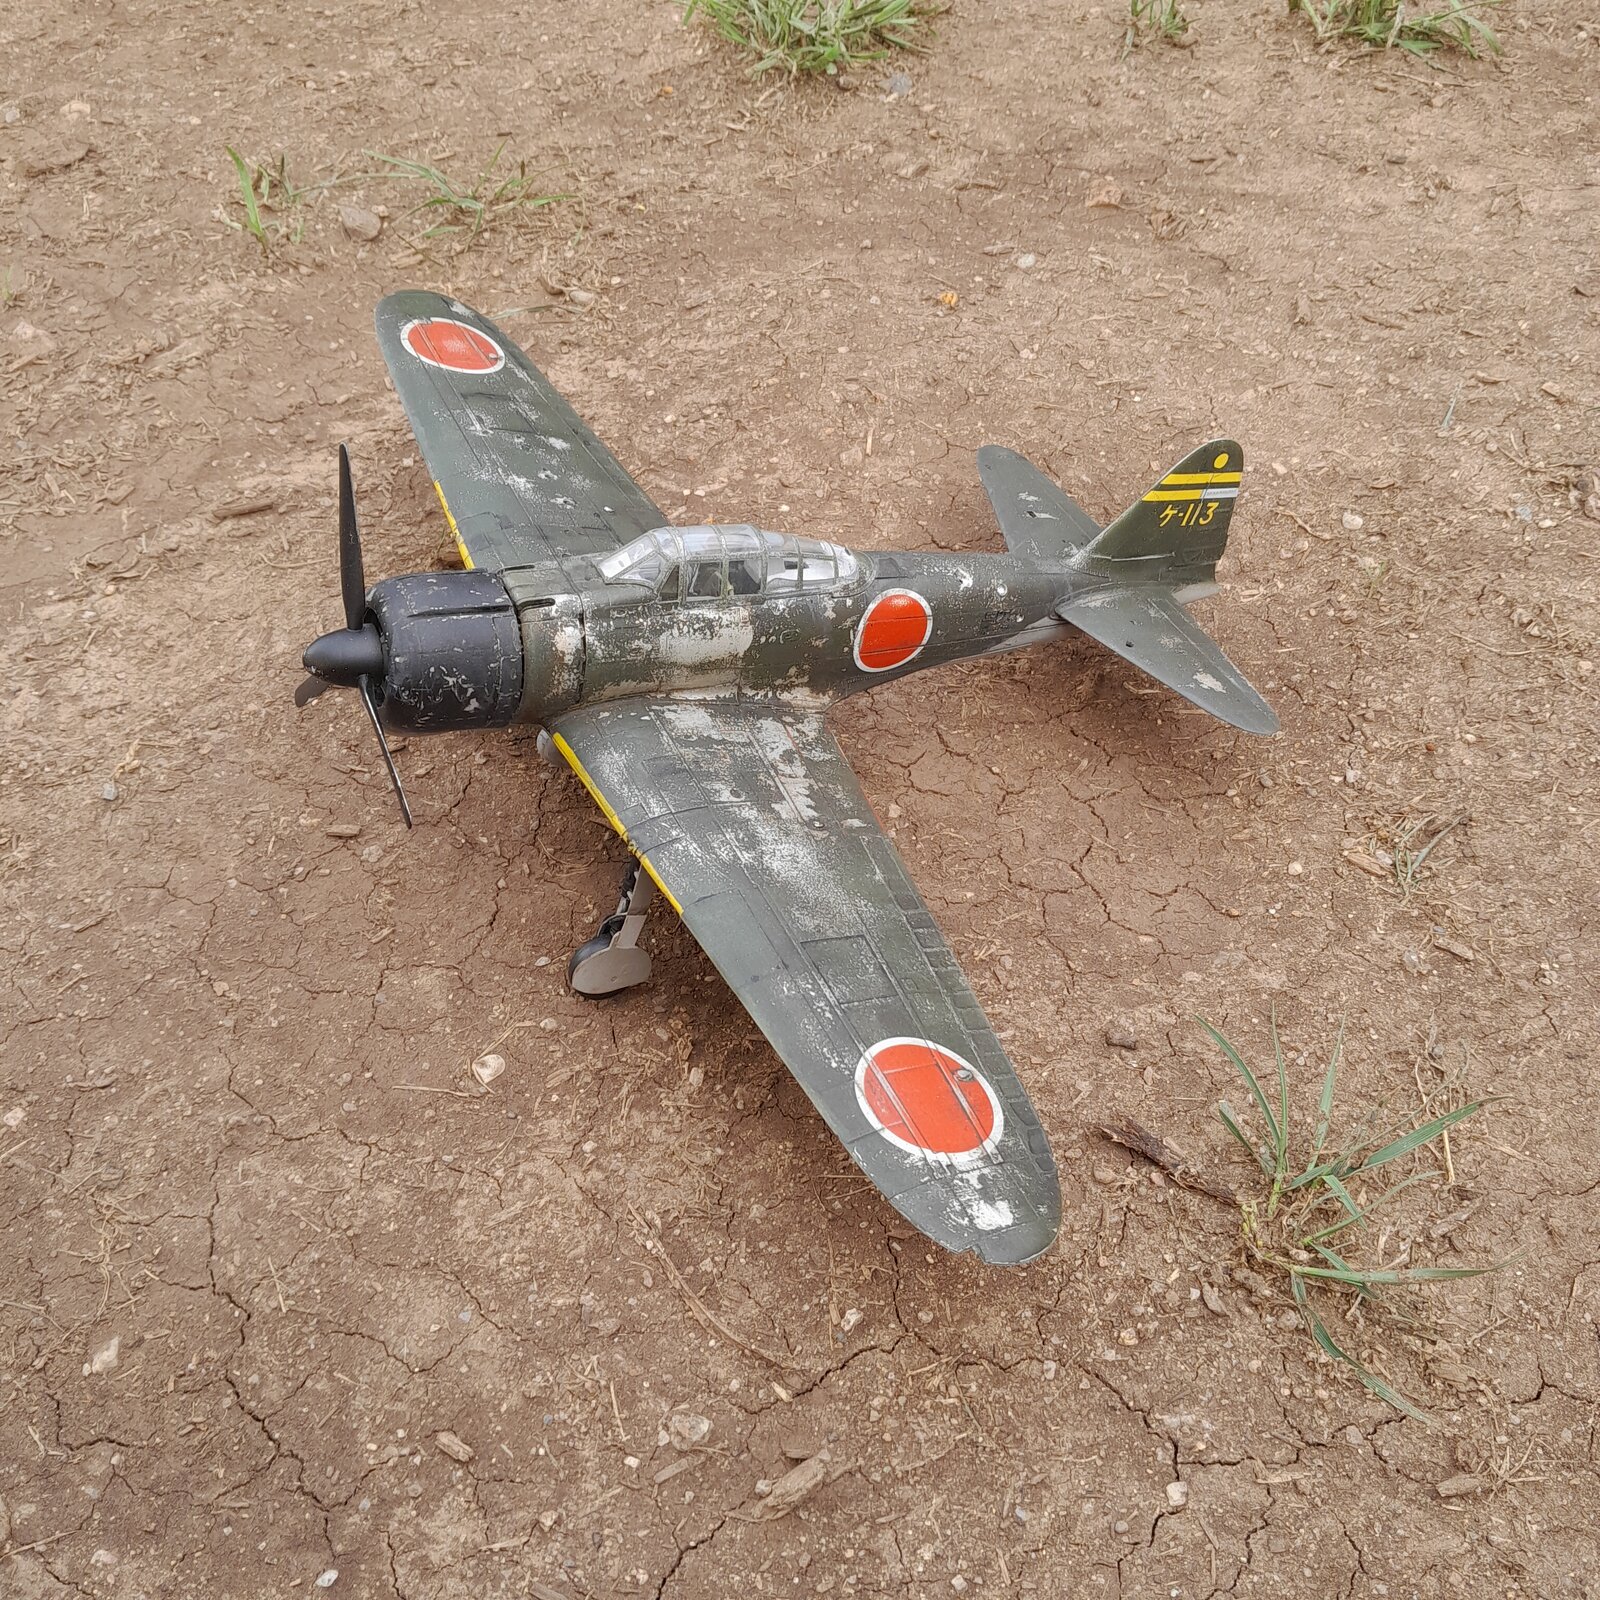
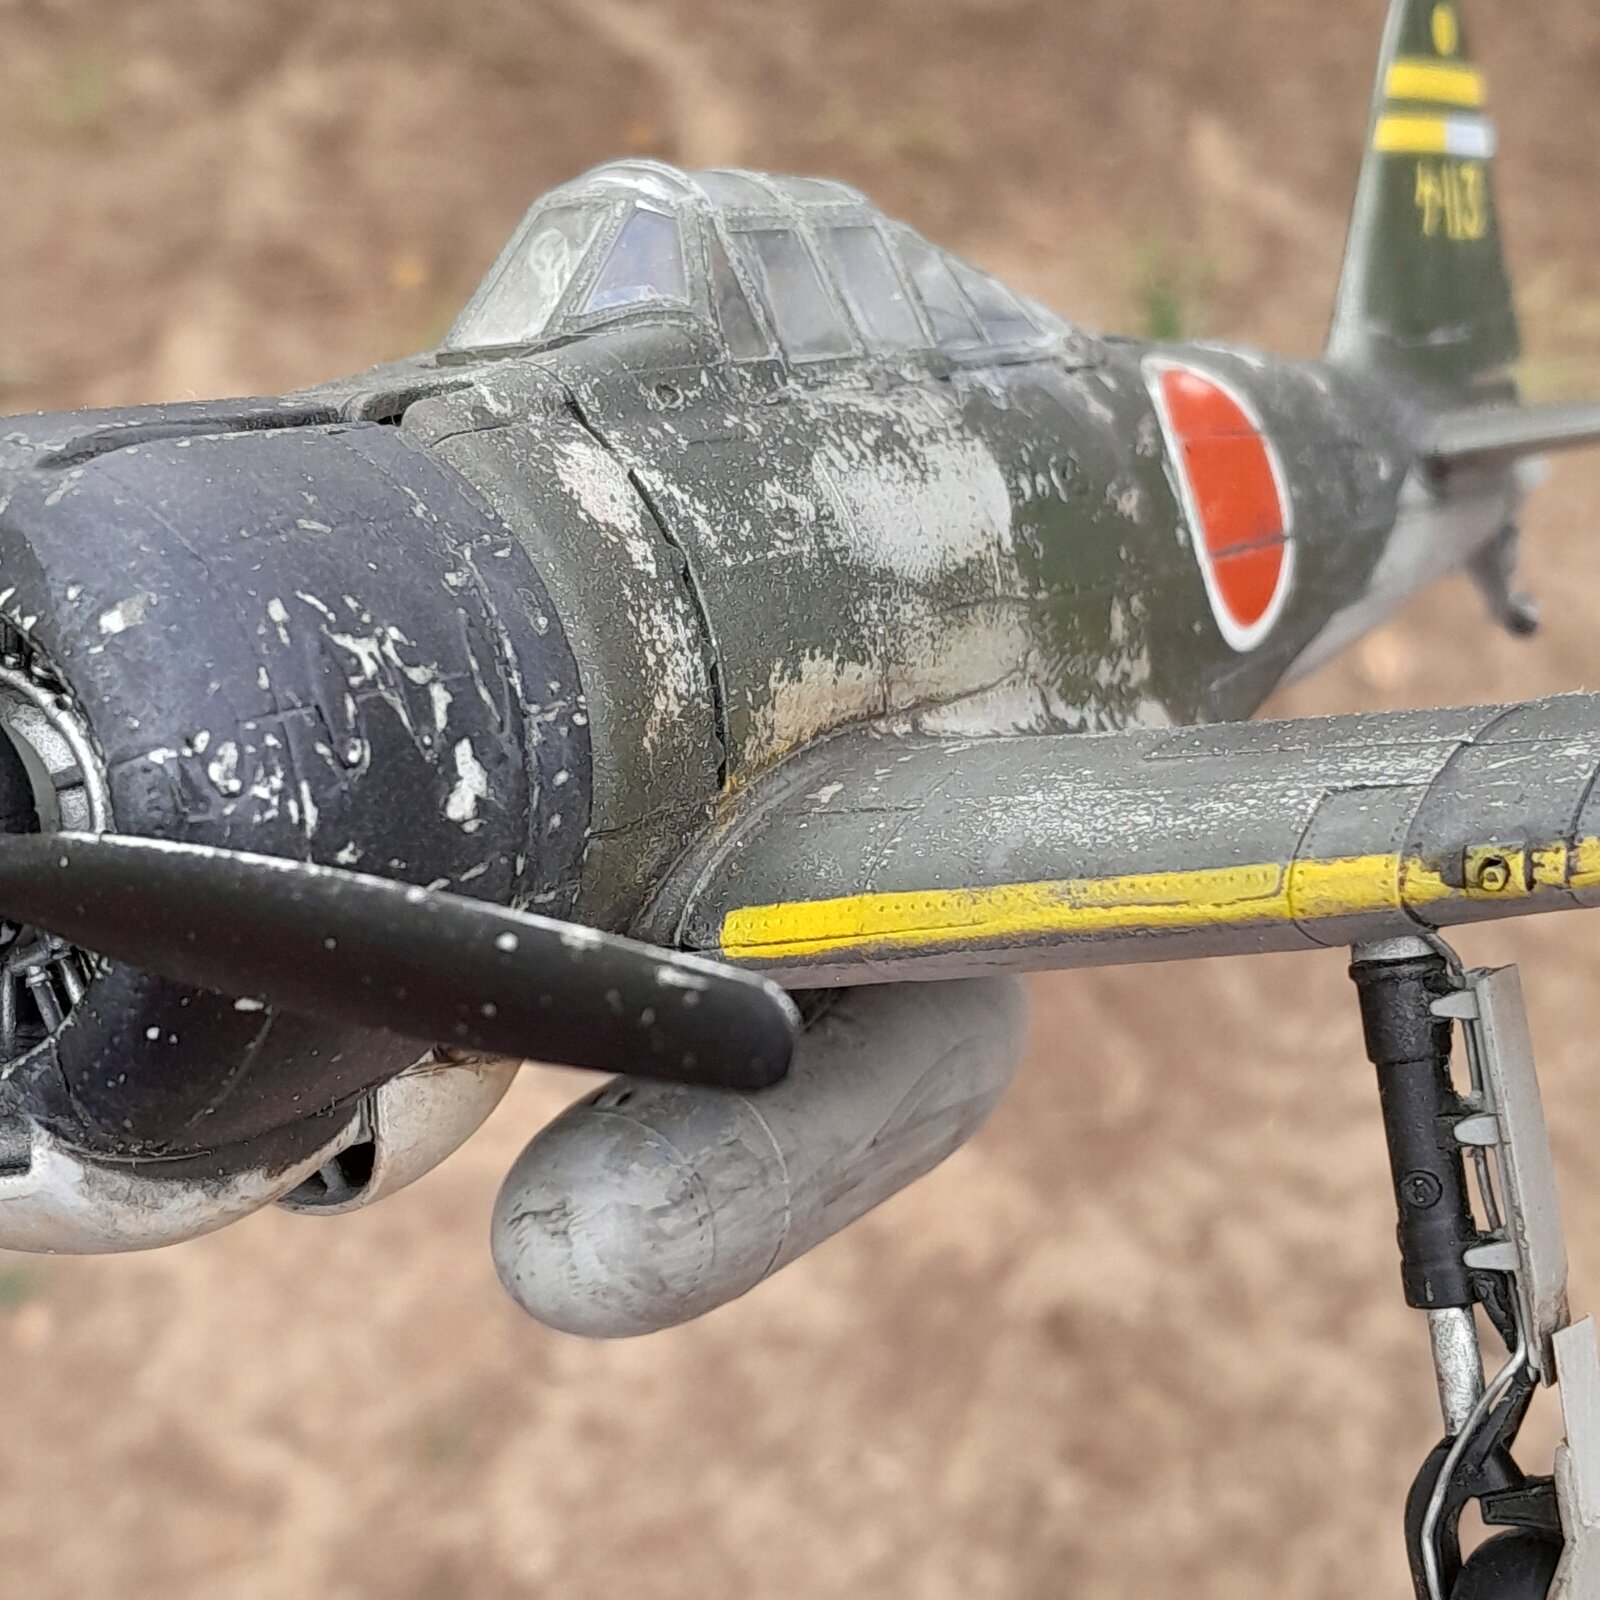
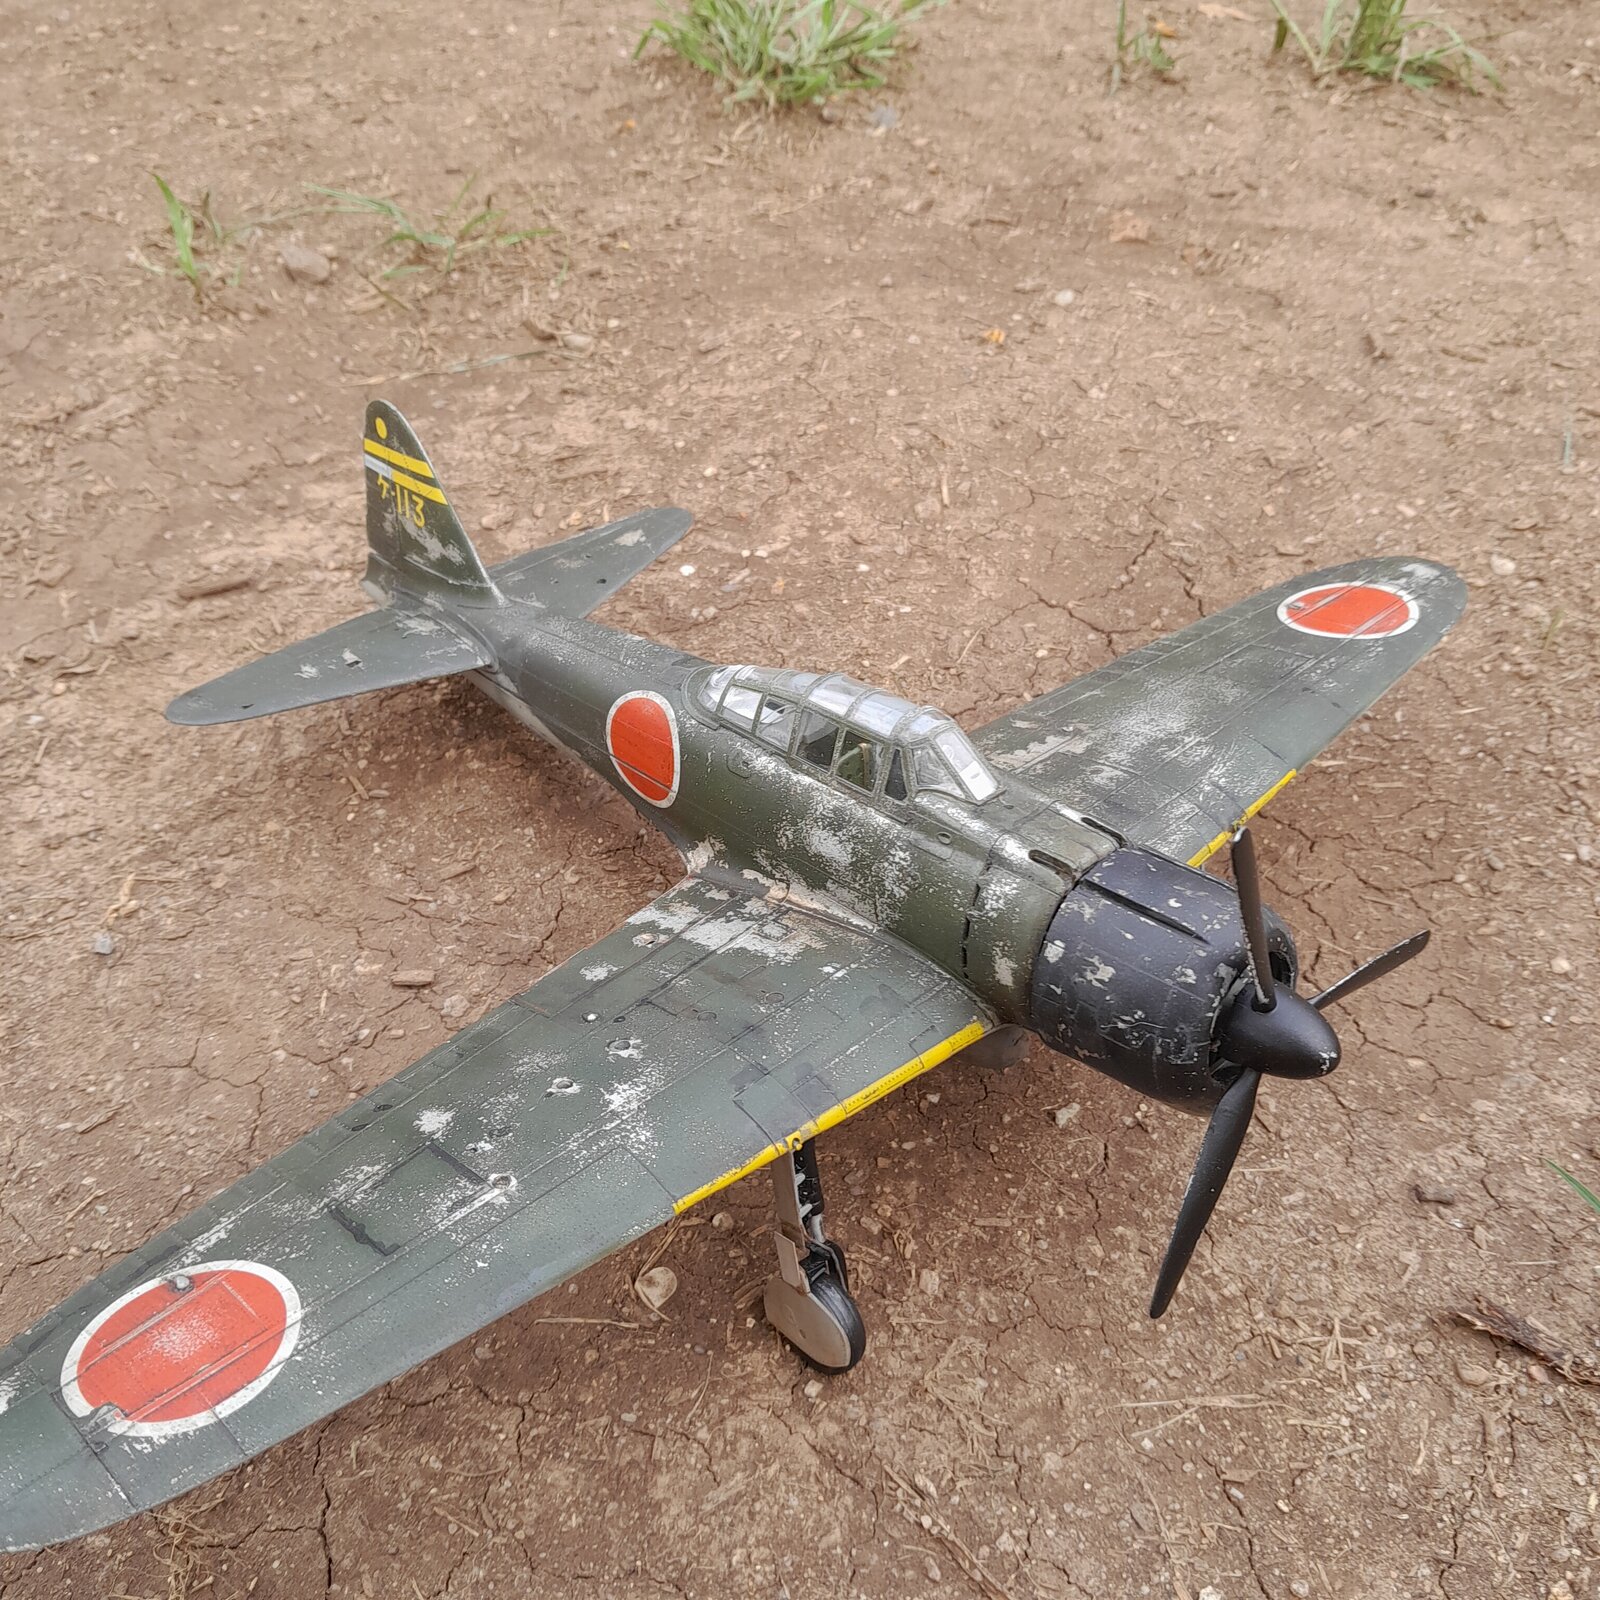
I guess it's done. Took a couple pictures outside of it. Maybe I need to take a lesson in photography. I certainly need to take a lesson in building canopies. I could have swore the canopy was pristine when I put the masking on it. Then the damn antenna broke off. I was really liking it but now I think an M80 will cure its woes.

20250418_084603.jpg


20250418_084736.jpg


20250418_084622.jpg
 
I think it looks fantastic.

You sound like my brother and I when we visit: "Let me show you the cabinet drawers I've been working on. Here, let me open it all the way so you can see how I messed up one of the dovetails." :rolleyes:
 
I think it looks fantastic.

You sound like my brother and I when we visit: "Let me show you the cabinet drawers I've been working on. Here, let me open it all the way so you can see how I messed up one of the dovetails." :rolleyes:
Thanks. But you see if you hold the model up this way and then turn it right here like that now look in there can you see it yeah right there
 
Nailed it! Thank you. Oh well. Mistakes in every model. But that's how you get better. Besides. I think this is fun stuff. I just need to learn how to scale build better than I am which is at the very bottom of the beginner scale. Check out my dragster build once I post more pictures. I'm going to tell you one thing right now. My carburetor linkage? None better in the whole world.
 

Latest posts

Back
Top