Academy 1/48 P-47D Thunderbolt

hilld

New Member
Joined
Dec 26, 2010
Messages
227
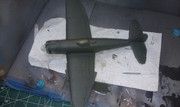
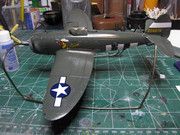
Here is a kit I started quite awhile ago. So a bathroom renovation and a couple of contest / group builds later I am ready to finish this guy off.

upload
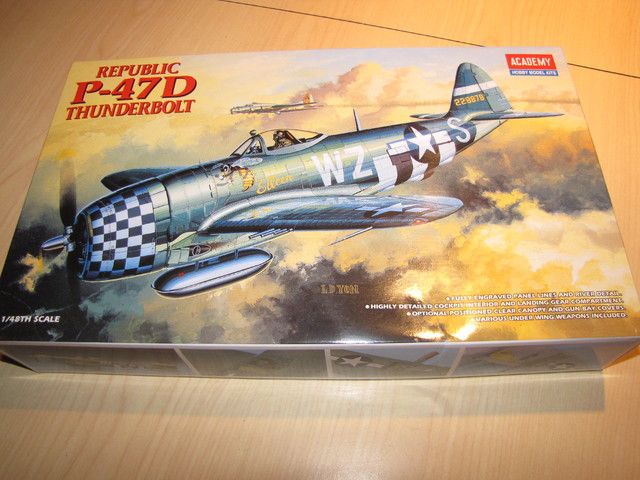
I think I bought this one because of the box art.
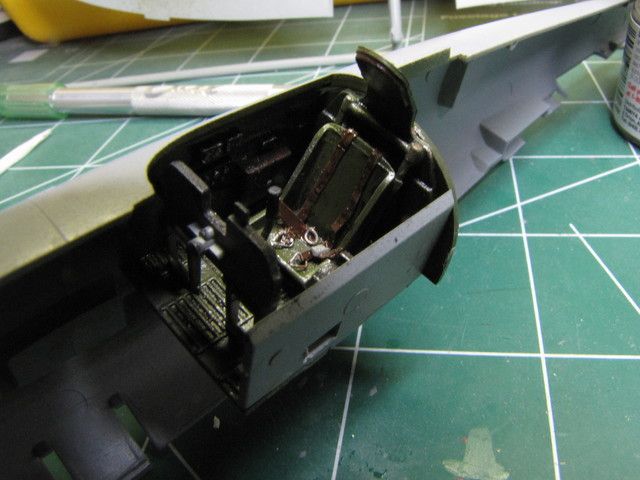
image hosting
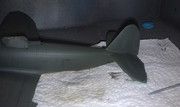
I completed the cockpit with scratch built seat belts some time ago.

host images
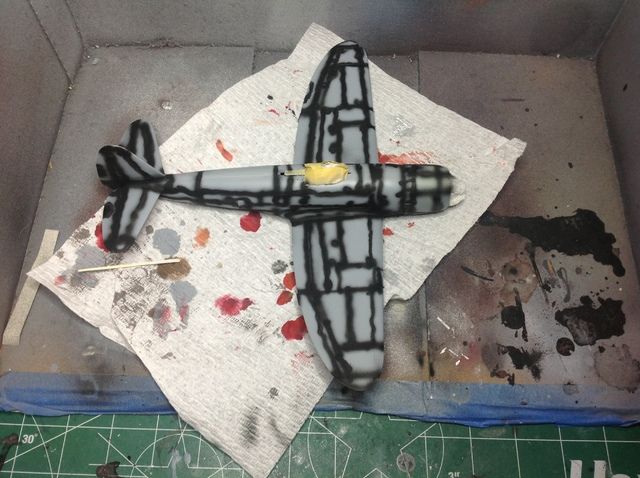
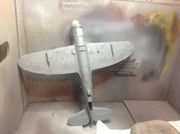
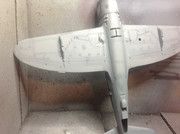
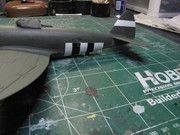
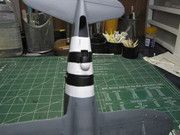
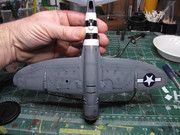
I primered wih Mr. Surfacer 1000 and pre-shaded yesterday. Ready for paint!
 
Underside paint is done. I find I usually obliterate the pre-shading so I went easy.


Very nice so far!

hilld said:
I find I usually obliterate the pre-shading so I went easy.
Same here or at least after the clear coats and washes go on - I tend to stick to post-shading these days as its a bit more effective. Although pre-shading light colours and post-shading dark colours works too.
 
Top coat is done. The upper is a mix of Tamiya XF-22(1) and XF-27 (2). It came out nice. I didn't bother with the cowl as it gets a checkered decal treatment which I can hardly wait to put on. Not!


Invasion stripes are difficult. I opted to paint rather than decal. I ran into two difficulties: keeping the lines straight on the rounded underbelly and paint running under the tape. I cleaned it up a bit, looks like a bit more work is required.


Nice work Hilld. That looks really good, and the clean up on the stripes should be no problem. Looking forward to your next update.

J
 
Work proceeds on the Thunderbolt. Invasion stripes are fixed. I am now in the process of putting on the decals. I had heard that the decals tended to silver and when I put the first ones on that was the case. Fortunately, when they dried they came out fine. Trying to wrap this one up to start my contest build!


I used Future but instead of just spraying it on blindly I followed some instructions I had seen recently. I did a couple of light bas coats at 10psi then after 20 minutes or so I put on a slightly heavier coat at 15psi. The result was a fairly smooth surface but still a bit pebbled. I have since read some threads about using a couple of drops of Windex in the cup to break the Future's surface tension. I am going to load up a batch this evening and hit the prop and bombs which need to have decals applied. We'll let you know how that turns out.
 
Finally finished this puppy up! I have been at this guy for awhile and since the BSC ended I have had time. The biggest disappointment was the decals. They did not go down well and silvered badly. The checkerboard completely fell apart. I ordered an aftermarket set so I could finish it off. Everything else went well. I like the paint colour!

9225591615_b73a882d22.jpg
IMG_0194 by hilld58, on Flickr

9228353136_a9dd5bcf0b.jpg
IMG_0184 by hilld58, on Flickr

9228346520_d72b29afa5.jpg
IMG_0204 by hilld58, on Flickr

9225557785_84d16f2b59.jpg
IMG_0209 by hilld58, on Flickr

Thanks for looking!
 

Latest posts

Back
Top