1967 Impala Police Interceptor

Scale Model Addict - Model Tips, Guides, Tools & Tech, Tutorials, and Community

Help Support Scale Model Addict:

Your black paint coat looks good to me @WtShark . Something that may help you out (as it has for me) is to decant the rattle can paint into a paint jar and give it a couple of minutes to gas out to get all of the air bubbles out of it and shoot that through the airbrush. LOTS more control and comes out way smoother in my experience. Same with the clear. I use Wet Look Clear from Testors, decant it and shoot that through the airbrush too. I tend to build a lot of custom/ show cars and they come out looking like glass with a teeny bit of wet sanding (in the 4000, 6000,8000 and finally 12000 grit range) and polishing with Novus.
 
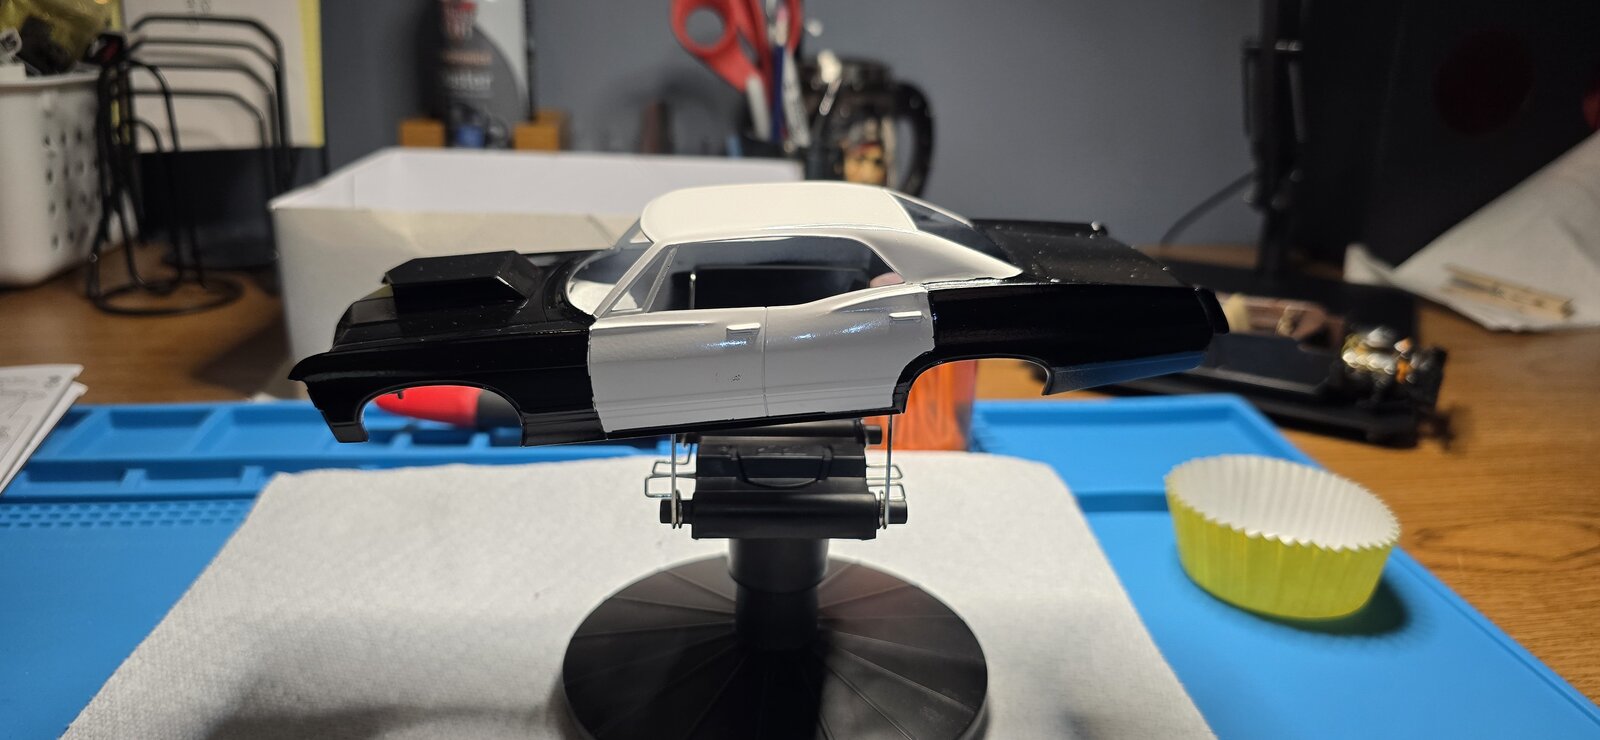
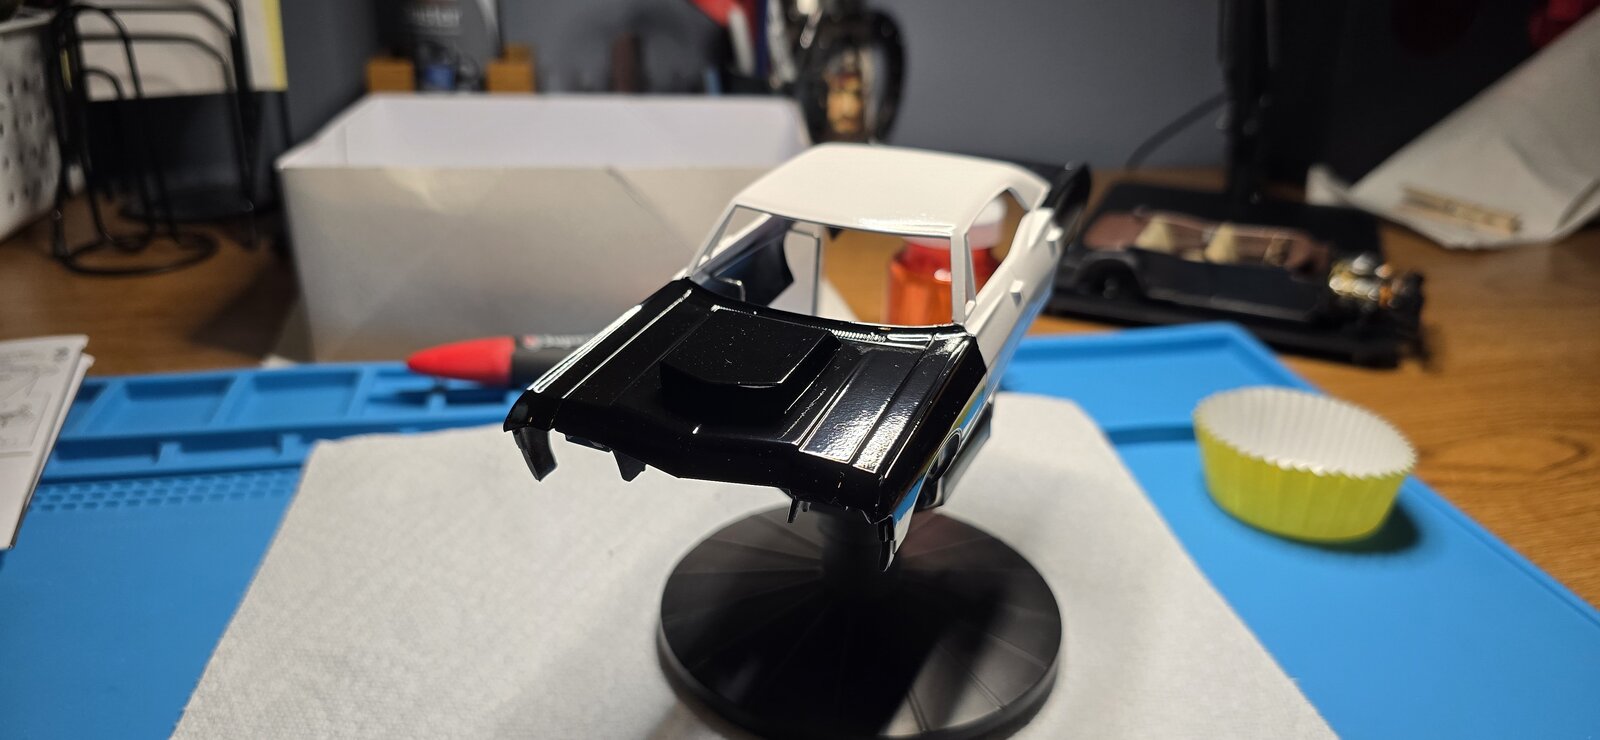
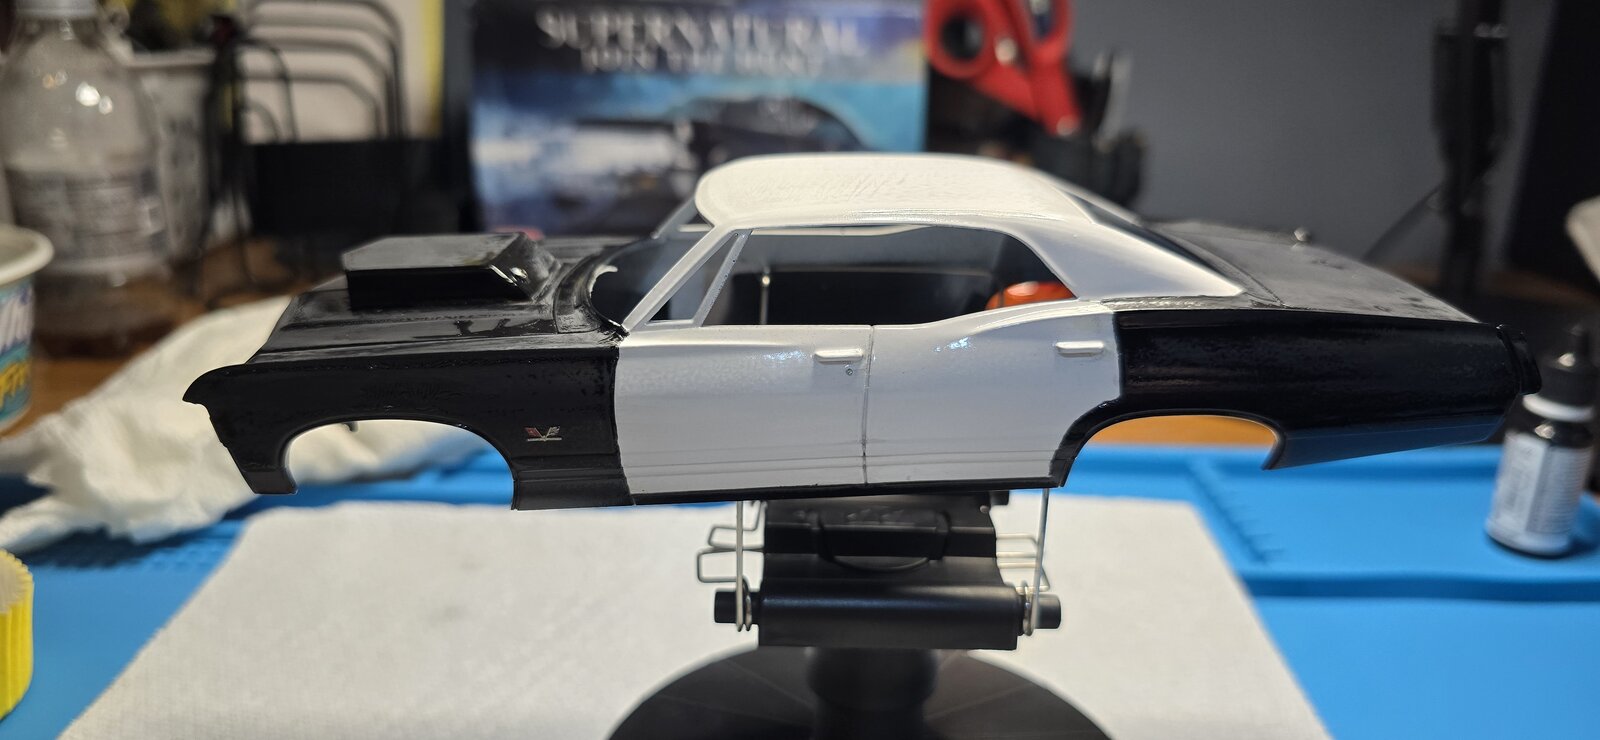
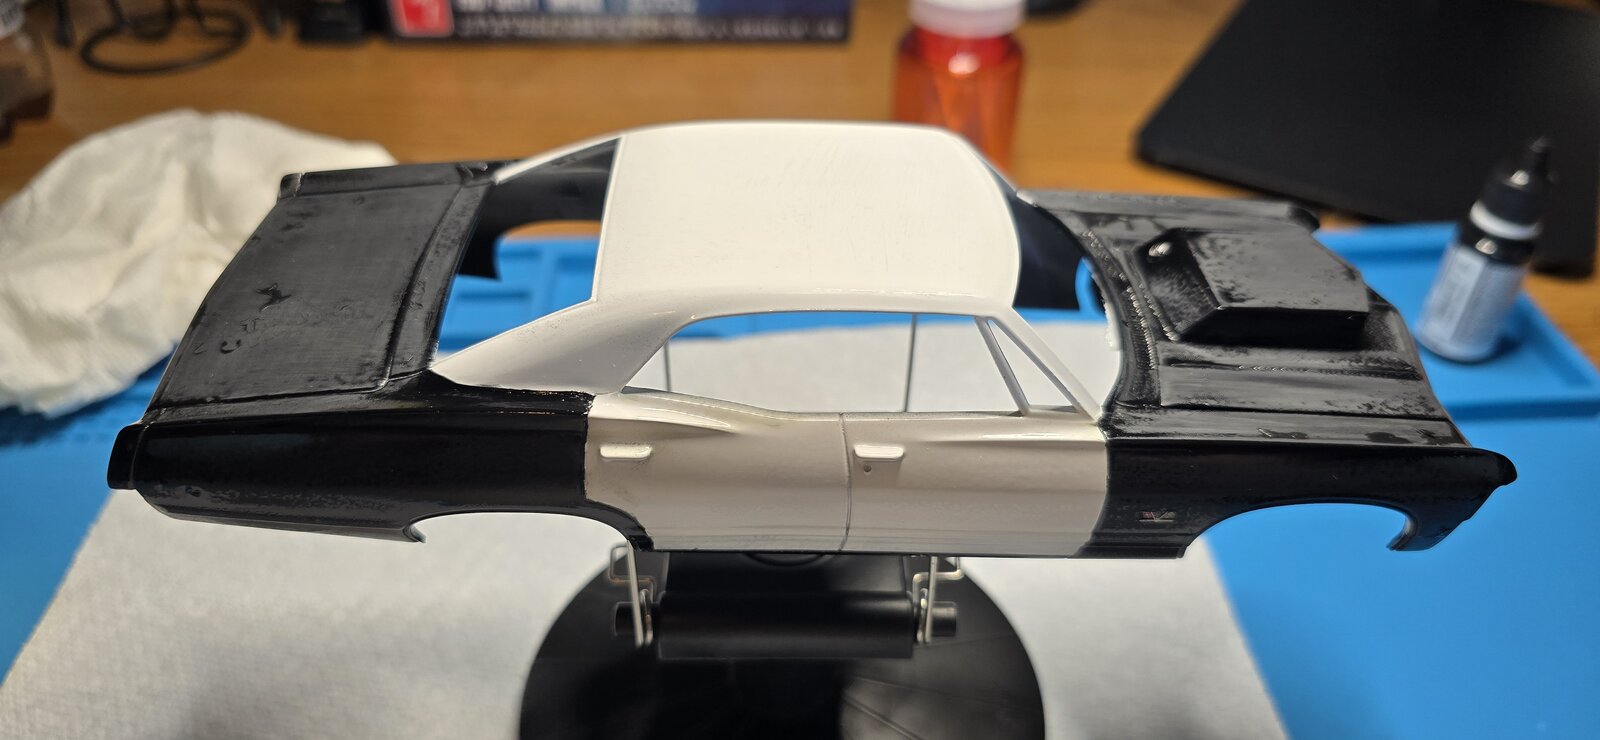
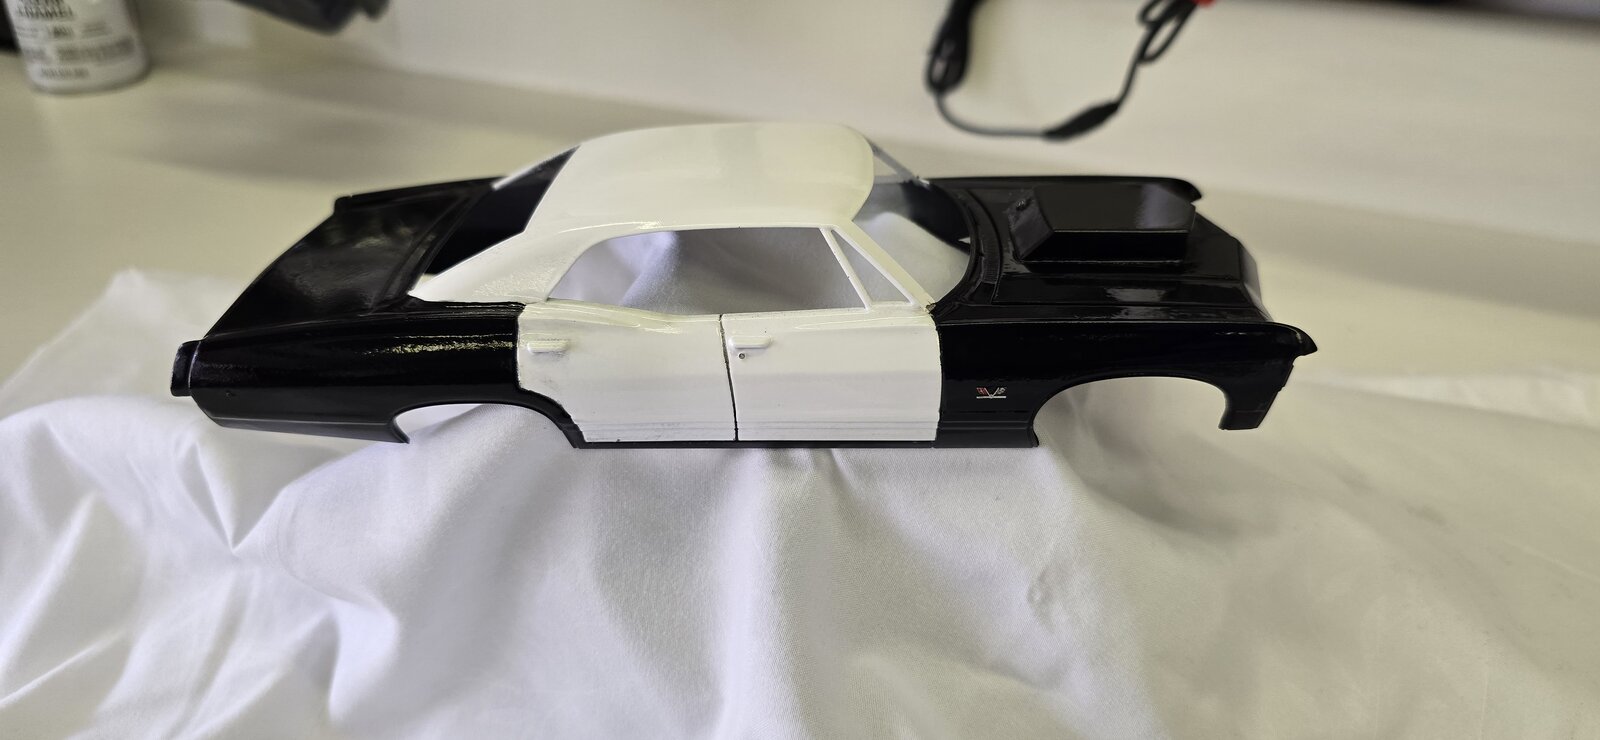
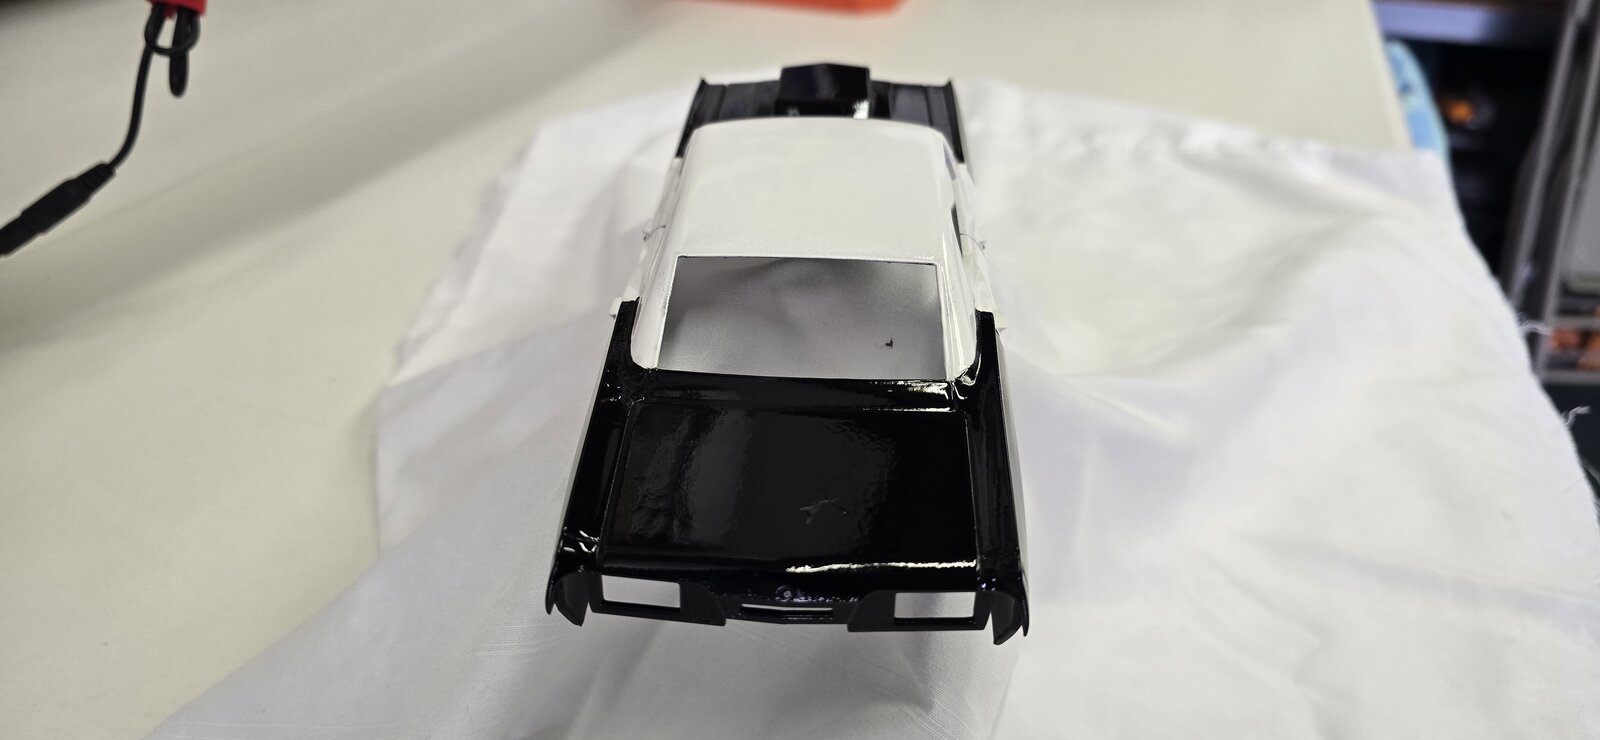
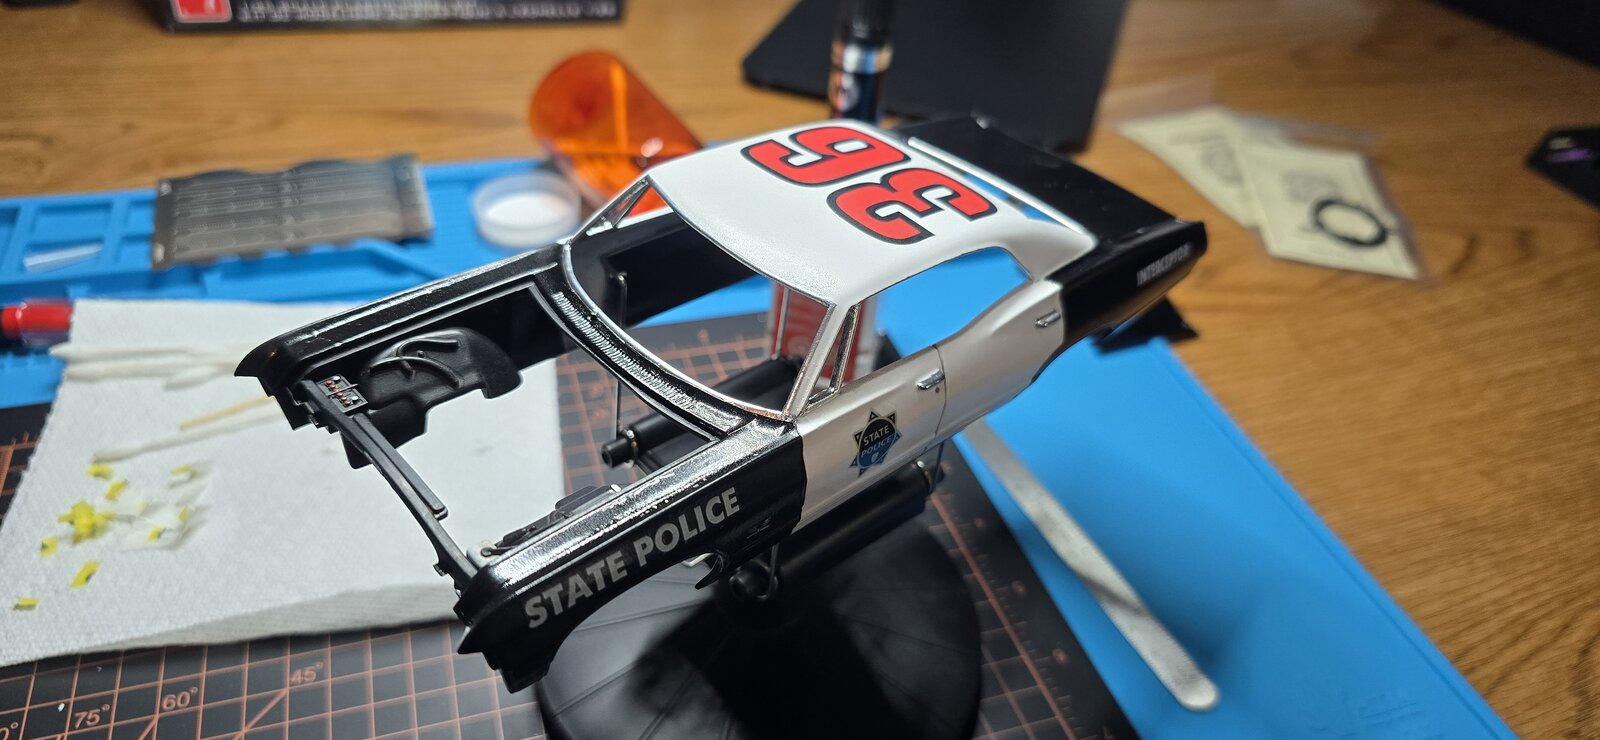
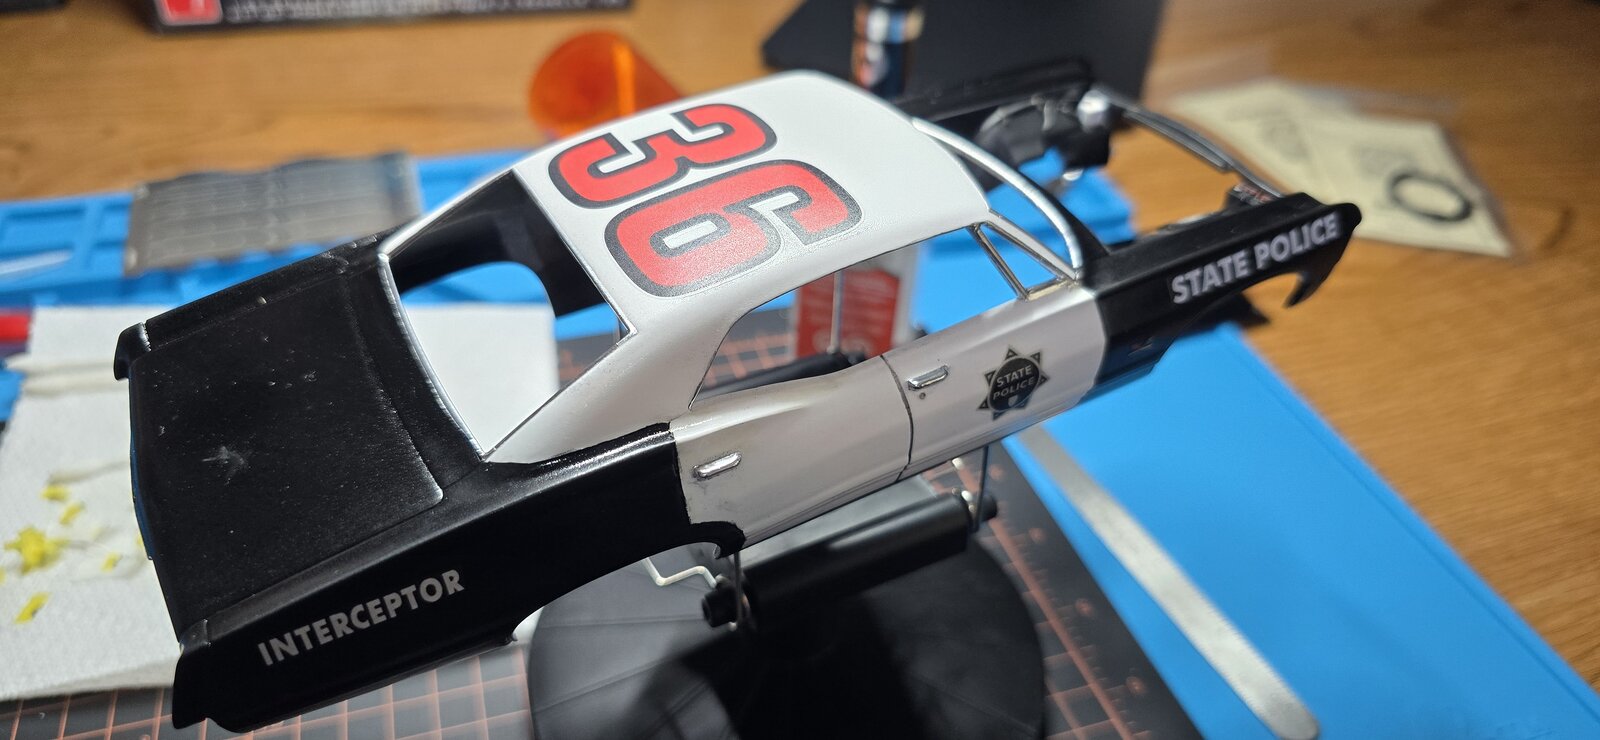
Removed the masking- I'll still have a bit of touch up to do once the paint is cured.
20251103_105457.jpg
20251103_105504.jpg
 
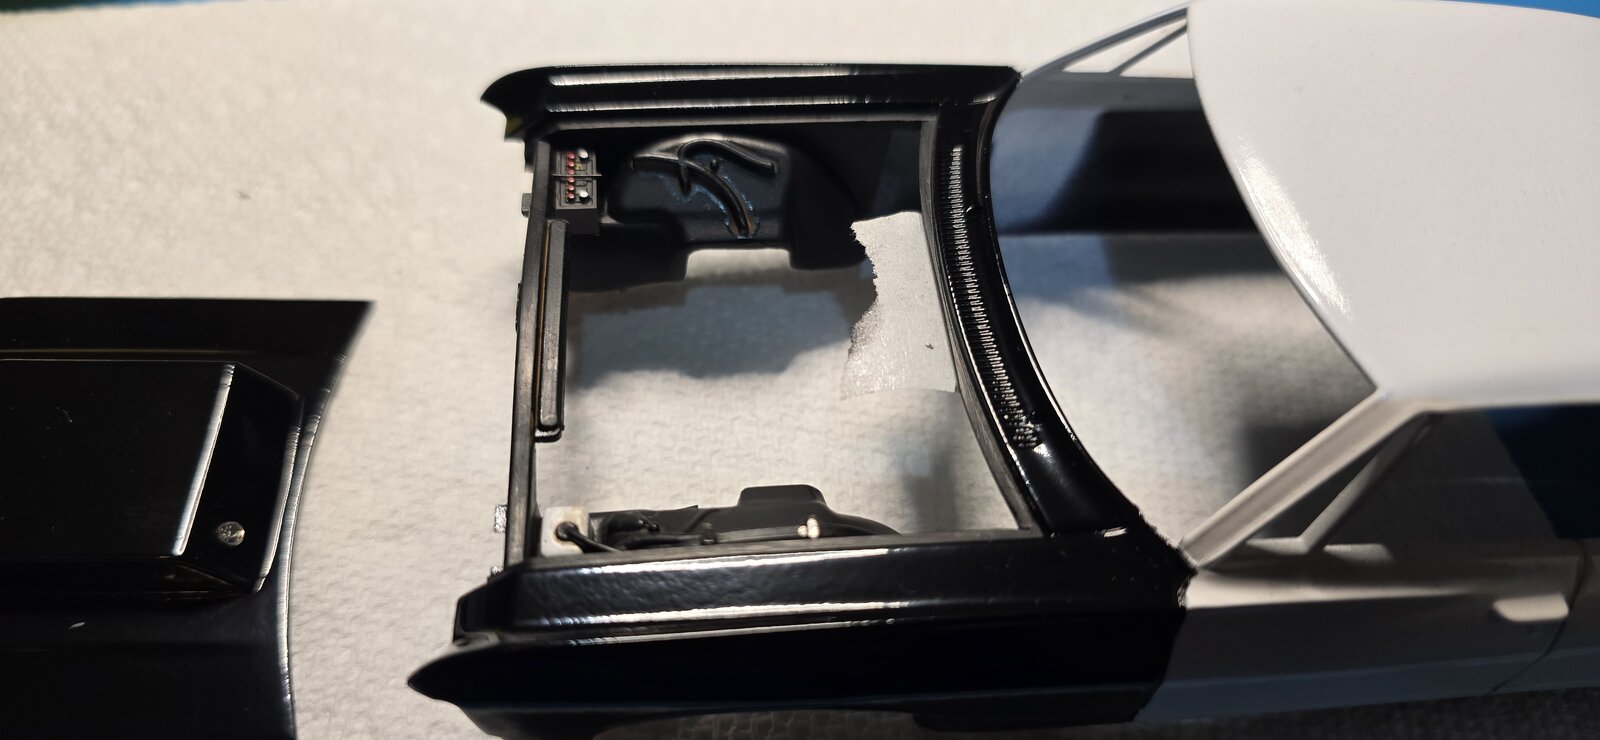
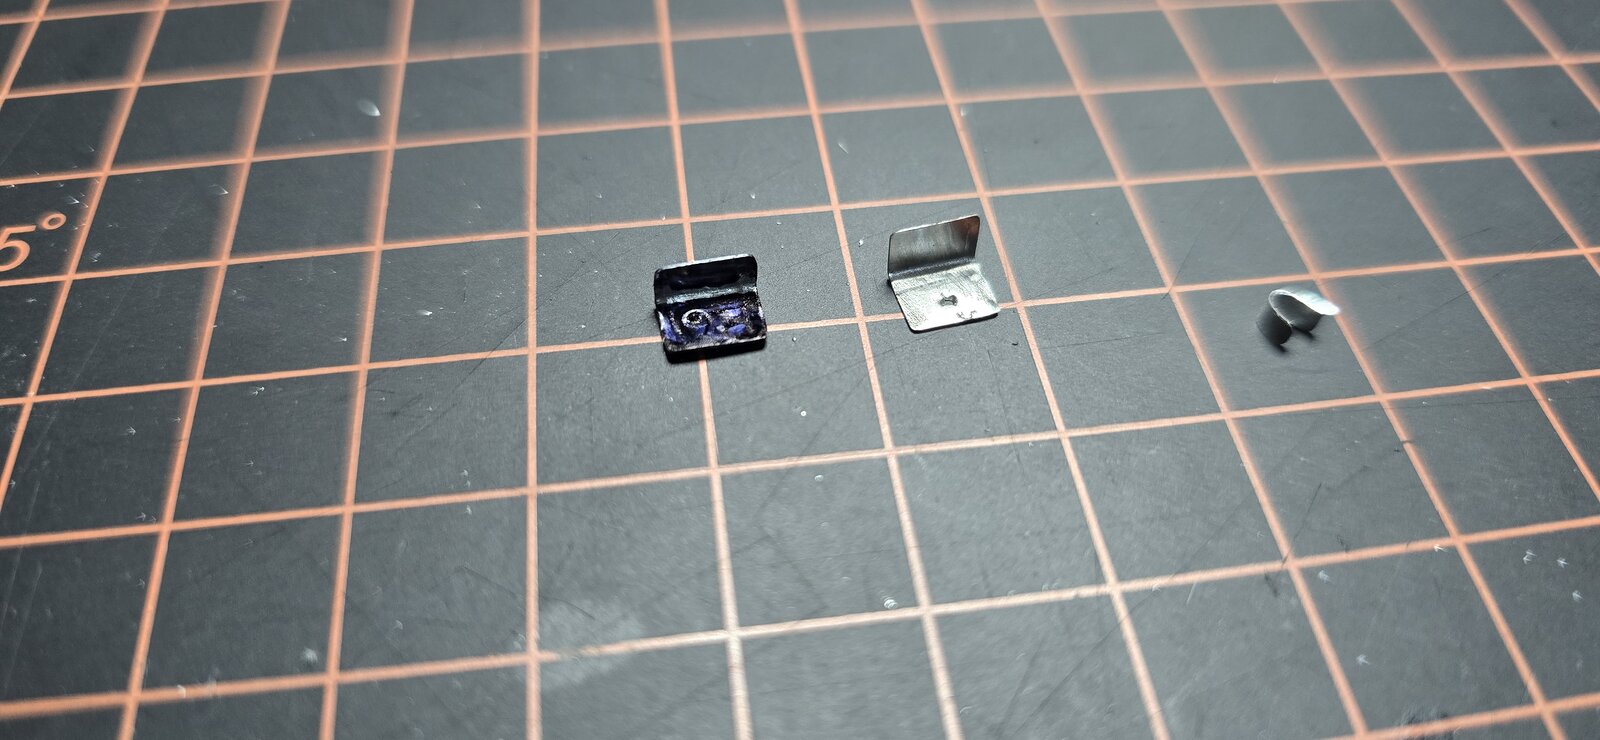
Put a little time on this morning, as I was starting the touch up on the body and painting/detailing the engine compartment, I realized my PE hood latch had disappeared. :(
It was on when I was masking last week for paint, but when I taped the hood down to paint the black, it must've fallen off, and I didn't know until I removed the hood this morning. I may try to make one out of some plastic sheet, not sure.

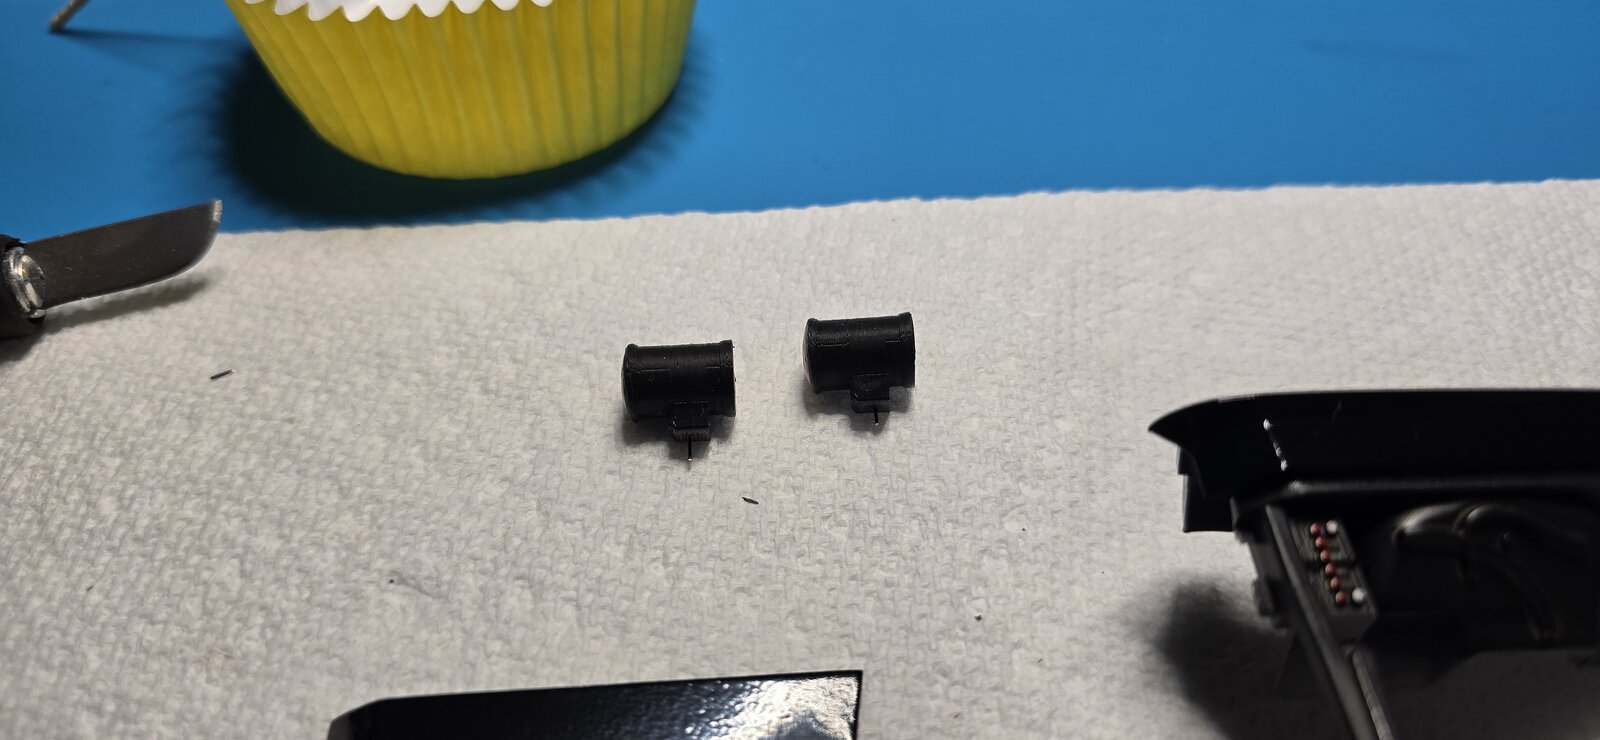
Anyway, painted up the can lights, made a half-arsed attempt to make it look like reflective lights, not sure I pulled it off.

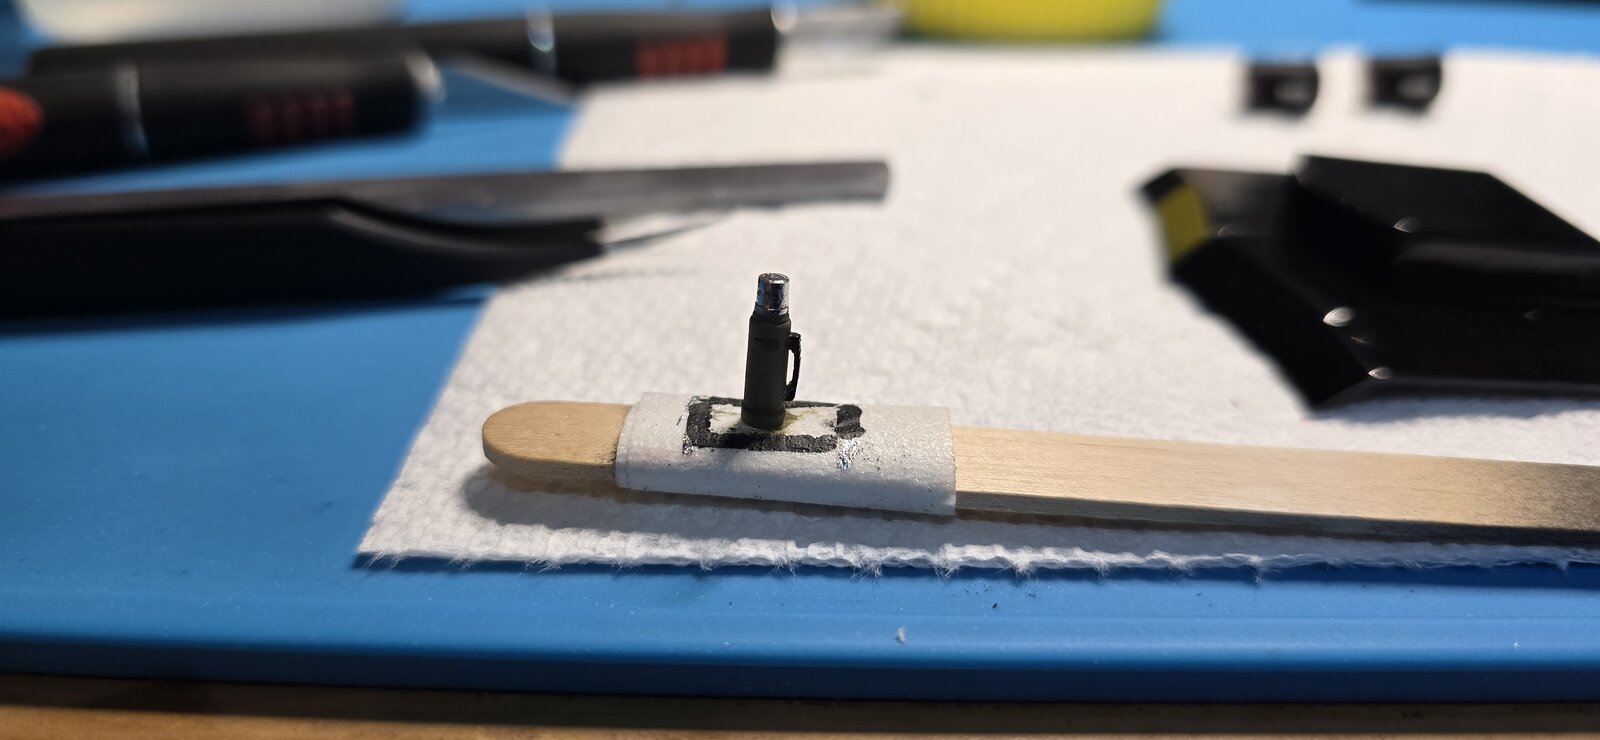
Painted the thermos (gotta carry his coffee around), and got the batter in, making a hold down.

I got a little impatient and did some light color sanding on the trunk, to see how the splatter from last week would come off, they will come right off. In a day or two I'll actually give the body a good scuff in prep for clear.

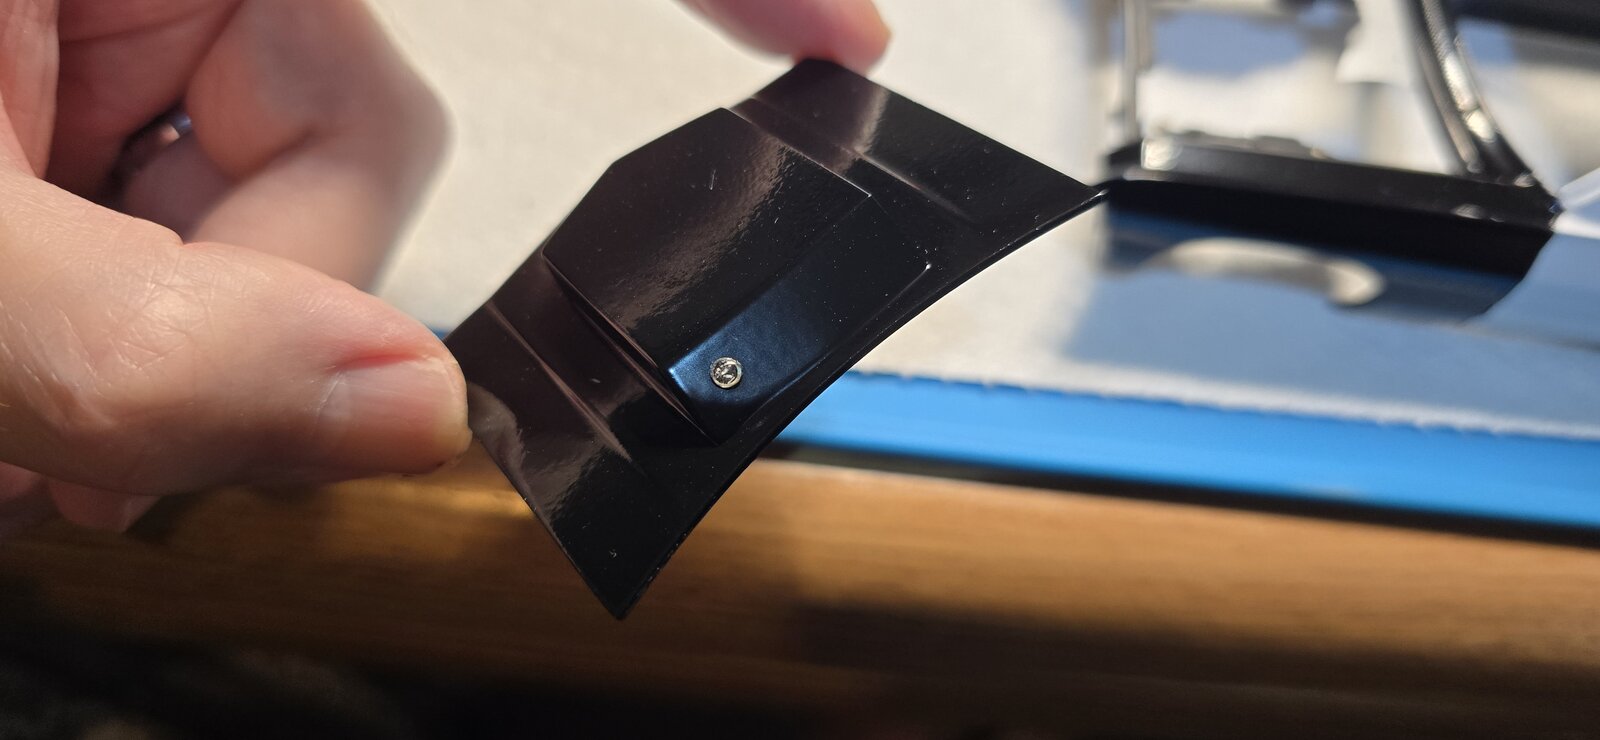
I made/installed a fuel pressure gauge for the back of the scoop, because, why not? In my zeal to move forward, I quickly realized I hadn't color sanded the back of the scoop, which frankly, won't matter much, it's not like this thing is going to a show.
20251105_105207.jpg
20251105_105217.jpg
20251105_105242.jpg
20251105_105246.jpg
 
As an Amazon Associate we earn from qualifying purchases. Product prices and availability are accurate as of the date/time indicated and are subject to change.
Anyway, painted up the can lights, made a half-arsed attempt to make it look like reflective lights, not sure I pulled it off.
When I am painting lights, I paint it in a chrome or silver color then after that dries I use a clear color (normally clear red for brake lights) and that gives a fairly good impression of colored lights or reflectors for me.
 
Sigh- well, crap!
Bit of a setback this morning.
I spent a while color sanding the body, and doing the last few touch ups.
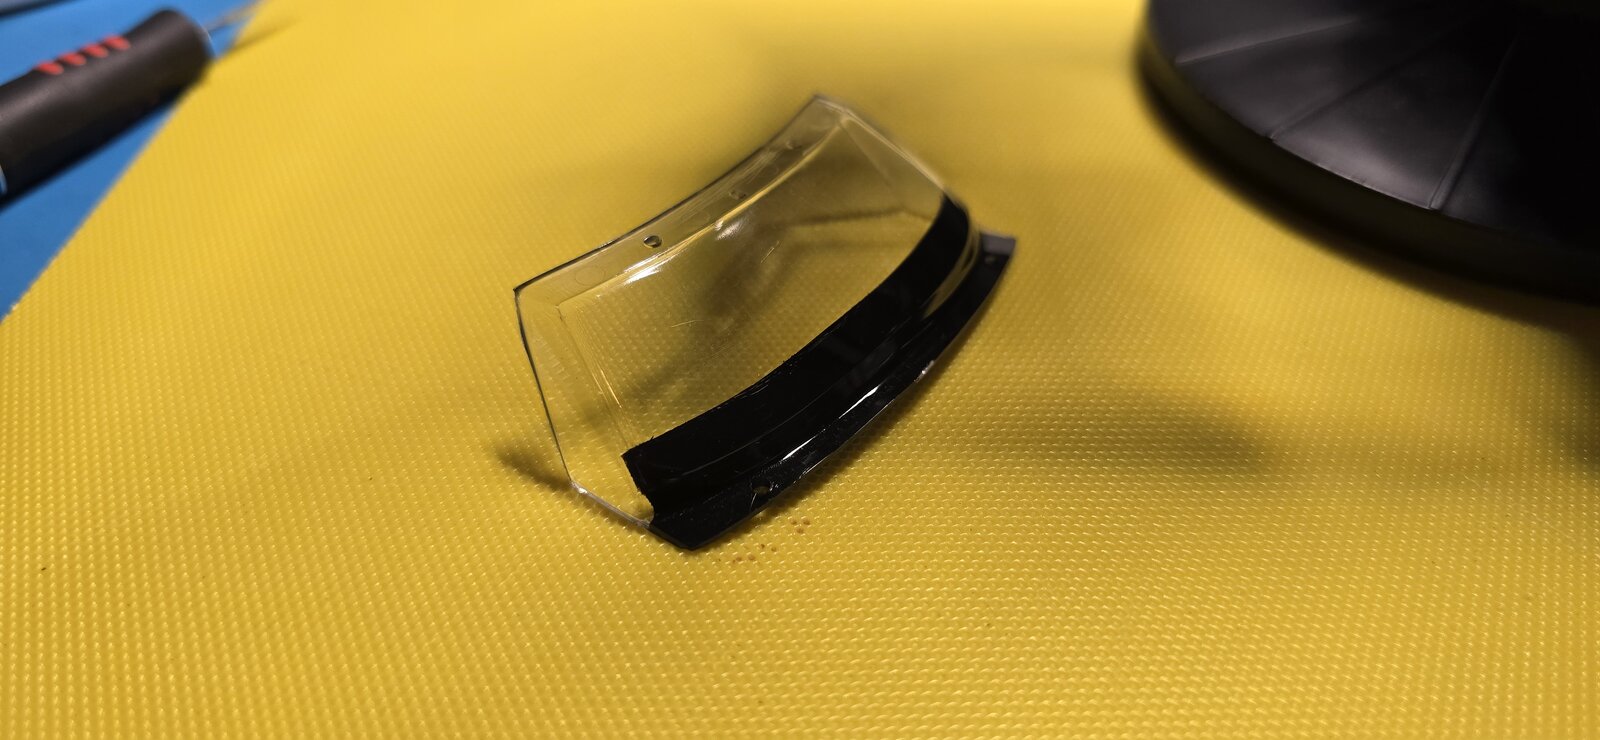
The weather is nice this morning so I figured I'd hit it with a couple of light coats of clear in preparation for the decals, PE, and final polish. I also wanted to airbrush the black across the bottom of the windshield.
Got set up, I just bought a couple of new cans of Rustoleum Clear, so I hit the car with a light initial coat, the sun is out and figured it would dry pretty quick.
Sprayed the inside of the windshield, and returned to the body for a check. Looked ok, so I hit it with another coat.
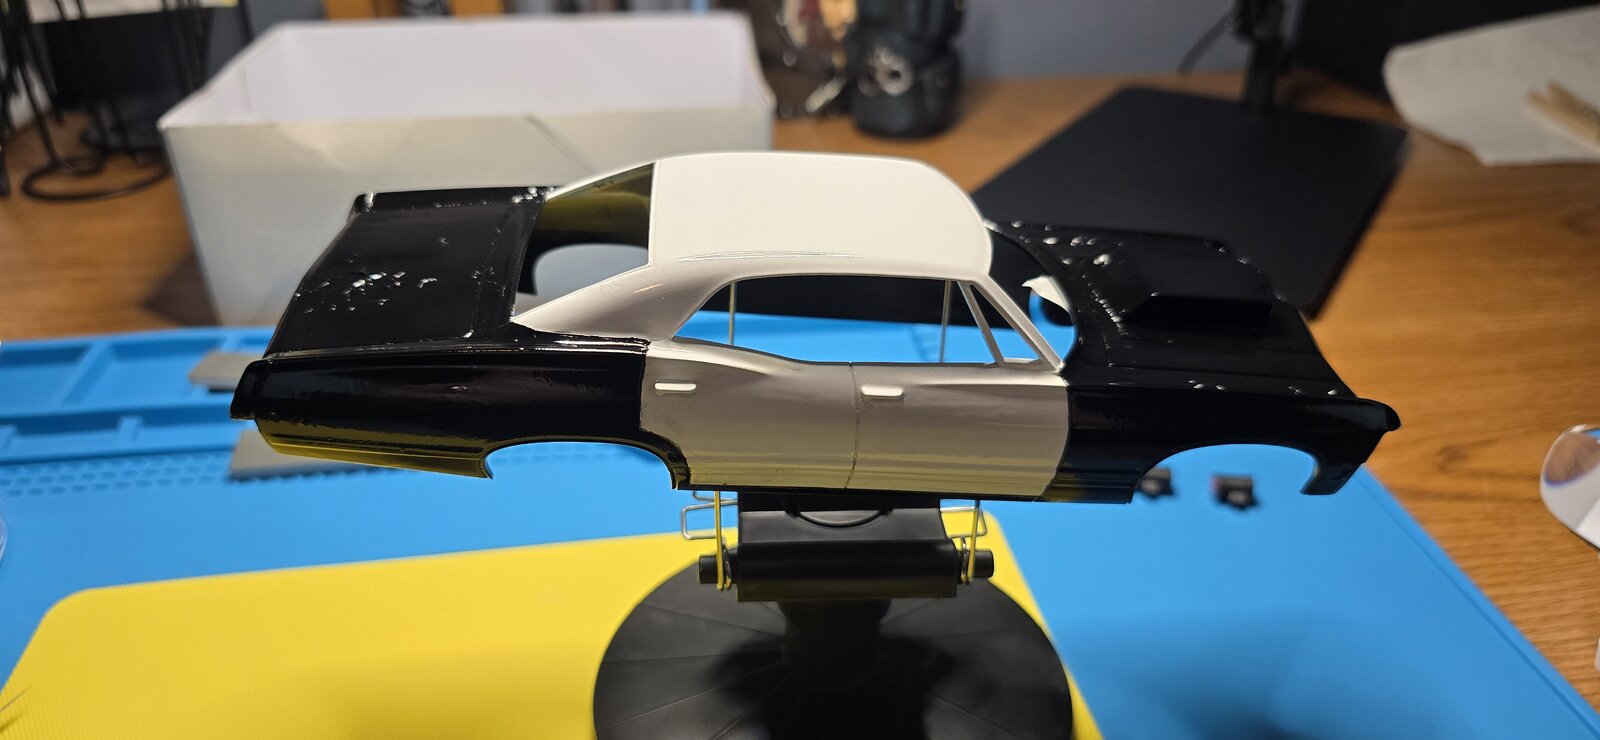
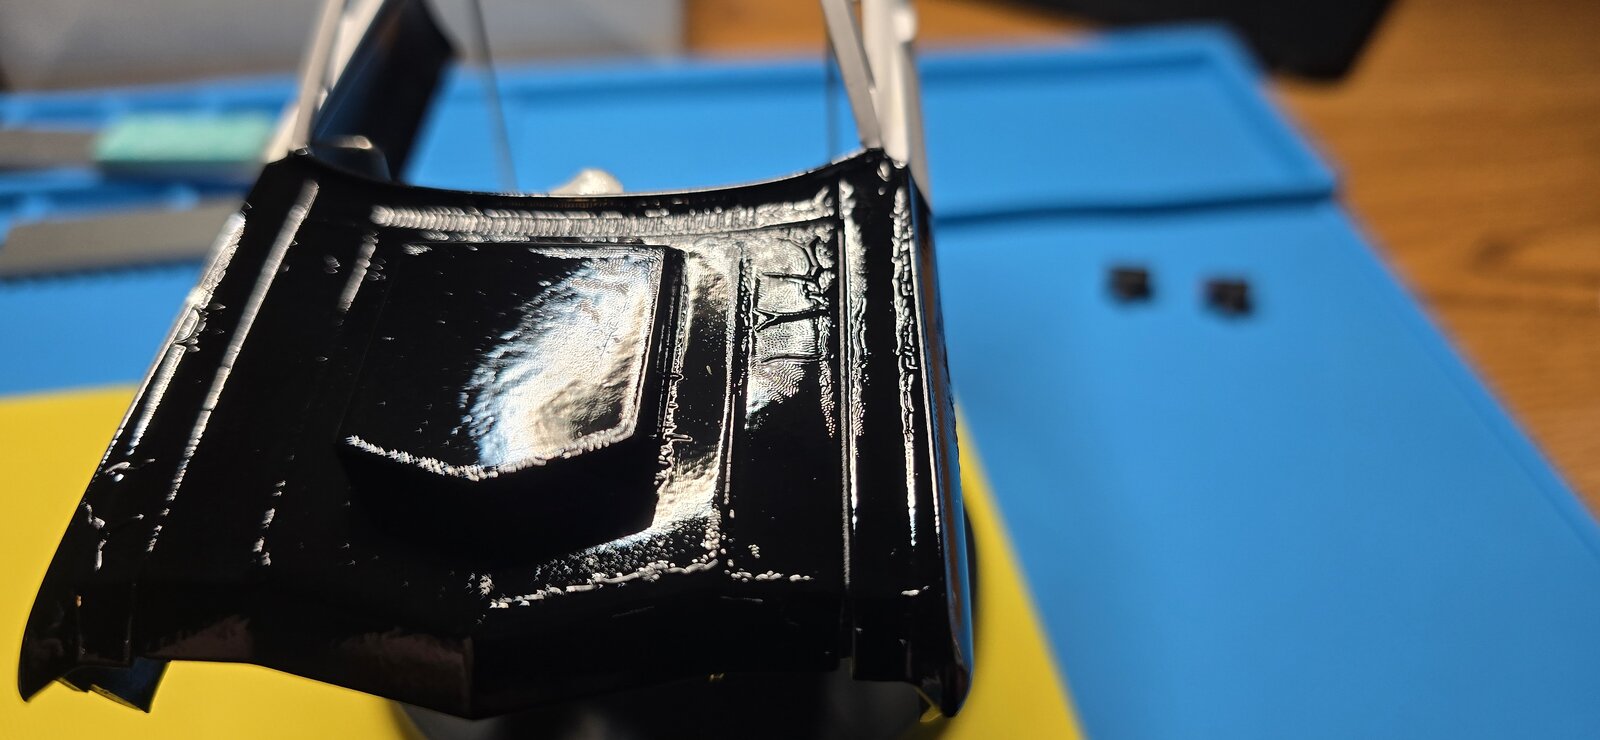
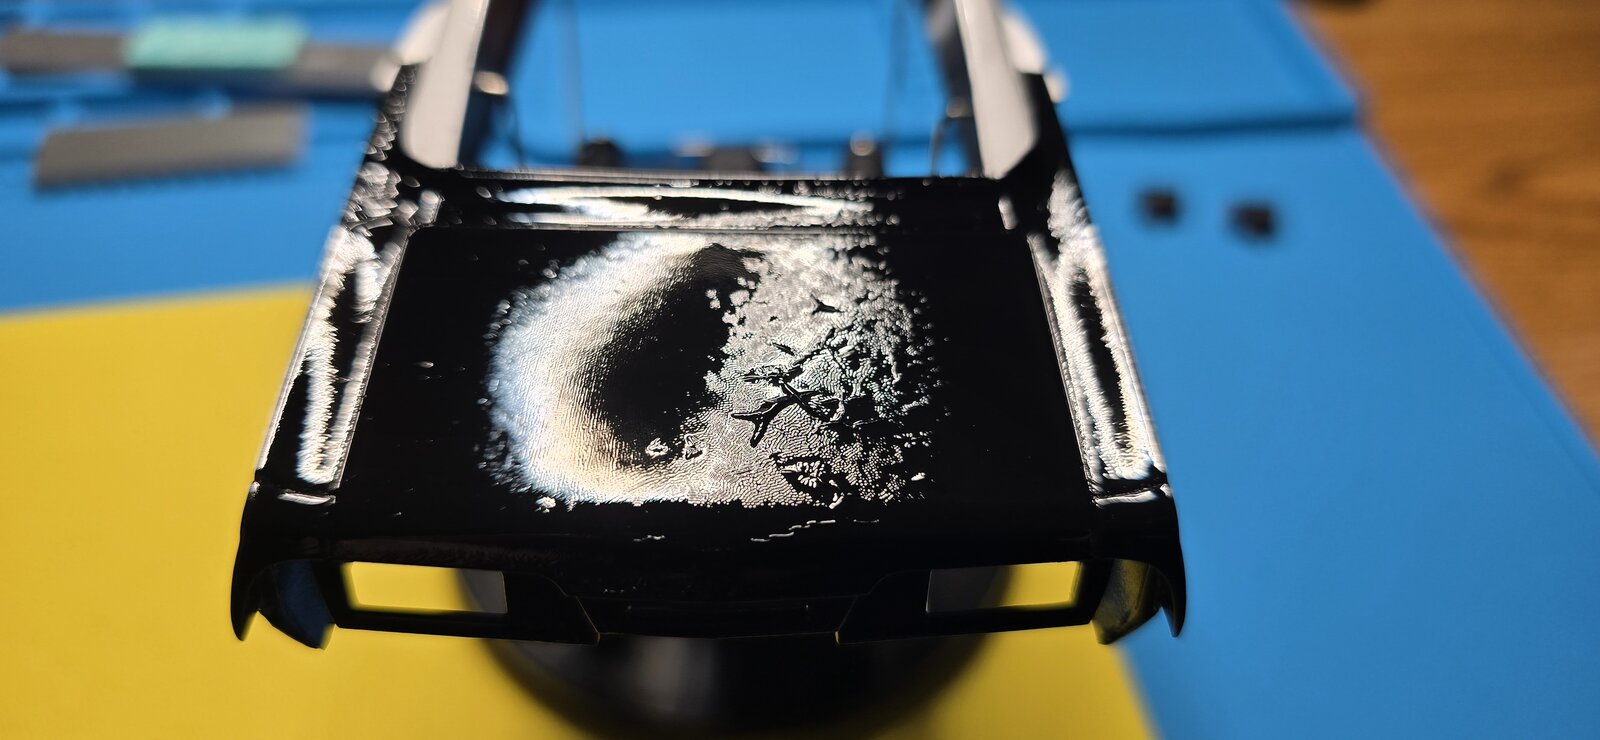
Finished up cleaning the airbrush and when I looked at the body, something happened to the paint....
The clear reacted to it. I've never had rattle can react to rattle can like that. I've had other paints, react to clear, or vice versa, but never this, especially when it's the same brand/type of rattle can.
The only thing I can think is the black wasn't quite completely hardened, and when I color sanded it this morning, I exposed a layer or two in an area that wasn't 100% cooked off. I say this only because it seems to have been worse where I was sanded the most, (the area of the trunk where the defects were from the initial spray last week, which of course, sanded out beautifully).
It buckled and curled up on the trunk, right side hood and a couple places on the fender.
Not gonna lie, I'm a bit disheartened.
However- I figure I'll give this clear a few days to dry, see if I can salvage the paint with some more sanding. I can't see sanding it all the way back and starting over, I'm hoping to be able to sand the damage back enough to be able to hide it with some clear. I'll give it couple of days to let the little black cloud over my head move on, I'm sure we've all been there and can't be having a pity party over it, it IS modeling after all, isn't it? :cool::p
20251106_093947.jpg
20251106_093933.jpg
20251106_093924.jpg
20251106_093909.jpg
 
Pretty sure that's all in the clear coat
Is that the enamel clear ?
The second coat of clear was too soon
 
Pretty sure that's all in the clear coat
Is that the enamel clear ?
The second coat of clear was too soon
I can only hope.
Yes, enamel clear over enamel paint.
I do tend to rush paint jobs- Guess I'll have to exercise what patience I do have at this point.
I hope it is just the clear, and I'll be able to sand it back and give it a fresh coat of clear.
 
a lot of those modified alkyds from Rustoleum need a lot of cure time before recoating
the clear and metallic flavors for sure .
That black had cured for a long time , hadn't it ?
 
a lot of those modified alkyds from Rustoleum need a lot of cure time before recoating
the clear and metallic flavors for sure .
That black had cured for a long time , hadn't it ?
A few days, I looked back at my posts, I think I sprayed it last Saturday, maybe Sunday.
So, a few days.
 
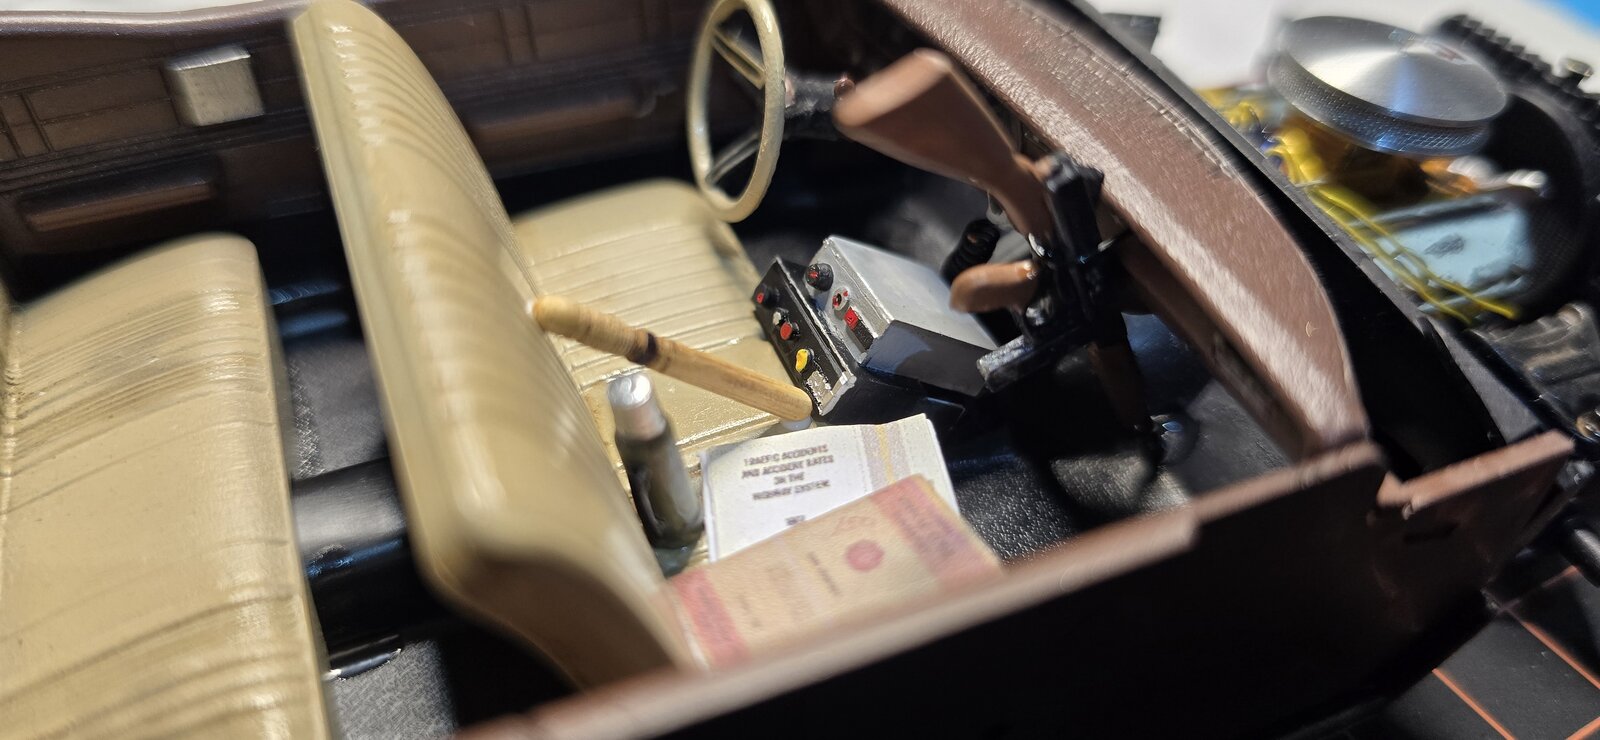
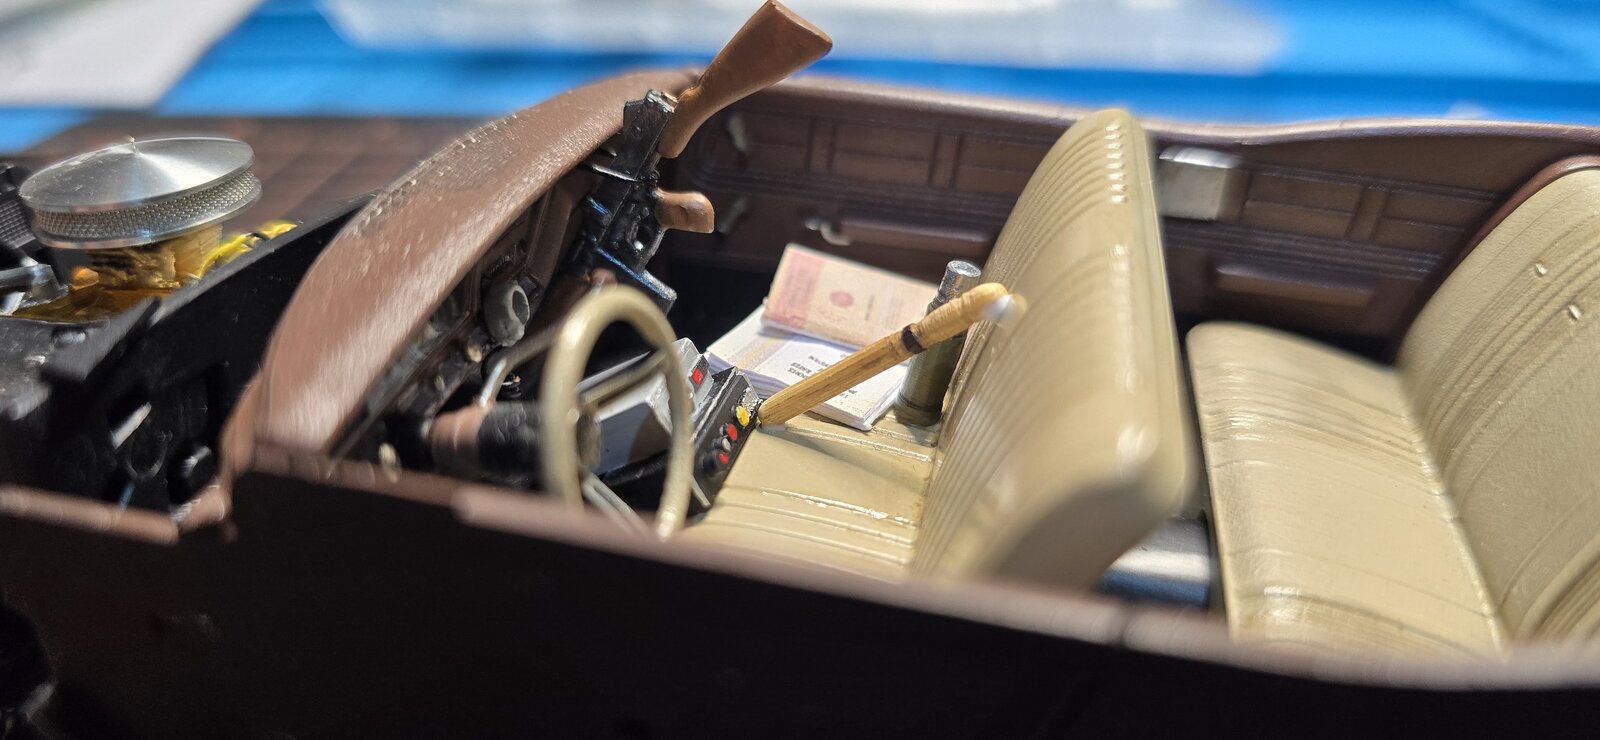
I'm waiting for the clear to be completely dry, in order to see if I can save the paint job, I decided to finish up the interior details.

Added the PE rearview mirror to the windshield, (this is in fact, my first successful attempt to build one of Model Car Garage's PE mirrors, in the past 4 attempts, I wind up losing one of the microscopic components, having to revert to the plastic kit, or kitbash parts) but this one is all 4 pieces, together and installed.
I also made a few smaller items for the front seat, a 1967 vehicle code book, a division, or "beat" mapbook, along with a wood baton. They're a bit out of scale, but any smaller and the letters were unreadable, not that they're readable from further than a few inches away, magnified, but wanted to keep moving ahead.

I'll try tomorrow to sand off that buckling, to see if I can save this paint, or if I'll have to go back to start.... reminiscent of the failed paint on the John Wick's Chevelle I did earlier this year.
20251108_095302.jpg
20251108_095326.jpg
 
After a few days of stewing about this (not really, just taking care of other things) I took 1200 and 2000 grit to it. Got a fair amount of it sanded back. Some of the black lifted from the car, leaving small trails.
Got it sanded smooth-ish, and touched up a black where needed. I'll let it sit a few more days and hit it with clear again.
I also added the PE door and trunk key, along with the fender emblems. Figured may as well clear them to the body.
It will not be my finest work, but it's salvageable, sort of.
20251109_100254.jpg
20251109_100308.jpg
 
After several days of waiting, ensuring the paint(s) were safe to spray, I rolled the dice this morning and put a few layers of clear over the car, again.
Came out ok, so I have a good base layer to get the decals and details onto, hopefully I'm in the home stretch.
20251112_095229.jpg
20251112_095237.jpg
 
Made a bit of progress this morning.
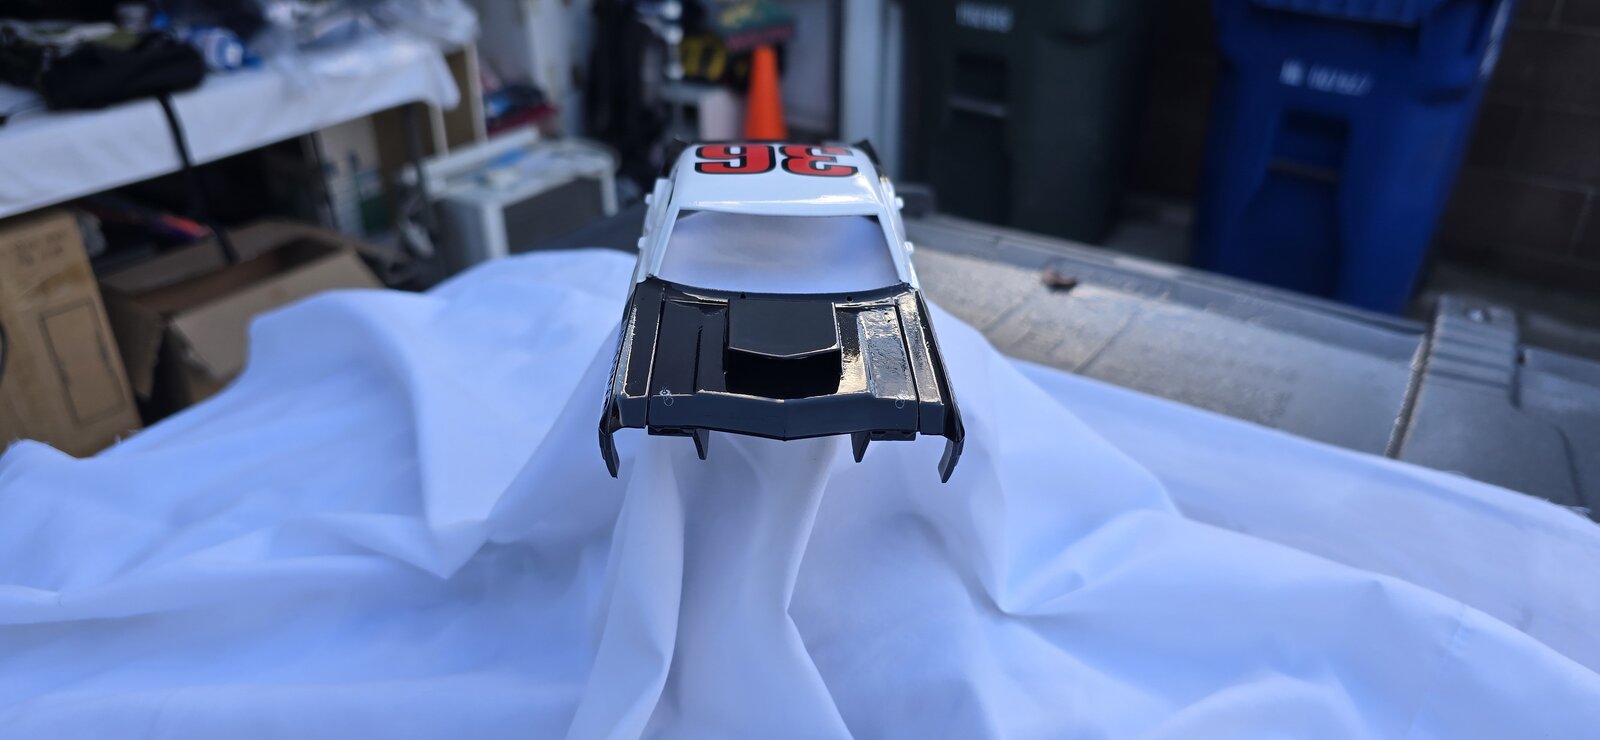
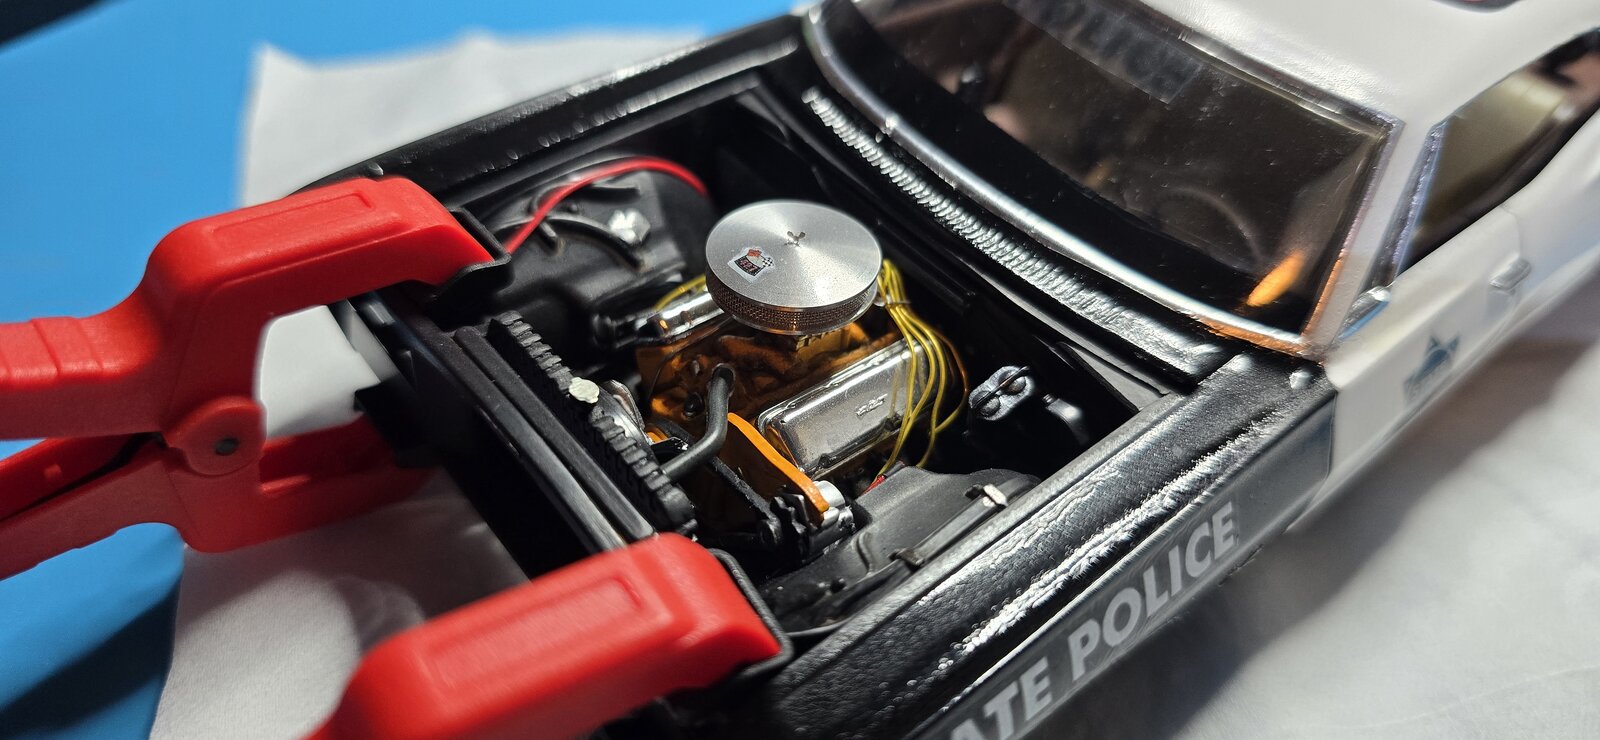
Since I lost the photo etch hood latch, I figured I'd try making one from some PE sprue, then some aluminum sheet I had. I'll have to wait until the grill is to ensure it aligns with it once affixed.

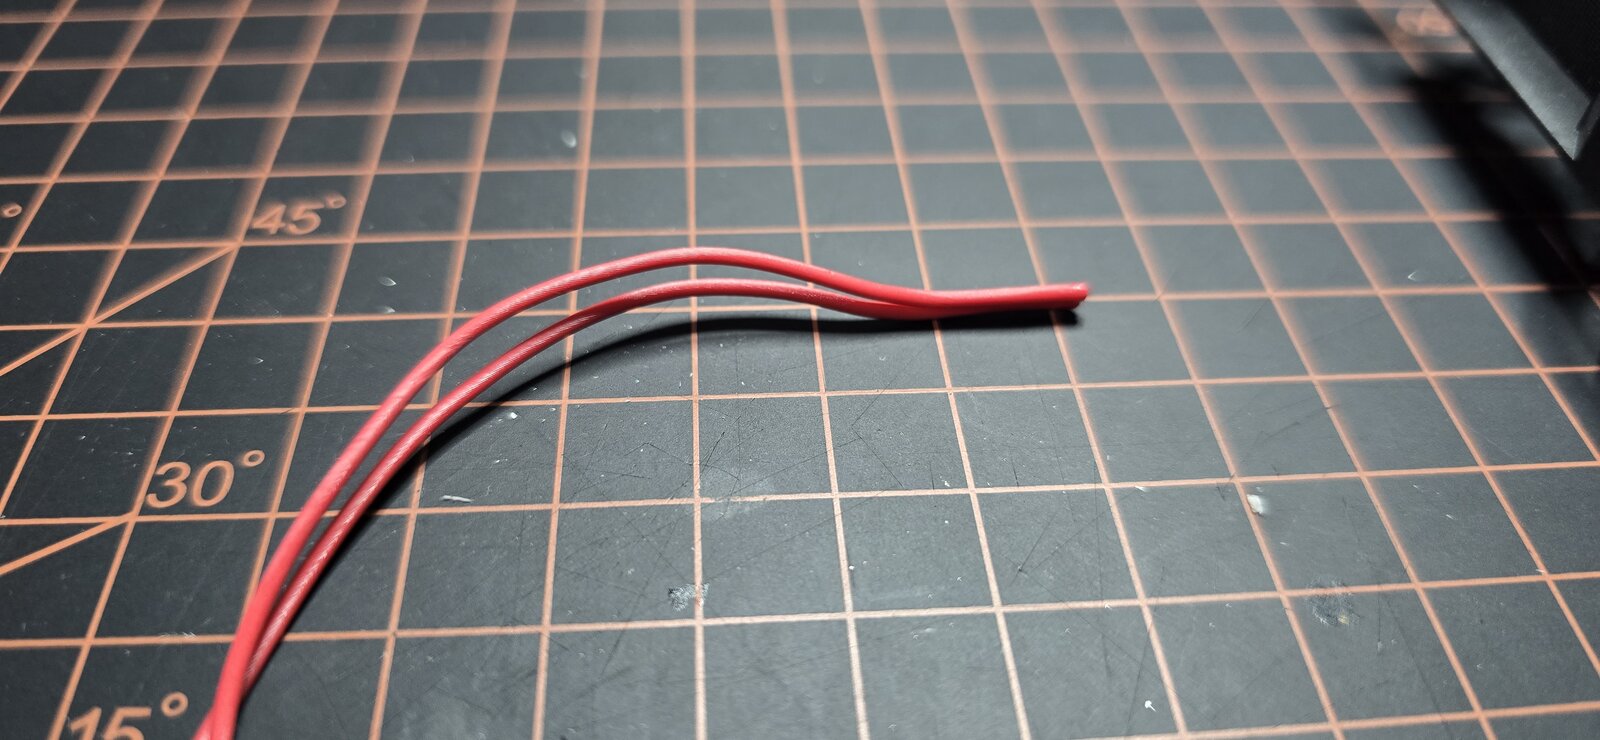
Made some heater hoses out of wire, will have to wait to put those in until after the body is on the chassis, as the firewall, fenders and body will have to align.

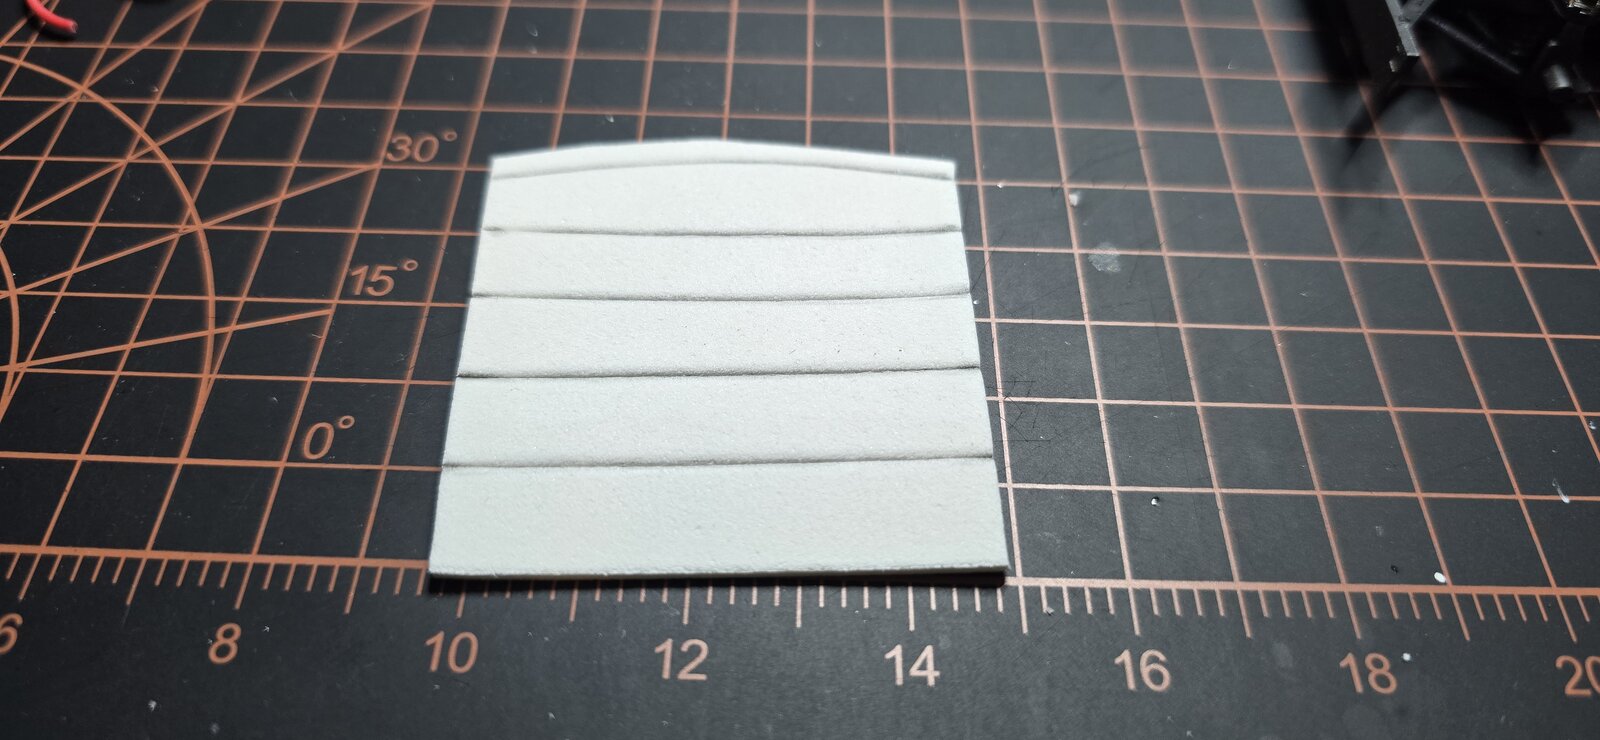
Made a headliner from some foam sheet I had. It's white, so I may paint it interior color to match? Or just leave it white. Pressed the seam lines in with a sculpting tool and trimmed it to shape. The sheet is adhesive backed, so it just presses in once the backing is removed.

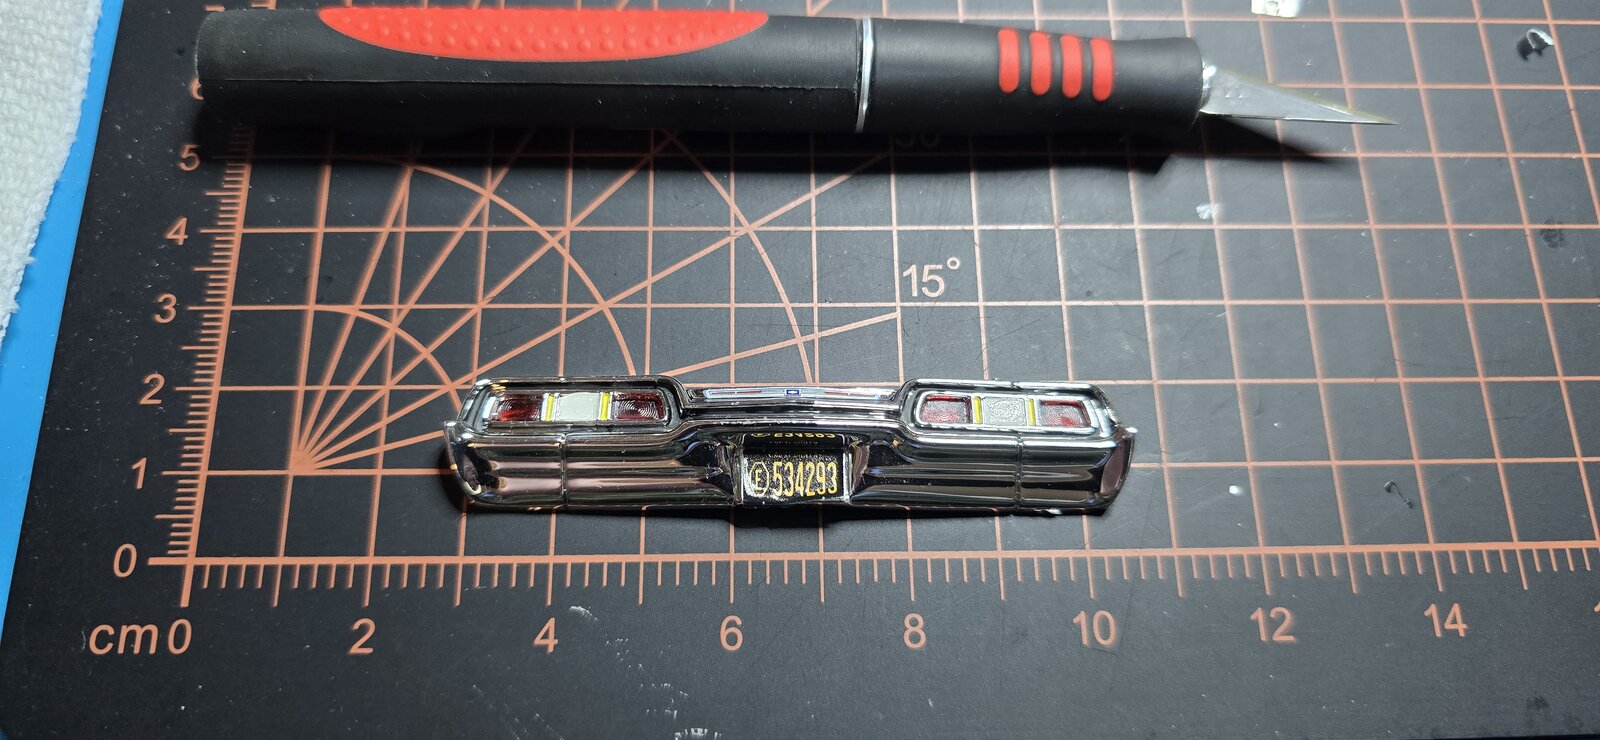
Finished up the rear bumper/taillight painting. Added the license plate and trim decal.

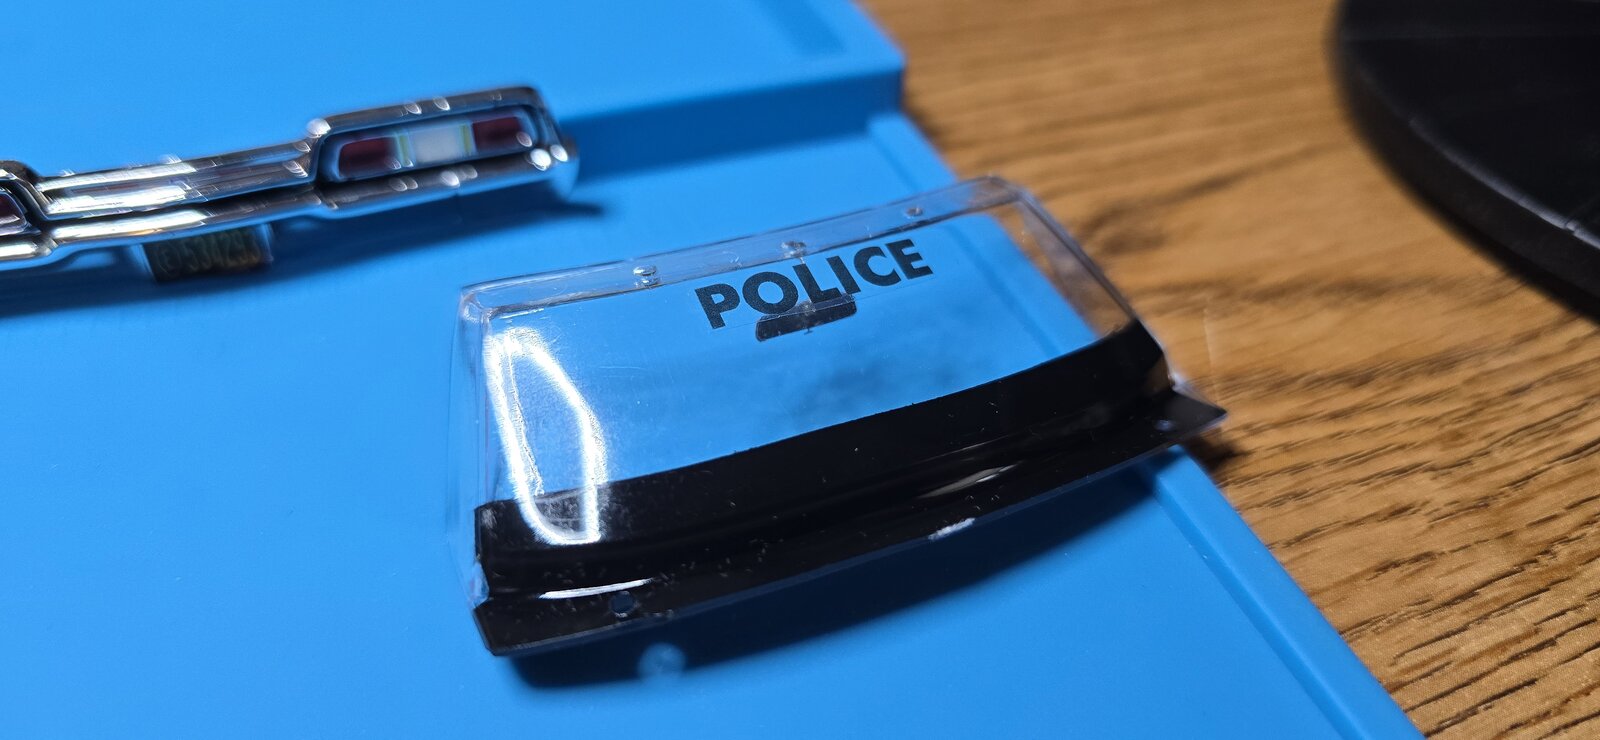
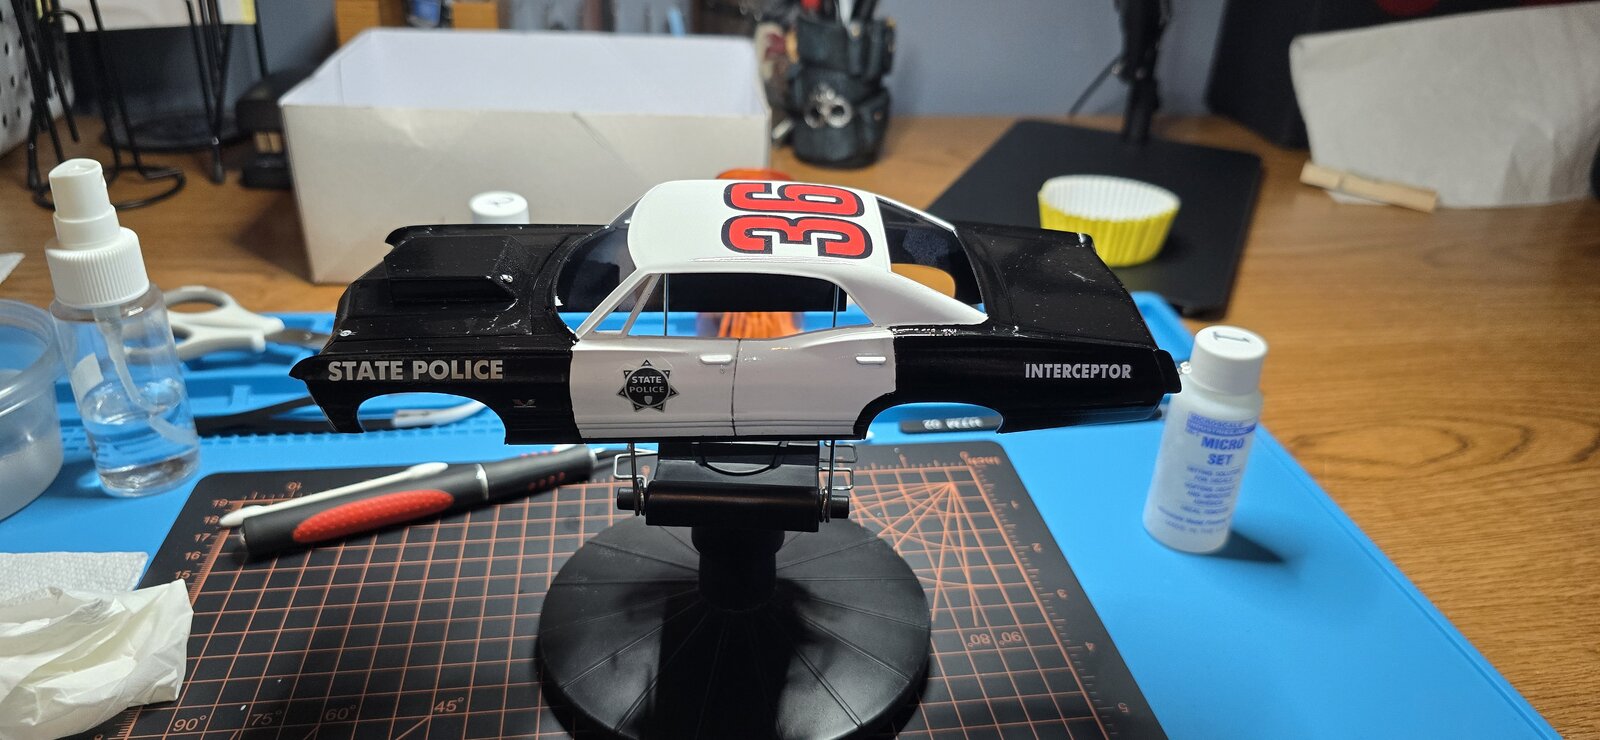
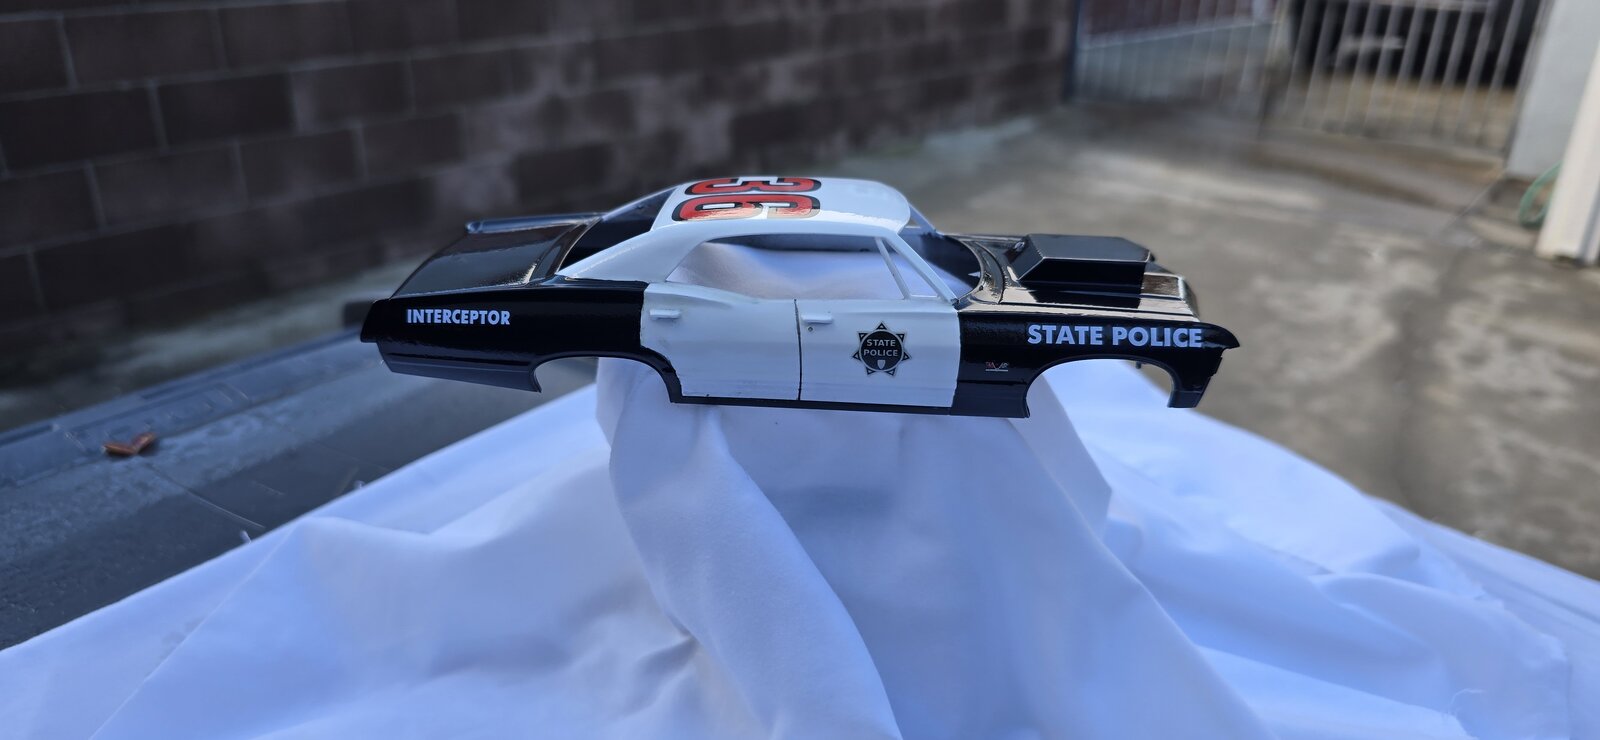
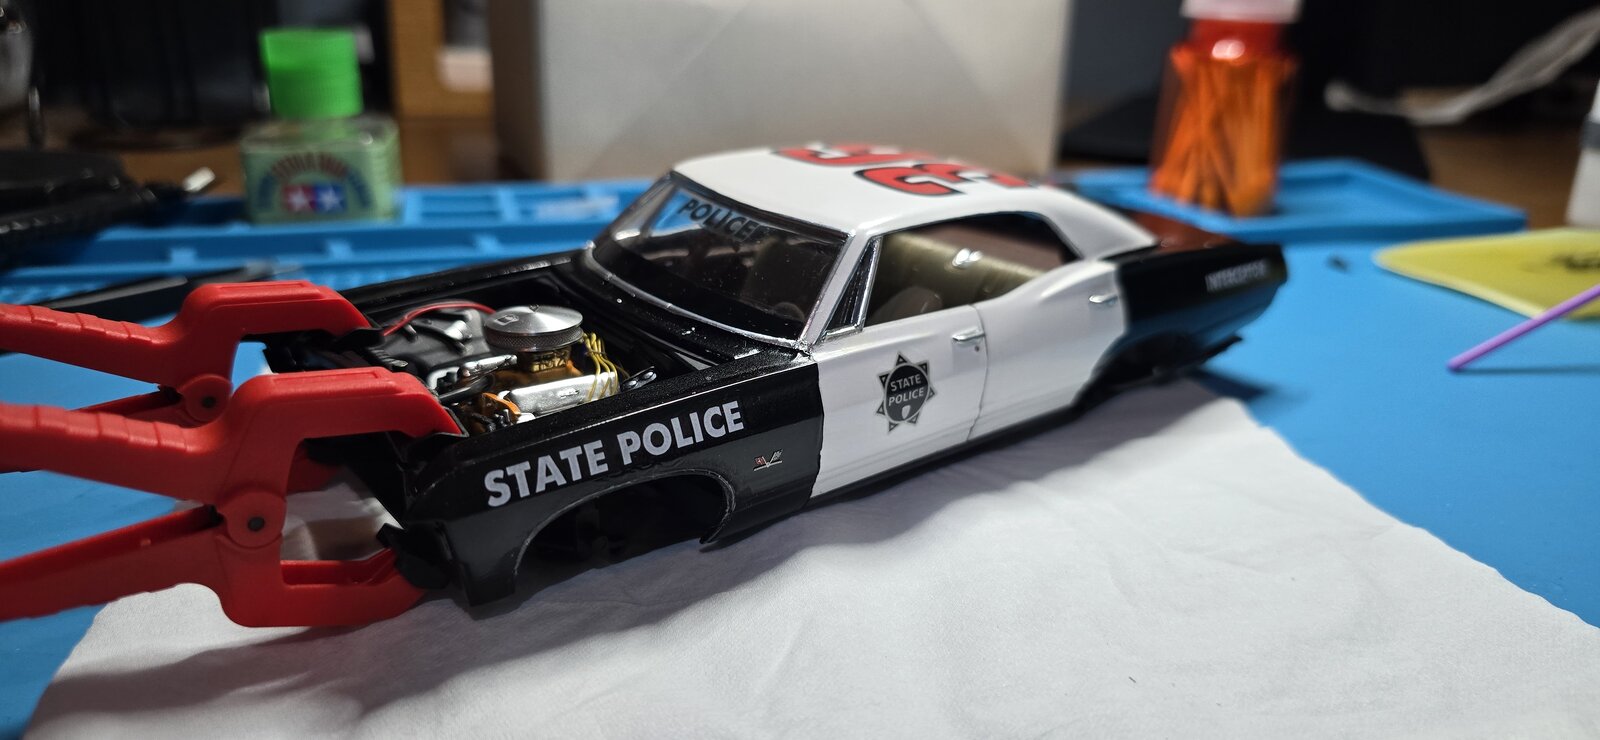
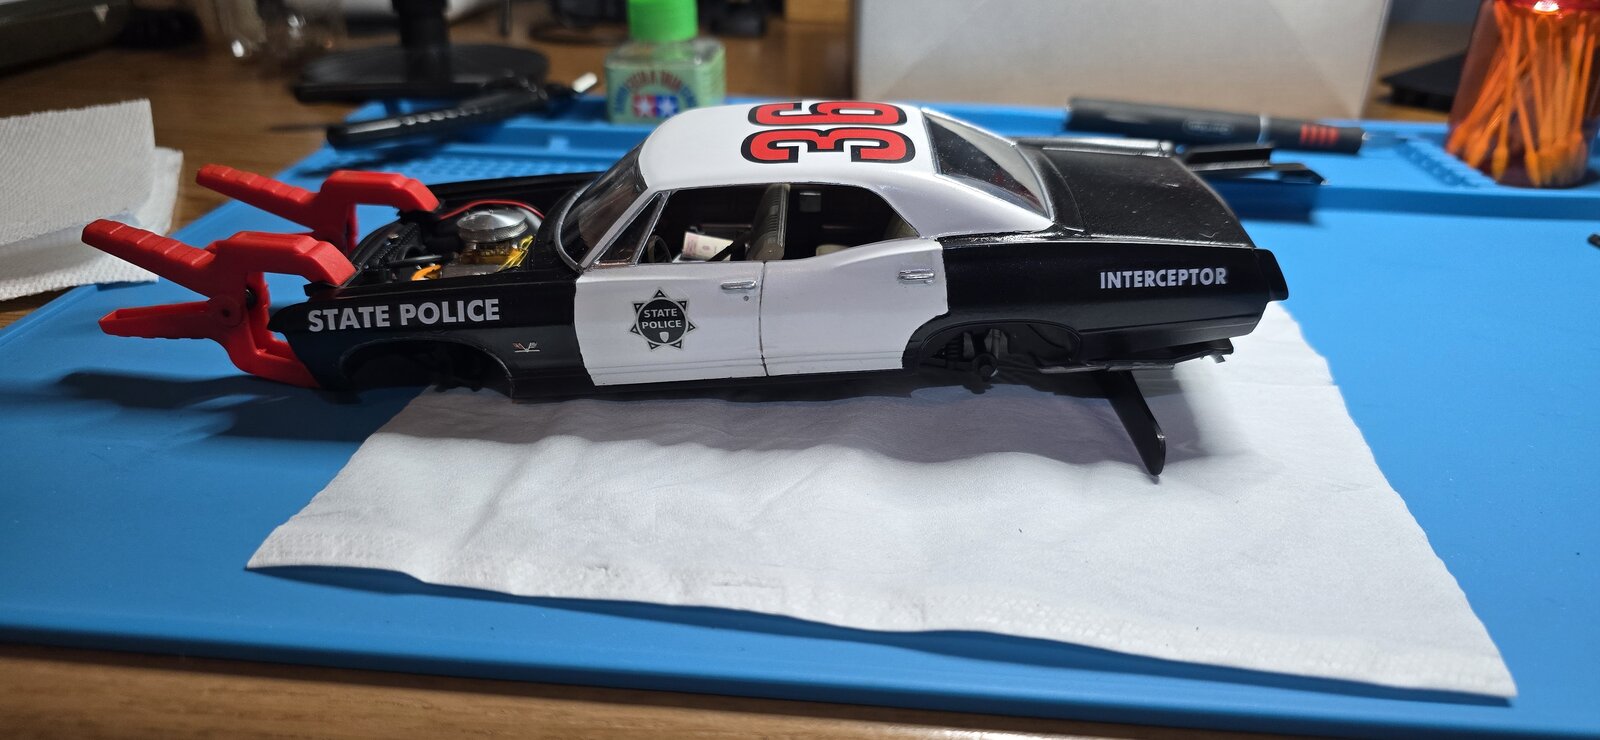
Lastly, put the decals on.
Starting to look like the intended concept.
I'll give the decals a couples of days to dry and I'll add a couple more coats of clear over them, then we can start the Bare Metal Foil.... yay-
20251116_103801.jpg

20251116_110750.jpg
20251116_110801.jpg
20251116_103744.jpg
20251116_103715.jpg
20251116_093344.jpg
 
The perfect morning for last couple of coats of clear. Rained all night, (no dust in the air), cool and humid.
Put the last two coats of clear on, the rain is coming back around 9, so just made it.
Used my heat gun to keep the temp up. Now I'll let it sit for a couple of days to harden and onto final additions and assembly.
20251117_075302.jpg
20251117_075313.jpg
 
Heck no! and if they did they never do anything about the poor fit. The worst one i ever came across is the Malco gasser, from the fire wall forward it is a mess.
You're right, I just watched a Youtube video of a guy building the AMT 1967 Impala SS. As he pulls the trees and parts out, it's the exact same trees and parts. I'm convinced they just slapped the 4 dr. body into this kit and said "good luck", hence the fit issues, interior gaps, etc.
Why confirm your product can be built when you can just slap it in a box and sell it? :D:cool:
 
Finally had the energy to get back to the bench today, been fighting a nasty respiratory infection that just doesnt want to let go.
Anyway, got the Bare Metal Foil applied, (Matte Aluminum) and got the handles chromed up.
I'm hoping to get this wrapped up this week, Finally bringing all the sub-assemblies together.
1000009256.jpg
1000009257.jpg
 
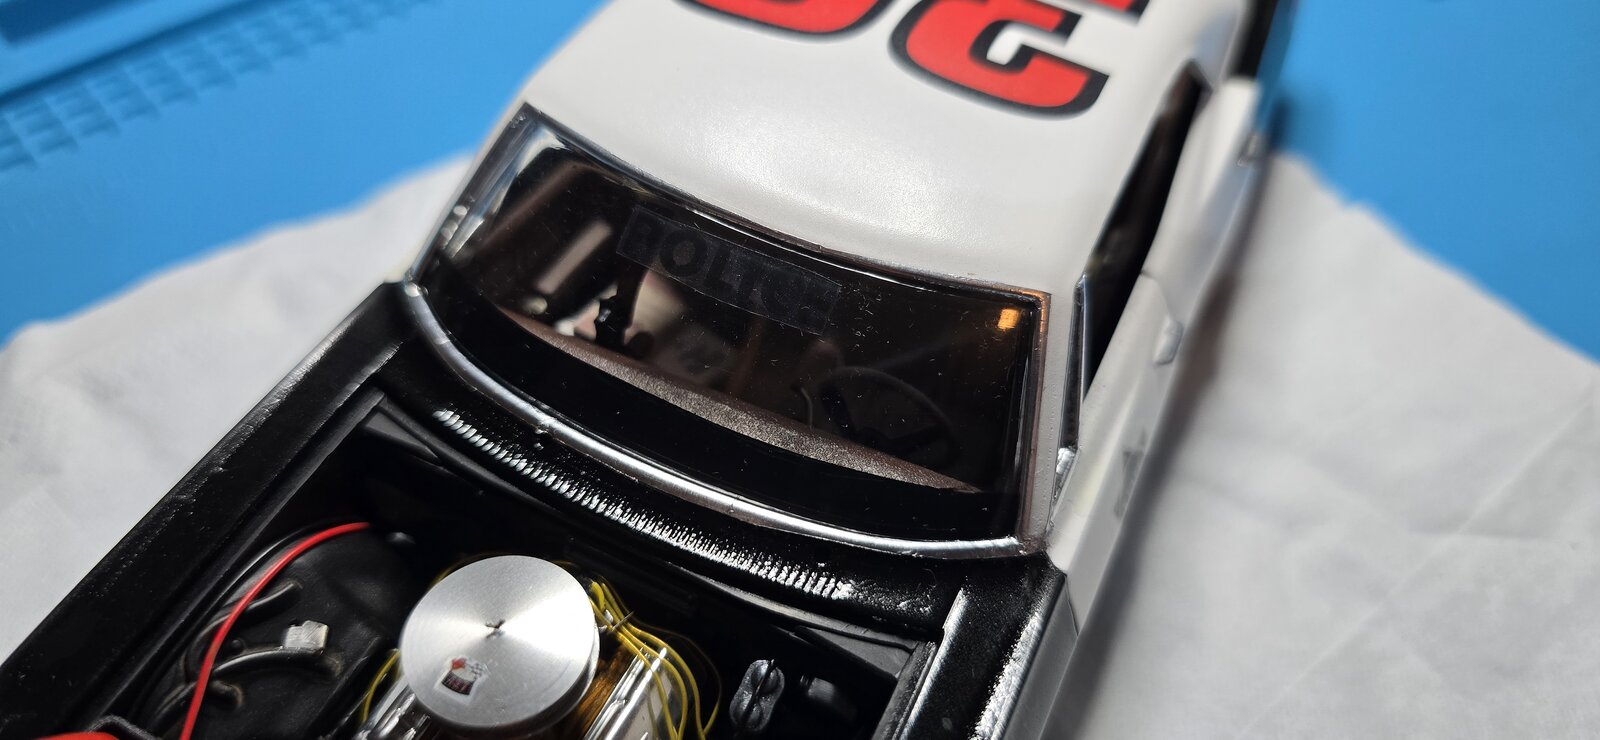
Moving along a bit quicker now. Put the glass in and headliner.
As wjbrandel mentioned in a previous post, marrying the chassis to the body is a challenge. I must've test/dry fitted the assemblies multiple times, but this morning when I began, just getting the motor past the fender wells and into the body while keeping the firewall aligned (and in place) is a not an easy task. The chassis is not designed to fit this body, I'm convinced AMT simply added a 4-door body and interior parts to their 2-dr. kit. There's no way this chassis aligns with this body.

Finally able to get the front seated and aligned onto the pins but will have to assemble this like I did the chassis, in stages.
With the front glued up, I'll let the glue set and dry and then align the rest of the chassis to the body as I work my way to the back.

The black paint at the bottom of the windshield hid the gap perfectly, so got lucky there.

Once I get the chassis married up, I'll keep moving along with final assembly. The fit of this kit is terrible.

1000009266.jpg
1000009267.jpg
1000009268.jpg
1000009271.jpg
 
Last edited:

Latest posts

Back
Top