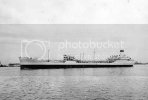
For many of you who don't know what the Neosho is, here is a link to the ships history.
http://en.wikipedia.org/wiki/USS_Neosho_%28AO-23%29
but basically the Neosho was part of battleship row on the morning of december 7th.
I am attempting to recreate battleship row in a 1/700 with 90% of the models being resin kits.
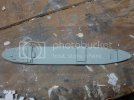
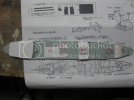
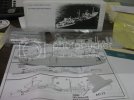
I have for this project Loose Canon Productions 1/700 uss cossatot/cowanesque.
I bought the kit for $75 online and it was the closest thing I could find to make a 1/700 neosho.
now for many who probably know, there WAS a 1/700 Neosho kit out on the market, but is no longer available
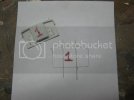
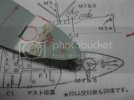
by using photographs from the neosho kit, I can determine what I need to modify in order for me to transform this model.
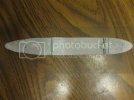
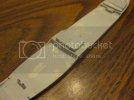
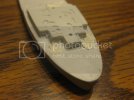
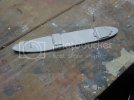
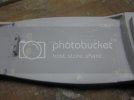
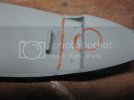
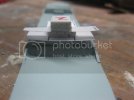
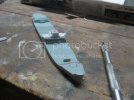
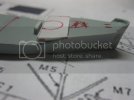
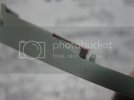
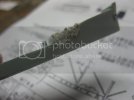
After observing the Neosho's hull section, I practically have to sand down every detail on this hull section I am going to use. after wards I will come back and scratch build the model with Evergreen styrene.
I have a few photos of this project for now, but for many who have seen my progress on the trumpeter 1/48 p-40b, I am not too far away from finishing it.
I guess everyone was right when they told me about resin ships. "Its just like carving a bar of soap" Tongue
Thanks very much for your interest and I will be getting more resin ships soon!!!
Matt


