

bzzymatt2.0
New Member
- Joined
- Jun 17, 2025
- Messages
- 1
Hello!
After being away from the hobby for nearly 10 years, I had the desire to get back into building when the time allows it! Between going to college, getting married and raising a baby, life has been overwhelming! I had an account on here previously known as "Bzzymatt", but had to make a new account just to post this build progress. I was heavily involved in this hobby growing up and with several model kits still awaiting to be built in my closet, I couldn't say no!
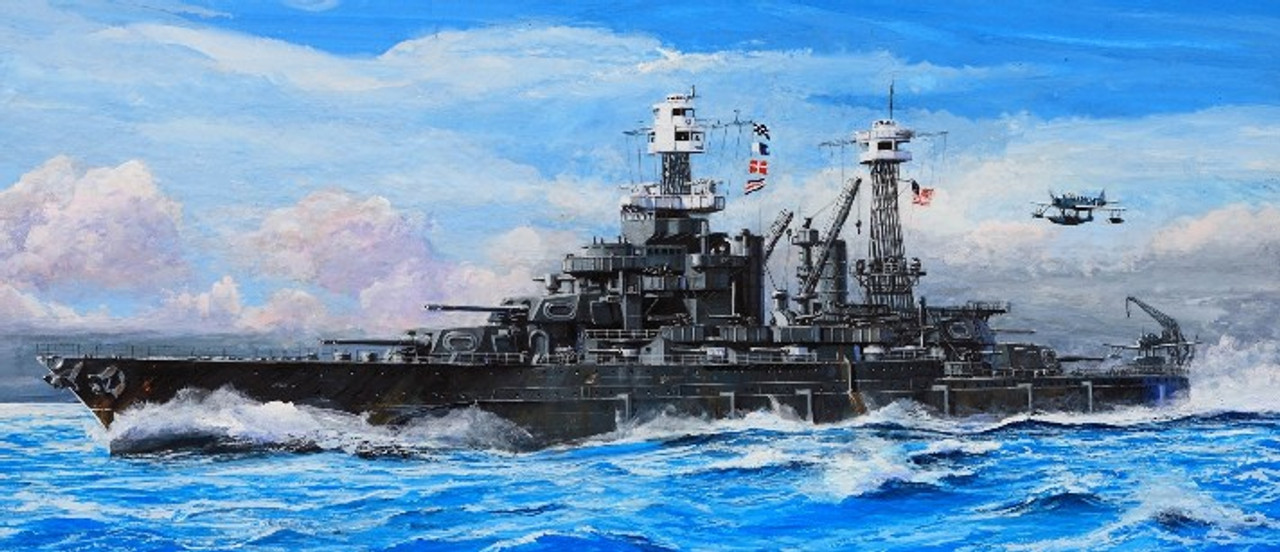
The build I chose was Trumpeter's 1/700 USS Maryland-1941 configuration. This was one of the ships attacked by the Japanese in Pearl Harbor on December 7th and survived. I tried building this ship once, but ultimately packed everything up in it's box before life caught up to me. My goal is to have it built and ready for competition in April of 2026. I find this will be a fun challenge to see how my building skills are after being away for so long!
Ships have always been one of my favorites, and like any other model, I go overboard on the details. I purchased every detail set available to help make the build stand out in the end. I started the build by drilling out all the portholes on the hull by hand with a #78 drill bit. While this is not necessary, I find it helps make the portholes standout more after painting. After drilling, I had to go in with some sandpaper on the interior of the hull to ensure the top decks would fit properly since many of these portholes interfere with the top deck fittings.
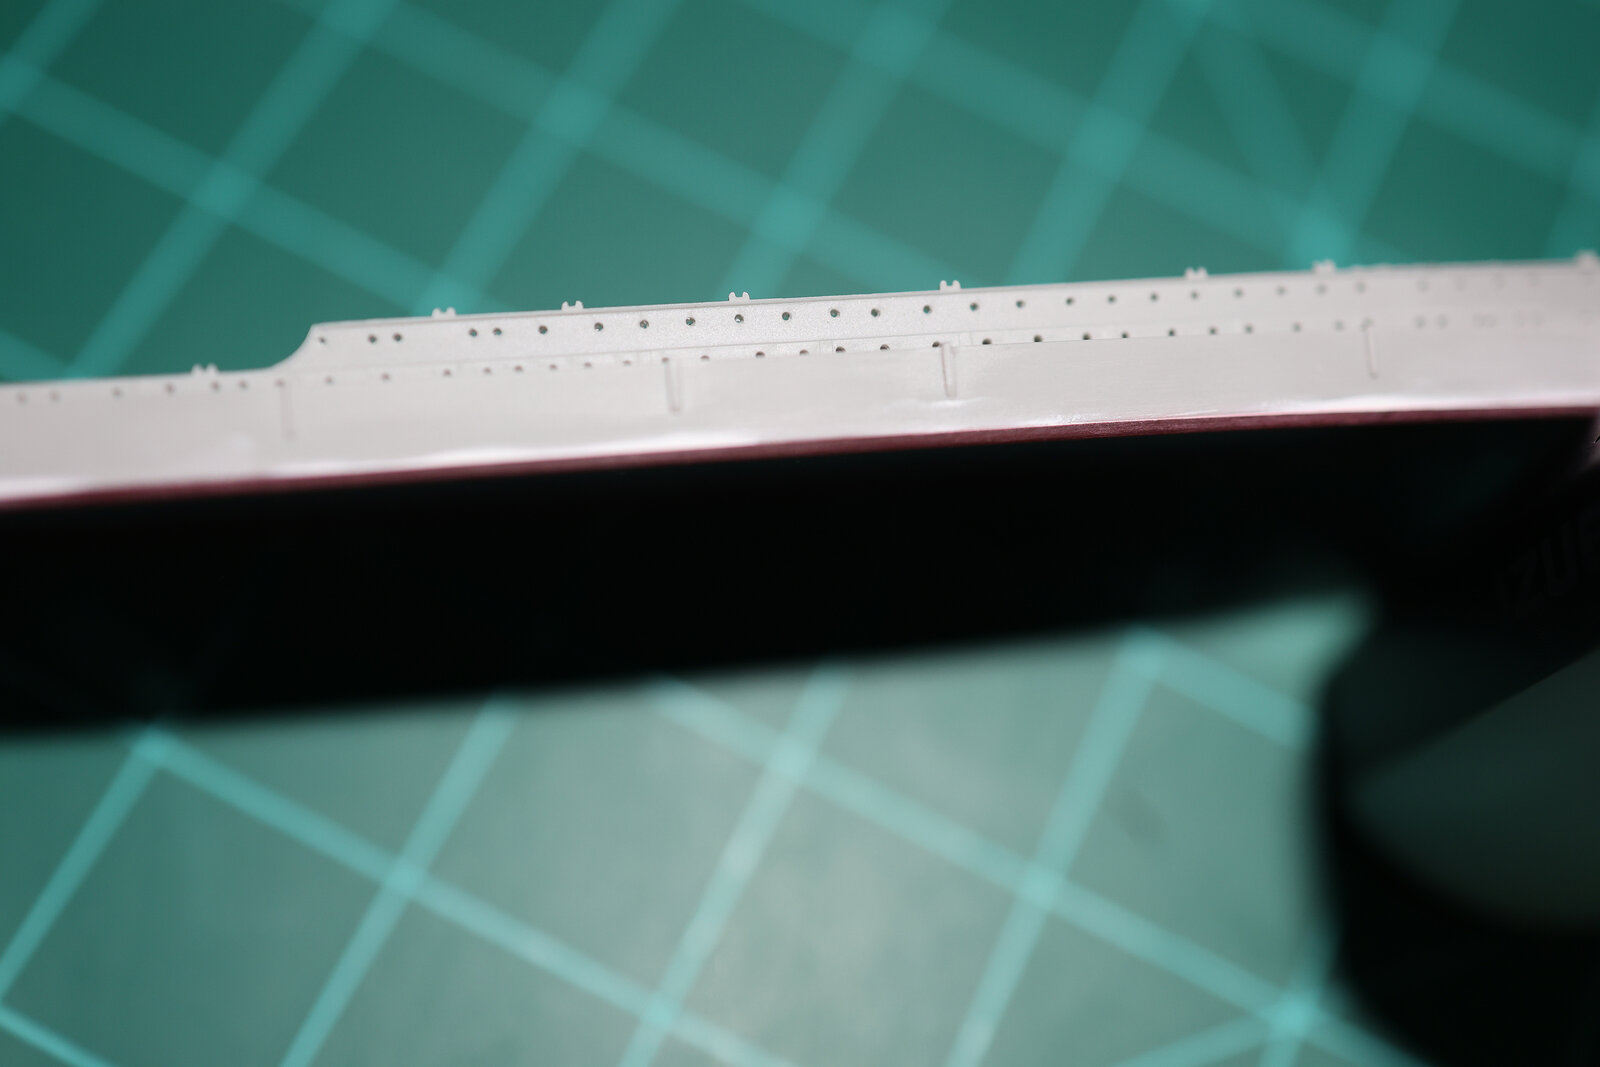
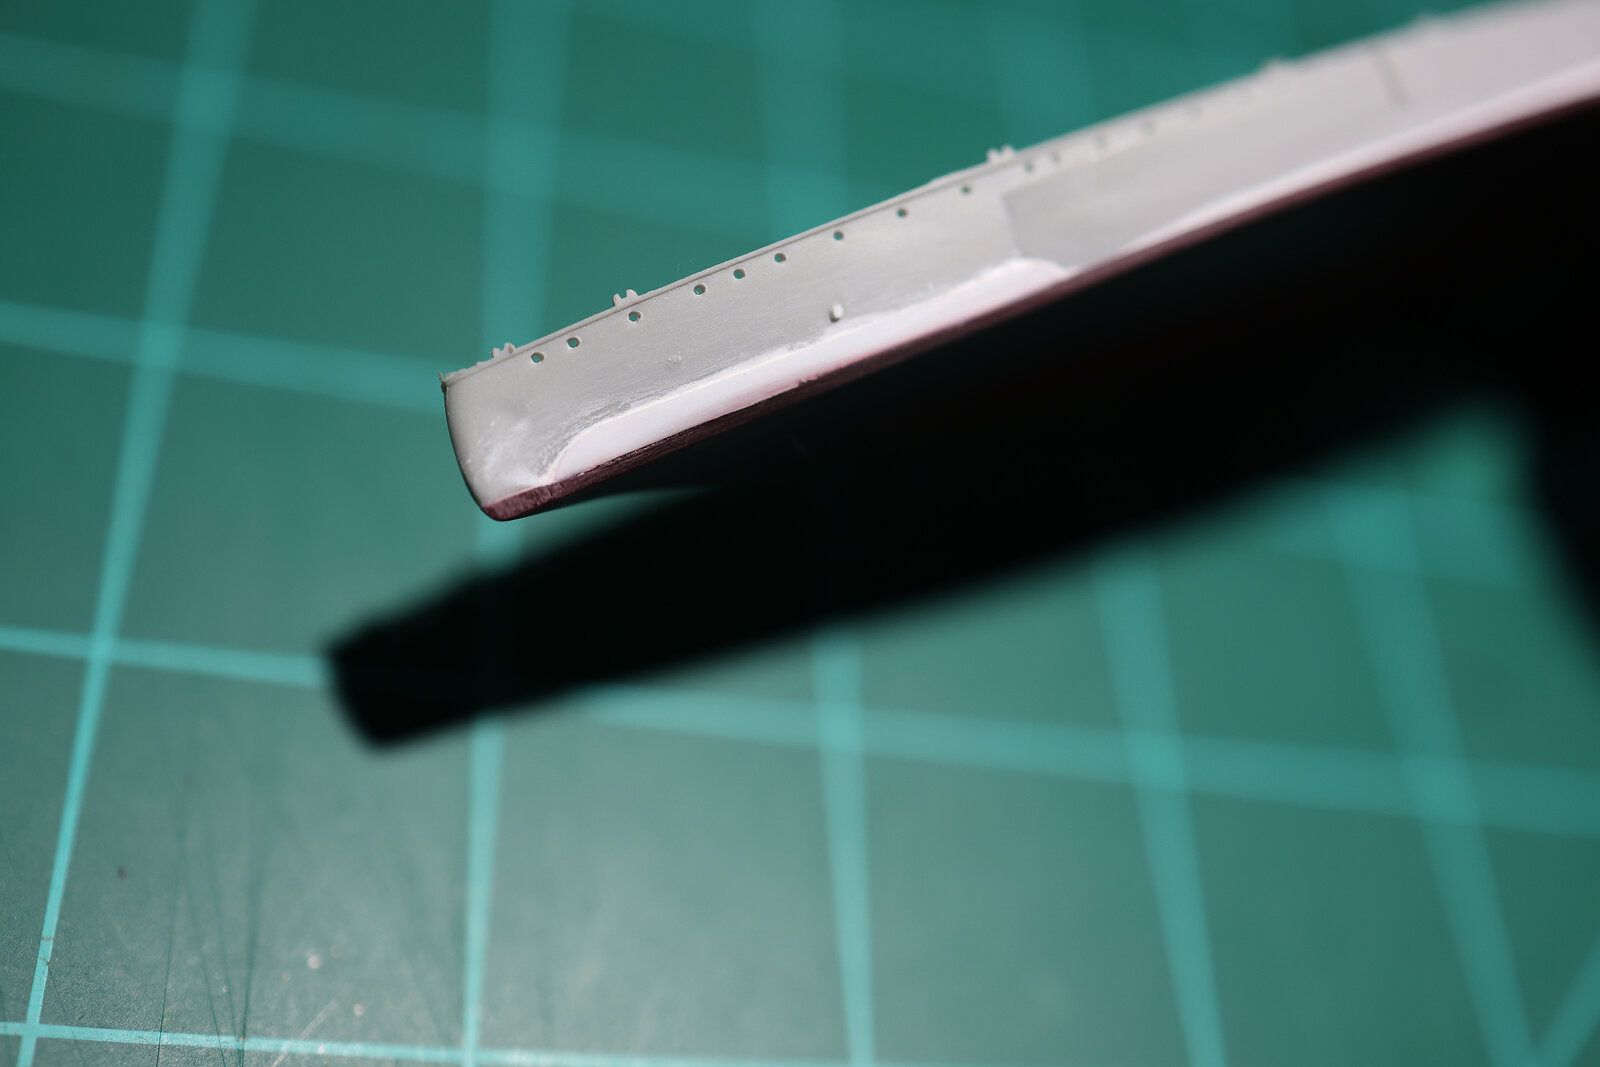
After some research, I decided to go ahead and mount the base plate to the hull and fill in the seam. While this is considered the very last step in the building instructions, the problem would be a very noticeable seam that I can't ignore. I tacked down the plate with Tamiya liquid cement and started filling in the seam with putty. Upon sanding down everything, I accidently went overboard on the stern section and had to recover some of the details using polystyrene. I won't know how this will look overall until I prime the surface, but I'm hopeful it blends in well like nothing ever happened.
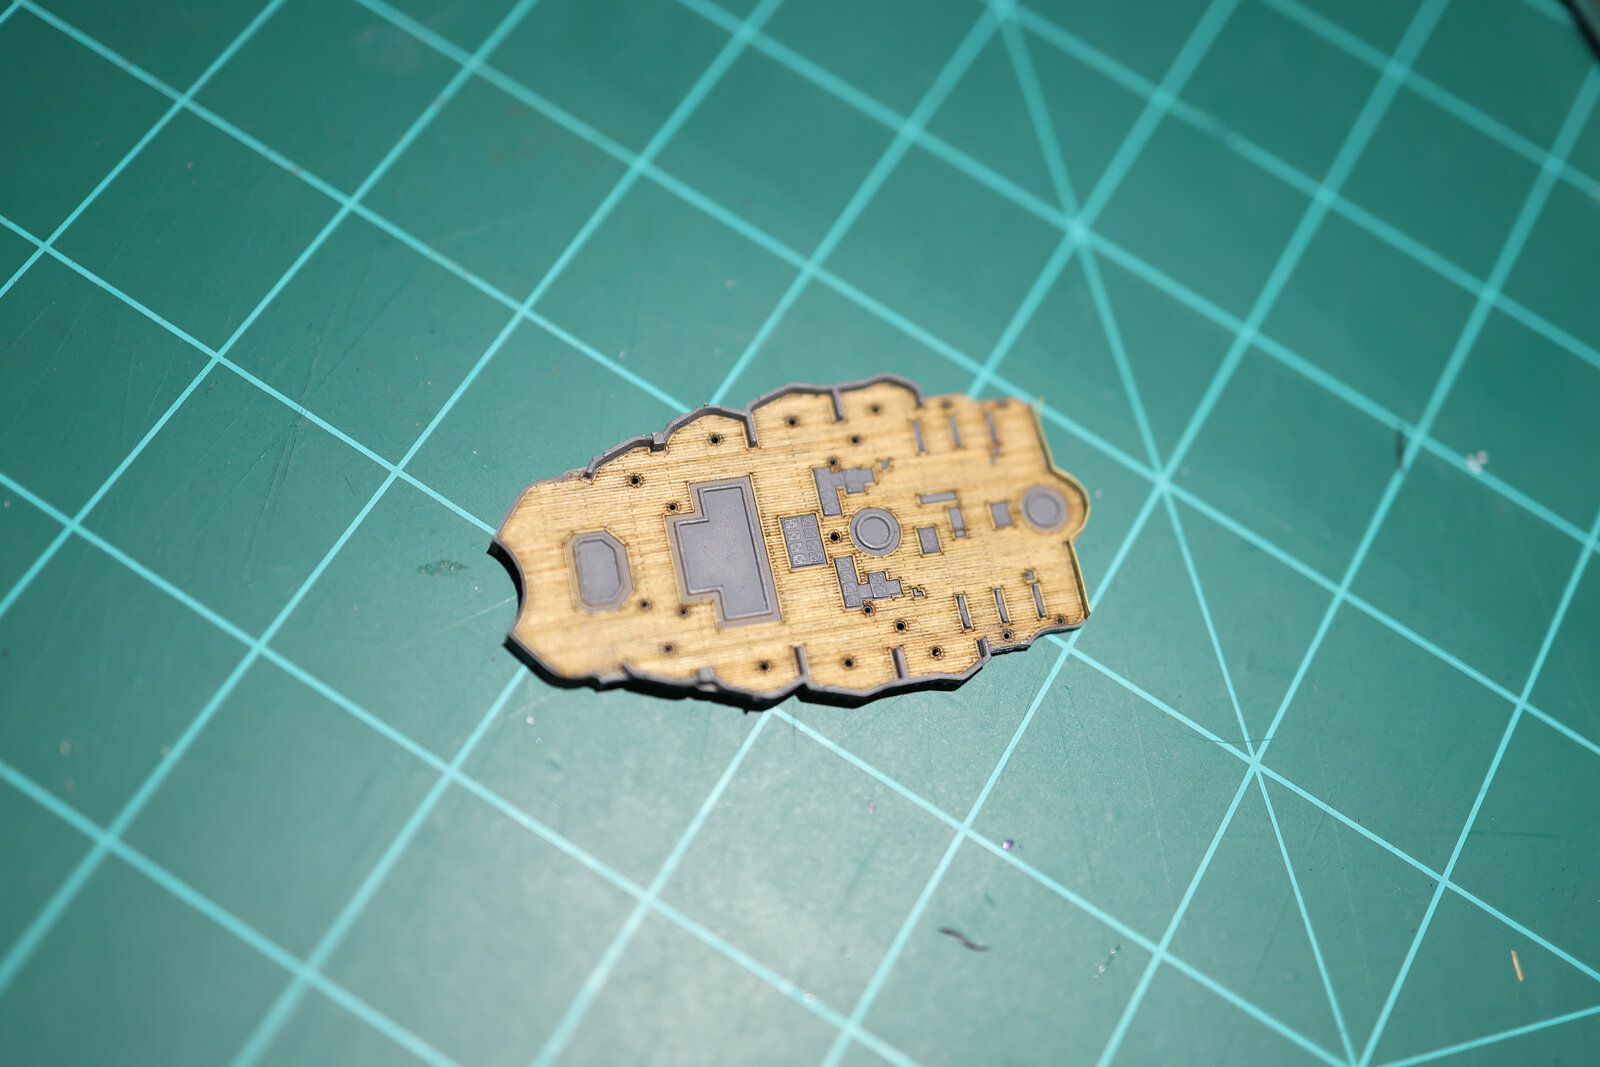
Several things I will have to do before mounting the top decks will be to come up with a gameplan to the overall assembly. I purchased the Artwoxmodel balsa decks as well as the FiveStar photoetch set which only comes with images of the finished product. No instructions at all. I've found looking at all the instructions provided, the balsa decks will have to be added early on and then masked off to allow other parts of the ship to be built up properly and painted. I had spare decks to experiment with and found the Tamiya masking tape does not harm the wood surface, so I will have to make cutouts of the deck sections and apply them when needed.
I also found that when the model is placed on a flat surface, the ship is a bit warped. I can get around this issue by bolting it to a display base, but I'm happy to hear other options if anyone has any!
For colors, I'm currently looking at a Tamiya Dark Gray as the overall ship color. I've painted a test piece in this color, but I'm questioning if I need to find a darker shade of gray based on the research I've conducted. Tamiya doesn't seem to have anything darker than this, so I would love everyone's thoughts on this as well!
Hopefully I will have a new update in the coming weeks once more parts and such arrive in the mail. Until then, I hope you all enjoy this progress build!


