


You are using an out of date browser. It may not display this or other websites correctly.
You should upgrade or use an alternative browser.
You should upgrade or use an alternative browser.
1/200 USS IOWA
- Thread starter kevin
- Start date

Edbert
Well-Known Member
- Joined
- May 16, 2024
- Messages
- 3,121
I am bookmarking a lot of your work Kevin. I have been putting a few bits together on a 1:144 scale warship. What I did on my 1:350 BB will not suffice in such a large context, and you seem to have mastered the coloration/shading or large scale ships.
To wit...
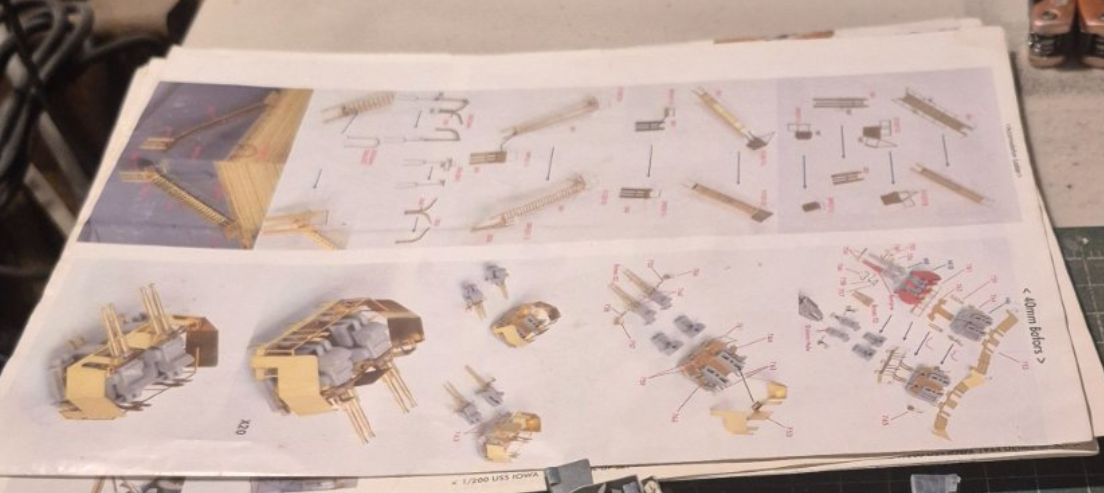
This ^^^^ looks very much like...
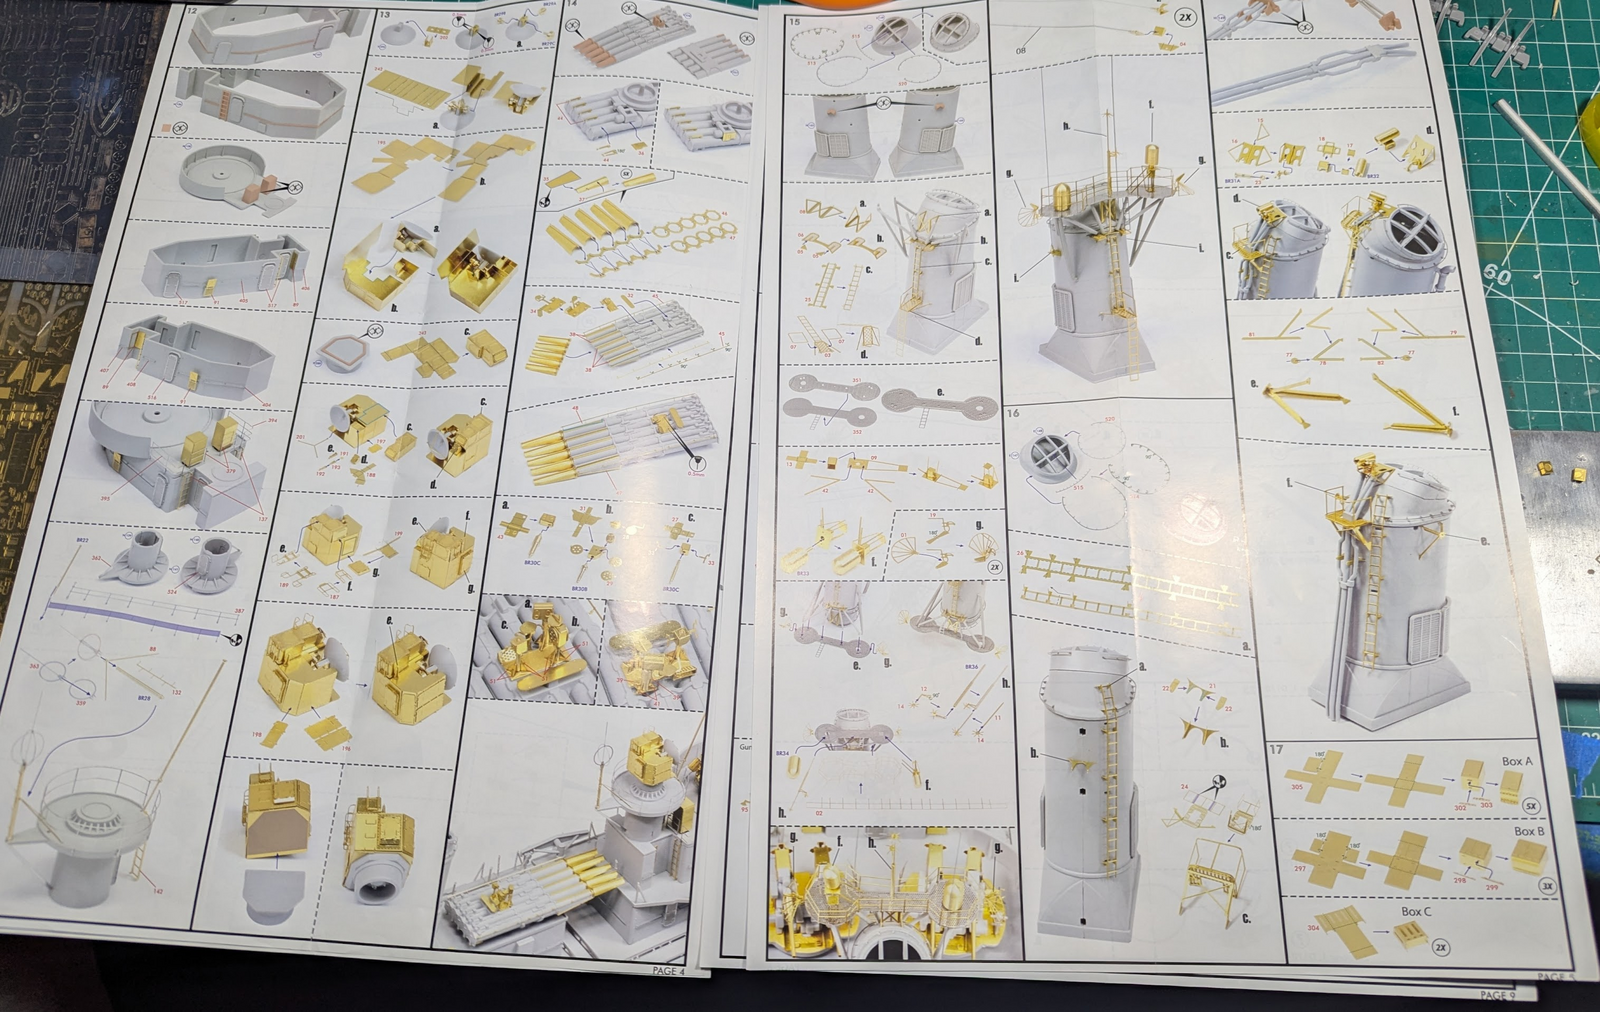
The 49 (!!!) pages of this ^^^
To wit...
This ^^^^ looks very much like...
The 49 (!!!) pages of this ^^^
kevin
Well-Known Member
Wow, thanks bro, .........but I'm no expert. Just doing the best I can, and hopefully learning as I go.and you seem to have mastered the coloration/shading or large scale ships.
To wit...
View attachment 168045
This ^^^^ looks very much like...
View attachment 168046
The 49 (!!!) pages of this ^^^

kevin
Well-Known Member
For example, the Rustoleum 2X clear rattle can paint I used to seal the turrets krinkled the Squadron Scale Color Navy Blue paint on the flat surface on the turrets when dried. Zoom in, you will see it. It didn't effect the Tamiya paint I used on the vertical surfaces. I didn't want to spend the time and effort to take it back to the bare plastic and start over. I left it, and weathered over it. The tiny krinkles may have helped the weathering effect at this scale, I'm still not sure. .....but potentially a " happy accident " if you are a Bob Ross fan, which I am..........but I'm no expert.
Last edited:

Dan the Modeler
Well-Known Member
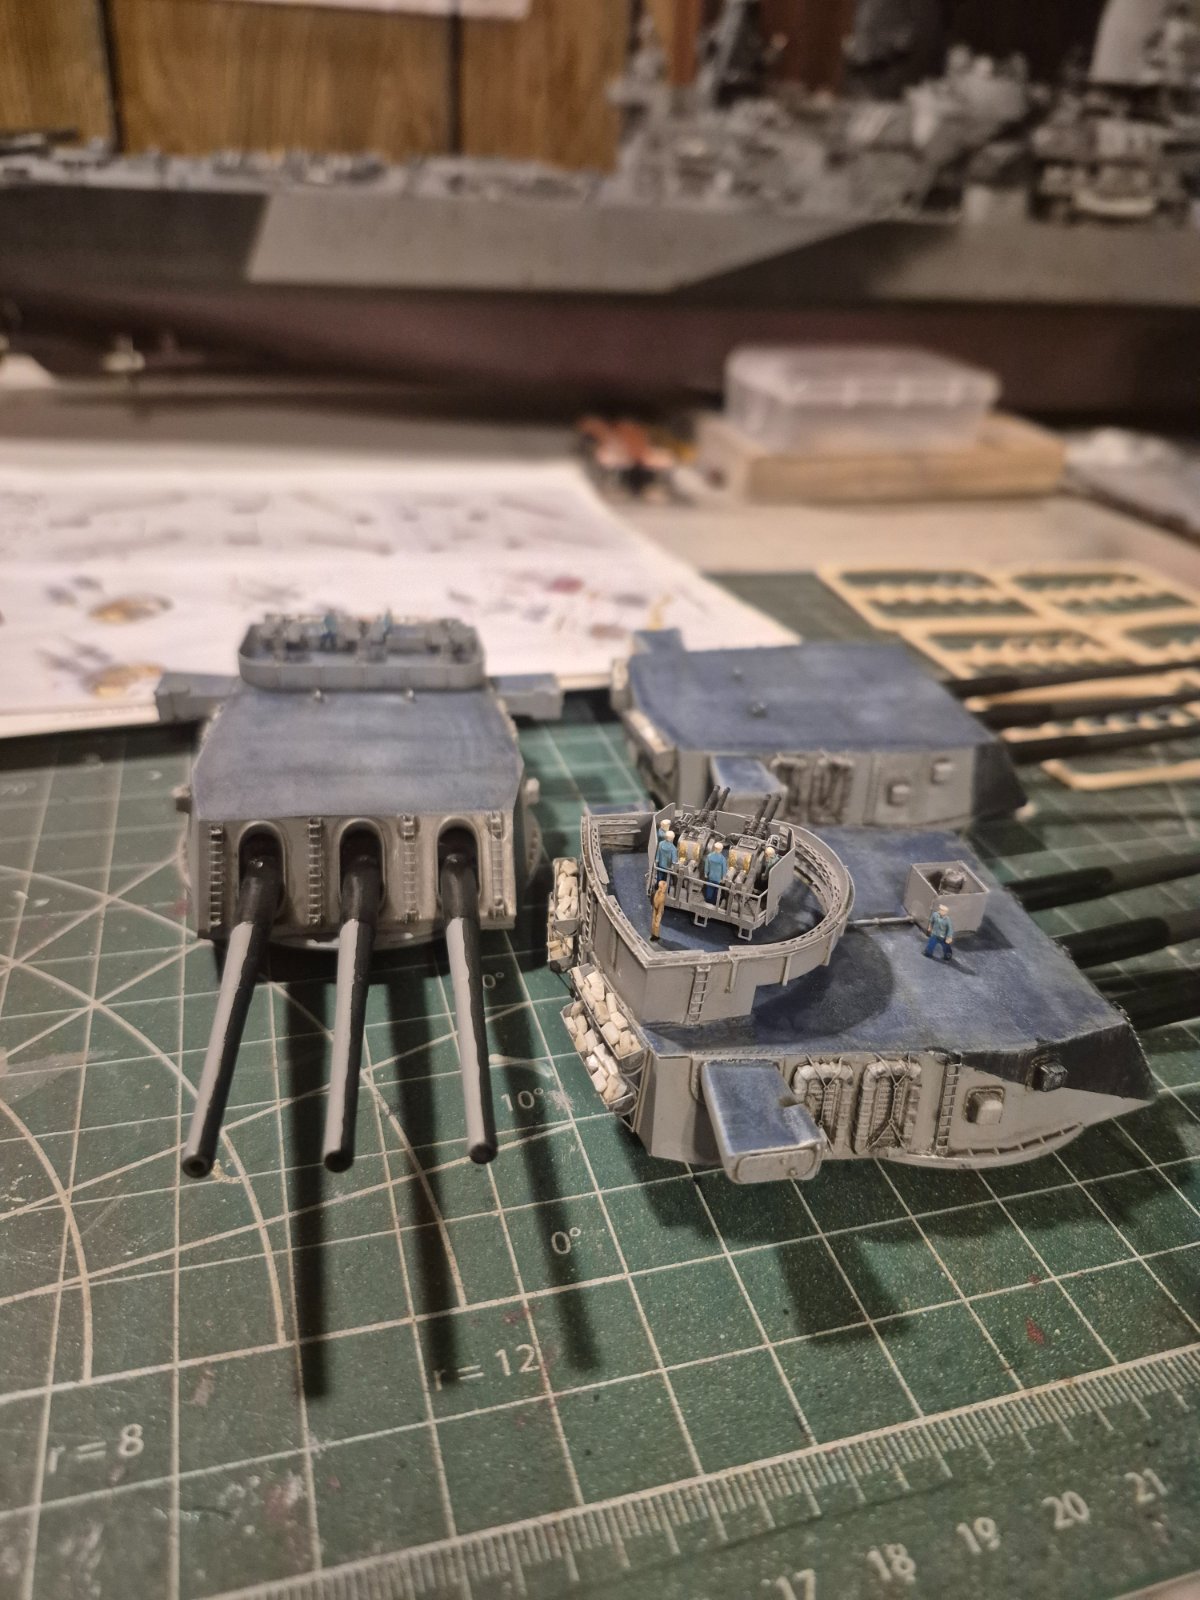
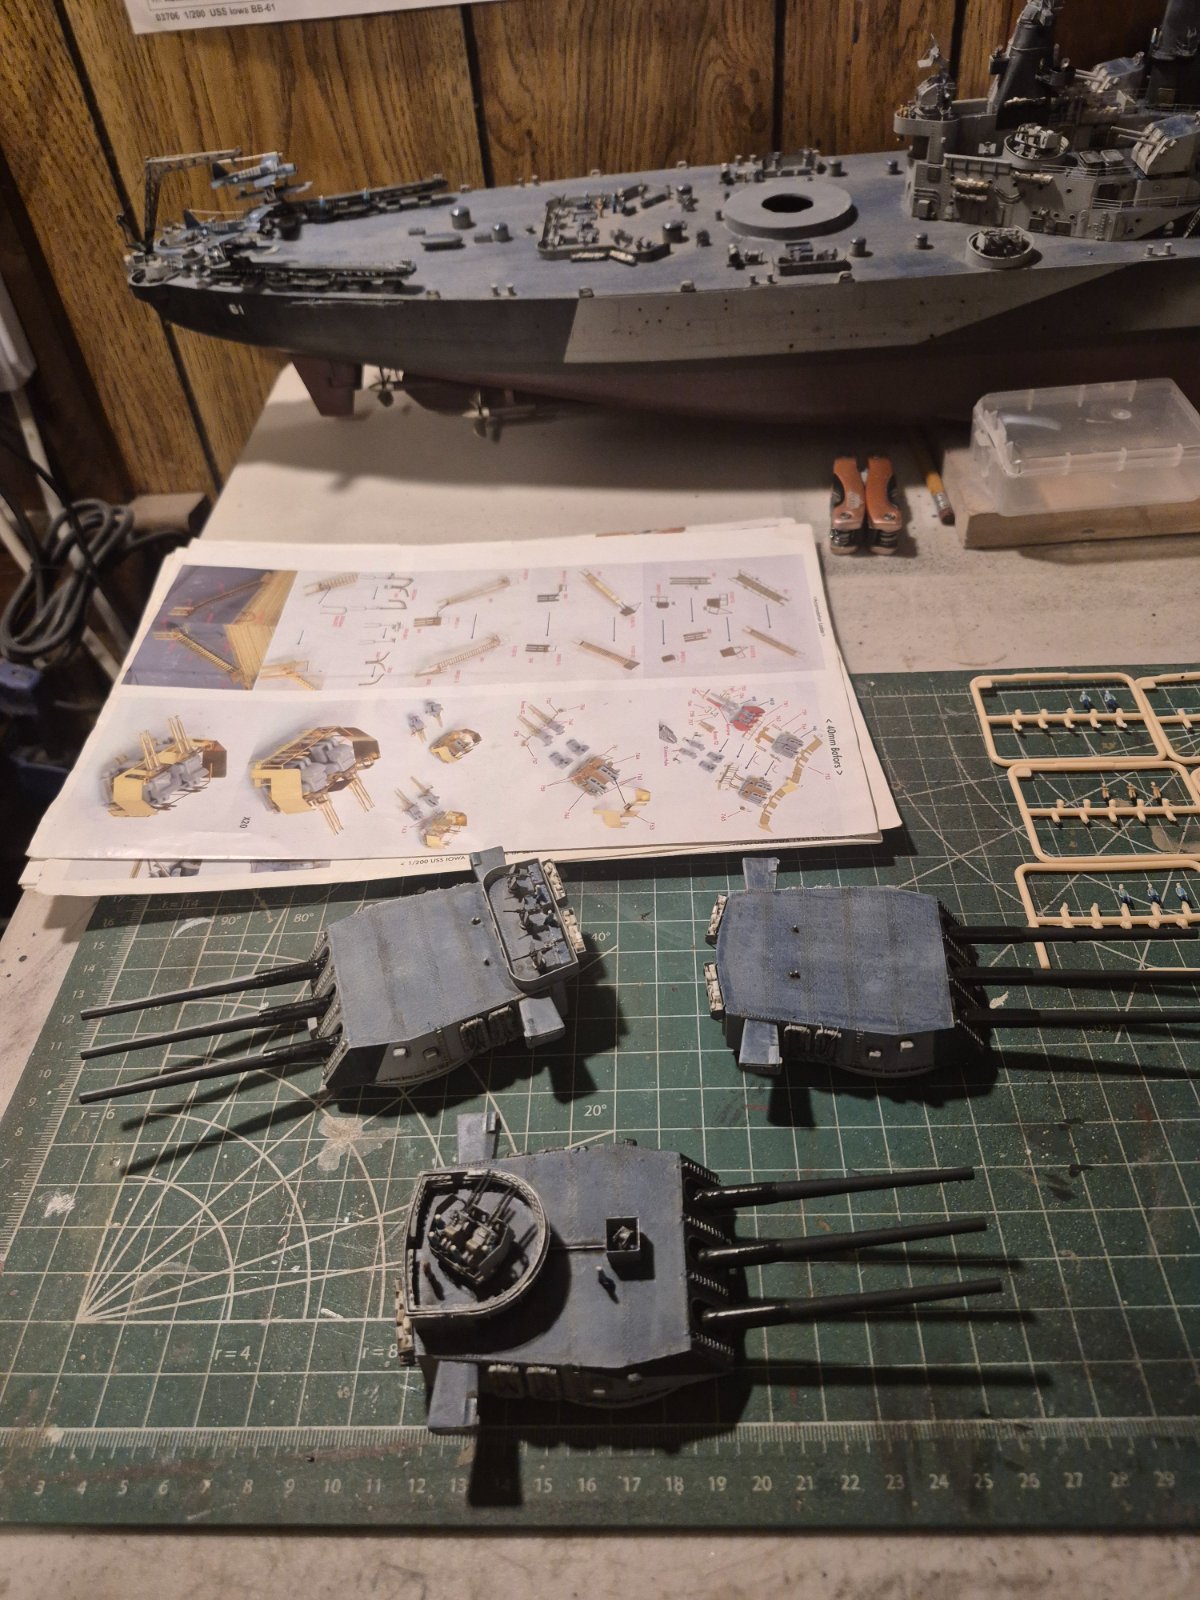
Turrets actually look very realistic! Can't believe you are literally throwing money into the build...lol. To have to put a buck or buck and a quarter into those turrets as counterweight just shows how big it is. Great job Kevin!I am working on the turrets and I've been having a hard time getting the paint lines straight on the barrels on turret #2.
I've tried both masking tape and freehand. It's close, but I still want to clean it up some more if I can.
Also I have been (over ?) weathering the top of the turrets.View attachment 168017
View attachment 168018
Jantk14
Well-Known Member
The top of the turrets look very realistic, mistake and all. How did you do it?


![Pampers Sensitive Baby Wipes, Clinically Proven, Fragrance Free, Unscented, Water Based, Hypoallergenic, Multi-Use, Hand Wipes 336 Wipes Total (6X Flip-Top Packs) [Packaging May Vary]](https://m.media-amazon.com/images/I/41KLBHu9CAL._SL500_.jpg)






As an Amazon Associate we earn from qualifying purchases. Product prices and availability are accurate as of the date/time indicated and are subject to change.
kevin
Well-Known Member
Thanks, Jantk14.
The base color is Squadron Scale Color 5-N Navy Blue. It's water based acrylic, but I can't get it to spray in my airbrush for some reason. So I brush painted the tops, which left large brush strokes.
Once dry I washed them with the diluted color a couple times each to hide the brush marks for the most part.
I sealed them with a clear coat of Rustoleum 2X clear spray paint.
Then I unevenly applied some MIG enamel wash " brown wash for German Dark Yellow " around the edges and the bands across the top.
I then drybrushed with Mission Model's Insignia White. I also stippled the color in a few spots, and blended the color around with a wet Q-tip to take out brush marks. It's also water based acrylic.
That's where they stand right now, I think I'm done playing around with them.
The base color is Squadron Scale Color 5-N Navy Blue. It's water based acrylic, but I can't get it to spray in my airbrush for some reason. So I brush painted the tops, which left large brush strokes.
Once dry I washed them with the diluted color a couple times each to hide the brush marks for the most part.
I sealed them with a clear coat of Rustoleum 2X clear spray paint.
Then I unevenly applied some MIG enamel wash " brown wash for German Dark Yellow " around the edges and the bands across the top.
I then drybrushed with Mission Model's Insignia White. I also stippled the color in a few spots, and blended the color around with a wet Q-tip to take out brush marks. It's also water based acrylic.
That's where they stand right now, I think I'm done playing around with them.
kevin
Well-Known Member
After the turrets, I have the handrails and ladders, few more figures, rigging and colors. That should finish this build.
Already looking forward to the next one.
Already looking forward to the next one.
kevin
Well-Known Member
I ran into a problem with the blast bags that go around each barrel on the turrets.
The resin ones that came from Pontos are nicely detailed, but the wrong diameter to slip over their brass barrels. I tried drilling them out, but they are brittle and break.
The Trumpeter kit ones are smooth with no canvas detail but fit the barrels.
So I applied some tissue paper soaked with water and white glue to get some texture on them. Most on them came out good,
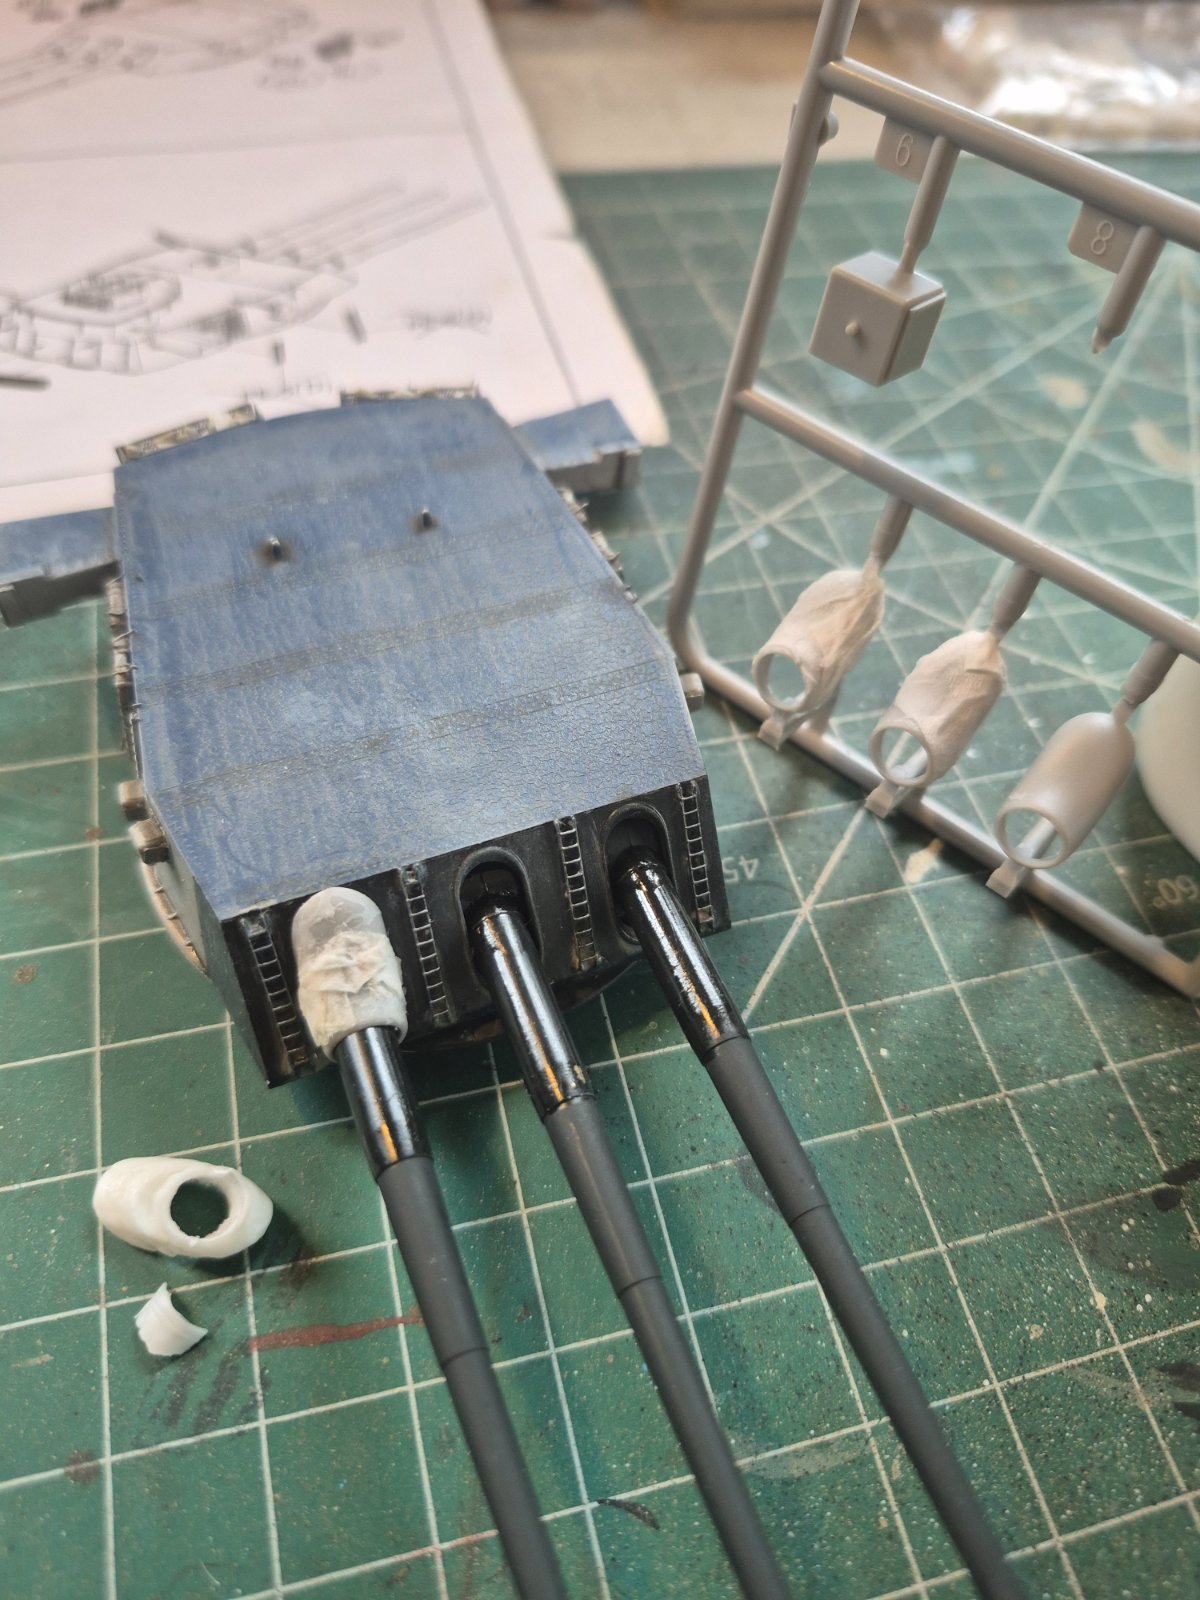 but a couple I need to rework alittle bit.
The resin ones that came from Pontos are nicely detailed, but the wrong diameter to slip over their brass barrels. I tried drilling them out, but they are brittle and break.
The Trumpeter kit ones are smooth with no canvas detail but fit the barrels.
So I applied some tissue paper soaked with water and white glue to get some texture on them. Most on them came out good,

Nice! Quick thinking!
Gives a whole new meaning to 'Kleenex': Blast Bag!
Gives a whole new meaning to 'Kleenex': Blast Bag!

nice job with the gun tub ammo racks... i think they will haunt you in your sleep ... lol
kevin
Well-Known Member
Thanks, the 19th and last one. The practice helped.
kevin
Well-Known Member
Some more progress made......got the three 16" turrets glued on, (they really bring the ship to life I think), and finished the last of the figures, 60 in total. They don't really stand out much. I've considered buying more, but there are only five different poses, and I haven't got the motivation to do so. Also continuing with the railings.
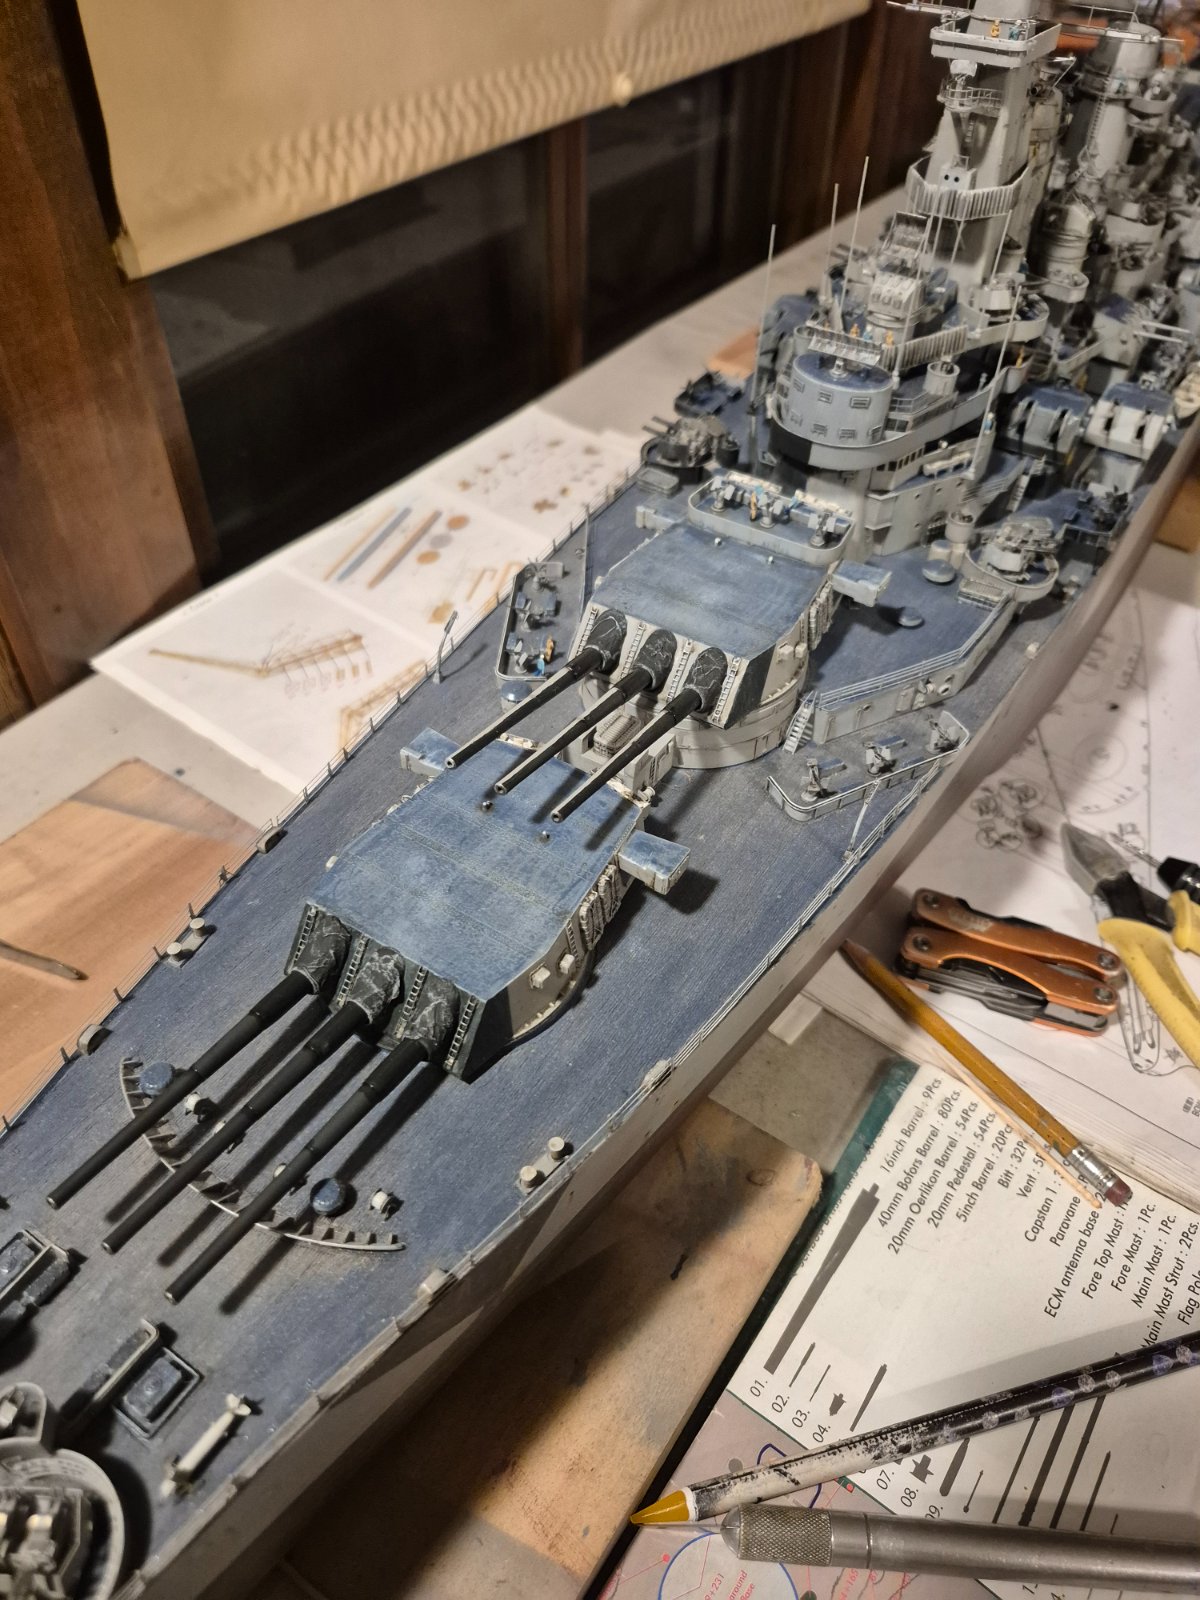
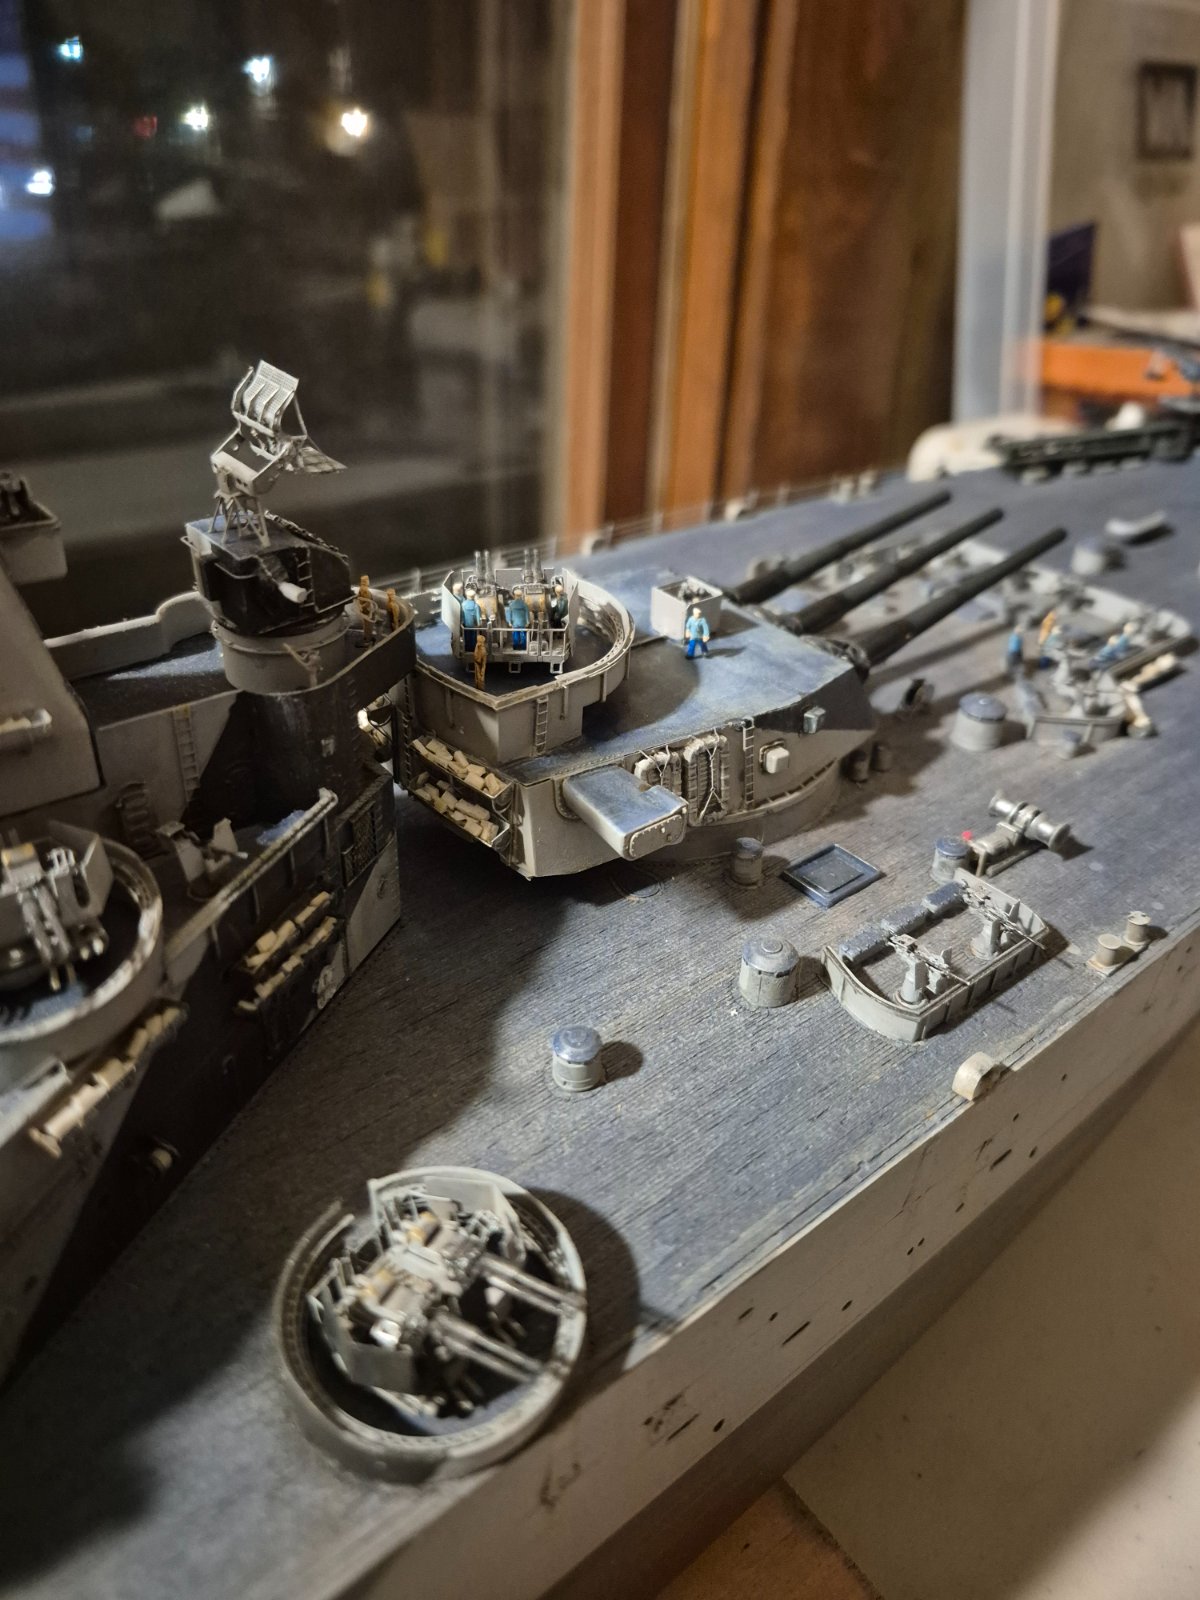
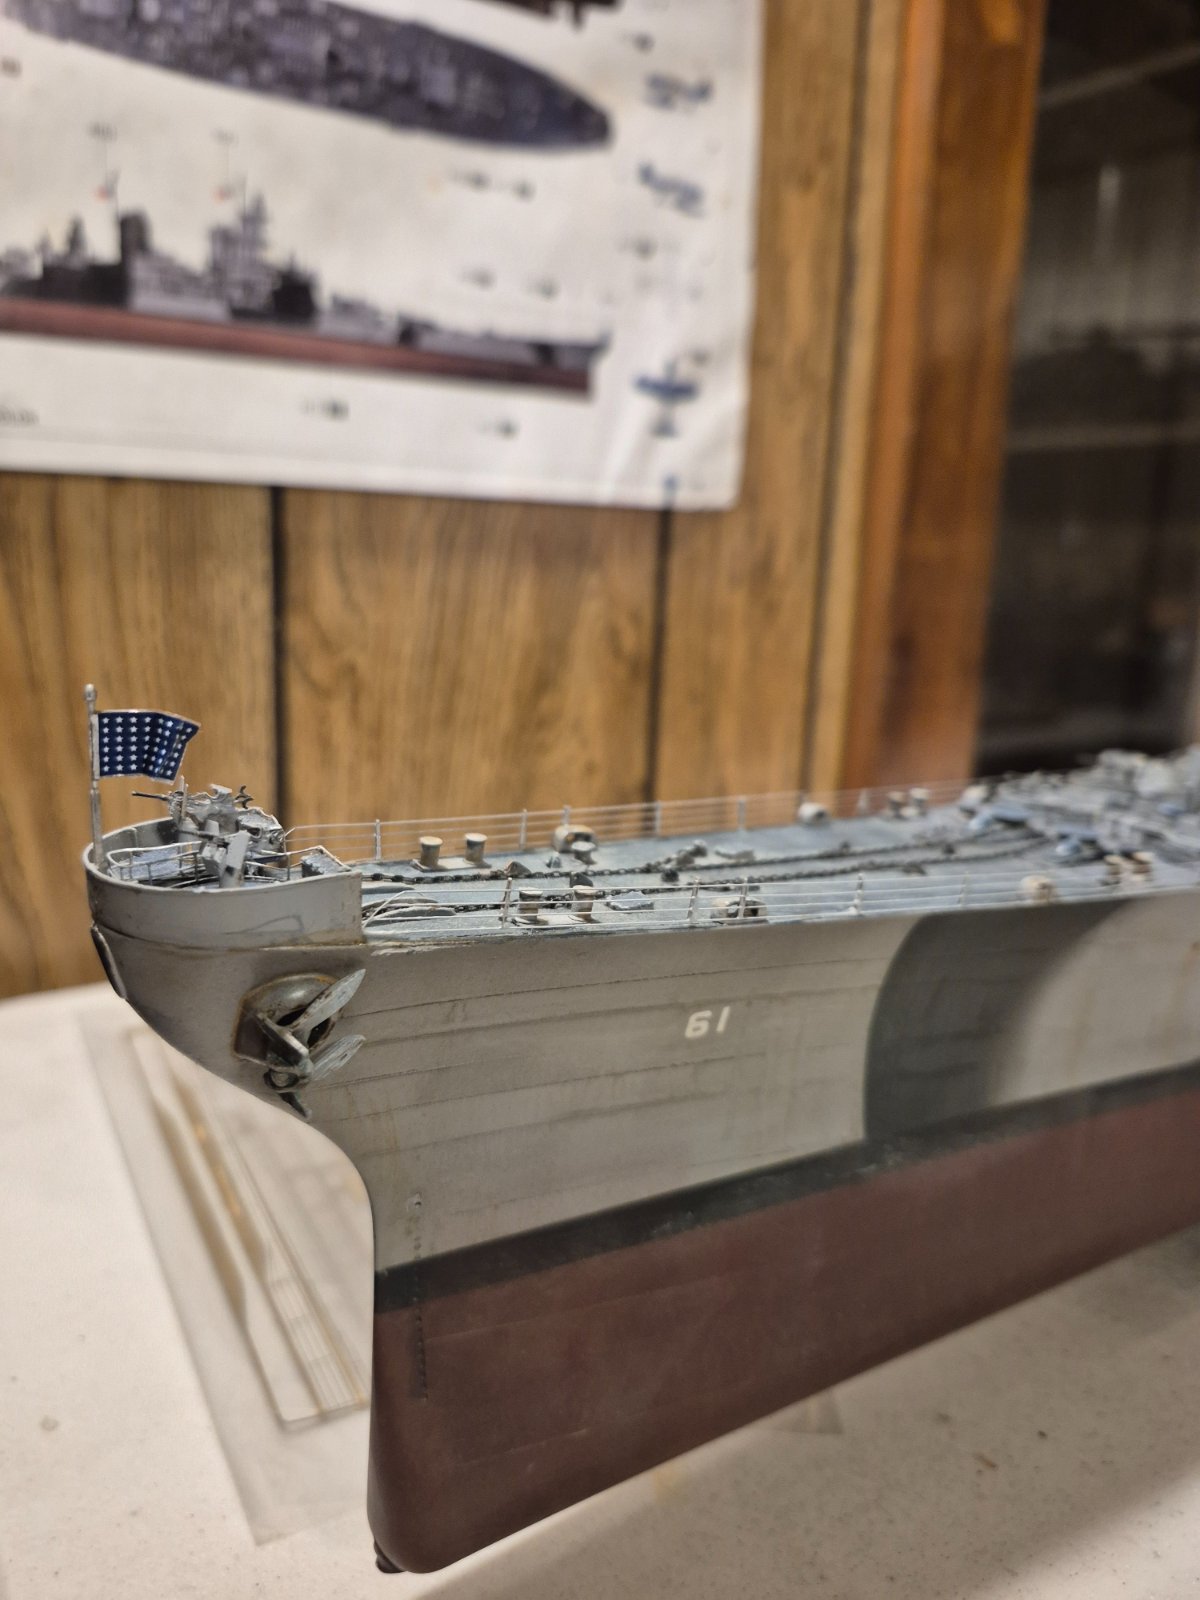
Looking forward to completing this project......its all I've been working on since February. Finish the railings, rigging, add the stars and stripes and some signal flags and that should do it.
Looking forward to completing this project......its all I've been working on since February. Finish the railings, rigging, add the stars and stripes and some signal flags and that should do it.
... speaking of stars, I'm not familiar with that flag in the bow... the rest is looking really good. I don't think you need to overdo it with figures, 60 dispersed around the ship seems enough to give a sense of scale in different areas.stars and stripes
... and honestly, when you first started, I thought you'd be at it for a couple of years, at least!
kevin
Well-Known Member
Same here.....I spent over a year building the 1/16 King Tiger tank with full interior. The big difference now is I'm not employed ( by choice), so alot more time at the bench.... and honestly, when you first started, I thought you'd be at it for a couple of years, at least!
I'm not familiar with the meaning of the flag at the bow either. I could google it, obviously, but maybe some forum members that were in the Navy could help us out. It did provide me with an opportunity to try a using the water slide decals glued to a piece of aluminum foil to give some furl to a flag. I liked the results and went with it.
Last edited:

That's flown at the bow at anchor or pierside , the colors fly at the stern ,
https://en.wikipedia.org/wiki/Jack_of_the_United_States
https://en.wikipedia.org/wiki/Jack_of_the_United_States
kevin
Well-Known Member
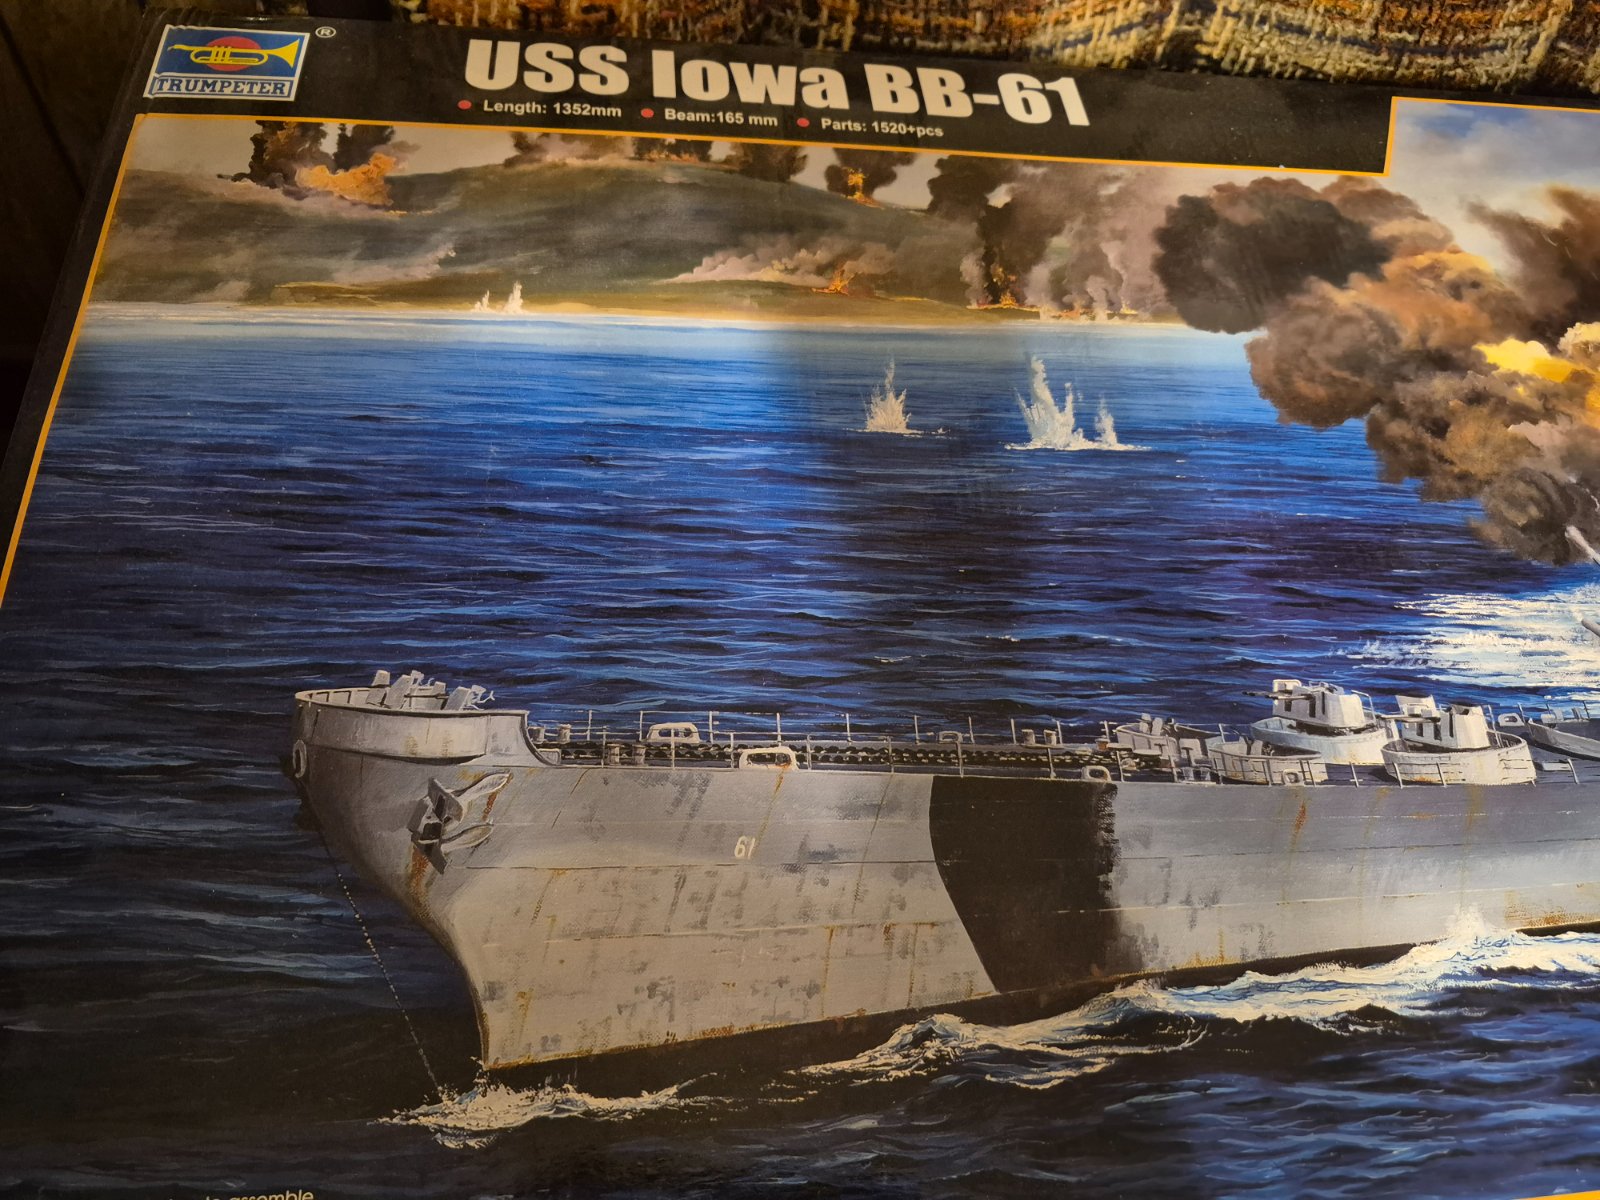
Thank you, so I think I will remove it. The model will be depicted at sea, like the cover art on the box.
It did give me a chance to practice putting decals on aluminum foil, something I saw of u tube.
It did give me a chance to practice putting decals on aluminum foil, something I saw of u tube.
 in the Battle of Monster Island ( I recognize that coastline )
kevin
Well-Known Member
I wondered about that as well.
Its depicted in my reference book during WWII
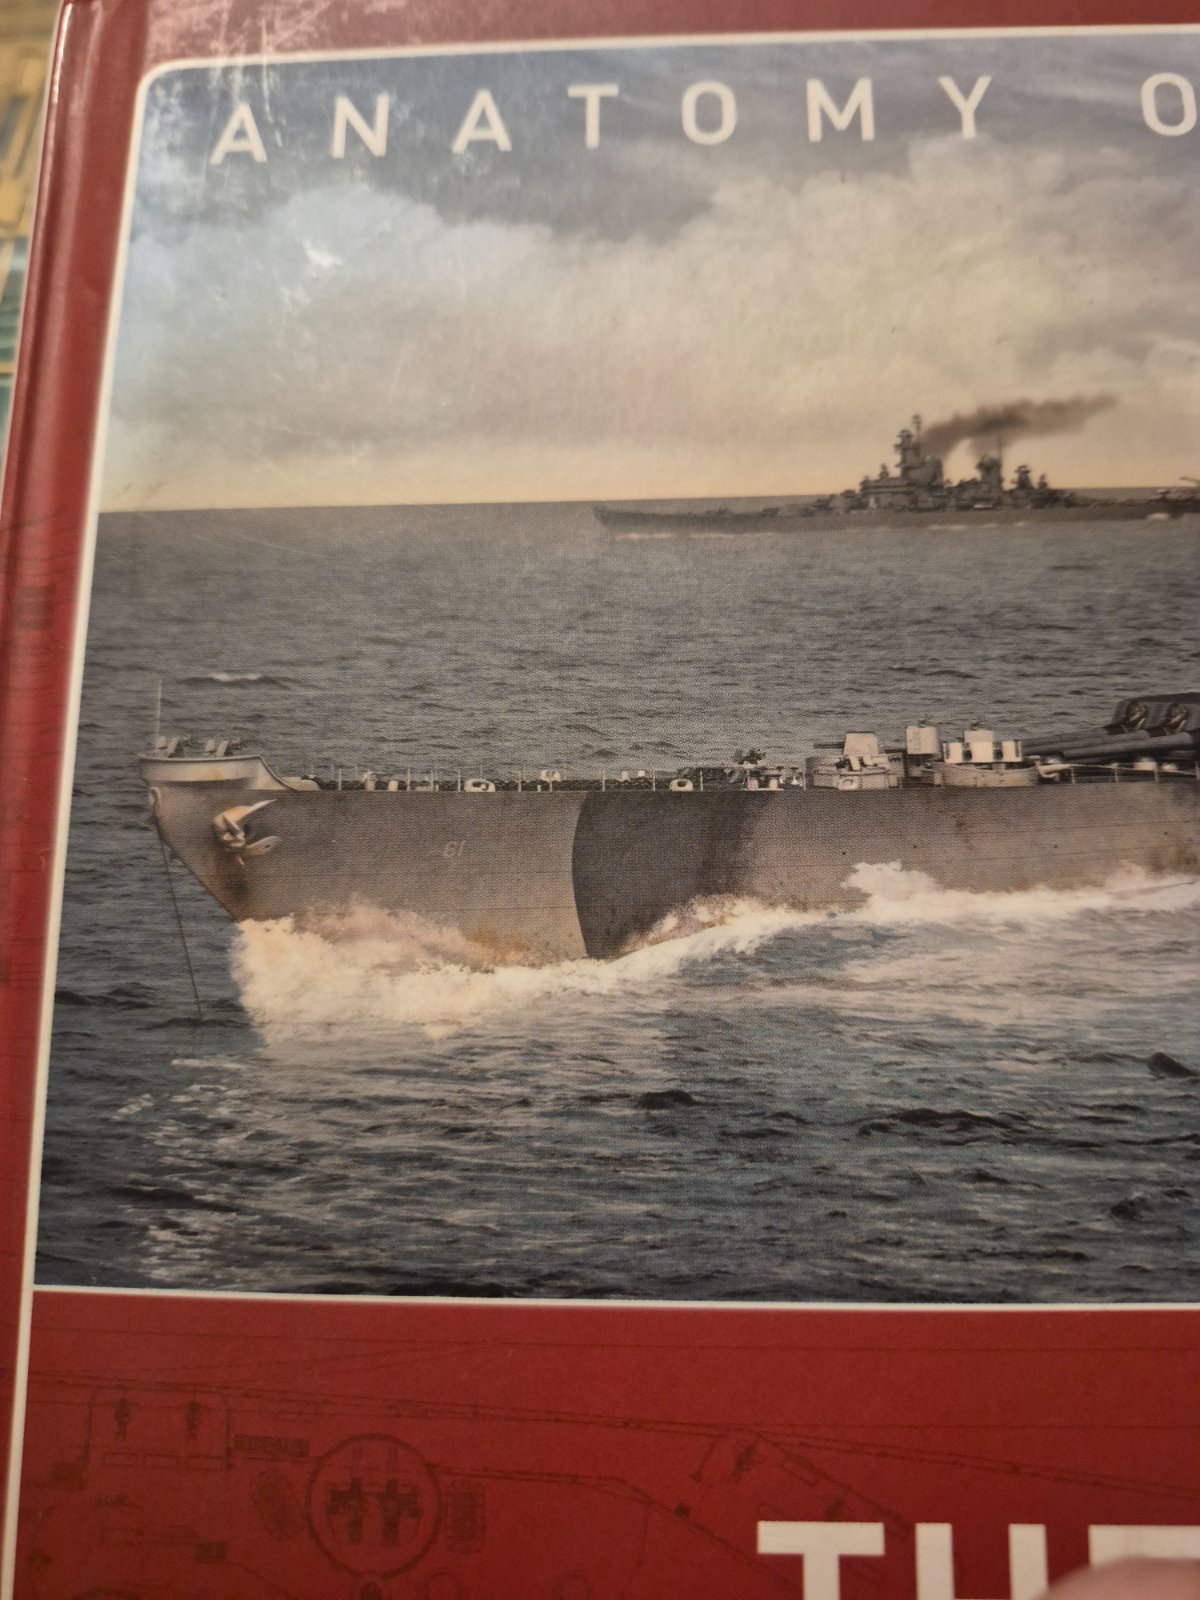
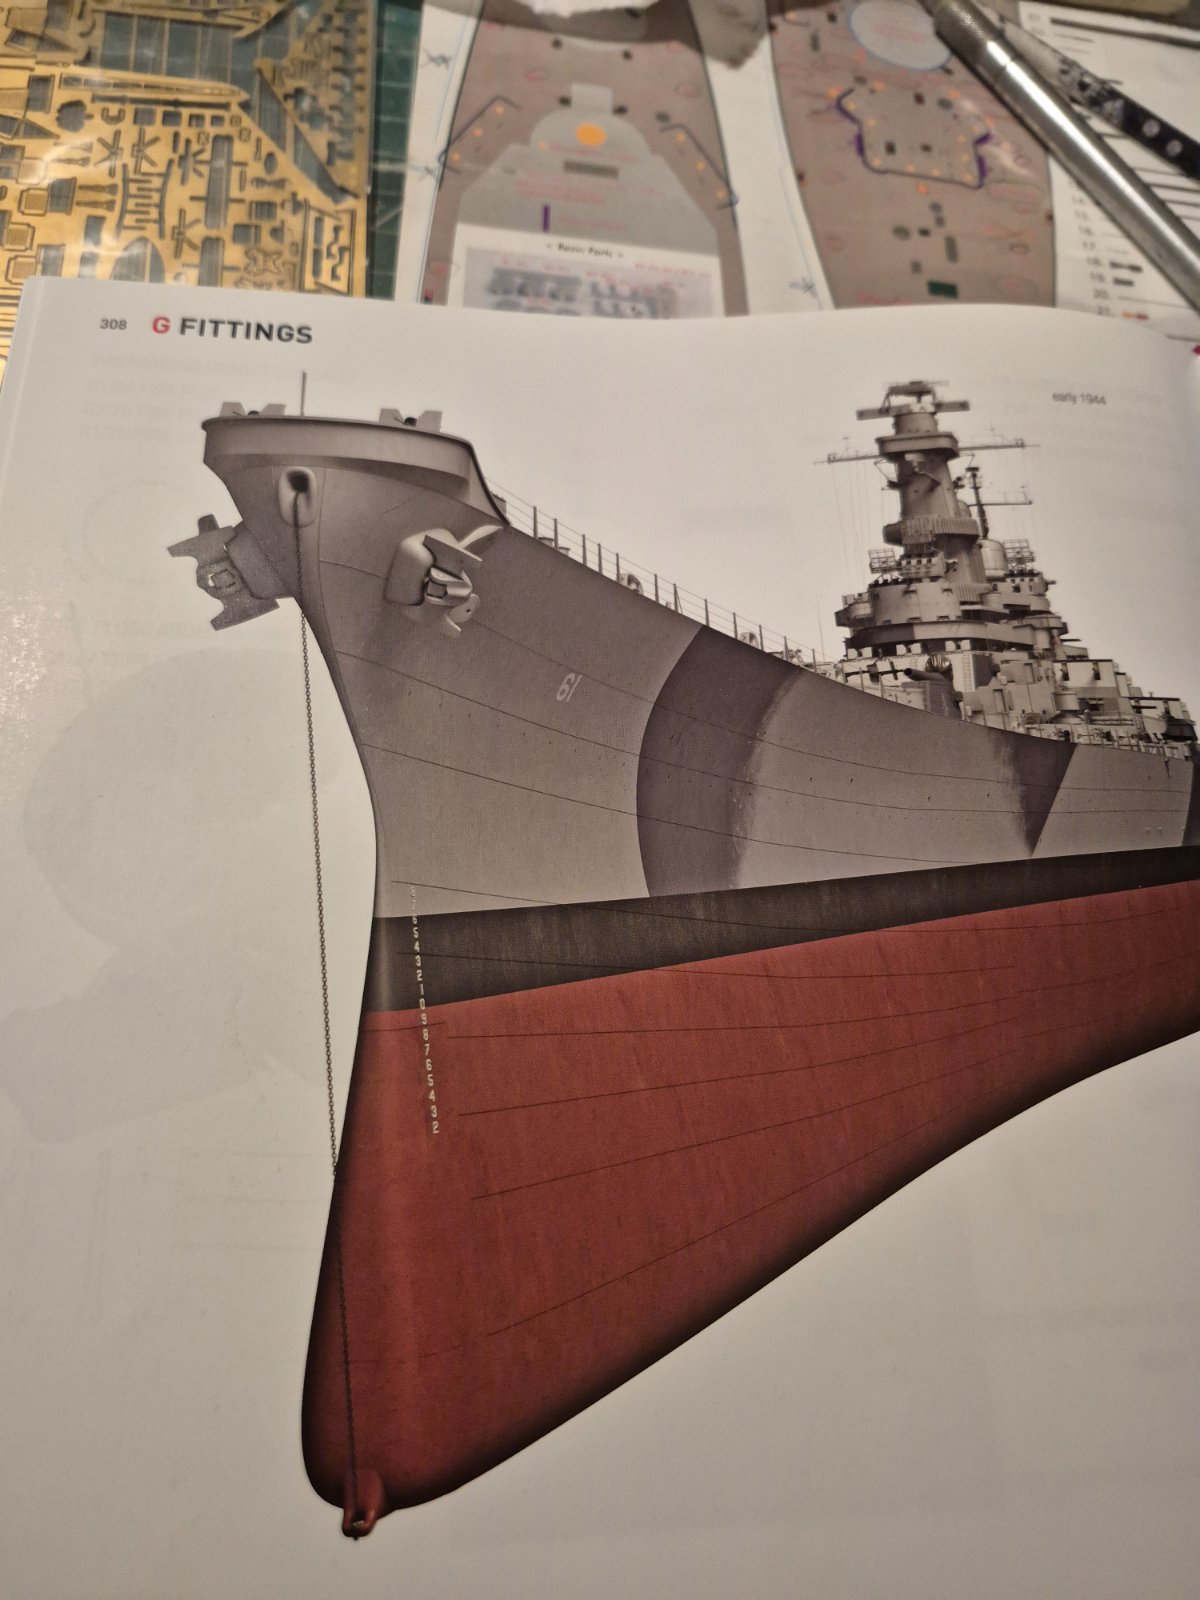 but no notations as to its purpose. I was going to add that chain to my model, but the few scraps of chain I have are too big for the scale.
Edit....
It's not depicted from 1947 onward....
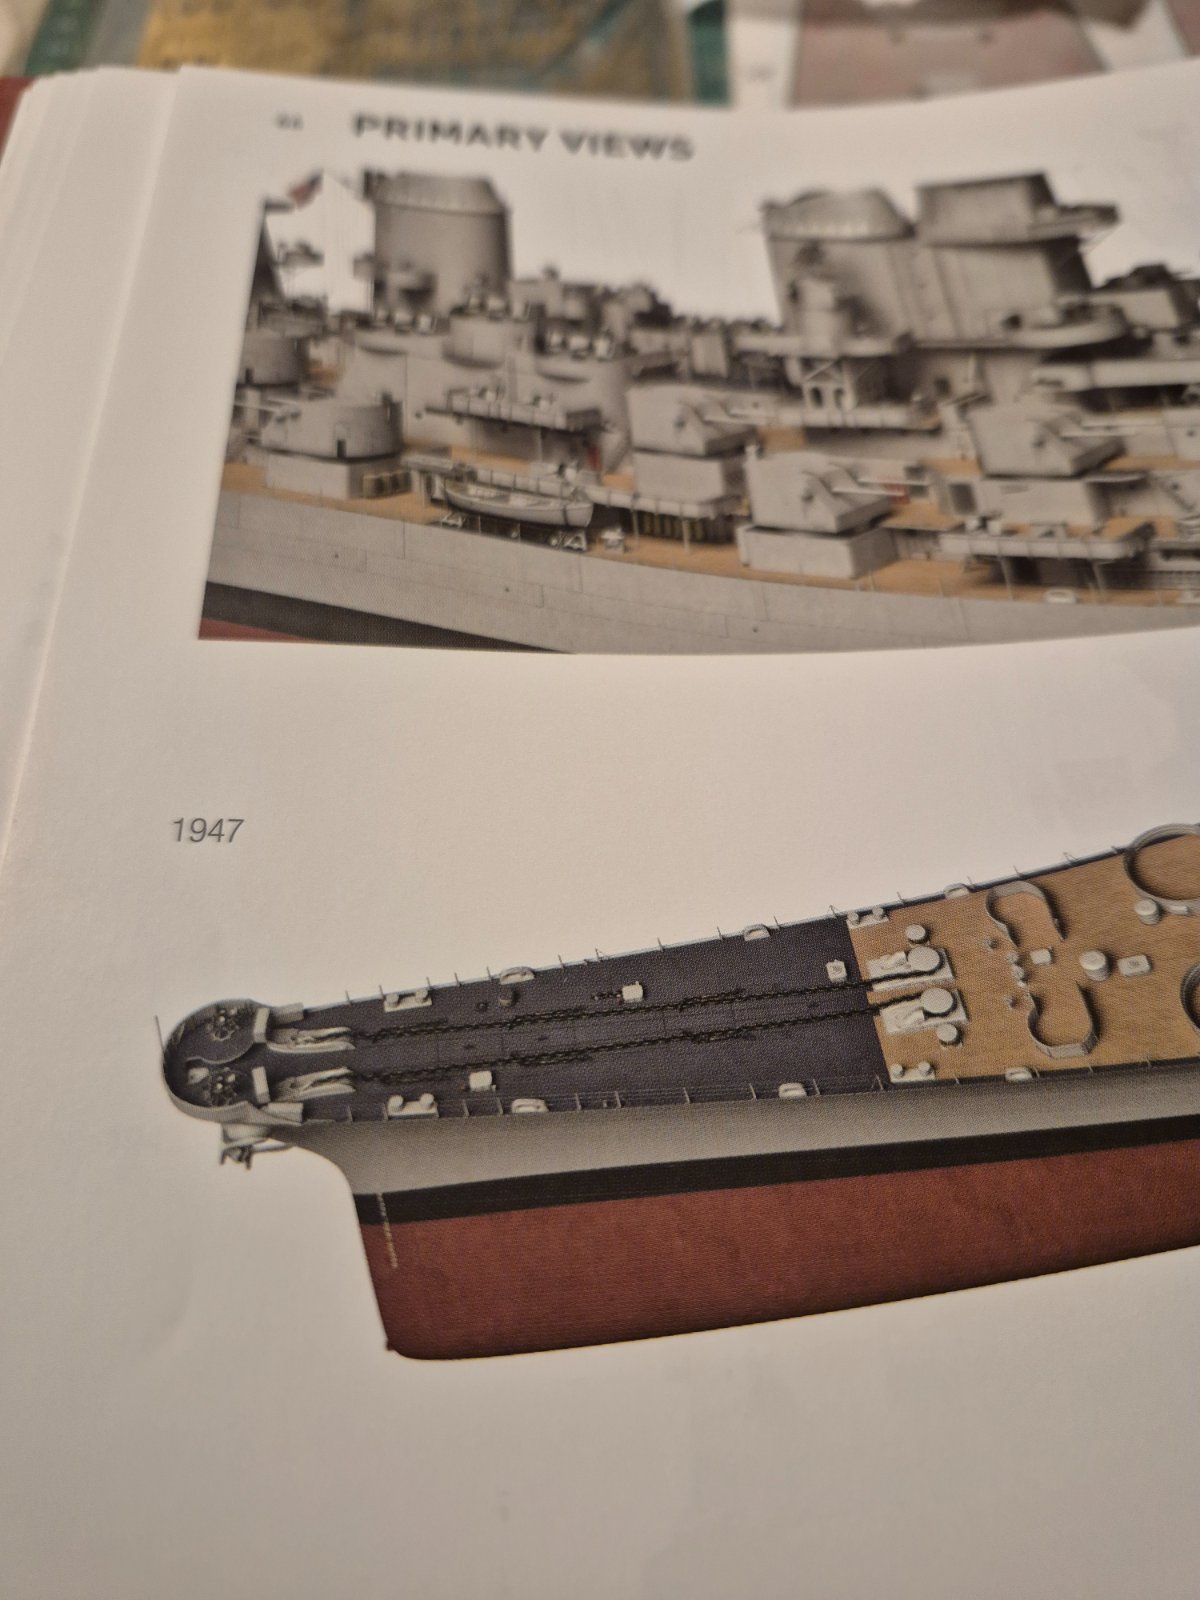
Its depicted in my reference book during WWII
Edit....
It's not depicted from 1947 onward....
Last edited:
kevin
Well-Known Member
Thanks for the video......paravane deployment.
Trumpeter supplied them with kit, but I went with the more detailed Pontos ones. They are mounted to the deck behind the forward 40 mm Bofors tubs, far enough from the bow to not come to mind when thinking about that chain
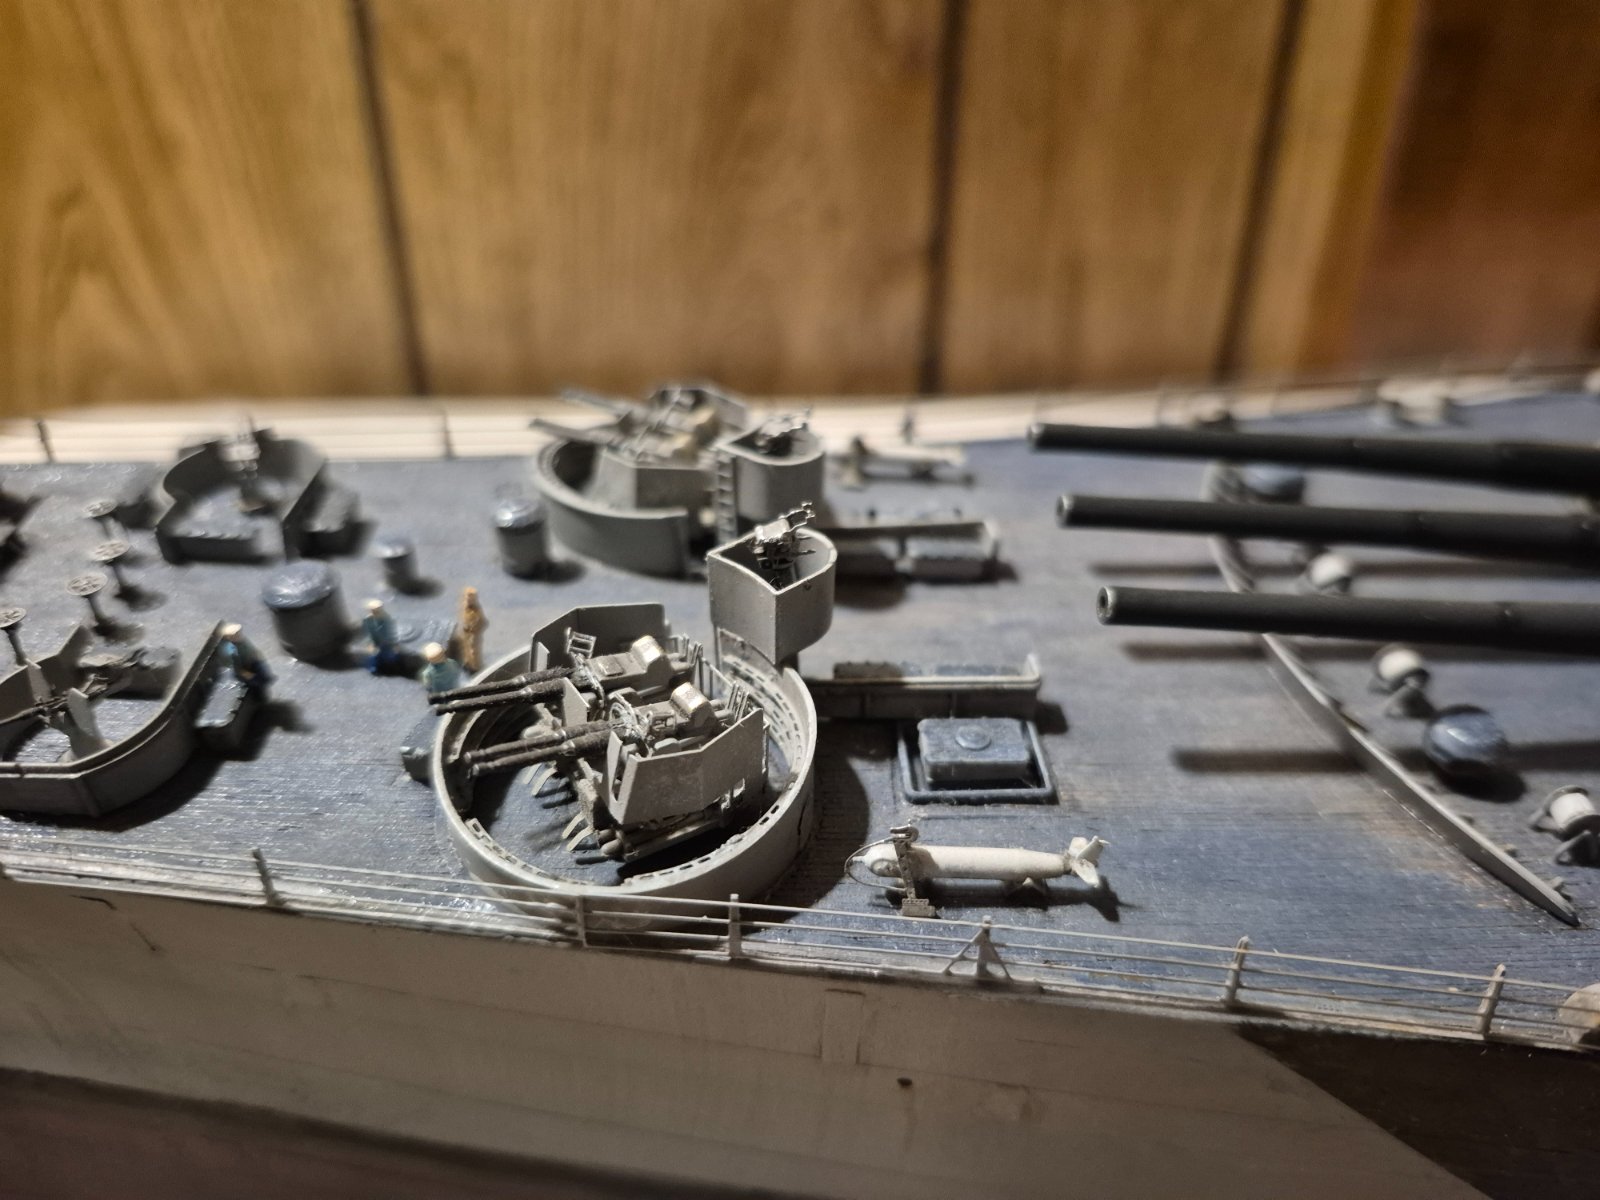
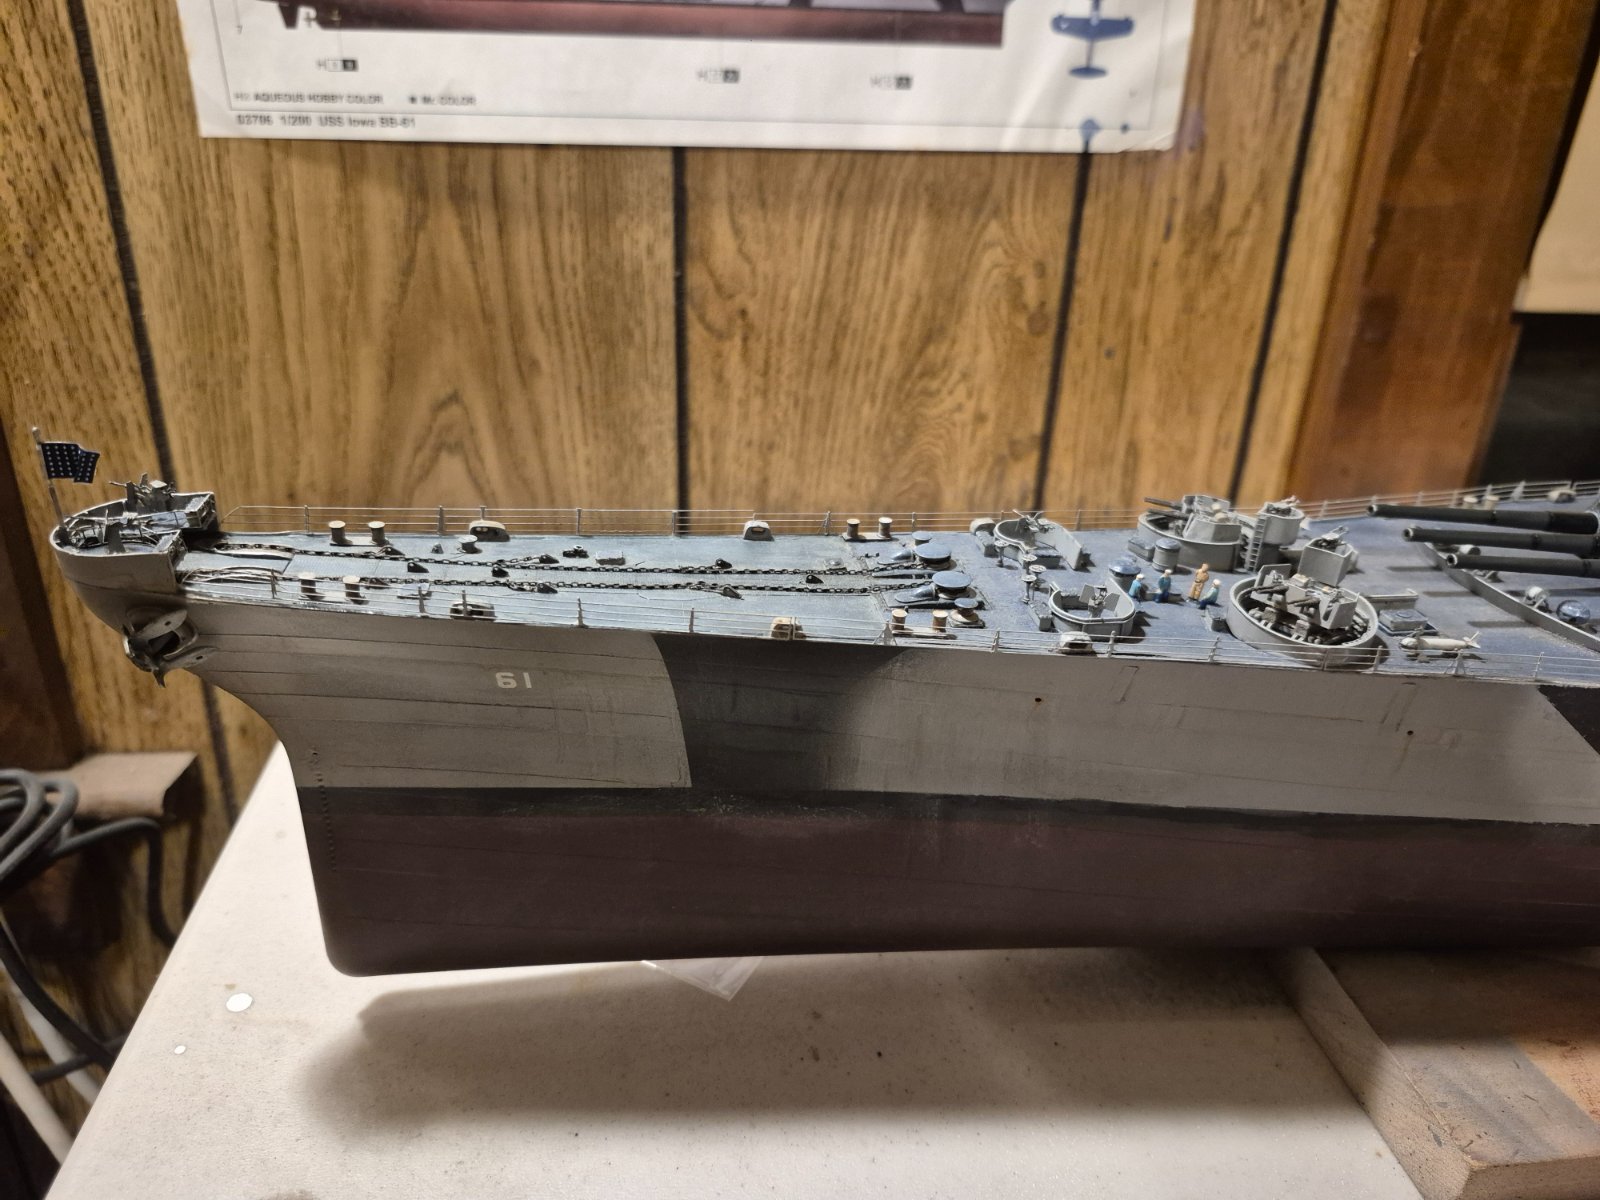
Trumpeter supplied them with kit, but I went with the more detailed Pontos ones. They are mounted to the deck behind the forward 40 mm Bofors tubs, far enough from the bow to not come to mind when thinking about that chain
kevin
Well-Known Member
I've been working on the rigging for the last few days.
I'm using black thread from a sewing kit stiffened with white glue. Its a little big for the 1/200 scale, but I'm going with it because the .02mm line from AMMO I bought is so small you can hardly see it.
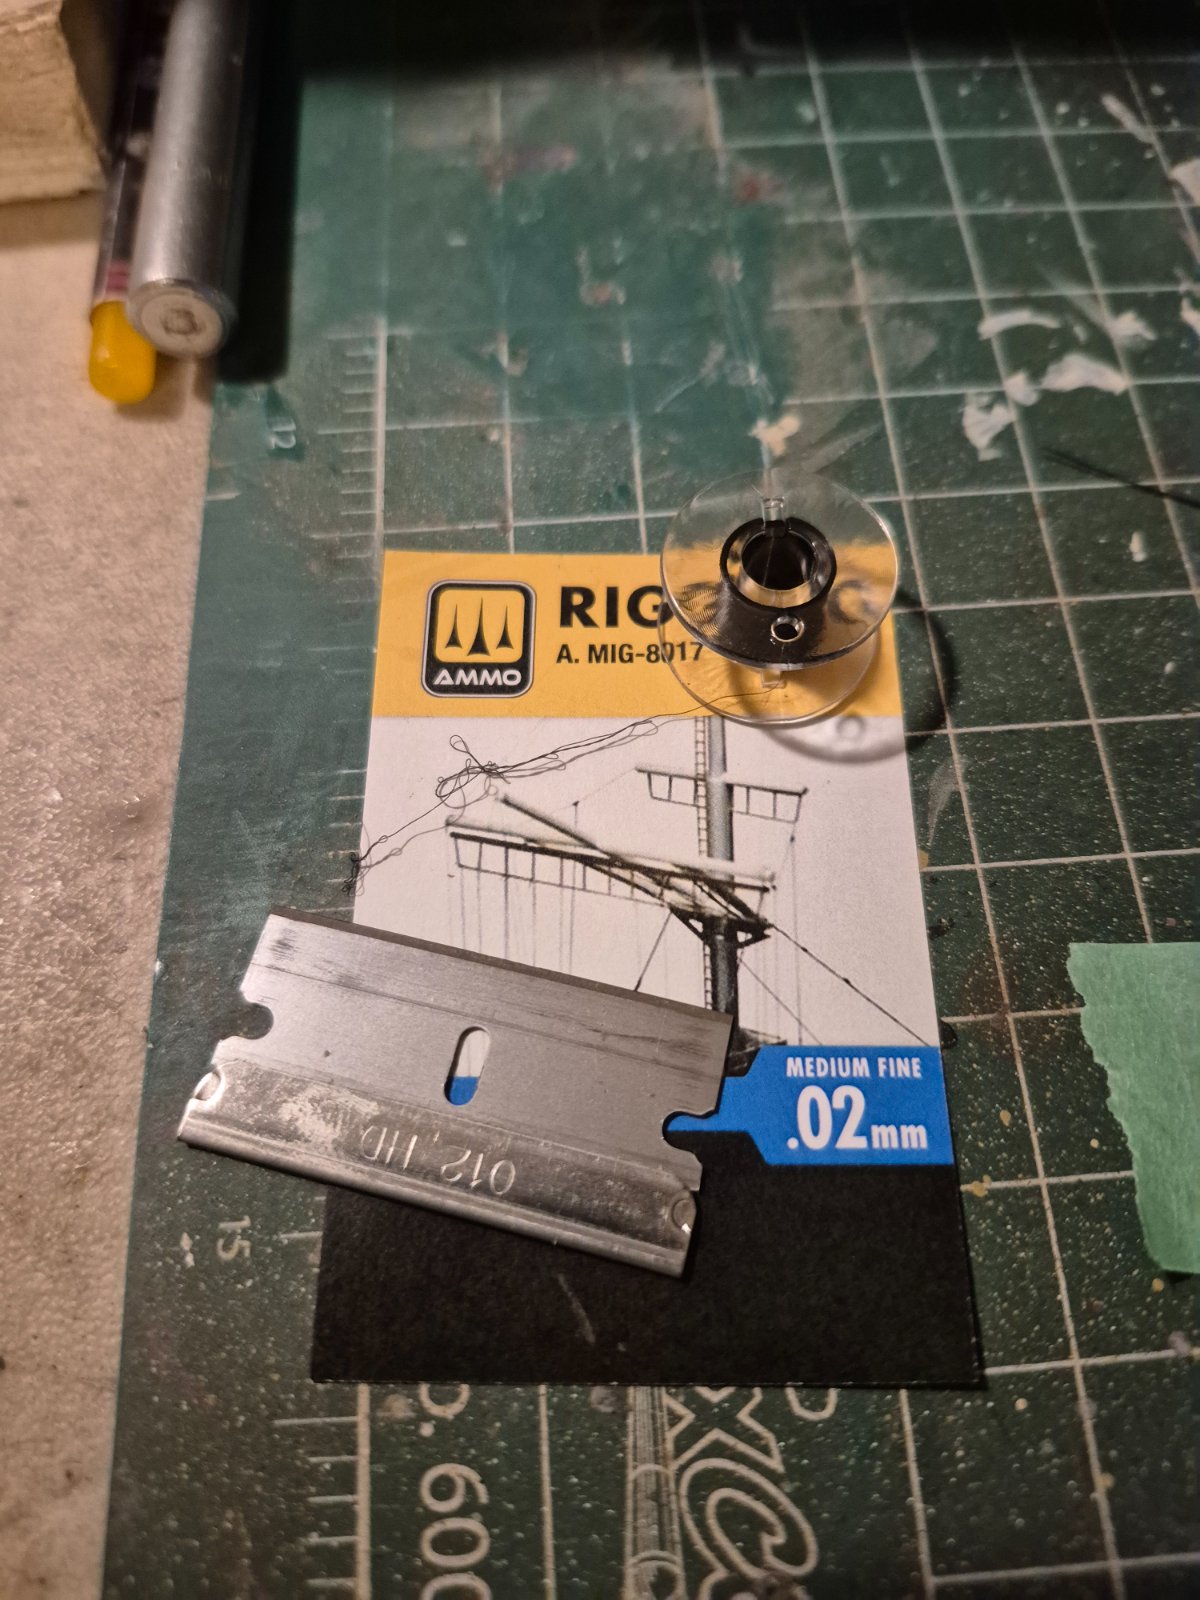
It definitely tries your patience, getting it set in place with an acceptable amount on sagging. No sagging is beyond my skill and patience level, because it's one step forward, two steps back.
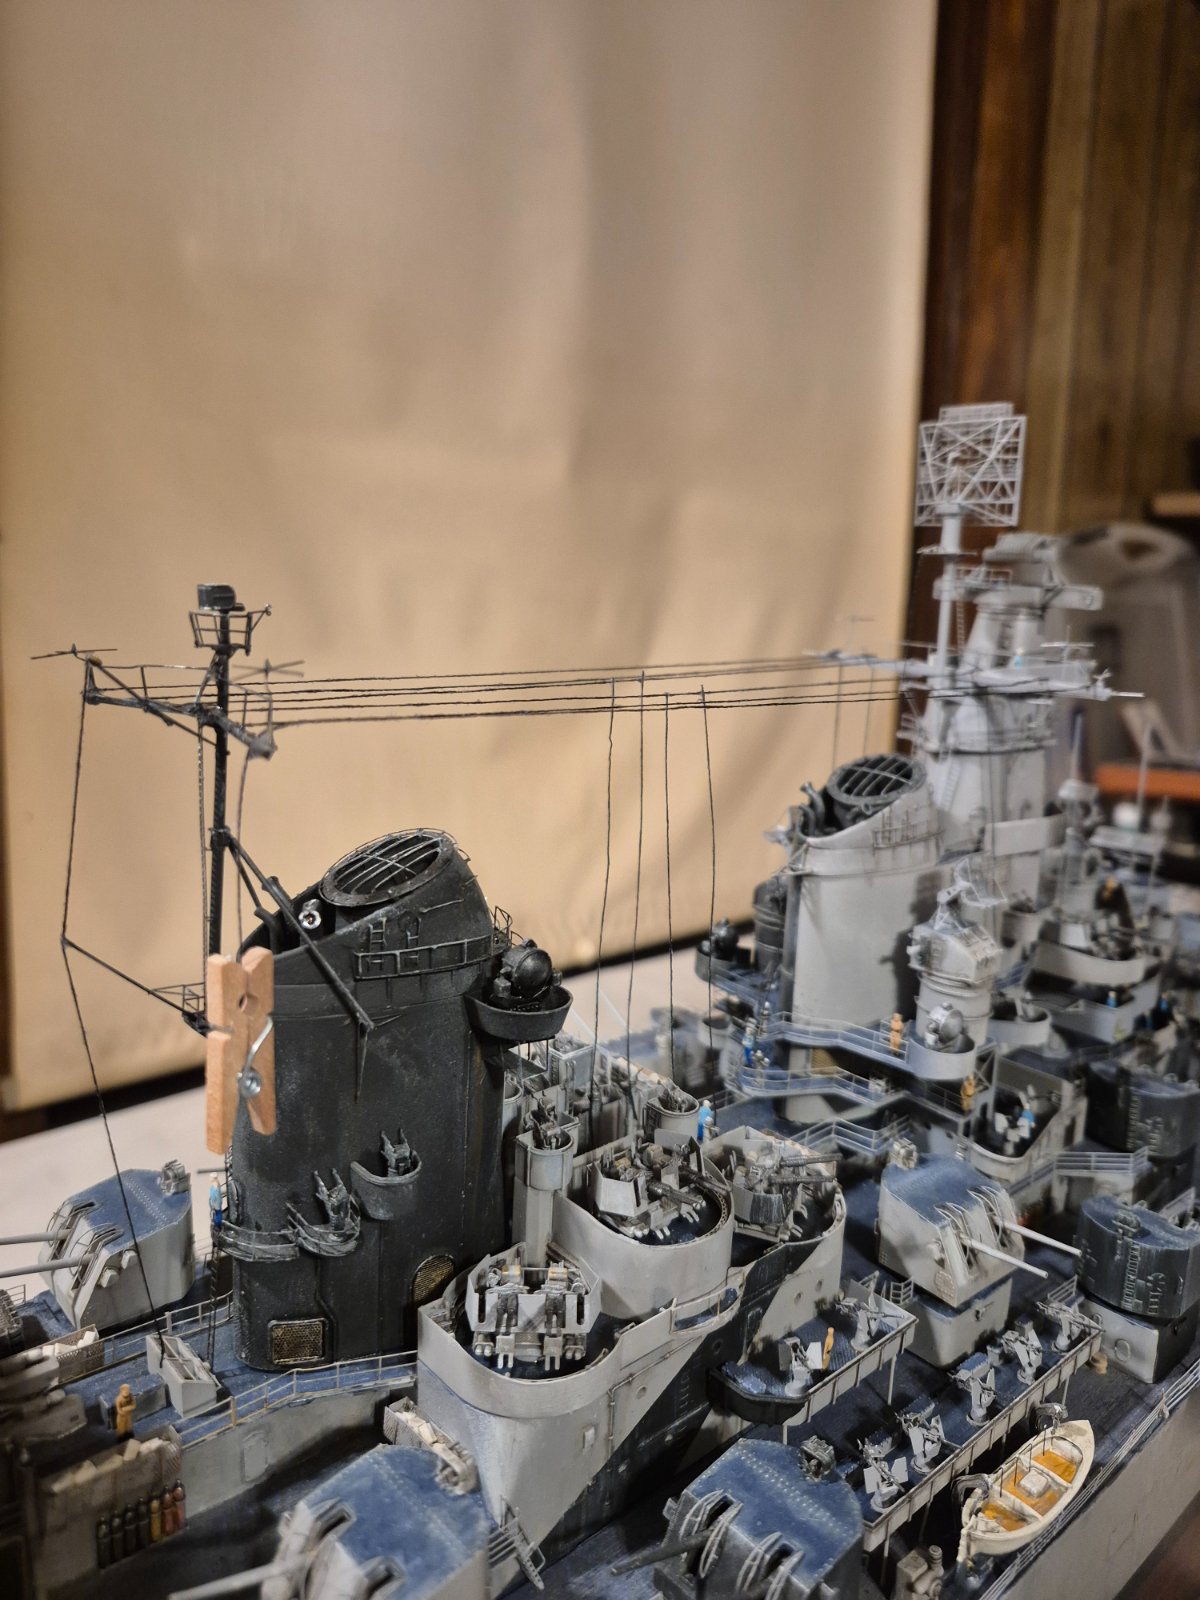
Previously set lines that are glued in place with no sagging, develop a sag as new ones are added because the mast have some flex. Also, add to that the small and delicate PE antennas and stuff that bend and break so easily.
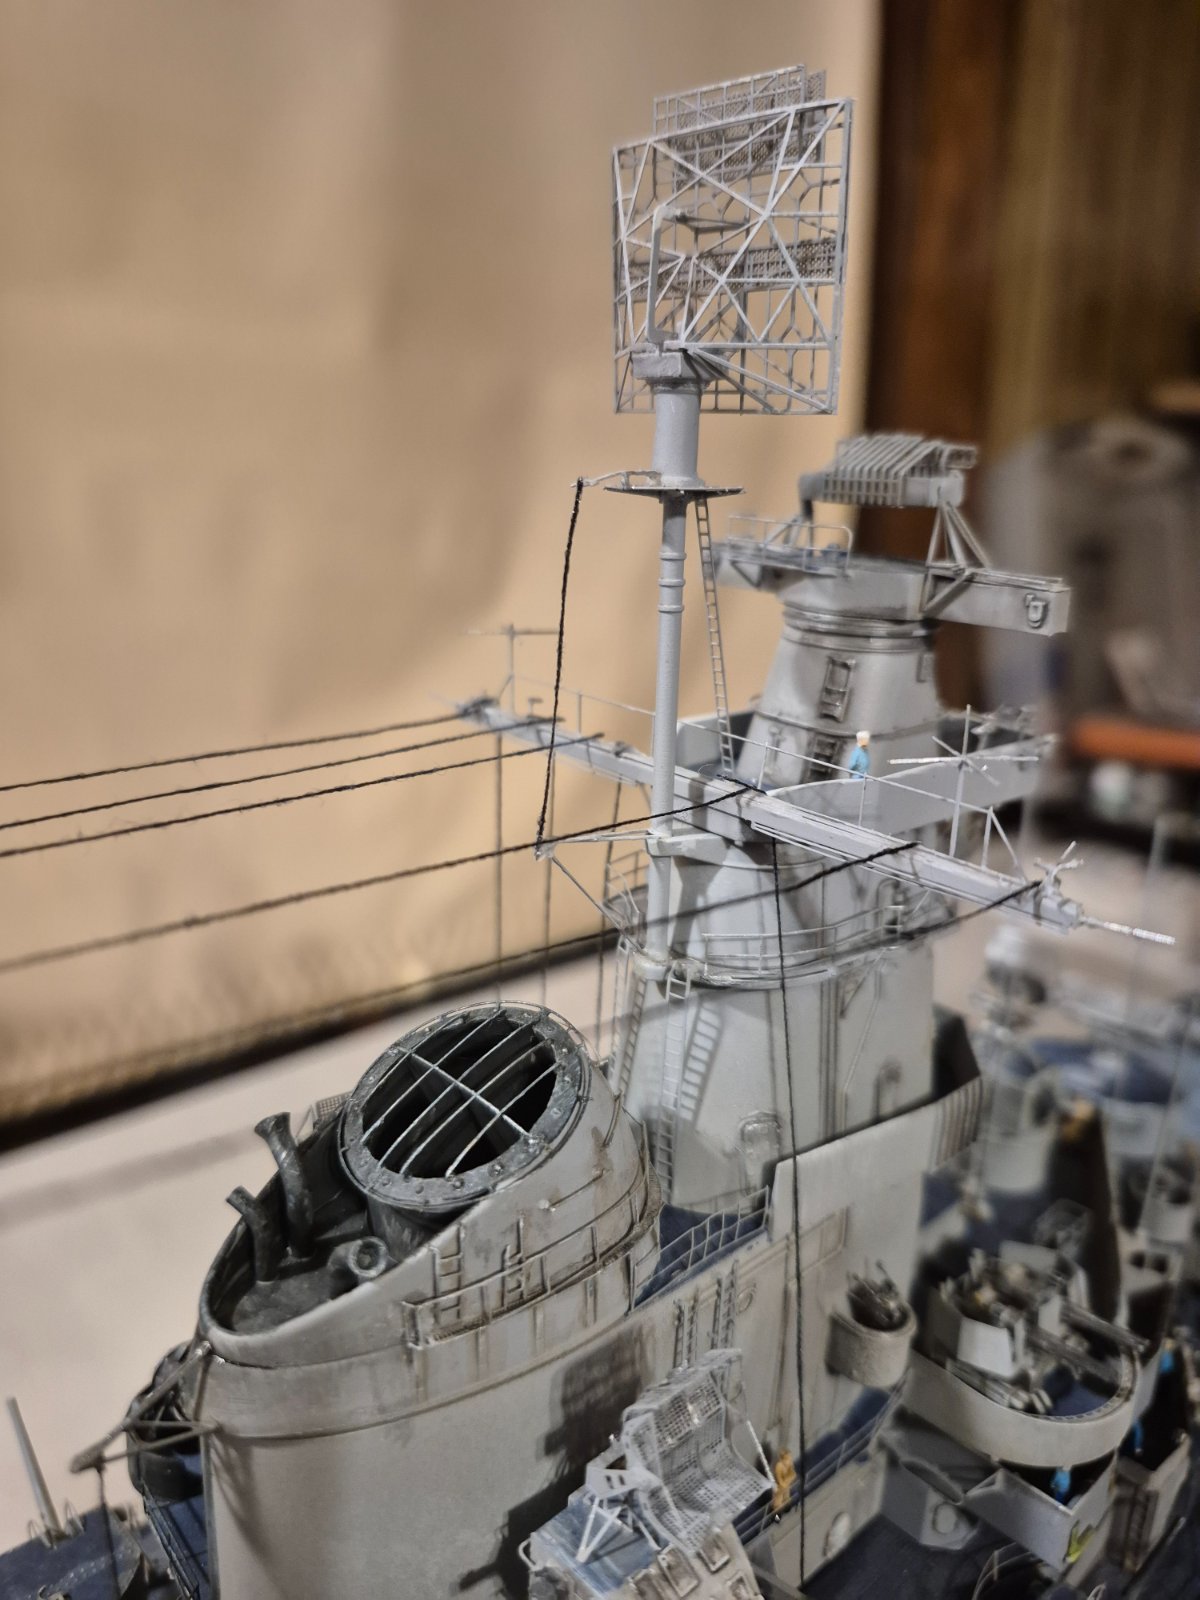
I am getting it to an acceptable level, though. I have a few more to go, then add the stars and stripes and a few signal flags.
I think I'm going to run some black / grey paint on the lines to hopefully even out the rough texture left by the Elmer's glue.
I'm using black thread from a sewing kit stiffened with white glue. Its a little big for the 1/200 scale, but I'm going with it because the .02mm line from AMMO I bought is so small you can hardly see it.
It definitely tries your patience, getting it set in place with an acceptable amount on sagging. No sagging is beyond my skill and patience level, because it's one step forward, two steps back.
Previously set lines that are glued in place with no sagging, develop a sag as new ones are added because the mast have some flex. Also, add to that the small and delicate PE antennas and stuff that bend and break so easily.
I am getting it to an acceptable level, though. I have a few more to go, then add the stars and stripes and a few signal flags.
I think I'm going to run some black / grey paint on the lines to hopefully even out the rough texture left by the Elmer's glue.
... when I tried rigging my 'toon Hood, I ended up replacing some simple ones with brass...the mast have some flex
"run some black / grey paint on the lines"... hmm, do some testing, I wonder if wetting/drying the thread will 'shrink' it taught?

GCB
Well-Known Member
- Joined
- Aug 22, 2023
- Messages
- 867
Kevin, looking great. As BB said, if you plan to paint the lines, make some trials before, as paint may affect them.
Also, domer94 suggested me to use guitar strings in place of those flexible lines and planning to test on my next battleship.
Also, domer94 suggested me to use guitar strings in place of those flexible lines and planning to test on my next battleship.


