1/16 M8 Howitzer Motor Carriage

Scale Model Addict - Model Tips, Guides, Tools & Tech, Tutorials, and Community

Help Support Scale Model Addict:

kevin

Well-Known Member
Joined
Mar 21, 2024
Messages
1,088
City & State/Province
Gloucester, Massachusetts
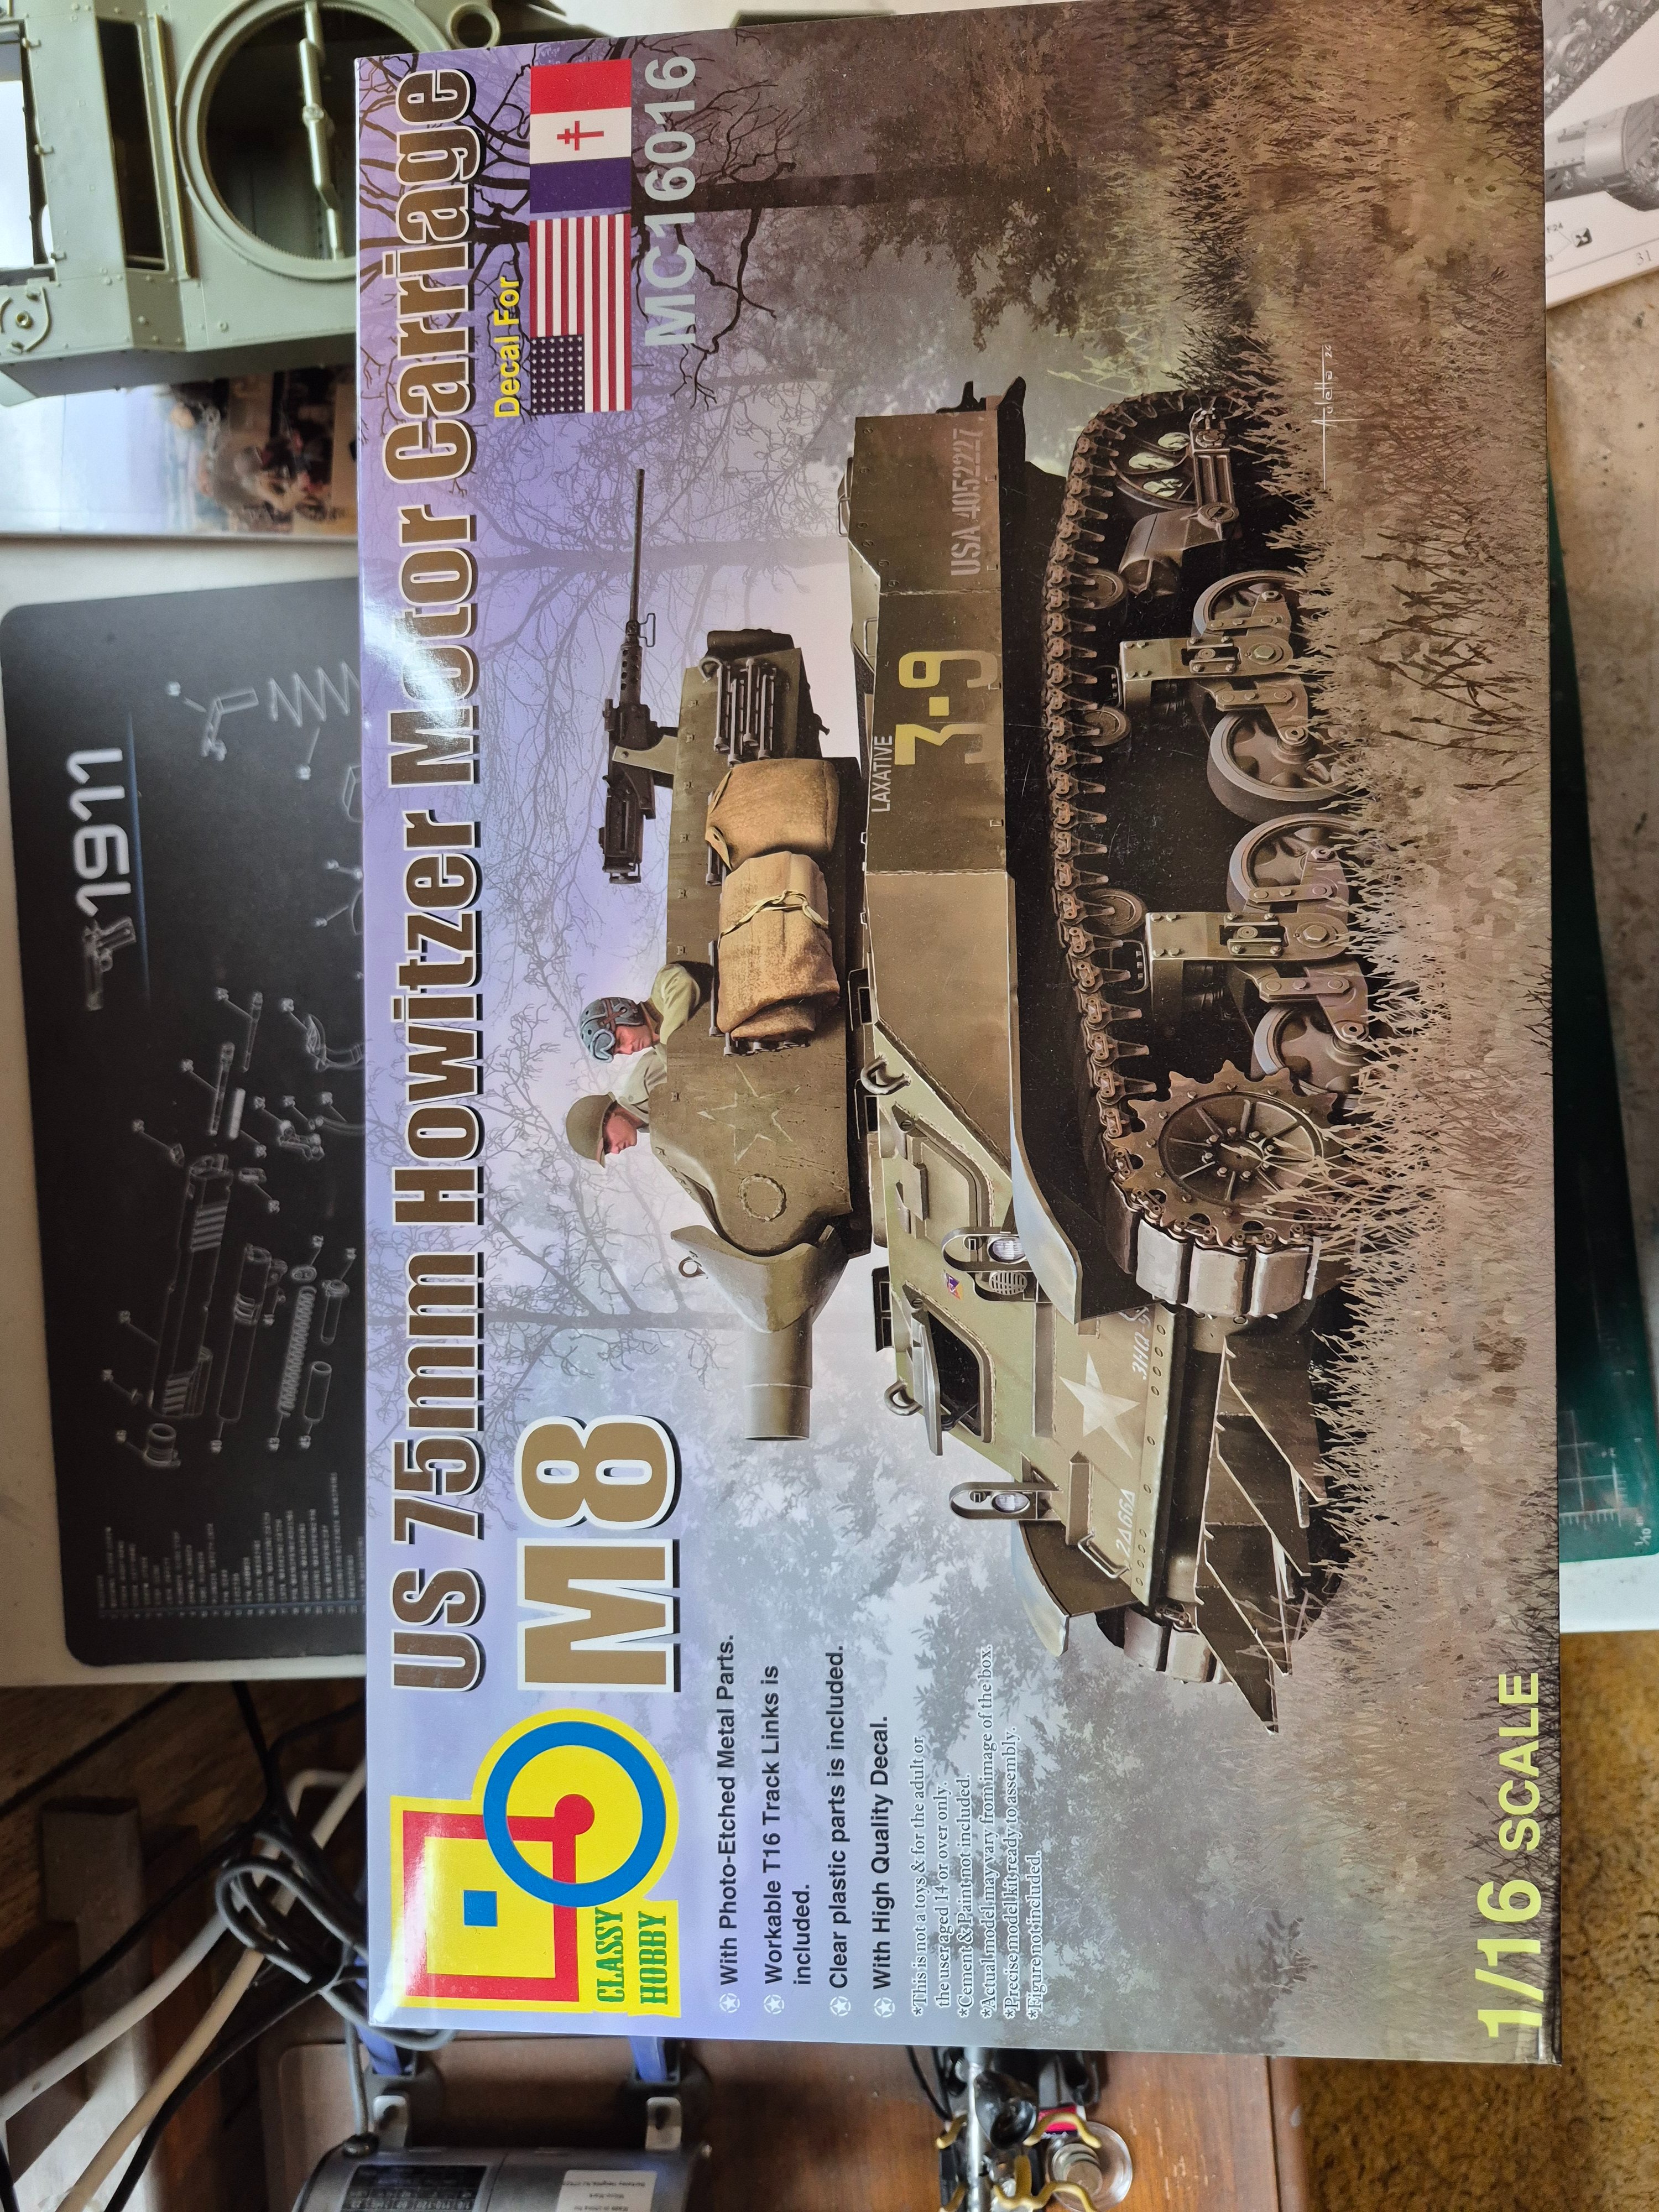
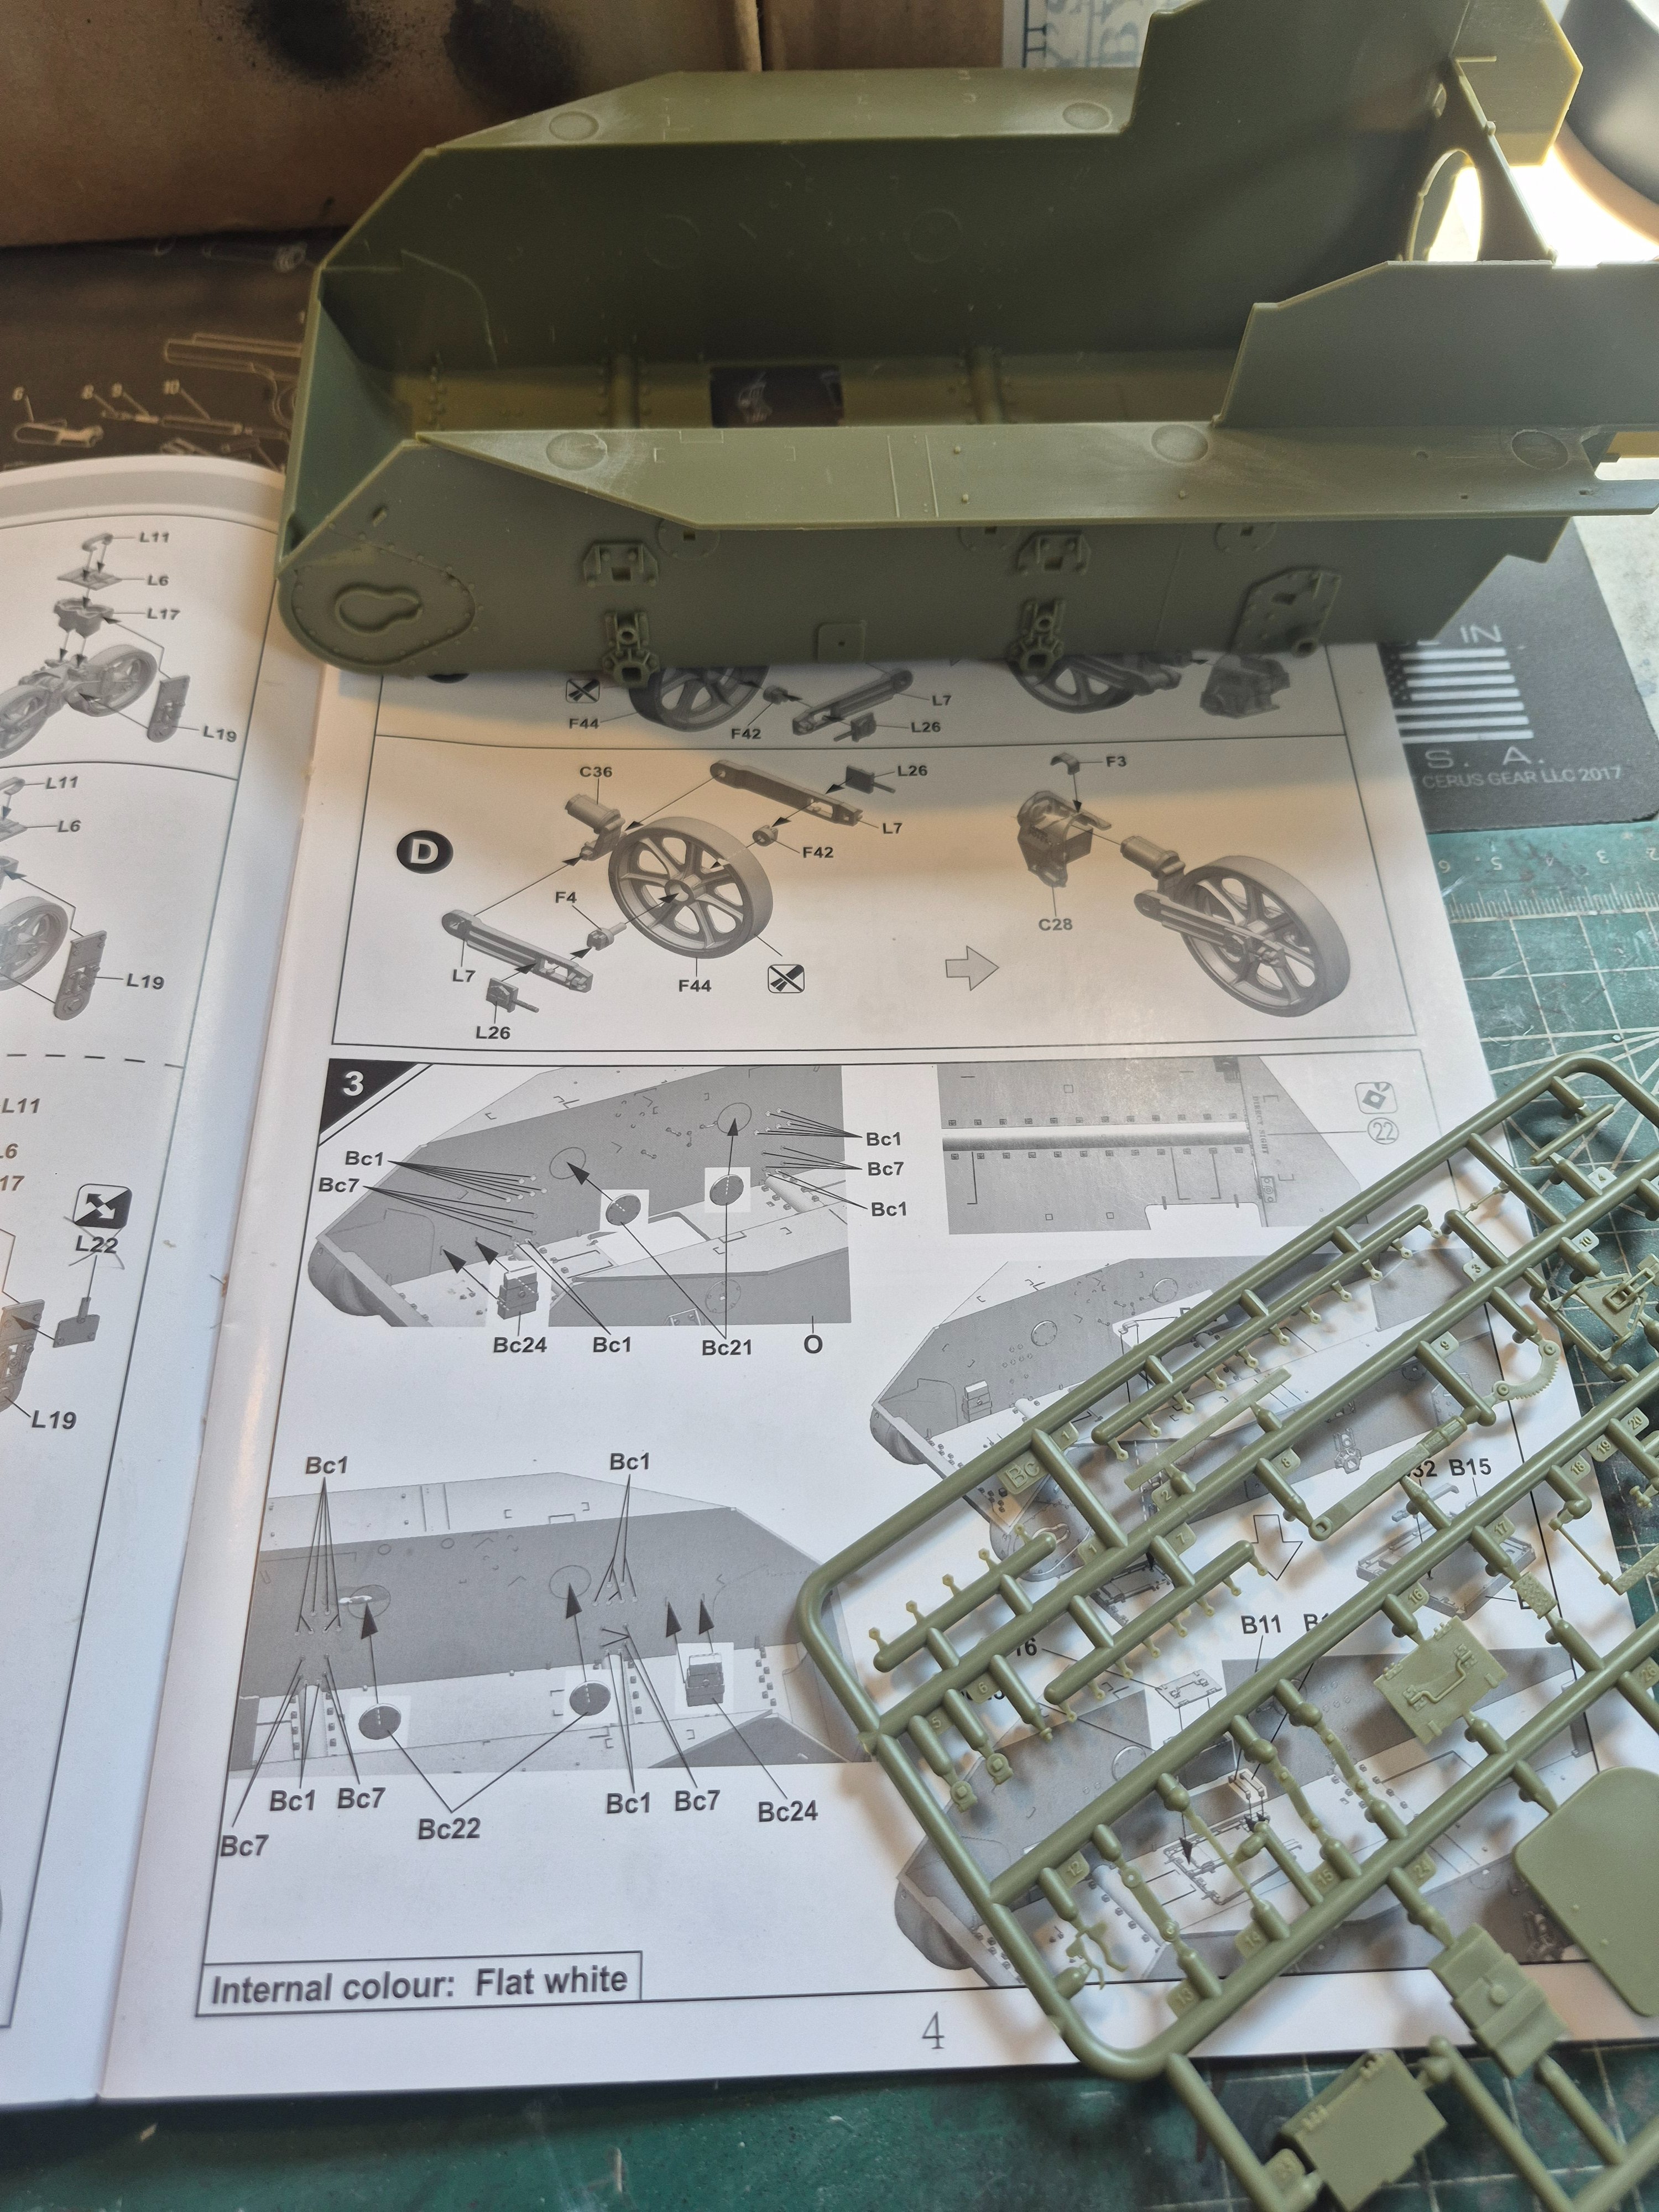
The new build is underway.

17785237263868923758855256994834.jpg


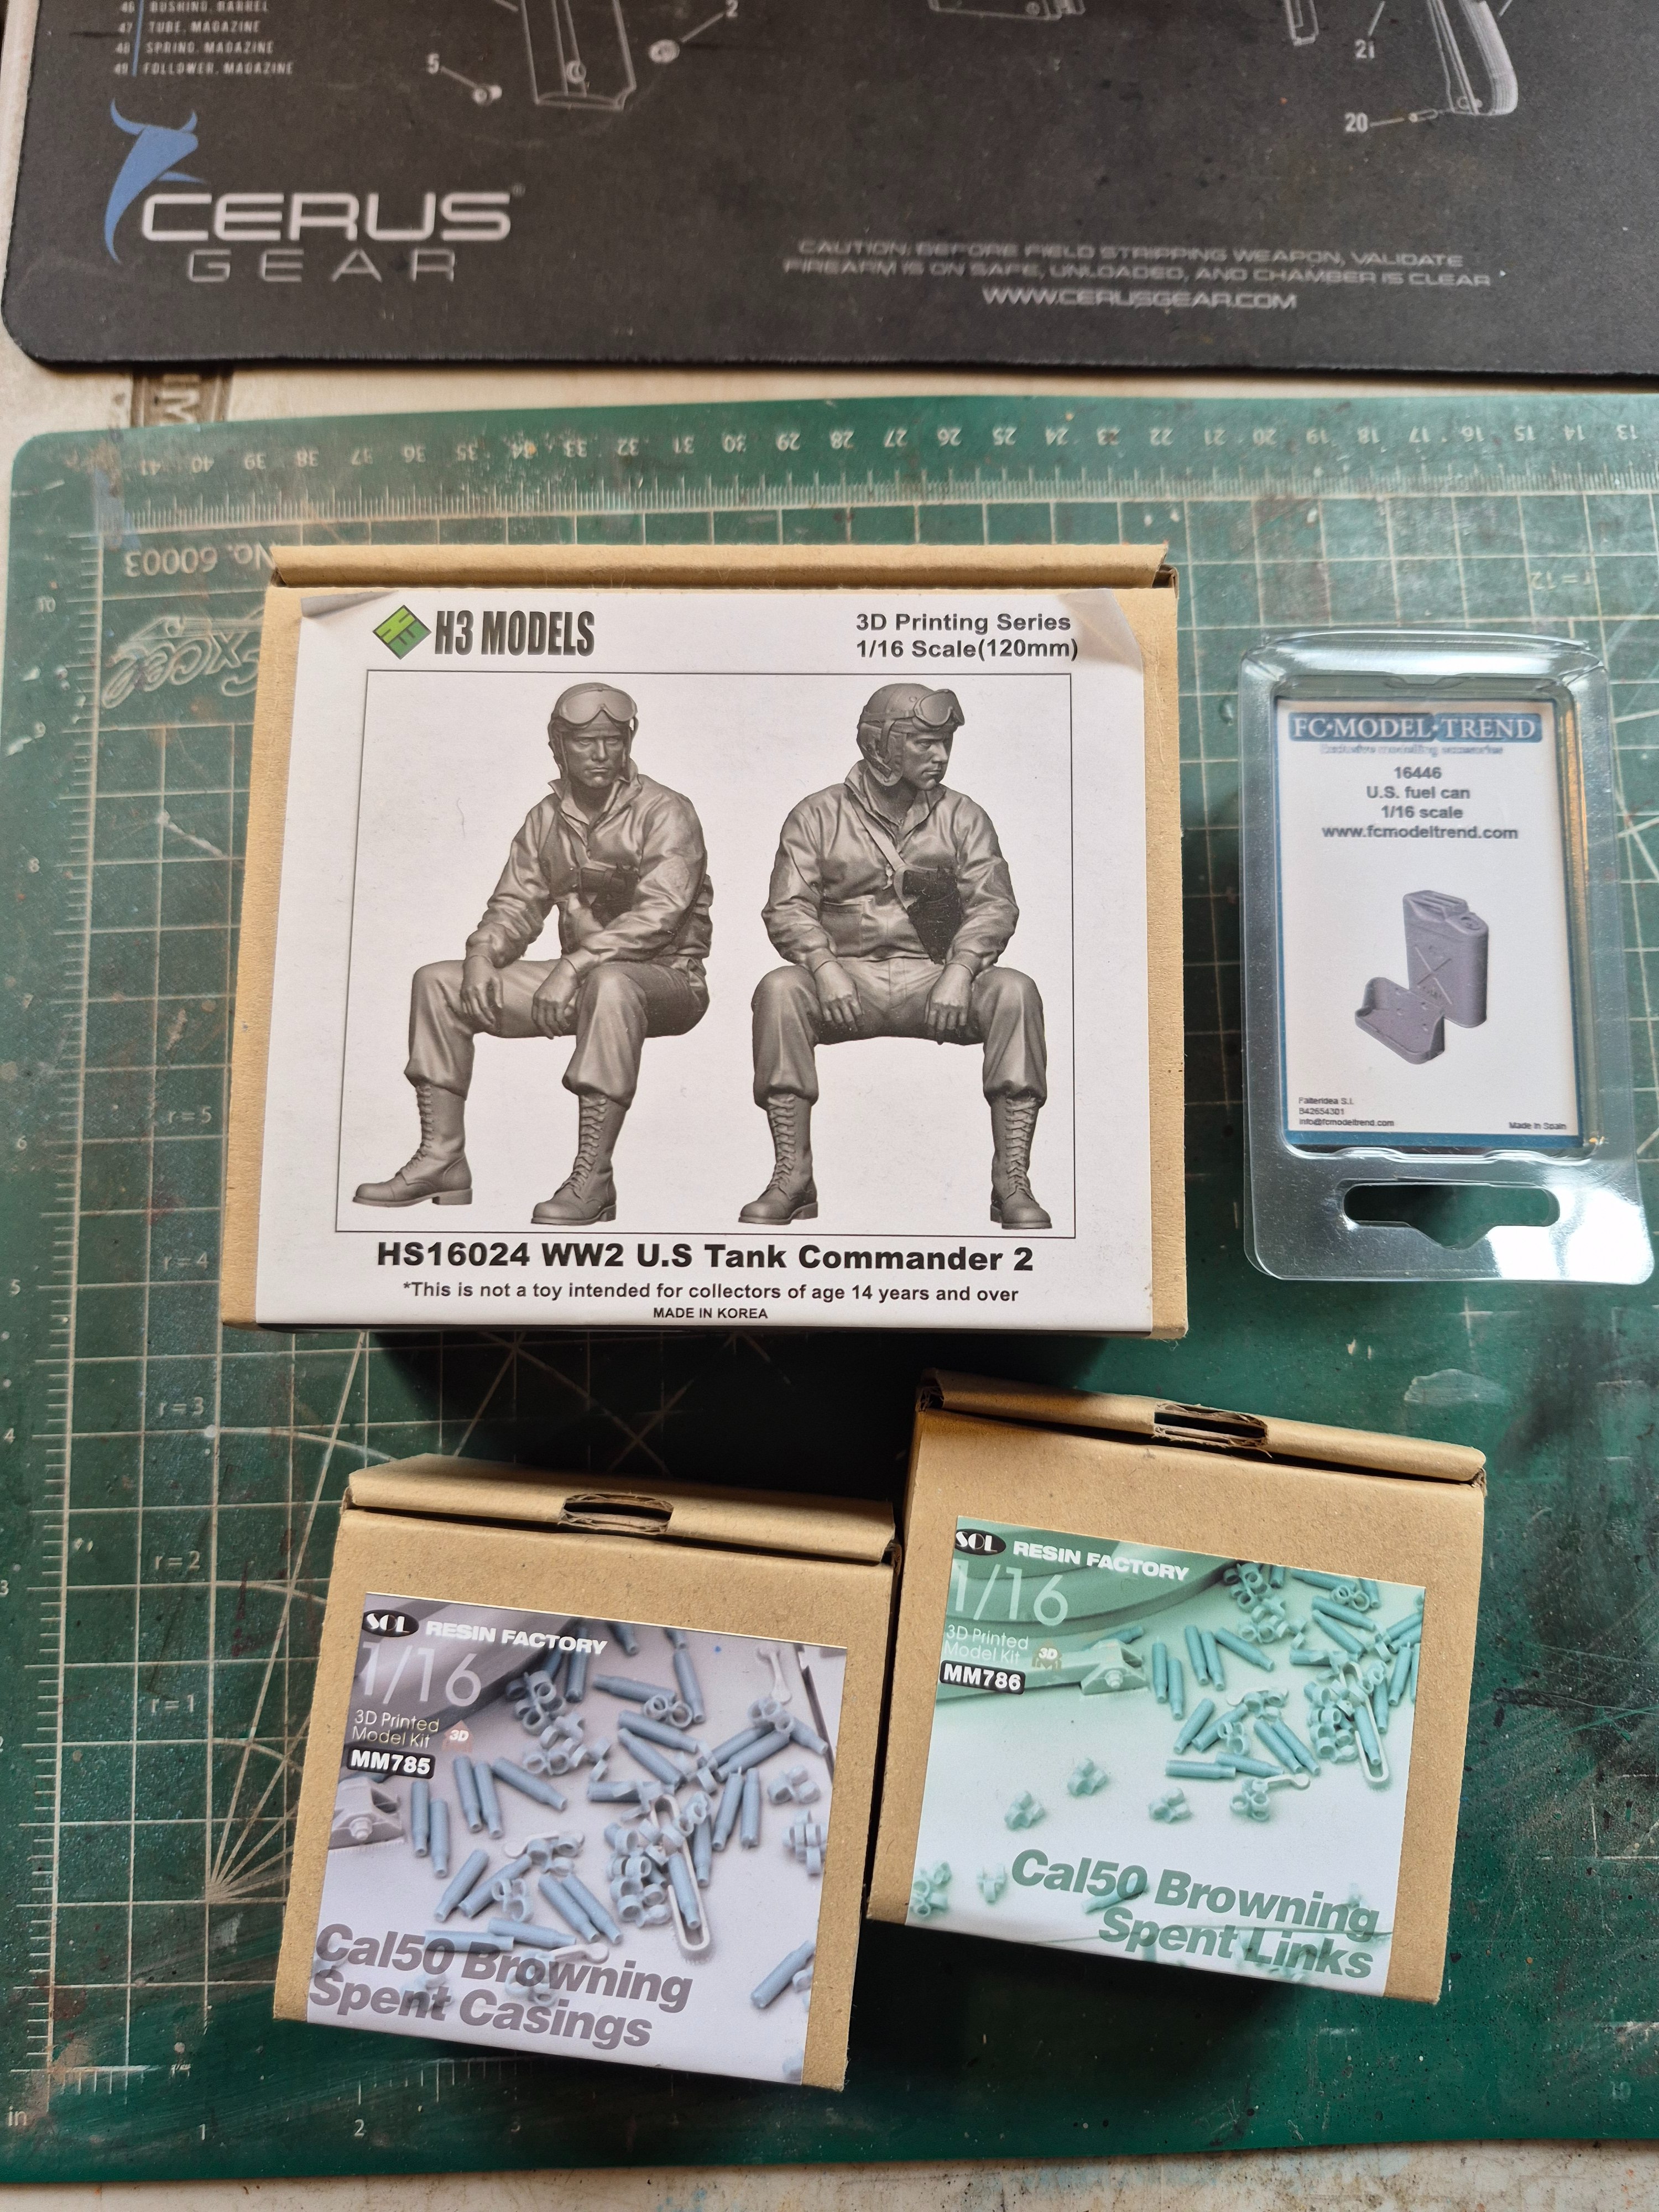
177852379493210215610047004552.jpg

I haven't built a kit from Classy Hobby, in fact, I've never heard of them before.
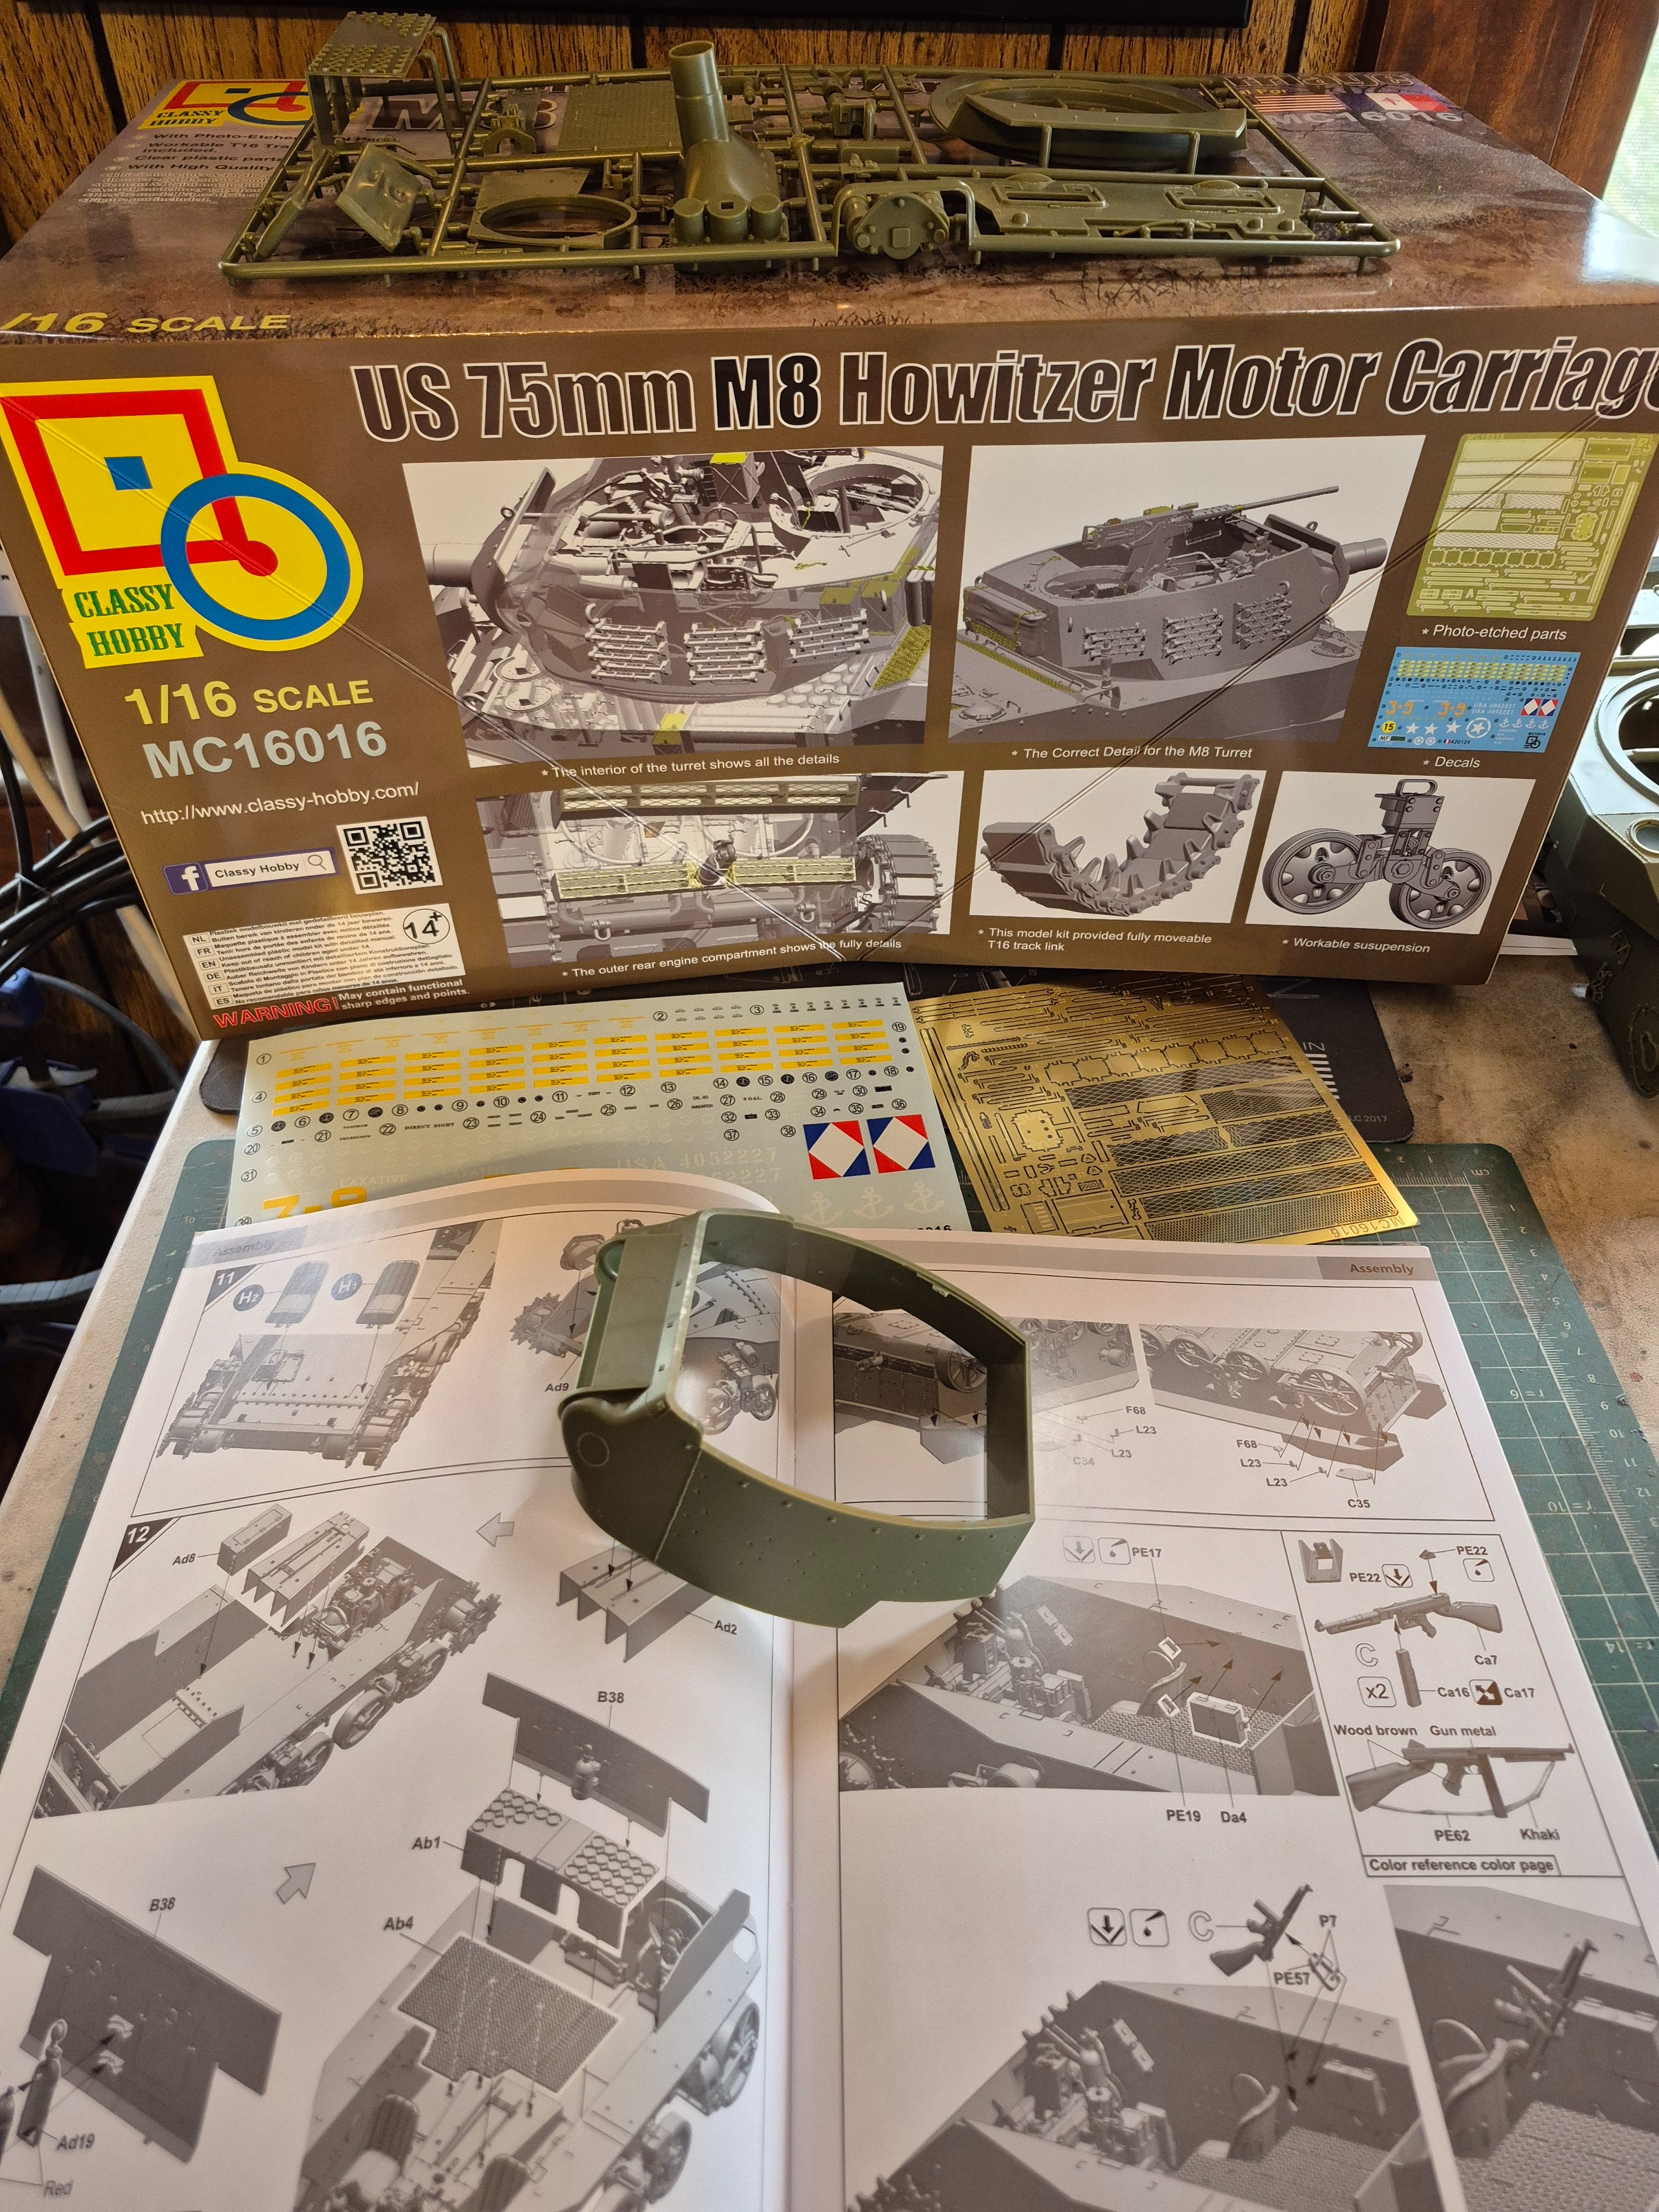
The kit has made a good first impression though.
1778523996238419109402422450432.jpg
 
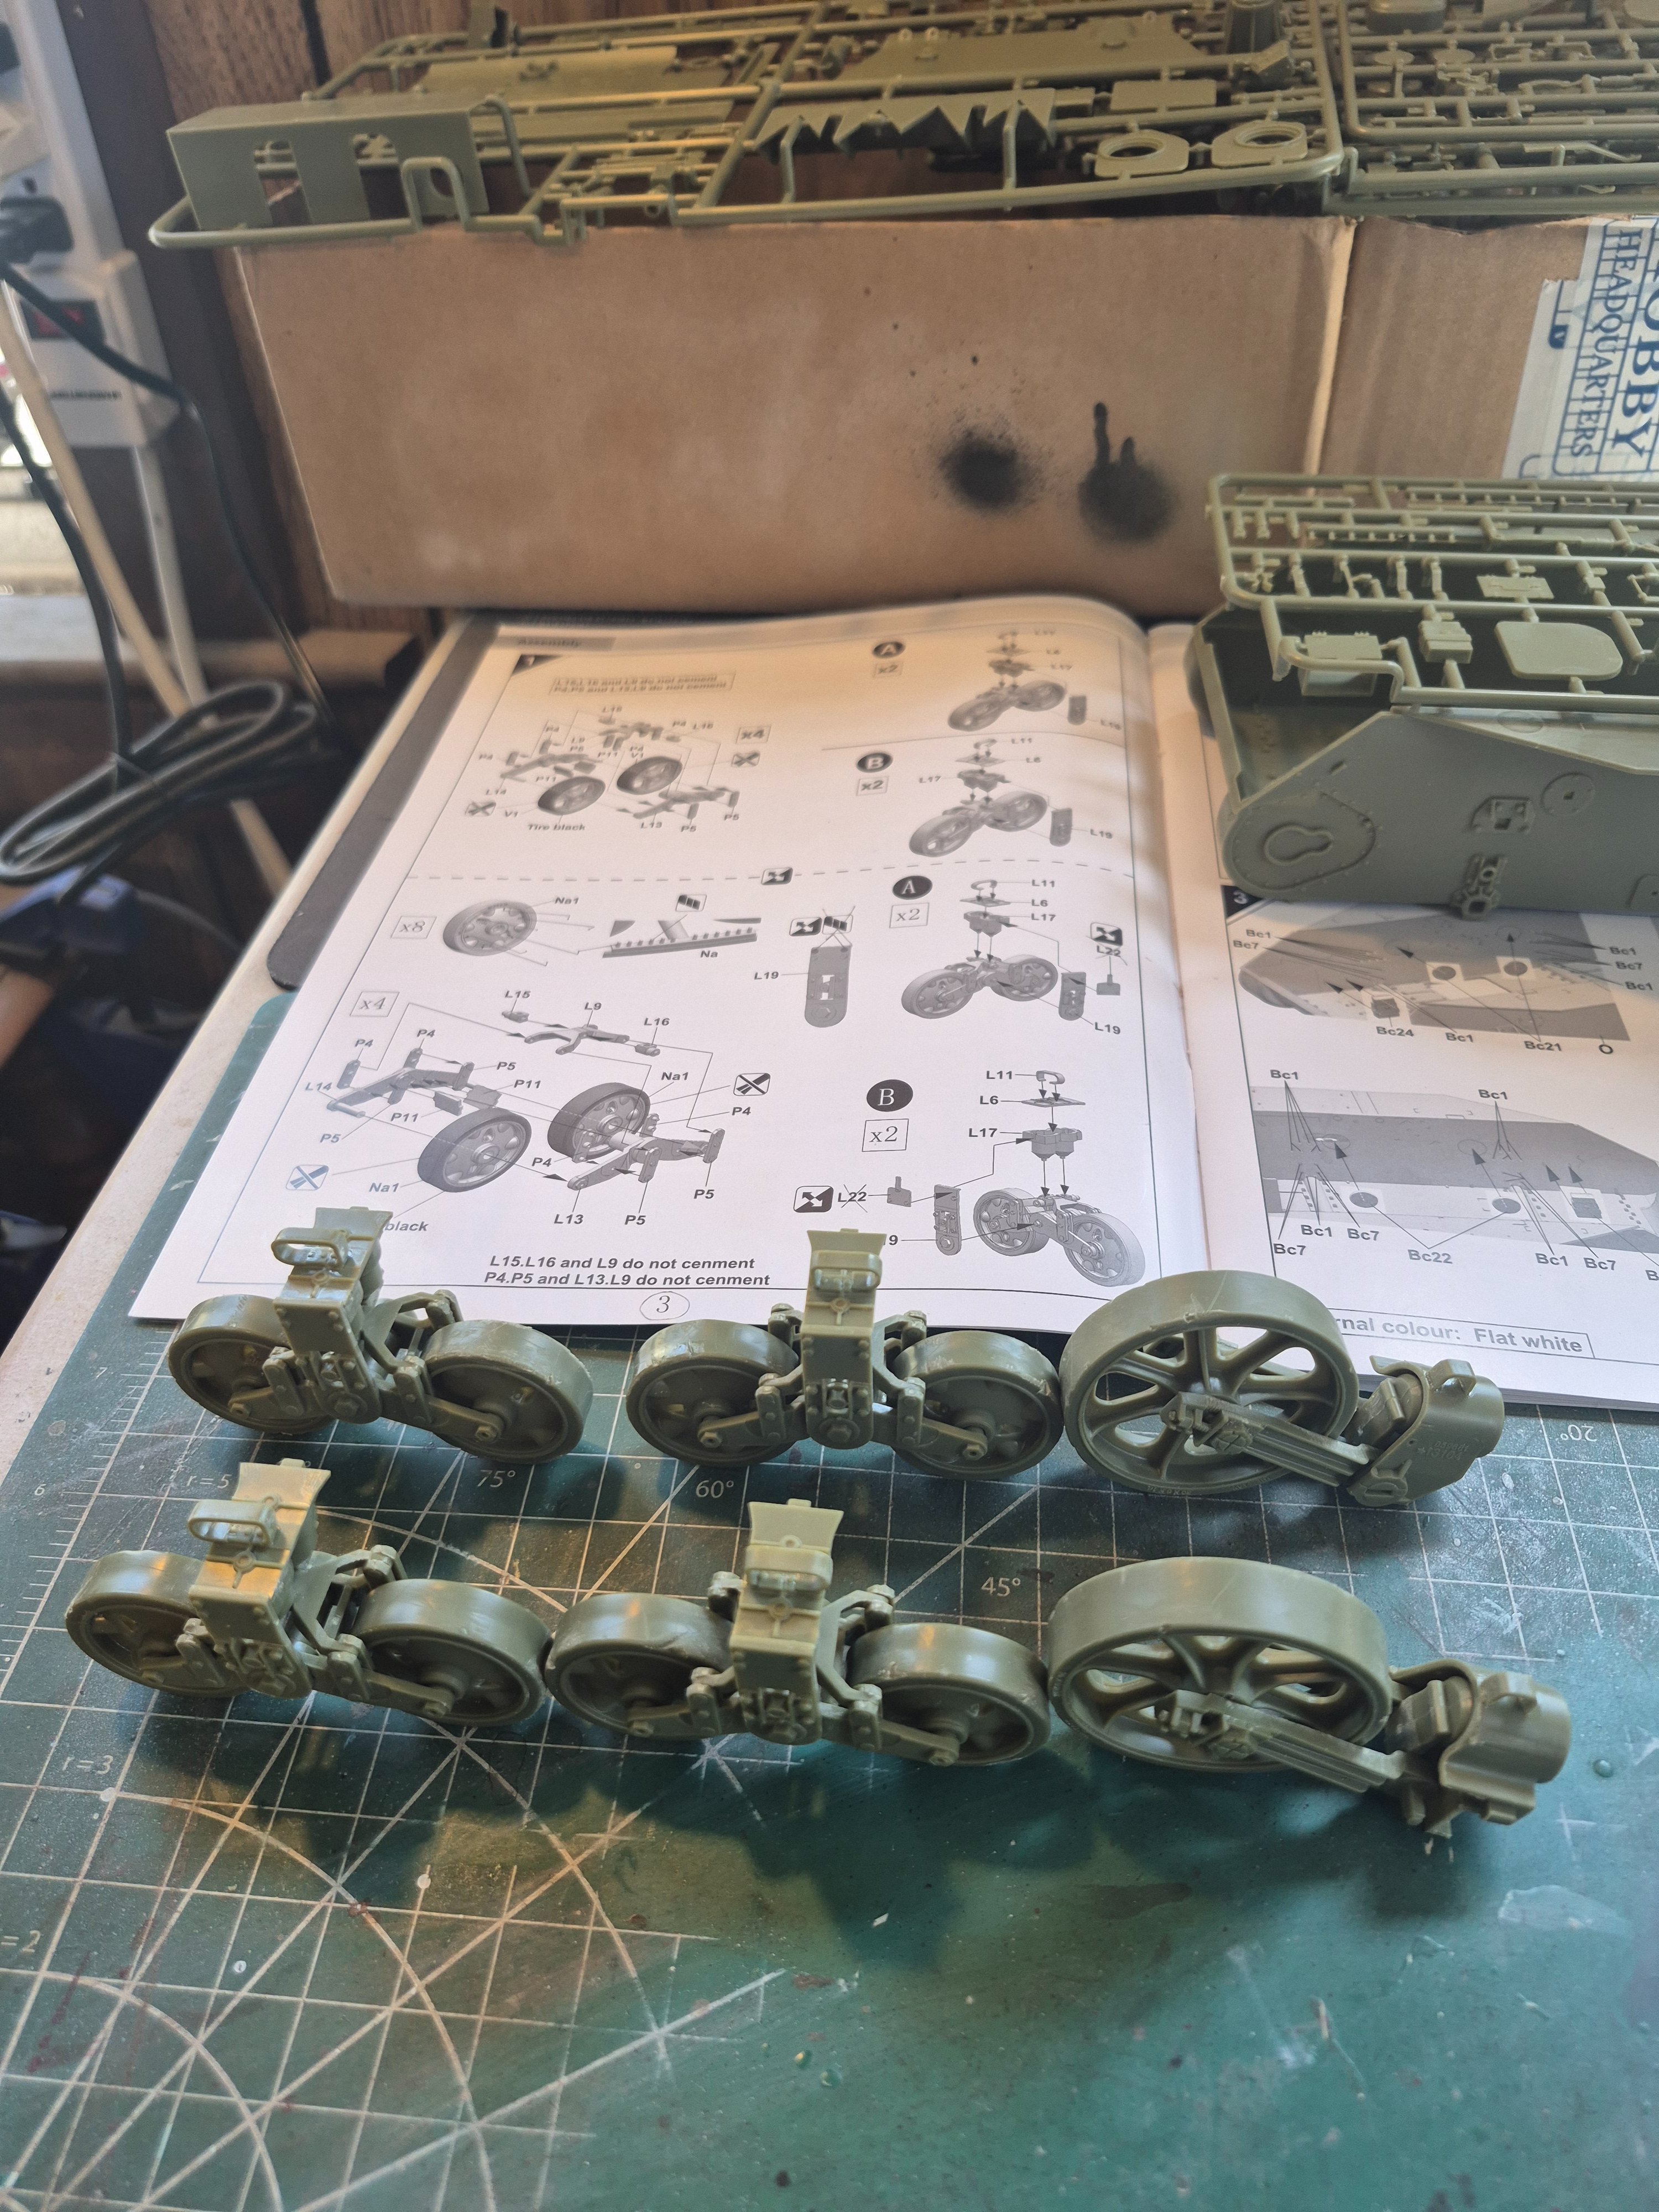
The road wheels are together. I distressed the rubber with some nicks and scratches.
17790365263242012571868984687708.jpg

This was alot less tedious than building German road wheels like on the Panther and Tigers.
One thing about Classy Hobby is that the plastic is noticeably softer. Its making it less of a risk of a small part flying off when cutting it from the sprue.
They also supply bolt heads, two different sizes ( parts marked Bc ), nice added detail I think.
17790368553427995102491327739973.jpg

So far the good first impression of the kit is holding strong.
 
Last edited:
As an Amazon Associate we earn from qualifying purchases. Product prices and availability are accurate as of the date/time indicated and are subject to change.
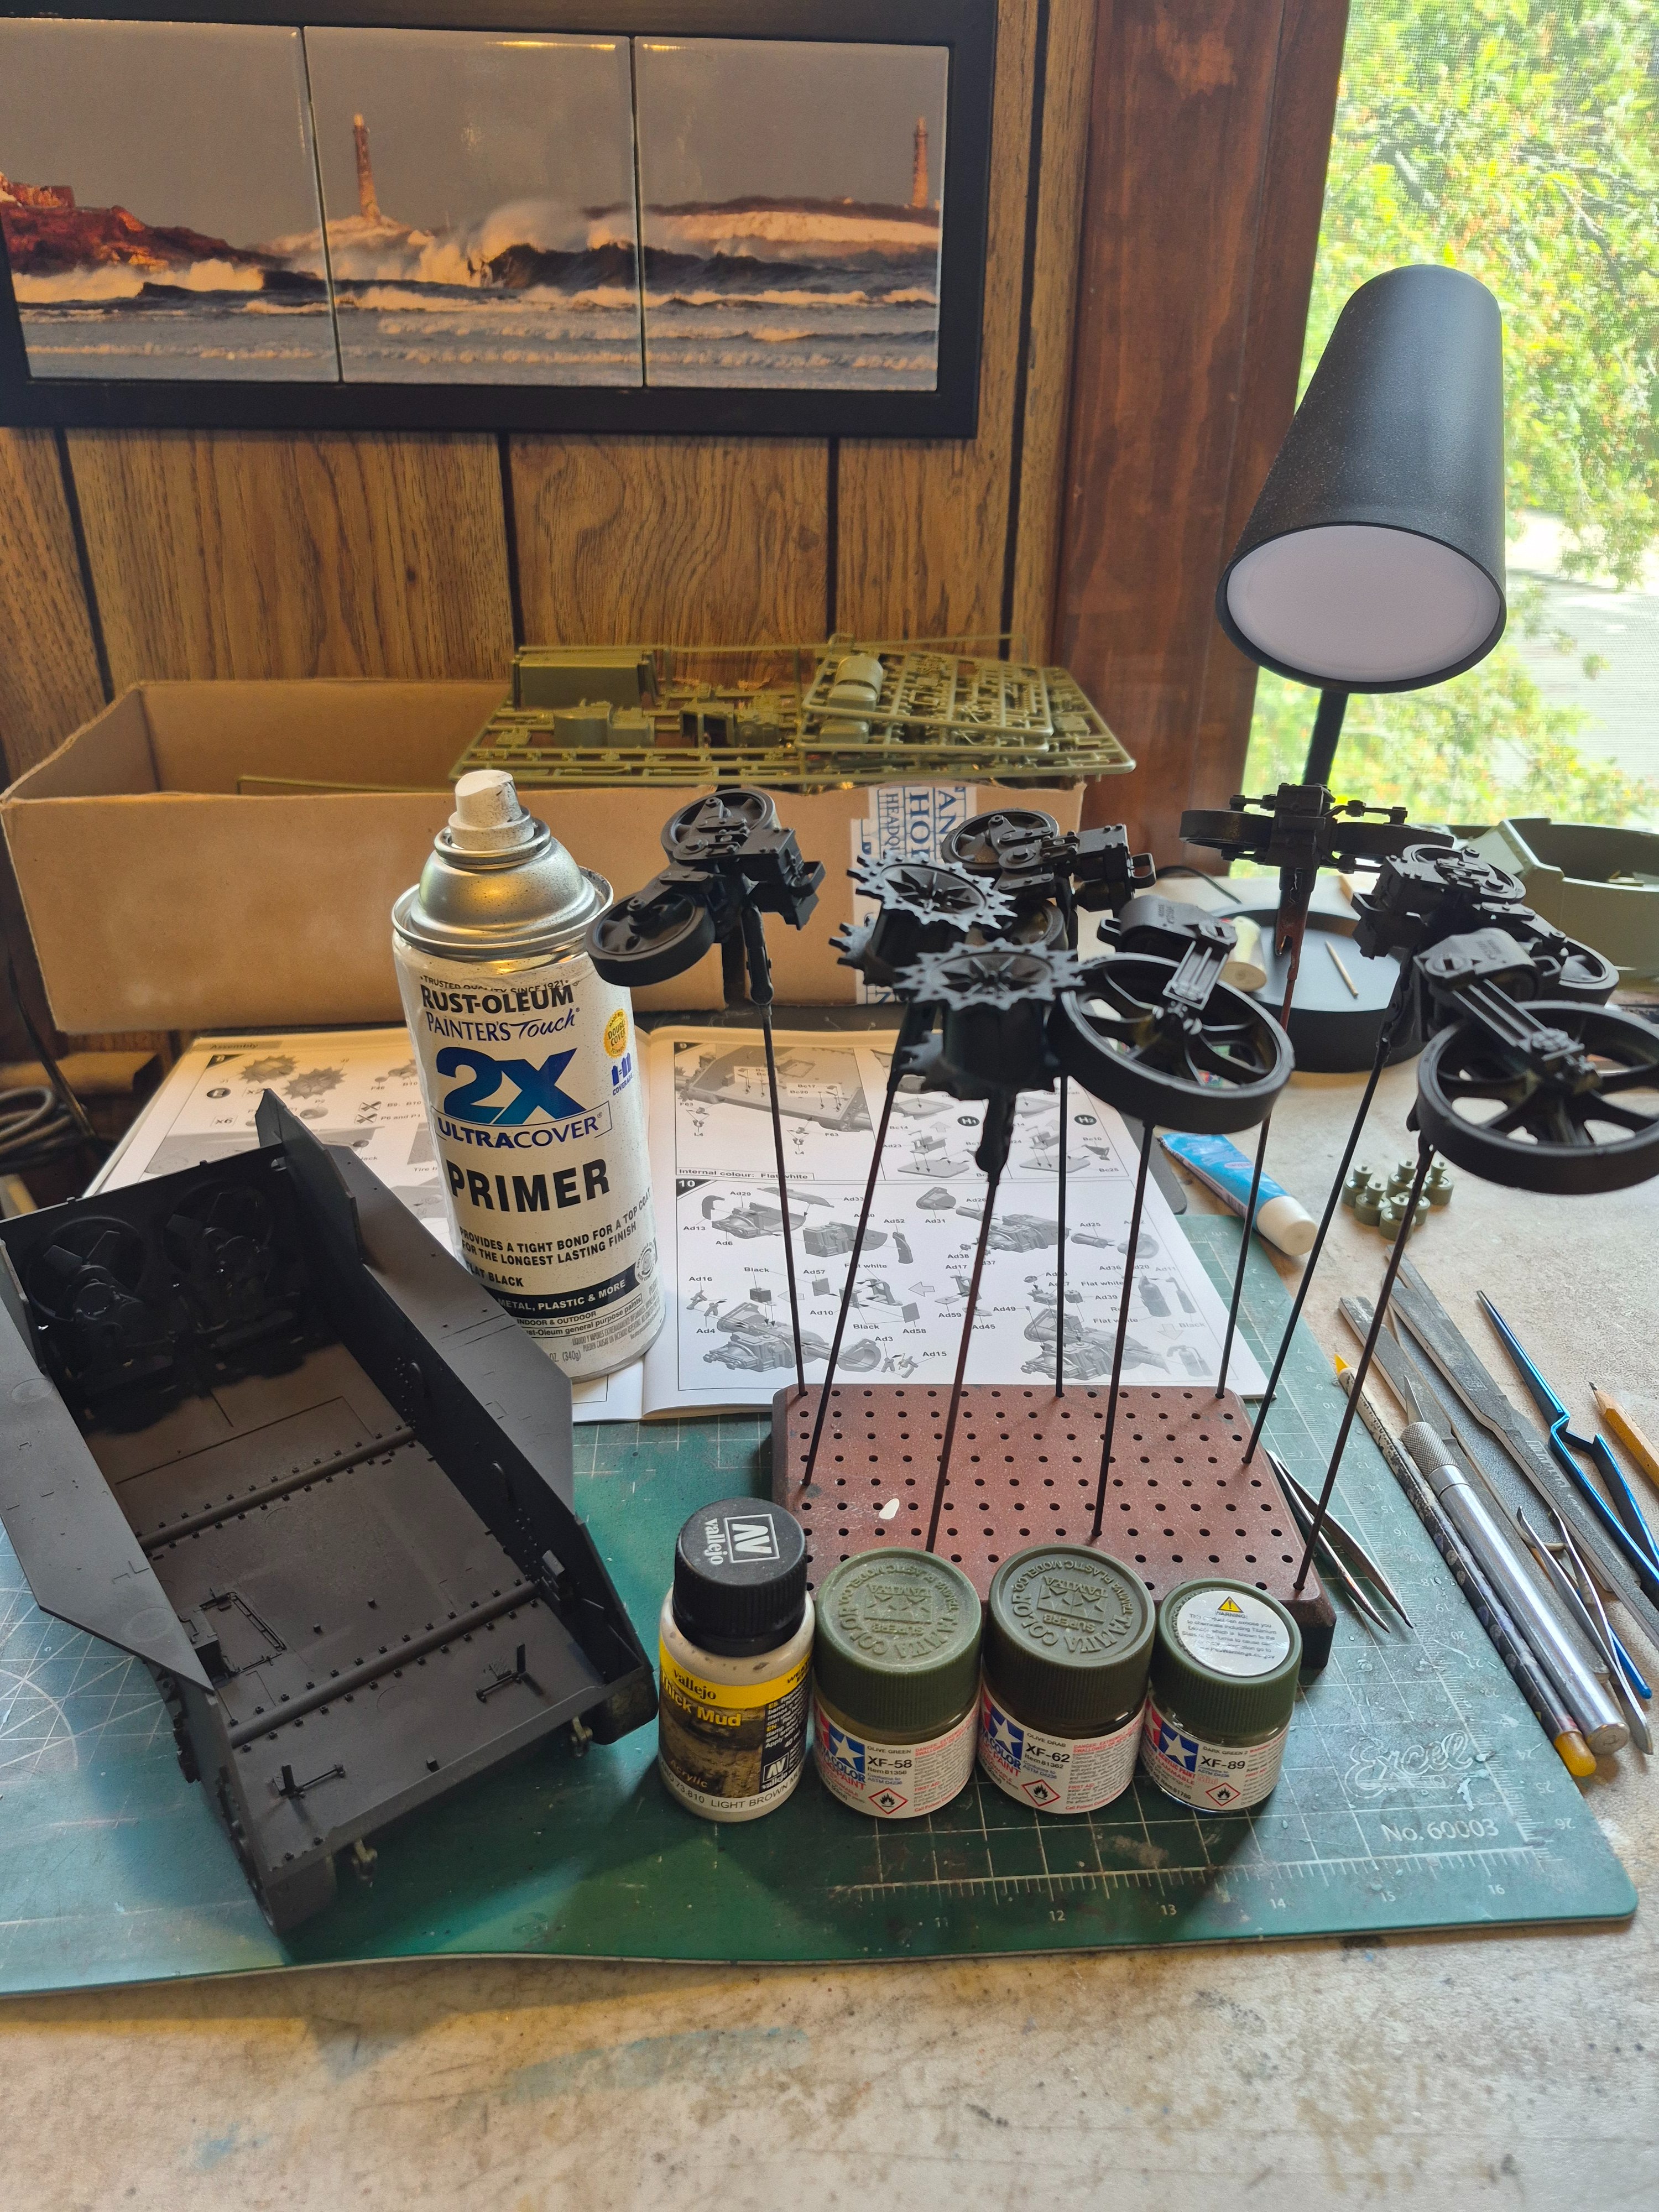
I got some primer on the lower hull and wheels. I'm waiting on an order of Tamiya Insignia White to arrive before I can get some paint on and build out the interior. In the meantime I'm going to get some Vallejo Thick Mud ( light brown ) texture on the hull before the wheel assemblies. The color is too light as is, it will change as the weathering with the paint and pigments happen.
17797385309045239376521720674351.jpg
 
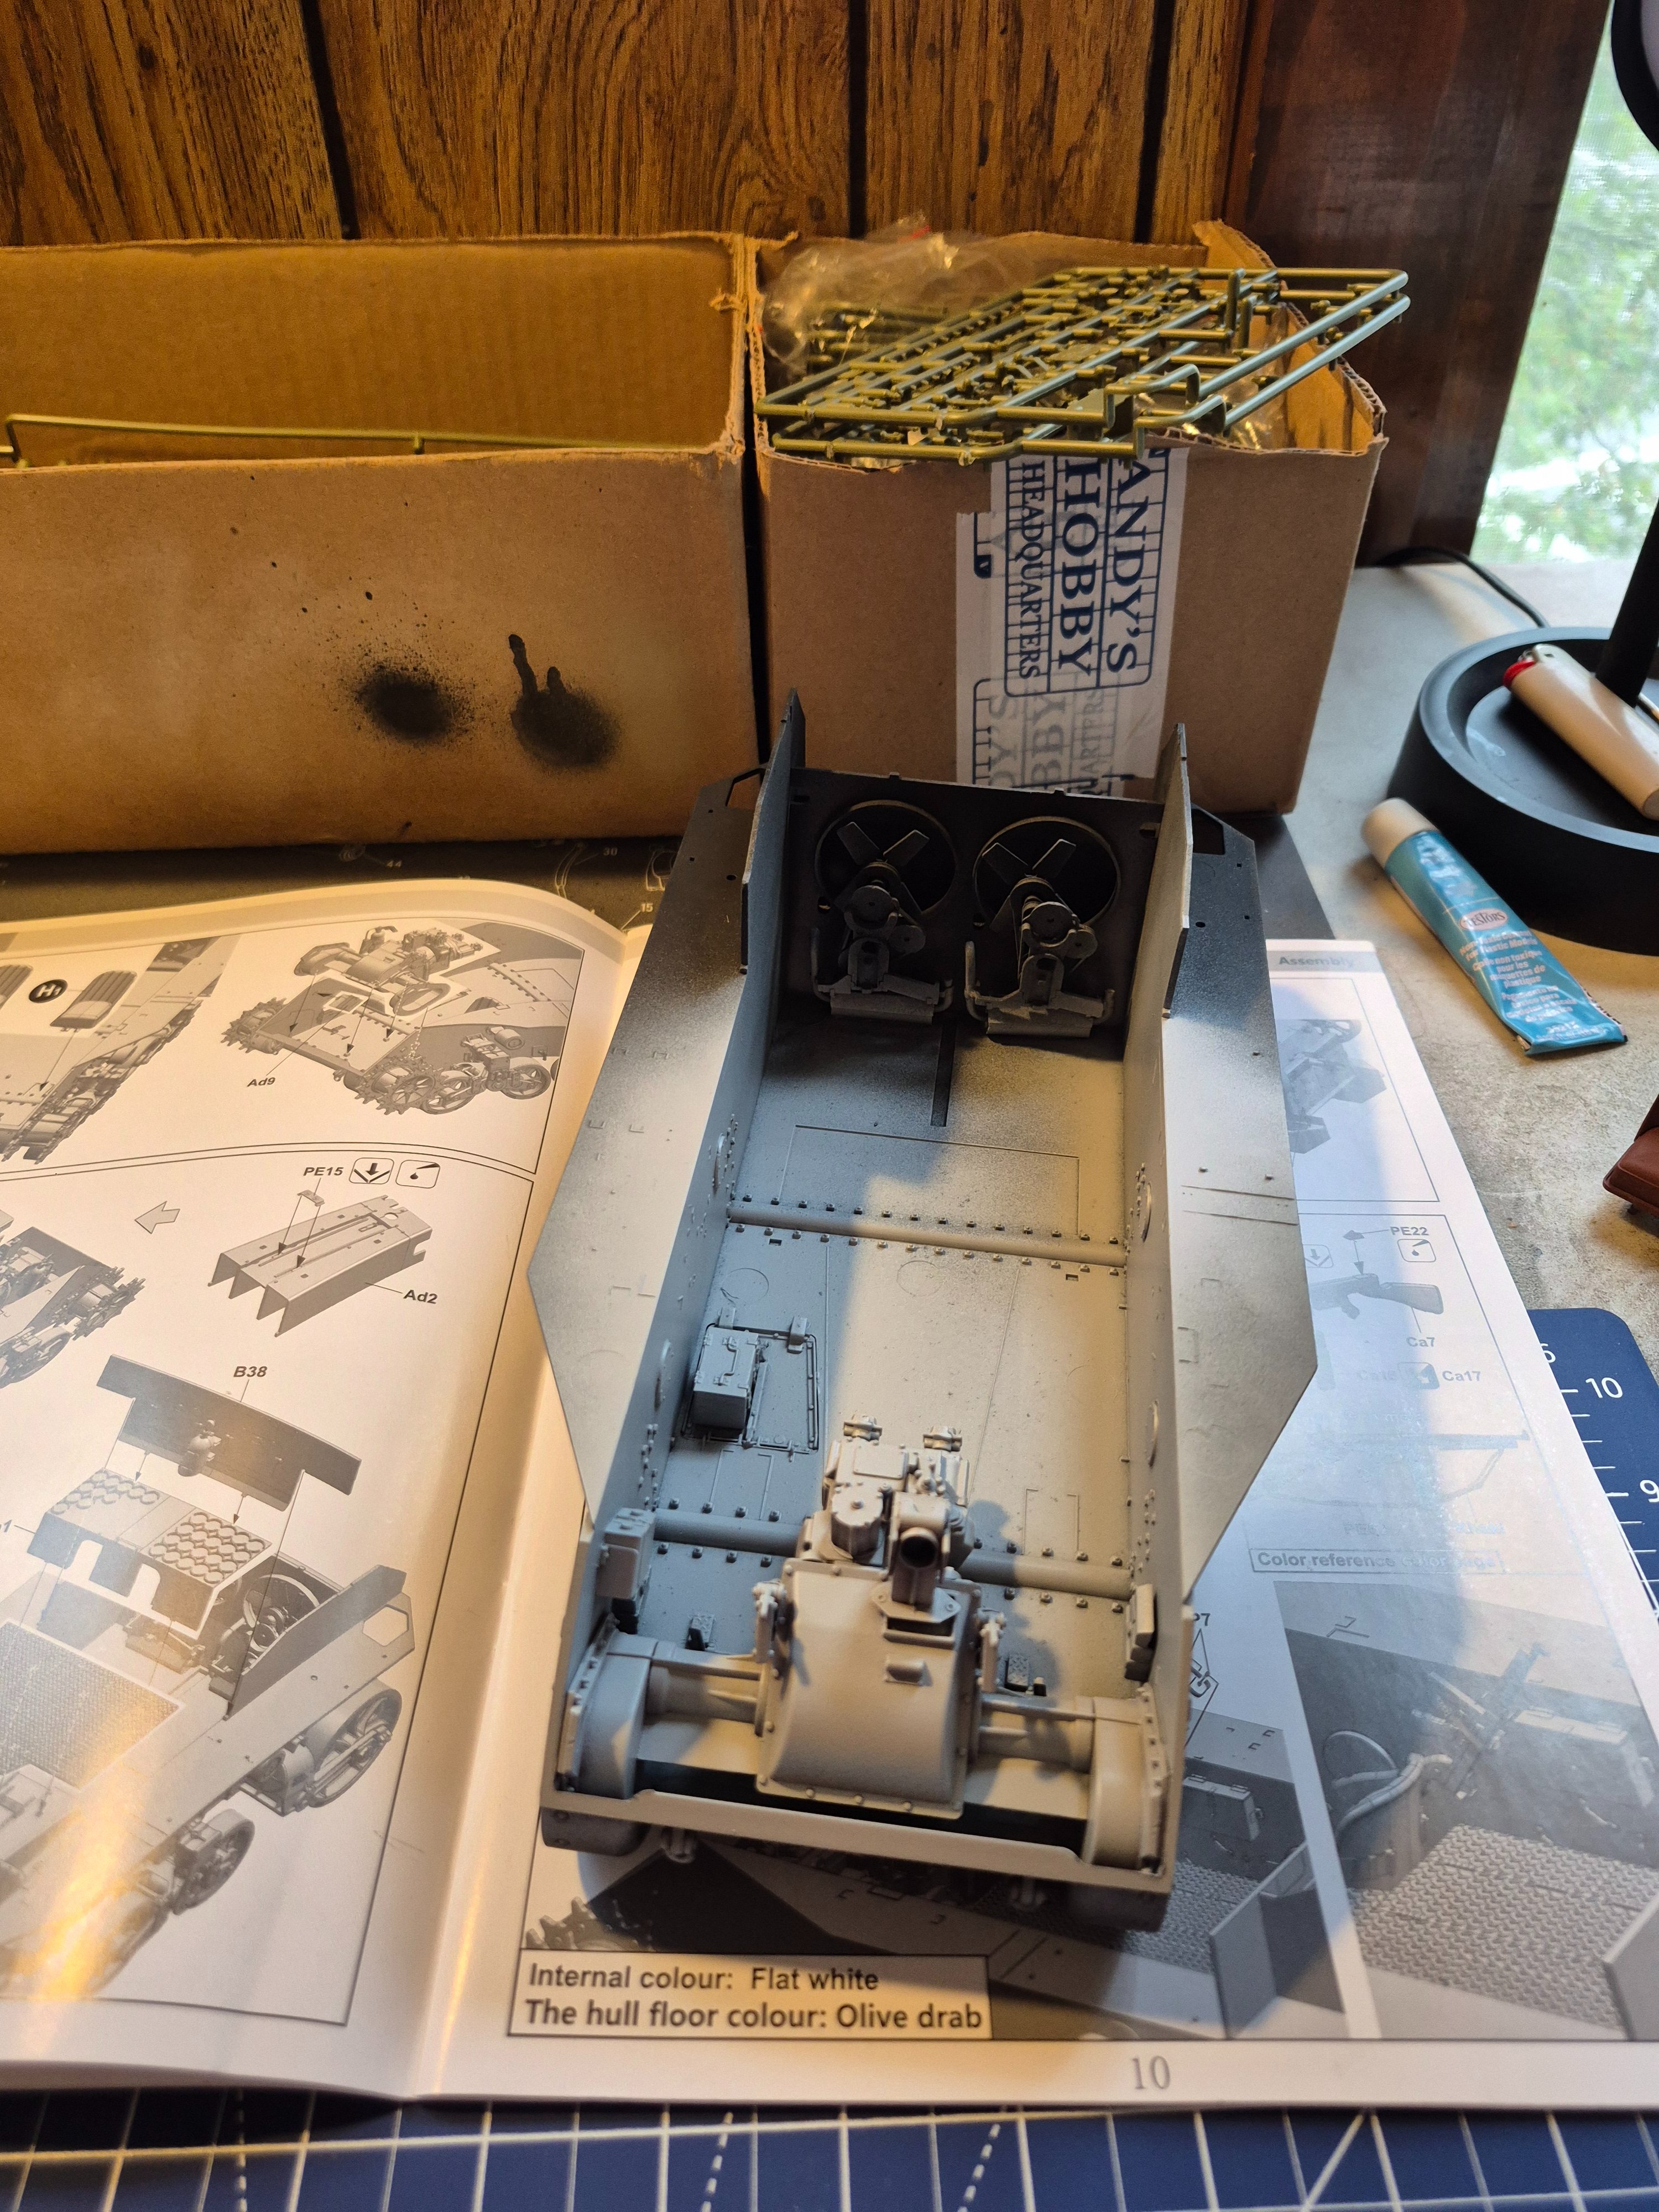
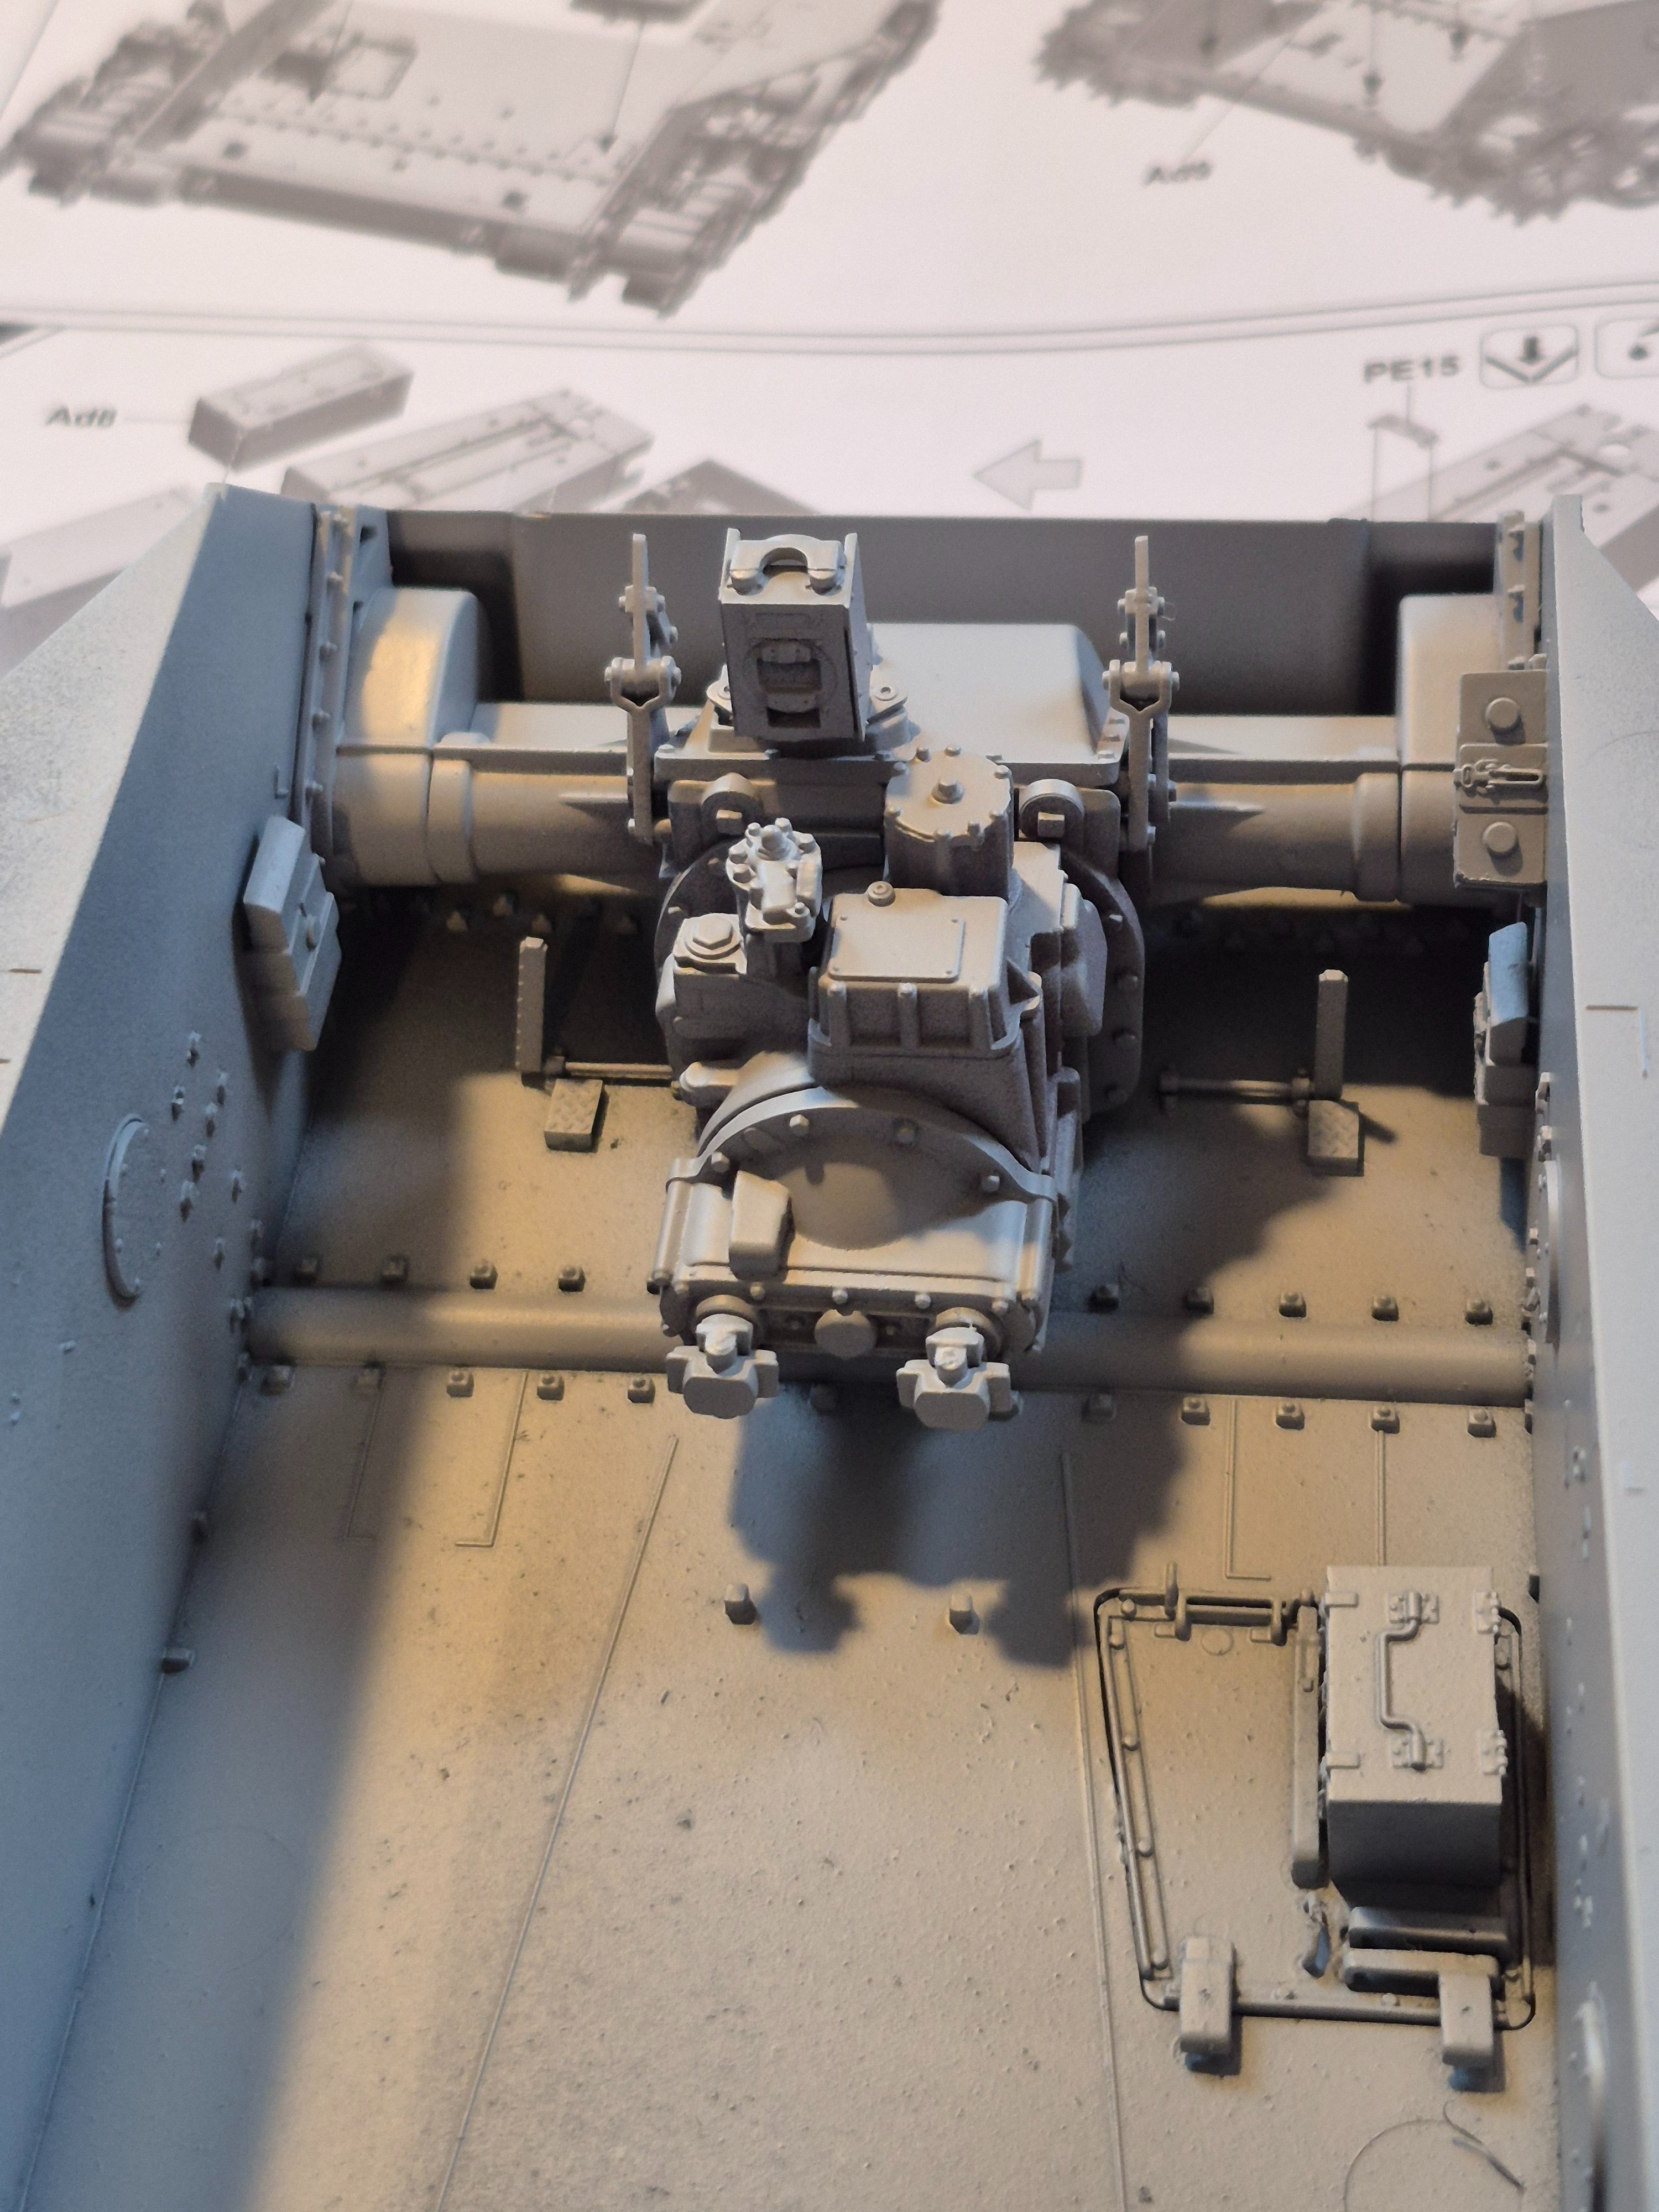
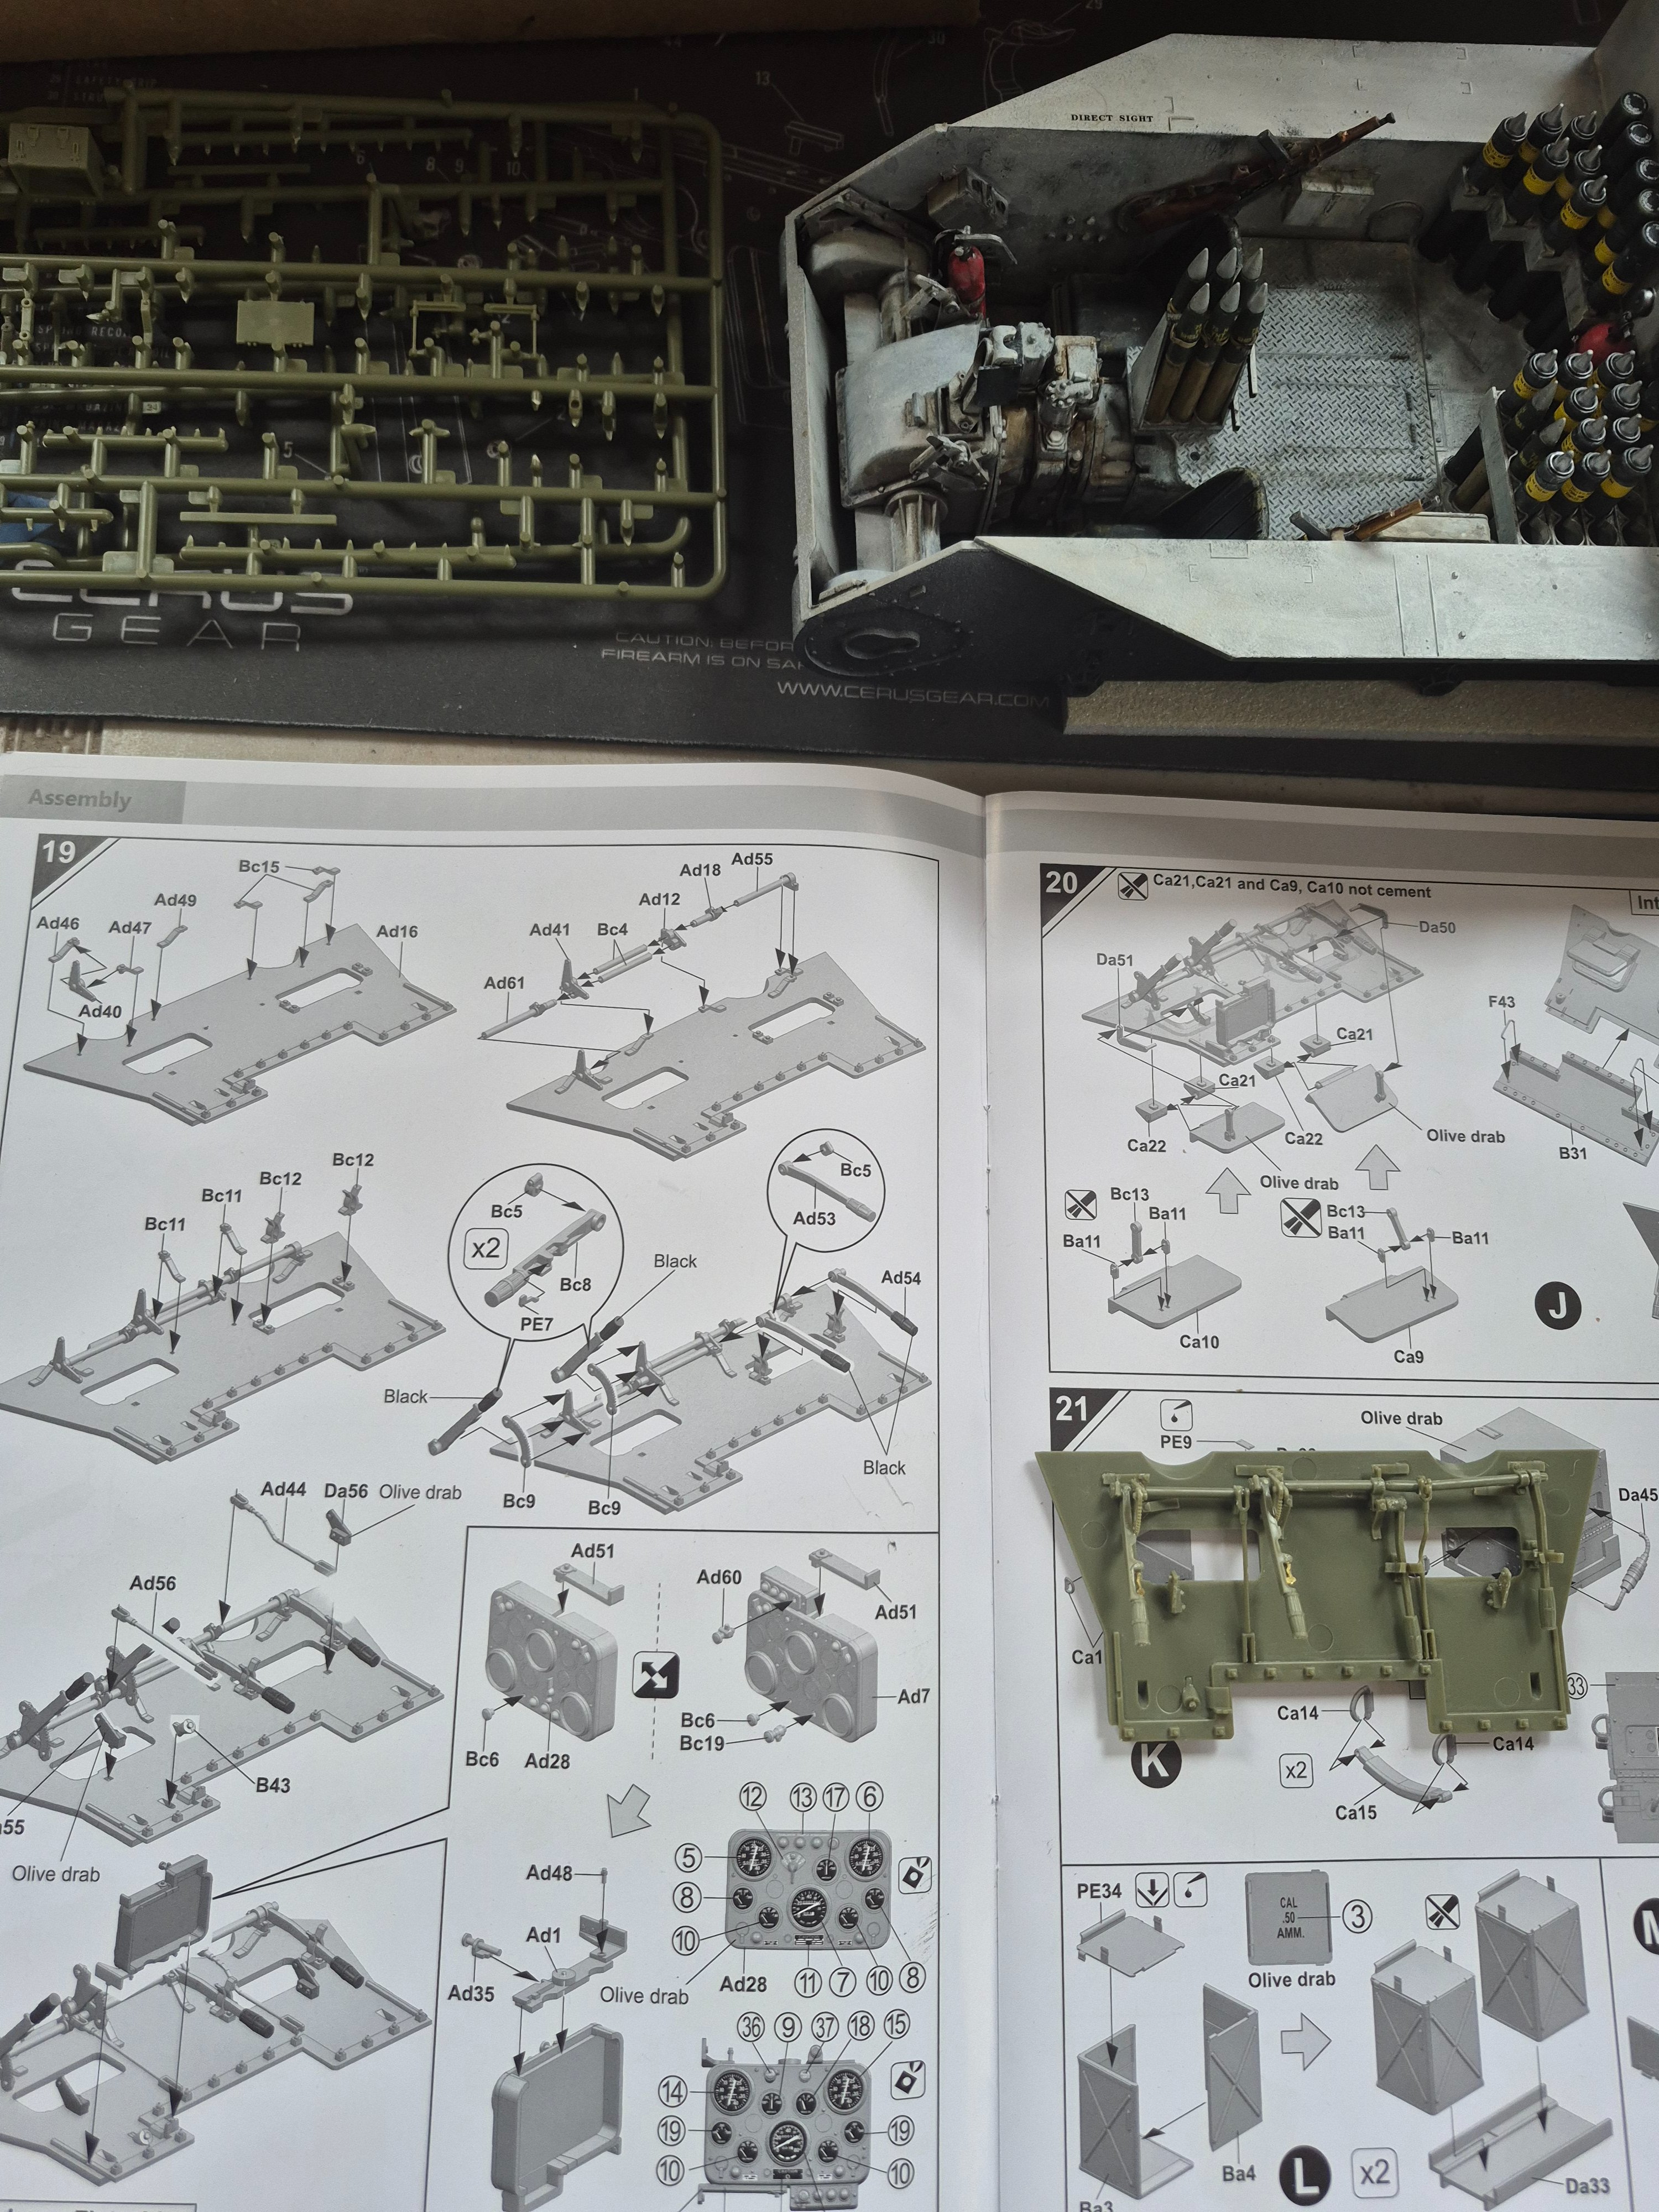
I have my interior paint (although this is just Tamiya Grey primer) so I started building out the lower hull interior instead of working on the exterior.

17800894575608434000046709169849.jpg

17800893877326004646044332596496.jpg


I think I'm far enough along to say this Classy Hobby kit is a good one. No problems so far and almost no flash to clean up. It's on par with the Trumpeter and Das Werk 1/16 kits with interiors that I've built. I wouldn't hesitate to buy more kits from this company.
 
I have my interior paint (although this is just Tamiya Grey primer) so I started building out the lower hull interior instead of working on the exterior.

View attachment 190893
View attachment 190892


I think I'm far enough along to say this Classy Hobby kit is a good one. No problems so far and almost no flash to clean up. It's on par with the Trumpeter and Das Werk 1/16 kits with interiors that I've built. I wouldn't hesitate to buy more kits from this company.
Good to know and it's looking good. Like the detail.
 
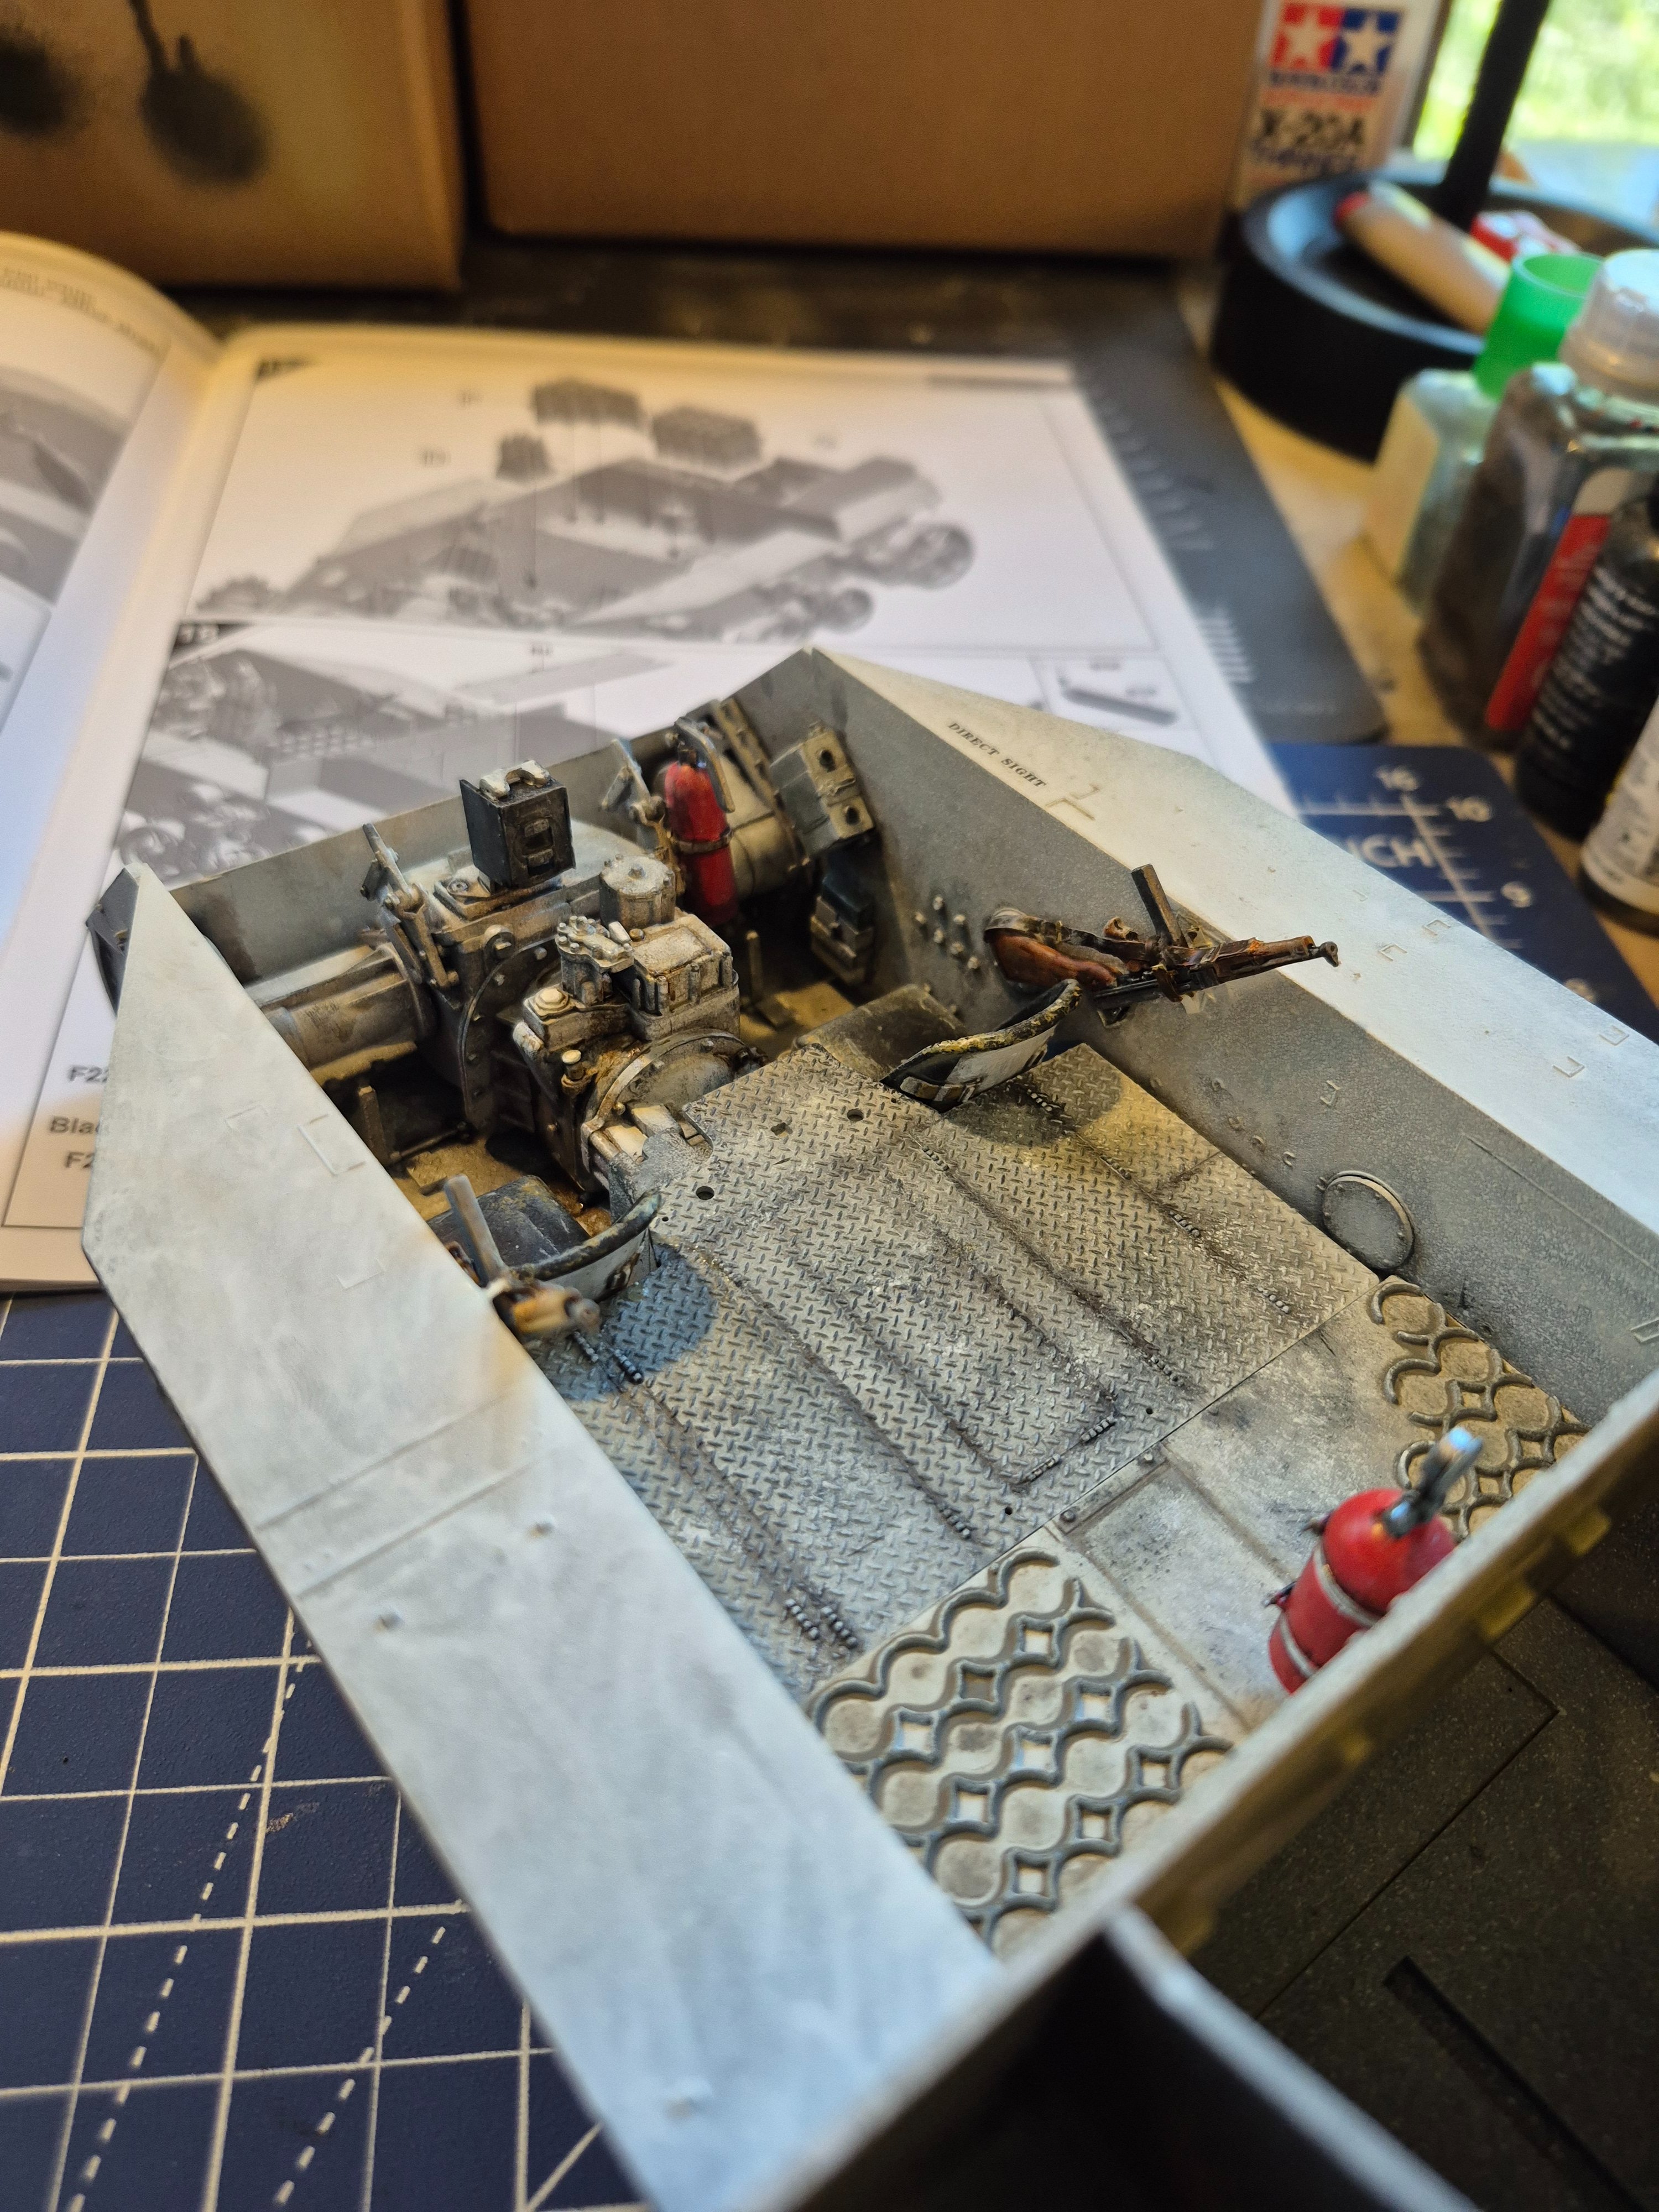
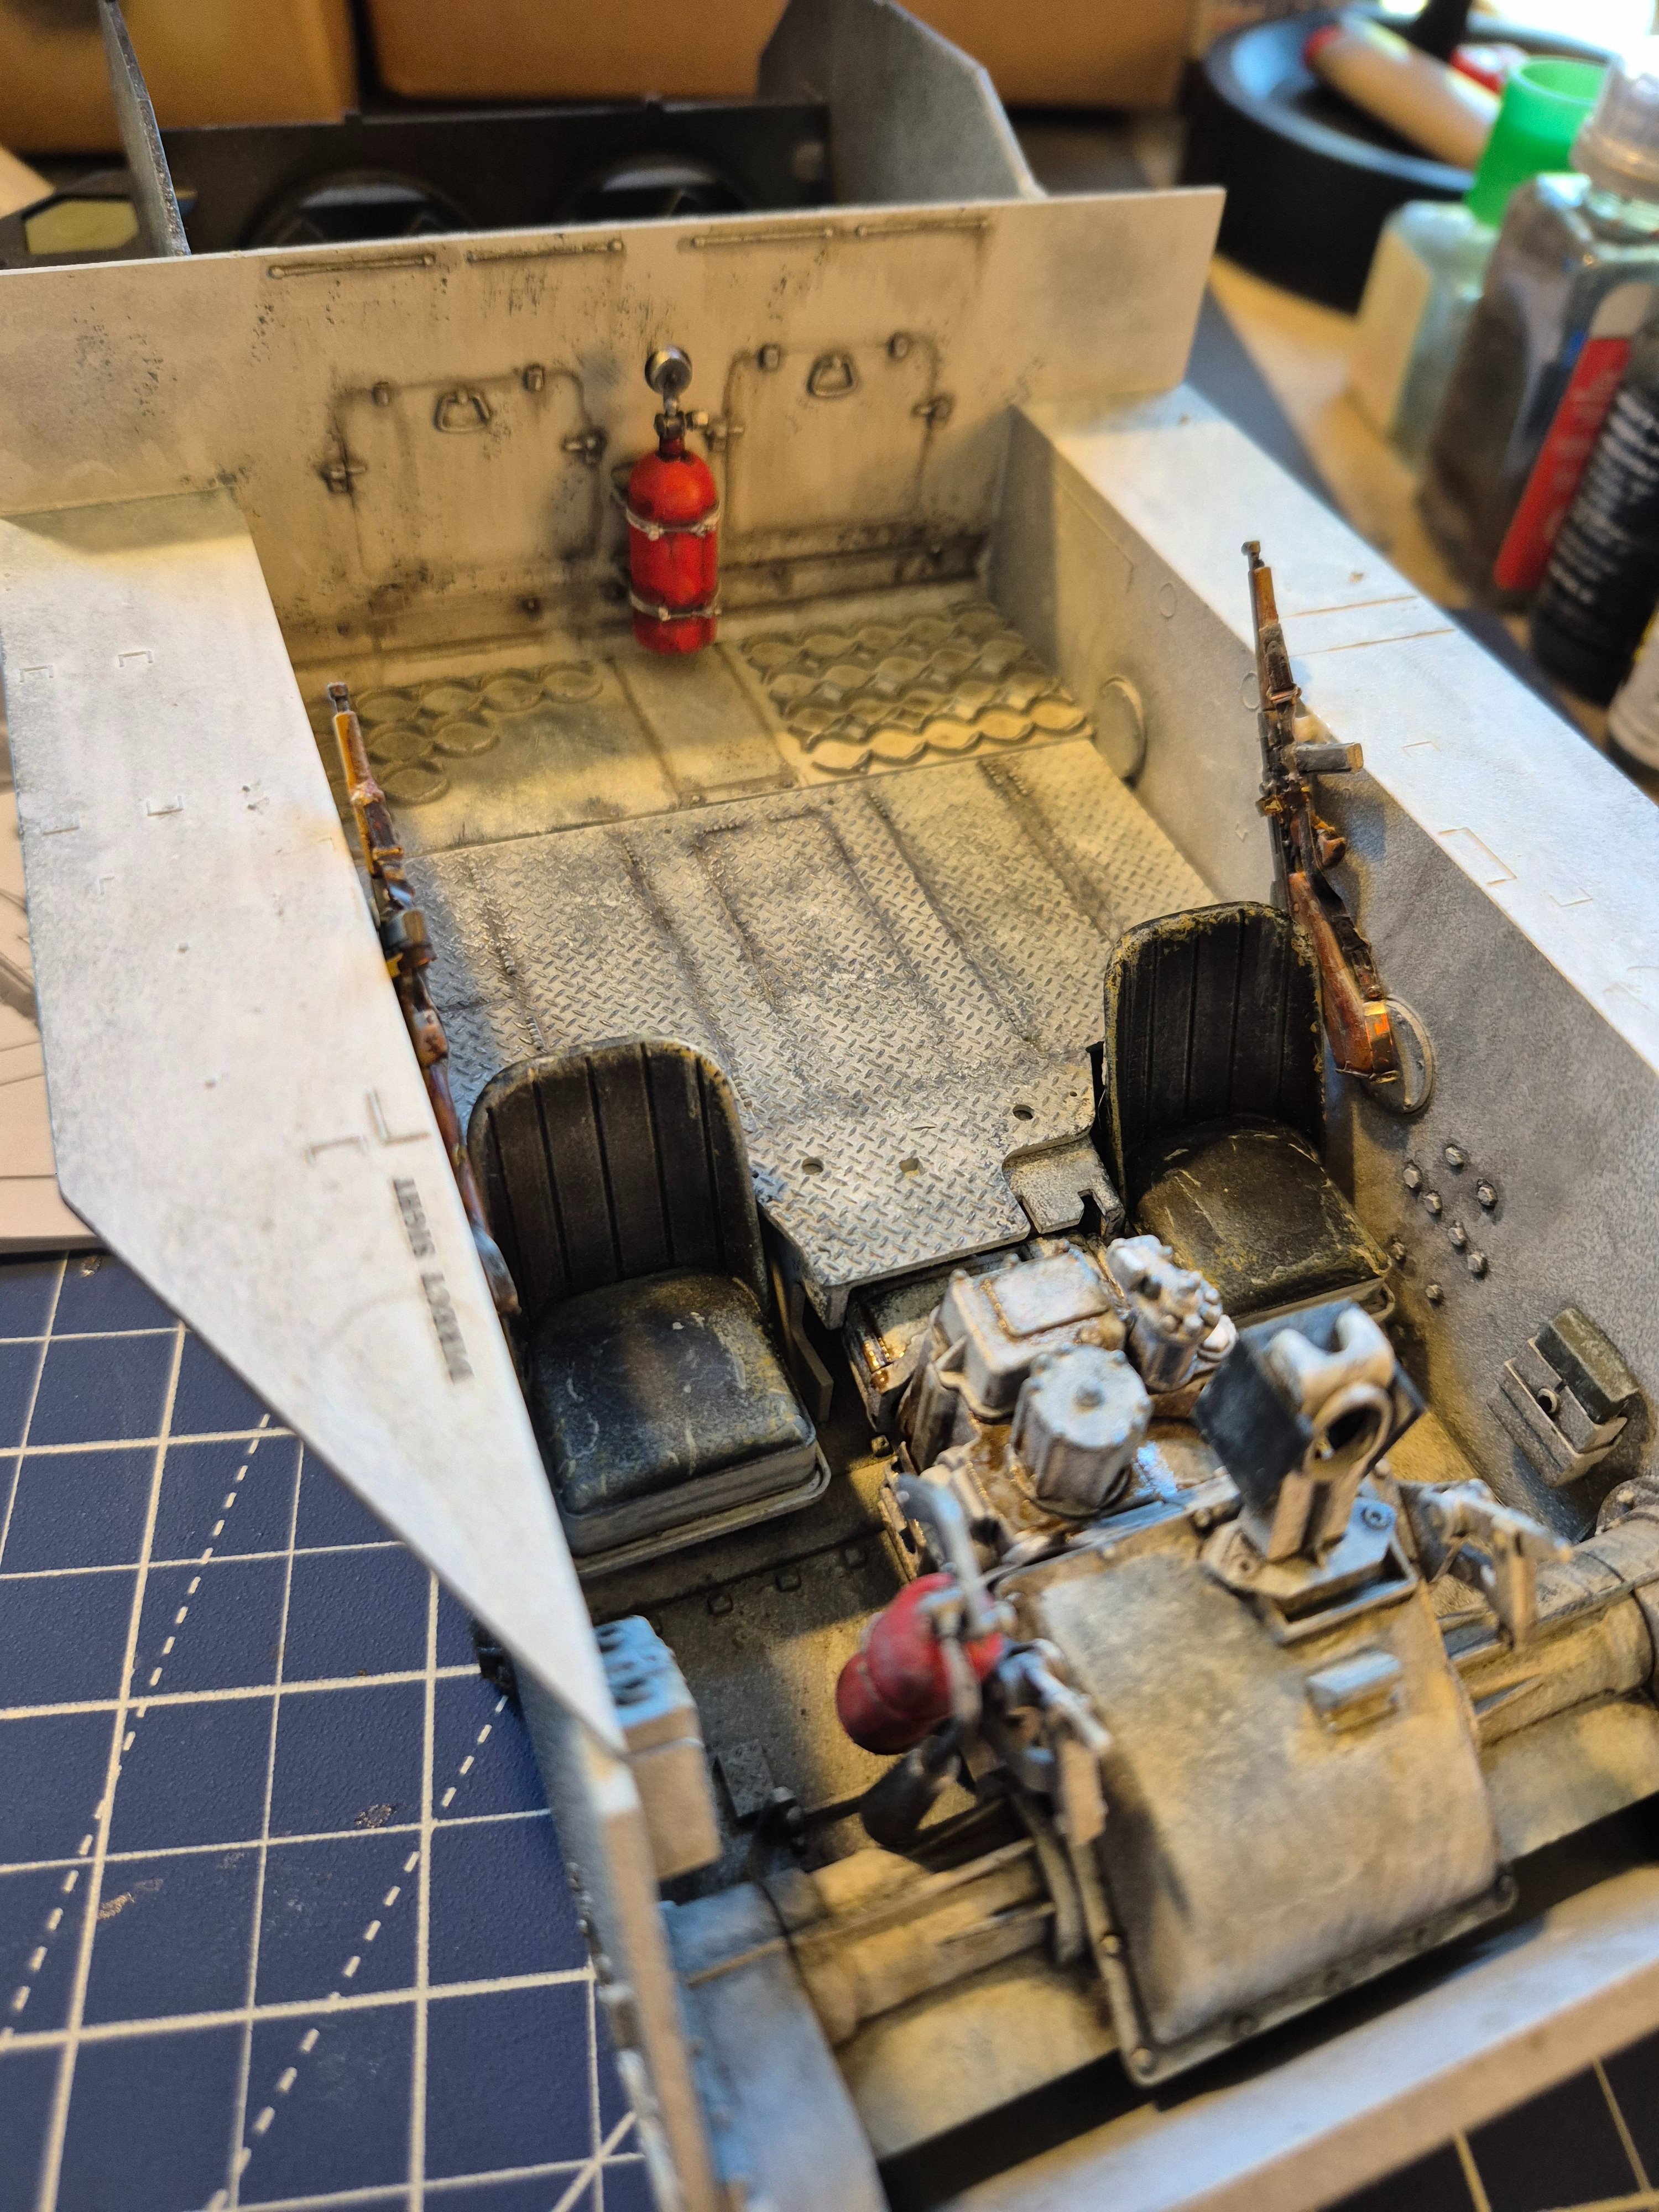
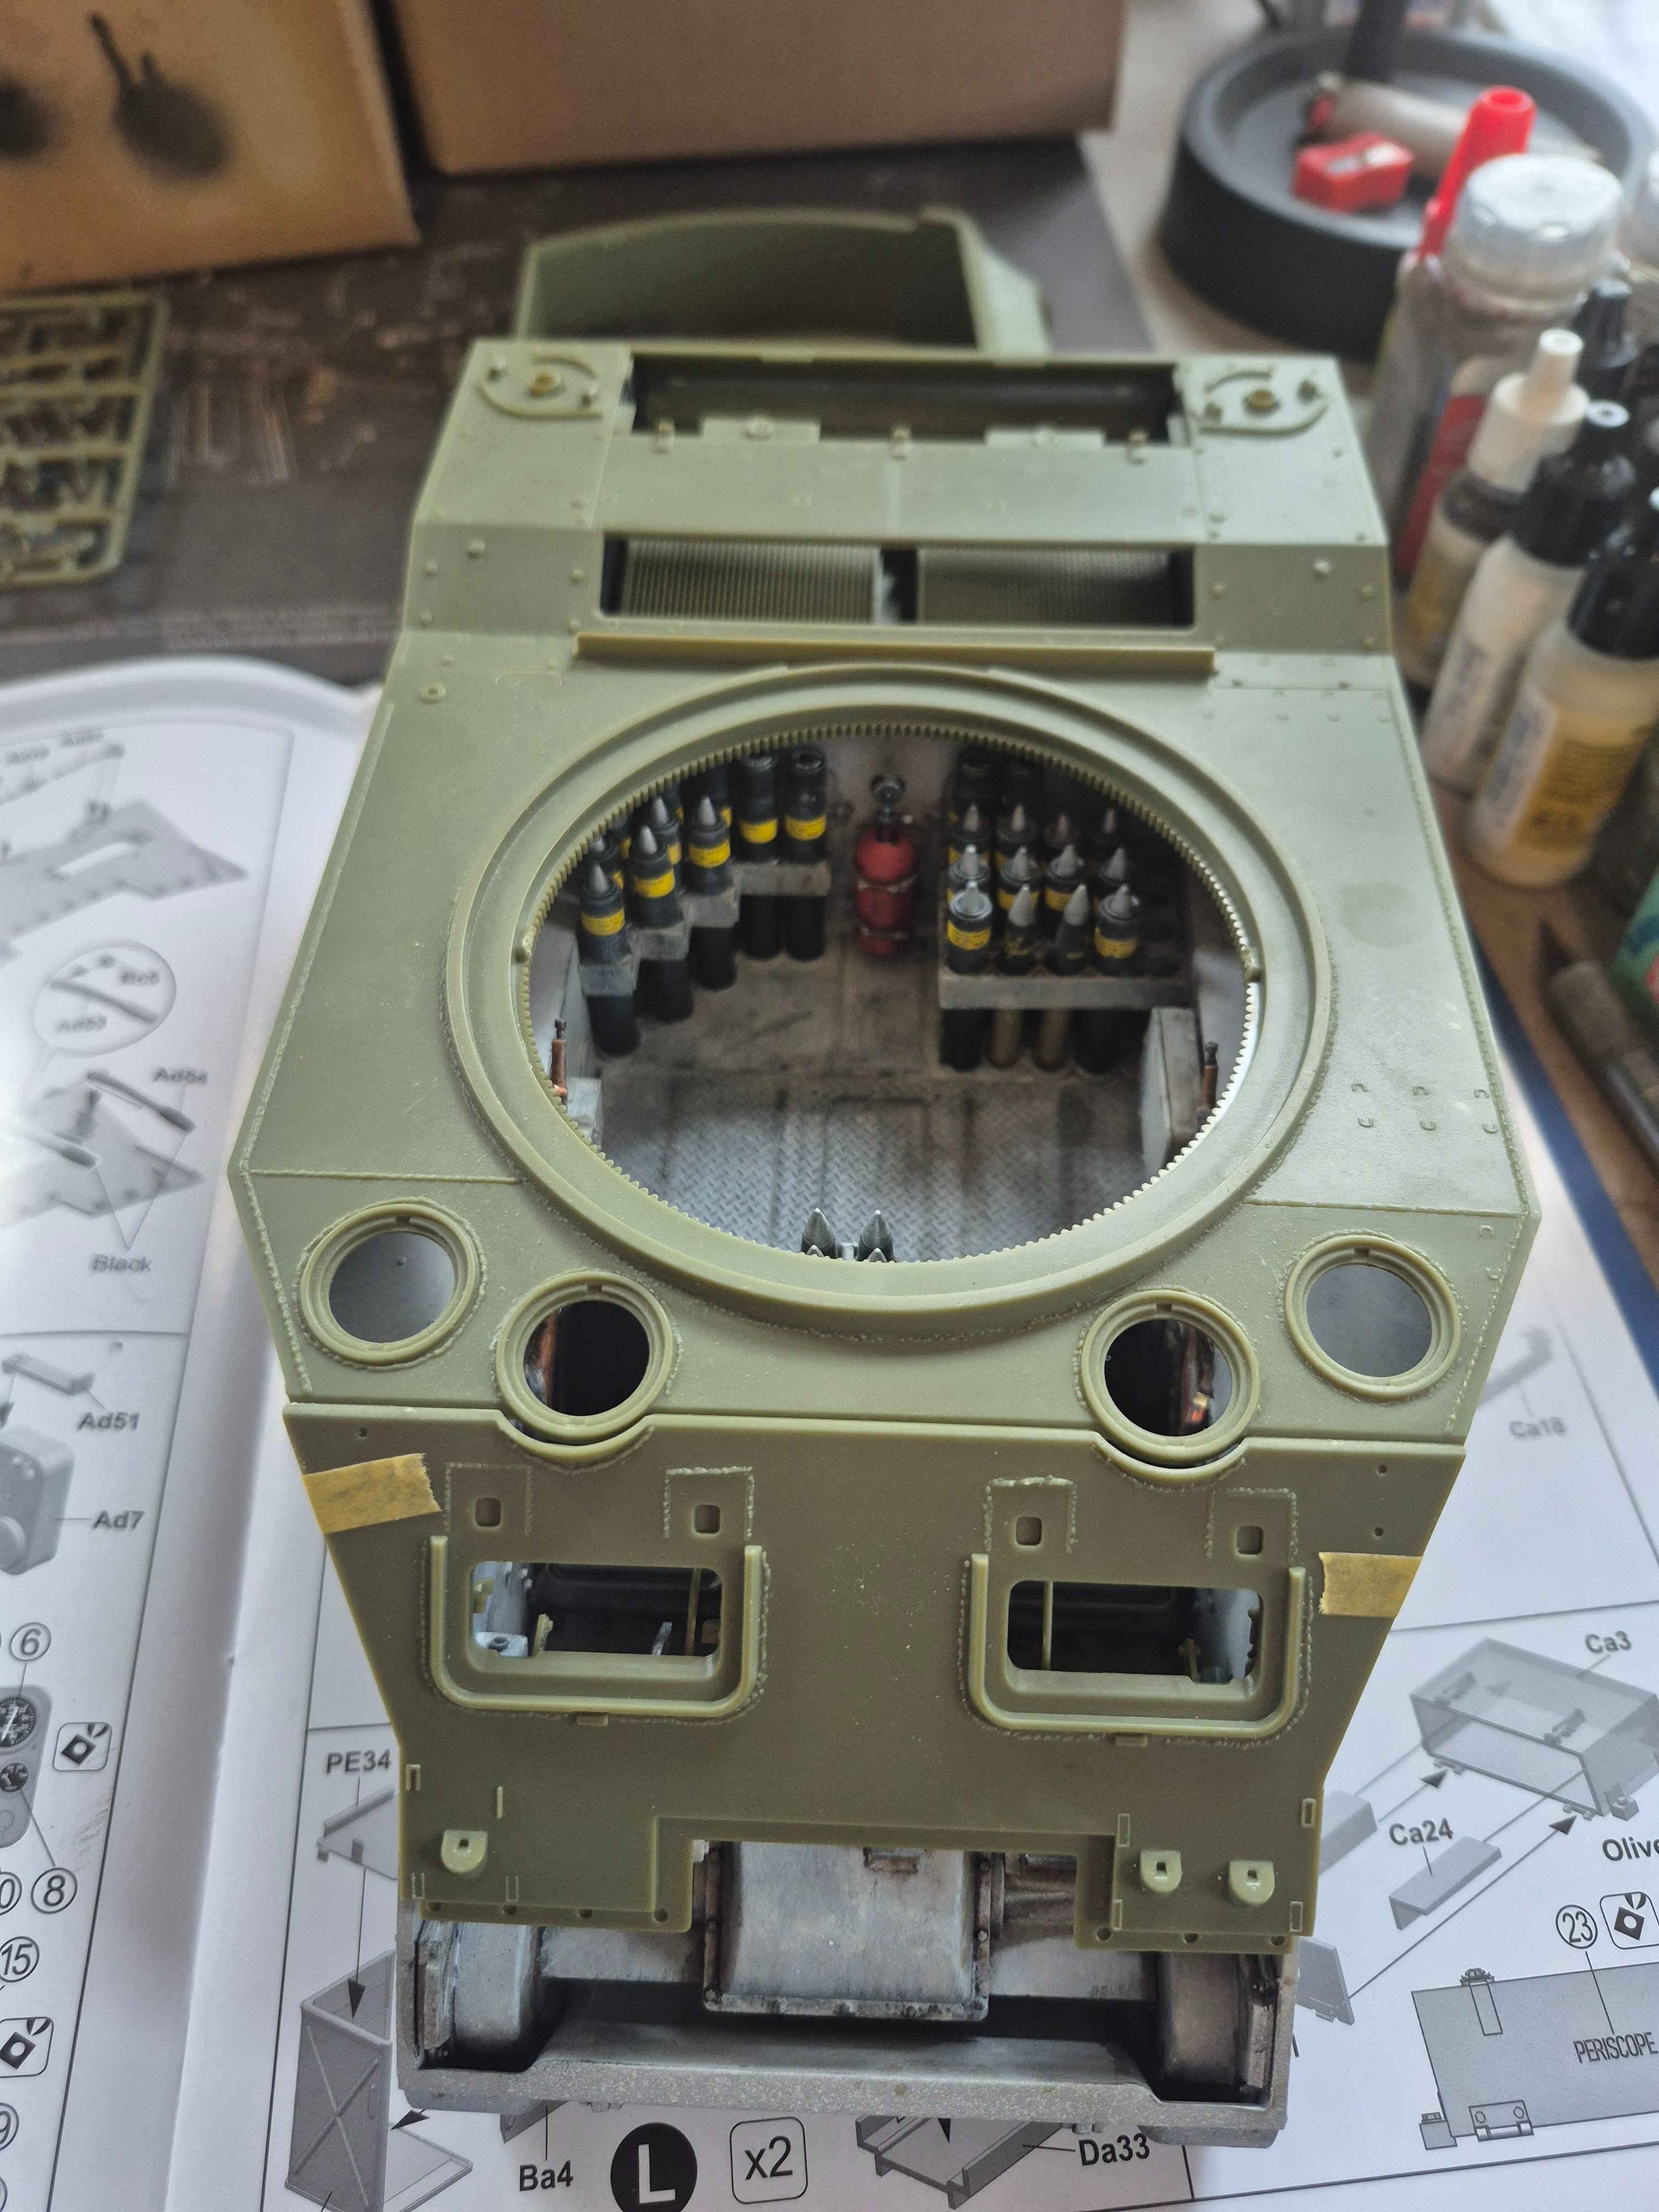
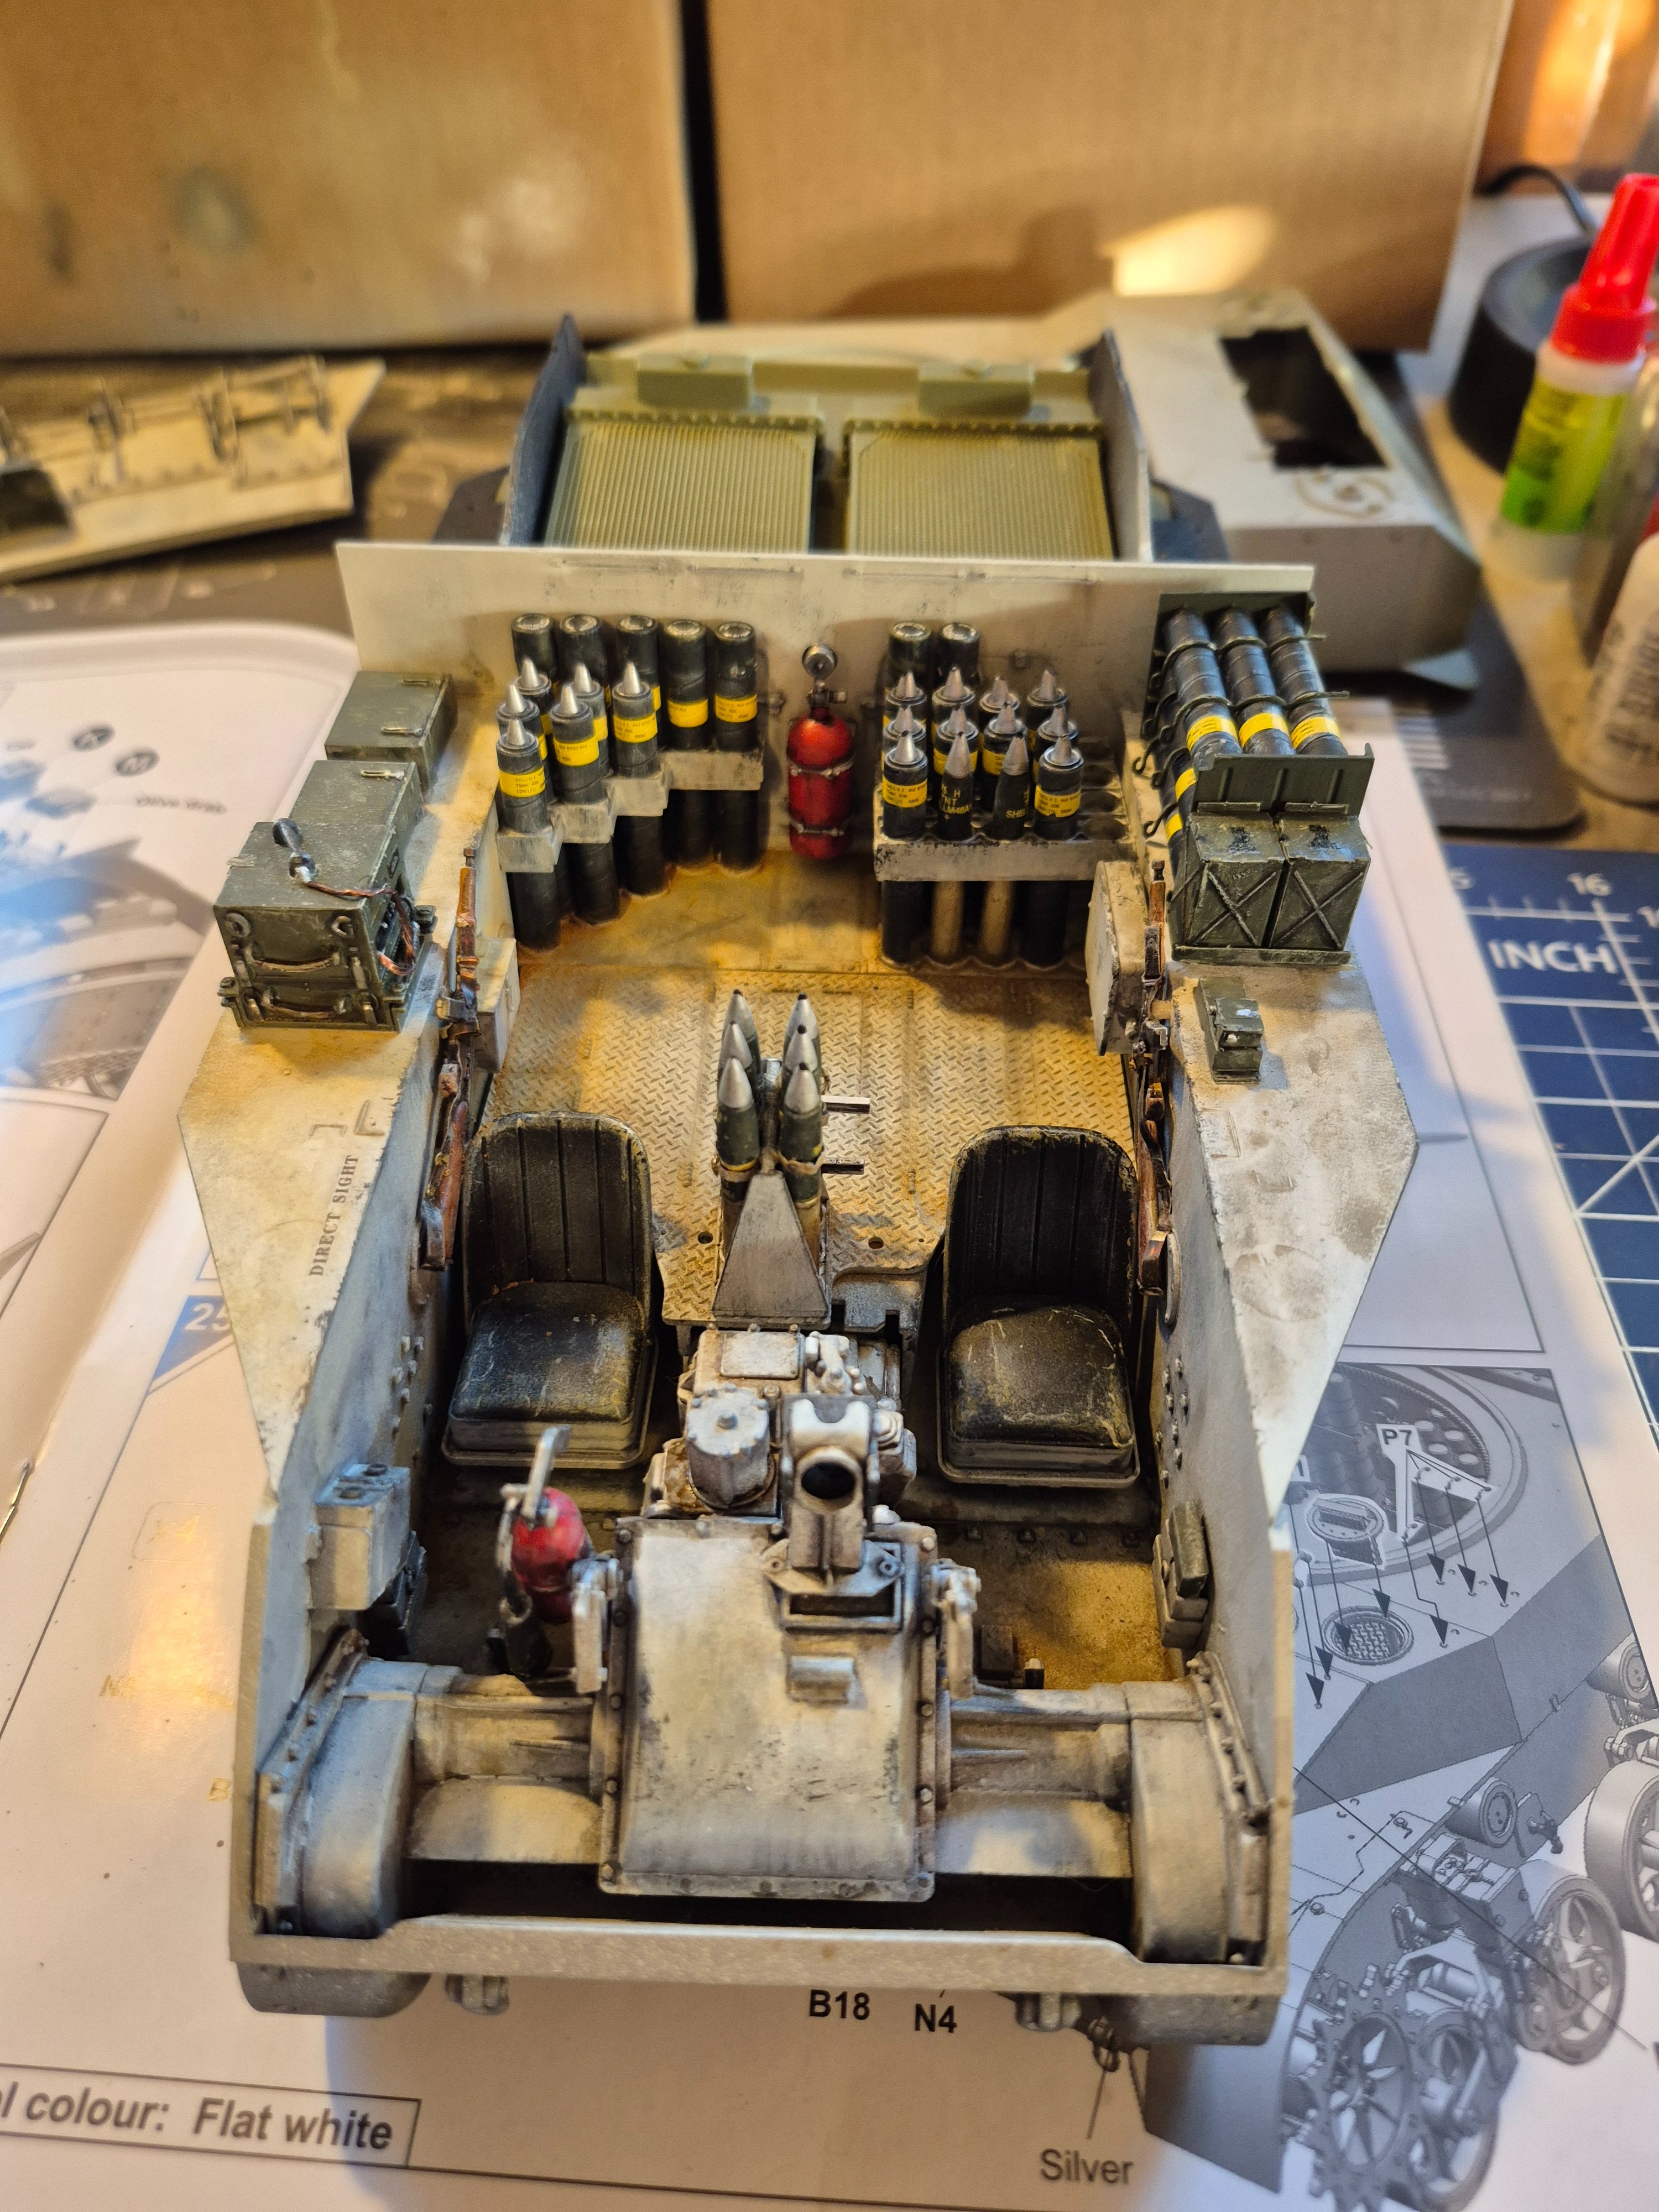
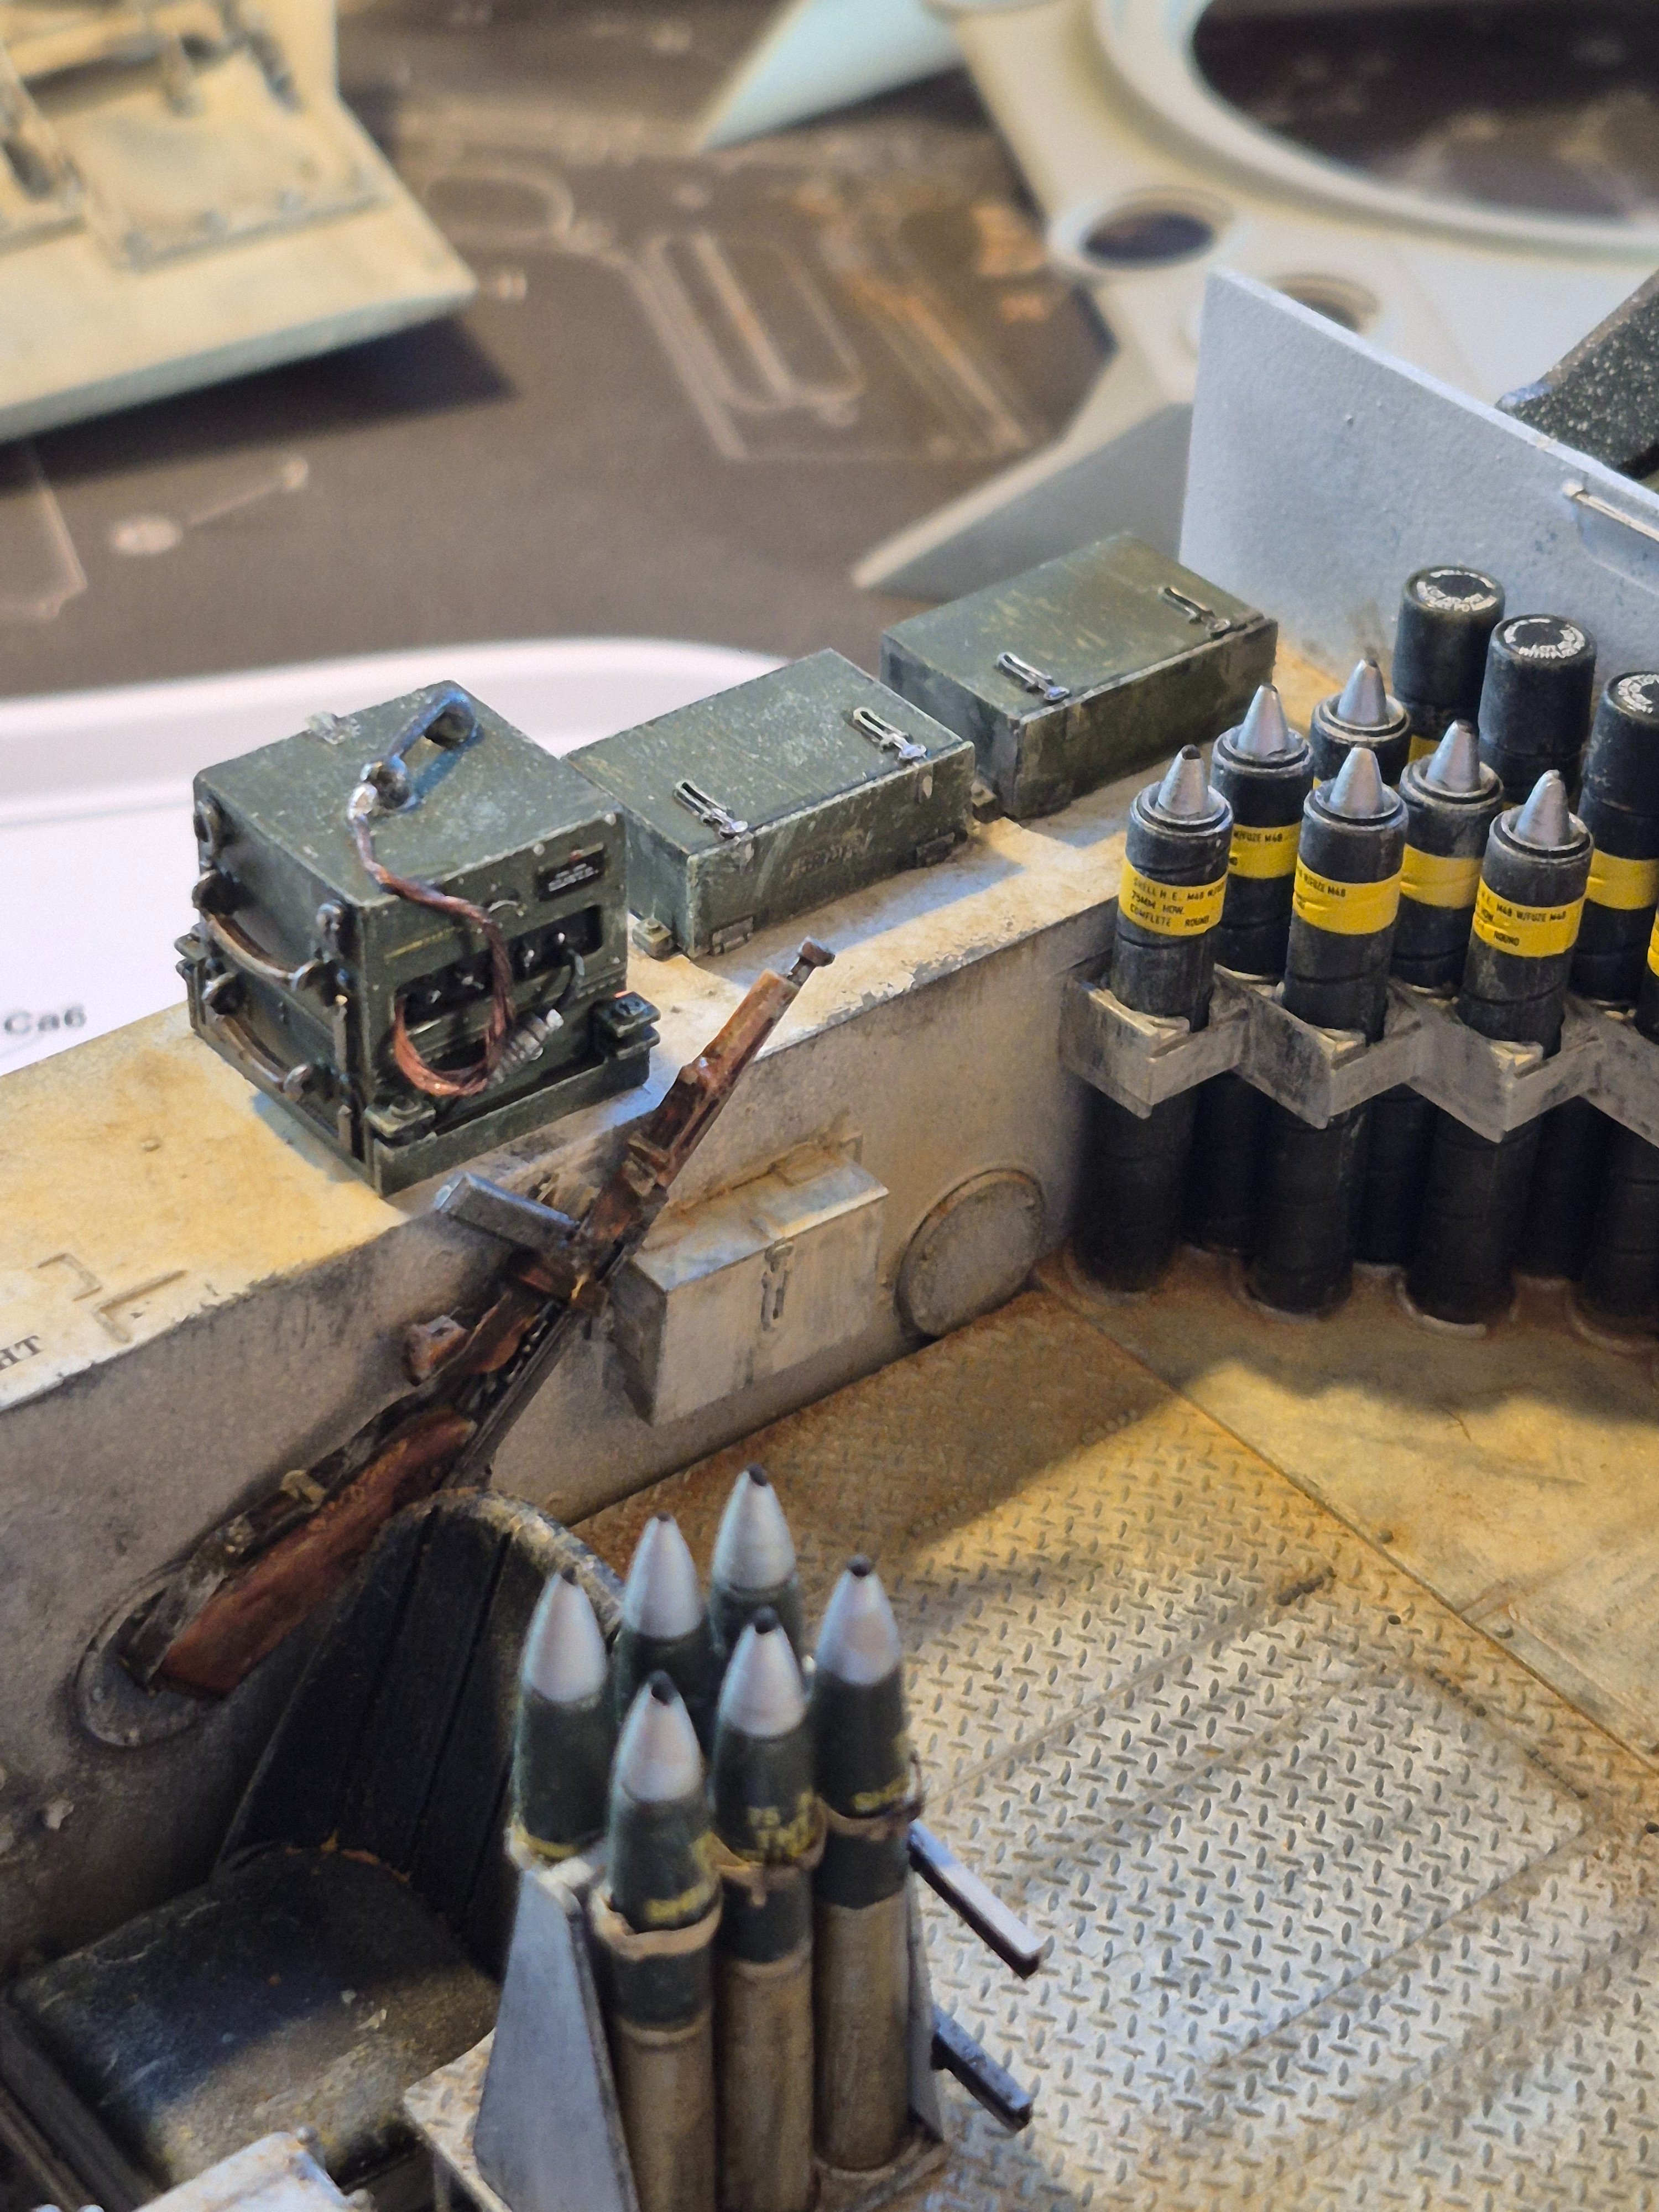
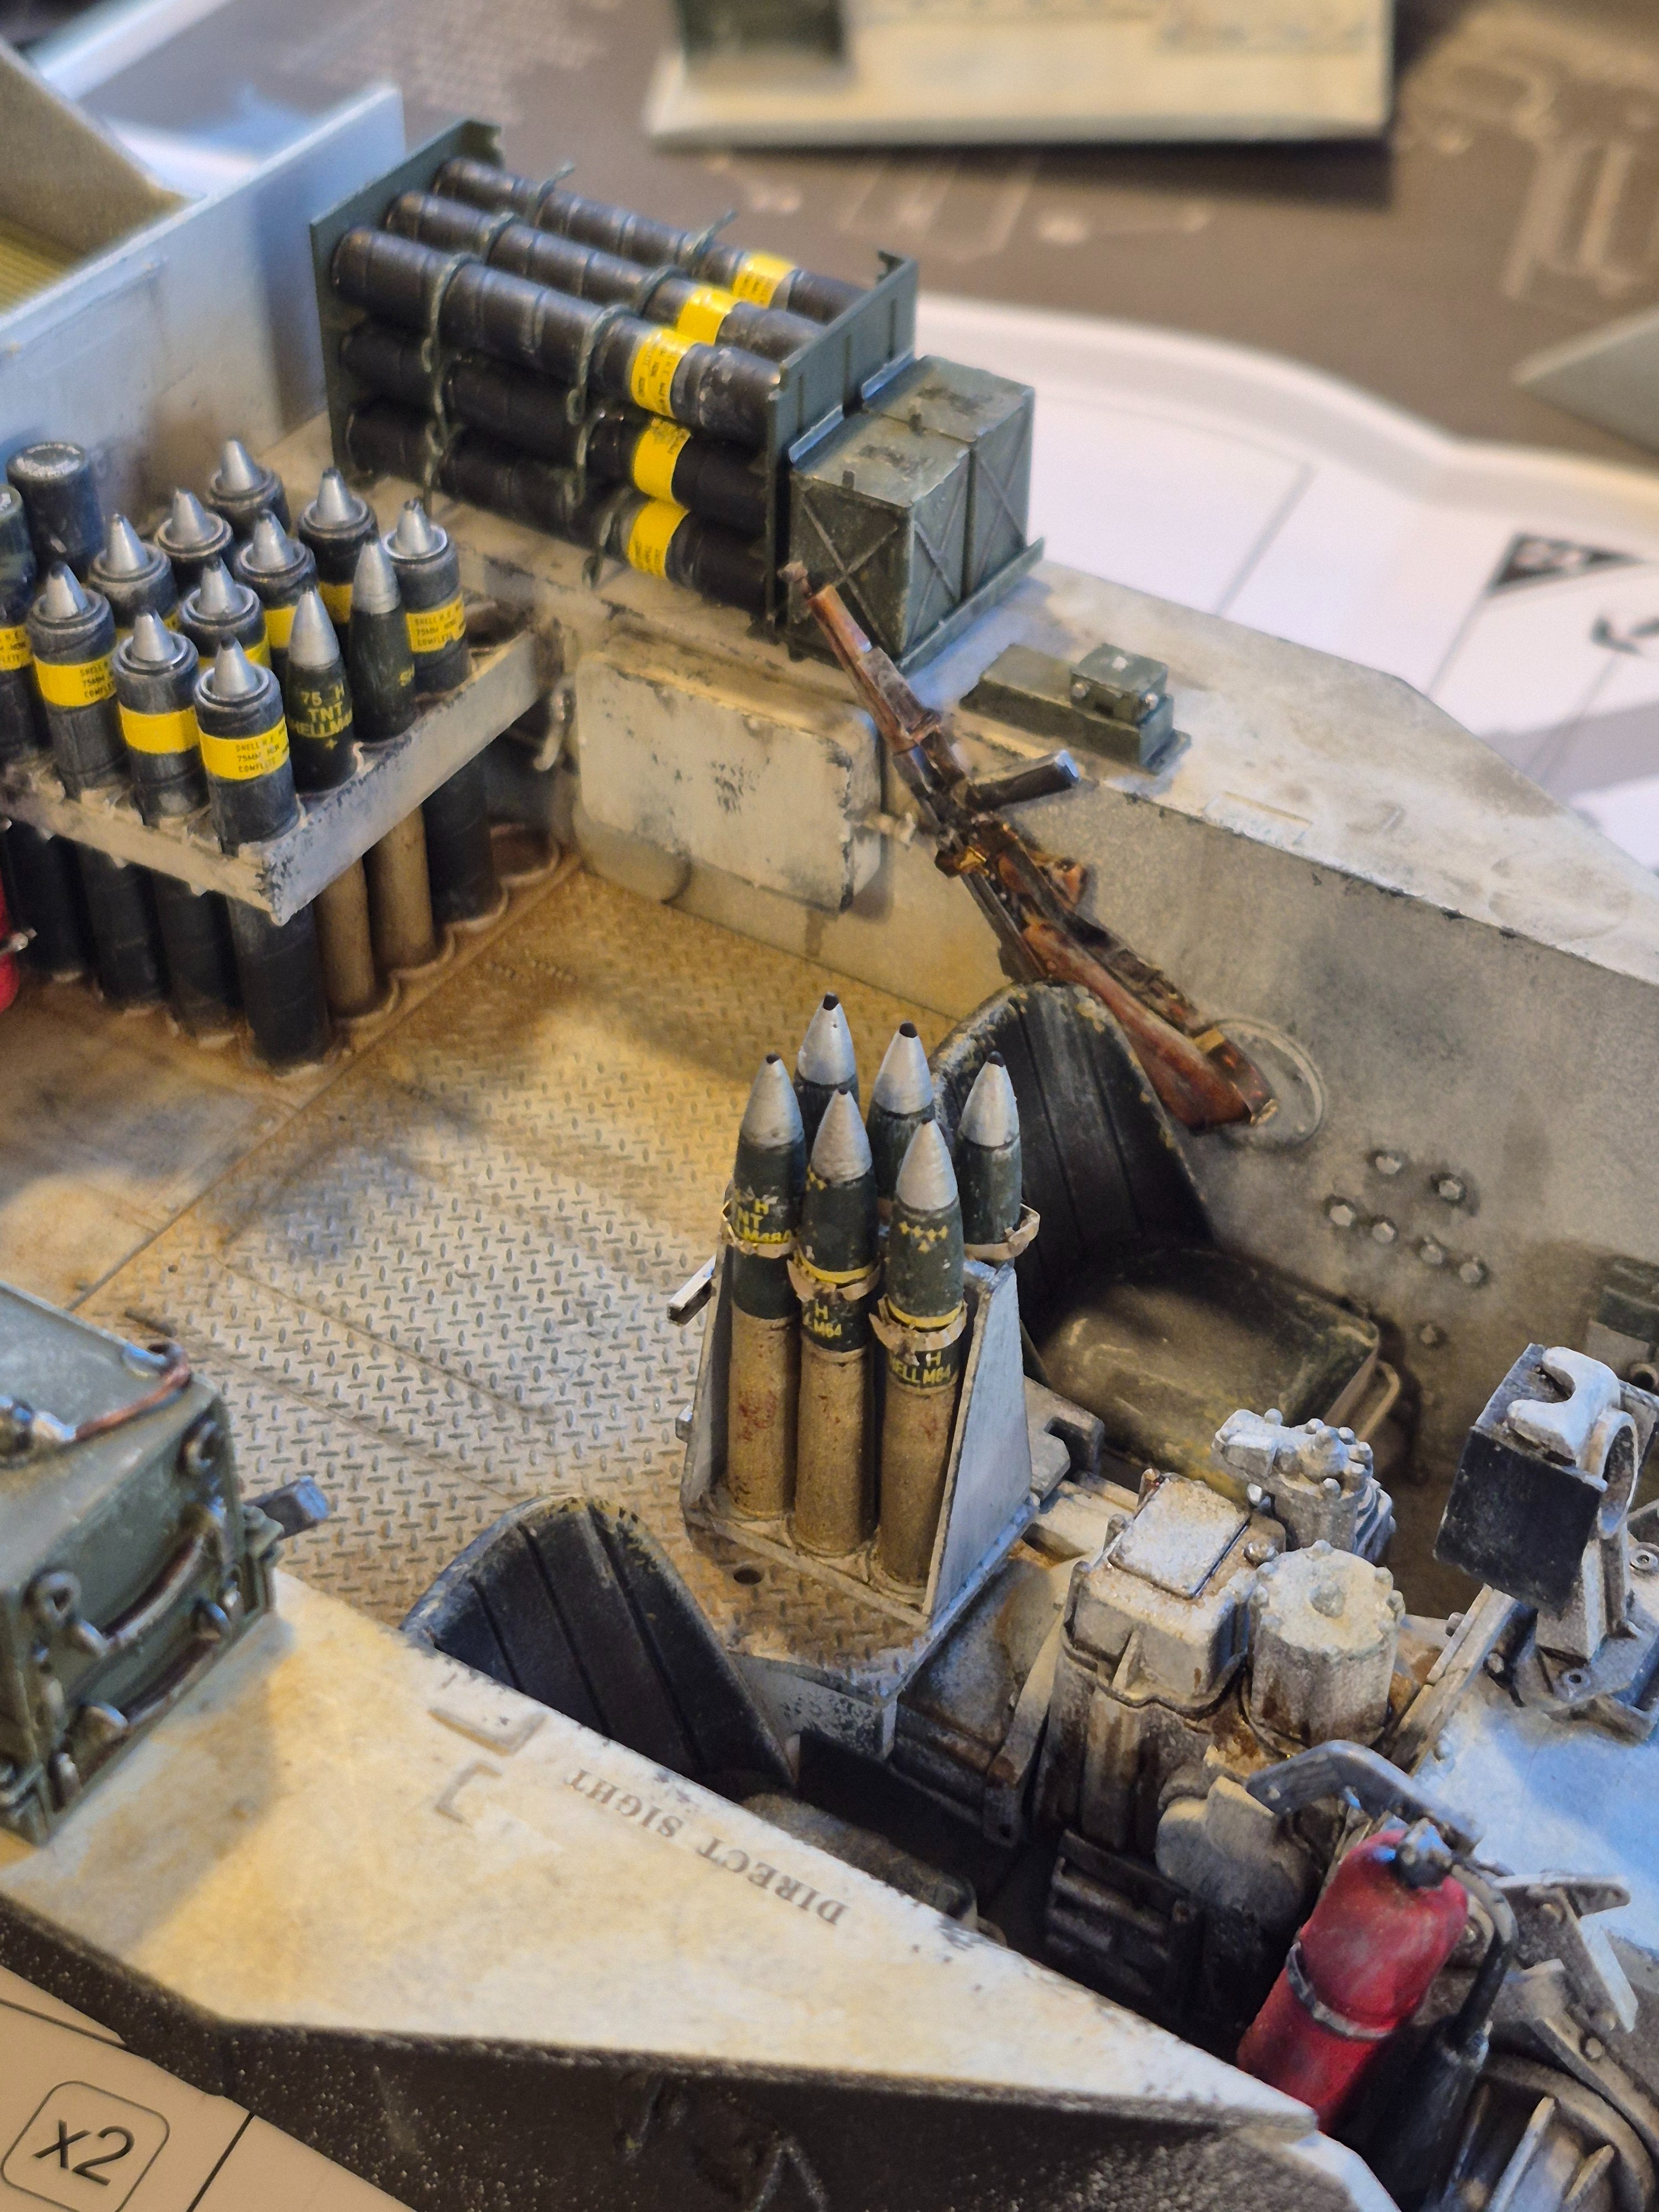
The nice weather has slowed down my time at the bench. I'm still working on the lower hull interior, there is actually still alot to do.
17809519463511582096709986646741.jpg

17809519786794562347649627769719.jpg

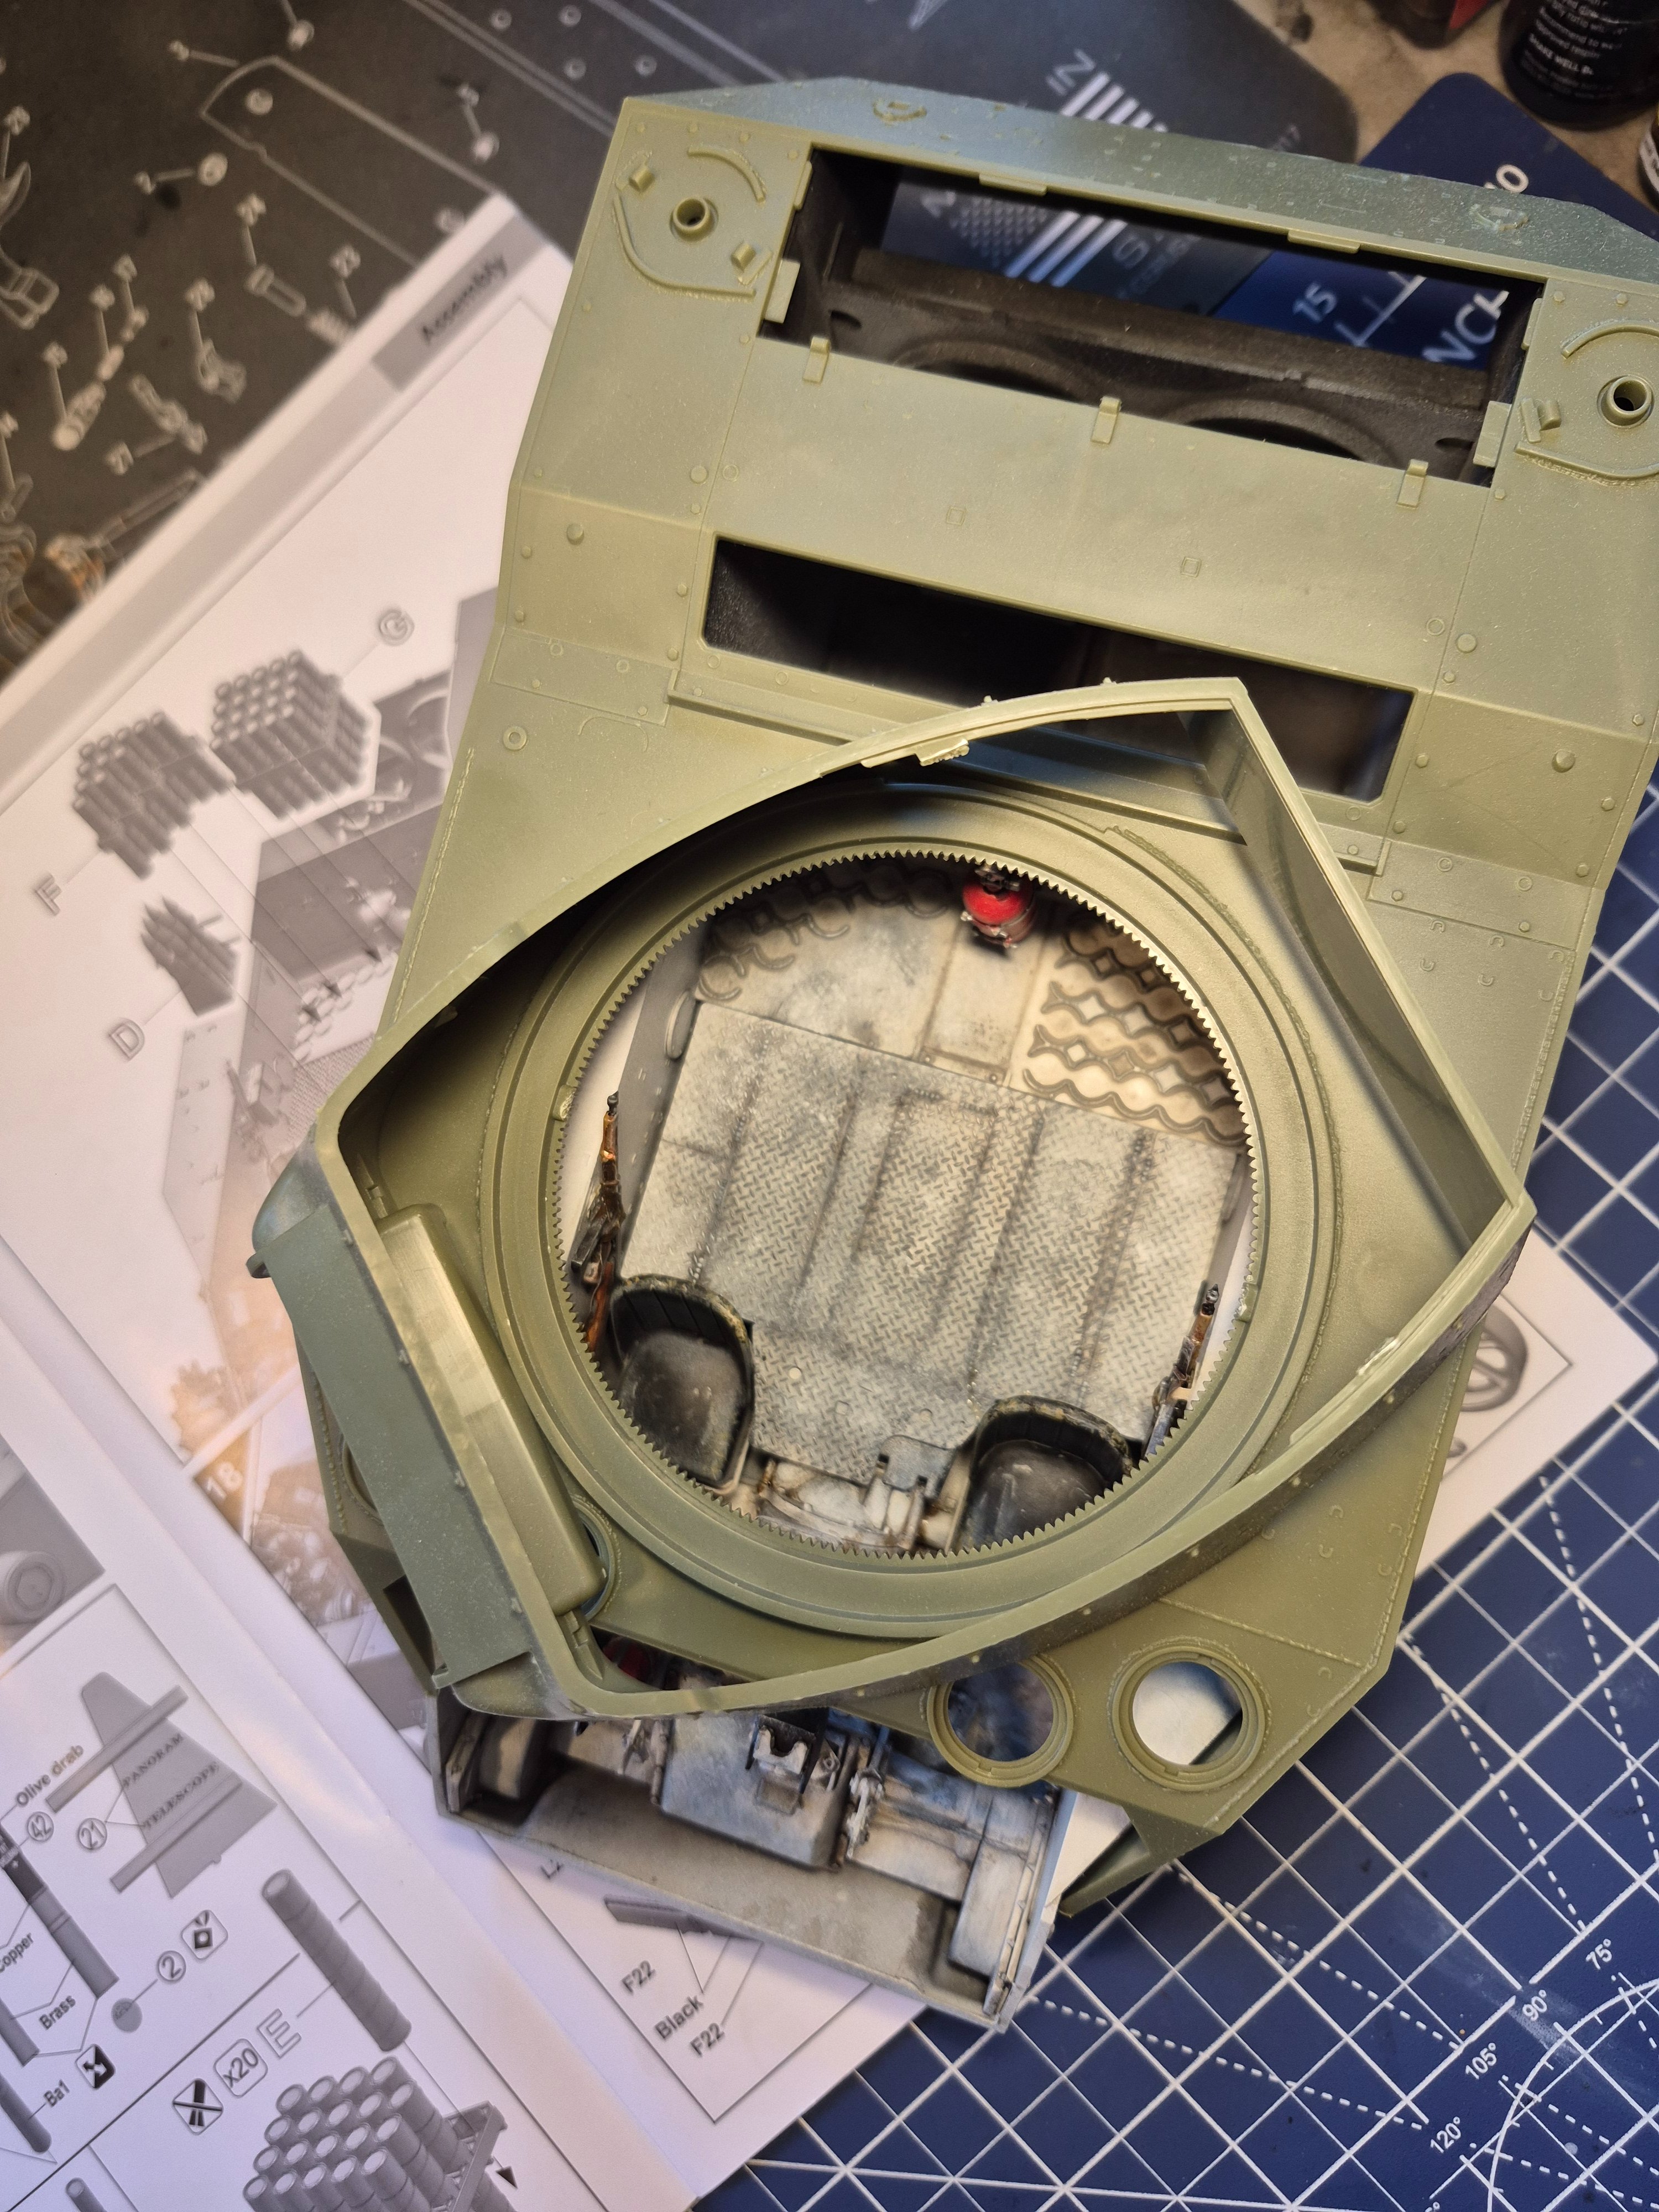
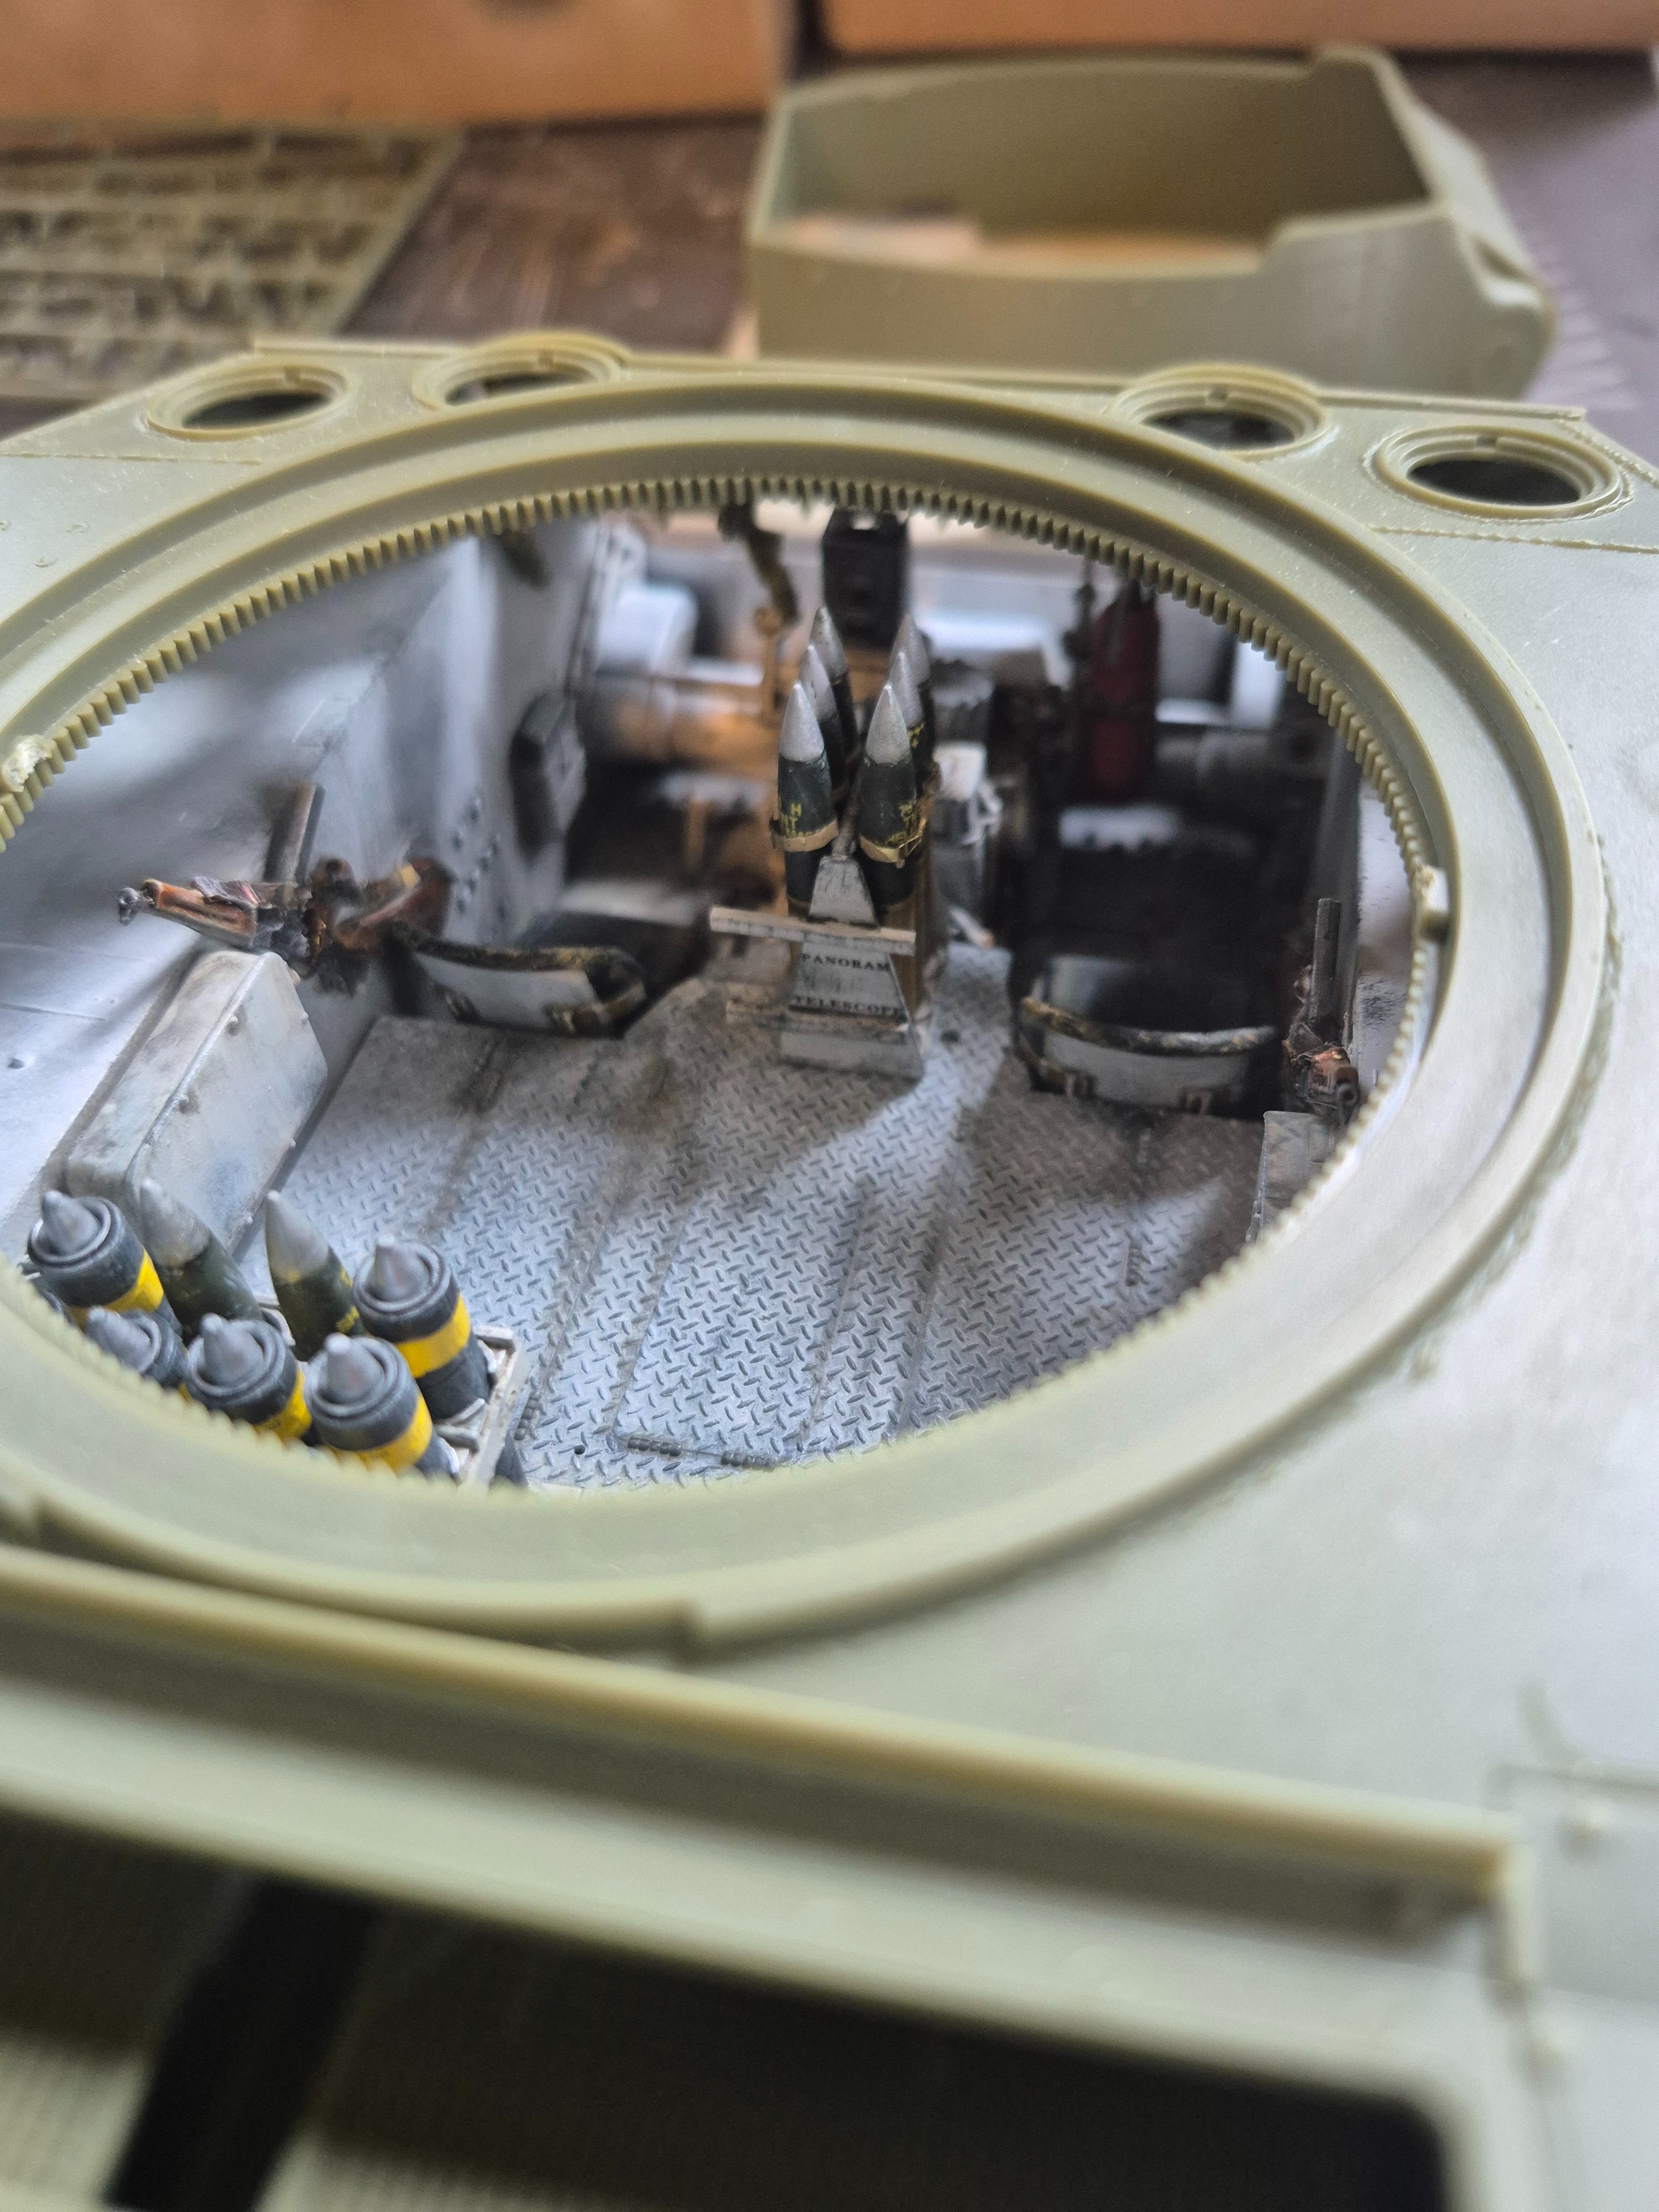
It is an open turret vehicle, but I think I over weathered the worn paint on the floor. I'm going to add more white before any dirt goes on. You will not see much anyway because the ammo ready rack sits right in the middle, and the 75 mm gun will block alot of view as well. I'll add some more black to the seats as well. I think the back and forth of the weathering helps with the overall look anyways.
1780952893926696166009369113019.jpg
 
The nice weather has slowed down my time at the bench. I'm still working on the lower hull interior, there is actually still alot to do.
View attachment 192090
View attachment 192091
It is an open turret vehicle, but I think I over weathered the worn paint on the floor. I'm going to add more white before any dirt goes on. You will not see much anyway because the ammo ready rack sits right in the middle, and the 75 mm gun will block alot of view as well. I'll add some more black to the seats as well. I think the back and forth of the weathering helps with the overall look anyways.
View attachment 192092
I think that floor looks awesome!
 
The nice weather has slowed down my time at the bench. I'm still working on the lower hull interior, there is actually still alot to do.
View attachment 192090
View attachment 192091
It is an open turret vehicle, but I think I over weathered the worn paint on the floor. I'm going to add more white before any dirt goes on. You will not see much anyway because the ammo ready rack sits right in the middle, and the 75 mm gun will block alot of view as well. I'll add some more black to the seats as well. I think the back and forth of the weathering helps with the overall look anyways.
View attachment 192092
That interior looks really good. Makes me want to get better
 
I just noticed something that strikes me as odd.....
The kit has 30+ parts for the handles and levers to open the front visors which will not be visible on the completed model,
17818035834787864985918878496998.jpg

17818037322753760892211085874901.jpg

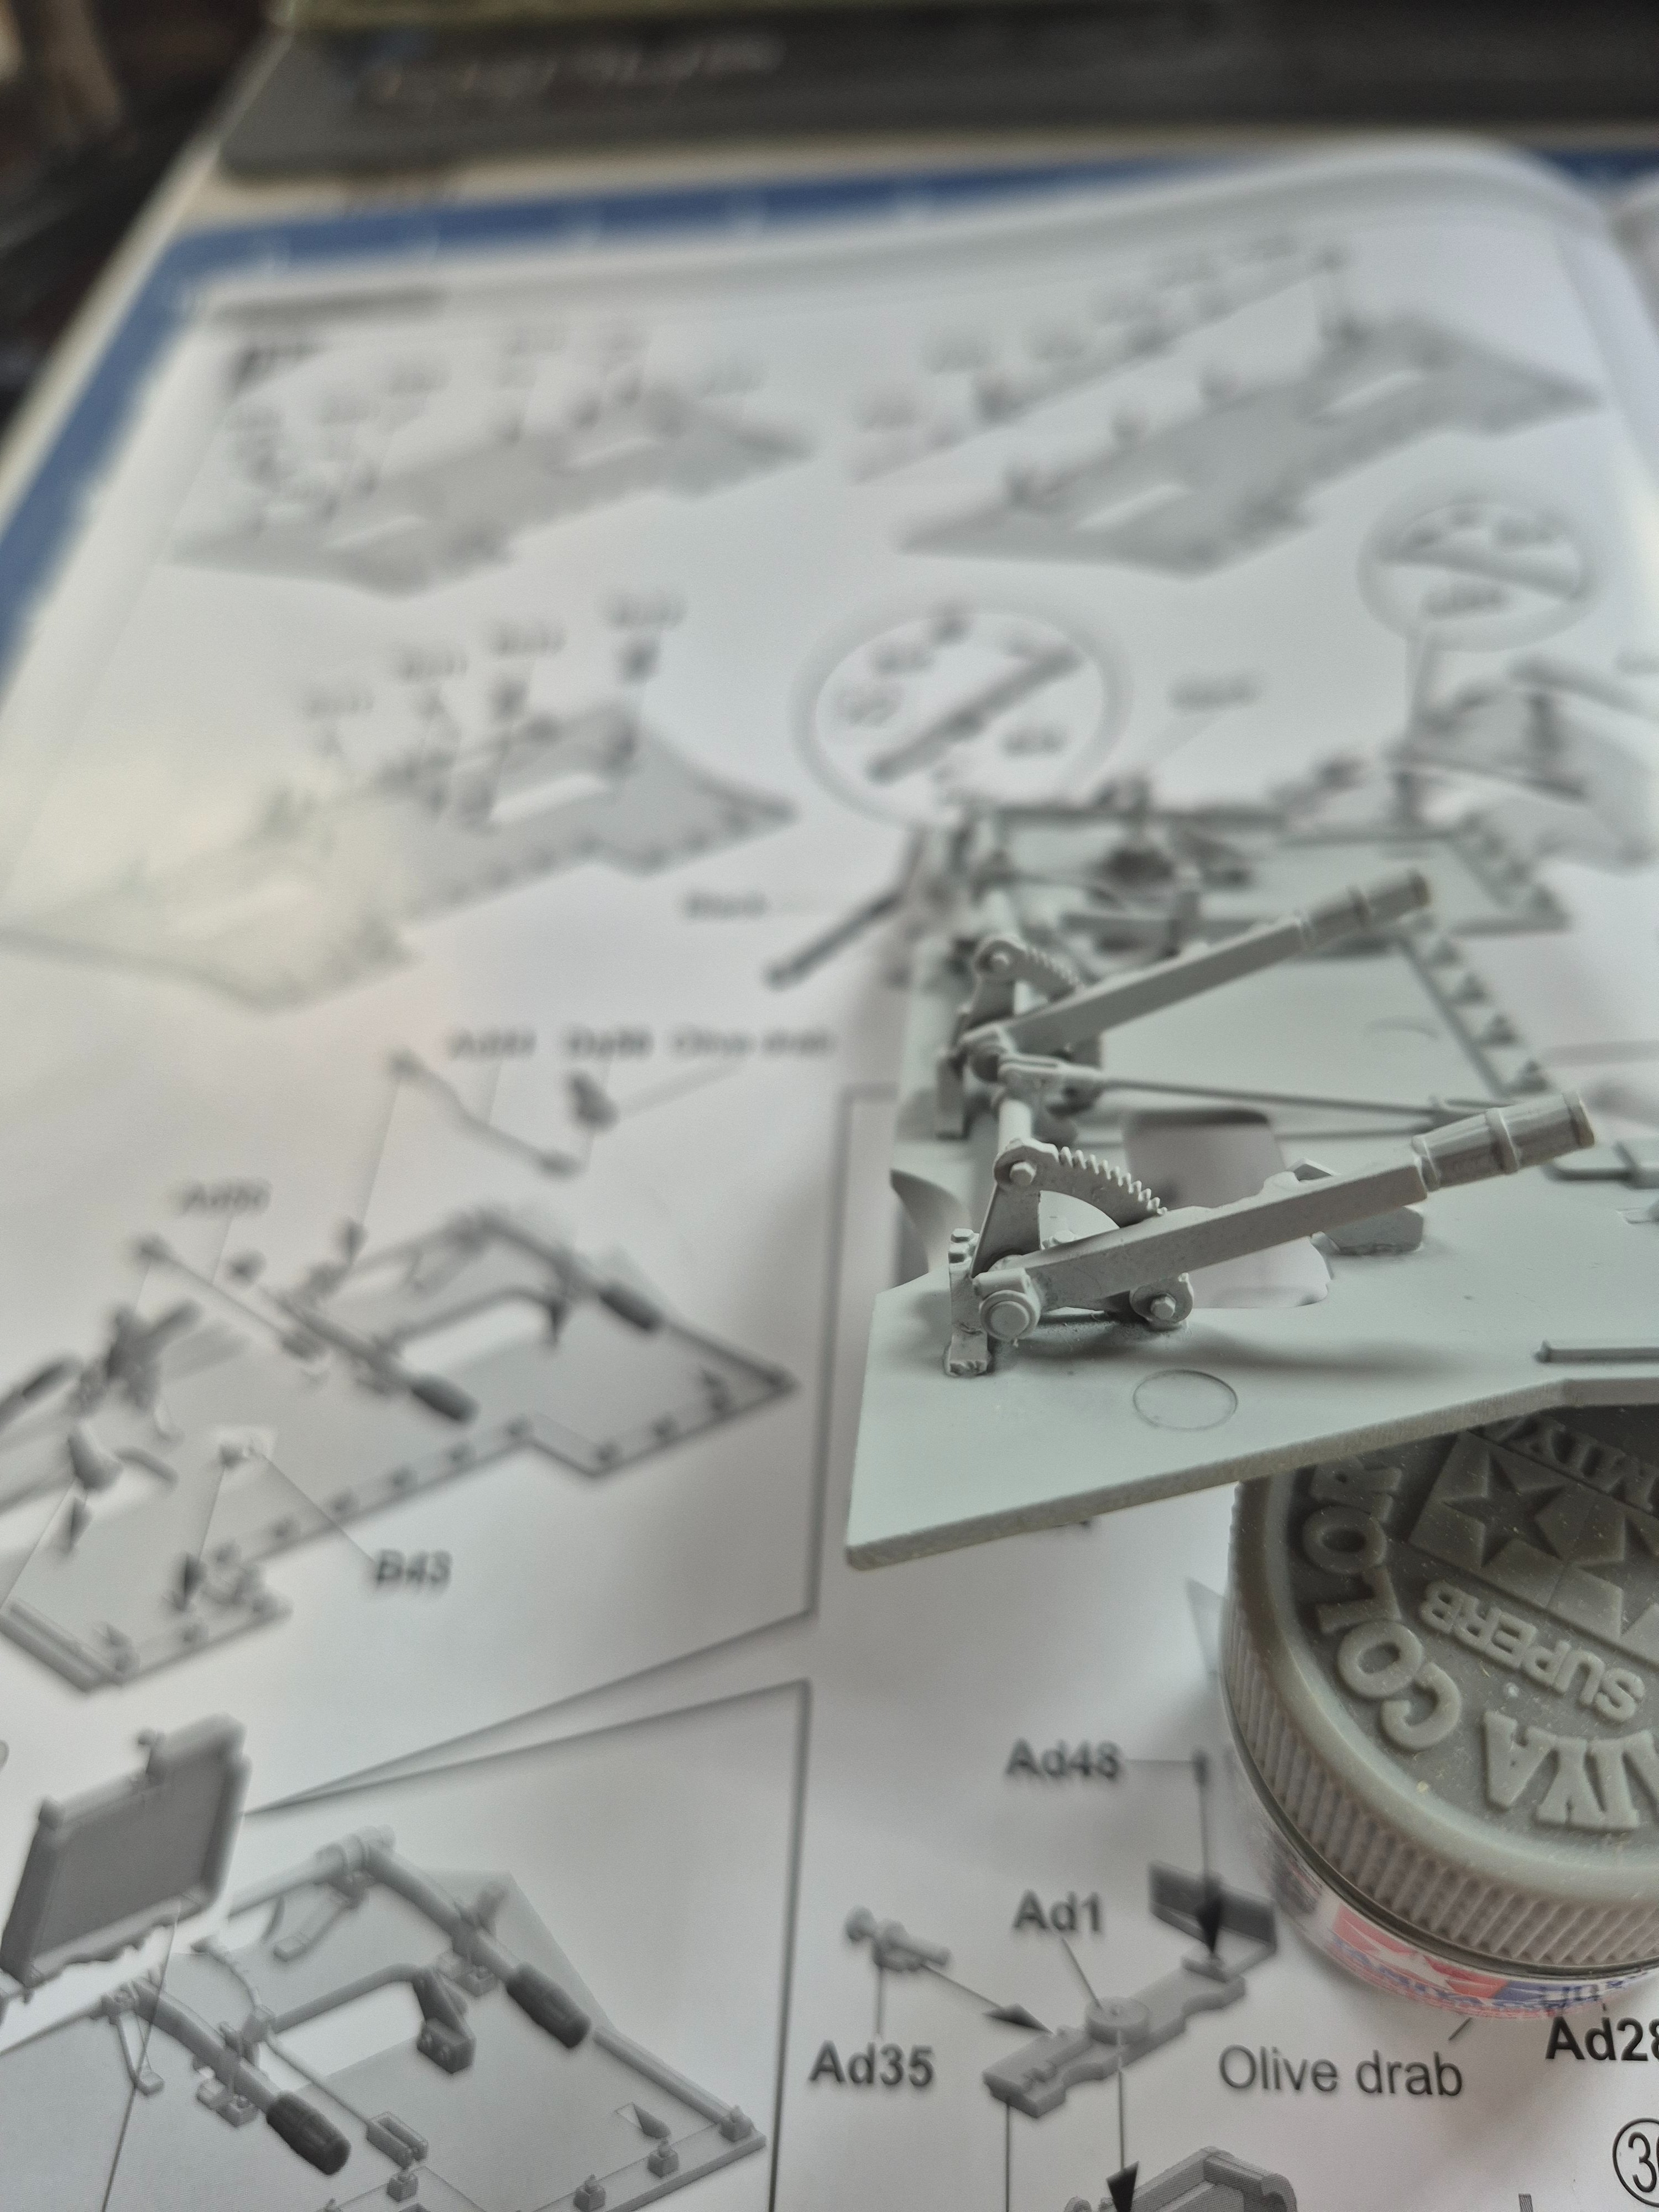
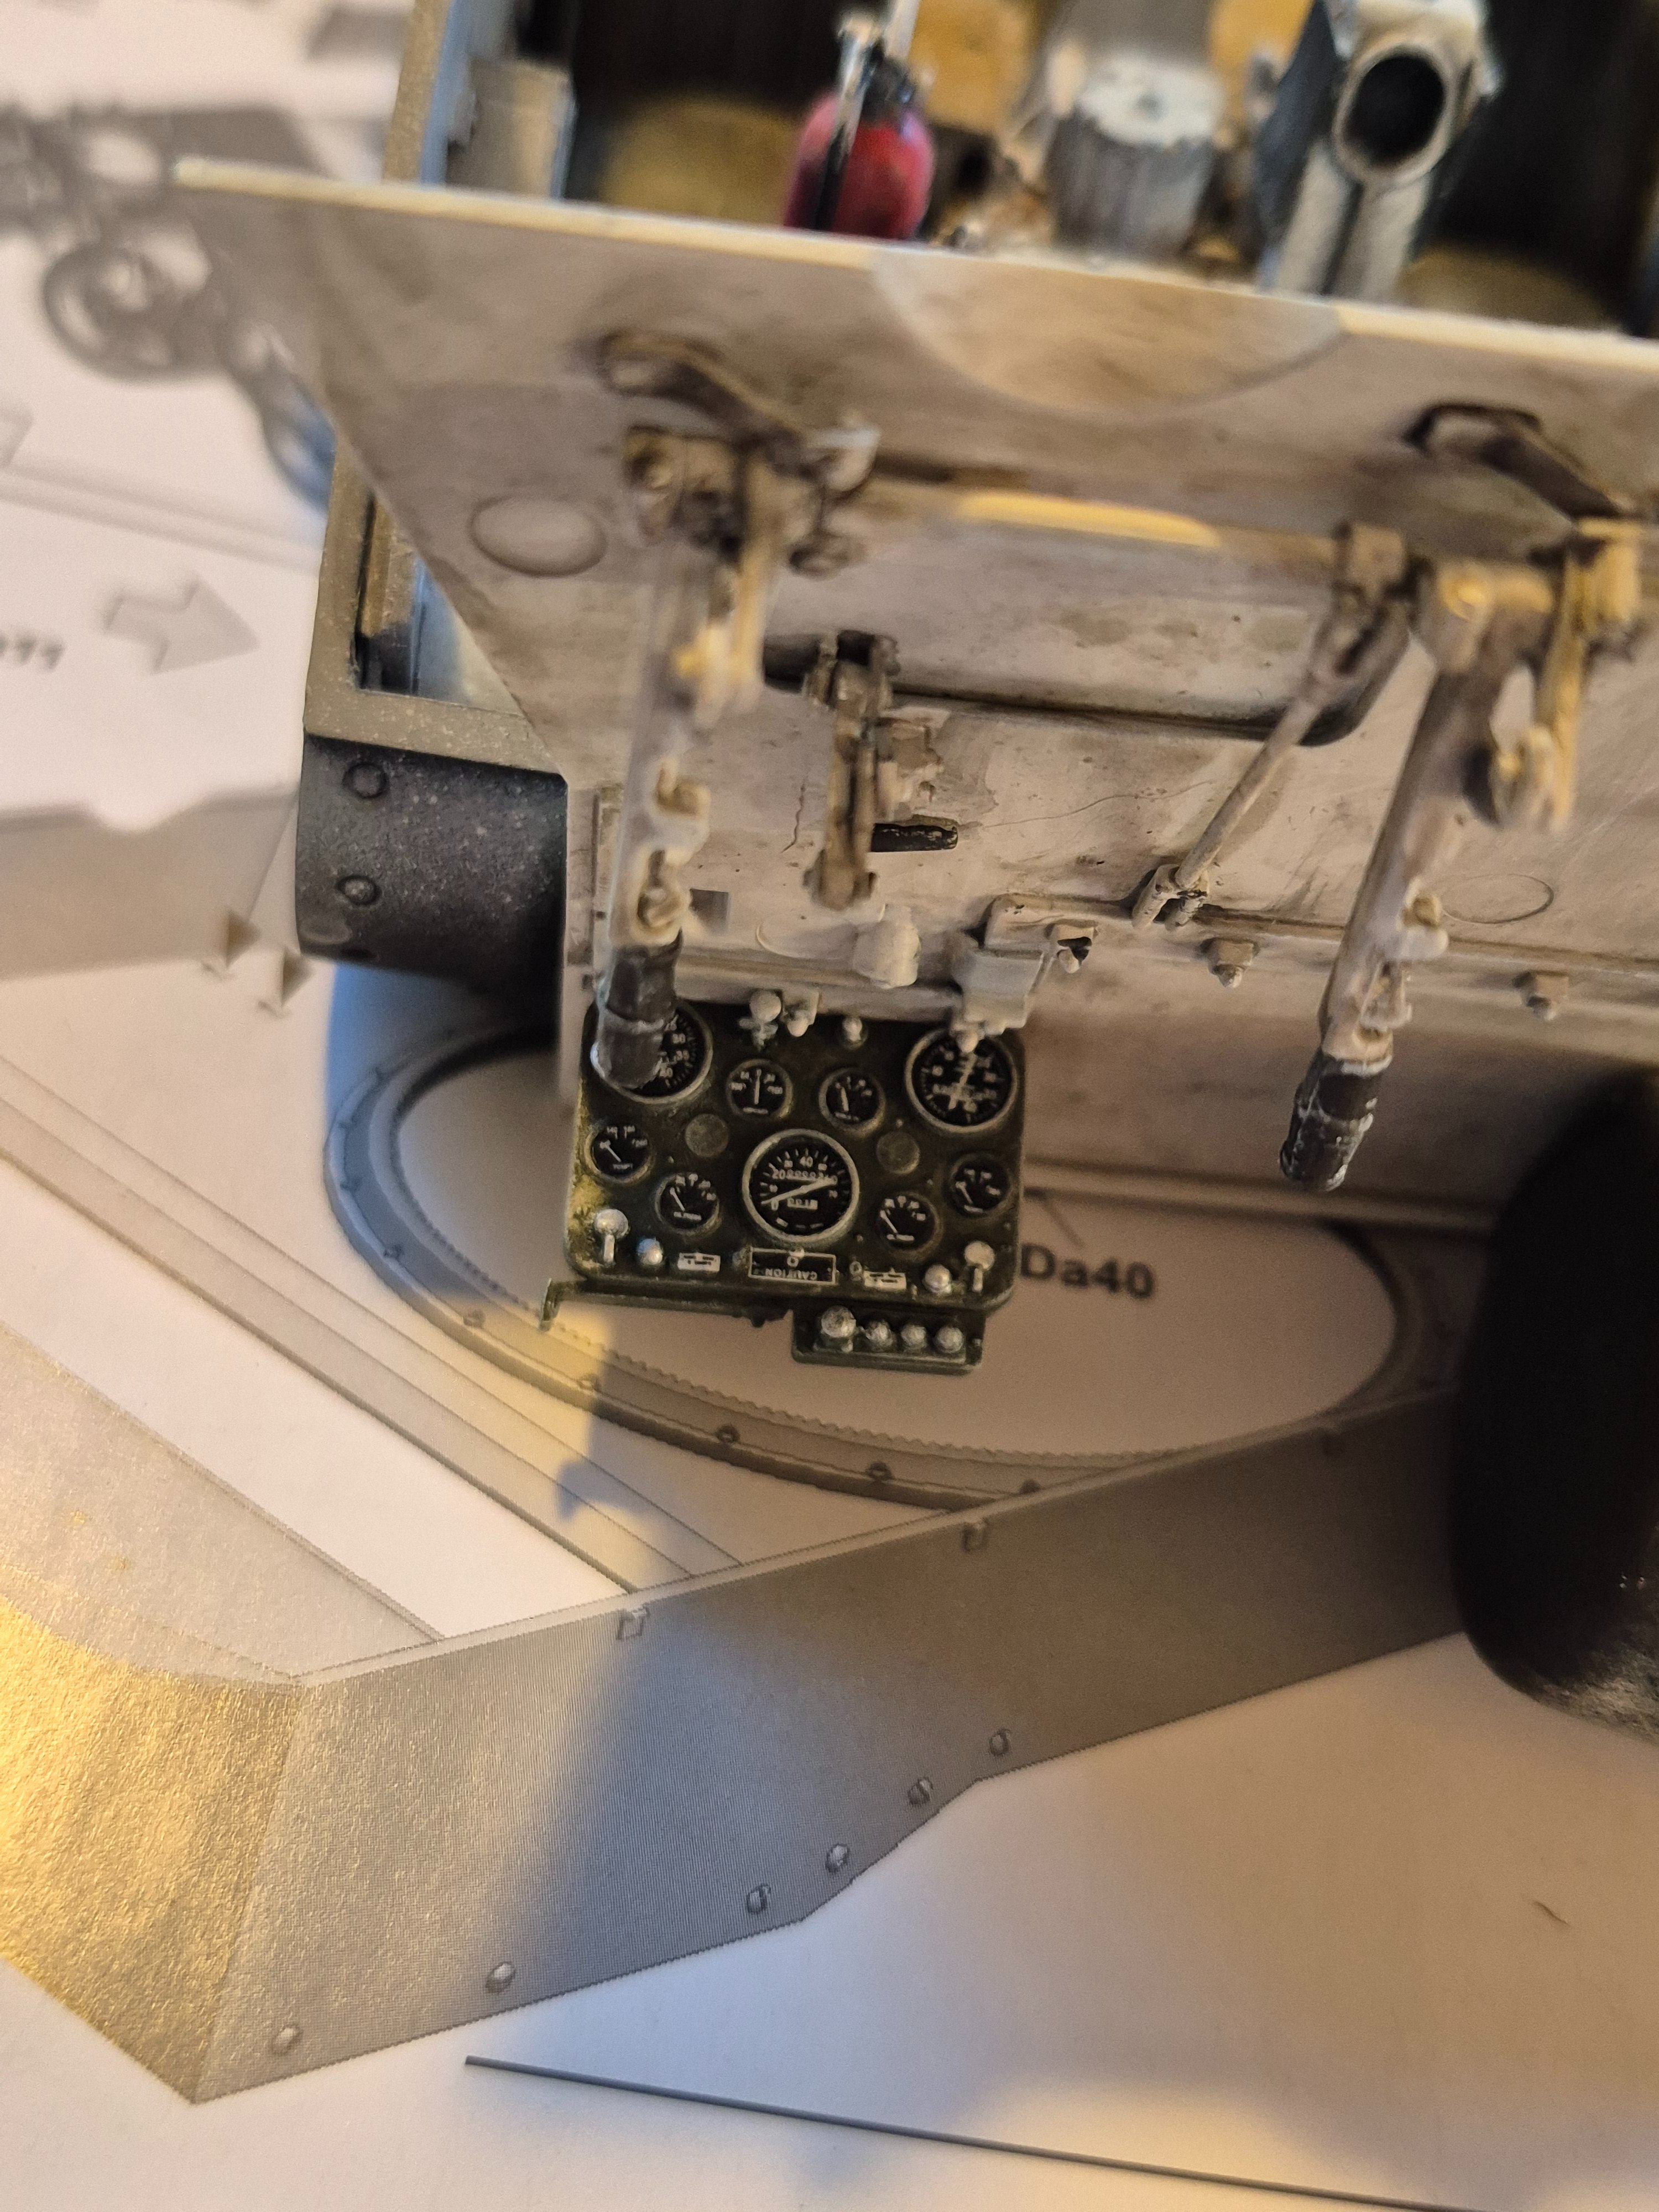
However, they don't include any steering controls for the driver, which probably could be seen......
17818038998539029473512067234030.jpg

I will have to scratch build something for that. I still have a favorable opinion of this Classy Hobby kit.
 
I just noticed something that strikes me as odd.....
The kit has 30+ parts for the handles and levers to open the front visors which will not be visible on the completed model,
View attachment 193249
View attachment 193250
However, they don't include any steering controls for the driver, which probably could be seen......
View attachment 193252
I will have to scratch build something for that. I still have a favorable opinion of this Classy Hobby kit.
I believe this was steered with levers.
 
Thanks for the clarification. The kit does indeed include the levers. I mistakenly confused them with levers to just open the visor. I didn't realize why there is a difference from one side to the other. The lightbulb should've come on when I saw the geared teeth, it's only on one side. 🤔

17818154281716092501580263339934.jpg
 
That looks so good! How did you do the floor?
Thanks........
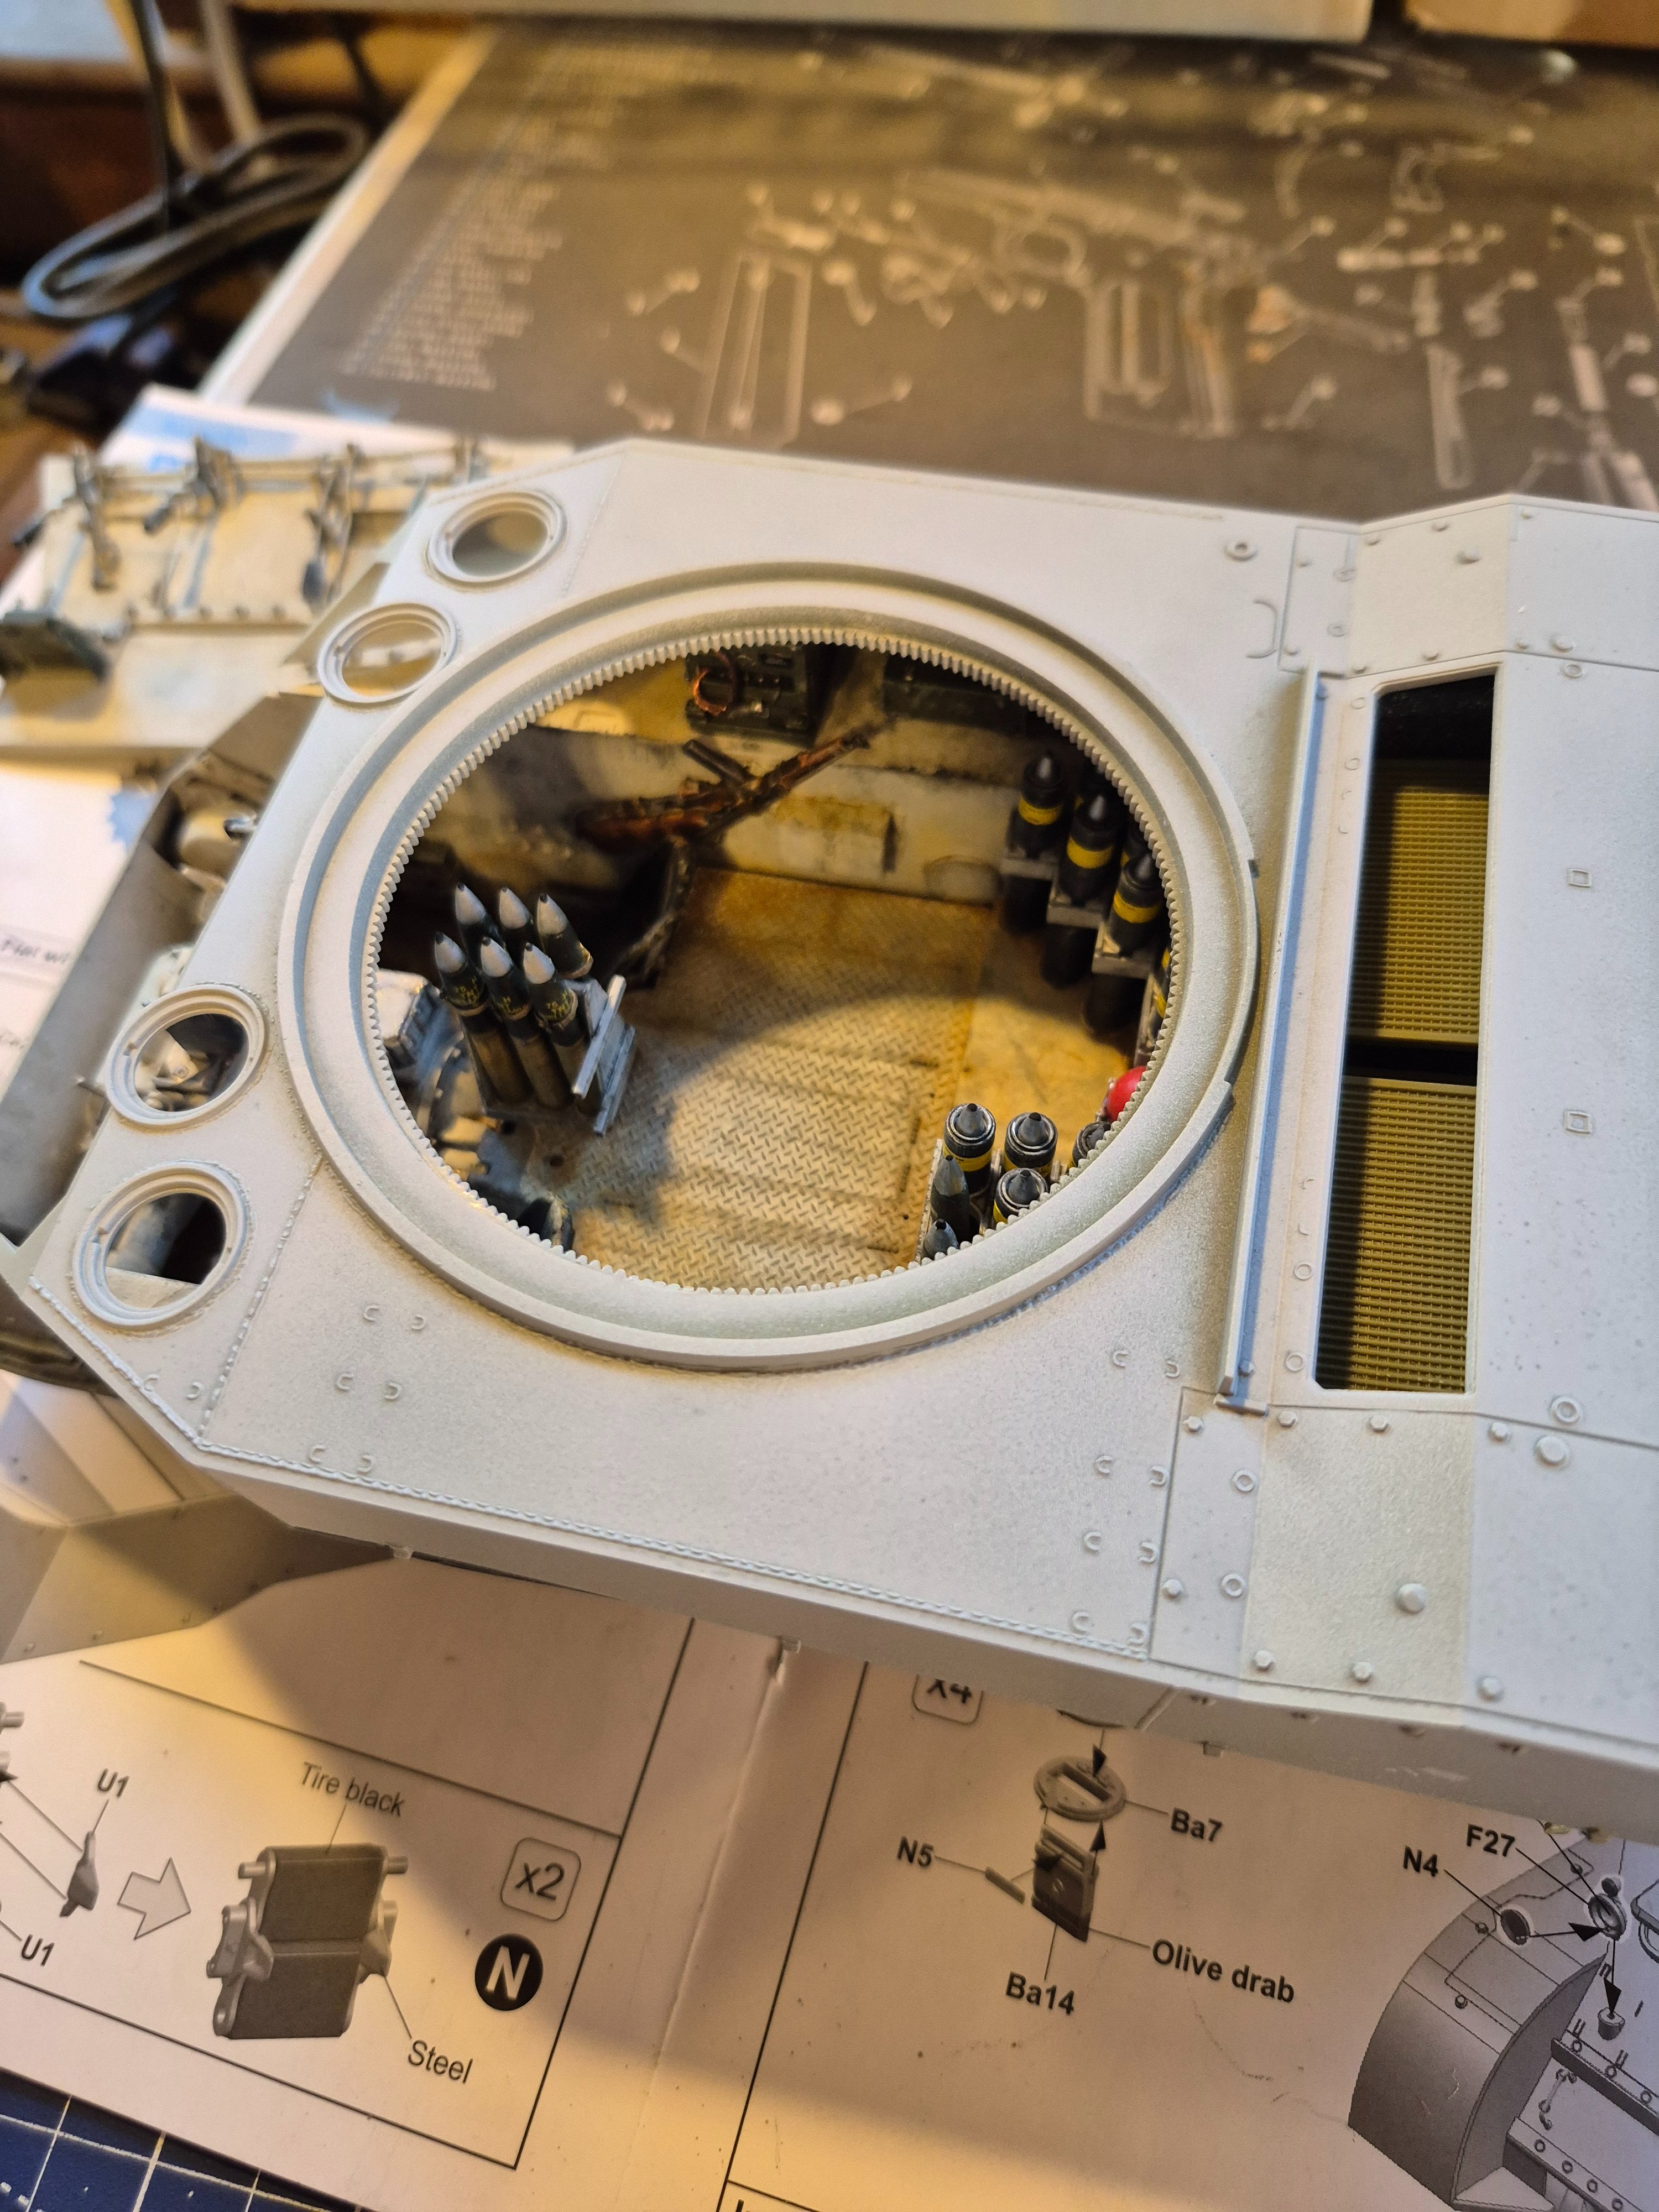
It's a combination of going back and forth many times with a few different products.
17823459687723688511603533954364.jpg

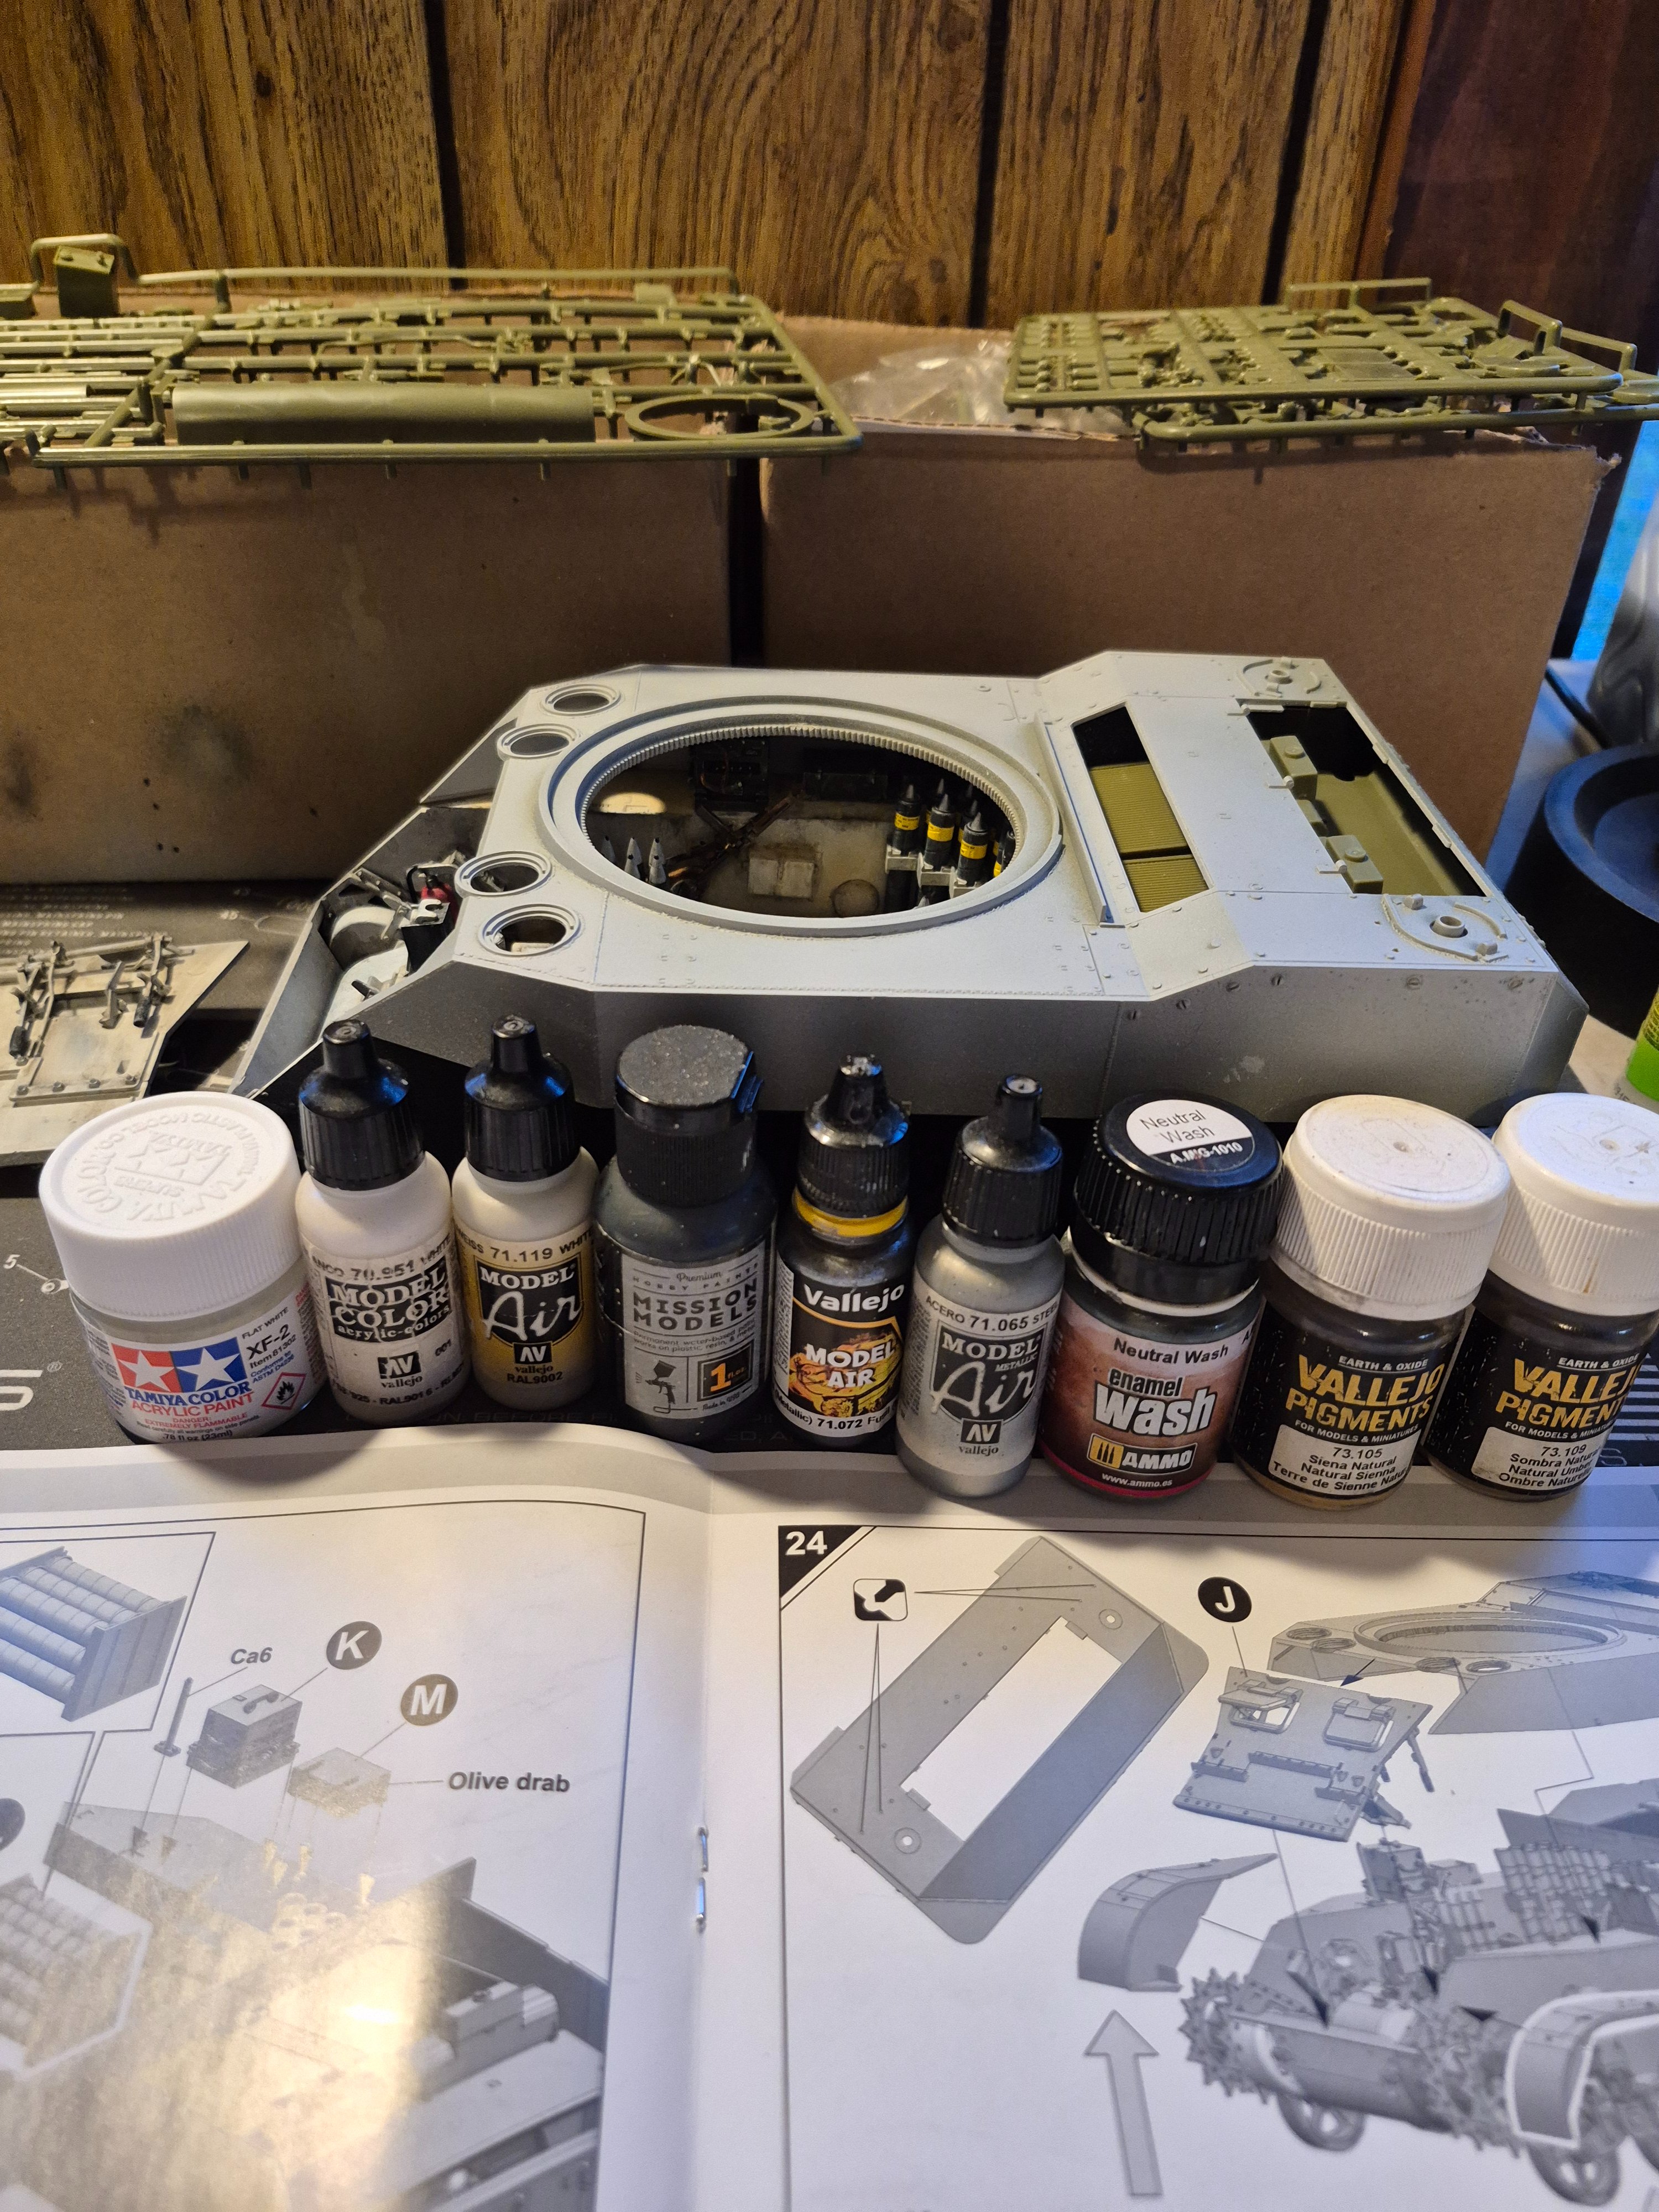
First is primer, base coat of Tamiya XF - 2 white. A wash of something dirty to fill things in. A drybrush highlight of lighter whites. Chipping with dark grey paint on a sponge or stiple it in with an old messed up brush. Chipping over that with a white highlight if you over did it. Dry brush with steel and silver.
I emphasize the act of going back and forth. You do a dark wash and it looks good in some spots, but overdone in others. Do a highlight to counter act that, but its too bright in some areas. Go back to a wash or chipping to even it out..........but leave some of it to show through.
Oh, and I just added the dust/ dirt pigments from the crew's boots and because its an open top turret vehicle. Looking at the zoomed in pics posted in the thread I think I over did that, so maybe another wash of white 🤔
At this point in my modeling life, painting and weathering is the joy. Keep going until your happy.
In my mind this particular vehicle is in Normandy, summer 1944, and was built in late 1942 when M8 production started to get going. So its been around for a awhile.
 
Thanks........
It's a combination of going back and forth many times with a few different products.
View attachment 193934
First is primer, base coat of Tamiya XF - 2 white. A wash of something dirty to fill things in. A drybrush highlight of lighter whites. Chipping with dark grey paint on a sponge or stiple it in with an old messed up brush. Chipping over that with a white highlight if you over did it. Dry brush with steel and silver.
I emphasize the act of going back and forth. You do a dark wash and it looks good in some spots, but overdone in others. Do a highlight to counter act that, but its too bright in some areas. Go back to a wash or chipping to even it out..........but leave some of it to show through.
Oh, and I just added the dust/ dirt pigments from the crew's boots and because its an open top turret vehicle. Looking at the zoomed in pics posted in the thread I think I over did that, so maybe another wash of white 🤔
At this point in my modeling life, painting and weathering is the joy. Keep going until your happy.
In my mind this particular vehicle is in Normandy, summer 1944, and was built in late 1942 when M8 production started to get going. So its been around for an awhile.
I think you nailed the floor. I've got to work on my dry brush technique because - it sucks.
 
I have some of the Vallejo pigments on hand as well... I find that if applied with the liquid binder medium, it is sometimes hard to know how it will look once dry and lightened up.
So like you said, back and forth!
 
Back
Top