1/16 M3/M3A1 halftrack

Scale Model Addict - Model Tips, Guides, Tools & Tech, Tutorials, and Community

Help Support Scale Model Addict:

KA-22

Well-Known Member
Joined
Jul 3, 2012
Messages
45
City & State/Province
Taxachusettes
It's been a very long time since I posted here. In fact I think the last time I did Scott was still in charge, we still had a magazine and a yearly contest! I wonder how many members here remember that?!

Boy have things changed! My original account seems to have disappeared into the ether so I had to use and old account I had taken over from a troll back then, so if you happen to go through the post history of this account just ignore it. It wasn't me.

Anyway, I'm about to start this monstrosity (my first foray into 1/16) and thought what better way to return to my home from years past.
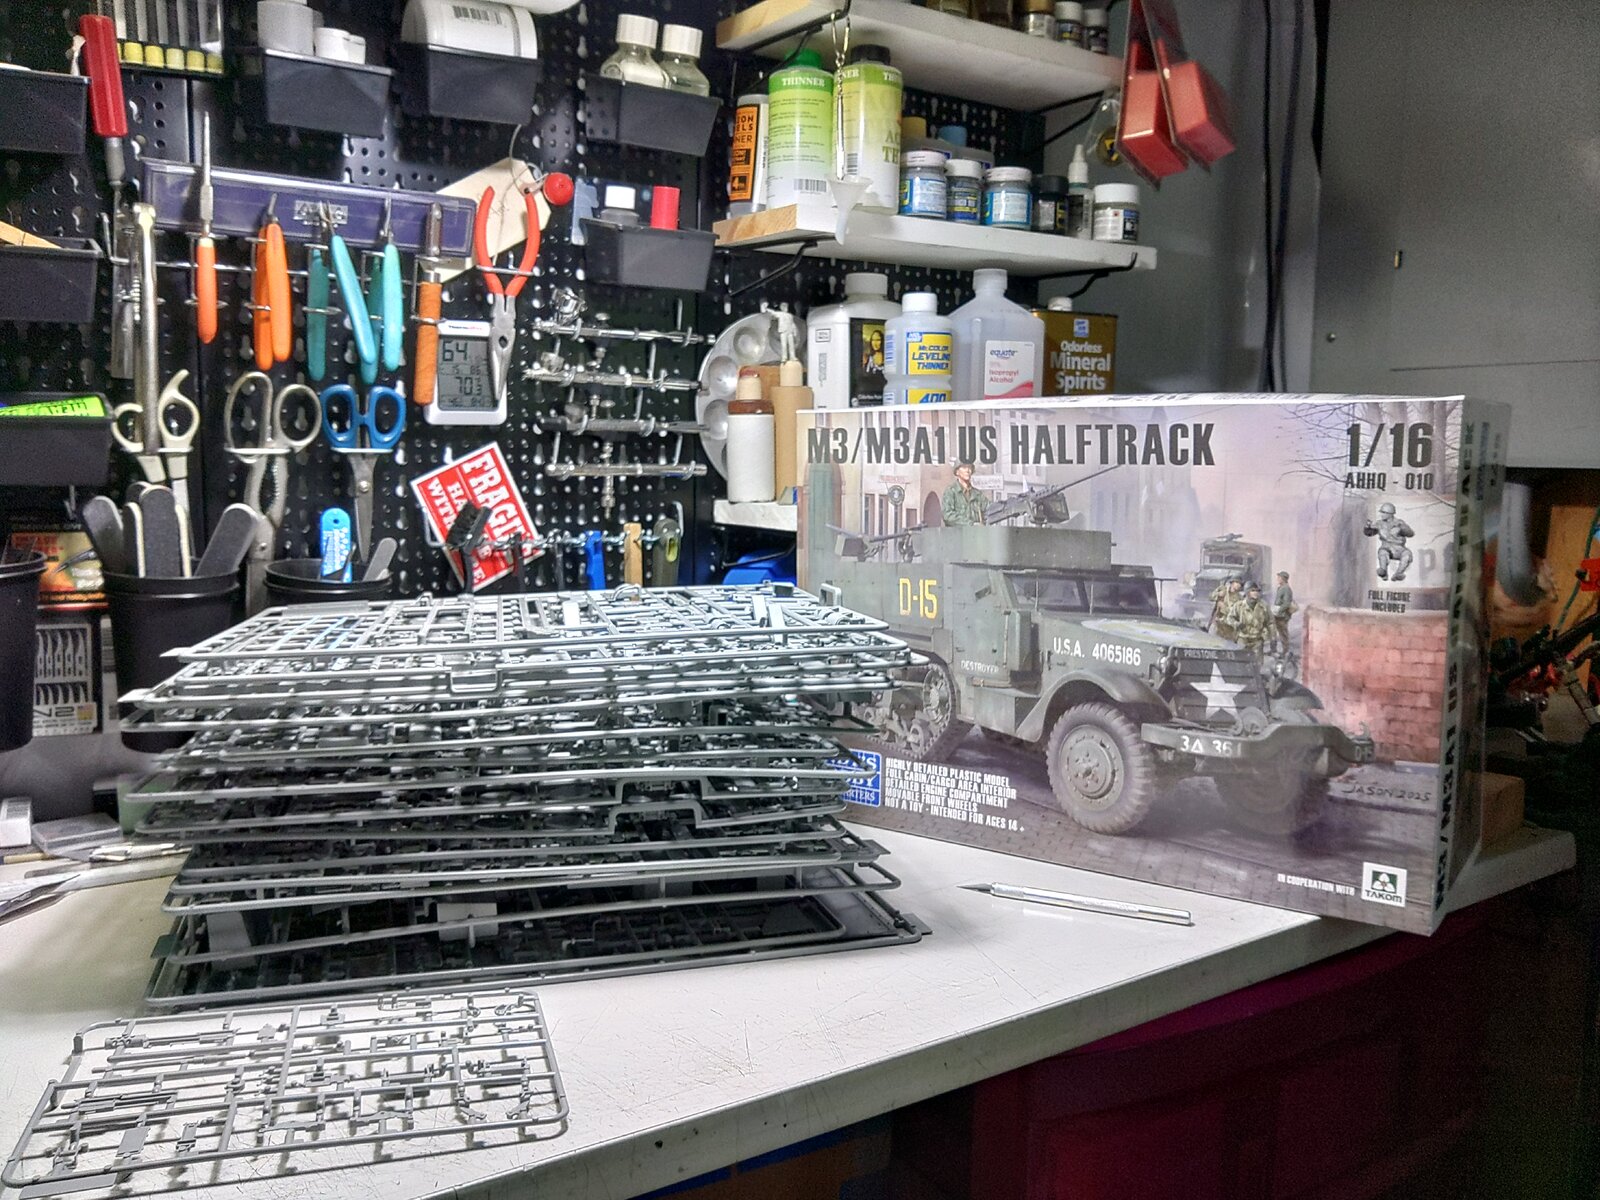

KIMG3435.JPG
 
The correct gaps"?? I just joined this forum and this is the first post I read. I'm feeling out of my league.
Please don't, the only league I play in is the one where everyone builds to their own abilities.

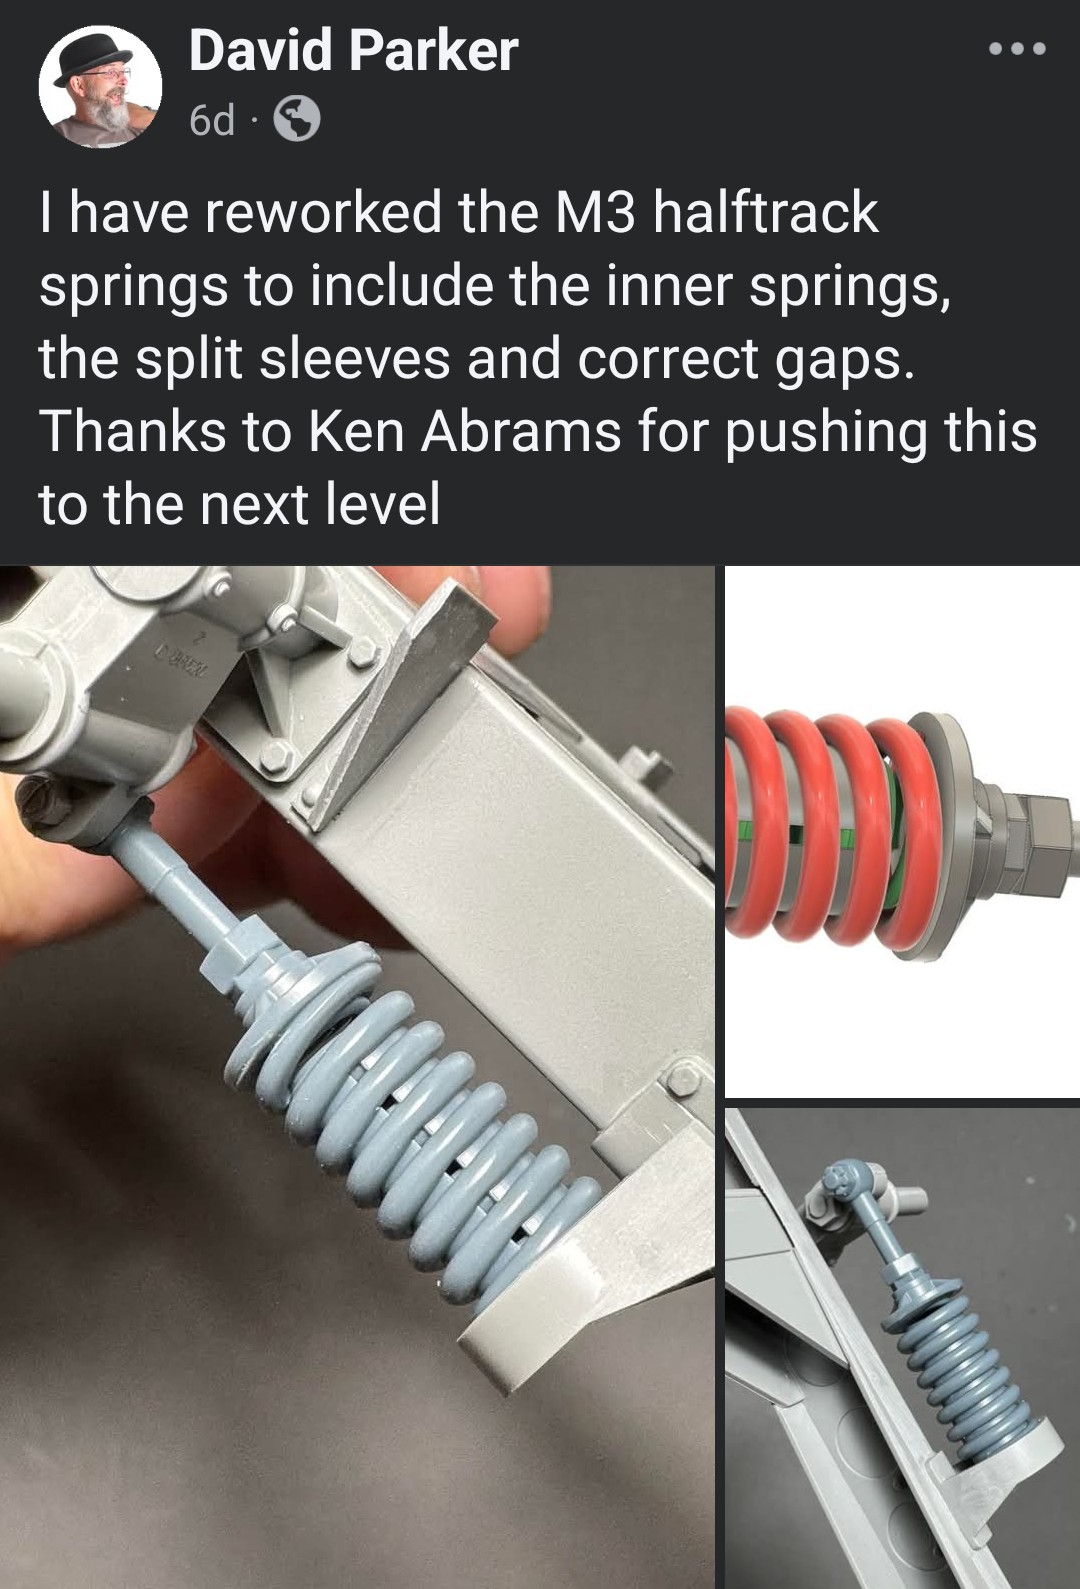
The actual spring has more detail than the kit parts provide, and if someone wants to add that level detail this is one way to achieve it, another would be scratch building, and if they don't want to do either the kit parts are just fine for them.

This is only a hobby, and many of us have different ideas of what brings them joy.
 
My experience is that the more you know about a particular vehicle type, the more minor details you notice are incorrect on a given kit of it. And Ken knows rather more about American halftracks than most of us :)

But like he says: just build your models to whatever standard you're happy with. The only one you need to please is yourself.
 
As an Amazon Associate we earn from qualifying purchases. Product prices and availability are accurate as of the date/time indicated and are subject to change.
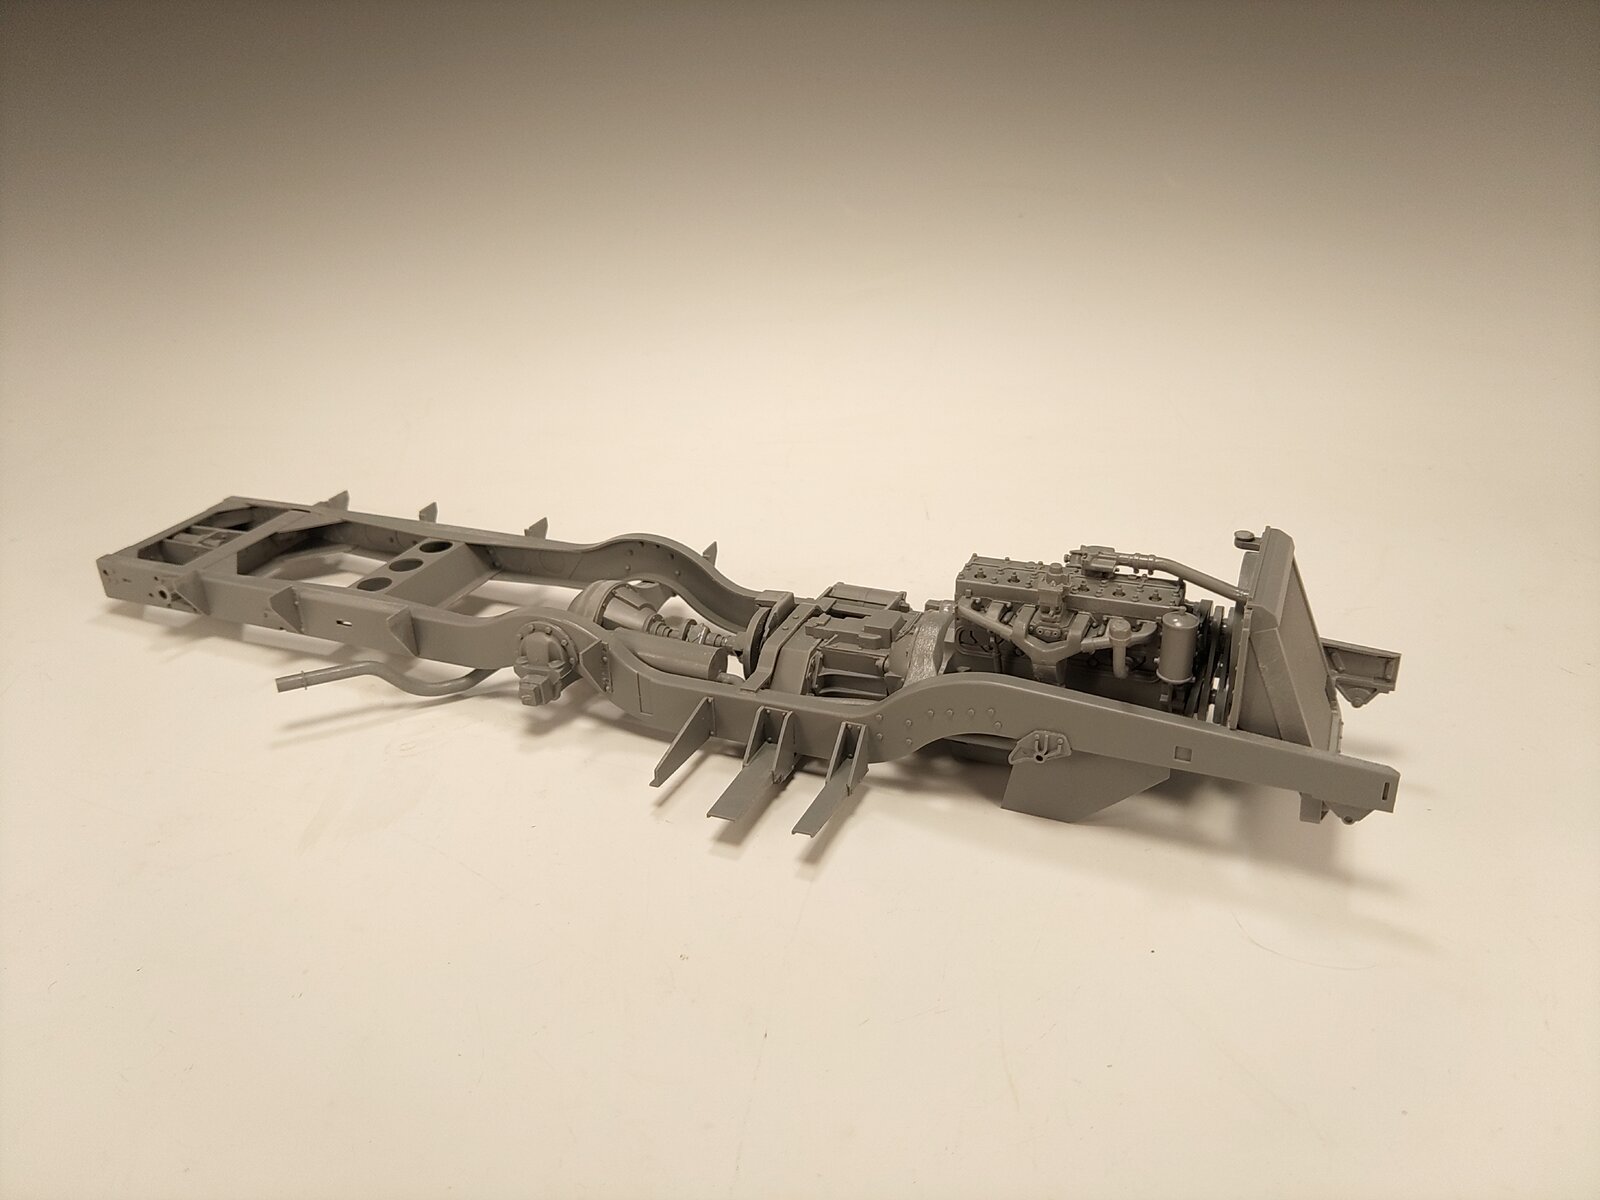
So I won't spend a lot of time covering the general assembly of the kit as there are others around the Internet as well as here covering that already, I'll focus more on the changes I've made along the way.

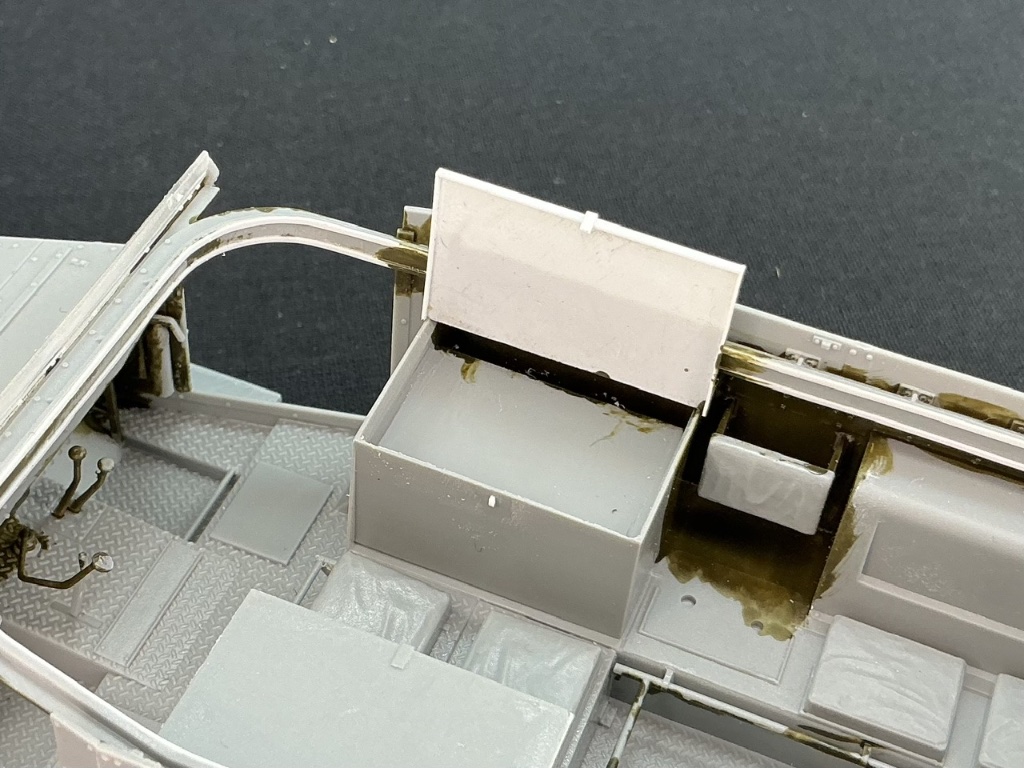
Through step ten brings us this, and this was all out of the box.

KIMG3503.JPG


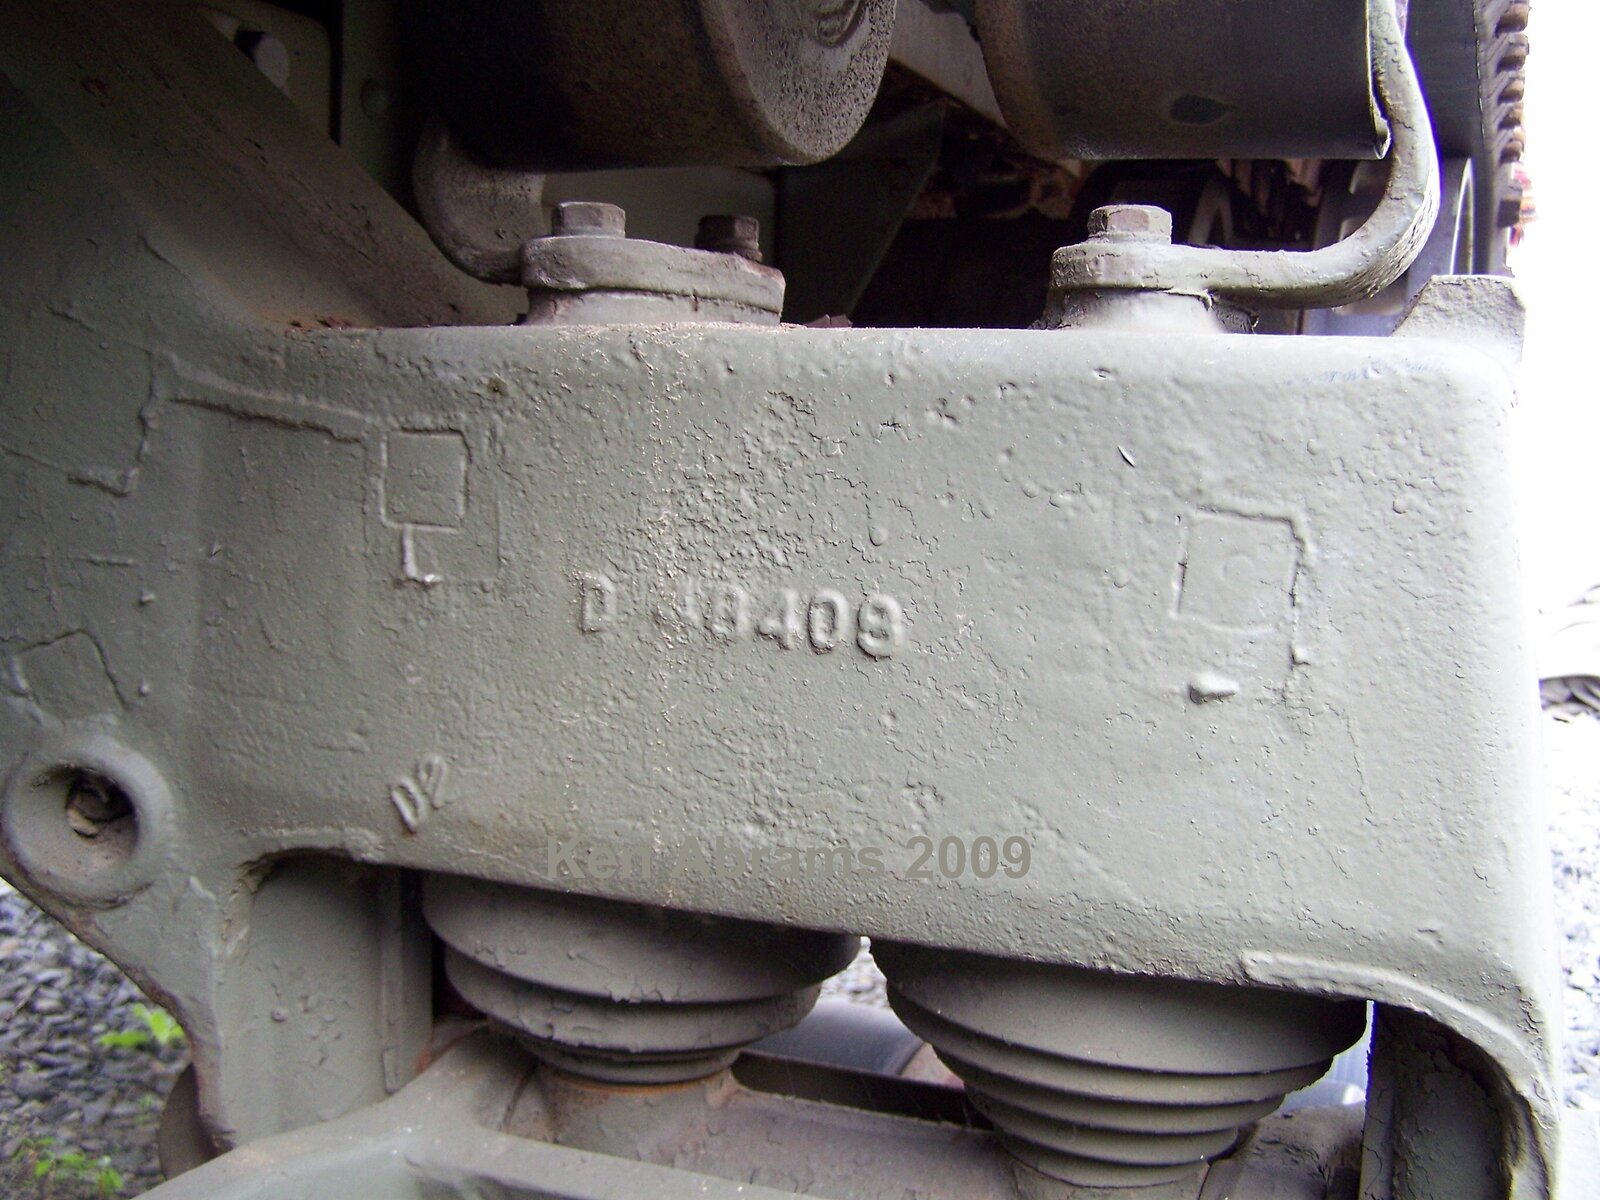
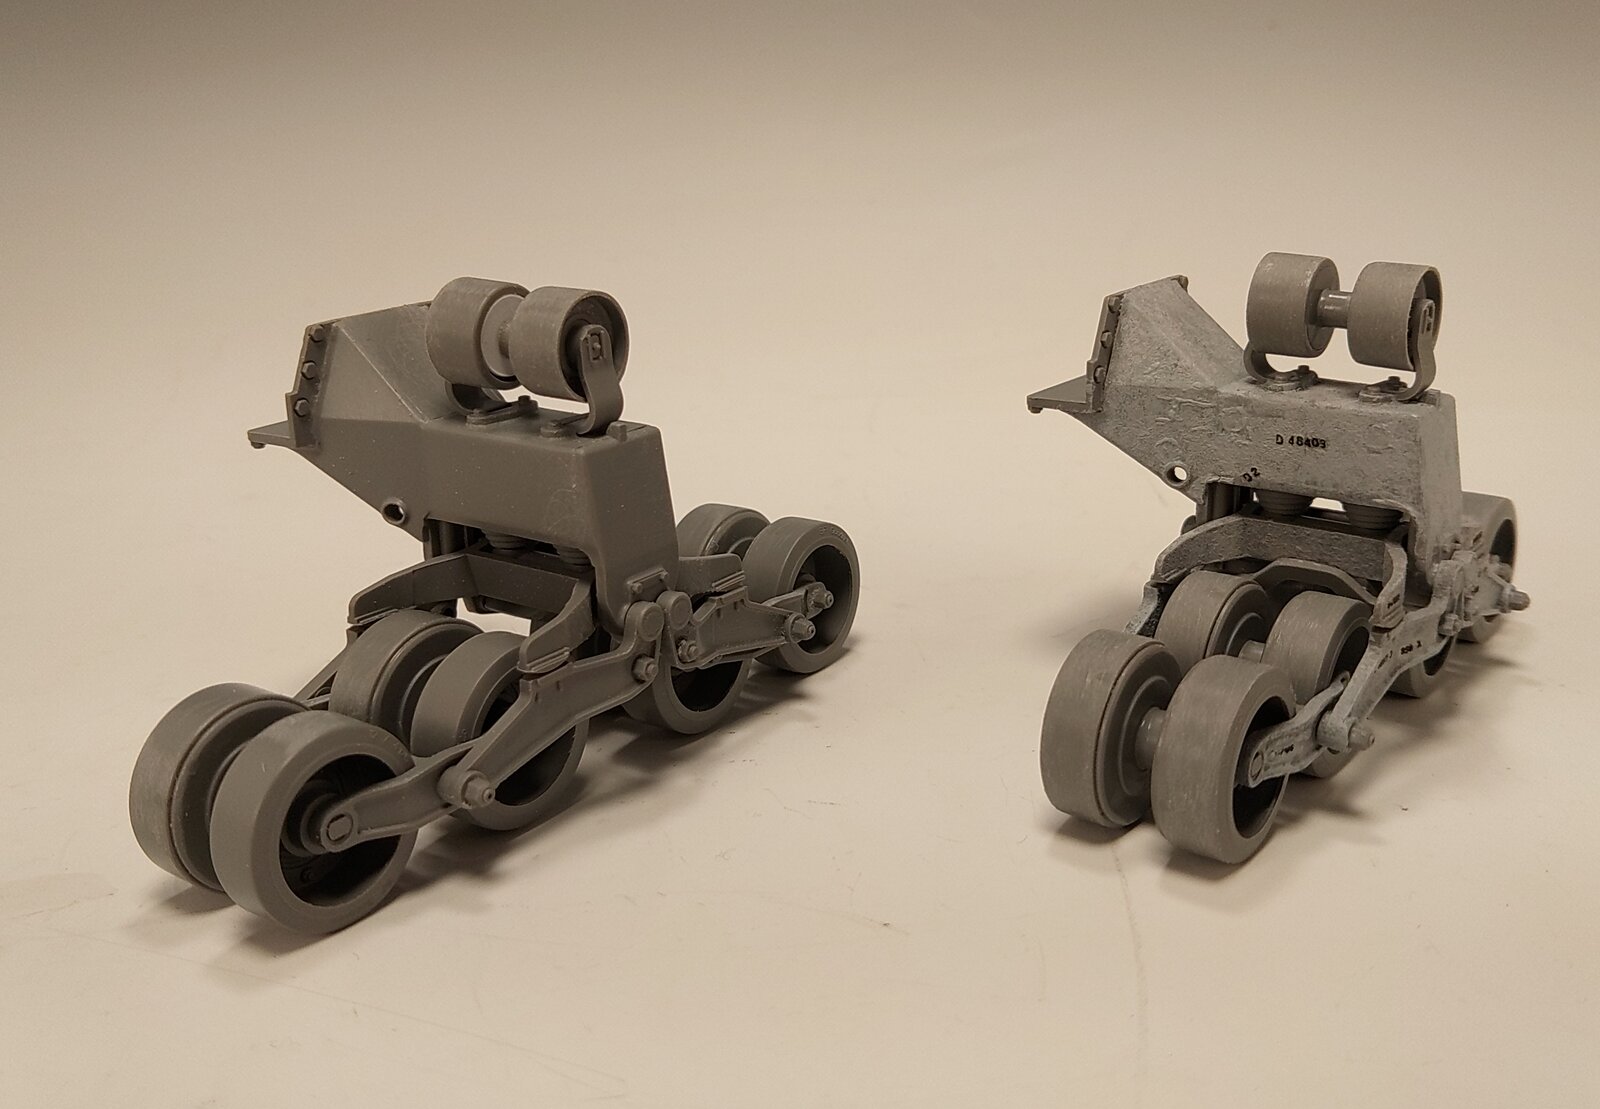
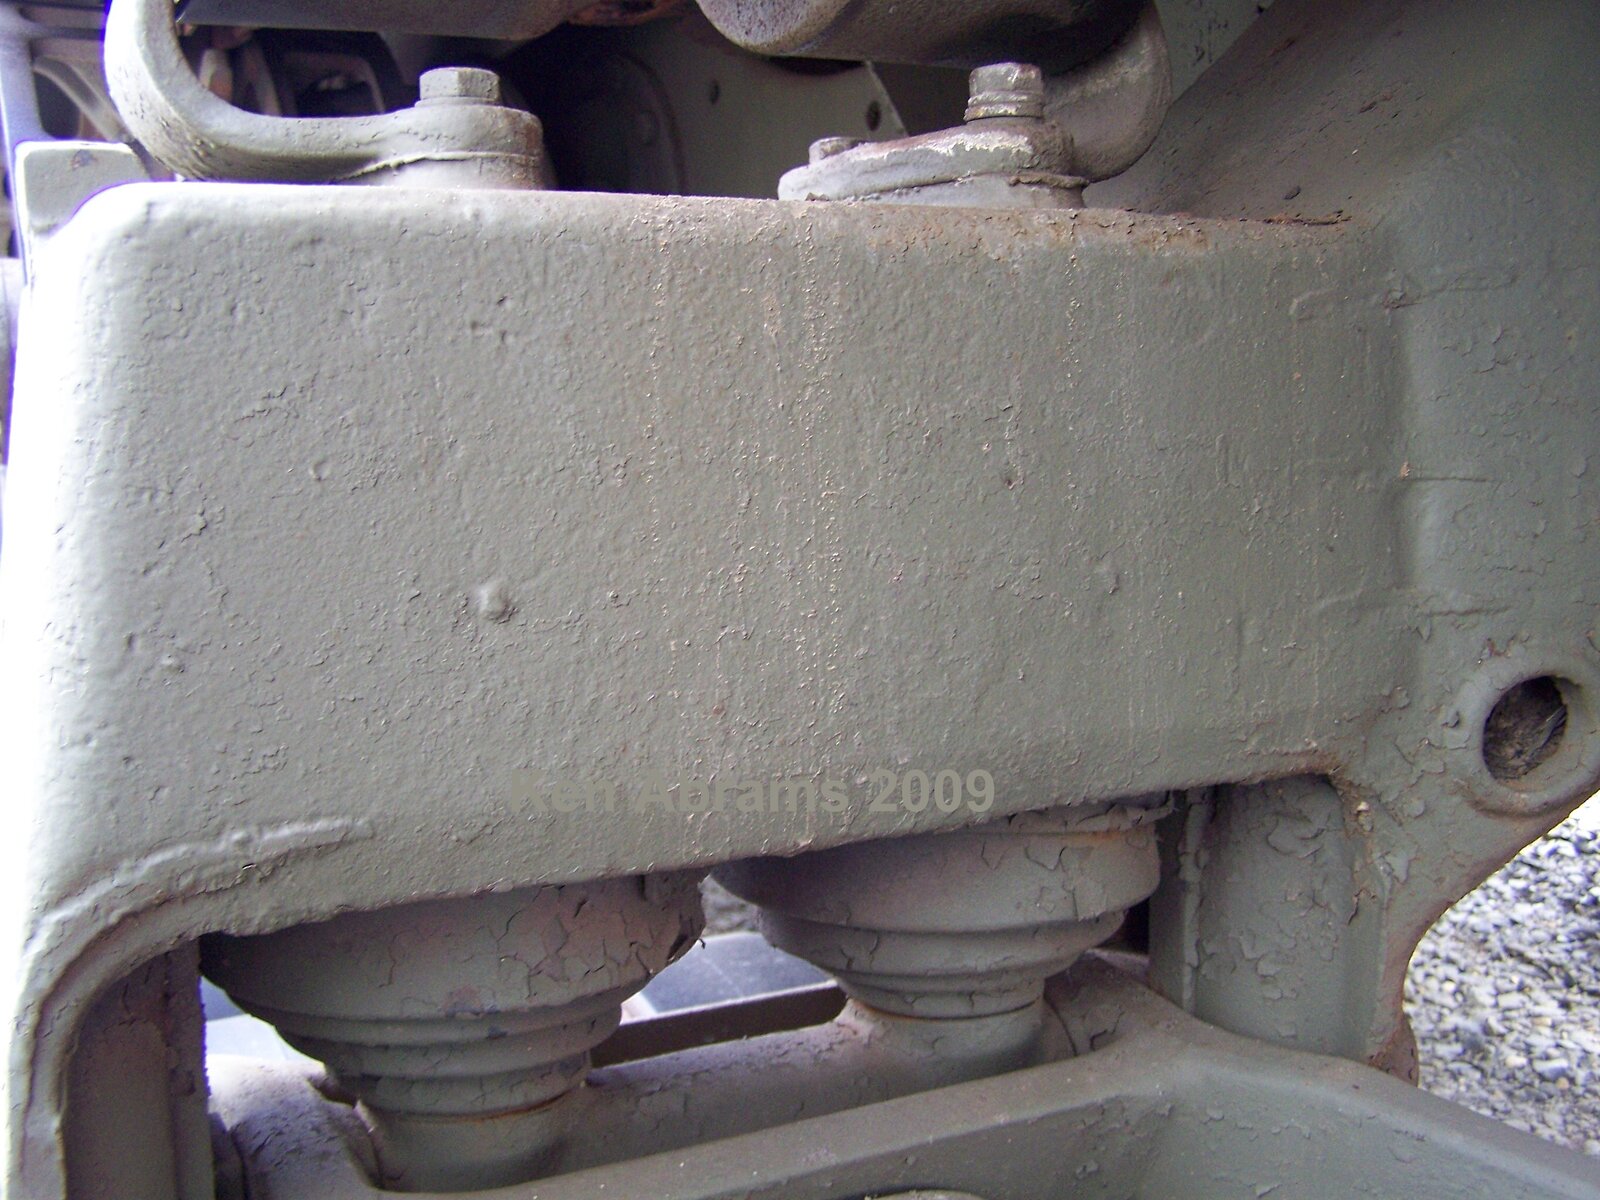
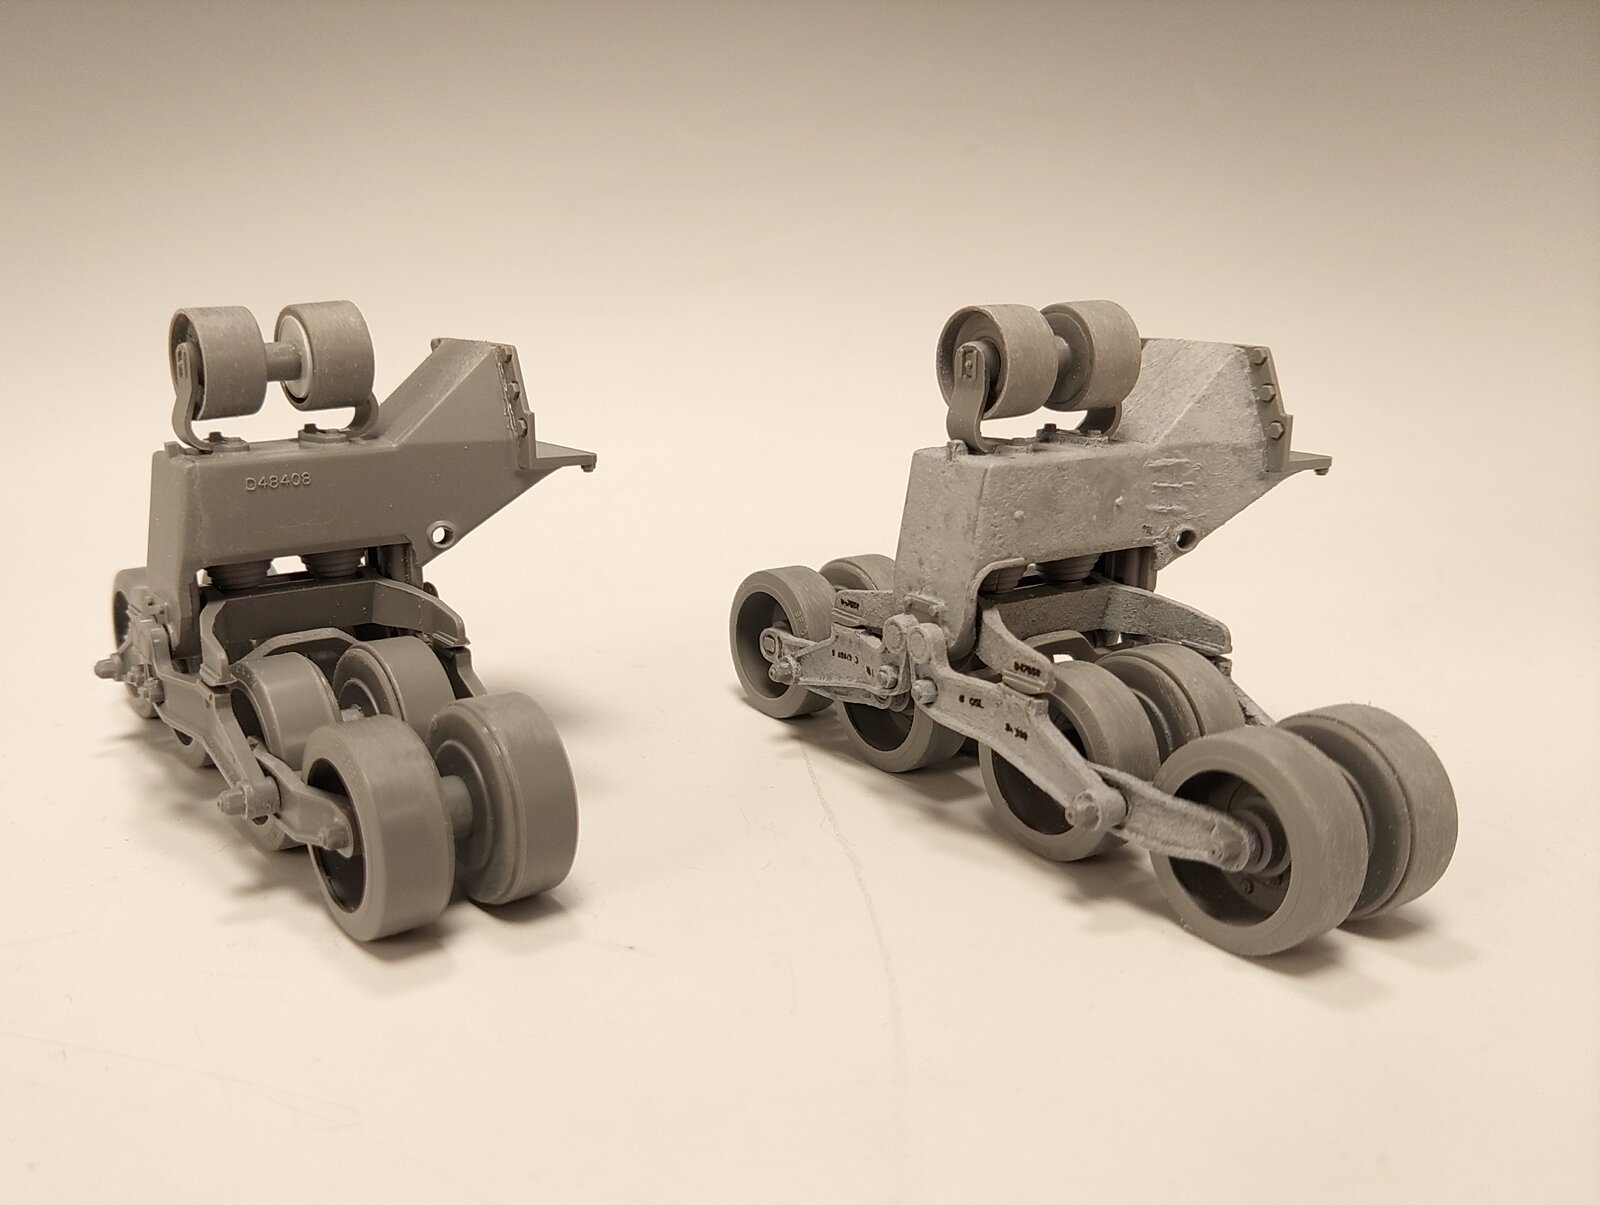
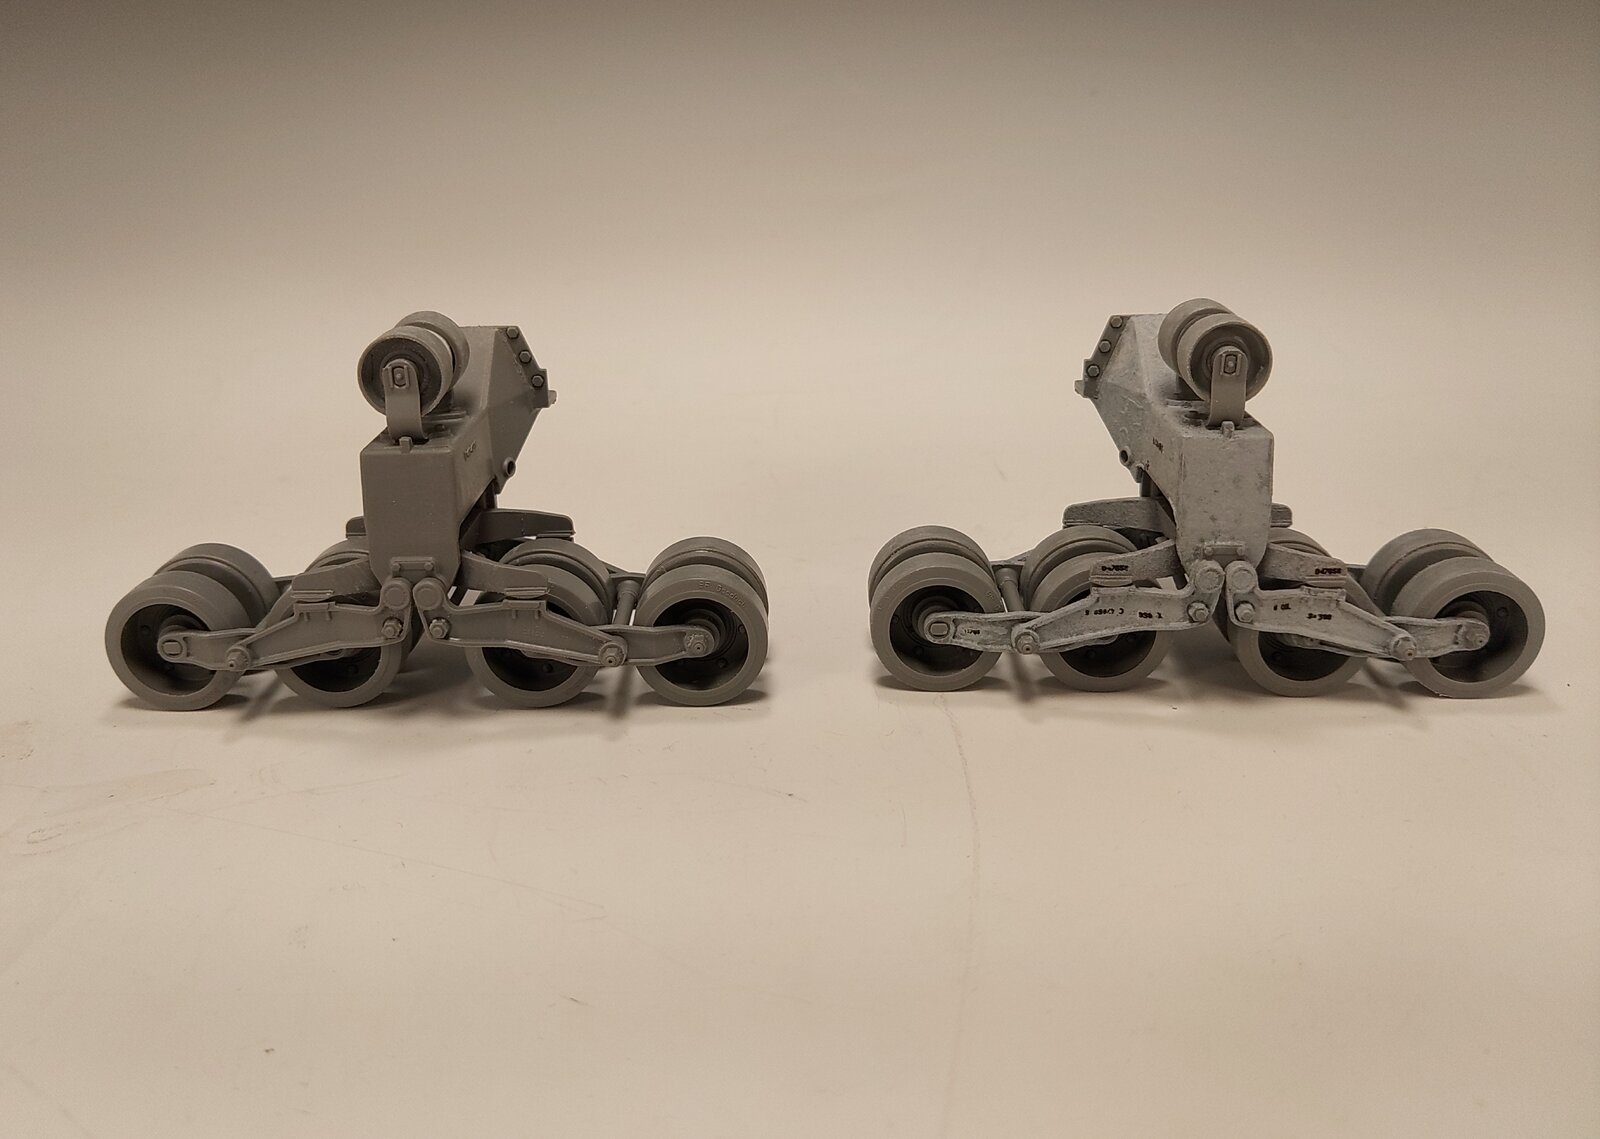
The next steps were the rear suspension bogies and this is an area I knew I would personalize. Using a set of photos I have of an early style bogie, I tried to match them as best I could. There's nothing wrong with the bogies and I'm sure they'd look great out of the box, I just knew I could make them look more accurate.

left.jpg


KIMG3500.JPG


right.jpg


KIMG3502.JPG


KIMG3501.JPG


The texture was made using Mr Surfacer 500 and the foundry numbers came from Archers Surface Details set.

.

I just want to reiterate that none of this is necessary to enjoy the kit and it's just how I model. Just remember to enjoy yourselves, it's just a hobby.
 
so if you happen to go through the post history of this account just ignore it. It wasn't me.
Love it...LOL!

Welcome back, looking forward to seeing progress on that M3, are you building the A1 variant?
 
Love it...LOL!

Welcome back, looking forward to seeing progress on that M3, are you building the A1 variant?

I take it you read some of 'Karlovs' posts? Hahaha

No, but I do think that most people probably will as that's the one you can load up with mg's.

I'm building an early M3, unditching roller instead of winch, no jerry can racks, no mine racks and I'll be scratch building the single idler spring as well.
 
Anyway, I'm about to start this monstrosity (my first foray into 1/16)
You strike me as an SME (subject matter expert) but I wanted to warn of a few gotchas in this kit. At least if you are a newb like me. The U-bolts do not fit into the holes (in the leaf-spring brackets) where they belong. Do yourself a favor and drill out the holes before hand. Also the leaf springs themselves are NOT universal, it matters which one is which and on which side.

If you do one at a time, as I am learning to do, it might be okay. But I've been doing aircraft for ages and generally such things do not matter.

Here's my recent experience as I muddle my way though this epic kit. https://www.scalemodeladdict.com/threads/1-16-m3-halftrack-from-ahhq.17085/post-261874
 
You strike me as an SME (subject matter expert) but I wanted to warn of a few gotchas in this kit. At least if you are a newb like me.

I tend to hesitate to call myself an expert at anything but I'm definitely not a newb to armor. It's been my main area of interest in modeling for close to fifty years now.

The kit has some stumbles to work out for sure and I've had to deal with a few issues but I've got most of the kit done at this point.

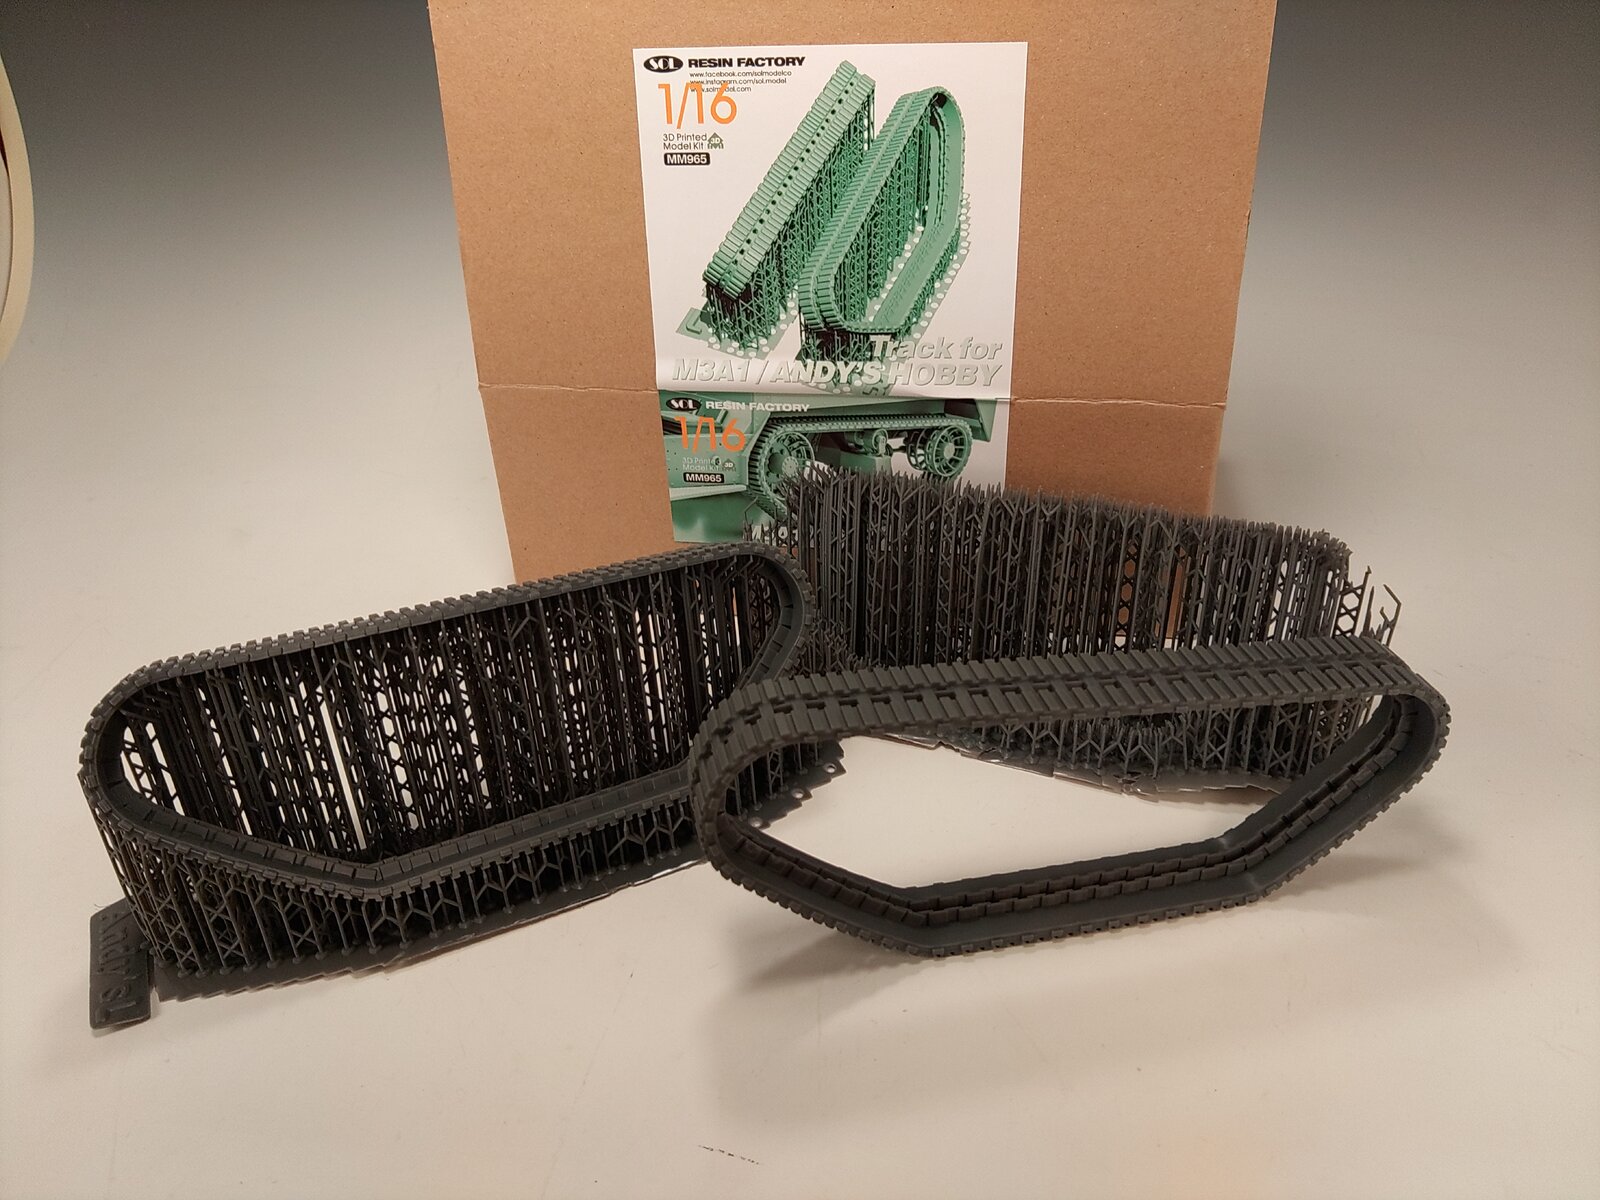
I bought some 3D printed tracks direct from SOL Model and they were at my door in a couple weeks.

KIMG3582.JPG


I also made a short video showing how I add the tracks and suspension to the kit, which remain removable for future painting. I'm almost done with this kit as of now, just mostly small detail bits left really.

 
Other than the wheels hood and suspension being removable what about the engine/transmission/driveshafts or the seating and gauges etc.?

If you cannot remove them, how are you going to paint all of that?
 
Very carefully!

I won't be spending too much time under the hood because I'll be gluing it shut, it's really just removable so I can weather some wear around the edges of the engine compartment similarly to the doors etc.

I'll pick out the seats and knobs with a paint brush and sneak the decals on the dash through the open cab, tires will be brush painted as well (I'm not using the kit front wheels I'm wait for DEF Model to release their early rim with chevron tread)

I've always been an 'assemble as much possible - then paint' guy and I've done all my 1/35 halftracks (as well as every other kit) in this fashion so doing it in 1/16 should be easy!
 
I've always been an 'assemble as much possible - then paint' guy
This might be my aircraft-centric style, I see parts that are going to be hard to see or reach so I paint them before assembly. Some are small and require much detail (cockpits) but often this style is required to to needing a different color like wheel-wells. I do intend to leave my hood removable if I can, your video shows it is possible. My internal debate right now is "should I paint the wording on the block and add spark-plug wires or not?"

1761148028887.png


In the case of this halftrack I painted the road-wheels separate from the rubber because I could, having the rubber be a separate part really made it easier than the typical tank kits where the rubber and the wheel is all one part. Other cases of this kit that I felt I needed to paint separately would be the frame, It would be impossible to get the top of the rails painted without puddling, or the gap between the rear seatbacks and the exterior where the rifles are stowed, I am painting that inner compartment before attaching the outside armor. Plus the drive wheel and idler wheels are so intricate I felt the only way to paint the insides of the parts was to paint before assembly.

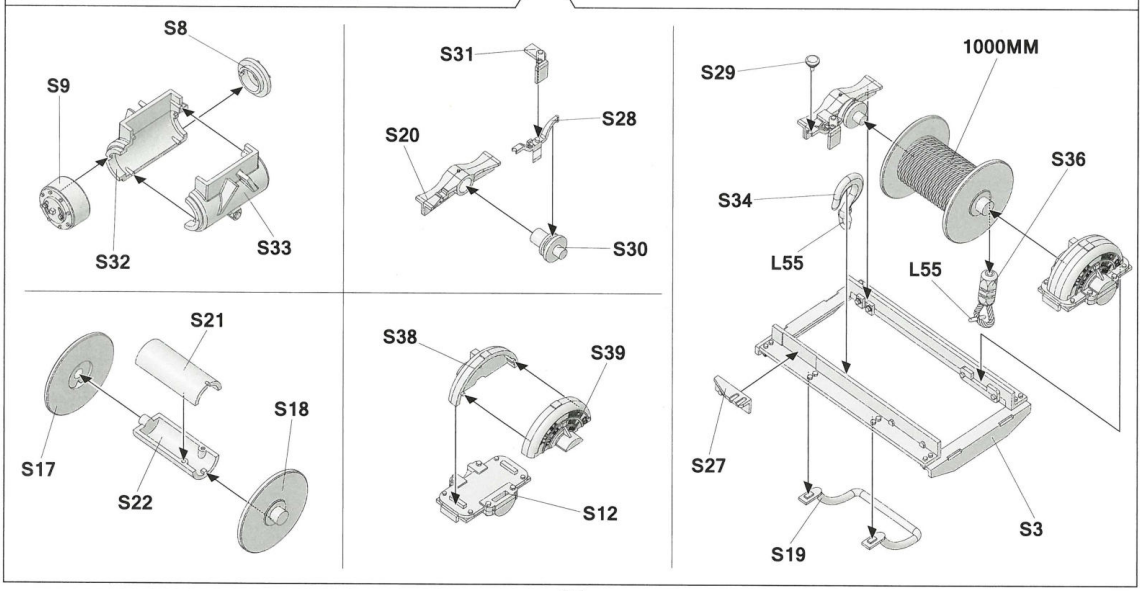
Needless to say I am moving very slowly, not just because I keep putting it away to avoid feeling like I am rushing or getting frustrated. S31 and S28 (below) drove me crazy. I noticed in your video that you used the roller-drum not the winch :)

1761148196658.png
 
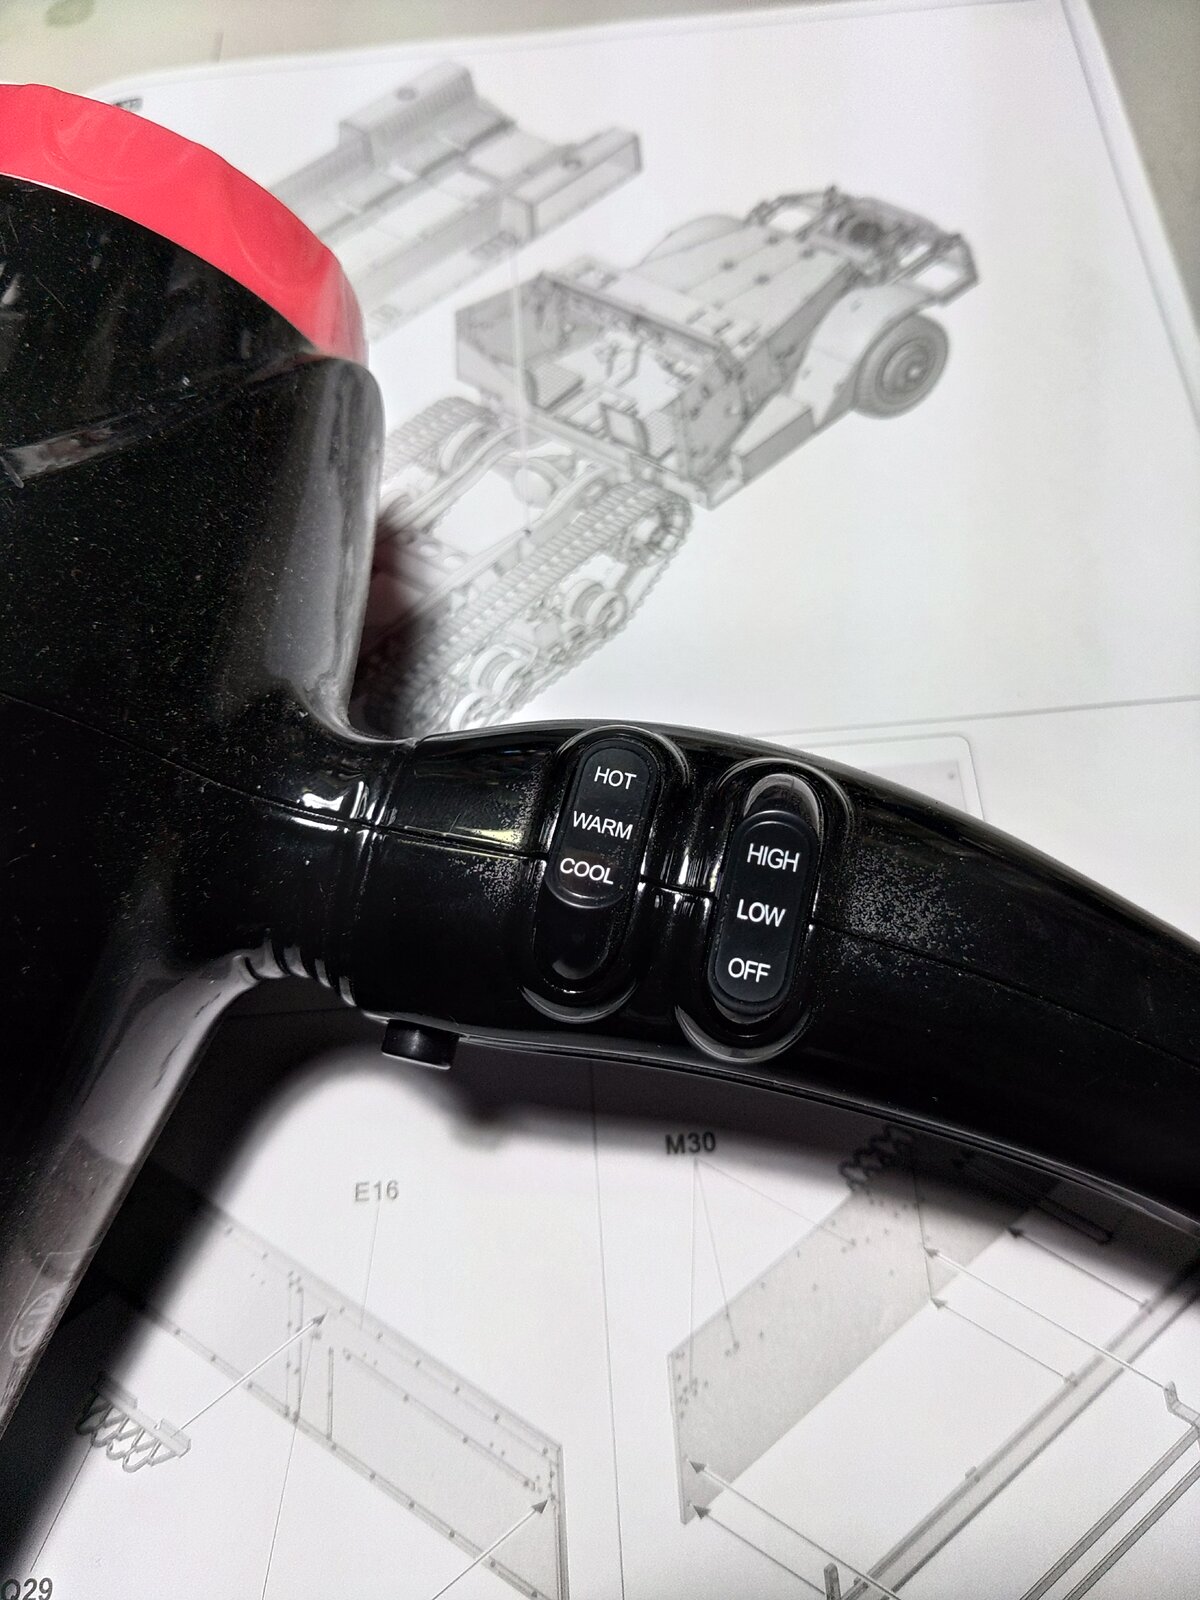
I've been doing it this way for a long time, if I can see it I can paint it but we all have our own ways to do things and mine may not work for others. I use very thin paint at low pressure, I get the ab in all sorts of nooks and crannies and haven't had to deal with pooling. I brush paint in very thin layers as well, several coats with a hairdryer in between to get solid coverage, it's slow but I get to control the opacity and to be honest, it's therapeutic for me and how I enjoy myself lol

Sometimes I paint tires with paint so thin it's more like a wash. It requires several coats to cover but it pulls itself tight to the rim via capillary action and I don't have any worry about getting paint on the rim.

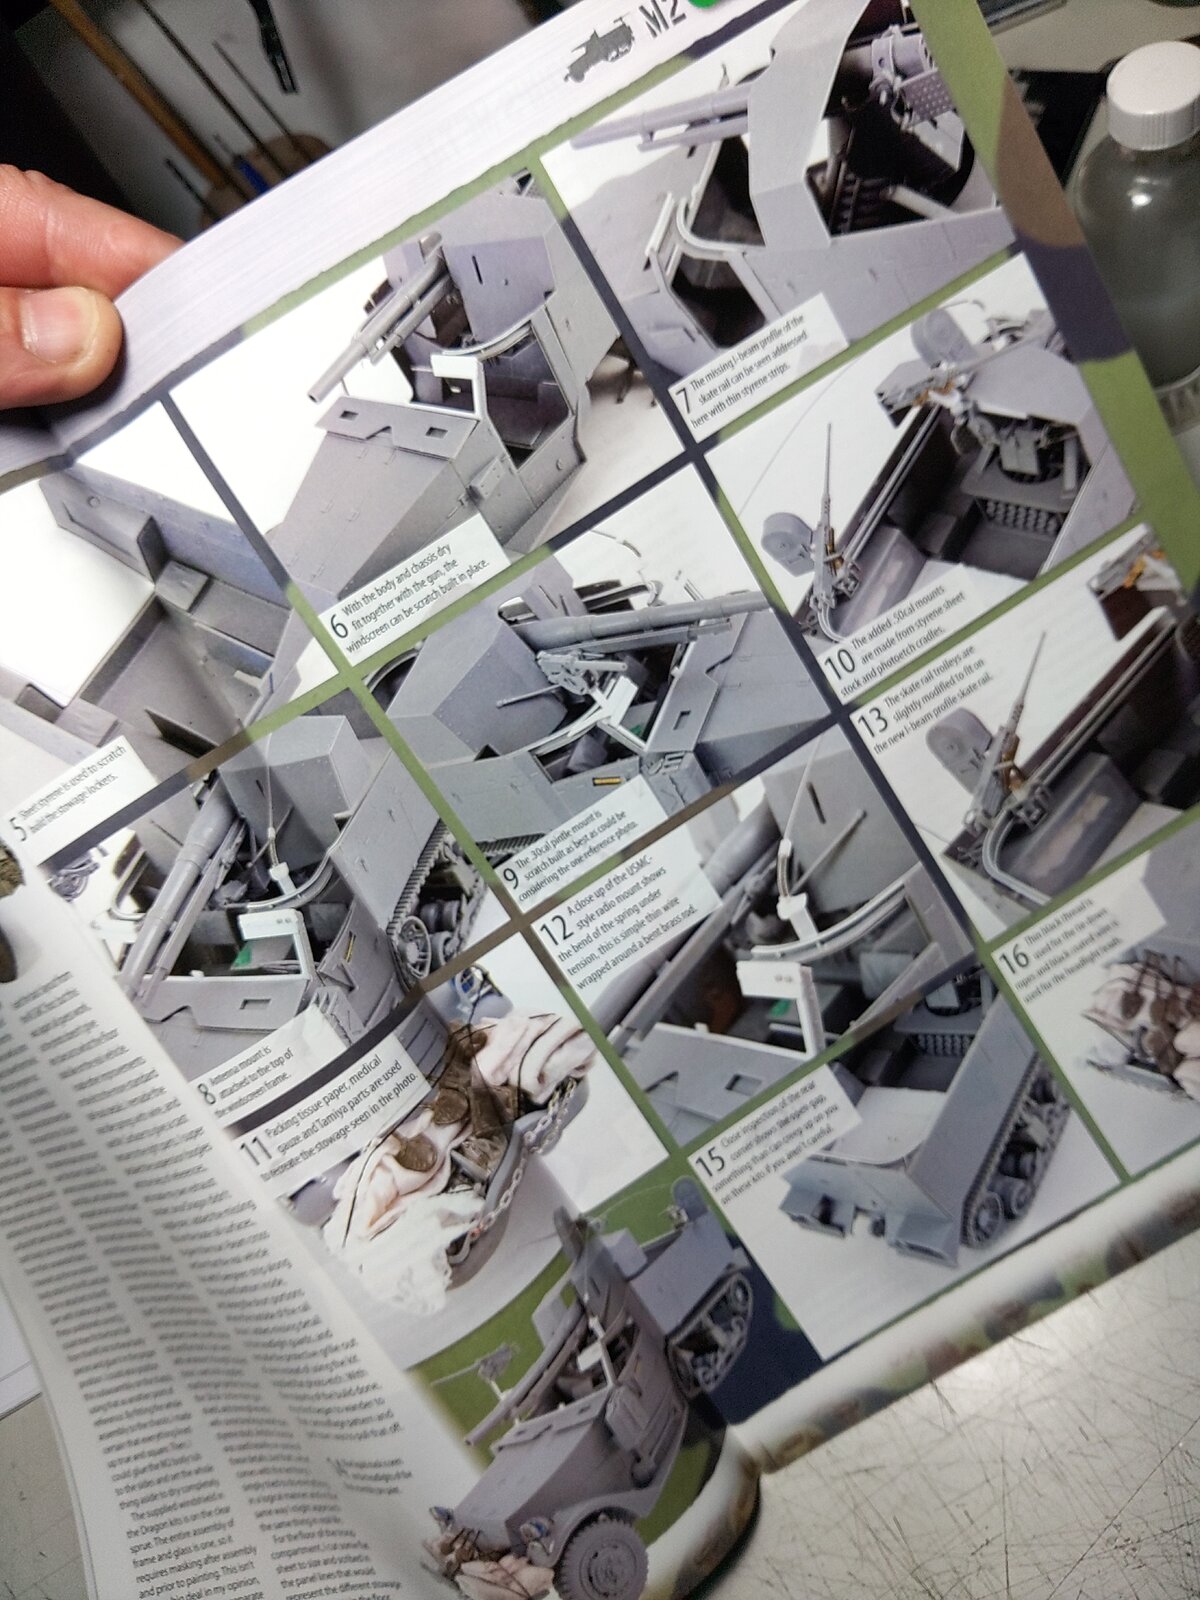
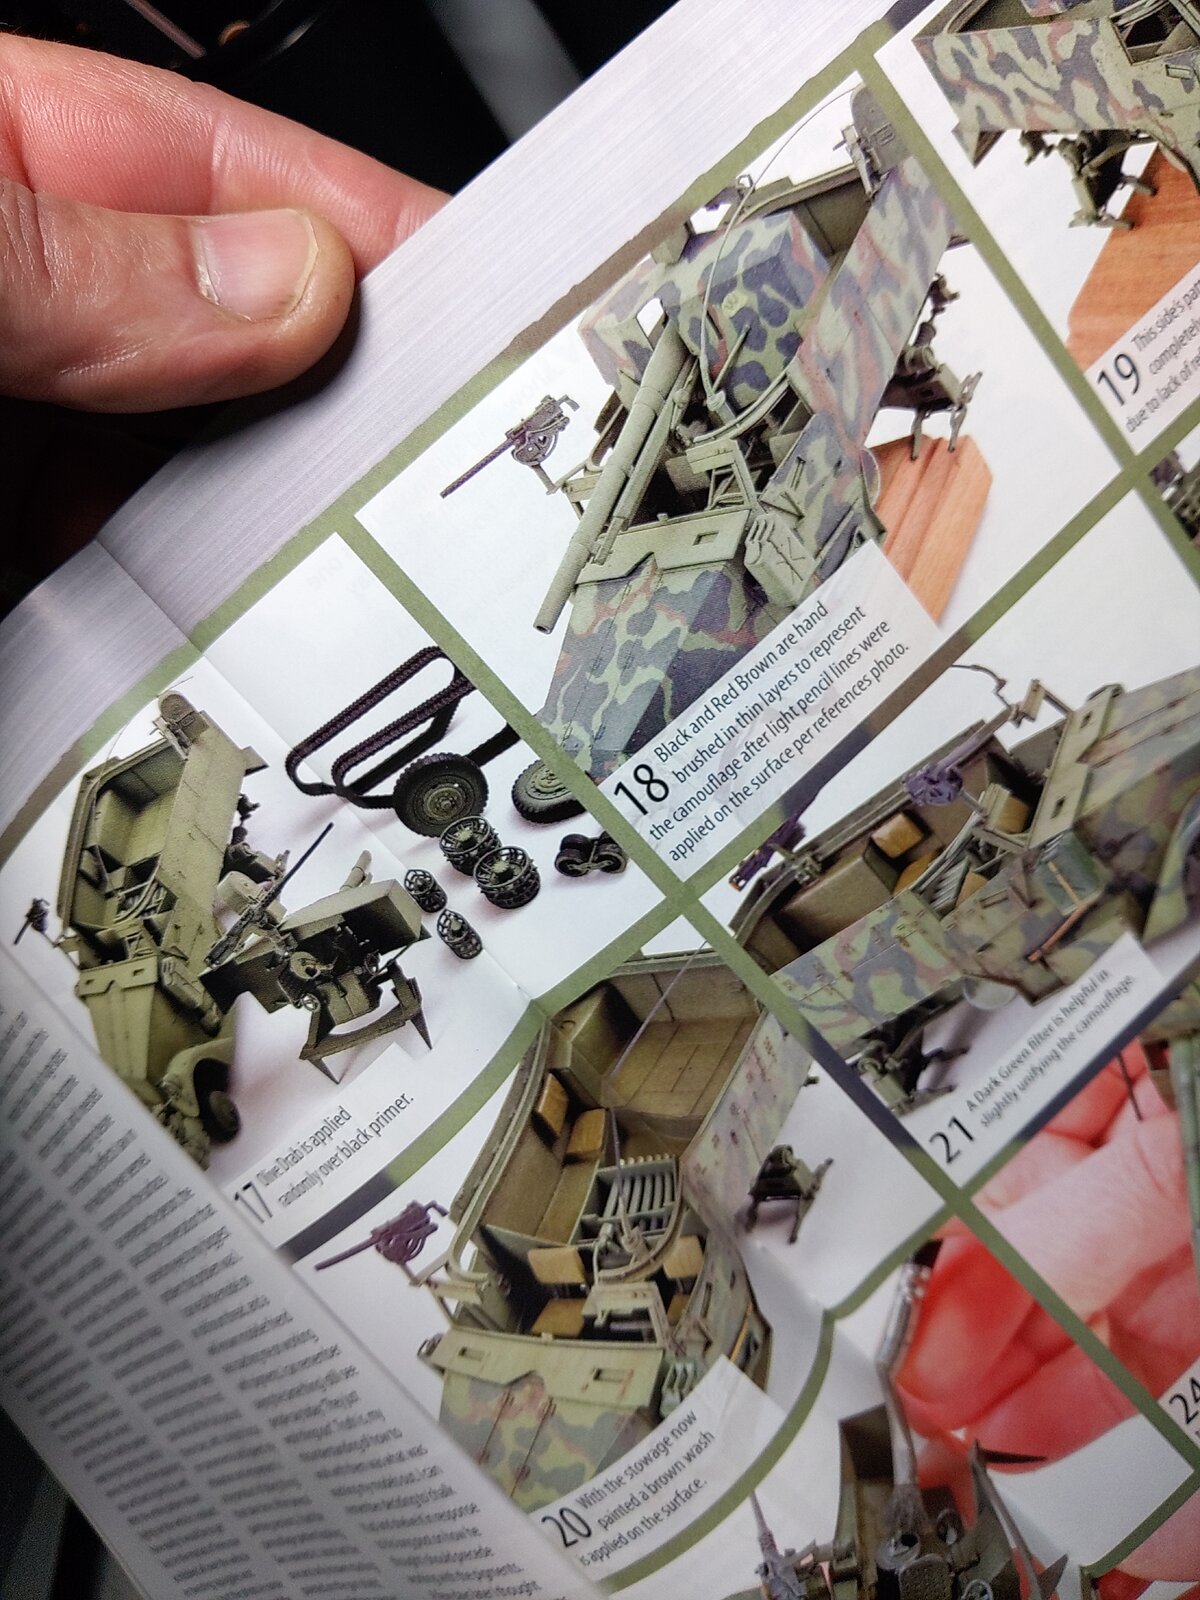
Back in 2017 I did this Marine HT for Military Modelcraft International and it was done the same way in 1/35, with much more delicate detail and parts. The camo was hand painted in many thin layers to avoid brush marks and pooling etc.

KIMG3616.JPG


KIMG3617.JPG


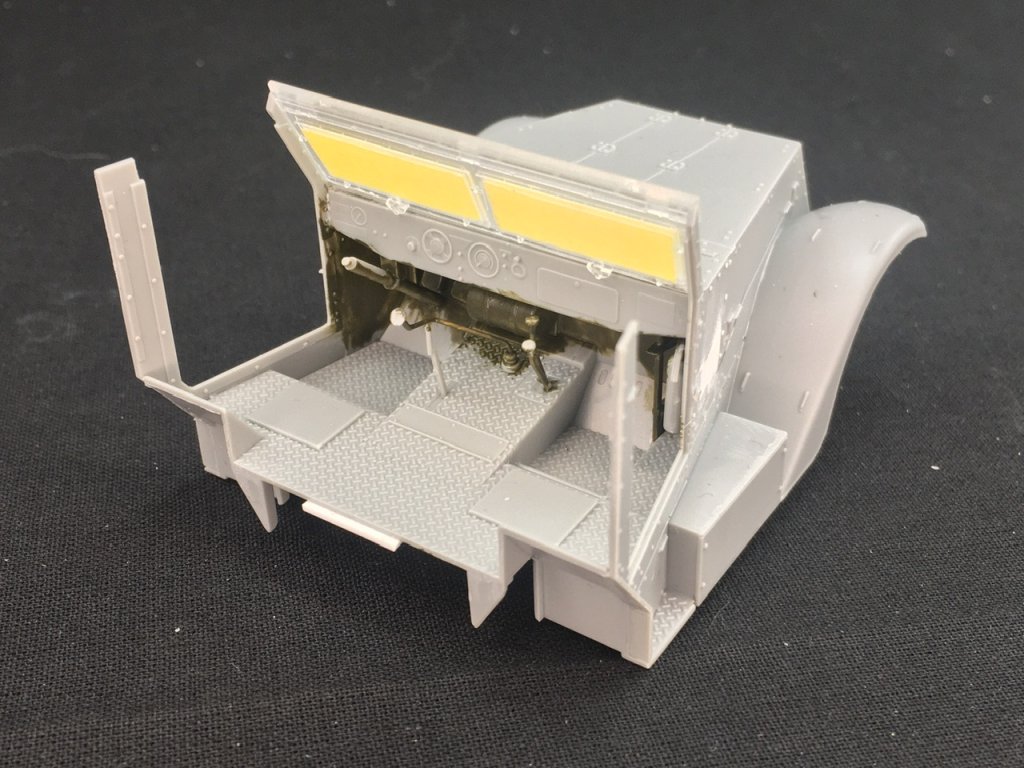
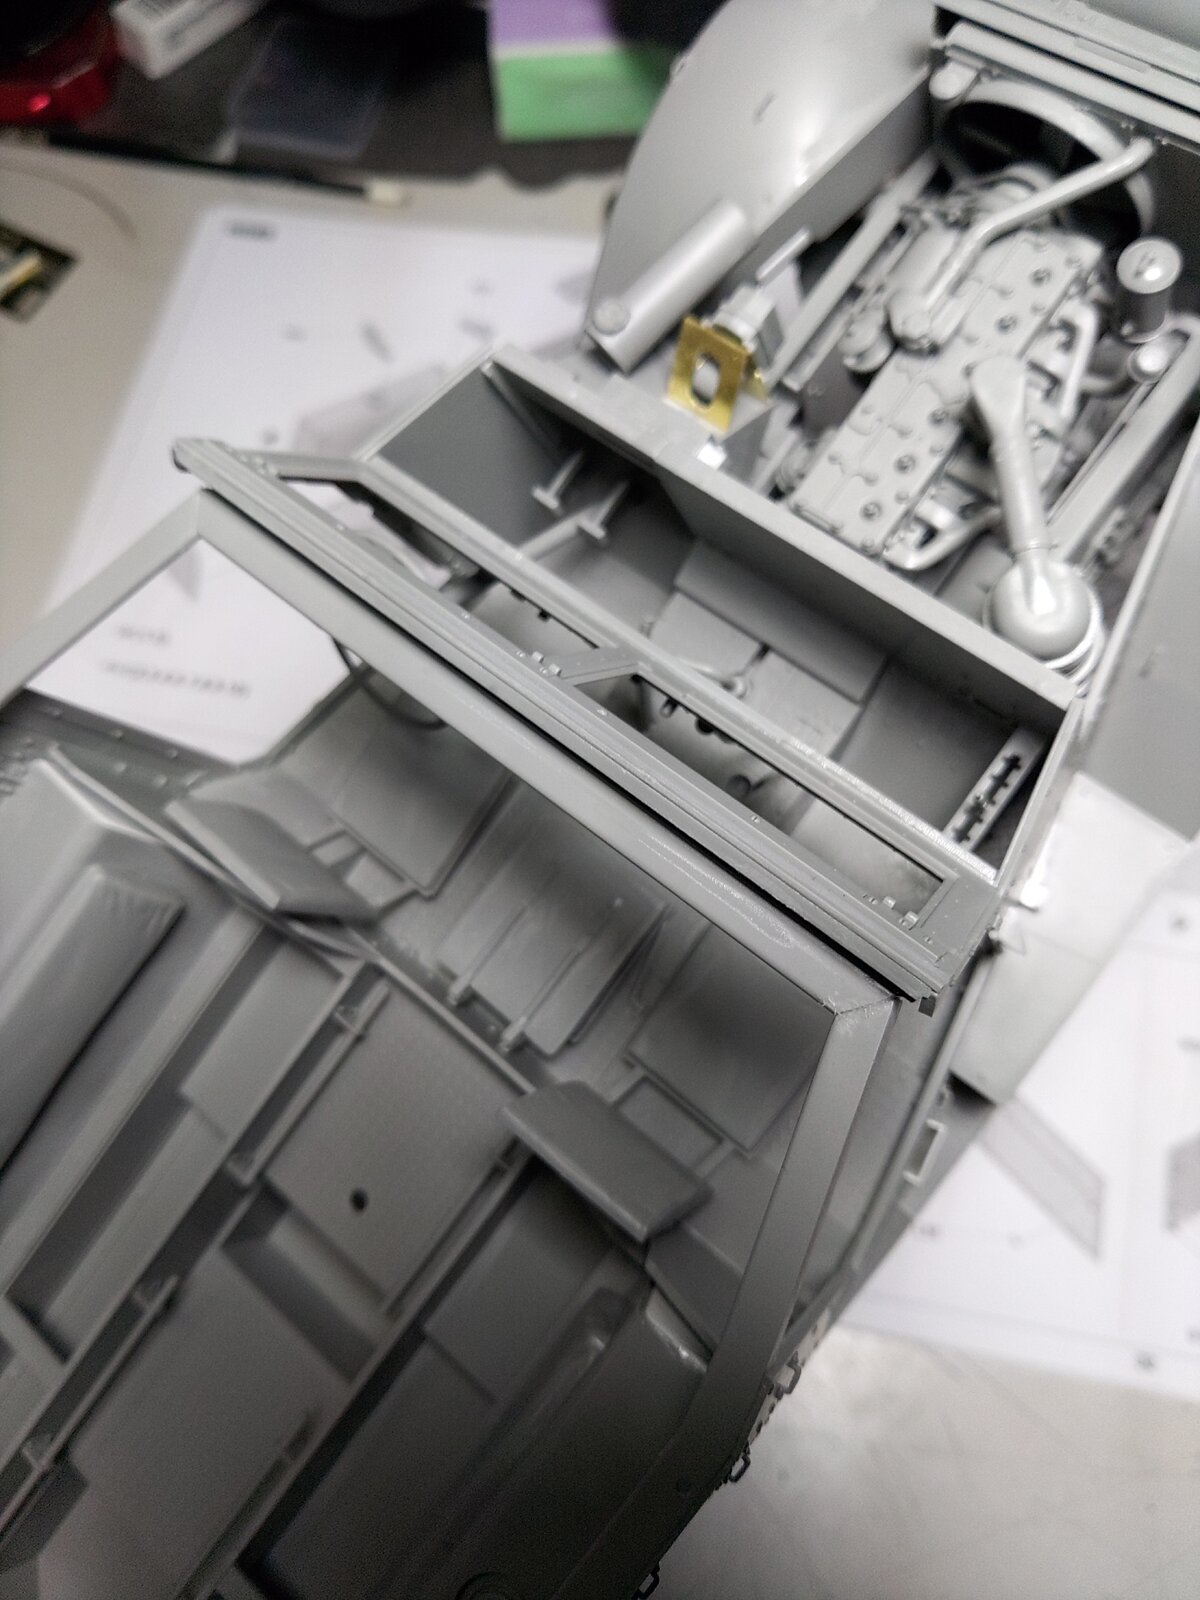
Everything under the dash is painted and weathered, the pedals, the wear, the dirt. If I can see it, I can paint it :)
 
with a hairdryer in between
Those who also want to try this: beware of setting it too hot and of keeping it on the same area of the model! Long ago, I had a bit of a Tamiya M113 interior go droopy because I tried drying the interior with a hair dryer. Luckily only a little bit because I noticed in time, but still.

Everything under the dash is painted and weathered, the pedals, the wear, the dirt. If I can see it, I can paint it :)
I prefer to paint under overhangs etc. before joining things together. Since we're talking about American halftracks here, here are some photos of the M2 I built last year to show my method:

IMG_0932.jpeg
IMG_1391.jpeg


I painted inside the recesses of the cab before attaching it to the rear area, and in the latter I painted under the machine-gun rail (and its underside) as well as behind/under the seat backs. I generally do this anywhere that might block the airflow from the airbrush.
 
Good point on the hairdryer, if at all possible use one with temperature selection so you can control how much/little heat you use.

I think I pilfered this one when one of my sisters visited from out of town lol


KIMG3618.JPG


I have fairly unfettered access to the area under the dash on this one.

KIMG3622.JPG
 
Last edited:
Awesome, Ken, and great timing, Brother, there's a few of us who had this kit arrive recently. Watching till the end for all the details! And good to see ya, Amigo, it's been too long!

Cheers, Ski.

P.S. Yes, I do remember the magazines, lol. Awesome work you both did on that.
 
Last edited:

Latest posts

Back
Top