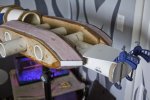
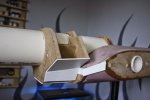
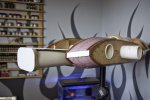
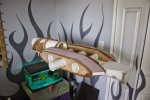
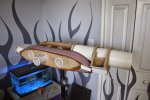
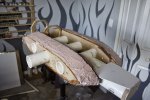
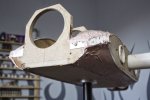
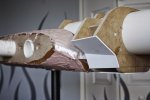
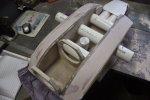
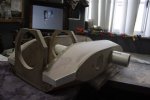
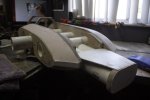
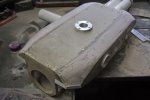
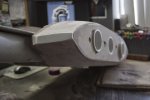
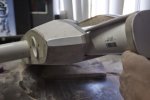
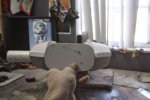
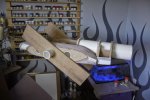
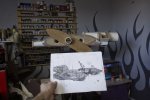
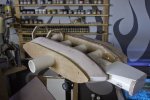
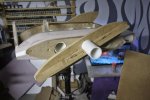
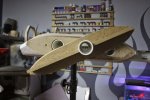
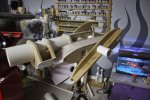
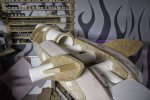
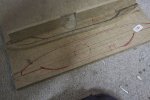
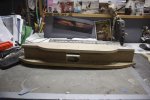
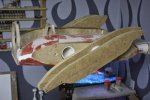
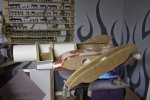
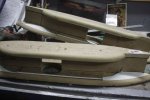
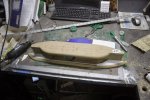
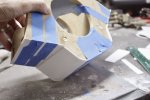
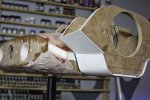
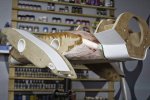
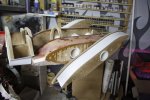
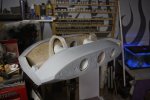
1/144th Prometheus scratch build

Ello,

Thank you so much friends for such positive works from builders who's work i admire so much

Well enough chit chat........everybody comfortable

Then lets go......

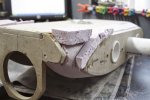
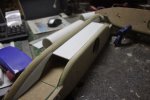
Had a few foam spots to fill,


stuff%2520199.jpg


stuff%2520200.jpg


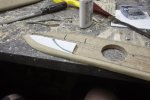
Sanded with 80 grit on a sanding block for basic shape, we will get finer later, righ now i'm only interested in basic form


stuff%2520201.jpg


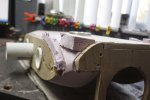
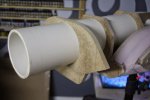
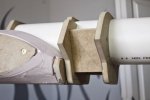
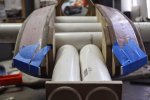
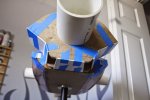
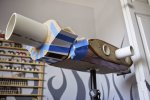
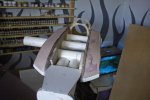
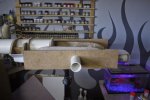
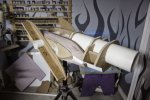
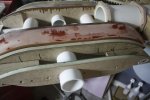
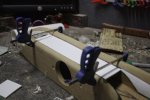
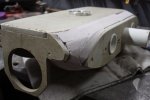
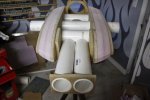
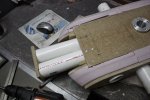
Installed two tubes to begin the internals for the rear section, cut to length and screwed in place, with a spacer cut and dry fit on the very back
stuff%2520204.jpg


stuff%2520205.jpg


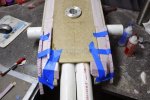
Added some more foam fill-ins on the rear

stuff%2520211.jpg


Marked,


stuff%2520212.jpg


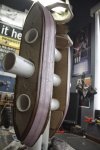
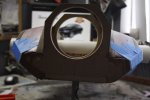
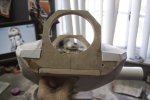
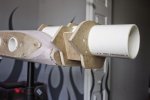
And cut the forward bulk head


stuff%2520213.jpg


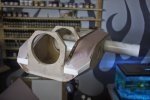
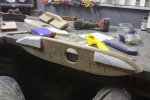
Marked, cut and boxed off the rear section of the forward bulk head


stuff%2520215.jpg


stuff%2520217.jpg


stuff%2520218.jpg


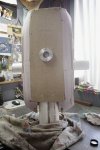
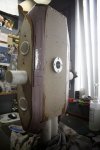
Main body ready for epoxy resin sealer layer


stuff%2520220.jpg


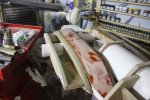
Painted with a layer of resin and left to dry for 24 hours


stuff%2520221.jpg


stuff%2520222.jpg


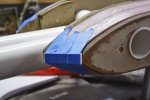
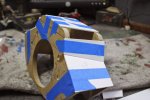
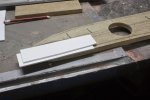
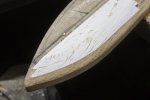
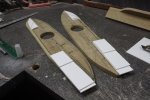
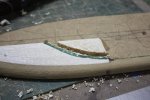
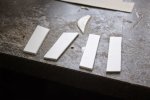
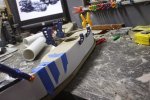
Marked and cut 1/8 thick styrene to position as key blend/ transition points

stuff%2520226.jpg


stuff%2520227.jpg


stuff%2520228.jpg


stuff%2520229.jpg


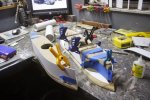
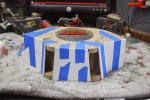
Boxed in the forward neck section with 1/8" styrene sheet

stuff%2520232.jpg


stuff%2520233.jpg


stuff%2520235.jpg


stuff%2520237.jpg


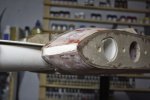
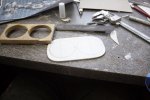
Started to box in the rear section


stuff%2520239.jpg


stuff%2520240.jpg


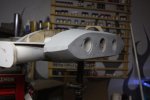
Front,


stuff%2520243.jpg


Back


stuff%2520245.jpg


stuff%2520247.jpg


stuff%2520248.jpg


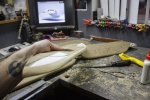
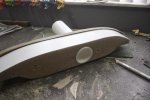
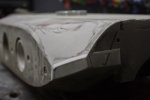
Bondo'ed up ready to sand


stuff%2520252.jpg


stuff%2520253.jpg


stuff%2520254.jpg


stuff%2520257.jpg


Gunna let it dry real good and then give her a bit of a sand

But thats next time folks

Until then

Stay frosty

Gag

Out
 
Wow, this is really massive!
And of course again excellently executed - and as usual I saw two or three new things I can use for myself :)
Thanks!
 
This is looking awesome my friend... can't wait to see more... but there's a couple of questions I got for ya that have been bugging me because I've been thinking of doing something like this (not this ship but scratchbuilding) for awhile and just gotta know.
1) What kind of glue do you use to glue the foam together and/or to the wood?
2) What kind of glue are you using to glue the plastic to the wood?
3) What kind of resin/shellac/polyurethane are you using to coat the foam to seal it before putting the bondo on?

I've tried quite a few different glues but it never seems to hold or do what I want. Would be a good tip for newbies to know.
 
LrdSatyr8 said:
This is looking awesome my friend... can't wait to see more... but there's a couple of questions I got for ya that have been bugging me because I've been thinking of doing something like this (not this ship but scratchbuilding) for awhile and just gotta know.

1) What kind of glue do you use to glue the foam together and/or to the wood?
2) What kind of glue are you using to glue the plastic to the wood?
3) What kind of resin/shellac/polyurethane are you using to coat the foam to seal it before putting the bondo on?

I've tried quite a few different glues but it never seems to hold or do what I want. Would be a good tip for newbies to know.


Well LordS

To stick the foam together i used regular two part epoxy from the hardware store, specifically Devcon home 5 minute epoxy

To stick the plastic to the wood i used Slo-Zap thick CA

The resin is specialty stuff from USComposites.com, its their 635 thin epoxy resin with a mix ratio of 3 to 1.

I cannot encourage you enough, or anyone to attempt a scratch build. This is the first time i have done this process, foam carving, shaping, sanding, sealing and finishing is all new to me as well.

Find a project, be it spacecraft, prop, futuristic weapon, armour, anything that gets you working and thinking outside the box. with out instructions, you will be amazed at how creative you are.

If you are a model maker you clearly have an 'eye', so use it, you know, instinctivly, when something looks 'right', so use your 'eye' and make something that looks 'right'

I'm always here to help

Gag
 
looking great there , I'm really looking forward to seeing more of this scratch build , some great idea's there .
 
I am constantly amazed at how creative you are with these out of the box builds. The shape of the
ship is really coming together. I'm starting to see how these pieces are going to work together.
really amazing work and ideas.
 
Eh up buddy,lovin ya progress on this monster build dude.... I'll be watchin with beady eyes mym8,btw love the flames in ya man cave.....SWEET!!! Peza
 
Evenin All,

Thanks for stopping by and commenting

Soooooooooooo, enough chit chat

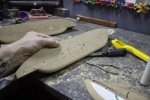
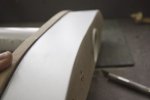
Gave the top its first basic sanding

stuff%2520259.jpg


stuff%2520260.jpg


stuff%2520261.jpg


Did the same on the bottom but it didn't turn out as good as the top


stuff%2520263.jpg


stuff%2520266.jpg


stuff%2520267.jpg


Evened up the back


stuff%2520268.jpg


And the front


stuff%2520265.jpg


stuff%2520273.jpg


stuff%2520269.jpg


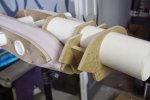
Cut and drilled the inner edge of the outer engine arms, then lag screwed these to the main assembly to mark out for cutting


stuff%2520274.jpg


stuff%2520275.jpg


Cut them out


stuff%2520277.jpg


stuff%2520278.jpg


Attached the inner arm supports


stuff%2520280.jpg


stuff%2520281.jpg


This is everything so far


stuff%2520283.jpg


stuff%2520284.jpg


stuff%2520287.jpg


Well, injested enough bondo dust for one day

Take care

See you soon

Gag
 
JohnSimmons said:
Isn't it done yet????

Great update mate 8)

I know man, its really beginning to drag.

;D

Quaralane said:
Definitely liking how this one is going


Always nice to have you along for the ride Q


Well, ere we go folks,

welcome,


hold on tight for a fast ride,


the louder you screem the faster we go.............


Marked,

stuff%2520292.jpg


cut,


stuff%2520293.jpg


assembled and attached,


stuff%2520296.jpg

the basic outer profile of the side engine supports.


stuff%2520301.jpg


1/8" styrene sheet.


stuff%2520302.jpg


Chiselled away witth my shaping/scraping tool,


stuff%2520304.jpg


More plastic sheet,


stuff%2520305.jpg


More shaping/scraping,


stuff%2520306.jpg


Marked me radussssssses,


stuff%2520307.jpg


Cut with 6 flute carbide 1/8" , high helix end mill in me dremmel on top speed, knife, butter, etc ........


stuff%2520309.jpg


Radiusedid bottom edge,


stuff%2520310.jpg


stuff%2520311.jpg


Assembled,


stuff%2520312.jpg


https://lh5.googleusercontent.com/-
m7vS61r1QSg/VITssevbHDI/AAAAAAAASbY/TznB9zI3Kvs/s800/stuff%2520314.jpg


Added inner strip to support bottom surfaces


stuff%2520318.jpg


But that's for next time


Thanks for stopping by.

It means alot .

Gag
 
Merry New Year,

Welcome everyone to 2015, I hope everybody had a fun and safe Christmas and New Years holiday and I wish you all the best for the coming year.

So too business,


Quaralane said:
Evolving fairly well here

Thanks 'Q',

Remember this is still what I like to call my plug, the basic core shape of the ship. Sections can, and will be, removed later in the build to accomodate details, but for now it's doing ok considering i have no clue as to what i'm doing.


Well, I only had two days of bench time over the holidays because my Mommy was visiting.

First, I cut the central pipe/bearing shaft and drilled holes in the outer panels of the engine support arms, this was so I could re-align and square up a bit, the side support arms. I will clean the pipe end flush later.


stuff%2520320.jpg


stuff%2520321.jpg


I then cut and glued a piece of 1/8" styrene to the bottom of the engine support arm,


stuff%2520323.jpg


stuff%2520325.jpg


1.0mm on the top, oversized so it could be trimmed back,


stuff%2520327.jpg


stuff%2520329.jpg


Trimmed,


stuff%2520334.jpg


stuff%2520335.jpg


Replaced the underside of the neck piece with 1mm styrene,


stuff%2520343.jpg


Screwed in place,


stuff%2520345.jpg


With engine support arms,


stuff%2520347.jpg


stuff%2520351.jpg


More filling and sanding and filling and sanding........


main%2520body%2520006.jpg


main%2520body%2520009.jpg


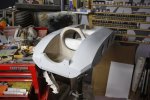
Then, dum dum daaaaa,............Primer


Mmmmmmmmmmmmmmmmmmmmmm Primer


main%2520body%2520012.jpg


main%2520body%2520016.jpg


main%2520body%2520014.jpg


That's all for now

Take care

Gag
 
Eh up buddy,glad you had a good'un.shame about the bench time,i bet you've been looking at ya mancave thinkin Nar i can't bless her she's come all this way anh my misses will kill me!
even with little bench time you make massive progress.
i love your primer moments....I've got a soft spot for this ship....
lovin this build,just been lurking.
cheers peza
 

Latest posts

Back
Top