You are using an out of date browser. It may not display this or other websites correctly.
You should upgrade or use an alternative browser.
You should upgrade or use an alternative browser.
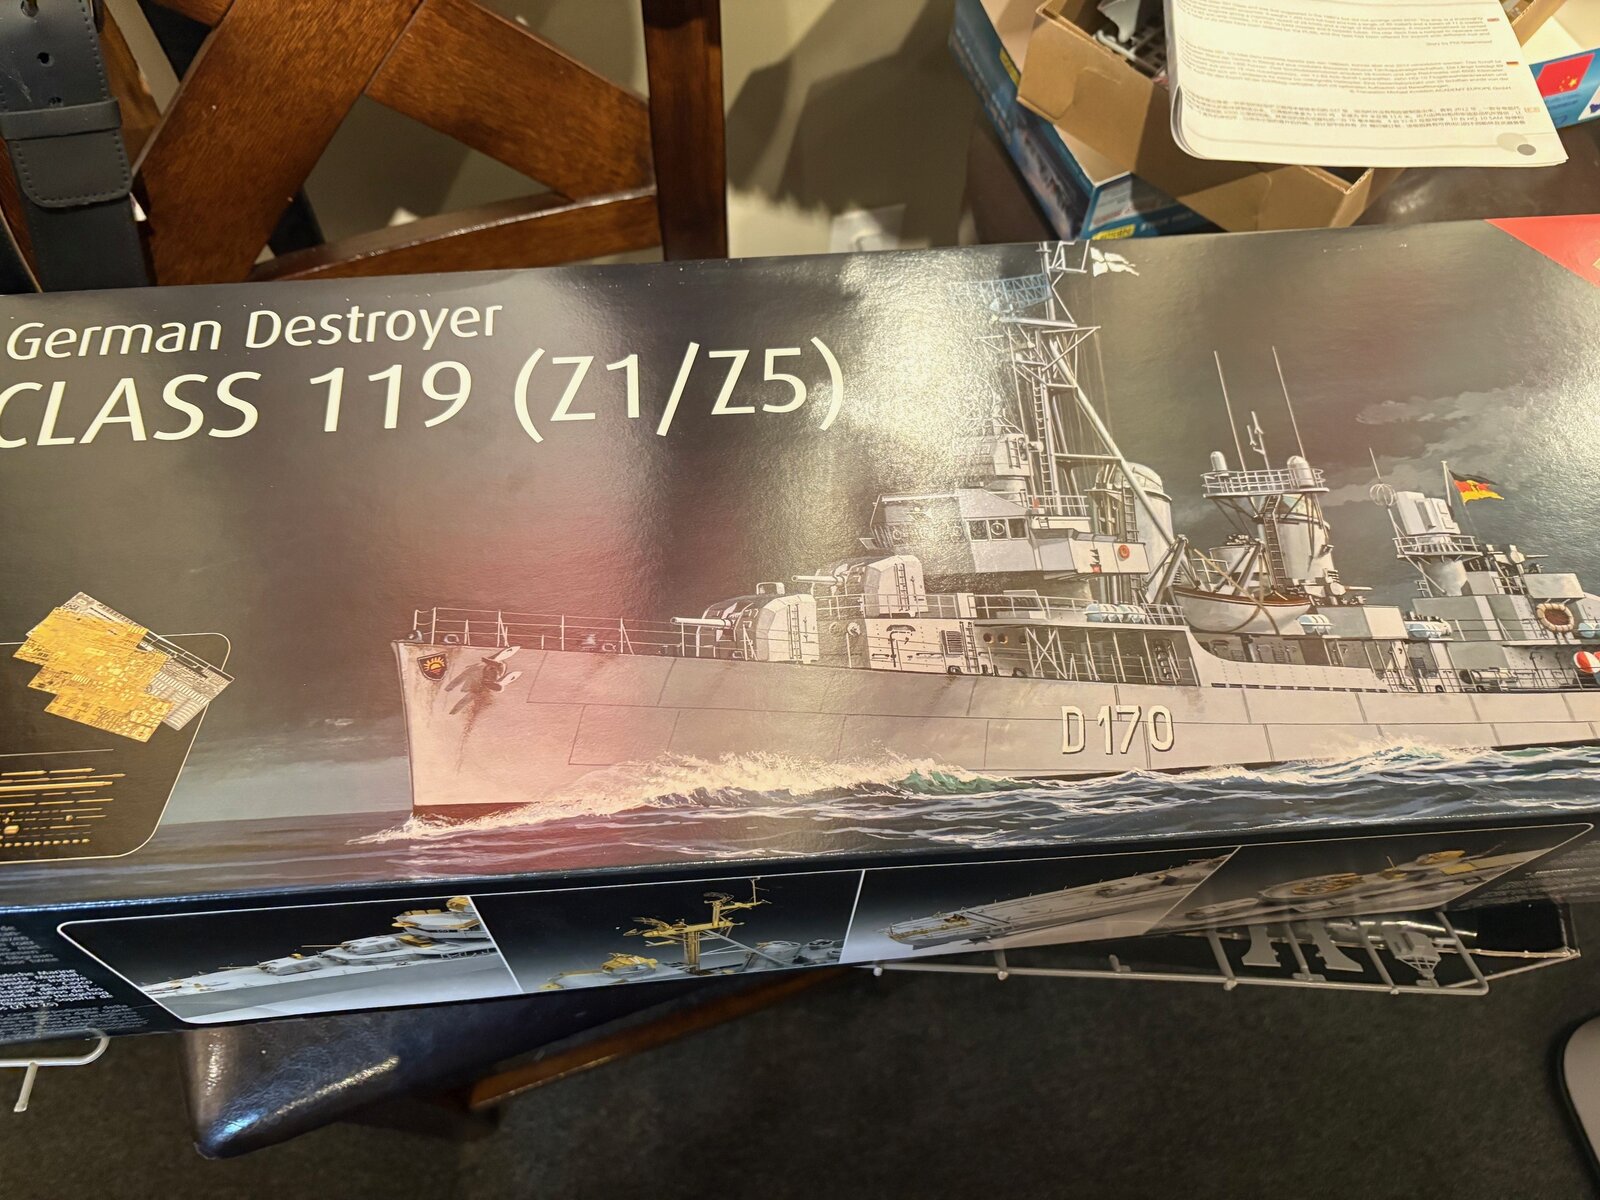
1/144 german destroyer class 119 revell
- Thread starter domer94
- Start date

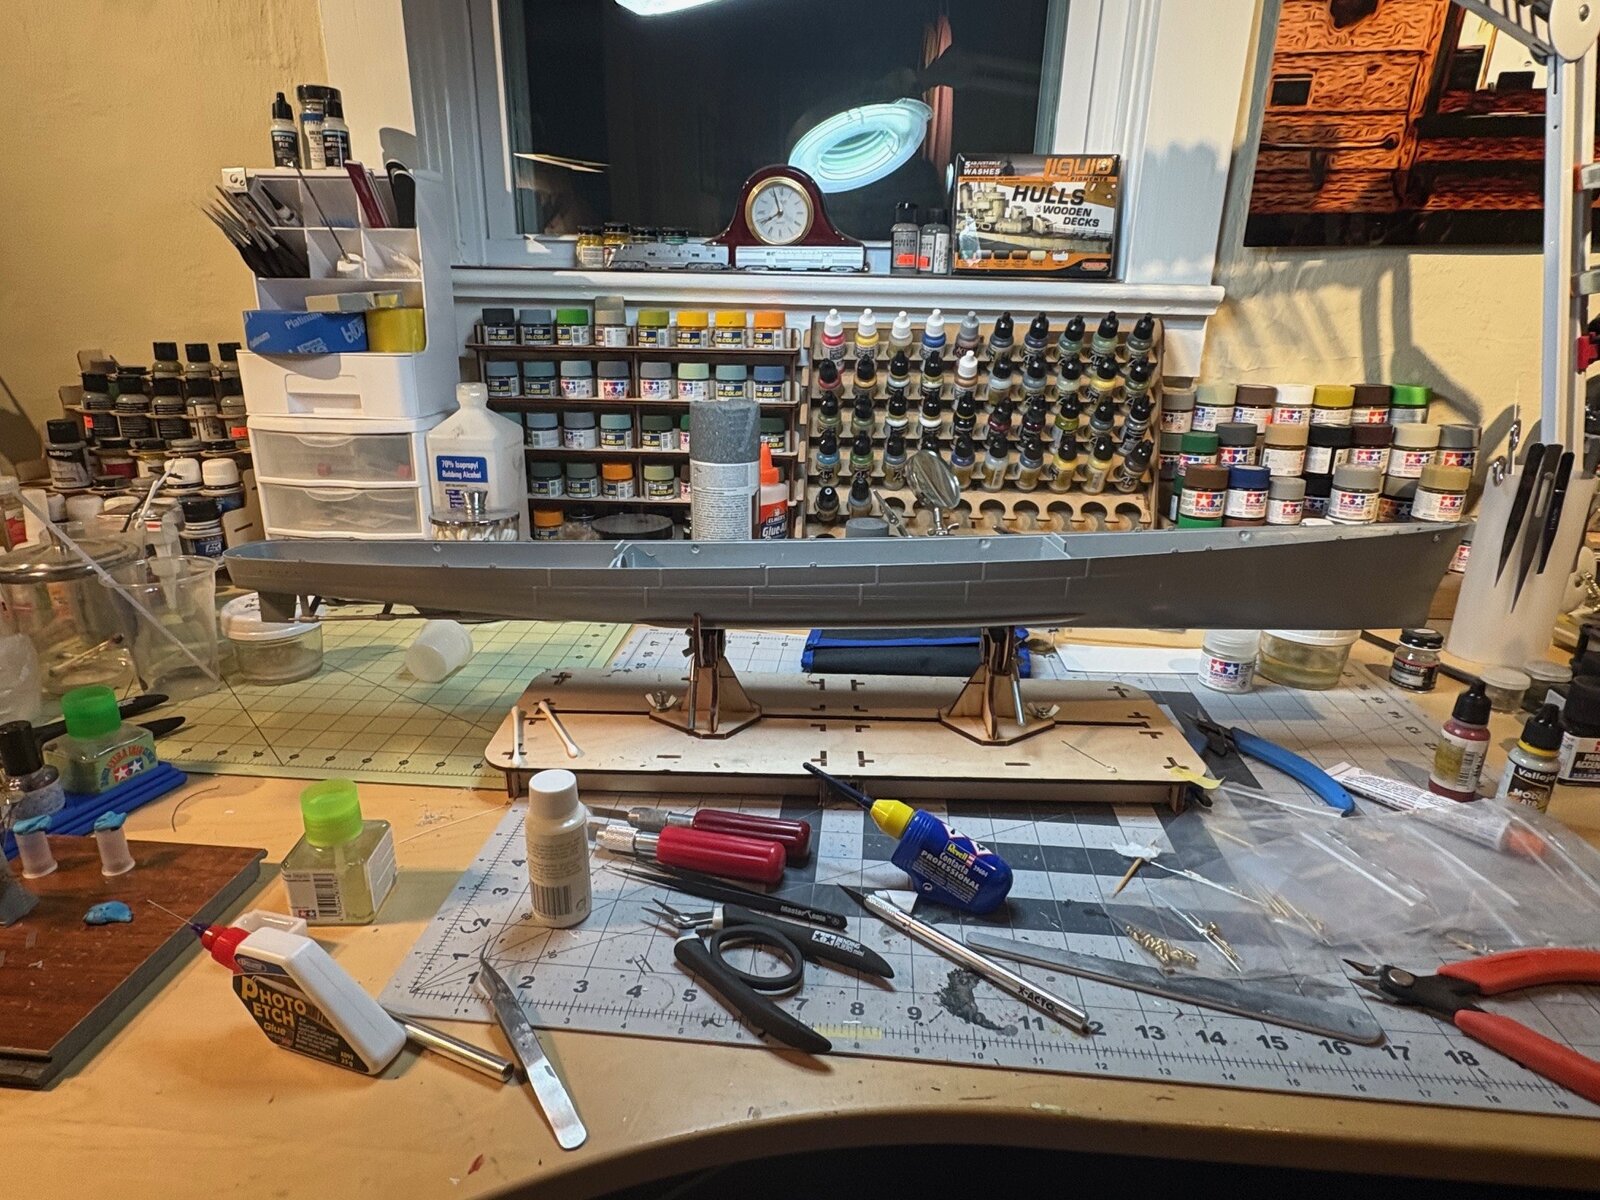
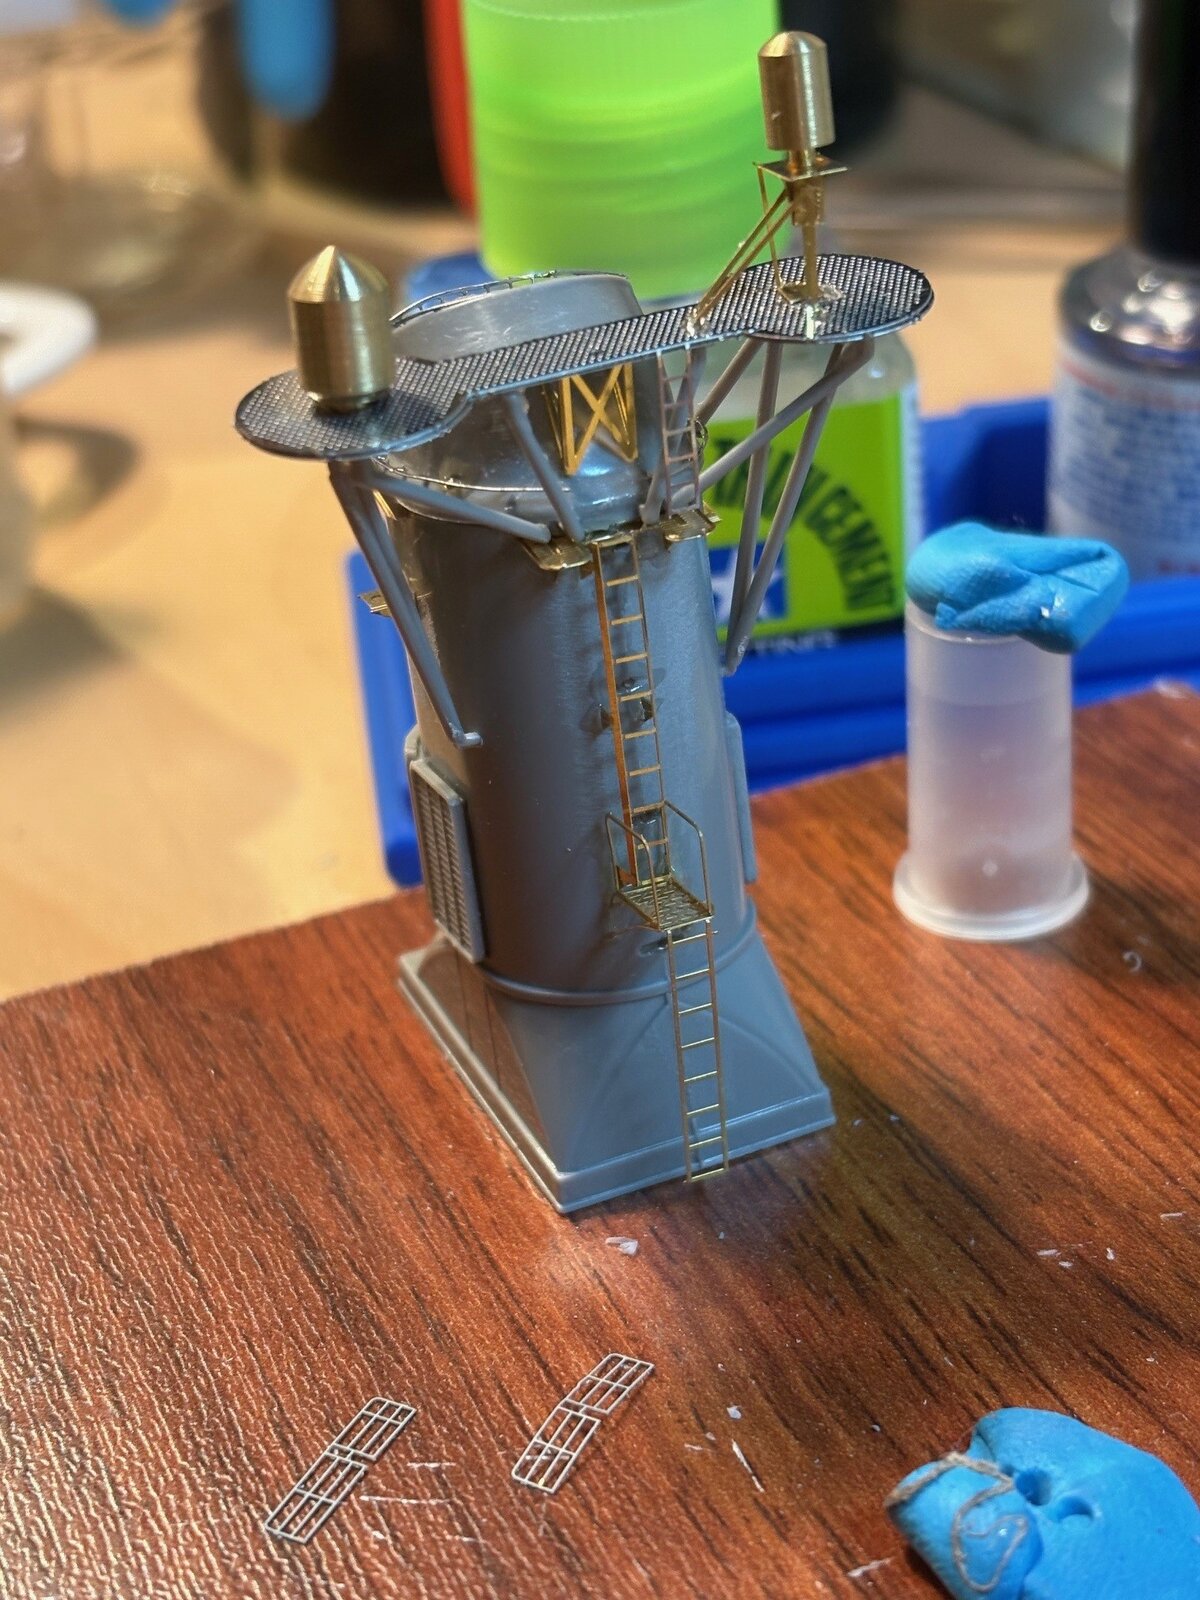
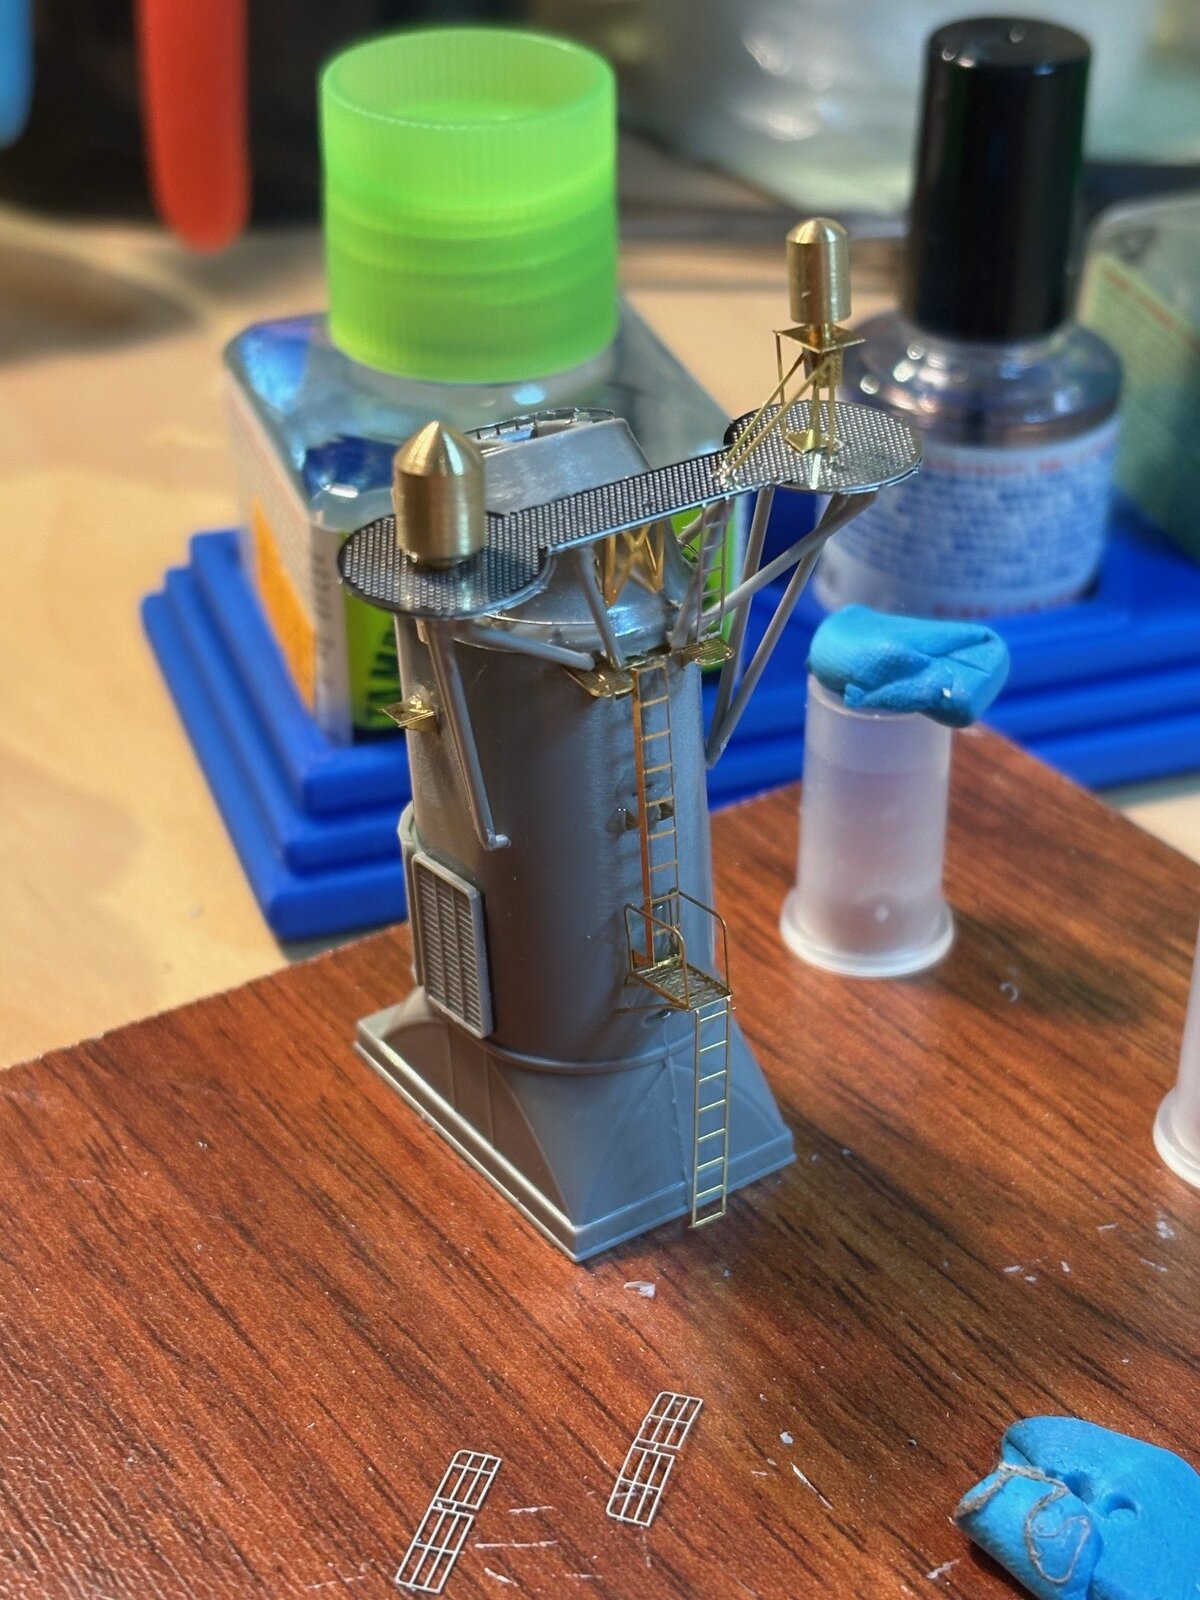
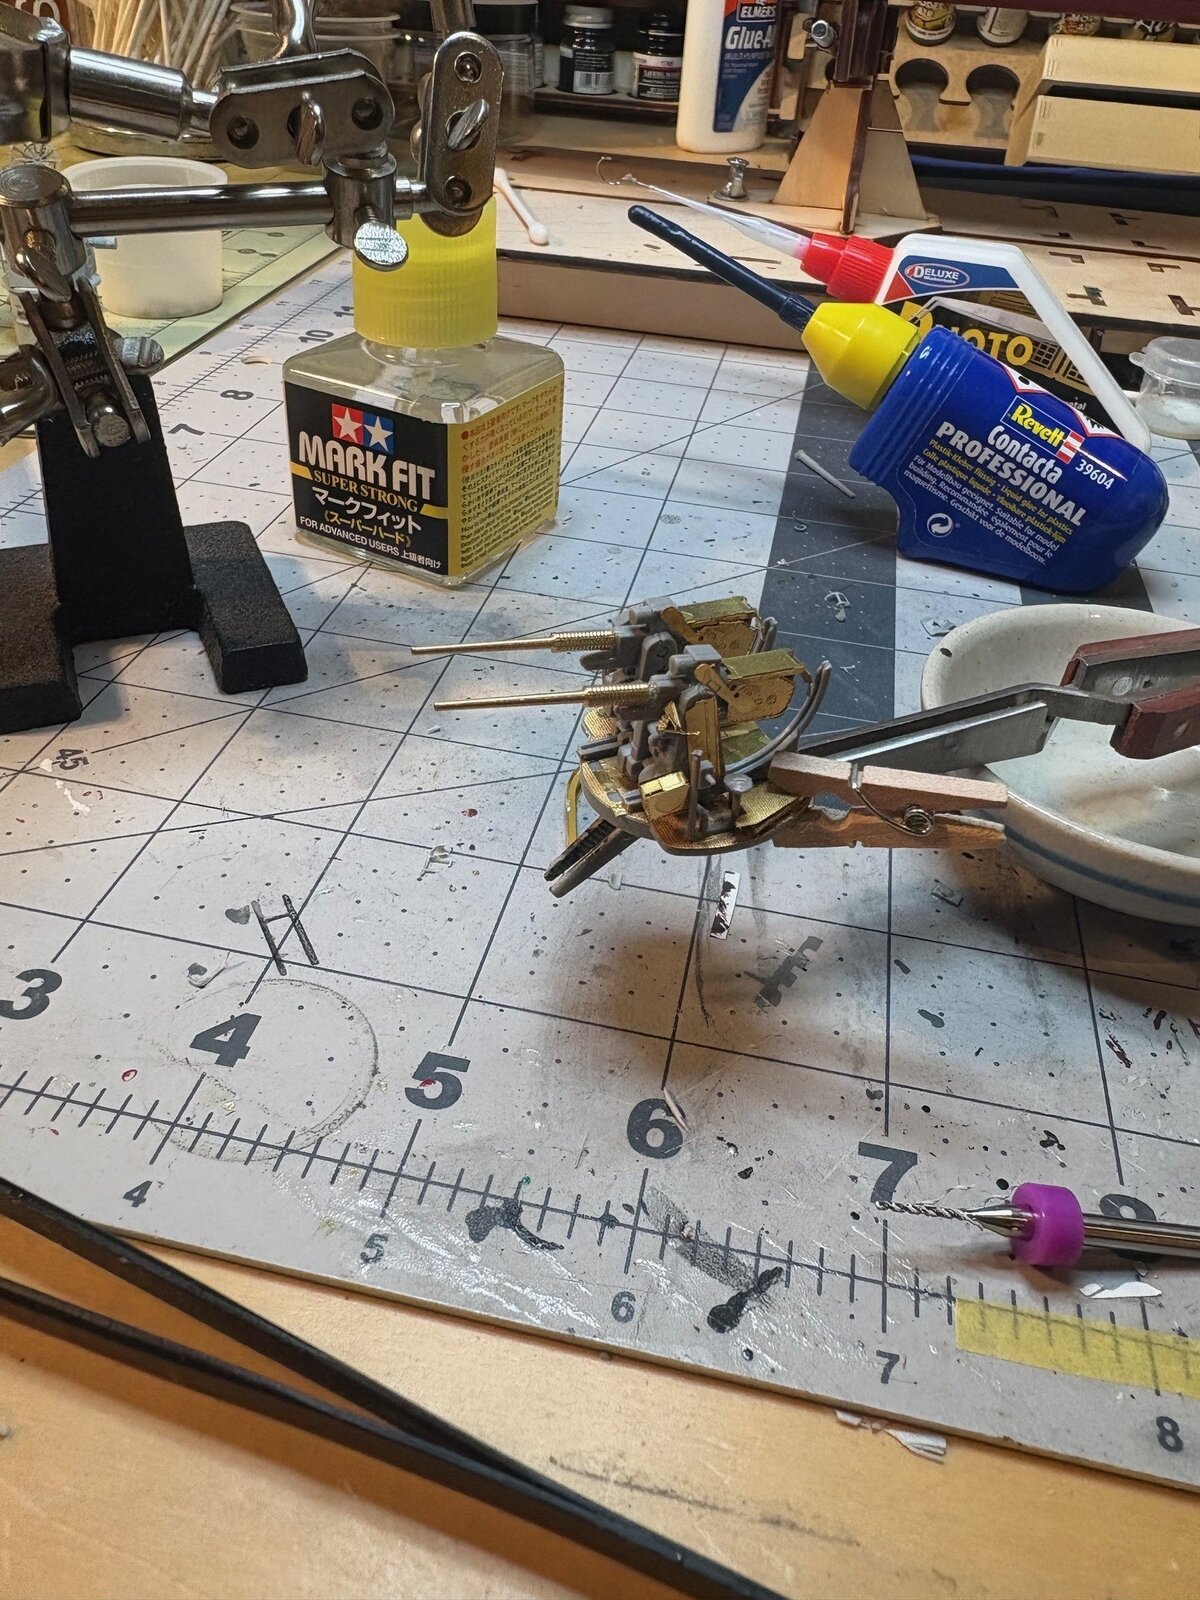
been plugging away... some of the sub assemblies are starting to come together.. i was able to test fit some of the modules.. its nice when you can see the ship starting to take form. working on the AA guns now.. ive put 3 hours just into the first one already. sometimes i question the "part count" of some of the PE steps. ive subbed kit parts in places as the detail plastic parts in this kit are high quality.
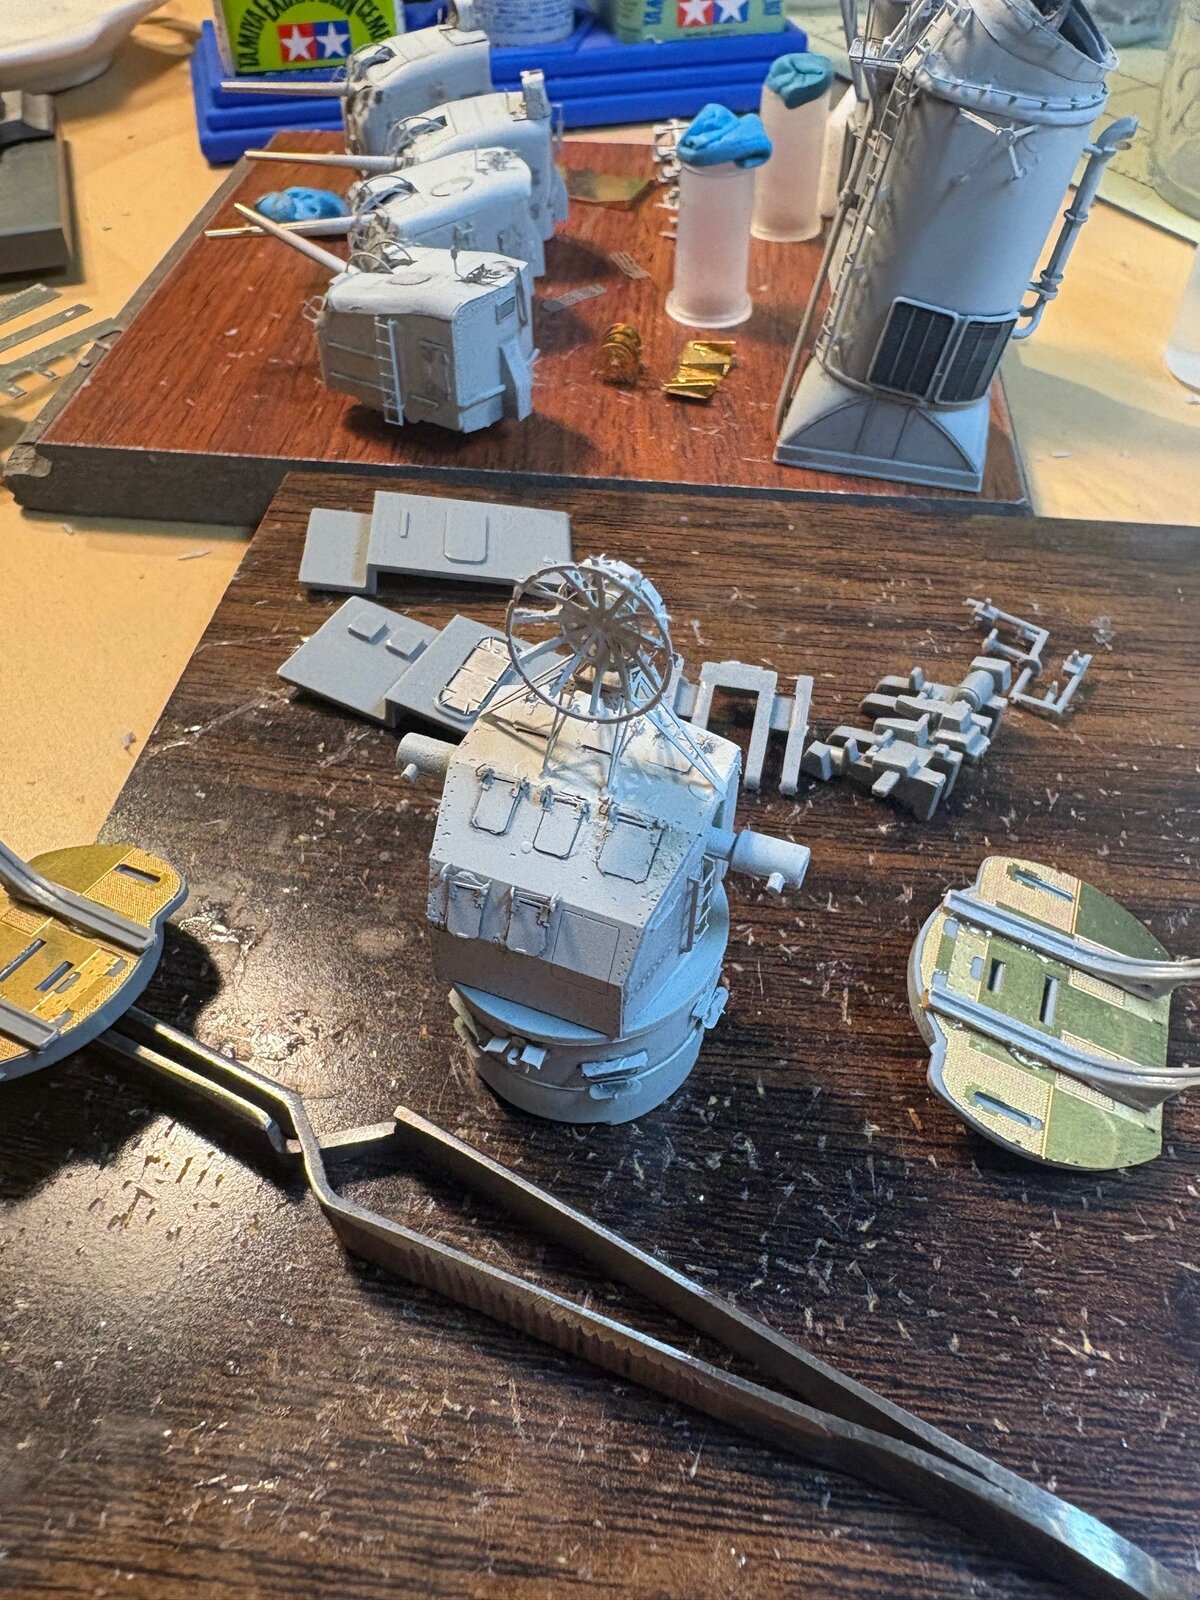
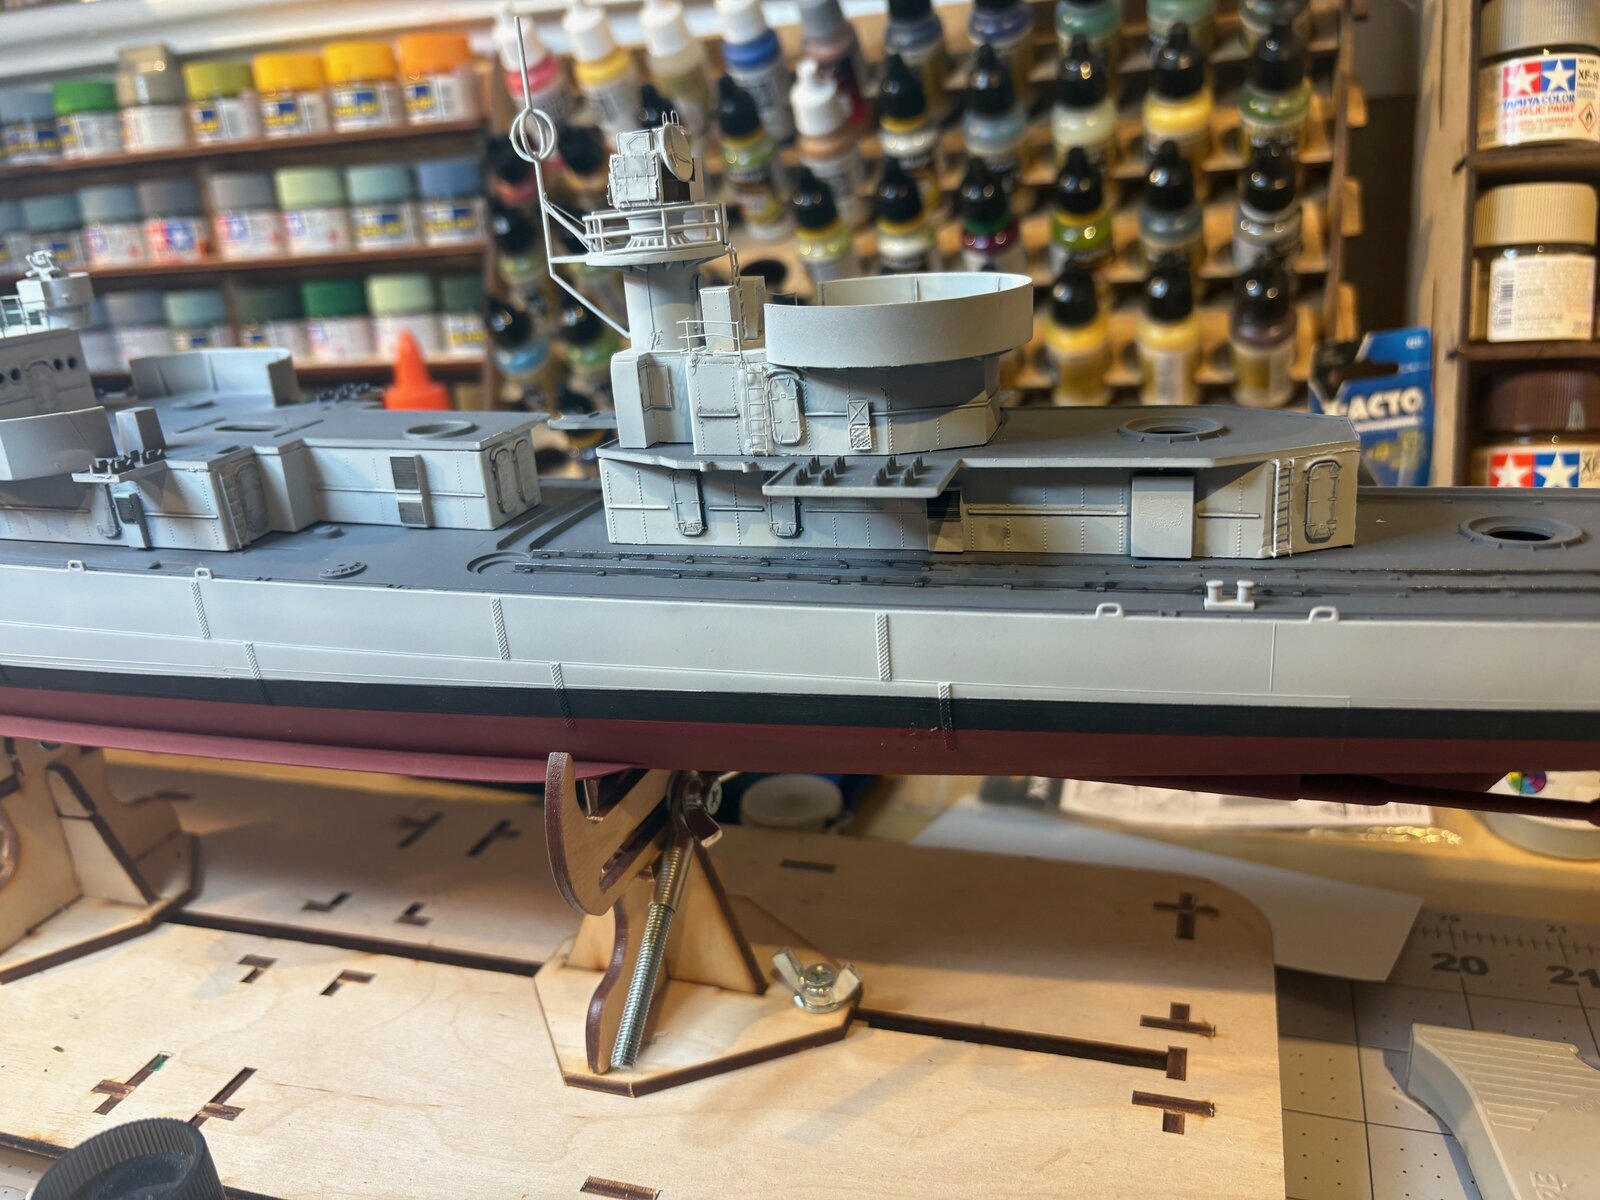
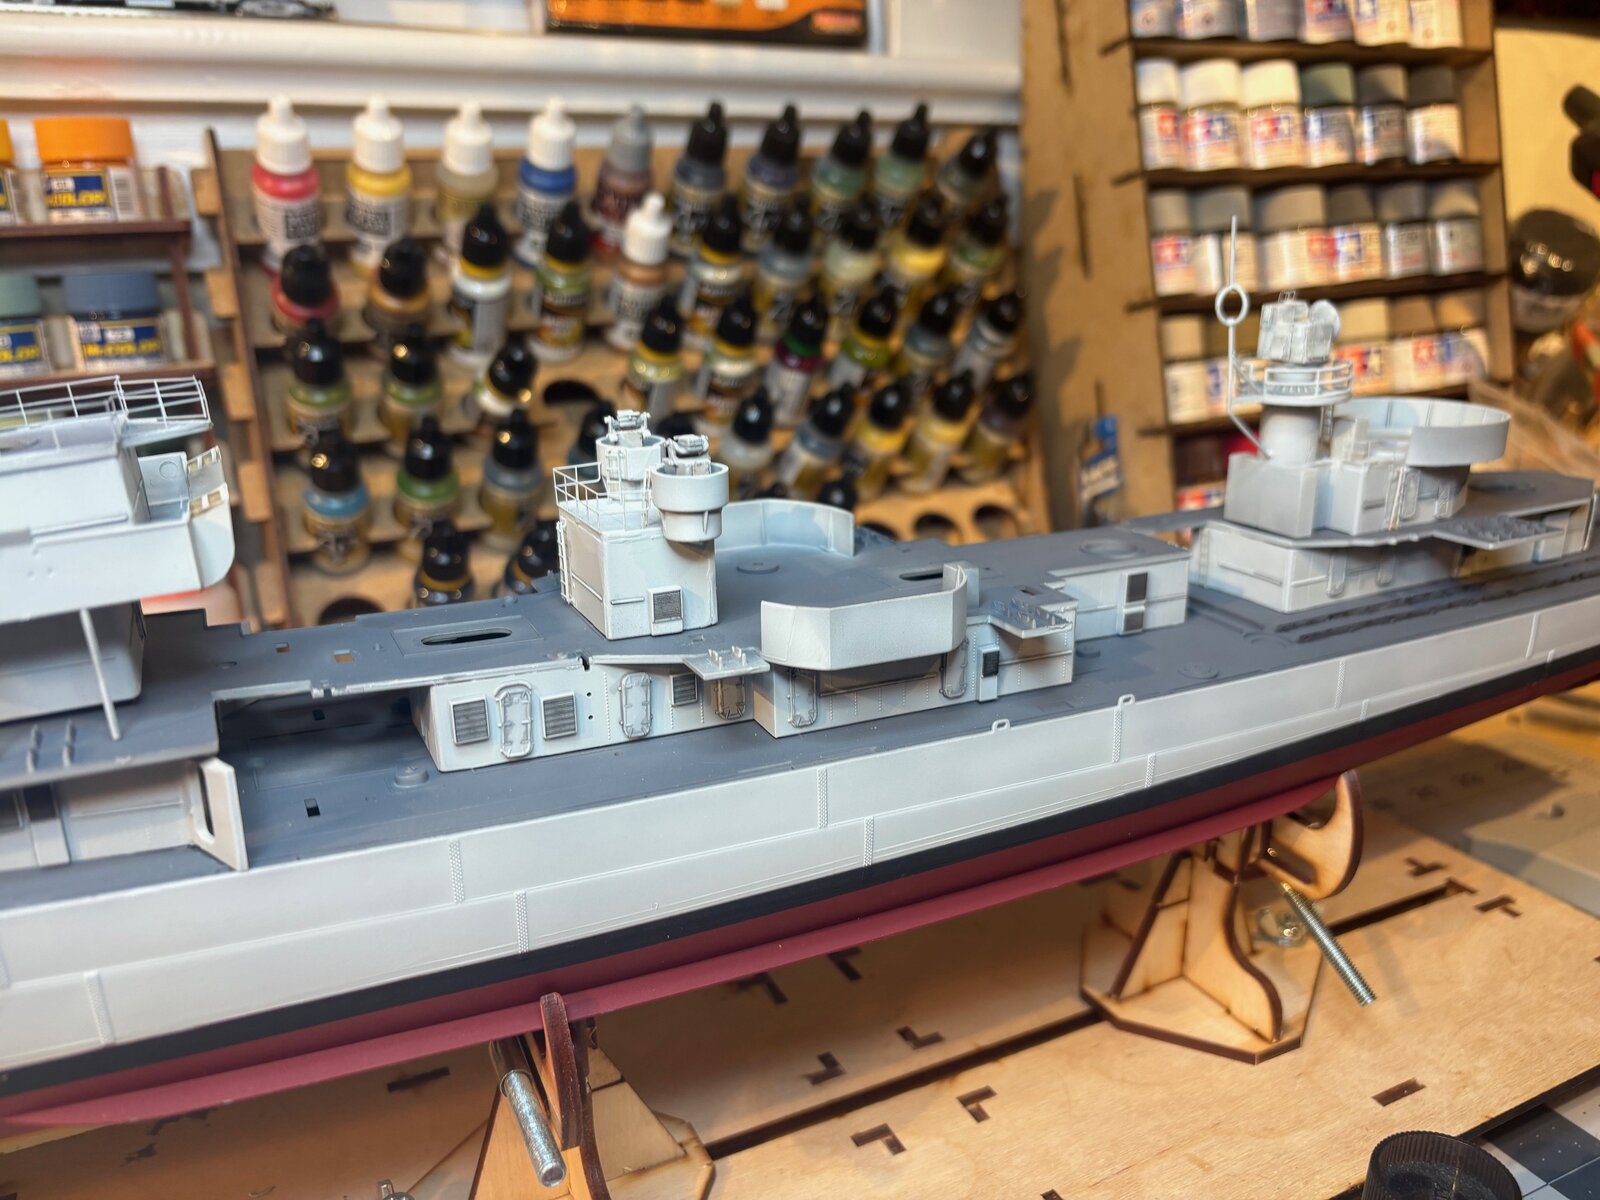
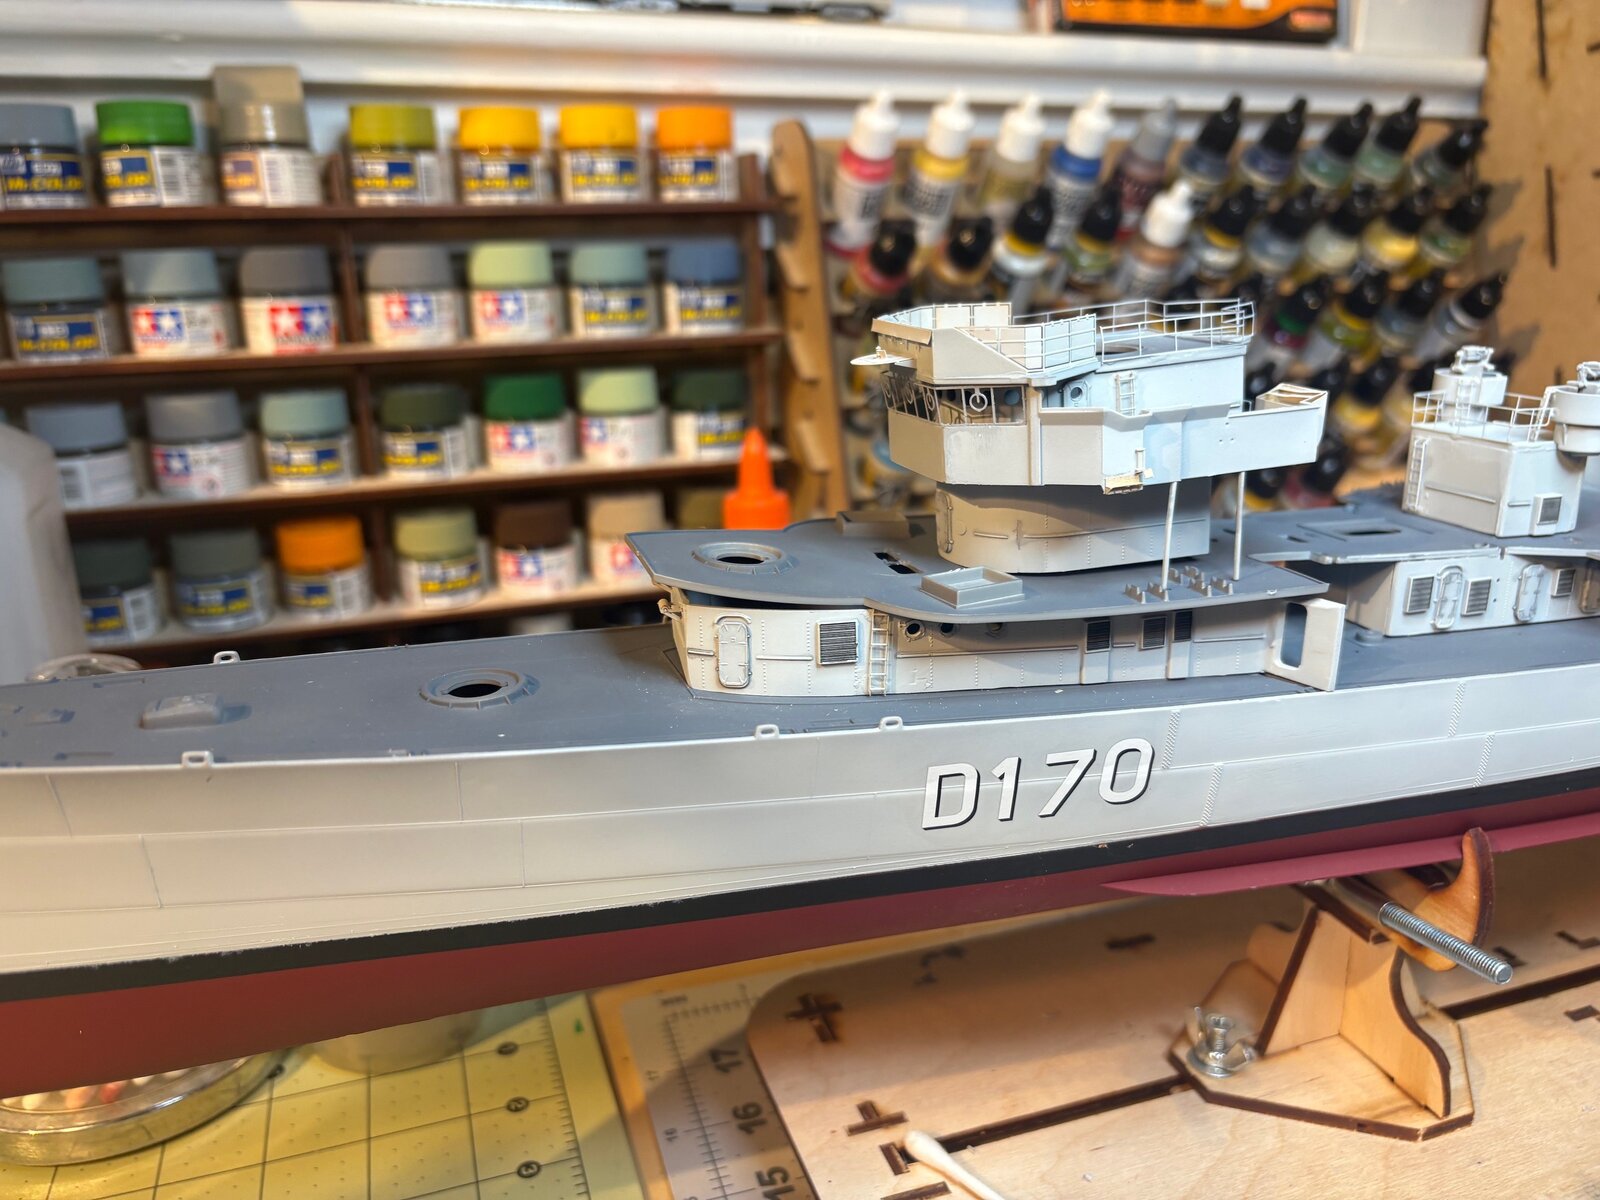

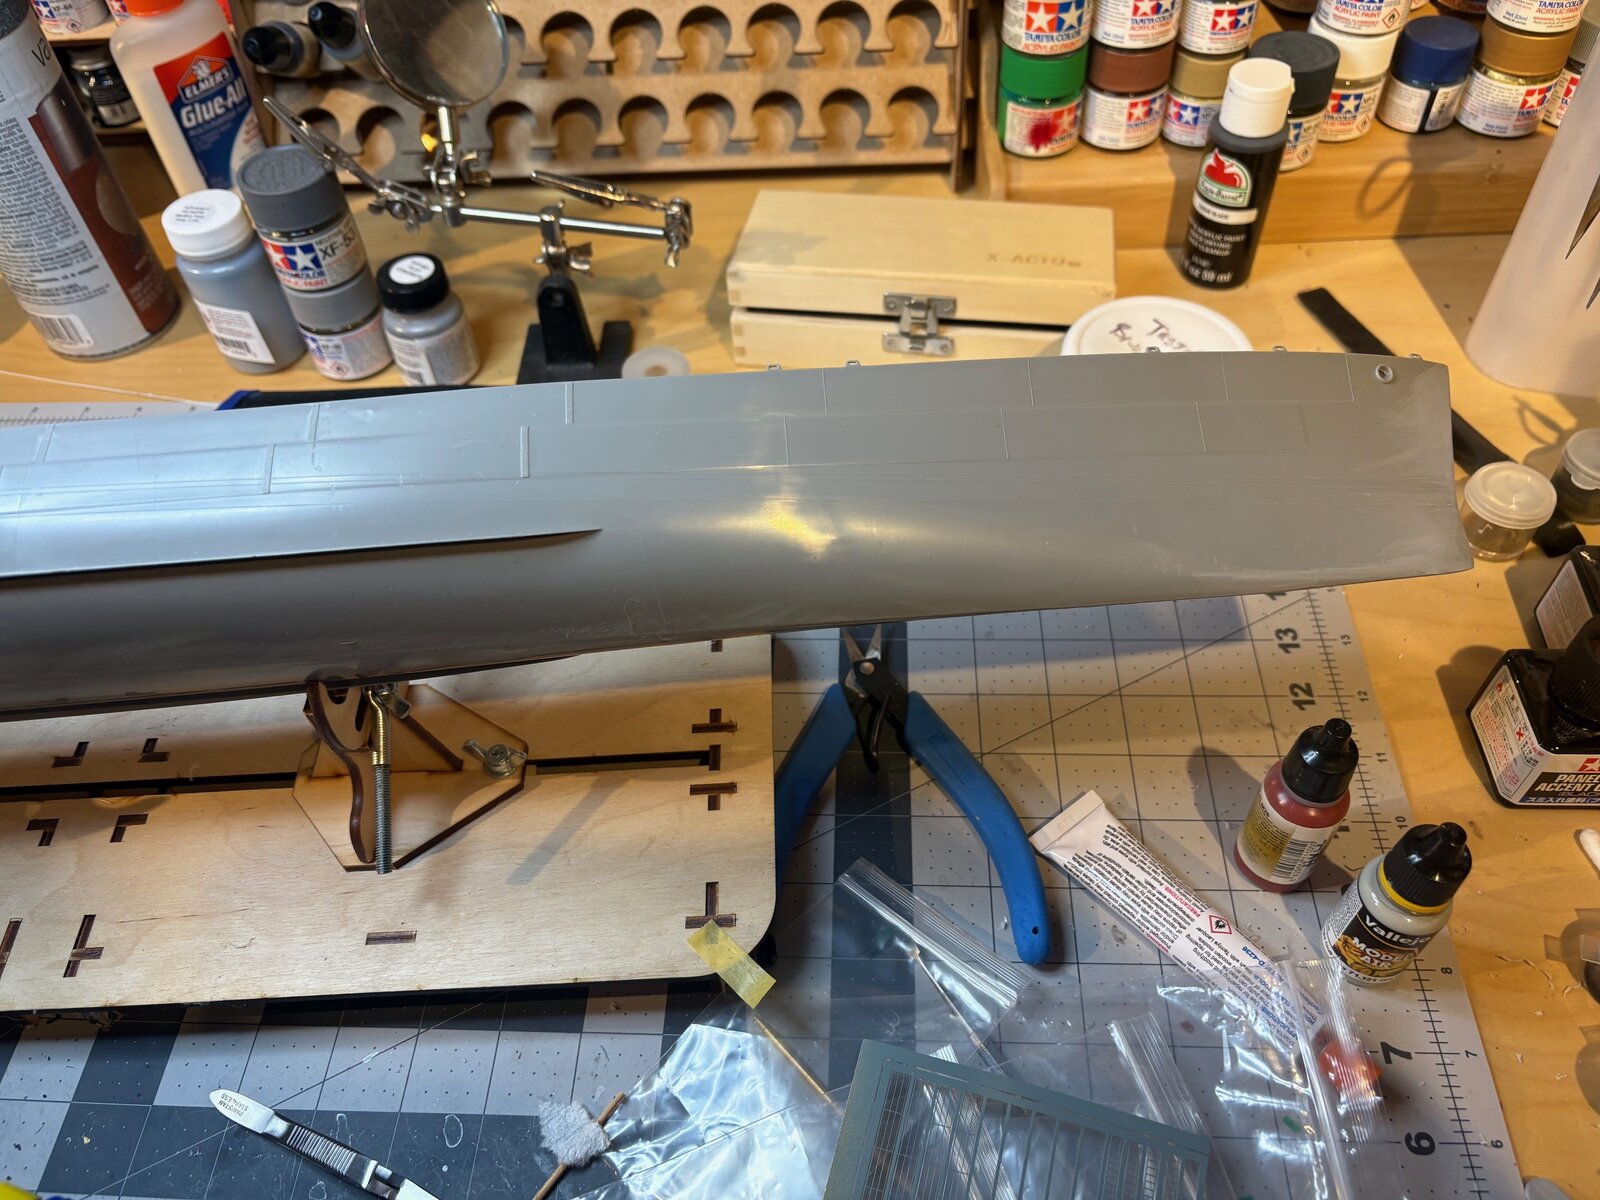
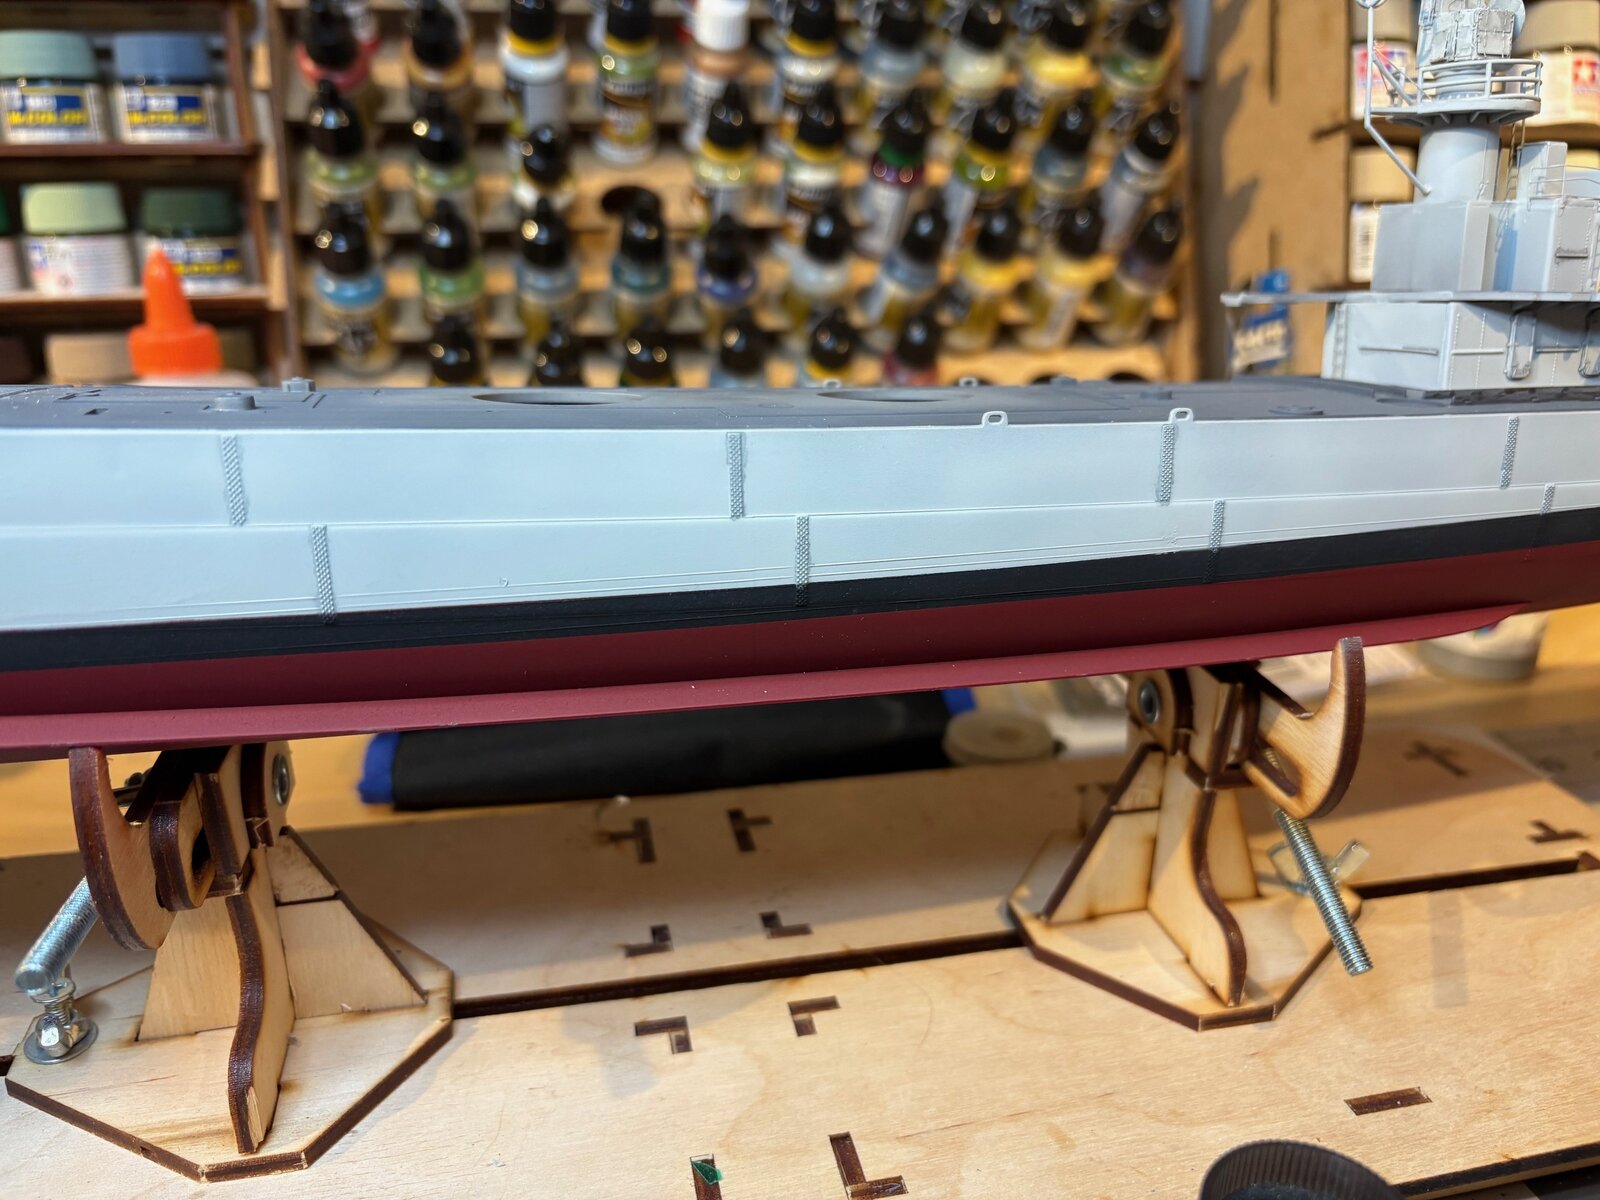
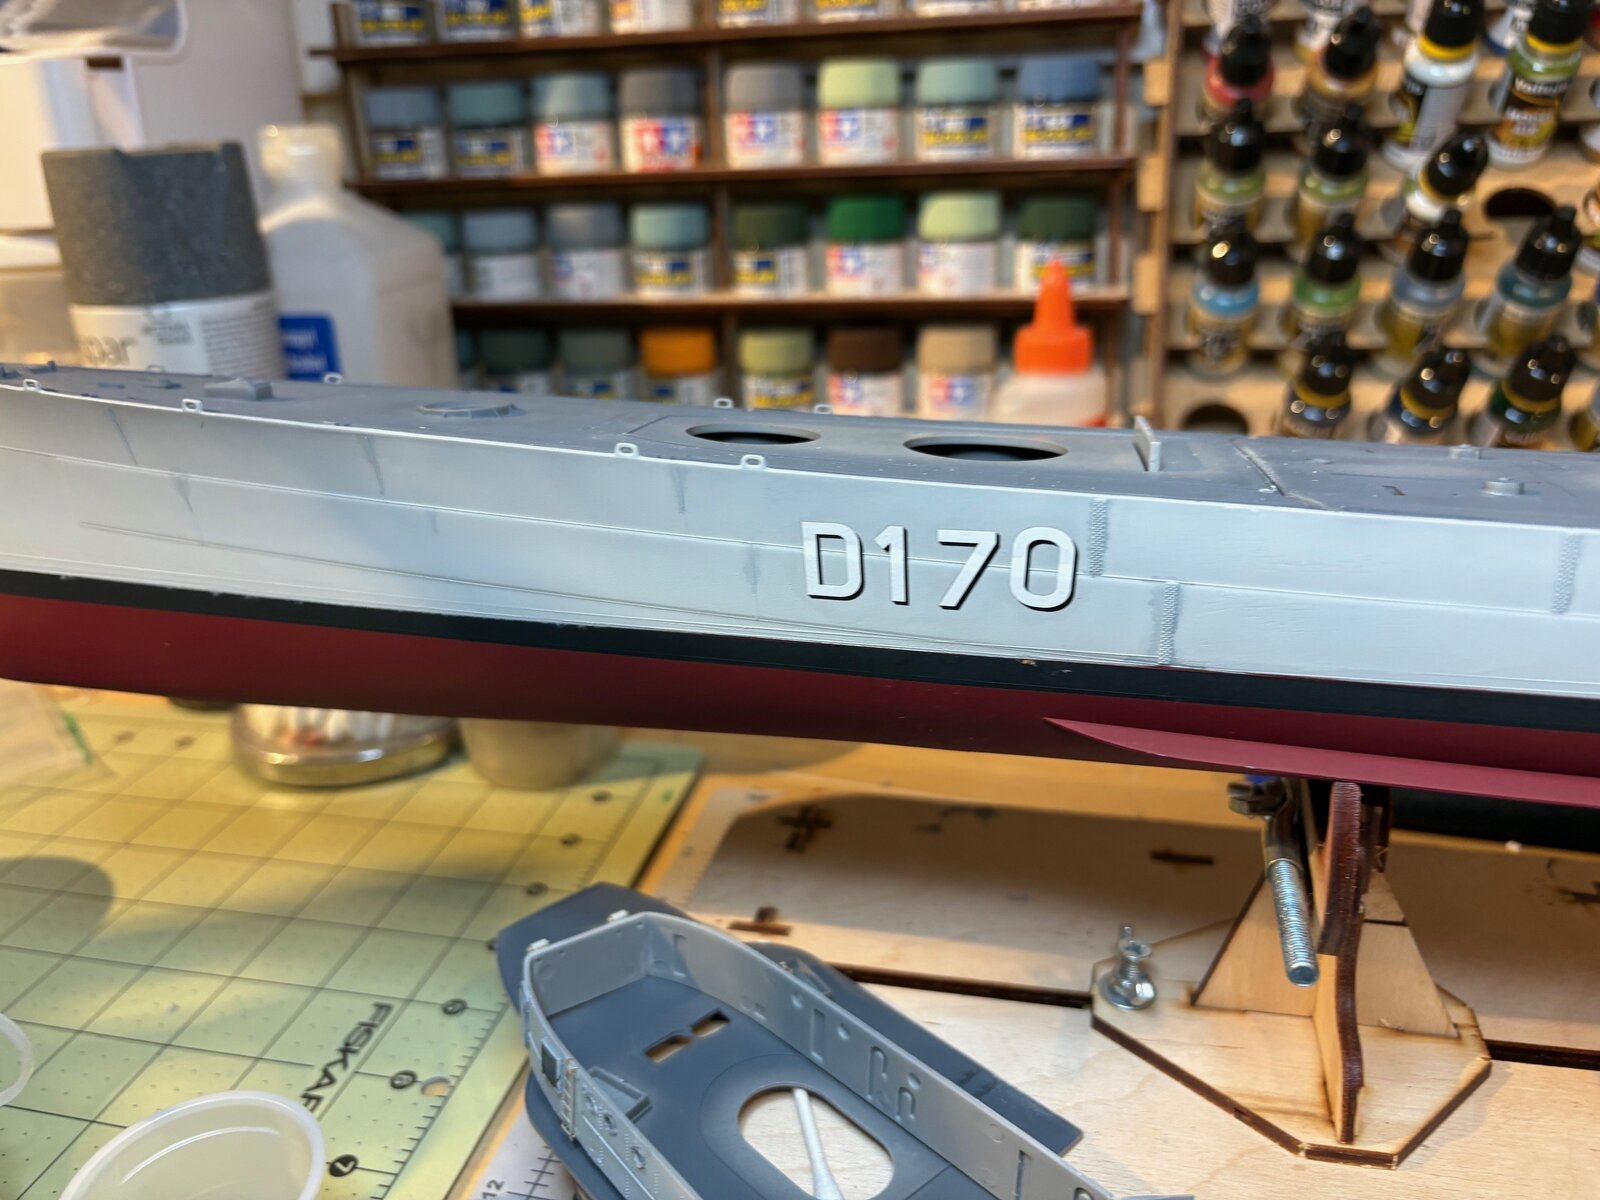
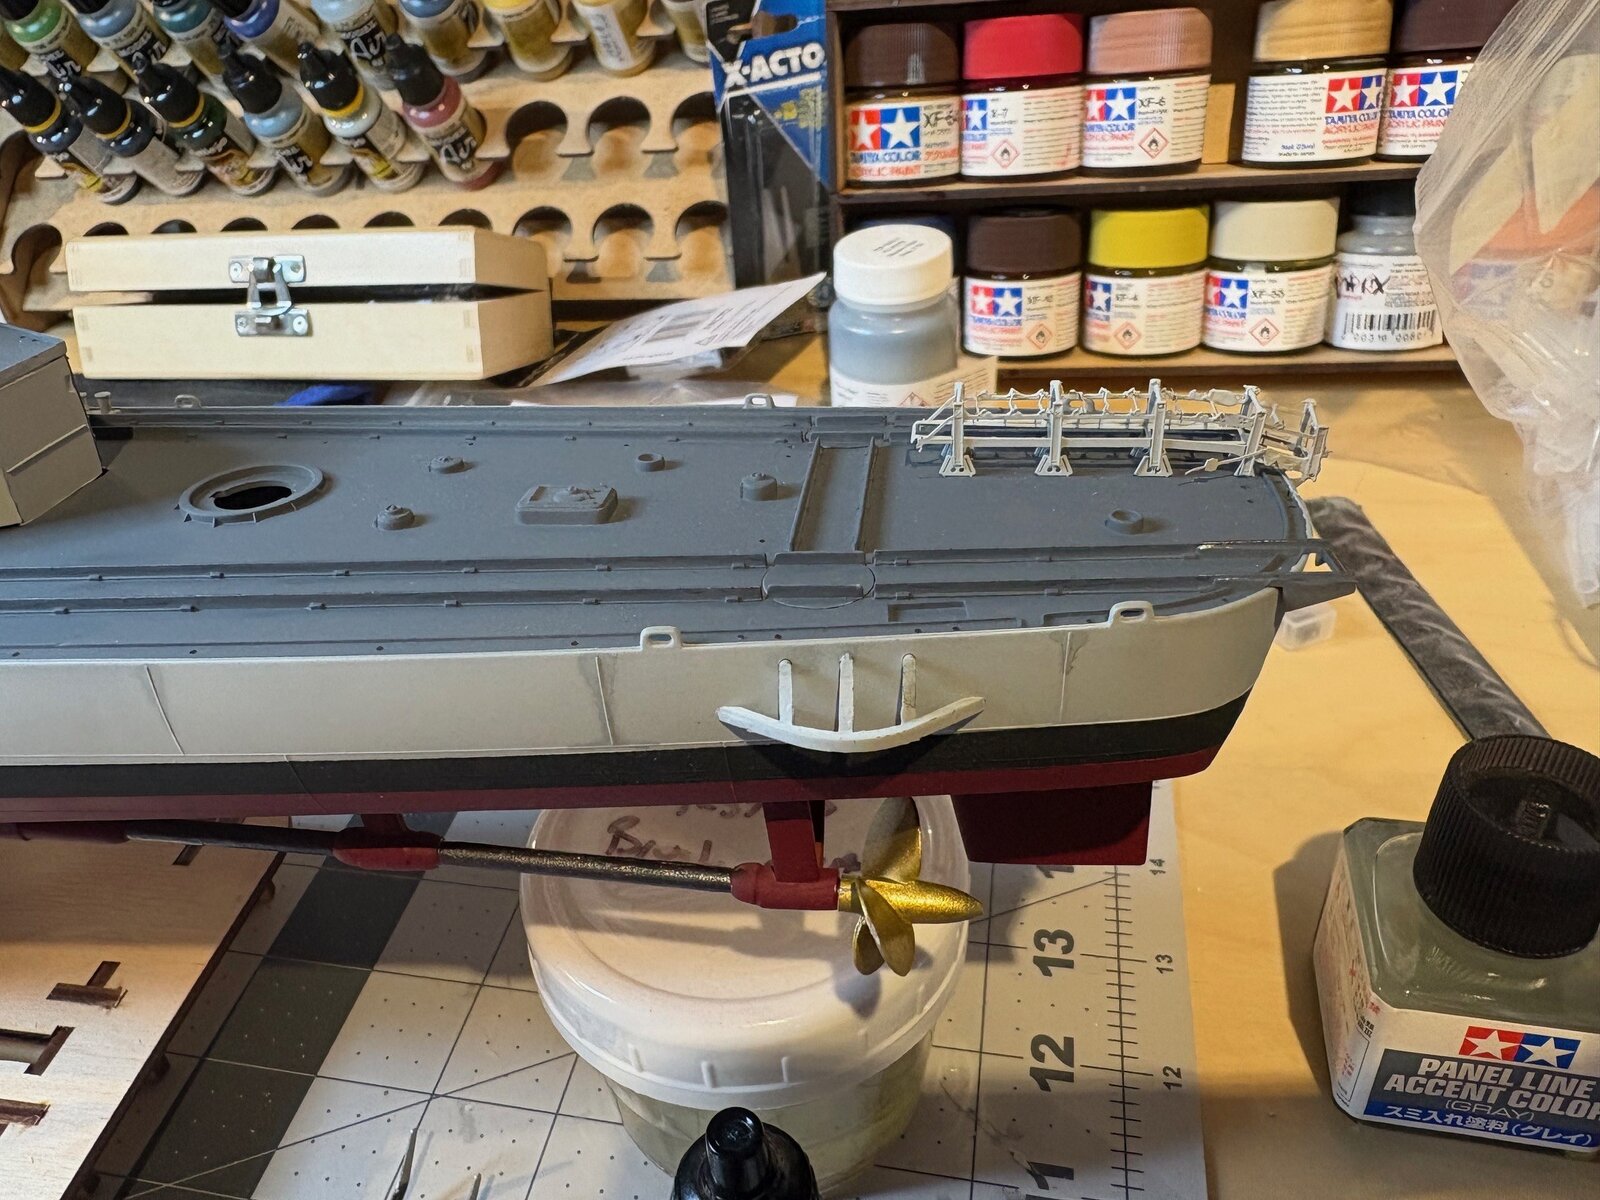
so looking to solicit opinions here... im on the fence as to use panel highlighter on the hull plates. there is a good detail on the hull , but the vessel has a clean look to it. however i used it on the superstructure to bring out details , so maybe a light application to even it out?

kevin
Well-Known Member
Wow, I'm just now watching the wash dry on my 1/200 IOWA hull.
Still deciding if I like it or not.....
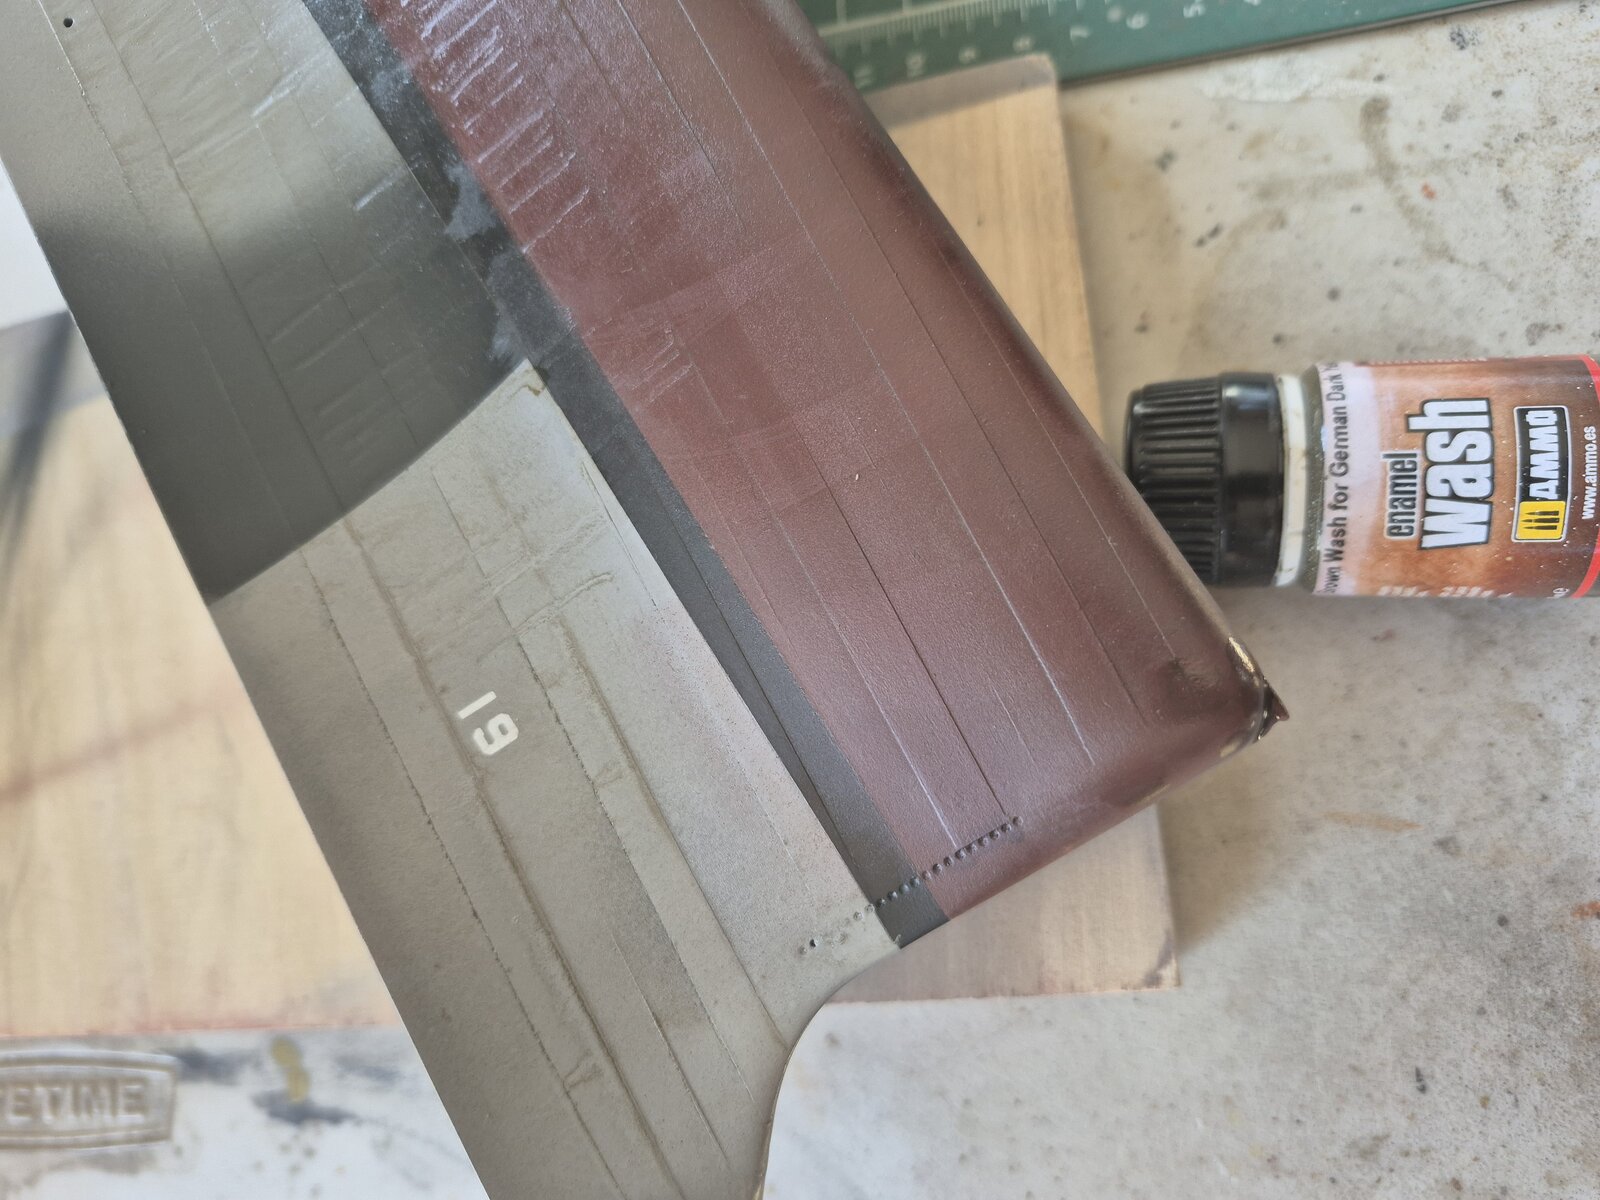
I used a brown wash from Mig, I also have the Tamiya black panel liner, but I thought that might be too much.....?
I like how your modeling is coming along.
Still deciding if I like it or not.....
I used a brown wash from Mig, I also have the Tamiya black panel liner, but I thought that might be too much.....?
I like how your modeling is coming along.
yes its tough once you start going down that road. i used the tamiya dark grey on the upper works details , black inside the vent grating. i have the "grey" panel liner as well.. i might try that first. as for your hull , maybe run some wash thinner over it and see if it relaxes a bit...


![Pampers Sensitive Baby Wipes, Clinically Proven, Fragrance Free, Unscented, Water Based, Hypoallergenic, Multi-Use, Hand Wipes 336 Wipes Total (6X Flip-Top Packs) [Packaging May Vary]](https://m.media-amazon.com/images/I/41KLBHu9CAL._SL500_.jpg)






As an Amazon Associate we earn from qualifying purchases. Product prices and availability are accurate as of the date/time indicated and are subject to change.

Edbert
Well-Known Member
- Joined
- May 16, 2024
- Messages
- 3,123
This kit has been on my wish list for a while now. I think your picture of the AAA seals the deal for me. Great work!working on the AA guns now.. ive put 3 hours just into the first one already.
View attachment 139557
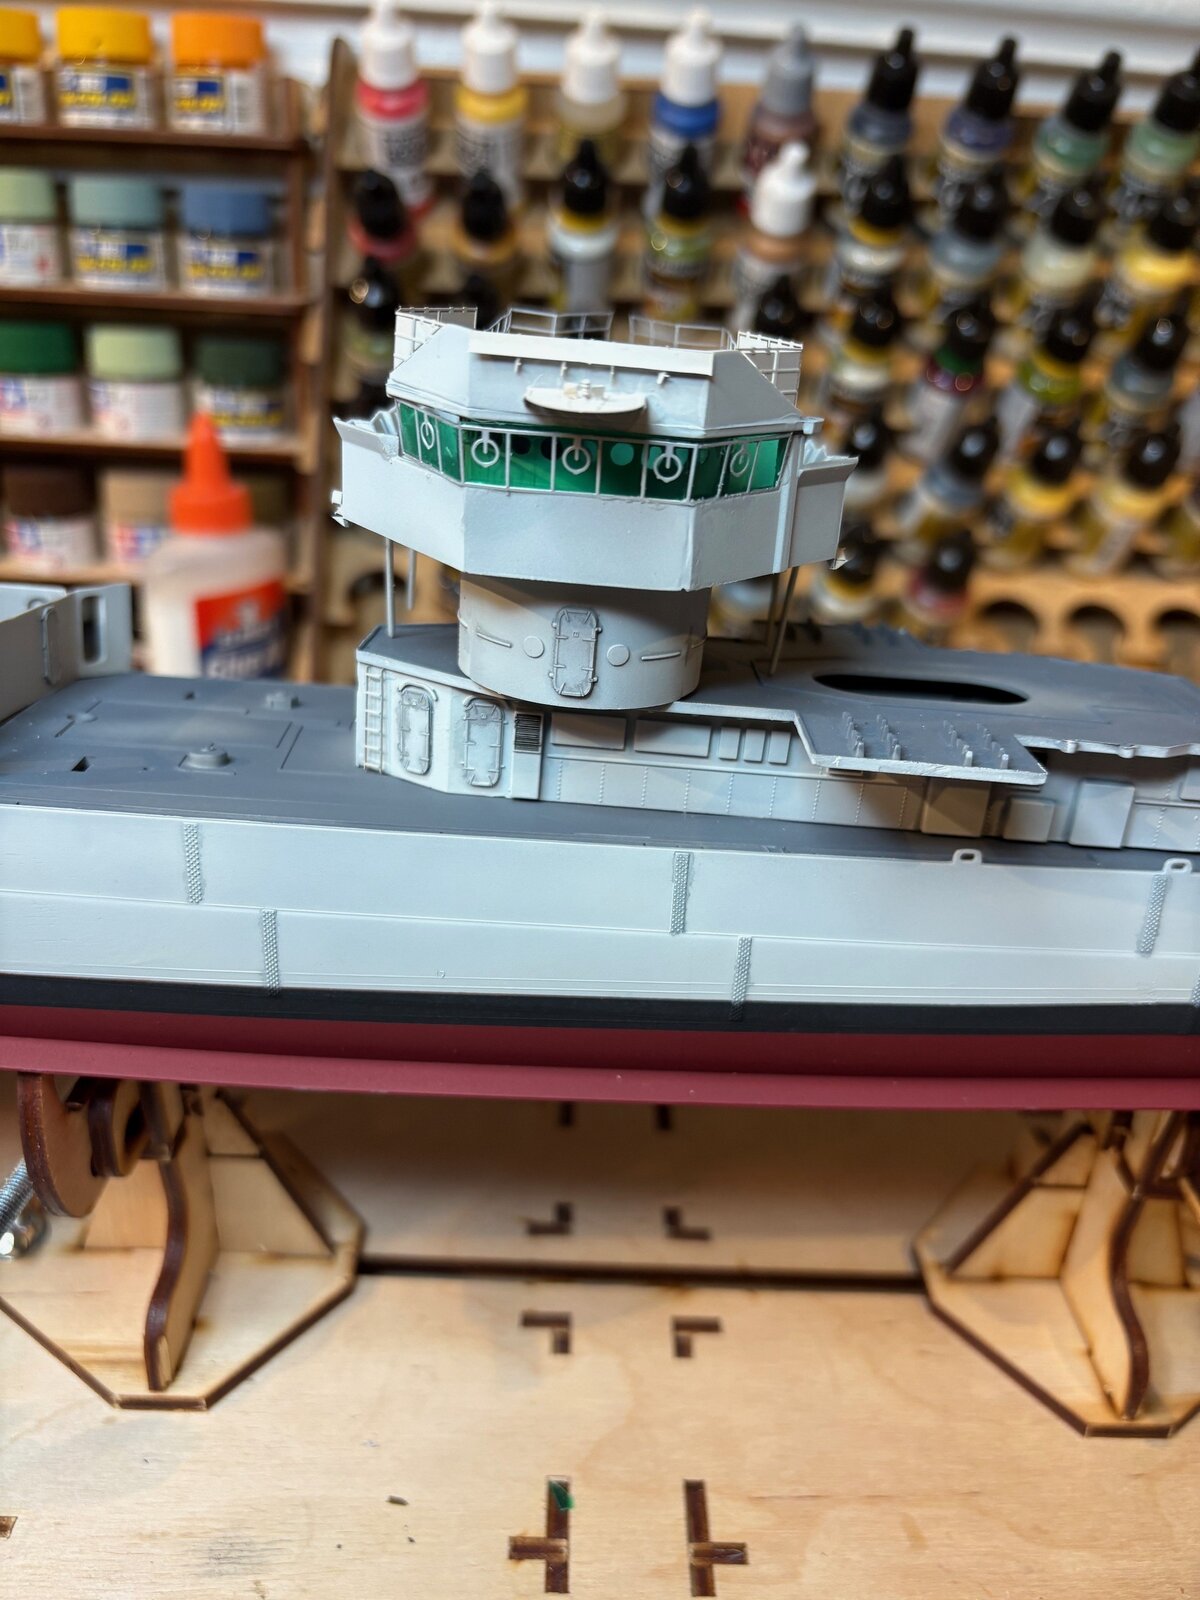
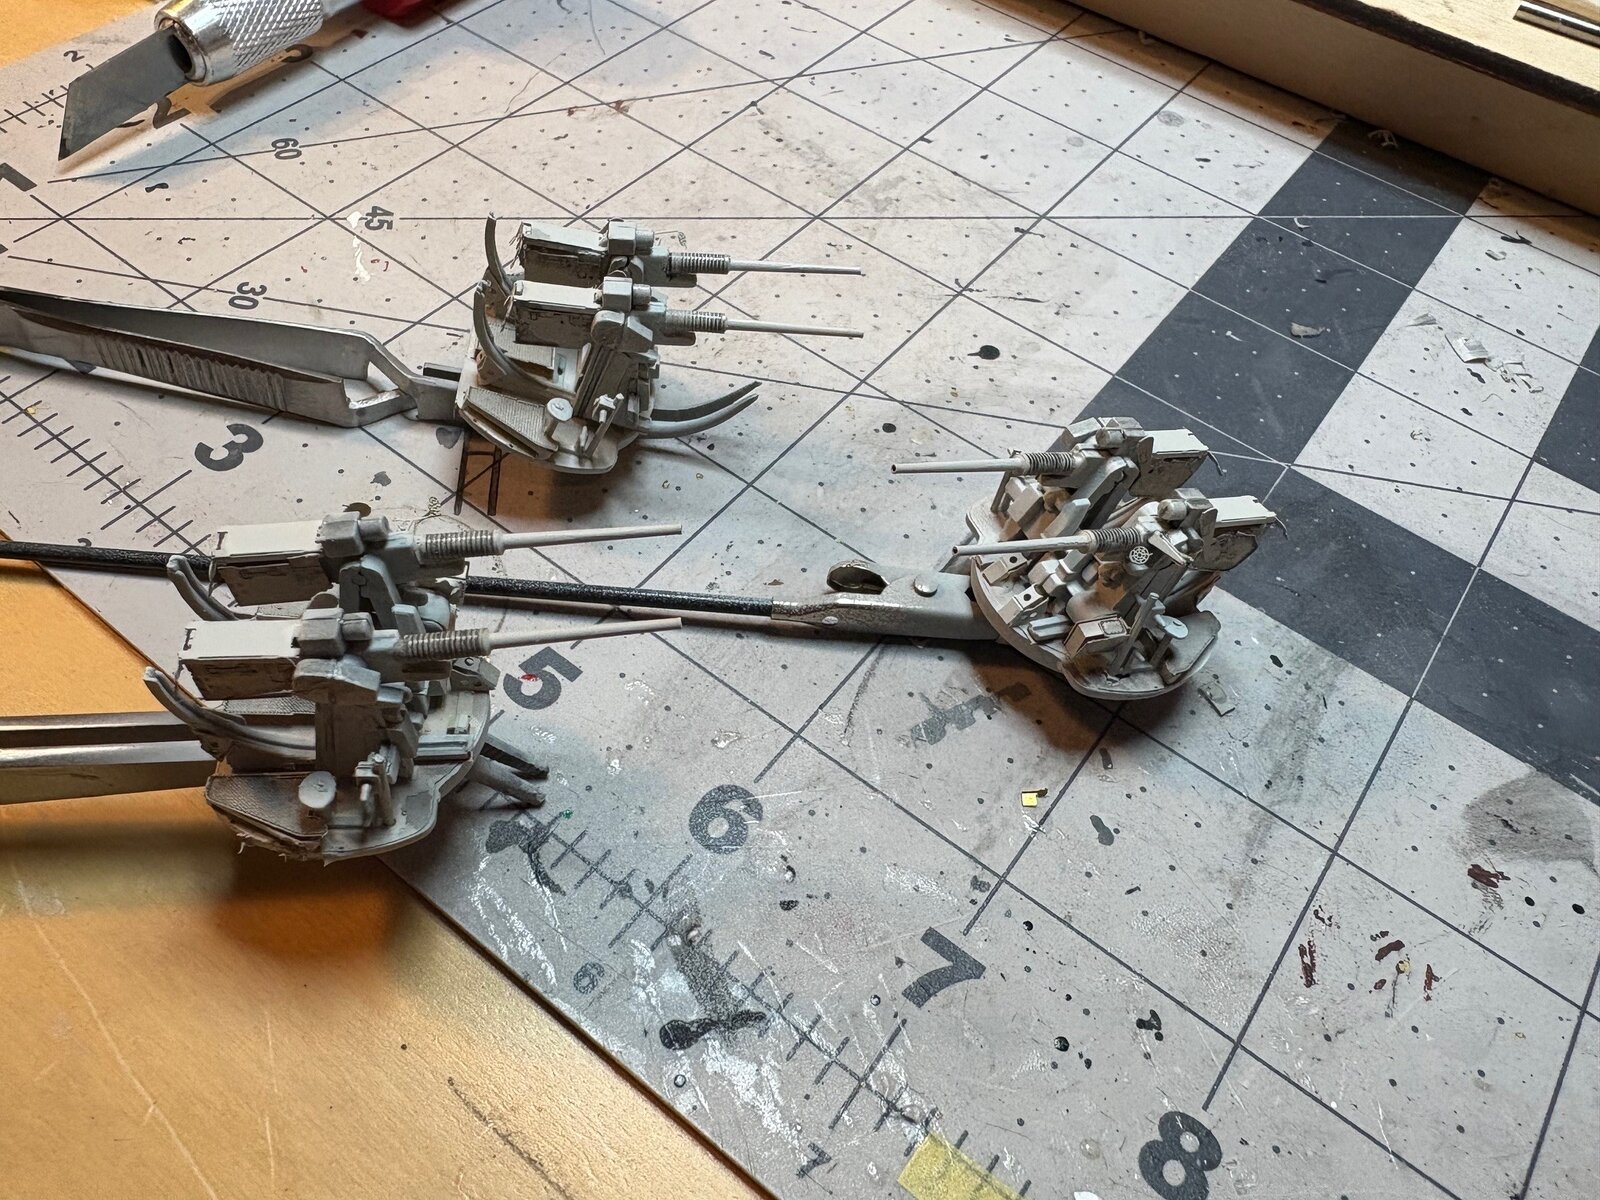
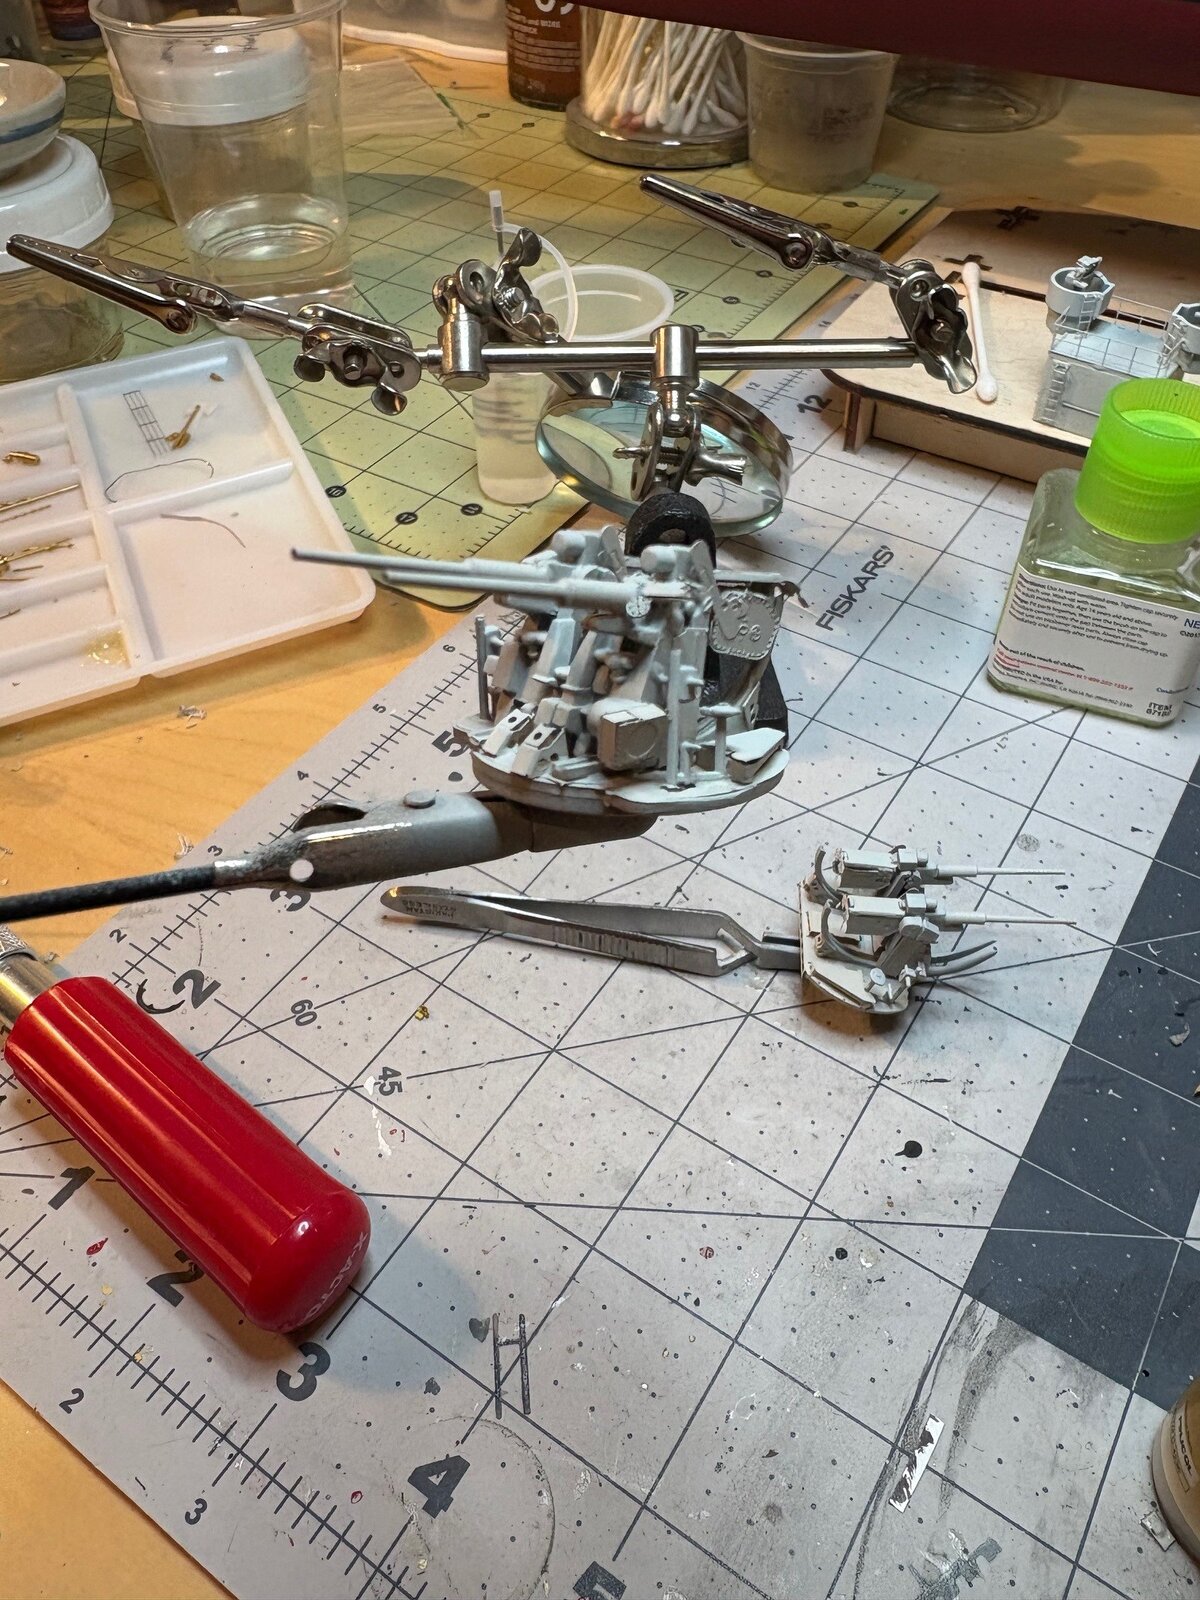
painted up the AA guns, gave the bridge windows and port holes the "file divider" treatment , painted the shafts and installed props. i ended up with a slight gap between the top of the bridge windows and the flying bridge bulkhead.. have to decide on course of action. you can see the AA guns after first paint... then i applied some dark grey panel liner to bring out some detail. i think its just enough. once i start attaching the superstructure then onto the mast assembly which looks pretty intensive. shes gonna start looking like a ship soon
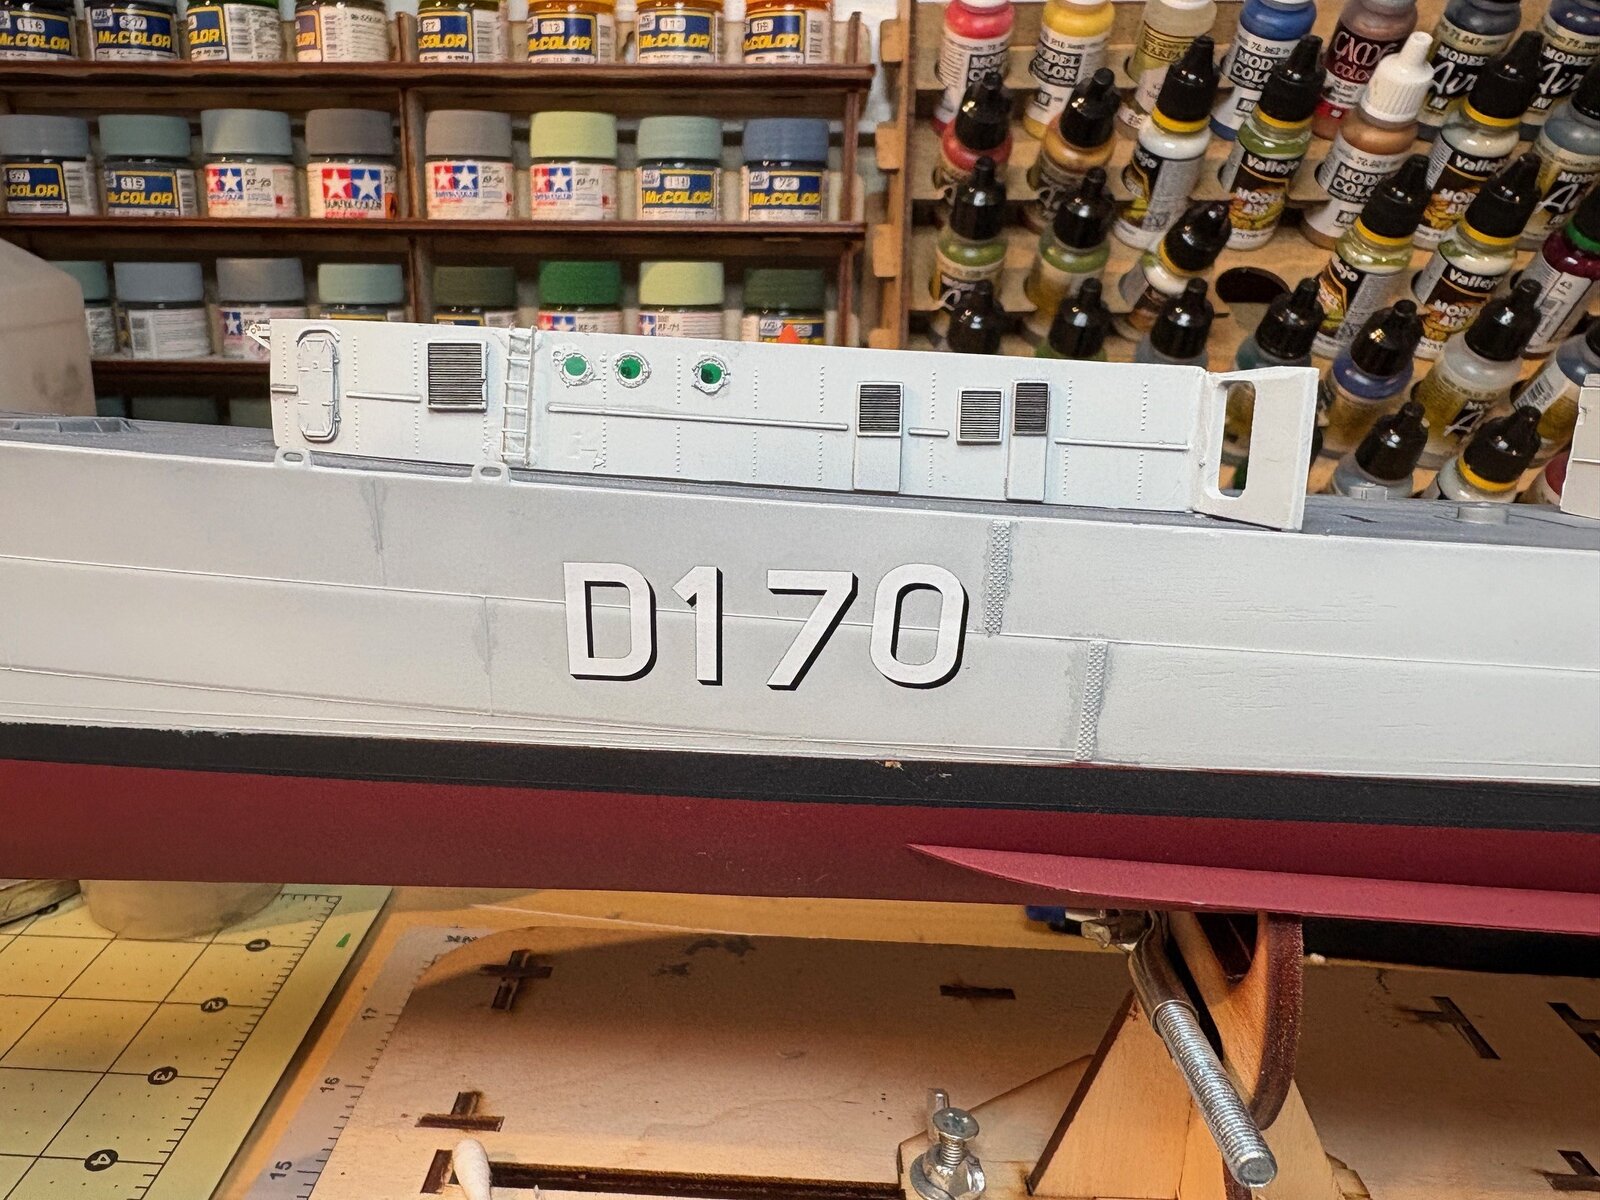
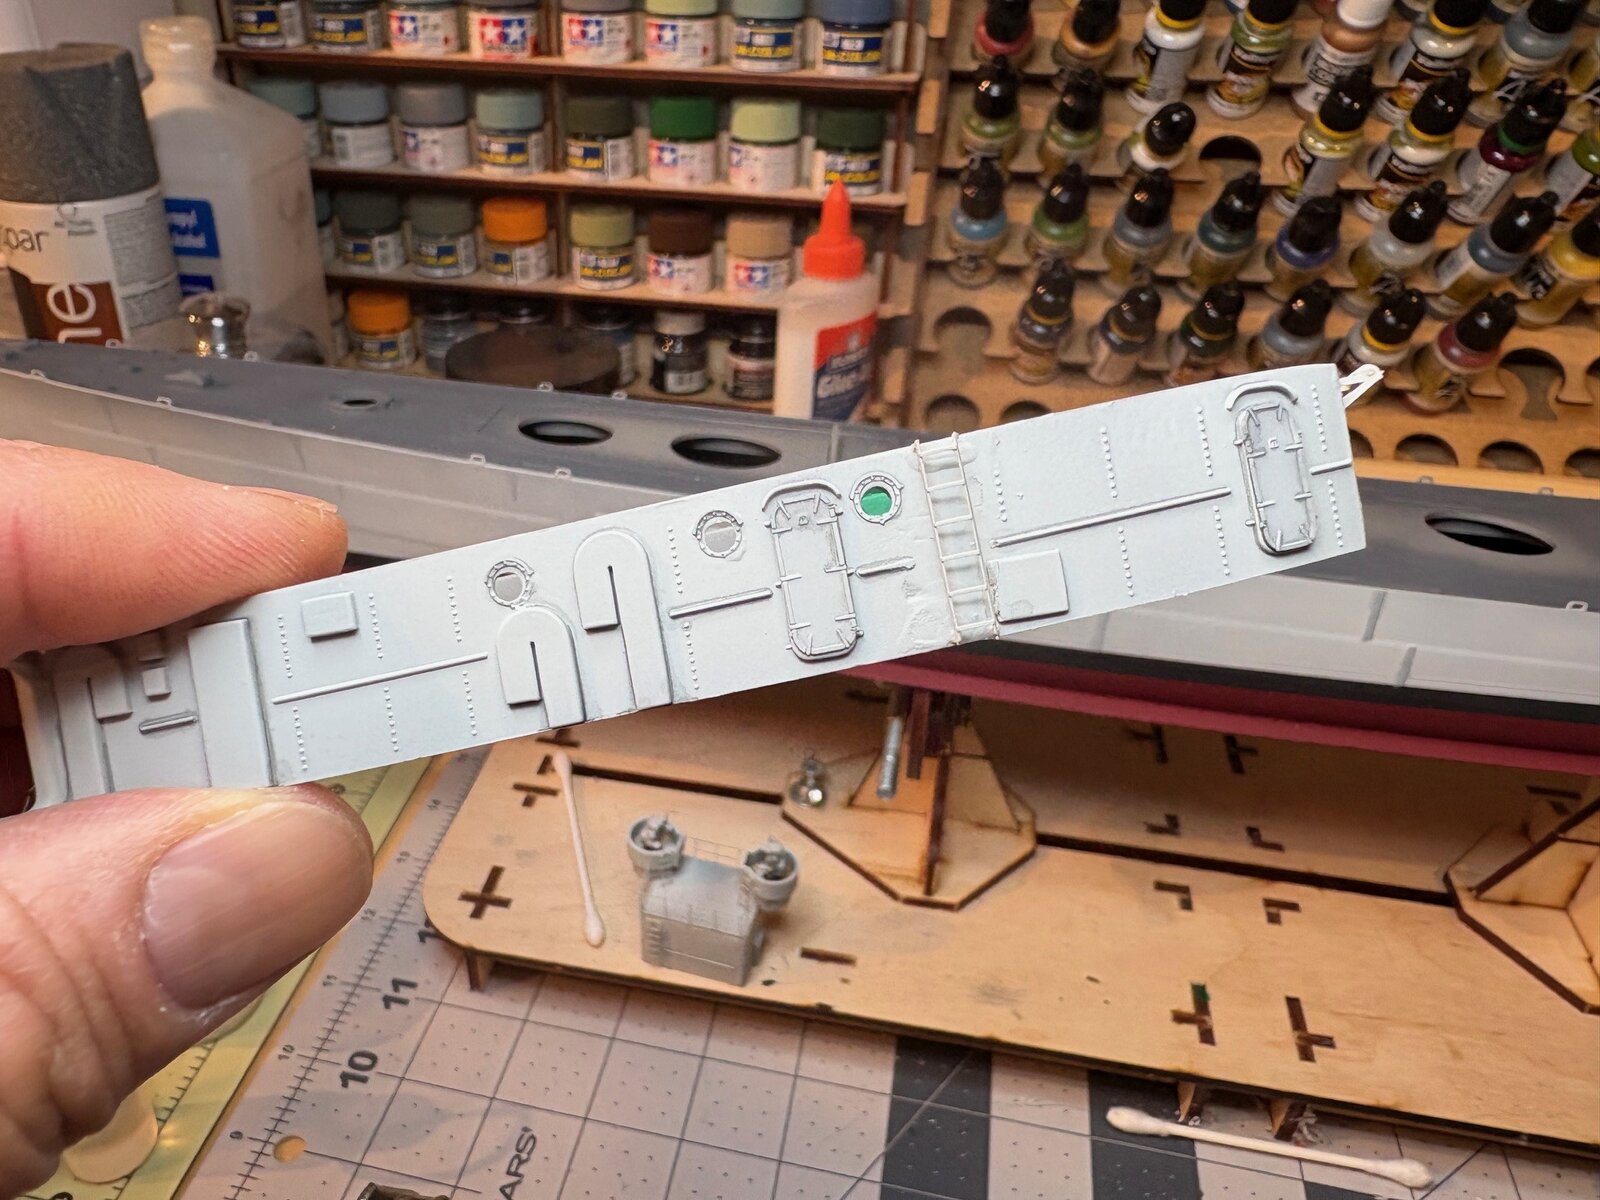
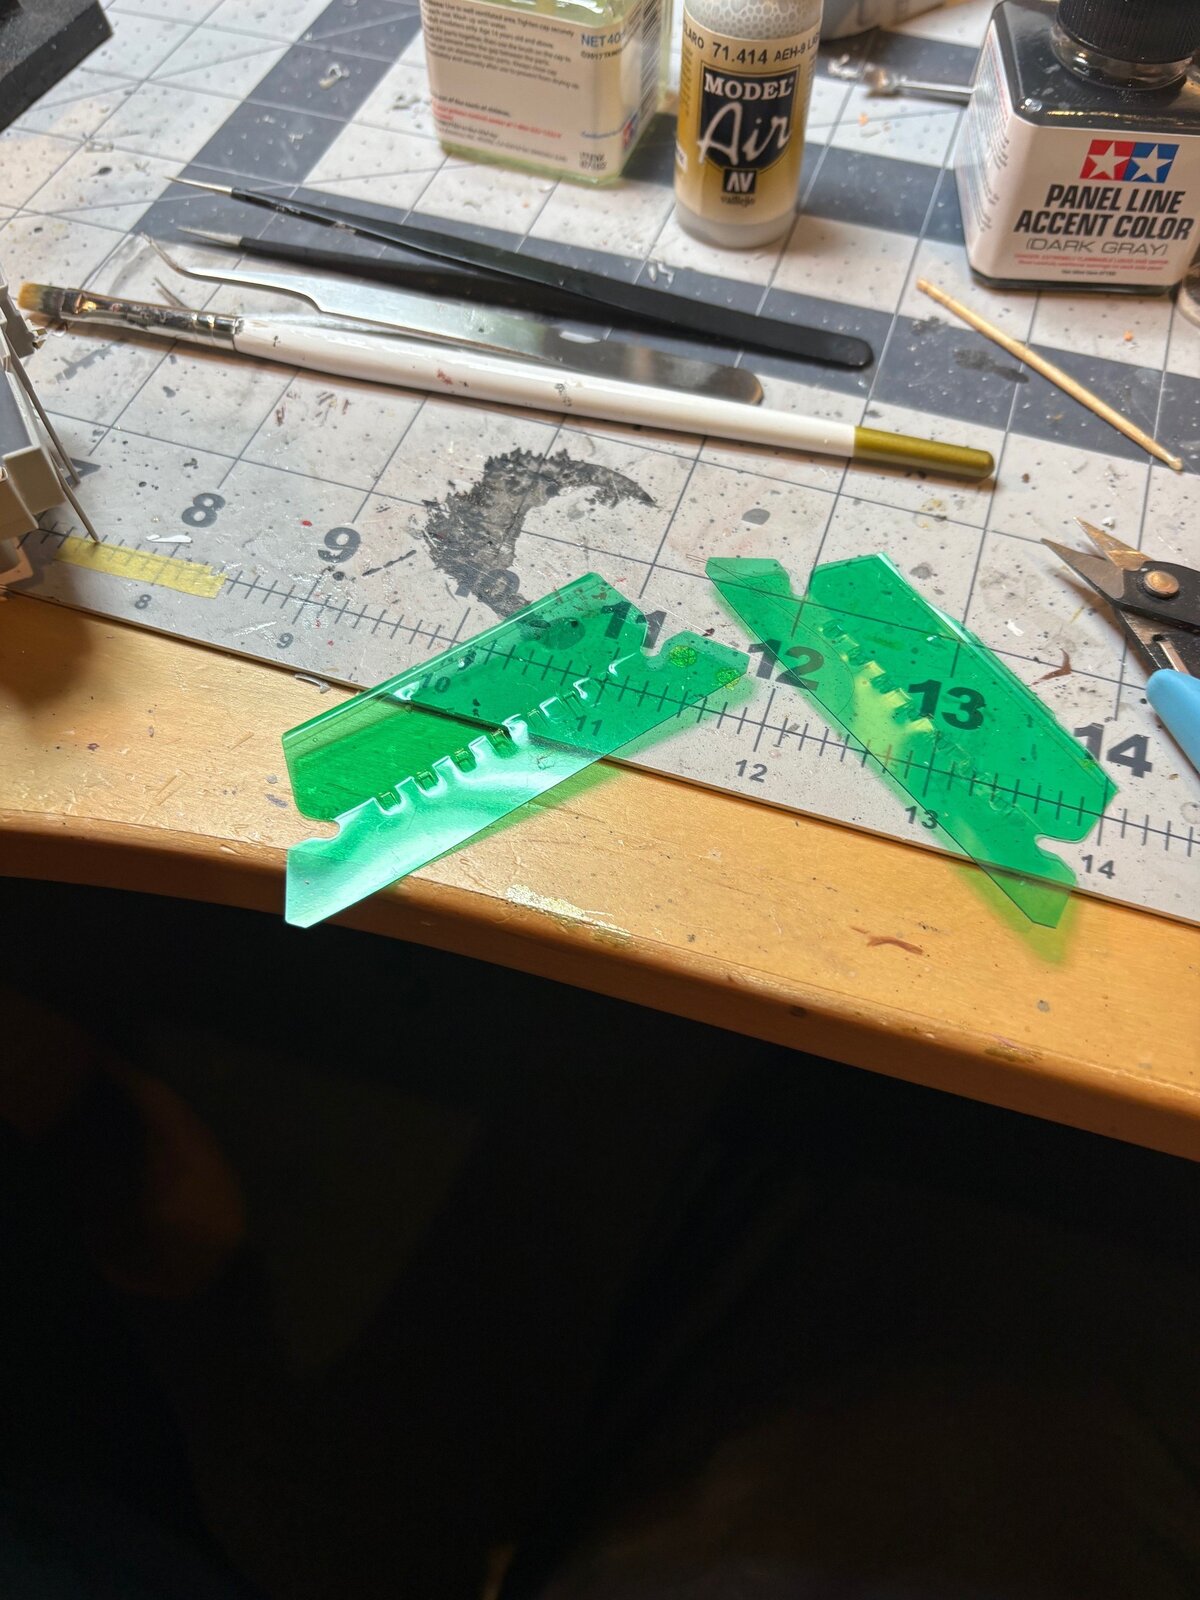

Nice! did you have to drill out the portholes?the "file divider" treatment
no drilling.. and the kit supplied the PE port hole detailNice! did you have to drill out the portholes?

blakeh1
Well-Known Member
Looks great
Love the details you can get this scale
Love the details you can get this scale
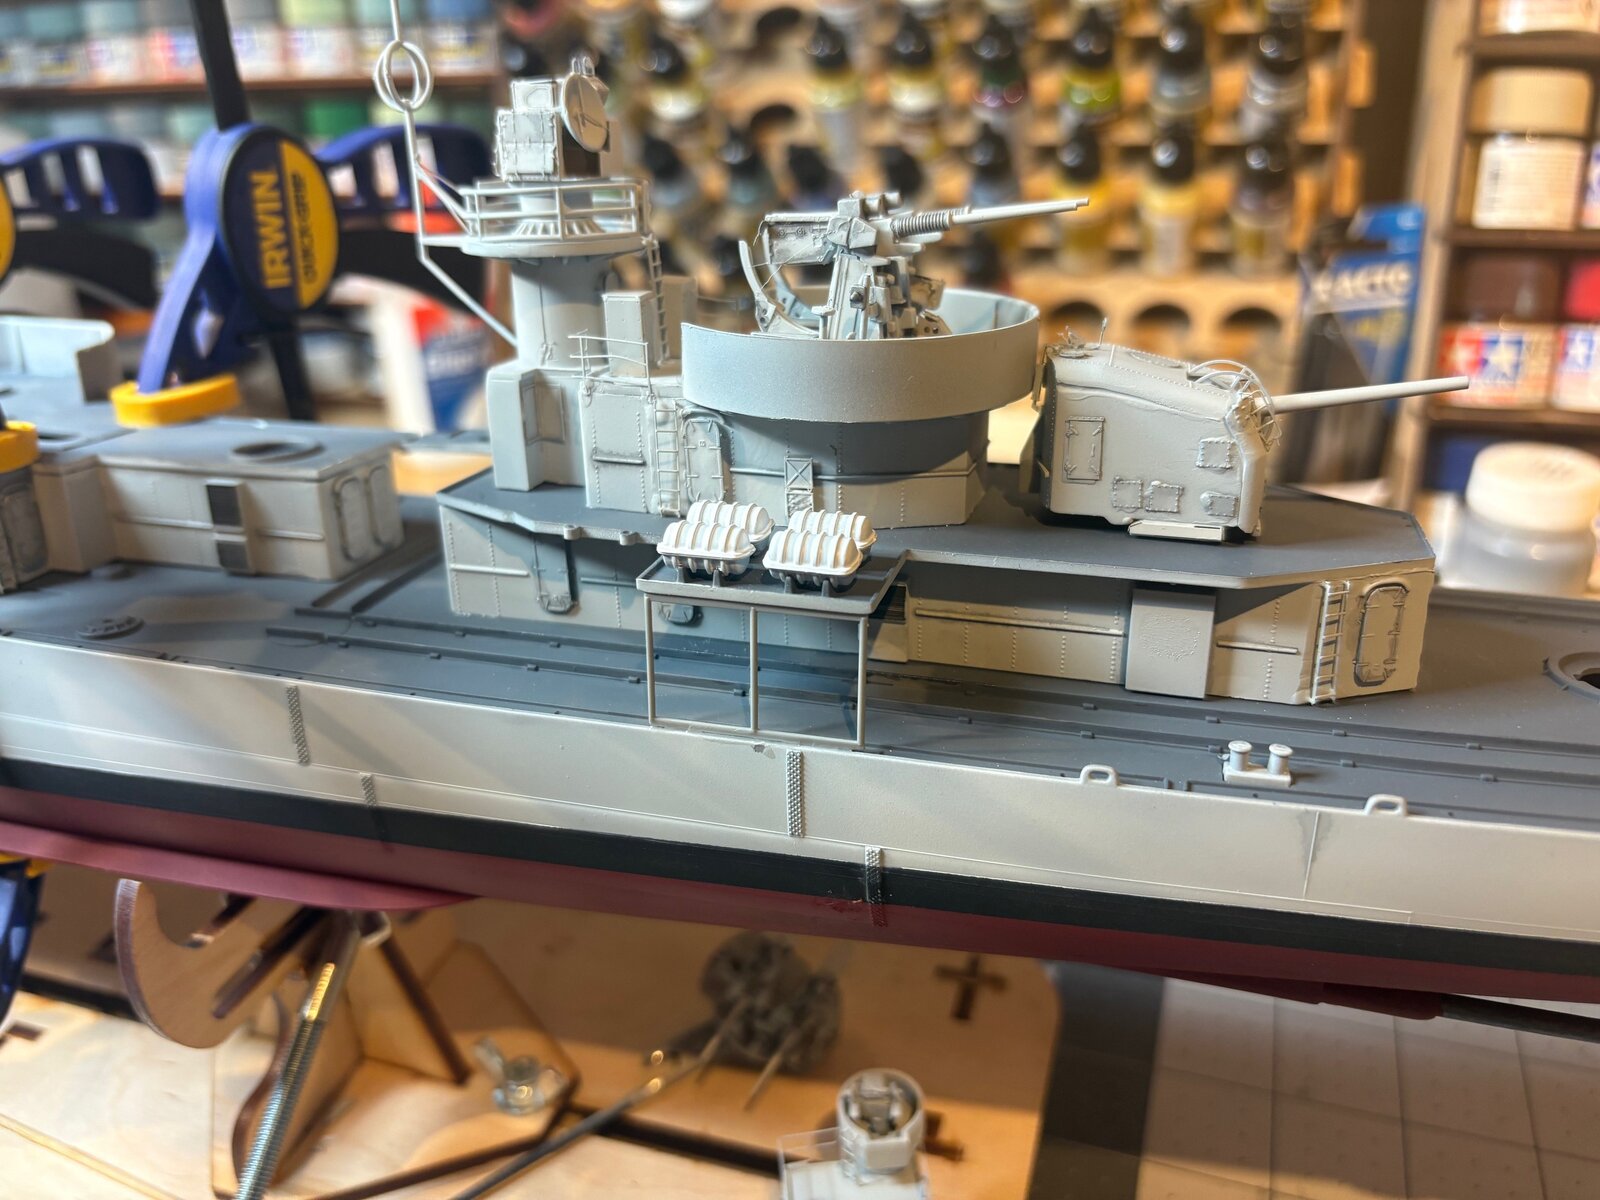
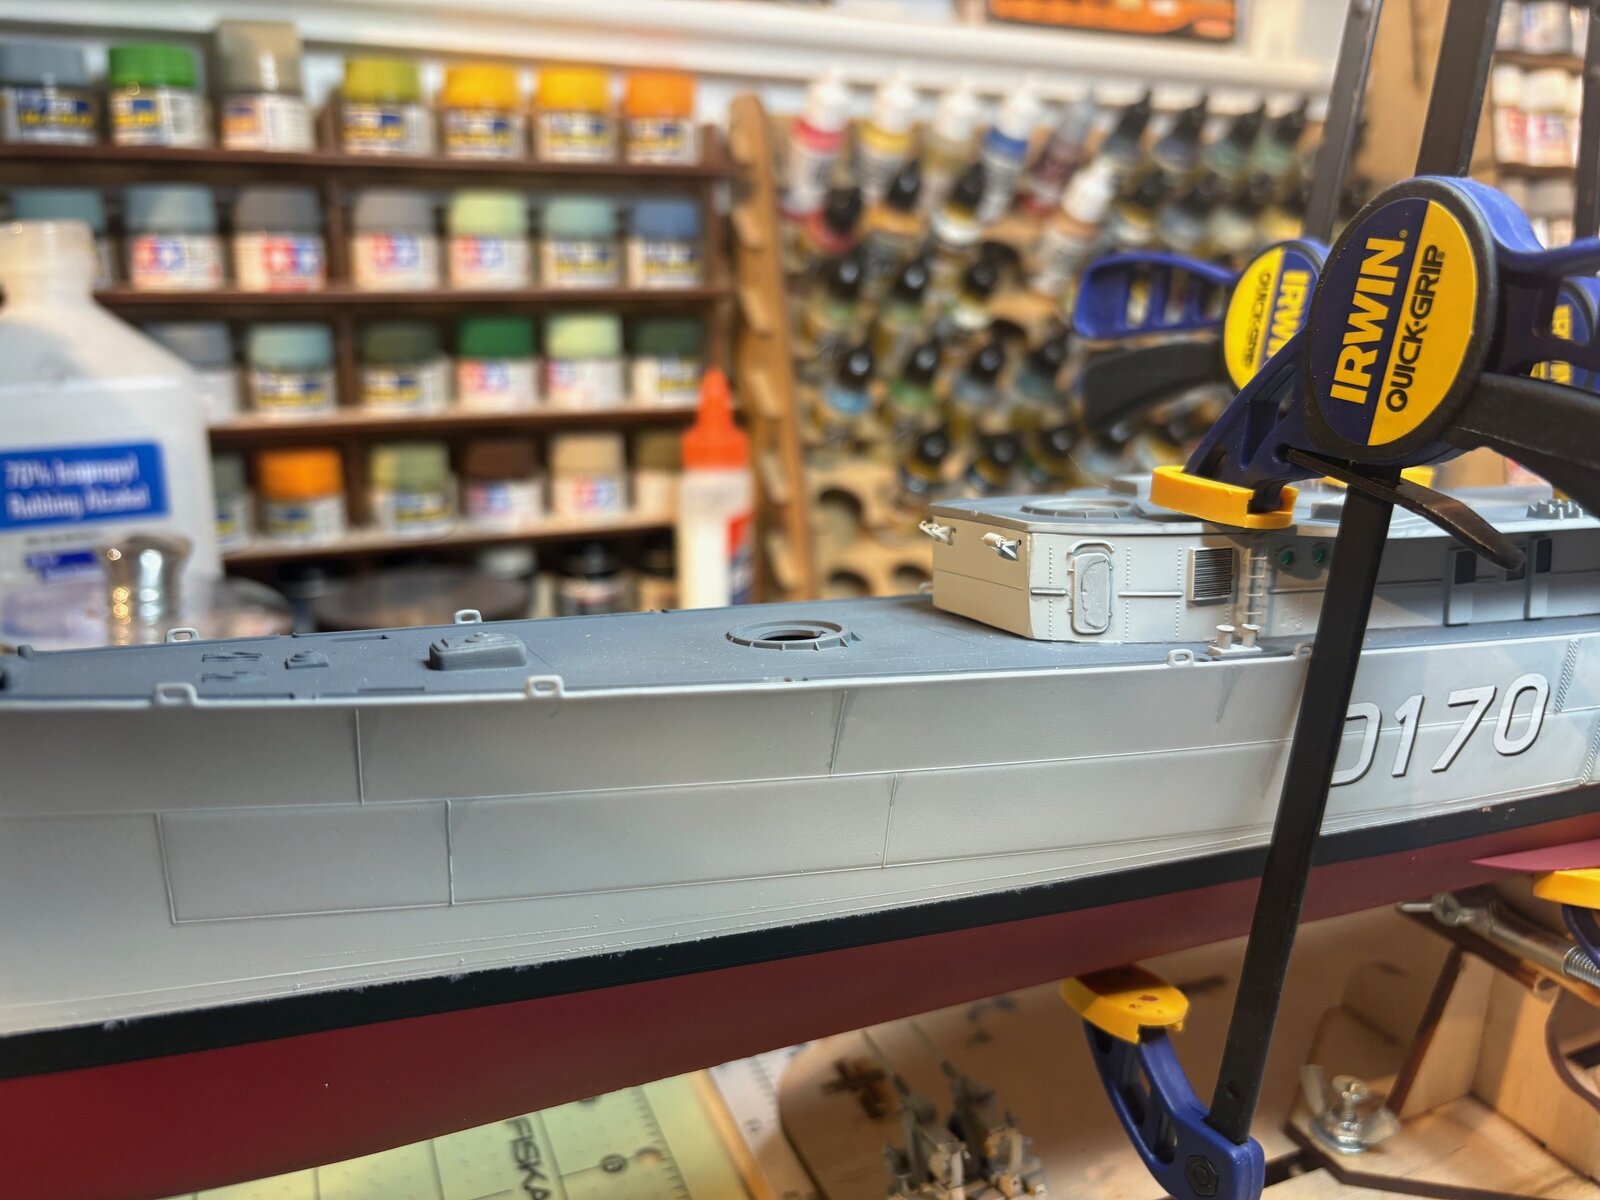
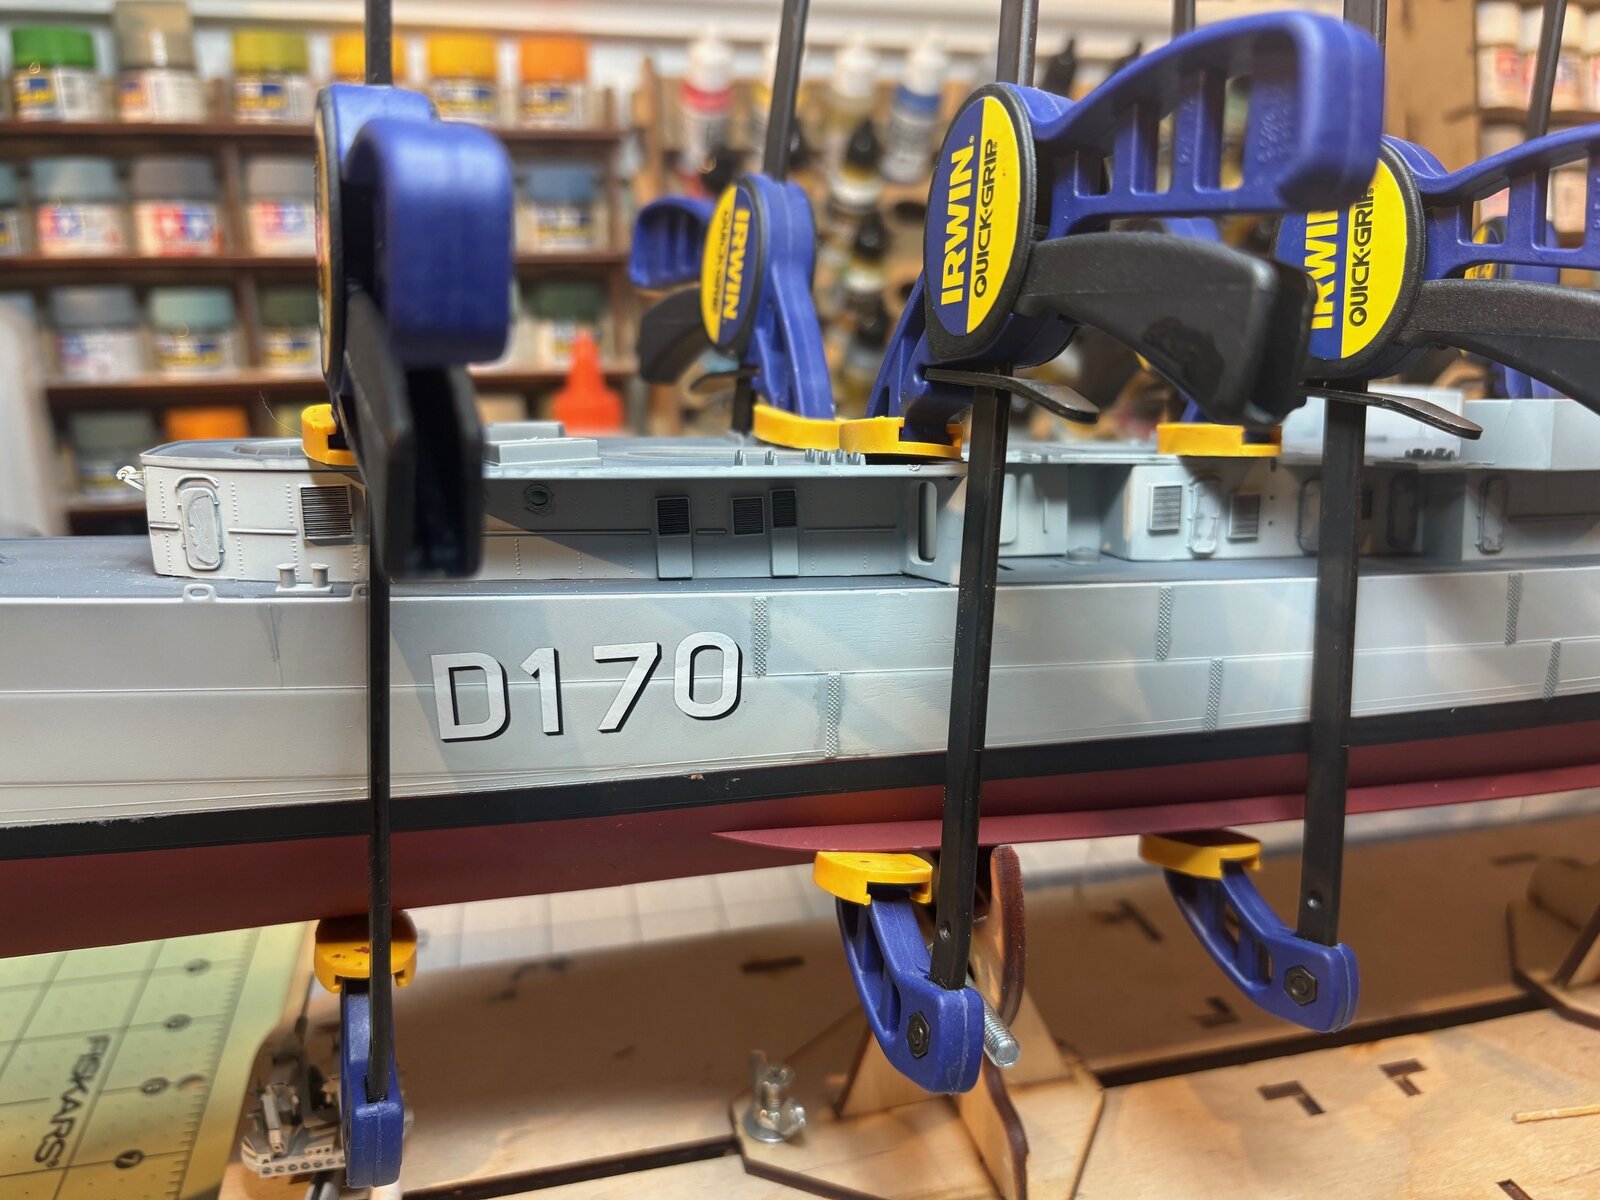
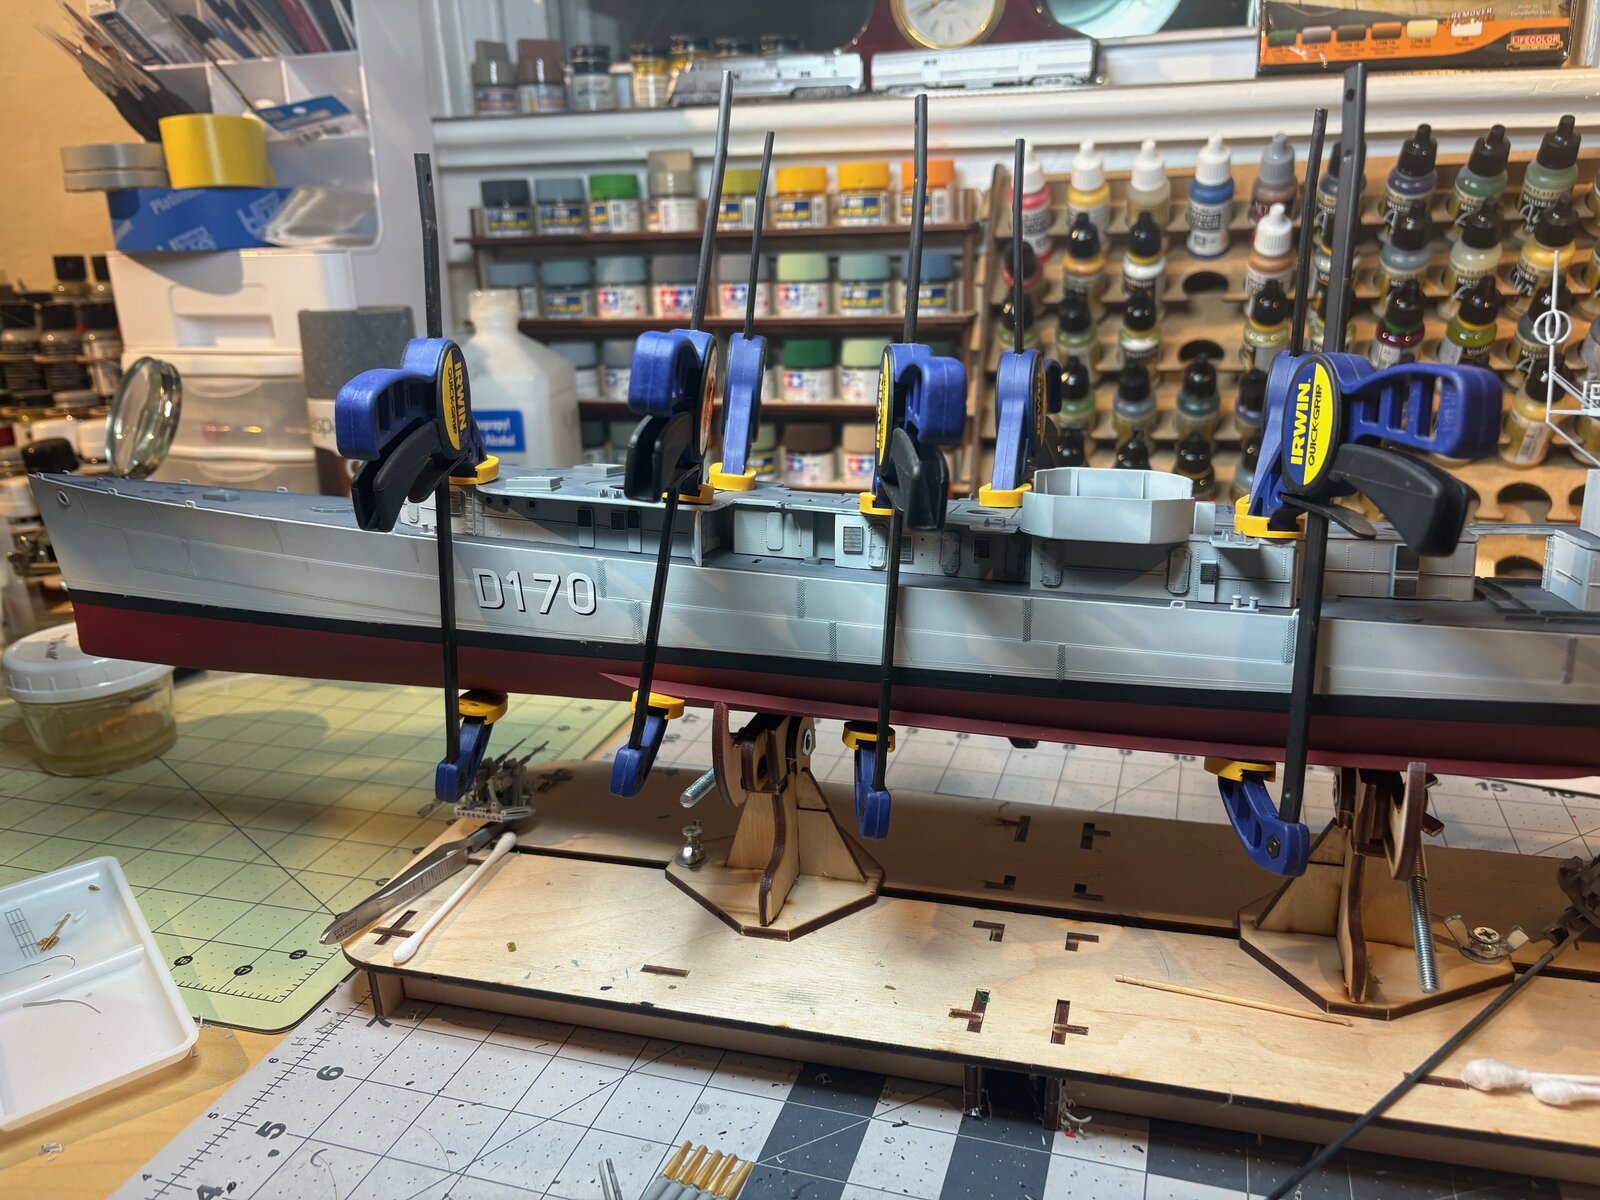
tonights superlift. main deck level clamped and glued. will leave overnight. i ran into some seam gaps though.. will have to decide how to tackle those. added a couple of bits to the aft house.. liferafts and deck support. shes starting to look like a ship..
Edbert
Well-Known Member
- Joined
- May 16, 2024
- Messages
- 3,123
How common is that problem, the upper deck doesn't want to seat well to the main deck?
Asking for two reasons...
1.) I used Irwin grips like that on my 1/350th BB-35 for the same purpose but only have two.
2.) I've ordered one of these 1/144 kits too.
Asking for two reasons...
1.) I used Irwin grips like that on my 1/350th BB-35 for the same purpose but only have two.
2.) I've ordered one of these 1/144 kits too.
this ship has an upswept shear line so it makes the fit a little more fiddley . but as to the clamps, i would want actually another two or so. on hand. they have been indispensable. like you , i have used them for main deck / hull fitting , hull halves... even small parts. the structure i glued down tonight first had the bulkheads glued to the 01 deck a few days ago, i used 4 of them to work around a slight warp.
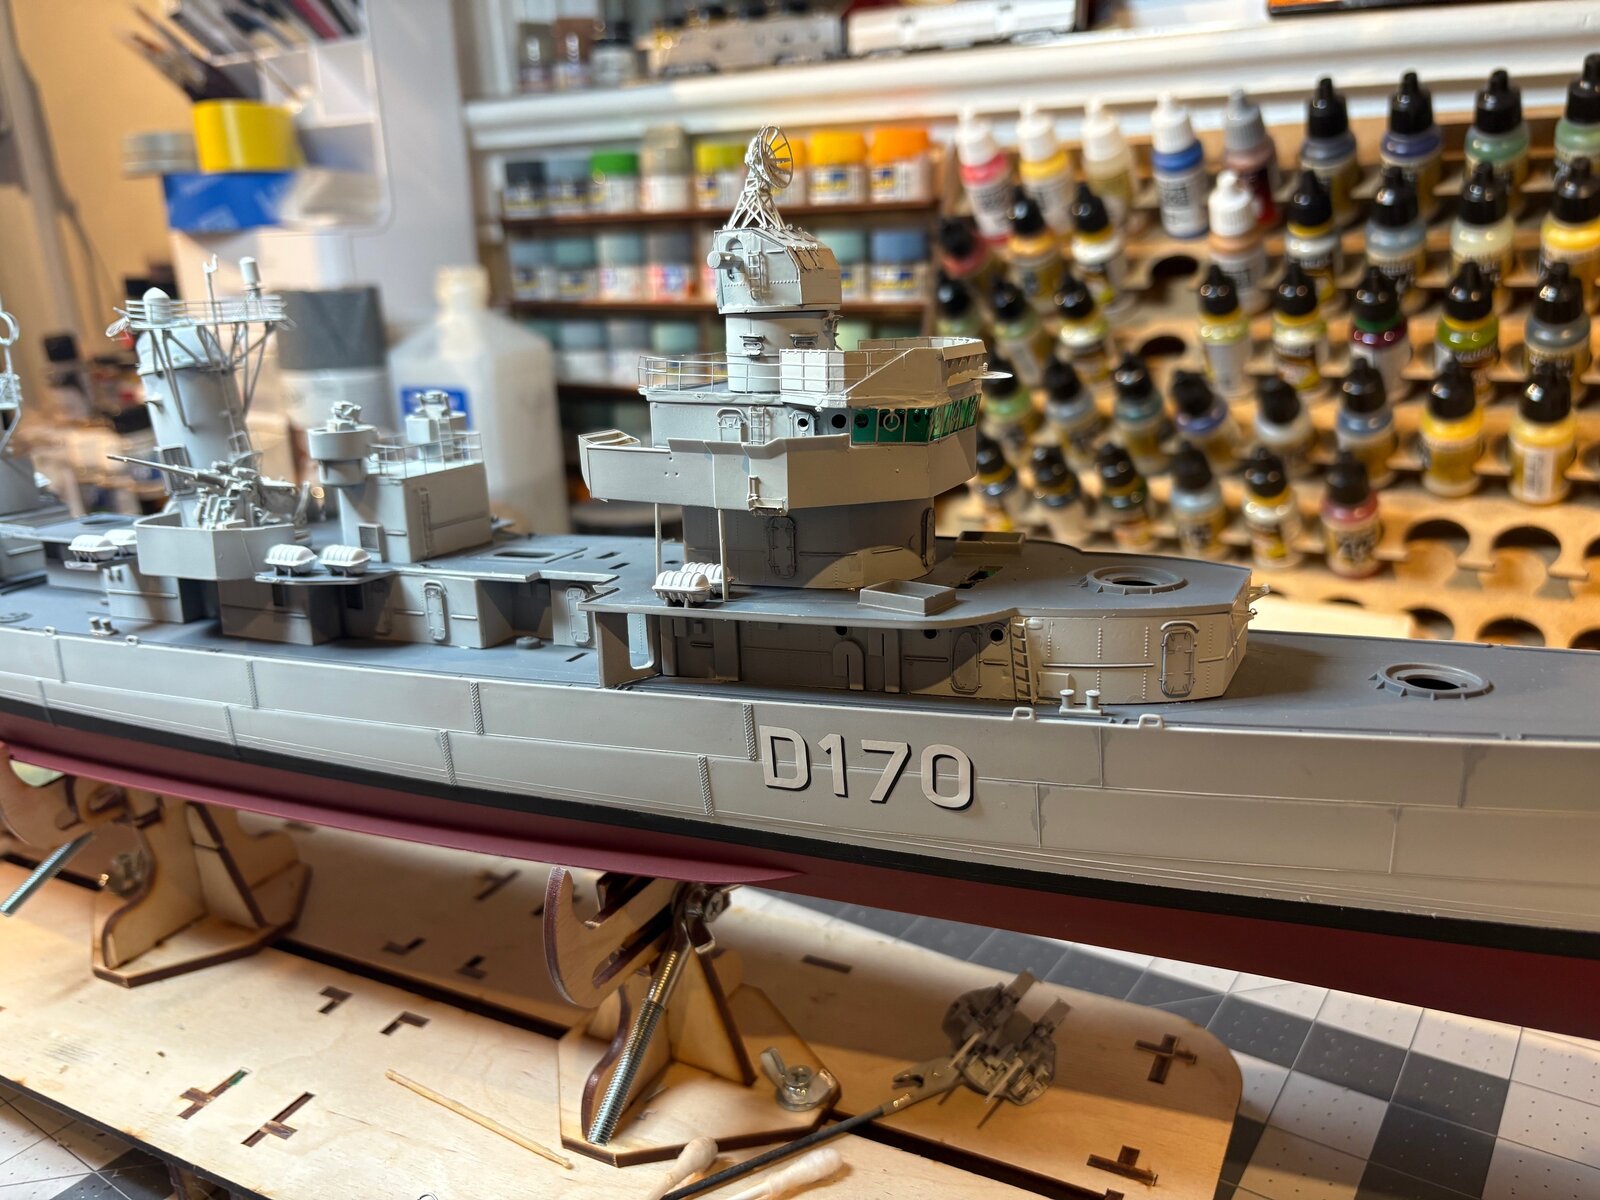
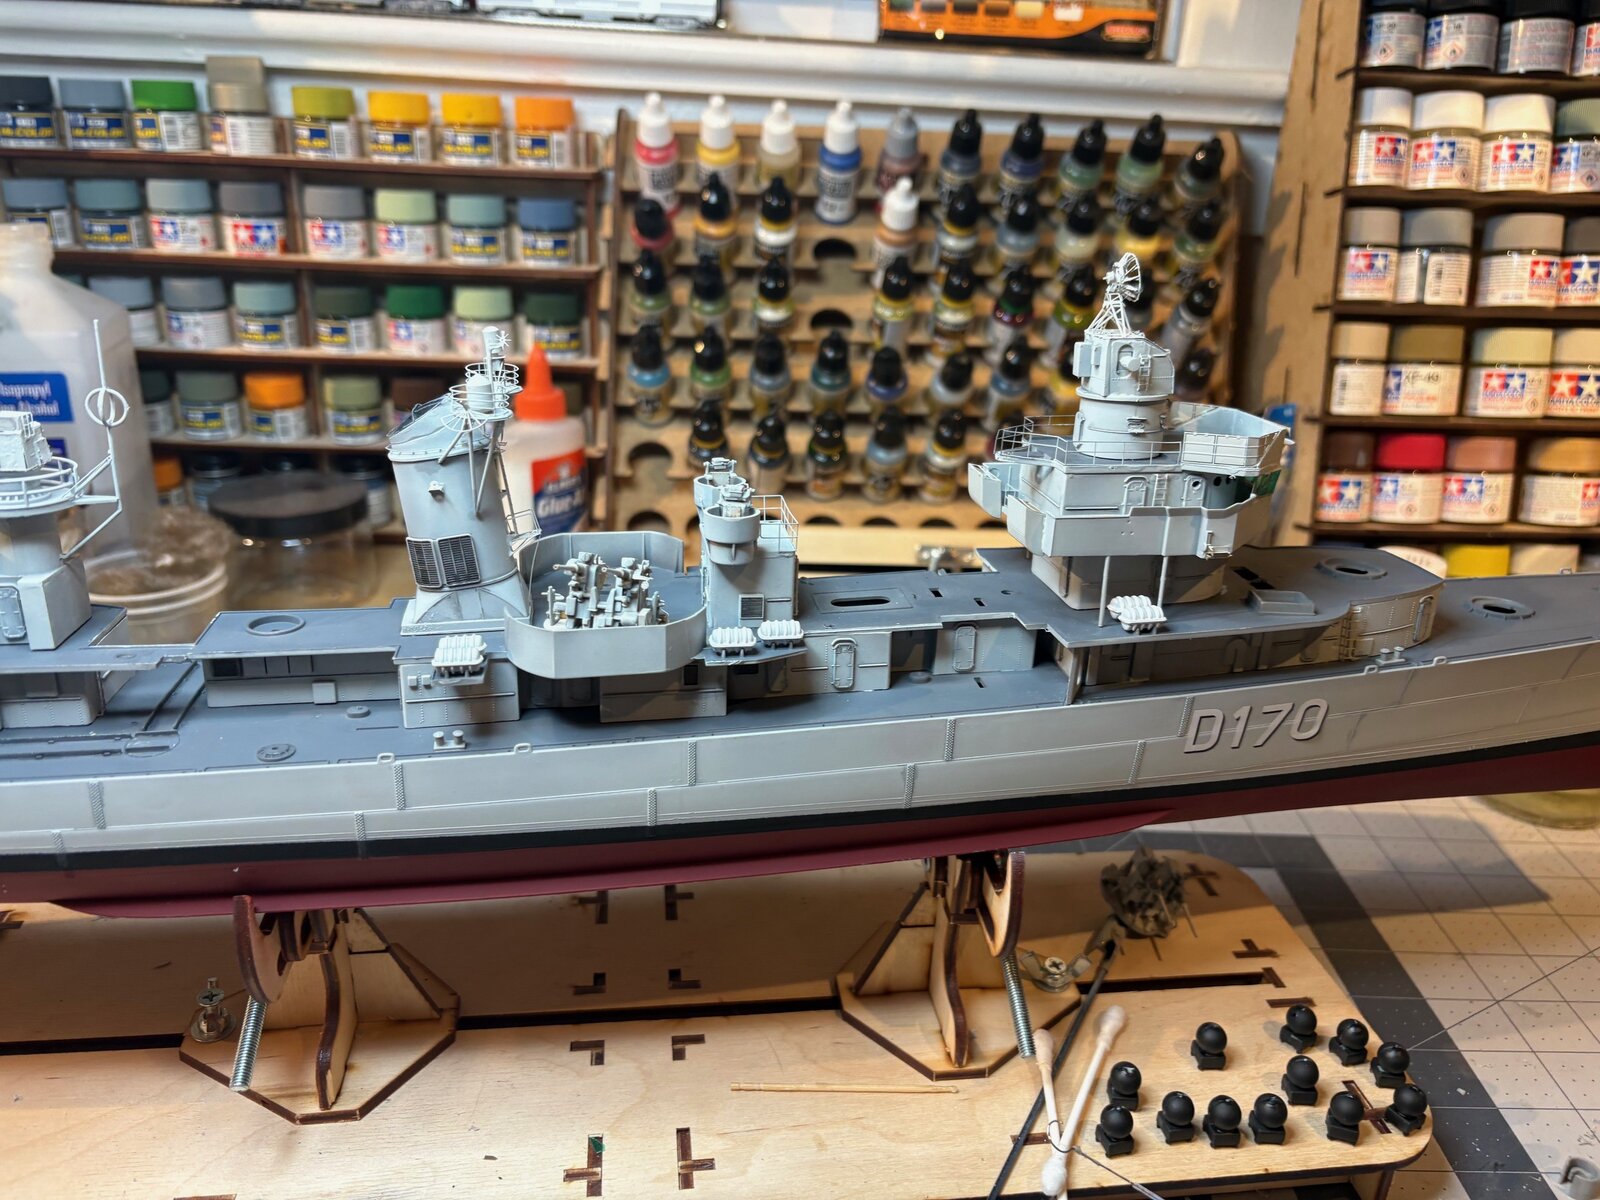
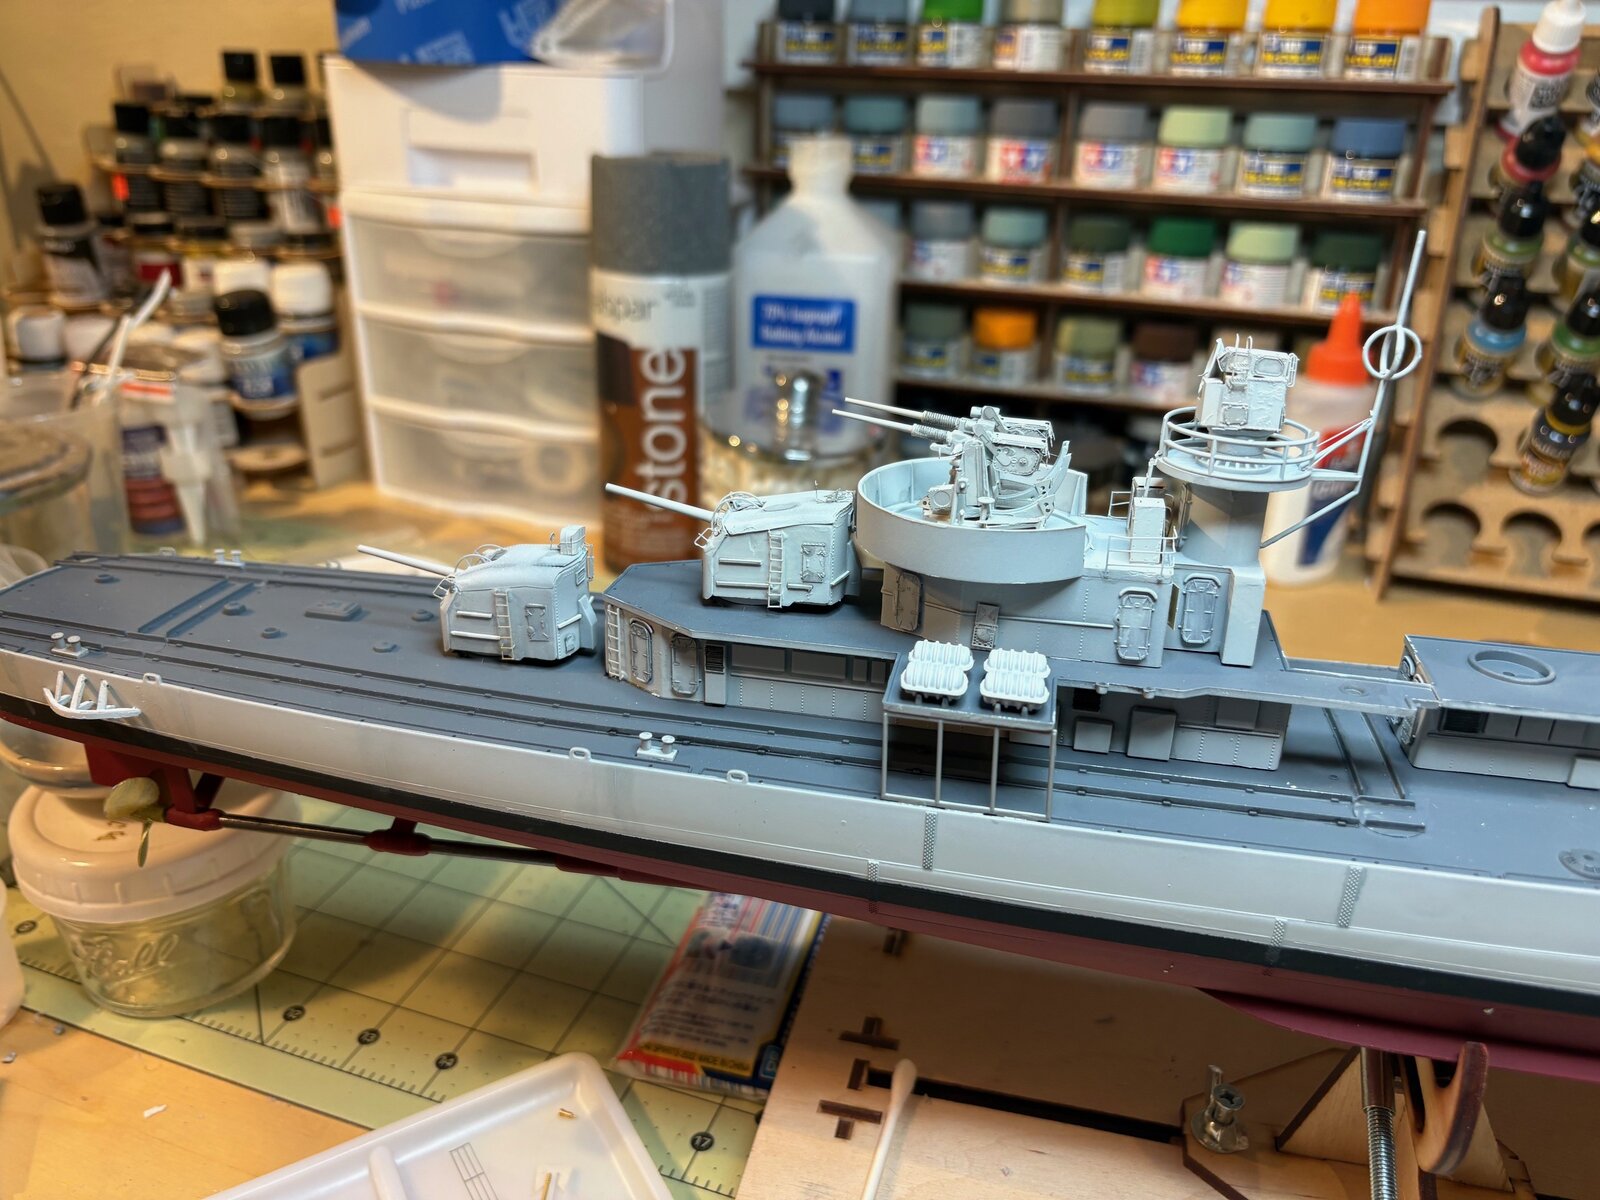
Hey, @domer94 ... this scale, and more importantly, type of vessel, is something of a revelation: amazing detail, all the elements of a serious fighting ship, and an interesting build without (it seems to me) a ton of repetition.
Following your great progress with a lot of interest!
Not to knock the battleships and carriers, but as a modeler who is starting to think that a ship or two would be fun and challenging, this seems like a great option!
Following your great progress with a lot of interest!
Not to knock the battleships and carriers, but as a modeler who is starting to think that a ship or two would be fun and challenging, this seems like a great option!
Last edited:
Edbert
Well-Known Member
- Joined
- May 16, 2024
- Messages
- 3,123
Indeed! Time, take yours and use it.lots of PE on this mast structure.. its a slow go
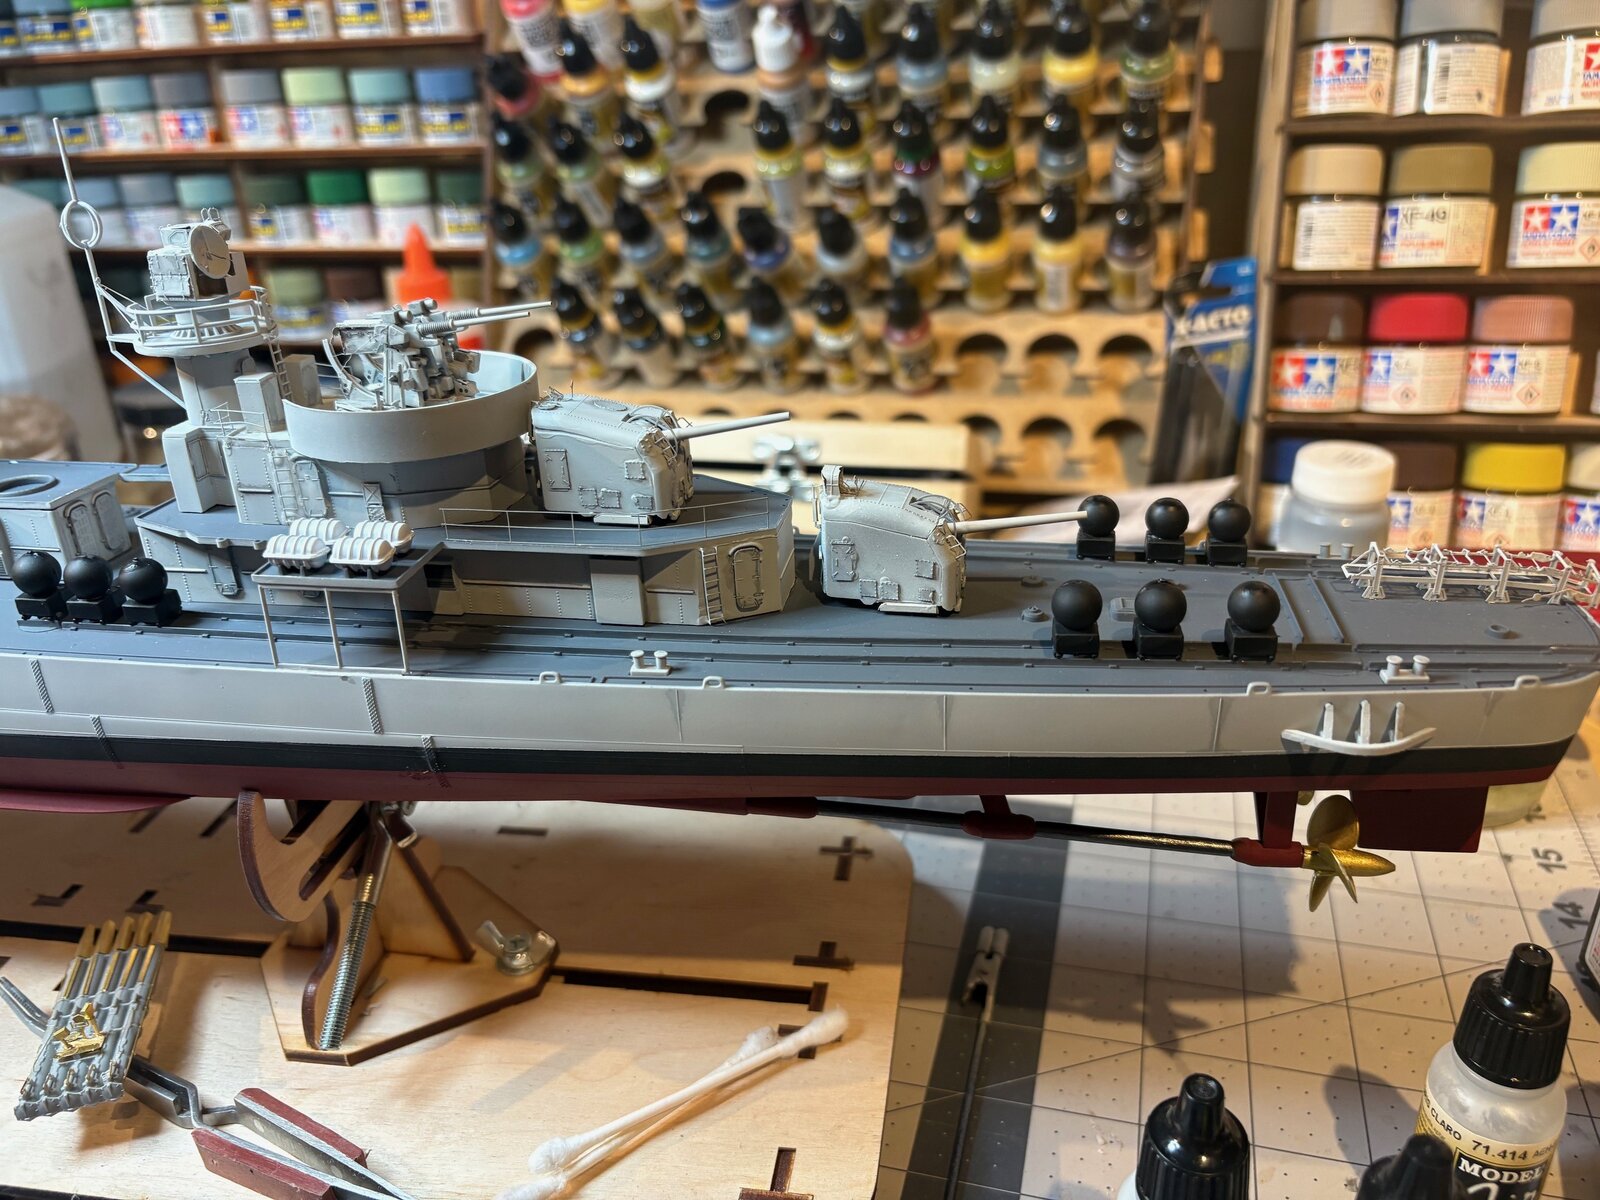
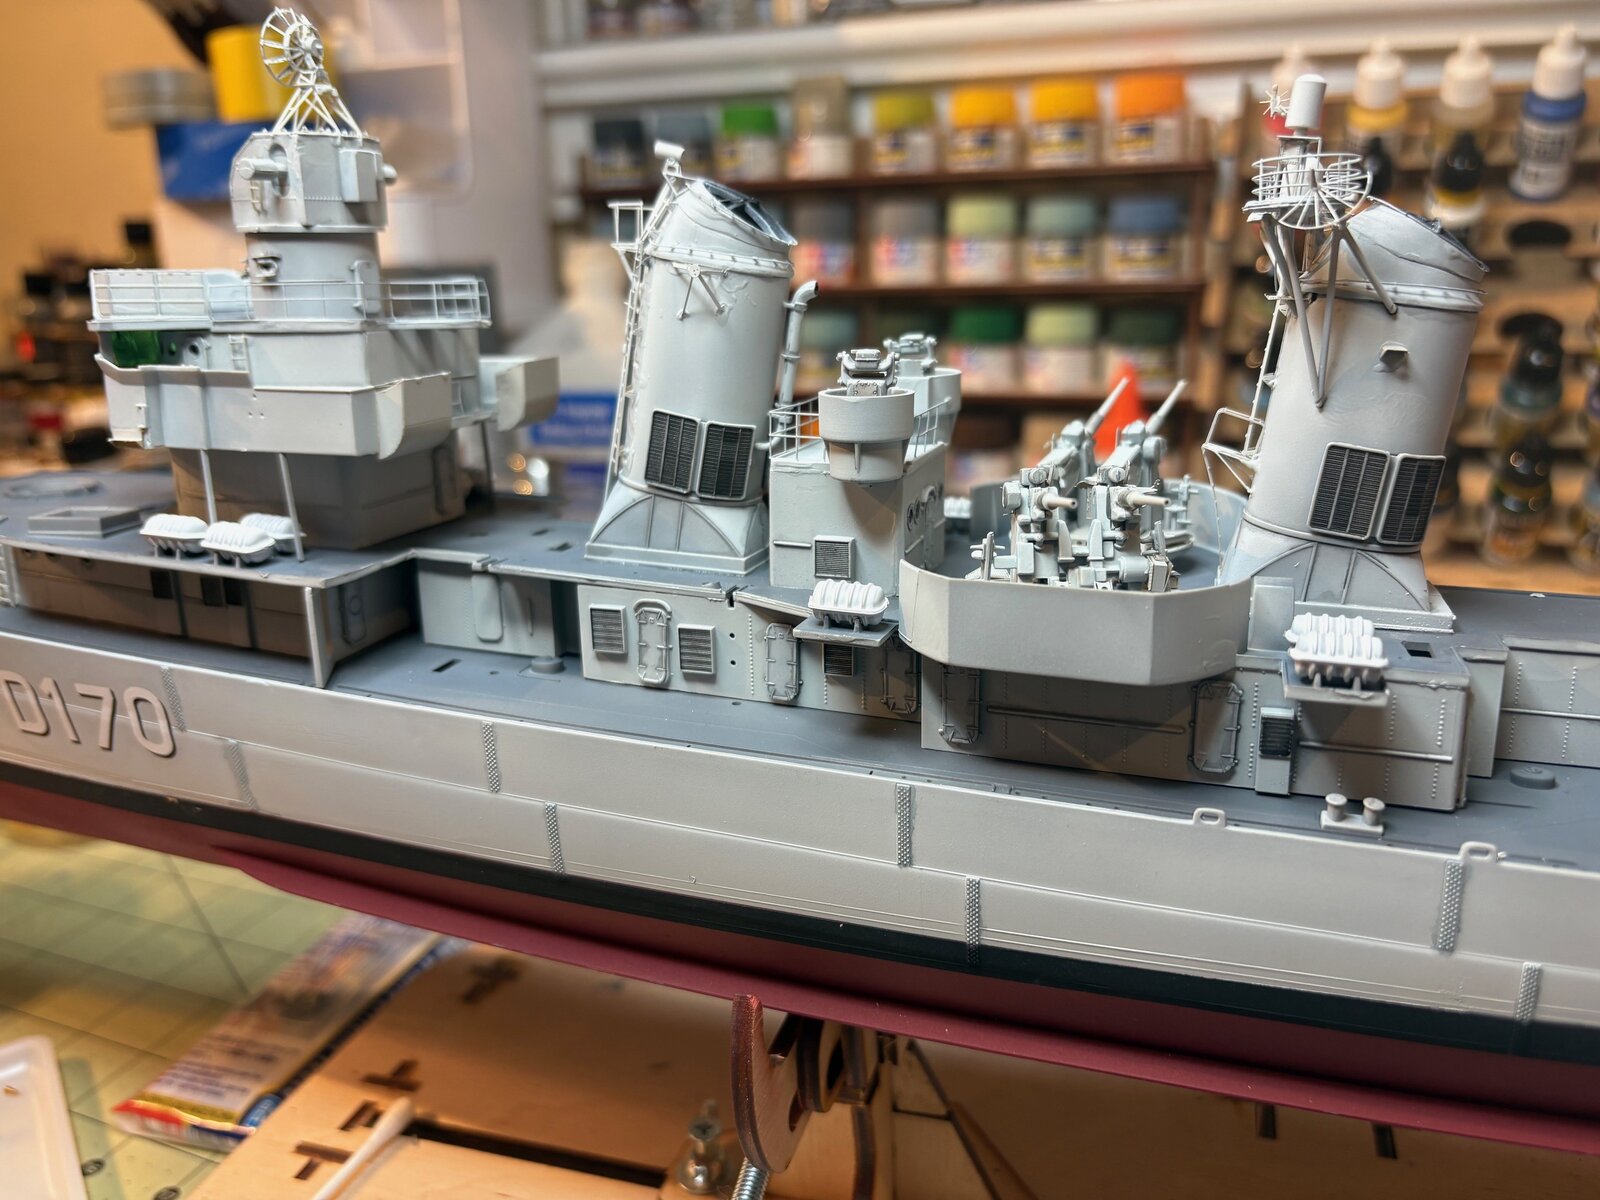
My kit arrived yesterday, doubt I'll get started until 2nd half of summer, but I opened the box to check it out. Amazing kit, hope it all fits well.

Dan the Modeler
Well-Known Member
kevin
Well-Known Member
Thats looking really sharp, keep up the good work.
i was impressed with the kit quality. so much so , i think it would turn out really nice right out of the box as well and i dont say that about many. i believe this is the same hull as their 1/144 fletcher , which i have in the stash as well someplace.@domer94 How are you liking the kit over all at this point? Is the fit good? I'm very interested in giving a kit this size a try. Your build is looking amazing and the attention to detail is outstanding.
Dan the Modeler
Well-Known Member
That's great to hear. I've been looking for the Fletcher for a long time, but no one has it and it's discontinued.i was impressed with the kit quality. so much so , i think it would turn out really nice right out of the box as well and i dont say that about many. i believe this is the same hull as their 1/144 fletcher , which i have in the stash as well someplace.
there one on ebay , but its in italy and priced ridiculously...That's great to hear. I've been looking for the Fletcher for a long time, but no one has it and it's discontinued.
Edbert
Well-Known Member
- Joined
- May 16, 2024
- Messages
- 3,123
It should be the same, these were Germany's early DDs after WWII (1950s) and the US leased six Fletcher-class ships to them as a base to build on.i believe this is the same hull as their 1/144 fletcher , which i have in the stash as well someplace.
Seeing your build caused me to pull the trigger and get this off my wish list. Then I saw the shot with all the clamps and wanted to see what shape mine was in.
First thought upon opening the box is oh damn what did I bite off here, almost 1,800 parts. The instructions were pretty modest, then I found the many pages of color instructions just for the PE! I think this one will take many months to complete.
So I dug in to find the largish part of the (sorry, do not know the right terms) upper-deck, and my heart sank.
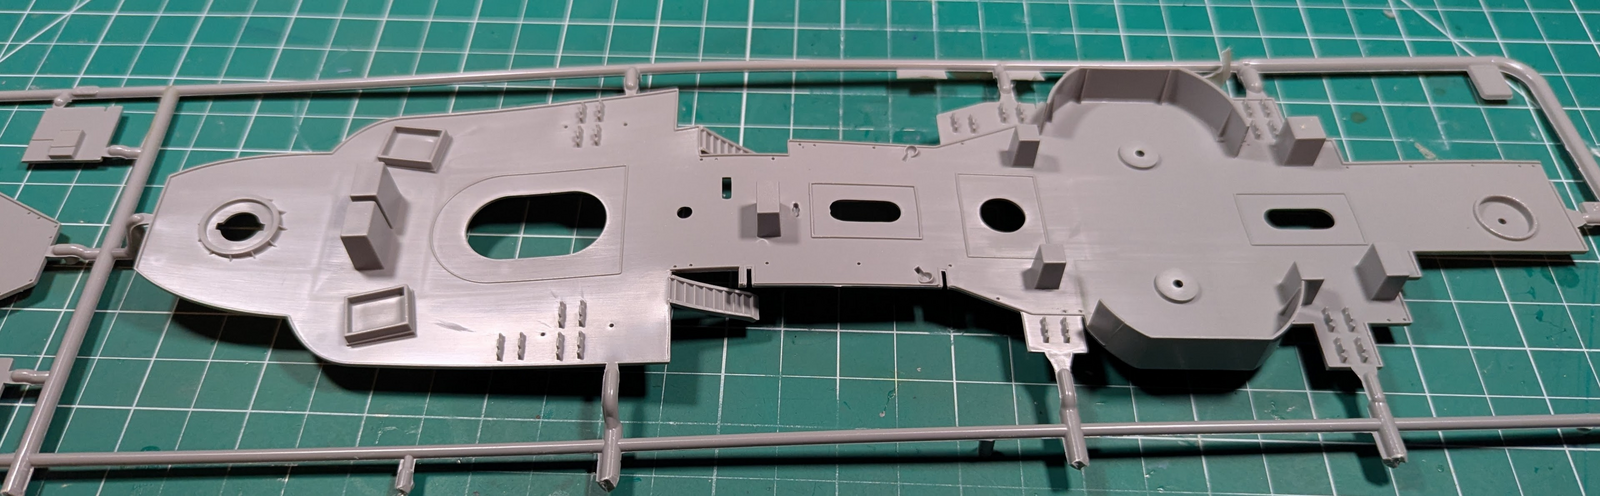
A bit hard to see in that shot, but there's a few compound curves, simply warped into a mess.
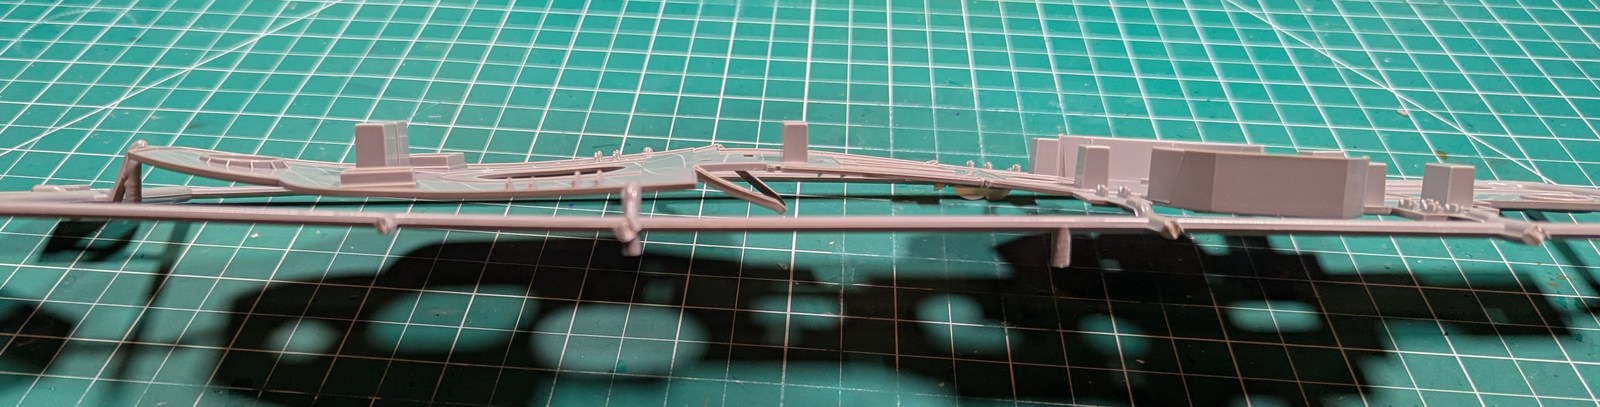
This shows it a bit better. Think I have only two options; contact the manufacturer and show them this asking for a new part, or get the heat gun and hand-weights out. Those ladders will be an issue for option #2.
The box is quite large, but about 0.25 inch too narrow, two of the sprues had to bend to fit inside of it. That was NOT the cause of the warpage illustrated above, the sprues that did not lie flat inside the cardboard had smaller parts that seem to be okay.
Last edited:
thats a bummer... the ladders will come off anyhow for PE, plus you will have to remove all the molded deck boxes so you will be left with a mostly flat piece. i would try to get a new one , but in the meantime see if you can heat / flatten after all the removals. good luck. another note , there are spare sprues... they allow for another 5" gun , and another AA assemblyIt should be the same, these were Germany's early DDs after WWII (1950s) and the US leased six Fletcher-class ships to them as a base to build on.
Seeing your build caused me to pull the trigger and get this off my wish list. Then I saw the shot with all the clamps and wanted to see what shape mine was in.
First thought upon opening the box is oh damn what did I bite off here, almost 1,200 parts. The instructions were pretty modest, then I found the many pages of color instructions just for the PE! I think this one will take many months to complete.
So I dug in to find the largish part of the (sorry, do not know the right terms) upper-deck, and my heart sank.
View attachment 140682
A bit hard to see in that shot, but there's a few compound curves, simply warped into a mess.
View attachment 140683
This shows it a bit better. Think I have only two options; contact the manufacturer and show them this asking for a new part, or get the heat gun and hand-weights out. Those ladders will be an issue for option #2.
The box is quite large, but about 0.25 inch too narrow, two of the sprues had to bend to fit inside of it. That was NOT the cause of the warpage illustrated above, the sprues that did not lie flat inside the cardboard had smaller parts that seem to be okay.
thats a bummer... the ladders will come off anyhow for PE, plus you will have to remove all the molded deck boxes so you will be left with a mostly flat piece. i would try to get a new one , but in the meantime see if you can heat / flatten after all the removals. good luck. another note , there are spare sprues... they allow for another 5" gun , and another AA assembly. they also call for removing the life raft racks for PE , i opted to keep the kit moldings
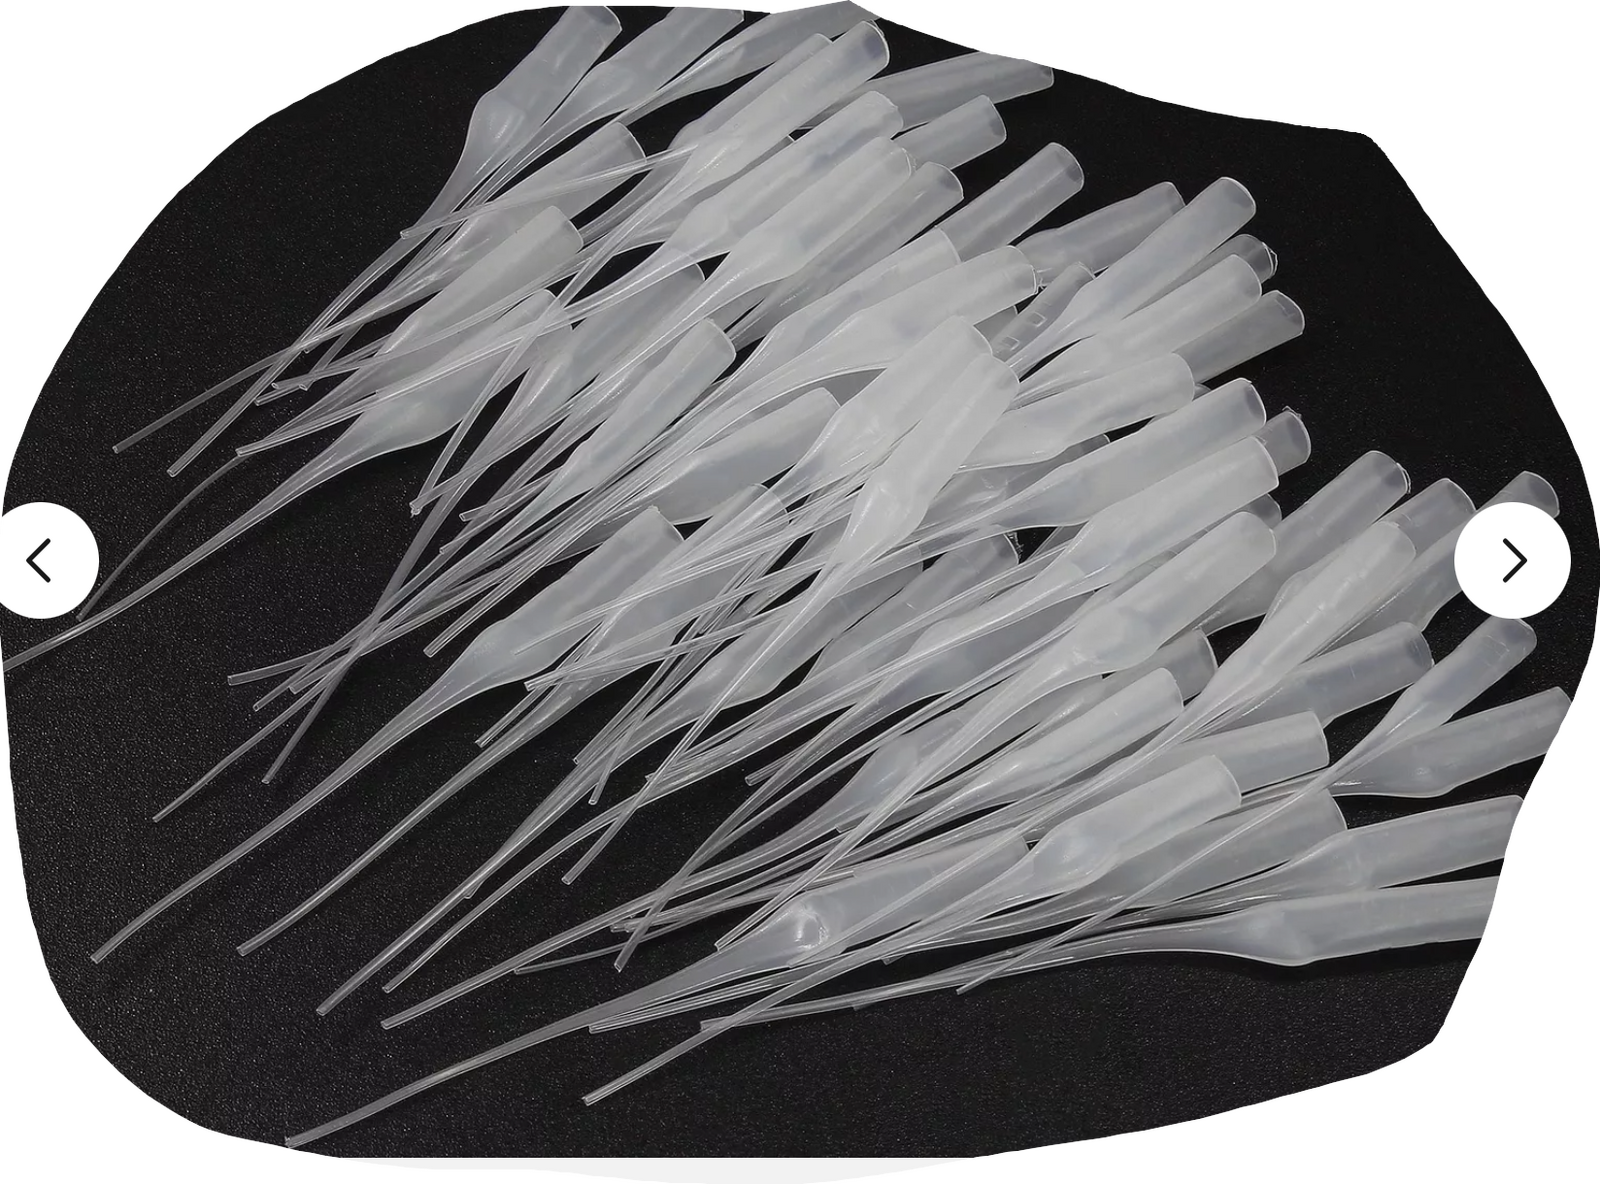
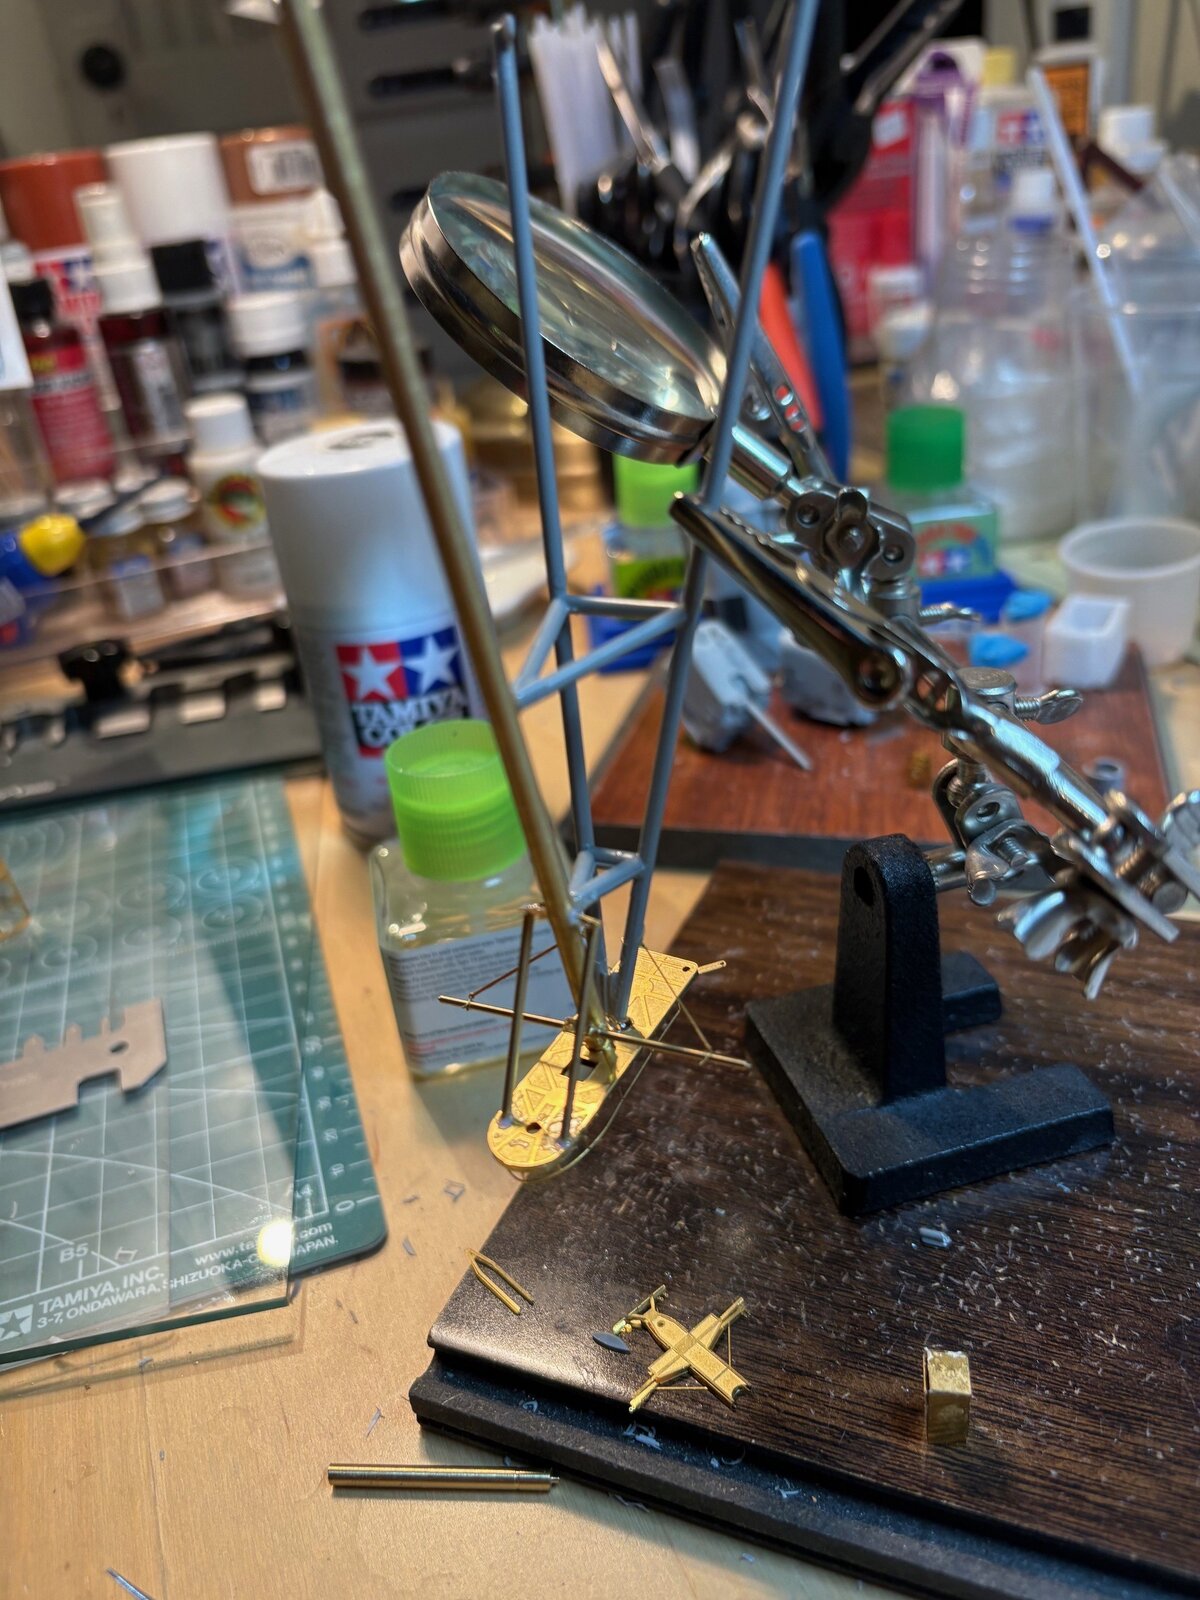
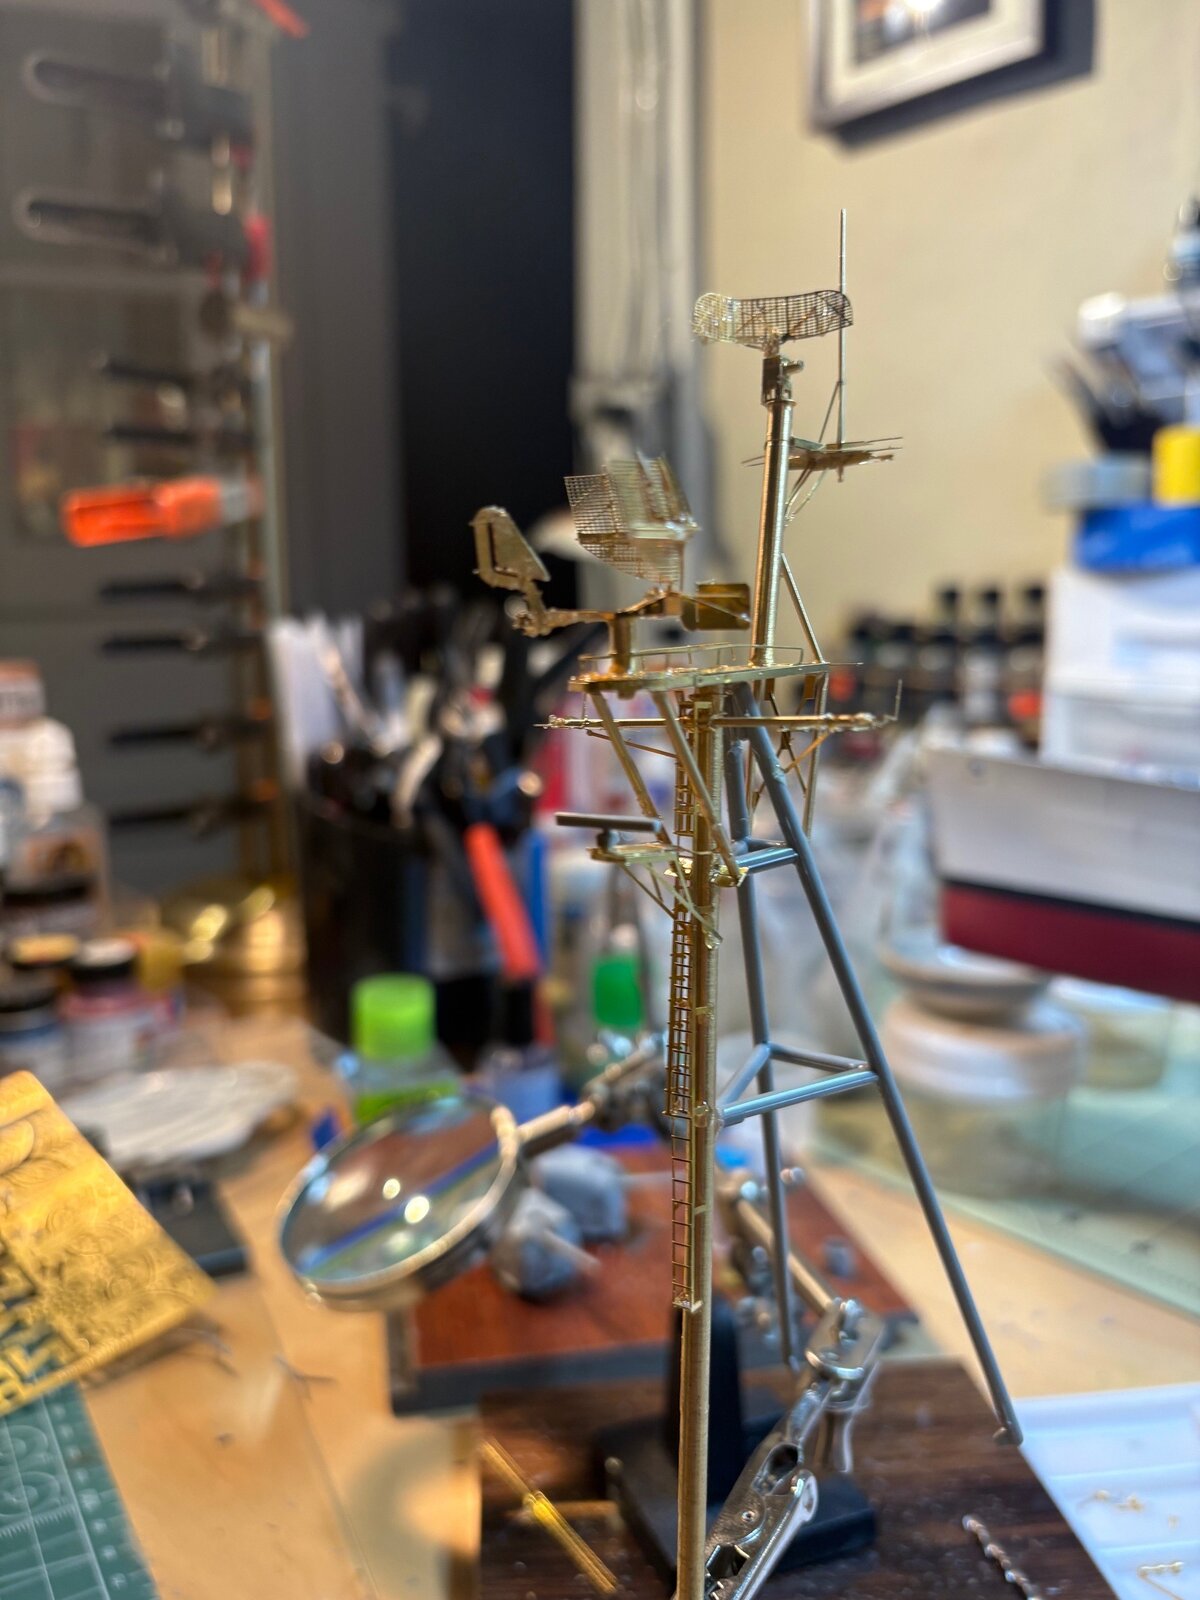
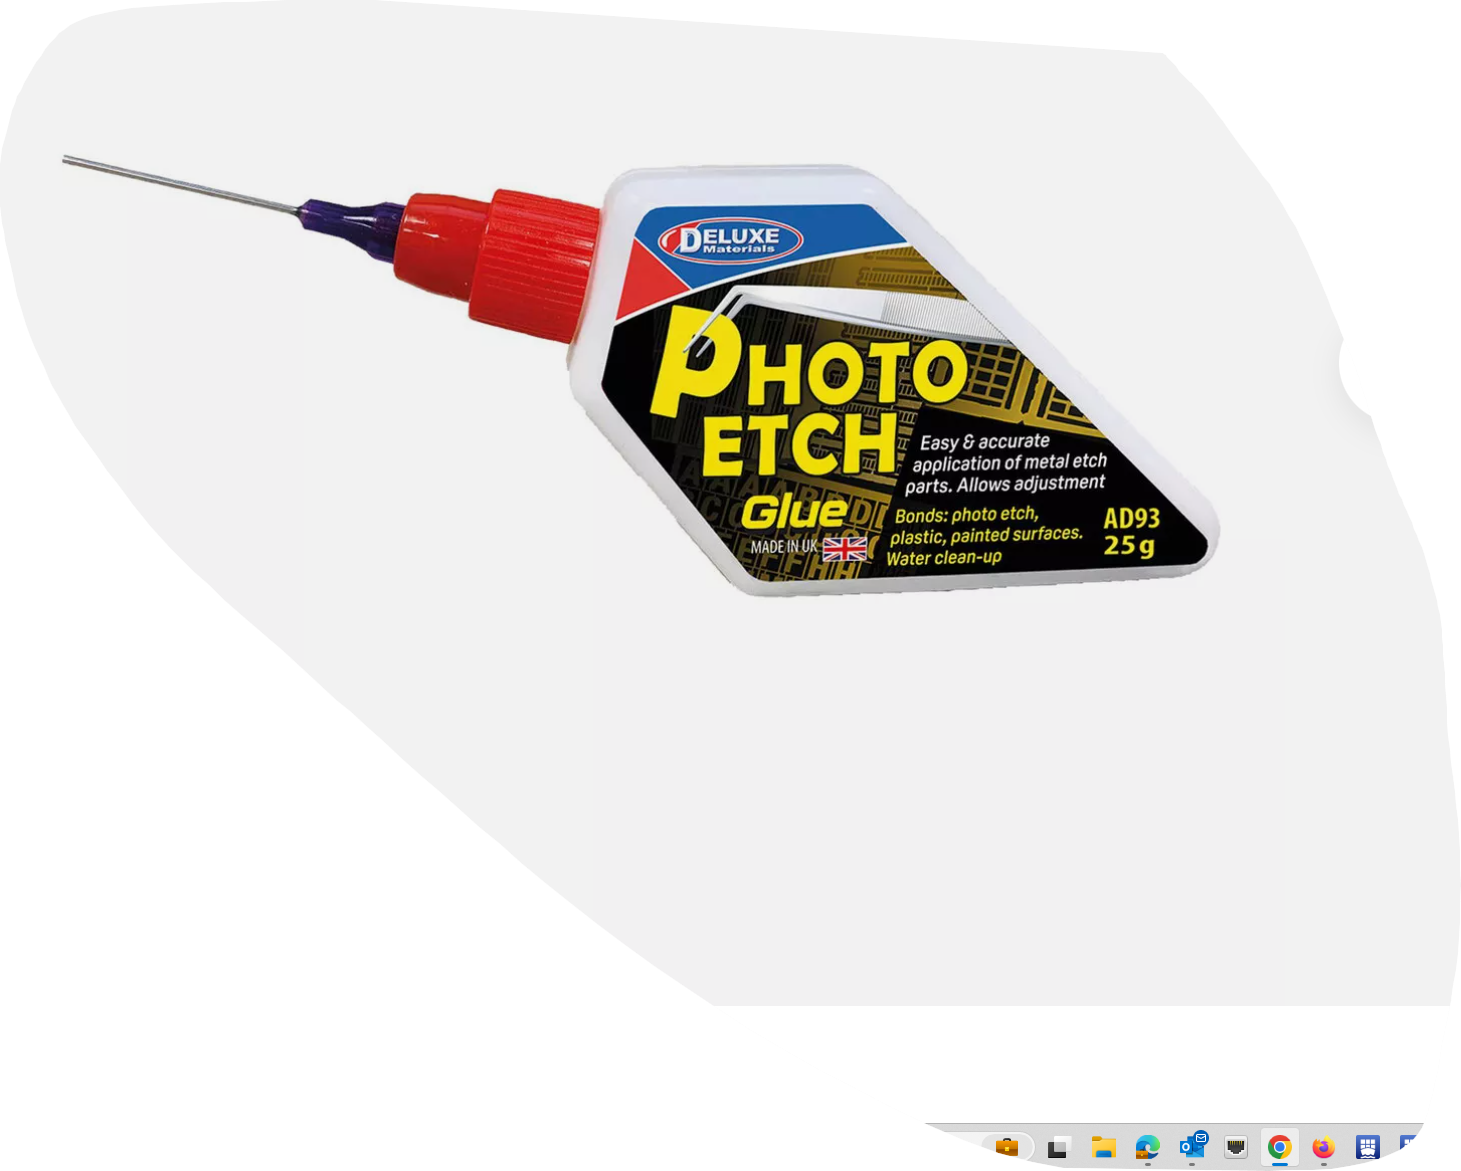
pretty much finished with the main mast... this was a multi day build on its own. level upon level. i think its at the stage to paint today though. so whats worse than building one PE raday array? ... building two ! i only entered the world of PE a couple of years back.. as much as my work has much to be desired, i feel i learn something every time. that being said , my feeling about PE is love hate. i watch vids about PE work and see people just touching the bottom of a piece in a puddle of glue , then simply attaching and letting go with the piece staying perfectly in place. thats happened about 1 in 10 times for me and ive tried every PE glue. i can t work off a "puddle" since it wastes a large amount of adhesive. i found this stuff , which is similar to gators grip... again , putting a puddle and working off that leads to it setting up and being useless after 10 minutes. so ive used this with some fine applicators found in bulk. the tips fit perfect. but still... it doesnt happen like the videos! i guess my view on PE is its all relative... putting in gussets onto a small platform that are the size of a pinhead doesnt make sense to me. if i was working in 1:96 or larger , it would make more sense. and certain assemblies that have 10 parts for one handwheel... i dont know. guess i dont have the skill for that yet
Dunno, looks like you have plenty to me!skill
With vehicles, PE can and does get pretty small, but there isn't an overwhelming amount to deal with as with ships...
I've tried the accelerator route, but often I just don't have enough hands! And I find that it is just as likely to 'freeze' CA in an ugly crystal blob that needs filing or sanding afterwards.
In other threads, folks have suggested just breathing on it before letting go... that seems to work, and doesn't require an extra hand!
I have tried many glues as well (gonna see if yours is available here)... lately, in some circumstances, a gel CA applied to the target, then putting the part into it, has also worked. With a gel, the CA doesn't tend to run away and for teeny parts, the gel holds it in place for those critical microseconds as the CA sets...
I may have mentioned it elsewhere, but while testing materials for a ragtop, I discovered that Ziploc Freezer Bags peel away from CA... so I'm less concerned about gluing parts to the bench especially when using an extra thin CA, if the parts are resting on the bag.
Anyhow, looking great, keep with it!
just fyi , i found that particular glue on ebay. i found that letting it sit for a couple of minutes on the surface of application , gives better success of holding in place when the piece is put on. the nozzle it comes with is useless. with the plastic detail applicator tips , you can use the "tool" it comes with , or a pin to put inside the applicator to make it work for several days of use. i plug it after every application.Dunno, looks like you have plenty to me!
With vehicles, PE can and does get pretty small, but there isn't an overwhelming amount to deal with as with ships...
I've tried the accelerator route, but often I just don't have enough hands! And I find that it is just as likely to 'freeze' CA in an ugly crystal blob that needs filing or sanding afterwards.
In other threads, folks have suggested just breathing on it before letting go... that seems to work, and doesn't require an extra hand!
I have tried many glues as well (gonna see if yours is available here)... lately, in some circumstances, a gel CA applied to the target, then putting the part into it, has also worked. With a gel, the CA doesn't tend to run away and for teeny parts, the gel holds it in place for those critical microseconds as the CA sets...
I may have mentioned it elsewhere, but while testing materials for a ragtop, I discovered that Ziploc Freezer Bags peel away from CA... so I'm less concerned about gluing parts to the bench especially when using an extra thin CA, if the parts are resting on the bag.
Anyhow, looking great, keep with it!