Group Build: Biplane - barnstormer to fighter

Scale Model Addict - Model Tips, Guides, Tools & Tech, Tutorials, and Community

Help Support Scale Model Addict:

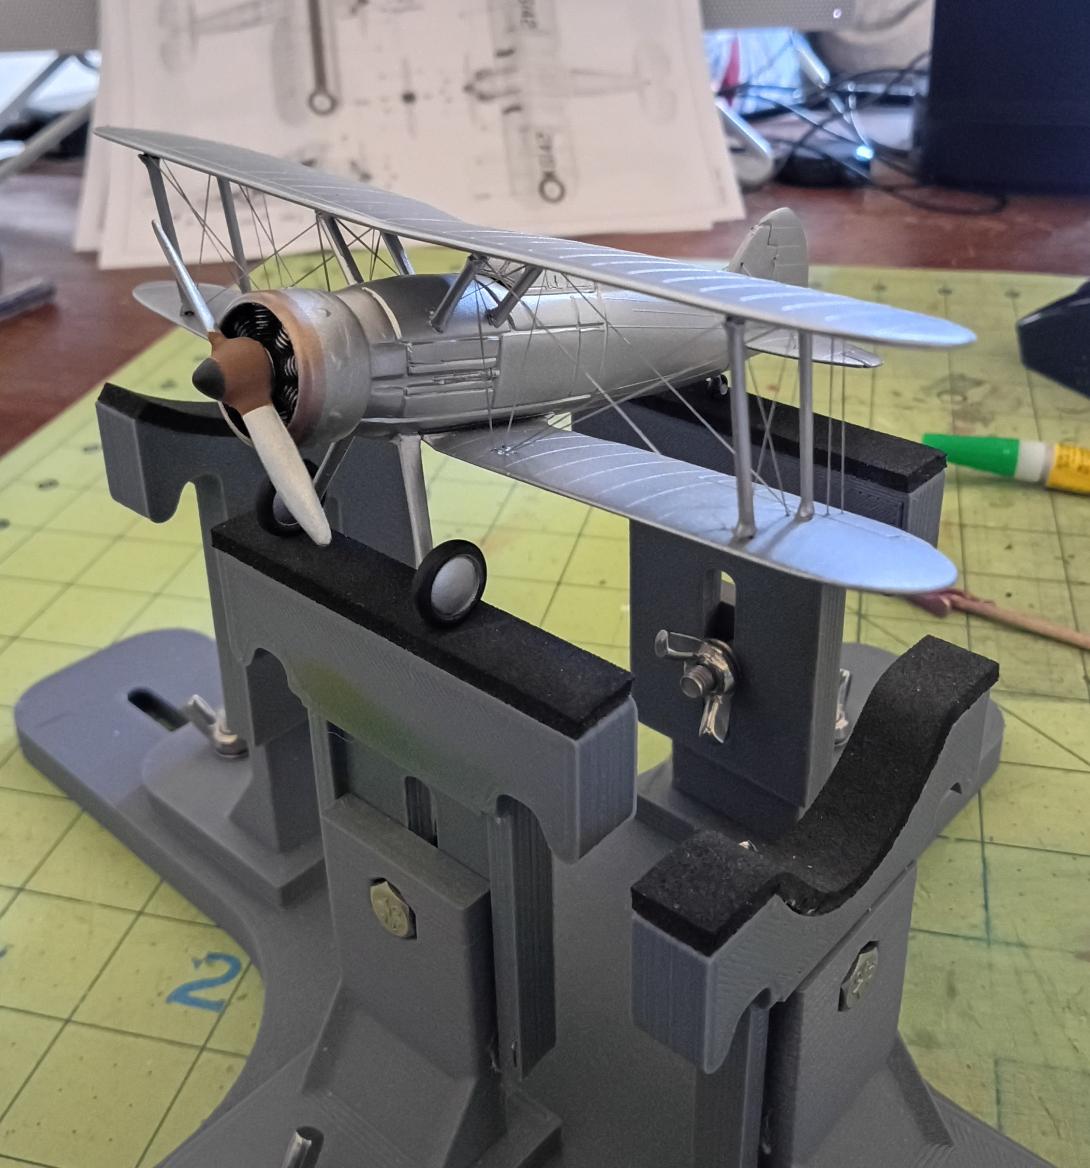
Well boys I'm done. Hit it with a gloss coat this morning while it was under 100F. I fixed my torn decal and I'm pretty happy with my pristine version of the ambassadors Beechcraft. I veered slightly on paint scheme because , that's what I sometimes do! I thought the wing braces would look better in blue and I left the underside of the bottom wing all yellow. Other than that I tried to stay as true to what I could find as accurate.
That looks great! I like that yellow
 
As an Amazon Associate we earn from qualifying purchases. Product prices and availability are accurate as of the date/time indicated and are subject to change.
I think I'm ready for a gloss clear and then decals.

thumbnail.jpg
 
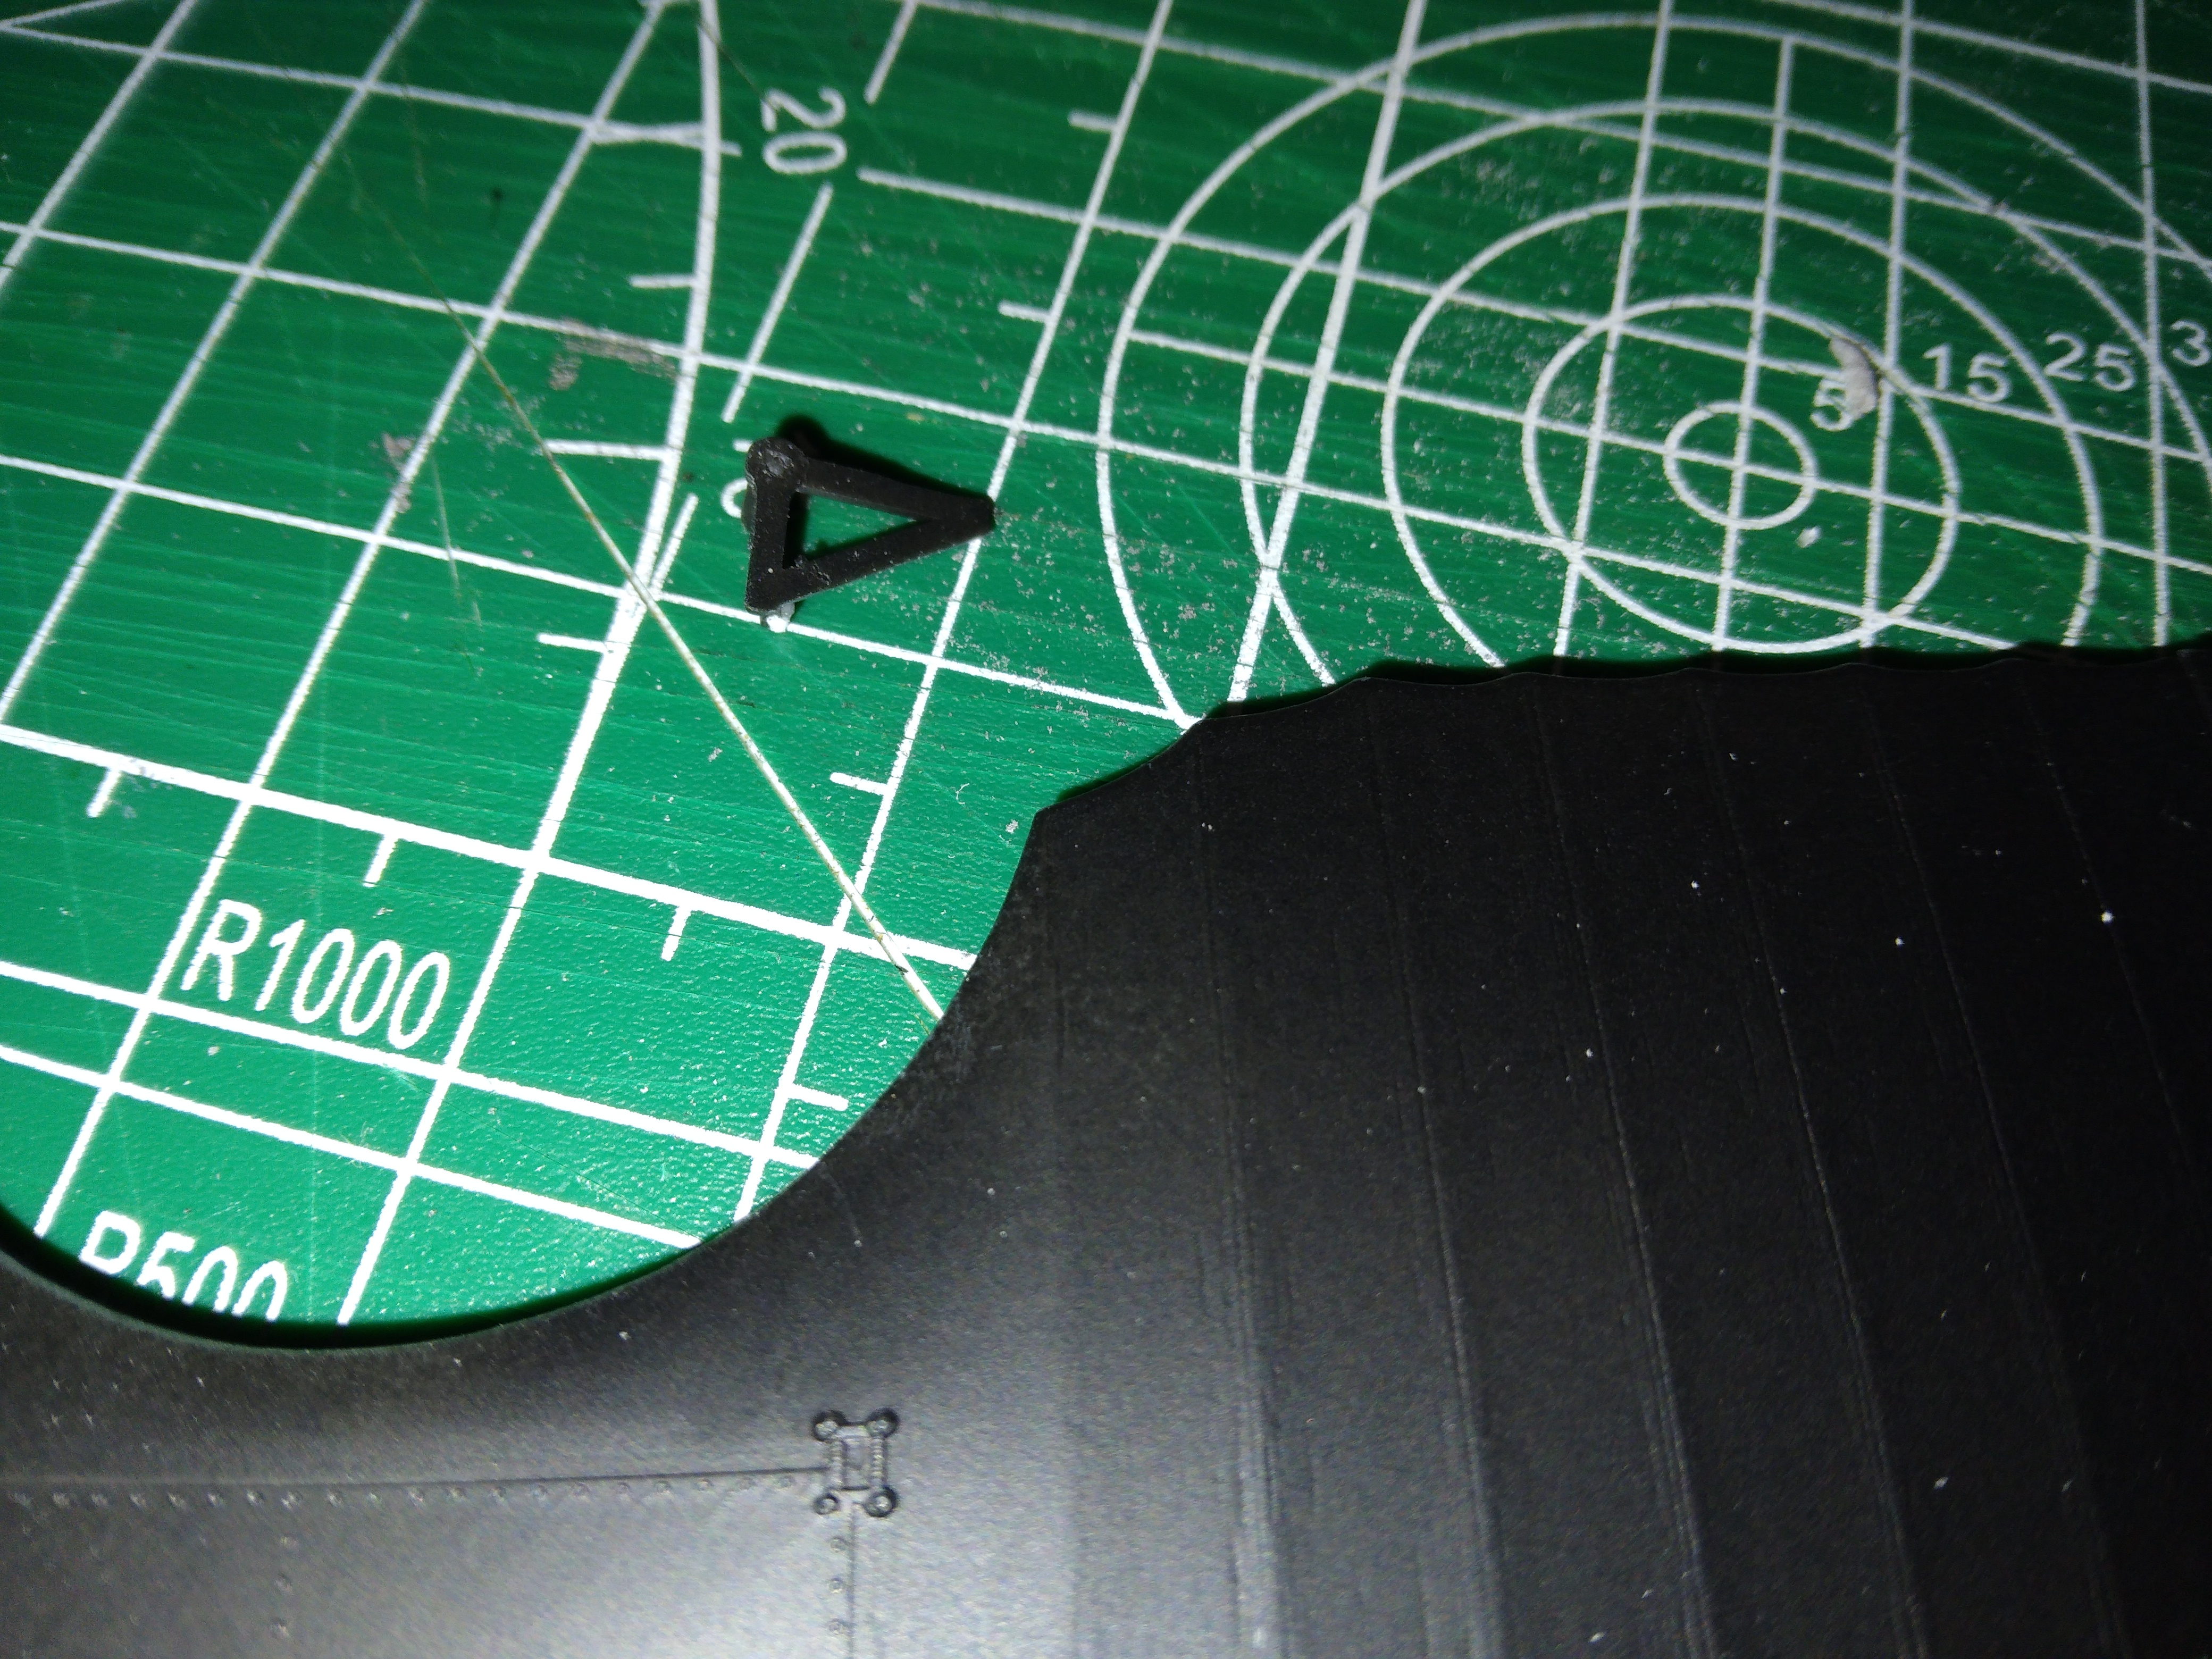
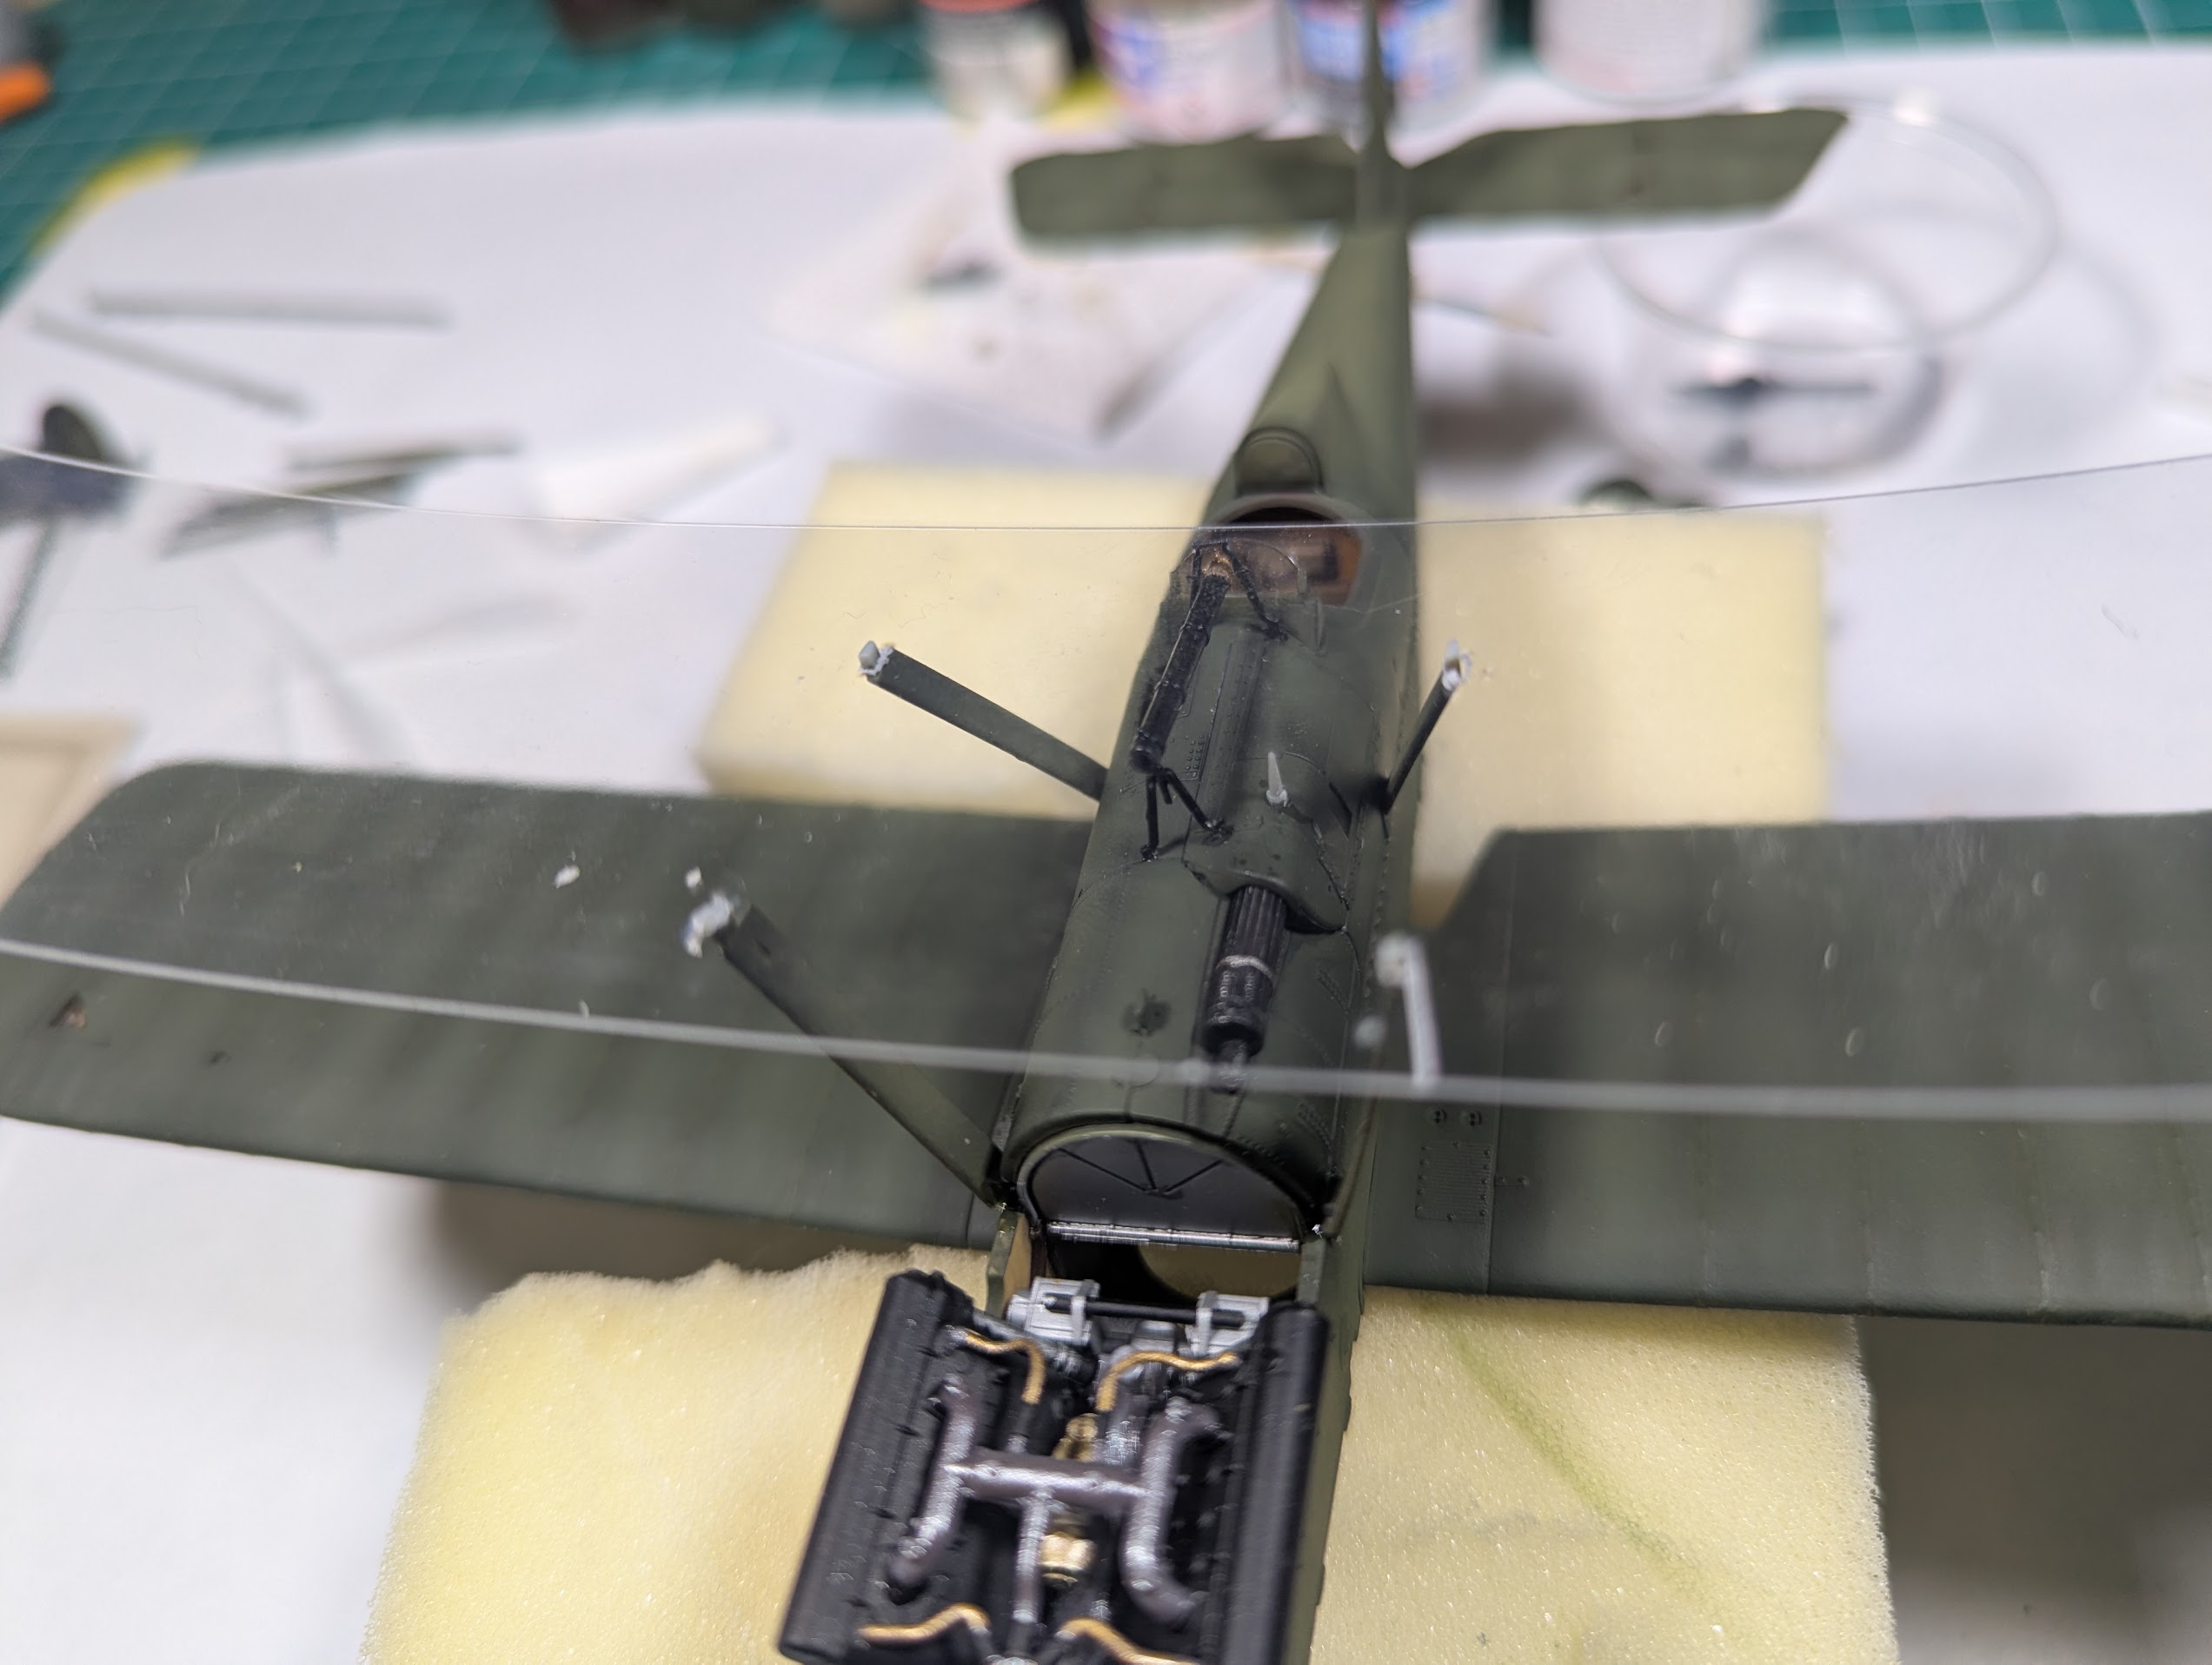
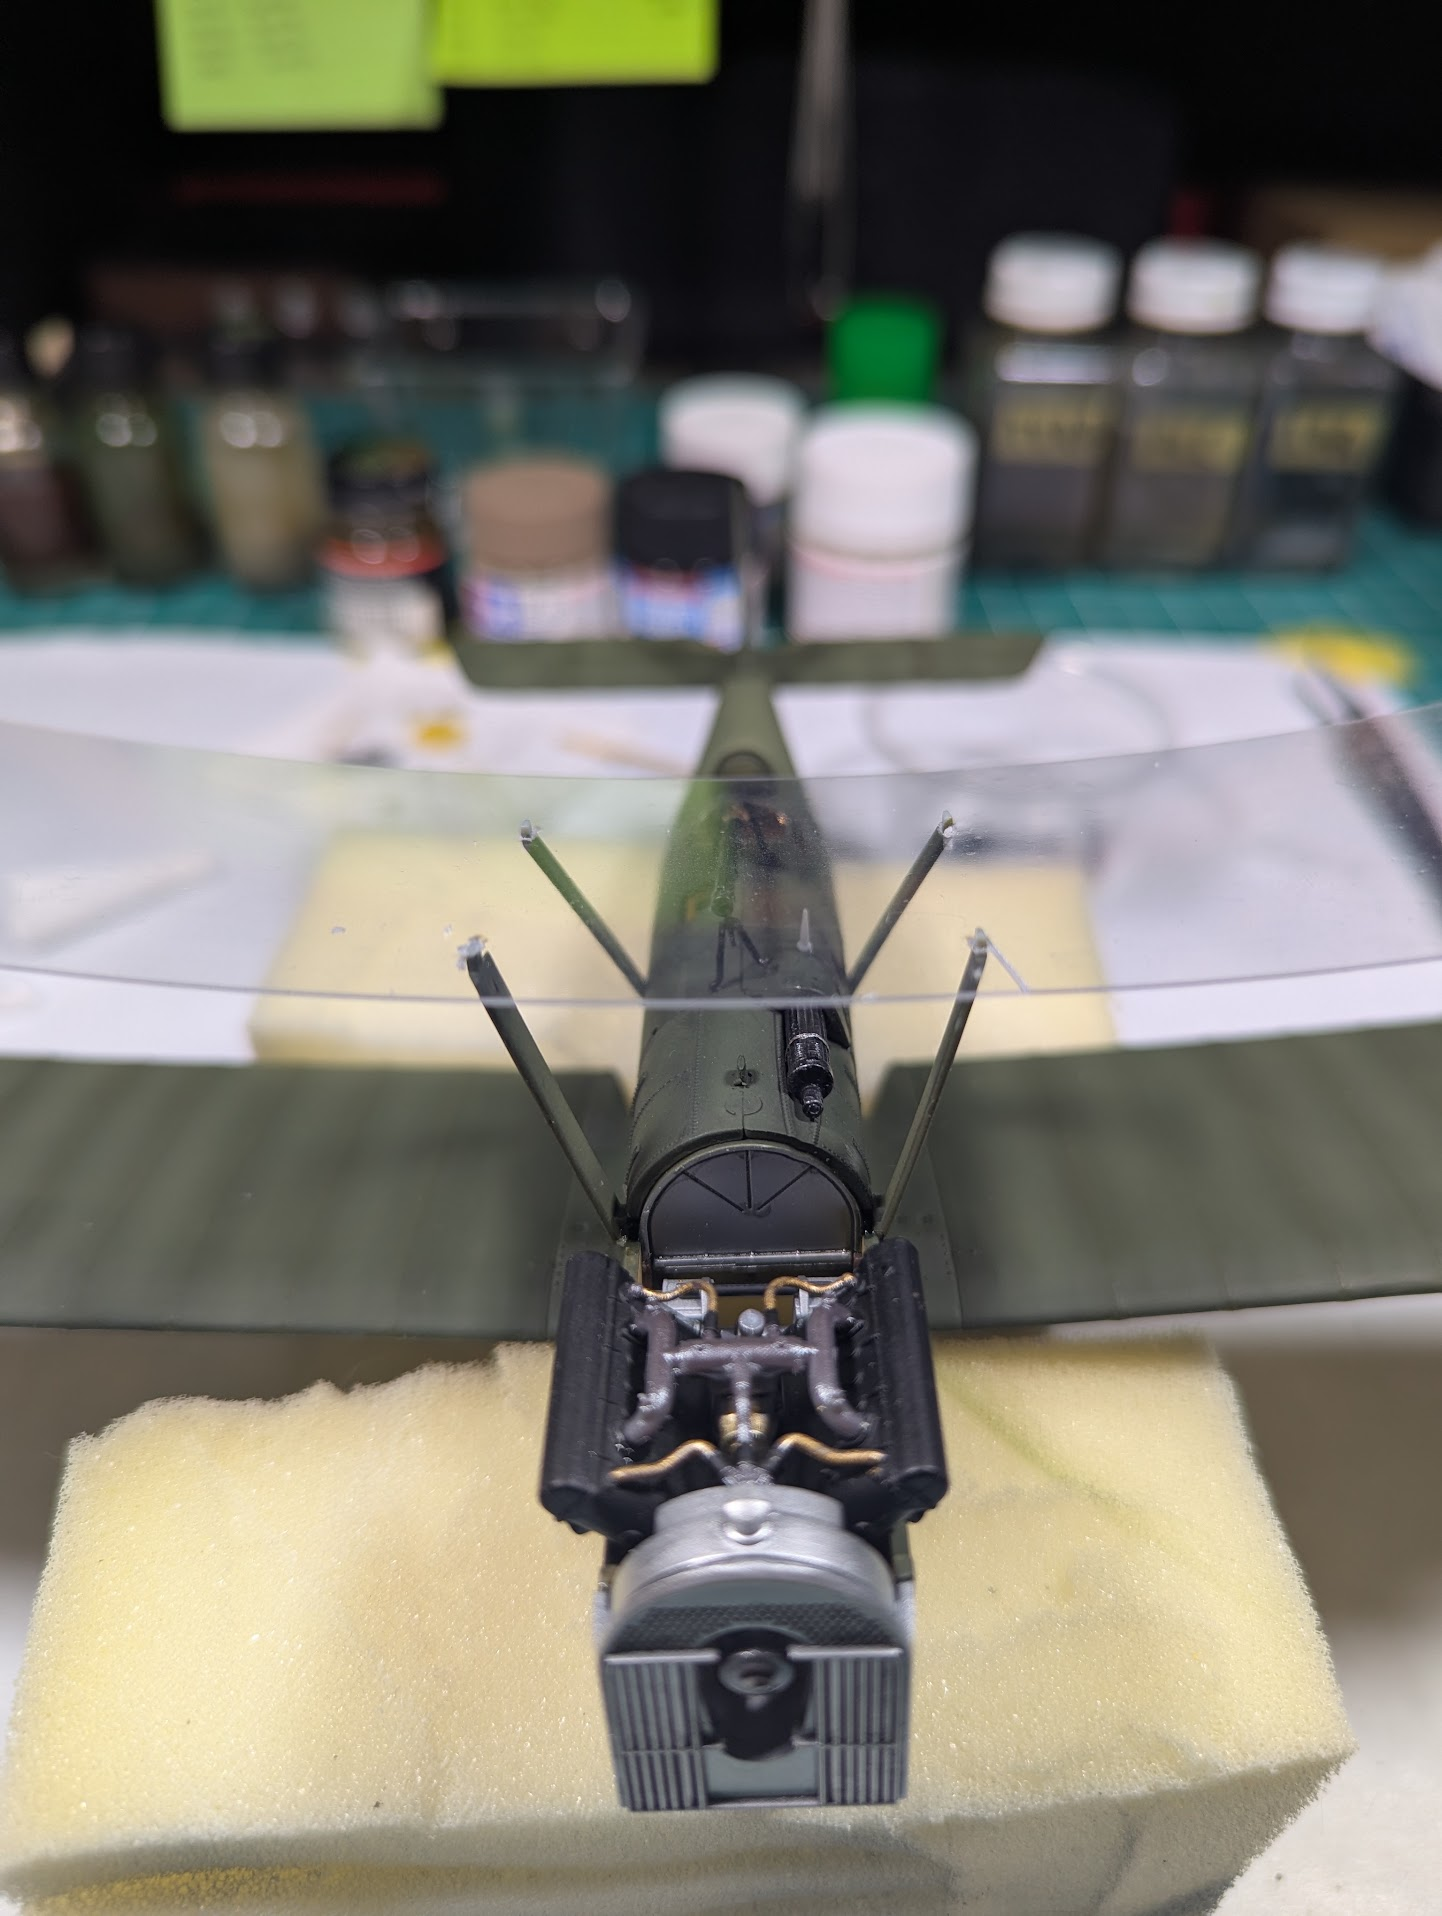
My idea for mounting the struts correctly worked well, do a degree. If you want to try this make sure your acetate is flat, mine is curved, that didn't make it impossible, just harder.

You also have a balancing act, too thin and there's not much rigidity, too thick and the holes are hard to cut correctly. What I used is 0.015 for reference.

1783719564490.png

1783719576032.png

I put a blob of Elmer's (easy to peel off later) on top of each post where it comes though the acetate so it would stay in place while handling it for the outer posts. Nothing worth a picture. You can see curvature I was dealing with, I should have flattened it more before getting this far, but not a deal killer.
 
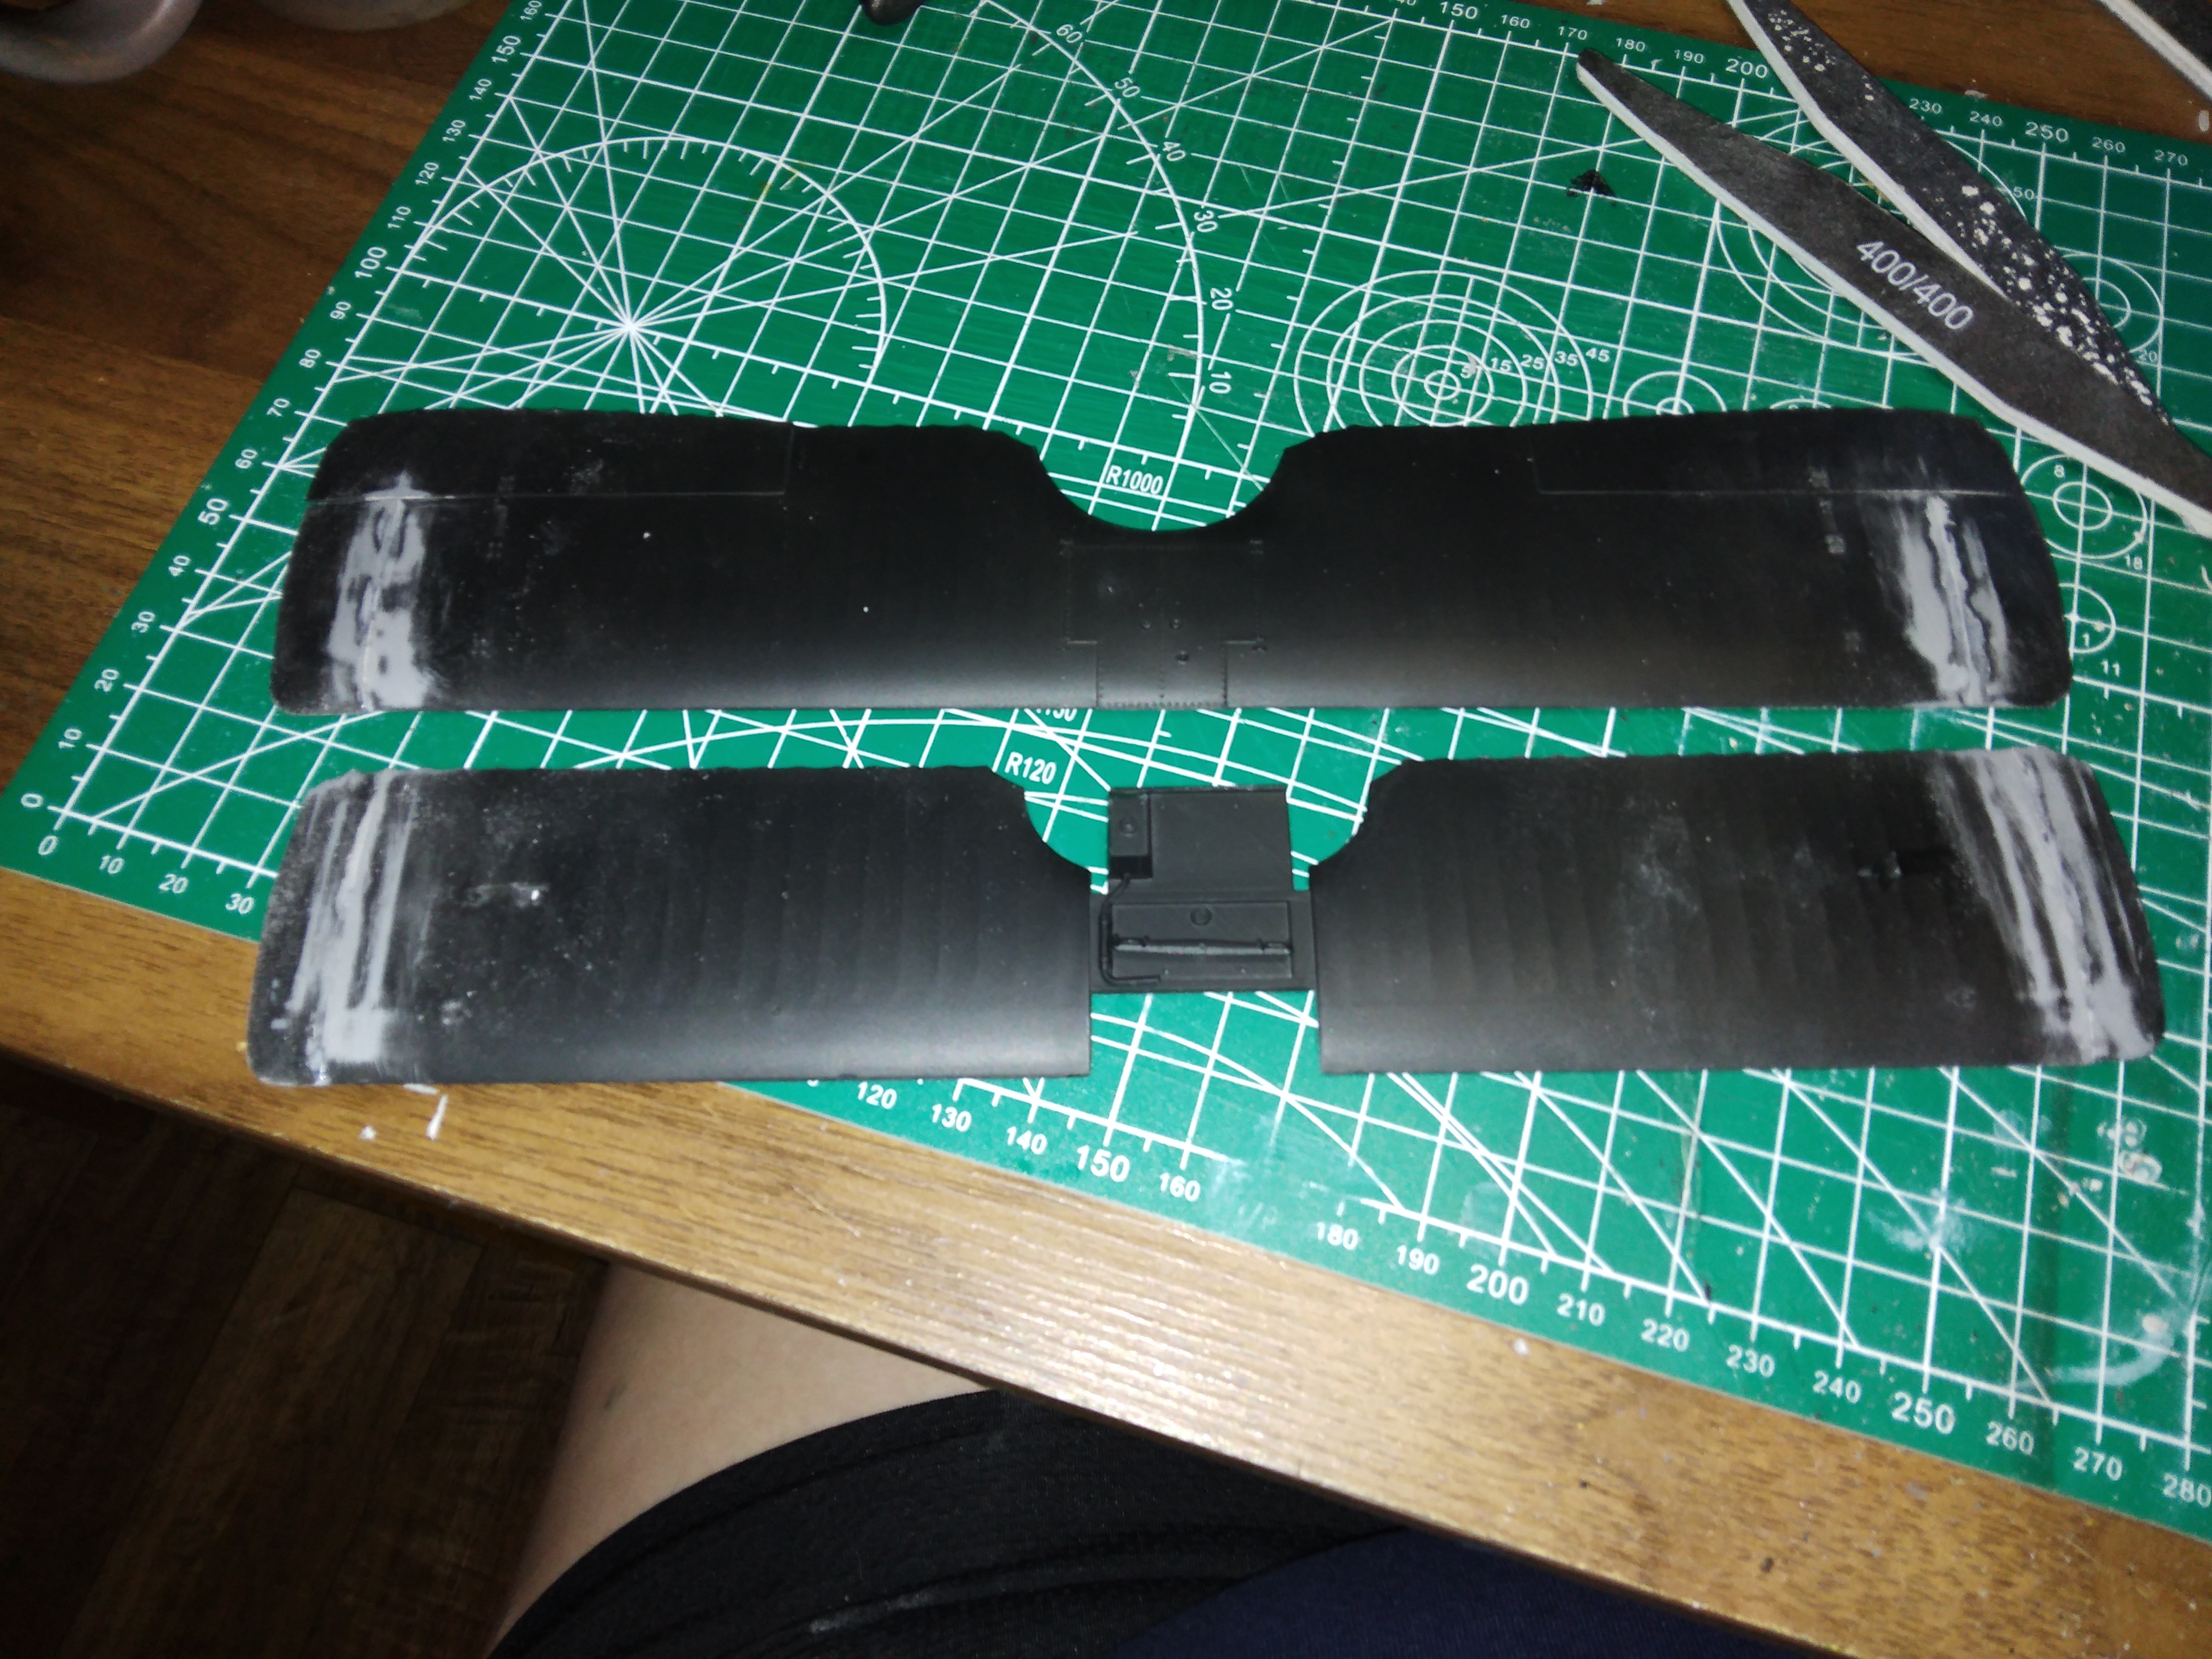
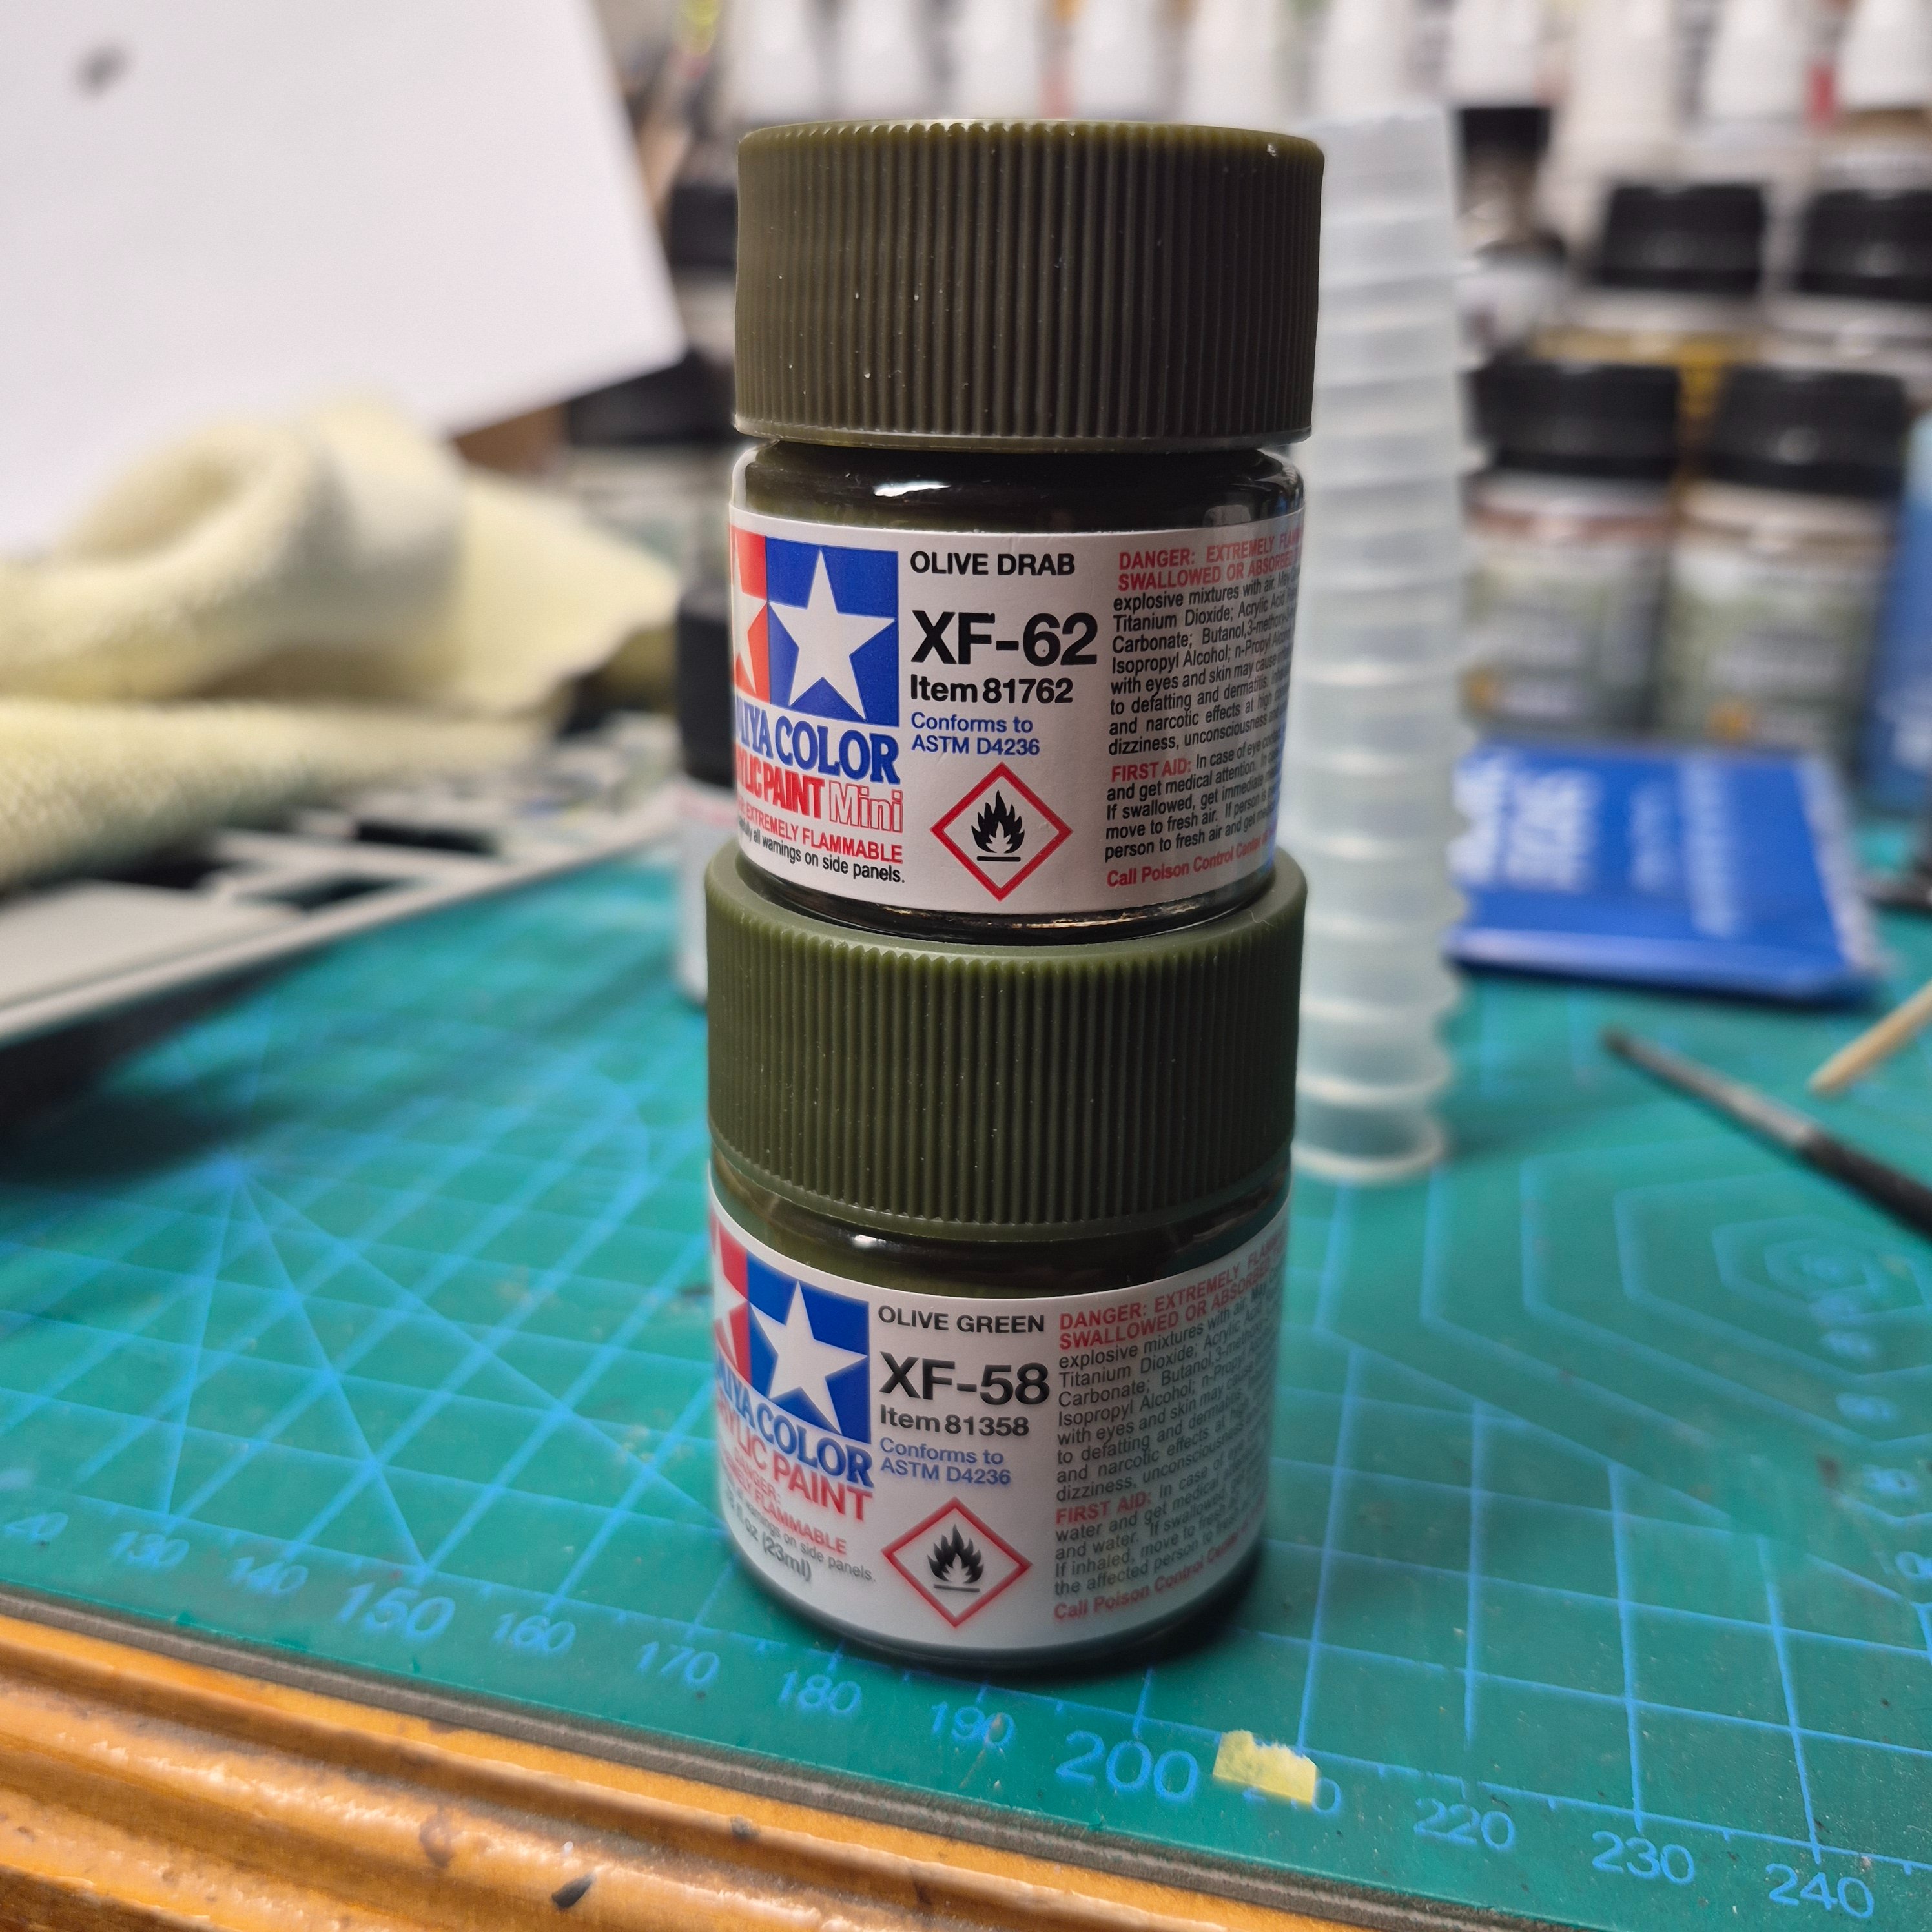
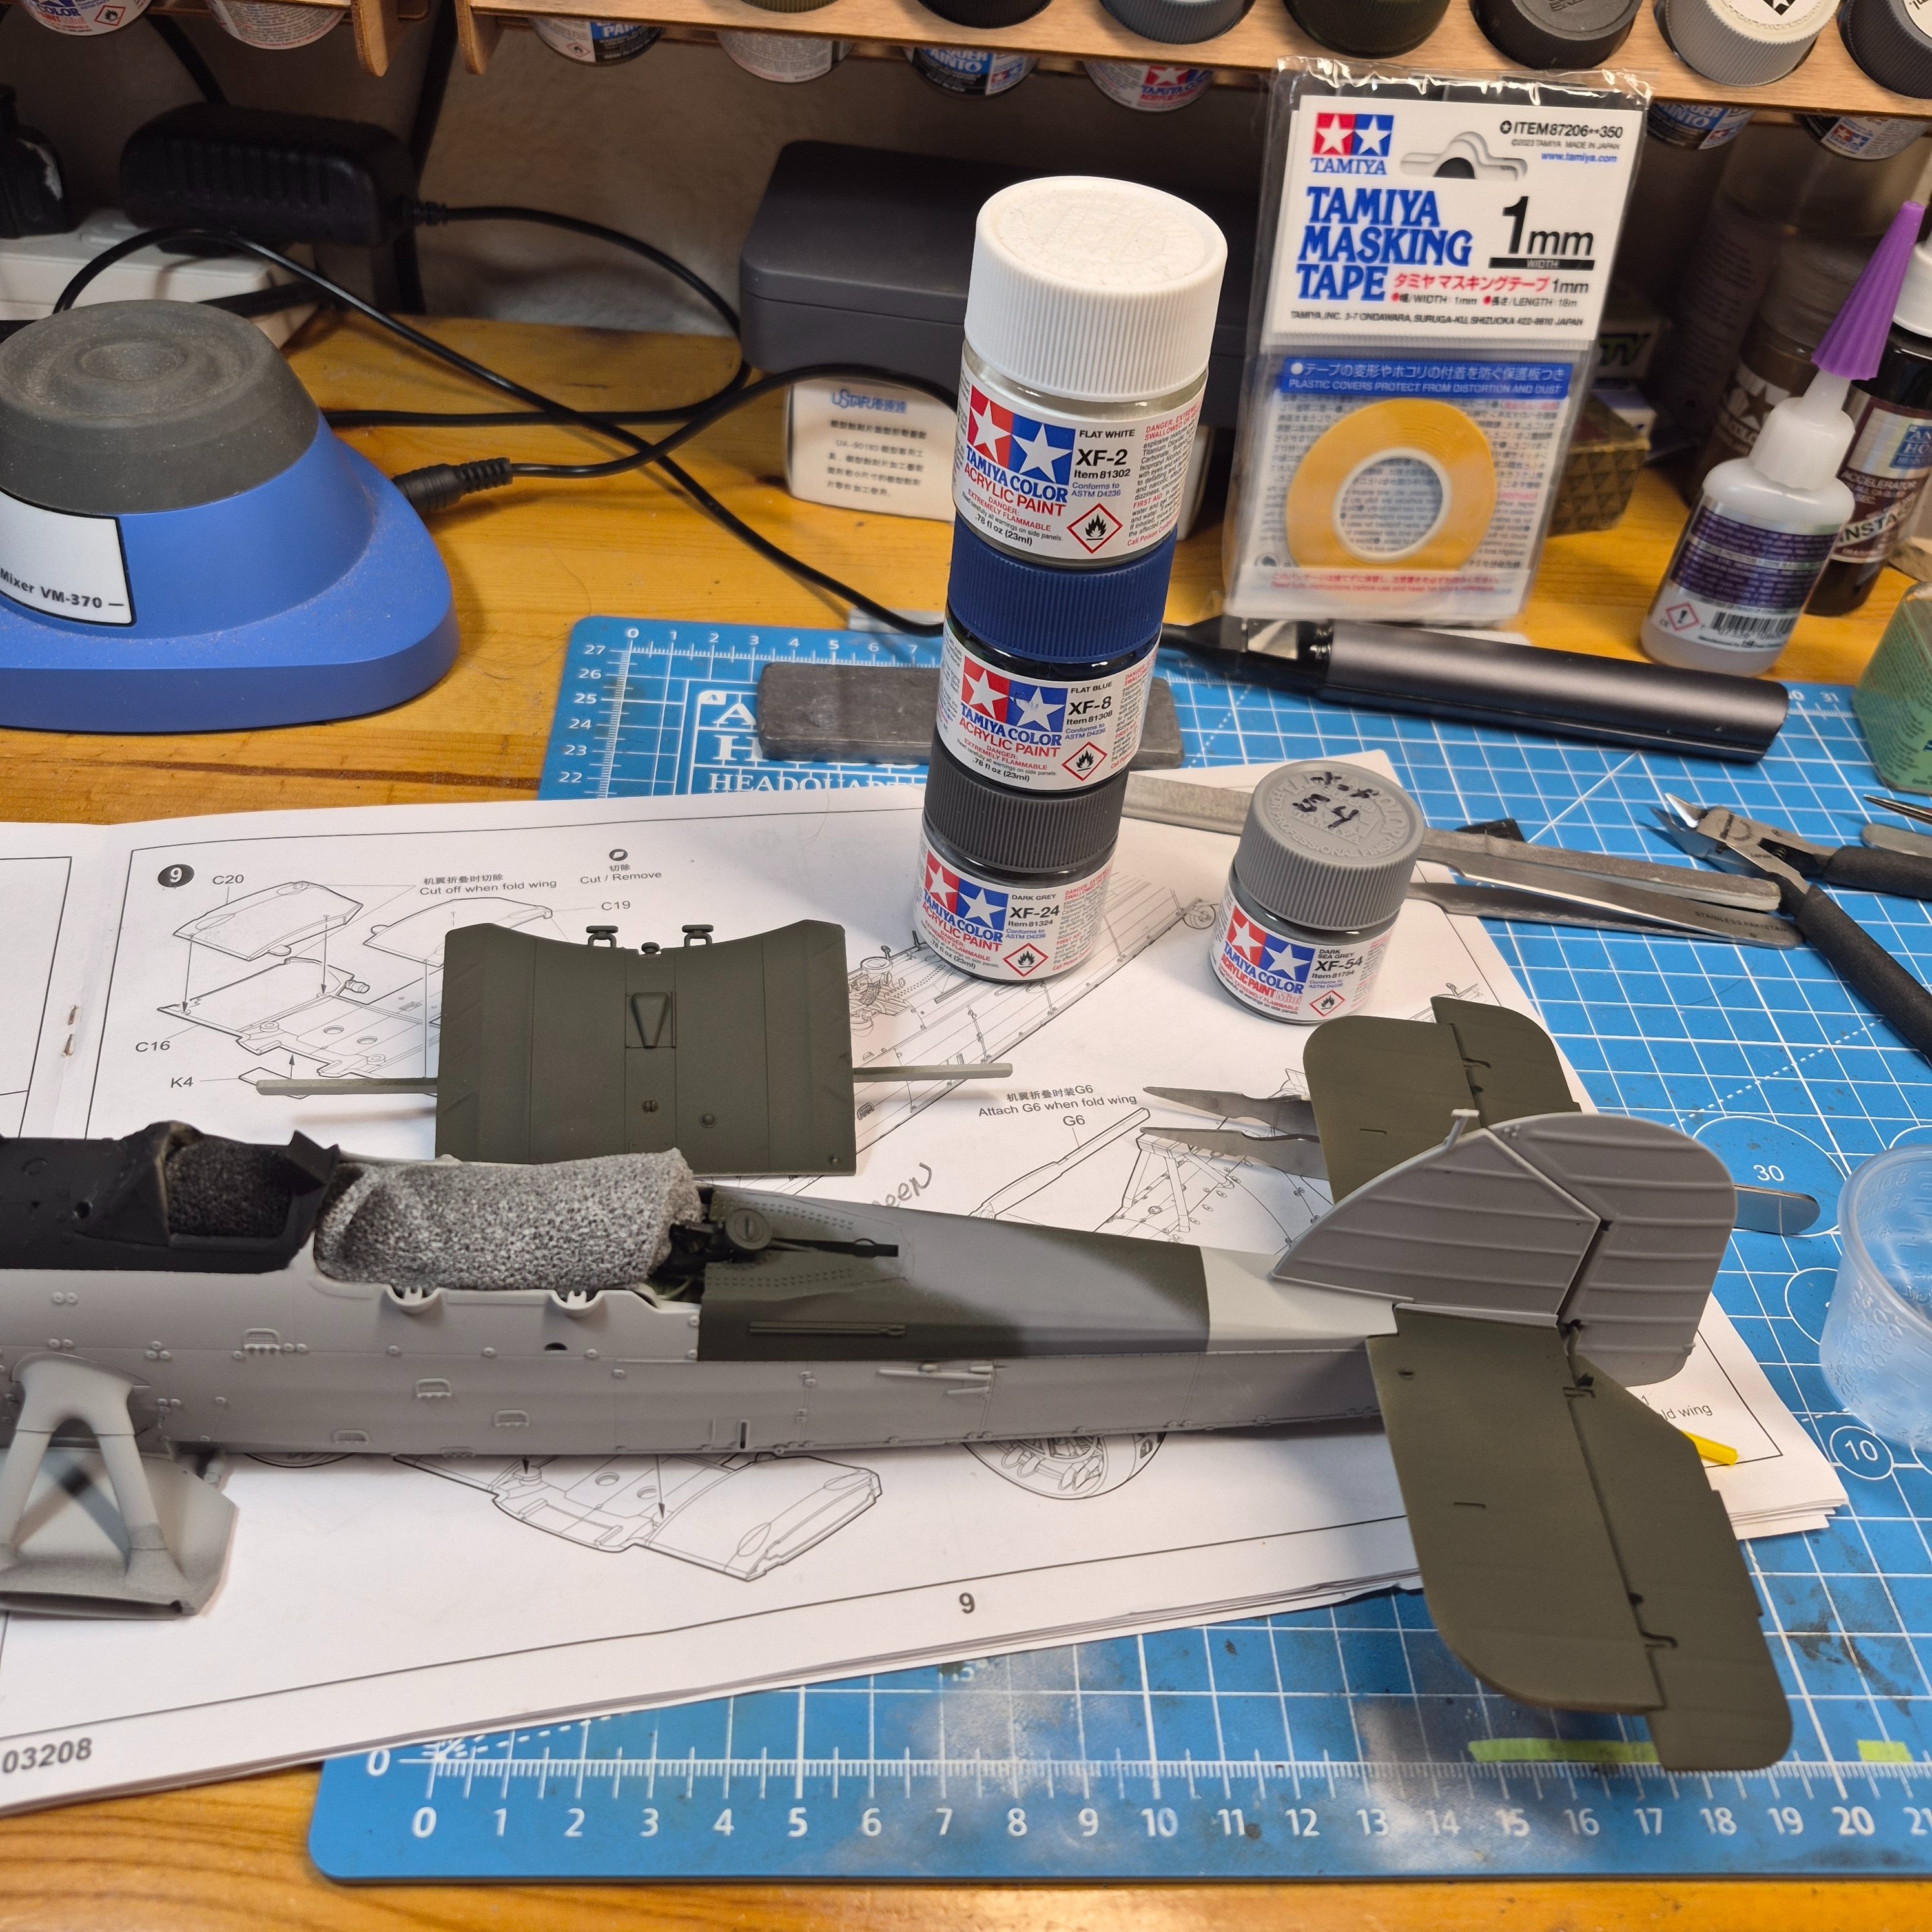
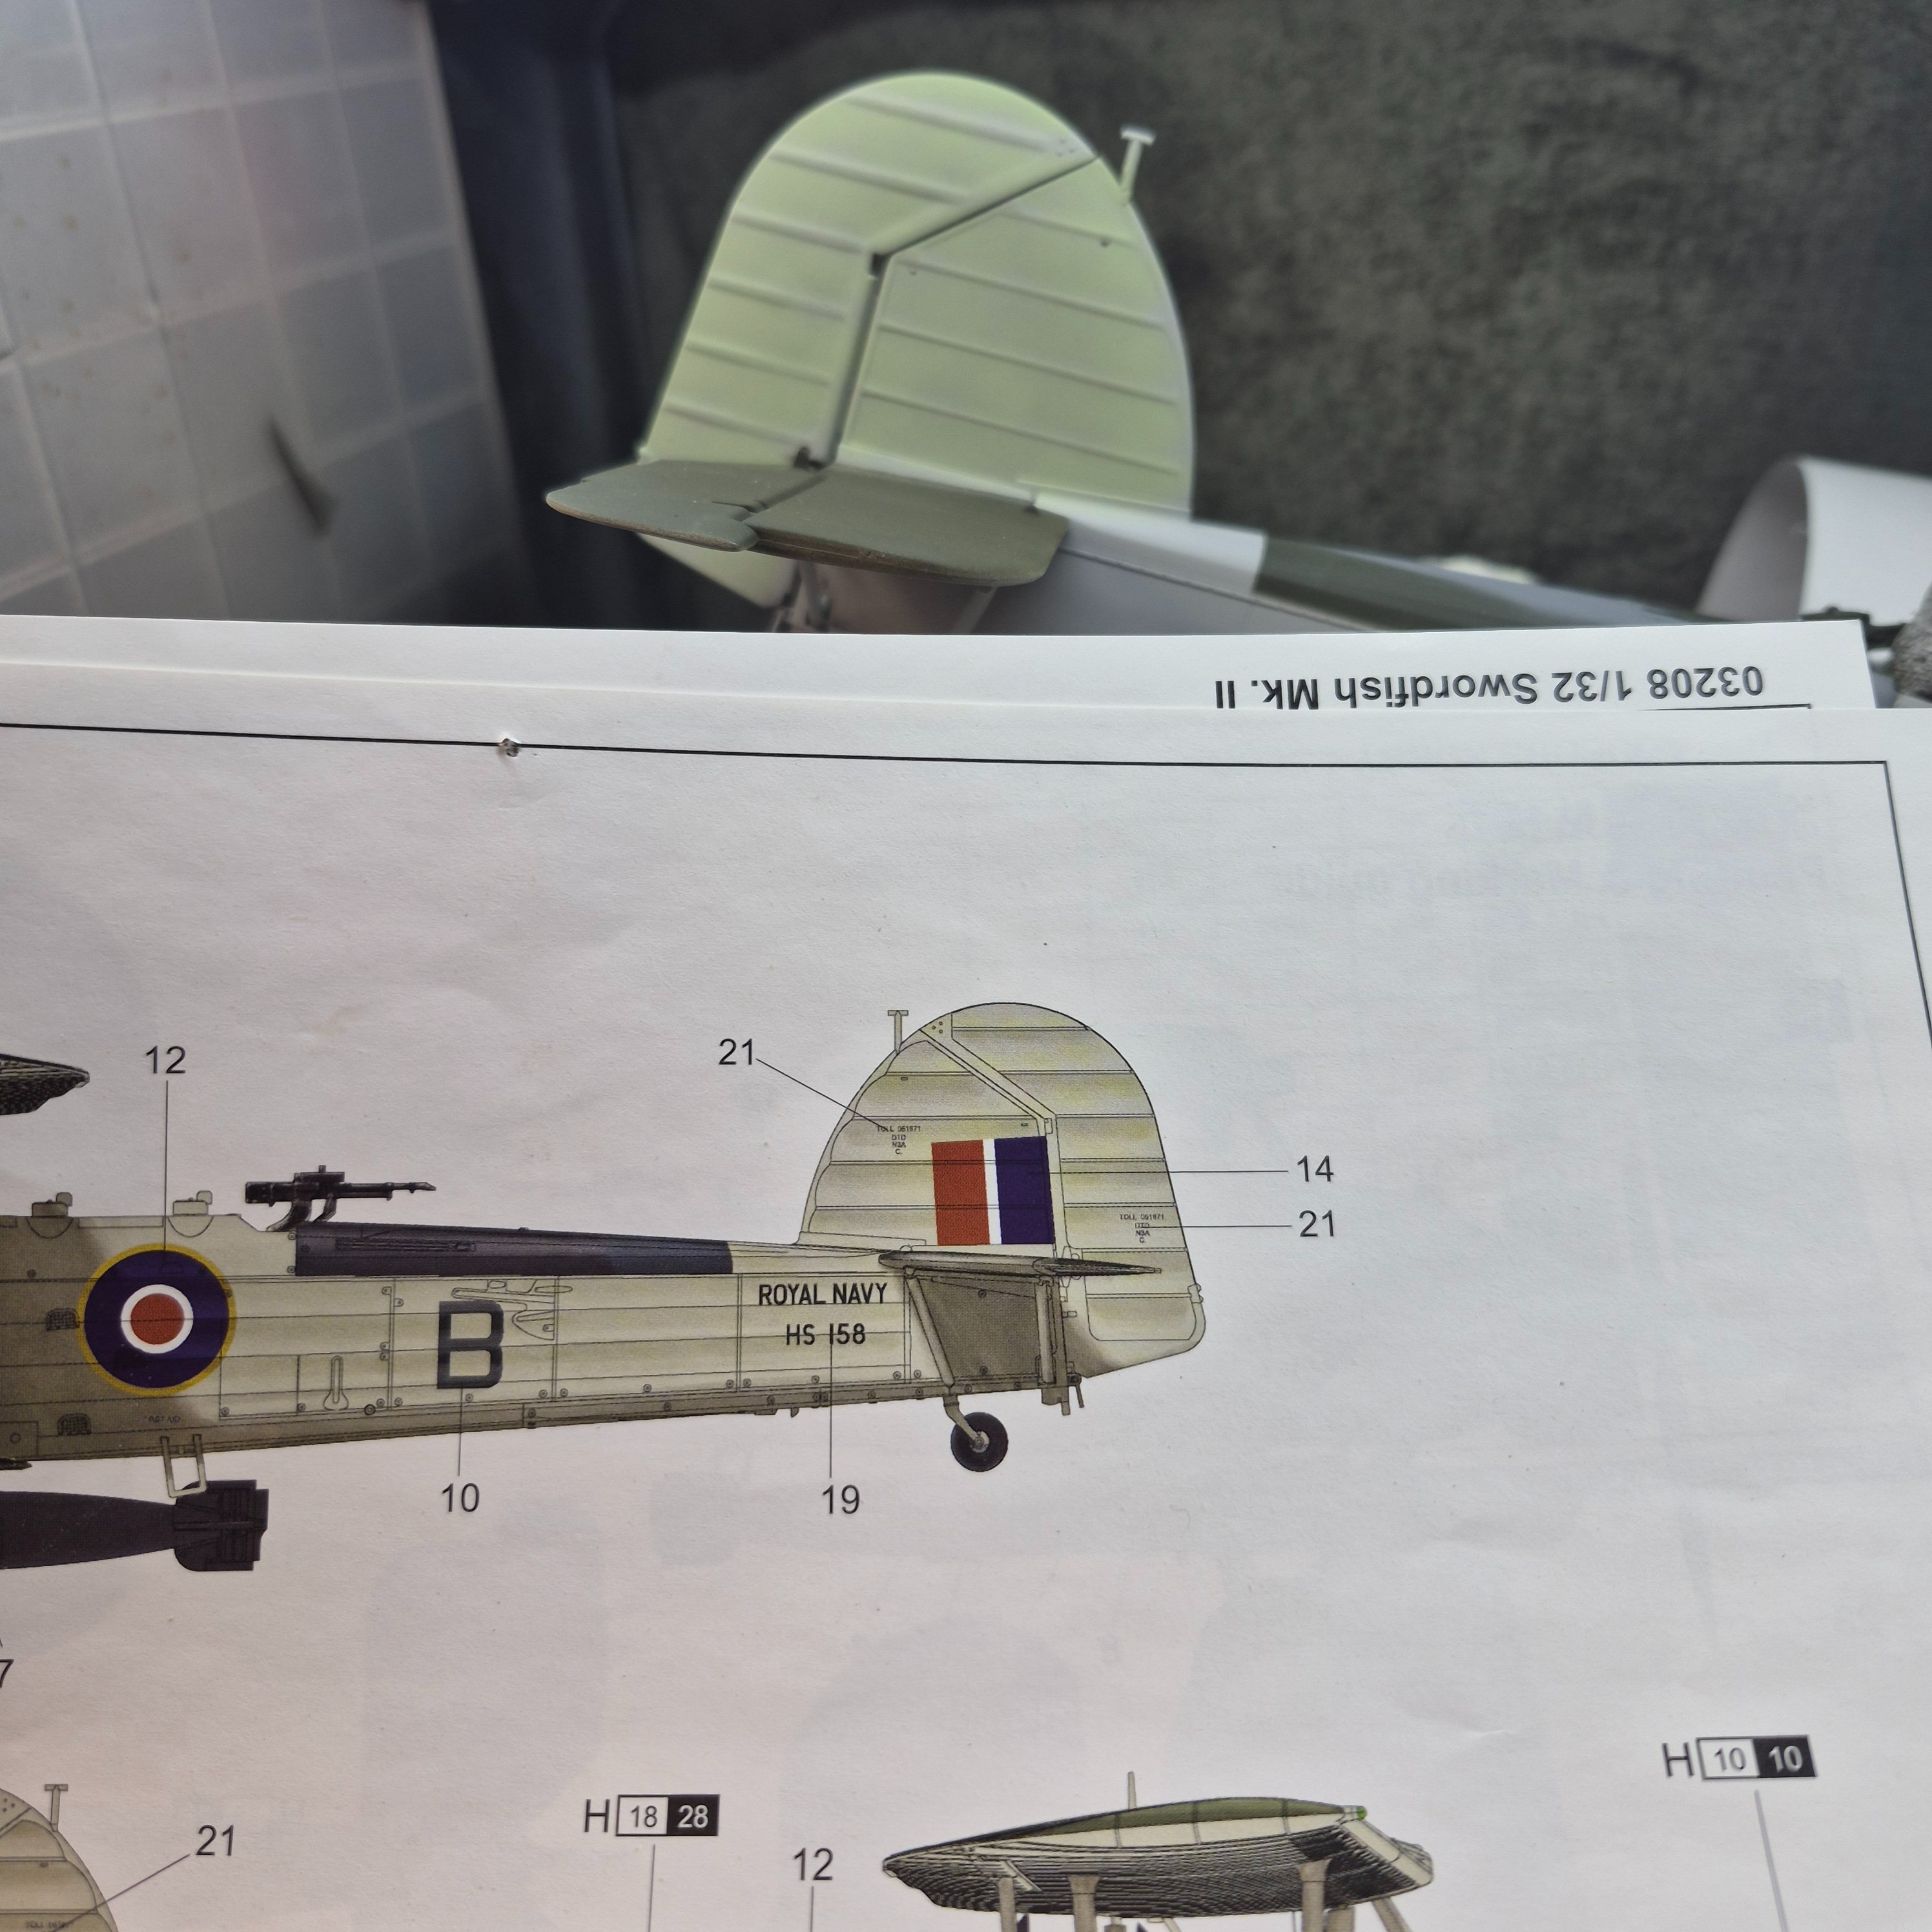
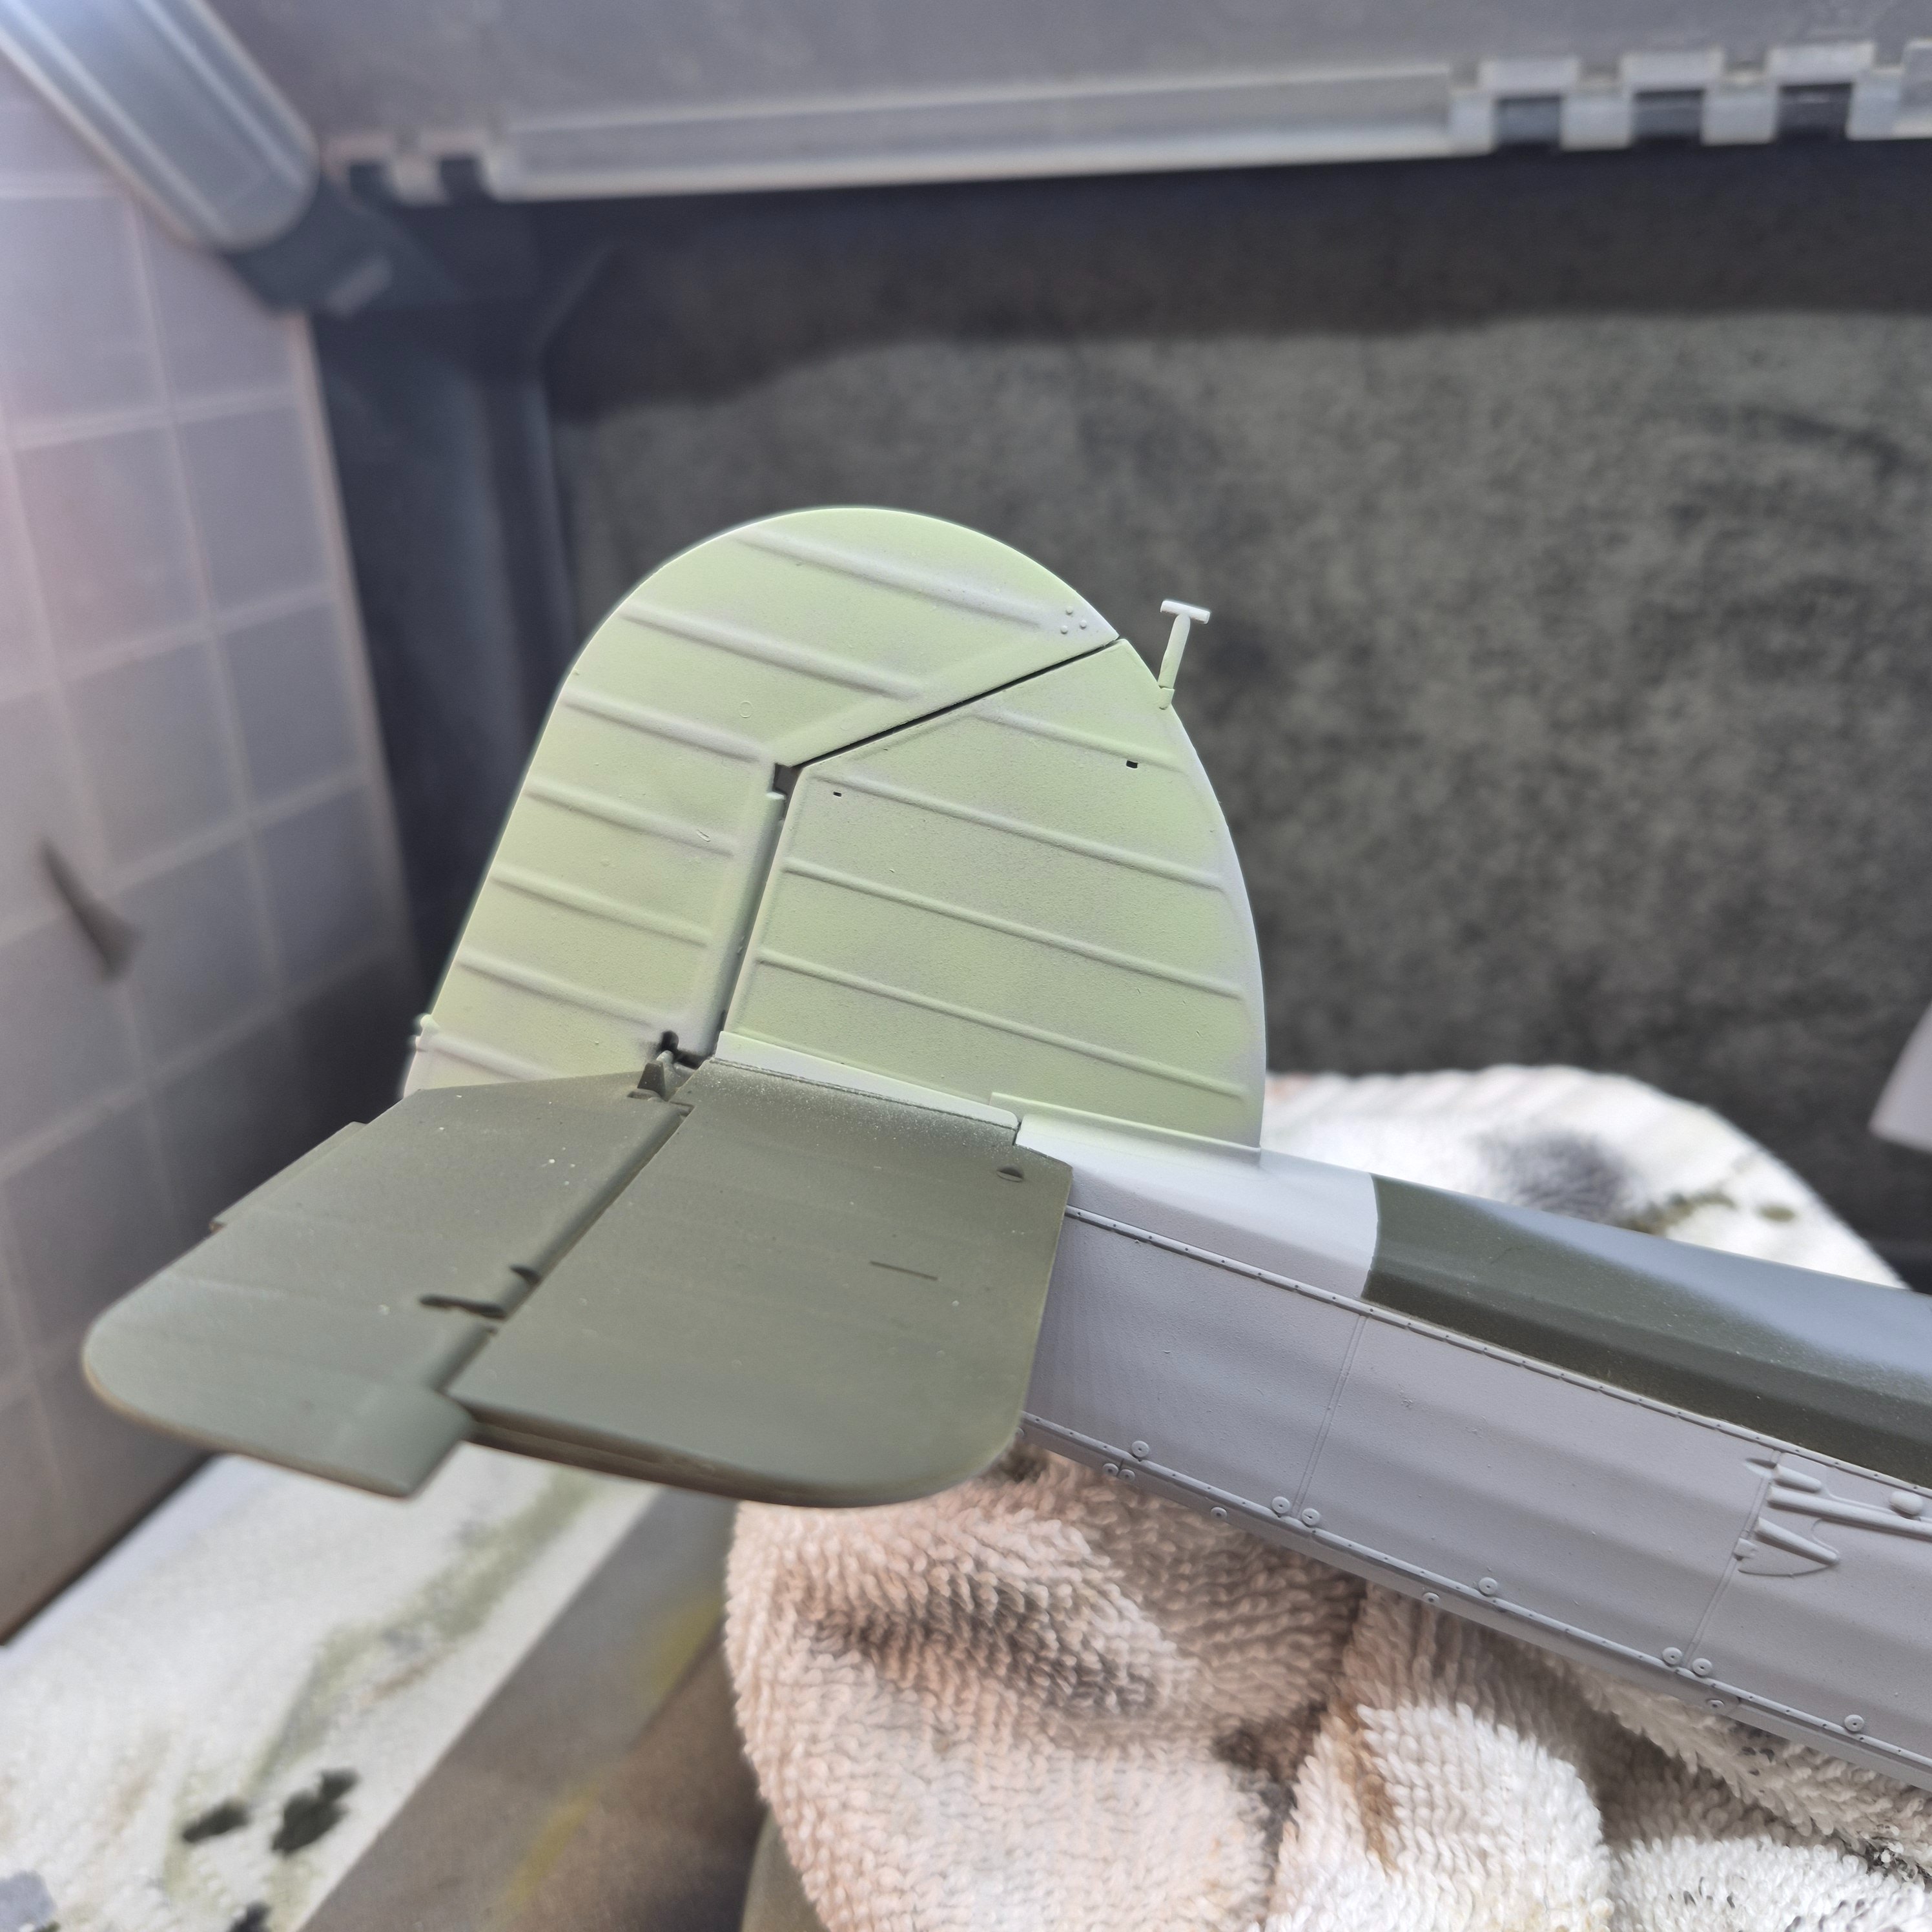
Started in on the top camouflage. Mixed up some Olive drabs and I think I nailed that color. The dark gray camouflage calls for dark sea Gray. The dark sea gray that Tamia has is way too light. I did spray it on over the dark green thinking it would darken it up. It didn't. So I looked up a custom mix and I'll go with 16 drops dark gray, two drops flat white and one drop flat blue and see how that looks.
 

Attachments

  • 17837262920007185627720466446673.jpg
    17837262920007185627720466446673.jpg
    1.1 MB
  • 20260710_162021.jpg
    20260710_162021.jpg
    1.3 MB
Barley's Sea Gladiator

Trying to make headway.
Start with the engine they say...

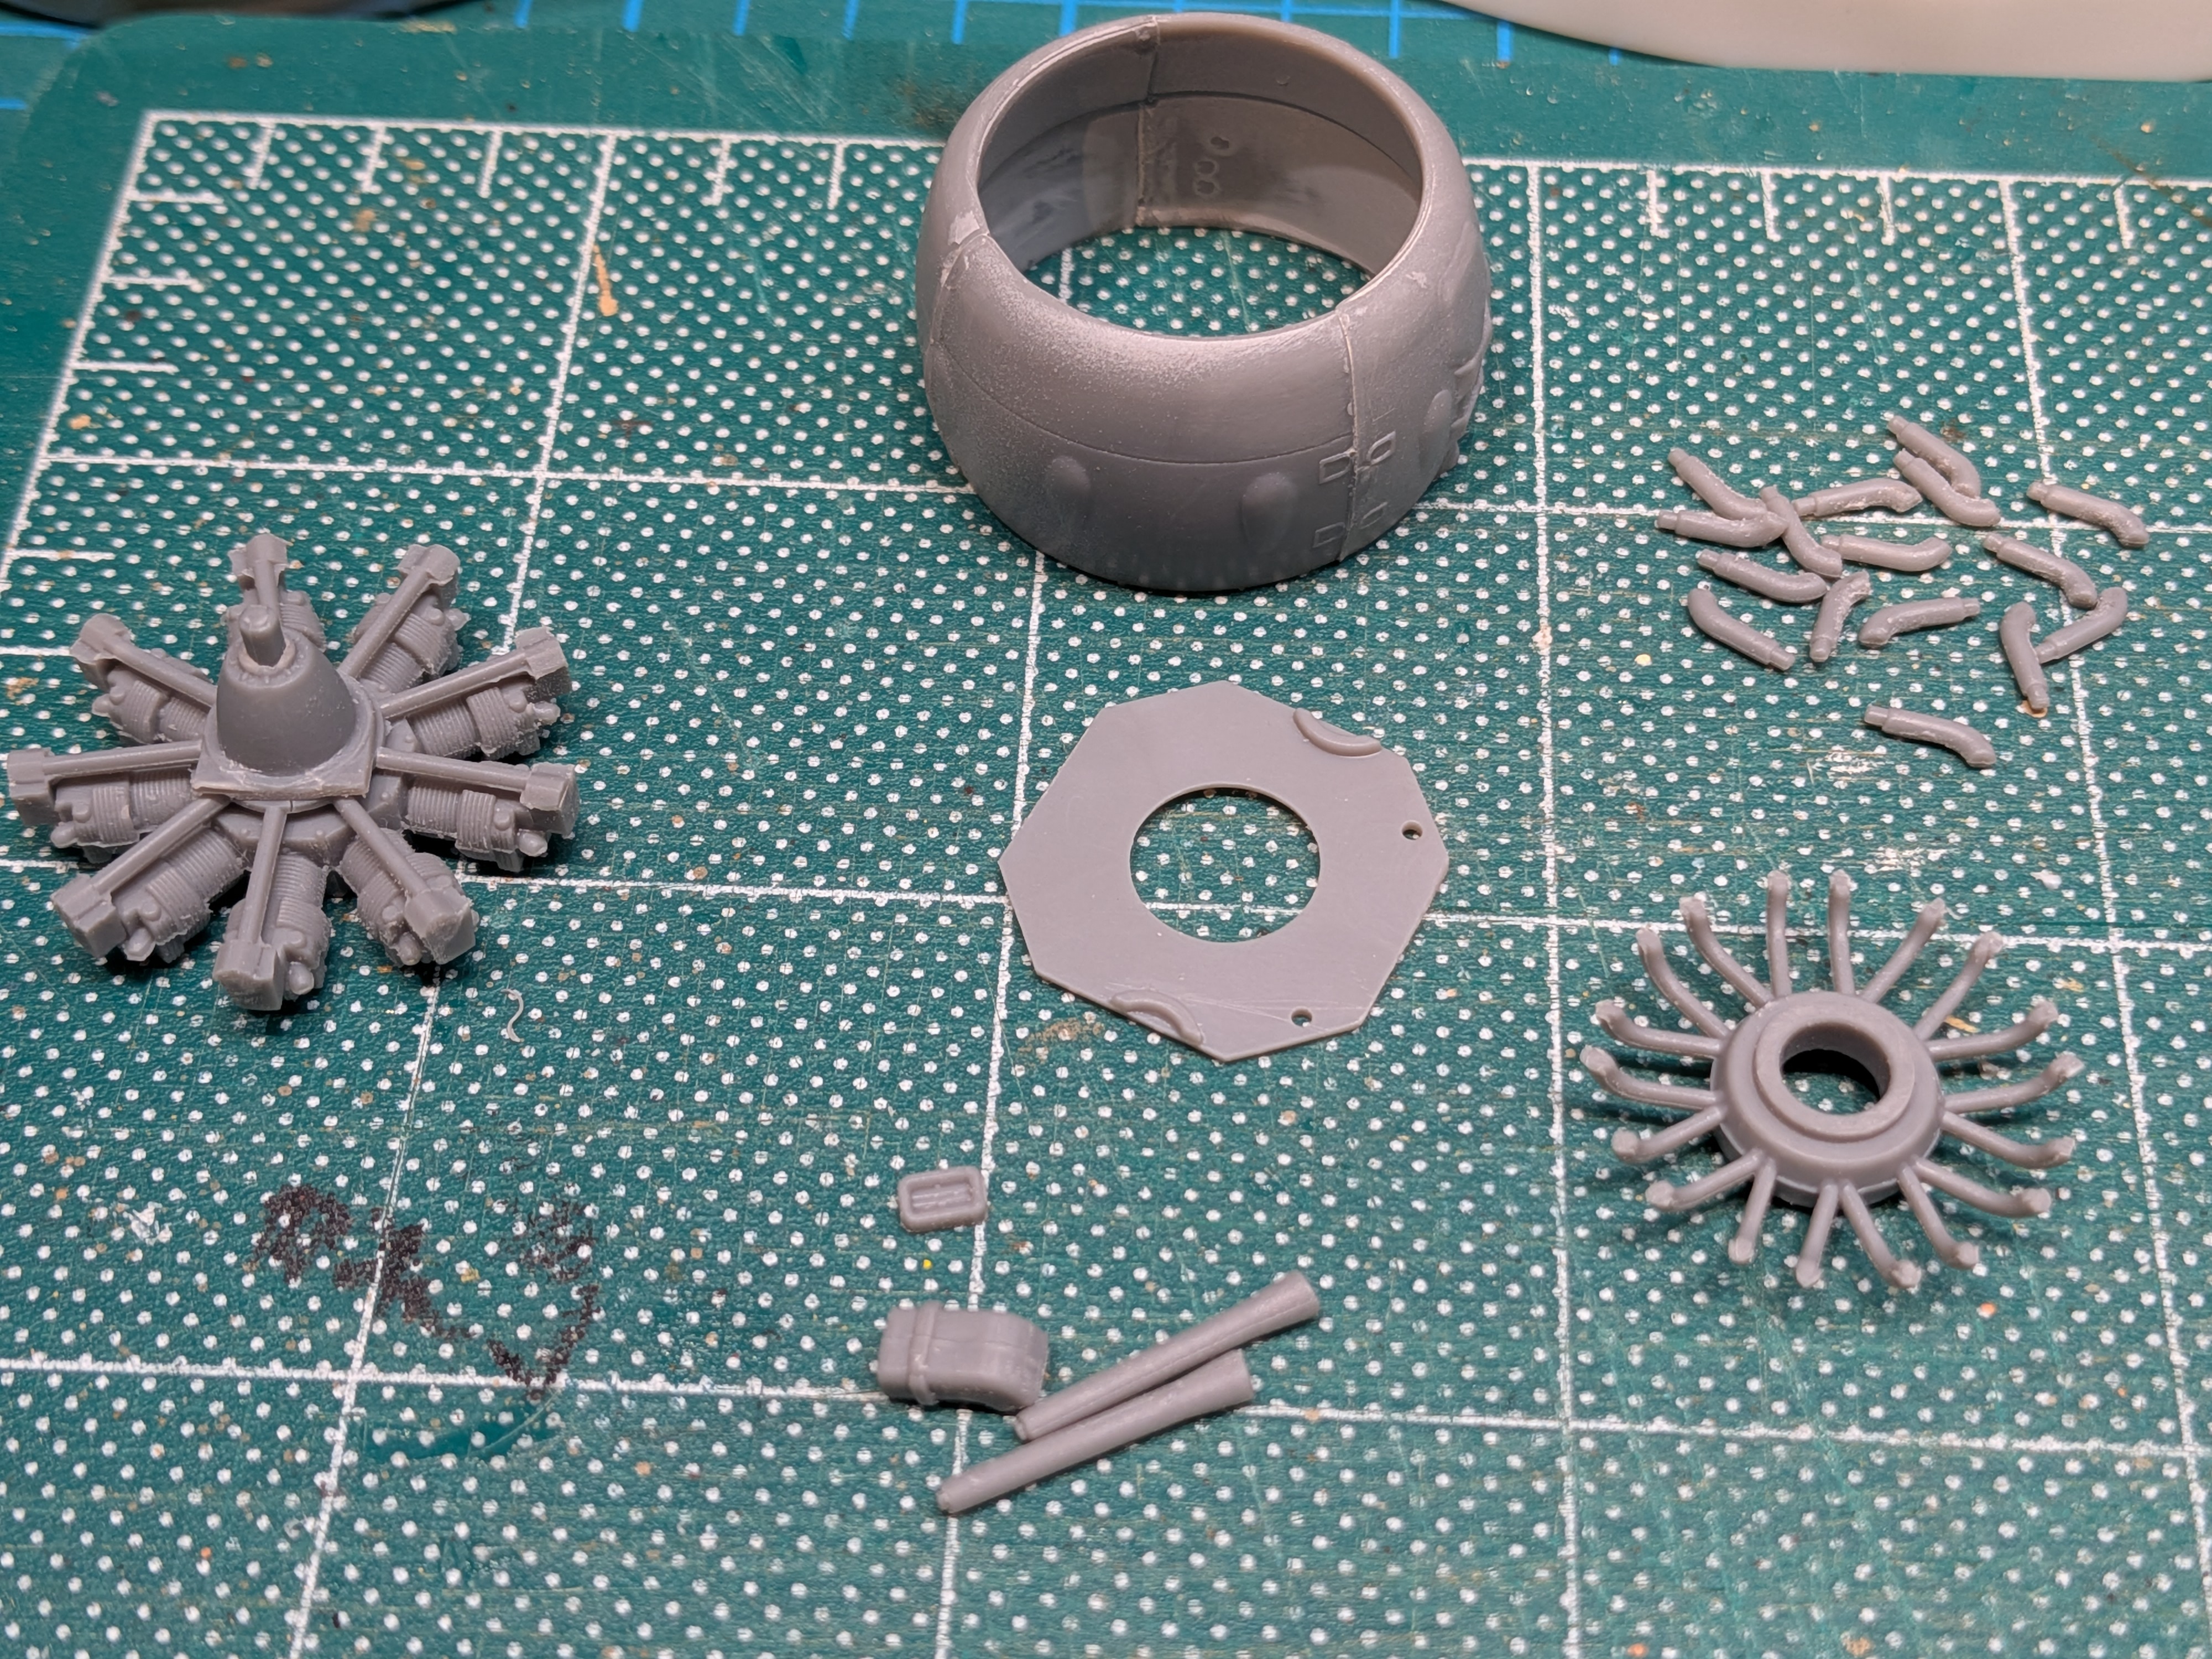
The parts cut, cleaned up, ready for painting and assembly... but instructions are quite vague on attaching the 18 exhaust stubs to the cylinders and inside the cowl. Better look online for some previous build wisdom!

When assembling the 1/48 Roden Sea Gladiator (Kit 405), the engine, exhaust stubs, and the three-piece cowling present one of the most notorious fit hurdles of the entire build.
If you follow the instruction sequence exactly, the engine assembly will be too wide, causing the cowling panels to bulge, gap, or completely fail to close around it.
To achieve a flush fit against the cowl, you must aggressively modify the exhaust stubs and cylinder tops...
Turns out my exhaustive experience of exactly one aircraft build, with radial engine (thankfully), provided me with one of those "got a bad feeling about this" premonitions.

3722.jpg

See how those squiggly little stubs have extra protrusion on the straight end; up to 2 mm may have to be removed.
I will test fit once the engine is assembled and slipped into position in the cowl.
 
You'll get it sorted just fine Barley, going by the multiple other builds I've followed of yours over the years. 😀
Matt.
 
Barley's Sea Gladiator

Trying to make headway.
Start with the engine they say...

The parts cut, cleaned up, ready for painting and assembly... but instructions are quite vague on attaching the 18 exhaust stubs to the cylinders and inside the cowl. Better look online for some previous build wisdom!


Turns out my exhaustive experience of exactly one aircraft build, with radial engine (thankfully), provided me with one of those "got a bad feeling about this" premonitions.

View attachment 196079
See how those squiggly little stubs have extra protrusion on the straight end; up to 2 mm may have to be removed.
I will test fit once the engine is assembled and slipped into position in the cowl.
Who are you trying to fool? You'll probably end up scratching a complete radial out of styrene!
 
Looked at a lot of Staggerwing photos today. And there are a lot of them.
It appears the rigging on this plane will simpler than most. Looks like just the four cables per side, and no exposed turnbuckles.


The mounting points are molded in, so location should be straightforward.
Wait there's rigging??? I hadn't pulled up any photos like these.
 

Latest posts

Back
Top