- Joined
- Apr 29, 2024
- Messages
- 1,569

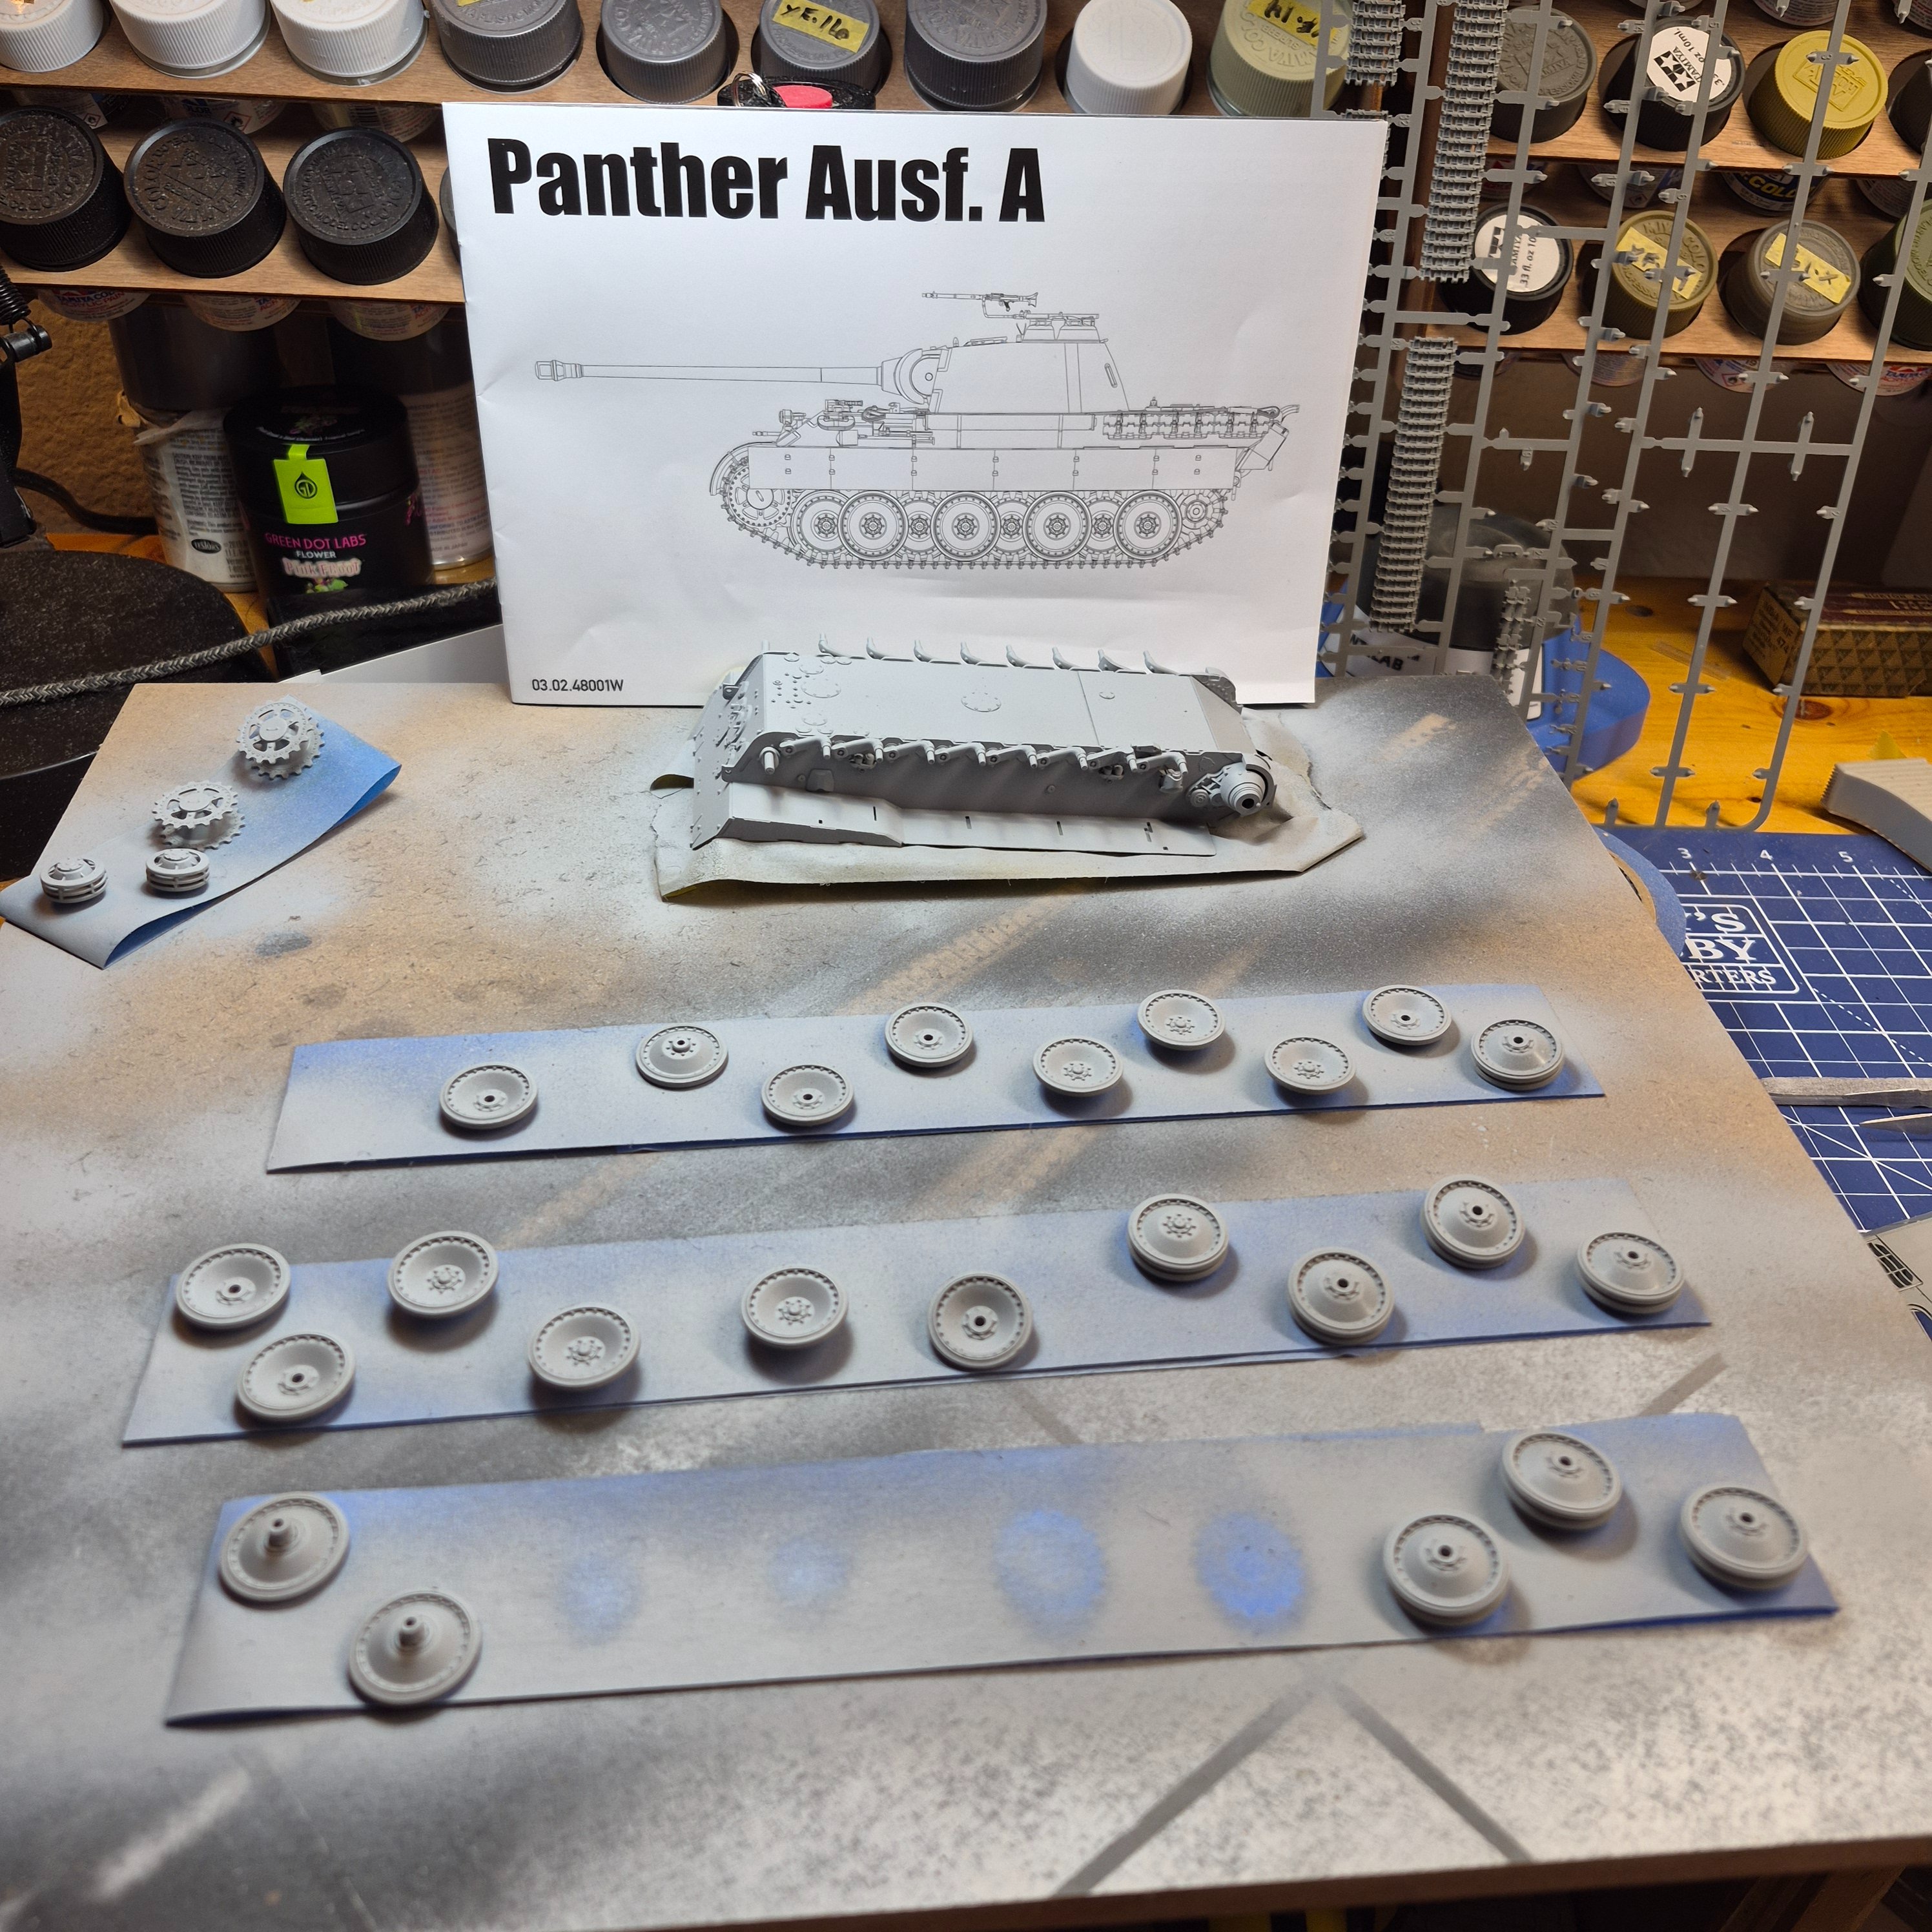
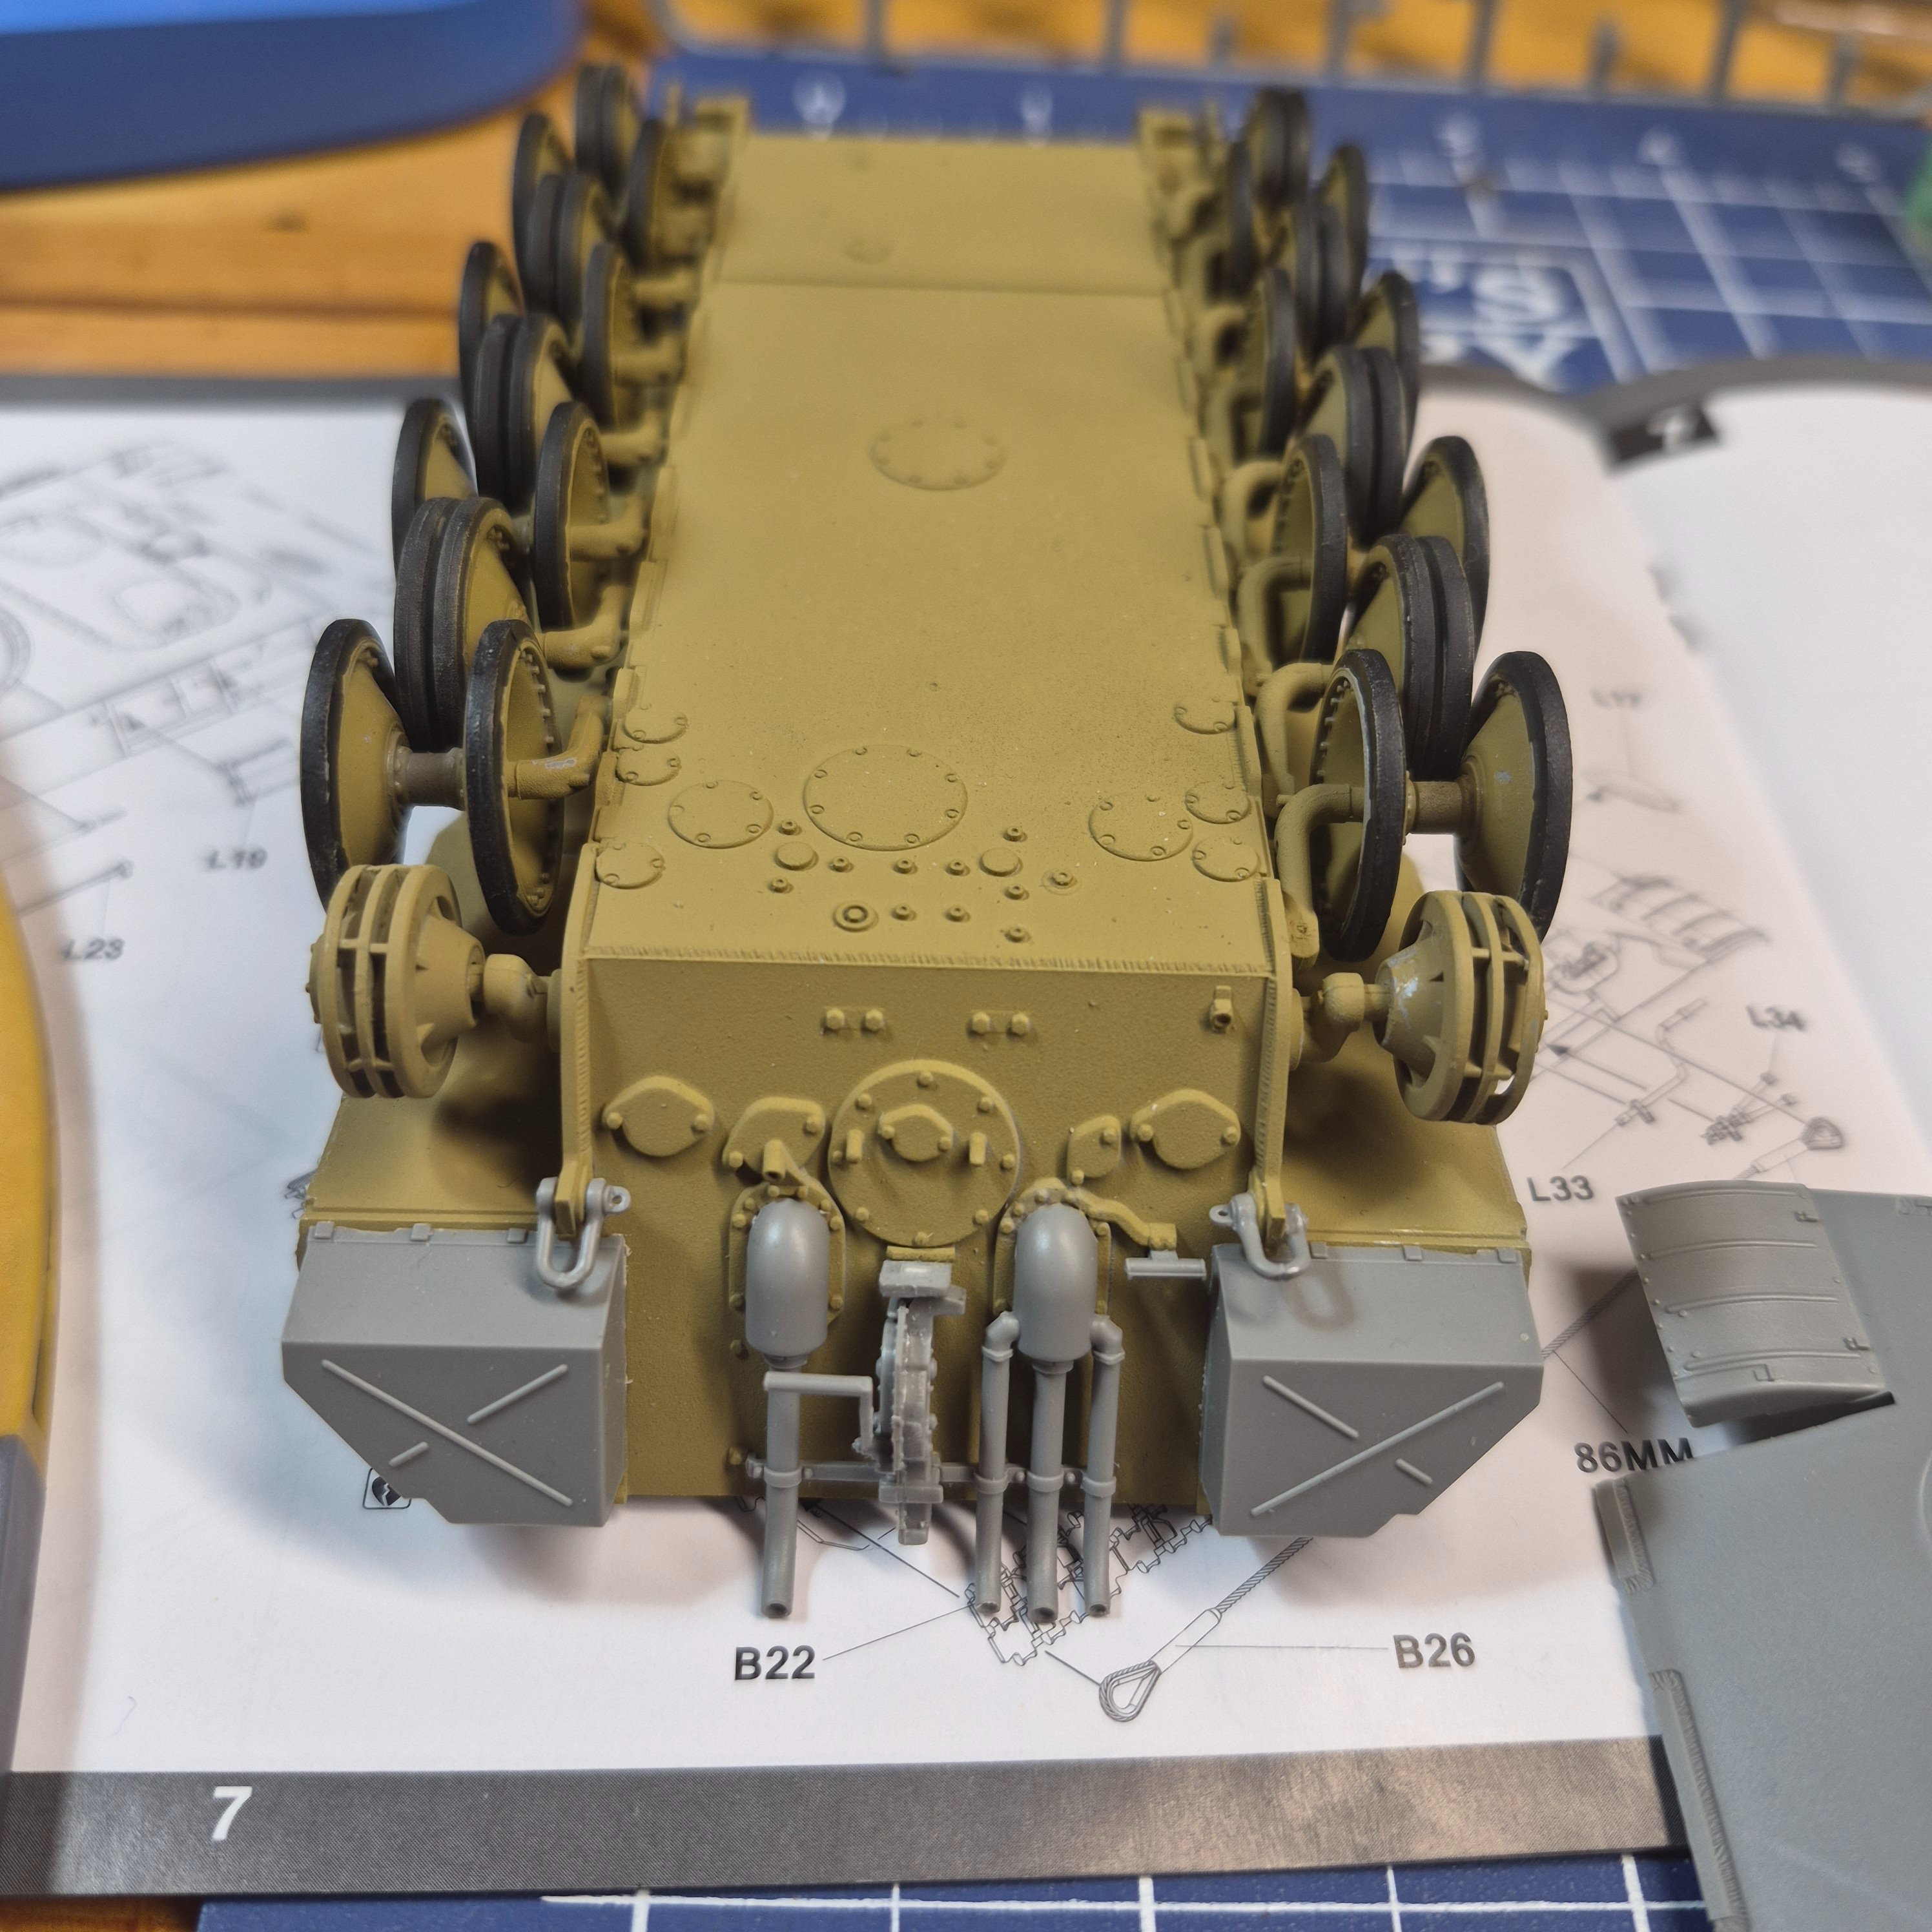
Takom 1/48What kit is this?

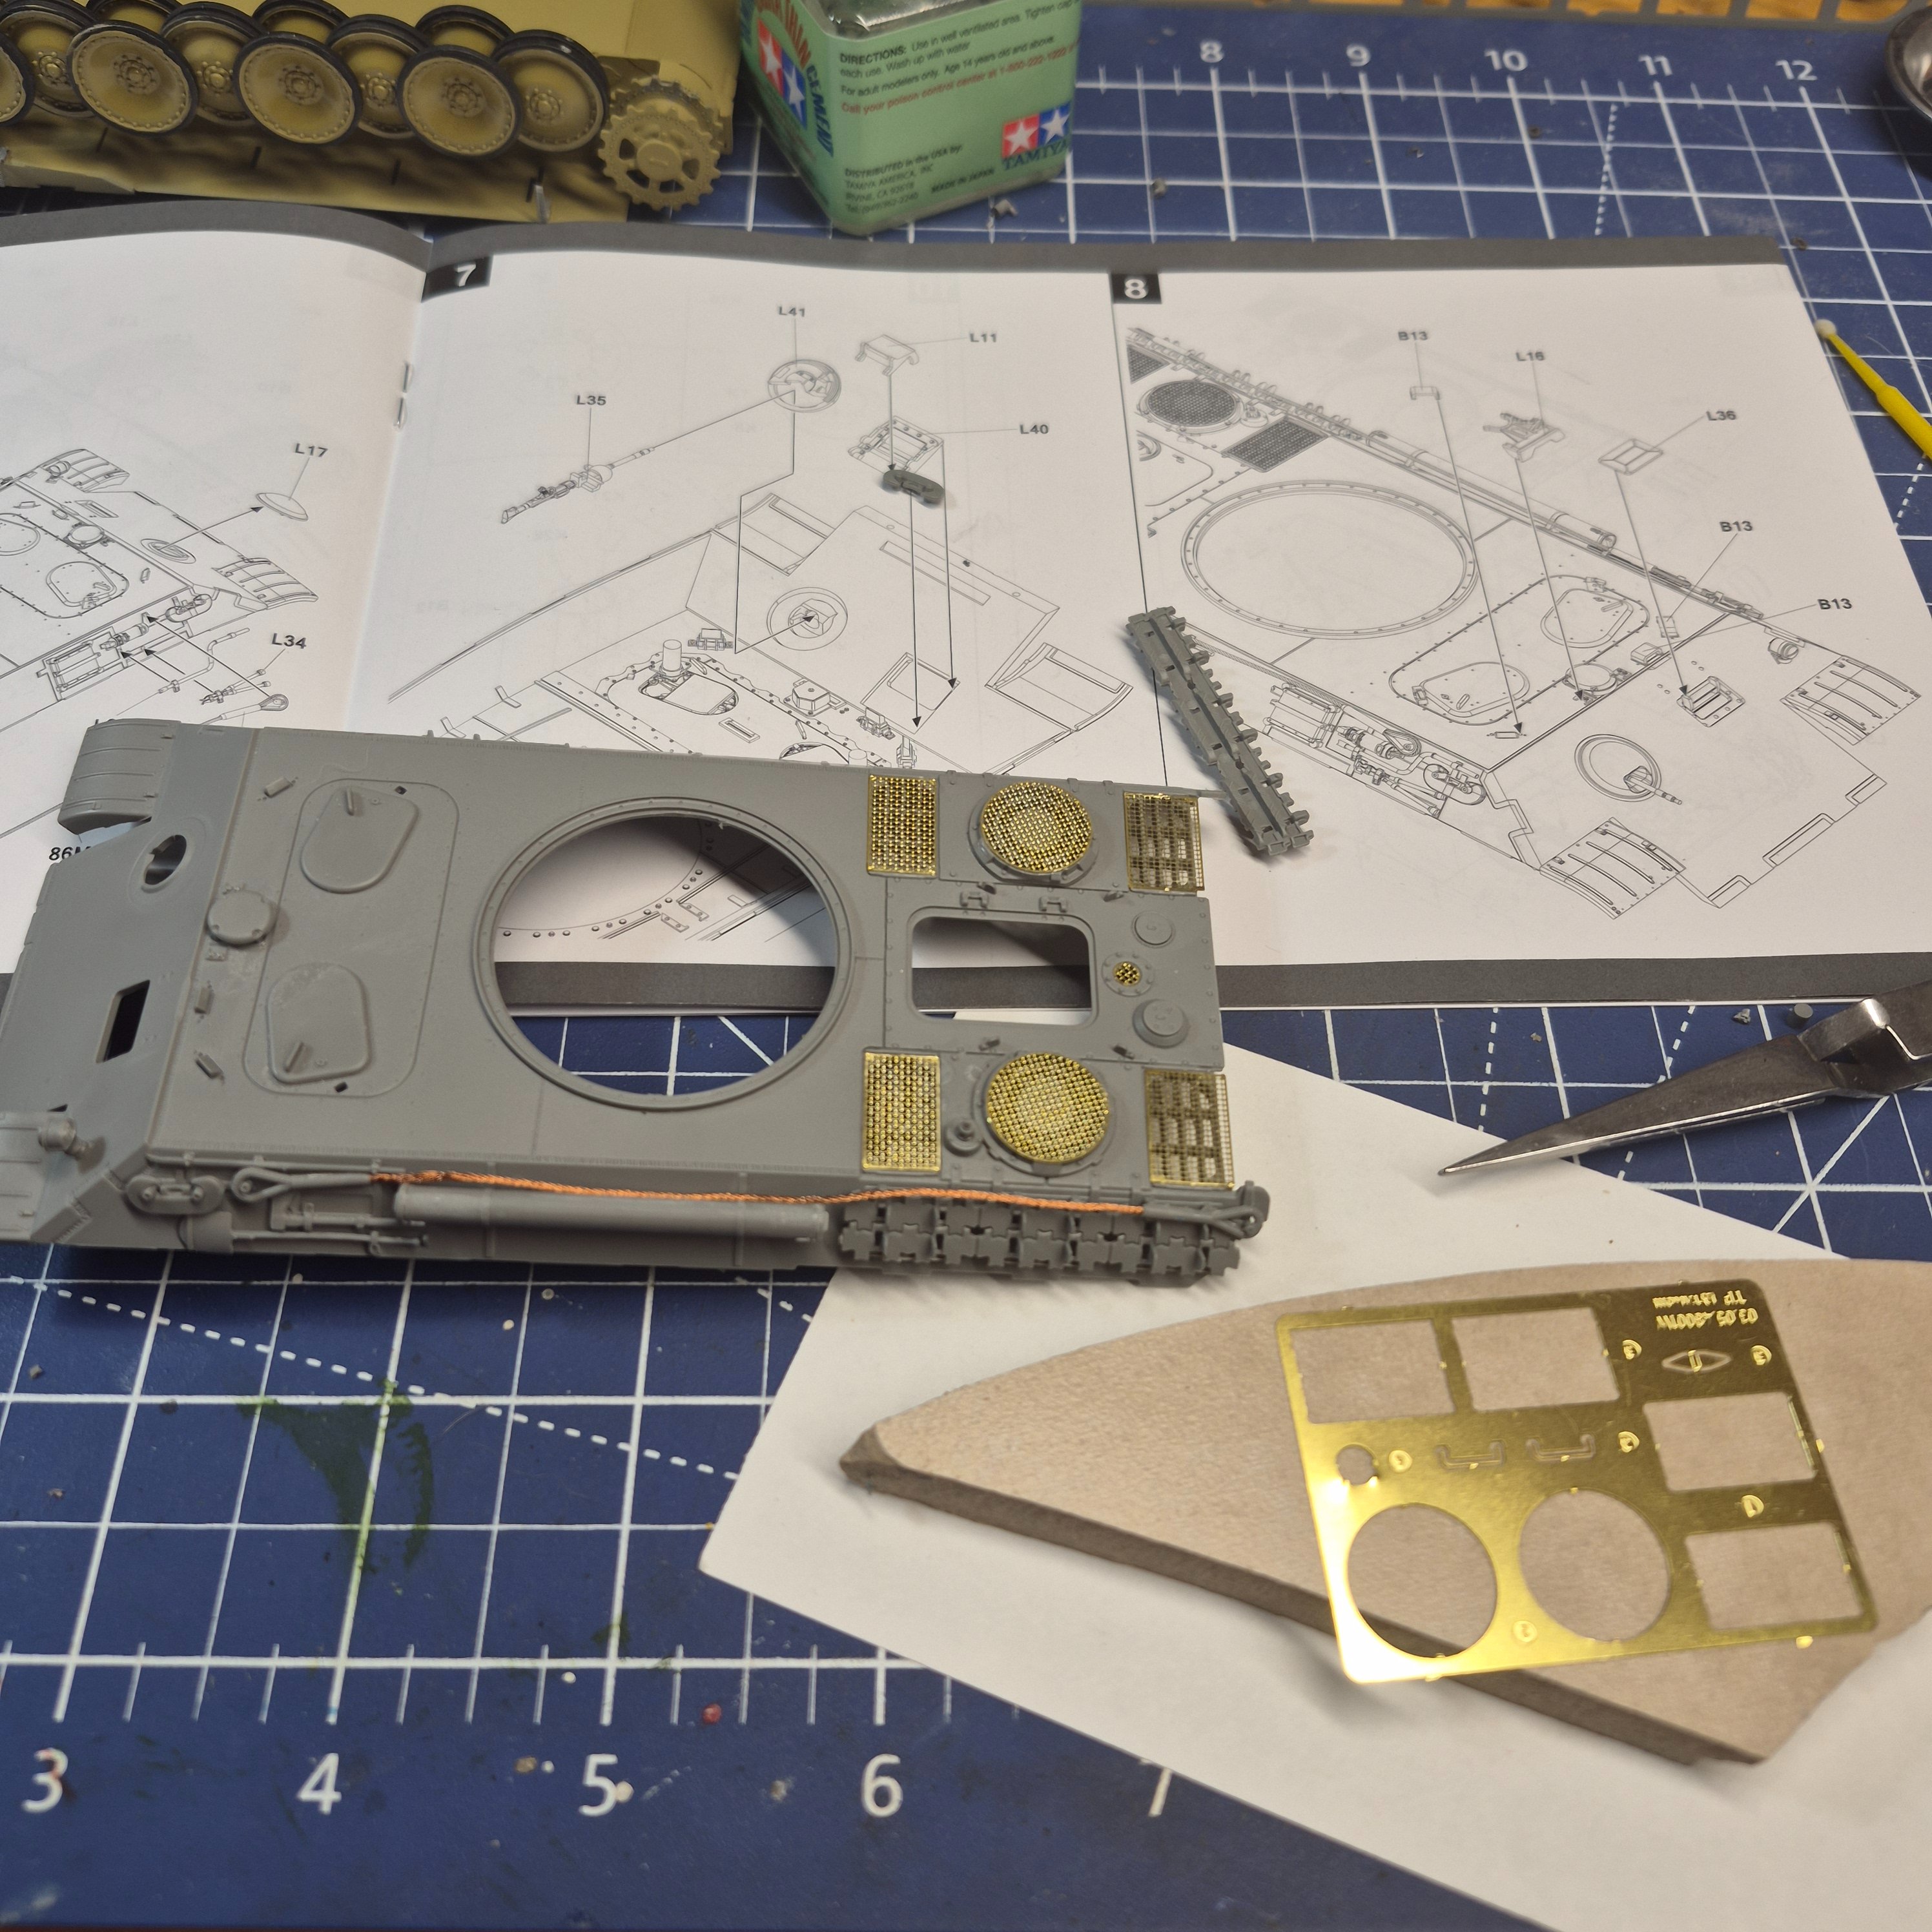
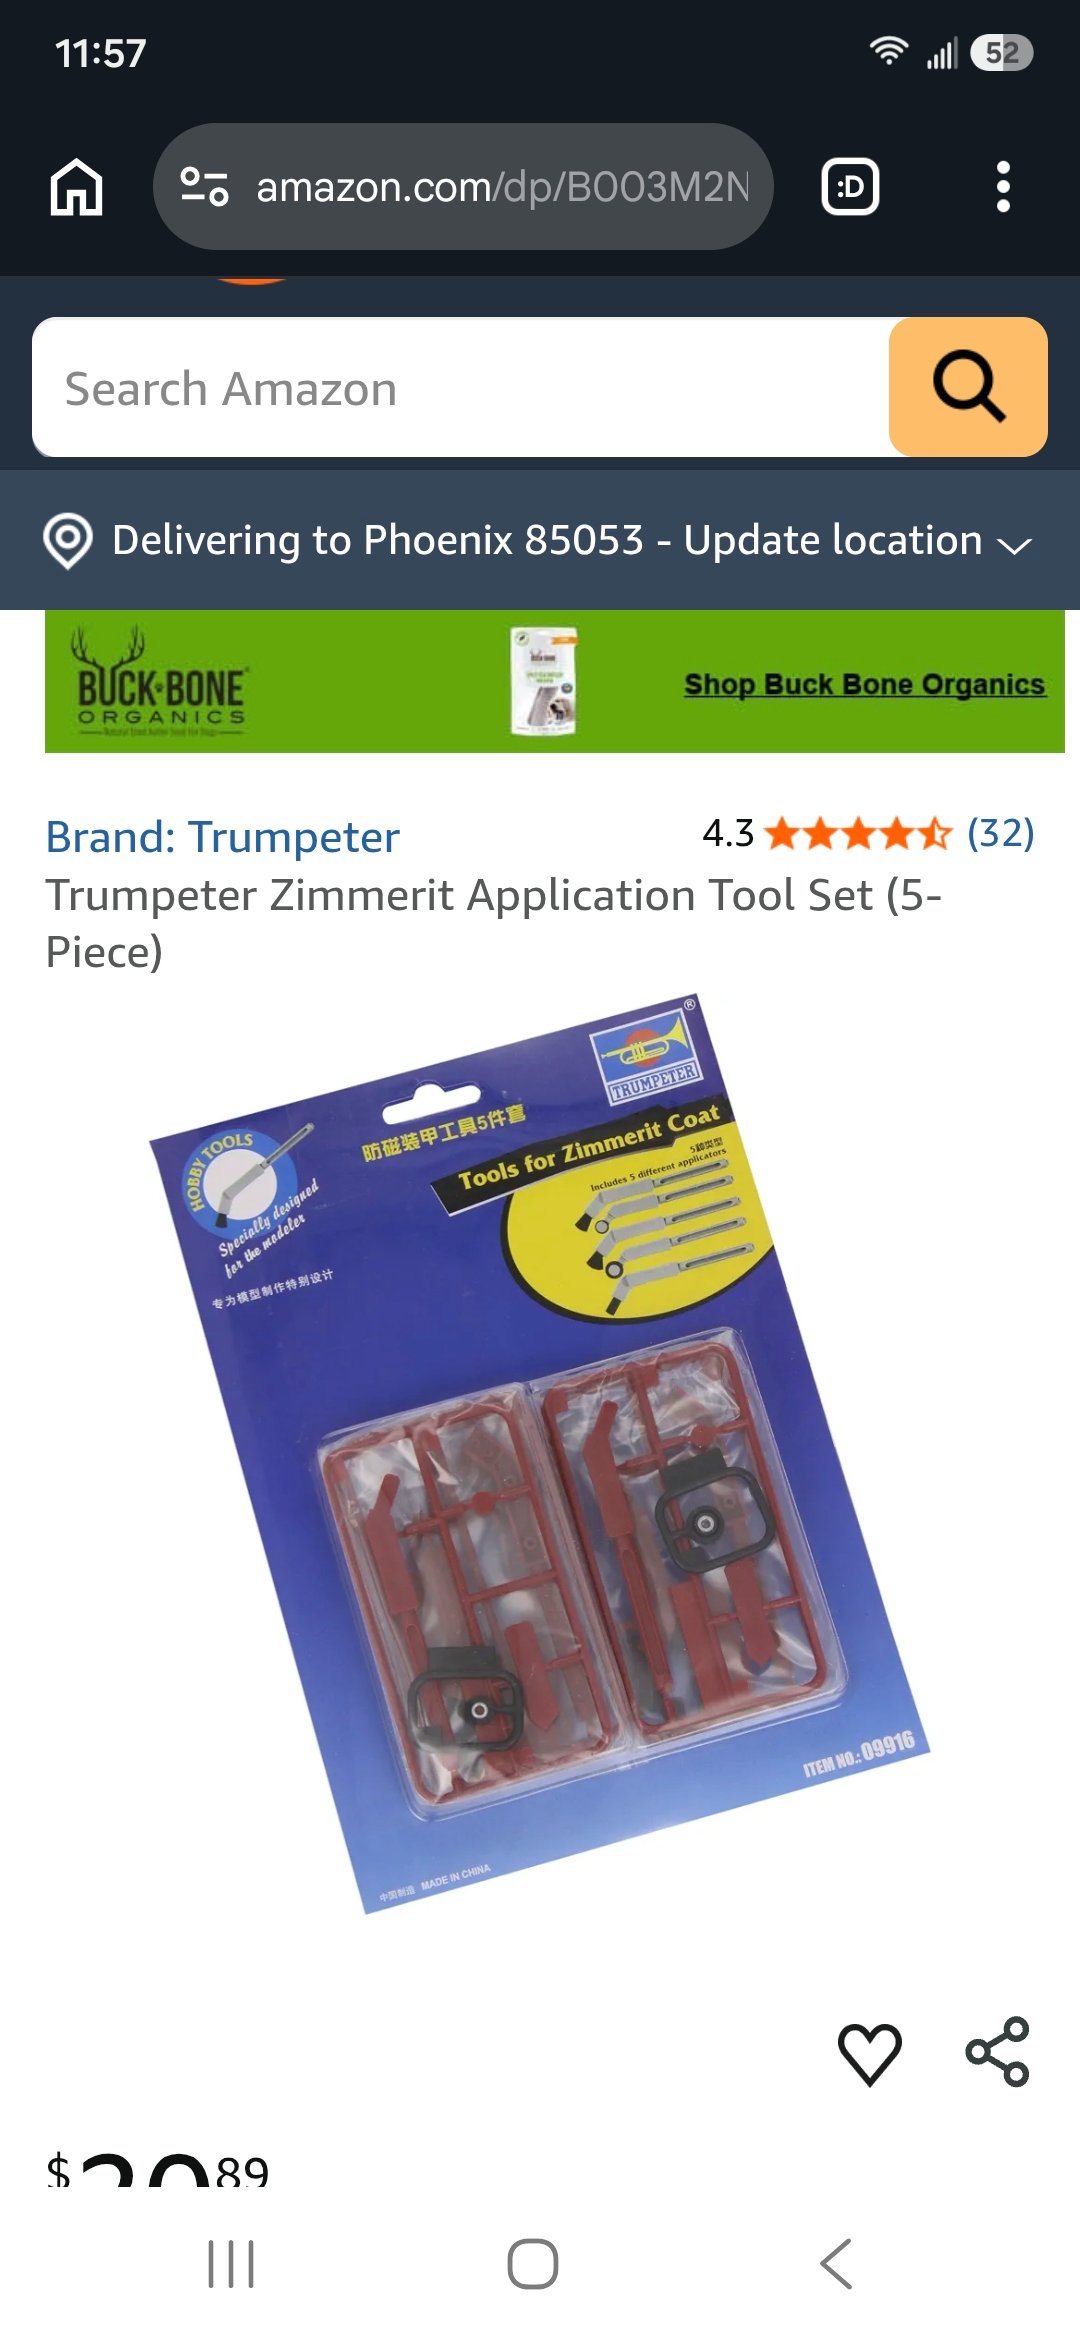
 The easiest way to do Zimmerit is probably resin sets like the kind made by ATAK, but for adding it yourself, I would recommend putty from a tube and either a Zimmerit comb (usually sold as etched parts) or a hacksaw blade. Smear putty onto the kit part, a small area at a time, and drag the comb or saw across to make the ridges.
Good to know! Zimmerite comb? Never heard of that I saw tools that had little ridged wheels on them but I like the idea of using something like a hacksaw blade and I was even thinking some sort of a gear maybe out of a servo? But yes. I have to research on this a little bit more. Remember, I'm fairly new to armor. But it's part of modeling and always willing to learn new waysIt's a bit late to put it on this model, yes
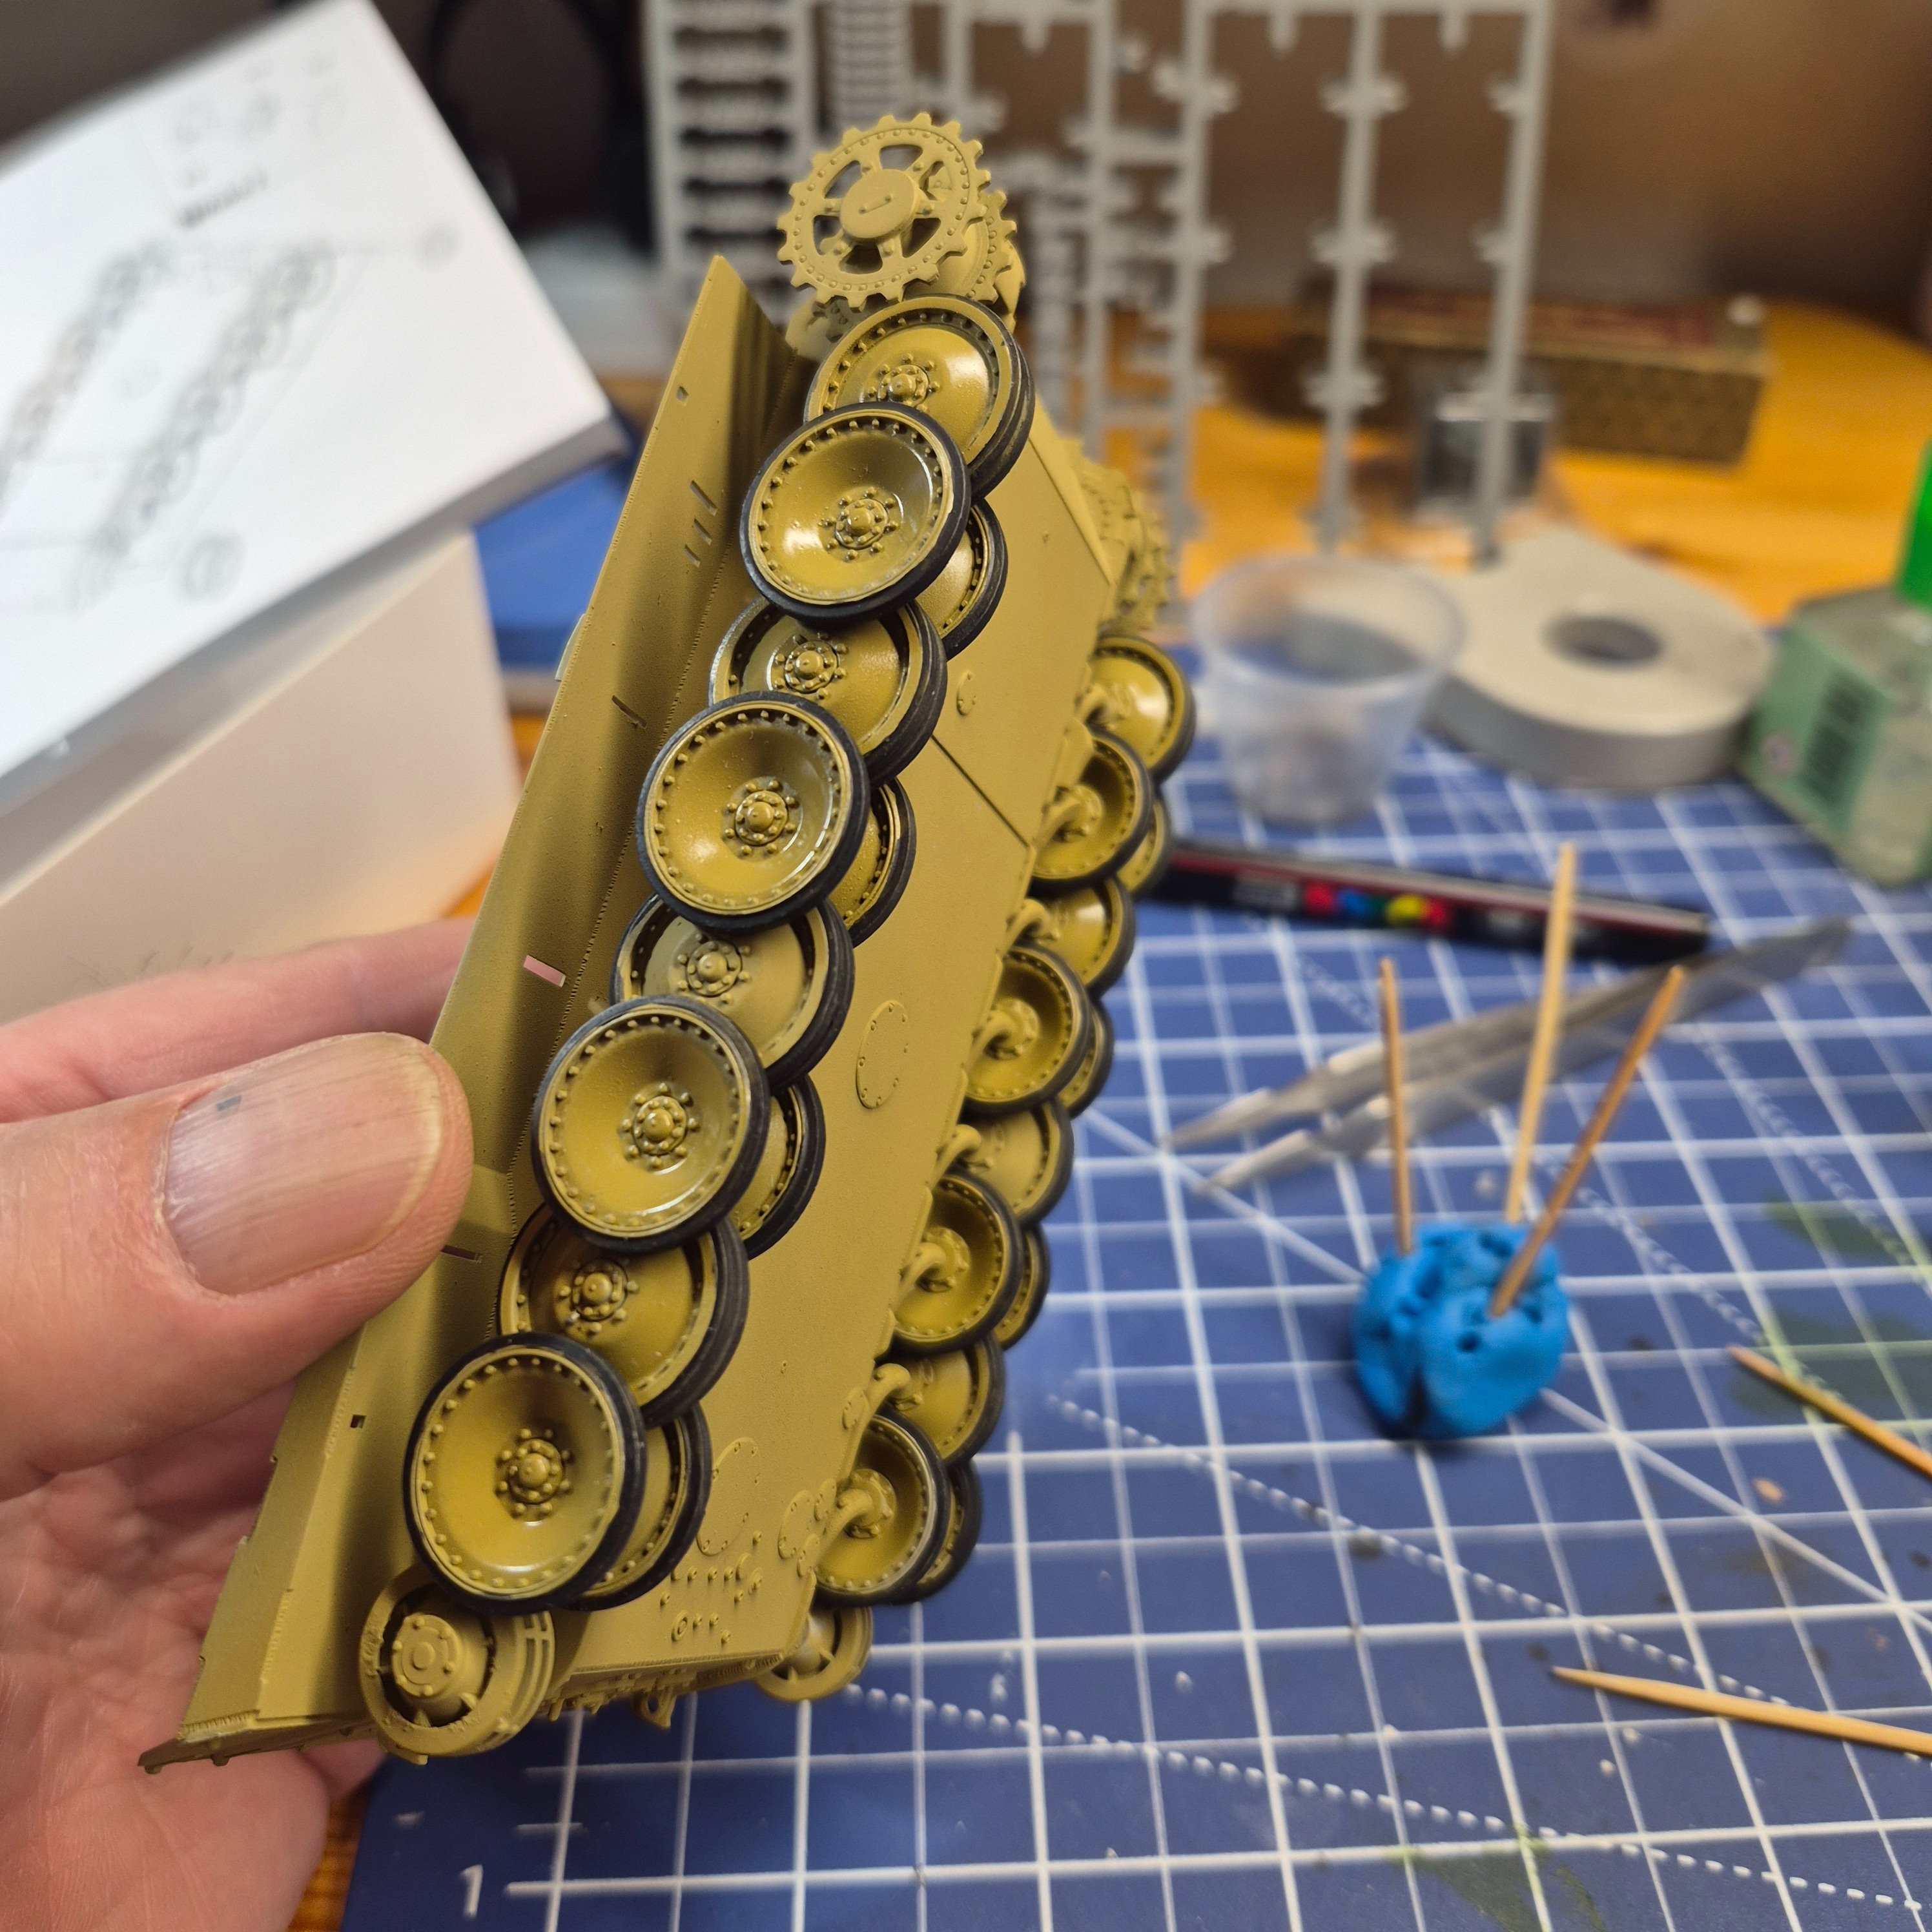
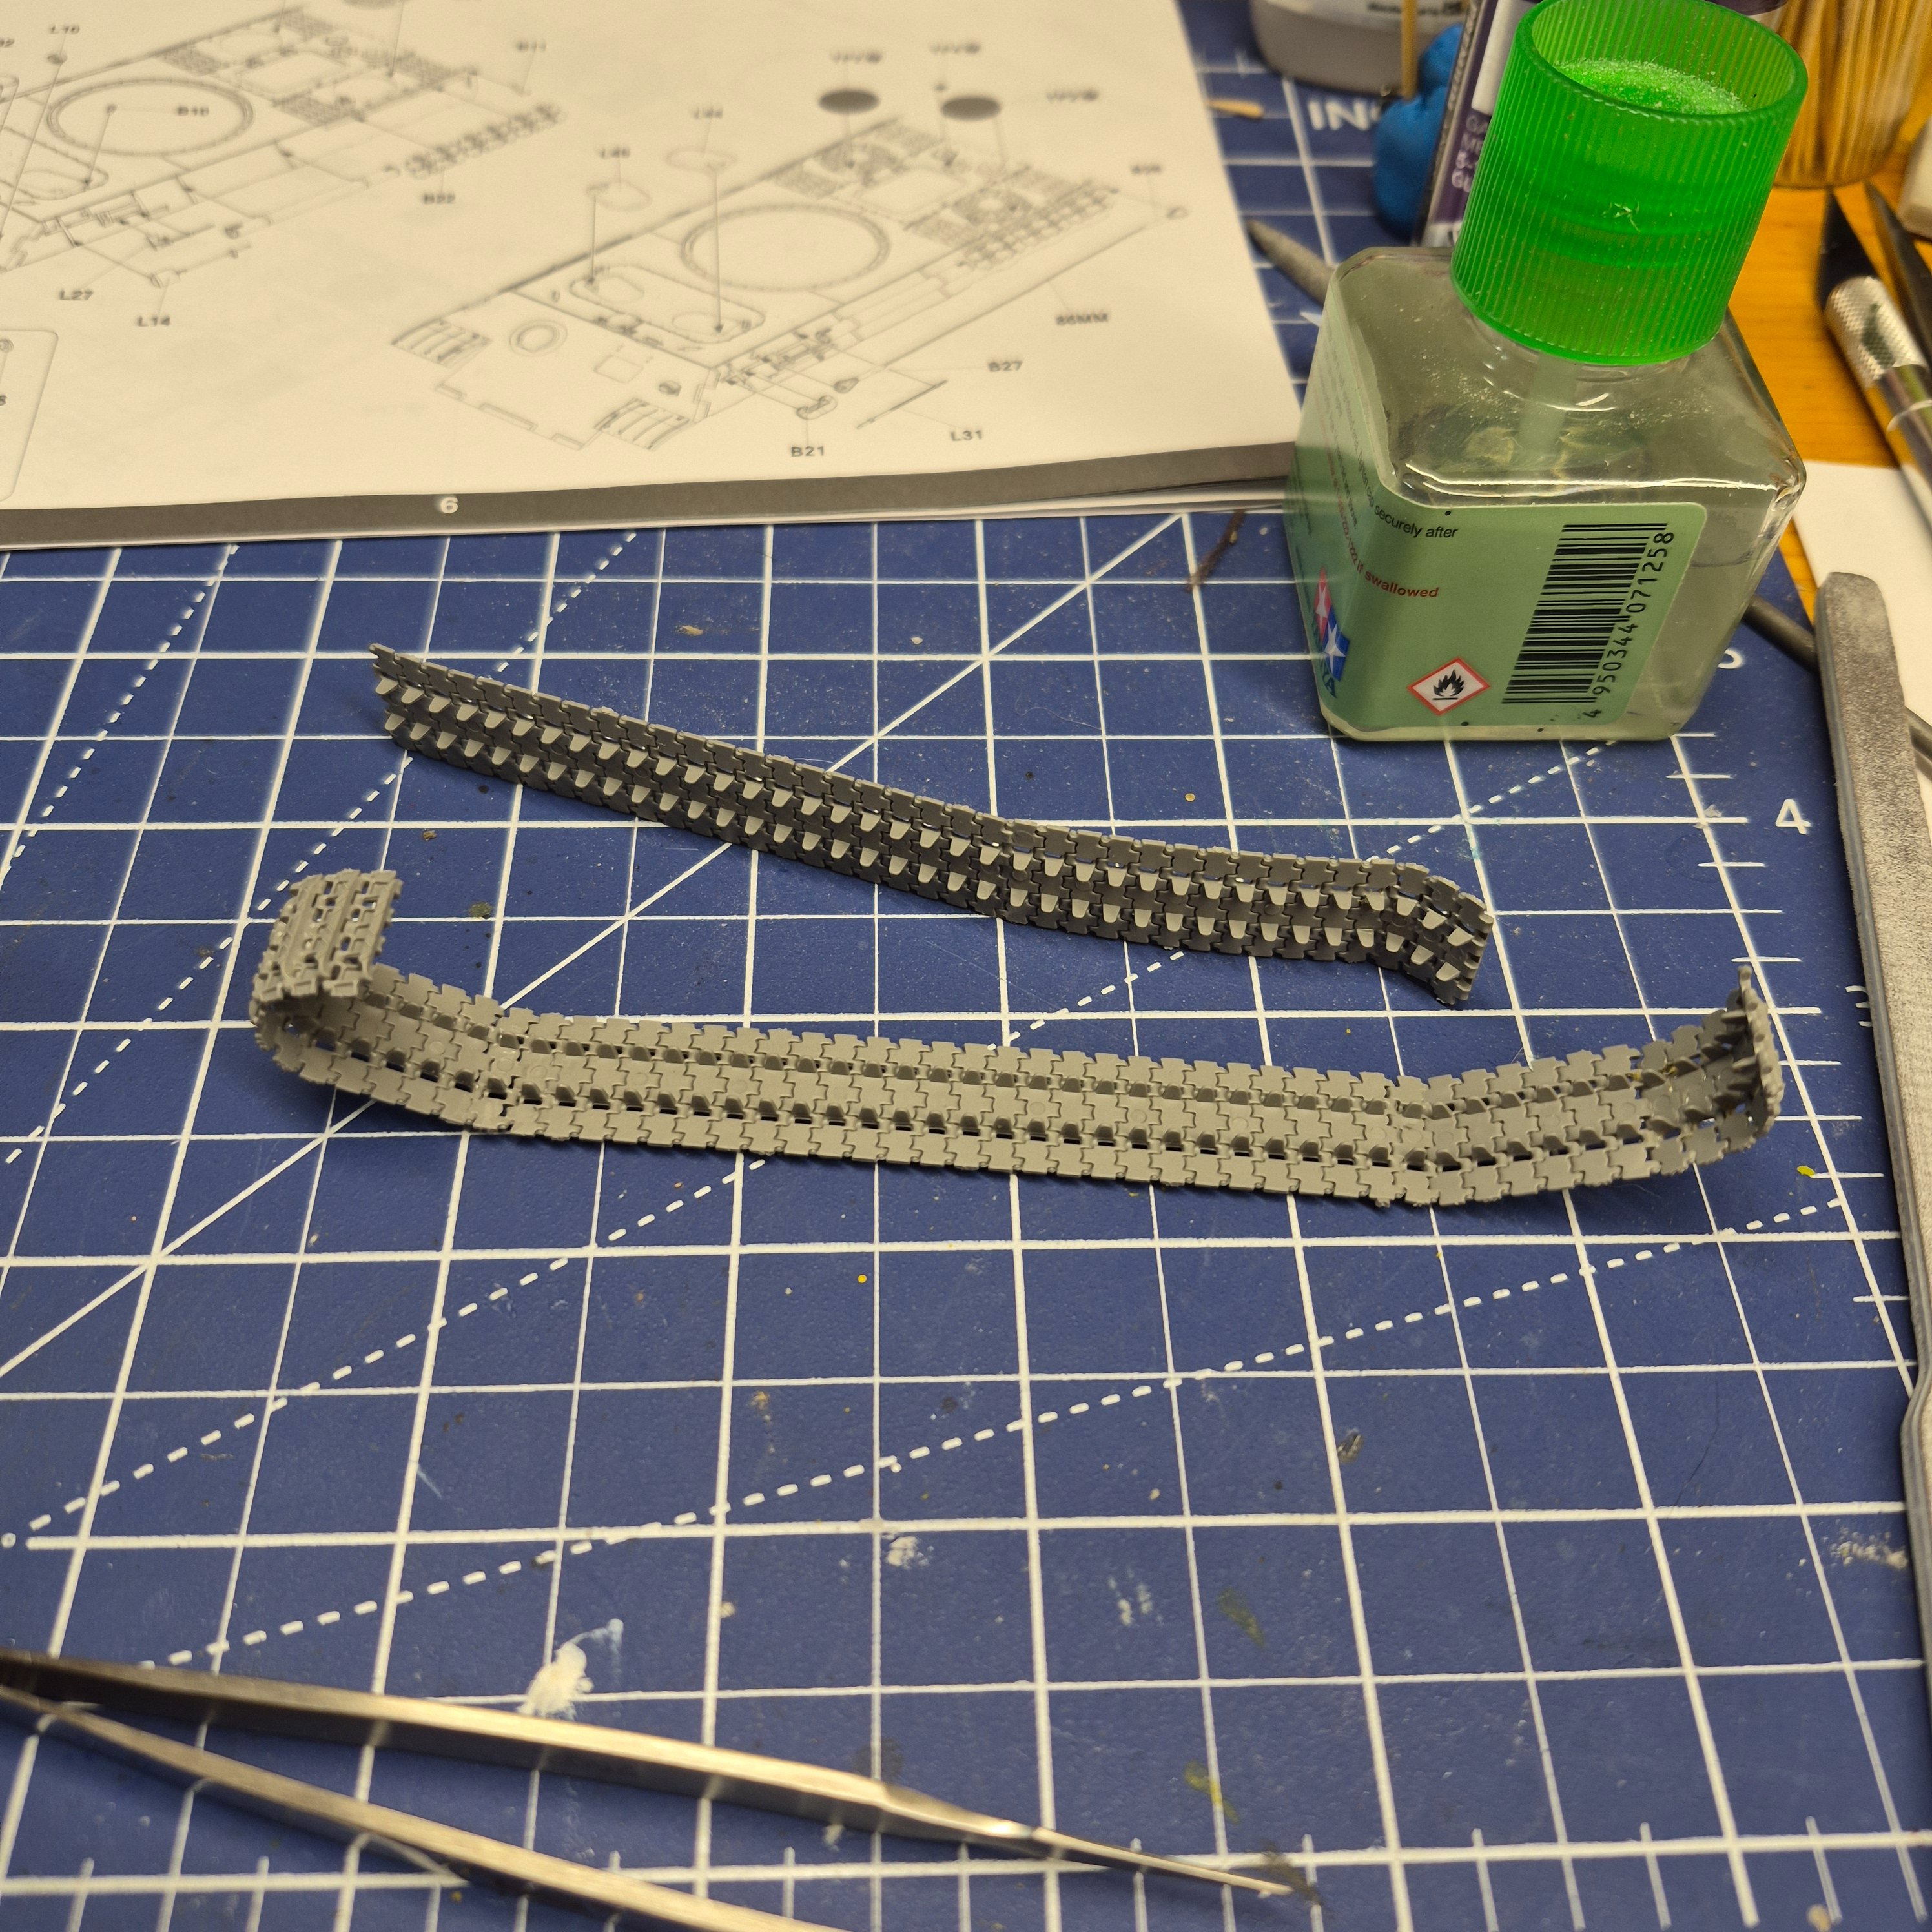
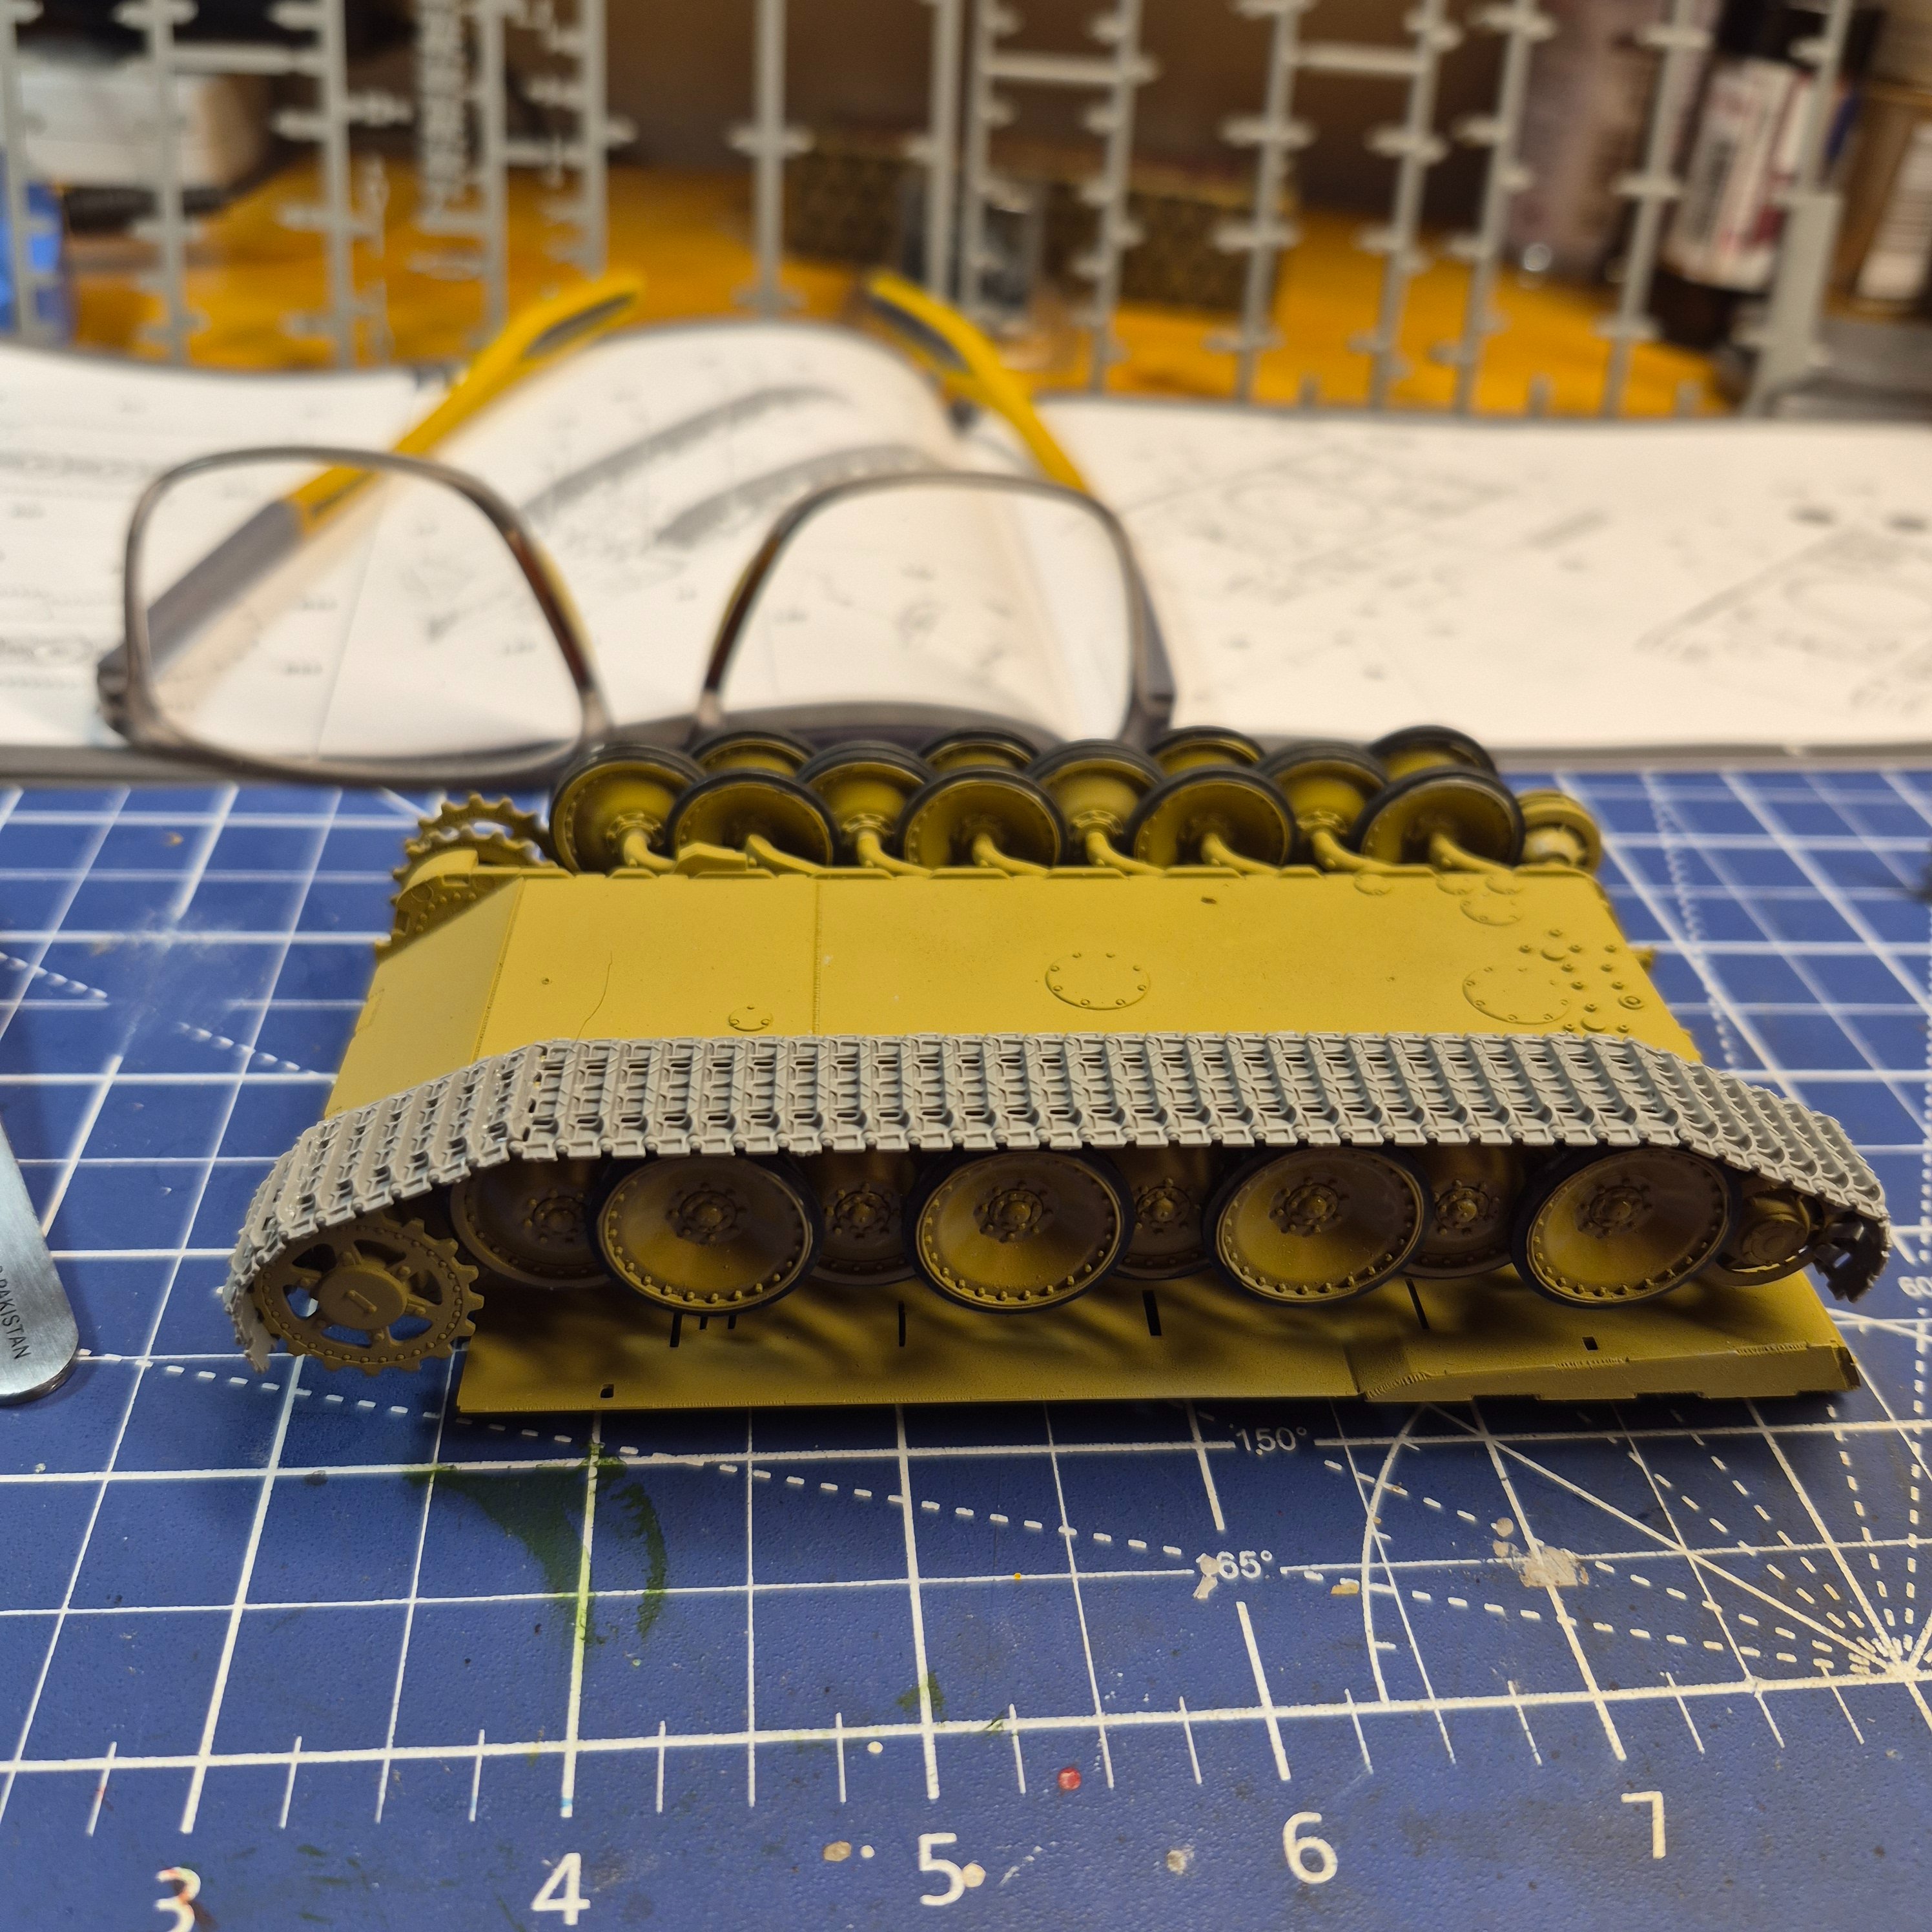
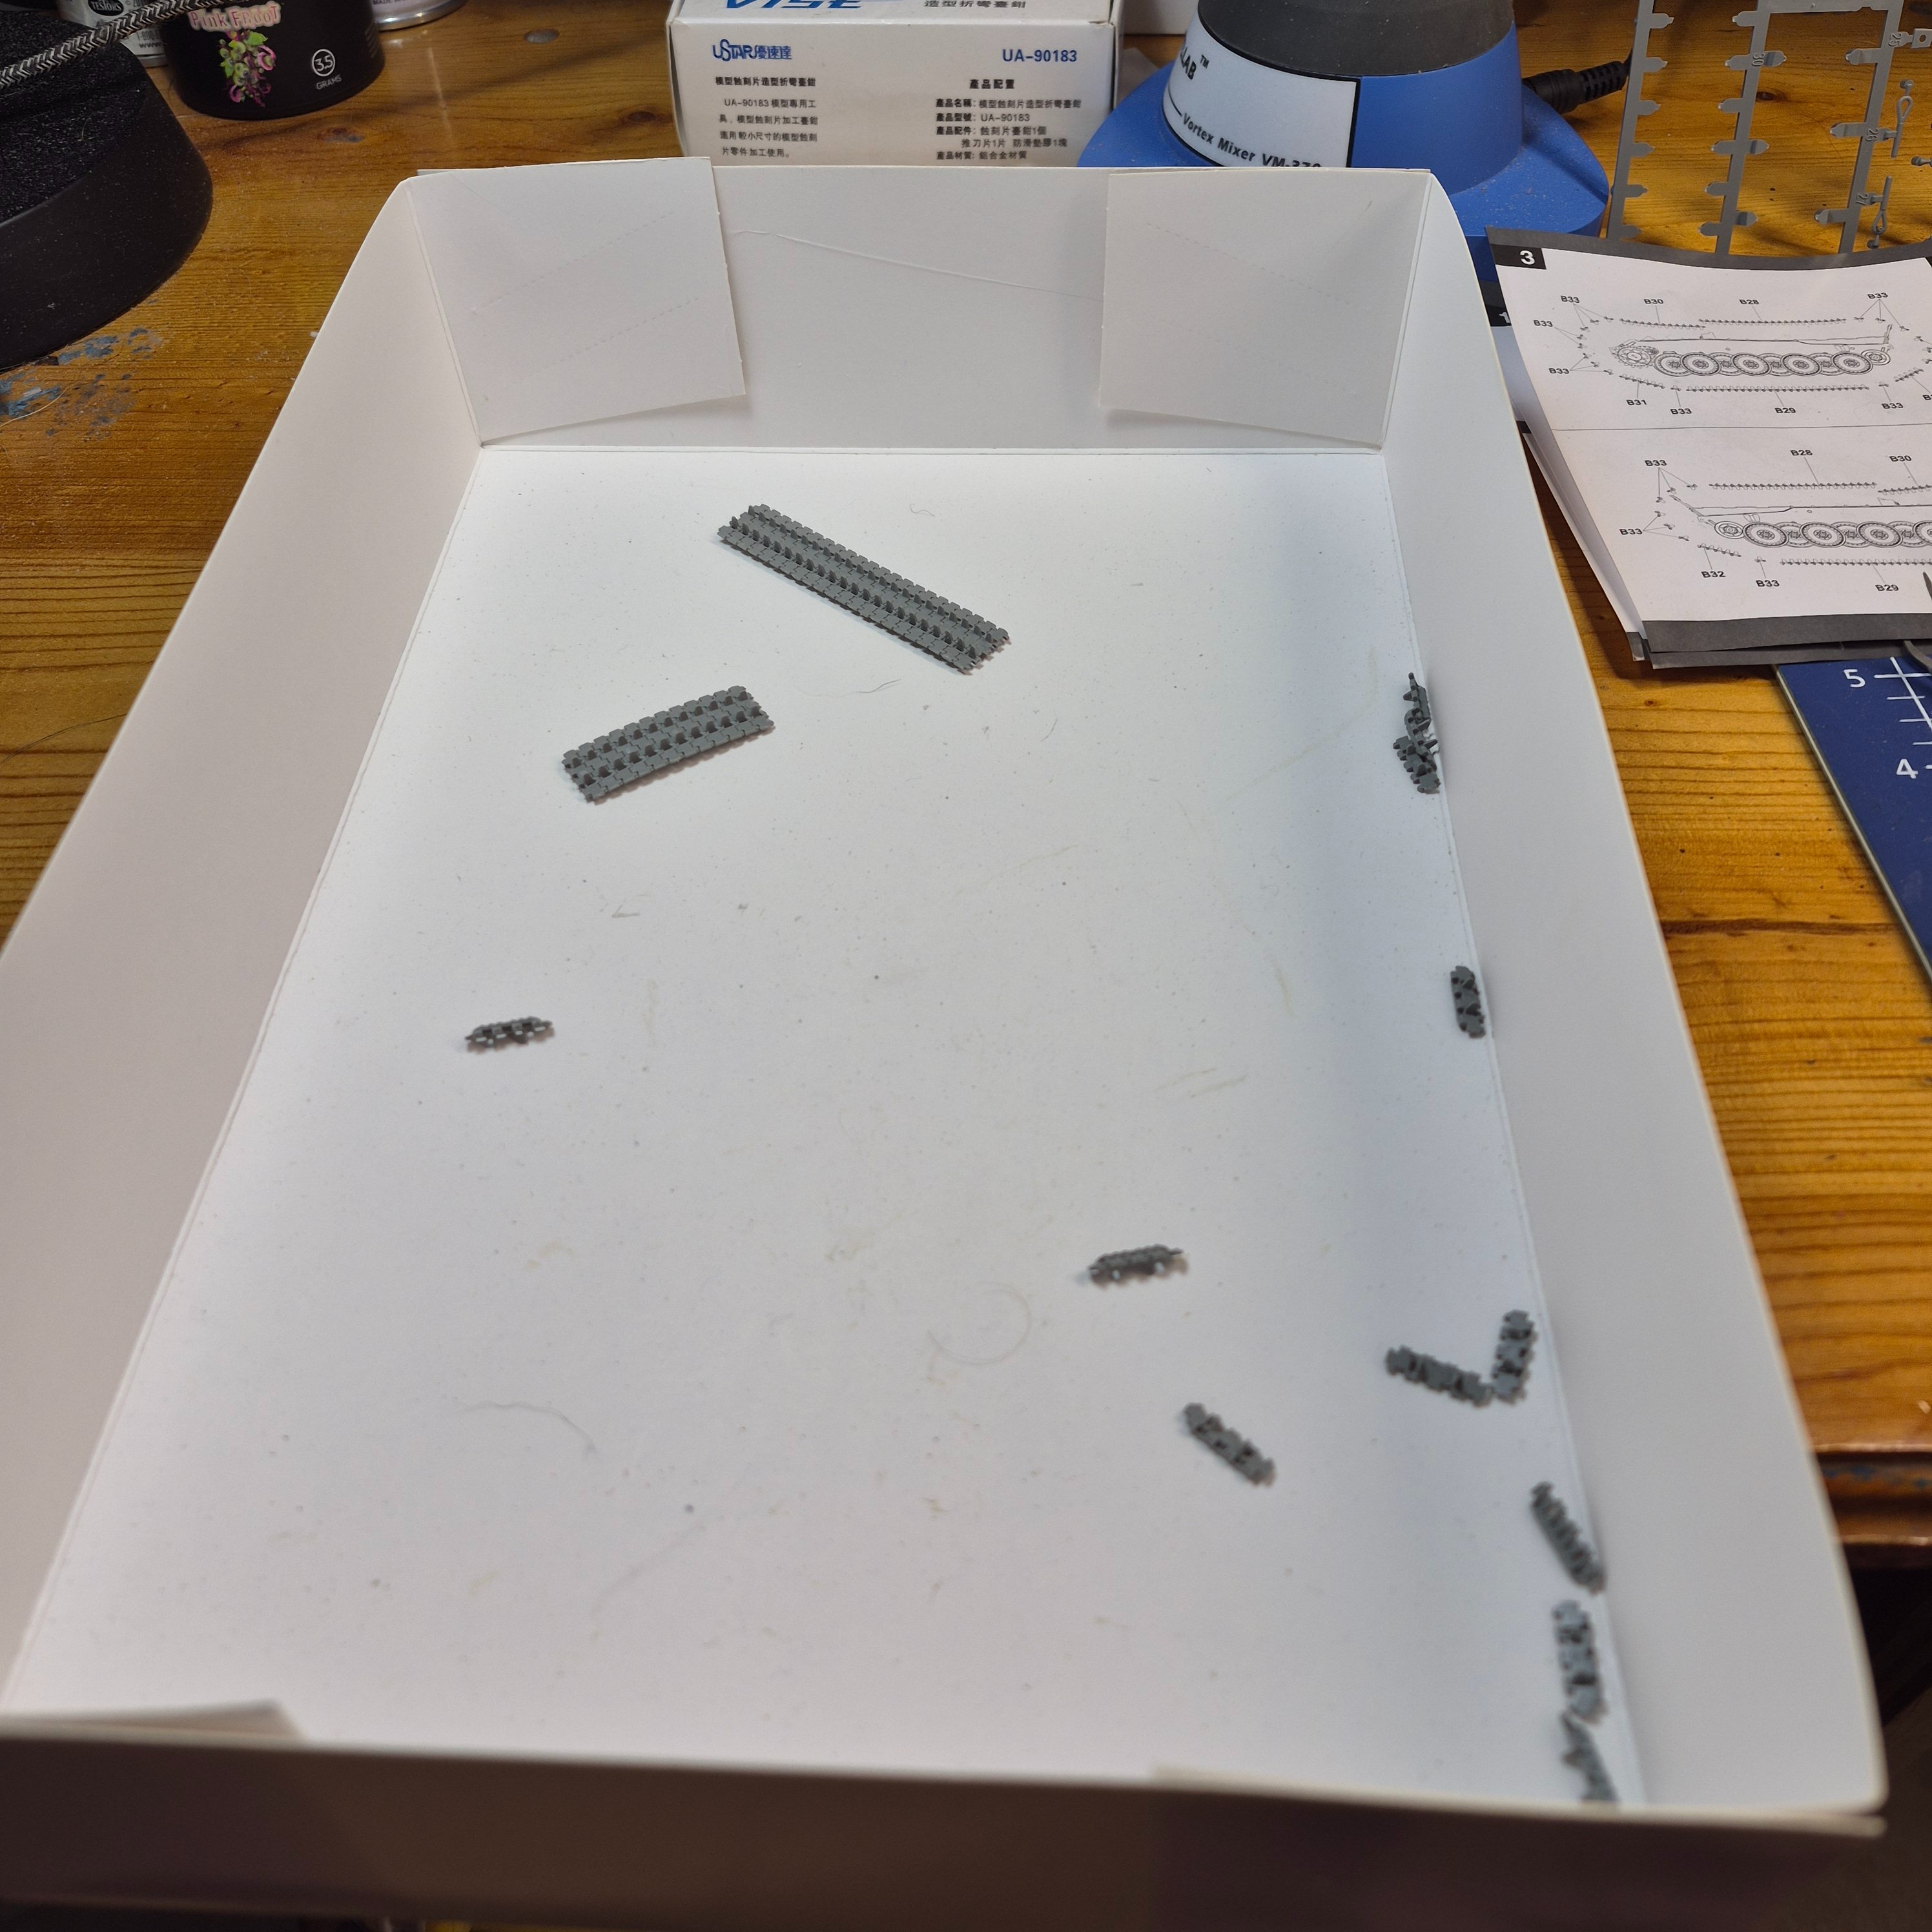
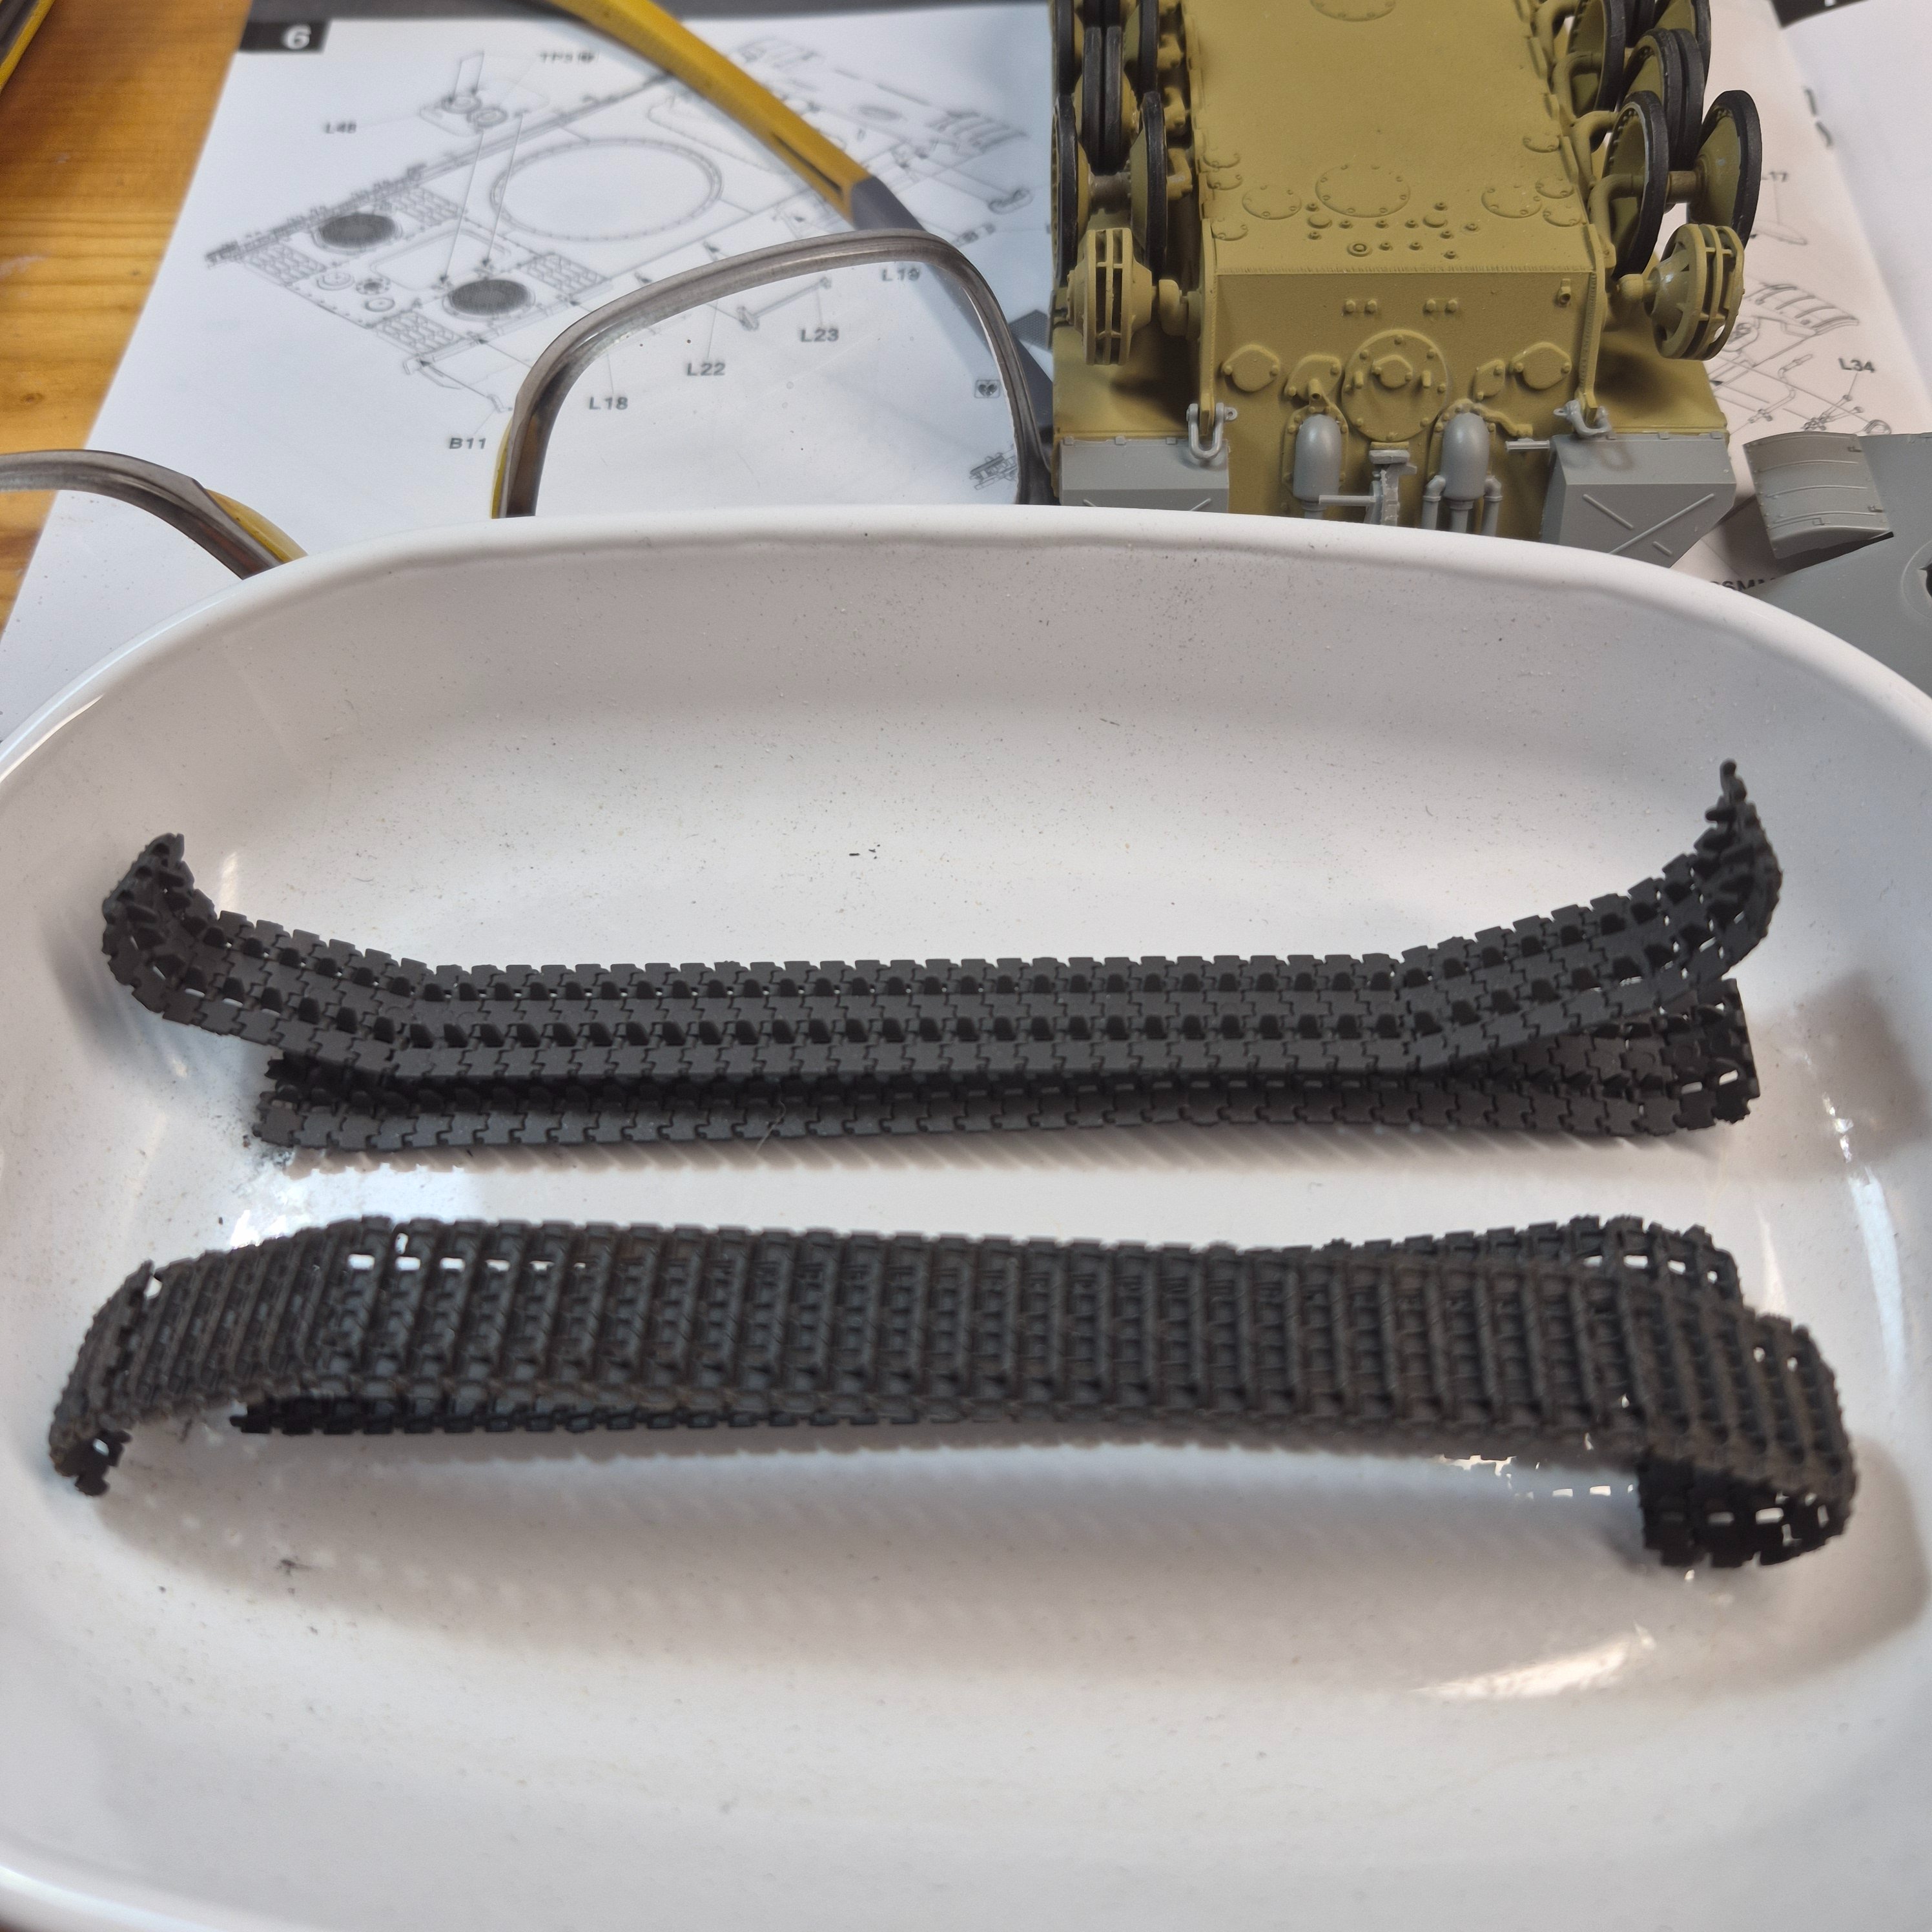
That's a good idea too. Last build I didn't glue the road wheels so I glued tracks in place and the took it apart to paint. First time trying that and it worked pretty good.The jury is still out on these tank Treads and how to build them. They seem very easy to build unlike other threads I've watched where there's four to five pieces per tread. I think they're called link and length tracks? What I did was build them in half so I can take them off and paint them
Here's Tamiya's version:Zimmerite comb? Never heard of that
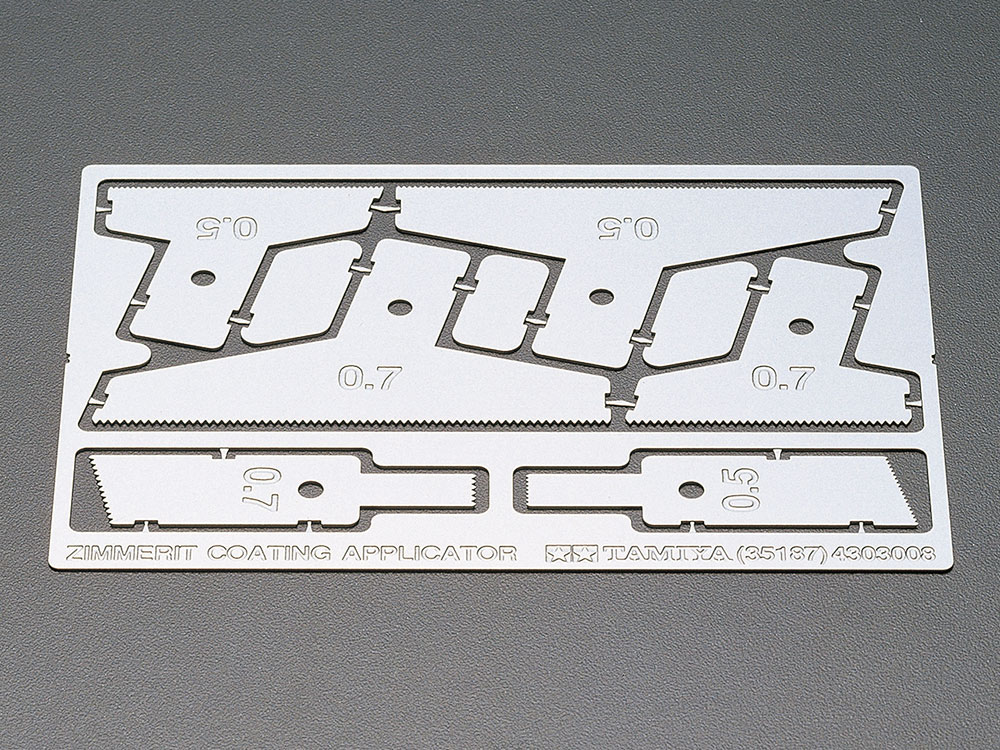 I don't think I actually bought them, but I also don't remember anybody giving them to me.)
I saw tools that had little ridged wheels on them
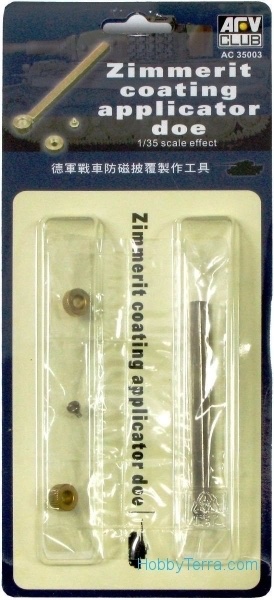

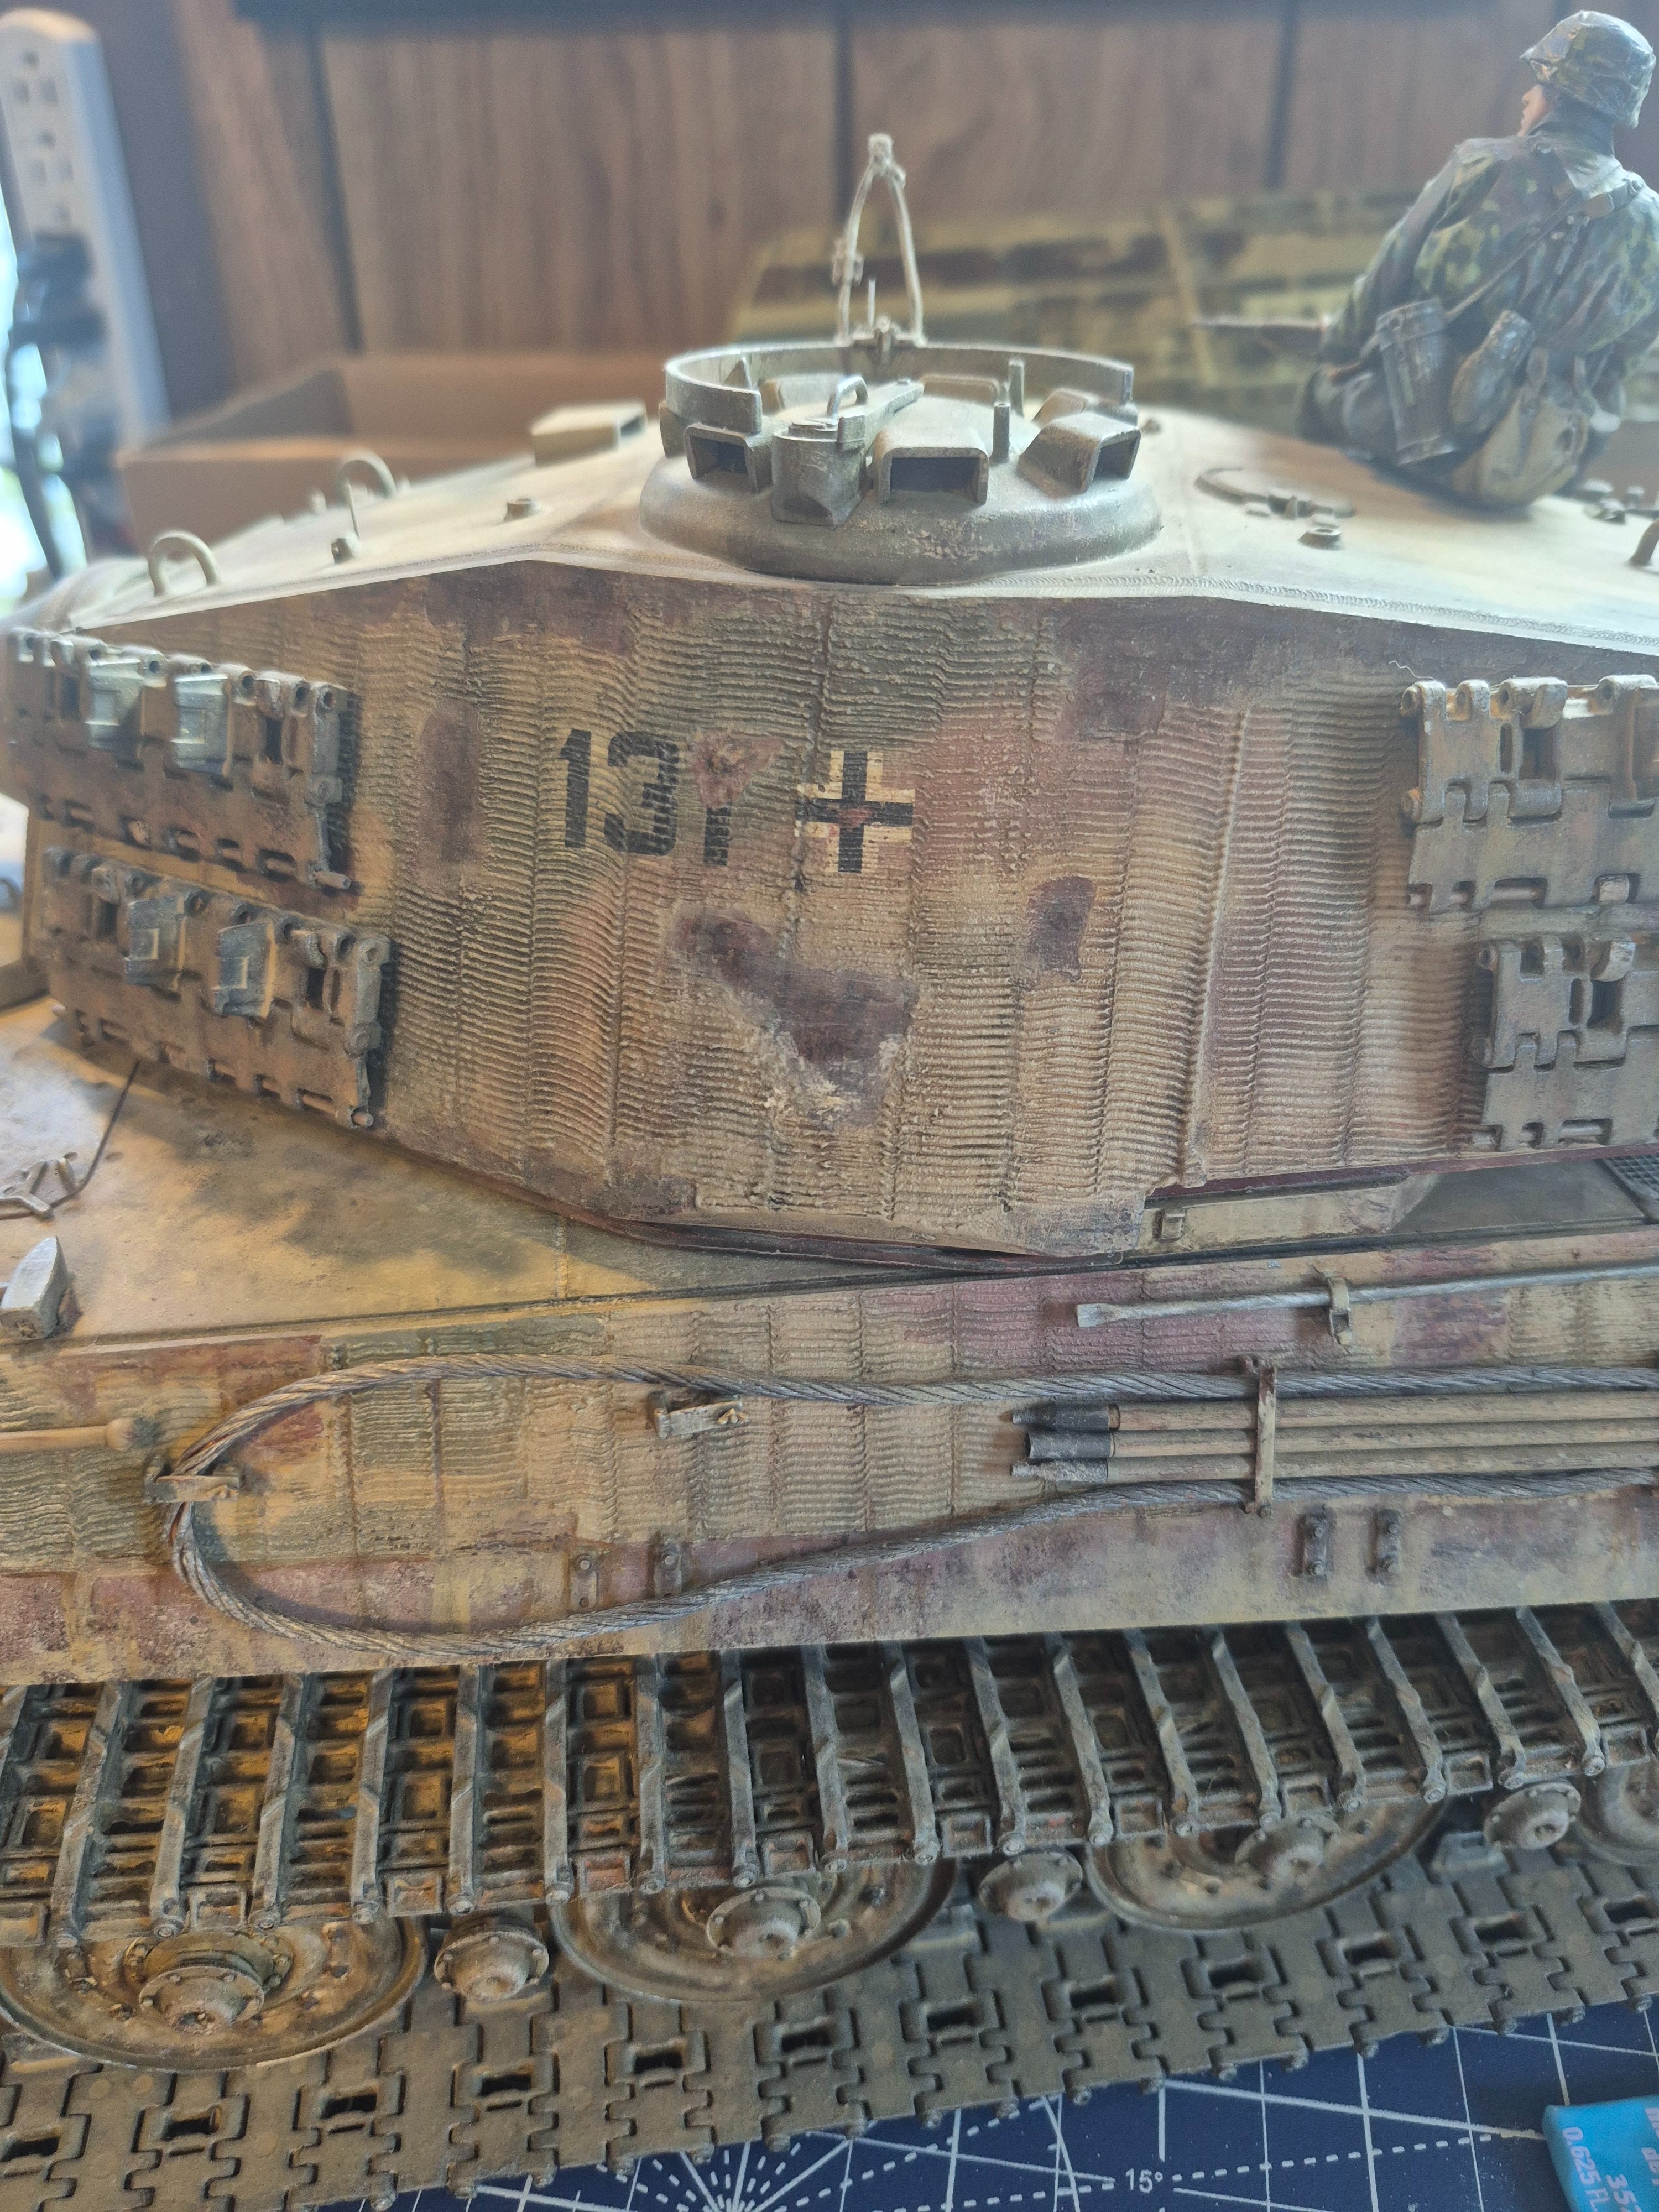
All of that. Very interesting. My downfall is I know a little bit about everything. At least I thought I did. But I didn't know how they applied zimmerite. Thanks. And then some enterprising young fellow came along and said zimmerite, shhmimerite, I present to you the Sticky Bomb...It was mainly applied at the factory, in a laborious process involving (IIRC) smearing it on, drying it somewhat with a blowtorch, repeatedly stabbing it with a wide putty knife to create ridges until those ridges stop collapsing, and then drying it with a blowtorch some more. The natural colour of Zimmerit was the same sort of dark yellow as the base colour of German tanks, because it had ochre pigment mixed in.
All of which is to say: Yes, markings generally go over the Zimmerit, and unless you're really good with Micro Sol or similar, you'll probably want to hand-paint markings or spray them through a stencil.

You're right. Damn Tom HanksYou mean the British glue-covered grenade? That probably wouldn't fare too well against Zimmerit either, because the ridges provide little surface for it to stick to.
If you recall, they stuck the bombs to the wheels in Saving Private Ryan to get a mobility kill on the tank.You're right. Damn Tom Hanks
Yes I remember now. You see? This is exactly what happens when you think you are a comedian and want to make a little joke about something stupid and it backfiresIf you recall, they stuck the bombs to the wheels in Saving Private Ryan to get a mobility kill on the tank.
Do you remember the little star stickers teachers would give you on your homework when you were in kindergarten and grade school? You just earned two of them!The funny thing about Zimmerit is that the Germans, having developed magnetic shaped charges for fighting tanks, figured everyone else would soon follow — so they came up with Zimmerit as a countermeasure against a weapon only they themselves had. The Western Allies, though, felt that tanks were better fought from a distance using rockets and spigot mortars (bazookas and PIATs, respectively) while the Soviet Union was the only one with still-viable anti-tank rifles (the PTRS and PTRD) so they also didn't need magnetic charges.
BTW, those Soviet anti-tank rifles are the reason for the additional plates over the top of the suspension on the Panther: the lower hull side could be penetrated by 14.5 mm AP rounds, so an extra 5 mm of armour was added outside the tracks, which would cause the projectile to begin to tumble and hit the real armour at an angle. Only later did it turn out these plates were also useful against shaped charges fired from bazookas, PIATs and captured Panzerfausts.
I laughed. Accurate or not it was funnyYes I remember now. You see? This is exactly what happens when you think you are a comedian and want to make a little joke about something stupid and it backfires
Nope. Pretty much no homework until secondary school (age 12+) in this country, at least in my day (things may have changed in the decades since, I don't know) and in any case, homework didn't get graded even there — you were just expected to do it, and possibly the whole class got a minor, semi-impromptu test (which did get graded) based on stuff you had been told to learn.Do you remember the little star stickers teachers would give you on your homework when you were in kindergarten and grade school?
Thanks, I supposeYou just earned two of them!

Interesting.Nope. Pretty much no homework until secondary school (age 12+) in this country, at least in my day (things may have changed in the decades since, I don't know) and in any case, homework didn't get graded even there — you were just expected to do it, and possibly the whole class got a minor, semi-impromptu test (which did get graded) based on stuff you had been told to learn.
Thanks, I suppose
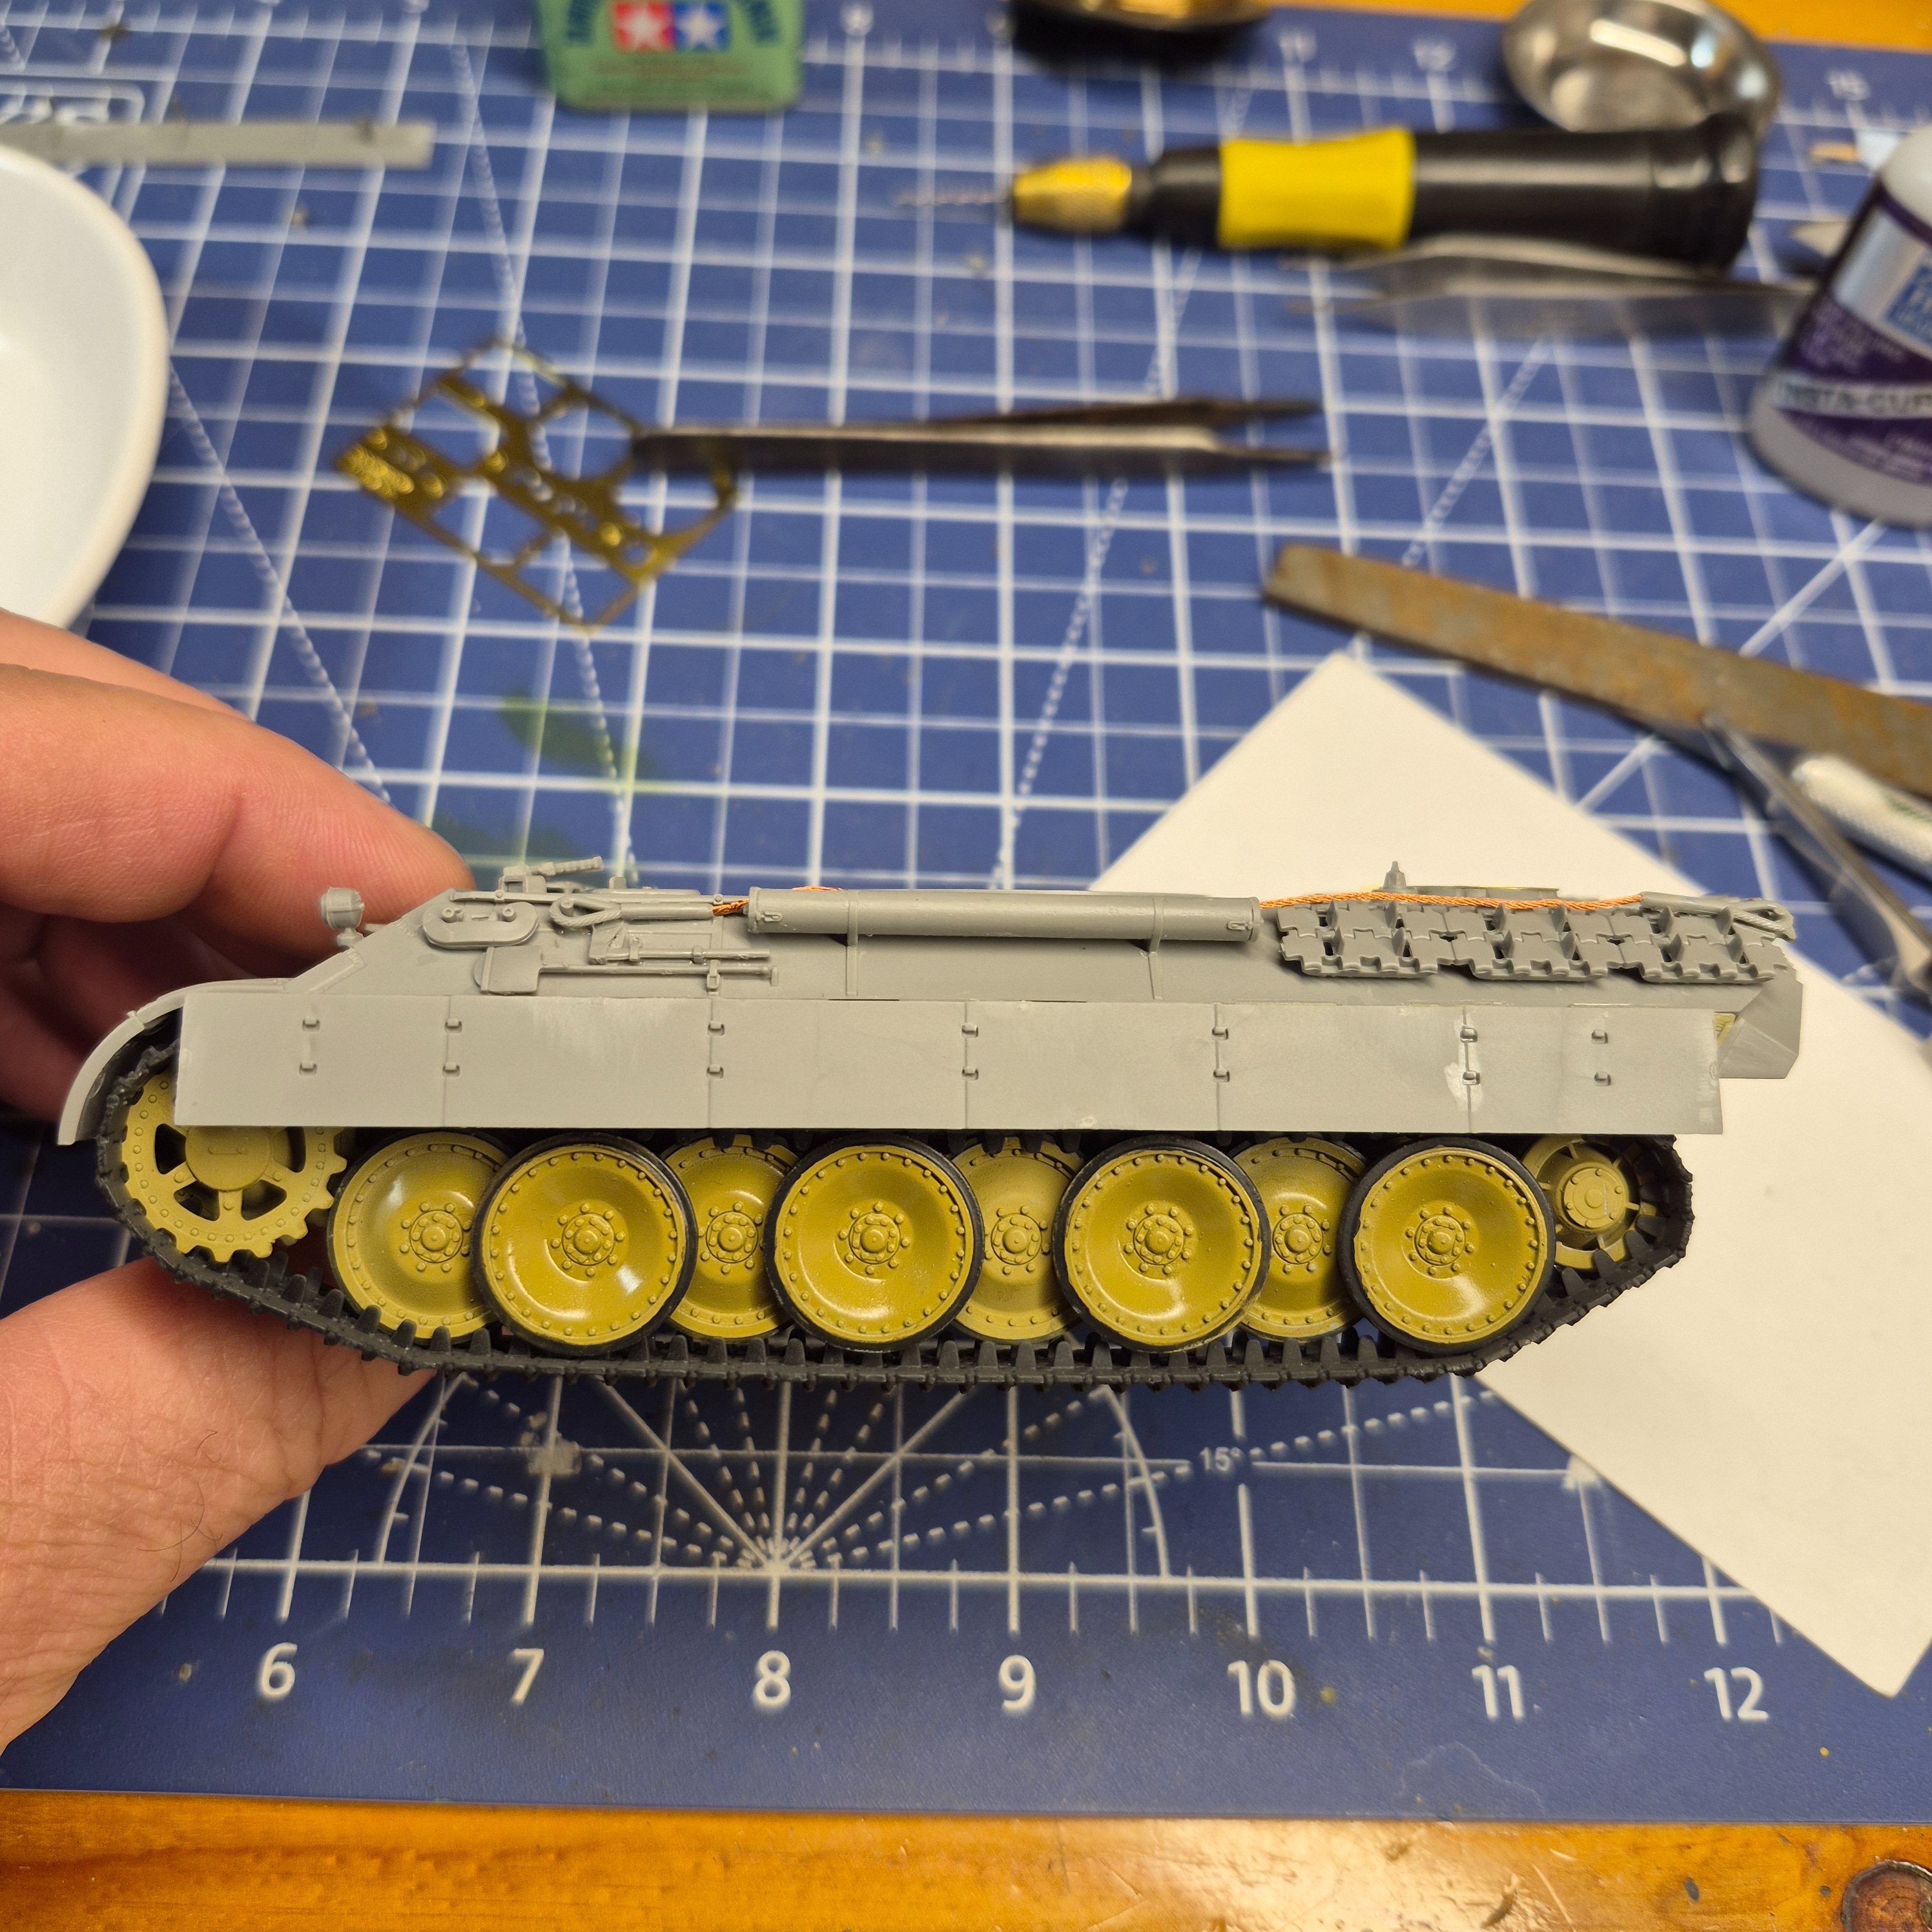
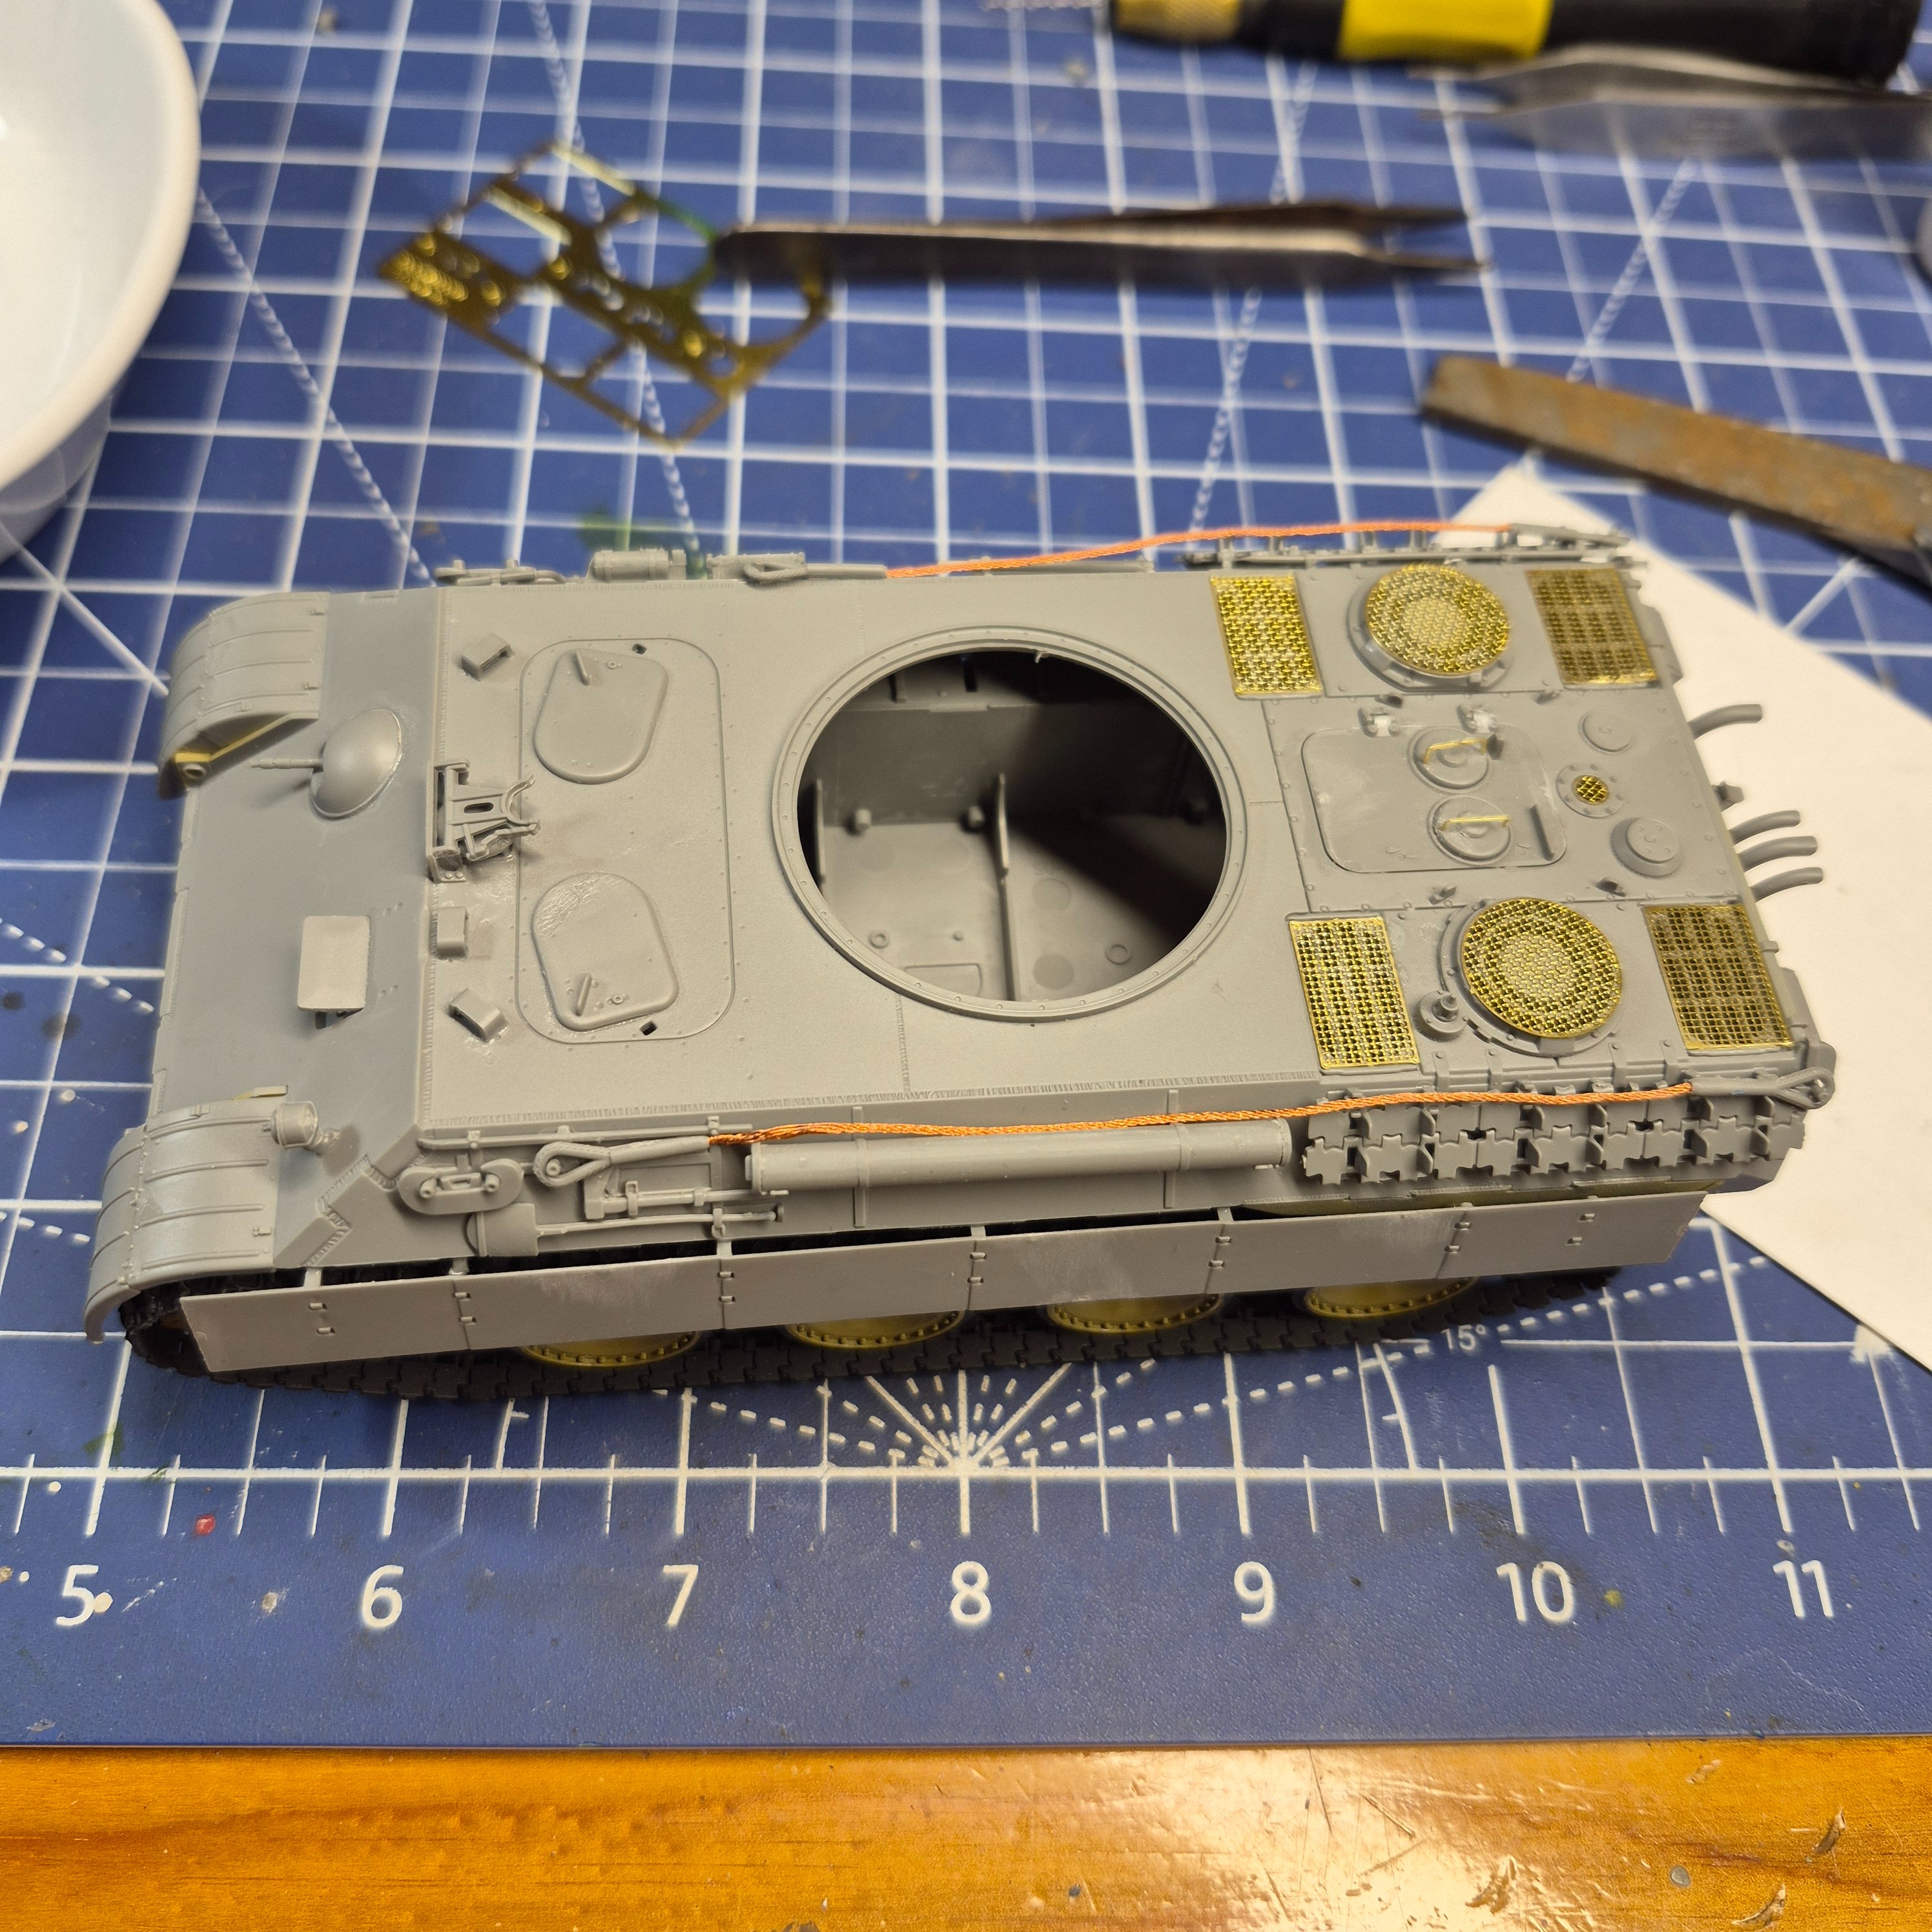
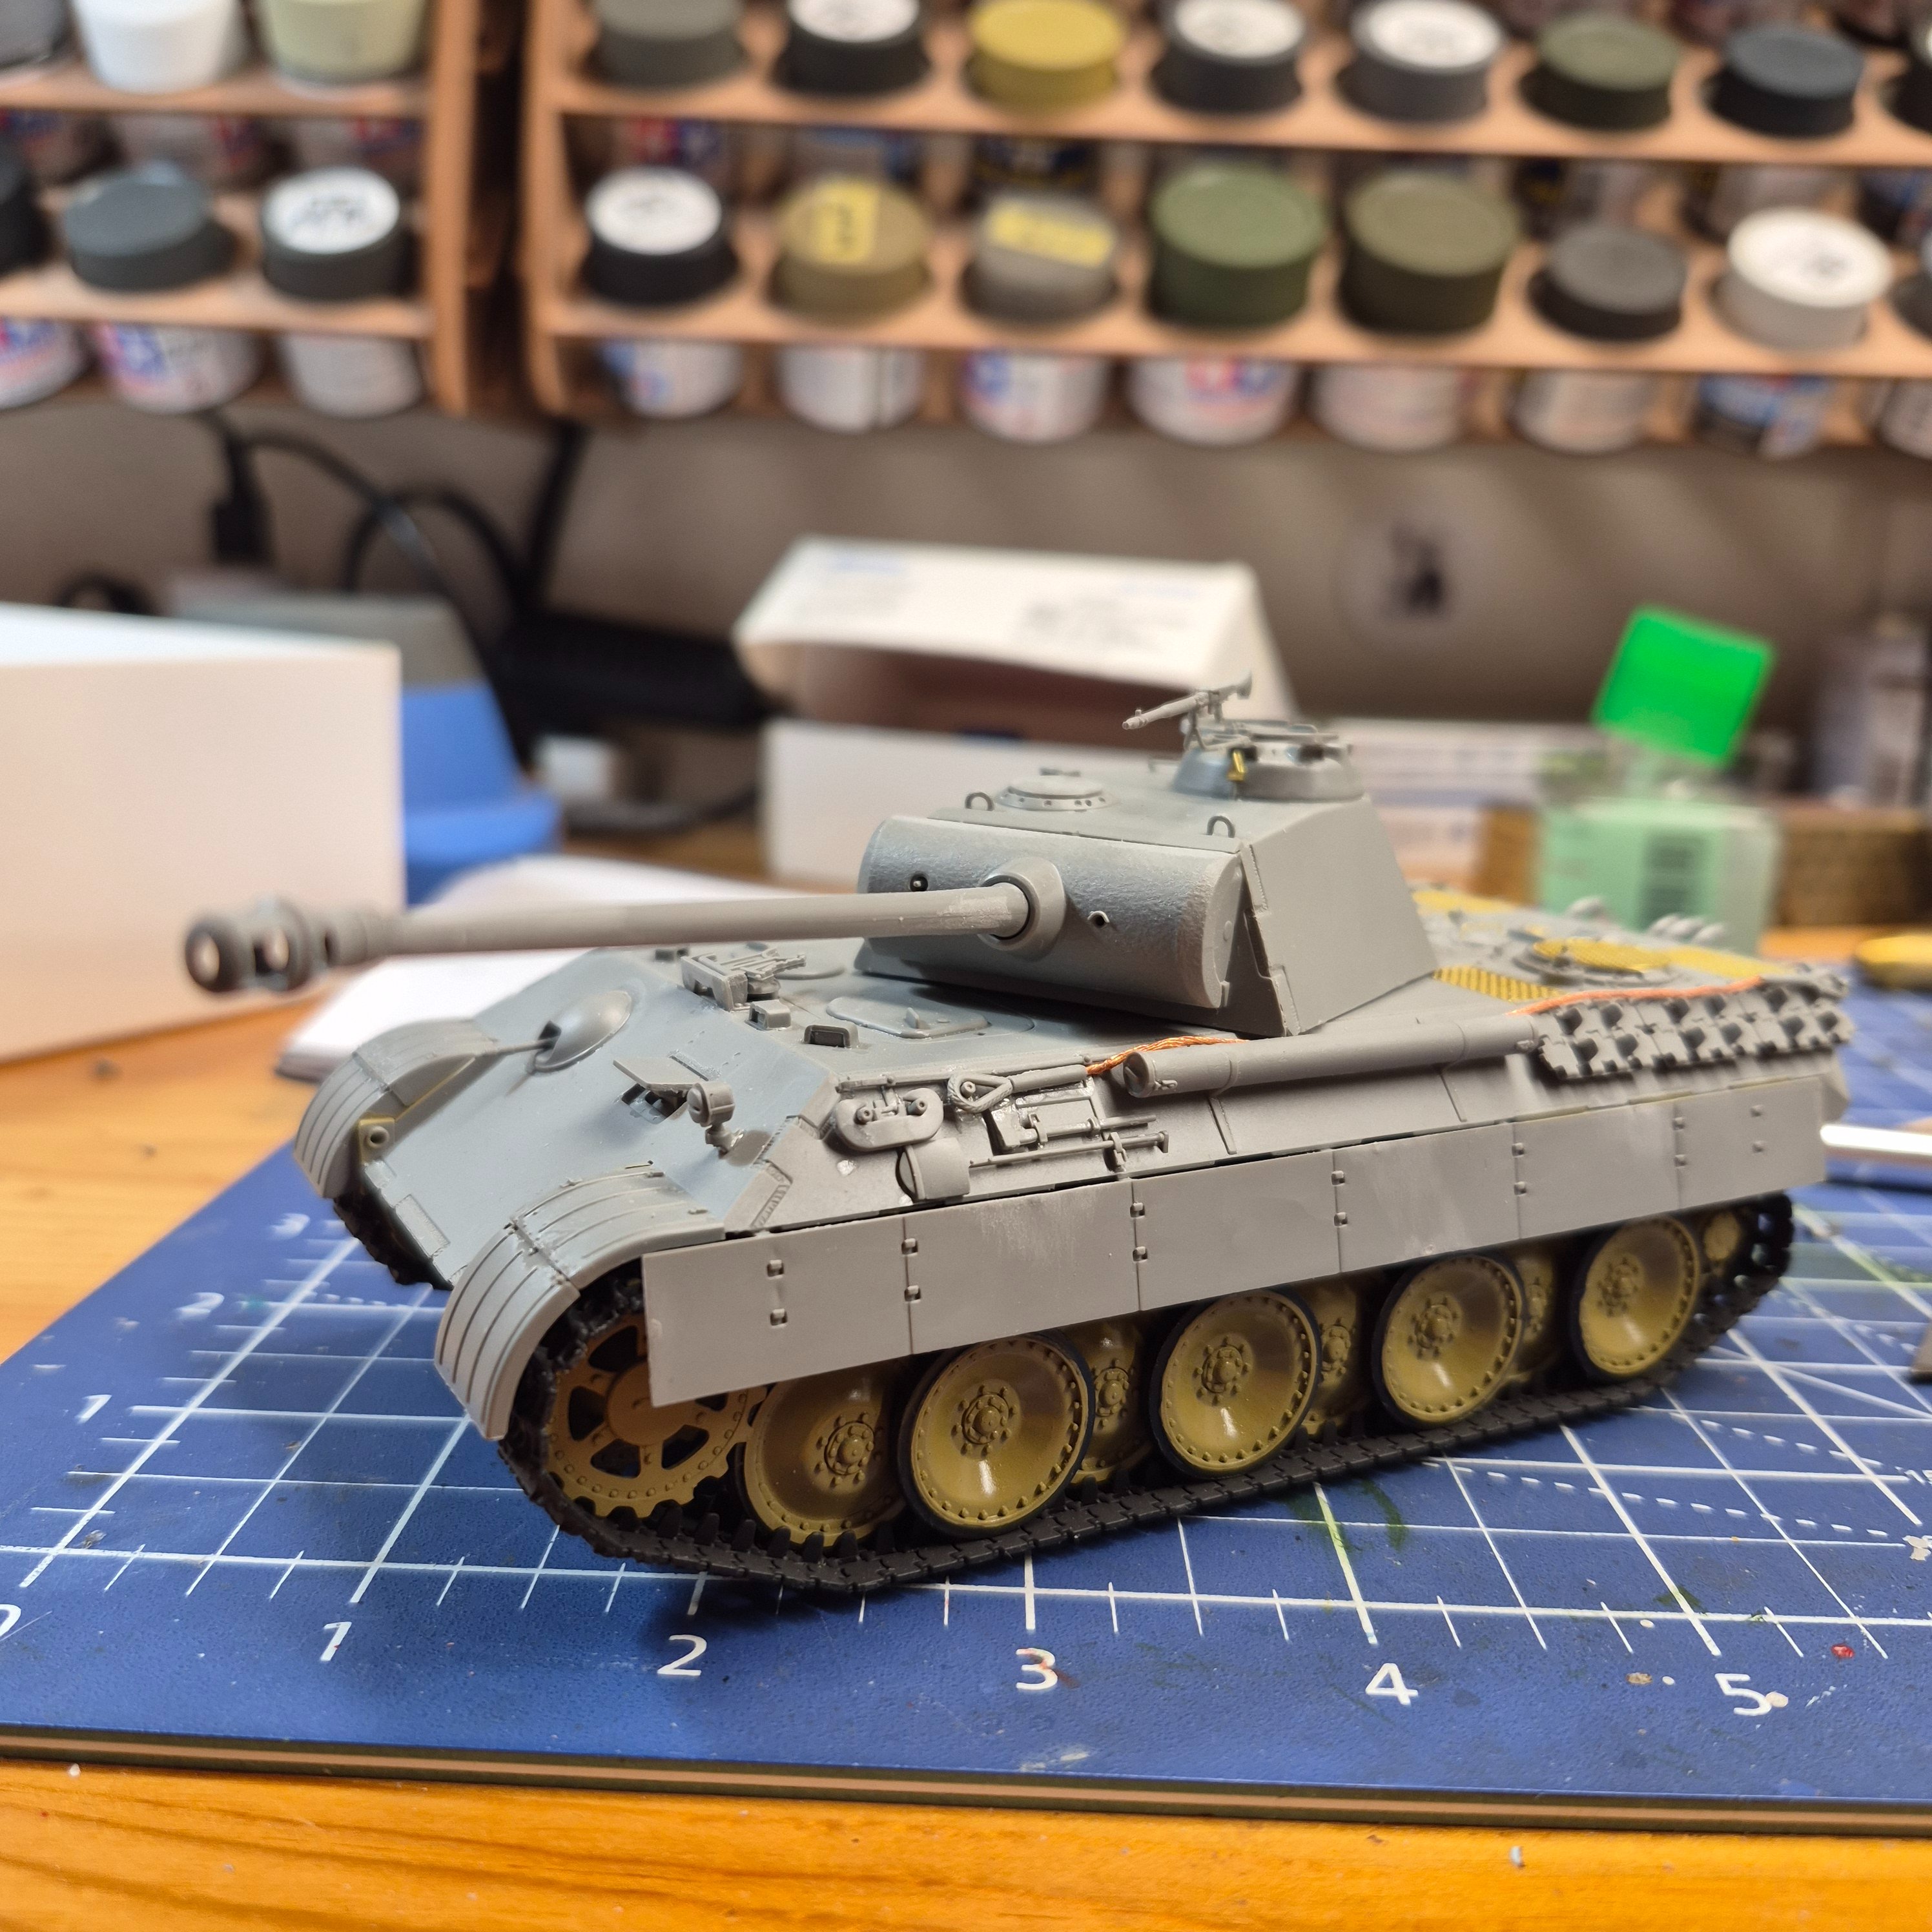
Looks good. Question tho, are the side skirts supposed to be held away from the main body? I see the gap there and I've always fought to close that gap, now I'm wondering which it's supposed to be. This is coming from someone who put his skirts on inside out on the Jagdpanther.Alrighty then. I got to put the skirt on the other side and I'm ready for paint! I have to admit this is a 1-48 kit. Takom. I'm telling you this thing went together flawless. Everything fit like a dream. So I kind of looked it up more and found out that it is the old Tamia Panther kit that everyone liked. Just scaled up or down I forget which. And yes. I know there's no zimmerite on it. I'm going to get another Panther kit and put them right on it if it's not already on. The more I get into these armor builds the more I like it is, especially if the kit goes together like this did.
Well, according to Jakko, those side skirts were an add on later on after they find out Crews were getting blown away because of thin armor. And yes I believe that's the way they're supposed to be. I could be wrong but I think that looks perfect they get damaged anyway you just rip them off and stick on a new oneLooks good. Question tho, are the side skirts supposed to be held away from the main body? I see the gap there and I've always fought to close that gap, now I'm wondering which it's supposed to be. This is coming from someone who put his skirts on inside out on the Jagdpanther.
That makes sense. Some of these guys really know their stuff and I'm just kind of floating through it all.Well, according to Jakko, those side skirts were an add on later on after they find out Crews were getting blown away because of thin armor. And yes I believe that's the way they're supposed to be. I could be wrong but I think that looks perfect they get damaged anyway you just rip them off and stick on a new one