Airfix 1/72 Avro Lancaster B.III

Scale Model Addict - Model Tips, Guides, Tools & Tech, Tutorials, and Community

Help Support Scale Model Addict:

VegasAWACER13

Well-Known Member
Joined
Aug 2, 2025
Messages
435
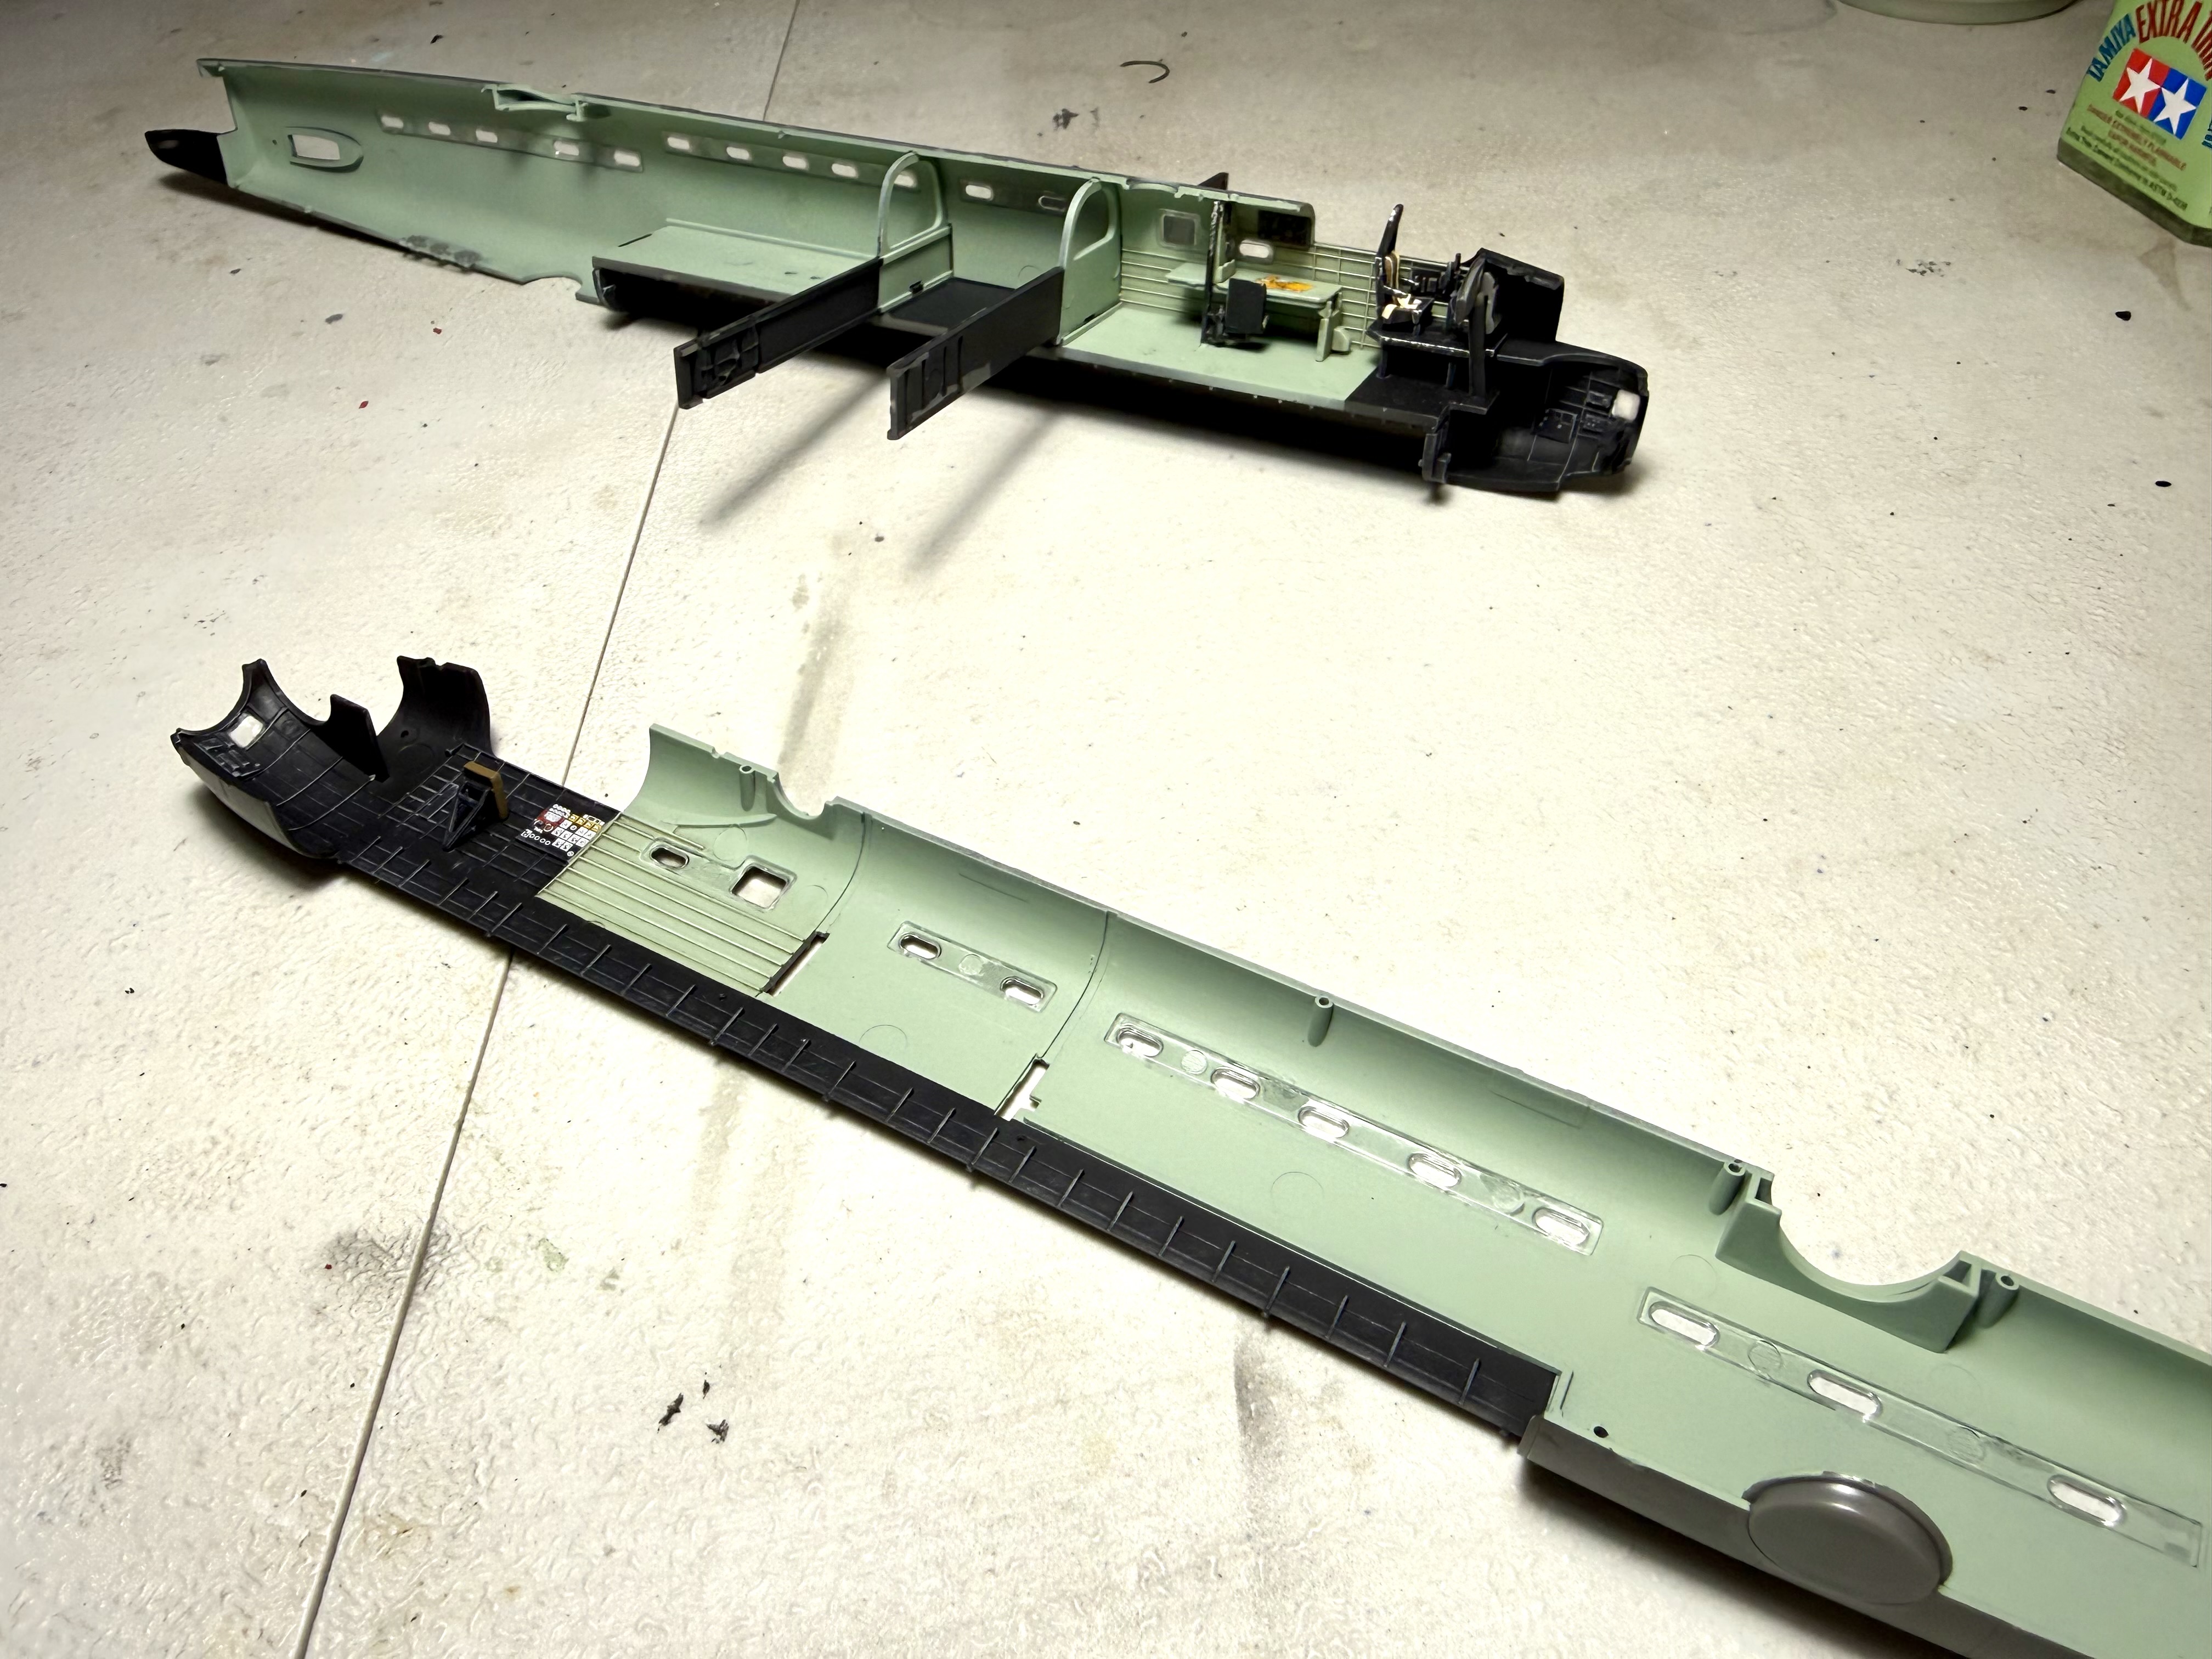
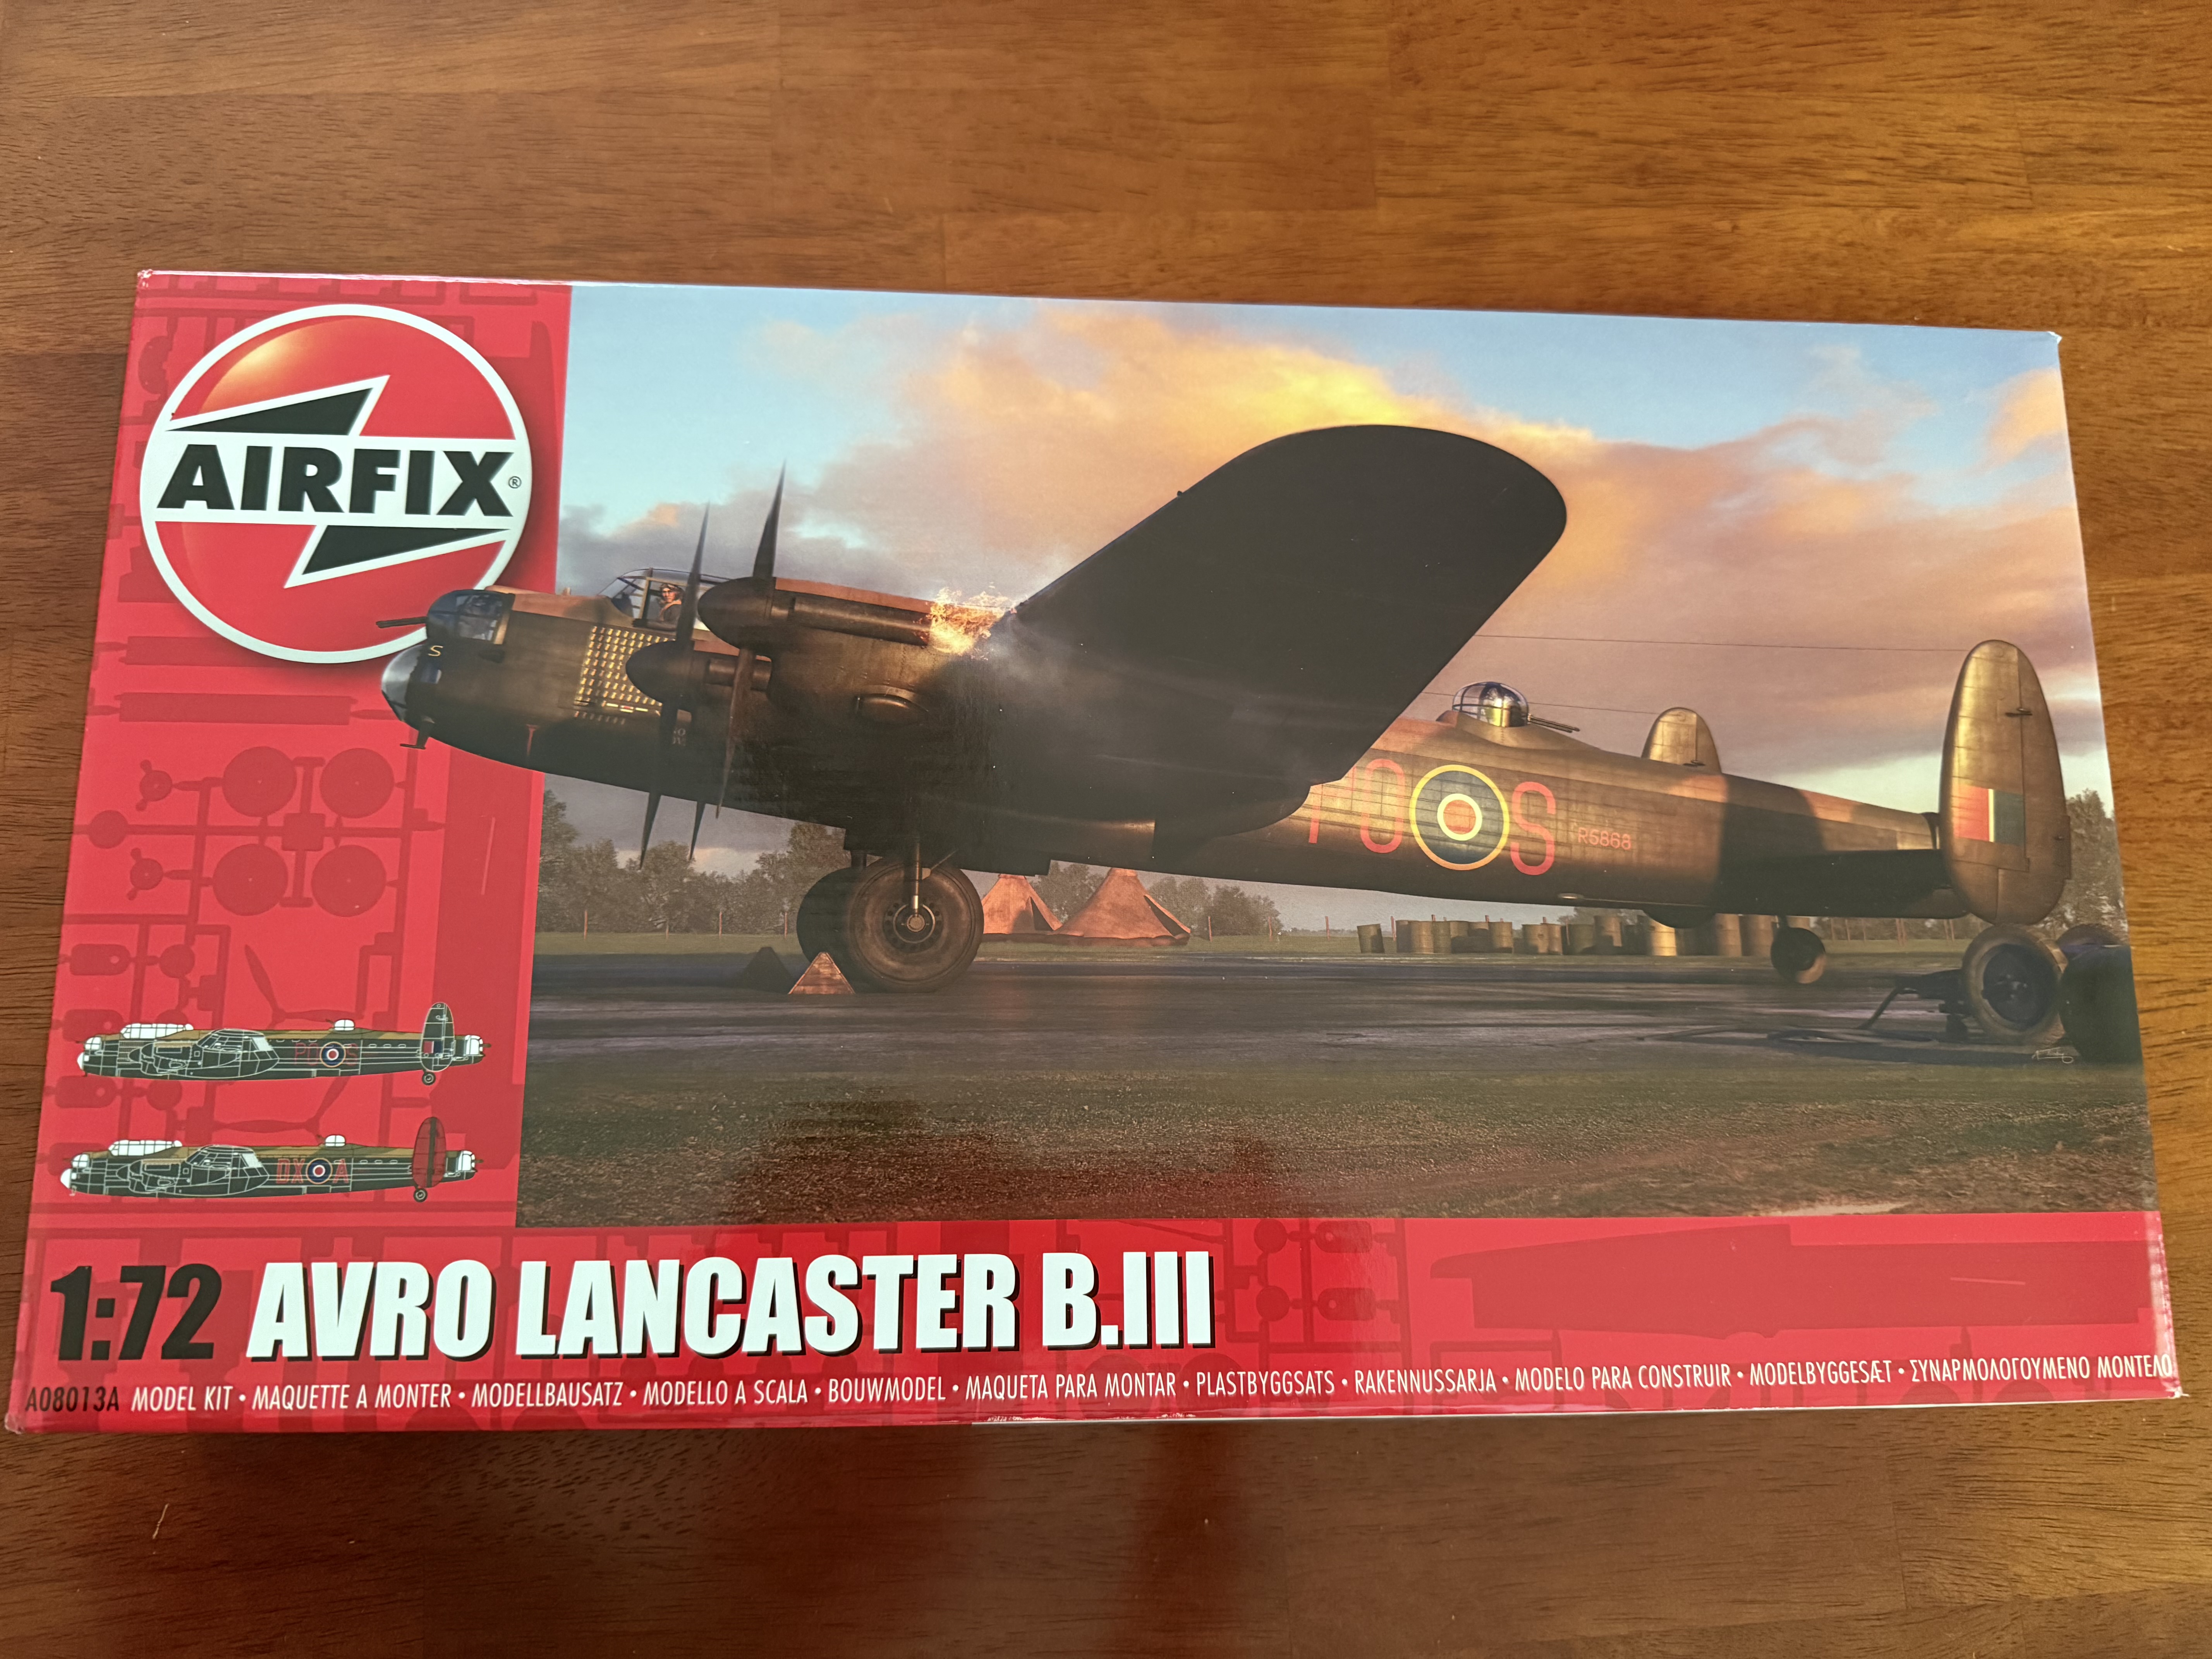
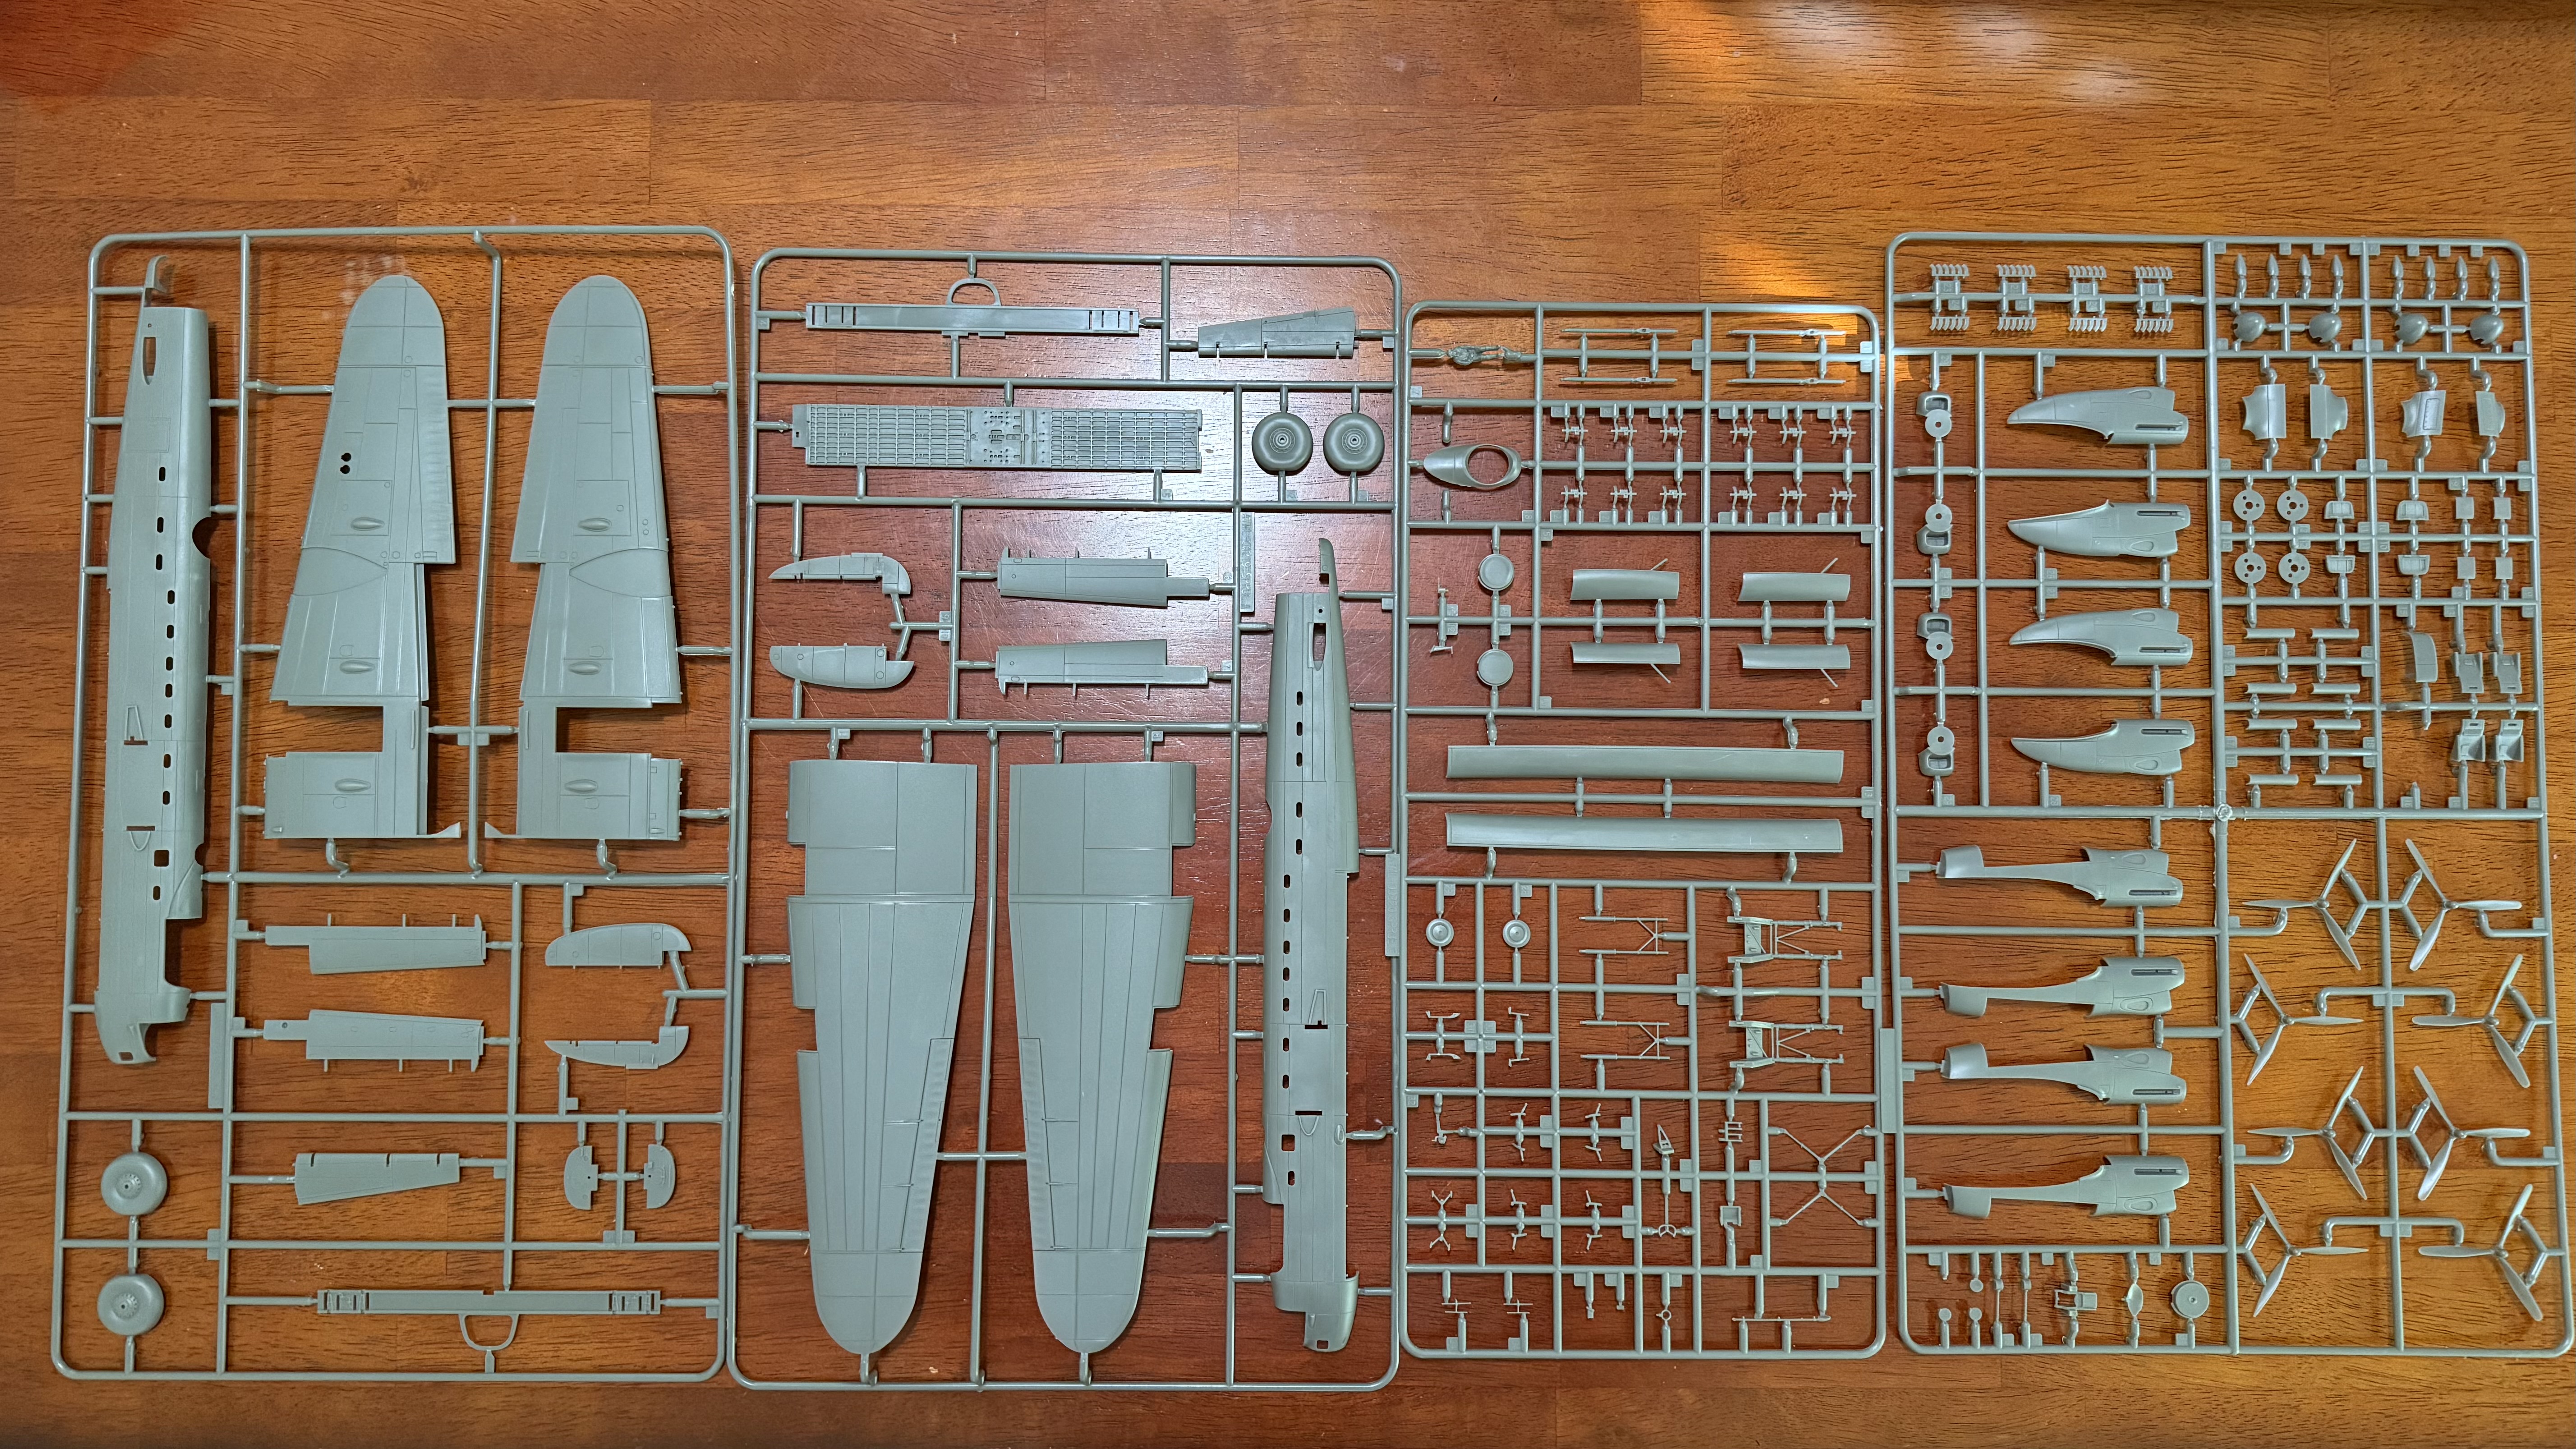
Finishing up one build and getting ready to start this one. A little intimidated, as it'll be the most complex build I've done since returning to the hobby some 14 months ago.

It's Airfix so I'm expecting fit issues. I'm also expecting this to take a while and I'll probably do it in stages, taking one (or two) breaks to do another kit mid-build. I'm not planning to go too crazy on the interior, as you won't be able to see most of it when the fuselage is closed up, but I may go pretty all out on exterior painting. We'll see.
IMG_9719.jpeg
IMG_9720.jpeg
IMG_9721.jpeg
 
Finishing up one build and getting ready to start this one. A little intimidated, as it'll be the most complex build I've done since returning to the hobby some 14 months ago.

It's Airfix so I'm expecting fit issues. I'm also expecting this to take a while and I'll probably do it in stages, taking one (or two) breaks to do another kit mid-build. I'm not planning to go too crazy on the interior, as you won't be able to see most of it when the fuselage is closed up, but I may go pretty all out on exterior painting. We'll see.
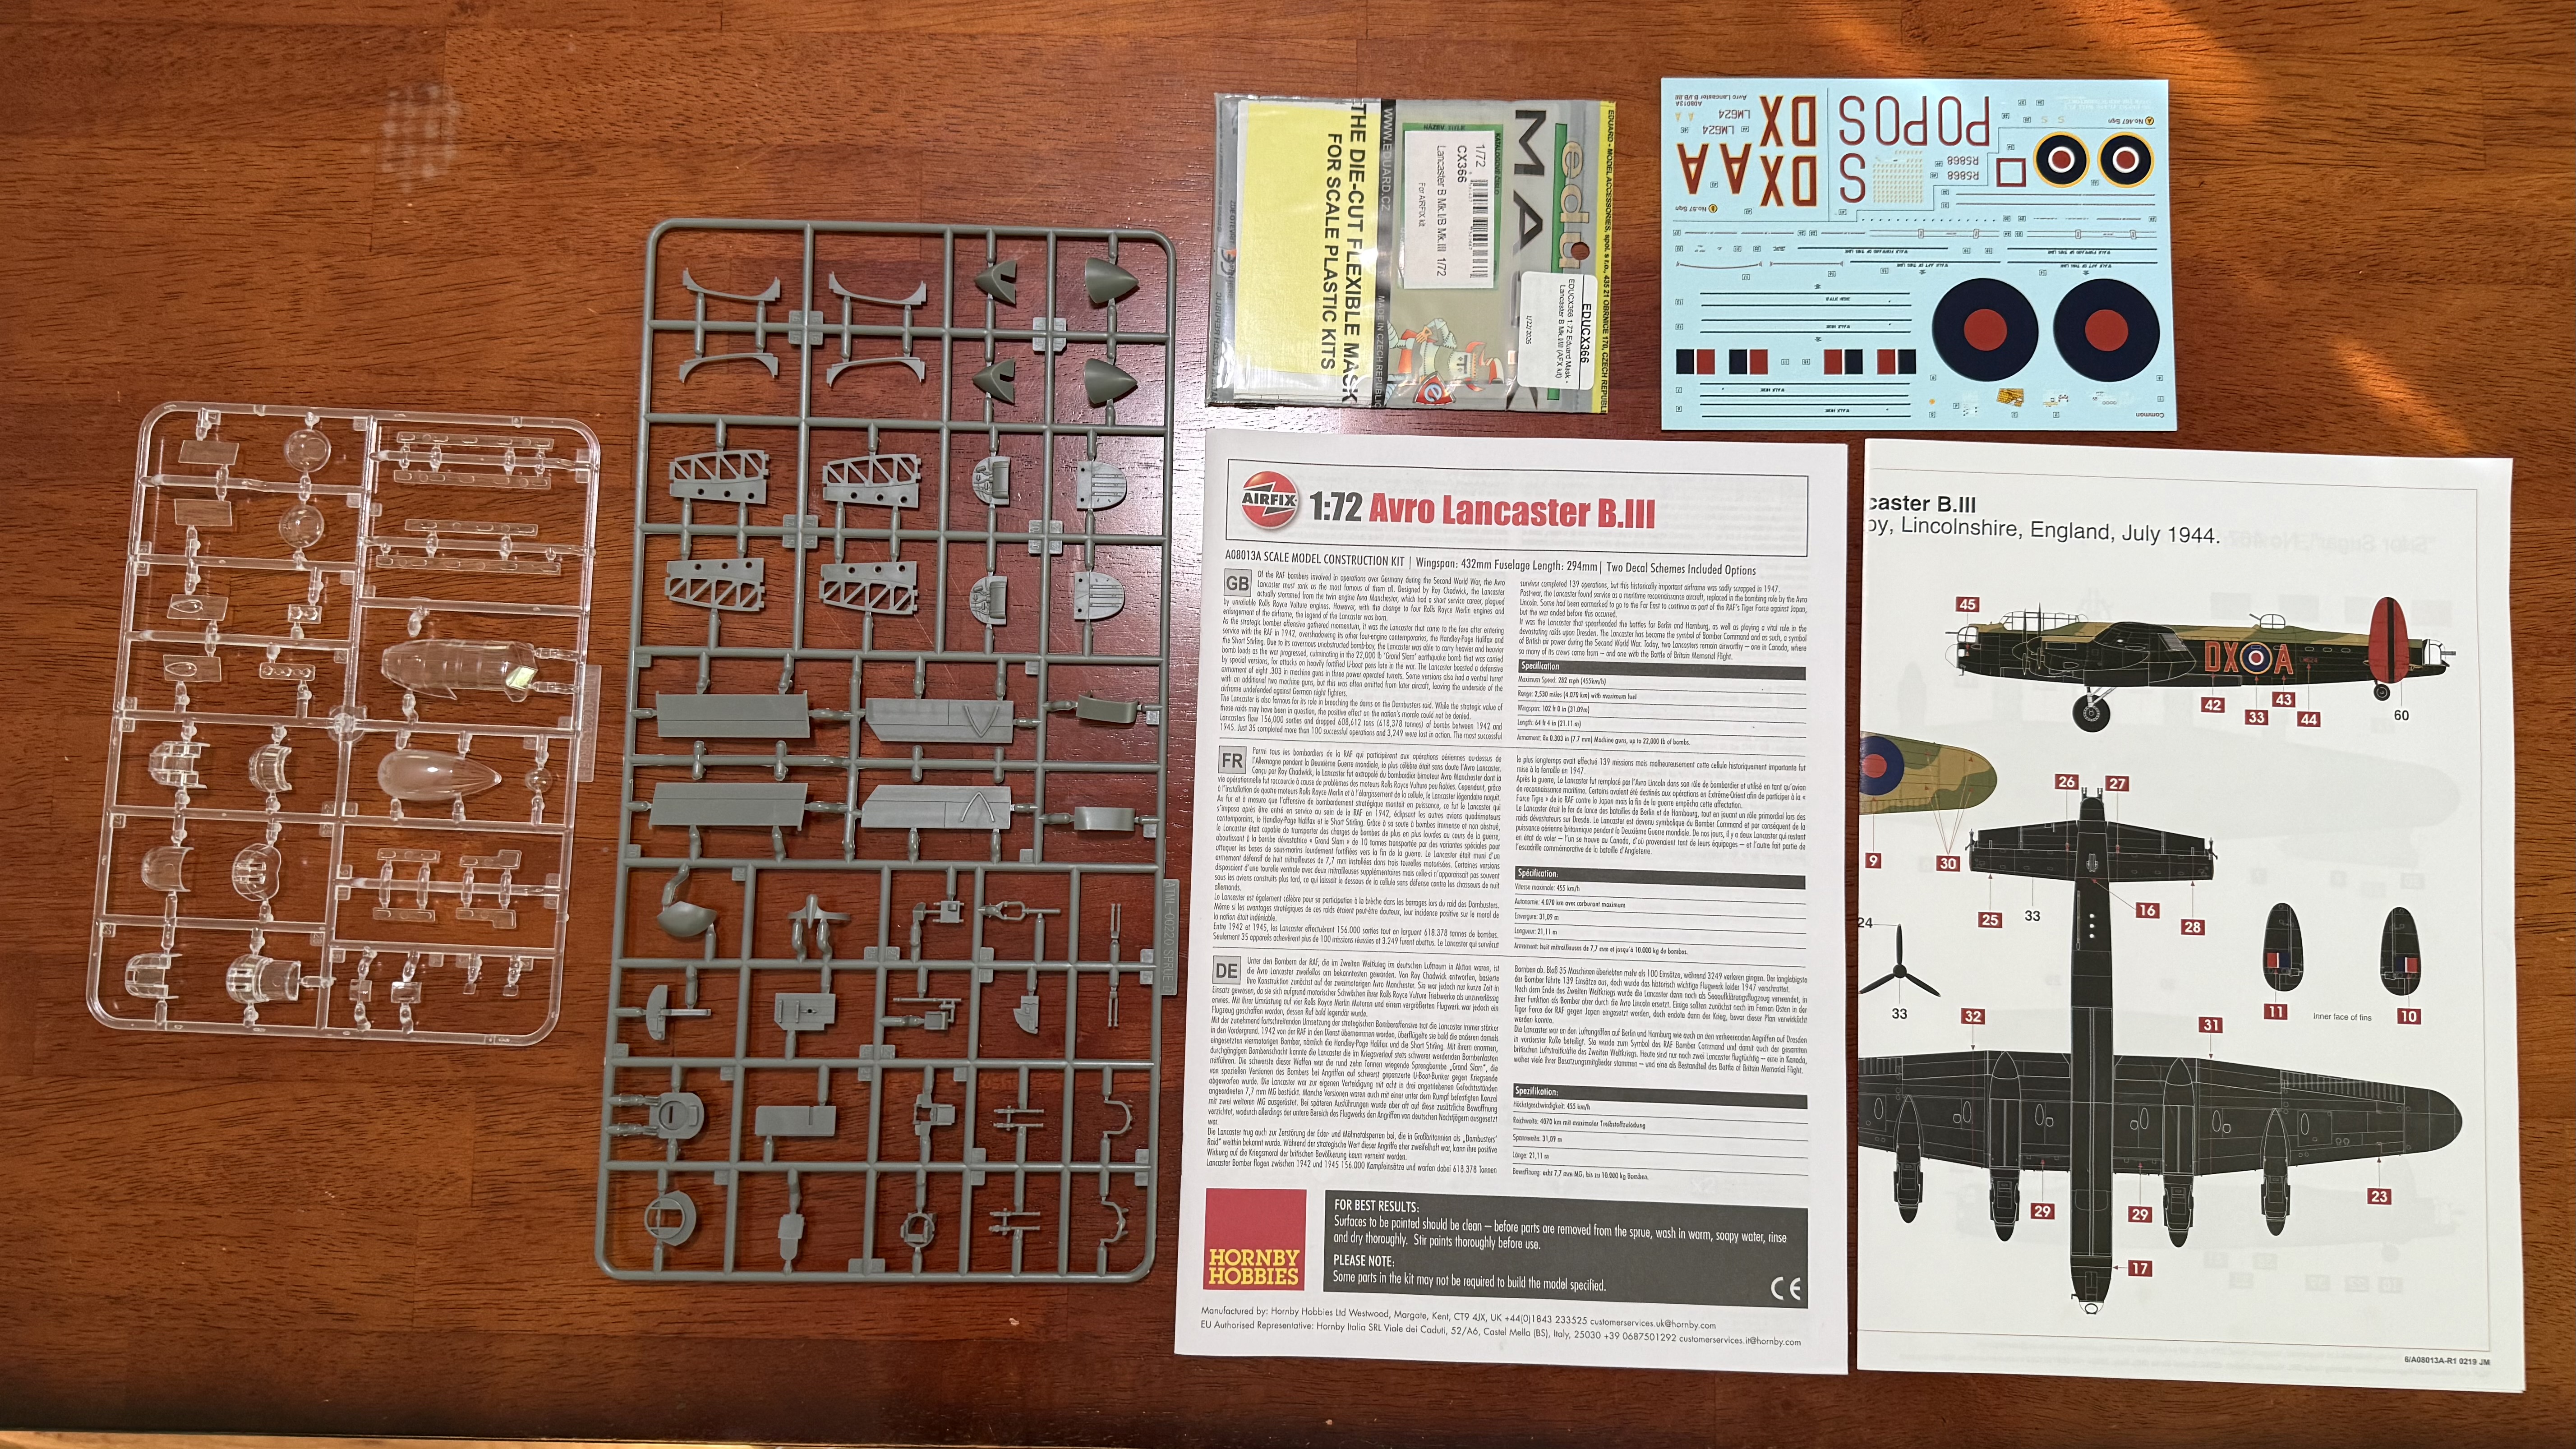
View attachment 192631View attachment 192632View attachment 192633
It's a beautiful plane. I started a Tamiya dambuster version 1/48 - it's huge! The 1/72 has to be a good size too. I bought mine as a used kit and the wheel covers may have been warped, it's been siting for months because i was just disgusted. Could also just be me screwing things up but I don't think so. Anyway, looking forward to your build! Maybe it'll inspire me to go back to mine.
 
It's a beautiful plane. I started a Tamiya dambuster version 1/48 - it's huge! The 1/72 has to be a good size too. I bought mine as a used kit and the wheel covers may have been warped.
Sorry to hear about the issues. Have you tried contacting Tamiya for replacement parts? I've heard they're good about it. A Lanc in 1/48 has got to be enormous. I don't even have anywhere to put this 1/72 when it's done. Think it's time to find a display case of some kind. Hope you get yours worked out!

Also, if you haven't seen the "Lancaster" documentary it's a must. Great film.
 
Sorry to hear about the issues. Have you tried contacting Tamiya for replacement parts? I've heard they're good about it. A Lanc in 1/48 has got to be enormous. I don't even have anywhere to put this 1/72 when it's done. Think it's time to find a display case of some kind. Hope you get yours worked out!

Also, if you haven't seen the "Lancaster" documentary it's a must. Great film.
I'll have to check that out thanks!
 
A little intimidated,
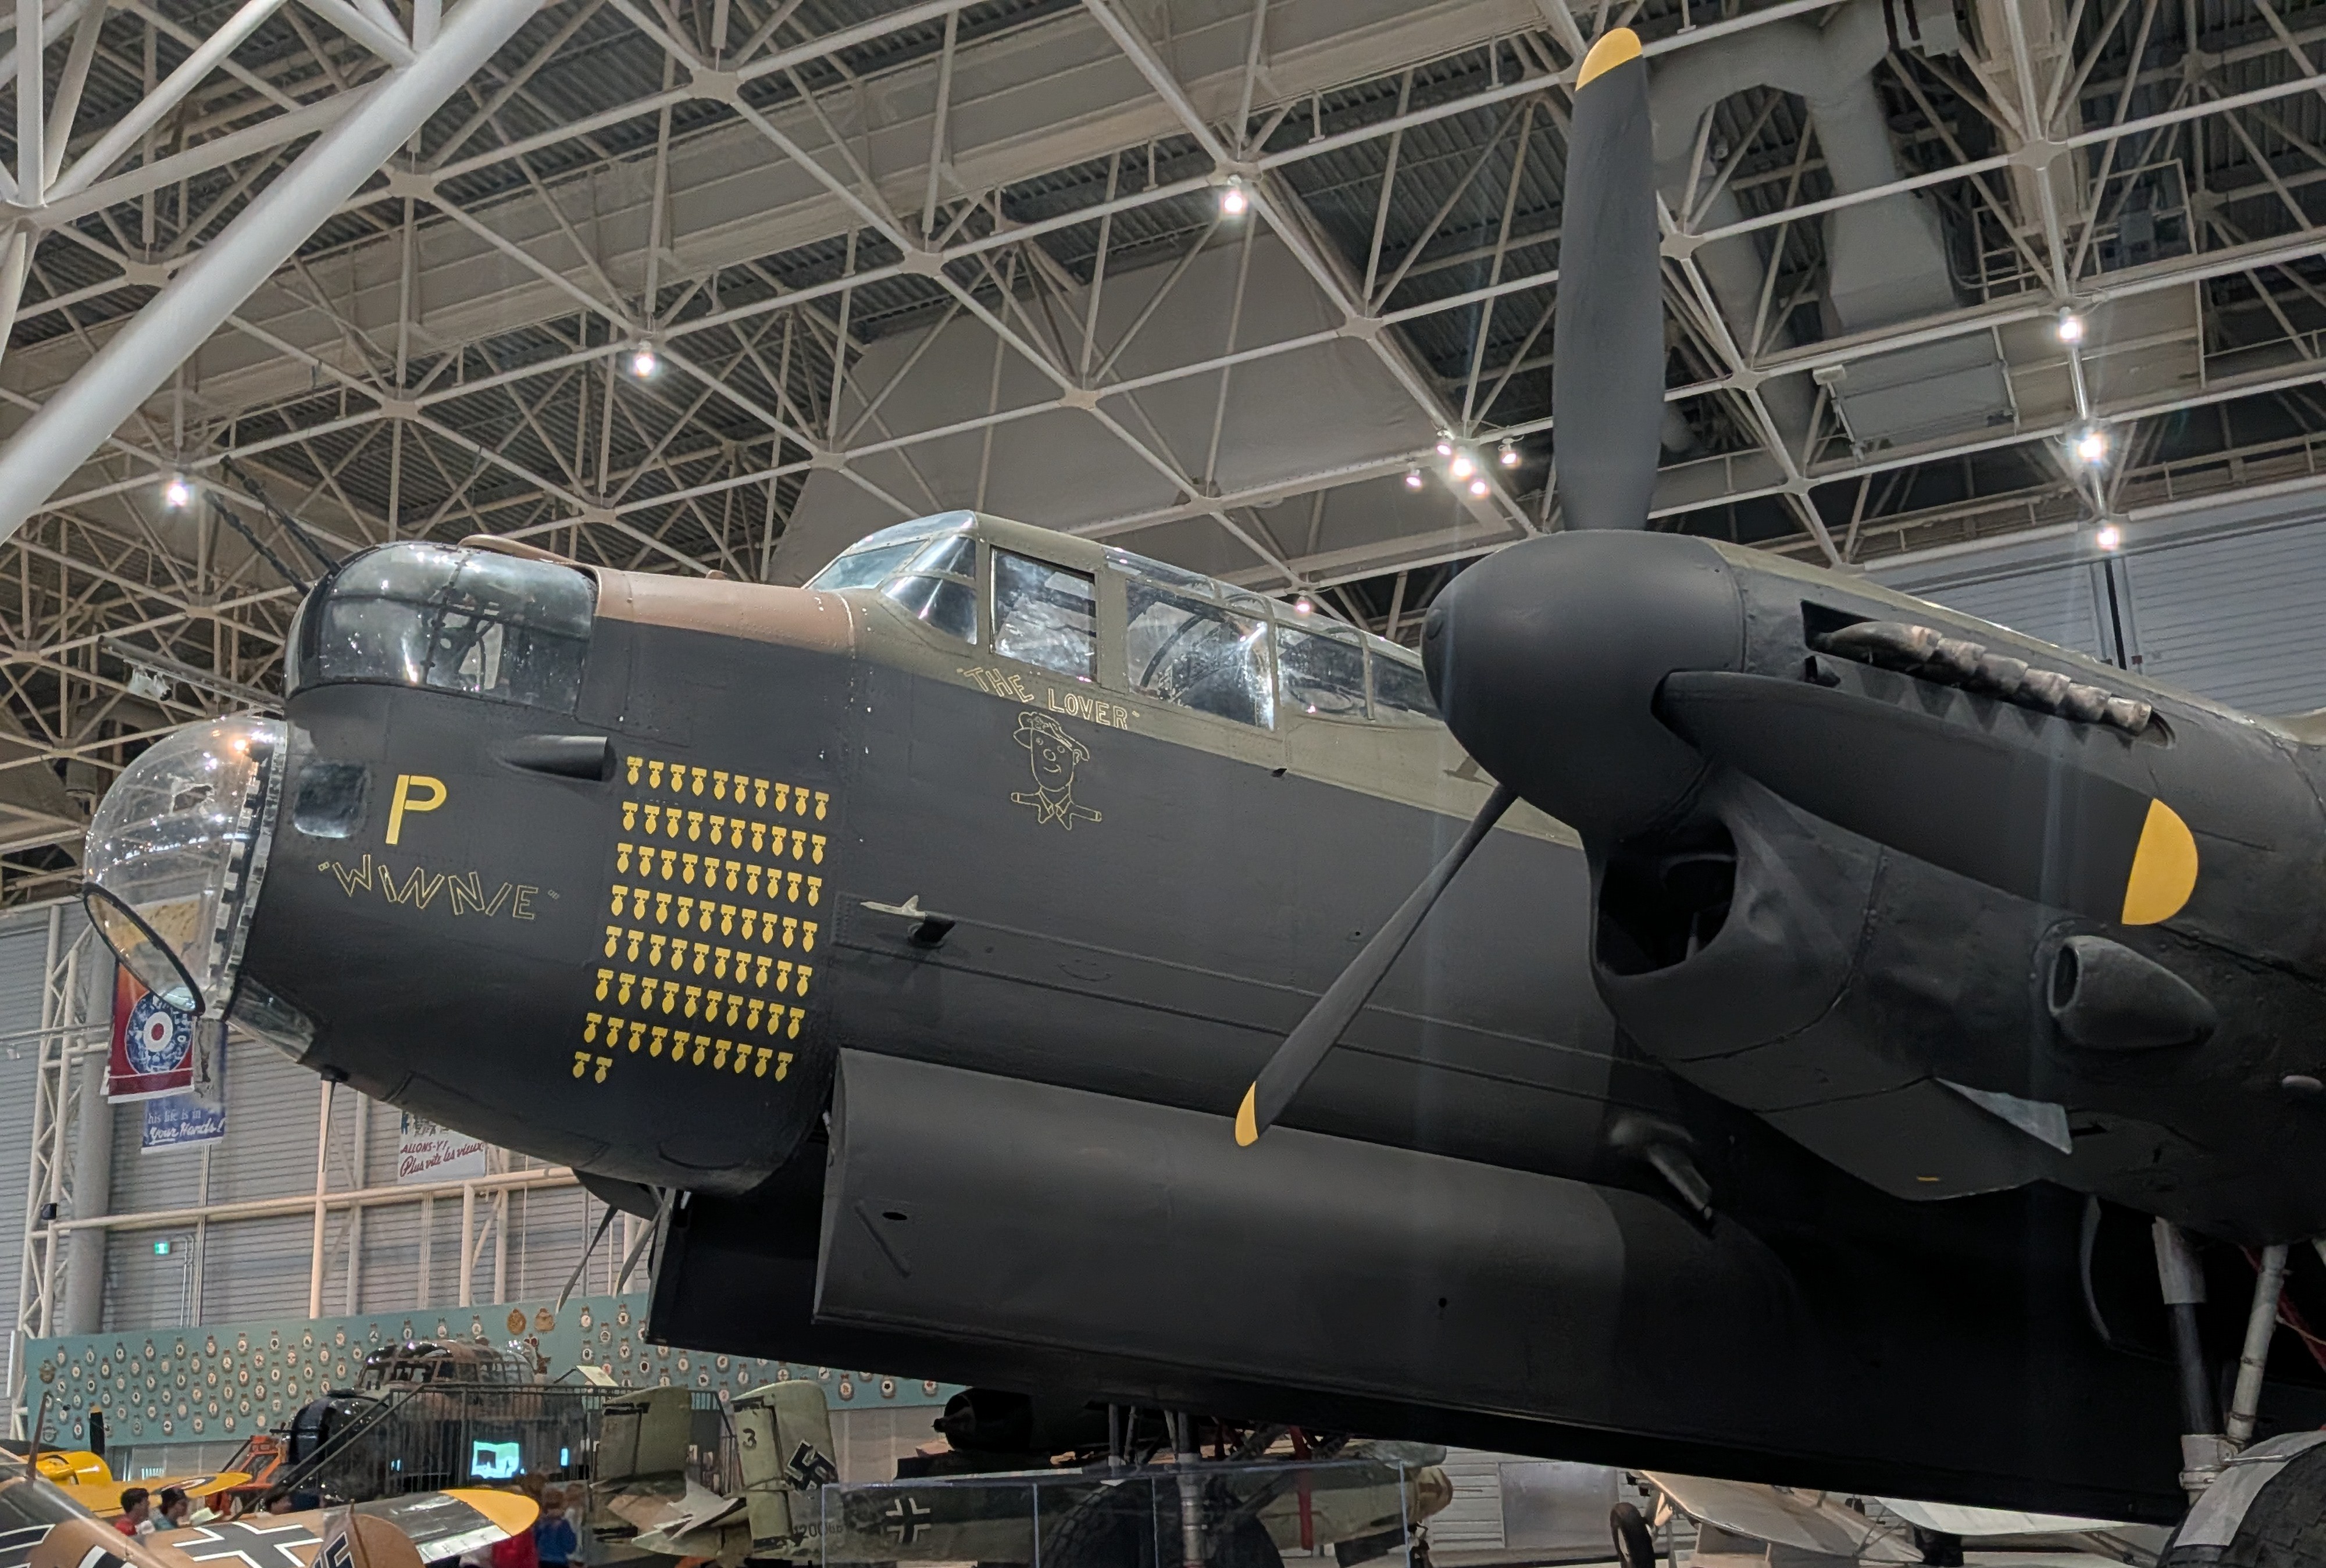
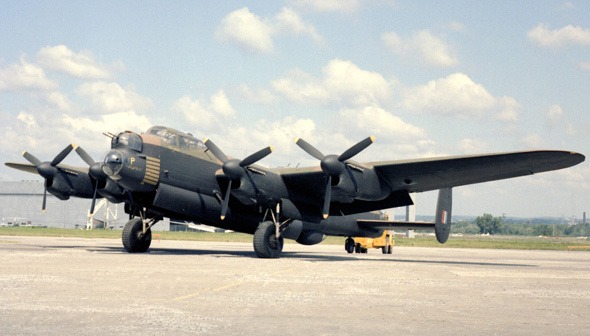
Yes, the venerable Lanc, a fixture of my childhood visits to the early incarnation of our national aviation museum here in Ottawa... In those days it was housed in one of a series of hangars on an old air force base by the river.
It is a Lancaster X, and still on display. I hope to visit this summer. It's been years, but now that I've some plane kits in the stash, I really should get some 'face time'!

1781407399214.jpeg
 
Yes, the venerable Lanc, a fixture of my childhood visits to the early incarnation of our national aviation museum here in Ottawa... In those days it was housed in one of a series of hangars on an old air force base by the river.
It is a Lancaster X, and still on display. I hope to visit this summer. It's been years, but now that I've some plane kits in the stash, I really should get some 'face time'!

View attachment 192663
Can you go inside?
 
As an Amazon Associate we earn from qualifying purchases. Product prices and availability are accurate as of the date/time indicated and are subject to change.
... sooner! Realized that I'd never been in the new museum!
Have to say though, very different experience than what I remember of walking through the WWII vintage hangars of the old airbase, long gone.

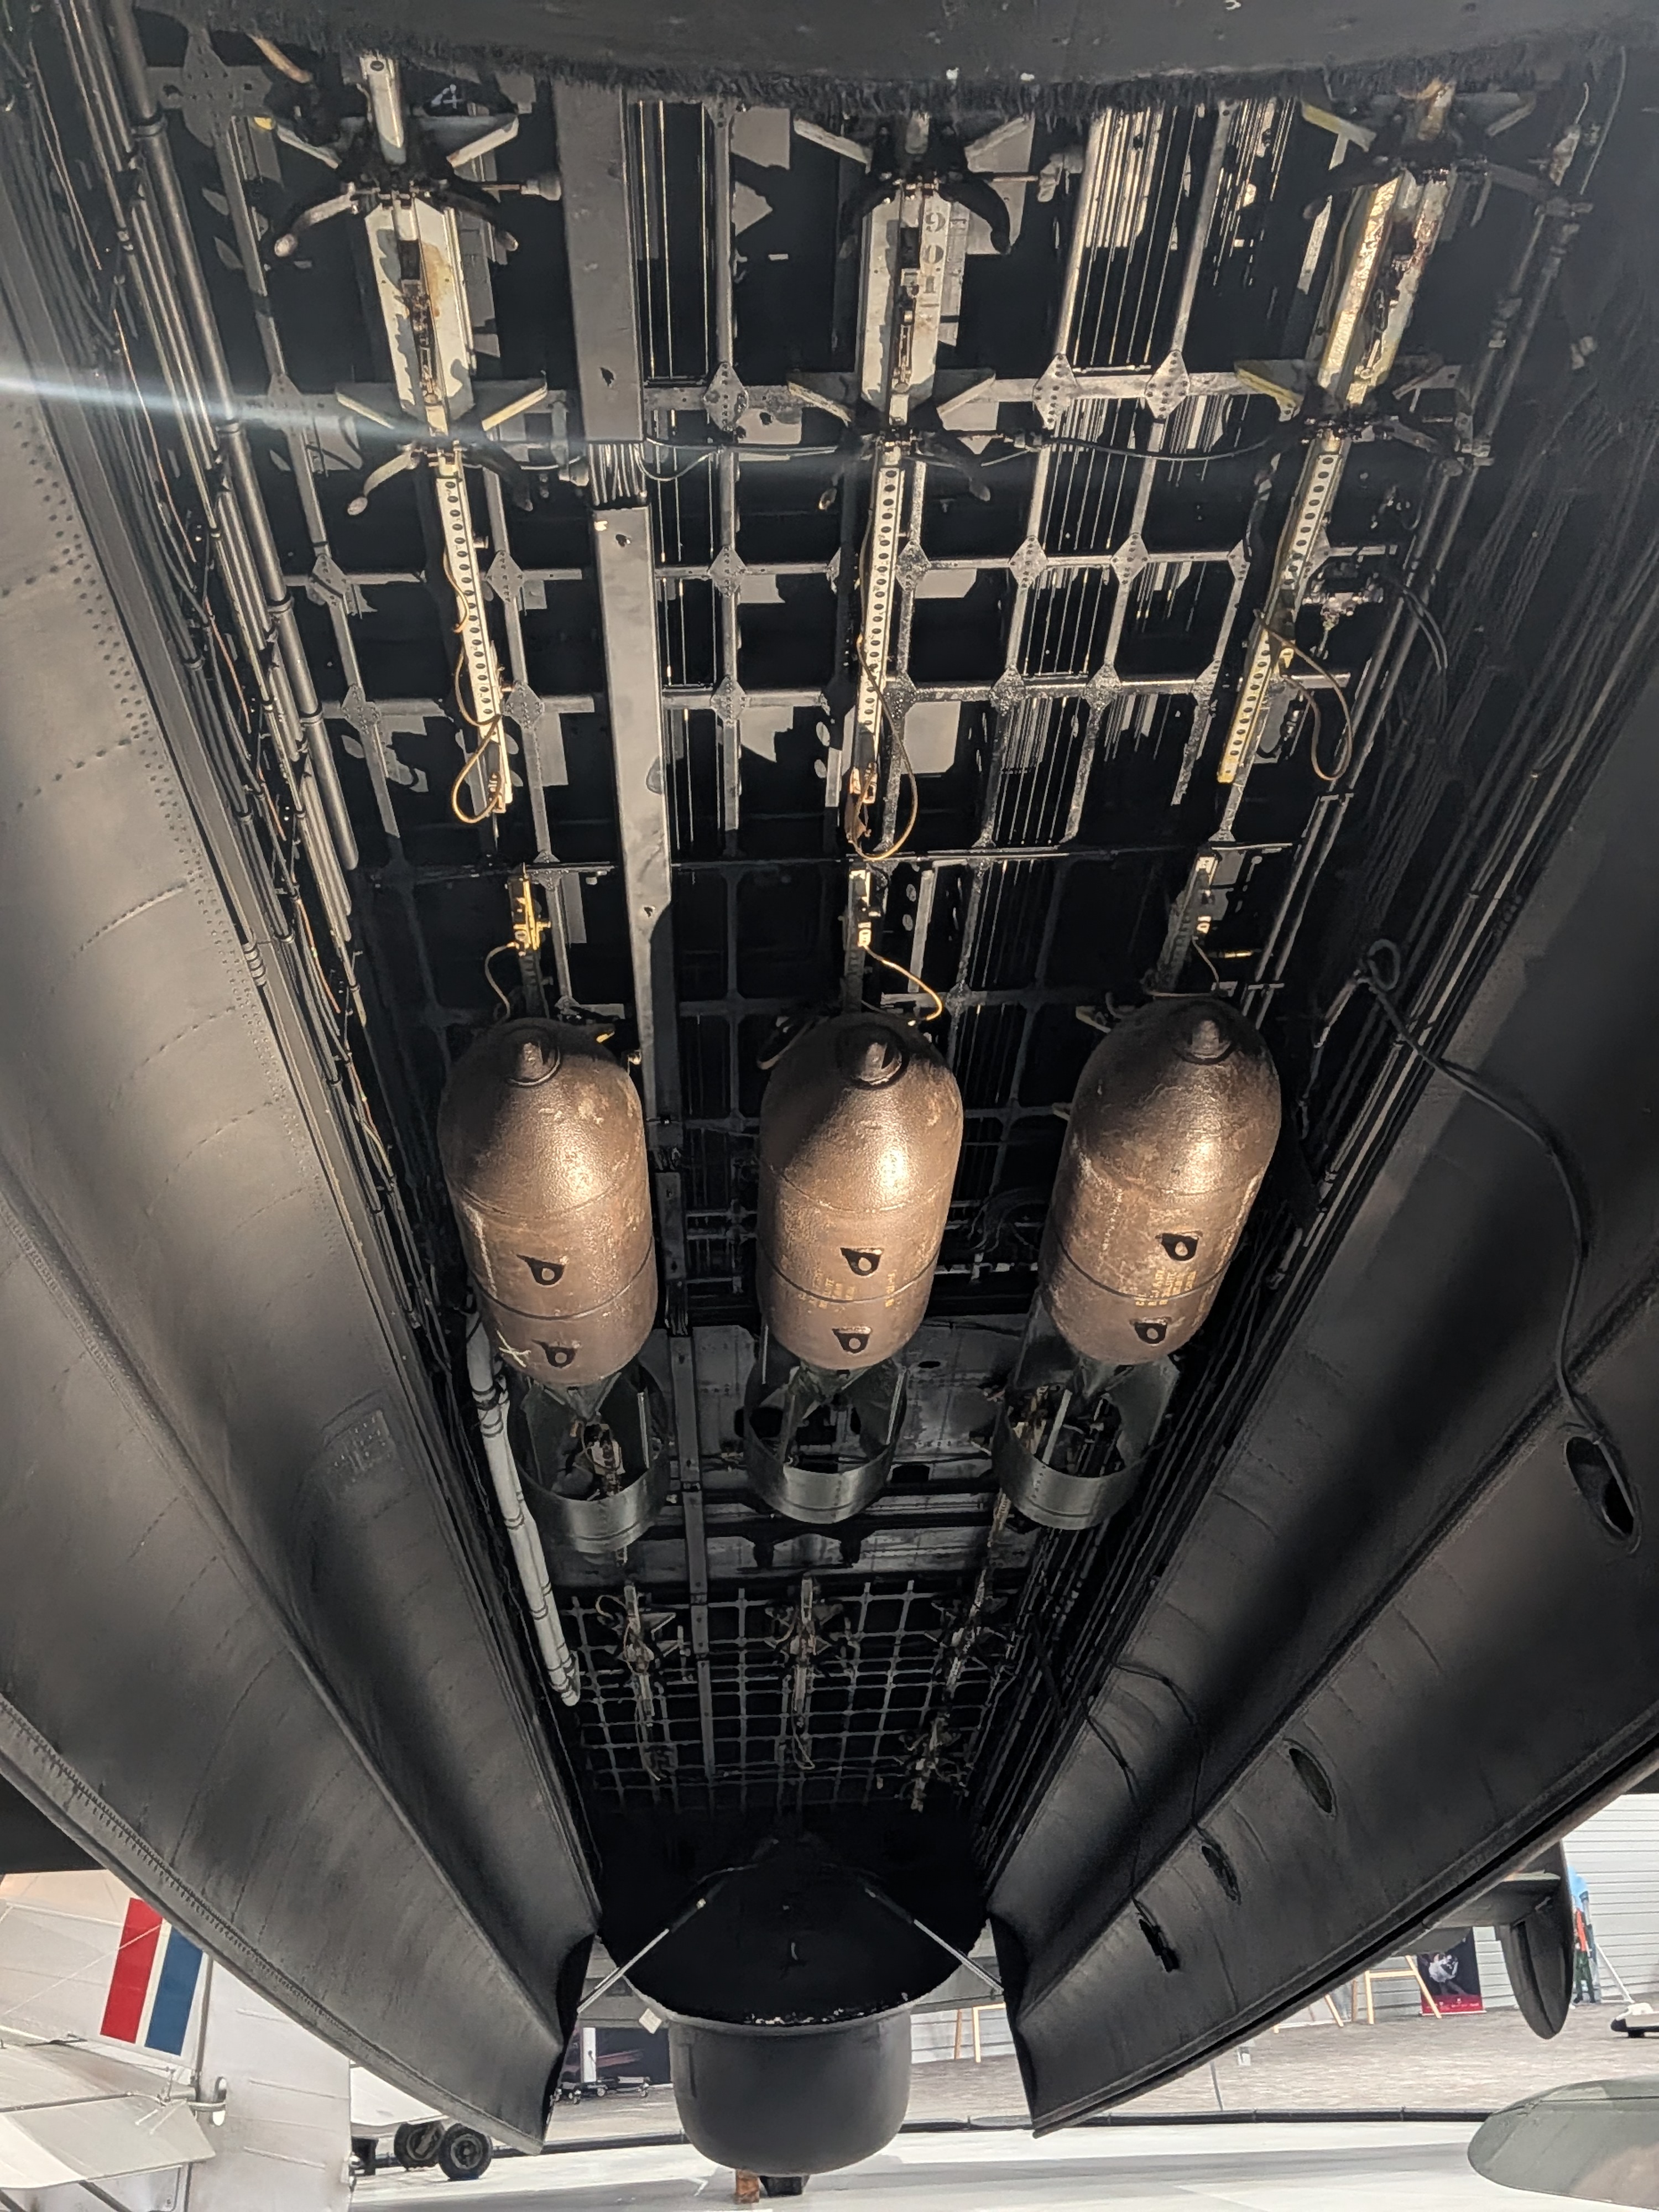
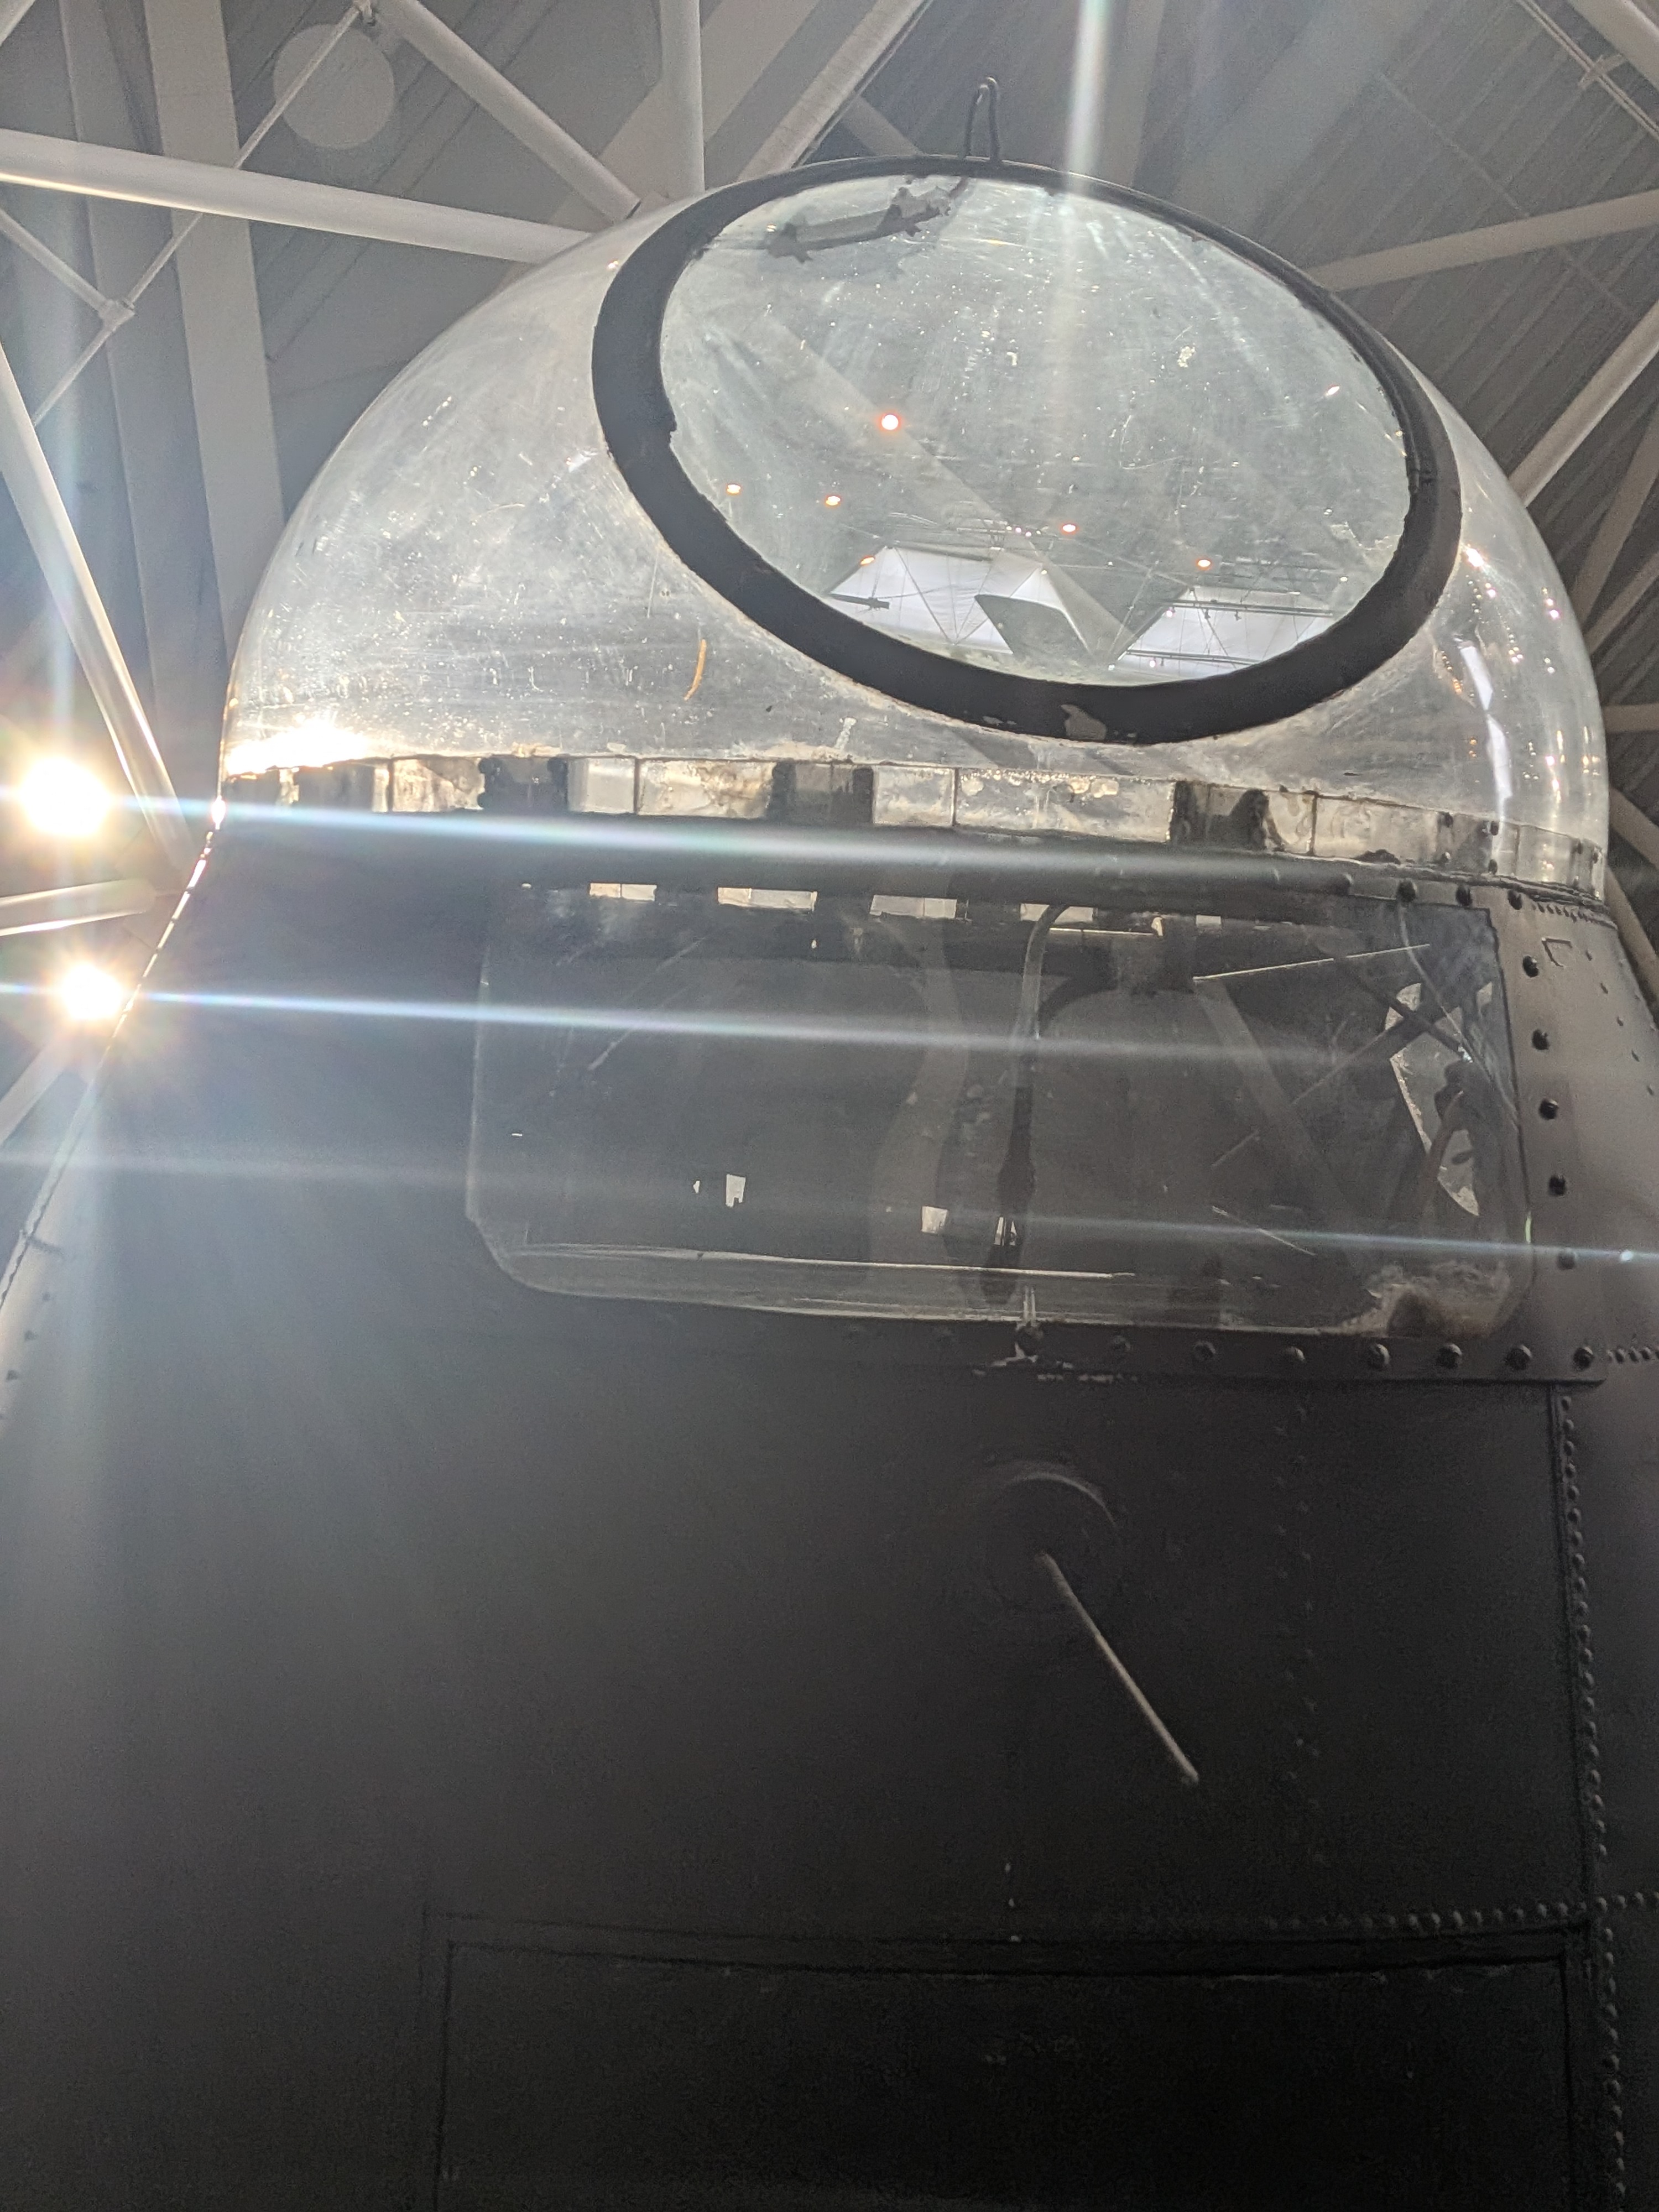
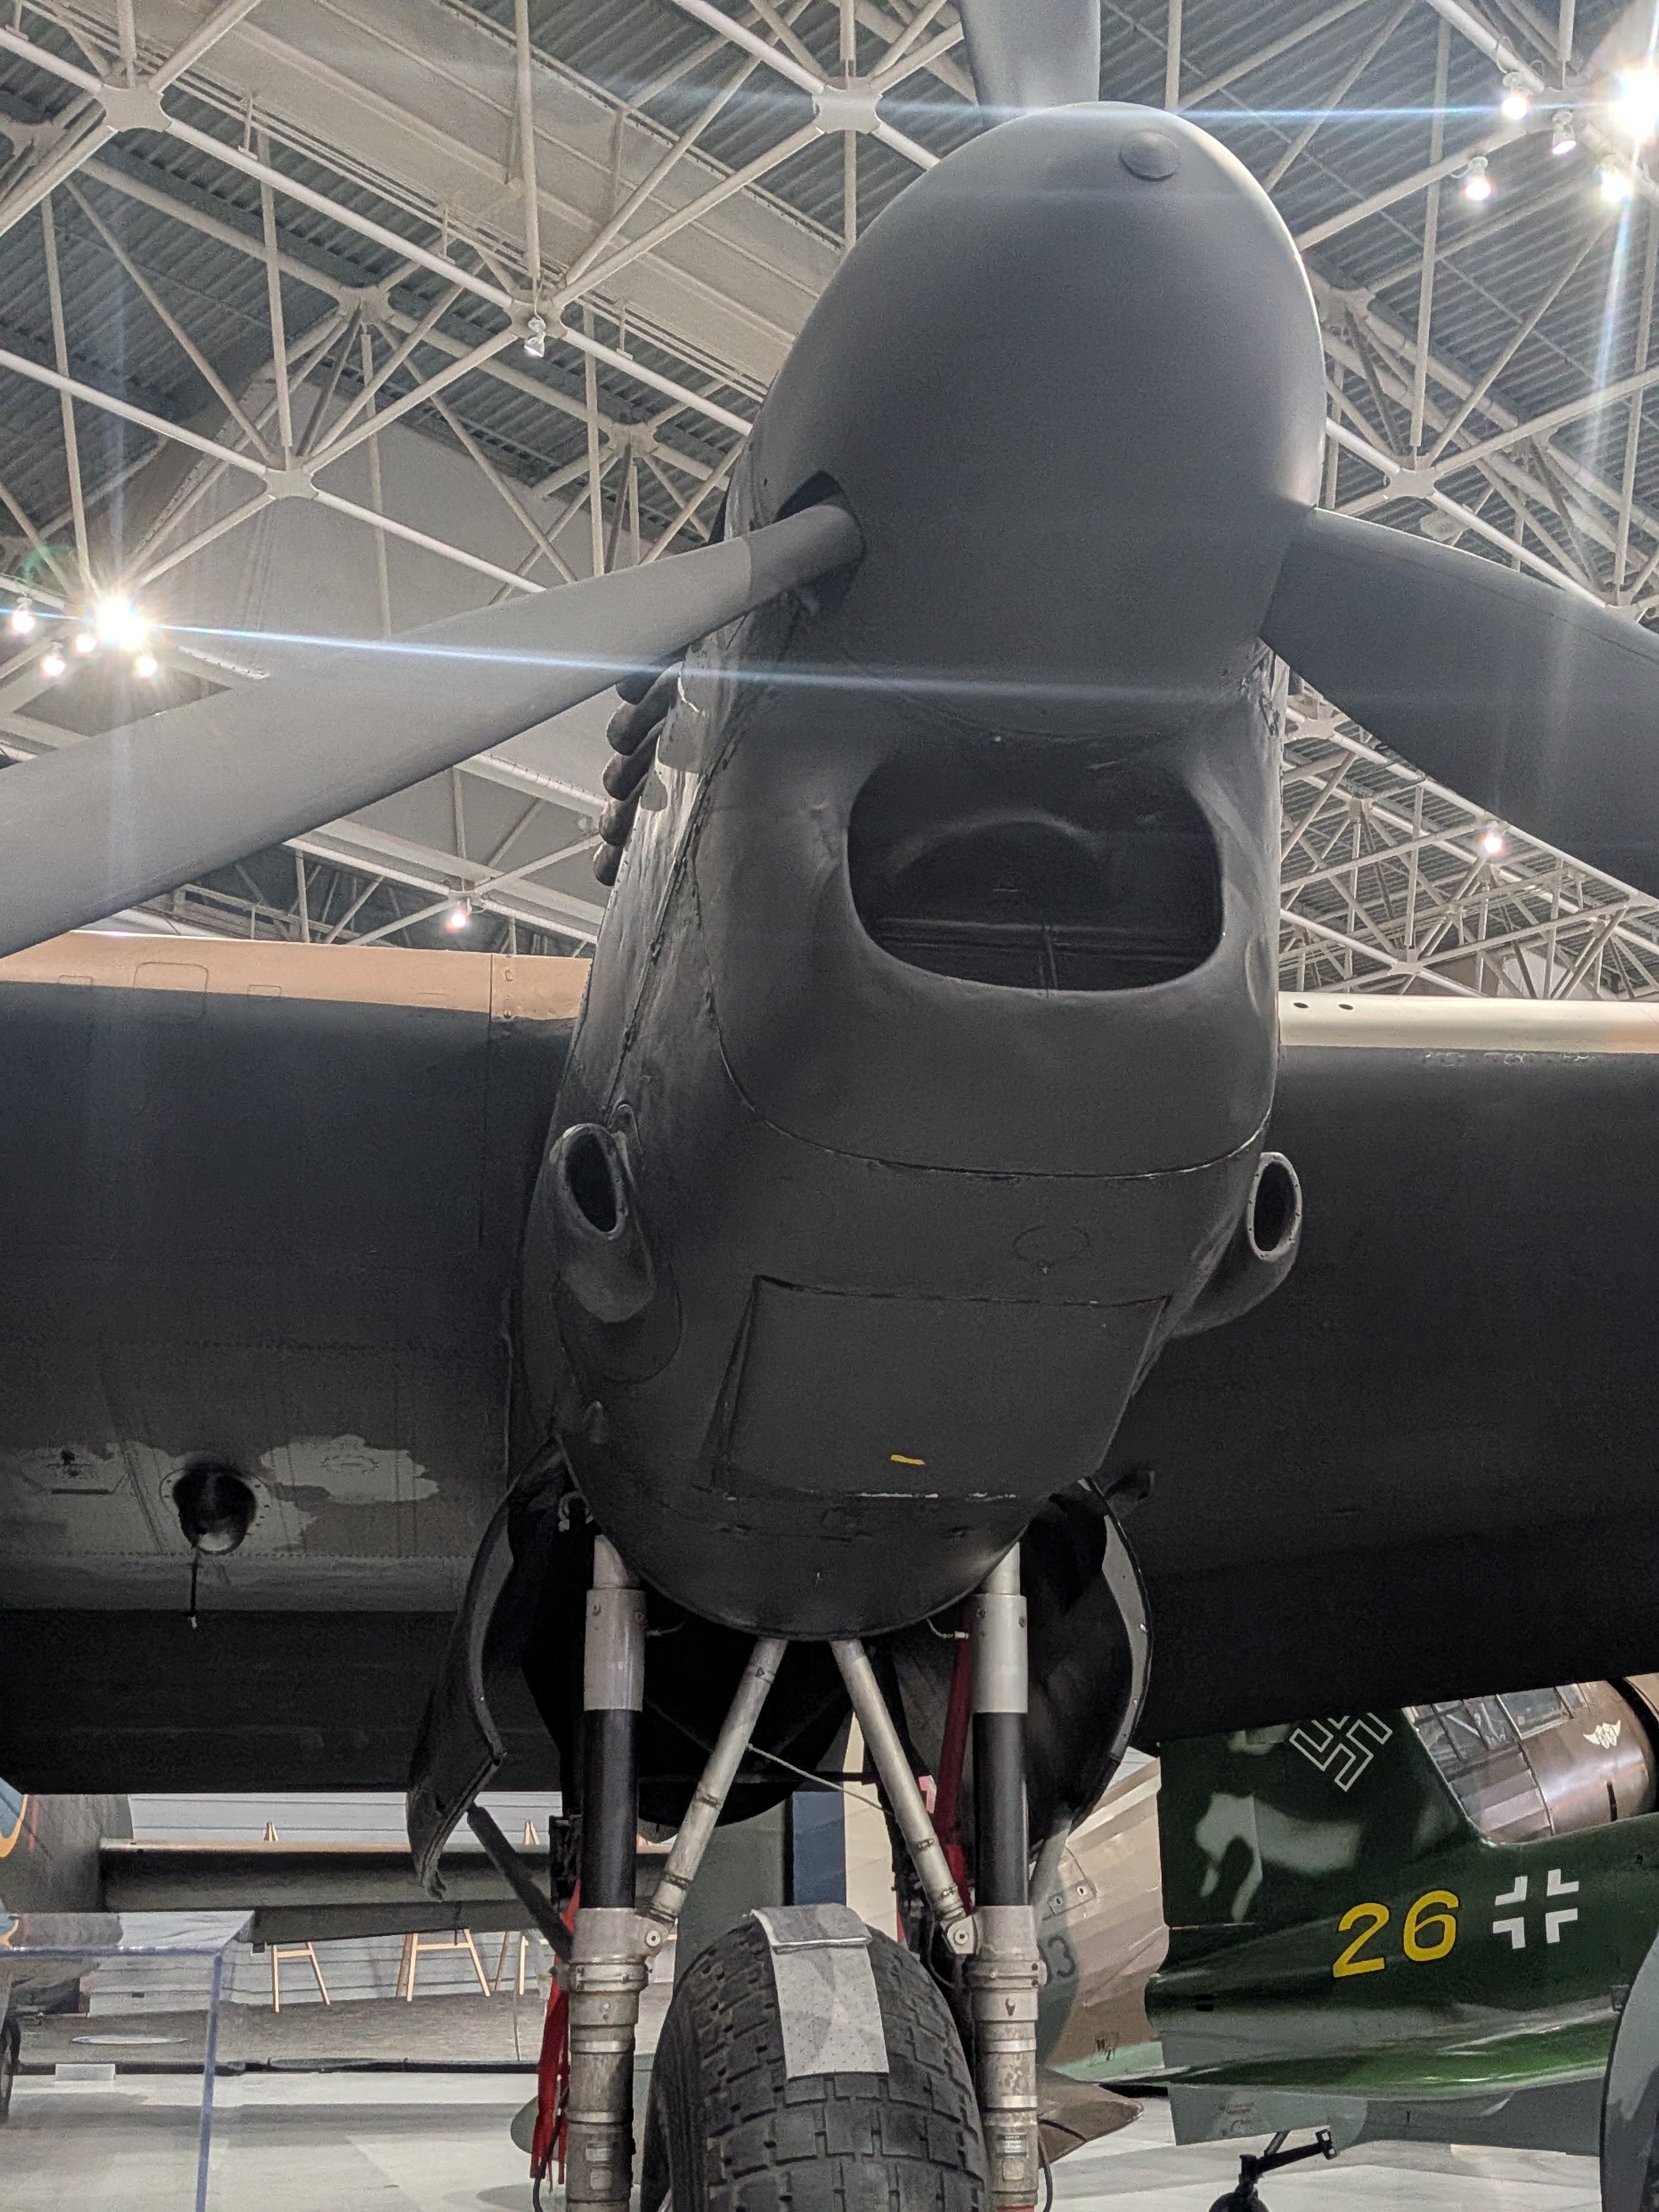
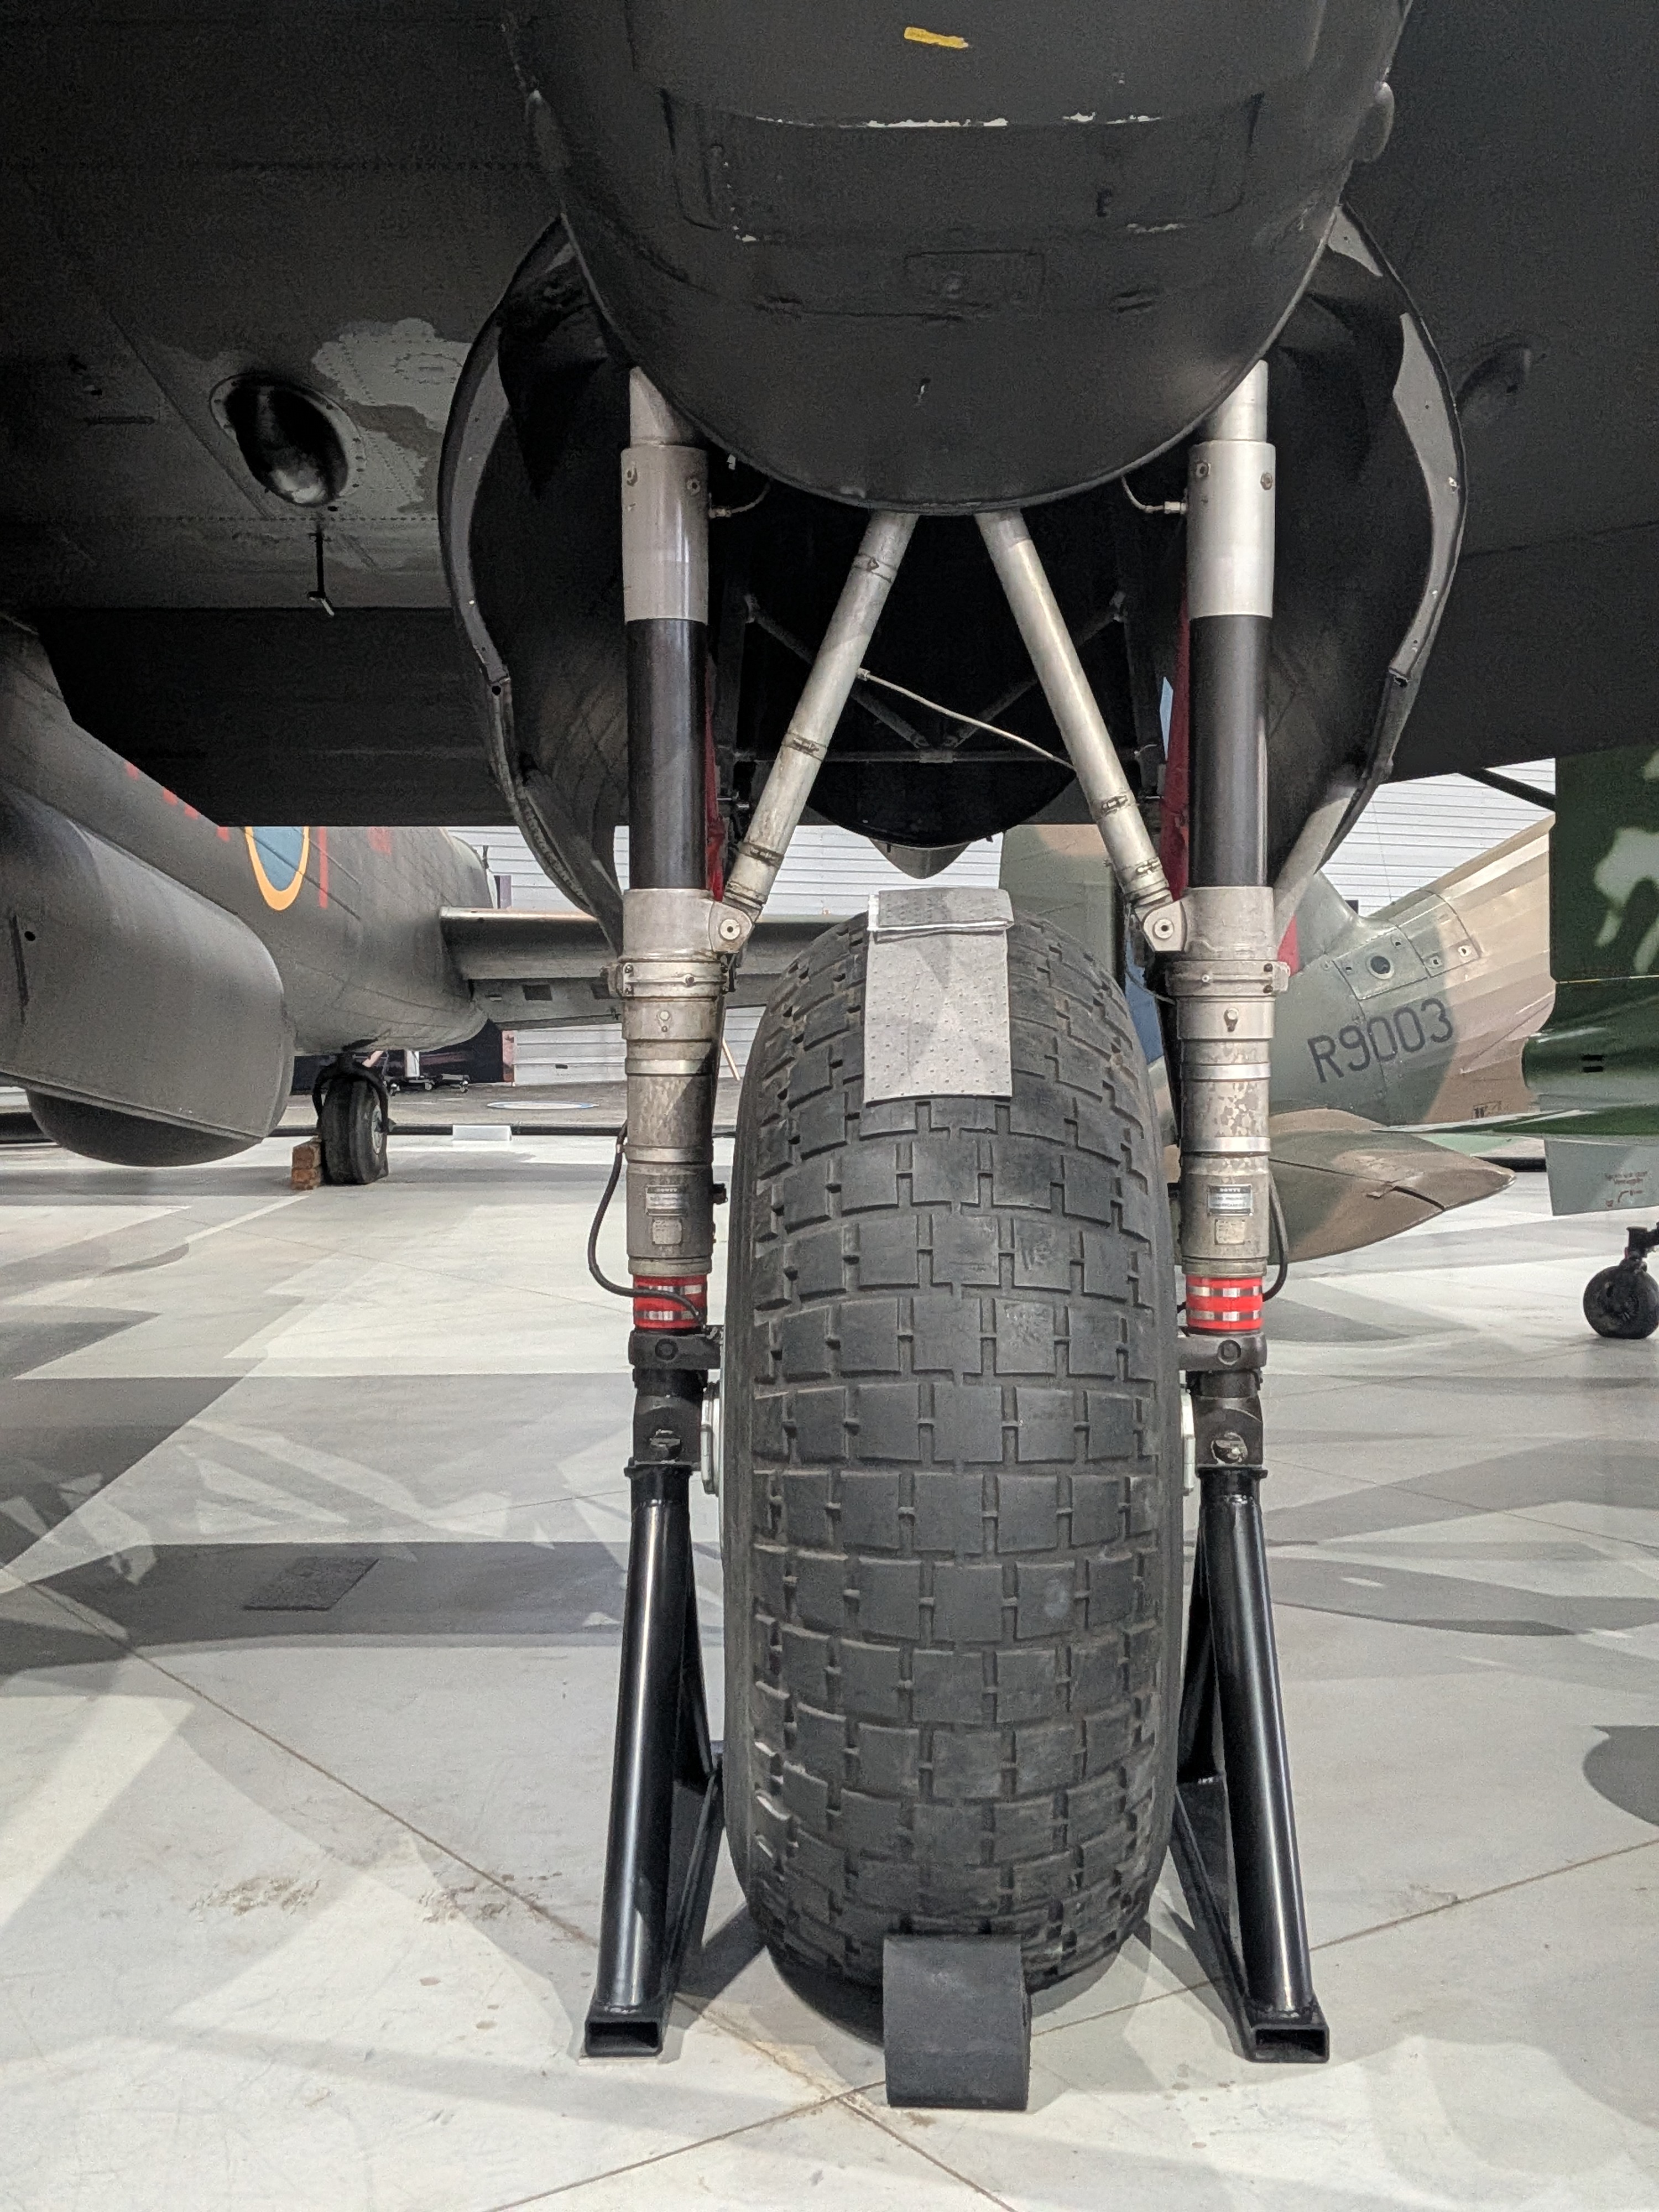
View attachment 192989
View attachment 192990
View attachment 192991
View attachment 192993

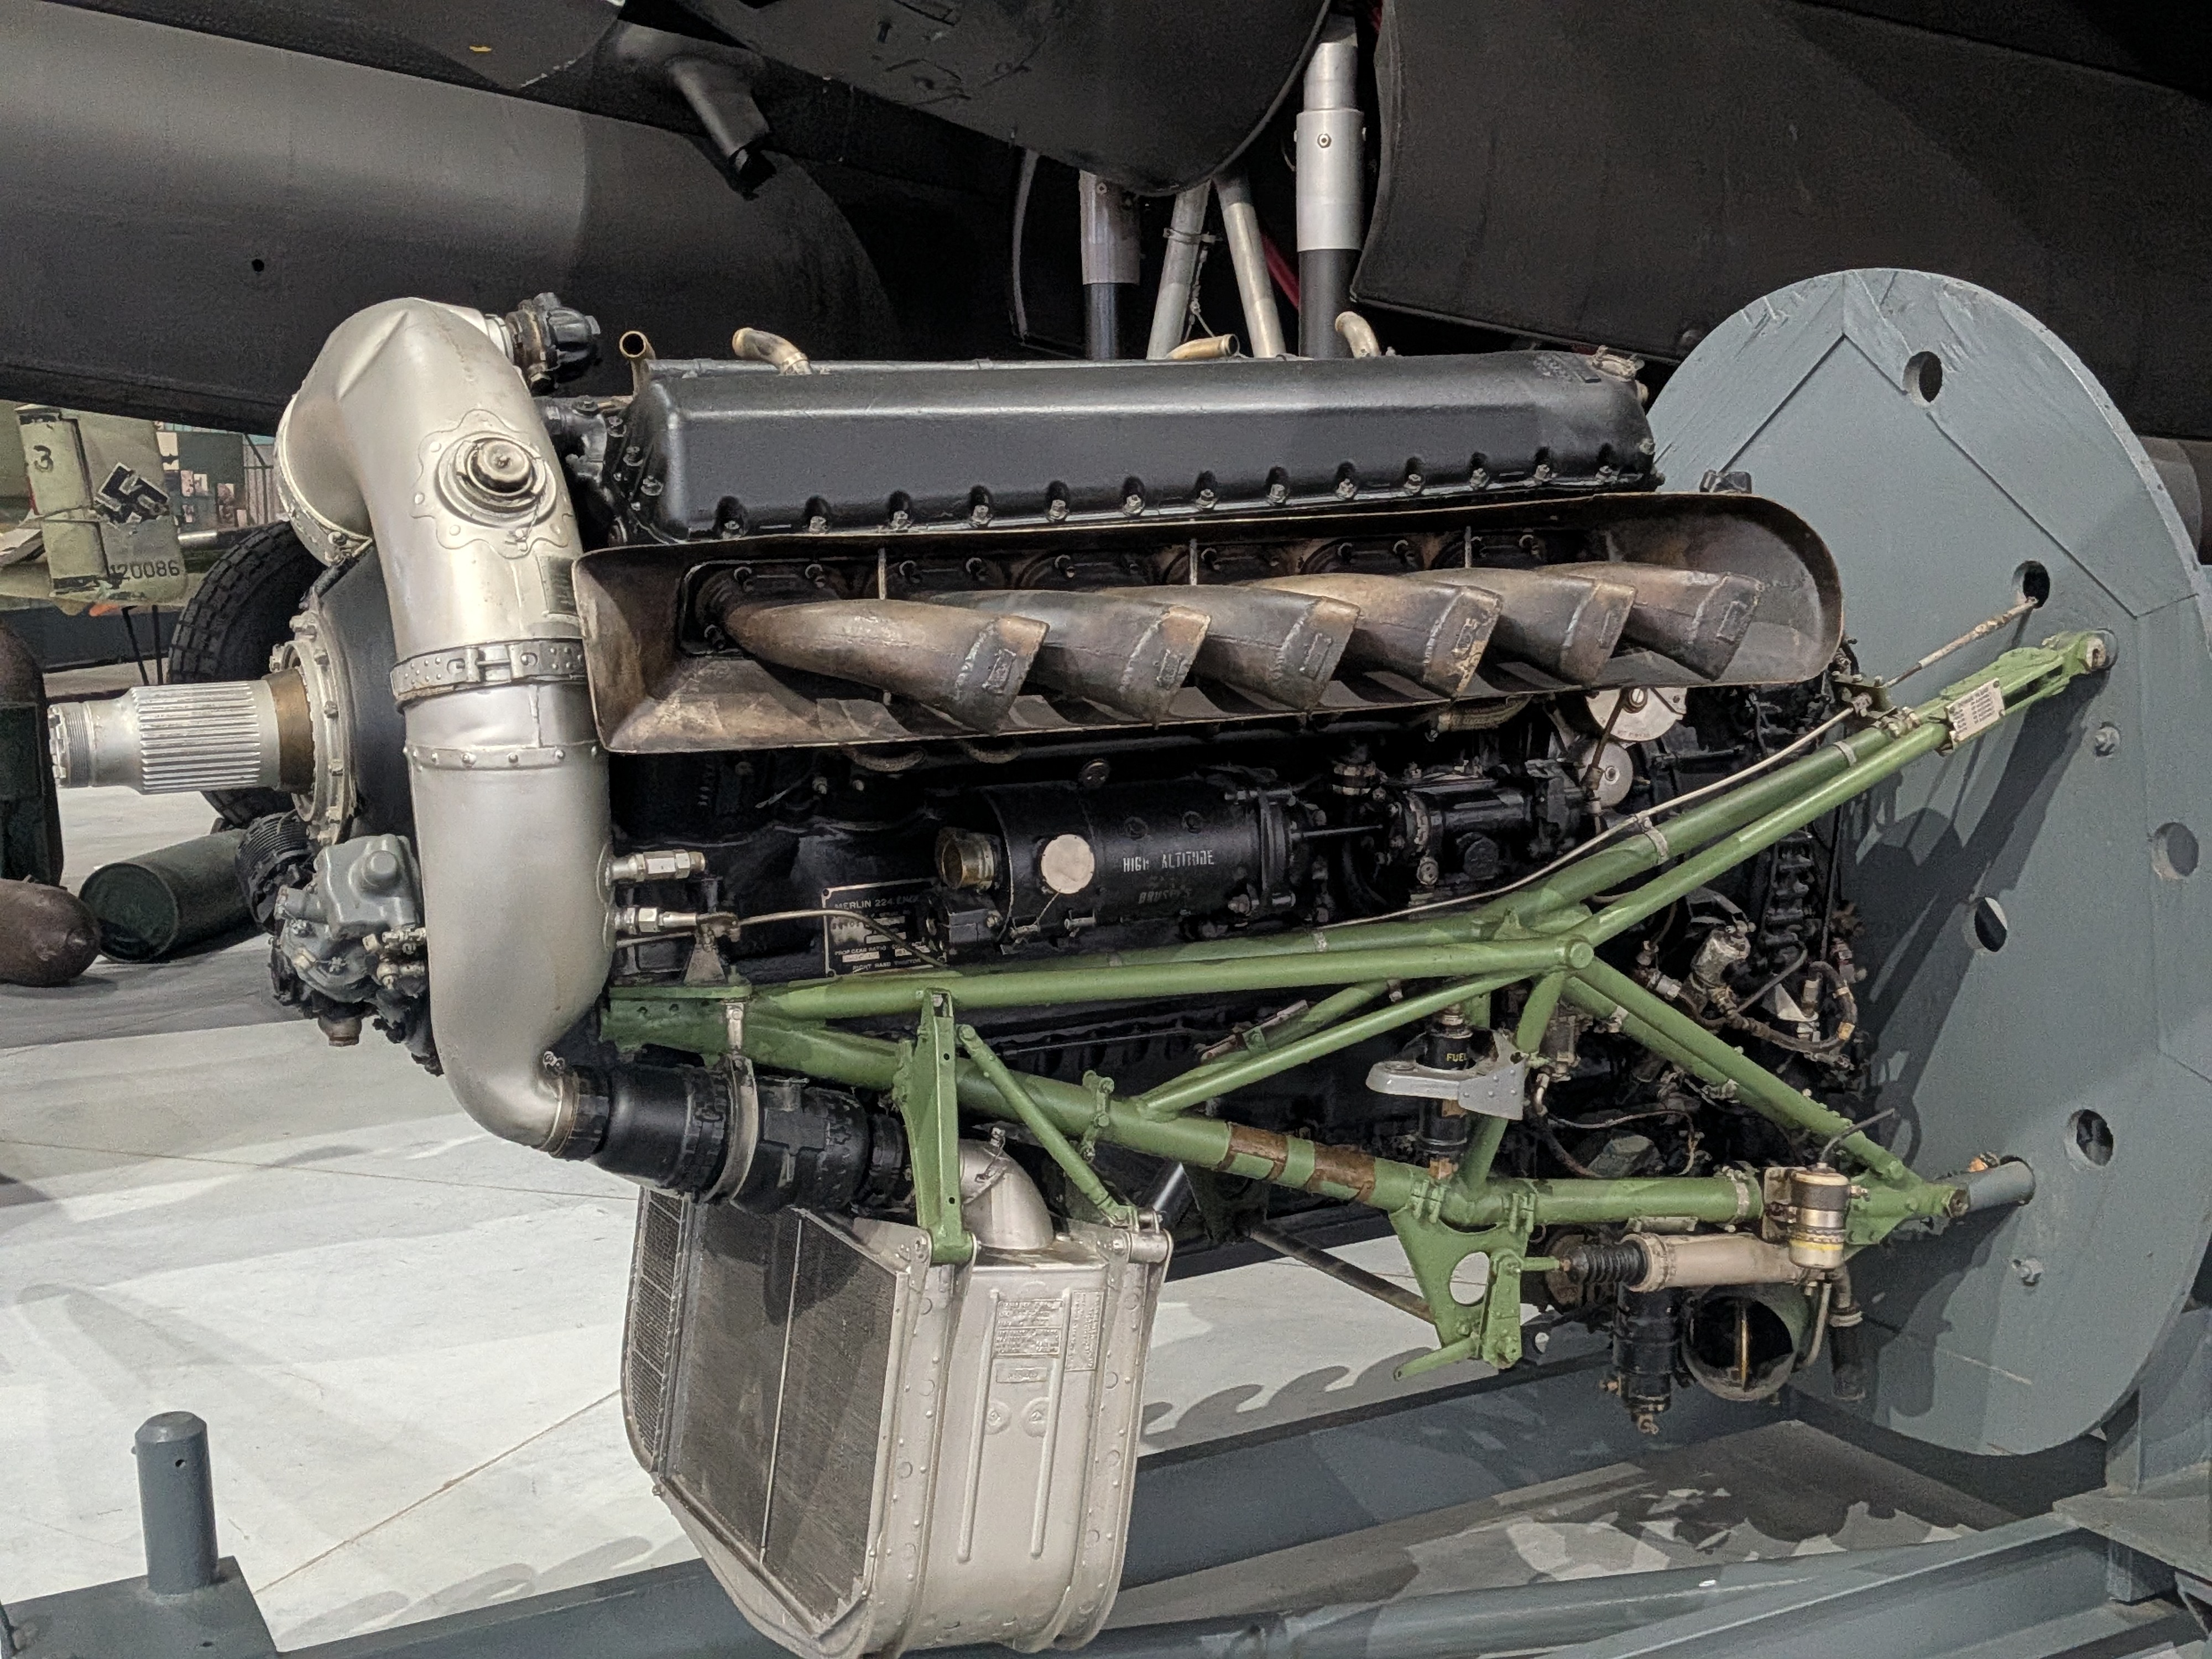
Rolls-Royce Merlin 224 built by Packard Motor Car Company in USA
View attachment 192994
View attachment 192995
I love these museums. I haven't been to the one by me in a couple of months…
 
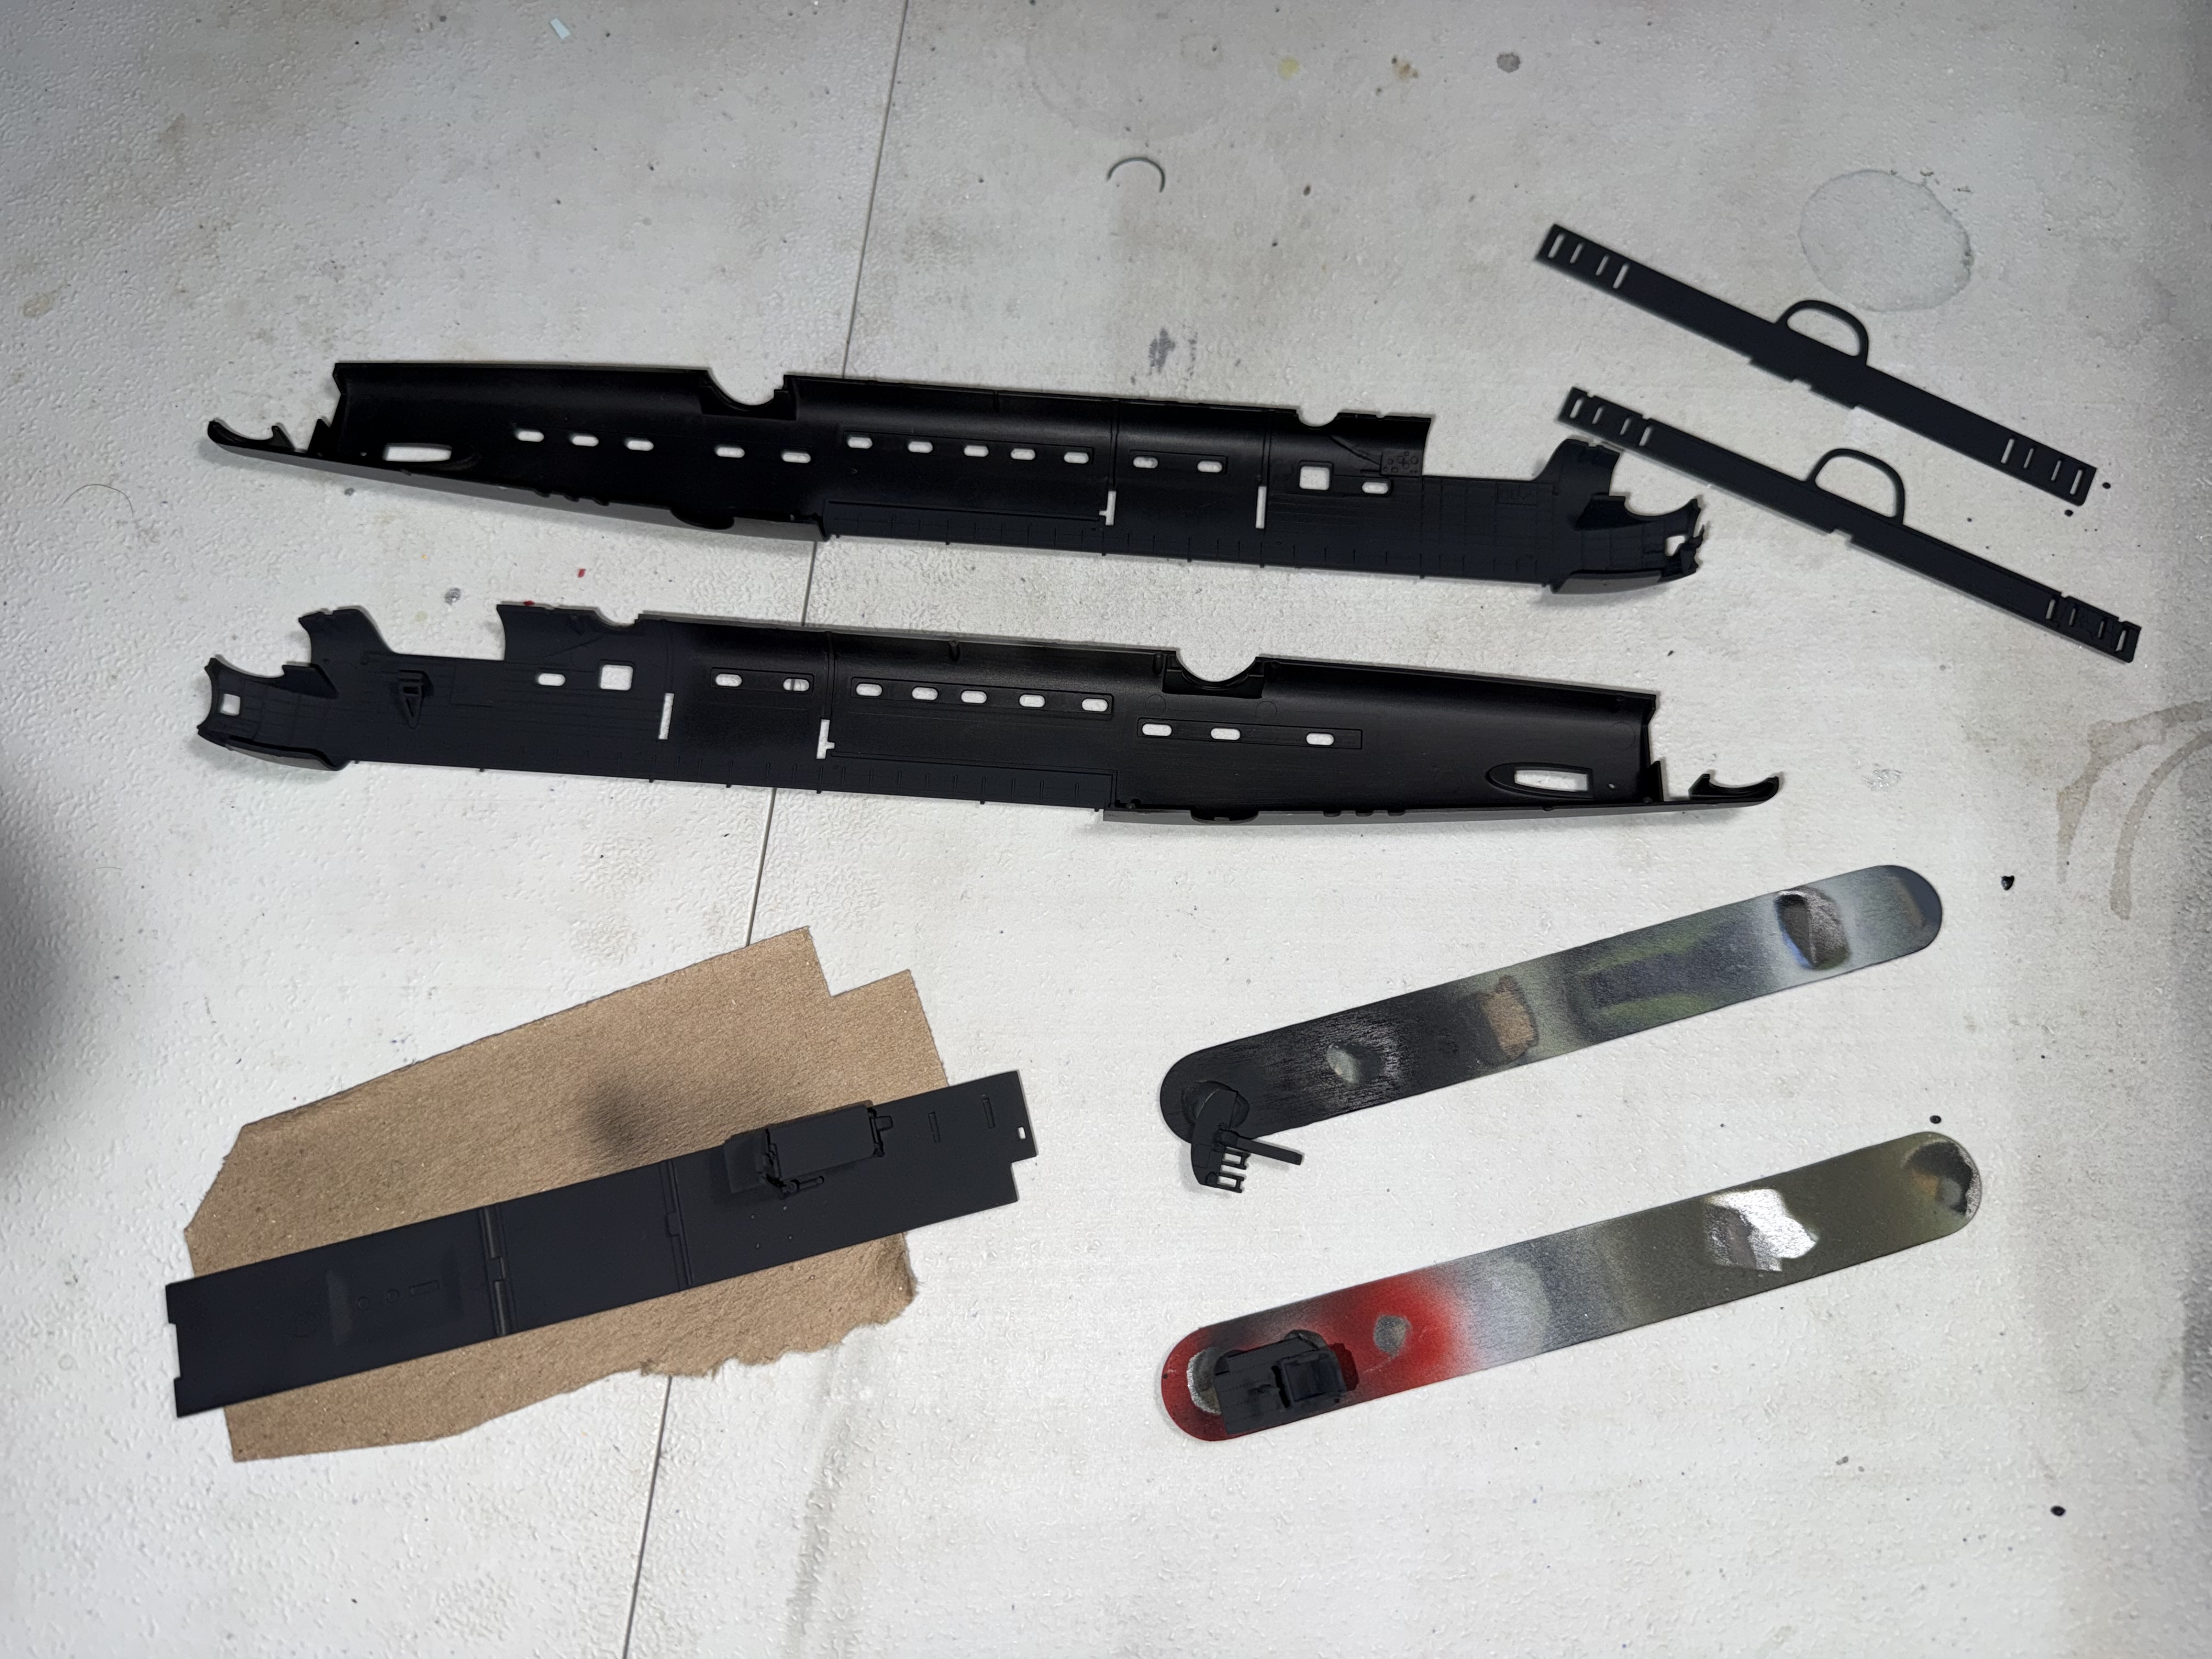
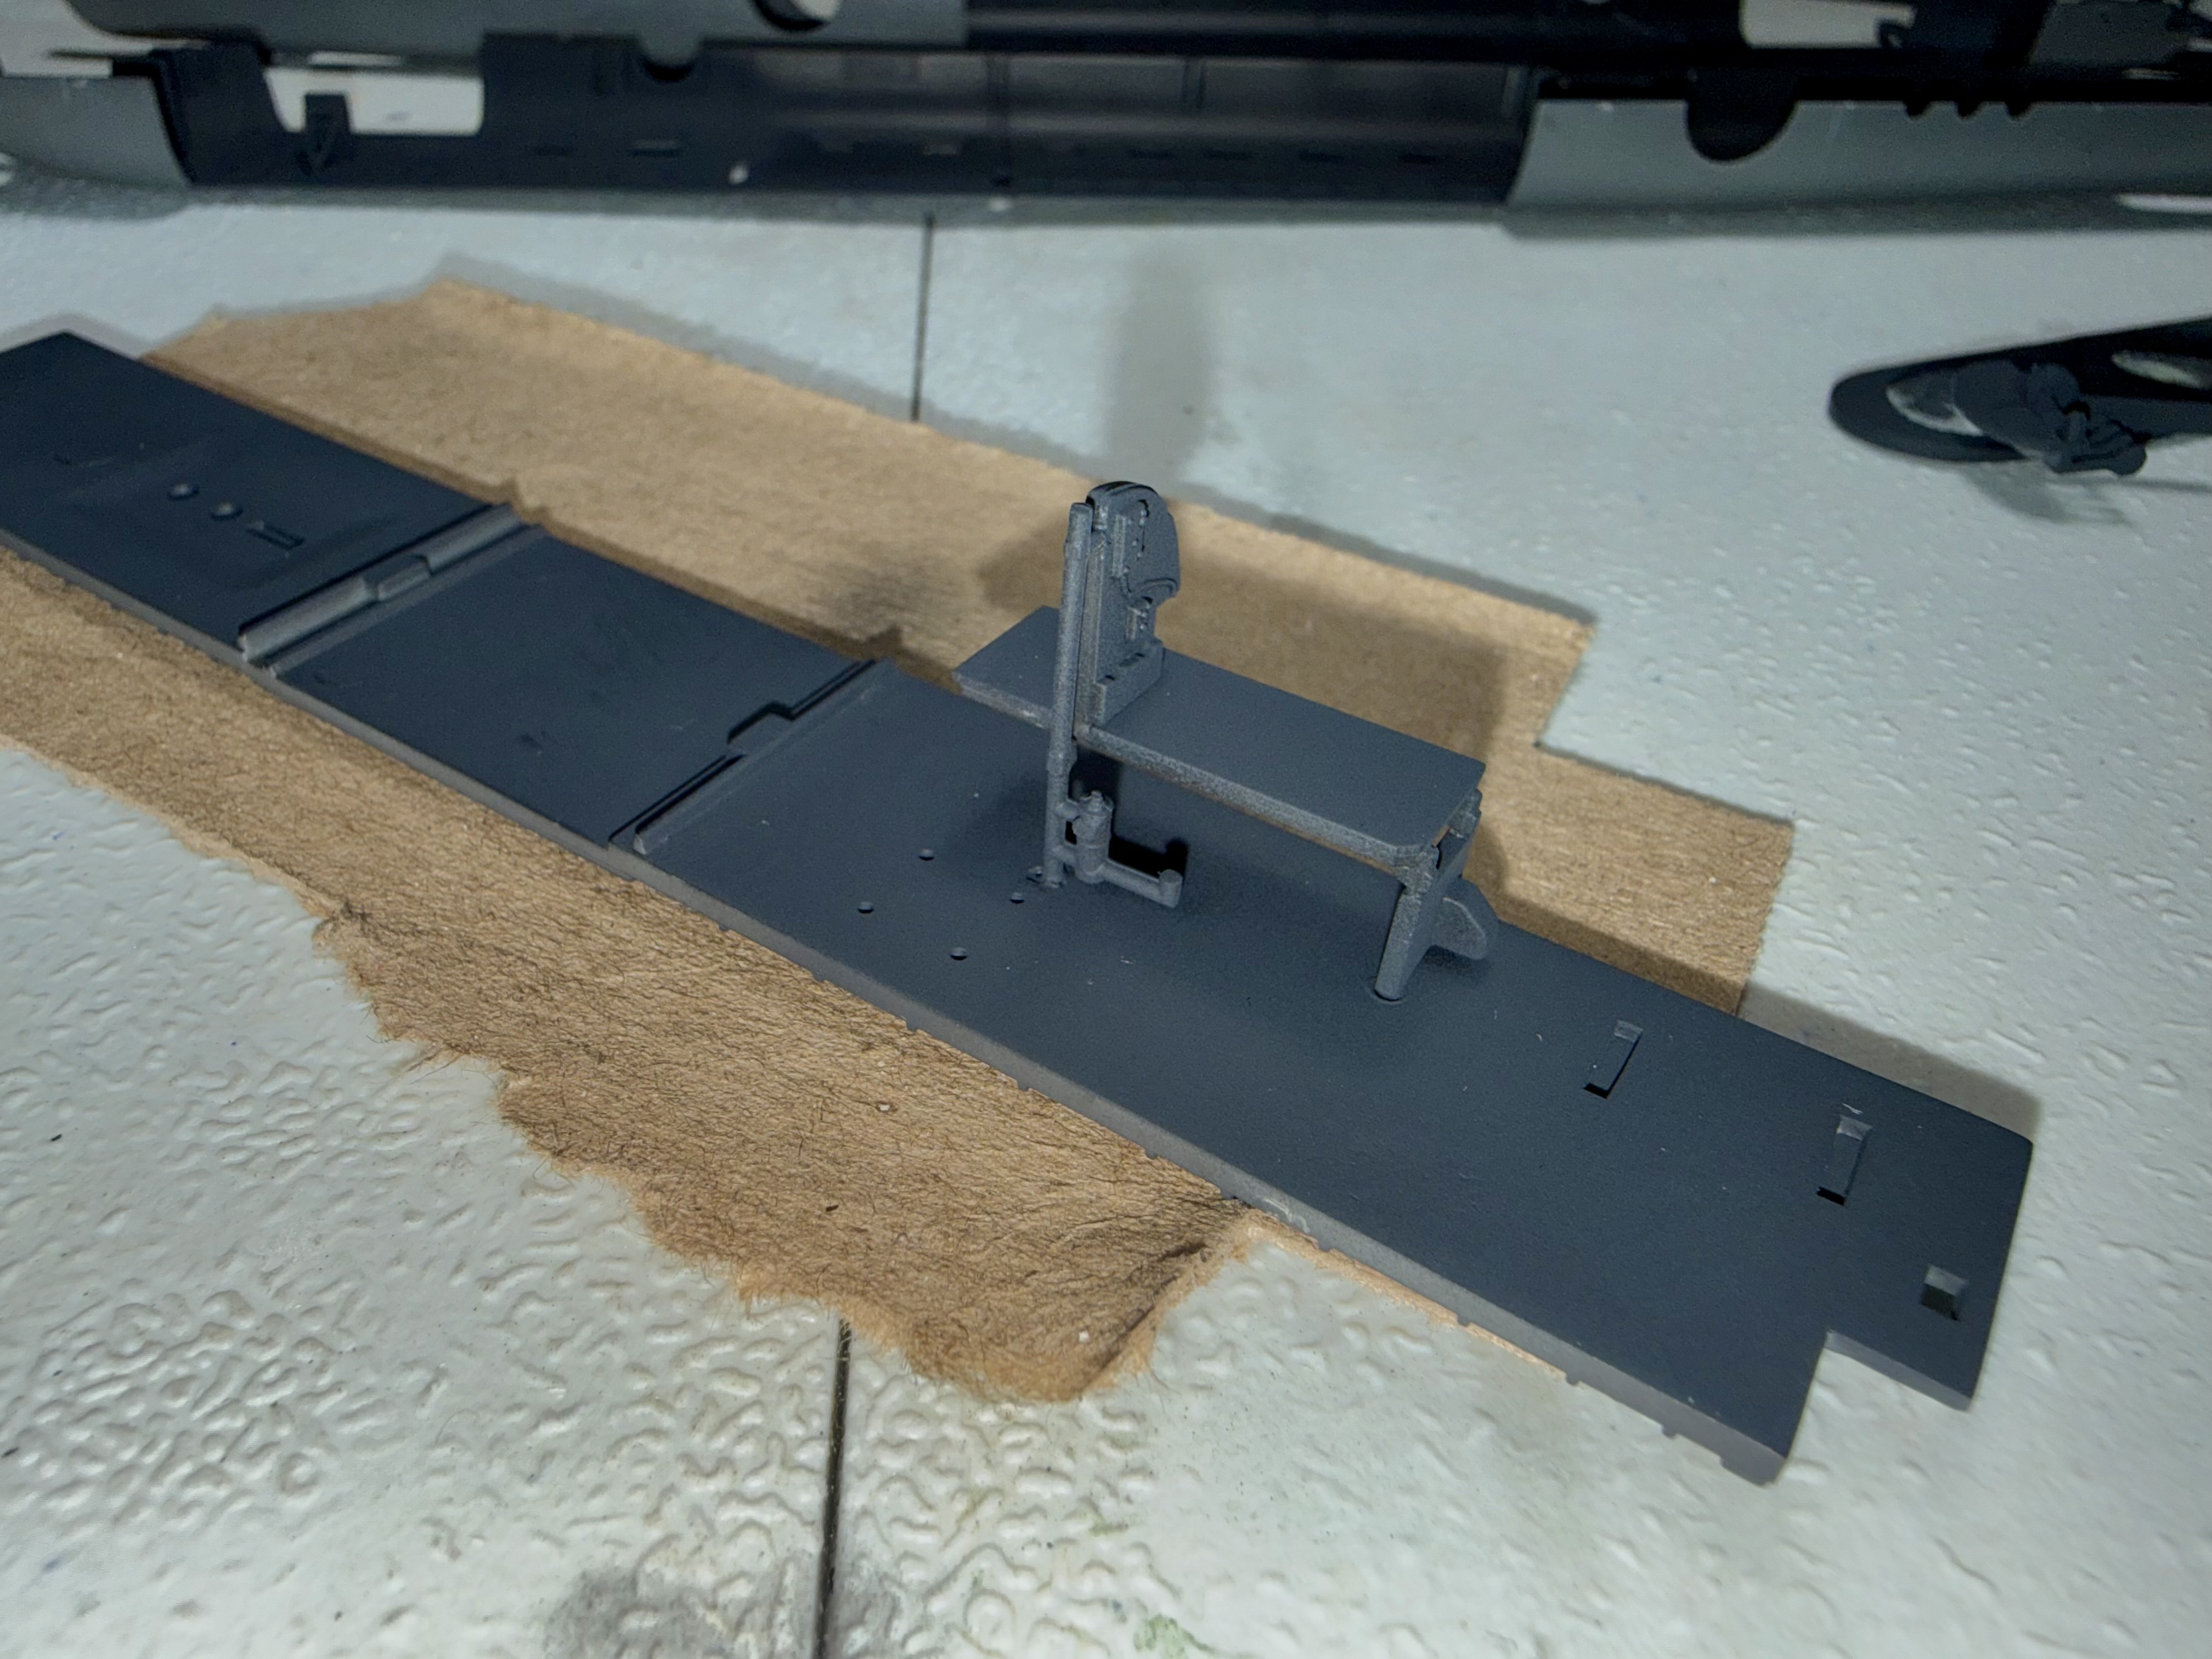
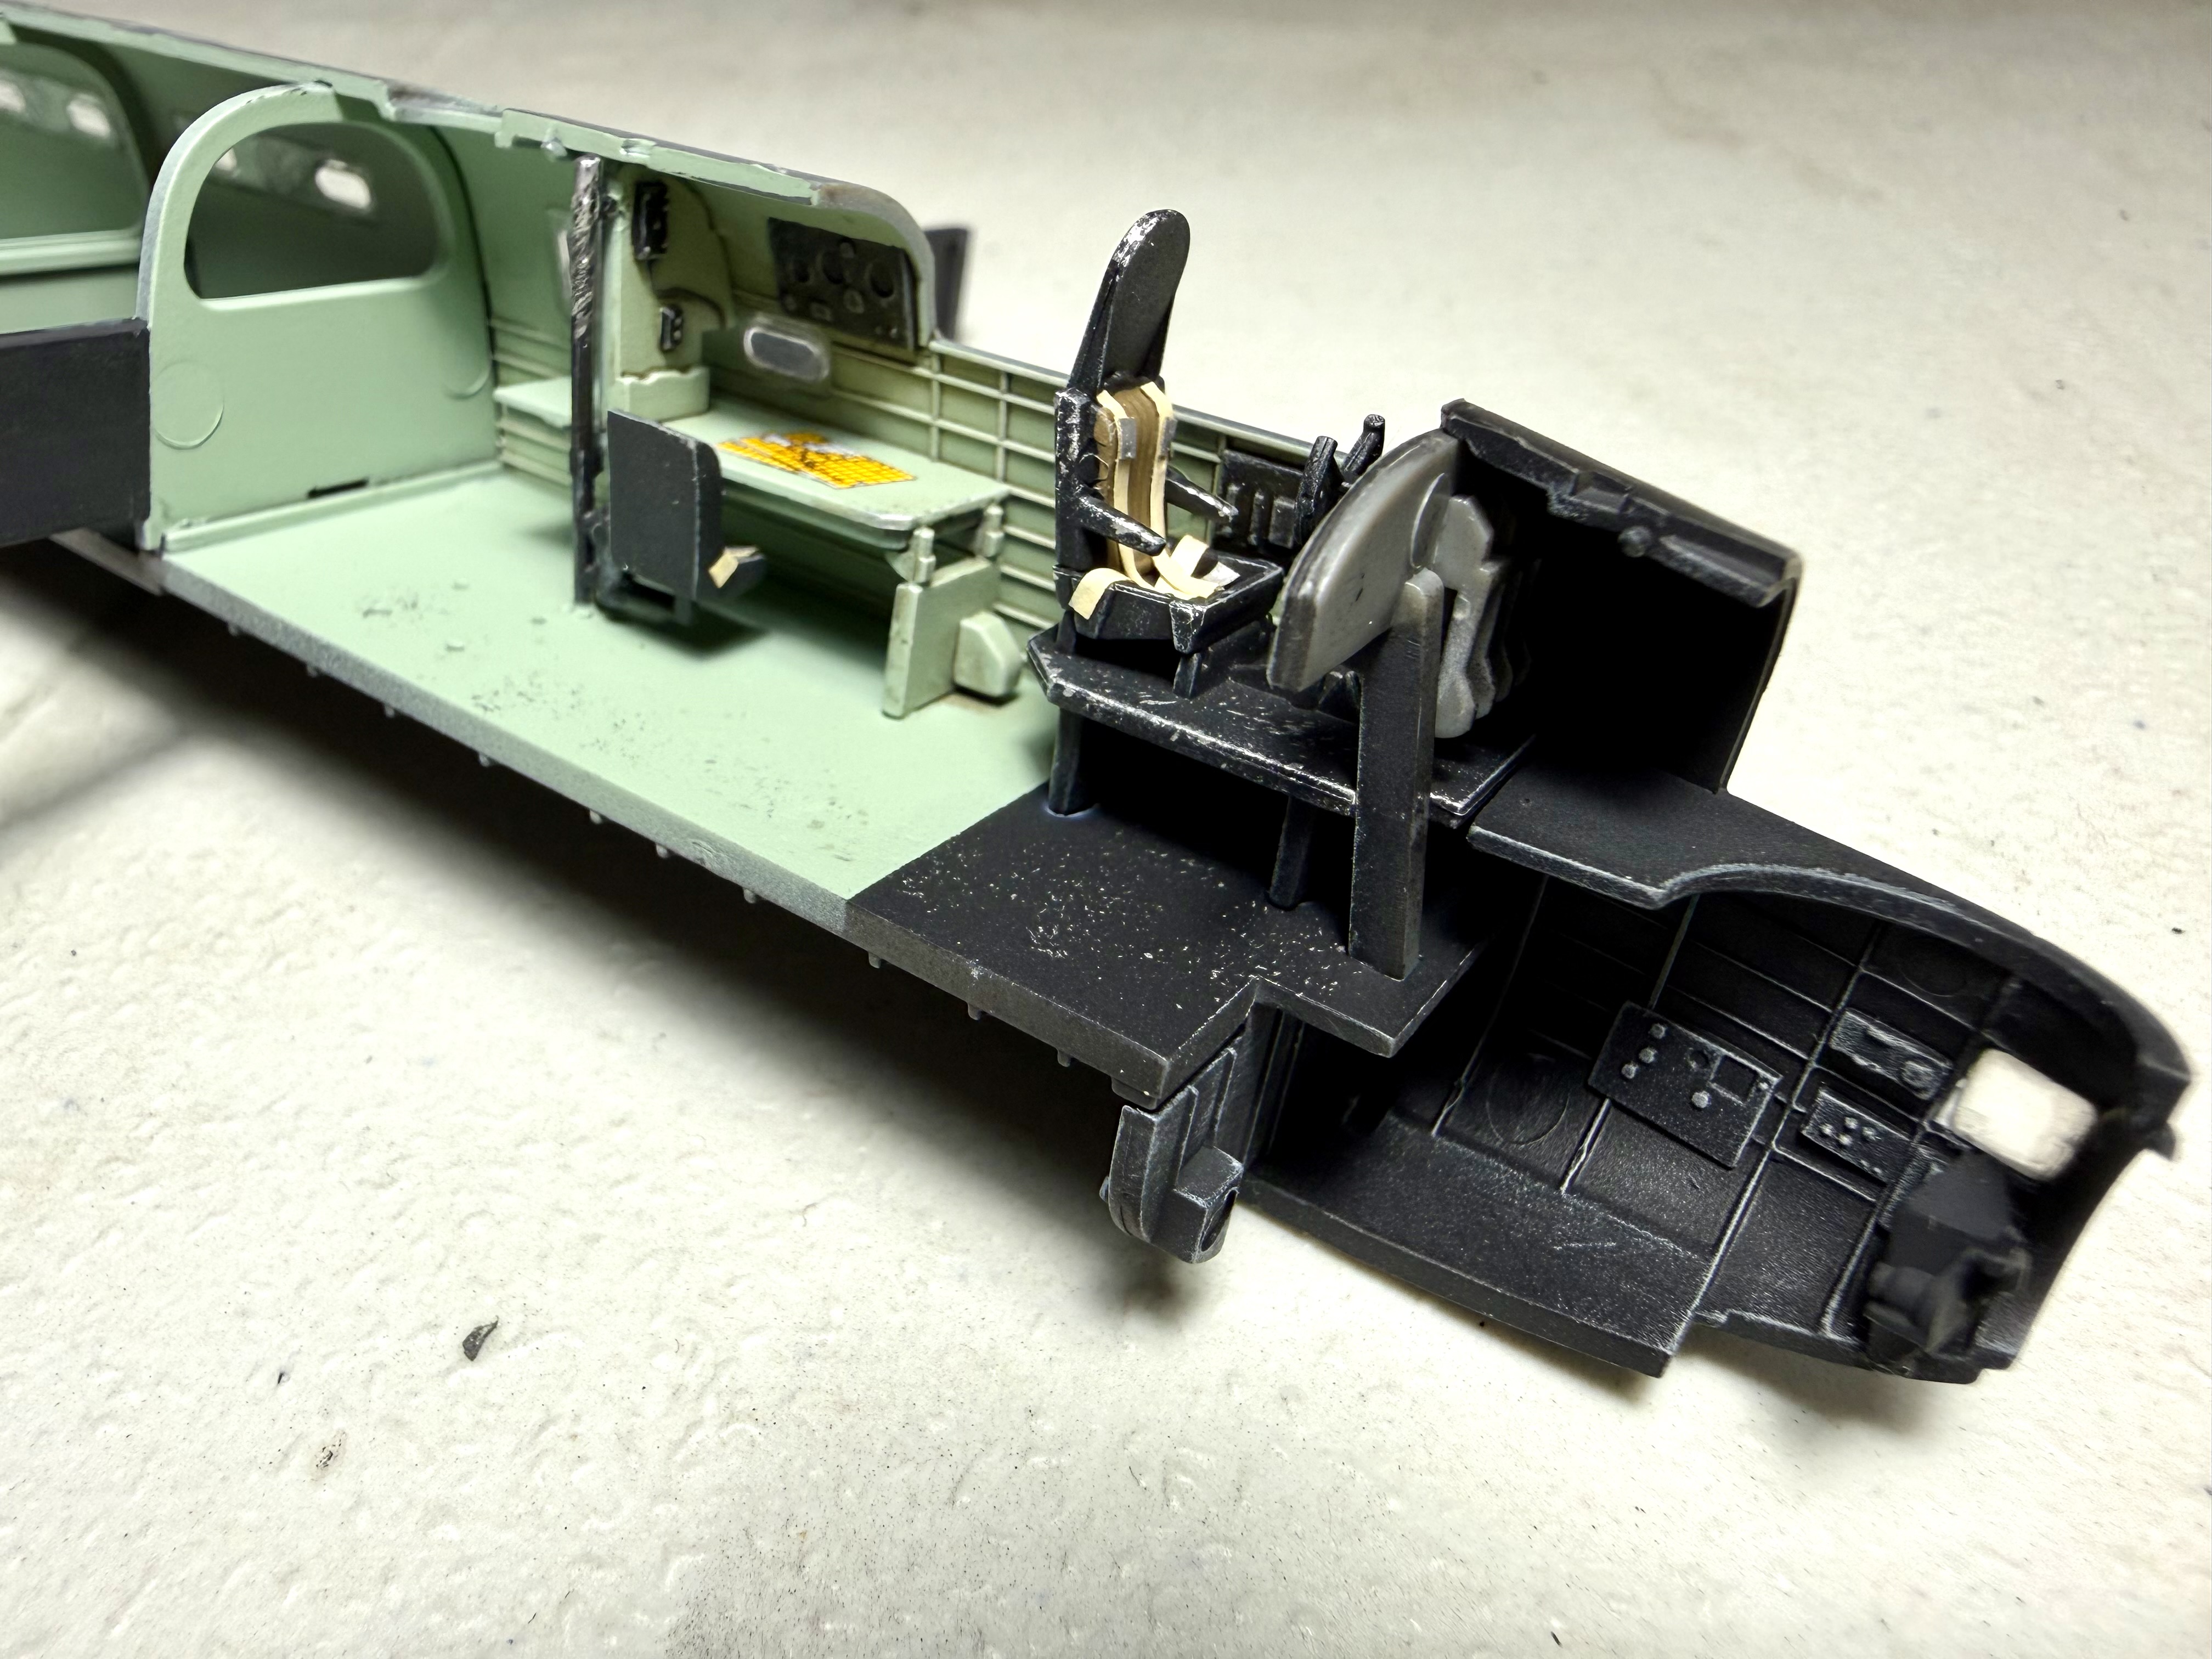
Off to the races. There's not a whole lot going into the interior but you won't see much of it anyway. Sidewall detail is nice though. I'm going to be making extensive use of NATO black on this build. Such a better scale effect than straight black.

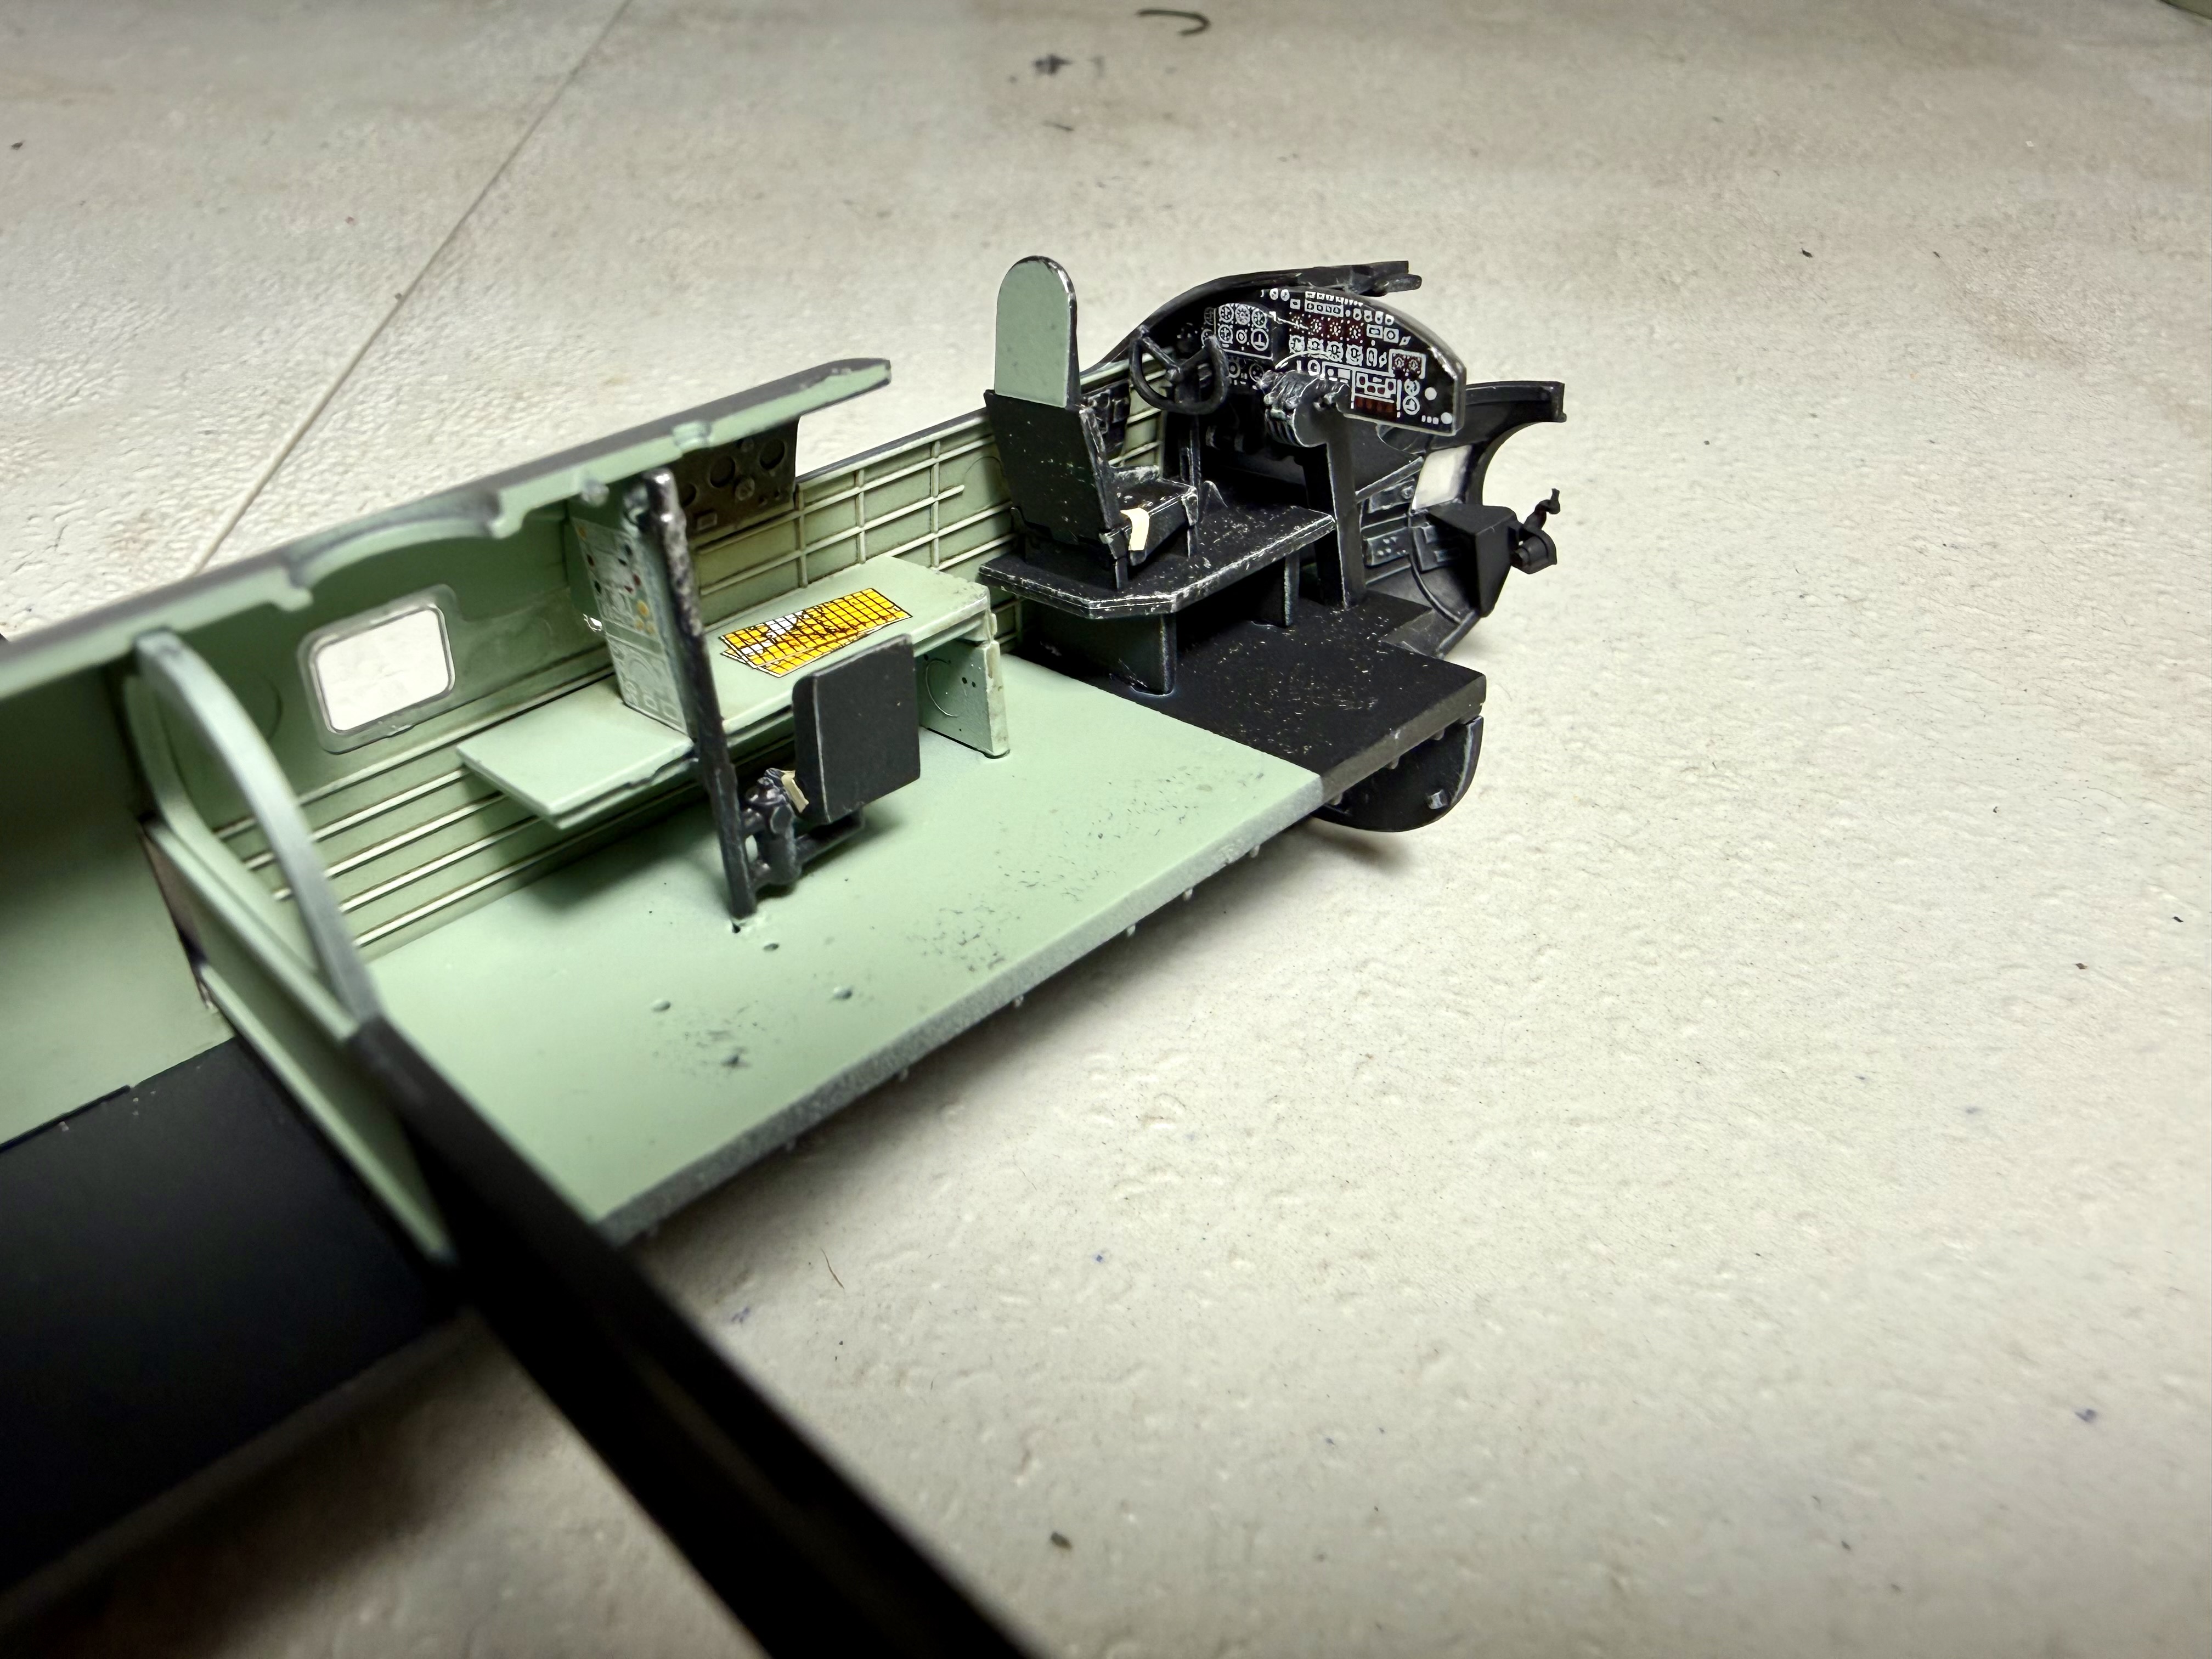
Putting the navigator's table in was about an hour of my life. So poorly engineered. Clipped off the attached seat and will reattach it after painting. Lighting in the second photo makes the NATO black appear much lighter than it actually is.

IMG_9733.jpeg
IMG_9737.jpeg
 
I'm starting to feel intimidated by the notion of doing a heavy bomber in 1/48 at some point. This is just 1/72 and that was a lot of paint! Guess I didn't really need to paint the whole interior but it just would've felt incomplete not to. I looked at a few reference photos but mostly just followed the kit instructions. The completed aircraft is intended to be an old warhorse so I added some paint chipping. Nice touch by Airfix to include charts for the nav's table, complete with routing. I made some seatbelts but otherwise left it OTB.

It's interesting to me that the Brits added so many windows, whereas US aircraft typically have minimal windows in the fuselage. About to join the fuselage halves. It's annoying that the engineering on the kit forces you to complete the wings before painting. I would've preferred to spray them separately.


IMG_9740.jpeg
IMG_9738.jpeg
IMG_9739.jpeg
 
I'm starting to feel intimidated by the notion of doing a heavy bomber in 1/48 at some point. This is just 1/72 and that was a lot of paint! Guess I didn't really need to paint the whole interior but it just would've felt incomplete not to. I looked at a few reference photos but mostly just followed the kit instructions. The completed aircraft is intended to be an old warhorse so I added some paint chipping. Nice touch by Airfix to include charts for the nav's table, complete with routing. I made some seatbelts but otherwise left it OTB.

It's interesting to me that the Brits added so many windows, whereas US aircraft typically have minimal windows in the fuselage. About to join the fuselage halves. It's annoying that the engineering on the kit forces you to complete the wings before painting. I would've preferred to spray them separately.


View attachment 193404View attachment 193405View attachment 193406
Looks good! I've some larger builds I've been holding off on because of the painting issue. I've got the Eduard b17 in 1/48 that I've primed and did a base coat of metal and the set aside. Unfortunately my metal finish has improved quite a bit since then. Some of it I was spraying outside my booth!
 
I had the opportunity to visit the Bomber Command Museum in Nanton, Alberta, Canada, a couple of summers ago. A member of the Mosquito restoration team spent more than an hour giving me a personal tour of the Mosquito restoration, which was greatly appreciated since I had a 1/48 scale museum on the model bench back home at the time.
The real reason for my visit was to see their Lancaster. I took a ton of reference photos for my Tamiya Lancaster build. When I got home I discovered the museum had 3D tours you could take of the Lancaster. They are an excellent reference source (interior and exterior tours).
Here's a couple of links that Lancaster enthusiasts may find useful:
https://www.valourcanada.ca/vr/lancaster/
https://my.matterport.com/show/?m=5t5YsZn7DQC
I have found a number of museums have excellent 3D tours available on their websites.
 
I've got the Eduard b17 in 1/48 that I've primed and did a base coat of metal and the set aside.
One day I'll tackle that beast! But I'll be doing the Revell 1/72 kit first.
I had the opportunity to visit the Bomber Command Museum in Nanton, Alberta, Canada, a couple of summers ago. Here's a couple of links that Lancaster enthusiasts may find useful:
That's awesome! Thanks for sharing!
 
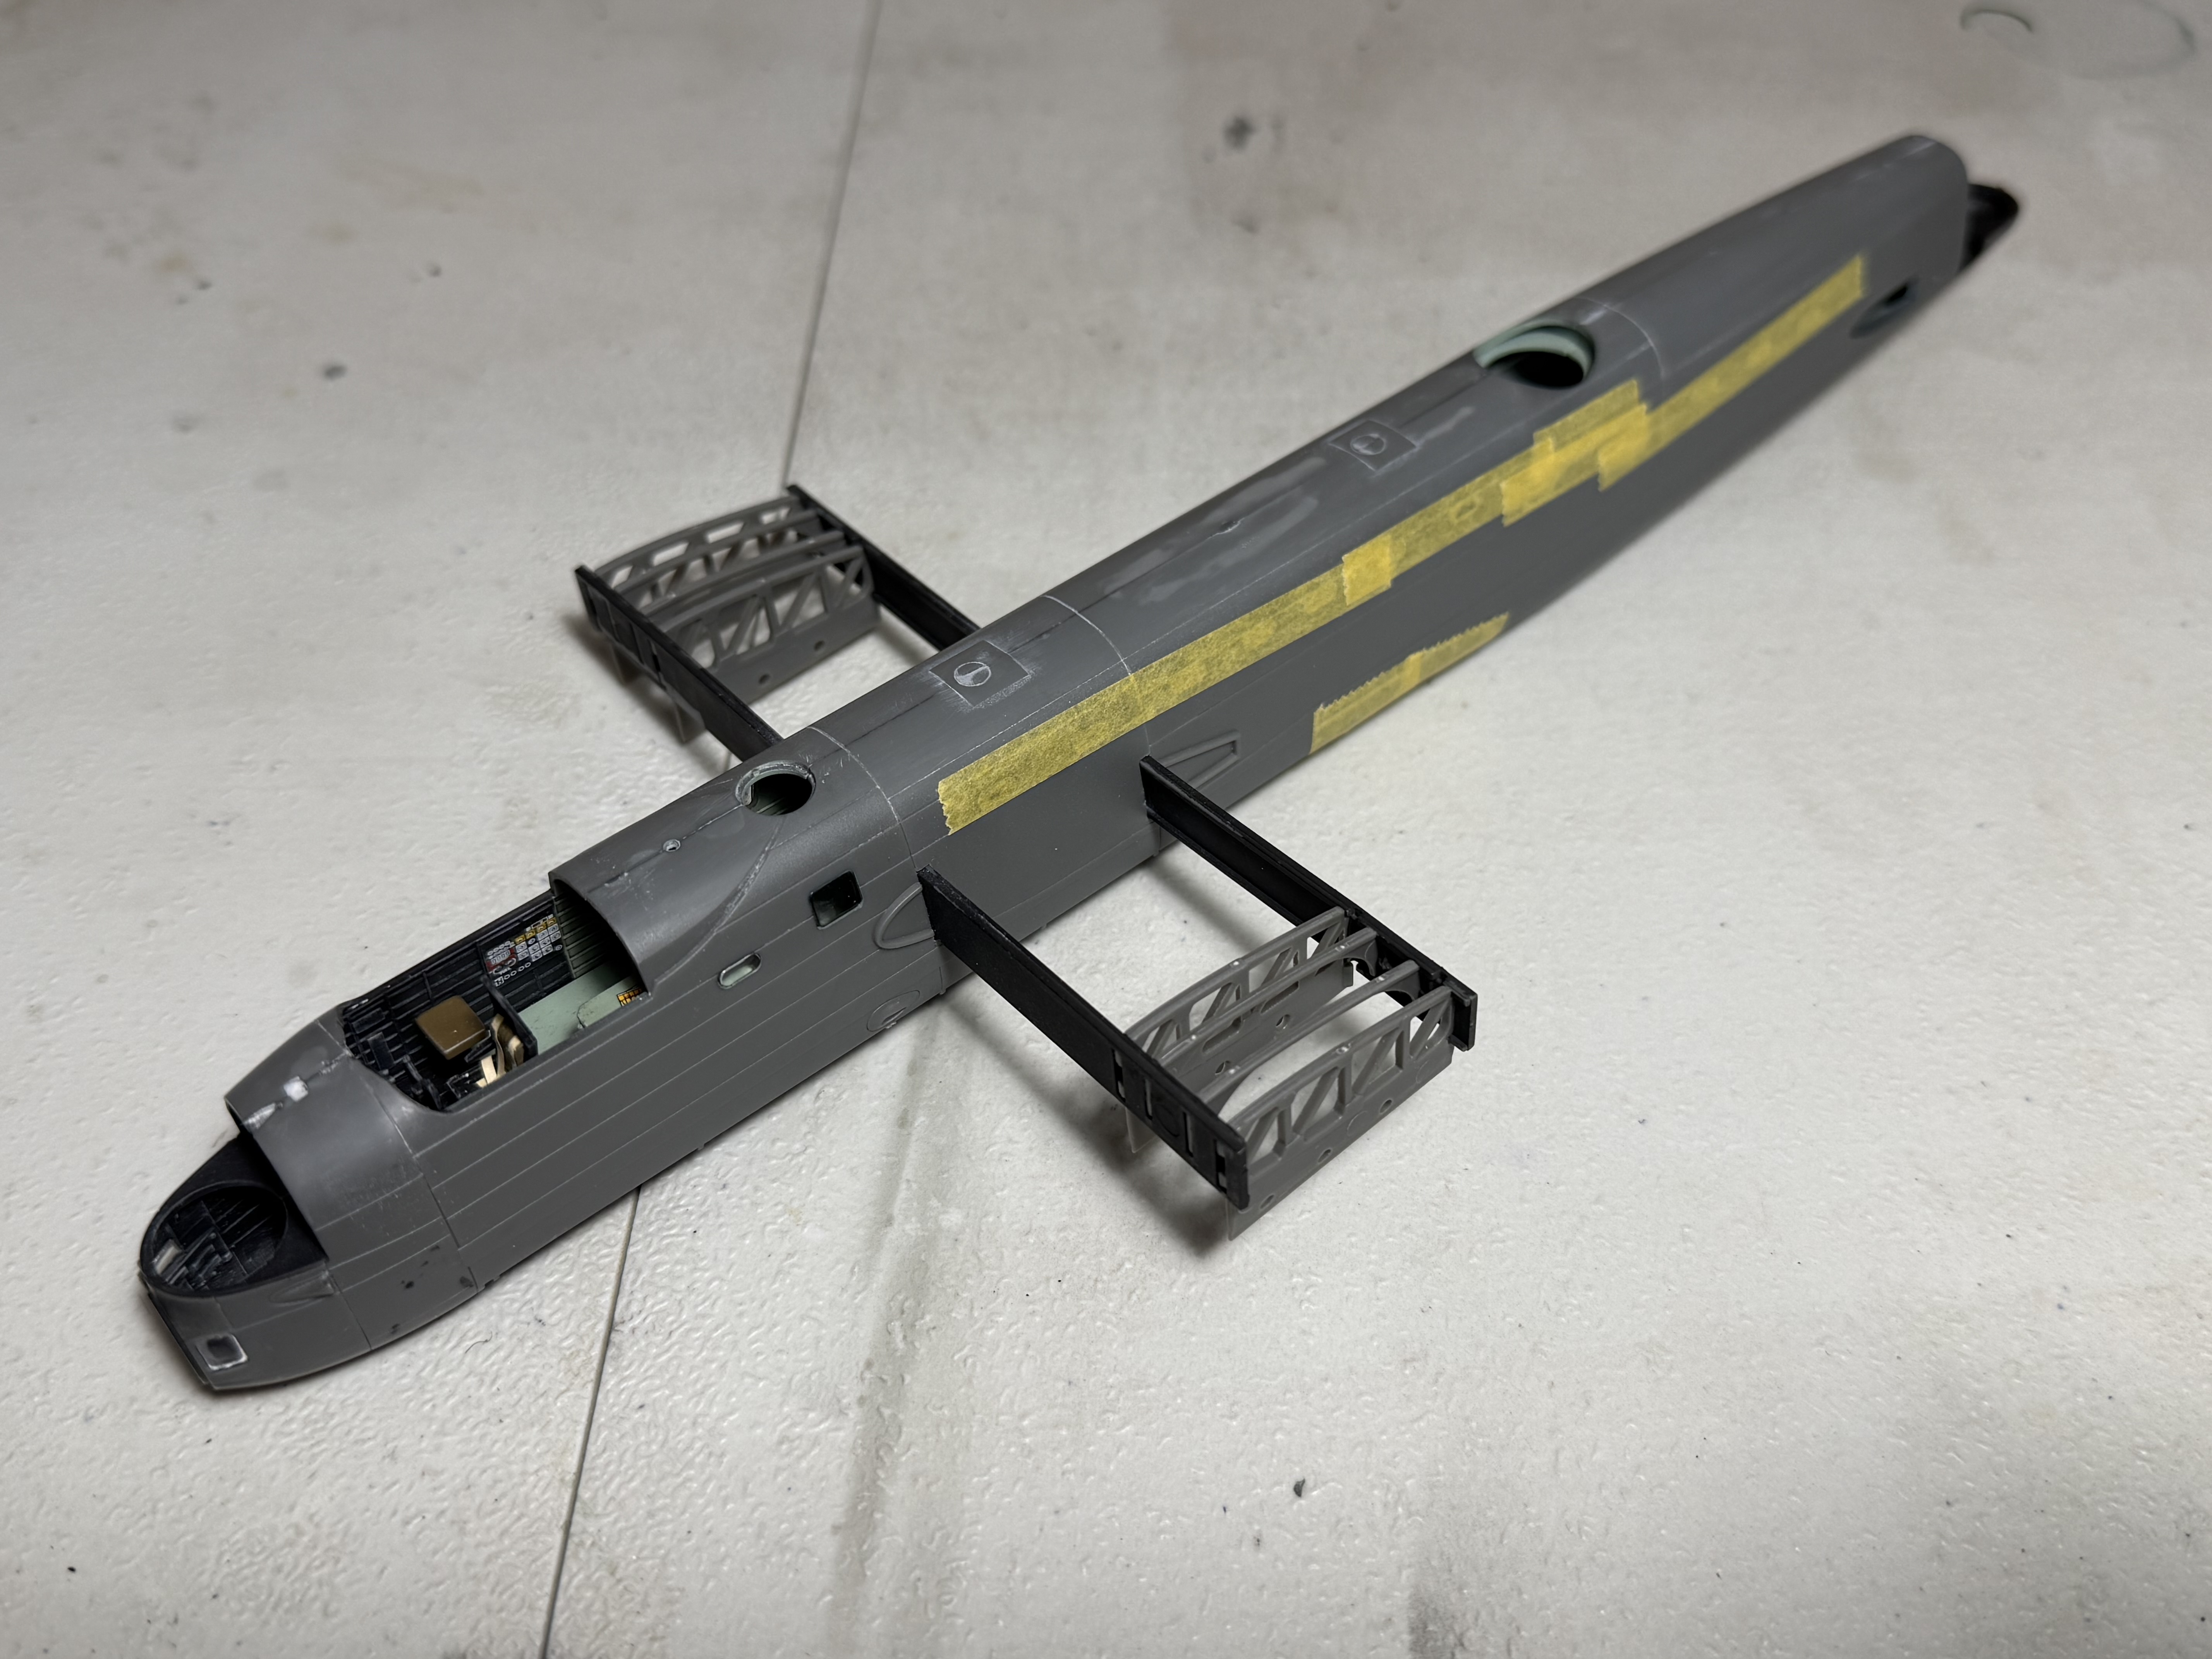
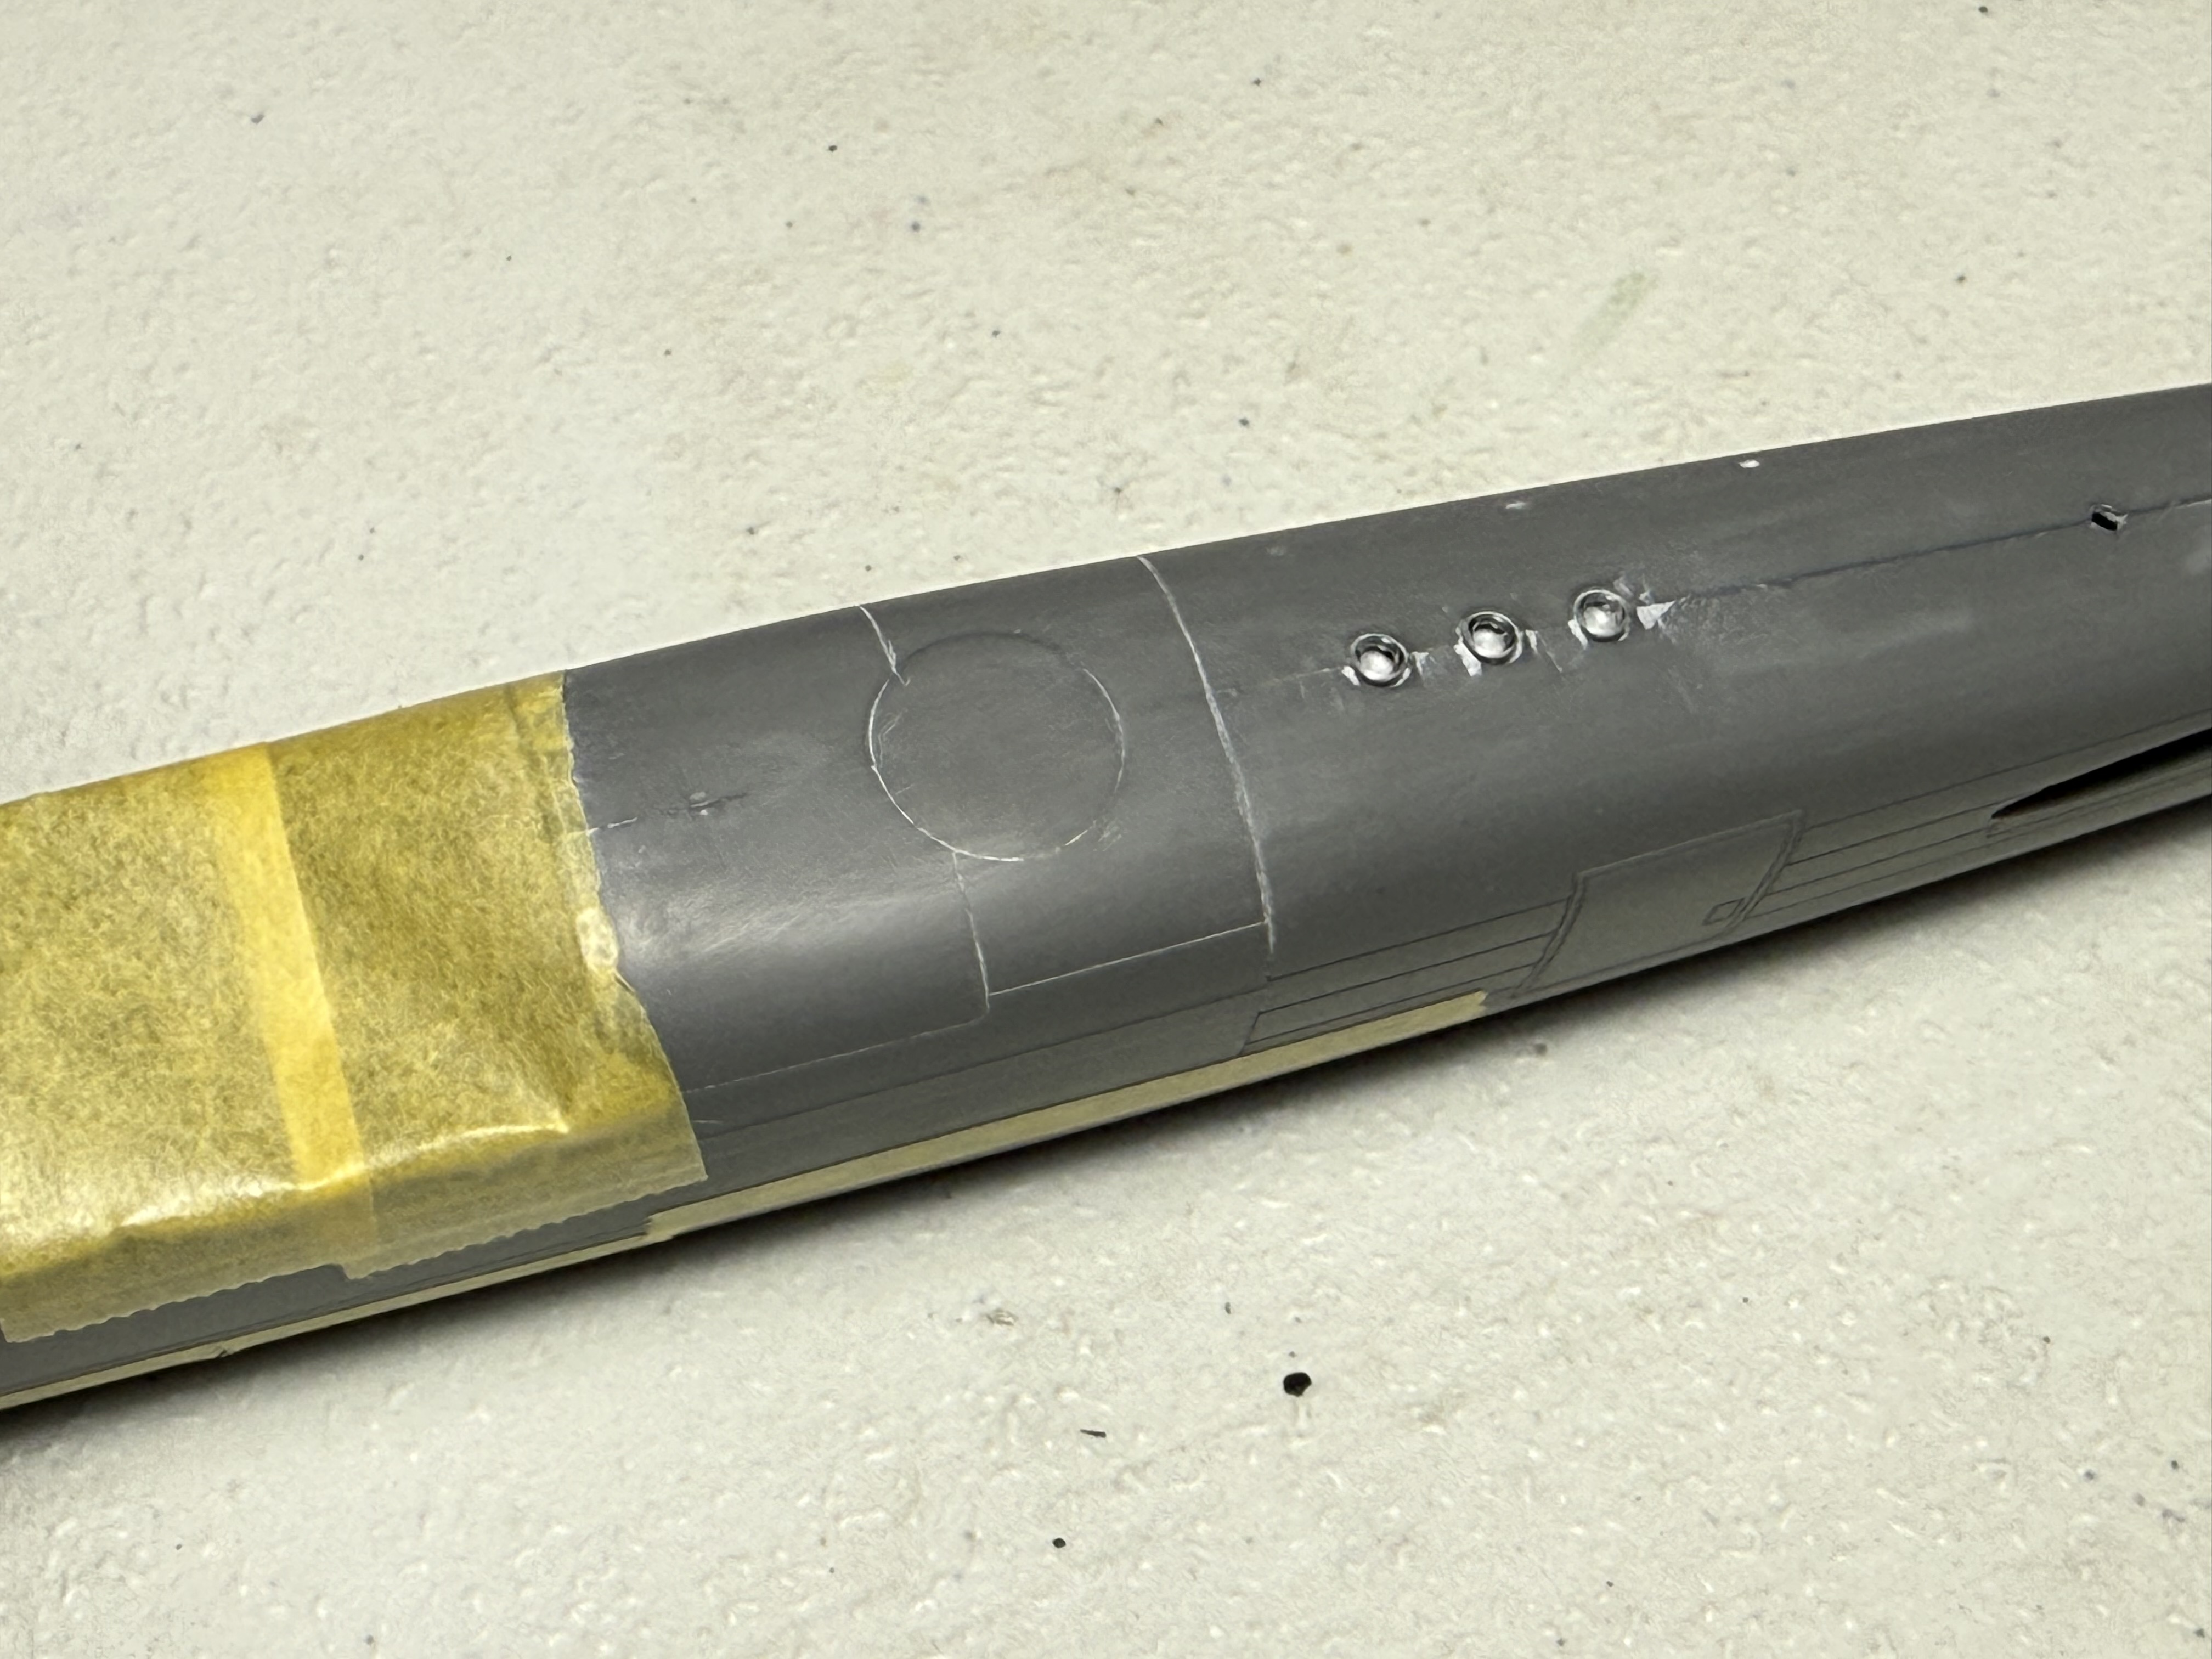
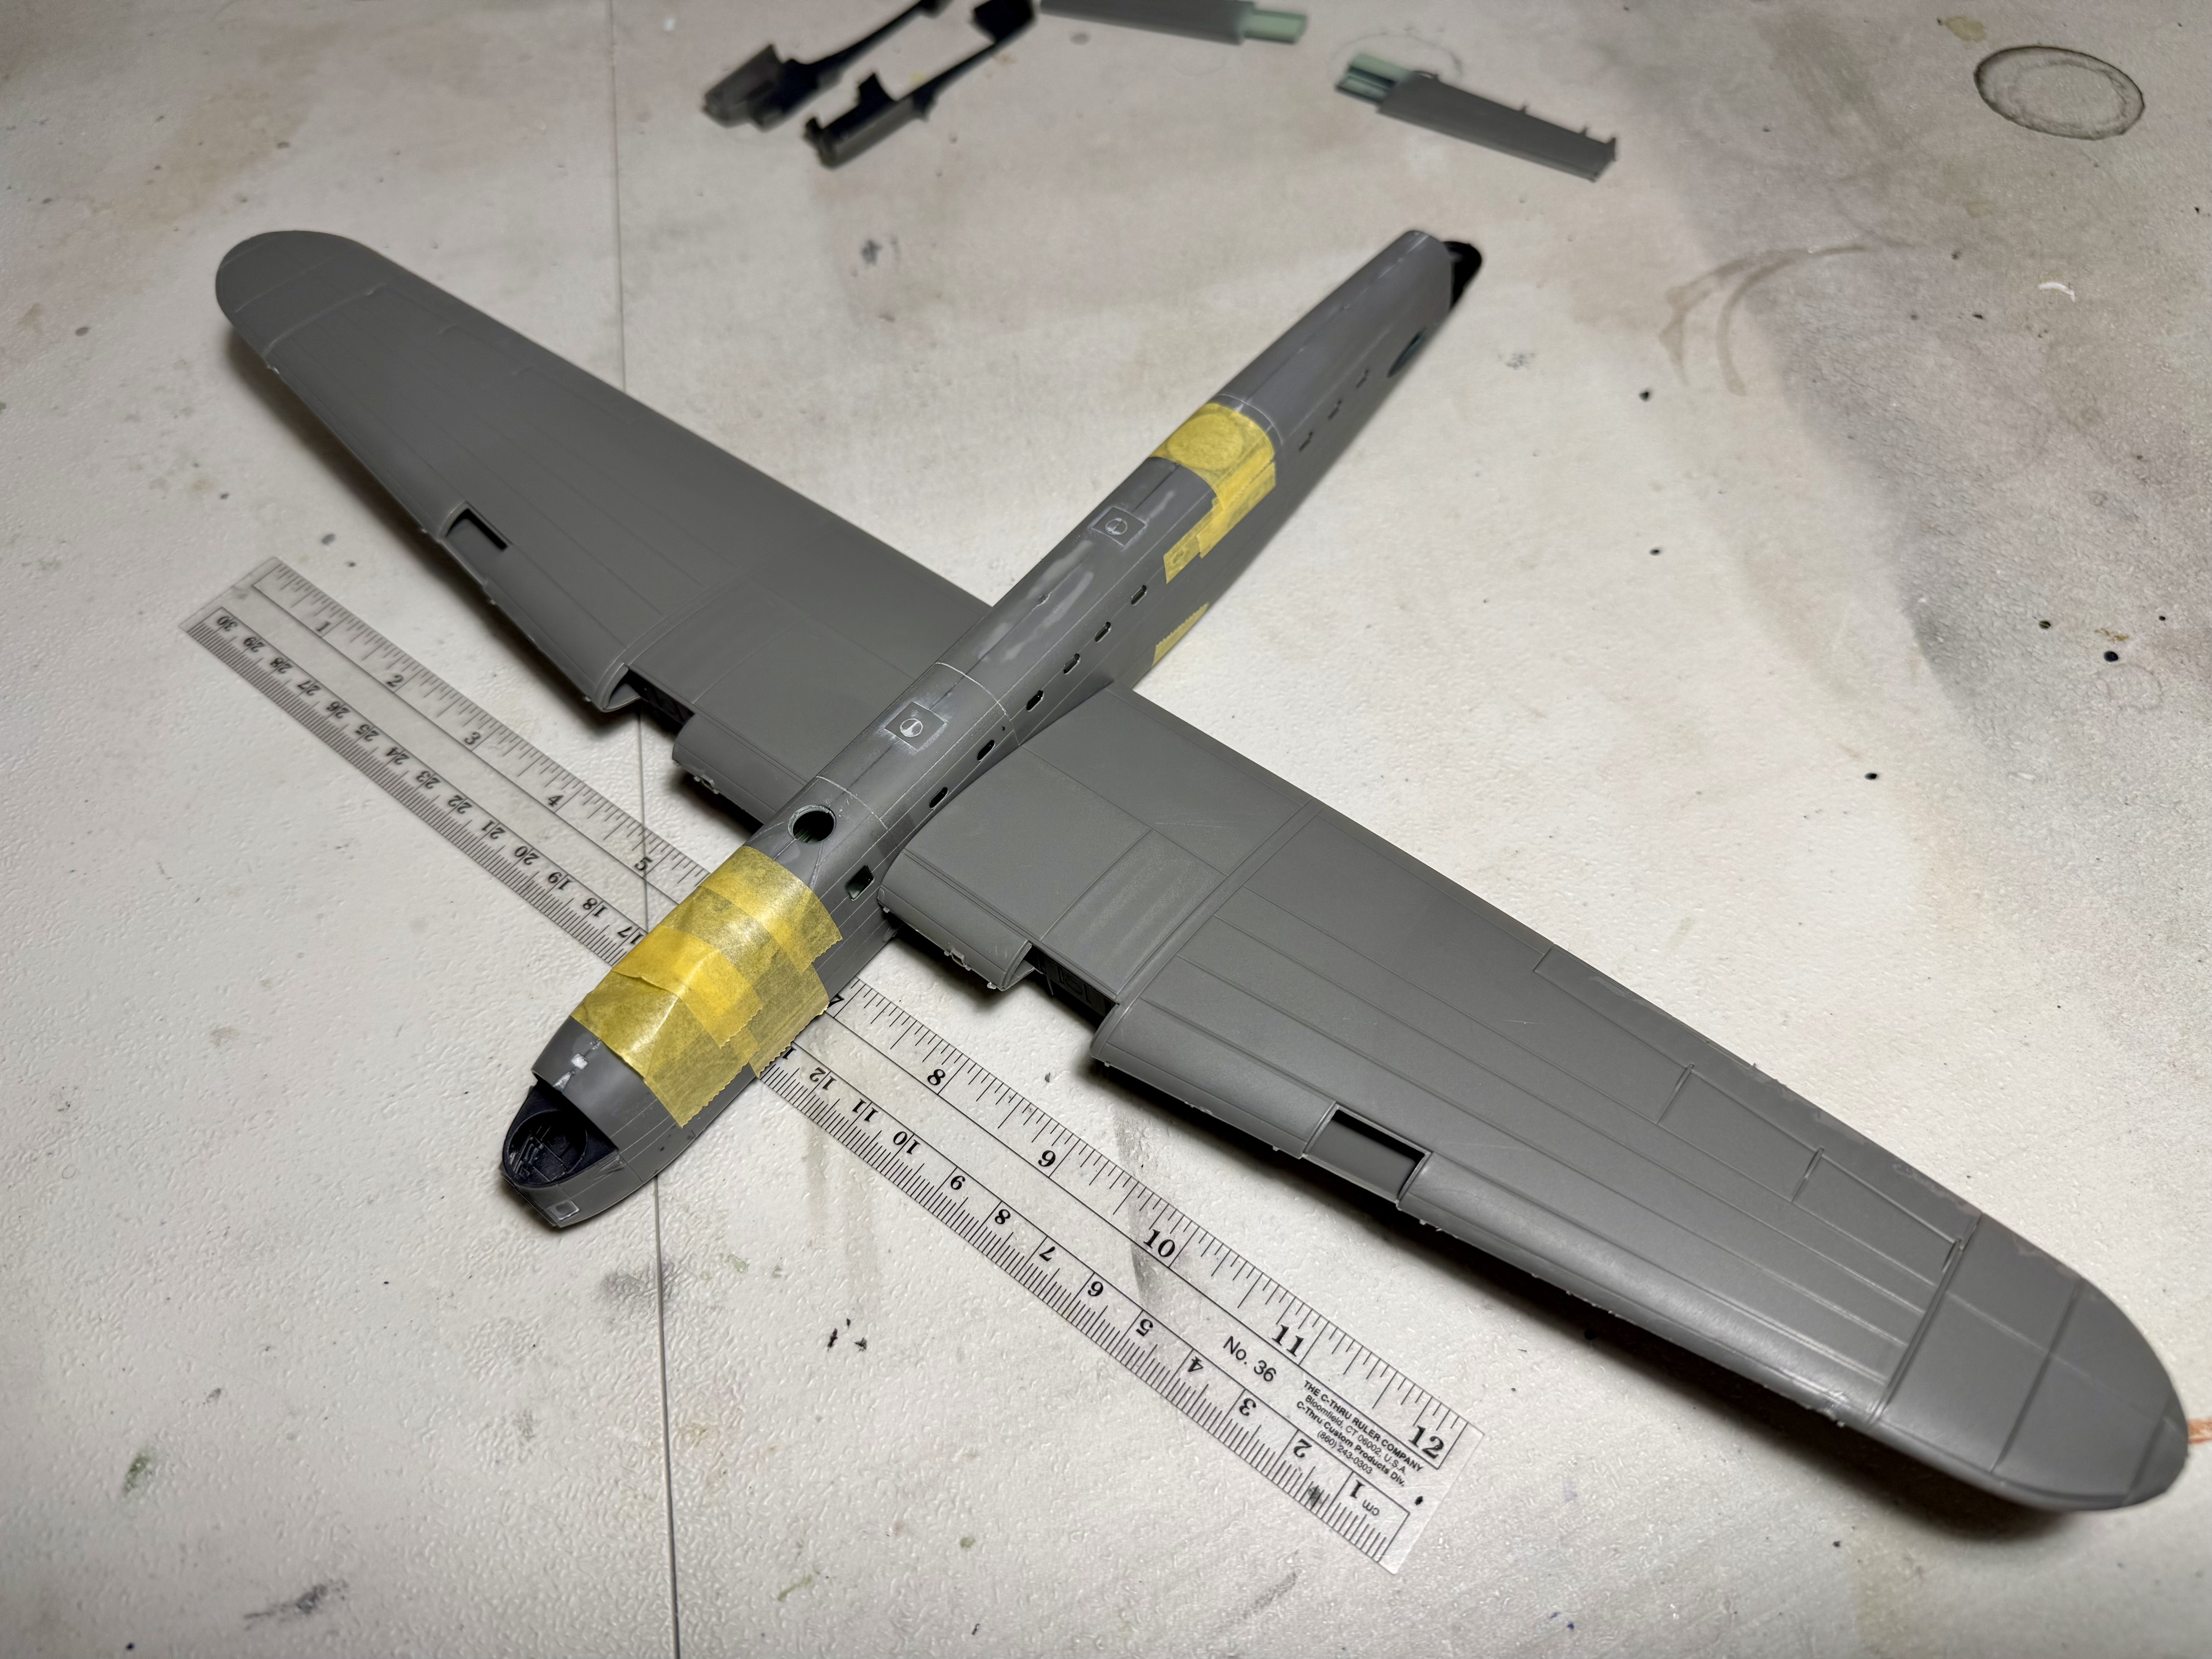
It's been slowing going on this lately, mainly due to not having time to work on it. Fit of the fuselage halves wasn't awful, but it wasn't great either. Airfix also provided a flat plug for the curved lower fuselage where the deleted ventral turret was covered up. So I had to correct that. Seam cleanup was a serious chore. That was a lot of plastic. Got there in the end and finished re-scribing the panel lines today. I got the wheel well ribs installed into the spars and it's time for a round of paint before mating the mating wing halves up.
IMG_9807.jpeg
IMG_9808.jpeg
 
It's been slowing going on this lately, mainly due to not having time to work on it. Fit of the fuselage halves wasn't awful, but it wasn't great either. Airfix also provided a flat plug for the curved lower fuselage where the deleted ventral turret was covered up. So I had to correct that. Seam cleanup was a serious chore. That was a lot of plastic. Got there in the end and finished re-scribing the panel lines today. I got the wheel well ribs installed into the spars and it's time for a round of paint before mating the mating wing halves up. View attachment 194614View attachment 194615
I built a Lanc a few years ago. My one error that cost me time and grief was that I didn't appreciate that the camouflage paint on the fuselage carried on under the aft section of the greenhouse canopy. For some reason I had assumed that the area was flat black. In the end I had to pop off the canopy, paint the area where the canopy would cover the fuselage, then re-attach the canopy.
I not a big fan of undoing work, especially when I did an uncharacteristically good job on the original canopy seams!
In the end, all good lesson was learned for future builds.
 
I built a Lanc a few years ago. My one error that cost me time and grief was that I didn't appreciate that the camouflage paint on the fuselage carried on under the aft section of the greenhouse canopy. For some reason I had assumed that the area was flat black. In the end I had to pop off the canopy, paint the area where the canopy would cover the fuselage, then re-attach the canopy.
I not a big fan of undoing work, especially when I did an uncharacteristically good job on the original canopy seams!
In the end, all good lesson was learned for future builds.
Thanks for the tip. I totally would've missed that and painted that area black. Fortunately, the camouflage pattern on the chart indicates it'll only need to be one color!
 
The wings are on! It's a lot bigger than I was expecting. Maybe that sounds stupid but I built a 1/72 Lanc when I was a kid and I don't remember the wingspan being so imposing. This one is also pretty heavy. I wasn't initially a fan of the way Airfix engineered the wing assembly but the end product is very strong. Those wings aren't going anywhere. The right wing went on without a hitch but the left gave me some alignment issues. I had to pop open seams that had already been cemented, not once, but twice. Fortunately I caught it before said cement had cured. Got there eventually with just a small set of steps to correct.

One thing I didn't mention previously is the plastic on this kit. My last two Airfix kits had the soft light gray plastic that a lot of people aren't a fan of. I like it because it's easy to work with. The darker gray styrene on this kit is harder and it has a slightly textured surface. The latter is extremely annoying. Hopefully primer levels it all out because I'm not sanding the whole kit.

Correcting the wing seams and assembling the engine cowlings are next.
IMG_9817.jpeg
 

Latest posts

Back
Top