
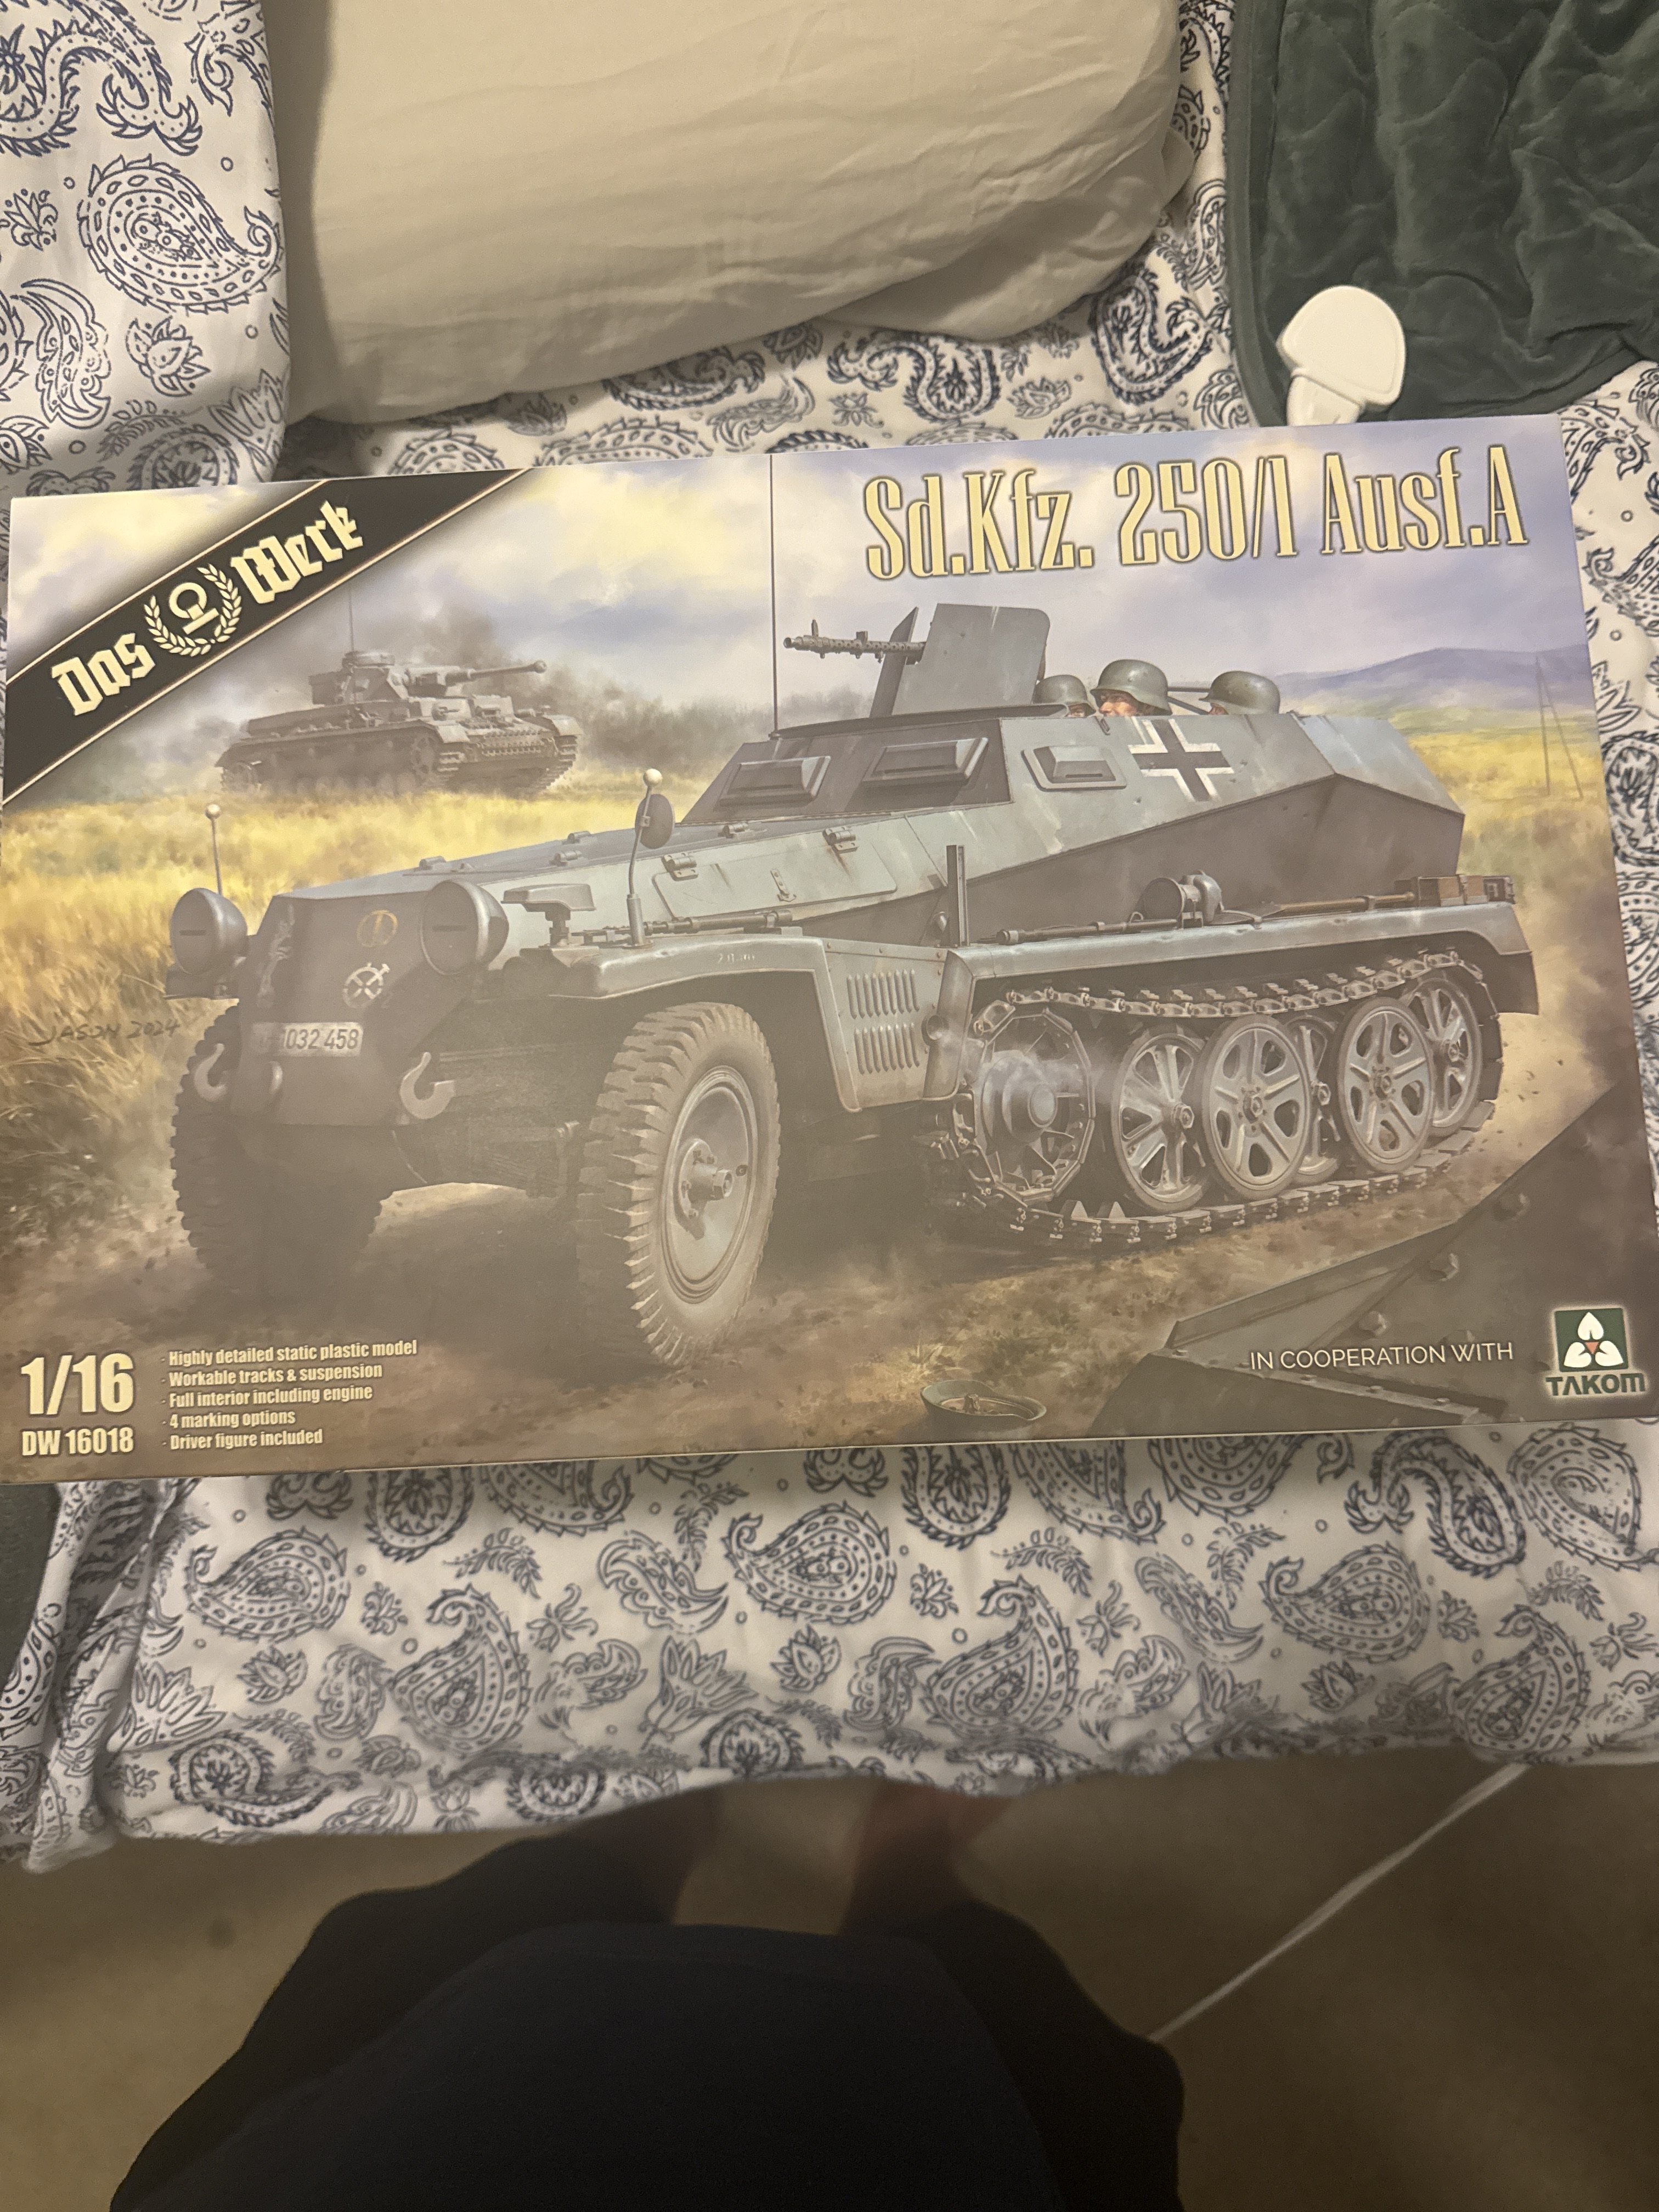
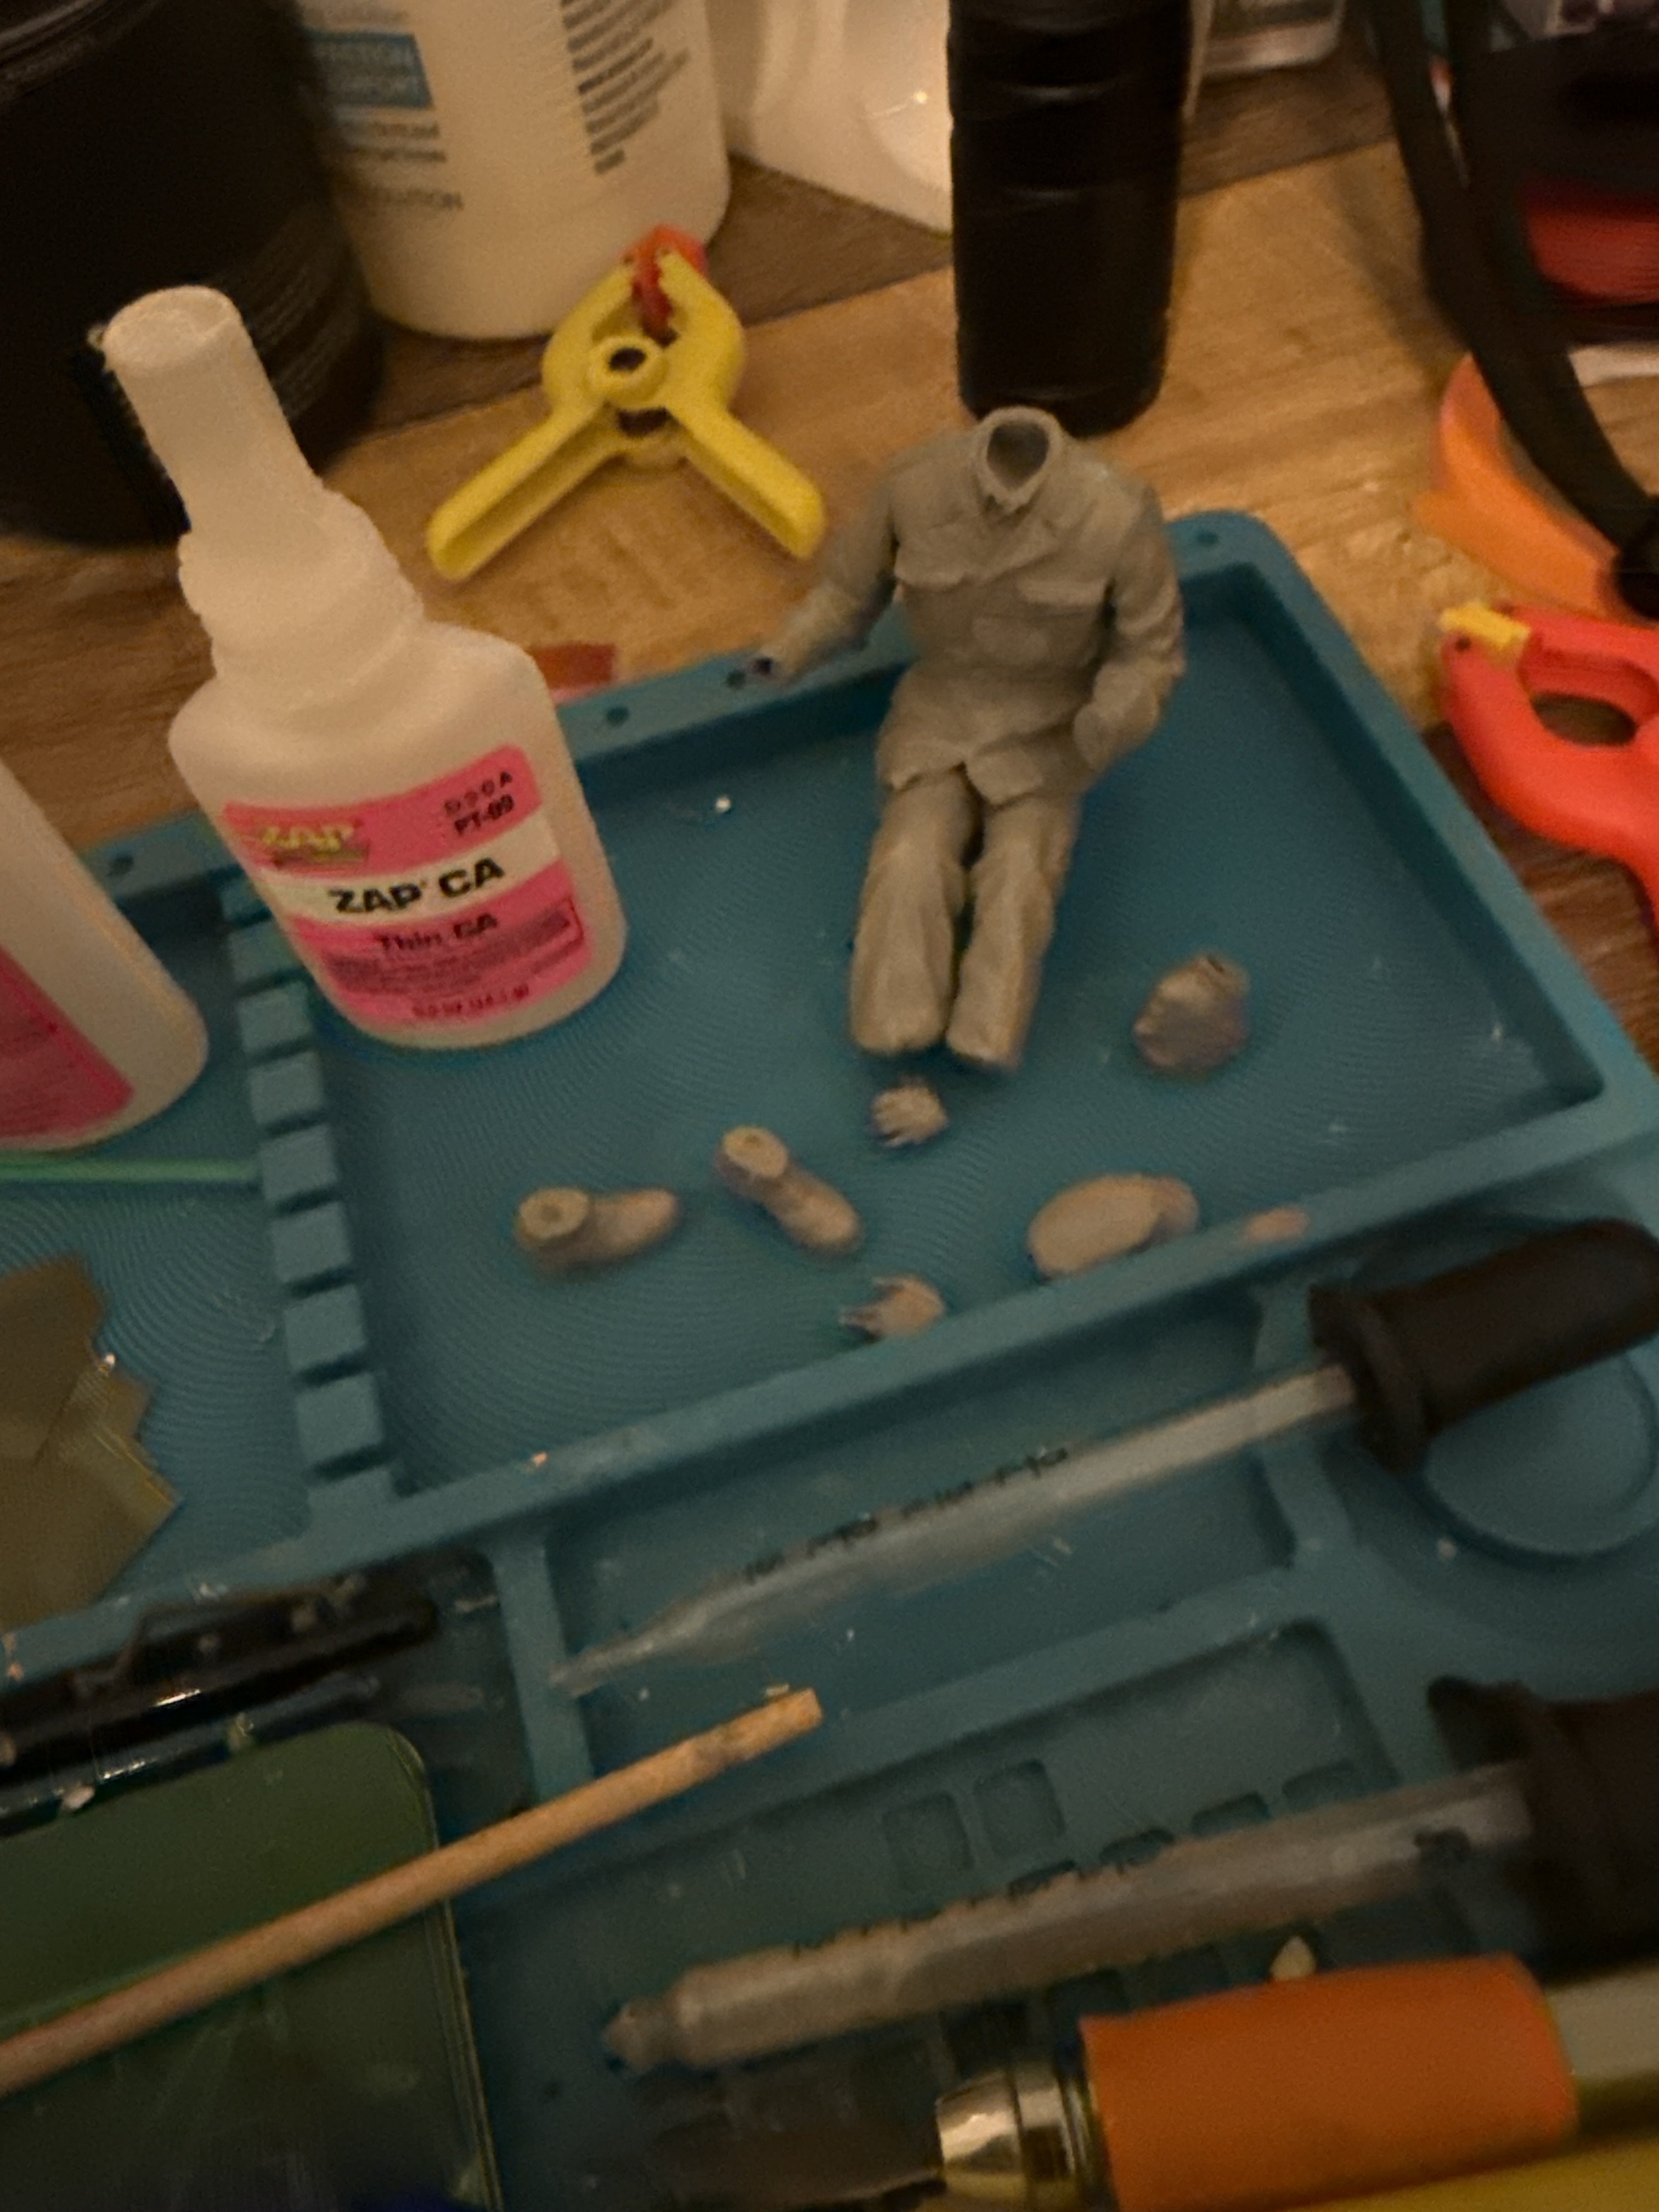
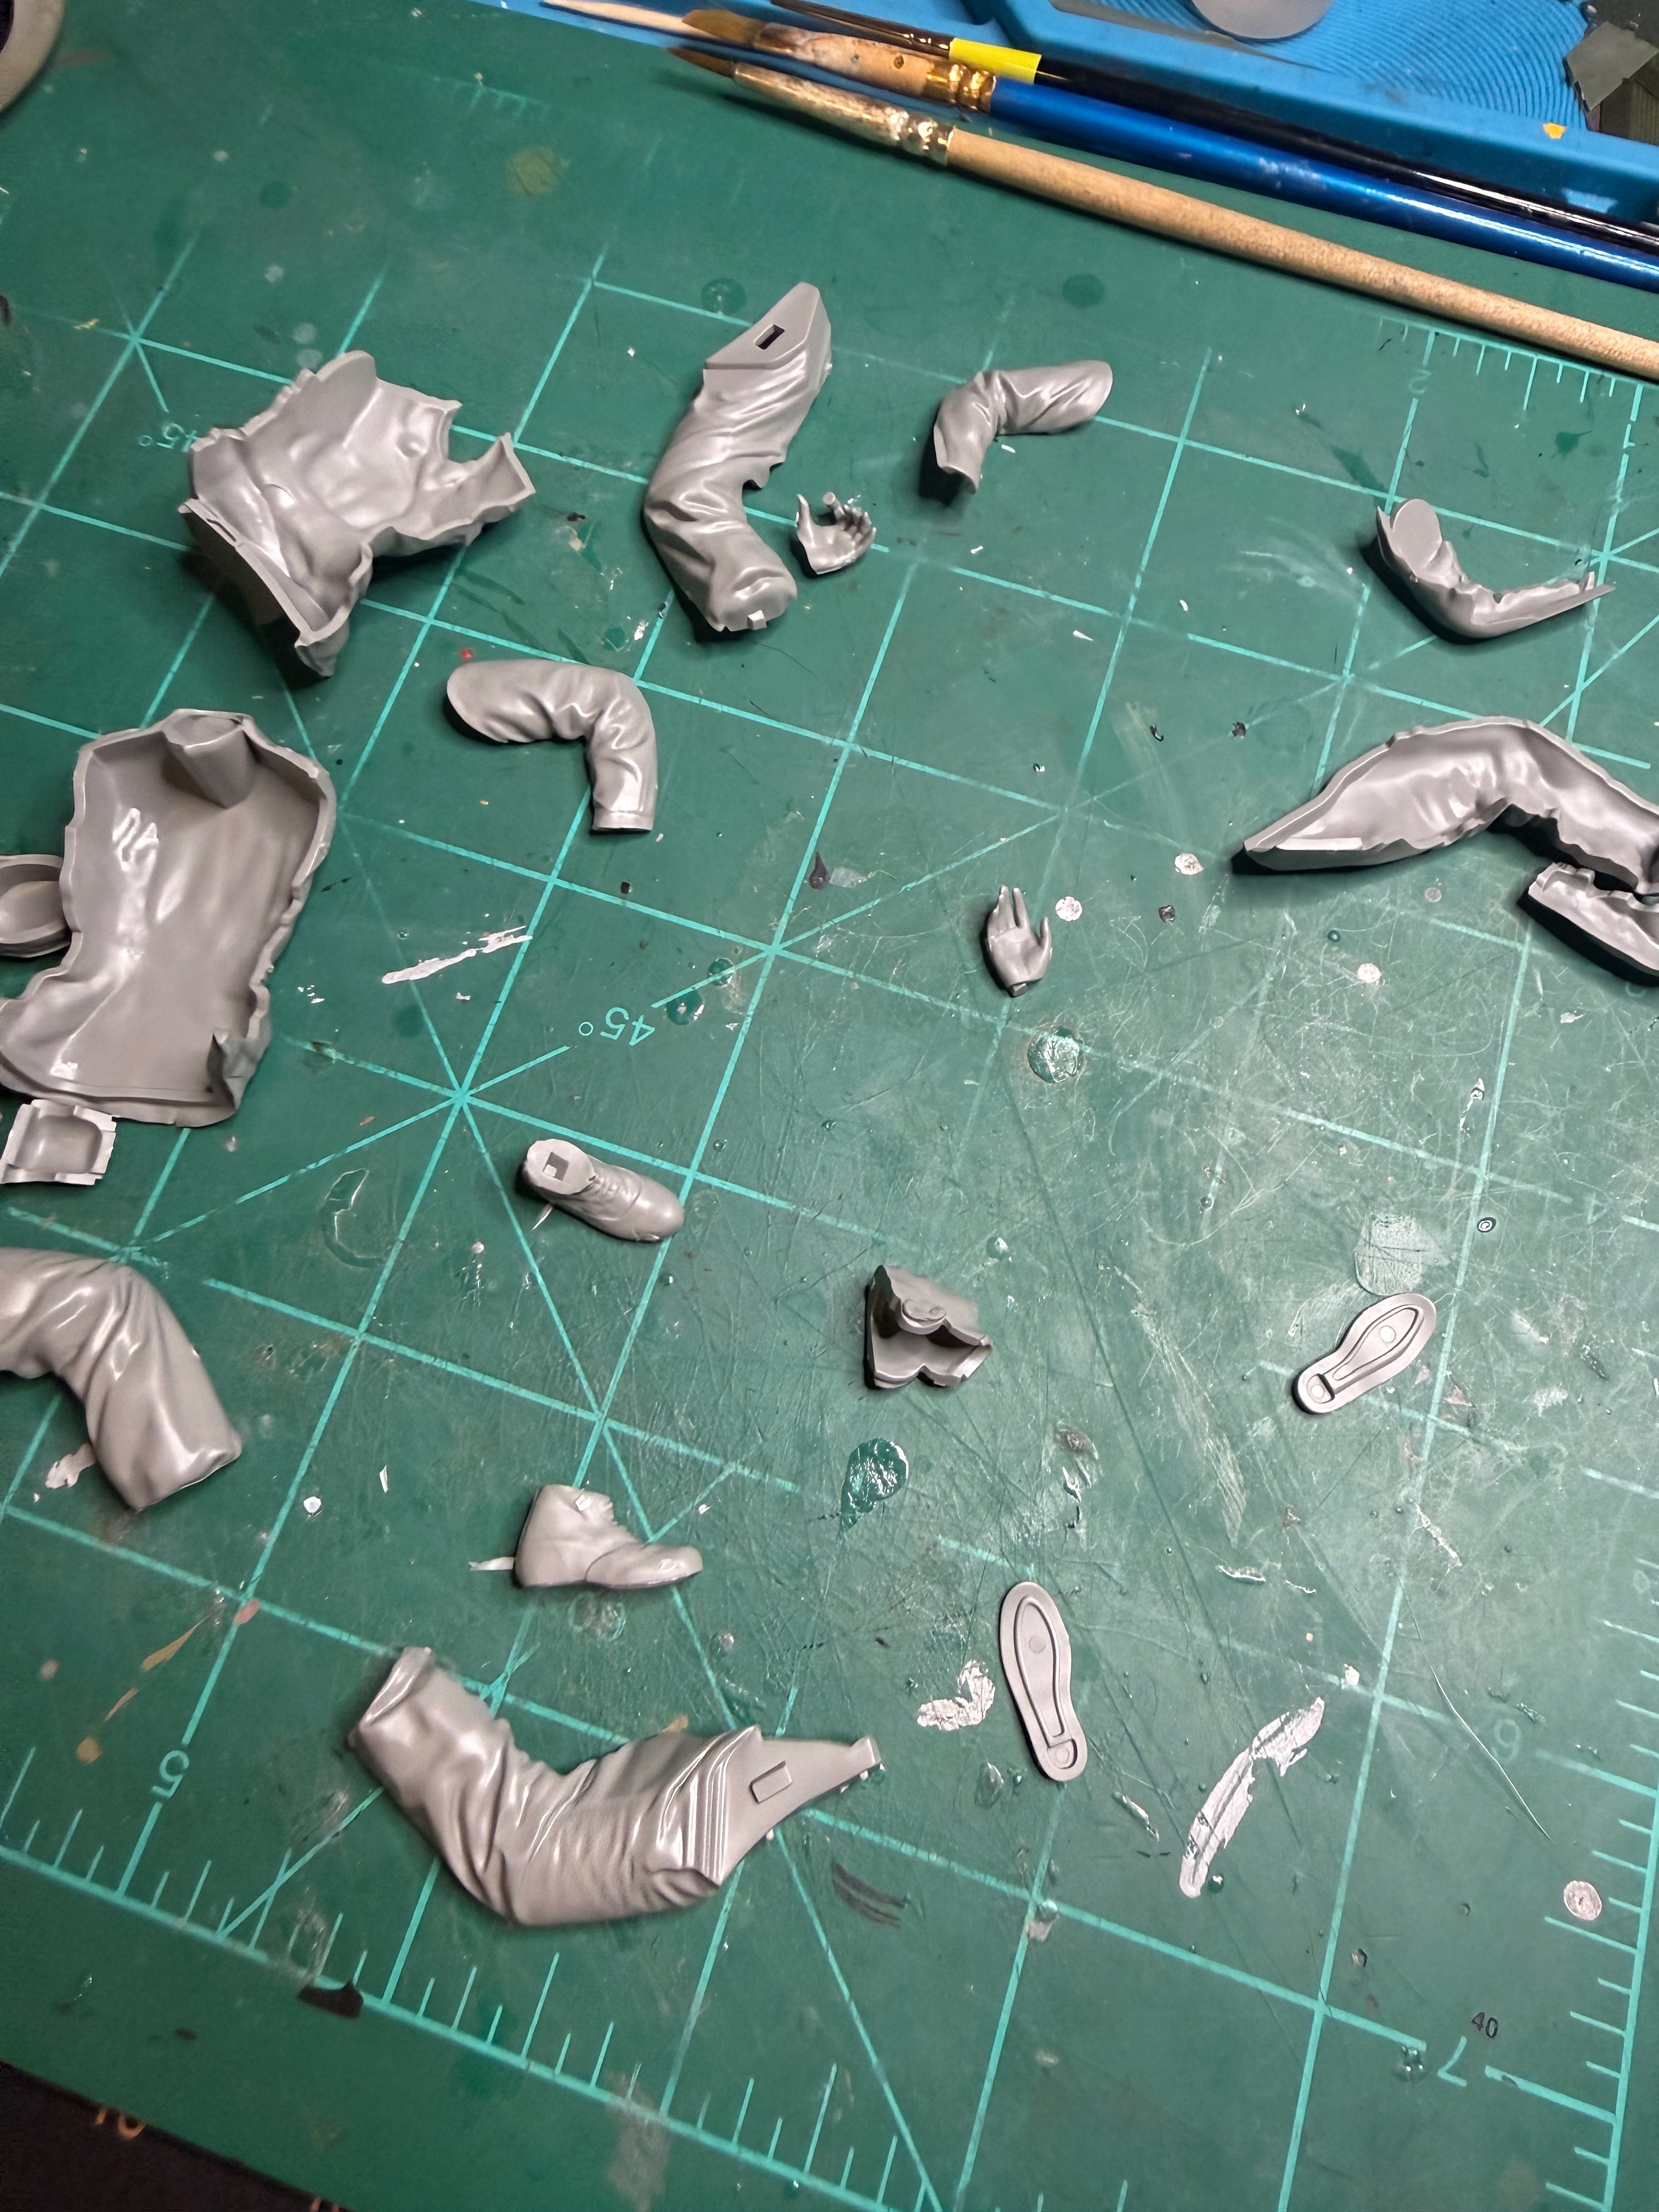
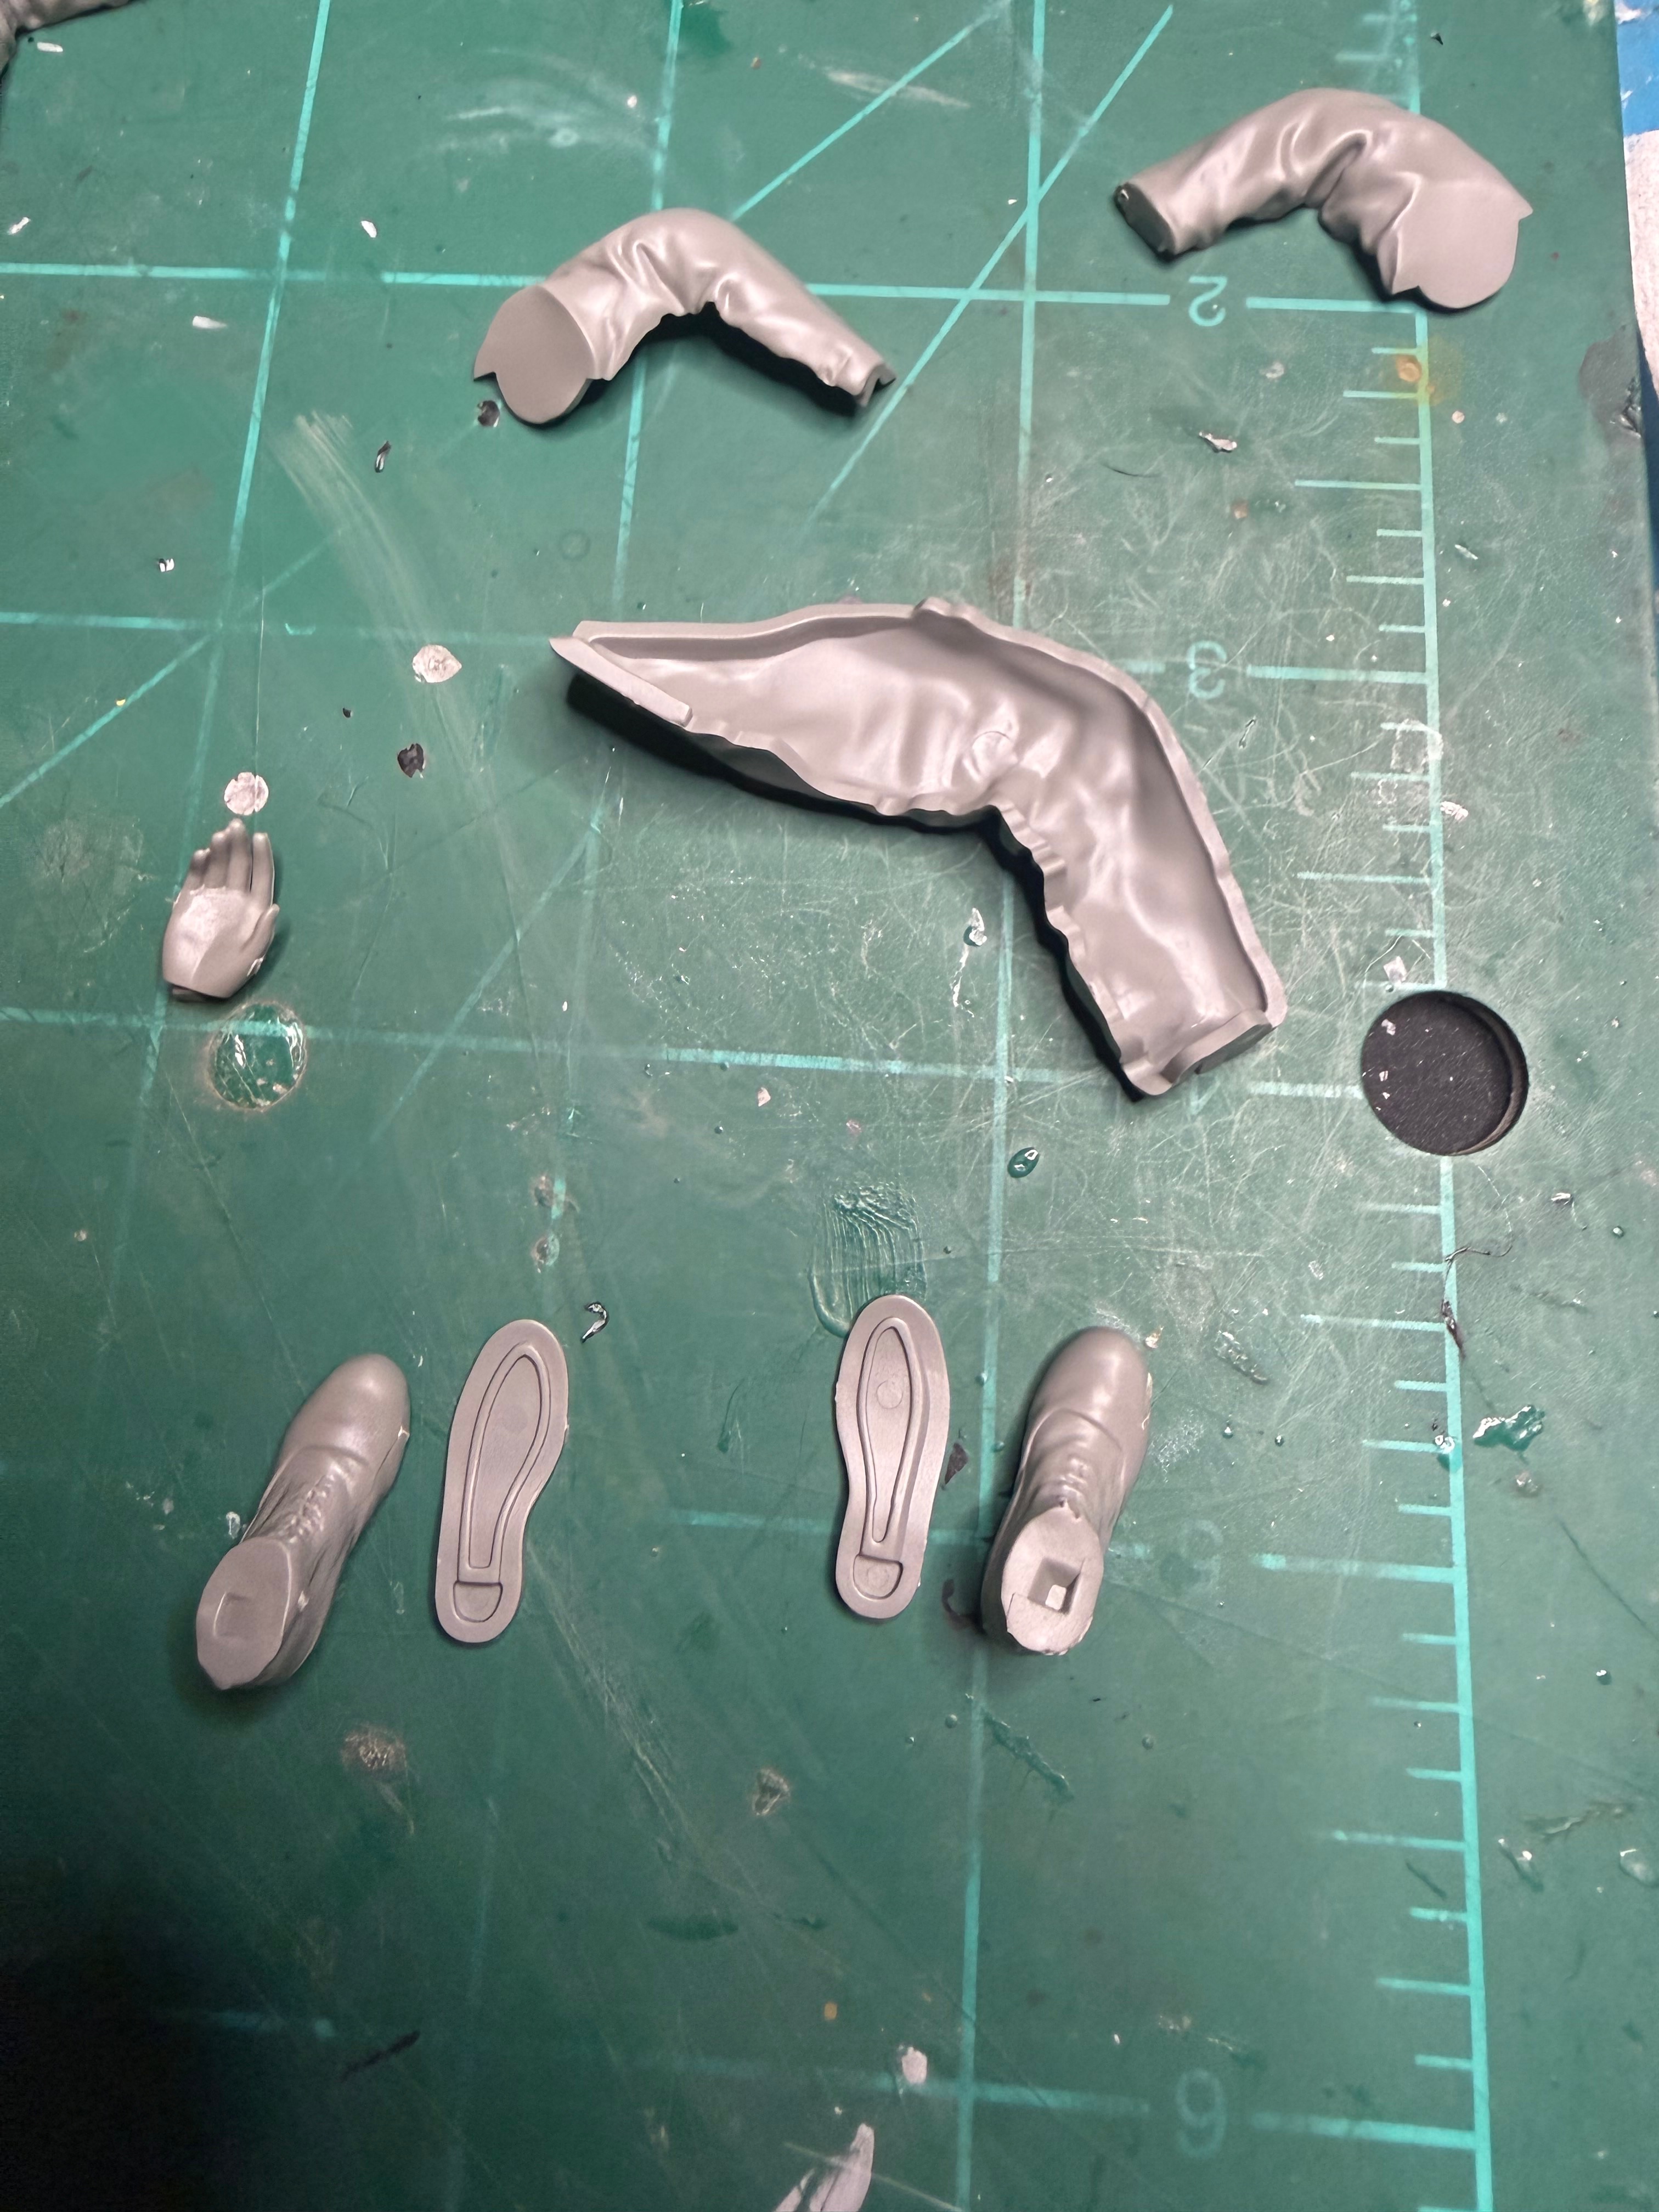
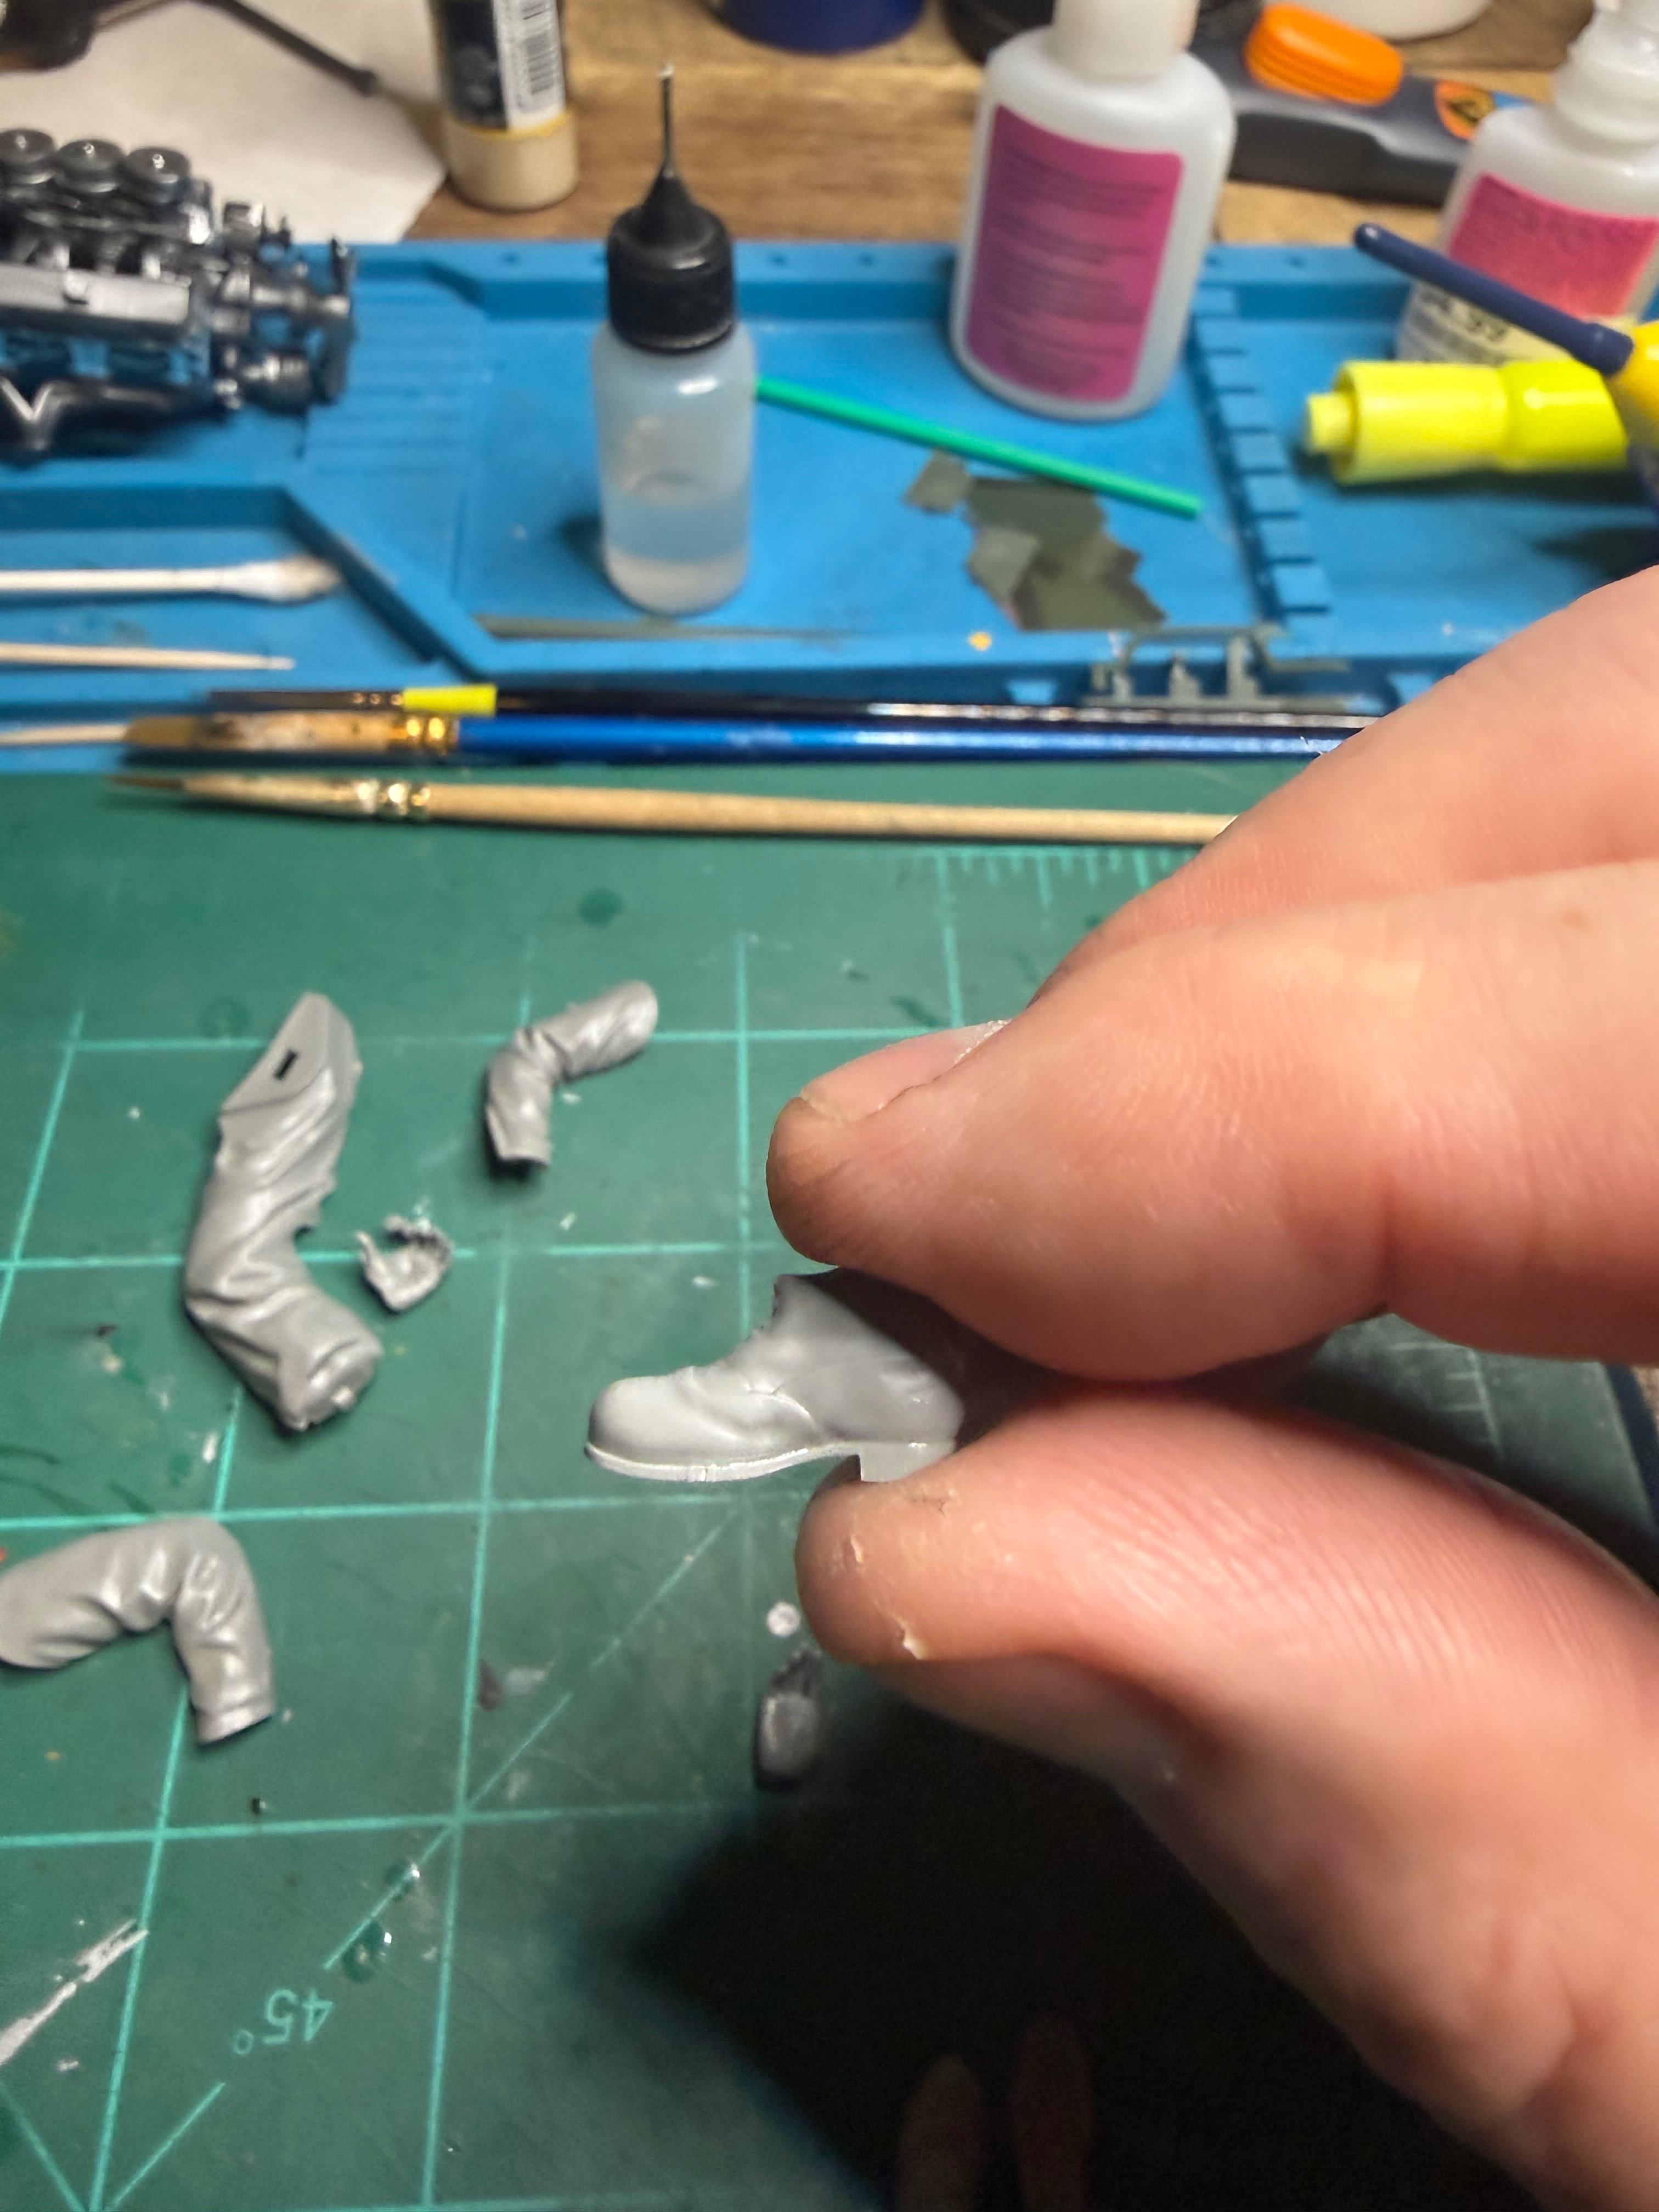
I picked up this kit about a month ago at Andy's. It was a used kit, not worked on yet, marked down $20 so I bought it. The other night decided to start it. Started with the figure. Went to start the base and realized the bottom tub was missing. Walked in to Andy's today with the box, no receipt, explained what happened and they took it back and I bought a new kit. Funny thing is me and the clerk went through the rest of the sprues while a guy tried to find a spare bottom tub in the back and discovered whoever had returned it included two sprues that appeared to be from a ship build. Anyway, wanted to give a plug to Andy's for being cool about it. Spent about 35 mins there, walked out with a small kit and some paint too. Will start this after I finish the tank build. Will provide some sprue pics later.

You are using an out of date browser. It may not display this or other websites correctly.
You should upgrade or use an alternative browser.
You should upgrade or use an alternative browser.
Das werk as.kfz. 250/l ausf.A 1/16
- Thread starter Ron2
- Start date

Jakko
Well-Known Member
Which one is which? 
Well 72 is a larger number…Which one is which?






As an Amazon Associate we earn from qualifying purchases. Product prices and availability are accurate as of the date/time indicated and are subject to change.
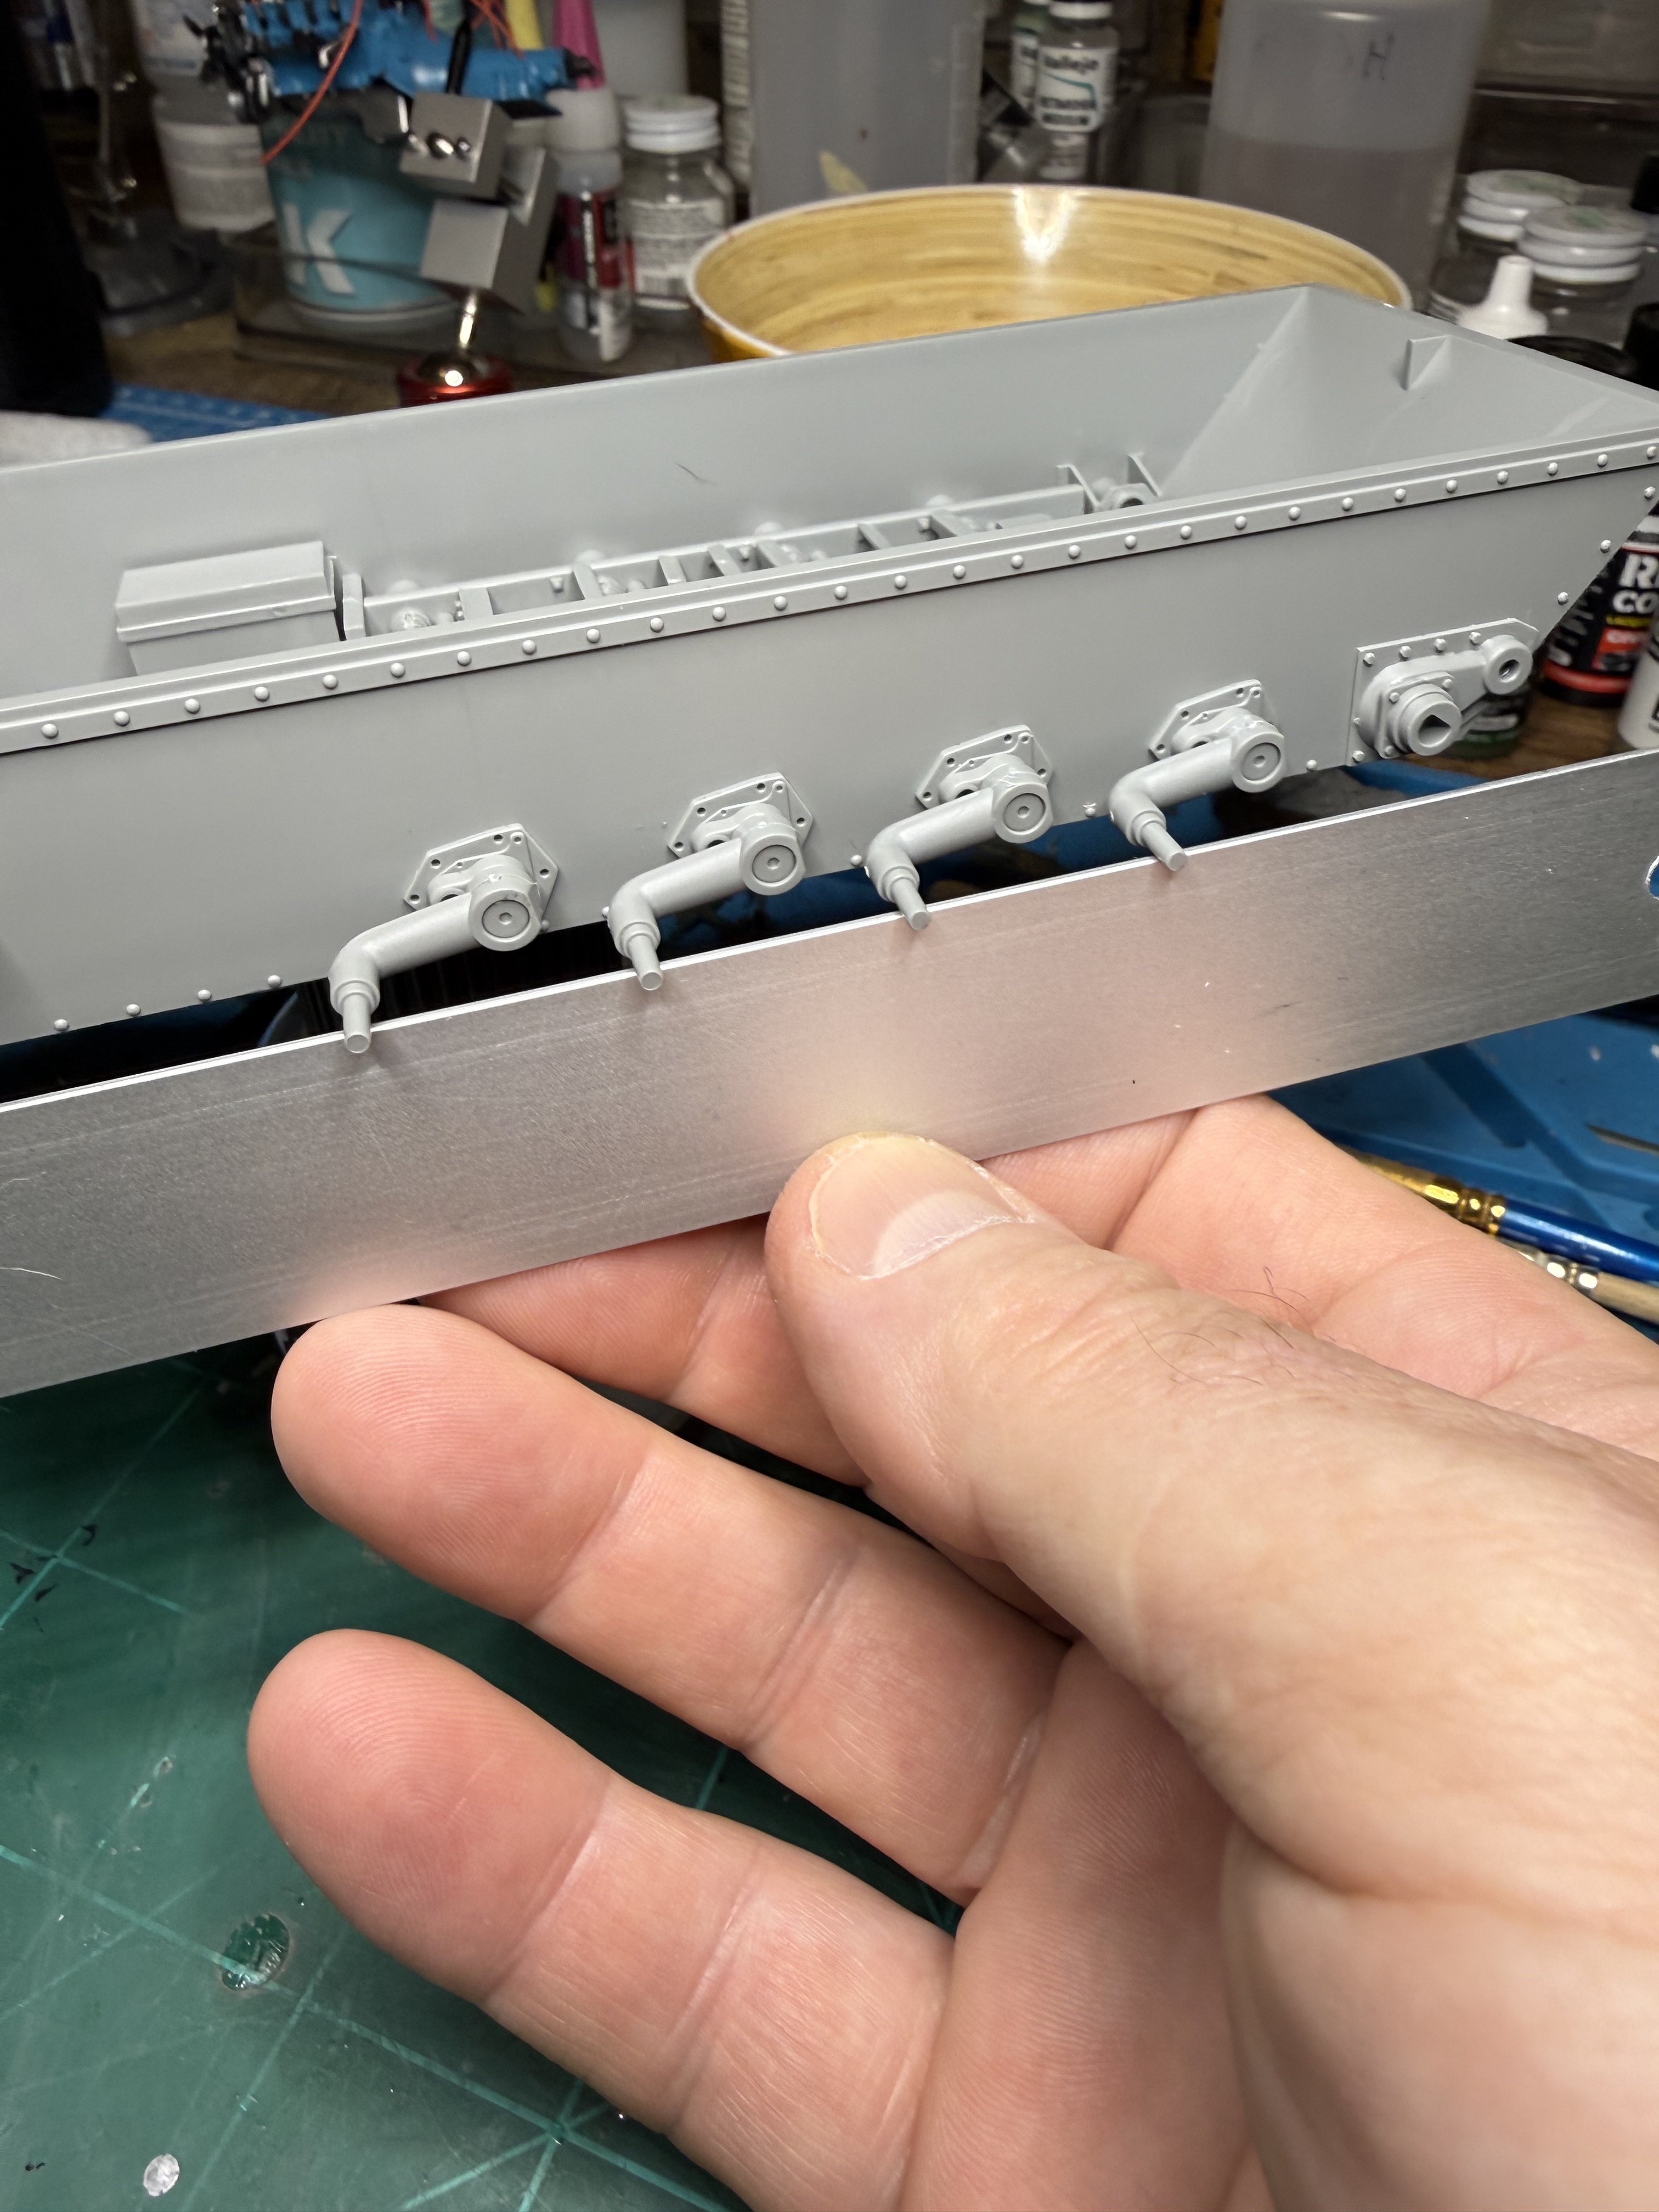
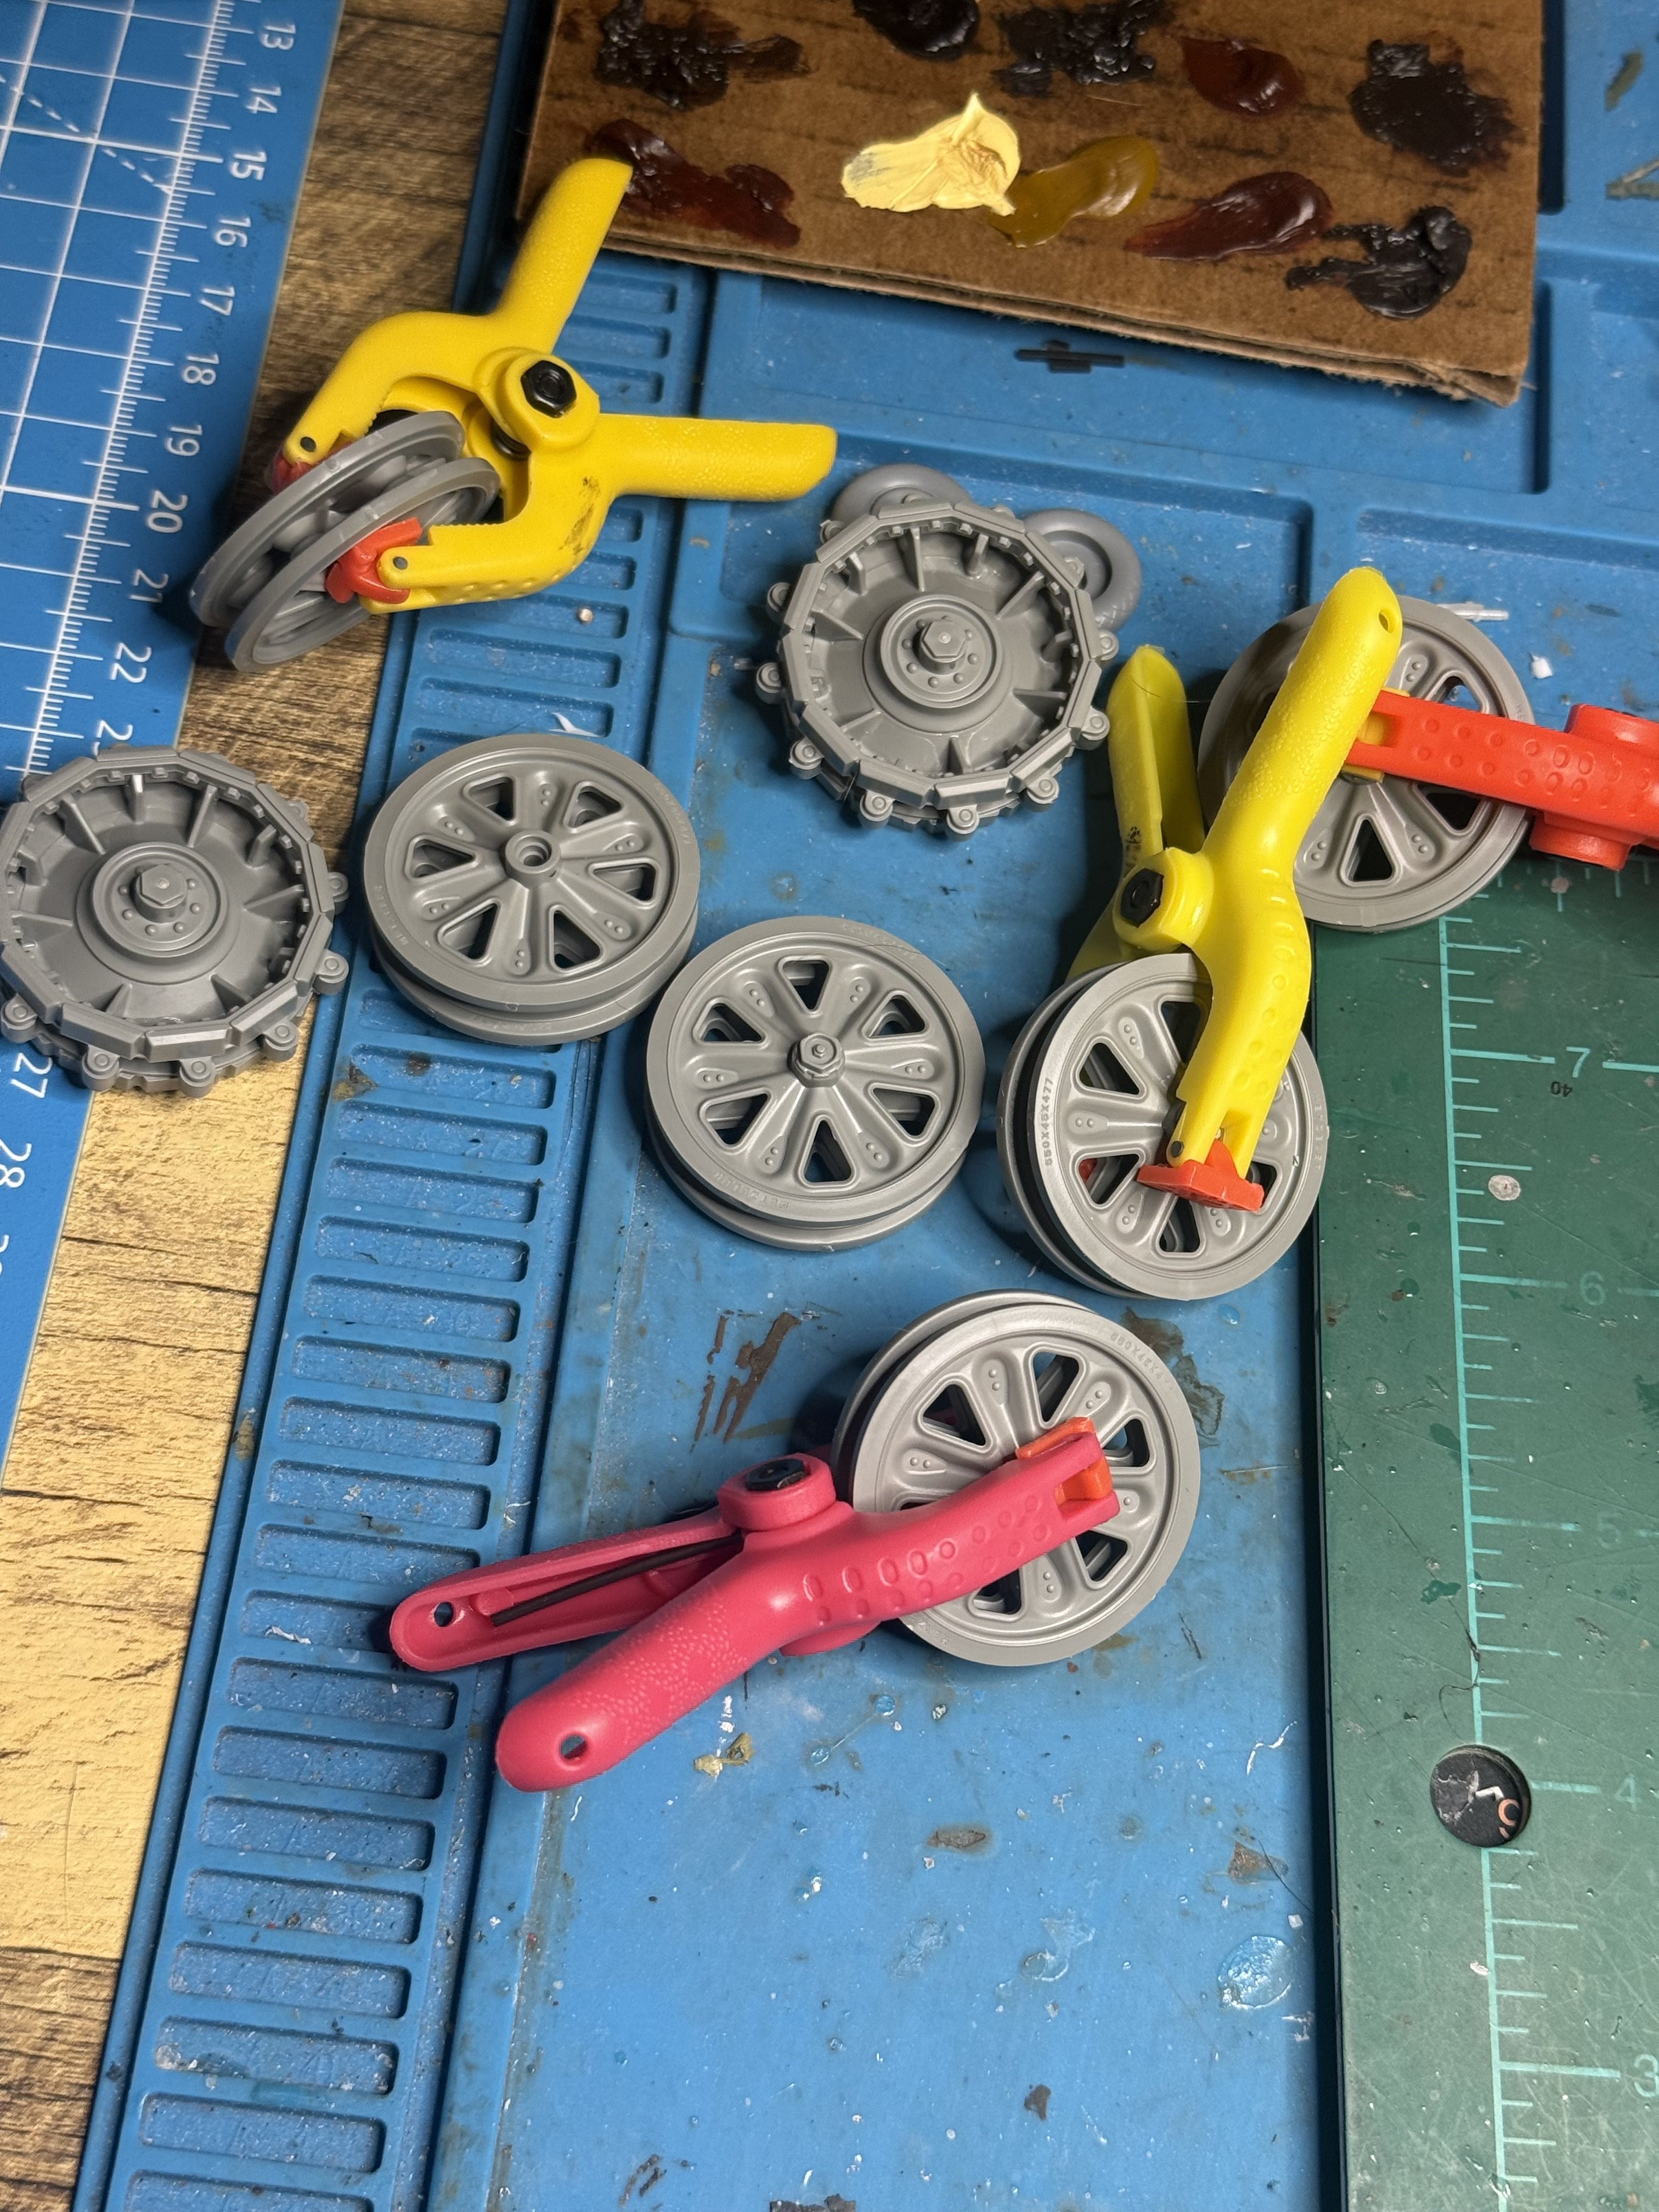
Just a wee bit tonight. Rear axle, hitch and wheels. Kit is well thought out. Wheel arms are only able to slide on one way due to the placement peg having an odd shape. Unfortunately there was some slop in it though. Wheels were also well thought out little room for error. Nice detail.
Attachments
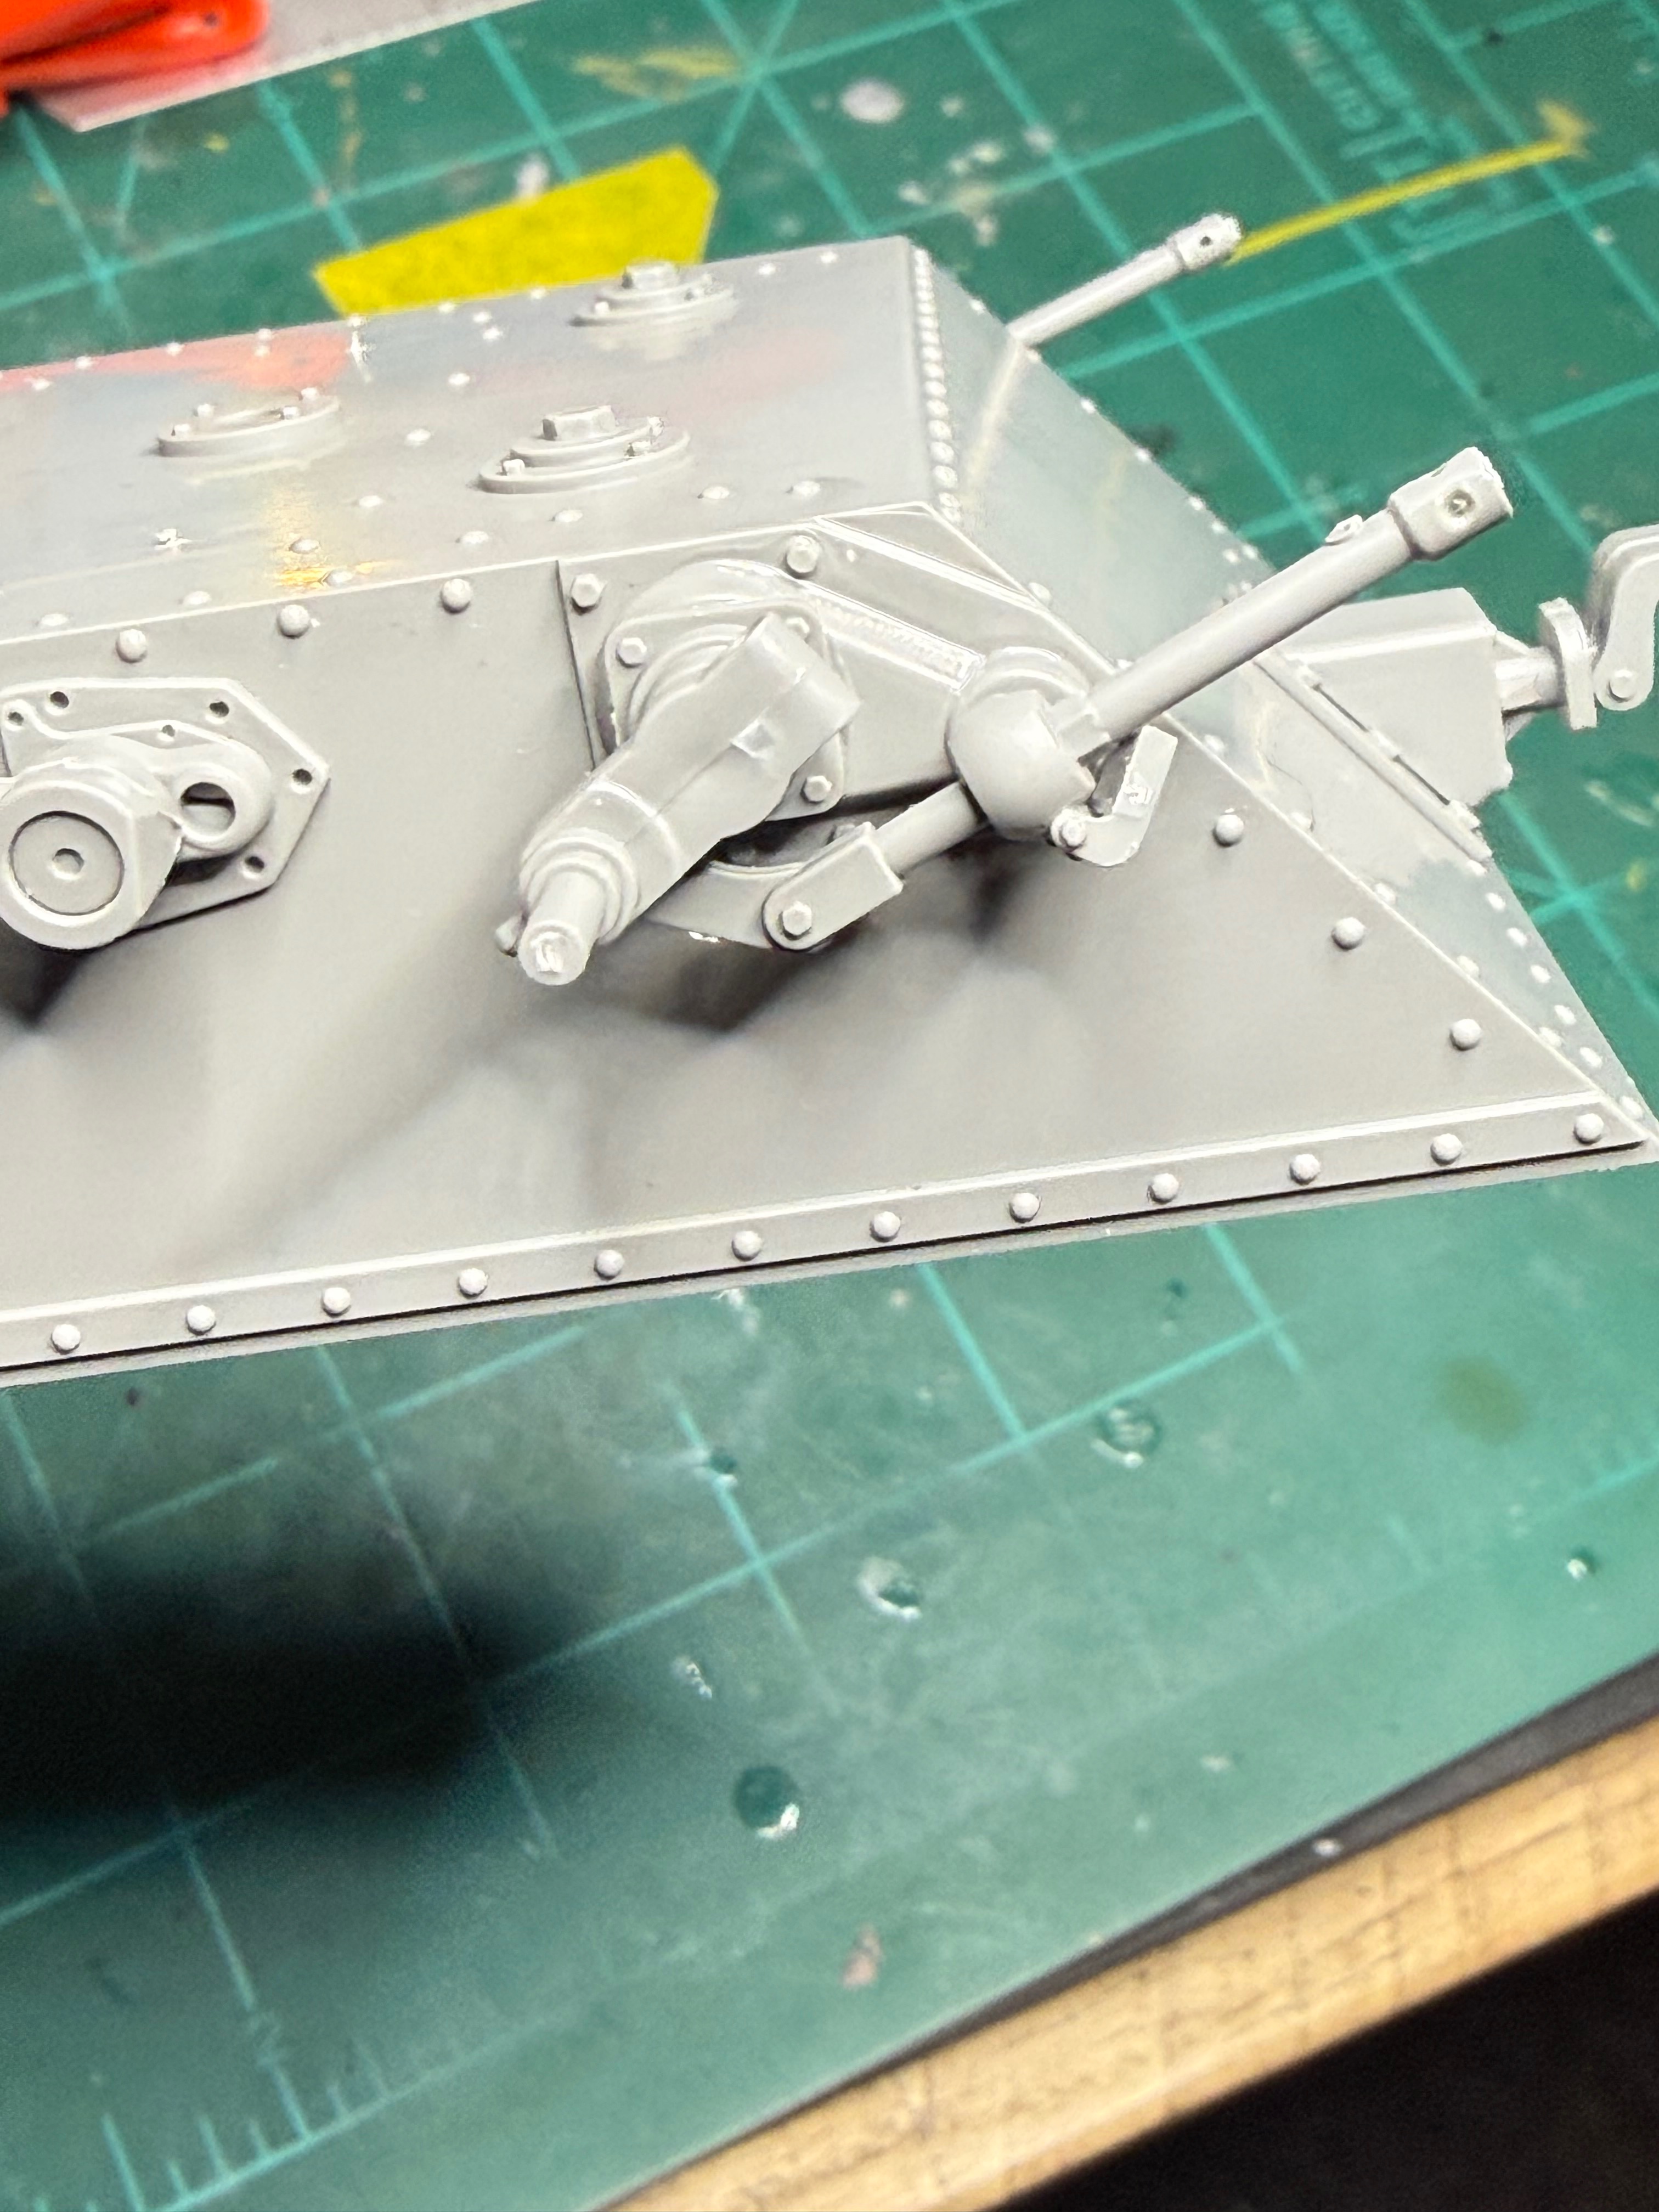
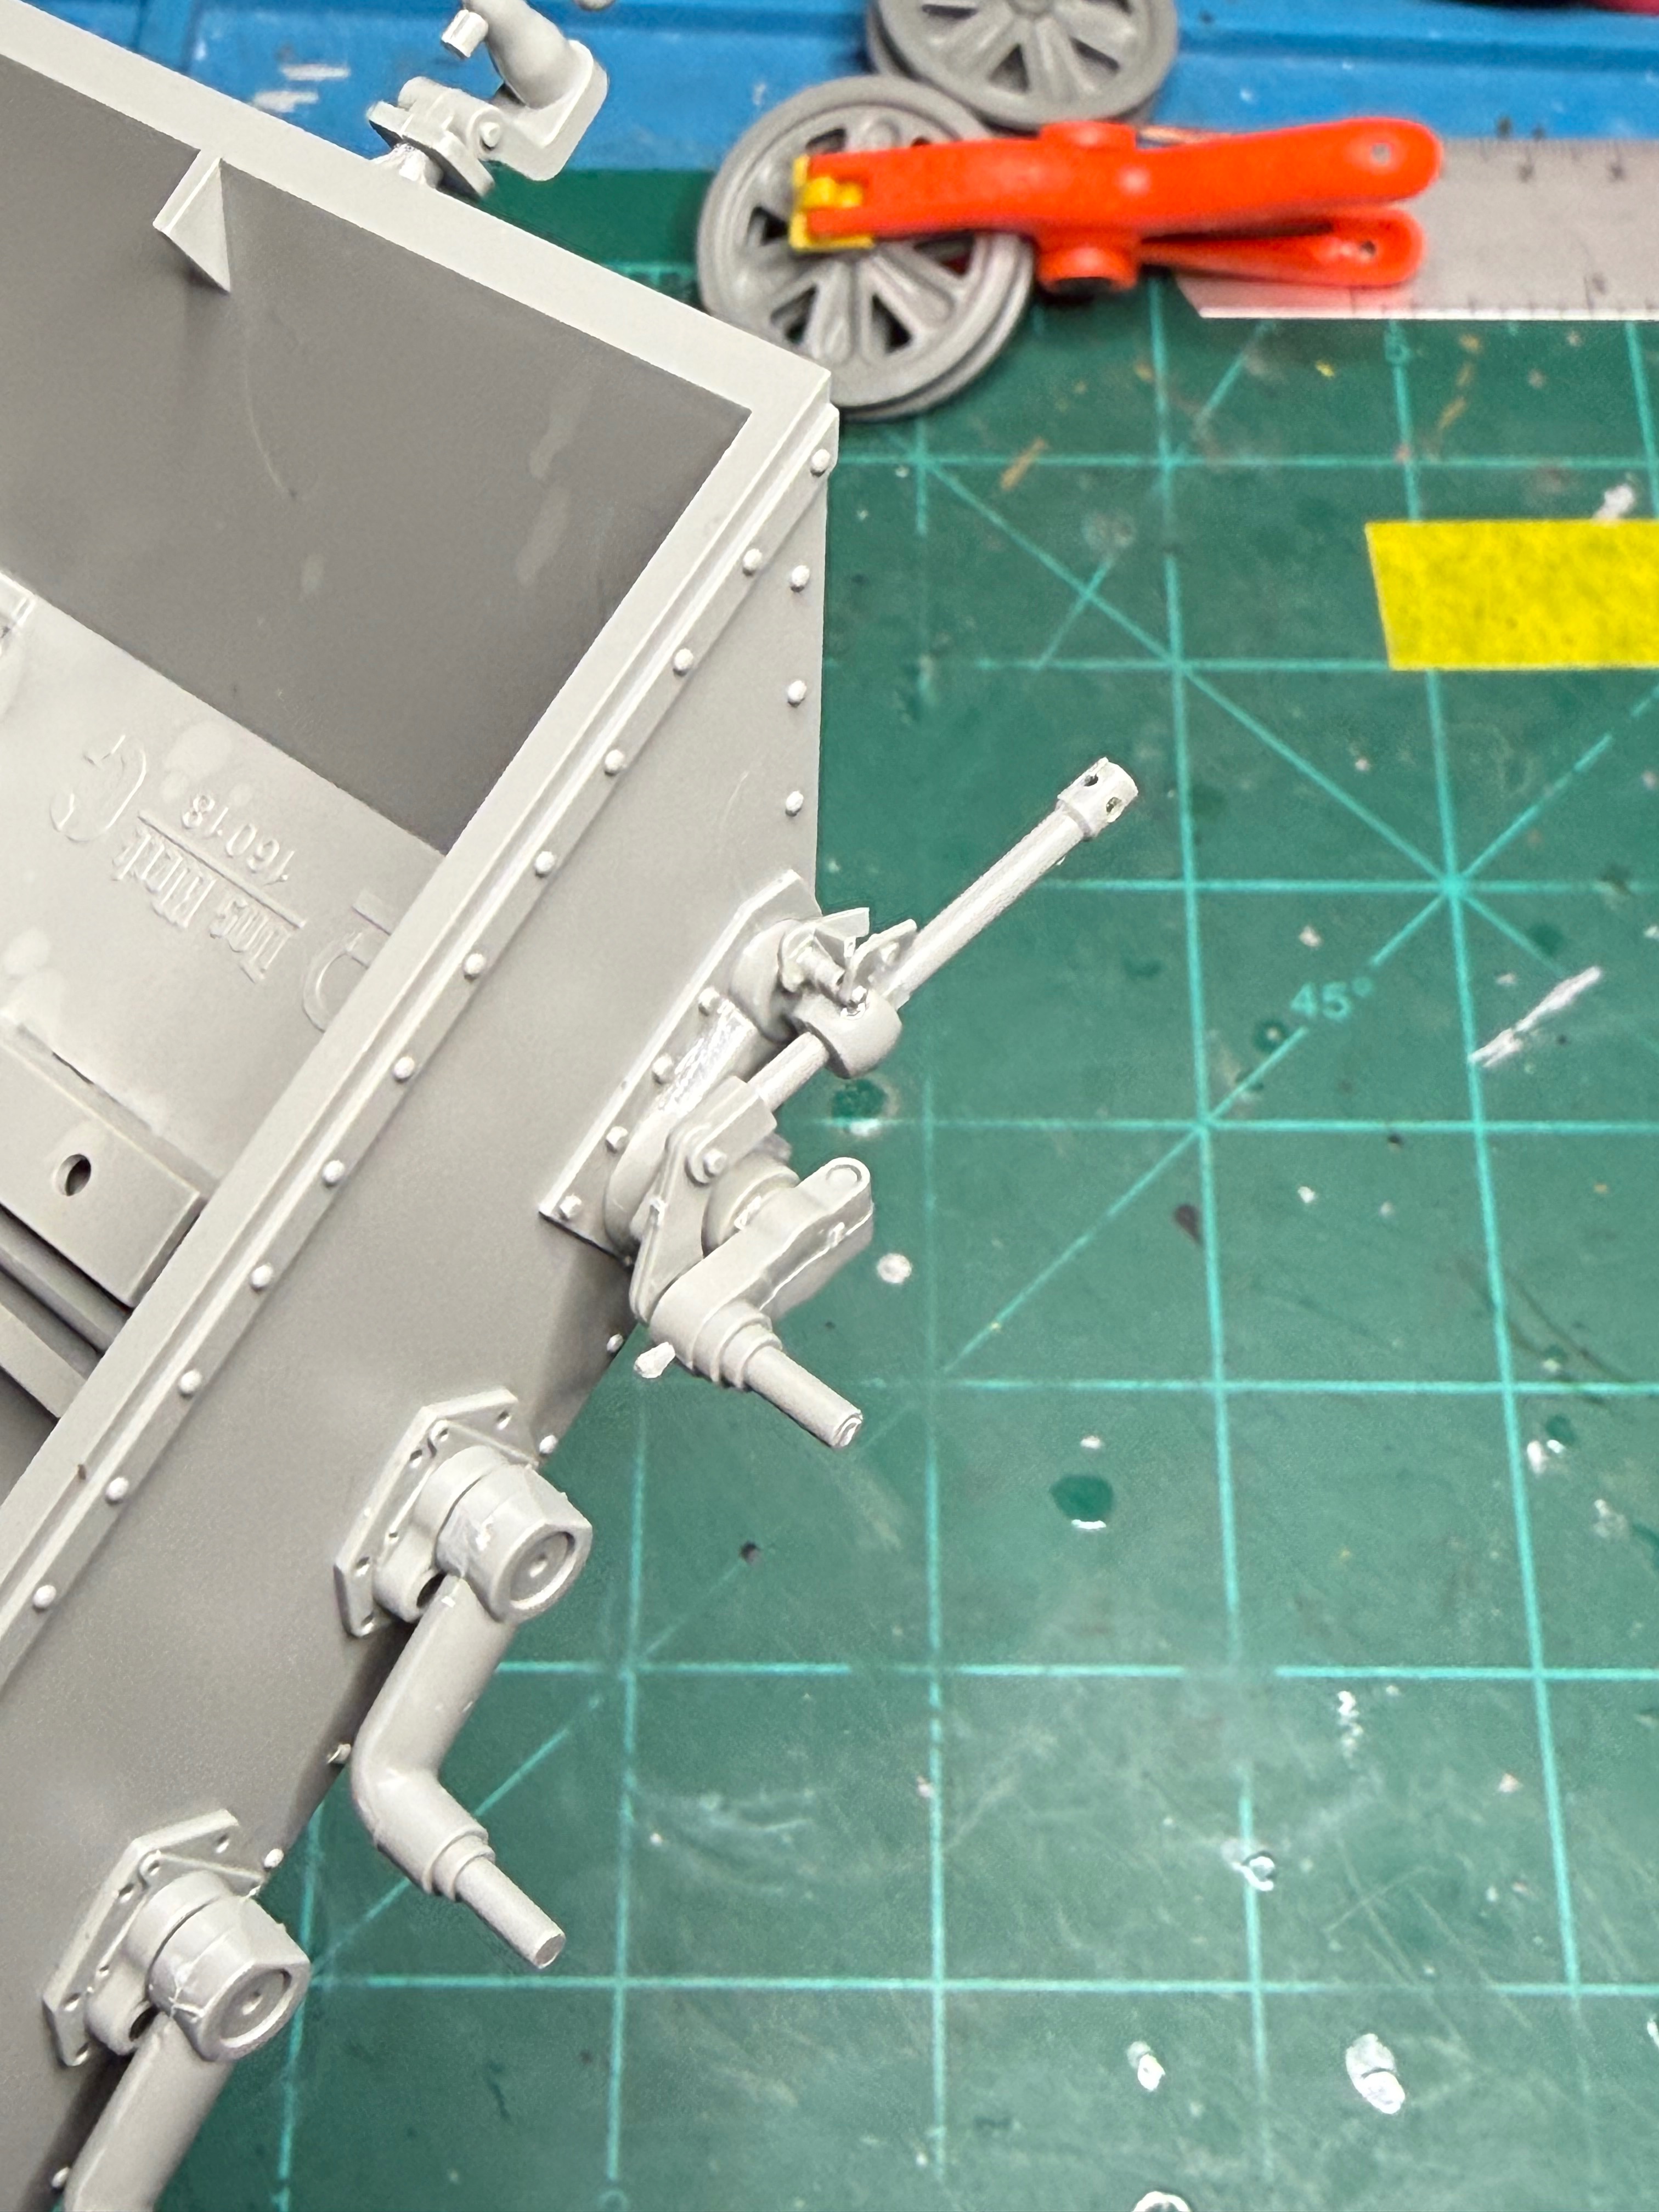
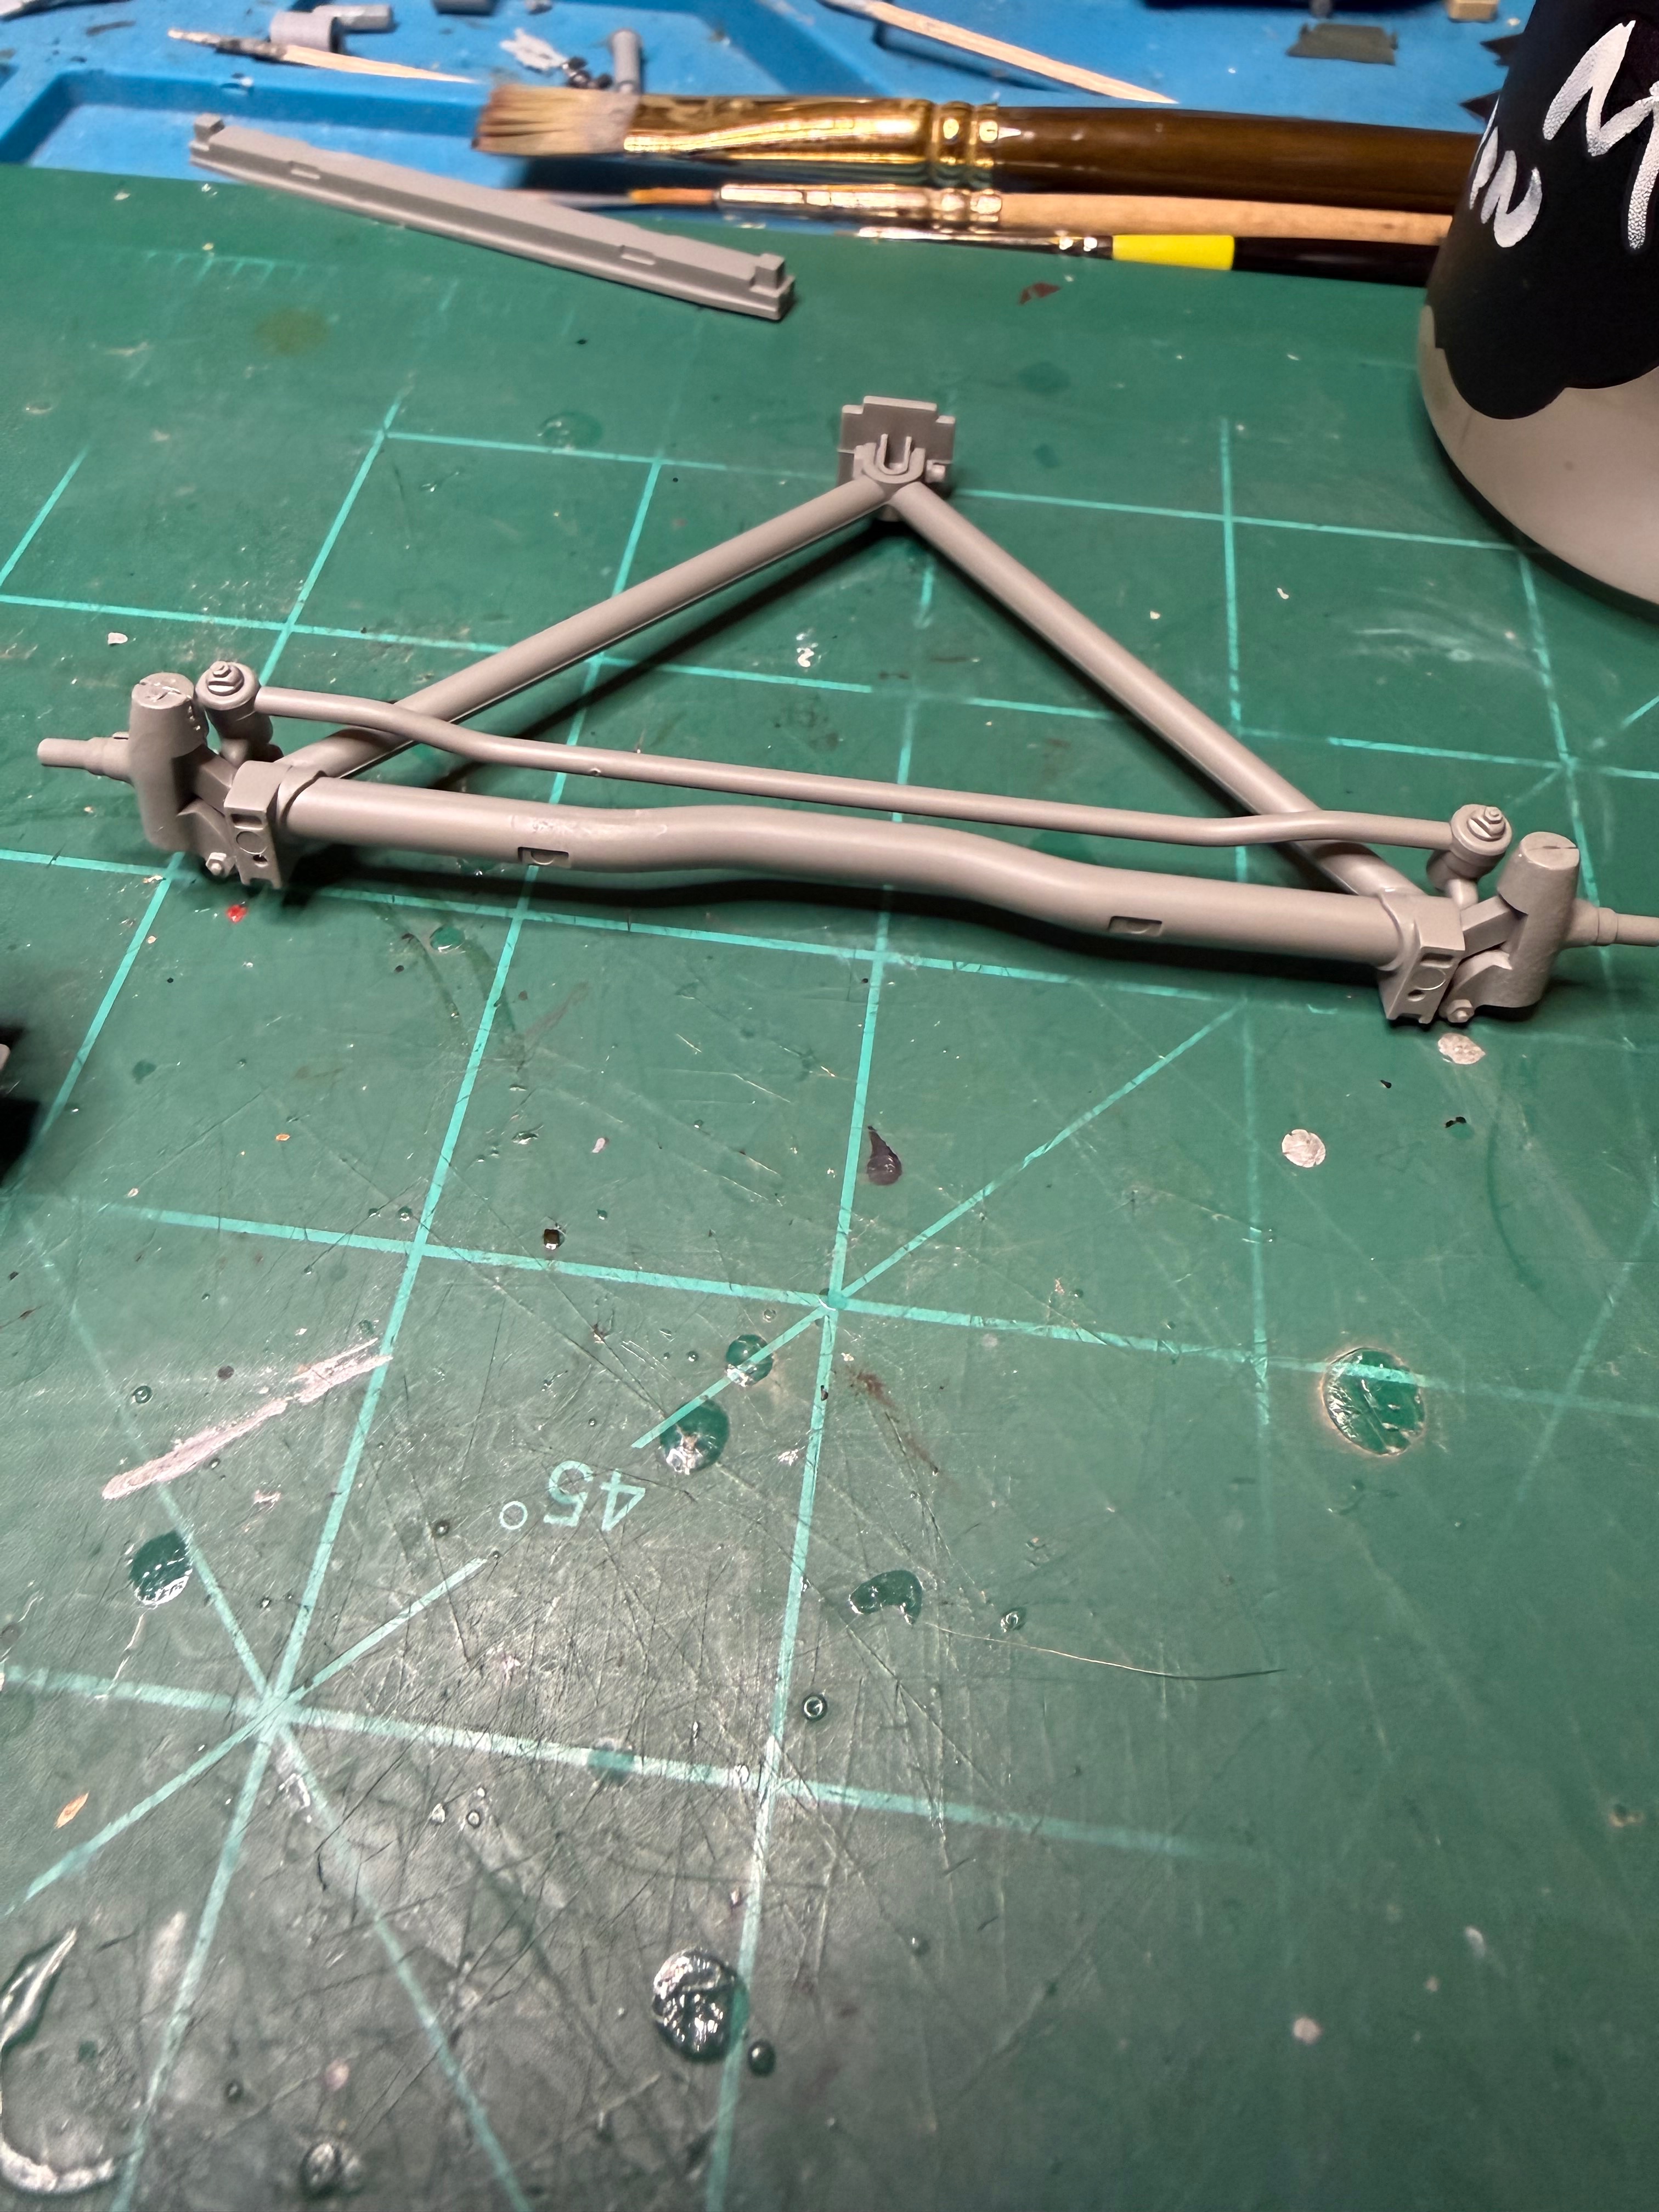
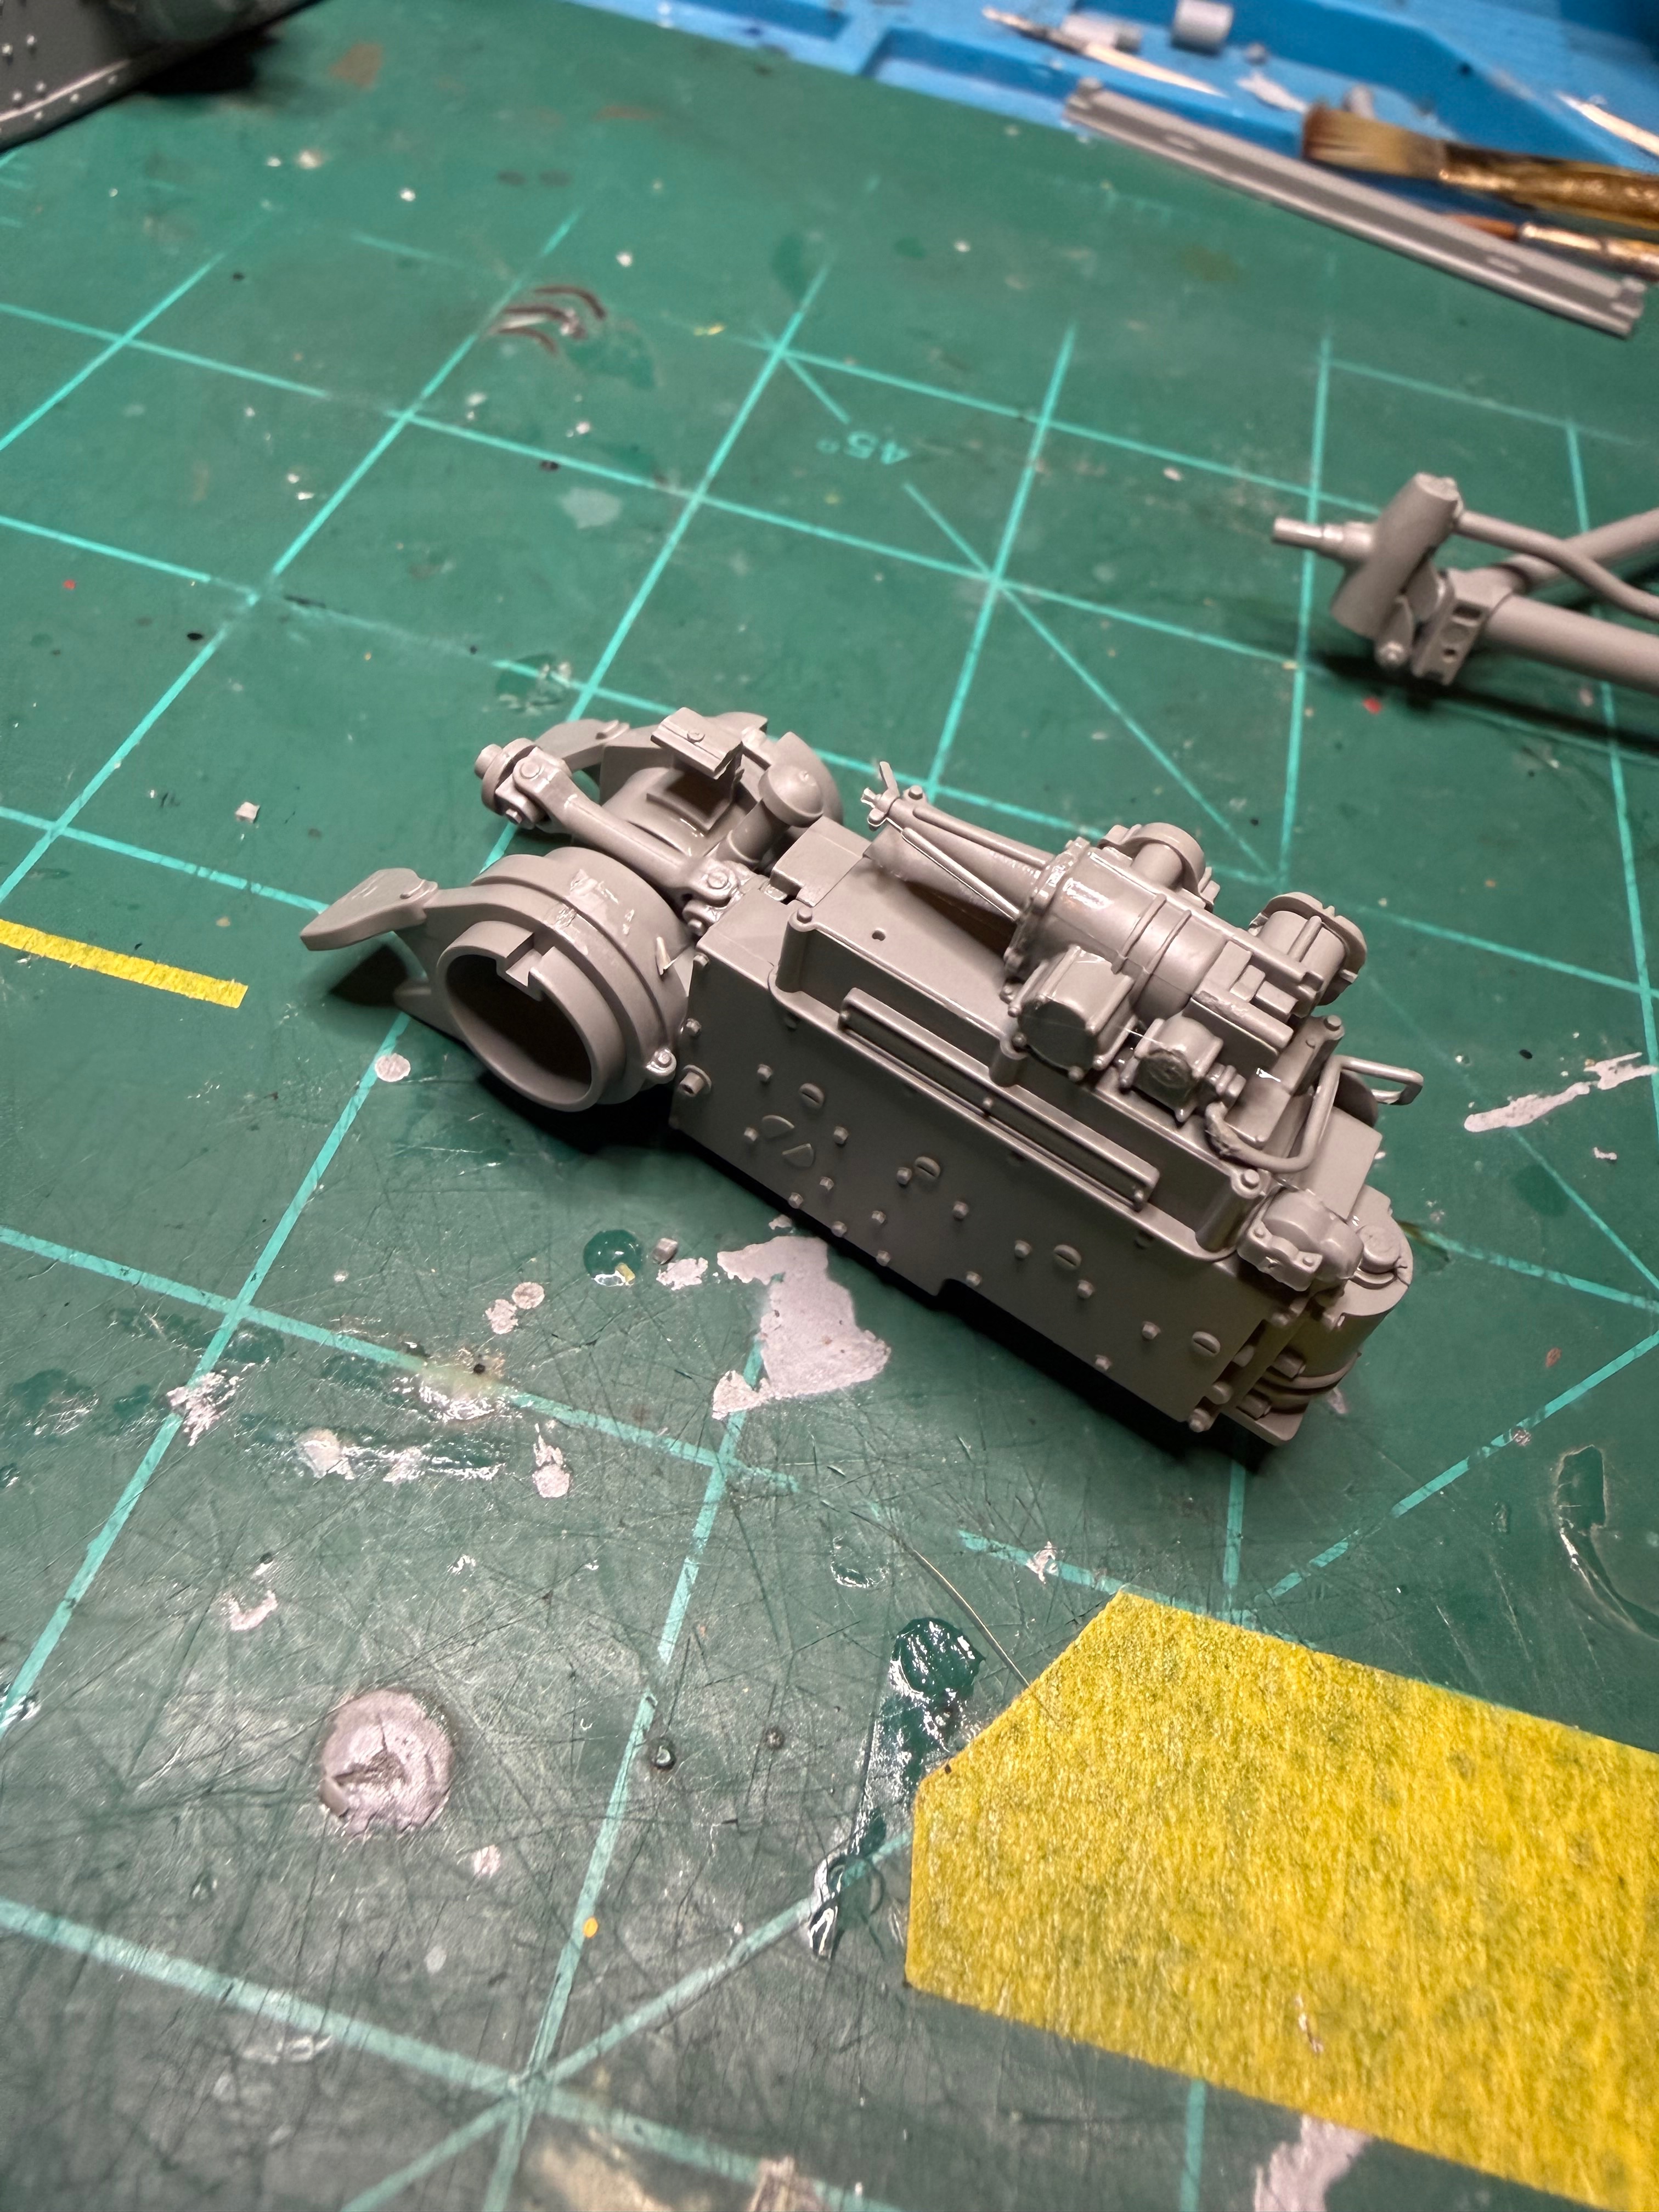
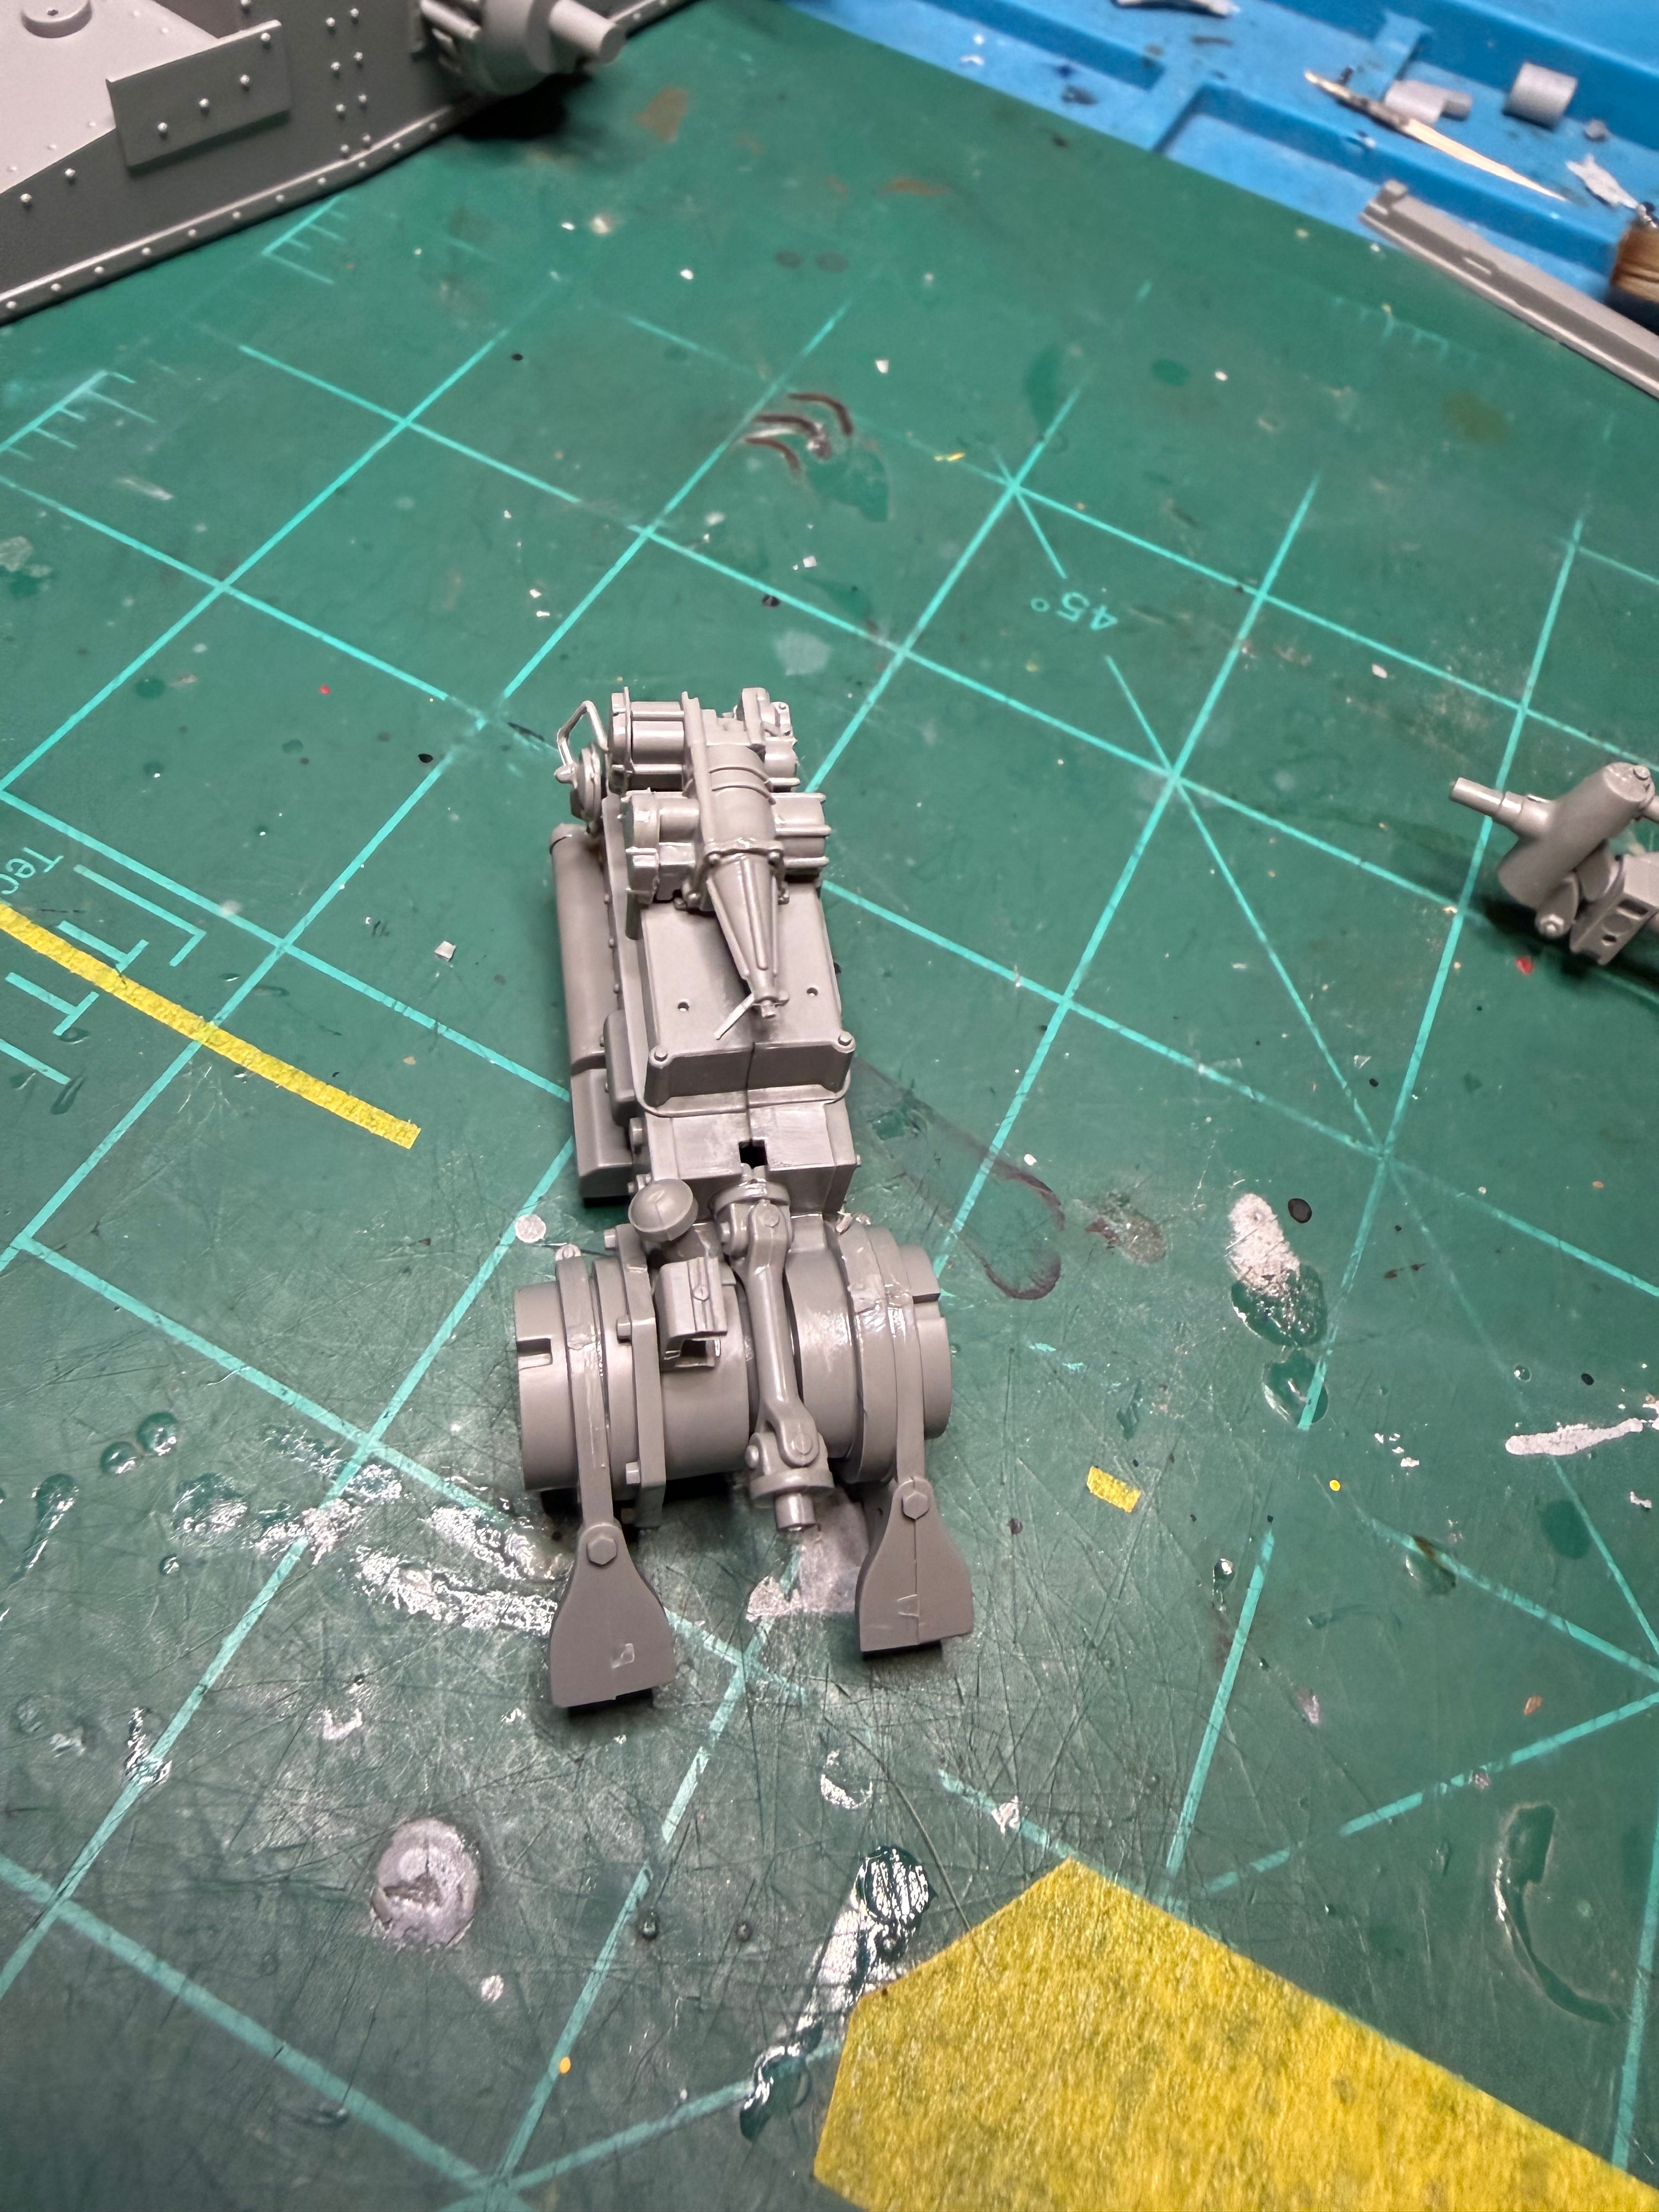
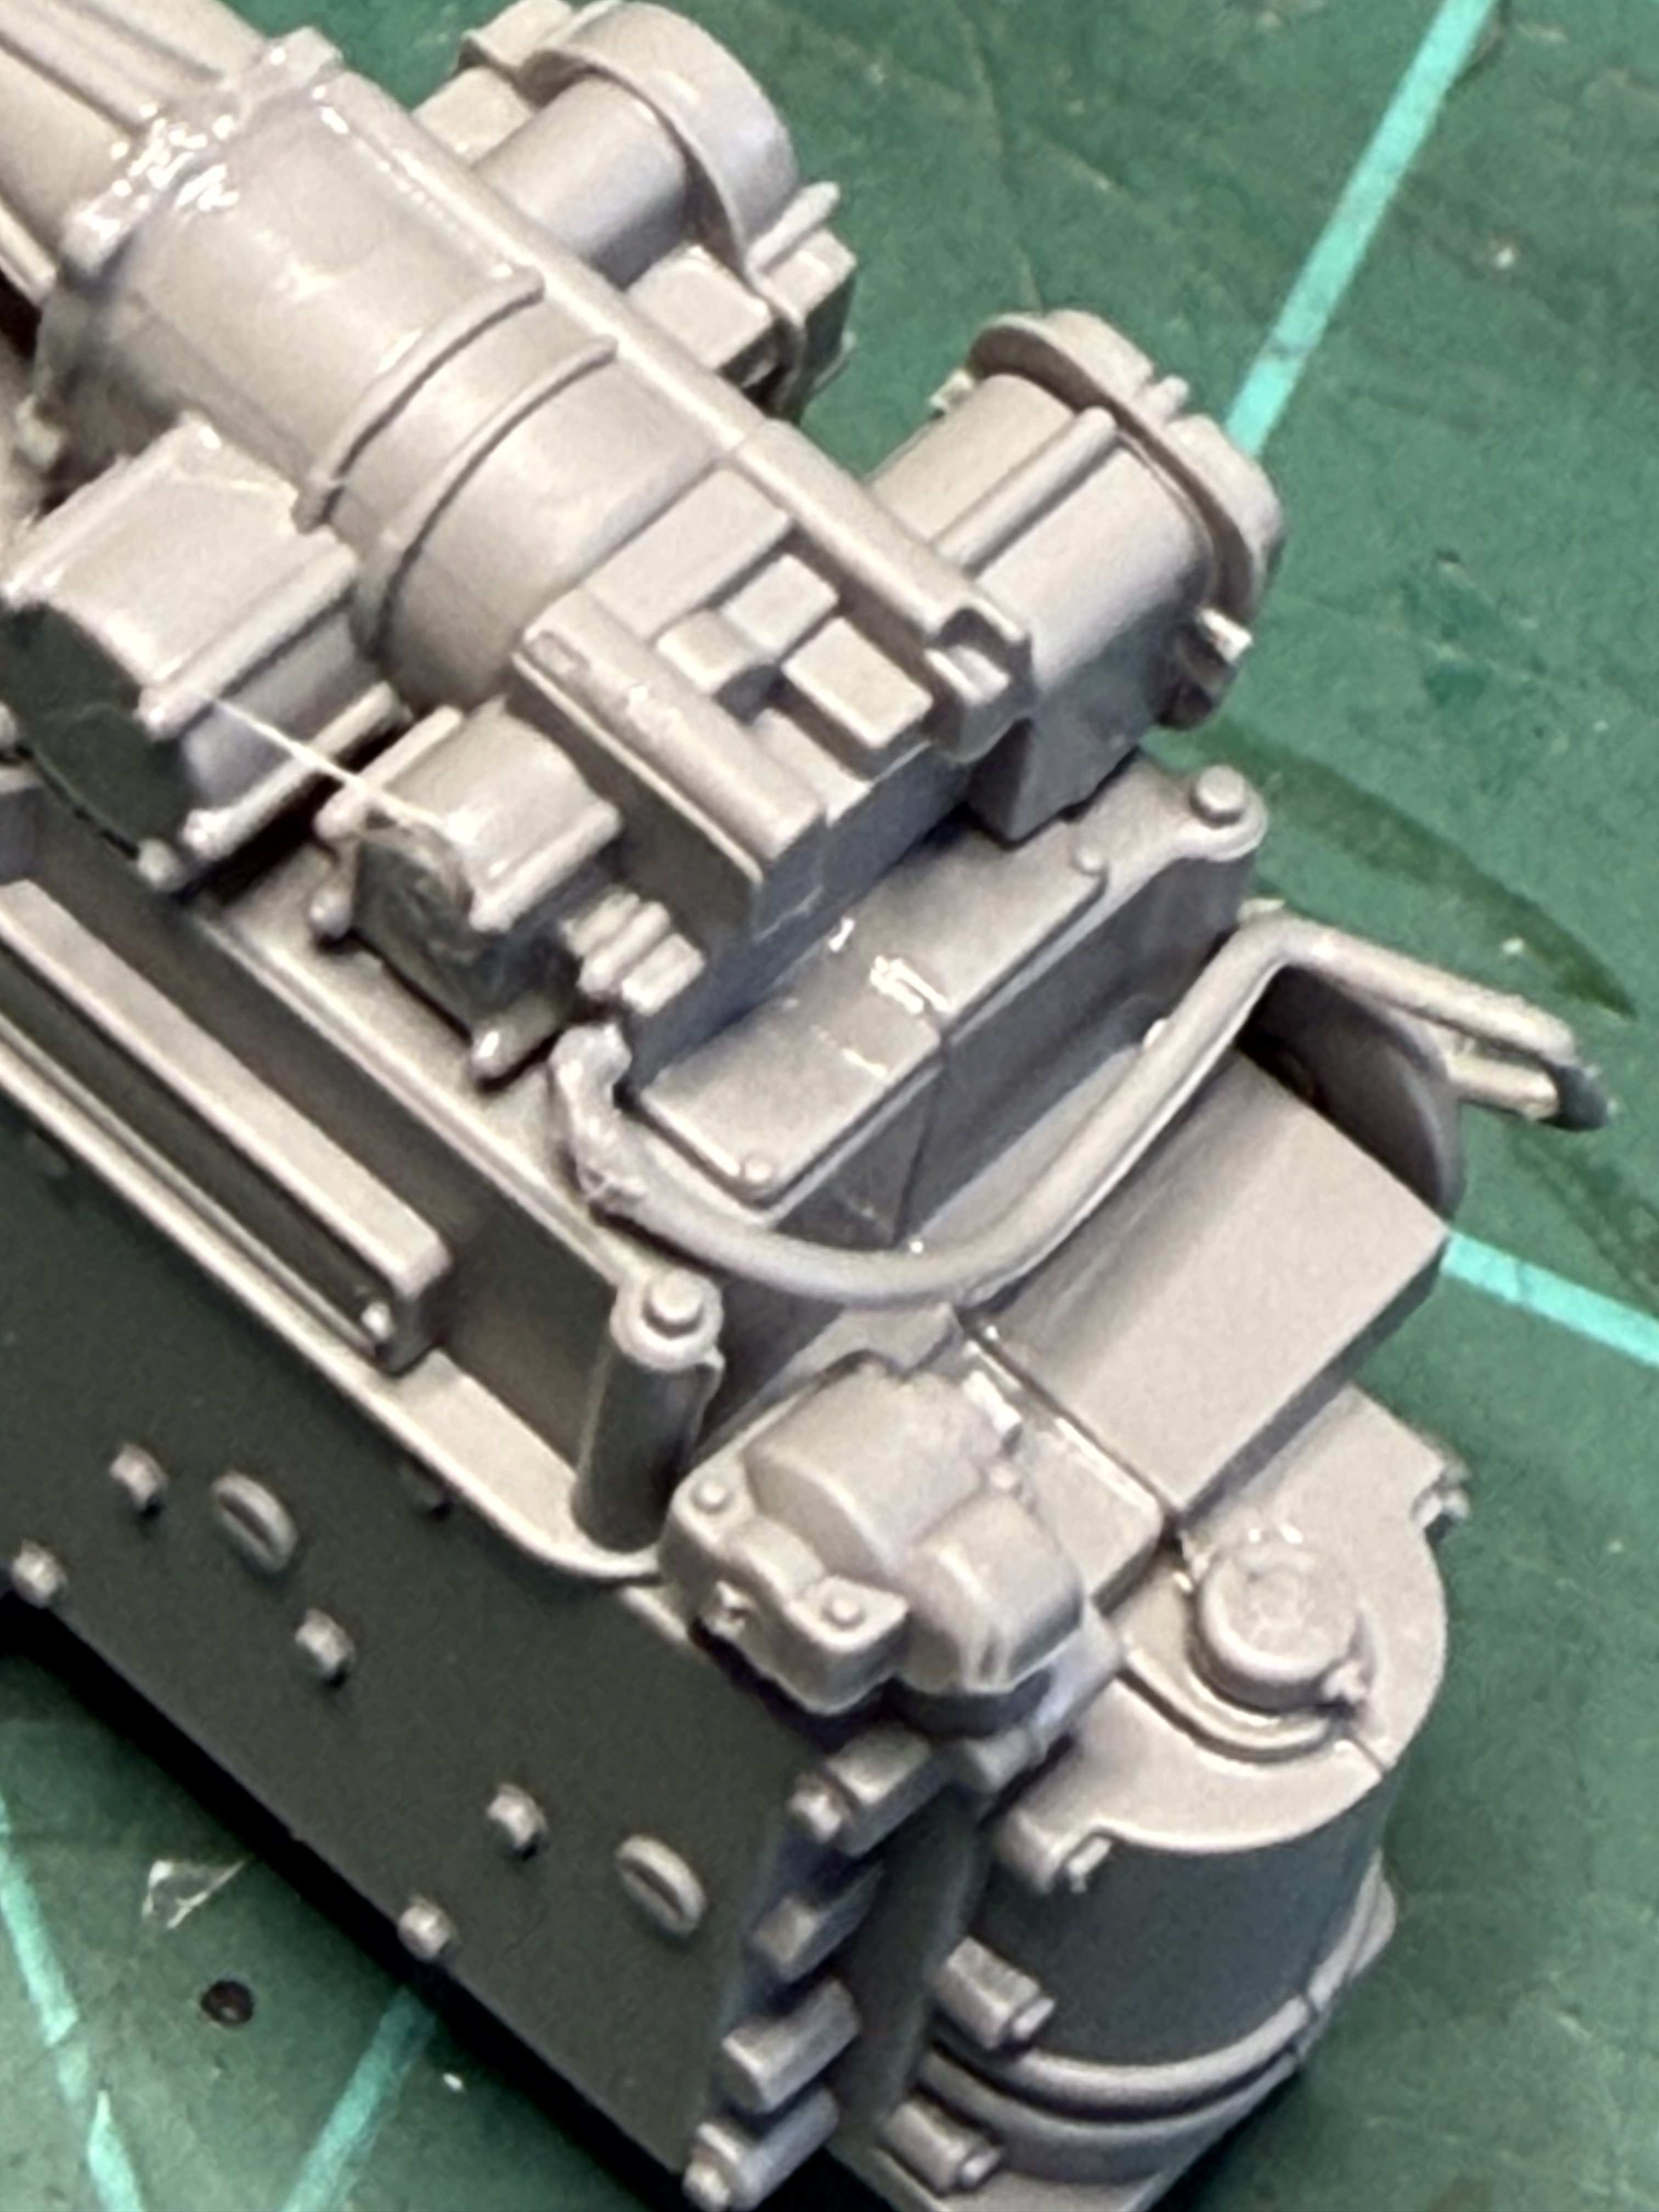
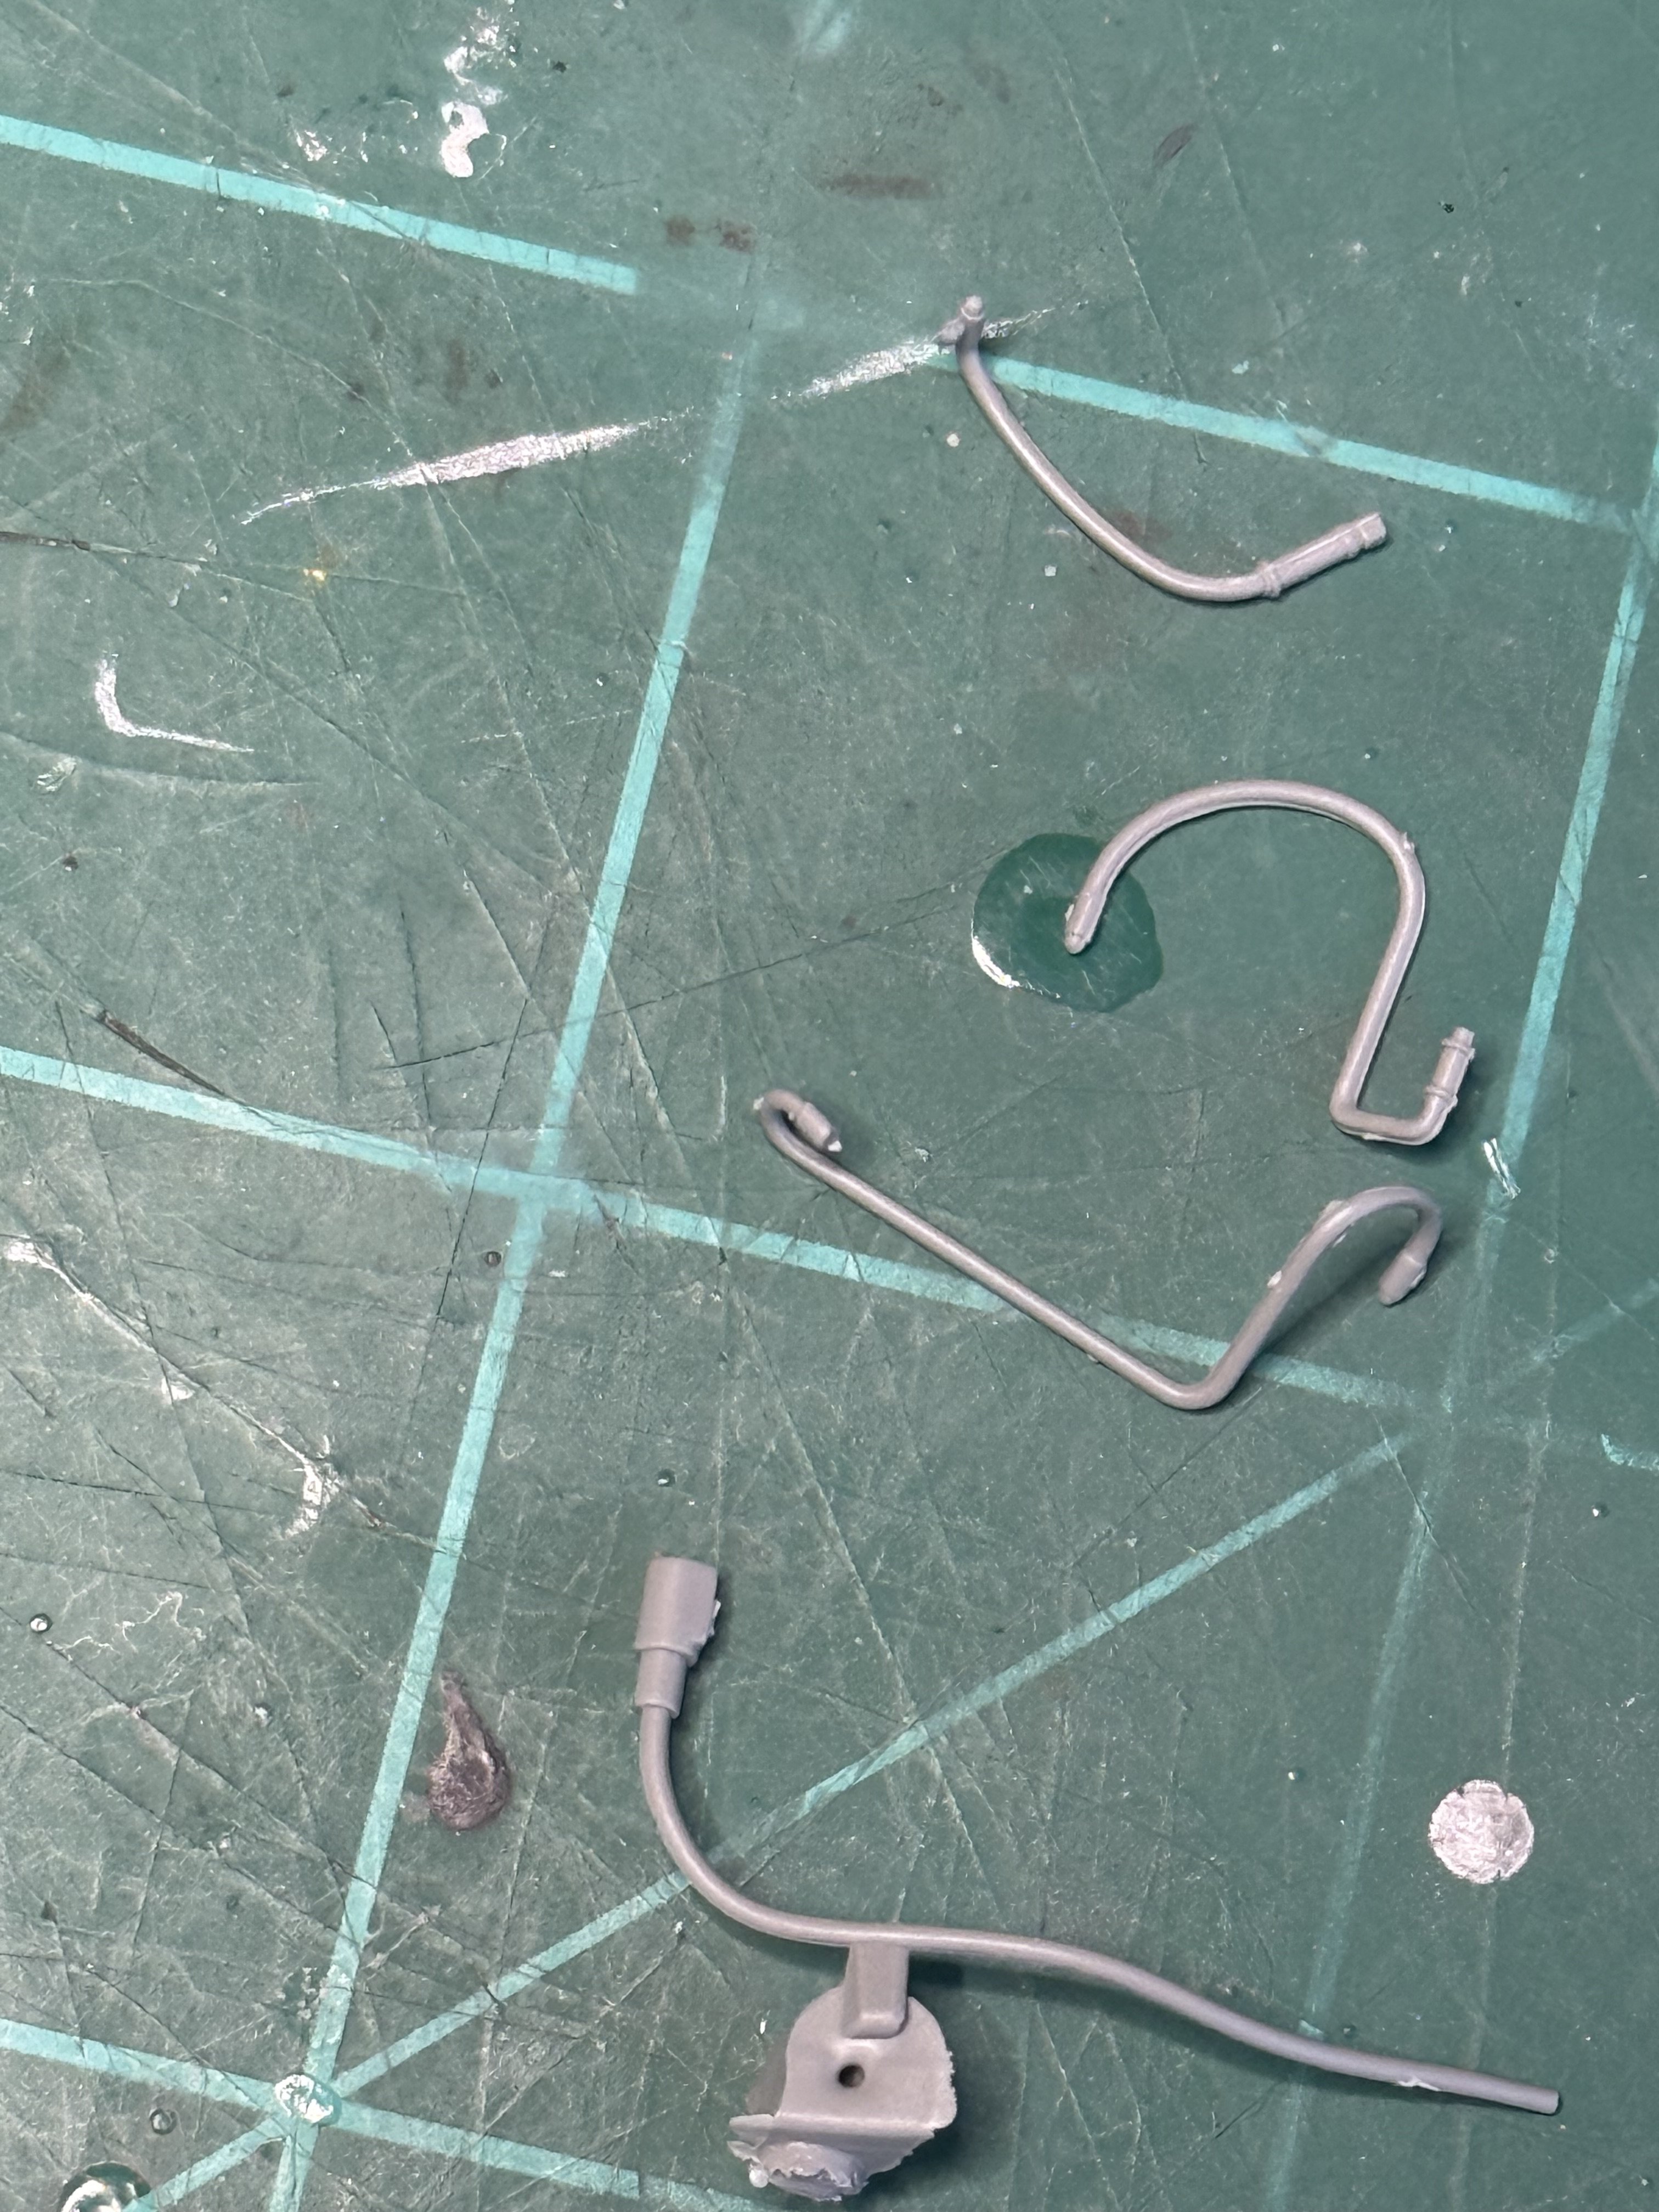
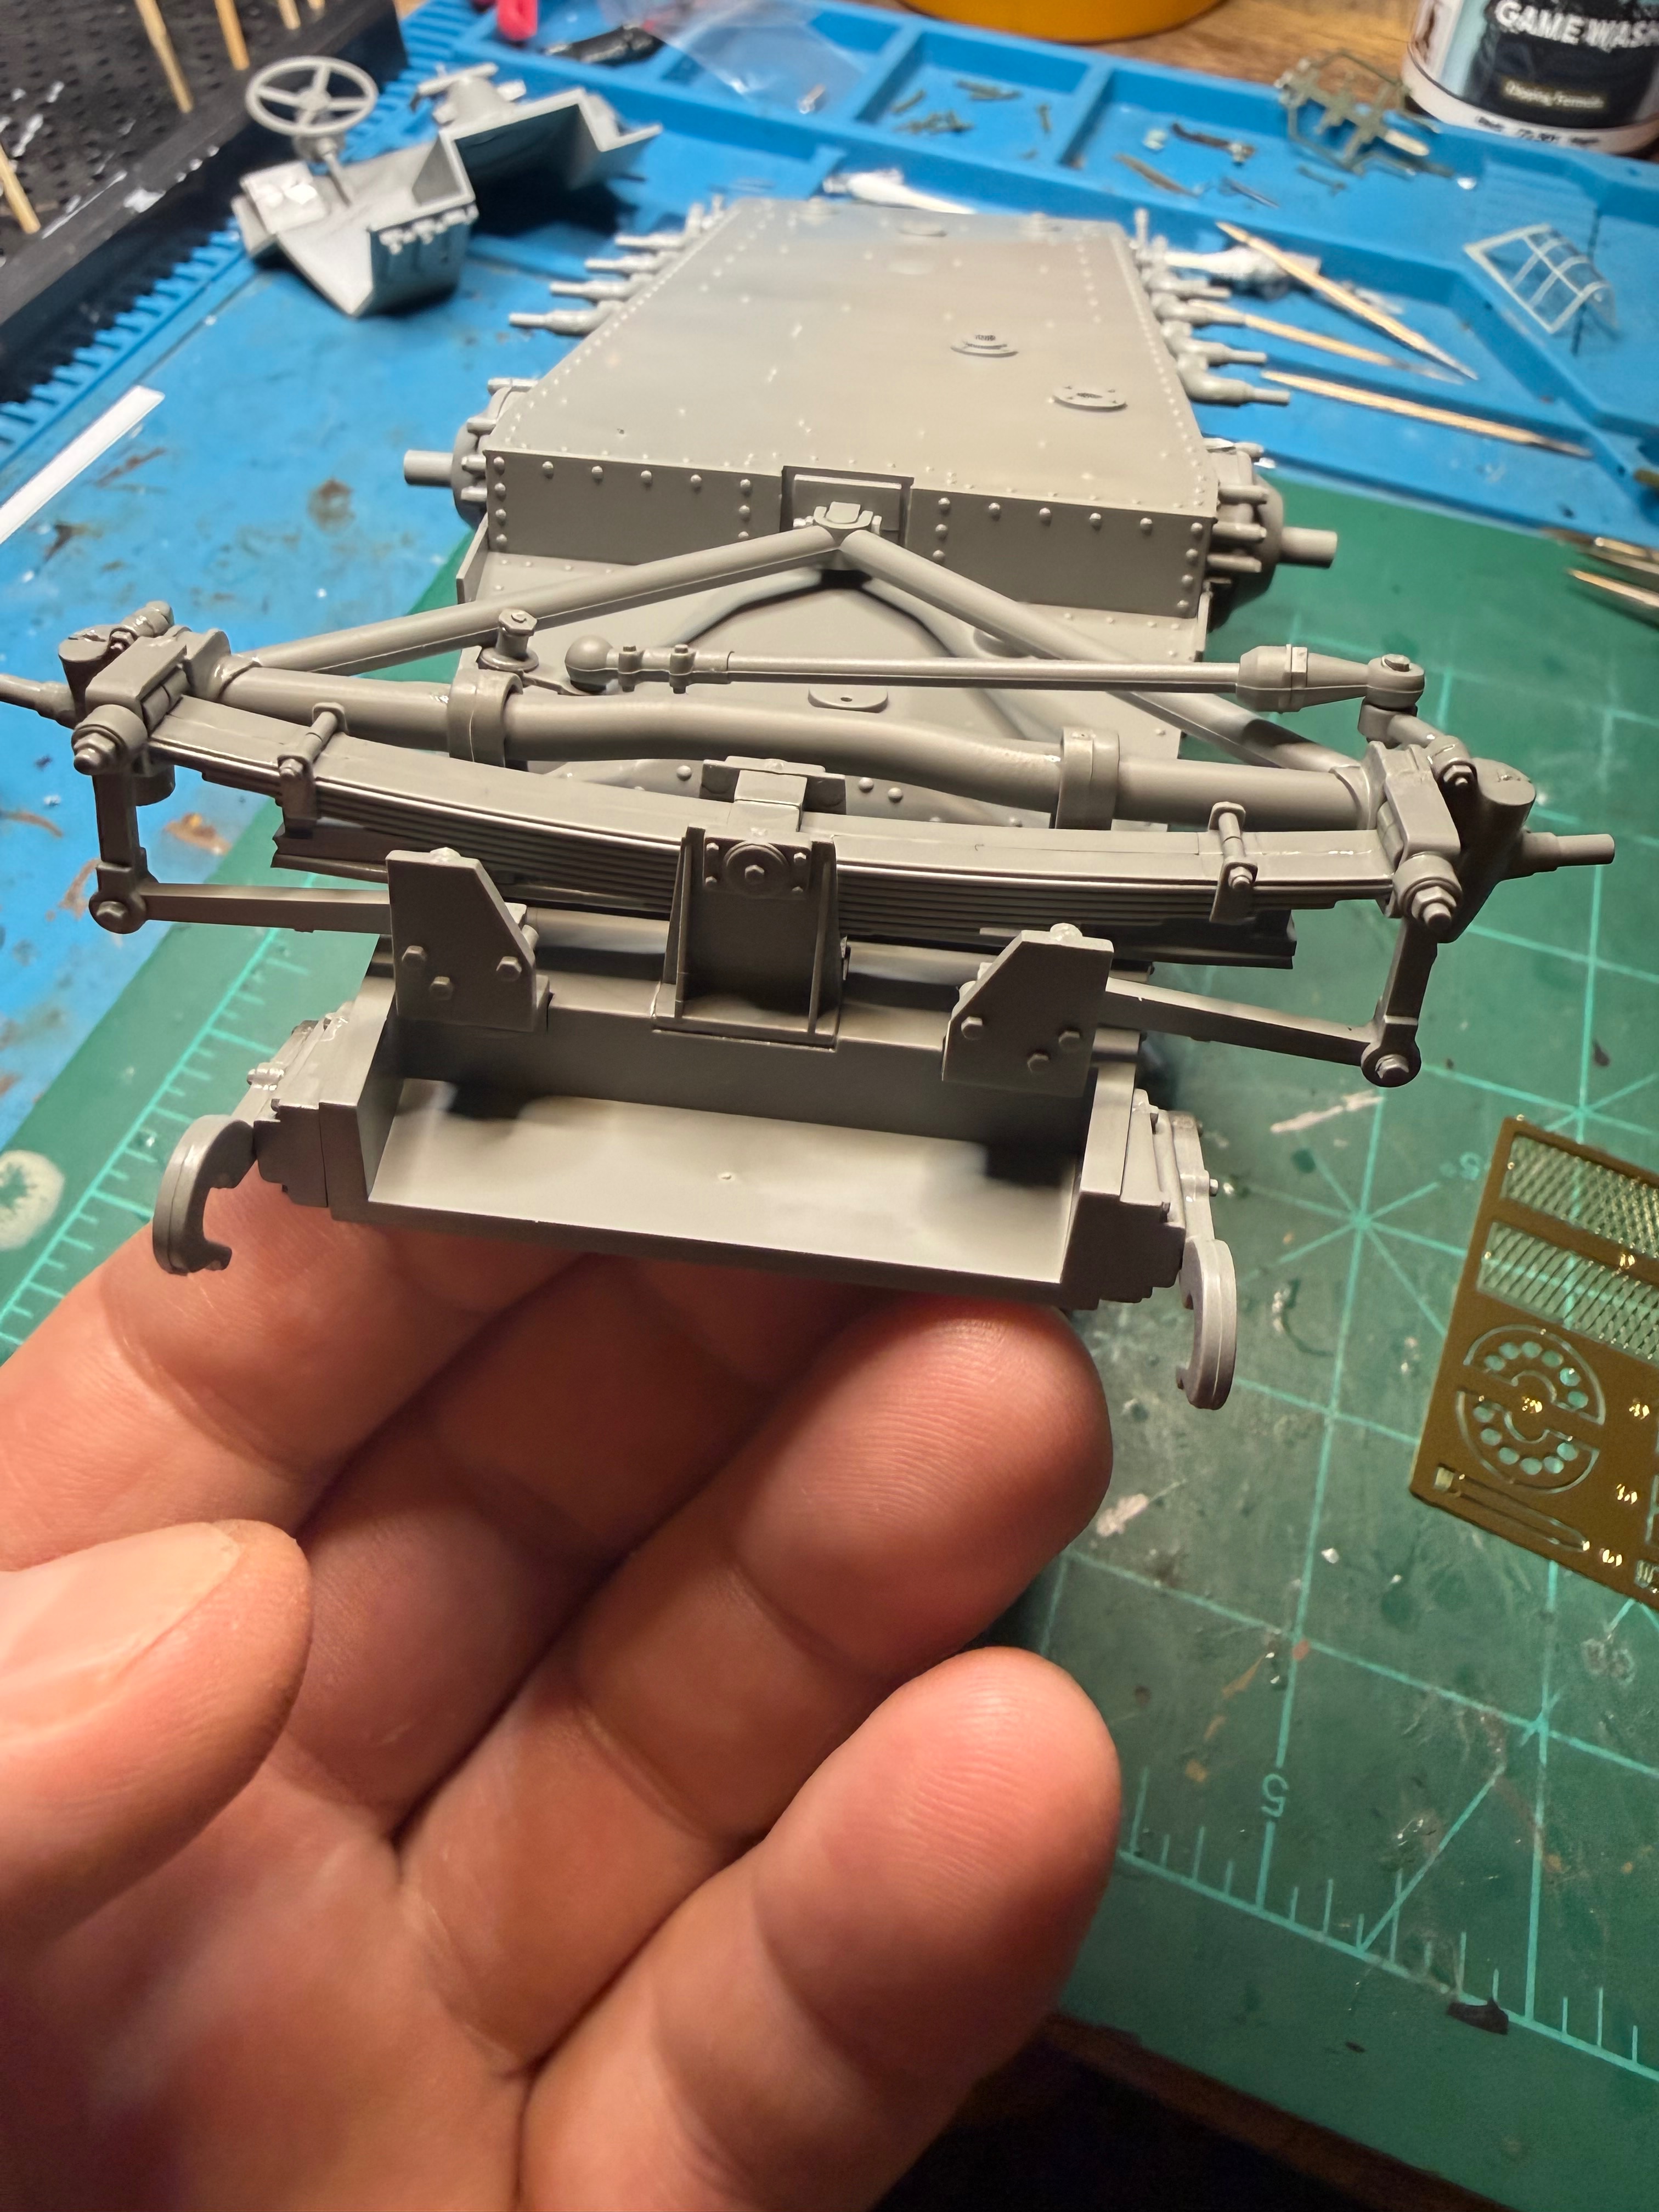
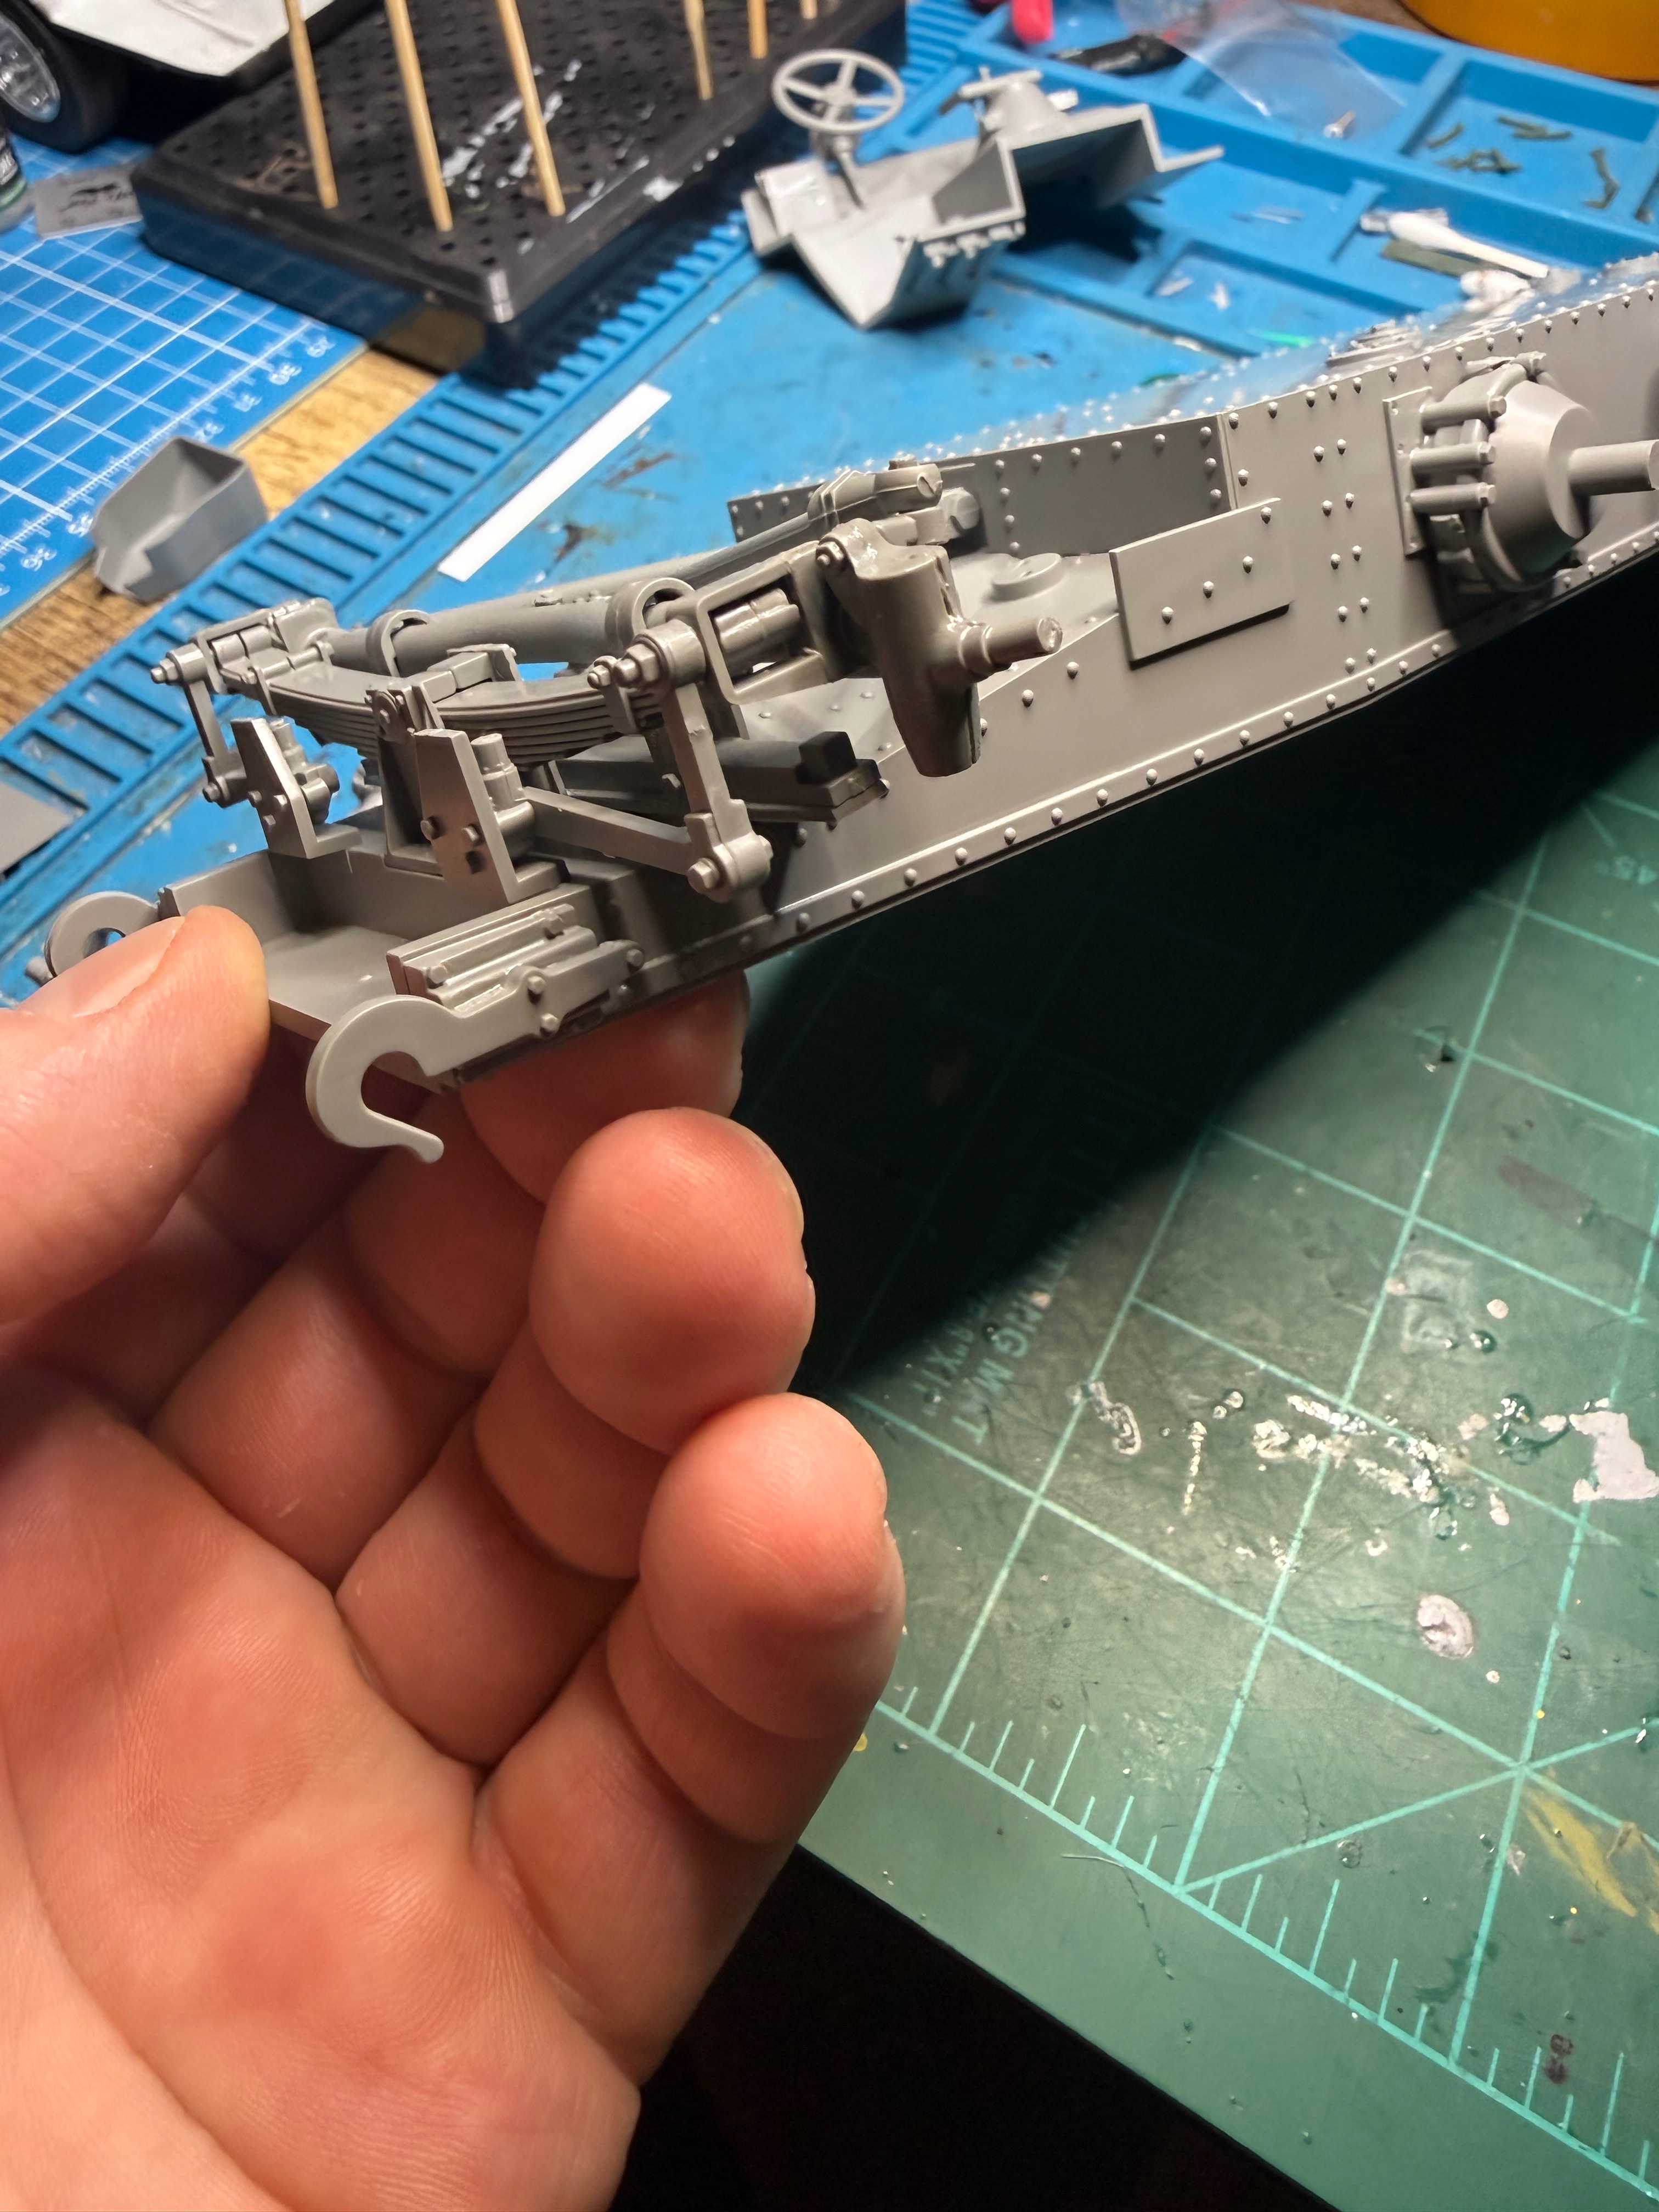
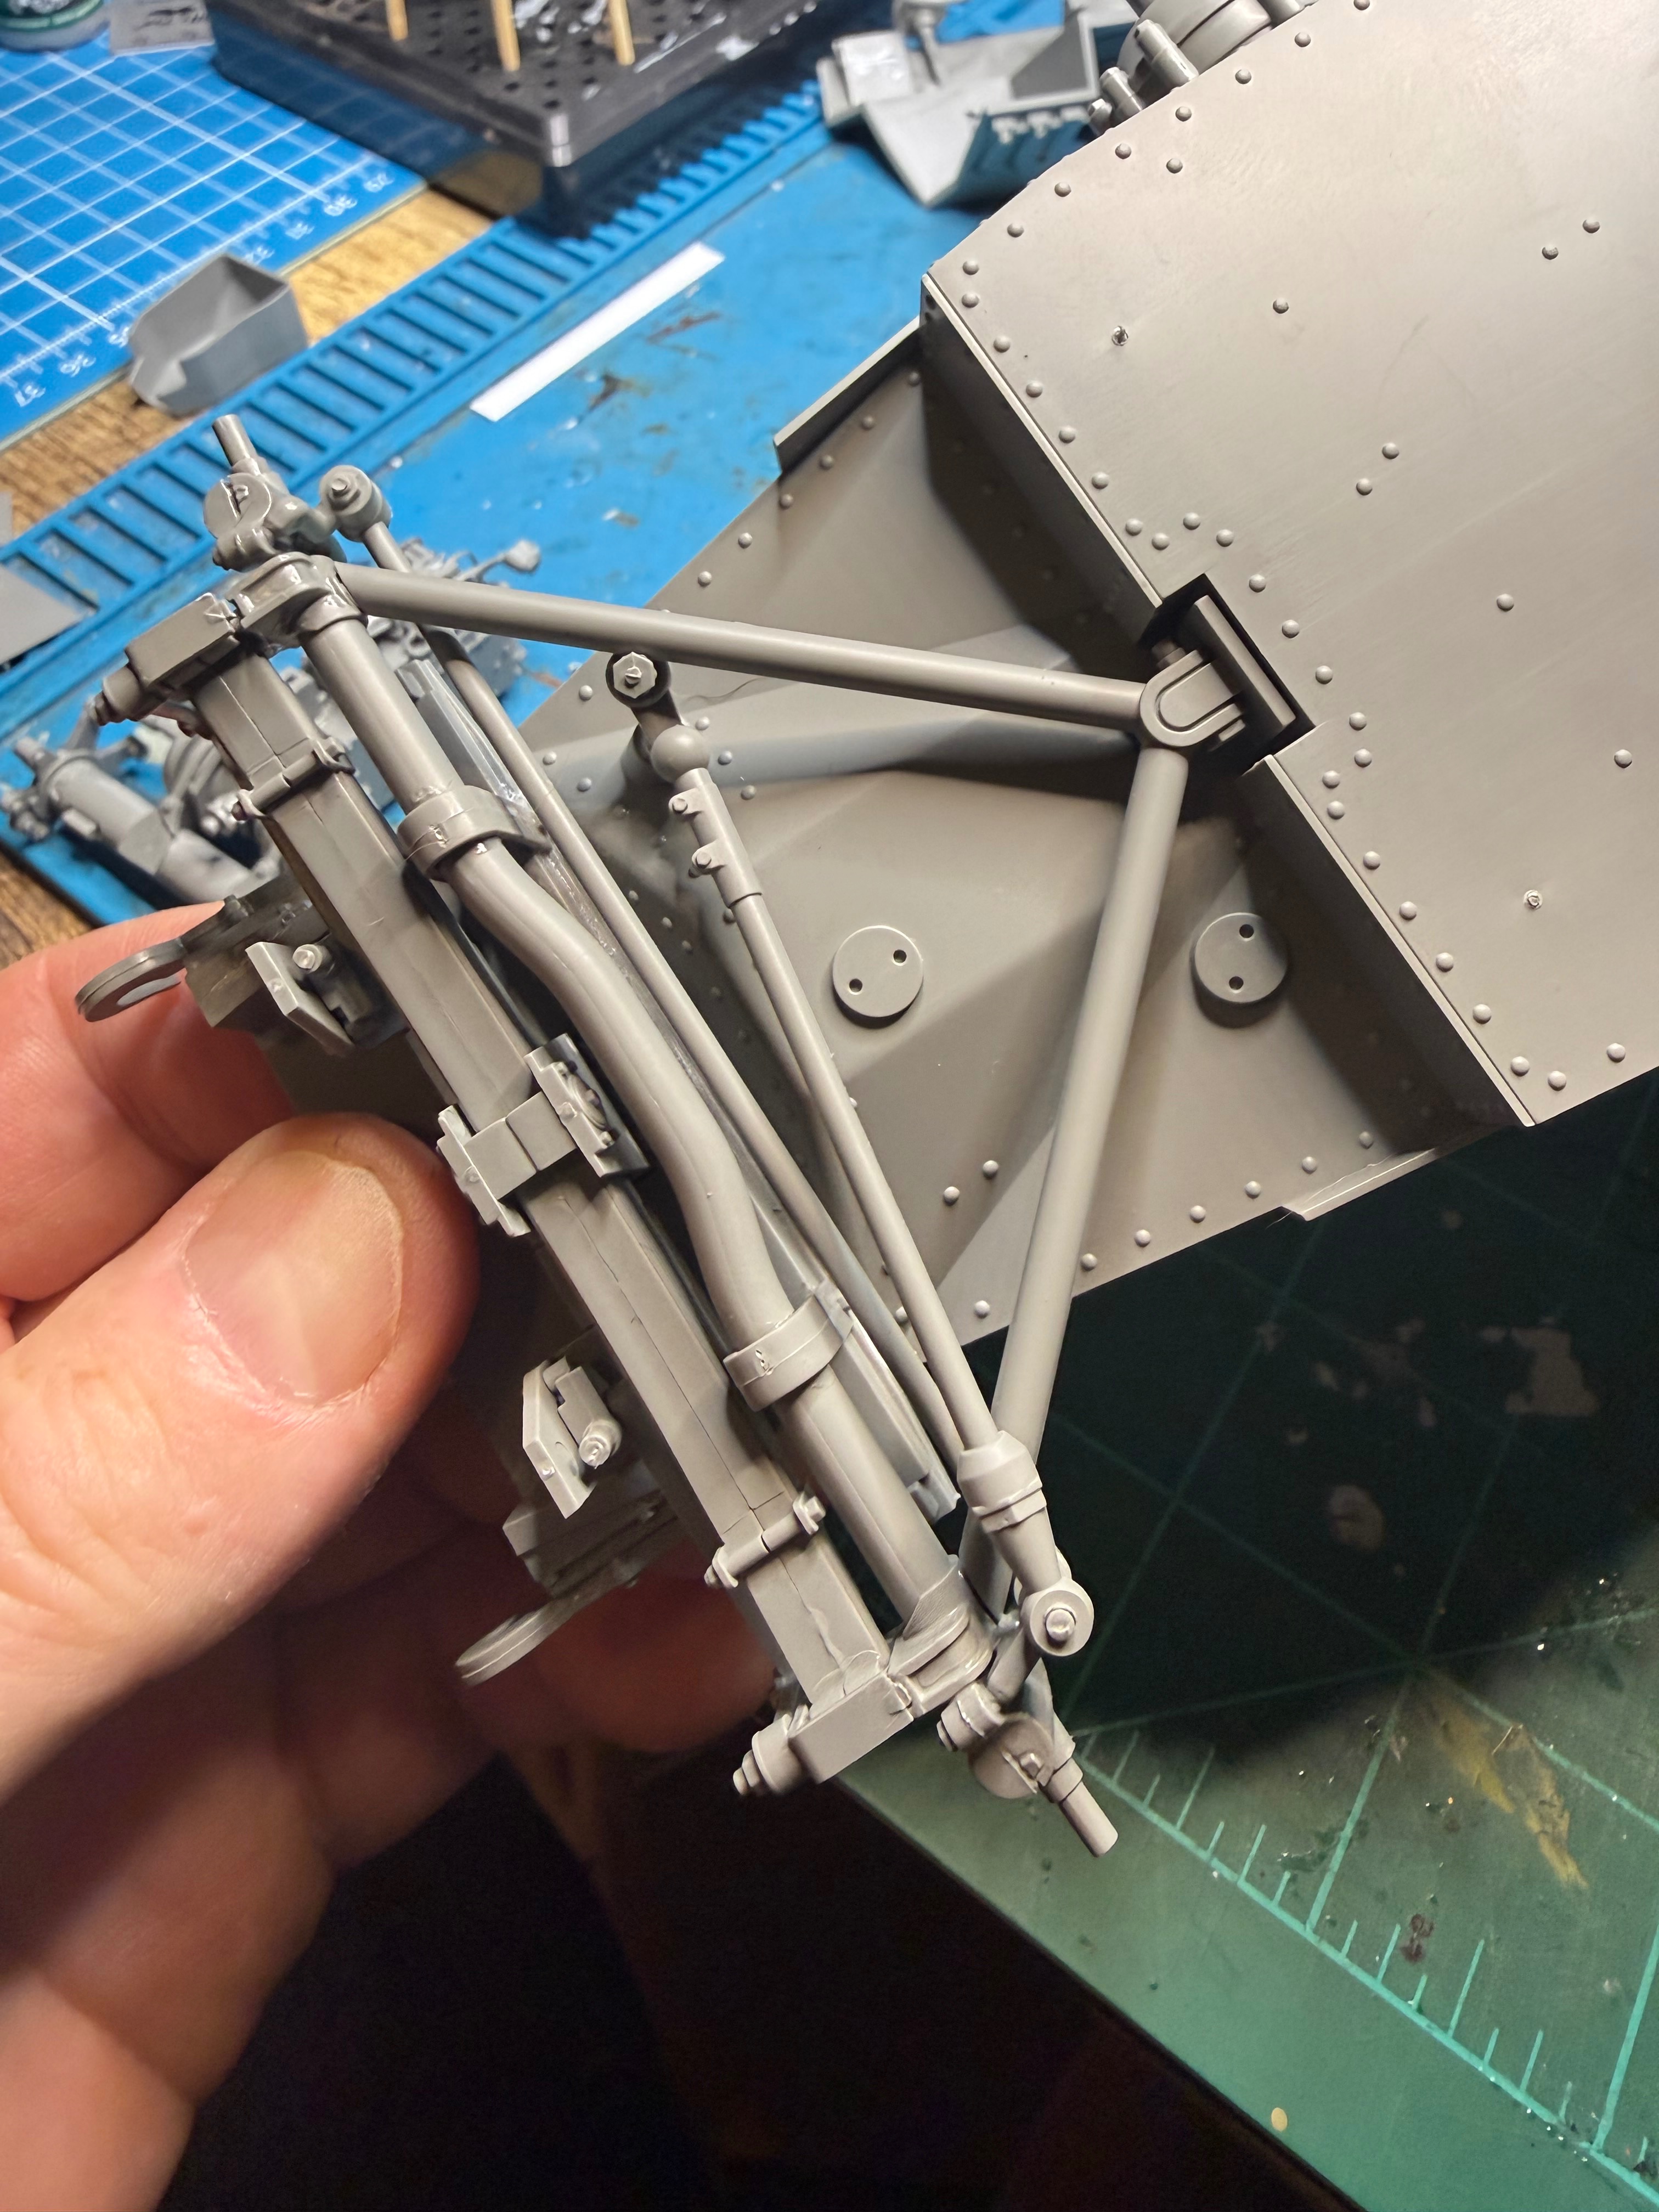
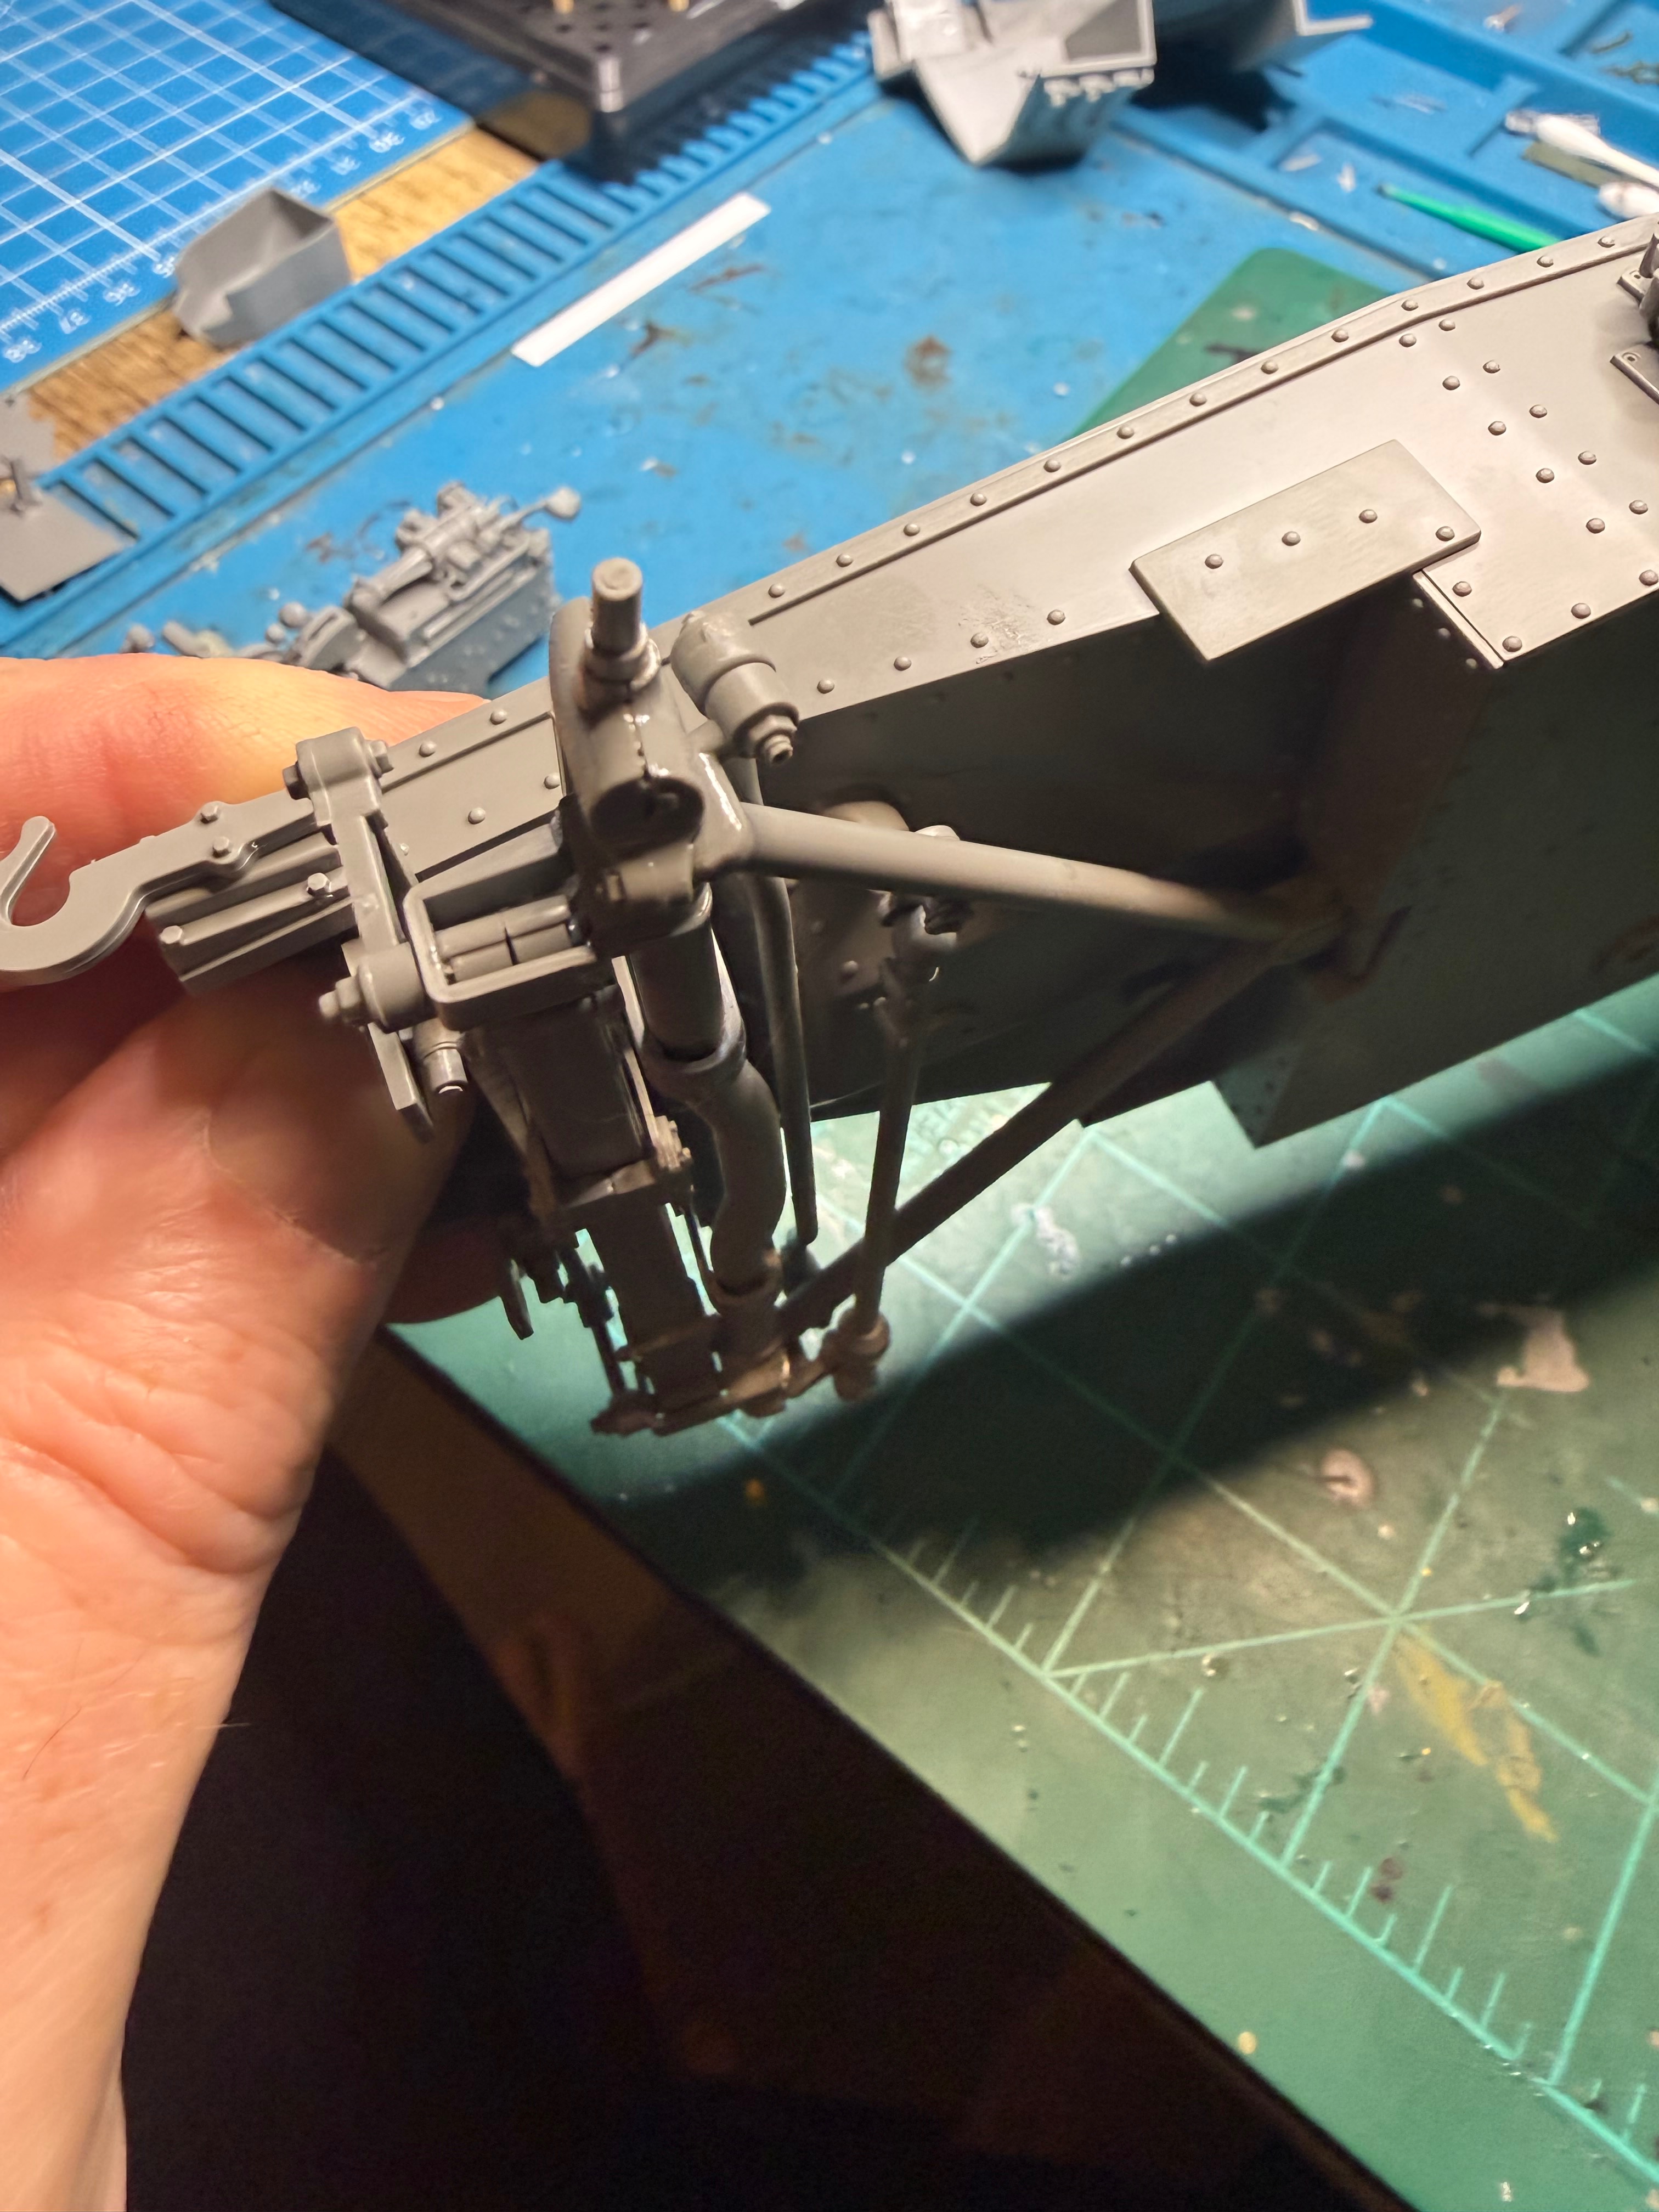
I have to figure out where these lines run to. The diagram points to the right direction but that's about it. Been a lot of trial and error with the suspension and these lines. I spent an hour last night just doing the suspension, which I didn't finish and had to disassemble after gluing it together because I finally understood but a little too late.
Attachments

kevin
Well-Known Member
How do you like working in 1/16?
It's my go to scale these days, the eyes aren't getting any younger........though I do have a 1/48 biplane coming for the group build.
It's my go to scale these days, the eyes aren't getting any younger........though I do have a 1/48 biplane coming for the group build.
I'm really digging it! As you can see from the pics, there's still some tiny parts but overall it's nice to work with. There's a lot of detail and if I was inclined I could add alot more details scratching. I don't mind doing the figures at this scale either. Problem will be displaying this size!How do you like working in 1/16?
It's my go to scale these days, the eyes aren't getting any younger........though I do have a 1/48 biplane coming for the group build.
kevin
Well-Known Member
Yes, they take up alot of room!Problem will be displaying this size!
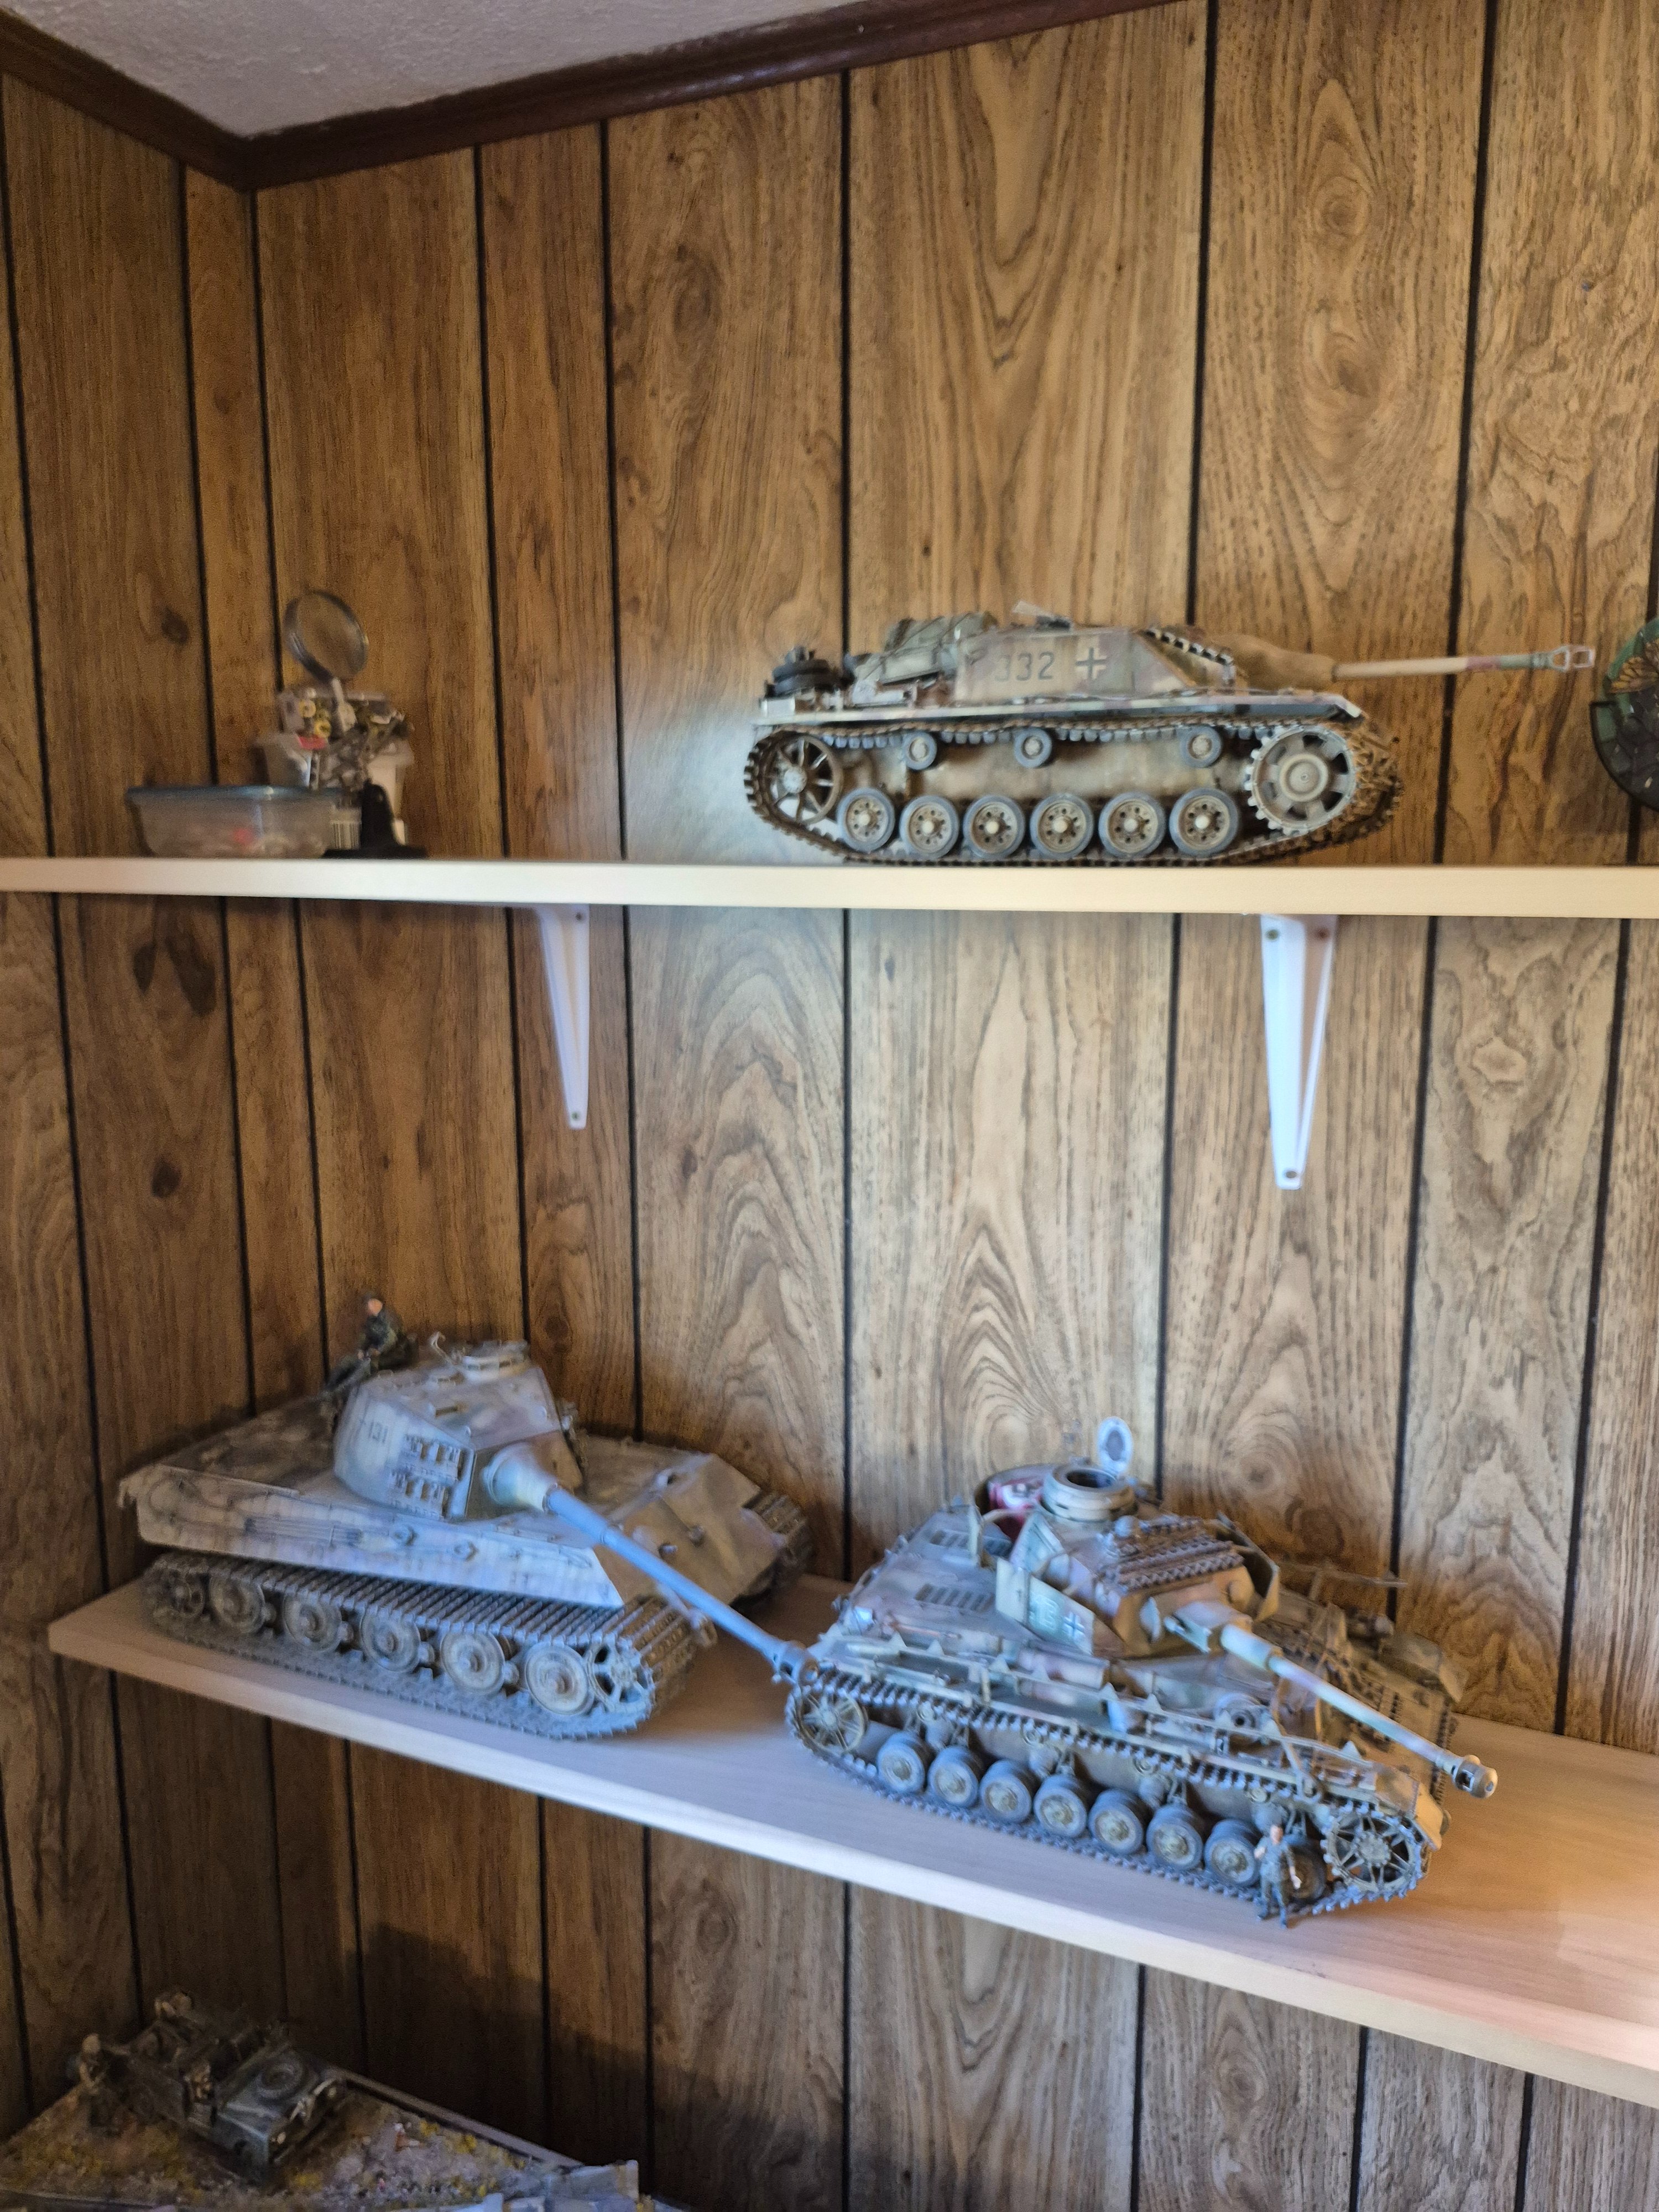
The guy standing by the panzer IV is 1/35.
Tiny Tim!
Jakko
Well-Known Member
The bigger the scale, the more parts a it will have — but the smallest ones in it tend to be about the same size regardless of the scale 
(There are a lot of 1:35 scale modellers who tell 1:72 scale modellers, "Far too small for me. All those little parts are much too difficult!" And then the 1:35 scale modeller goes off and puts three folds in a 1 × 1.5 mm etched part …)
(There are a lot of 1:35 scale modellers who tell 1:72 scale modellers, "Far too small for me. All those little parts are much too difficult!" And then the 1:35 scale modeller goes off and puts three folds in a 1 × 1.5 mm etched part …)
Yes. I've told some people in all actuality 1/72 often has less tiny parts.The bigger the scale, the more parts a it will have — but the smallest ones in it tend to be about the same size regardless of the scale
(There are a lot of 1:35 scale modellers who tell 1:72 scale modellers, "Far too small for me. All those little parts are much too difficult!" And then the 1:35 scale modeller goes off and puts three folds in a 1 × 1.5 mm etched part …)
Jakko
Well-Known Member
Someone at the TWENOT 50 event yesterday was building one of these. It was impressively big, and so was the box And because of the location, maybe ten metres behind him was a real Sd.Kfz. 250, but an Ausf. B instead of A like you're building. The weird thing there is that even though the model looked big, a real 250 looks small — it's low enough that I could look inside over the top edge of the armour by only just standing on my toes a little, had I wanted to do so.
And because of the location, maybe ten metres behind him was a real Sd.Kfz. 250, but an Ausf. B instead of A like you're building. The weird thing there is that even though the model looked big, a real 250 looks small — it's low enough that I could look inside over the top edge of the armour by only just standing on my toes a little, had I wanted to do so.That's cool that you got to see one. To be honest they seemed on the small side to me. I take it you couldn't get in it?Someone at the TWENOT 50 event yesterday was building one of these. It was impressively big, and so was the box
kevin
Well-Known Member
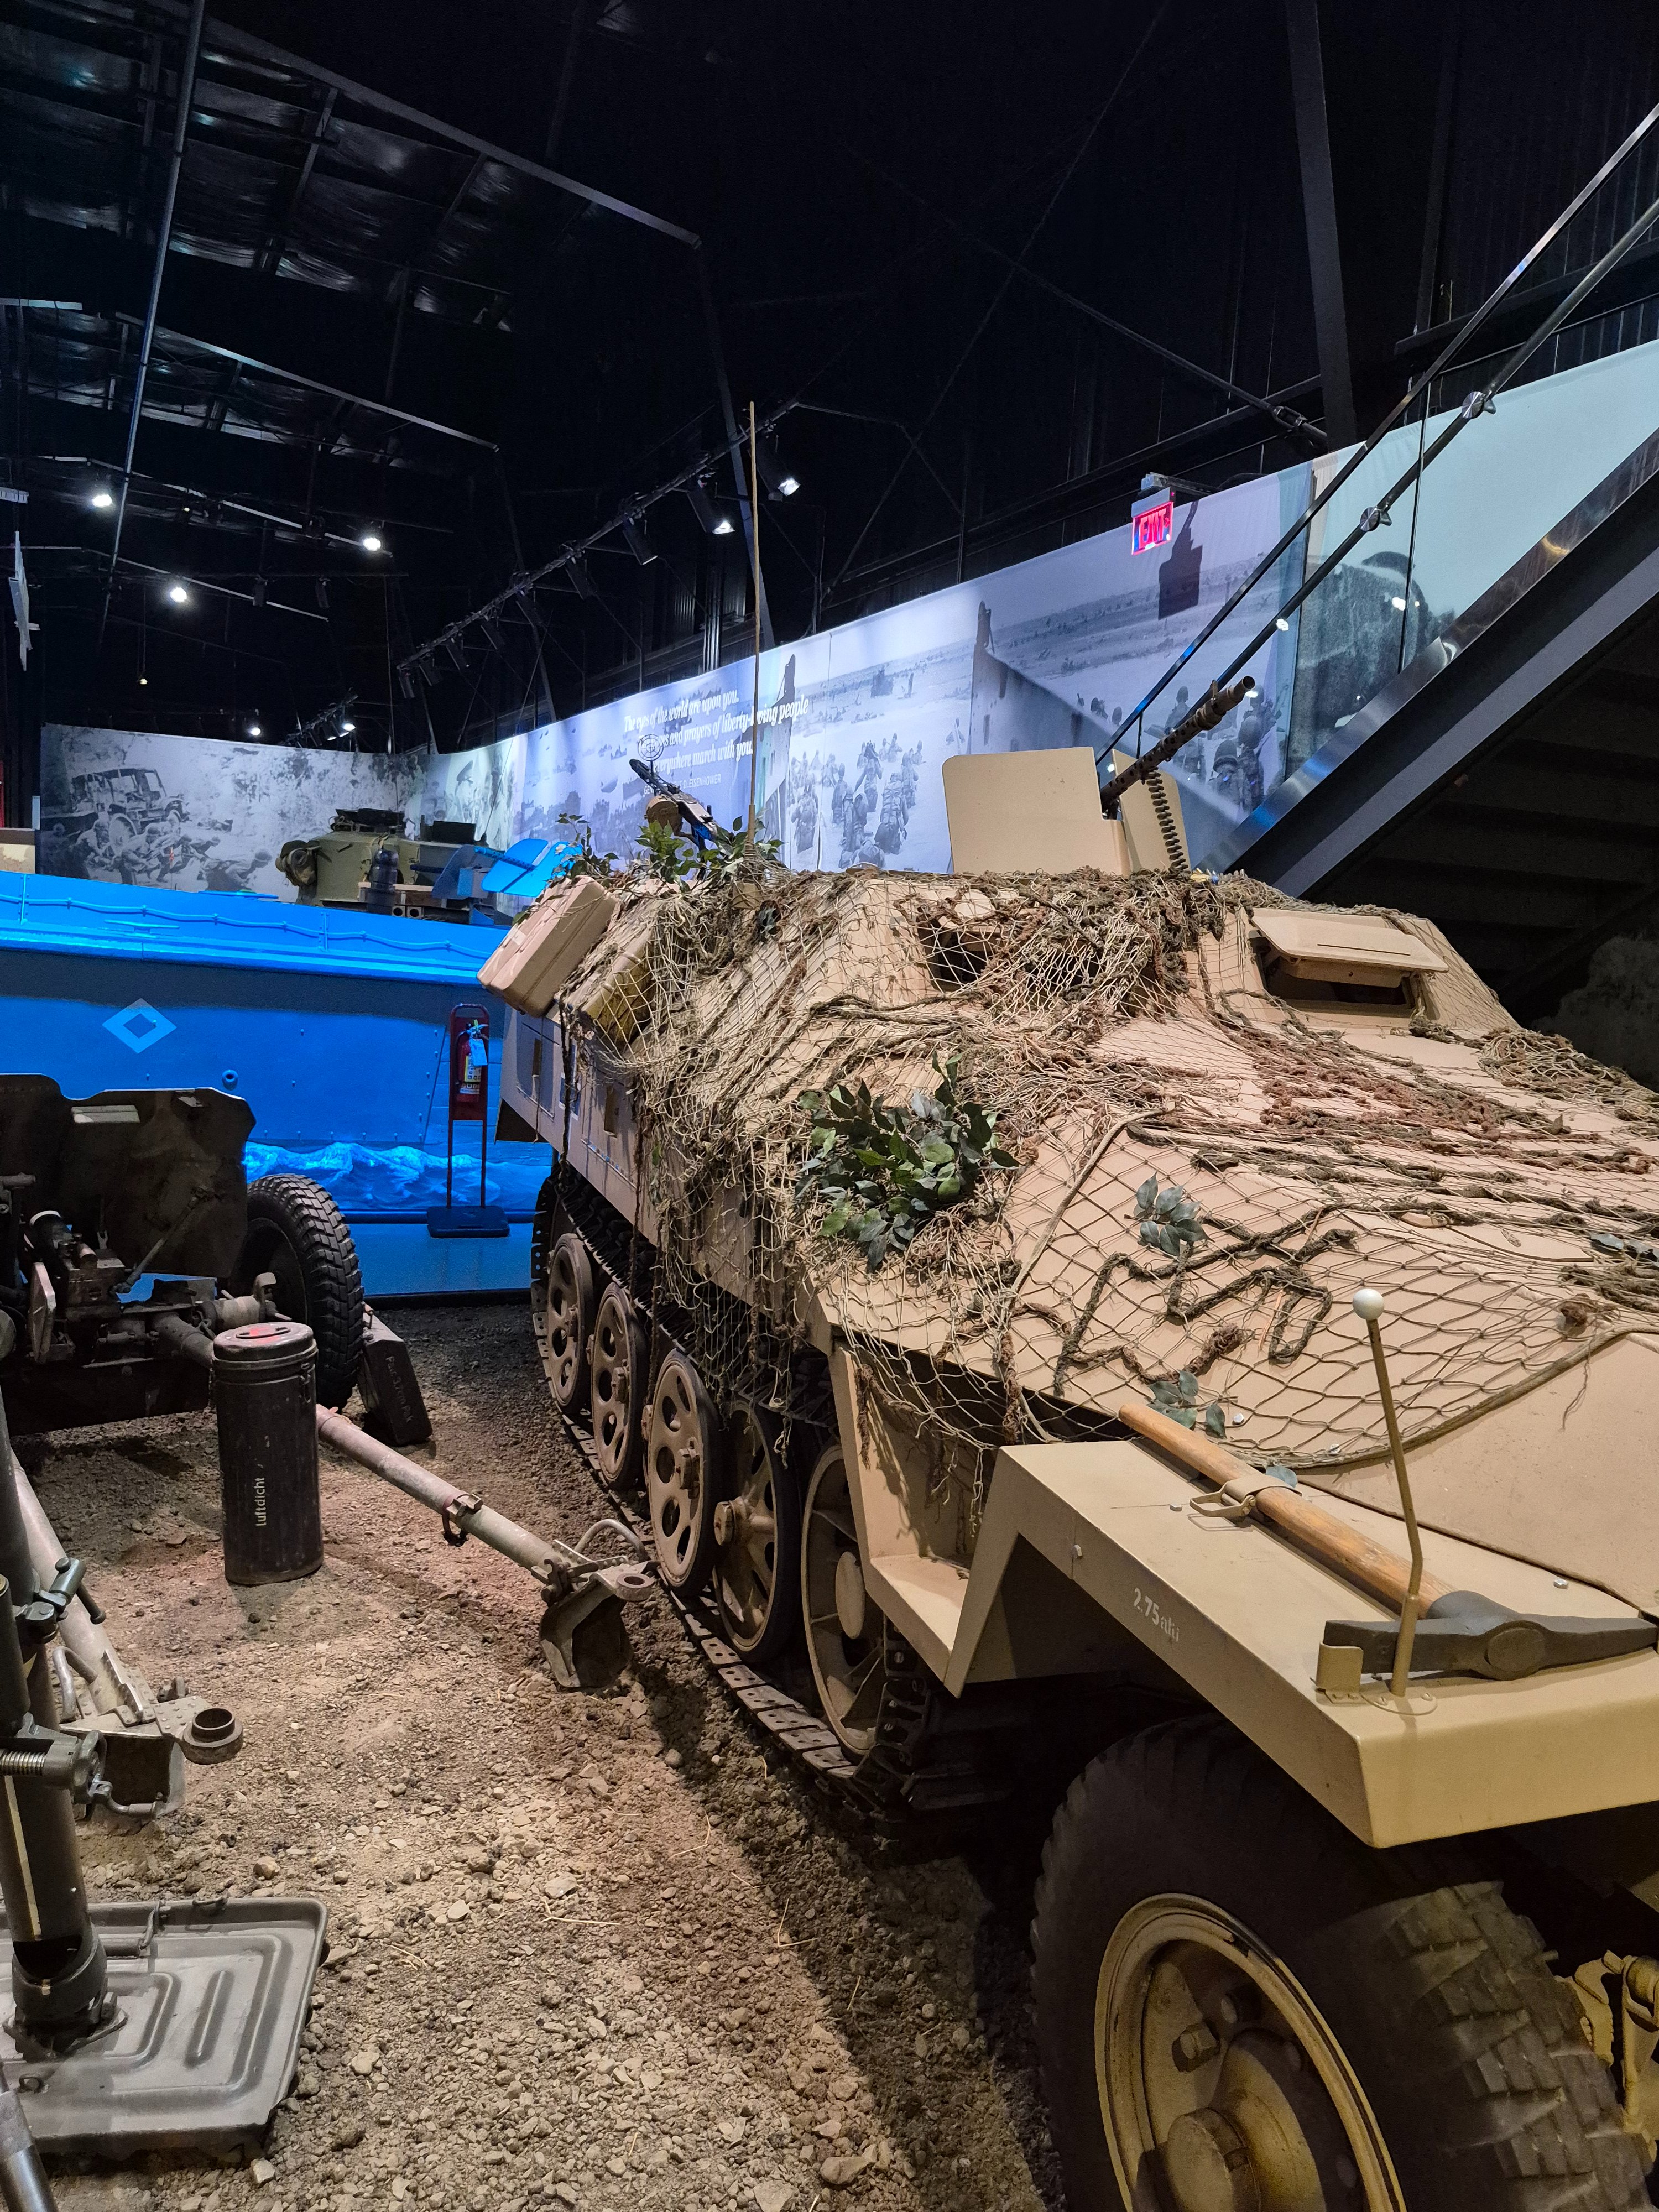
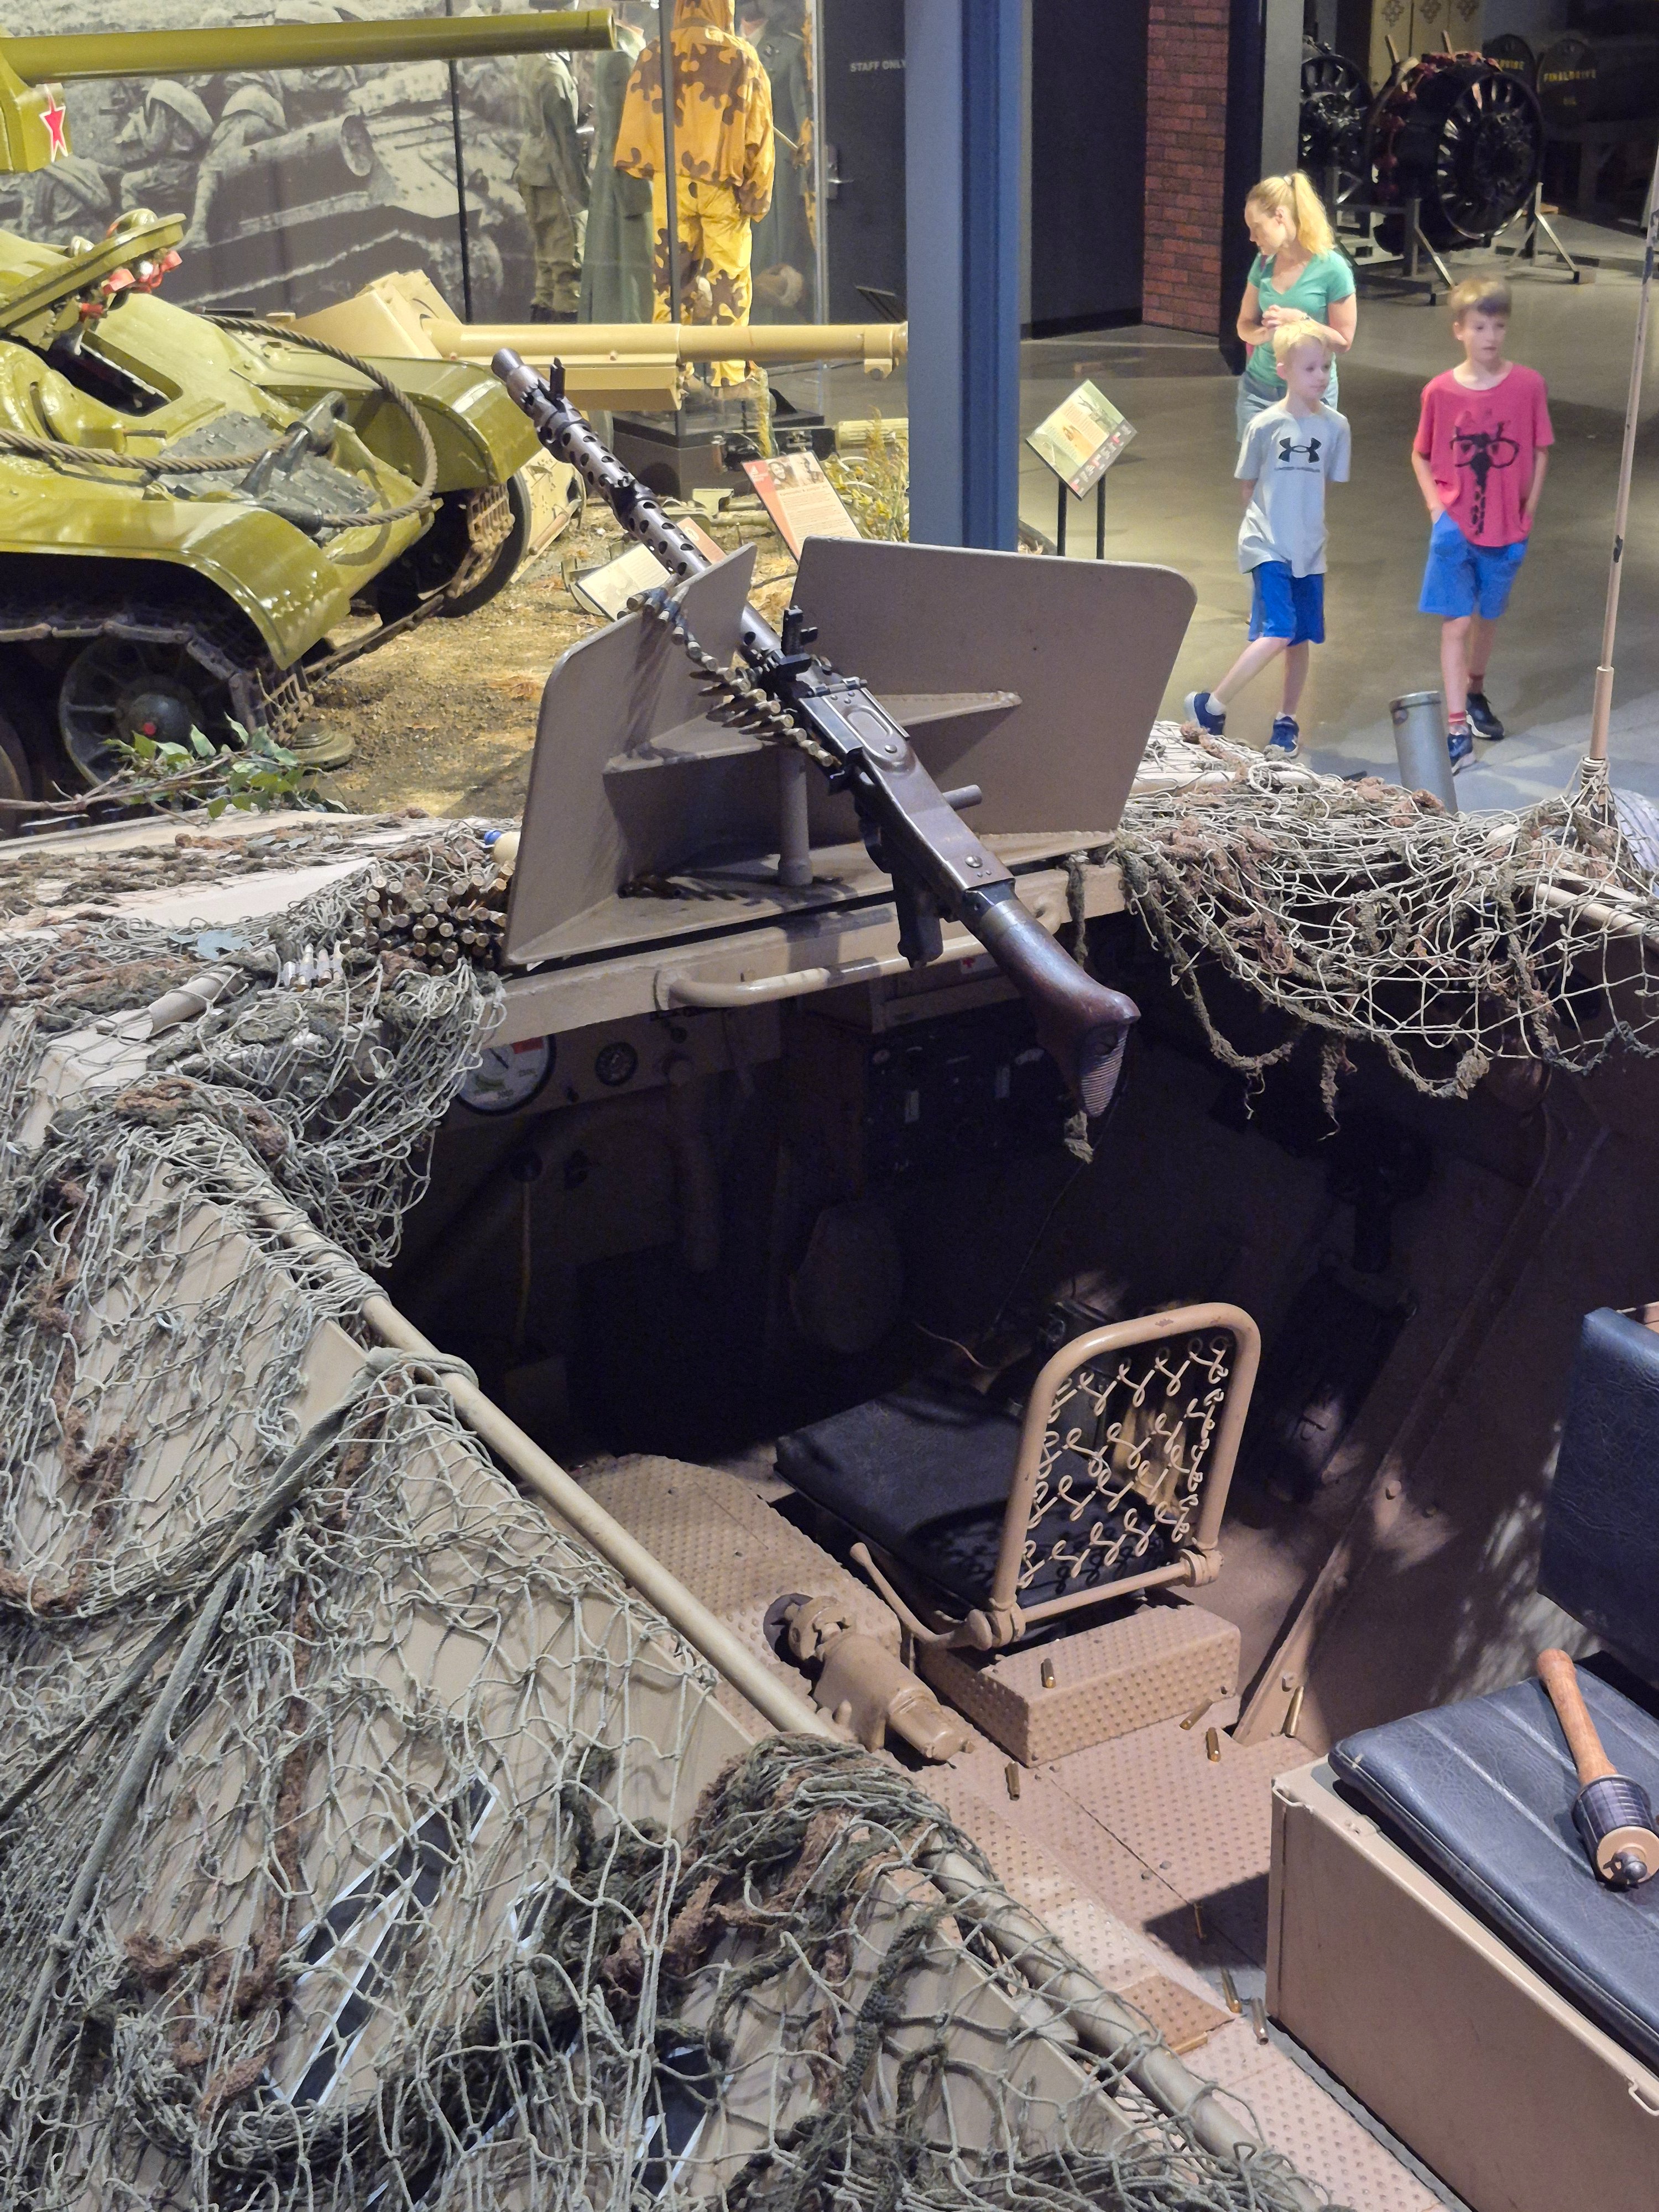
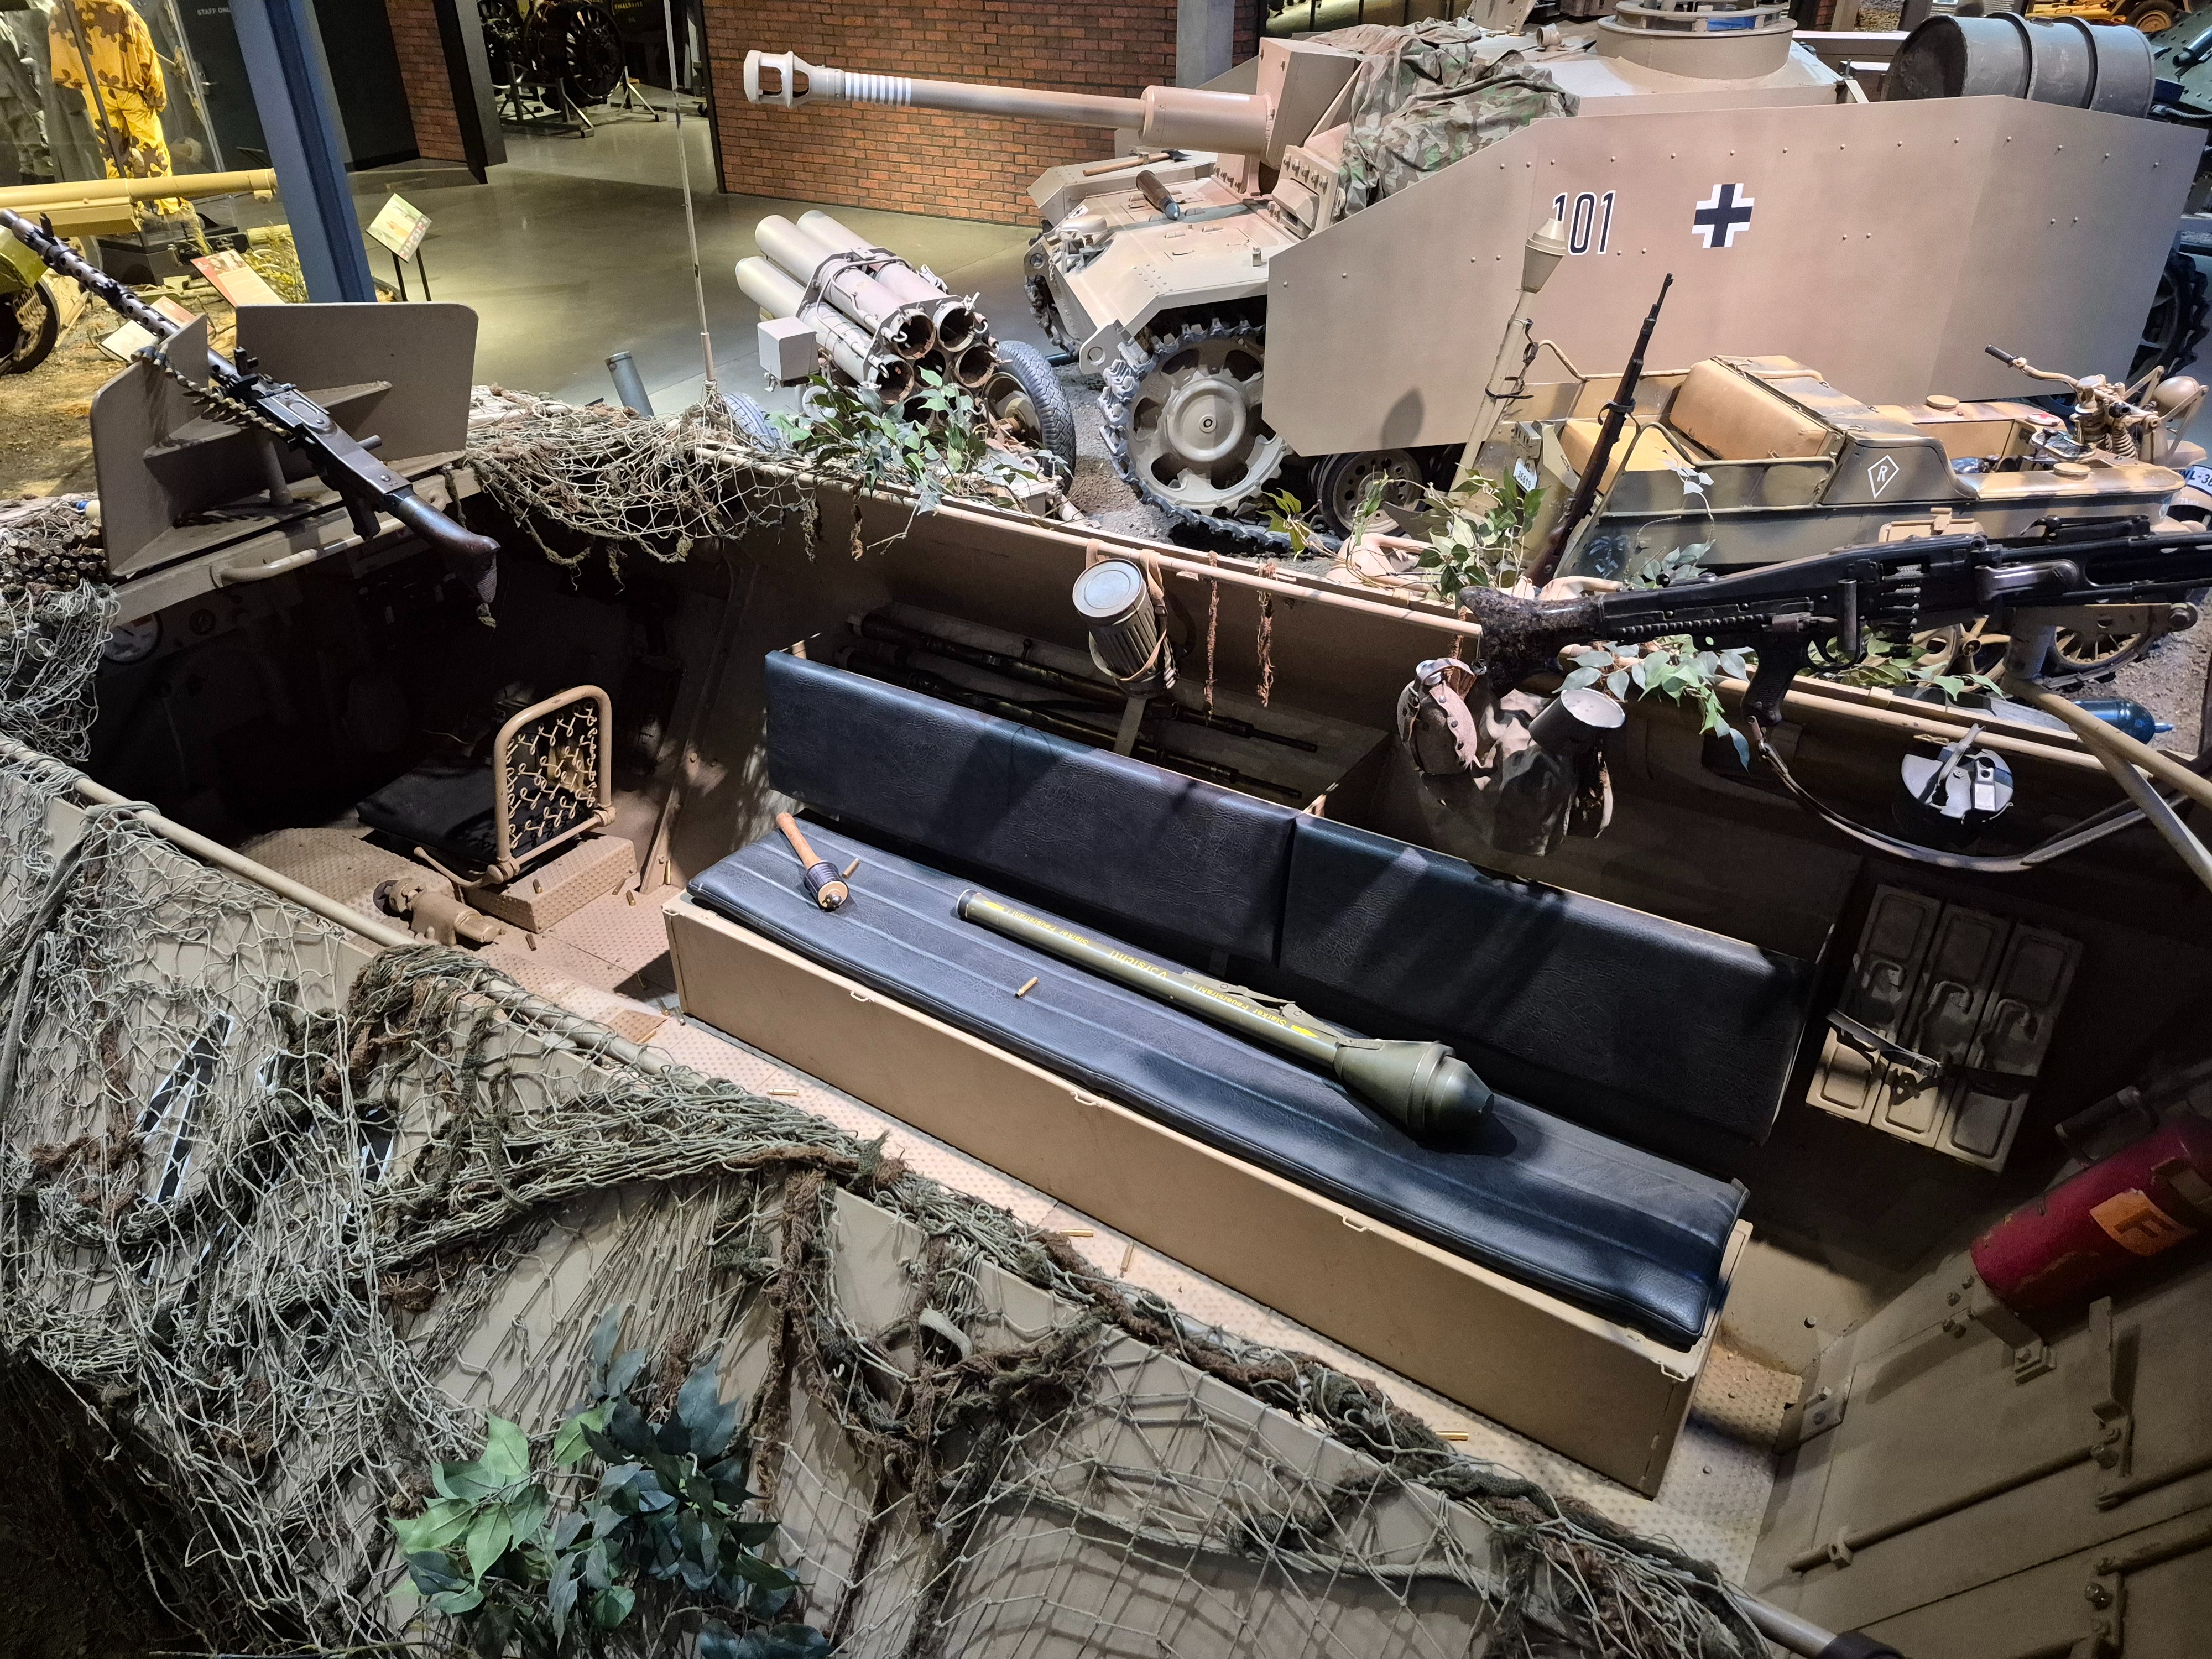
They have one at the American Heritage Museum in Hudson, Mass., I don't know what variant it is, but it is pretty cool to see in person.That's cool that you got to see one. To be honest they seemed on the small side to me. I take it you couldn't get in it?
Last edited:
That is awesome! Thanks for sharing!They have one at the American Heritage Museum in Hudson, Mass., I don't know variant it is, but it is pretty cool to see in person.
View attachment 192769View attachment 192771View attachment 192772
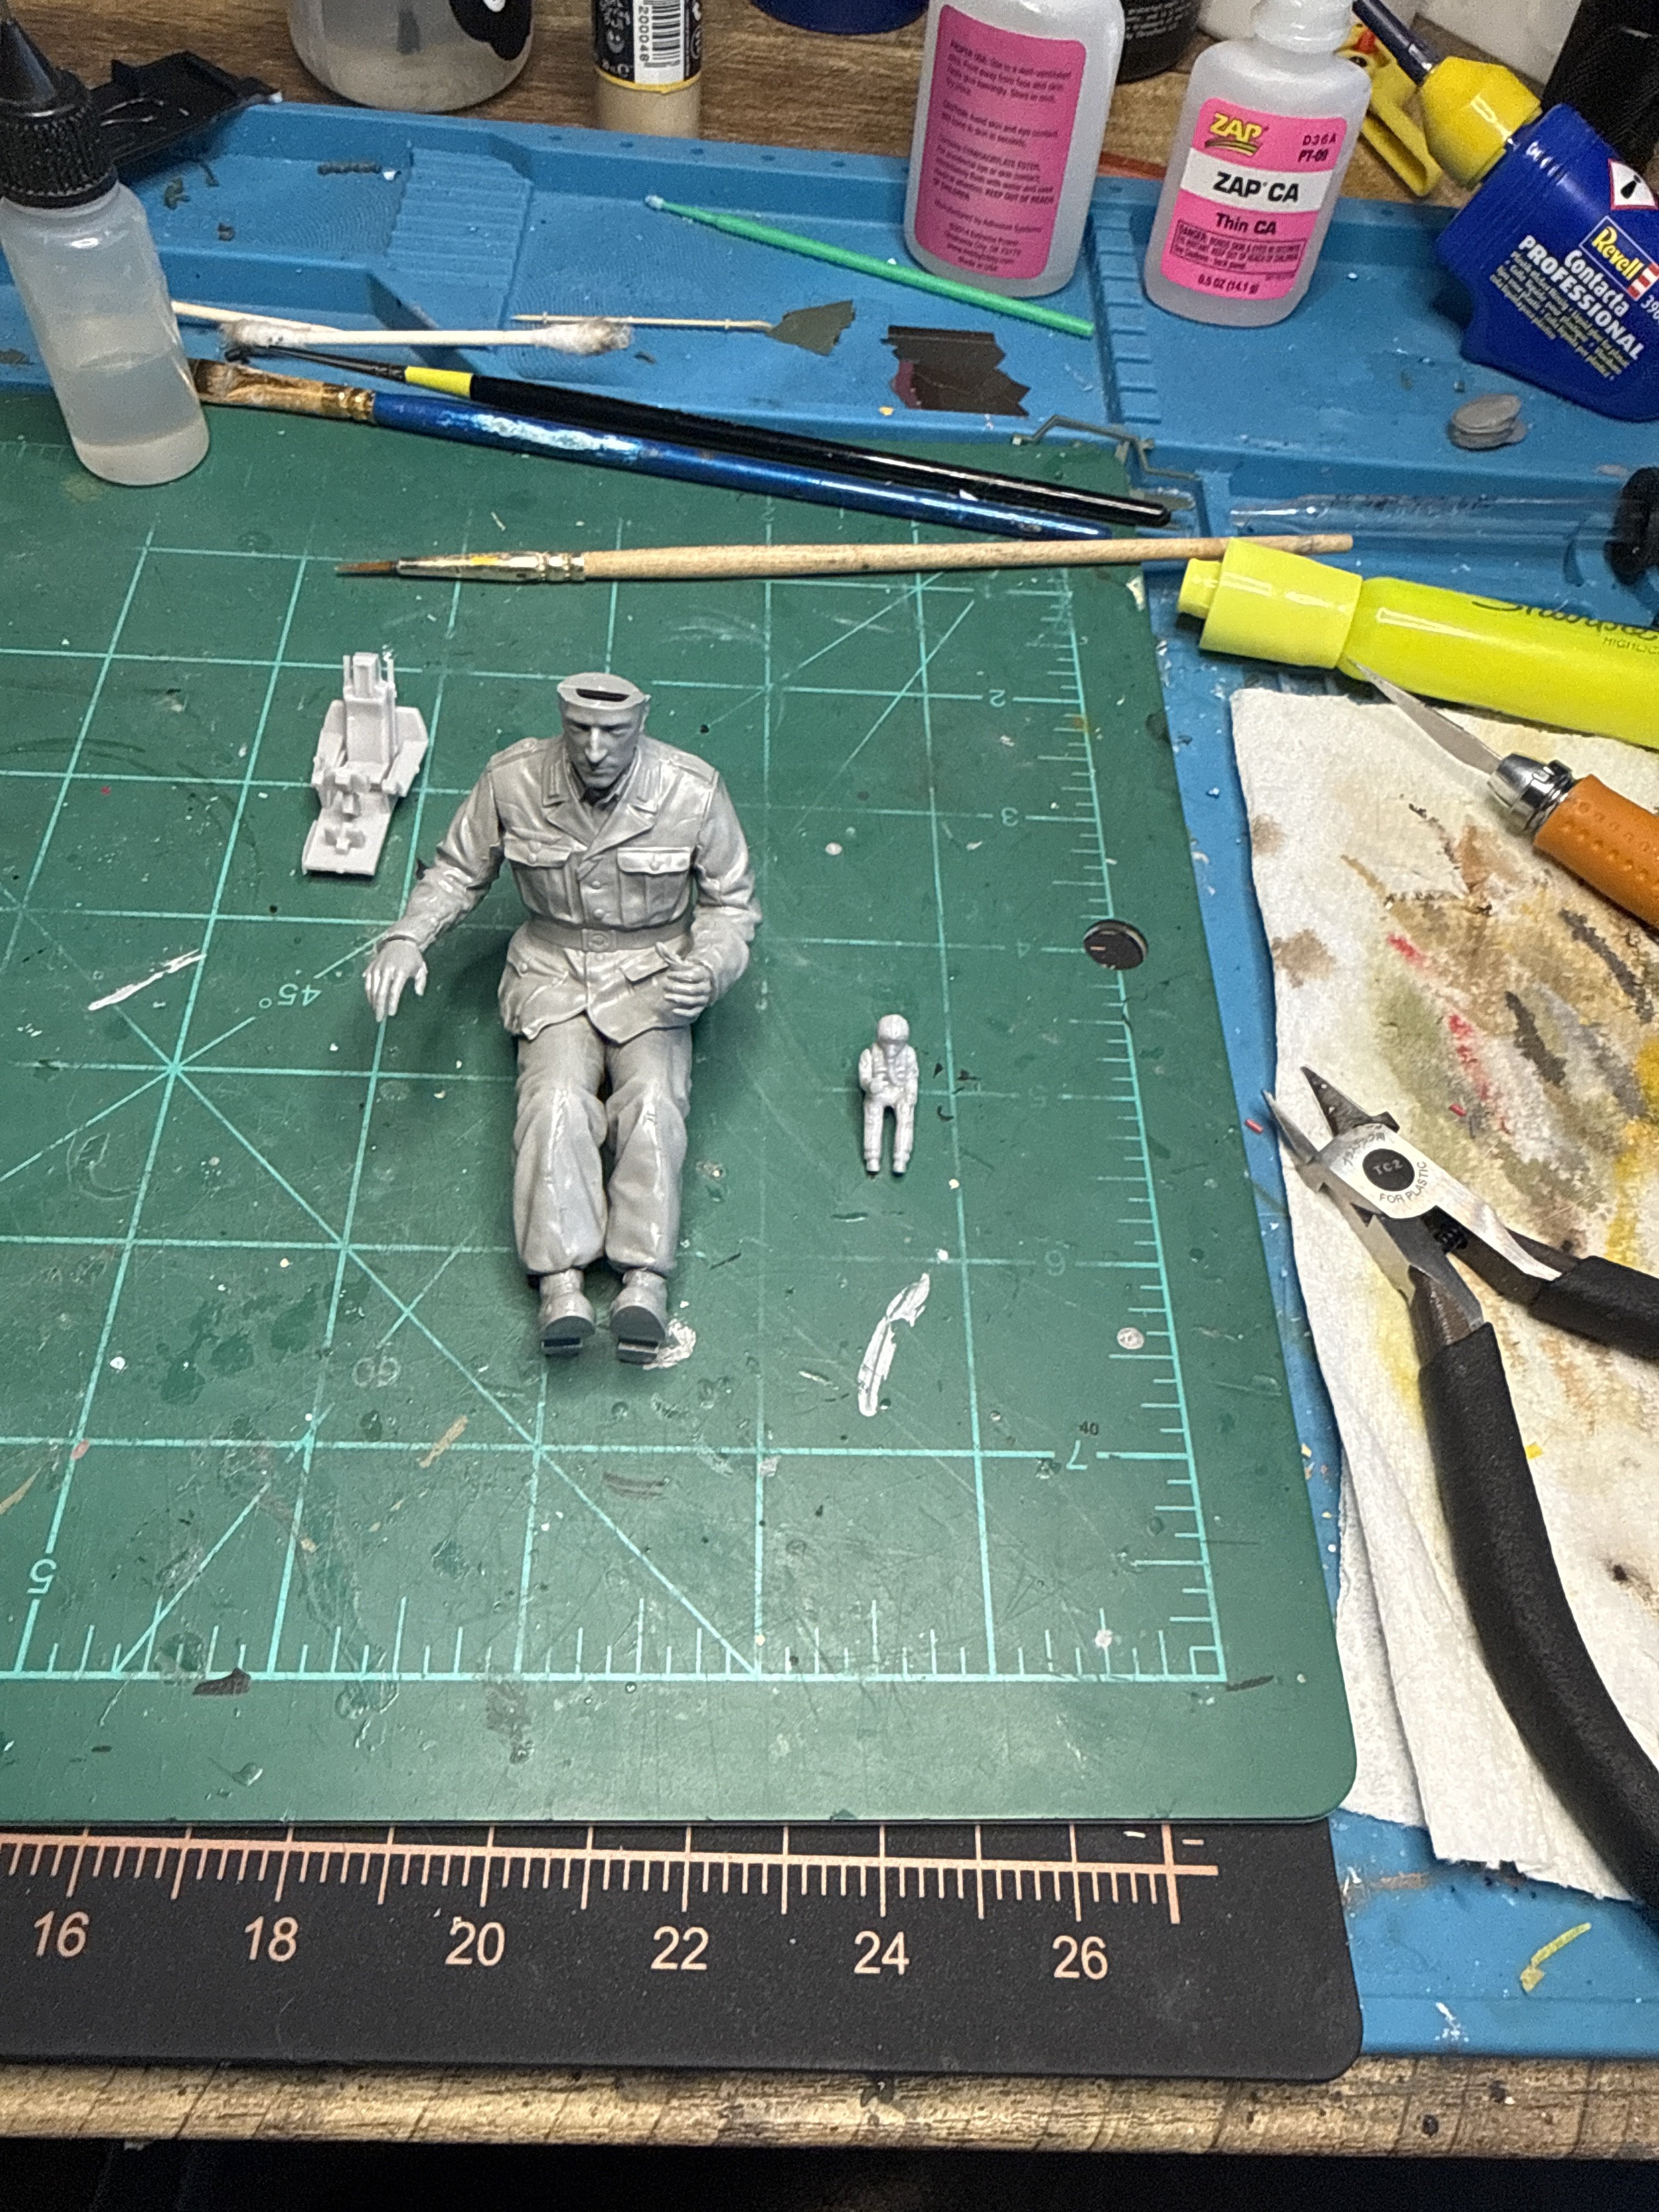
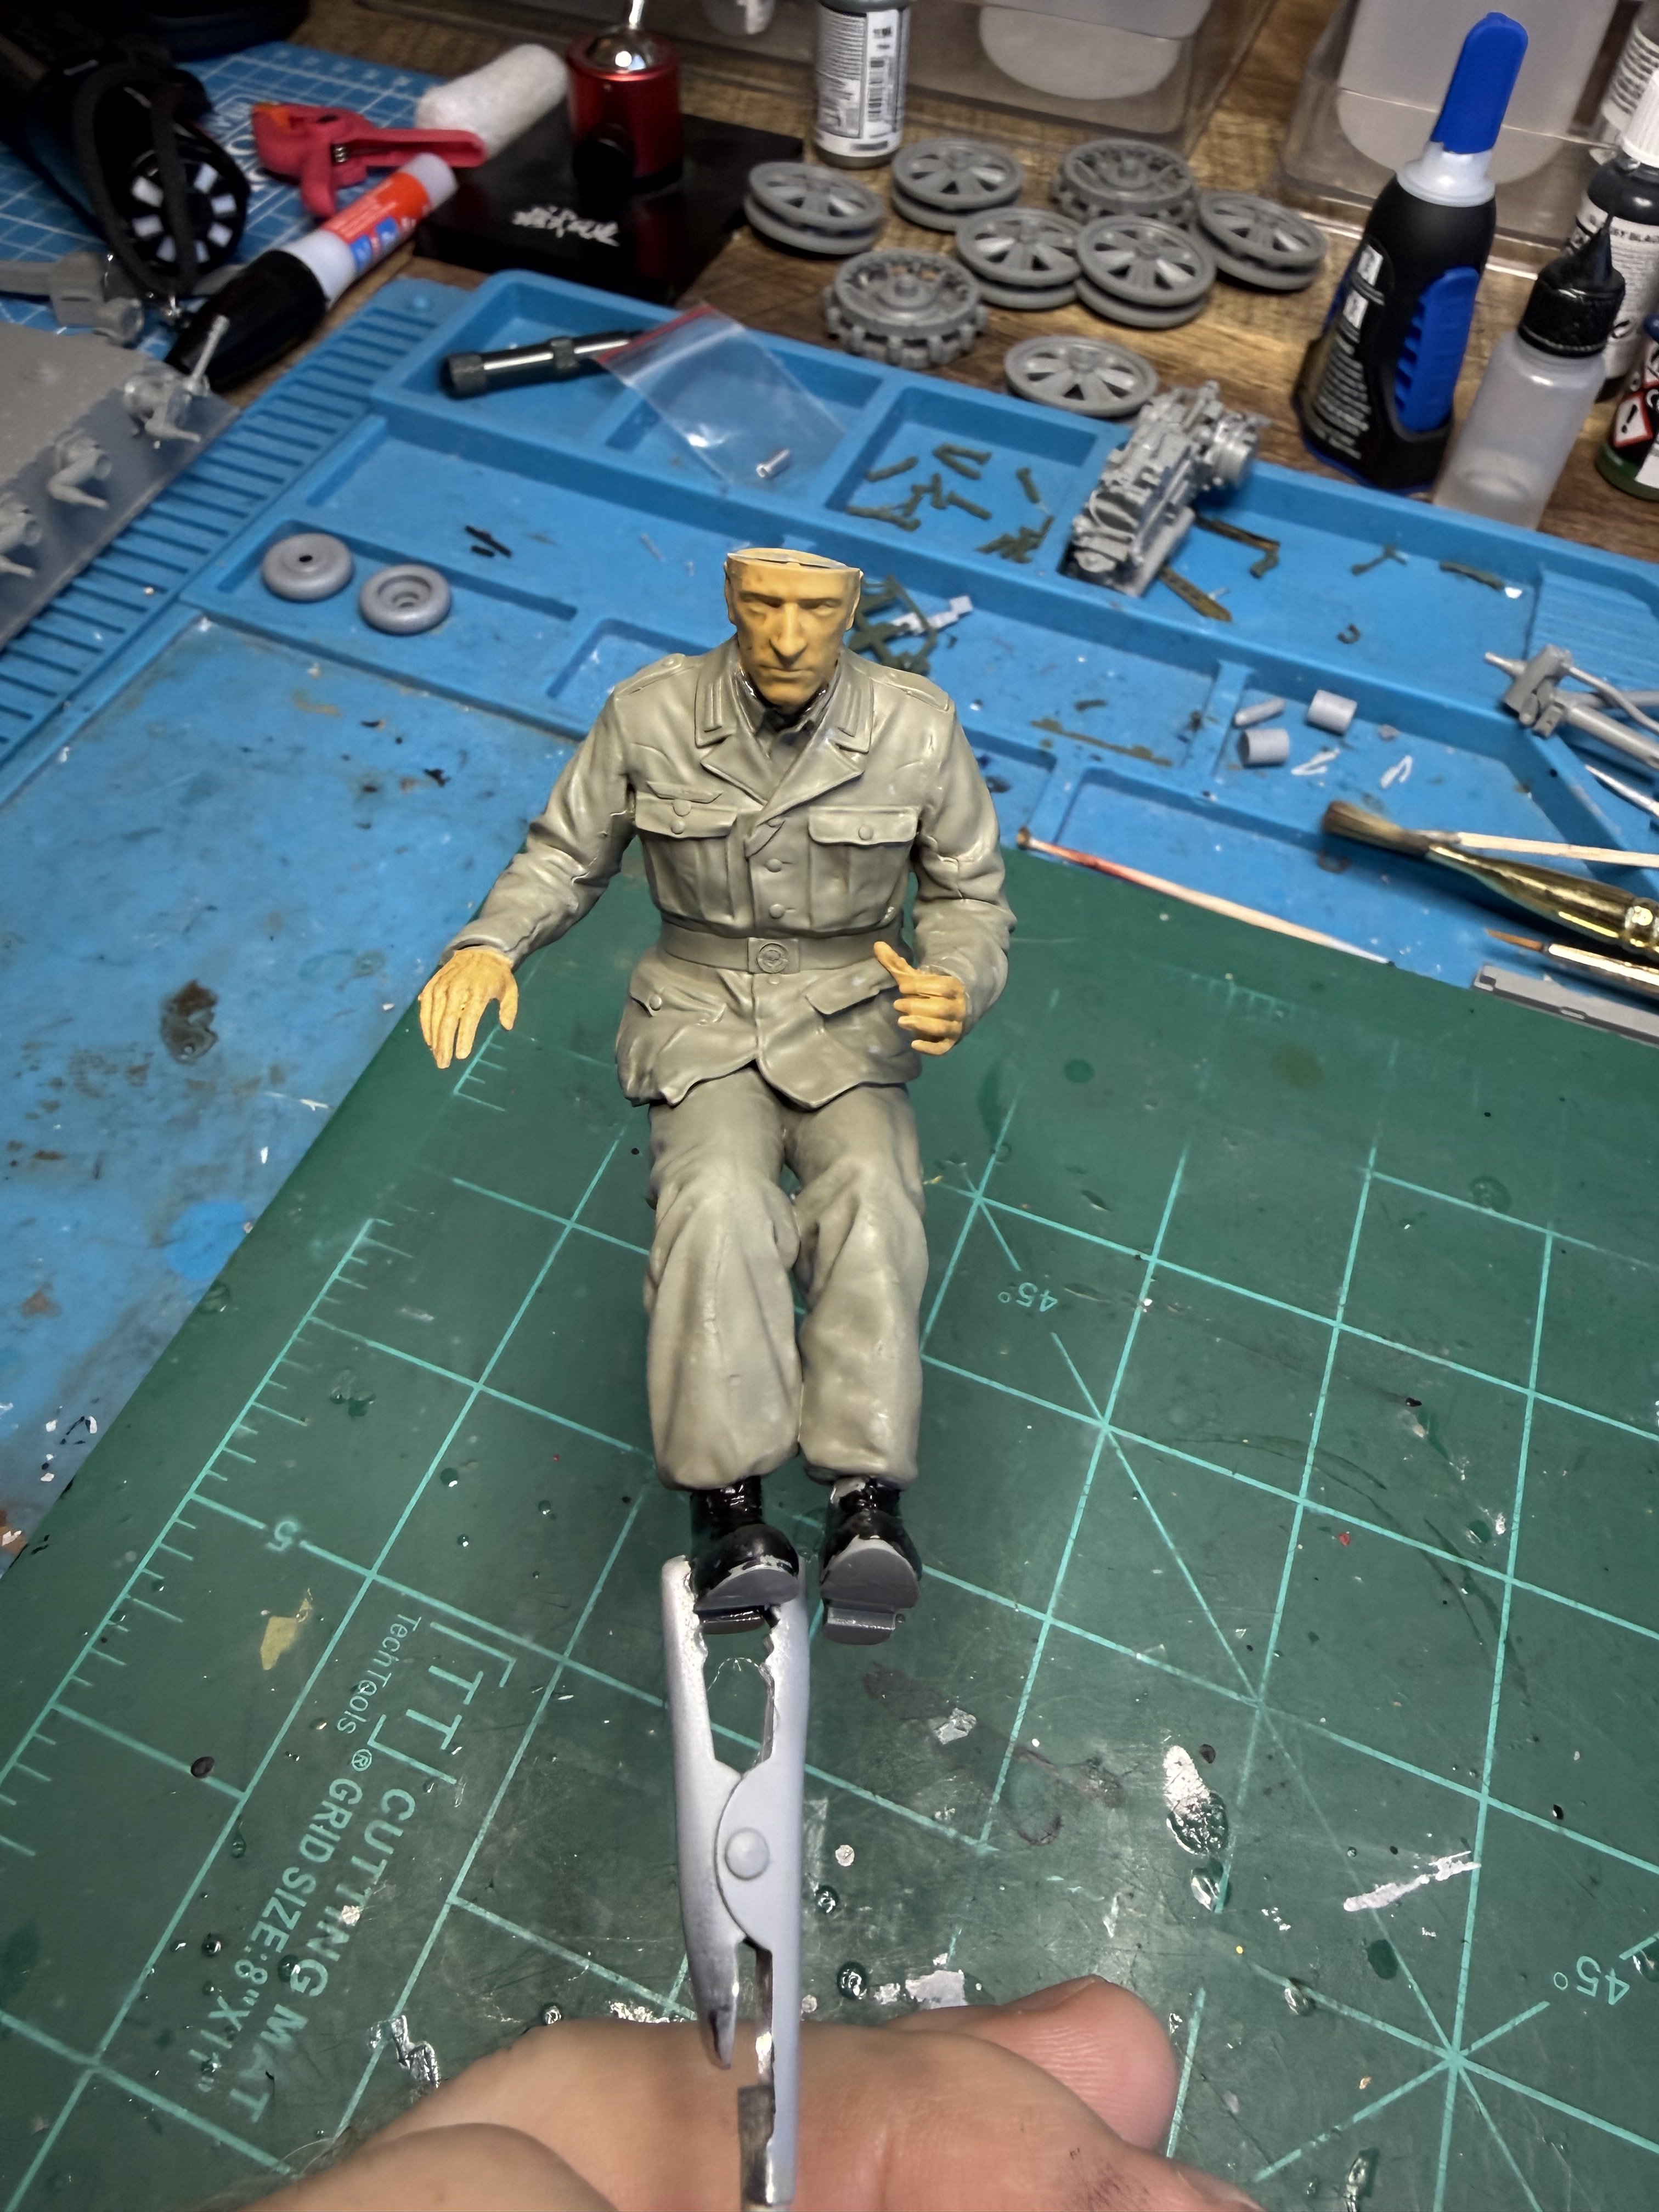
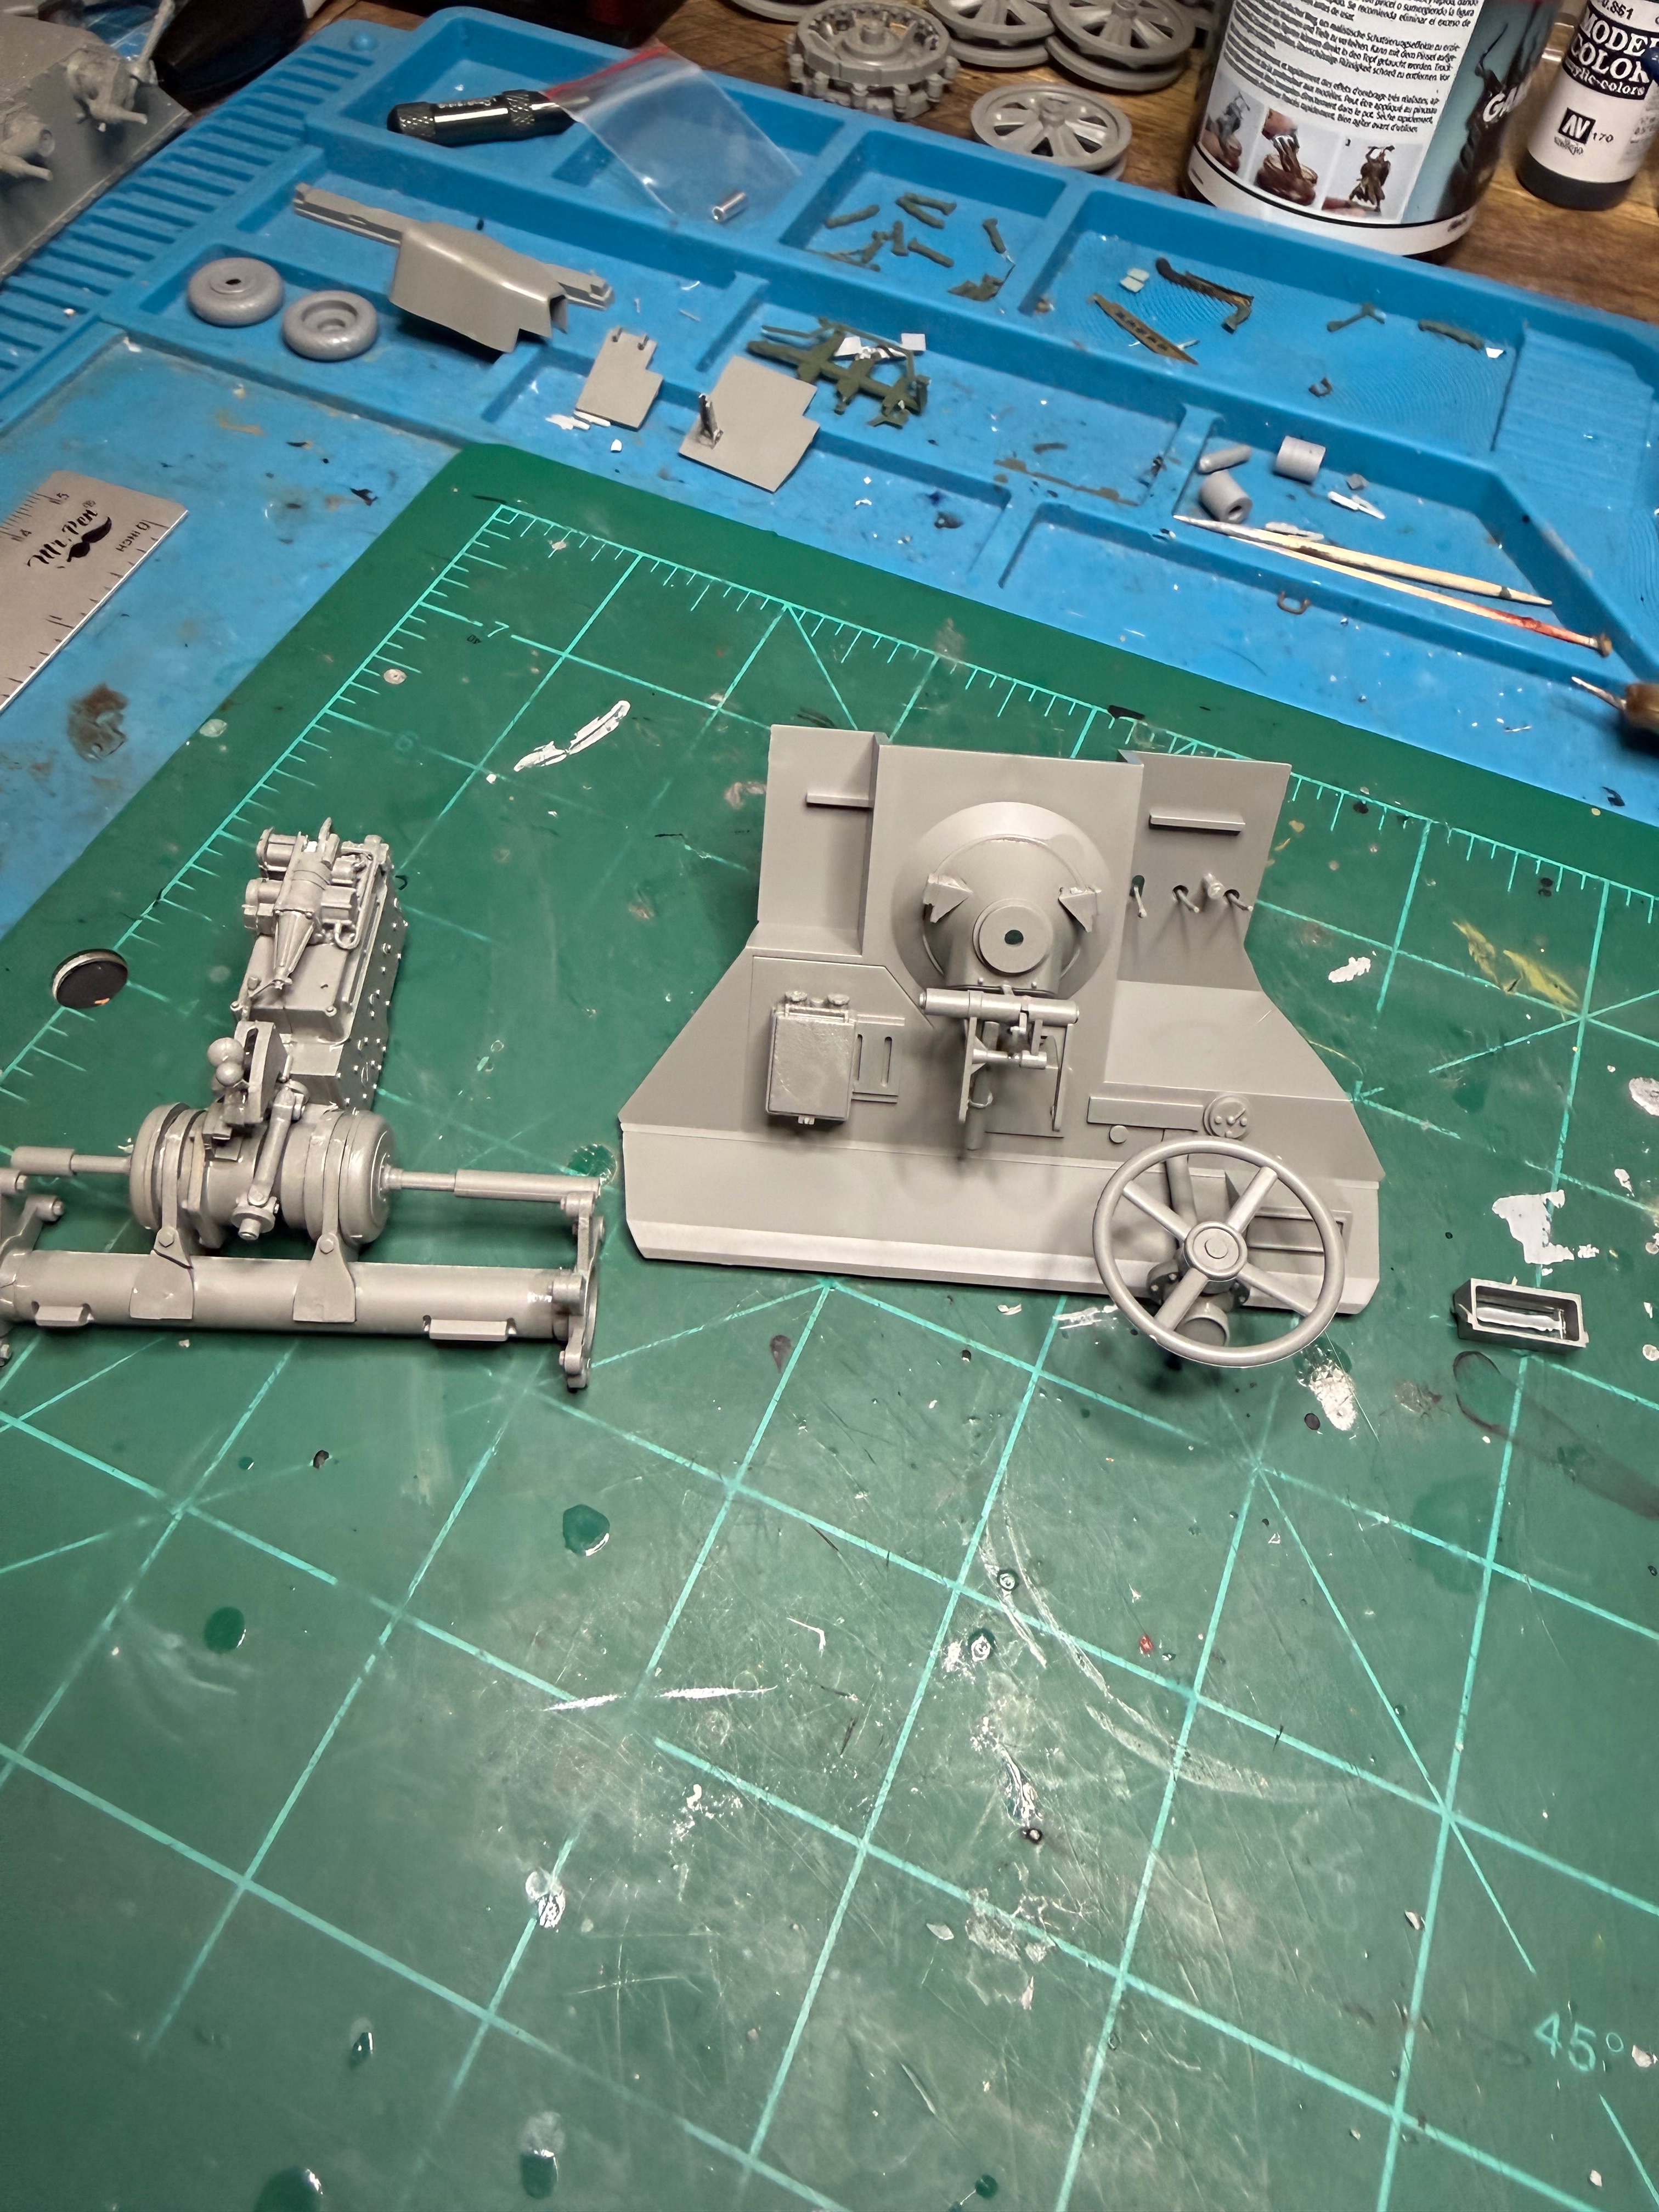
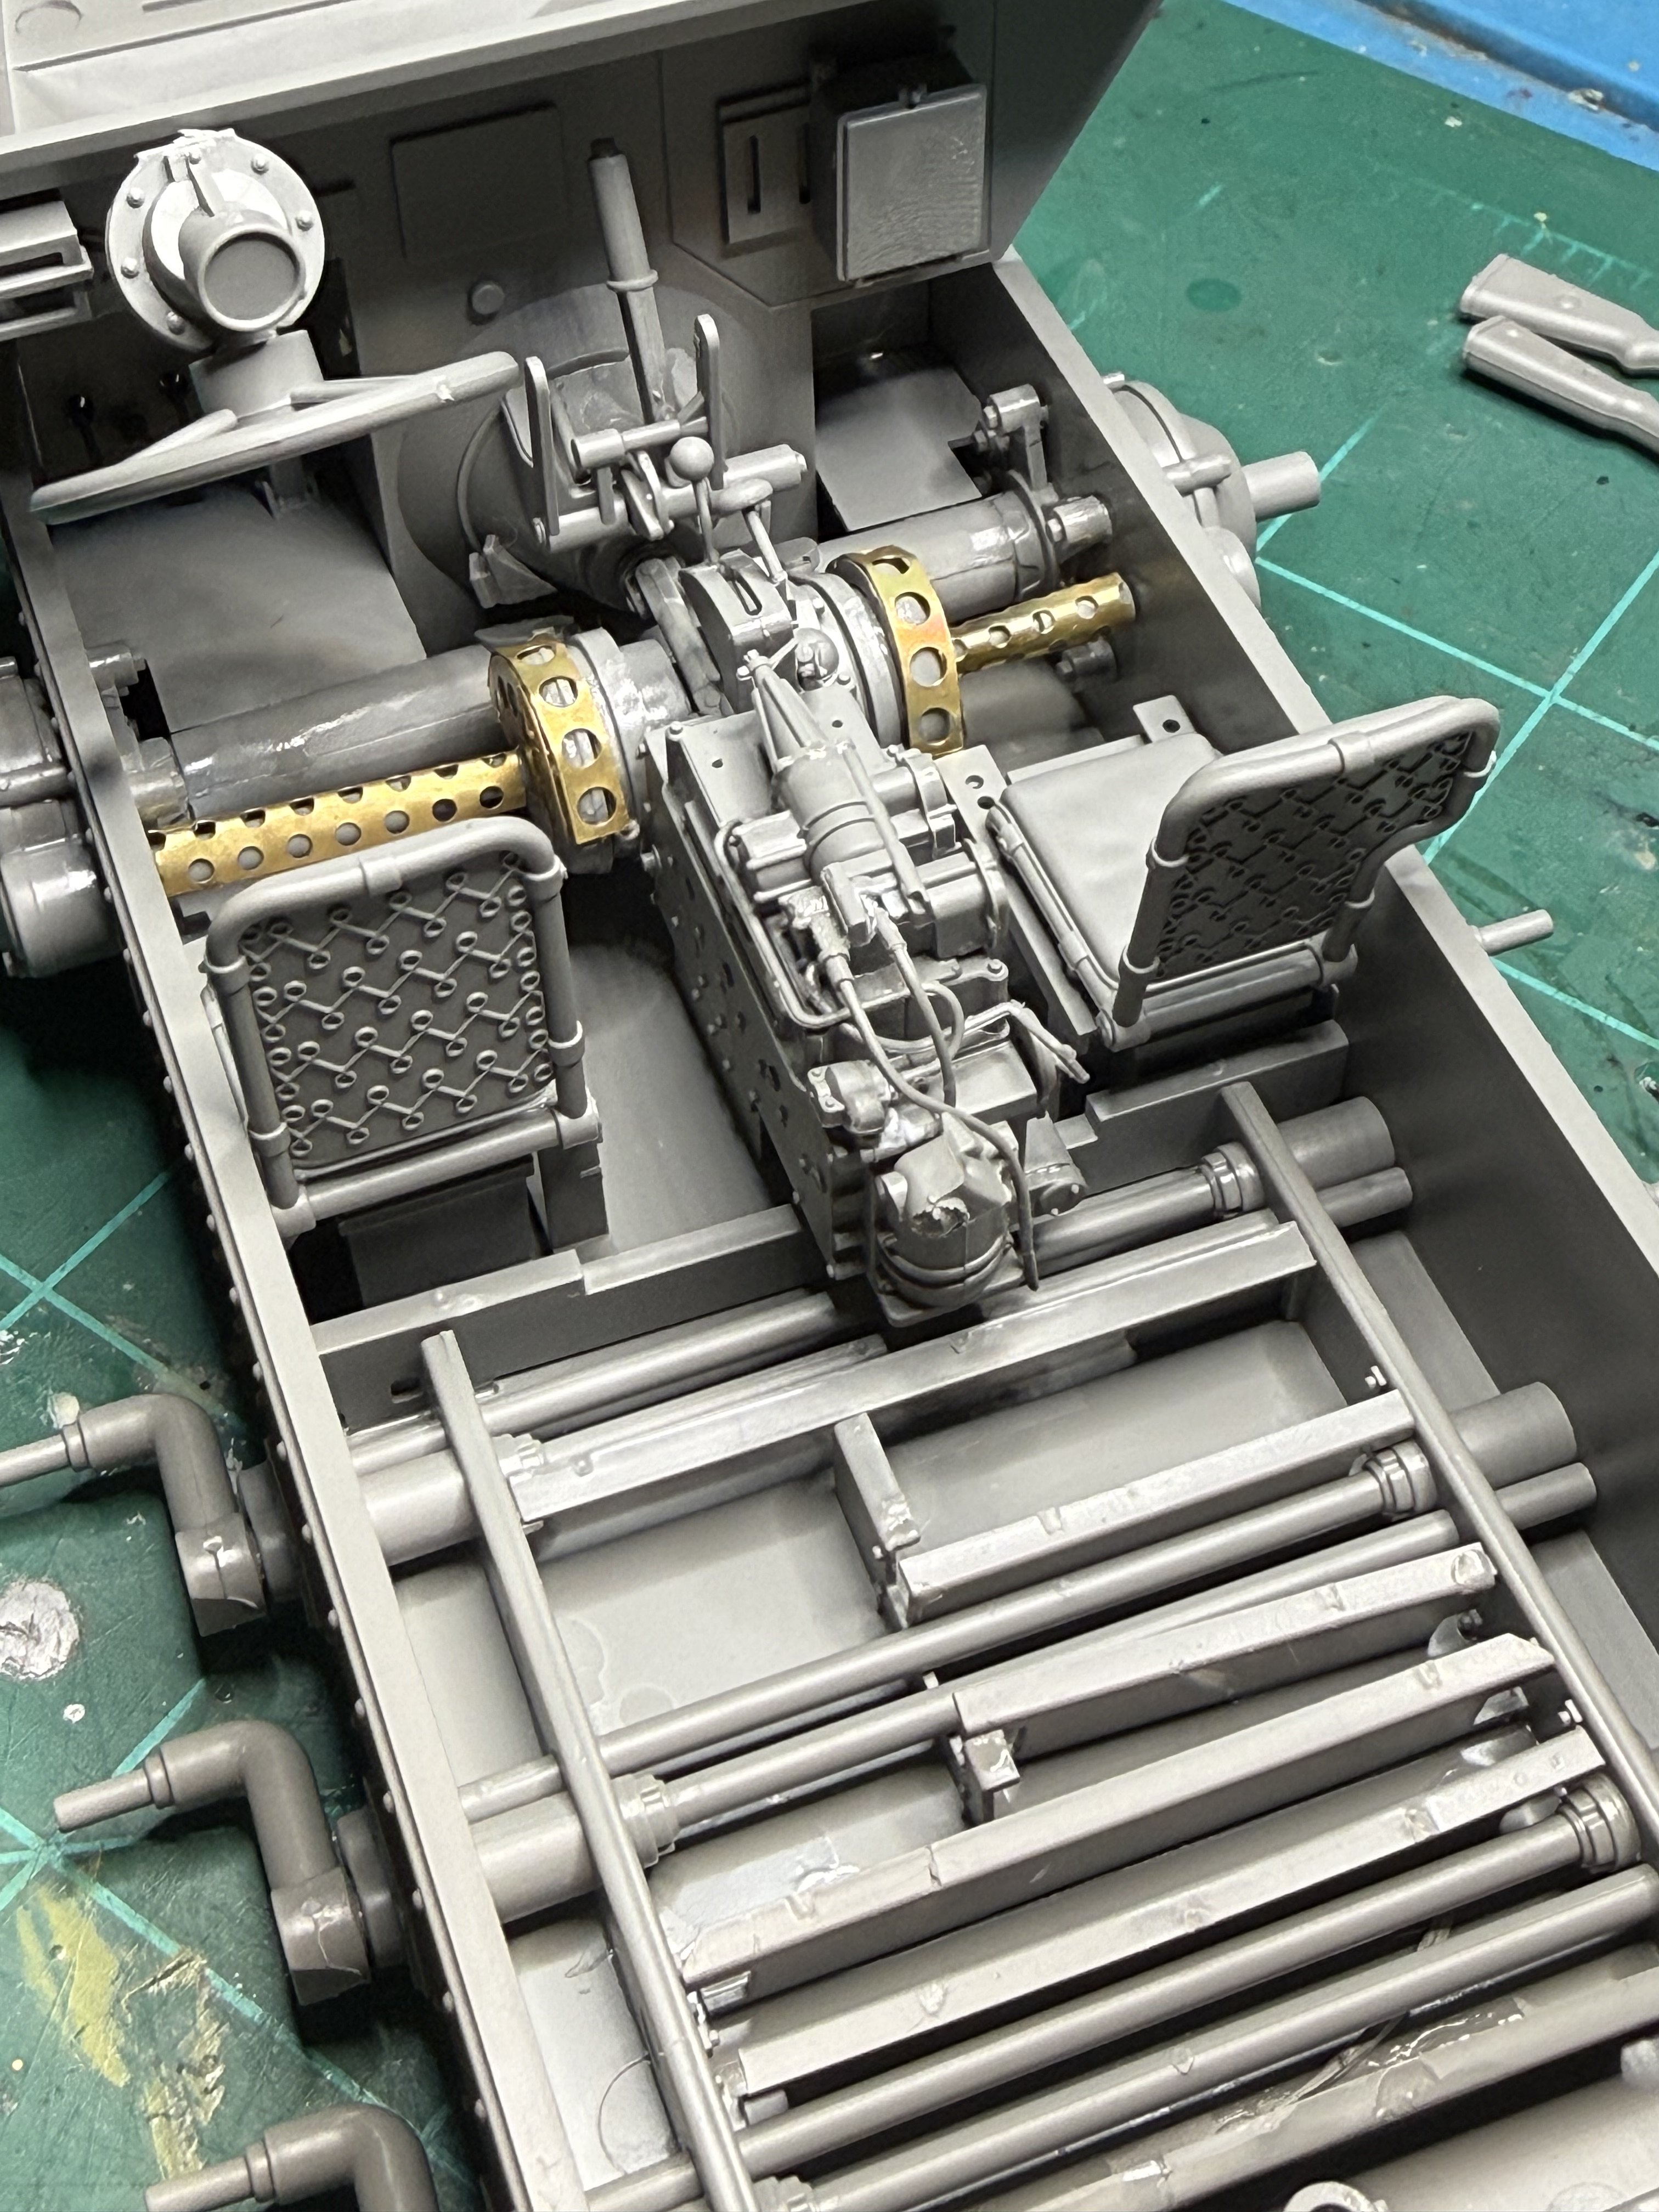
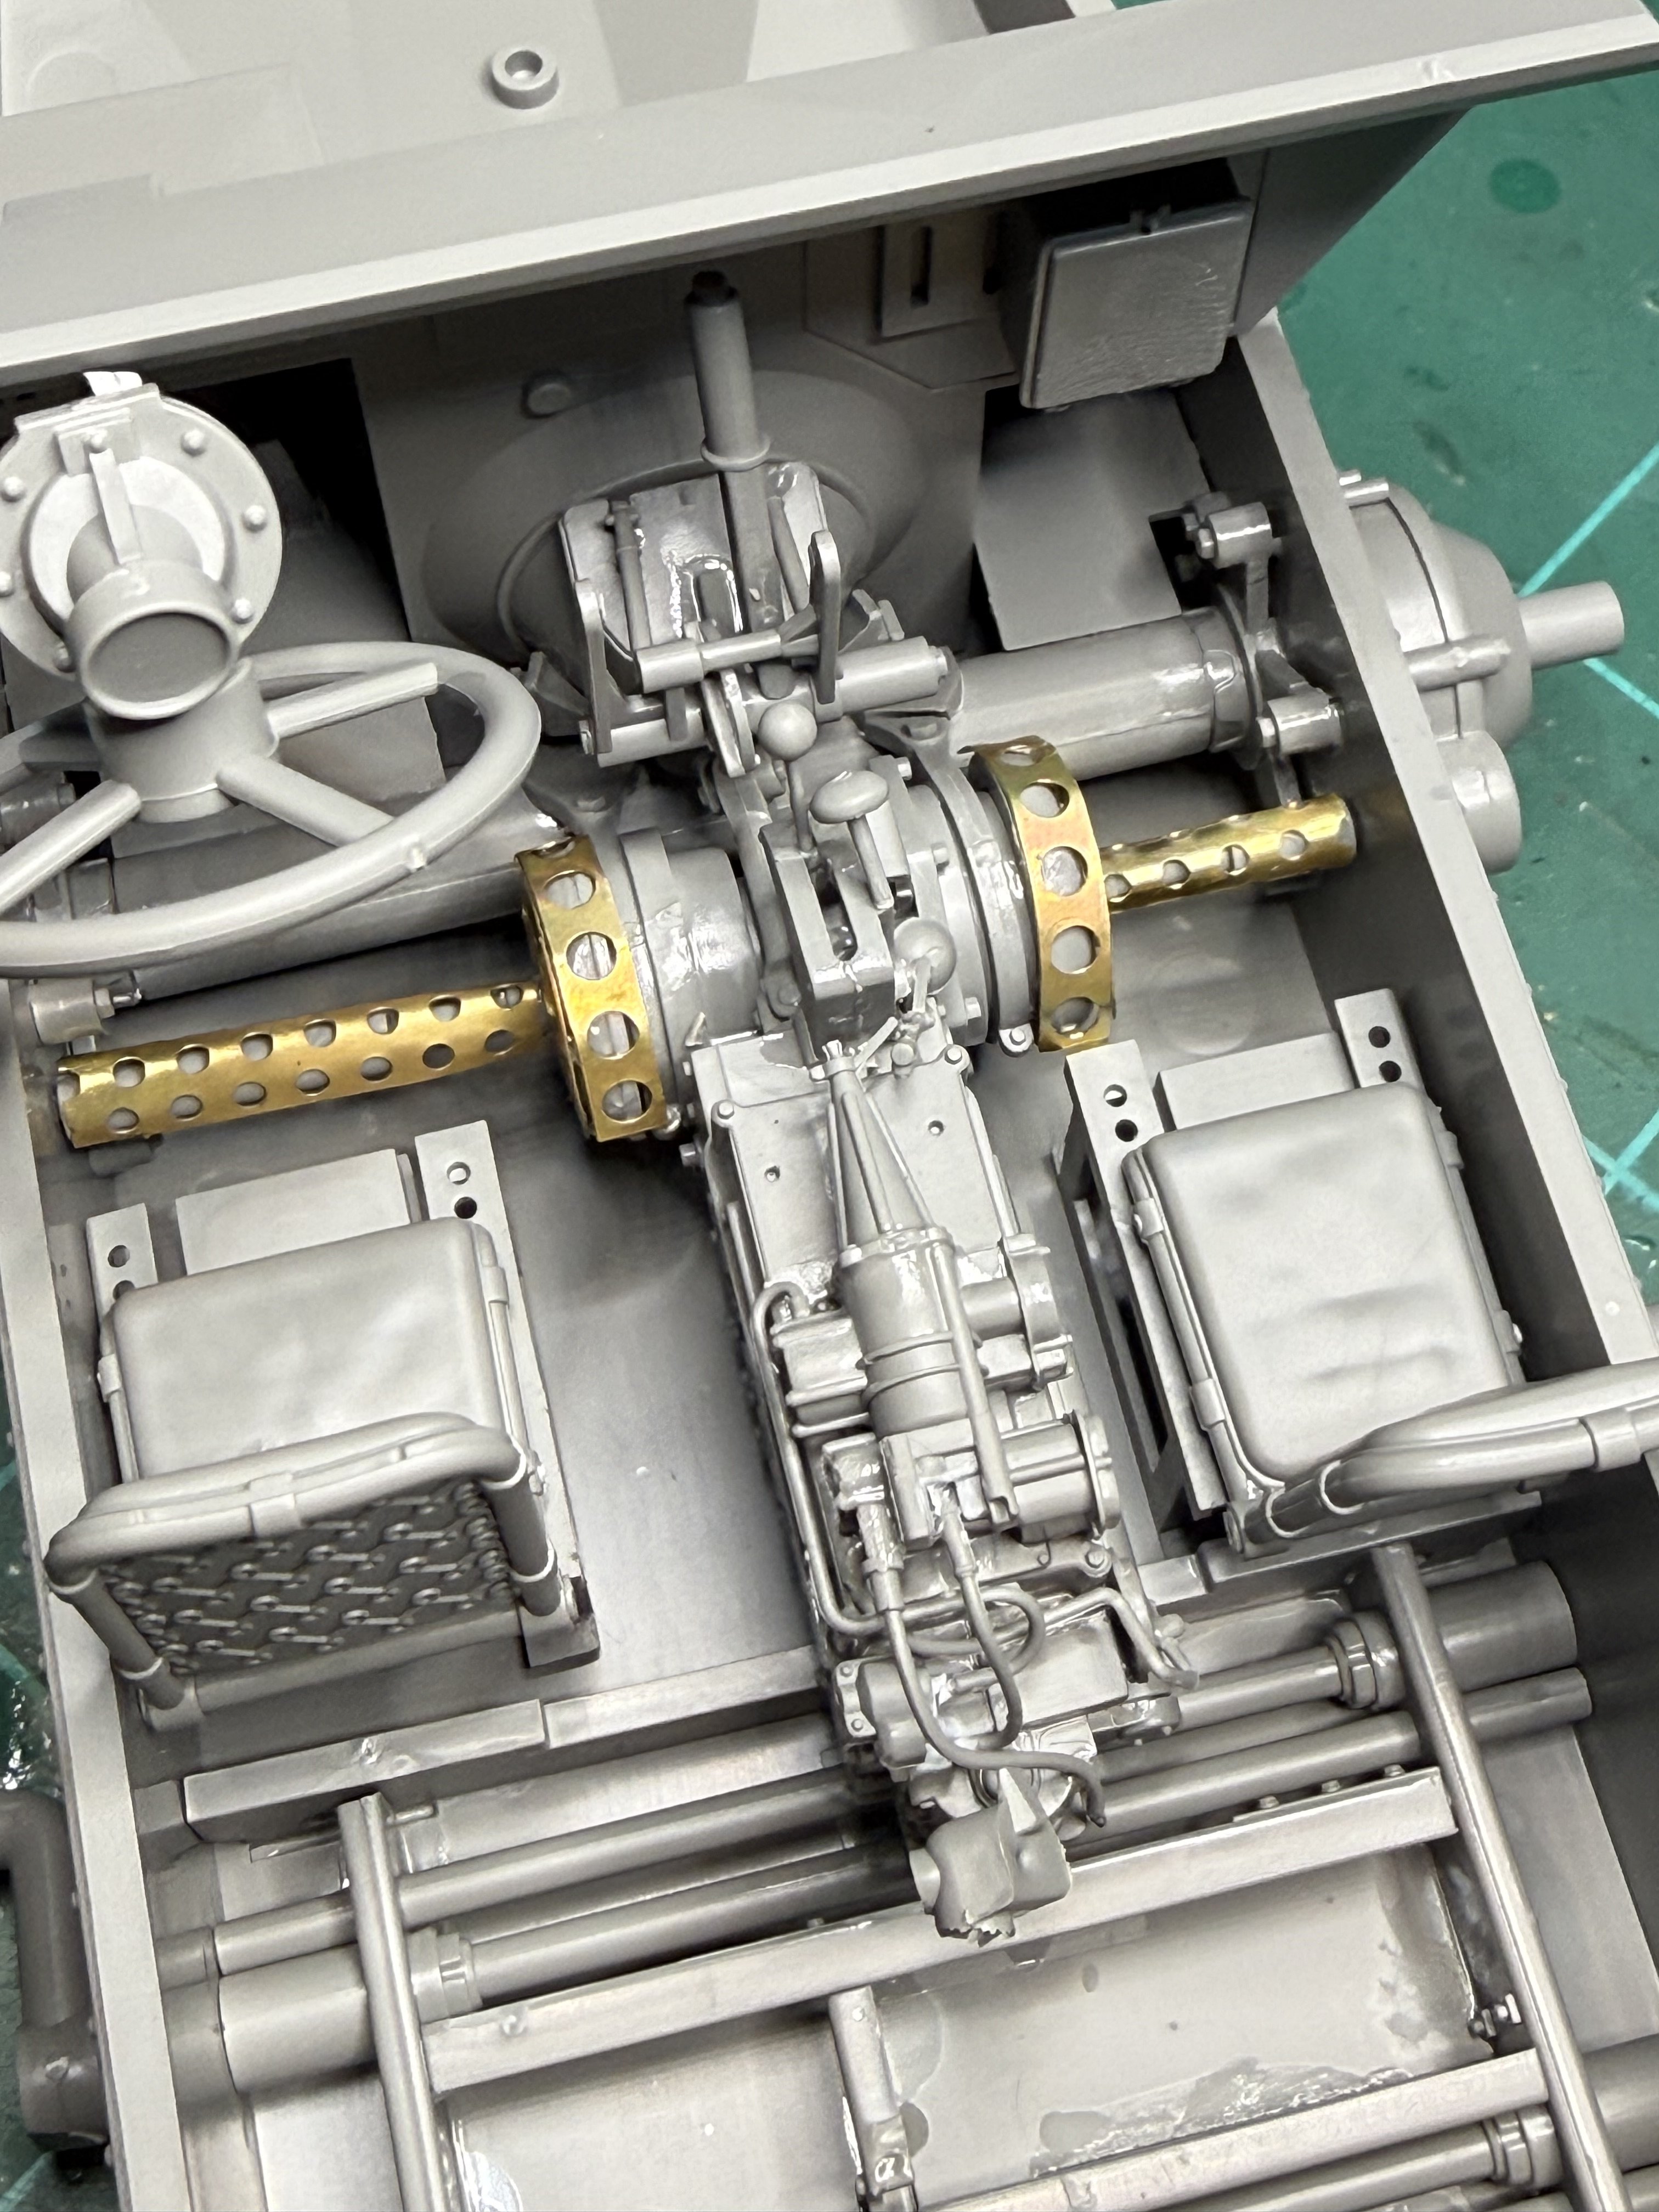
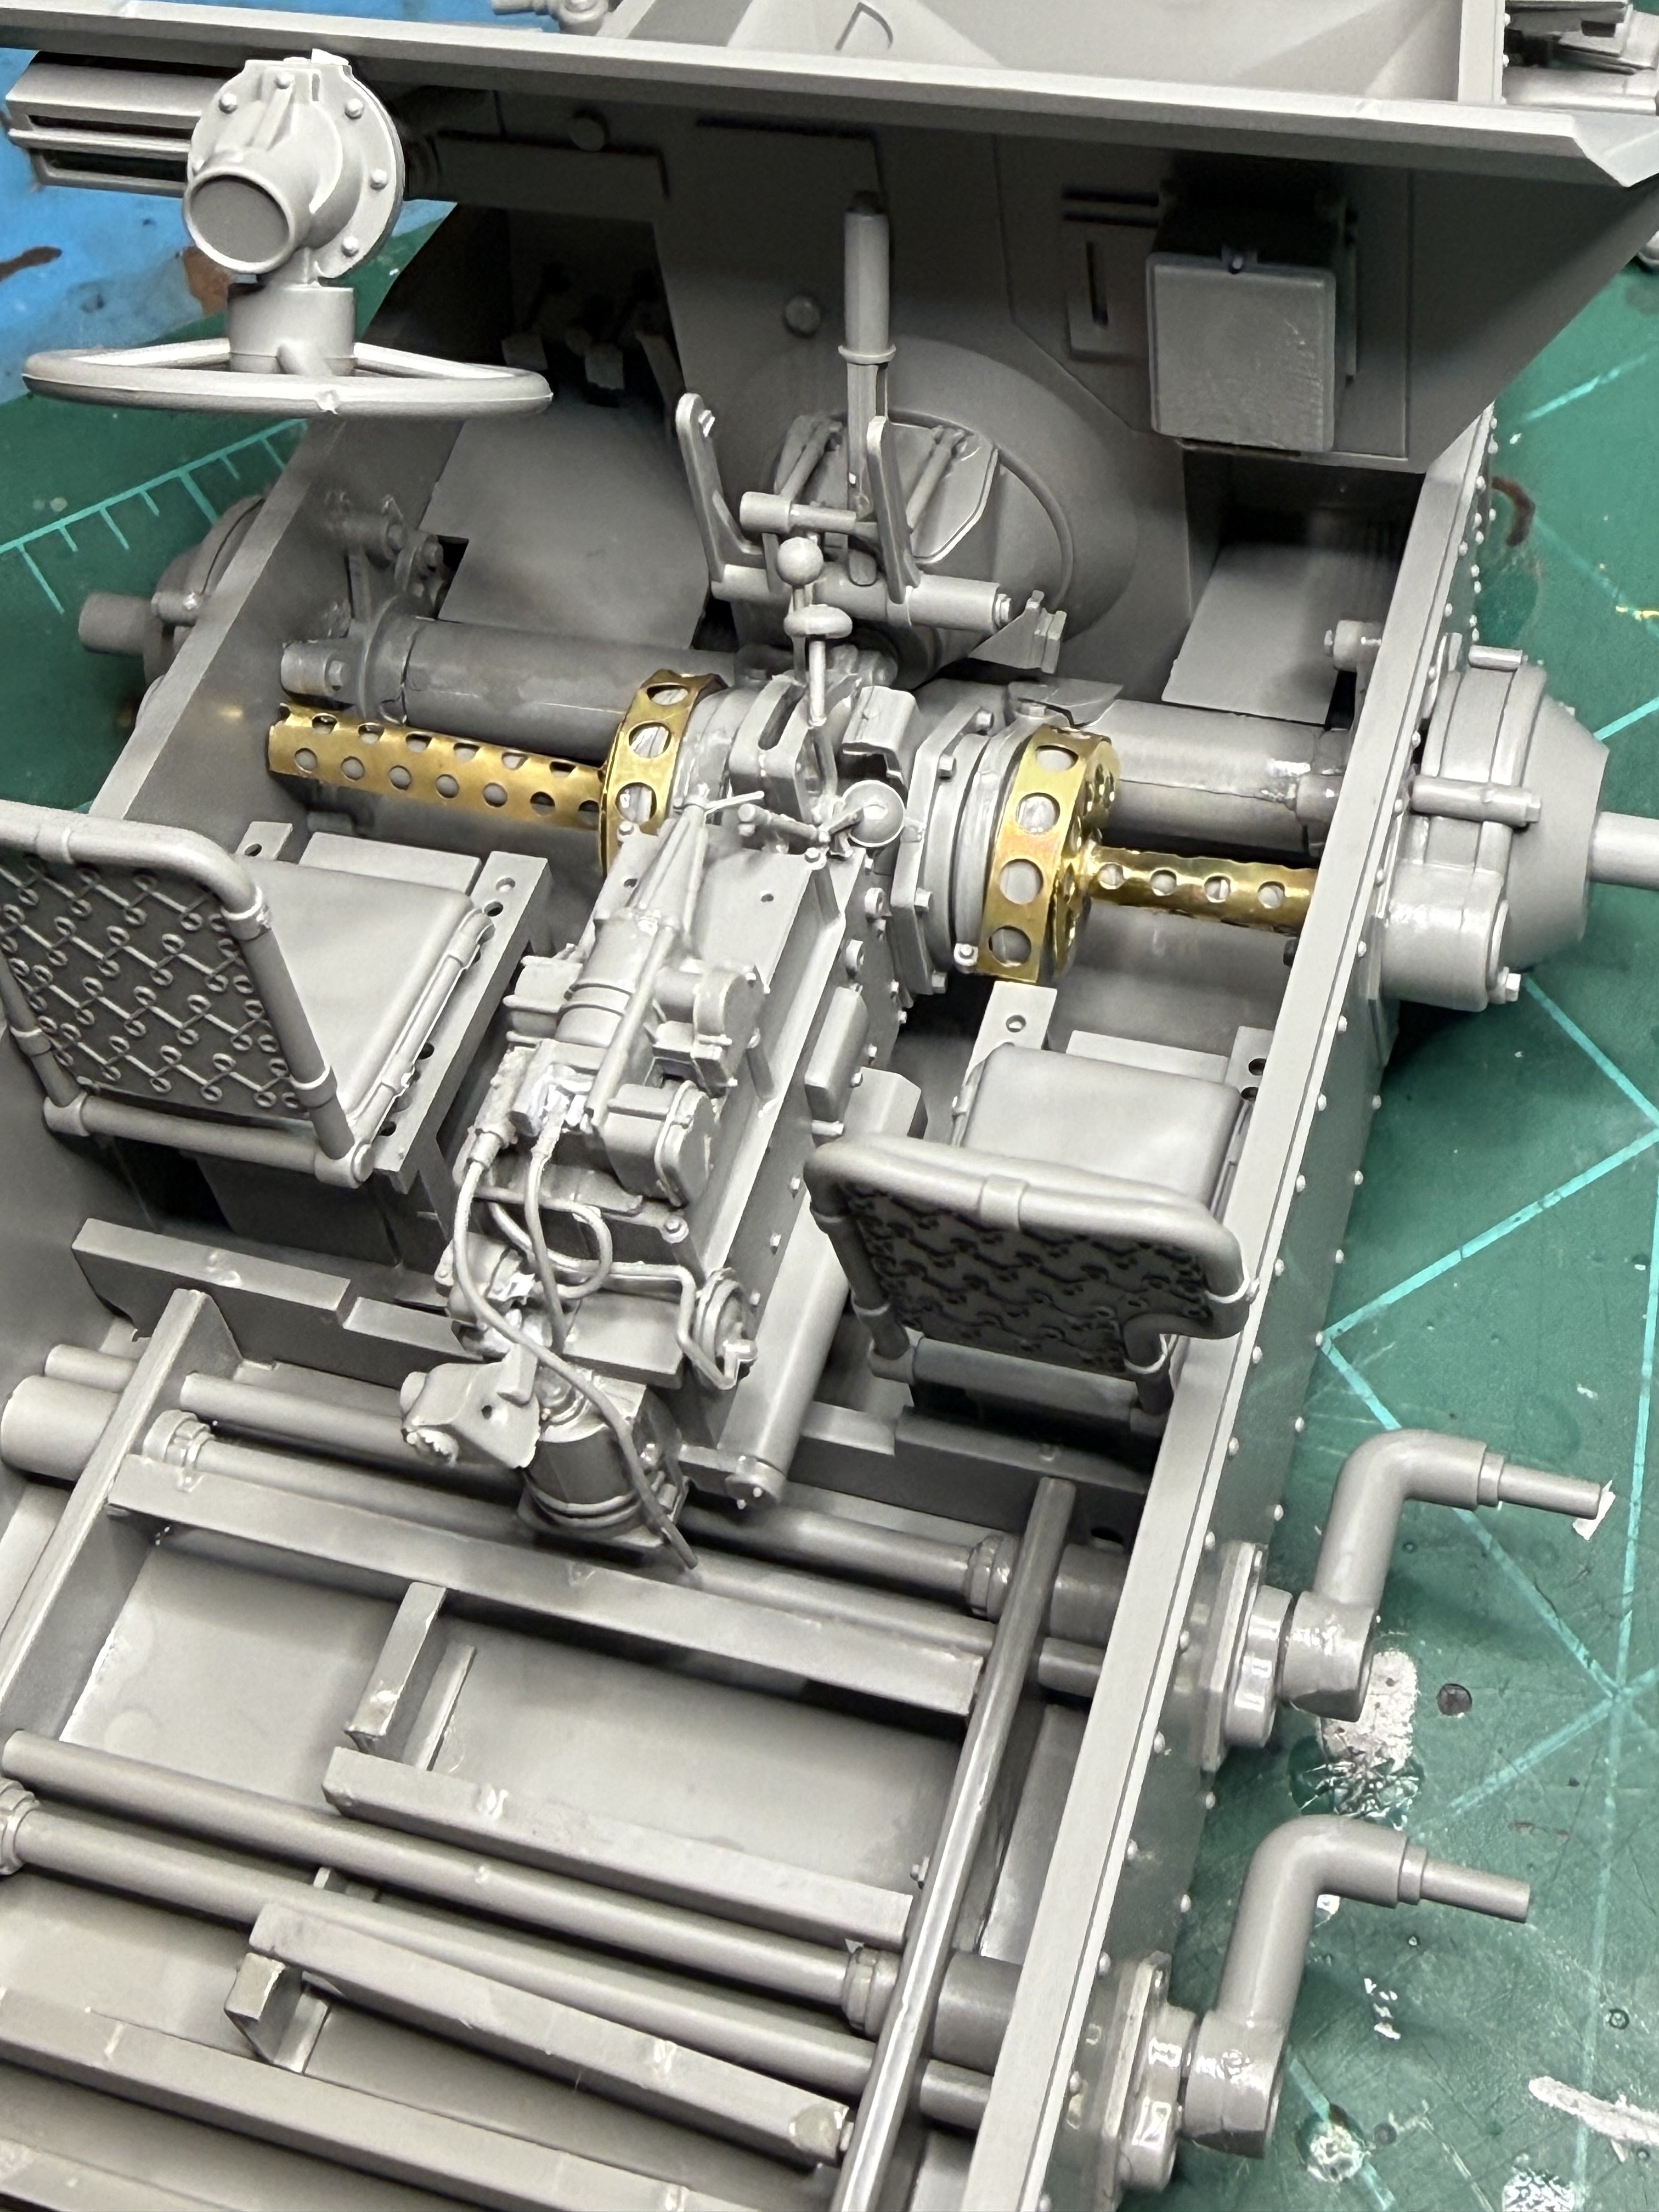
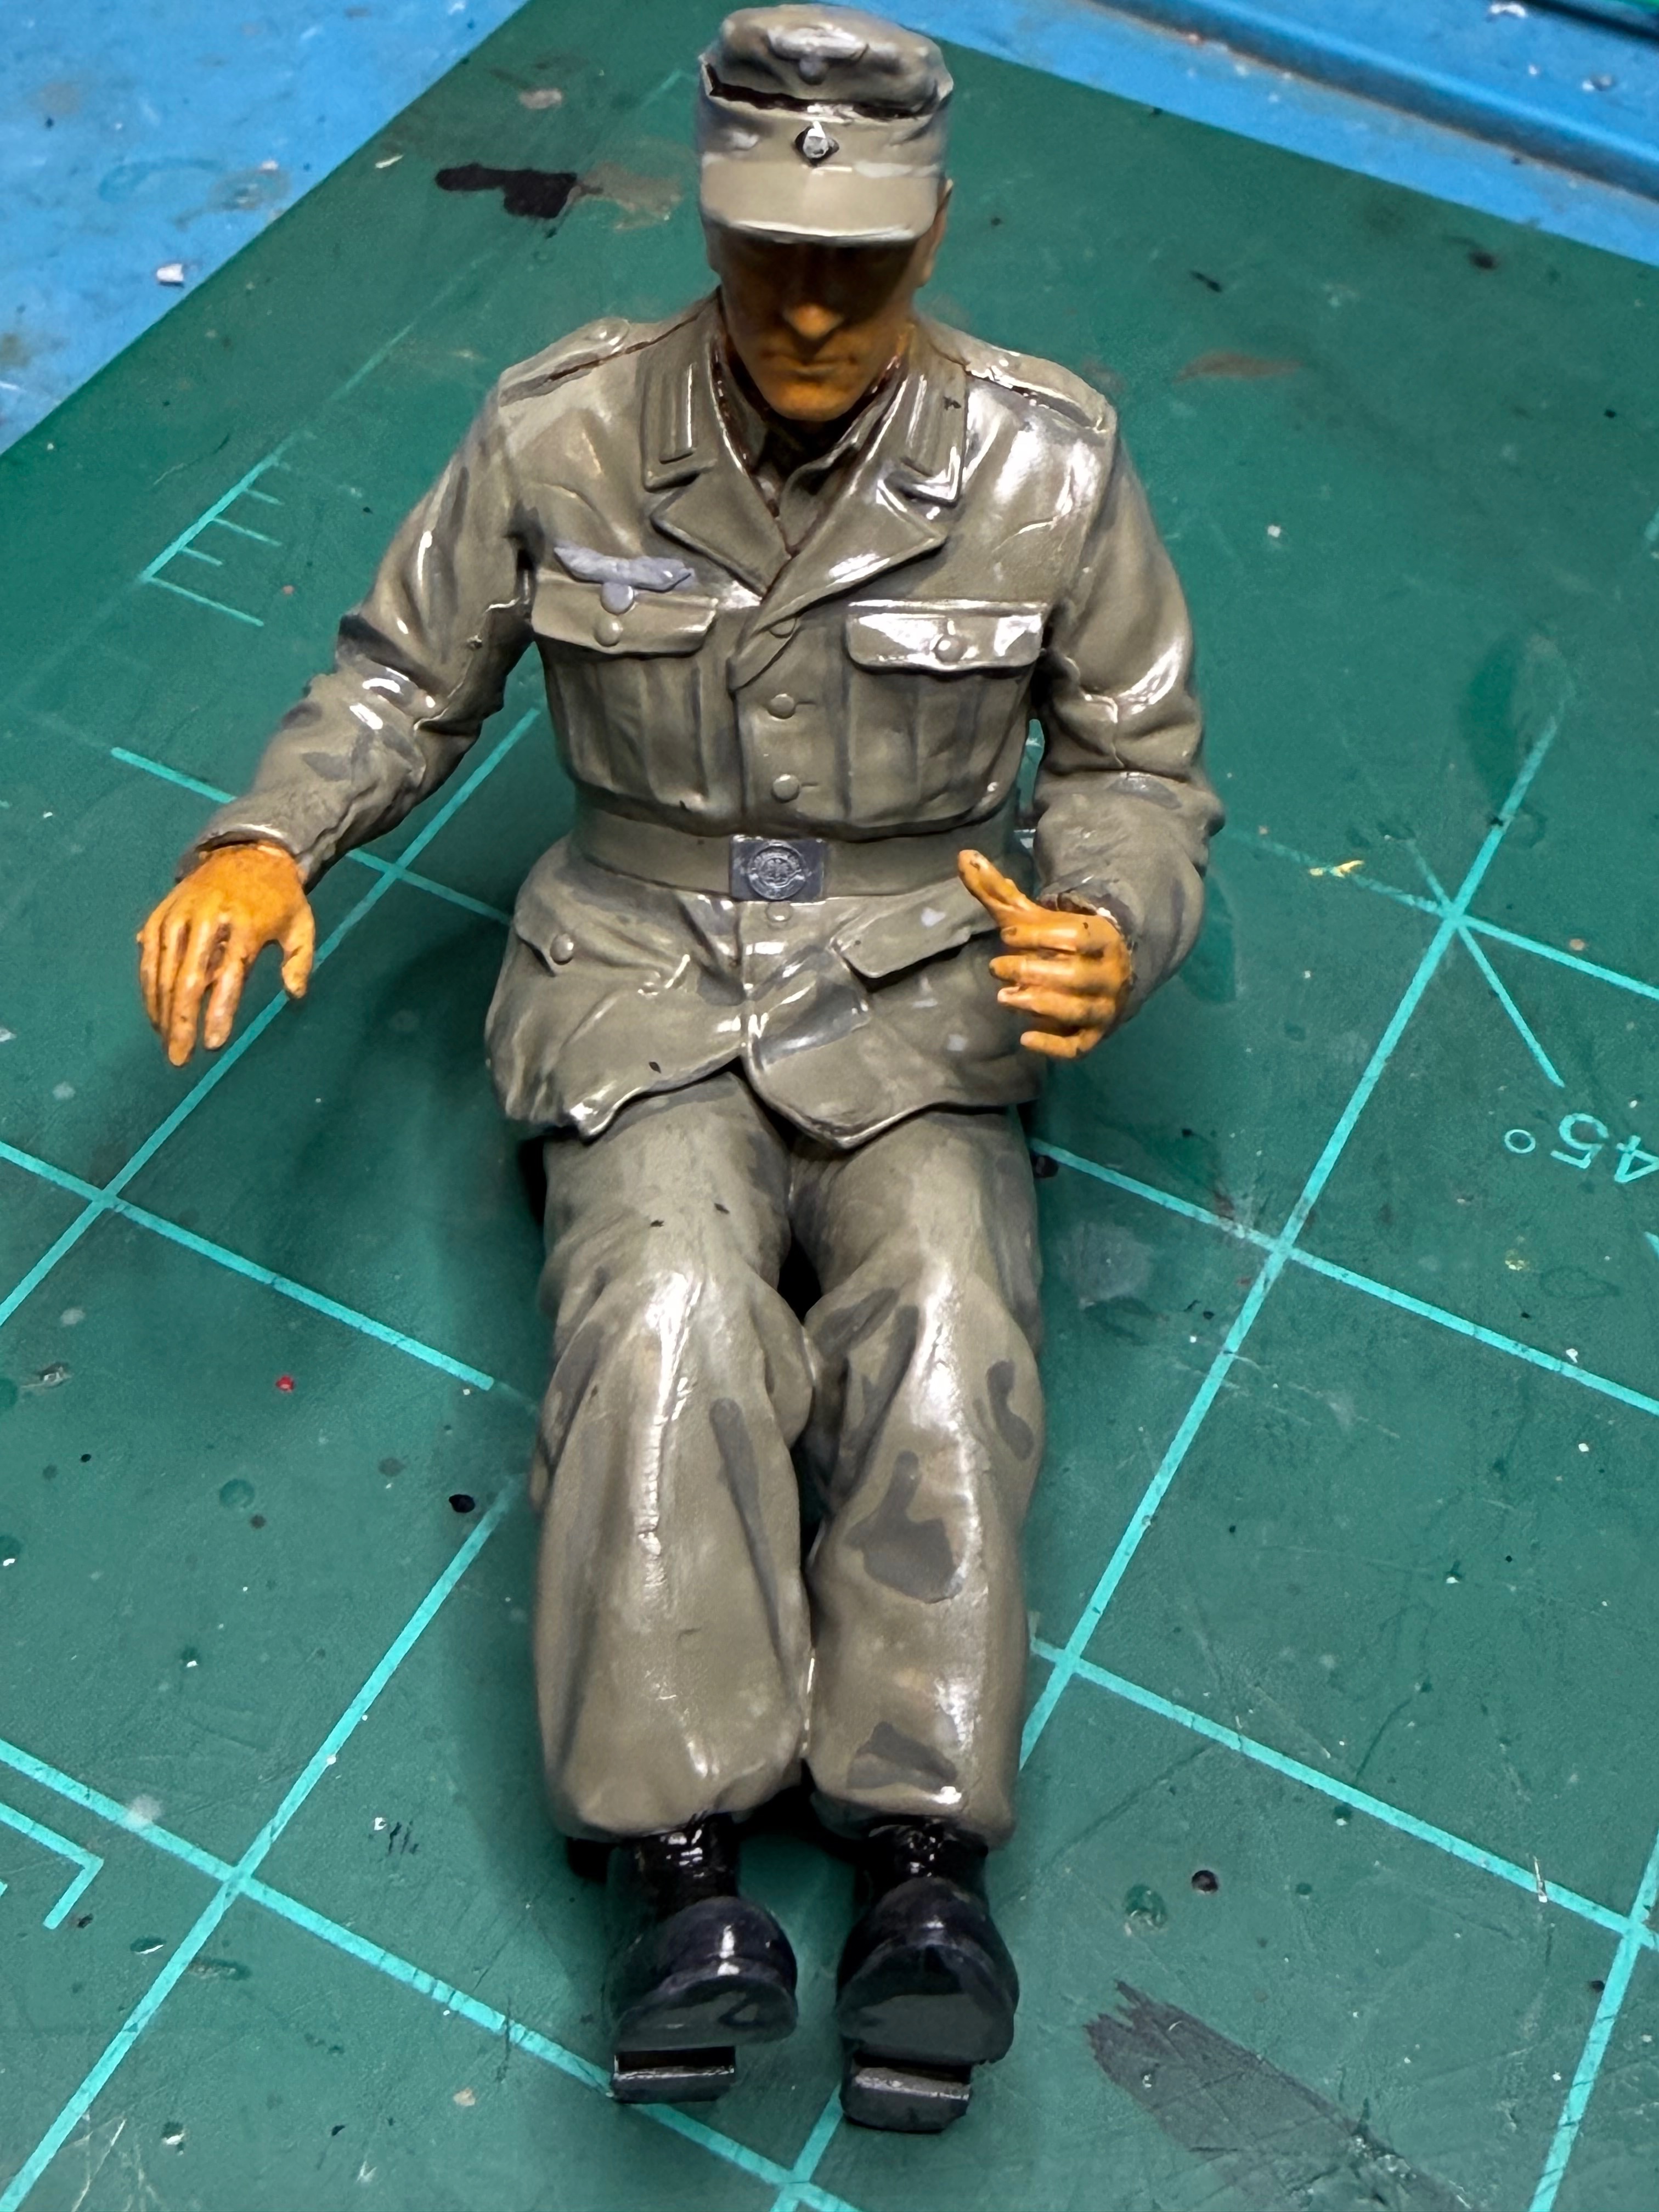
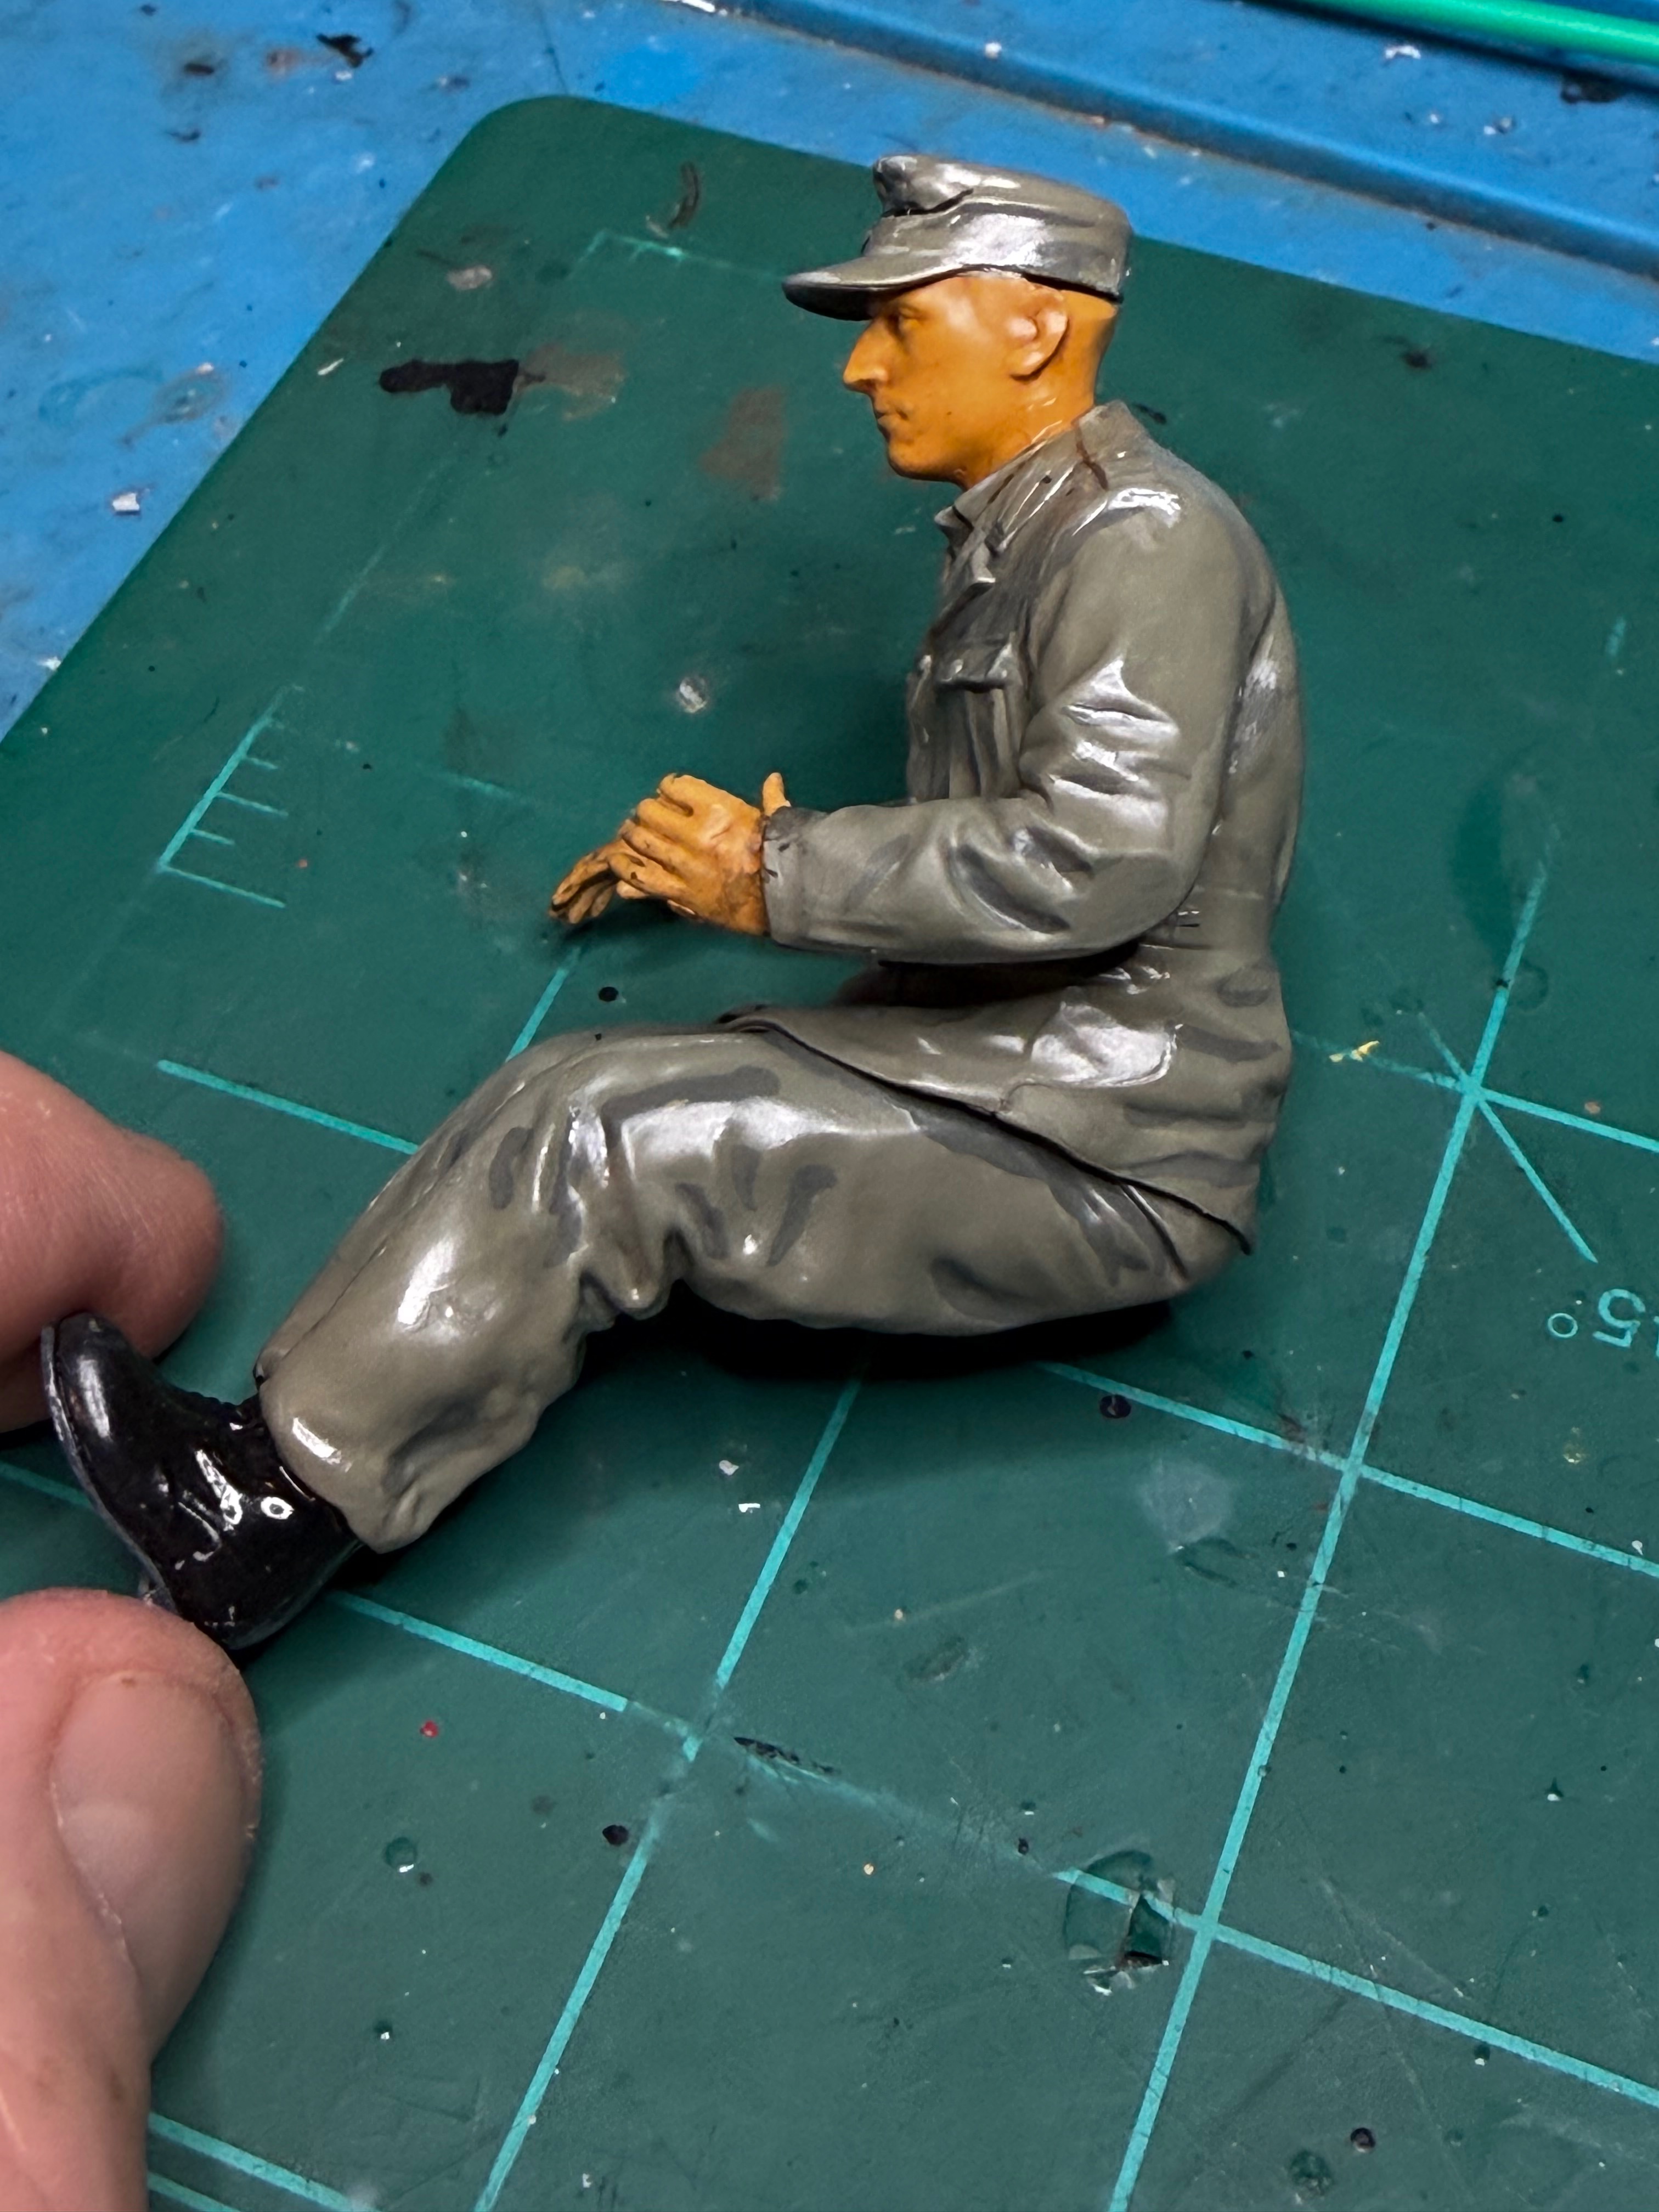
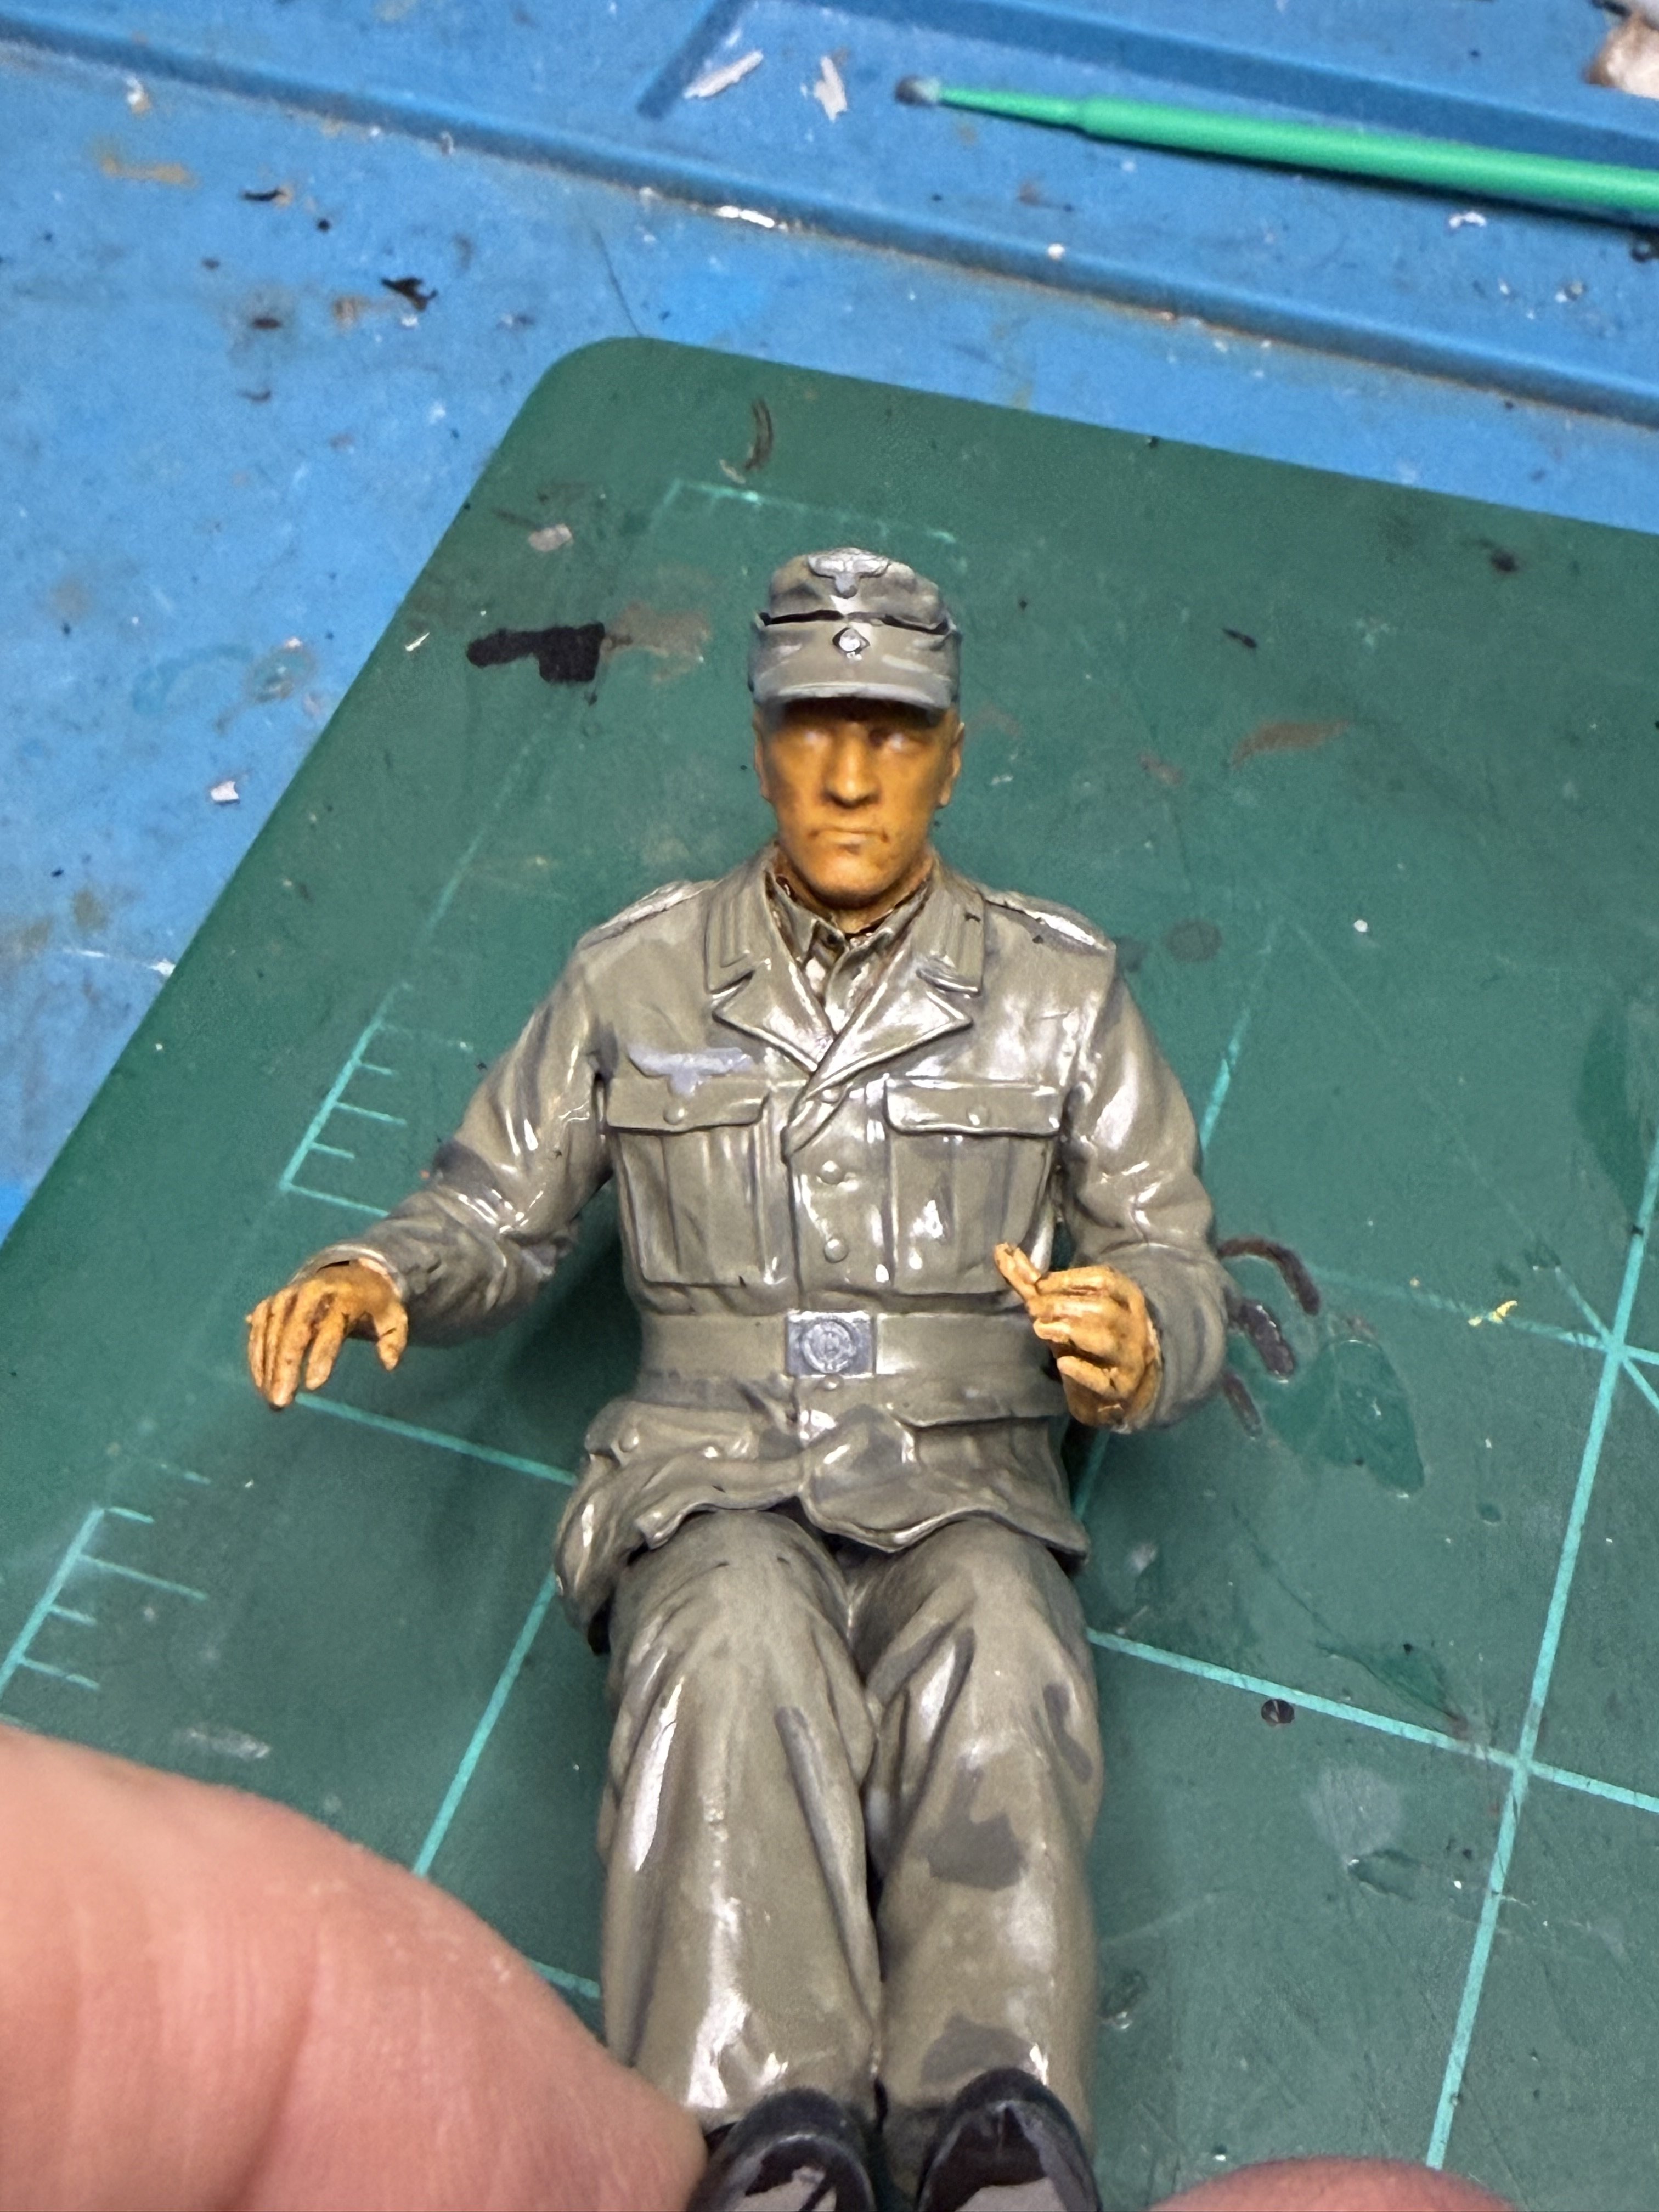
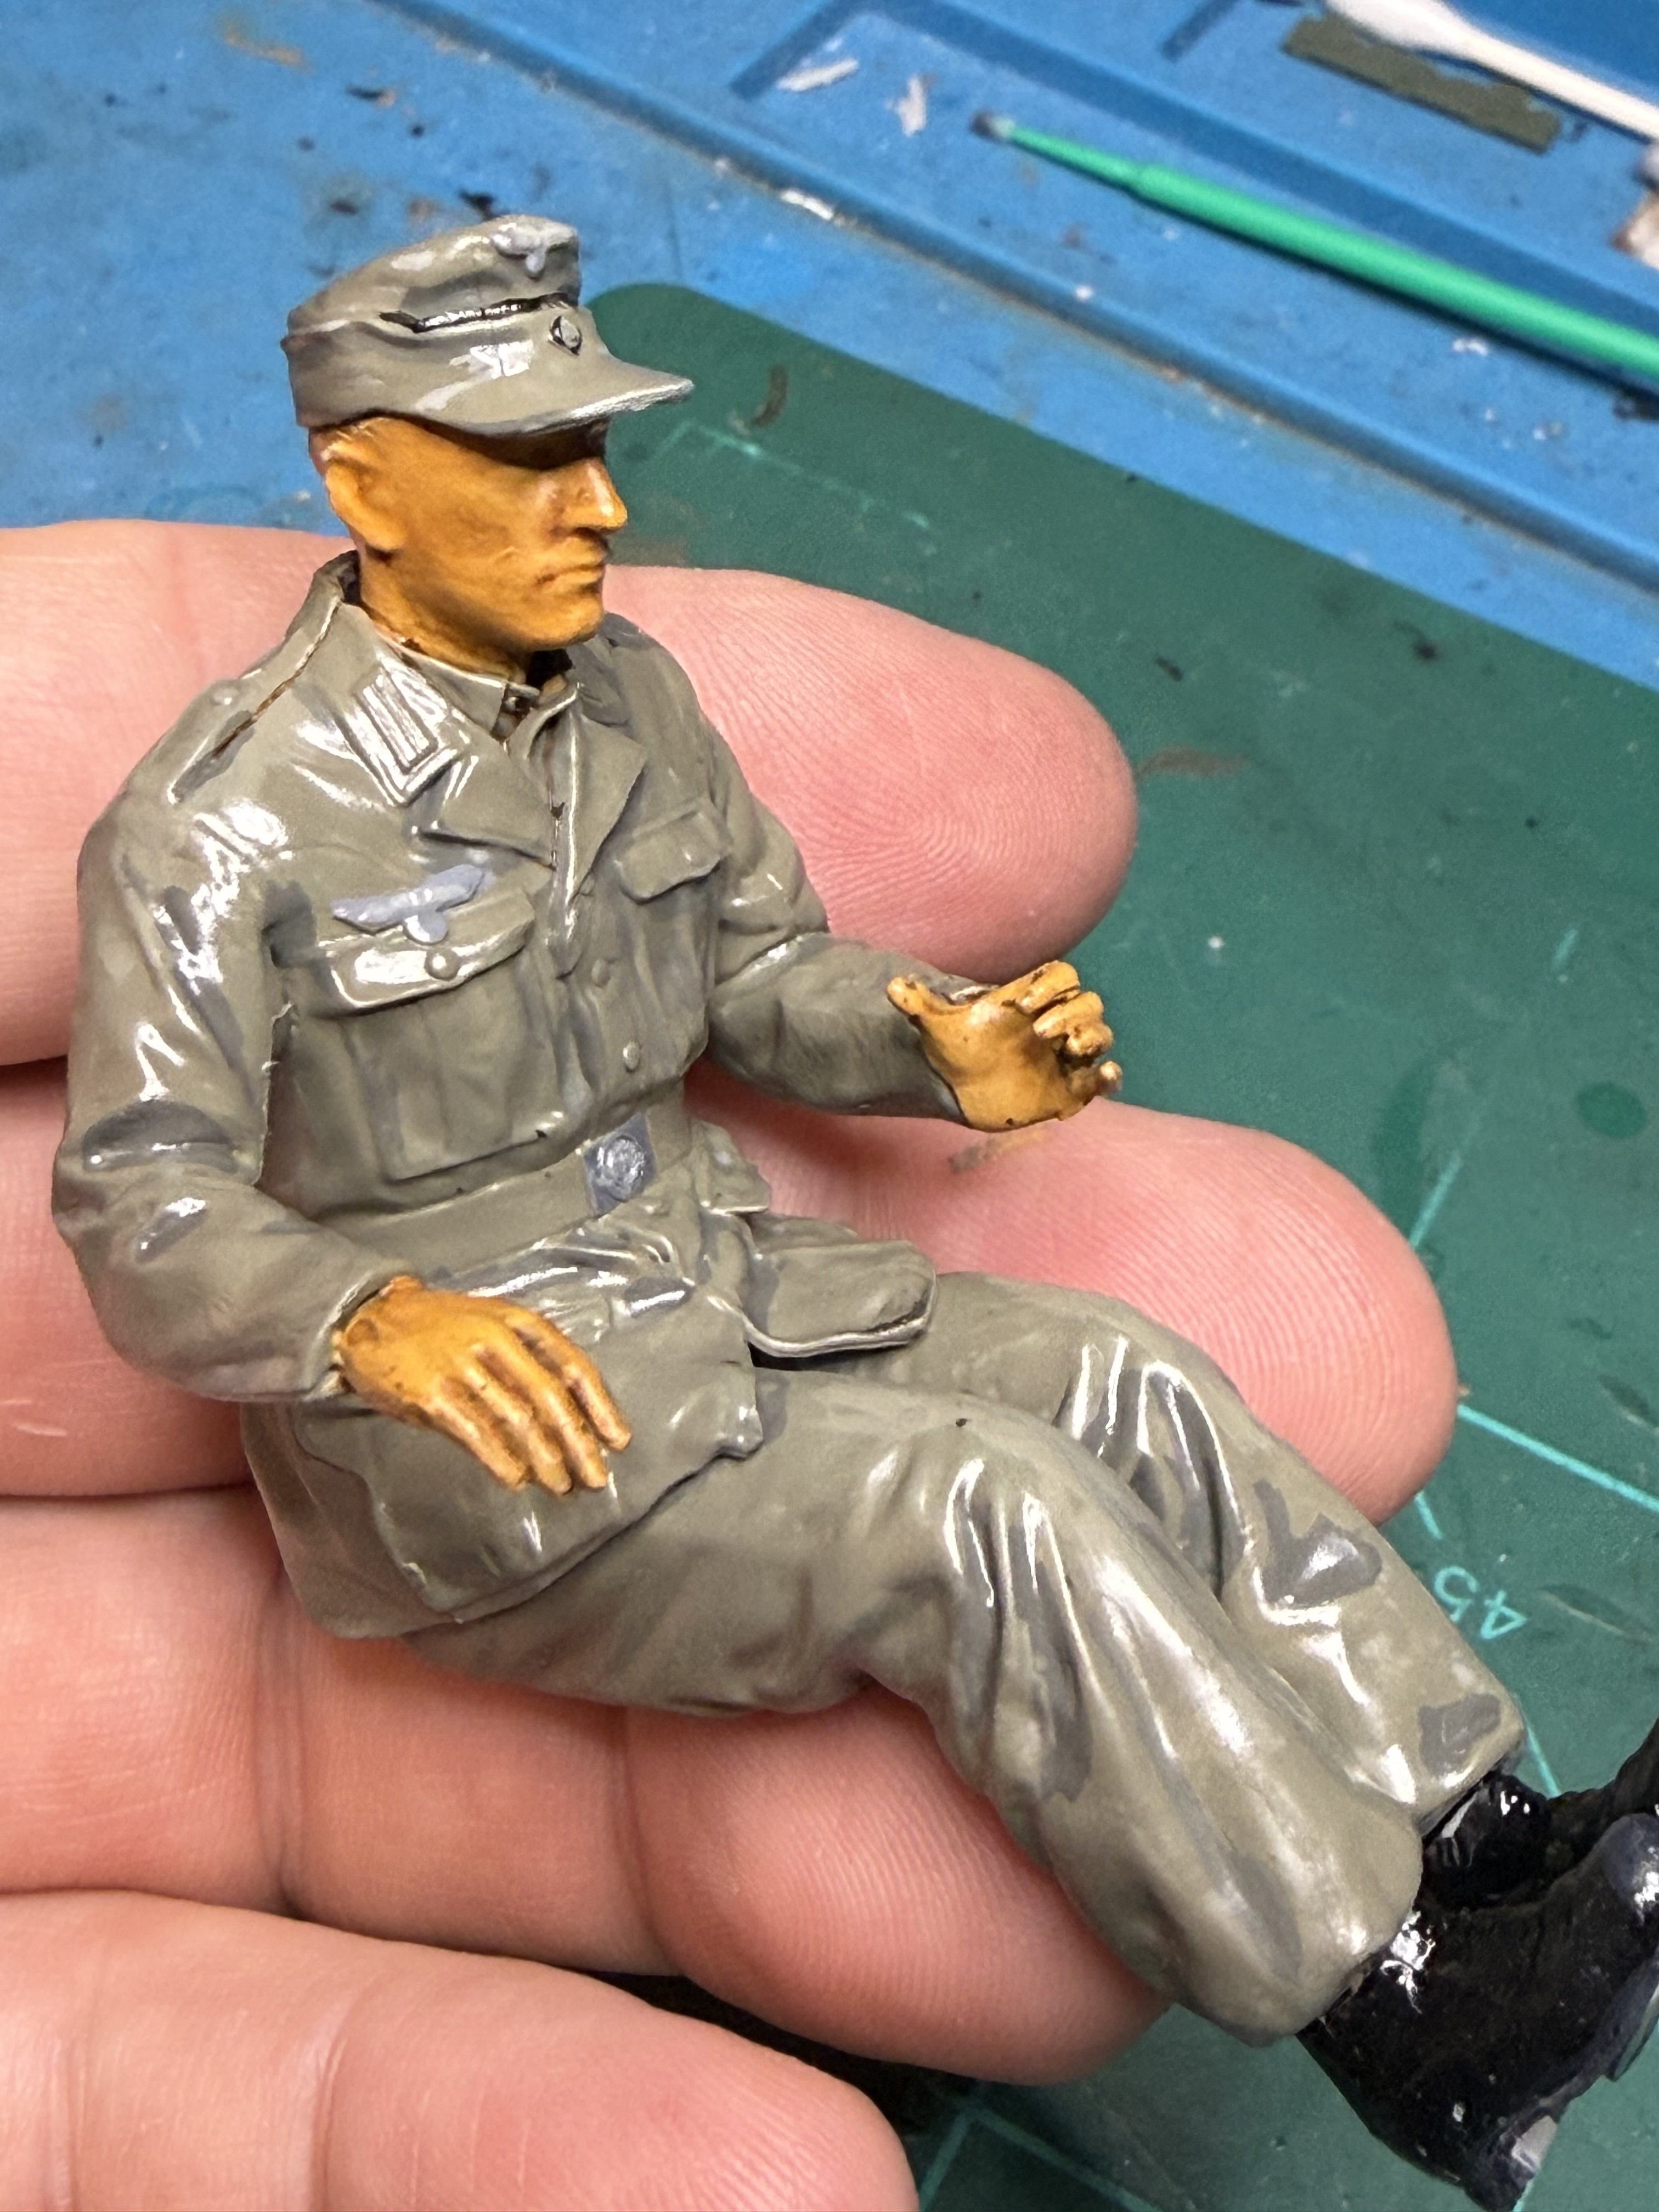
So here's some progress and some weirdness. This is the drivers chair. I'm assuming the figure is supposed to be driving from the position of his hands and feet. Look at how big he is comparatively. Also, note if you glue the seat in place this figure will not fit in. I actually checked prior to gluing! Nice detail on the back of the chair.
Attachments
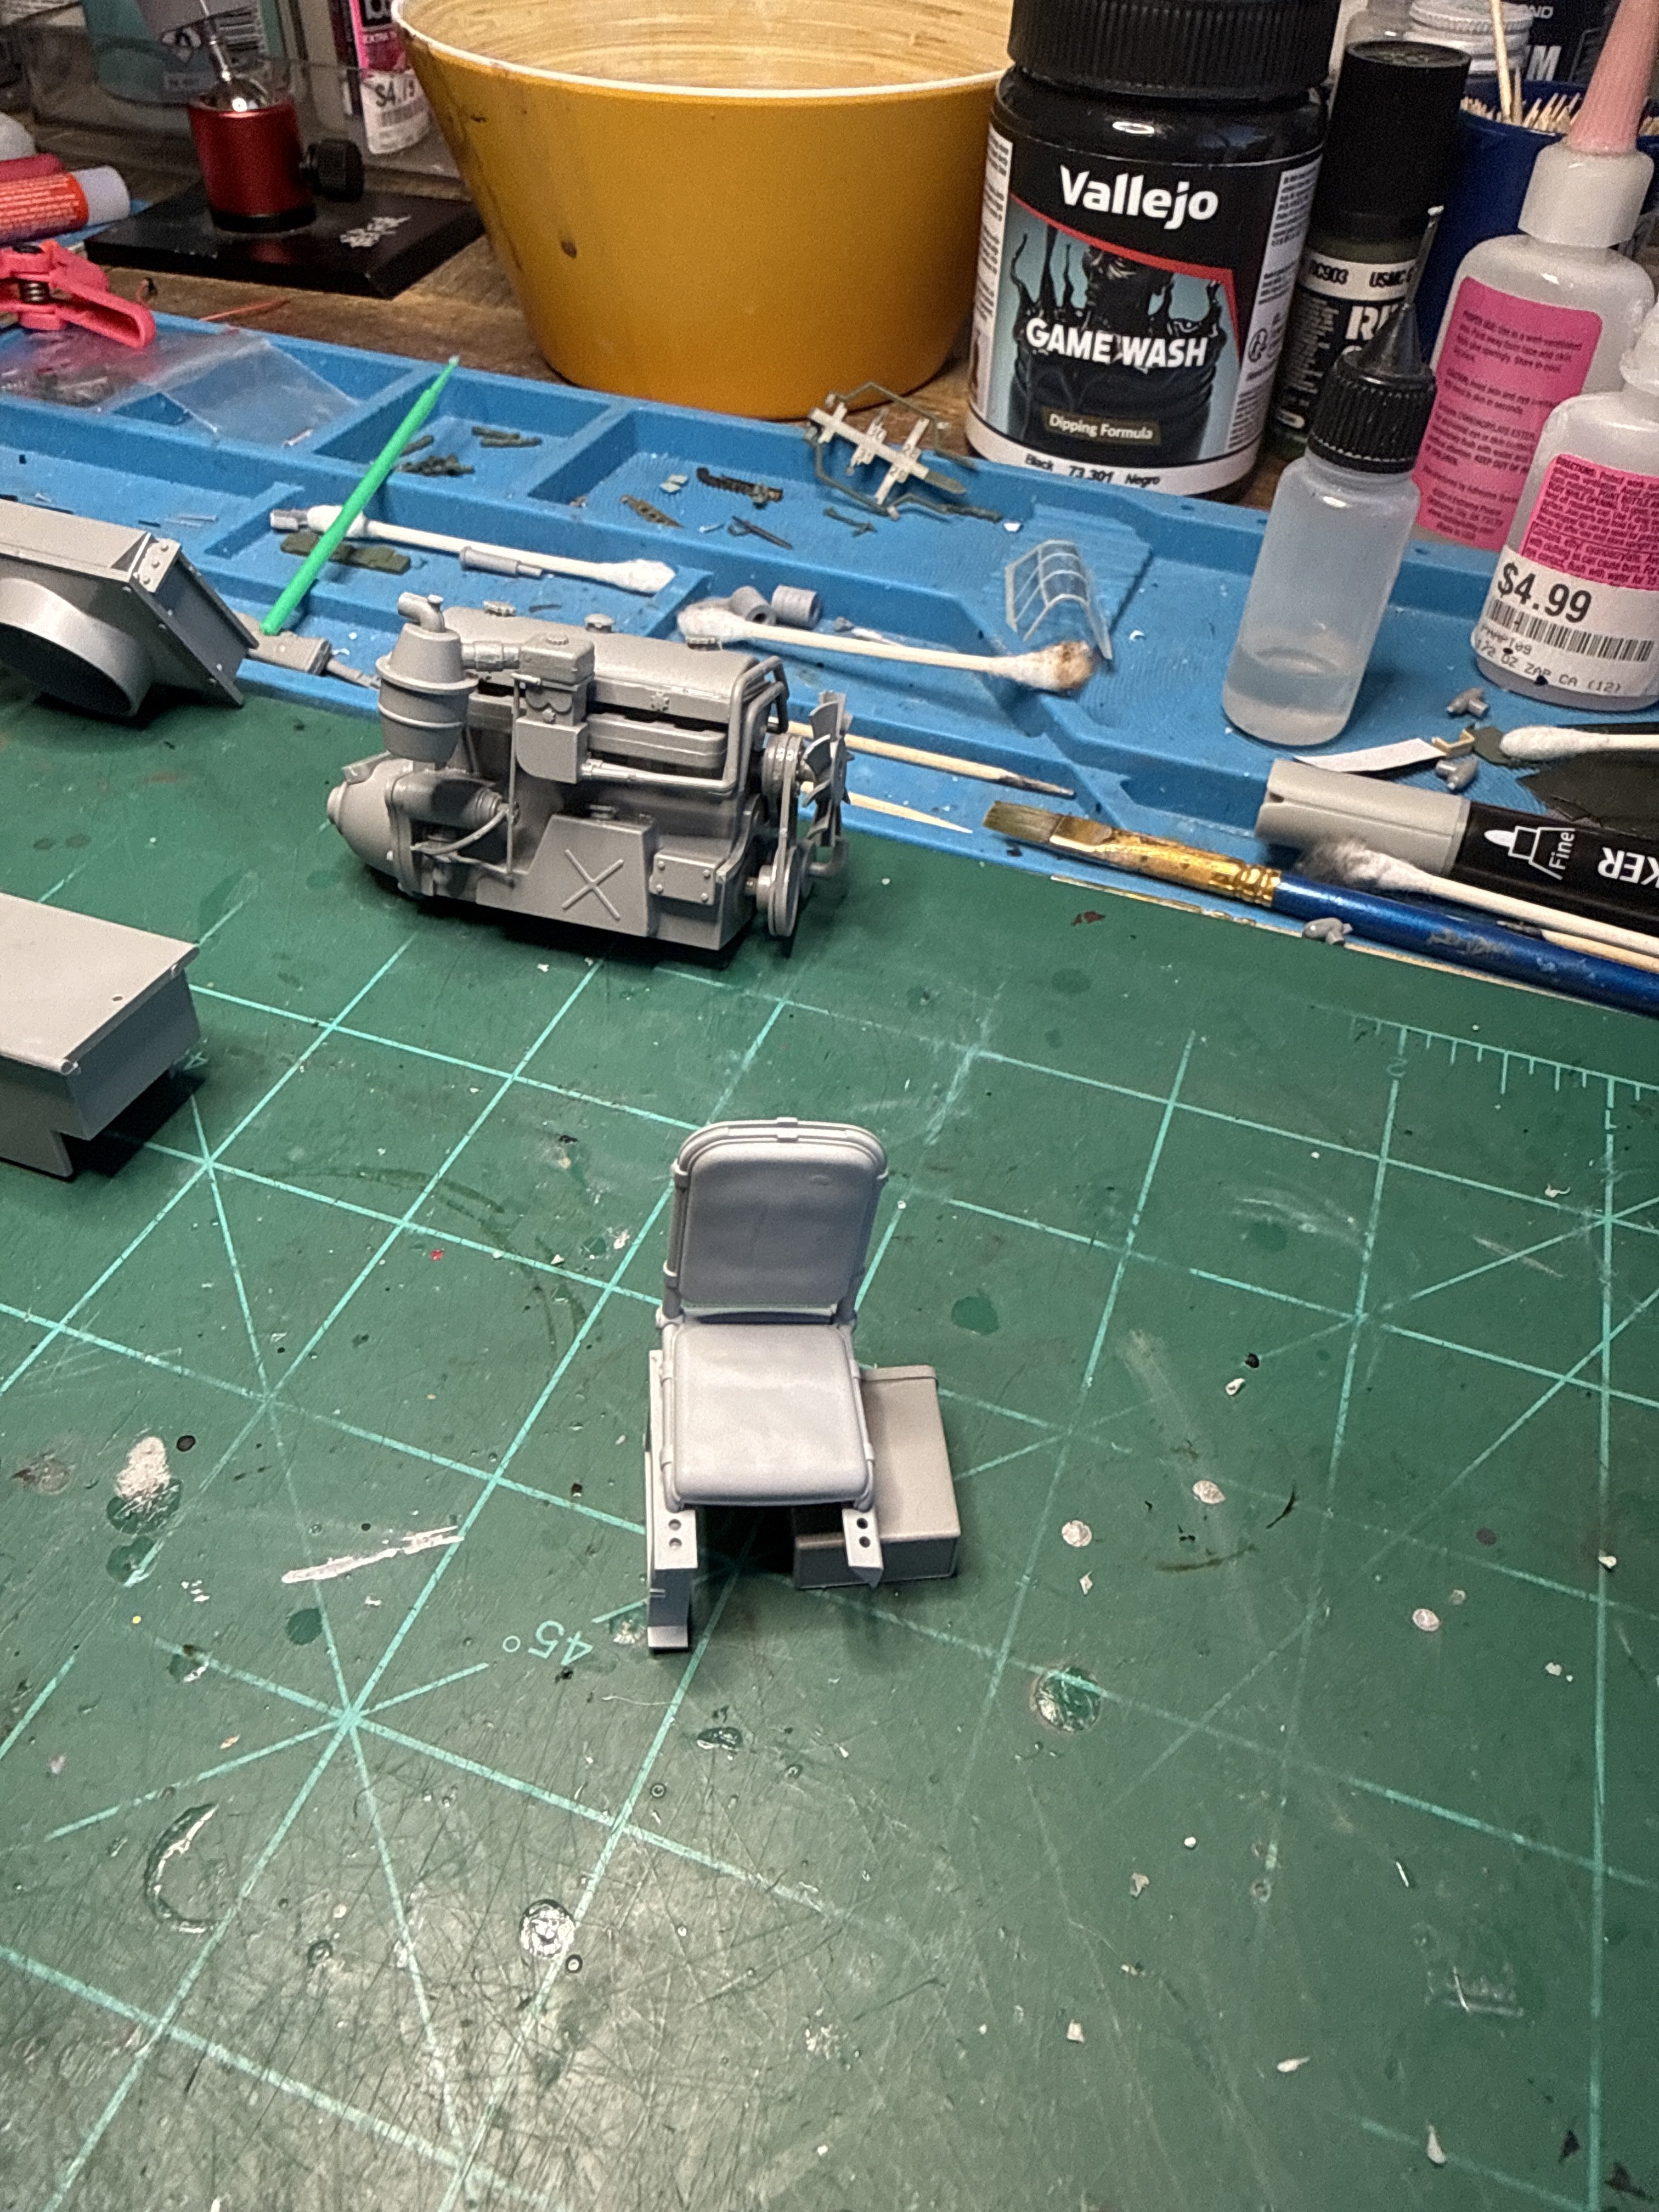
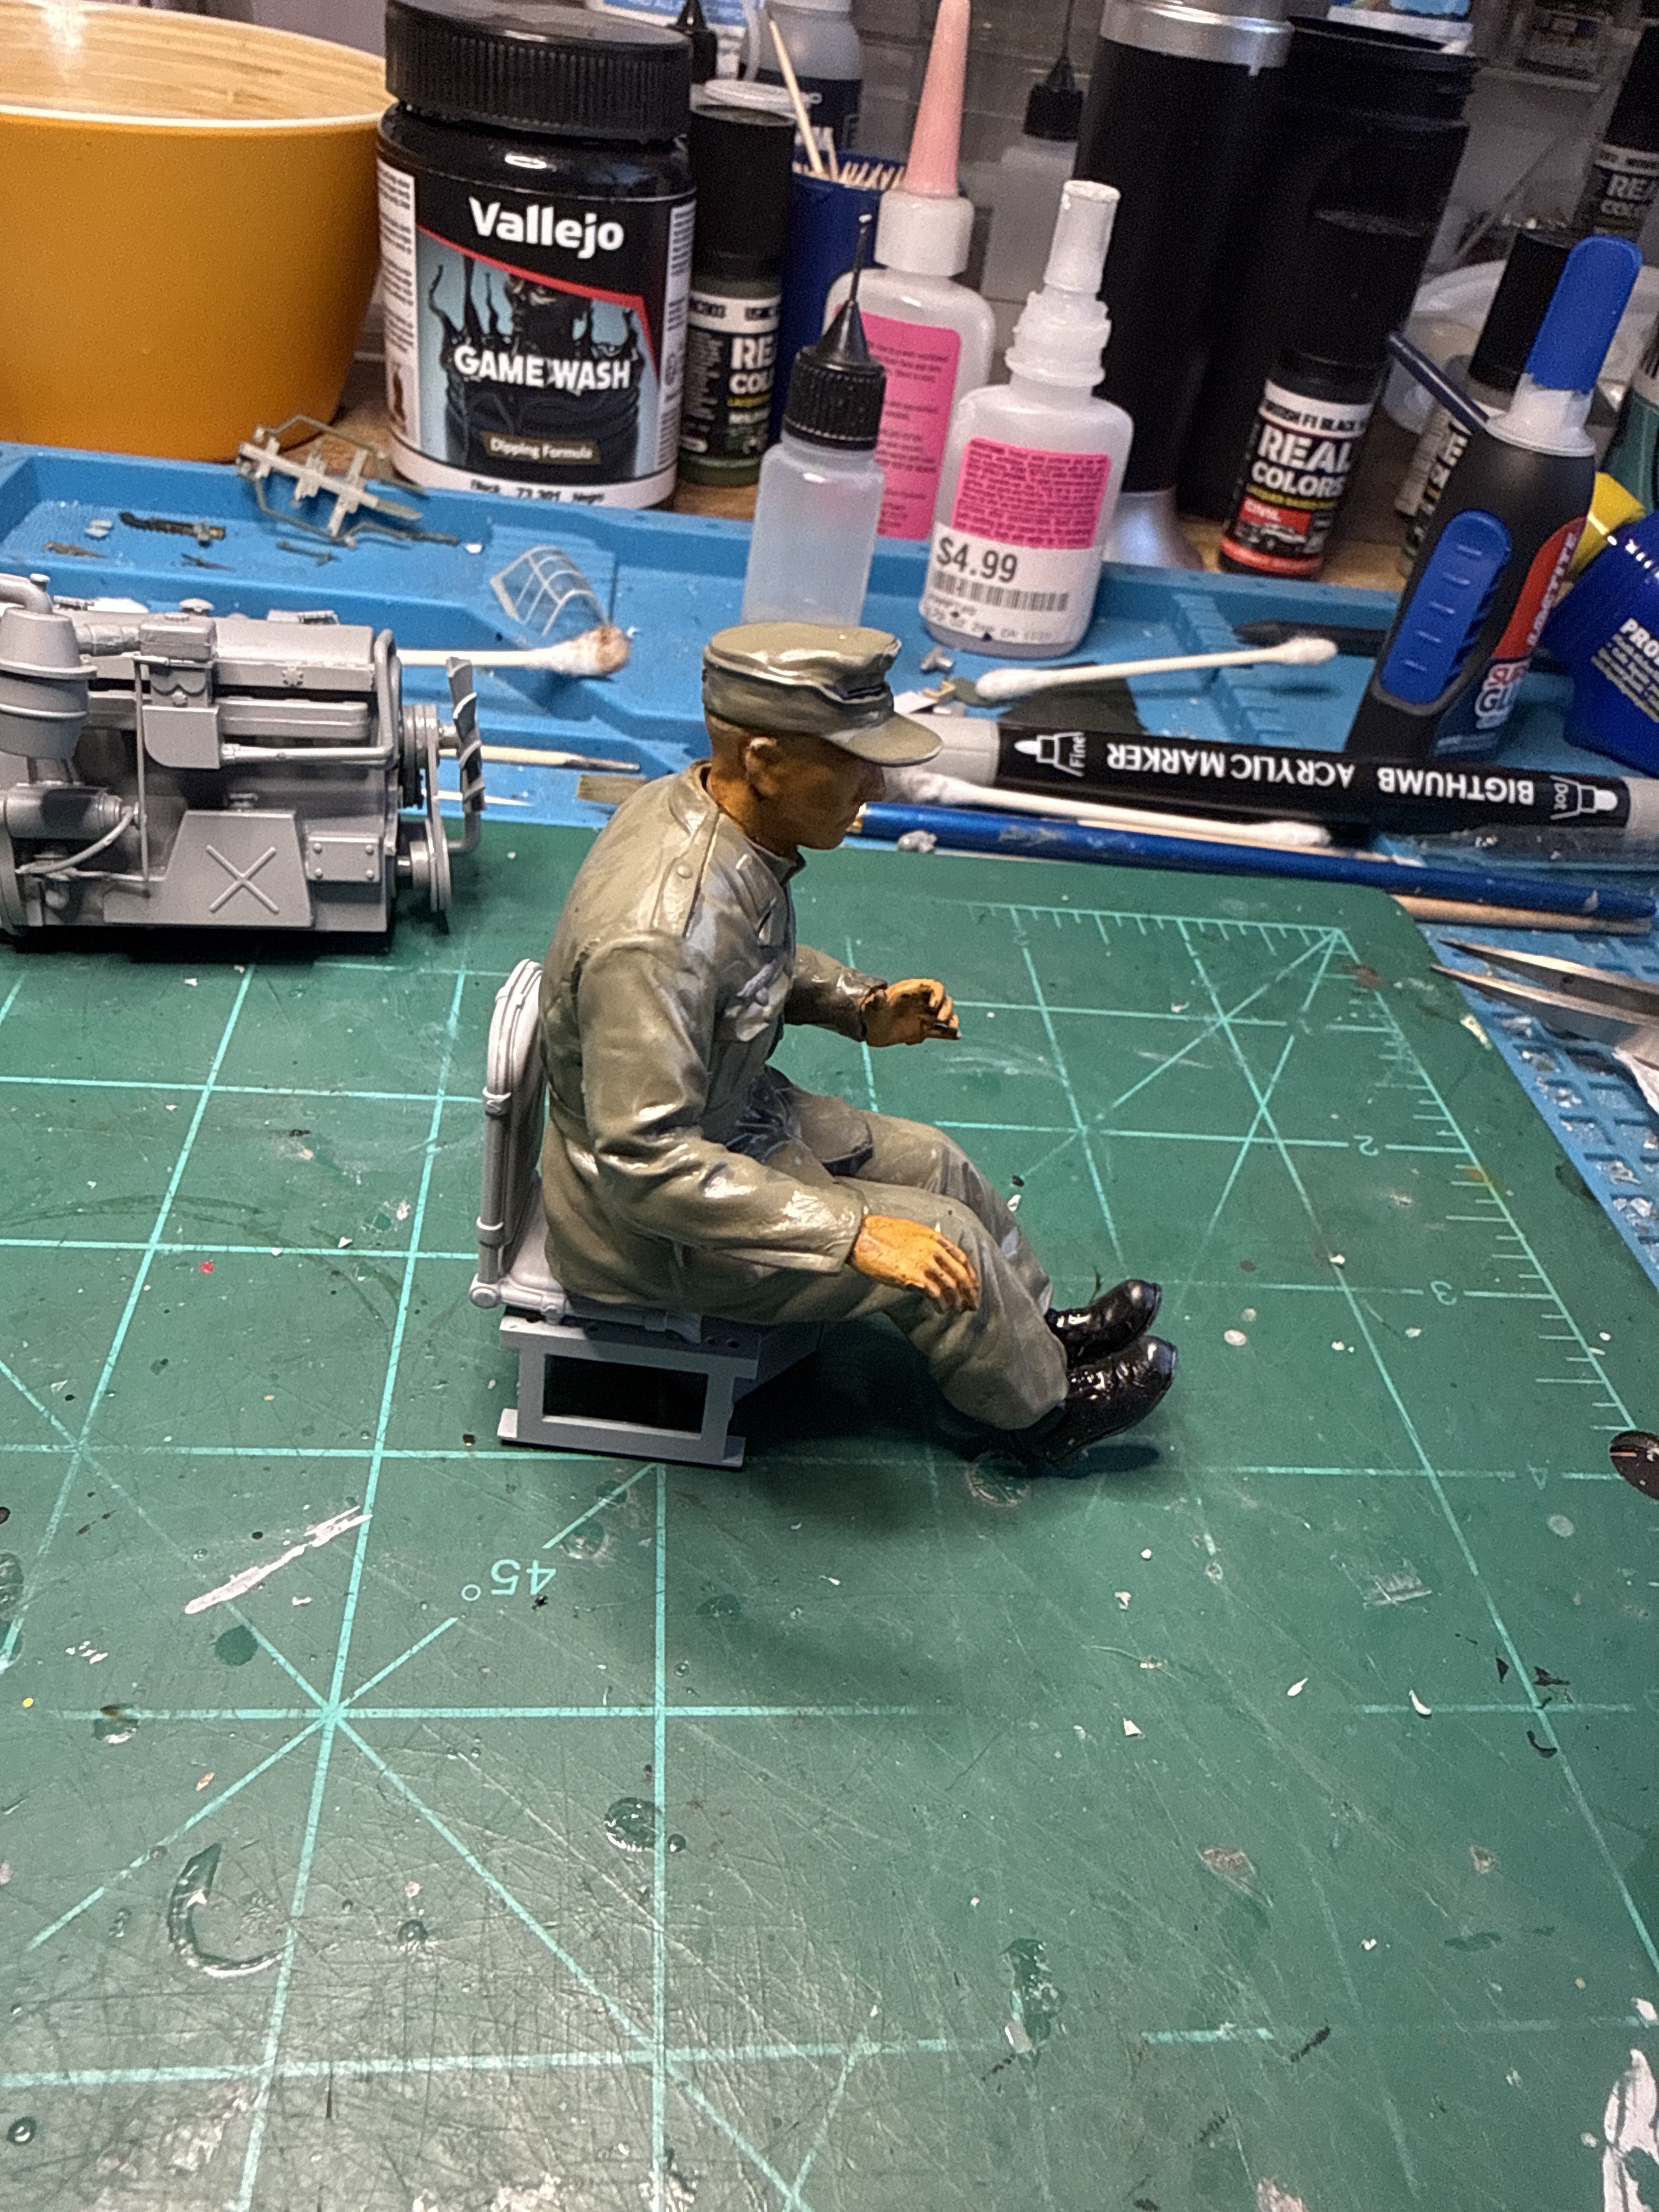
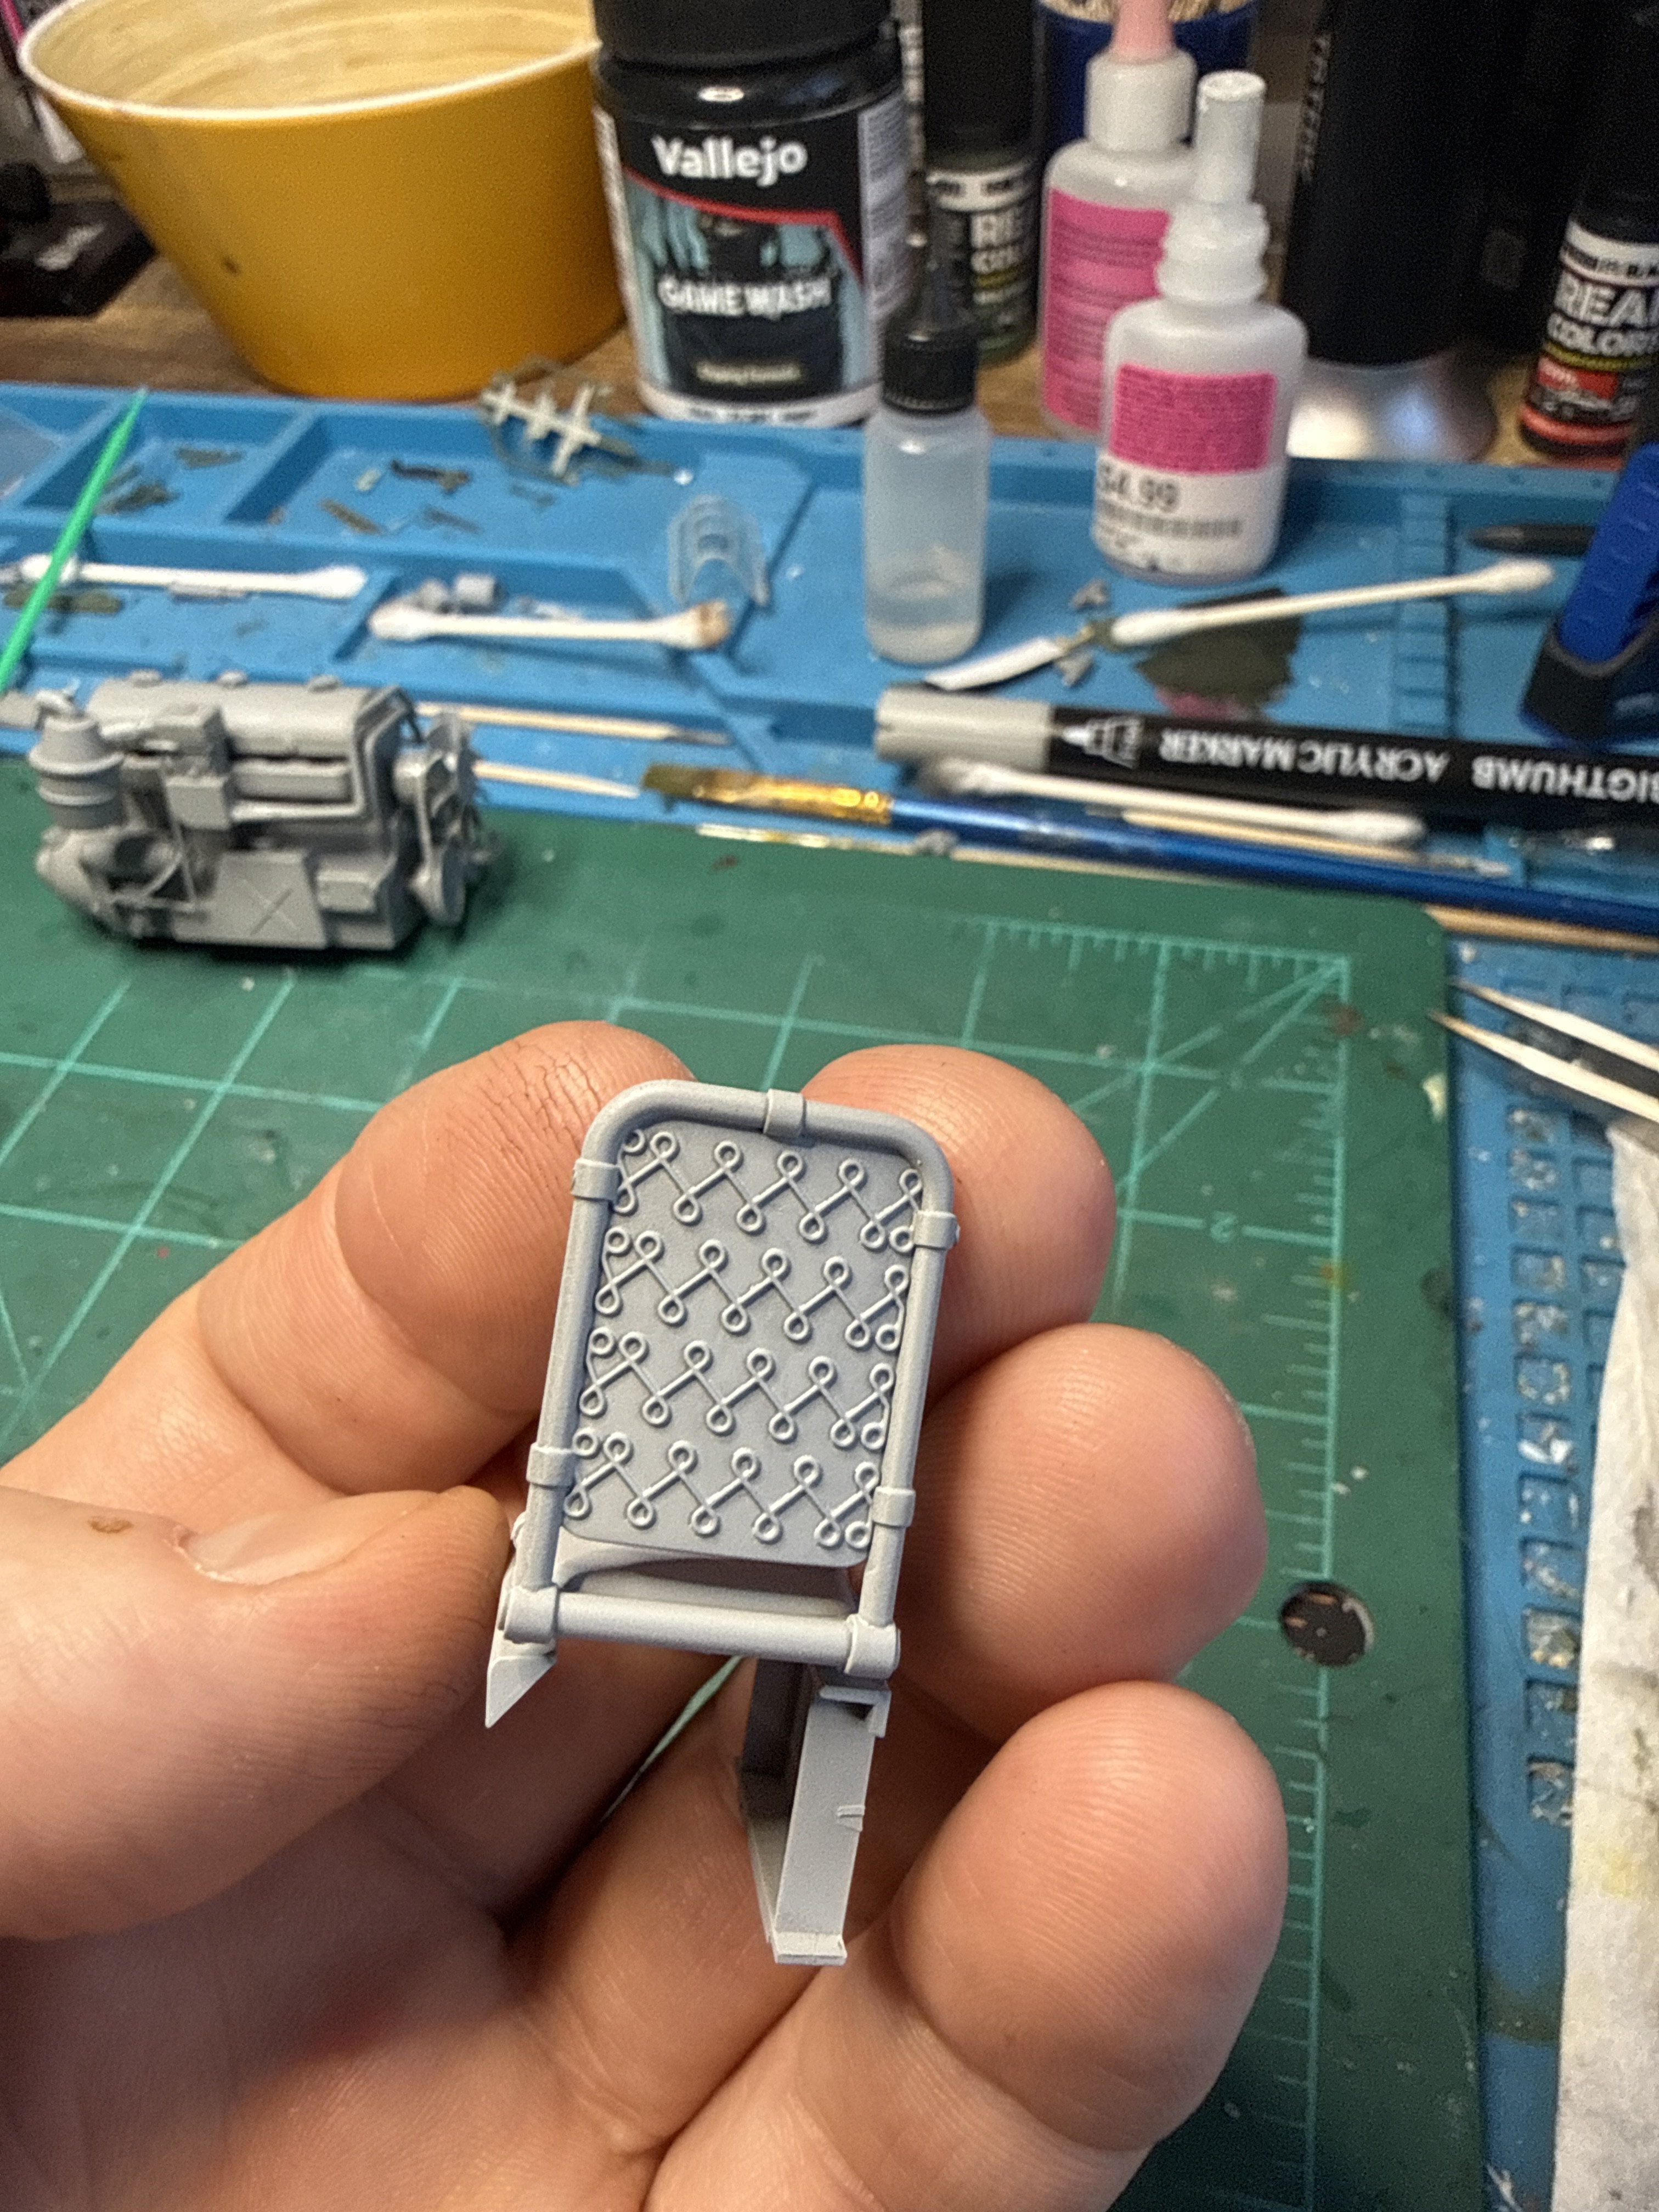
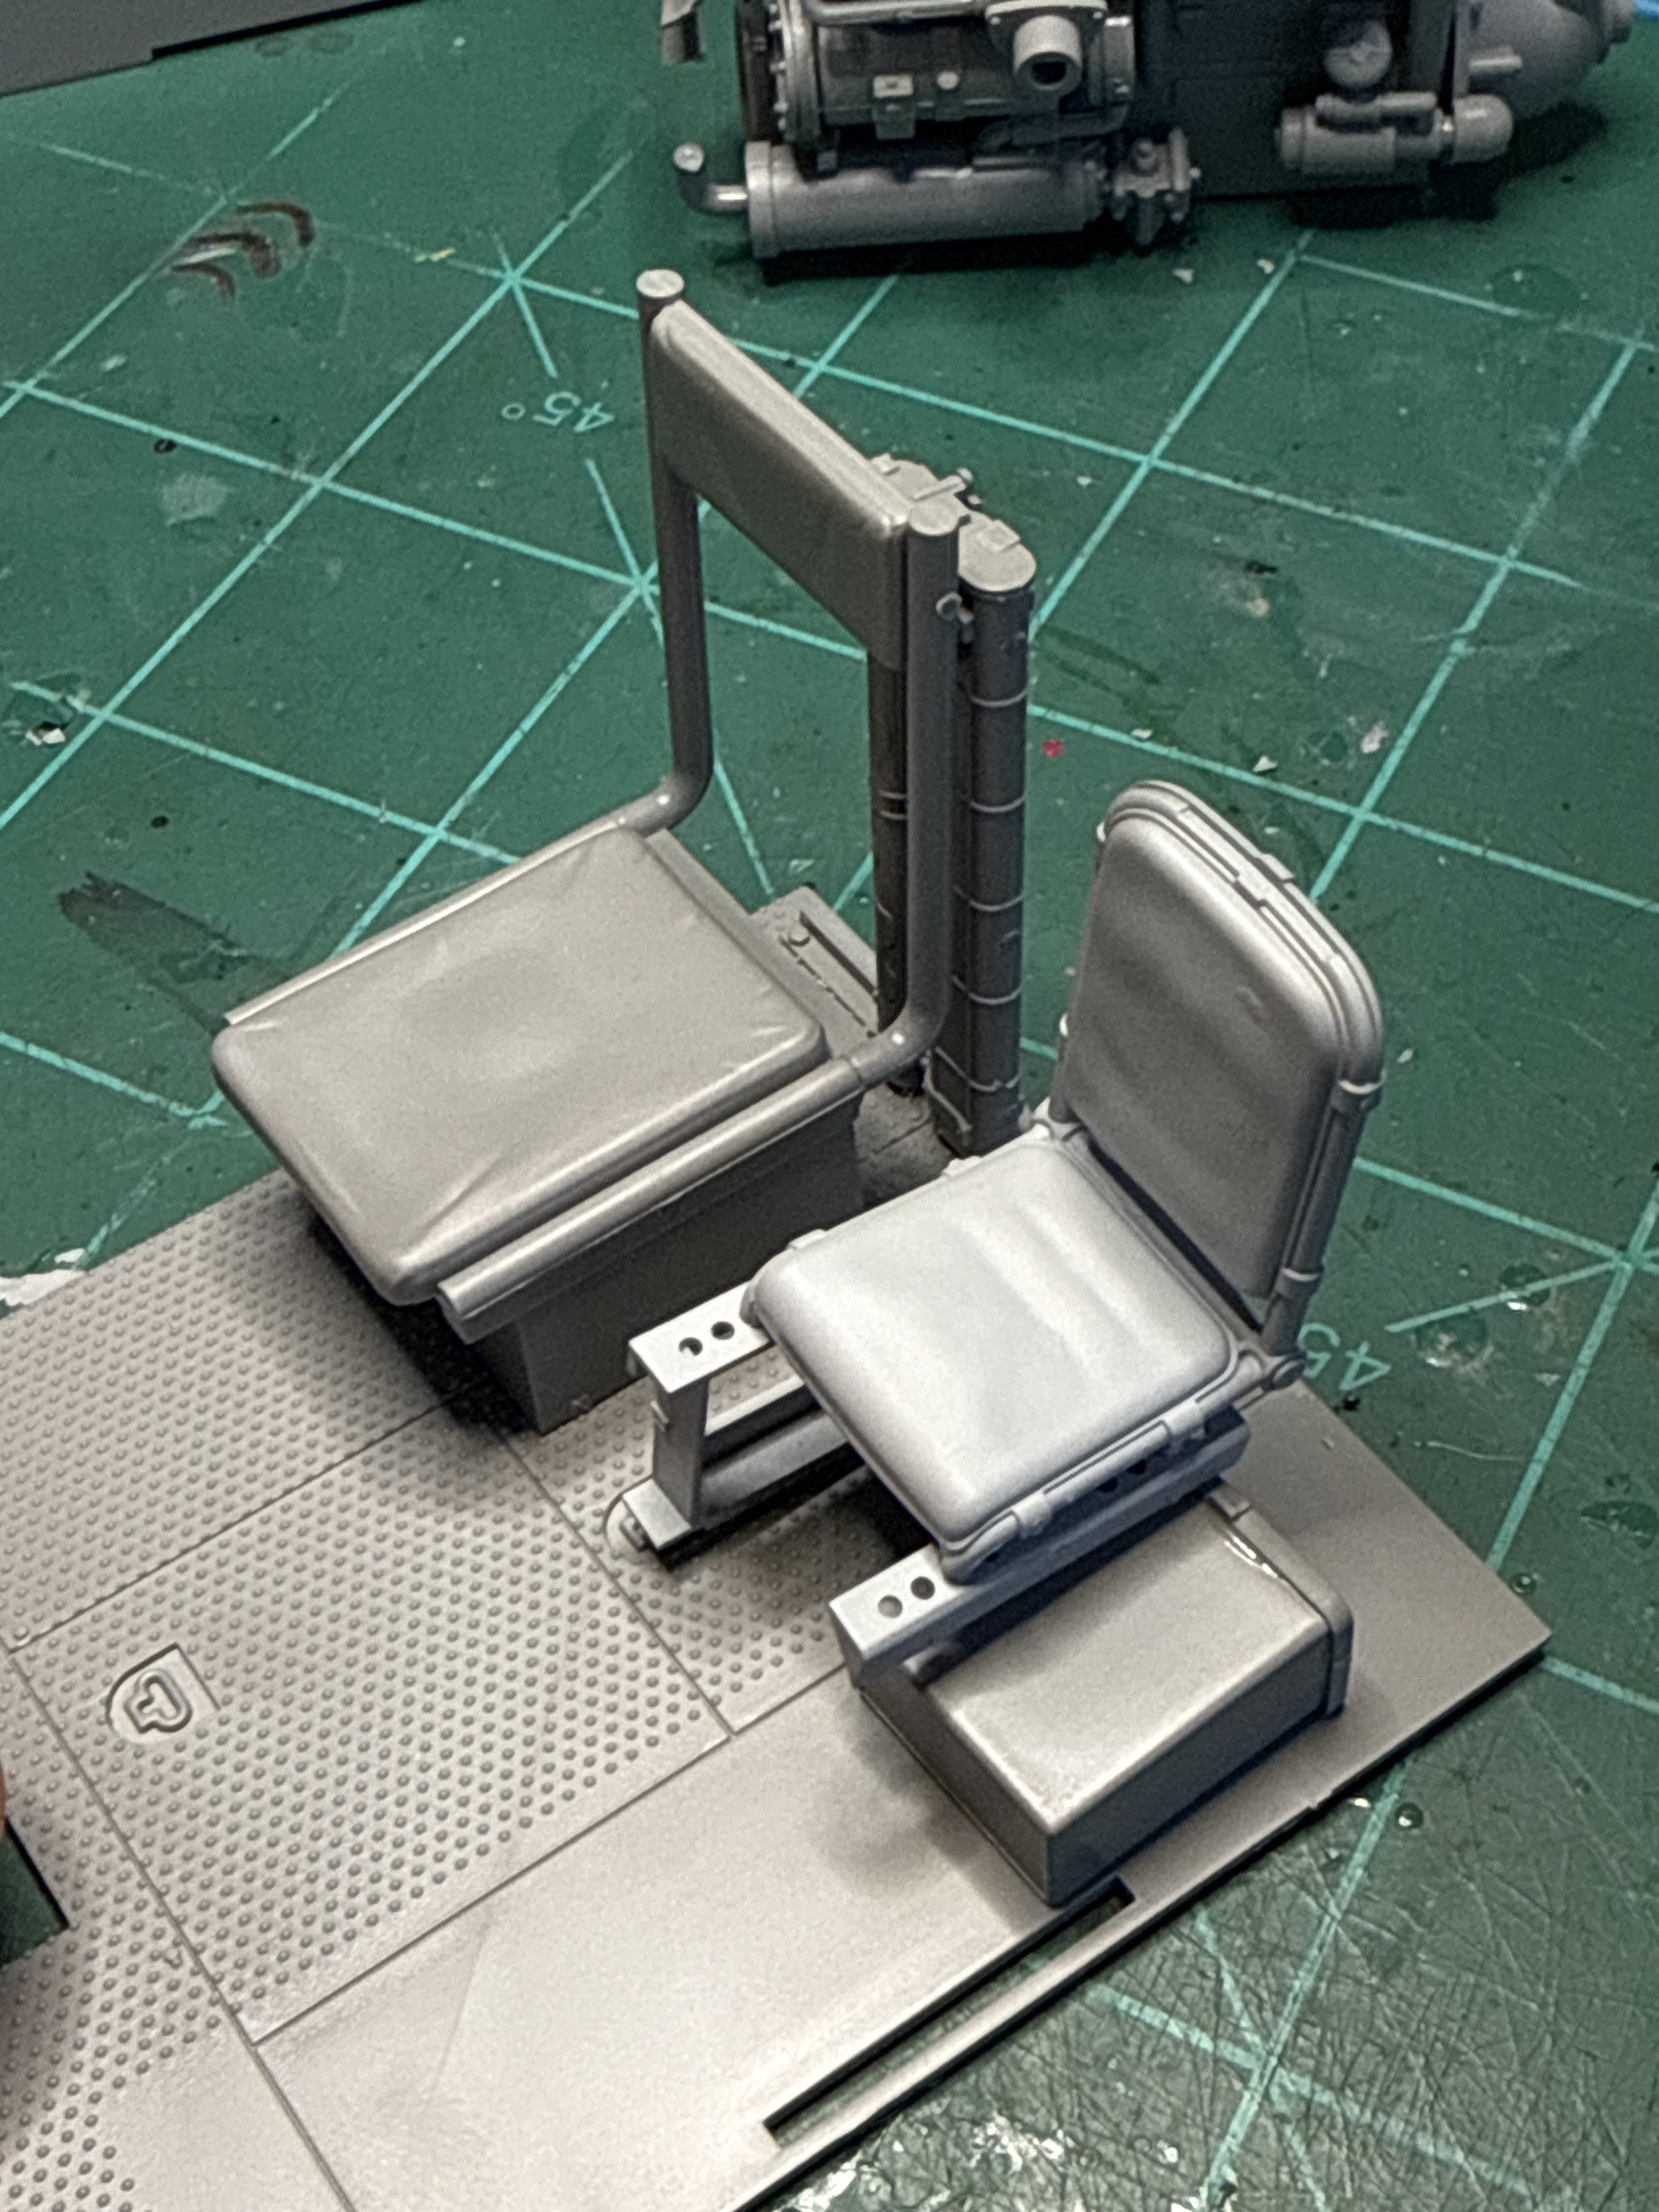
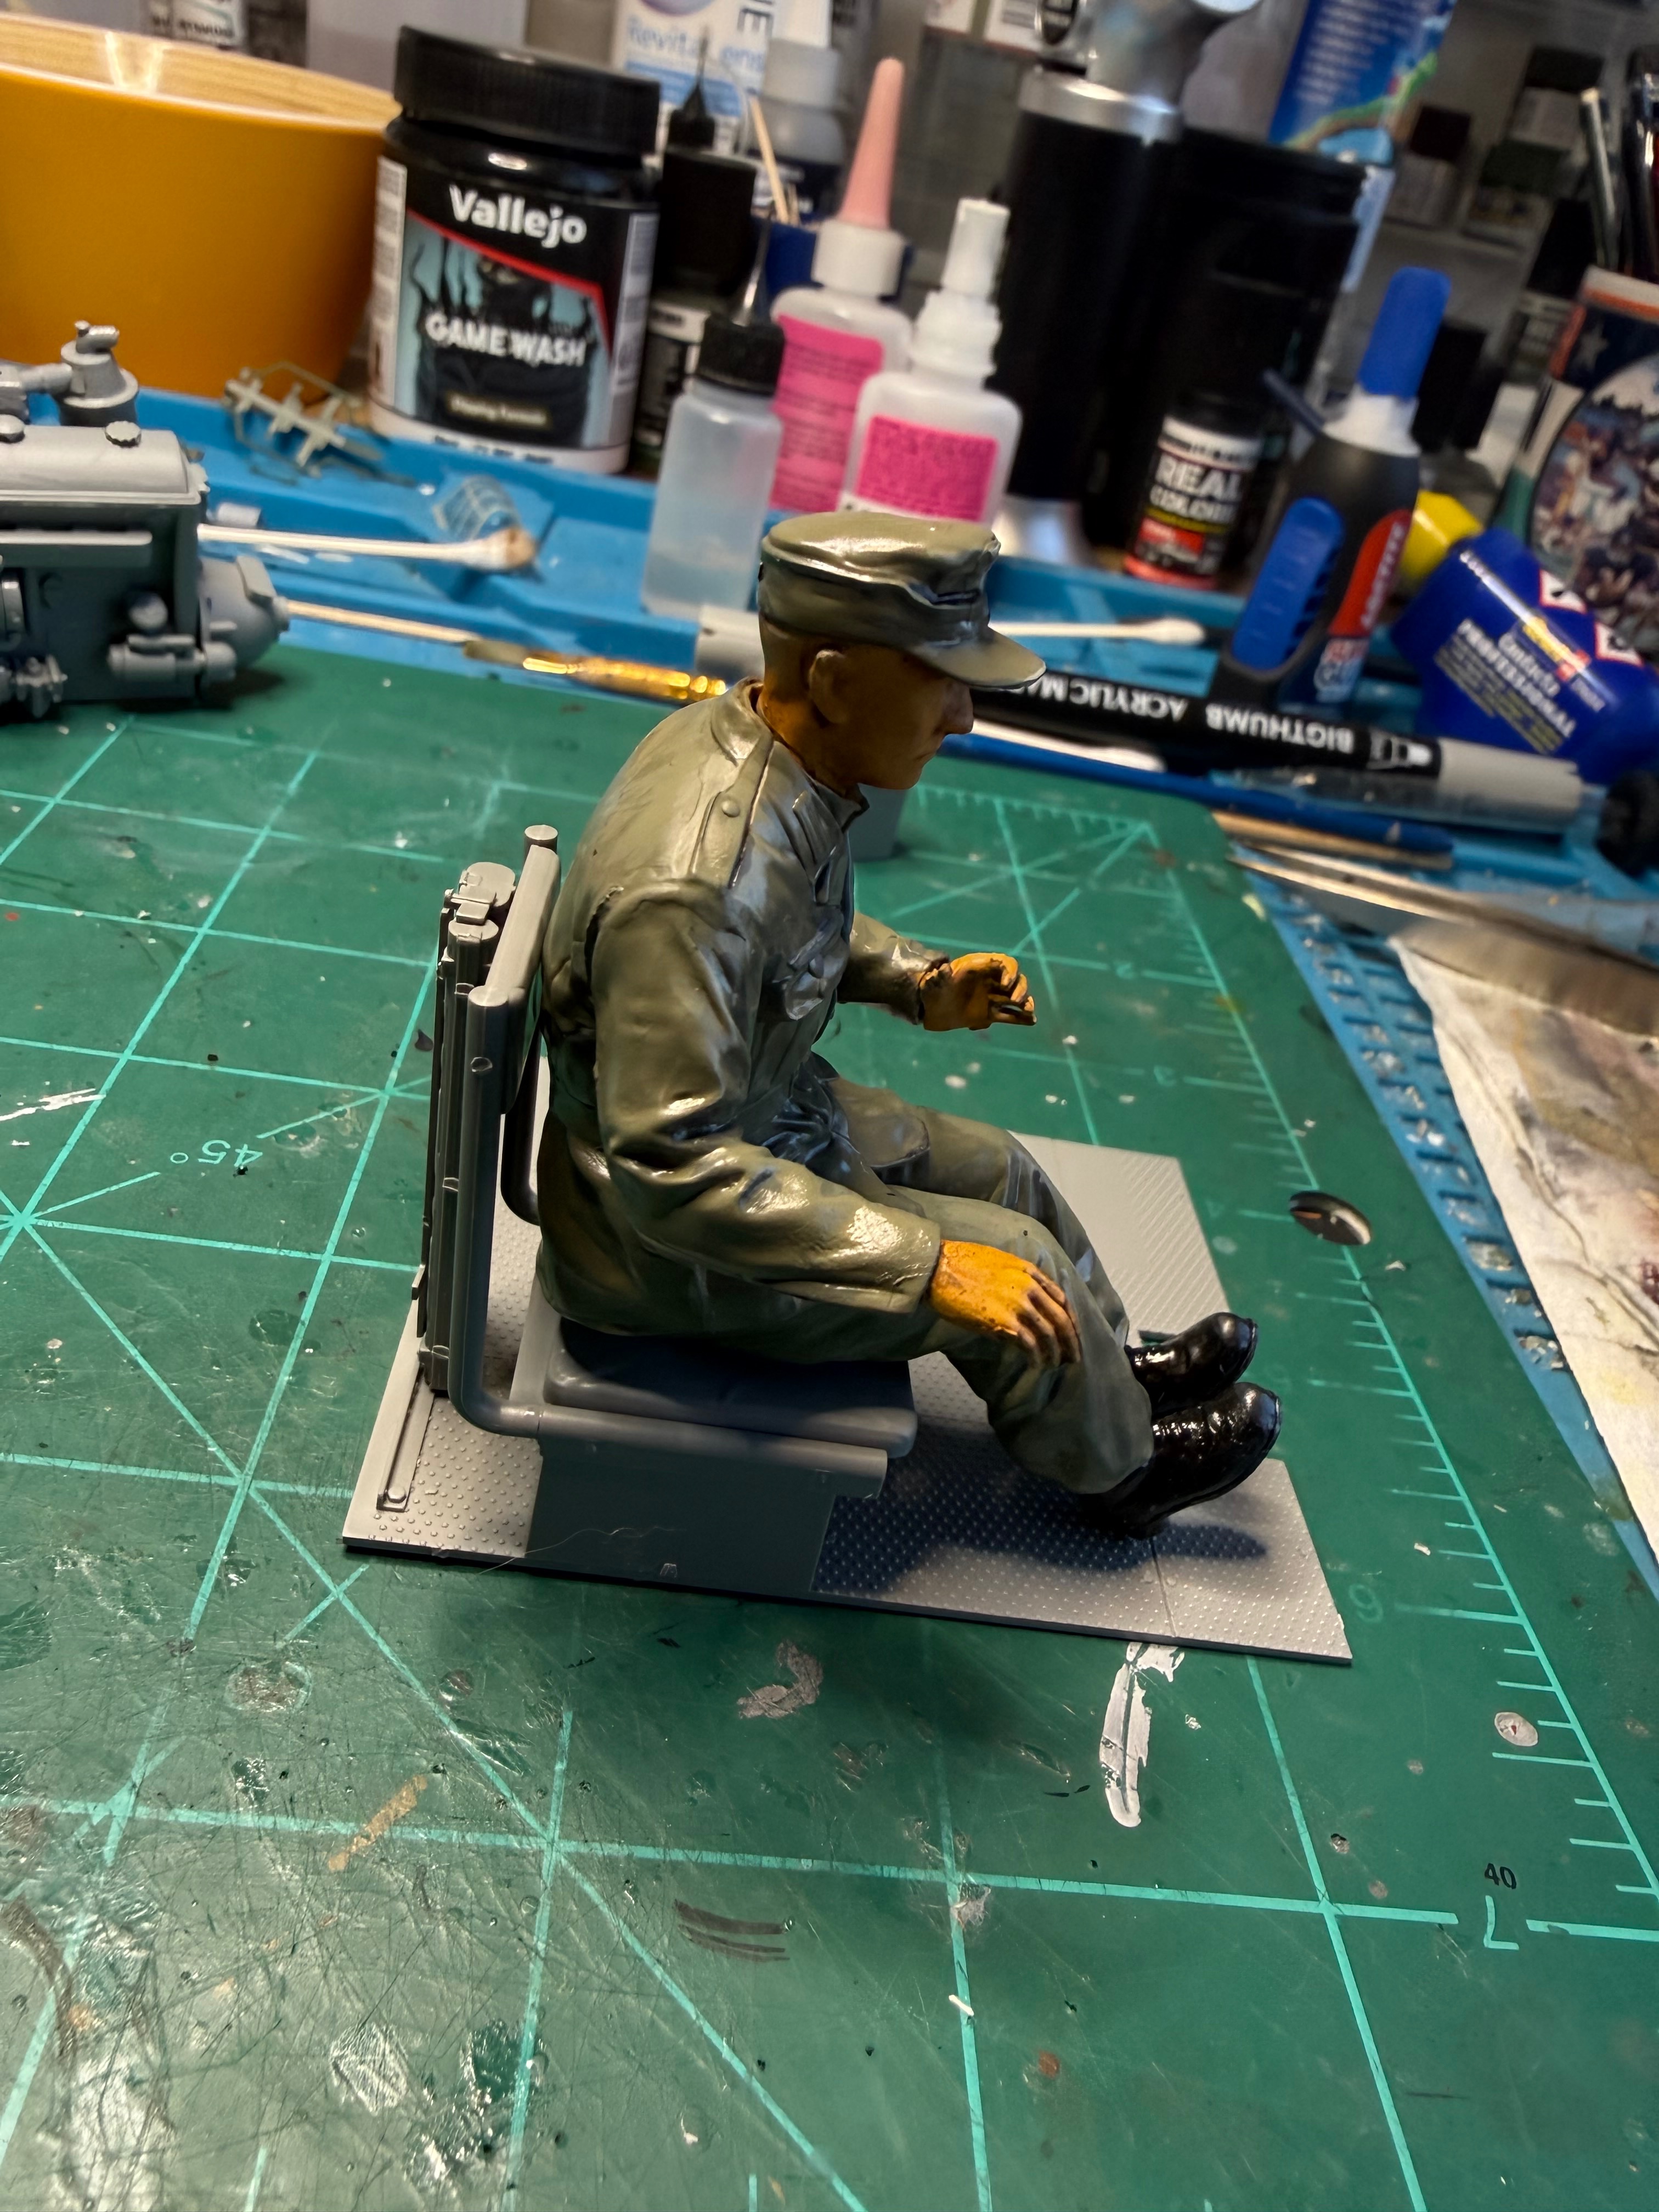
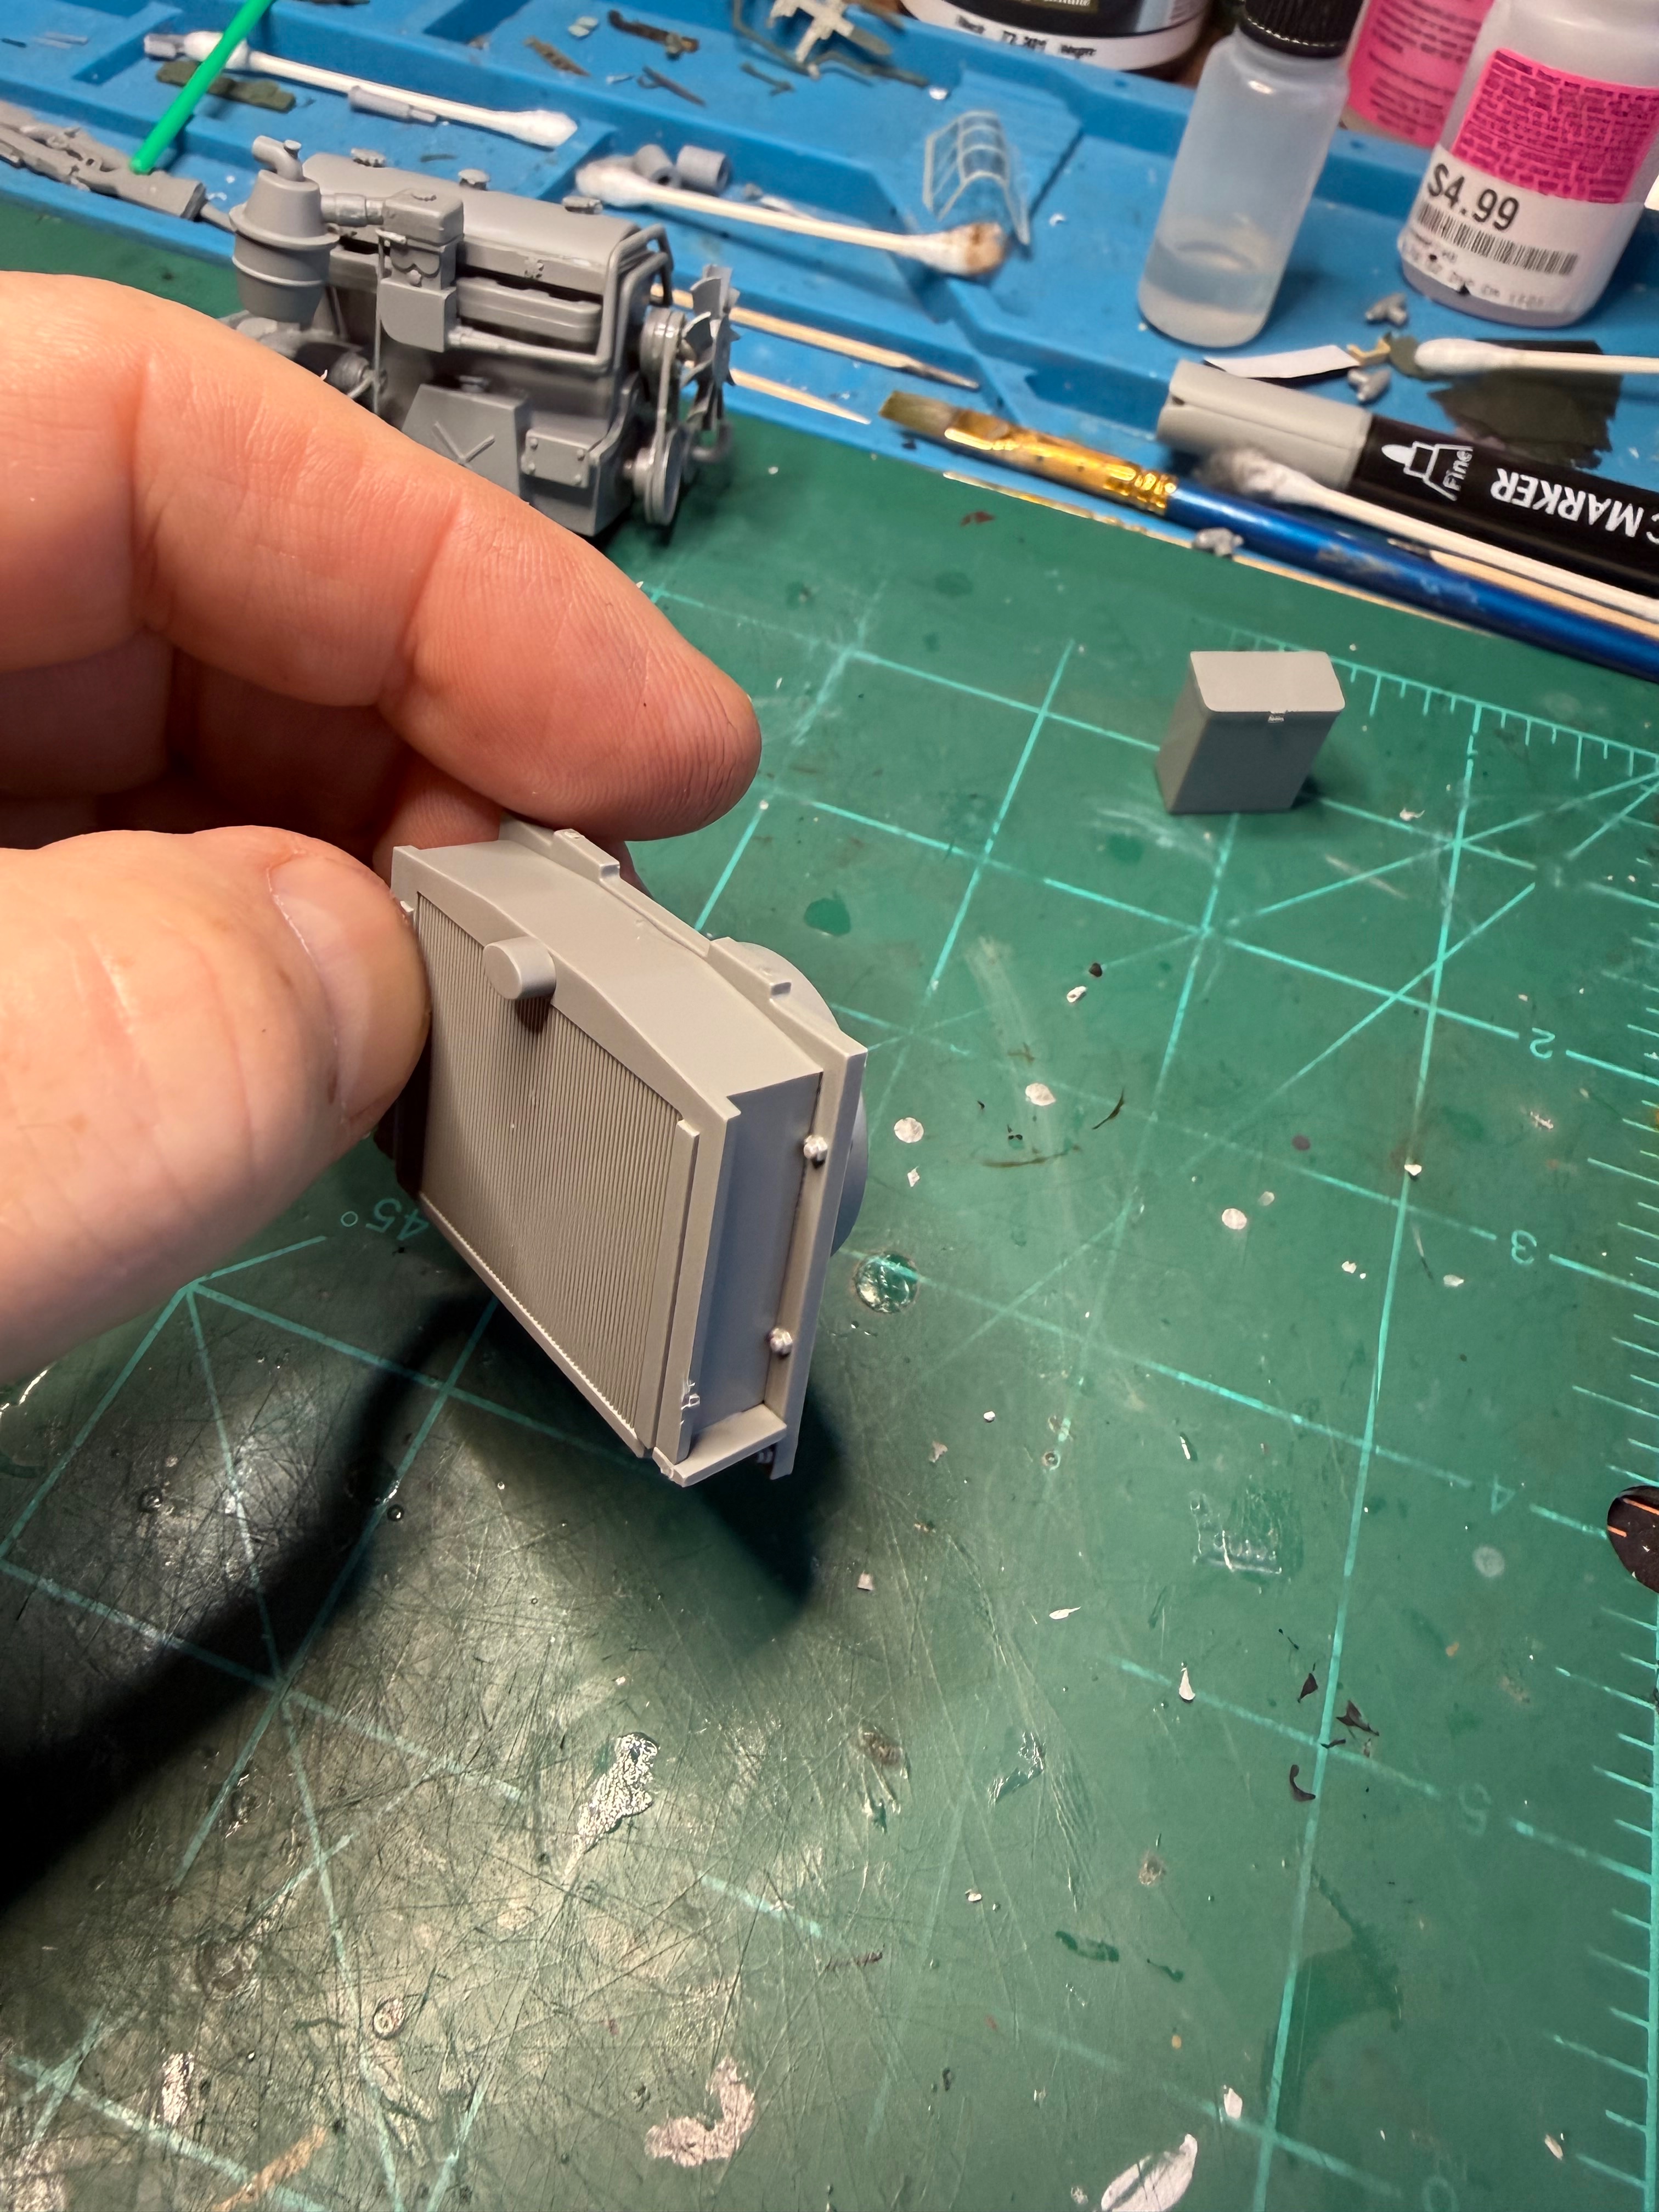
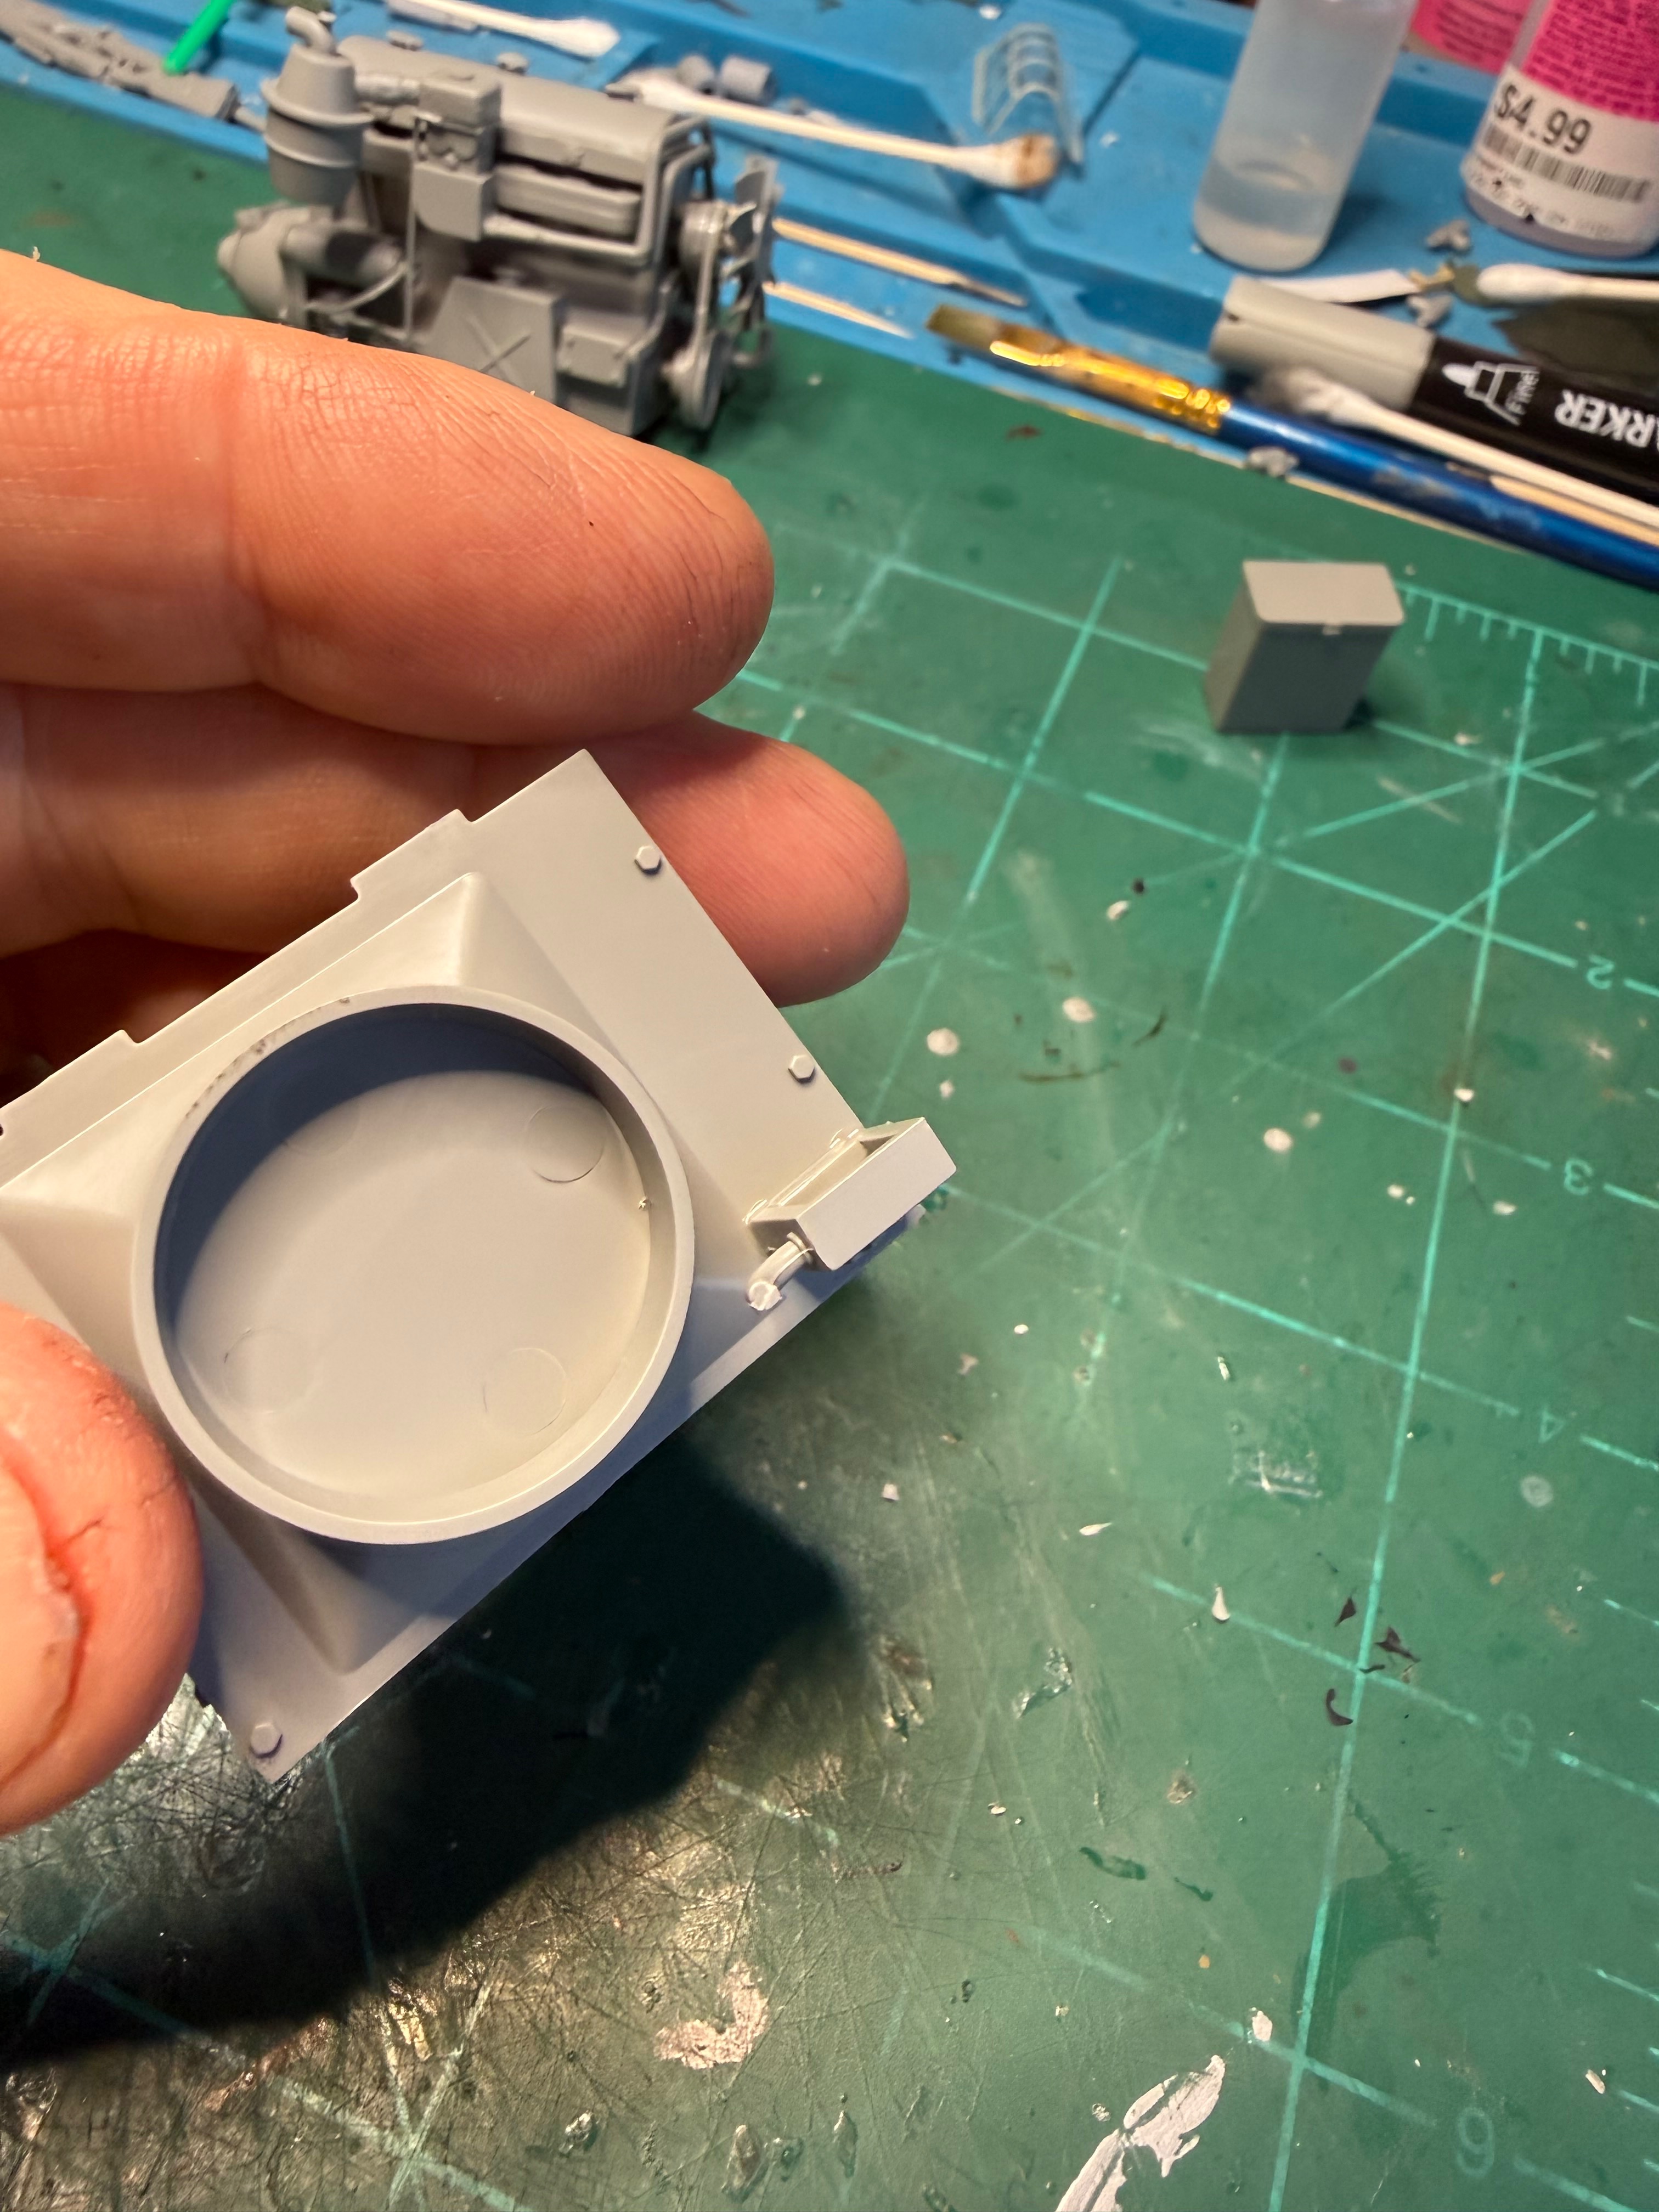
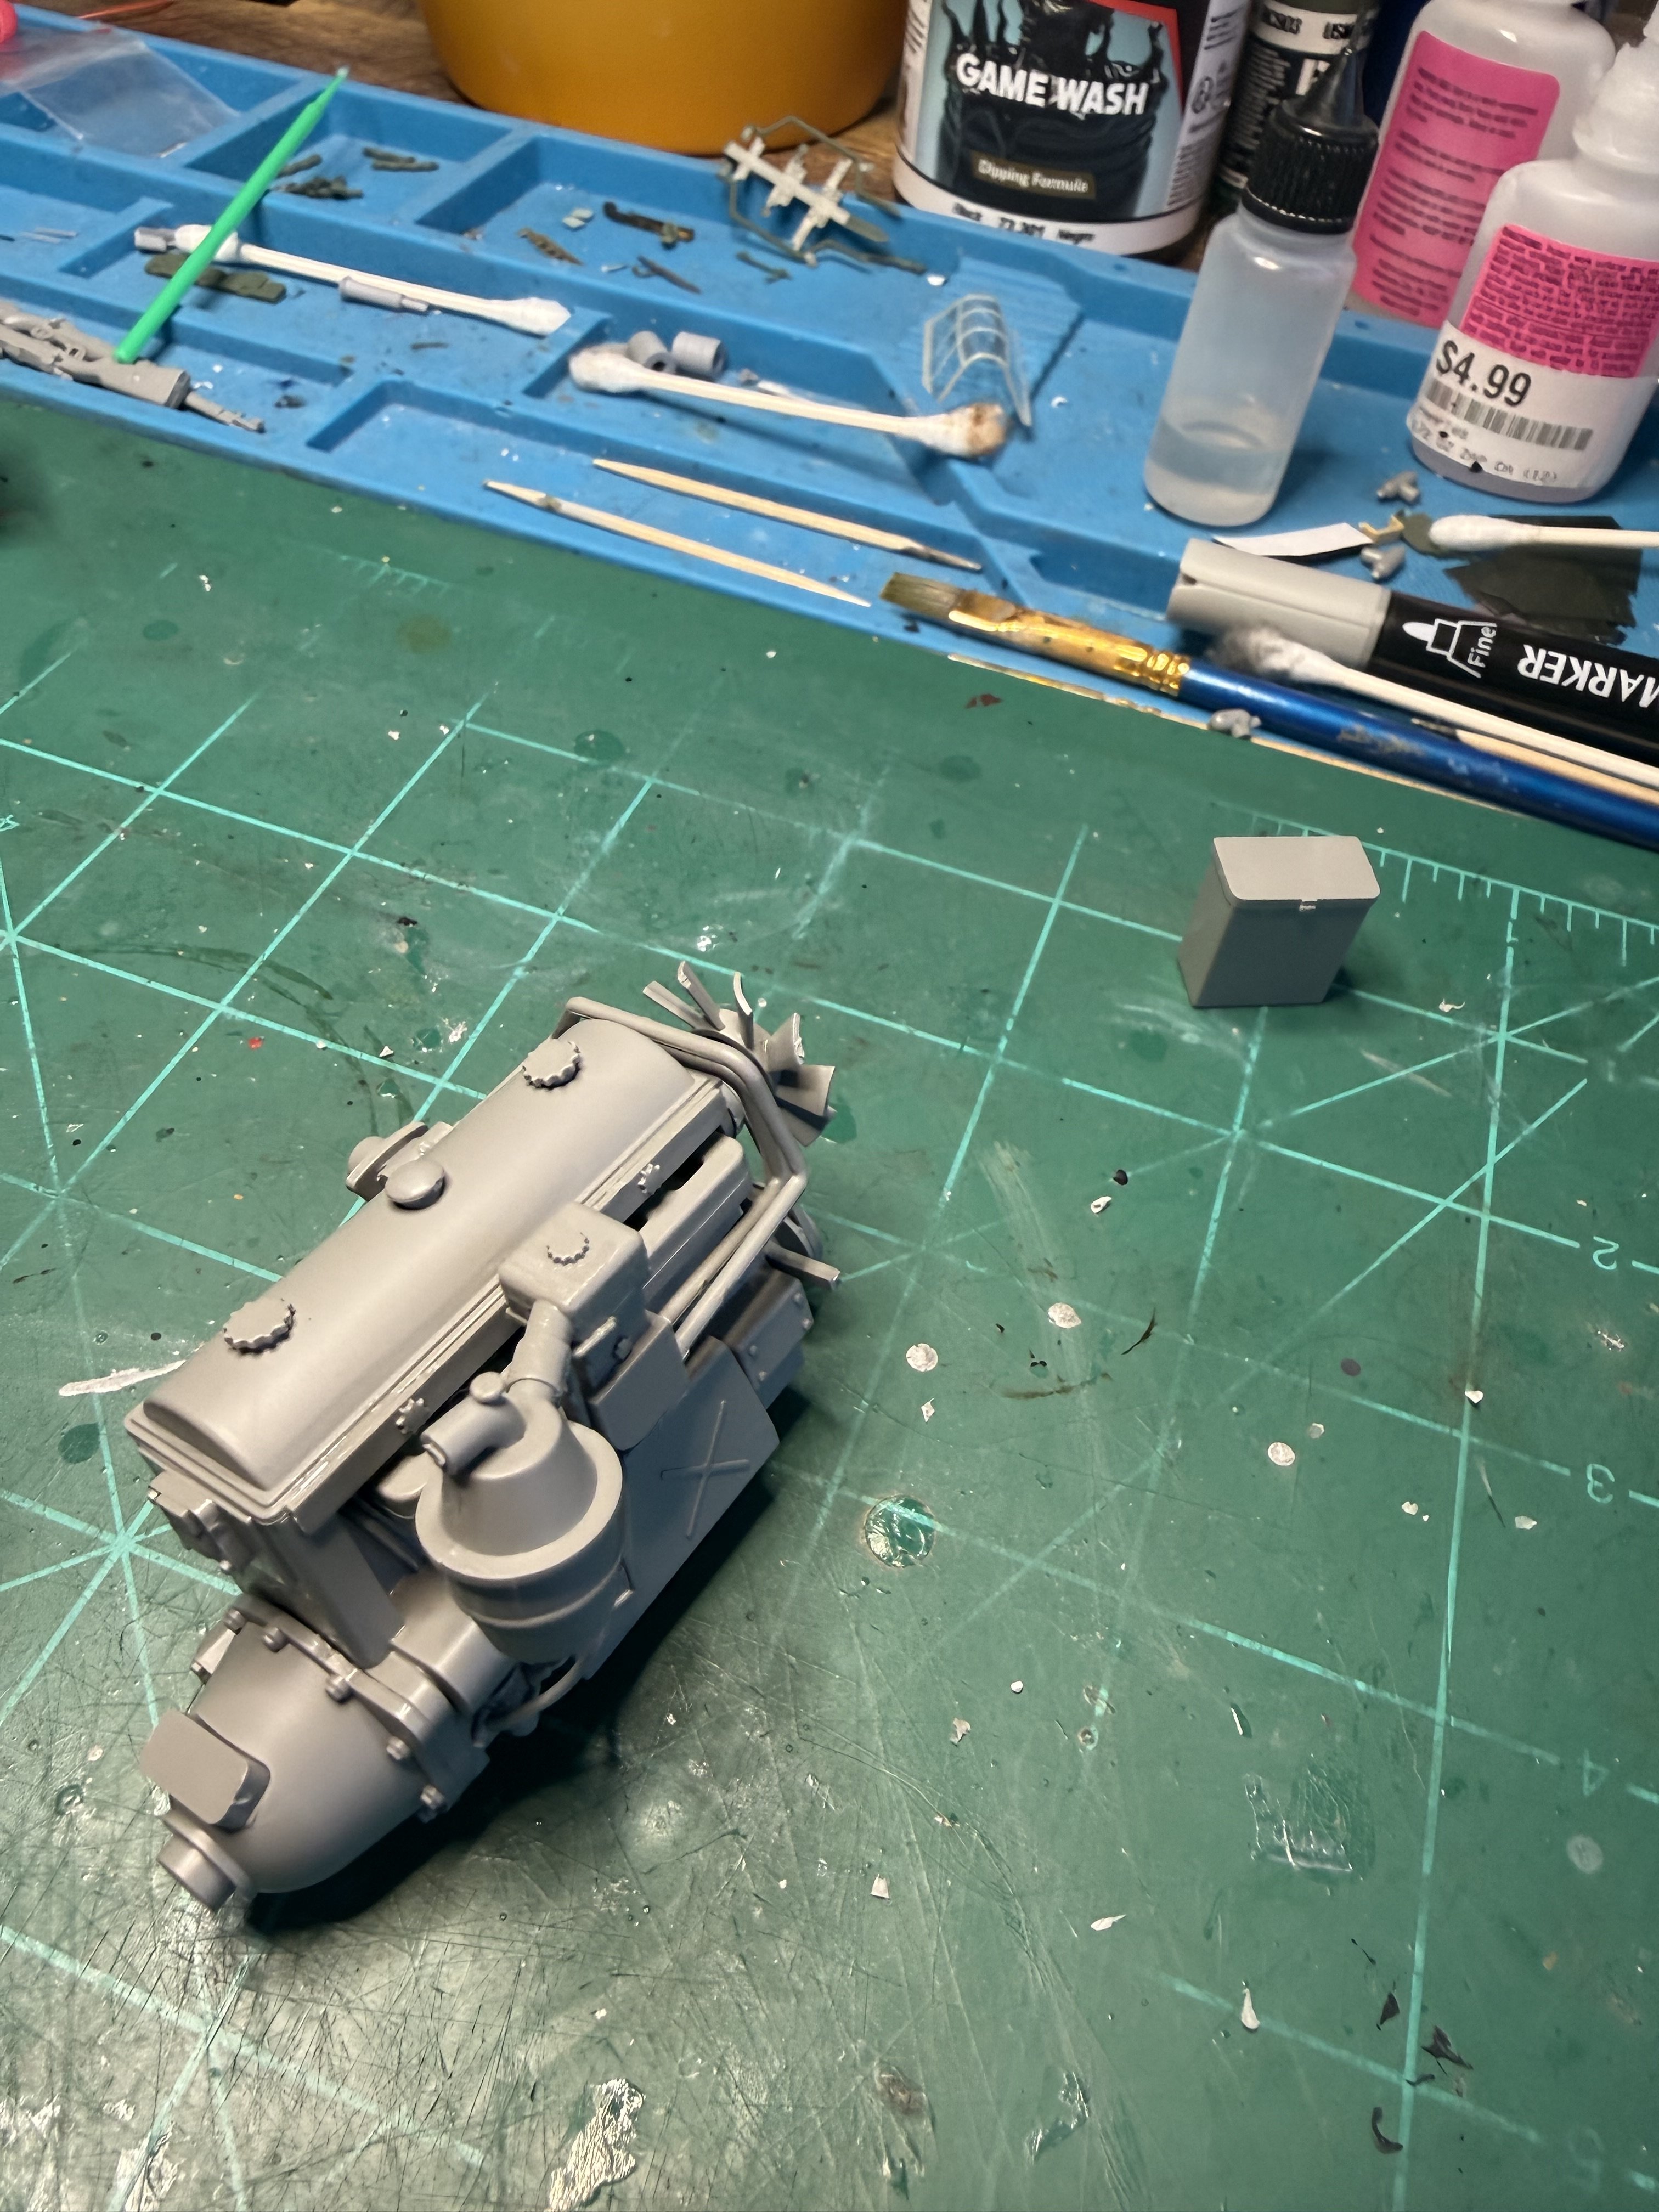
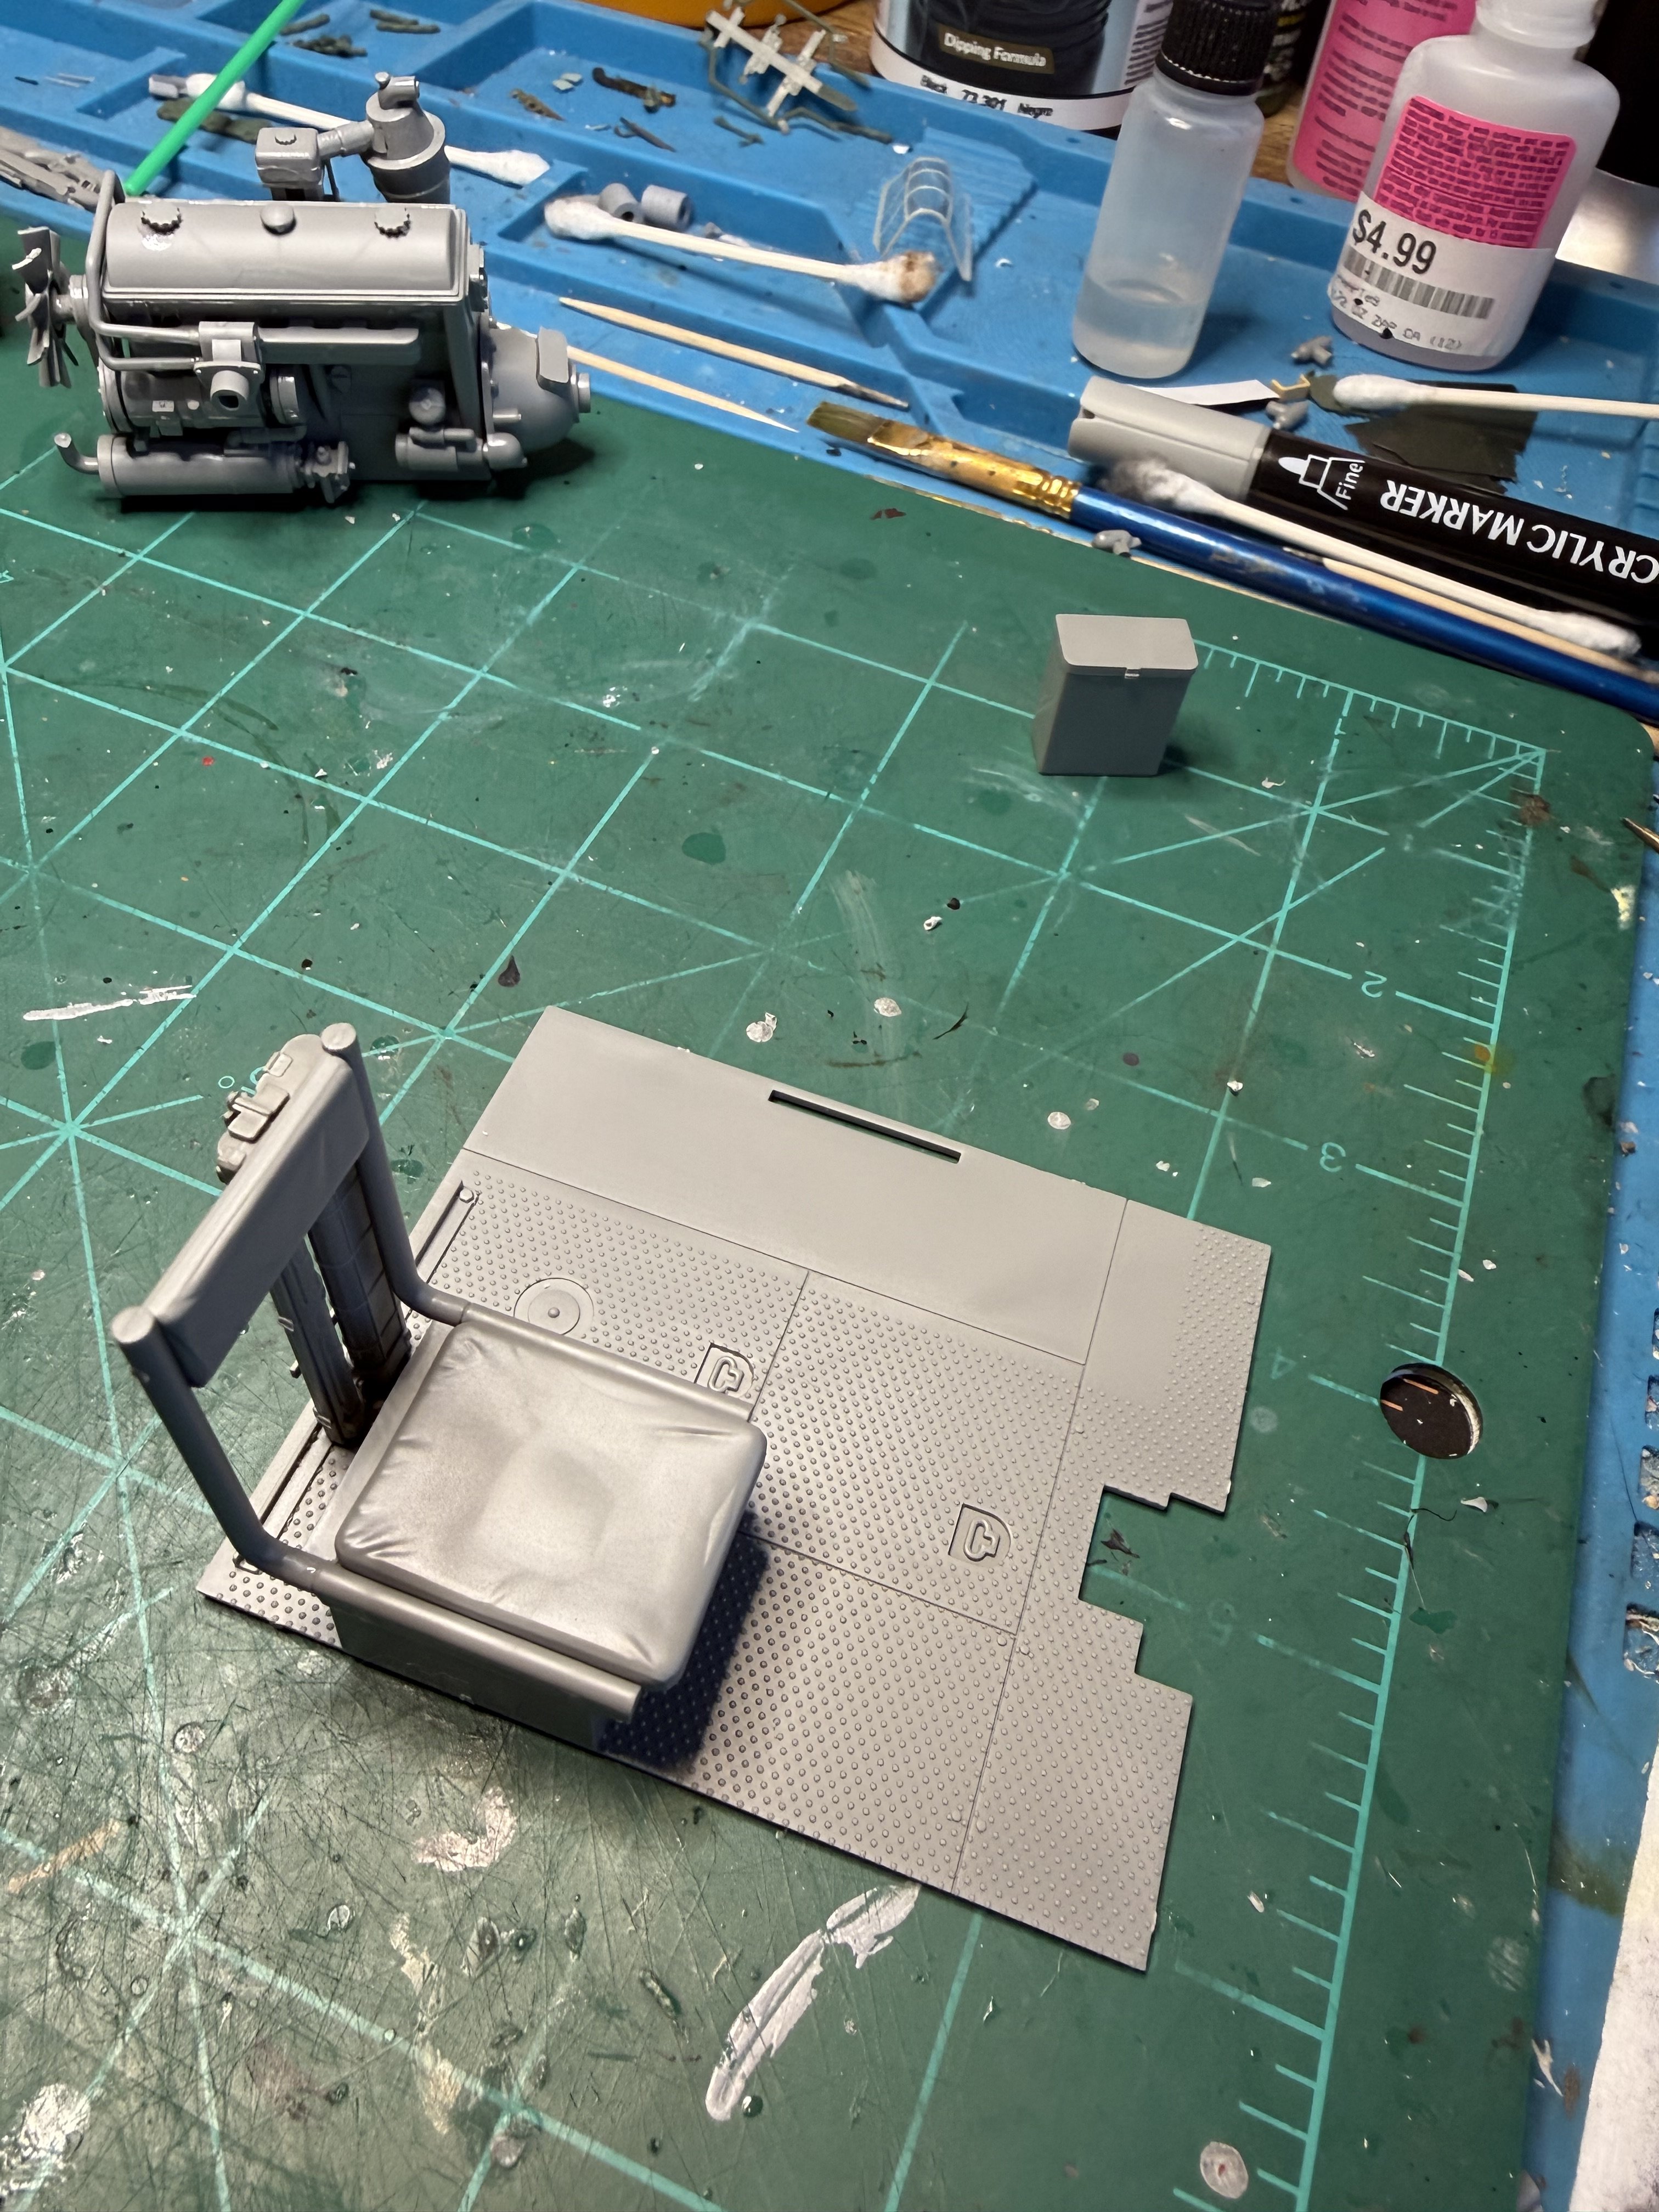
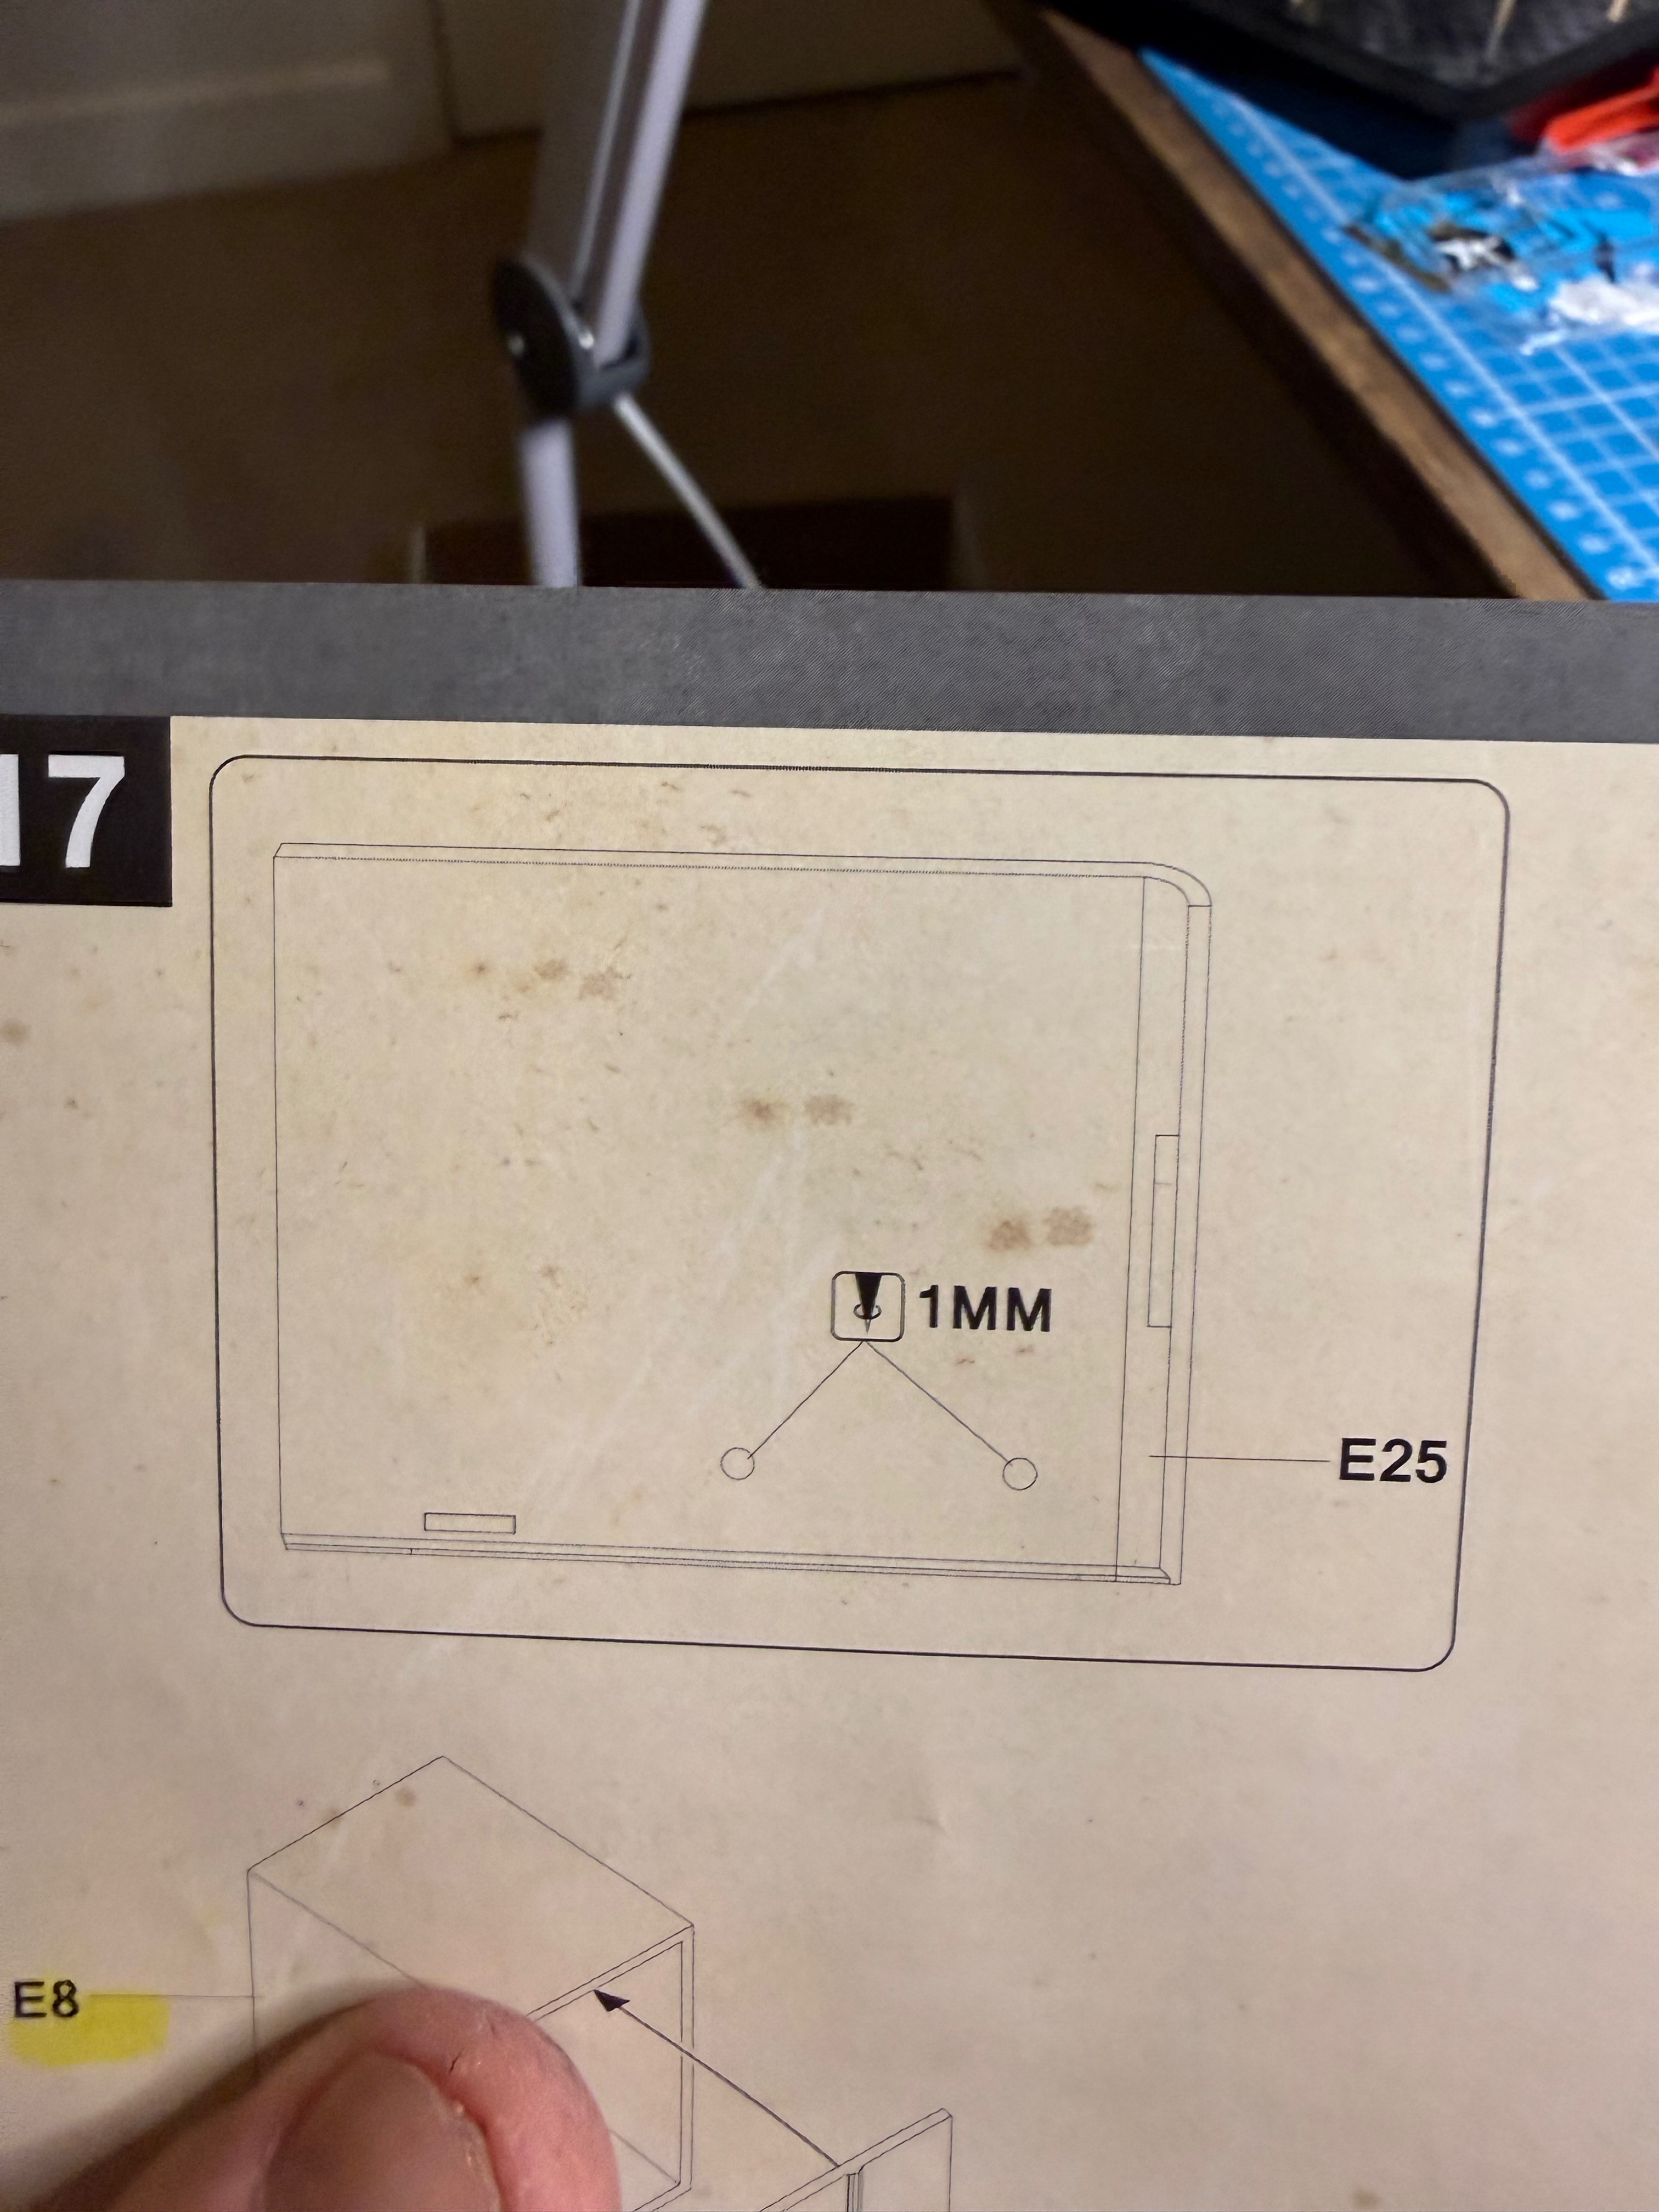
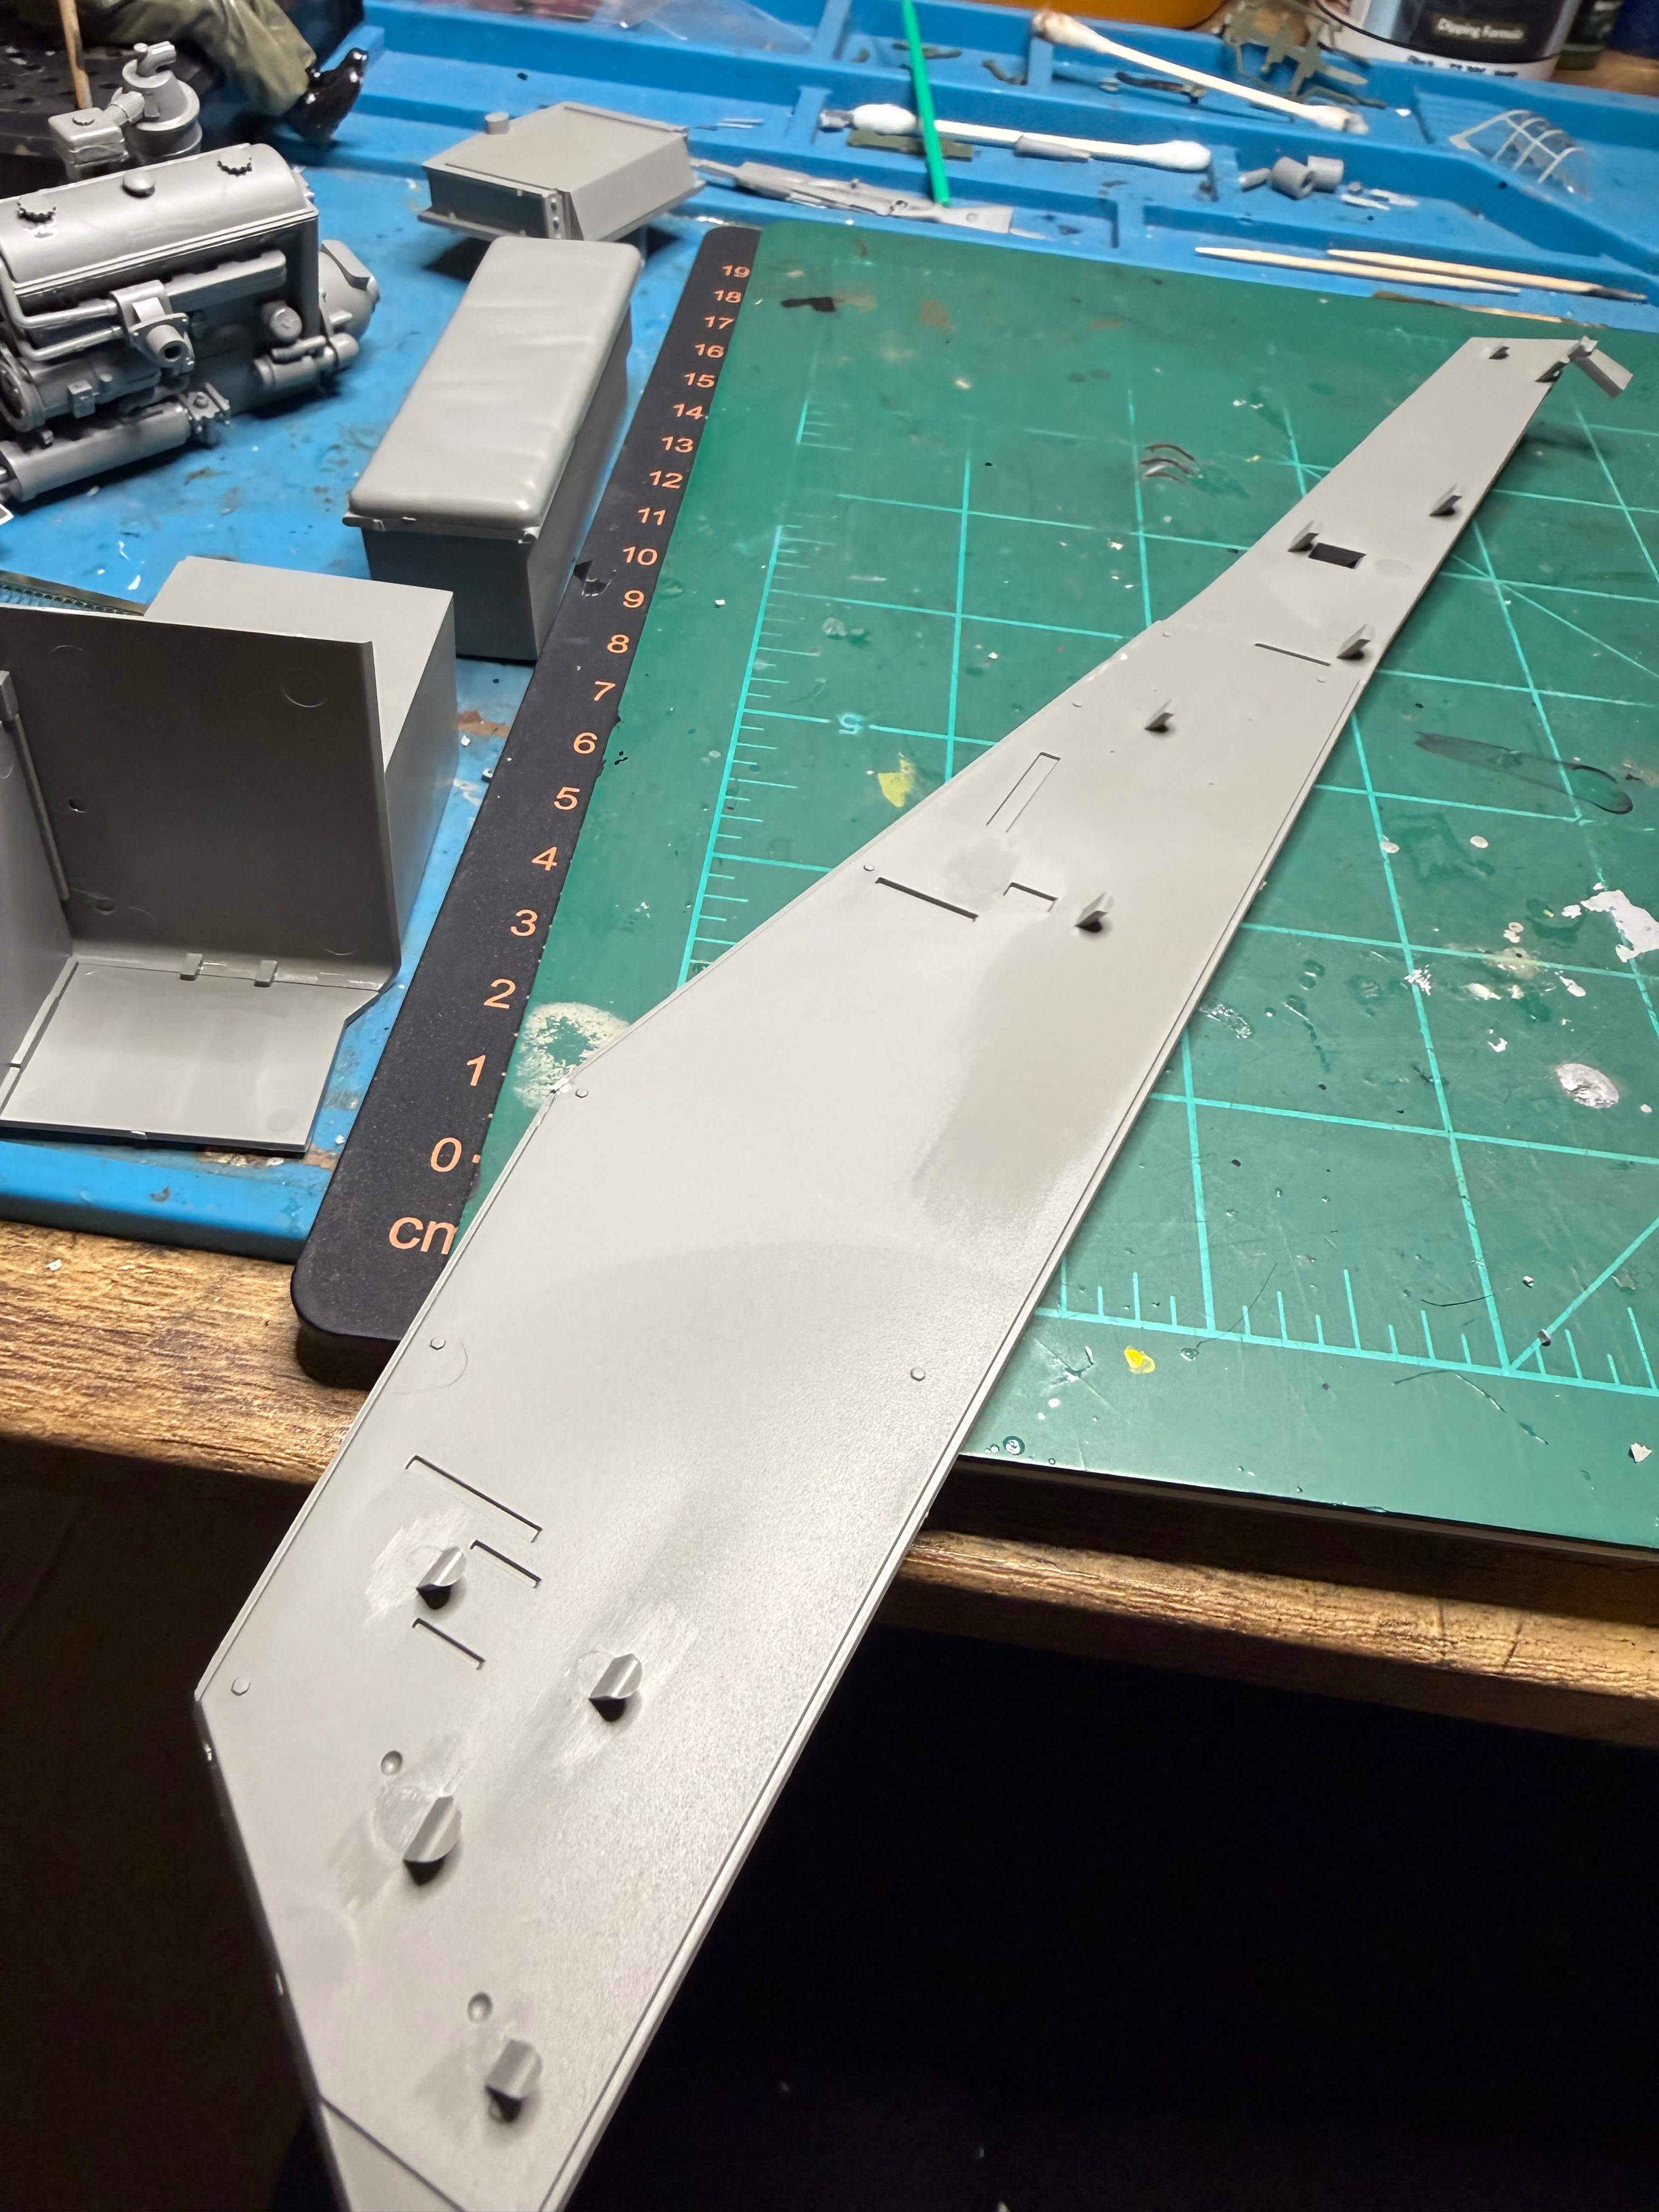
Just an FYI for anyone considering this kit. I need to post this now because I'll forget about it later. There's quite a bit of cleanup you have to do with this kit. Attached is a pic - this part is a bit excessive, but nearly every part has tabs that have to be clipped off and then shaved or sanded. Also I'm showing a pic of directions stating to drill a 1mm hole. 1 mm is not even close, 1.8 and that was a nice tight fit. I've also had several spots where I had to sand a tab or drill a pre-existing hole bigger in order for the pin or tab to fit. Sometimes I just remove it altogether. I'm guessing that due to the size and price most people just accept this and it won't stop me from buying another one of their large kits but I know it's going to be extra work.
Attachments
Jakko
Well-Known Member
They definitely aren't very big, no. But then, they were intended essentially to transport half-squads or other small crews, like for a mortar, rather than a full squad like the 251 was.That's cool that you got to see one. To be honest they seemed on the small side to me.
No, museums tend to be a bit uptight about that sort of thingI take it you couldn't get in it?
That's an Sd.Kfz. 251, the bigger cousin of the 250 that Ron is buildingThey have one at the American Heritage Museum in Hudson, Mass., I don't know what variant it is, but it is pretty cool to see in person.
It's an Ausf. D (easily recognised by the outward slope of the rear wall) and looks like a 251/1 to me, which is to say, the basic APC variant.
Jakko
Well-Known Member
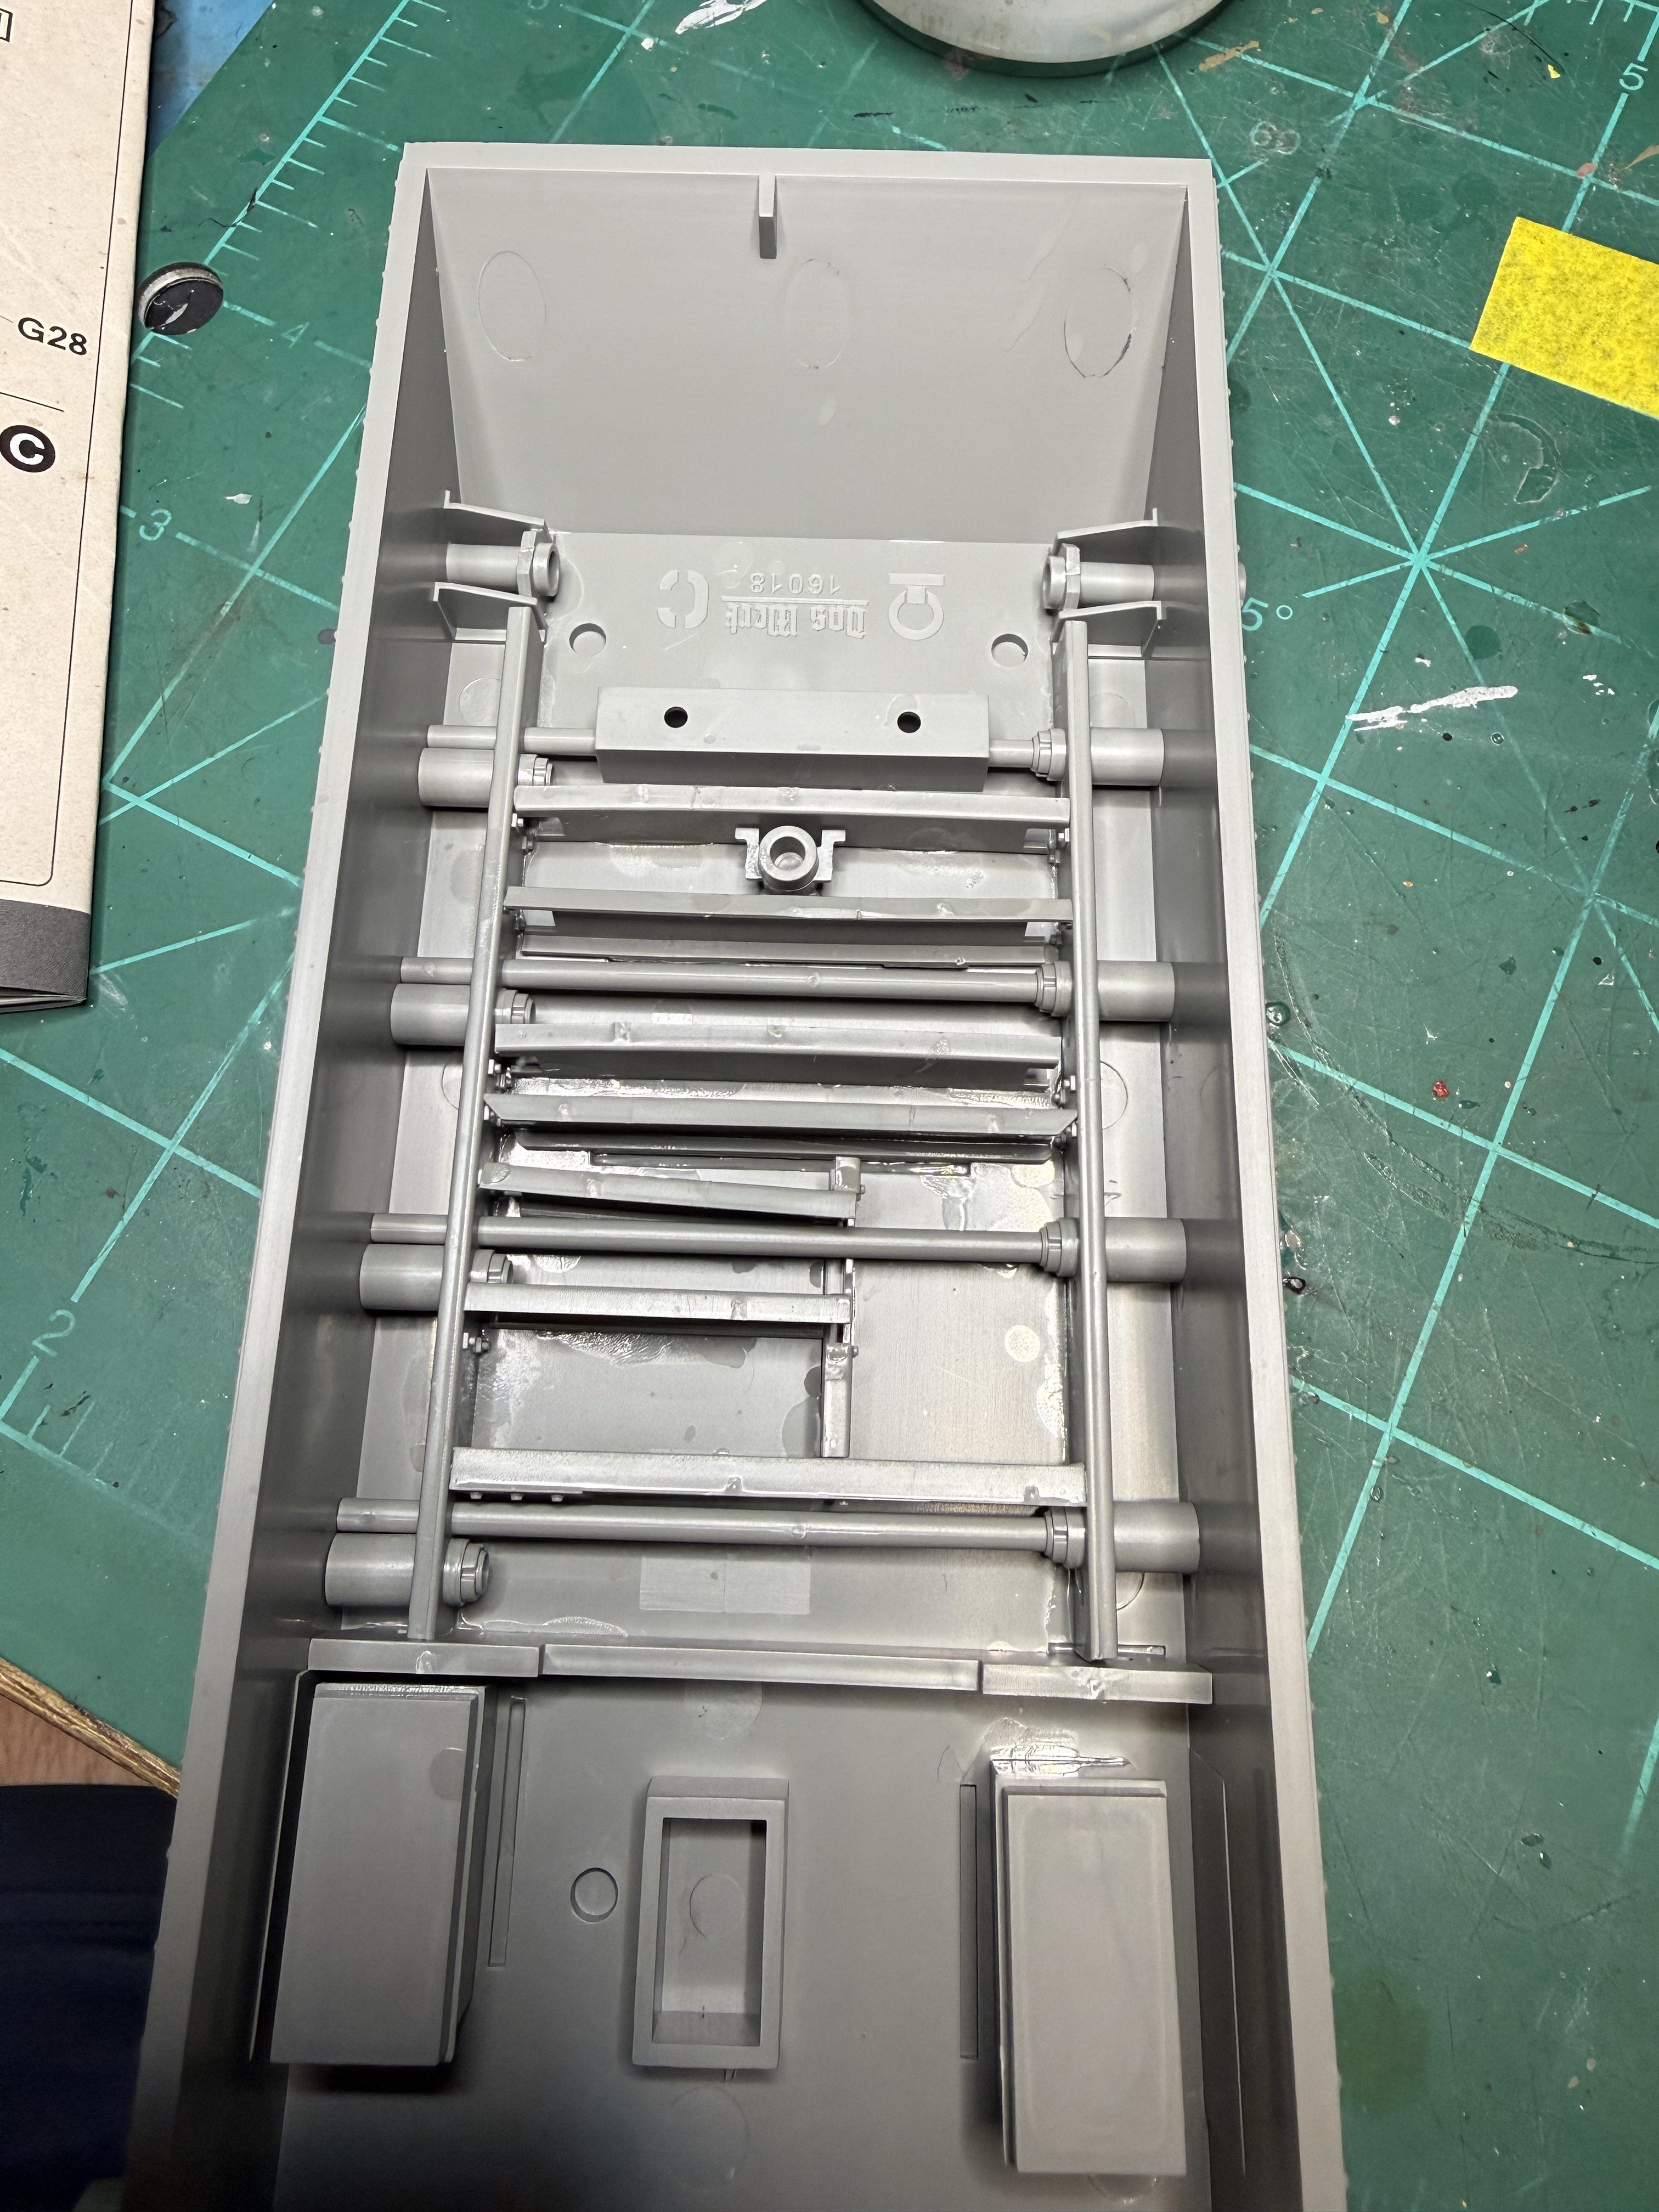
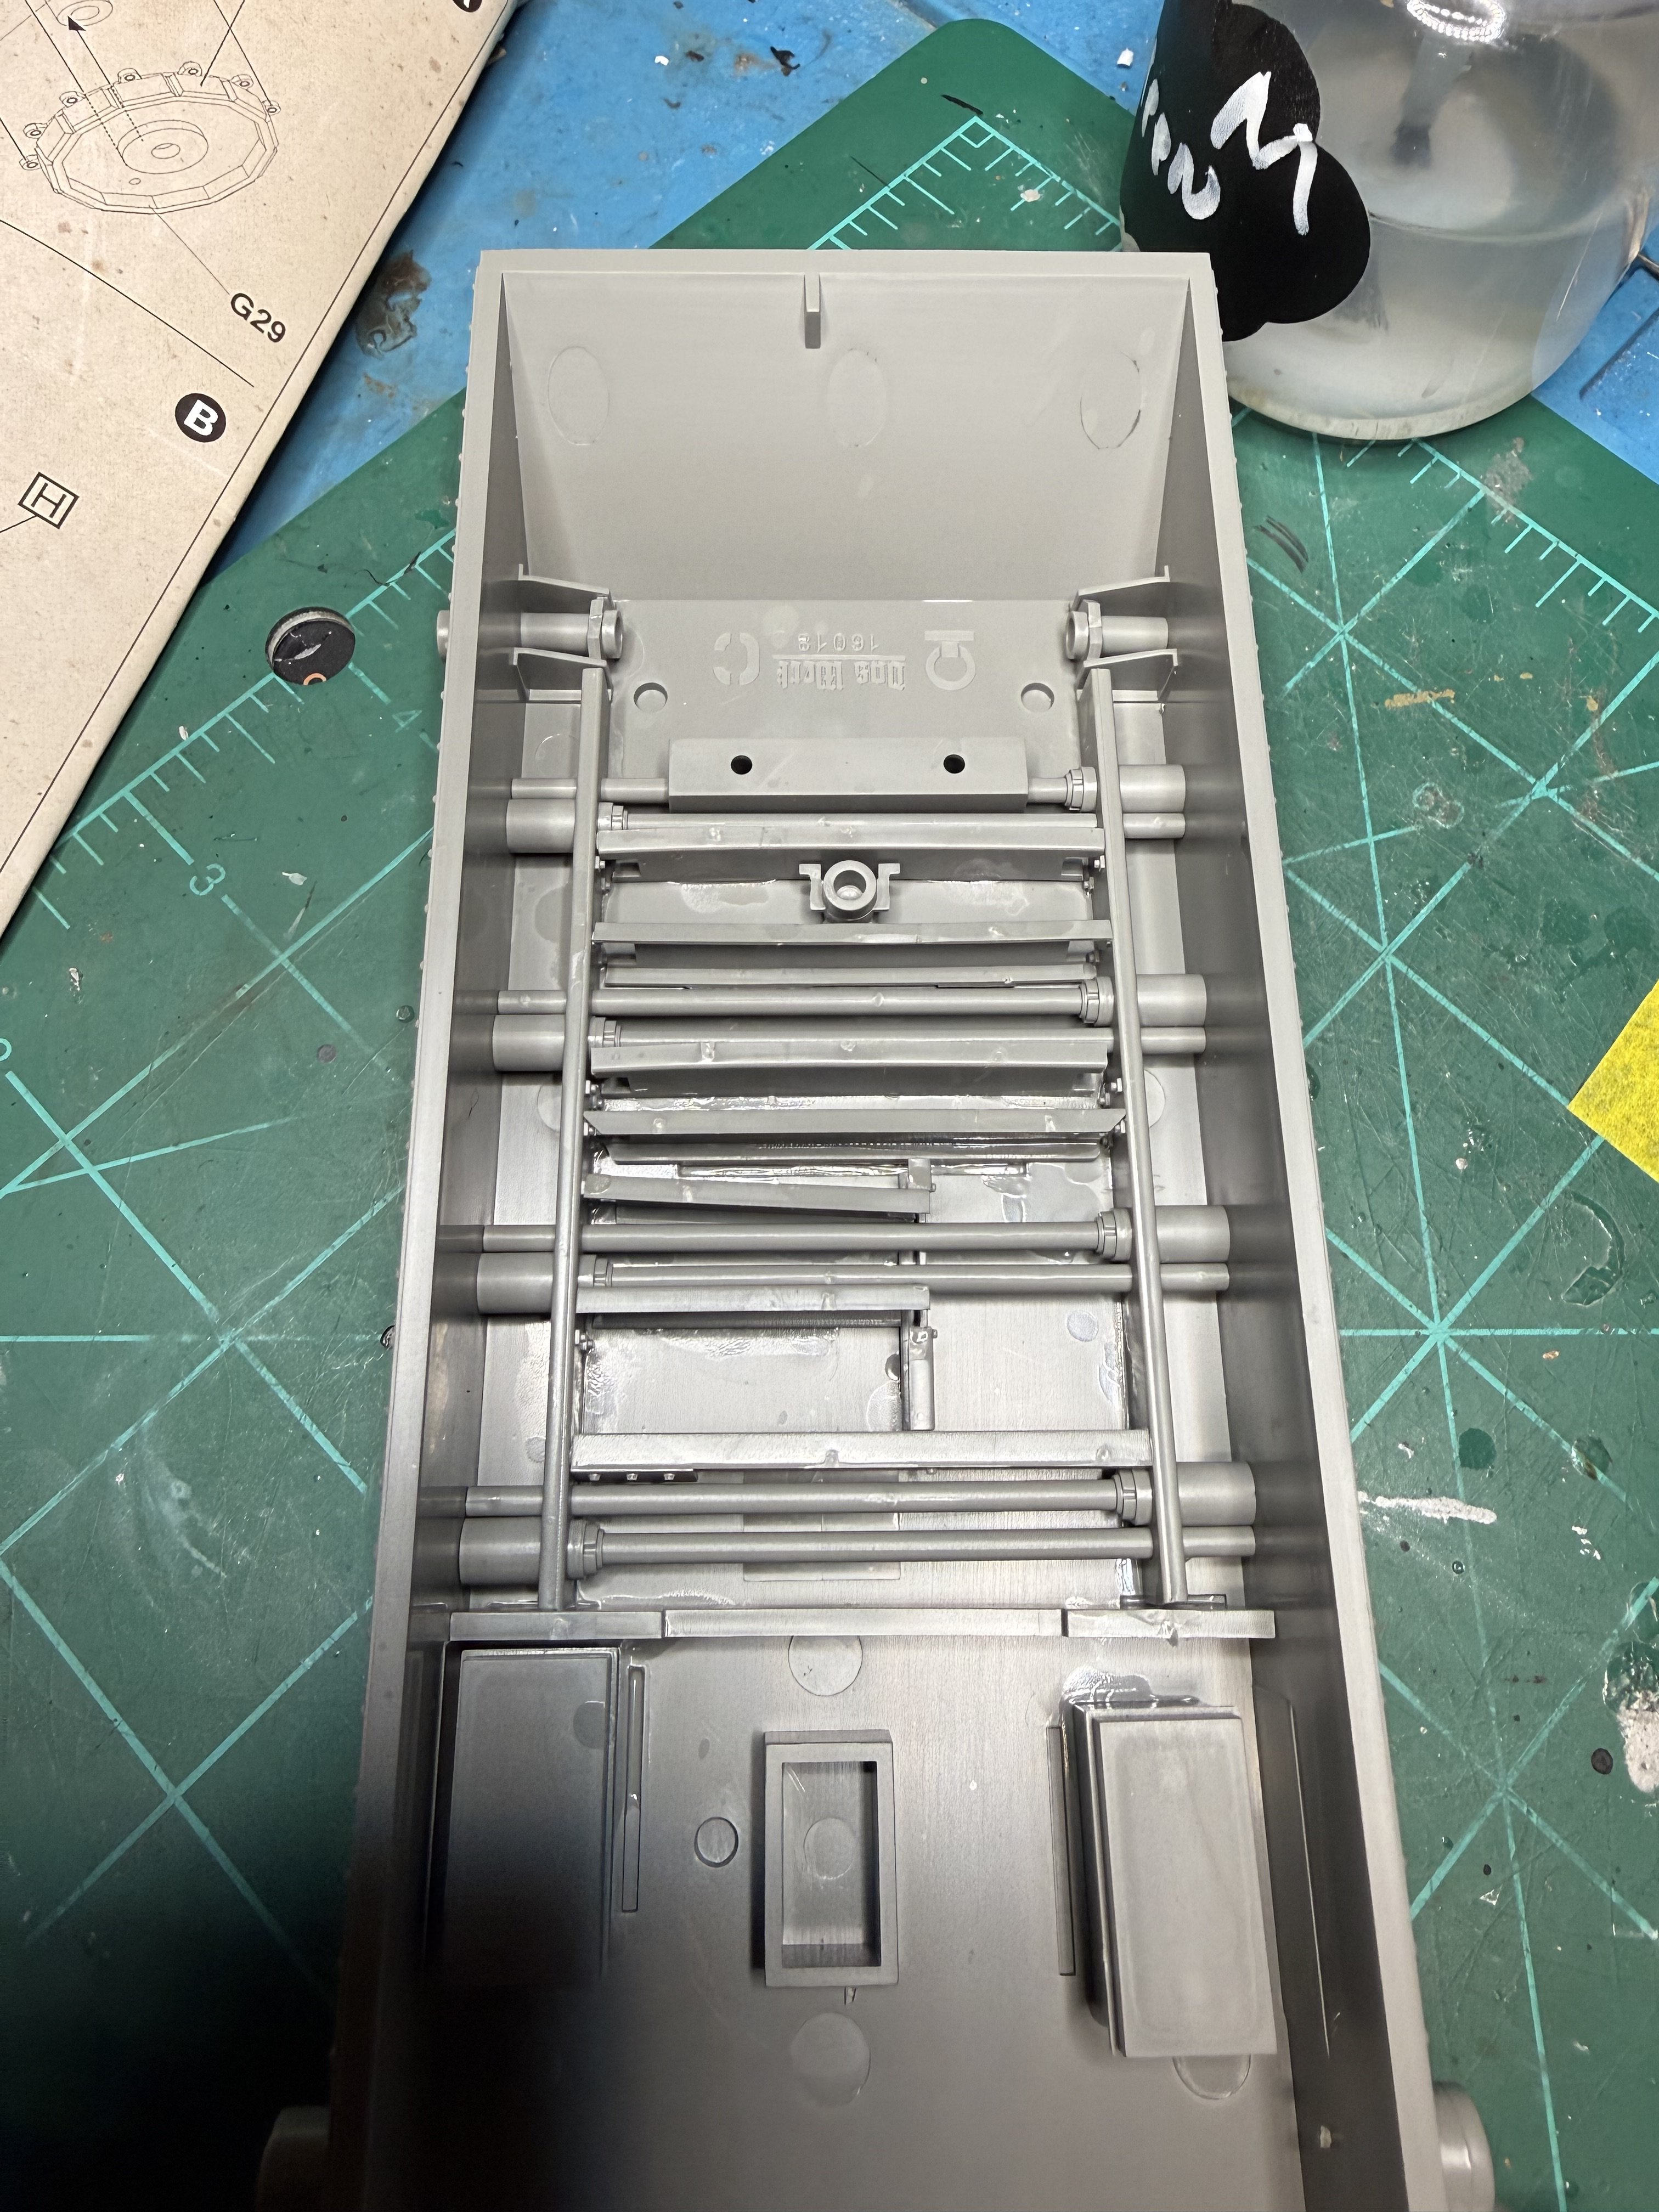
Do you mean the flat, vertical container on the back of the seat? That looks like a spare barrel carrier for the machine gun(s) to me.So I built the rear platform which has a seat and a tool box and something I'm clueless about- Jakko?
Yes that piece. I thought it looked like it could be a gun case of some sort.Do you mean the flat, vertical container on the back of the seat? That looks like a spare barrel carrier for the machine gun(s) to me.


