
You are using an out of date browser. It may not display this or other websites correctly.
You should upgrade or use an alternative browser.
You should upgrade or use an alternative browser.
Tamiya M1A2 Abrams
- Thread starter Wolf Star
- Start date


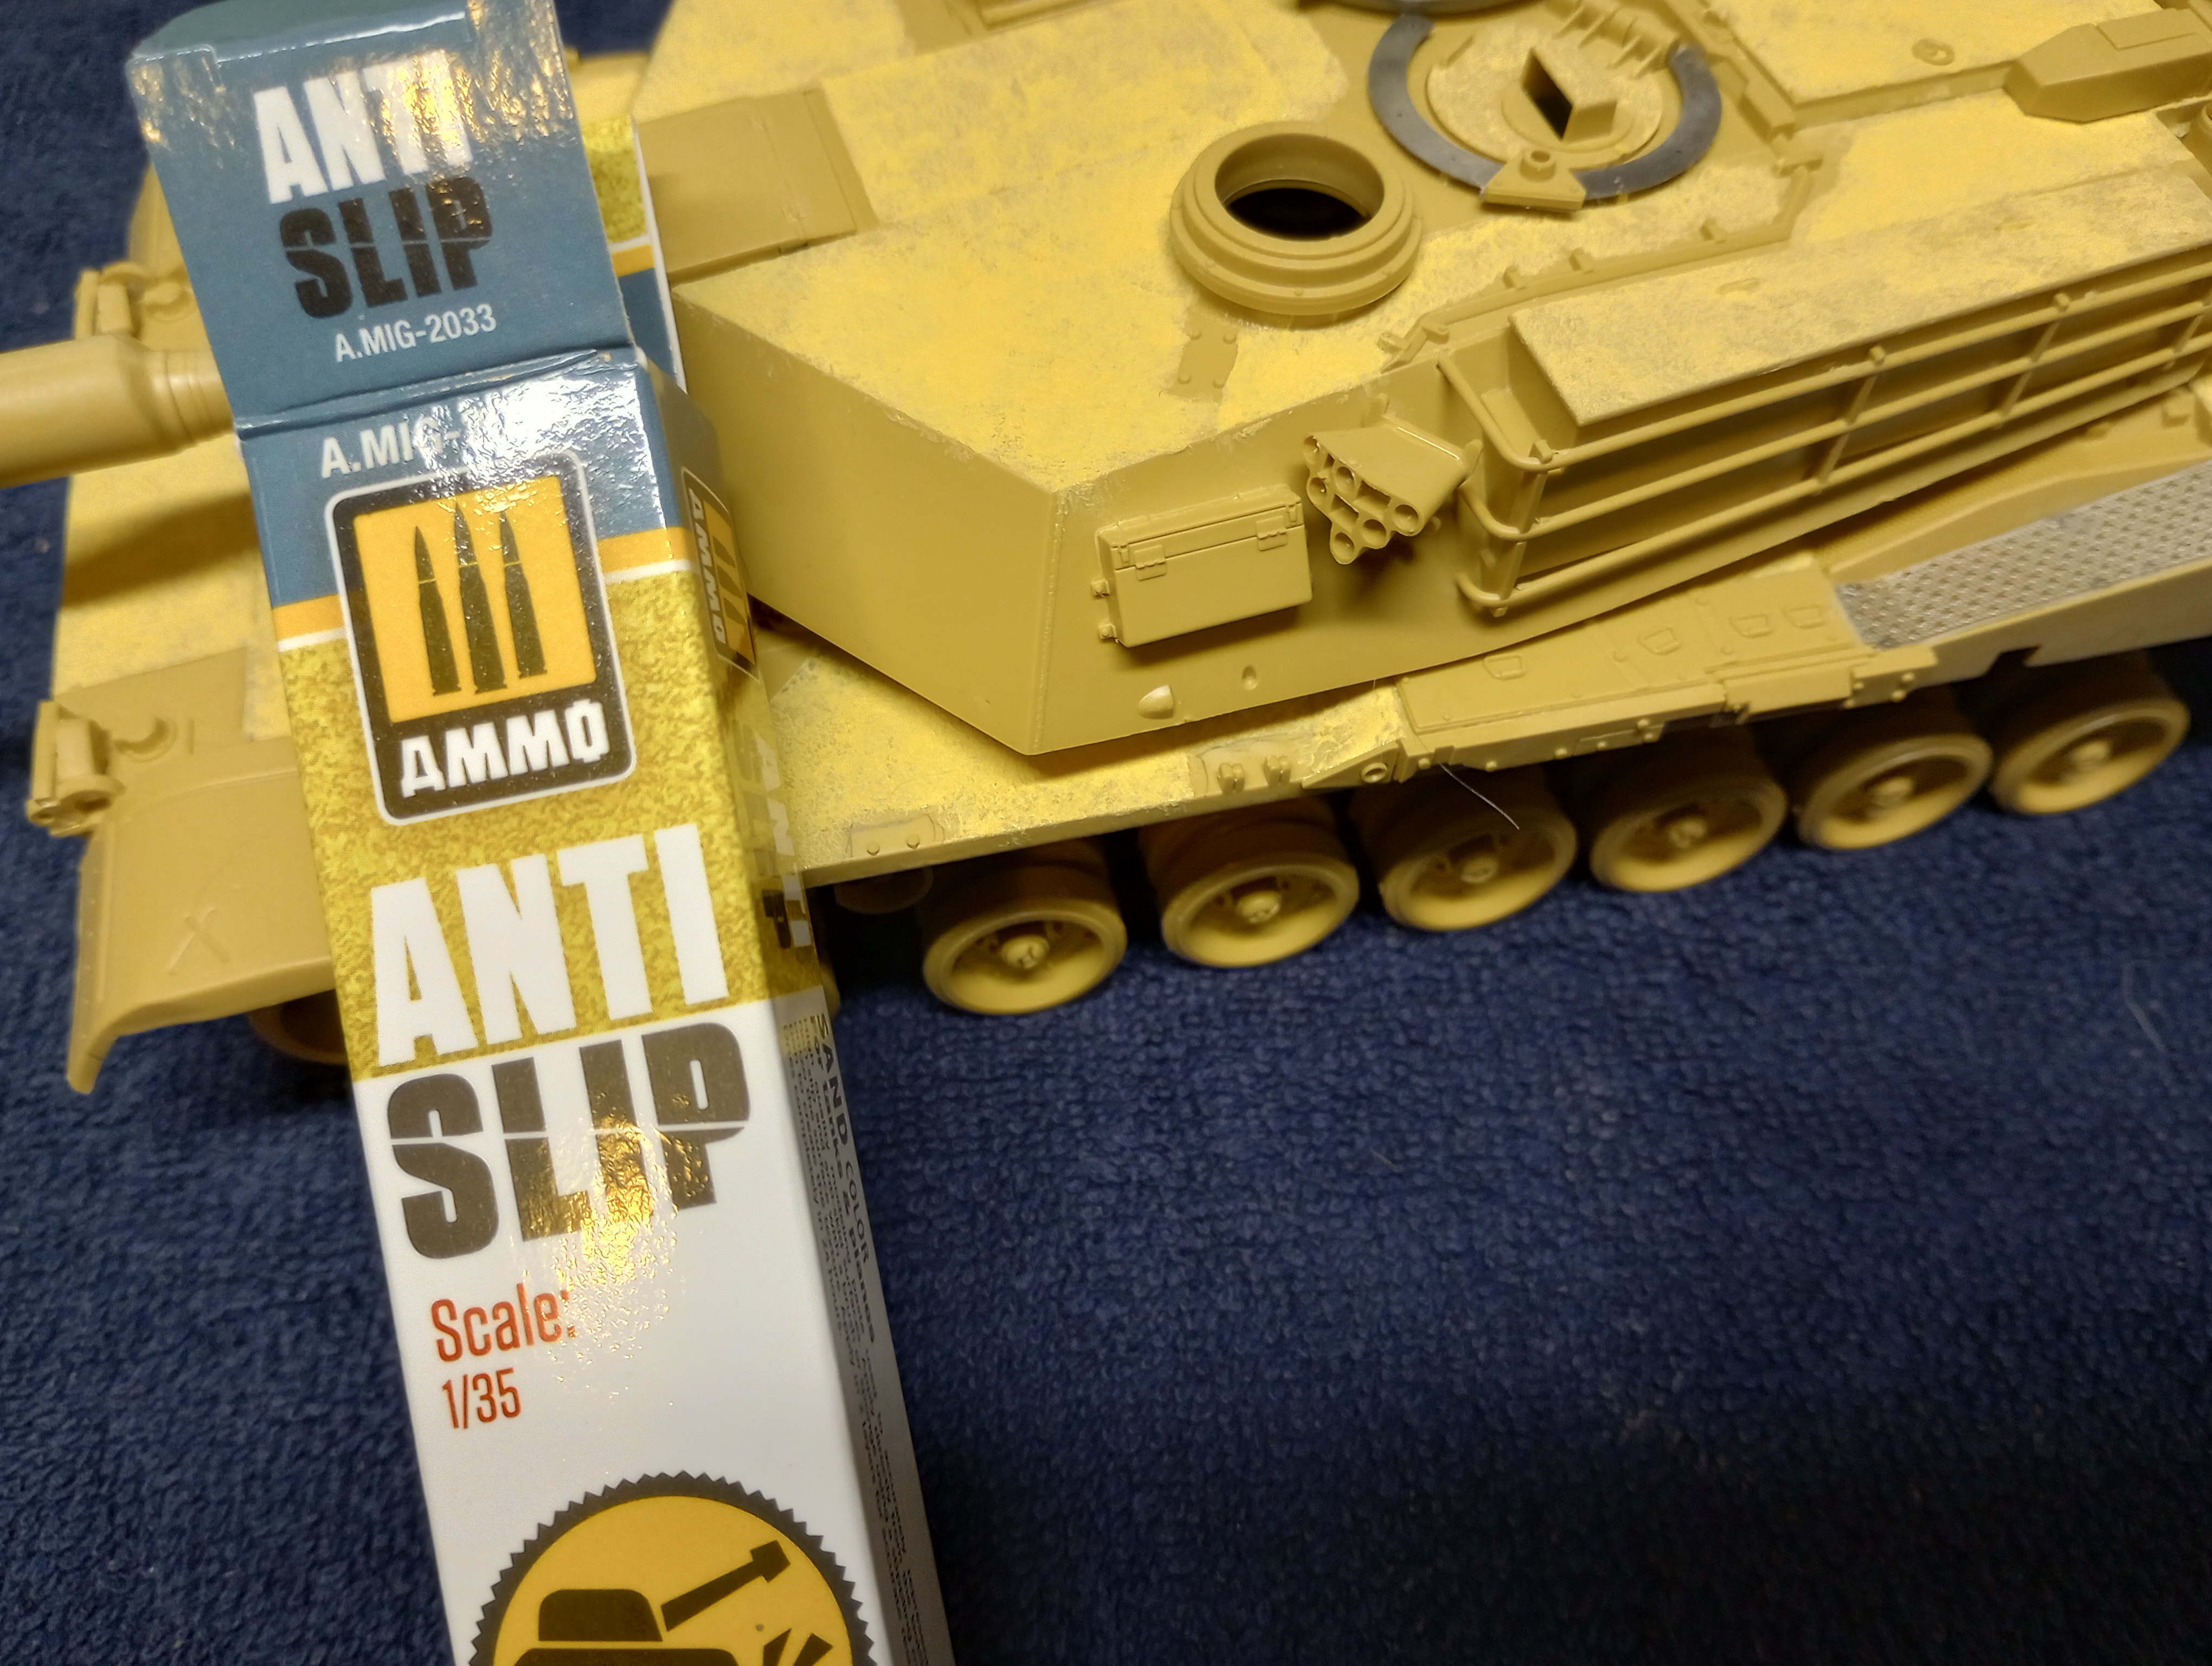
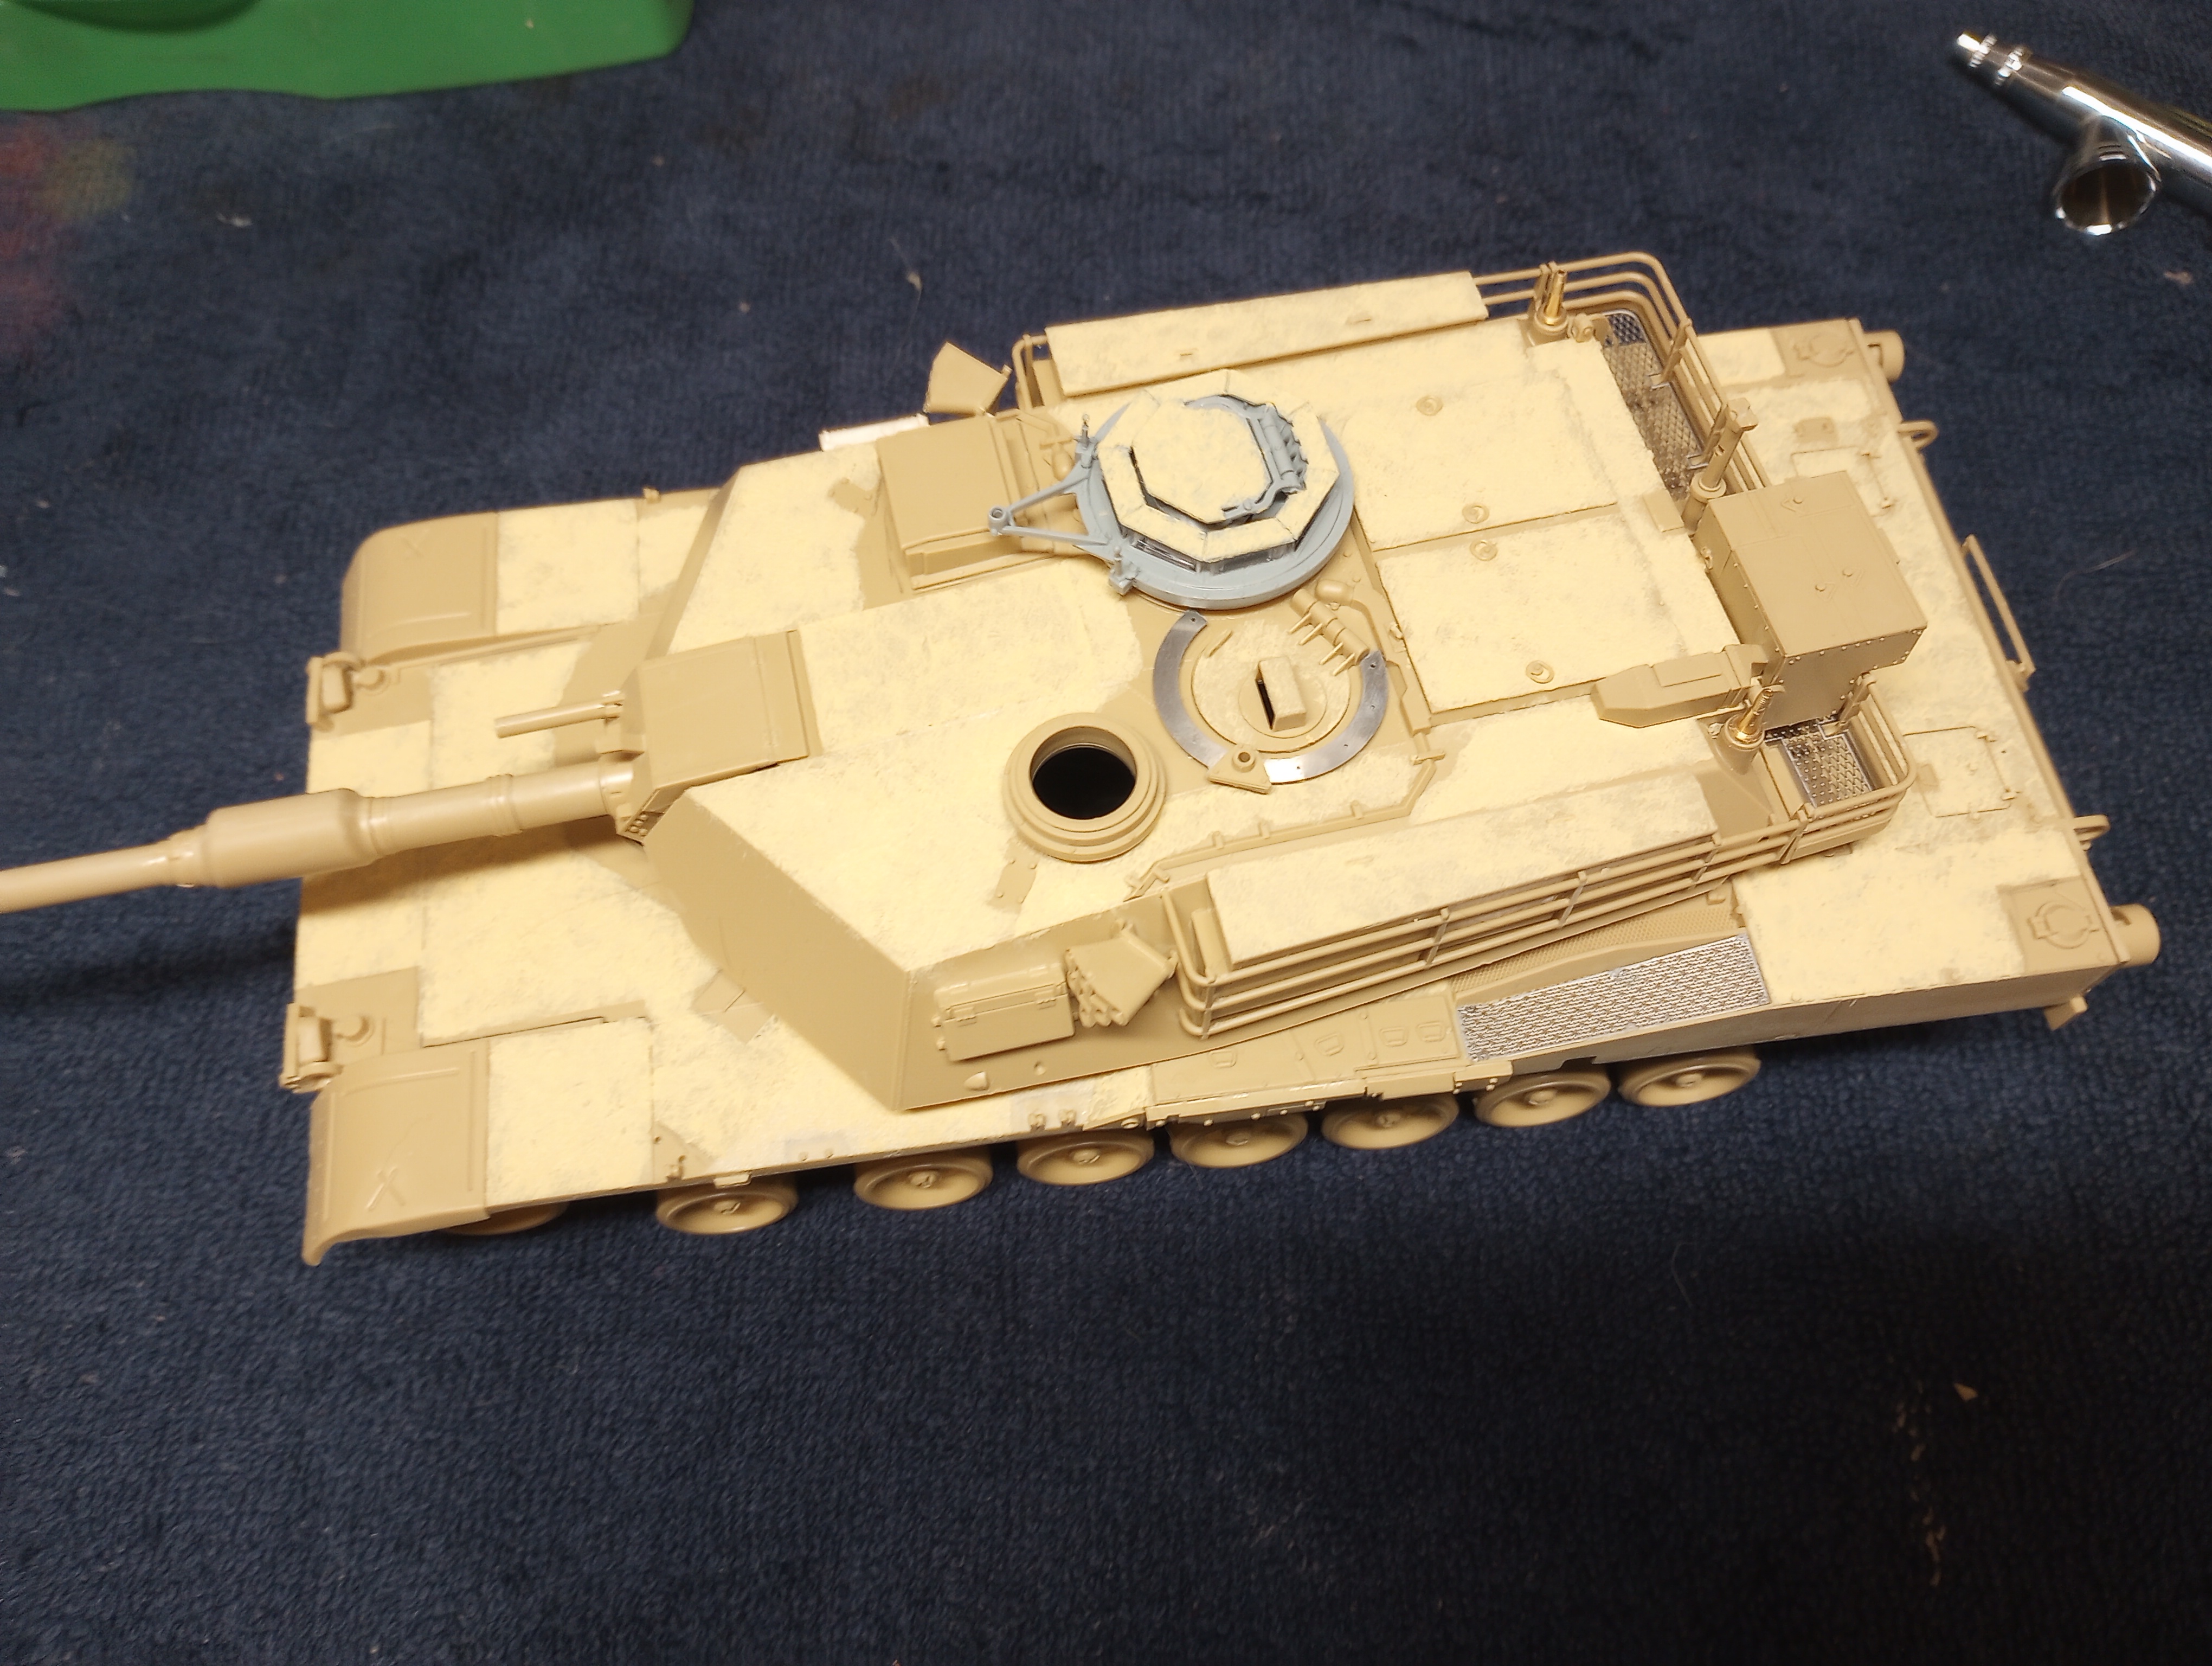

Dunno about the Ammo... The stuff I've used has been either textured decal, PE or stamped brass sheets you glue on.That is interesting!
The sheets are sold with different patterns, so it's good to have reference photos before you shop!
The Ammo anti slip texture you can apply with a sponge or q tip or a brush. I used a brush and it reccomends to apply it twice, looks legit too. A lot easier than masking the entire thing and using something like the Rustoleum spray texture paint, which is what I used on my M2A0 Bradley.That is interesting! Do you have to cut up cellophane and glue on, or is it a paint you apply?
I did a Merkava about a year ago and the anti-slip texture was molded in, but I saw advanced modelers were applying their own.
They have it for 1/48 and 1/35. I think this stuff would work well on a Merkava, as the Merk has that really aggressive texture on it.
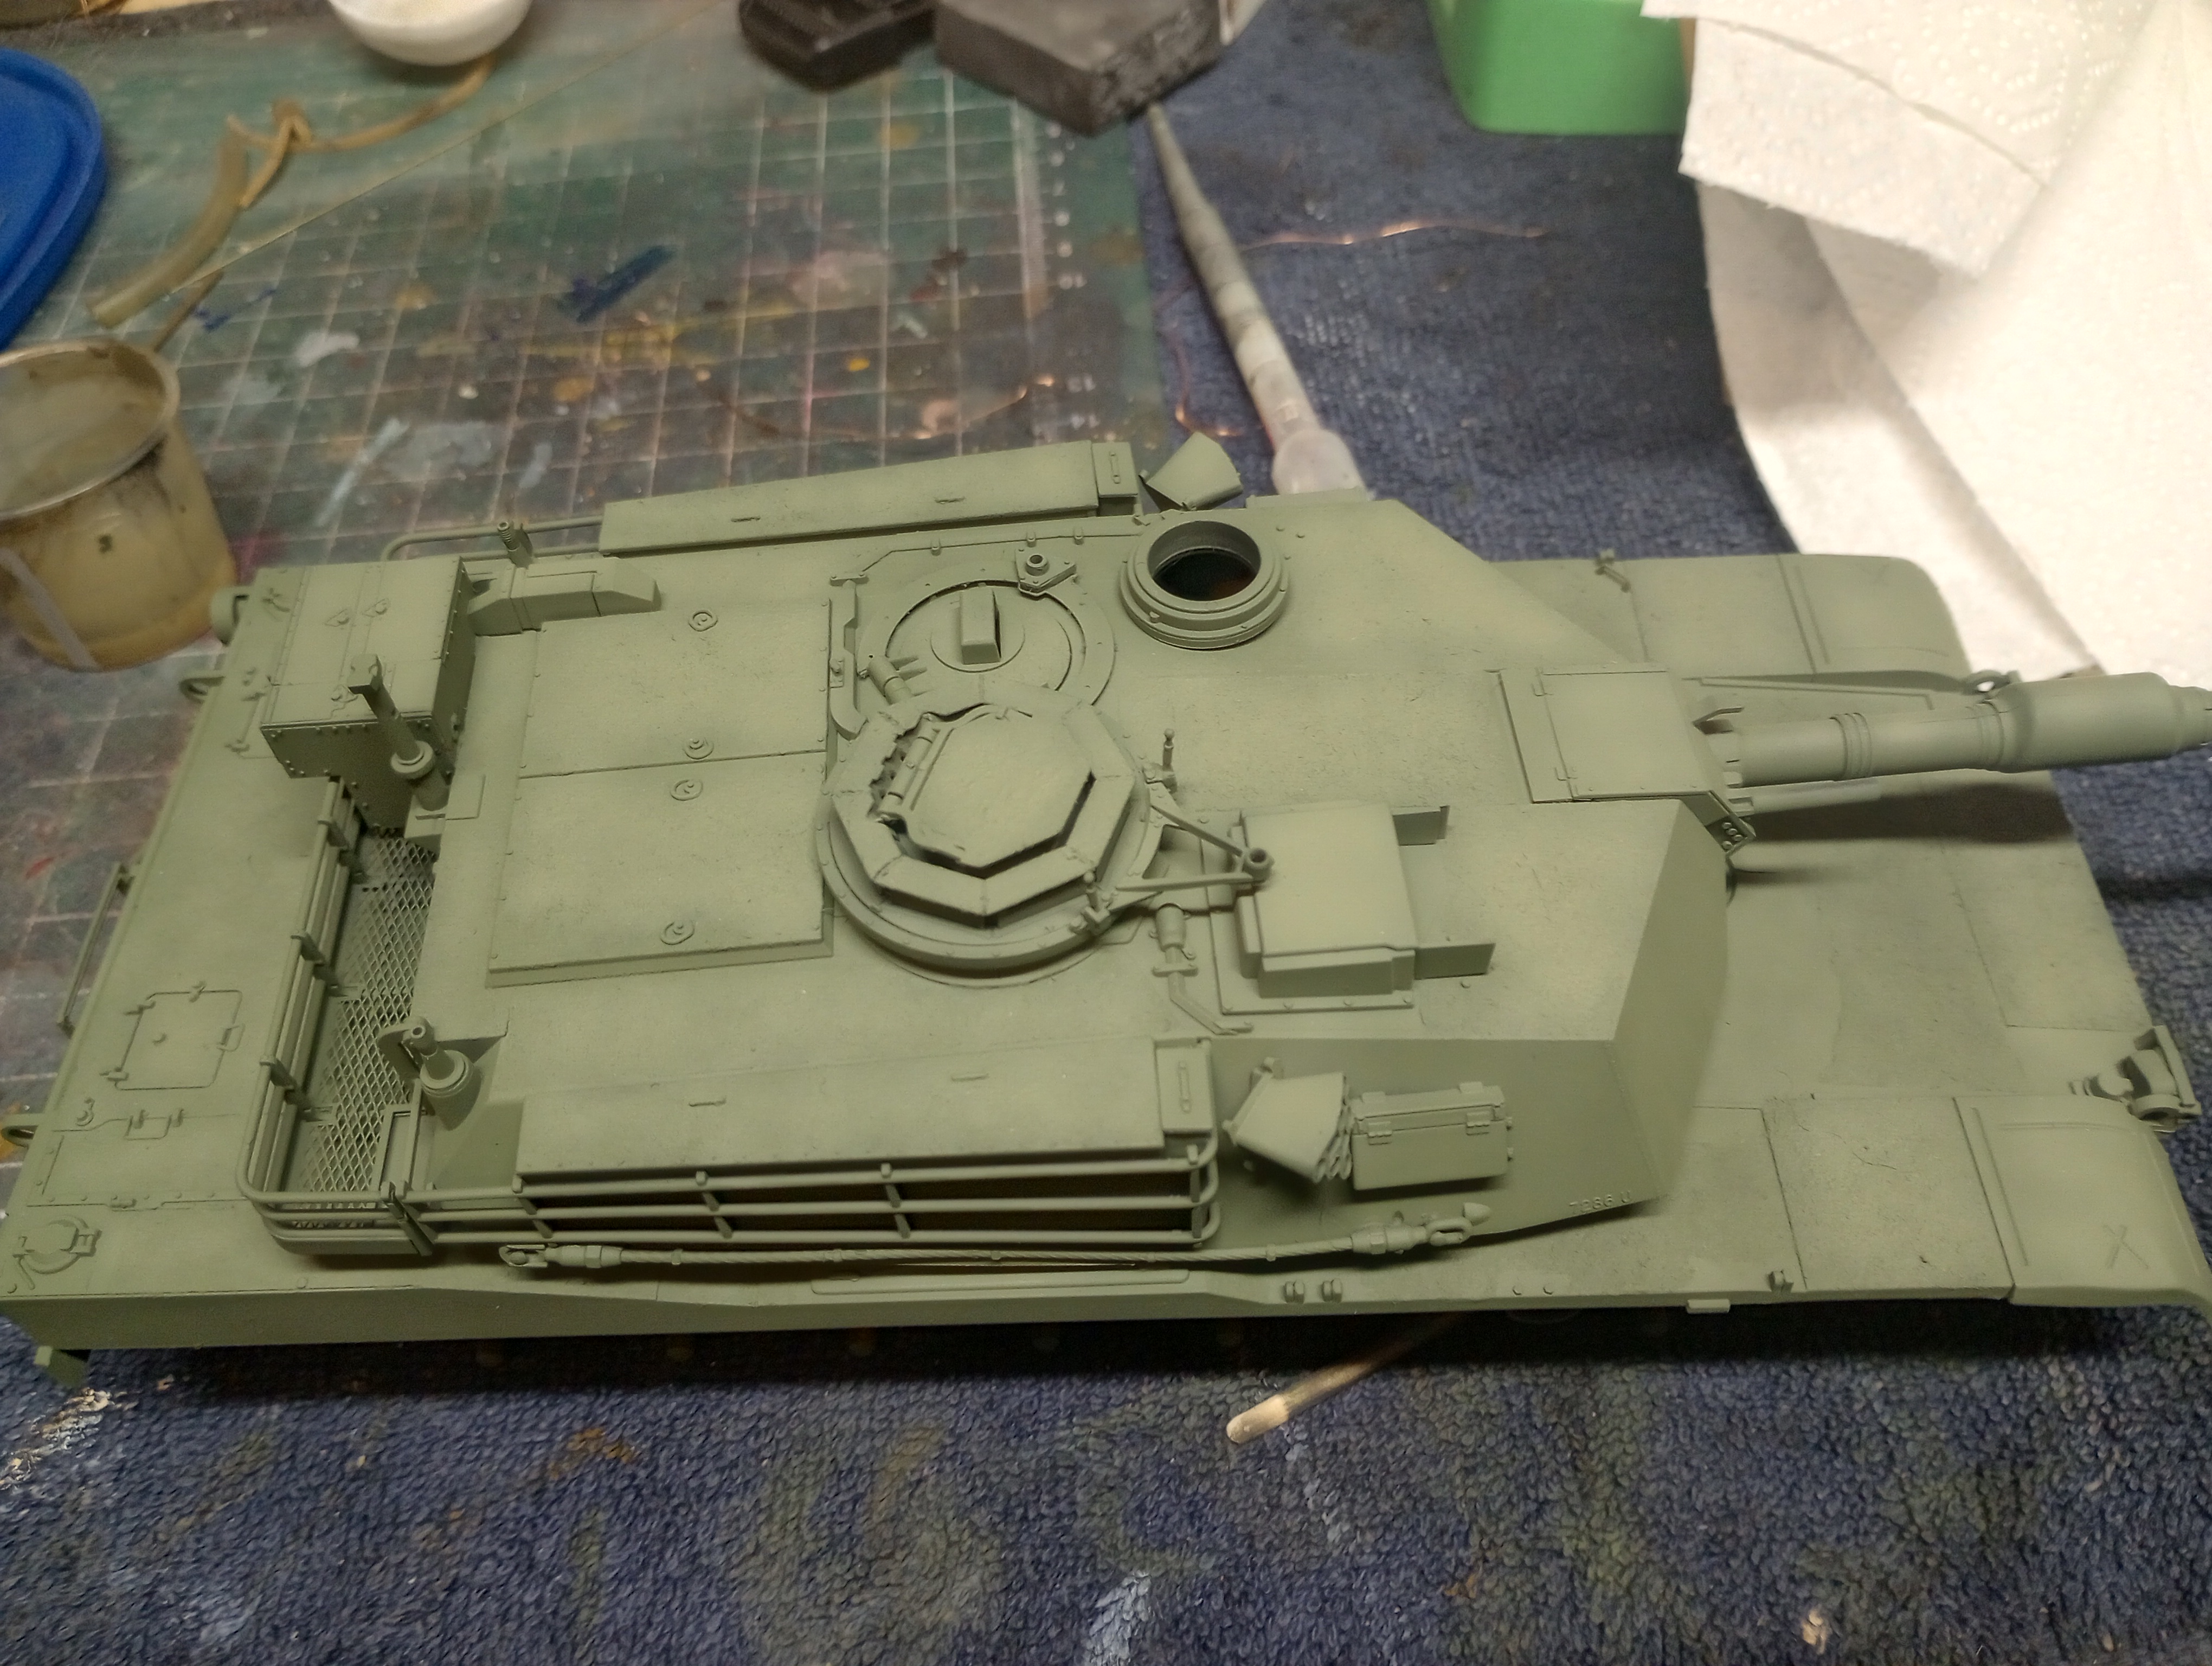
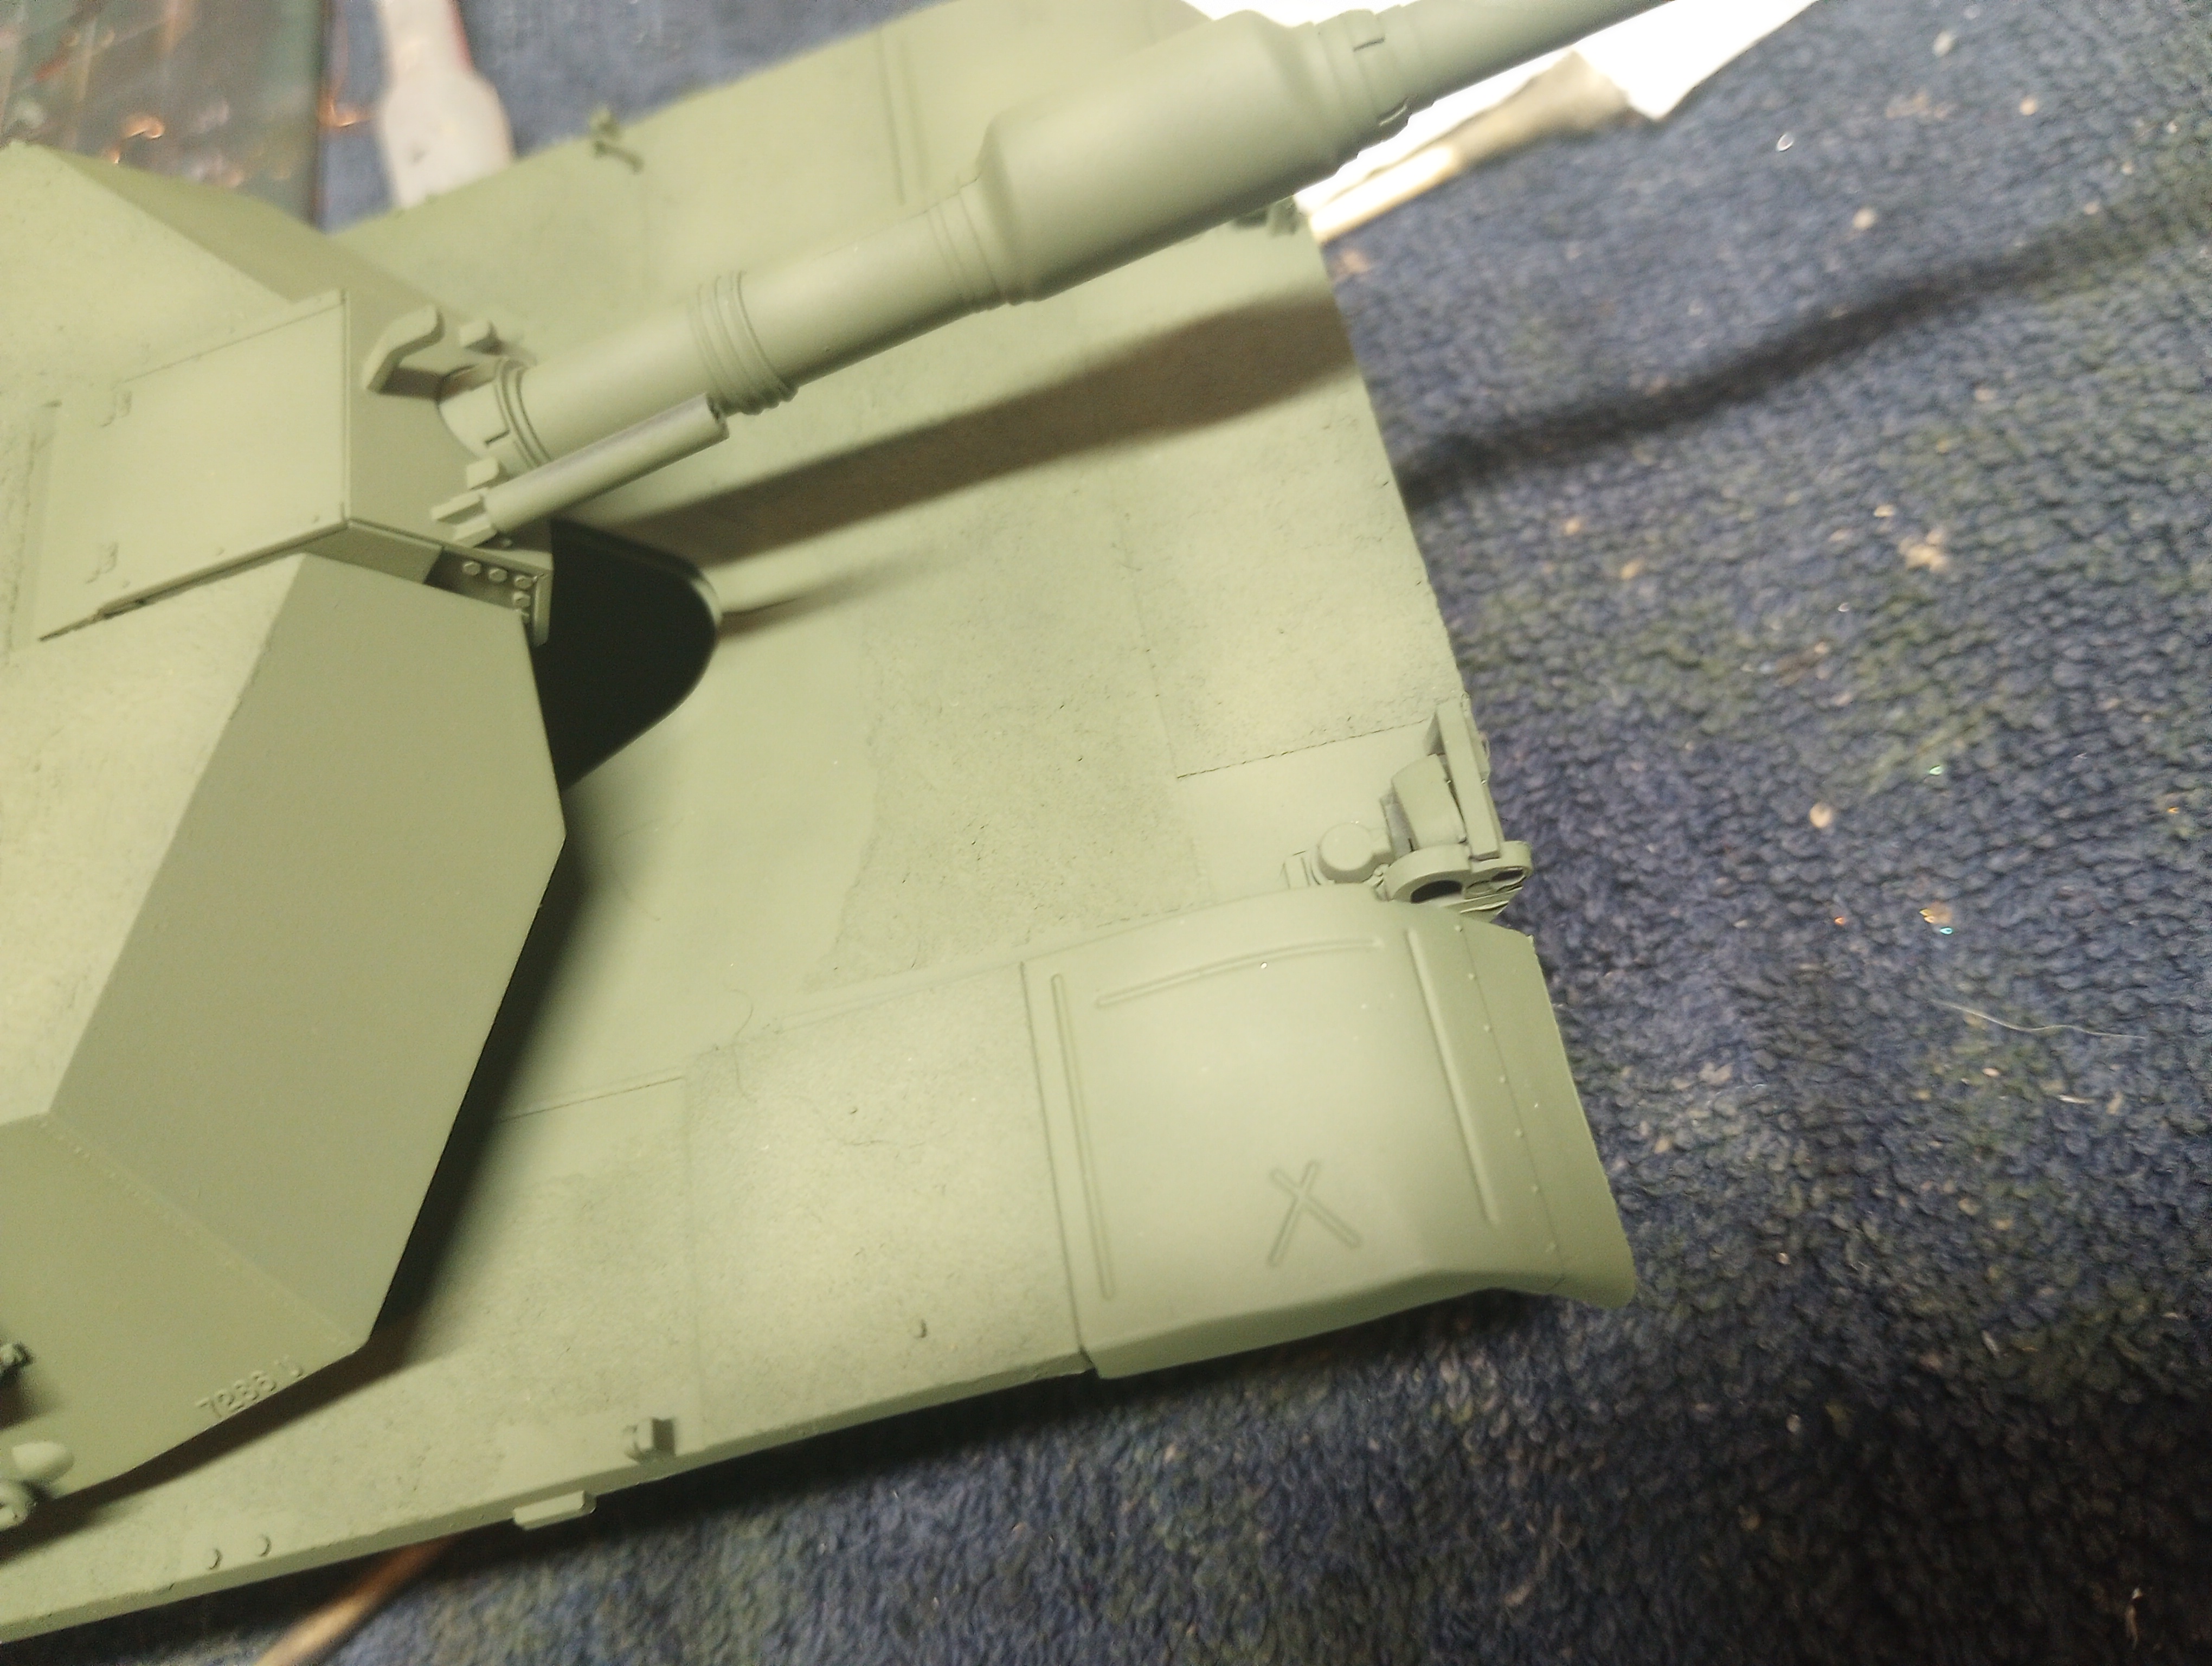
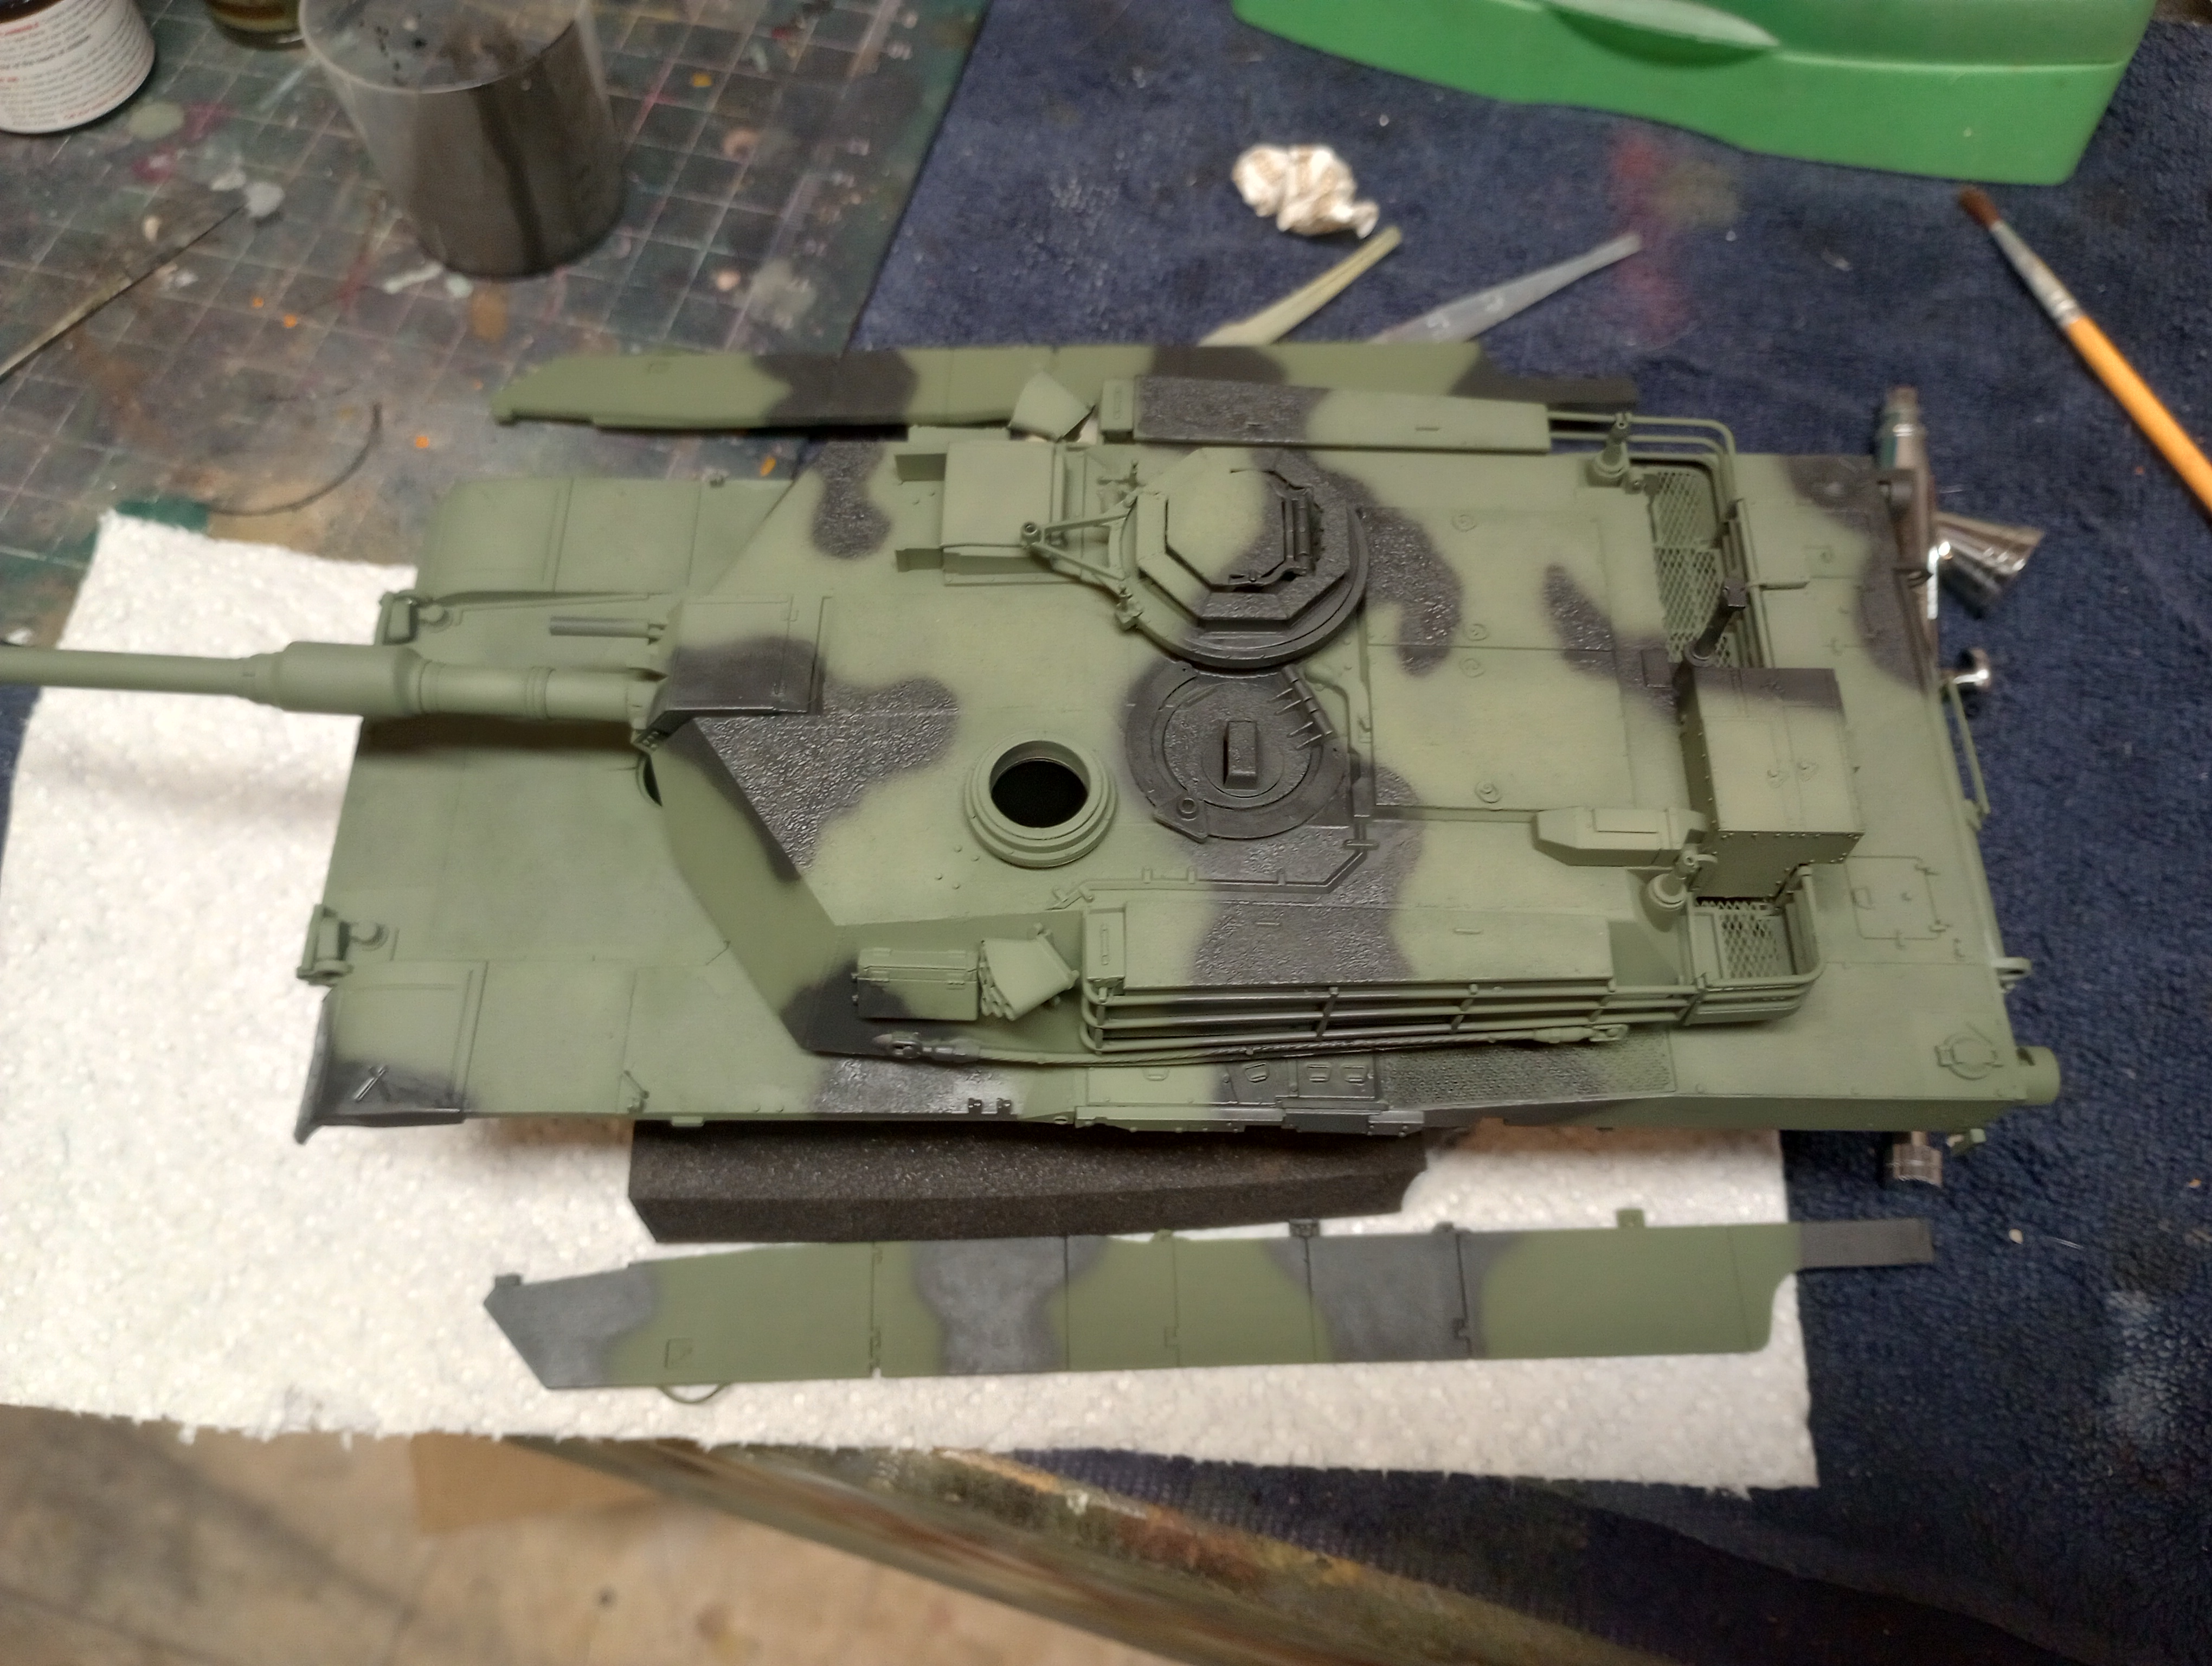
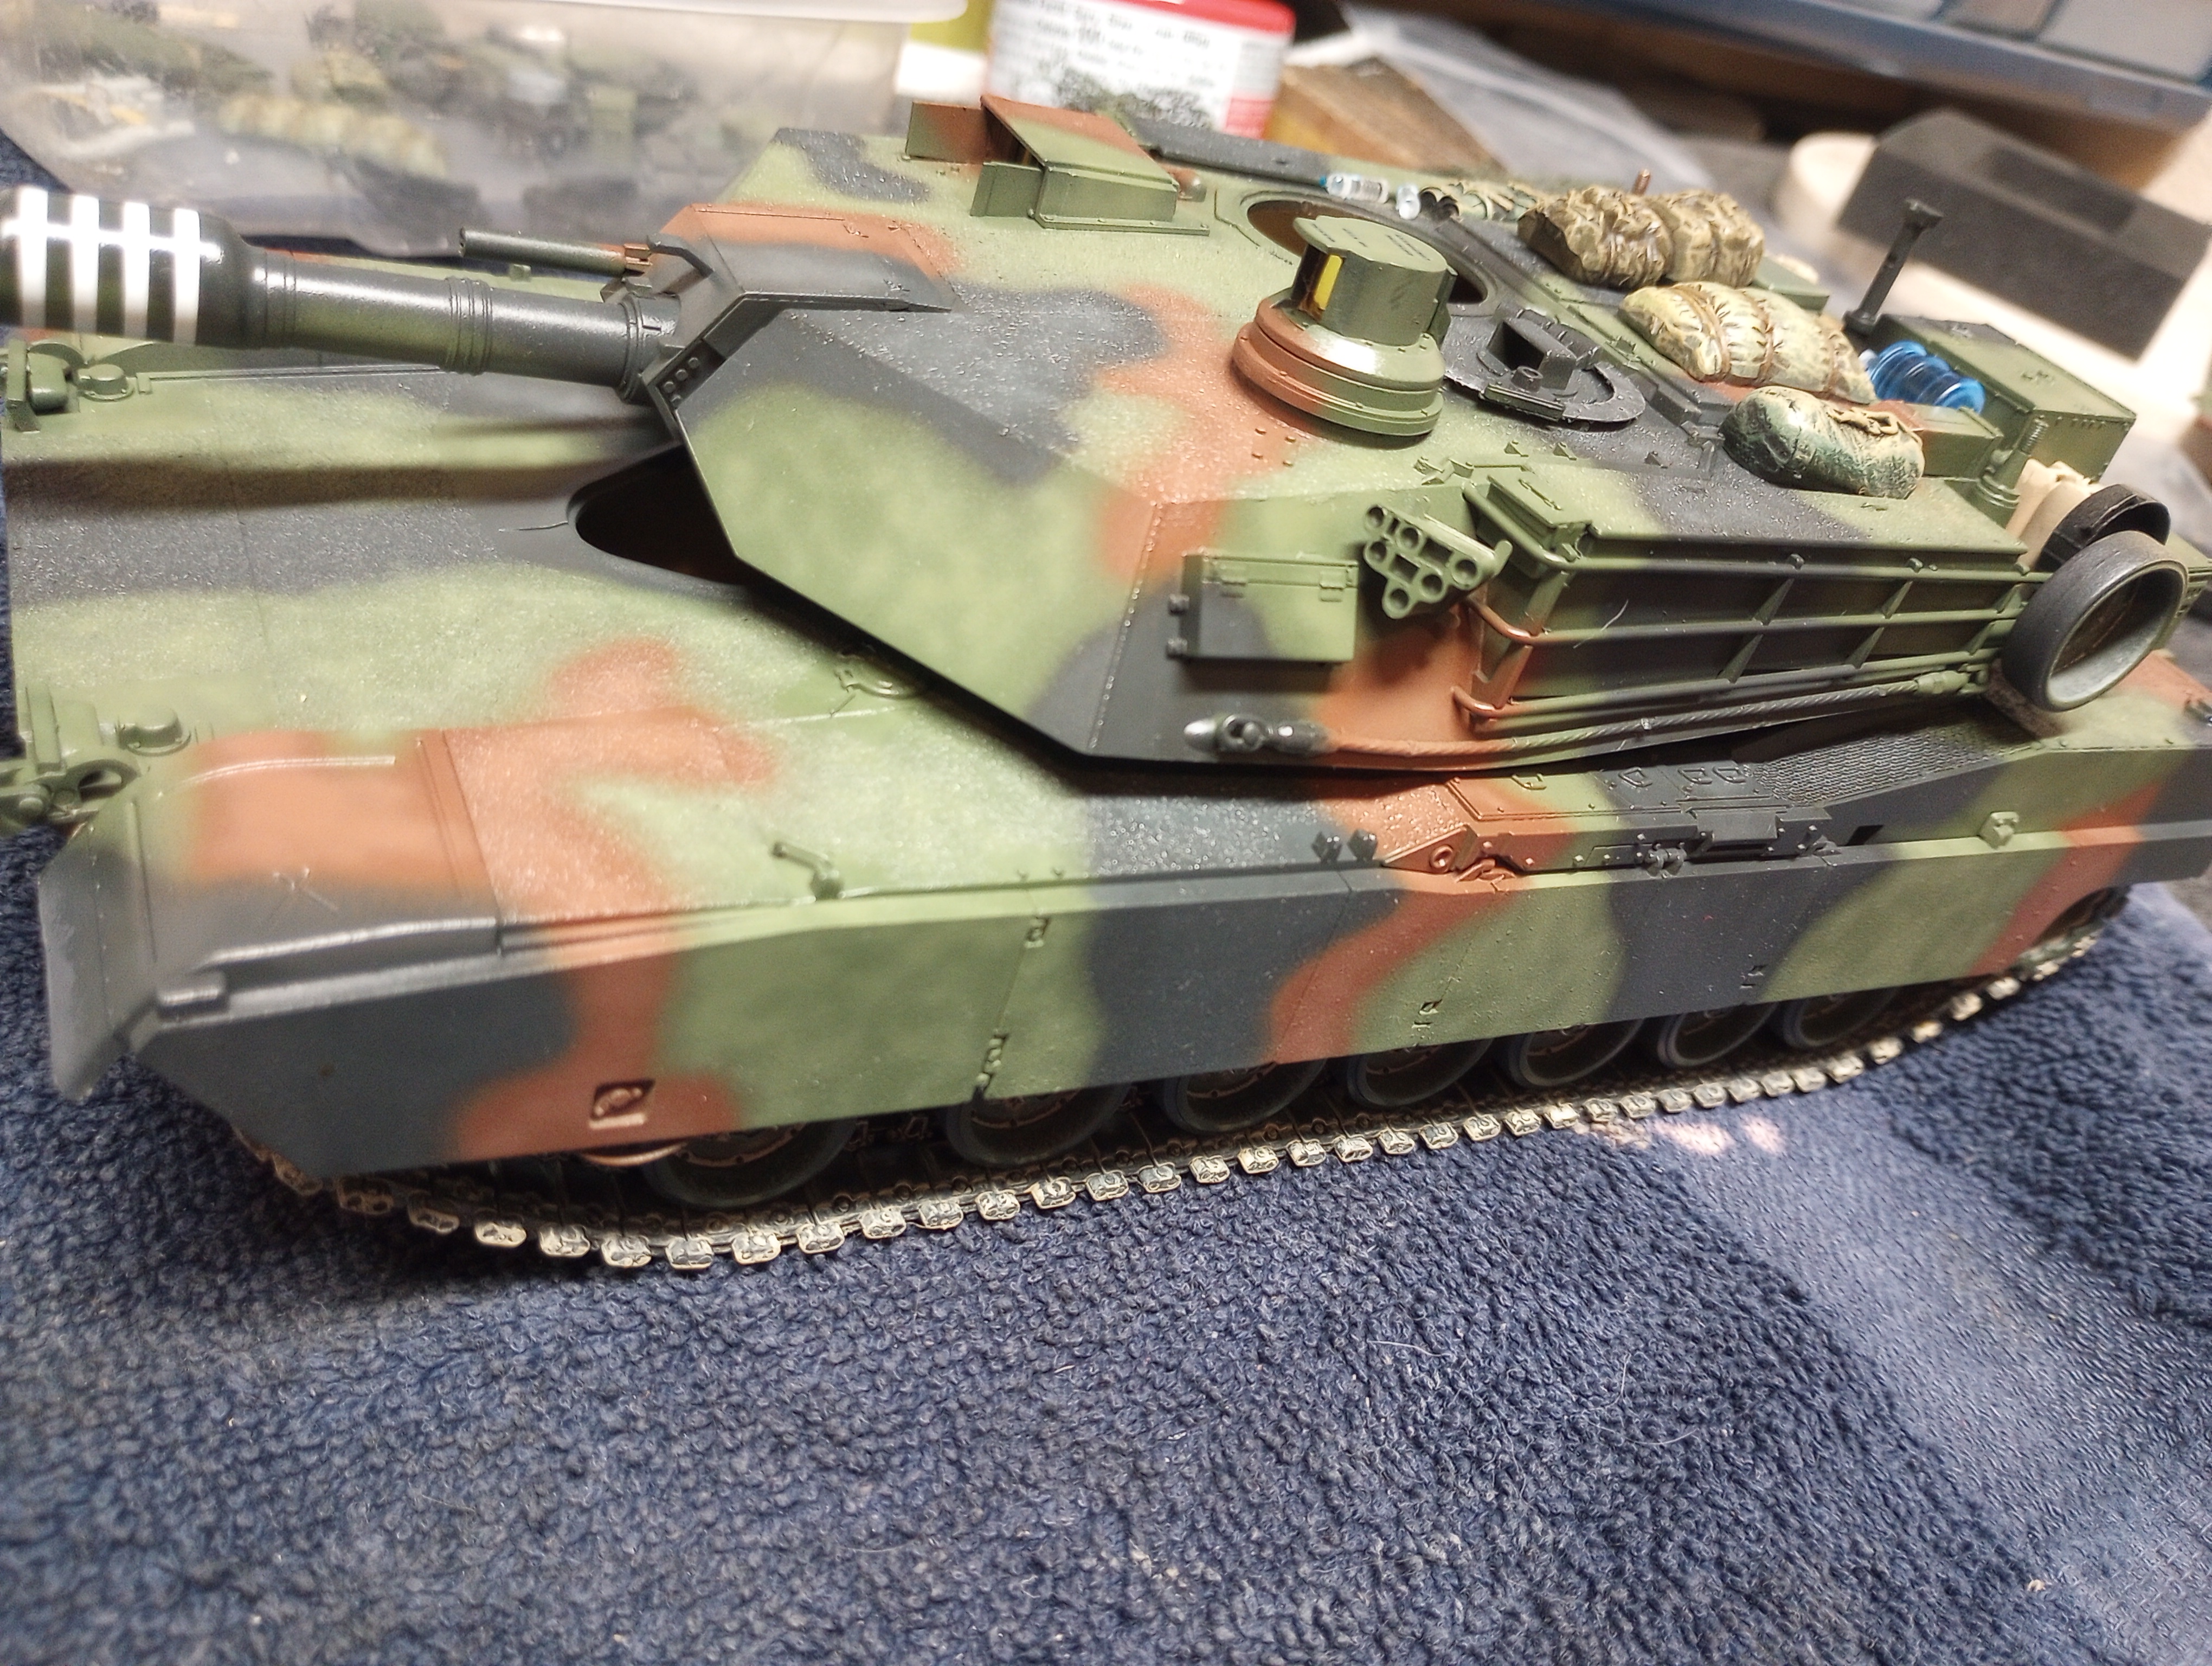
I'll have to update photos, but I'm into the paint stage on this, doing the standard 3 color NATO. I'm waiting on metal tracks to arrive as well. I have a lot of stowage for this vehicle.
The Tamiya kit is a bit dated in detail, but builds up easy. I'm not into kits anymore that have 1000 parts. But I am using the drivers hatch from the Trumpeter kit, A2 commander's cupola and M2 from the Dragon kit.






As an Amazon Associate we earn from qualifying purchases. Product prices and availability are accurate as of the date/time indicated and are subject to change.
I guess that makes it officially awesome!Army technical manual


Jakko
Well-Known Member
Best thing to do, IMHO. Why base yourself on a kit manufacturer's interpretation of (probably) photos when you can just go straight to the source?I'm using painting reference directly from an Army technical manual.

(I've got a number of US Army painting manuals, as well as a German one, from the 1970s through the 1990s. Too bad I don't build many vehicles from this timeframe anymore.)
When I was in the Army, all of our Bradleys got repainted, and I was on the detail for the contractors doing the work. They'd paint, I'd move the Bradleys in and out of the booth. I worked 24 hours on followed by 48 hours off, not a bad detail. Anyway, at the time, they'd come in with some drawings and chalk, and draw out the pattern on the freshly painted green, like a paint by numbers thing. Nowadays, it's done by computer controlled sprayers.Best thing to do, IMHO. Why base yourself on a kit manufacturer's interpretation of (probably) photos when you can just go straight to the source?
(I've got a number of US Army painting manuals, as well as a German one, from the 1970s through the 1990s. Too bad I don't build many vehicles from this timeframe anymore.)
That's fine. CARC paint was nasty nasty crap lol.
As in toxic nasty?When I was in the Army, all of our Bradleys got repainted, and I was on the detail for the contractors doing the work. They'd paint, I'd move the Bradleys in and out of the booth. I worked 24 hours on followed by 48 hours off, not a bad detail. Anyway, at the time, they'd come in with some drawings and chalk, and draw out the pattern on the freshly painted green, like a paint by numbers thing. Nowadays, it's done by computer controlled sprayers.
That's fine. CARC paint was nasty nasty crap lol.

Edbert
Well-Known Member
- Joined
- May 16, 2024
- Messages
- 3,117
Since returning to the hobby in 2024 I found out that camo patters were not random, at least usually. That said yes, RTFM is always good advice!Why base yourself on a kit manufacturer's interpretation of (probably) photos when you can just go straight to the source?
Jakko
Well-Known Member
For camouflage-painting Leopard 2s in the 1990s, the Dutch Army used an overhead projector with transparencies of the pattern for the sides, front and rear, so they could trace it in chalk on the tank. Only the top was done from a drawing.Anyway, at the time, they'd come in with some drawings and chalk, and draw out the pattern on the freshly painted green, like a paint by numbers thing. Nowadays, it's done by computer controlled sprayers.
I've also seen a TV documentary about German MAN KAT1 trucks, which showed how they were manufactured as well as in service. Parts of them were sprayed using a template made from metal tube and wire: this was hung on the vehicle, with the person spraying the truck holding the spray-gun against the bars, moving it along them to create the outlines before filling them in.
Some British aircraft in the Second World War were painted at the factory with rubber mats cut in the shape of the camouflage pattern.
Jakko
Well-Known Member
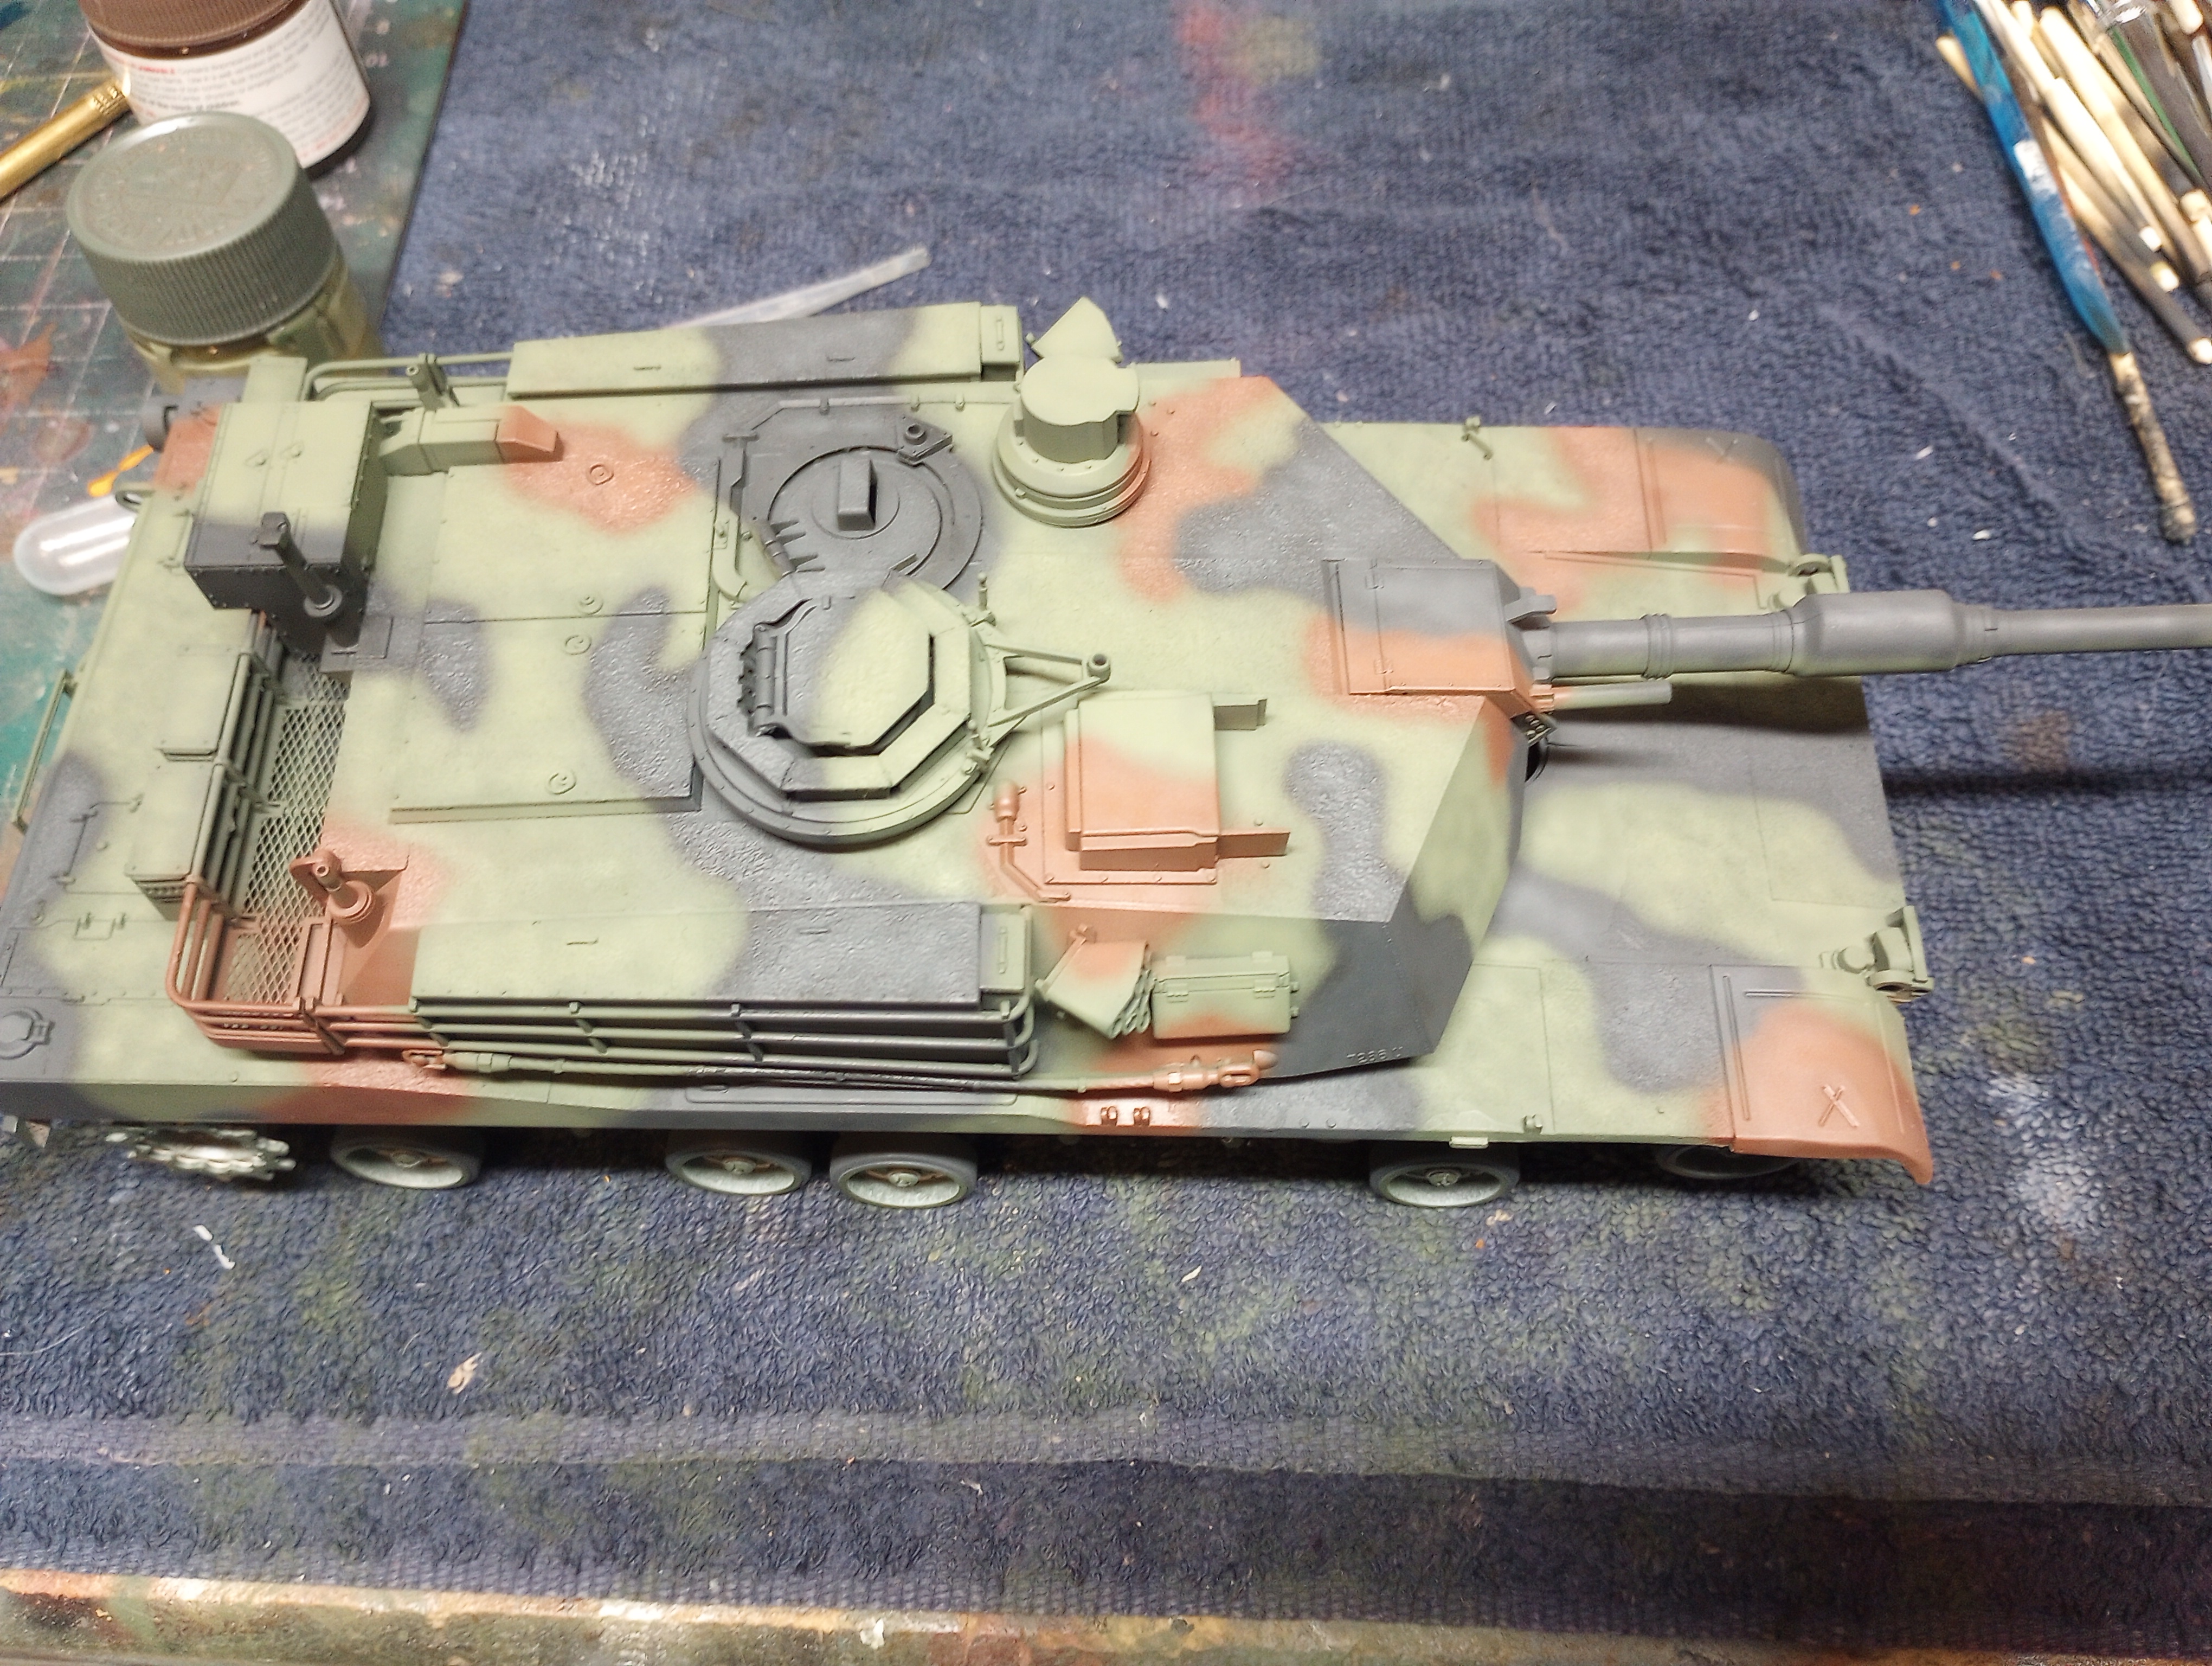
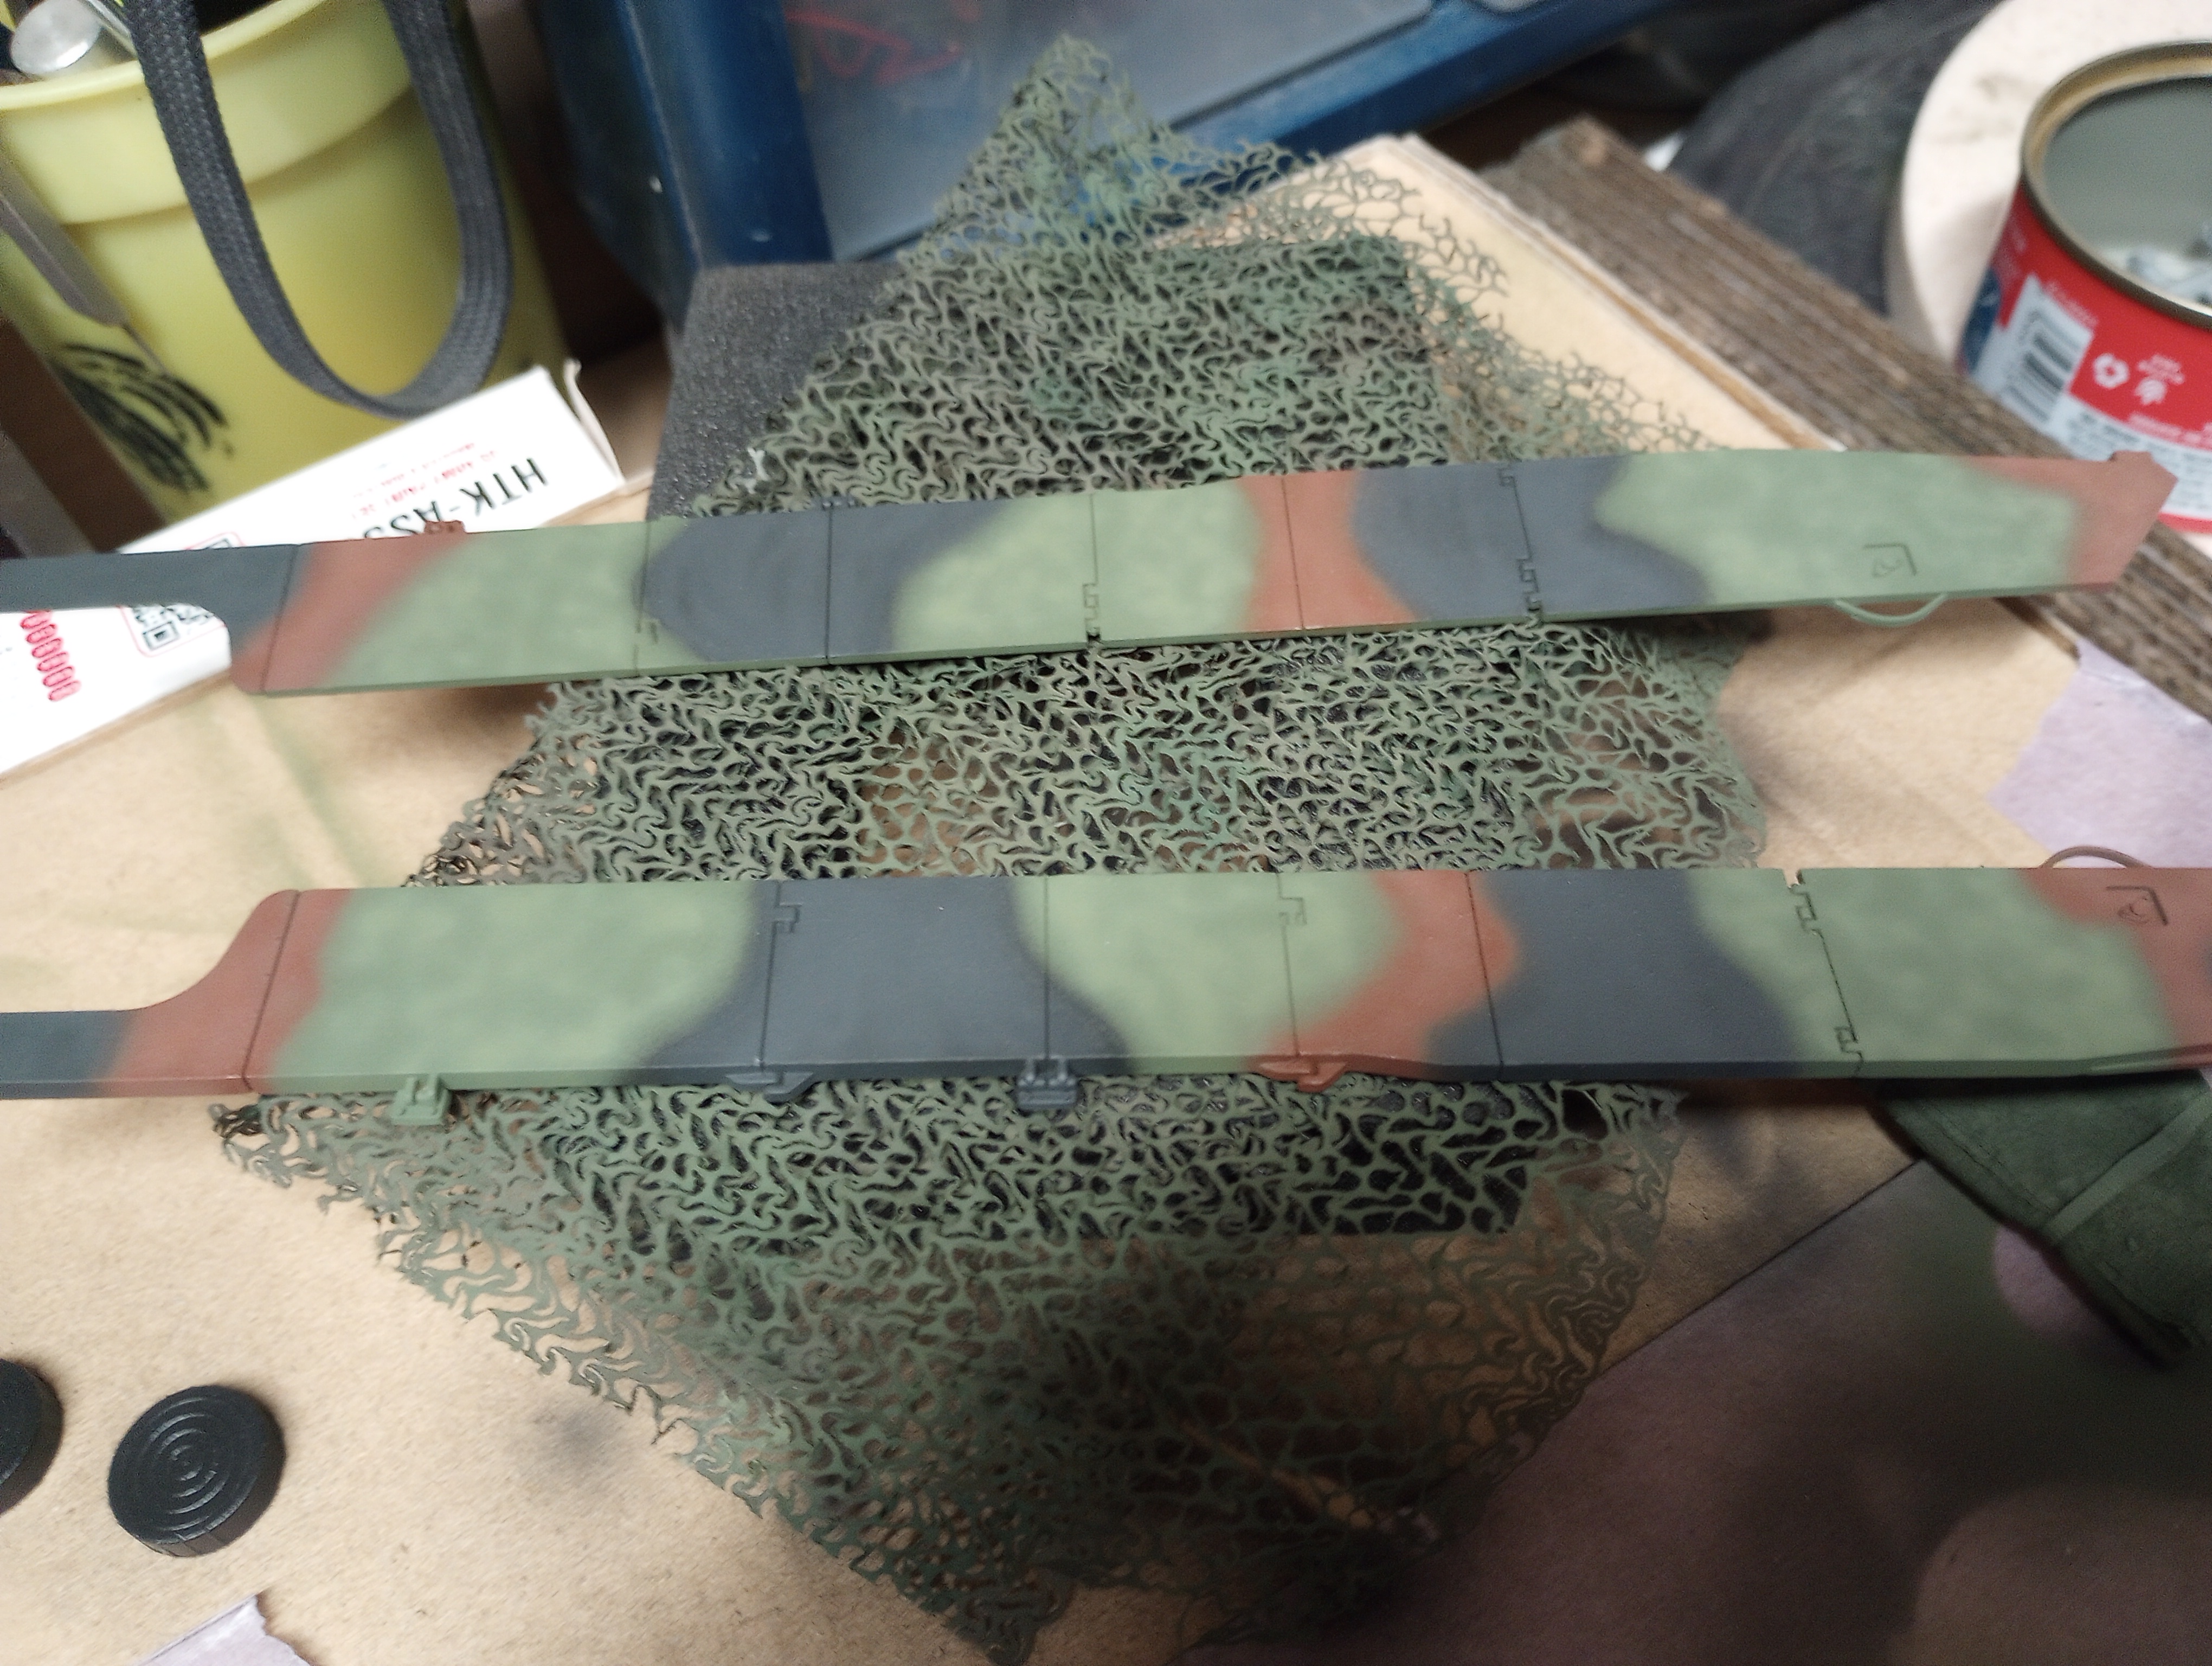
Right! So, making slow and steady progress. I thought my Tamiya NATO black right out of the bottle was too dark, so I lightened it up. Mostly finished the camo and some post shading. It's lighter and brighter than the standard colors because it's going to be toned down with weathering. I didn't want my base colors to be even darker after weathering. I ditched the simple metal track for my Def Model set because the DM tracks are the accurate modern ones for an M1A2. the metal tracks would be fine for a Desert Storm era M1A1.
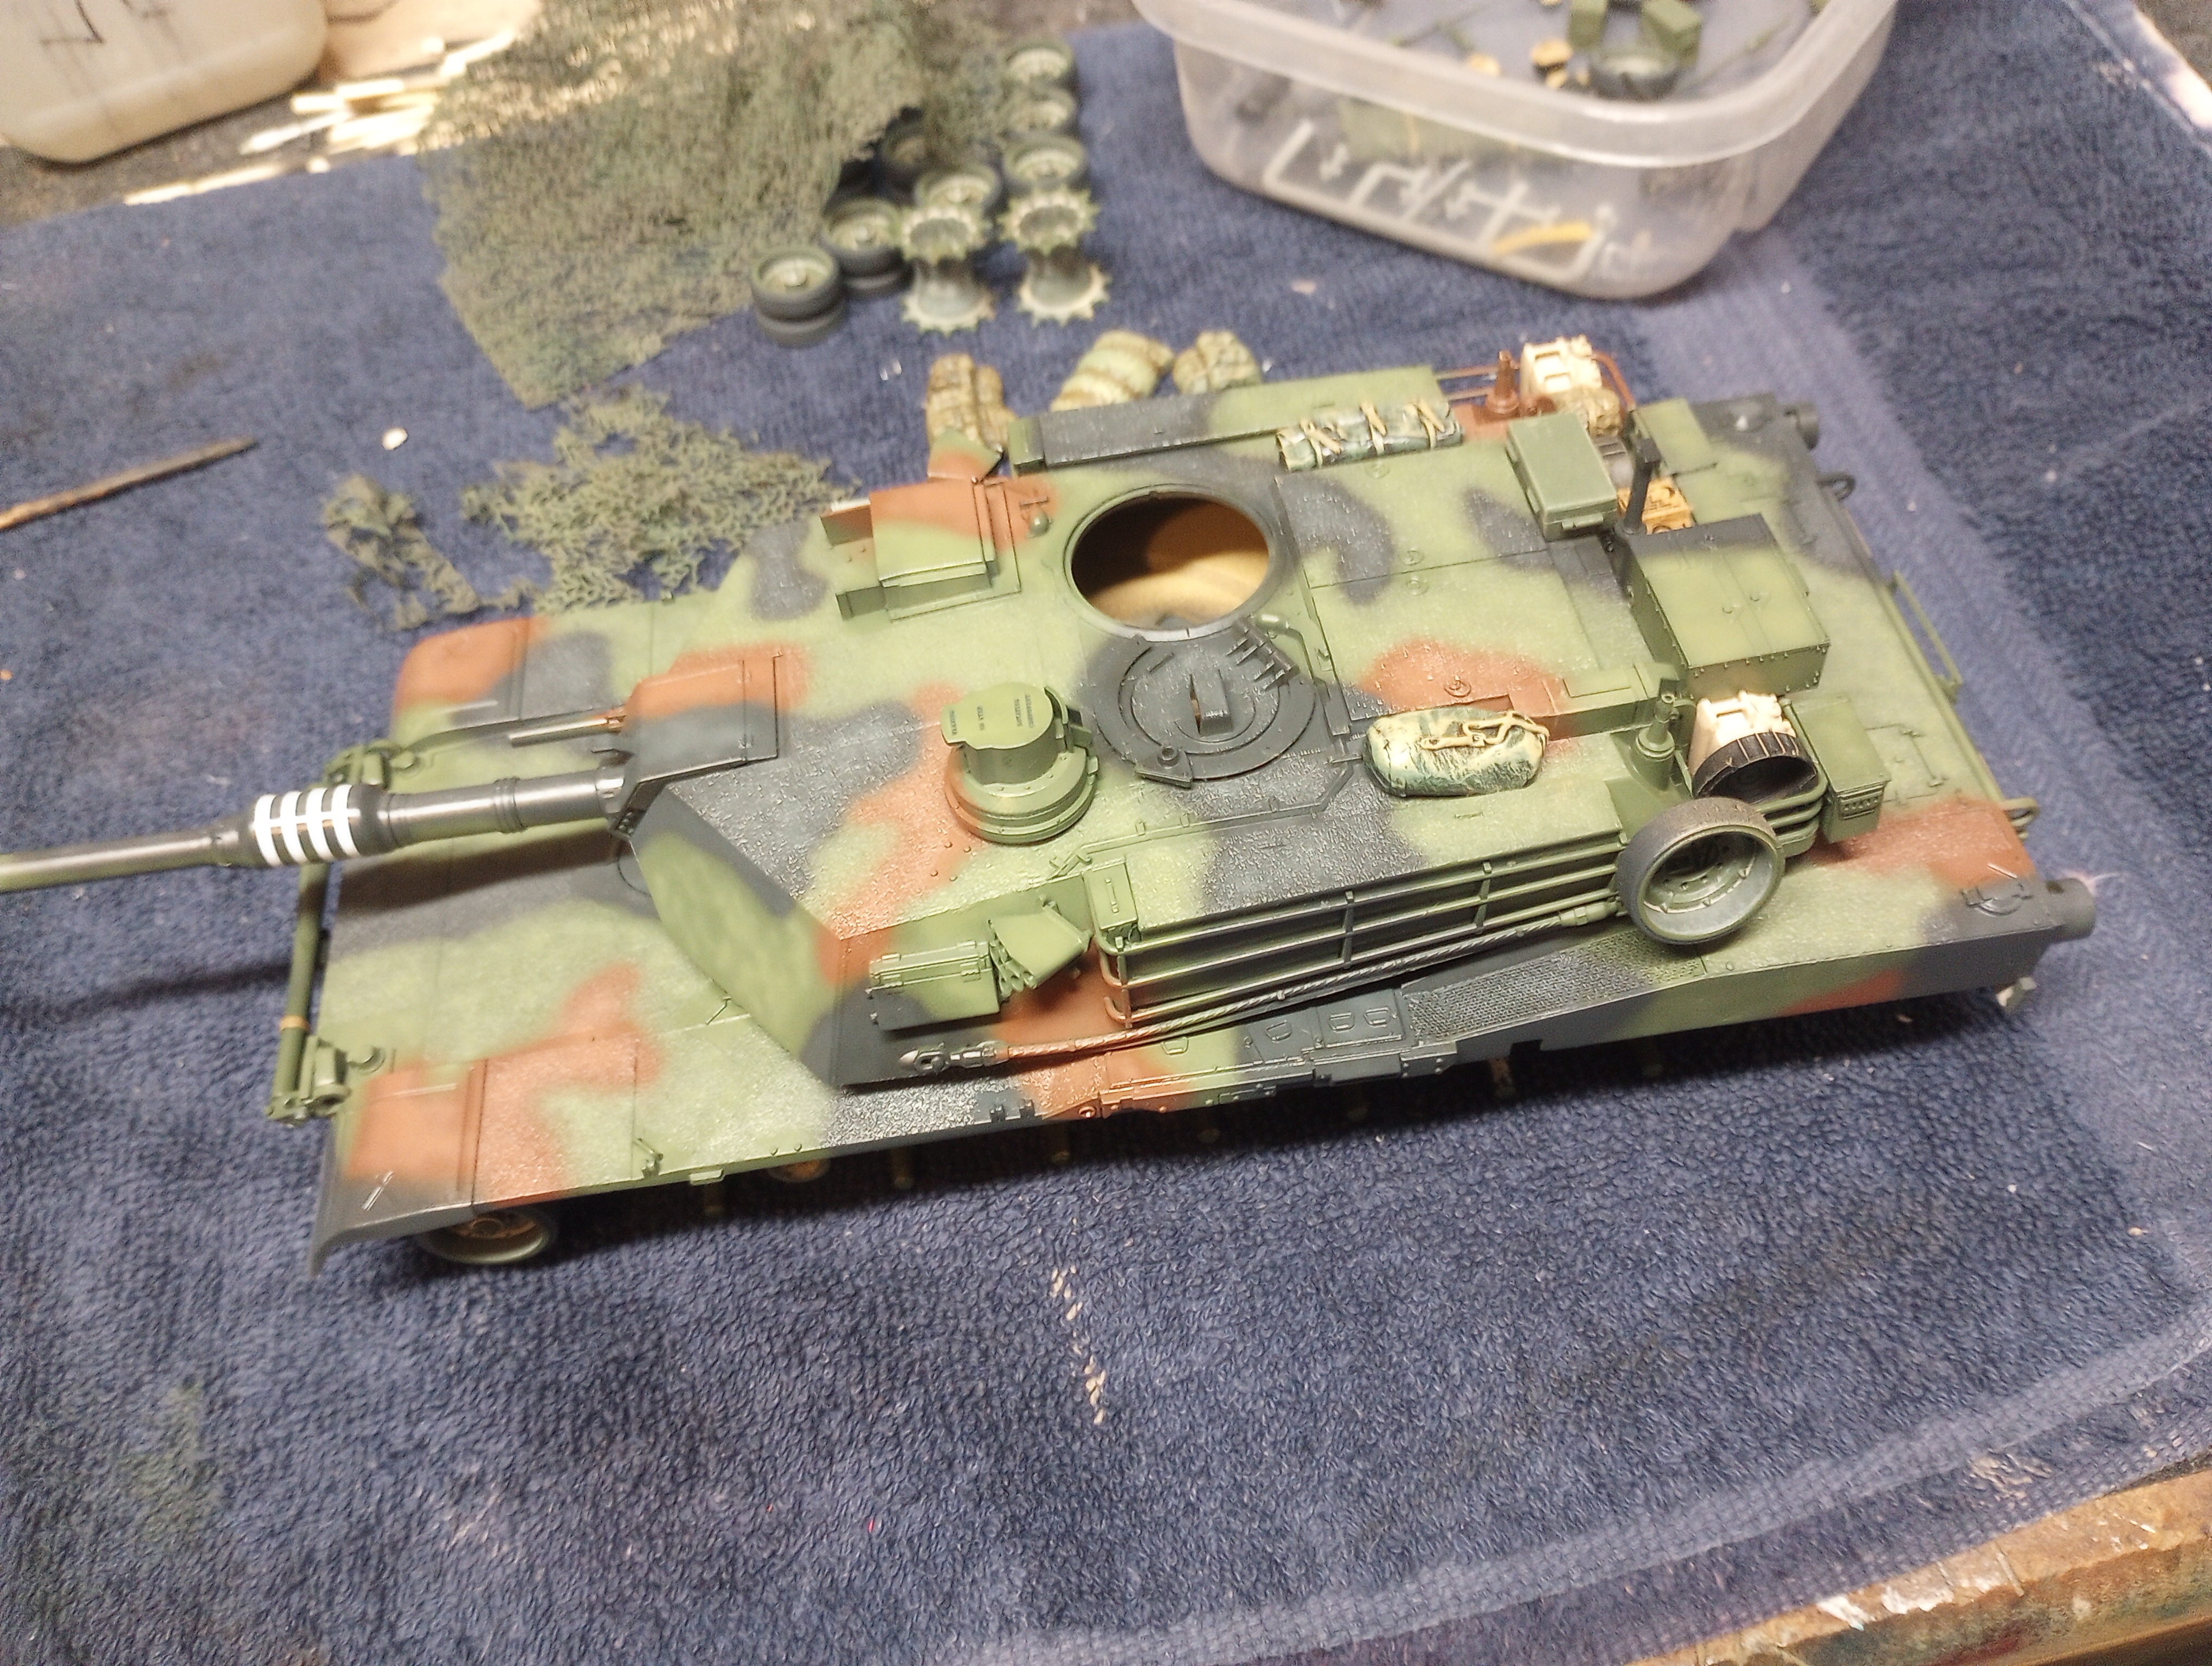
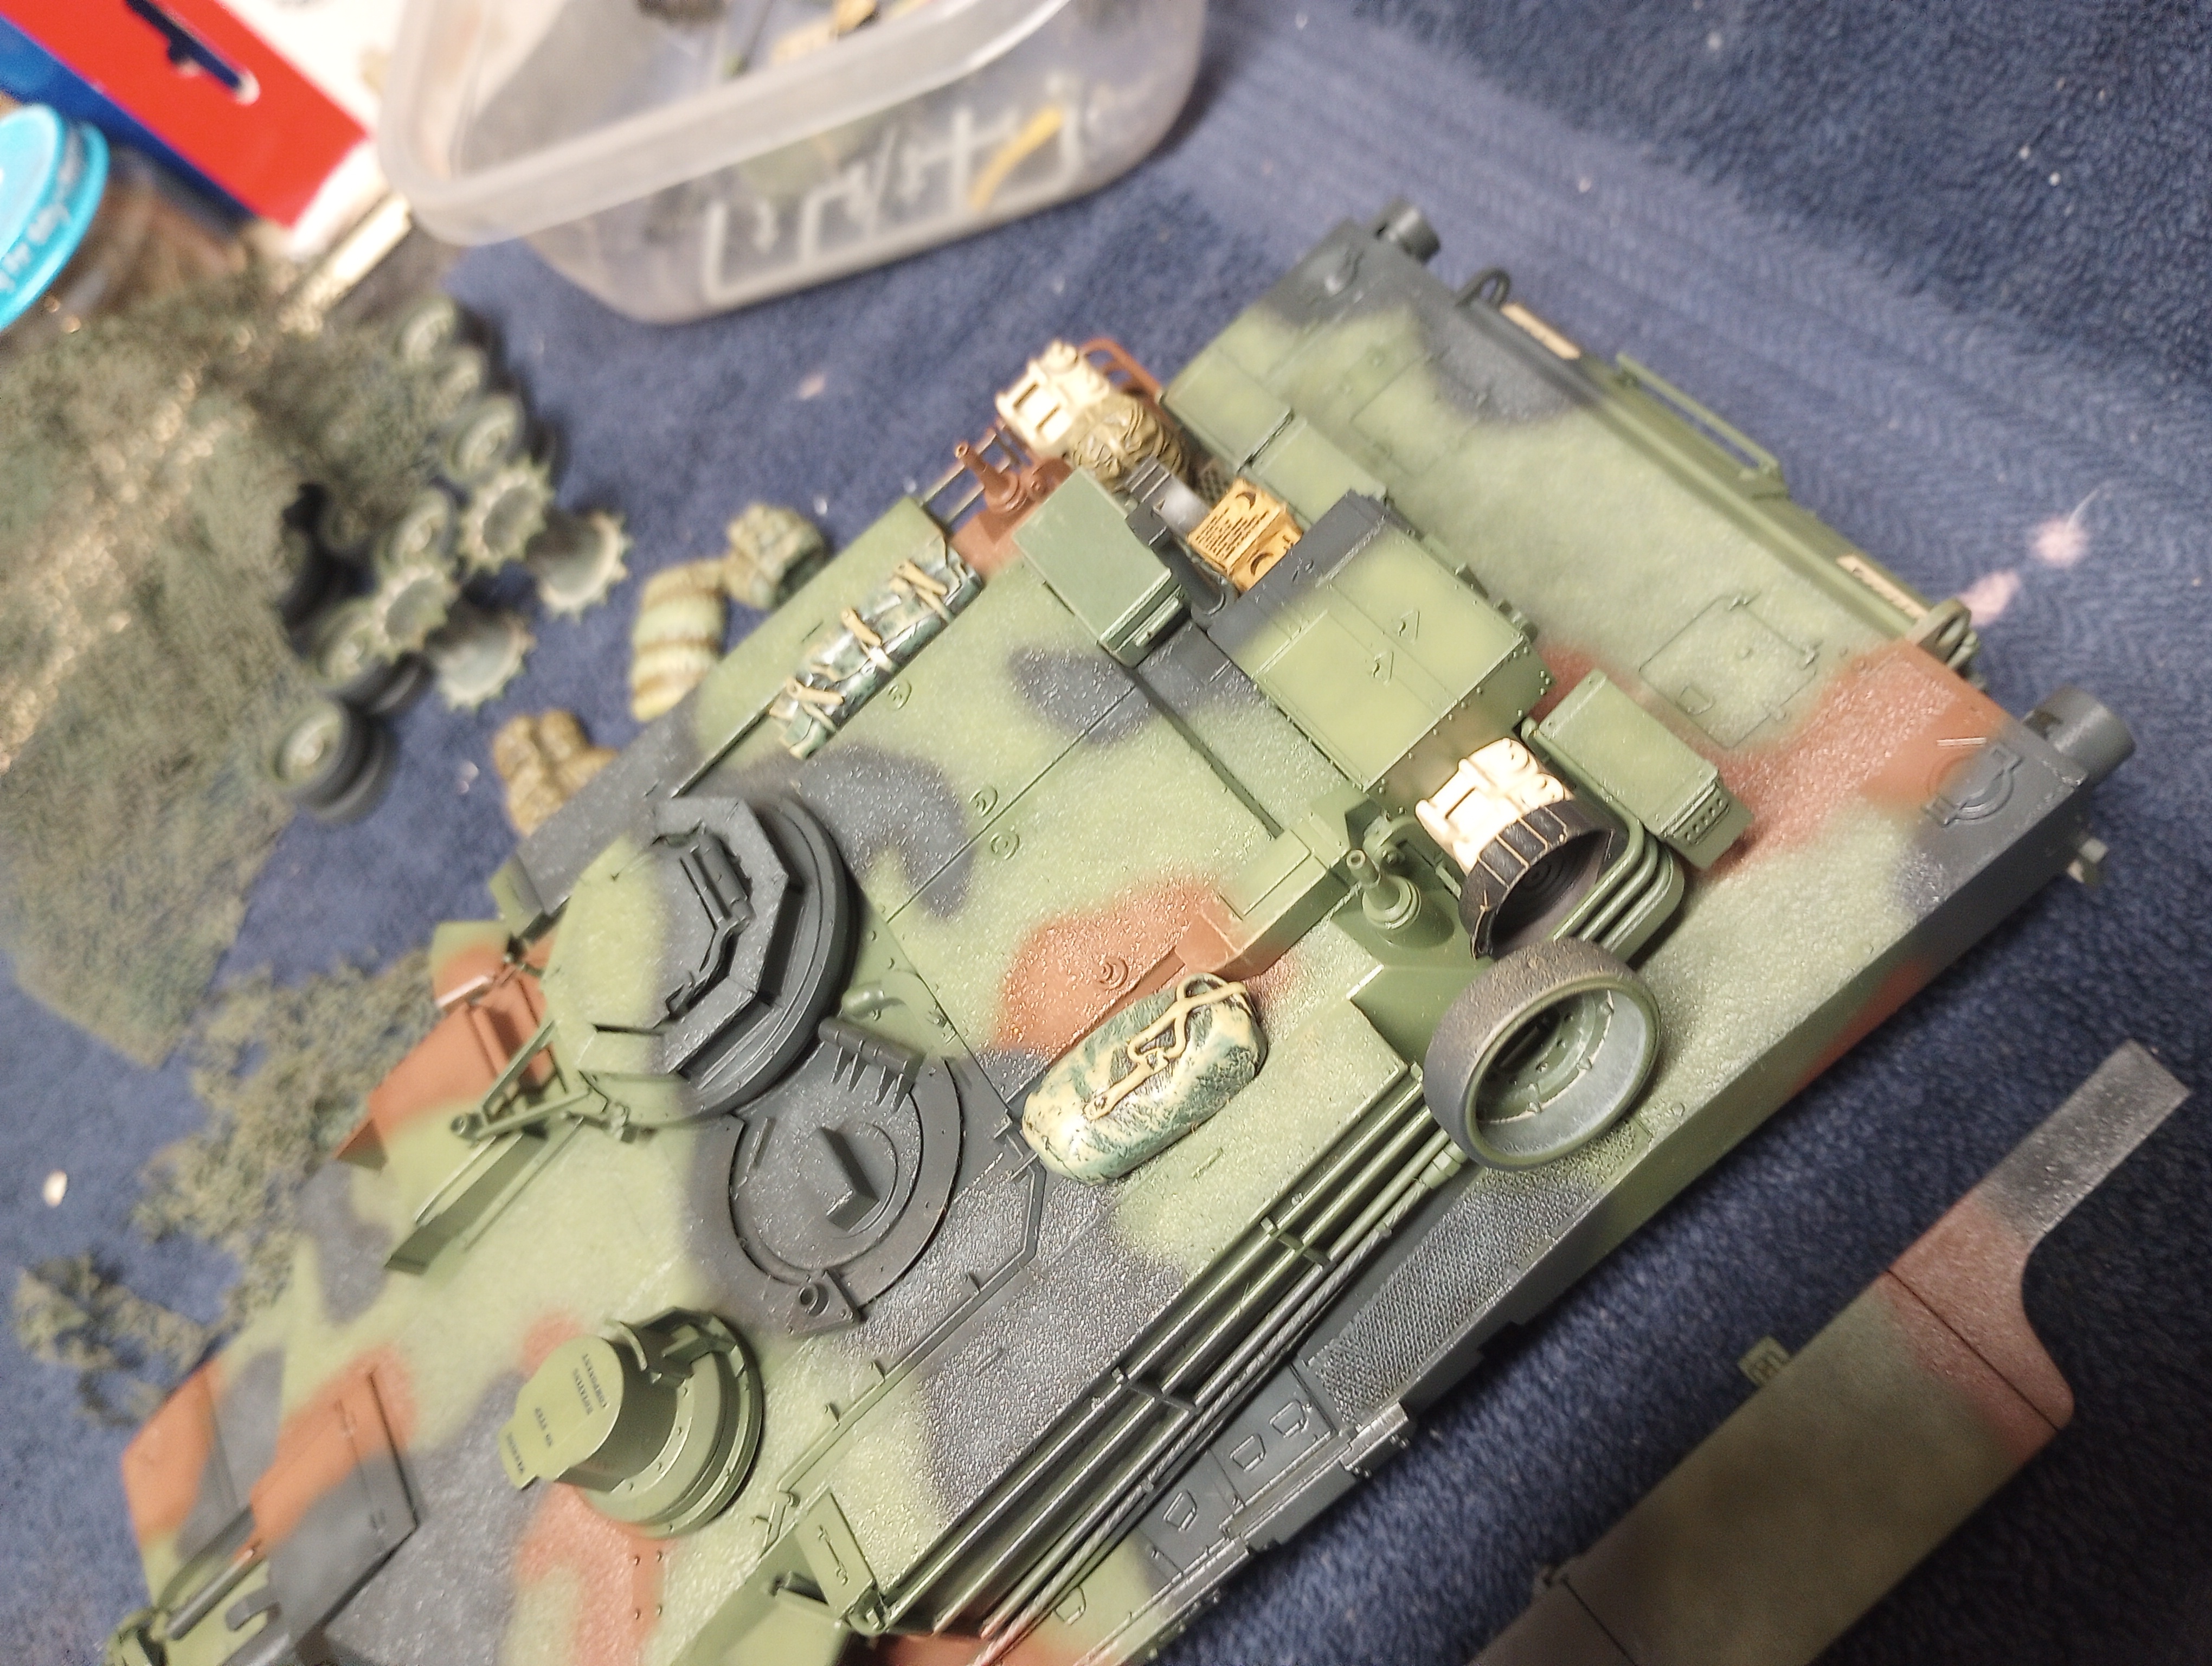
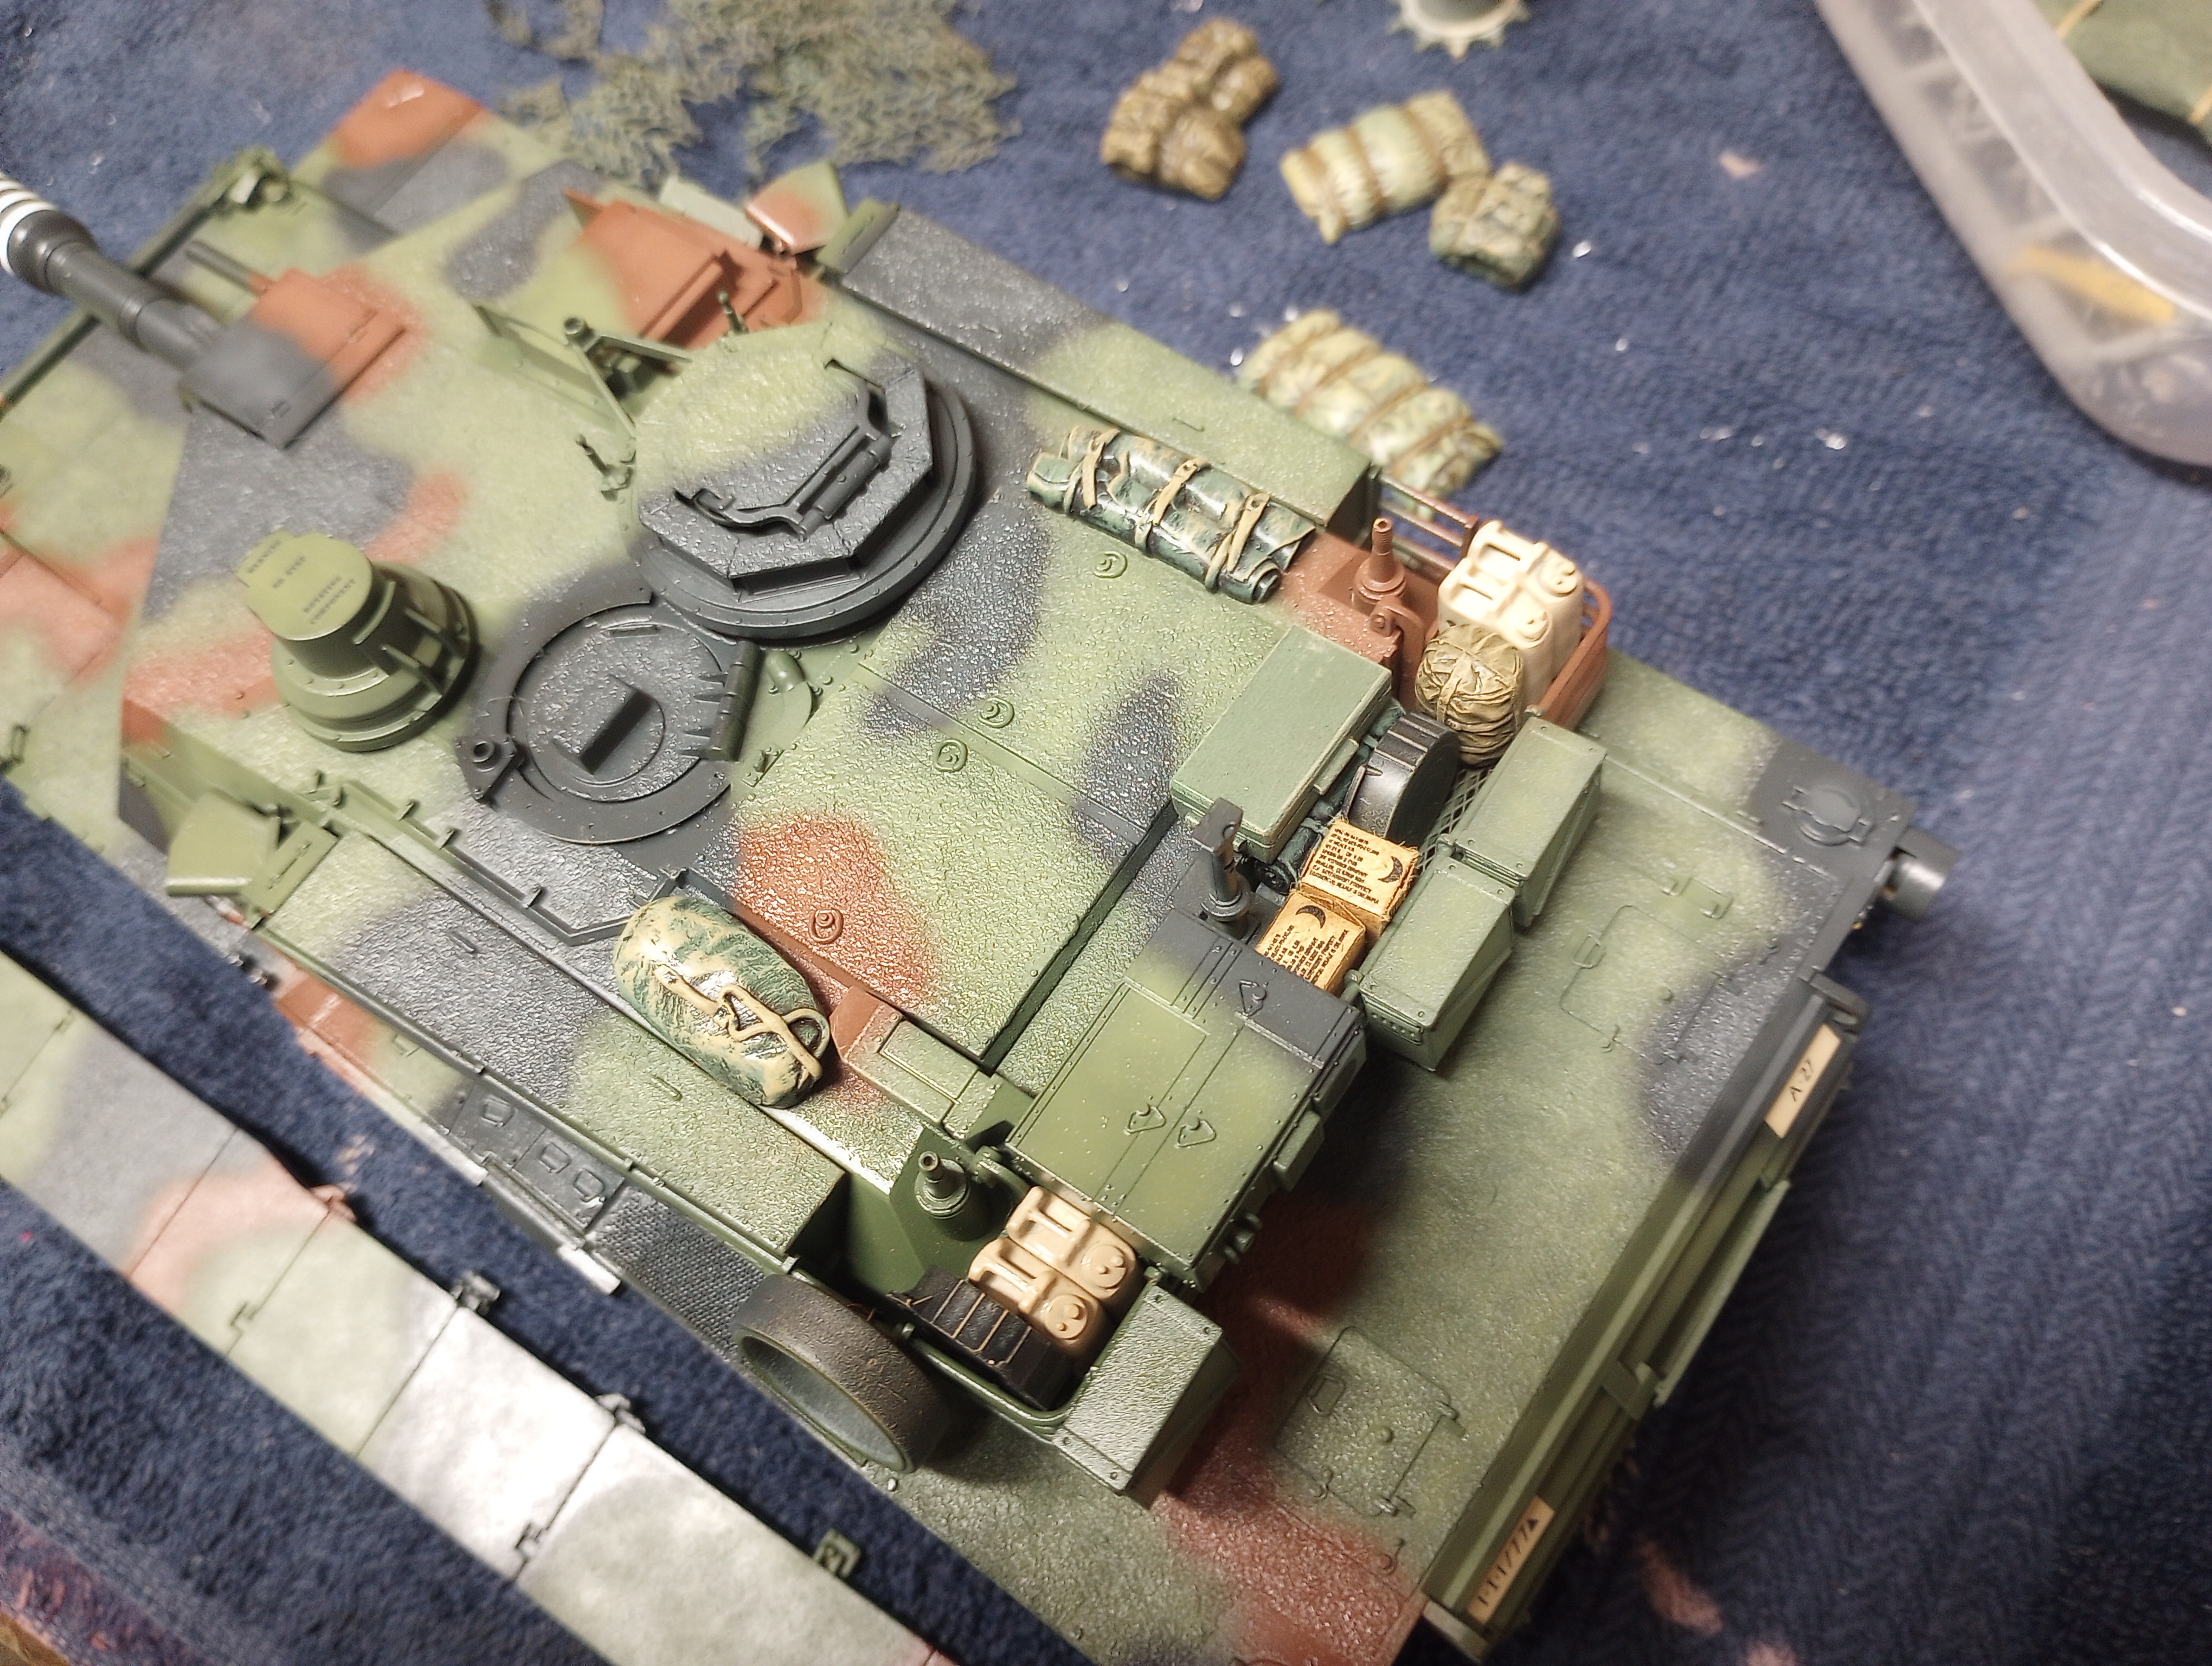
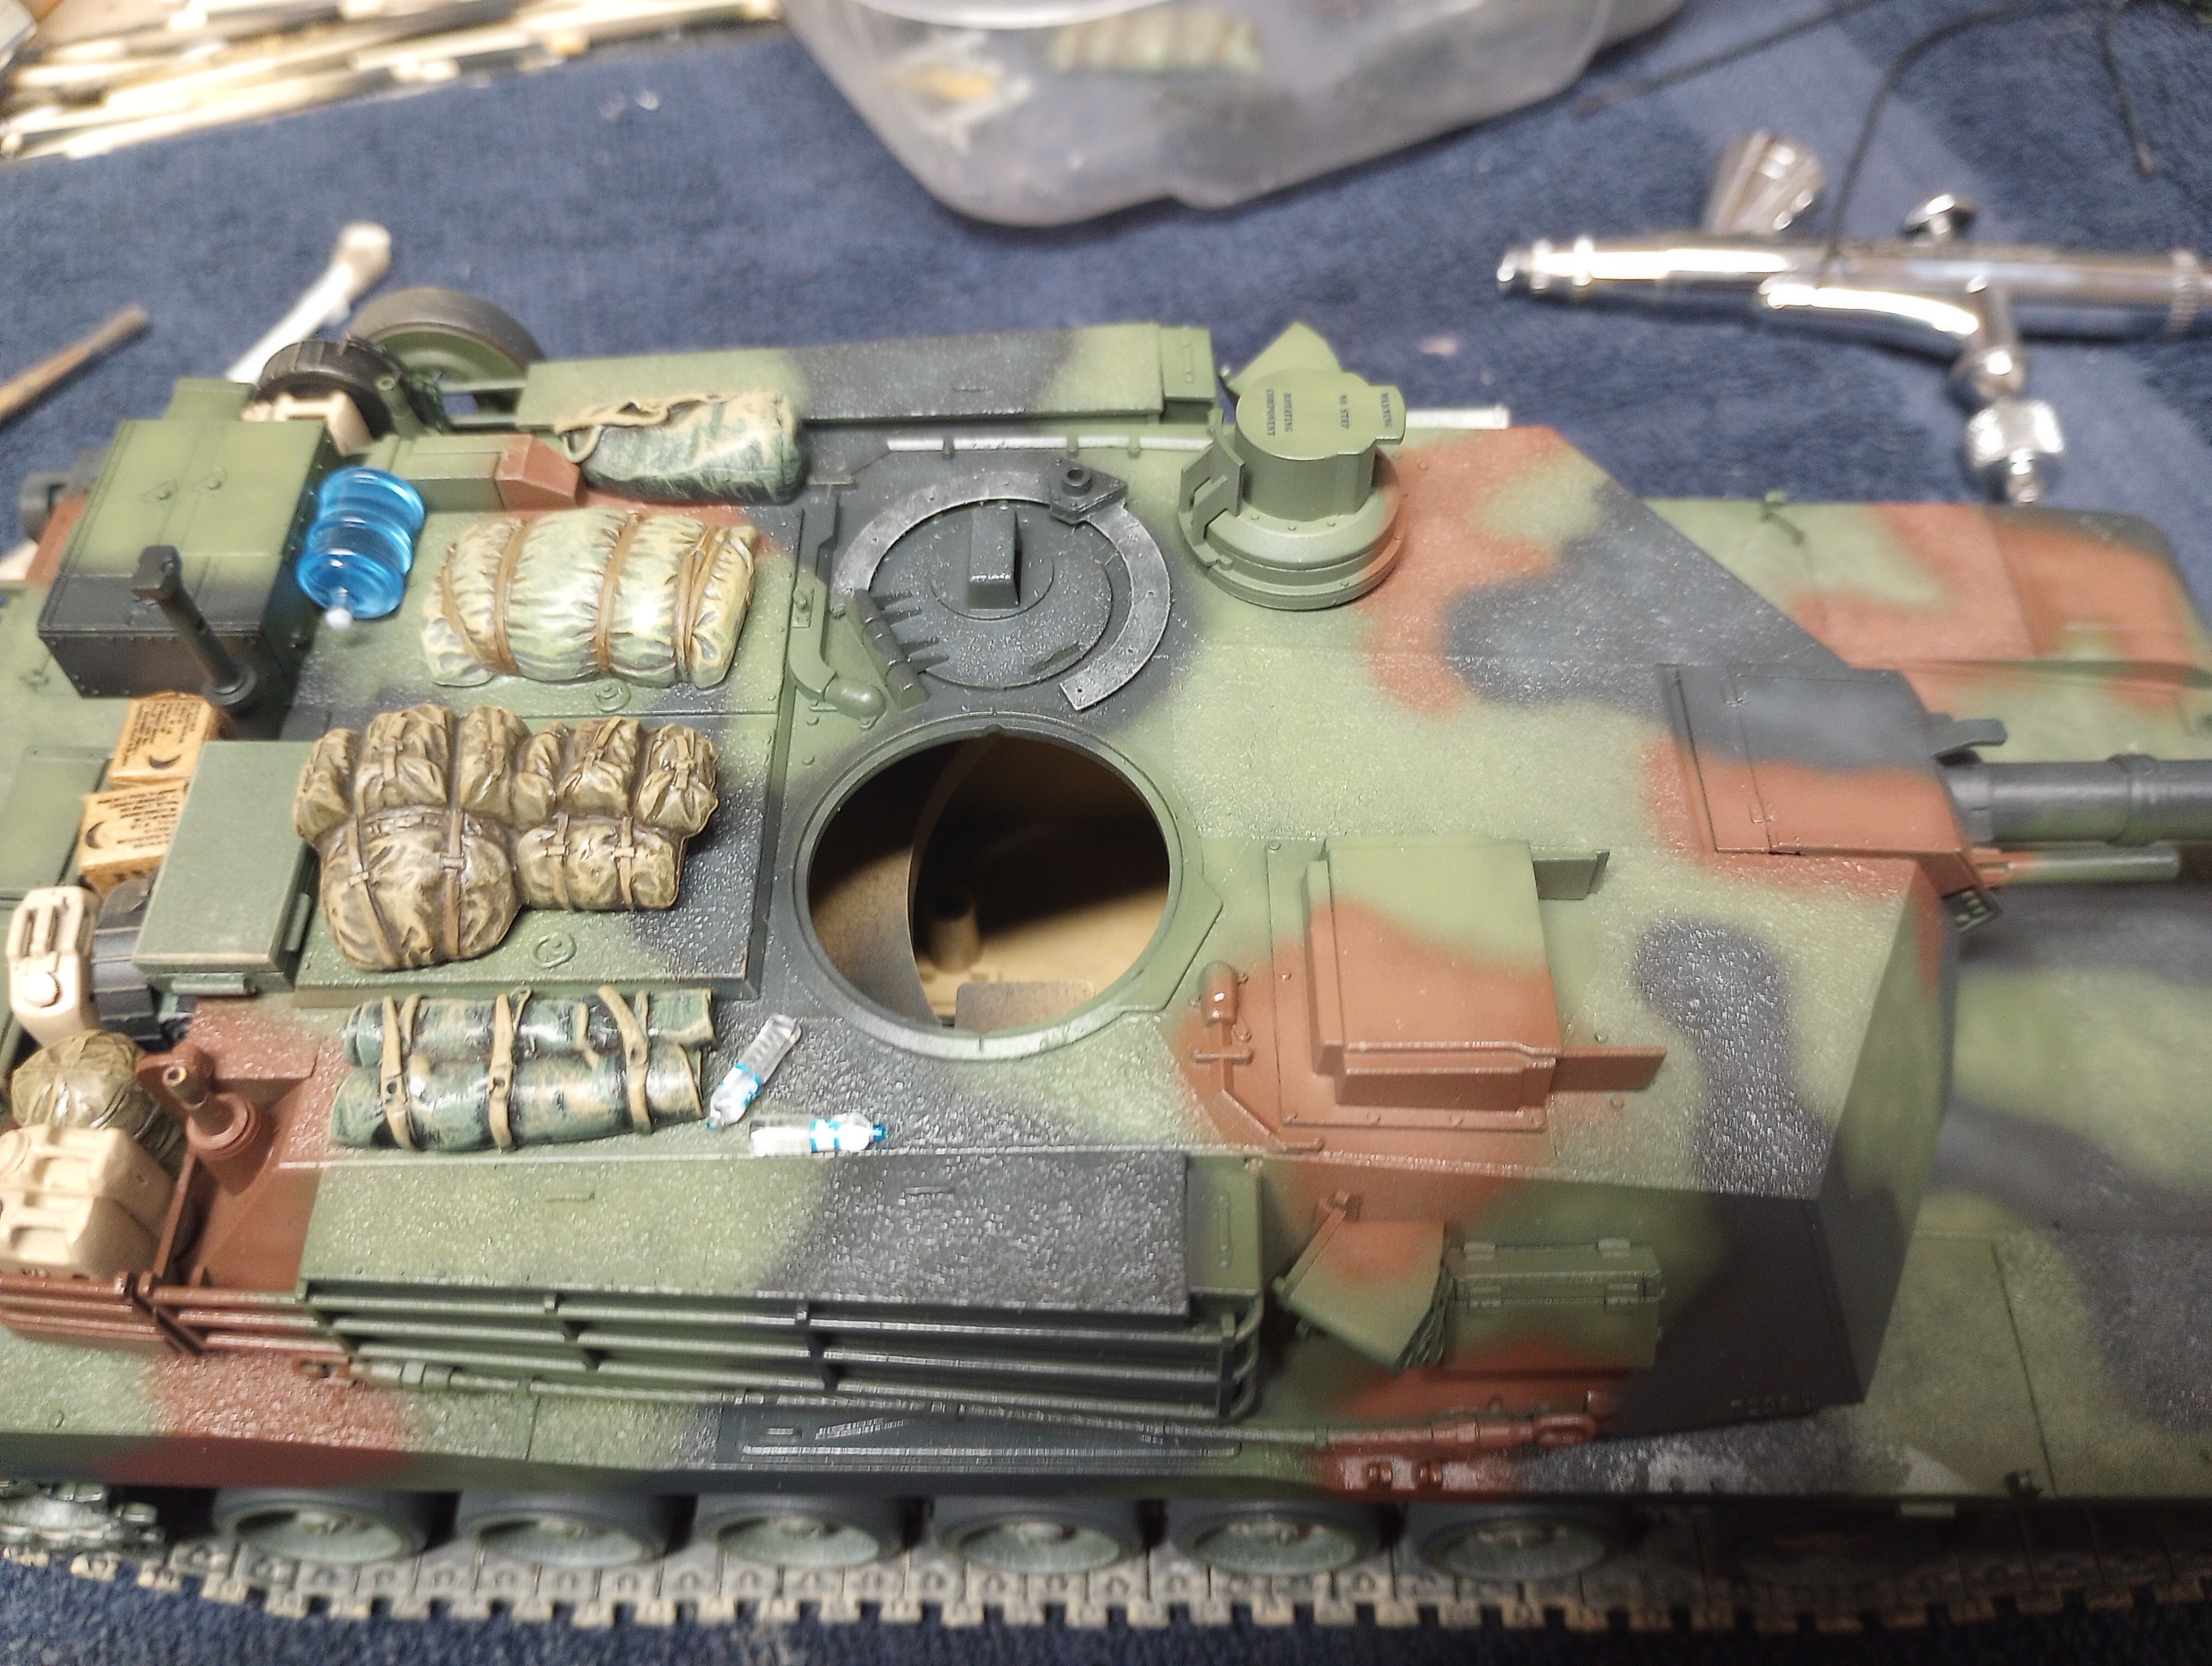

kevin
Well-Known Member
Keep up the good work.


