Aoshima Kawasaki KZ 1000

Scale Model Addict - Model Tips, Guides, Tools & Tech, Tutorials, and Community

Help Support Scale Model Addict:

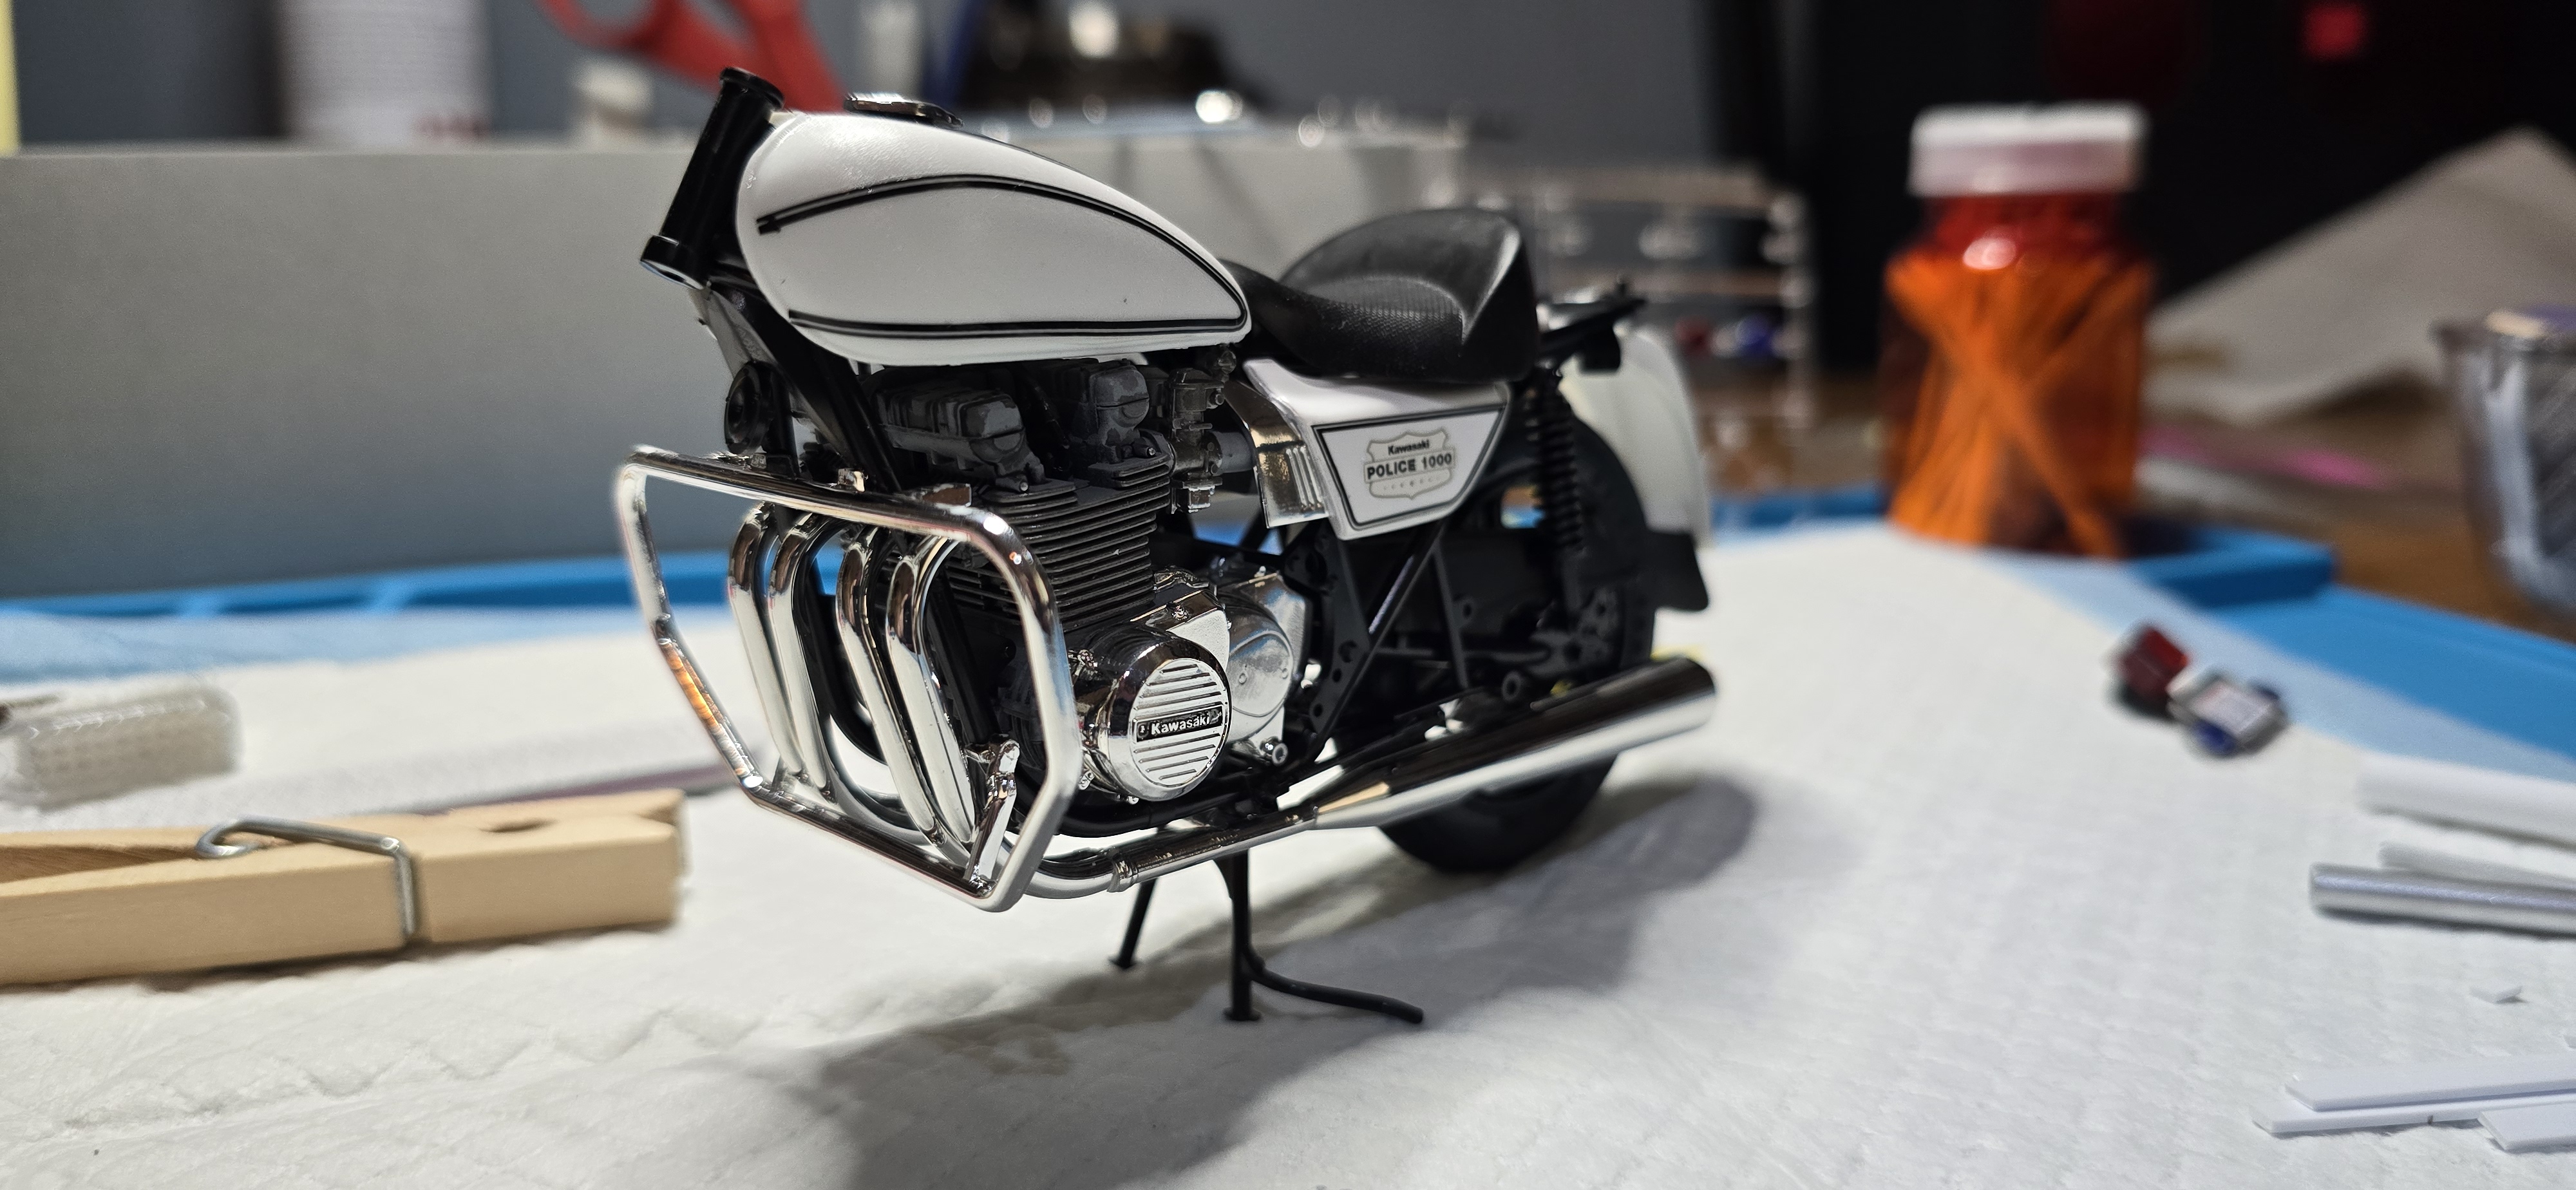
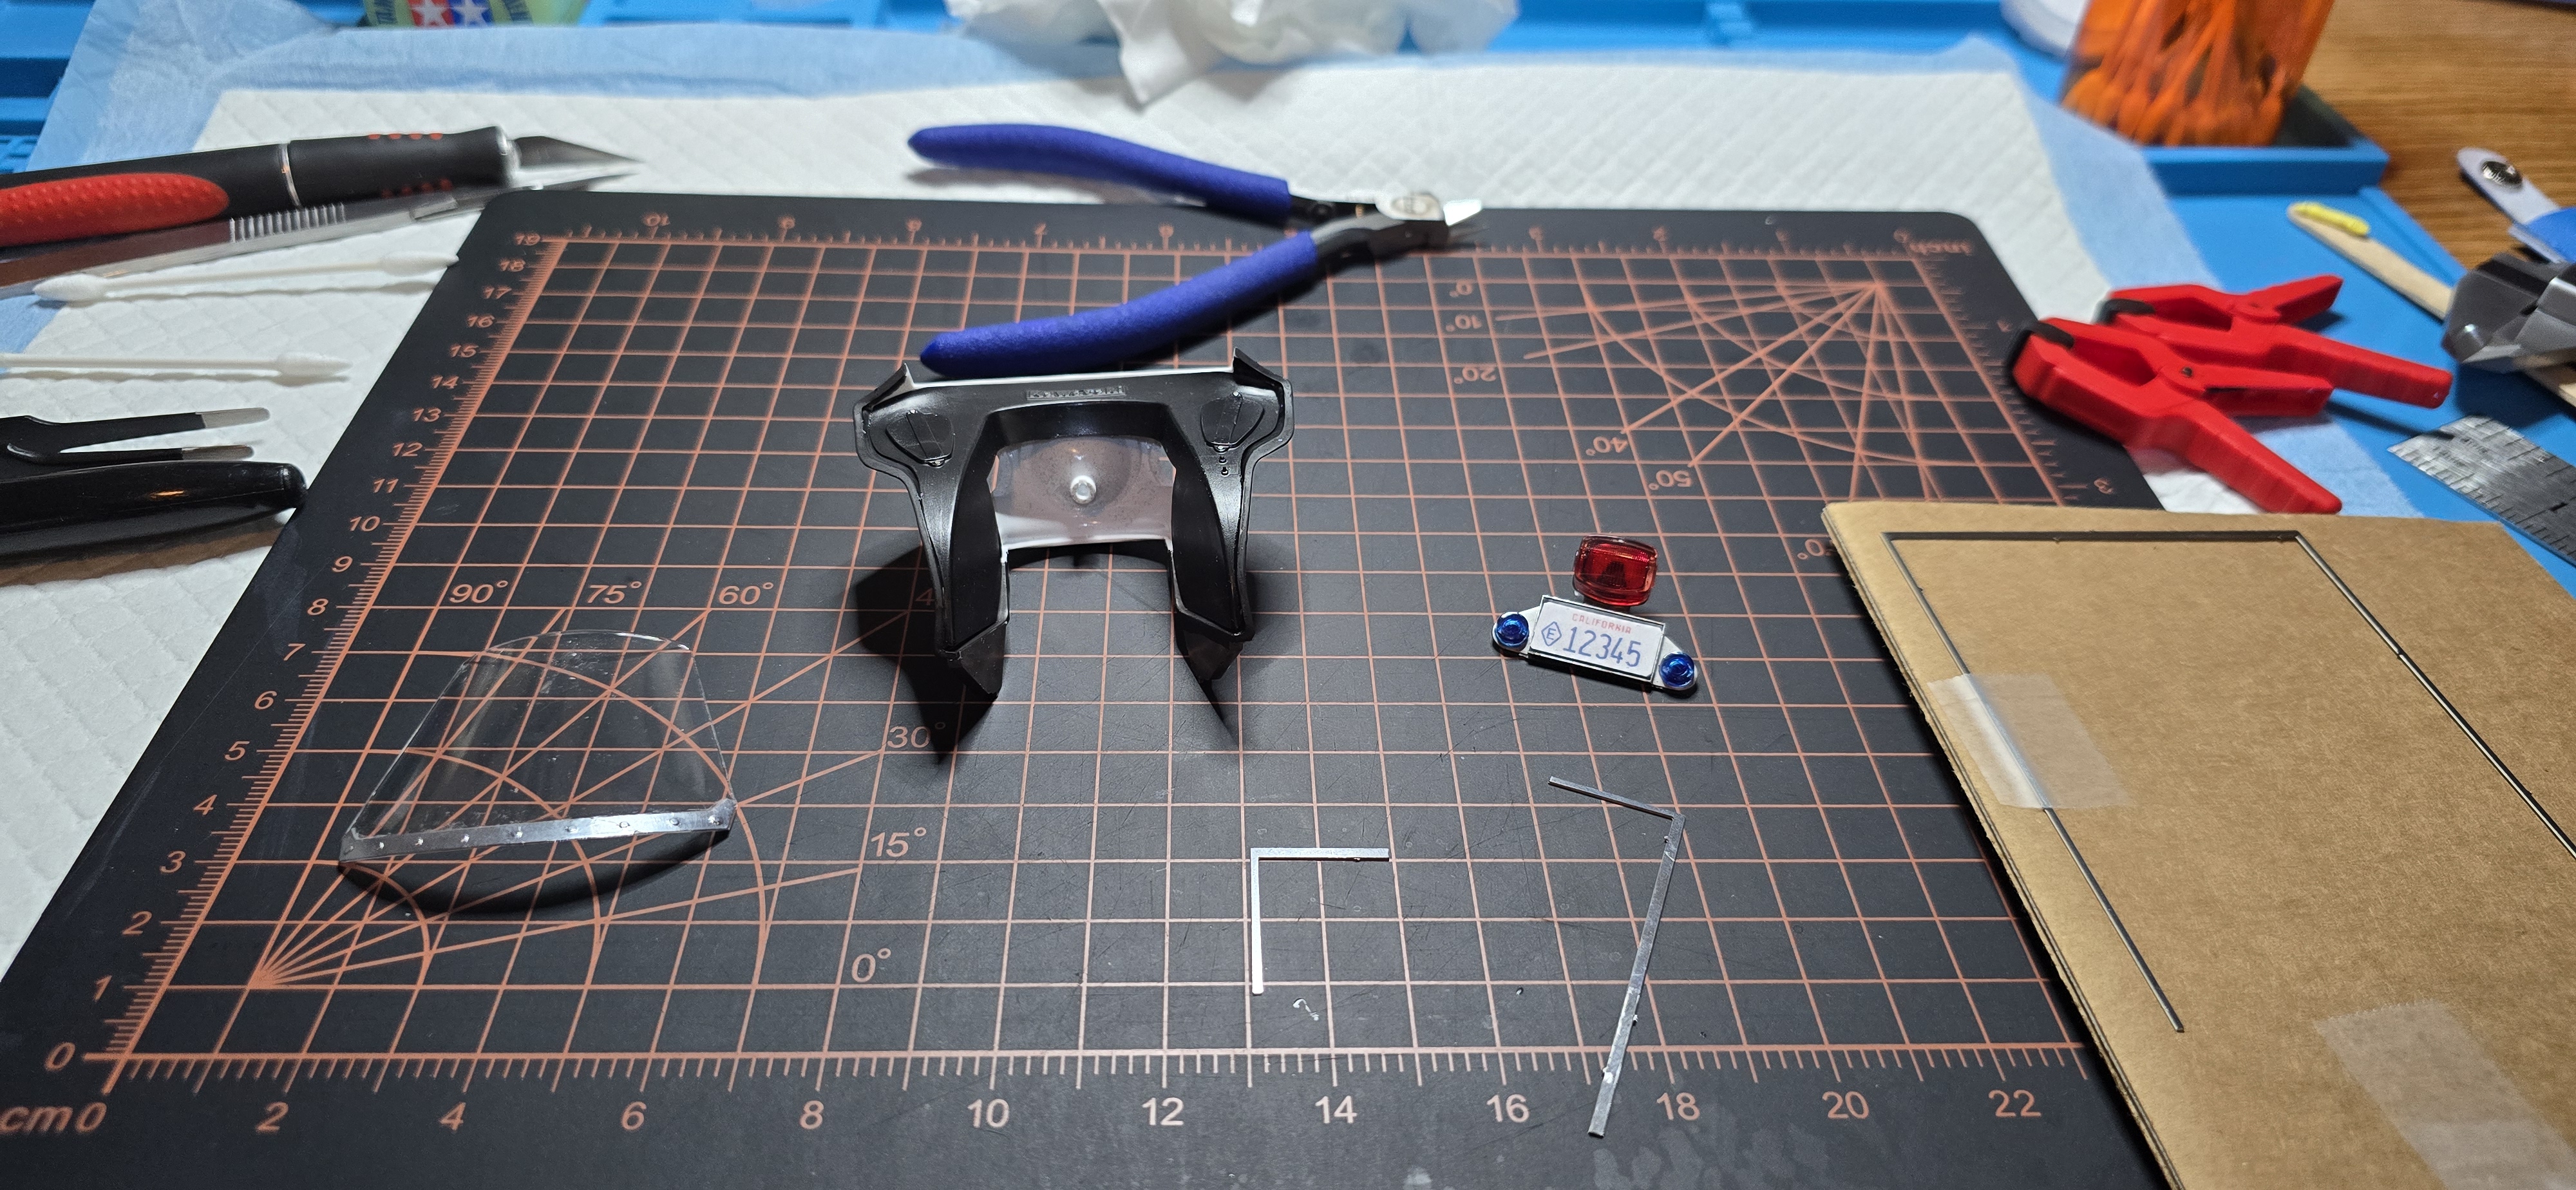
Bit o' time this morning.
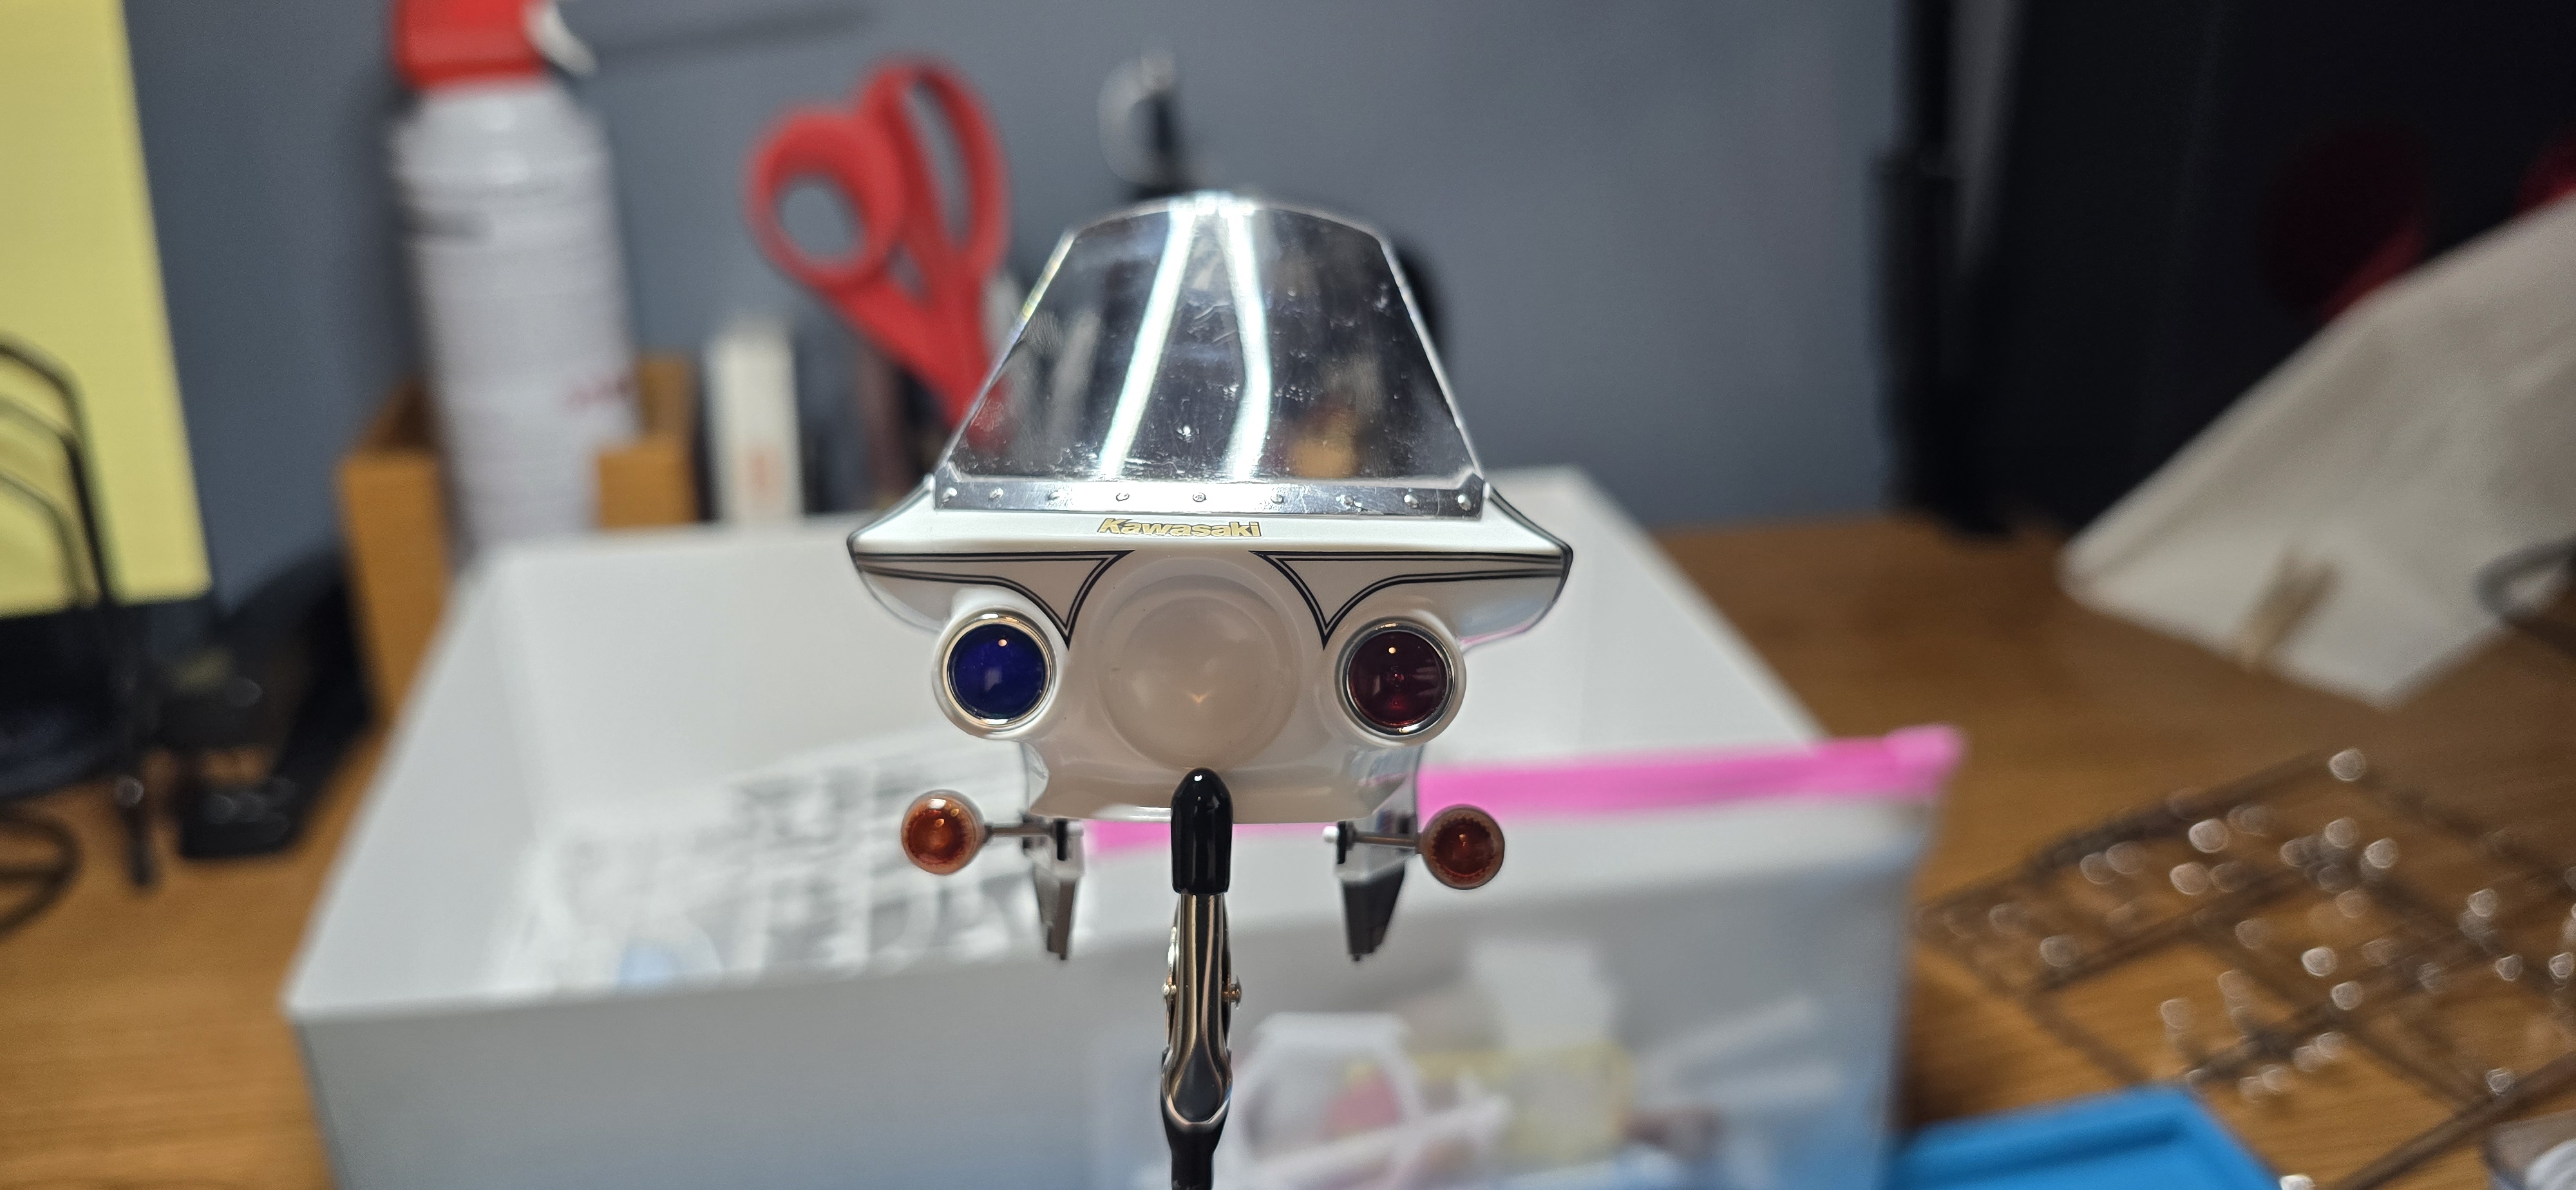
Got the BMF on the bottom of the windshield.
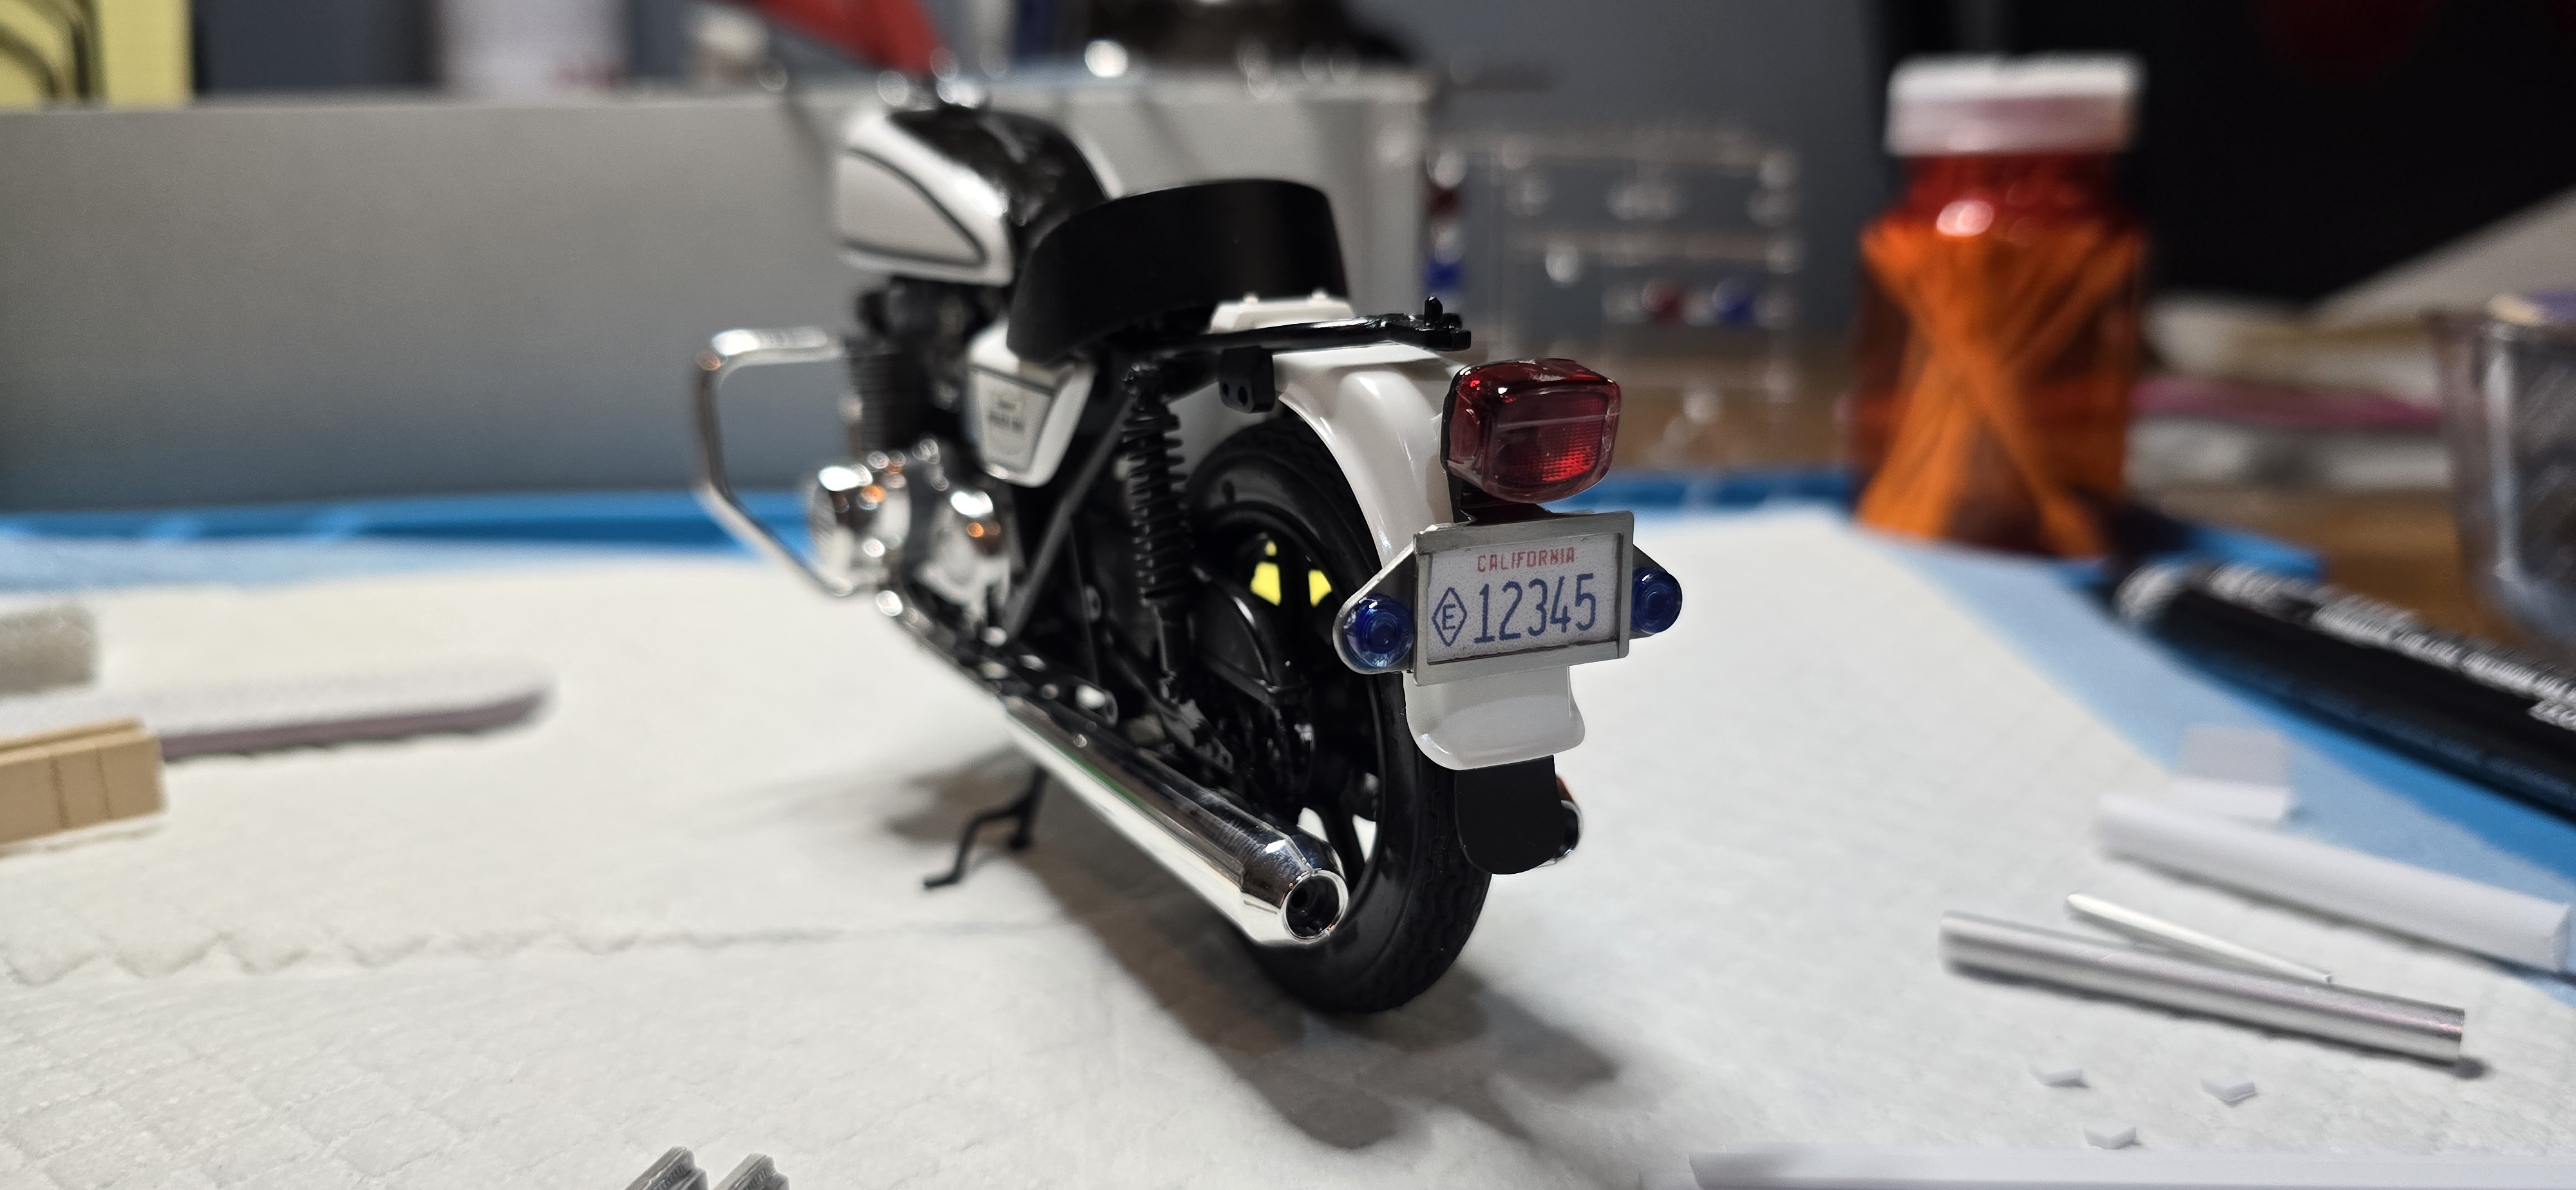
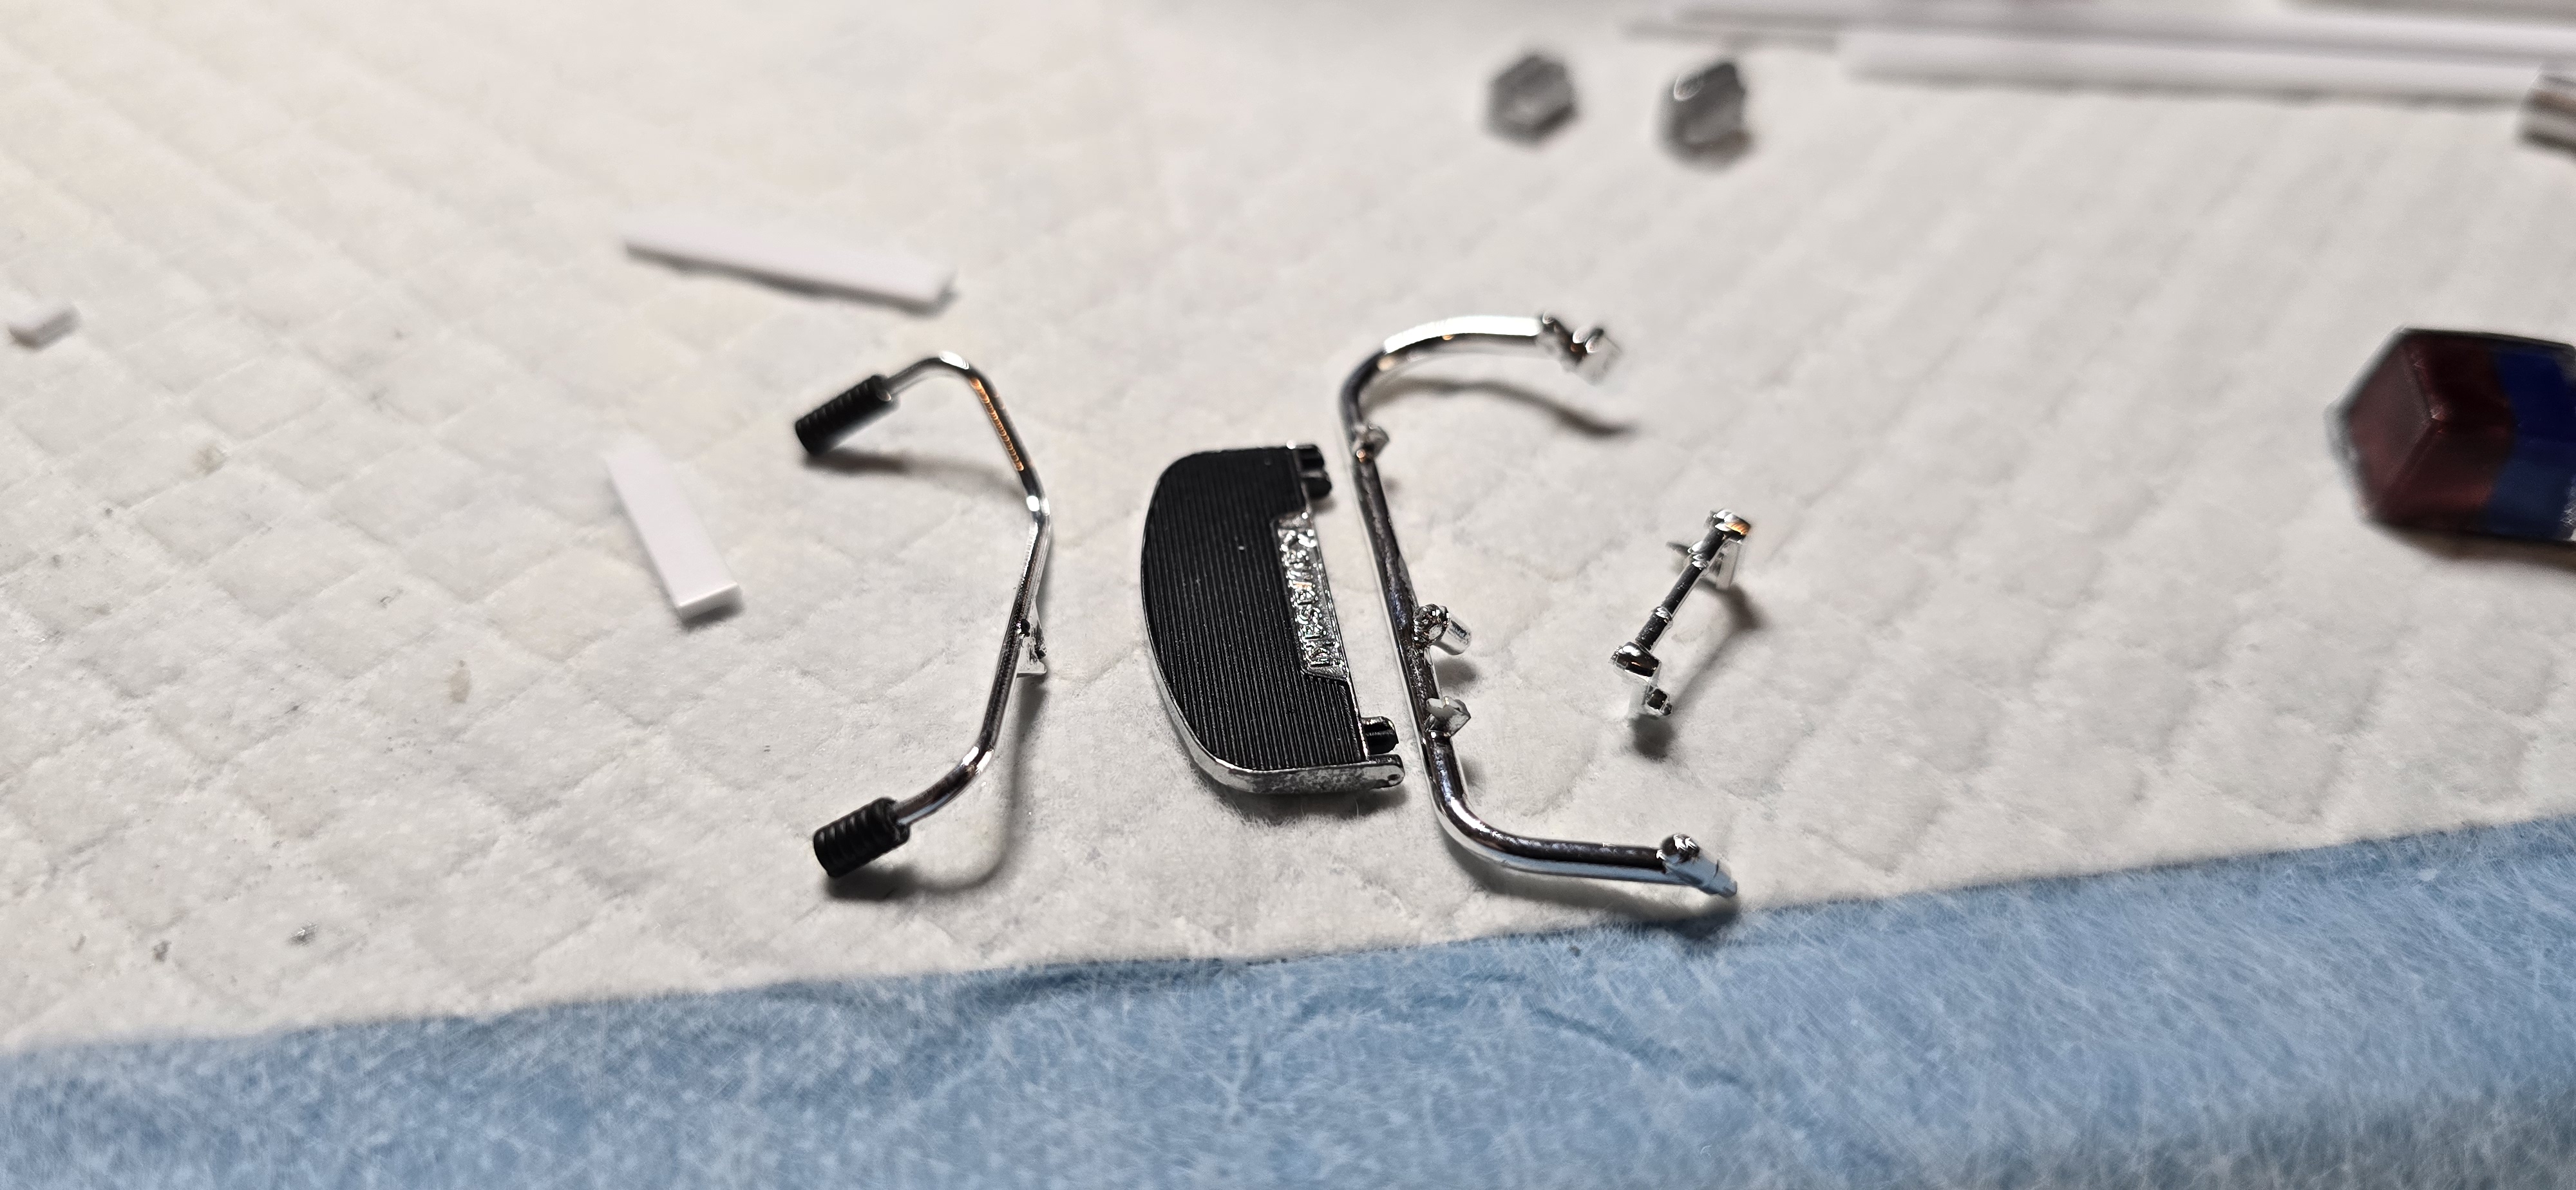
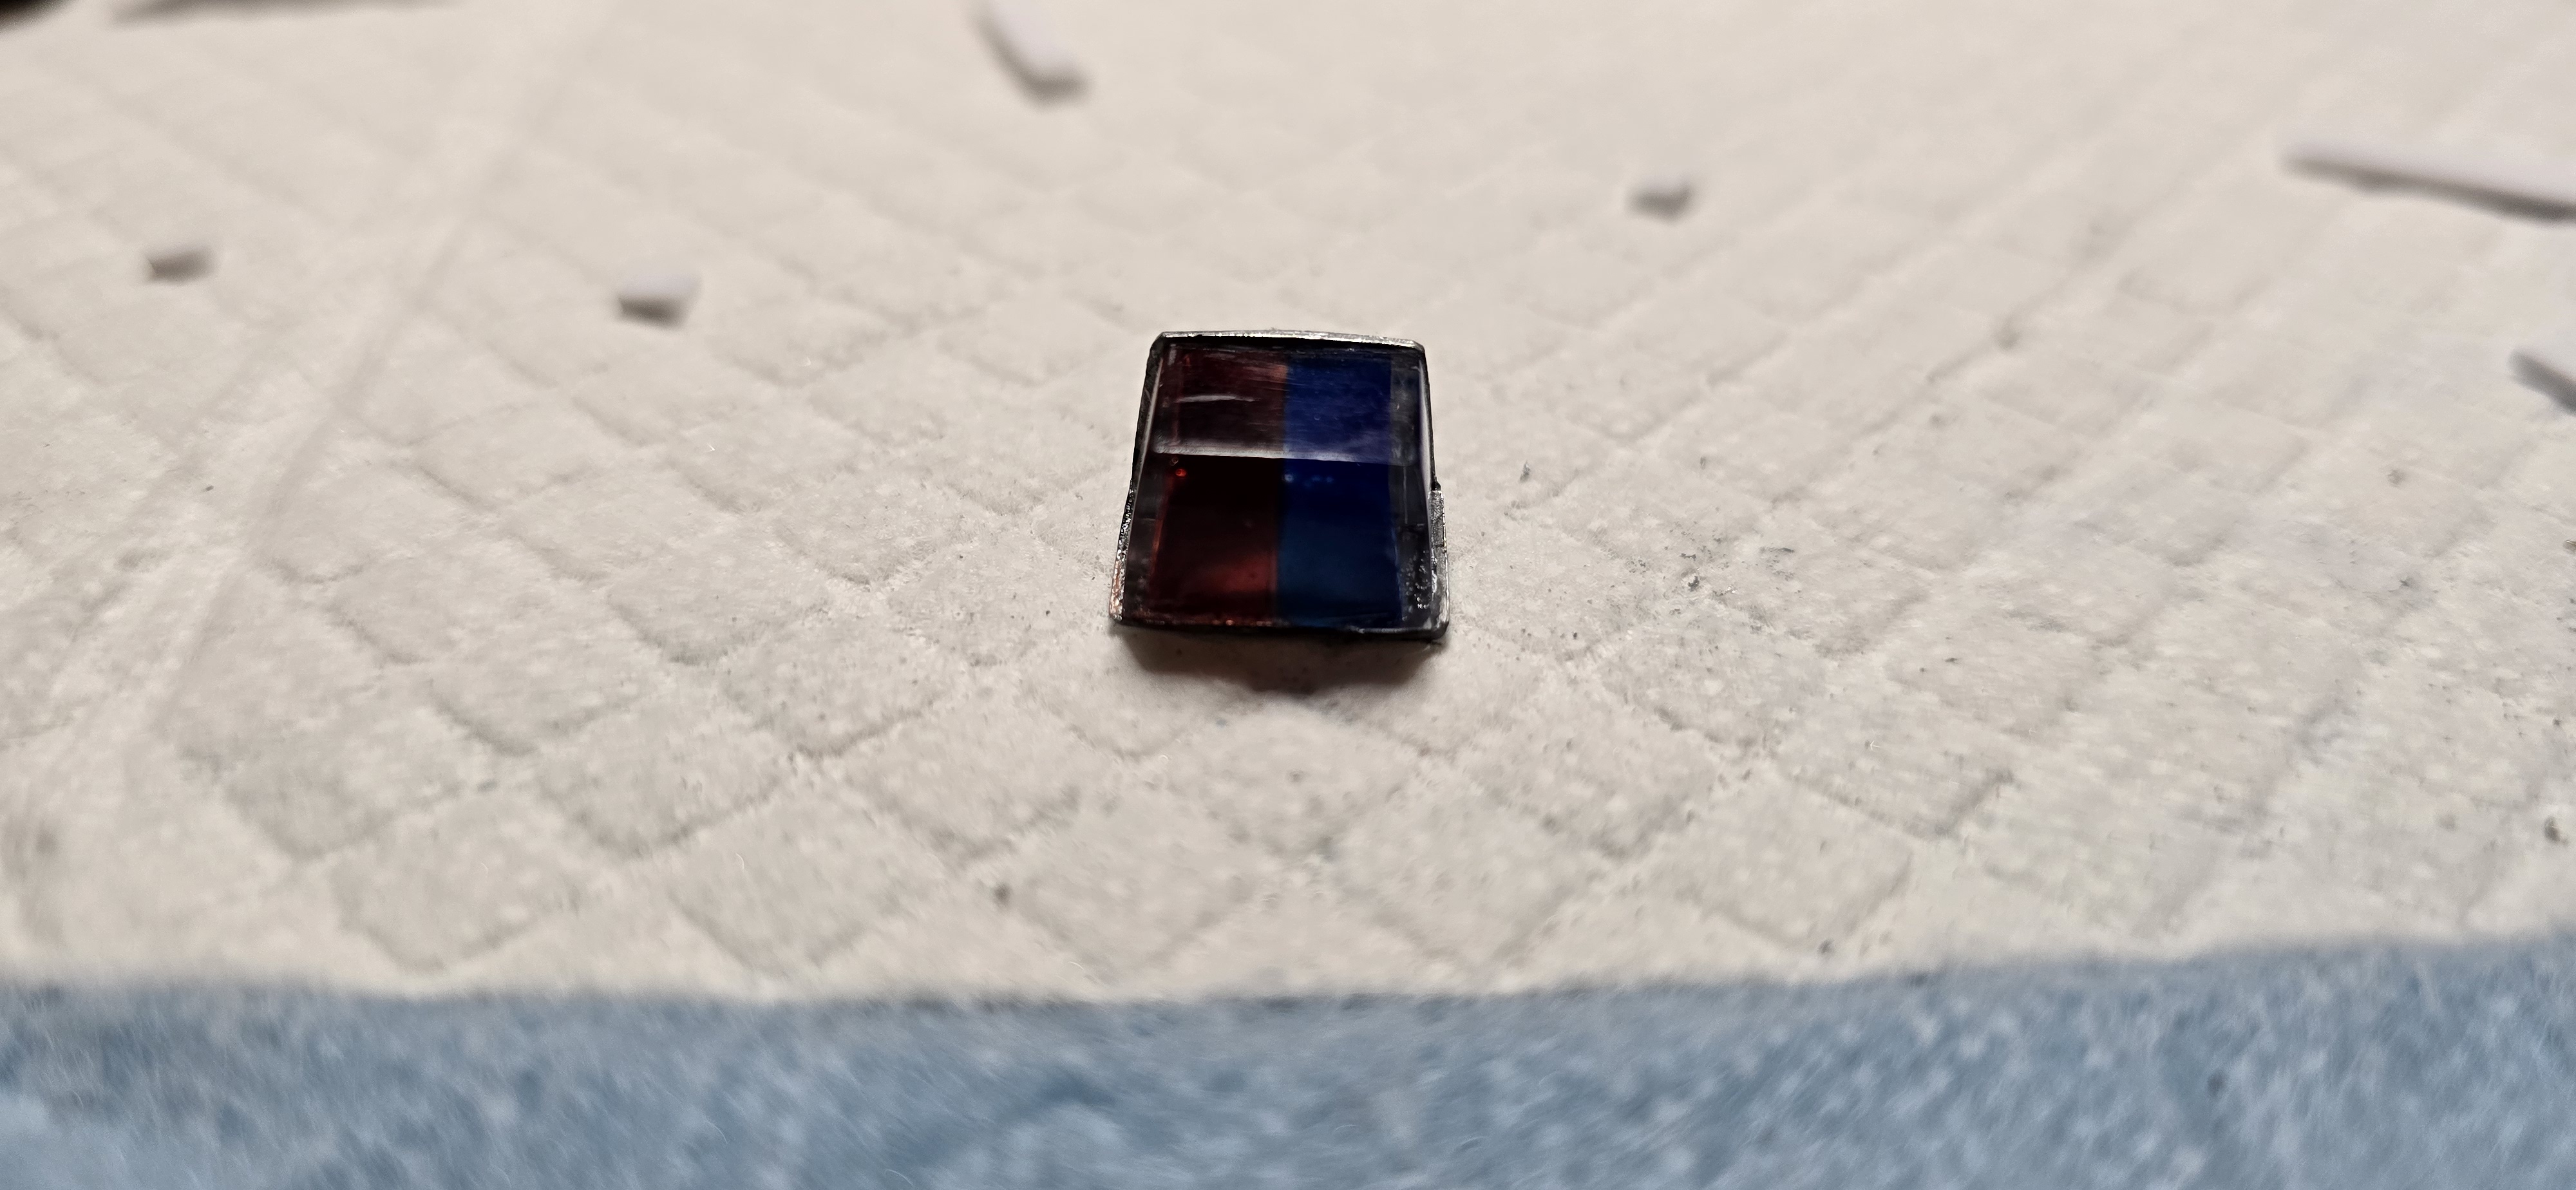
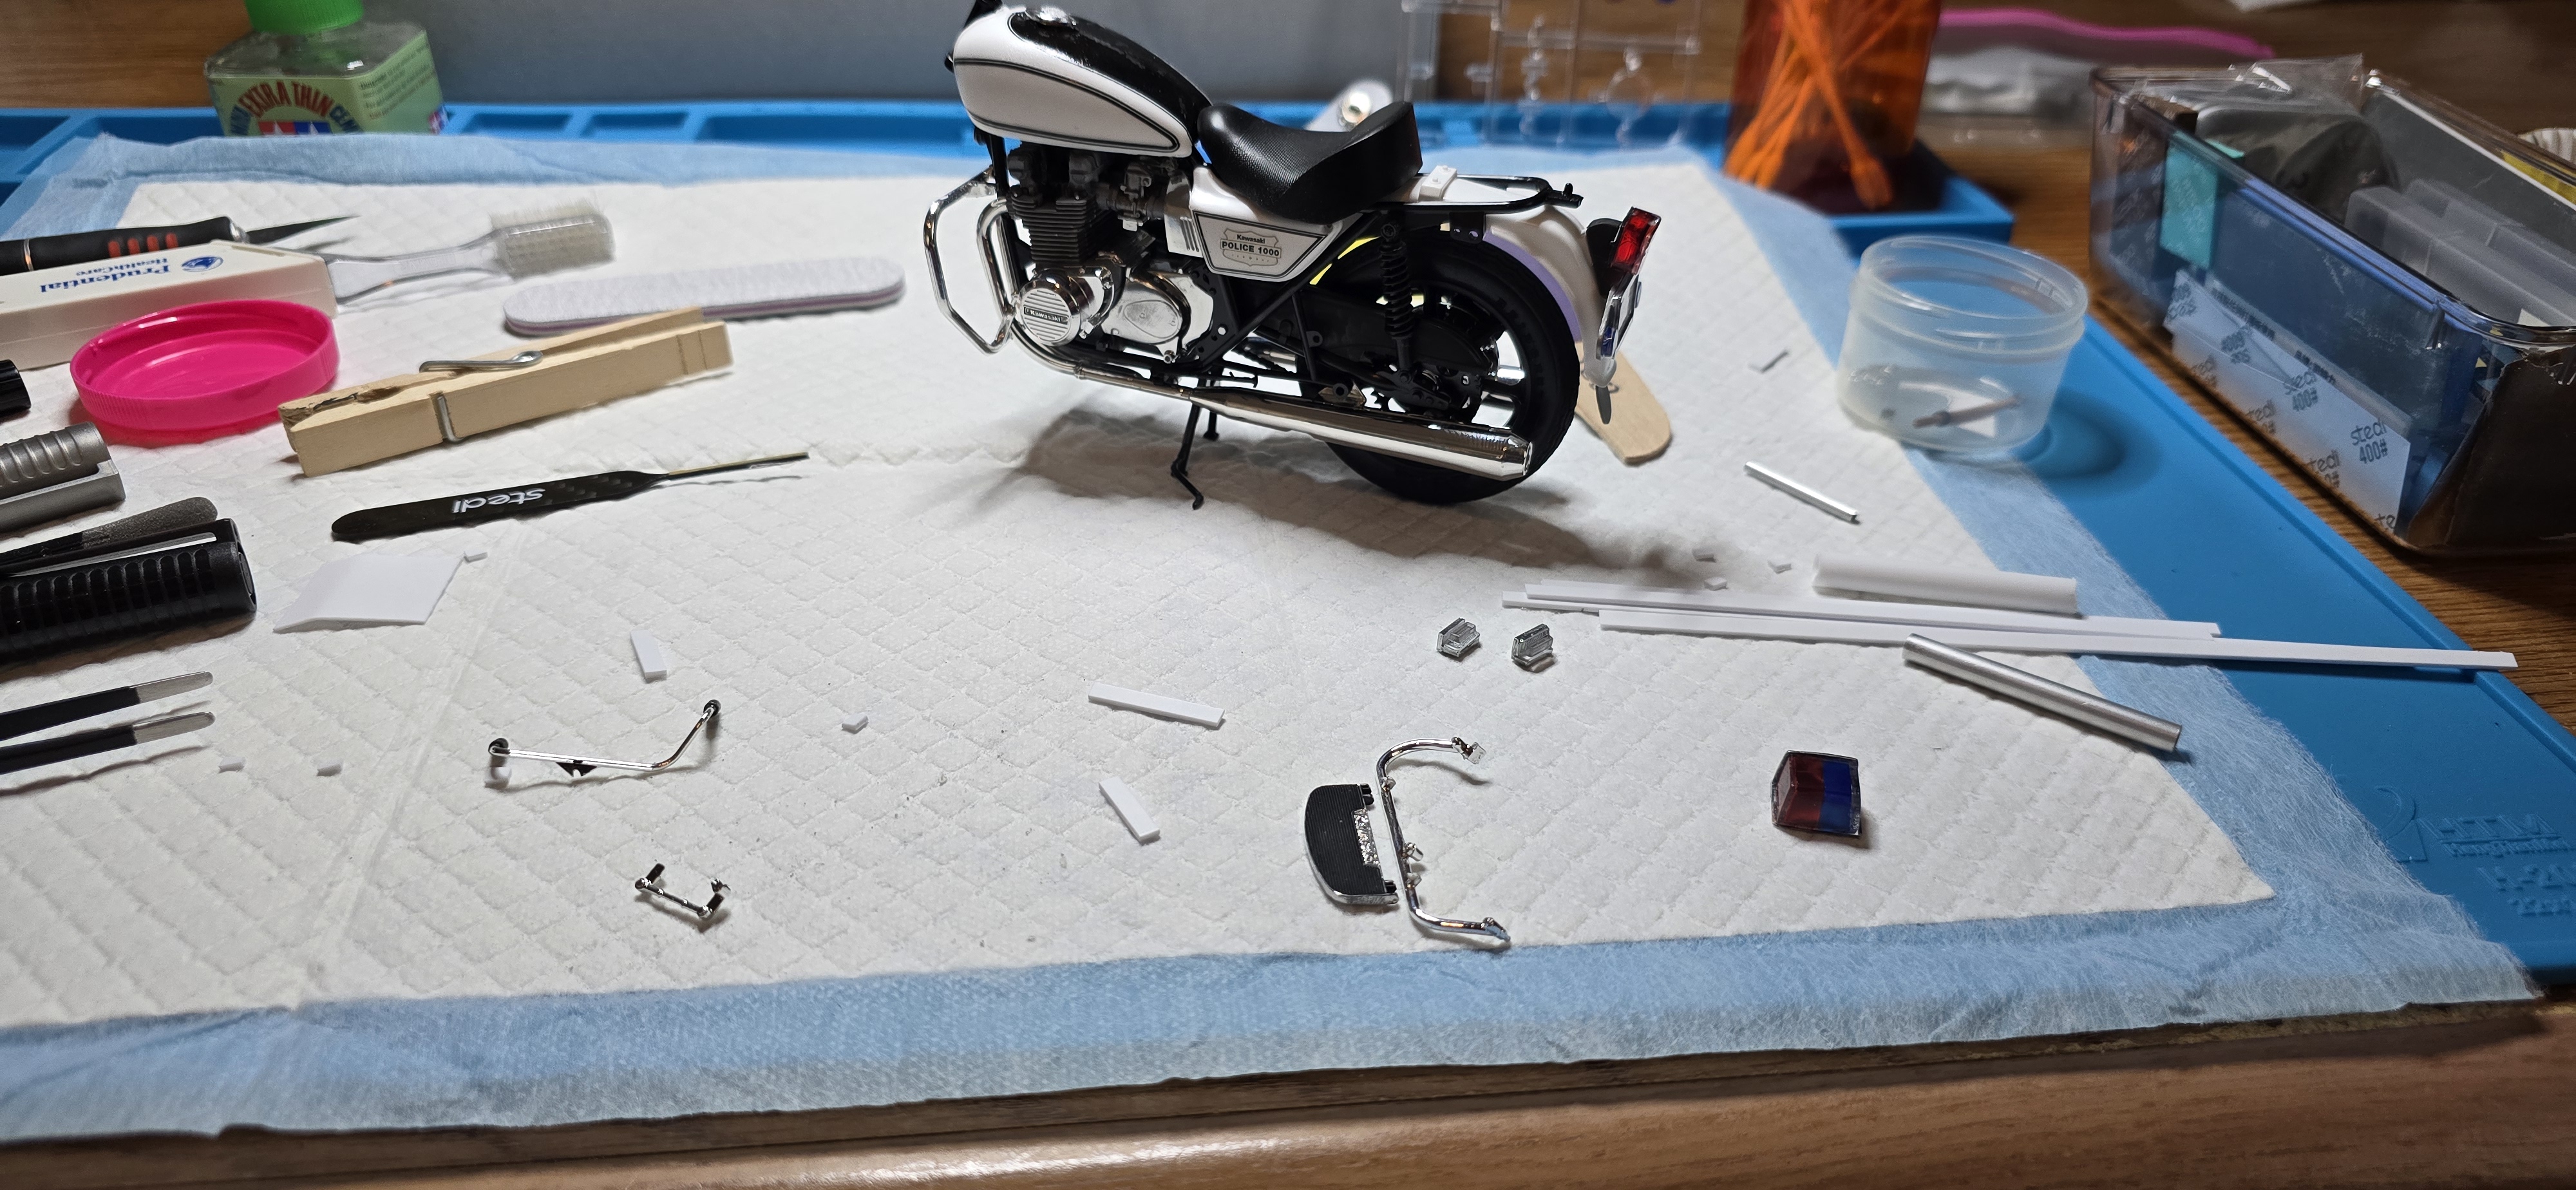
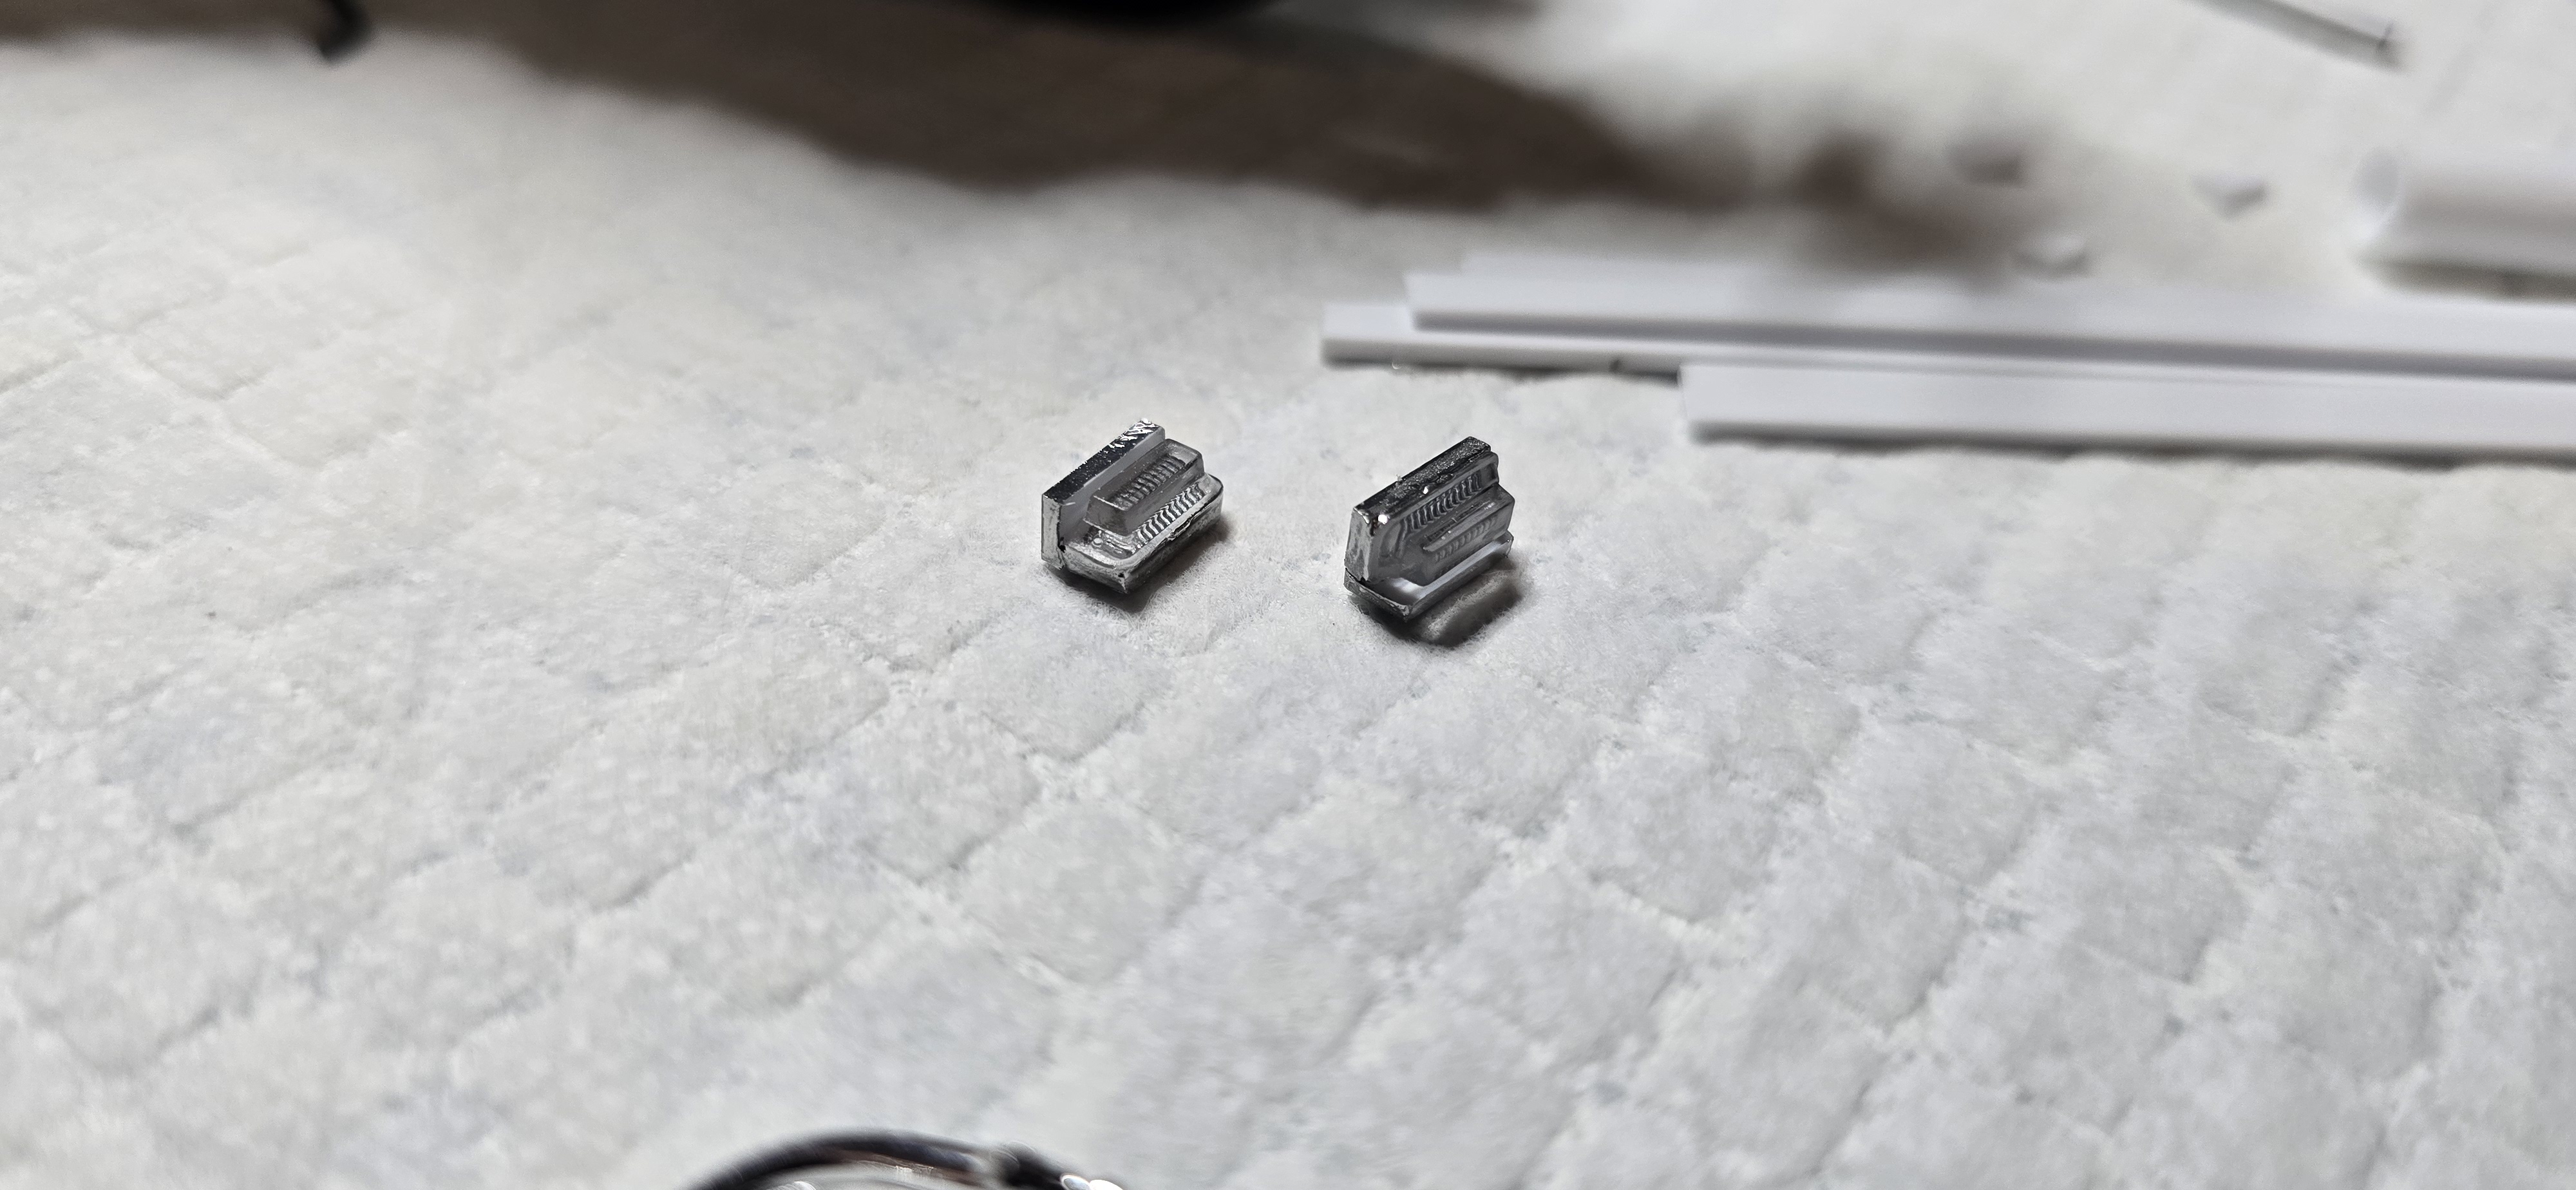
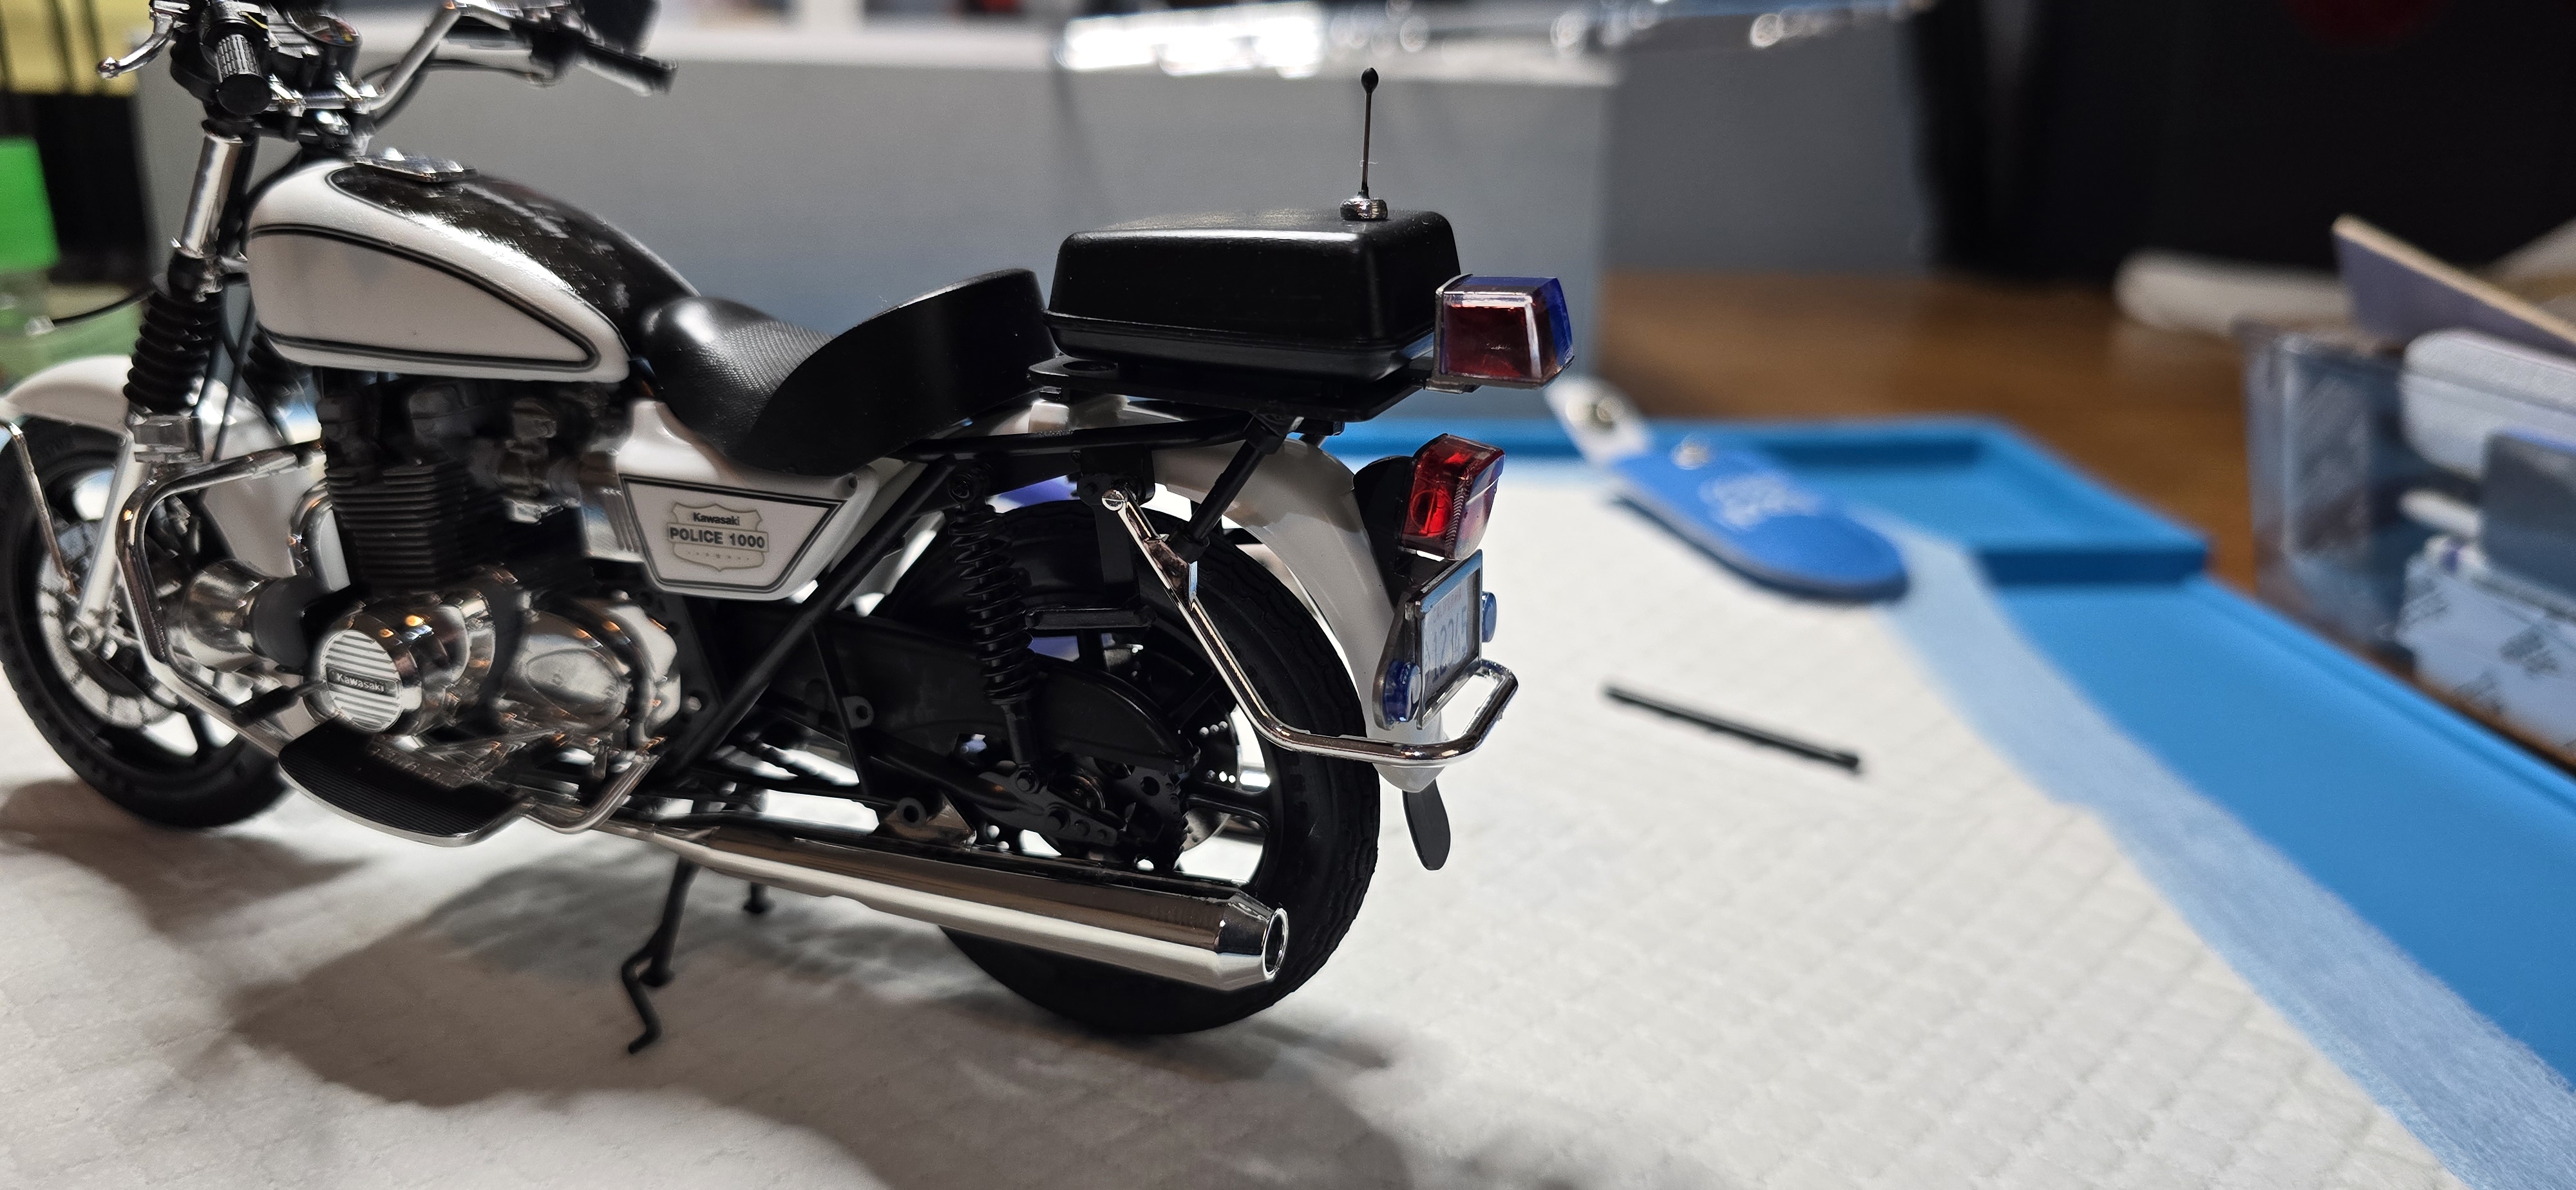
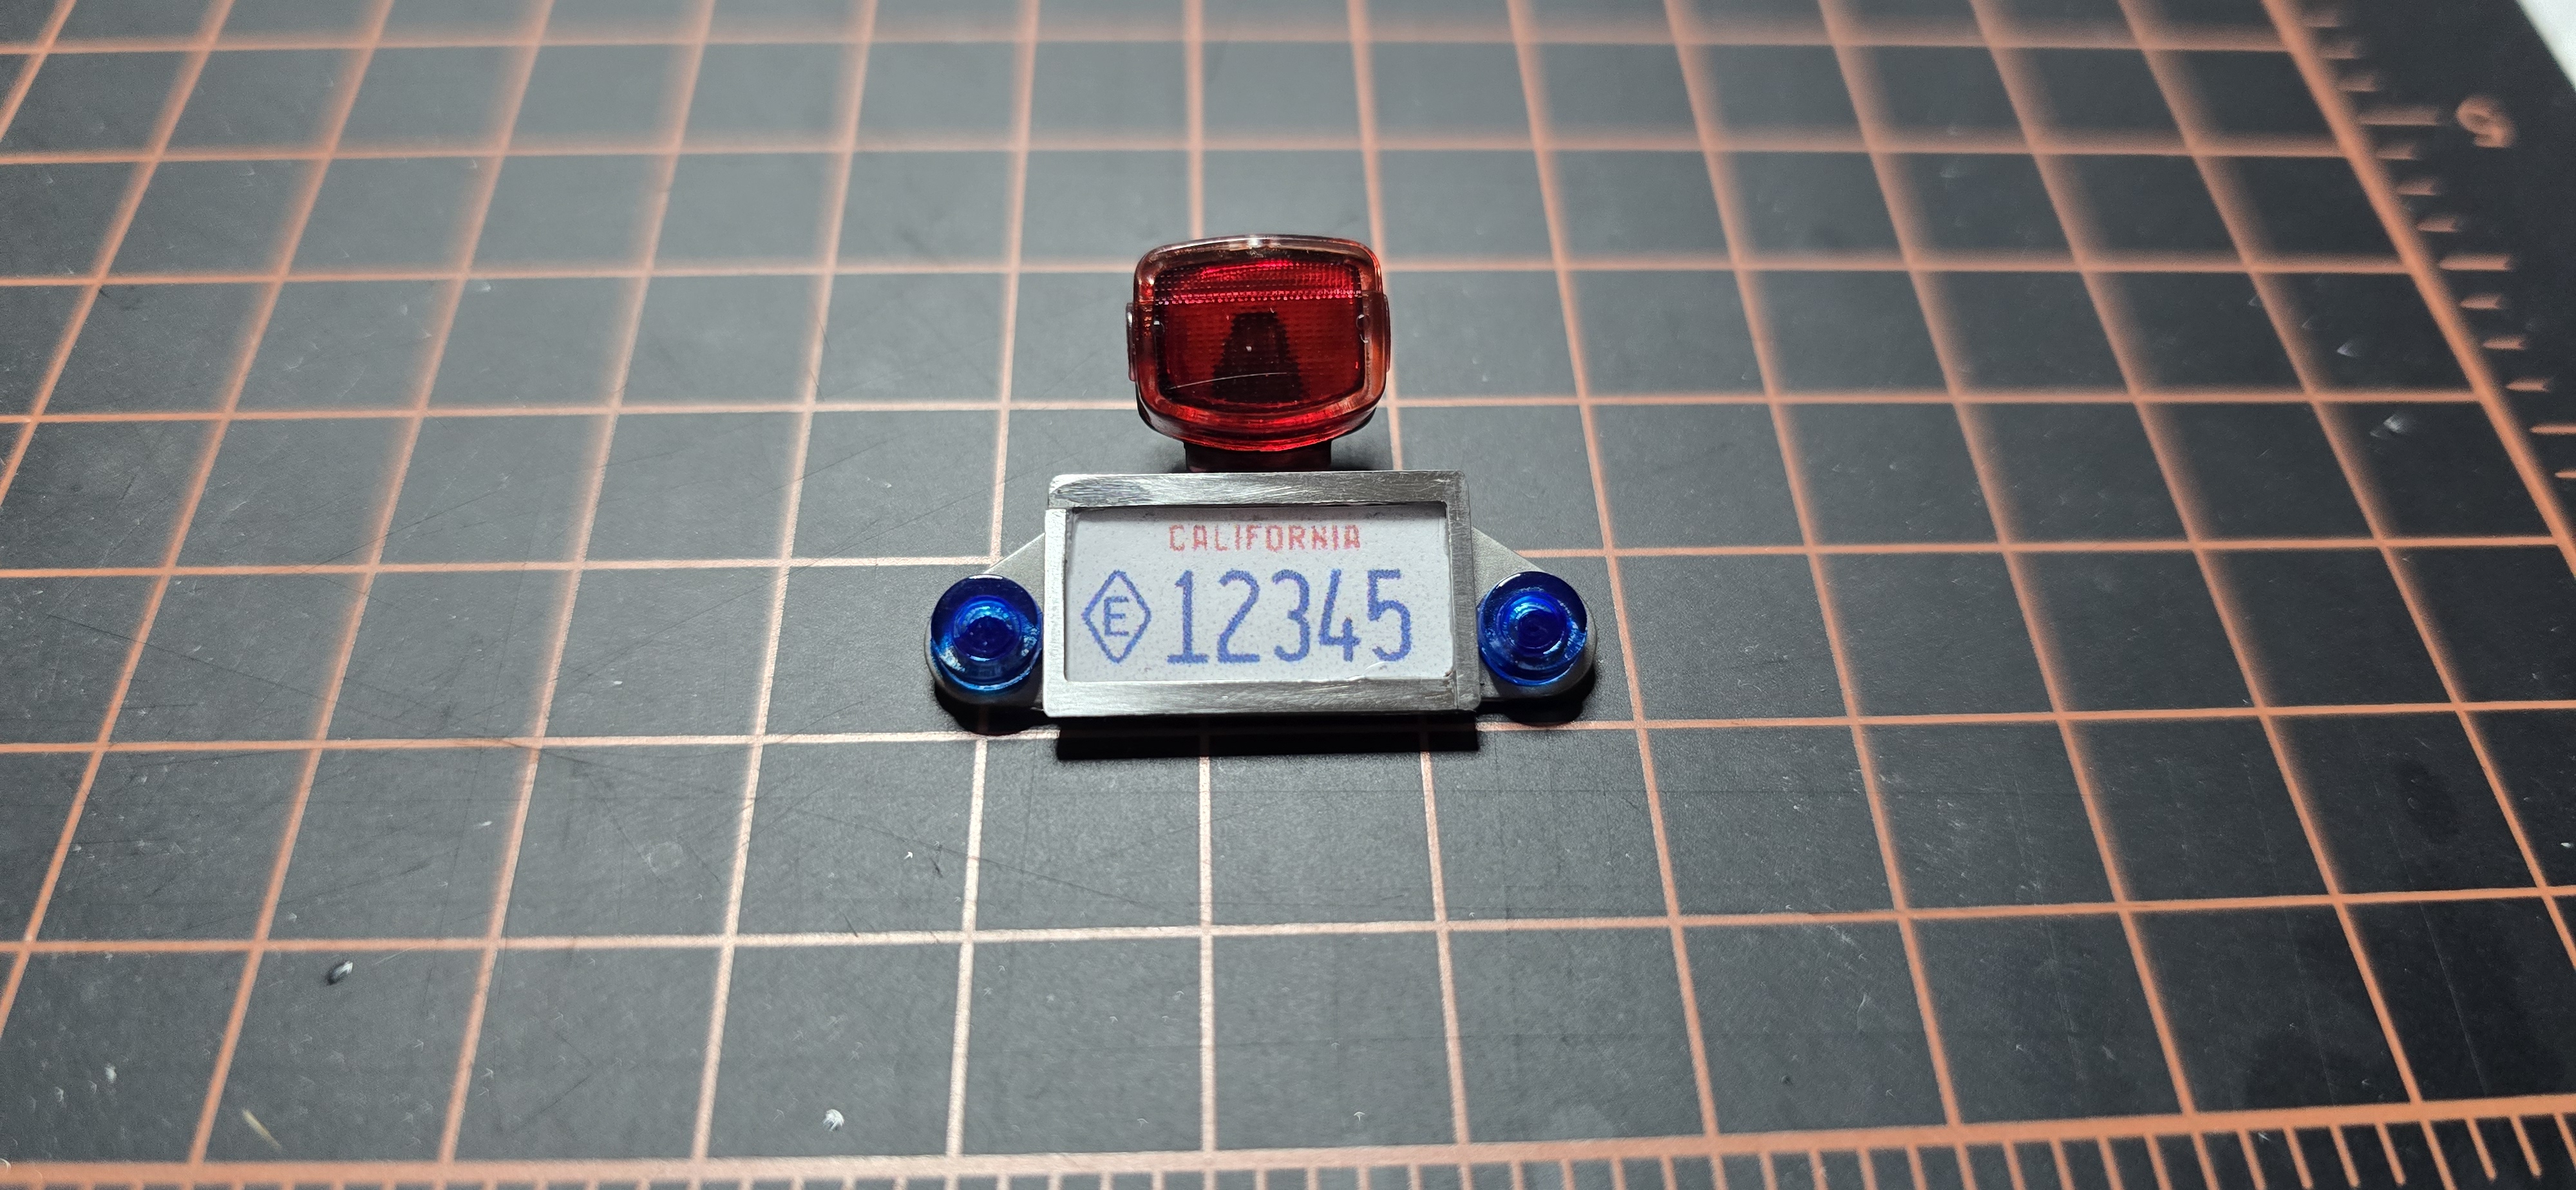
Spent some time making a license plate and then a "billet" license plate frame out of some surplus PE sprue. Probably spending much longer than I should have, but wanted to see if I could.
Used gap filler CA to connect the pieces and lay up/assembly was a breeze using Barleybop's suggestion of setting it on Ziploc Freezer bags, sure enough it popped right off.
Of course as soon as I glued everything together, I realized I'd forgotten to add the mounts for the frame. Oh well.
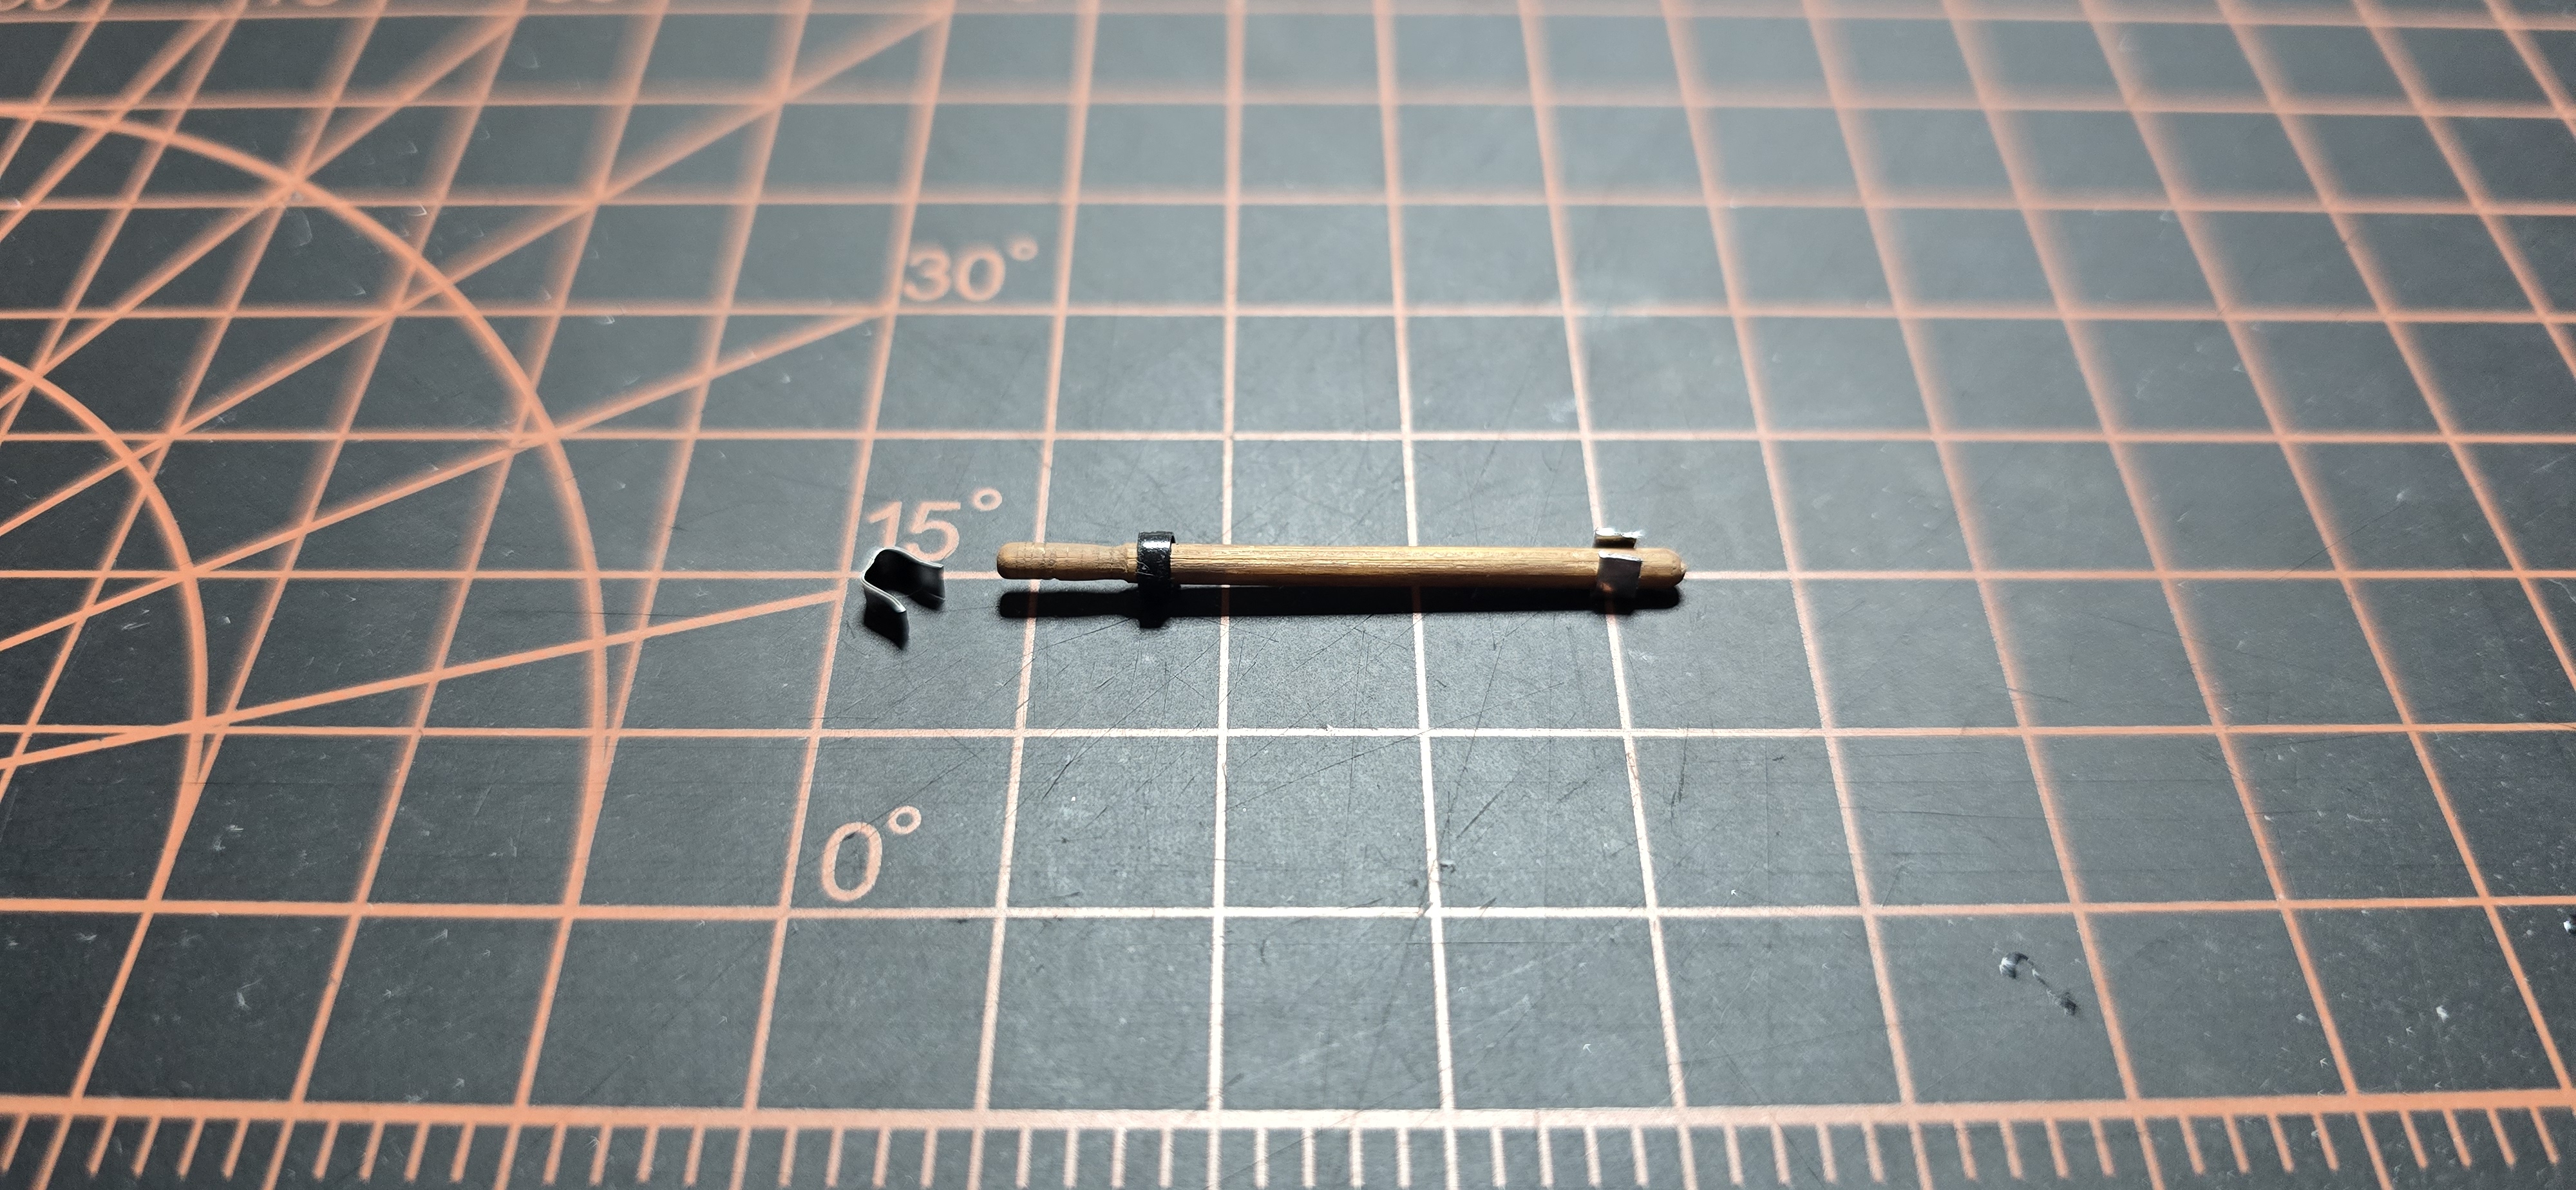
I also made mounts for the baton; it would snap onto small brackets in the saddlebag.
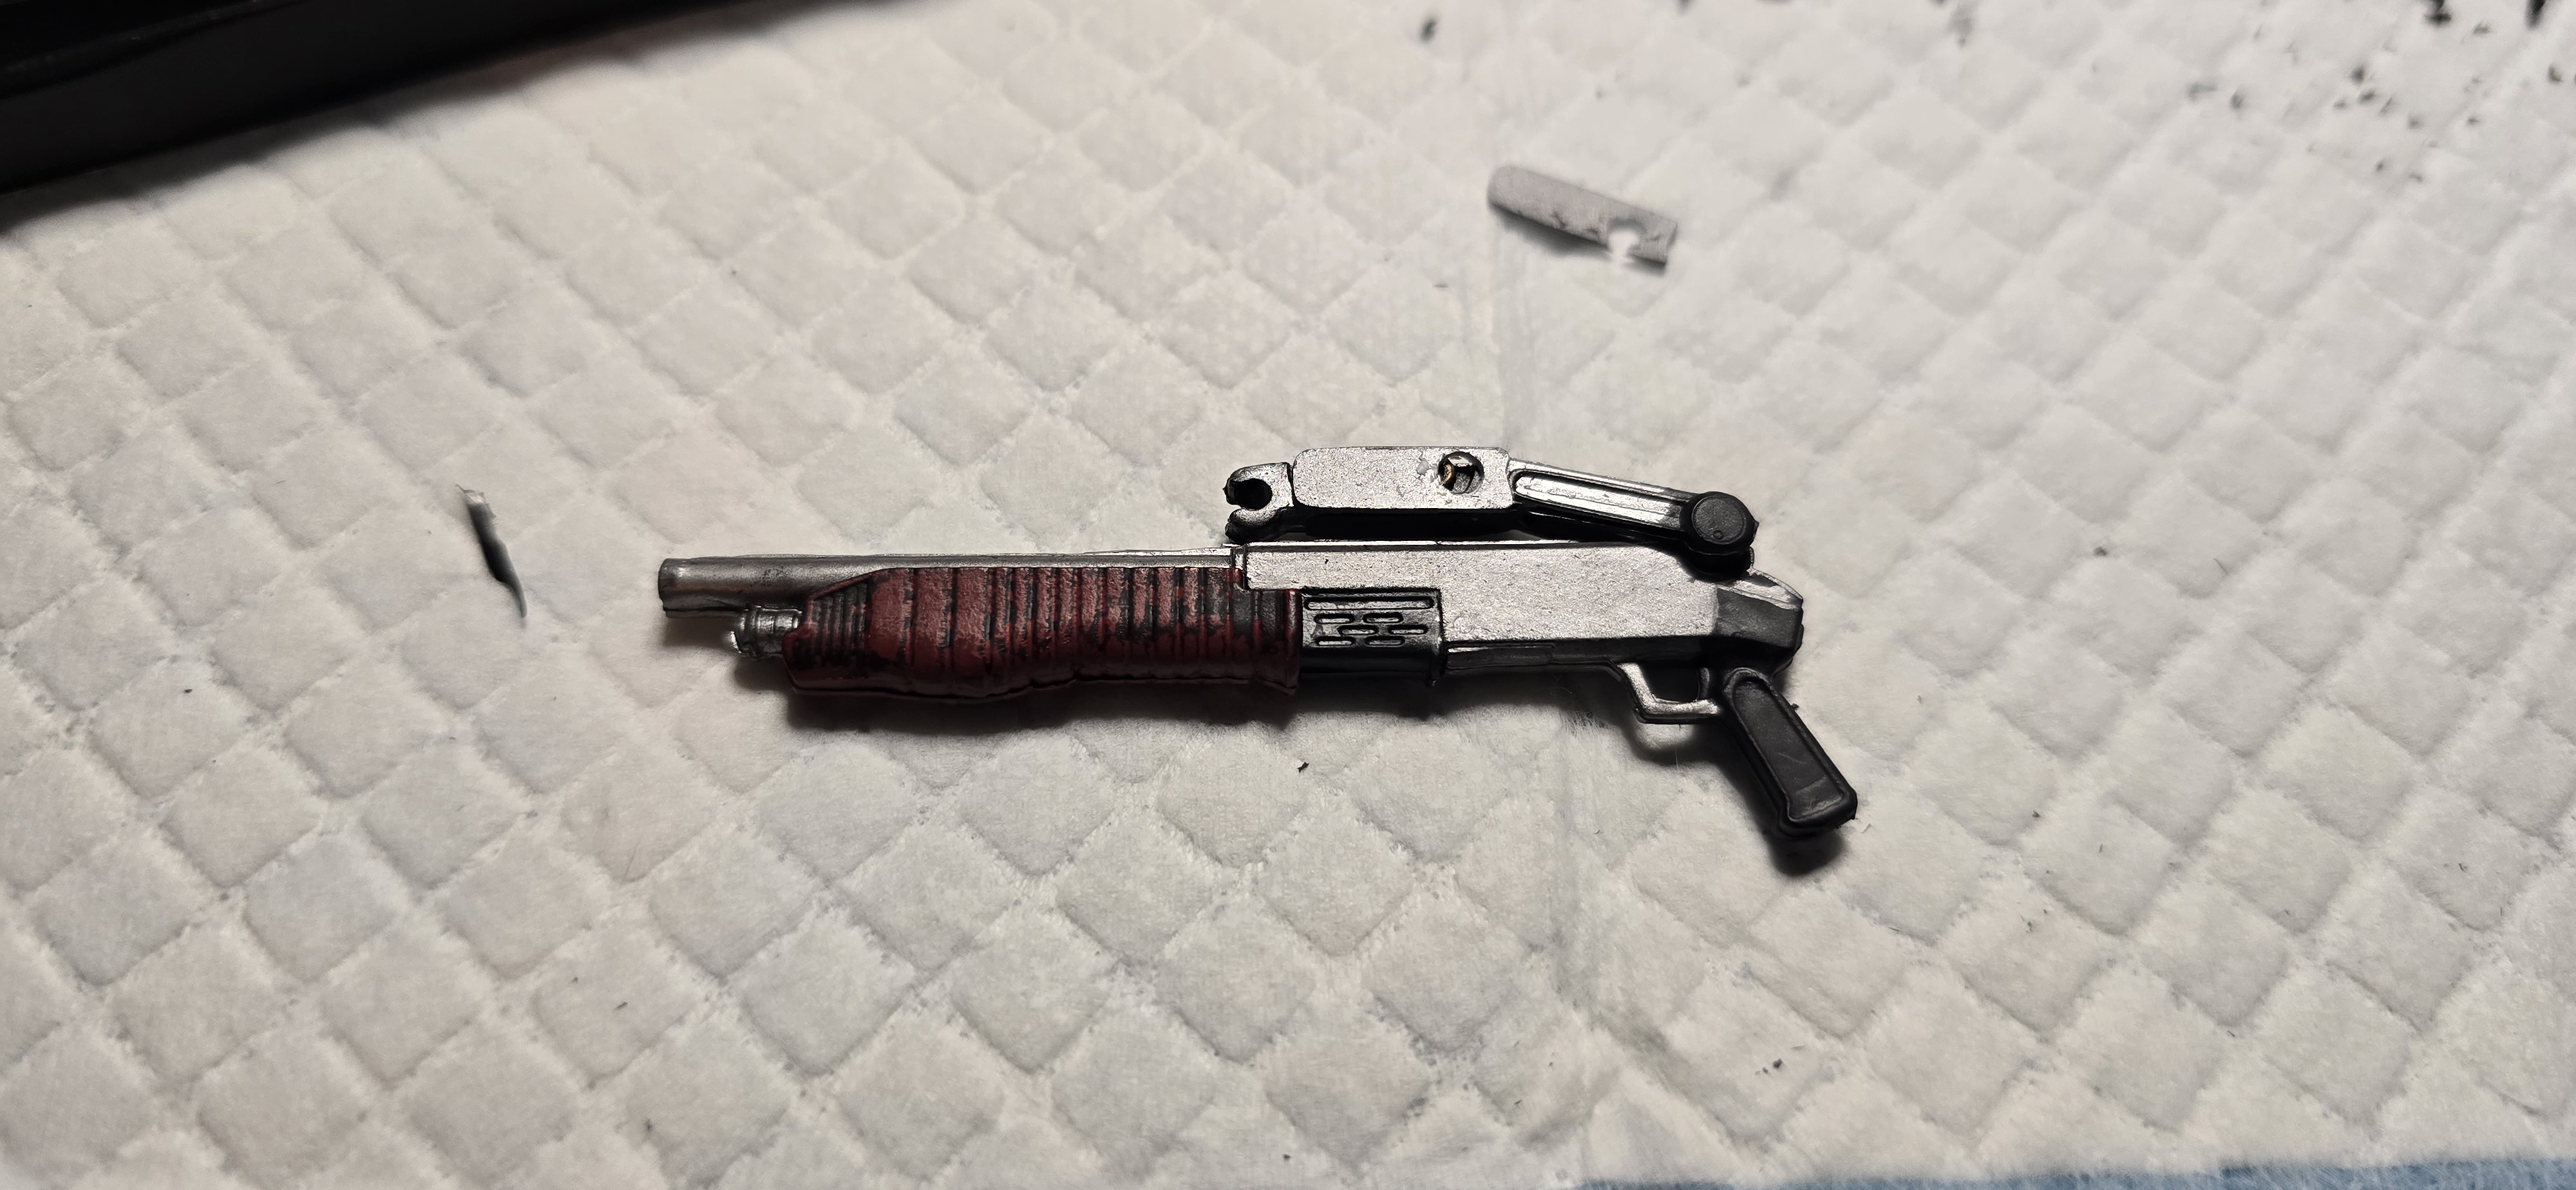
Also found a 1/12 scale Remington 870, with a folding stock, so I'll try to add that.
20260423_091931.jpg
20260423_110048.jpg
20260423_110108.jpg
 
Last edited:
Bit o' time this morning.
Got the BMF on the bottom of the windshield.
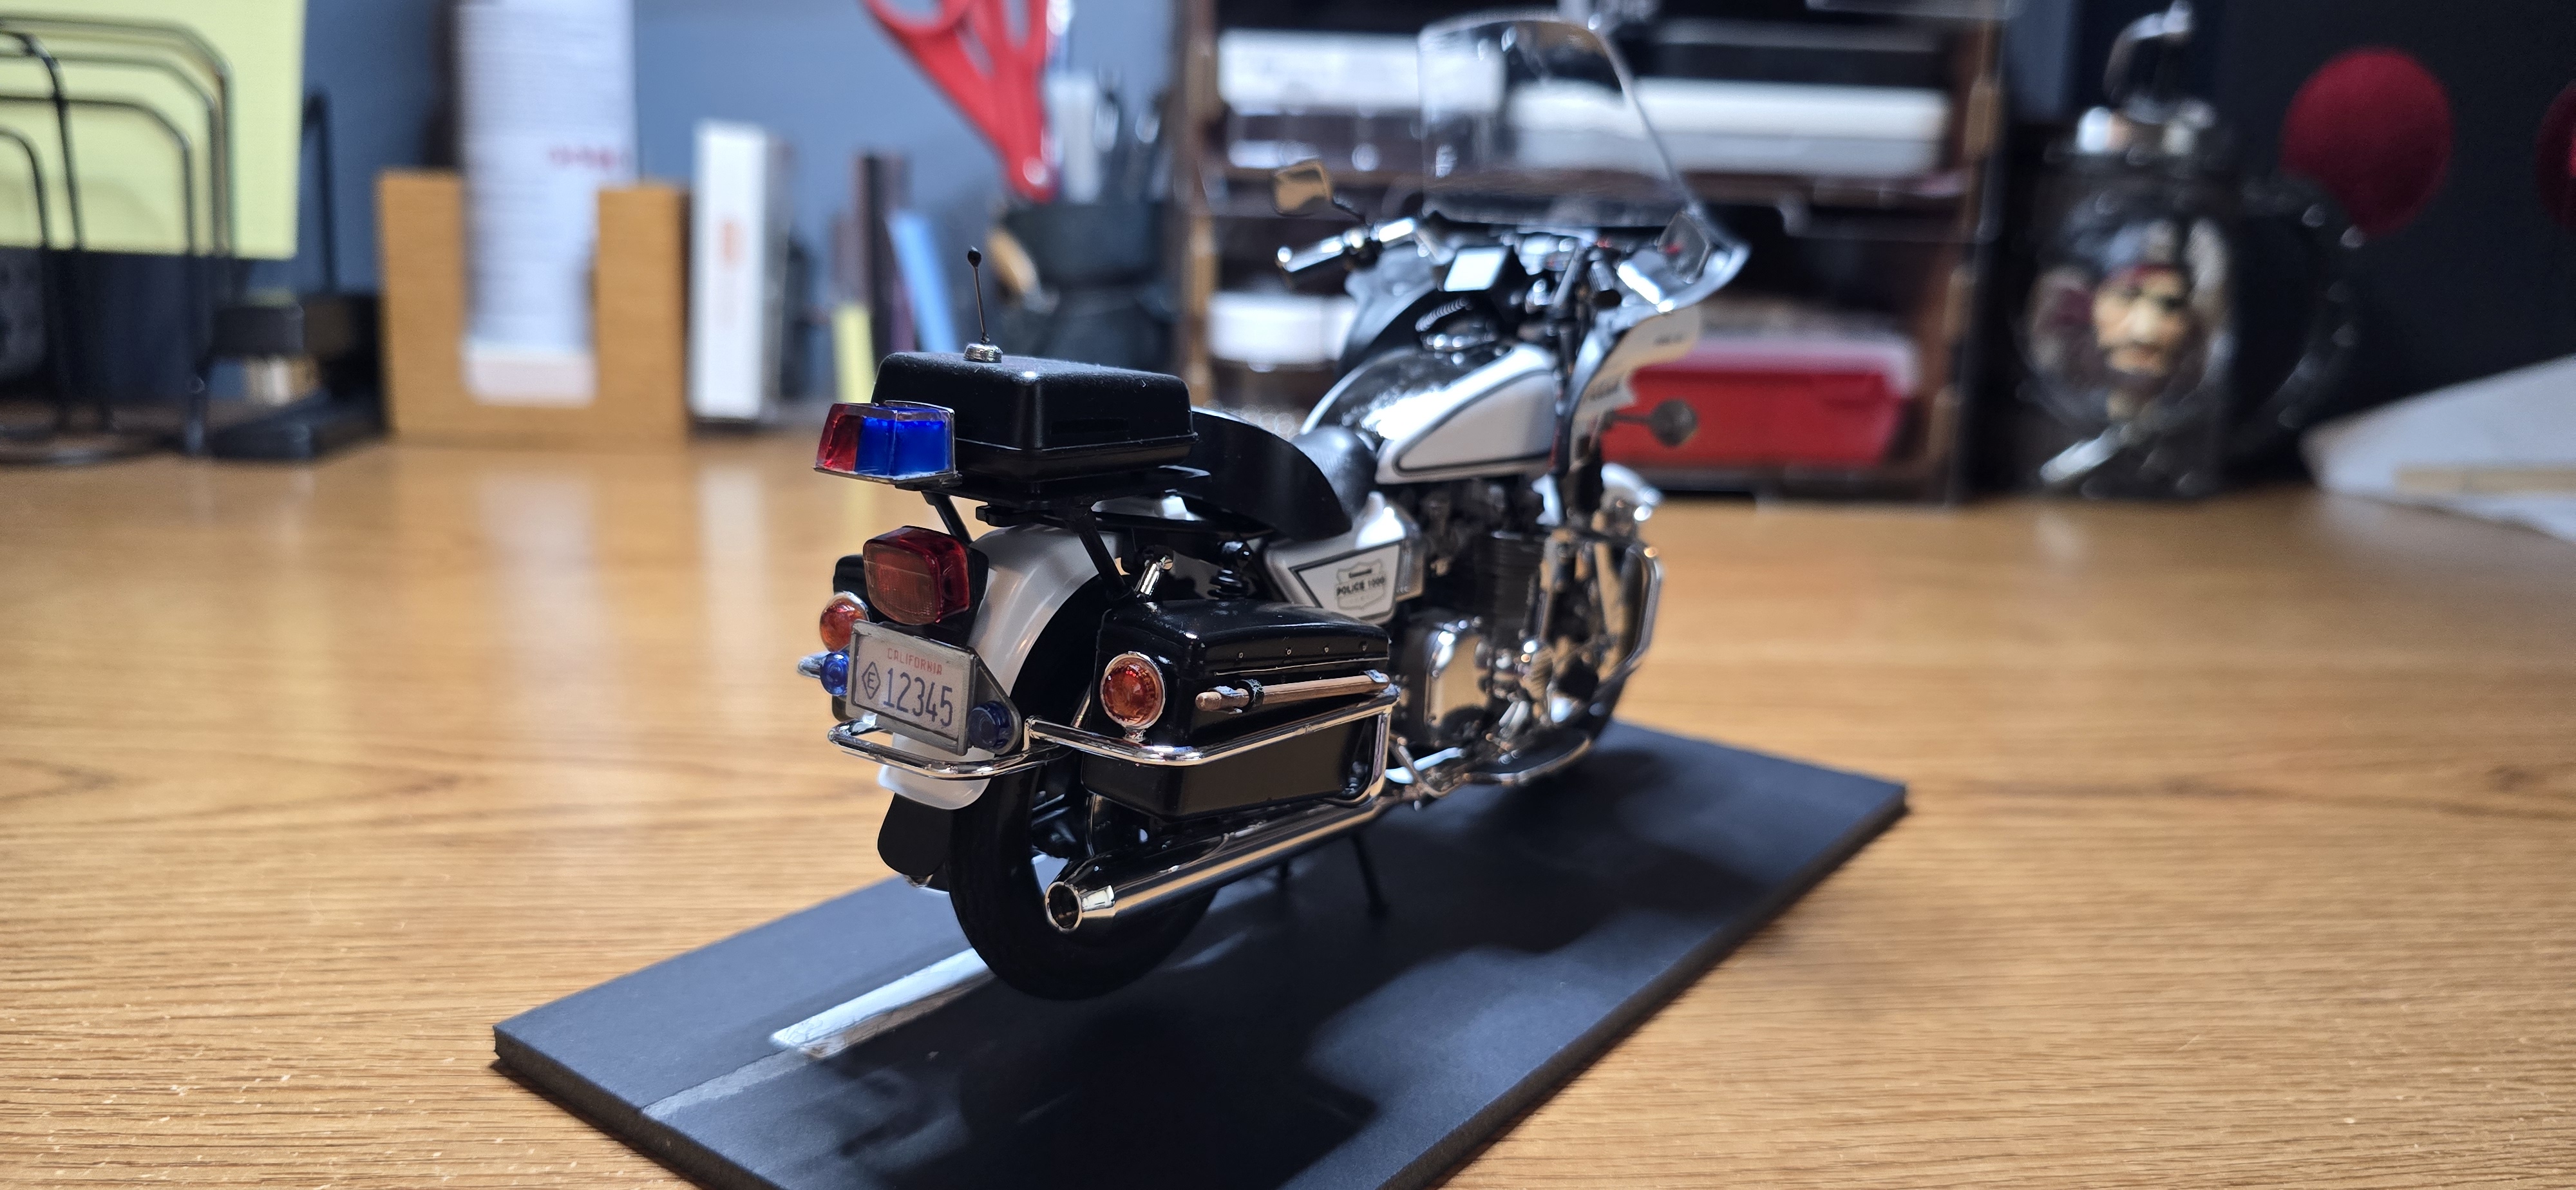
Spent some time making a license plate and then a "billet" license plate frame out of some surplus PE sprue. Probably spending much longer than I should have, but wanted to see if I could.
Used gap filler CA to connect the pieces and lay up/assembly was a breeze using Barleybop's suggestion of setting it on Ziploc Freezer bags, sure enough it popped right off.
Of course as soon as I glued everything together, I realized I'd forgotten to add the mounts for the frame. Oh well.
I also made mounts for the baton; it would snap onto small brackets in the saddlebag.
Also found a 1/12 scale Remington 870, with a folding stock, so I'll try to add that.
View attachment 187456View attachment 187457View attachment 187458
How on gods green earth did you make that license plate?? Looks awesome.
 
Thanks, its pretty easy, found a .jpeg of a PD Motor plate, cleaned it up in photo shop, printed on card stock paper with MS Word, at the proper size (9/16" × 5/16"), covered it with packing tape, cut it out and stuck it to the plate piece for the kit.
 
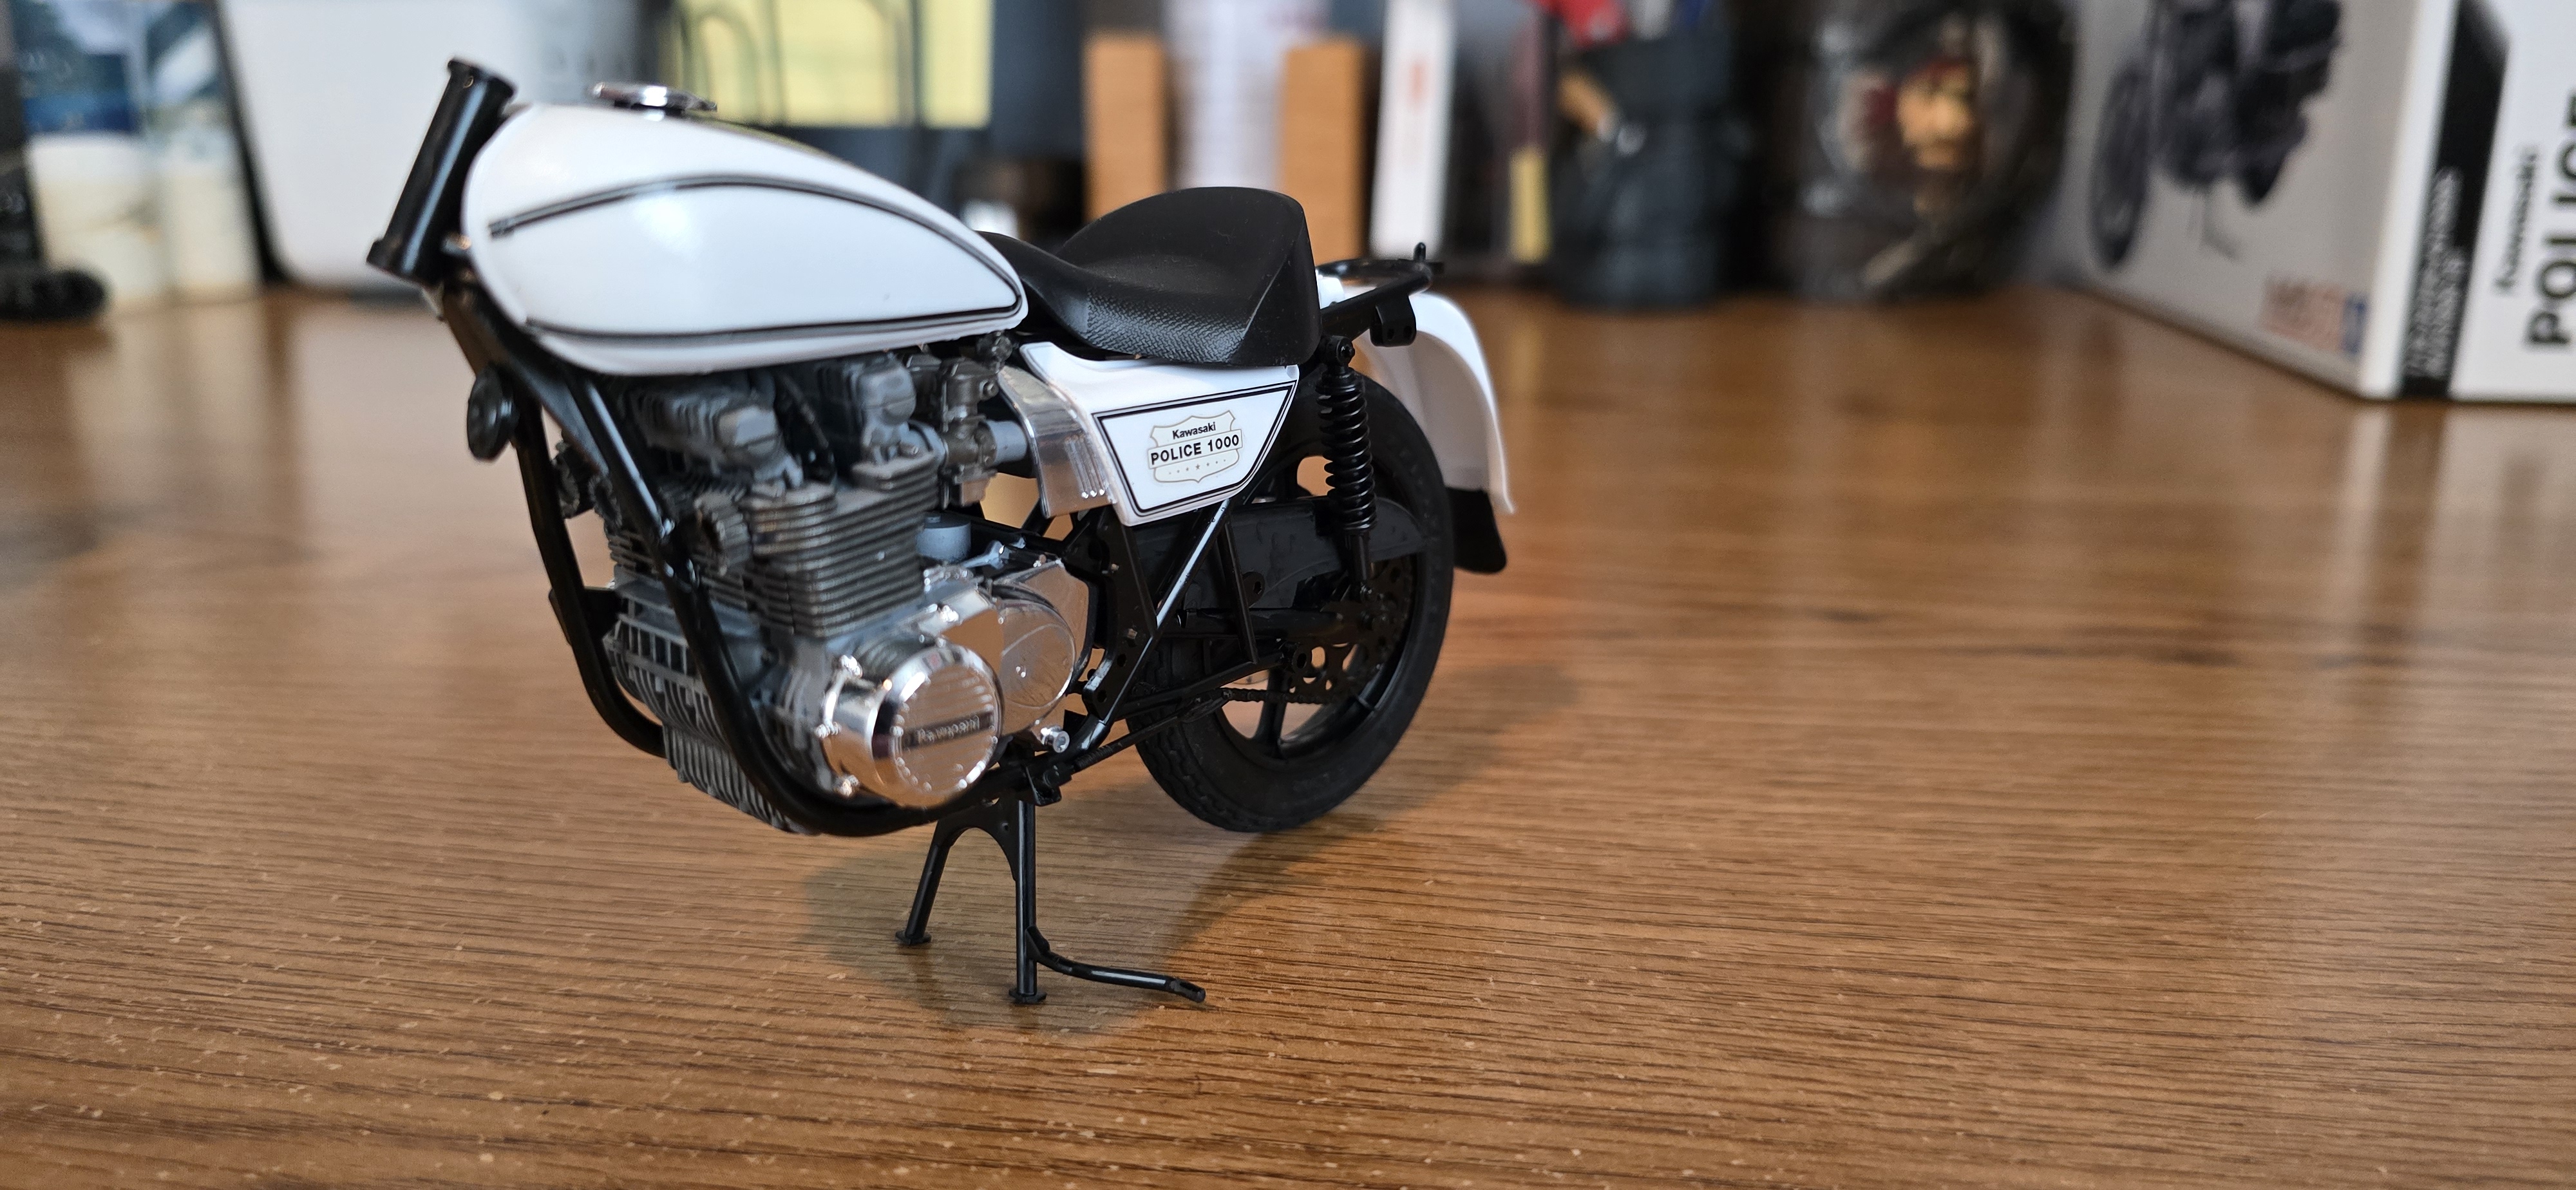
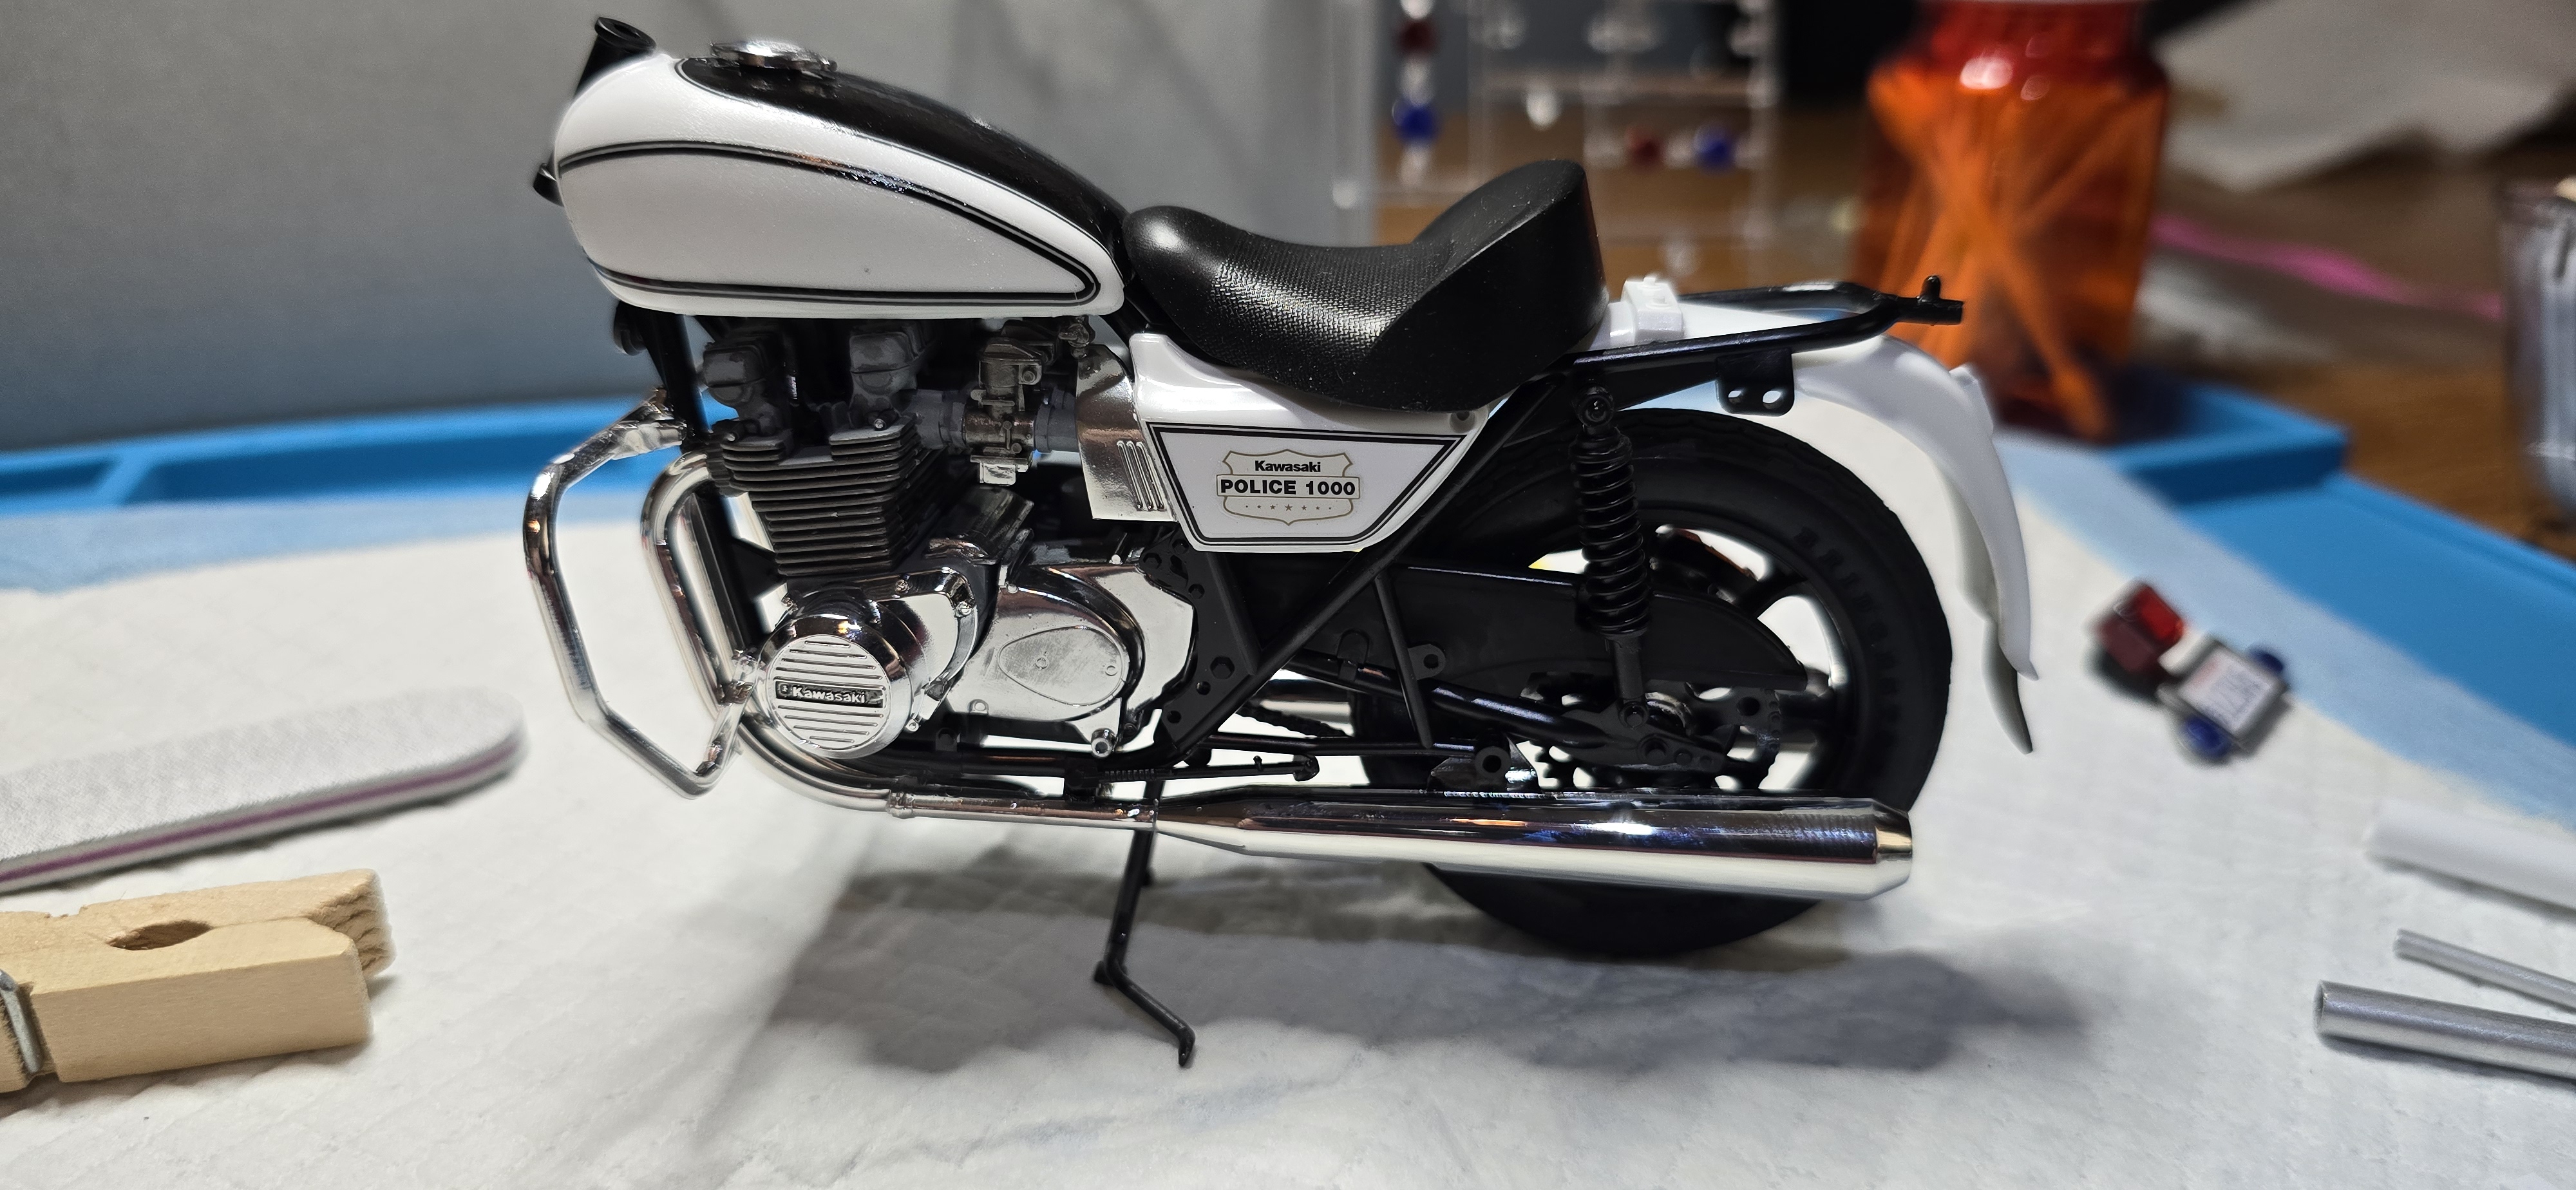
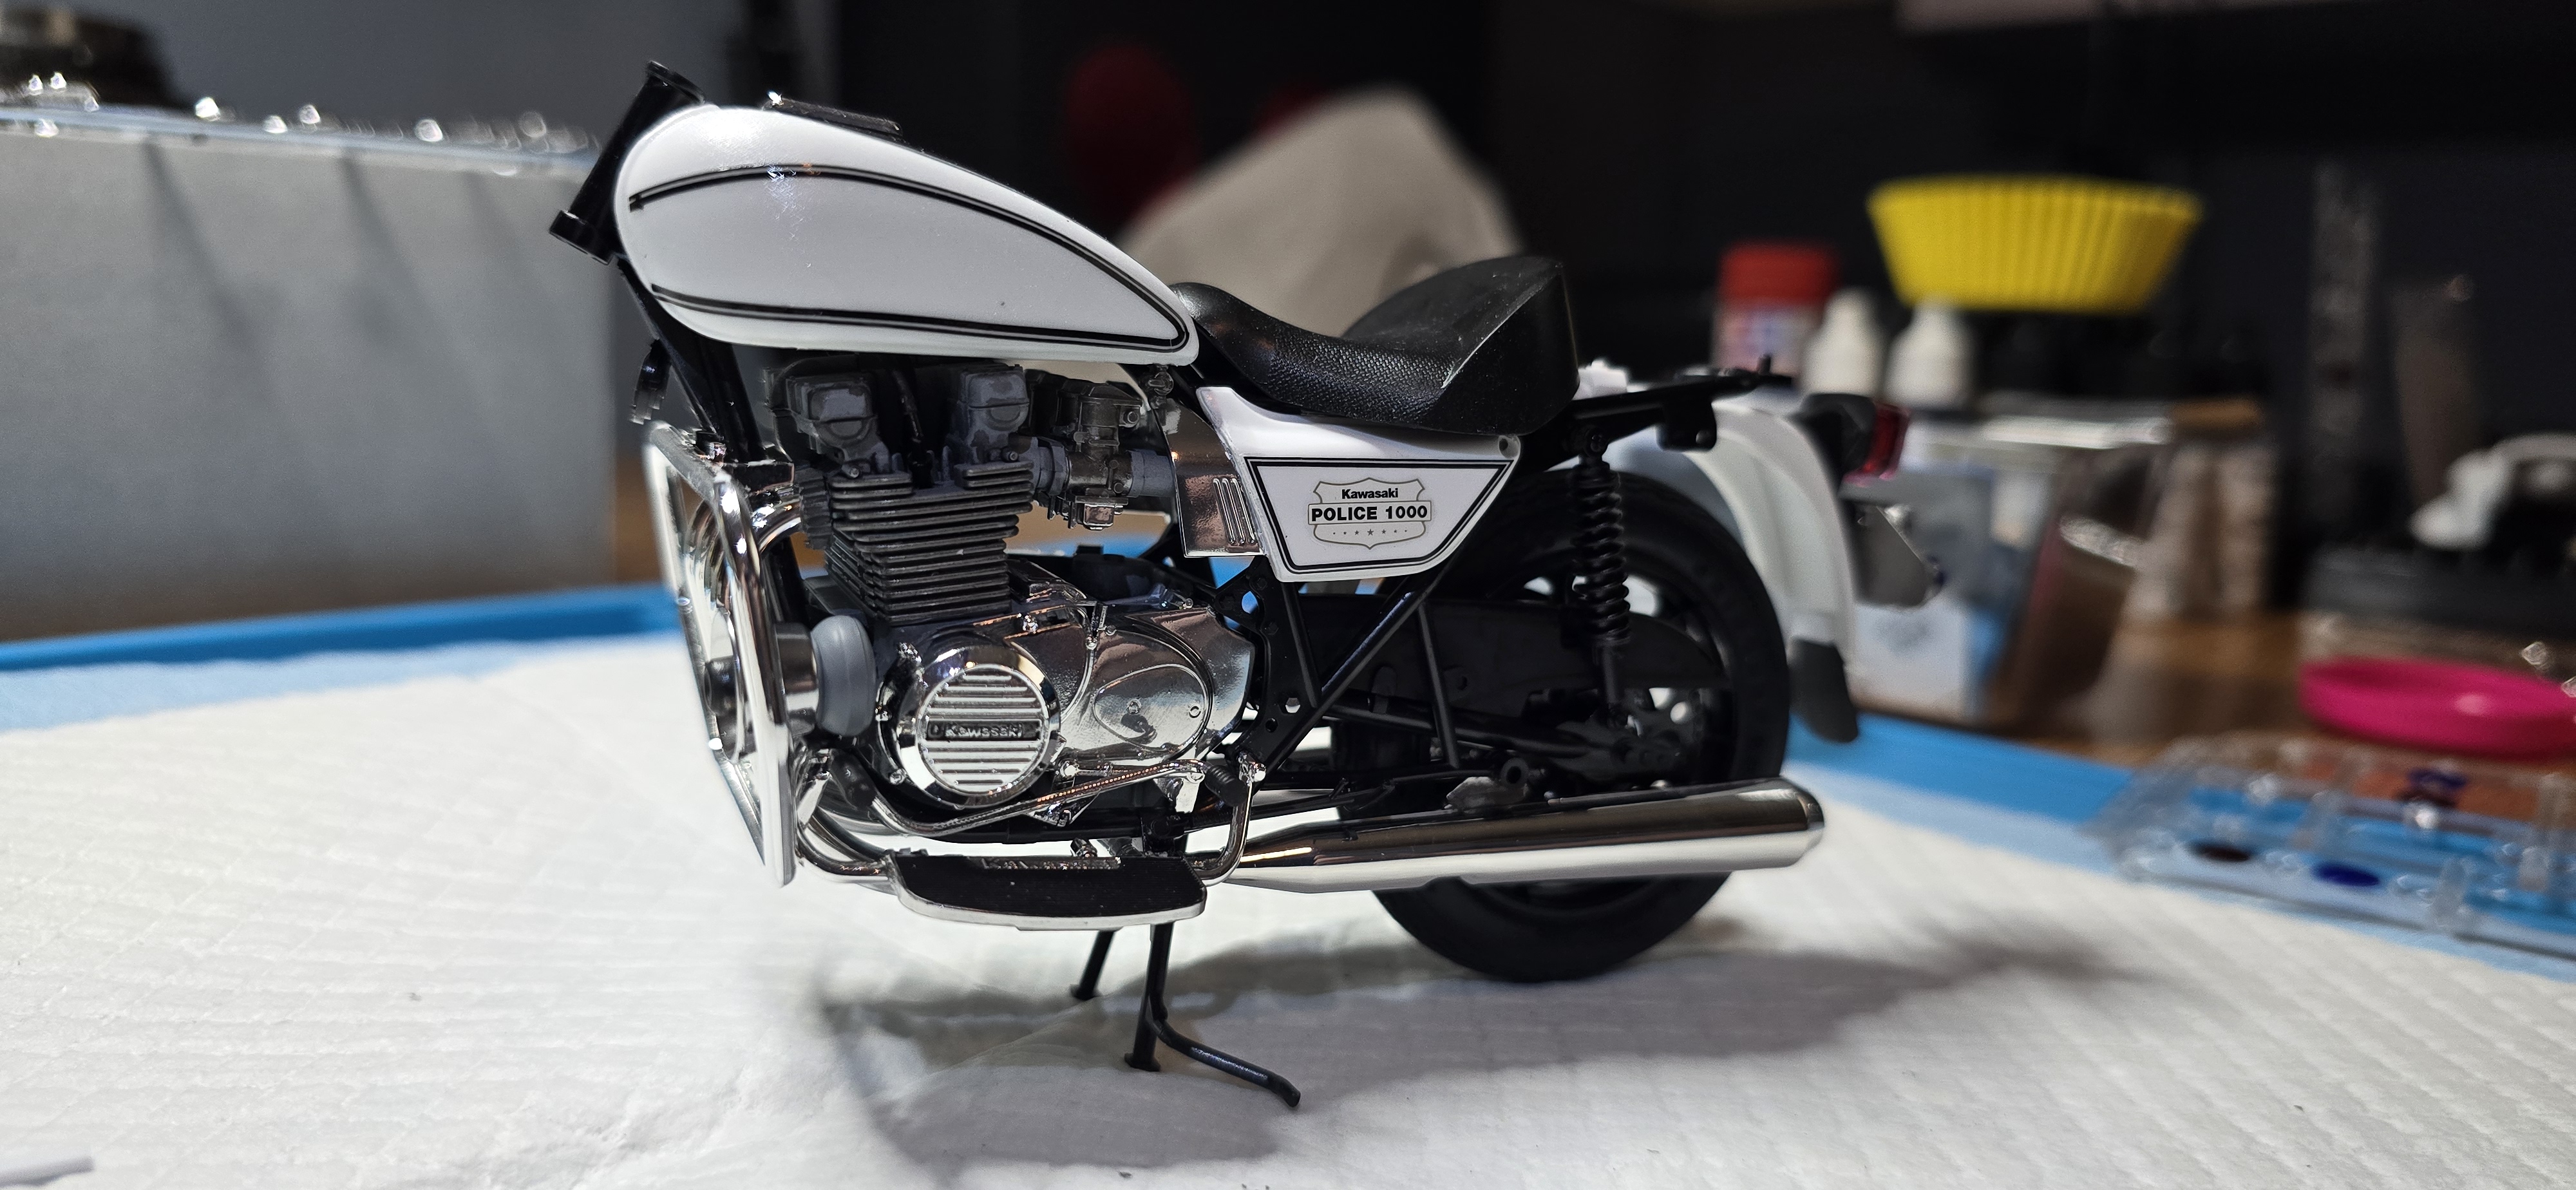
I added the gas tank, seat and side panels.

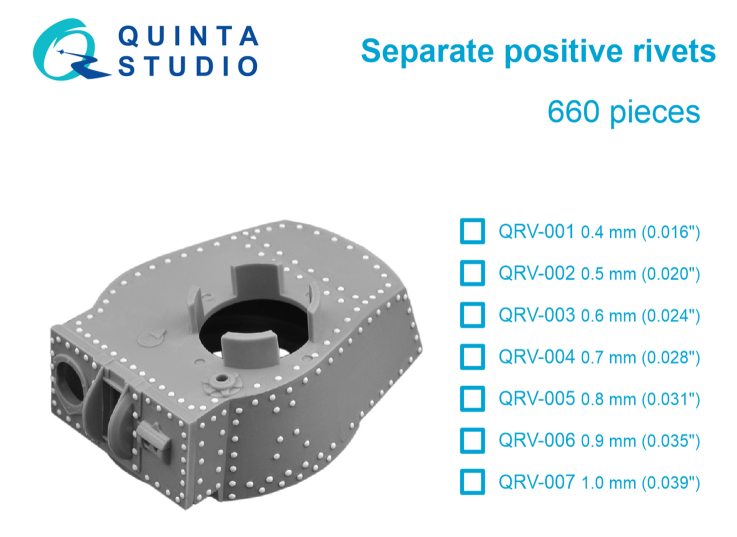
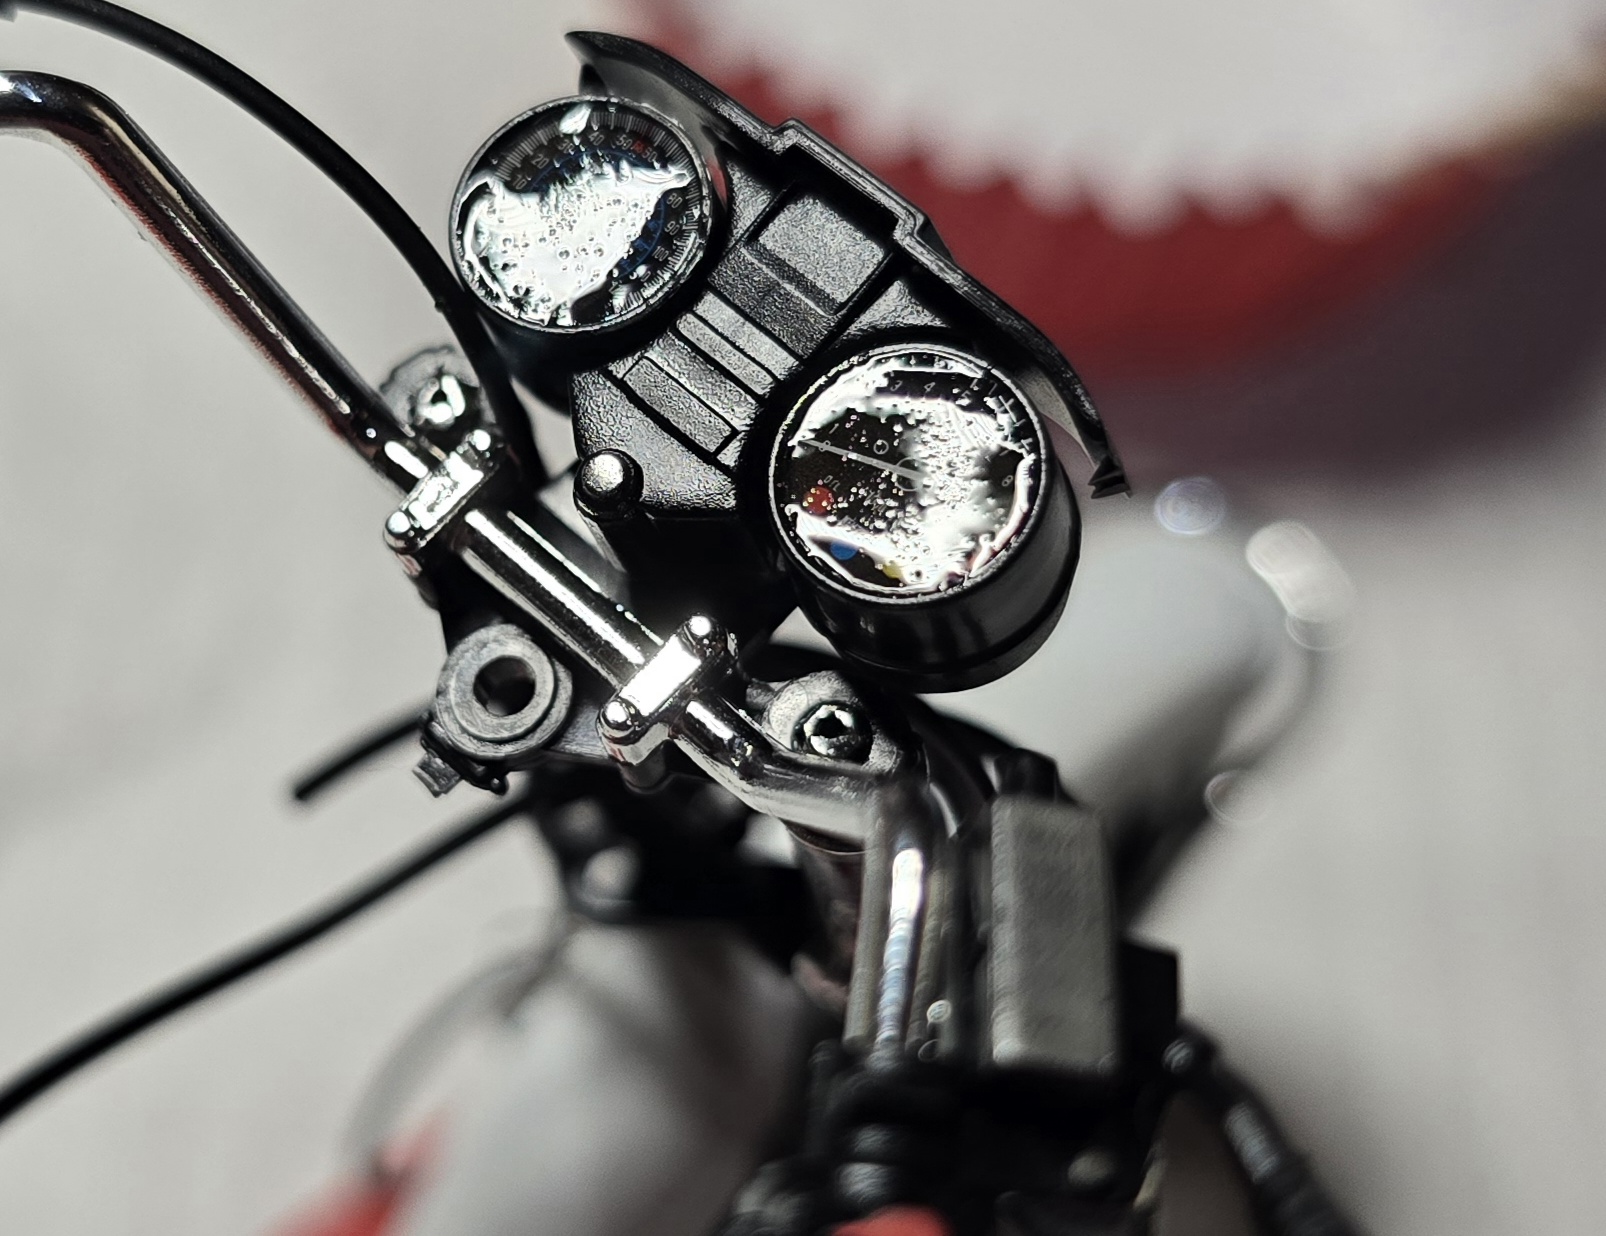
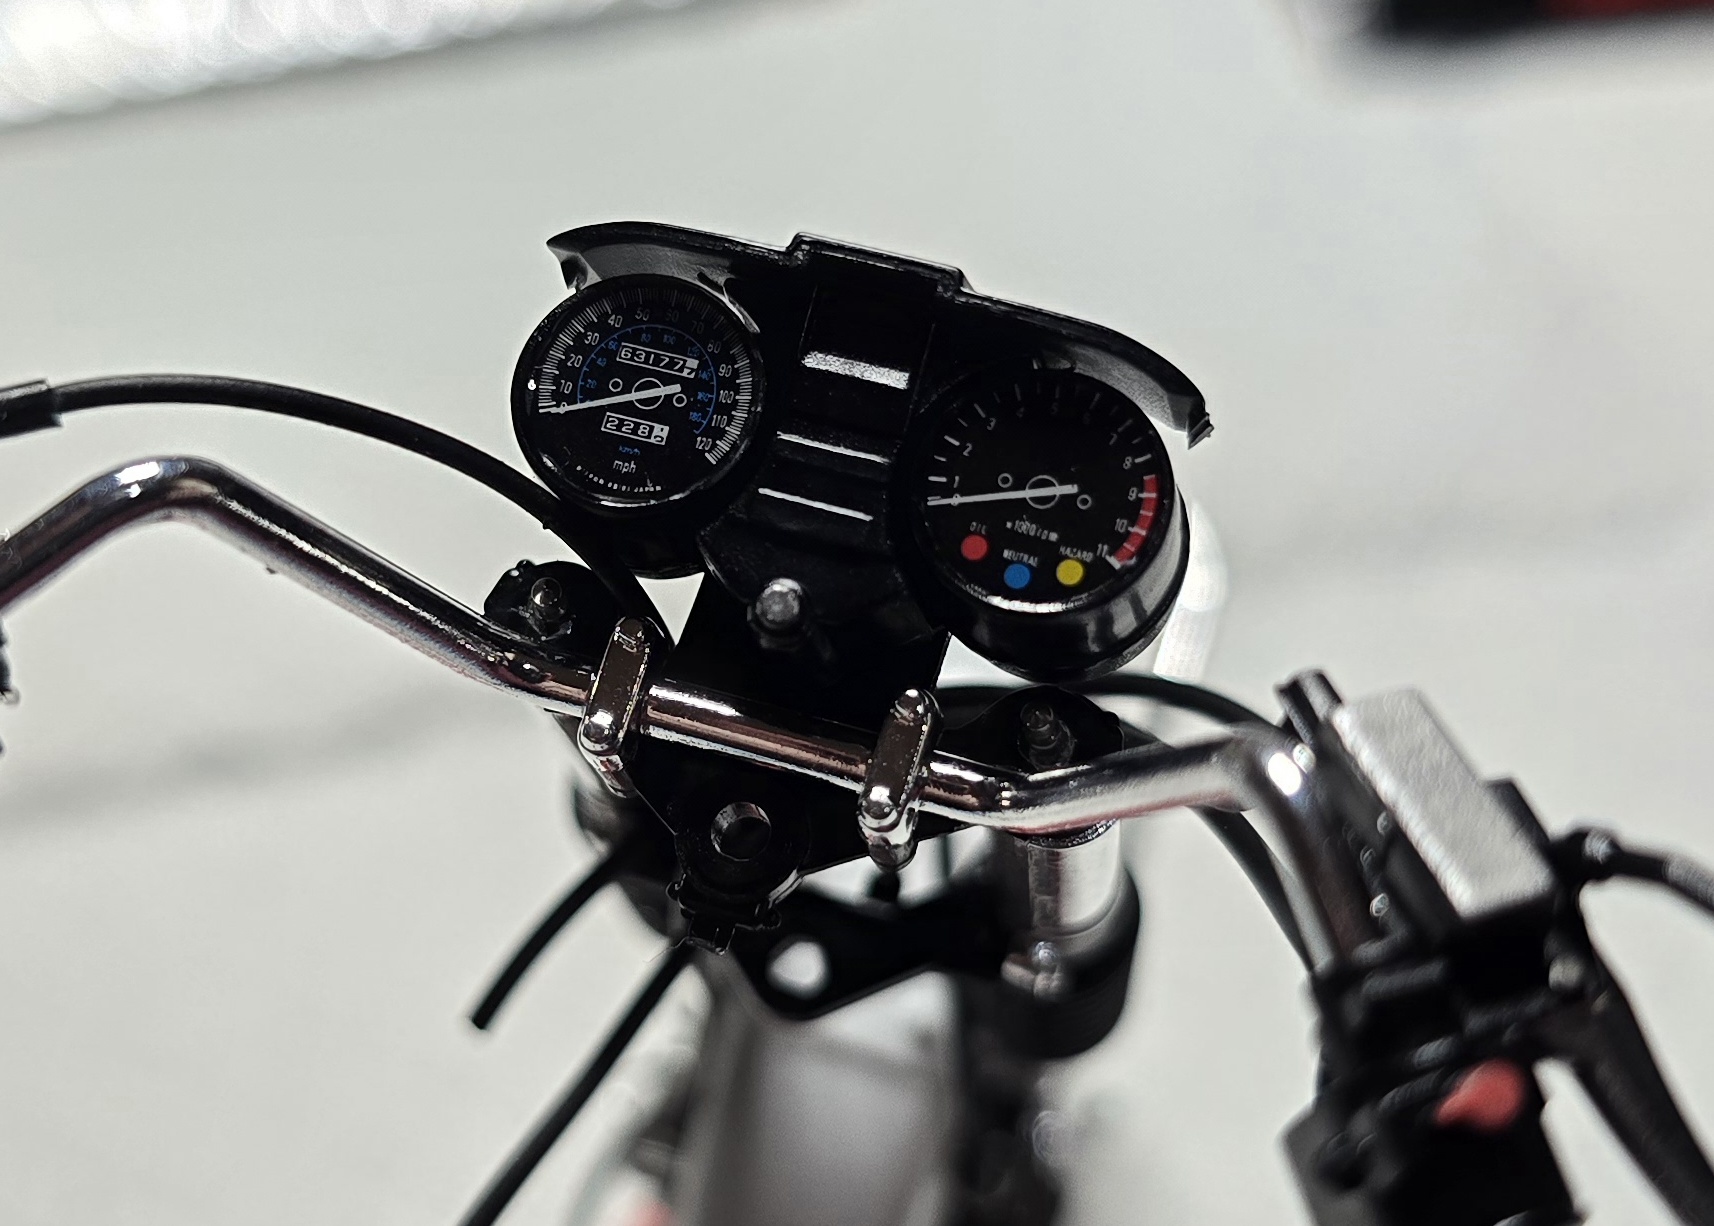
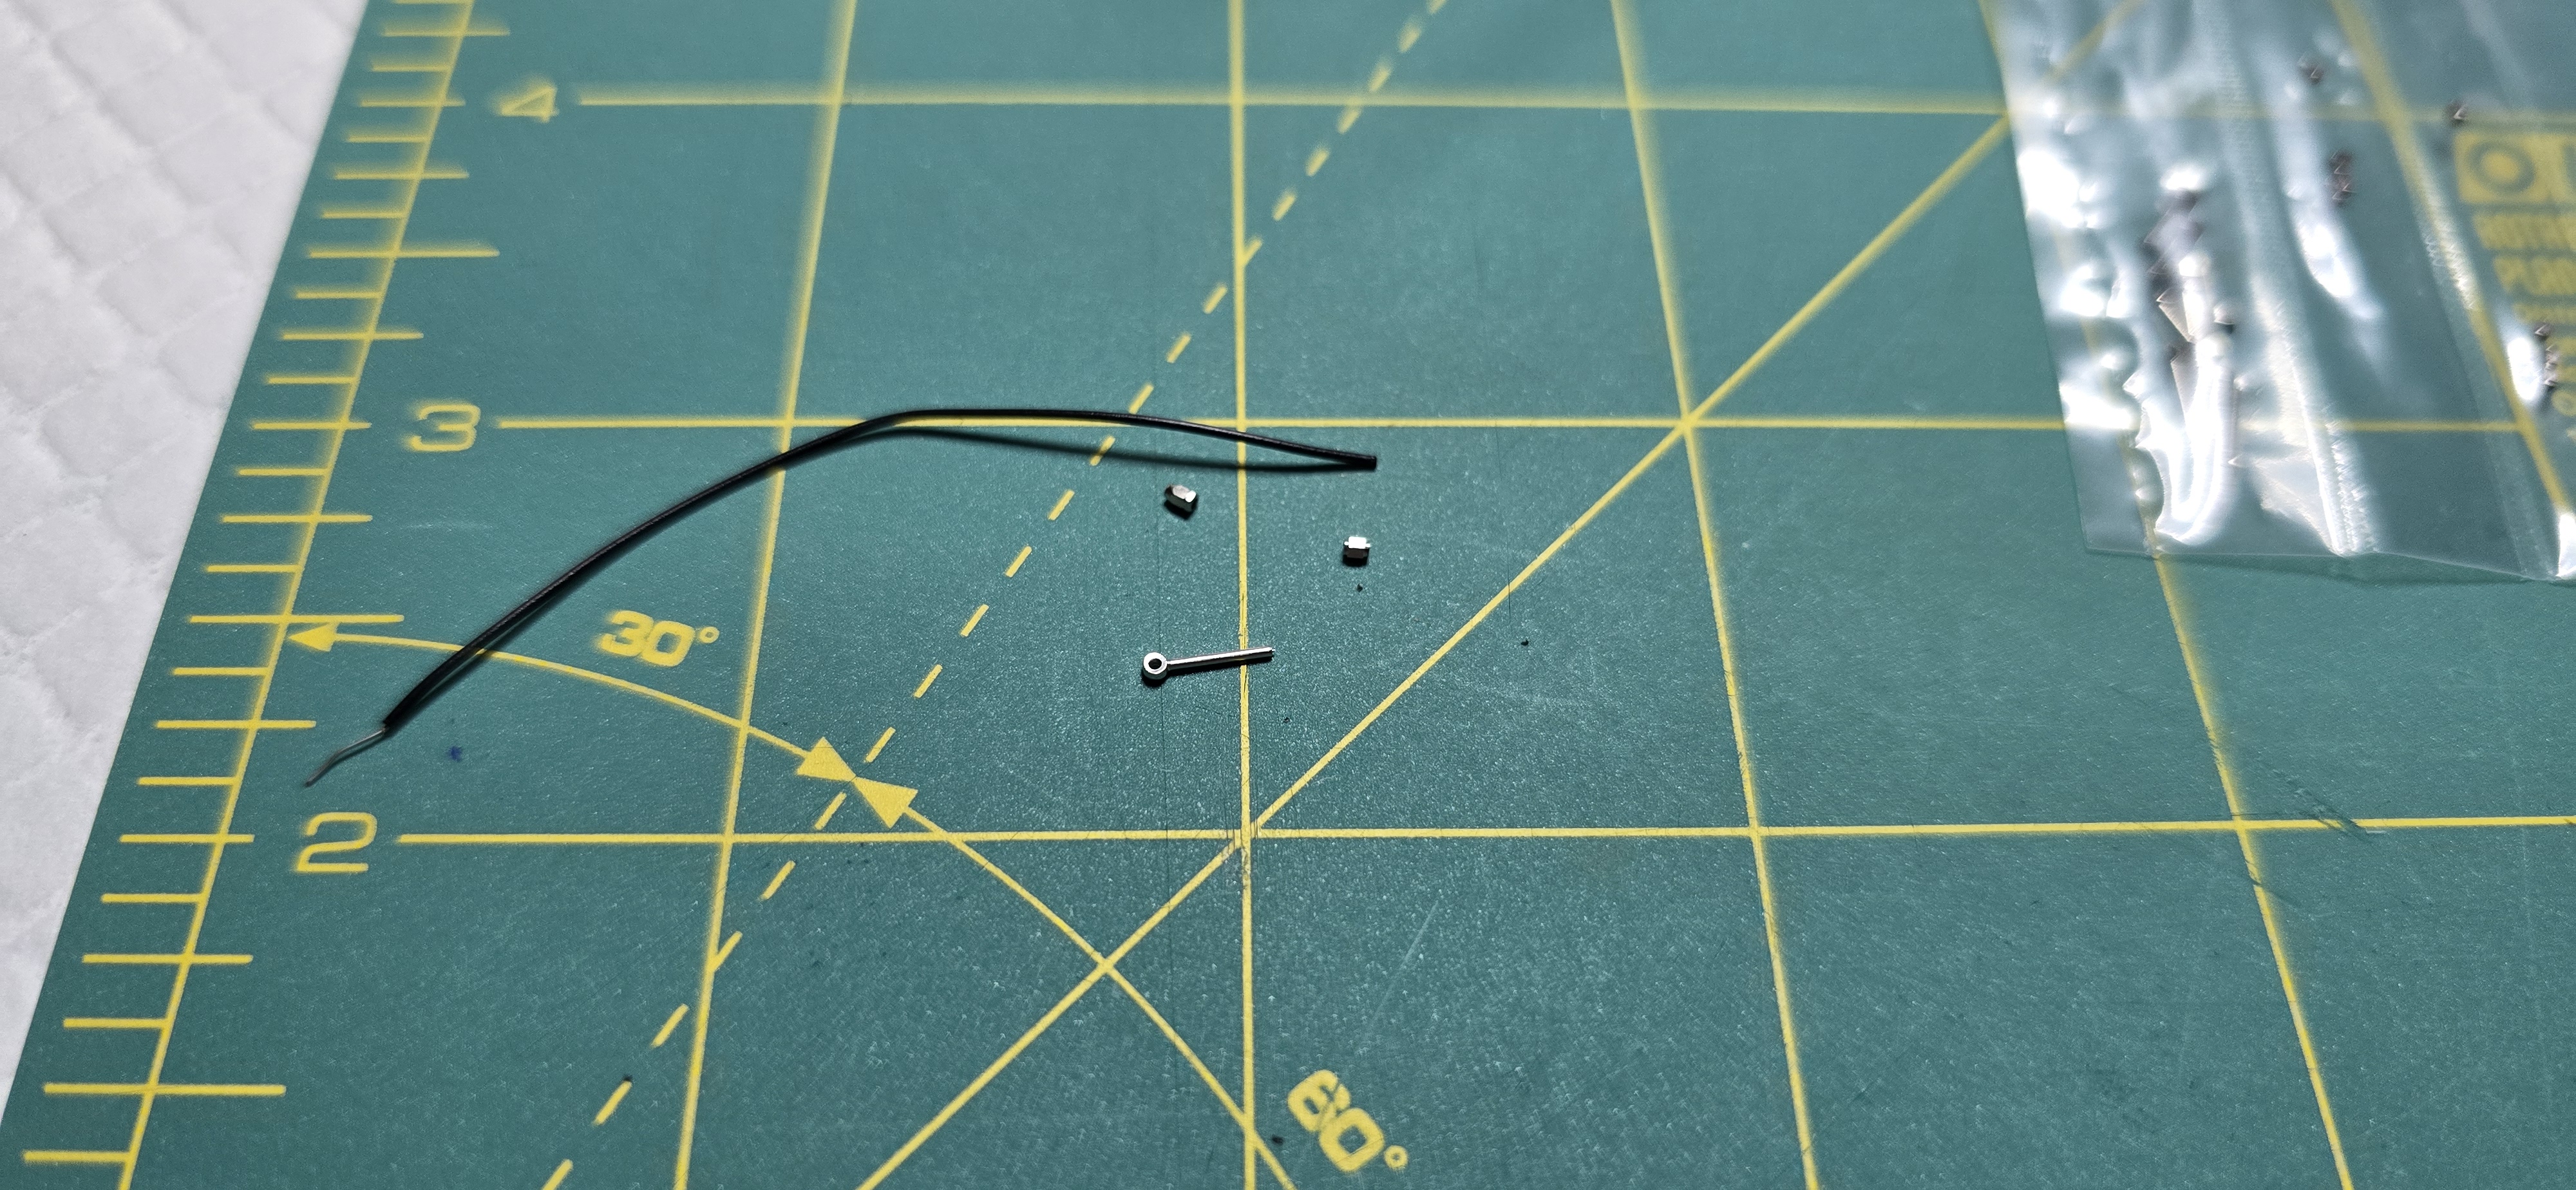
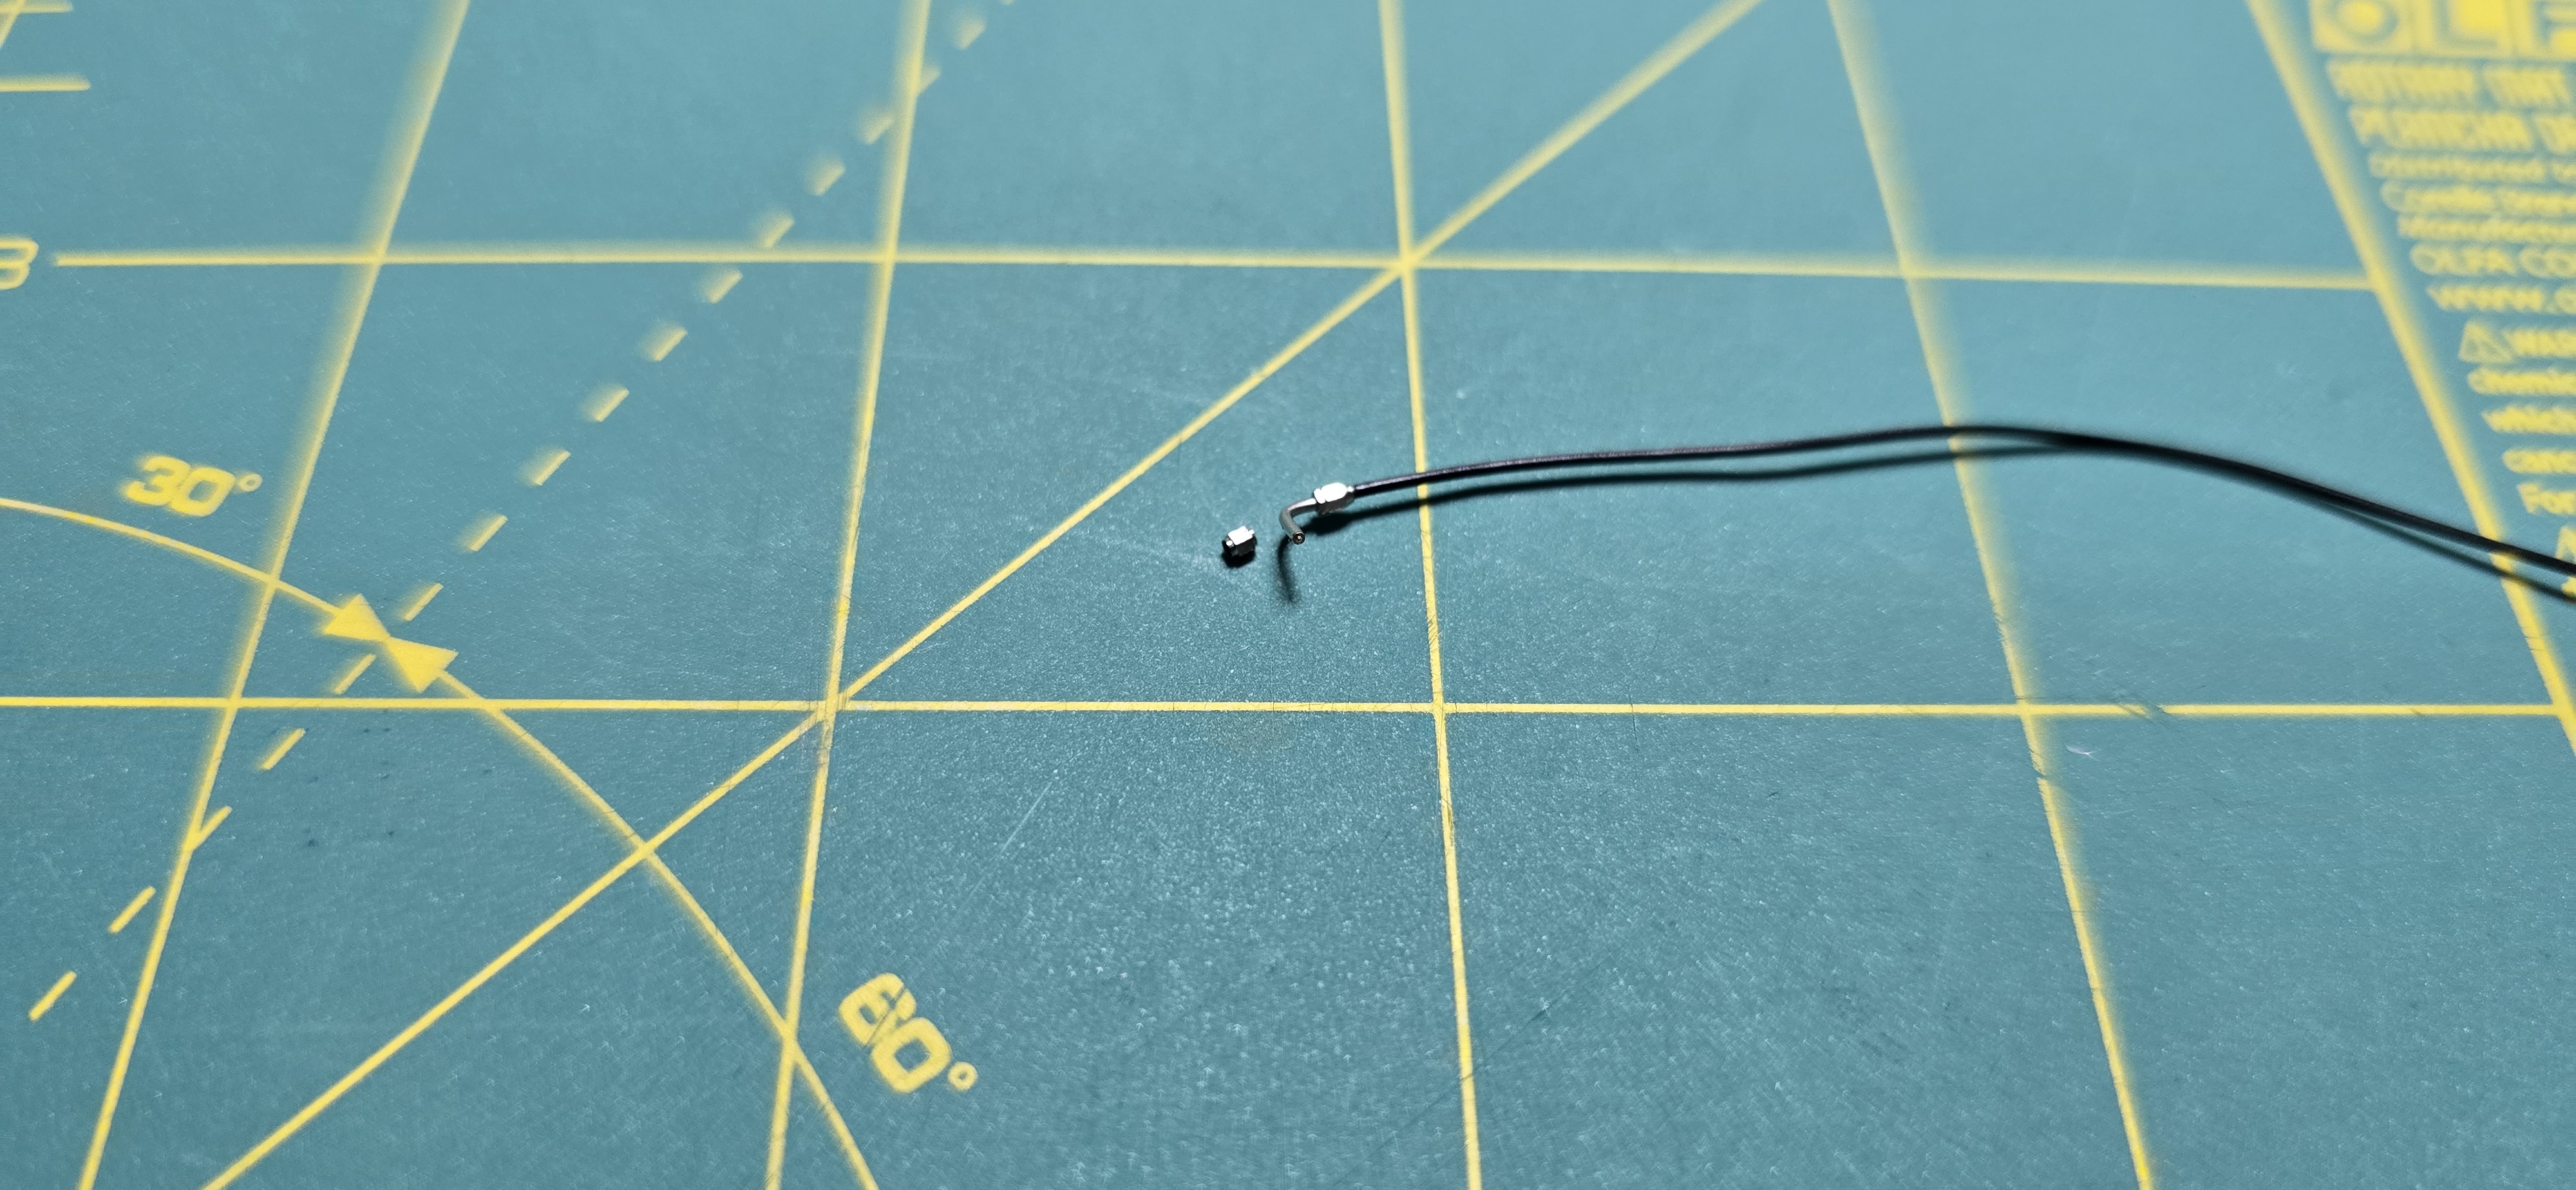
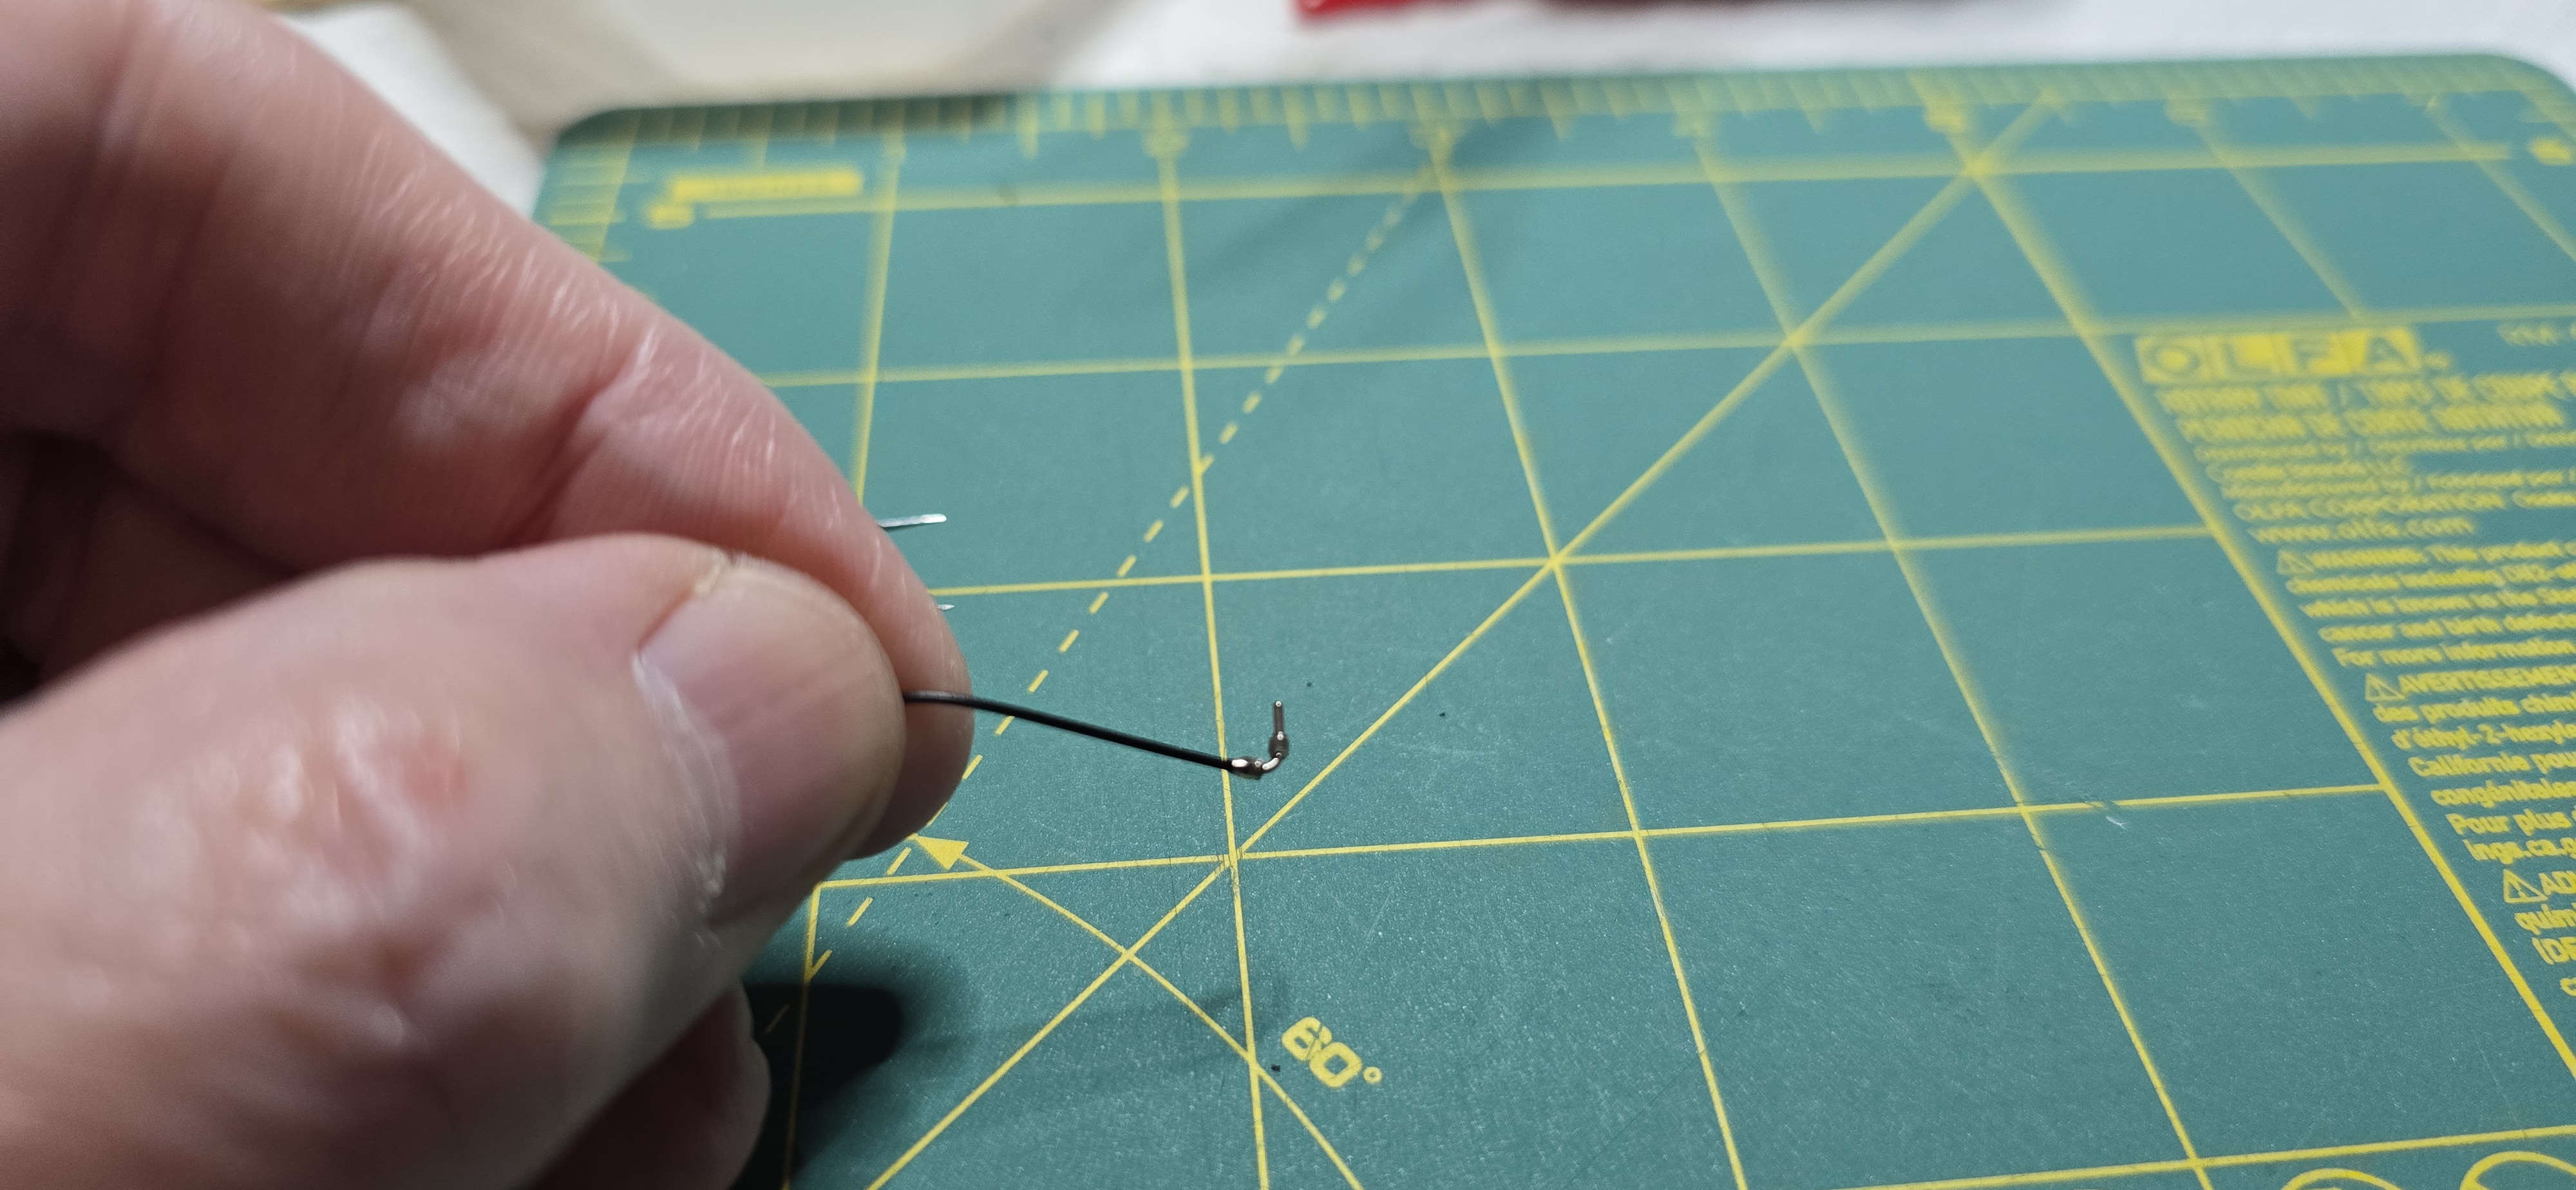
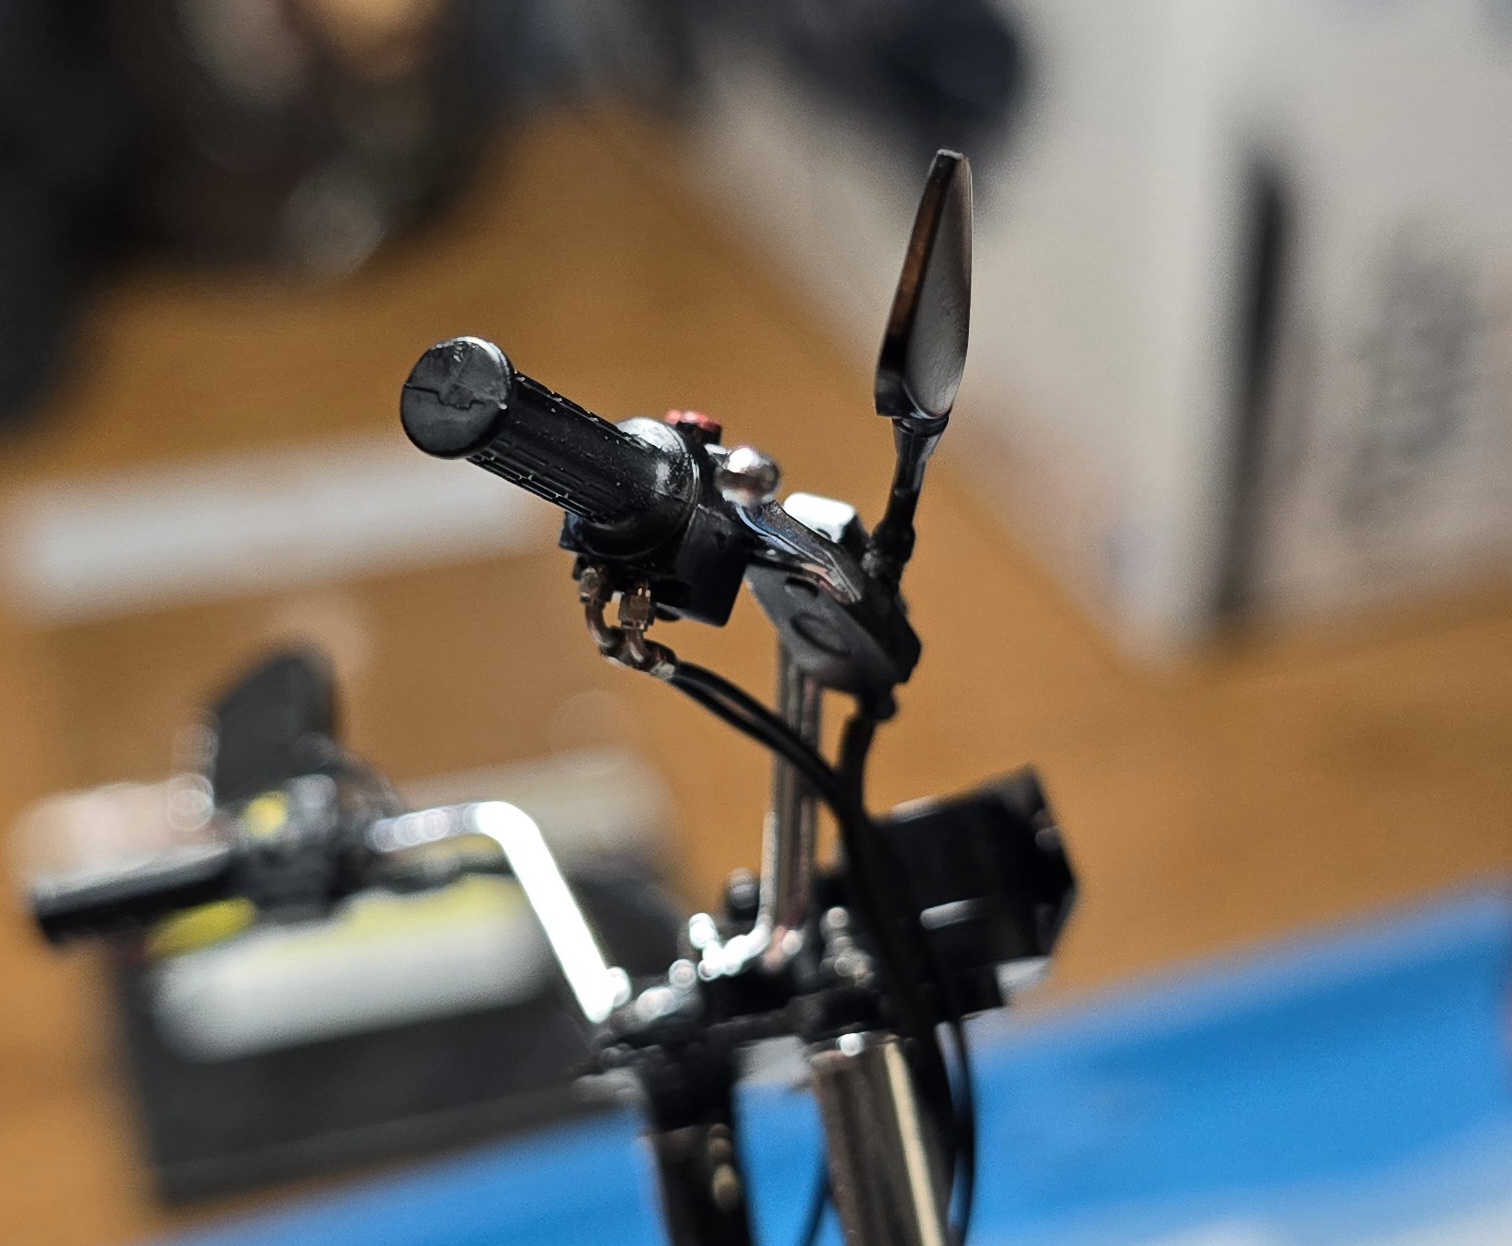
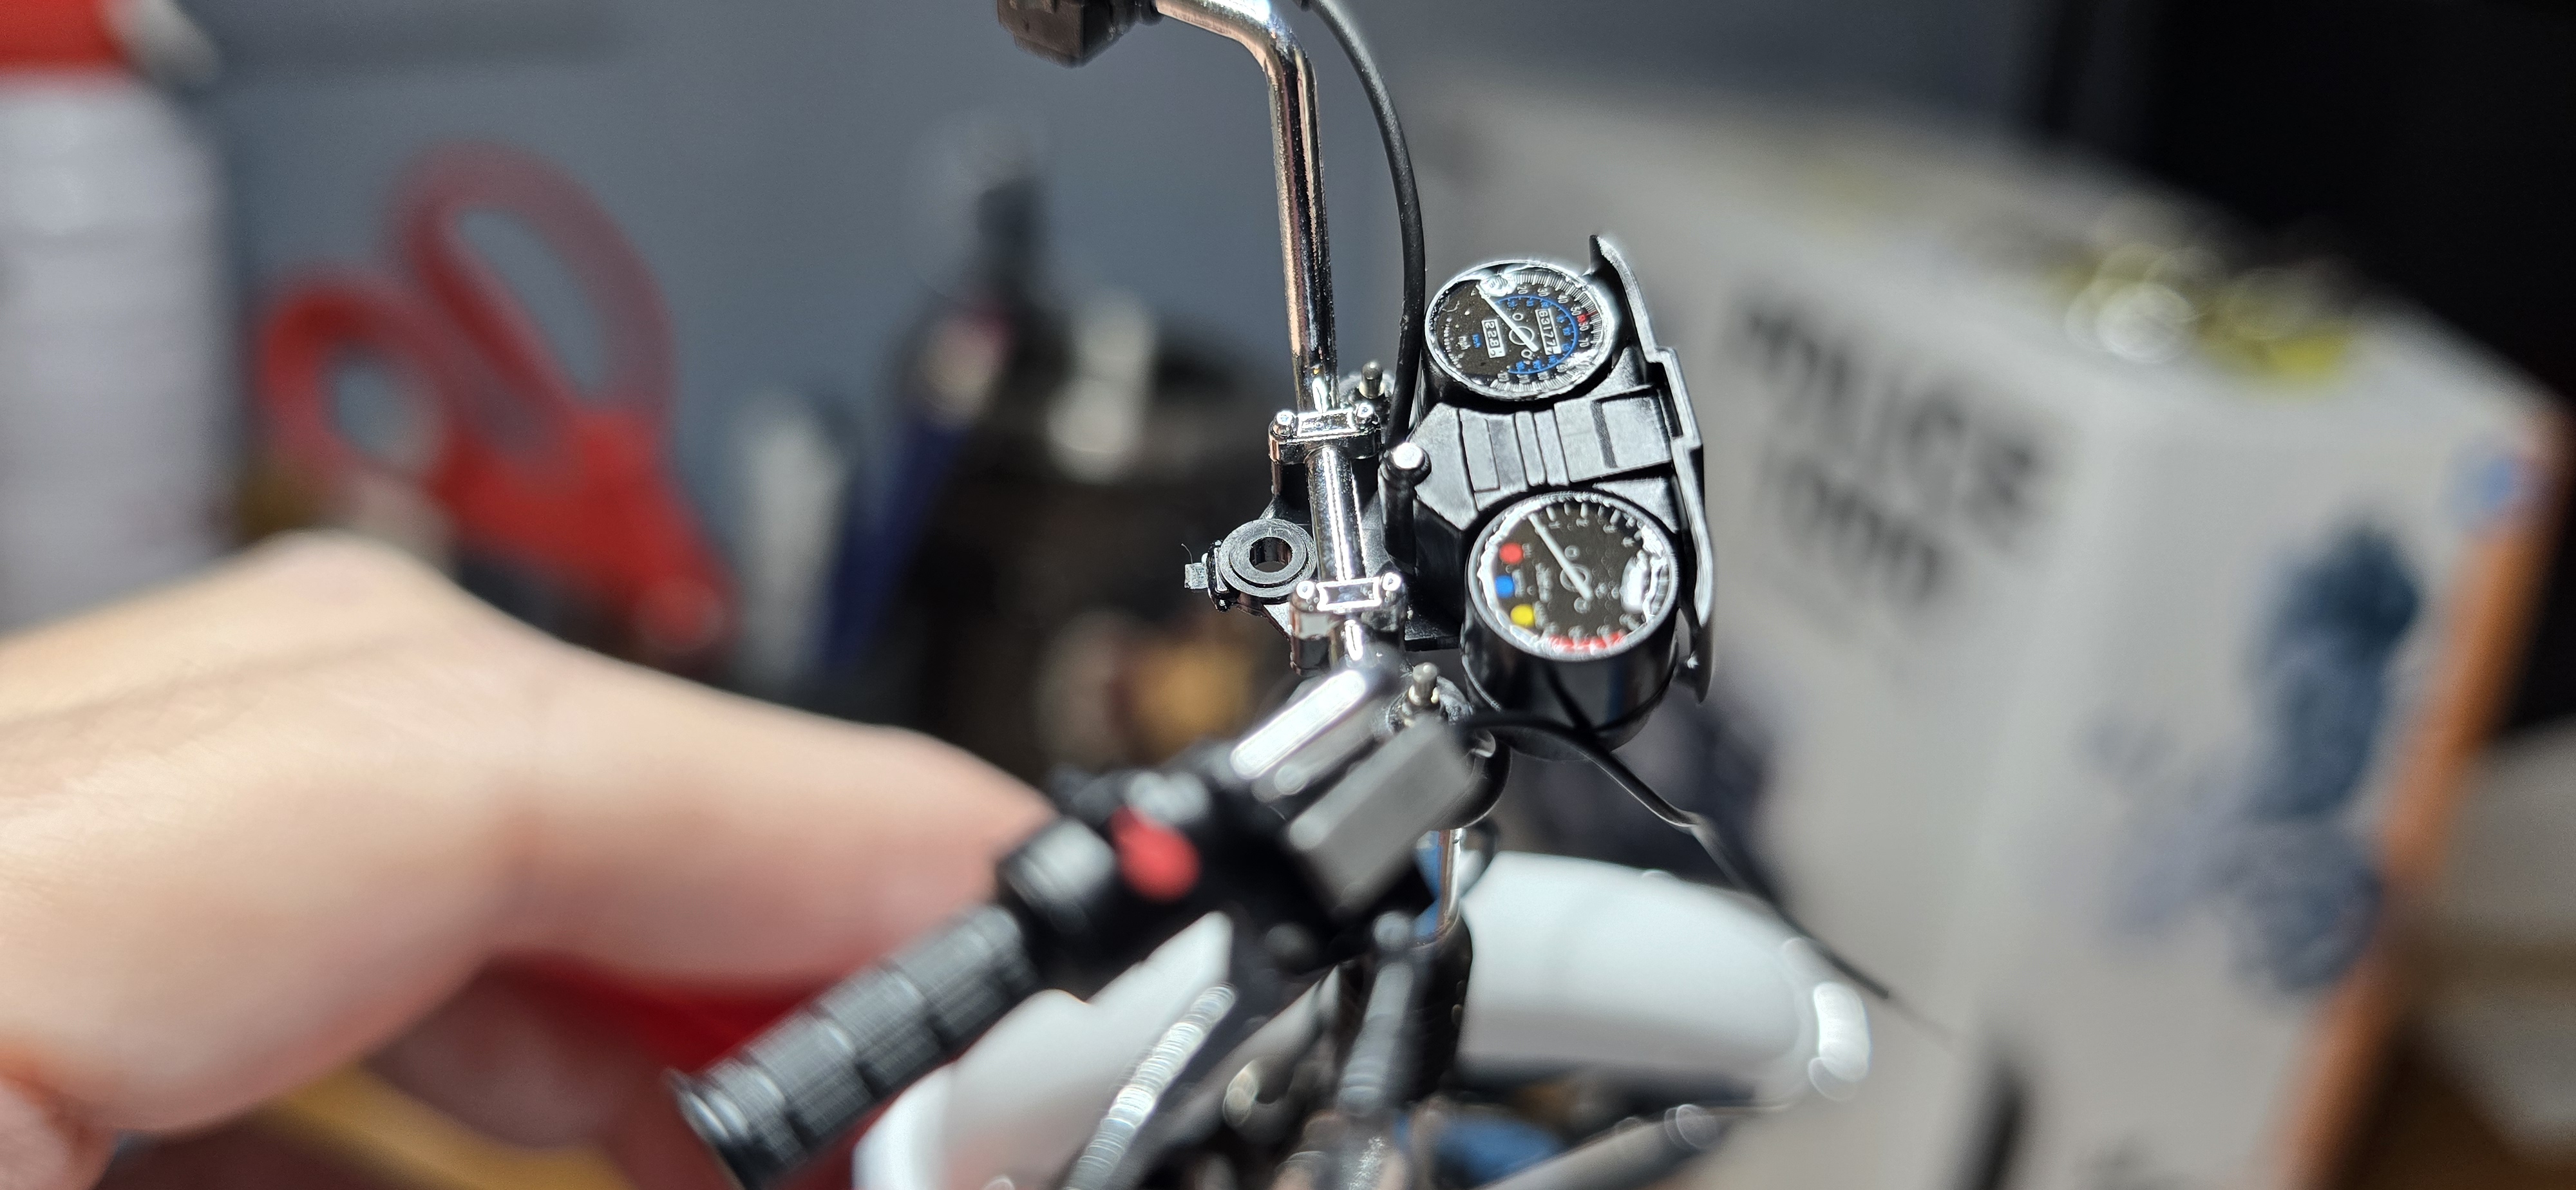
I wasn't happy with the throttle cable, coming out of the throttle. The kit supplied wire, onto a couple of plastic pegs didn't look right. I decided I'd try my luck with some Top Studio items. I purchased some .5 to .8 rivets, air valves, hose connectors and a few other goodies. and wow- this stuff doesn't disappoint!

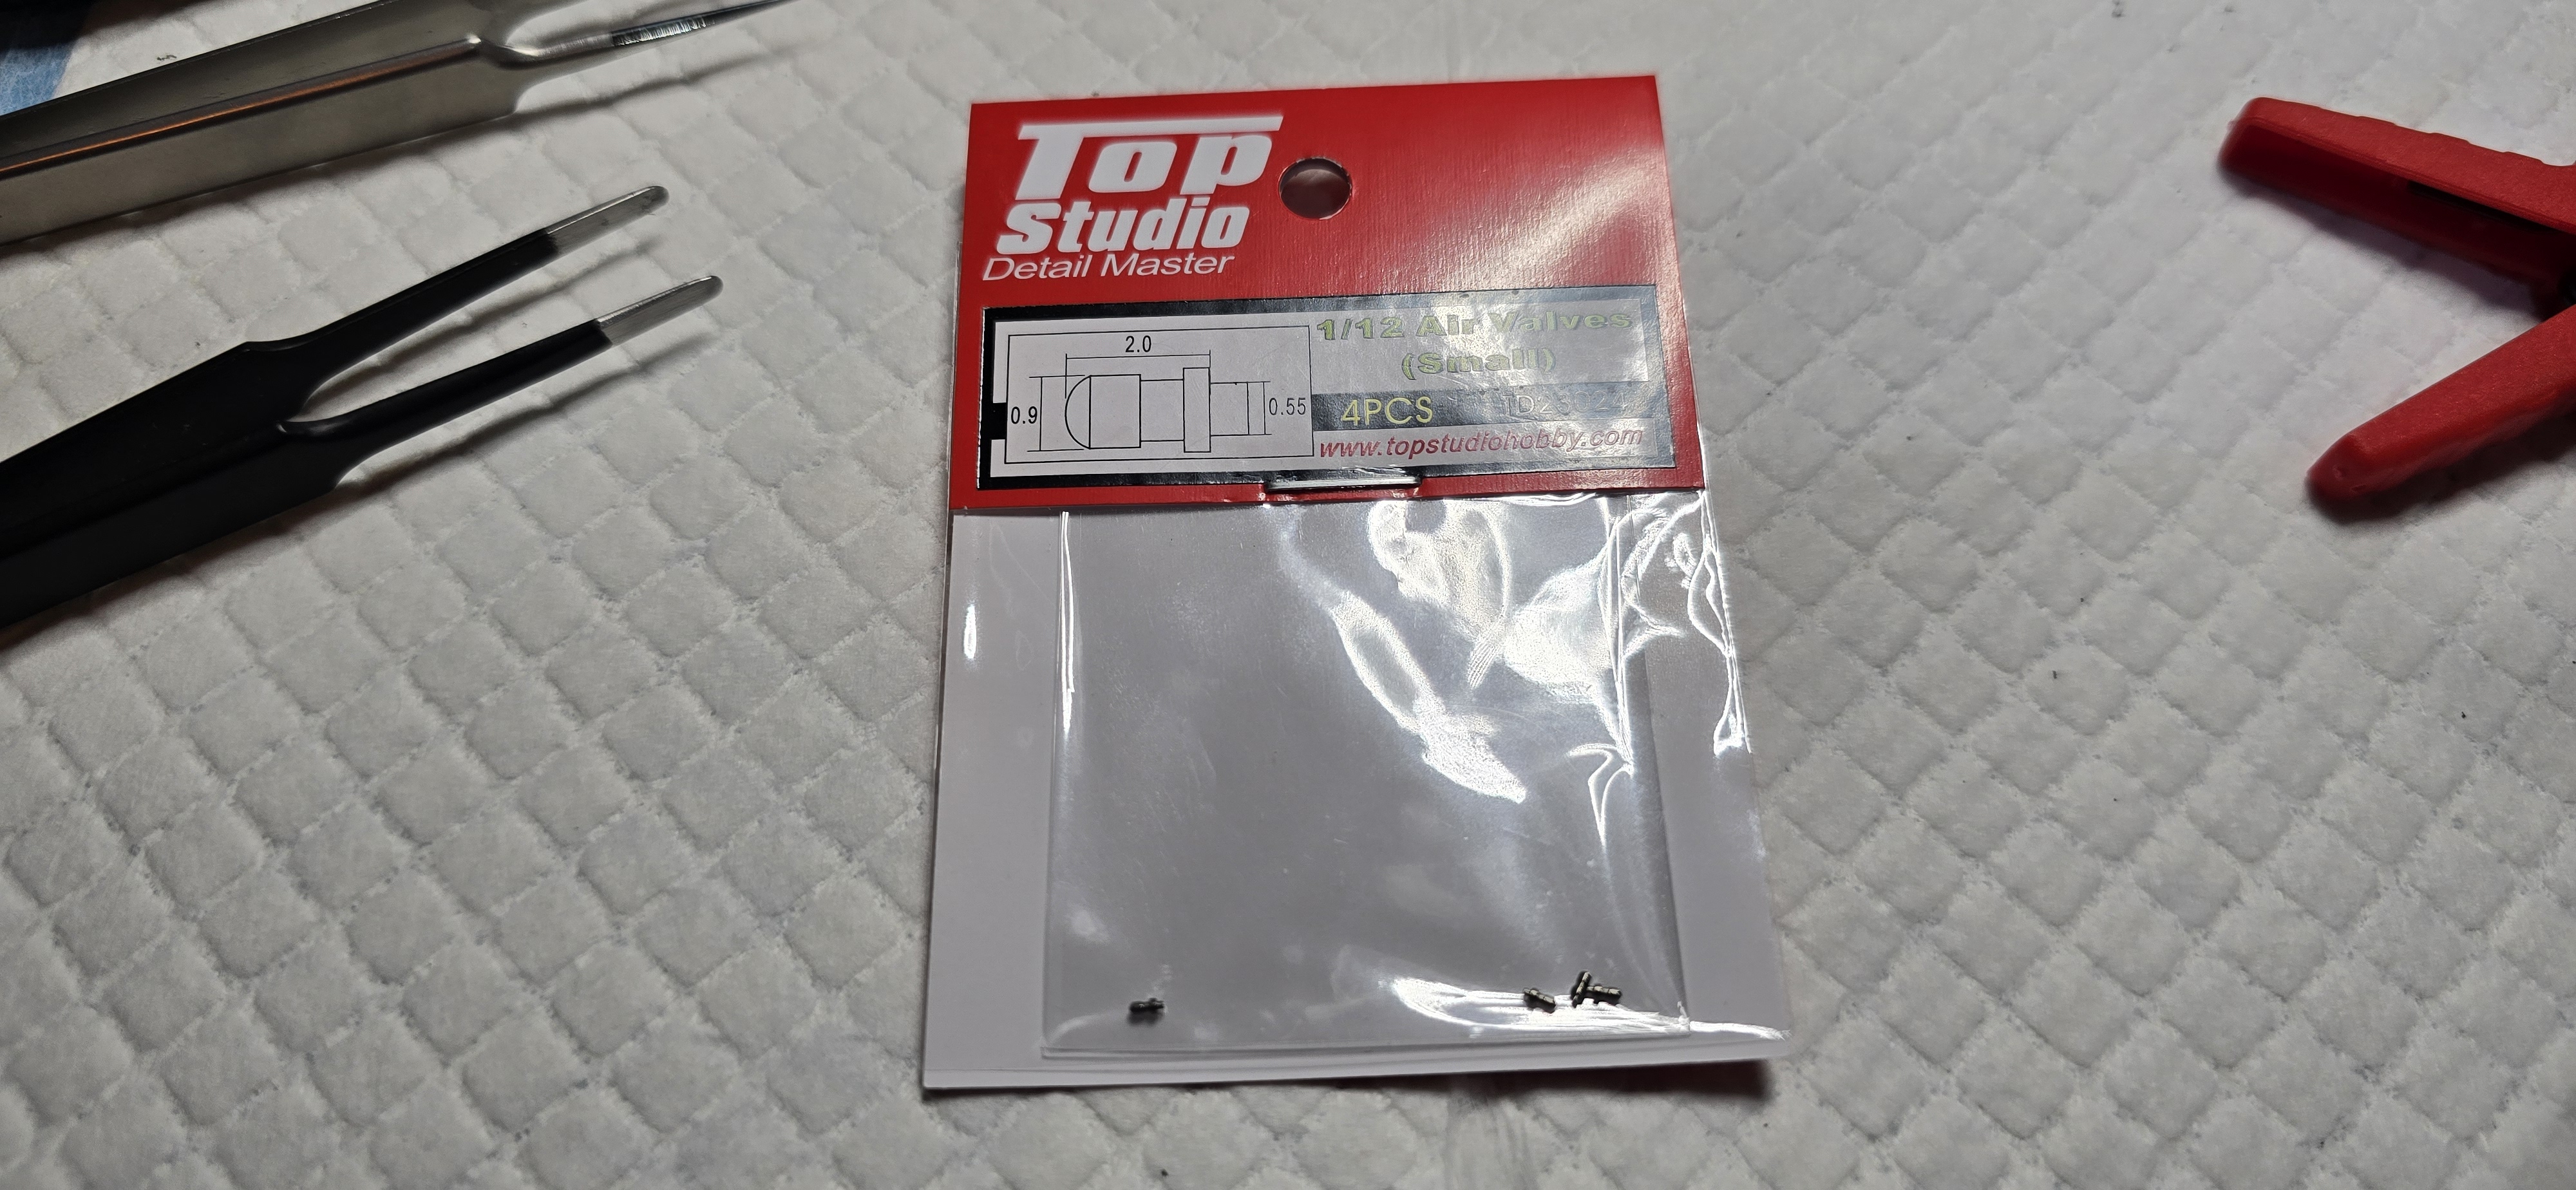
I wanted to try and add the air valves on the top of the forks, what I had was just a plastic nub, painted silver. Using Top Studio valve stems really looks accurate.
I added the throttle cables, building the assemblies from the Top Studio stuff. It's a bit out of scale, (too thick) but it looks a heck of a lot better. The wire is a bit more scale than the kit. This process took several hours, assembling this small parts is tough, but worth it imo. This also would have been a LOT easier, had I done it before mounting the grip assemblies onto the handlebars and front end. I think it came out ok- Worth the time and effort!
20260425_111352.jpg
20260425_081440.jpg
20260425_081427.jpg
20260425_082322.jpg
20260425_093507.jpg
20260425_091300.jpg
20260425_094829.jpg
20260425_095638.jpg
20260425_100838.jpg
 
As an Amazon Associate we earn from qualifying purchases. Product prices and availability are accurate as of the date/time indicated and are subject to change.
I added the gas tank, seat and side panels.

I wasn't happy with the throttle cable, coming out of the throttle. The kit supplied wire, onto a couple of plastic pegs didn't look right. I decided I'd try my luck with some Top Studio items. I purchased some .5 to .8 rivets, air valves, hose connectors and a few other goodies. and wow- this stuff doesn't disappoint!

I wanted to try and add the air valves on the top of the forks, what I had was just a plastic nub, painted silver. Using Top Studio valve stems really looks accurate.
I added the throttle cables, building the assemblies from the Top Studio stuff. It's a bit out of scale, (too thick) but it looks a heck of a lot better. The wire is a bit more scale than the kit. This process took several hours, assembling this small parts is tough, but worth it imo. This also would have been a LOT easier, had I done it before mounting the grip assemblies onto the handlebars and front end. I think it came out ok- Worth the time and effort!
View attachment 187597View attachment 187598View attachment 187599View attachment 187600View attachment 187613View attachment 187601View attachment 187602View attachment 187603View attachment 187604
Looks great! That's too tedious for me but looks realistic.
 
Spent some time at the bench.
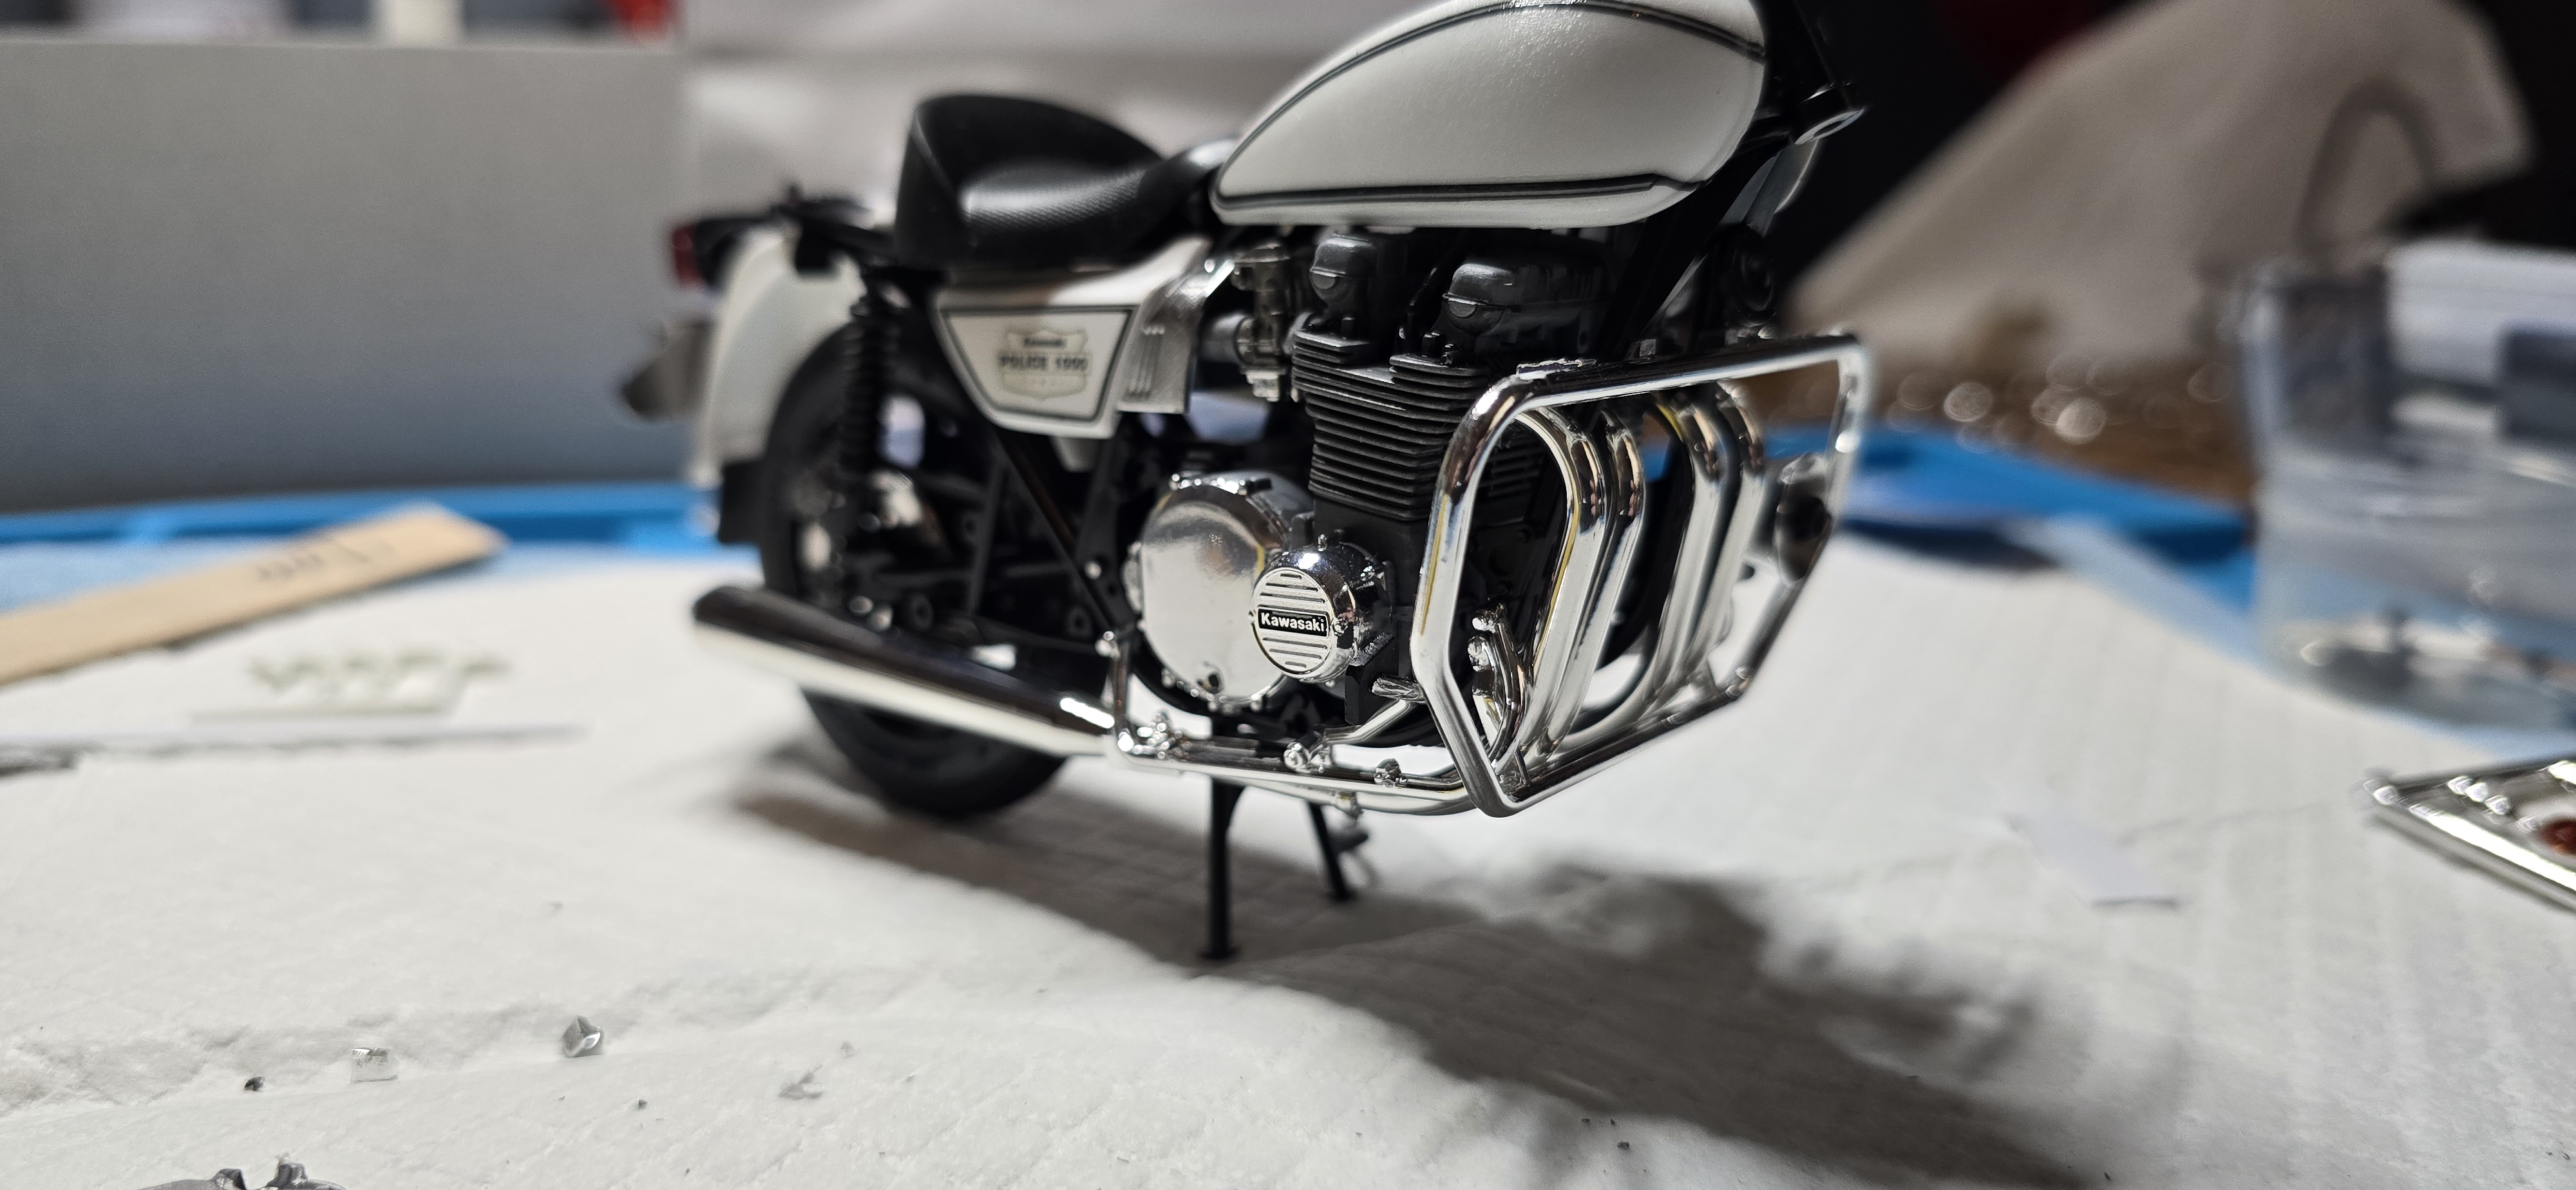
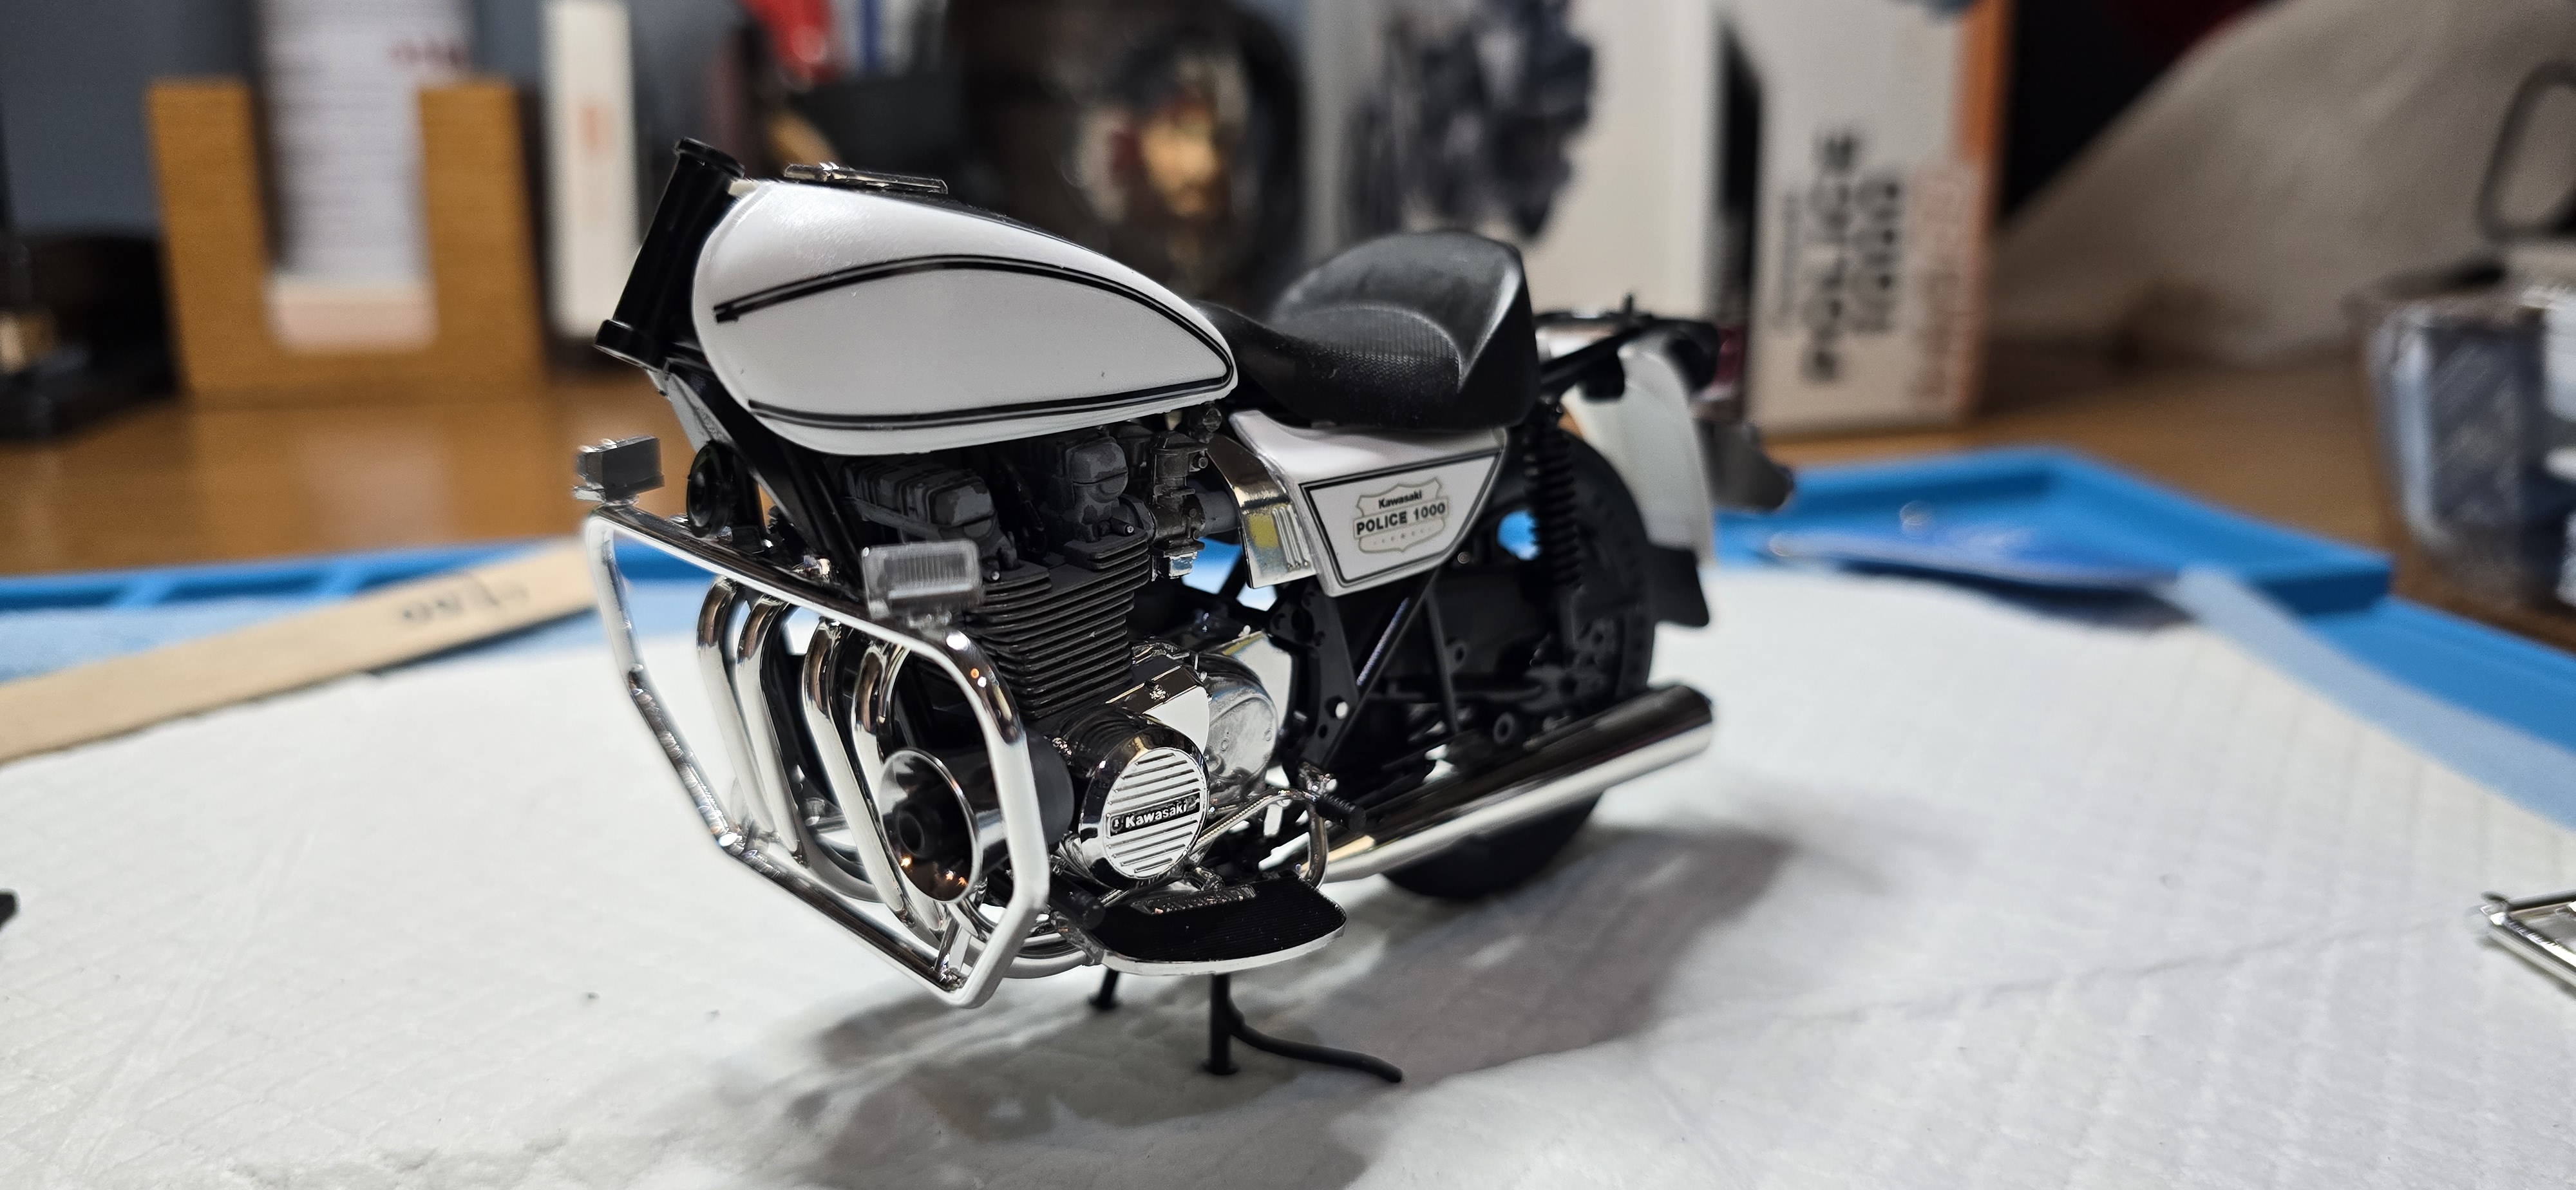
The exhaust on this was made up of 13 pieces, all requiring perfect alignment to attach to the bike. So, it needs to be built onto with few solid attachments. A couple pins on the top of the mufflers.
Got through it, took some patience.
The highway bar also needed threading through it.
Rear brake light on, strobes are coming along. Also picked up a 1/12th scale shotgun, pretty simple so ill need to fabricate and alter some details.
1000010189.jpg
1000010190.jpg
1000010191.jpg
1000010193.jpg
1000010194.jpg
1000010192.jpg
1000010195.jpg
 
Spent some time at the bench.
The exhaust on this was made up of 13 pieces, all requiring perfect alignment to attach to the bike. So, it needs to be built onto with few solid attachments. A couple pins on the top of the mufflers.
Got through it, took some patience.
The highway bar also needed threading through it.
Rear brake light on, strobes are coming along. Also picked up a 1/12th scale shotgun, pretty simple so ill need to fabricate and alter some details.
View attachment 188255View attachment 188256View attachment 188257View attachment 188258View attachment 188259View attachment 188260View attachment 188261
Looks great! How are you keeping the exhaust system lined up?
 
Looks great! How are you keeping the exhaust system lined up?
Thank you!
Dry fitting one exhaust tube at a time, to the manifold beneath, then holding and gluing it up. Was a very slow and tedious process. The mufflers (which I had already assembled from the 3 pieces each) were "hung" one at time, and holding until the Tamiya set strong enough to hold, then realigning everything while still flexible enough.
I'm sure there was a better way, but I couldn't figure it out. 🤷‍♂️🤣
 
Last edited:
Thank you!
Dry fitting one exhaust tube at a time, to the manifold beneath, then holding and gluing it up. Was a very slow and tedious process. The muffled were one at time, and holding until the Tamiya set strong enough to hold, the realigning everything while still flexible enough.
I'm sure there was a better way, but I couldn't figure it out. 🤷‍♂️🤣
That's the way I imagined.
 
Boards are on, both did not fit, I may have missed something in my multiple part substitution and the part-bashing I've been doing, causing a misalignment. After some adjustment, I got them attached, so moving on.
The 12 gage I picked up is a "GI Joe" accessory, so a bit cartoony. Ill see if I can clean it up using some sheet styrene and aluminum tubing?....
Fairing is just about done, I missed the headlight ring needed to be chromed when I did all my FusionFirm...ing. So, I hit that and will wait the three days, at least, allowing it to cure.
Clearance strobes are on, (they're not an exact match, but they'll work) im sure I'll knock those off before I finish, probably should've waited.
1000010197.jpg
1000010201.jpg
1000010200.jpg
1000010199.jpg
1000010203.jpg
 
Last edited:
Boards are on, both did not fit, I may have missed something in my multiple part substitution and bashing over been doing. Got them attached, so moving on.
The 12 gage I picked up is a "GI Joe" accessory, so a bit cartoony. Ill see if I can clean it up using some sheet styrene and aluminum tubing?....
Fairing is just about done, I missed the headlight ring needed to be chromed when I did all my FusionFirm...ing. So, hit that and will wait a few days.
Clearance strobes are on, im sure I'll knock those off before I finish, probably should've waited.
View attachment 188322View attachment 188326View attachment 188327View attachment 188325View attachment 188328
That's some good work!
 
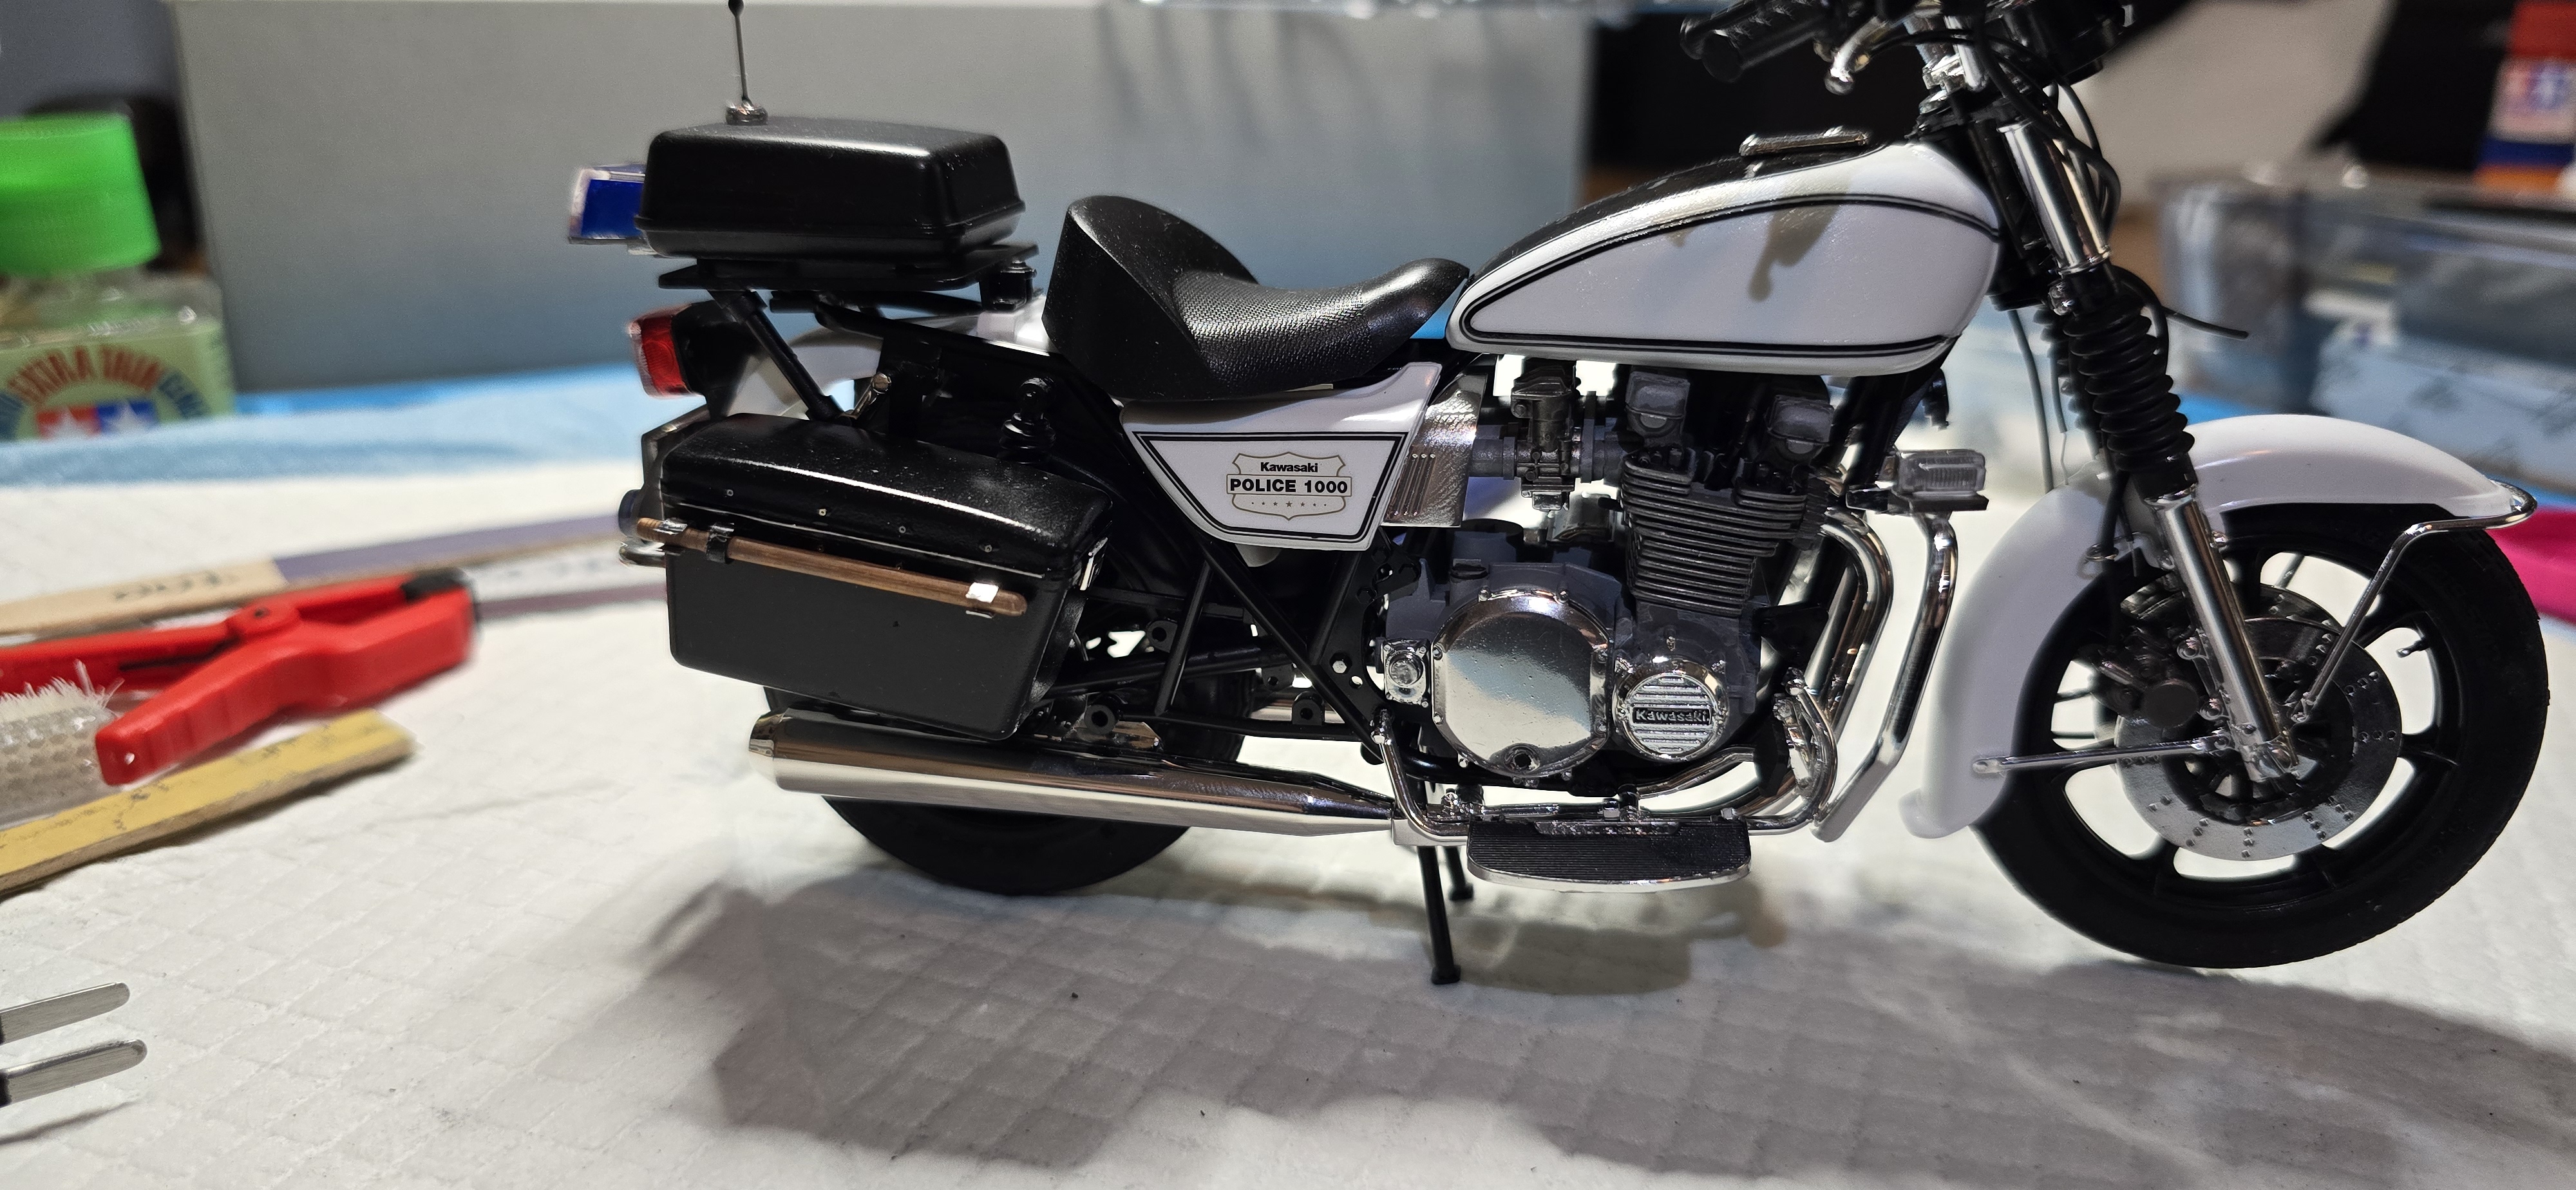
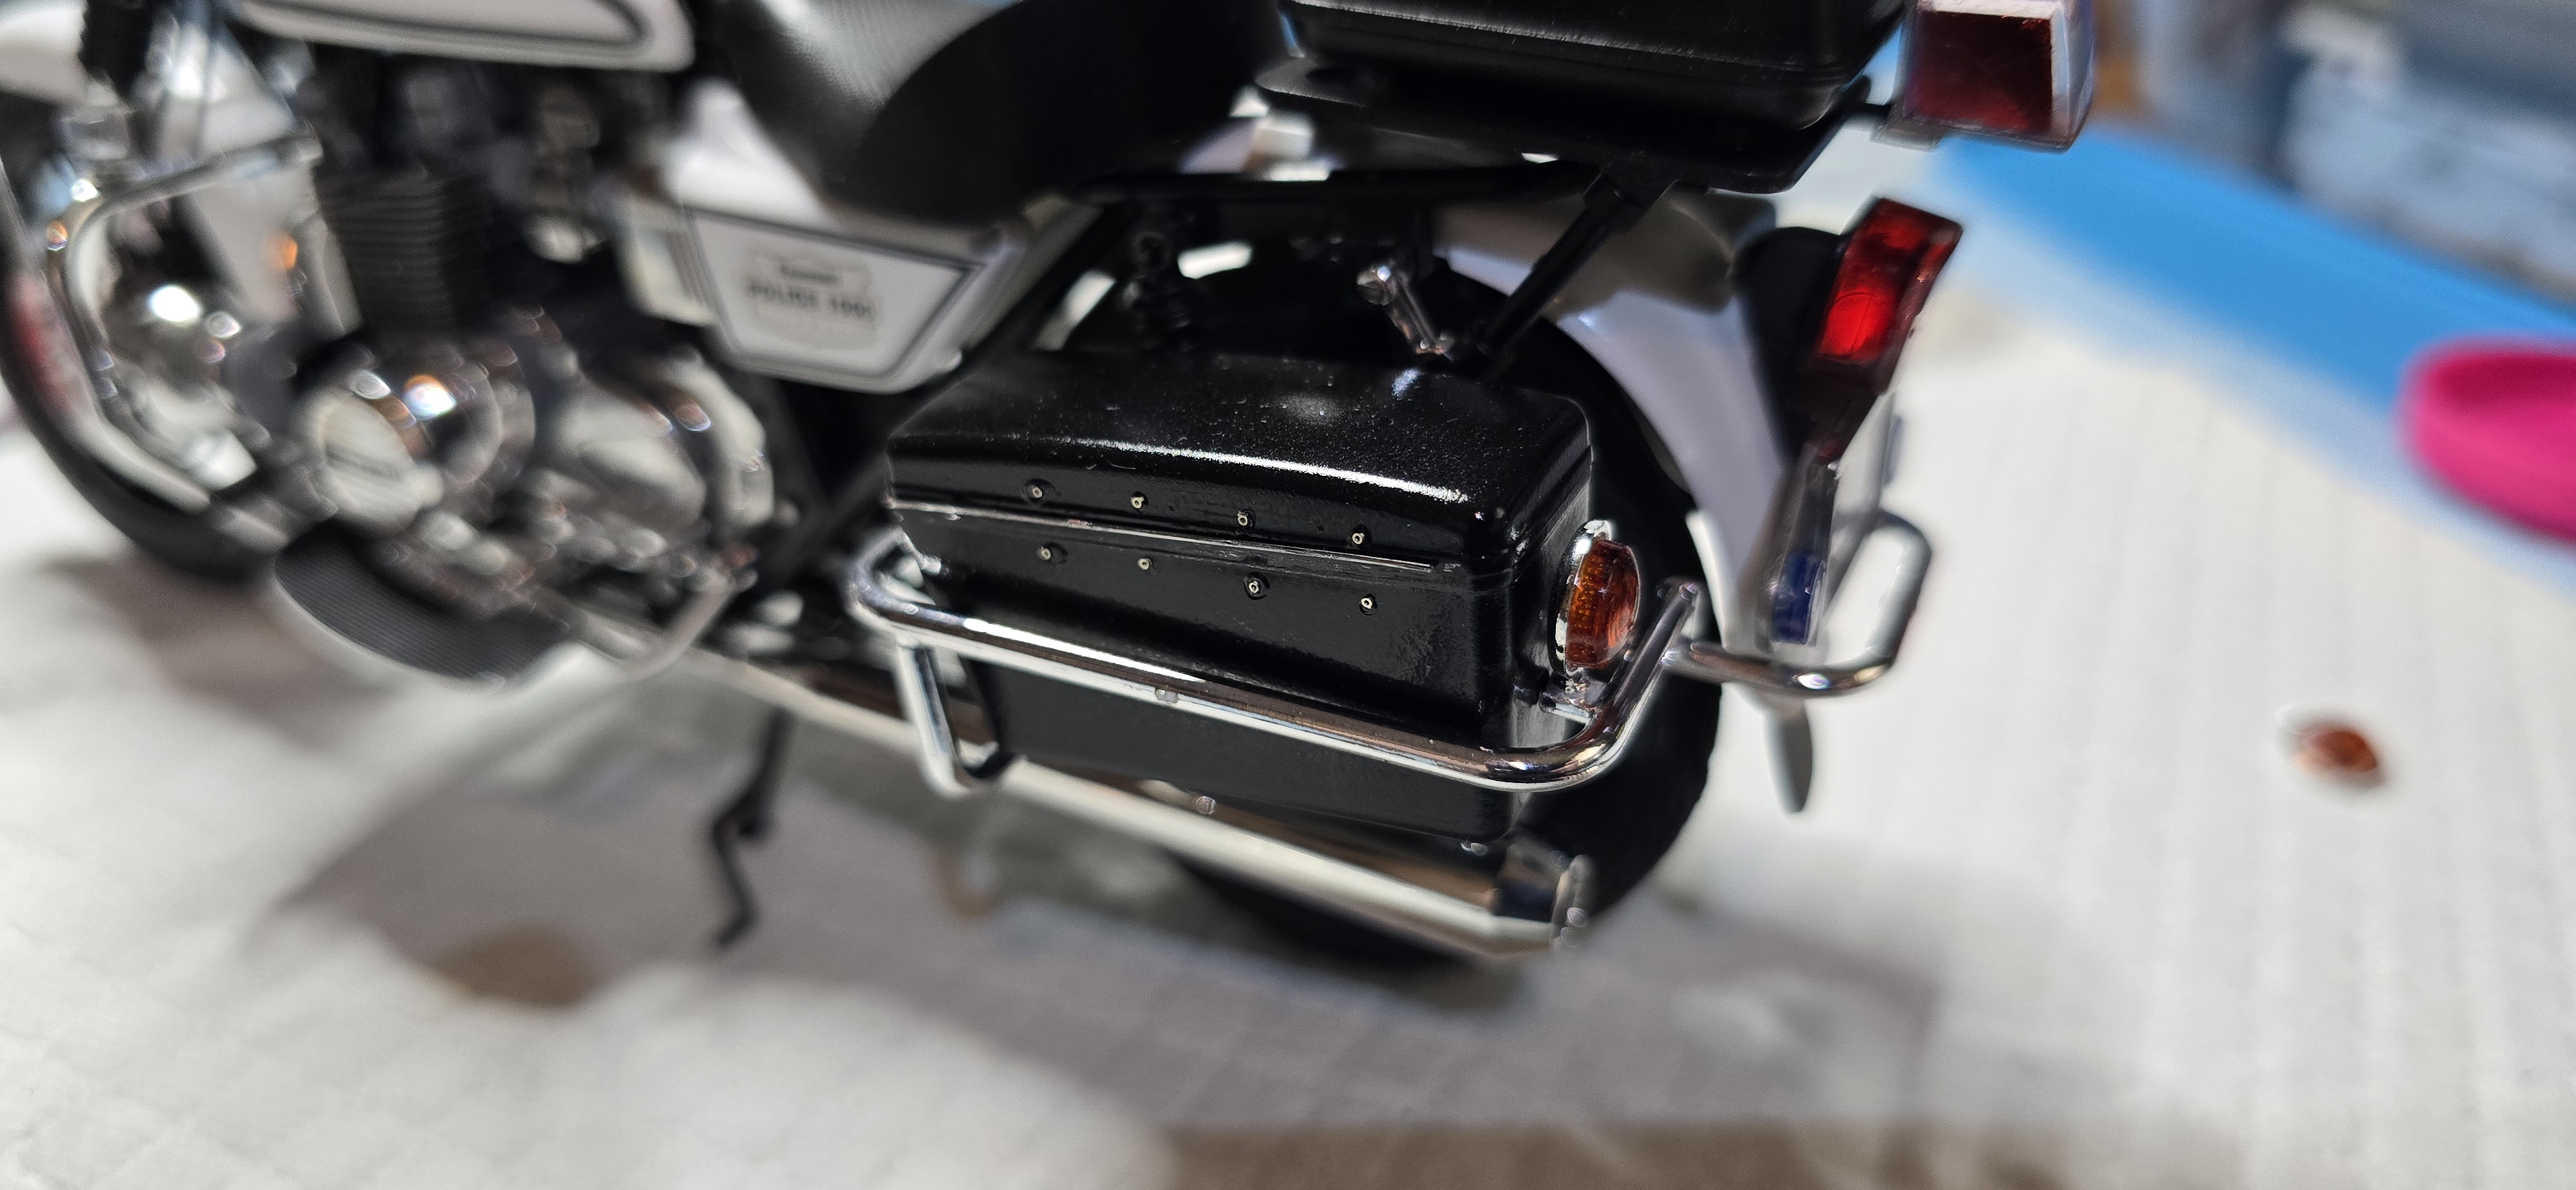
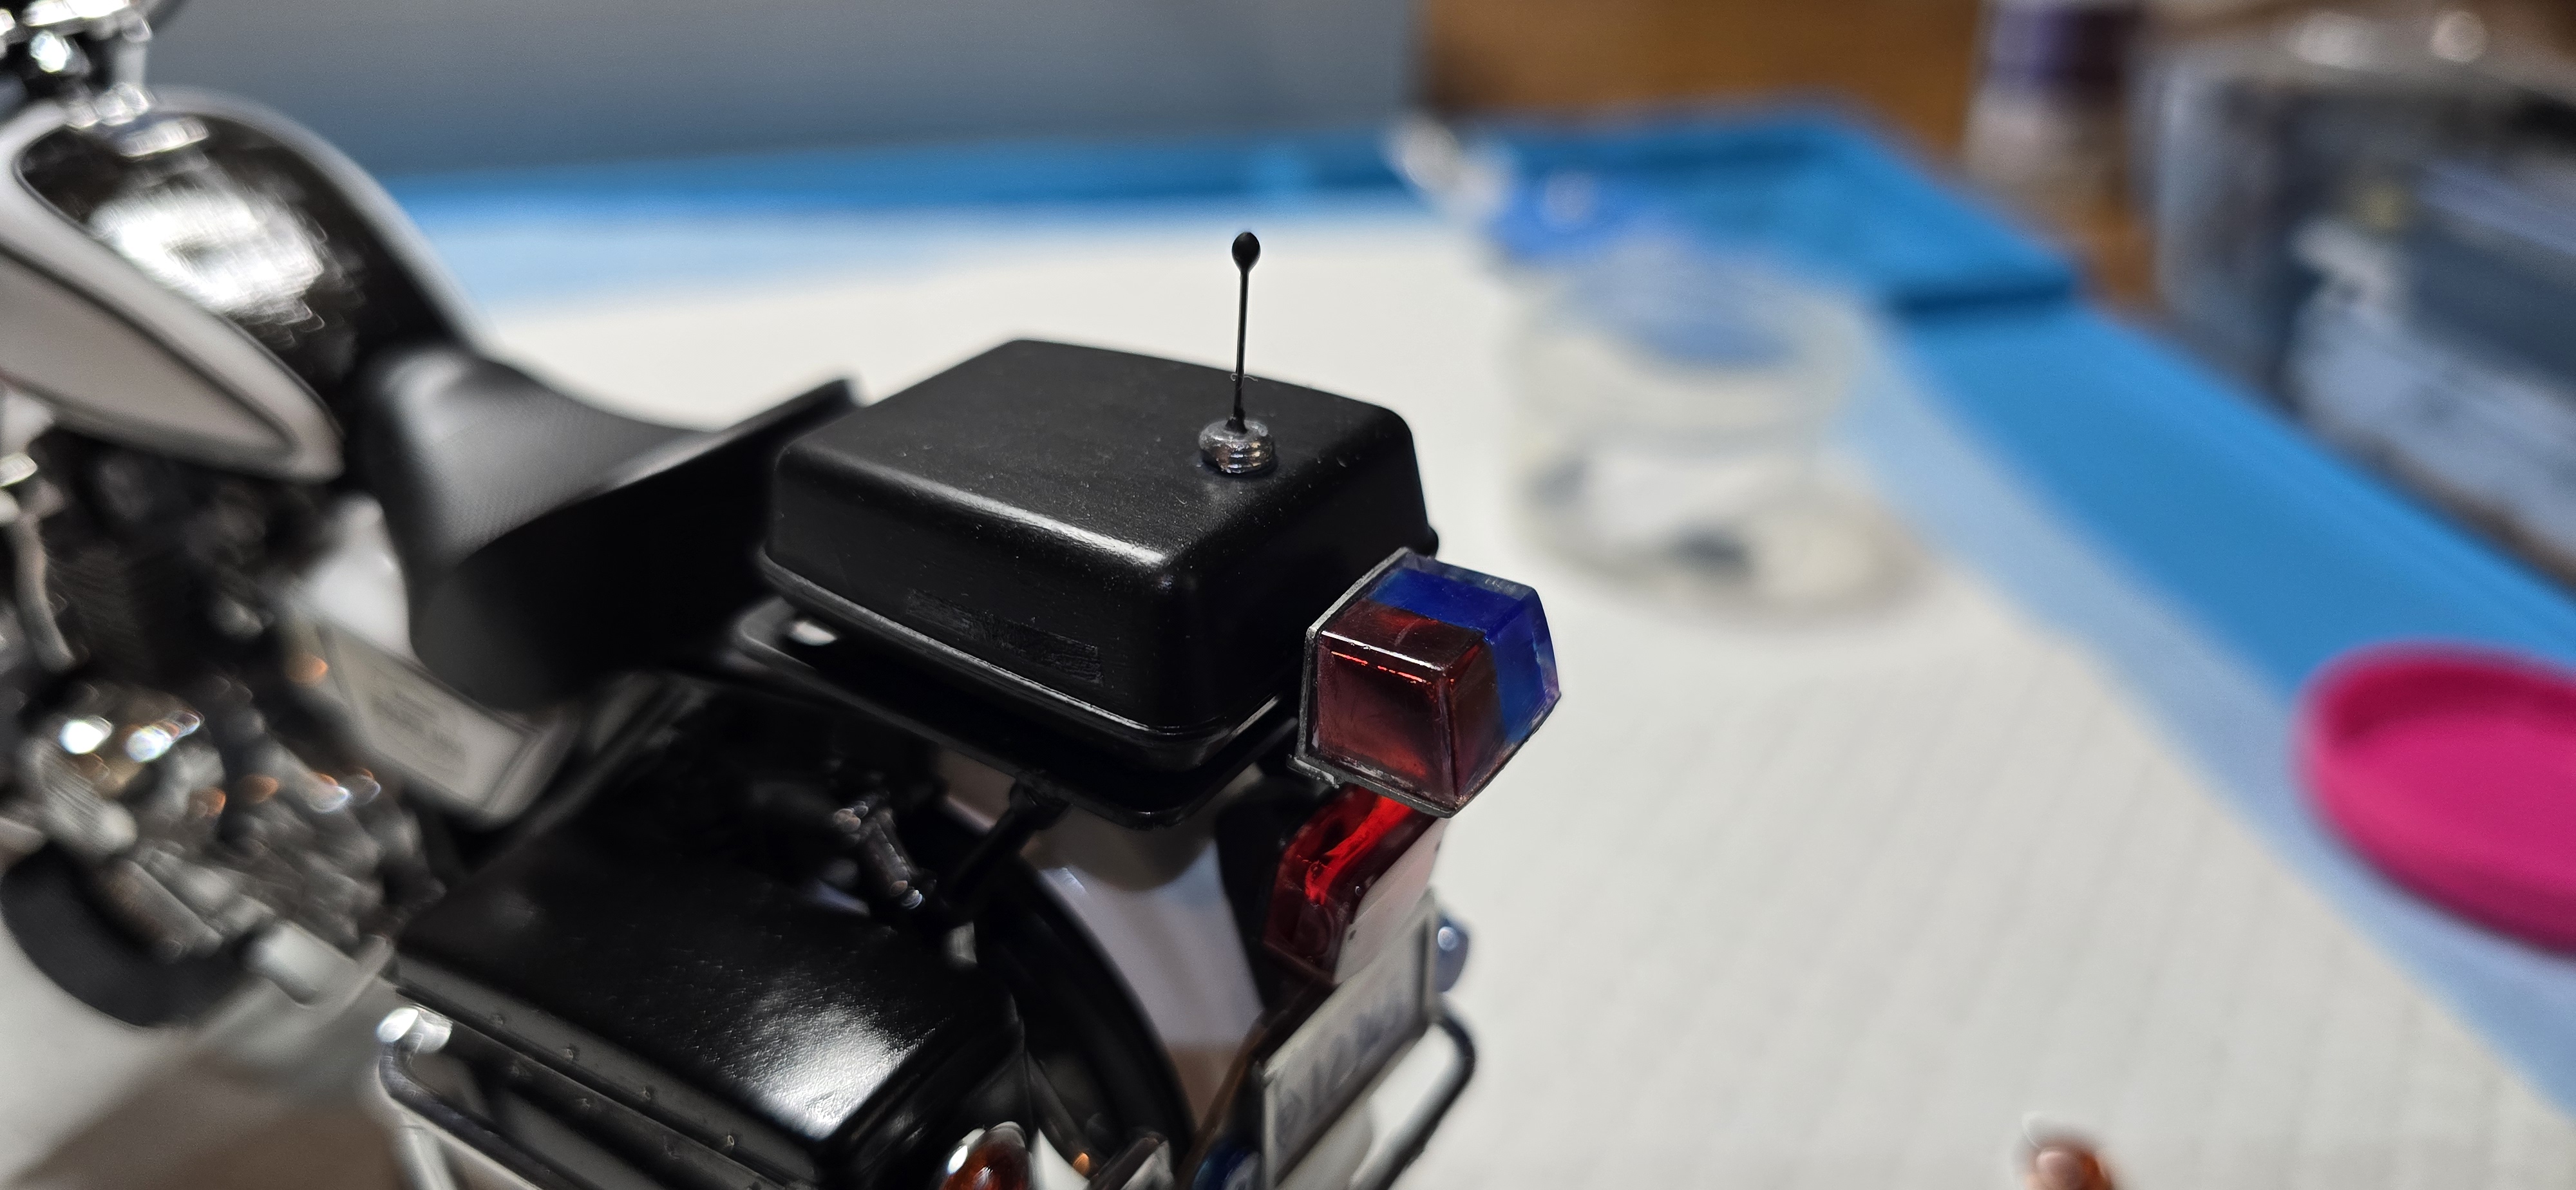
Crash bars, saddle bags, radio box and lights all on.
Also mounted the front end to the bike.. so, were setting on the wheels, benchmark reached, on the downward slide to wrapping up.

Crash bars were similar to the exhaust, multiple pieces, requiring perfect alignment, with few, minor attachment points.
Patience and taking advantage of Tamiya's working time were the key getting all pieces assembled and aligned.
Not sure what's going on with the saddlebags, but they were a mm too far forward, requiring some "persuasion" for the Crash bars. They're also canted forward slightly, I'd say I messed up on the assembly geometry, but the mounts were spot on their alignment pins and both sides are symmetrical, so?
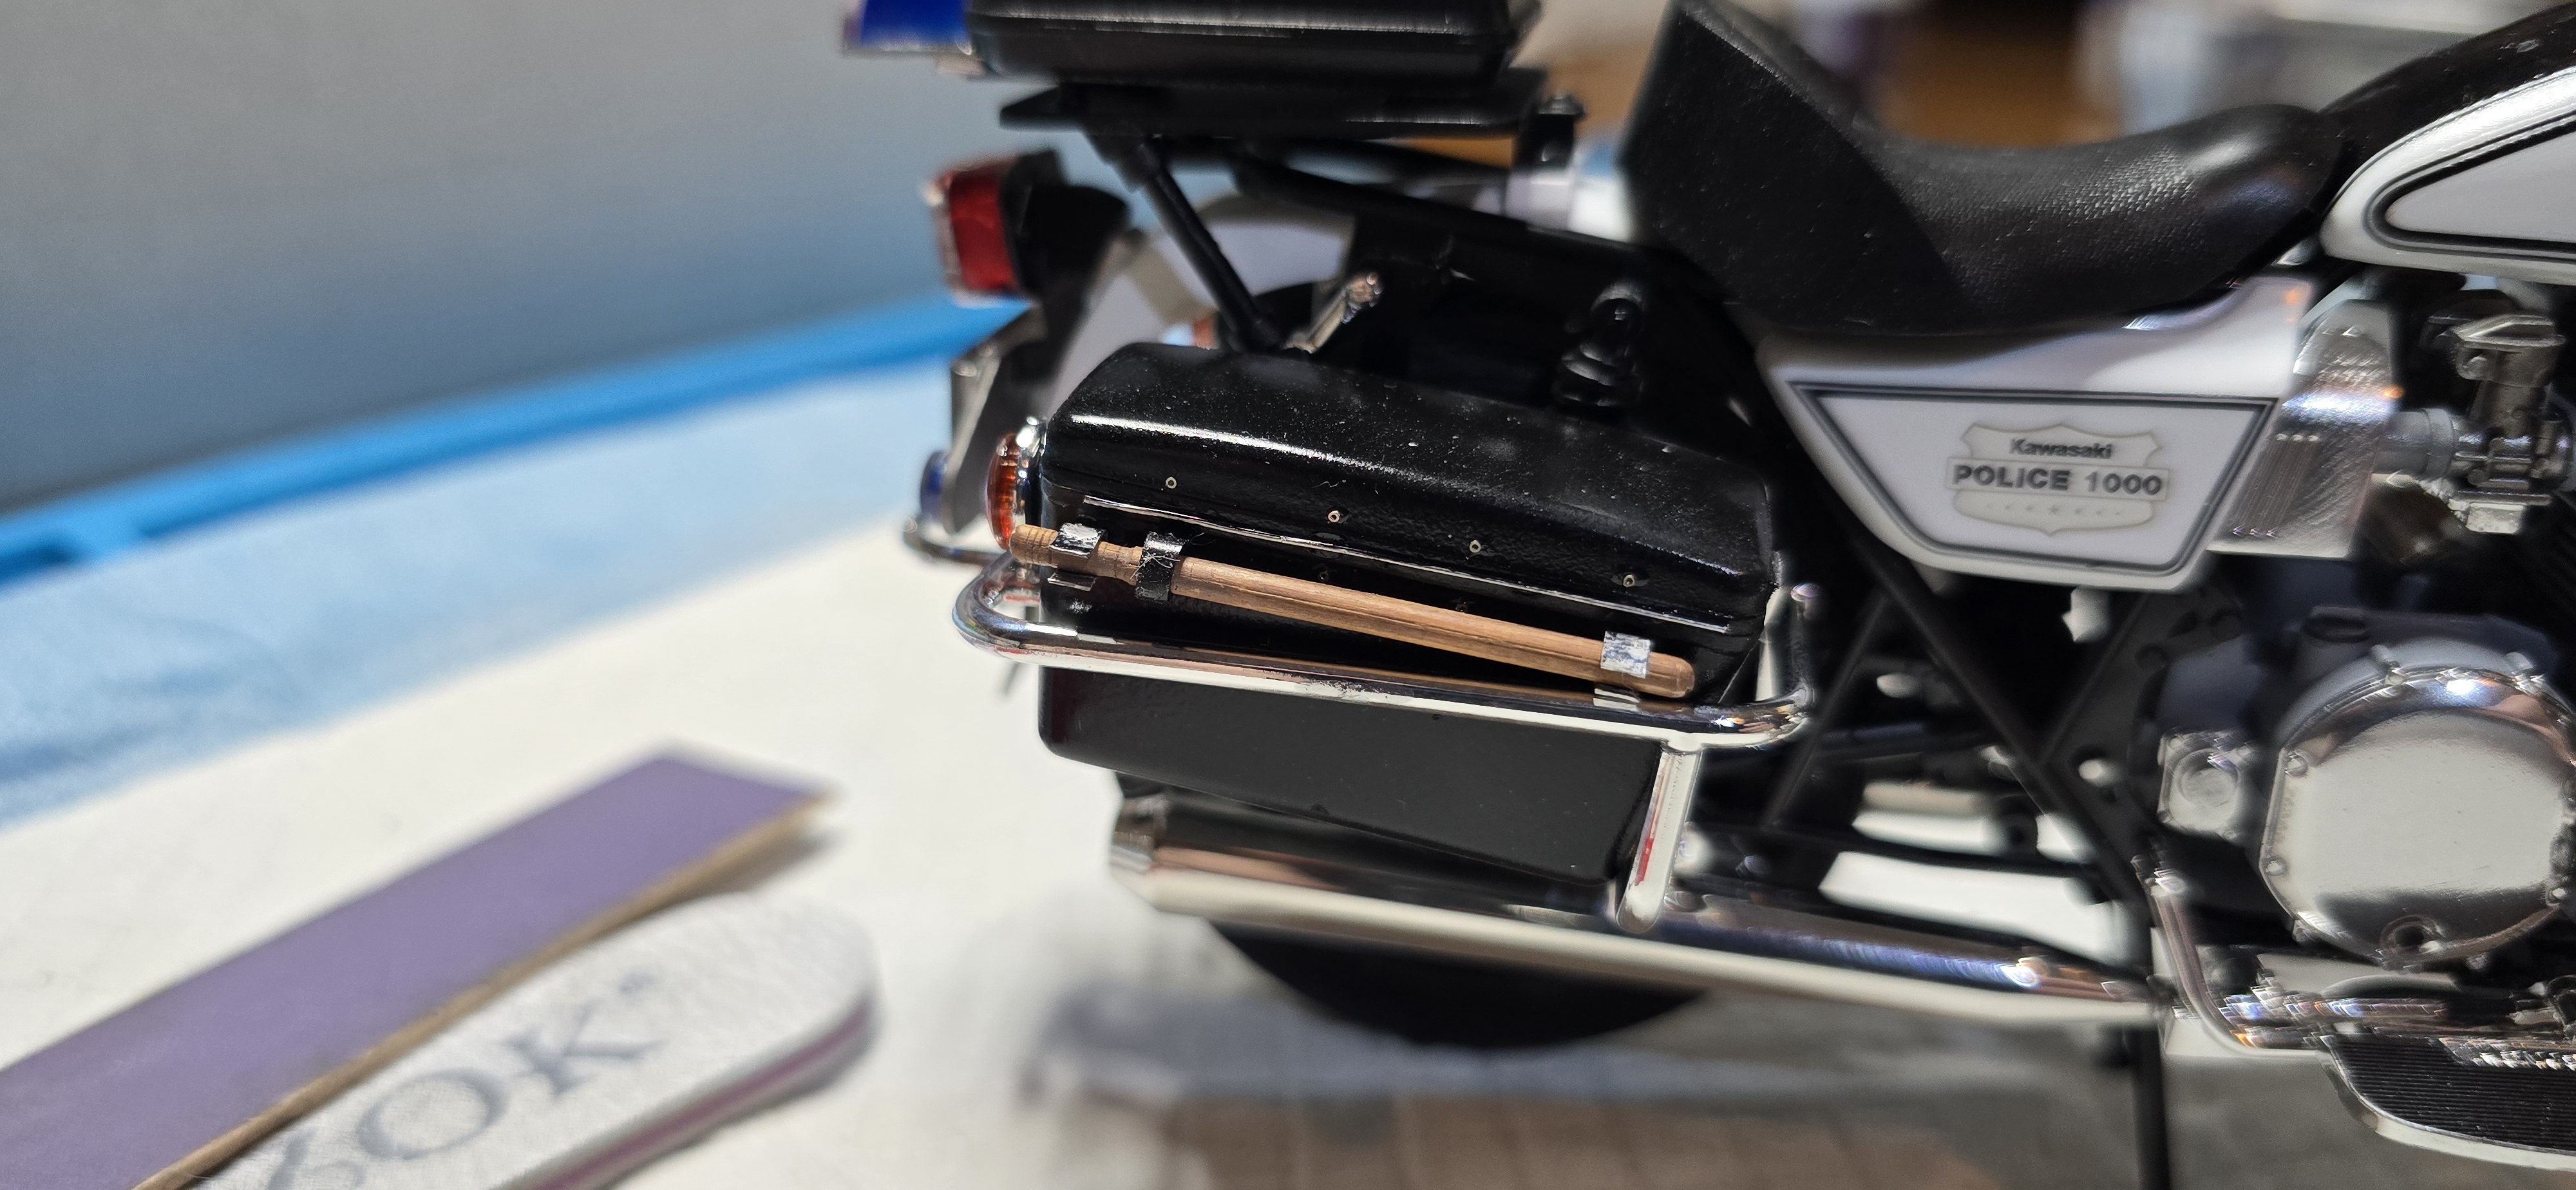
Anyway, got them on and affixed my baton to the clips on the right-side saddlebag, even though mine was black and this one is a bit smaller than it should be, it'll work.

Also mounted the radio itself to the handlebars. I do need to do some touch up, for both chrome and a final gloss coat to the gas tank and my covering of the decal cracks.
1000010206.jpg
1000010207.jpg
1000010209.jpg
1000010211.jpg
1000010213.jpg
1000010214.jpg
 
Last edited:
Crash bars, saddle bags, radio box and lights all on.
Also mounted the front end to the bike.. so, were setting on the wheels, benchmark reached, on the downward slide to wrapping up.

Crash bars were similar to the exhaust, multiple pieces, requiring perfect alignment, with few, minor attachment points.
Patience and taking advantage of Tamiya's working time were the key getting all pieces assembled and aligned.
Not sure what's going on with the saddlebags, but they were a mm too far forward, requiring some "persuasion" for the Crash bars. They're also canted forward slightly, I'd say I messed up on the assembly geometry, but the mounts were spot on their alignment pins and both sides are symmetrical, so?
Anyway, got them on and affixed my baton to the clips on the right-side saddlebag, even though mine was black and this one is a bit smaller than it should be, it'll work.

Also mounted the radio itself to the handlebars. I do need to do some touch up, for both chrome and a final gloss coat to the gas tank and my covering of the decal cracks.
View attachment 188434View attachment 188435View attachment 188436View attachment 188437View attachment 188438View attachment 188439
Looks so good and no noticeable glue! I'll have to wait to build a bike when my glue precision is much better.
 
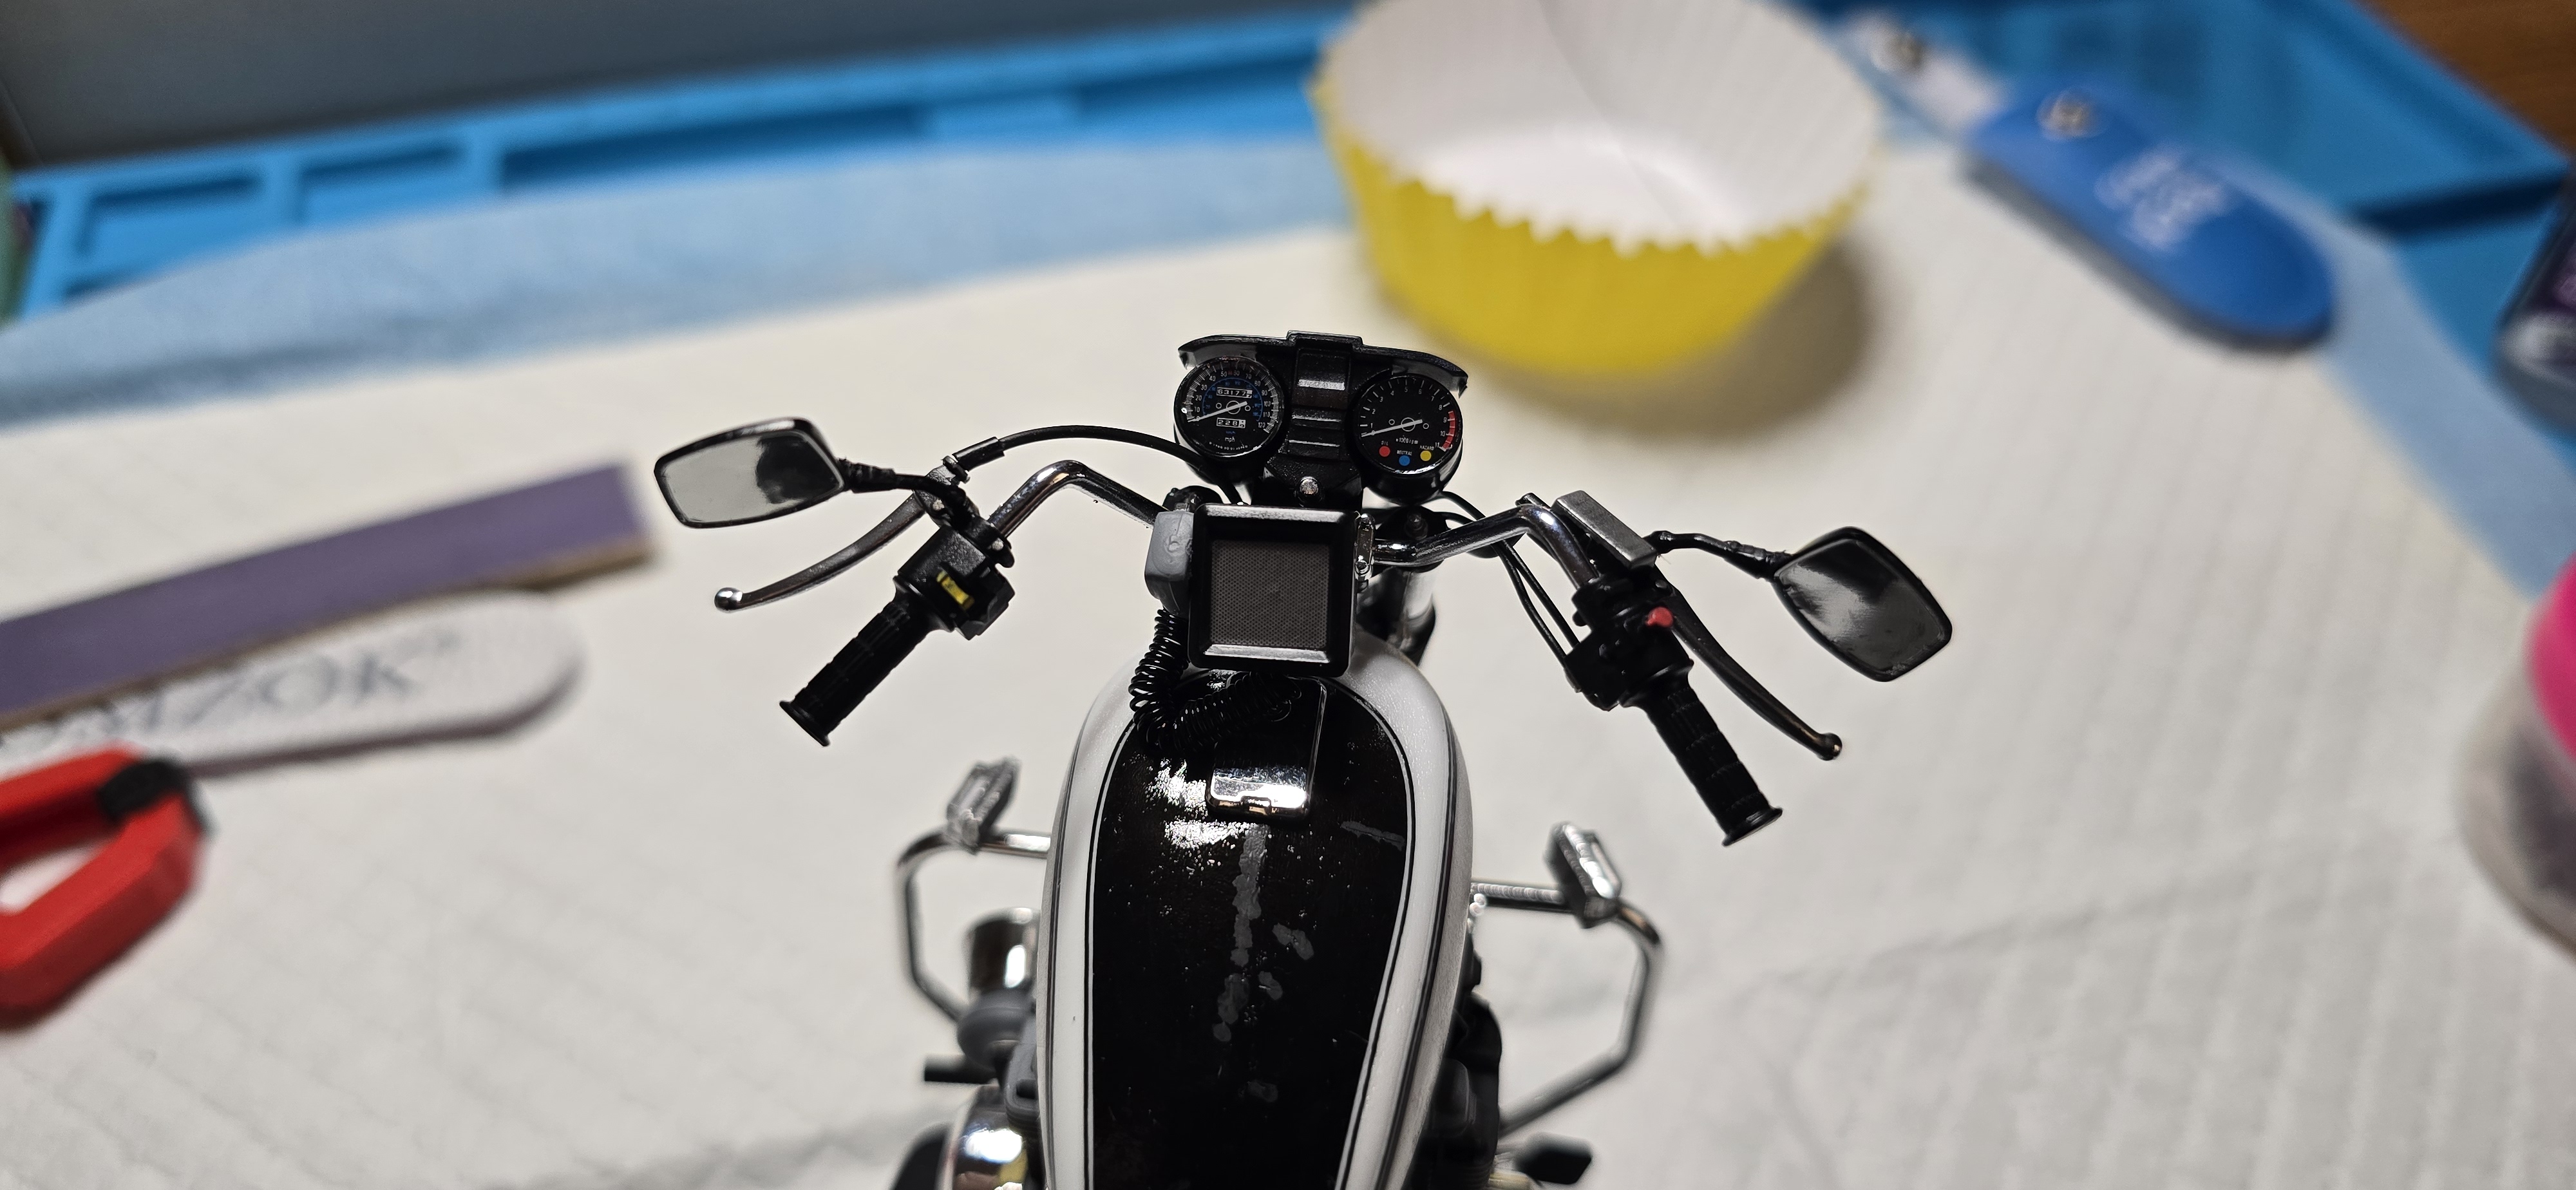
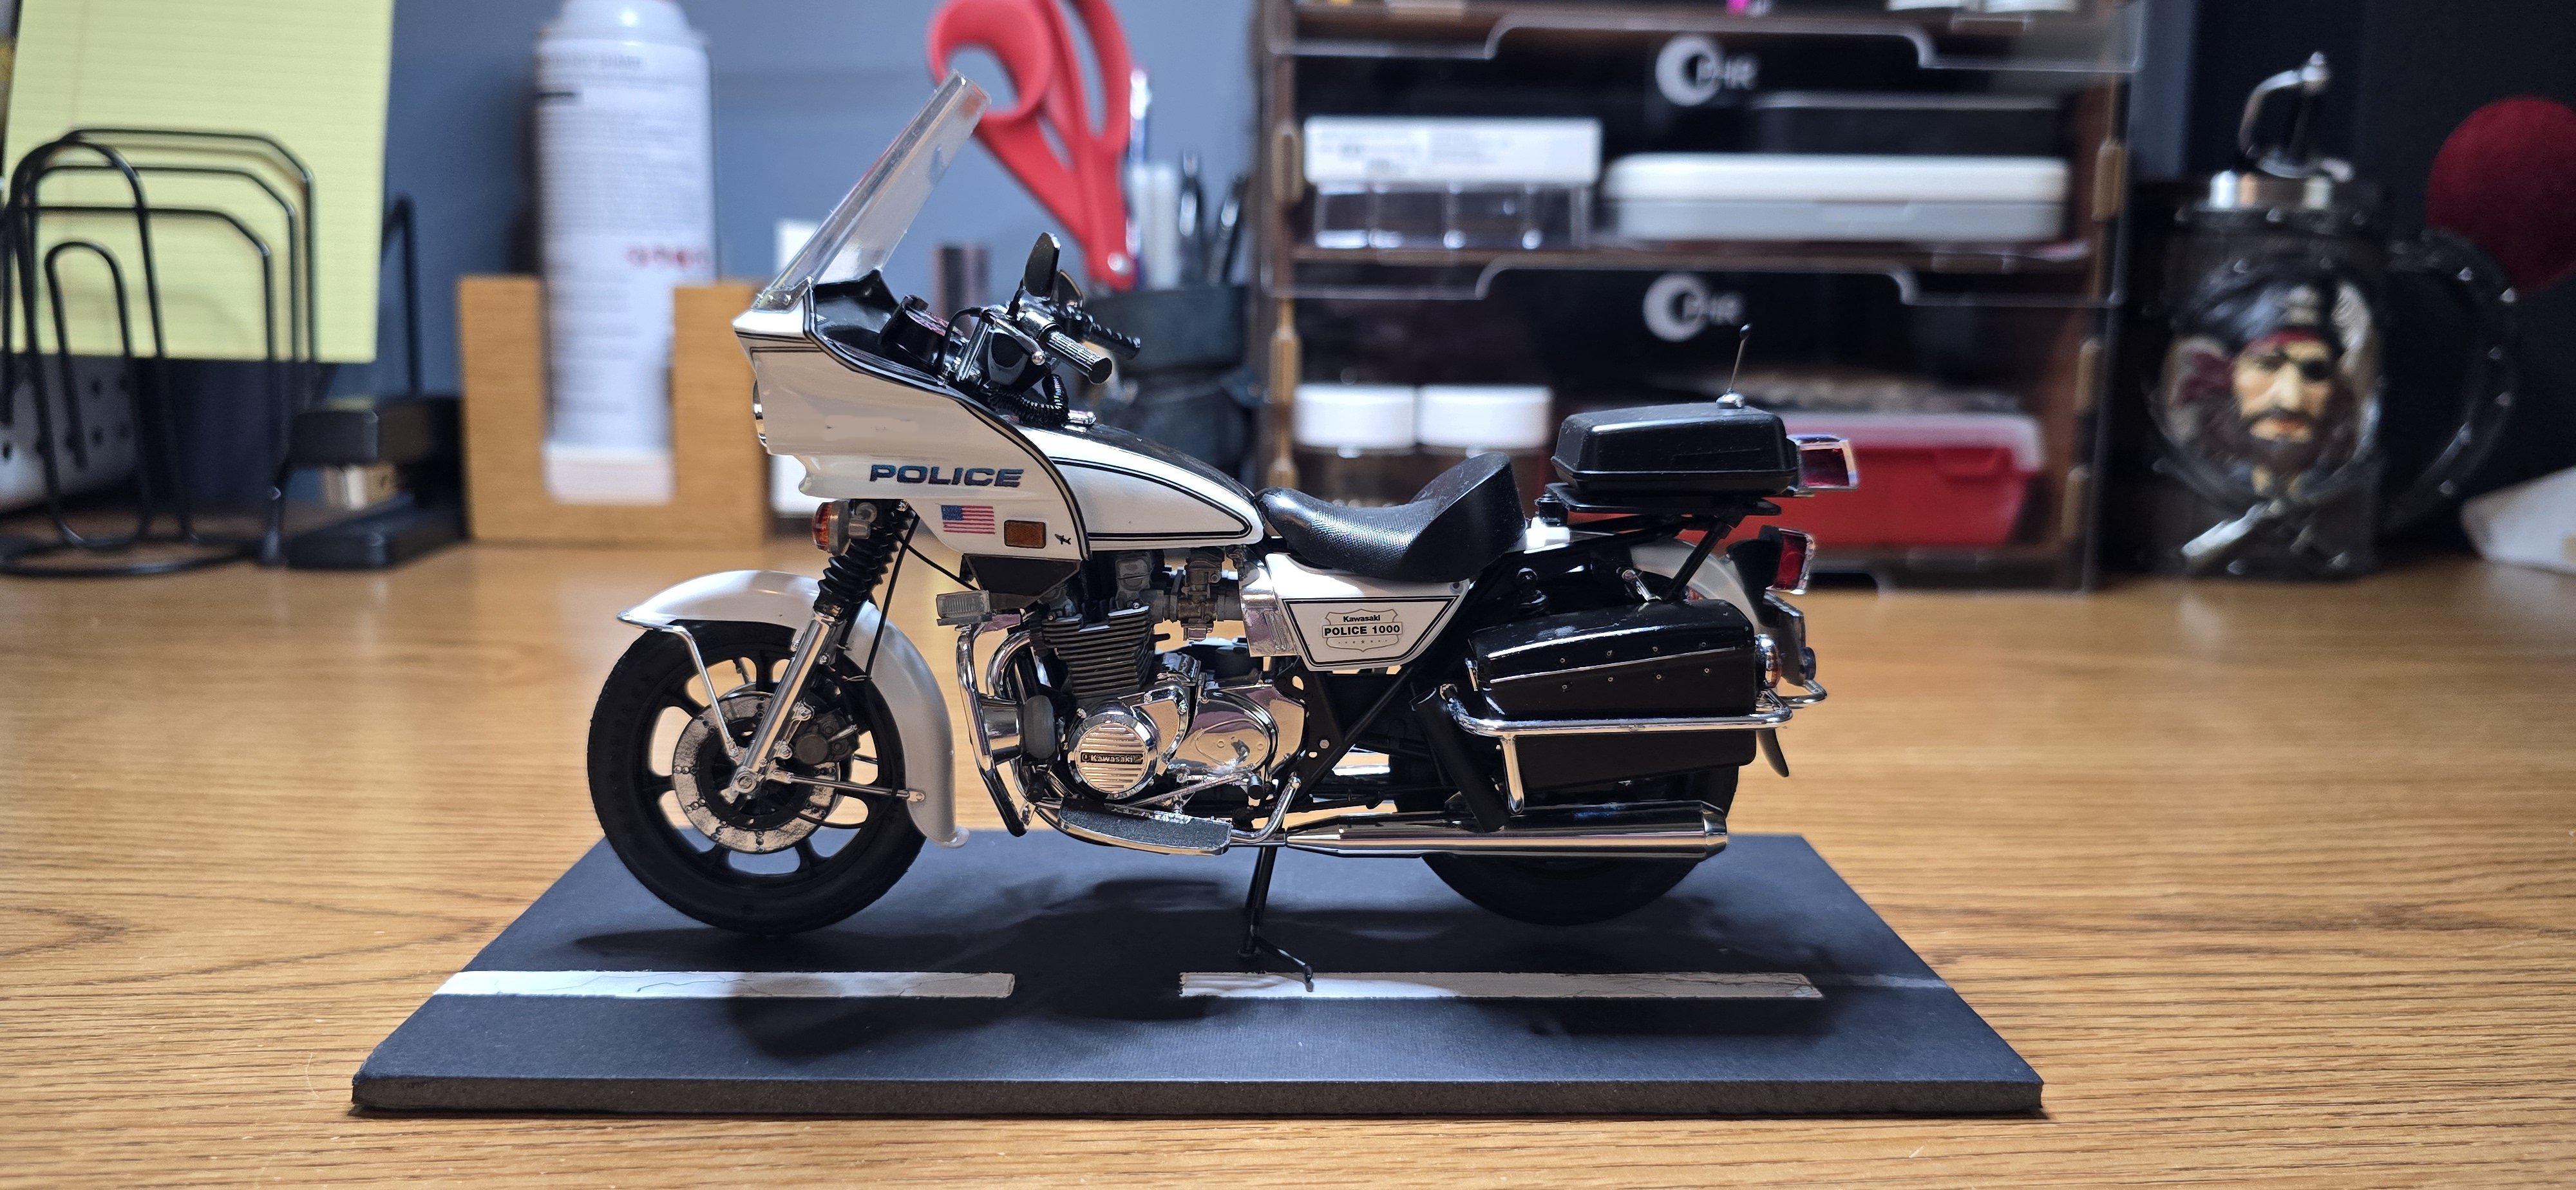
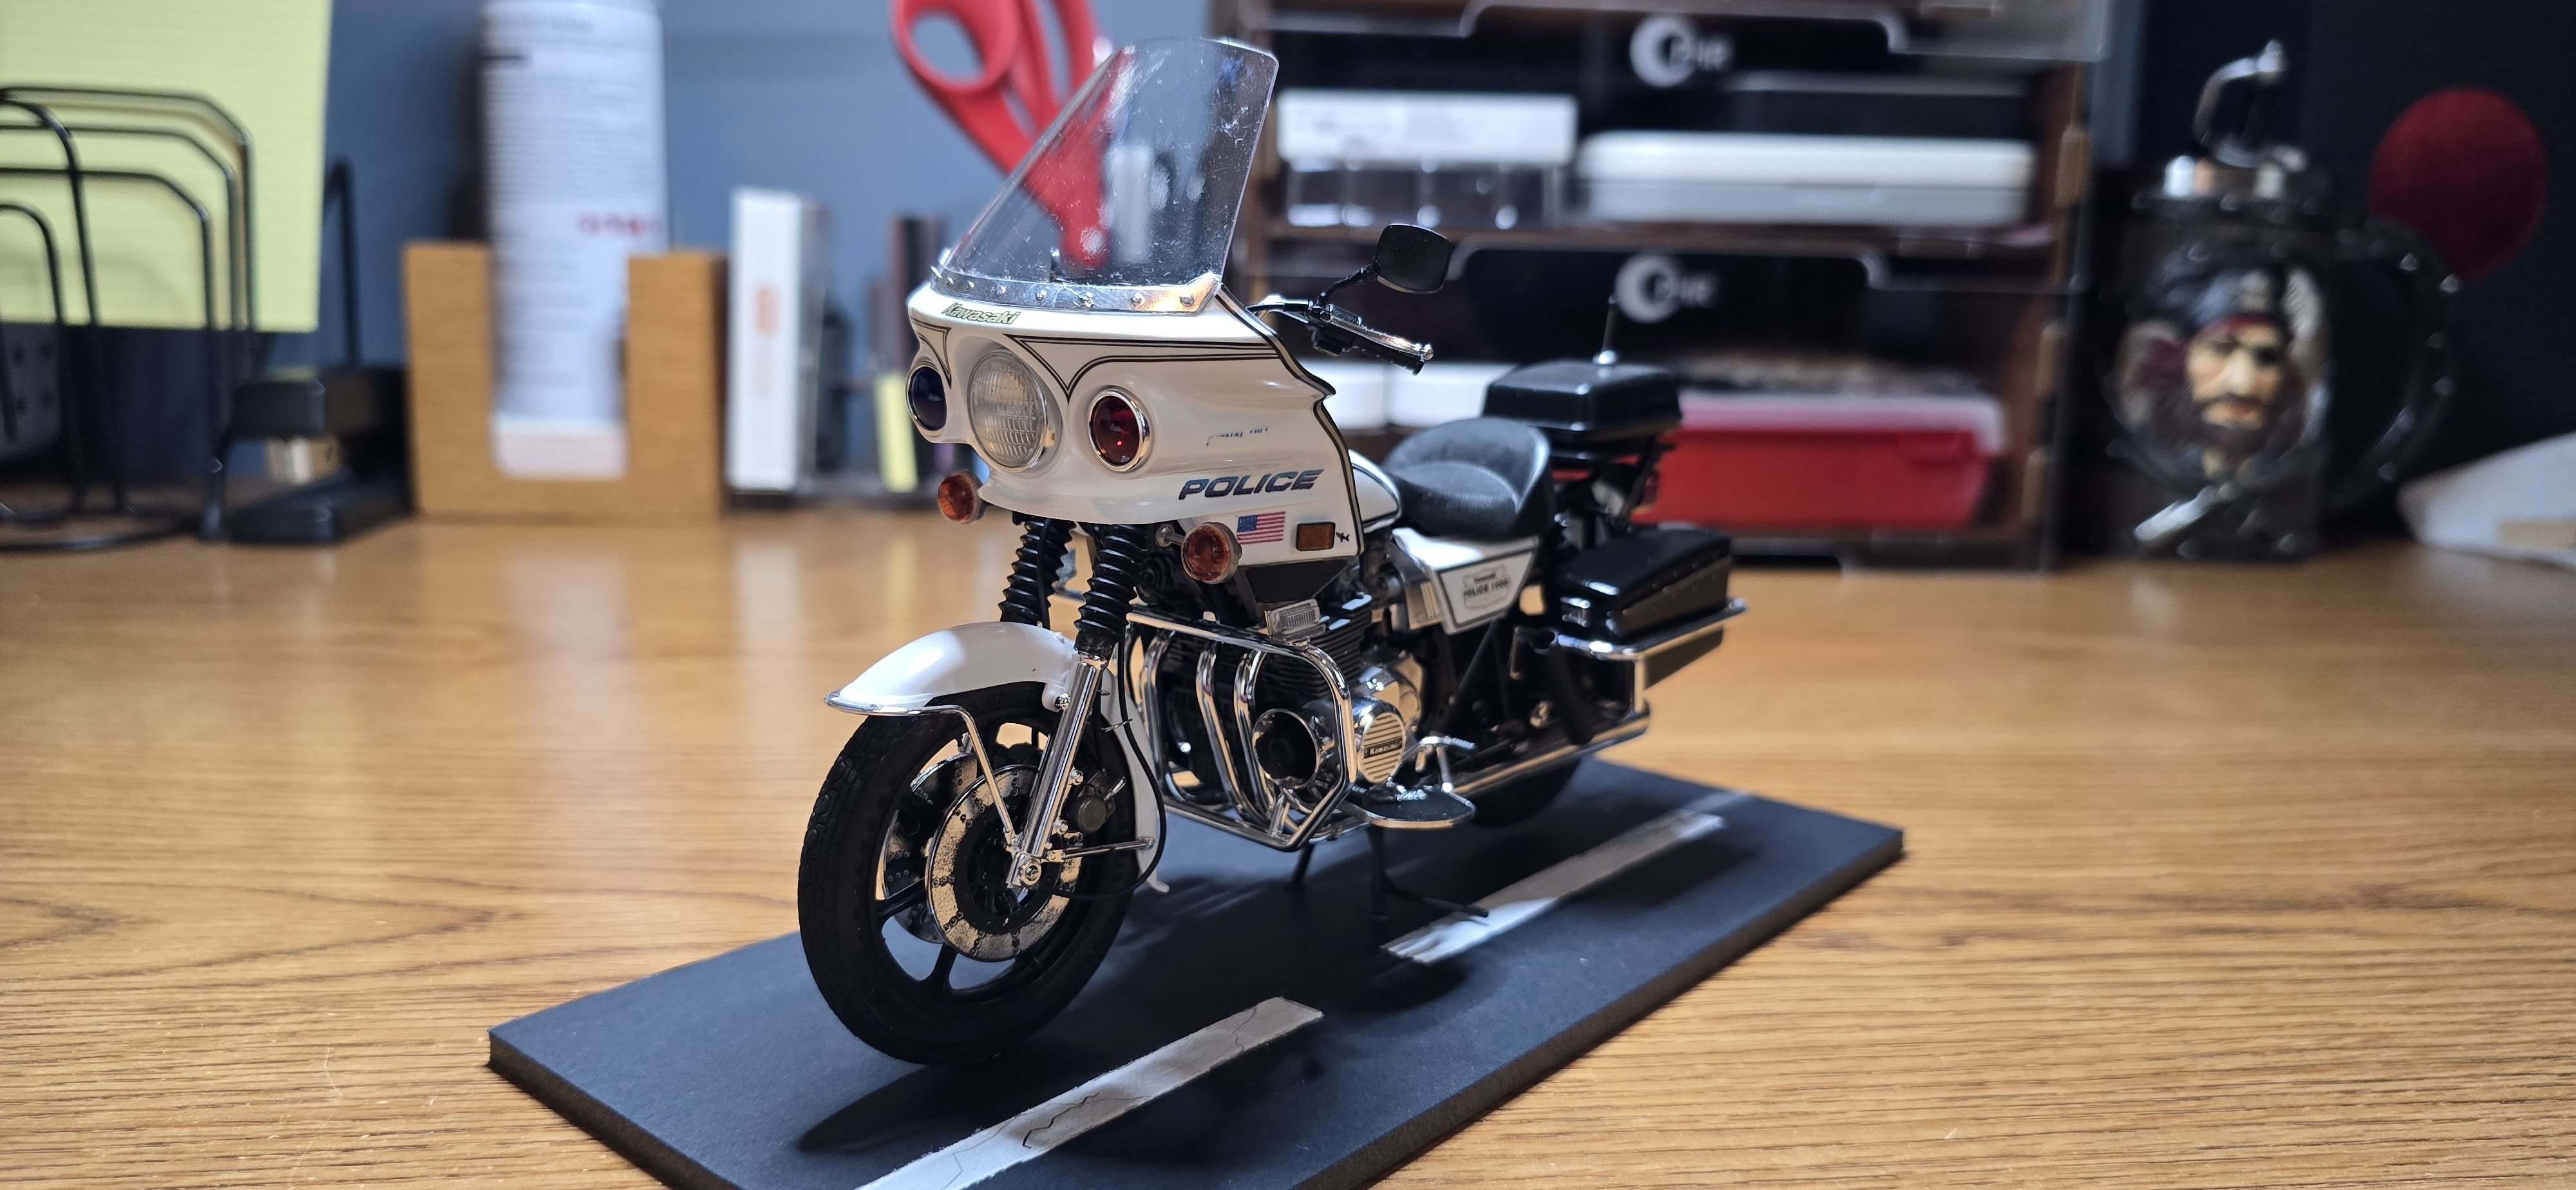
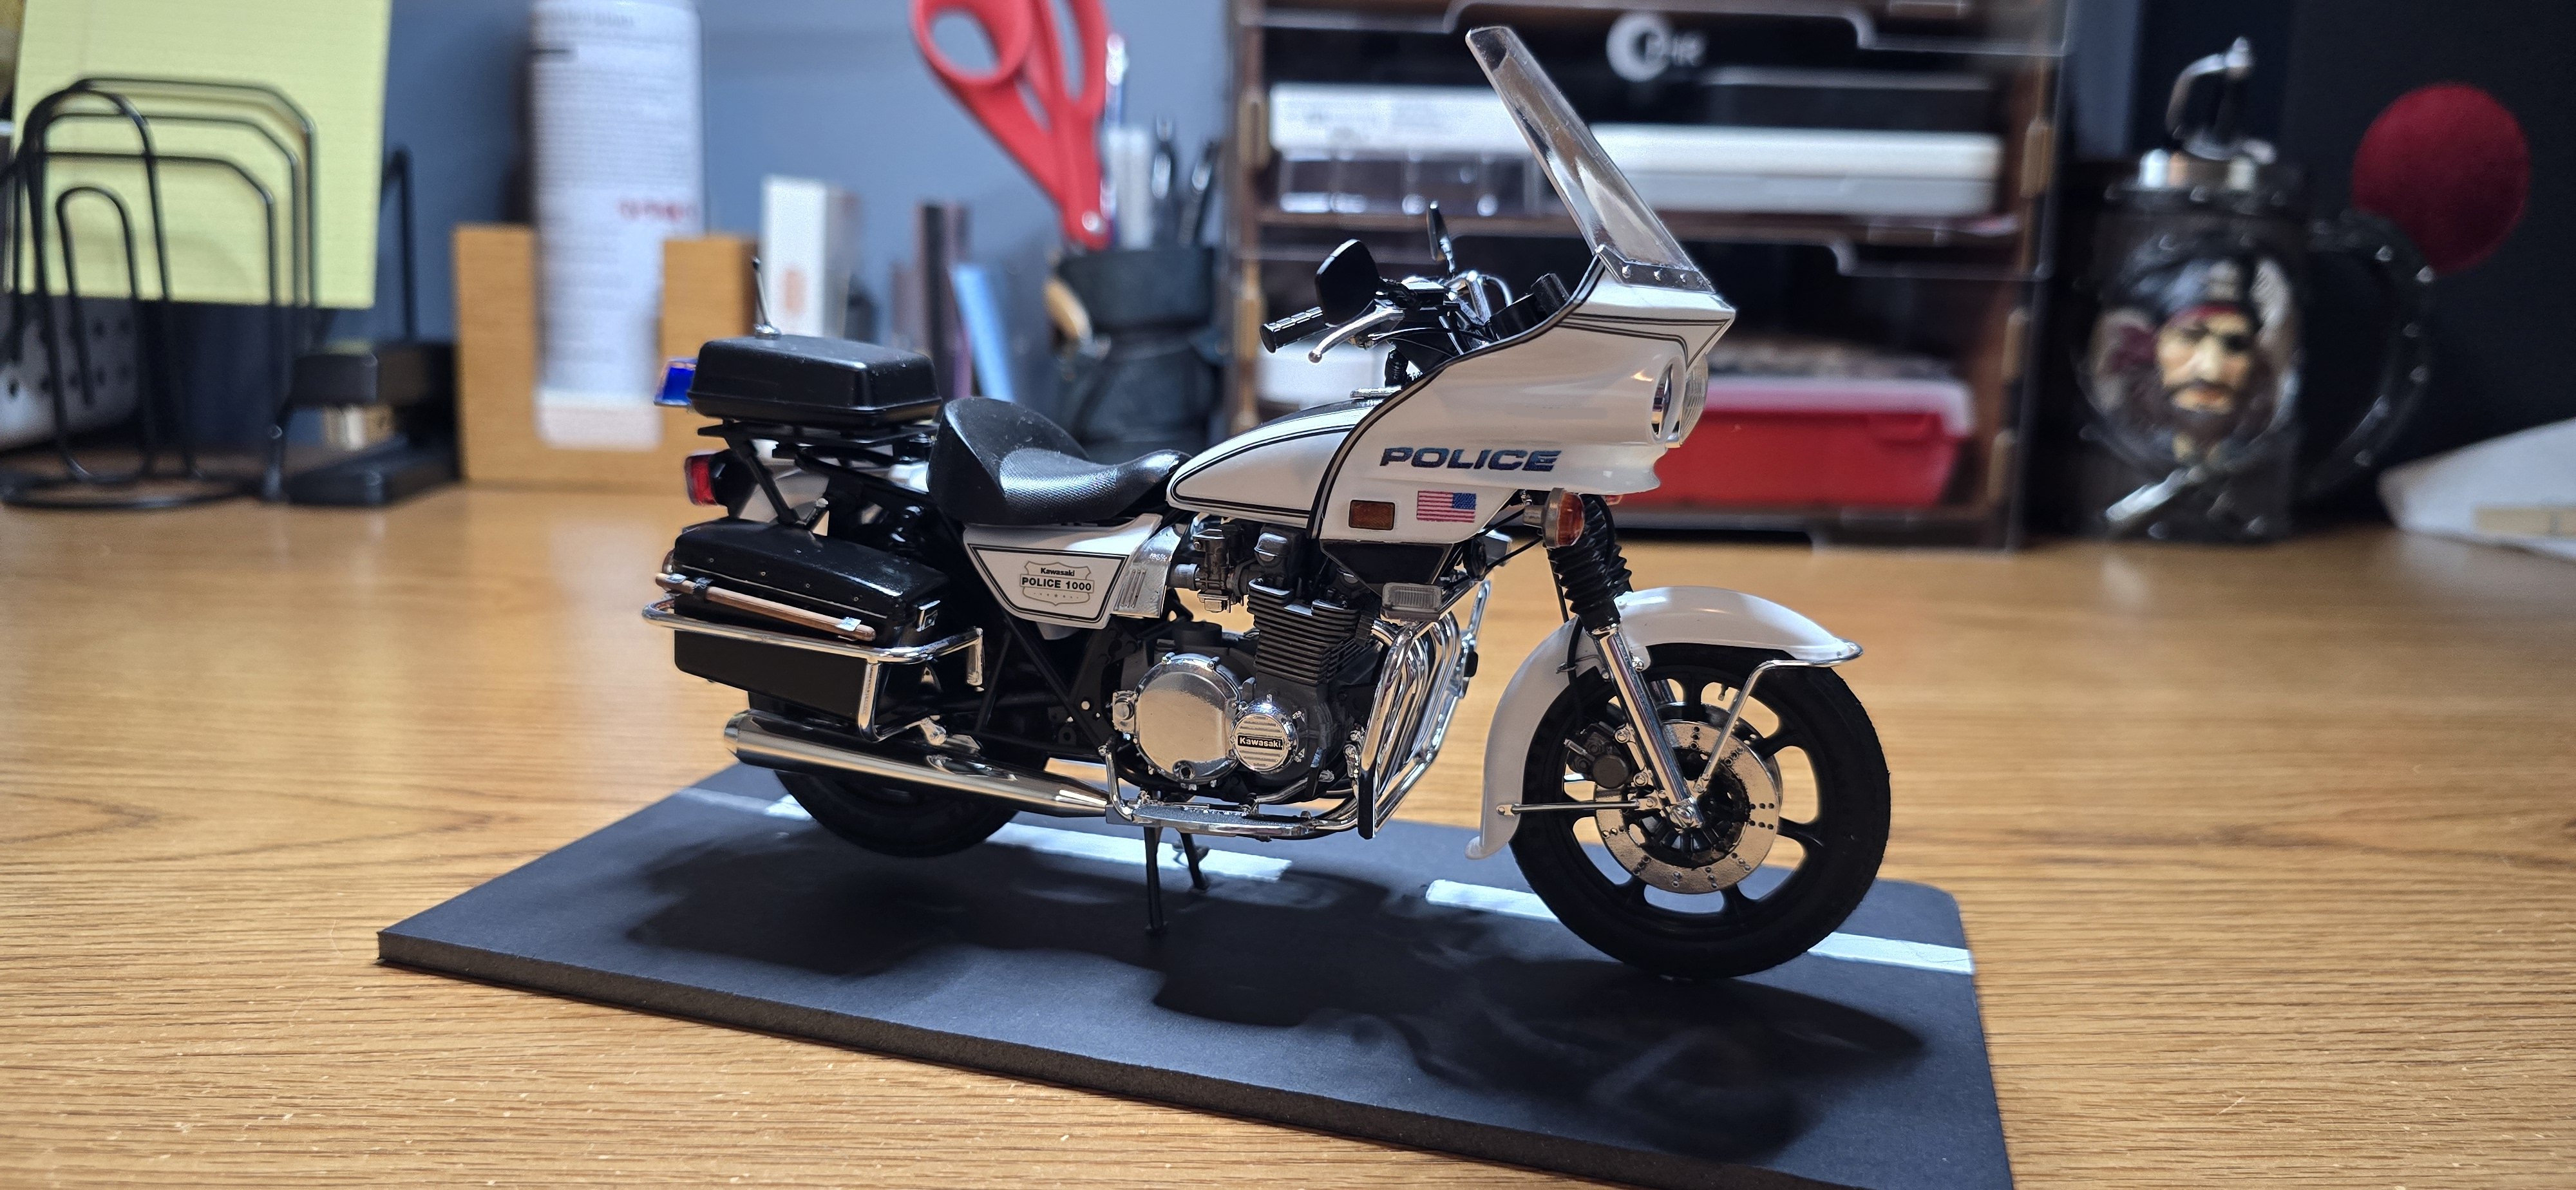
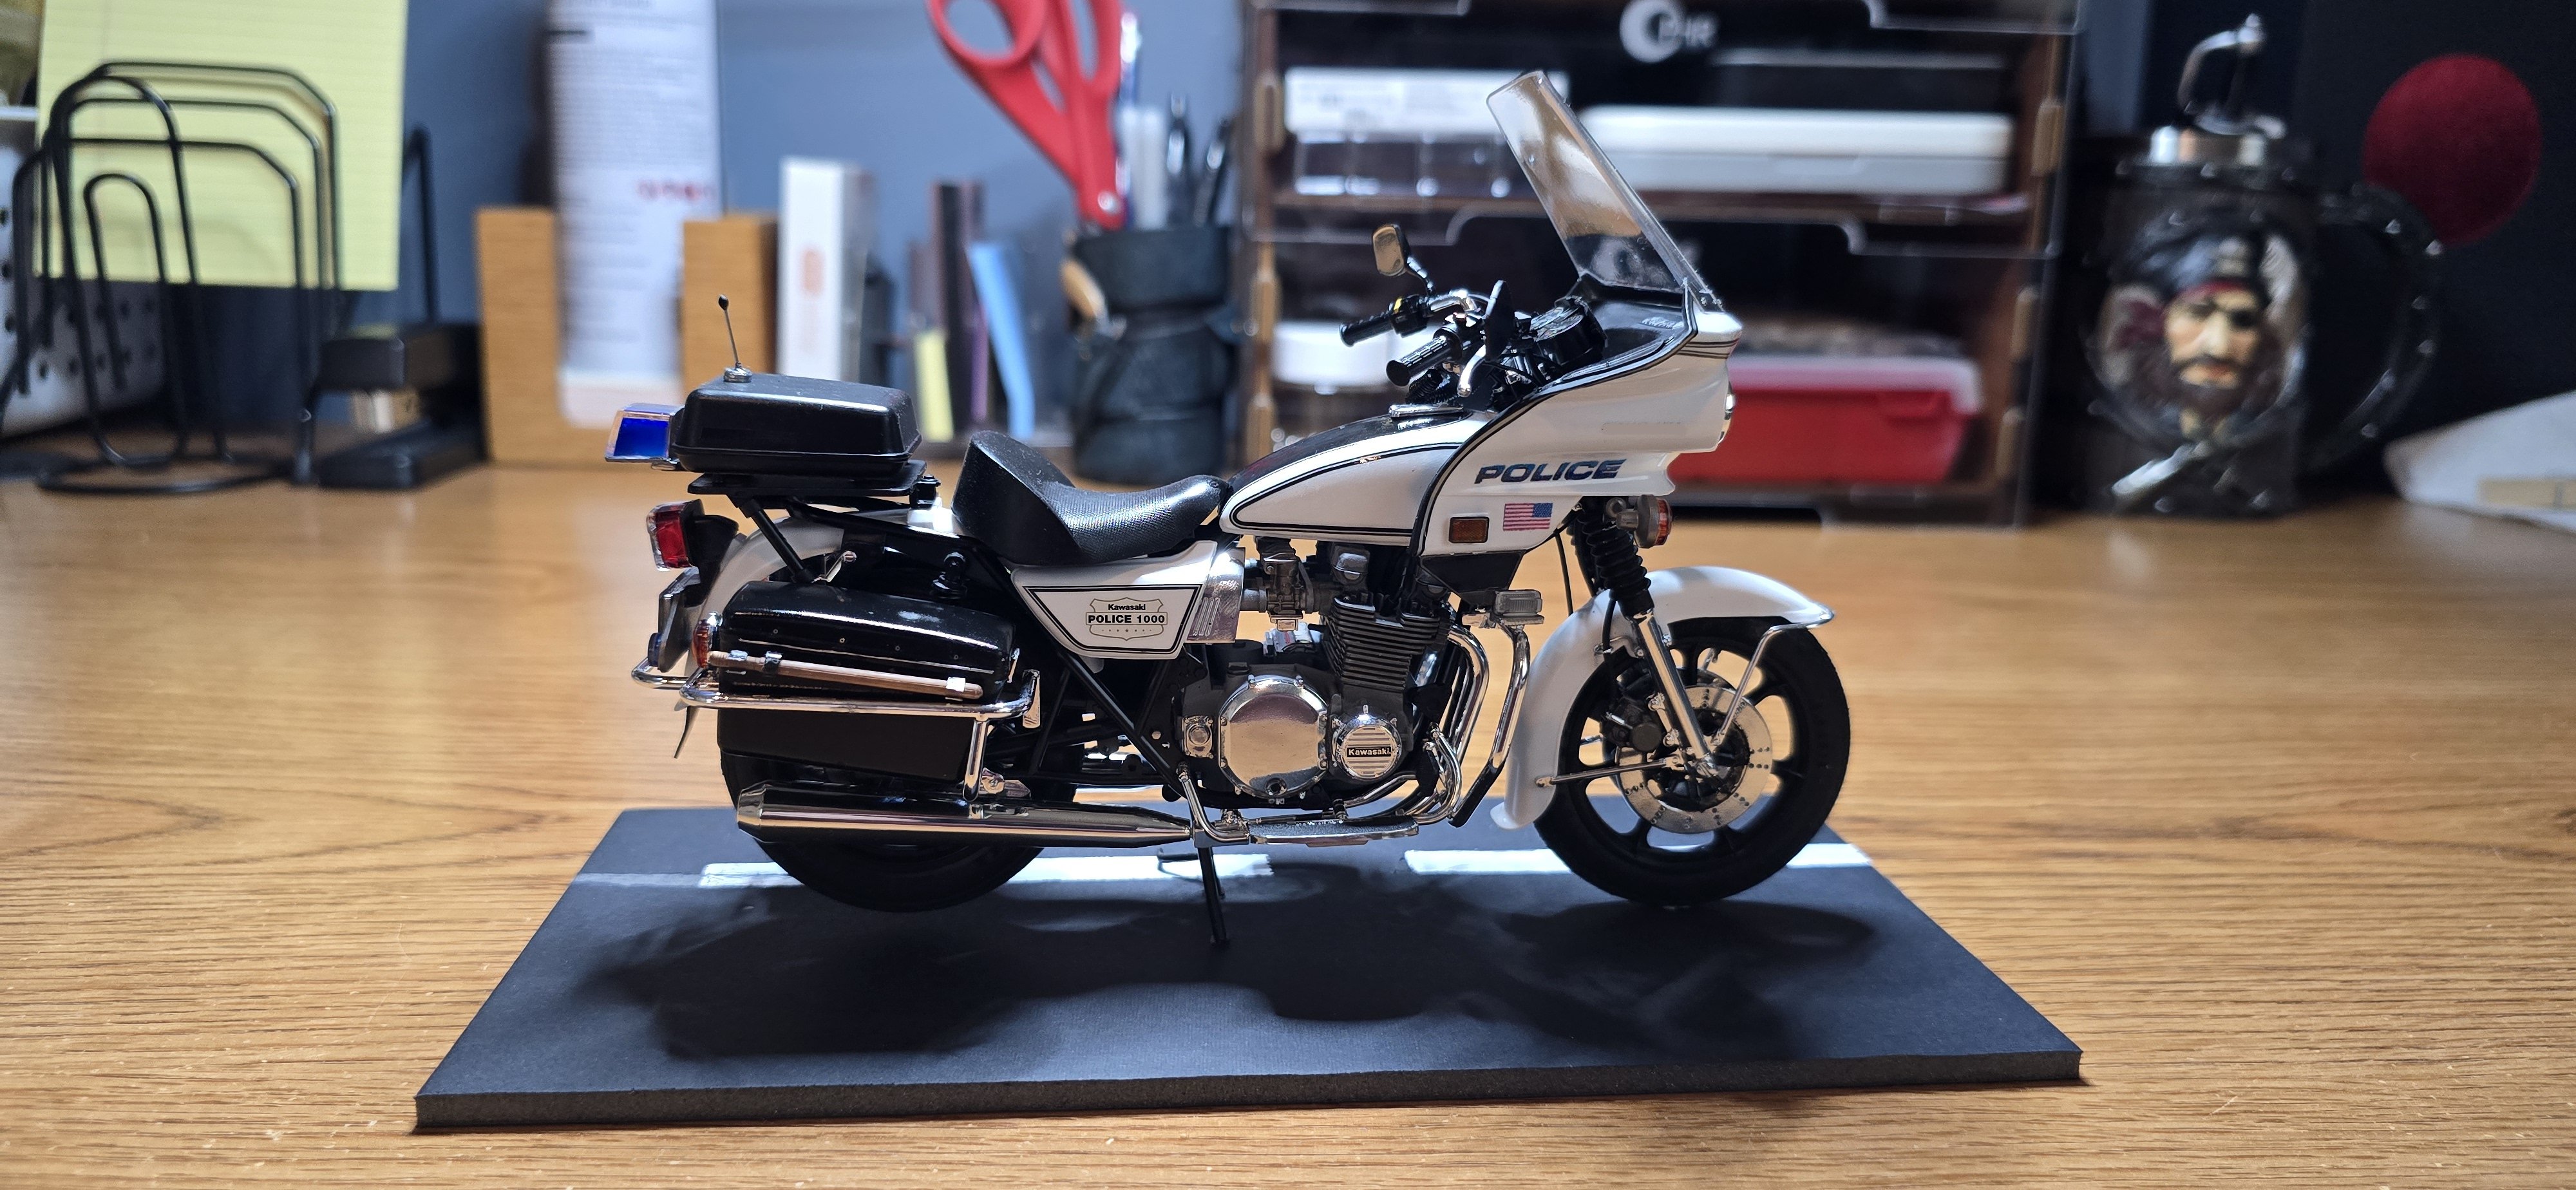
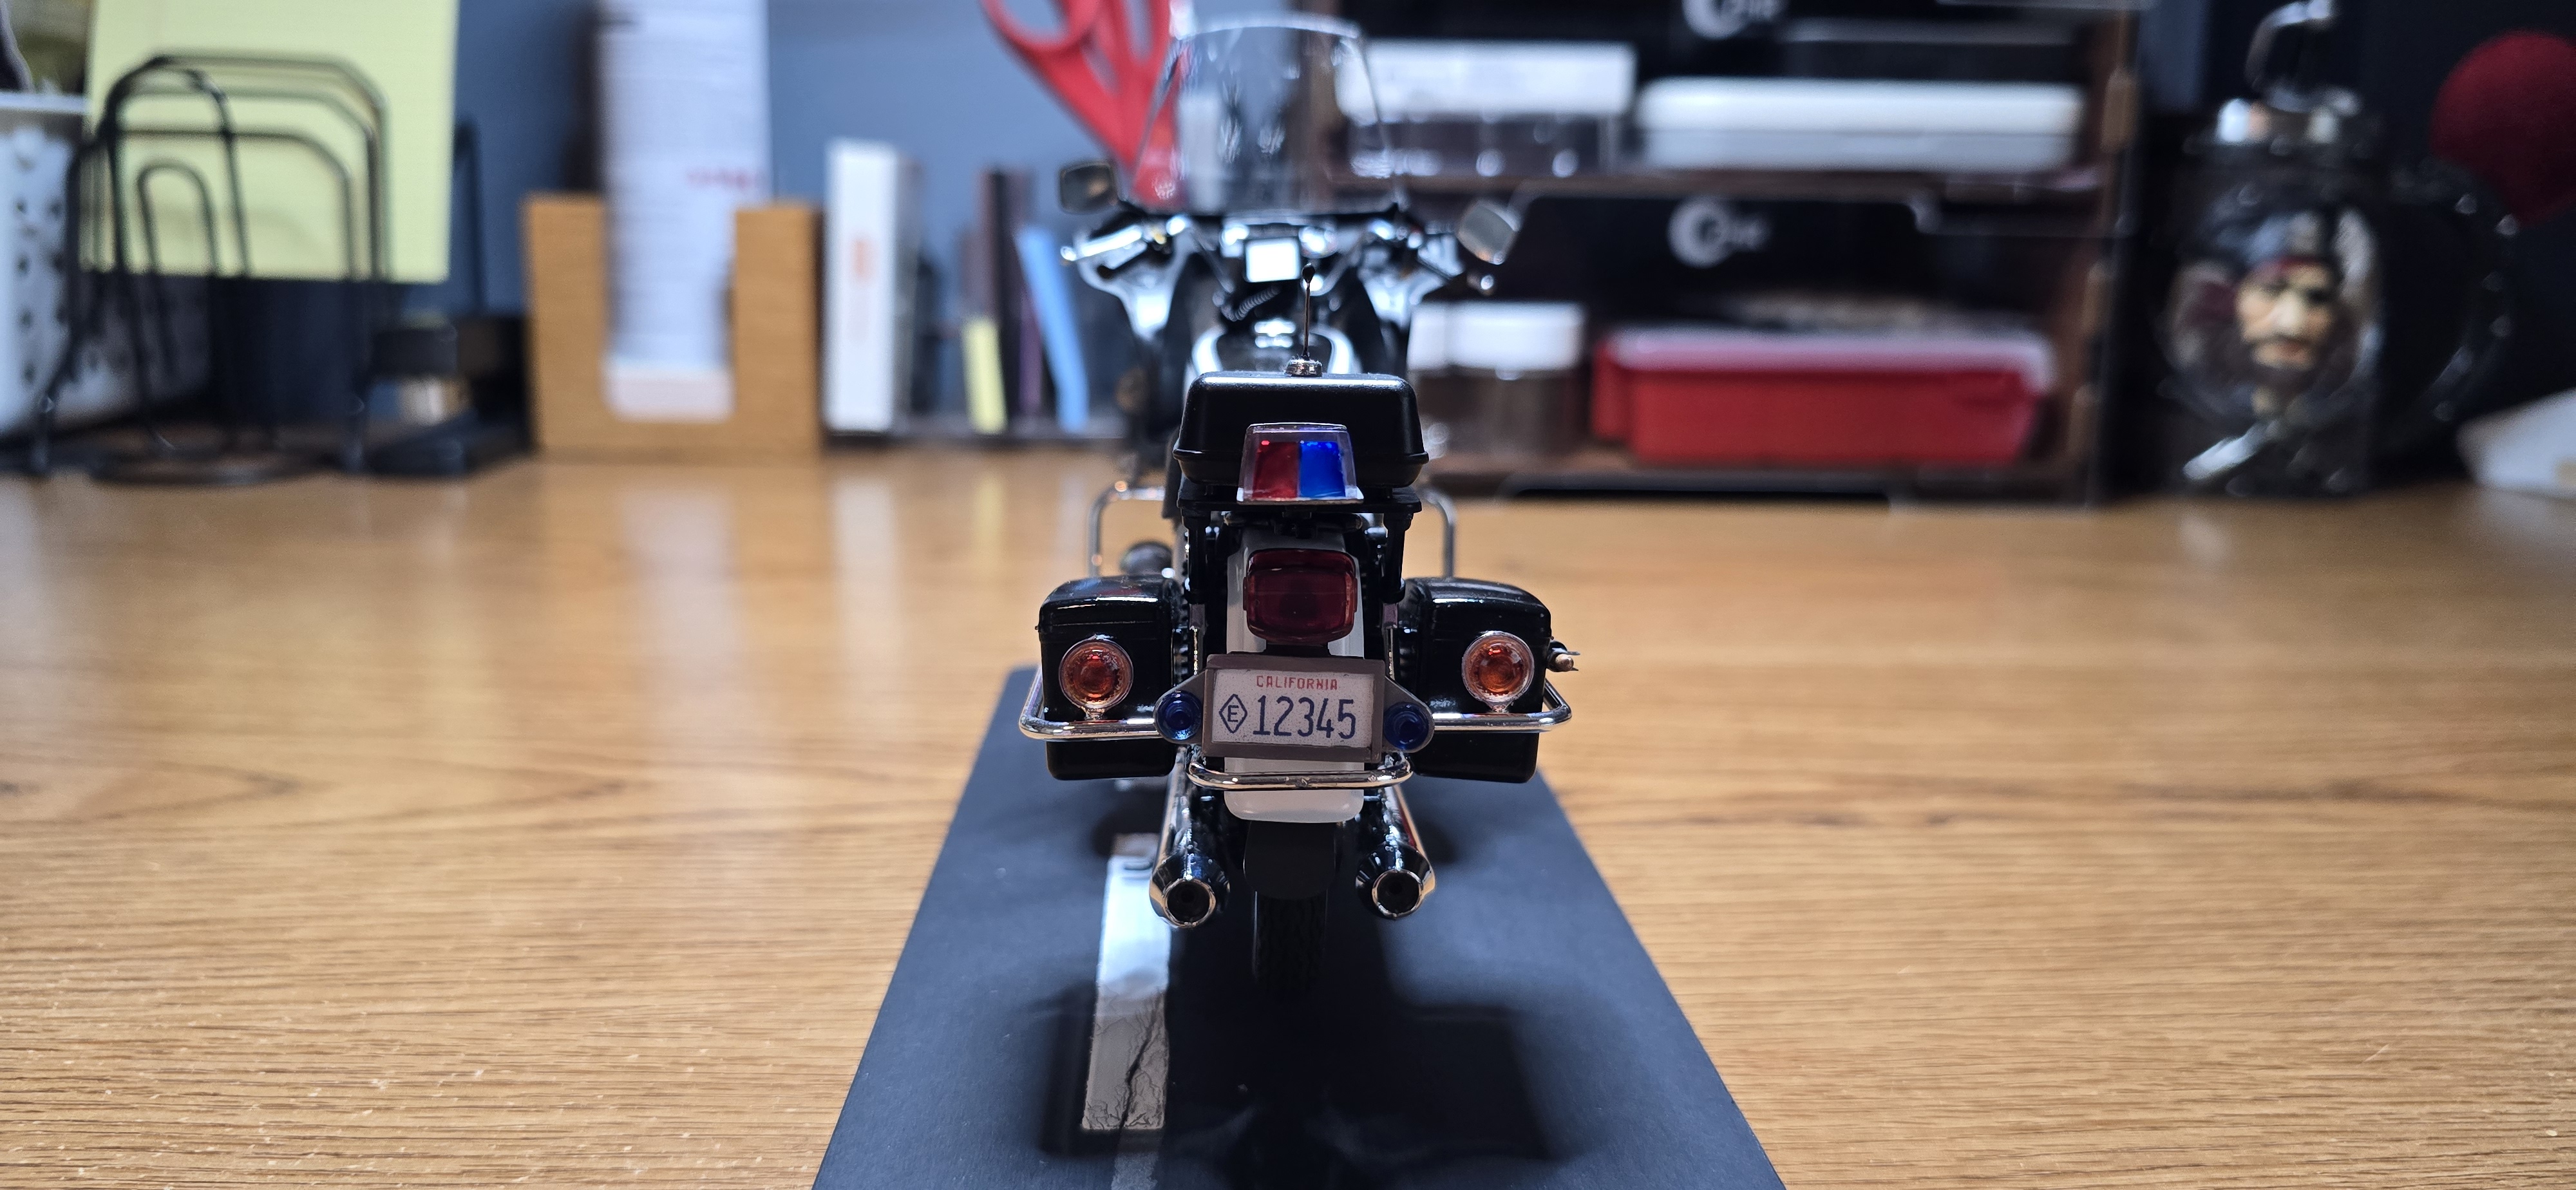
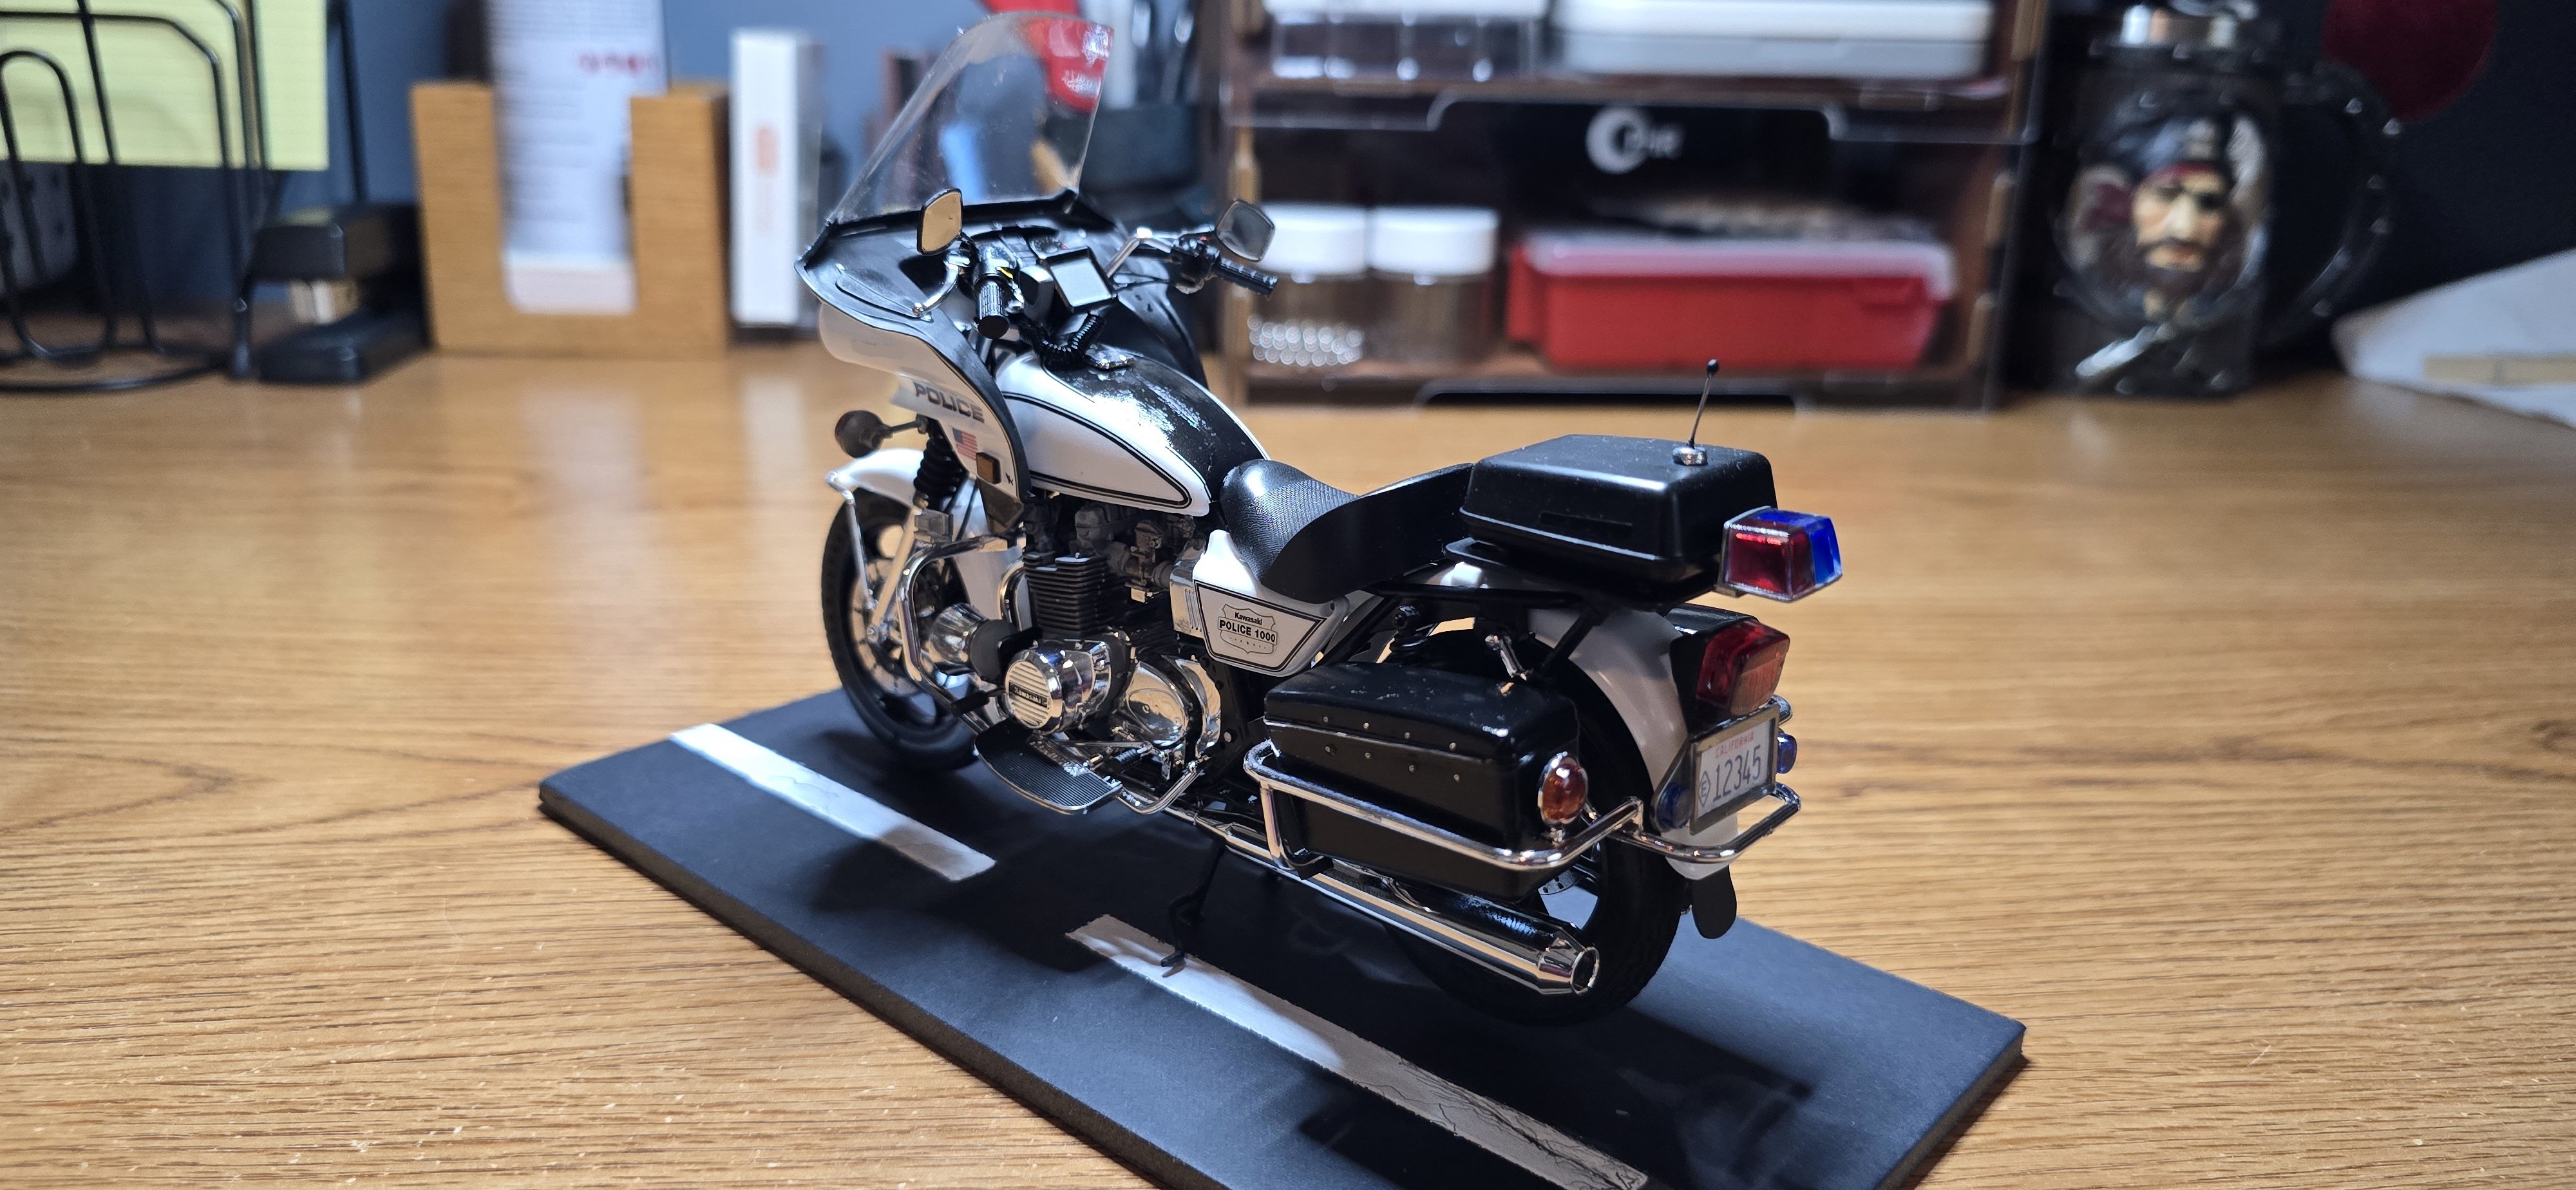
I was approaching a bit of kit burnout on this, so I made the "Command Decision" to abandon the fabrication/build of the Shotgun and mount, so.. with the additions of the fairing, flashlight holder, etc., I'm calling this one done.
This was a nice kit, I went down a few rabbit holes, that I didn't plan on, which lengthened the time of the build. It's a nice kit, though there are some fit issues, at least there was with mine.
I added the details of my own bike, such as the flashlight holder, and airbrushed Great White Shark along the side of the fairing.
Overall, this was a fun build, but it's time to move on.
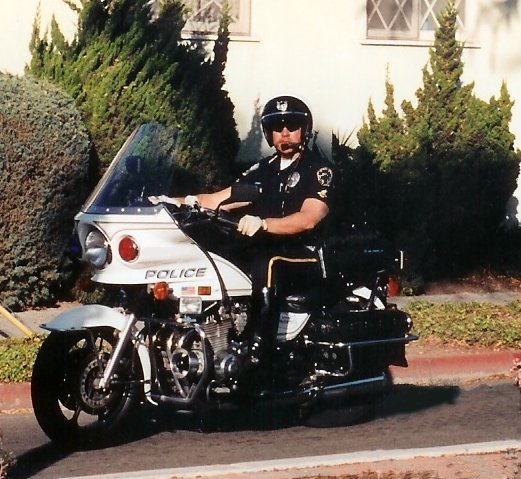
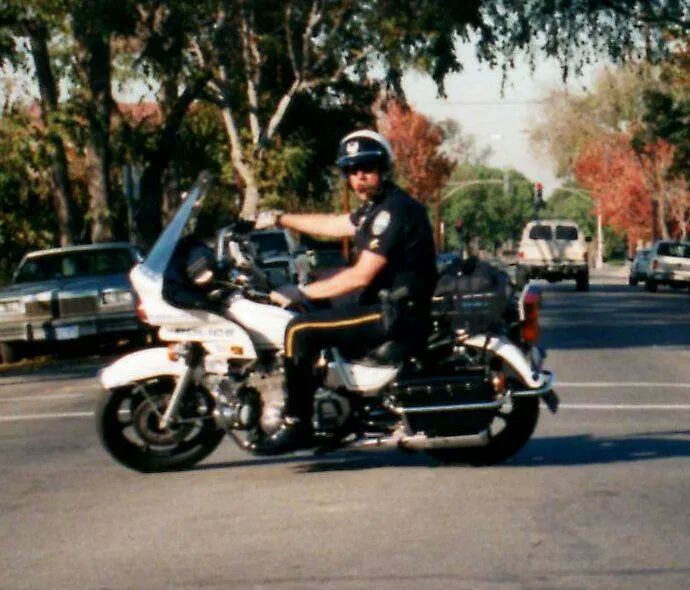
I had a left-over piece of foam board, so I slapped a couple of white lines on it and used it as a stand to hold the bike as I finished it up, this helped keep me from breaking more things off and having to fix them. I'll add a couple of photos of the real bike- and you can see how close I got.
So, we'll call the Kawasaki KZ 1000 done- There are some things I would've done differently with the benefit of hindsight, and would improve, but we're moving on.
Thanks for following along.
Motor.Photo.Share1.jpg
Motor.Photo.Share.jpeg
Kawa1P.jpg
Kawa2P.jpg
Kawa4P.jpg
Kawa5P.jpg
Kawa6.jpg
Kawa7.jpg
Kawa8P.jpg
 
I was approaching a bit of kit burnout on this, so I made the "Command Decision" to abandon the fabrication/build of the Shotgun and mount, so.. with the additions of the fairing, flashlight holder, etc., I'm calling this one done.
This was a nice kit, I went down a few rabbit holes, that I didn't plan on, which lengthened the time of the build. It's a nice kit, though there are some fit issues, at least there was with mine.
I added the details of my own bike, such as the flashlight holder, and airbrushed Great White Shark along the side of the fairing.
Overall, this was a fun build, but it's time to move on.
I had a left-over piece of foam board, so I slapped a couple of white lines on it and used it as a stand to hold the bike as I finished it up, this helped keep me from breaking more things off and having to fix them. I'll add a couple of photos of the real bike- and you can see how close I got.
So, we'll call the Kawasaki KZ 1000 done- There are some things I would've done differently with the benefit of hindsight, and would improve, but we're moving on.
Thanks for following along.
View attachment 188997View attachment 188998View attachment 188999View attachment 189000View attachment 189001View attachment 189002View attachment 189003View attachment 189004View attachment 189005
Beauty of a build! Is that you?
 

Latest posts

Back
Top