Aoshima Kawasaki KZ 1000

Scale Model Addict - Model Tips, Guides, Tools & Tech, Tutorials, and Community

Help Support Scale Model Addict:

WtShark

Well-Known Member
Joined
Jun 25, 2025
Messages
624
City & State/Province
So. Cal.
Newest project on the desk.
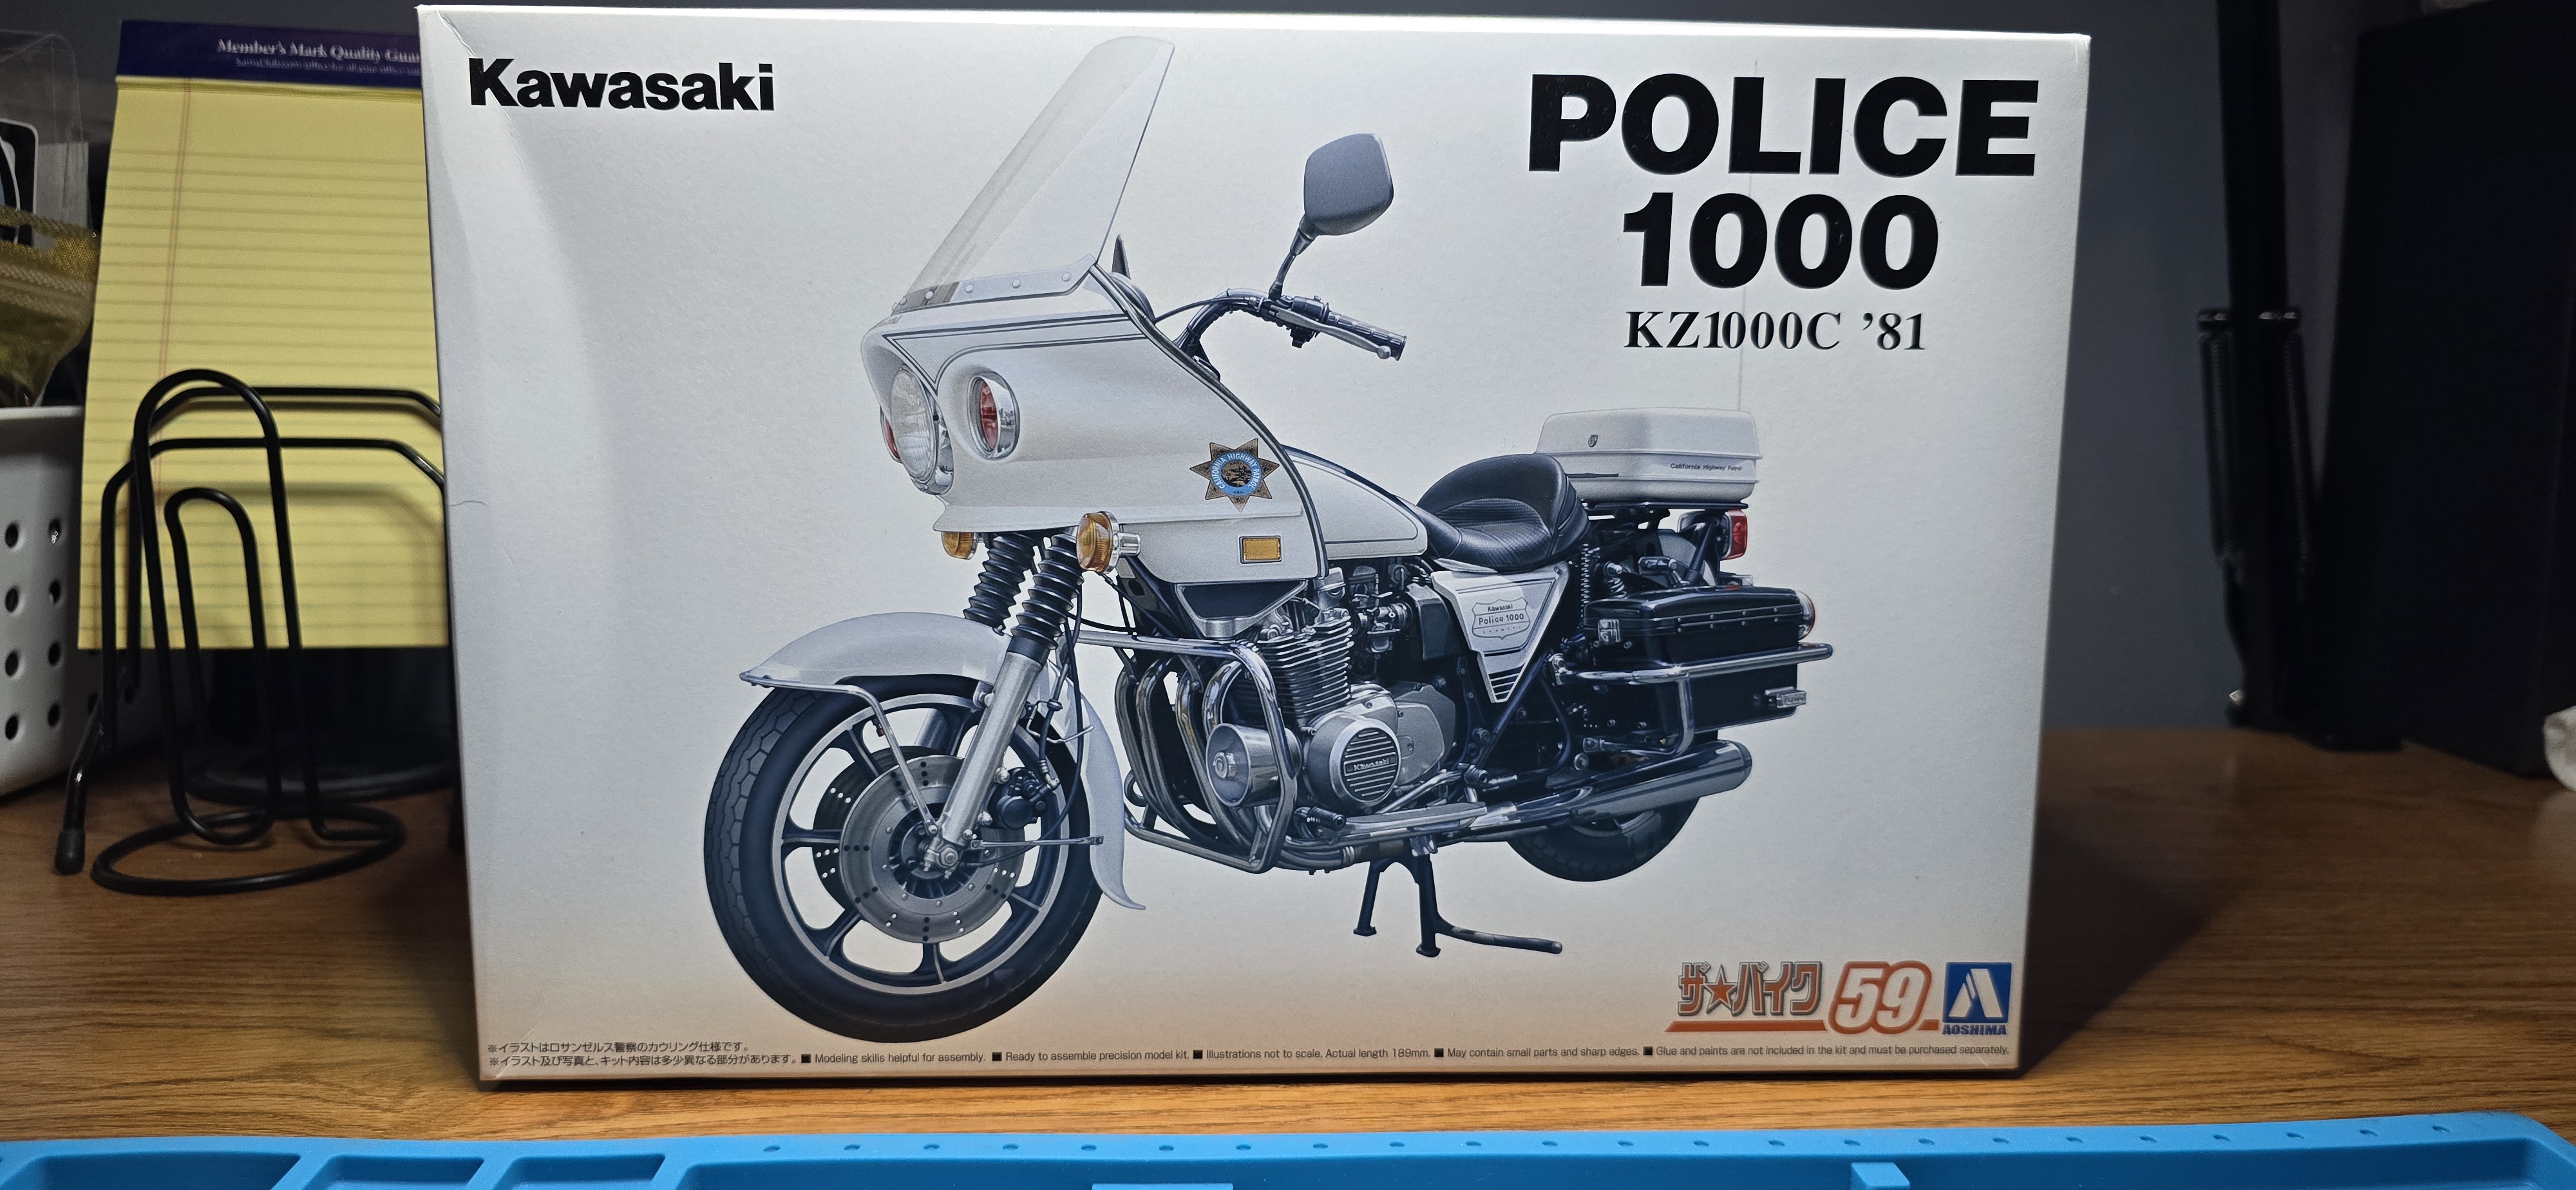
Bought this a while ago and figured it was a good build between the Orca Packs.

1/12th scale, I am building the "US Police" version, which is the classic 80's to early 2000's KZ 1000 with the fixed fairing.

There are several versions included, and as the majority of the instructions are in Japanese, (makes sense, came from an Ebay seller in Japan), I've got to be very careful, looking at the photos and part numbers to ensure I'm sticking with the intended version.

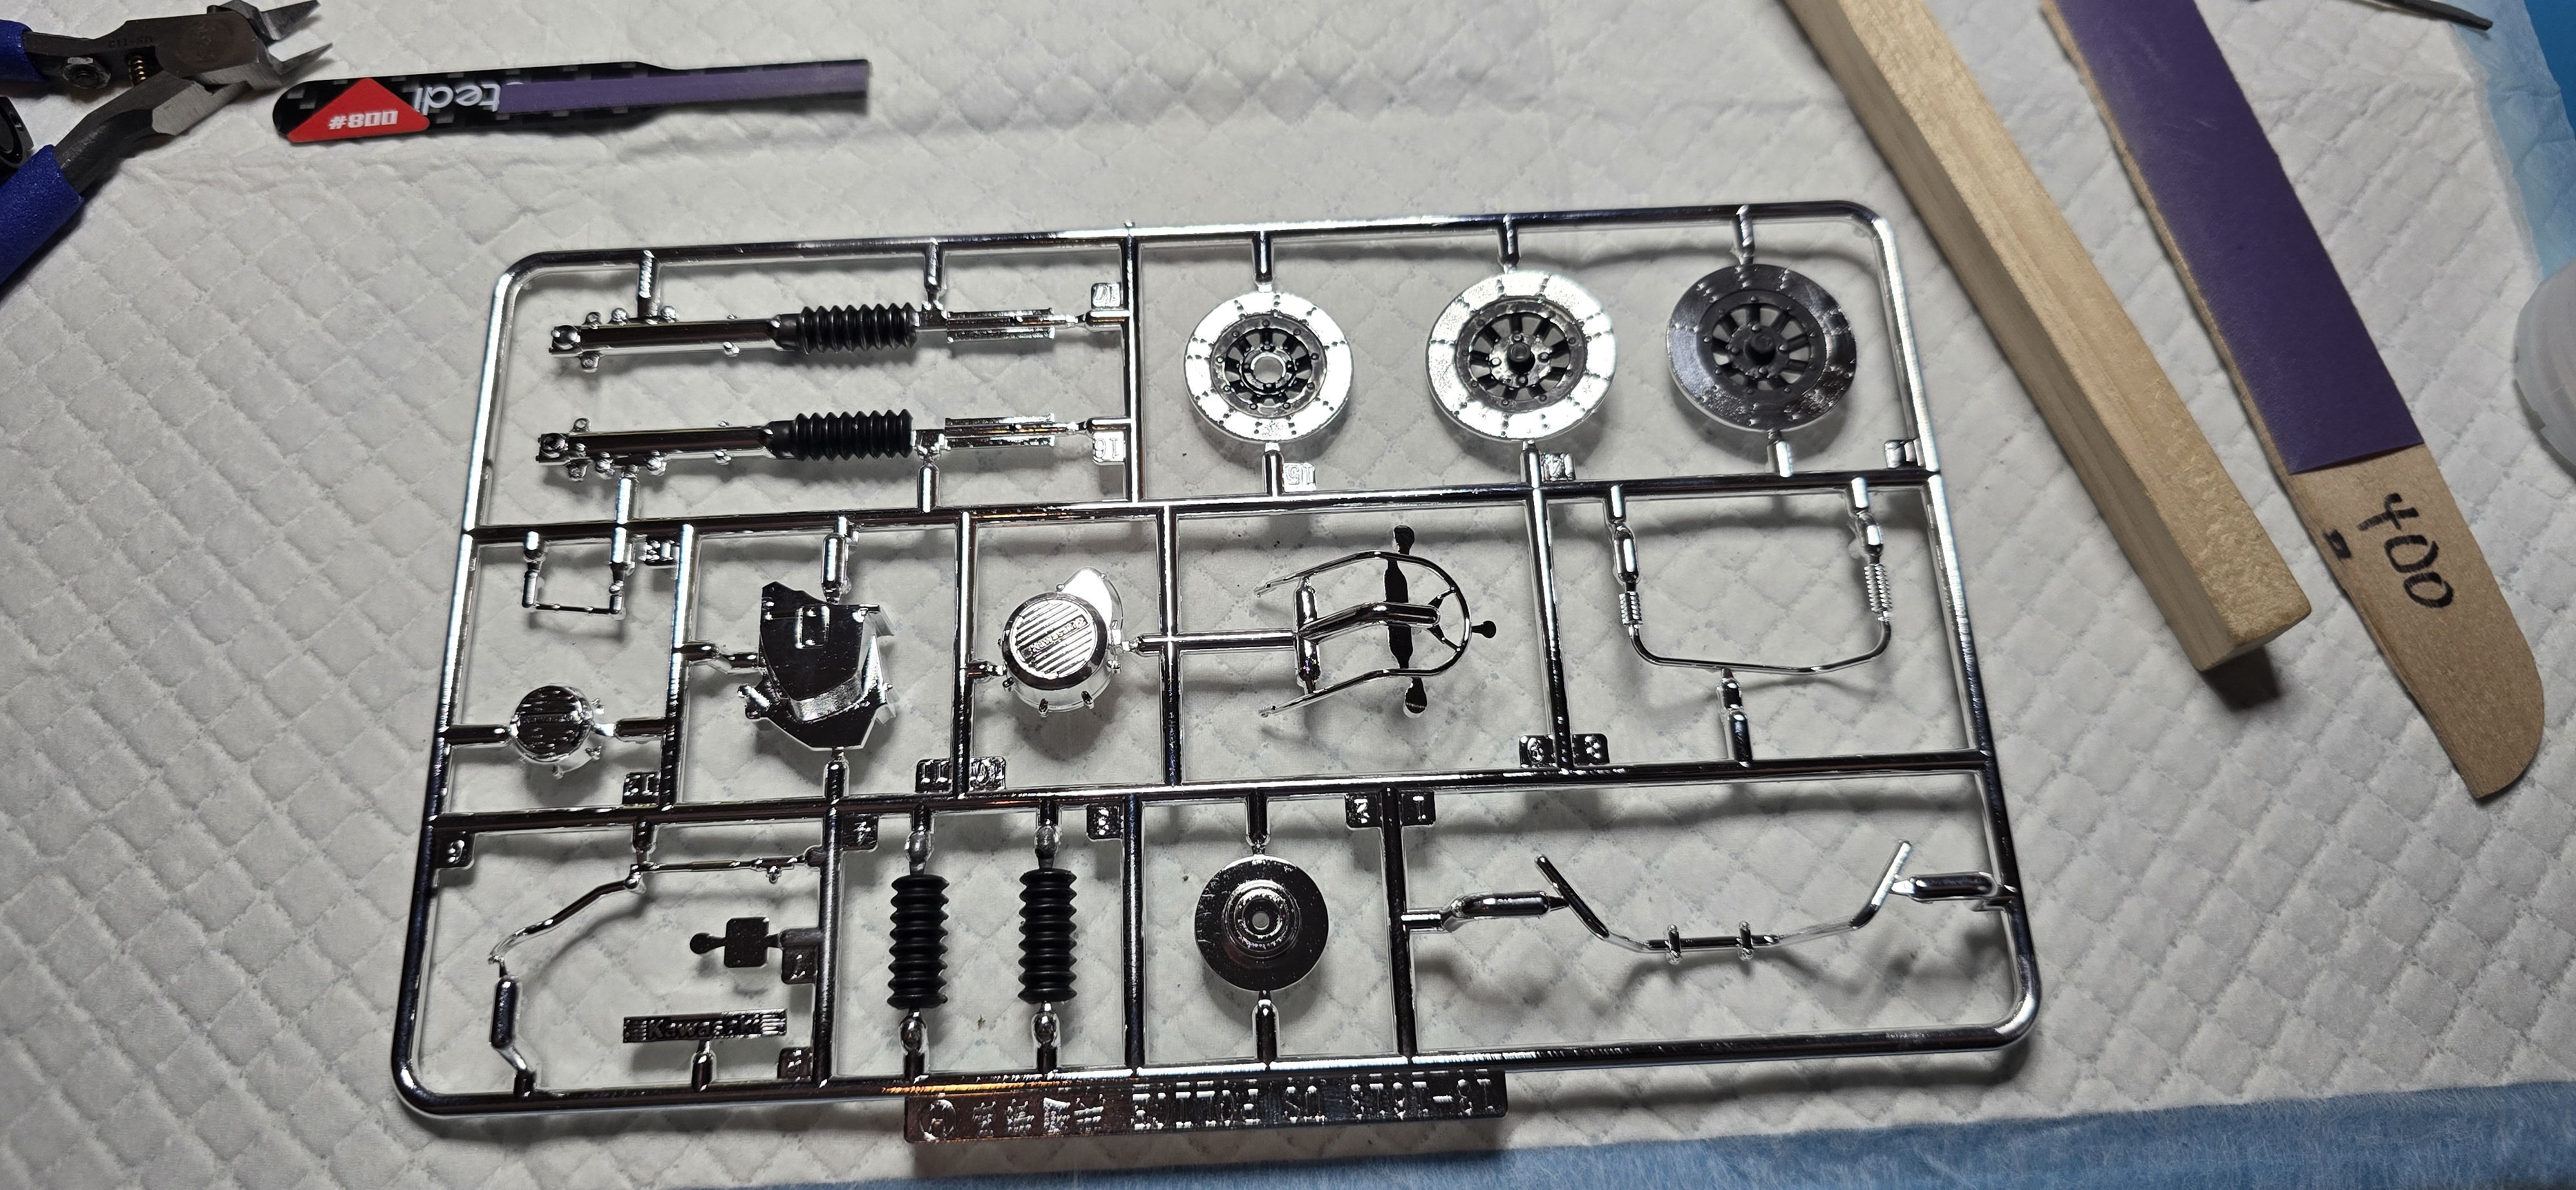
Very nice details, little to no flash and nice color. Will still need a fair amount of paint to get to where I'd like, but the details are very nice, as I just said.

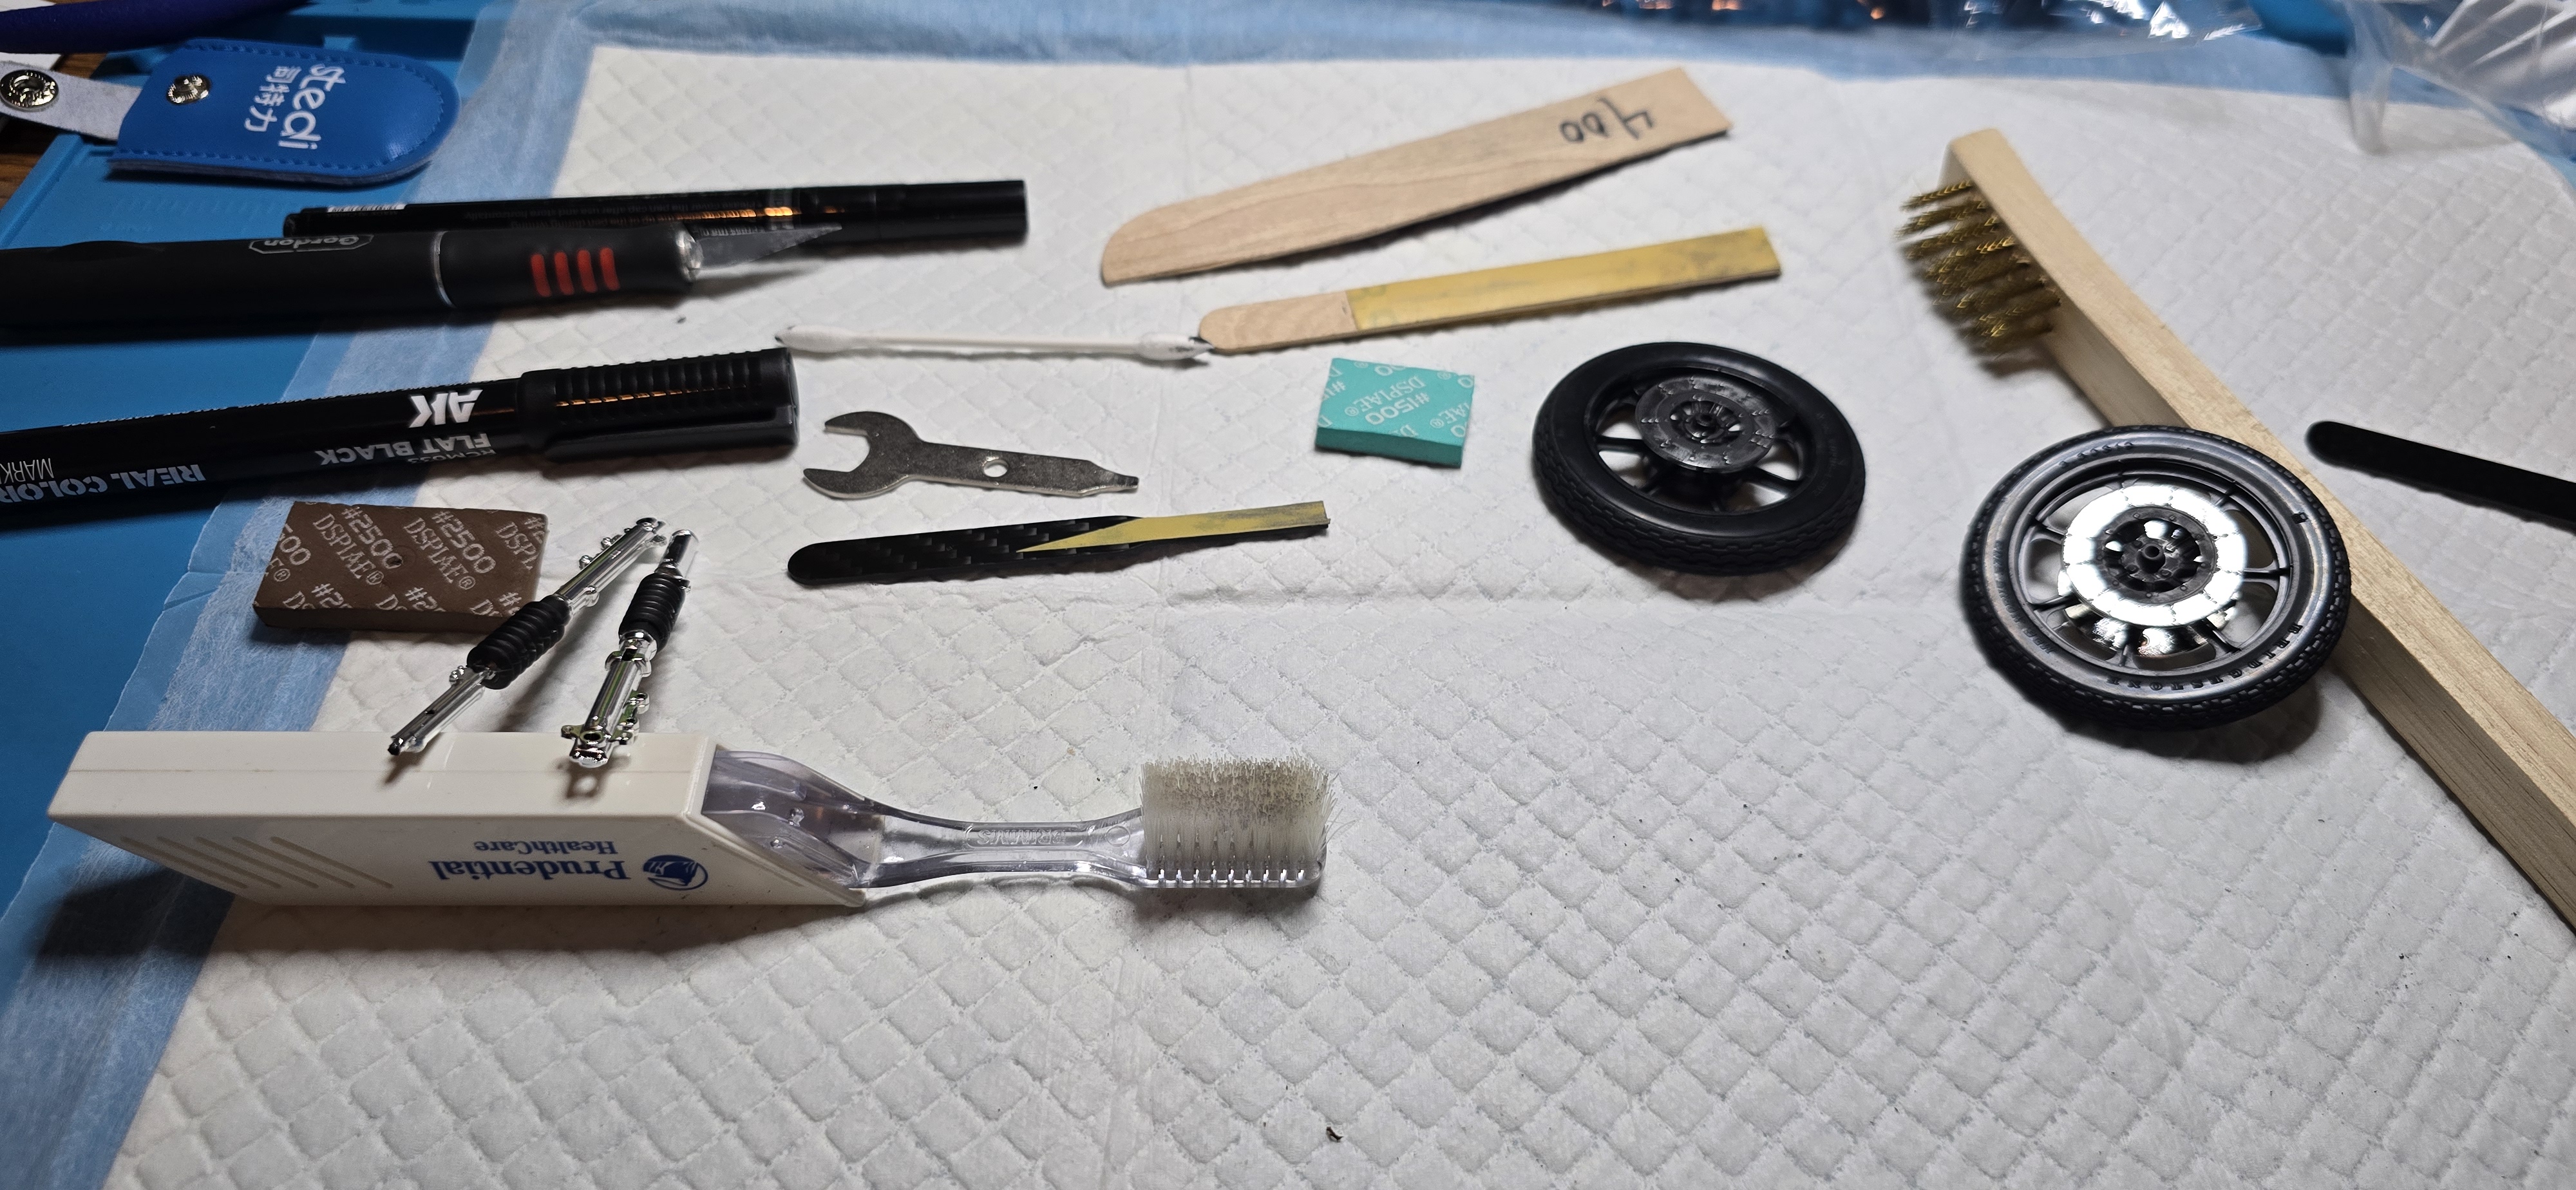
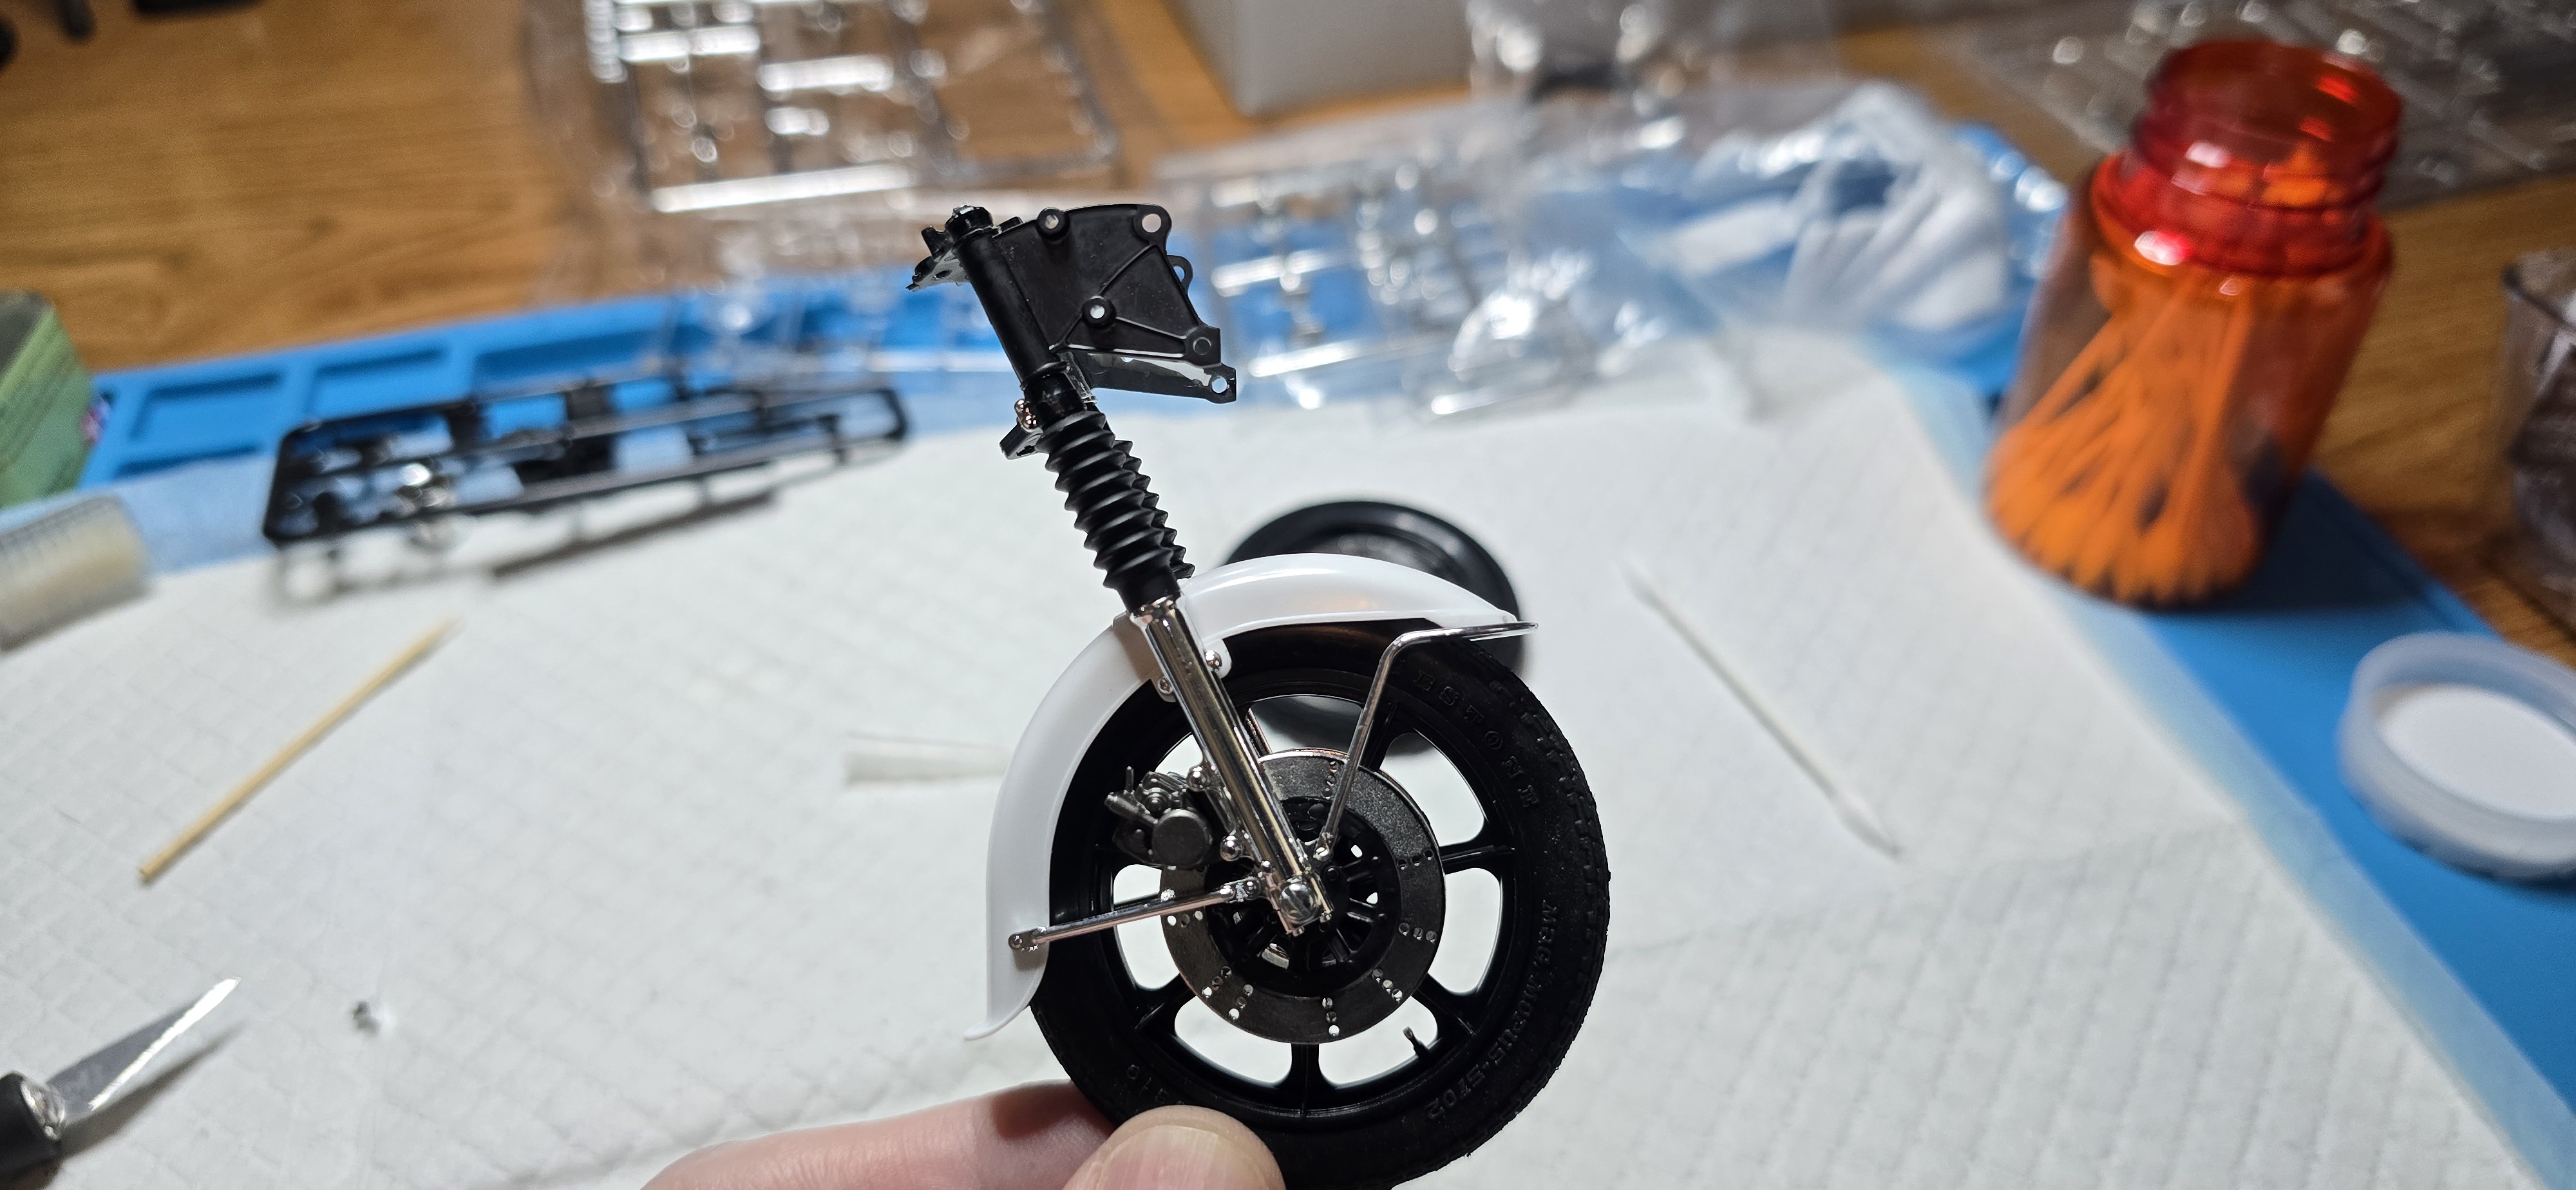
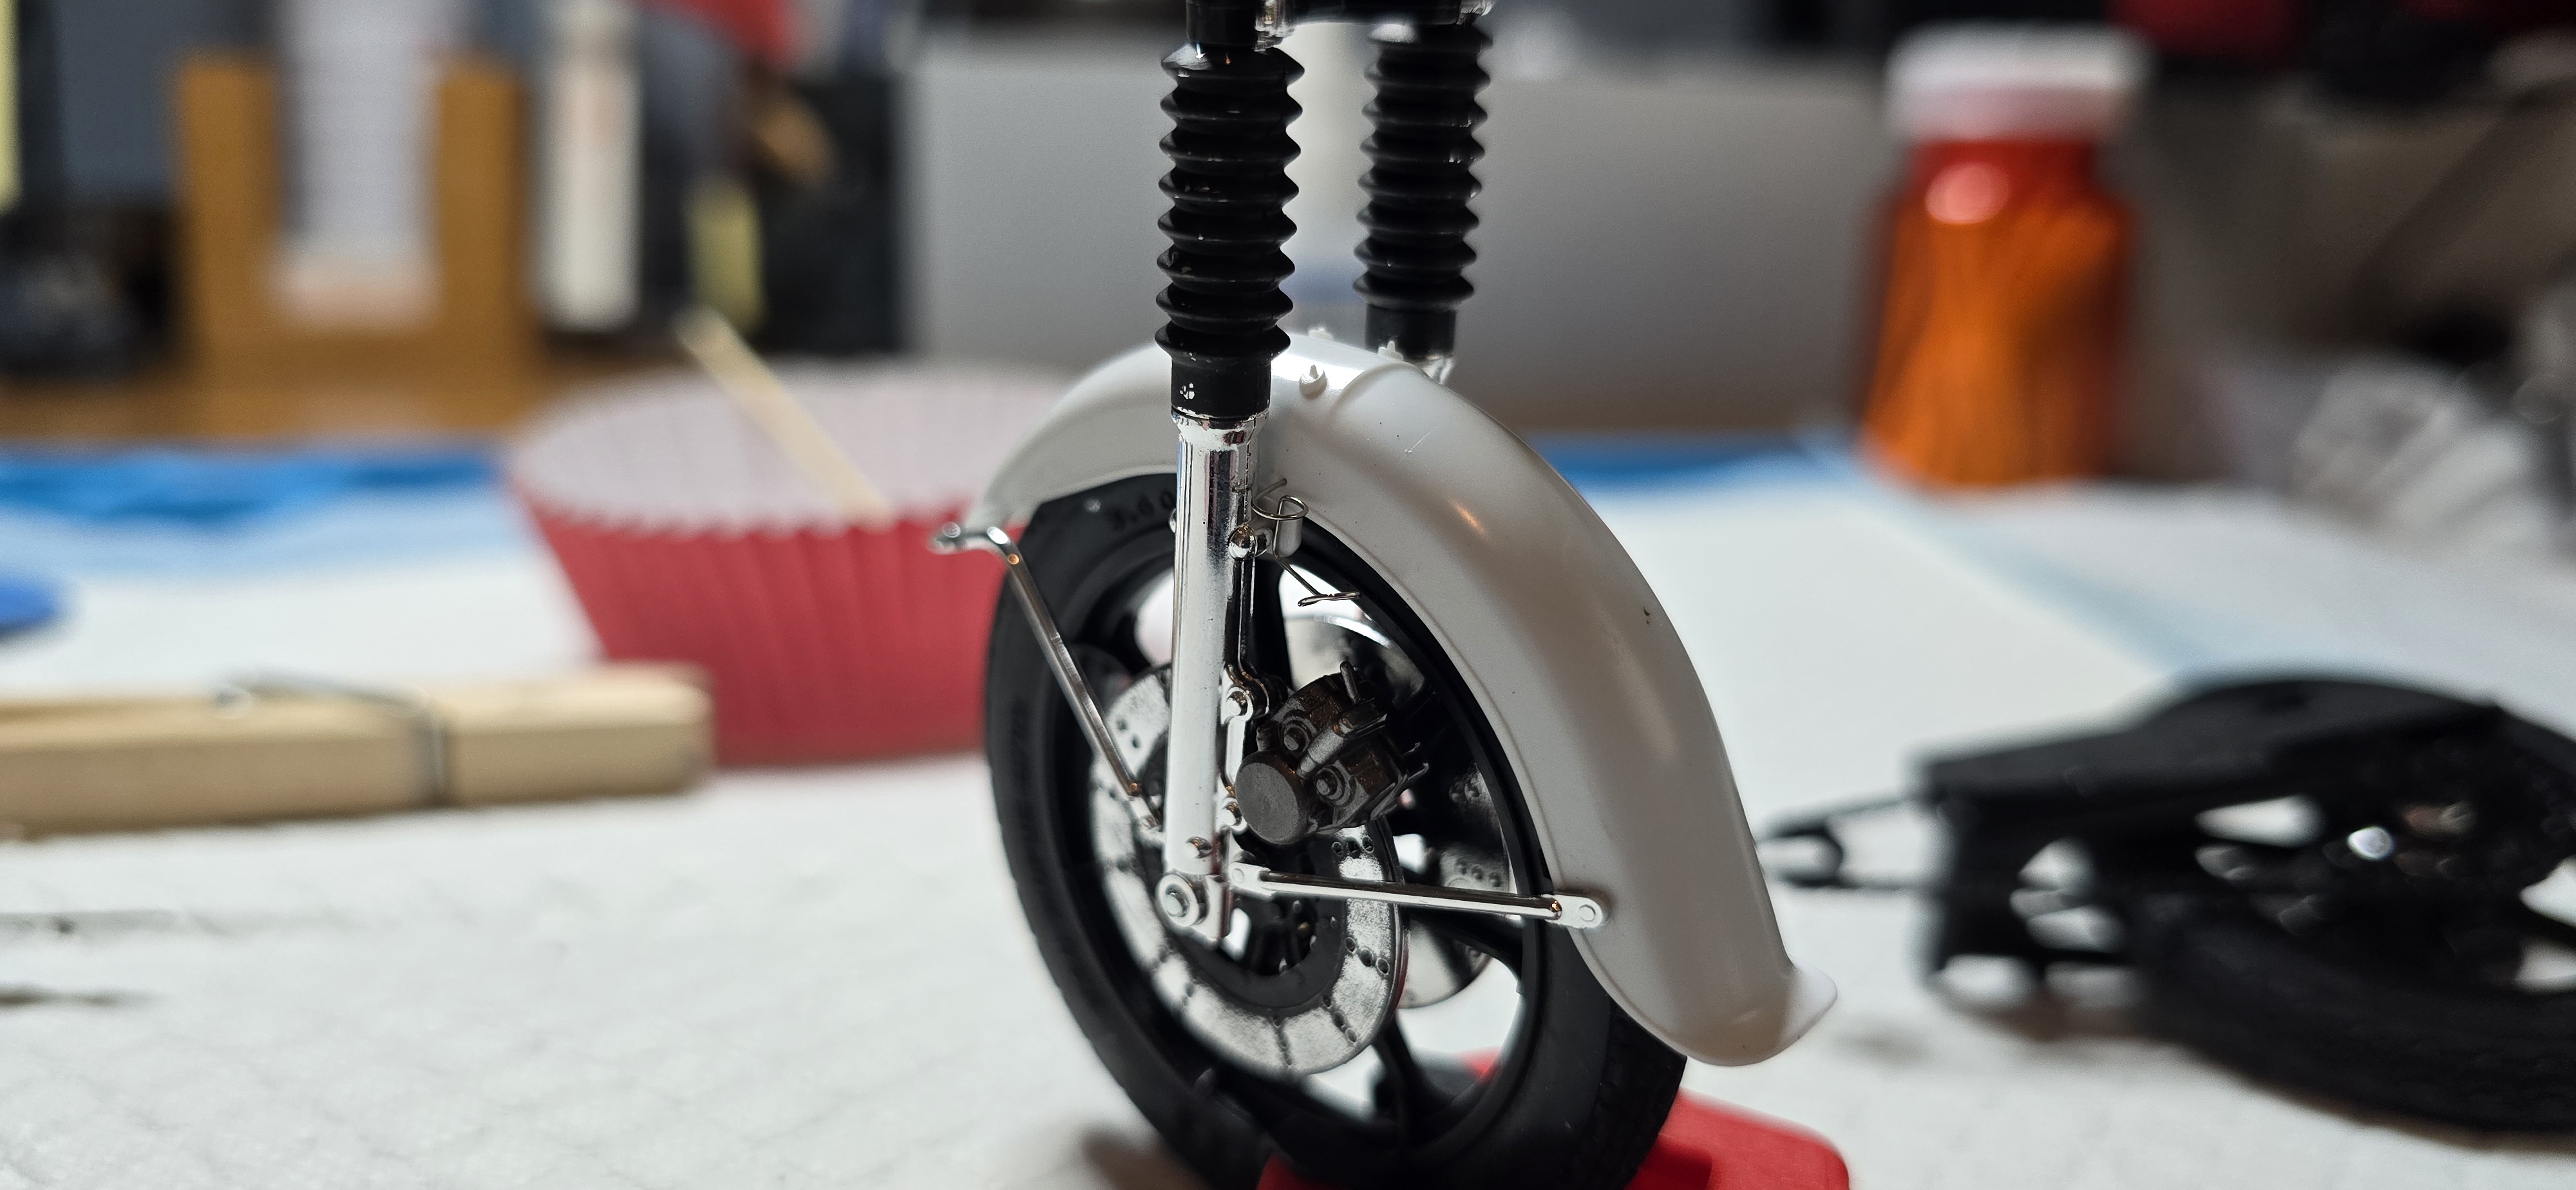
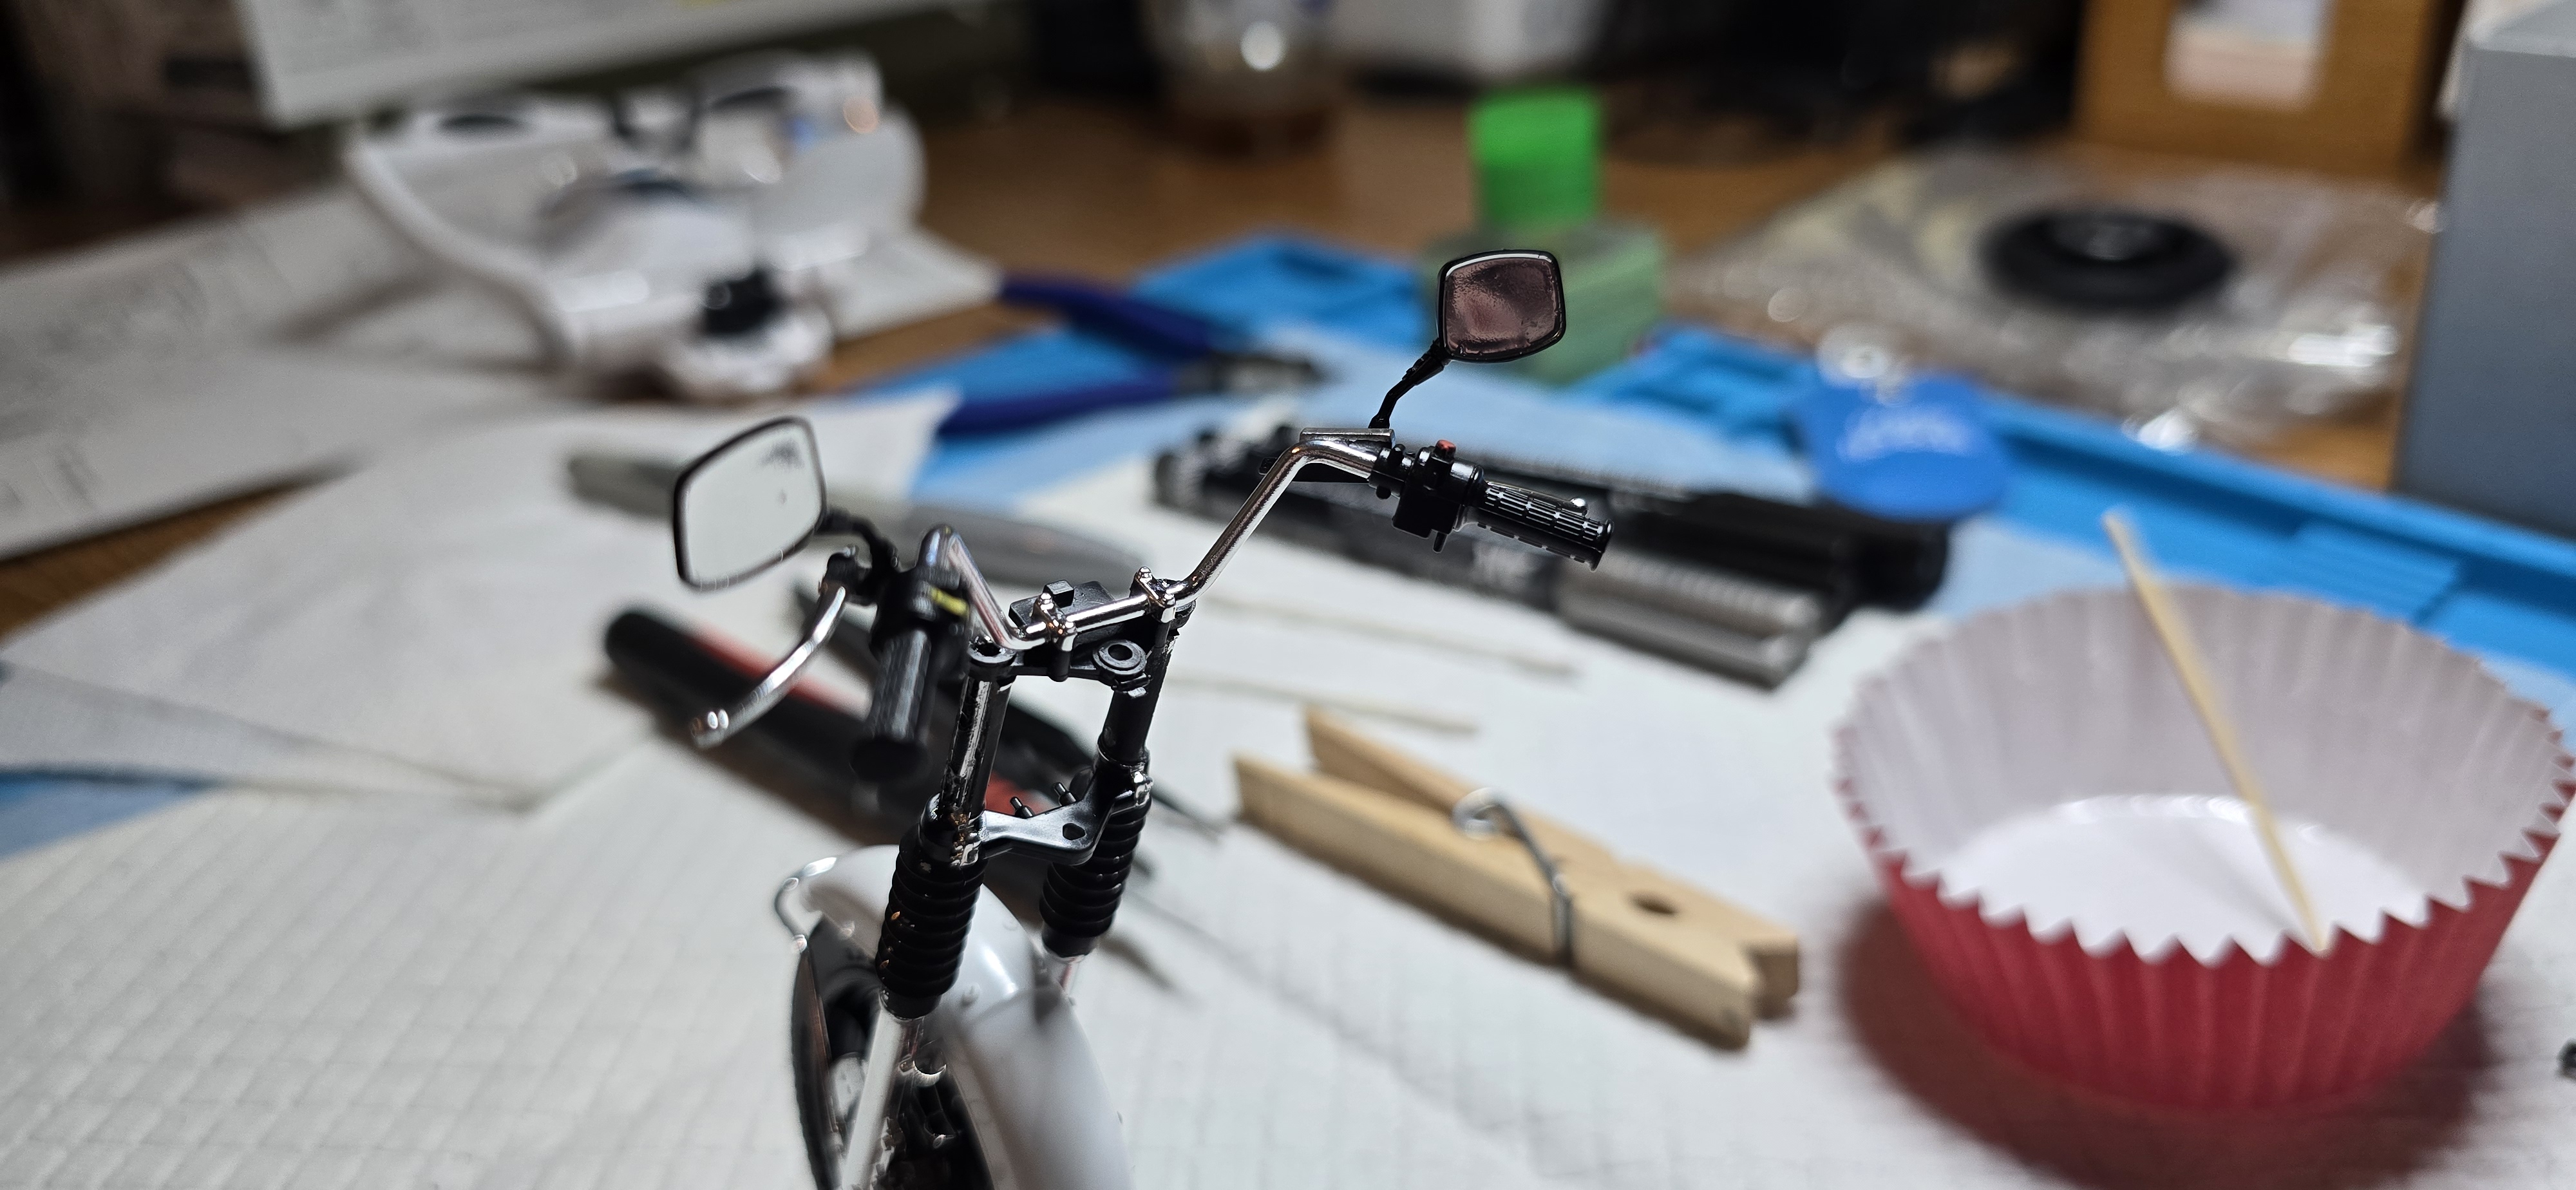
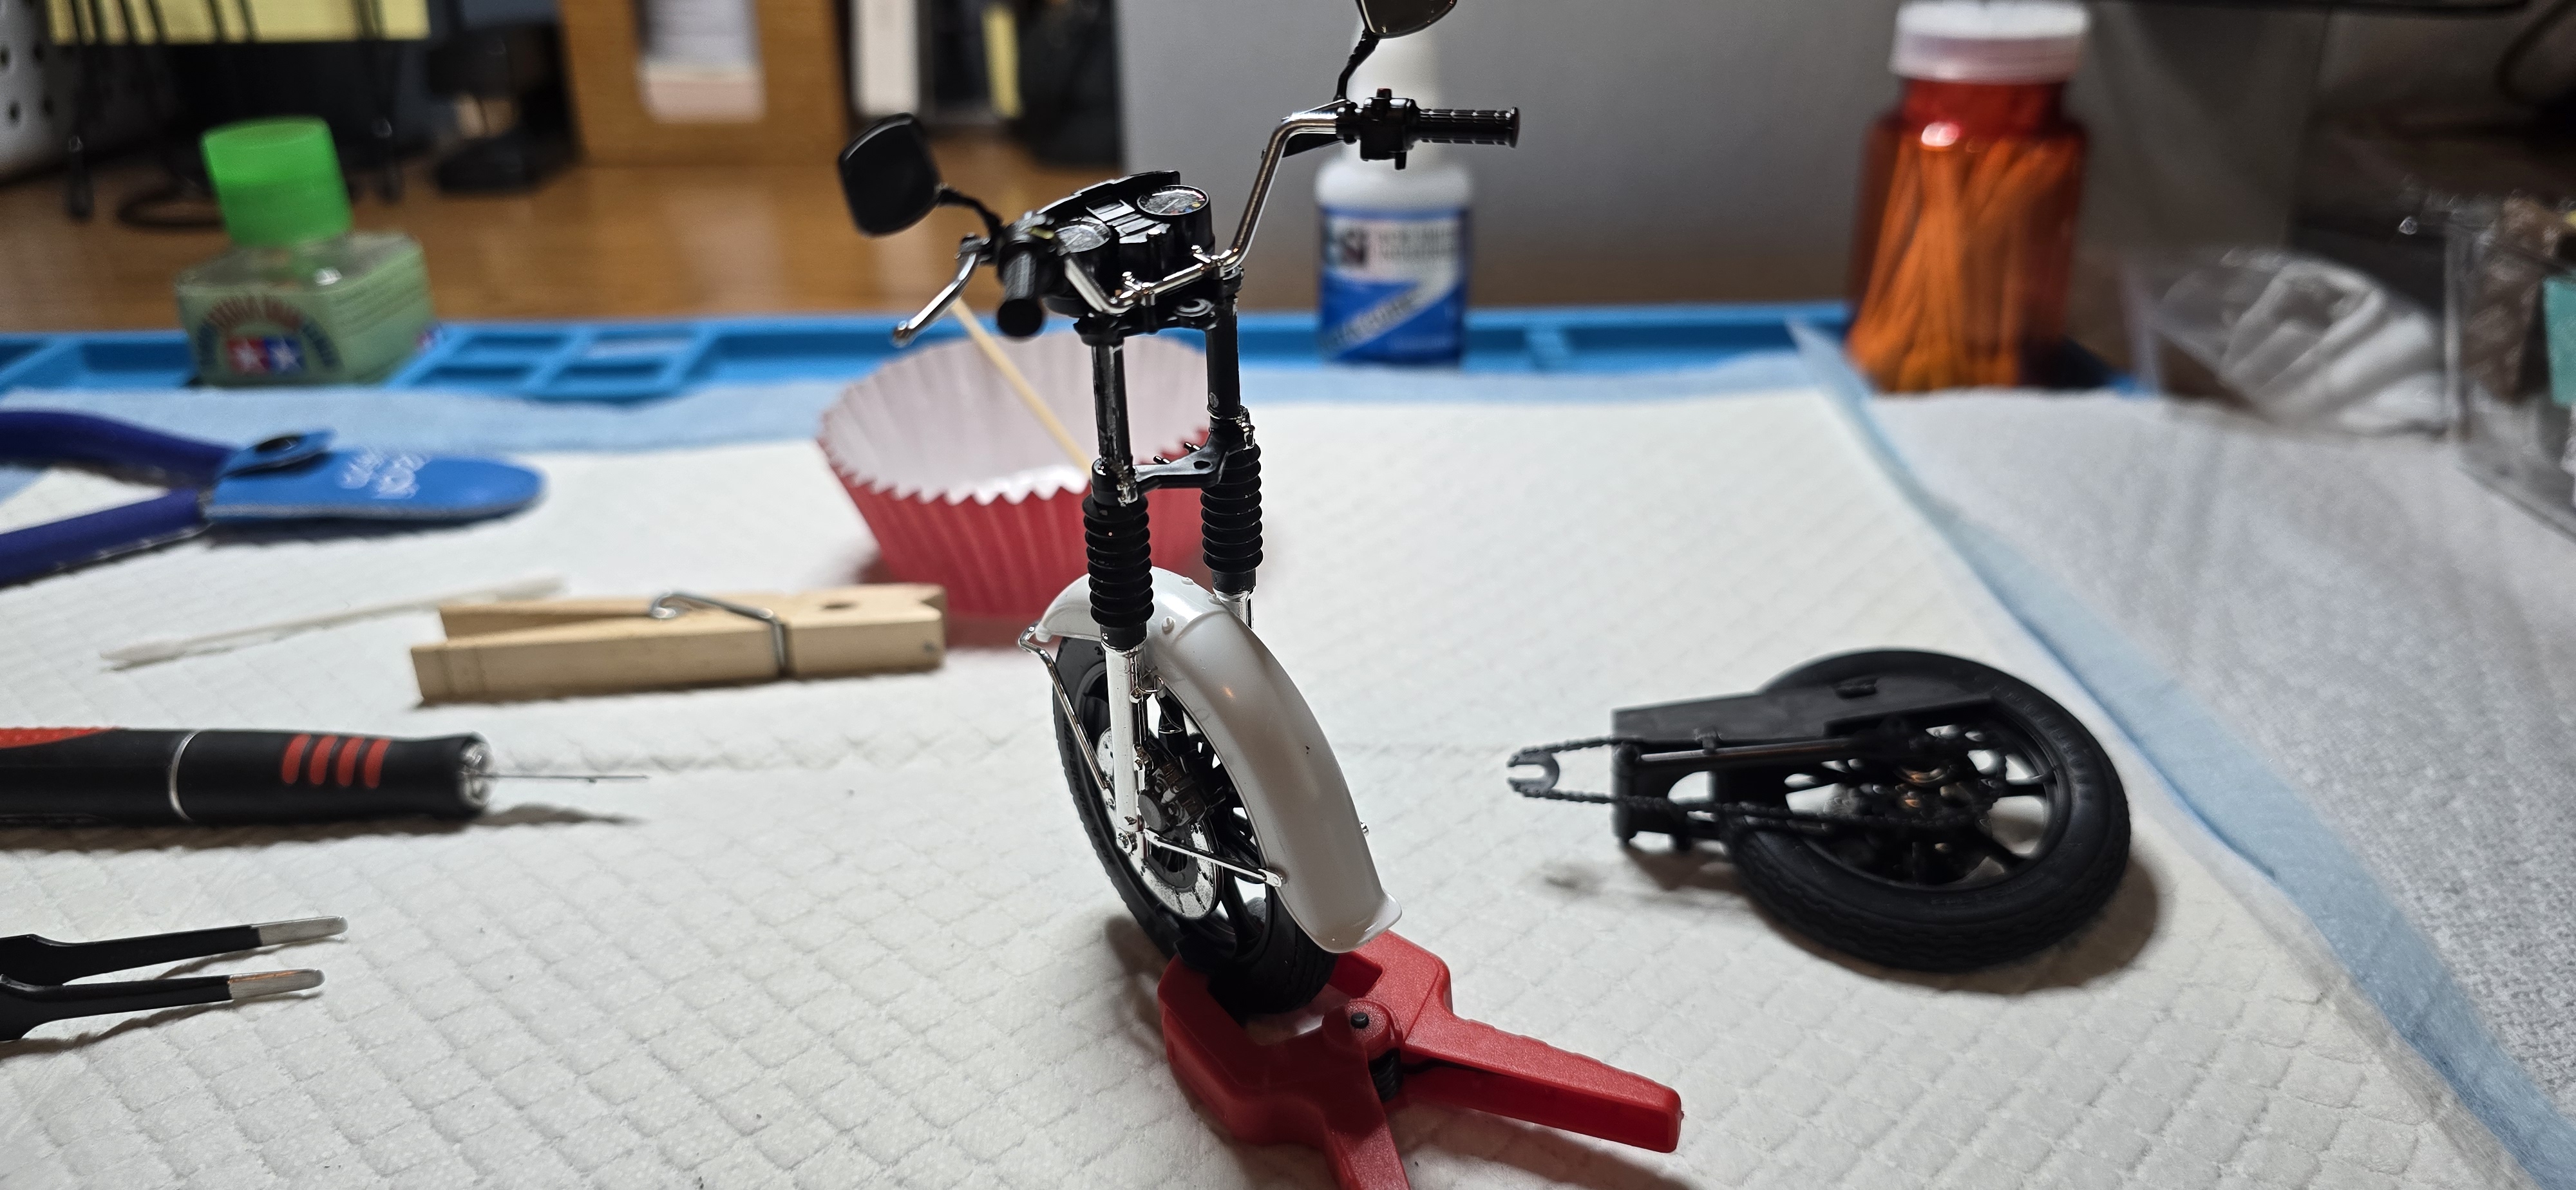
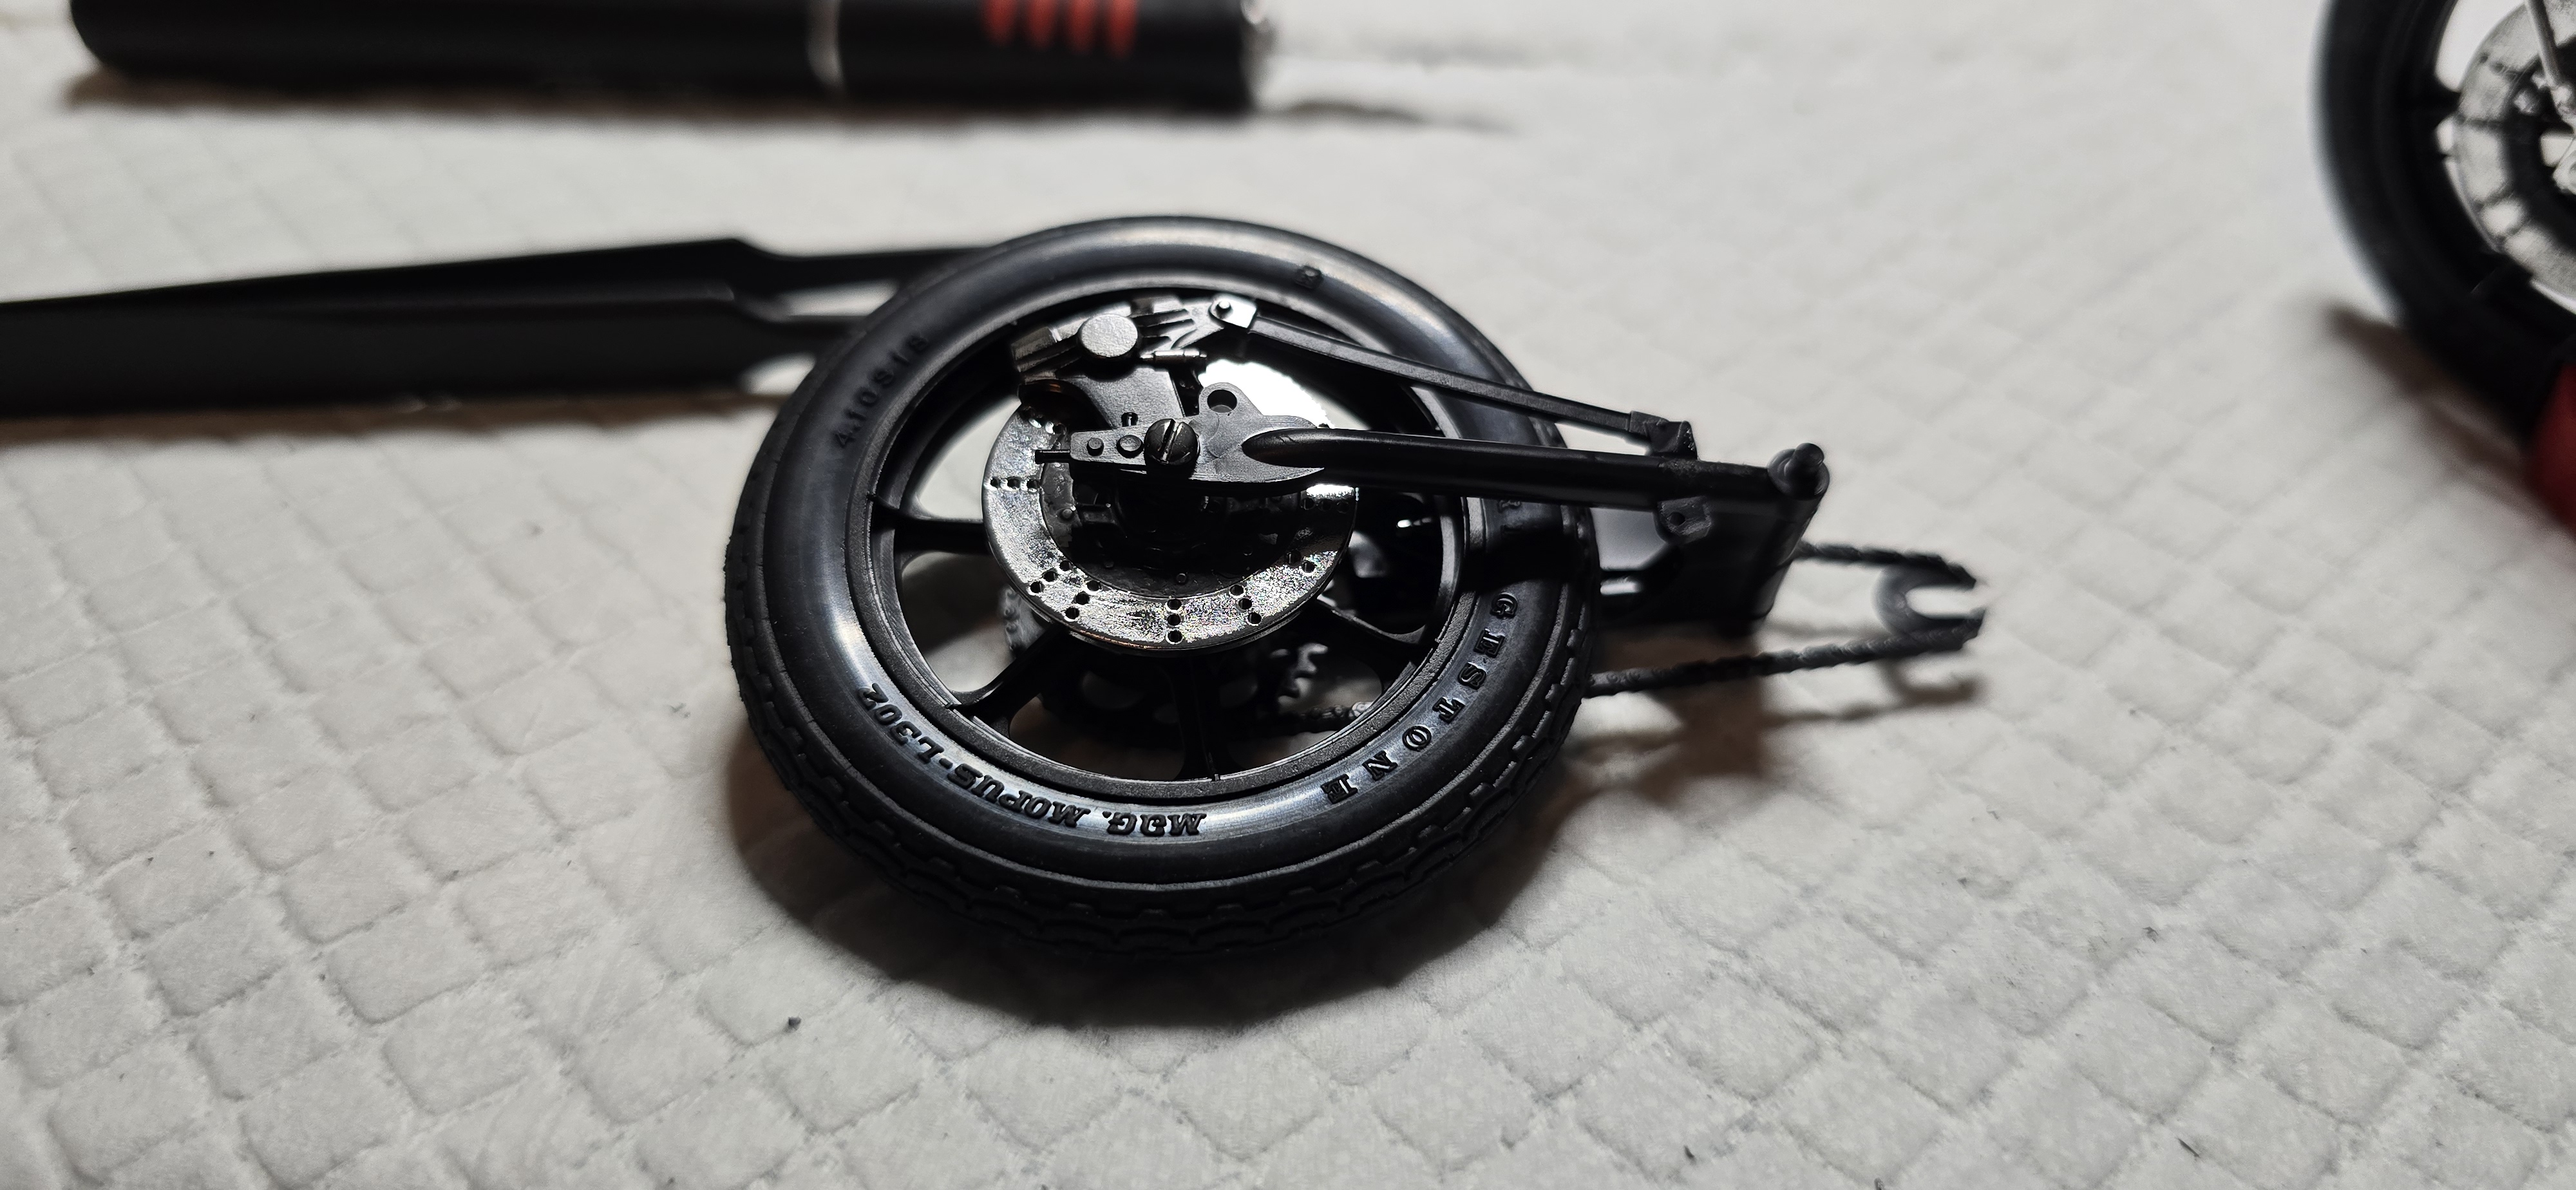
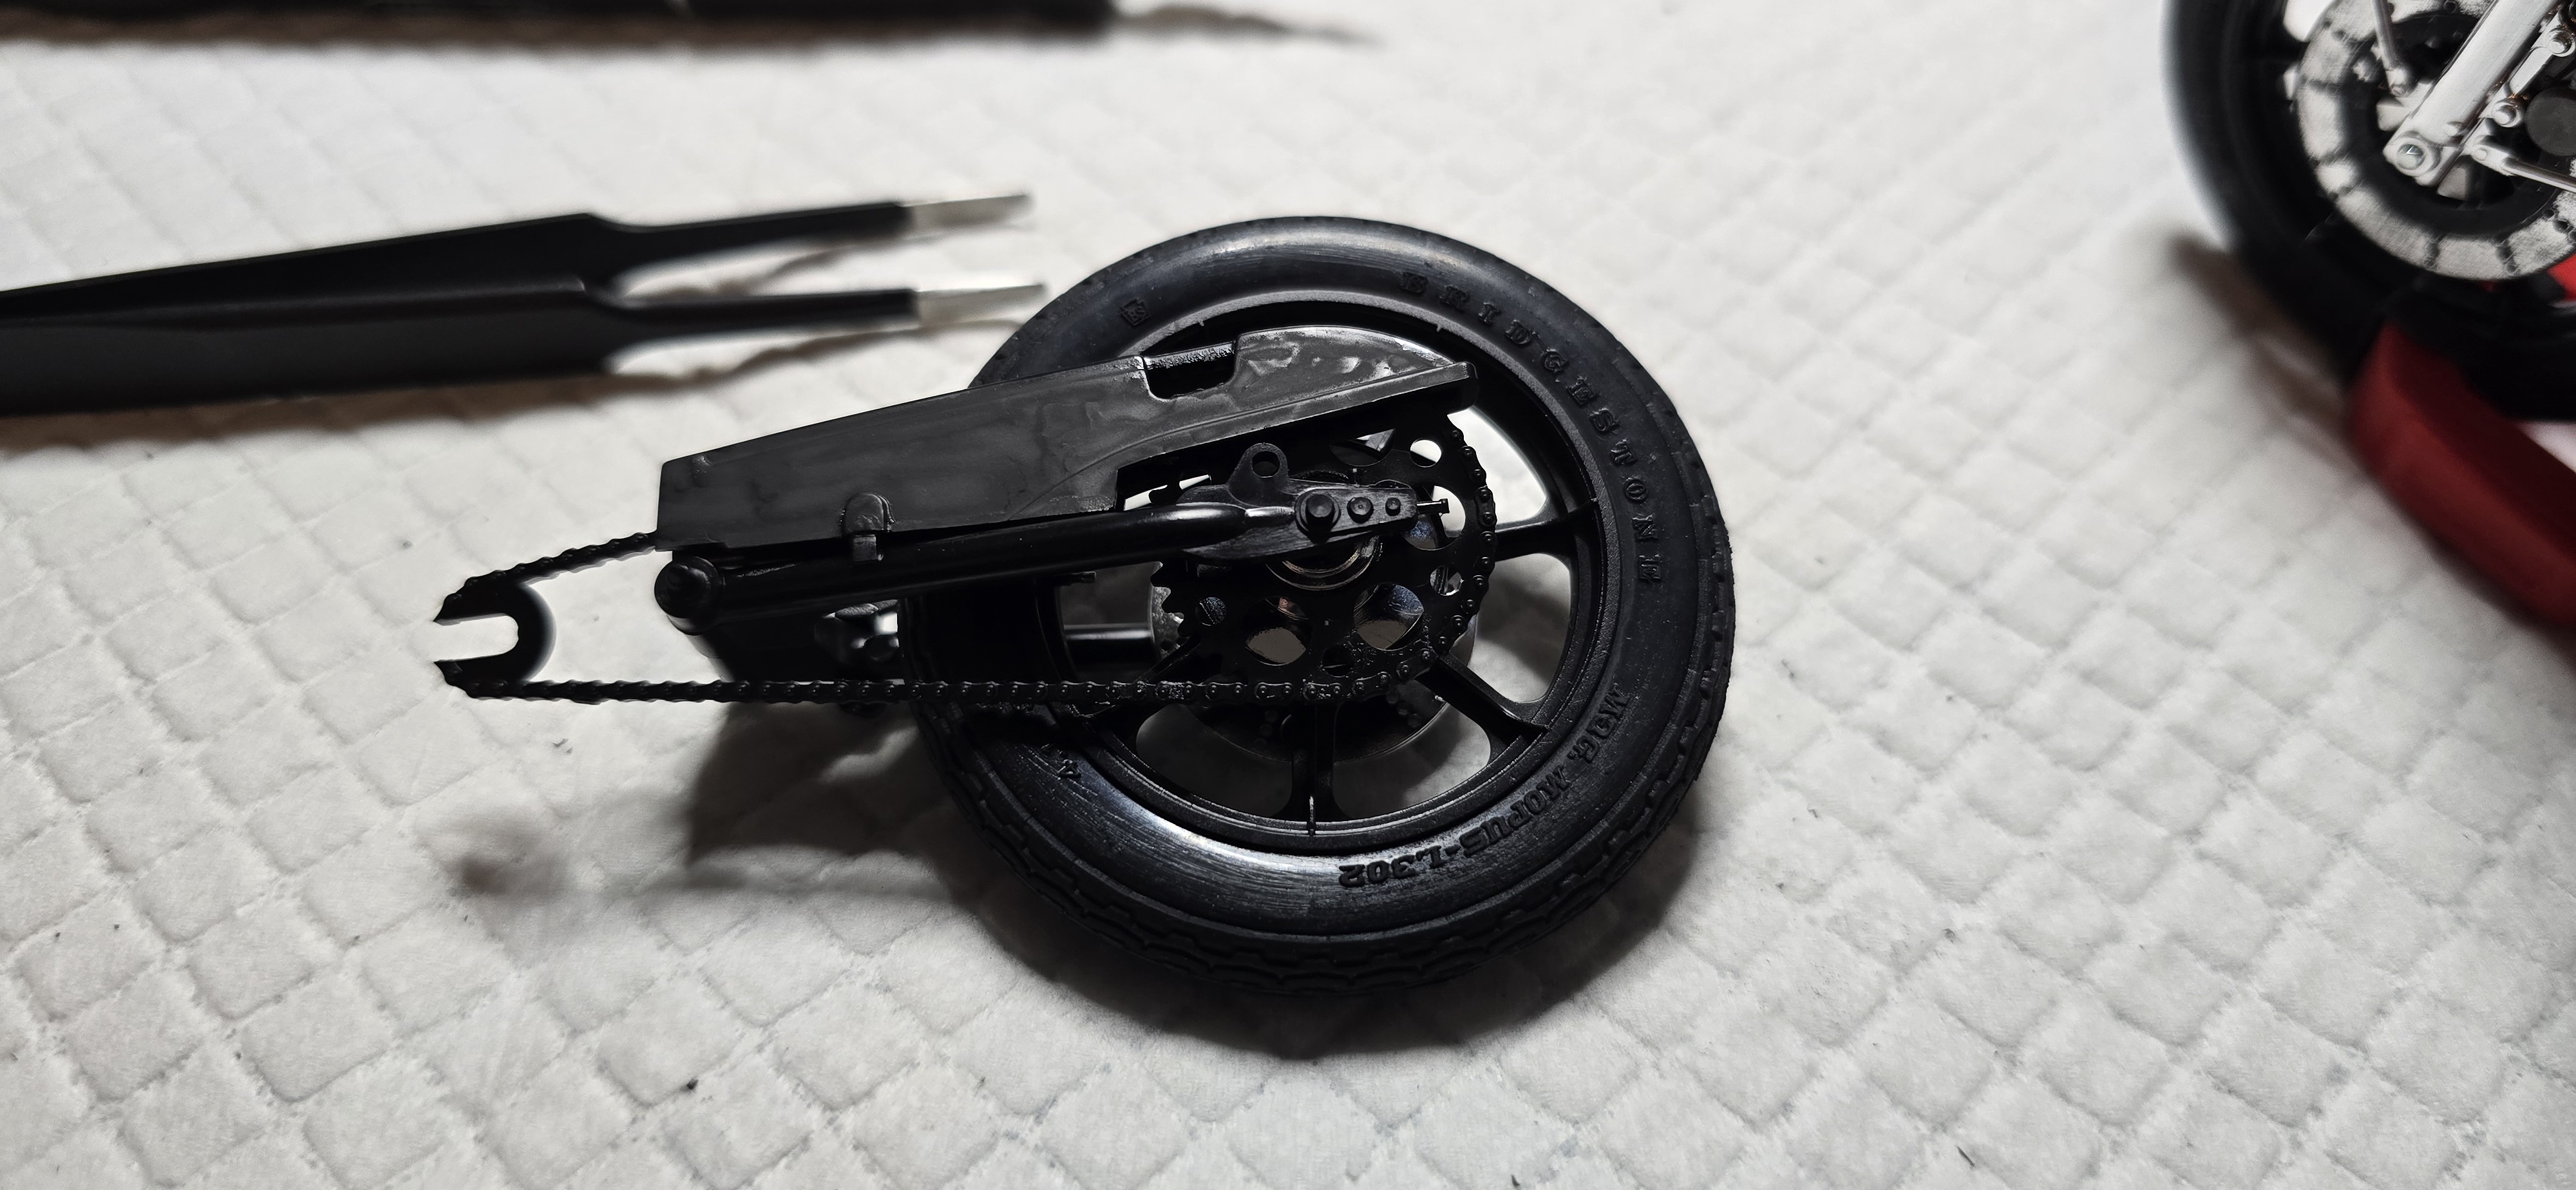
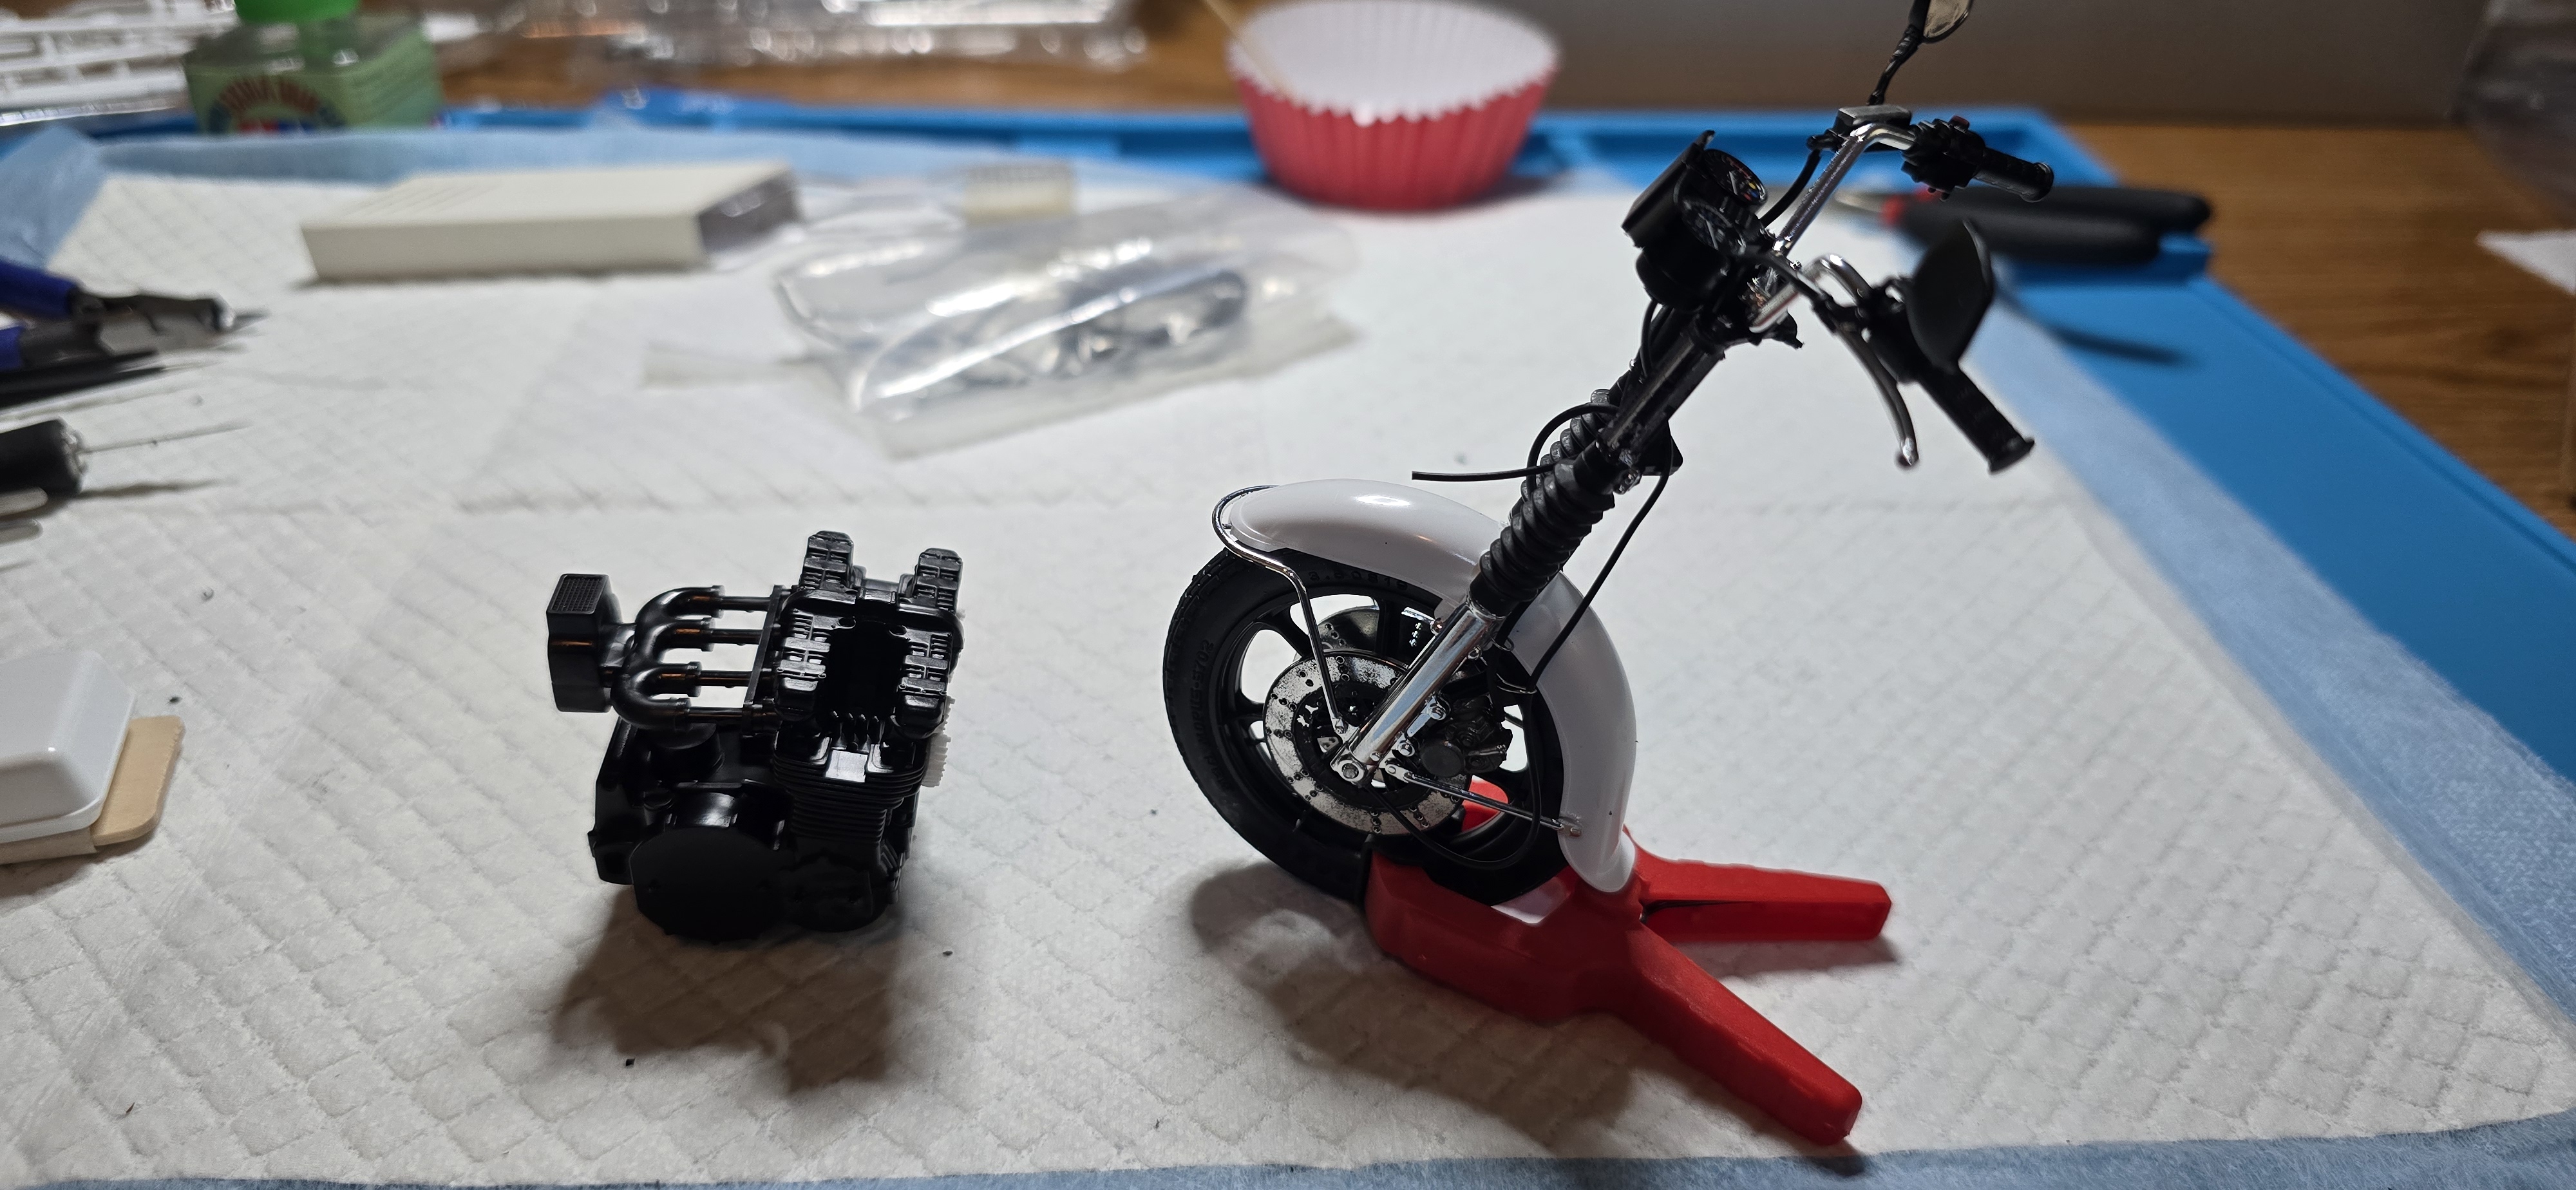
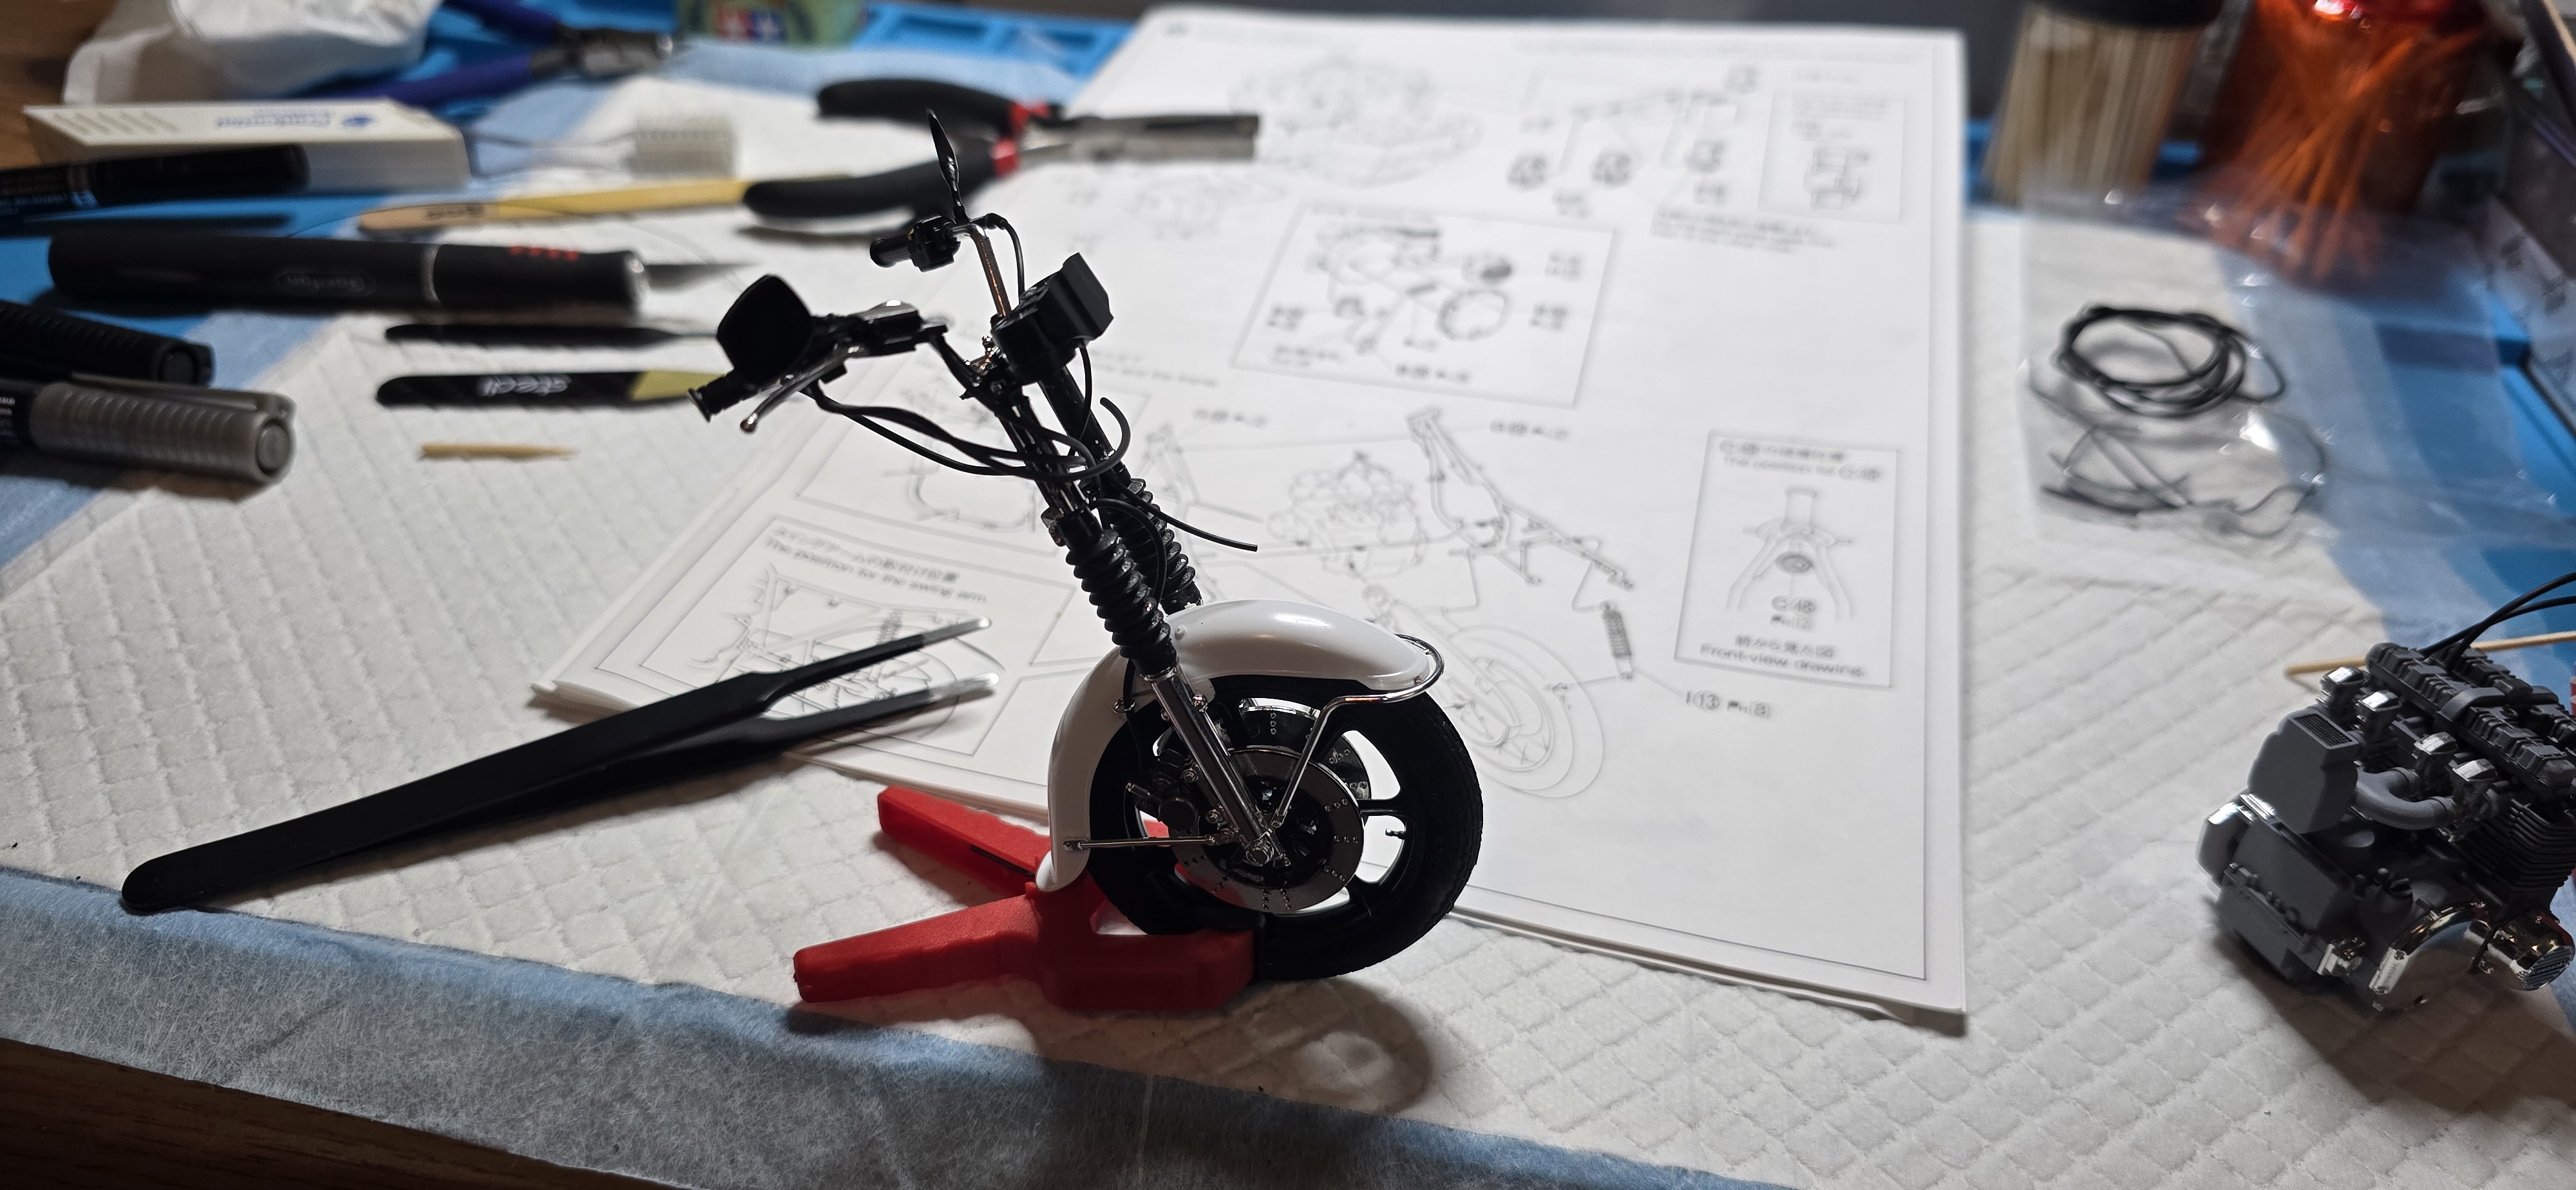
First off, wheels, tires, brake discs and front fork assembly.
20260409_072032.jpg
20260409_082626.jpg
20260409_091154.jpg
20260409_113610.jpg
 
I built that model about 2 years ago I believe and it went together like a dream. I can't think of any problems putting it together except for some minor seam lines here and there. Unfortunately my daughters cat decided it made a better cat toy than display
That's too bad, still around of you're interested in revisiting it.
Its going together very well, adding some extra details as I go.
Ive got a specific bike in mind.
 
Bit more work, wanted to try to make the brake line wire looms on the front fender.
Used a .0 Insect pin and bent it up. Looks pretty good.
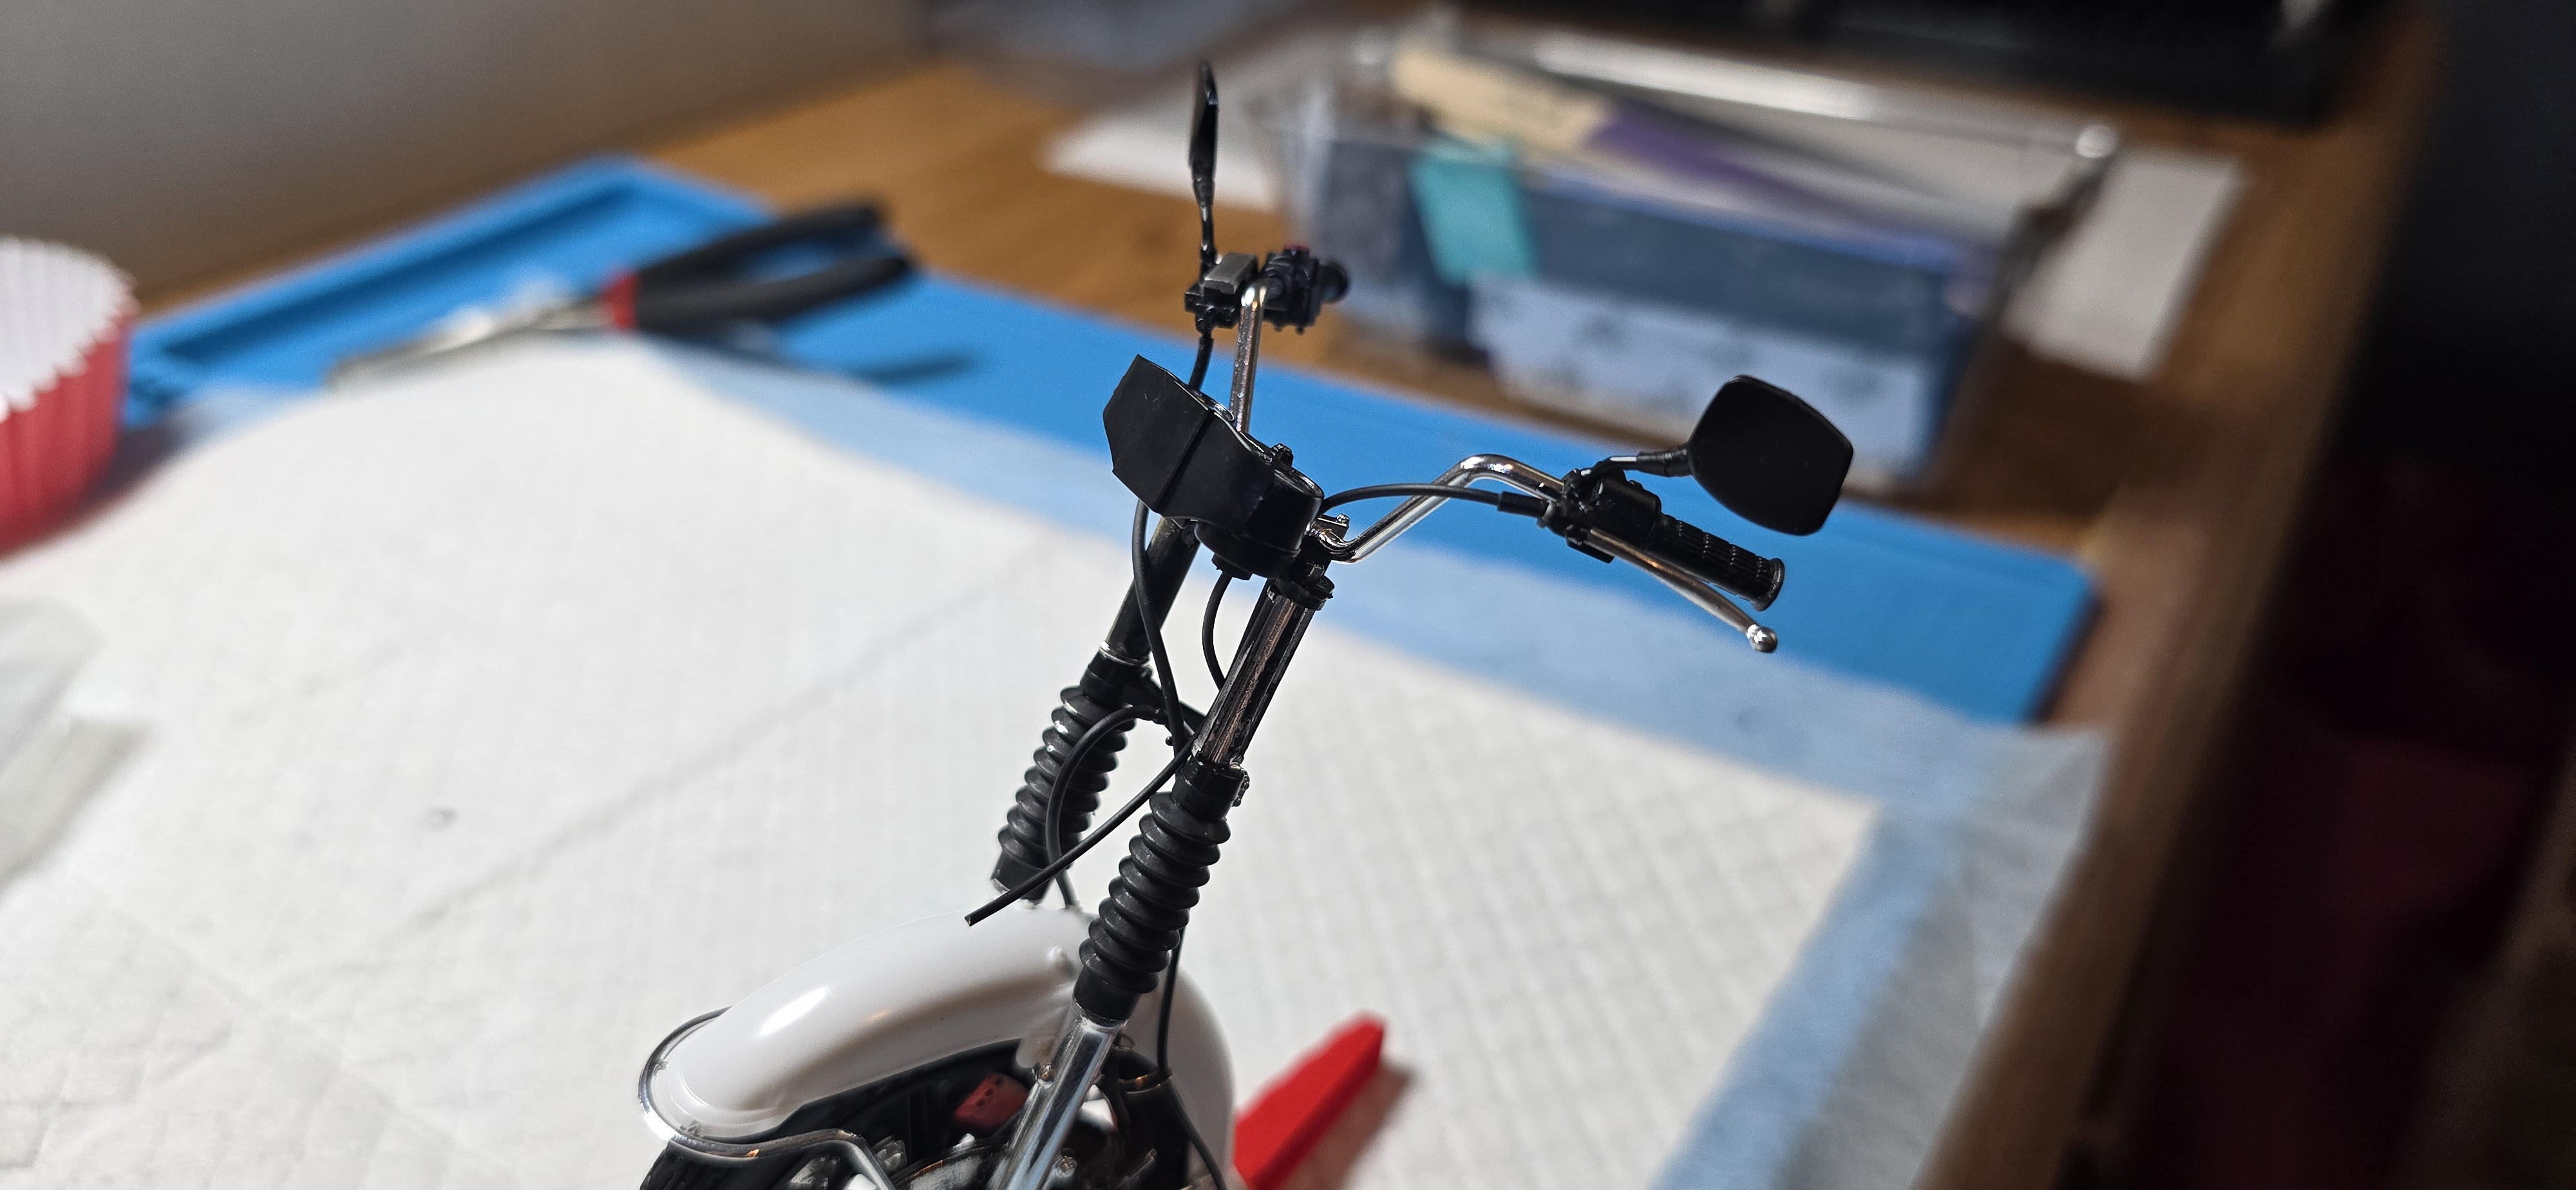
Added the handlebars, with throttle, clutch, front brake, starter, mirrors and instrument cluster.
Built the rear drive train as well. Not much time this morning and most of it was bending pins. 🙄
Was fun though.
Tomorrow, the engine assembly begins.
1000010062.jpg
1000010060.jpg
1000010061.jpg
1000010064.jpg
1000010063.jpg
 
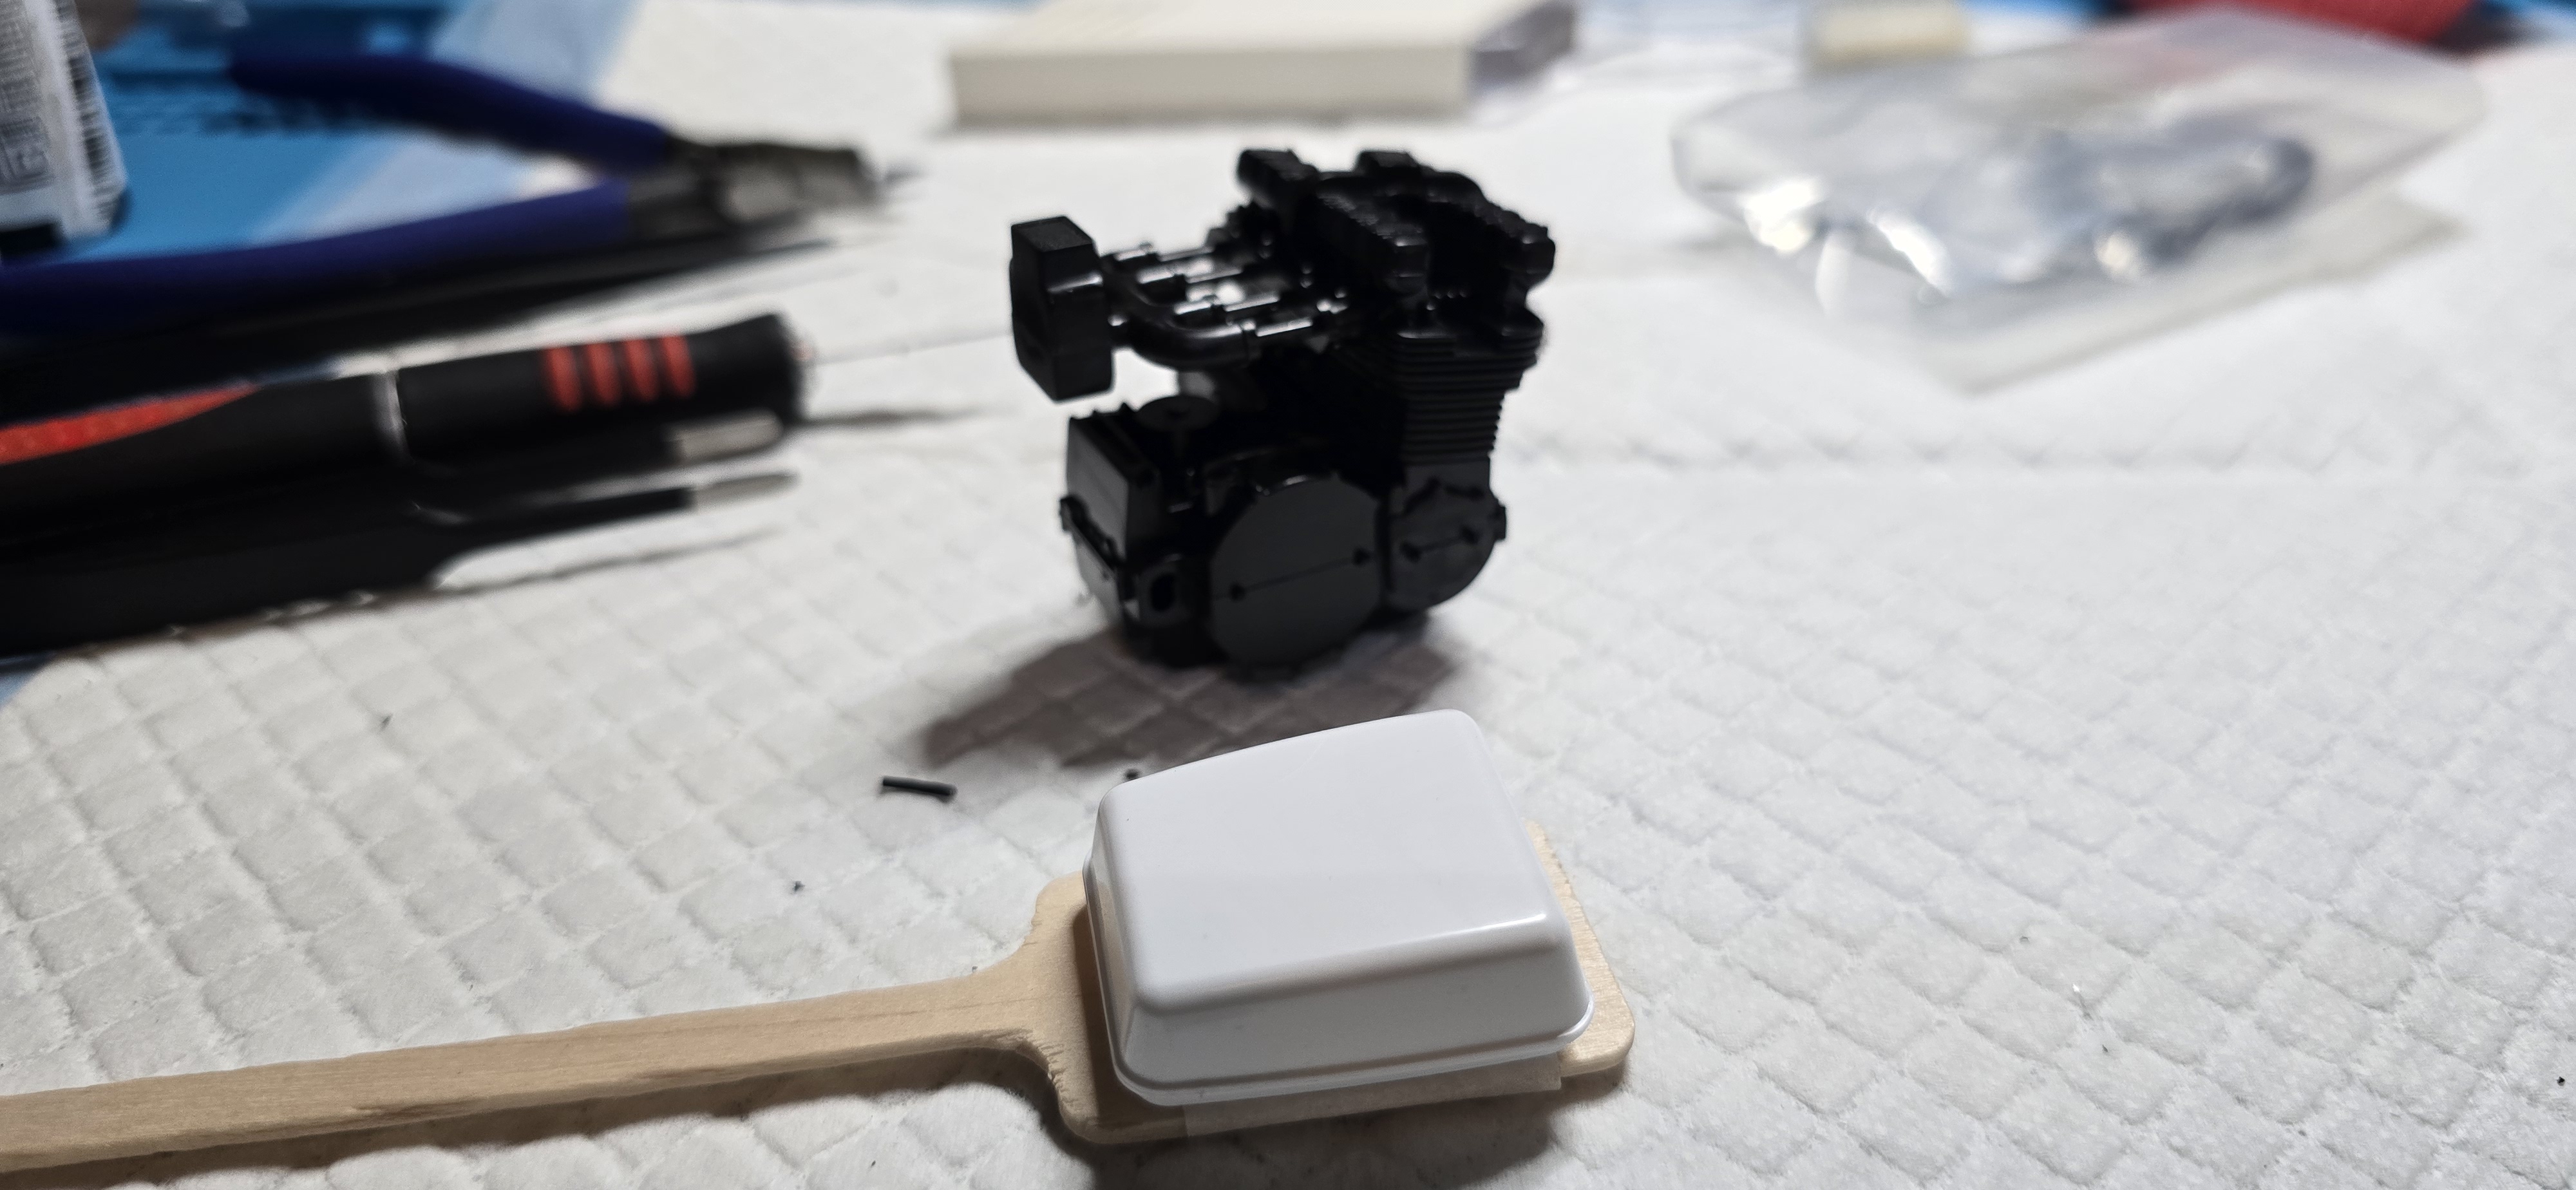
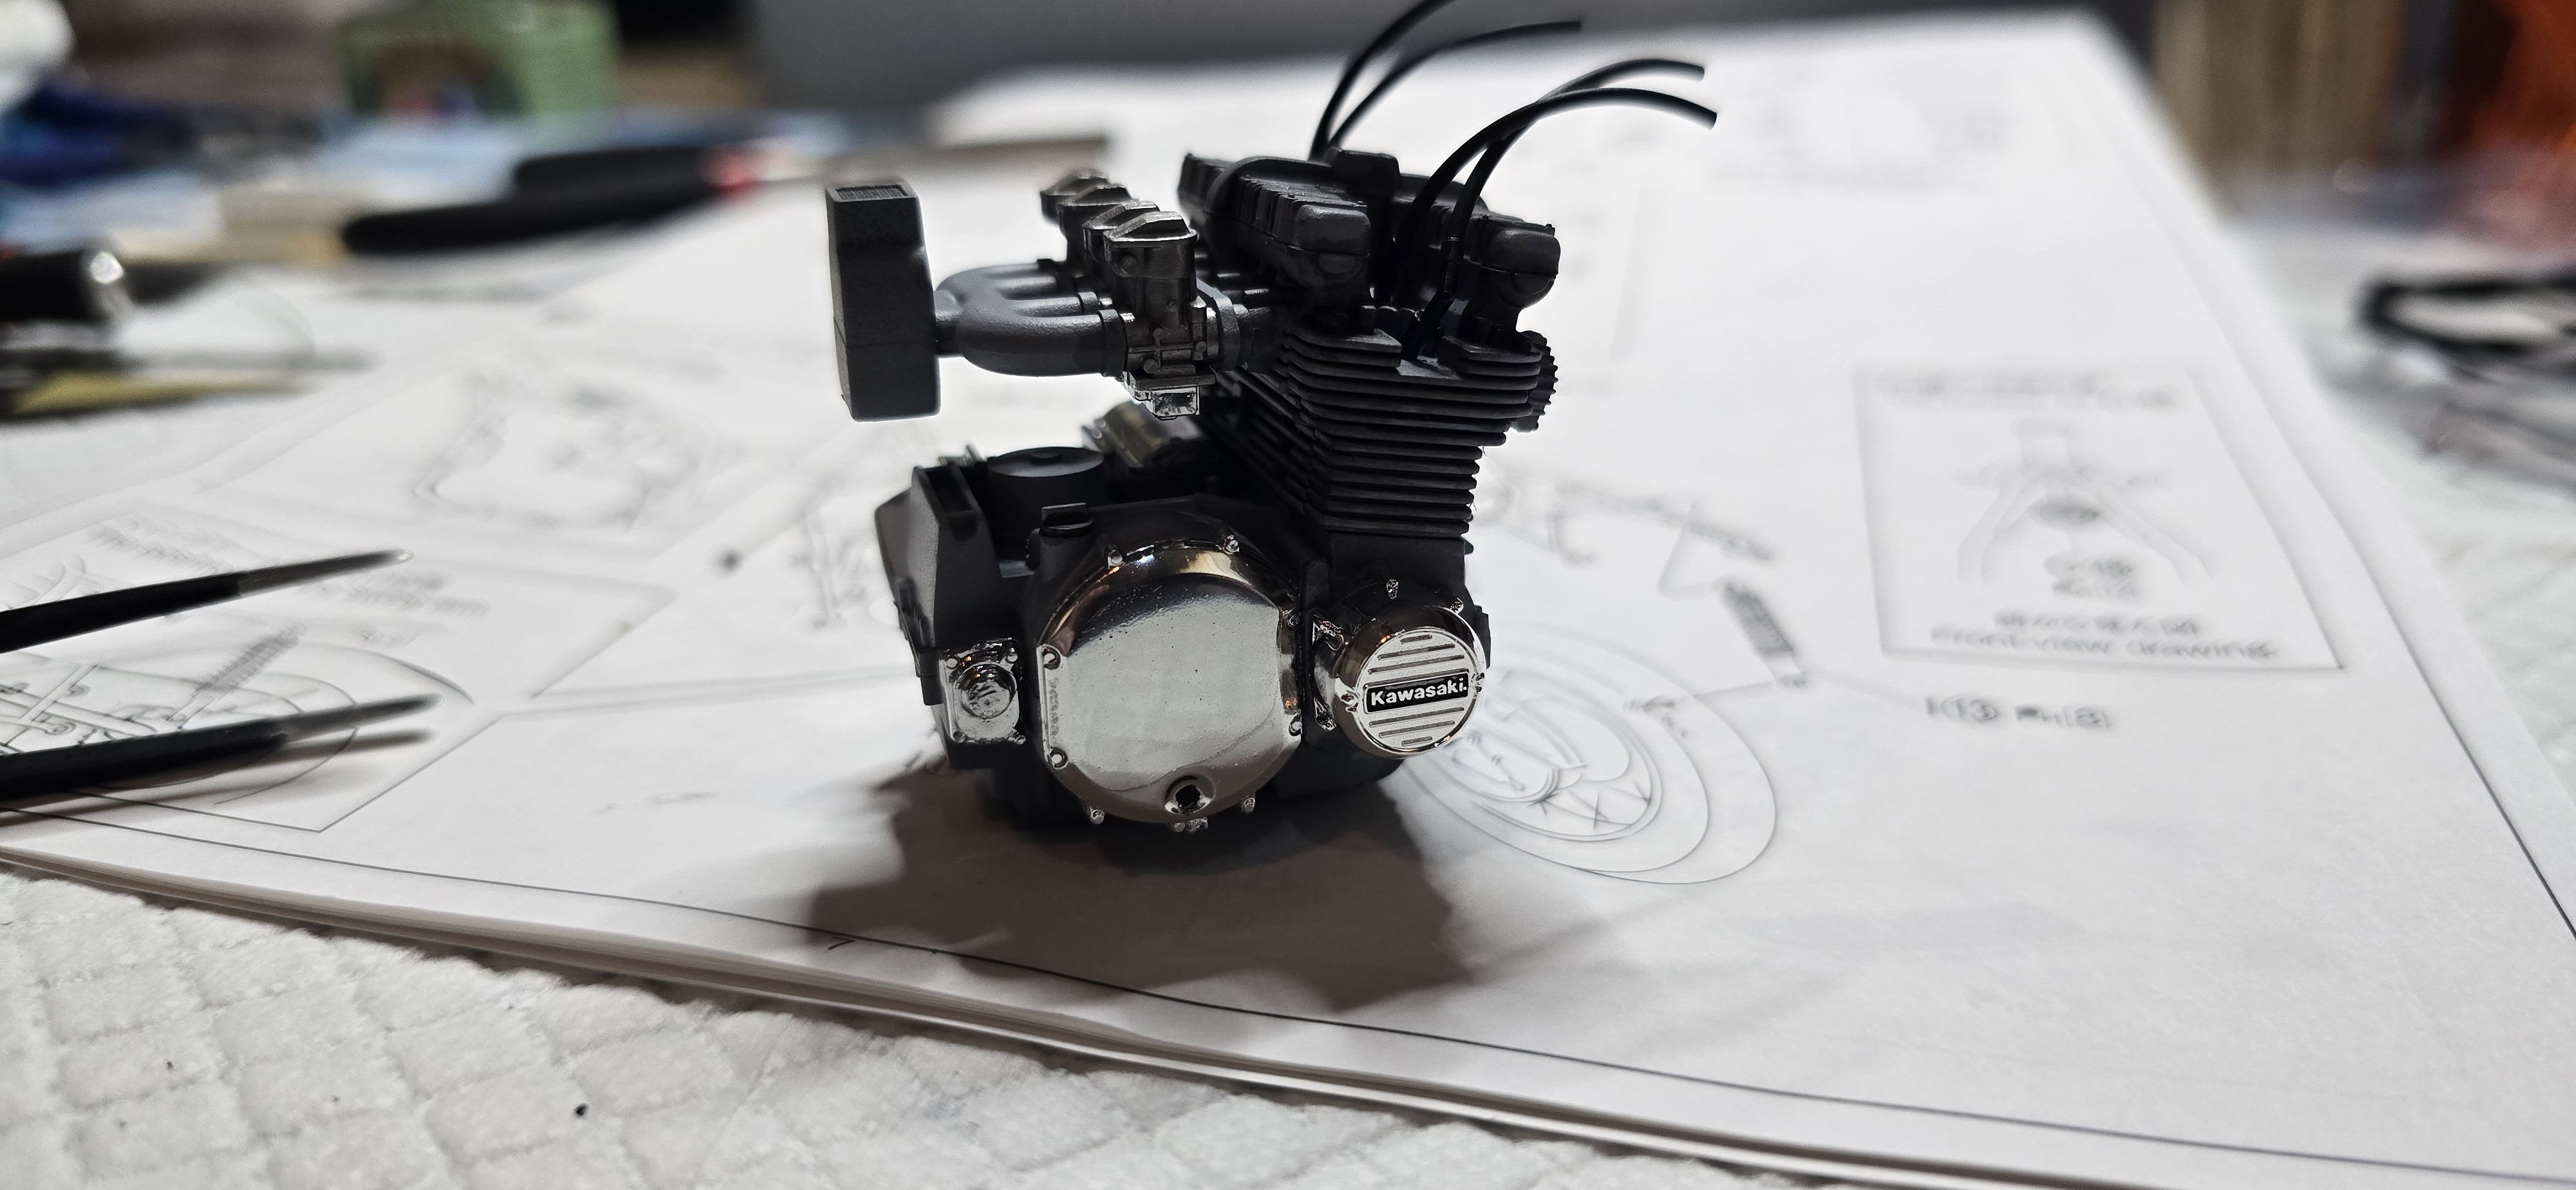
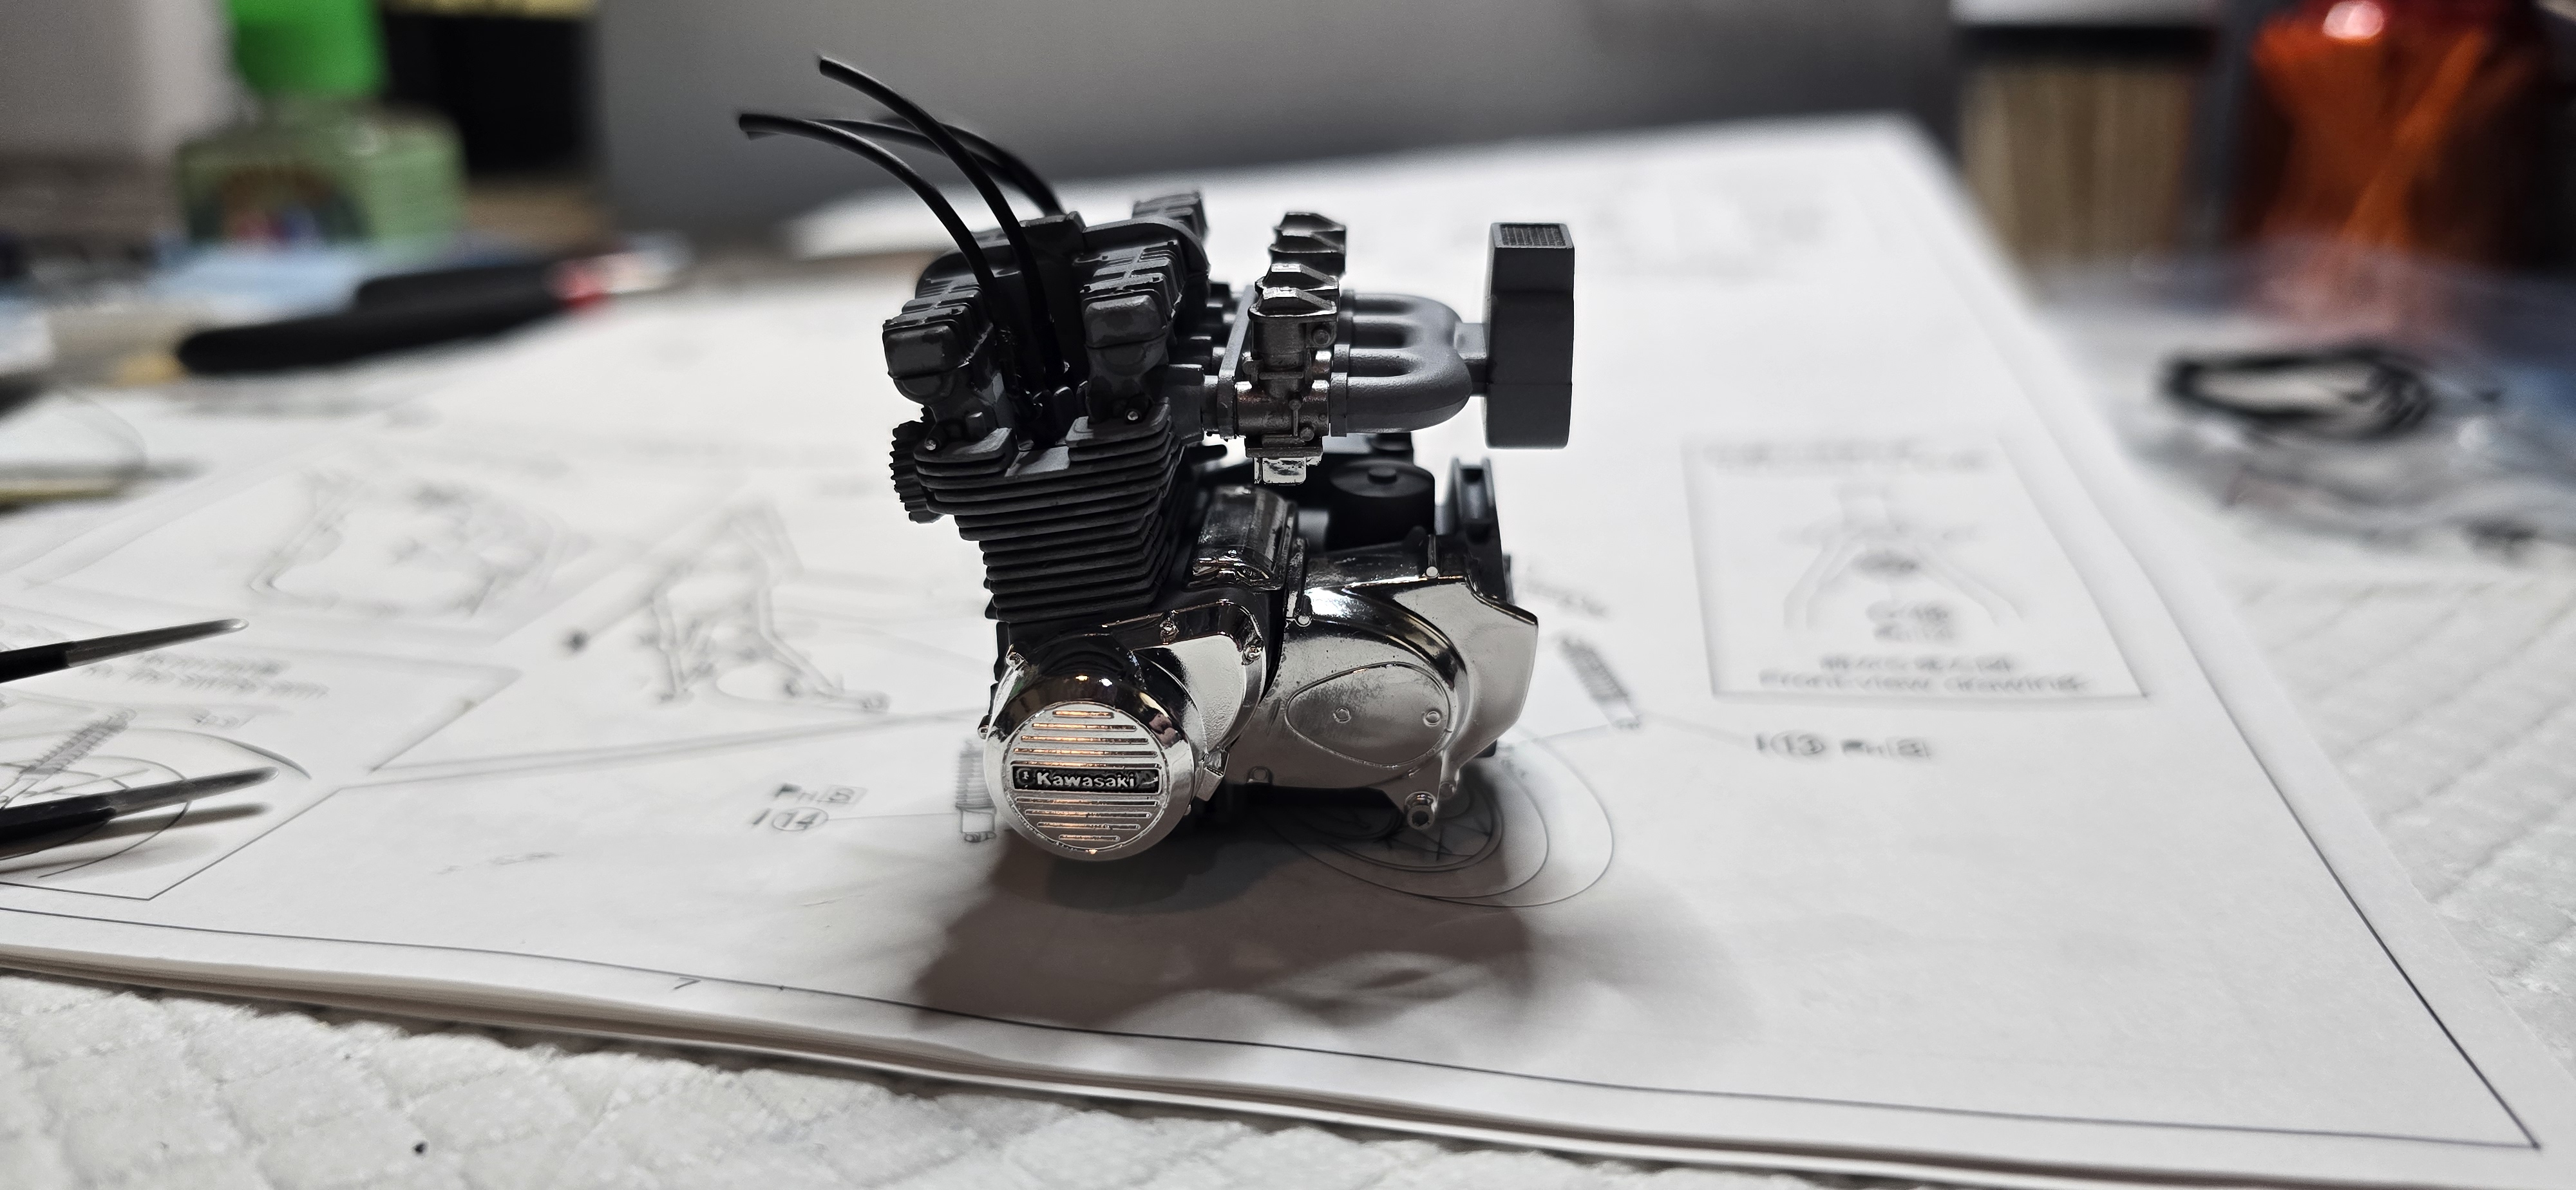
Not much fruitful time this morning- Assembled the motor, and will take that out to the airbrush tomorrow.
Spent too much time looking for the perfect scale wire for brake, clutch, speedometer and throttle cables...

Then, deciding I needed a .05 hole, I went to open my little drill bit set, and as I popped open the clamshell container, my thumb (unintentionally) came down on top of the .01 drill bit and went into it, of course it also snapped the fragile thin bit off, into my thumb. I got a sharp sting, wondered what it was, looked at the bit, realizing it was gone and shorter than the others and looked at the thumb, with my magnifiers on and saw the tiniest "hair" impaled into it.
Used my little coin microscope to gently remove it, slowly twisting and removing it. Once it was out I was able to verify it was the entire bit, and within seconds lost it, it's a size of half a human hair maybe? I dunno, I'll never need to drill a hole that small, so meh- Nothing we've all not done before, I'm sure.

Anyway, once all that was done, got the other wire loom bent up, mounted the brake lines and clutch cable. I'll still need to attach the throttle cables and such, but I'll do that once I'm further along.

20260411_110652.jpg
20260411_110701.jpg
20260411_110711.jpg
 
Moving along-
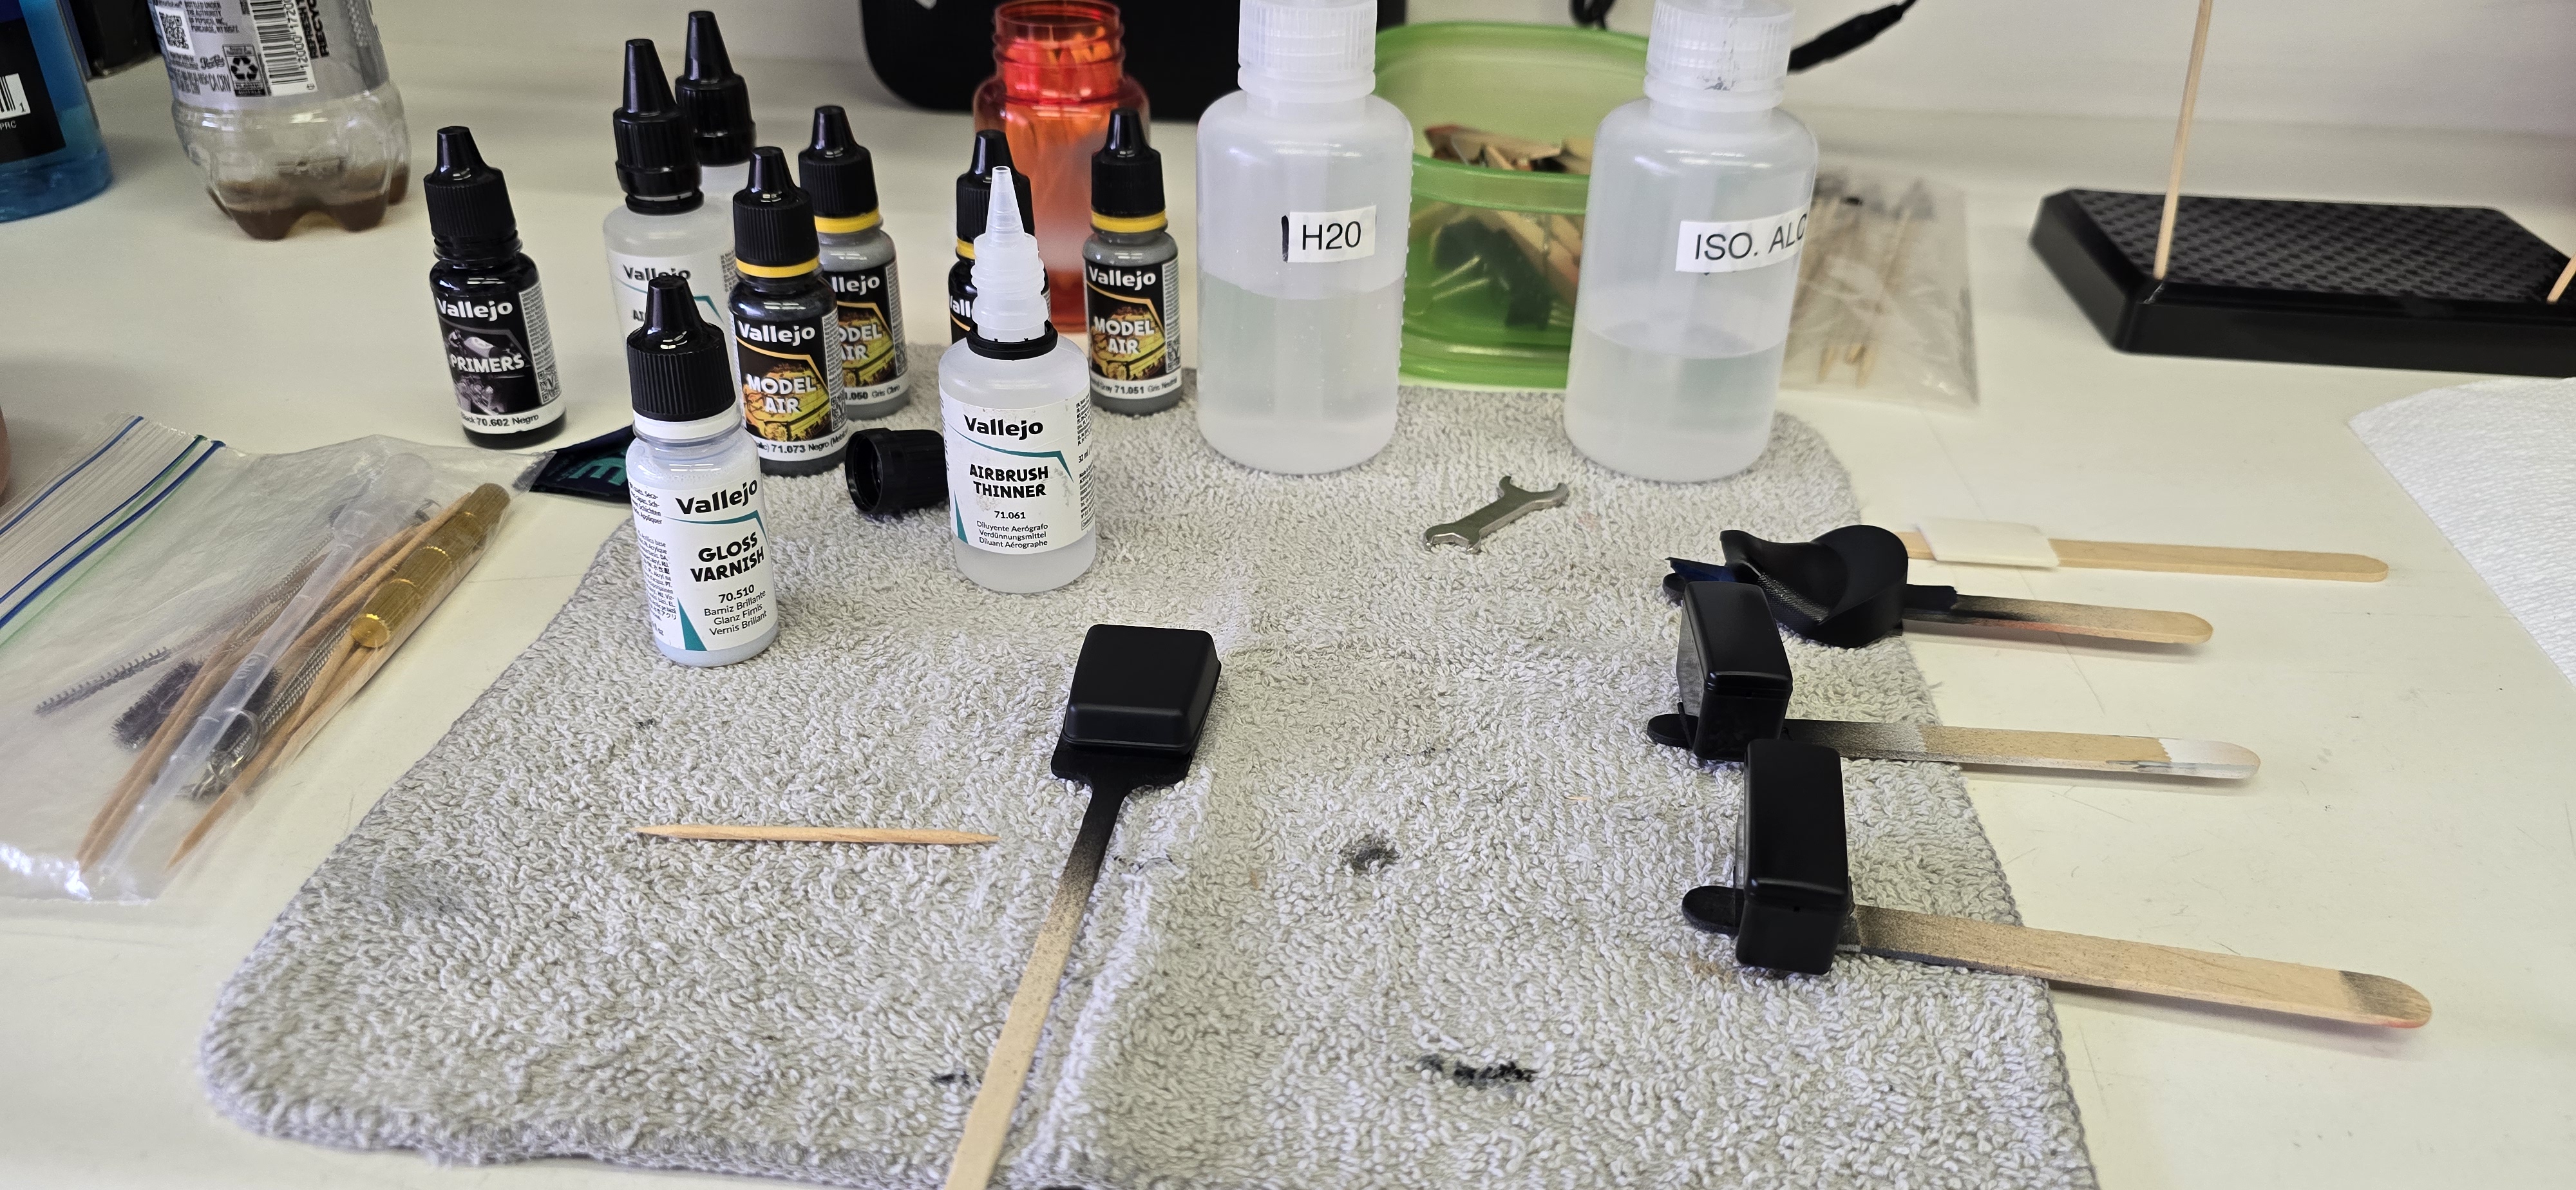
Got the engine and trim painted.
Engine received all of its FusionFirm parts- Can't say enough good things about this- Getting better at its application.
Front end is done, next up is frame assembly.
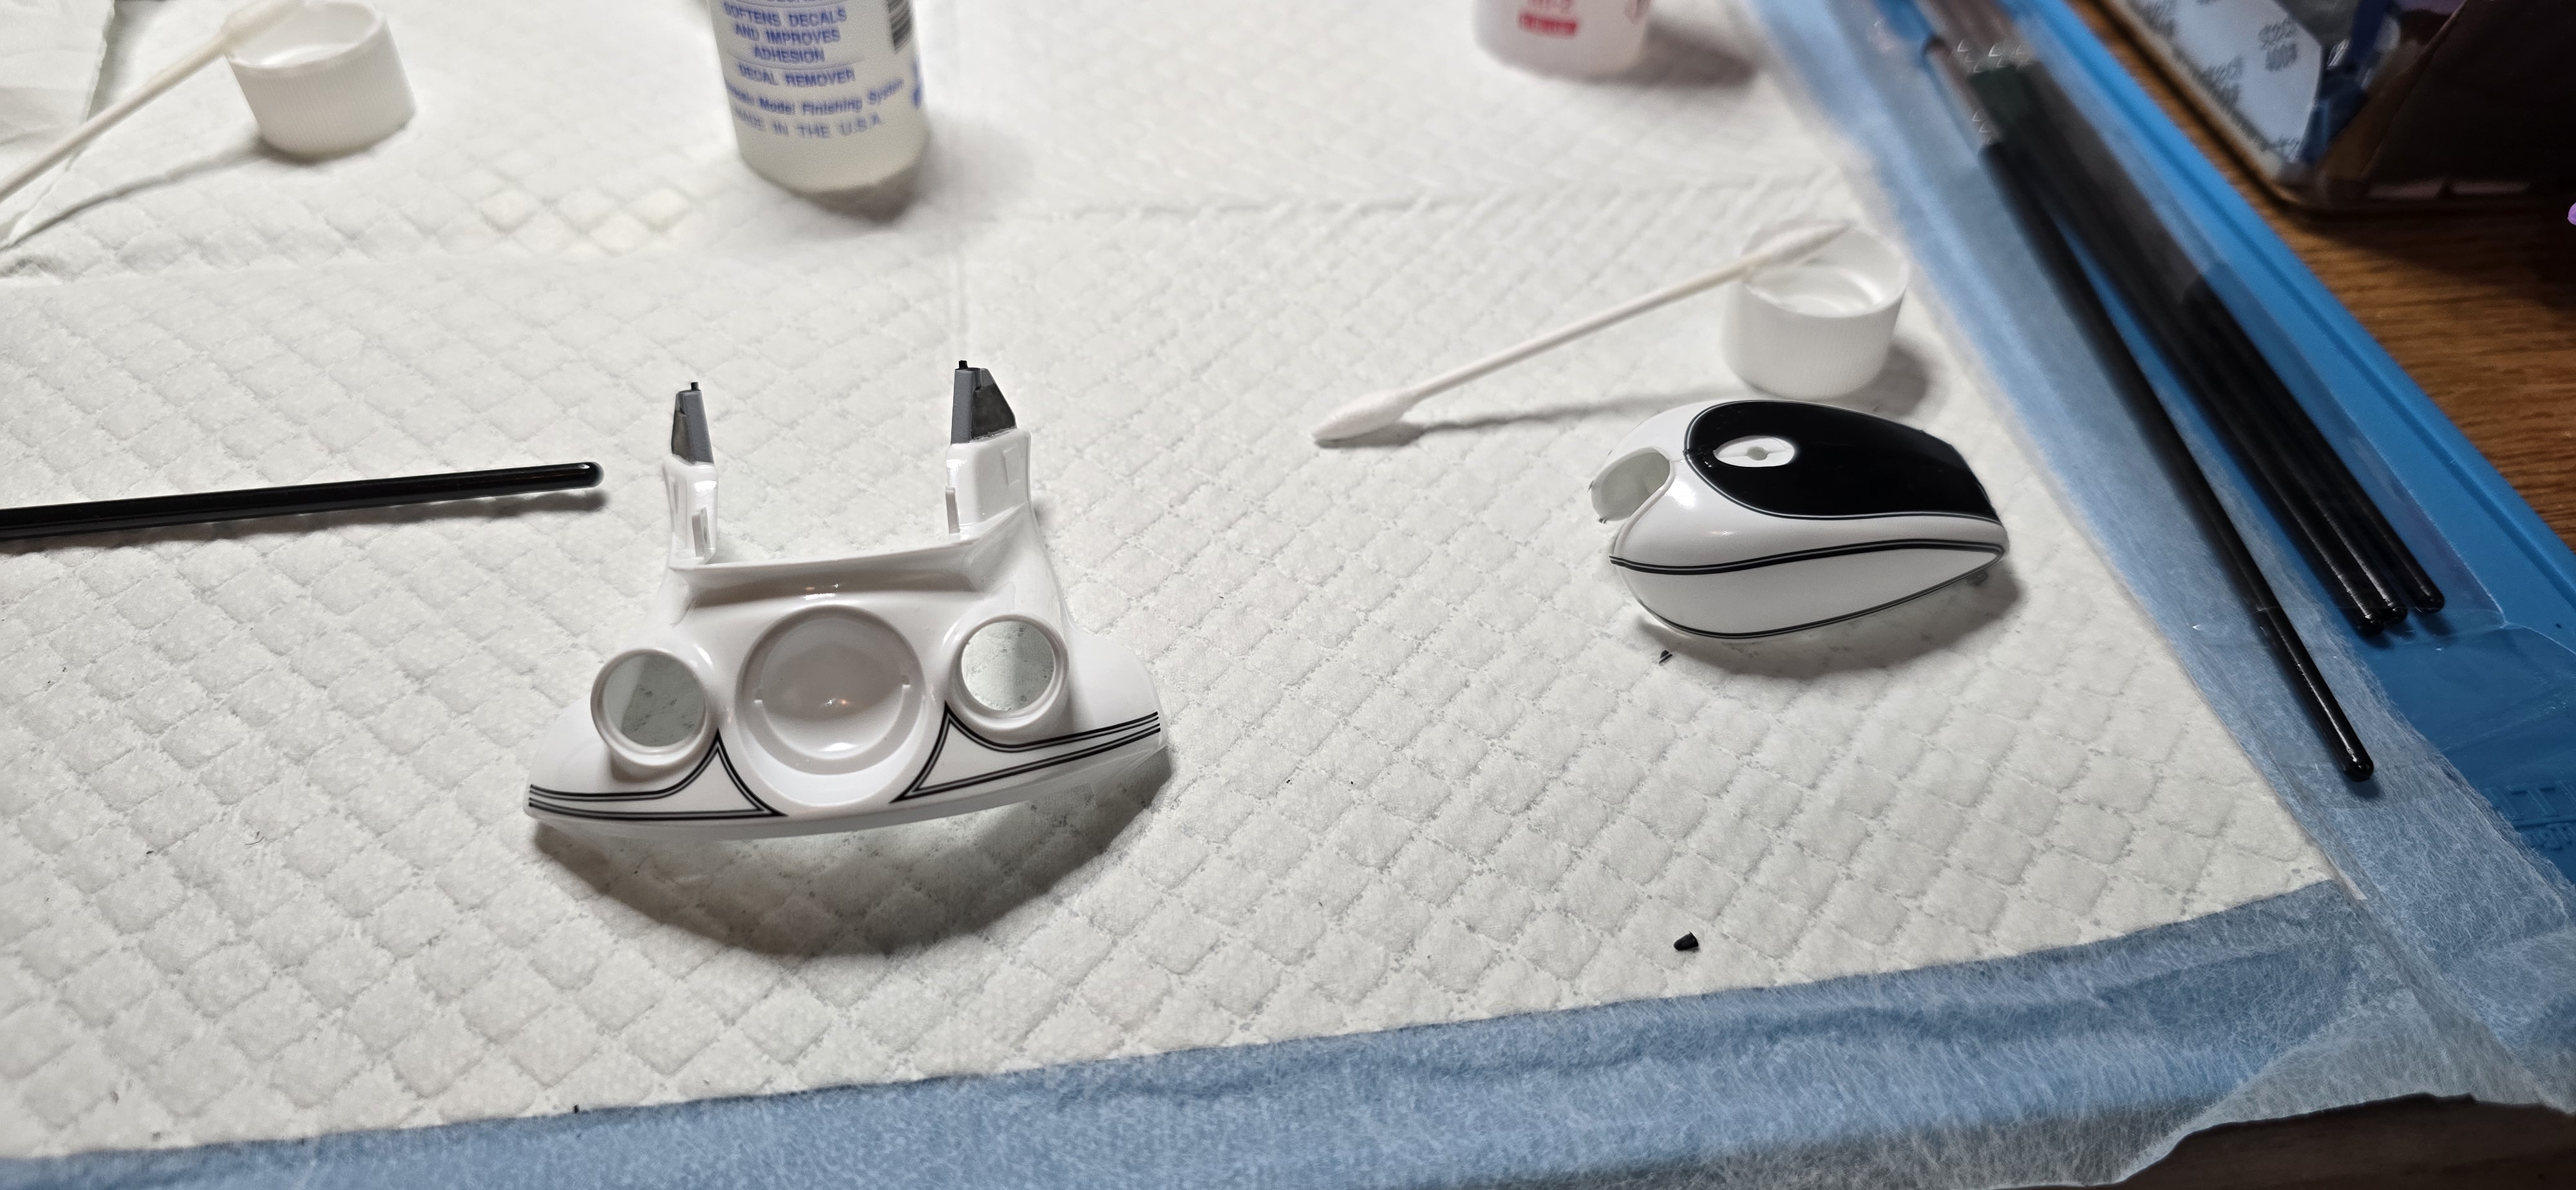
Tried my hand at making my own decals, came out ok- We'll see how they look on the fairing and radio box.
20260413_085600.jpg
20260415_104913.jpg
20260415_104927.jpg
20260415_104938.jpg
 
As an Amazon Associate we earn from qualifying purchases. Product prices and availability are accurate as of the date/time indicated and are subject to change.
Moving slowly-
This kit is older, though I did not expect the problems I had with the decals. Every single one broke, cracked or fell apart just as I was getting it into place. I was able to salvage them, (sheer luck, no skill whatsoever). I still need to apply my homemade decals, but needed a break after the kit's.
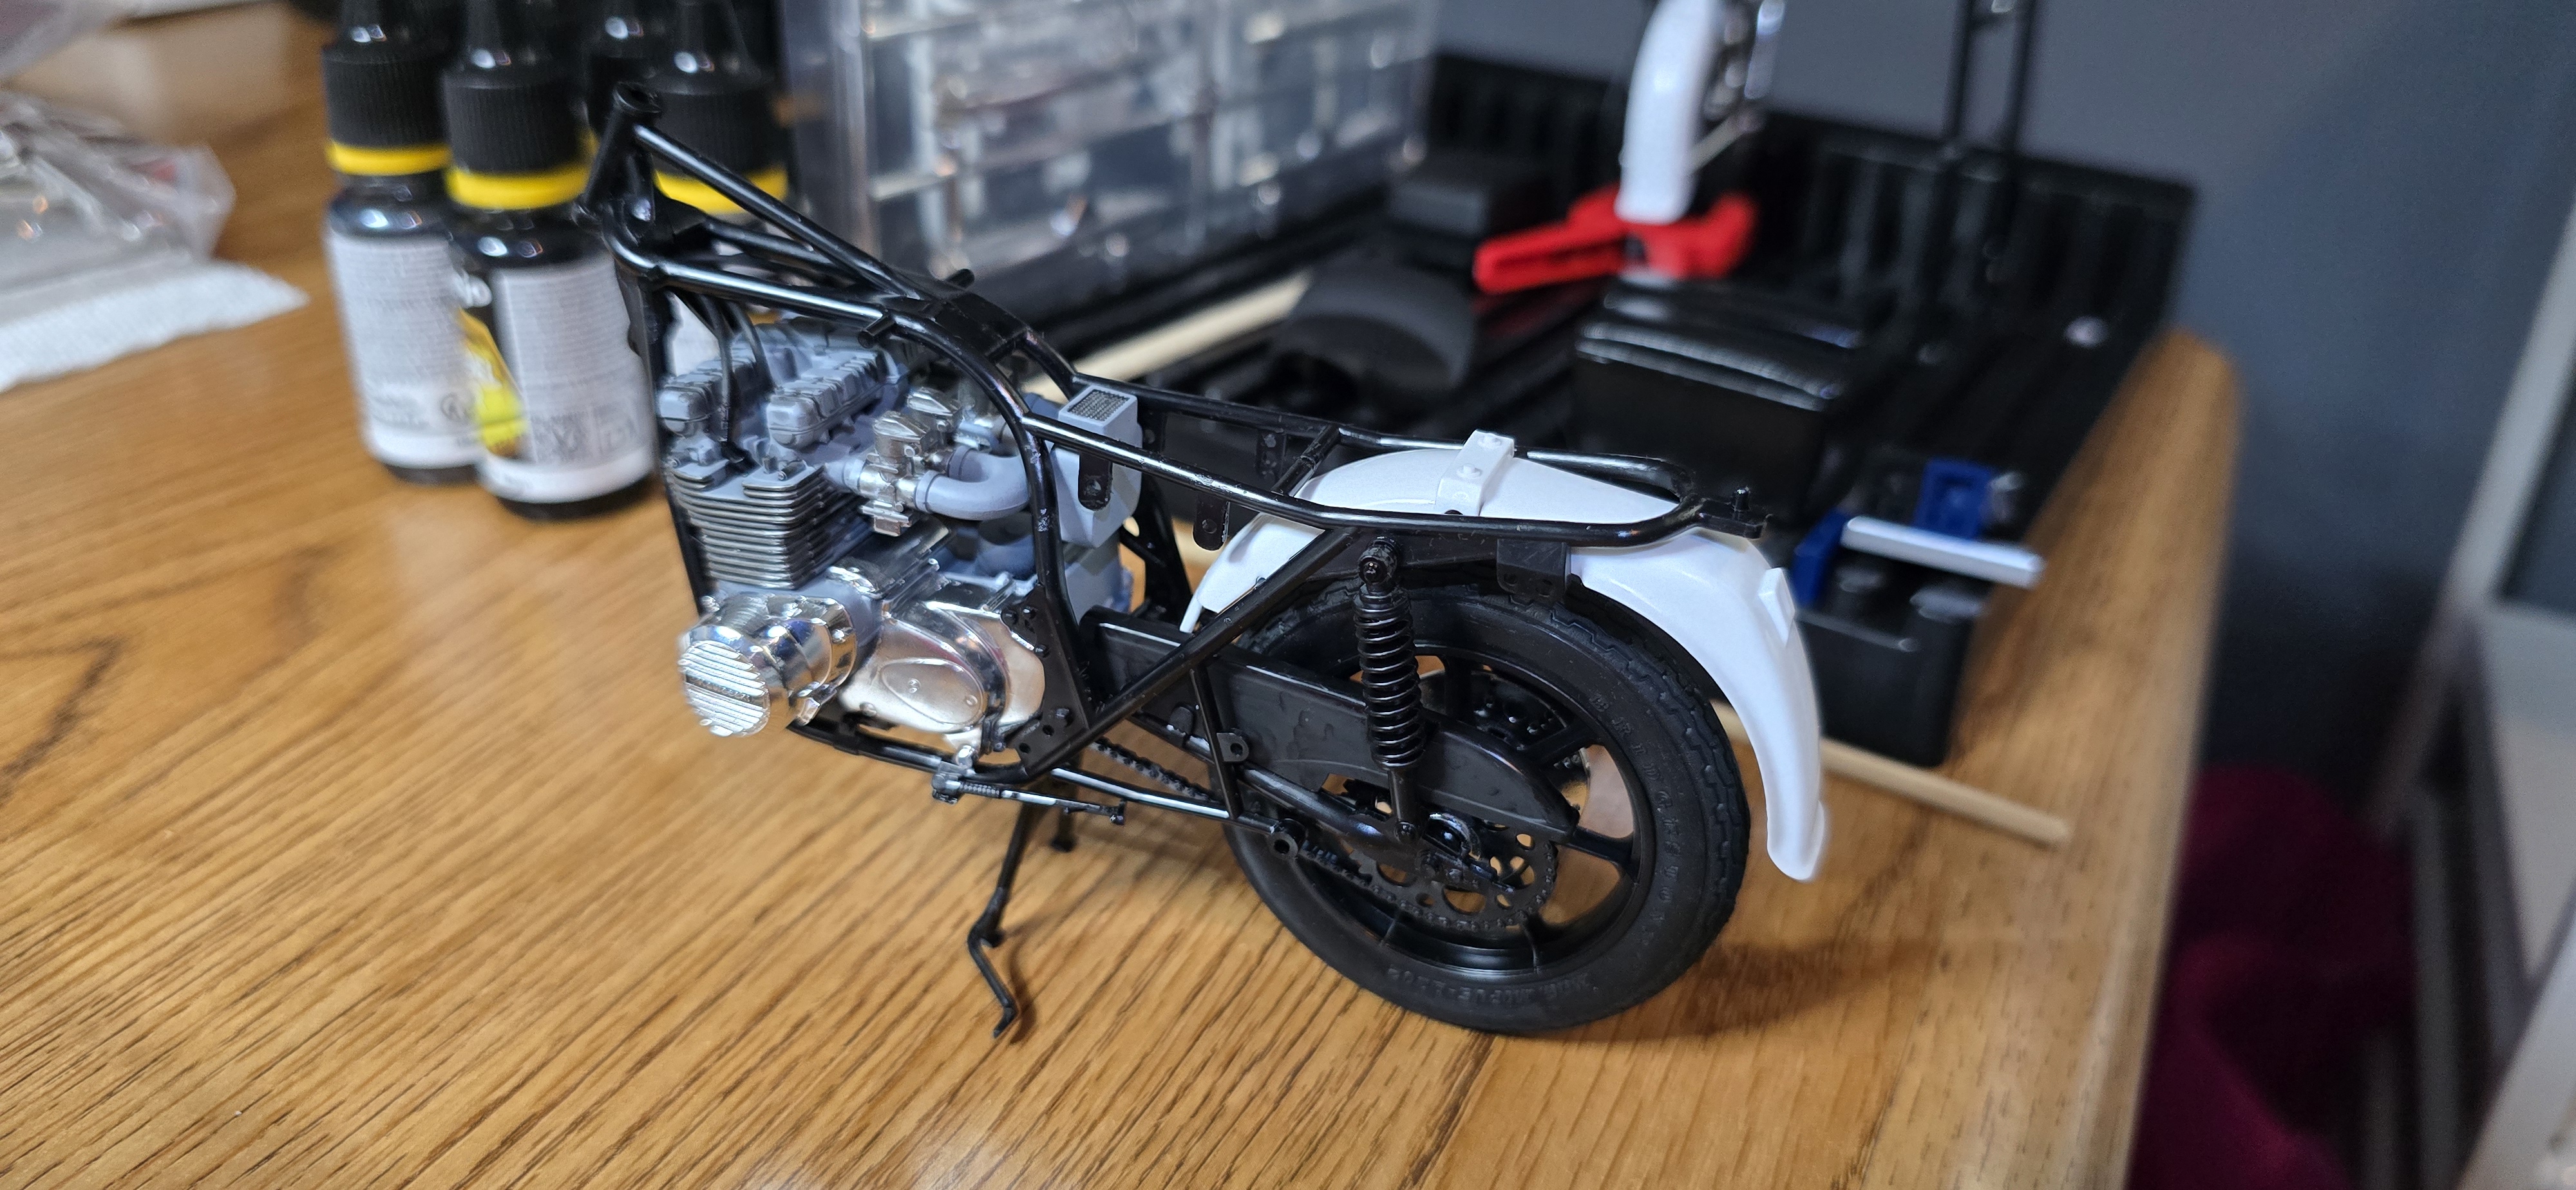
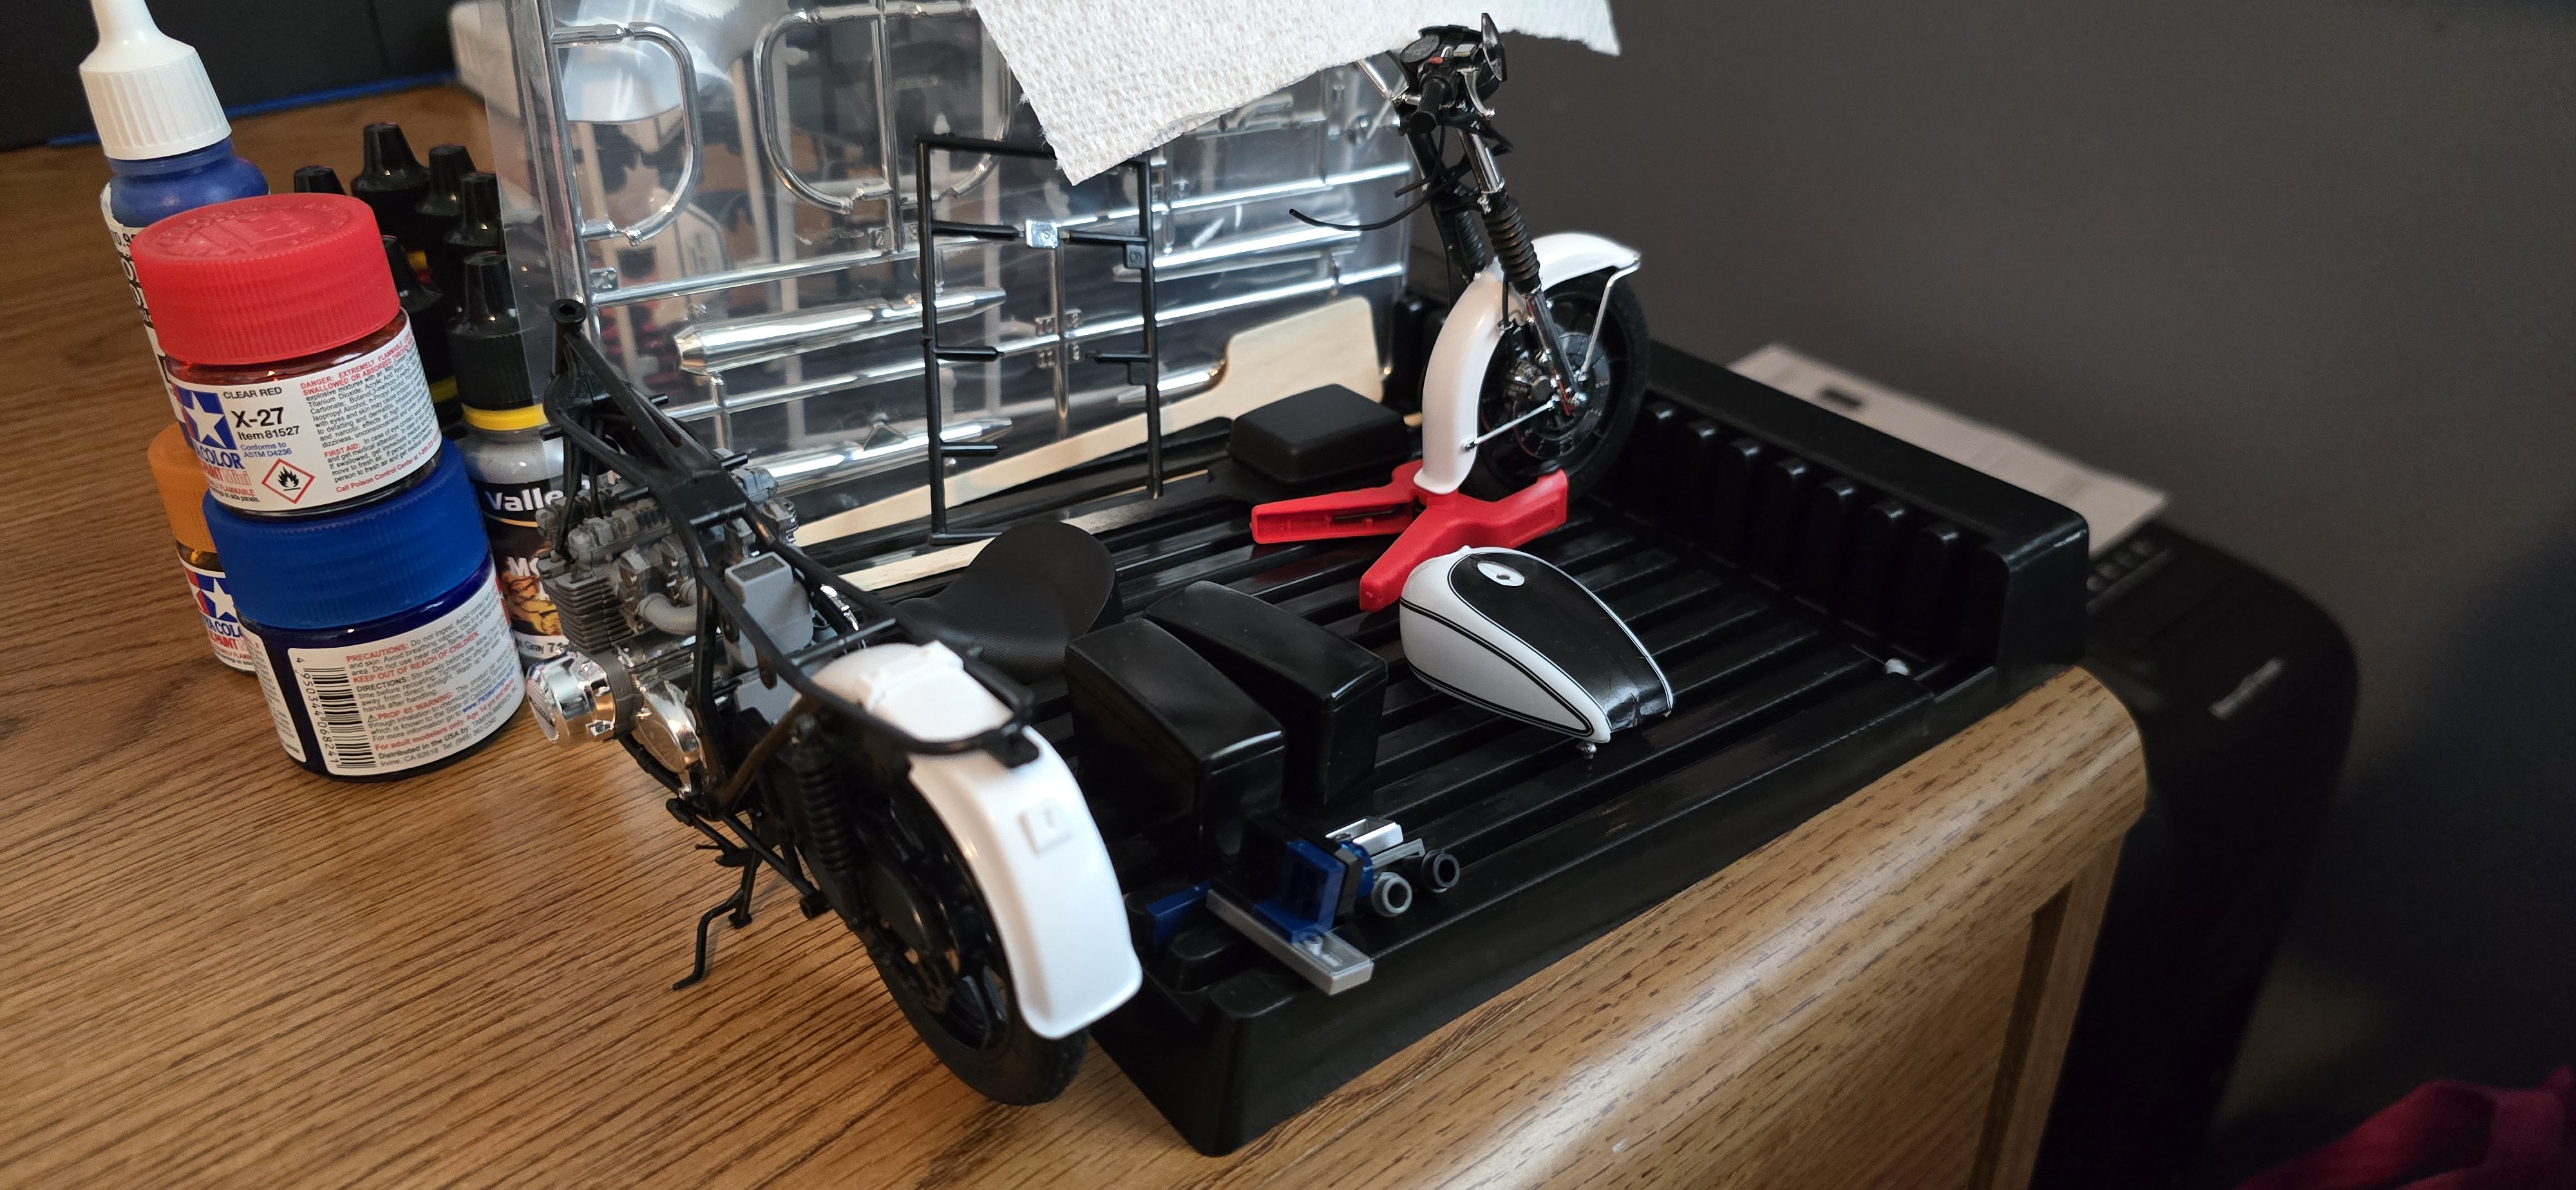
Frame and drive train are assembled, now down to details and moving along.
20260416_095845.jpg
20260416_095849.jpg
20260416_112019.jpg
 
Cool! I have one of these in the "stash", but it's the CHP "Chips" version. Saw it and was a I HAVE TO purchase… So was the '74 H-D(AMX) NYPD Hwy bike, my friends dad rode one out of the Yonkers garage in the 60's-70's, as did my uncle for Nassau County, straight out of the Academy in the early ish 70's…
But I'm not a bike builder, struggling with what I thought was the easiest one in my "stash", the Tamiya Honda CR250… got to learn somewhere though…
 
Cool! I have one of these in the "stash", but it's the CHP "Chips" version. Saw it and was a I HAVE TO purchase… So was the '74 H-D(AMX) NYPD Hwy bike, my friends dad rode one out of the Yonkers garage in the 60's-70's, as did my uncle for Nassau County, straight out of the Academy in the early ish 70's…
But I'm not a bike builder, struggling with what I thought was the easiest one in my "stash", the Tamiya Honda CR250… got to learn somewhere though…
I'm not a bike builder either- This is my first. Saw it on Ebay and "had to" buy and build it. The kit includes multiple model/options, with the late 70's early 80's CHP version available. I prefer the fairing models, as I rode one myself, late 90's to early 2000. I'm trying to make it at least resemble mine.
The technology changed, and I'm trying to make some of the updates, but others (such as the casings) will be retro.
It's challenging- but fun.
Hope you share your build with us too- I learned a bit on this one, not sure I'll do another bike, but who knows?
 
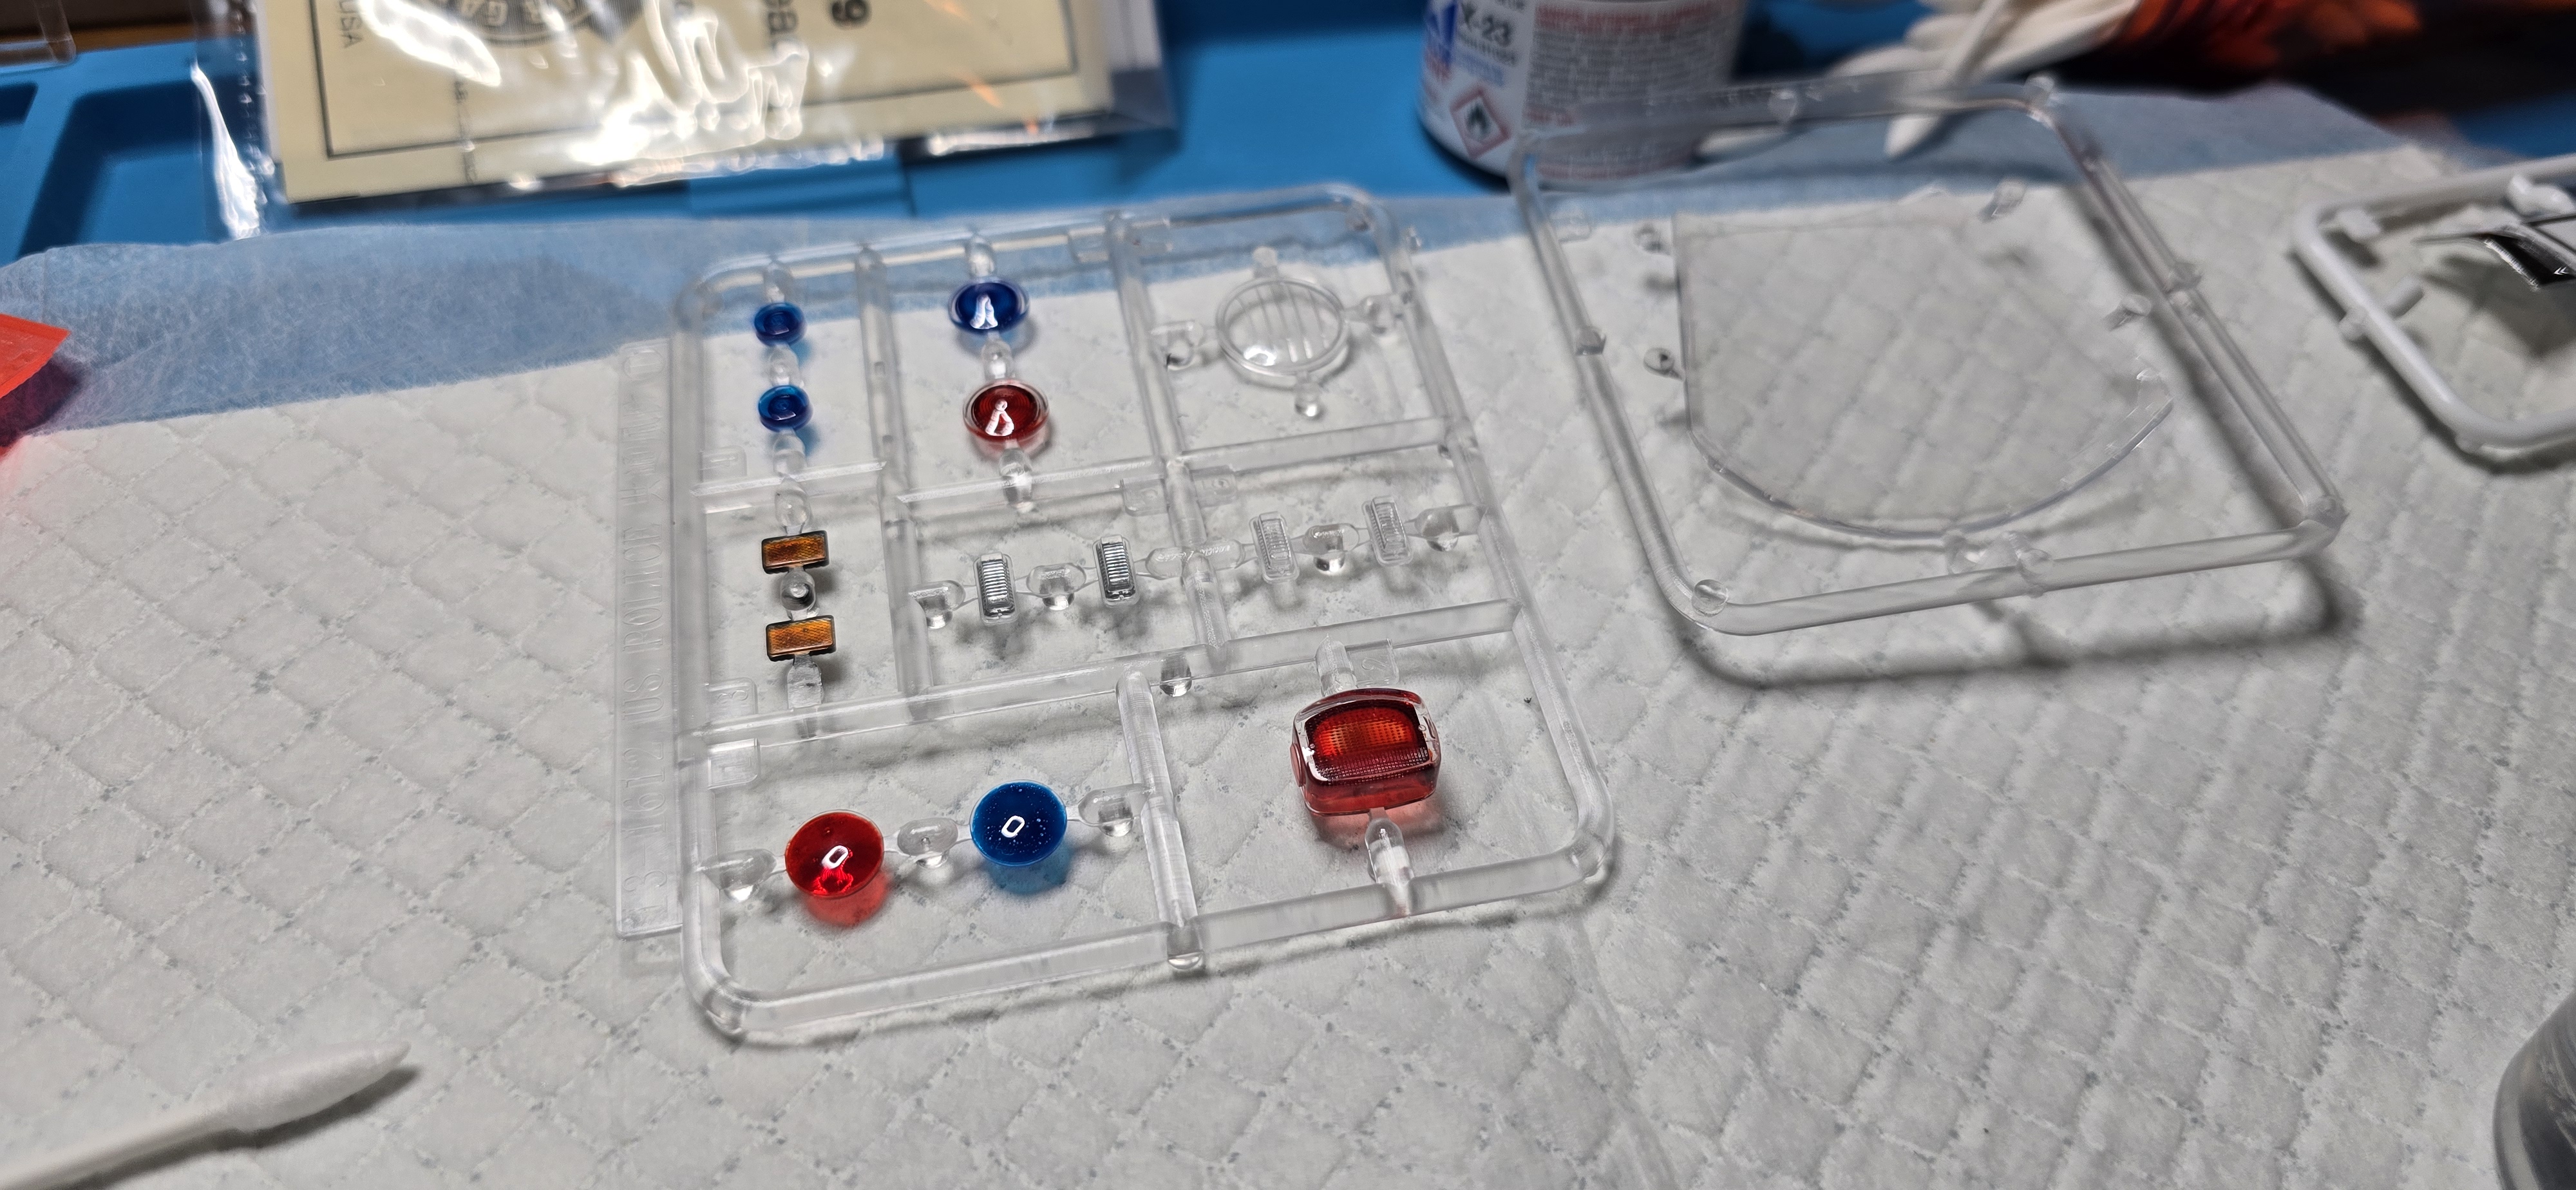
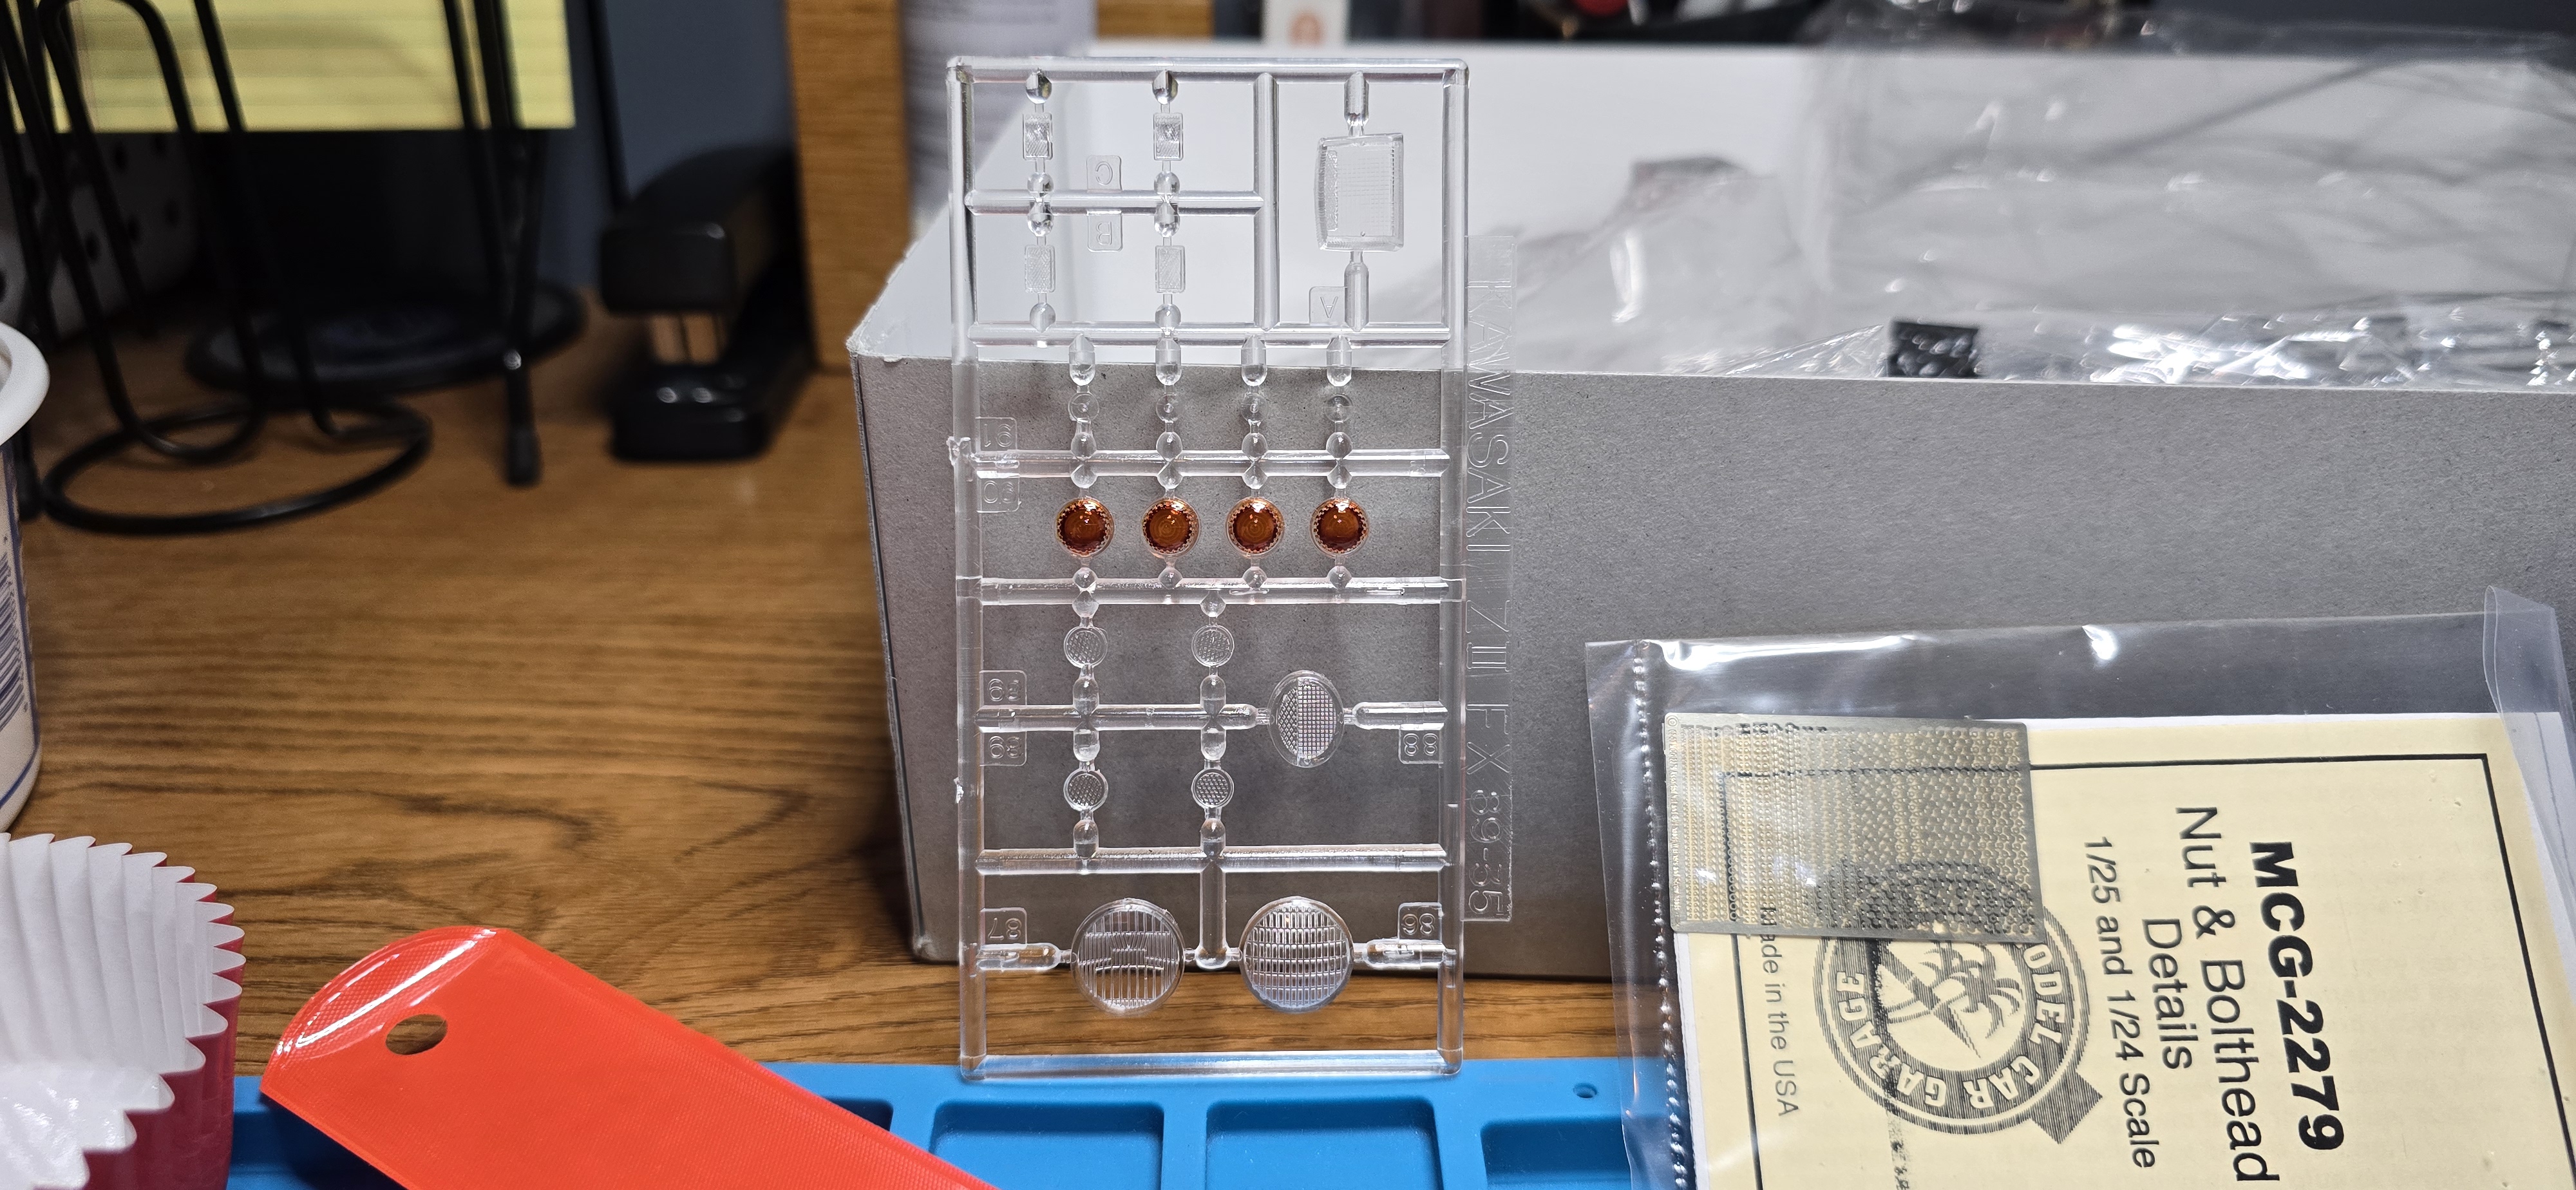
Spent the morning painting all the lights, both Japanese kits i have done had clear plastic, no clear color molded.
Painted the inside of all emergency lights.
I also want to try and make the strobe lights, one red/blue on the rear, and clear "intersection clearance" on the highway bars.
Used my sonic knife to cut some clear and trying to paint the dual colors. I'll see how it progresses.
1000010094.jpg
1000010095.jpg
1000010096.jpg
 
Interesting... how did that go? I know @BOATMAN would love to find a better way of dealing with lots of clear parts.
On the downside, I hear these knives are quite pricey.
The knife worked magnificently, I used it to cut a section of a surplus lighbar, leftover from a previous build.
I went through several knife models, but the one my wife found for me off Amazon has been great, cuts through everything ive used it on like butter.
Its wireless and was about 170 USD.
I'll try to find it and post a link of you're interested, its a Kniceo.
 
Here it is; https://a.co/d/04NVcDU3

I can say, mine needed to be plugged in directly to an outlet, my USB charger wasn't enough juice to charge it, (which the directions clearly state, had I read them and paid attention to the lights, LOL) and it makes no noise, until you touch it to something that you're going to cut, then you can hear the high pitch tone of the vibration. I didn't know it was on (or even working) until I touched a test piece and it literally zipped through it. I think some don't understand the sonic aspect, hence the single negative review.
 
Last edited:
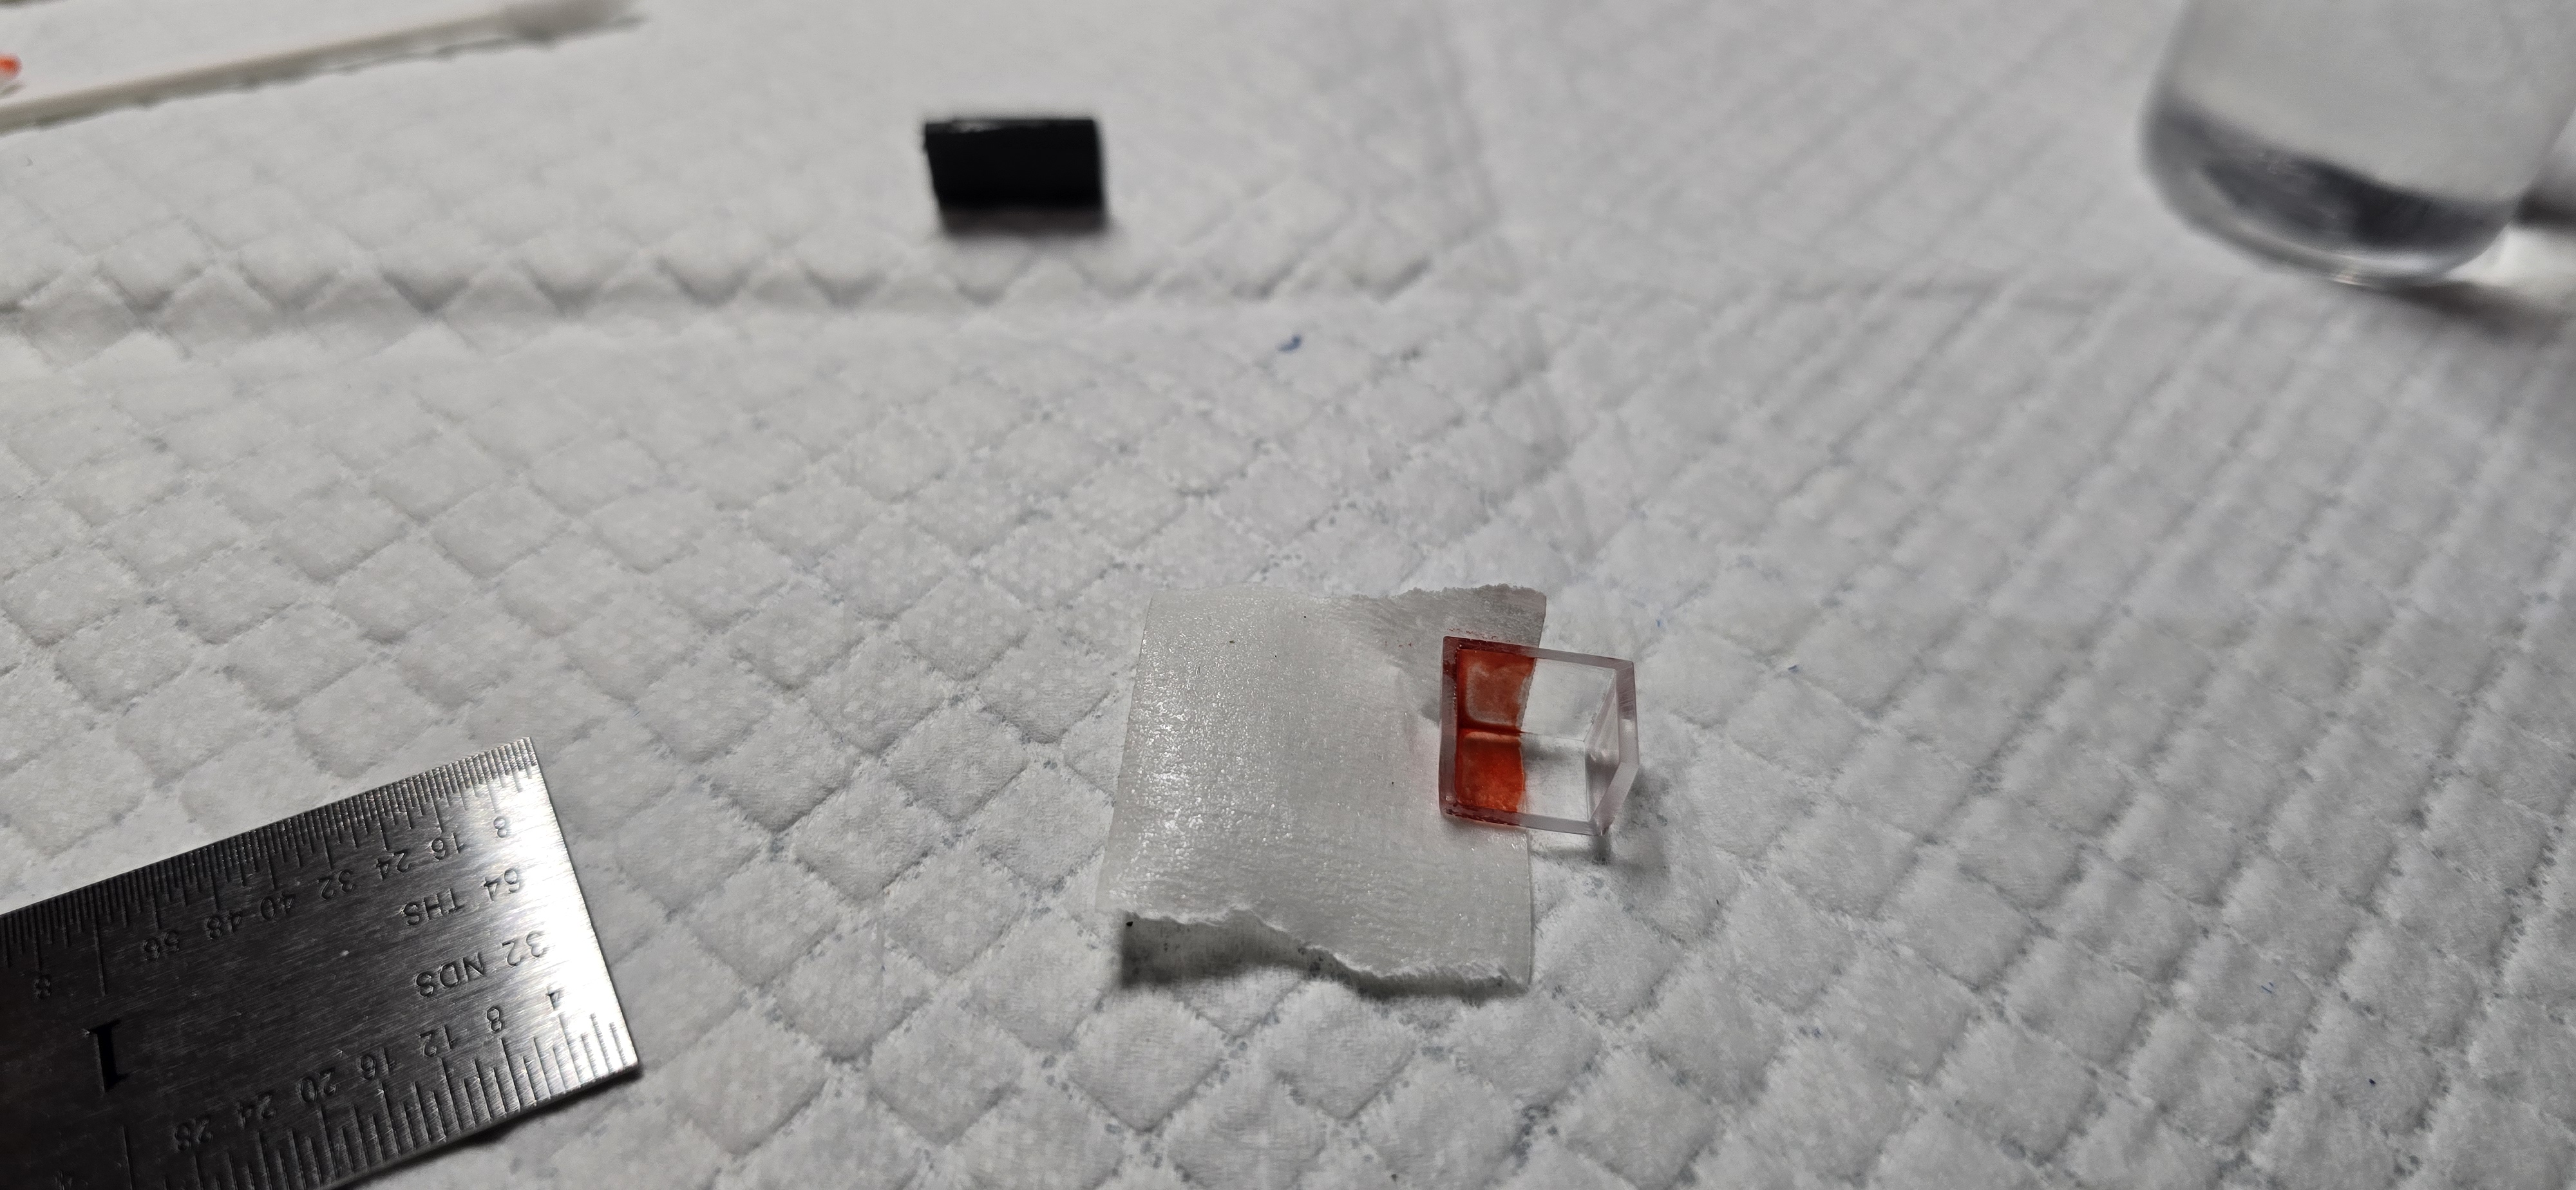
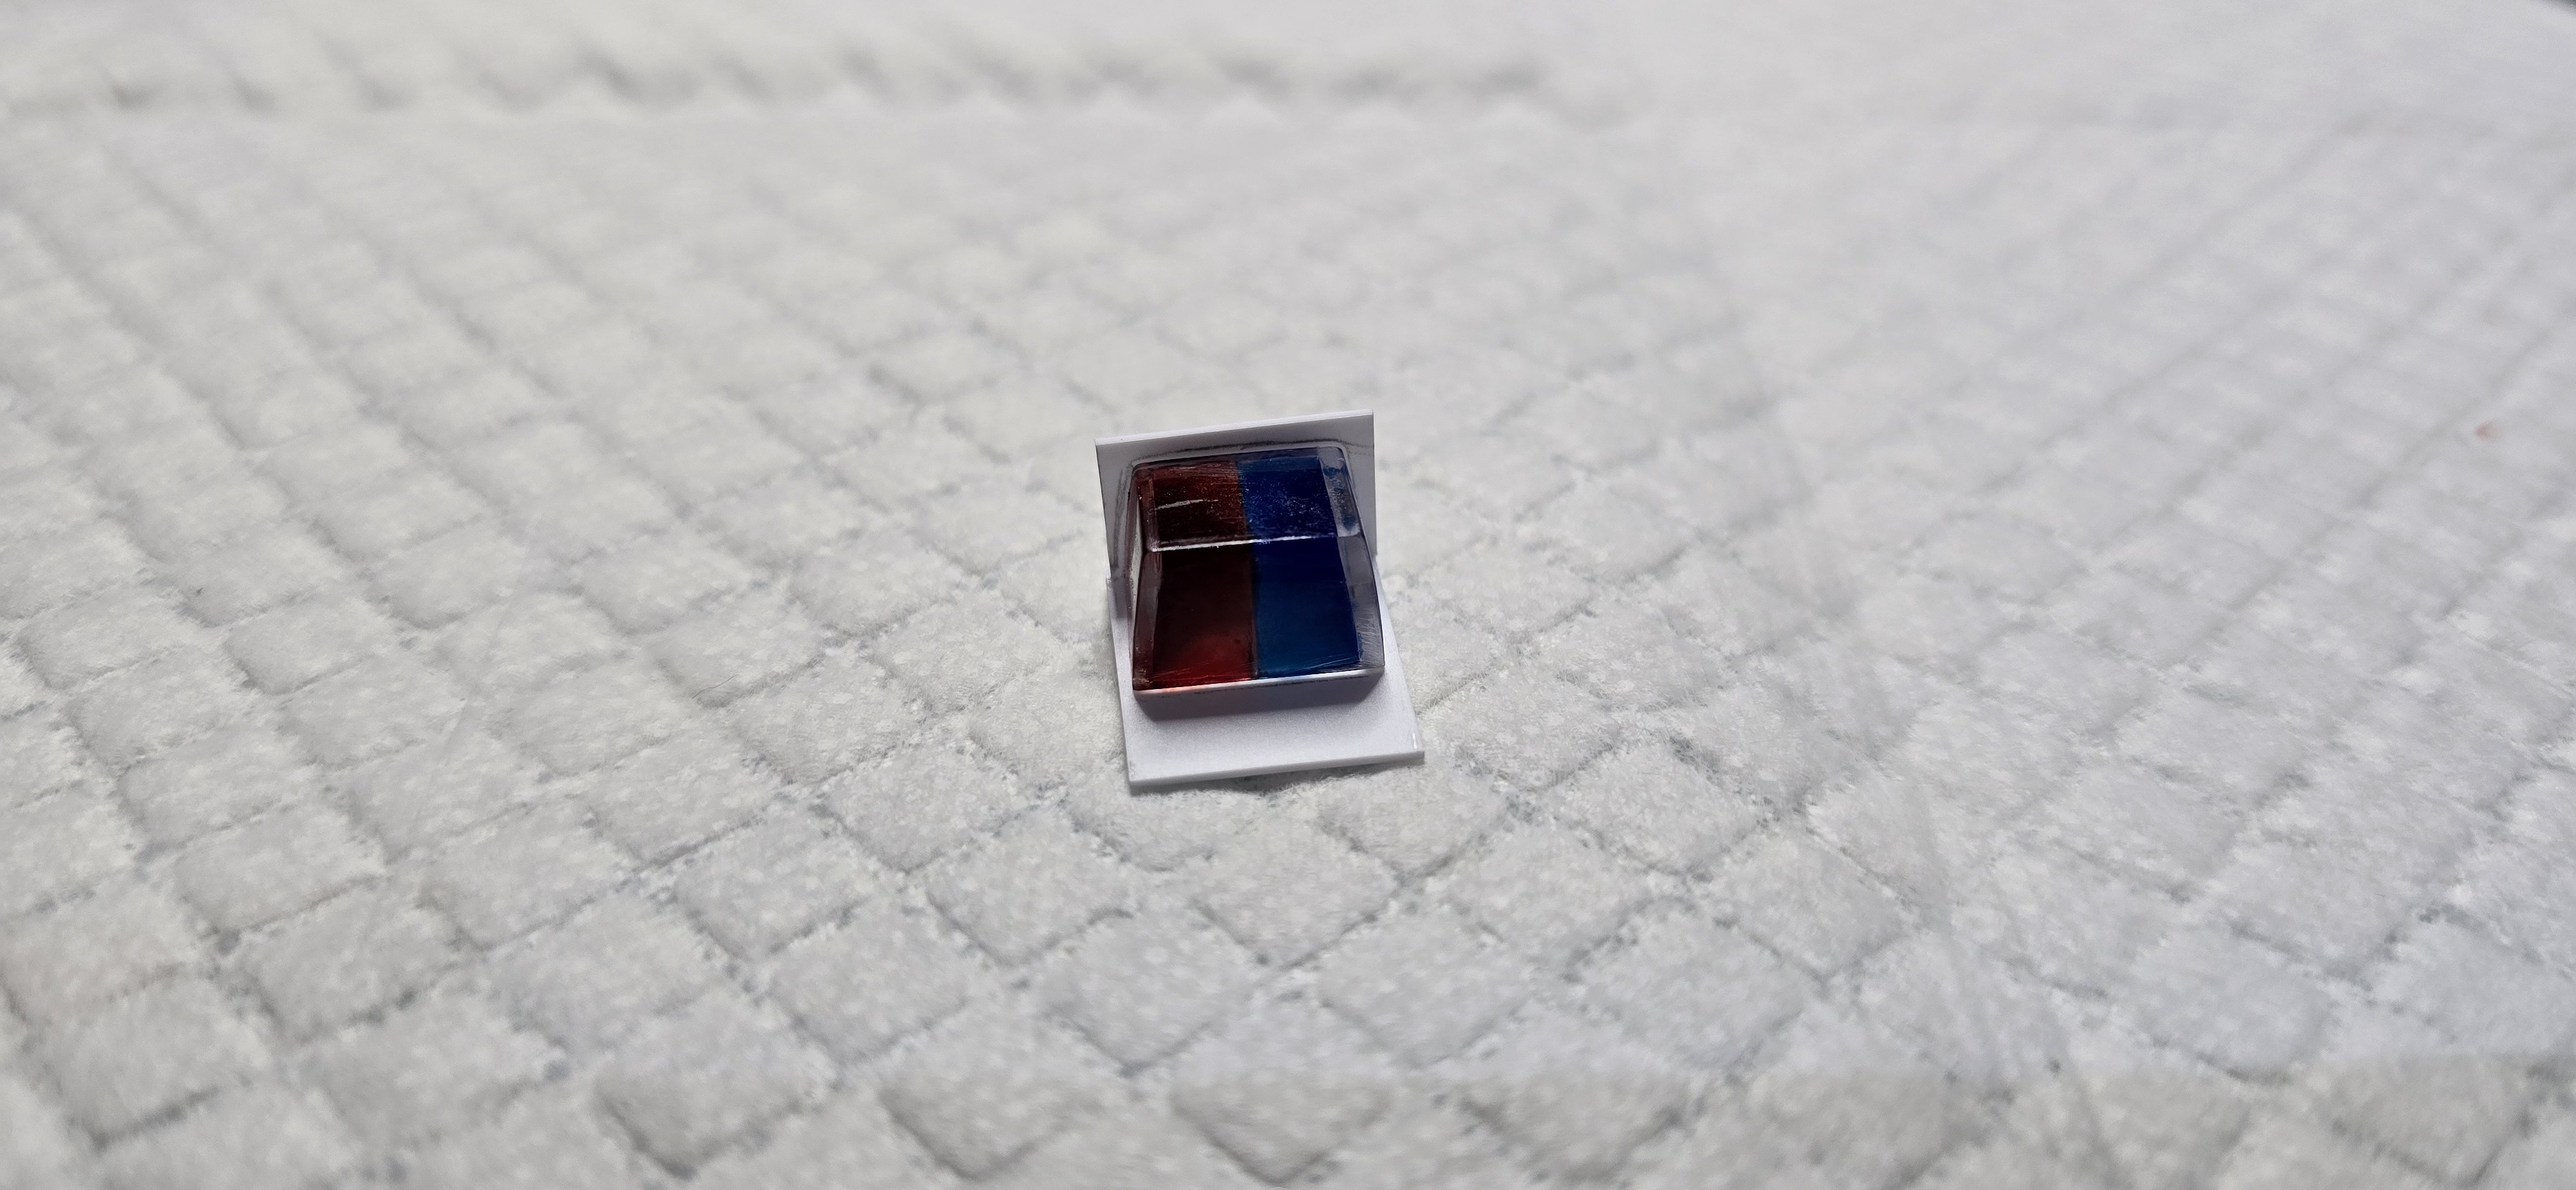
Strobe light coming along, used UV resin with clear red and blue paint for the effect. Mount is also made, (from sheet styrene).
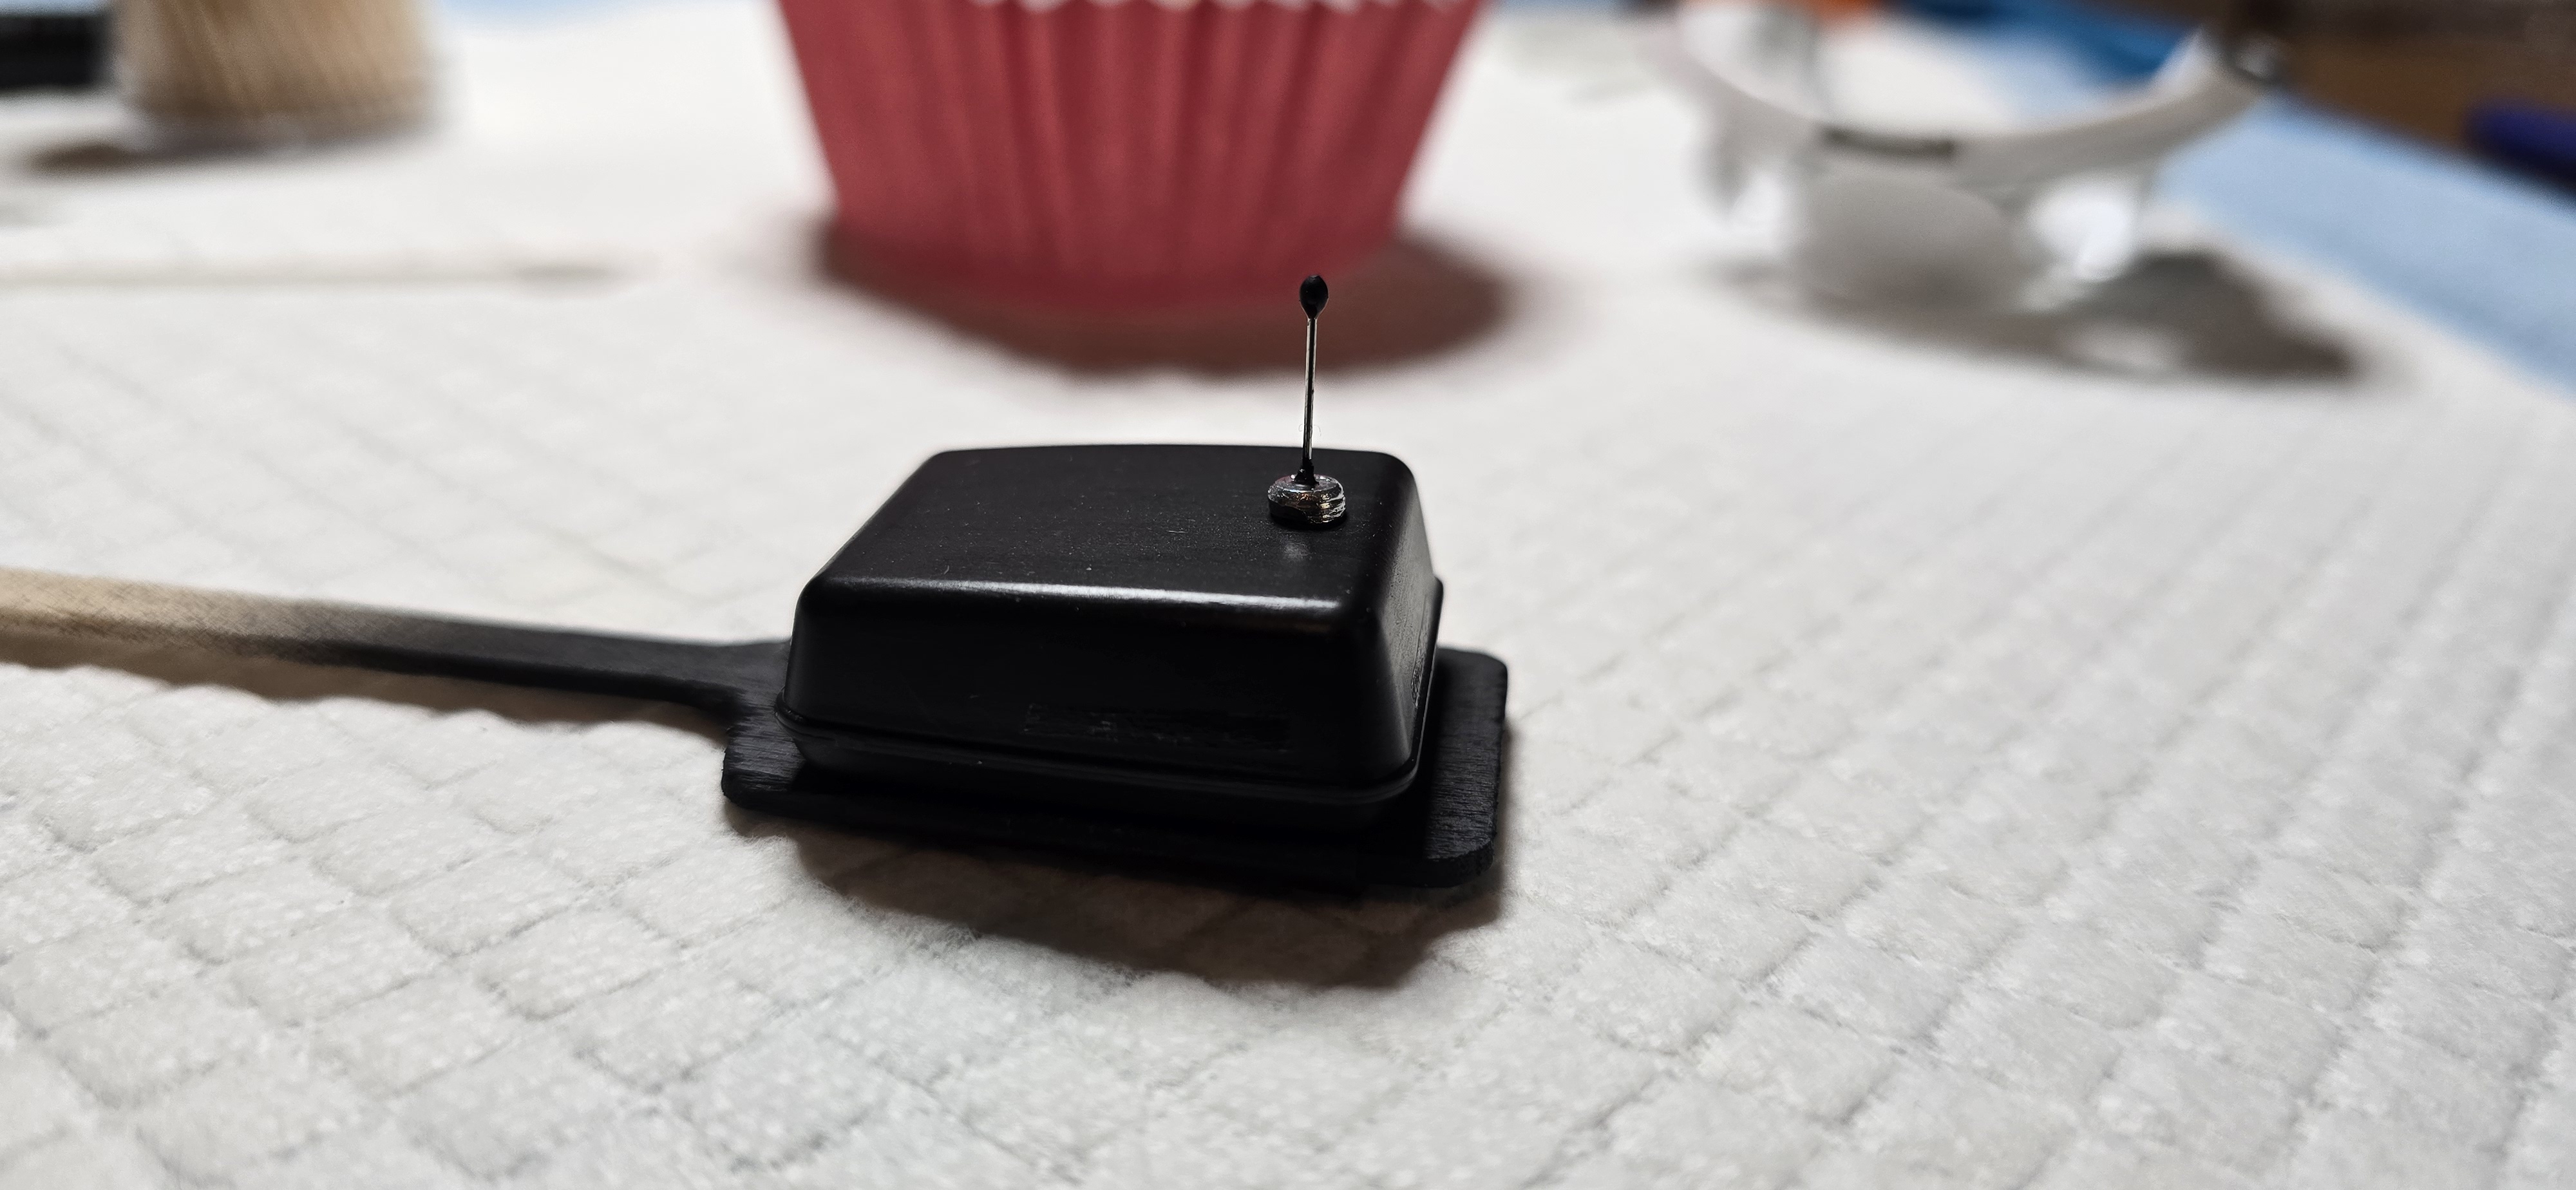
I also made a scale 800 Mhz. radio antenna for the radio box, using a sanded down alternator pulley, painted chrome/black and a .0 insect pin.
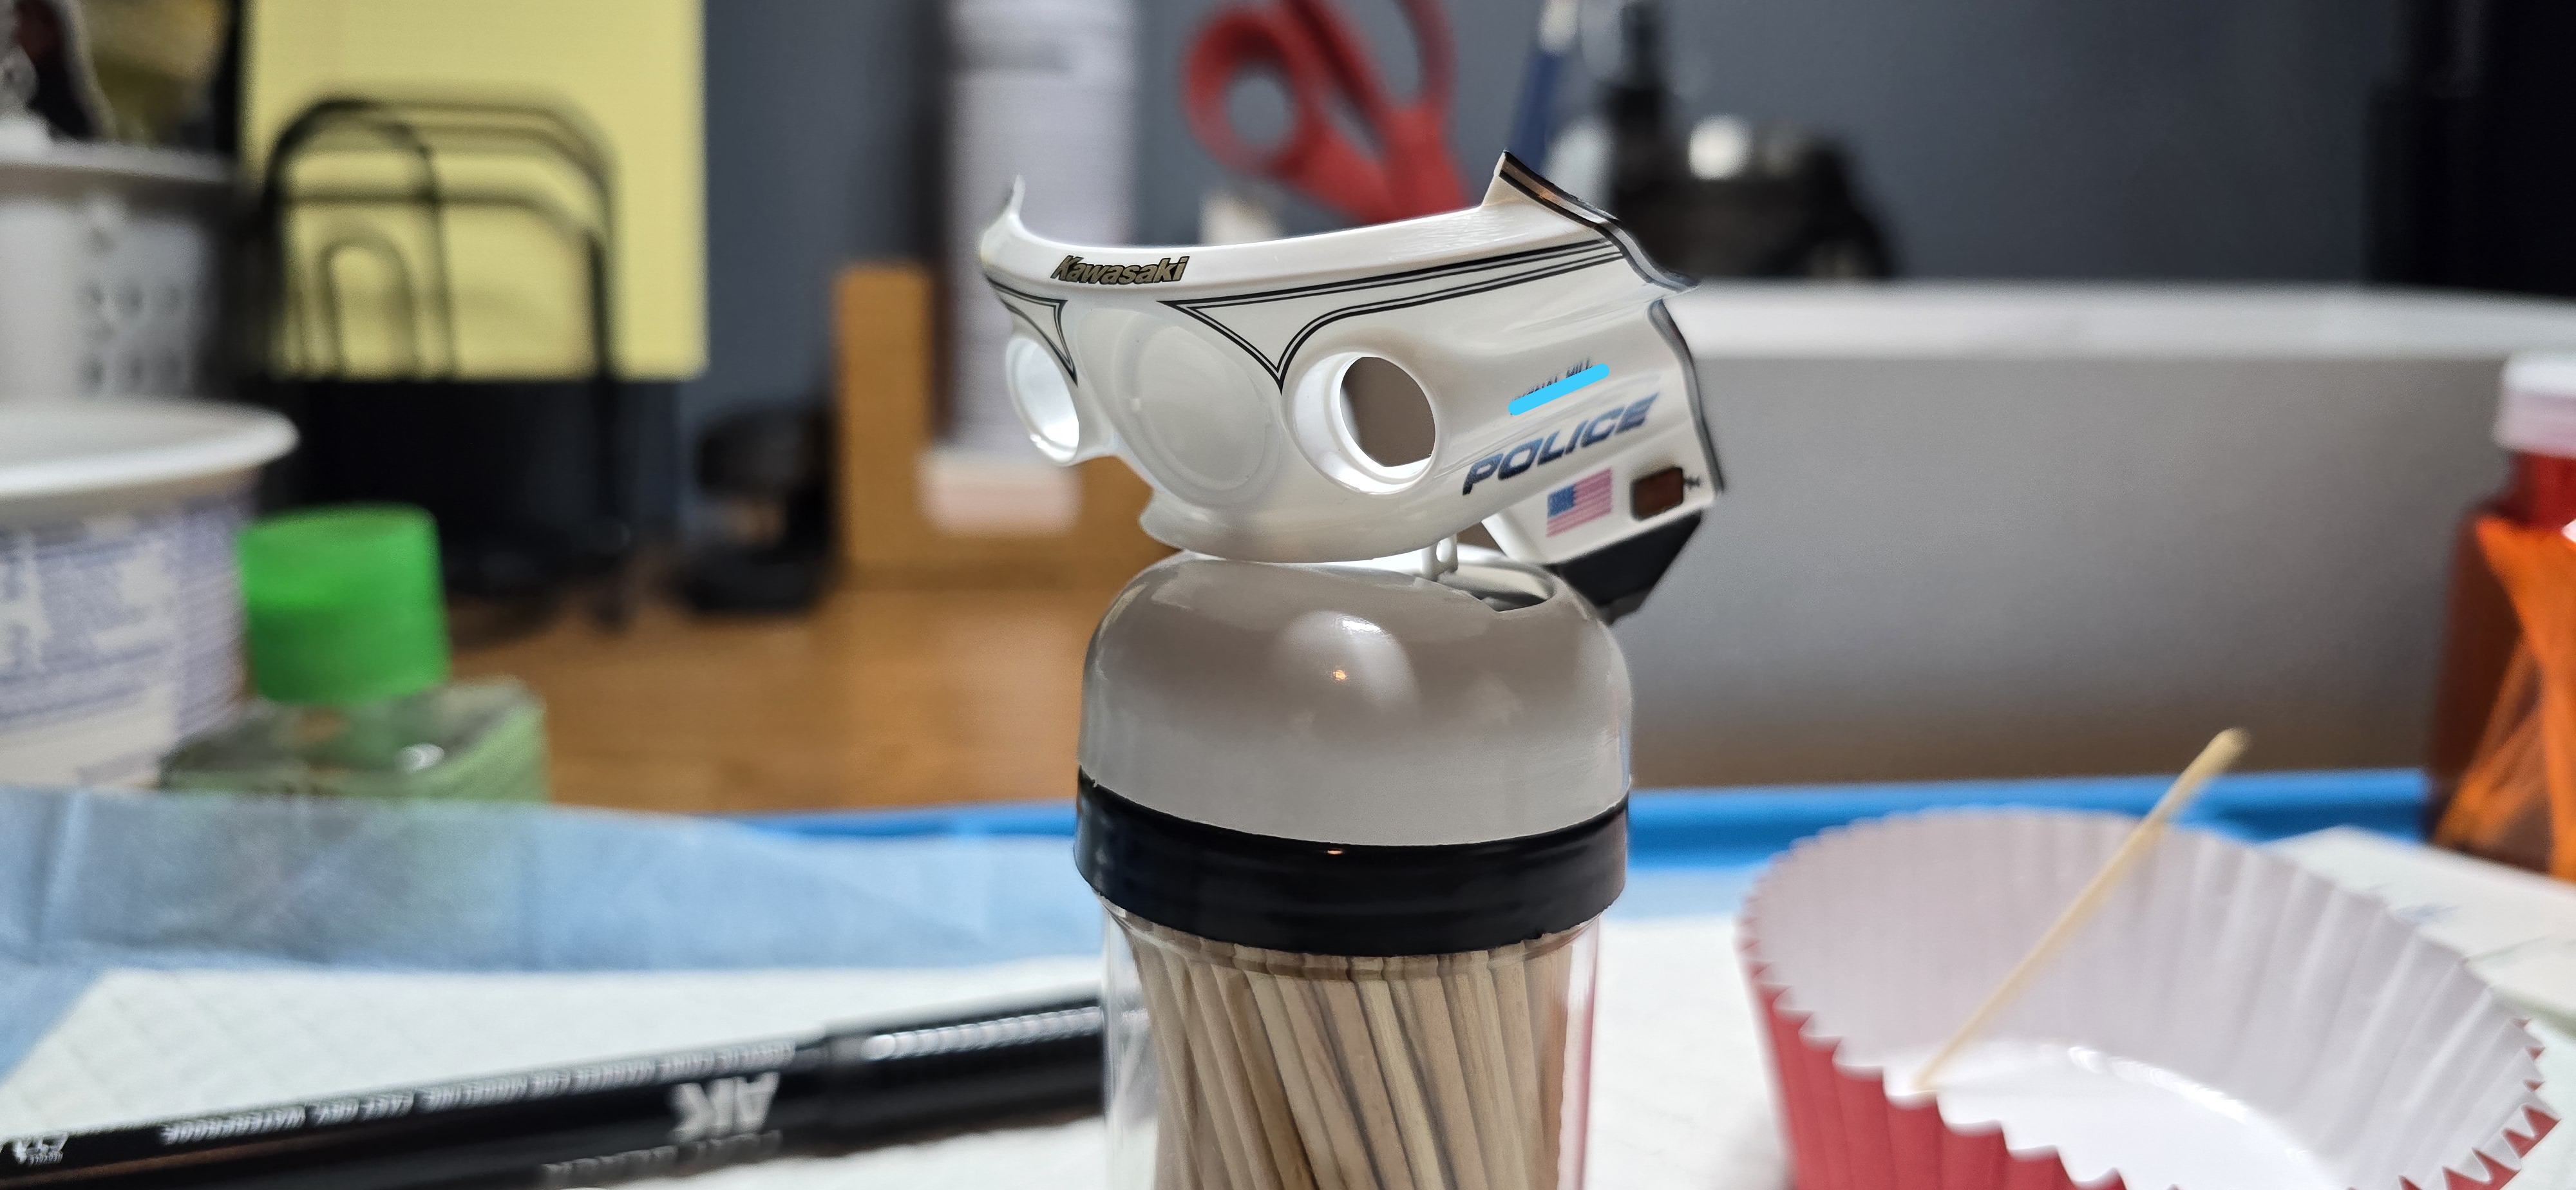
Applied the homemade decals, which look great on the fairing, but you can't see them on the radio box. Not enough or strong enough color on the decals to stand out on the box.
Moving ahead, slowly.
20260420_093152.jpg
Fairing1.JPG

20260420_112134.jpg
 
Last edited:
What? How?
In the same way one might use Kristal Klear?
I haven't used Kristal Klear- But, I can never seem to get an even coat inside clear, unless multiple coats over multiple days, which took too long. I've also never used the AB to apply it, someday, maybe. But I figured, let's try mixing the UV with the clear Tamiya Acrylic. The "strobe" is the cut end of the surplus light bar. Inside of it, I masked it, mixed blue with UV Resin, (it doesn't combine, so I'd mix, add it, set it with UV light, rinse, repeat, etc.
I added a tiny amount of clear on the masking tape, to ensure no bleed, it's pretty thick, but I wanted a crisp line. I did 3 applications, ensuring I'd UV both sides. Remove the tape, did the red side and this is the results. Inside, it looks like a massive blob of color- but from the outside, a nice, even crisp dual color strobe light, or approximation of said item.
 
But I figured, let's try mixing the UV with the clear Tamiya Acrylic
Nice. Thanks for the run through!
I've never used UV resin, and this application sounds like a great design solution! I'd used the KK to fill a wing light clear part, and imbedded a brass reflector and painted the backside of the 'lamp' with AK aluminum.
As you surmised, it did take a while for successive coats of the KK to dry and clear, essentially white glue used for windows and canopies.
Now I have a new material and technique to try out down the road! :cool:
 
A few more hours this morning.
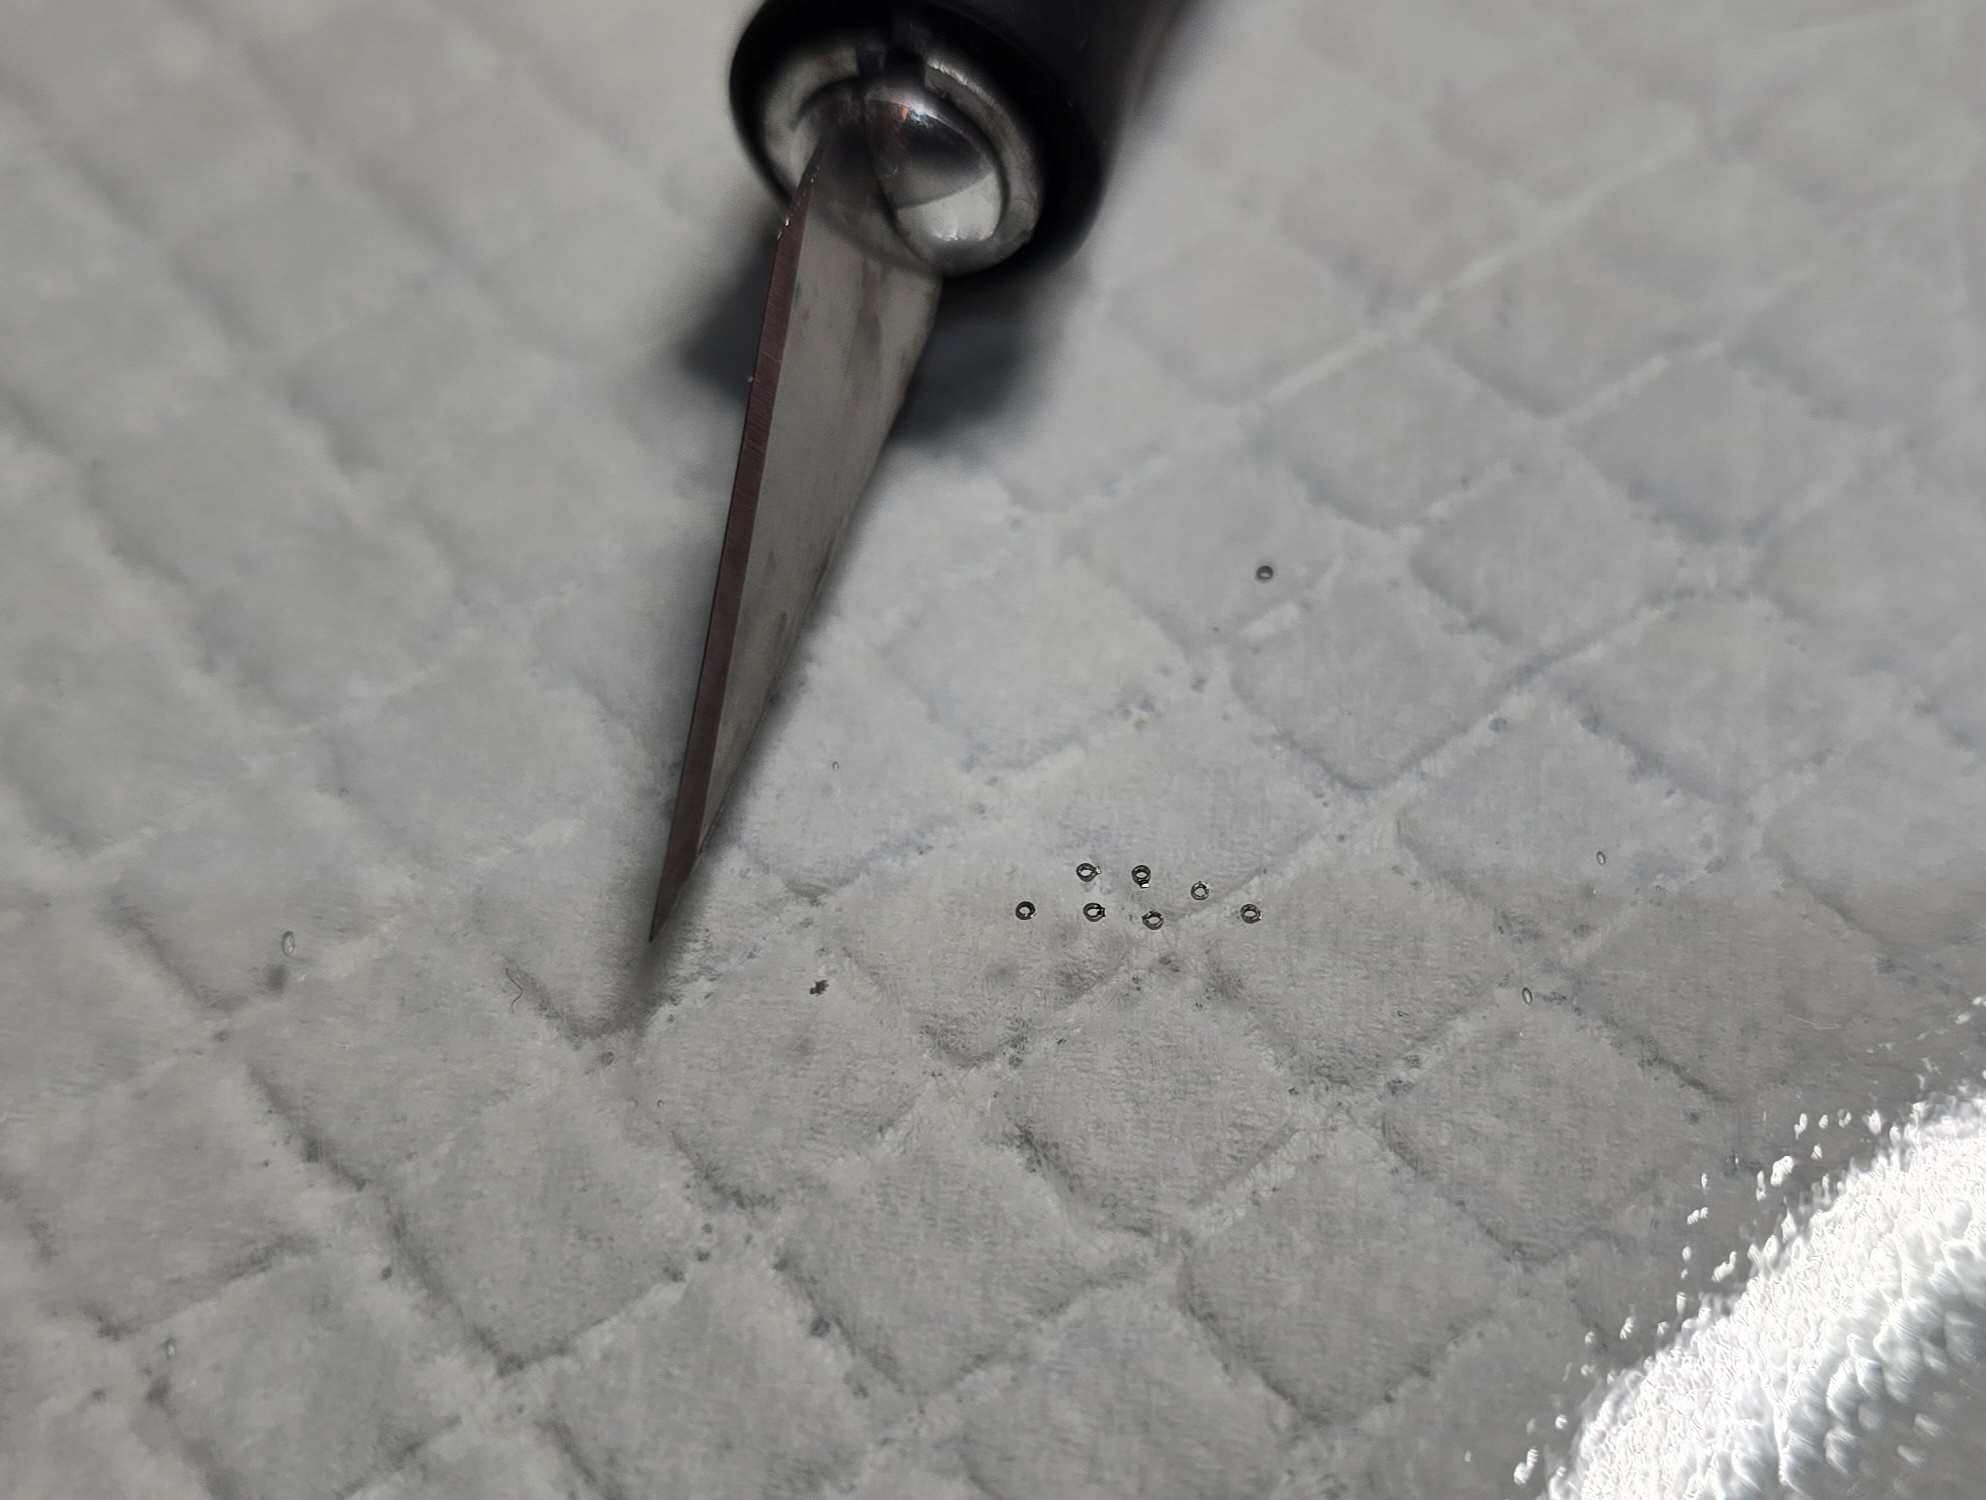
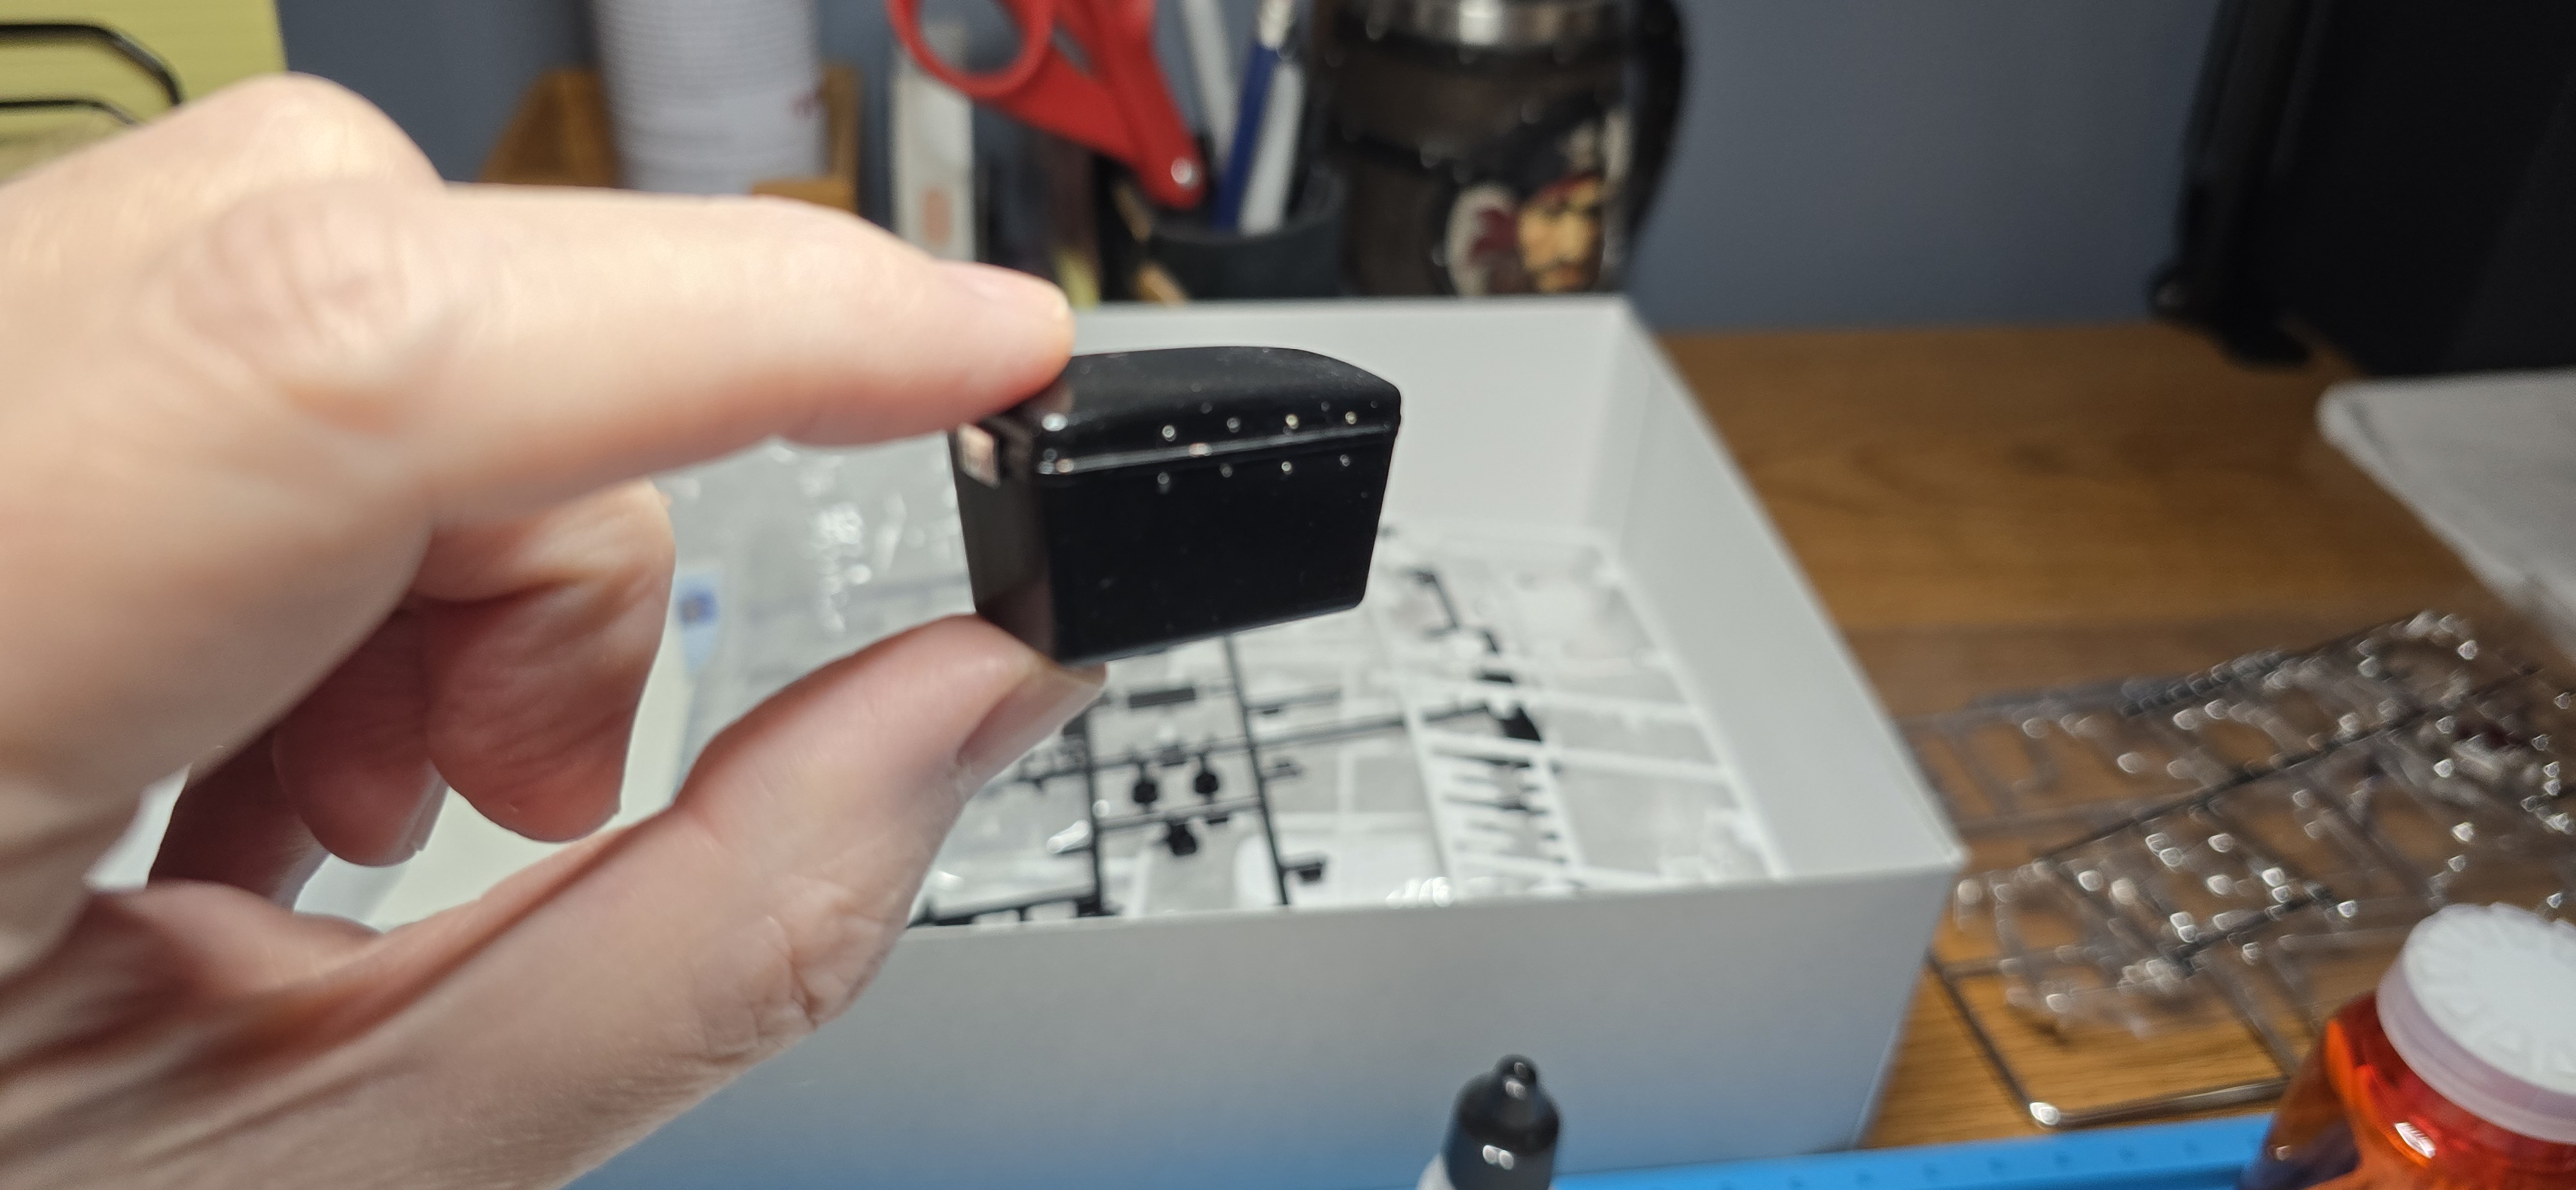
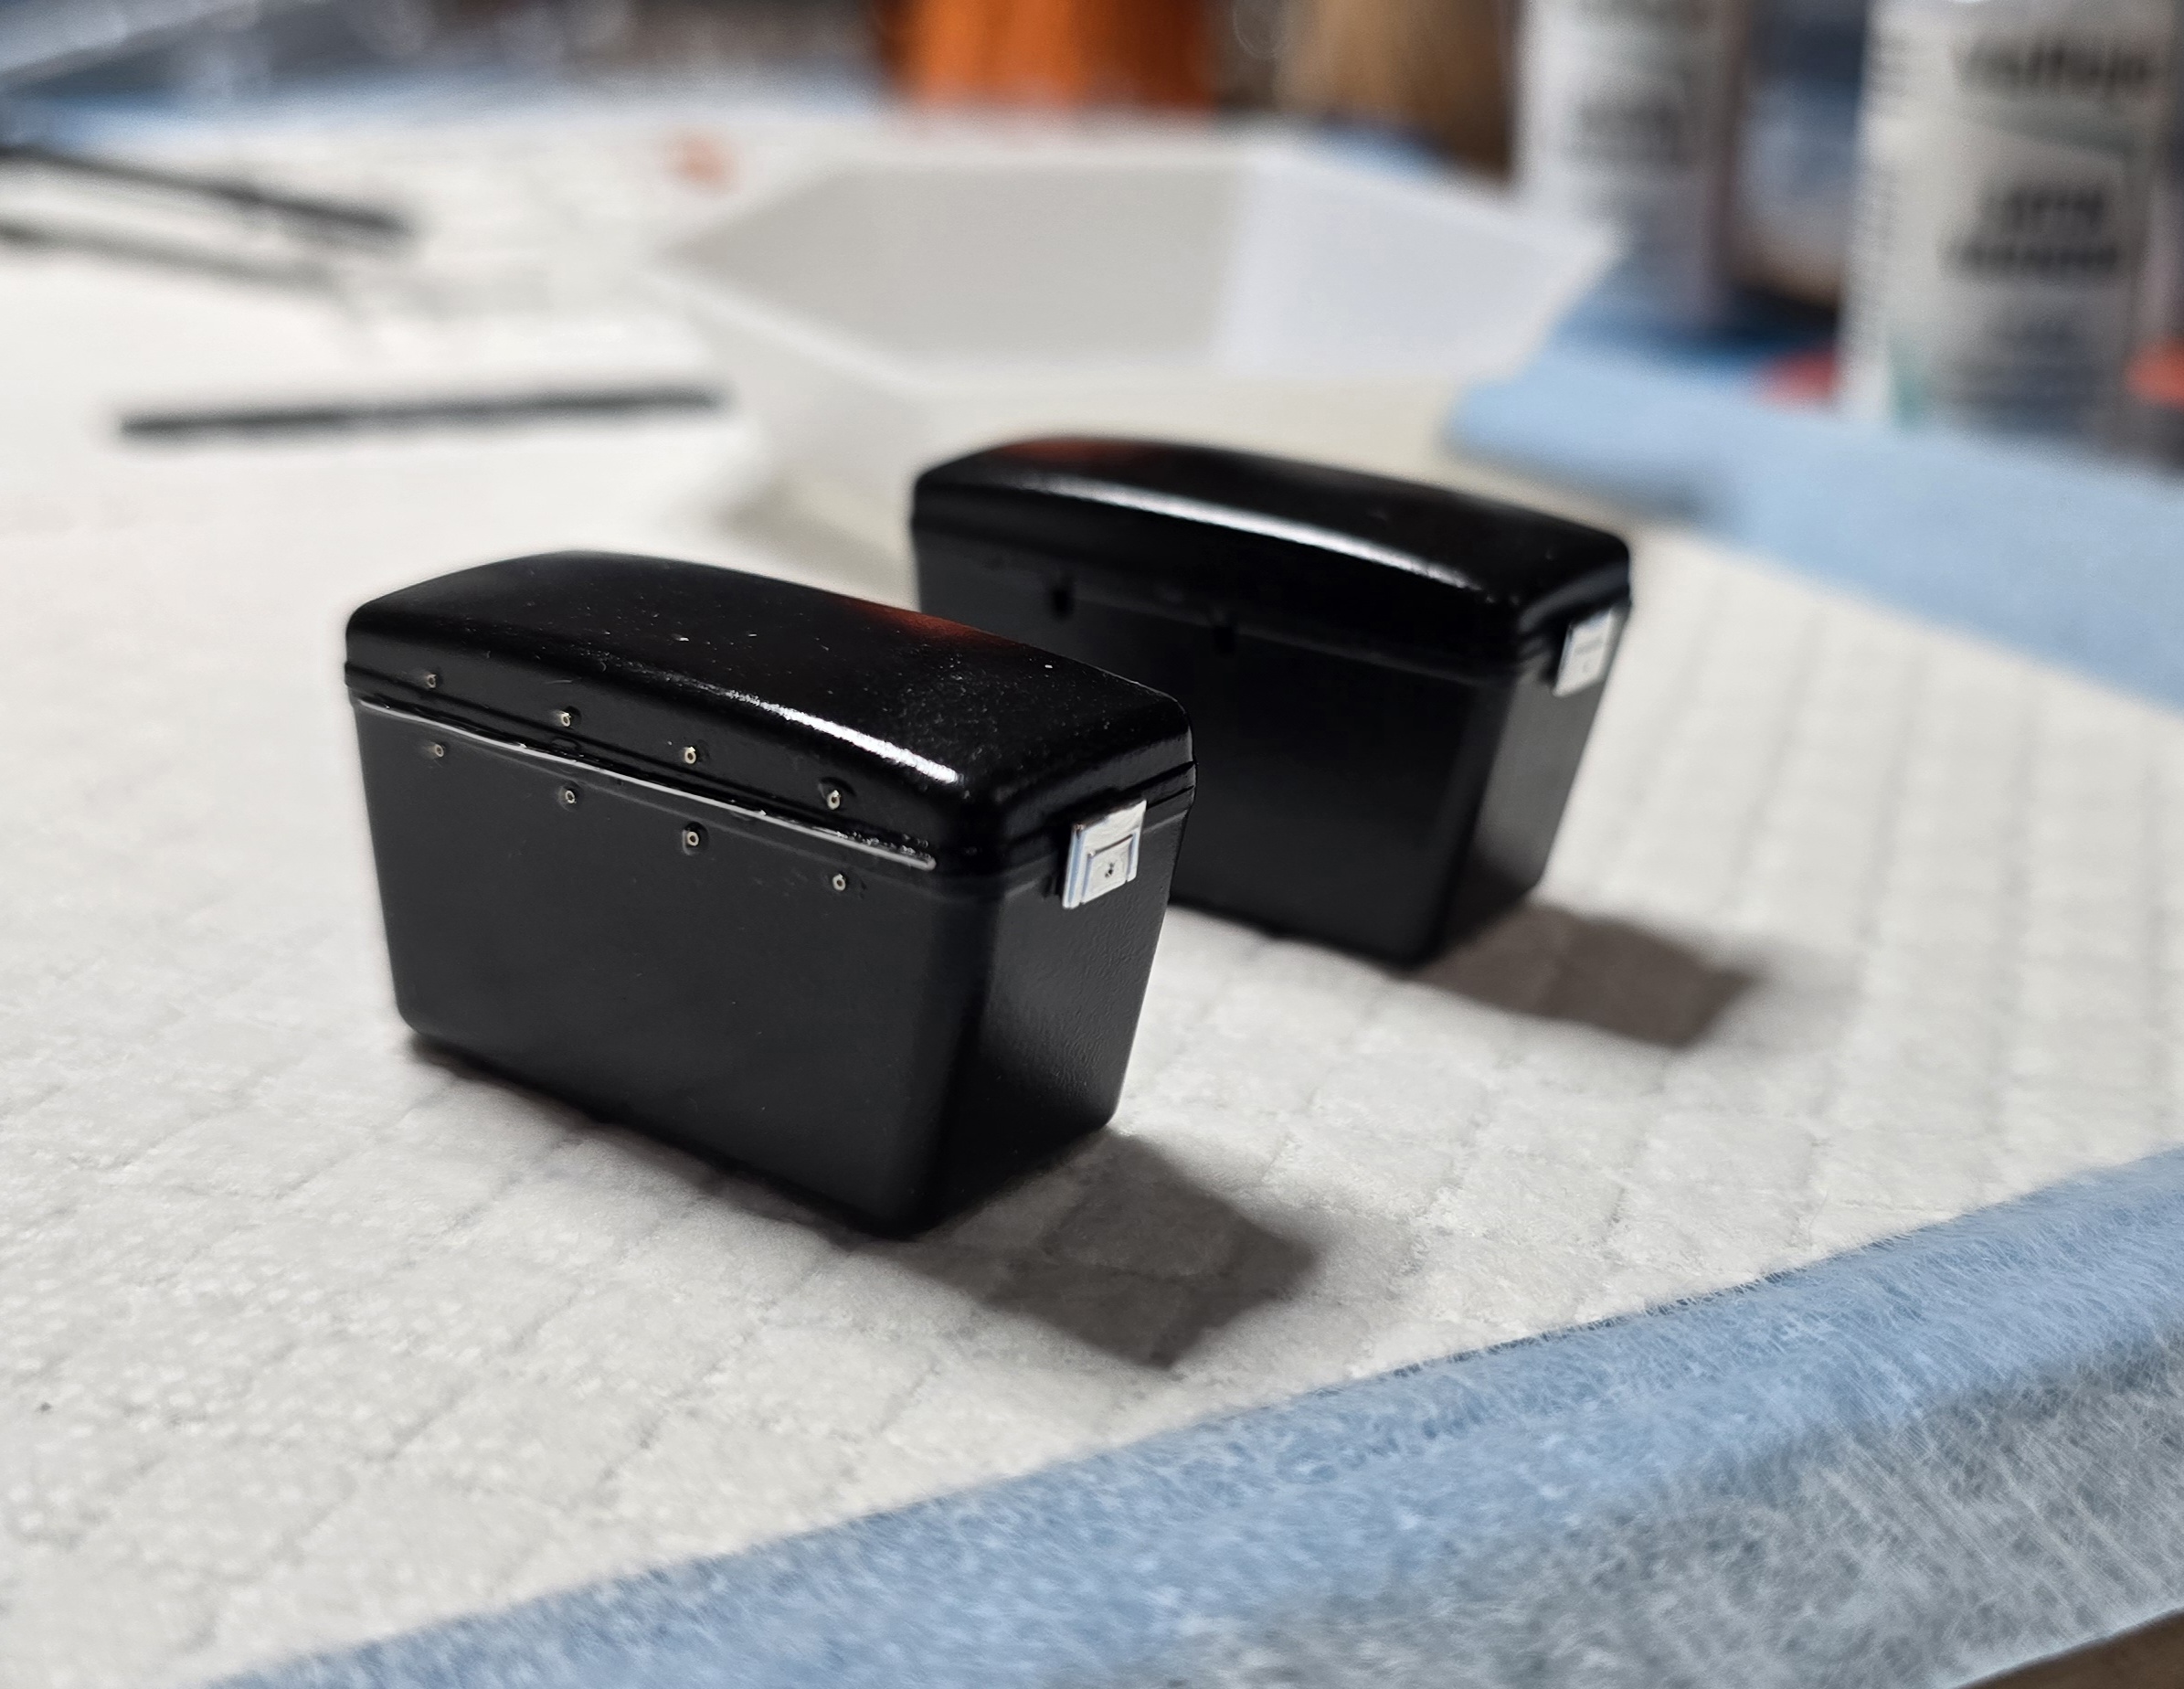
I wanted to try and make the hard saddlebags a bit more realistic. I used some 1/24 scale washers and a piece of wire to appear more like the piano hinge on the bags. Rather than fight (and lose) with CA glue, I used a speck of gloss varnish to affix the minute "rivets", (thanks again for the suggestion uromomo). There are actually around 16 or so rivets on top and bottom of the hinge, but frankly, with the size of these things, I figured 8 was enough- Like the 70's TV Sitcom, for those of us old enough to remember it.
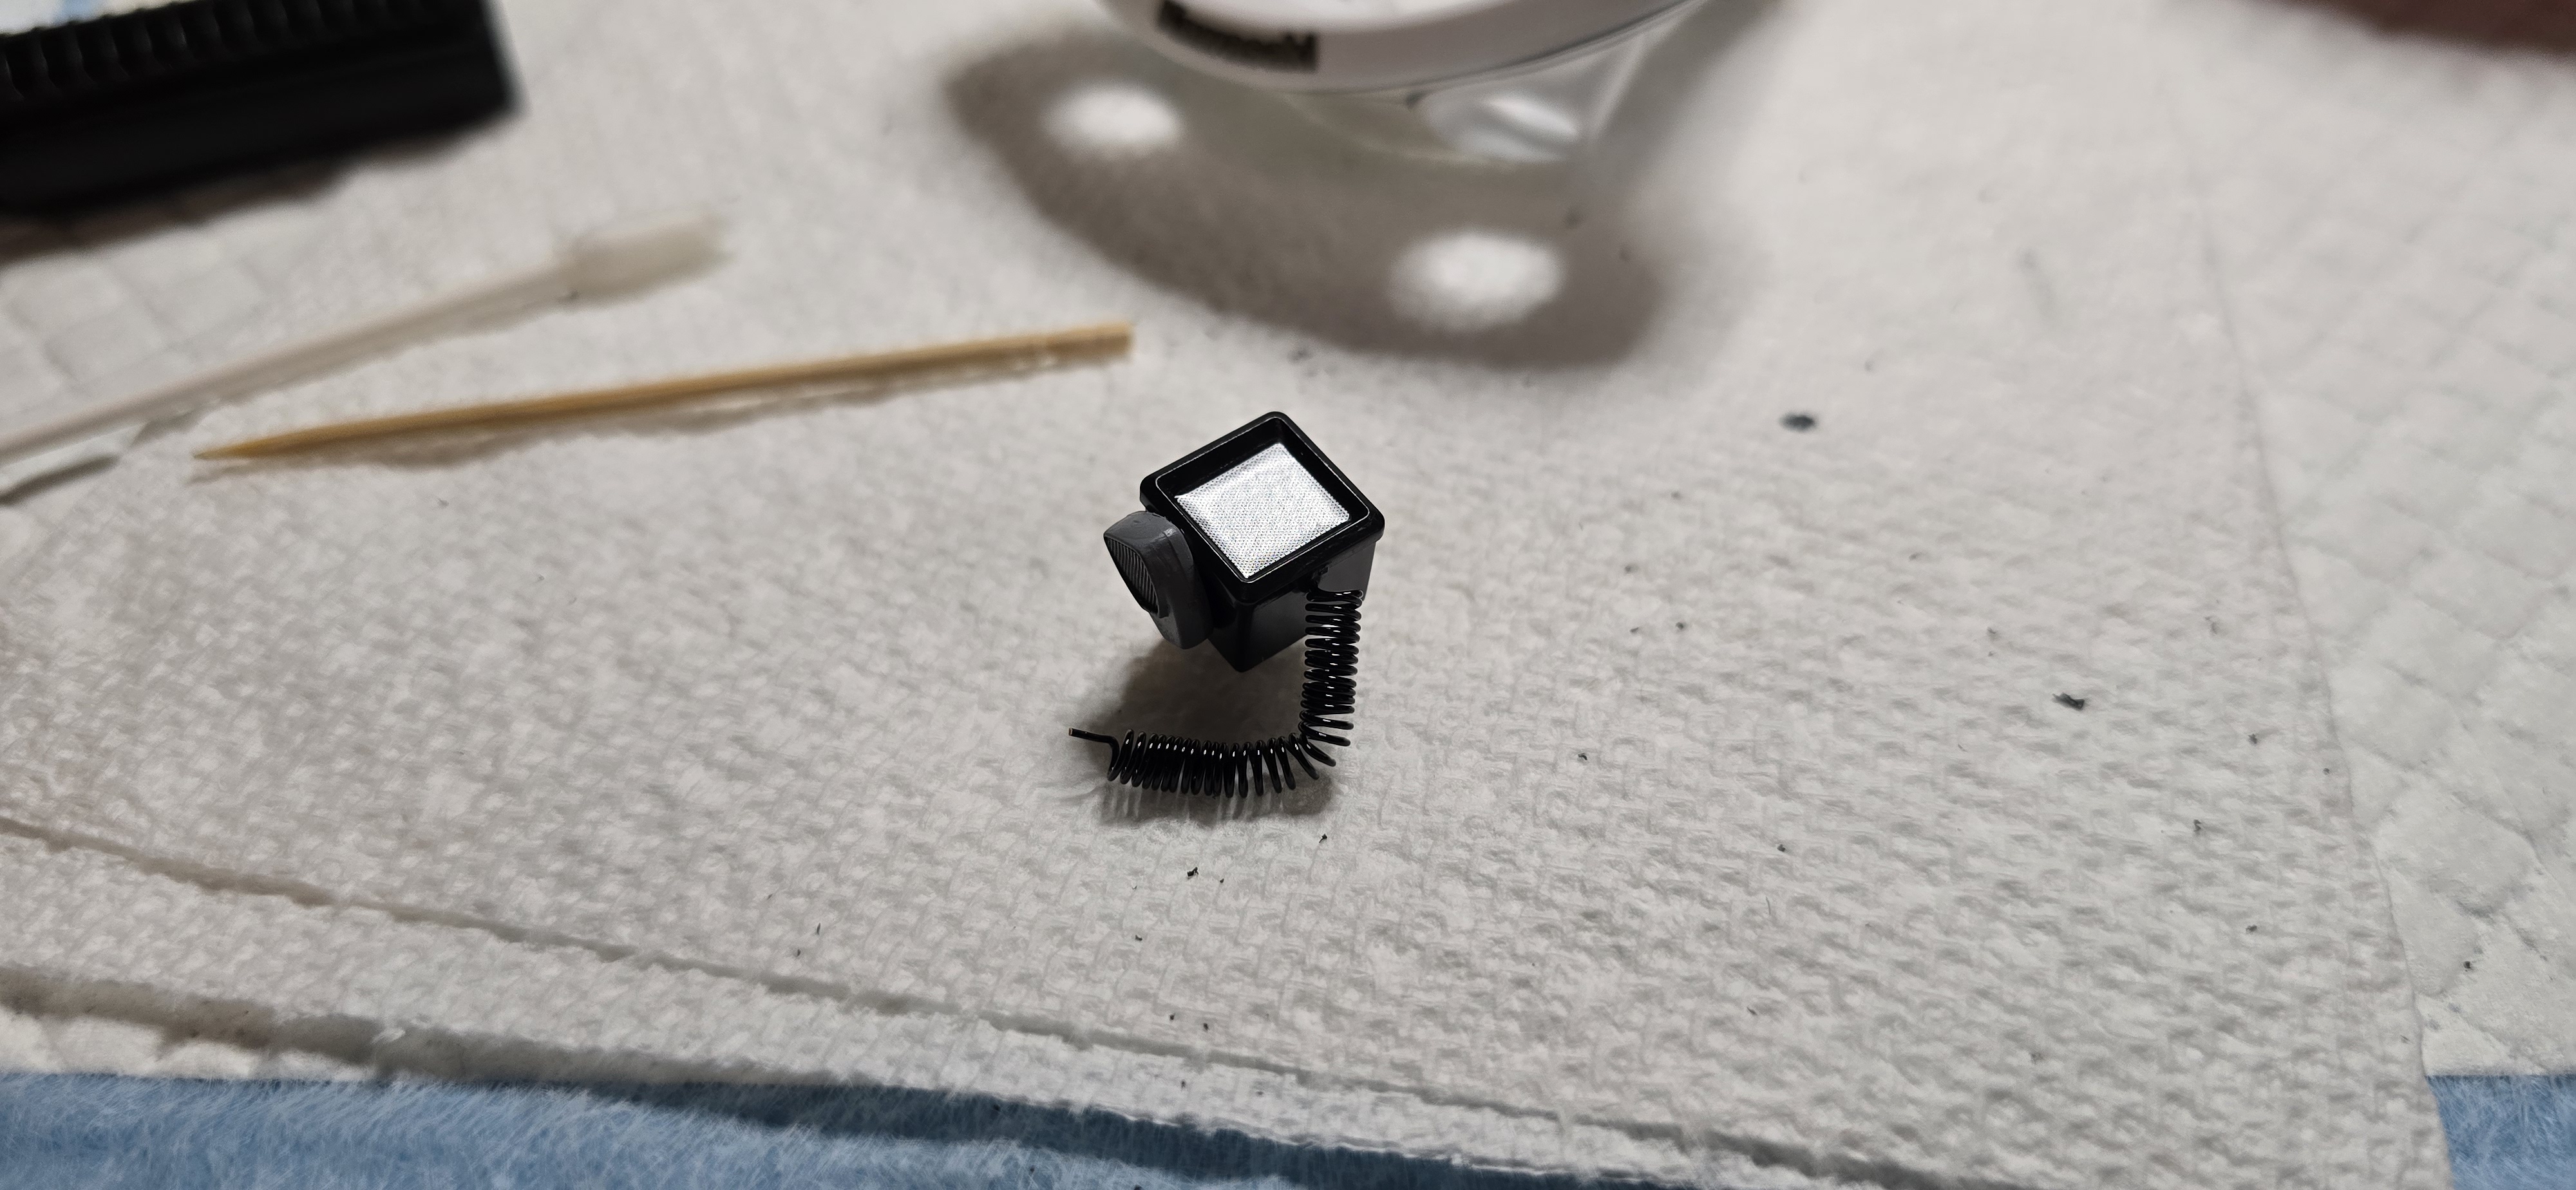
I also built the kit radio, making a microphone cord I'll attach once the mic is dry.
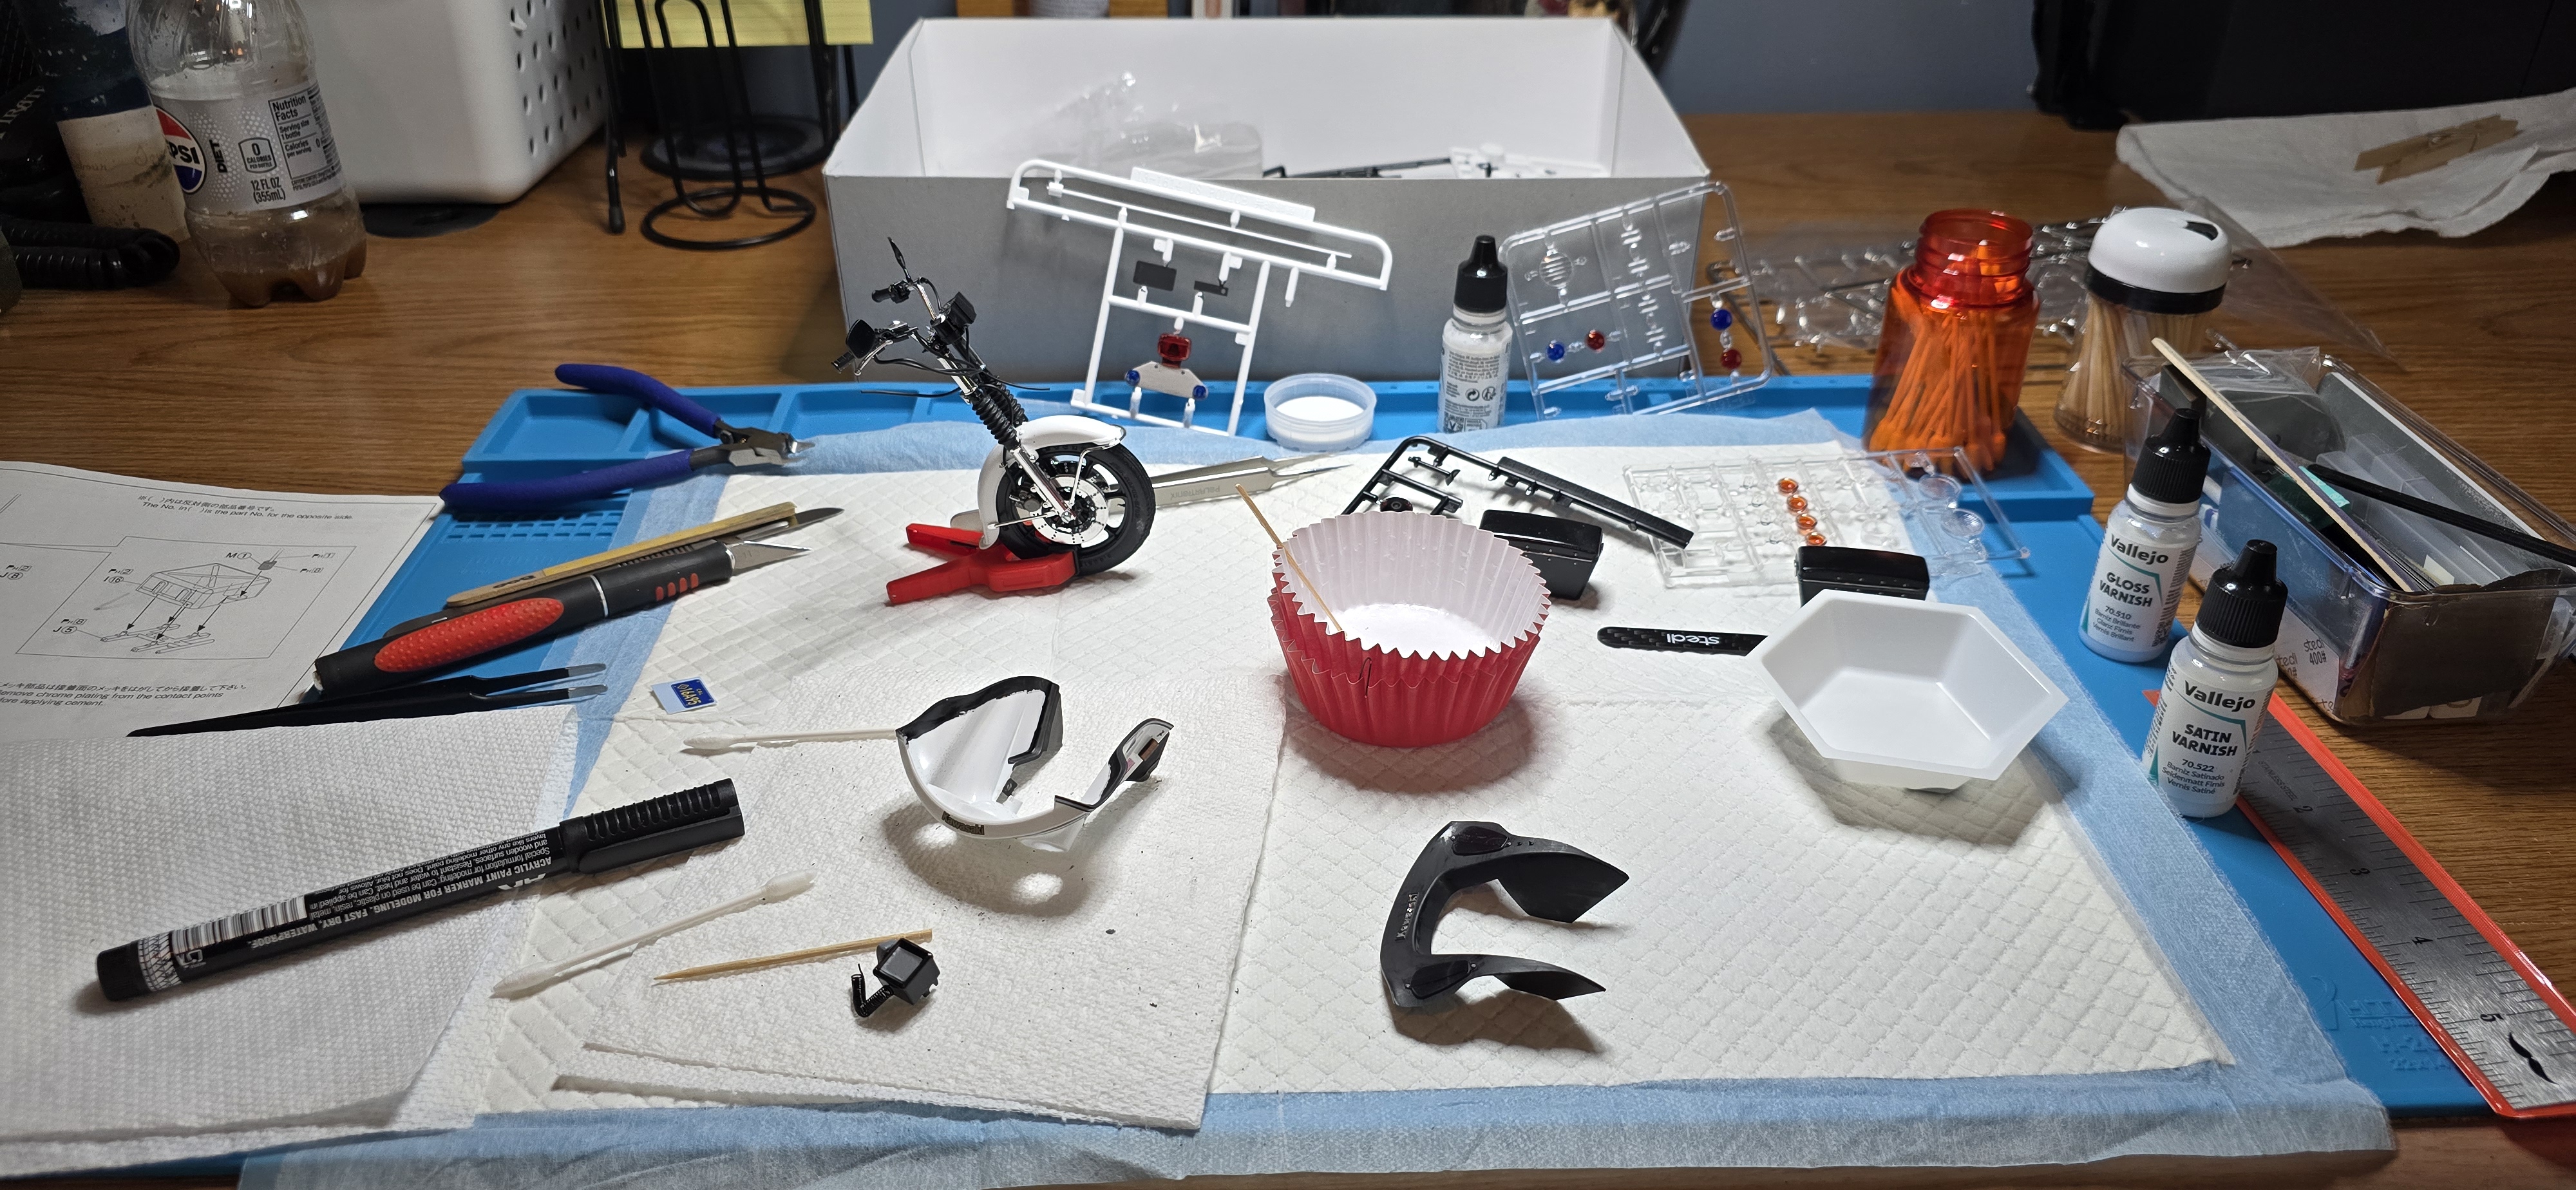
Bit of a typical morning, where chaos reigns supreme, but making progress.
1000010108.jpg

20260421_094329.jpg
20260421_112435.jpg
20260421_112424.jpg
 
Last edited:

Latest posts

Back
Top