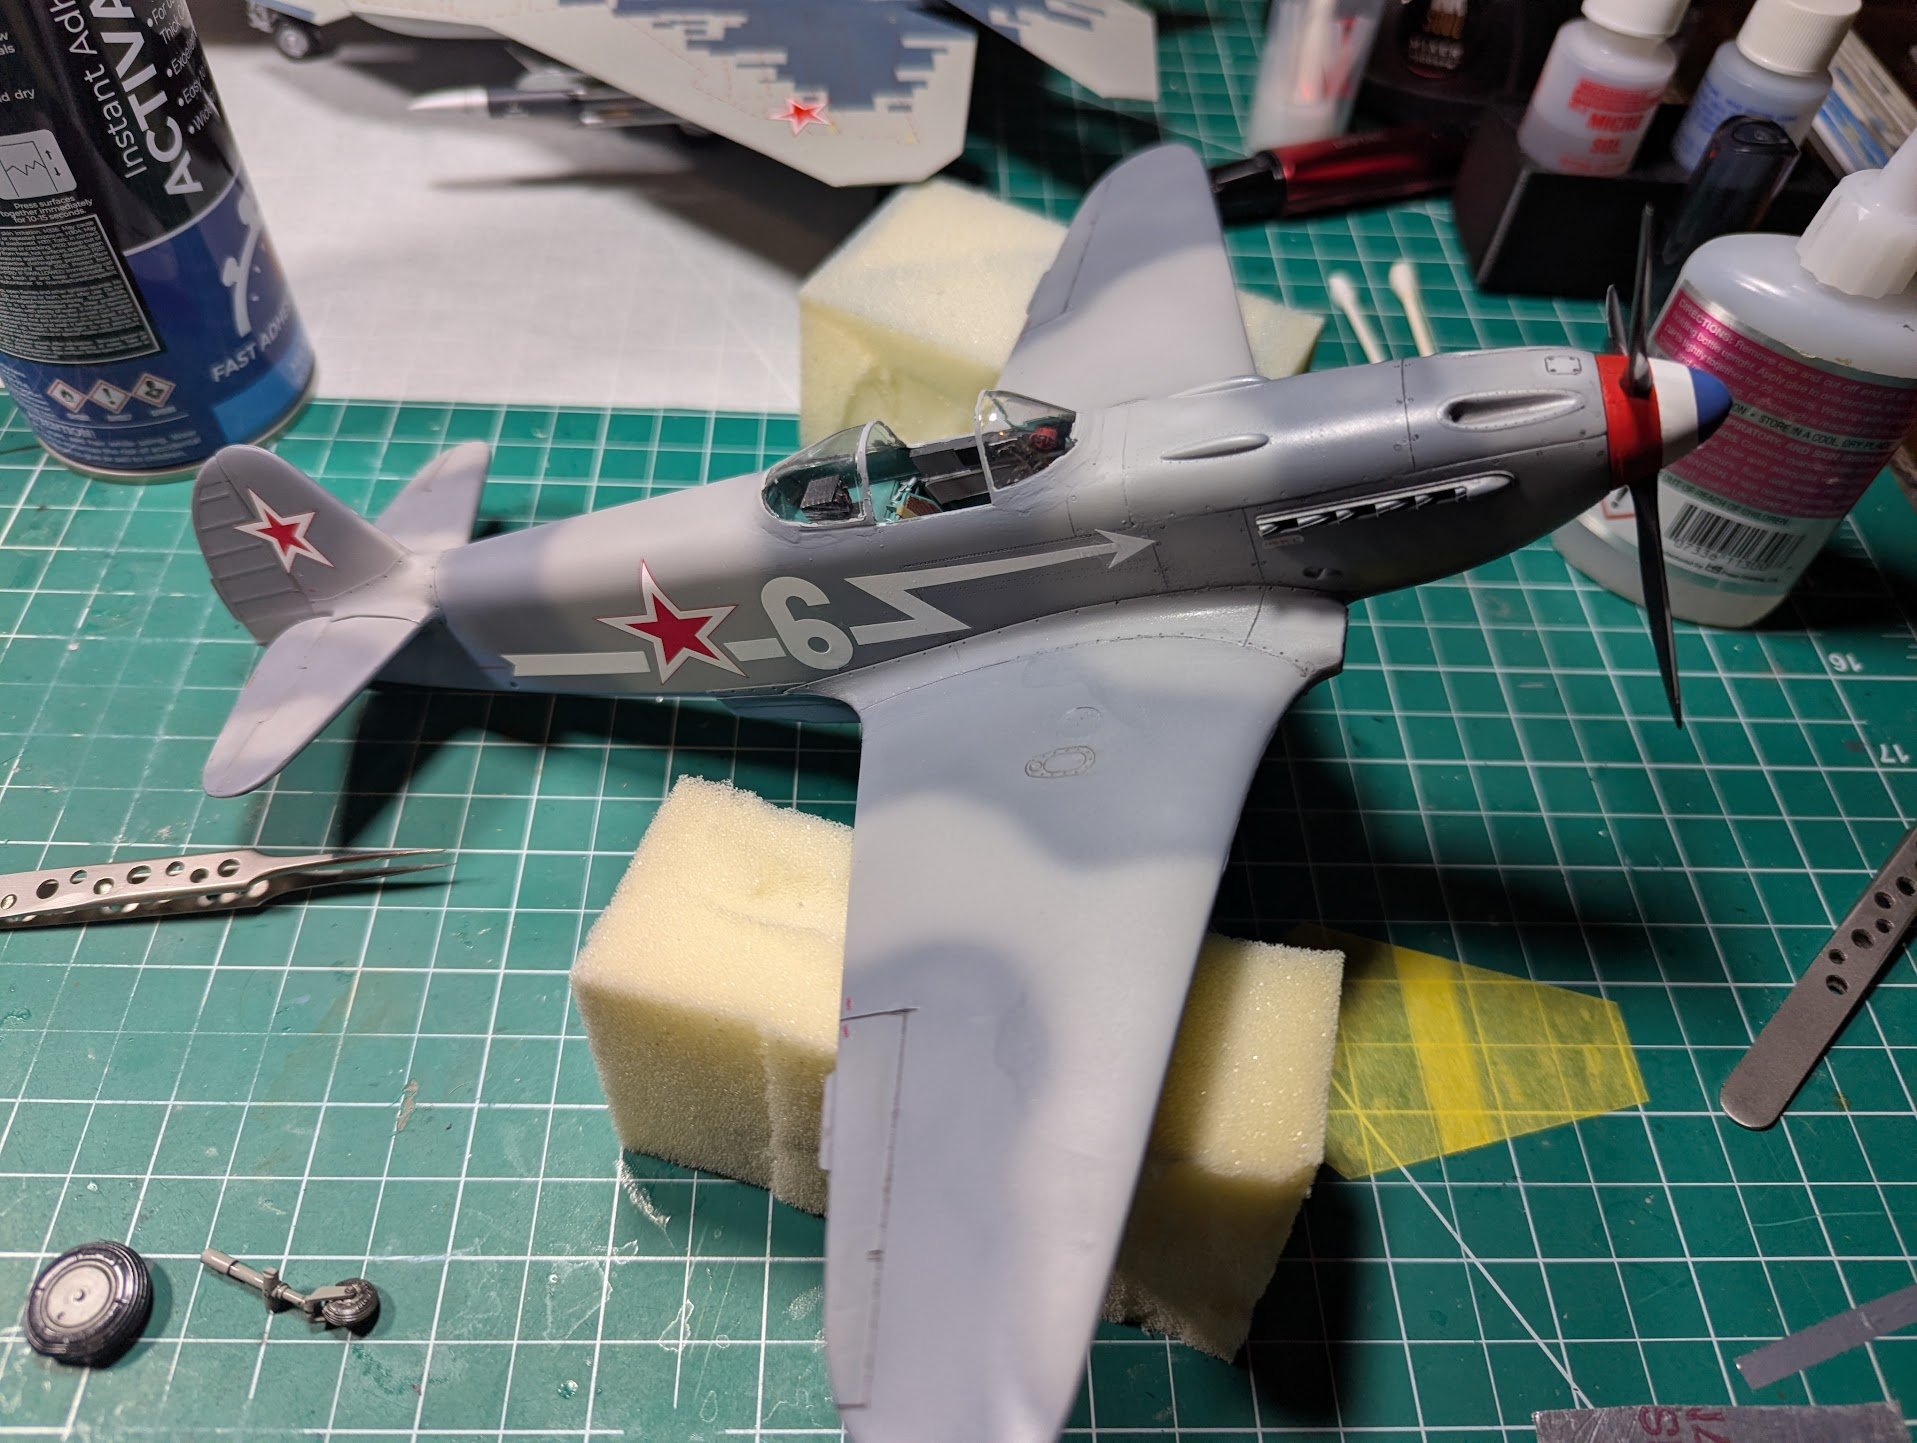
1/32 Yak-3 - Special Hobby

Scale Model Addict - Model Tips, Guides, Tools & Tech, Tutorials, and Community

Help Support Scale Model Addict:

Edbert

Well-Known Member
Joined
May 16, 2024
Messages
3,119
I started on this kit a while ago, but never created a thread. At least I did take a few in-progress pics, so I am catching up by starting this today.

I'd never even heard of "Special Hobby" before, much less touched one. I picked this up in open box state from a member of my local club. I was pretty impressed with the mold quality and overall attention to detail. It came with a small bit of PE and some resin bits too!

I always start a new build with the intent of it being my best build yet, sometimes those thoughts are discarded early, but in this case the assembly and painting went well enough that I was keeping that vibe for a long time.
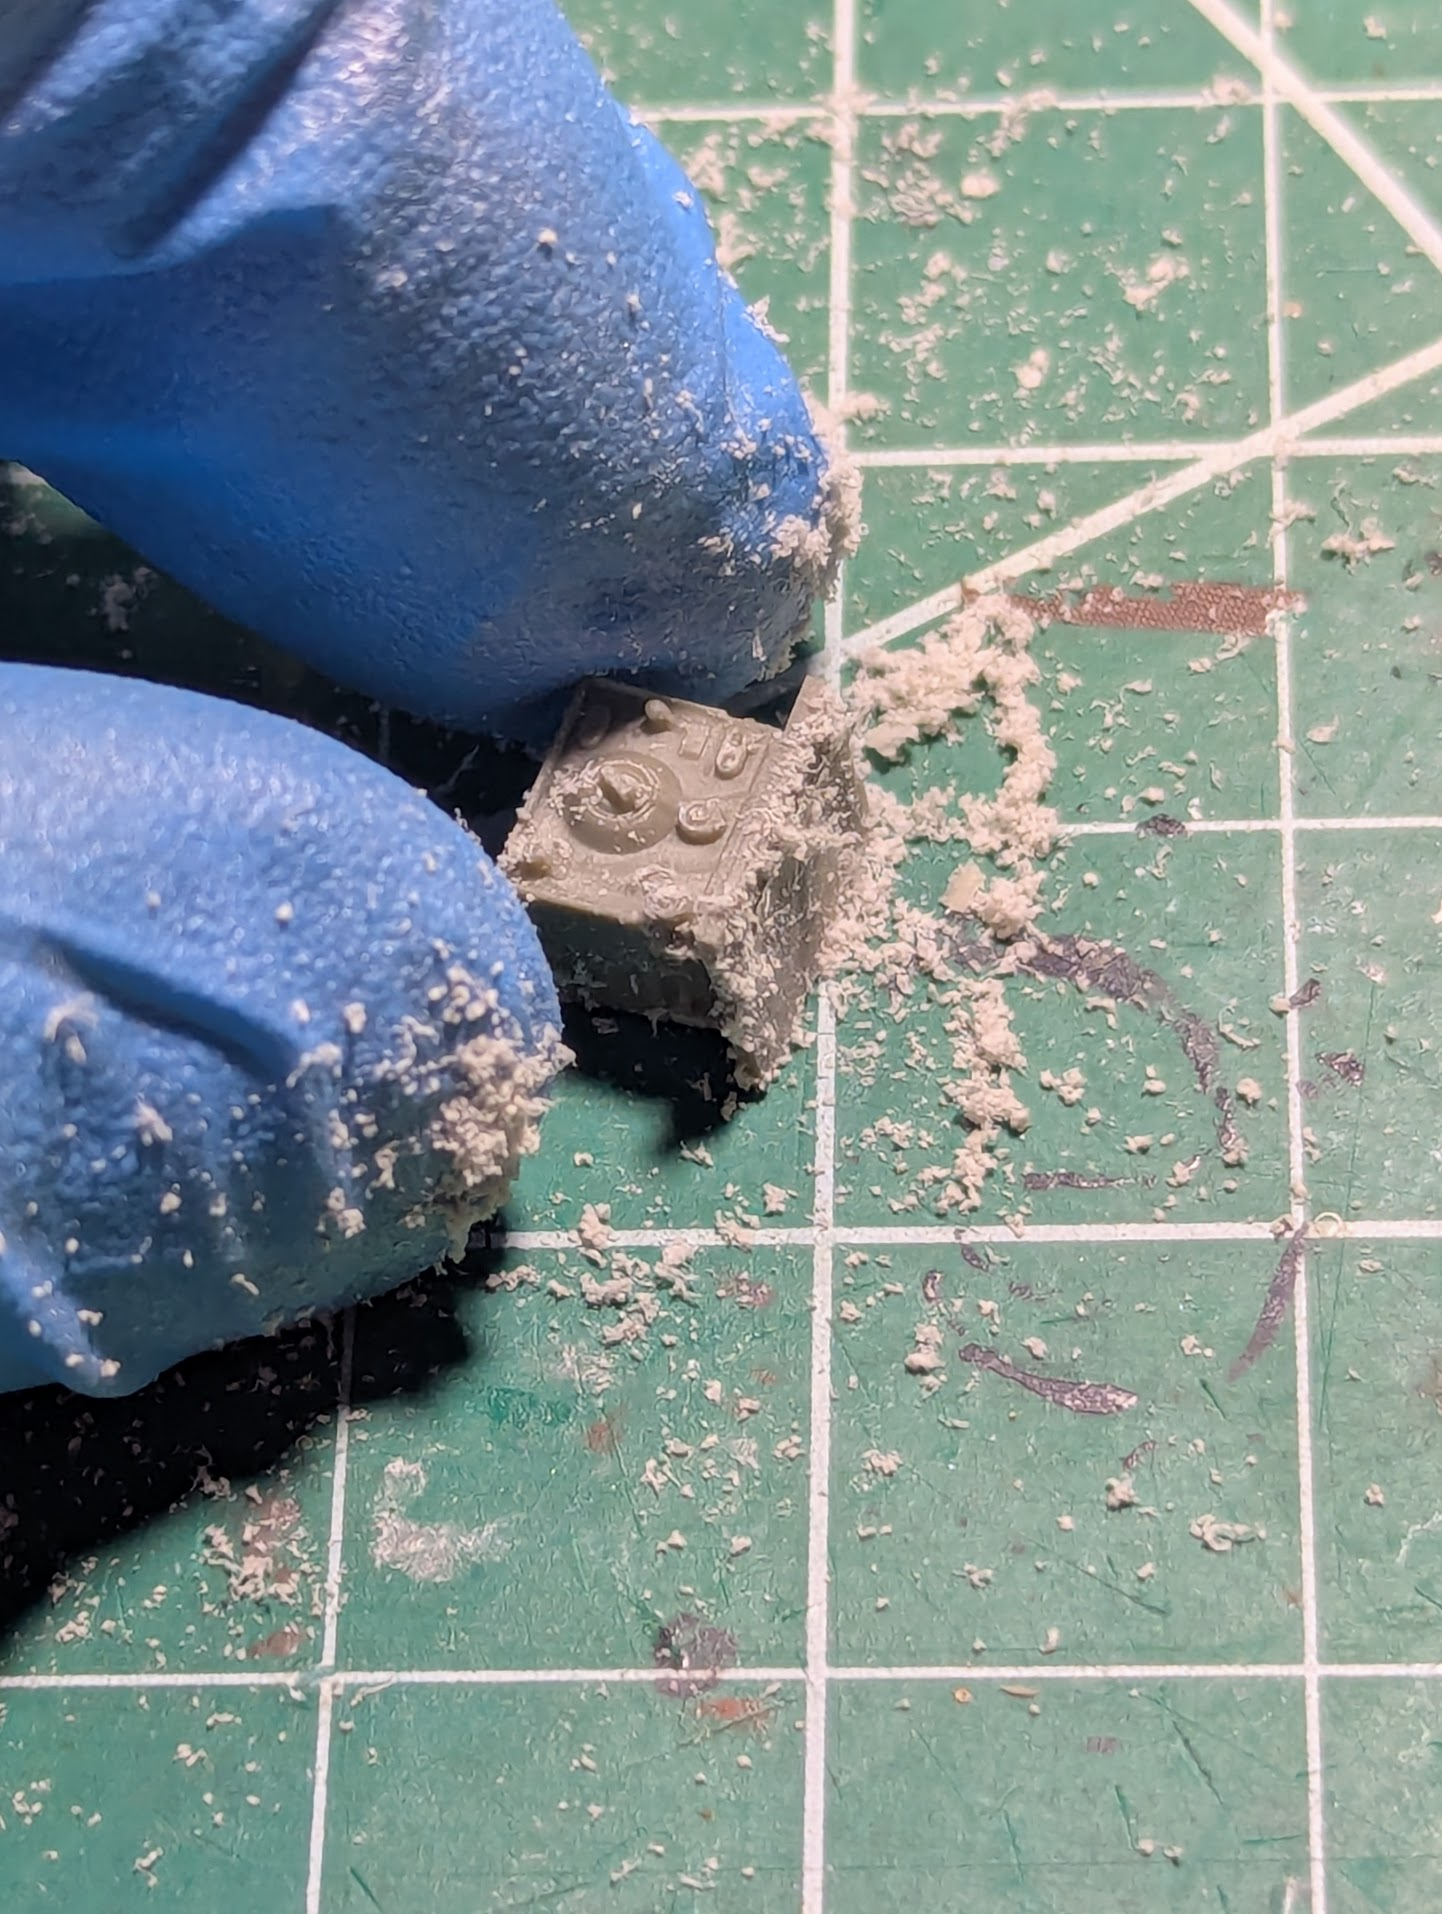
1774801715184.png

This is the (resin) radio that sits on a platform behind the pilot's head like in a P-51. I've been 3D printing in resin and am less paranoid of it in liquid form than the sawn and sanded parts.
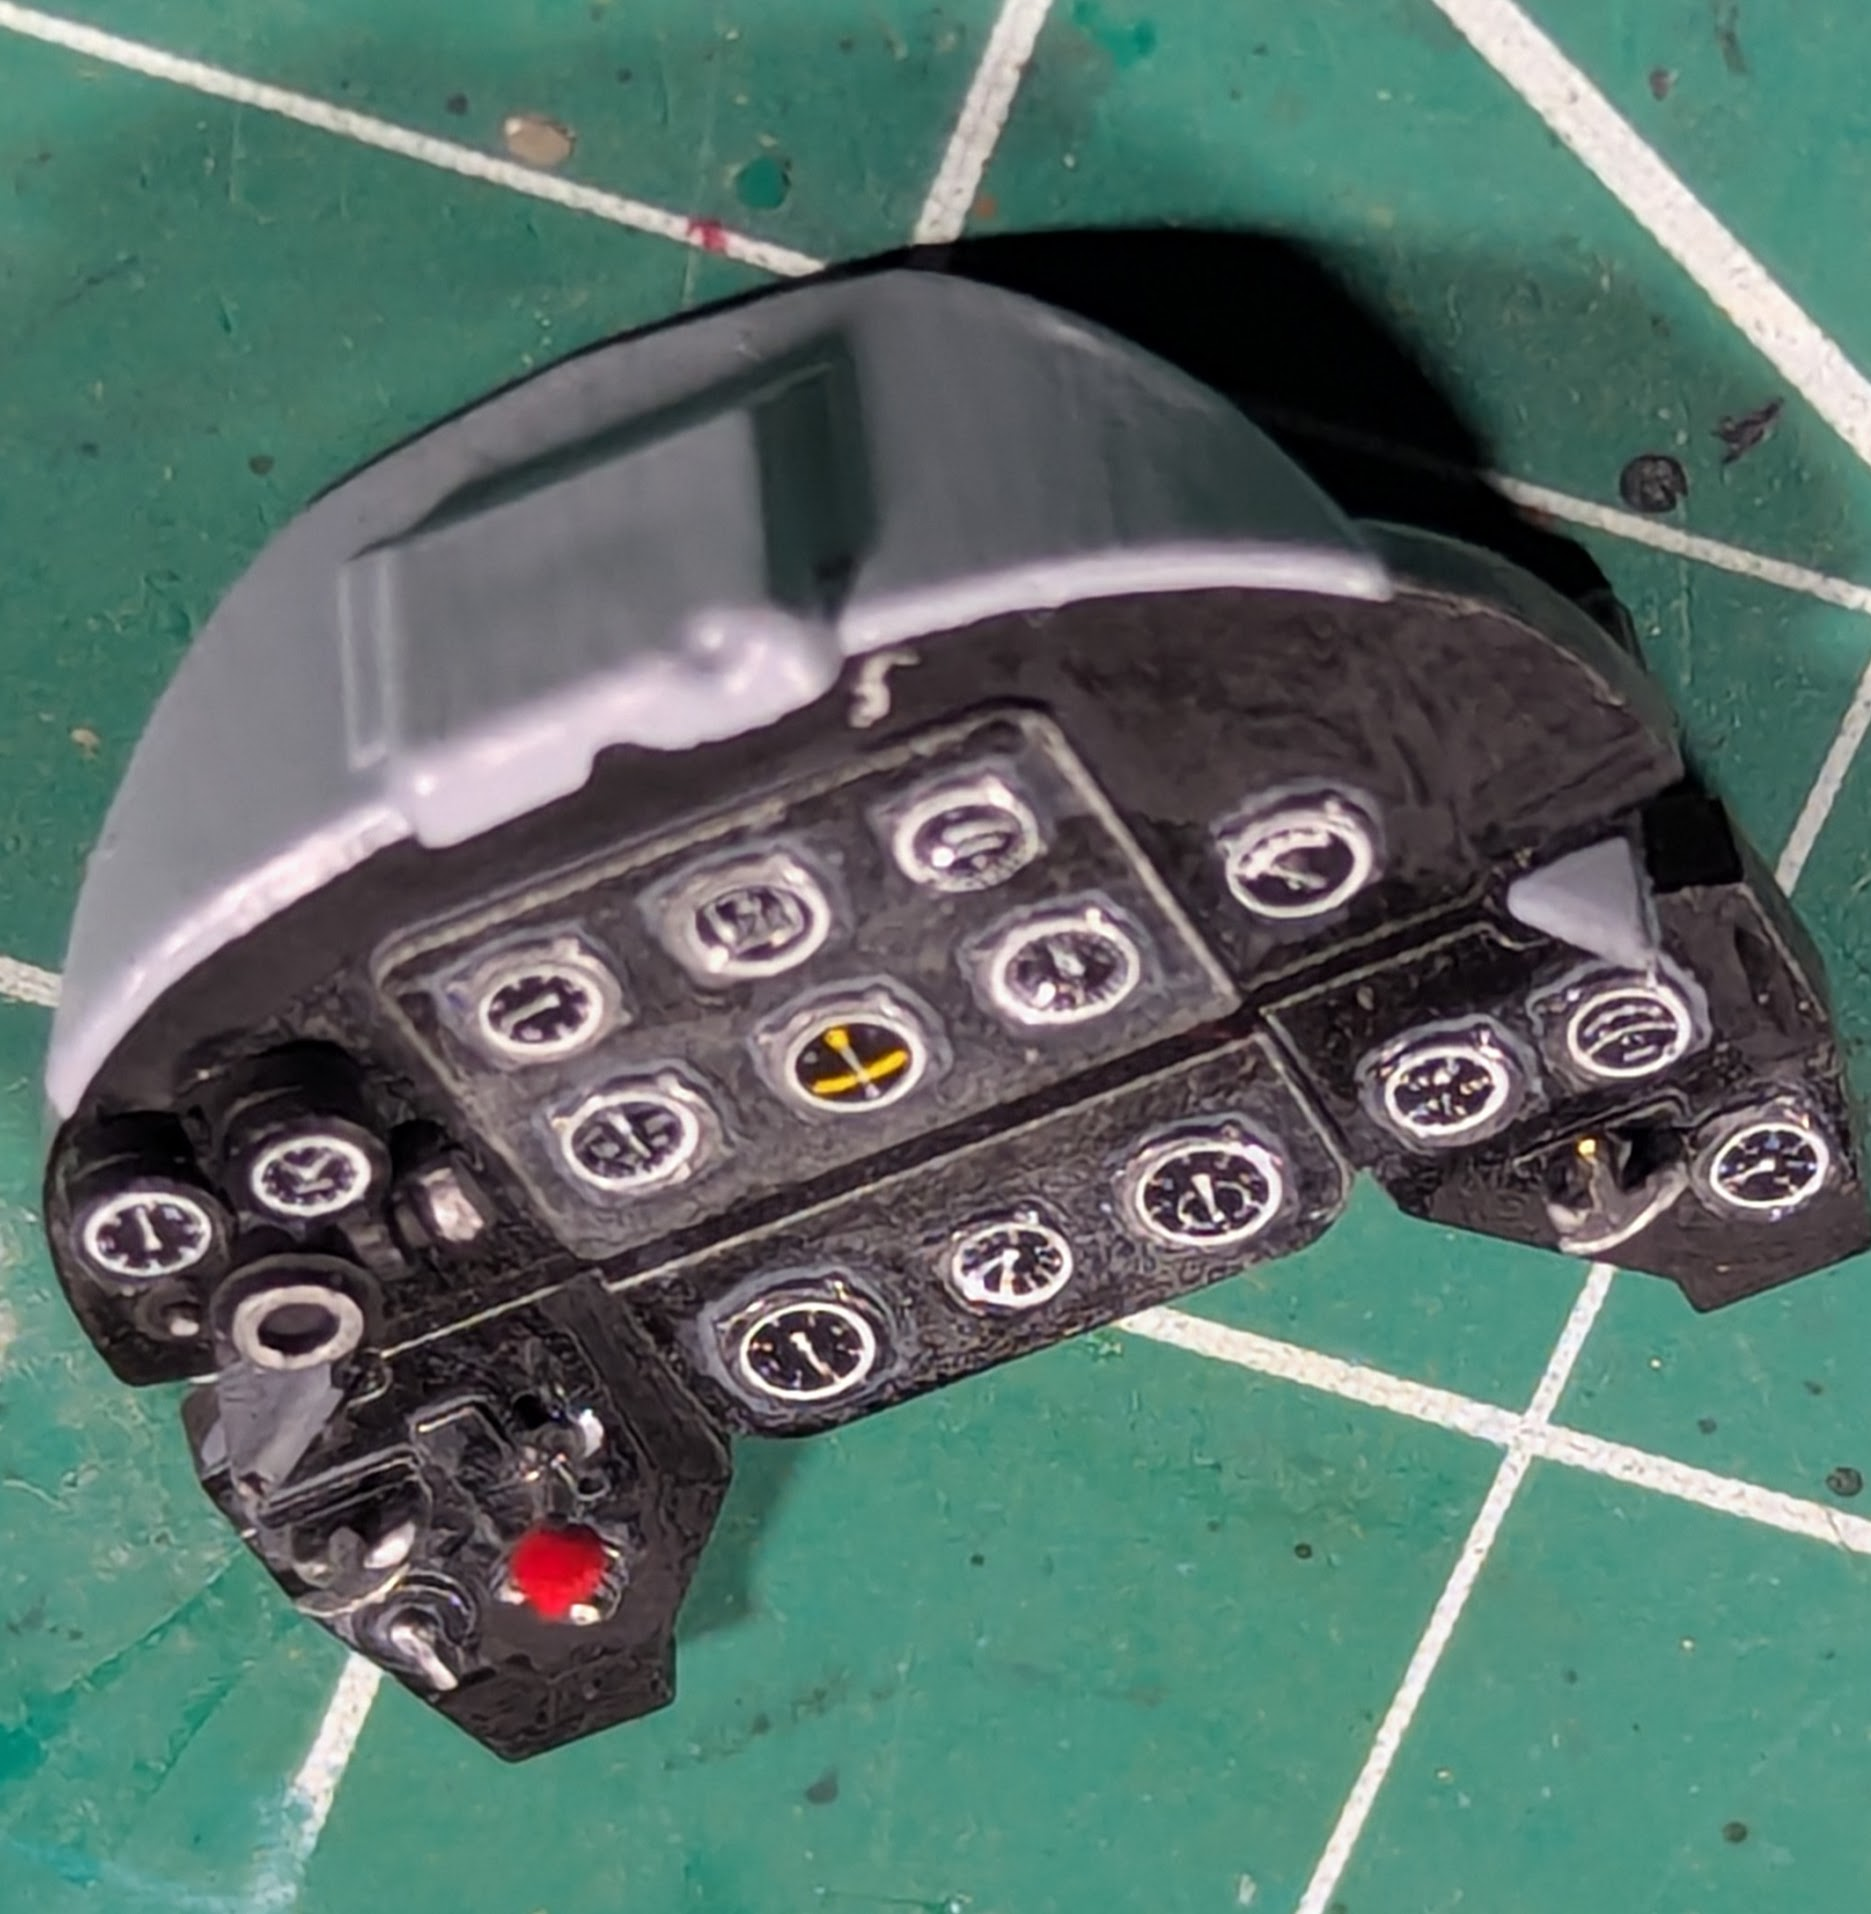
1774801859360.png

The IP looked really good too, in real life better than this picture. There's a weird distortion by the lens or something shown here.
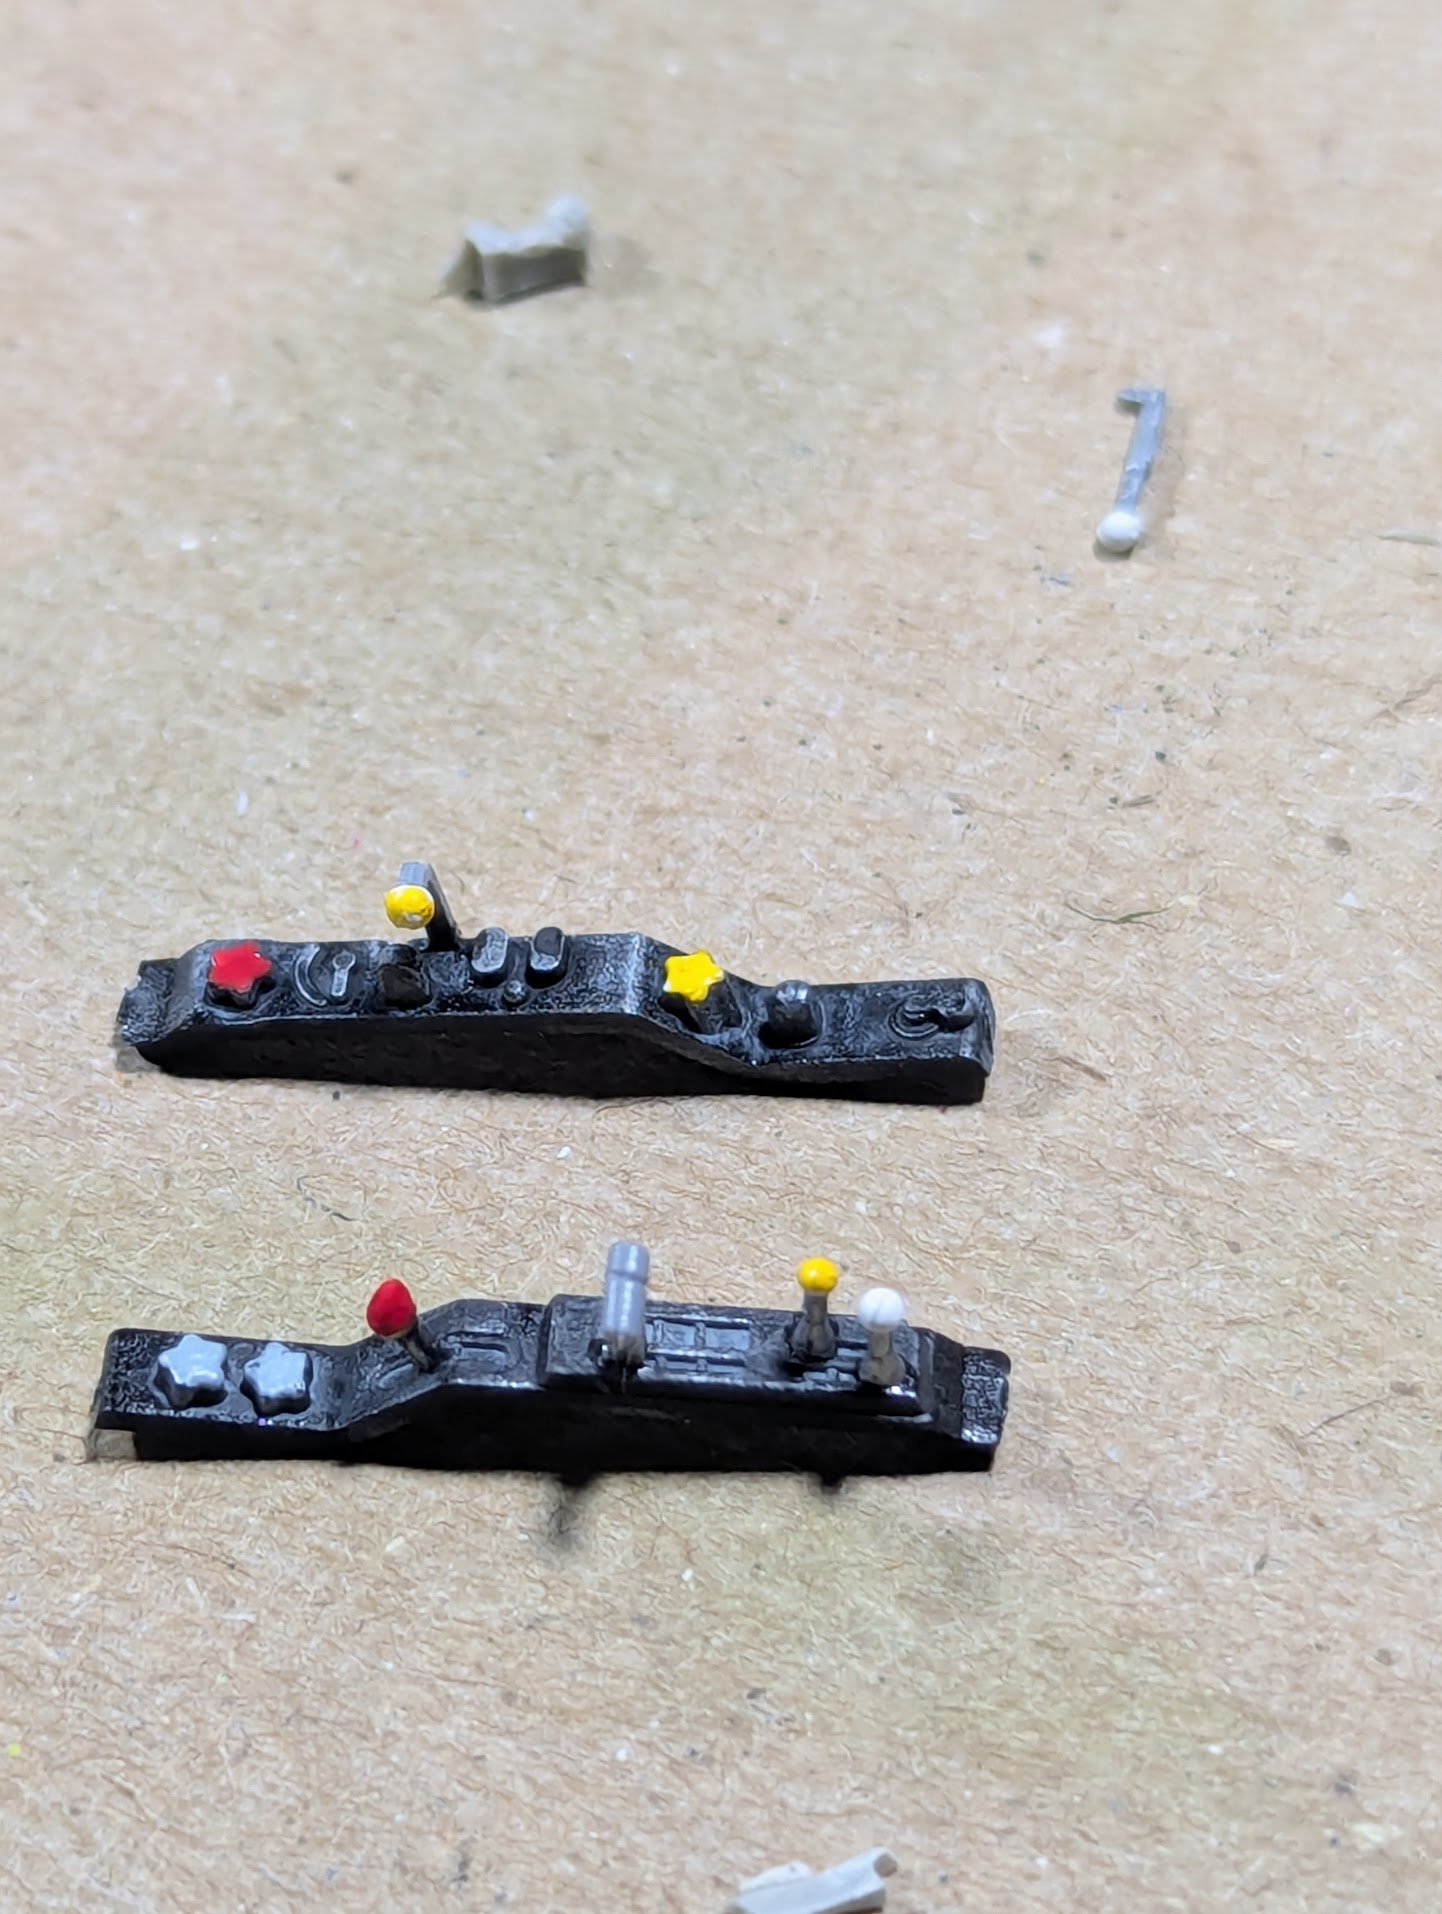
1774801972988.png

Both consoles also came out great, but suffer the same photographic artifact. Maybe it was the digital zoom. Barely visible in the foreground is the throttle handle and the one in upper right I think it the flaps.
1774802076615.png

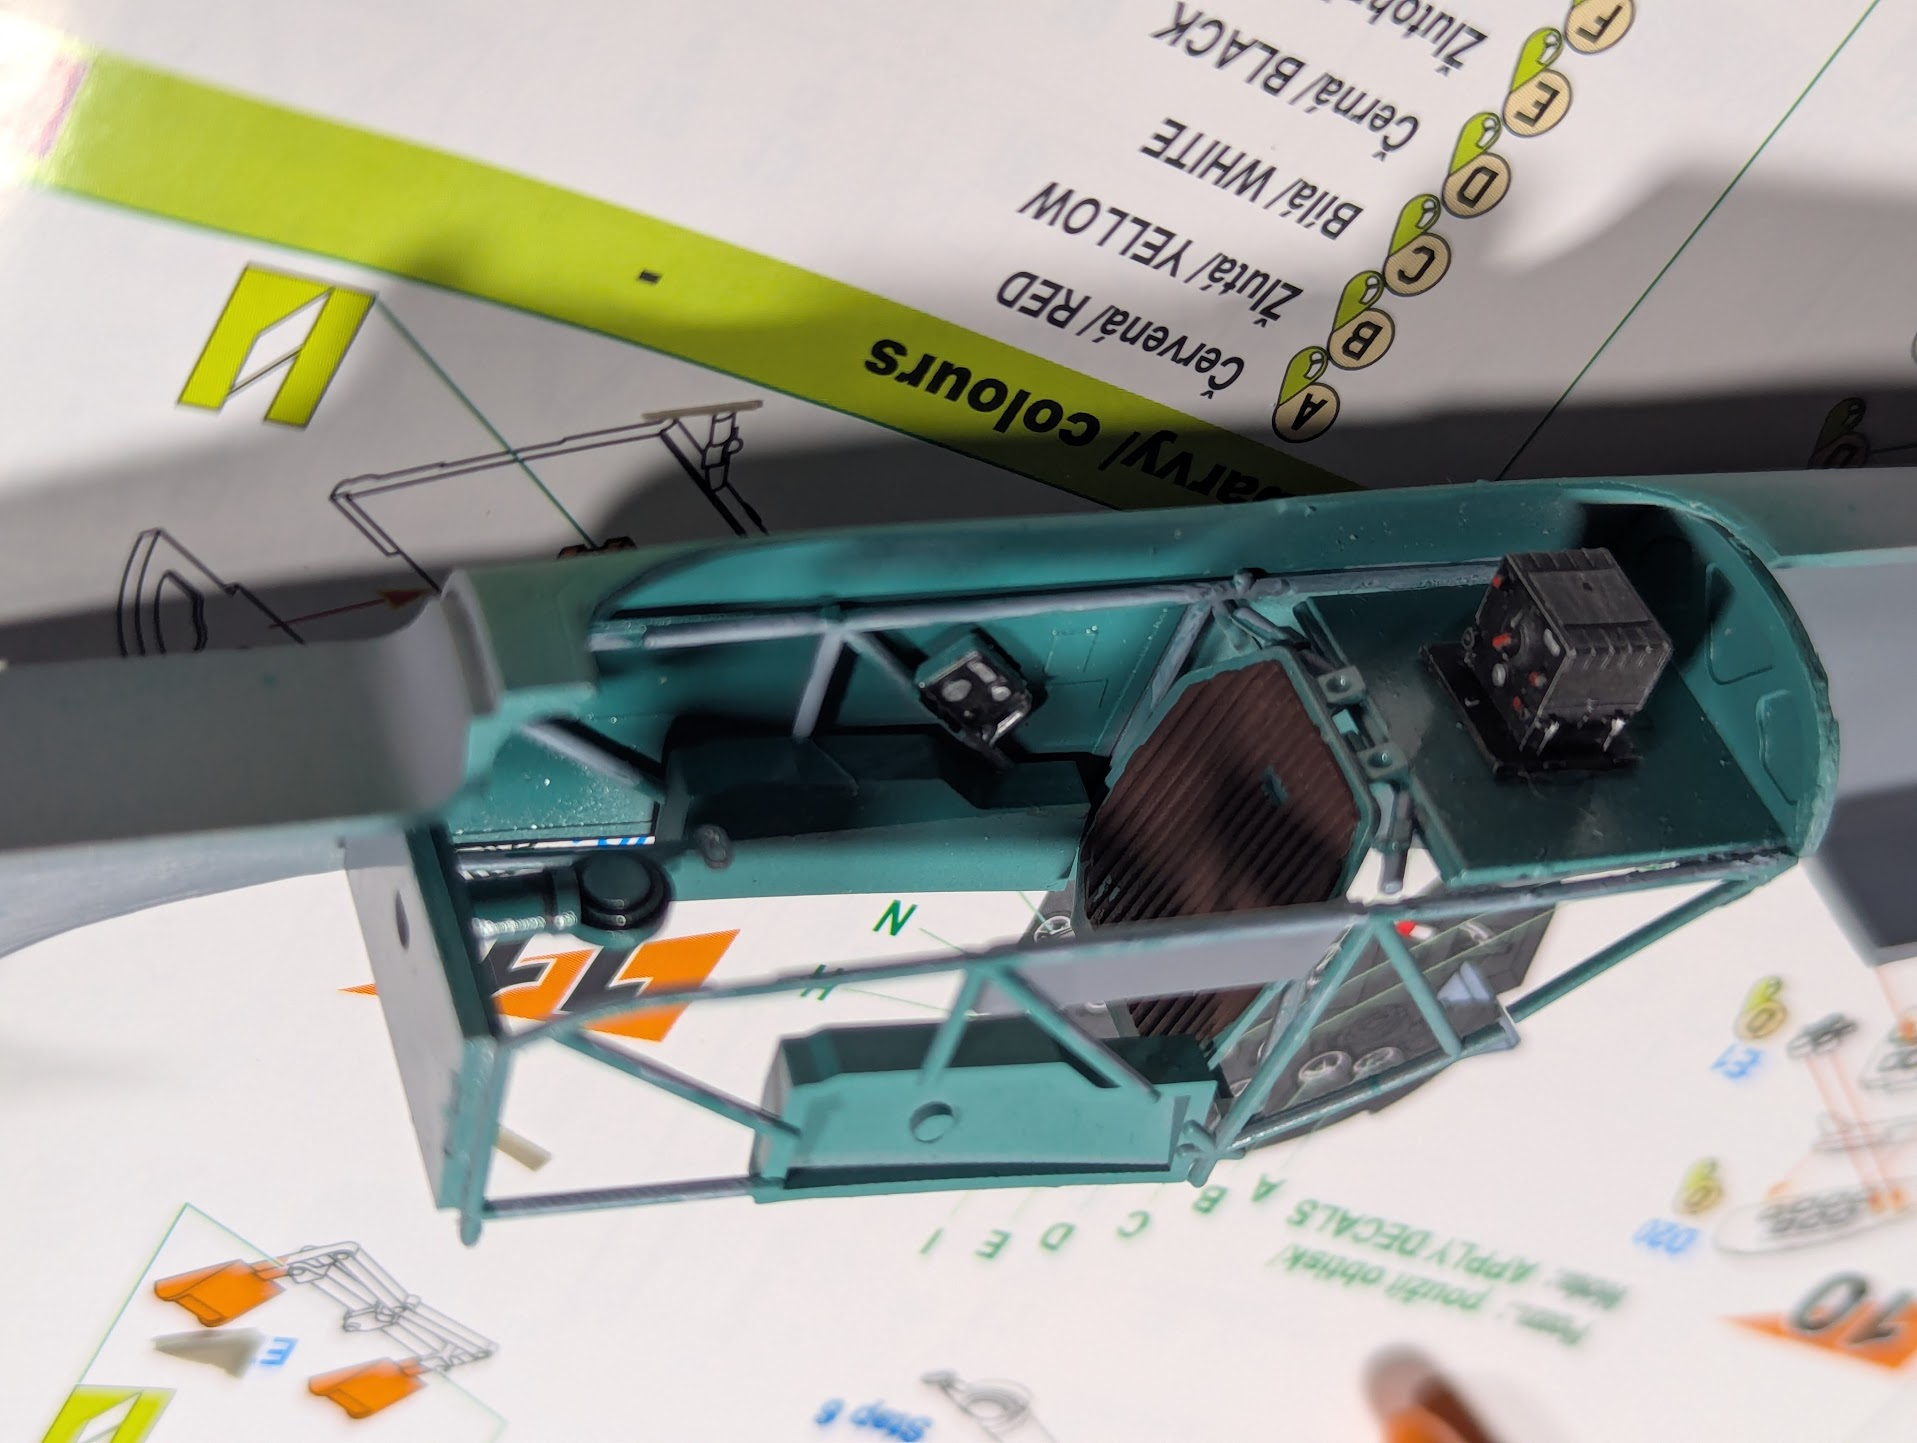
Something I learned as an IPMS judge is that historical accuracy is meaningless. So I chose to us the Soviet turquois interior color even though the gray I used on the tube-frame is "correct". I just think it is more interesting.
1774802177306.png

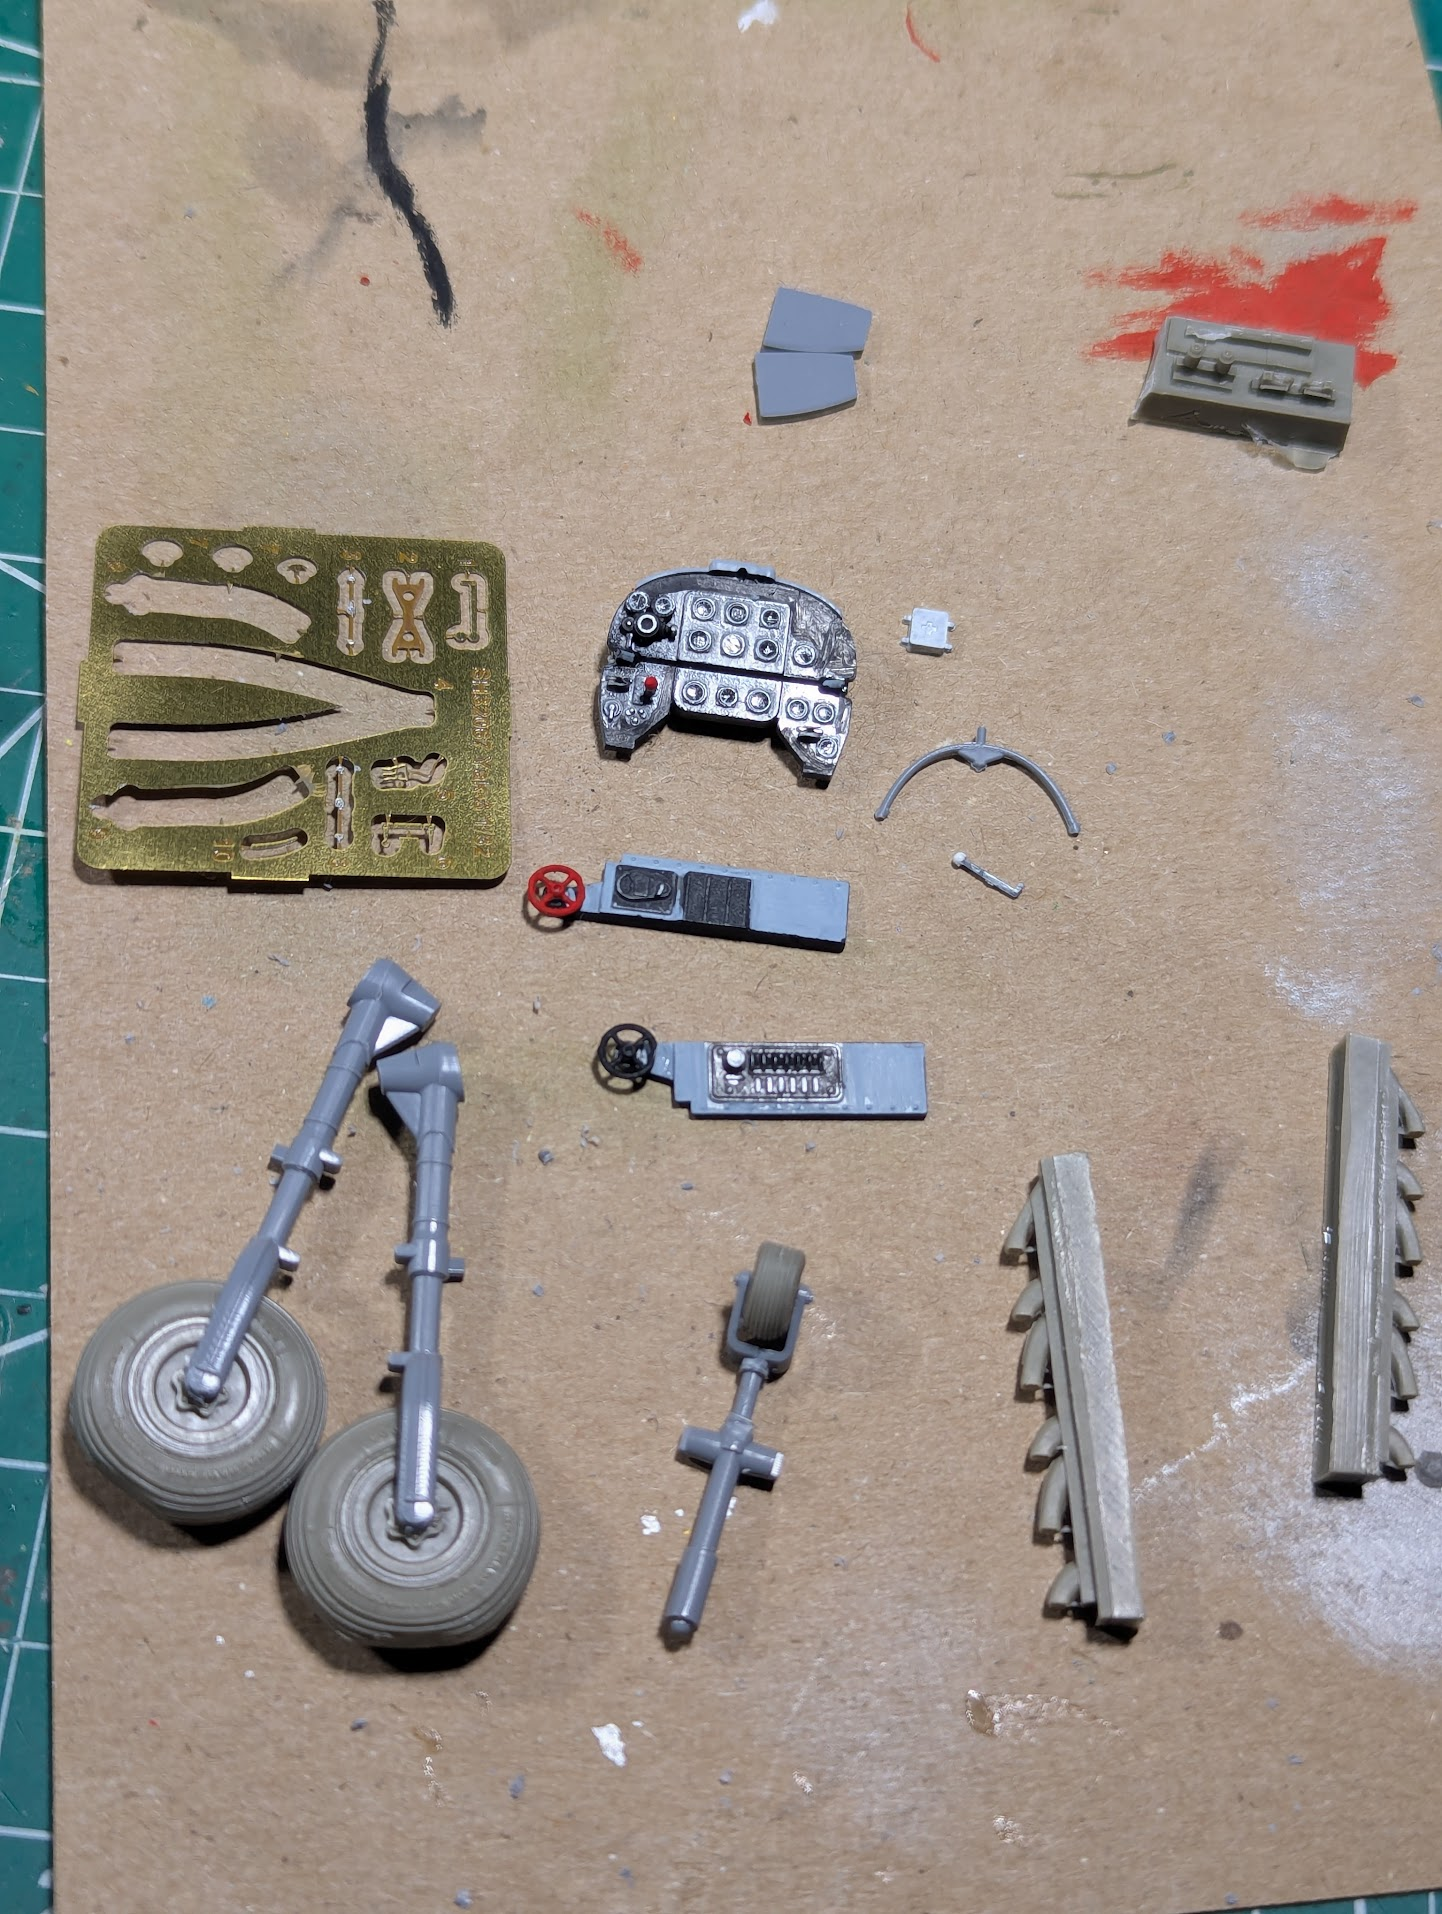
Resin exhaust stacks and wheels were in the kit. The tailwheel is TINY, and the forks were in two parts, but that is about the only way to make it work and look right.
 
Interesting subject. I'm with you on the paint. I like being kind of accurate on the colors but if I like this color better than the other one and I think it looks cool?? That's what I'm going to do. Hey! Neat. What are all these wires for and pipes?? Beats the crap out of me. But don't it look cool?
 
Something I learned as an IPMS judge is that historical accuracy is meaningless.
In IPMS competitions. From what I've seen, the rules there are to judge the model based on what it looks like — so the quality of construction and finishing — not on what it's supposed to represent — that is, accuracy. Which is fine: their competitions, their rules.

But IMHO, blanket statements like "accuracy is meaningless" are silly. Take that to extremes and you could build a model of a T-34 tank, paint and decal it like a Jolly Rogers F-14 Tomcat, call it the Yamato and say it's "accurate" as a representation of a legionnaire at the Battle of the Teutoburger Forest ;) That is to say: if you ask me, historical accuracy matters if you want it to — if you want to build a model that's as accurate as you can make it, then go for it, while if you want to do the above example, go for that too. Just don't claim that a model built along those lines is accurate :)
 
Last edited:
blanket statements like "accuracy is meaningless" are silly
I did use it in context, but also agree with you when it becomes extreme like the examples you gave.

I attend the shows just to see the work (inevitably a humbling experience, but also inspiring), meet with friends, and browse through vendor stacks. Many contest have fantasy categories as well as humor or what-ifs. I also appreciate the builders who represent a specific photo or historical subject to the maximum detail. There's room for everyone :-)

While i am considering entering a contest at some point, I never have, I build for the enjoyment and to have a collection of stuff I think is cool, nobody else.
 
Interesting thing regarding maximum accuracy topics...I'm working on a Ta-152-H1. I think there was only one found intact, and there's absolutely ZERO authoritative colors defined for the upper surfaces. Surprising since the lone survivor is in the Smithsonian collection. The second color could have been dark brown, could be dark green, nobody alive can say.
 
As an Amazon Associate we earn from qualifying purchases. Product prices and availability are accurate as of the date/time indicated and are subject to change.
Interesting thing regarding maximum accuracy topics...I'm working on a Ta-152-H1. I think there was only one found intact, and there's absolutely ZERO authoritative colors defined for the upper surfaces. Surprising since the lone survivor is in the Smithsonian collection. The second color could have been dark brown, could be dark green, nobody alive can say.
Is that a sole surviving example of any Ta-152 or just that variant?
 
Is that a sole surviving example of any Ta-152 or just that variant?
Both ;-)

Plus it is more complicated/confusing than that because the sole-survivor is both an H-0 and an H-1, the H1 was the only "operational version" of them all, and the last variant.

++++++++++++++++++++

From Wikipedia...
Only one Ta 152 survives, a 152 H-0 variant flown by III./Jagdgeschwader 301, a Luftwaffe Wilde Sau unit. The aircraft is housed at the National Air and Space Museum Paul E. Garber Preservation, Restoration, and Storage Facility in Suitland, Maryland, United States, where it is expected to be restored. https://en.wikipedia.org/wiki/Focke-Wulf_Ta_152#cite_note-26

The aircraft is believed to be Werk-Nummer (serial number) 150020, which was a pre-production H-0 model transitioning to full production Ta 152H-1 series aircraft. It was probably built at Focke-Wulf's production facility at Cottbus, Germany, in December 1944, and delivered to Erprobungskommando Ta 152 at Rechlin, Germany, for service testing. https://en.wikipedia.org/wiki/Focke-Wulf_Ta_152#cite_note-27
 
Bak to the Yak...

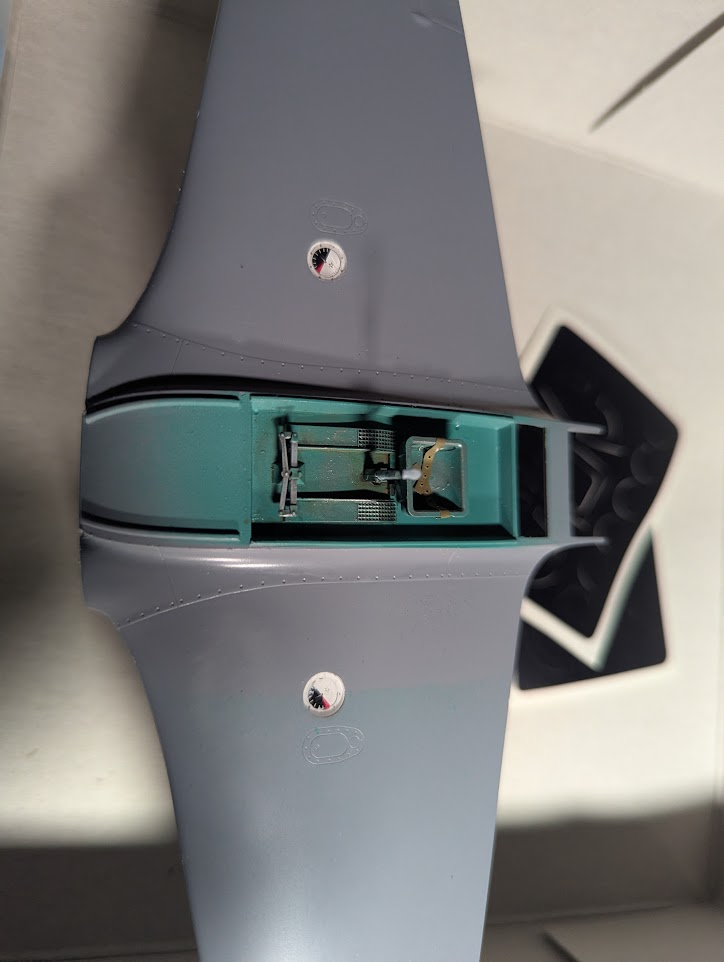
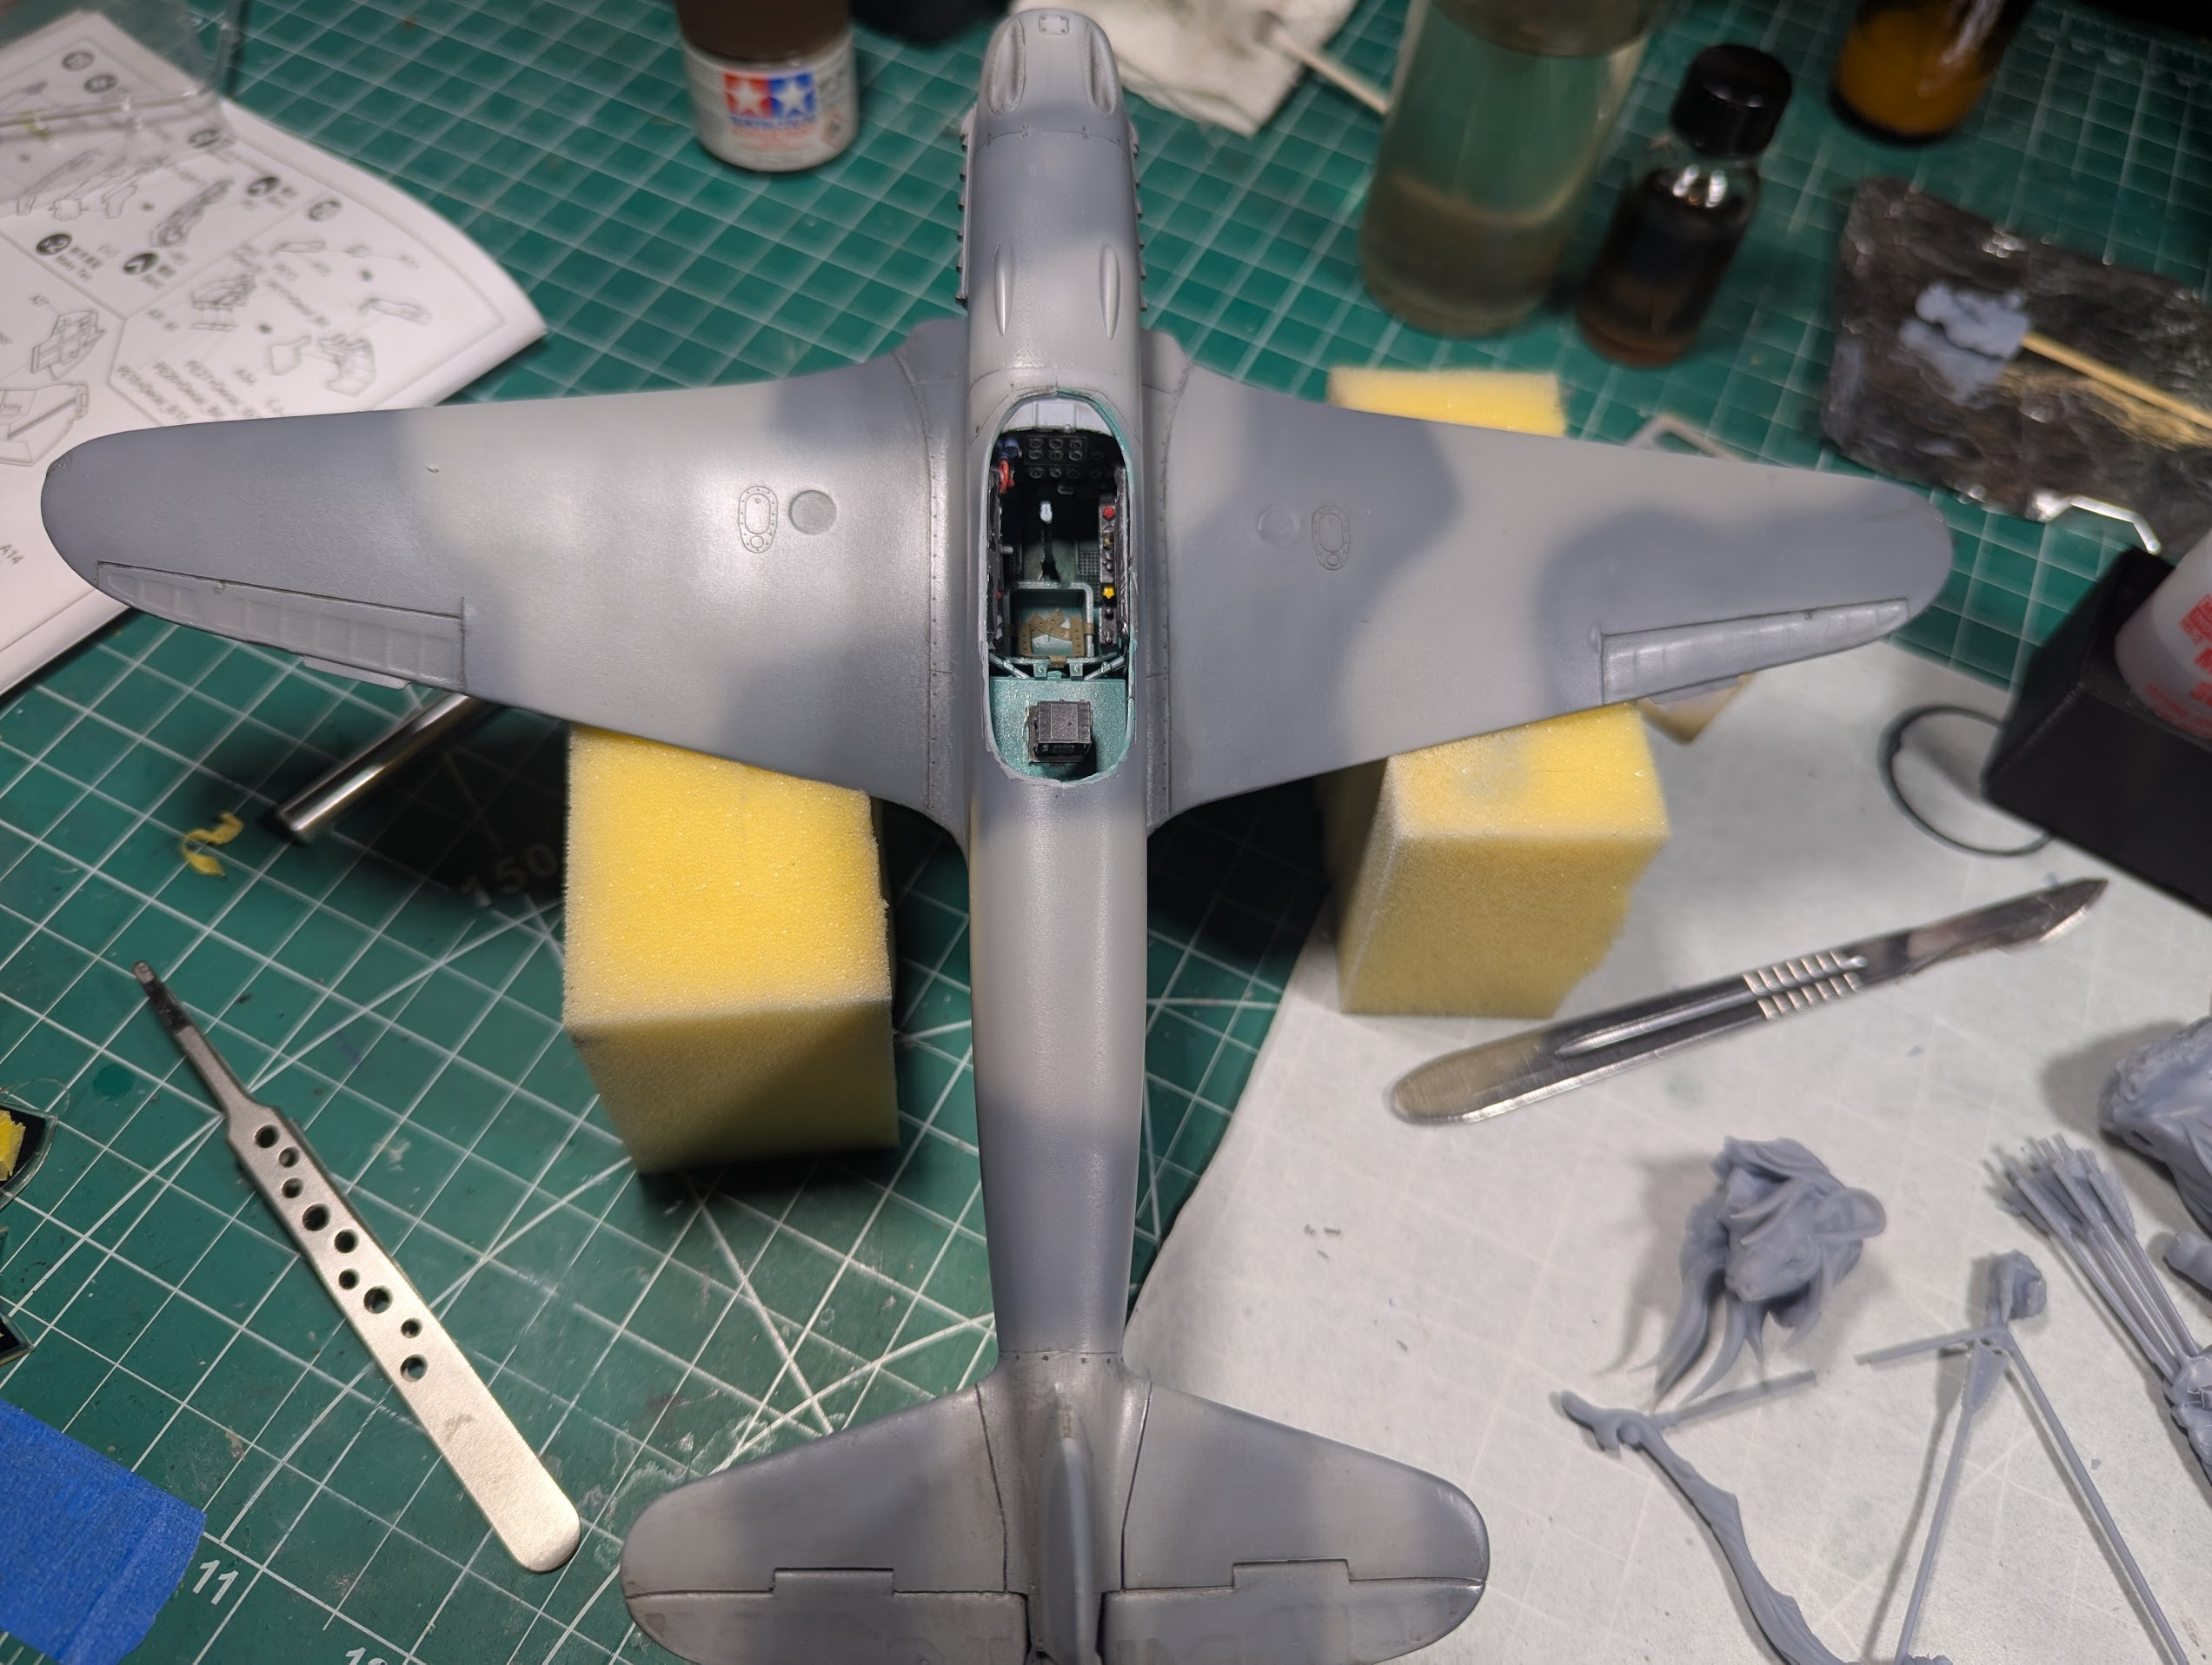
Special Hobby had an interesting approach to the cockpit tub. You've seen the cage portion, but might have seen there was no floor, or bottom of the seat. This is because that portion was not connected to the sides like most makers have, it was glued to the wings.
1775065704607.png


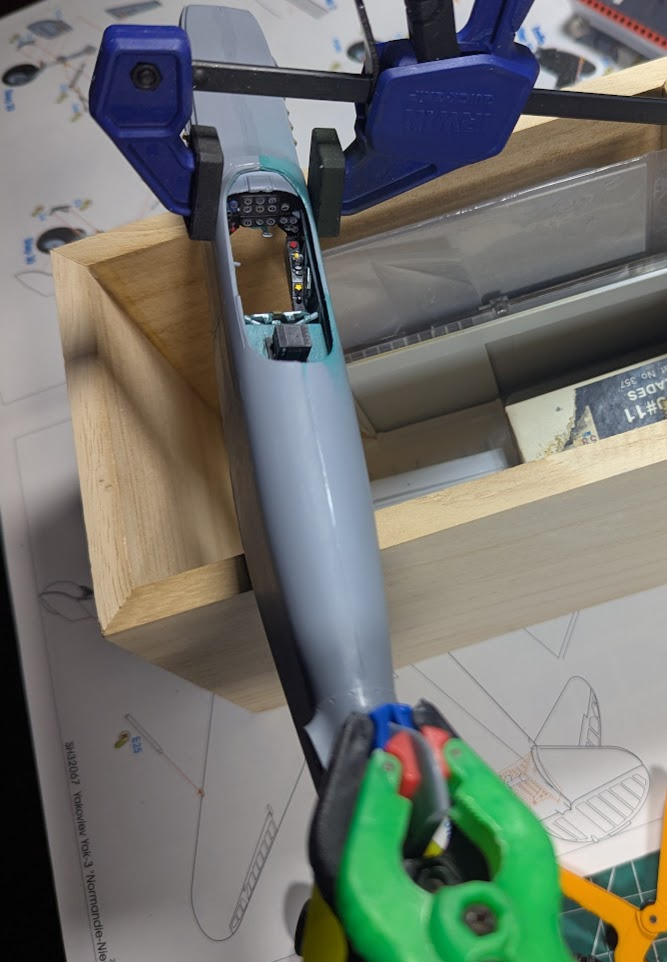
The rest of the cockpit, including the IP, was glued to the fuselage.

1775065749417.png


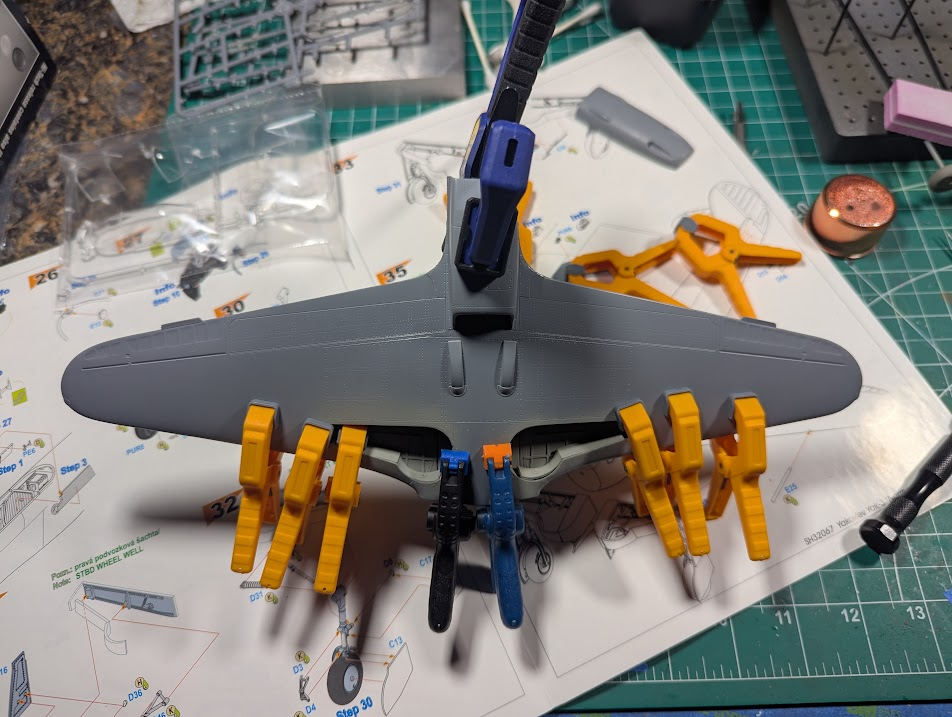
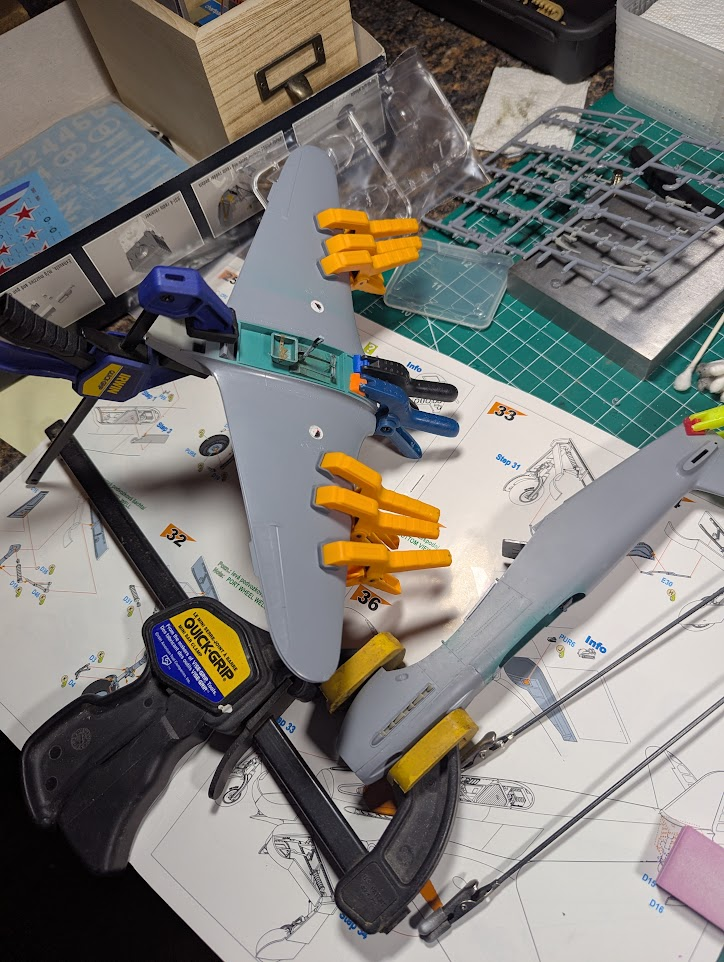
Did not take any pictures of the wing assembly. But those "things" on top of the wings needed decal underneath the clear plastic covers. Those are fuel level gauges, an interesting approach the Russians had, I think other Russian aircraft did this too, like the Lagg.

1775065875875.png

1775065897483.png
 
Last edited:
Both ;-)

Plus it is more complicated/confusing than that because the sole-survivor is both an H-0 and an H-1, the H1 was the only "operational version" of them all, and the last variant.

++++++++++++++++++++
Very cool info. It's crazy how few WW2 aircraft survived into modern times, given how many tens of thousands were built.
 
A great deal simply went onto the scrap heap for recycling, because once a war is over the vast majority of the stuff made for it is surplus to requirement. And it's not always realised that certain things are unique — or at least very rare — even when it's "own" equipment, never mind the enemy's.
 
A great deal simply went onto the scrap heap for recycling.
Yeah, the Allies were churning them out at such a ridiculous rate that fleets of brand new bombers and fighters went from the factory right to the scrap yard. And no one cared much about preserving Nazi machines (with the exception of some of the more exotic stuff).
 
fleets of brand new bombers and fighters went from the factory right to the scrap yard.
I'm reminded that at the end of WWII and even in Vietnam, sailors were pushing perfectly good aircraft off the decks of aircraft carriers.

Not exactly from the factory, but similar. Nobody cares about taxpayers, then or now.
 
I'm reminded that at the end of WWII and even in Vietnam, sailors were pushing perfectly good aircraft off the decks of aircraft carriers.

Not exactly from the factory, but similar. Nobody cares about taxpayers, then or now.
It is crazy but there was a strange logic to it. It was free to push them off the aircraft carriers. If they'd gone back to home station some company would've been paid an exorbitant fee to dispose of them. Sick world.
 
I'm reminded that at the end of WWII and even in Vietnam, sailors were pushing perfectly good aircraft off the decks of aircraft carriers.
Also tanks. When the Soviet Union returned Shermans received under Lend-Lease, for example, they would be loaded aboard American ships in the Russian Far East. As soon as the ships were in international waters, the tanks were dumped into the sea. Some years ago, the Russians salvaged one and fixed it up, which with tanks at least is more of an option than with aircraft.

Worse than this is the ammunition. In my part of the world, there are a number of large underwater ammo dumps, which occasionally leads to incidents like people finding what they think is an interesting stone on the beach. See this local news report from 3 January this year, for example: it's in Dutch, but basically, the stone was put outside the door of a seaside restaurant — watch the video for what happened next. And then there's the dumps off the Belgian coast, containing mustard gas shells from the First World War.
 
Also tanks. When the Soviet Union returned Shermans received under Lend-Lease, for example, they would be loaded aboard American ships in the Russian Far East. As soon as the ships were in international waters, the tanks were dumped into the sea. Some years ago, the Russians salvaged one and fixed it up, which with tanks at least is more of an option than with aircraft.

Worse than this is the ammunition. In my part of the world, there are a number of large underwater ammo dumps, which occasionally leads to incidents like people finding what they think is an interesting stone on the beach. See this local news report from 3 January this year, for example: it's in Dutch, but basically, the stone was put outside the door of a seaside restaurant — watch the video for what happened next. And then there's the dumps off the Belgian coast, containing mustard gas shells from the First World War.
We used to have this problem each spring in our military impact area. In the winter/spring, the white phosphorus (WP) mortar rounds would land in the snow, ice or soaking wet ground, where the WP wouldn't be exposed to oxygen (when landing on the ice it would be on fire, but melt a path through the ice to the point where the melted water would cut off the oxygen). Later, in the spring the snow/ice would melt and the ground would dry up. Then the WP would be exposed to the oxygen and catch fire. Then we would go out and put out the grass/ forest fires.
Problem was largely solved when we switched to Red Phosphorus (RP), which needs to be ignited, rather then just self-ignight when in contact with oxygen (i.e. WP).
WP produced a much more reliable and effective smoke screen. We were always told that we switched to RP because it was far less toxic to produce. I wasn't convinced of that logic. We just wanted fast smoke that was reliable and thick!
 
Also tanks. When the Soviet Union returned Shermans received under Lend-Lease, for example, they would be loaded aboard American ships in the Russian Far East. As soon as the ships were in international waters, the tanks were dumped into the sea. Some years ago, the Russians salvaged one and fixed it up, which with tanks at least is more of an option than with aircraft.

Worse than this is the ammunition. In my part of the world, there are a number of large underwater ammo dumps, which occasionally leads to incidents like people finding what they think is an interesting stone on the beach. See this local news report from 3 January this year, for example: it's in Dutch, but basically, the stone was put outside the door of a seaside restaurant — watch the video for what happened next. And then there's the dumps off the Belgian coast, containing mustard gas shells from the First World War.
Was that some type of phosphorous munition?
 
Yep, WP that's washed out of rusted-through shells and then finds its way onto the beach.

With hindsight, I suspect that the things we as children always thought were bits of brick on the beach, were phosphorus as well, as the ones we picked up were usually a lot lighter than we expected brick to be. We did sometimes wonder how brick got onto the beach, but couldn't think of why it wouldn't be either. Glad we never took any of them home …
 
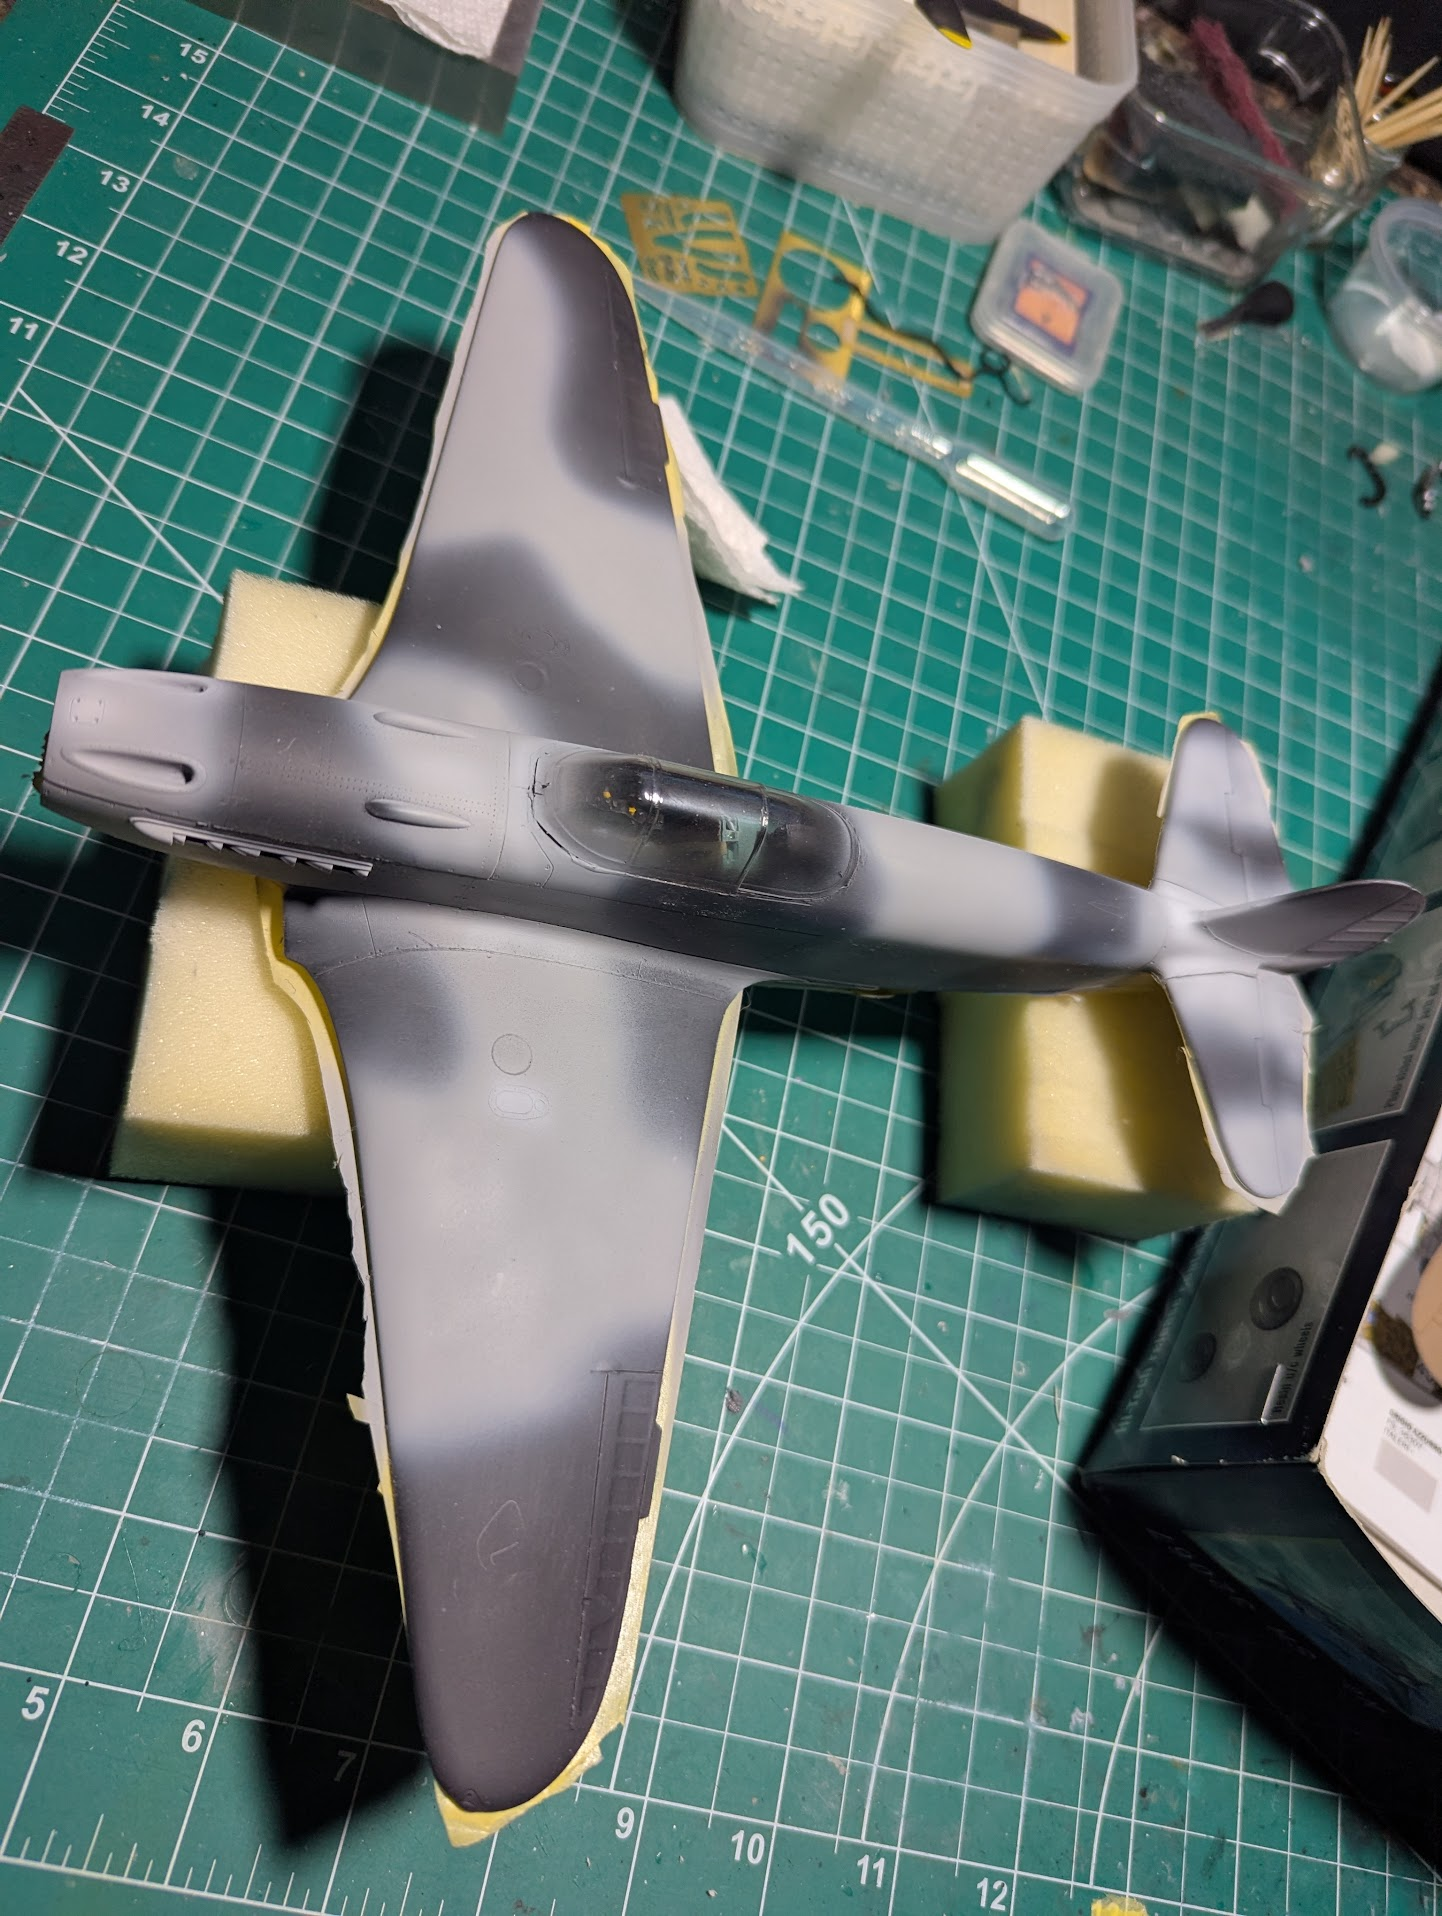
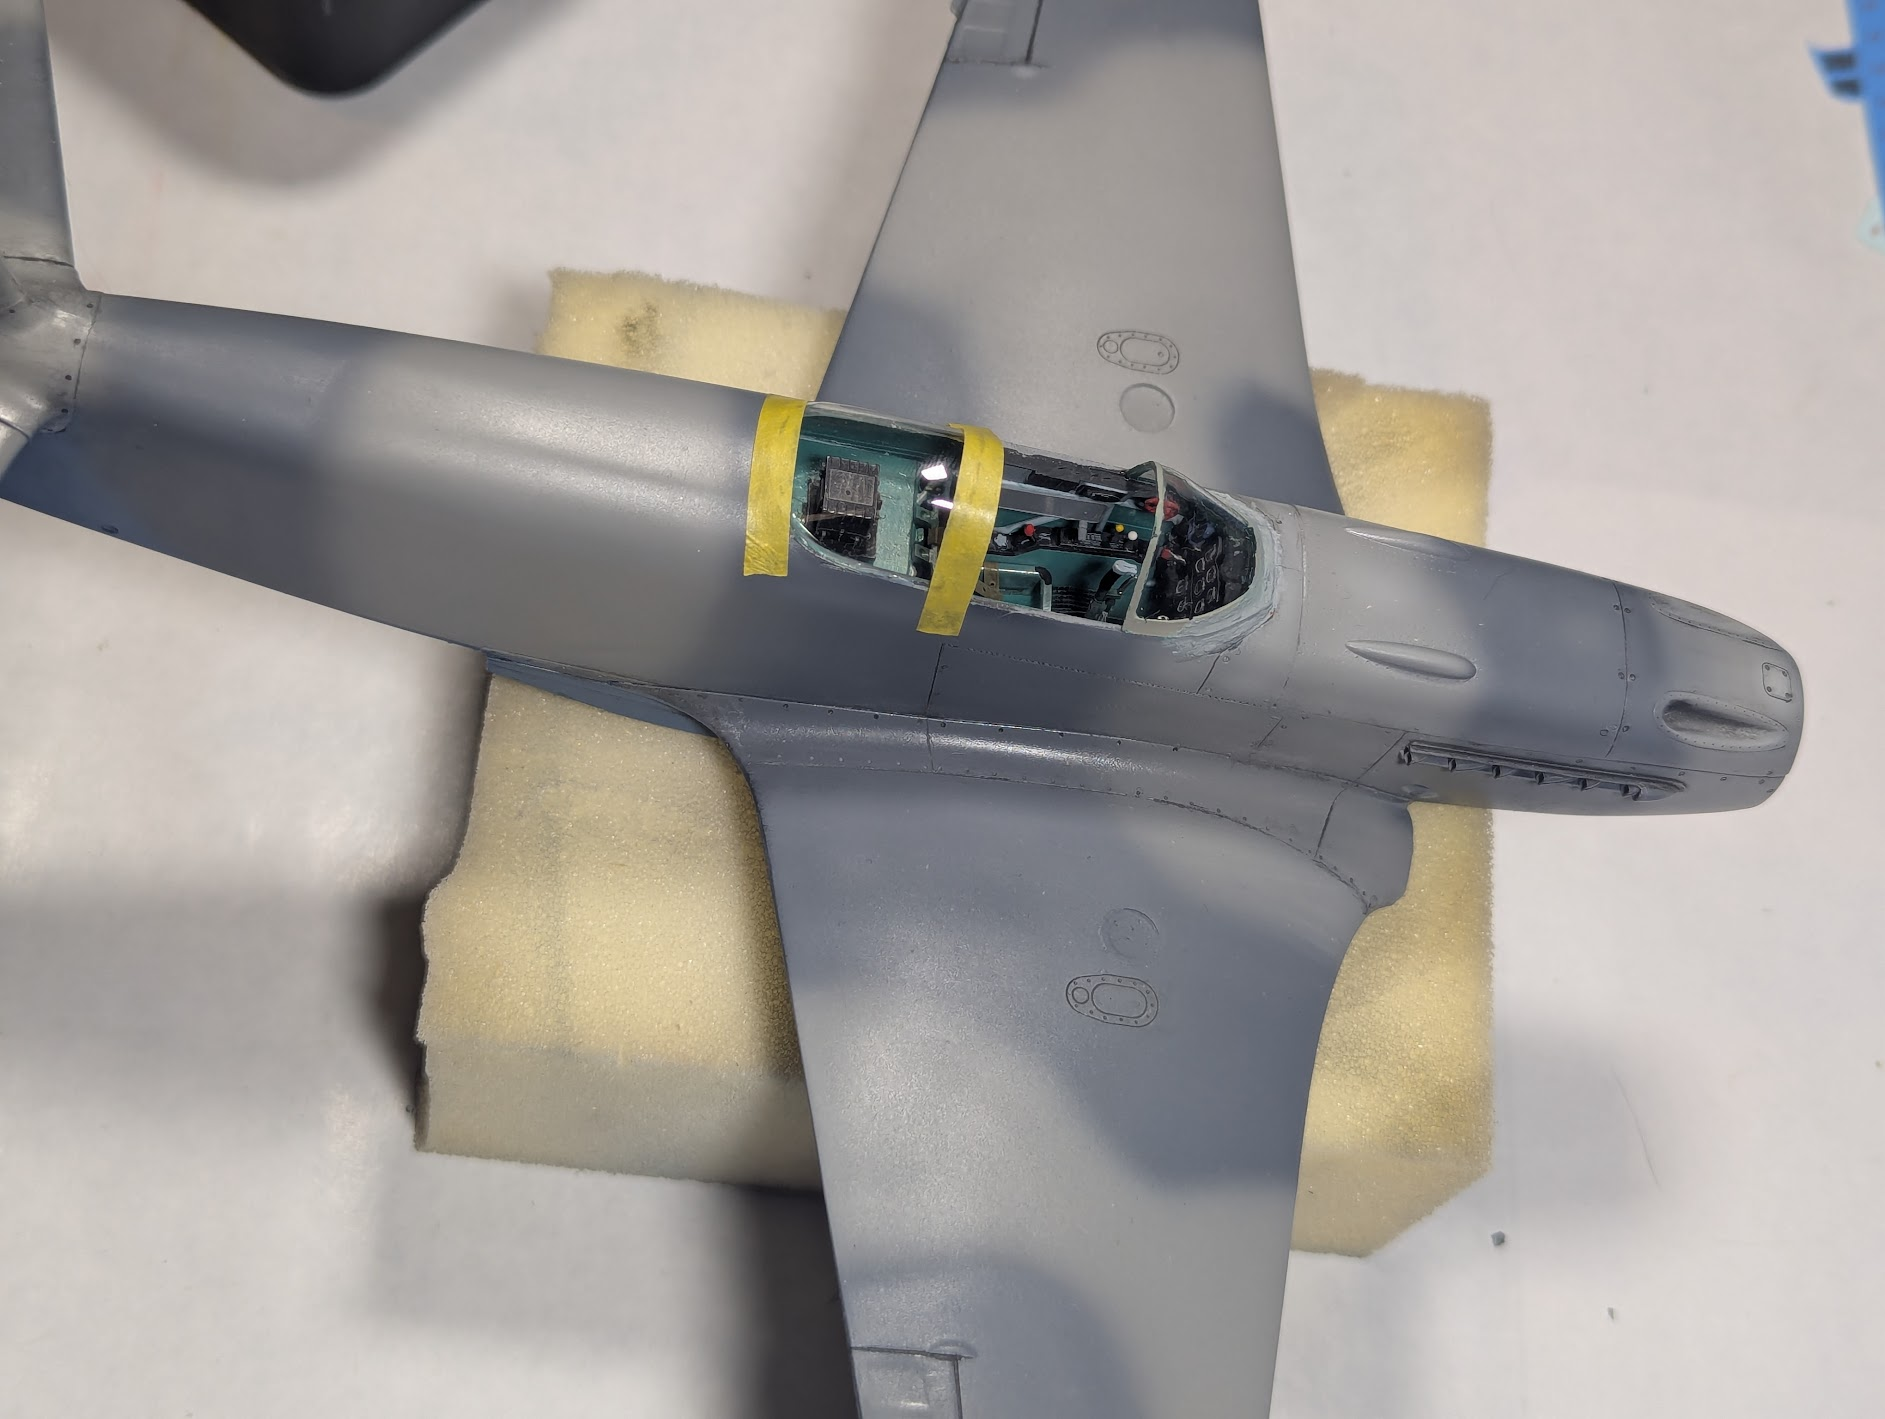
As is my custom, when the parts with the kit allow, I use the closed canopy as a mask. Laid down some black primer, no pre-shading this time, and started with the lighter gray camo. No pics in between, nothing much to see.

1775511018013.png


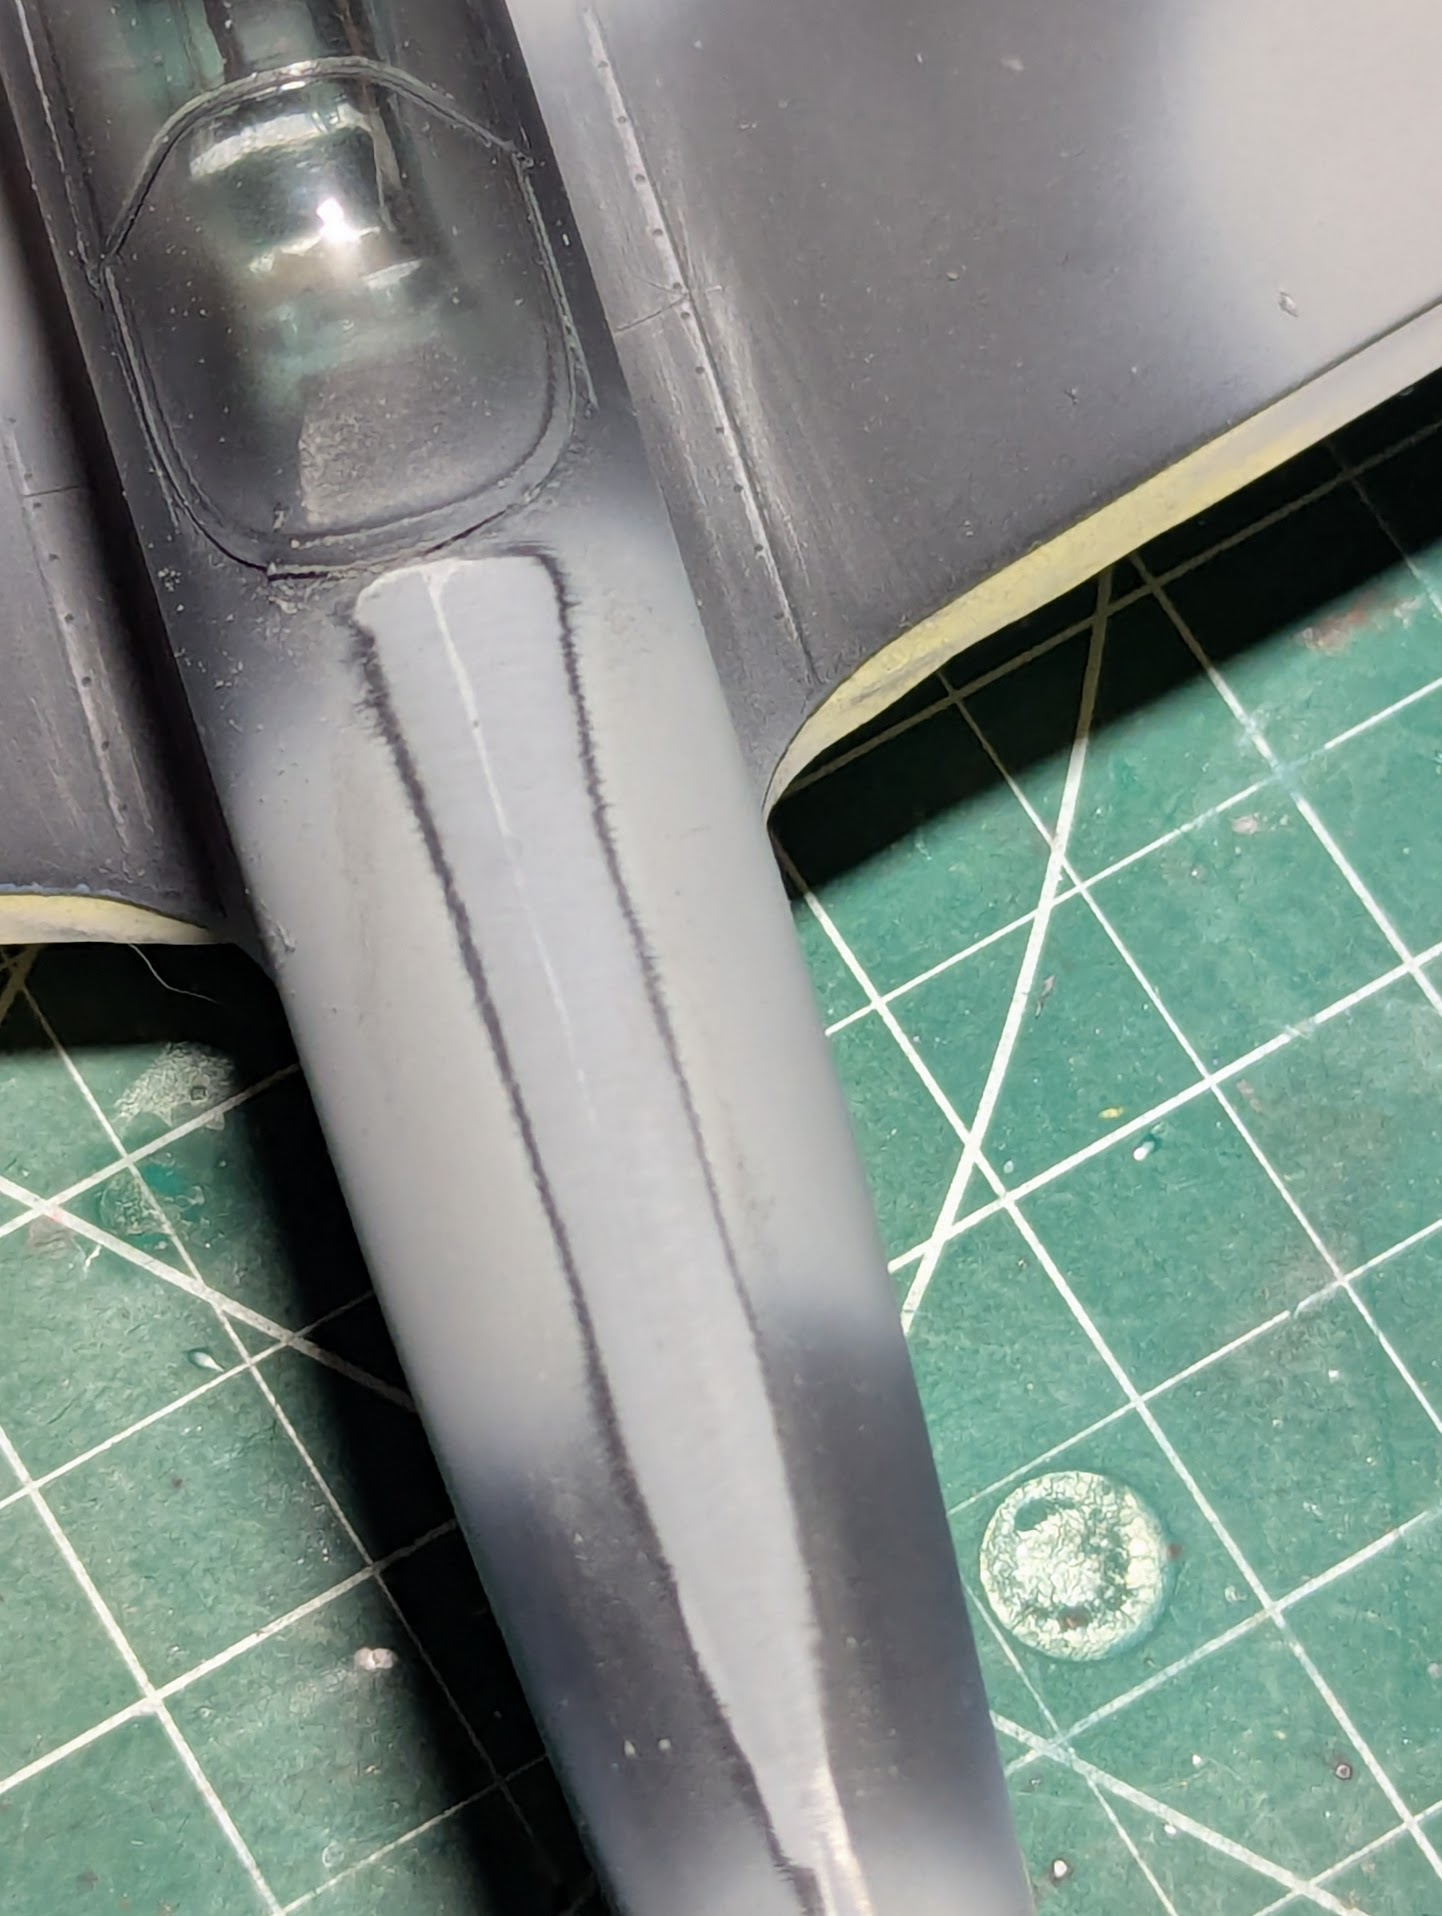
You can see a "D" in graphite on the lower part of the photo. I drew the lines roughly where the camo colors were spearated and put D or L in there to keep it straight. I thought I had done a great job of sanding the seam on the spine already, looked fine in black, but the lighter color showed me I was wrong, so more sanding was needed.

1775511150839.png


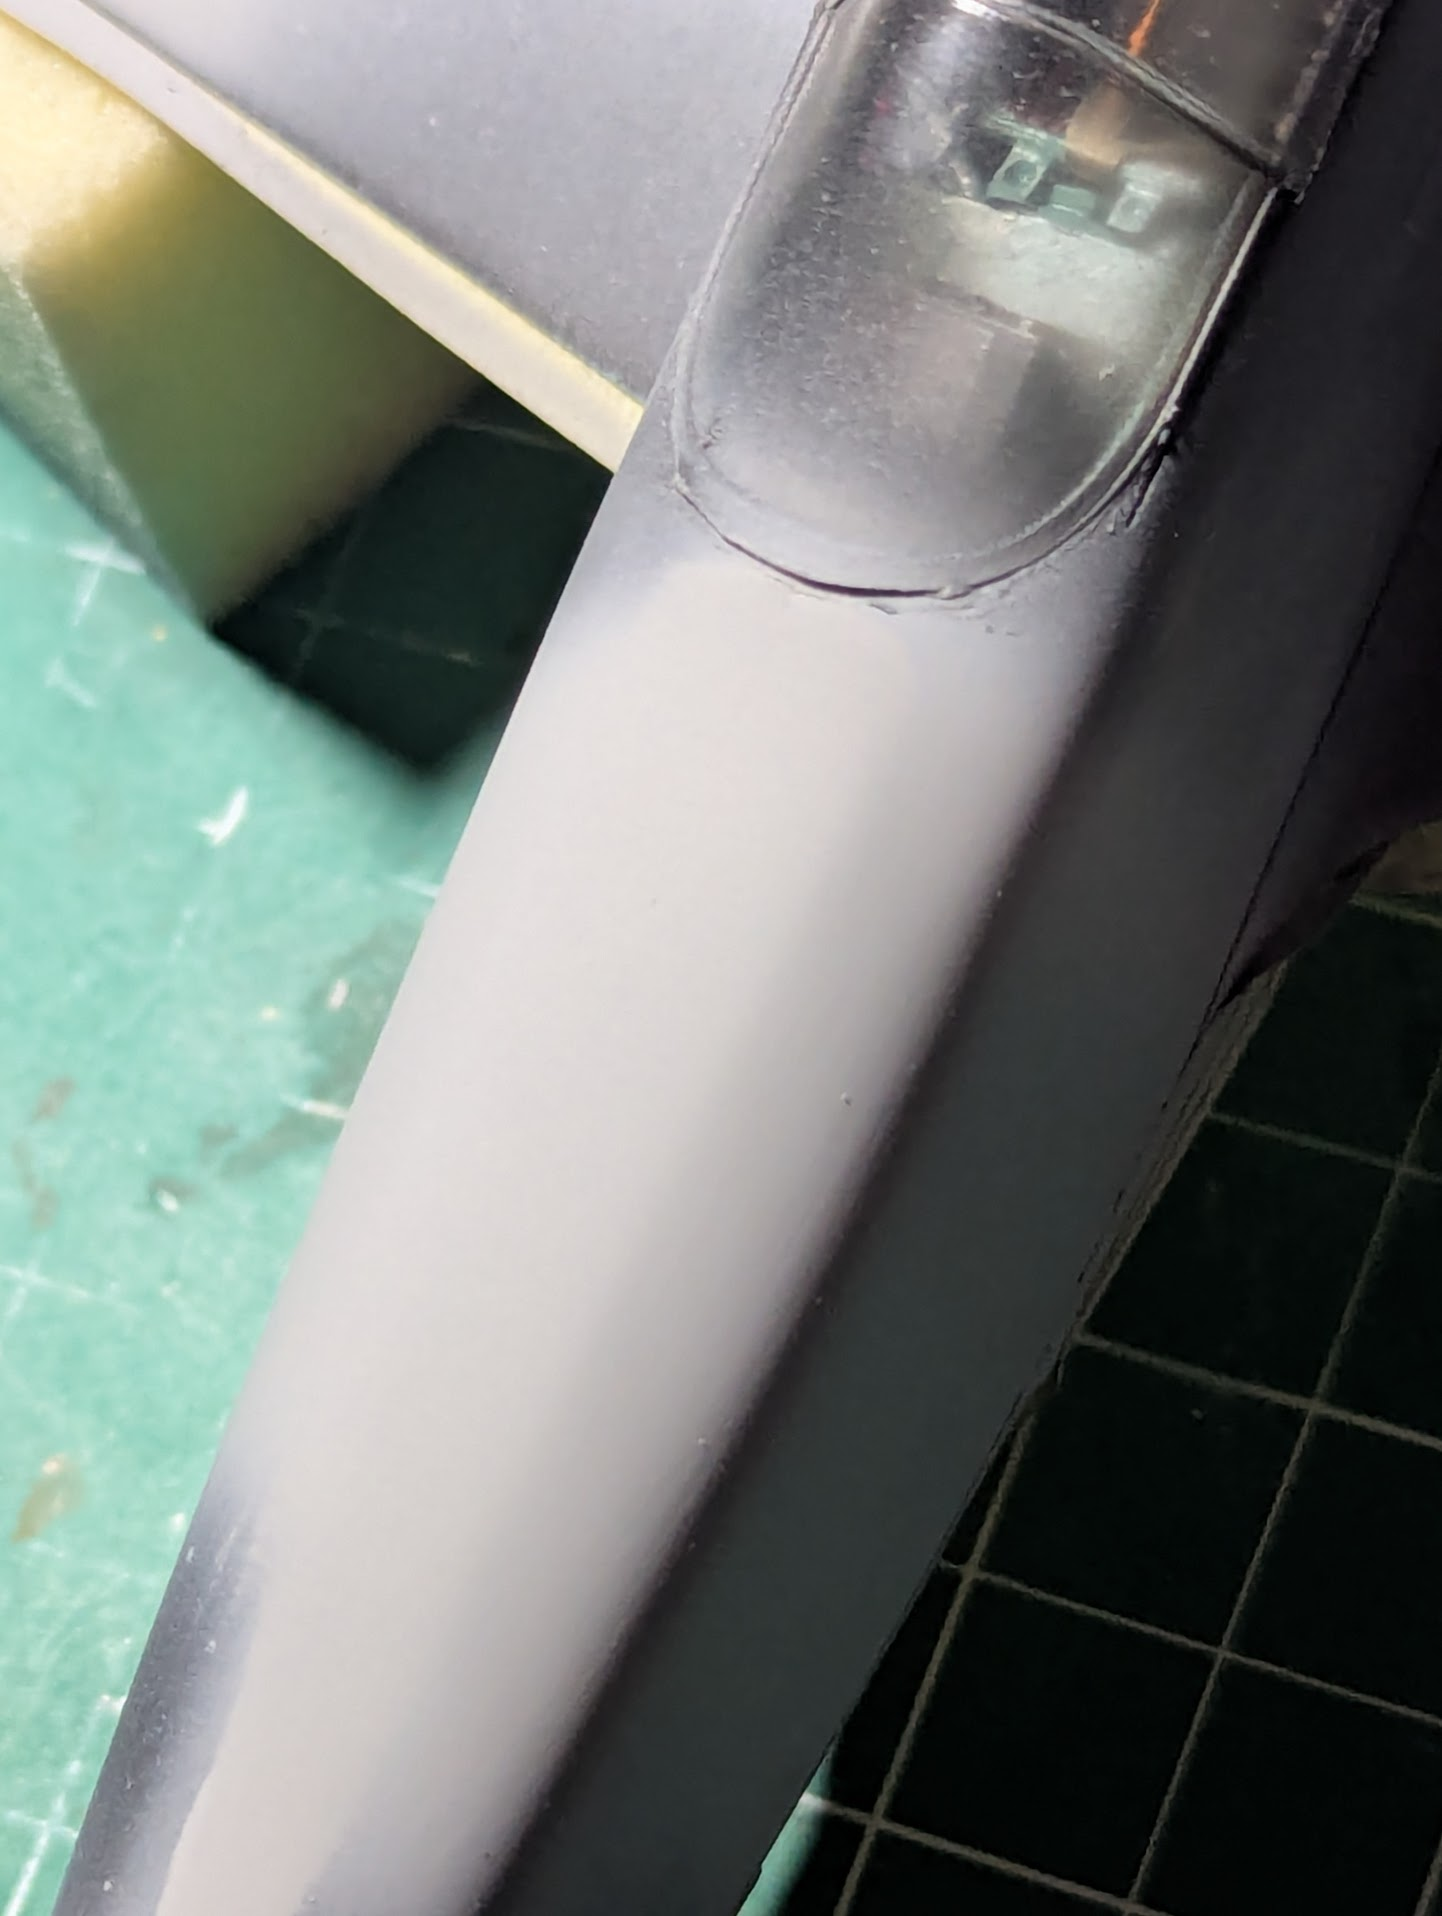
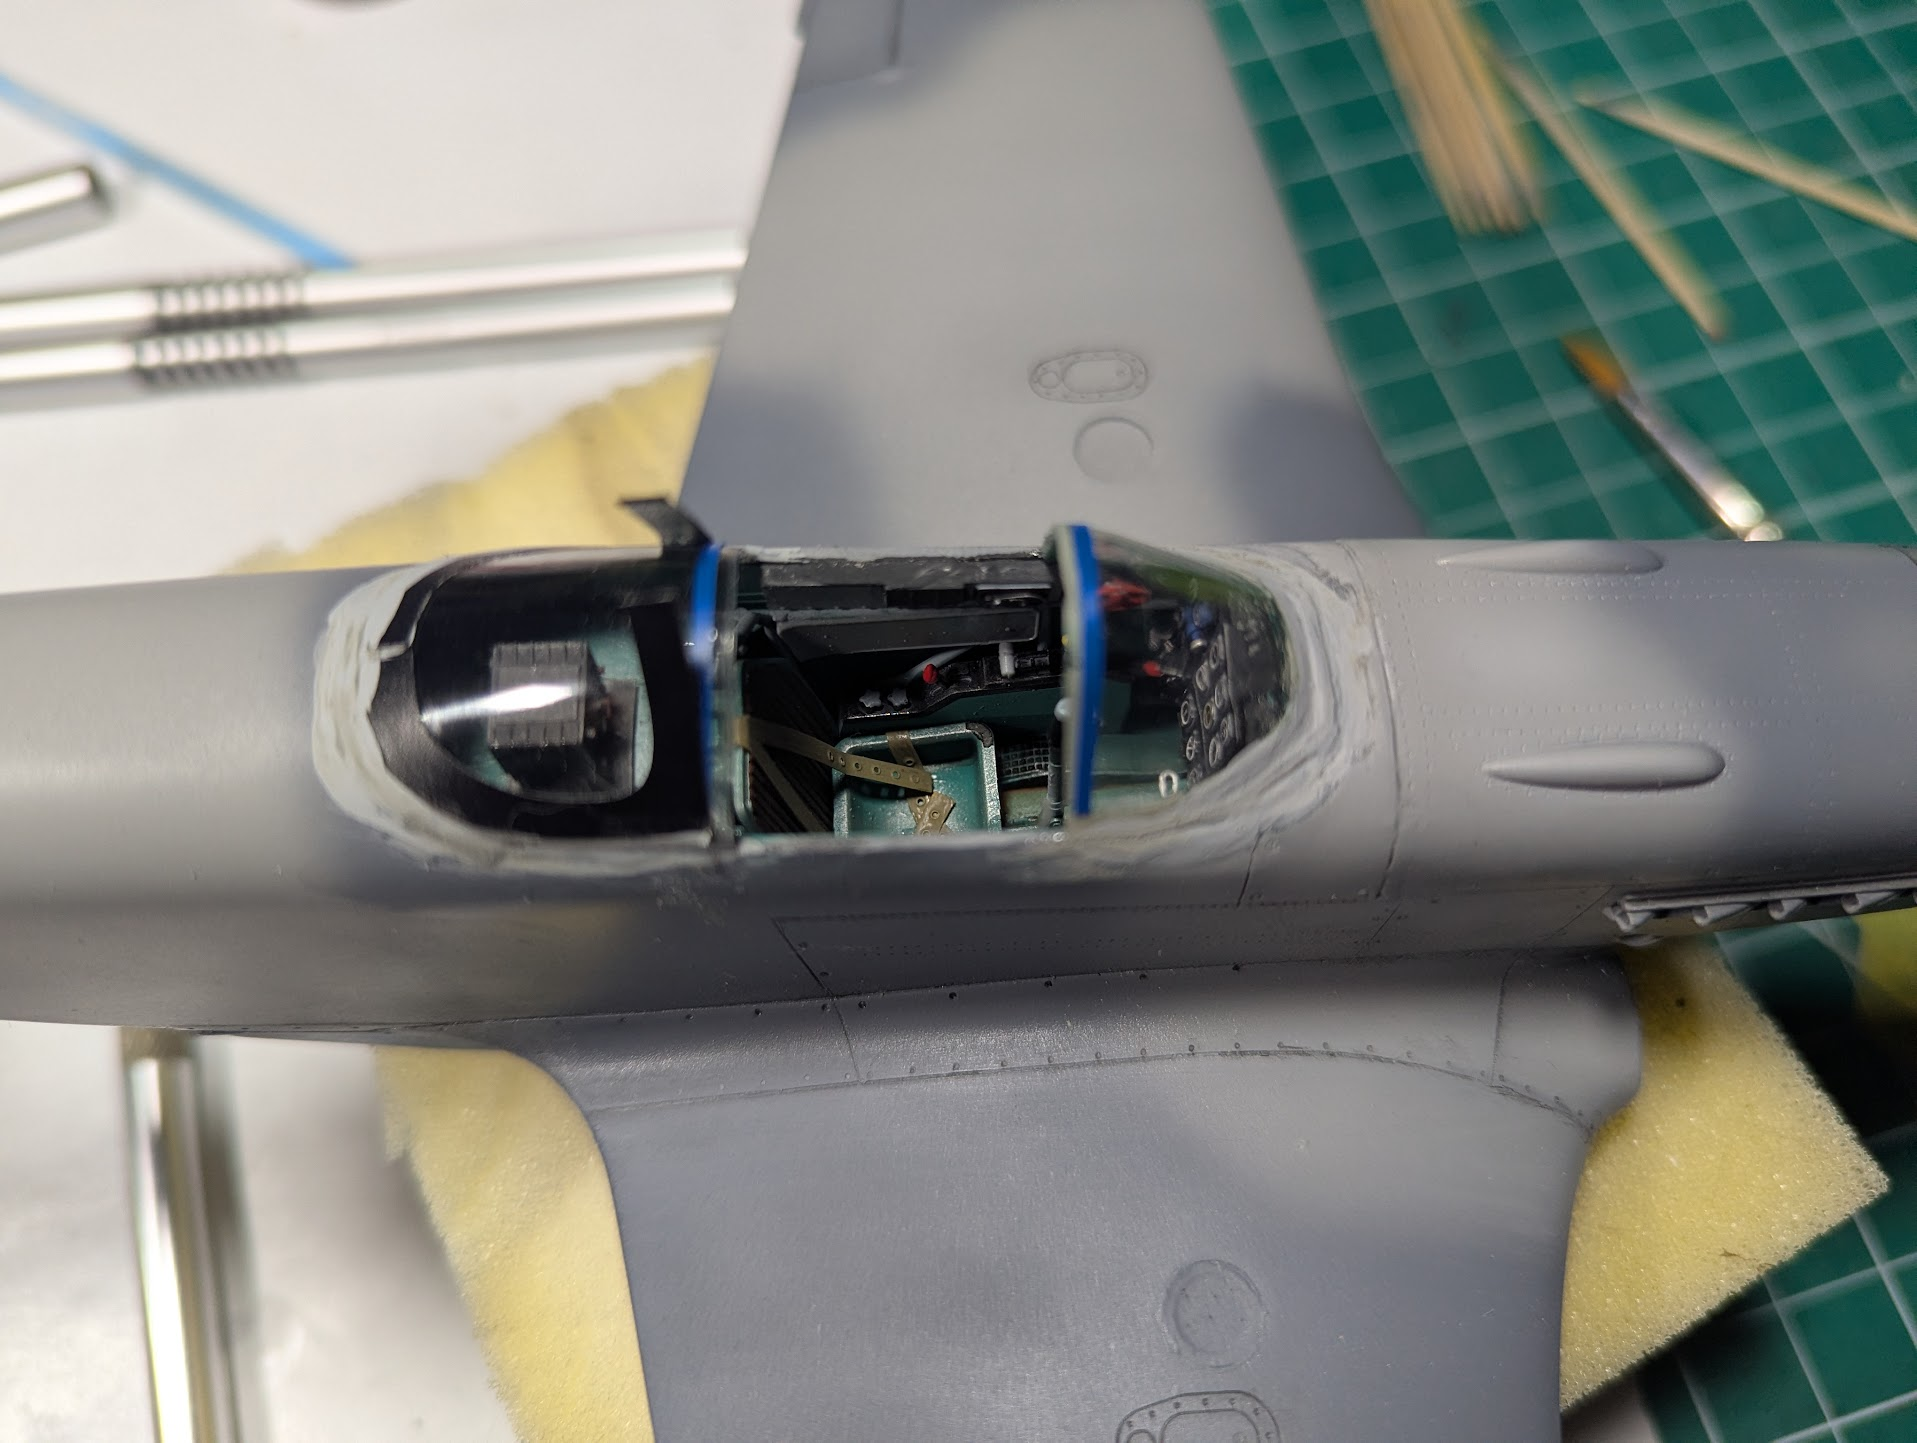
THERE IT IS! I guess I mean...there it isn't.

1775511186112.png
 
As is my custom, when the parts with the kit allow, I use the closed canopy as a mask. Laid down some black primer, no pre-shading this time, and started with the lighter gray camo. No pics in between, nothing much to see.

View attachment 185975

You can see a "D" in graphite on the lower part of the photo. I drew the lines roughly where the camo colors were spearated and put D or L in there to keep it straight. I thought I had done a great job of sanding the seam on the spine already, looked fine in black, but the lighter color showed me I was wrong, so more sanding was needed.

View attachment 185976

THERE IT IS! I guess I mean...there it isn't.

View attachment 185977
You have a spare canopy? I do the same but tape up my canopy. Never know when you might need a canopy! It's coming along well, are you enjoying the build?
 
Never know when you might need a canopy!
Now please!

No big deal with the overspray, I was going to us the open version anyway.

1775937477339.png


I VERY carefully glued the new canopy in pace using extra-thin cement, definitely avoided getting any on the clear areas.

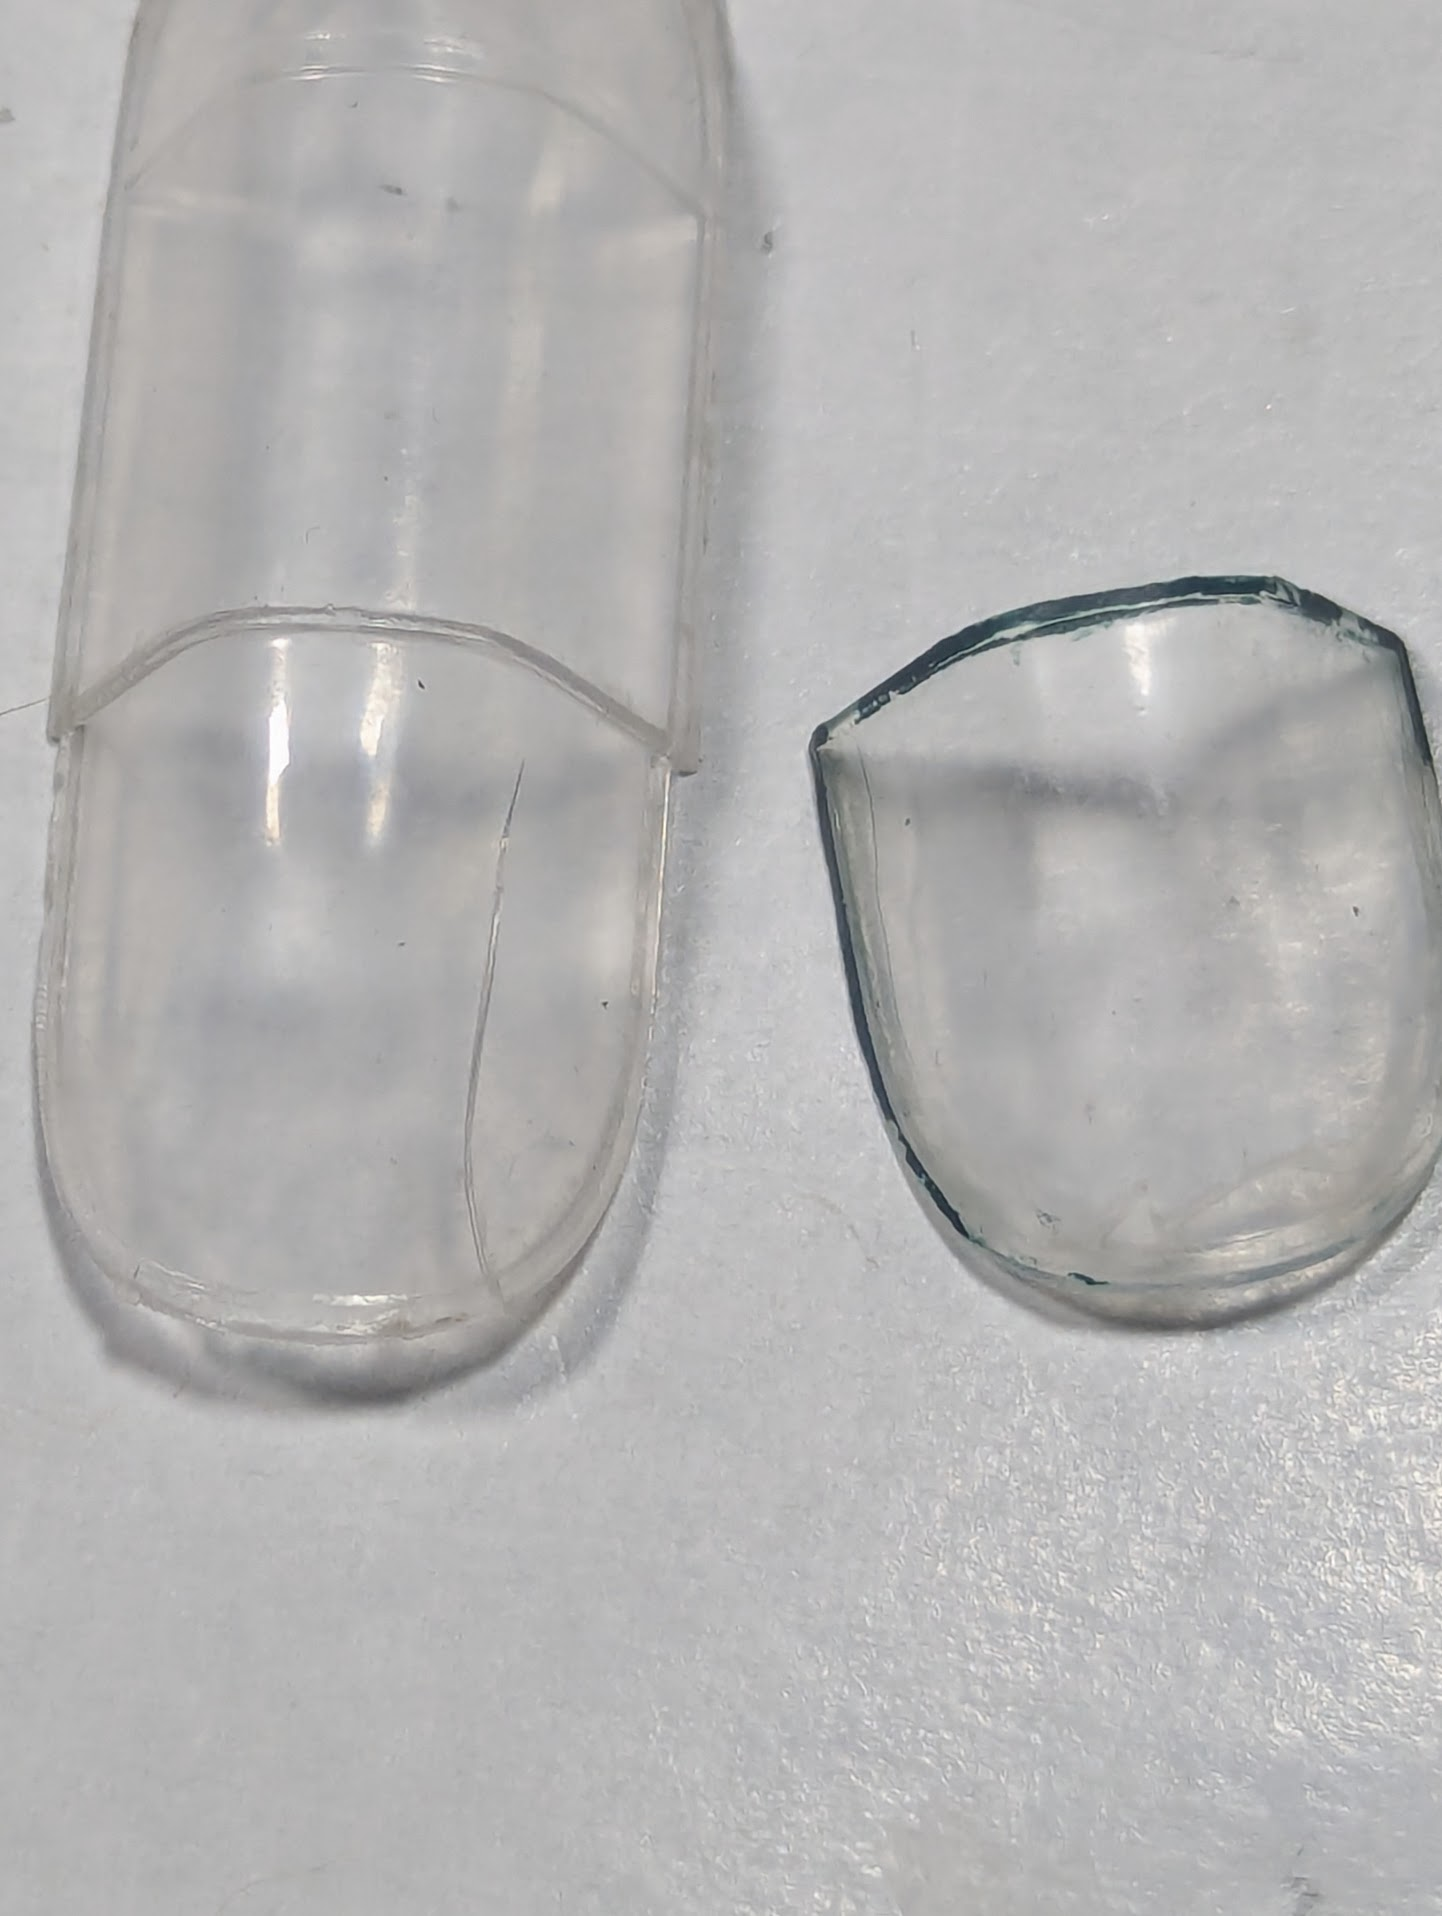
Too bad, it ruined them anyway! It was not a fogging like you'd see from CA glue, it was a noticeable waviness that has prismatic properties included. I tried polishing it out, even with motorized buffing, no go. So I took the solid one and tried getting the paint off with oven cleaner, that did not work and I cracked it in trying.

1775937533485.png


ARRRGH!
 
I was thinking I could buy another kit and take the new parts, I got this one free anyway. But they are all expensive, way more than I'd have guessed.

I have ordered a vaccuform canopy kit, will see how that goes.
 
Sor
Now please!

No big deal with the overspray, I was going to us the open version anyway.

View attachment 186363

I VERY carefully glued the new canopy in pace using extra-thin cement, definitely avoided getting any on the clear areas.

Too bad, it ruined them anyway! It was not a fogging like you'd see from CA glue, it was a noticeable waviness that has prismatic properties included. I tried polishing it out, even with motorized buffing, no go. So I took the solid one and tried getting the paint off with oven cleaner, that did not work and I cracked it in trying.

View attachment 186365

ARRRGH!
Sorry! Feel like I jinxed you!
 
1776131969063.png

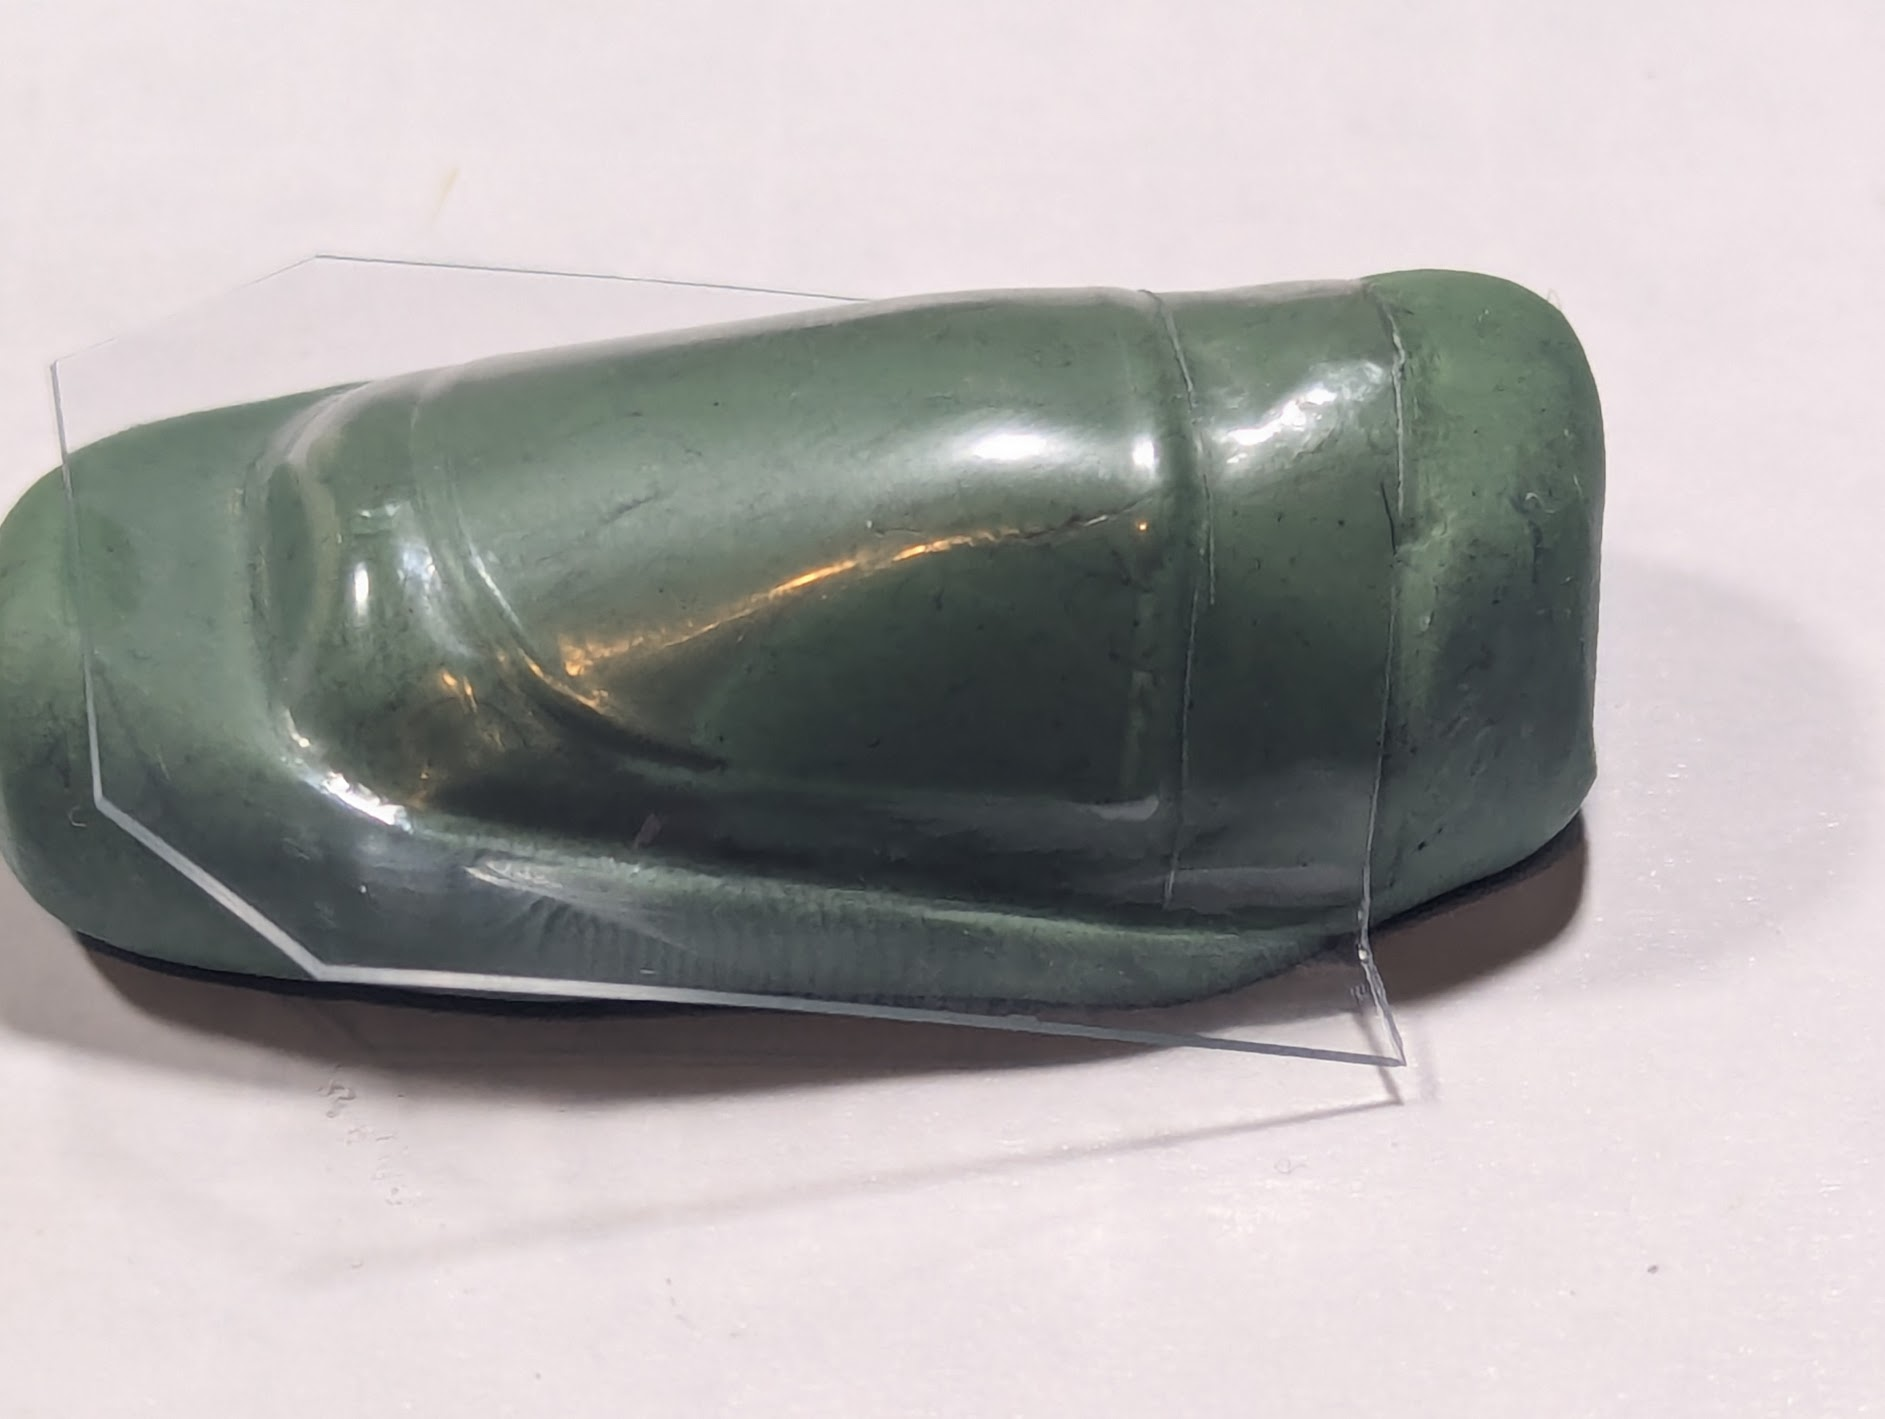
I used modelling clay to support the thin plastic while cutting. Decided pretty quickly to use scissors instead of x-acto.

Used Testors clear to adhere, and held it down with tape.

1776132144549.png

There's still a lot of work and cleanup needed, you can see how buggered up the joint is in the front.
 
Last edited:
Work to fix the canopy continues.
1782587369782.png


I realized I was not going to get it perfect and pushed on to finish the kit.

1782587635150.png


I'm happy with everything else, particularly with how well the painted spinner came out, I knew the stickers would look bad for that. Very little weathering and panel lines visible on the wings and back half of the fuselage is intentional, these were made of wood :-)
 
Work to fix the canopy continues.
View attachment 194414

I realized I was not going to get it perfect and pushed on to finish the kit.

View attachment 194415

I'm happy with everything else, particularly with how well the painted spinner came out, I knew the stickers would look bad for that. Very little weathering and panel lines visible on the wings and back half of the fuselage is intentional, these were made of wood :-)
Looks pretty darn good to me
 
Work to fix the canopy continues.
View attachment 194414

I realized I was not going to get it perfect and pushed on to finish the kit.

View attachment 194415

I'm happy with everything else, particularly with how well the painted spinner came out, I knew the stickers would look bad for that. Very little weathering and panel lines visible on the wings and back half of the fuselage is intentional, these were made of wood :-)
Nice! For some reason pics aren't showing until I reply. Looks good.
 

Latest posts

Back
Top