

The first time I built this kit was as a boy, when it was produced by Aurora, and apparently the kit was never reissued by Aurora again. I was glad to see Atlantis produce the kit; if nothing else, for old-time's sake. The C-141 was an excellent airplane and it is sad the Air Force decided to retire the fleet. These photos are from August 2025, and since I don't see this kit on the site, I figured I'd go ahead and post.
I was in the "relaxed building" mode for this kit and so did not fill the seams. Originally I was going to brush-paint the finish... But that actually would take much longer than just spraying the thing with a "rattle can" (and also wouldn't look so good).
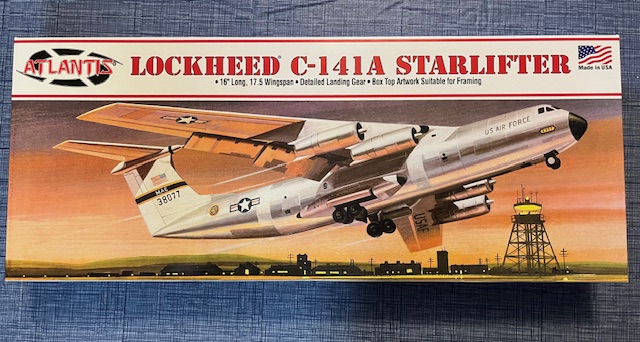
I'll go ahead and post a photo of the box...
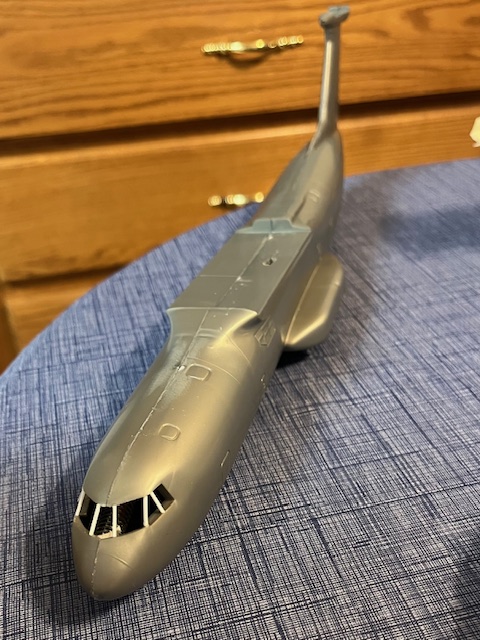
Now the fuselage is ready for painting. I added the windshield posts from plastic stock, as I used to do with my airliner models, and will use Microscale Kristal Klear for the windows after painting.
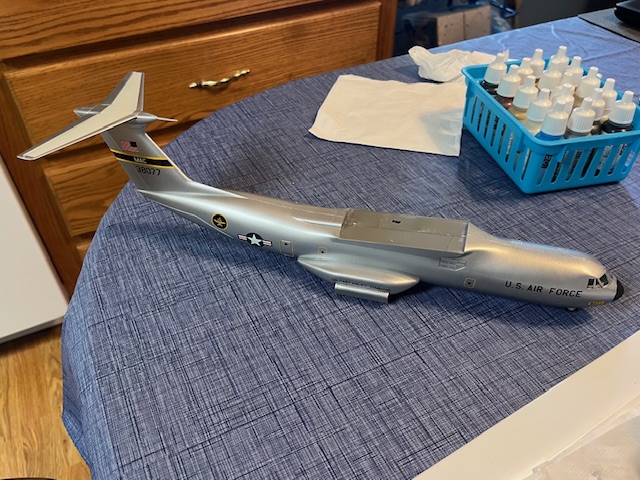
I strayed from my usual sequence by applying decals, finishing the landing gear, and attaching the stabilizer, prior to attaching the wings. By the way, the slot I drilled into the center fuselage, where the wings attach, was to provide a place to hang the fuselage while I sprayed the silver. The other hole was on the top of the tail, where the horizontal stabilizer would attach.
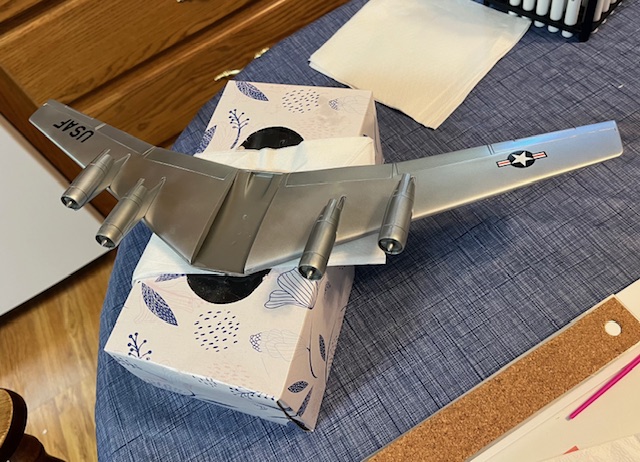
Something else I did differently on this kit was to attach the engines before putting the wings onto the fuselage.
- One memory I have from the early 1970's is that I glued the front engine fans behind the first ridge on each engine. I remember being annoyed that Aurora had made the fans too big to fit, as it took awhile to cut the fan edges down with a razor blade. It was a couple of years before I realized they should have mounted directly onto the front of the engine. They fit FINE when you do it that way! (Look more like the real thing, too).
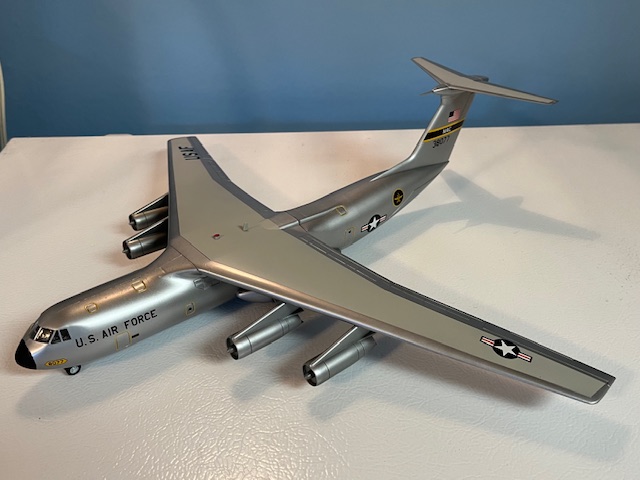
And finally, the completed model.
I thought about buying two more kits to "stretch" one and make a C-141B, but right now that seems to be a lot of work. Besides, I'd also have to come up with a refueling receptacle on top of the flightdeck.
Best regards,
Kurt
I was in the "relaxed building" mode for this kit and so did not fill the seams. Originally I was going to brush-paint the finish... But that actually would take much longer than just spraying the thing with a "rattle can" (and also wouldn't look so good).
I'll go ahead and post a photo of the box...
Now the fuselage is ready for painting. I added the windshield posts from plastic stock, as I used to do with my airliner models, and will use Microscale Kristal Klear for the windows after painting.
I strayed from my usual sequence by applying decals, finishing the landing gear, and attaching the stabilizer, prior to attaching the wings. By the way, the slot I drilled into the center fuselage, where the wings attach, was to provide a place to hang the fuselage while I sprayed the silver. The other hole was on the top of the tail, where the horizontal stabilizer would attach.
Something else I did differently on this kit was to attach the engines before putting the wings onto the fuselage.
- One memory I have from the early 1970's is that I glued the front engine fans behind the first ridge on each engine. I remember being annoyed that Aurora had made the fans too big to fit, as it took awhile to cut the fan edges down with a razor blade. It was a couple of years before I realized they should have mounted directly onto the front of the engine. They fit FINE when you do it that way! (Look more like the real thing, too).
And finally, the completed model.
I thought about buying two more kits to "stretch" one and make a C-141B, but right now that seems to be a lot of work. Besides, I'd also have to come up with a refueling receptacle on top of the flightdeck.
Best regards,
Kurt


