Jantk14
Well-Known Member
Starting this one tonight.
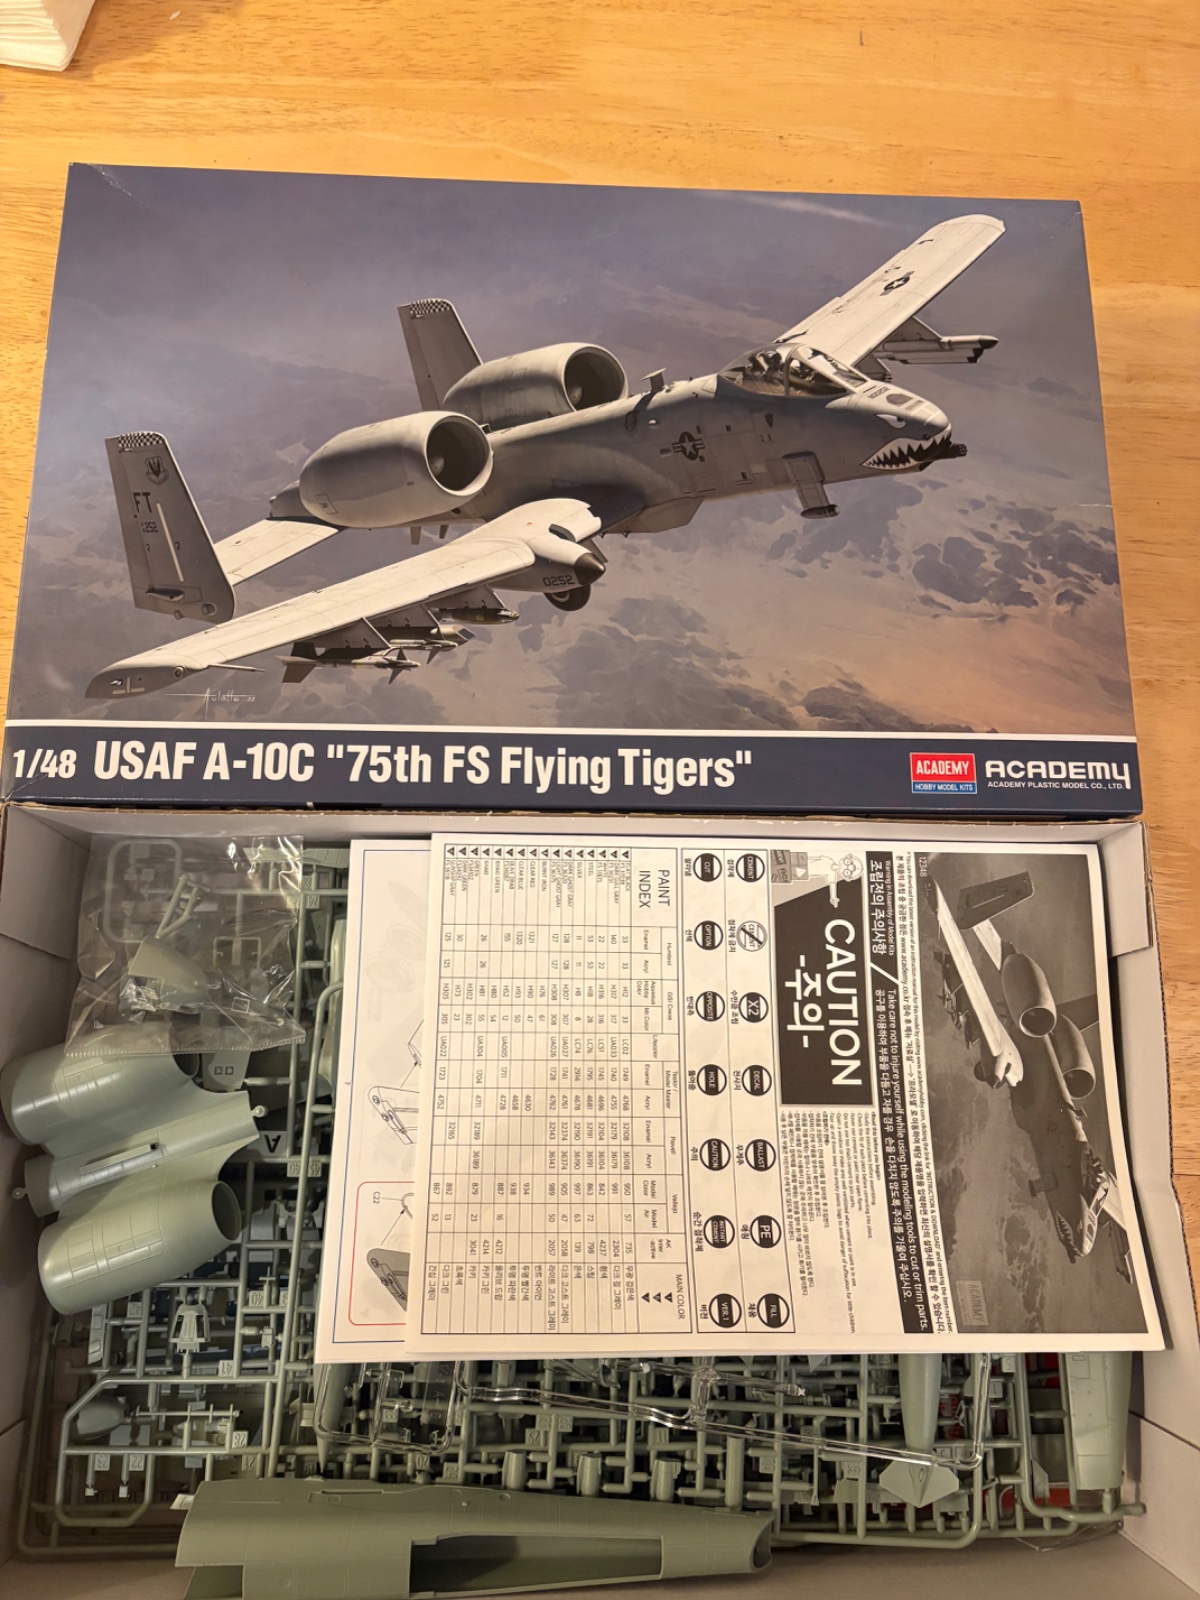


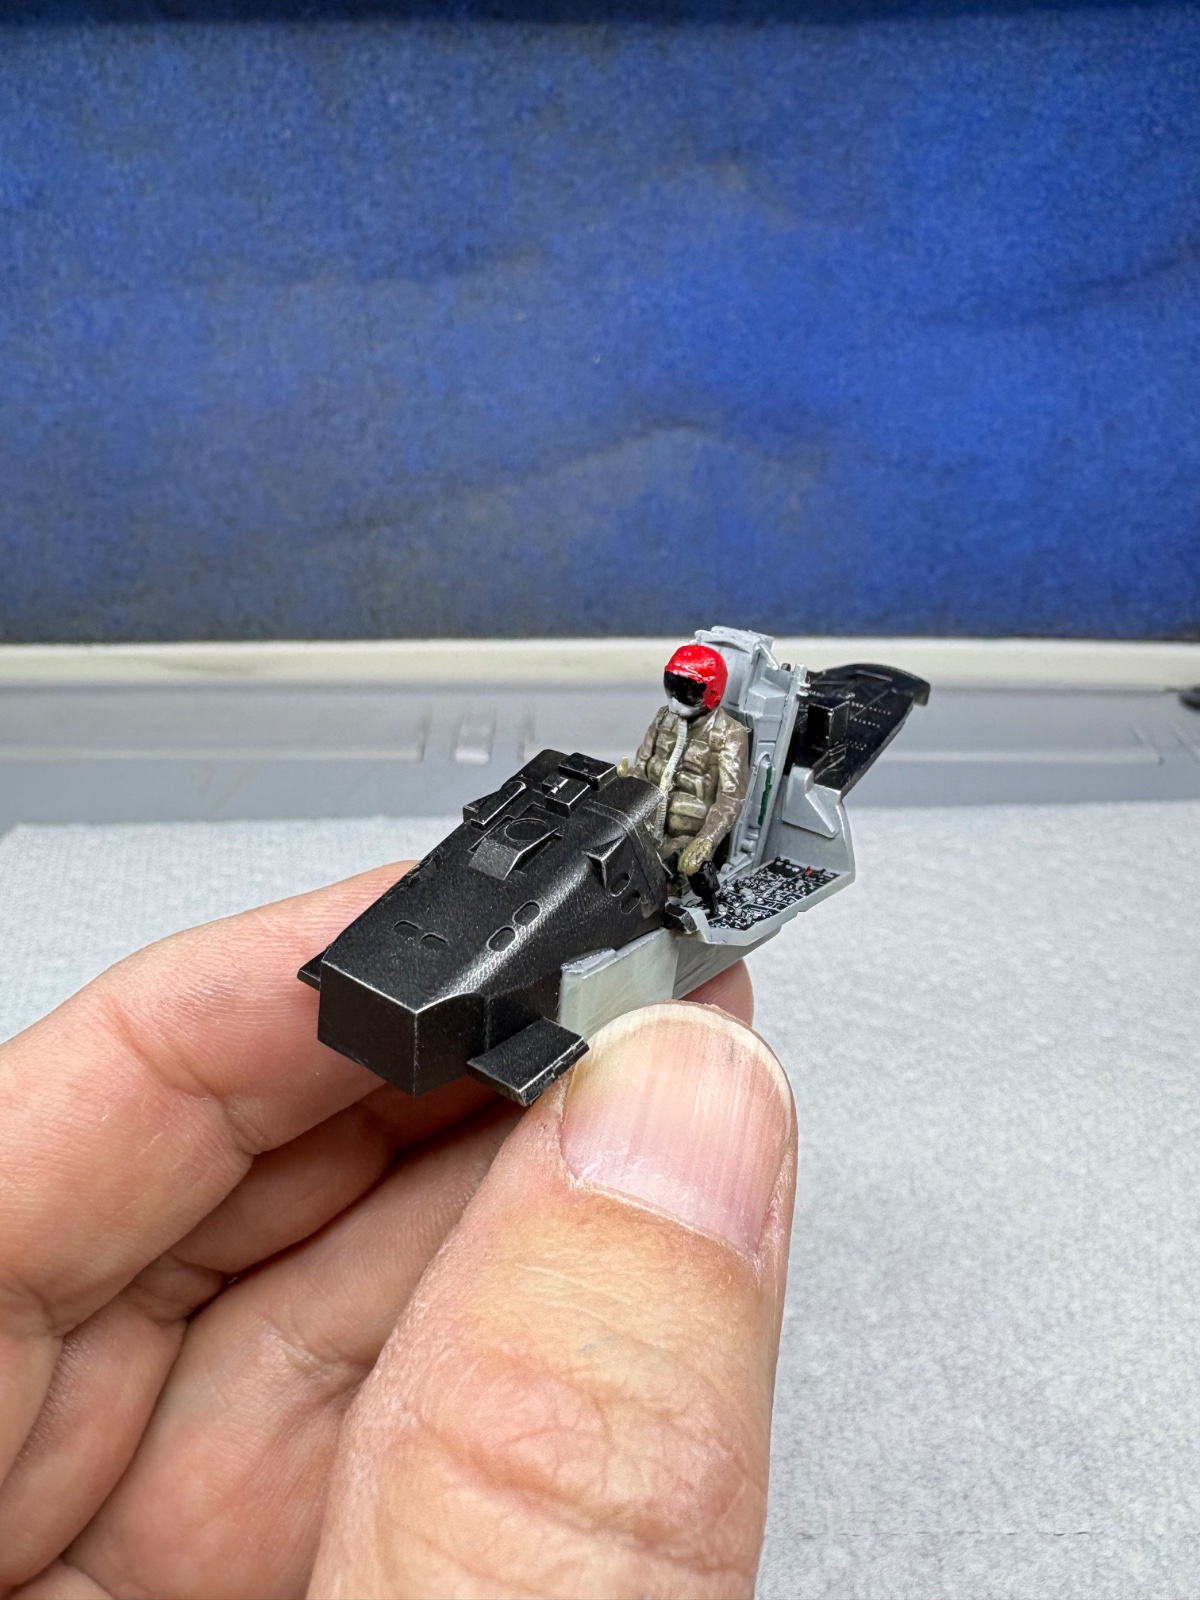
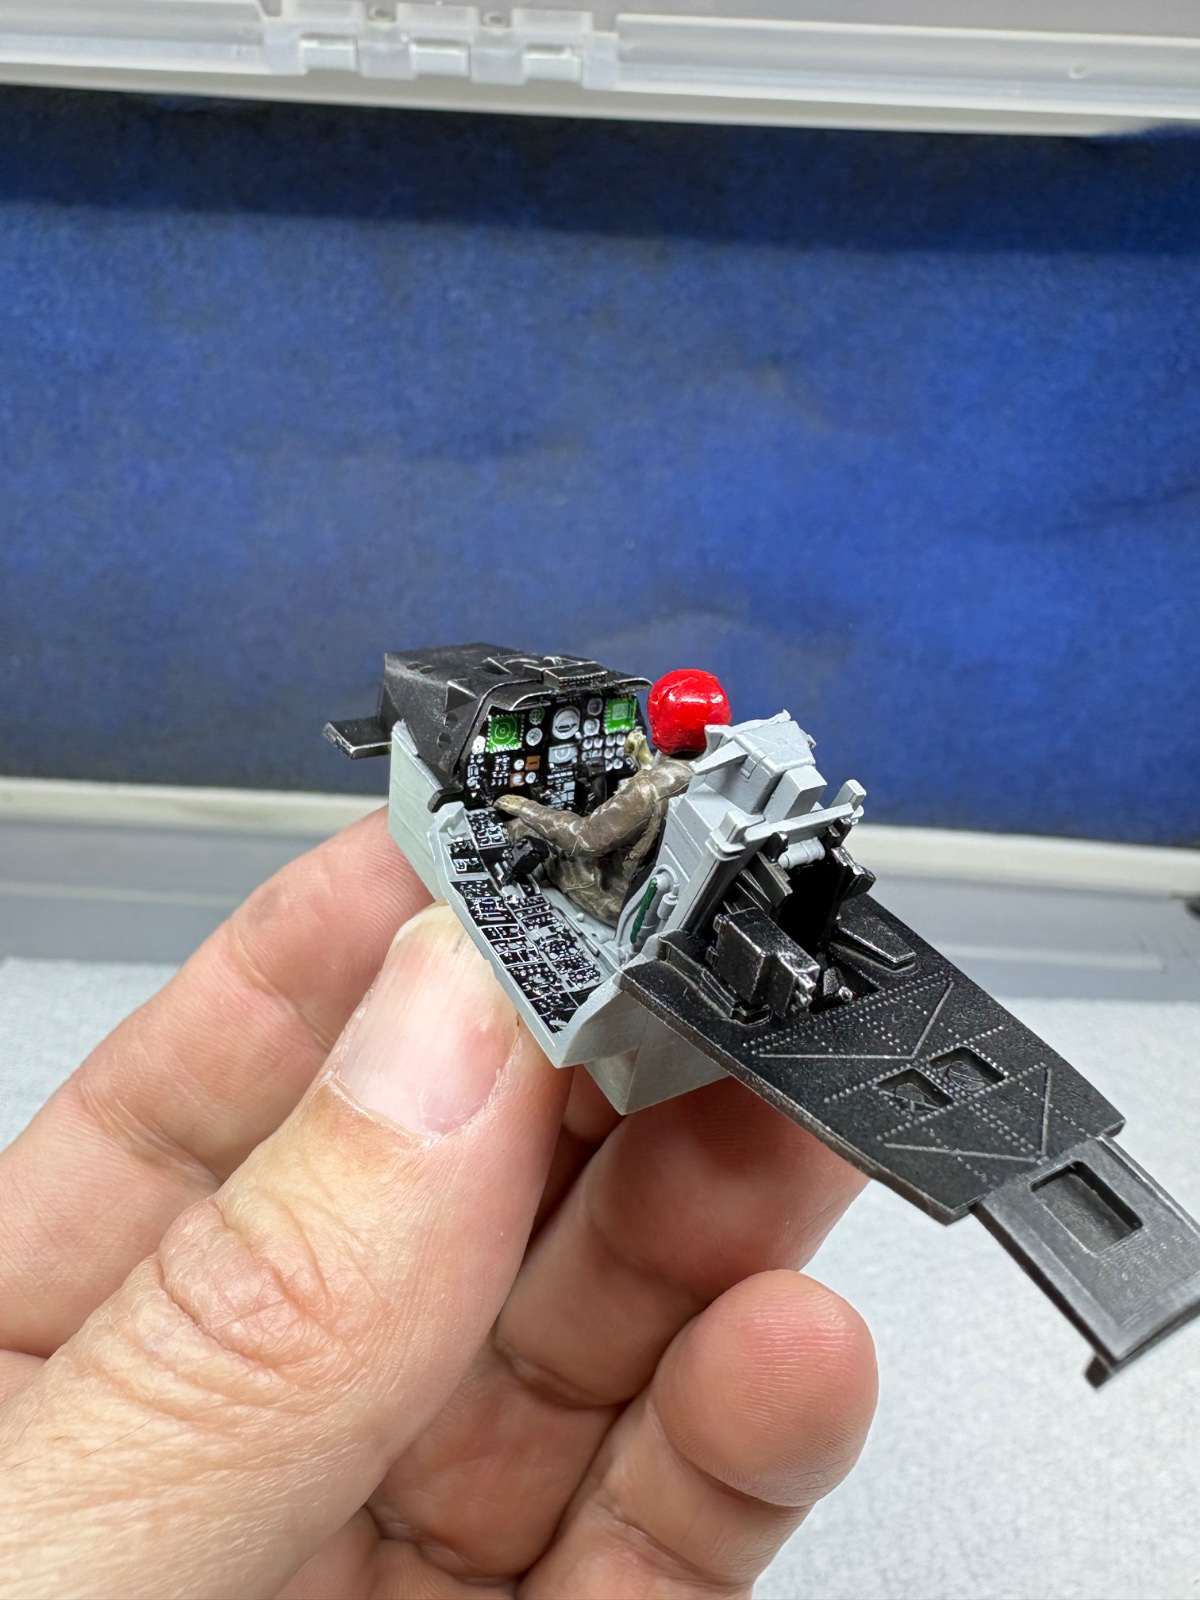
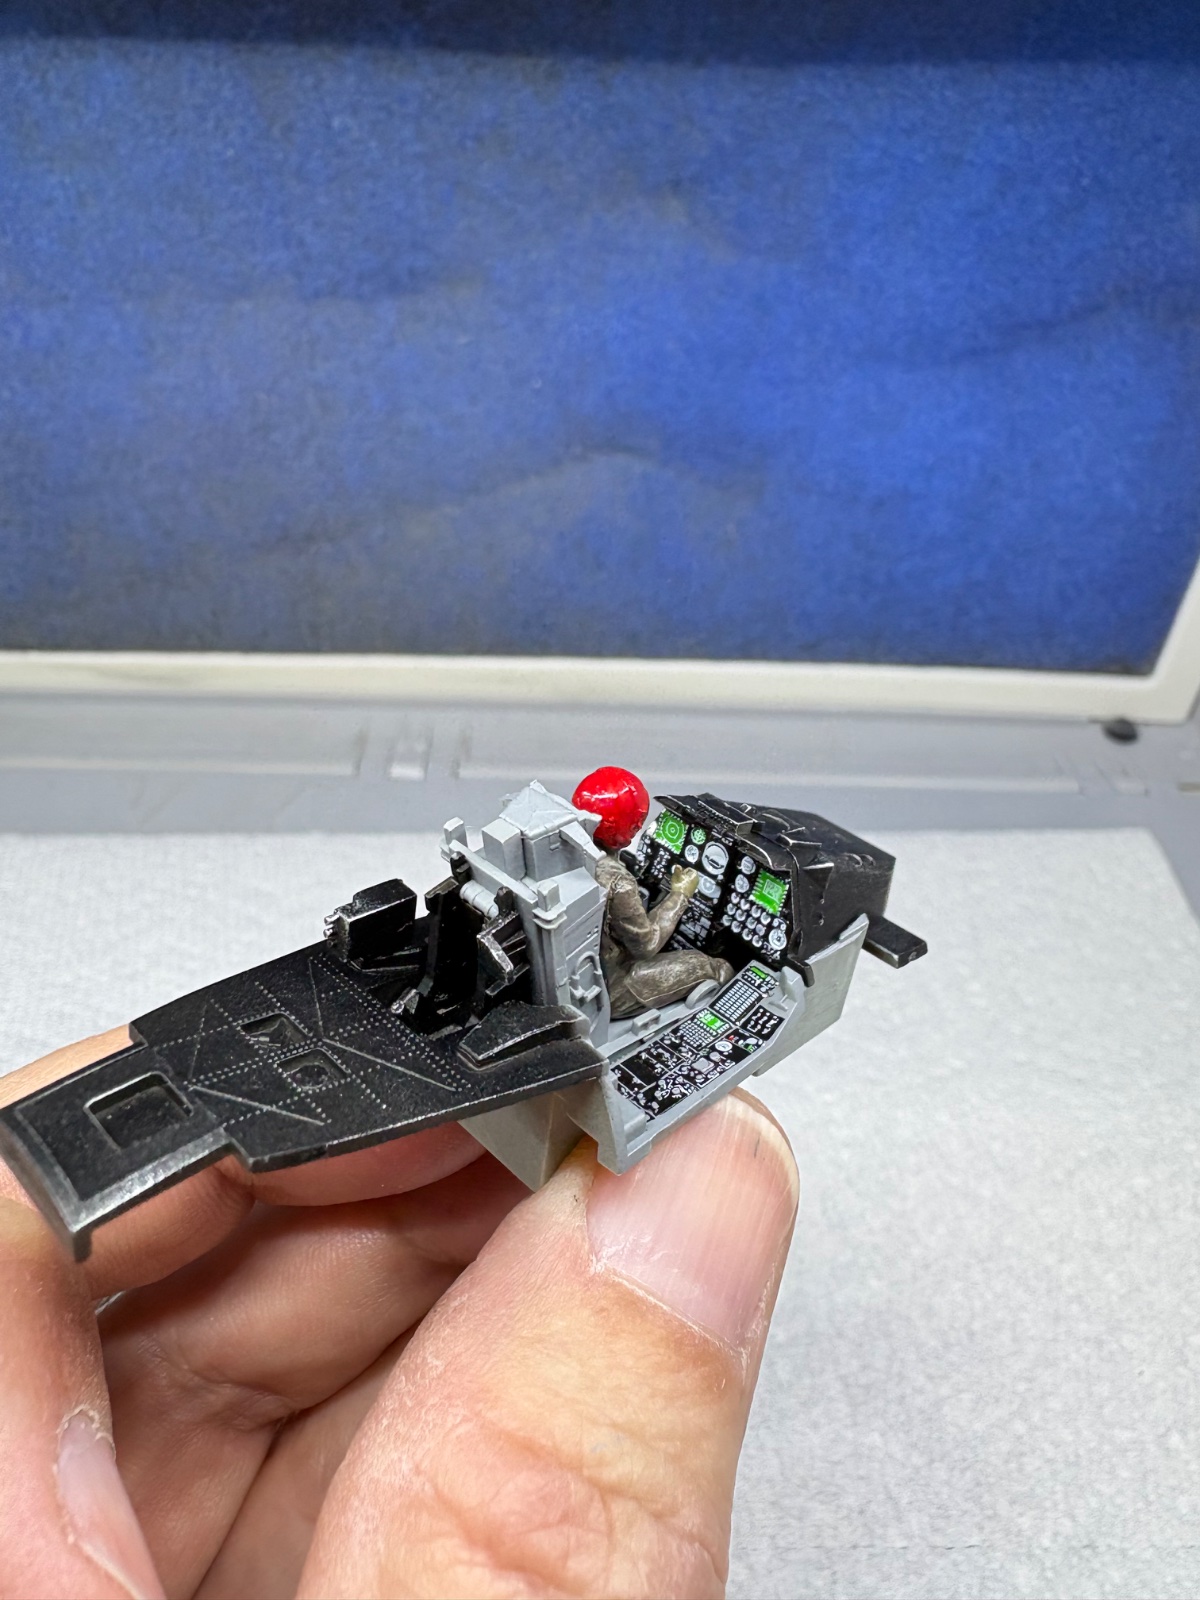
Yea the stock cockpit is pretty good. The decals are really nice. They are not raised like the 3d printed ones but they still look real good. I just wish the assembly was smootherYup! That's some fine detail!

Mostly too tight, but there's also places the pieces just don't fit. I had to cut off pieces of the bottom of the pilot seat to get the canopy to close. It's not me because I googled it and other people had the same problem. There's also been a few pieces that were a struggle figuring out where they went exactly.Is the fit too loose, too tight, or both?

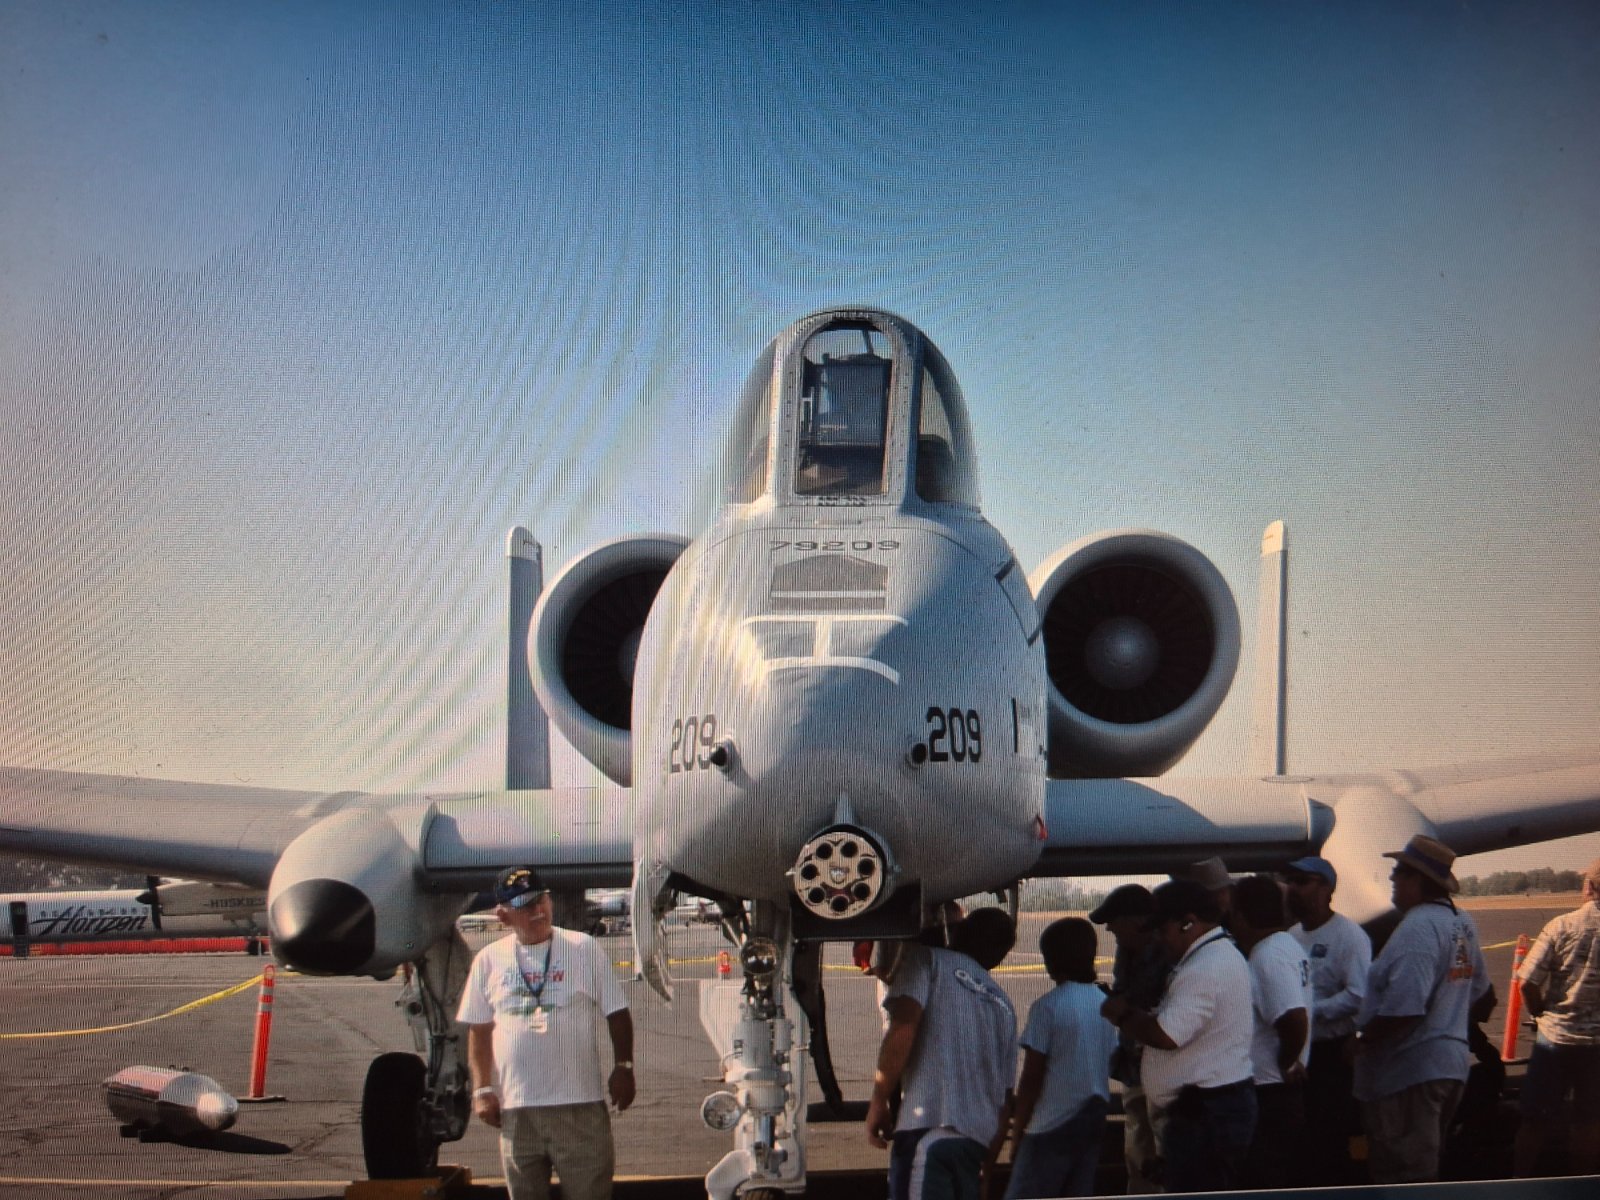
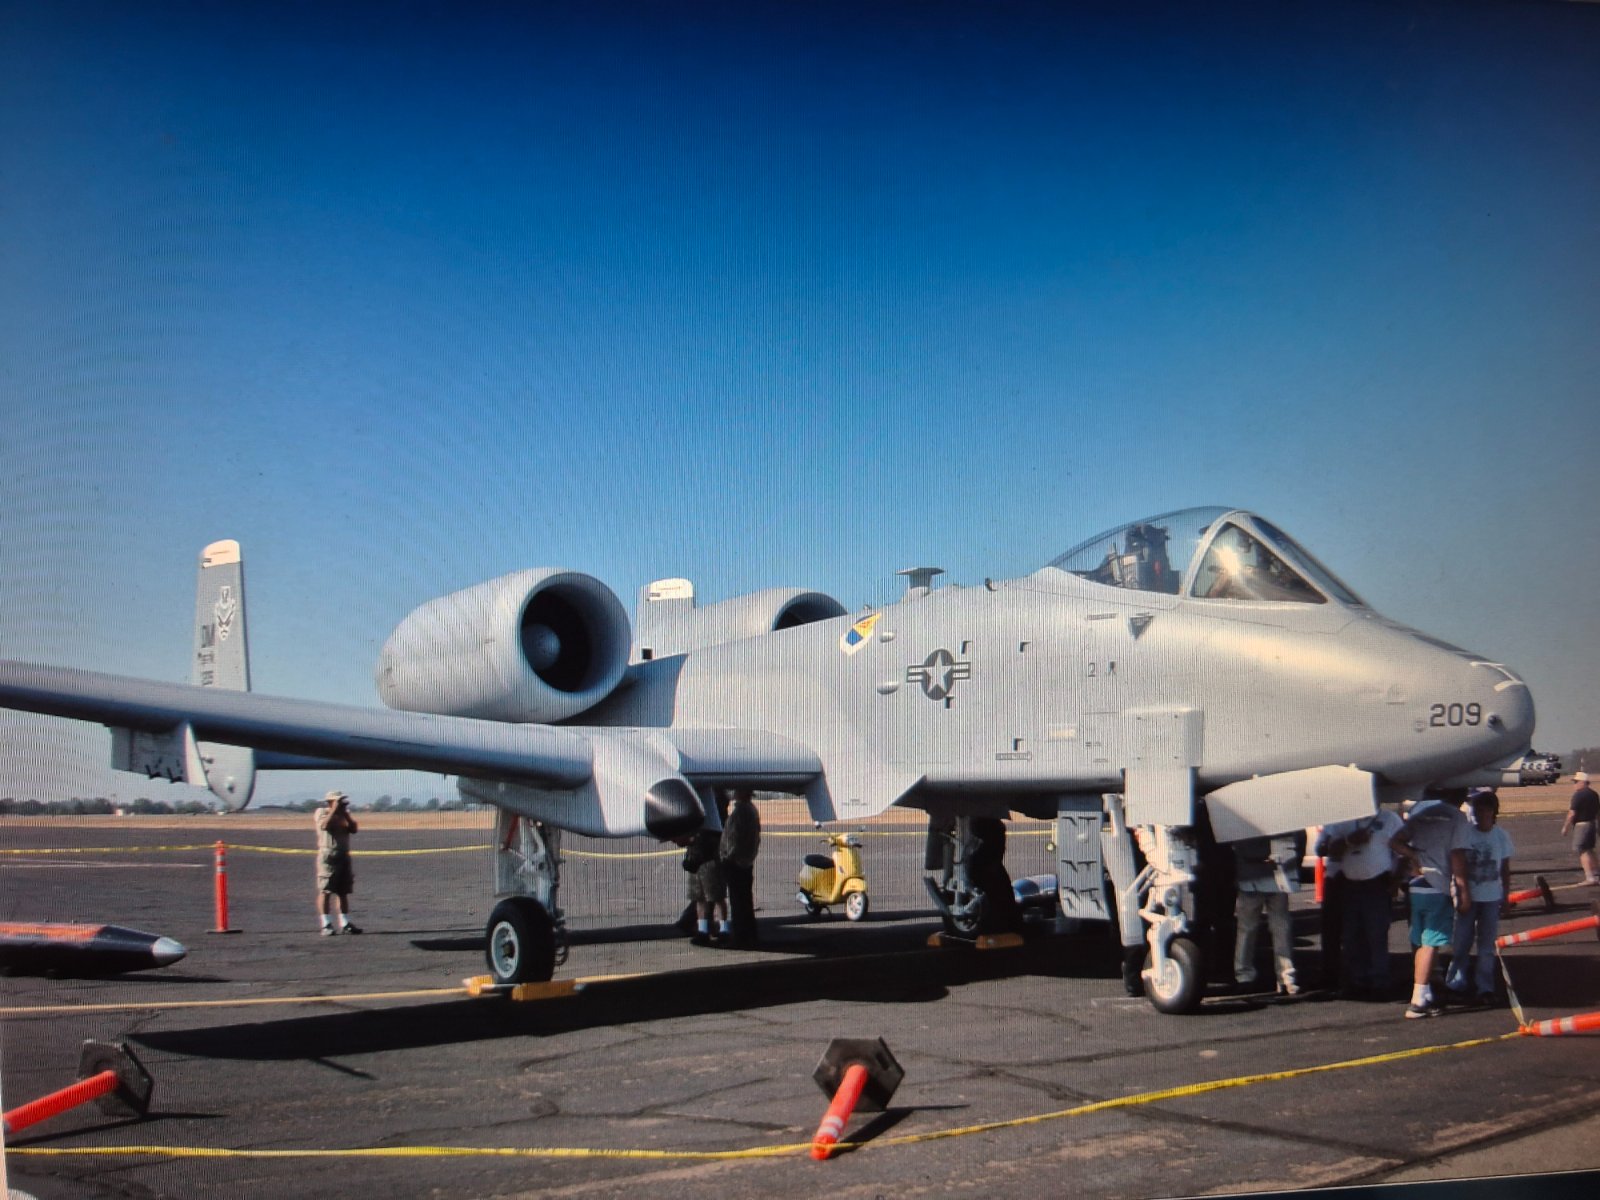
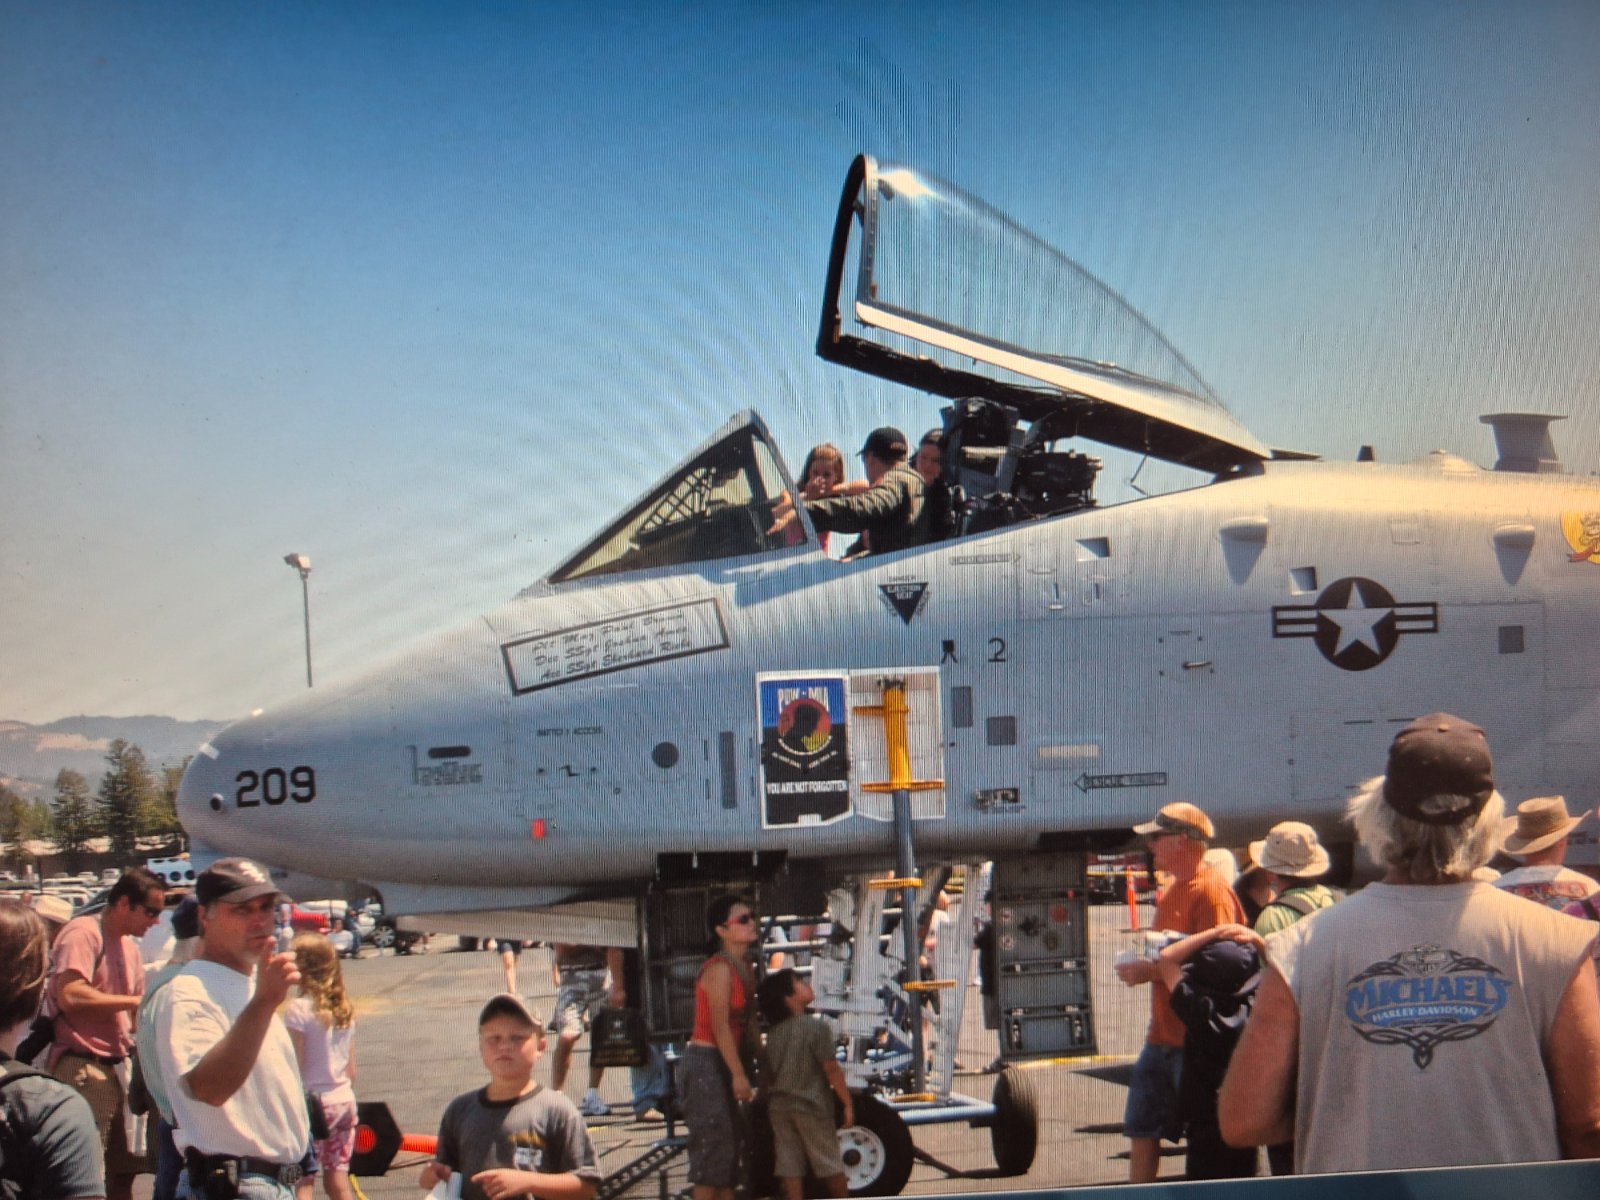
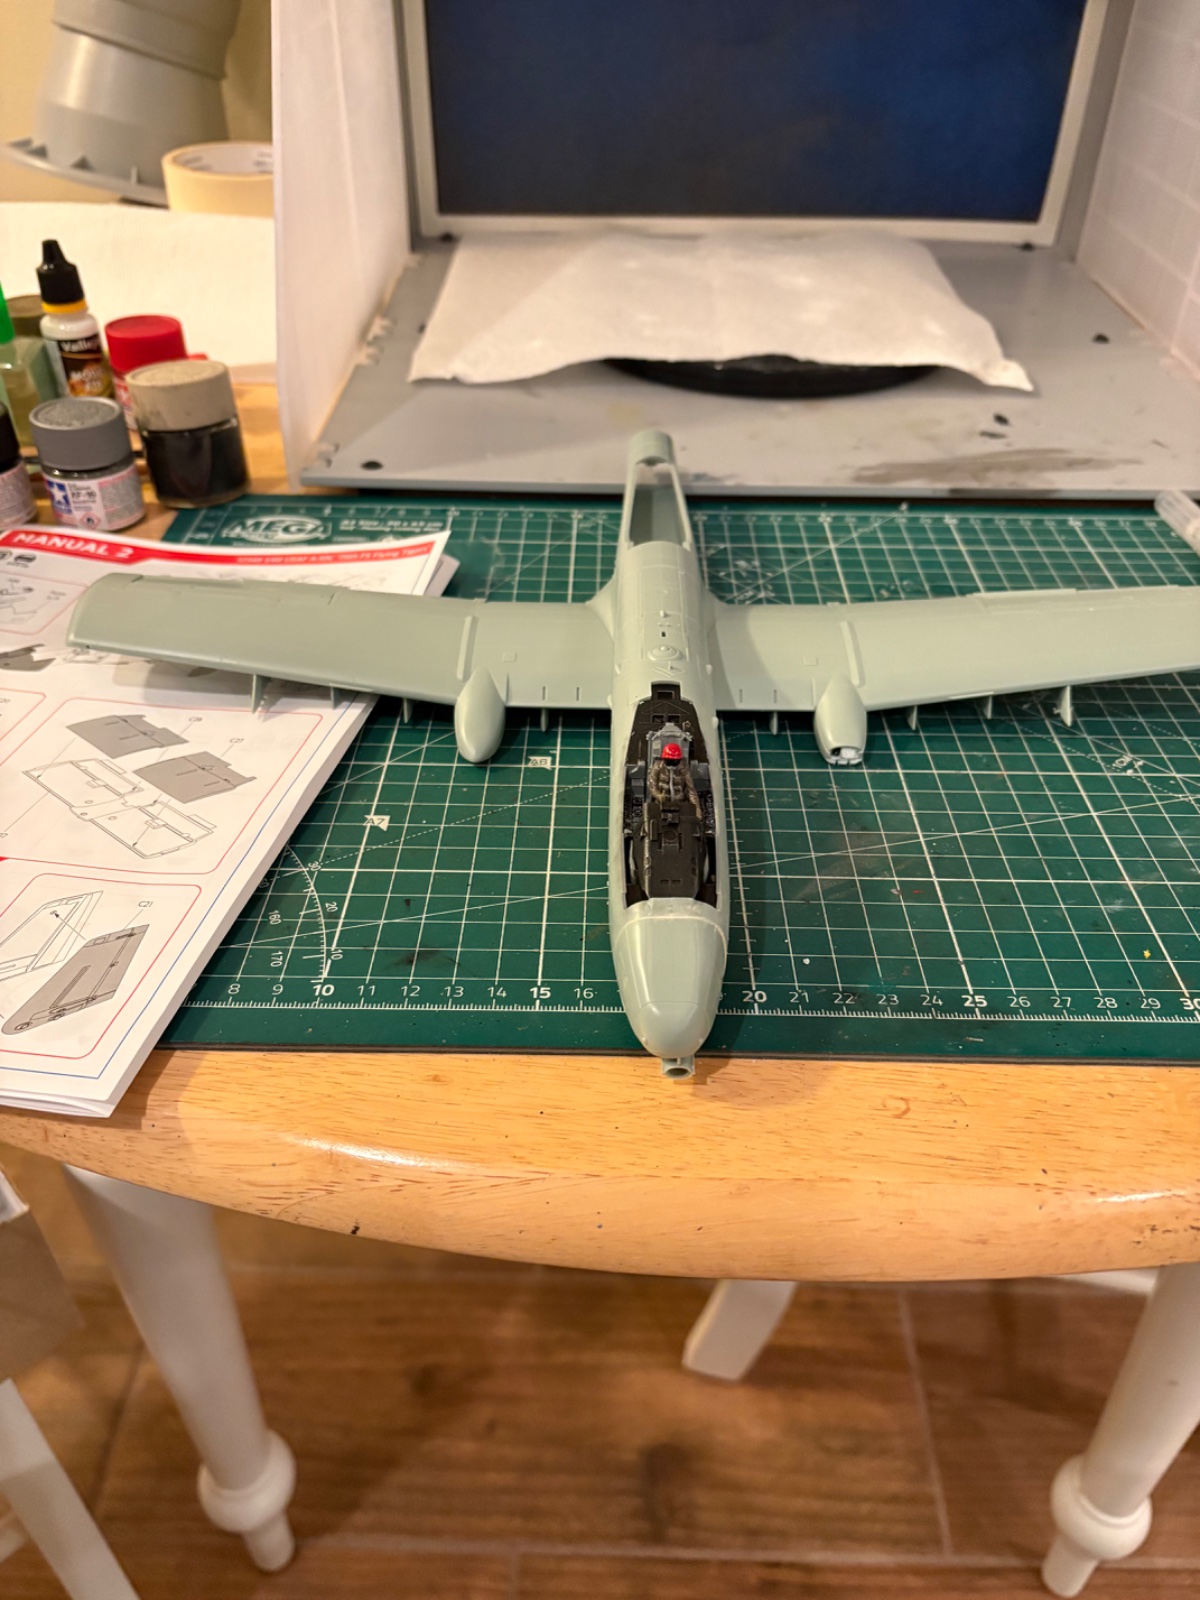
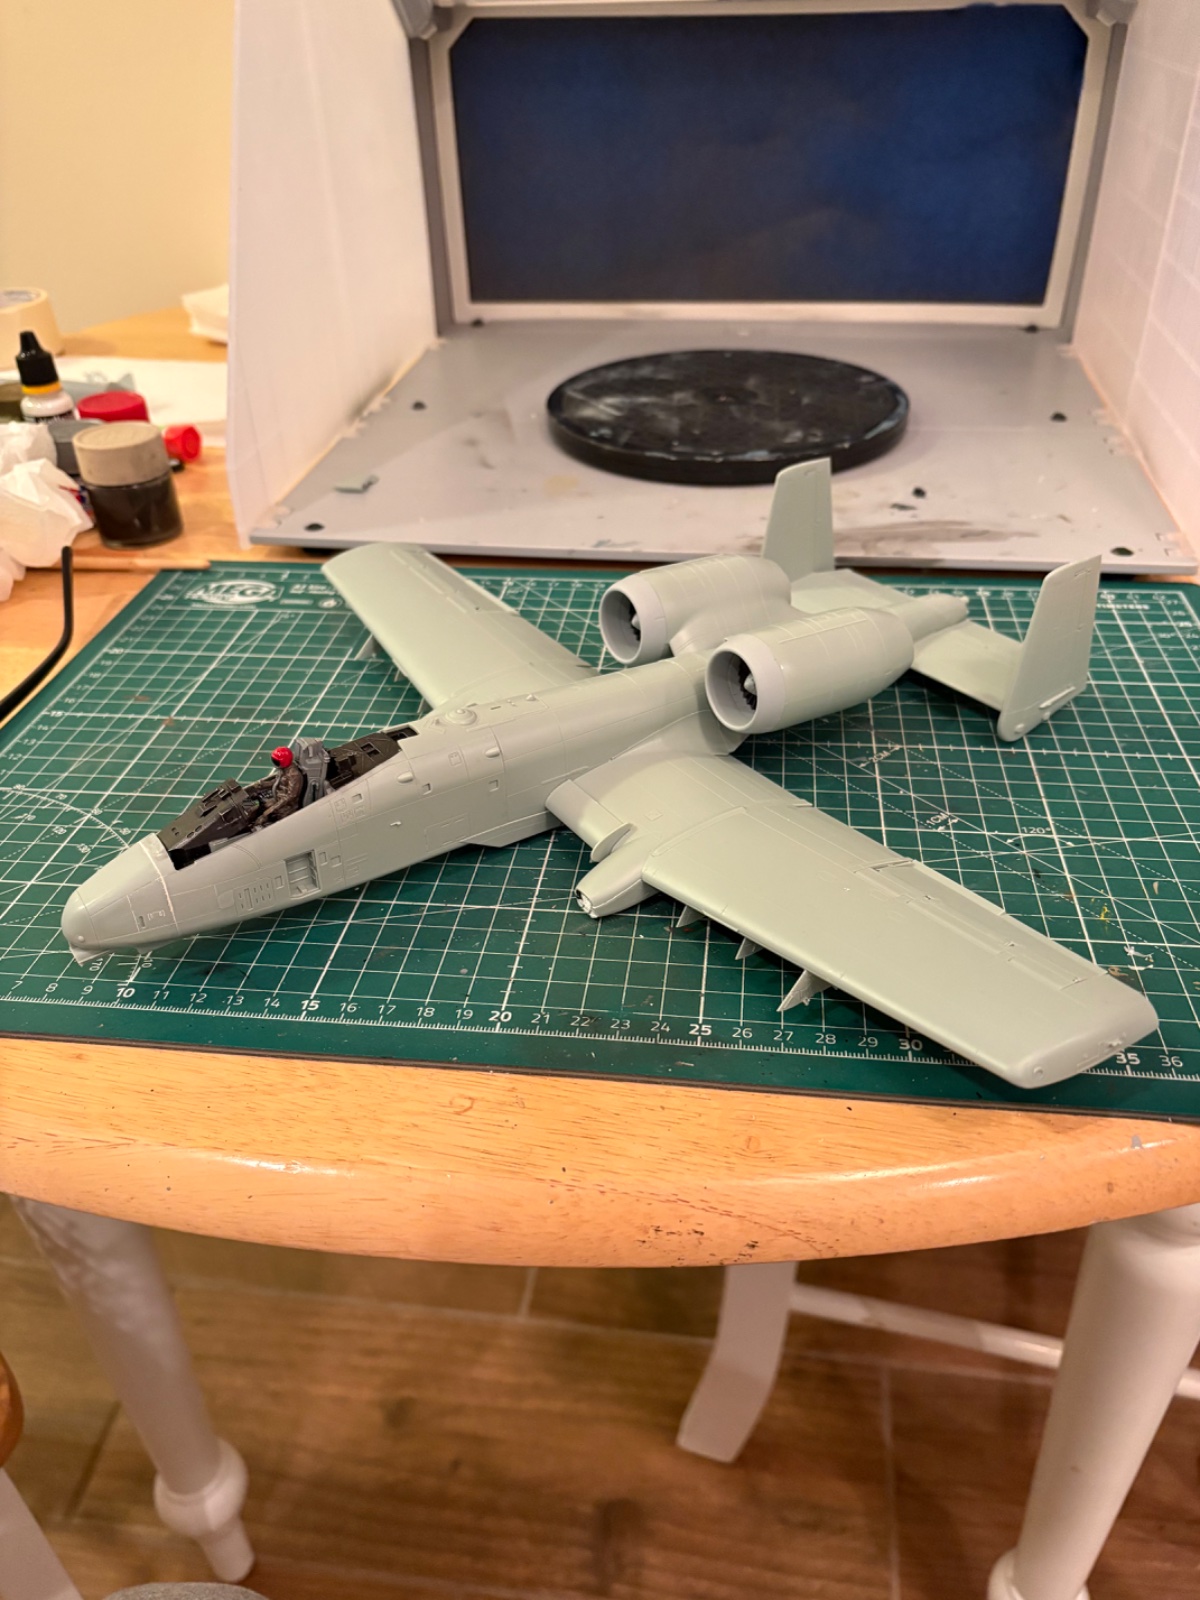
Nice job!I have to thick screws that can fit and that should do it. Otherwise I have some lead pellets I'll pour in the nose. For all my belly aching the cockpit turned out pretty good. I used the stock decals because I'm doing a closed canopy and didn't think it was worth it to upgrade.View attachment 181131View attachment 181132View attachment 181133

Lead (or other metal) shot will do. Put a small cup or something on some scales, zero them and pour in the shot until it says 25 grams (or, for Americans, 0.9 ounces, which is about 25 g).What can I use and what weighs 25 grams?

Thanks. I ended up super glueing two heavy bolts in there and mixed together about 20 lead pellets with white glue and poured it in. Not sure of the exact weight but I'm pretty sure I got 25 grams covered. It's pretty nose heavy. If it's not enough I'll pour more pellets in.Lead (or other metal) shot will do. Put a small cup or something on some scales, zero them and pour in the shot until it says 25 grams (or, for Americans, 0.9 ounces, which is about 25 g).
I had the cockpit installed and dry fitted the canopy because I had a weird feeling. I ended up pulling the pilot and the seat out without breaking anything and then cut pieces off the bottom of the seat, and the thing on the back of the seat, off until the canopy fit.This was maybe my third kit after restarting the hobby and it was ok except the pilot interfering with the canopy closed. Poor guy is squeezed tight. Pretty sure I followed those directions and it is a defect if others had exact same issue. I also did not catch the ballast instruction and ended up with a tail dragger. I know now there are ways to fix this but I just said it was taking off and put in a clear sprue stick to keep tail up a bit. This photo was pre-tail lifter
Regarding weights, I discovered automobile wheel weights many years ago when my son built a trebuchet for a school project.I need some help. The instructions are calling for a 25 gram ballast in the nose. The kit didn't come with anything. What can I use and what weighs 25 grams?
And to be honest this kit stinks. The fit is poor on most parts with poor attachment sites, and just like somebody else mentioned in the F 18 thread, the design on assembly stinks as well.
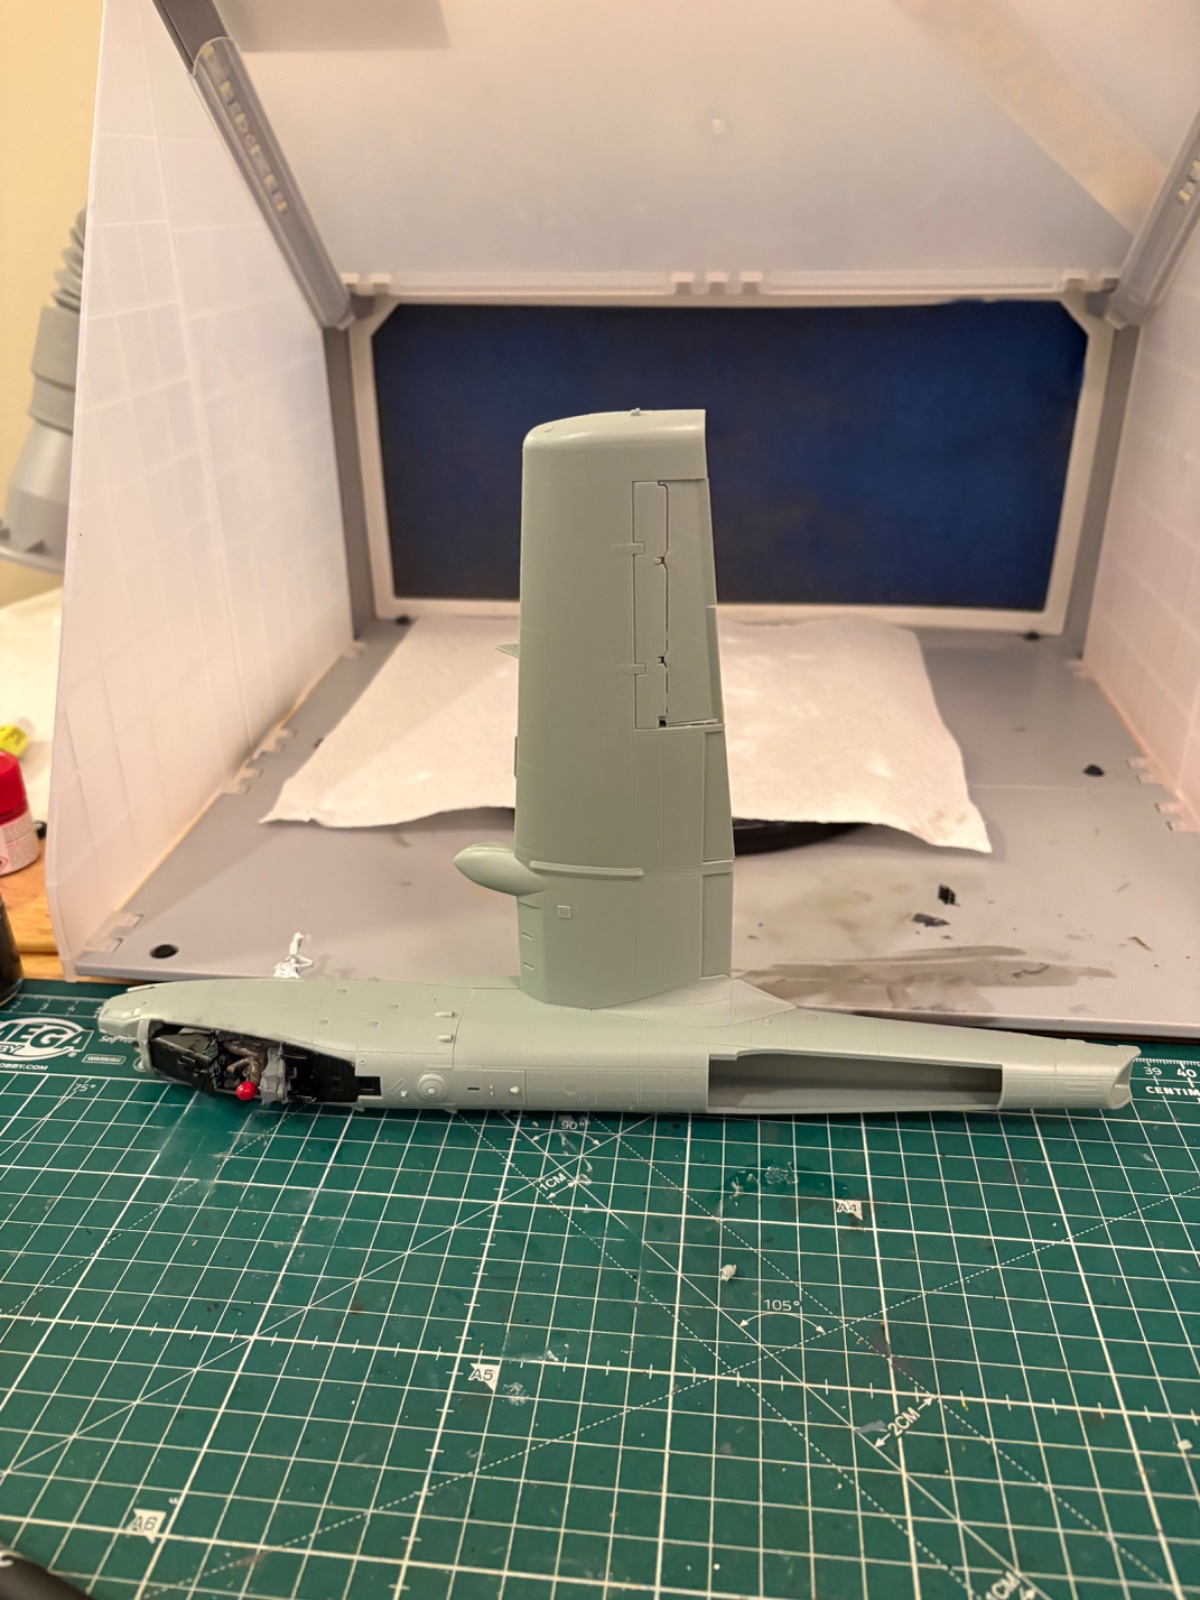

Cool looking plane.