1958 Plymouth Fury, Christine

Scale Model Addict - Model Tips, Guides, Tools & Tech, Tutorials, and Community

Help Support Scale Model Addict:

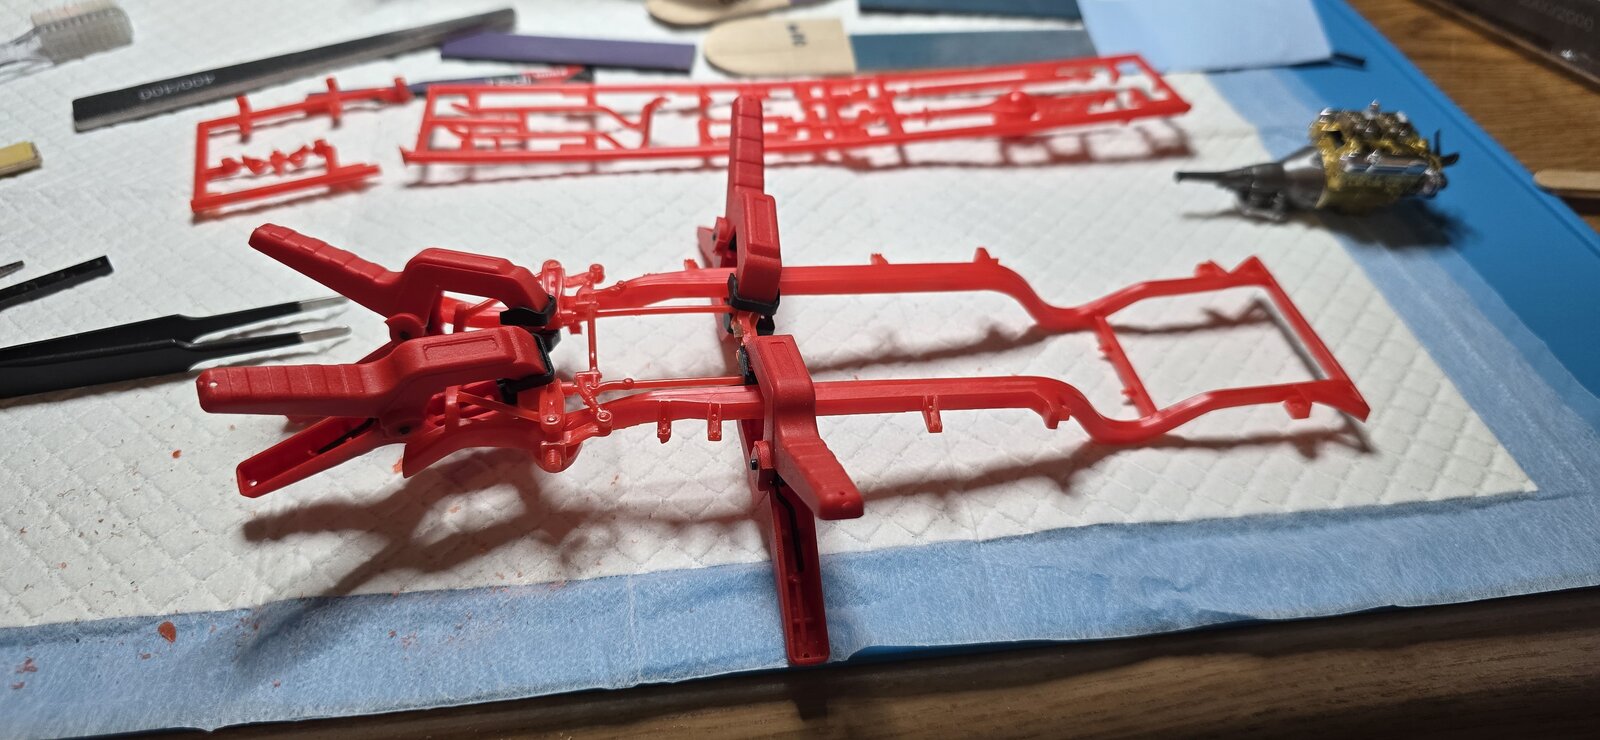
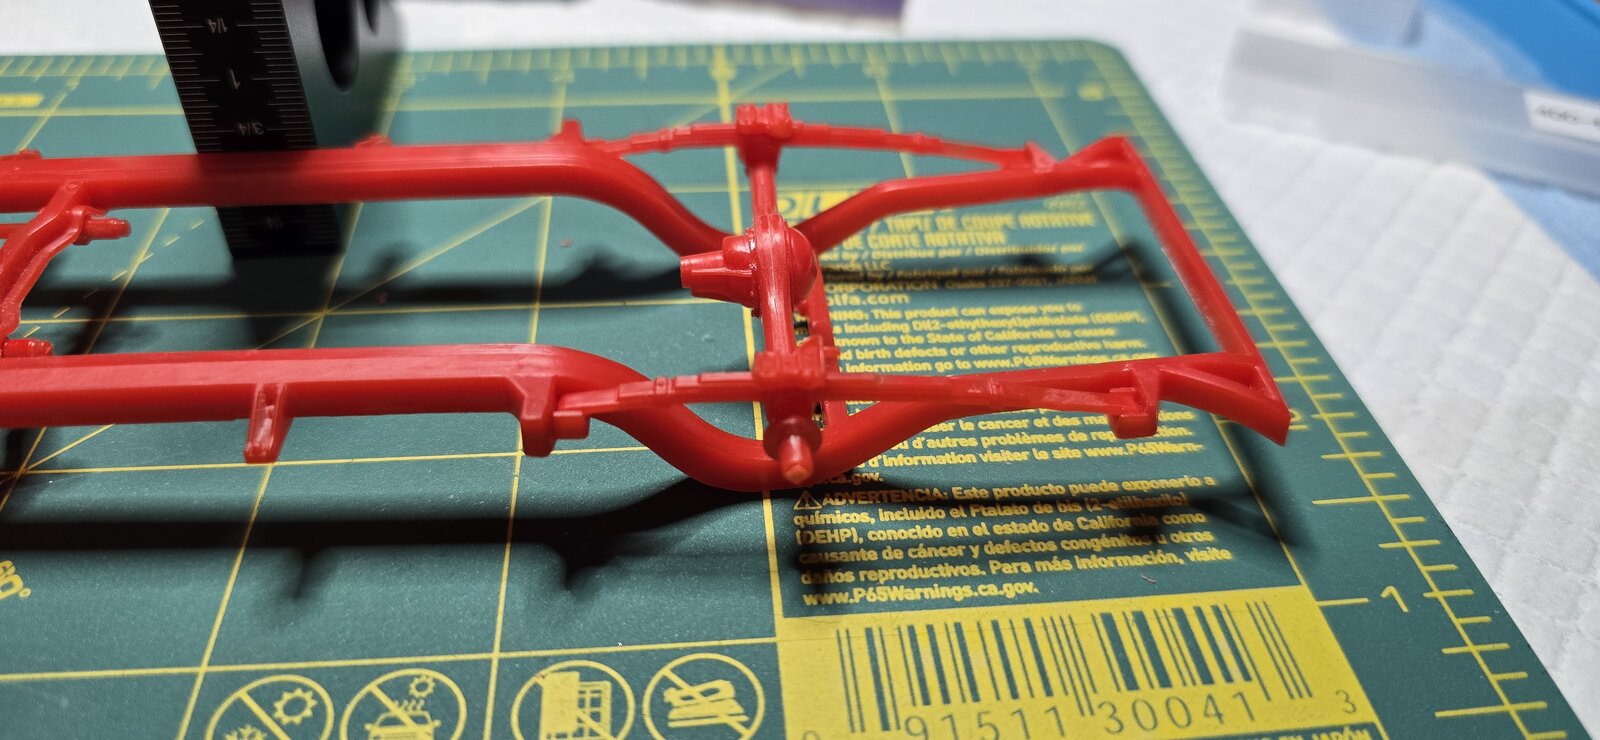
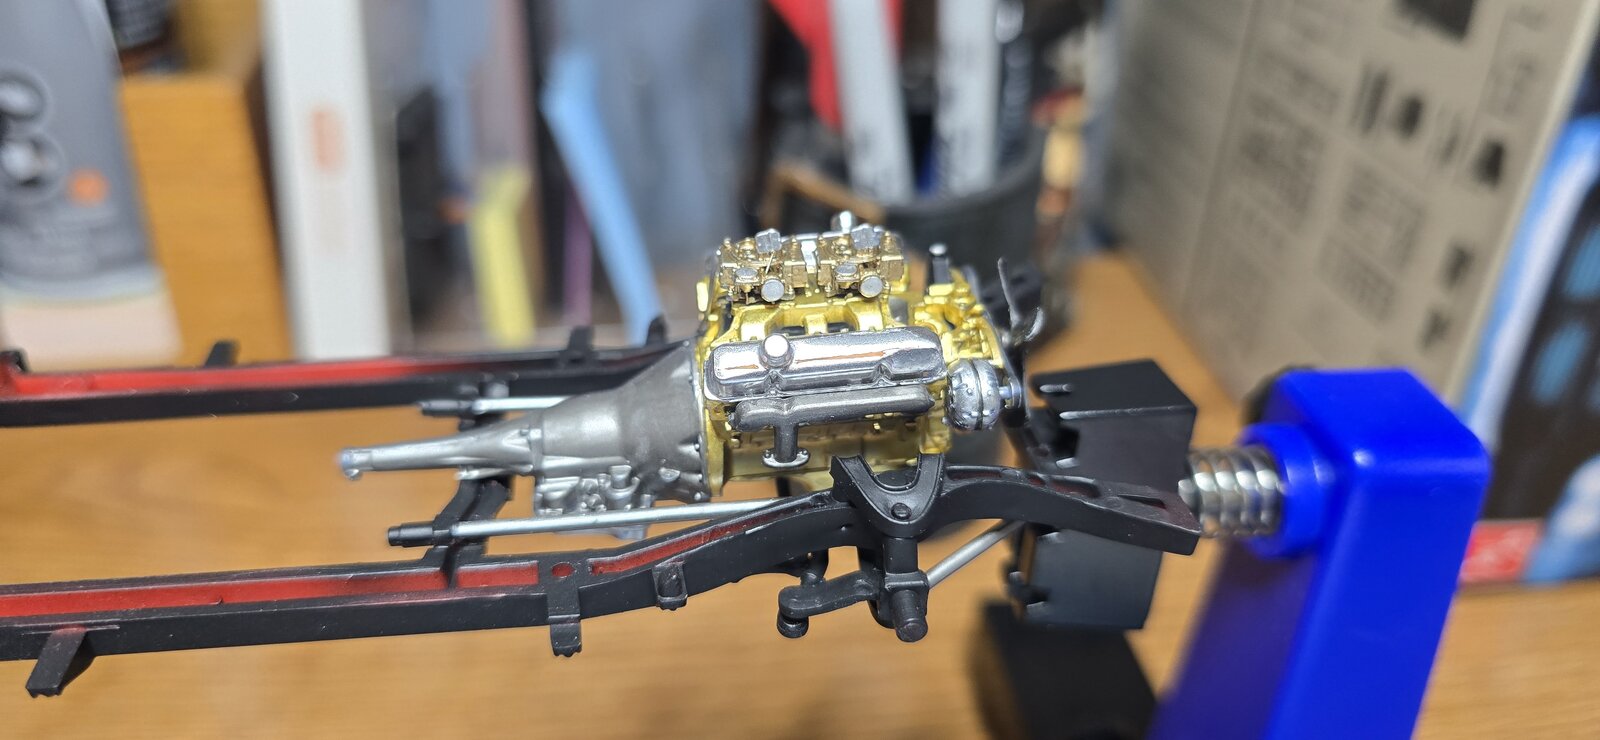
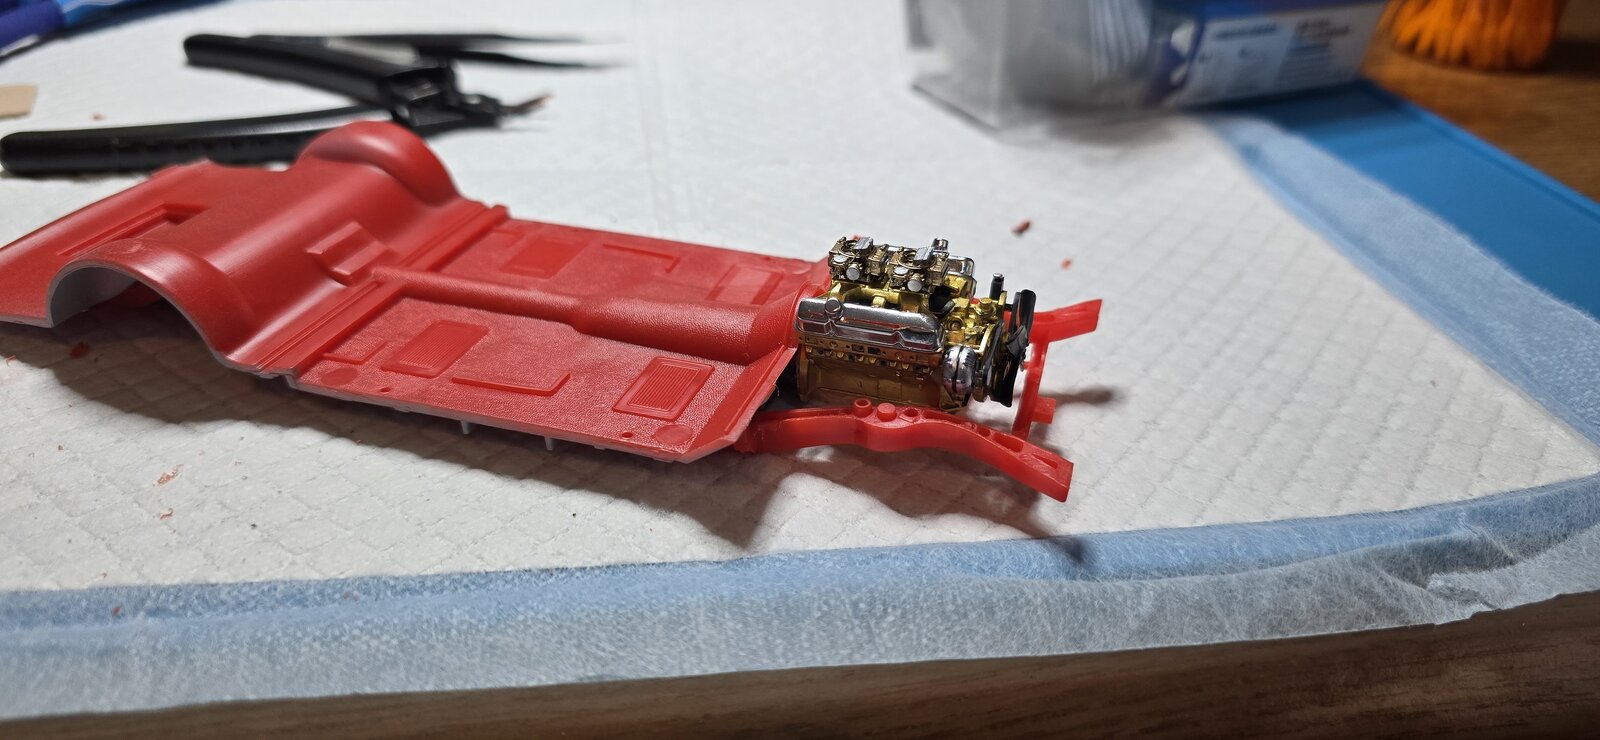
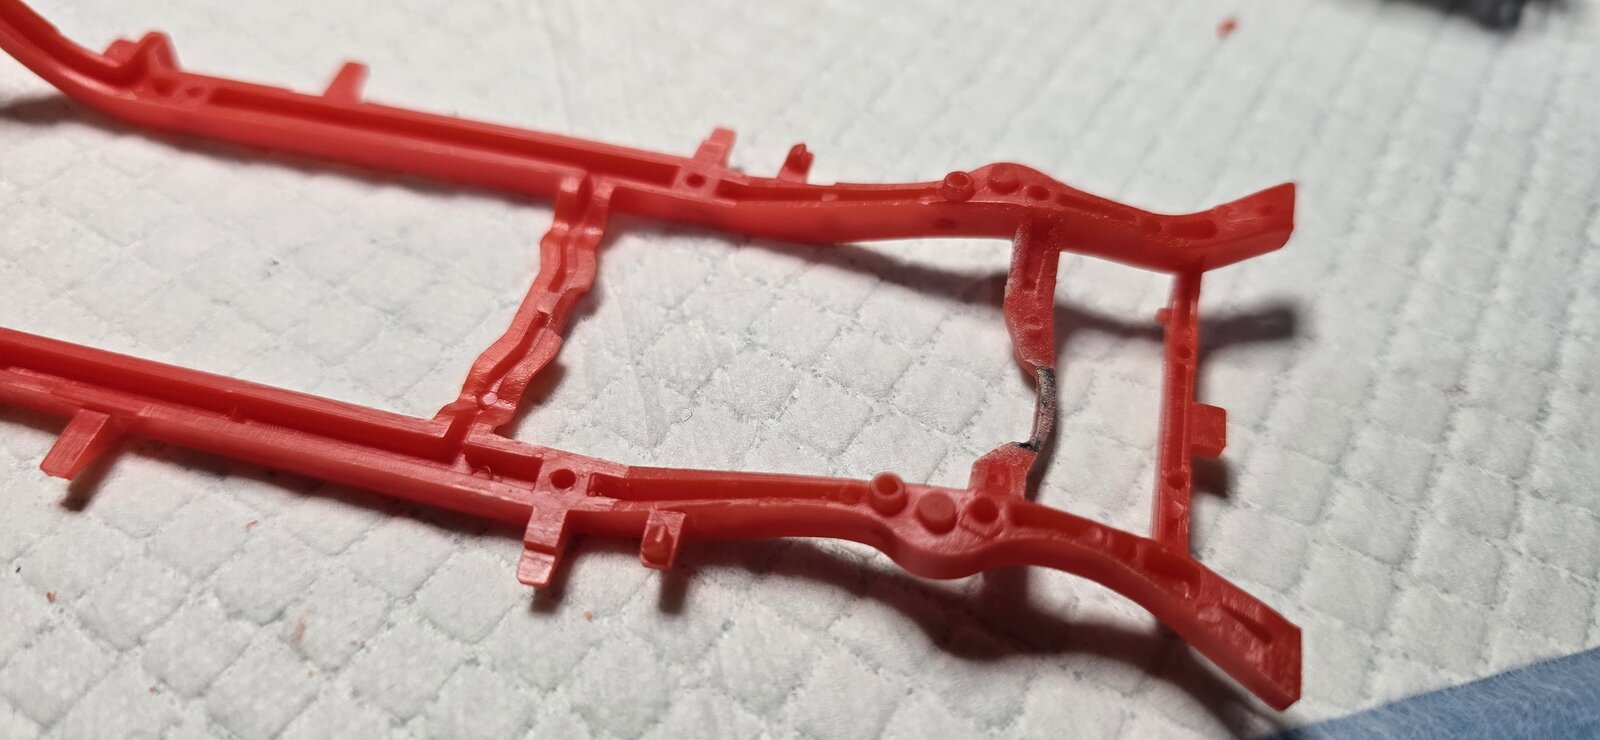
Laying out the geometry, looks like the engine will not fit the frame, I had a feeling. Will trim and add some frame where needed, just about have it, but I won't know if it will all align until the rear end and drive shift are in. I would prefer not to have to alter the driveshaft, but we'll see.
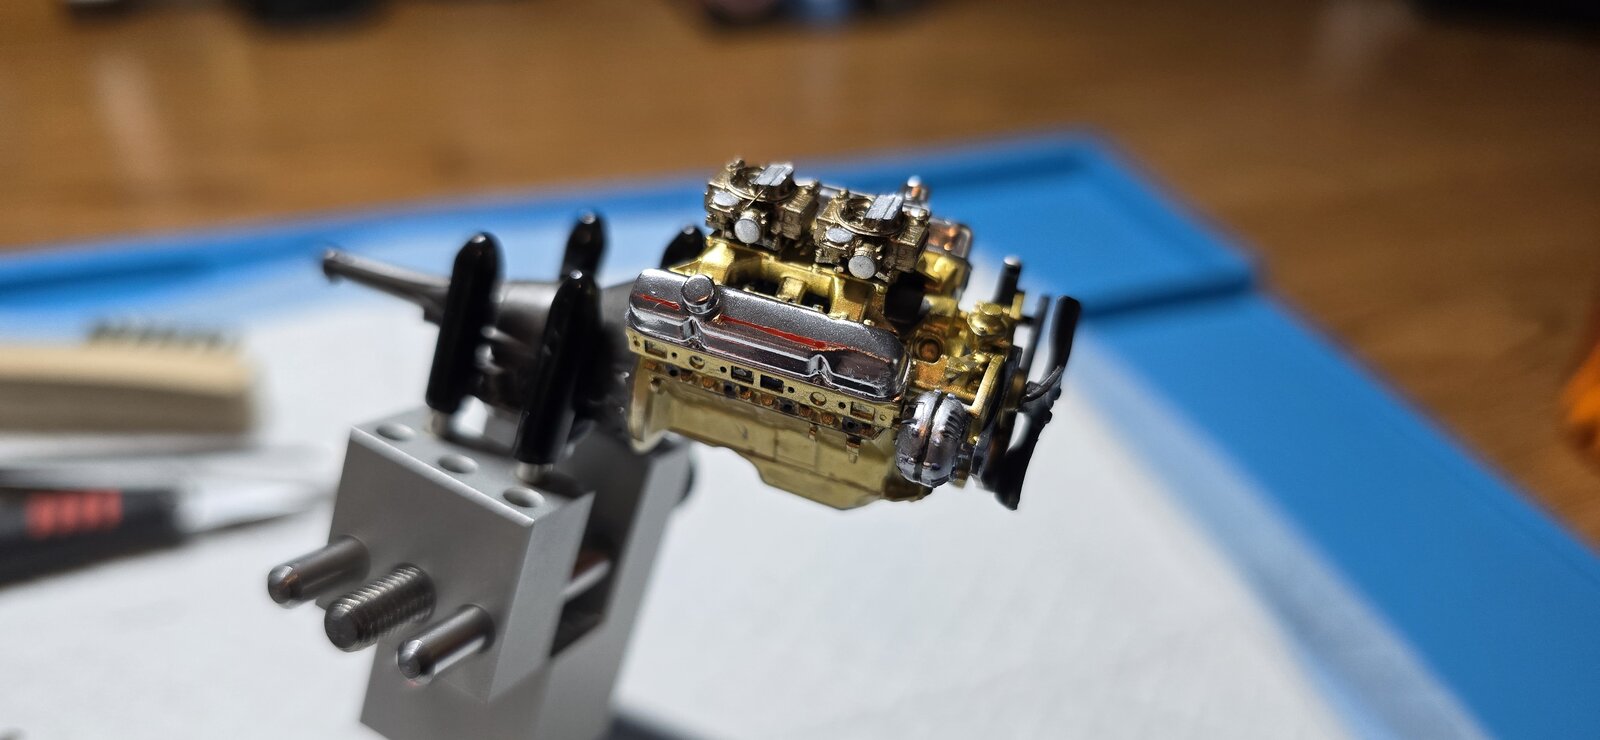
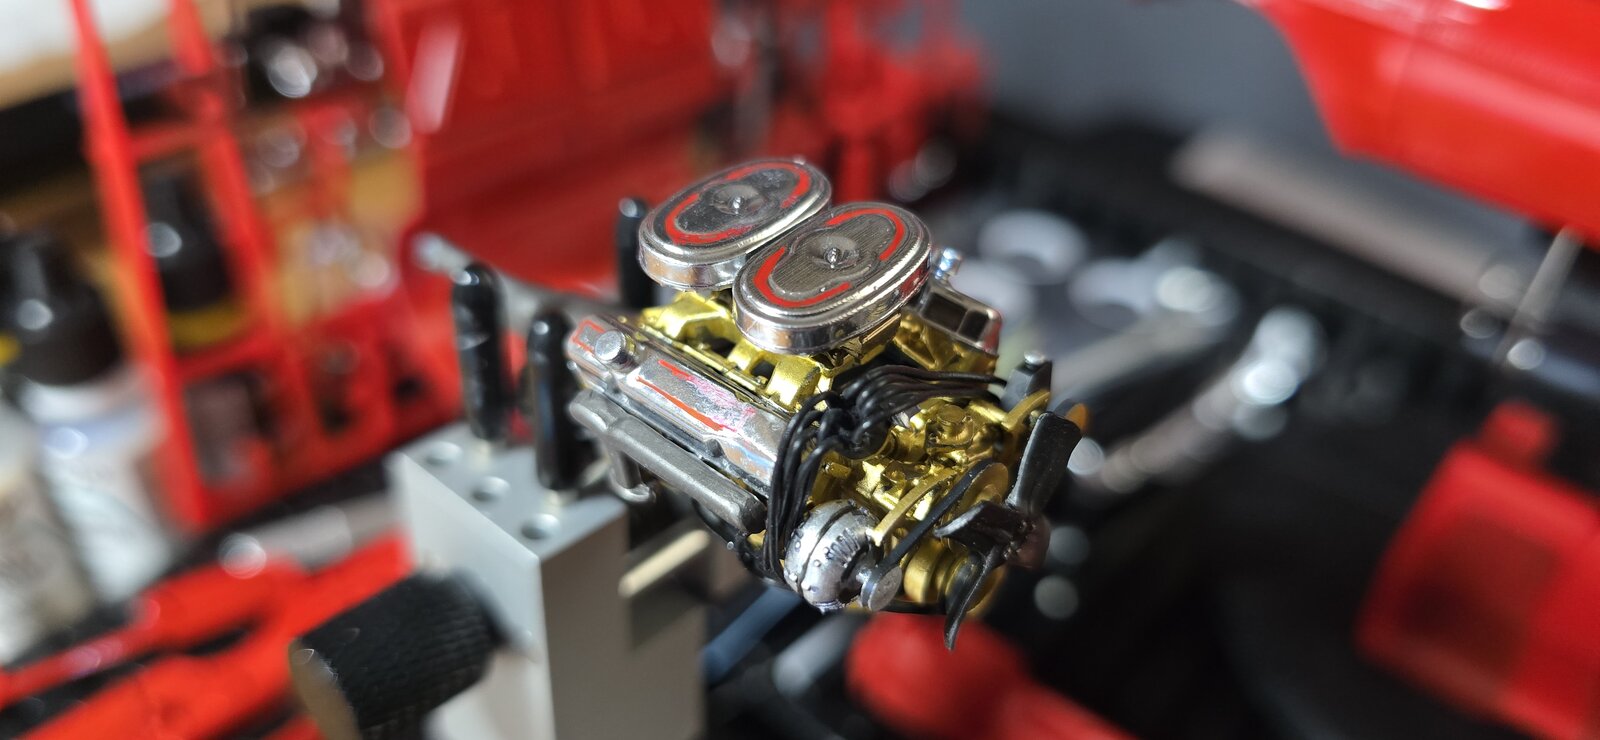
I also drilled out the spark plugs, (only breaking one bit, lol) as detailed as they were, they would make installing the plug wires harder than it needed to be.
I also added the minute red pin stripes seen on the valve covers in several shots of the movie.
The gel pen worked amazingly well and easy for such a small thin pinstripe.
1000009647.jpg
1000009648.jpg
1000009646.jpg
 
Last edited:
With mine the drive shaft was a pain to install. I think I altered the geometry when I modified the chassis to get the engine to fit properly
Thanks again for the head's up. I could see during dry fit the after market engine wouldn't fit into the intended frame cross-member. I cut some out and a bit of the mid crossover for the transmission mount. I am pretty sure having the move the engine forward slightly, will change the distance from the rear-end to the trans, and the fan to the radiator. I can pull the fan off, I felt bad putting that terrible kit part on that engine anyway, but wanted the engine to be accurate-ish.
I can add some styrene to the cross-member, shifting the engine forward in the frame, but of course that will change the geometry of the engine bay as well.
Hopefully it won't be as bad as the 67 Impala... :)
 
Laying out the geometry, looks like the engine will not fit the frame, I had a feeling. Will trim and add some frame where needed, just about have it, but I won't know if it will all align until the rear end and drive shift are in. I would prefer not to have to alter the driveshaft, but we'll see.
I also drilled out the spark plugs, (only breaking one bit, lol) as detailed as they were, they would make installing the plug wires harder than it needed to be.
I also added the minute red pin stripes seen on the valve covers in several shots of the movie.
The gel pen worked amazingly well and easy for such a small thin pinstripe.
View attachment 178128View attachment 178129View attachment 178130
Most of my builds i change the drive shaft to metal, i use stainless tubing with an inside diameter that will fit the drive shaft into it, Paint the U joints and some of the shaft then cut the shaft and glue one end into the tube, leave one end of the original shaft a little long so you can adjust it to the car by sliding it in and out of the metal tube, then a small drop of super glue to the original shaft and metal tube to finish it.
 
As an Amazon Associate we earn from qualifying purchases. Product prices and availability are accurate as of the date/time indicated and are subject to change.
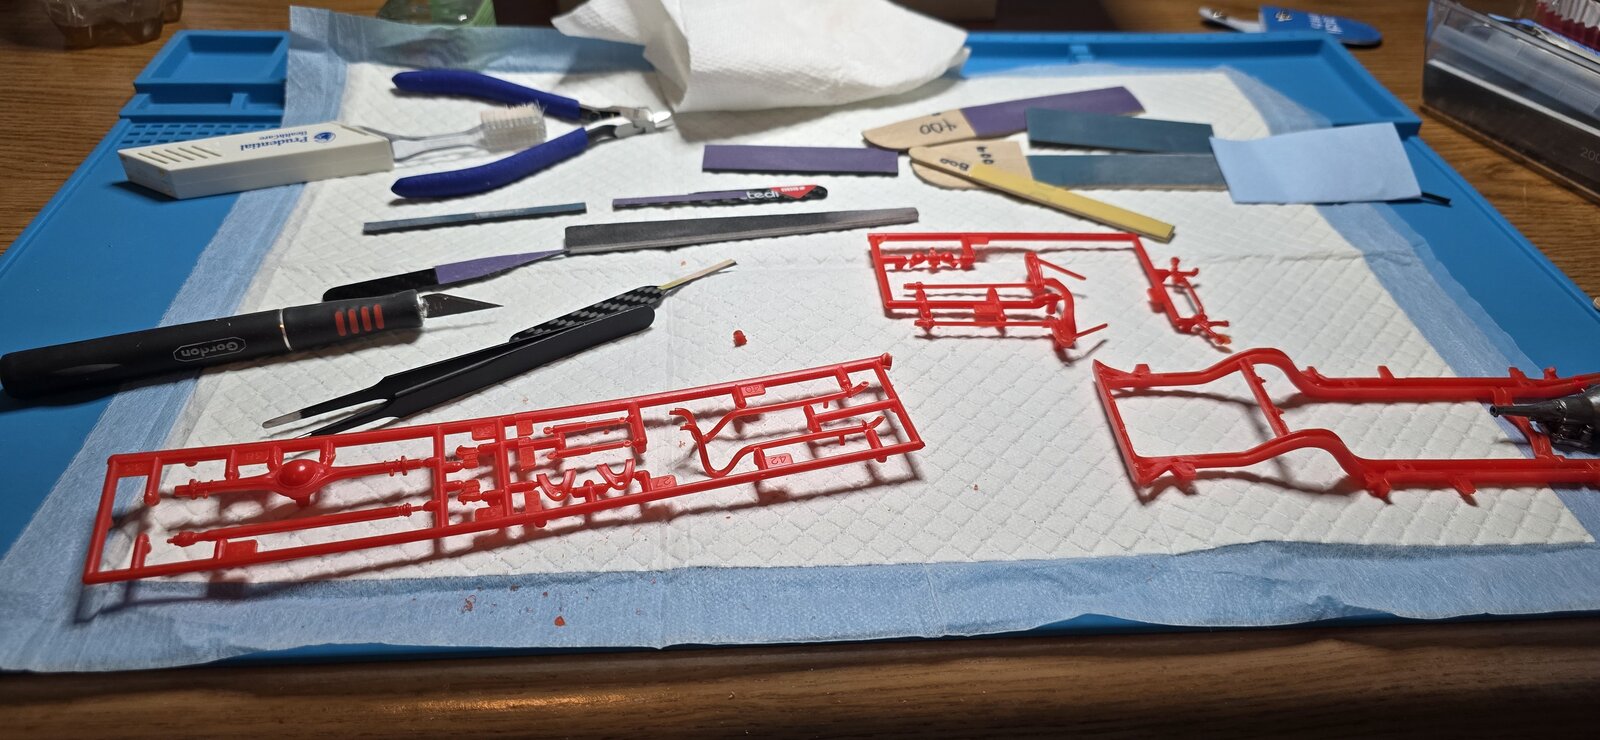
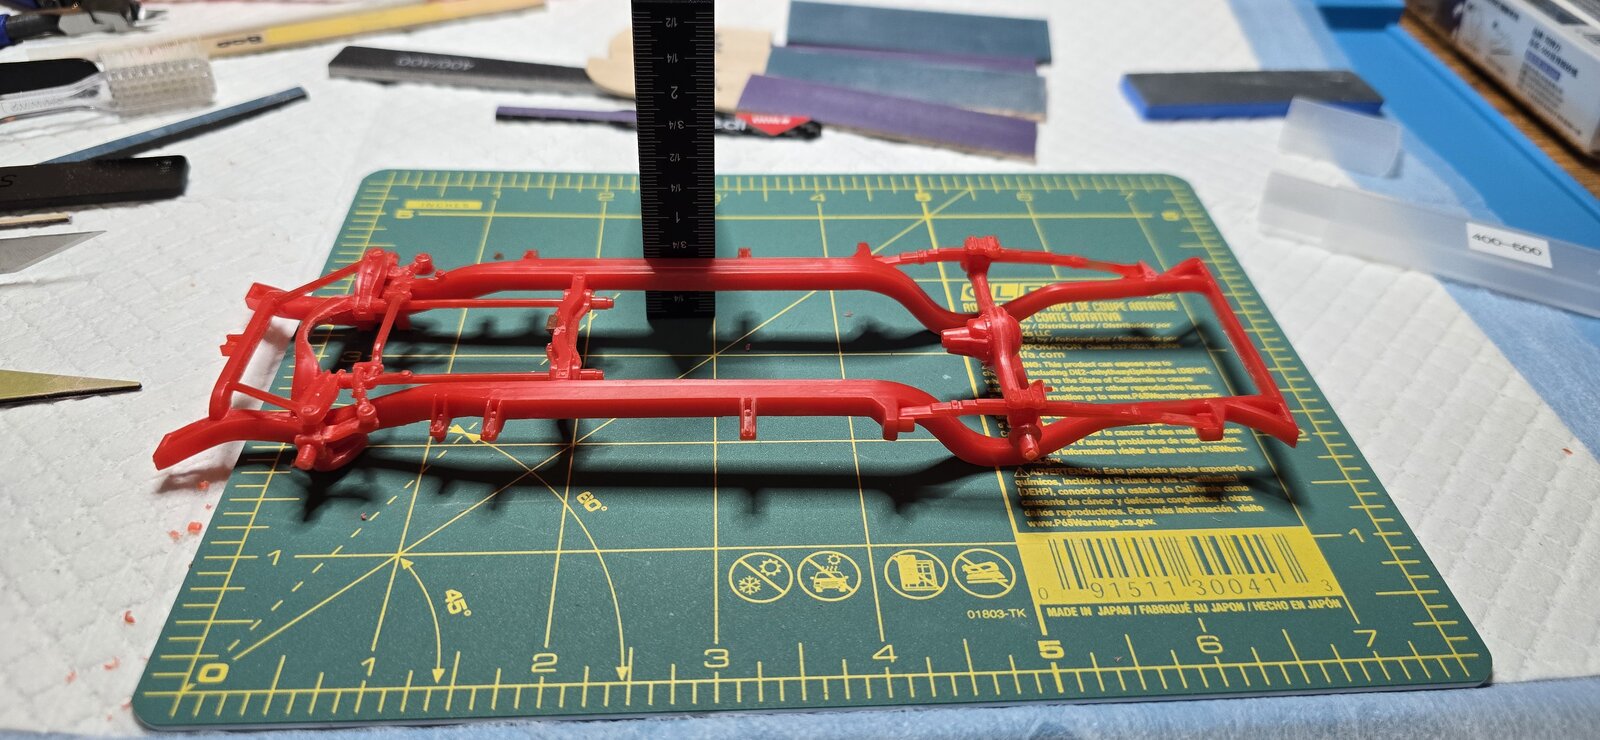
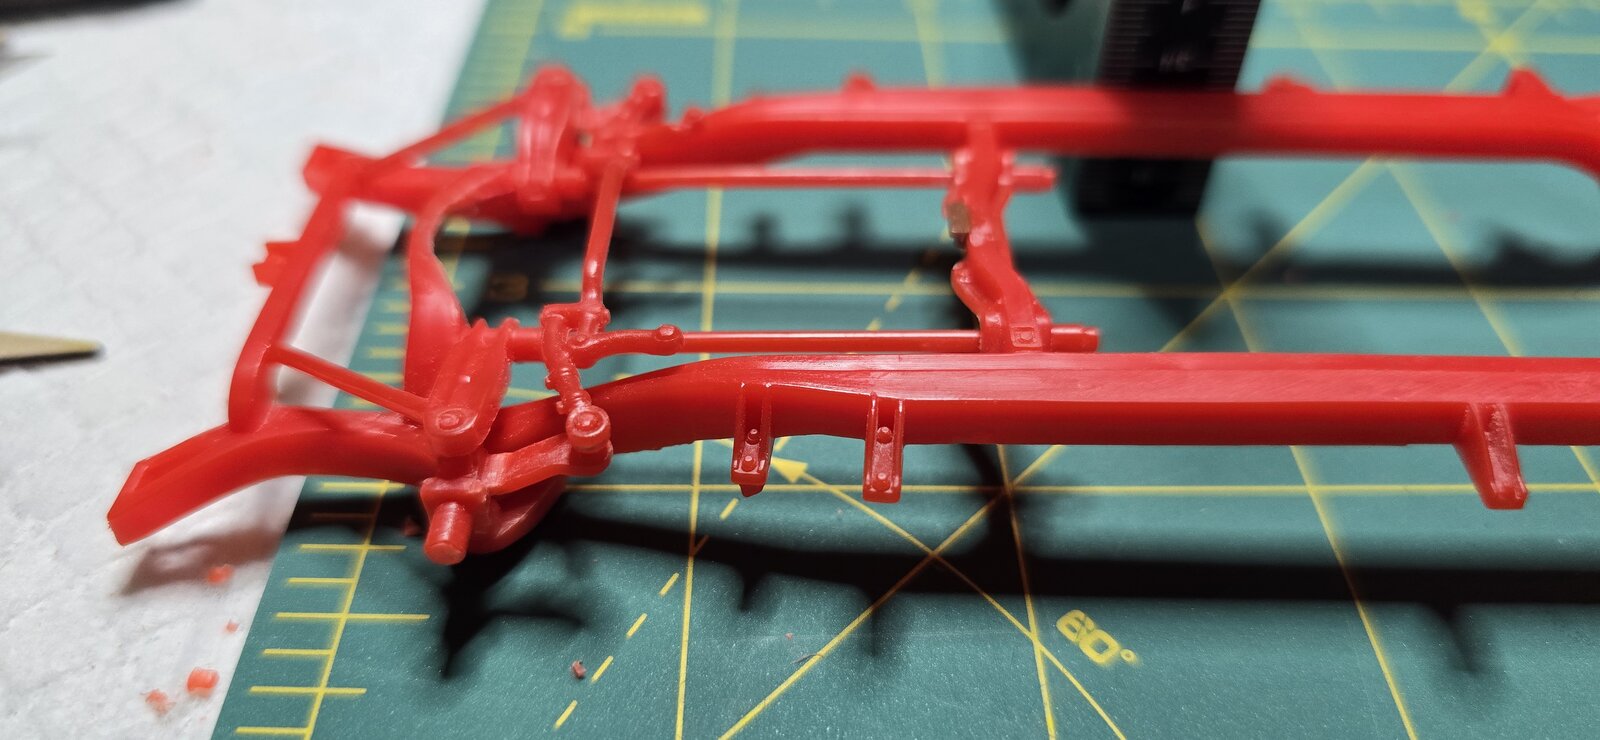
Spent several hours with cleaning the parts of the front end. It was a flash mob, Flash Dance, News Flash.... there was a lot of flash is my central point here.

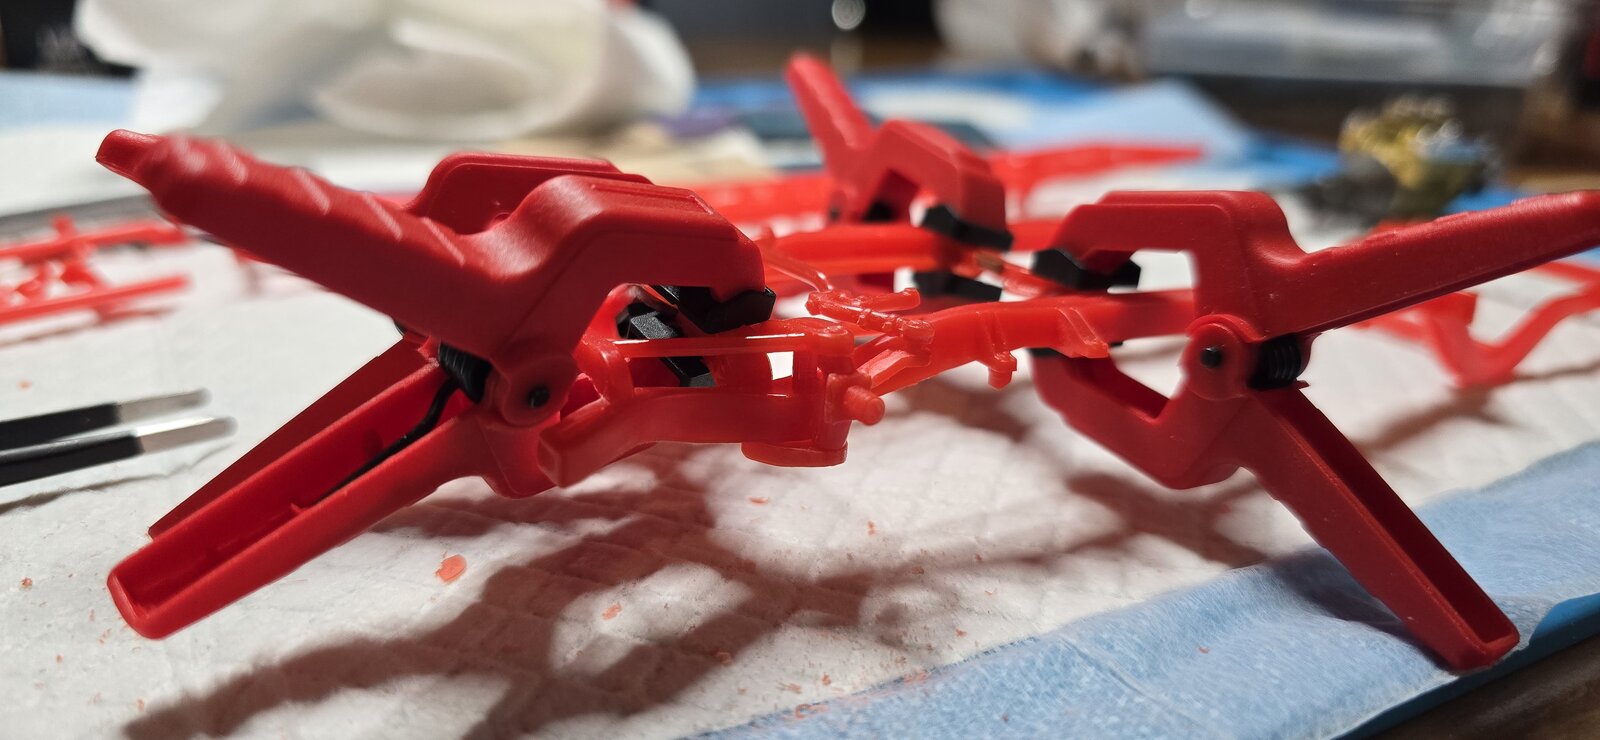
Once it was removed, was able to assemble the front end. Everything is squared up, and progressing.
1000009649.jpg
1000009651.jpg
1000009652.jpg
 
Undercarriage is glued up and plumbed, for now. The rear end is not glued into the chassis, I'm using it as a jig to ensure everything will align when it comes to final assembly.
I'm hoping to move to putting some primer and color onto these, but I keep getting bogged down in the cleanup.
Eh- what're ya gonna do, that's modeling.
Right now, everything "appears" squared and level... We'll see how that goes.
20260201_102439.jpg
20260201_102454.jpg
20260201_102449.jpg
 
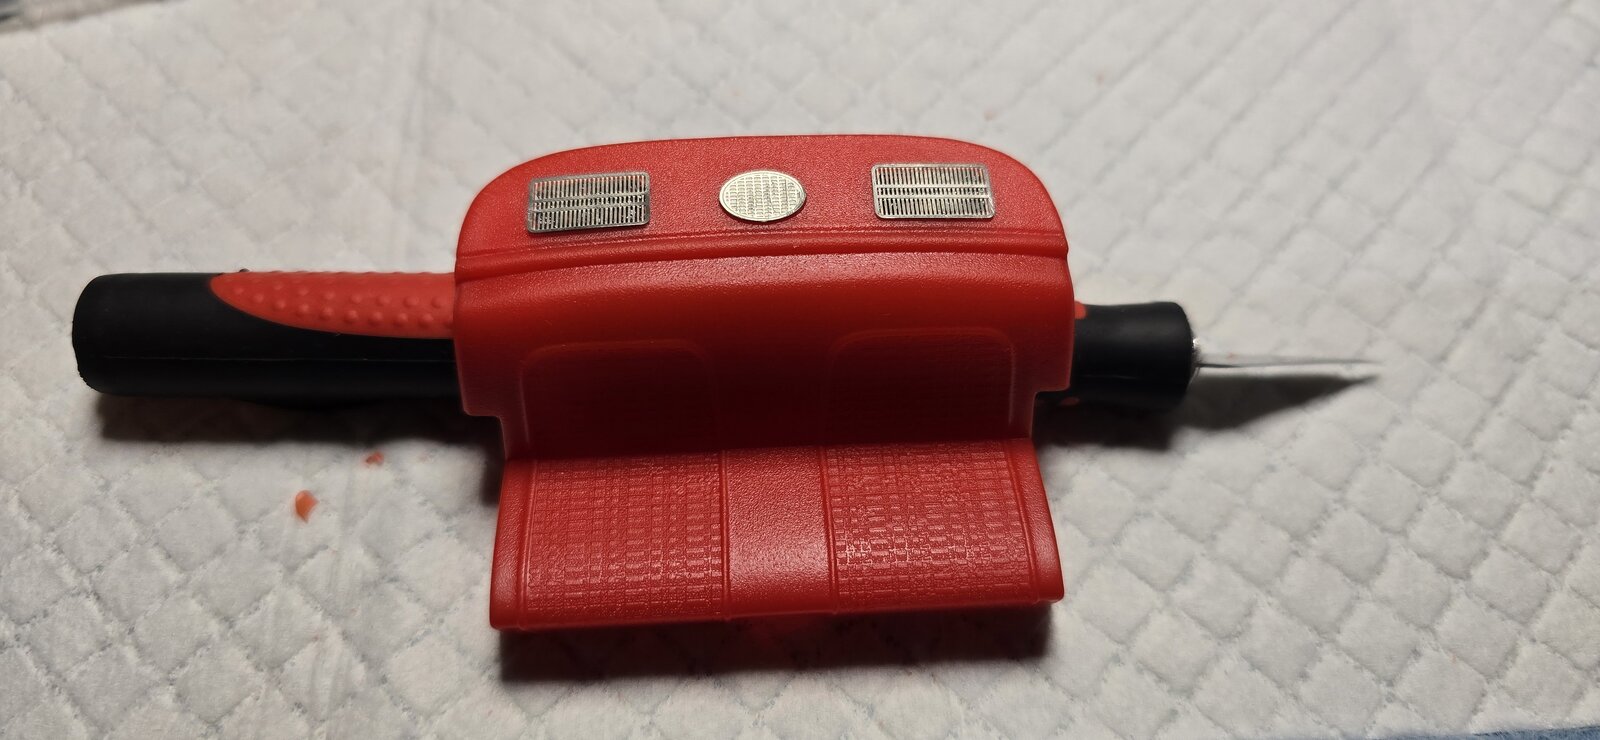
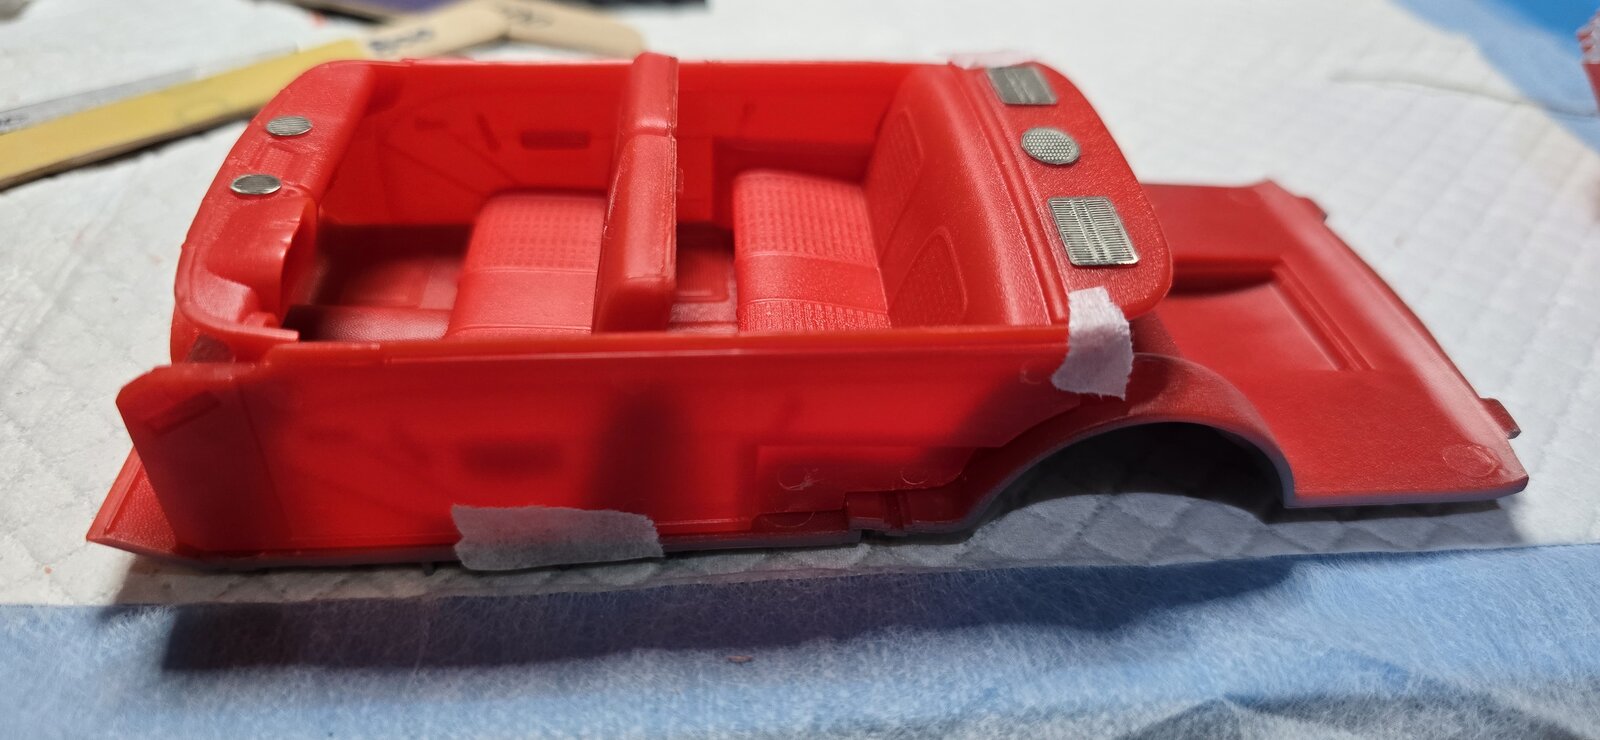
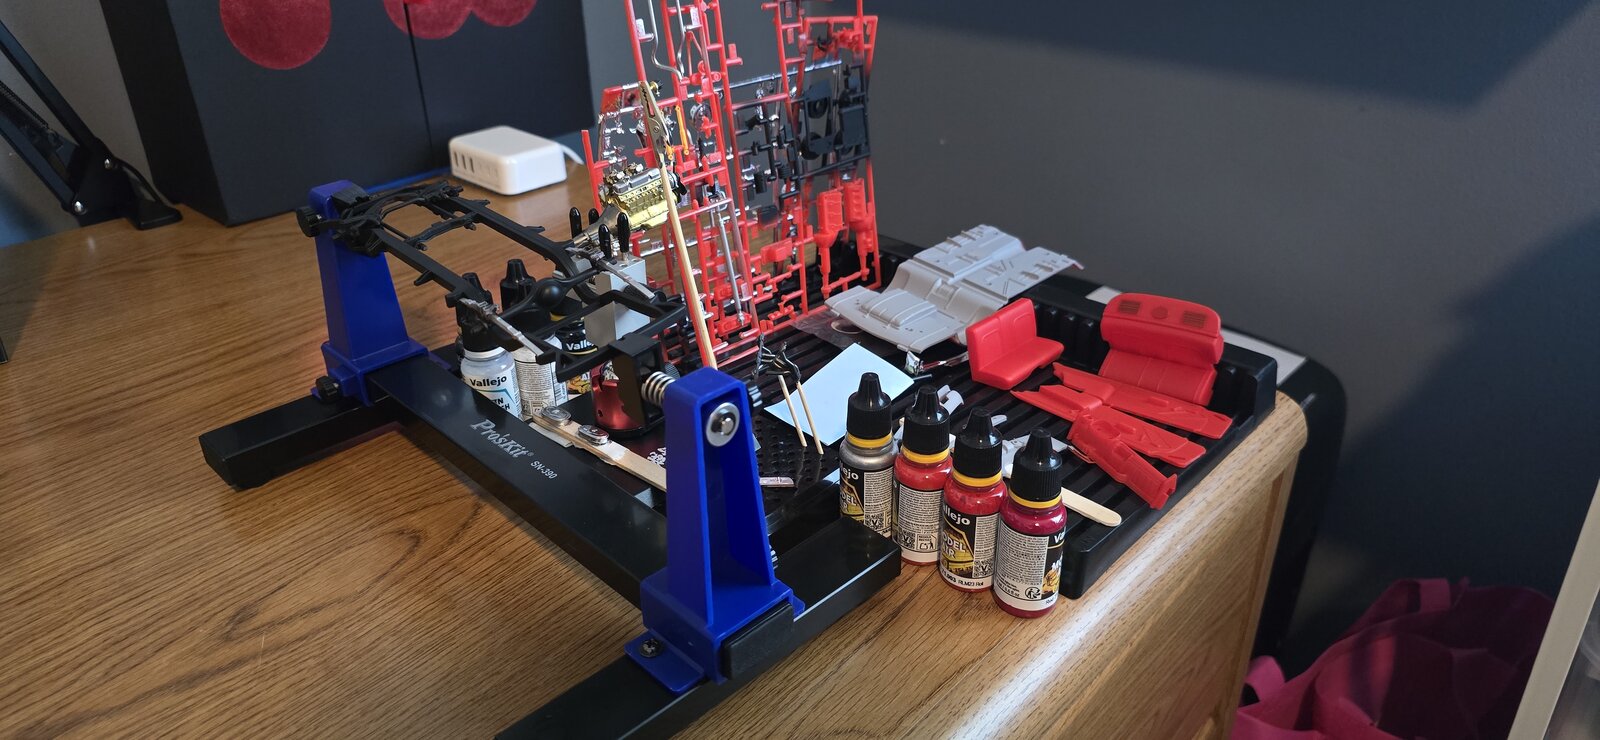
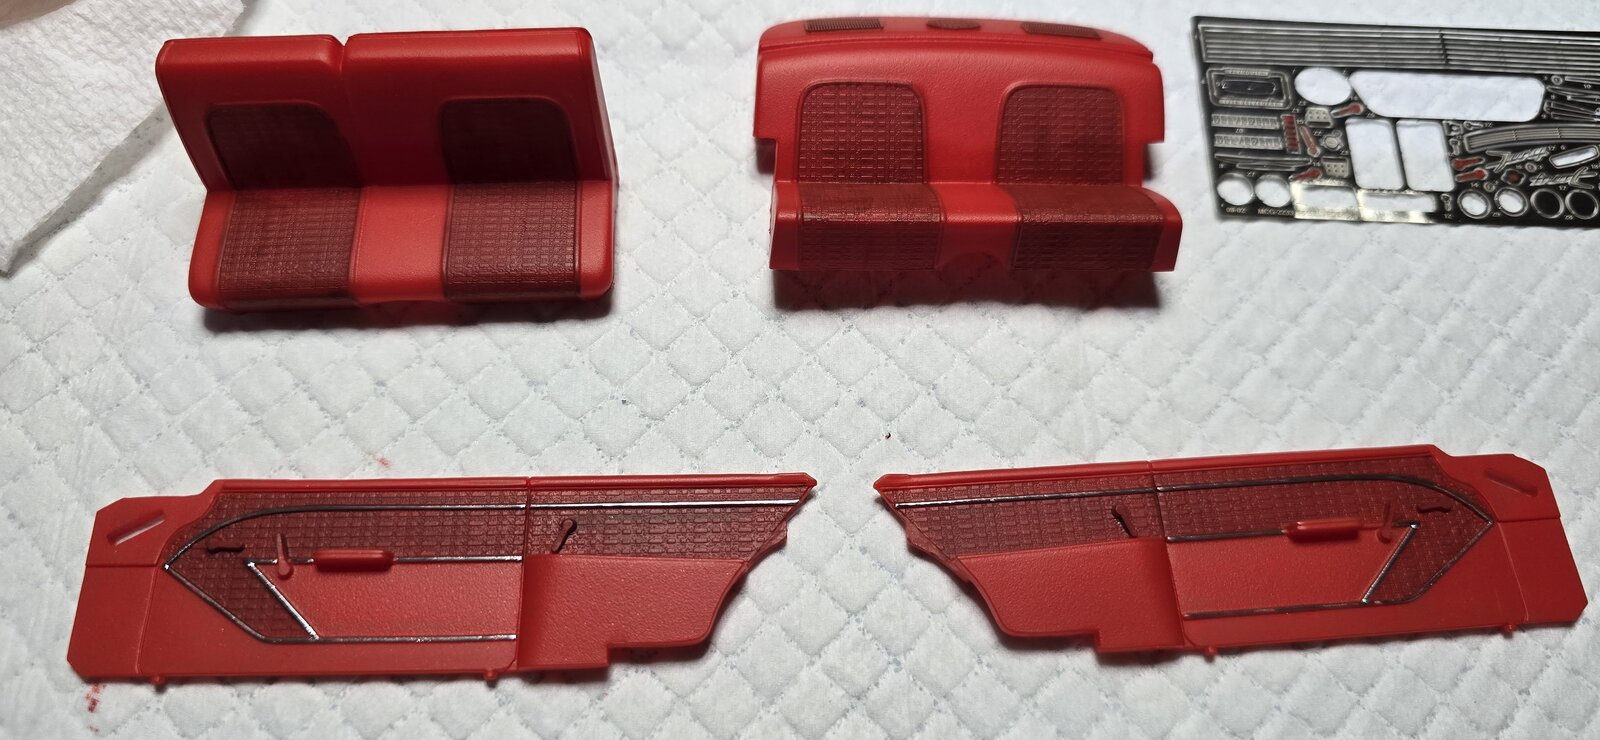
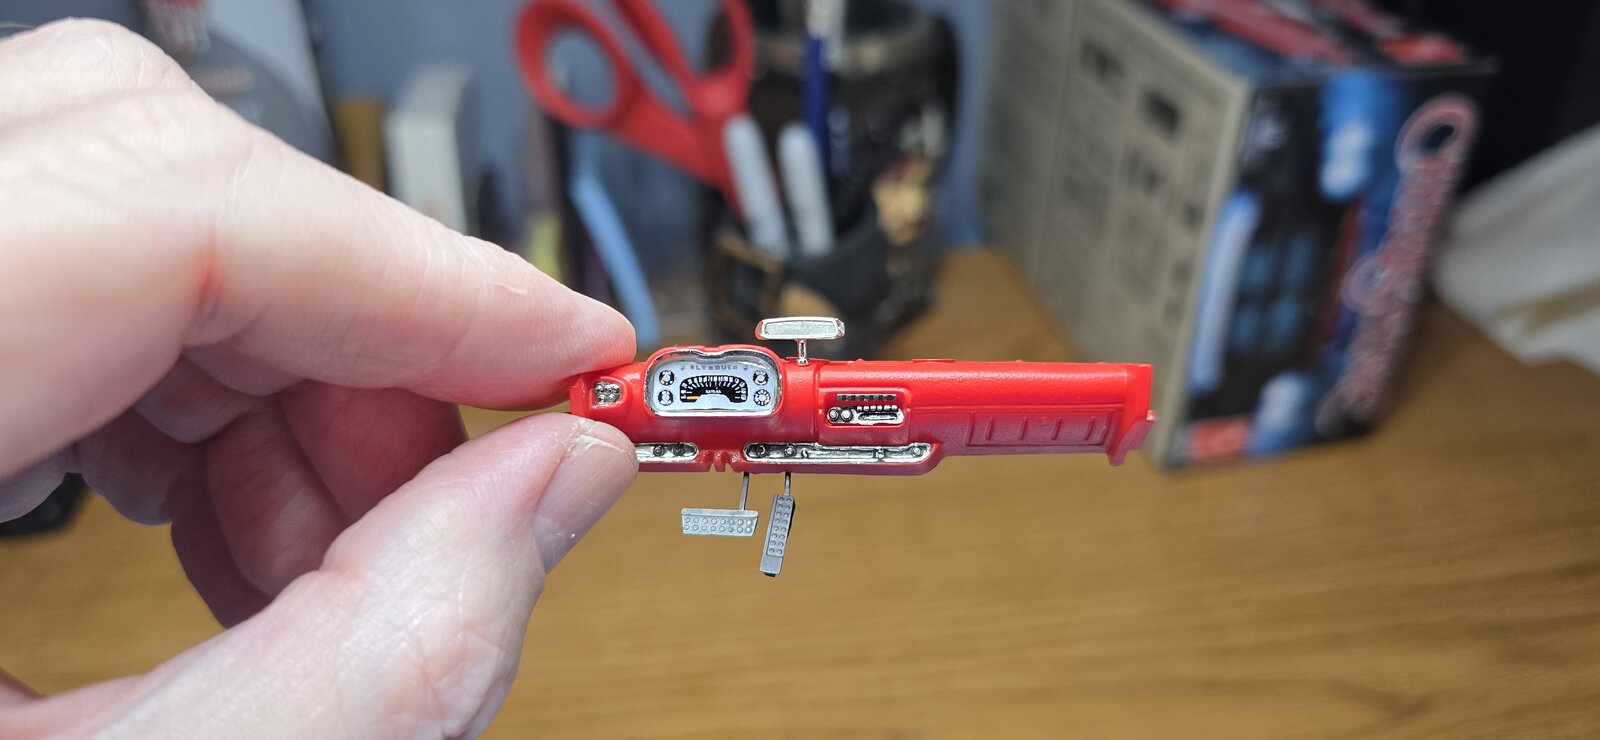
Back to the "bench" this morning- I'll be first to admit, I tend to work pretty chaotically, often jumping from one part or assembly to another without any real plan. This morning I wanted to get the interior completed and ready for paint. This meant attaching all of the photo etch.
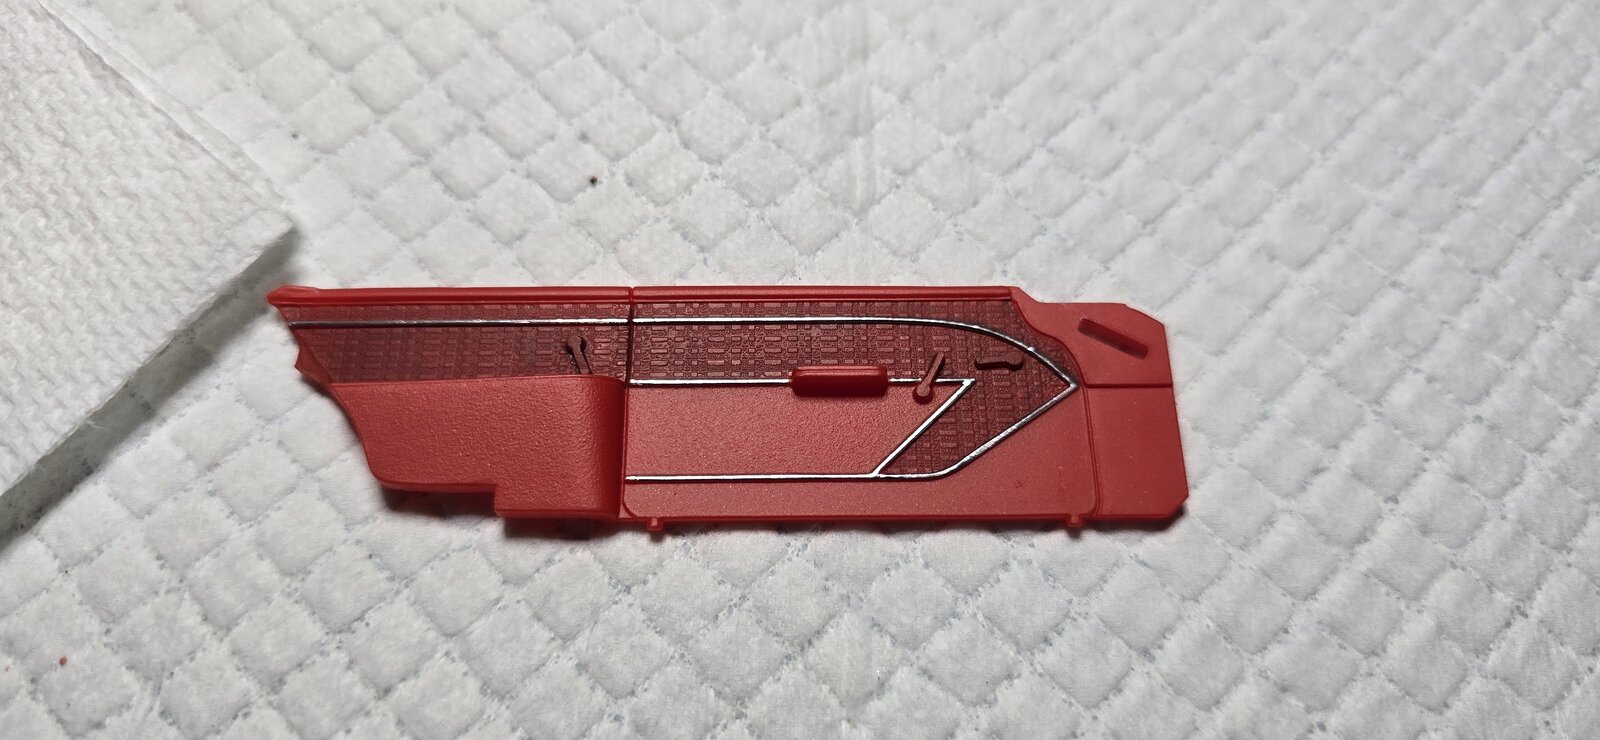
I attached the rear speaker and vent grills to the deck pan, sanded down the molded door latches and window cranks, in preparation for attaching the PE after paint and mocked up the interior to check the fit. A few adjustments and sanding the interior goes together well. I'll be trying to put in some scale carpet into this model, it'll be my first attempt using this stuff on a 1/25, I used a lot of it on the 1/8 Corvette and Aston Martin DB5. So we'll see how it goes.

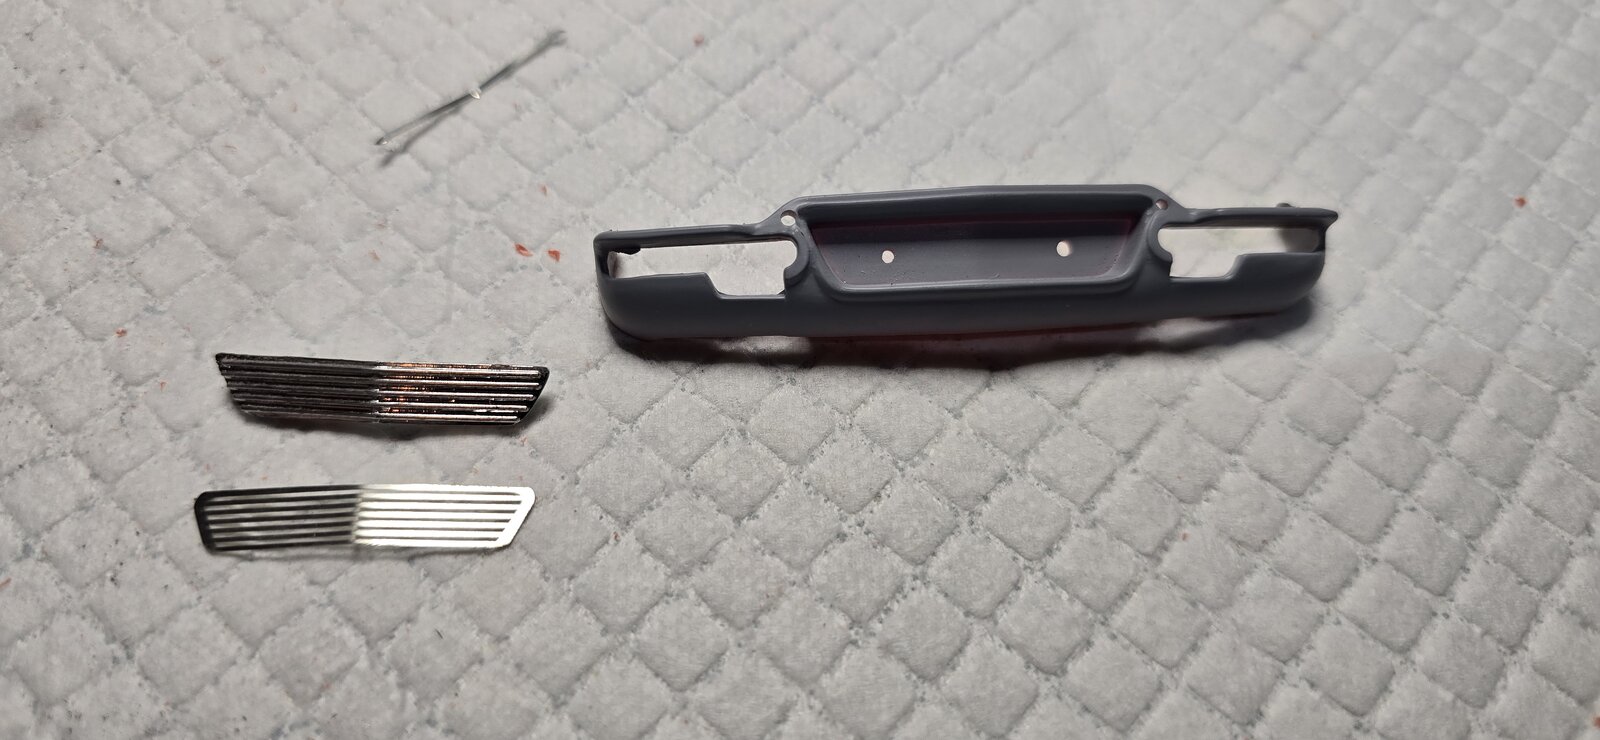
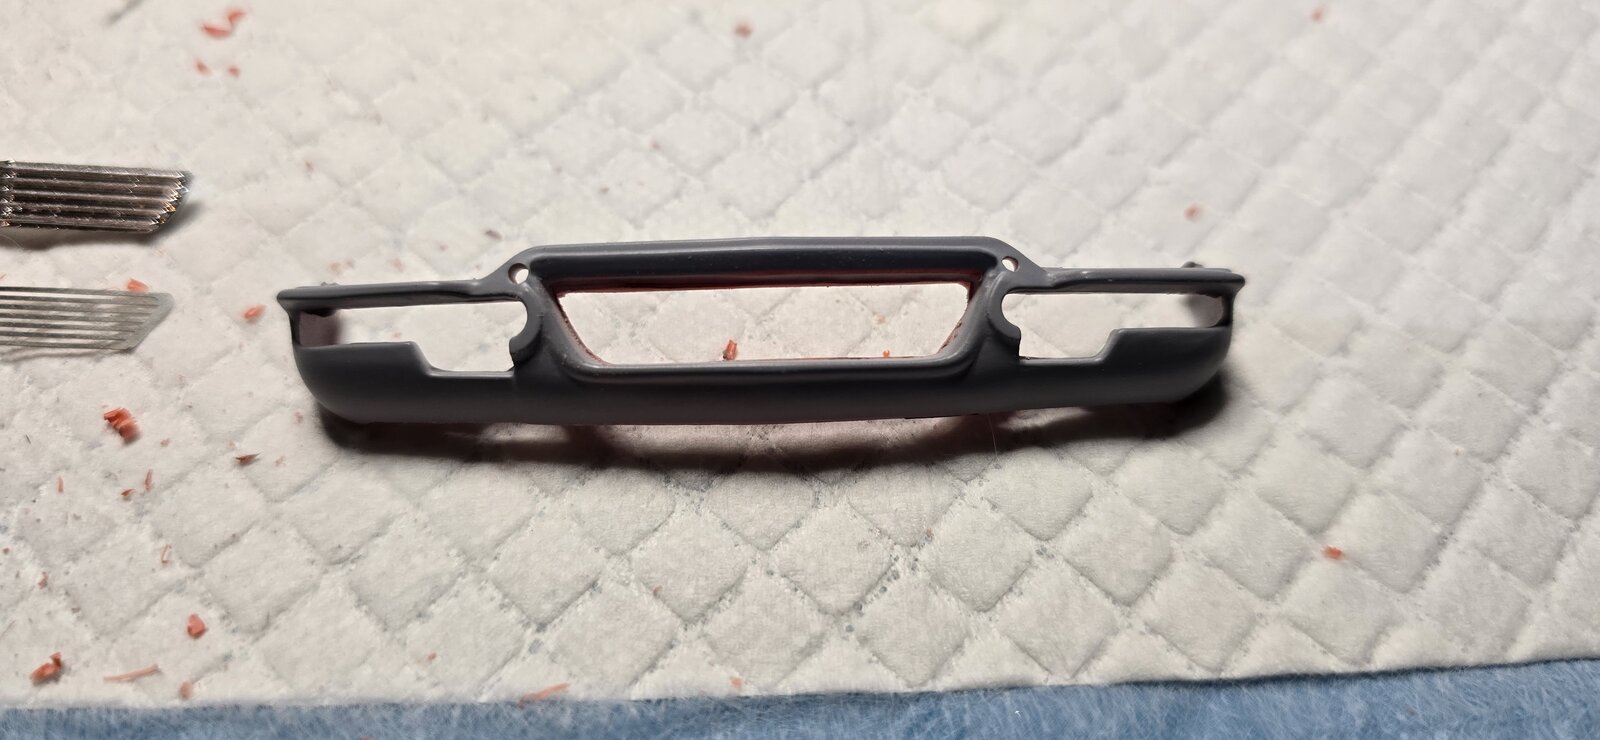
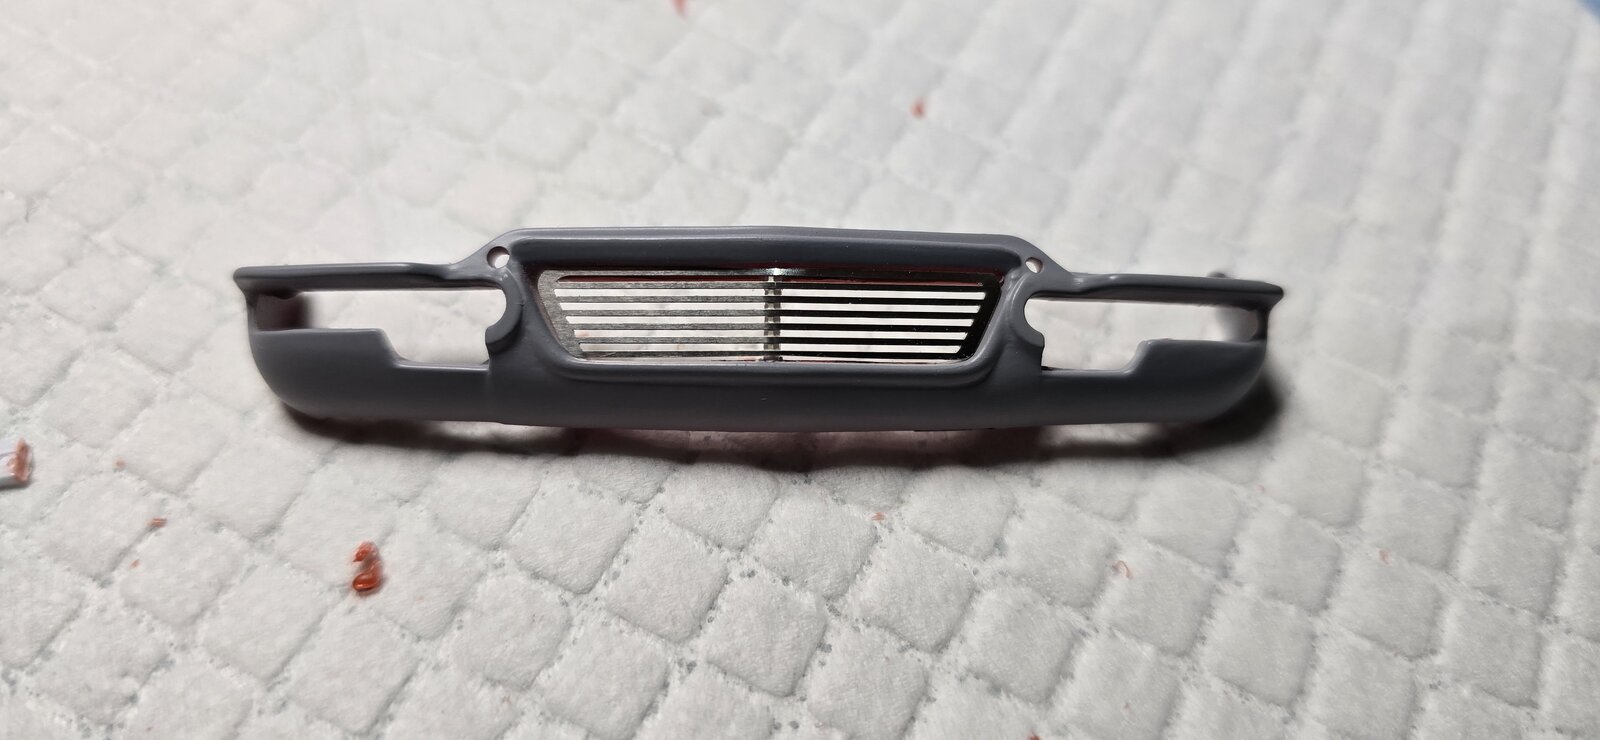
I also decided I needed to get the body closer to paint, so I had to trim up the lower front valance in preparation for its PE, the lower grille. Once again, I am so happy with the sonic knife, it made removing all of the molded plastic from the valance a breeze. After measuring, I was able to remove the plastic in maybe 3 minutes. In the "old days" I would've had to sand, drill and grind all of that plastic, it was tedious, and most of all messy. With the knife it was done in no time. A bit of detail sanding to finish the edges and the valance was open, like the real car. I sanded down the PE to fit into the recess and attached a small piece of plastic rod to act as the attachment point for the PE after paint.

Overall, coming along nicely.
20260203_082210.jpg
20260203_085259.jpg
20260203_092955.jpg
20260203_095304.jpg
20260203_103723.jpg
 
Sometimes, it's just not my day.
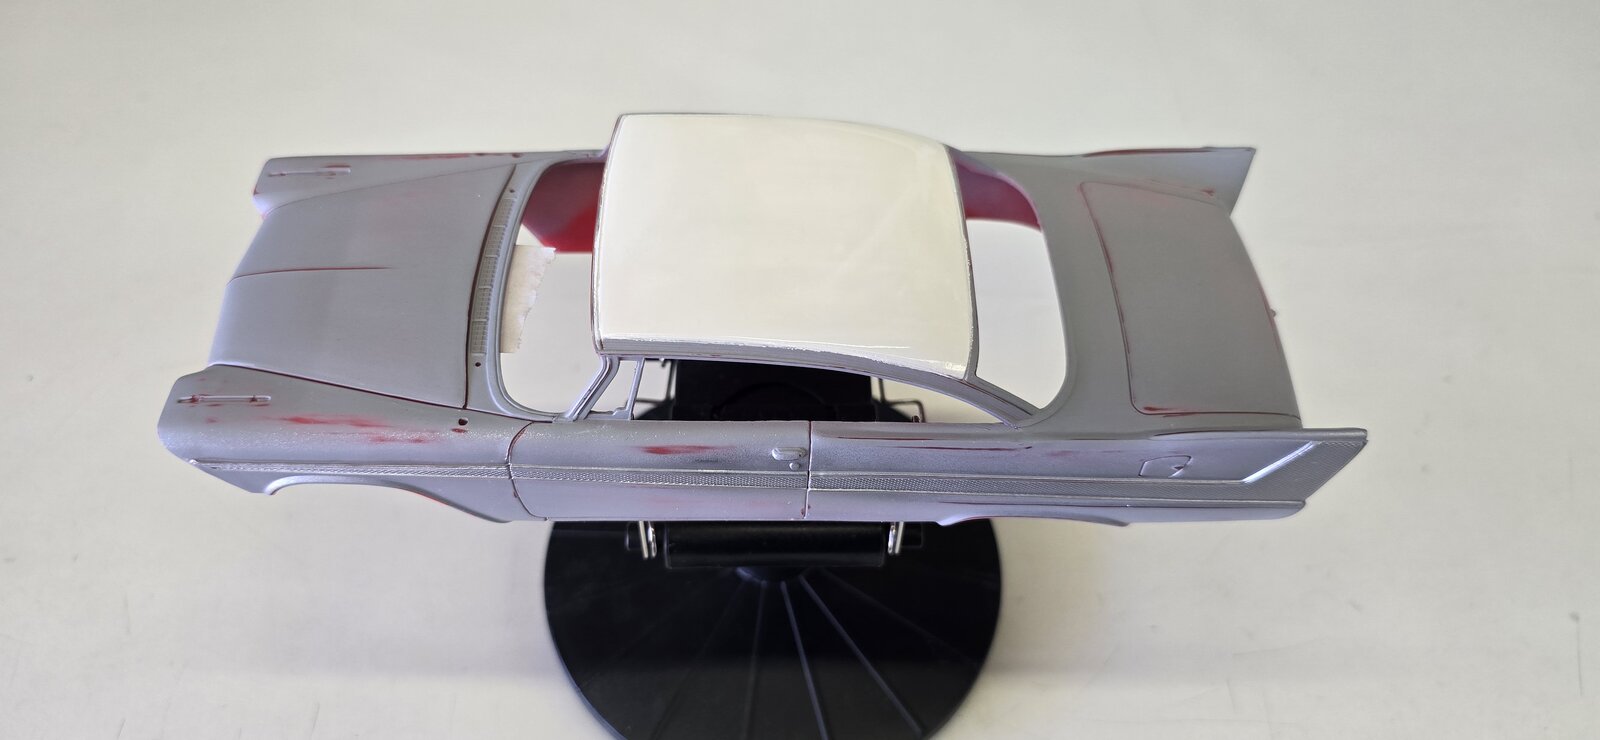
I wanted to get some color onto the body, figured I'd start with the roof white.
Sanded a nice even finish, warmed up the Rustoleum Gloss White, (used on multiple sprays, still 1/2 to 2/3rd full) though it probably didn't really need it, it was 95F yesterday, WTF?!! In February, right?
Anyway....
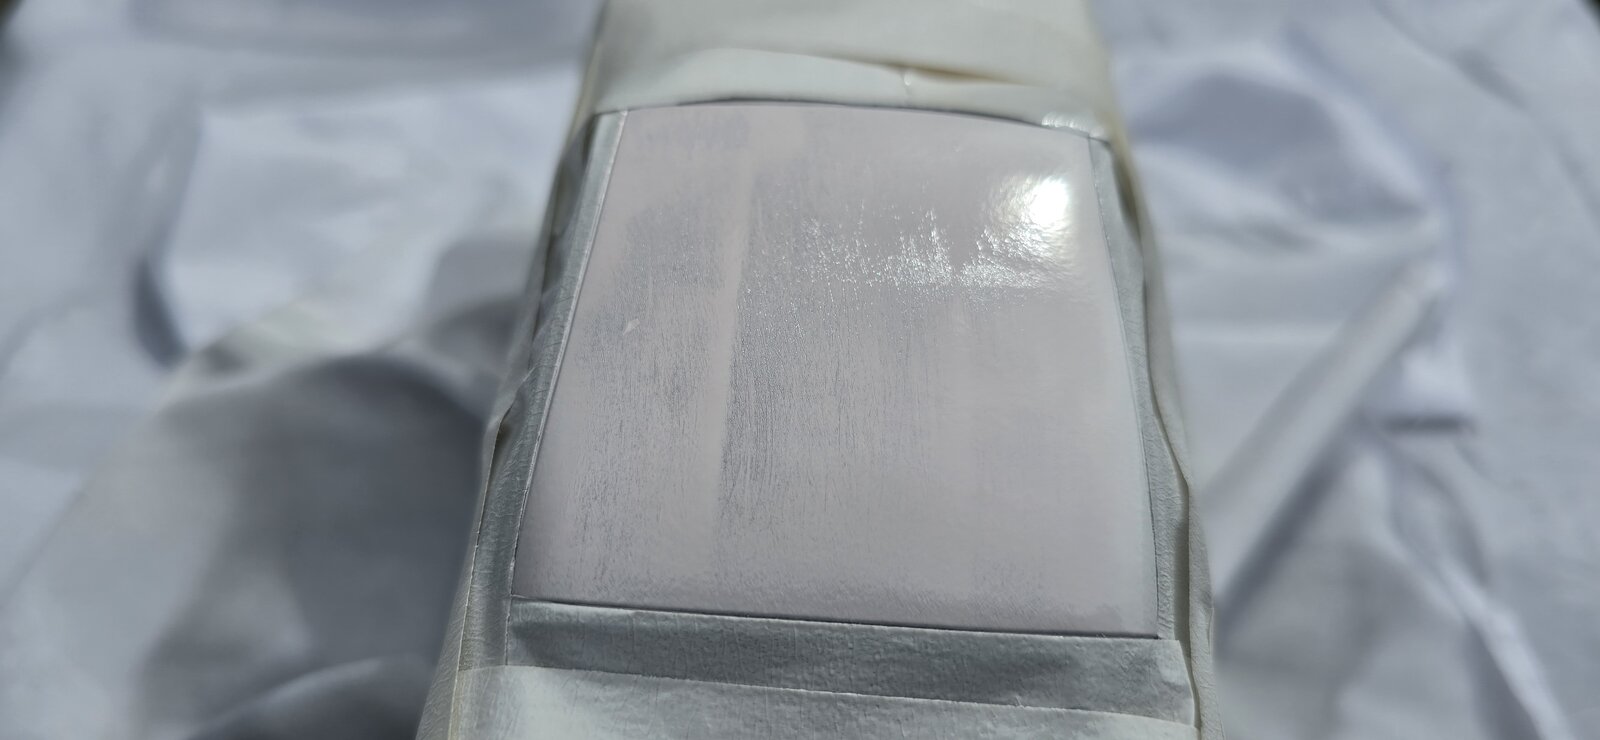
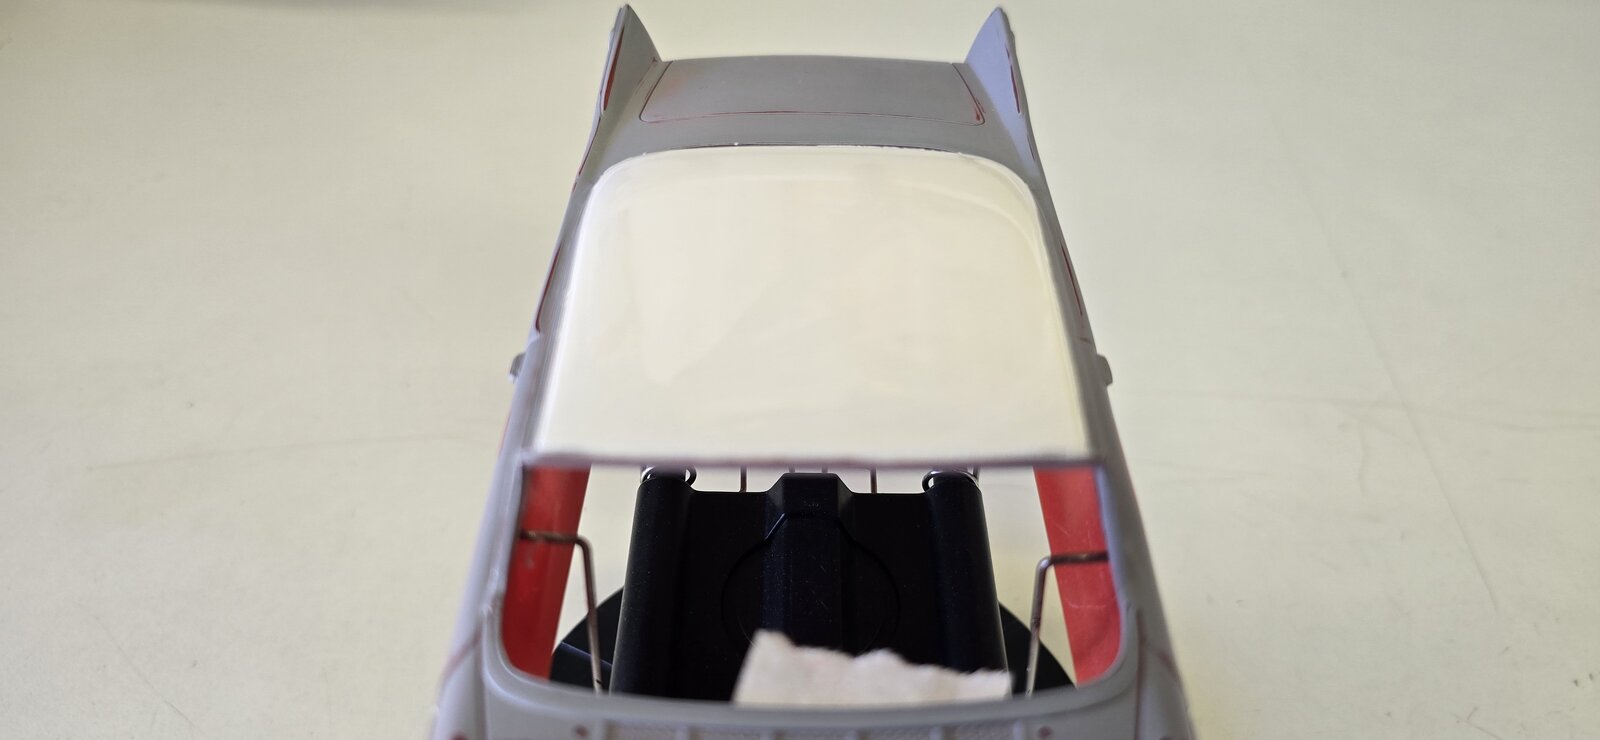
Masked and prepped, put a light shot of color on and the red bled through. Hmmm, that's odd.....
A few more light coats, pink. Then, mid spray the nozzle suddenly began sputtering flecks of (dried?) paint, all over the roof. LOL-
I decided the can was done, and rather than keep spraying and hoping for the best, it was time to stop- let this dry, sand it off and pick up a new can of gloss white.
Some days...
20260205_105153.jpg
 
I never really trusted their "Paint + Primer" claim. There's the proof. No doubt you'll recover from that though.
 
I seem to have the worst luck with Rustoleum gloss white. Even new cans sputtered on me. I have better luck with Krylon GW.
But also have a hard time tossing 1/2 full cans....until they screw up a paint job. 🙃
 
Sometimes, it's just not my day.
I wanted to get some color onto the body, figured I'd start with the roof white.
Sanded a nice even finish, warmed up the Rustoleum Gloss White, (used on multiple sprays, still 1/2 to 2/3rd full) though it probably didn't really need it, it was 95F yesterday, WTF?!! In February, right?
Anyway....
Masked and prepped, put a light shot of color on and the red bled through. Hmmm, that's odd.....
A few more light coats, pink. Then, mid spray the nozzle suddenly began sputtering flecks of (dried?) paint, all over the roof. LOL-
I decided the can was done, and rather than keep spraying and hoping for the best, it was time to stop- let this dry, sand it off and pick up a new can of gloss white.
Some days...
View attachment 179030
If i may suggest, try using duplicolor automotive acrylic lacquer as a base coat or a roof finish like your doing. As a base coat you can shoot anything you want over it with no bad reactions. it also drys tight so not to fill details like small lettering molded into the body . I also use their indy silver as a base depending on the color of the finish coat. it drys fast and hard you can sand it in an hr, or so if you get any crud in the paint and go right back at it with another coat. And its small cans not as much to waste if things go bad. They also make tons of colors so you can find a killer finish color without paying a fortune.
 
Last edited:
Thanks all-
I stopped by my local hobby store yesterday and picked up several cans of Tamiya Gloss Lacquer. White, Black, Smoke and Clear. Always had great luck with that and I'll get back to it in a day or two.
 
I seem to have the worst luck with Rustoleum gloss white. Even new cans sputtered on me. I have better luck with Krylon GW.
But also have a hard time tossing 1/2 full cans....until they screw up a paint job. 🙃
LOL, So it's not just me- that urge to keep those "lethal" 1/2 full cans of paint, silently waiting to destroy a paint job.... but the voice inside my head saying "better save that paint, may need a few ounces of crappy gloss white oatmeal on something one day"... LOL.
I tossed it, deciding I didn't need to lay any more future traps for myself.
 
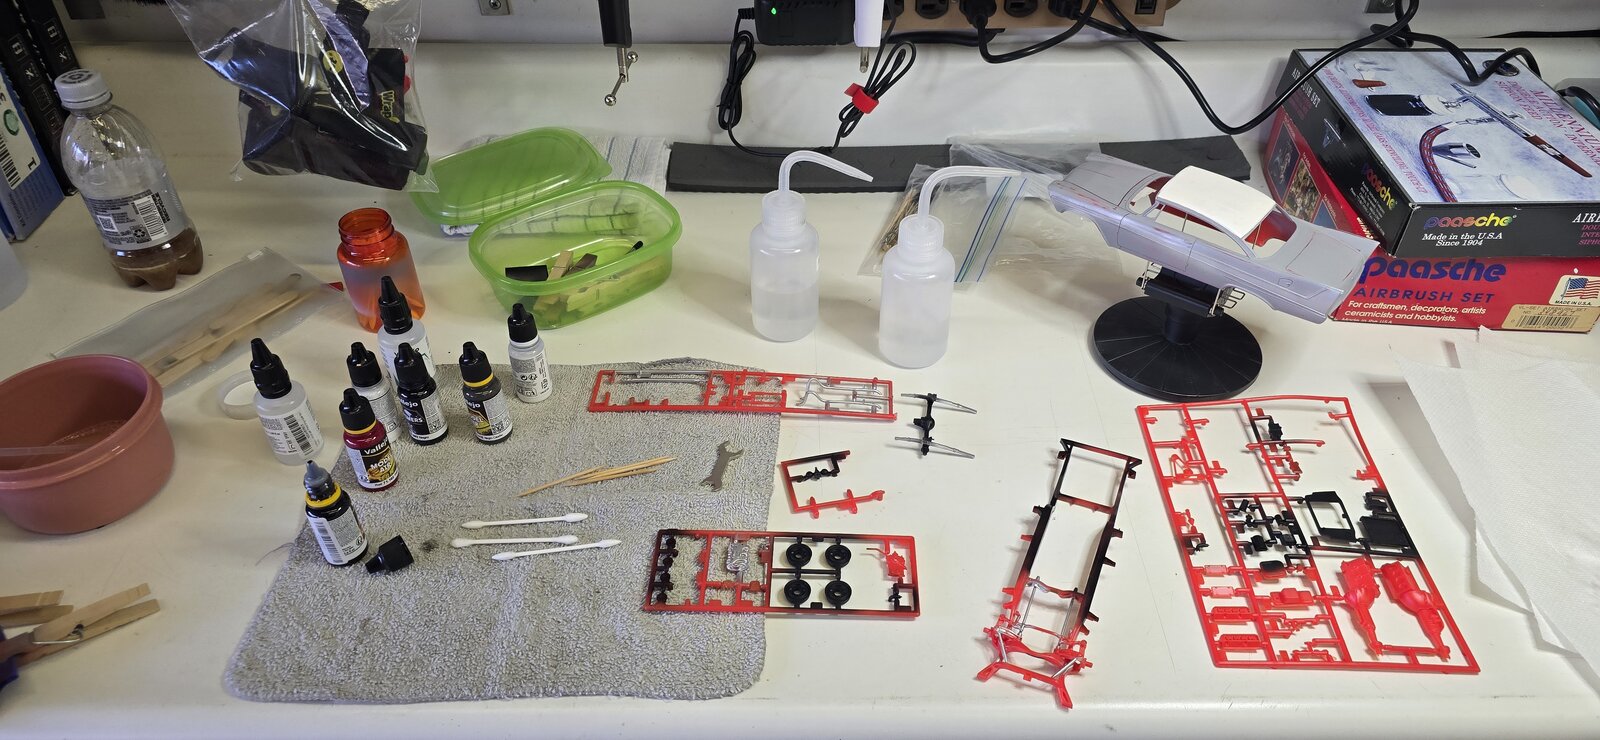
Made some nice forward progress this morning. The new airbrush I received for Christmas worked flawlessly and I even considered using it to spray the body color, for about a 1/2 a second. I figured since I just bought several new cans of Tamiya spray lacquer, may as well use them.
The red(s) I've chosen for the interior colors are almost the identical match to the sprue color, it was hard to tell where color was even and the molded plastic was still showing.
Got black, red, darker red, silver and primer laid down.

Also re-sprayed the roof white, what a huge difference that Tamiya paint makes, it's almost perfect out of the can. No orange peel, leveled beautifully and dried in minutes, of course it helps it's in the upper 80's again today.
20260208_091105.jpg
20260208_110426.jpg
20260208_112242.jpg
20260208_112251.jpg
 
nozzle suddenly began sputtering flecks of (dried?) paint,
This has happened to me a couple of times with Rustoleum Gloss White. Seems to be the only color that this happens on (at least for me). I'm not sure why this happens but I have since not used Rustoleum 2X Gloss White. I use Mr Finishing Surfacer 1500 White then top it with Tamiya X-2 Gloss White.
 
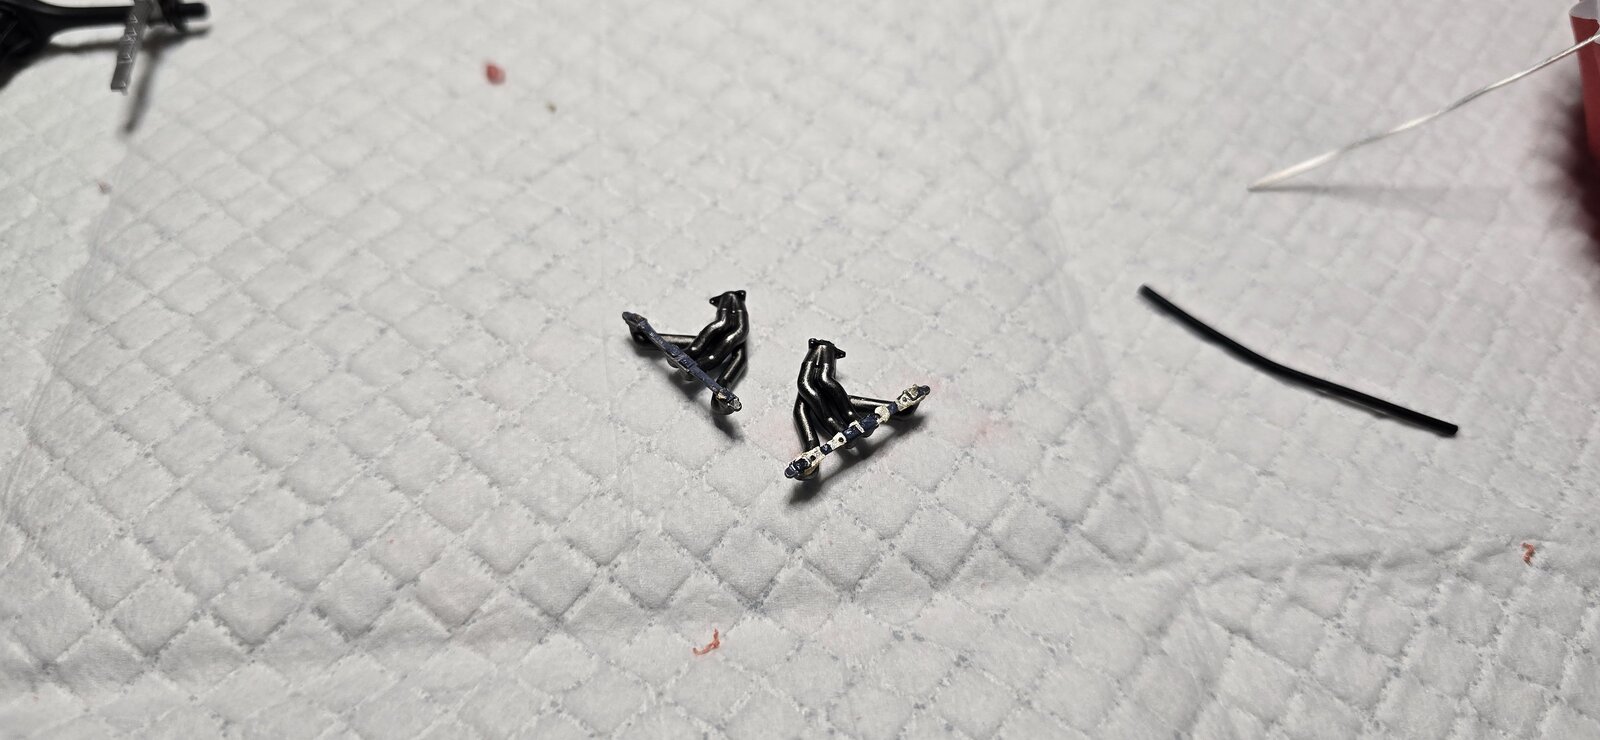
Moving along- I intended to mount the distributor and plug wires this morning, in order to do that I needed to affix the headers. Once the headers were on, the engine would not sit into the frame, (again). Rather than alter the frame and go back to that, I decided to... (you guessed it, PIVOT, said the way Ross said it) and go back to the kit's molded exhaust manifolds. It's a shame, these headers are beautiful, but a quick cast iron paint job and I had the manifolds in place.
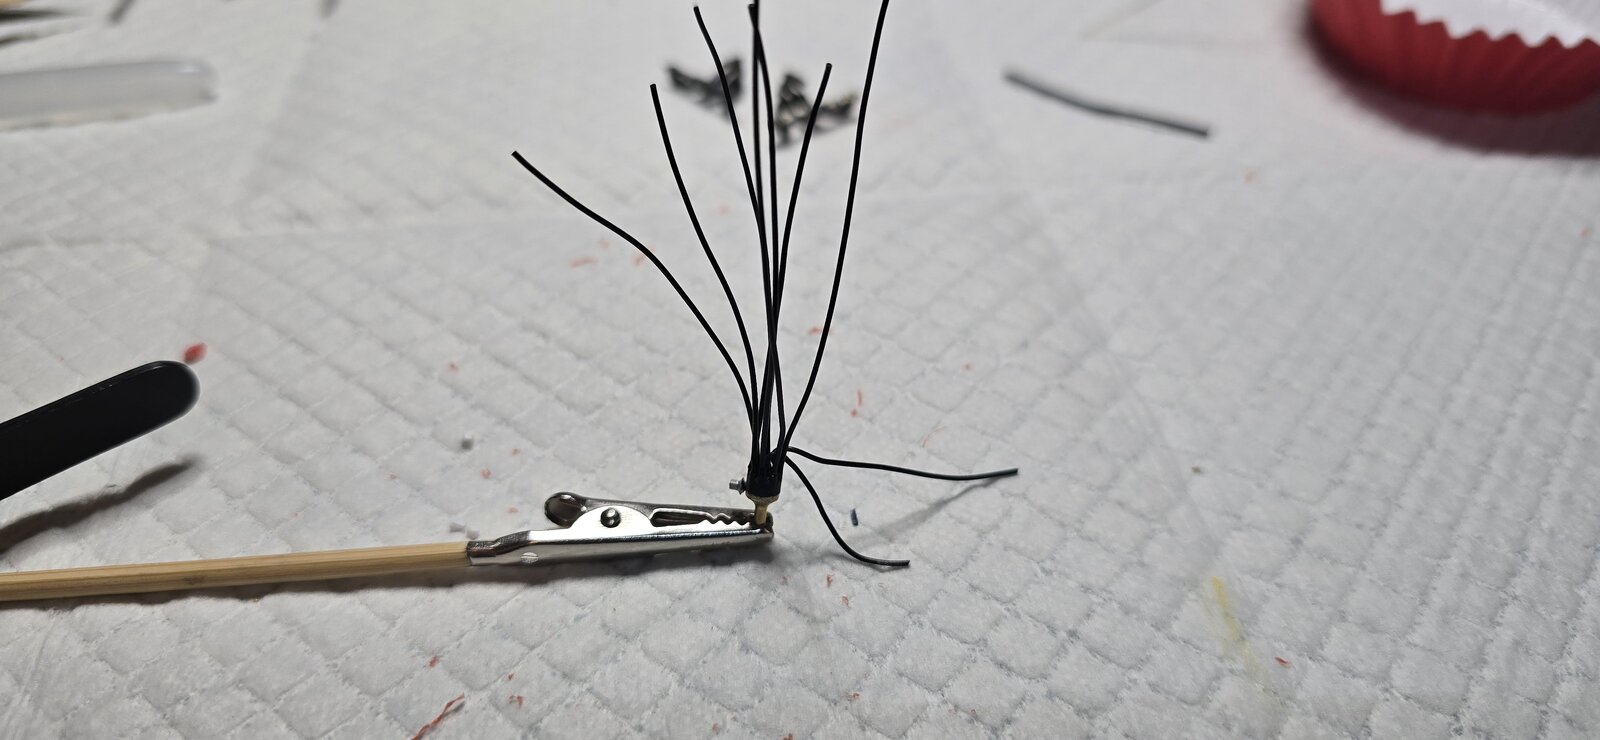
Next, wiring and attaching the distributor, (I swore I'd never drill and glue wires one at a time again after last time, but clearly I'm a glutton for punishment).
I'll insert the plug wires in the next day or two.

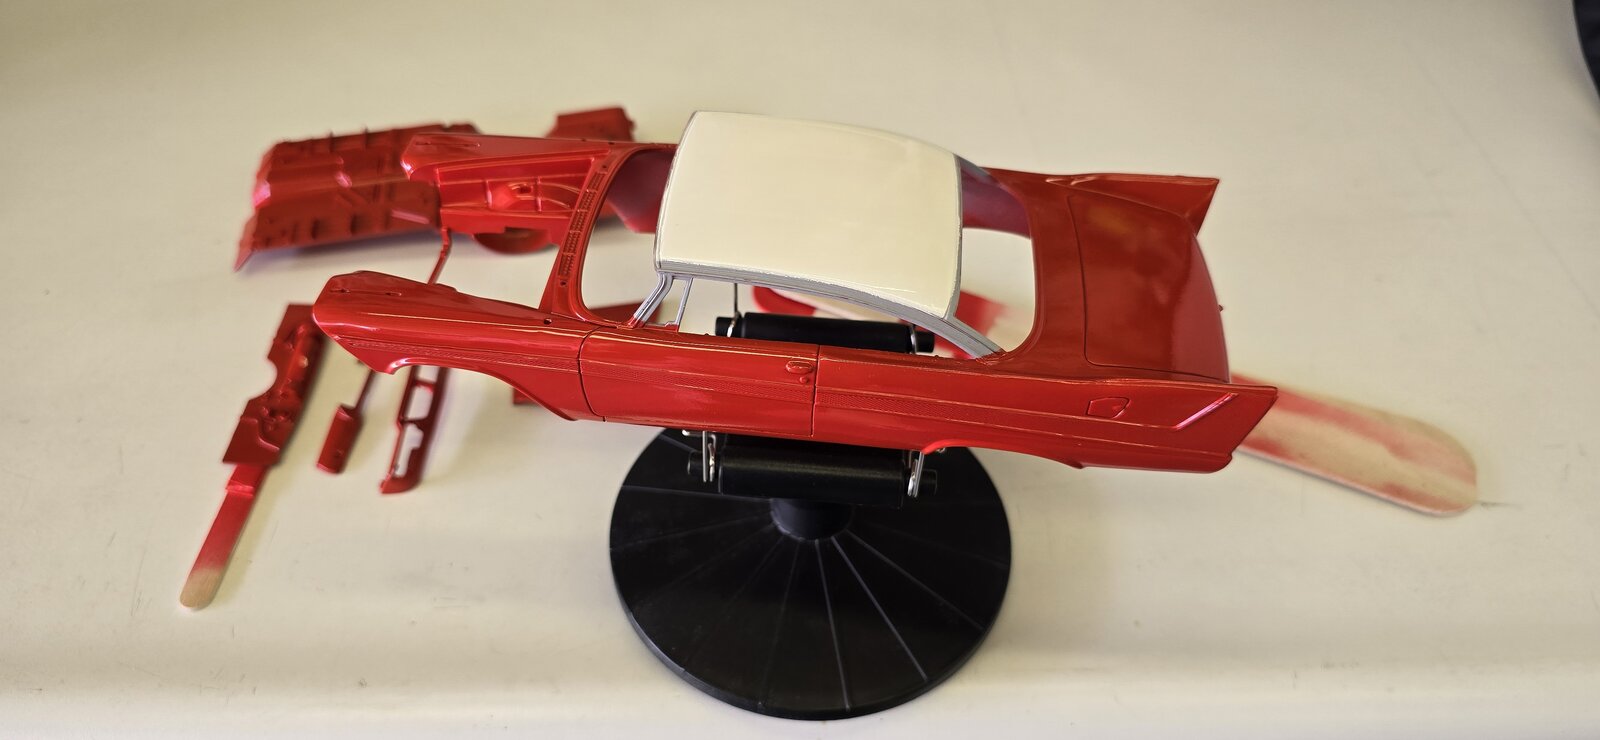
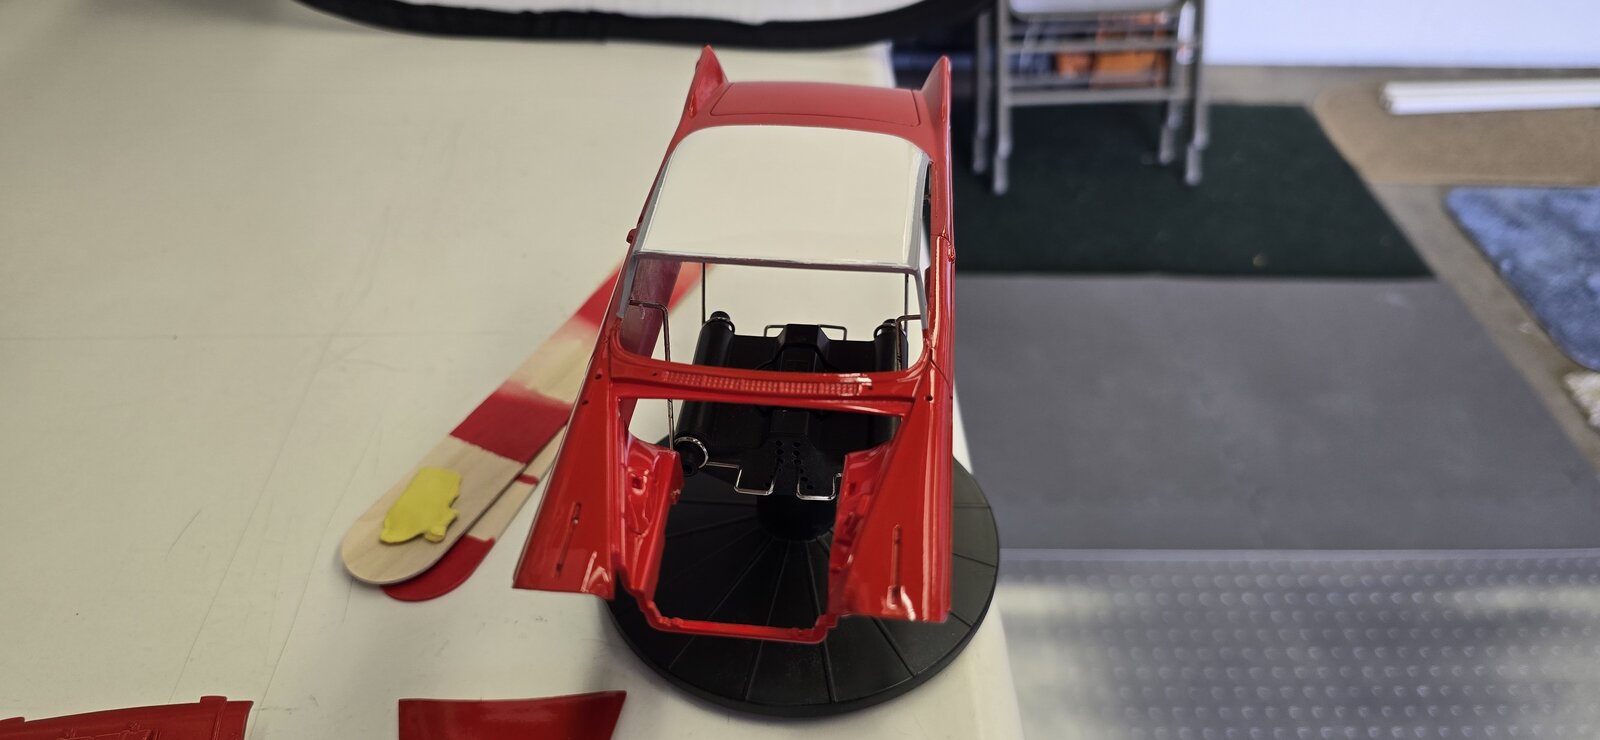
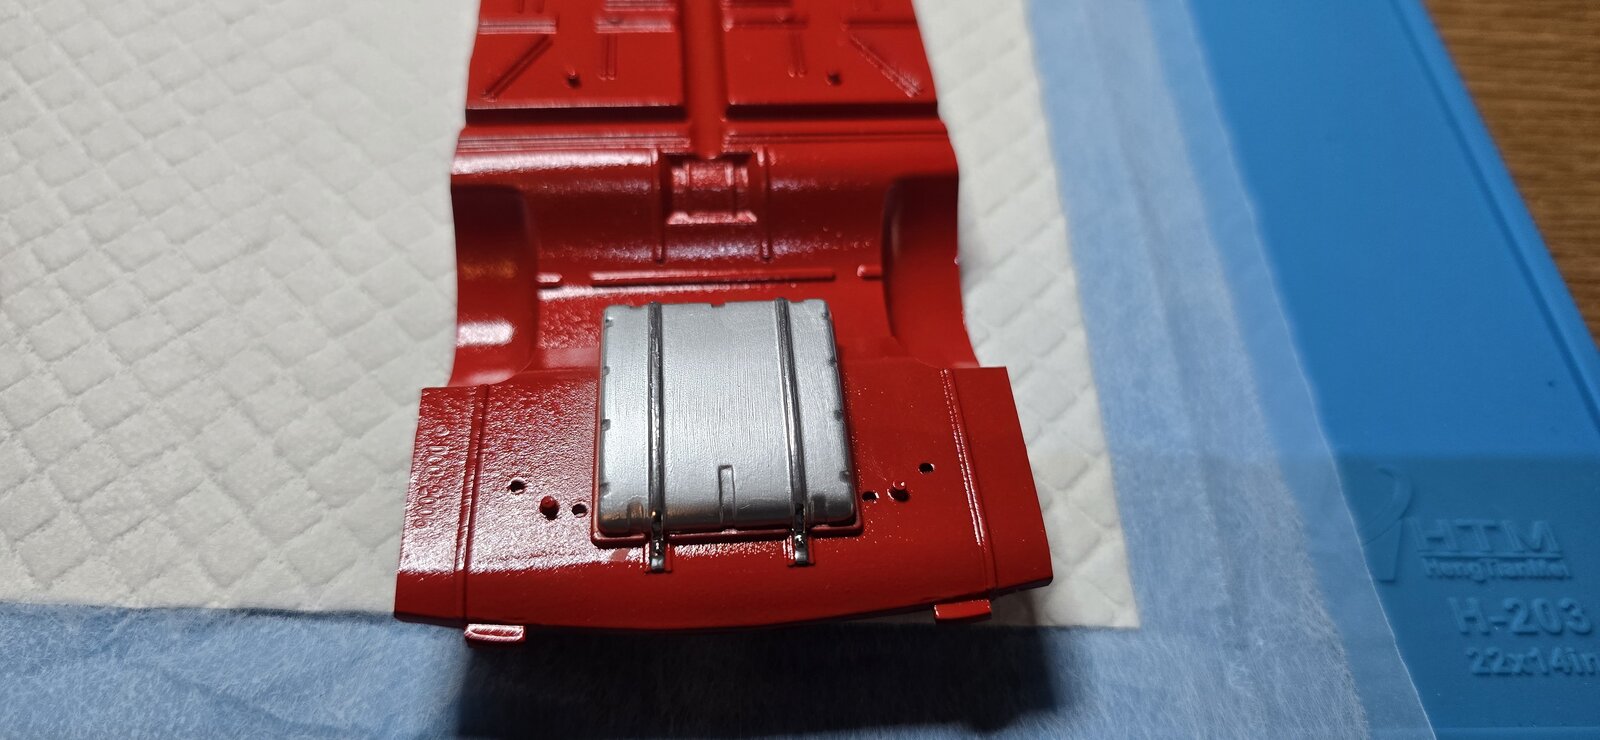
I also needed to paint the floor pan, in order to assemble the motor/chassis, so I decided to go ahead and paint the body and panels.
Ok, WOW- This is without a doubt, the best paint job I've ever had, I'm going to claim it was luck, new Tamiya Paint, and the weather.
It's glossy, no spatters and leveled beautifully. The Bright Red was the right color for this car.
20260209_092223.jpg
20260209_103204.jpg
20260209_103155.jpg
20260209_104350.jpg
20260209_104400.jpg
 
Moving along- I intended to mount the distributor and plug wires this morning, in order to do that I needed to affix the headers. Once the headers were on, the engine would not sit into the frame, (again). Rather than alter the frame and go back to that, I decided to... (you guessed it, PIVOT, said the way Ross said it) and go back to the kit's molded exhaust manifolds. It's a shame, these headers are beautiful, but a quick cast iron paint job and I had the manifolds in place.
Next, wiring and attaching the distributor, (I swore I'd never drill and glue wires one at a time again after last time, but clearly I'm a glutton for punishment).
I'll insert the plug wires in the next day or two.

I also needed to paint the floor pan, in order to assemble the motor/chassis, so I decided to go ahead and paint the body and panels.
Ok, WOW- This is without a doubt, the best paint job I've ever had, I'm going to claim it was luck, new Tamiya Paint, and the weather.
It's glossy, no spatters and leveled beautifully. The Bright Red was the right color for this car.
View attachment 179463View attachment 179464View attachment 179465View attachment 179466View attachment 179467
Red is great color for that body style, i have a 57 Chrysler 300 i made a gasser with a black roof and hood.
 
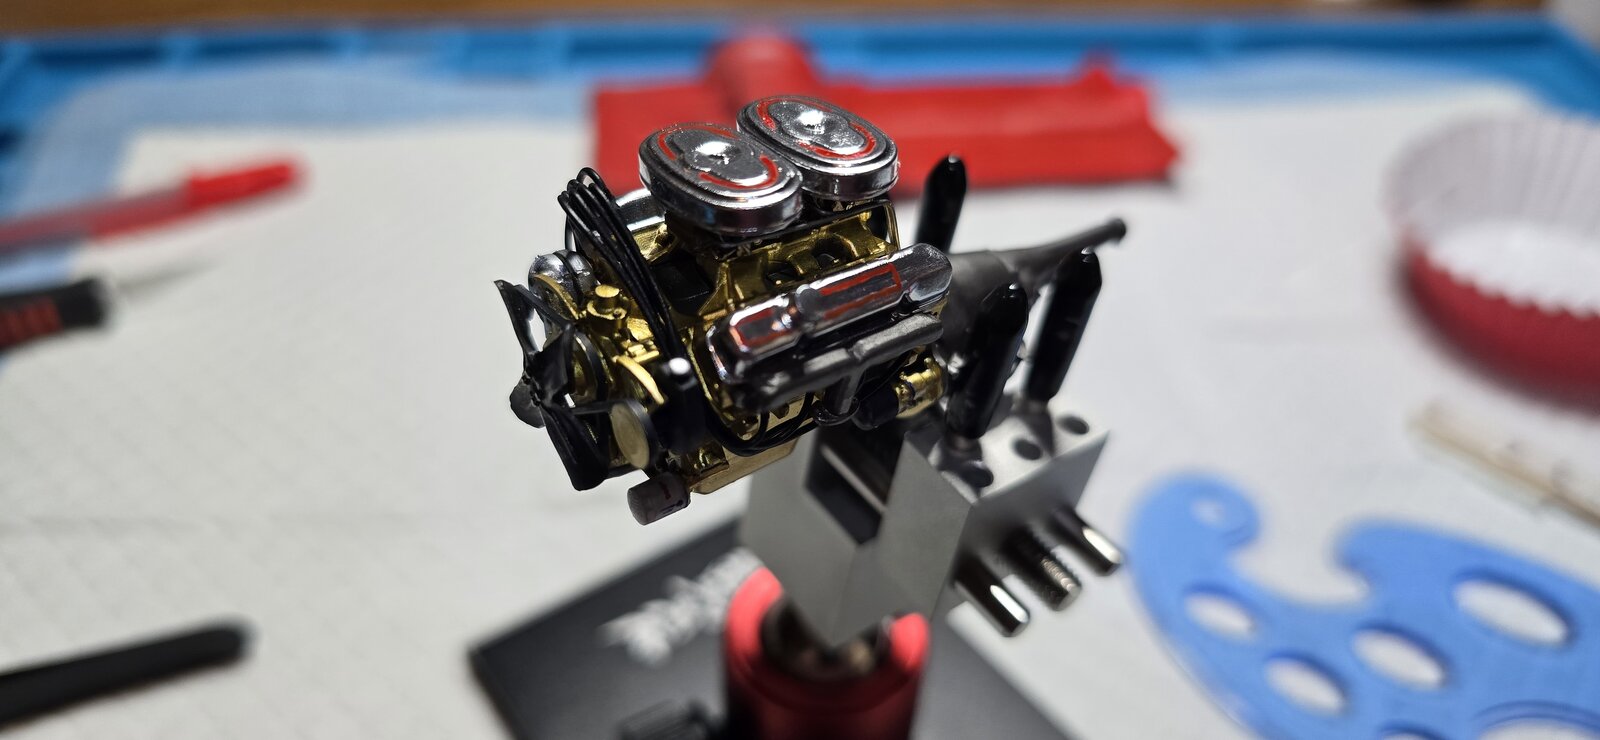
Engine is complete, added the wiring and air cleaners. Also added a bit more pinstriping to the chrome valve covers and air cleaners.

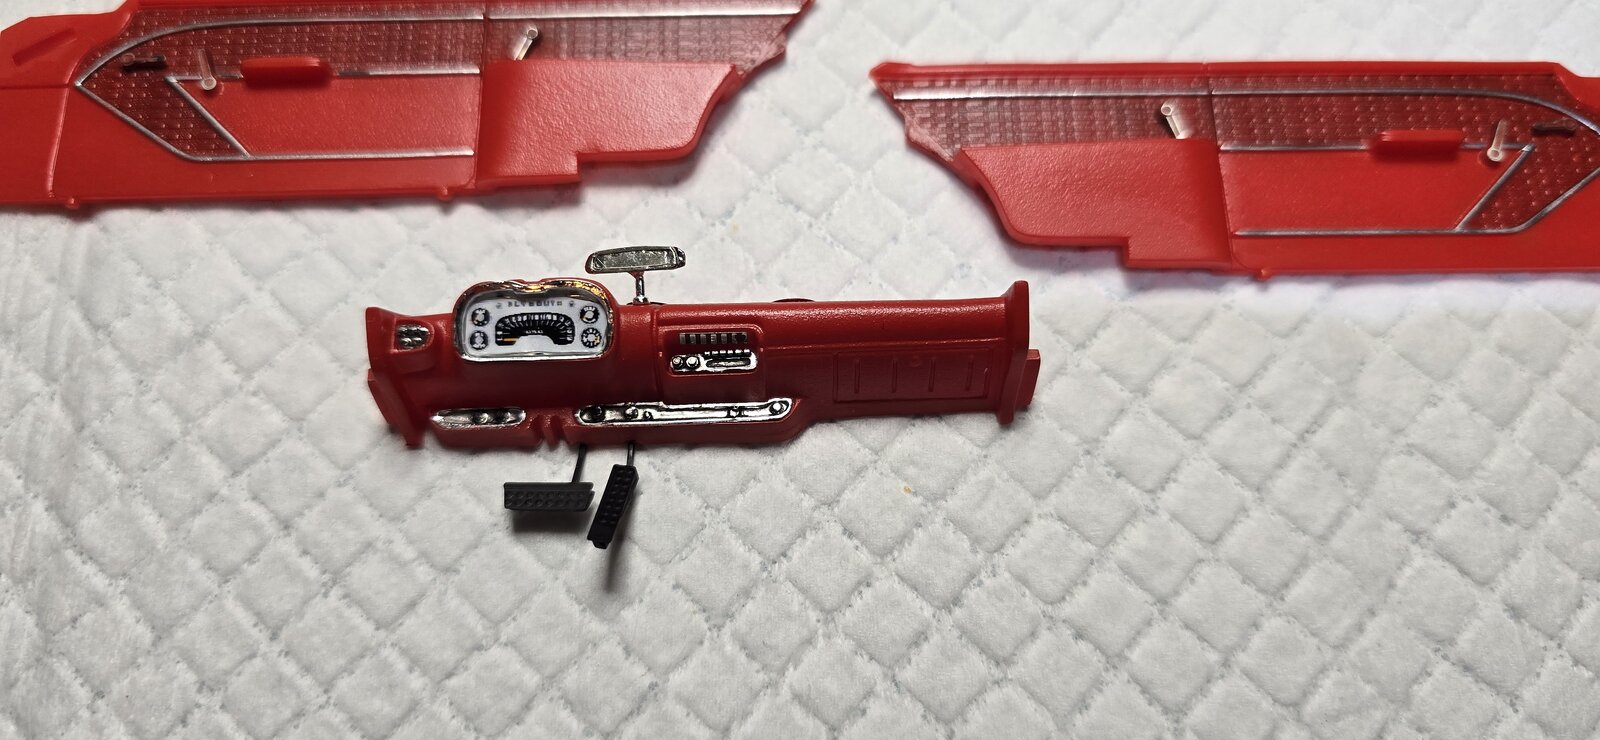
Painted the details in the interior, I have more to do, but a good start. Also painted the photo-etch to match interior color(s) and will polish the handles and levers.
20260210_113017.jpg
20260210_082406.jpg
20260210_105402.jpg
20260210_112952.jpg
 
Next, wiring and attaching the distributor, (I swore I'd never drill and glue wires one at a time again after last time, but clearly I'm a glutton for punishment).
I remember a quote from a book I read along time ago, it must have been "The Complete Walker ".
" backpacking is the art of suffering ".
I think we can modify that to....."modeling is the art of suffering."

Keep up the good work.
 
I remember a quote from a book I read along time ago, it must have been "The Complete Walker ".
" backpacking is the art of suffering ".
I think we can modify that to....."modeling is the art of suffering."

Keep up the good work.
LOL- Too true.
Thanks so much!
 

Latest posts

Back
Top