Holz44
Well-Known Member
It's been awhile since my last post so I thought I'd give it a whirl.
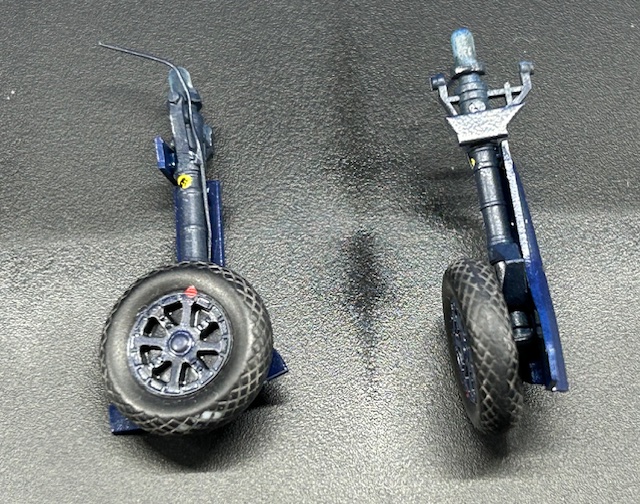
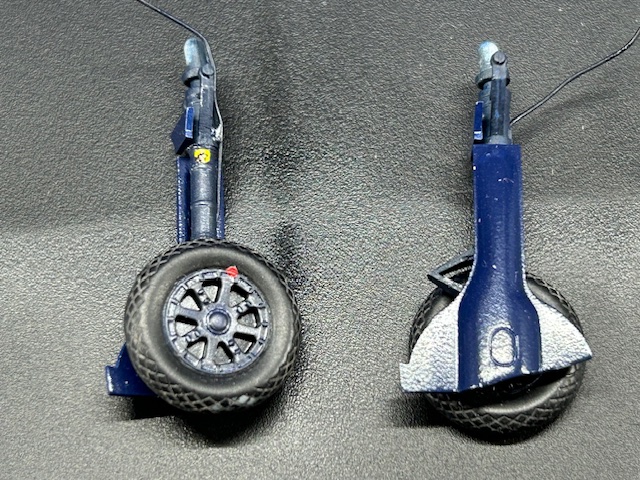
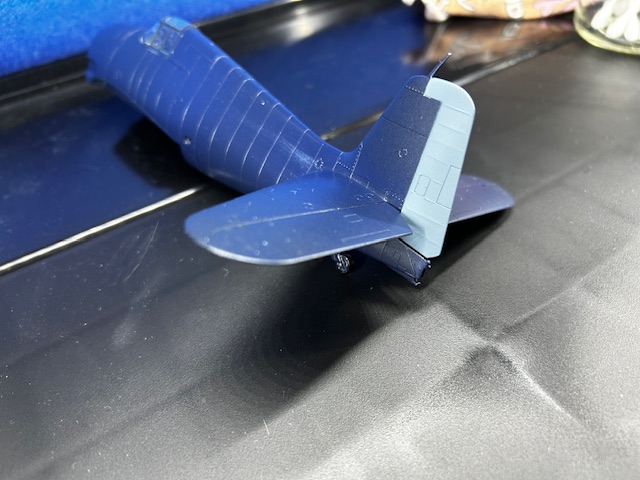
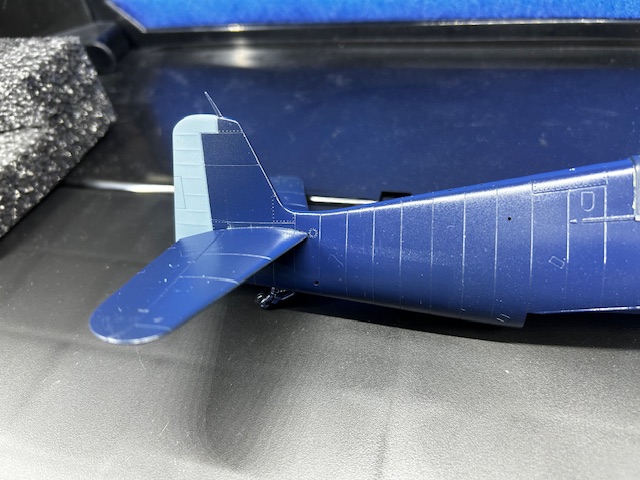
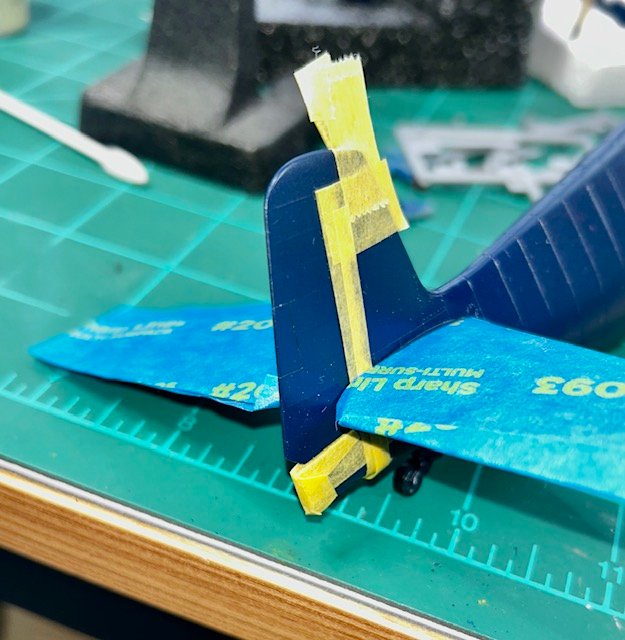
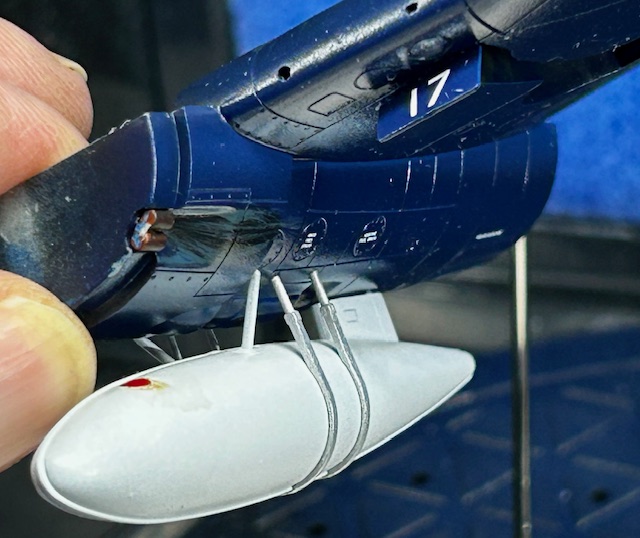
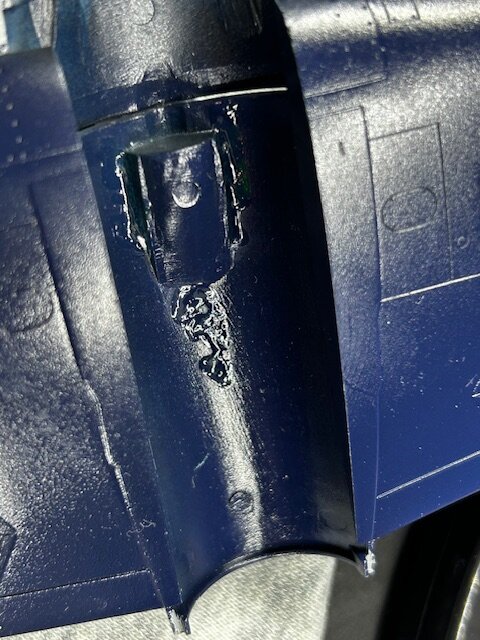
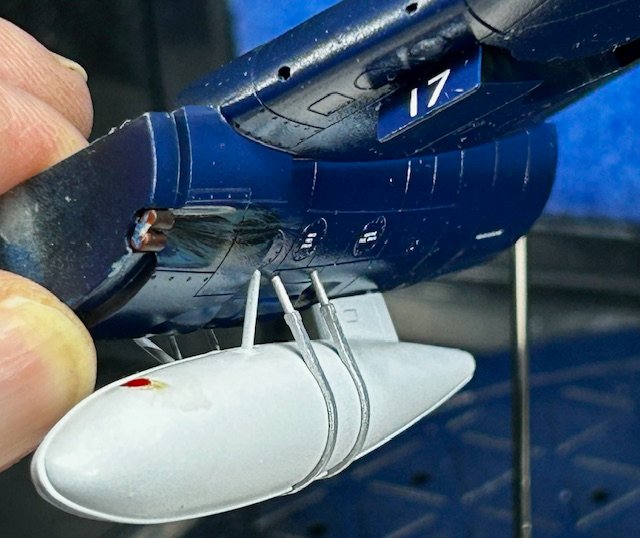
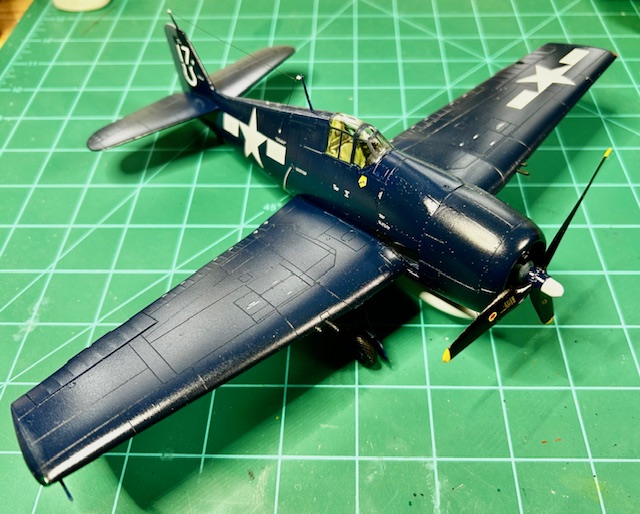
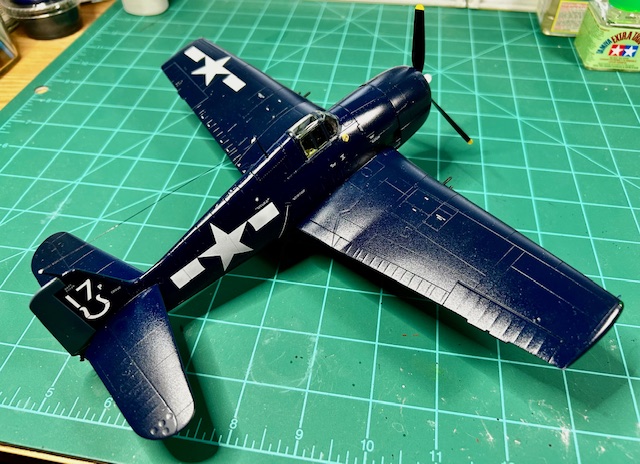
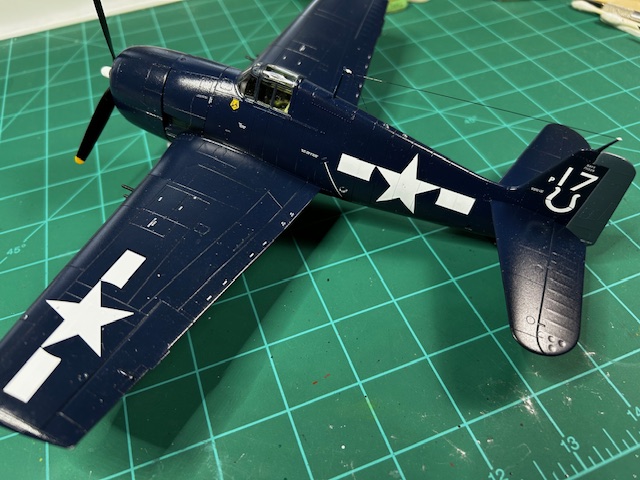
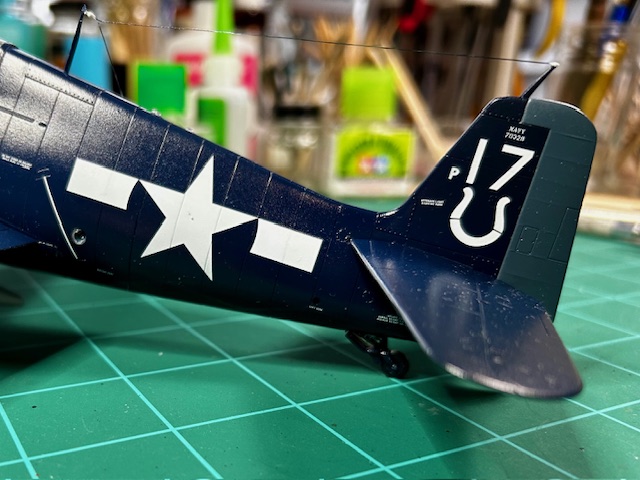
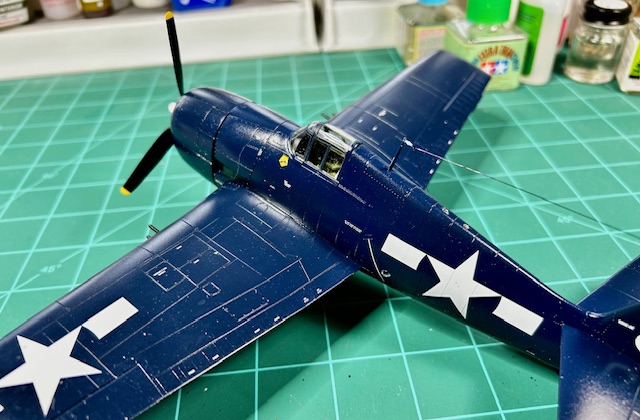
The build is pretty straightforward, everything fitting nicely with not too much sanding and filler. I still need to do better on the fuselage spines. With the dark Navy Sea Blue color, everything is blended together and is hard to pick out details. I didn't want a lot of wear or distress on this one because it's going to a Friend whose Uncle flew the Photo-Recon Hellcat at the end of WW II. He wanted it looking fairly "clean", plus carrier based planes didn't get awfully scuffed up from rocks, debris, etc like land based planes. I added some solder wire to duplicate brake lines.
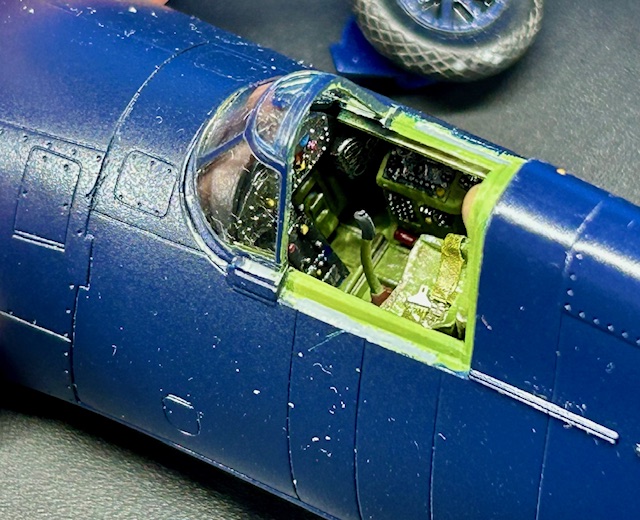
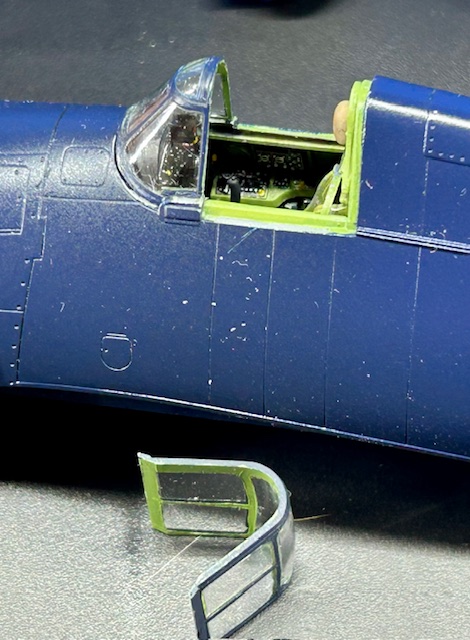
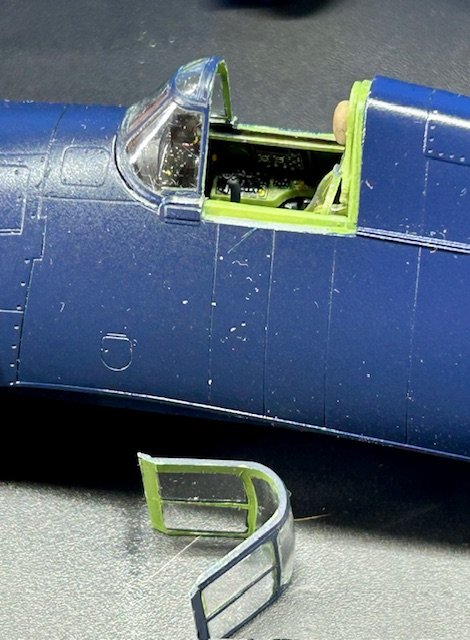
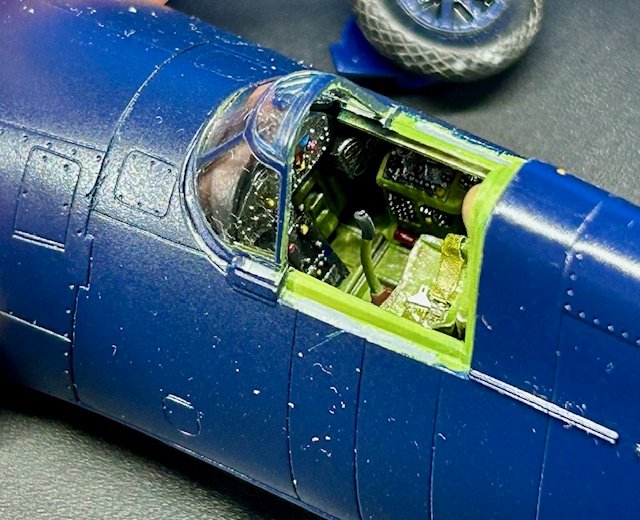
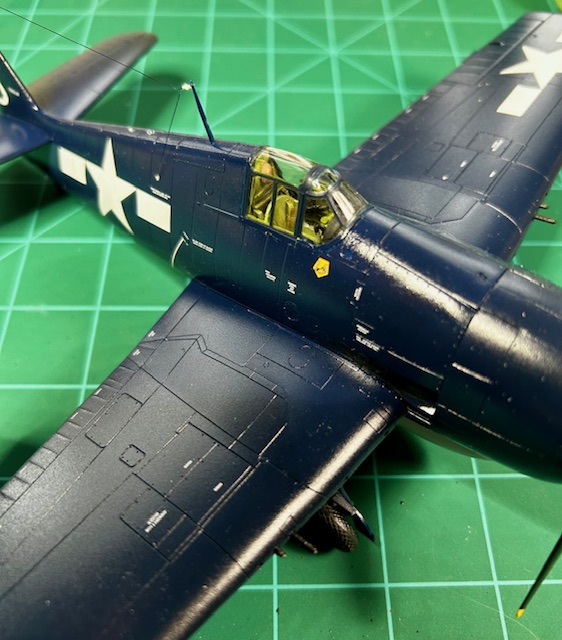
This is the interior detail. No PE, just usual colors then dry brushing on gauges, seat, etc and then detail colors on various knobs and levers. Still working on getting canopy masking better, but making progress. These shots are taken prior to wiping everything off and touching up paint, masking canopy (again! my bad!) and spraying clear coat to do decals. I'm also amazed at how the lights from my new LED paint booth make the Blue so much lighter than natural light! Once complete I'll do some shots in natural light.
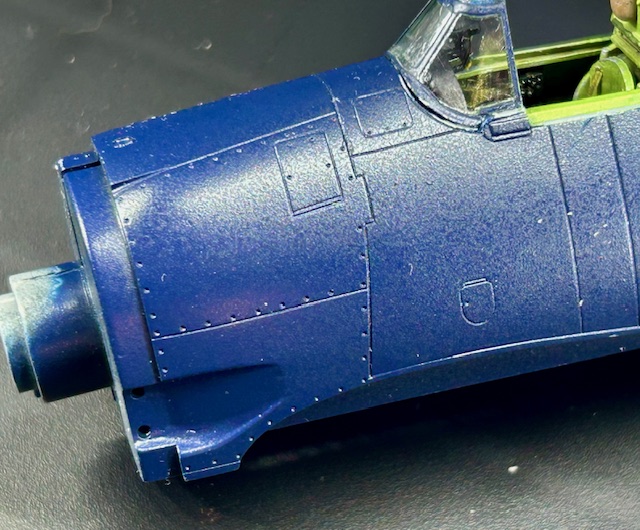
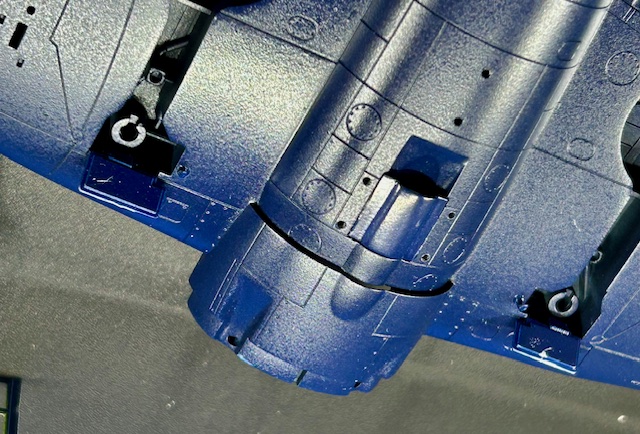
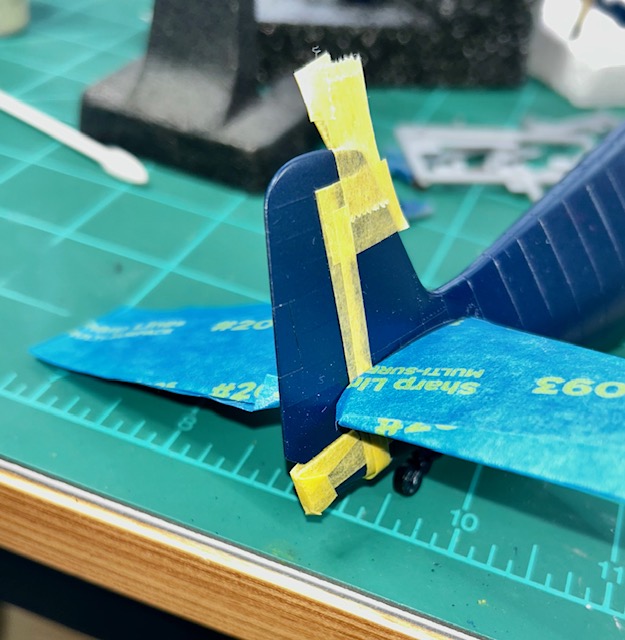
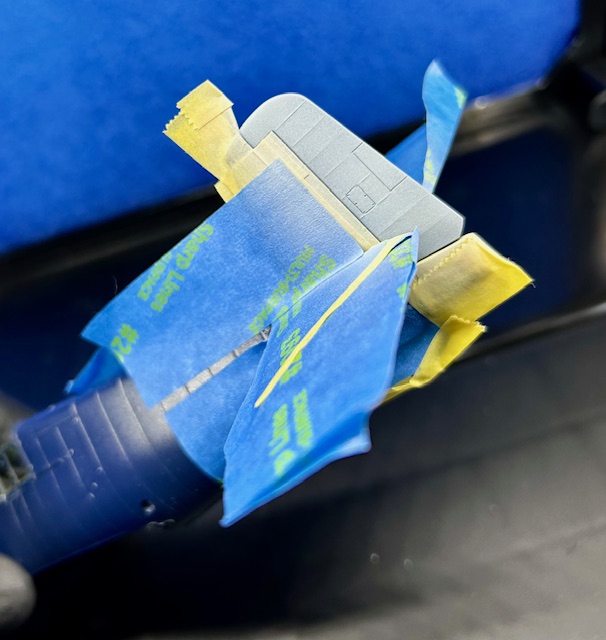
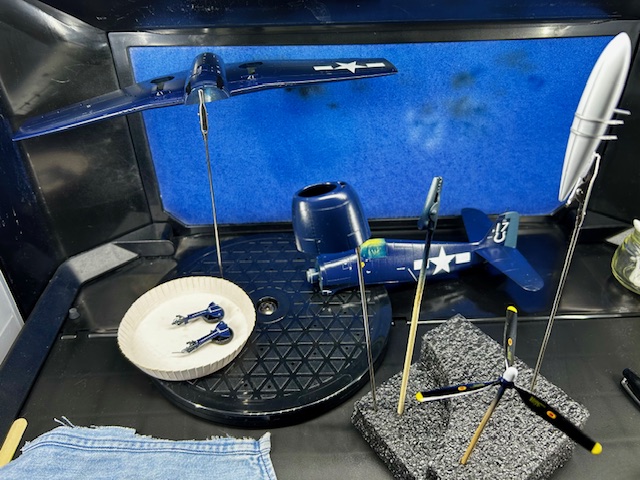
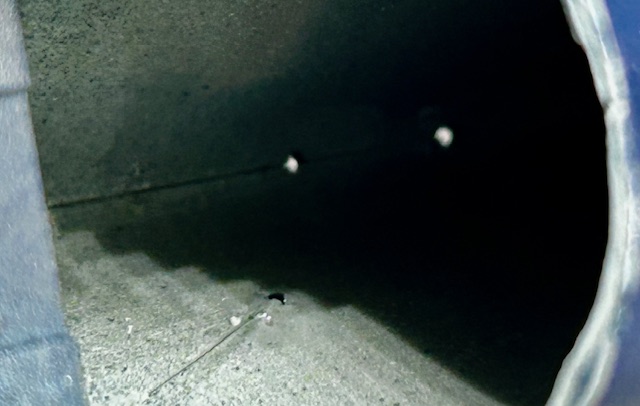
I purposely did not join the fuselage and wing yet until I spray the exhaust. I had issues with getting a nice pattern/flow of the exhaust with the Skyraider and figured this method would work better. Since the color is dark blue and the parts fit is very tight, I don't see a problem with gaps. Wow! that blue is like Blue Angels blue in these shots!
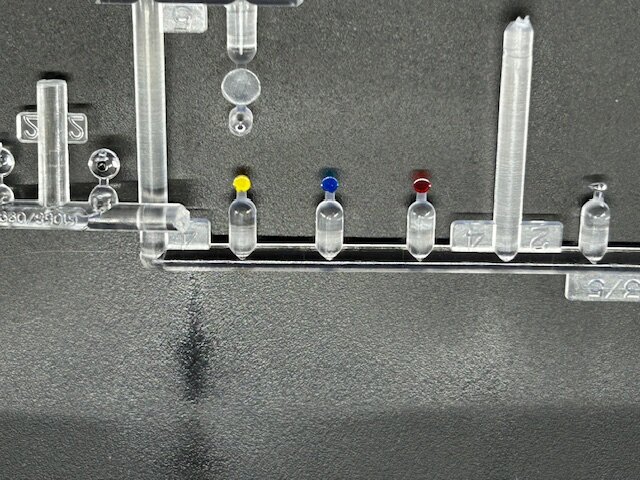
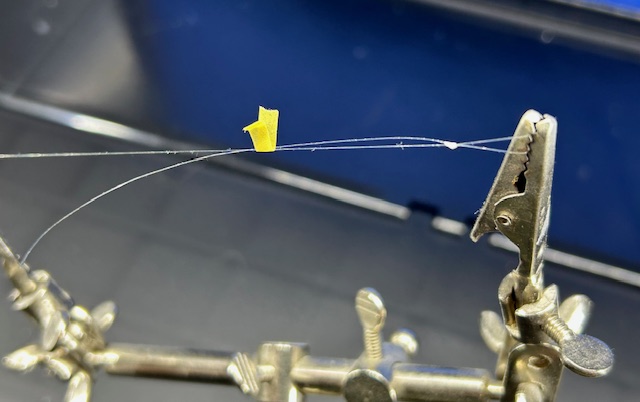
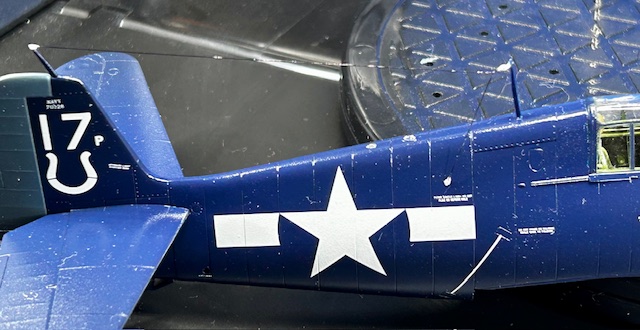
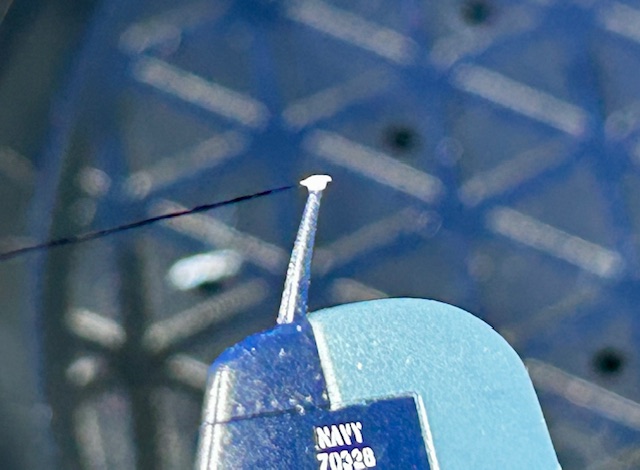
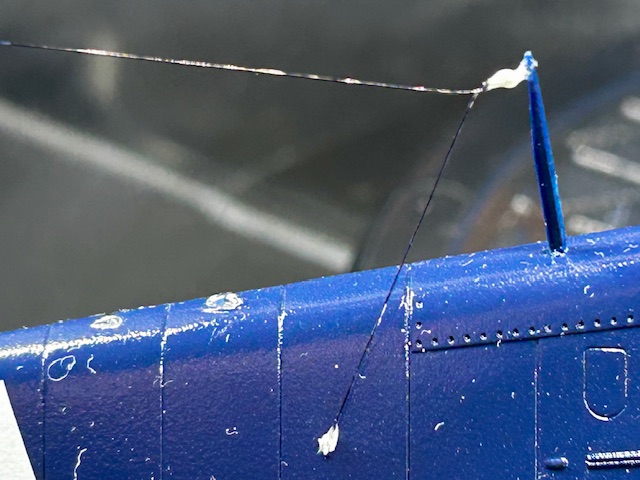
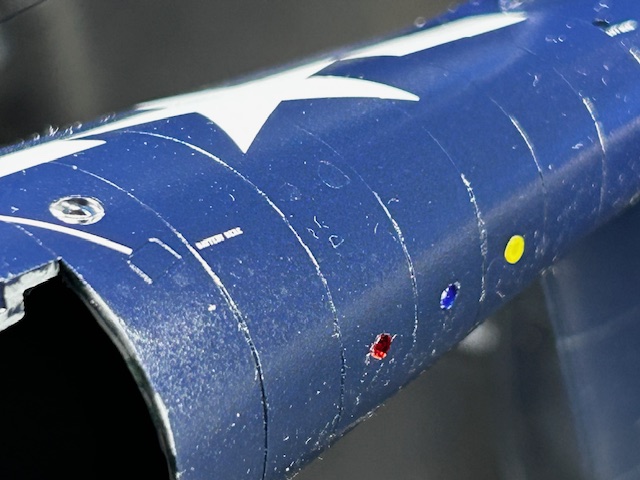
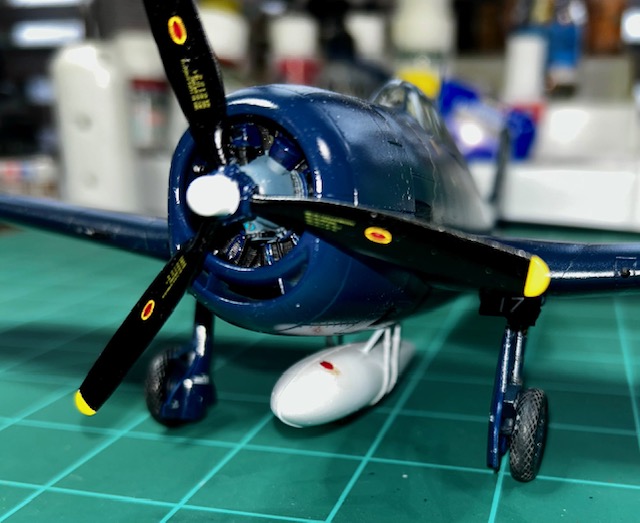
Identification lens painted as well as then lens for the camera port on left fuselage. Working on antenna wire, starting to create the insulators. Figgity work. I'm using fishing tippet (?) line instead of EZ Wire for this one.
Anyway, that's an update and am getting close to final assembly and detail work. Nice kit. Next on deck is an Accurate Miniatures F-6C/P-51C done up as "Thunderbird" 1948 Air Racer alongside a belly tank "Lakester" model that some strange Addict Member twisted my arm into building! It might make a nice display.
More later....................
I might have duplicate photos posted.......if so, sorry. I'm still getting used to attaching things, etc.
The build is pretty straightforward, everything fitting nicely with not too much sanding and filler. I still need to do better on the fuselage spines. With the dark Navy Sea Blue color, everything is blended together and is hard to pick out details. I didn't want a lot of wear or distress on this one because it's going to a Friend whose Uncle flew the Photo-Recon Hellcat at the end of WW II. He wanted it looking fairly "clean", plus carrier based planes didn't get awfully scuffed up from rocks, debris, etc like land based planes. I added some solder wire to duplicate brake lines.
This is the interior detail. No PE, just usual colors then dry brushing on gauges, seat, etc and then detail colors on various knobs and levers. Still working on getting canopy masking better, but making progress. These shots are taken prior to wiping everything off and touching up paint, masking canopy (again! my bad!) and spraying clear coat to do decals. I'm also amazed at how the lights from my new LED paint booth make the Blue so much lighter than natural light! Once complete I'll do some shots in natural light.
I purposely did not join the fuselage and wing yet until I spray the exhaust. I had issues with getting a nice pattern/flow of the exhaust with the Skyraider and figured this method would work better. Since the color is dark blue and the parts fit is very tight, I don't see a problem with gaps. Wow! that blue is like Blue Angels blue in these shots!
Identification lens painted as well as then lens for the camera port on left fuselage. Working on antenna wire, starting to create the insulators. Figgity work. I'm using fishing tippet (?) line instead of EZ Wire for this one.
Anyway, that's an update and am getting close to final assembly and detail work. Nice kit. Next on deck is an Accurate Miniatures F-6C/P-51C done up as "Thunderbird" 1948 Air Racer alongside a belly tank "Lakester" model that some strange Addict Member twisted my arm into building! It might make a nice display.
More later....................
I might have duplicate photos posted.......if so, sorry. I'm still getting used to attaching things, etc.