Hello from C.R. Iowa!

Scale Model Addict - Model Tips, Guides, Tools & Tech, Tutorials, and Community

Help Support Scale Model Addict:

mjensen939

Well-Known Member
Joined
Sep 22, 2025
Messages
171
Hello everyone! This is a new venture for me. I'm 60 years old and my last model was built when I was 12. Now that all the kids are grown and gone and I'm around home a lot more, I thought I would get back into a hobby I didn't think I'd ever touch again.
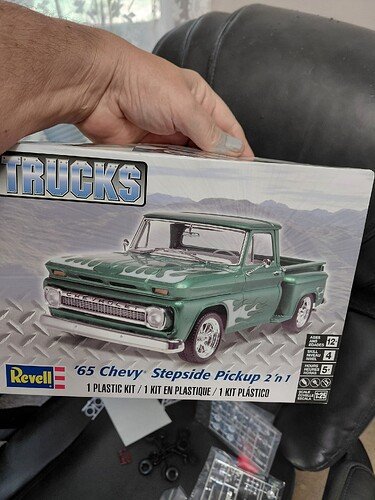
When I was a kid I never did any detailing or cared much for that matter what the paint looked like. I was just having fun building. Now however, I see all the work being done by others and I want to be able to reach that level as well so I have started my first model in 48 years. A Revell 1965 step side Chevy truck. I've never painted with anything but brushes and testers enamel paint so I decided I'm going to switch to acrylics and airbrushing. Both new to me so I'm hoping I can get a lot of good advice from people on this forum to help me develop. I've included pictures of the progress and I'm just hoping to live up to what I've seen so far from this absolutely great community.
2ebe3202edcccddae082d66fe0d78a70c7956bdf_2_375x500.jpeg

The model I chose to dive in head first on.
1425.jpg

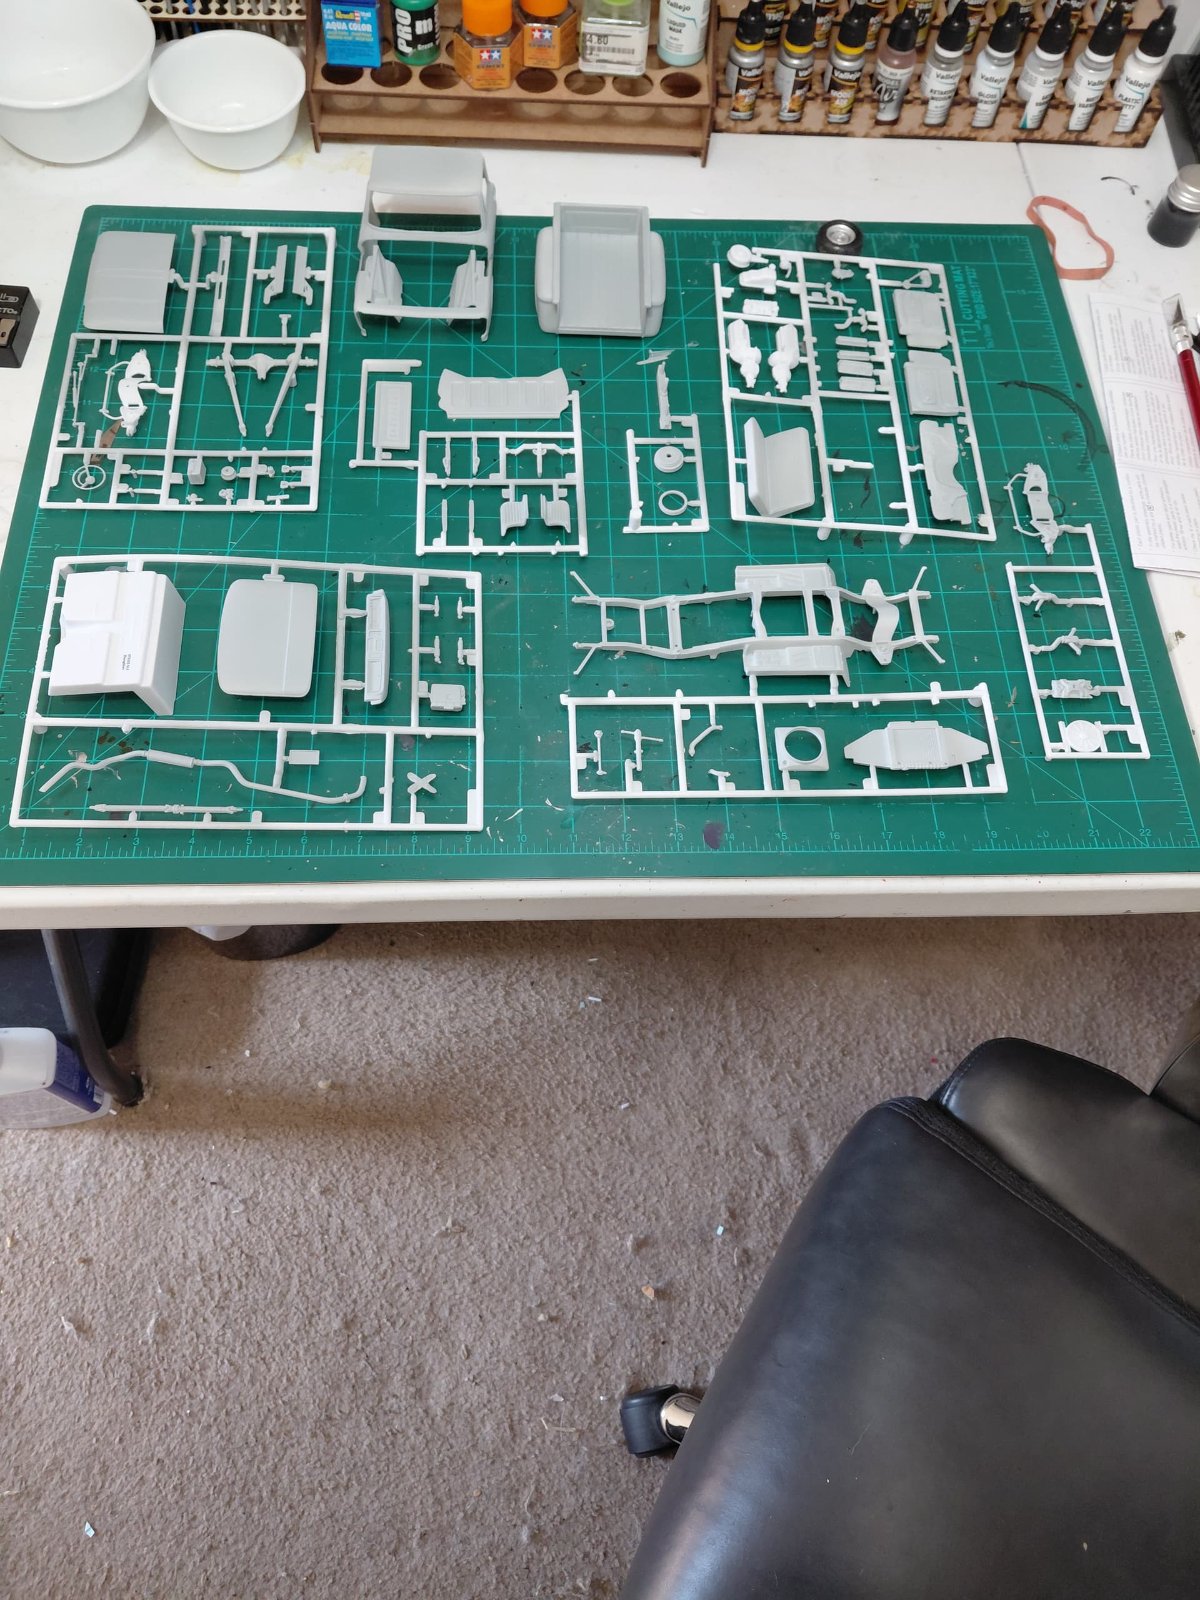
Primered Everything in light ghost grey
20251030_002820.jpg

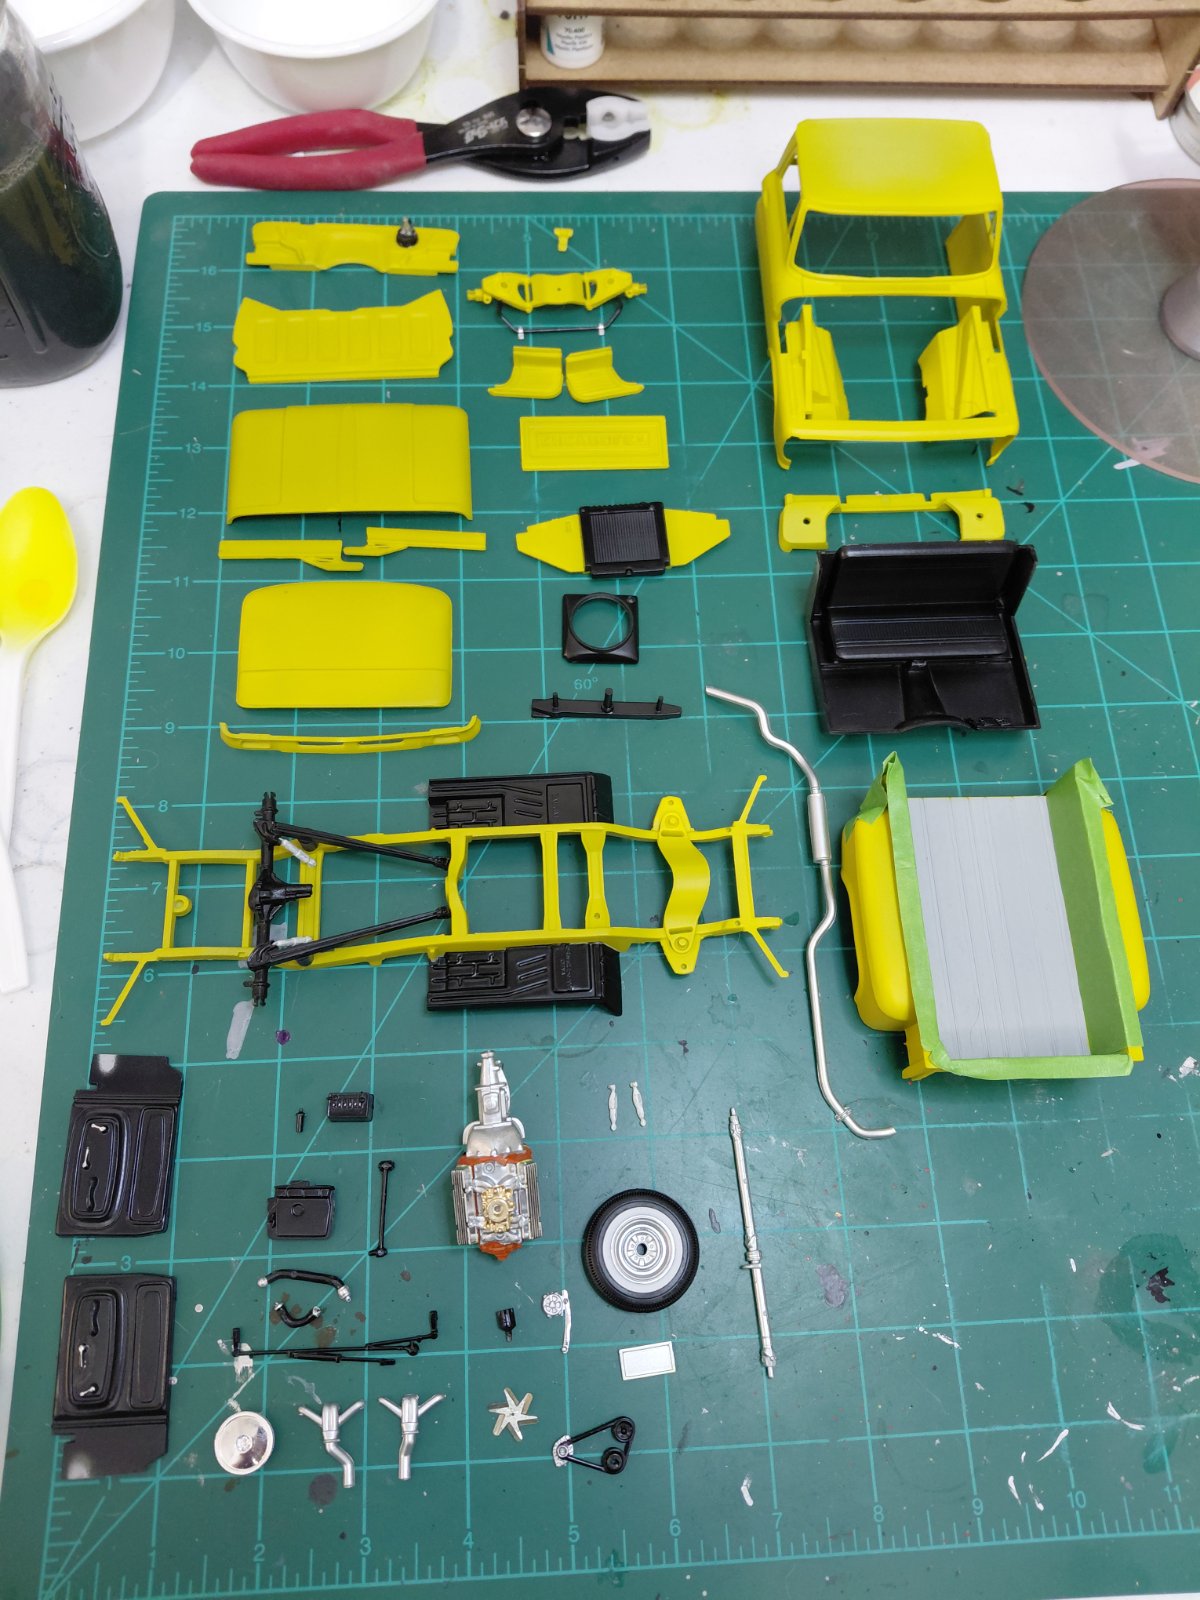
Layed down some color and detail painting where needed. Also started some assembly/sub-assembly of parts
20251030_002840.jpg

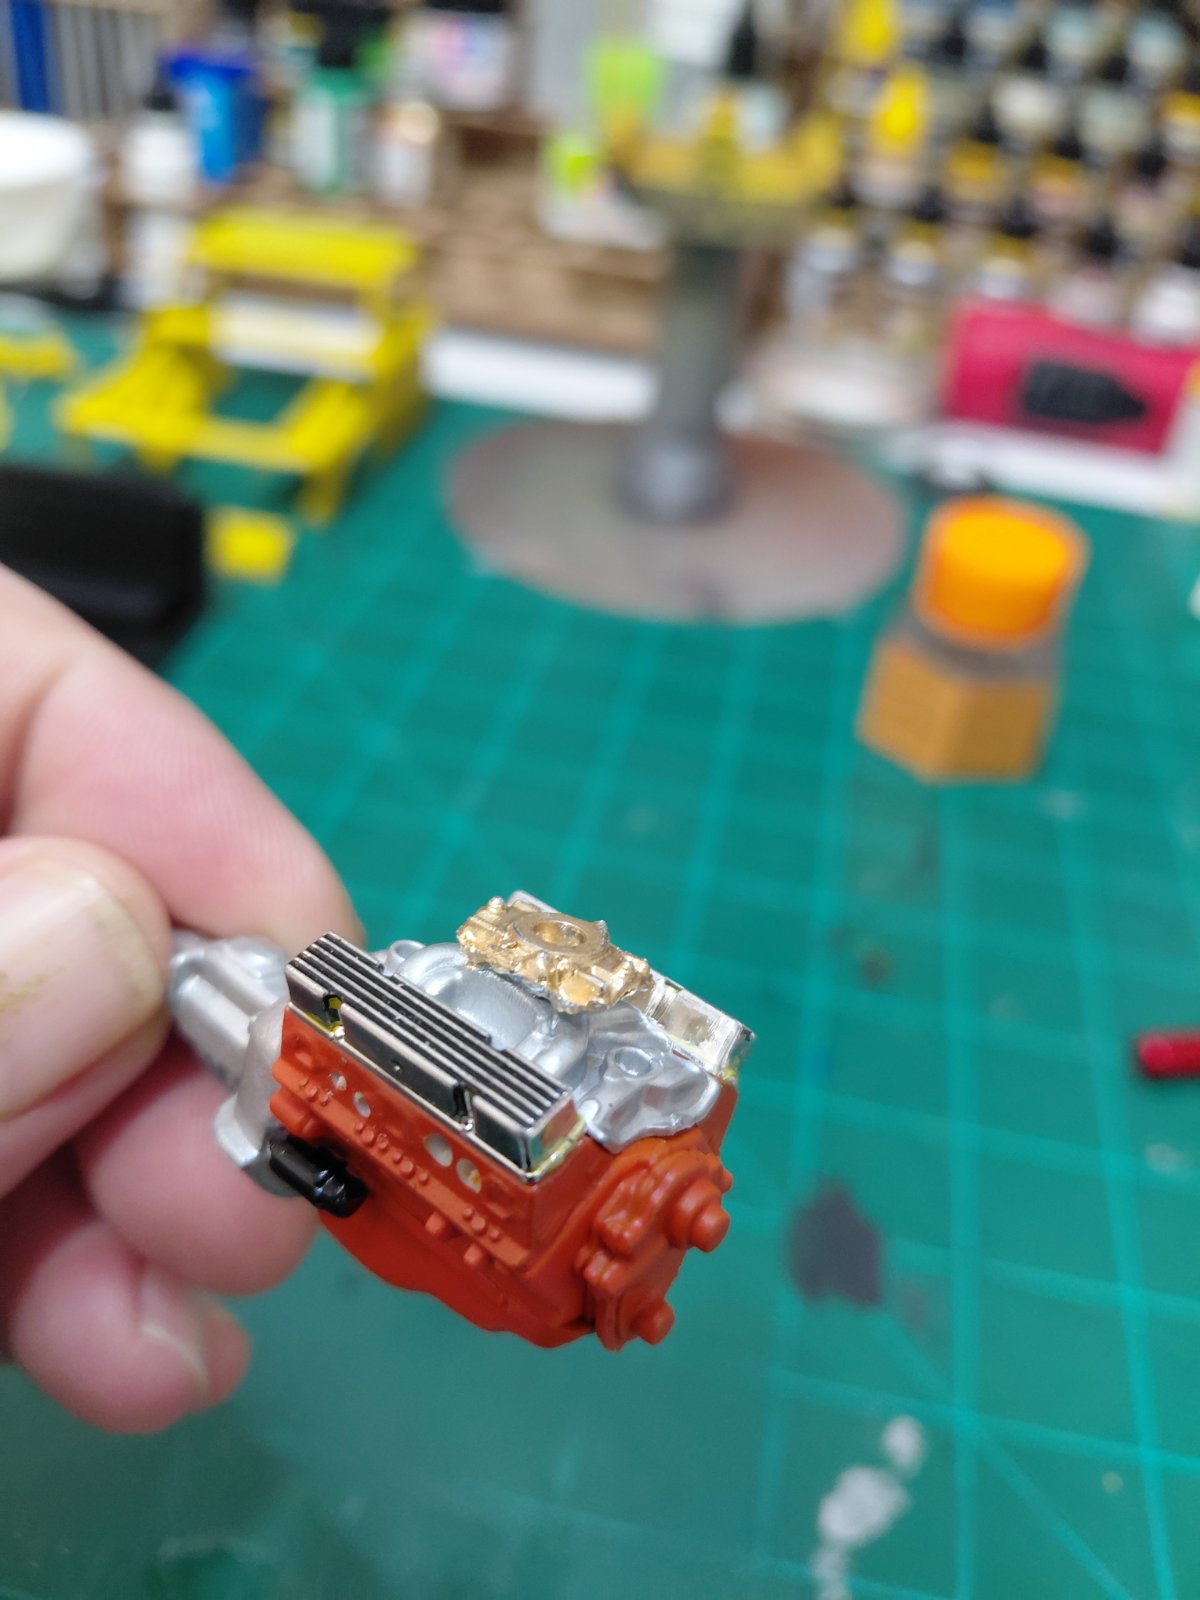
Basic motor assembled. Still need to wire distributer and coil and ordered a 3D printed fuel pump to add fuel line since the engine molding did not integrate one nor was one supplied in the kit.
20251030_002921.jpg

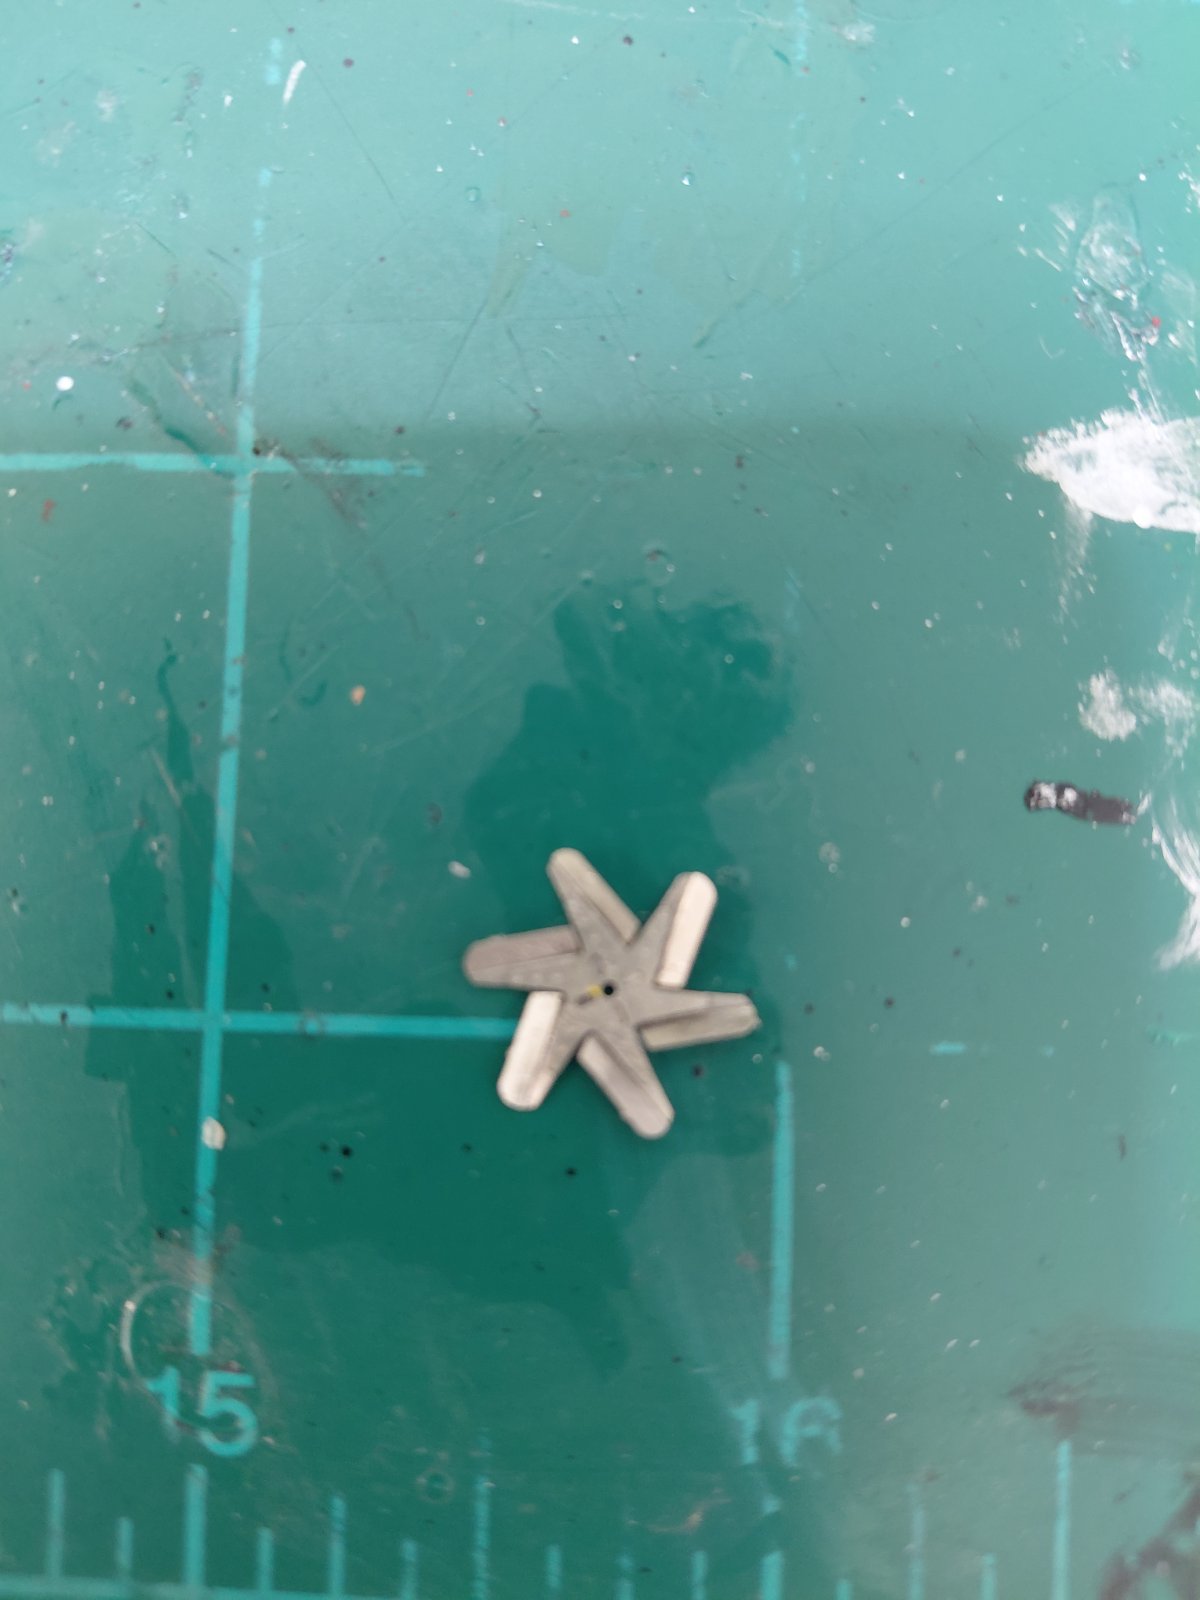
Kit provided fan was ridiculously malformed so made a flex fan with PE from Pro-Tech
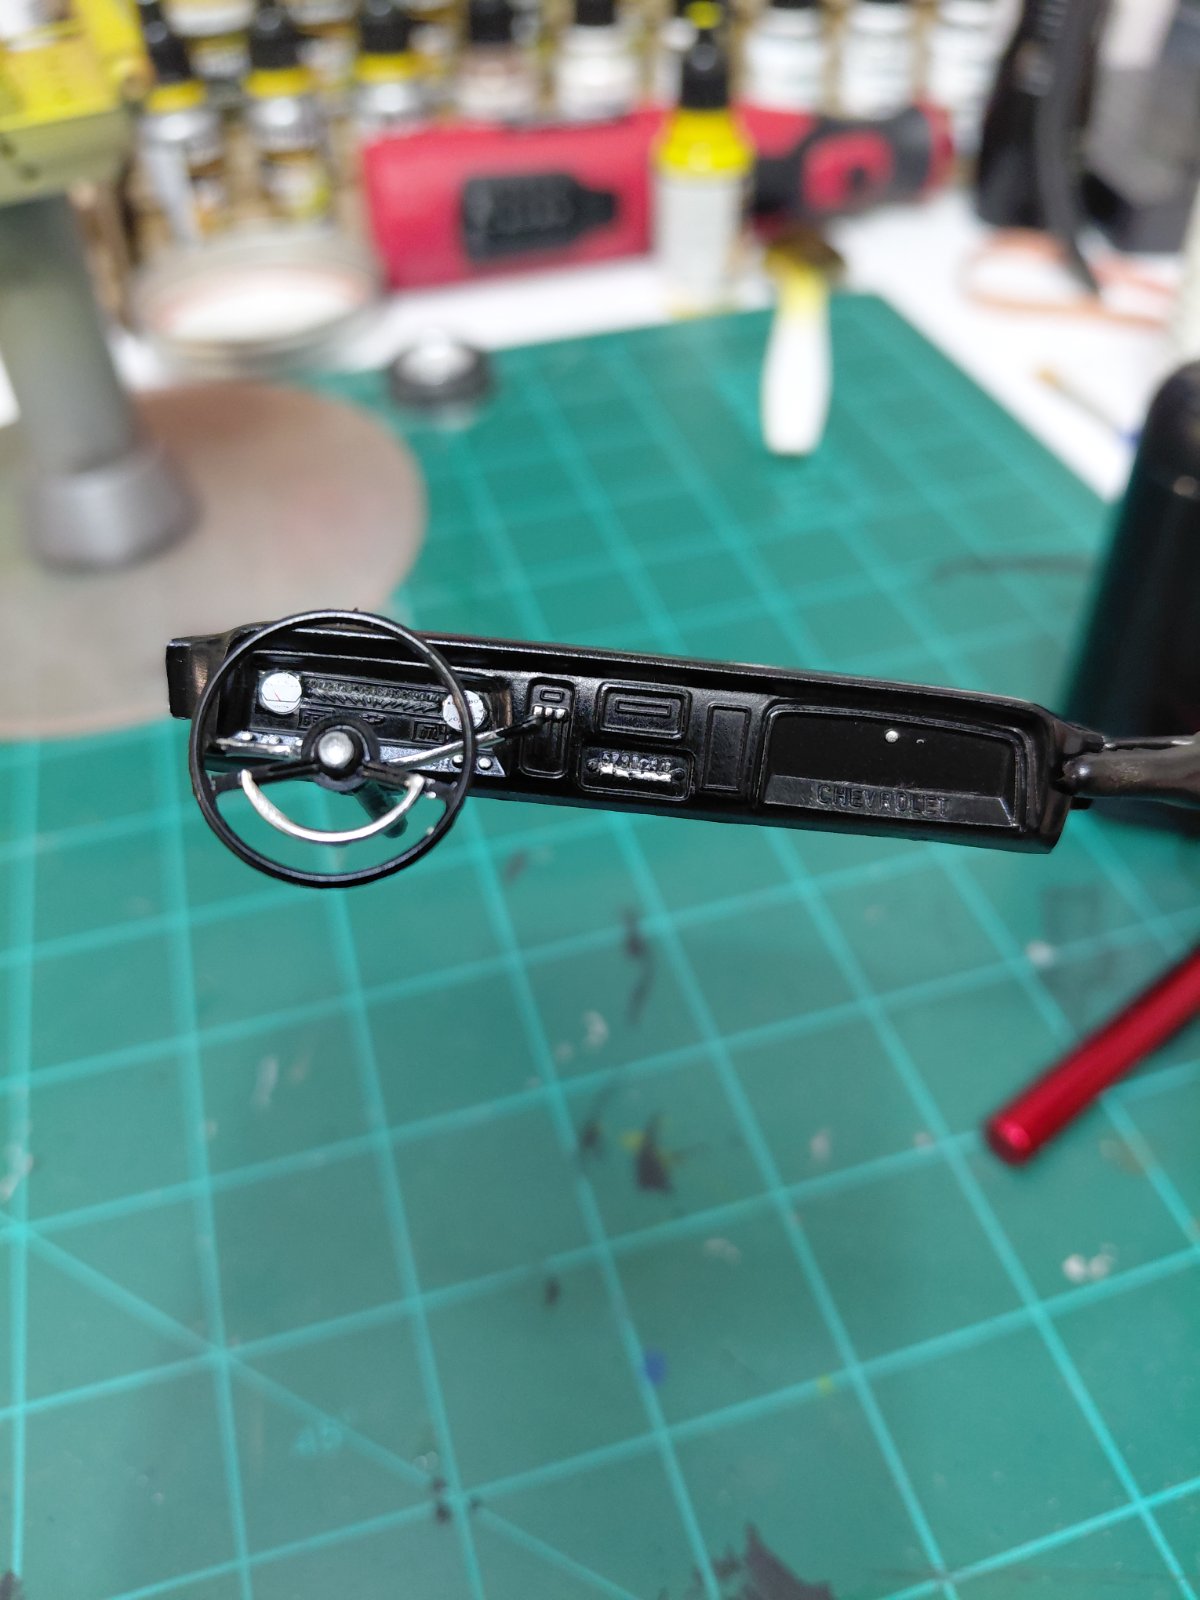
20251030_003118.jpg

Steering column attaches to bottom of dash in a very shallow notch with no support so getting the column and steering wheel aligned properly was a real challenge while the glue was fresh. Just waiting for it to set up.
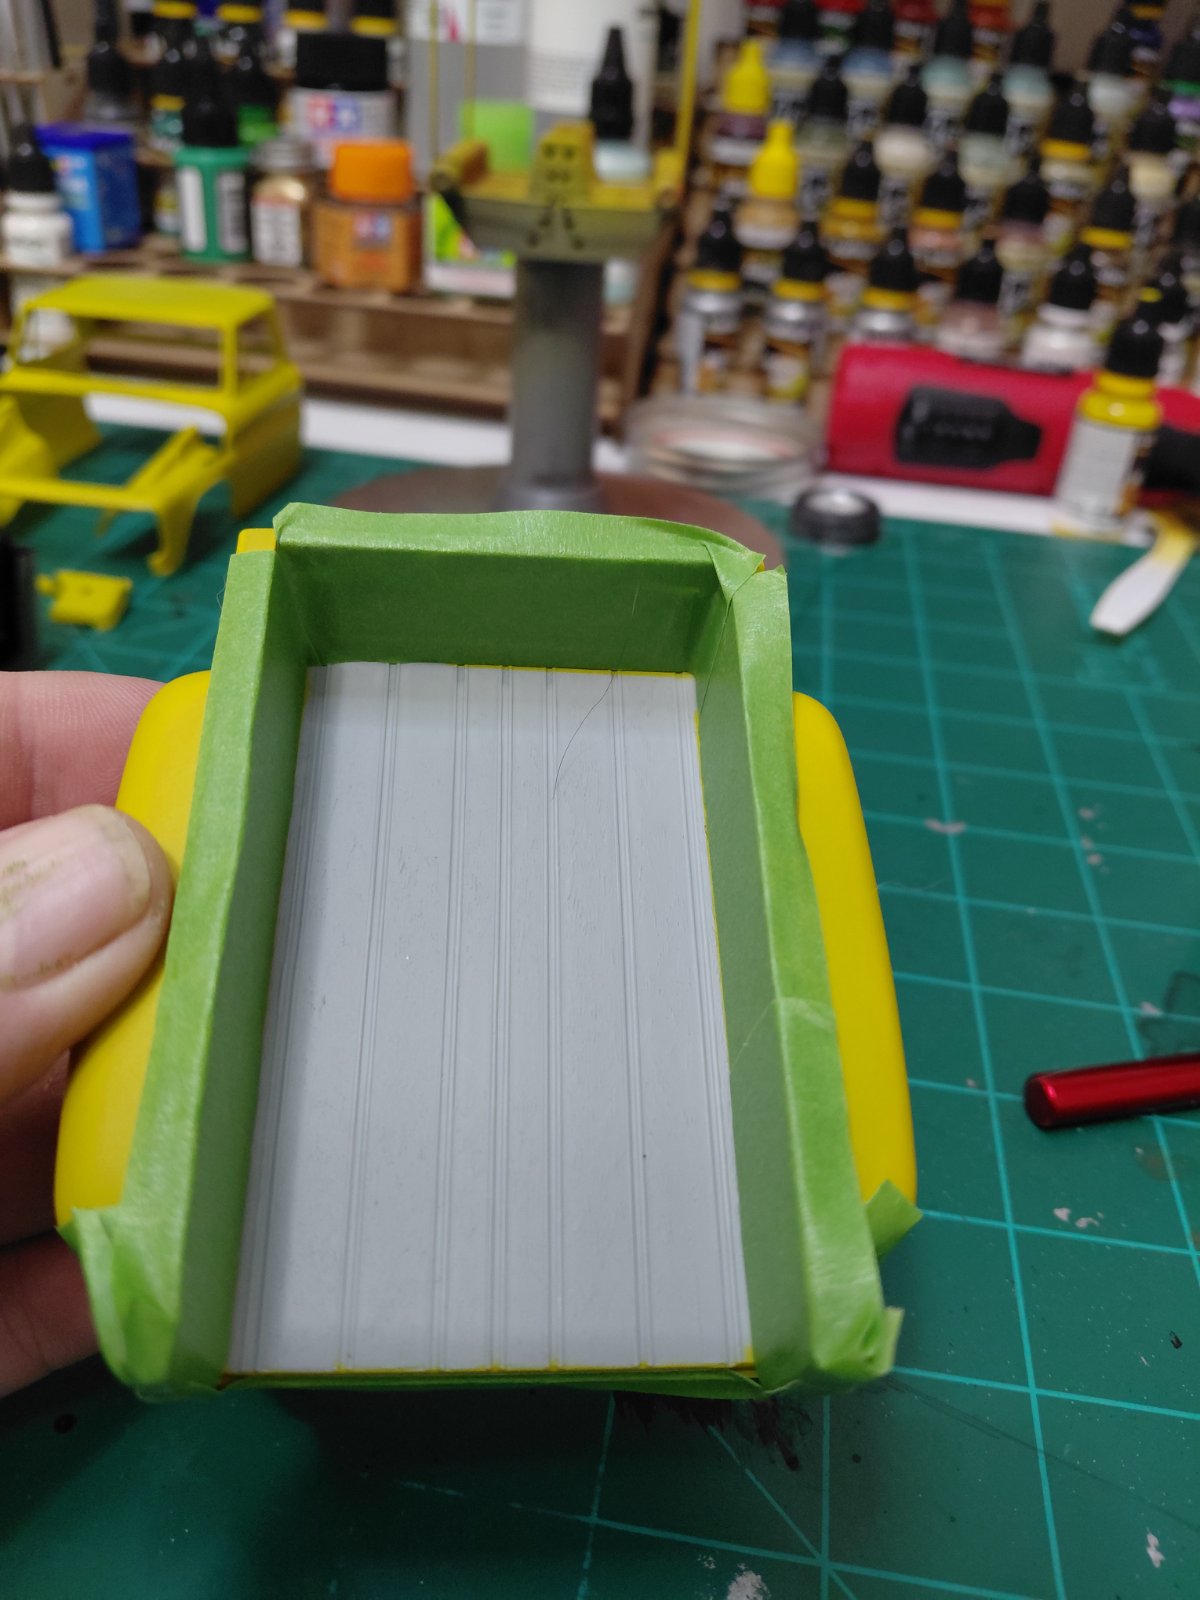
20251030_003213.jpg

This has me held up and needing help. I want the wood grain, which is molded into the plastic on the pickup bed, to stand out against the primary wood color. Currently it's just primered and the color I'm wanting to use for the wood is "Brown Ochre" to simulate honey oak. Being new to techniques I really don't know how to go about doing that. Any helpful advice or tips would be greatly appreciated. Thank you in advance.
 
Welcome to the Addict!

Looks like you're doing just fine... that's not just jumping in, that's a cannon ball!

You could just search the how-to videos online, and pick an approach you'd feel comfortable with.
Whatever you do, grab some styrene, or pick up a cheap kit to use as a 'mule' to practice on.
The next thing is to really look at wood around your place, take pictures, or do an image search. A good reference is invaluable!
Personally, I paint with a brush, so I'd be mixing a loose (not perfectly blended) colour, and thinking about washes to pick up the wood grain. Using a 'pin wash' or panel wash that you see the guys use on their airframes in the grooves between the boards will make them pop!
Have fun, and keep us posted!
 
As an Amazon Associate we earn from qualifying purchases. Product prices and availability are accurate as of the date/time indicated and are subject to change.
Welcome to the Addict!

Looks like you're doing just fine... that's not just jumping in, that's a cannon ball!

You could just search the how-to videos online, and pick an approach you'd feel comfortable with.
Whatever you do, grab some styrene, or pick up a cheap kit to use as a 'mule' to practice on.
The next thing is to really look at wood around your place, take pictures, or do an image search. A good reference is invaluable!
Personally, I paint with a brush, so I'd be mixing a loose (not perfectly blended) colour, and thinking about washes to pick up the wood grain. Using a 'pin wash' or panel wash that you see the guys use on their airframes in the grooves between the boards will make them pop!
Have fun, and keep us posted!
I'll be watching some videos tonight after Thursday Night Football! Thank you.
 
Hello everyone! This is a new venture for me. I'm 60 years old and my last model was built when I was 12. Now that all the kids are grown and gone and I'm around home a lot more, I thought I would get back into a hobby I didn't think I'd ever touch again.
When I was a kid I never did any detailing or cared much for that matter what the paint looked like. I was just having fun building. Now however, I see all the work being done by others and I want to be able to reach that level as well so I have started my first model in 48 years. A Revell 1965 step side Chevy truck. I've never painted with anything but brushes and testers enamel paint so I decided I'm going to switch to acrylics and airbrushing. Both new to me so I'm hoping I can get a lot of good advice from people on this forum to help me develop. I've included pictures of the progress and I'm just hoping to live up to what I've seen so far from this absolutely great community.

View attachment 167416
The model I chose to dive in head first on.

View attachment 167417
Primered Everything in light ghost grey

View attachment 167418
Layed down some color and detail painting where needed. Also started some assembly/sub-assembly of parts

View attachment 167419
Basic motor assembled. Still need to wire distributer and coil and ordered a 3D printed fuel pump to add fuel line since the engine molding did not integrate one nor was one supplied in the kit.

View attachment 167420
Kit provided fan was ridiculously malformed so made a flex fan with PE from Pro-Tech

View attachment 167421
Steering column attaches to bottom of dash in a very shallow notch with no support so getting the column and steering wheel aligned properly was a real challenge while the glue was fresh. Just waiting for it to set up.

View attachment 167422
This has me held up and needing help. I want the wood grain, which is molded into the plastic on the pickup bed, to stand out against the primary wood color. Currently it's just primered and the color I'm wanting to use for the wood is "Brown Ochre" to simulate honey oak. Being new to techniques I really don't know how to go about doing that. Any helpful advice or tips would be greatly appreciated. Thank you in advance.
Welcome to the madness. Lots of friendly helpful people here. If you have questions just ask, someone here will have the answer.
 
As far as using real wood goes, you could also use wooden coffee stirring sticks. Probably cheaper, especially if you grab some from a coffee station at work or somewhere else.
 
Hello everyone! This is a new venture for me. I'm 60 years old and my last model was built when I was 12. Now that all the kids are grown and gone and I'm around home a lot more, I thought I would get back into a hobby I didn't think I'd ever touch again.
When I was a kid I never did any detailing or cared much for that matter what the paint looked like. I was just having fun building. Now however, I see all the work being done by others and I want to be able to reach that level as well so I have started my first model in 48 years. A Revell 1965 step side Chevy truck. I've never painted with anything but brushes and testers enamel paint so I decided I'm going to switch to acrylics and airbrushing. Both new to me so I'm hoping I can get a lot of good advice from people on this forum to help me develop. I've included pictures of the progress and I'm just hoping to live up to what I've seen so far from this absolutely great community.

View attachment 167416
The model I chose to dive in head first on.

View attachment 167417
Primered Everything in light ghost grey

View attachment 167418
Layed down some color and detail painting where needed. Also started some assembly/sub-assembly of parts

View attachment 167419
Basic motor assembled. Still need to wire distributer and coil and ordered a 3D printed fuel pump to add fuel line since the engine molding did not integrate one nor was one supplied in the kit.

View attachment 167420
Kit provided fan was ridiculously malformed so made a flex fan with PE from Pro-Tech

View attachment 167421
Steering column attaches to bottom of dash in a very shallow notch with no support so getting the column and steering wheel aligned properly was a real challenge while the glue was fresh. Just waiting for it to set up.

View attachment 167422
This has me held up and needing help. I want the wood grain, which is molded into the plastic on the pickup bed, to stand out against the primary wood color. Currently it's just primered and the color I'm wanting to use for the wood is "Brown Ochre" to simulate honey oak. Being new to techniques I really don't know how to go about doing that. Any helpful advice or tips would be greatly appreciated. Thank you in advance.
Hi and welcome to the forum. Looking pretty good to me. Pantherman
 
As far as using real wood goes, you could also use wooden coffee stirring sticks. Probably cheaper, especially if you grab some from a coffee station at work or somewhere else.
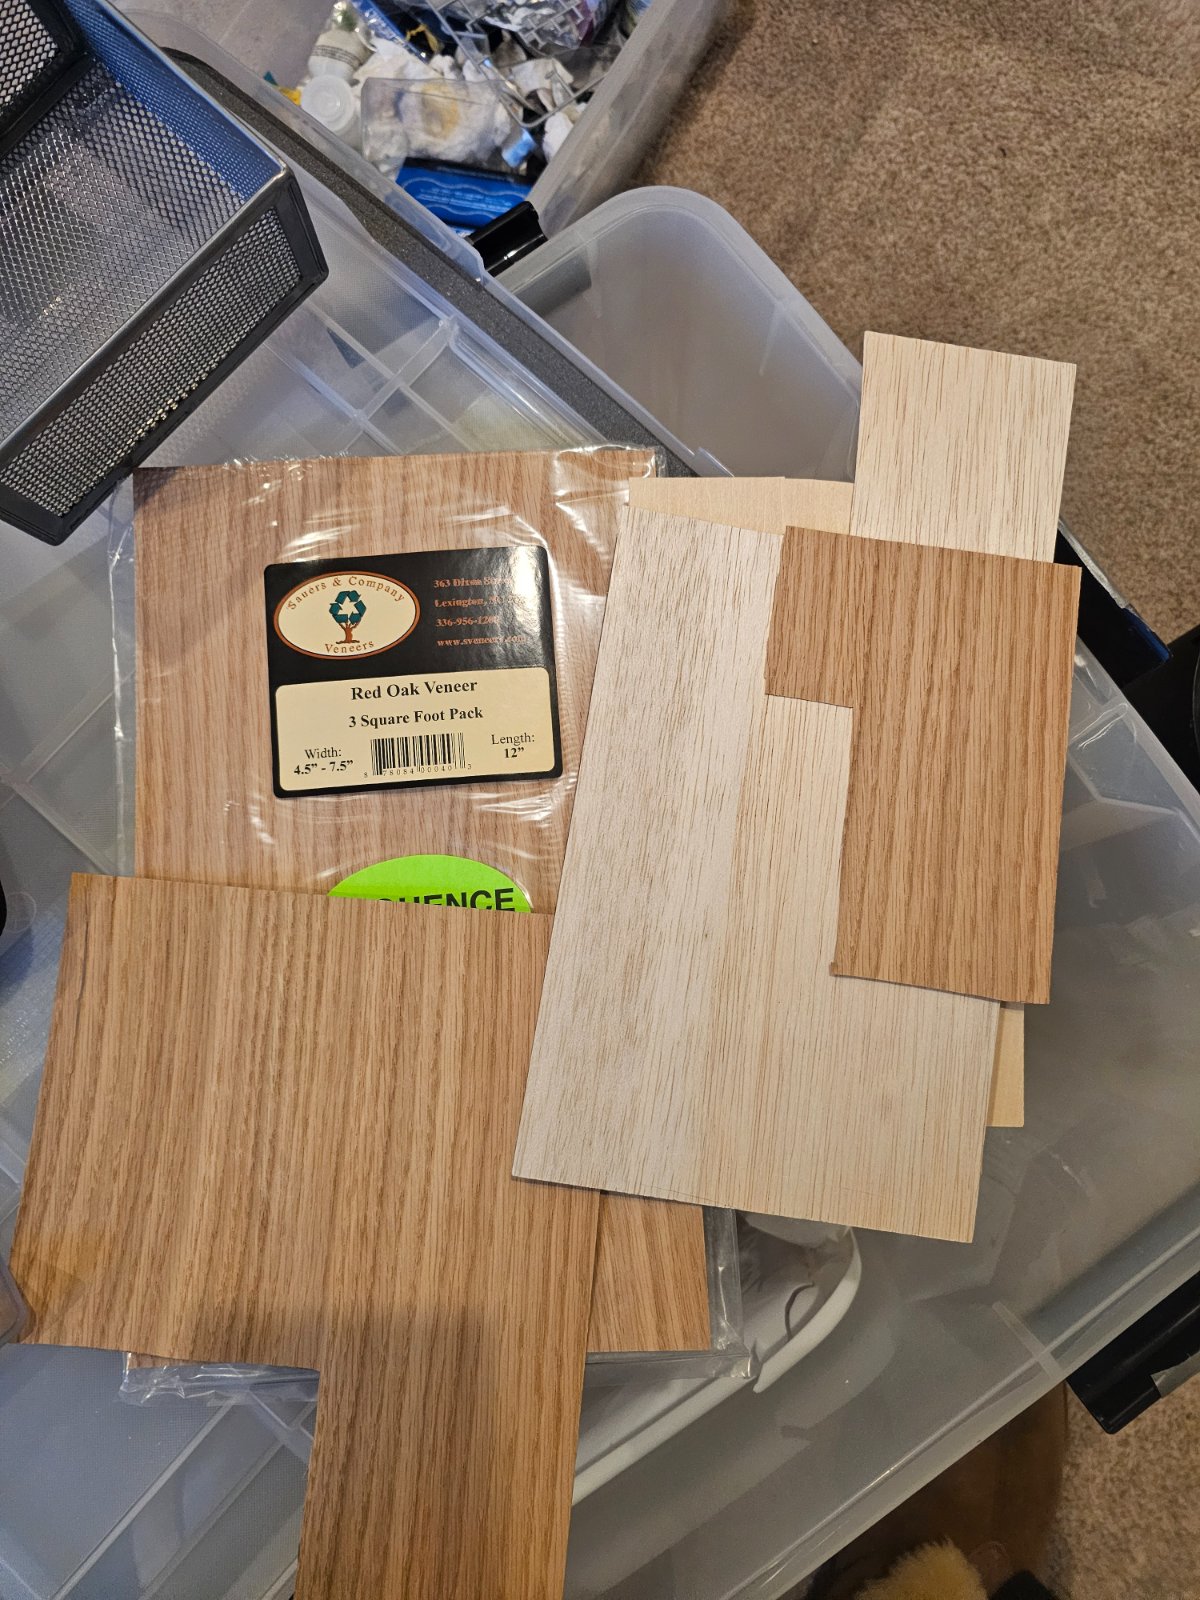
I really like the idea of using real wood as suggested by KINGSLUG but one problem I see that might be an issue with this particular build is that they didn't just mold the pattern into the plastic they simulated the thickness too so for me to put 1/16 inch veneer on top is going to really stack up that bed height and it's not going to probably look normal as it should. If you can guide me towards some 1/32nd inch veneers I might be able to make it work but with 1/16 I'm not sure and that's all I've been able to find so far.
 
As far as using real wood goes, you could also use wooden coffee stirring sticks. Probably cheaper, especially if you grab some from a coffee station at work or somewhere else.
I really like the idea of using real wood as suggested by KINGSLUG but one problem I see that might be an issue with this particular build is that they didn't just mold the pattern into the plastic they simulated the thickness too so for me to put 1/16 inch veneer on top is going to really stack up that bed height and it's not going to probably look normal as it should. If you can guide me towards some 1/32nd inch veneers I might be able to make it work but with 1/16 I'm not sure and that's all I've been able to find so far.
Hi and welcome to the forum. Looking pretty good to me. Pantherman
Thank you for the welcome. I've been following this site and a few other forums as well for the last couple of months as I've been preparing to do this. Unfortunately I had to admit to my wife that I've spent an inordinately large sum of money on tools and supplies in preparation for my foray into modeling when I walked in the house yesterday with about 20 new models that I picked up at the 40% off sale at hobby lobby. That, along with paints, tools, brand new Iwata eclipse airbrush, photo edge parts and 3D printed parts, etc. All said and done I'm in for about 800 bucks so far so I guess you could say I'm pretty much committed to this!
 
I really like the idea of using real wood as suggested by KINGSLUG but one problem I see that might be an issue with this particular build is that they didn't just mold the pattern into the plastic they simulated the thickness too so for me to put 1/16 inch veneer on top is going to really stack up that bed height and it's not going to probably look normal as it should. If you can guide me towards some 1/32nd inch veneers I might be able to make it work but with 1/16 I'm not sure and that's all I've been able to find so far.

Thank you for the welcome. I've been following this site and a few other forums as well for the last couple of months as I've been preparing to do this. Unfortunately I had to admit to my wife that I've spent an inordinately large sum of money on tools and supplies in preparation for my foray into modeling when I walked in the house yesterday with about 20 new models that I picked up at the 40% off sale at hobby lobby. That, along with paints, tools, brand new Iwata eclipse airbrush, photo edge parts and 3D printed parts, etc. All said and done I'm in for about 800 bucks so far so I guess you could say I'm pretty much committed to this!
Now that is commitment, especially with the wife knowing. You're either a lucky man or a brave one....... Pantherman
 
Don't get into pocher or mfh models...that would cover the cost..of one.
As far as the truck bed height..sand it down..then add the wood...
Is there metal in between the slats as well?.. they sell brass for that too...
 
Don't get into pocher or mfh models...that would cover the cost..of one.
As far as the truck bed height..sand it down..then add the wood...
Is there metal in between the slats as well?.. they sell brass for that too...
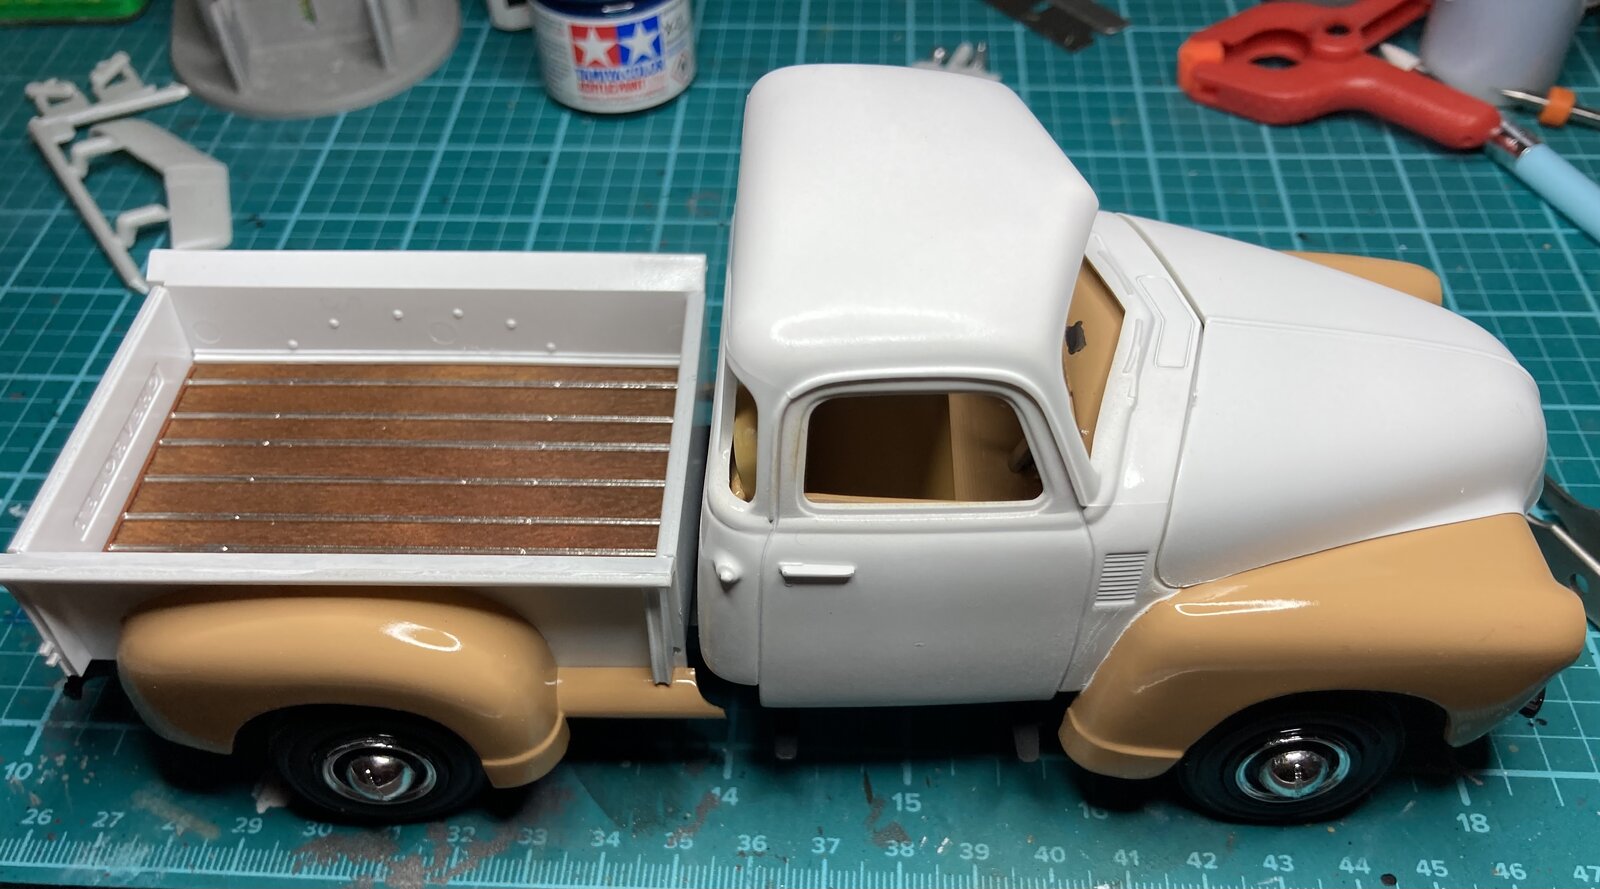
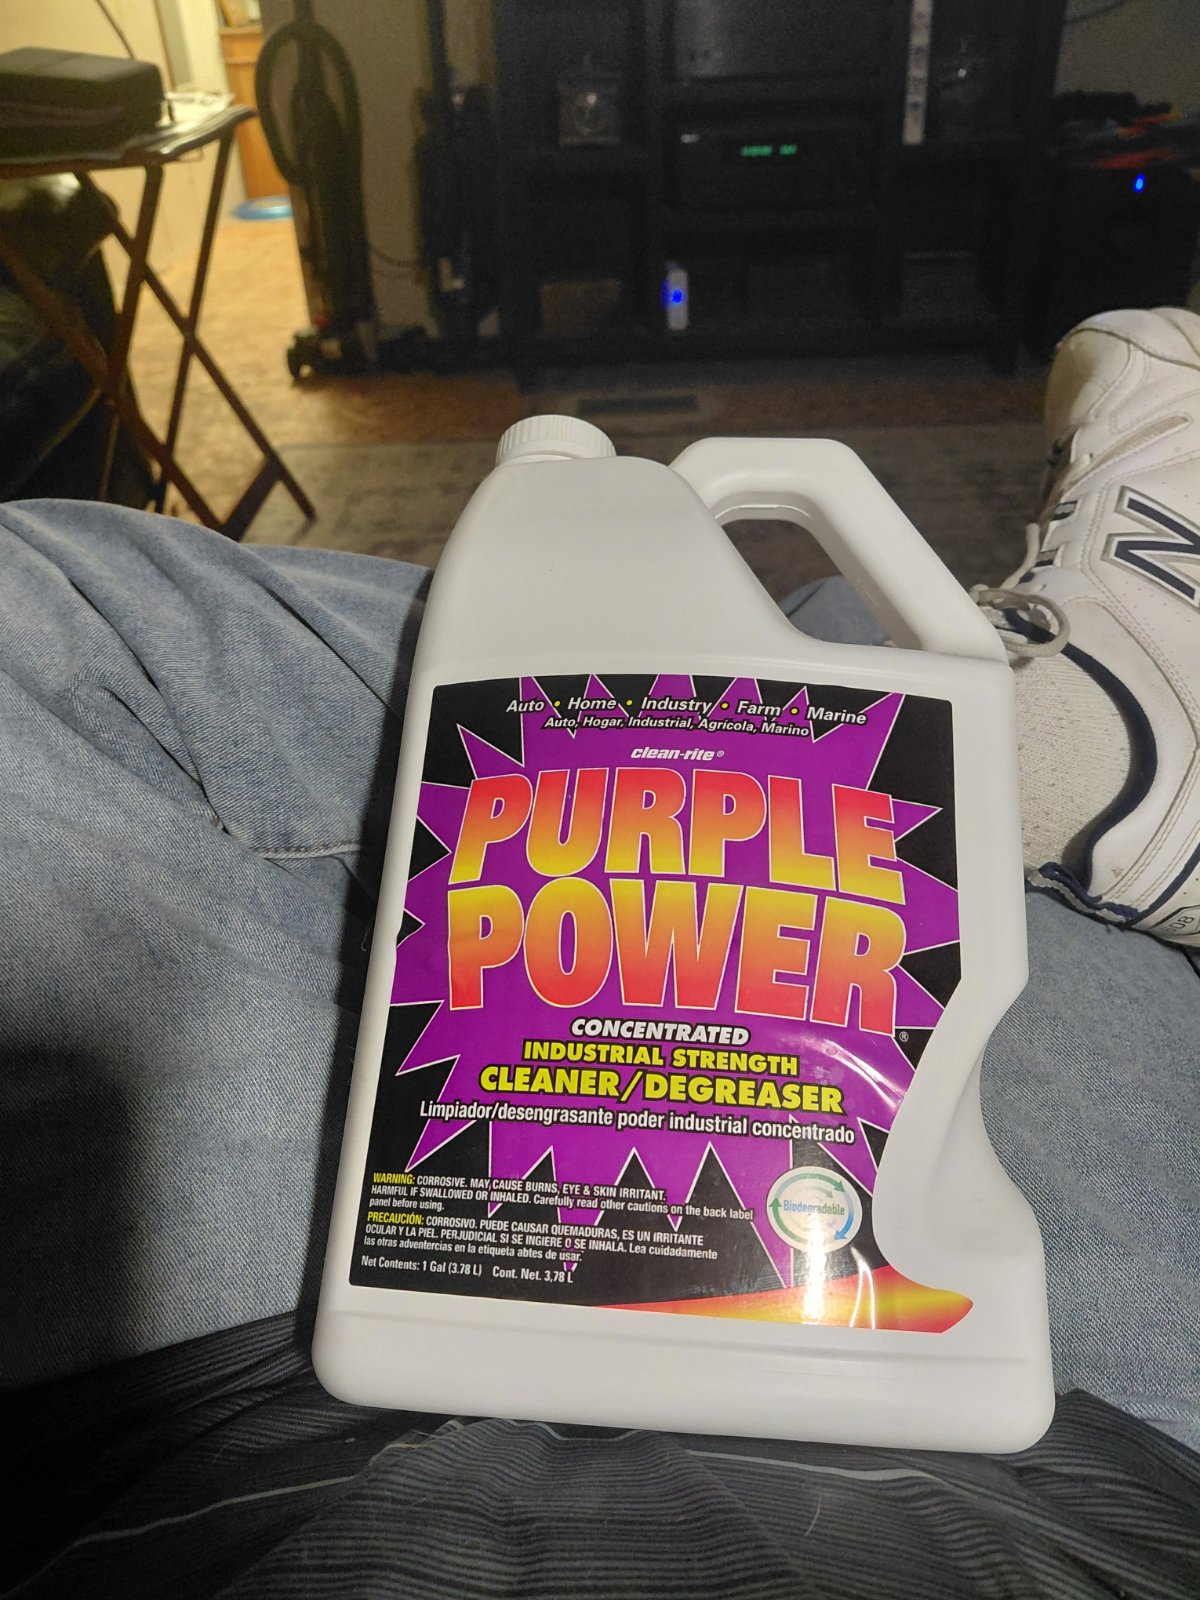
I had some major problems occur when I tried to do a wash in that the masking wasn't firmly sealed around the mask line and it leached wash clear up the sides of my pickup box which I cannot get to cover over with the yellow. Will purple power strip the acrylic and the enamel-based wash that I tried to use so that I can simply start over?
 
Yes it will
Thank you. I have almost a gallon of the Purple Power. What is it good for? I got it to remove chrome but have found that it can't thoroughly remove heavy plating even leaving it in for a week and scrubbing with a toothbrush.
 
I use oven cleaner..but don't let it soak too long..its pretty caustic stuff..
Best used in the garage.
 

Latest posts

Back
Top