Hello from C.R. Iowa!

Scale Model Addict - Model Tips, Guides, Tools & Tech, Tutorials, and Community

Help Support Scale Model Addict:

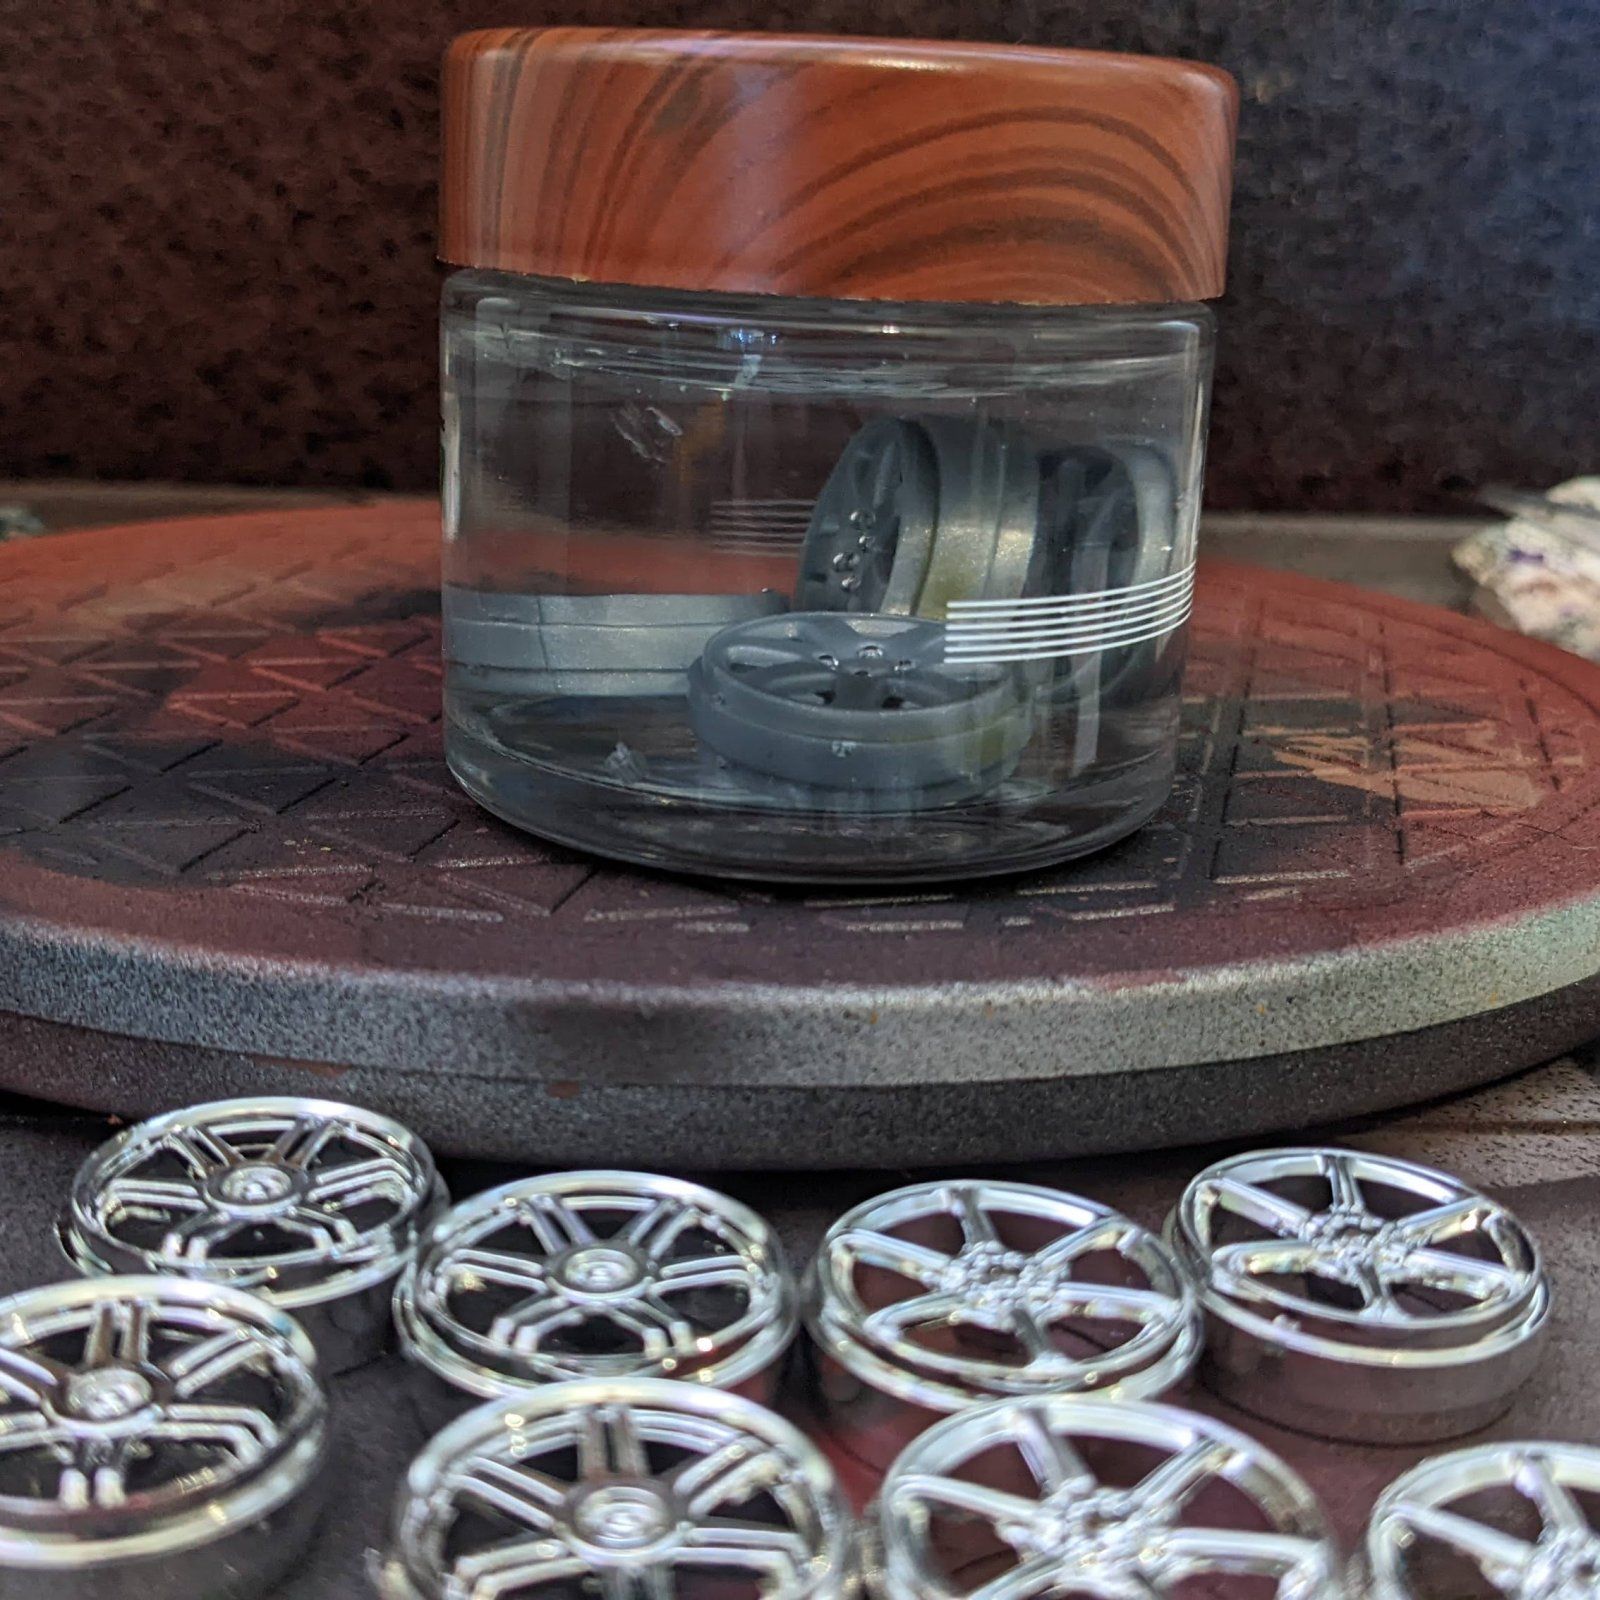
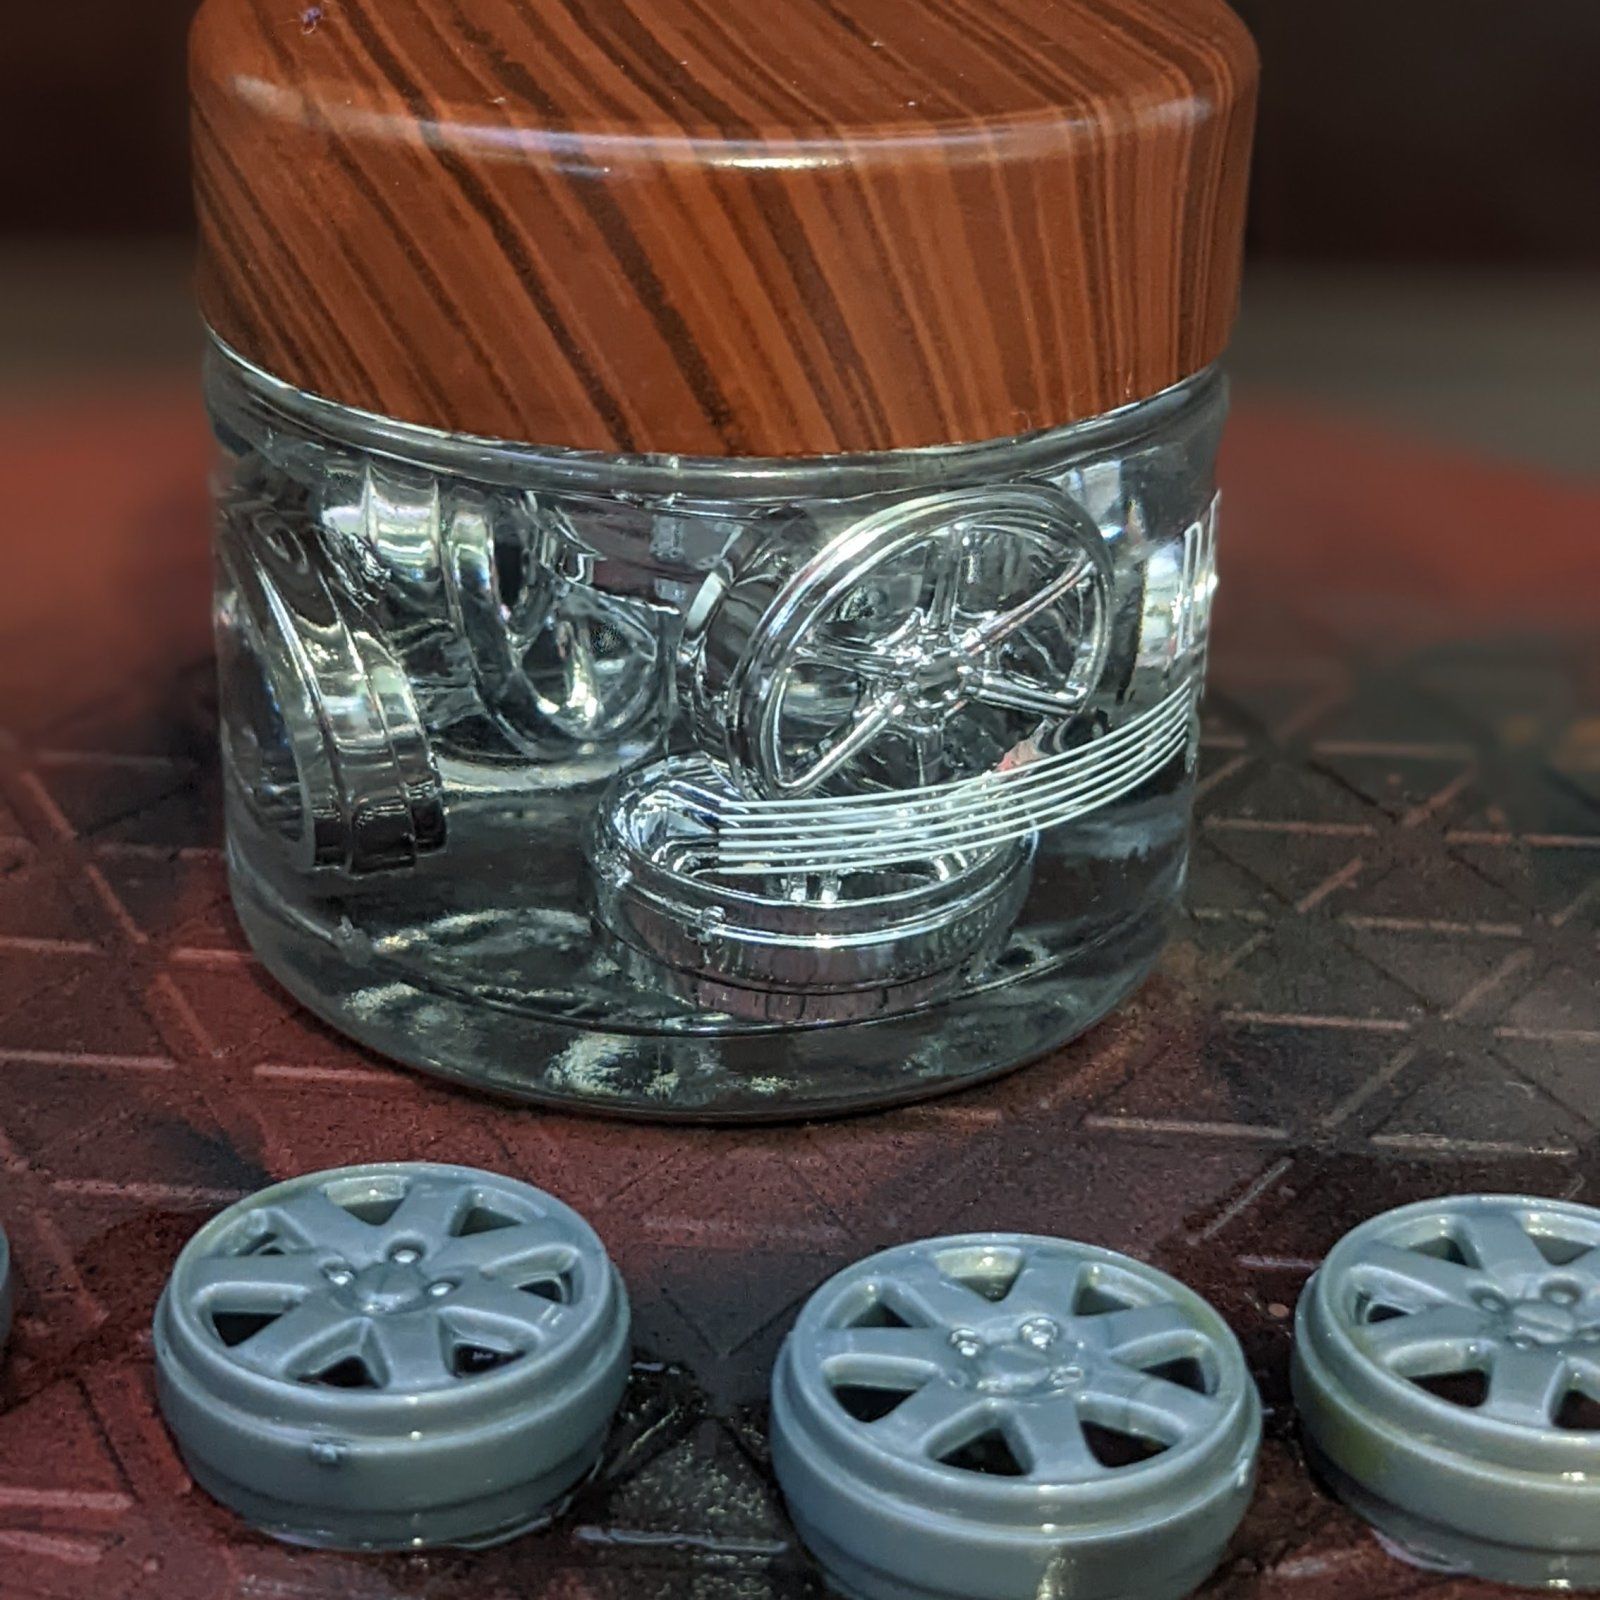
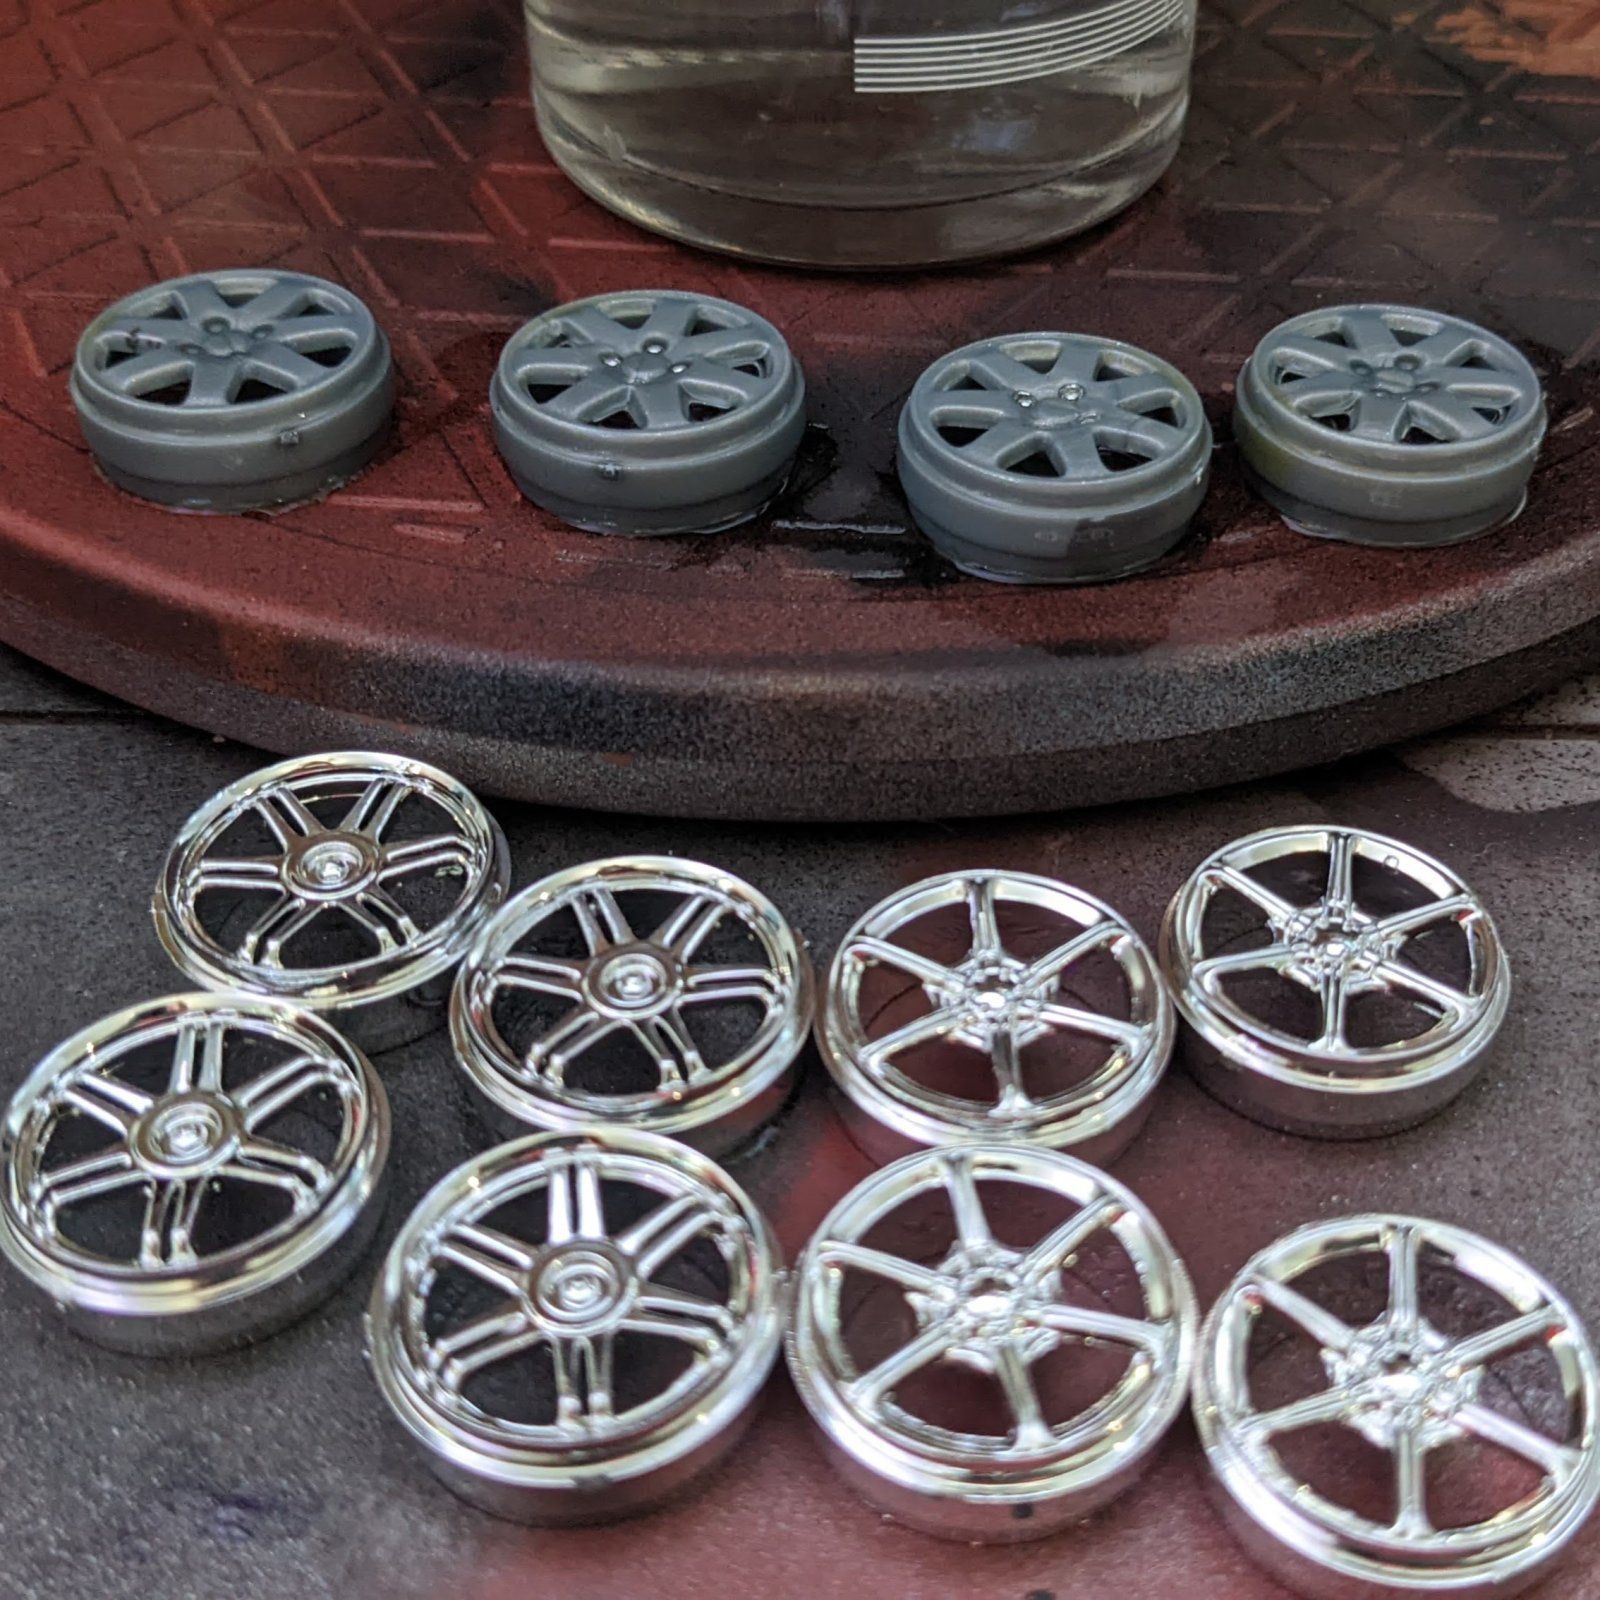
According to the recipe it should be very similar / the same as the Super Clean .

I don't build car kits so I never deal with this chrome issue .
The question of stripping chrome that doesn't want to strip has come up here before --- I was searching old threads , but that convo might be embedded in some other semi-related thread ,

here's some reading while i search :


According to the recipe it should be very similar / the same as the Super Clean .

I don't build car kits so I never deal with this chrome issue .
The question of stripping chrome that doesn't want to strip has come up here before --- I was searching old threads , but that convo might be embedded in some other semi-related thread ,

here's some reading while i search :
I'm really intrigued by the bleach chrome removal and wonder if that will strip the paint as well and what will any of these solutions do to glue joints?
 
none will affect plastic or the solvent weld joints -- CA joints , yes
bleach ,usually sodium hypochlorite , wont do much to enamel ( alkyd ) but would debond a lot of acrylics if soaked in it .
 
none will affect plastic or the solvent weld joints -- CA joints , yes
bleach ,usually sodium hypochlorite , wont do much to enamel ( alkyd ) but would debond a lot of acrylics if soaked in it .
Thank you for all the great info. I'm going to get some super clean tomorrow and try to start fresh on the pickup box.
 
As an Amazon Associate we earn from qualifying purchases. Product prices and availability are accurate as of the date/time indicated and are subject to change.
It looks like the chemistry in the Purple Power you have is very similar to that of the Super Clean , per the SDS
be interested if it works on that chrome when the other did not .
 
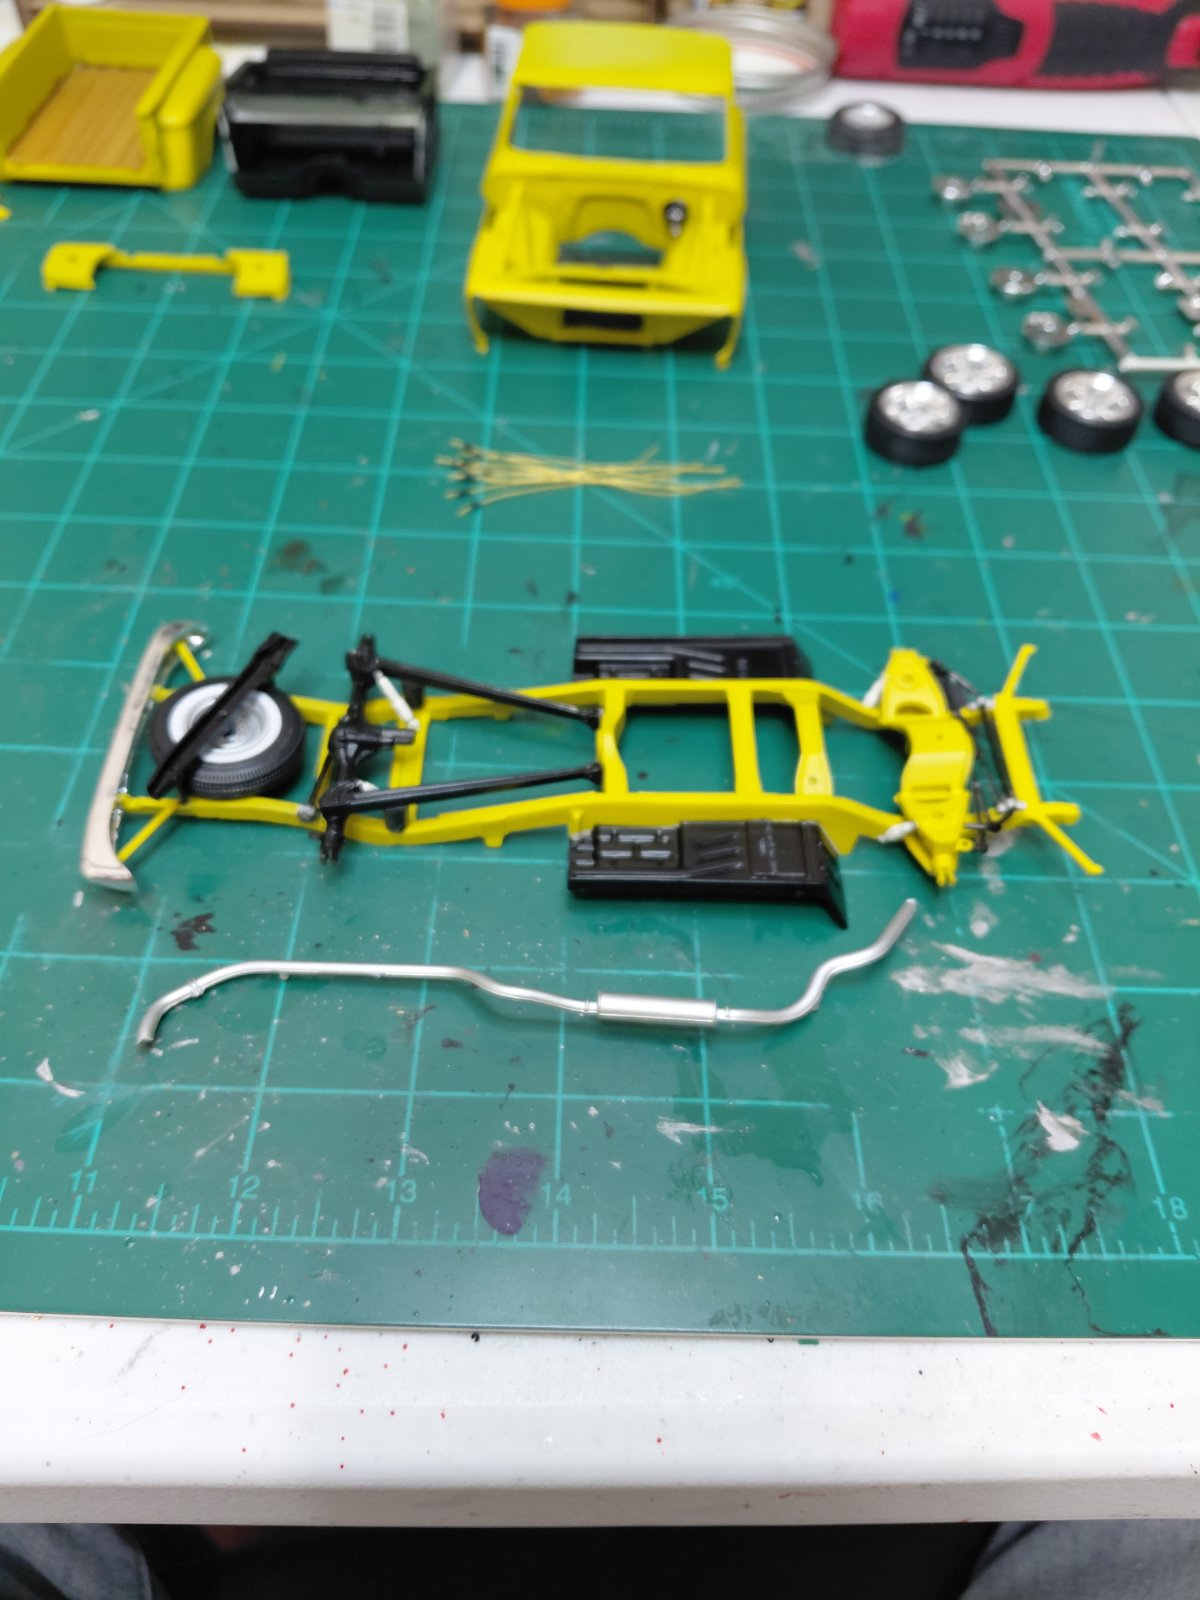
Well this is an interesting development. The exhaust in this kit is in no way shape or form correct. In its proper mounting position it is directly in the way of the mounting of the rear differential assembly, shock, and differential torsion bar.. Not only that, the header end is aiming toward the ground and not the engine compartment. I could've spend hours trying to correct it but it doesn't even have a crossover piece to connect both headers so I decided since this is a learning curve model, I'm going to opt for open headers and call it good enough. I also found the kit to be missing part #94, the engine coolant reservoir so I'm either going to order aftermarket or just say good enough to that too. At this point I'm quite frustrated with my airbrushing techniques so I'm getting some practice pads to try to develop better flow control on the airbrush and learn various spraying techniques. All in all I'm having fun so I don't want to focus too much on correcting mistakes but rather how not to make them in the first place.
20251031_053613.jpg
 
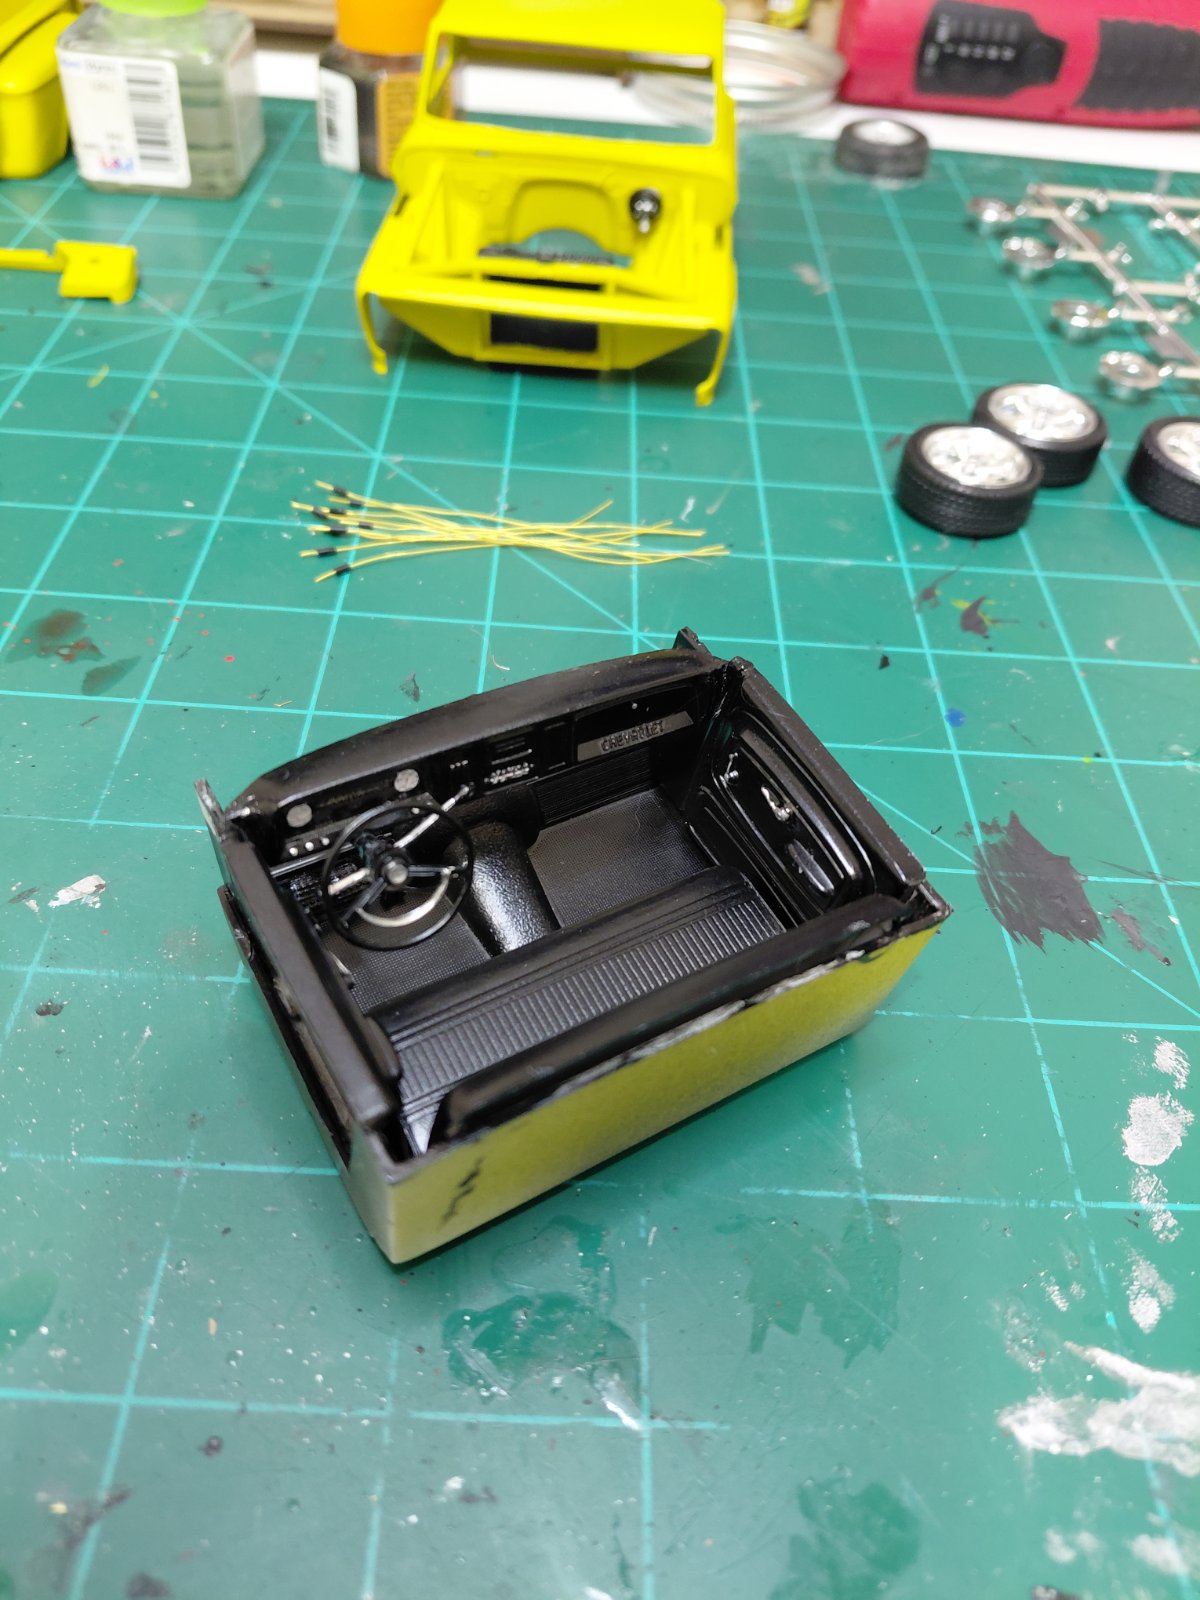
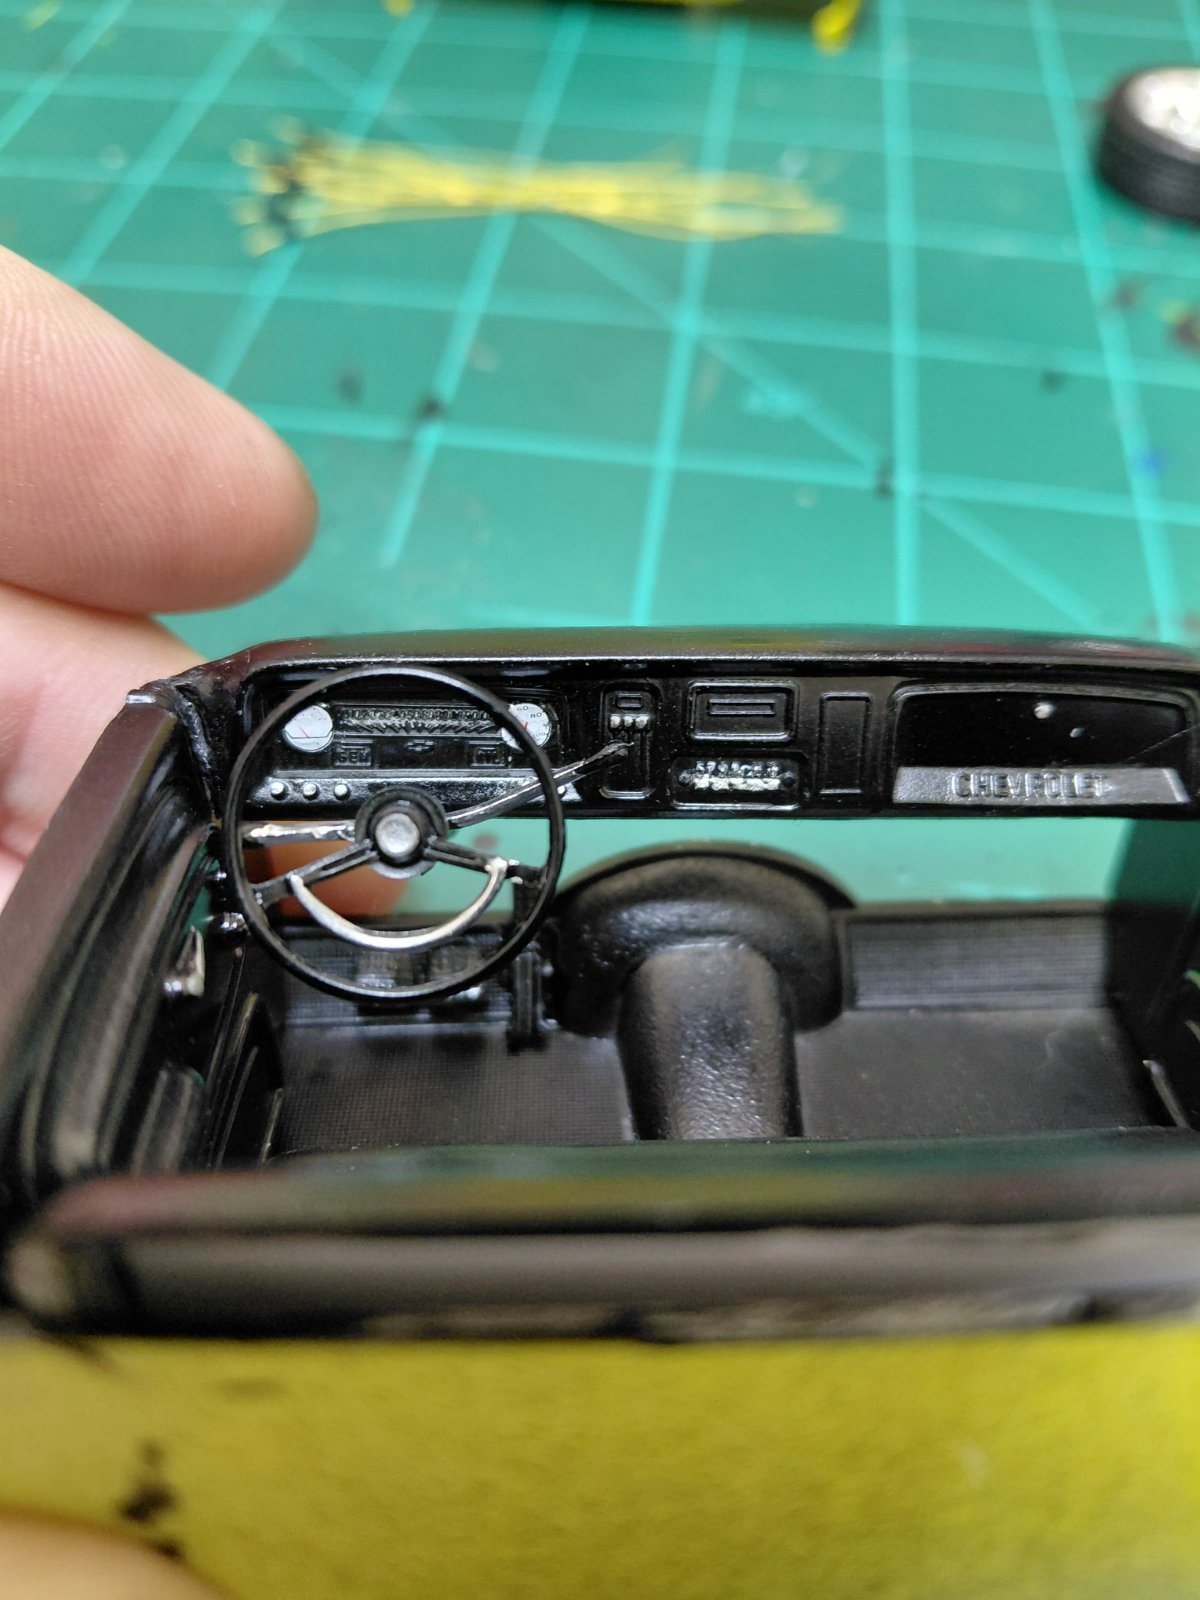
When I assembled the interior I noticed the right side of the dash was noticeably higher than the left. I pulled the dash back out and trimmed off some of the mounting tab on the right to make it sit lower. This helped but not enough. It was then that I realized when I was installing the dash the first time it had accidentally pushed the left door panel backwards and it was riding a little bit on the seat mounting platform and that was making the left side drop down in the front. THAT was why it was higher on the right! I had to disassemble the left side and reset it. Fortunately the glue hadn't fully cured so I was able to get it apart without damaging anything. She's put together right now and looks descent.
20251031_050645.jpg


Interesting note I never mentioned earlier. On the right side of the dash where the Chevrolet logo was molded in, I had tried to do it in Chrome with a Molotow marker but my hand was very shaky that day and I made nothing but a chrome blob. So quickly I thought let's just cover it over and see what happens. I slapped on some semi-gloss black and spread it out across the contour of the dash and went back and forth with it until I ended up with a metalized black appearance. I thought it made a pretty cool custom Chevrolet placard for the dash. Anyhow it stands out from the rest of the dash now so I'm calling it a plus.

20251031_050751.jpg
 
Last edited:
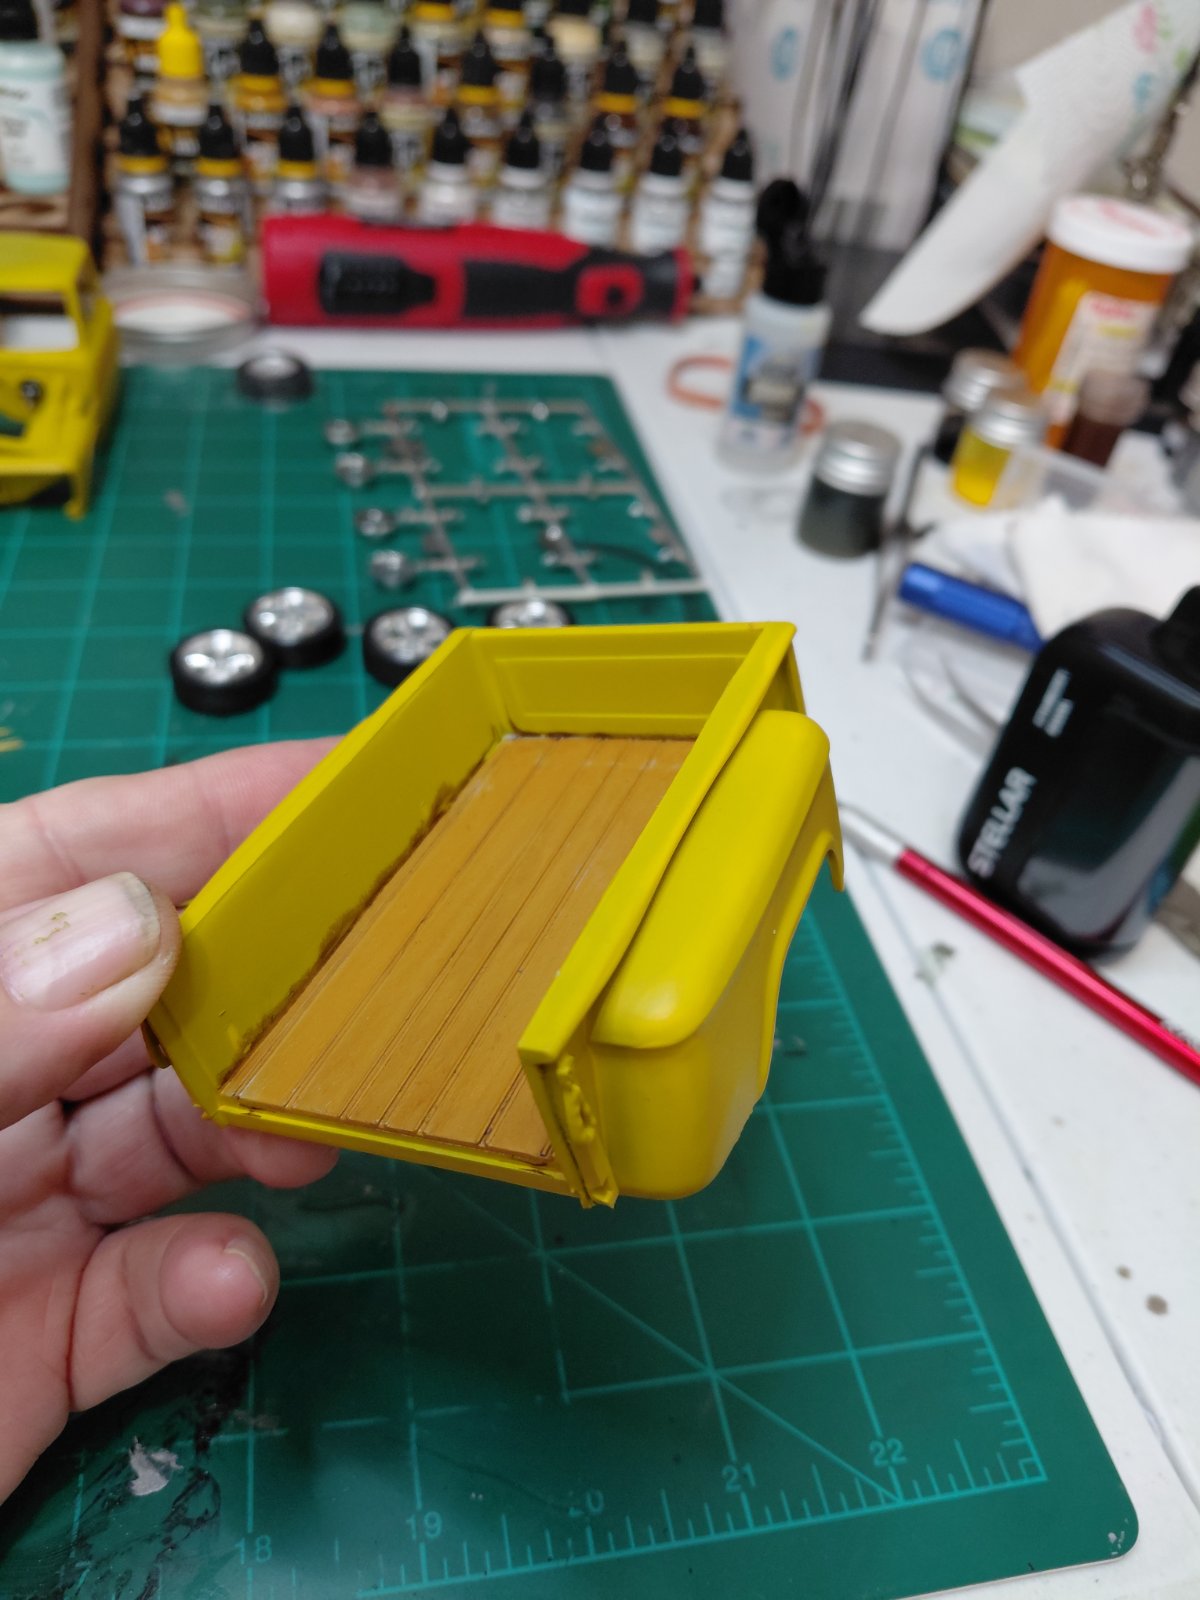
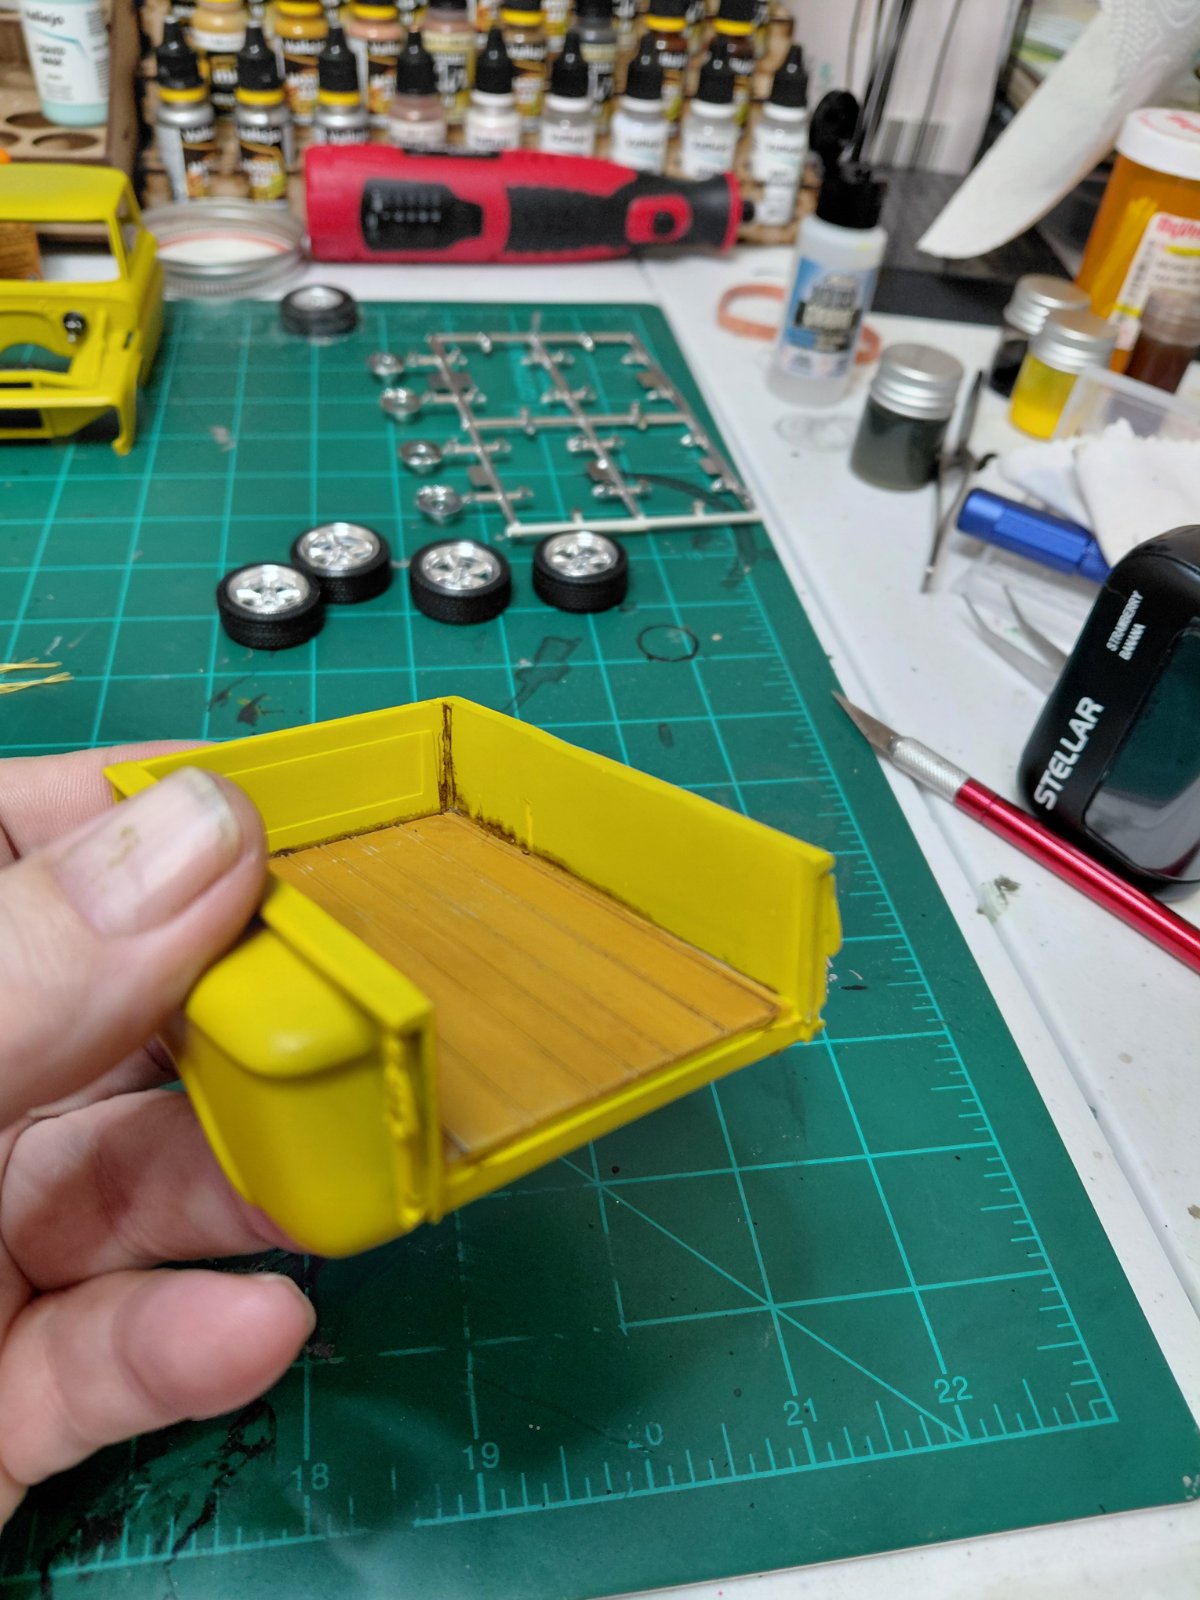
This is the pickup box after the mishap with the wash and before I made it much worse by trying to correct it. In hindsight, if i was wanting to try my hand at weathering, (I'm not up to that level with painting yet) this would have made a convincing rust out!
20251031_053956.jpg
20251031_054003.jpg
 
Well, despite the setbacks you're making headway!
Good idea about practice on the AB. I'm in the same situation with my first plane build, (at least since I was 10) hehe, and the airbrush, in its box, staring me in the face!

I like the way you just go for it, chock it up to experience and have fun all the while!
 
Well, despite the setbacks you're making headway!
Good idea about practice on the AB. I'm in the same situation with my first plane build, (at least since I was 10) hehe, and the airbrush, in its box, staring me in the face!

I like the way you just go for it, chock it up to experience and have fun all the while!
A wise person once said that, "The reason you haven't found success is that you haven't failed enough times yet." I like to live by that.
 
Weathering is actualy easier than making them look like show cars..
Lots of vids on it...I think it makes them look more real.
 
So on Friday night I put my pickup box into purple power and left it in there until Sunday afternoon when I purchased super clean. The purple power had the effect of roughing up the surface and softening the paint somewhat but it has to be scraped off with a hard object. I switched it out with super clean on Sunday around noon and it has been soaking since then. Just checked it a few minutes ago and found that there's been no real change to the paint since then. How long should the super clean take to be effective. The paint is all acrylic.
 
So I just tried this on the paint and it is taking it off very slowly and one brush head at a time. This is going to take days. Do you think soaking it for a couple more days might make it easier or has it been in there long enough to do its thing

20251104_155326.jpg
 
soak it in alcohol or longer in the Super Clean ?
really either --- alcohol if you have enough

what brand paint is this ?
 
surprised that stuff is putting up such a fight .

Clamp that truck into a bench vise and slap a 60 grit flap-disc on the angle grinder ...
 
I'm wondering if it's because when I laid down the paint initially I had it too thin and I put several coats on but then went back later after that had cured and put down a heavier coat because I was still seeing a lot of primer color showing through the paint
 
I've decided that I'm going to let that soak till this weekend and if this doesn't work with sanding and/or it scratches the s**t out of the plastic, I'm thinking I'm just going to buy a new model and steal the box out of it and go from scratch
 
Pick up 1box aside for a few days. I'm going to work on gloss coating the cab. I would like to know what everyone's recommendations are for a good varnish that will polish up to a nice shine to go over Vallejo Model Air. I have available to me Vallejo gloss, semi-gloss, and Matte varnishes and I also have Alclad ll high gloss and aqua gloss finishes.
 
Last edited:
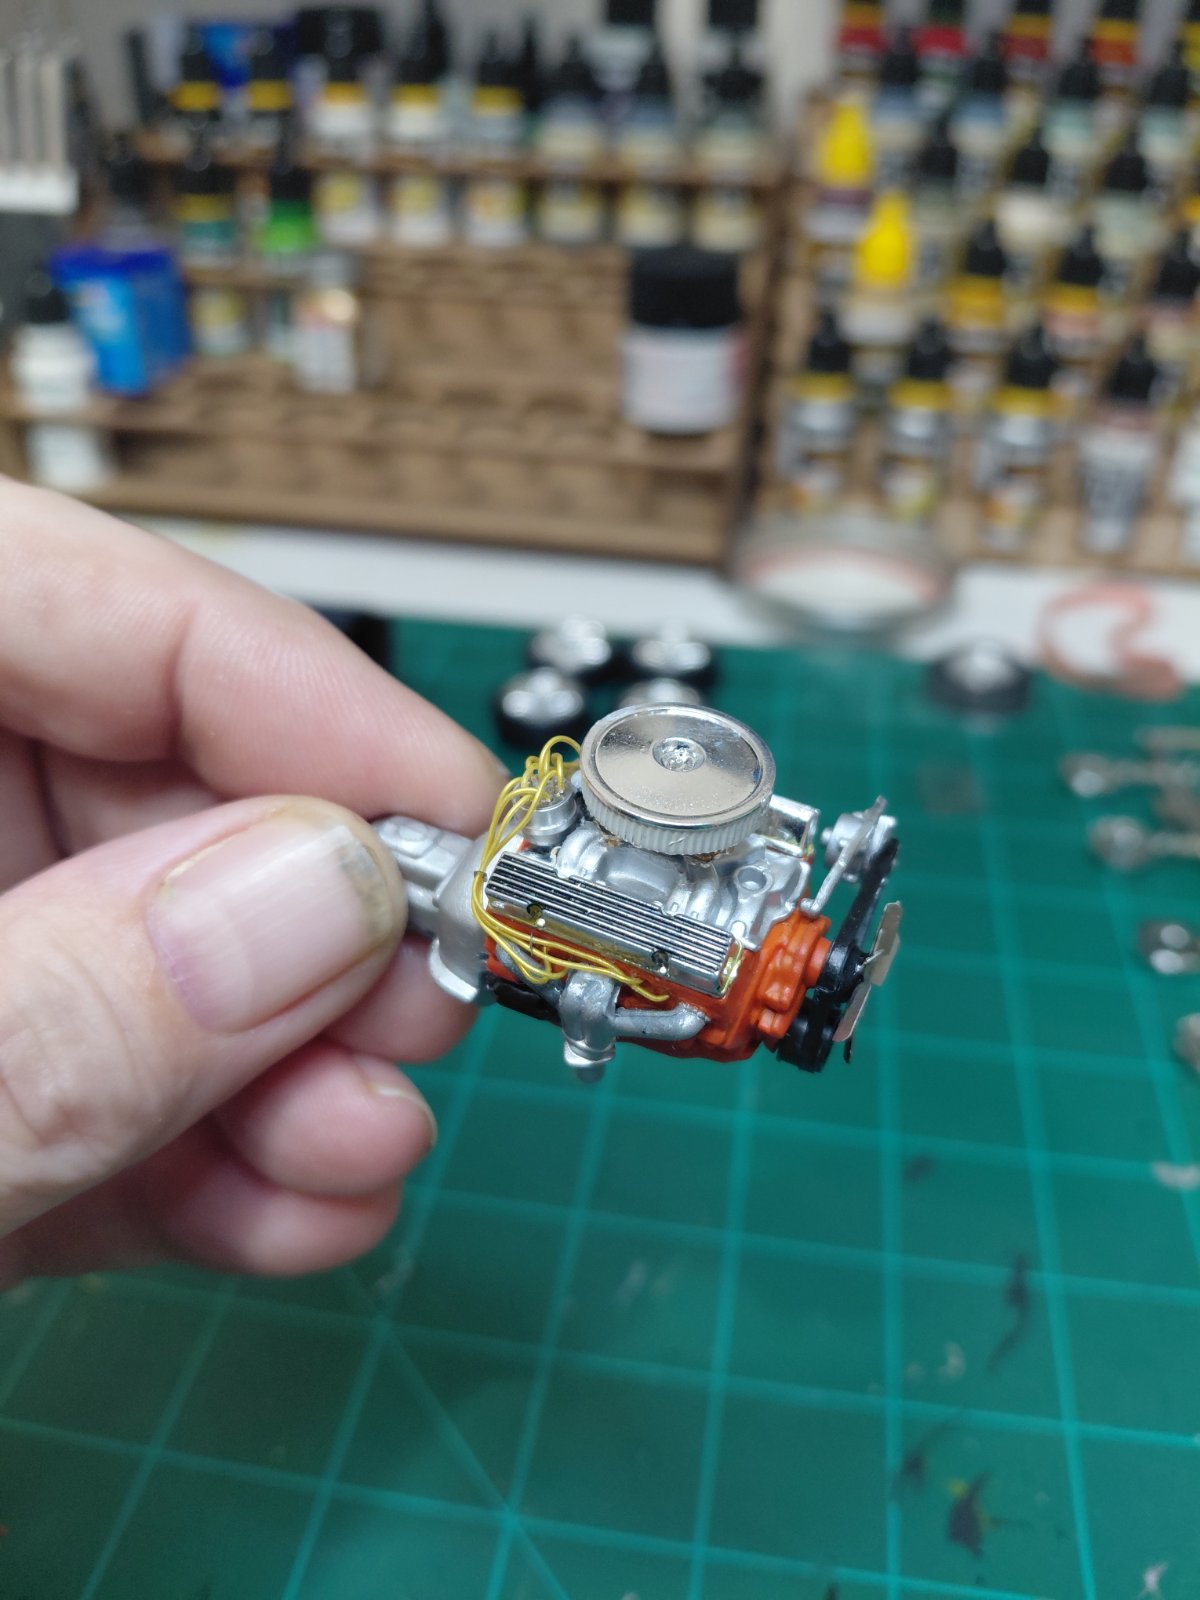
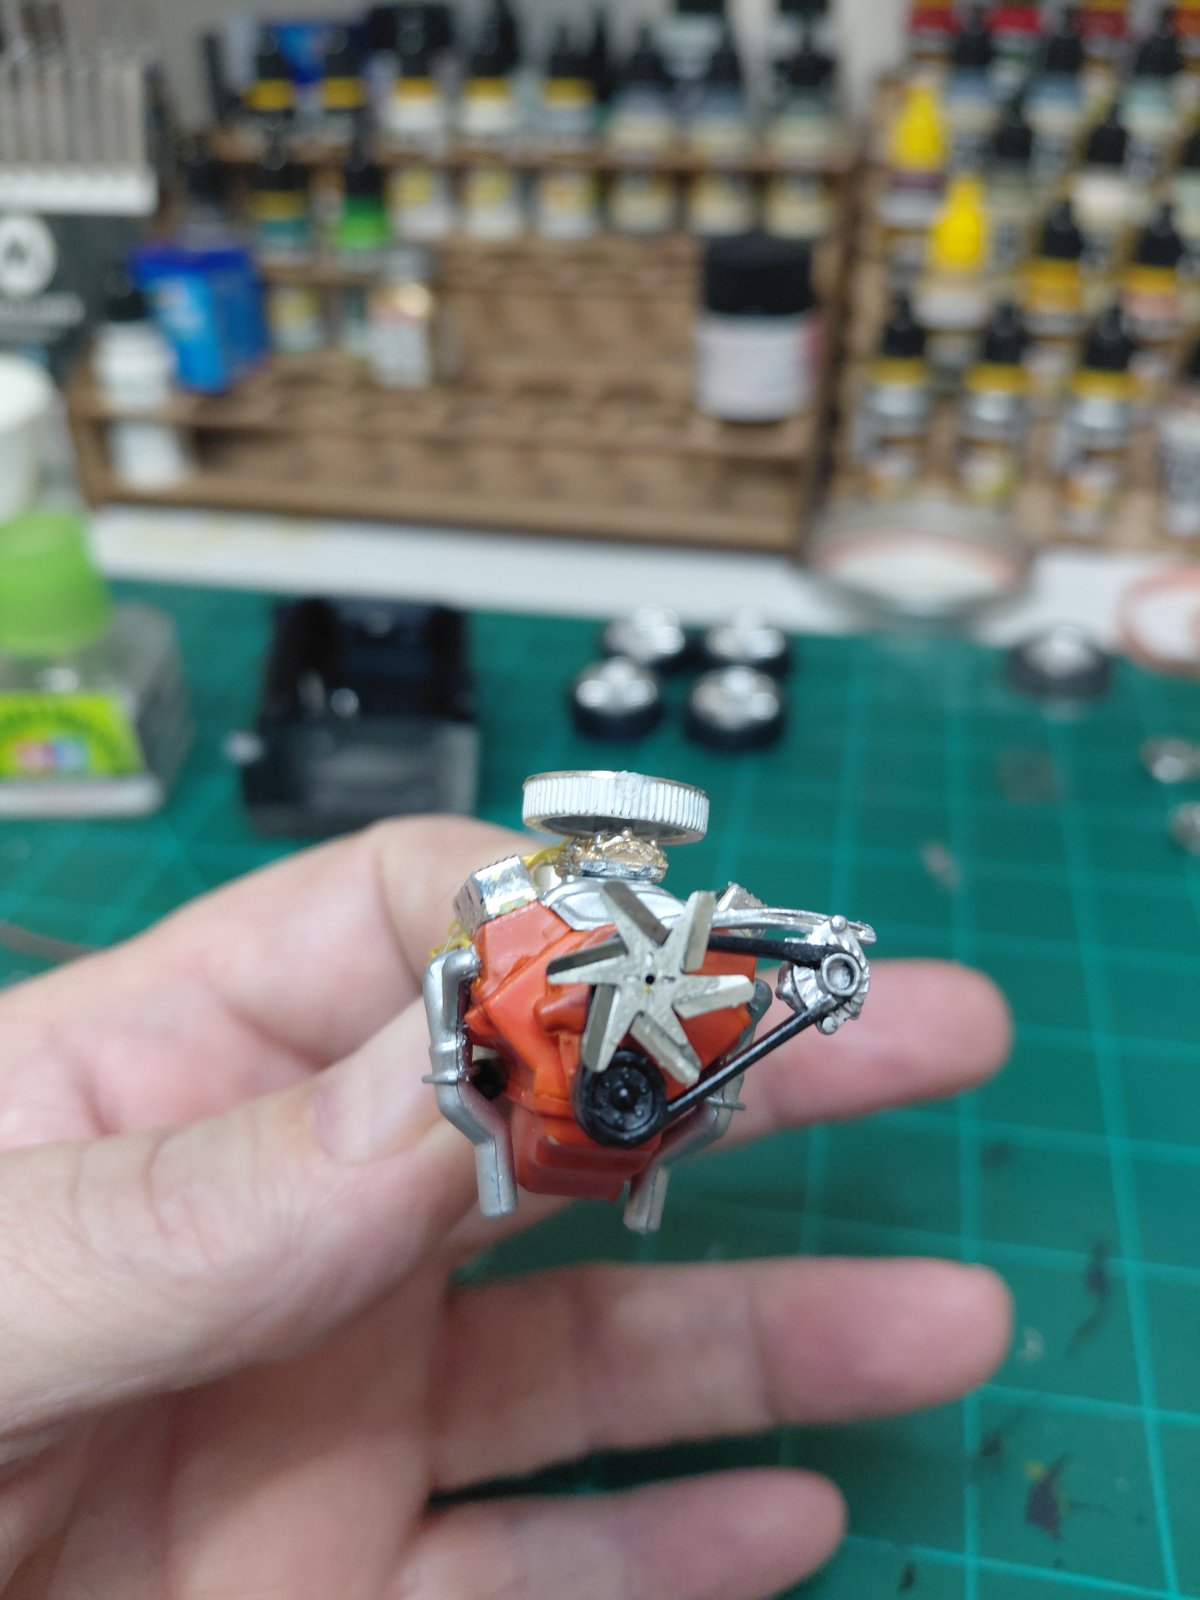
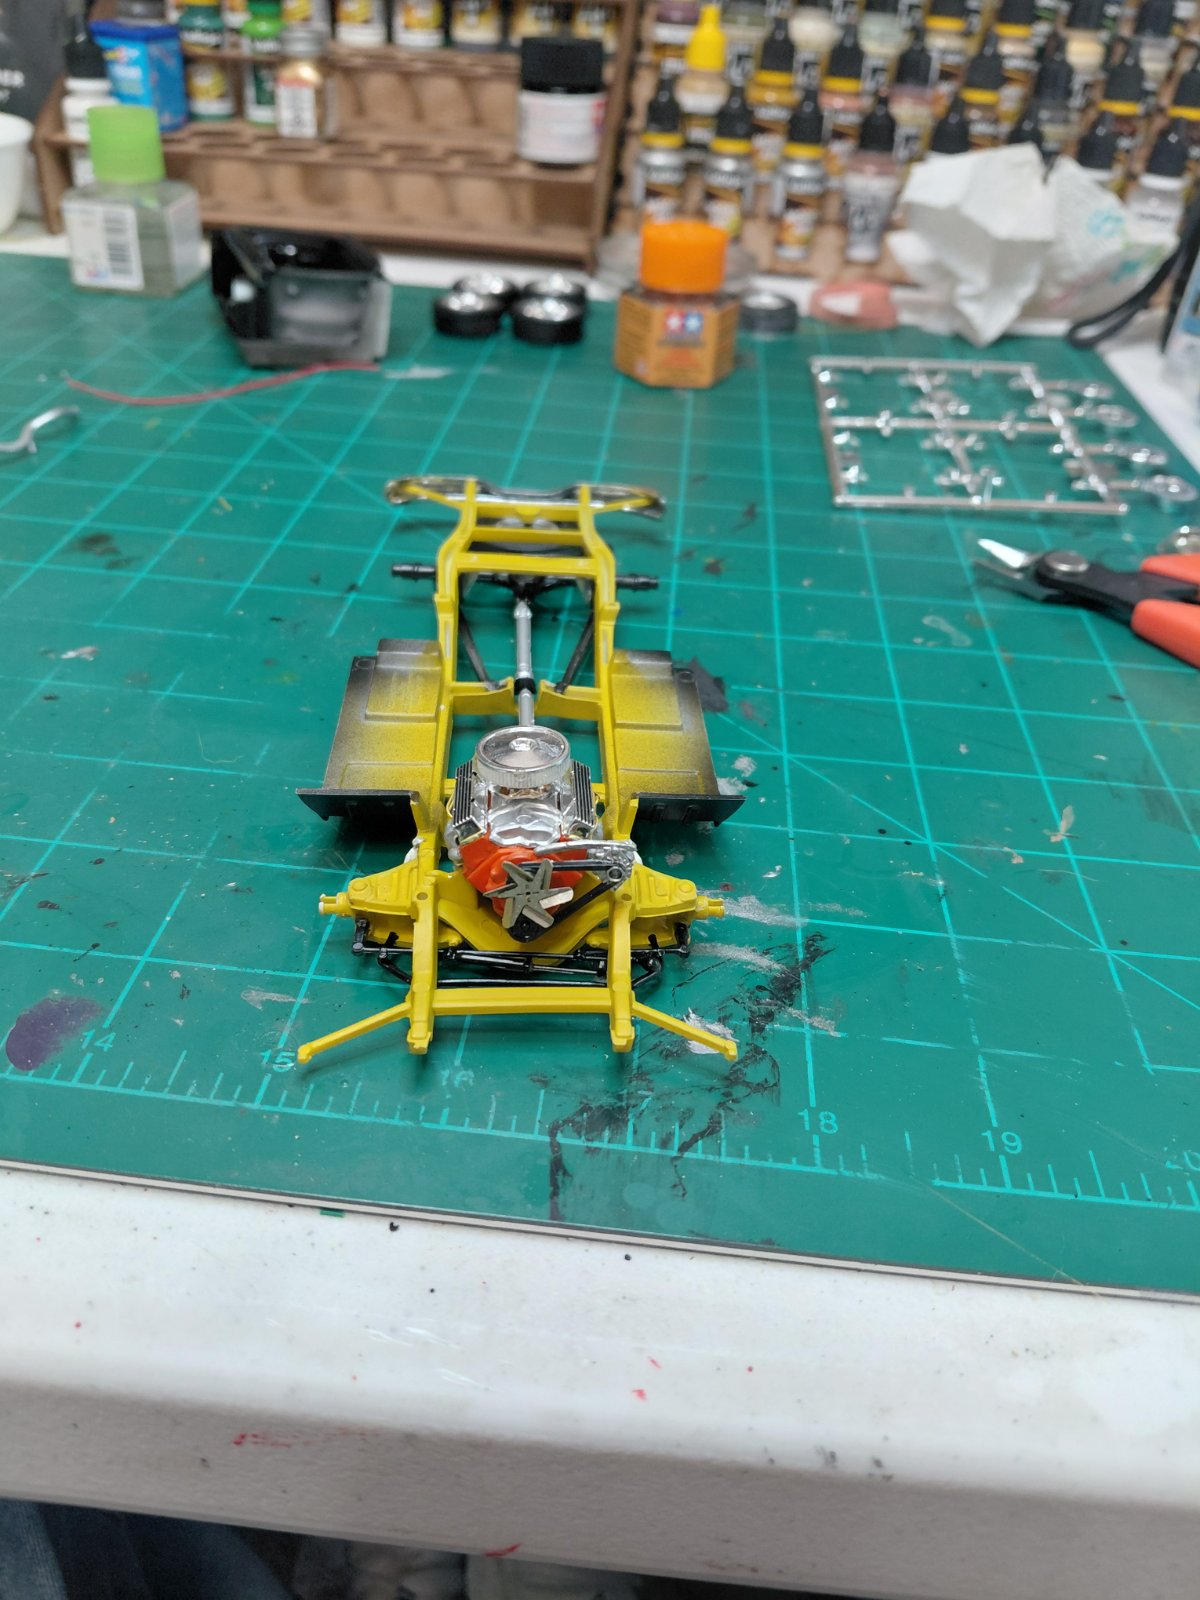
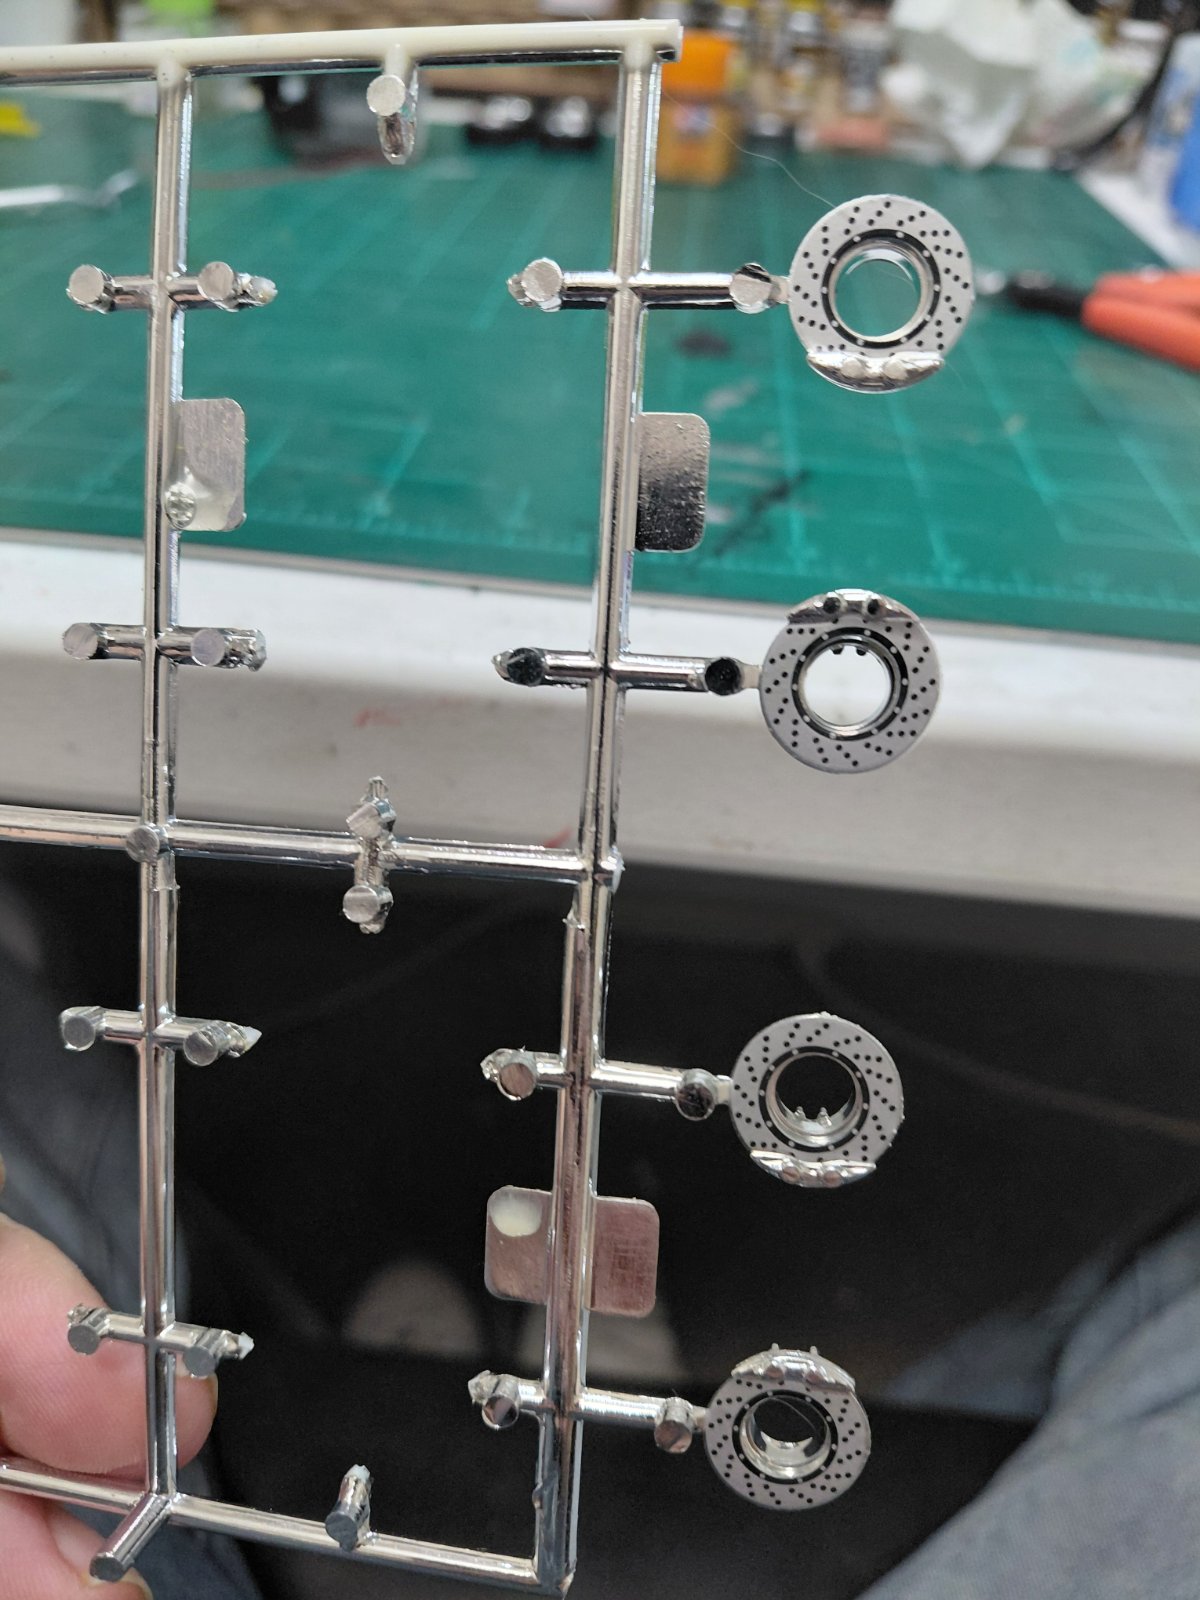
Motor wired and complete then installed in chassis. This kit came with some very interesting decals for the disc brakes. It actually took a while for them to soak until they would release which is good because they turned out to be very tough decals. The cut on them was perfect and they fit super easy onto the discs. Didn't even have to align them they fell right into place with the contours of the disc brake molding.
20251104_232226.jpg
20251104_232234.jpg
20251105_000457.jpg
20251105_000530.jpg
 

Latest posts

Back
Top