1967 Impala Police Interceptor

Scale Model Addict - Model Tips, Guides, Tools & Tech, Tutorials, and Community

Help Support Scale Model Addict:

WtShark

Well-Known Member
Joined
Jun 25, 2025
Messages
624
City & State/Province
So. Cal.
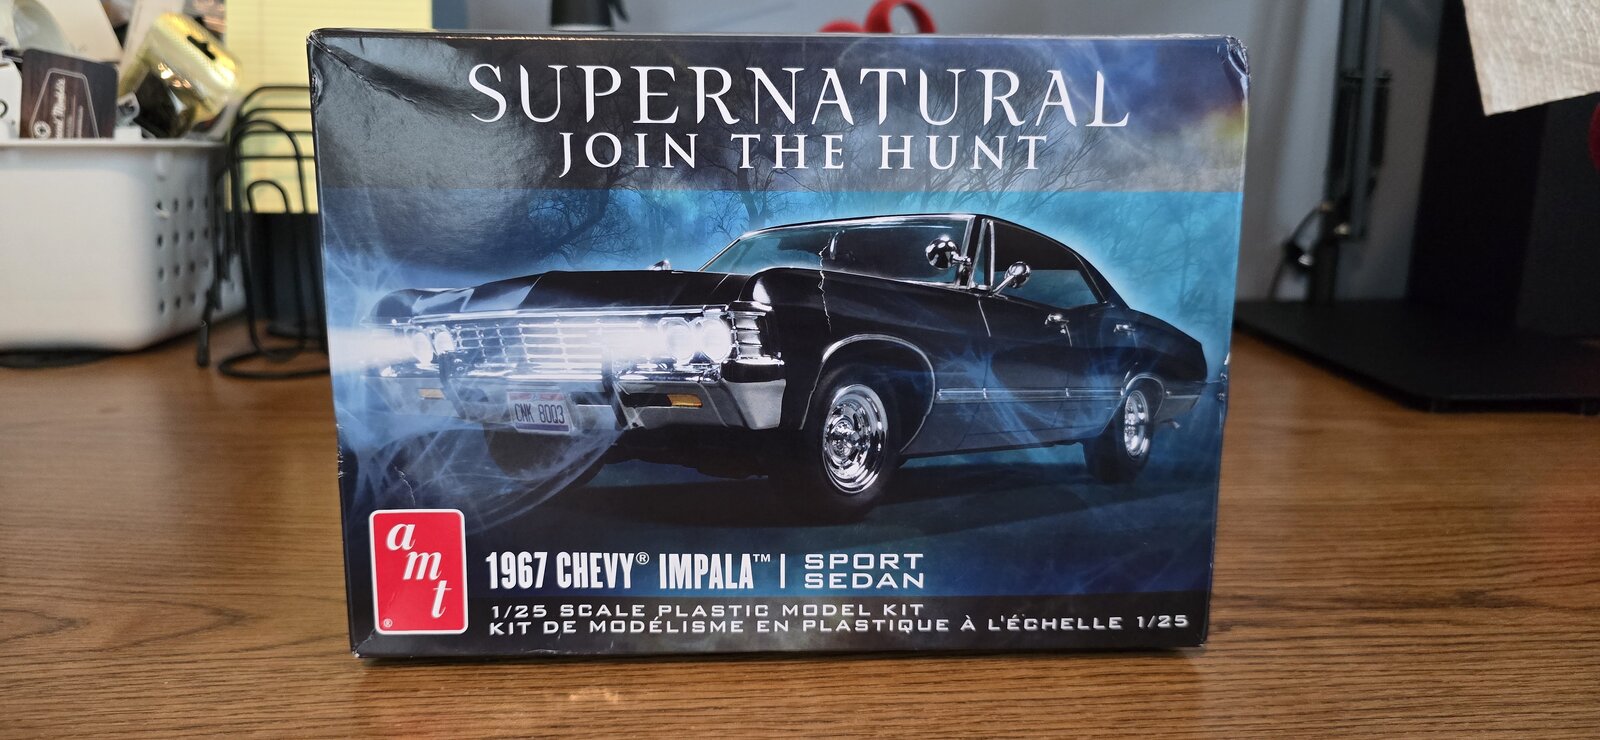
I've wanted to build a 60's style (old school) Police Interceptor for a while, but couldn't seem to find the right kit- then I found the "Supernatural" TV show vehicle and figured that'd make a great base. Going to swing for the literal massive horsepower, open road pursuit vehicle.
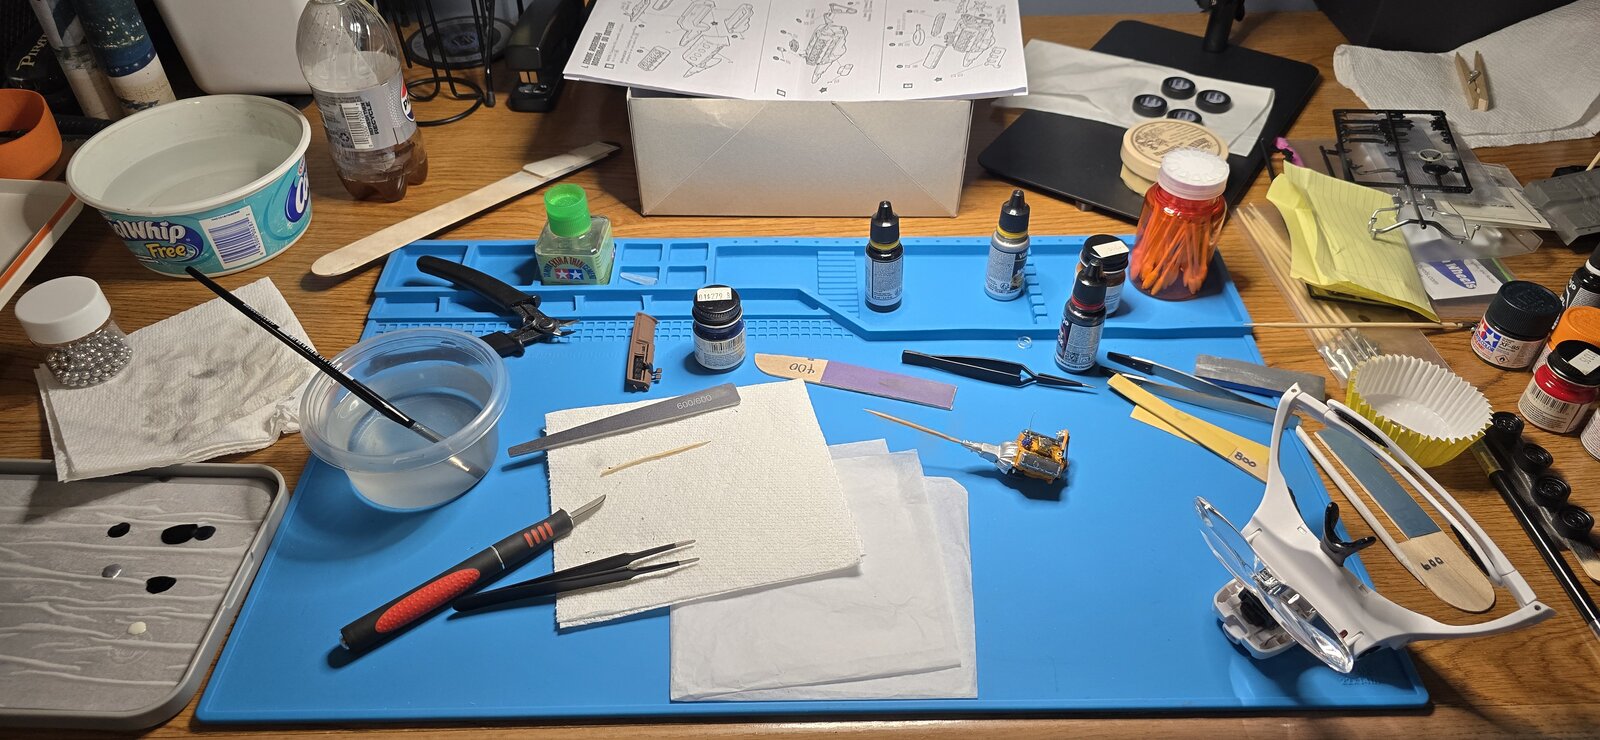
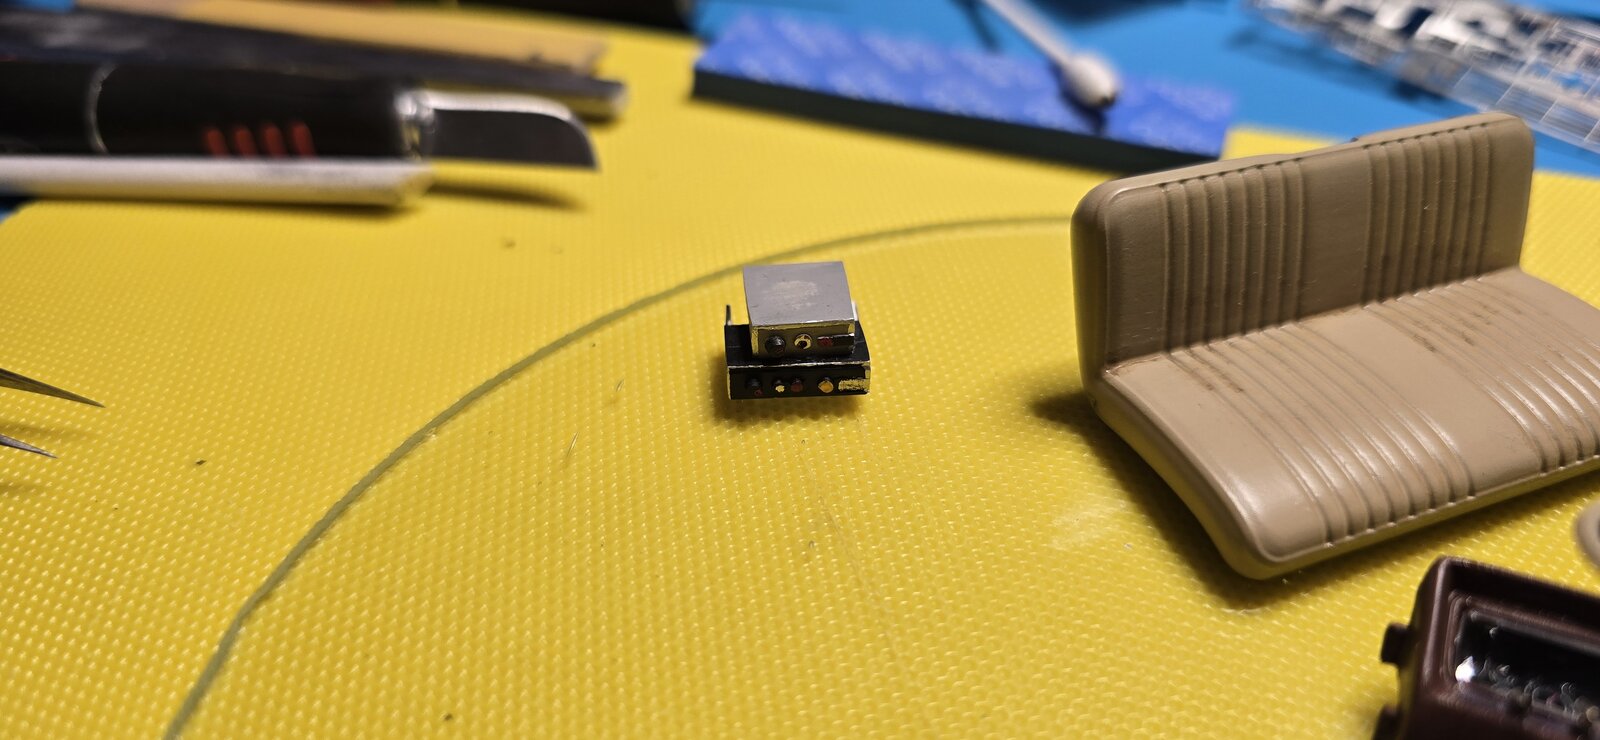
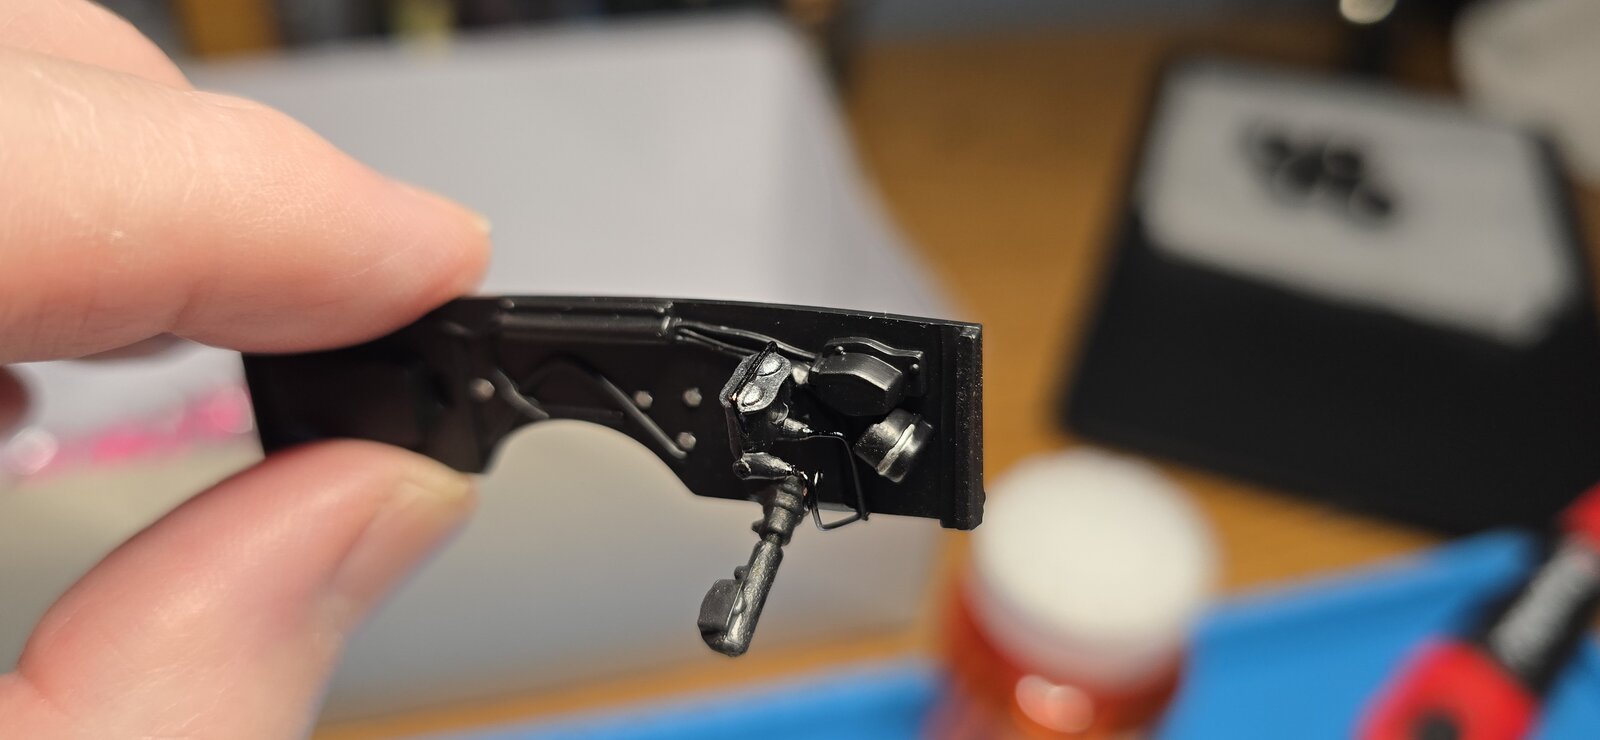
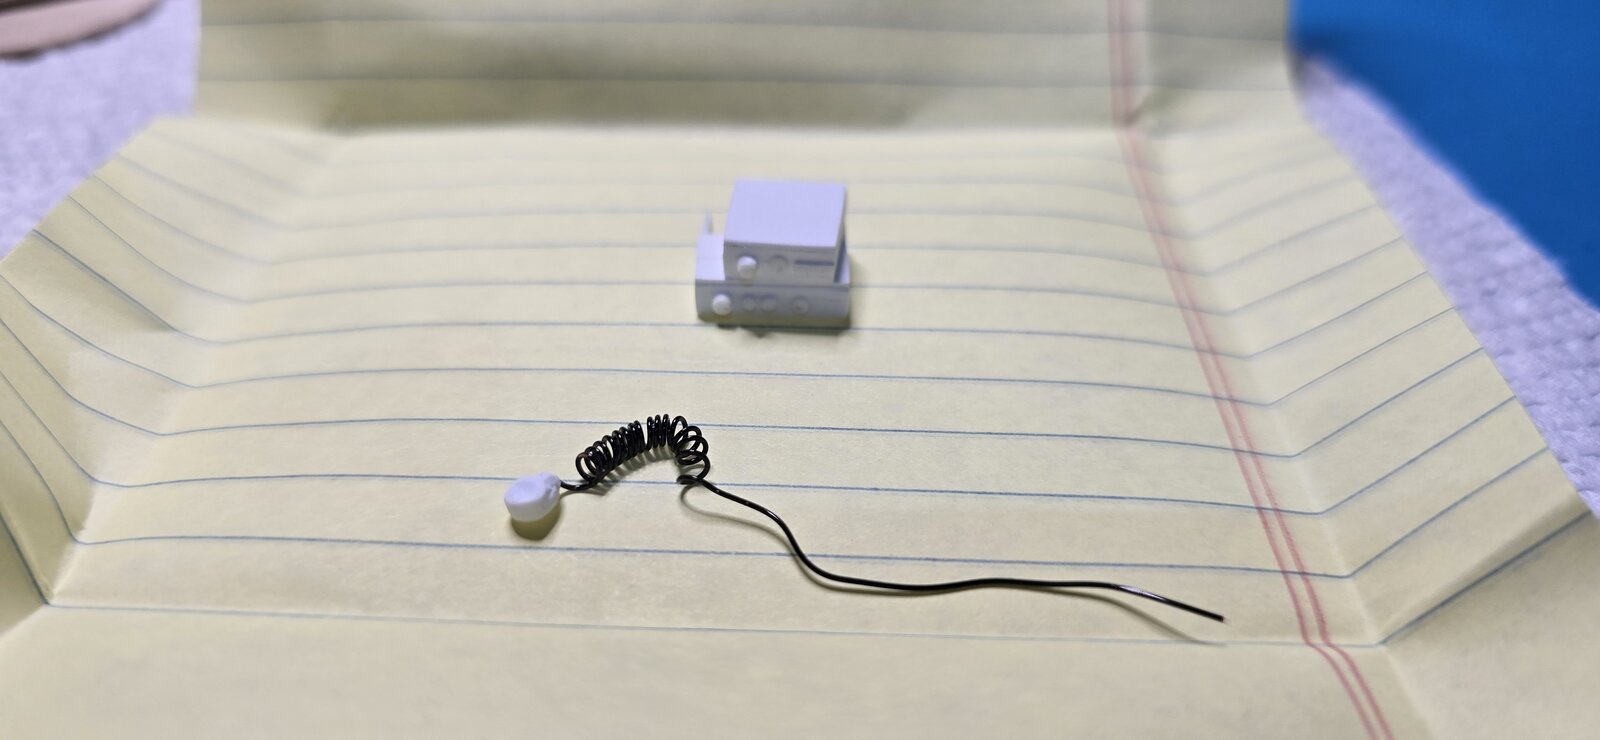
Purchased Model Car Garage 67 Impala Photo etch and tried my hand at some fabrication, making some 1/25th scale radios and "Unitrol" (light/siren control), along with a mic. Got some 3d printed "steel" wheels along with dog dish hubcaps. Having some custom can lights and siren printed.
I literally just started this kit yesterday morning, so may be posting a bit prematurely, but will update as the project moves along.
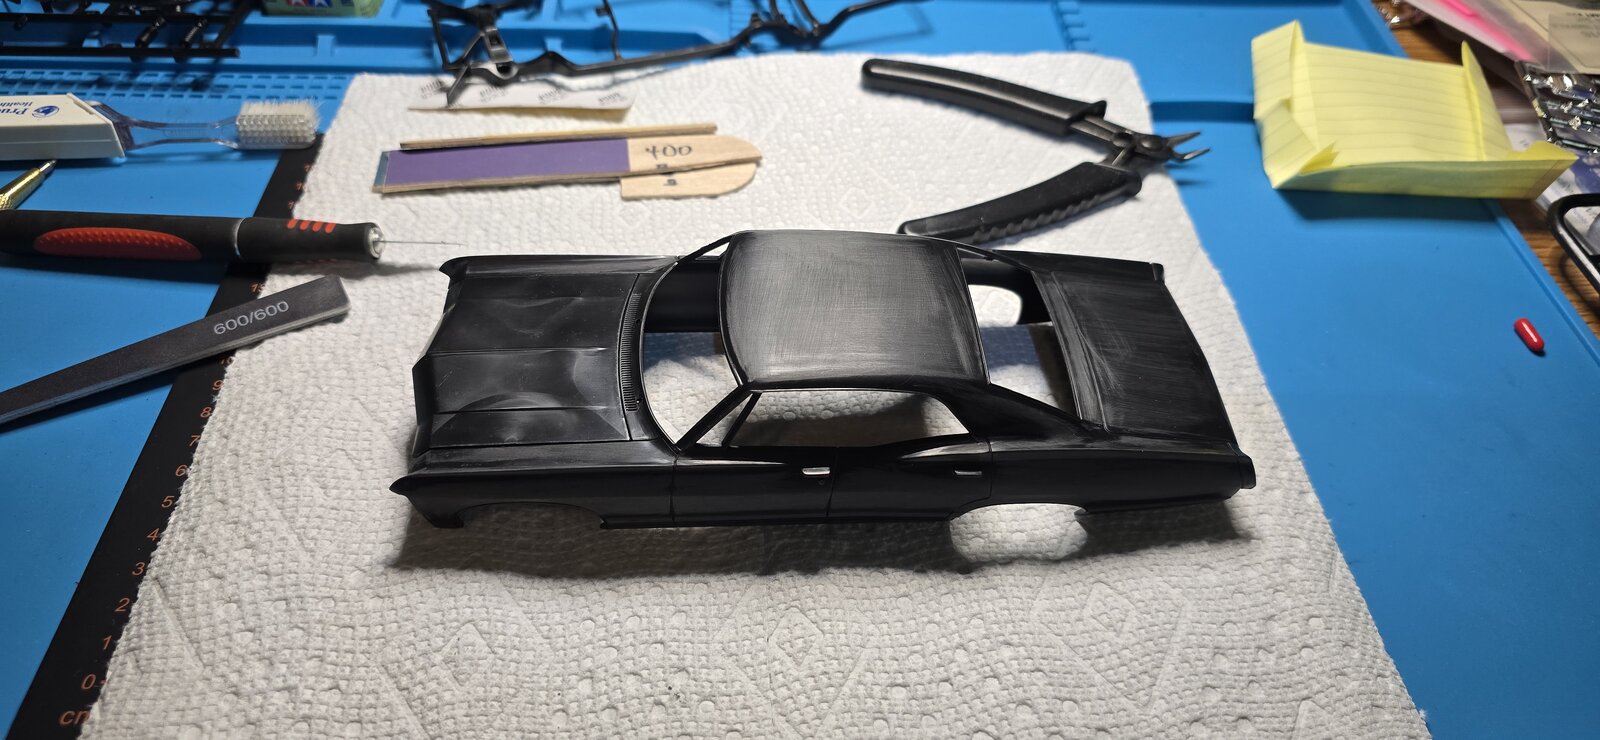
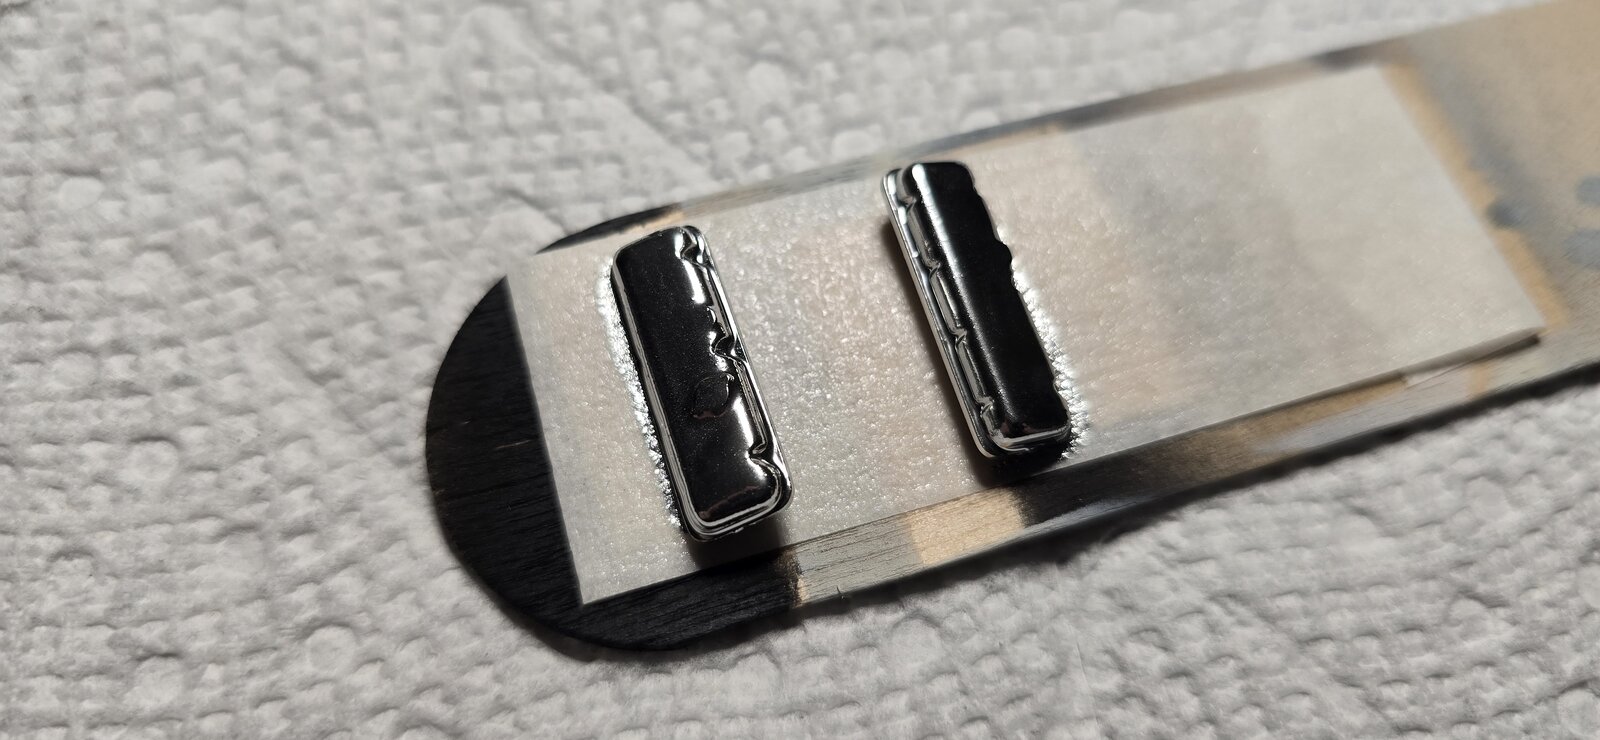
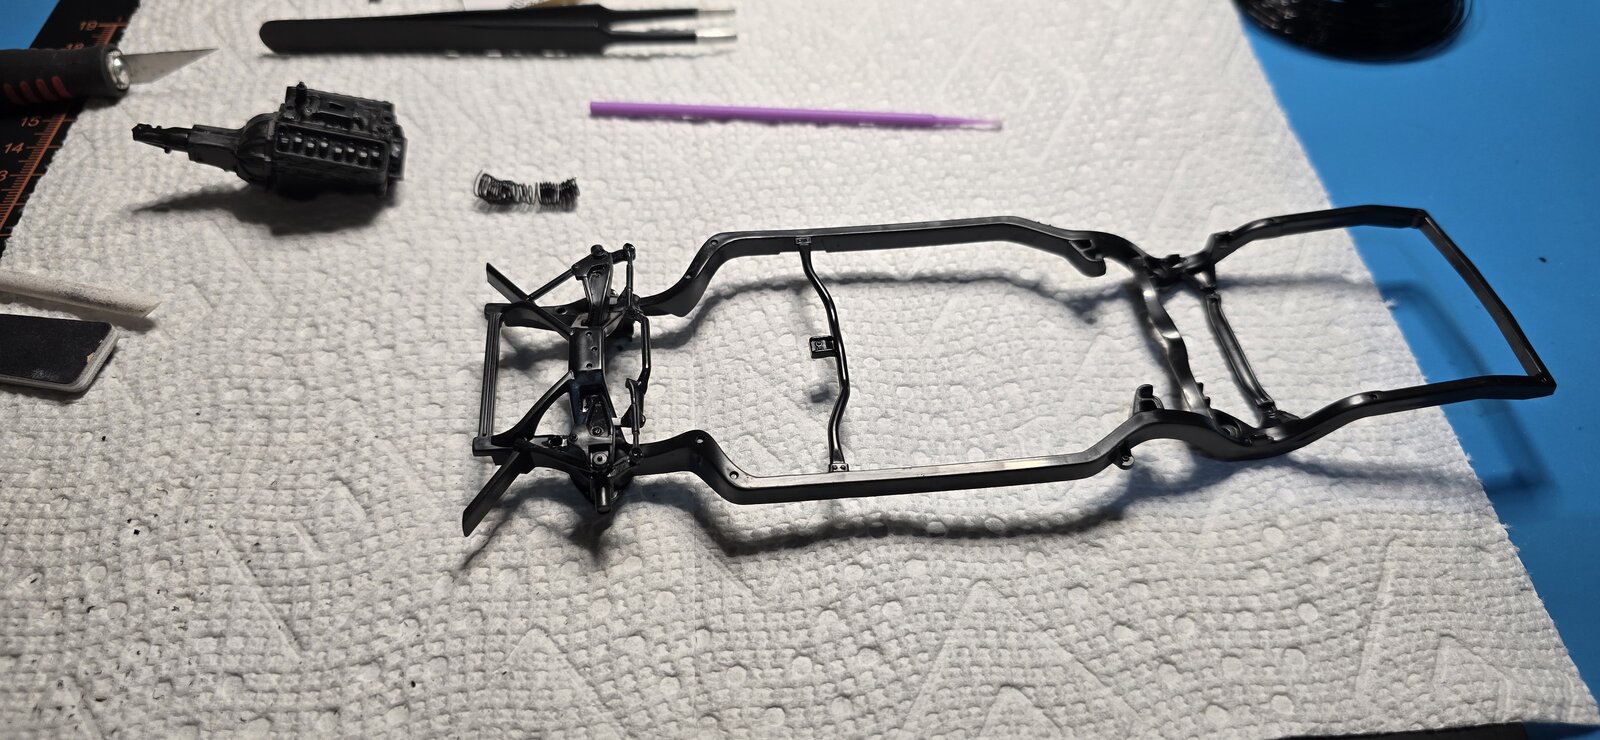
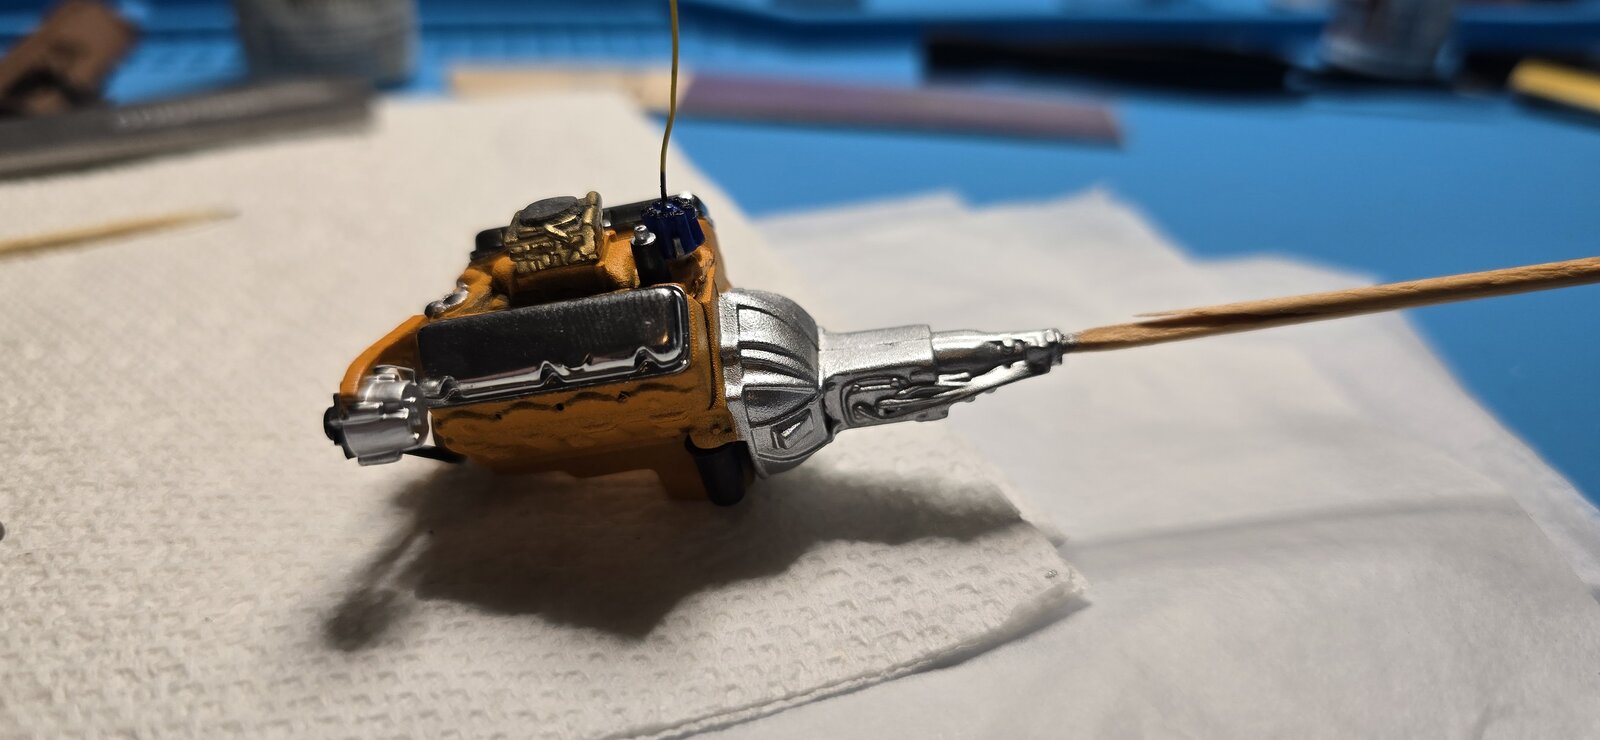
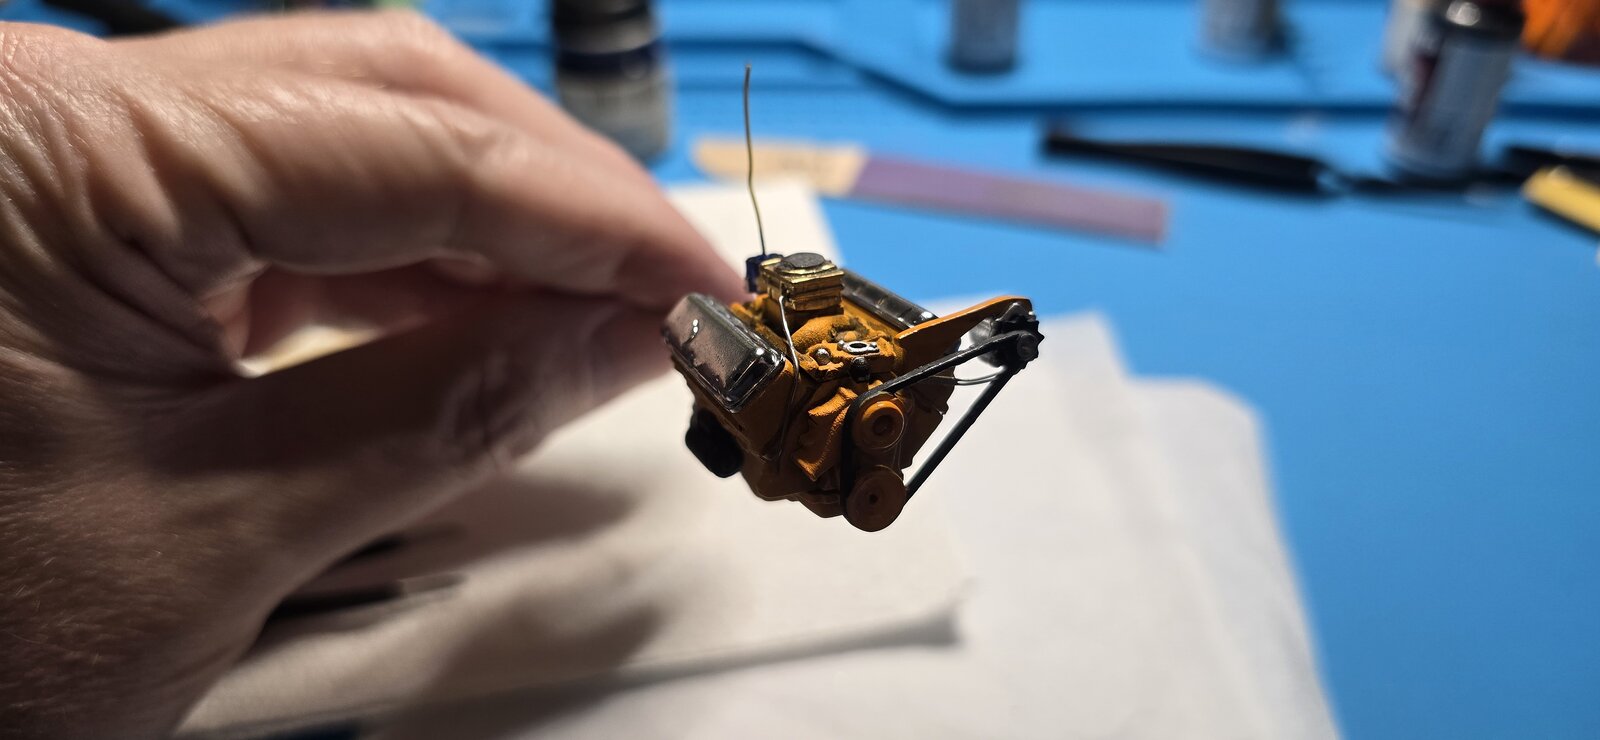
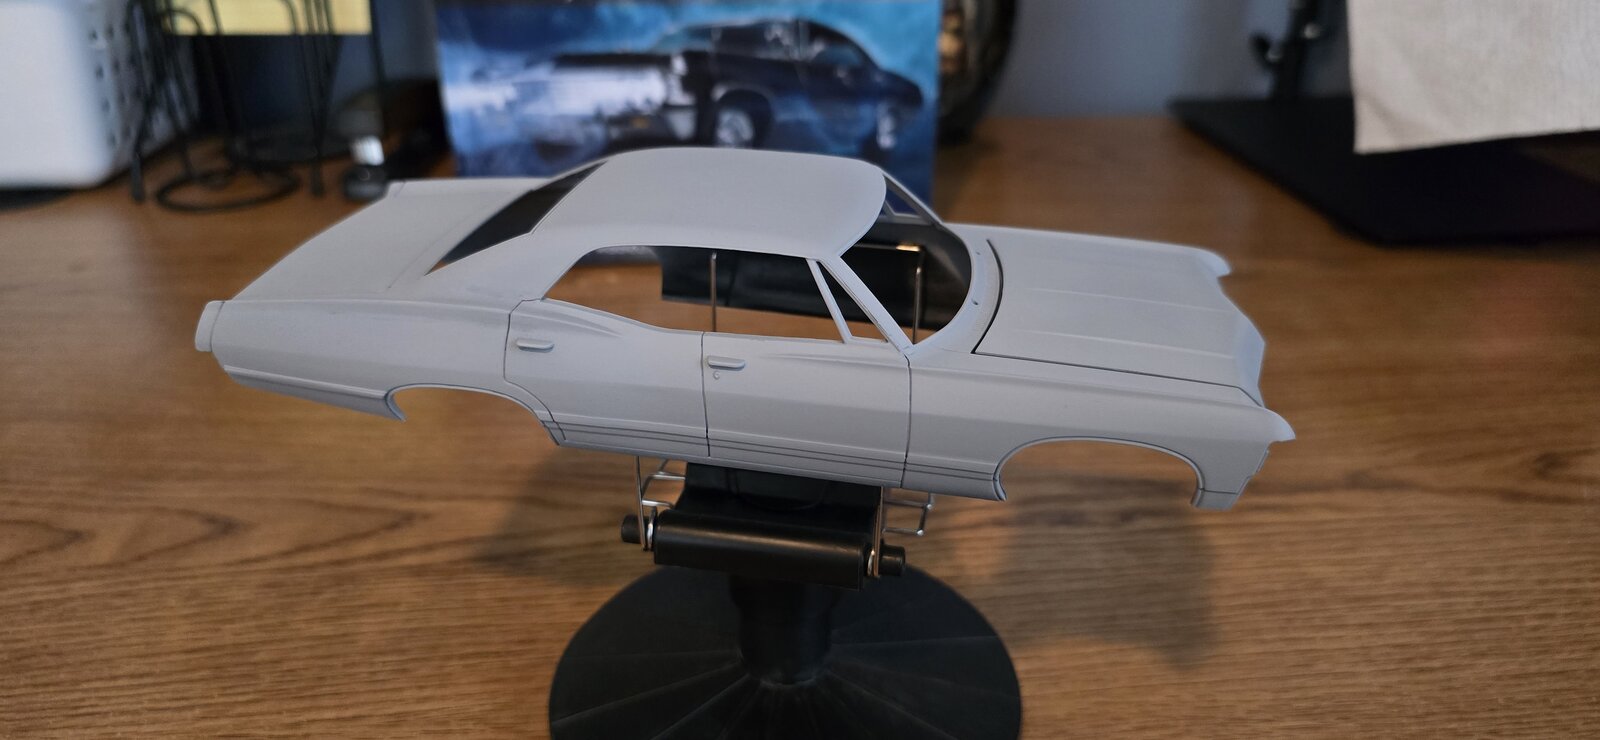
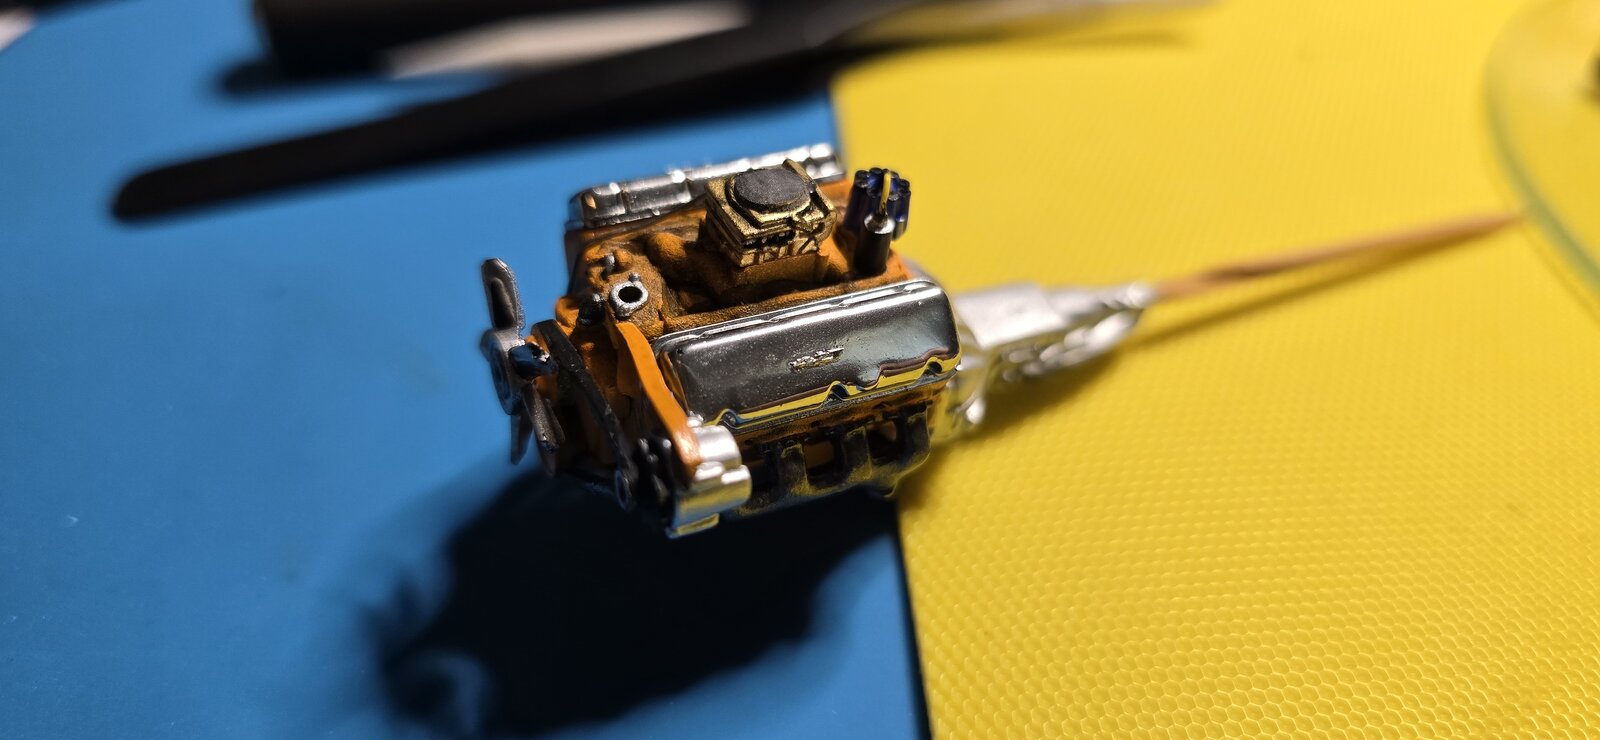
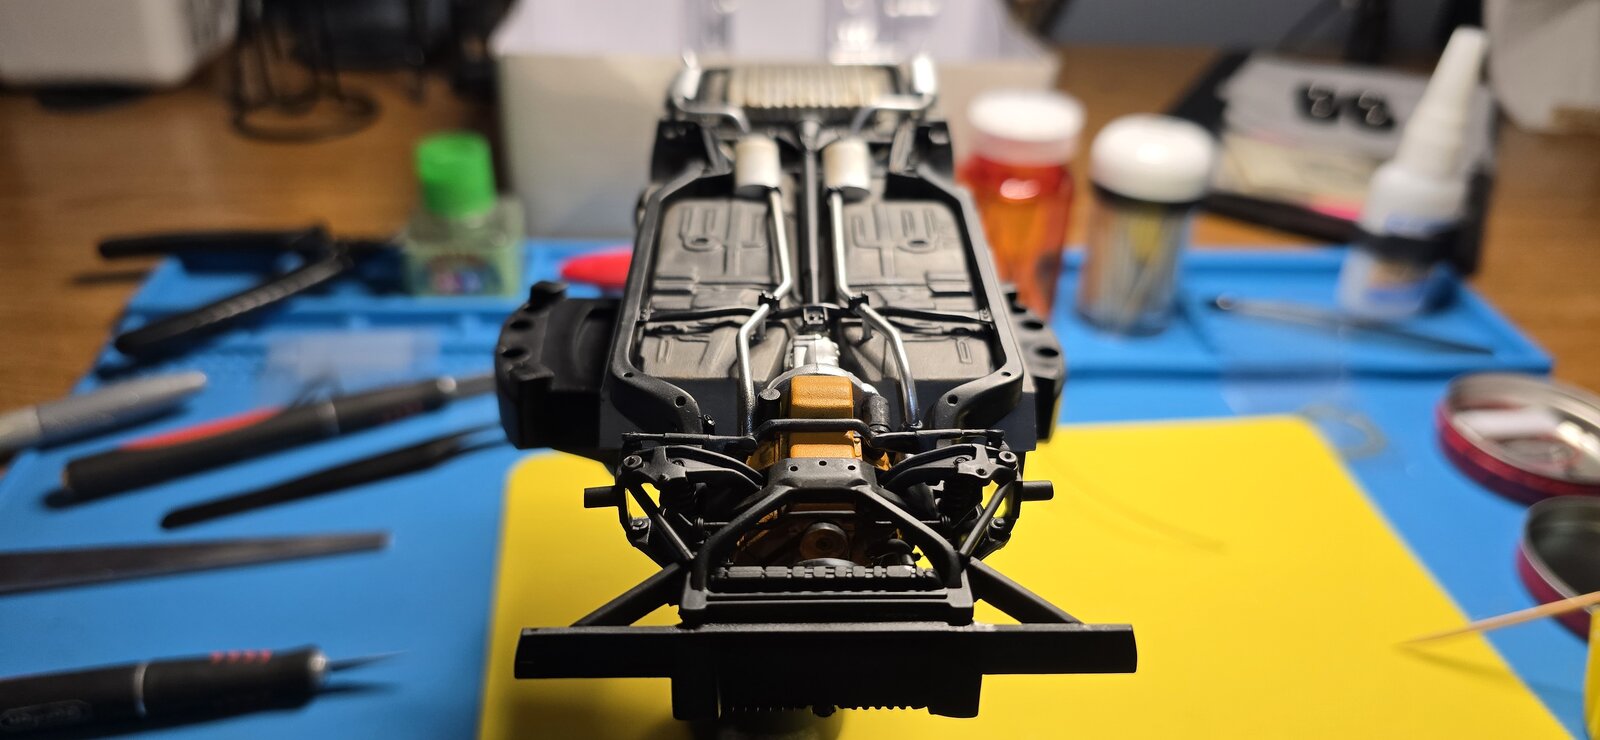
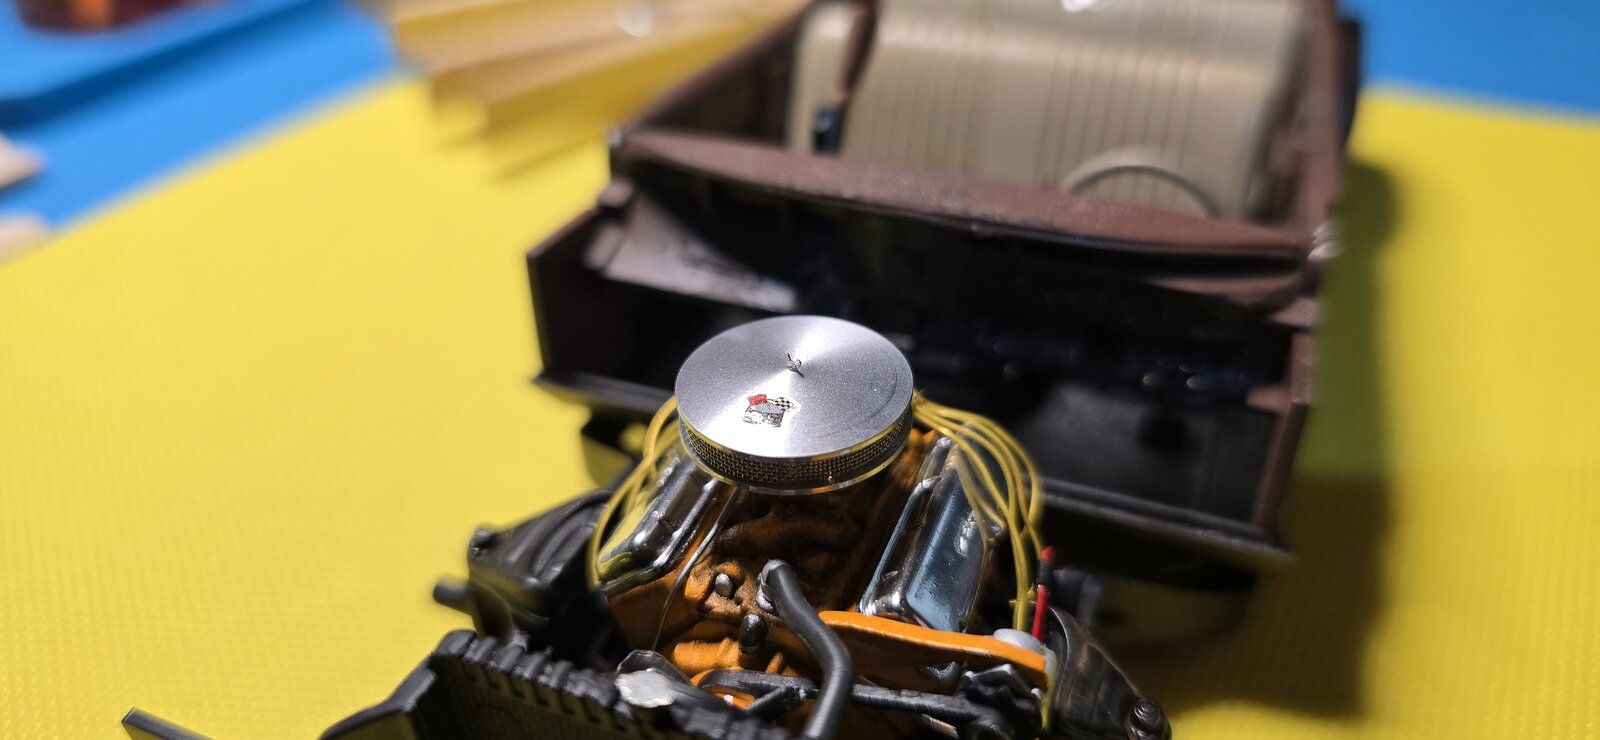
First off, the body was a bit rough, LOTS of mold lines and seams along the fenders/doors, but I think I got them out. Will have to see once I get a coat of primer on it. Got the block built. I used some new stuff to paint the valve covers chrome, Fusion Firm, (made a separate post about this amazing stuff in another post, but this stuff is a game changer).
20250817_091136.jpg
20251002_092625.jpg
20251002_092443.jpg


20251002_095144.jpg
 
I have that kit in my stash and have already built another (for a friend). It went together like a dream until mating the chassis to the body. It didn't want to go together, it took patience sandpaper and touch up painting to get the body on the chassis
 
I have that kit in my stash and have already built another (for a friend). It went together like a dream until mating the chassis to the body. It didn't want to go together, it took patience sandpaper and touch up painting to get the body on the chassis
Thanks, good to know. Was it warped or just typical "AMT" kit fit issues?
 
Thanks, good to know. Was it warped or just typical "AMT" kit fit issues?
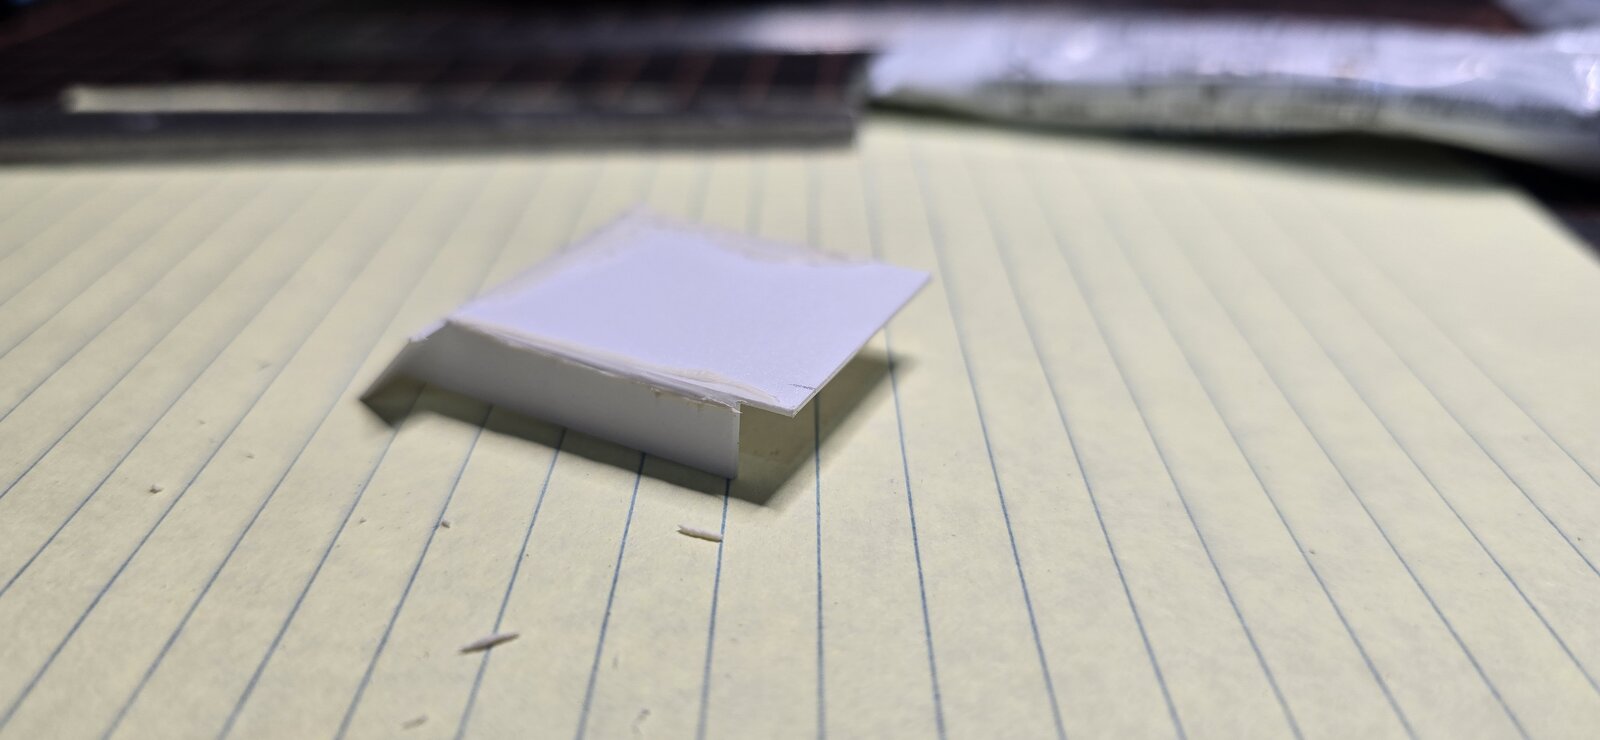
I am not sure. Typical AMT fit issues I think because the chassis did not seem warped to me. The rear of the model is what gave me the most trouble. I used my hobby knife and had to slice some very thin shavings off the rear and wheel wells.

Maybe your model will have better a fit than mine.

BTW my daughter likes your avatar picture. She loves sharks.
 
I am not sure. Typical AMT fit issues I think because the chassis did not seem warped to me. The rear of the model is what gave me the most trouble. I used my hobby knife and had to slice some very thin shavings off the rear and wheel wells.

Maybe your model will have better a fit than mine.

BTW my daughter likes your avatar picture. She loves sharks.
Thanks- Yes, so far every AMT model I've built has had fit issues, thanks for the info, I'll certainly be looking for it.
Thanks, your daughter sounds like a smart young-lady.
 
As an Amazon Associate we earn from qualifying purchases. Product prices and availability are accurate as of the date/time indicated and are subject to change.
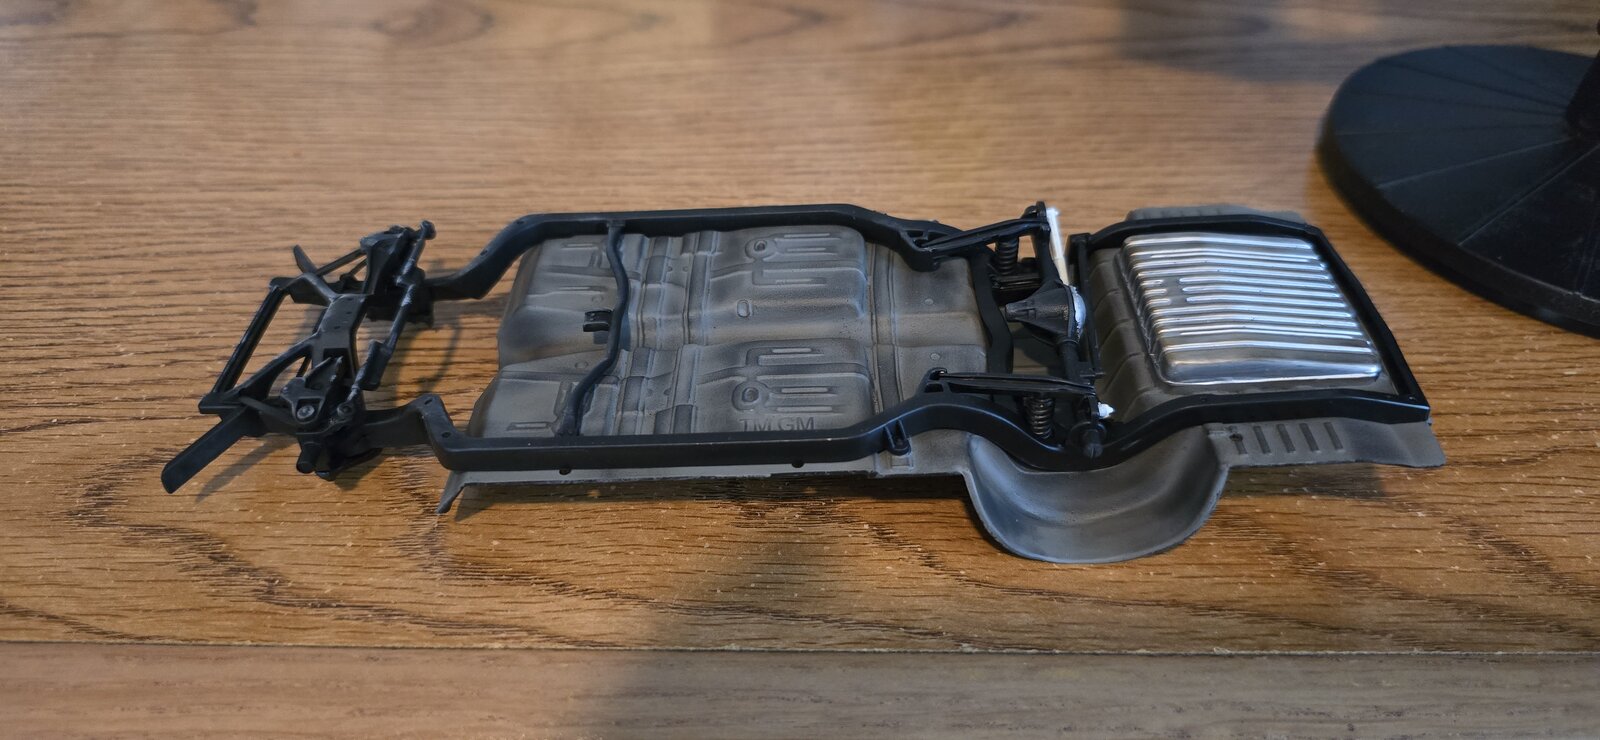
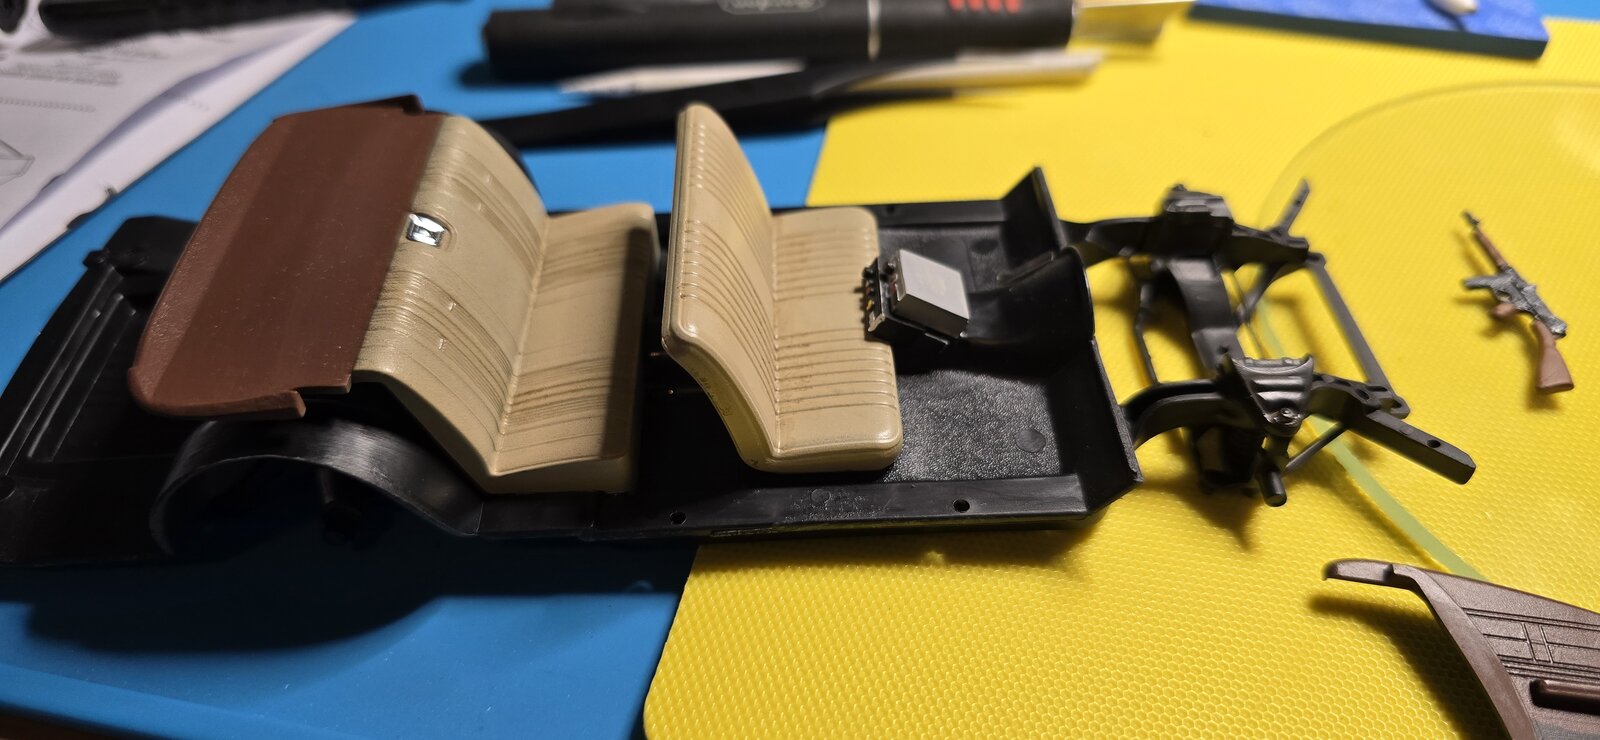
Bit more this morning. Mating the frame to the floorpan/underbody required gluing in stages because the frame was so warped.
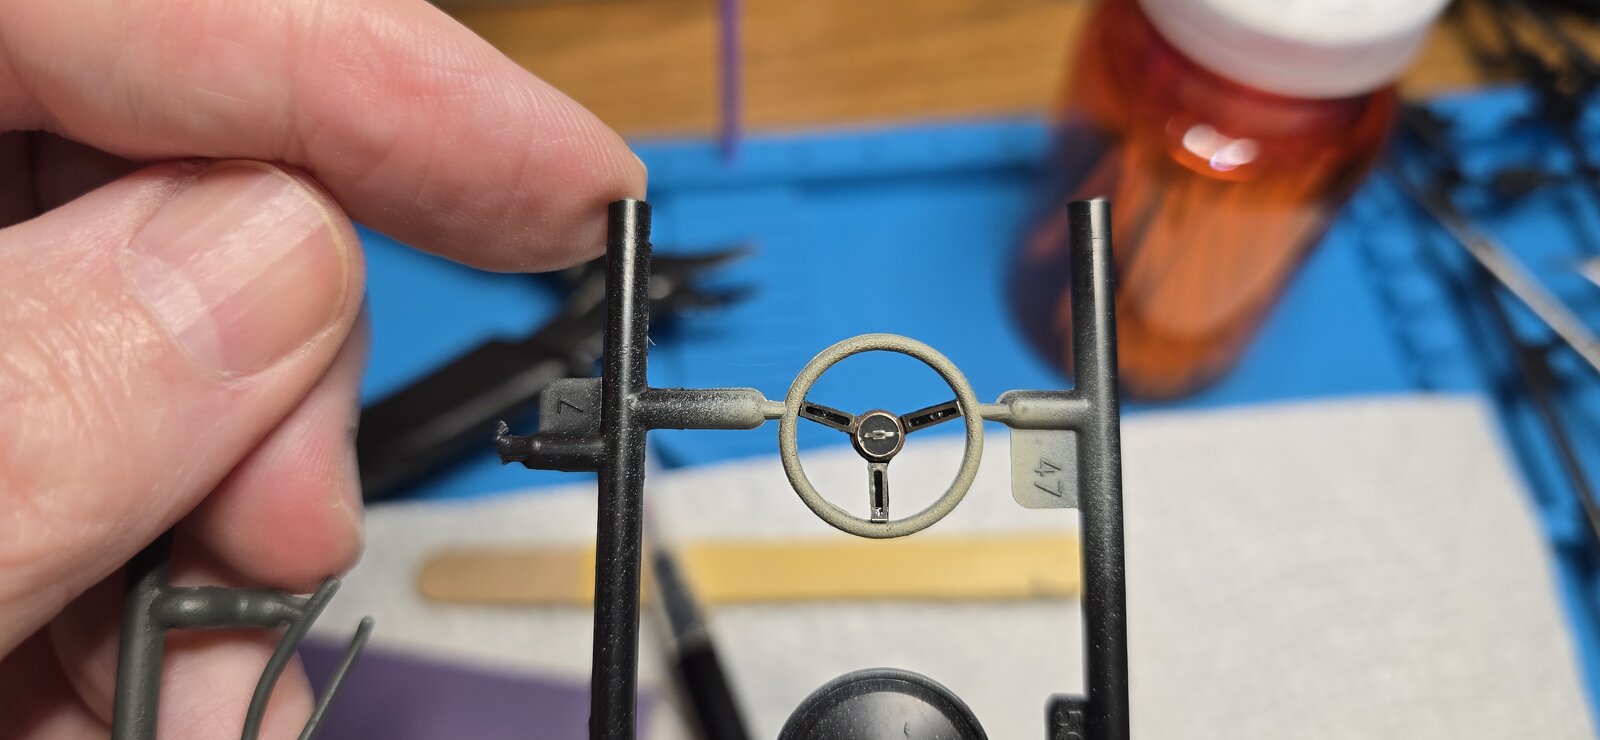
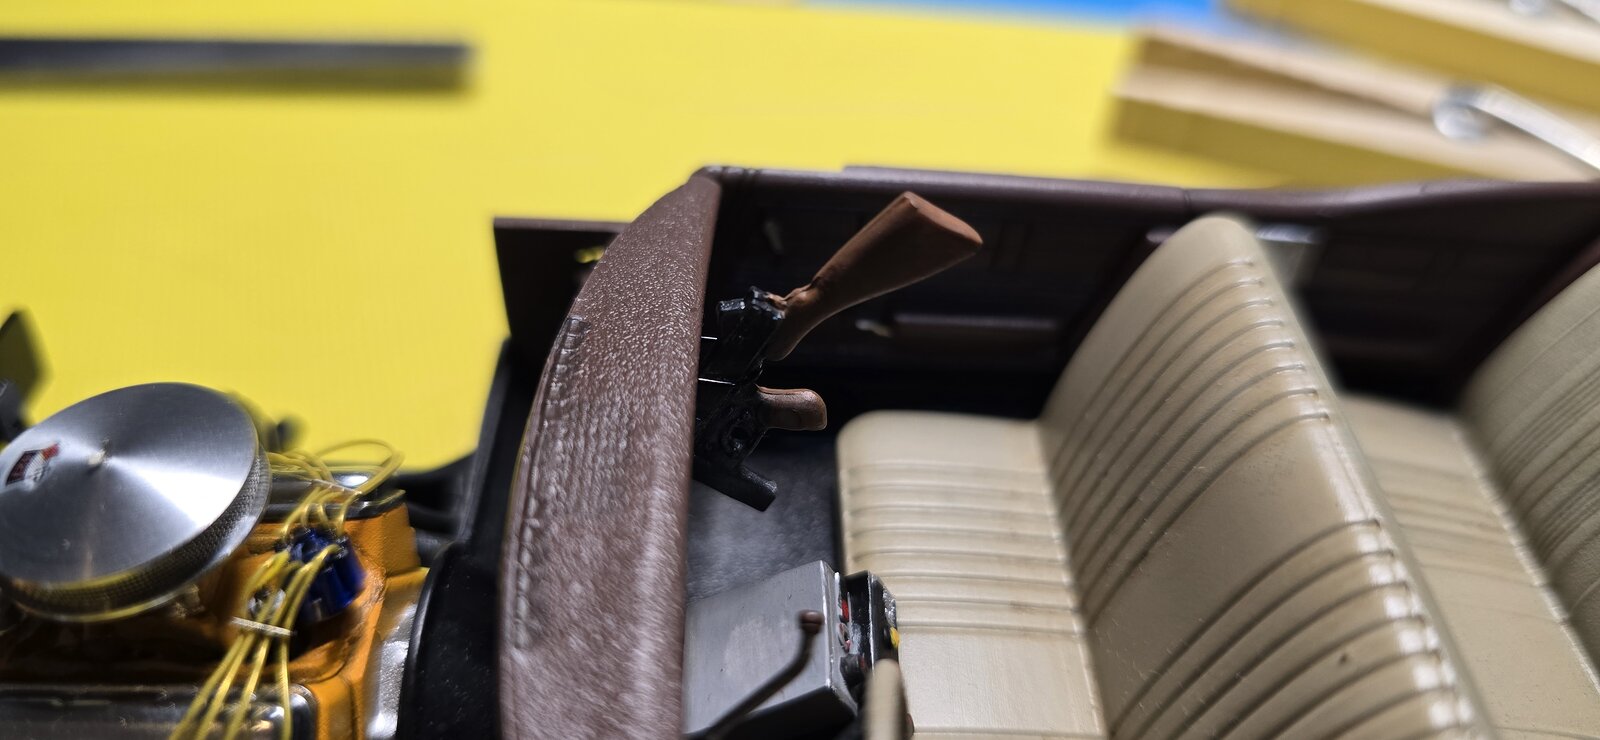
Got a satin coat on the interior and used some leftover PE from a previous kit for the wheel, brought it to life.
Got the exhaust manifolds painted and mounted. Moving along.
1000008862.jpg
1000008863.jpg
1000008864.jpg
 
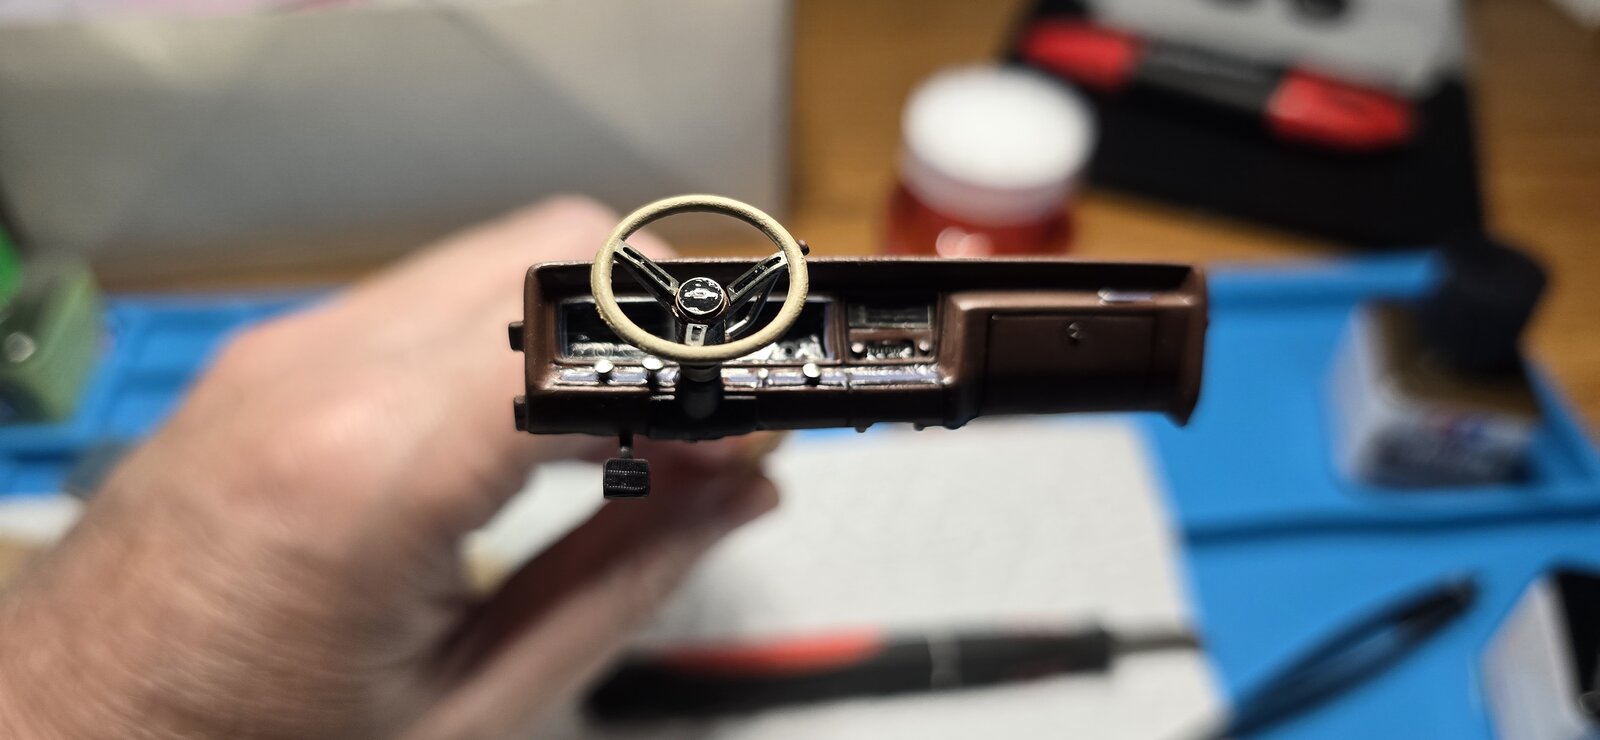
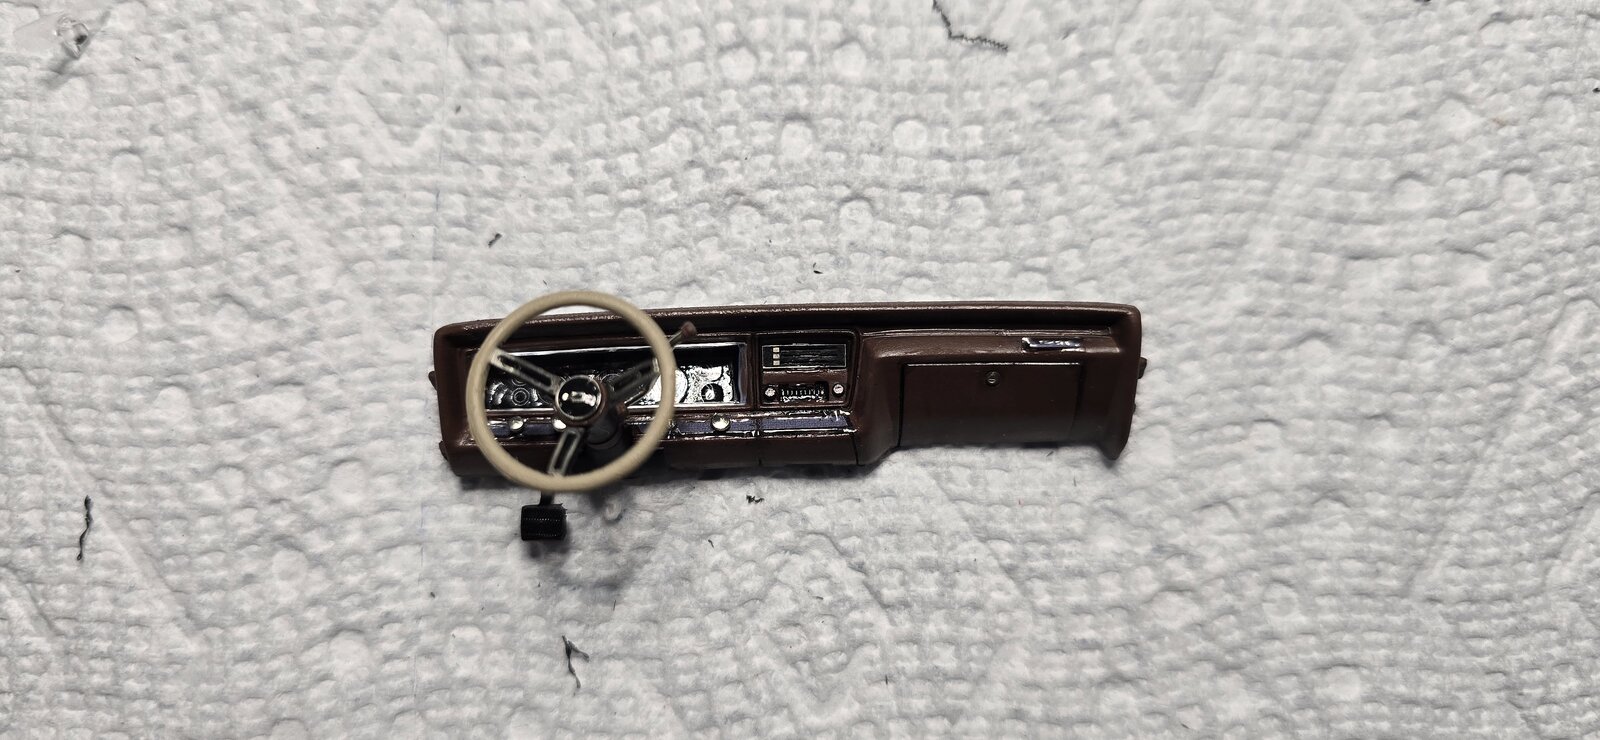
Still plugging along. Got the dash finished up, (not crazy about the decal) and steering wheel mounted. Removed one of the two pedals, making it an automatic.
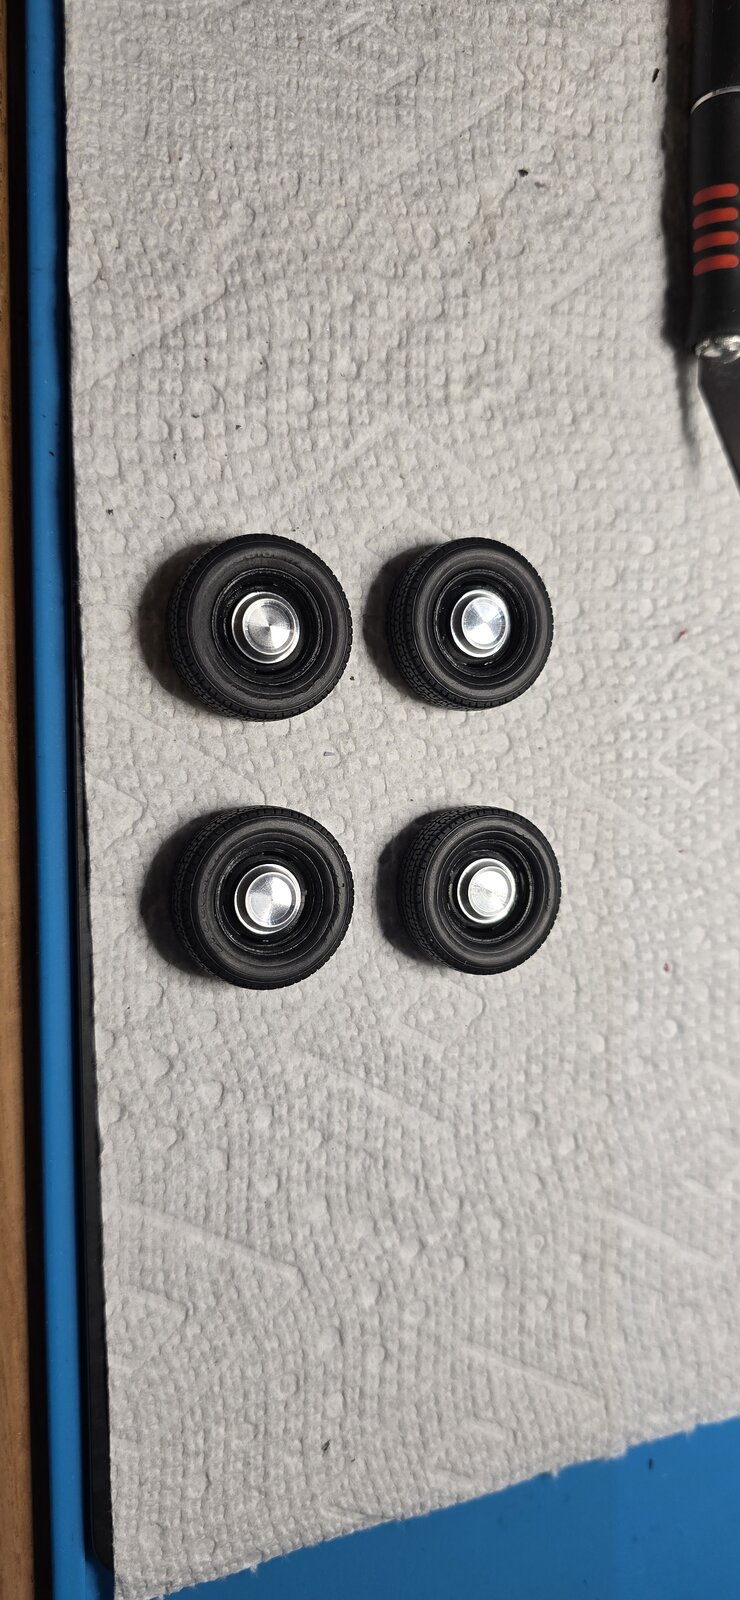
Got the resin wheels and tires finished, ready for mounting.
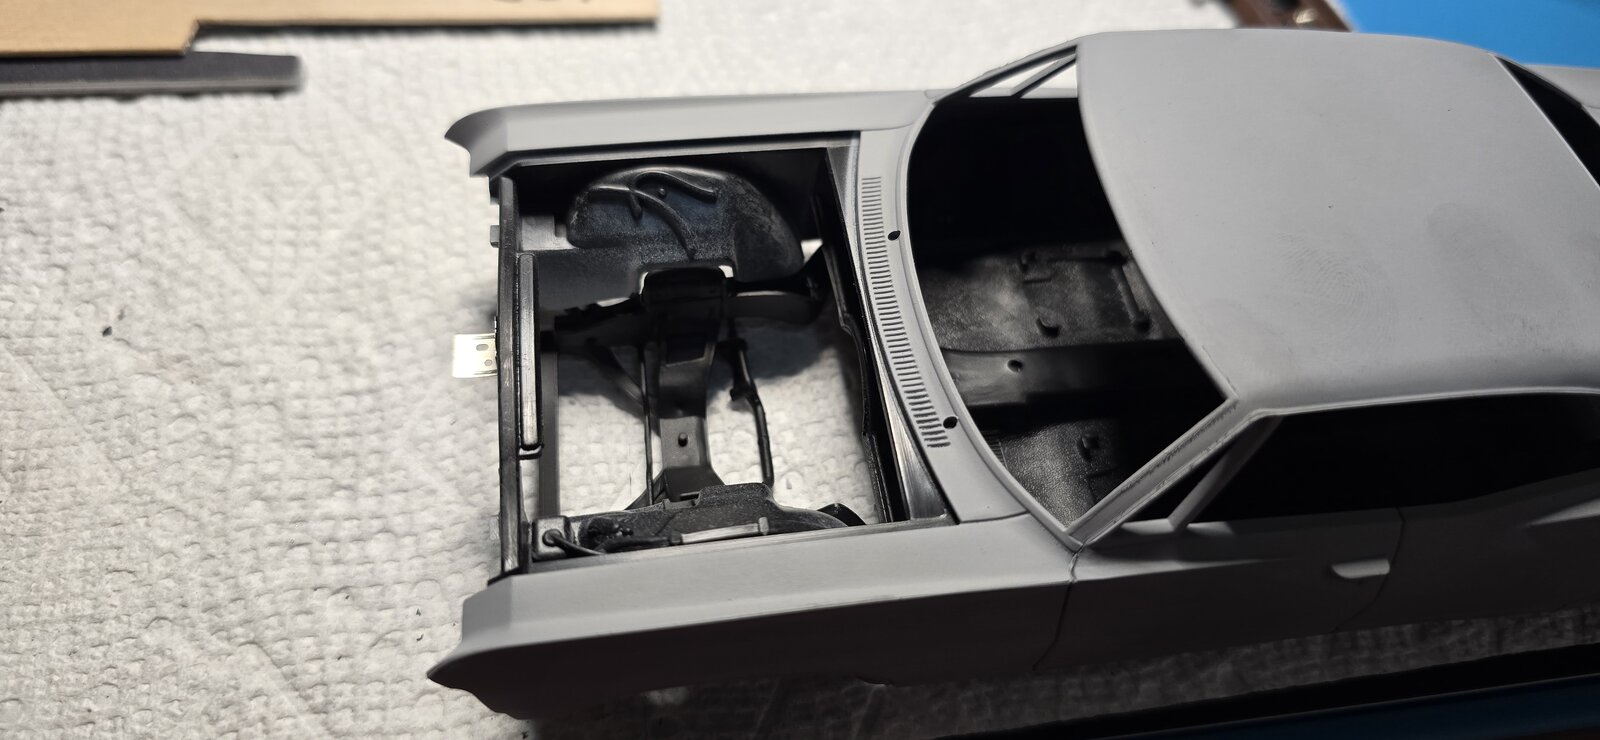
Fixed the fender wells, (thanks for the fit issues heads up wjbrandel) and the chassis will align beautifully when I go to mate them.
1000008957.jpg
1000008955.jpg
1000008943.jpg
1000008944.jpg
 
Beautiful work so far
Thank you very much.
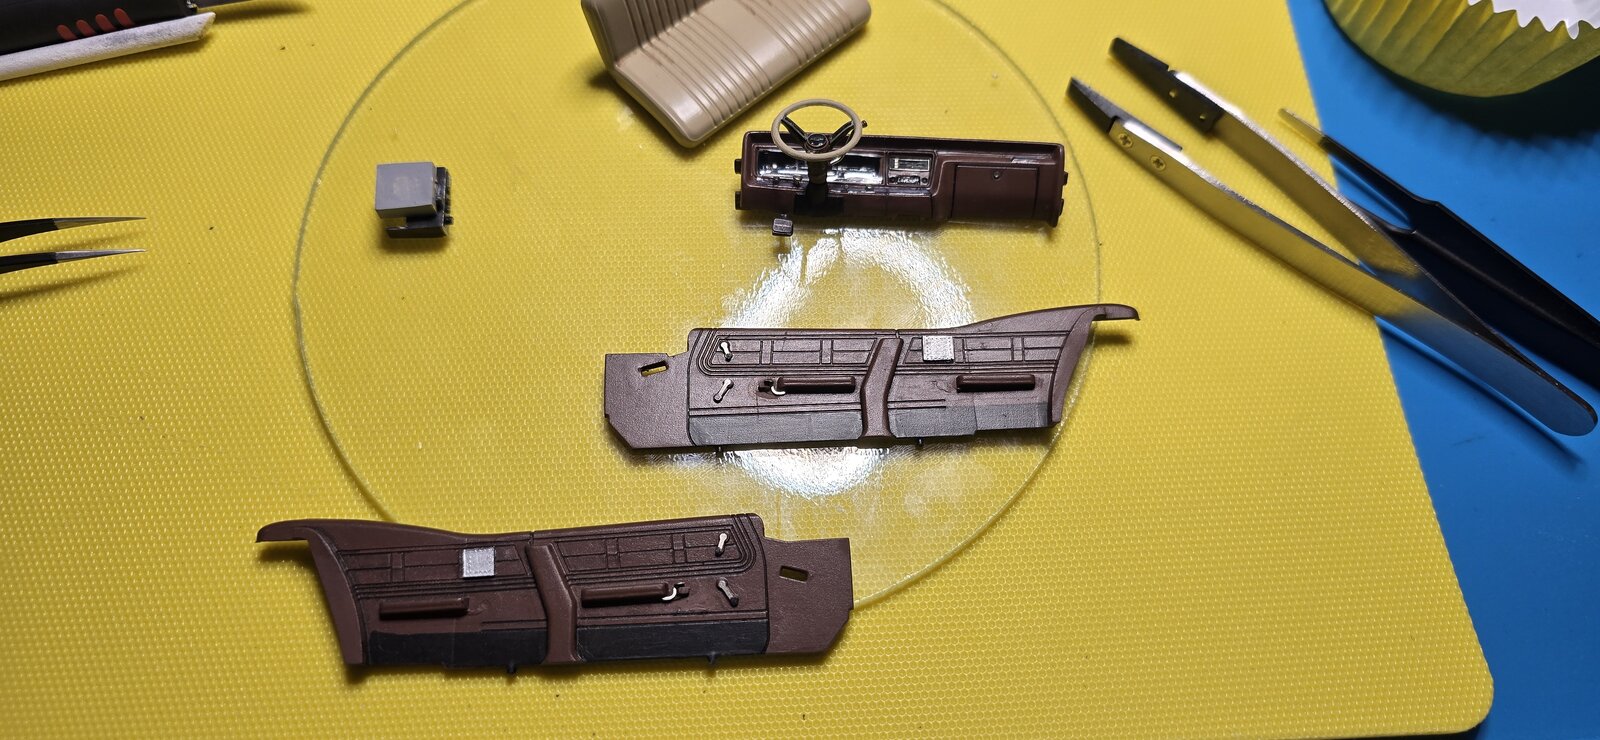
Bringing some of the sub assemblies together. I removed the rear door latches and window cranks, covering them with an "aluminum plate" (some old school security of the rear seat). Added the PE cranks.
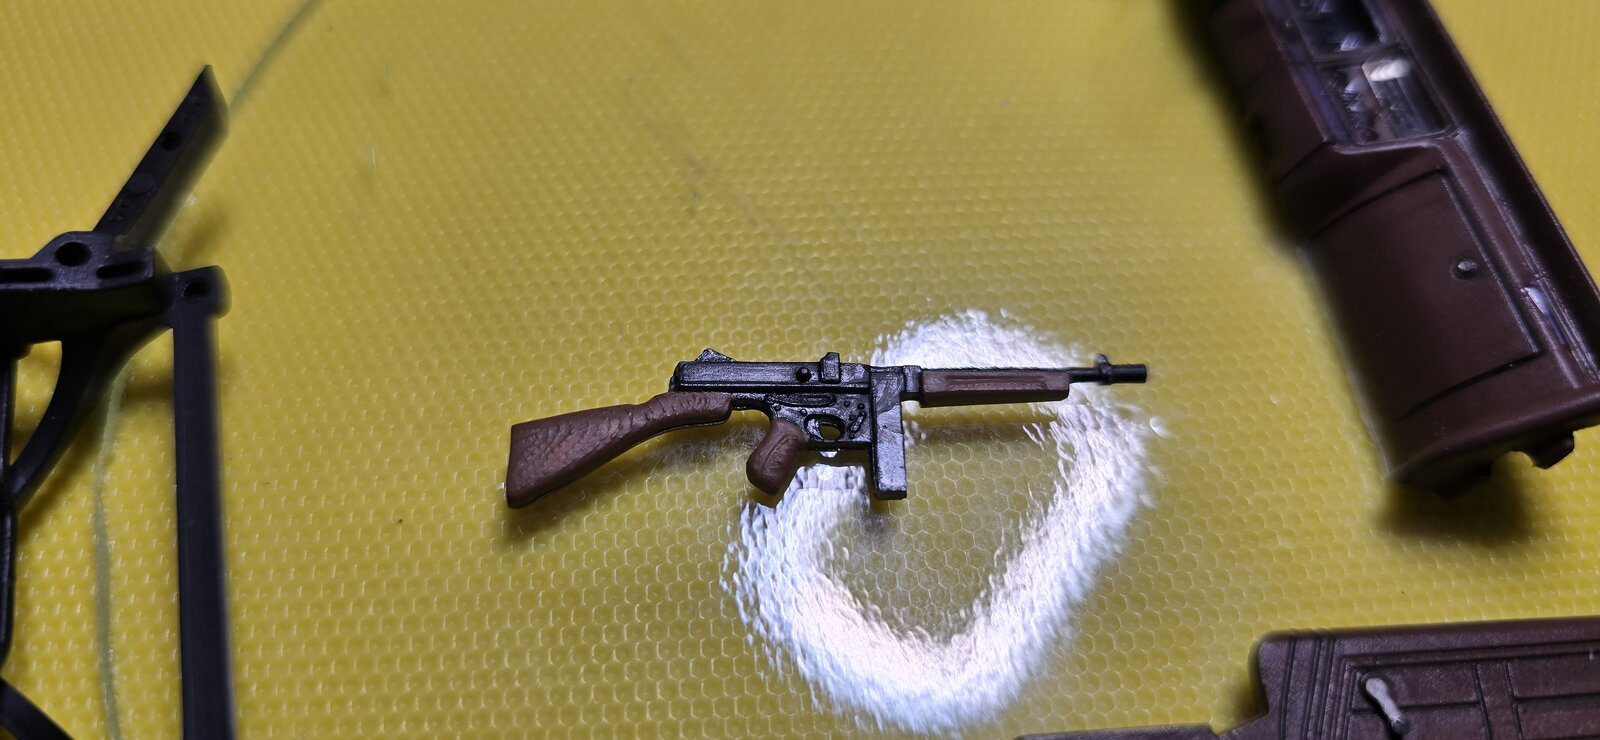
Painted up the radio stack and Thompson.
Added an extra coat of Fusion Form to the valve covers, removing the fingerprint and affixing the PE 427.
1000008970.jpg

1000008966.jpg

1000008967.jpg
1000008968.jpg
1000008969.jpg
 
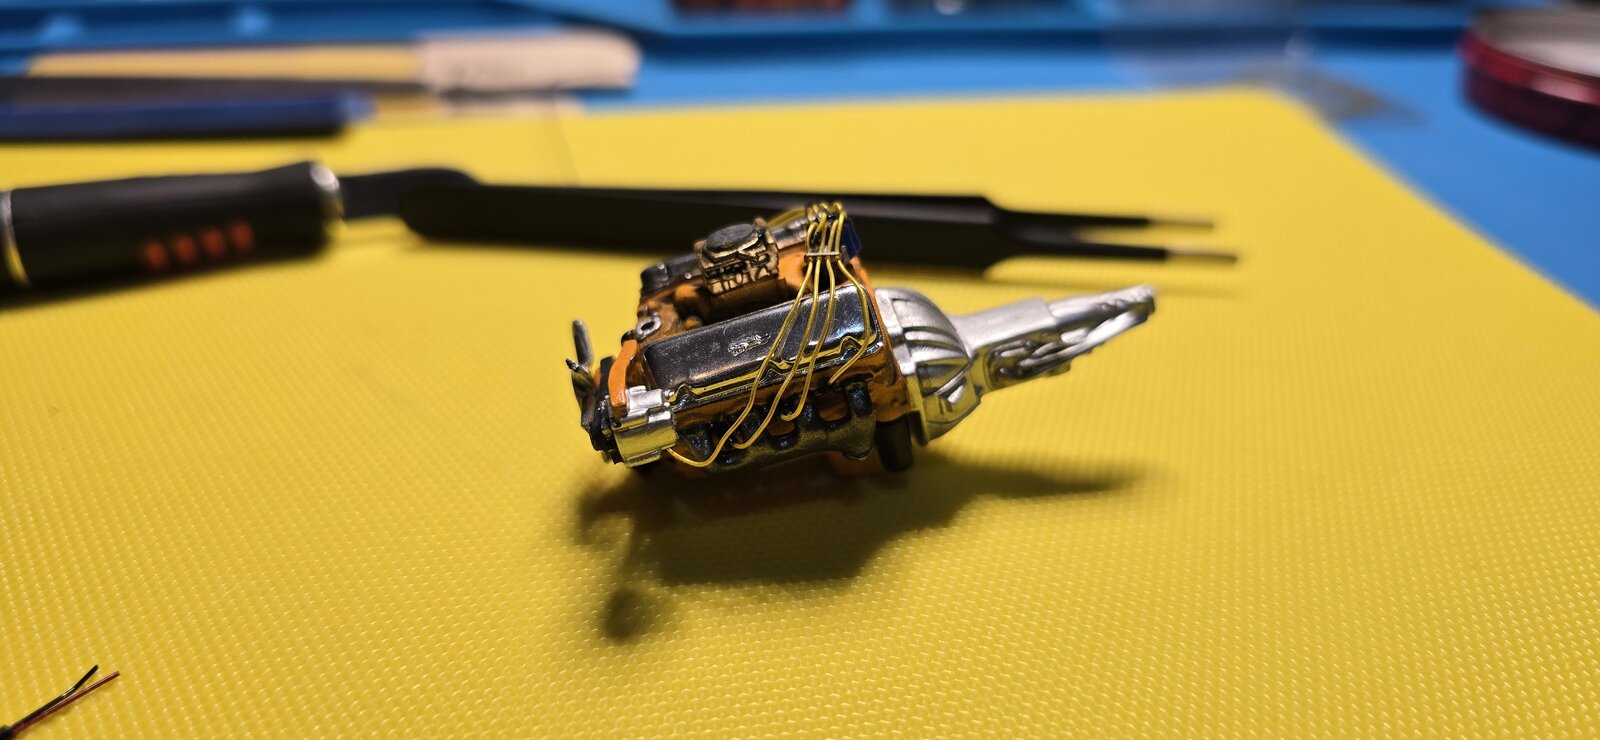
Got a bit more done this morning- For the life of me, I can't comprehend why I wanted to add individual spark plug wires to the kit distributor after drilling out the holes. It's so much easier (and frankly, cost effective for several options) to purchase and add a pre-wired distributor. But, I gave it a try, not too bad, just a very time-consuming process.
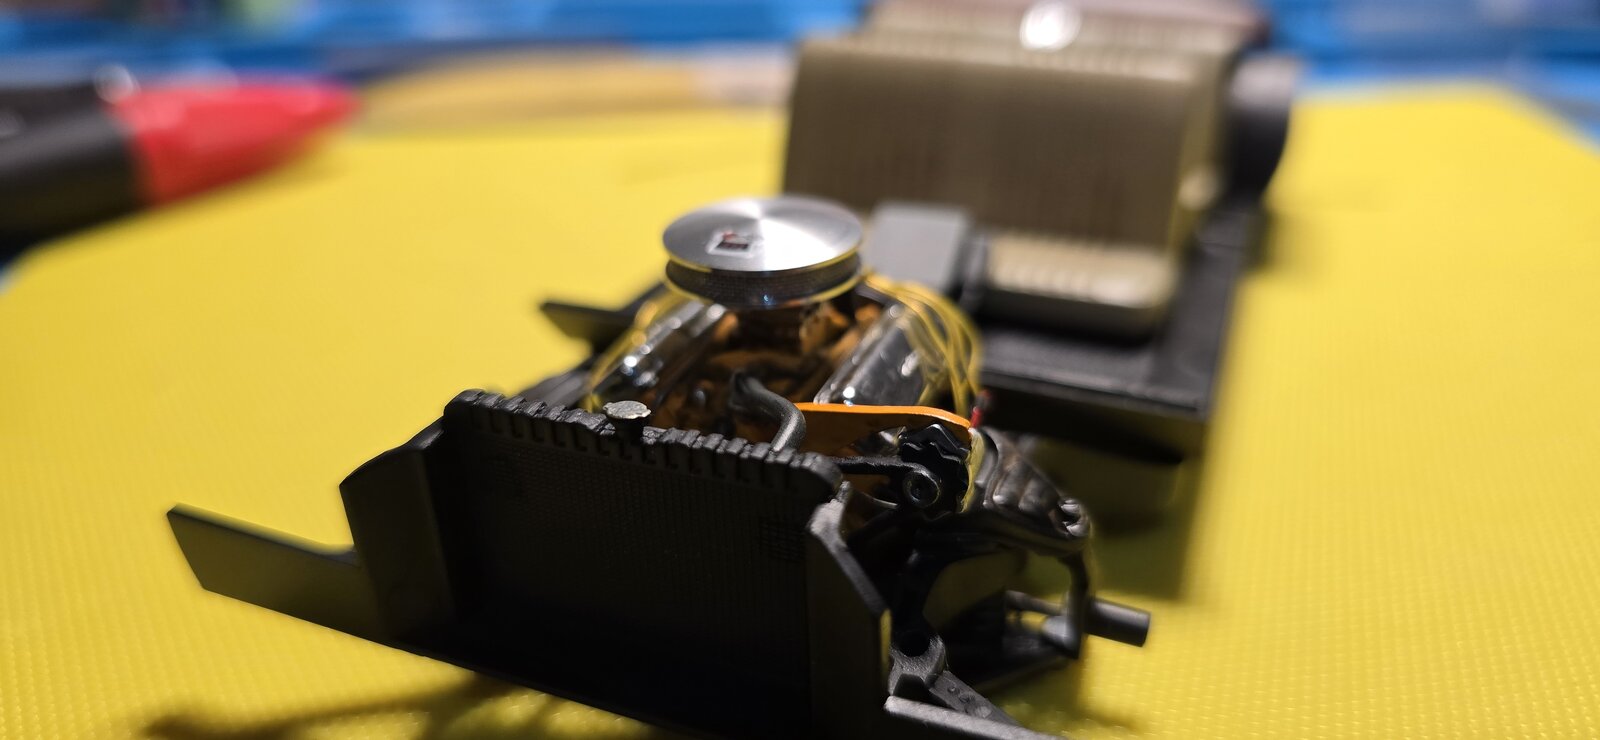
Added a few extra details, (alternator wiring and butterfly nut on air cleaner, so the motor is in the chassis, the interior is built up. I added the "Tommygun" to the dash with a small brace to act as a locking ring.
Got the exhaust built up, which as I wedged it into shape, realized it is NOT period correct, so, oh well. I'm not going to try and re-do the exhaust, so it will be the "flaw".
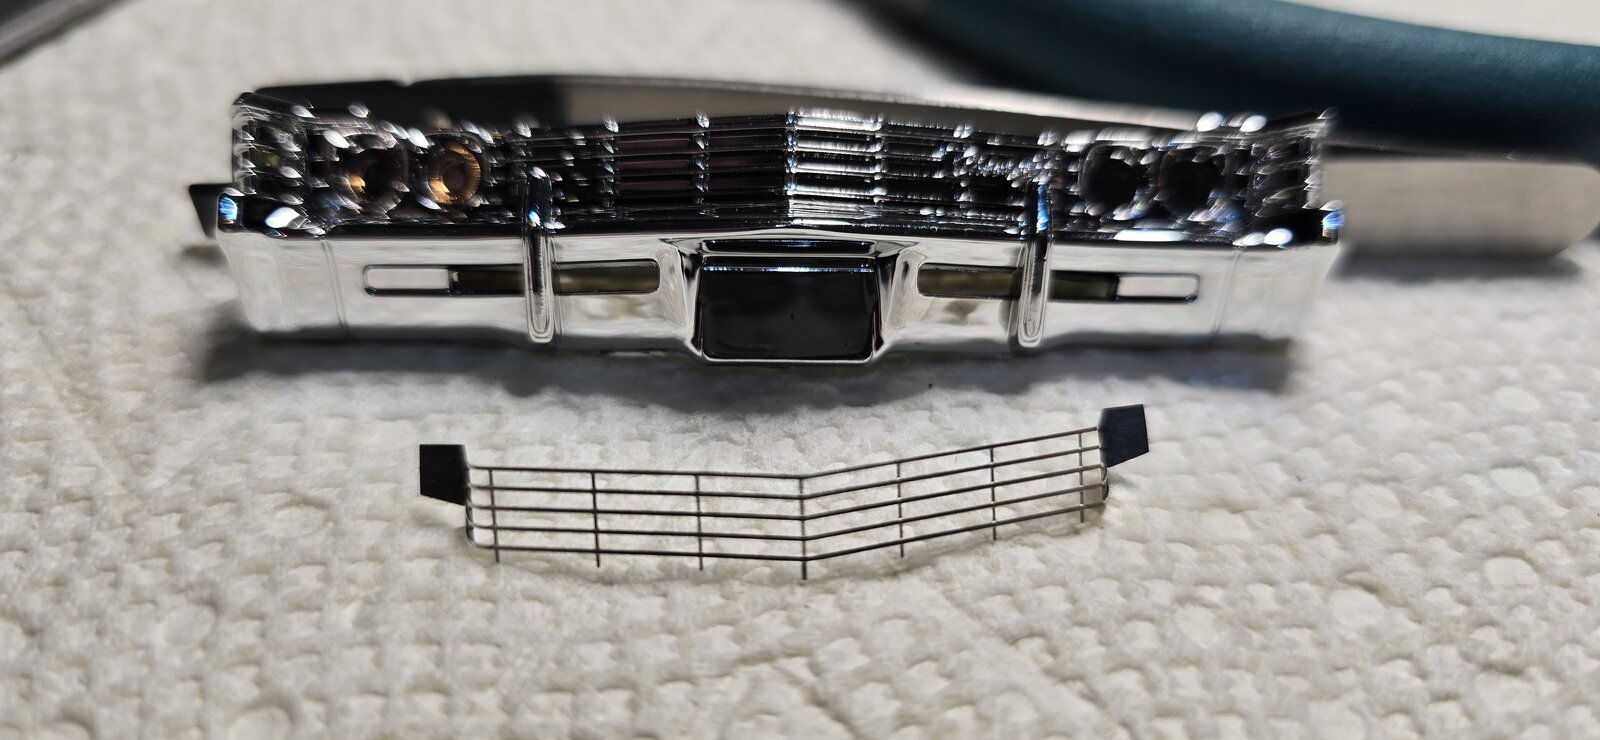
Still need to address the body work, cut up the grill and add the PE. Moving along-
I have found the UV resin to be a Godsend, it's sticky enough to hold an item, yet allow adjustment, until you blast it with the UV light. It's for more forgiving for PE that CA glue. I haven't used epoxy, which would probably be better, but I don't want to start having to mix small batches of 5 minute expoxy over and over, especially with the chaotic method I tend to work, bouncing from one thing to another.
20251019_090352.jpg
20251019_094340.jpg
20251019_102552.jpg
20251019_111815.jpg
20251019_111821.jpg
 
First off, wanted to see if I could make some brake lines for the master cylinder. Came out ok, but of course they wont clear the fenderwell, lol... so will redo that later down the road.
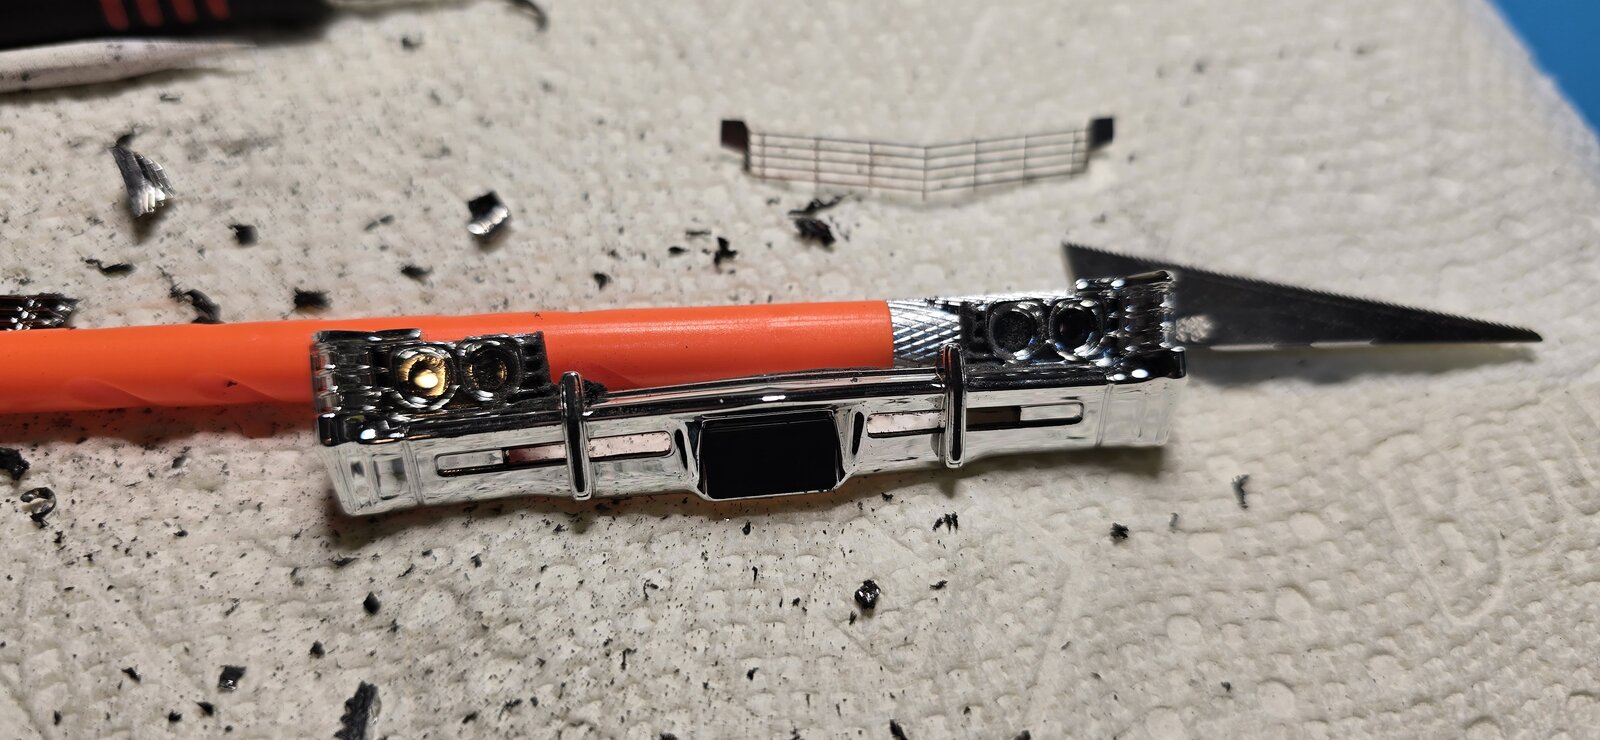
Now, the grille..... I was putting it off, but need to start the process.
I'm going to try using a mixture of bleach and water with an overnight soak, hoping to remove the chrome. Ive never done this, but based on other posts, will give it a shot.
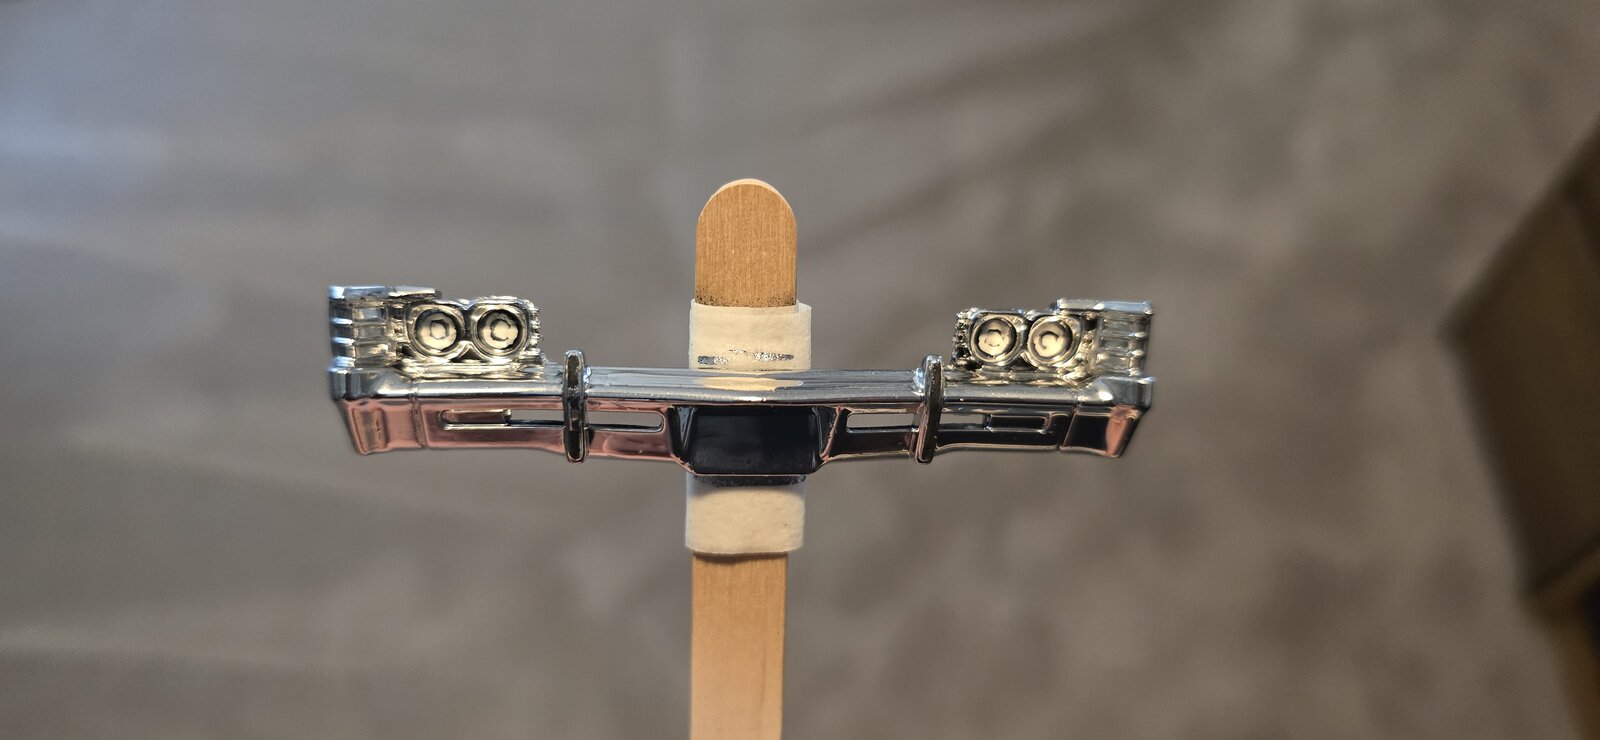
I will say the chrome plating is very nice, clean, clear and very thick, its a shame I'll need to remove it, but by the time I remove all the plastic I need to in order to fix the PE grille, it'll be in rough shape and I'll need to repaint it with FusionFirm and I want it to match, so may as well do the entire front end. It's about having run...right?
1000008986.jpg

1000008987.jpg

1000008989.jpg
 
Last edited:
First off, wanted to see if I could make some brake lines for the master cylinder. Came out ok, but of course they wont clear the fenderwell, lol... so will redo that later down the road.
Now, the grille..... I was putting it off, but need to start the process.
I'm going to try using a mixture of bleach and water with an overnight soak, hoping to remove the chrome. Ive never done this, but based on other posts, will give it a shot.
I will say the chrome plating is very nice, clean, clear and very thick, its a shame I'll need to remove it, but by the time I remove all the plastic I need to in order to fix the PE grille, it'll be in rpugh shape and I'll need to repaint it with FusionFirm and I want it to match, so may as well do the entire front end. It's about having run...right?
View attachment 166382
View attachment 166381
View attachment 166383
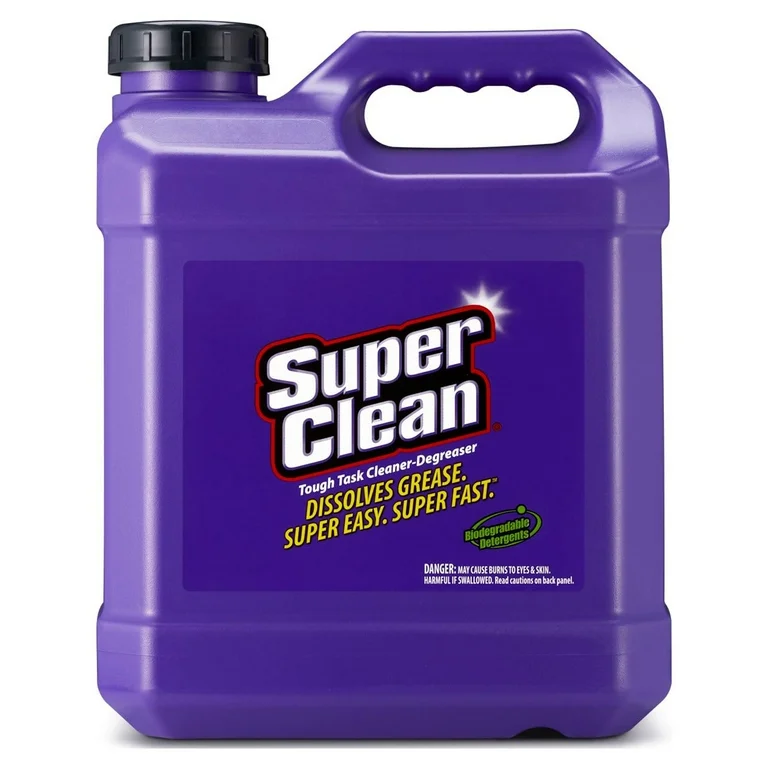
I use Super Clean to strip chrome. Works in about 10 minutes.
Love your detail work.

IMG_2961.webp
 
I use Super Clean to strip chrome. Works in about 10 minutes.
Love your detail work.

View attachment 166399
Thank you, I have read multiple posts about this stuff, but I've never seen it.
And the chrome on this part (and I'm assuming on the rest of the sprues) is the toughest I've ever seen.
Yesterday, I started it soaking in a mild bleach/water mixture (about 50/50), sitting for several hours, when I checked on it, it was no different than when it first went in, so I increased the bleach mix, (80/20 ish) letting it sit for a few more hours. When I checked again, a few small areas were stripped (mostly in the small recesses, but still fine). So, I read a few other posts and tried 409, letting it soak overnight.
When I got up this morning and checked, still fine. I currently have it sitting in 100 % bleach, I'll give that a try for a while this morning while I'm having my coffee. I don't want to ruin/warp the plastic with too long in the bleach, but if this doesn't work, I'll have to go out and find some Super Clean.
As I mentioned, this chrome plating is some of the heaviest, best applied I've ever seen. Doesn't seem to want to leave, like a tacky cousin at a wedding.

Thanks!
 
Great progress so far and I'm really liking that grille. Bleach works well but that Purple Power should do a swell job of removing the chrome from that bumper if the bleach doesn't work out.
 
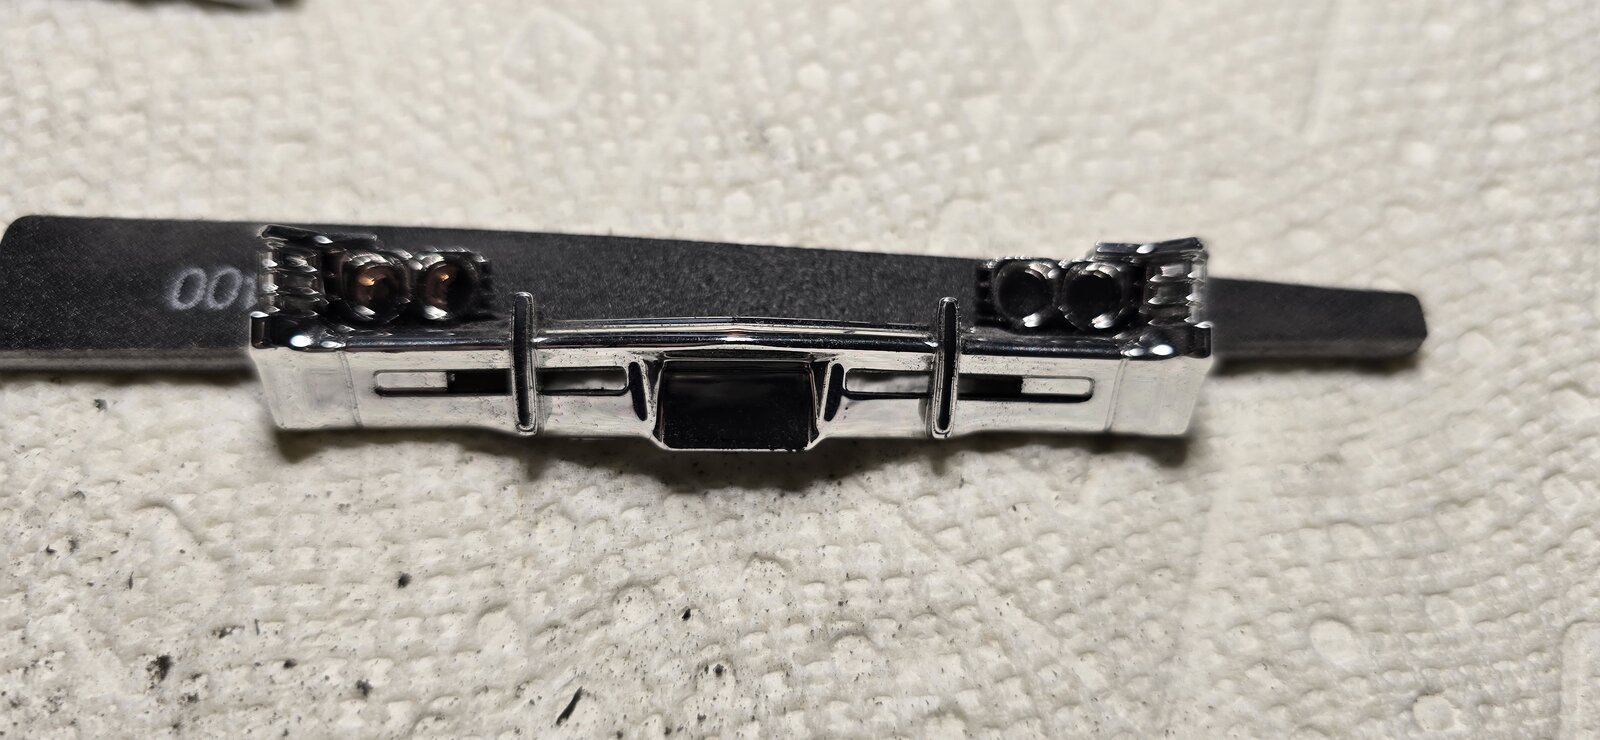
So, apparently this kit has some of the best chrome ever plated on an AMT kit, this is after soaking 18+ hours in bleach mixtures (to 100 % bleach for 2 hours) and aside from some of the recesses and a bit on the back, still there and frankly, looking great. Lol.
So, I've got to sand more to get the PE grille to fit properly, and I ordered some Super Clean, I'll give that a try.
1000008998.jpg
 
Looking good!

Regarding the chrome stripping. If you cant find the purple stuff this stuff works just as good. Its called La's totally awesome cleaner. I get mine at the Dollar Tree but they have it walmart also. Same deal, drop them in, let it soak works GREAT without damaging plastic.

La's awesome cleaner
 
Last edited:
I got impatient (shocker!), after spending 3 or more hours sanding and cutting the grille and being unable to strip the chrome (I did order some Super Clean, which should be here tomorrow) I figured I'd see what the FusionFirm could do. I initially half-arsed it on, (not expecting it to perform), but I was wrong.
This is two coats, I stuck my thumb into the first, along with not being very thorough (not expecting it to work) so this is post second coat. I think this is comparable to the factory chrome, so I'm going to let it dry, attach the PE tomorrow or the next day and move onto the final prep for the body paint.
Can't really complain about this stuff, again, this is direct from the bottle, WITH A BRUSH!!!! No prep- :eek:

20251021_110607.jpg
 
Last edited:
Looking good!

Regarding the chrome stripping. If you cant find the purple stuff this stuff works jsut as good. Its called La's totally awesome cleaner. I get mine at the Dolalr Tree but they ahve it walmart also. Same deal, drop them in, let it soak works GREAT without damaging plastic.

La's awesome cleaner
Thanks!! Good to know
 
Last edited:
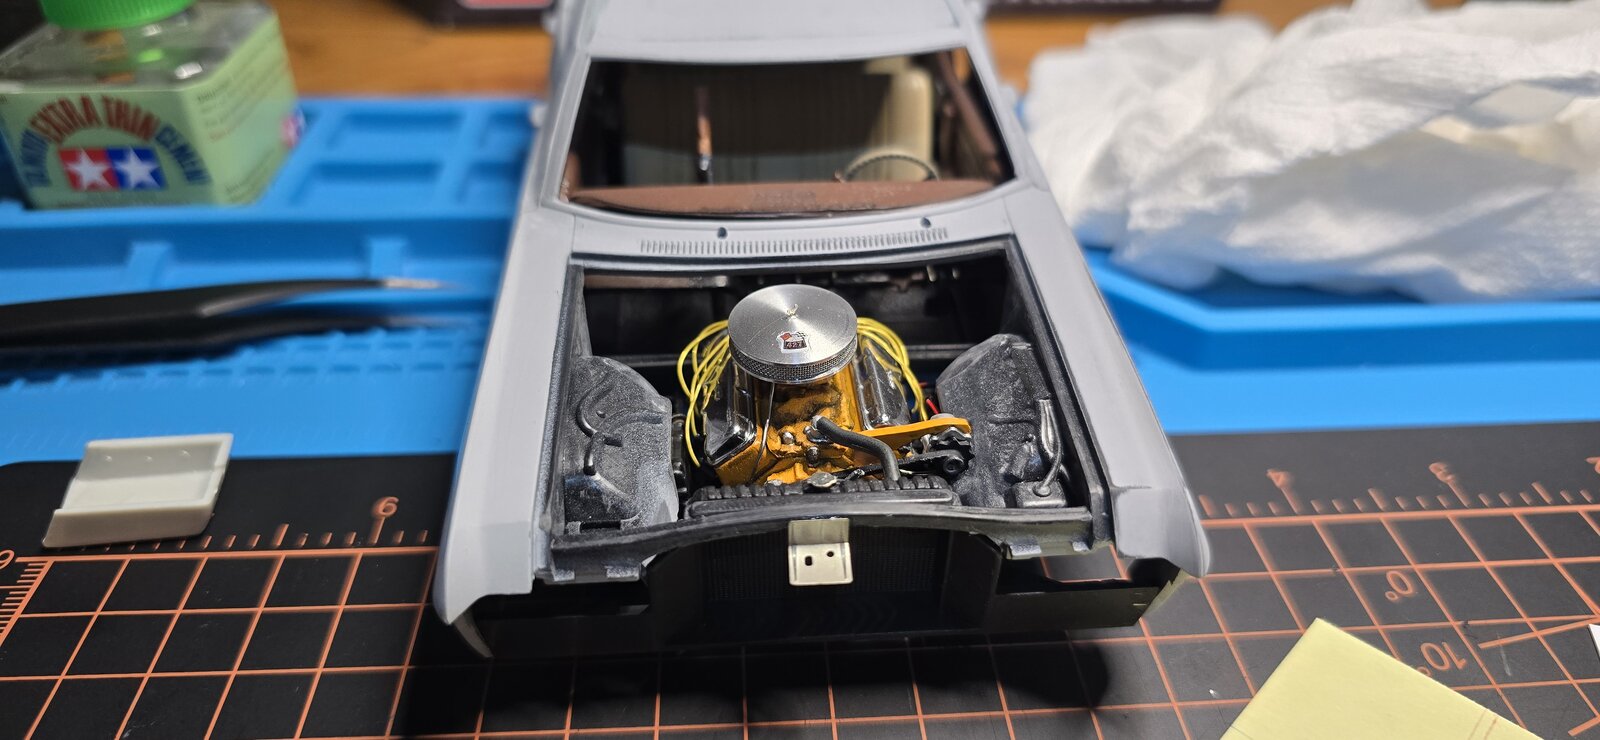
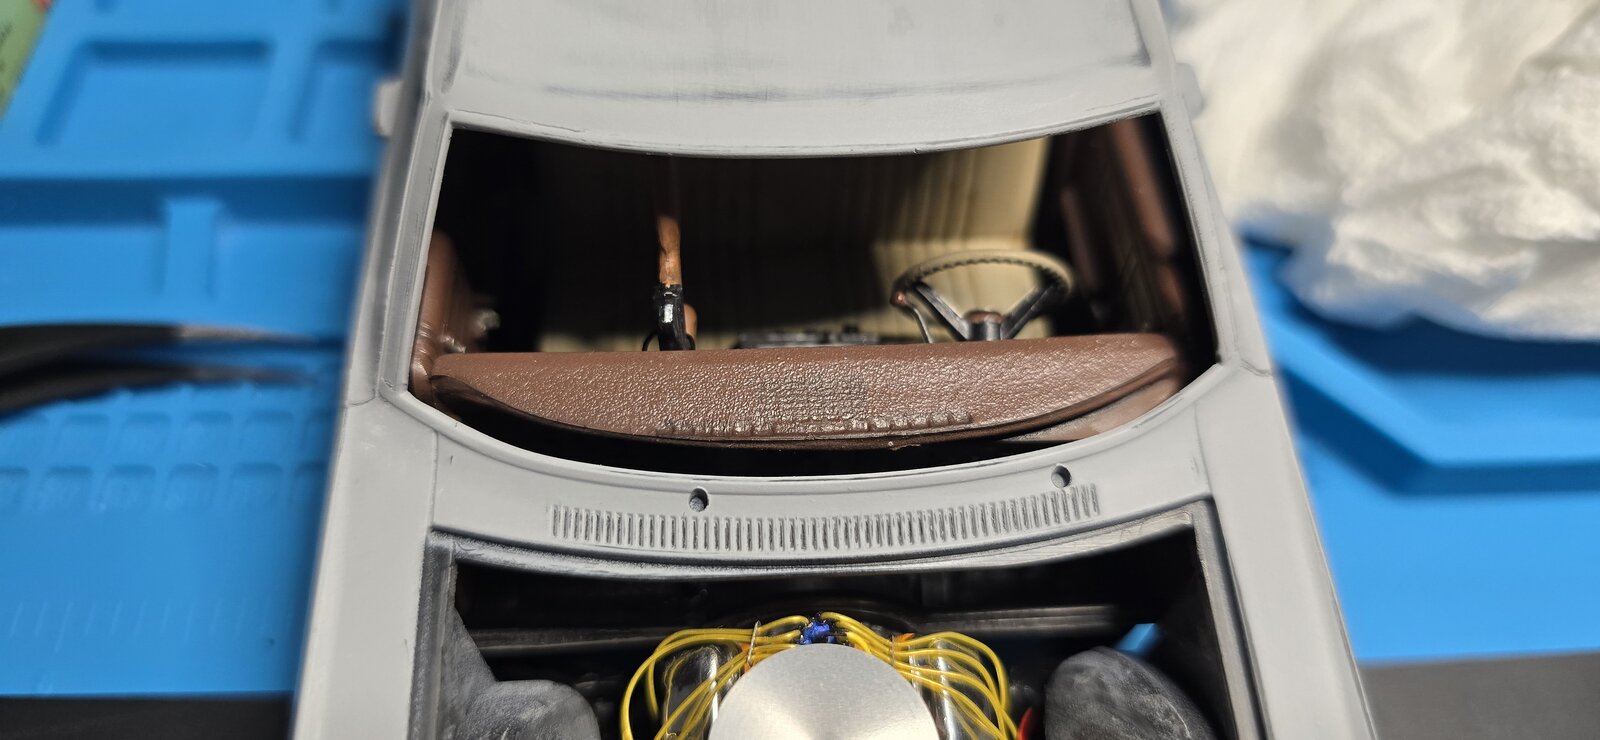
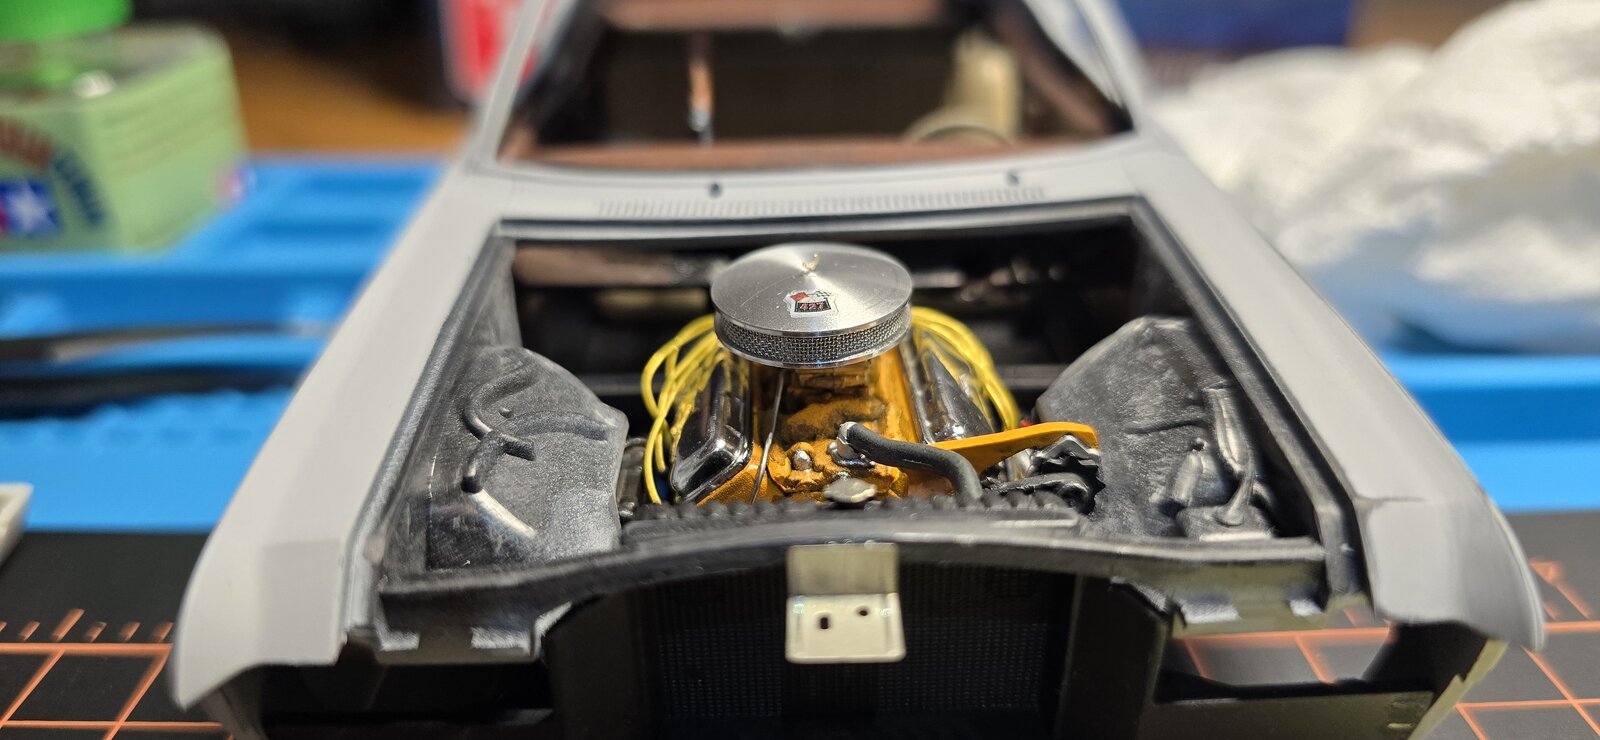
During a dry fit of the chassis into the body (I was getting ready to put some paint on the body), I discovered a few more fit issues-
First off, the dash is about 2 mm from the bottom of the windshield (or where it will be once installed), I think I can fudge that by putting a slim strip of black paint along the bottom of the windshield, hiding it, mostly. It's as though the interior is too small for the shell, but it was assembled with perfect fit, and the dash is actually set into the sides, capturing it, so it's not as though it can move forward, that would throw off the entire undercarriage....so, ?

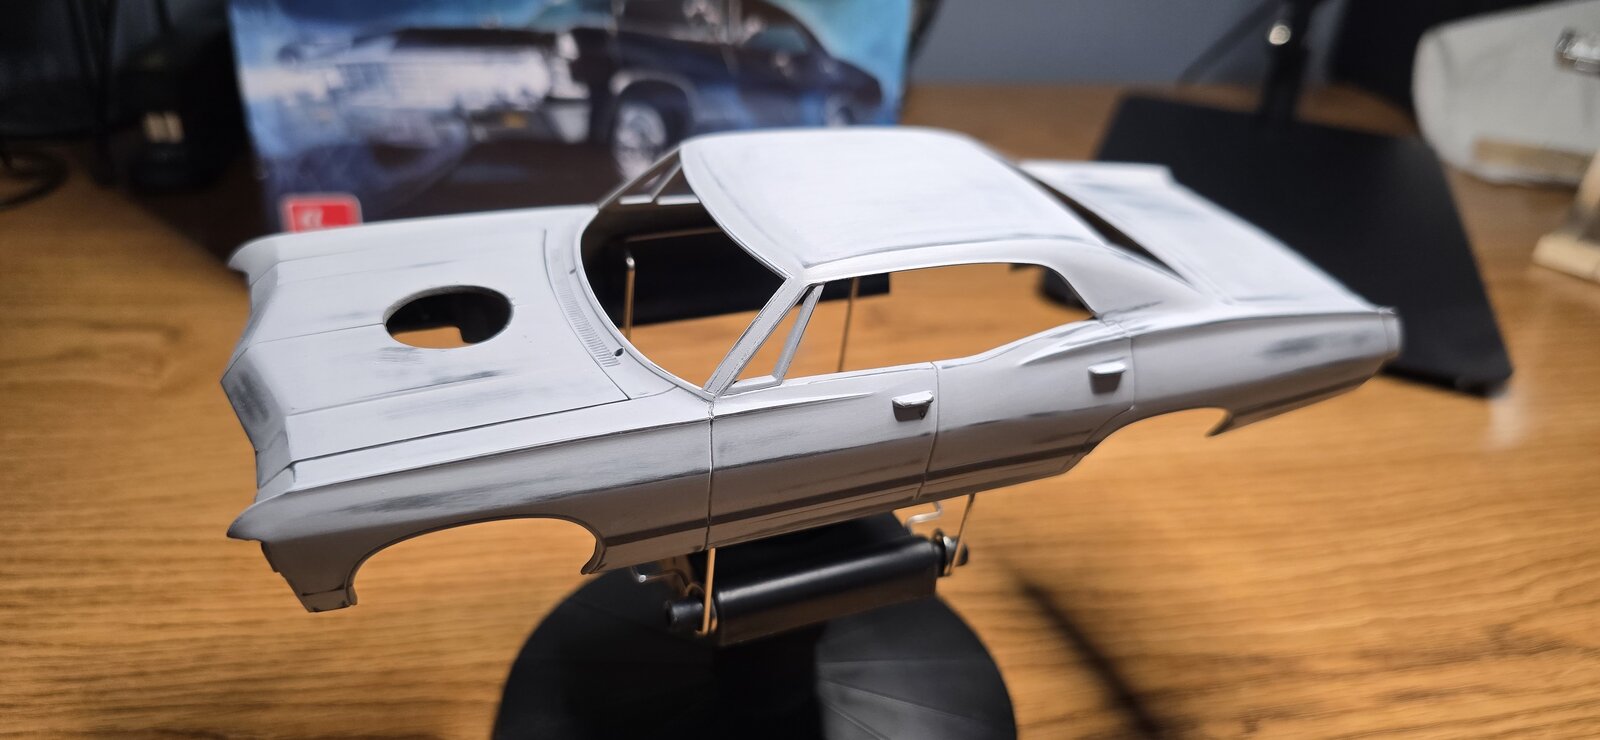
Second, the motor just barely fits into the molded fender wells, the alternator clears by less than a mm. As wjbrandel mentioned previously, it will take some patience and finesse to get it to seat again once painted, the last issue, my super-awesome machined aluminum air cleaner sticks up quite a bit and in no way will it clear the hood- So, we pivot.
I've cut an opening into the hood, and of course because none of the three spare/surplus hood scoops I had will fit, I'm going to try my hand at fabricating one. A few measurements and I've roughed one out, this will be trimmed and sanded to fit the hood.
I figure why not?
I had no idea how thick the plastic was on this hood, easy 3 mm.... I thought about shaving it down to a thinner more scale thickness, but then I'd have to fabricate hood supports and I'm not quite ready to go down that rabbit hole.
So, we're back to a holding pattern, (still have to wait another 24 hours for the Fusionfirm to be dry enough to lacquer, which stops any more work on the grille). Once I've lacquered that, I'll get the PE installed and sand/finish/adjust/install the new hood scoop and then be closer to painting the body........ I hope.
20251023_085222.jpg
20251023_085227.jpg

20251023_085304.jpg
20251023_101112.jpg
20251023_092138.jpg
 
Last edited:
Very nice work so far. I used a thin strip of plastic to fill in the gap between the dash and windshield. I never thought of hiding it with a bit of paint at the bottom.
 
Very nice work so far. I used a thin strip of plastic to fill in the gap between the dash and windshield. I never thought of hiding it with a bit of paint at the bottom.
Thank you- I thought about plastic strip, but taking the lazy way out with paint will hide it from the front, of course if you turn it and look into the vehicle, it'll be visible. Just seems like the body isn't designed to fit this chassis- Like the retooled an existing model and slapped the body onto it. Things don't align properly, and I get warpage, fit issues are a part of it, but sheeesh, come on. I do see what you mean with the body and chassis, I removed a sizable amount of plastic from the bottom of the fender wells, which helped the chassis fit, but that was before I'd mounted the motor. I dunno- I'm glad I caught this before I painted it... :eek:
 

Latest posts

Back
Top