mustang1989
Well-Known Member
- Joined
- Aug 6, 2022
- Messages
- 552
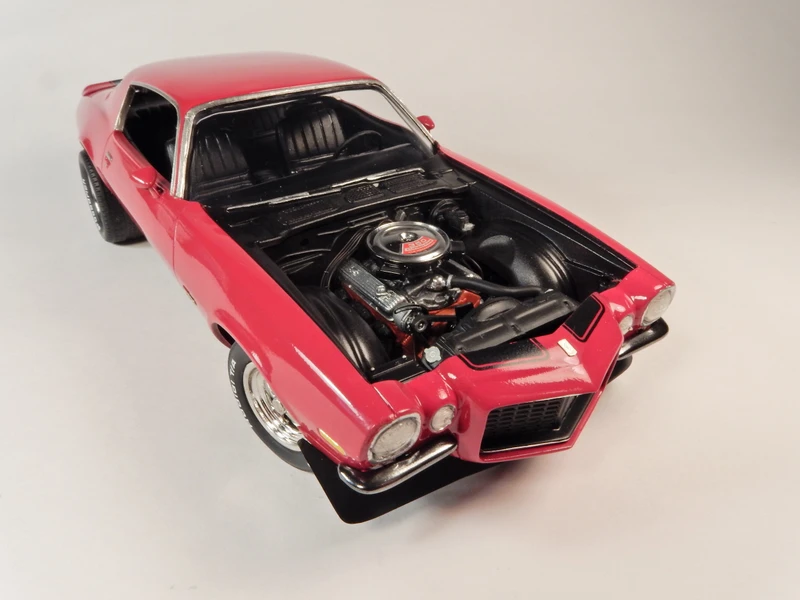
It took me 3 months to finish this puppy up. I will say that in the kit reviews that I watched along with what I read before starting on this build it says to build up the subframe up front separately and install it after the base chassis has been installed into the body (which was no small feat on this model)-At several points I thought I was going to break something big trying to get the body and chassis together.
I had this model in the stash for around 8 years and have always wanted to build one because I like them so much. I was gonna have one of these for my first car to drive before dad saw the well-built 350 in it with a 4-speed and put a stop to that. He used to tell me, "If you're gonna kill yourself....you aint gonna do it under my roof."
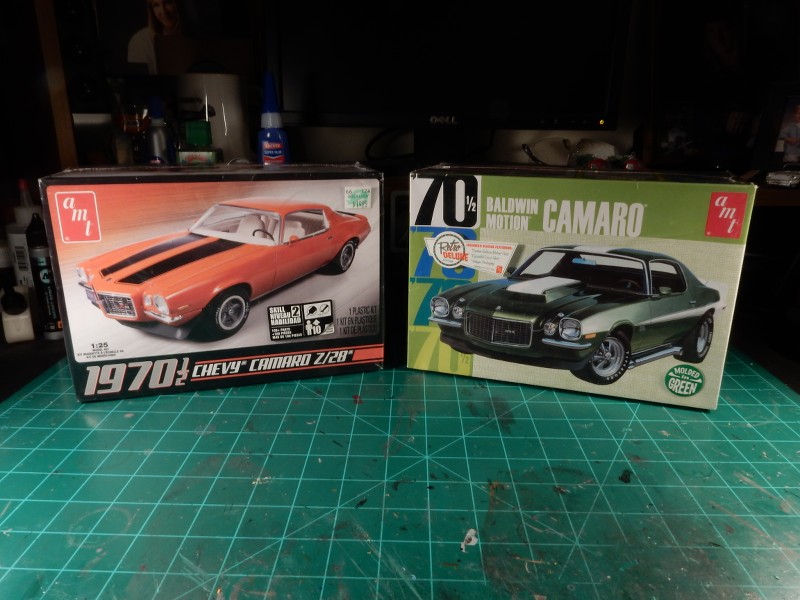
The kit is one that's all too familiar to us and if you've ever been to Hobby Lobby you'll know the one that I'm talking about.
It's the one on the left:
Most of the cars that I saw were yellow, green, brown and black but I wanted something different. I wanted red .....but not just any red....something that is out of the ordinary and magnetic to the eyes. My choice ended up being Cranberry Red (paint code WA3975). I fell in love with this car the second I saw it................
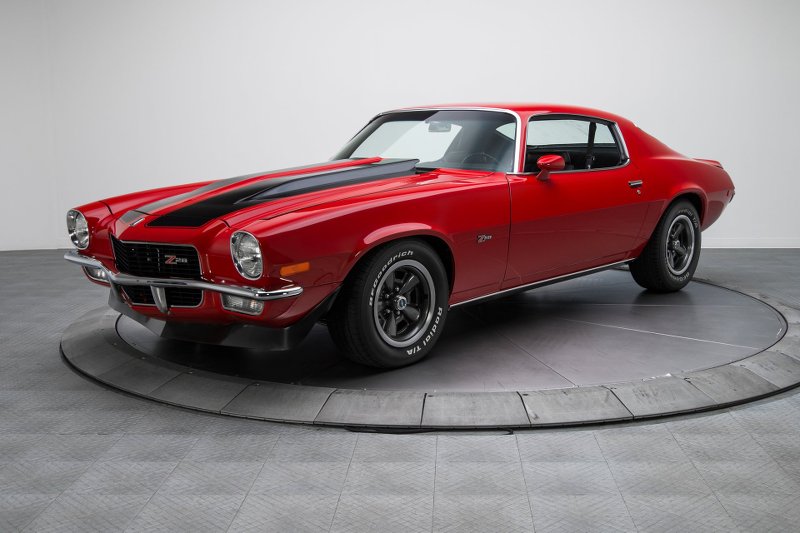
A 1:1 example from the real world:
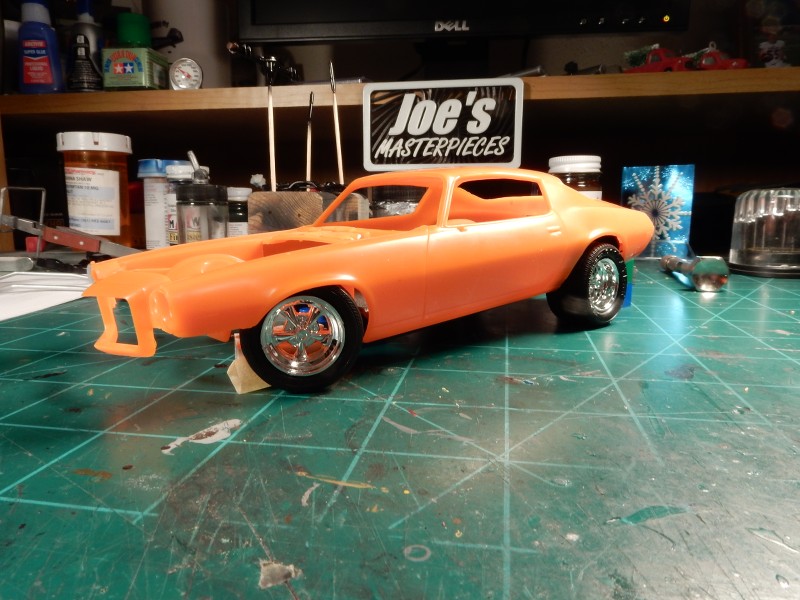
Now for the look I was after. The stock wheels and tires look alright, but I wanted something a bit more aggressive and with these wheels I wanted to drop the front stance in the front and raise the rear just enough to get the "meats" I had in mind to look how I wanted. I had the parts from three different kits to make the wheel & tire choices. In the following pic I would end up not using the front Cragar wheels in sourcing a more traditional looking set for the front.
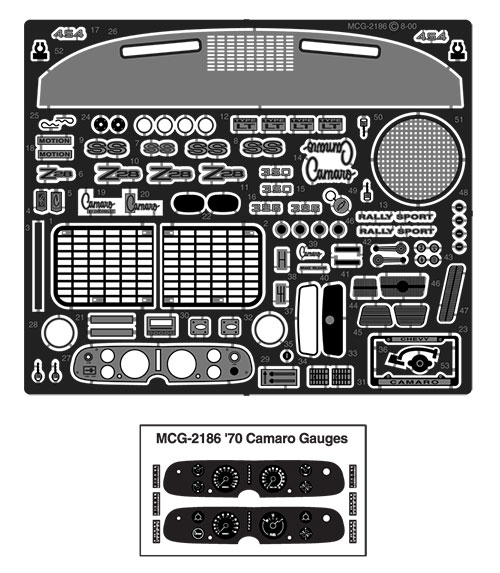
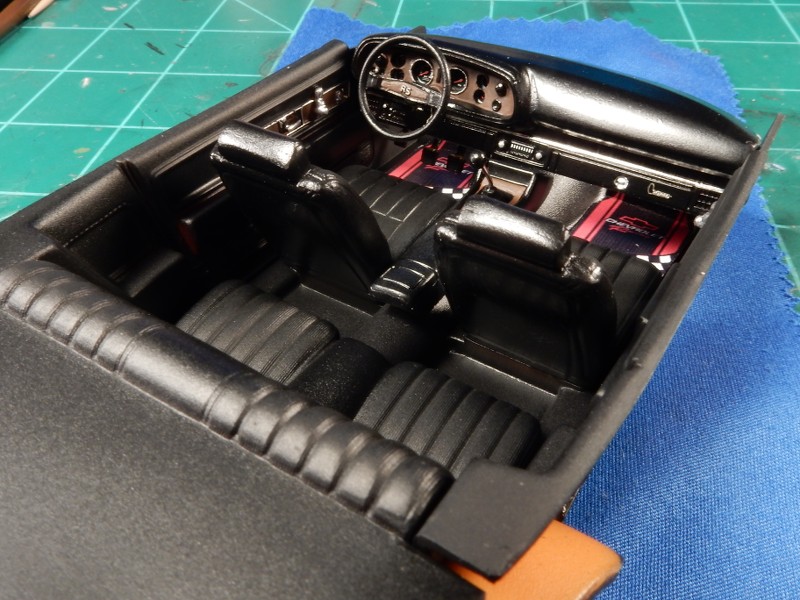
Other parts used throughout the build were the PE fret from Model Car Garage for the engine, interior and exterior details. Magazine in the seat from a supplier on eBay years ago and decals from Speedway for the license plate. MCW supplied the Raspberry Red and Testors Wet Look was used for the clear coat. A light coat of Tamiya Smoke goes on the wheels to give them a more realistic look and bring out the details. The kit fought me some but wasn't too bad to build after reading reviews and looking over build threads from other folks who have built this same car.
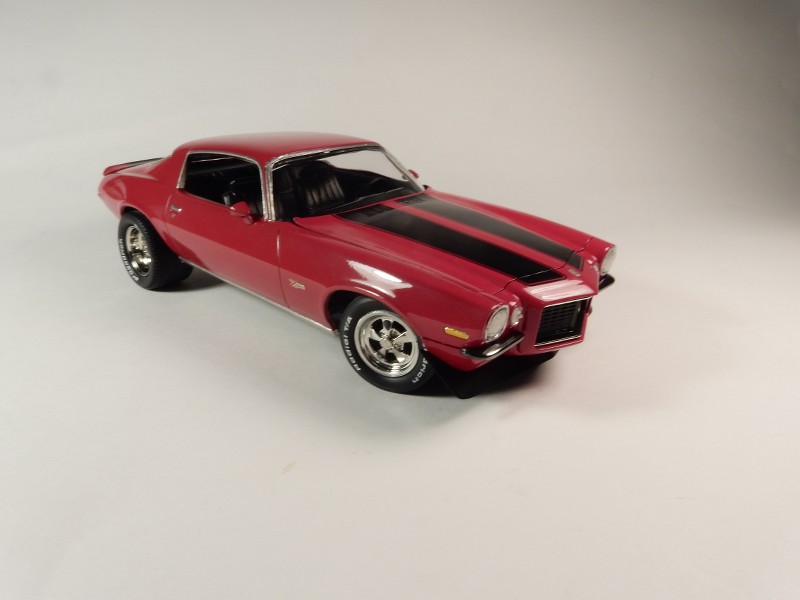
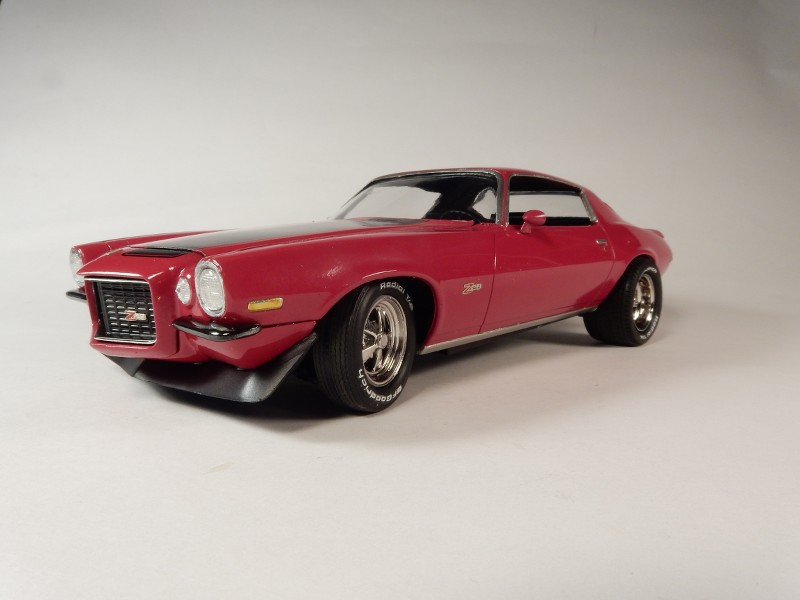
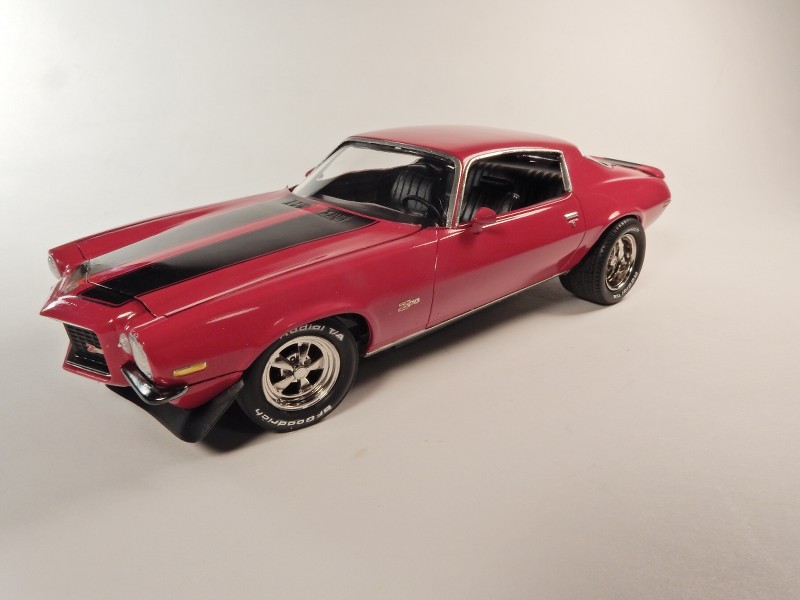
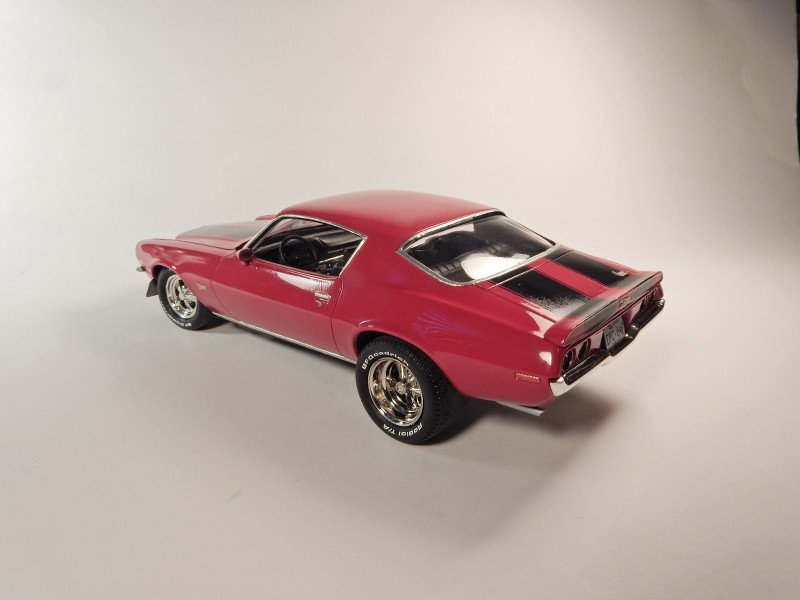
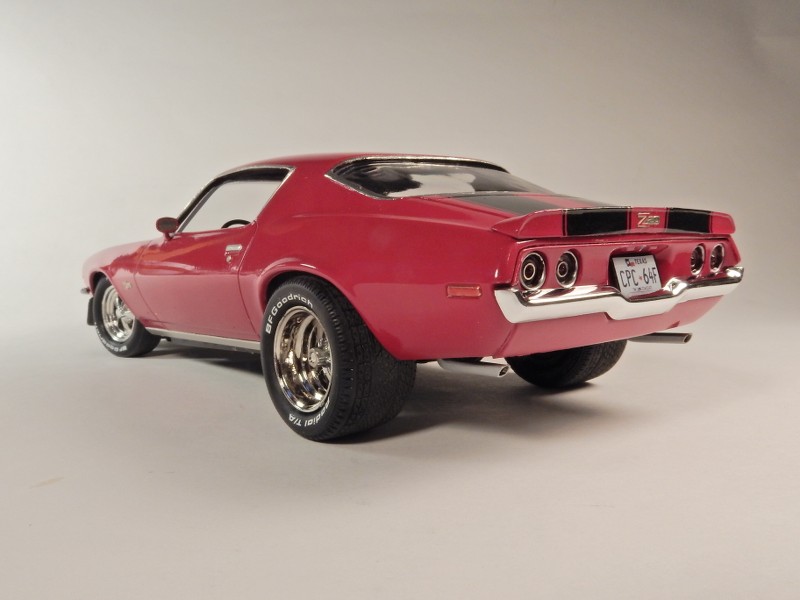
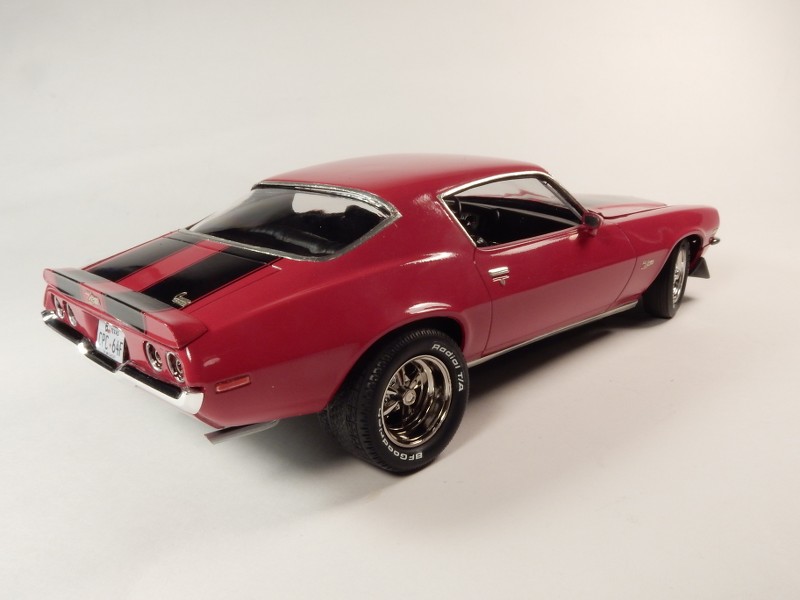
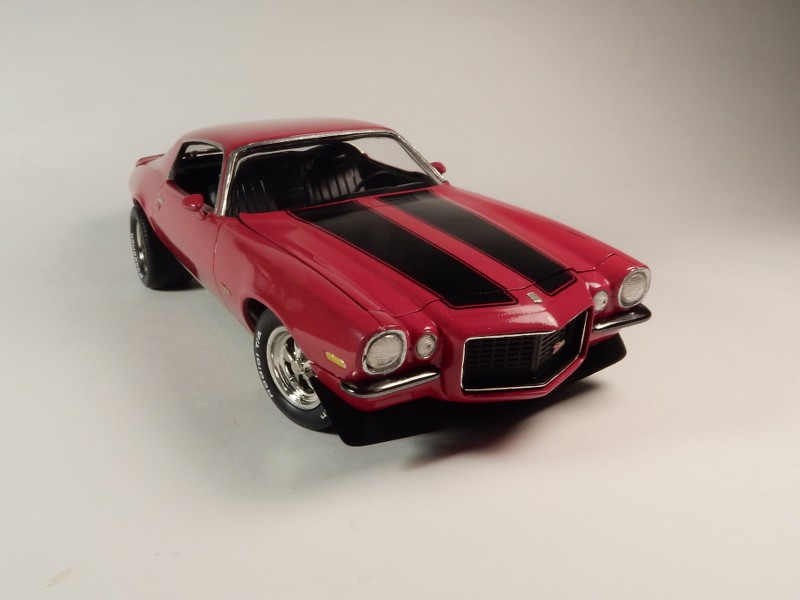
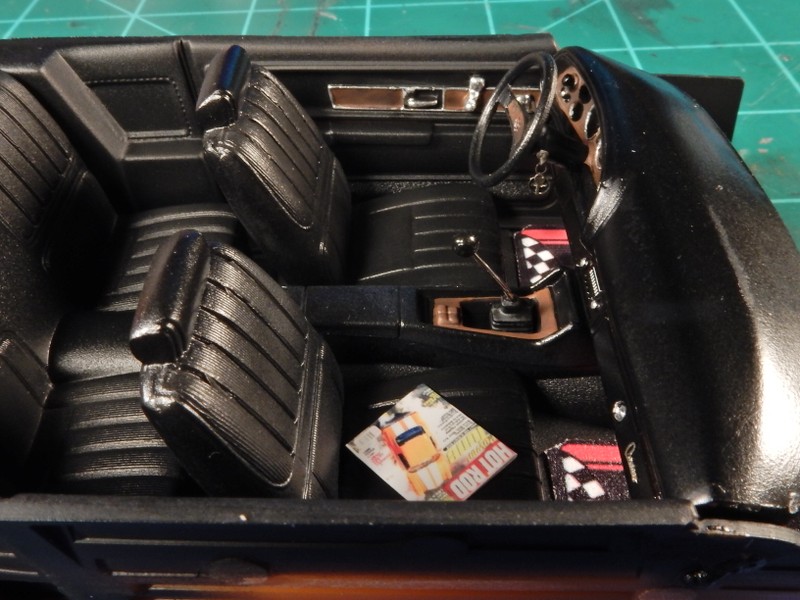
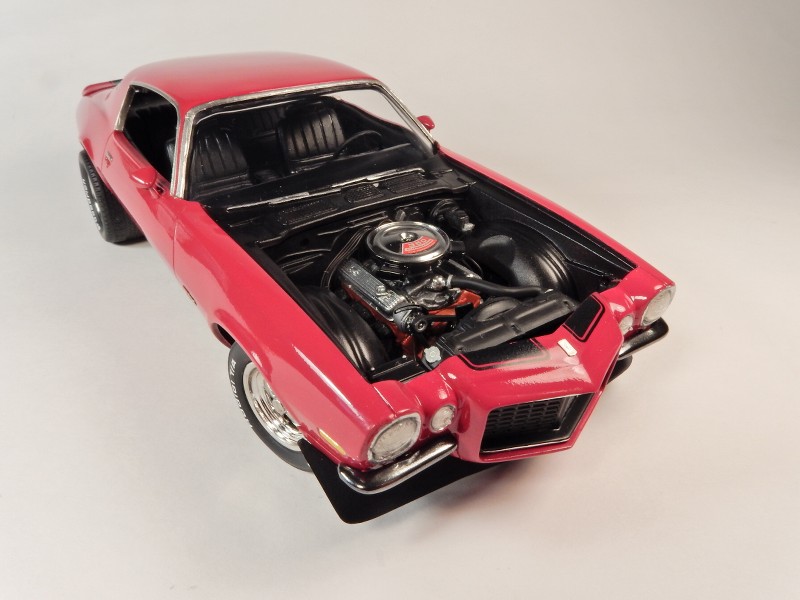
Weird about this duplicate photo not going away when I try to edit it out.
I had this model in the stash for around 8 years and have always wanted to build one because I like them so much. I was gonna have one of these for my first car to drive before dad saw the well-built 350 in it with a 4-speed and put a stop to that. He used to tell me, "If you're gonna kill yourself....you aint gonna do it under my roof."
The kit is one that's all too familiar to us and if you've ever been to Hobby Lobby you'll know the one that I'm talking about.
It's the one on the left:
Most of the cars that I saw were yellow, green, brown and black but I wanted something different. I wanted red .....but not just any red....something that is out of the ordinary and magnetic to the eyes. My choice ended up being Cranberry Red (paint code WA3975). I fell in love with this car the second I saw it................
A 1:1 example from the real world:
Now for the look I was after. The stock wheels and tires look alright, but I wanted something a bit more aggressive and with these wheels I wanted to drop the front stance in the front and raise the rear just enough to get the "meats" I had in mind to look how I wanted. I had the parts from three different kits to make the wheel & tire choices. In the following pic I would end up not using the front Cragar wheels in sourcing a more traditional looking set for the front.
Other parts used throughout the build were the PE fret from Model Car Garage for the engine, interior and exterior details. Magazine in the seat from a supplier on eBay years ago and decals from Speedway for the license plate. MCW supplied the Raspberry Red and Testors Wet Look was used for the clear coat. A light coat of Tamiya Smoke goes on the wheels to give them a more realistic look and bring out the details. The kit fought me some but wasn't too bad to build after reading reviews and looking over build threads from other folks who have built this same car.
Weird about this duplicate photo not going away when I try to edit it out.
Last edited:


![Pampers Sensitive Baby Wipes, Clinically Proven, Fragrance Free, Unscented, Water Based, Hypoallergenic, Multi-Use, Hand Wipes 336 Wipes Total (6X Flip-Top Packs) [Packaging May Vary]](https://m.media-amazon.com/images/I/41KLBHu9CAL._SL500_.jpg)