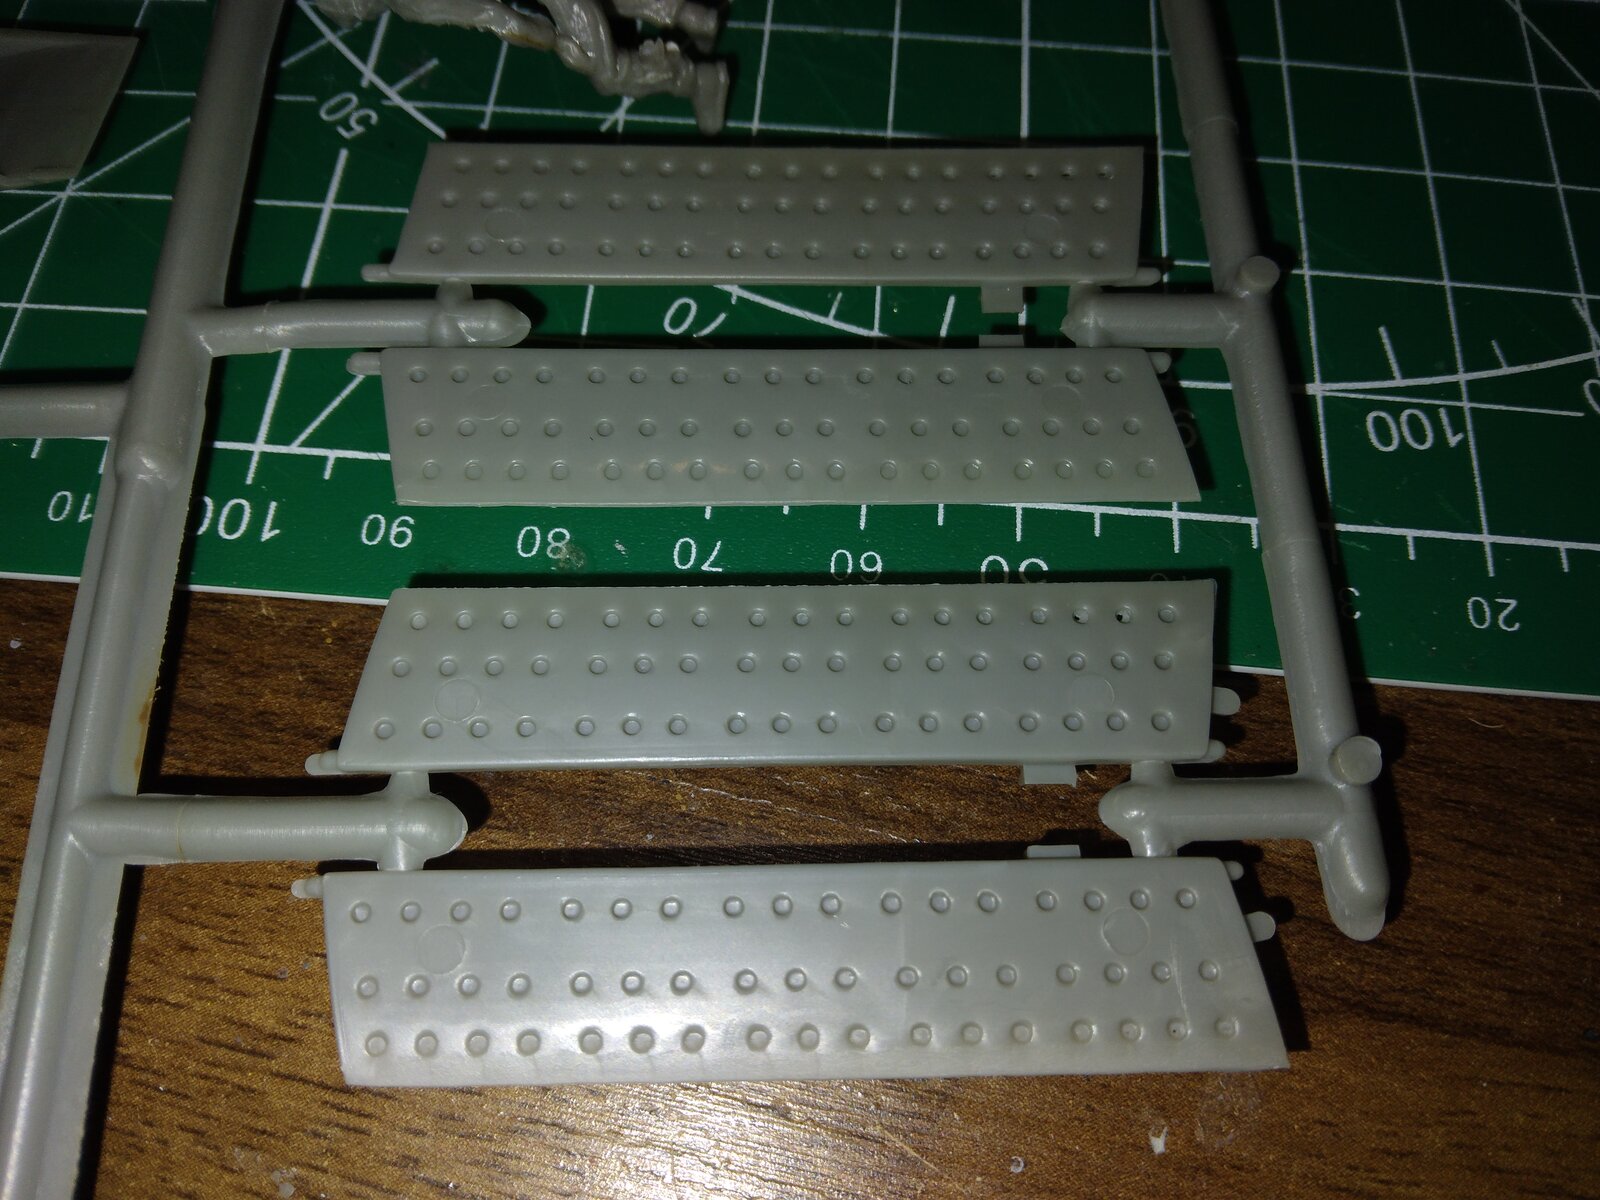
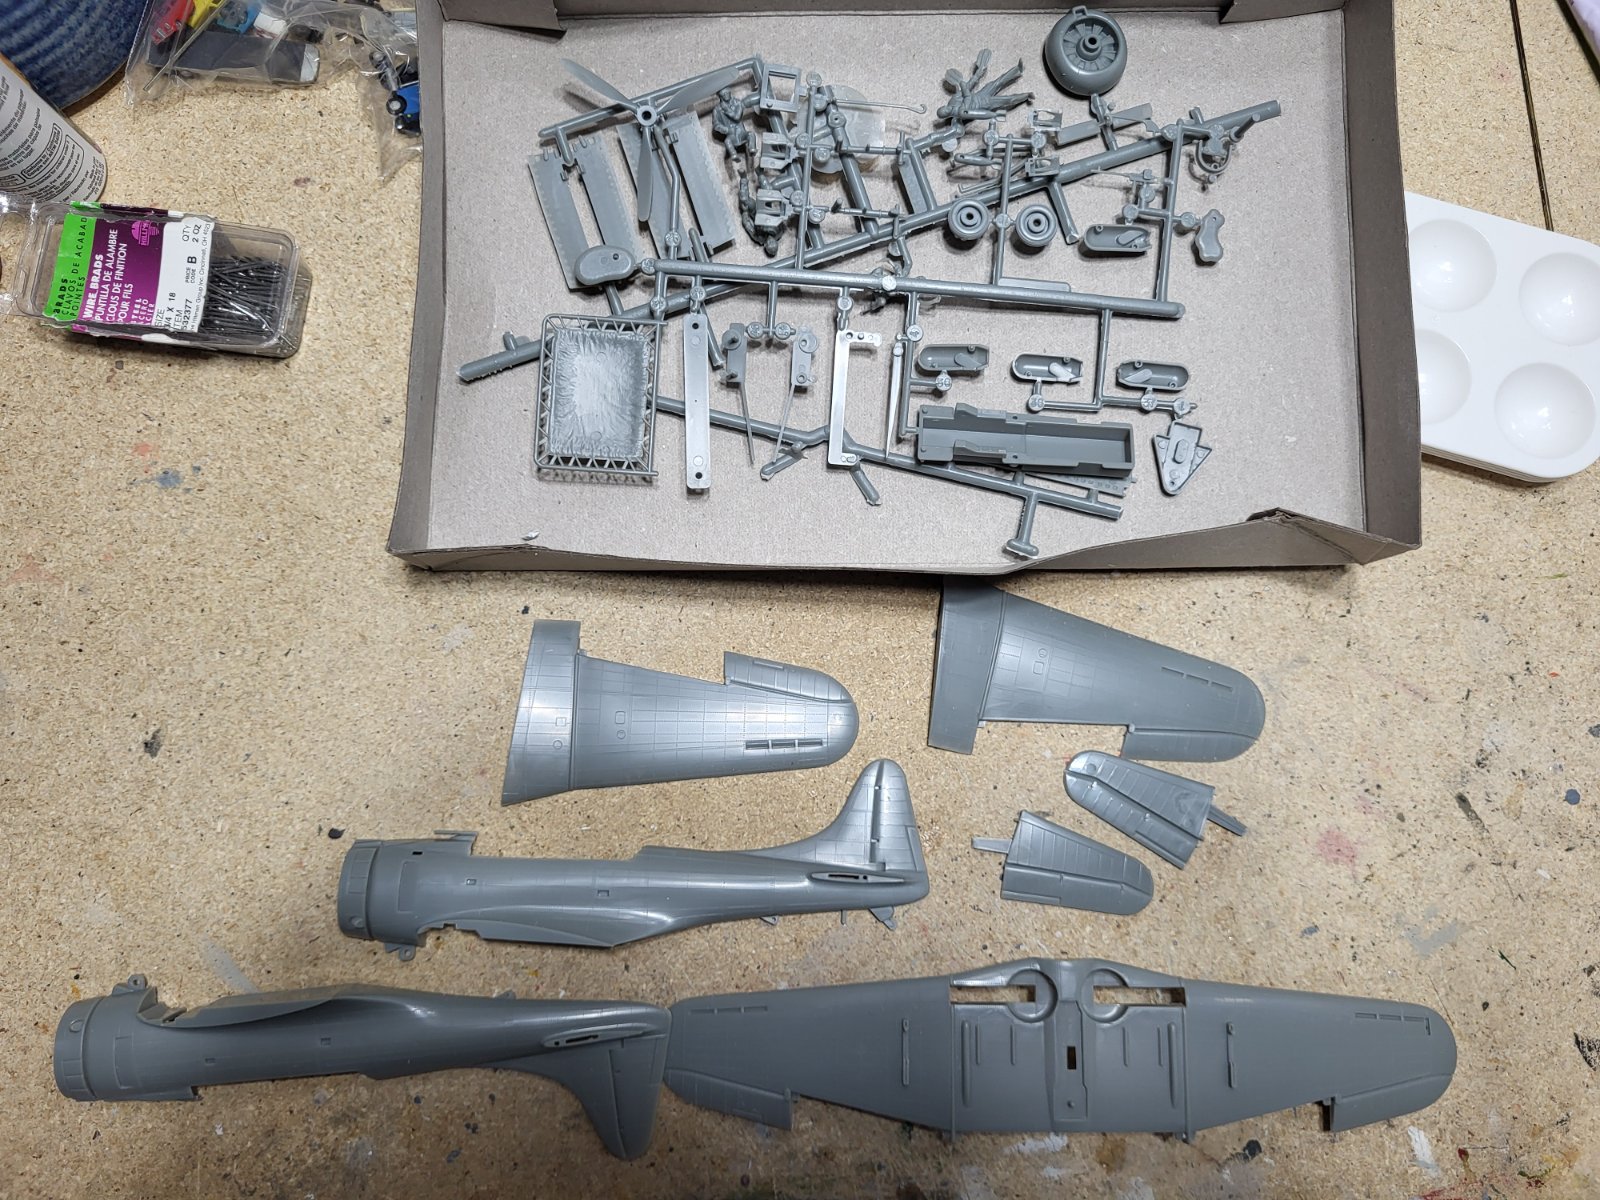
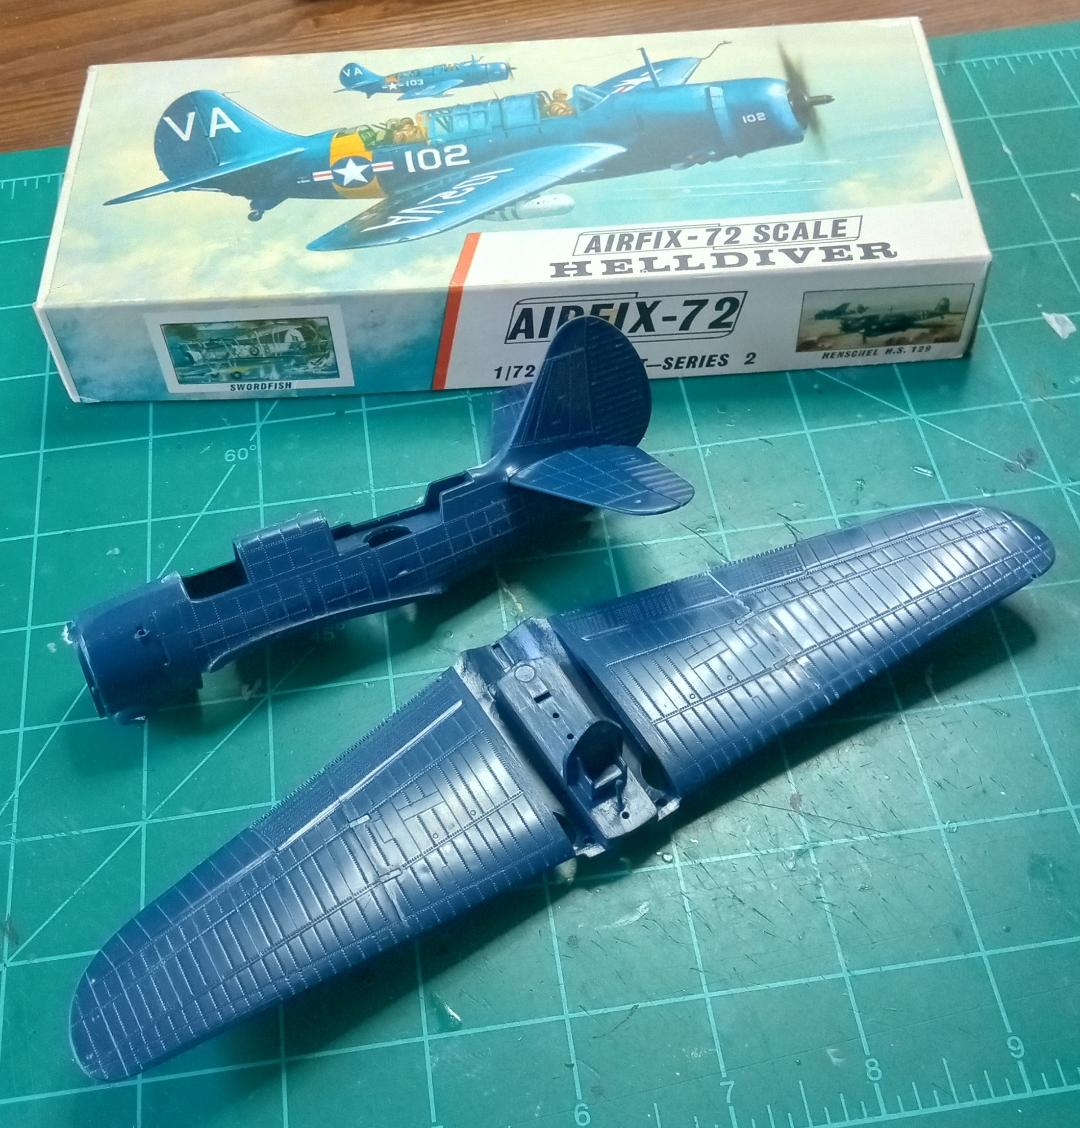
No problem. Looking forward to seeing your build. PMMy kit is supposed to arrive today. Probably won't be able to start it until the weekend, though.

No problem. Looking forward to seeing your build. PMMy kit is supposed to arrive today. Probably won't be able to start it until the weekend, though.
Looking forward to seeing your buildMy kit is supposed to arrive today. Probably won't be able to start it until the weekend, though.

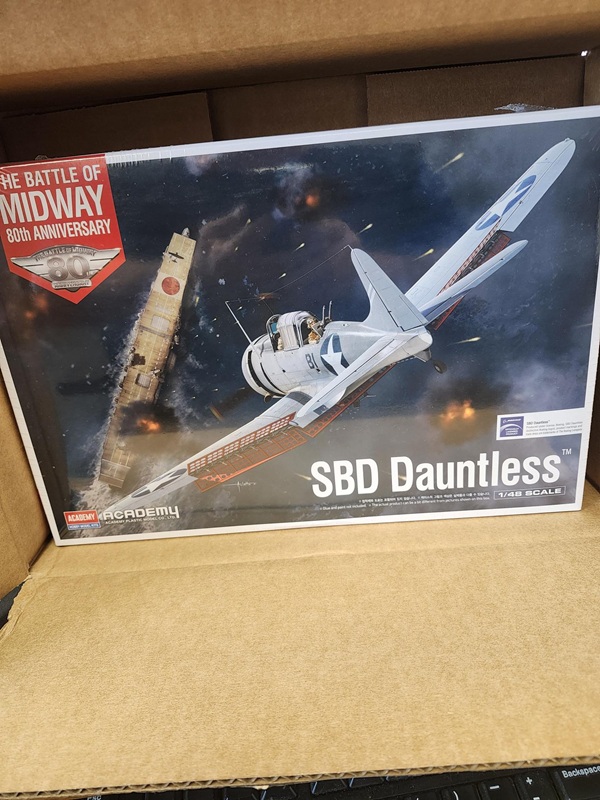
Nice. PM
My academy version also had PE seatbelts but I will be using the photo etch pack instead. That pack is mostly all cockpit parts which will never be seen. PanthermanI opened the box last night and looked through it and was actually a bit disappointed. It came with a mask for the canopy, which is great, and it was advertised as coming with PE. That is where my disappointment is. It came with PE seatbelts and nothing more. I just expected a little more than that. Other than that, it has some minor flash issues but nothing bad. Most of the work will be in the cockpit as it is pretty detailed there. The rest is fairly basic.
Mine came with the same thing from AcademyI opened the box last night and looked through it and was actually a bit disappointed. It came with a mask for the canopy, which is great, and it was advertised as coming with PE. That is where my disappointment is. It came with PE seatbelts and nothing more. I just expected a little more than that. Other than that, it has some minor flash issues but nothing bad. Most of the work will be in the cockpit as it is pretty detailed there. The rest is fairly basic.

I will also be using the aftermarket PE set and not the PE that came with the kit.My academy version also had PE seatbelts but I will be using the photo etch pack instead. That pack is mostly all cockpit parts which will never be seen. Pantherman

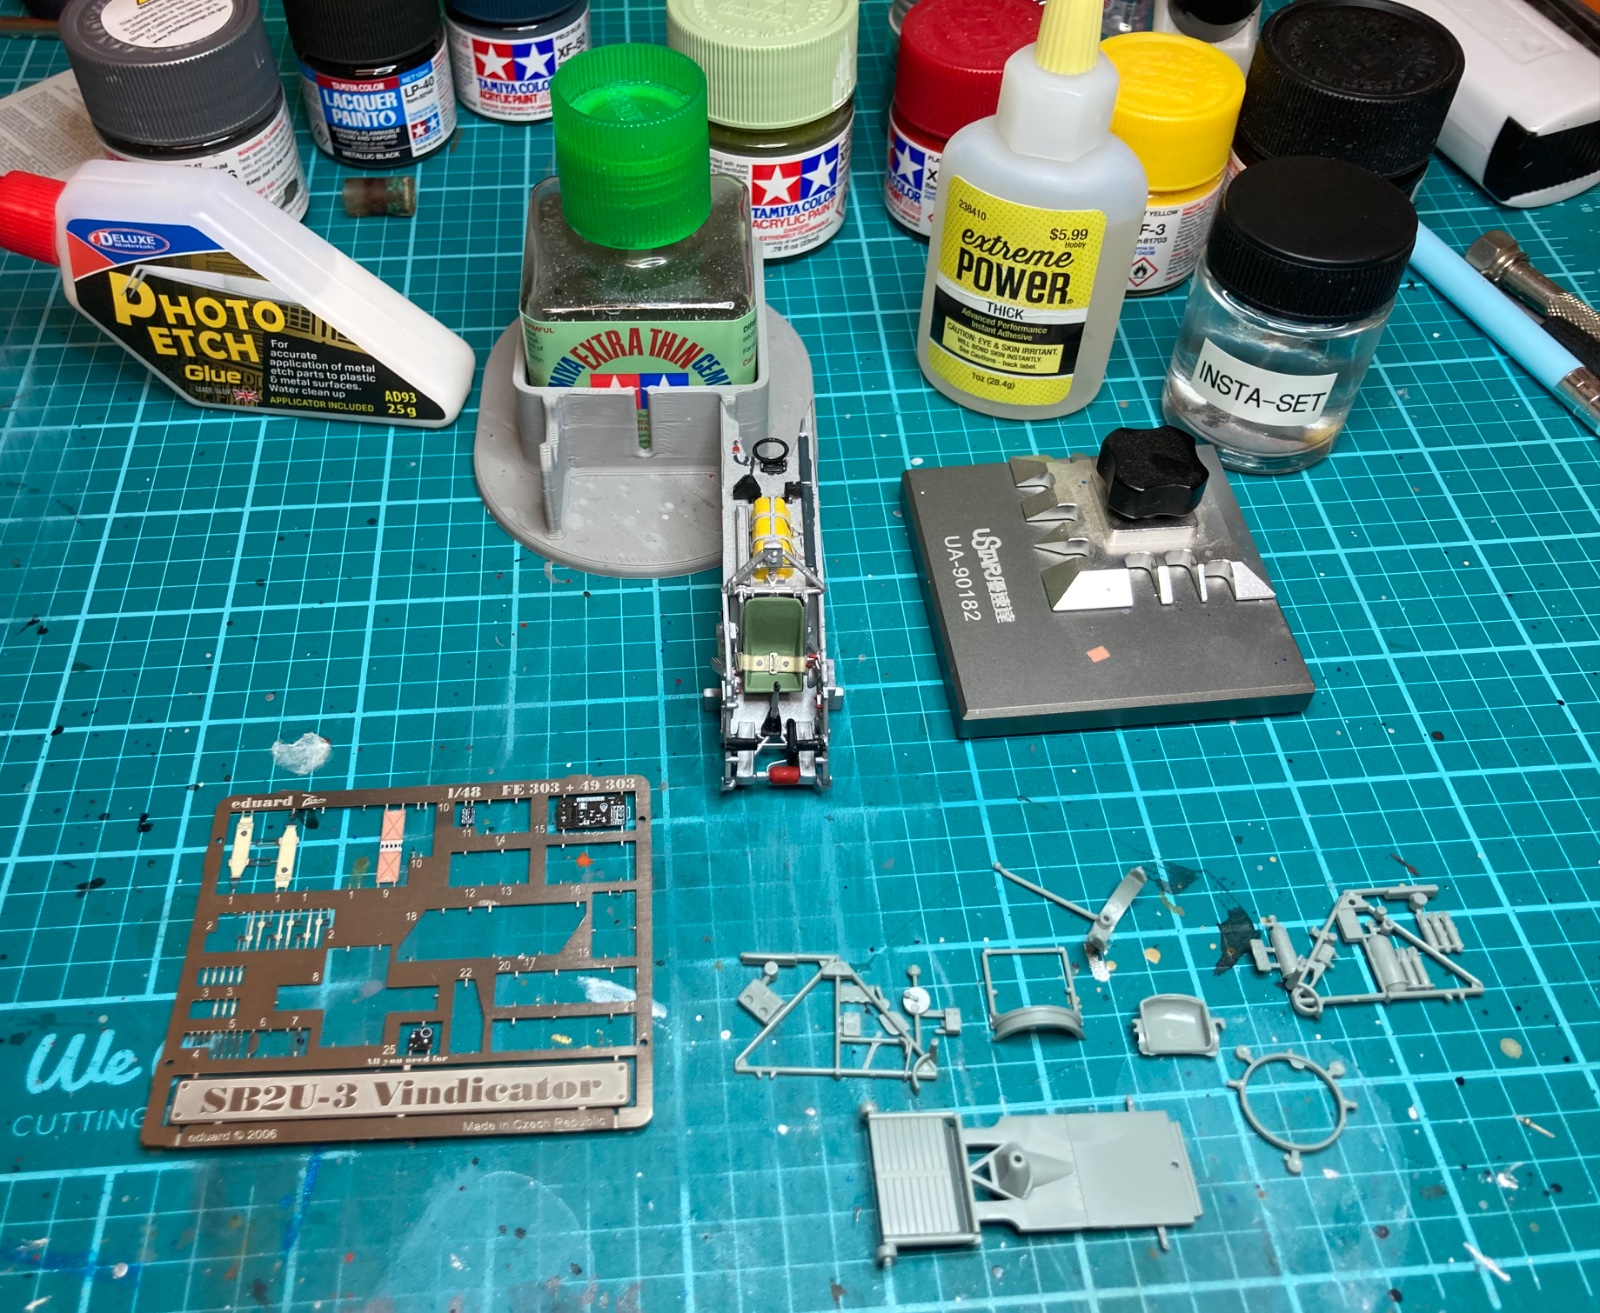
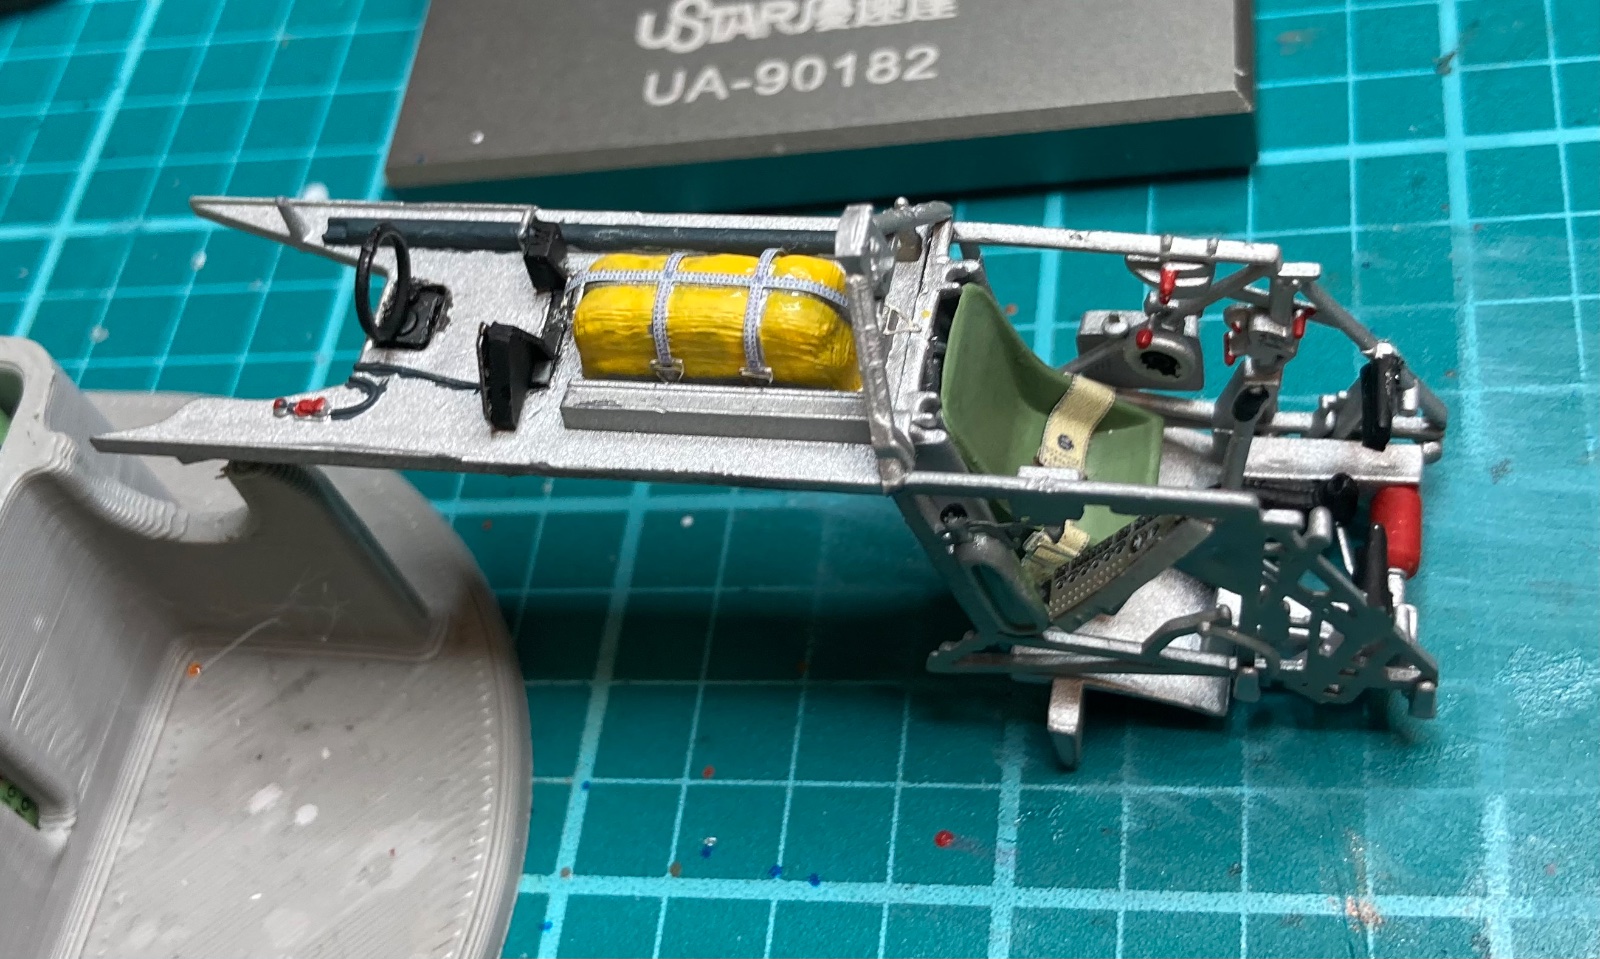
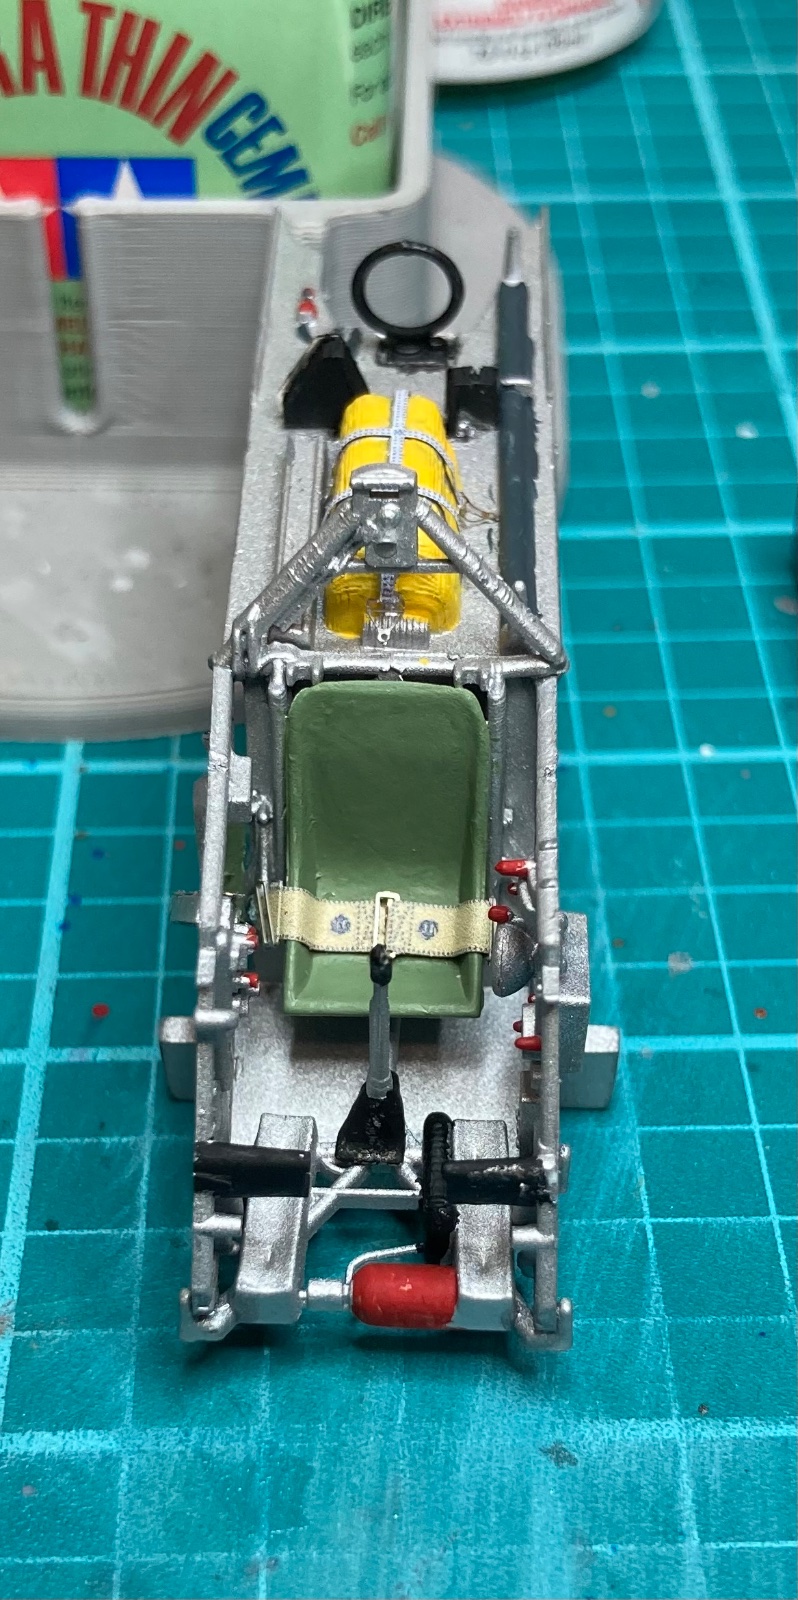
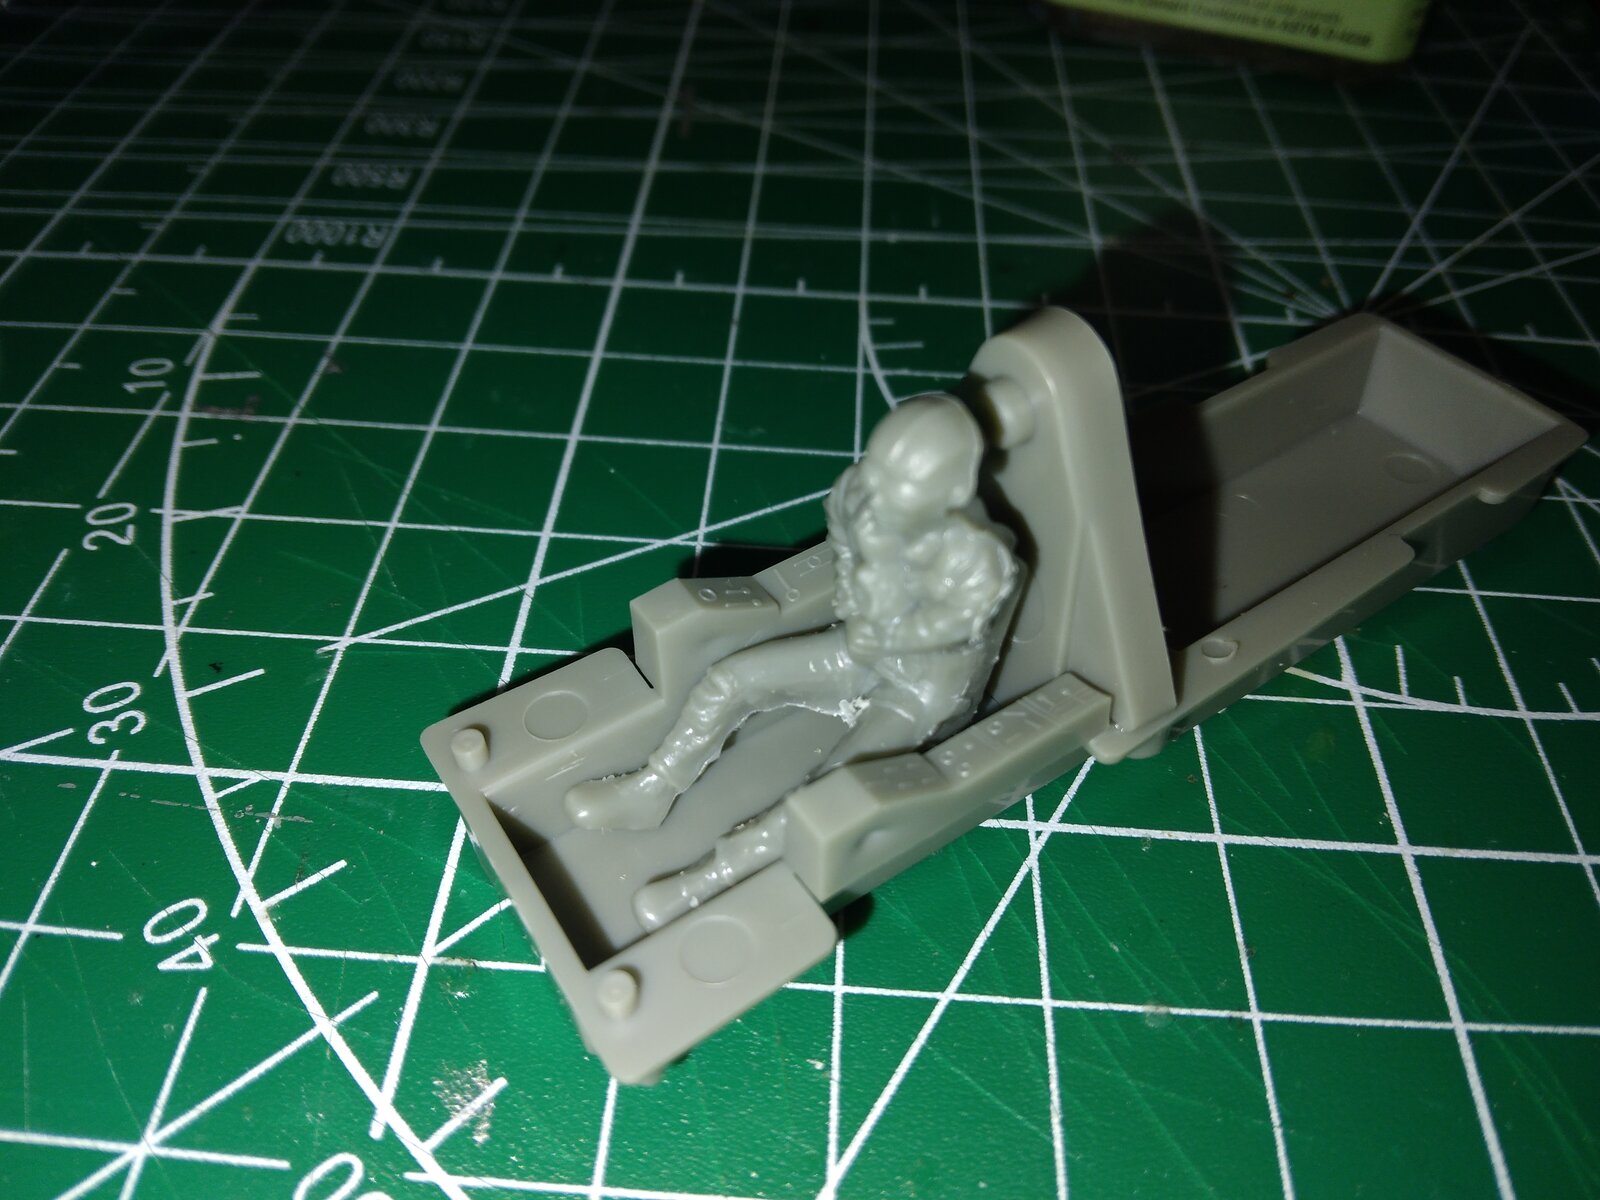
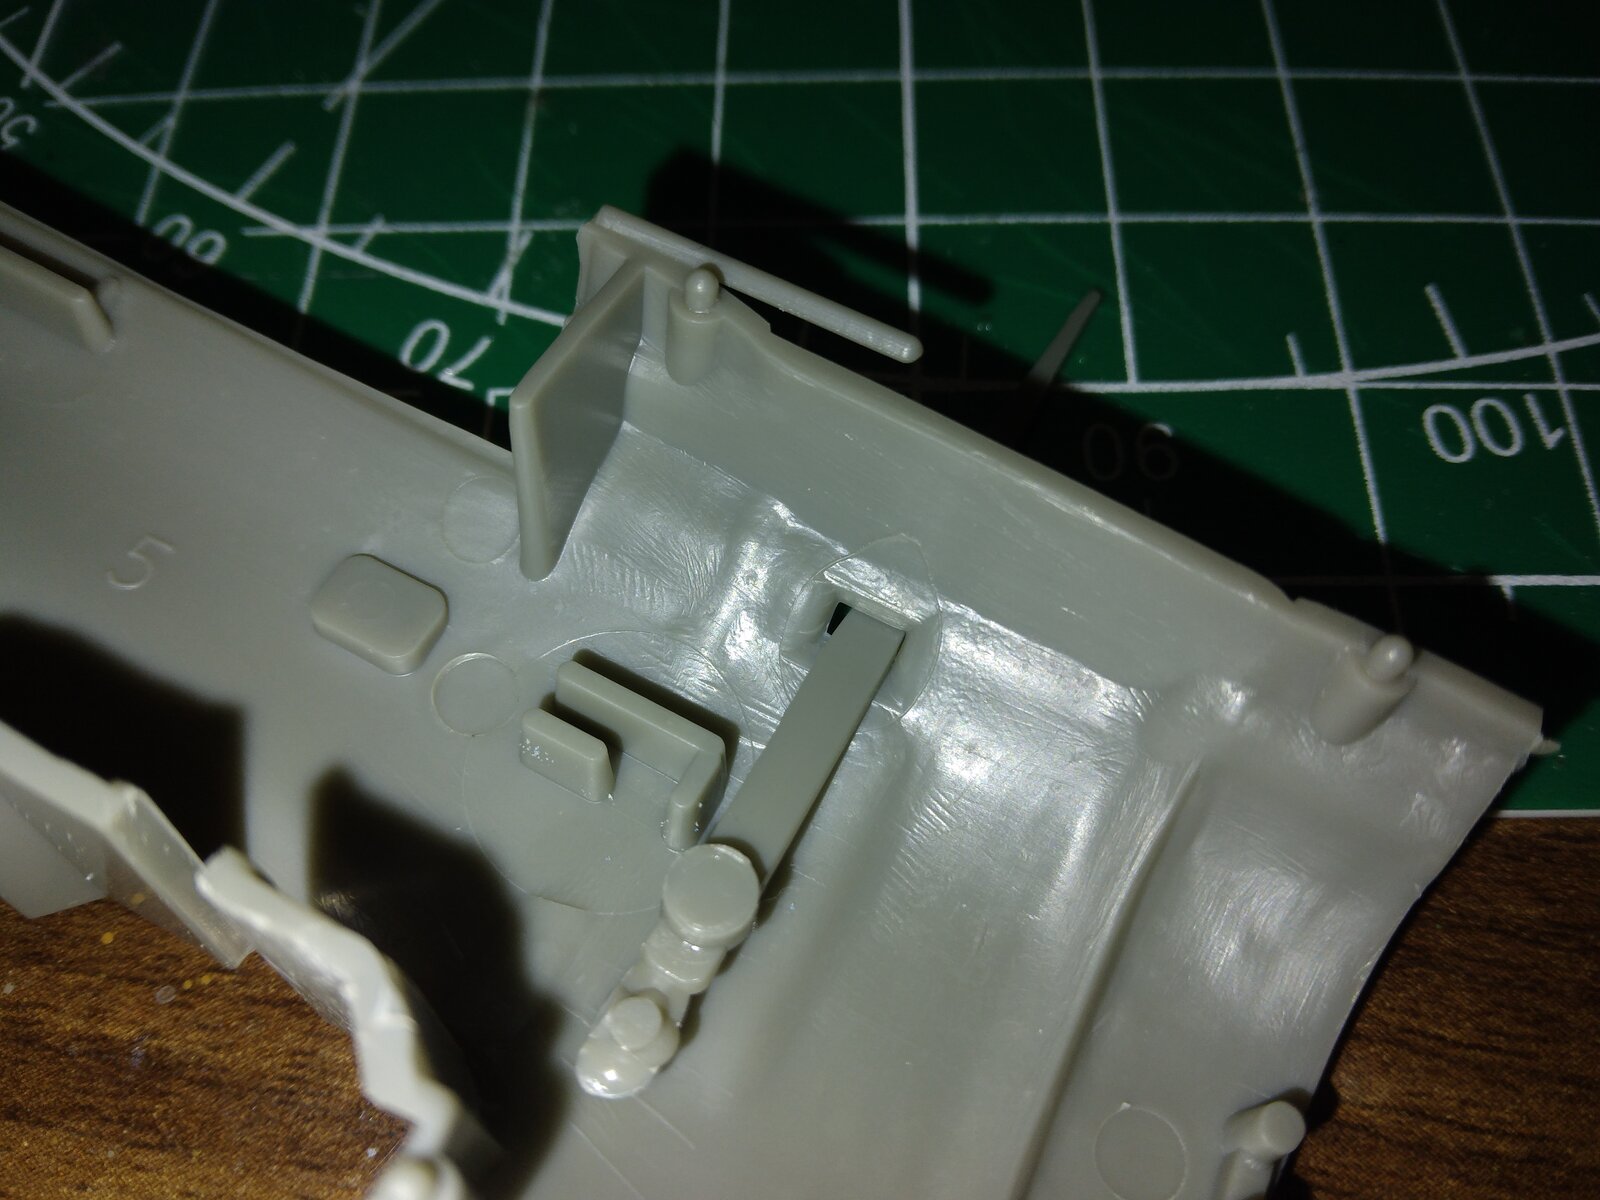
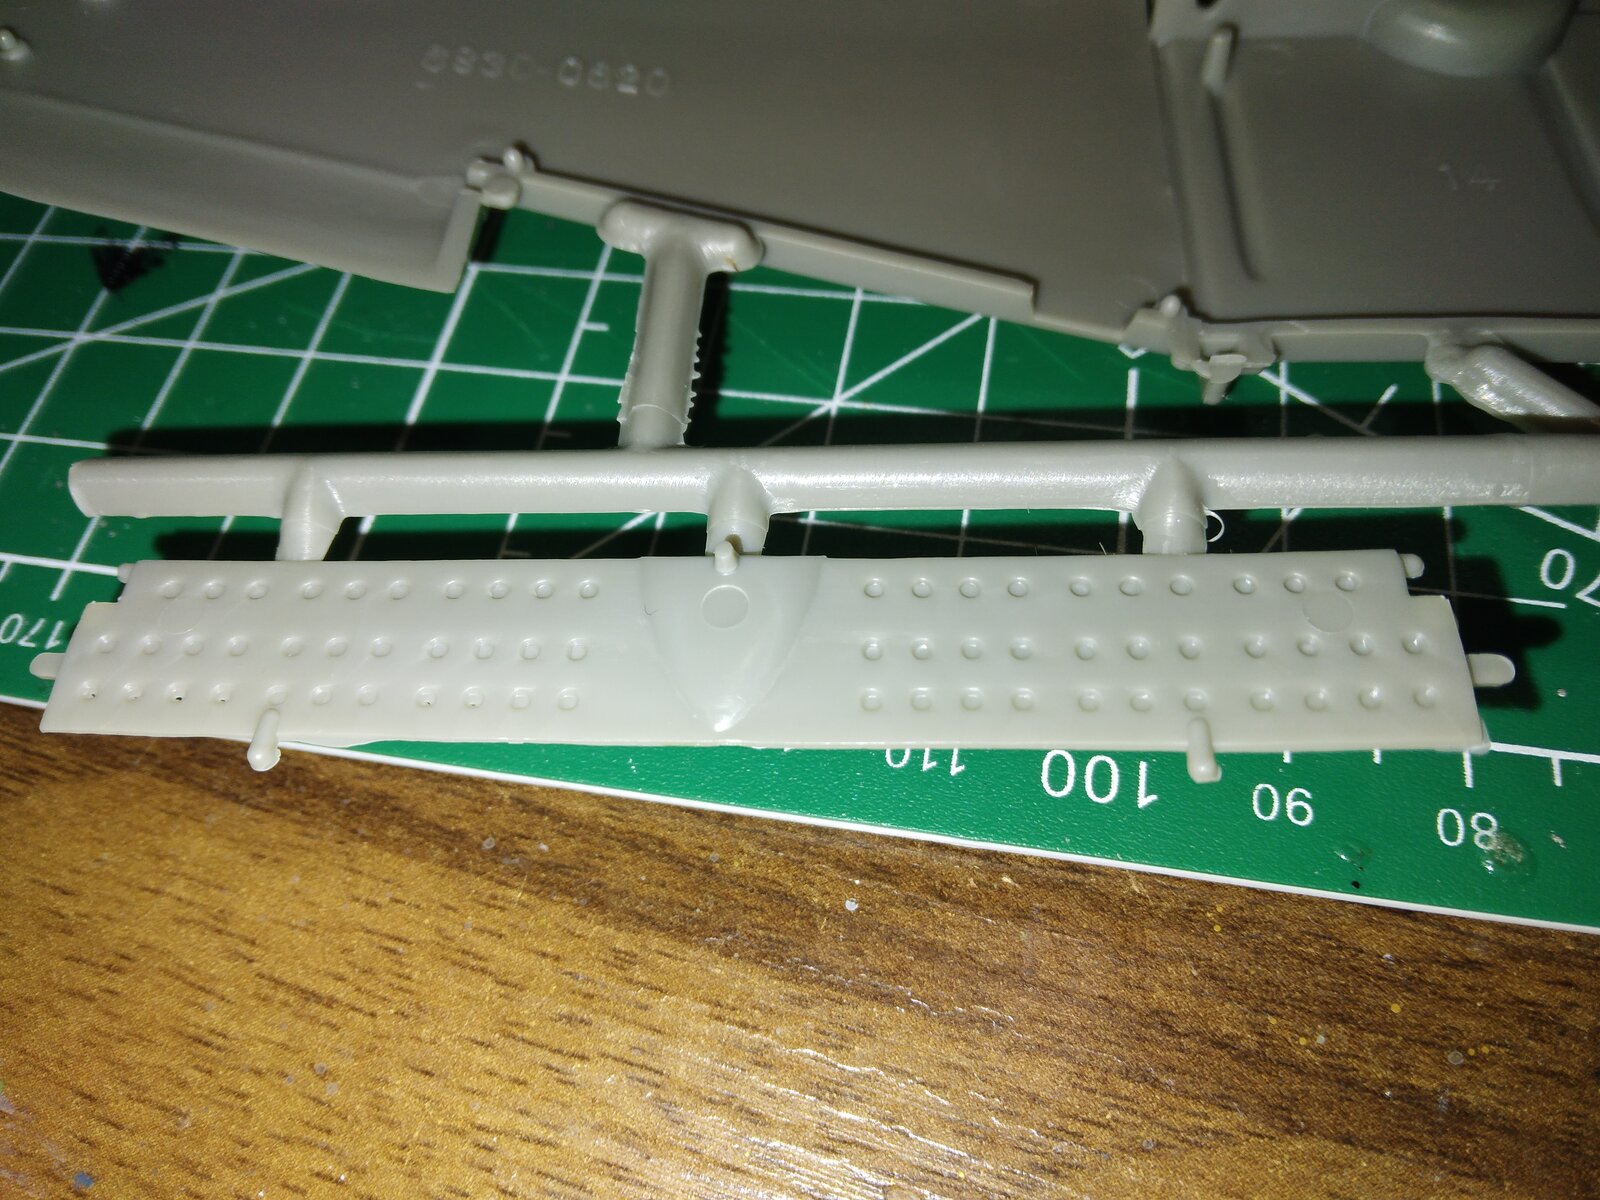
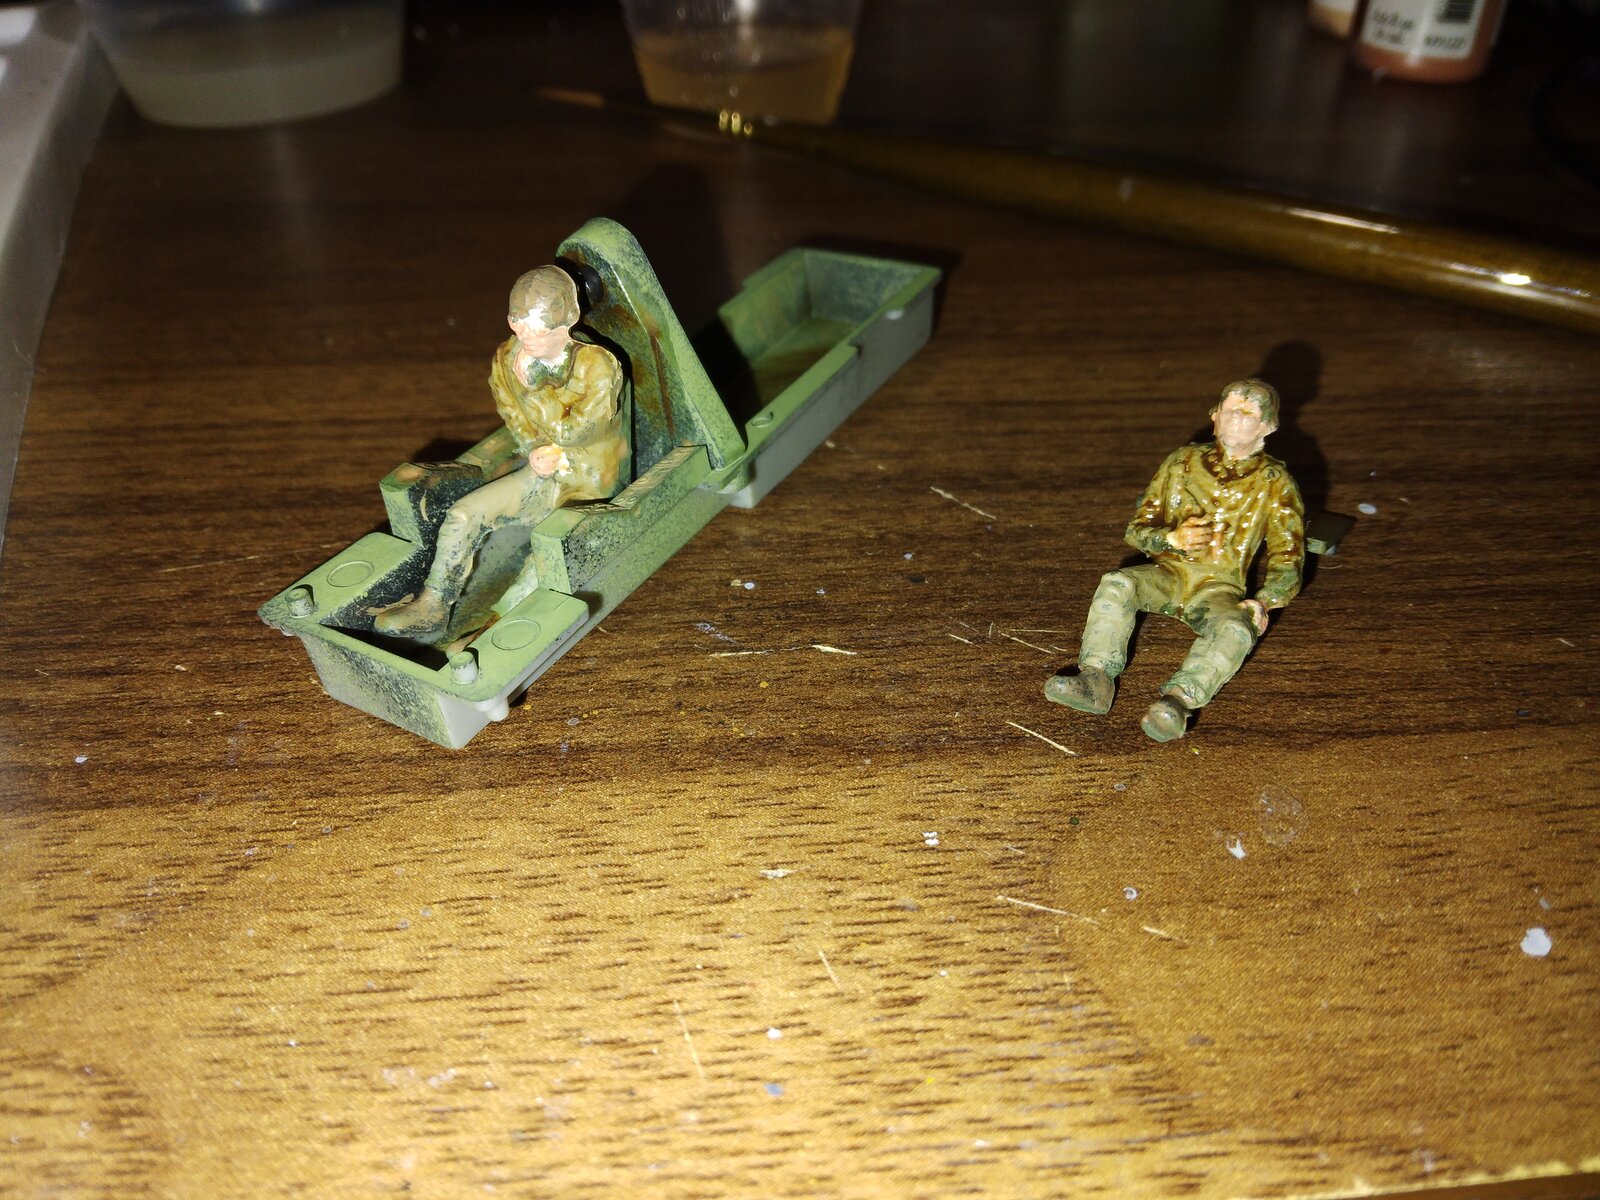
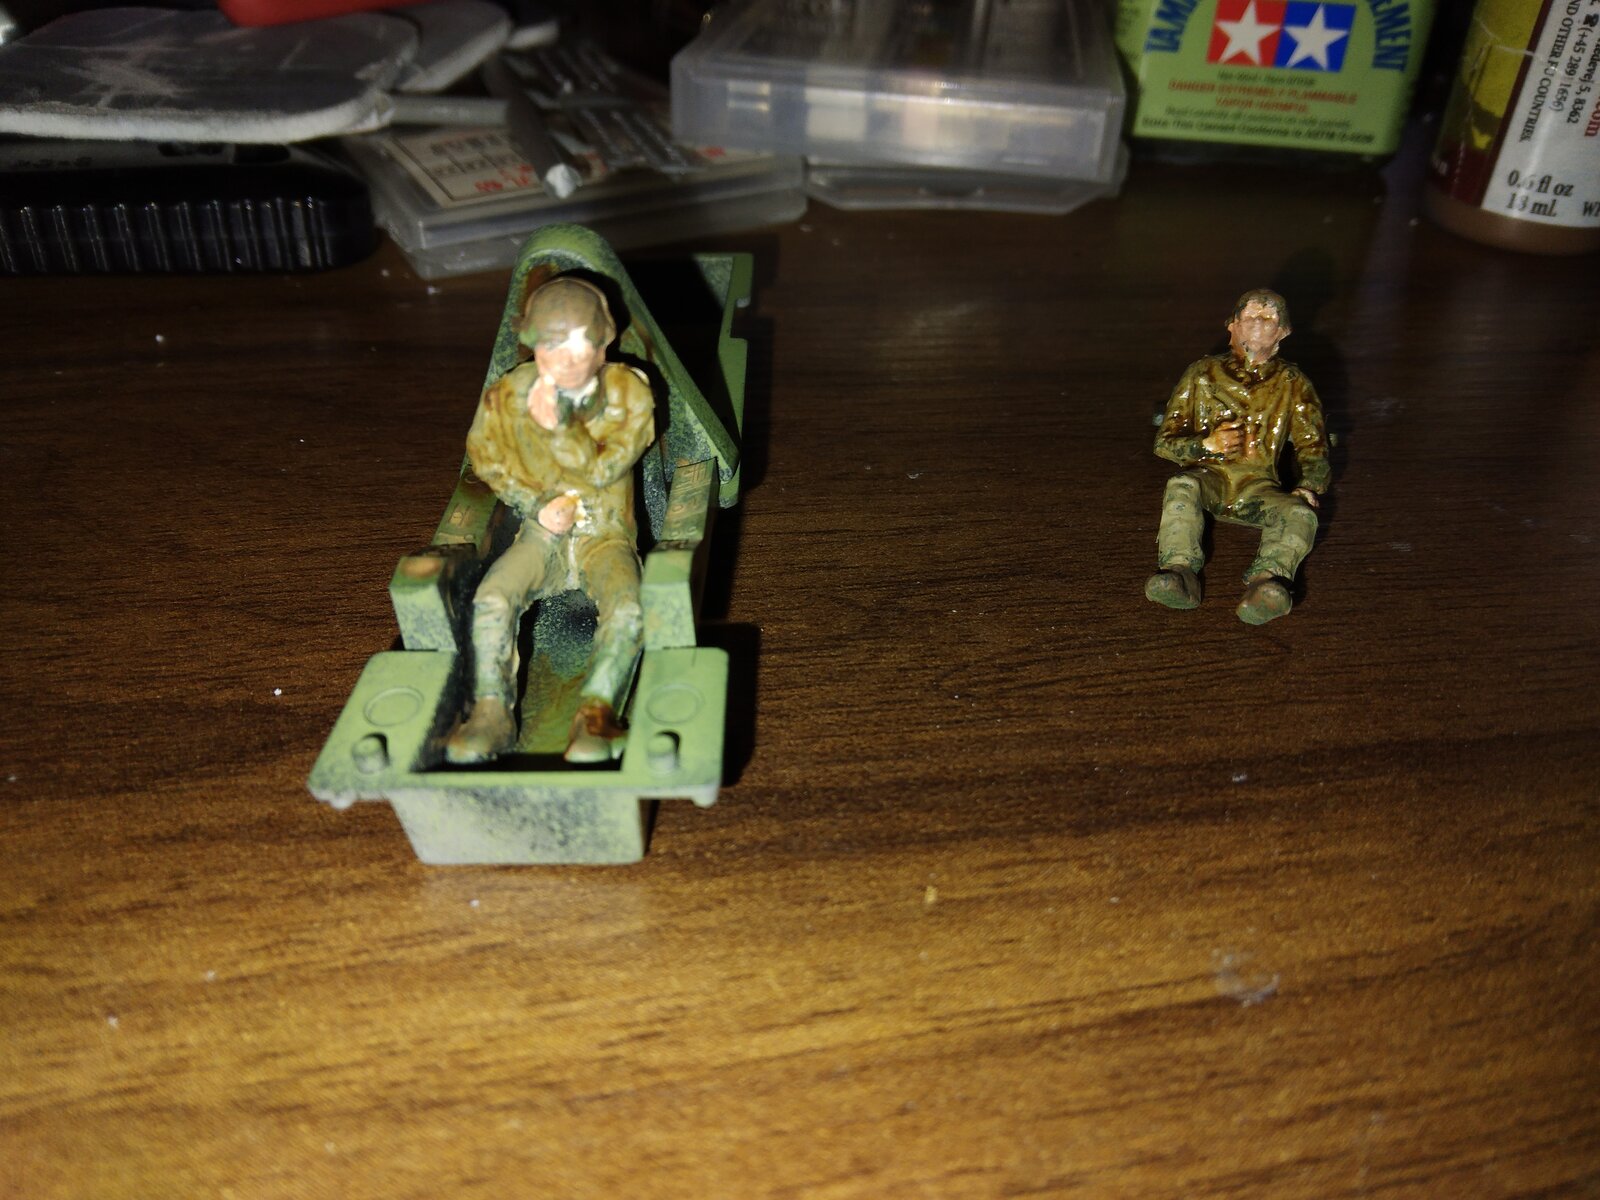
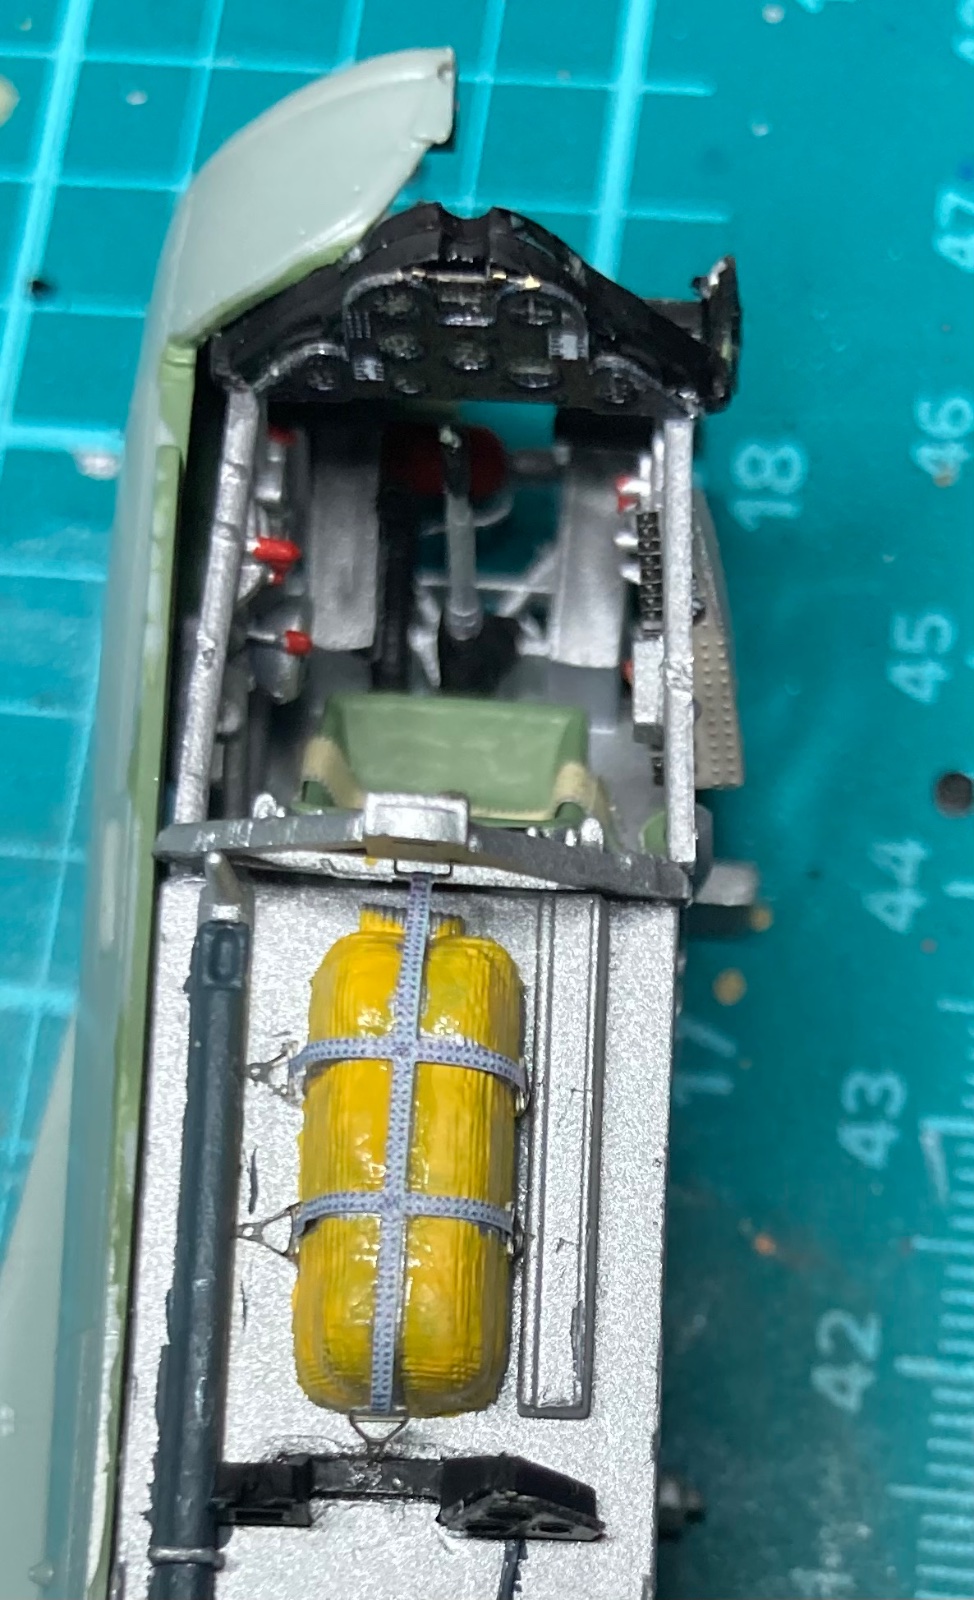
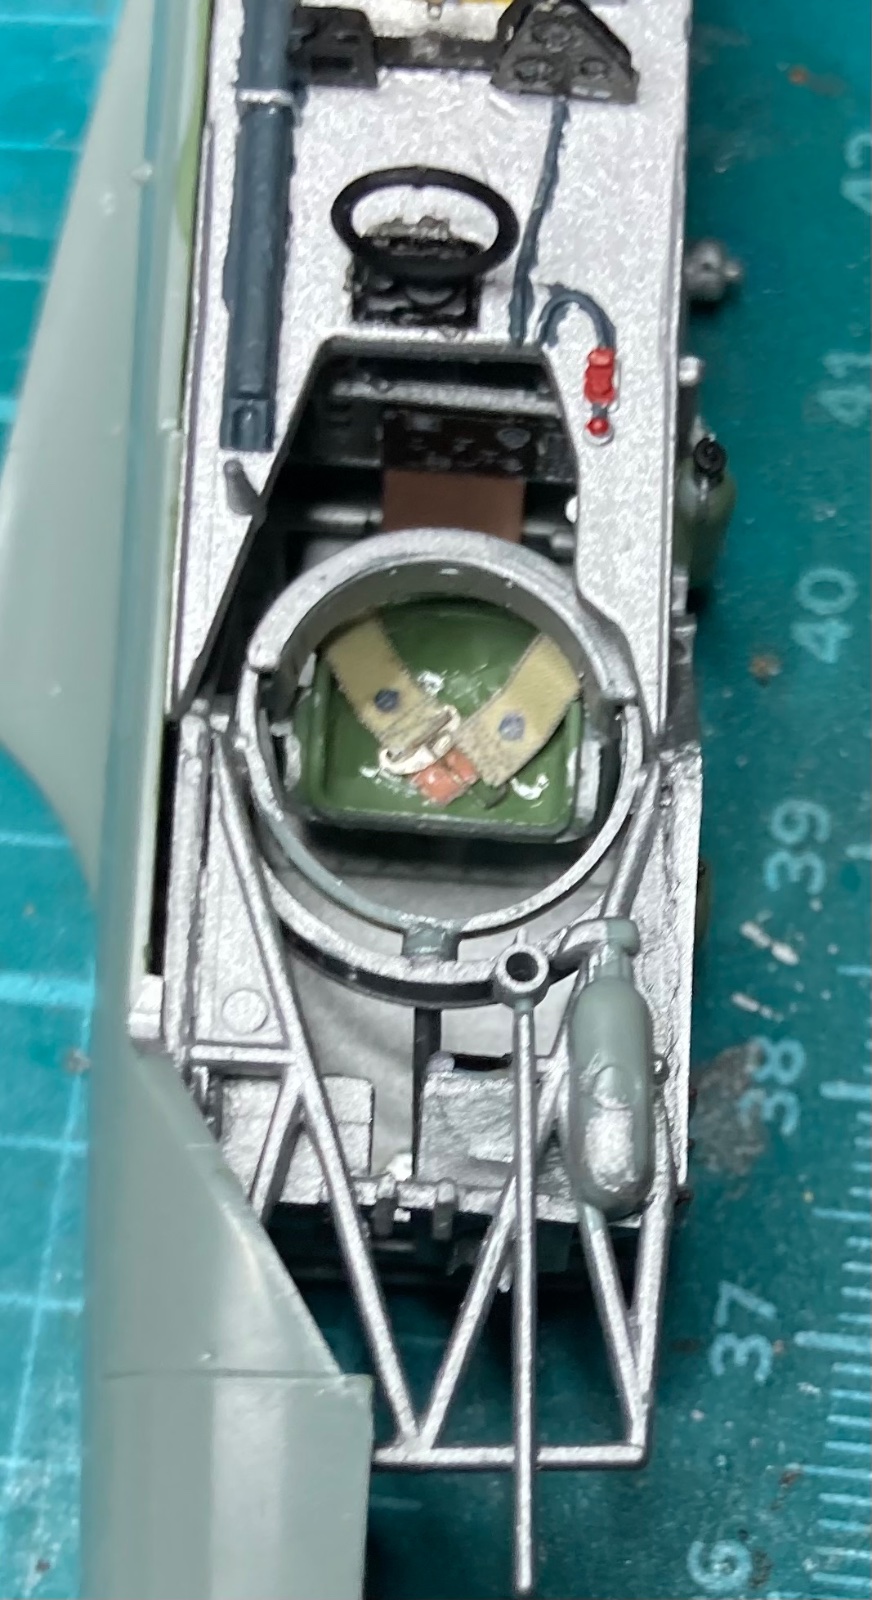
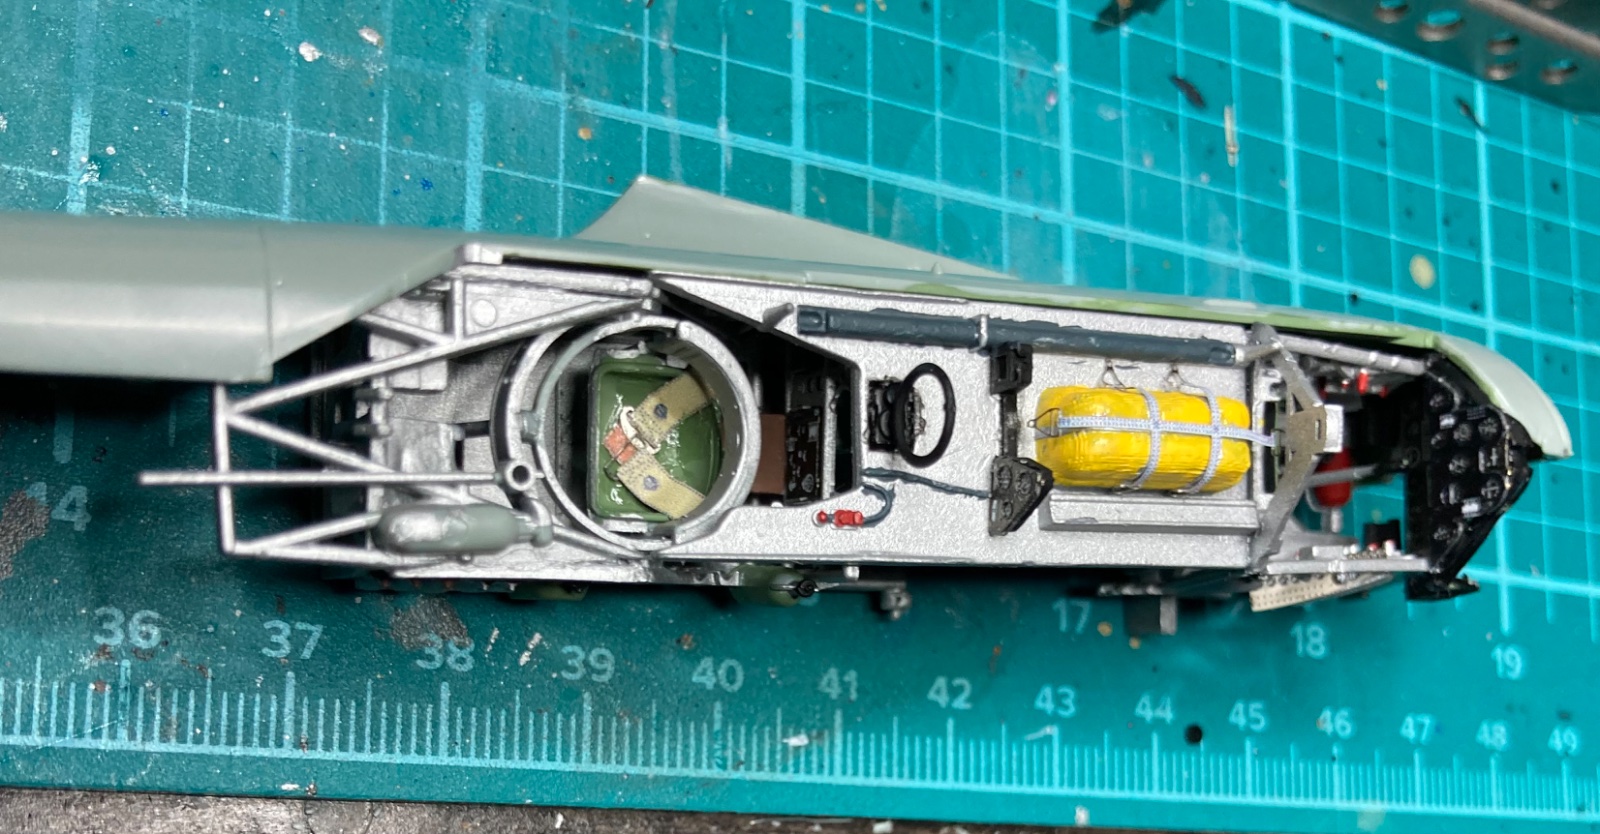
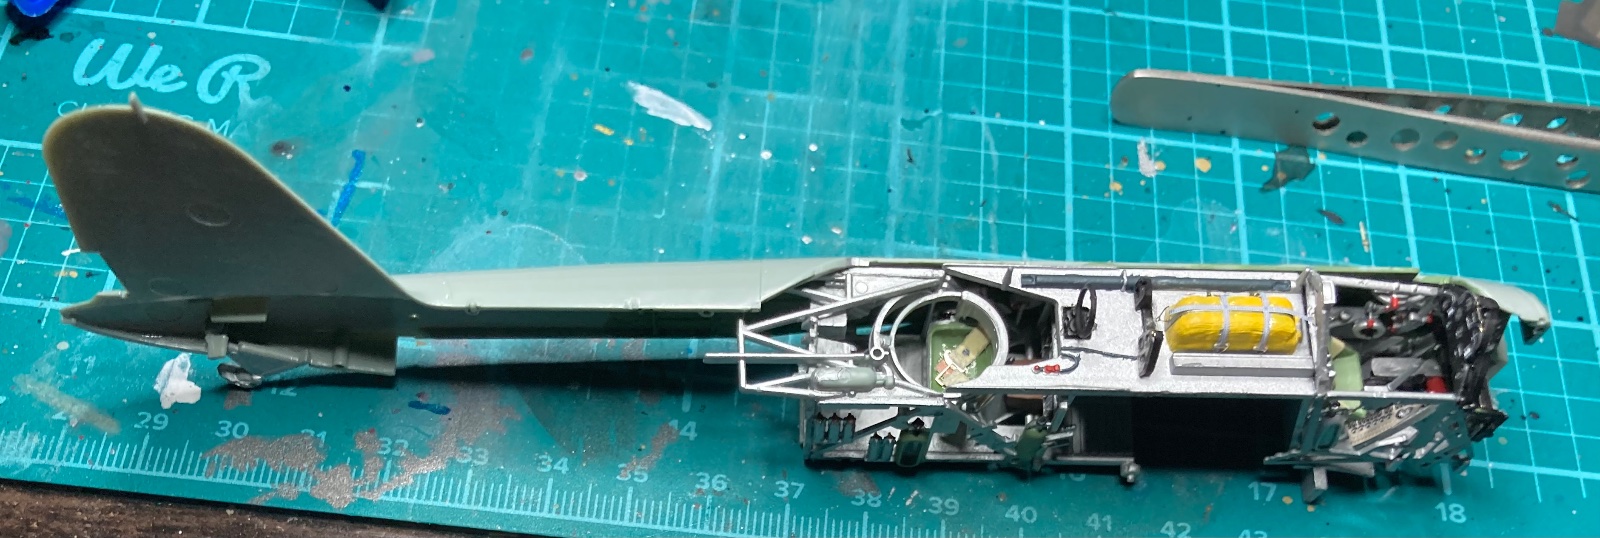
Nice. PanthermanSome progress made on the cockpit cage. Still working on the gunner's cage.
View attachment 163881
View attachment 163882
View attachment 163883
Looks great!Some progress made on the cockpit cage. Still working on the gunner's cage.
View attachment 163881
View attachment 163882
View attachment 163883

Nice! Great progress!Some progress
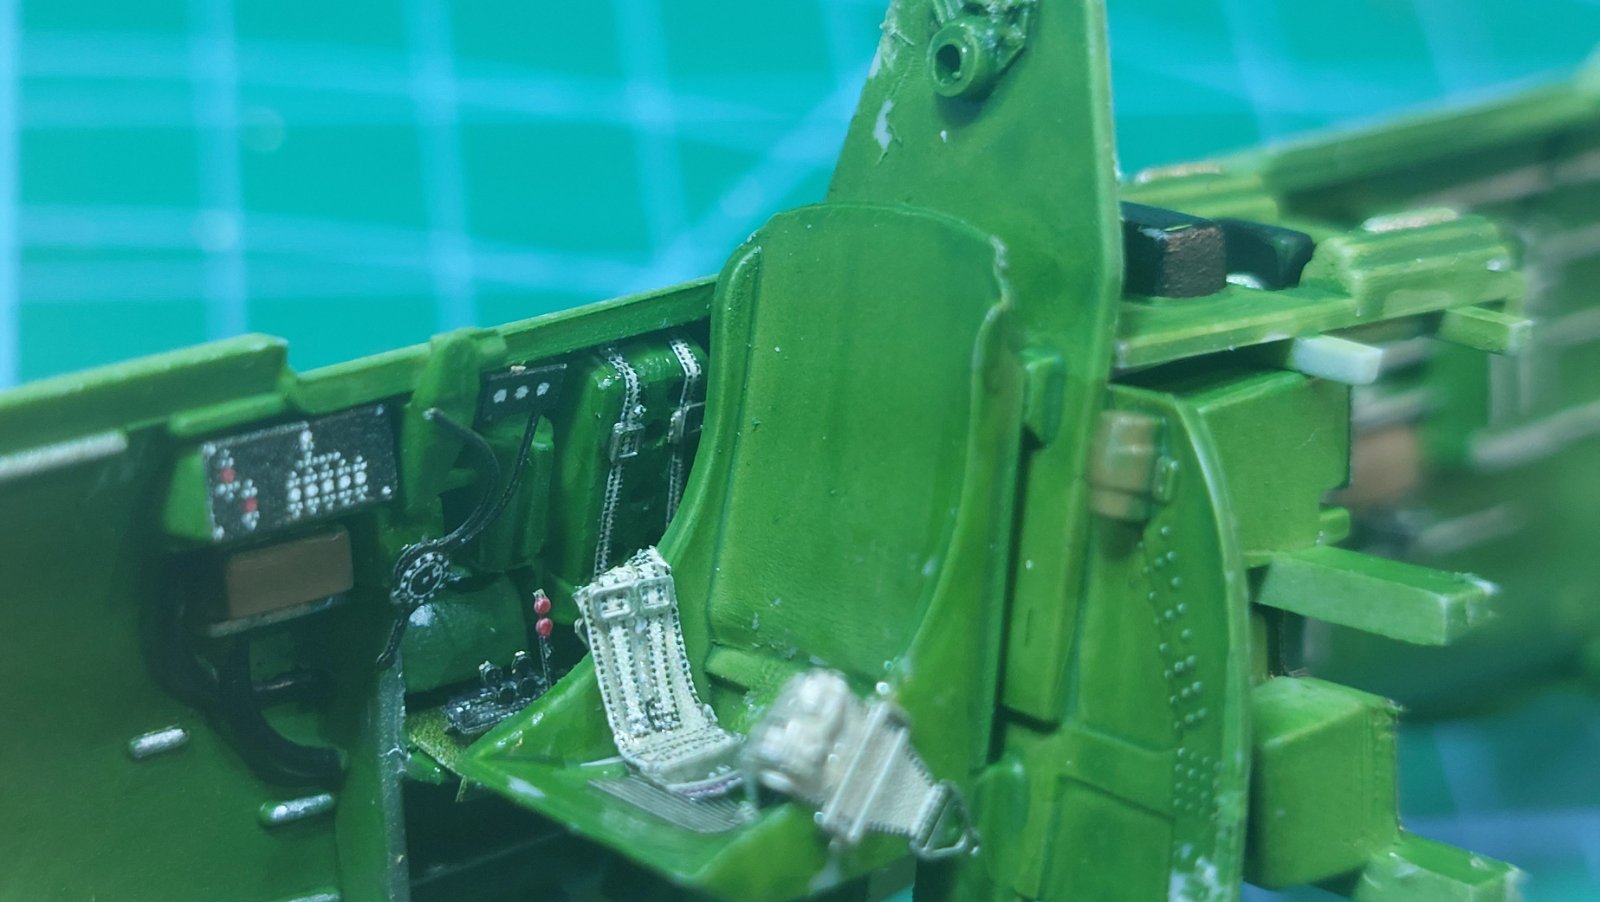
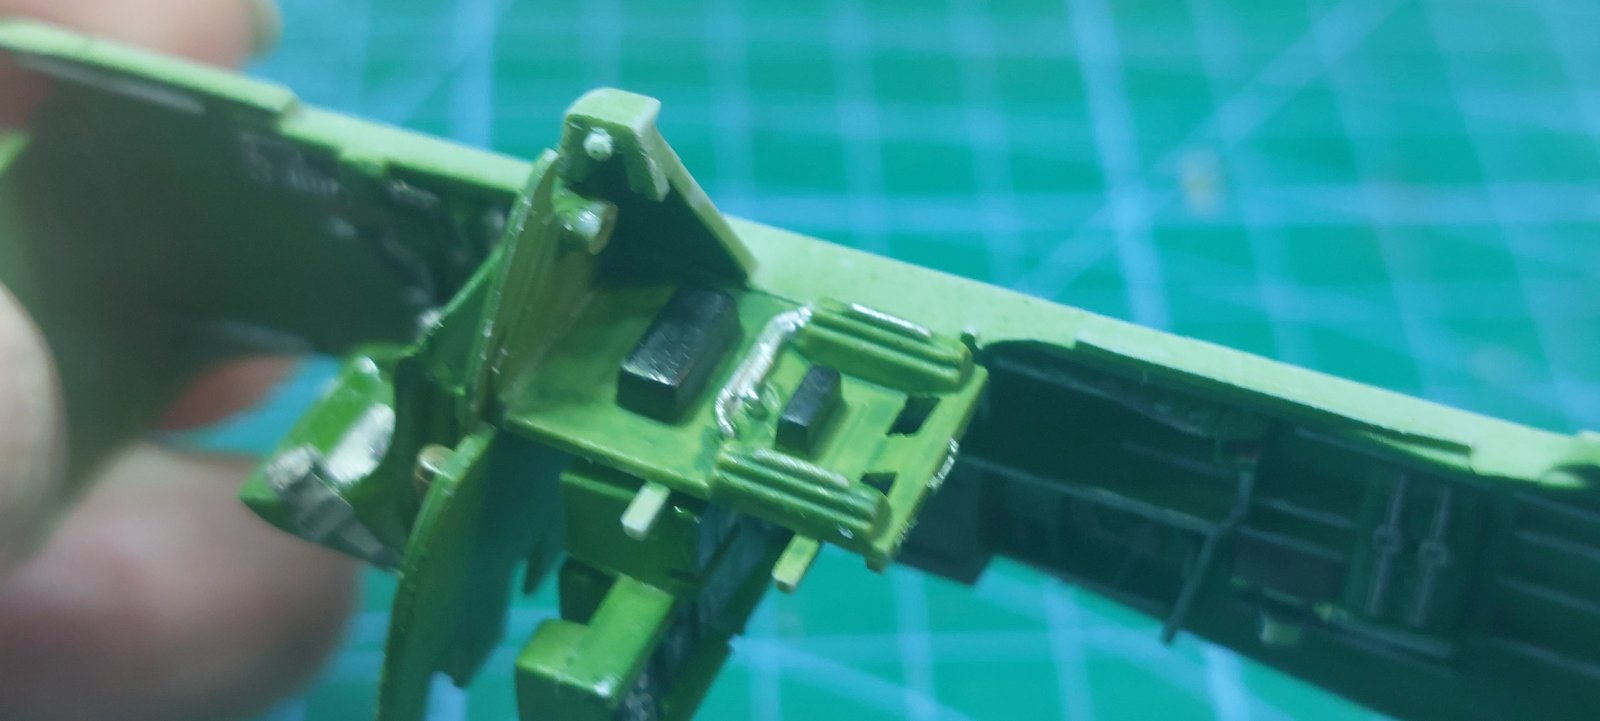
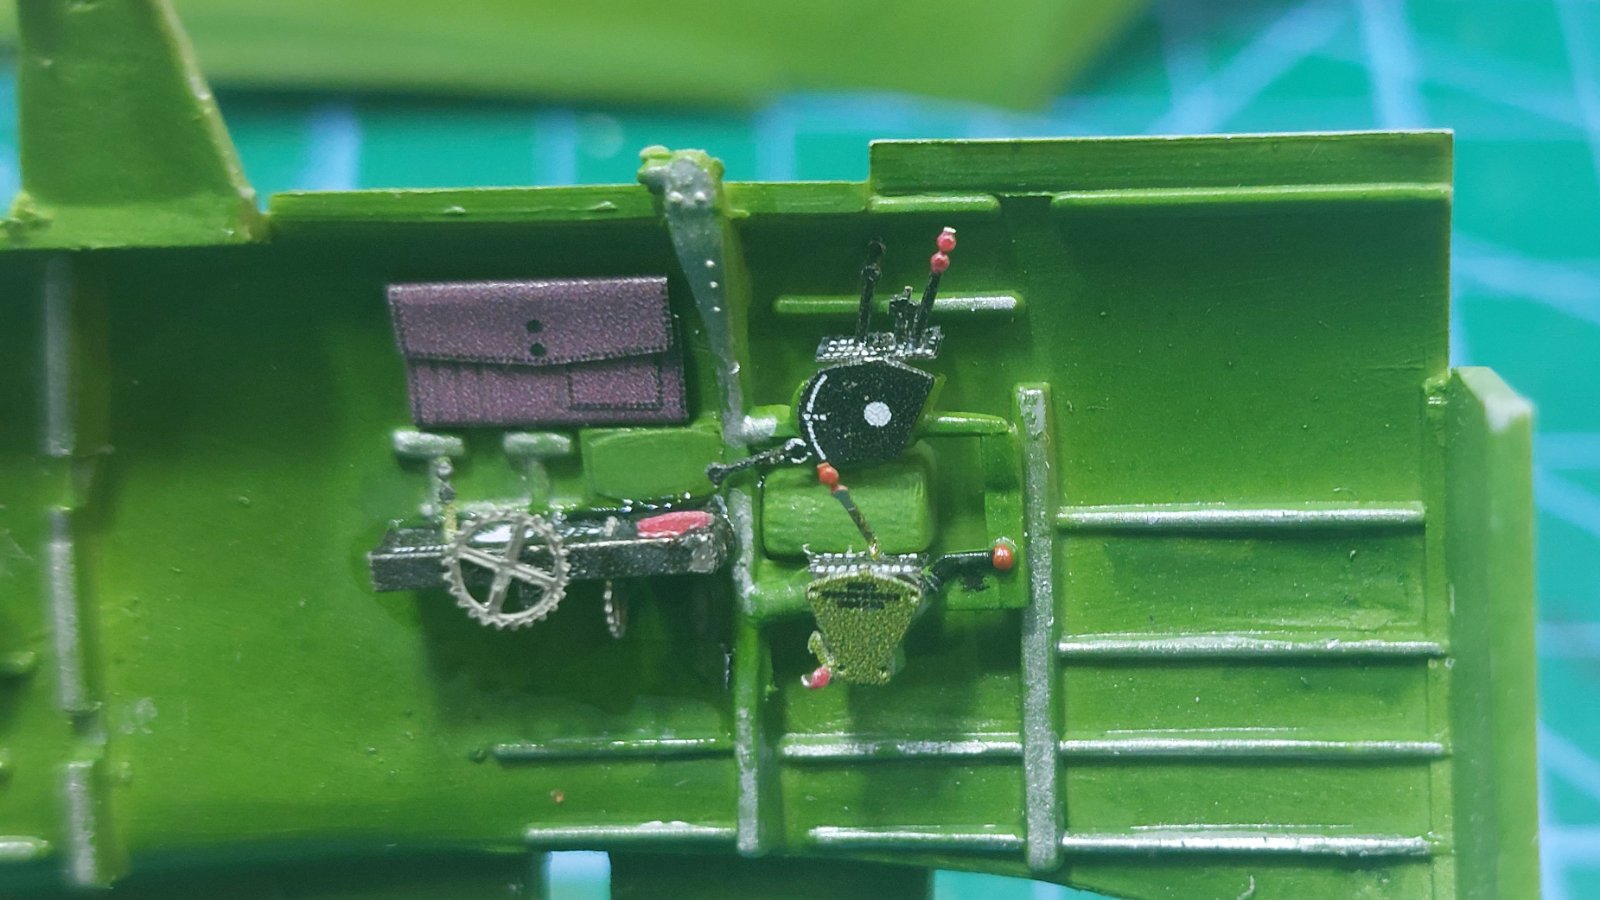
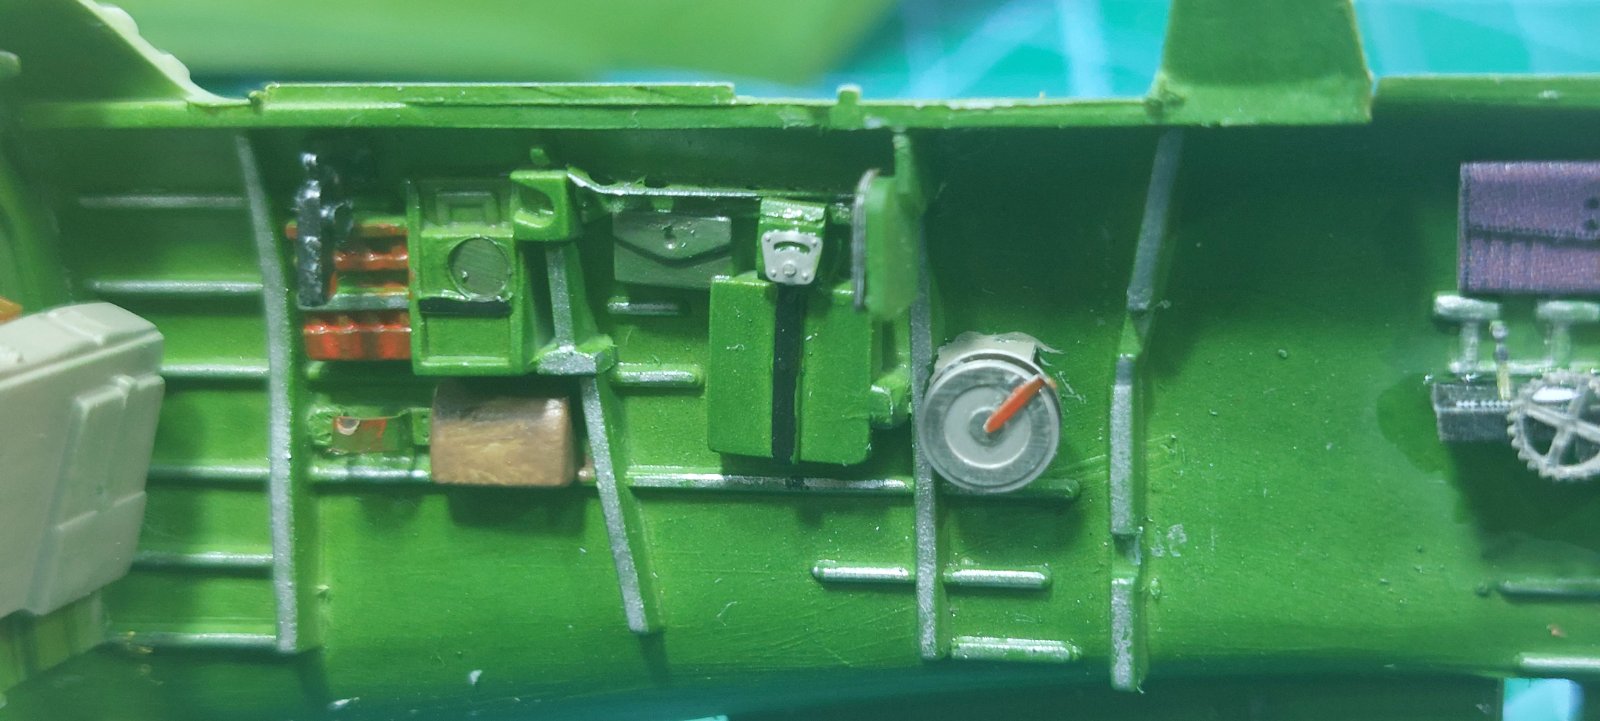
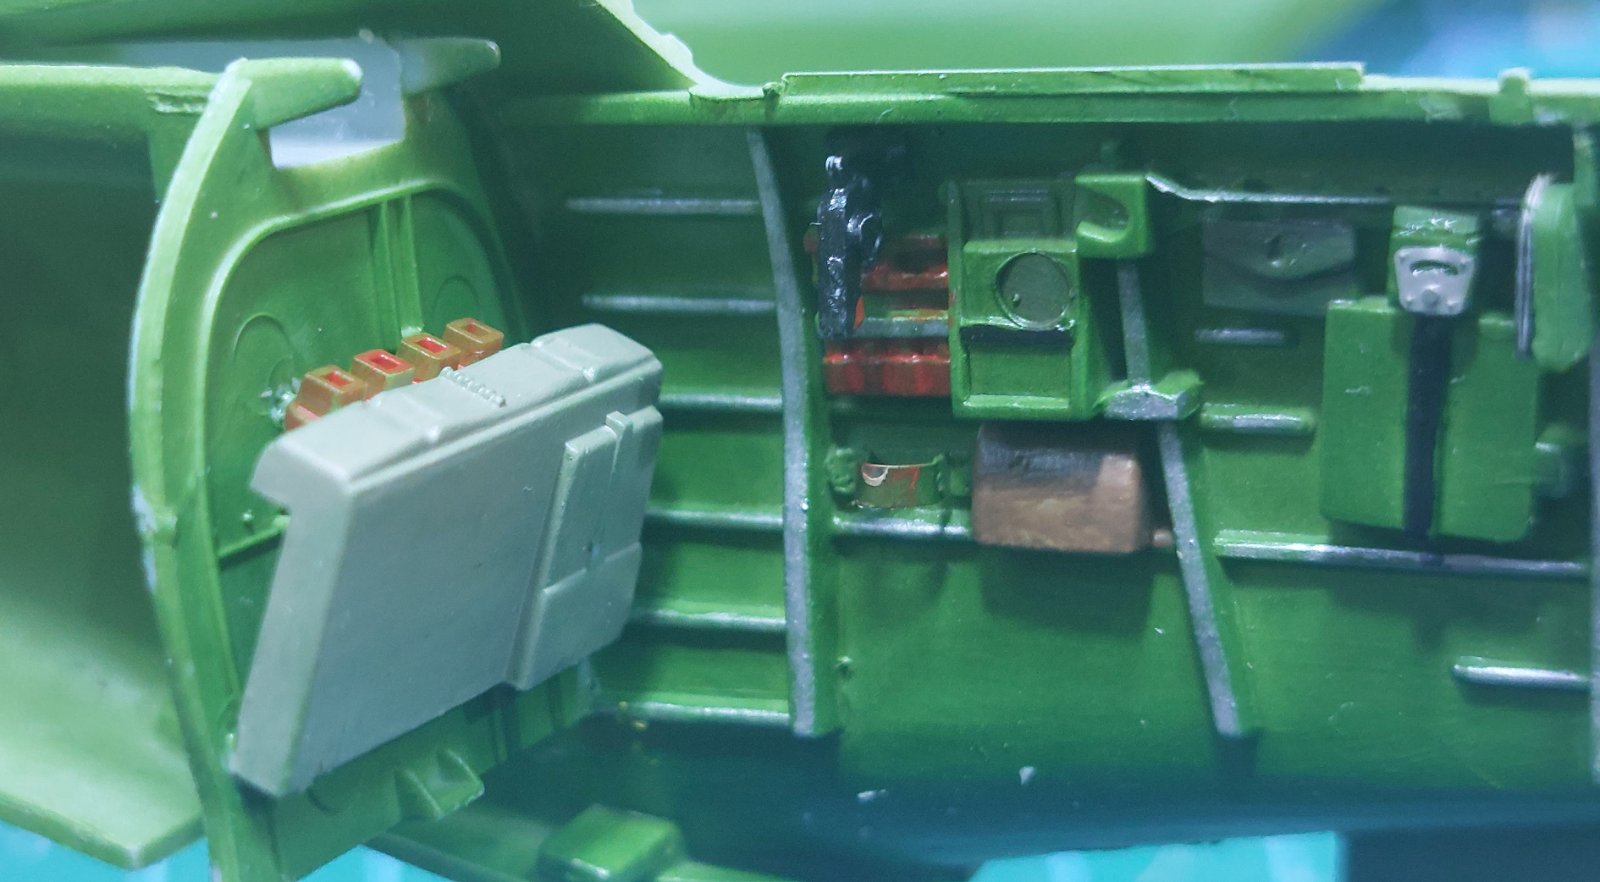
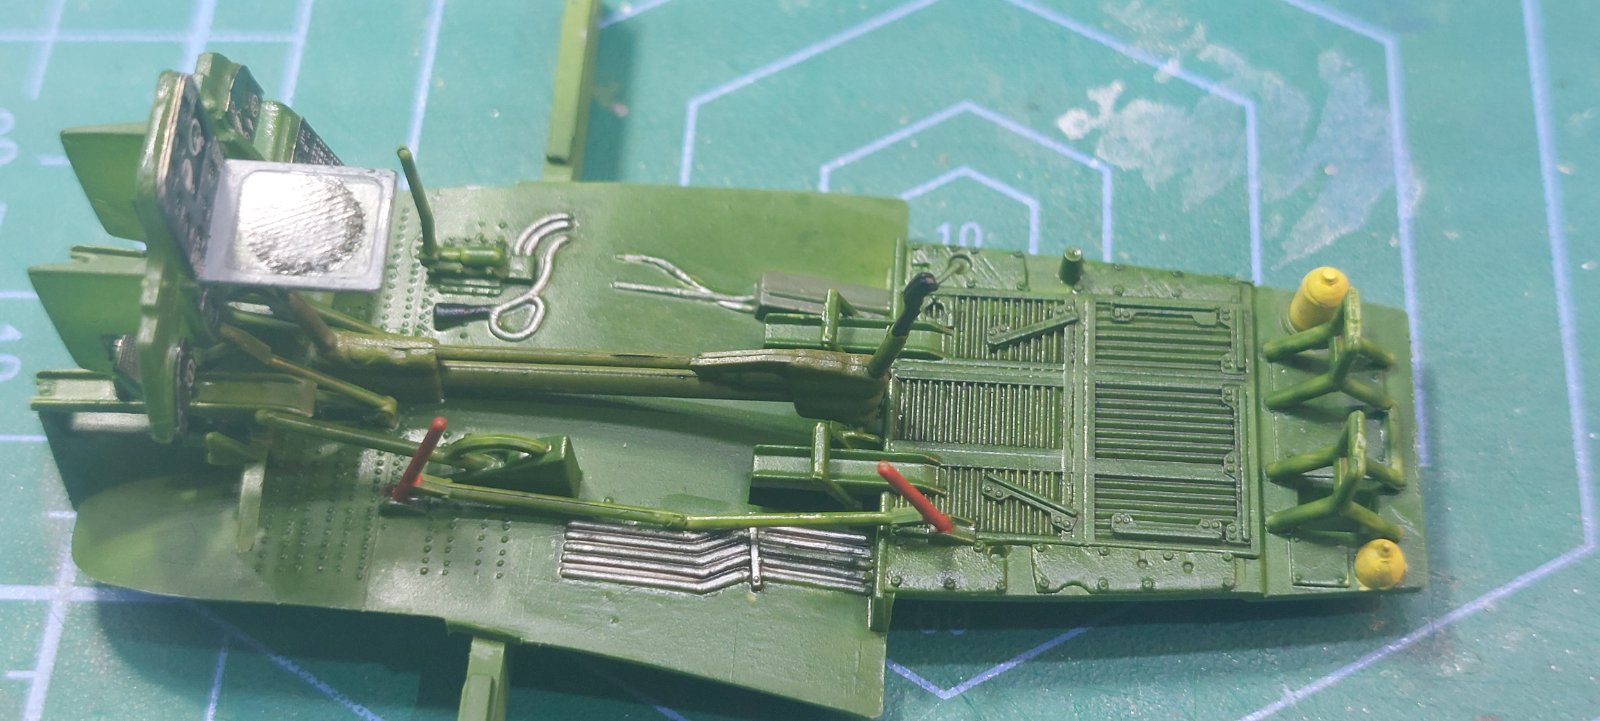
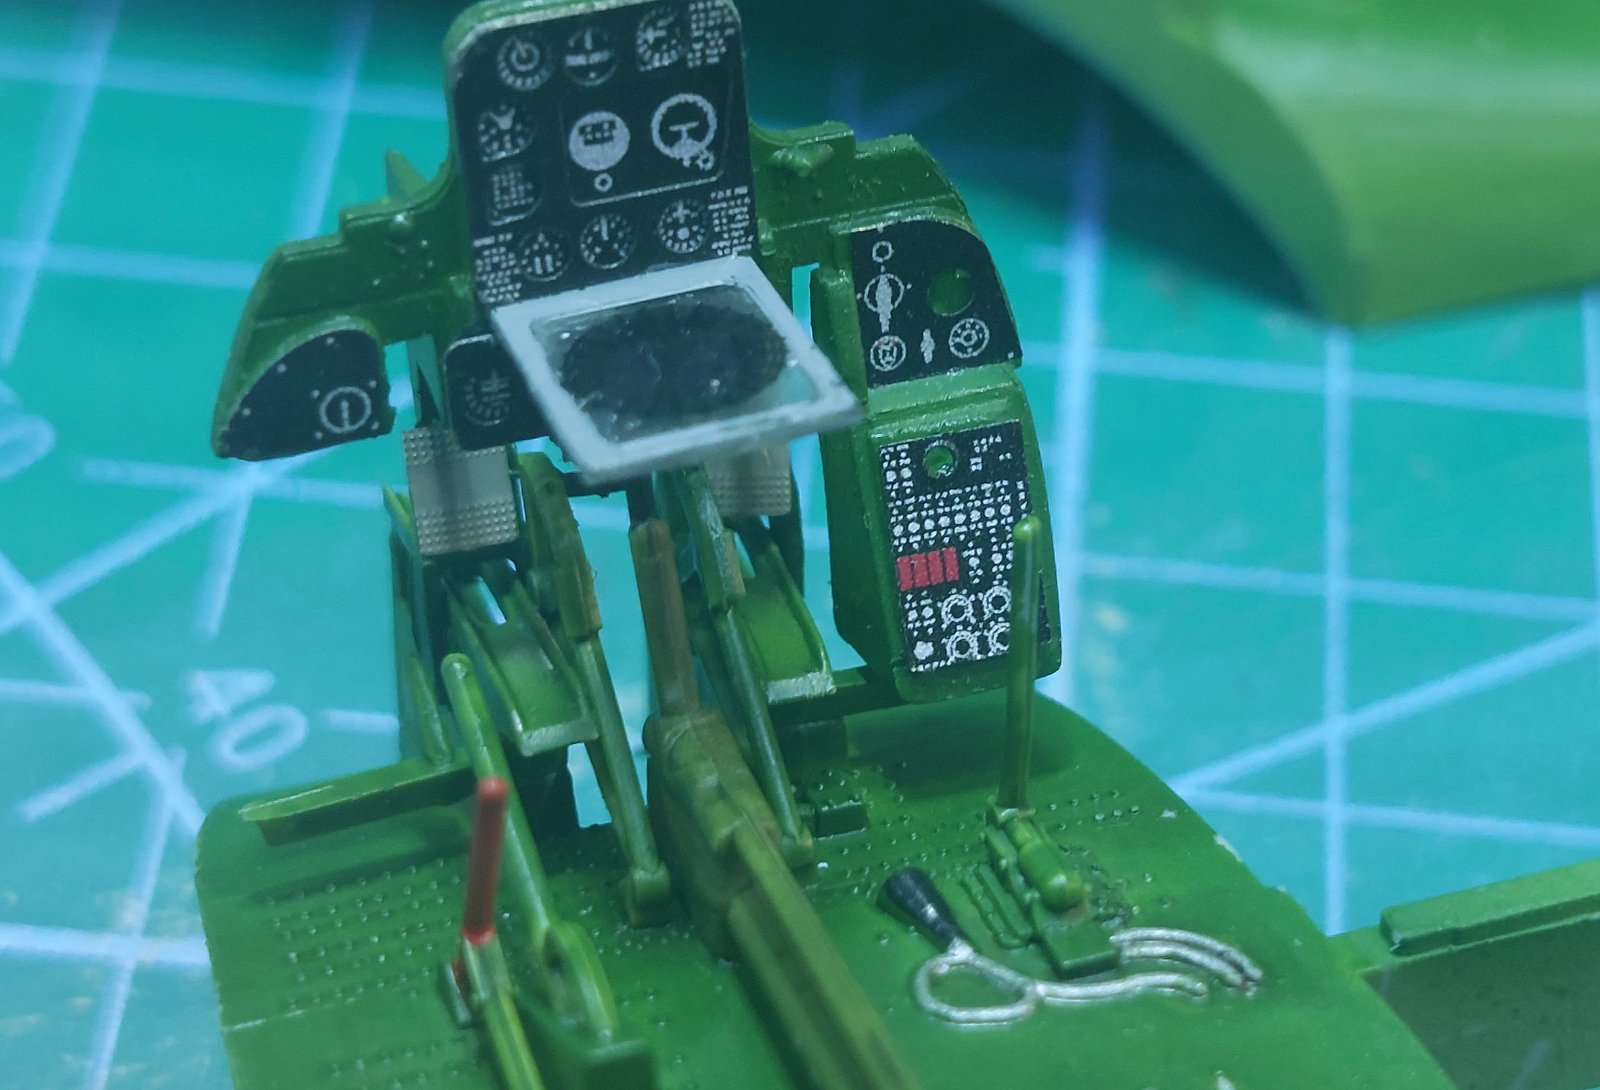
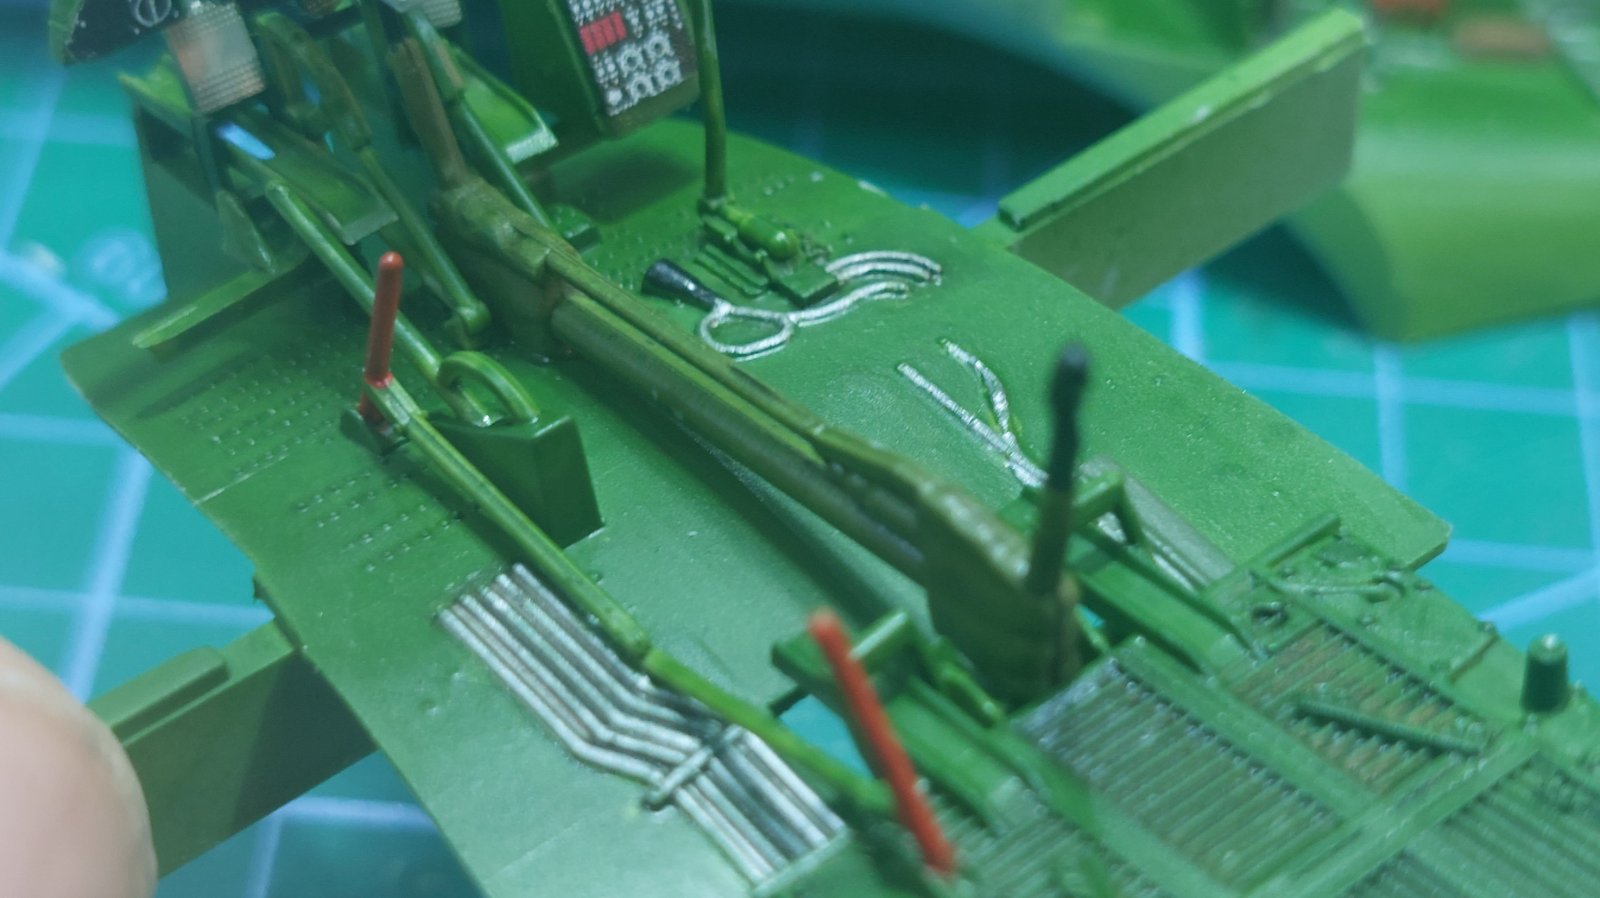

What paints are you using?A bit more done today still some paintwork to tidy up. Pantherman
View attachment 163925
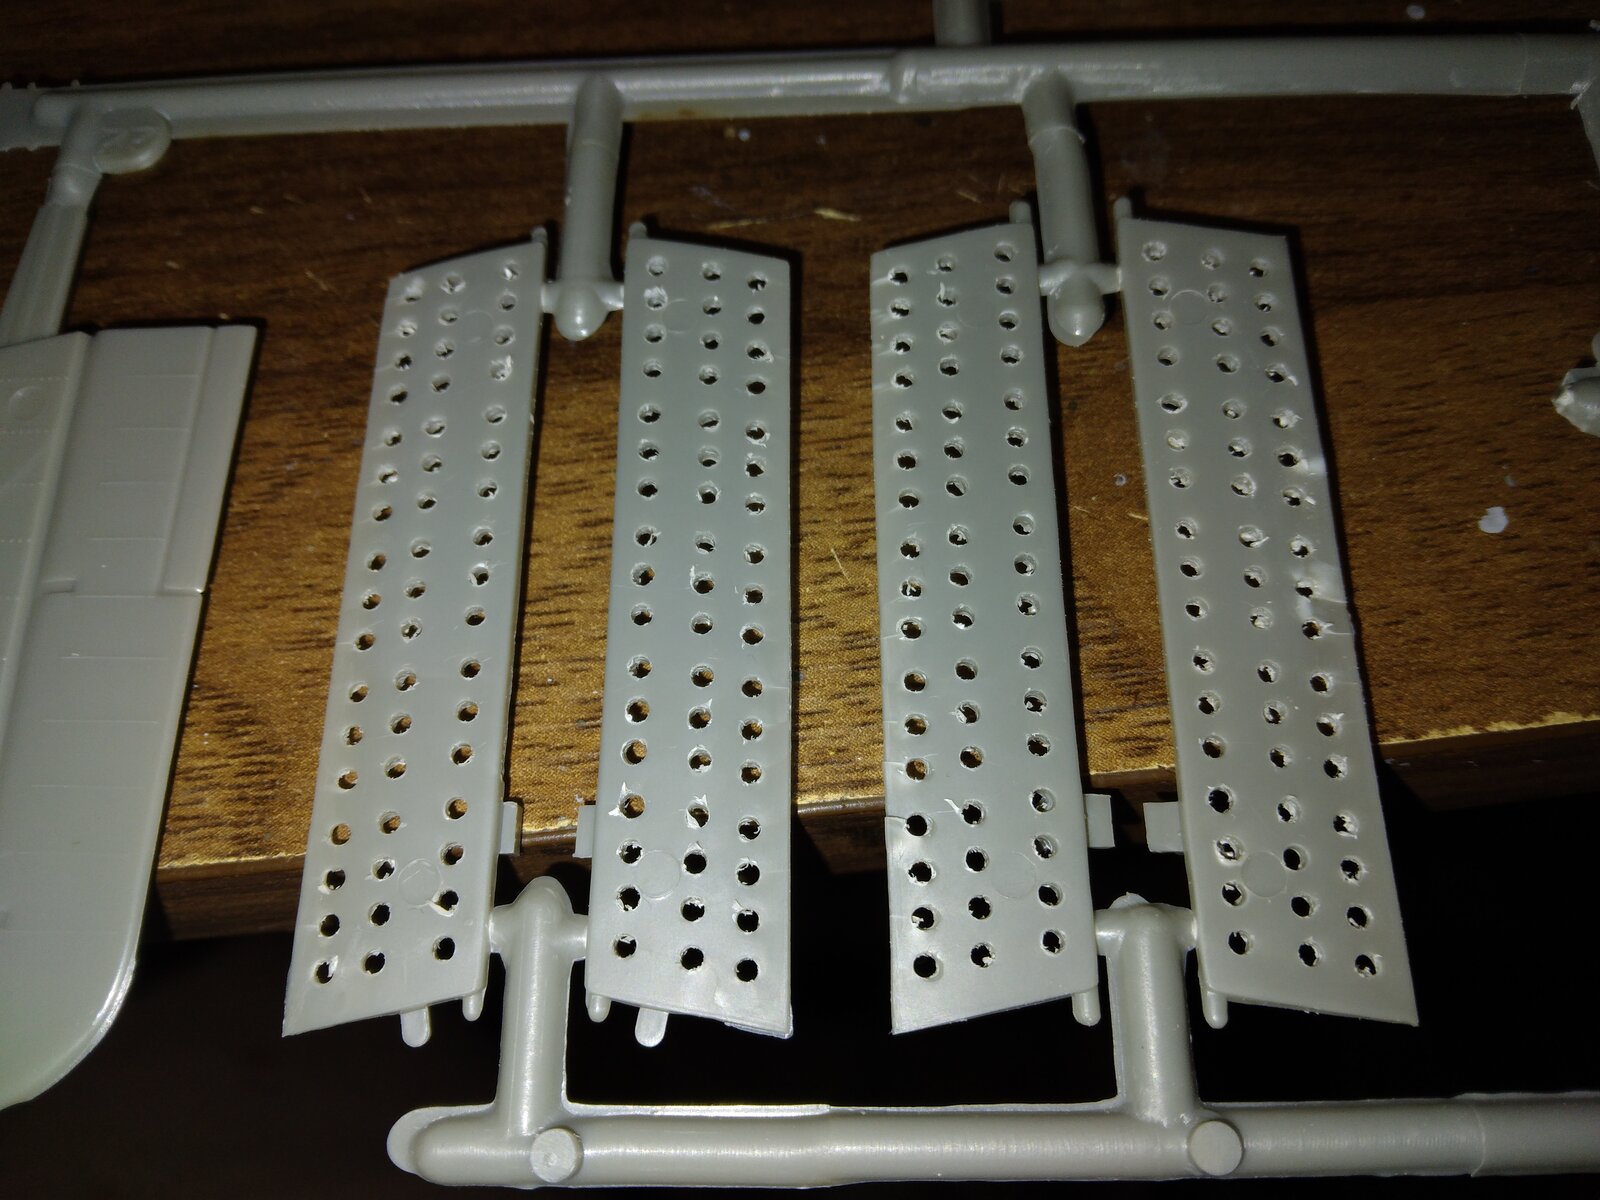
Very nice work.A bit more done today still some paintwork to tidy up. Pantherman
View attachment 163925View attachment 163926View attachment 163927View attachment 163928View attachment 163929View attachment 163930View attachment 163931View attachment 163932
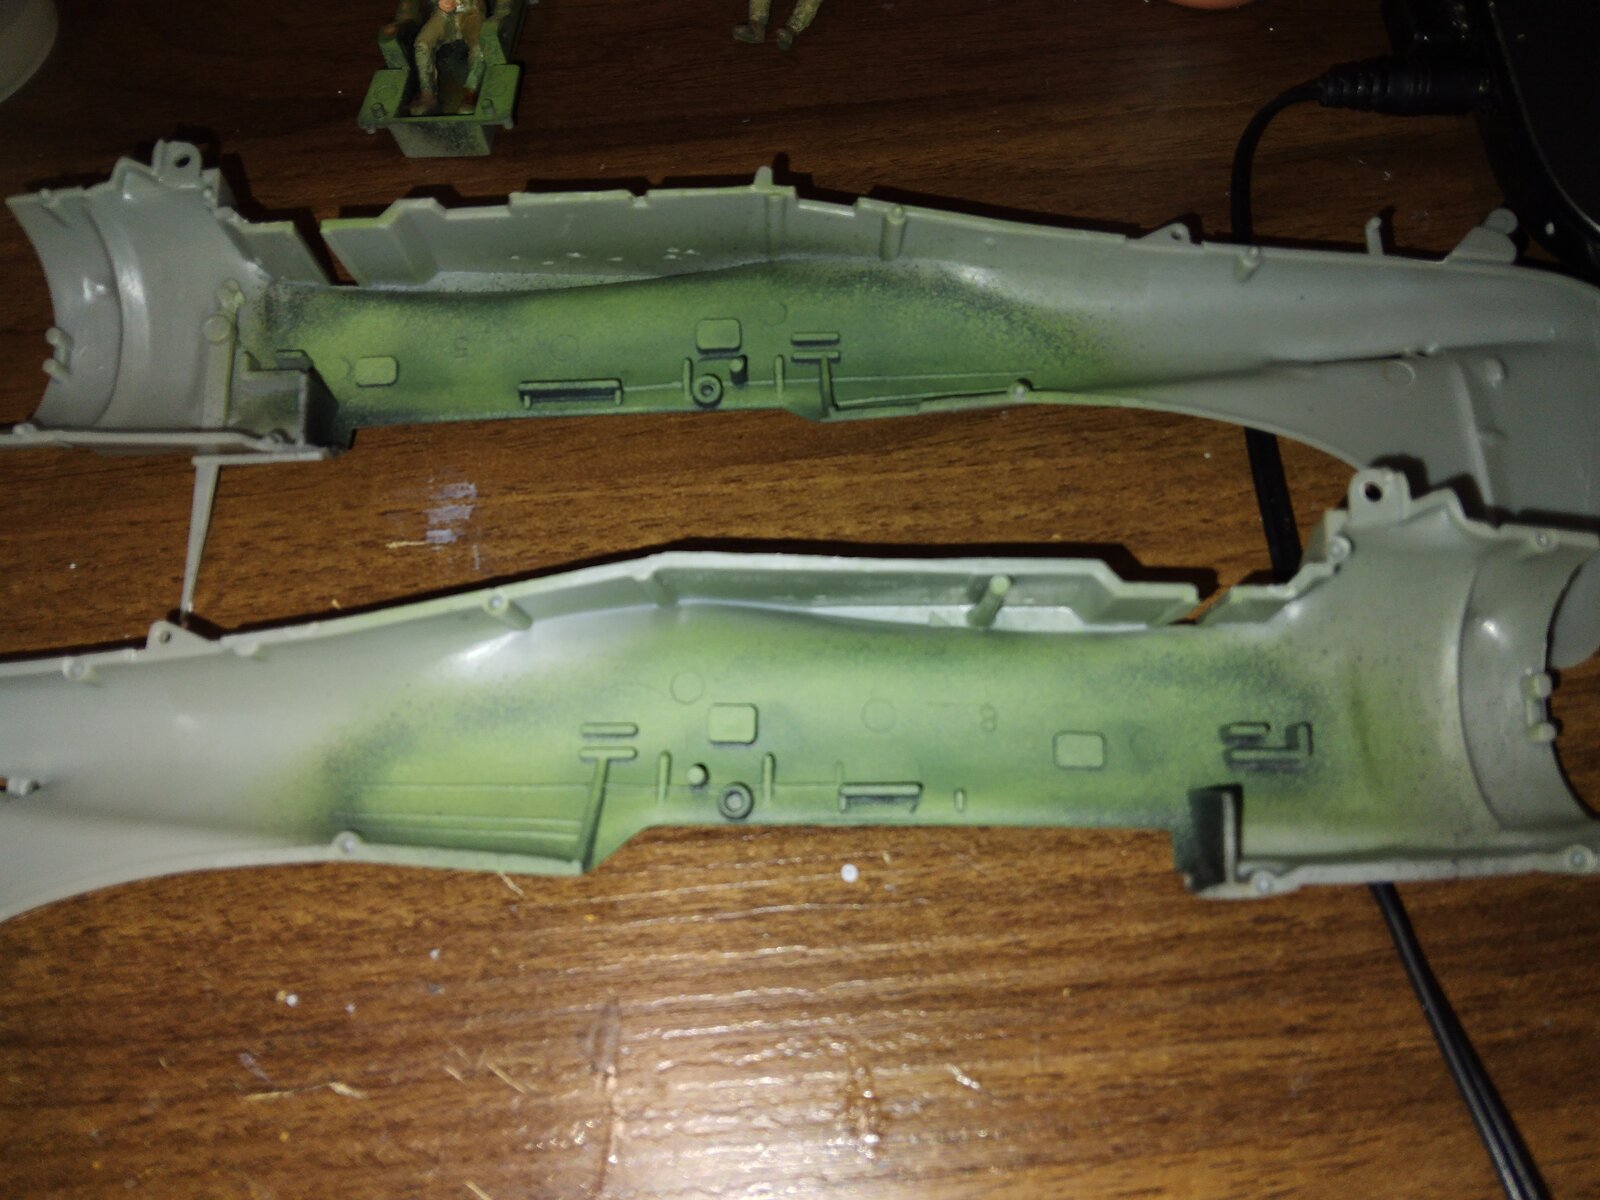
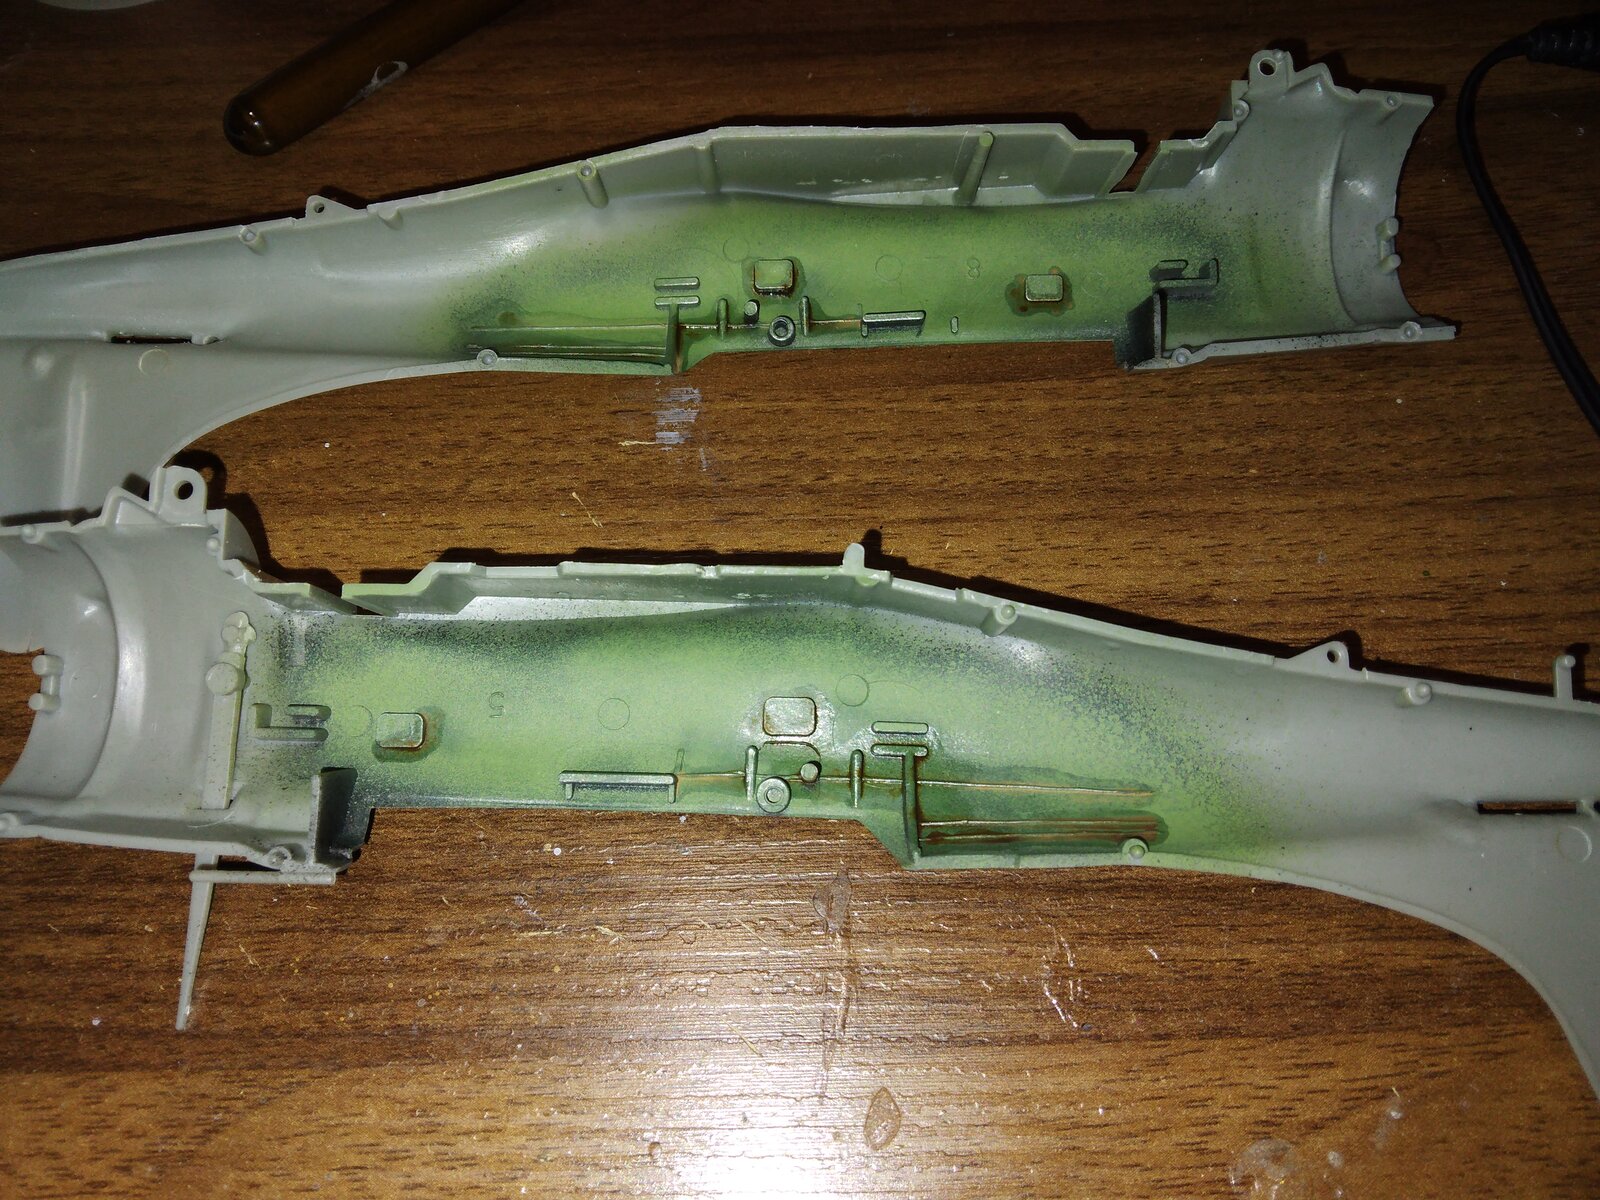
Vallejo, my go-to favourite. PanthermanWhat paints are you using?
Ditto. I don't like their clear gloss, though the clear semigloss and flat are great.Vallejo, my go-to favourite.
Have to agree with you on the gloss paint it's semi gloss at best after several coats. PanthermanDitto. I don't like their clear gloss, though the clear semigloss and flat are great.
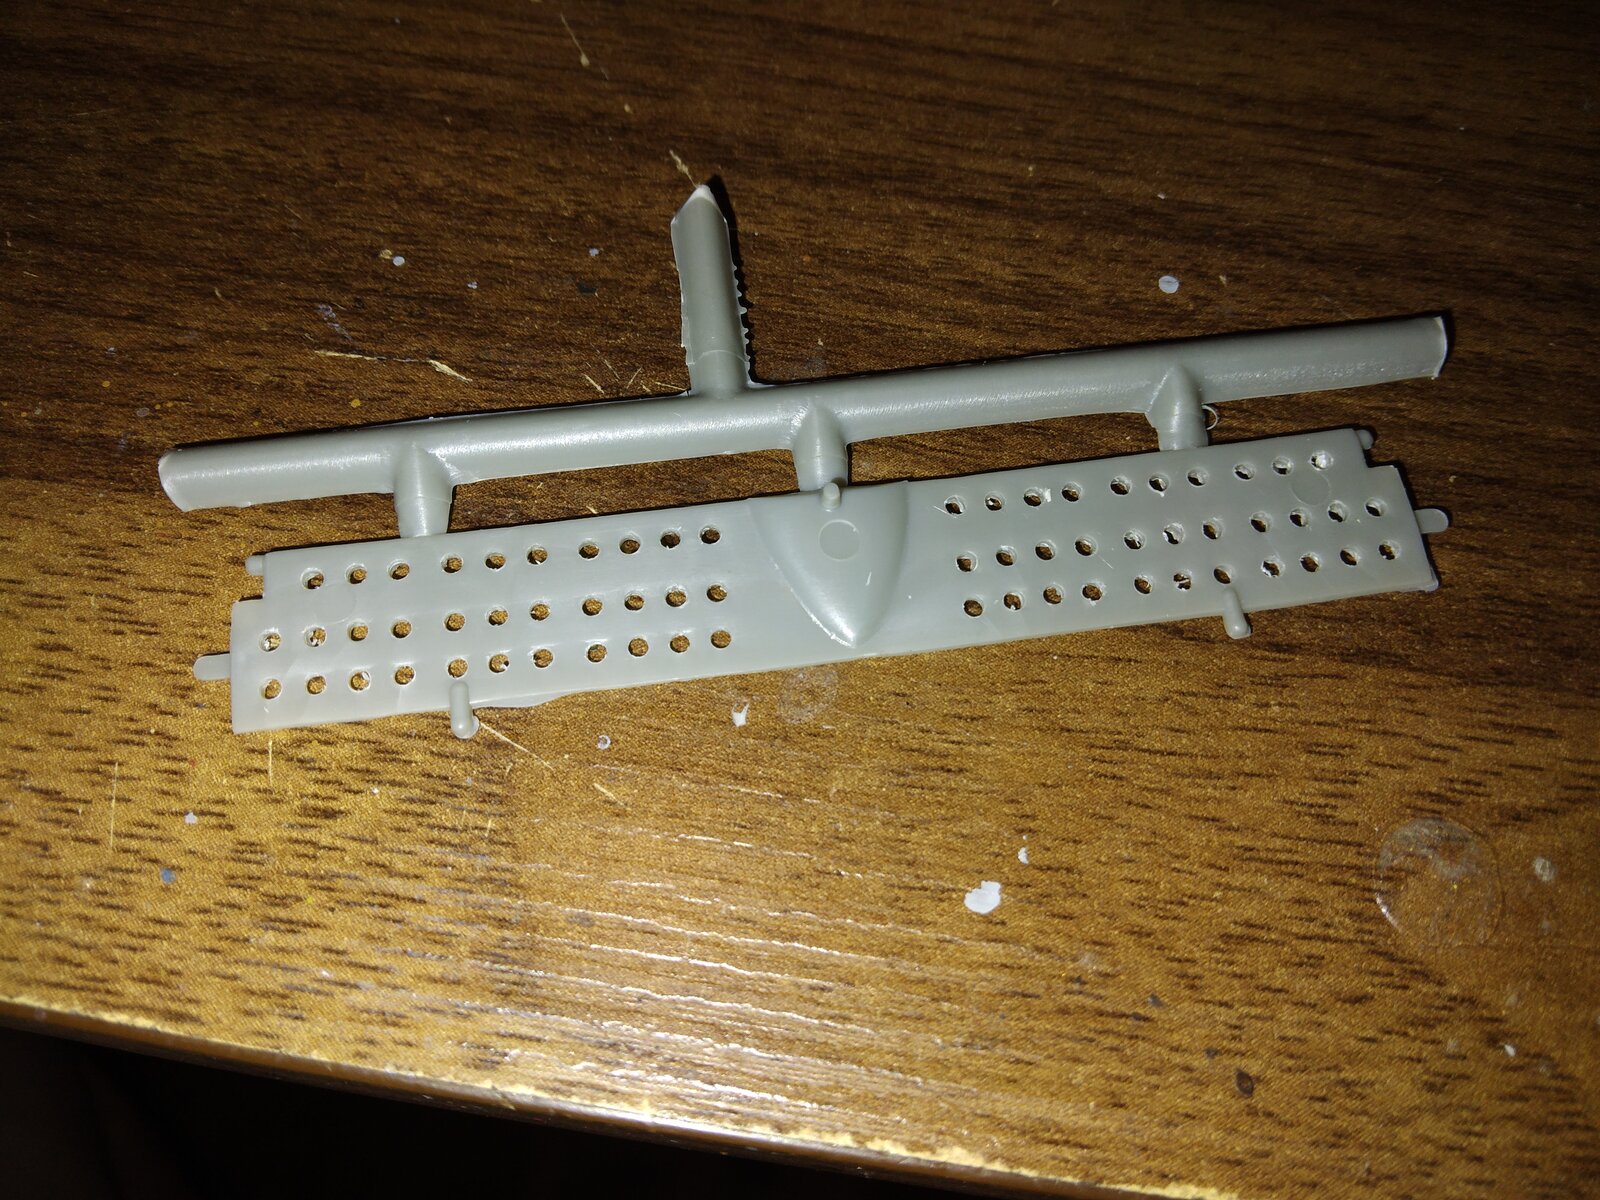
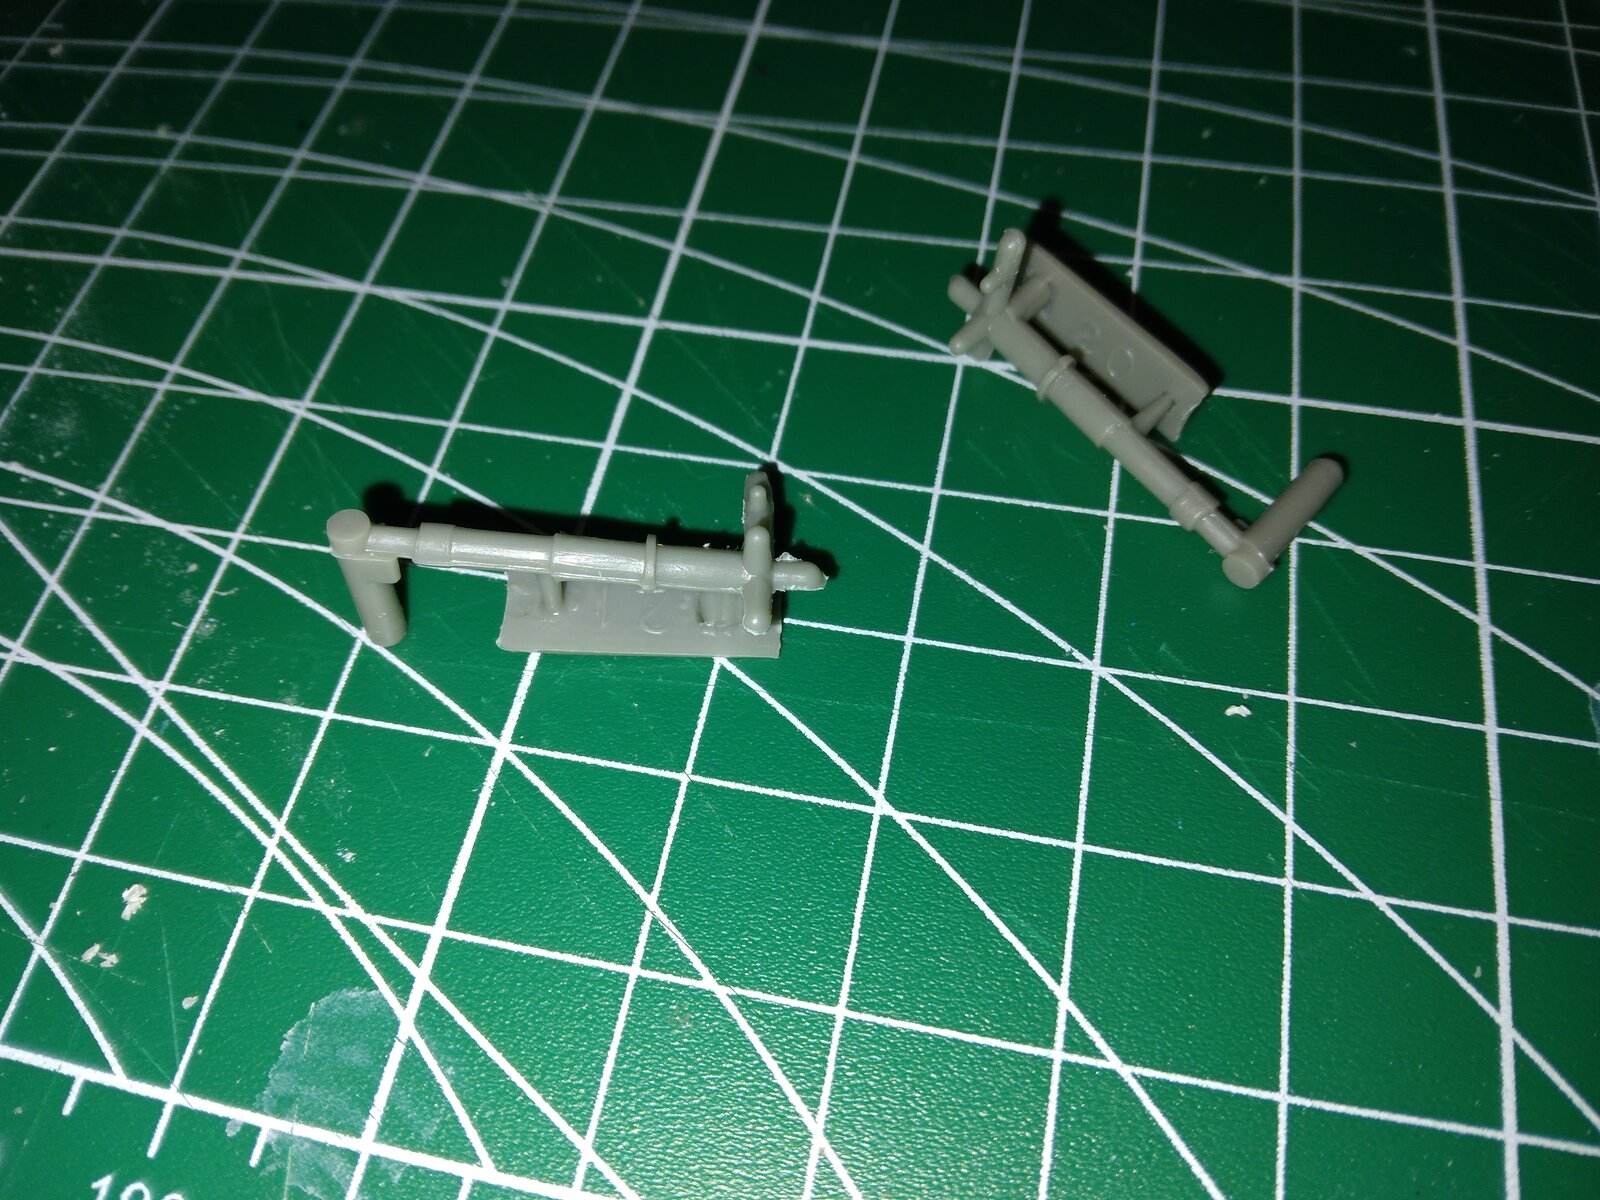
Be ready for some large gaps between the fuselage and wing roots. That looks like the exact same model as I'm working on and I have some large gaps that I have to fill.Ok, box is open and major components are trimmed and ready for paint. Not a lot of flash to trim.
View attachment 164030
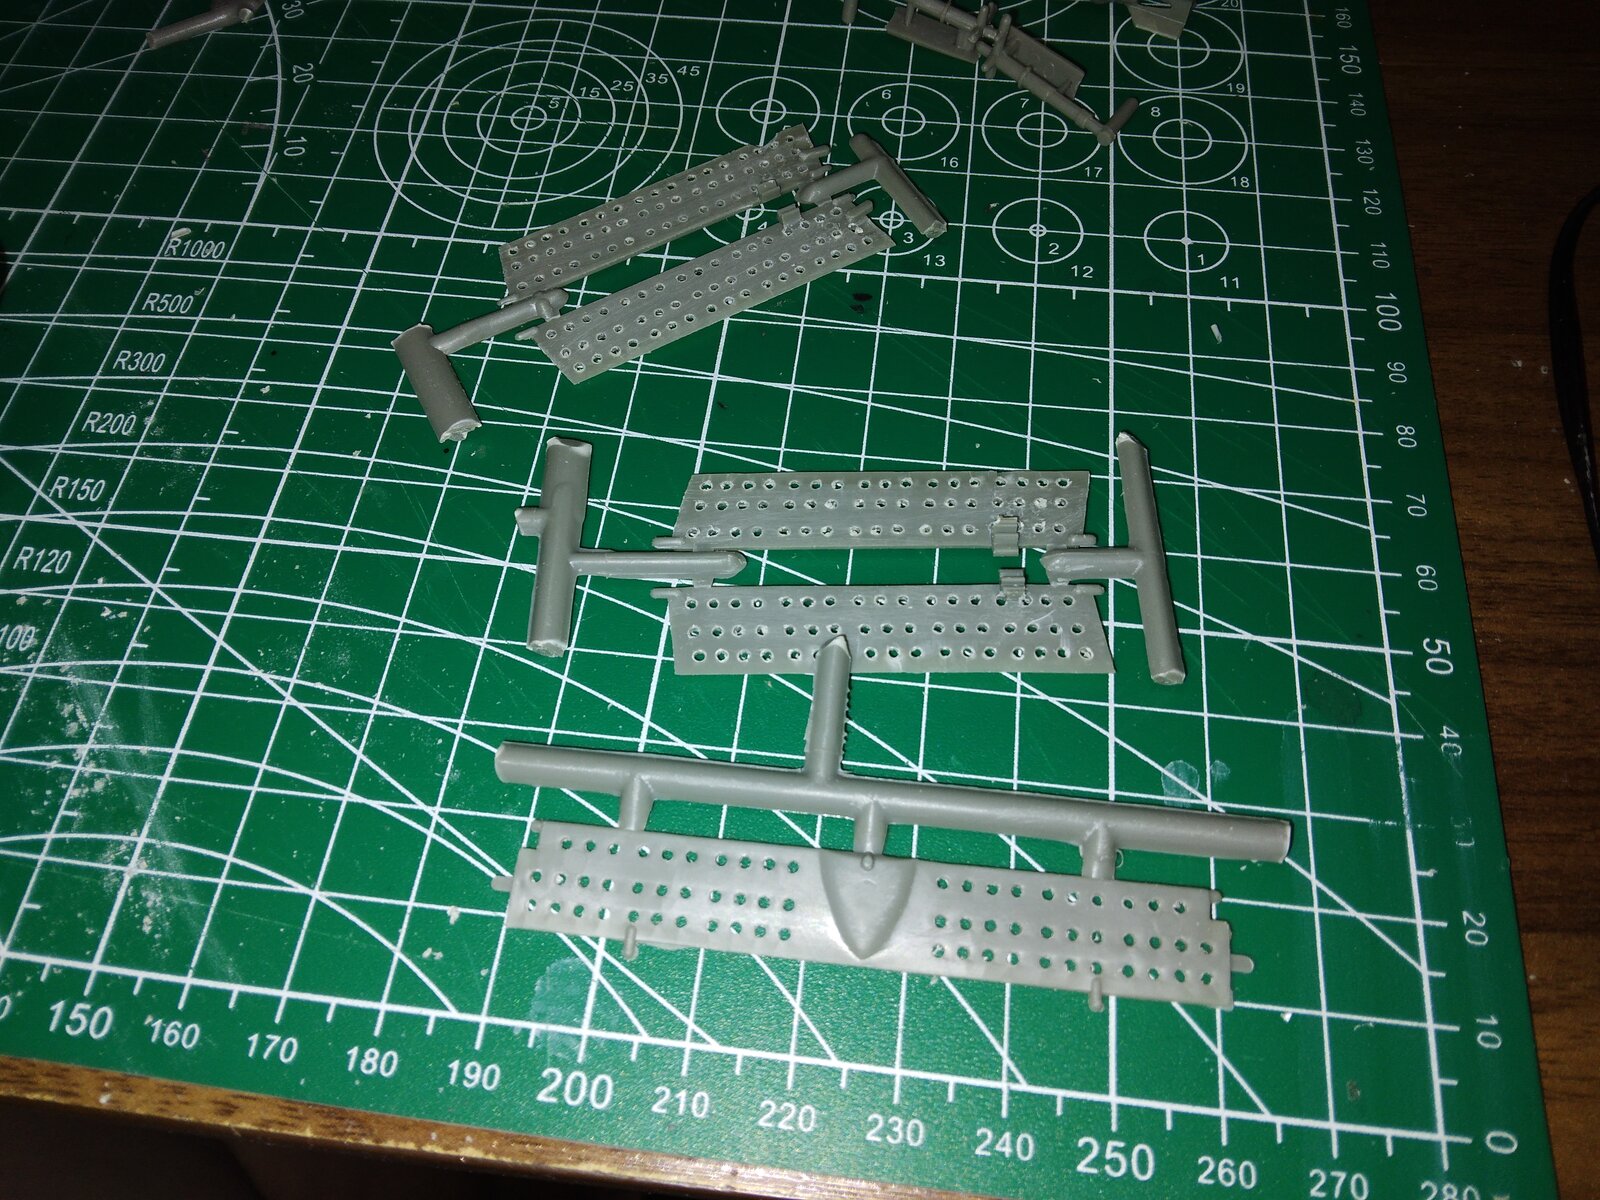
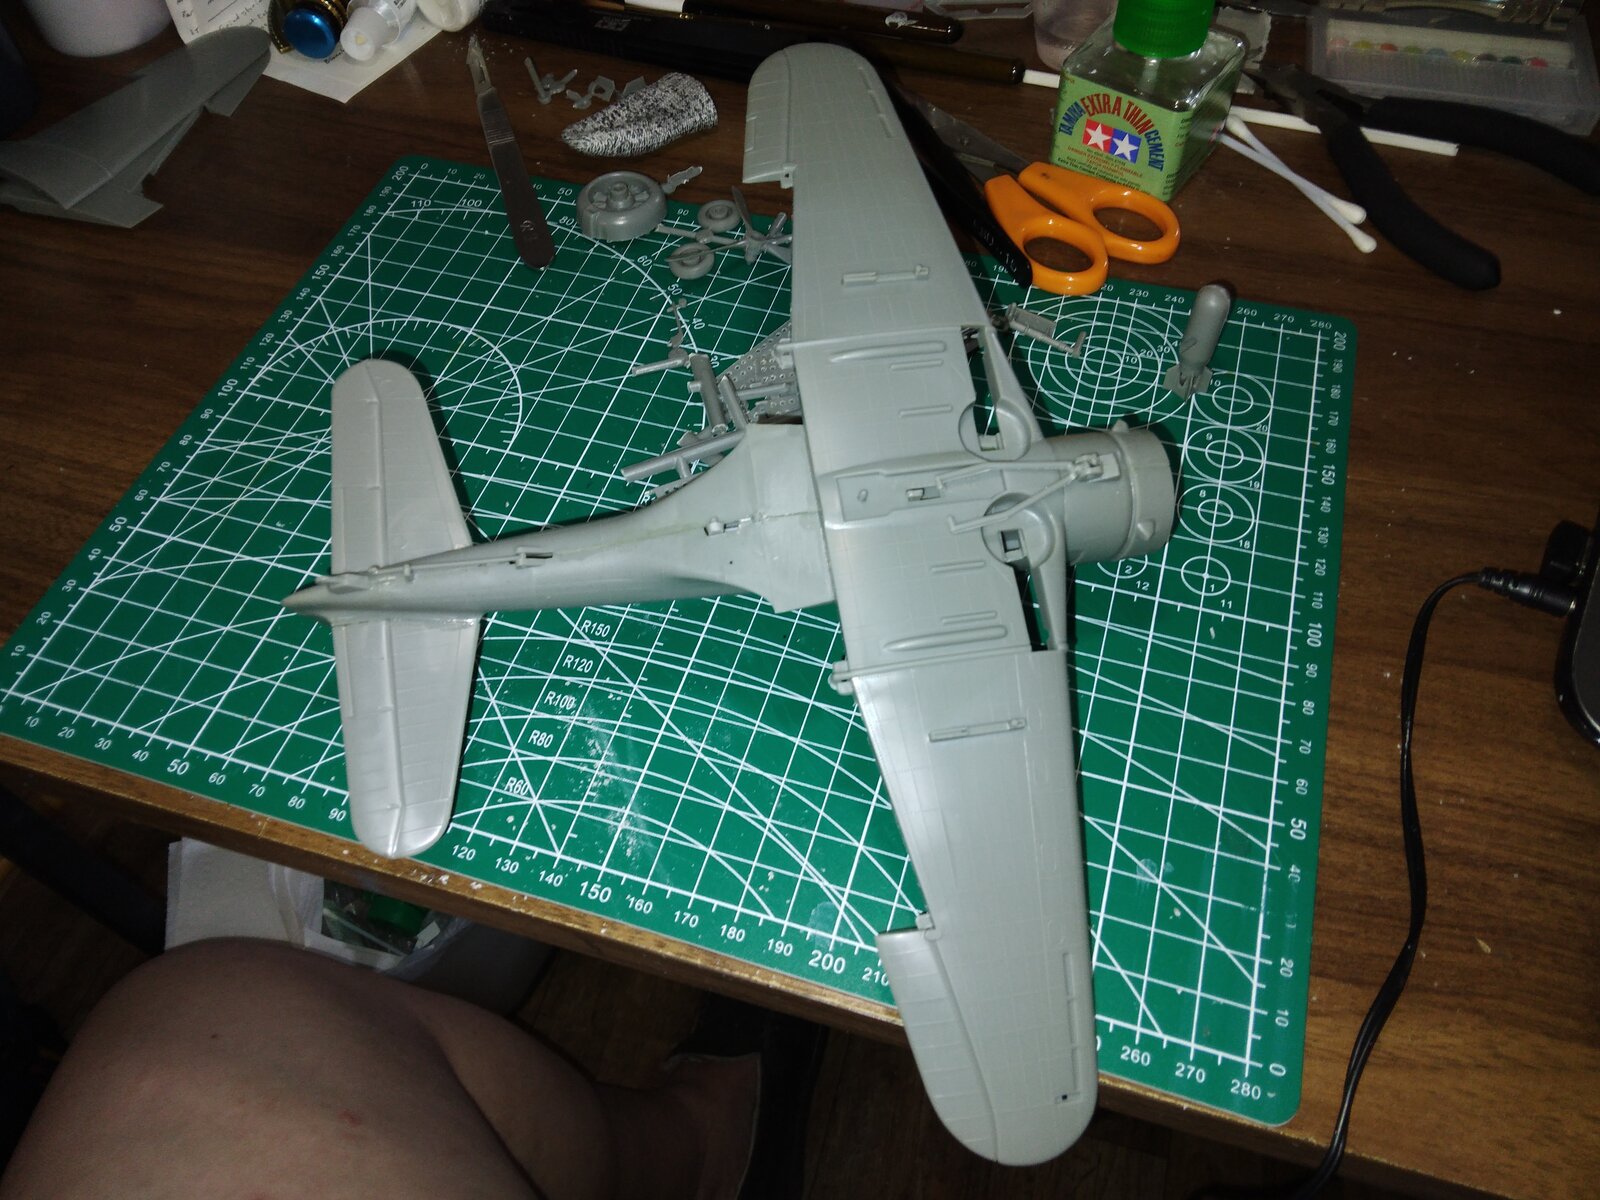
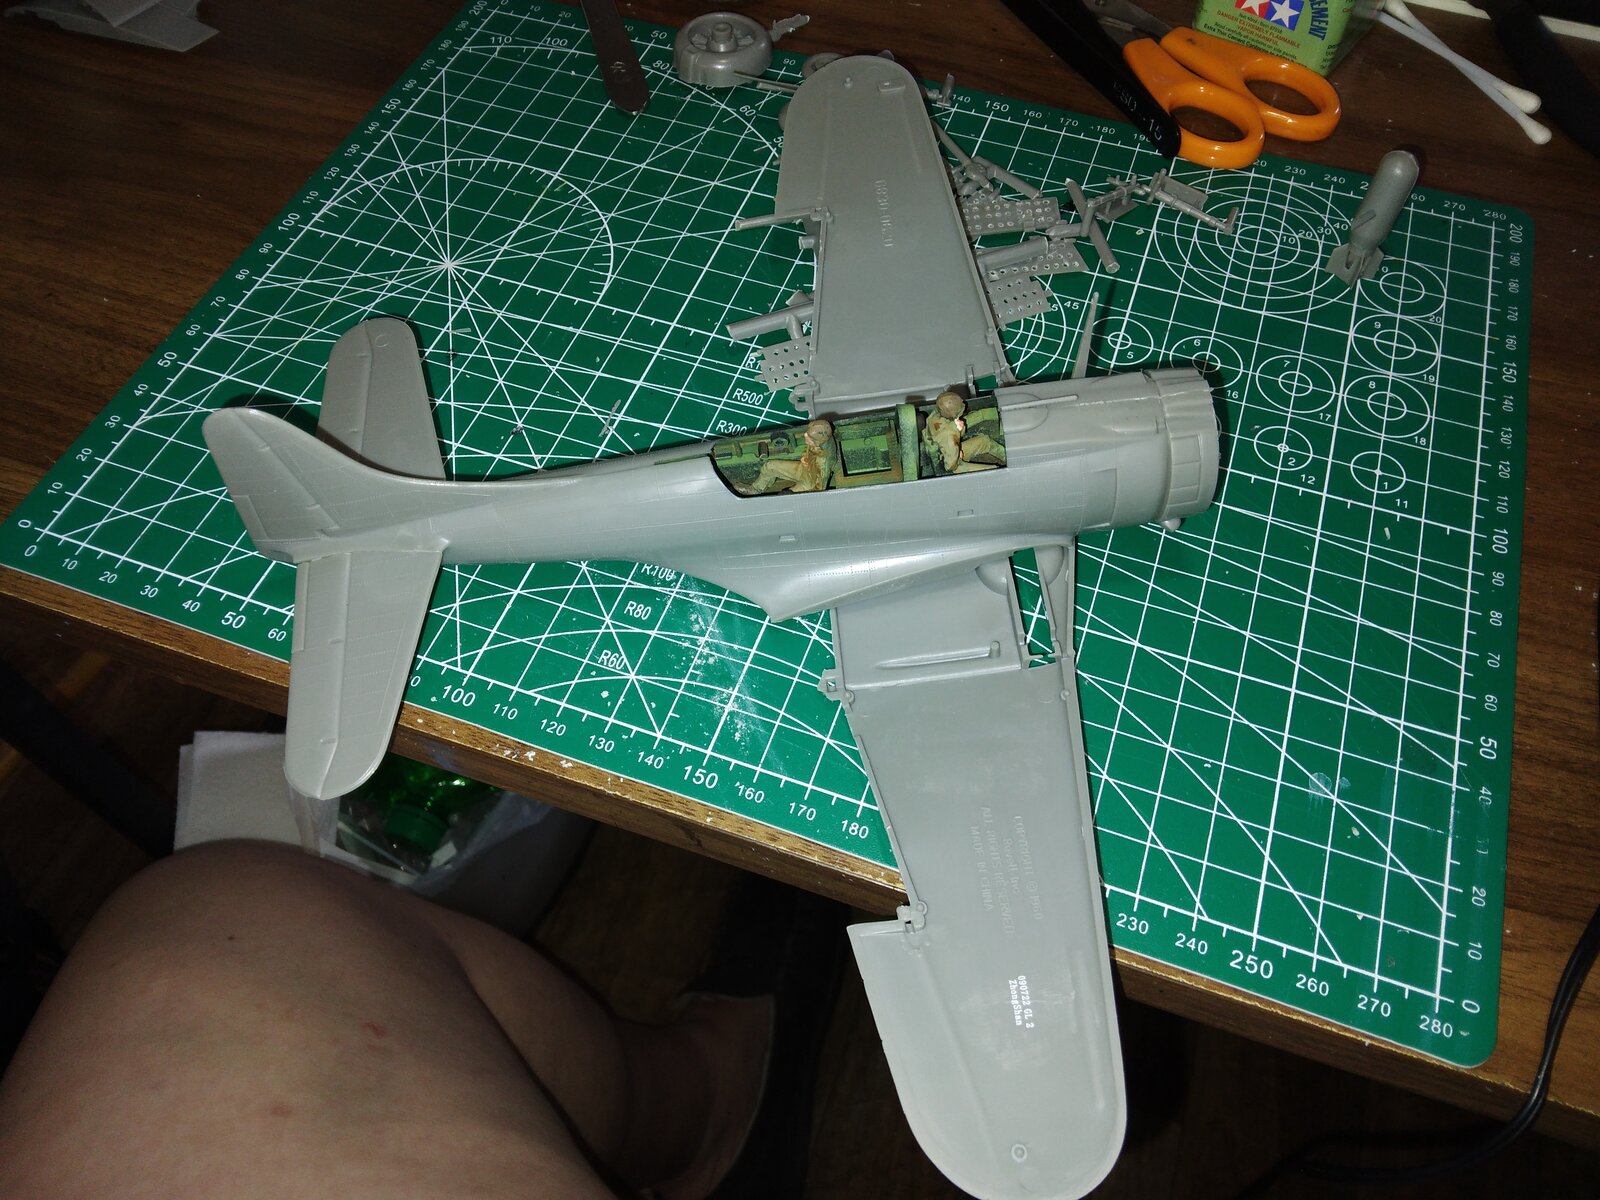
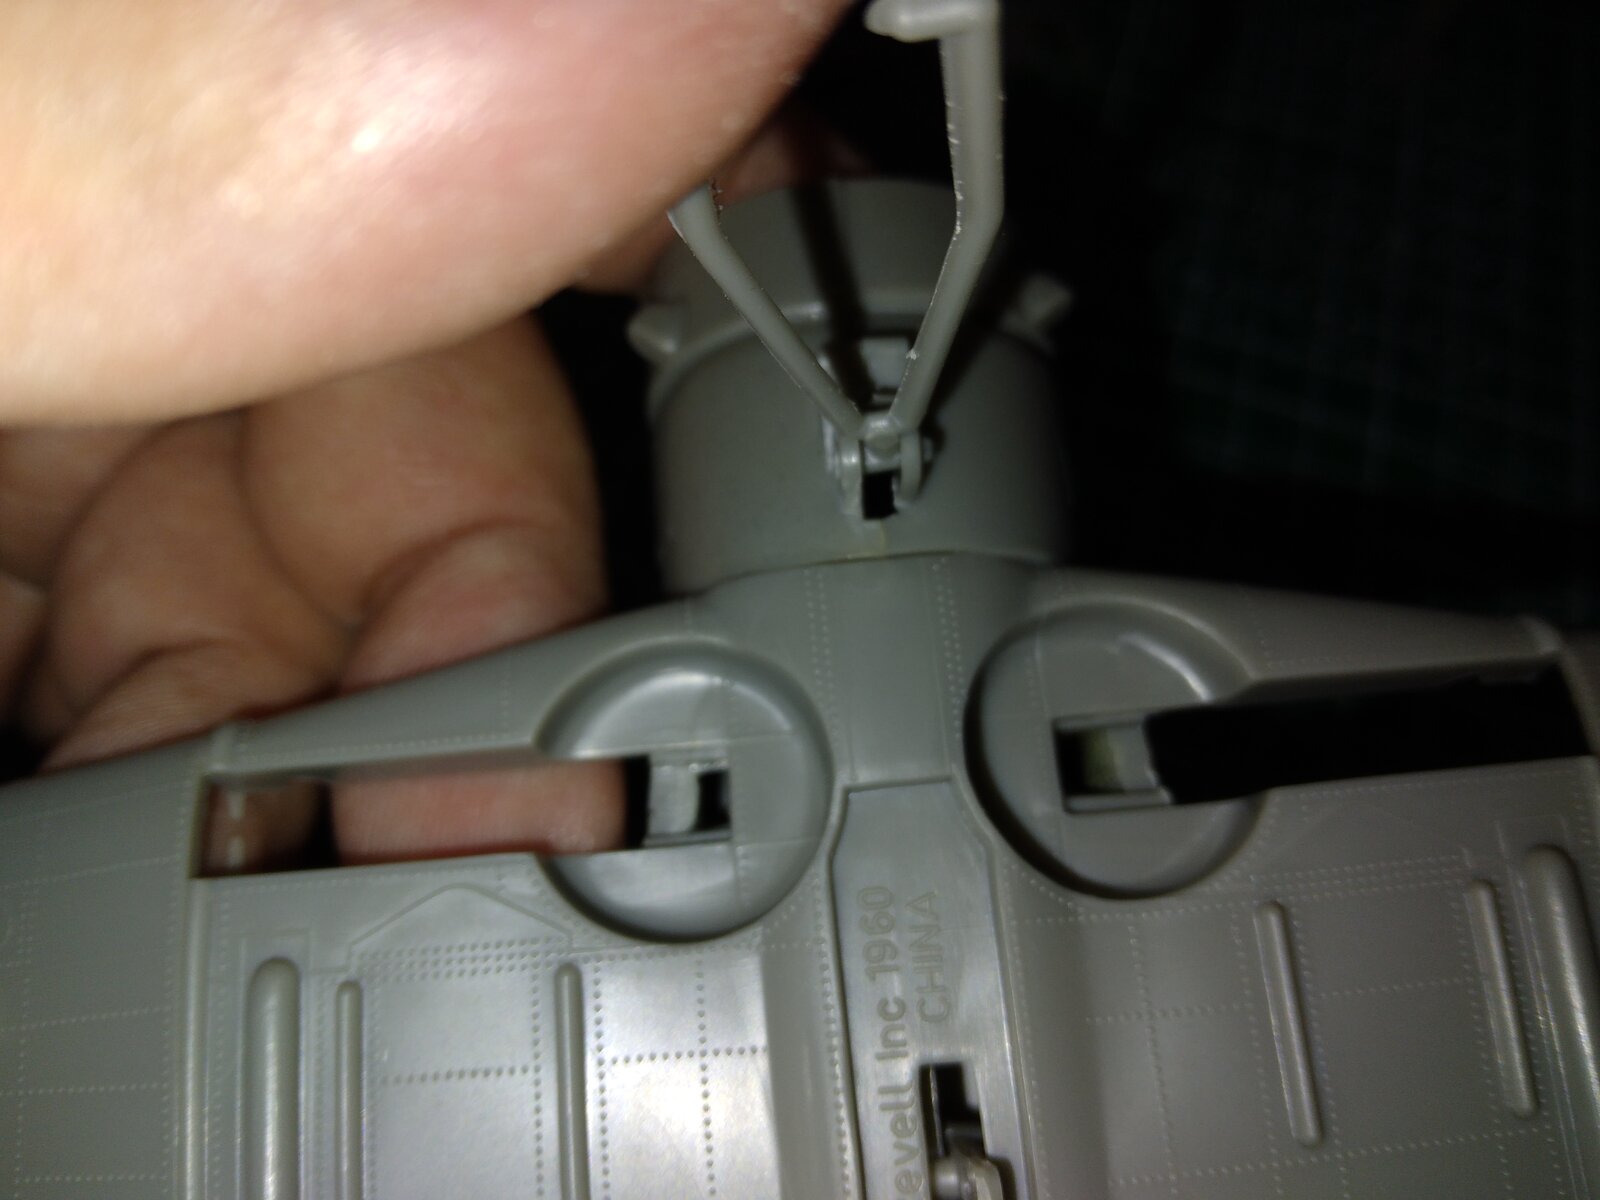
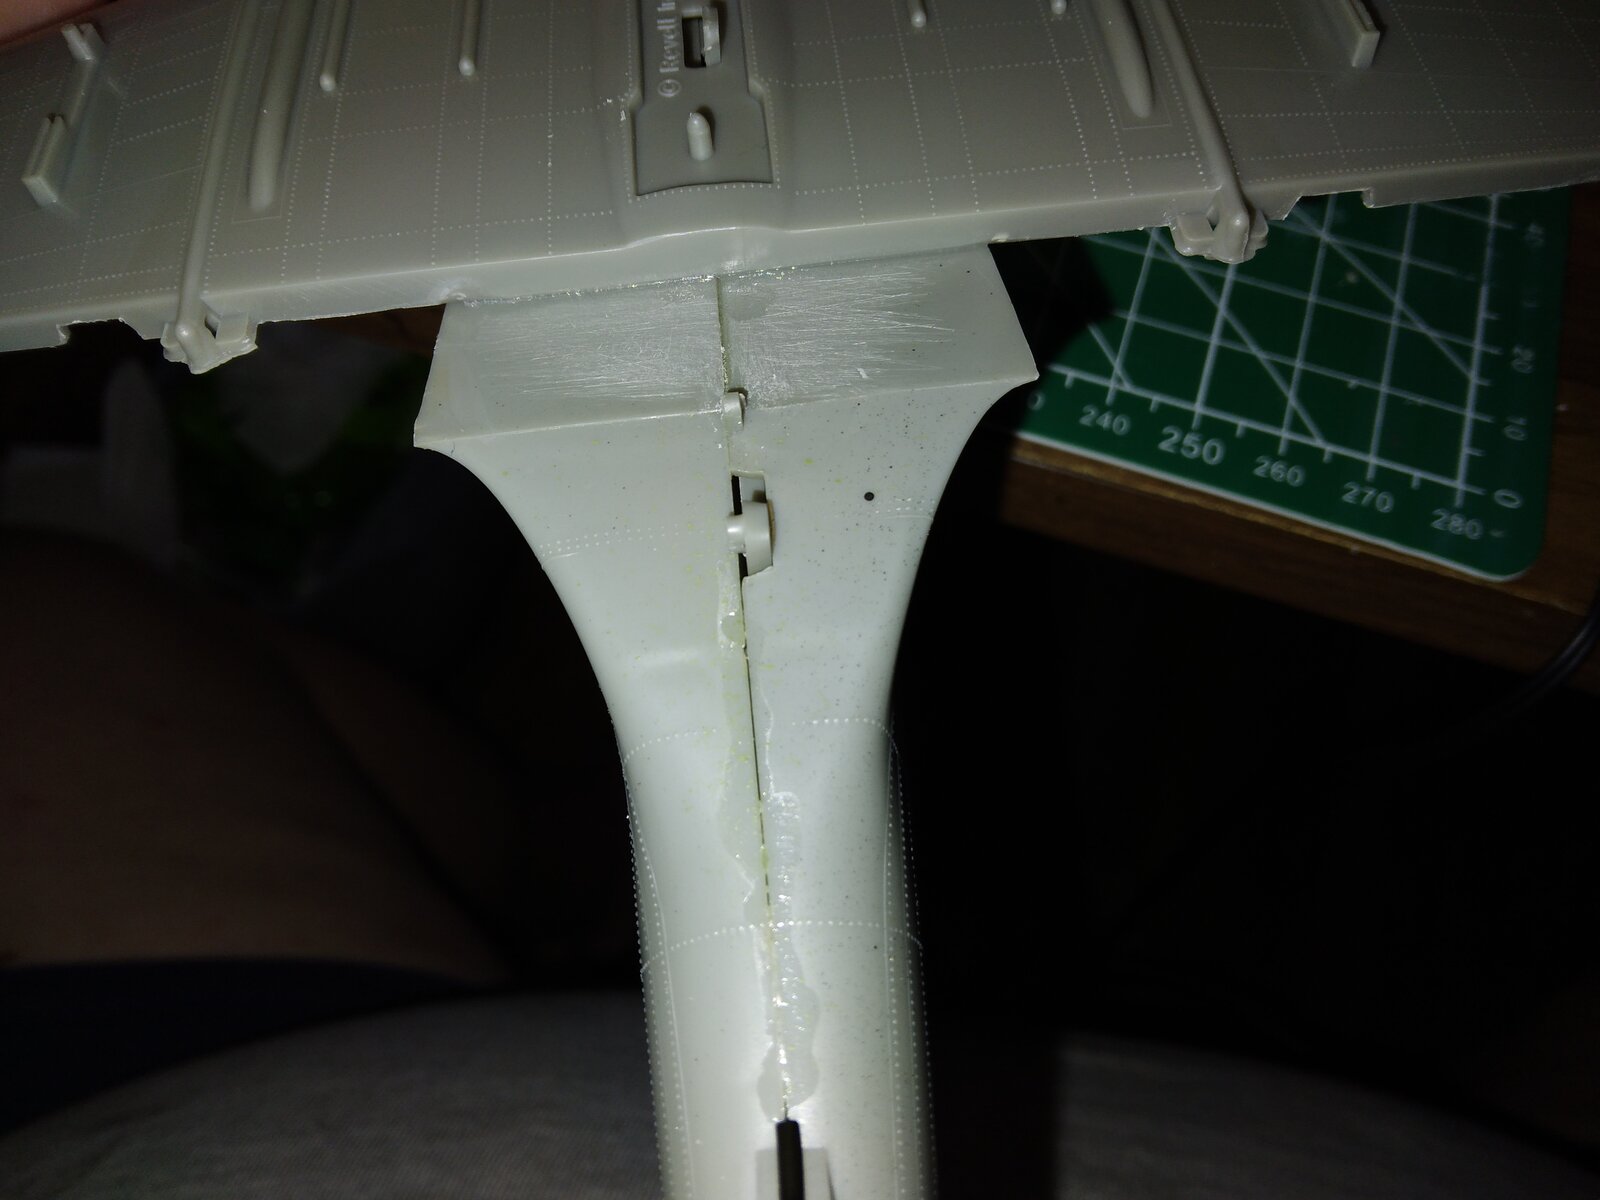
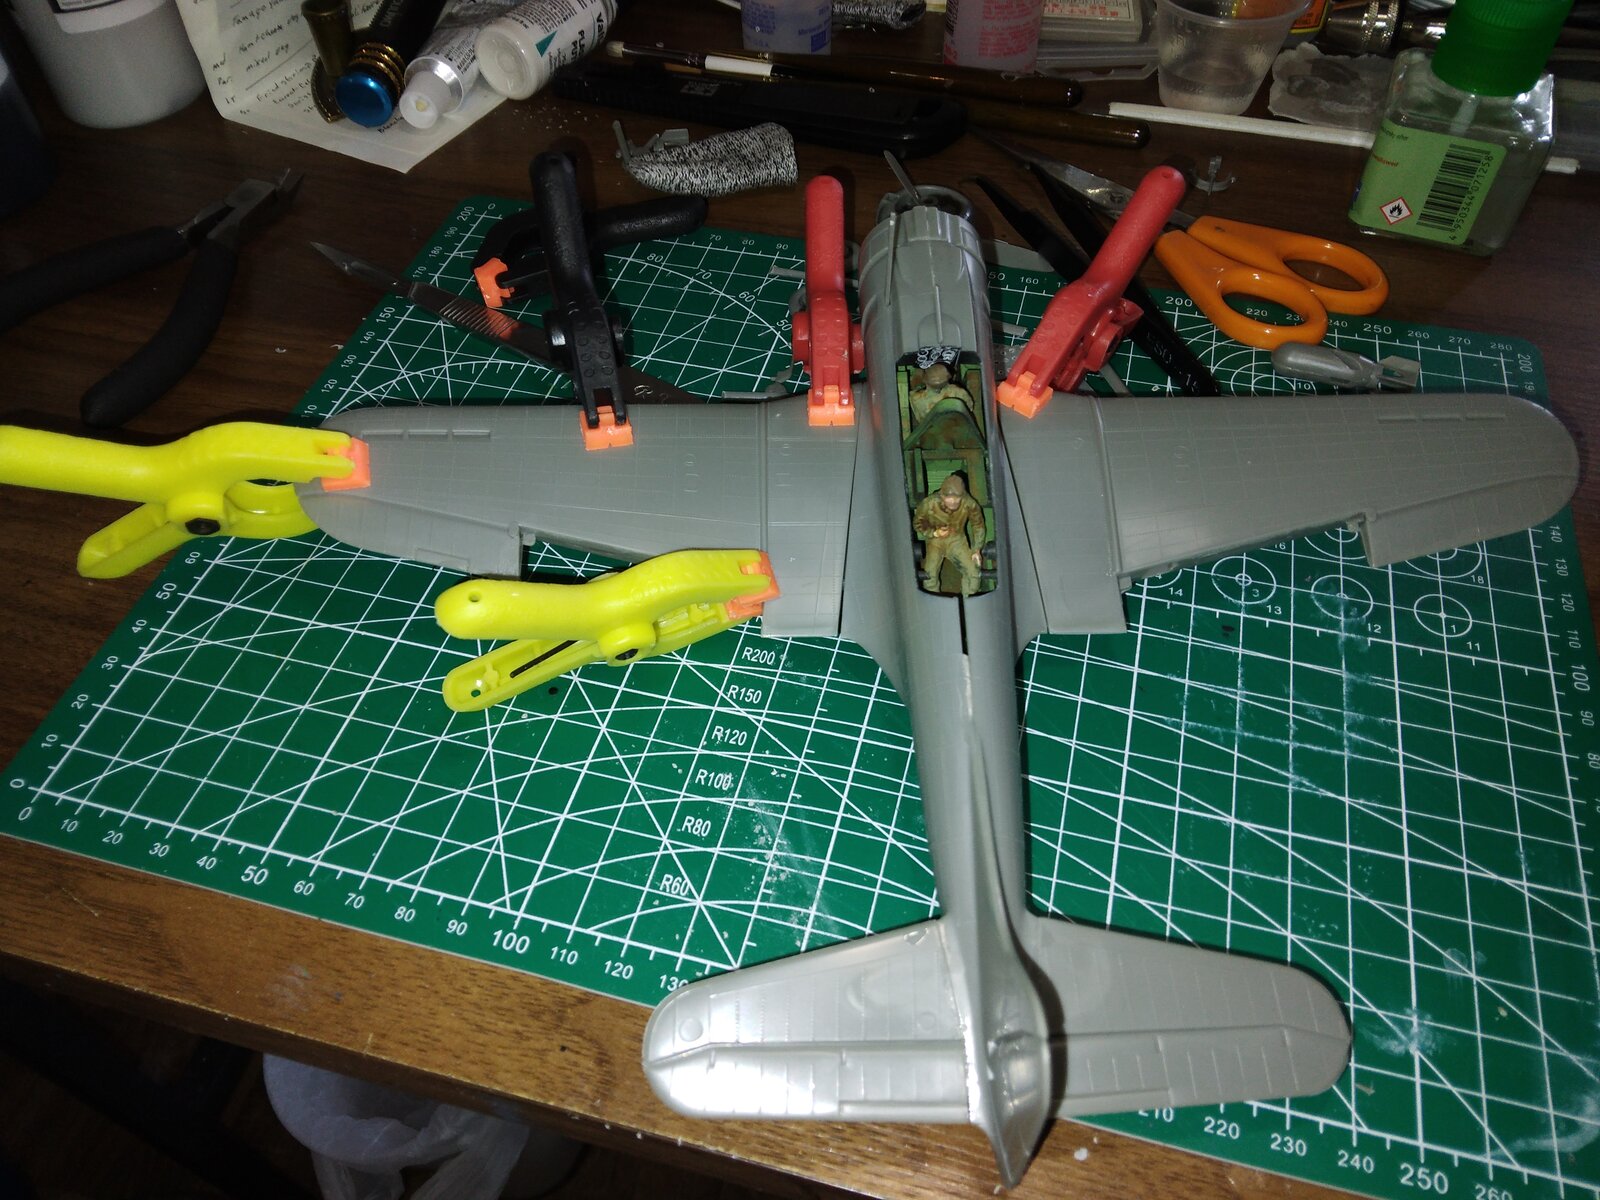
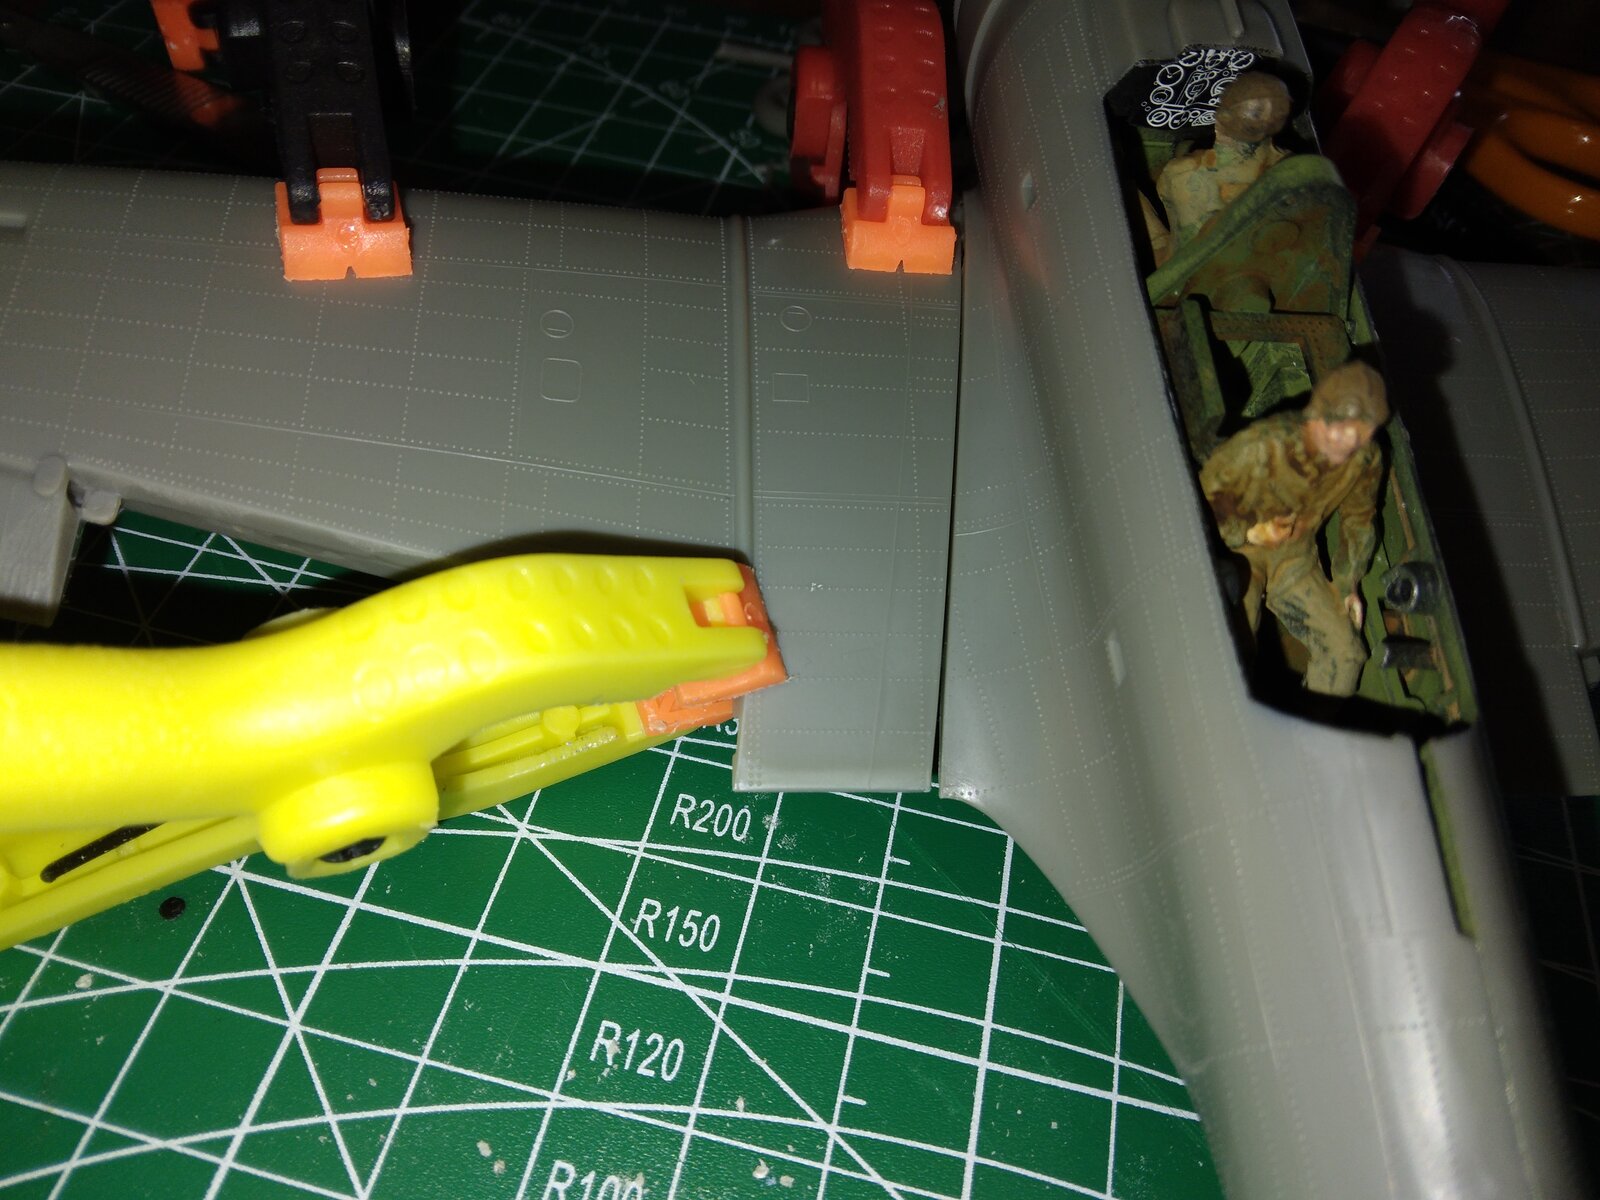
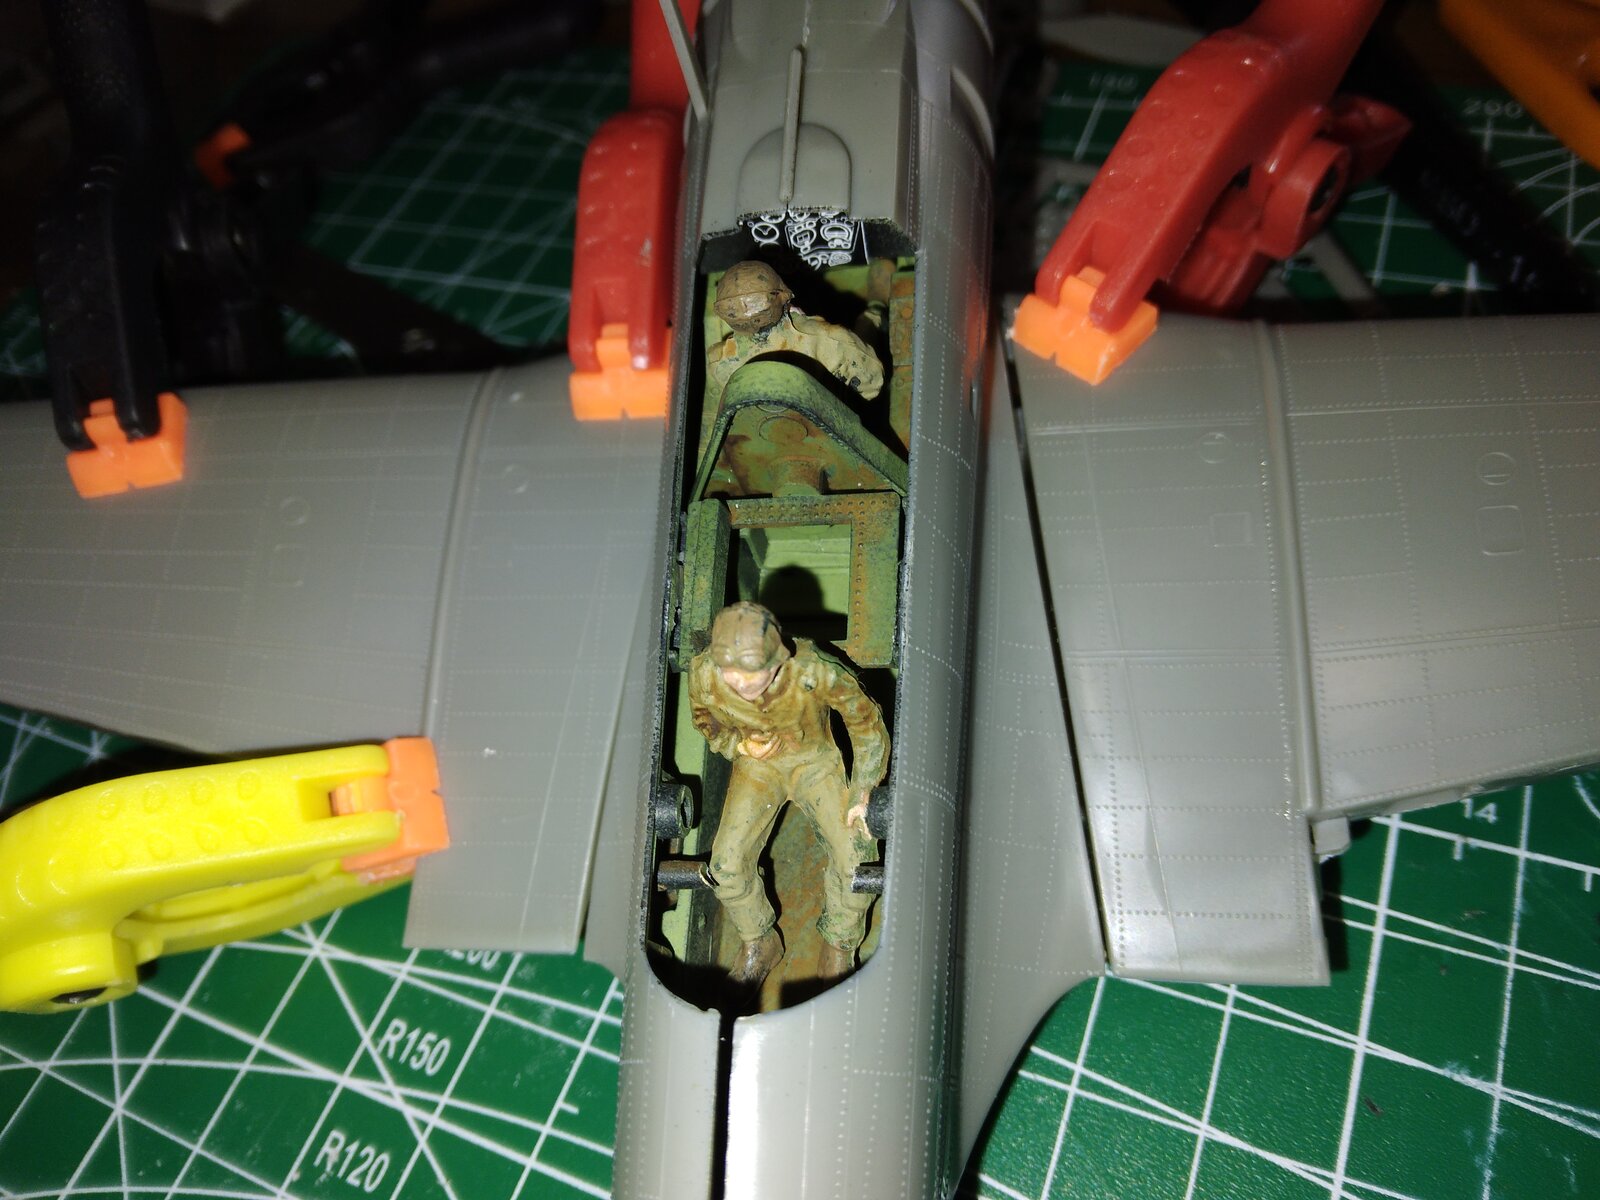

Pretty much any Revell model that I've worked on had terrible gaps at the fuselage/wing joint.Be ready for some large gaps between the fuselage and wing roots. That looks like the exact same model as I'm working on and I have some large gaps that I have to fill.
If I recall correctly, I built this kit in the late '50s early 60's(?). The fit was better then.Oh boy the gaps to fill at the wing roots. Even lifting the wings didn't work to well with out looking absolutely ridiculous.