Pavesi P4-100 Gun tractor 2025-06

Scale Model Addict - Model Tips, Guides, Tools & Tech, Tutorials, and Community

Help Support Scale Model Addict:

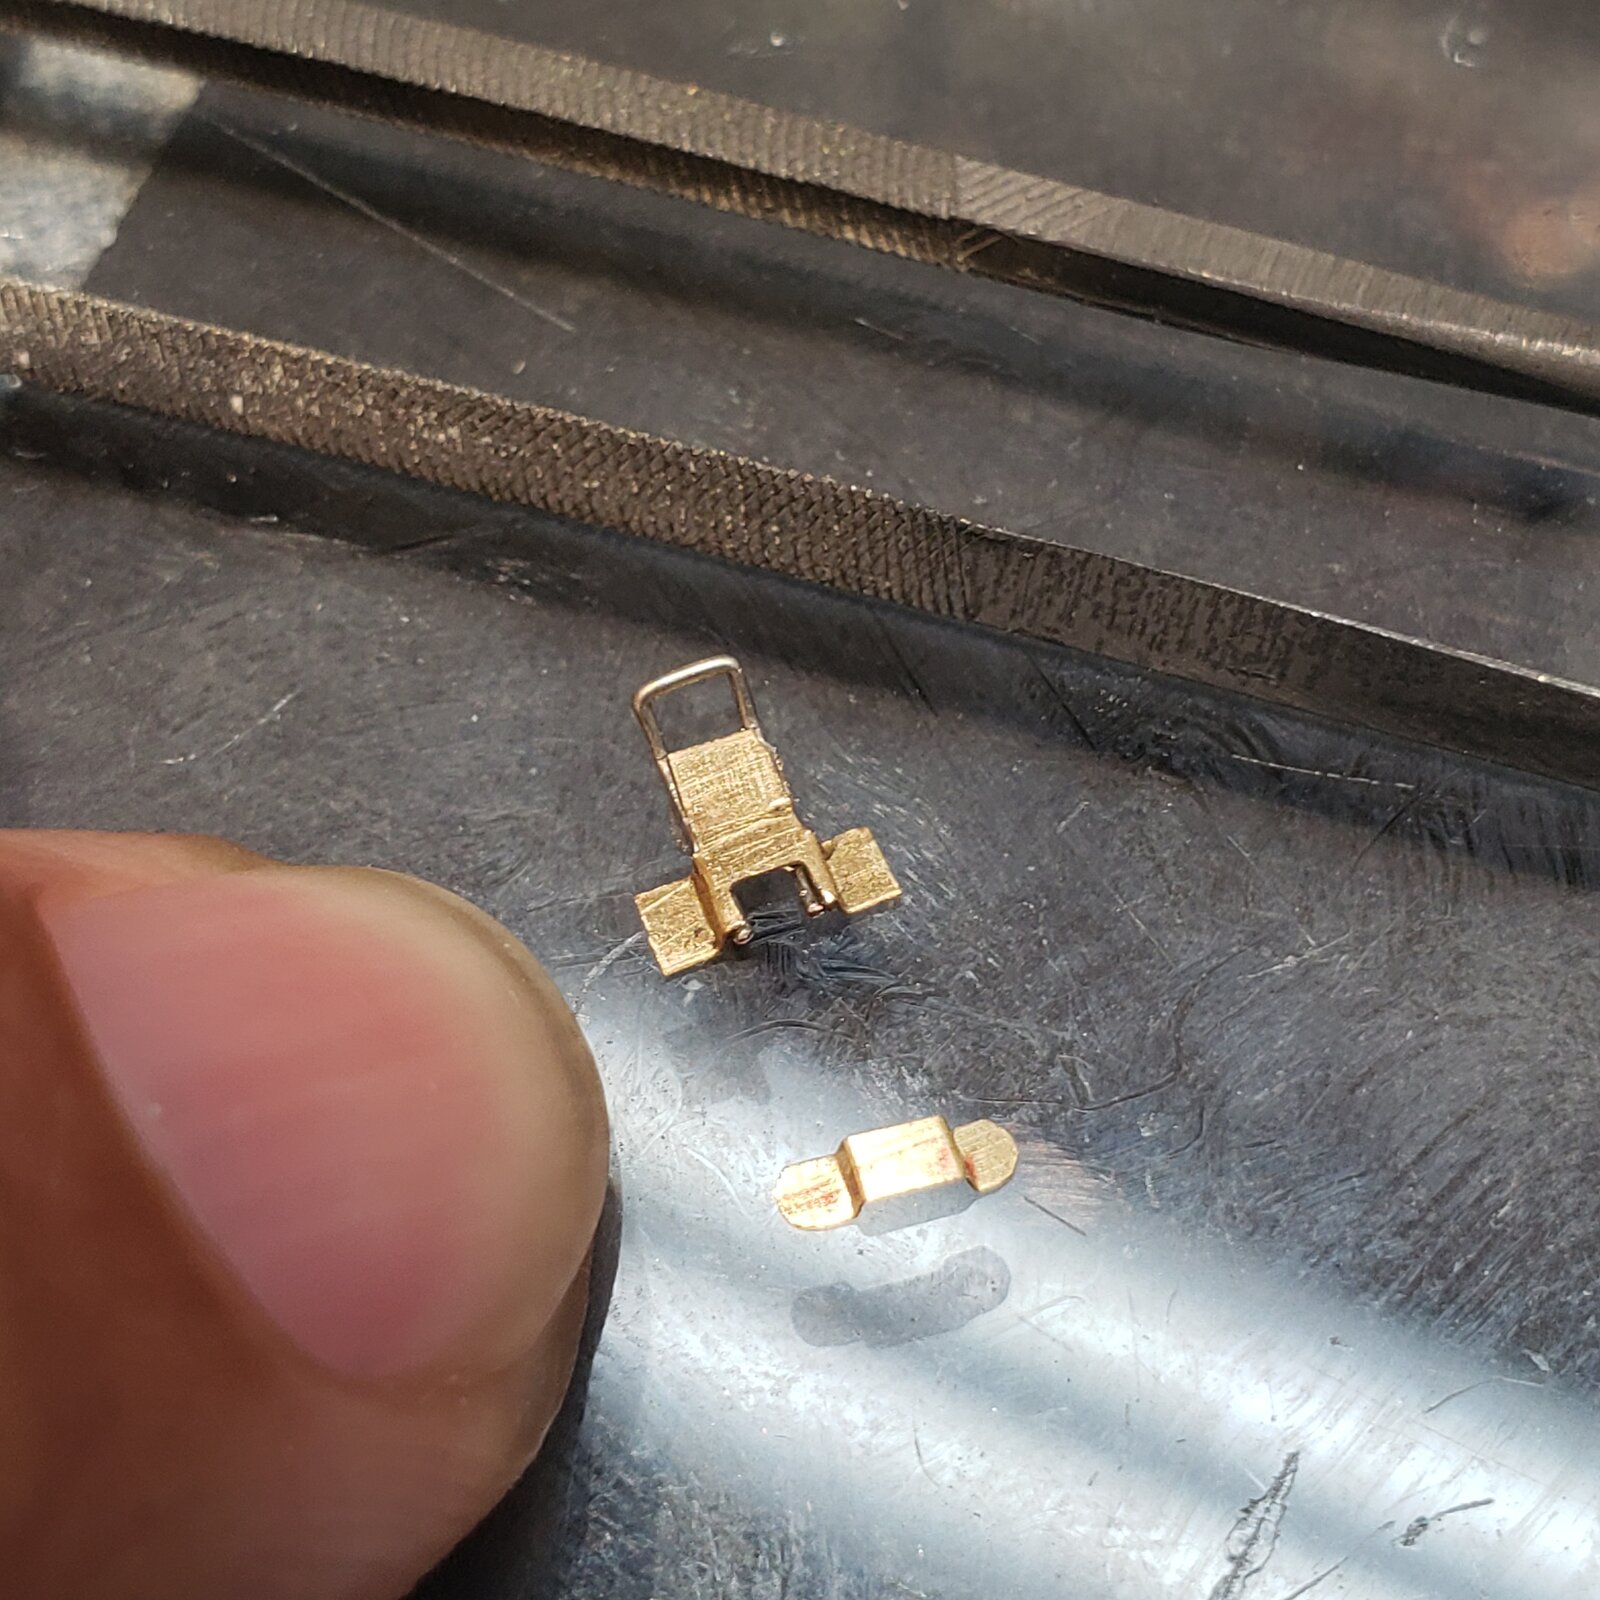
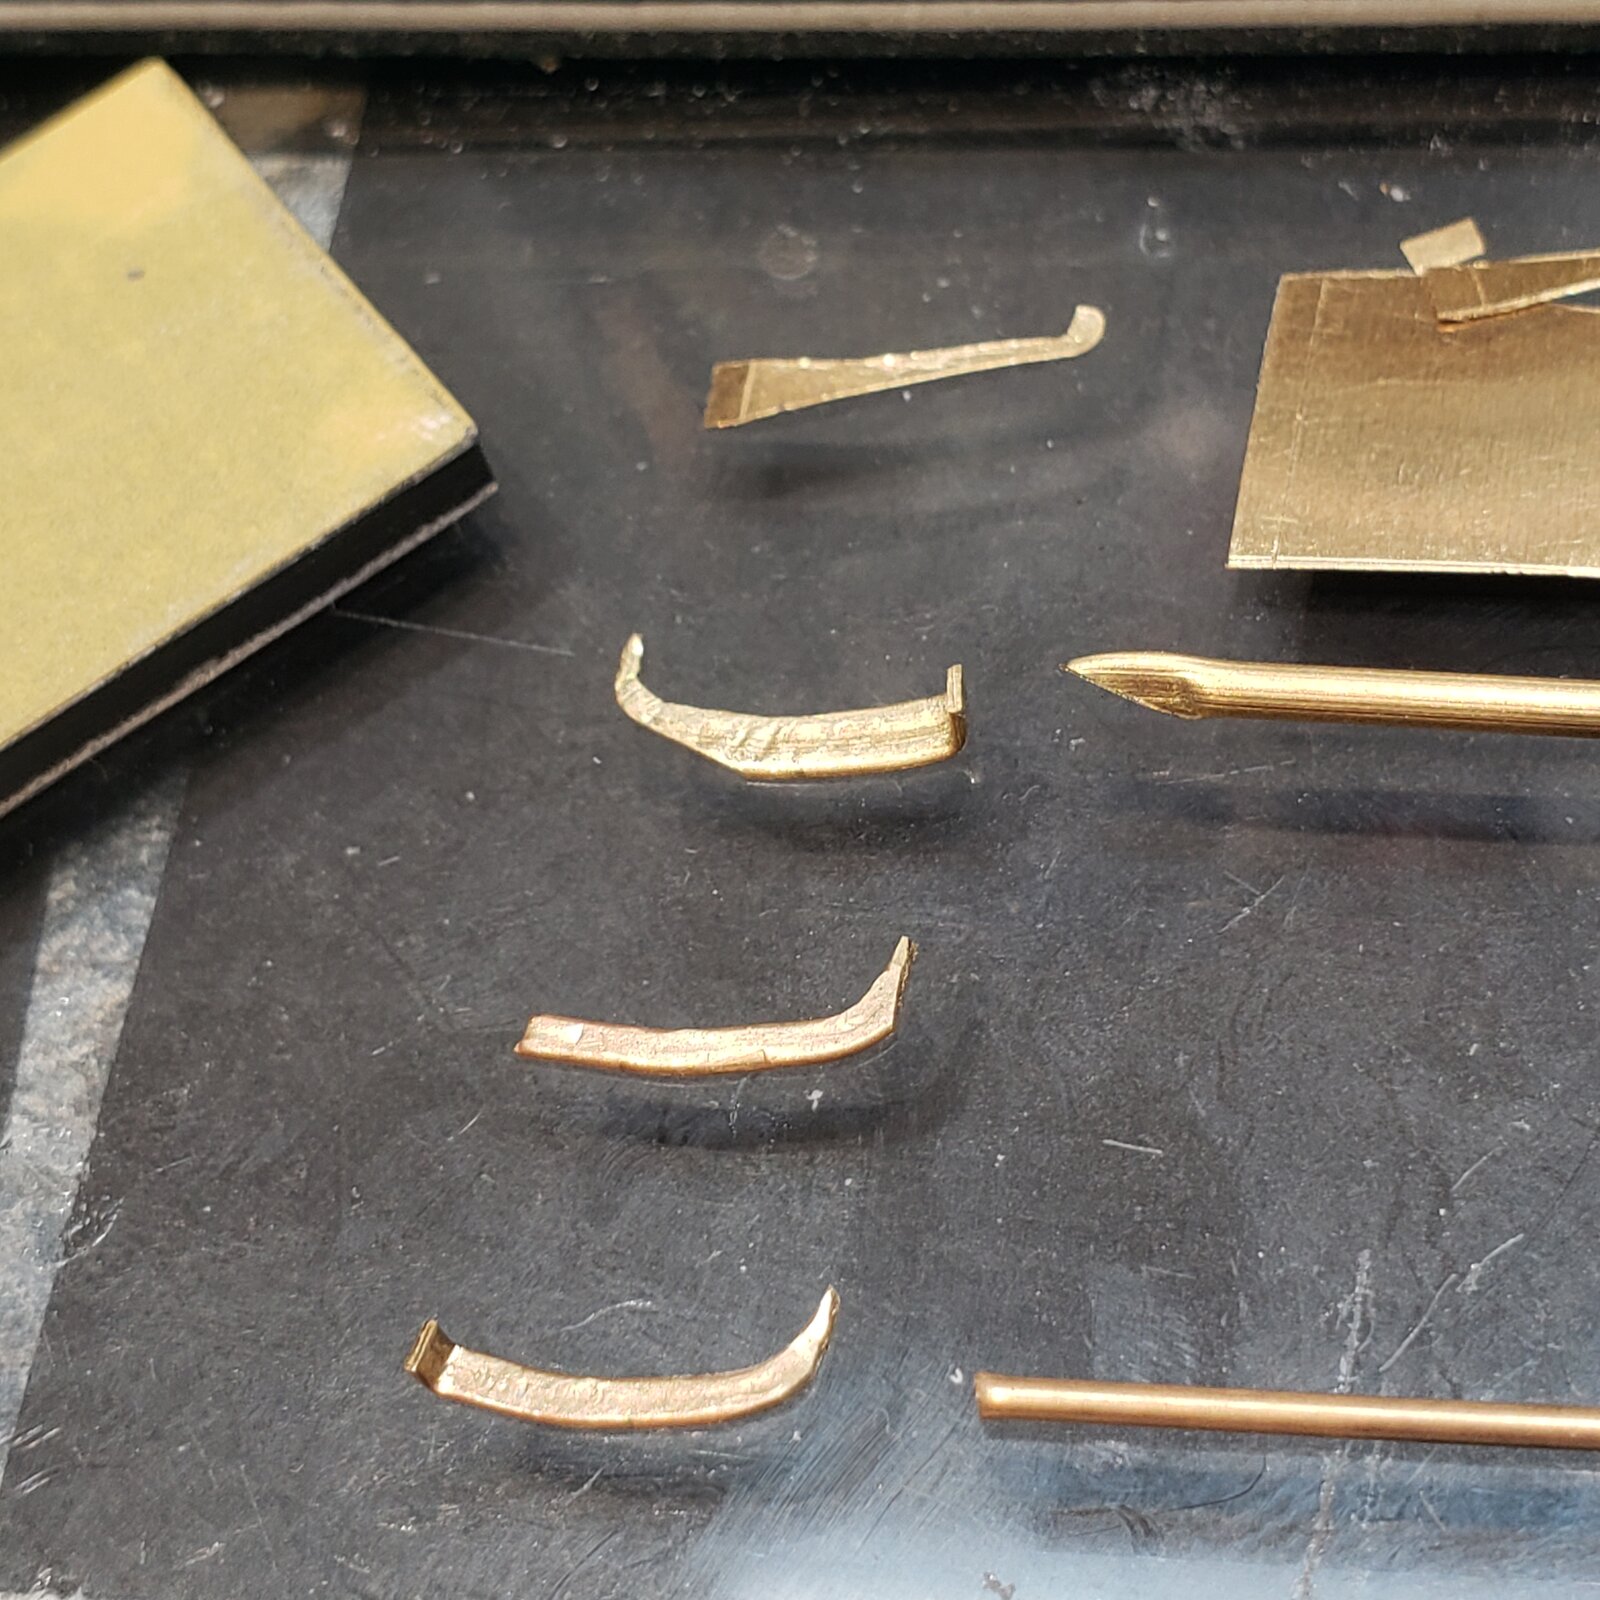
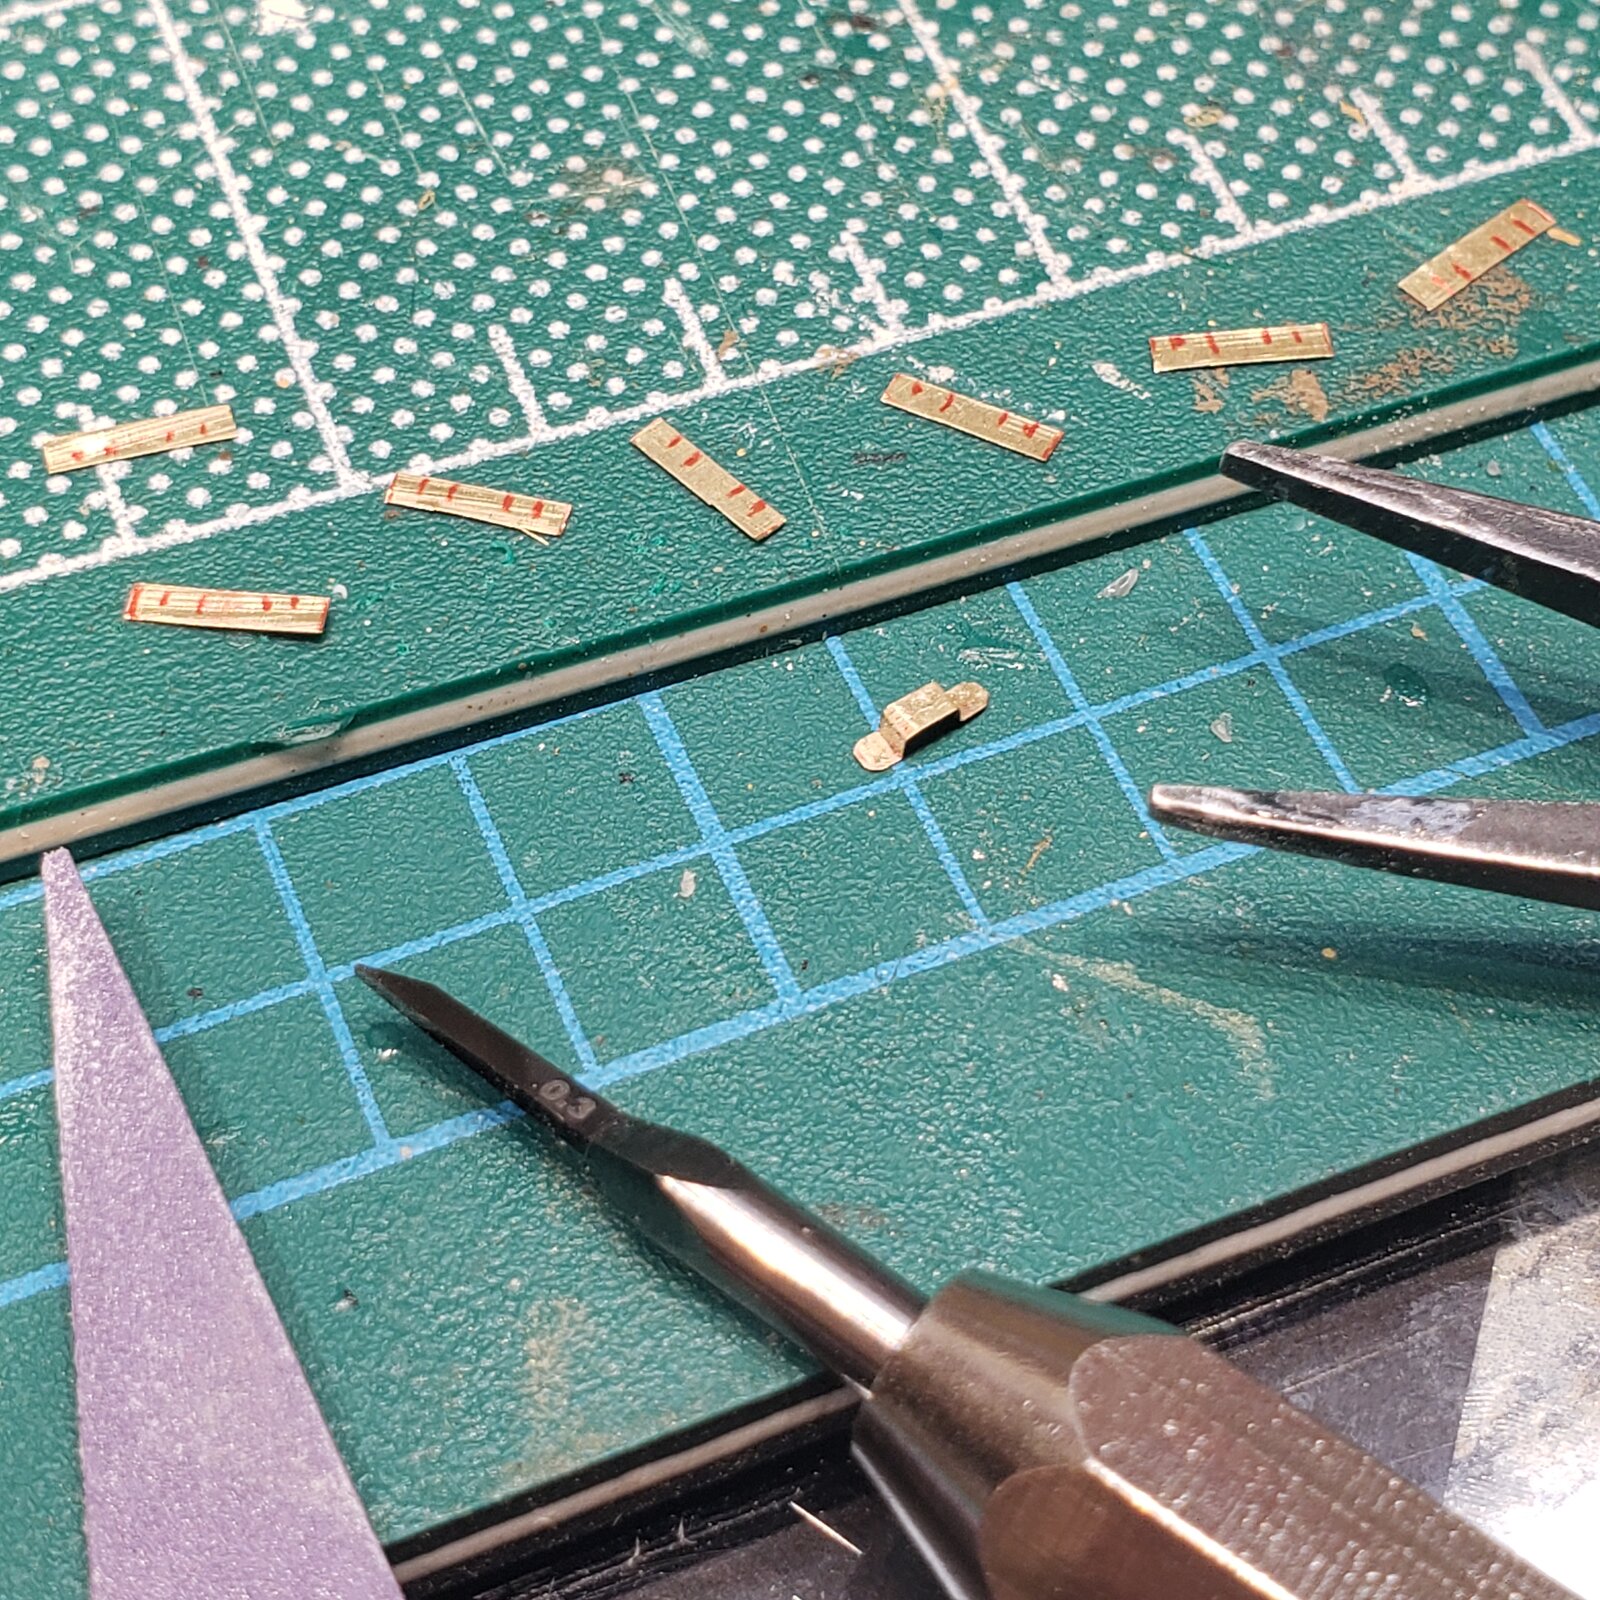
Another prototype: need 6 of these selected from this batch for the rear, 4 from another batch for the front section. Cut from my roll of .1mm brass. Rounded up the dimensions to closest mm. (So slightly larger)
17508778841068237959389773264298.jpg
 
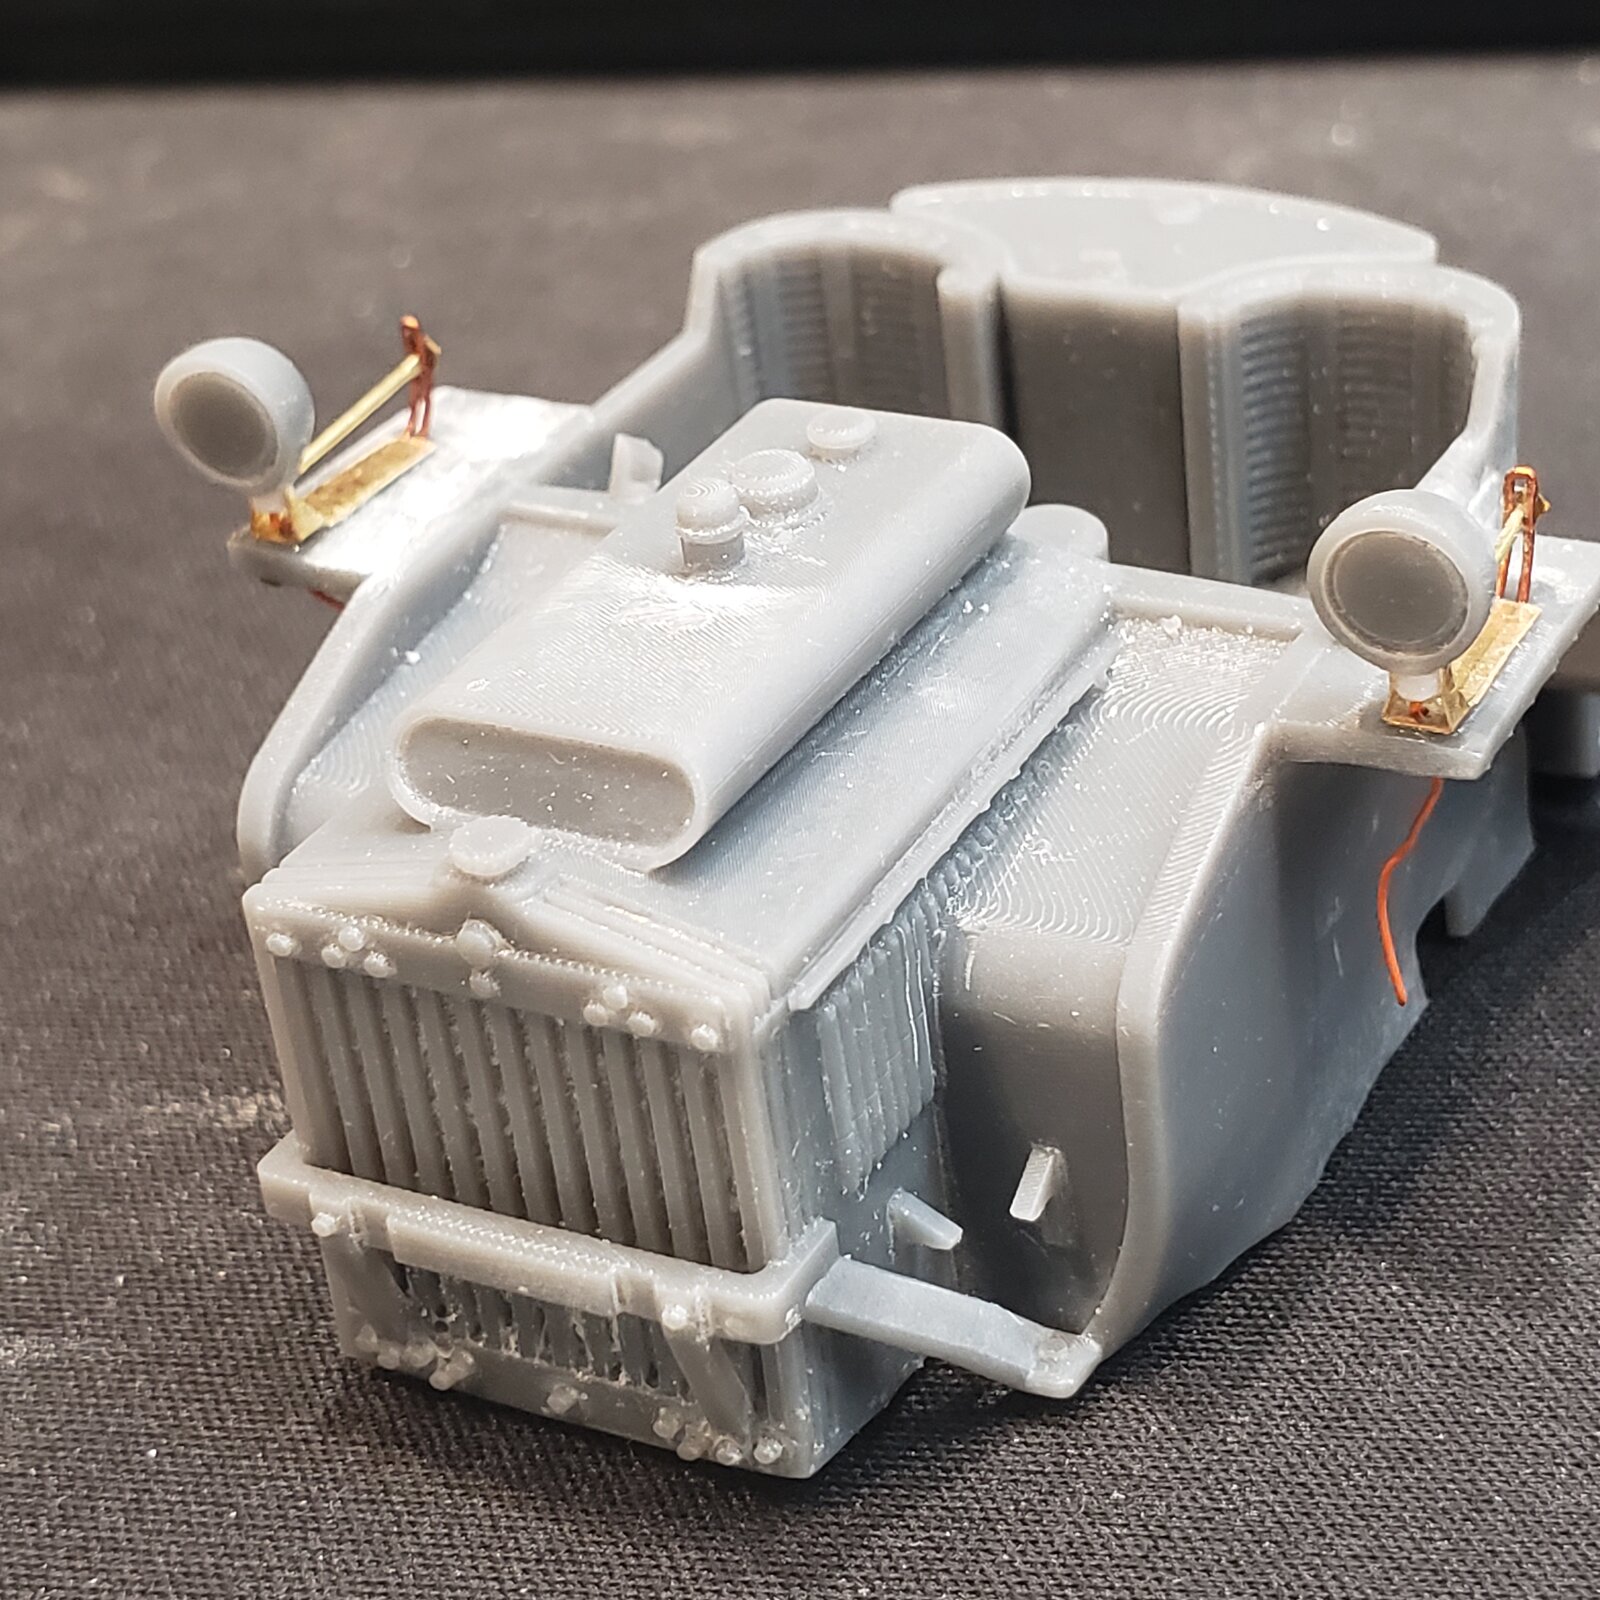
added details
Thanks for the praise...

We often enjoy our hobby for different reasons... I have to say that I get a kick out of approximating details, not necessarily technically or historically accurate, and it is the fabrication process that I enjoy the most!

I really like understanding how things work, and the research, selection and manipulation of materials for building particular widgets somehow brings me closer to the subject matter, and adds to my overall satisfaction.

Looking back at my builds over the years, it is more often a particular detail or technique that worked out nicely that makes me smile, more than the completed model as a whole. :cool:
 
There's nothing wrong with that at all, there's generally always something about a build that we all like above everything else.
 
As an Amazon Associate we earn from qualifying purchases. Product prices and availability are accurate as of the date/time indicated and are subject to change.
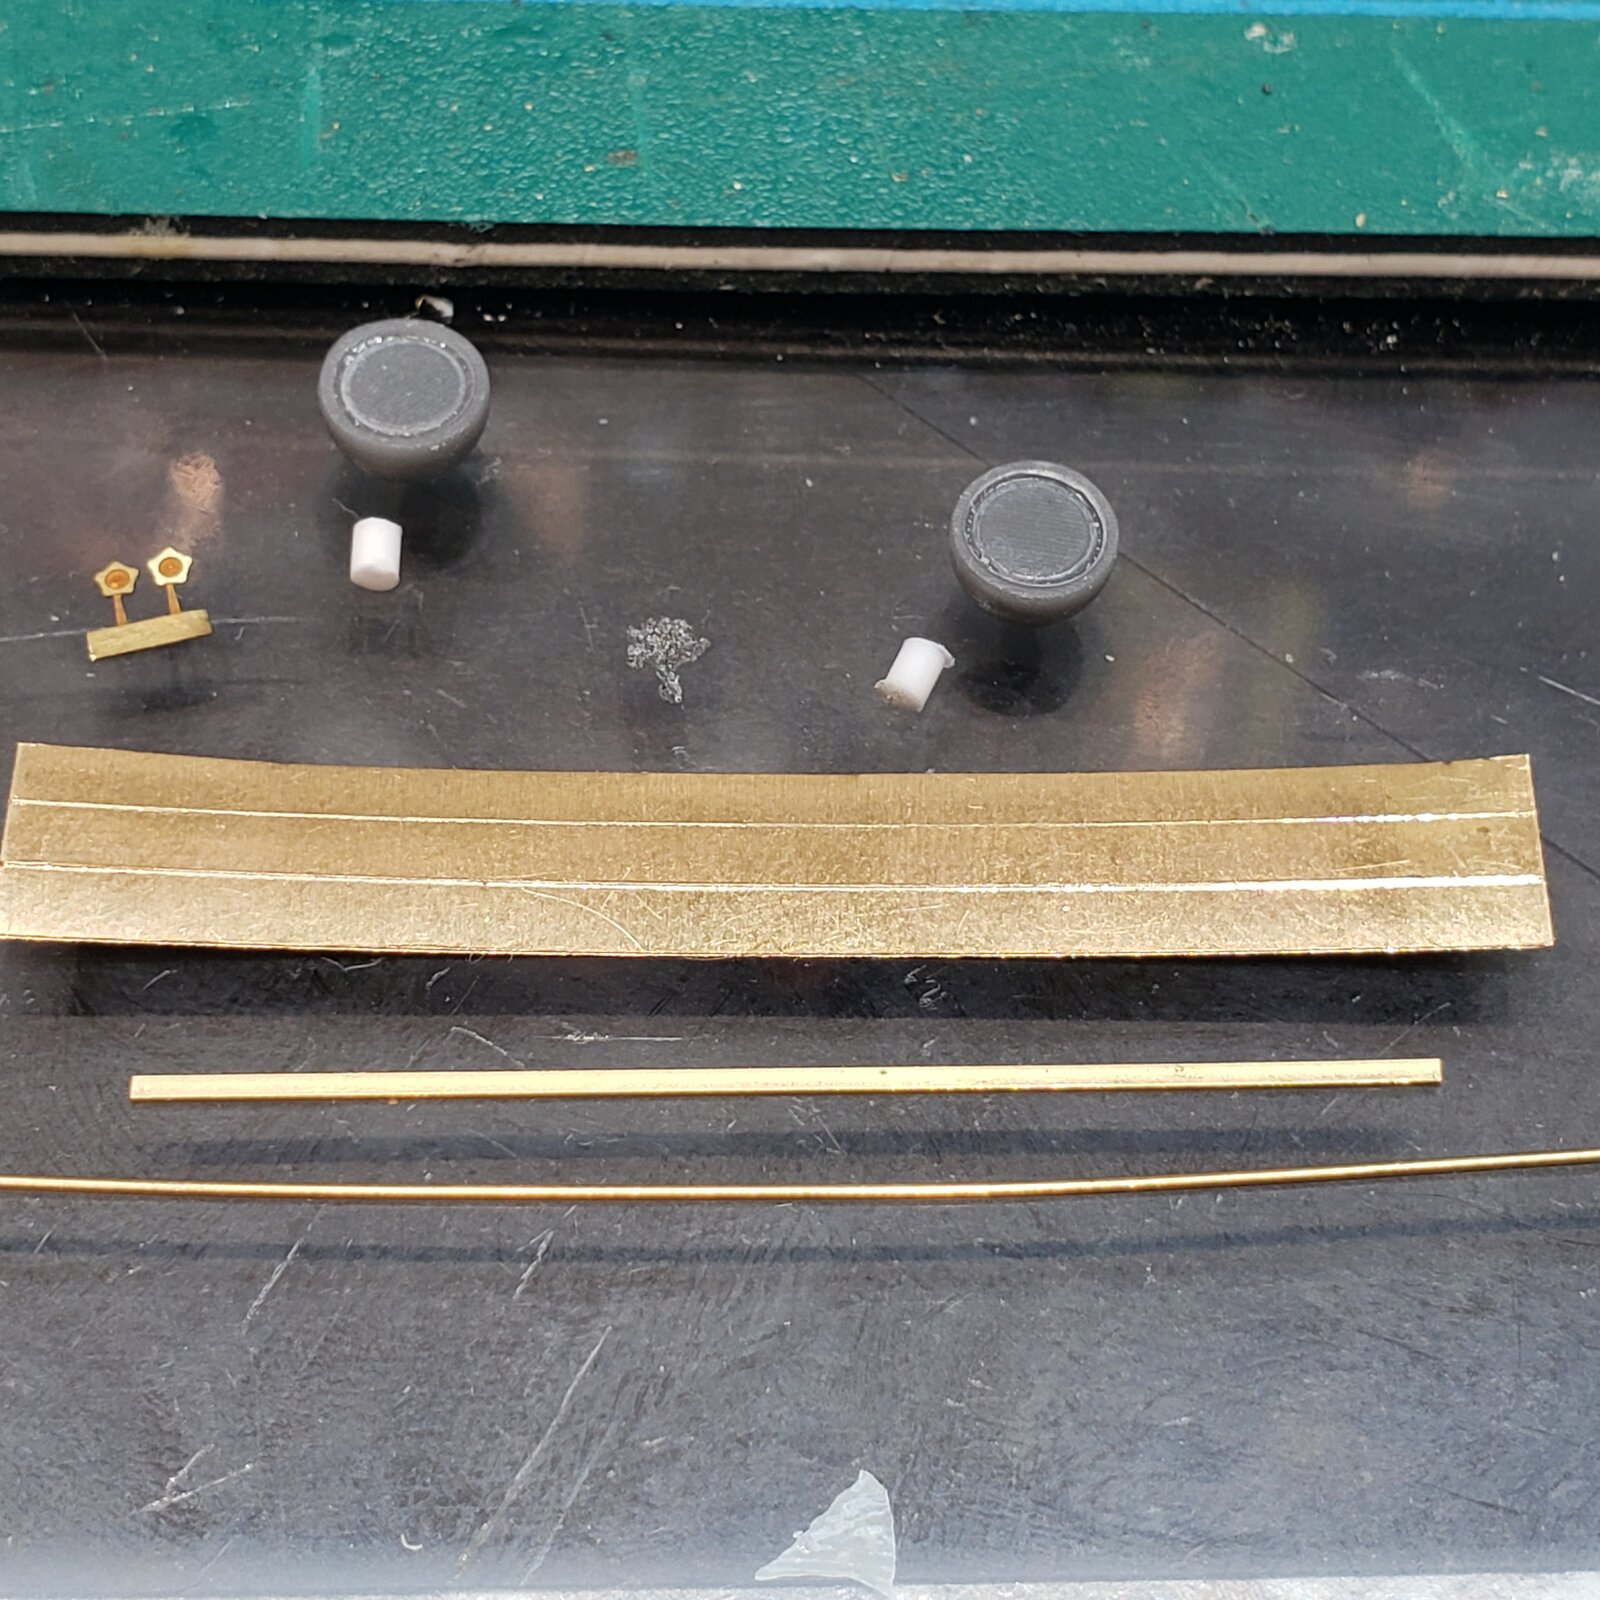
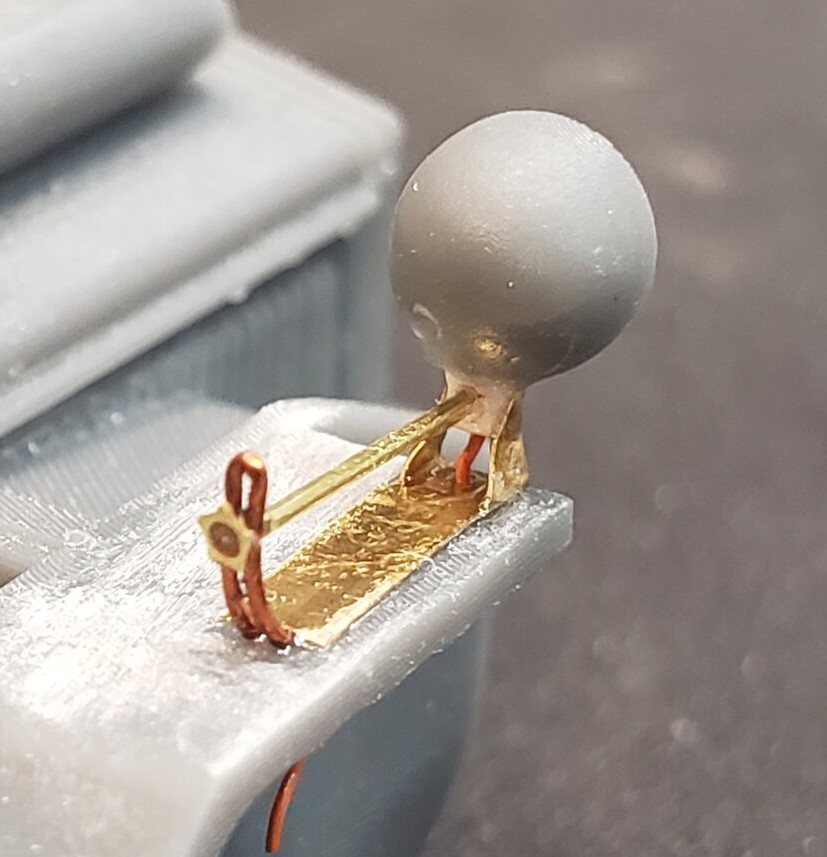
Some prep work on the adjustable headlamps.
Hope to turn this stuff into a reasonable facsimile of the real thing.

But it will have to wait, on deck for granddaughter babysitting!

17509691506726954229589541672397.jpg
 
Wow :)

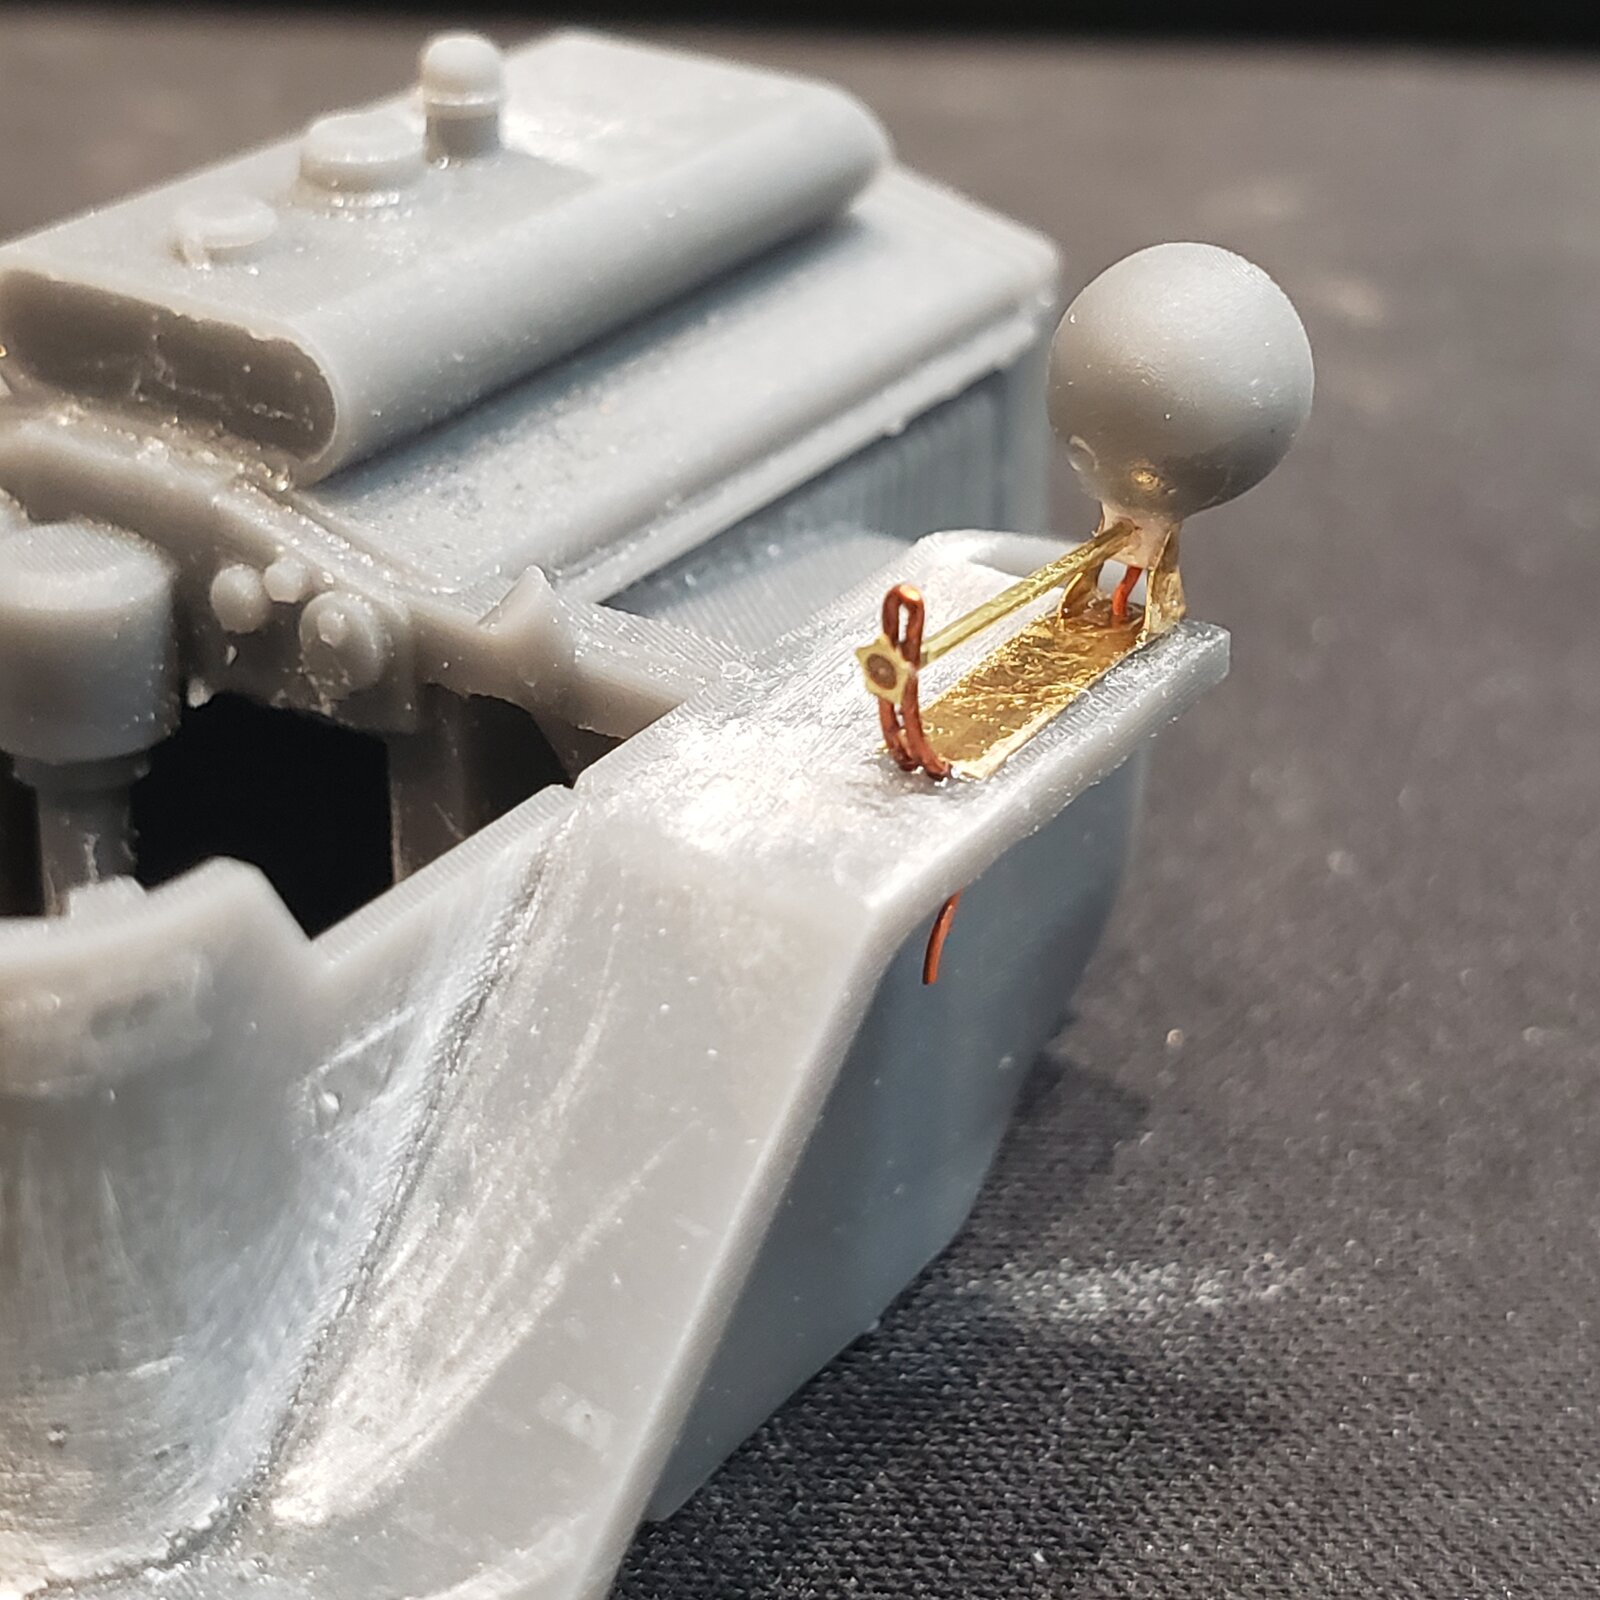
One thing your photos have me wondering is how much of those print lines will be visible after painting. I think I'd give a few parts of the model a quick coat to see if they can be seen through it or not, and if they are, sand them down where I can.
 
print lines
Ya, they look like fingerprints, zoomed in like this. Wondering the same thing... now that I've removed the blobs that were supposed to be detail, it will make sanding easier. But I don't want to remove what little actual surface detail is left.
My experience with partial and full resin kits somewhat prepared me for 3Dprint, but there still is a learning curve.

All in all, going with a less expensive €79 vs €150, but not cheap kit (before shipping and any duty), means a lot more work just to bring it up to snuff, plus the scratch detailing.
I justified the expense as providing a base vehicle (not available elsewhere) to build upon, so that was kind of expected...

However, being my first 3Dprint full model, I was taken aback by how much prep and fussing was required just to get it to the assembly stage.
With my limited experience with this type of kit, I don't know if the complexity of the subject was a stretch for the manufacturer, or just that their quality is comparatively poor...

Am I enjoying the build? Absolutely.
Am I impressed with the kit? Not so much.
 
Yes, but you may have trouble getting it out without damaging or destroying that brush. There is now also Mr. Aqueous Surfacer, though, that you can get out with water.
 
Never used
So, I have used it, only in a rattle can, and had only noticed the Aqueous 1000 on the label!

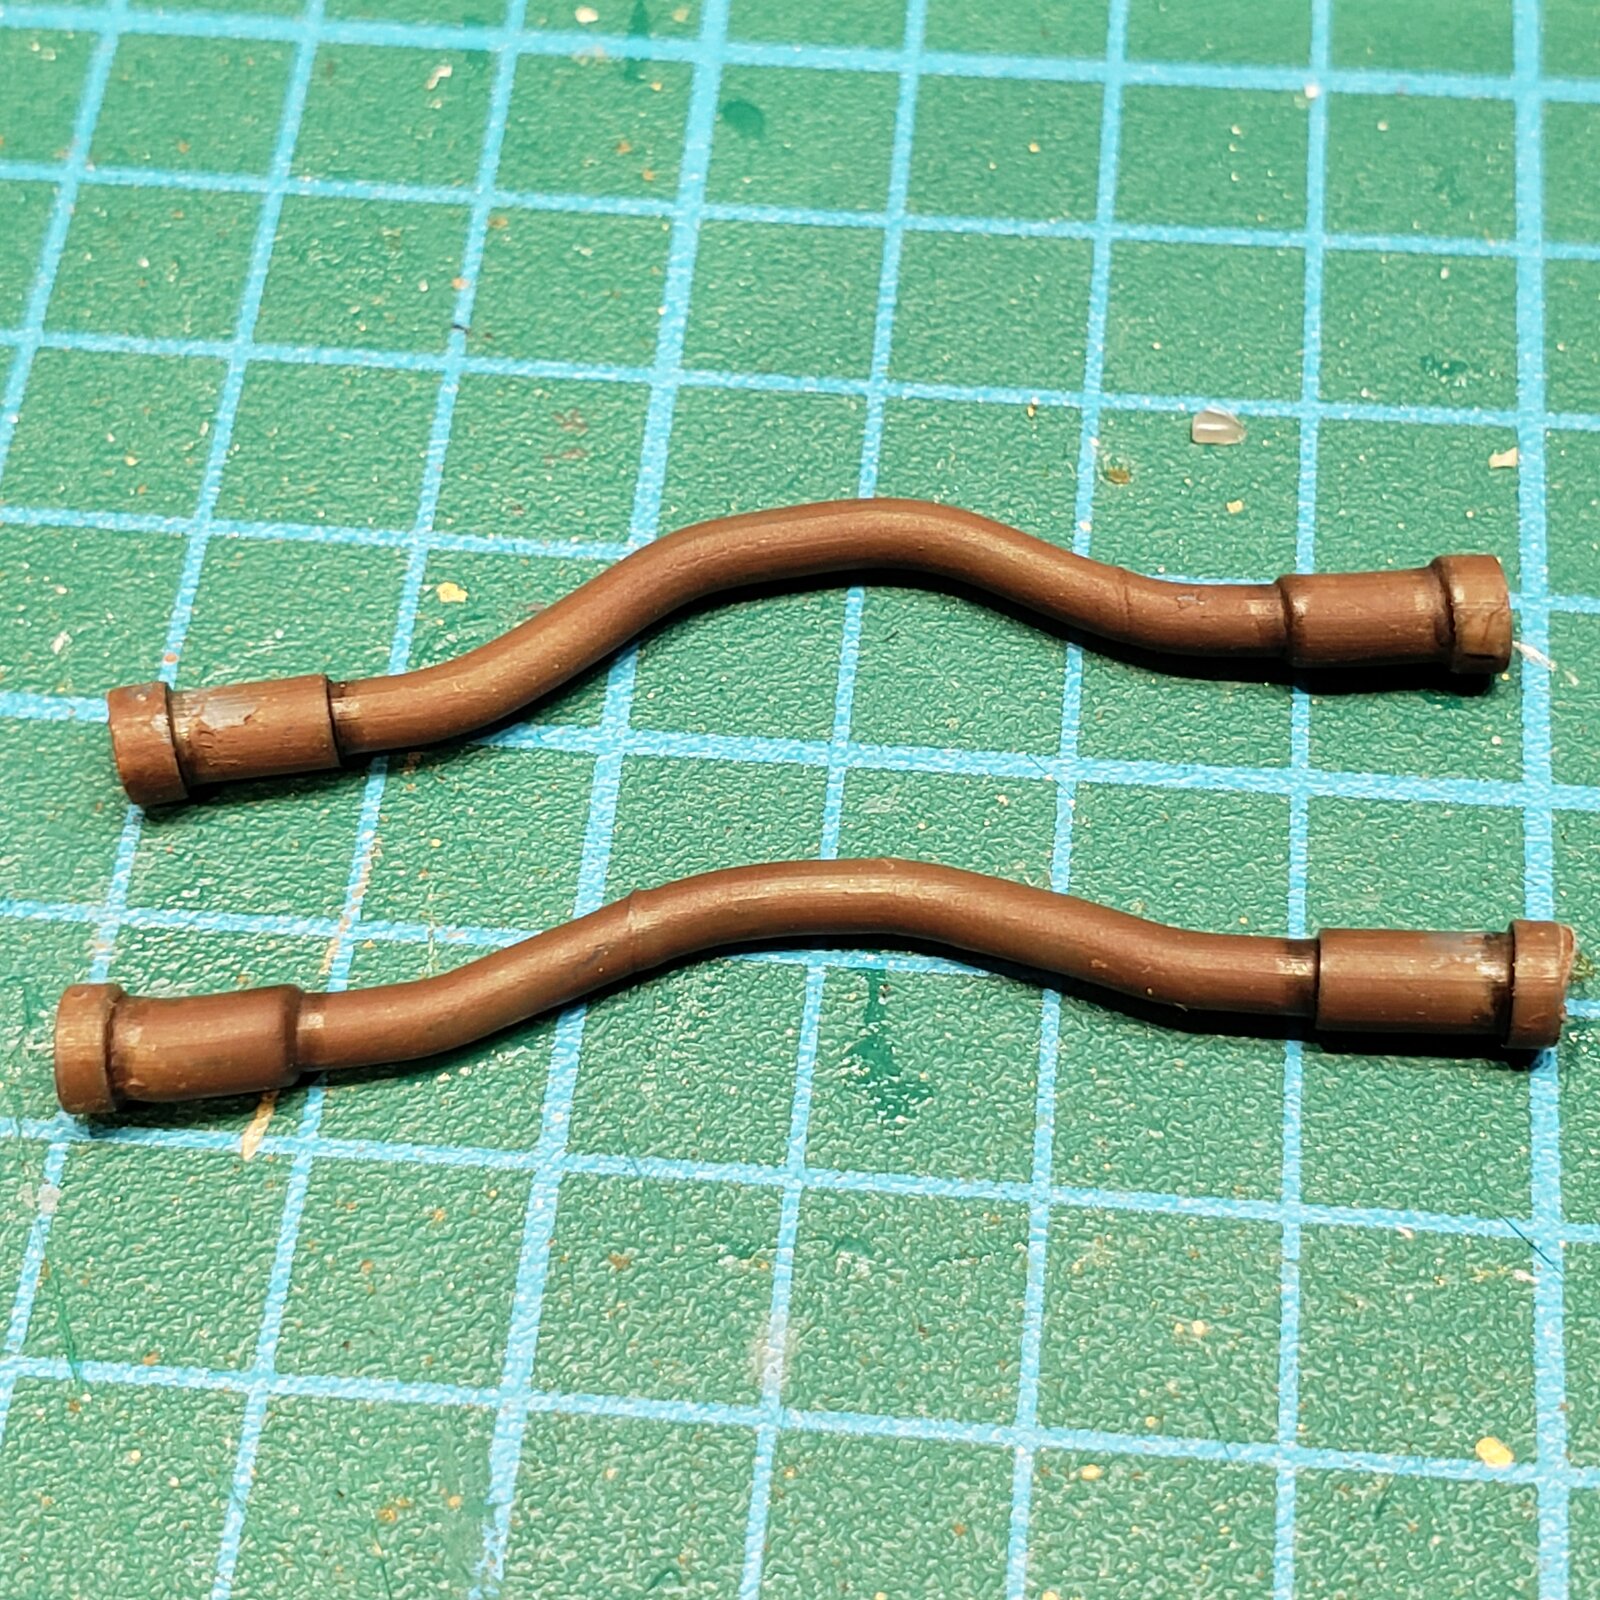
Yet more prototyping, this time for the fender strut/ supports.

First, cutting brass sheet, works okay, but getting the exact shape difficult, and I'll need 4.

Second, (not shown) trying to bend copper, then brass wire/rods: flattening and bending didn't work so great... the solid core makes difficult bending and flattening.

Third, medium size, hollow brass tube, easier to bend, good shape, can be sanded and shaped

Fourth, same as third, but smaller gauge tubing

Fifth, same as fourth, but bent and then hammered on my small hobby vise/ anvil: success! Now to make three more.

17512511543973856906316361066774.jpg


Unlike the cut version, with the tube version I can check the angle against the fender and adjust the bend. :cool:
 
Well, it might actually happen!
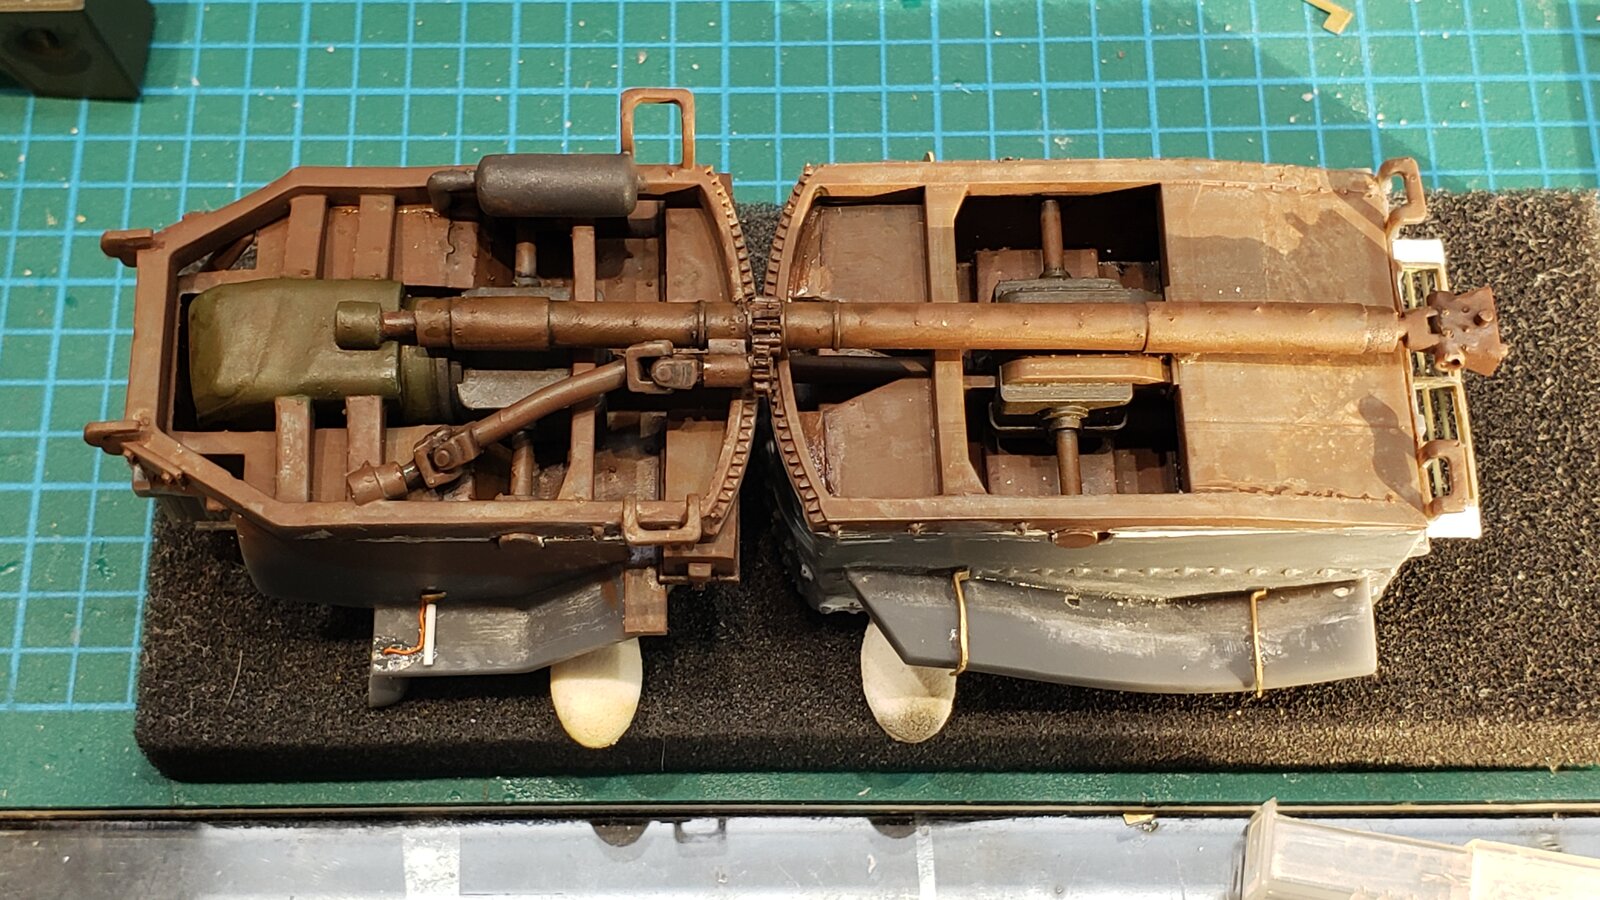
The front and back sections are joined rather tenuously by a drive shaft between the two axles, and that long shaft that drives the steering gears that rotate the the front and back sections counter directions via those teeth...
I had visions of the thing folding/ breaking in the middle so I put small brass rod through section frames directly above the steering gears.

20250702_191430.jpg

The foam pad and makeup applicators do a good job of leveling and supporting while I work on the undercarriage.
Still have to complete the muffler, and add the 4 wheel gears that the wheels will be attached to.

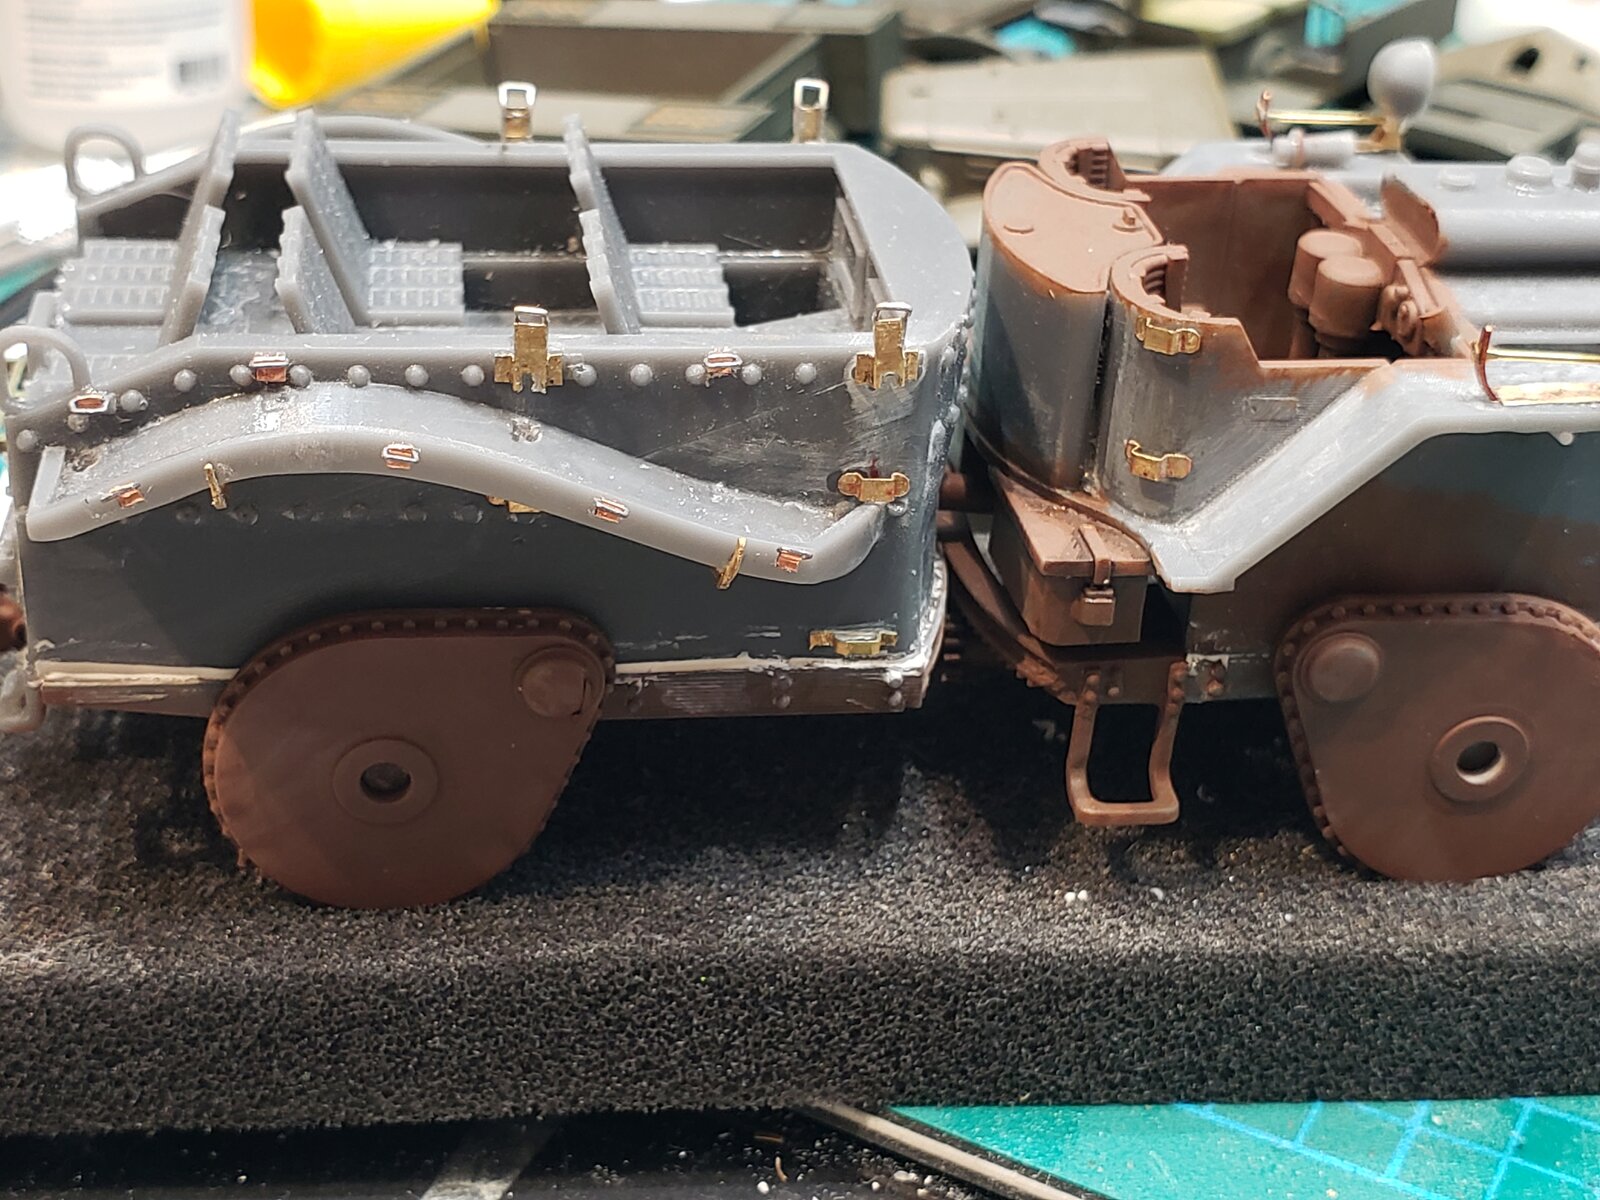
You can see the fender supports, flat brass in the back, polystyrene rod in the front, as well as two rectangular holes in the back fender that the tarp posts would fit through on both sides.

I'll have to add all my little brass brackets, then prime the top and paint before adding the wheels.
 
Last edited:
complicated, and probably somewhat fragile, way of steering a vehicle
Yes, and when you think that the front and rear sections can rotate through that center axis so that the left wheel us higher or lower than the right (and it that might be shifted in a turn), it is a wonder that the design is for a 'heavy' tractor!

The centre column has the hitch on the end, so it is taking the brunt of the forces...
 
Last edited:
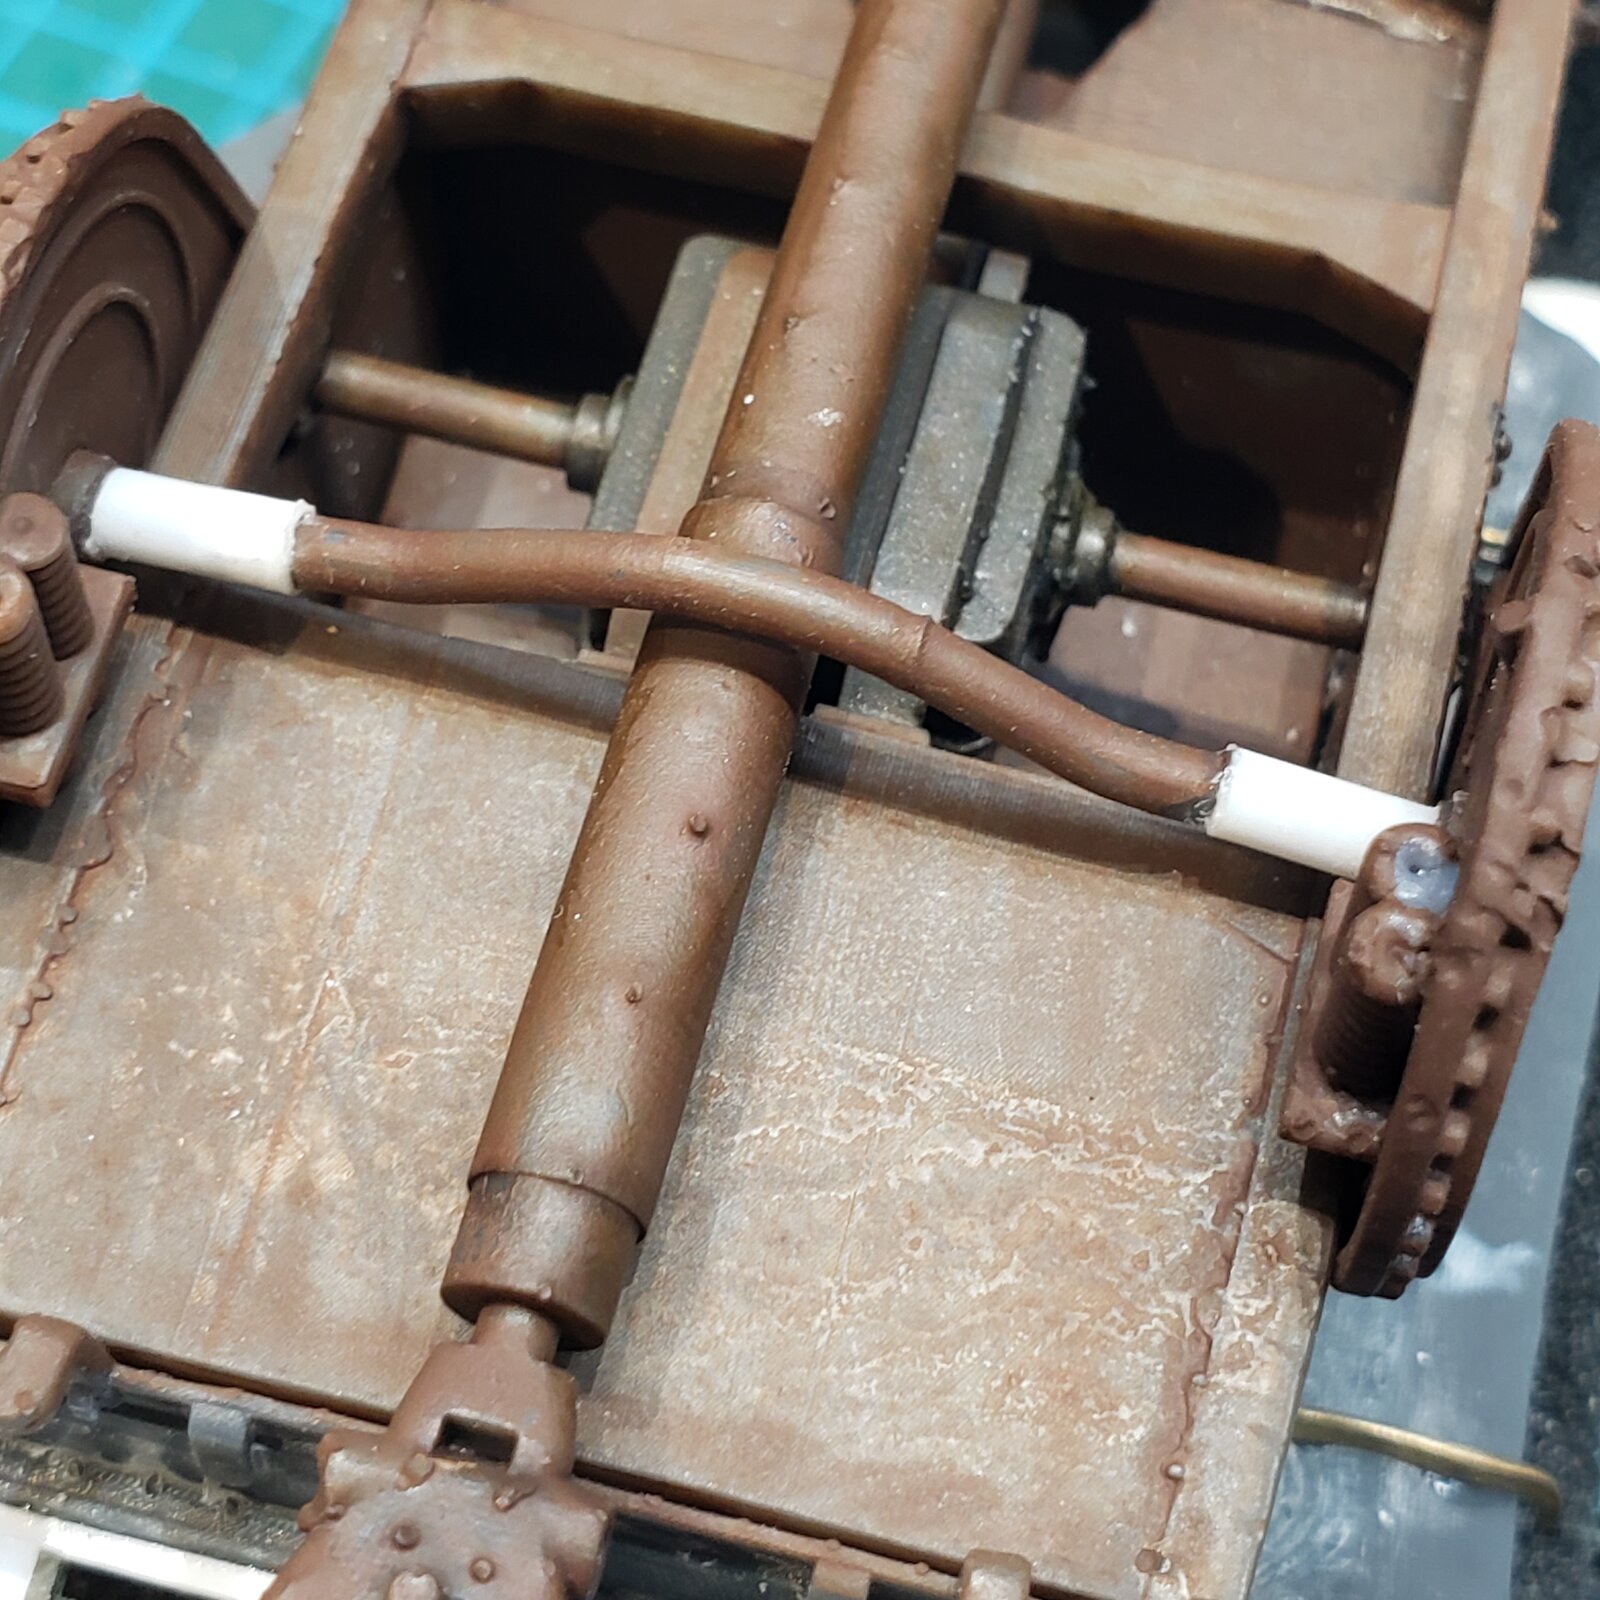
paint job.
Thanks, the rusty brown primer does have a nice sheen to it, and with some panel ink it brings up the details...

The top though is going to get the desert treatment, and I'm thinking a lot of weathering: this less expensive and less detailed kit doesn't offer the option of wheel paddles up or down as it comes moulded with them down, so I figure it must be for mud and soft soil.
 
Amazing job as always... and yes, you obviously enjoy building parts from scratche.
Now, on this model, were those "tractors" really used? or just a fantasy of an engineer??

 
Amazing job as always... and yes, you obviously enjoy building parts from scratche.
Now, on this model, were those "tractors" really used? or just a fantasy of an engineer??
Thanks. Oh yes, civilian and military use...
https://en.wikipedia.org/wiki/Pavesi_P4

and as others have mentioned, also foreshadowing the M520 Goer or M561 Gama Goat...

in use, with canvas top stowed, and with paddles folded, rolling on rubber tread...

gettyimages-3261264-2048x2048.jpg
 
I bought the surfacer (1k and 1500) in bottles, find that I can clean up with hardware store lacquer thinner, the airbrush of course but also bristle brushes. Of course when using it as fine filler I use cheap brushes, think that is worth mentioning that hardware store products are a bit harsh, so do not use your sables!
Well, one side done, all gussied up!

Dude! Your work always amazes me. Not sure why you are afraid of building an aircraft. Painting them is different than tractors and cars, but your assembly and fabrication work far exceeds what is needed for a good aircraft kit.
 

Latest posts

Back
Top