Boatmans 1/32 scale phantom F4E

Scale Model Addict - Model Tips, Guides, Tools & Tech, Tutorials, and Community

Help Support Scale Model Addict:

Coming along! You sure have this LED thing down!
CHEERS Barley yes ive been fittin in leds in models for the last 20 yrs or so as i think it brings the models to life
ATB AN thanks for your reply an really this what ive done were the fiddleyiest parts to fit leds in now it should be plain sailing an tomorrow i'll be back tryin to fit in the radar an gatlin gun an the hindged cover so im gonna need a steady hand

chrisb
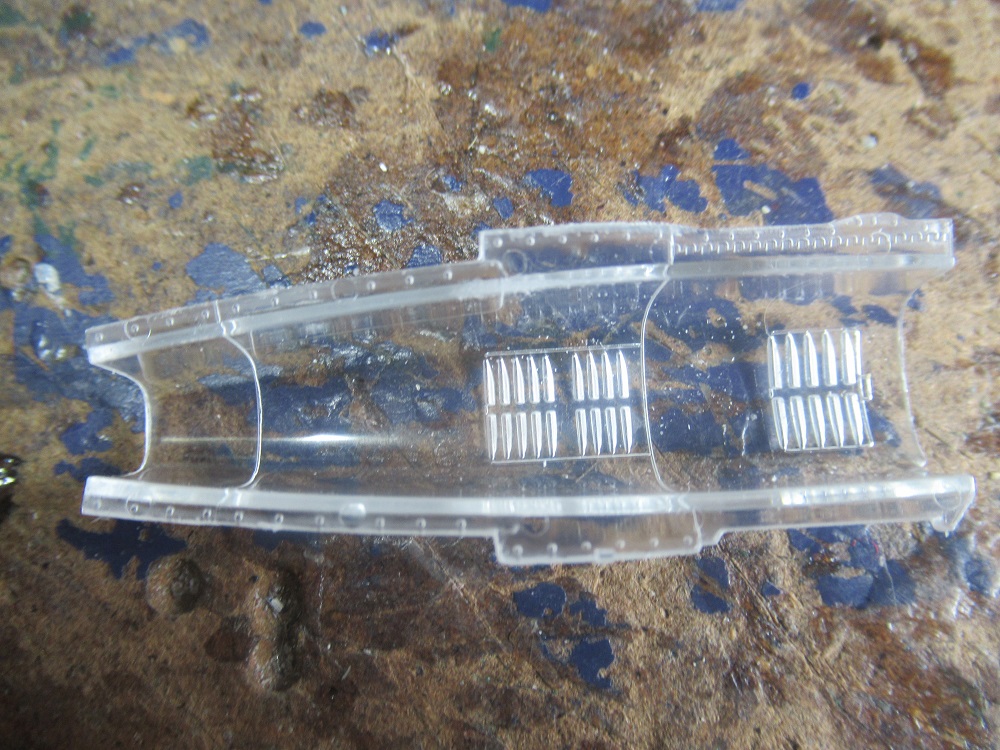
 
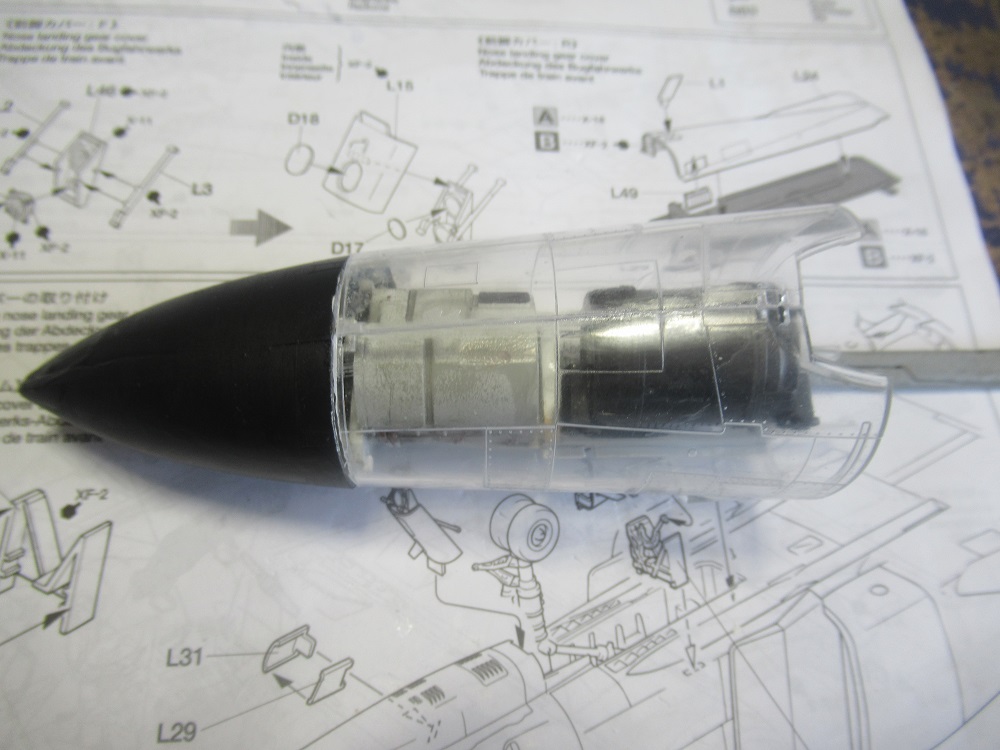
HI GUYS WELL FOR THE first time in 20 odd yrs of makein modern planes ive been beat as i wanted to make the gatlin gun cover hinge down so it could be seen but lookin an tryin to fit some hinges on it was impossible so i had to glue it in place as it was such an awkward shape an pic of the bloomin cover her
IMG_0818.JPG
 
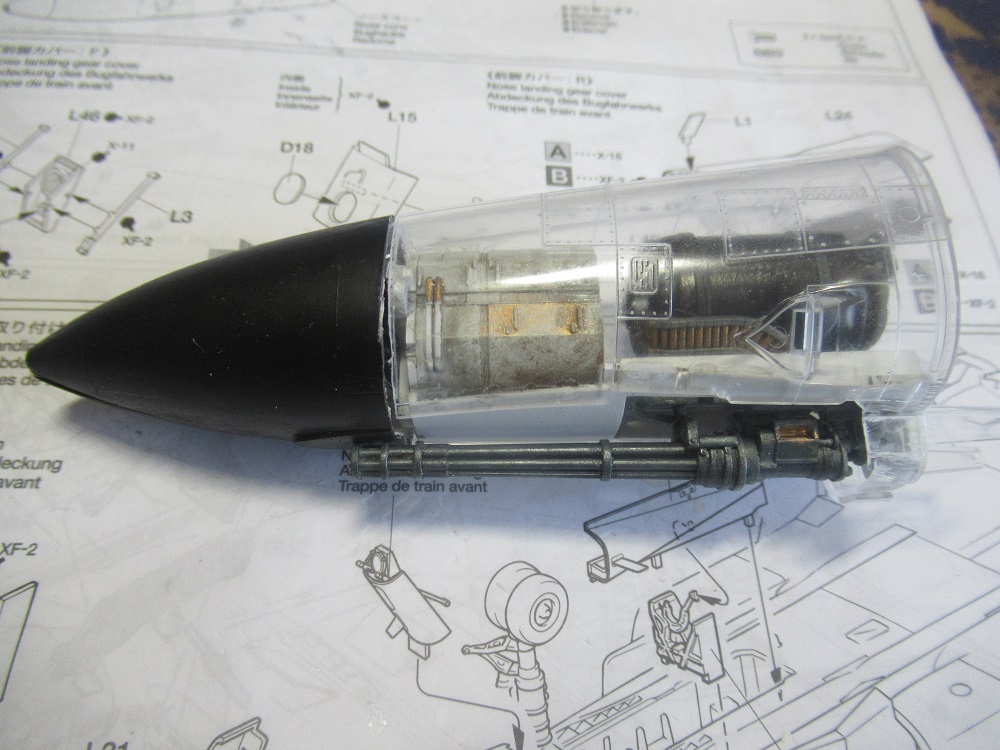
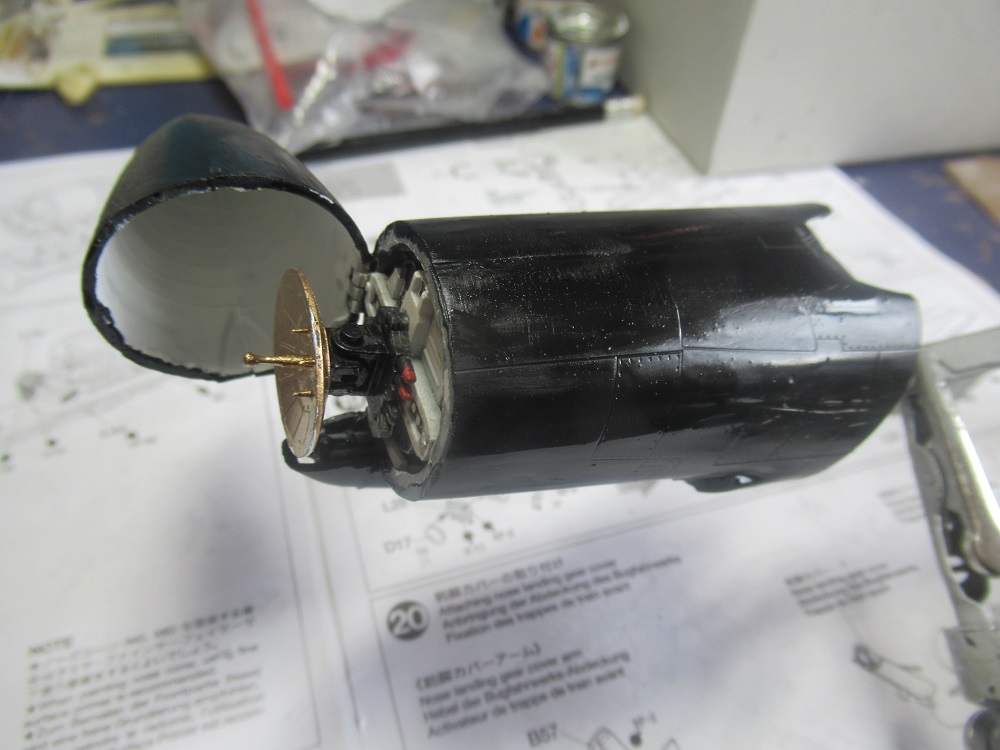
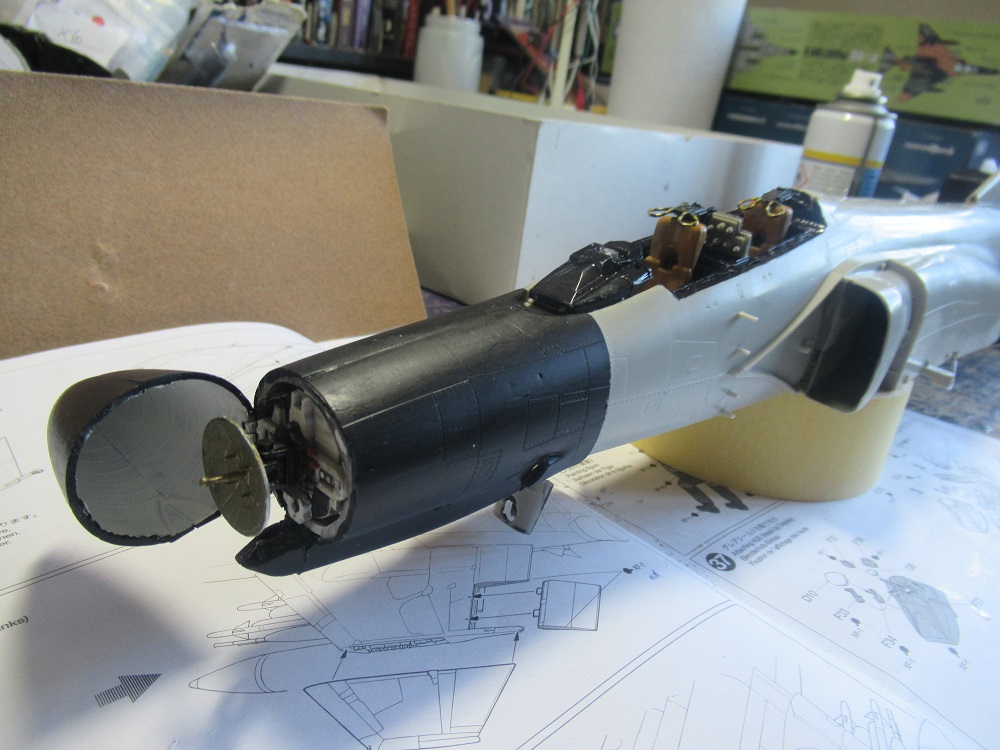
but so far the nose cone opens an closes ok so at least somthing worked ok as im amazed at how tamyia made the parts in glass an there was no postionin tabs on to hold it in place as i treid several times doin dry fits but ti kept fallin apart so tamyia is now not my fav kit manufacter
IMG_0819.JPG
 
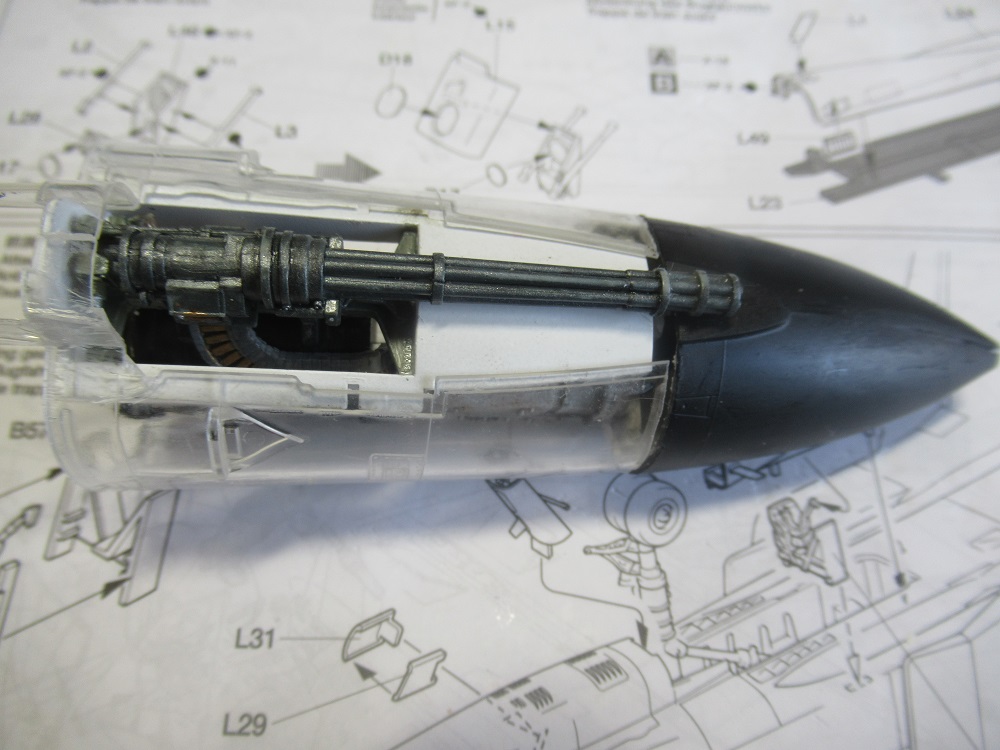
AN HERE can be seen the gatlin gun in postion but cover did not fit over it so plenty of filein an sandin then only to find i could not fit a hinge on it due to its weird shape
IMG_0820.JPG
 
As an Amazon Associate we earn from qualifying purchases. Product prices and availability are accurate as of the date/time indicated and are subject to change.
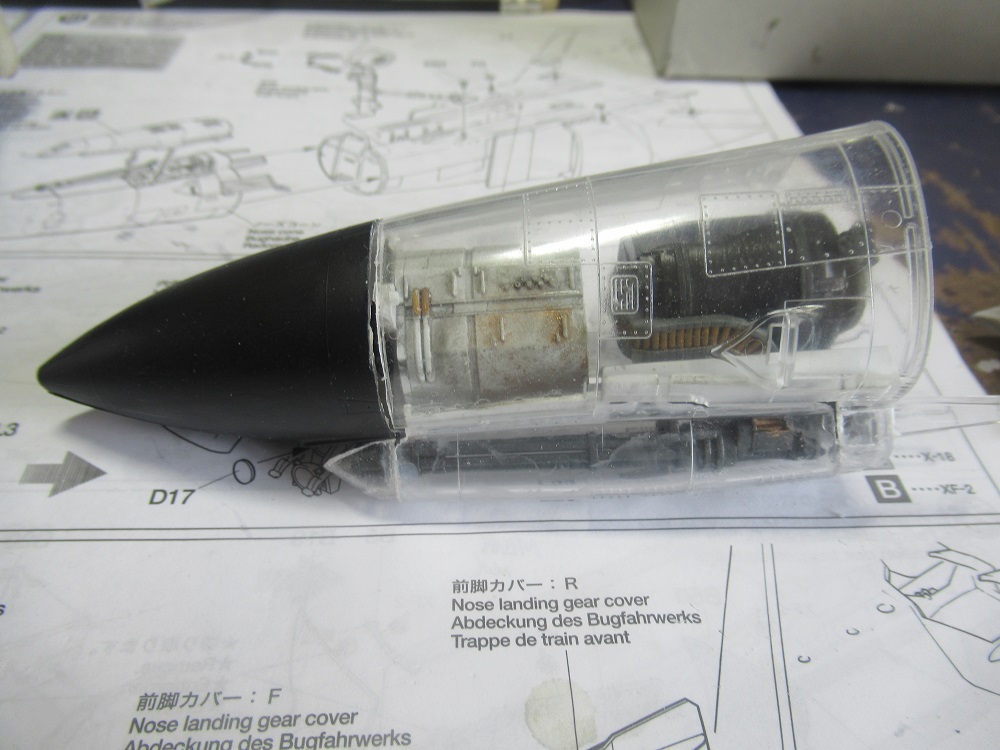
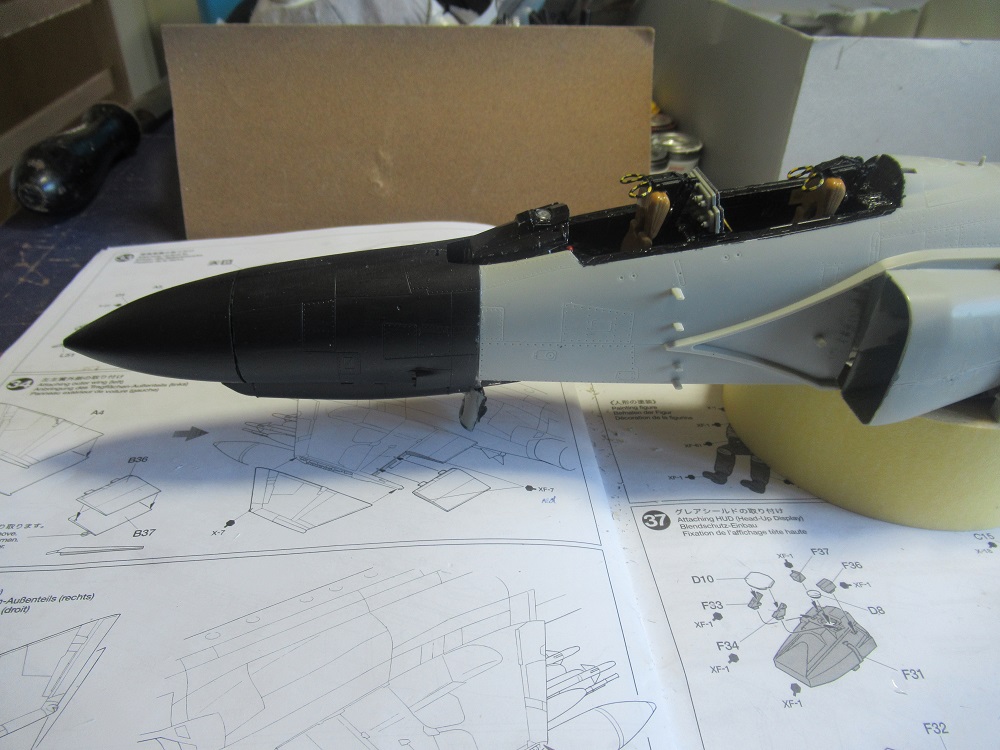
SO i have now painted the whole nose section matt black for now till it get its main colurs painted on but at least now i feel as though im movein on the model an it goin to be big an i just left the nose cone open while the matt black drys off
chrisb
IMG_0823.JPG
 
Even with your batting average, there is bound to be a bowler that gets it past your bat... still an awesome build!
YES Barley it was goin to happen some time as cant win always but im dissapionted in this a tamyia kit as this is the first tamyia kit ive built an all the guys i know says tamyia are the rolls royce of kits but not this one i just hope all the rest of the kit fits better
chrisb
 
Looking good Chris, pity about the gun cover but the remainder of the build will compensate !
Steve
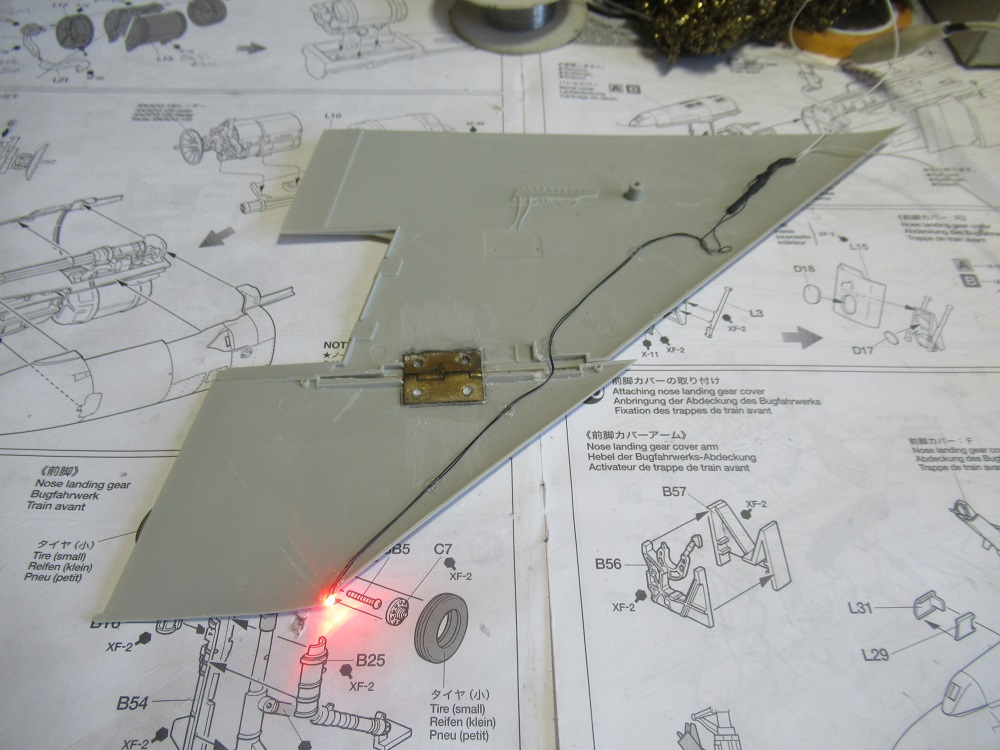
HI Steve yes i had great plans to fit 2 hinges so it could swing open to see that gatlin gun but that cover had a flat side instead of a vertical side so i could not fit them hinges but as you say the rest of the build should make up for it pity TAMYIA dint fit in pin locators for the wings but ive an idea hoe to get around that SO ON WITH THE BUILD AN AT THE MOMENT IM FITTING IN THE HINGES IN THE WINGS AN NAV LIGHTS
ATB
C HRISB
 
HI Steve yes i had great plans to fit 2 hinges so it could swing open to see that gatlin gun but that cover had a flat side instead of a vertical side so i could not fit them hinges but as you say the rest of the build should make up for it pity TAMYIA dint fit in pin locators for the wings but ive an idea hoe to get around that SO ON WITH THE BUILD AN AT THE MOMENT IM FITTING IN THE HINGES IN THE WINGS AN NAV LIGHTS
ATB
C HRISB
Onwards and upwards mate! No matter what the limitations are you'll definitely make a fist of it! I suspect Tamiya had no idea a Boatman would attack their substrate!
Stwvw
 
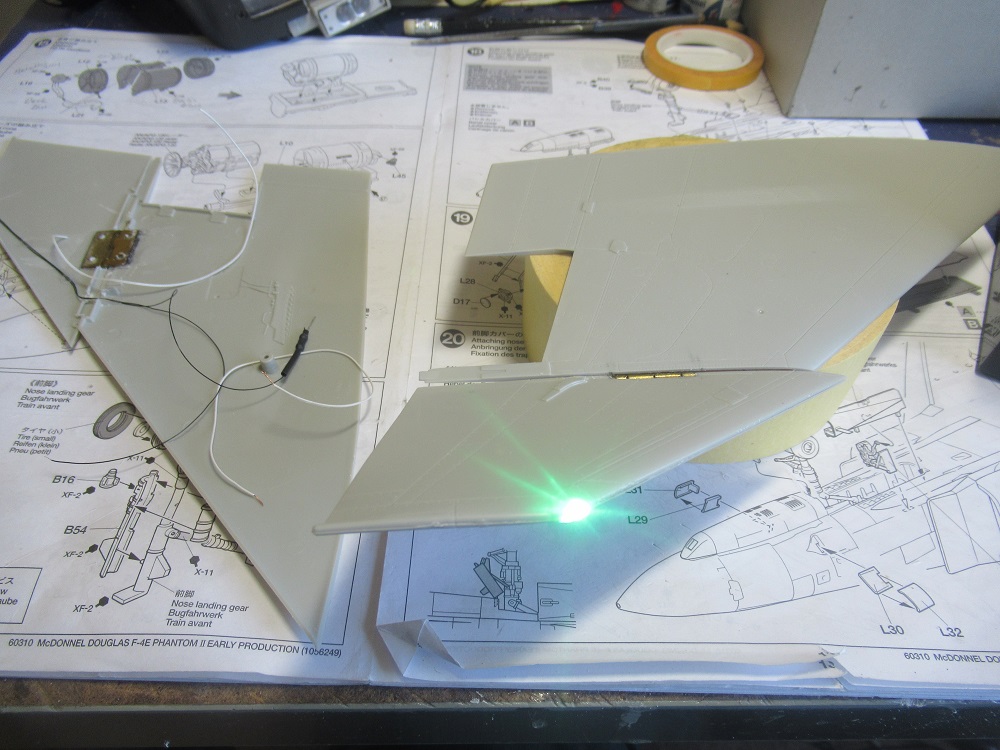
HELLO GUYS wel the build is still goin as it a bugger to try an fit the parts of the wings togeather as there are no locatin pins so when i gluded the wing tips it was a heck of a job to get them in their right postions but i have manged it so far an here are some pics of the stb wing with a green nav light fitted
IMG_0843.JPG
 
AN HI Barley is it brain ? an yes this build is very trickey without them locating pins as the bloomin parts keep slidein about an just spayed the under side in from what i can make out in light grey but im dreadin to try an fit this planes top wings togeather just as well ive got some super glue remover as may have to take the whole wing off oh dear but its nice an sunny here so im stoppin now to go an sit out in the sunshine an read a book AN MANY THANKS Barley for your nice comments
ATB ALL
chrisb
 
yes this build is very trickey without them locating pins as the bloomin parts keep slidein
I've known modelers who hate locating pins, and always remove them. The technique they used was to apply multiple coats of slow solvent cement to the mating surfaces until the plastic is quite soft, then carefully fit the parts together. IF you use enough of the slow solvent, the plastic stays soft long enough to adjust the fit slightly. The trick is to use enough of the slow solvent. If not, the parts stick together but can't be adjusted. I tried this technique on my 1/32 P-40E build, and it worked fairly well, with minimum filling at the wing roots.

Formula for slow solvent cement: 1 part toluene to 9 parts methylene chloride (also called dichloromethane or DCM, and methylene bichloride).

Formula for very slow solvent cement: 1 part xylene to 9 parts methylene chloride.

USE ONLY WITH ADEQUATE VENTILATION!
 
I've known modelers who hate locating pins, and always remove them. The technique they used was to apply multiple coats of slow solvent cement to the mating surfaces until the plastic is quite soft, then carefully fit the parts together. IF you use enough of the slow solvent, the plastic stays soft long enough to adjust the fit slightly. The trick is to use enough of the slow solvent. If not, the parts stick together but can't be adjusted. I tried this technique on my 1/32 P-40E build, and it worked fairly well, with minimum filling at the wing roots.

Formula for slow solvent cement: 1 part toluene to 9 parts methylene chloride (also called dichloromethane or DCM, and methylene bichloride).

Formula for very slow solvent cement: 1 part xylene to 9 parts methylene chloride.

USE ONLY WITH ADEQUATE VENTILATION!YESYES

yes hi sir a good idea that an thanks but im nearly over the worst parts thank goodness
cheers for that
ATB SIR
CHRISB
 
Haha, if only!
When I was working, many chinese colleagues had trouble pronouncing Brian, so it invariably came out 'Brain'.
Enjoying your build as always.
...and yes, enjoy the sunshine, life is too short.
I just came in from the garden, lots to do in spring!

Haha, if only!
When I was working, many chinese colleagues had trouble pronouncing Brian, so it invariably came out 'Brain'.
Enjoying your build as always.
...and yes, enjoy the sunshine, life is too short.
I just came in from the garden, lots to do in spring!
AN HI AGAIN Brian got it right this time SORRY about the BRAIN LOL
CHRISB
 
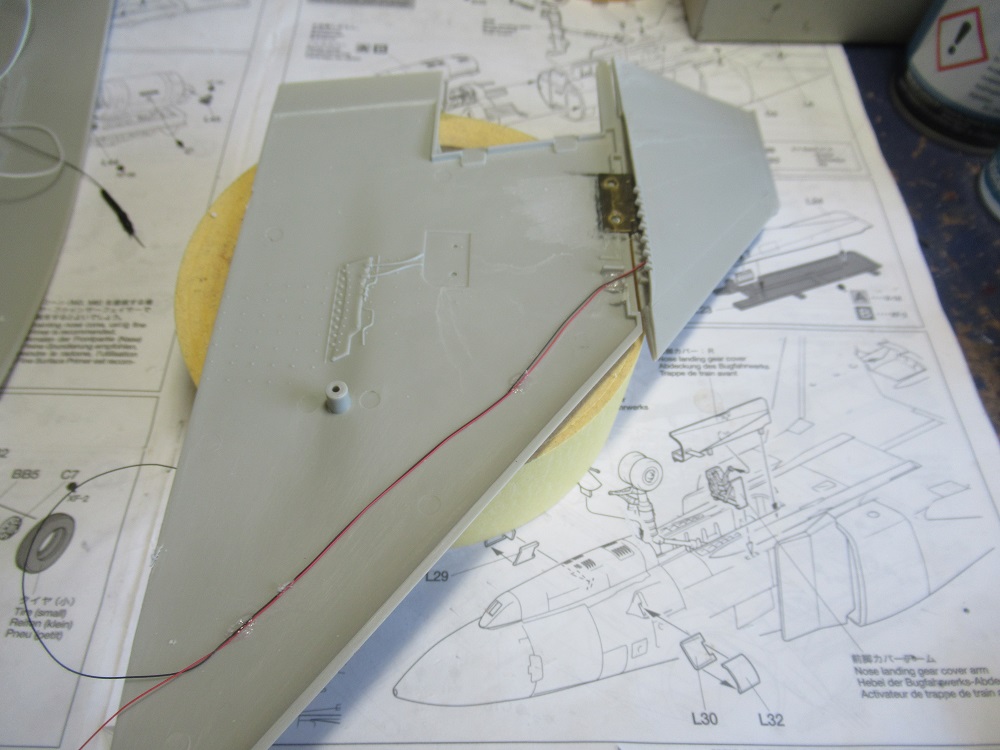
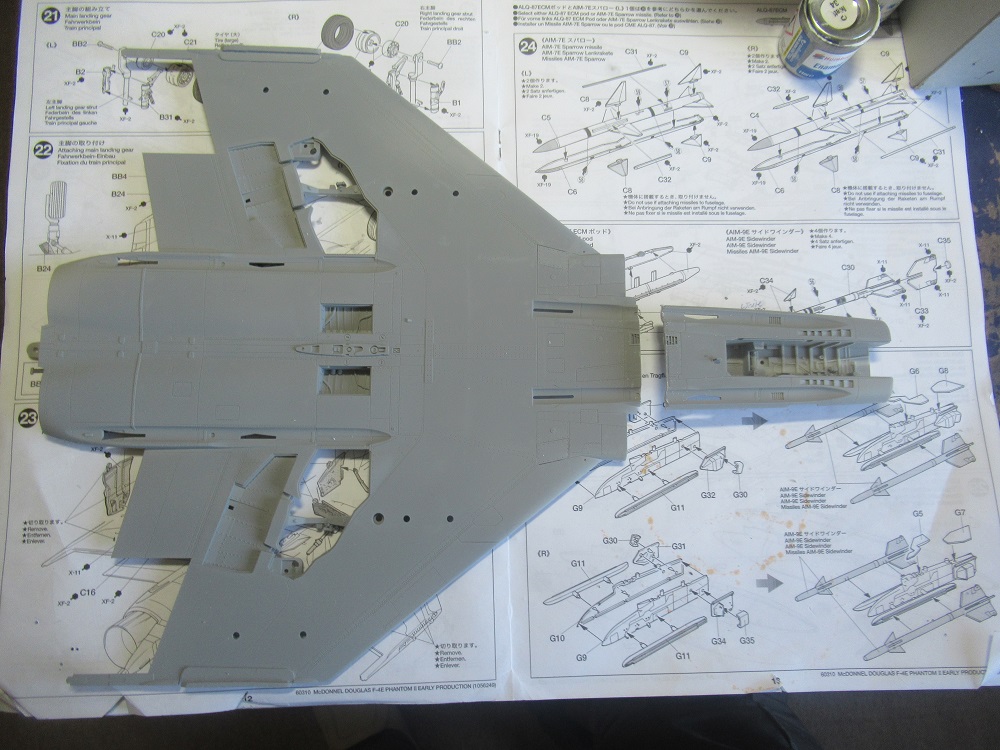
hey guys the build is still ongoin an in this pic is shown the fusealage an wings bottom but due to fact that the front landing light an double red A/C light need to be fitted seperatly i had to cut off the fusealarge part so i can jion up all the wirein
IMG_0847.JPG
 
Last edited:
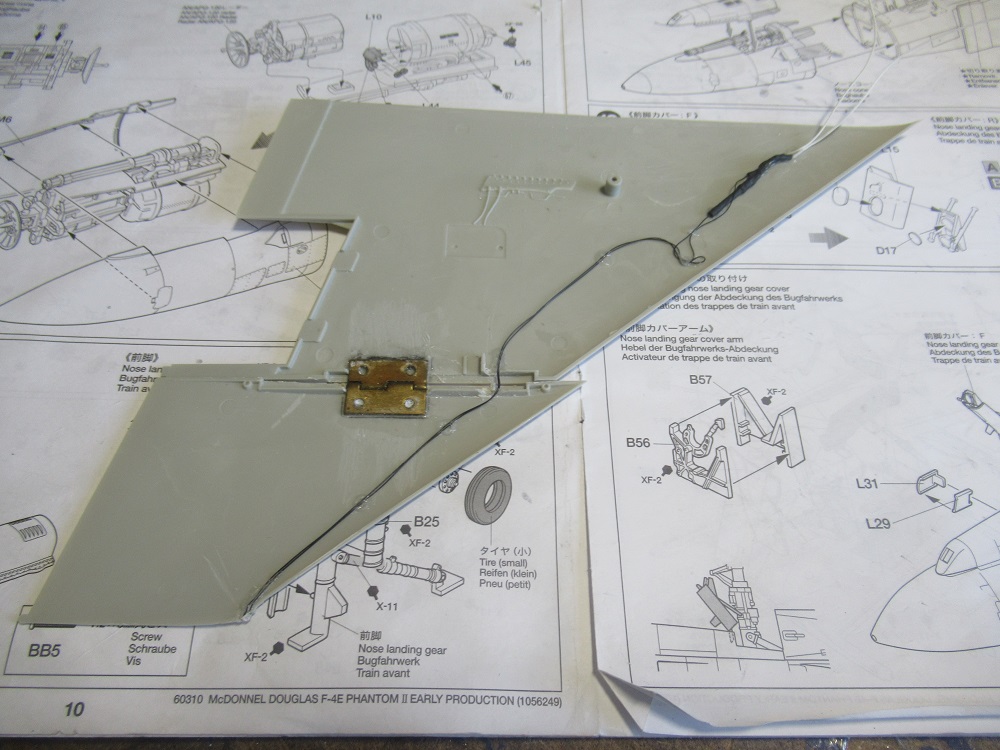
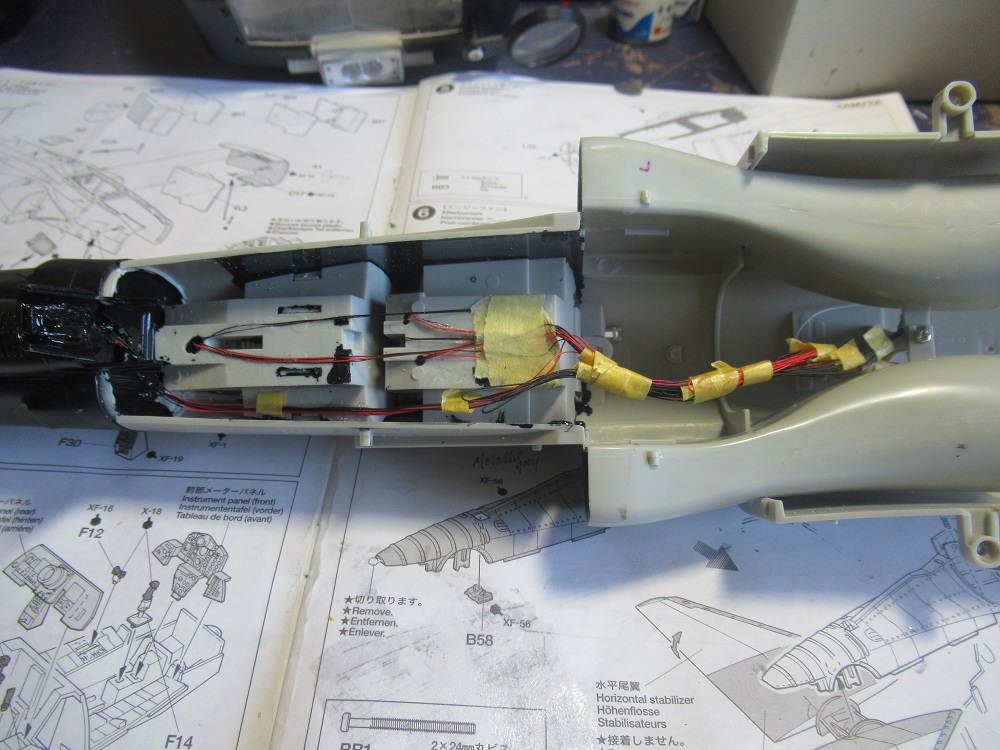
NEXT A SHOT of the wirein that feeds the cockpit lights an the underside lights an ive just rapped the wires with tamyia tape to stop them spring open an gettin all out of controll
IMG_0848.JPG
 
Last edited:
...after reading so many other threads pointing out issues with fit, gaps and general kit frustration, I can only conclude that YOU, my good man, 'KNOW NO FEAR'! :D
AN HI Brian i do have a fear of things not workin out how i plan them to be but im just lucky i think that most of what i attempt works out but im constanly sayin hope this works out ok an then havin a clap as its a way of easin stress lol
chrisb
 
Last edited:
AN LAST pic today to show that the nose works lovley an swings out to show the radar an im pleased at how this worked out an now for a bit i show no fear like what brian is sayin lol
IMG_0850.JPG
 

Latest posts

Back
Top