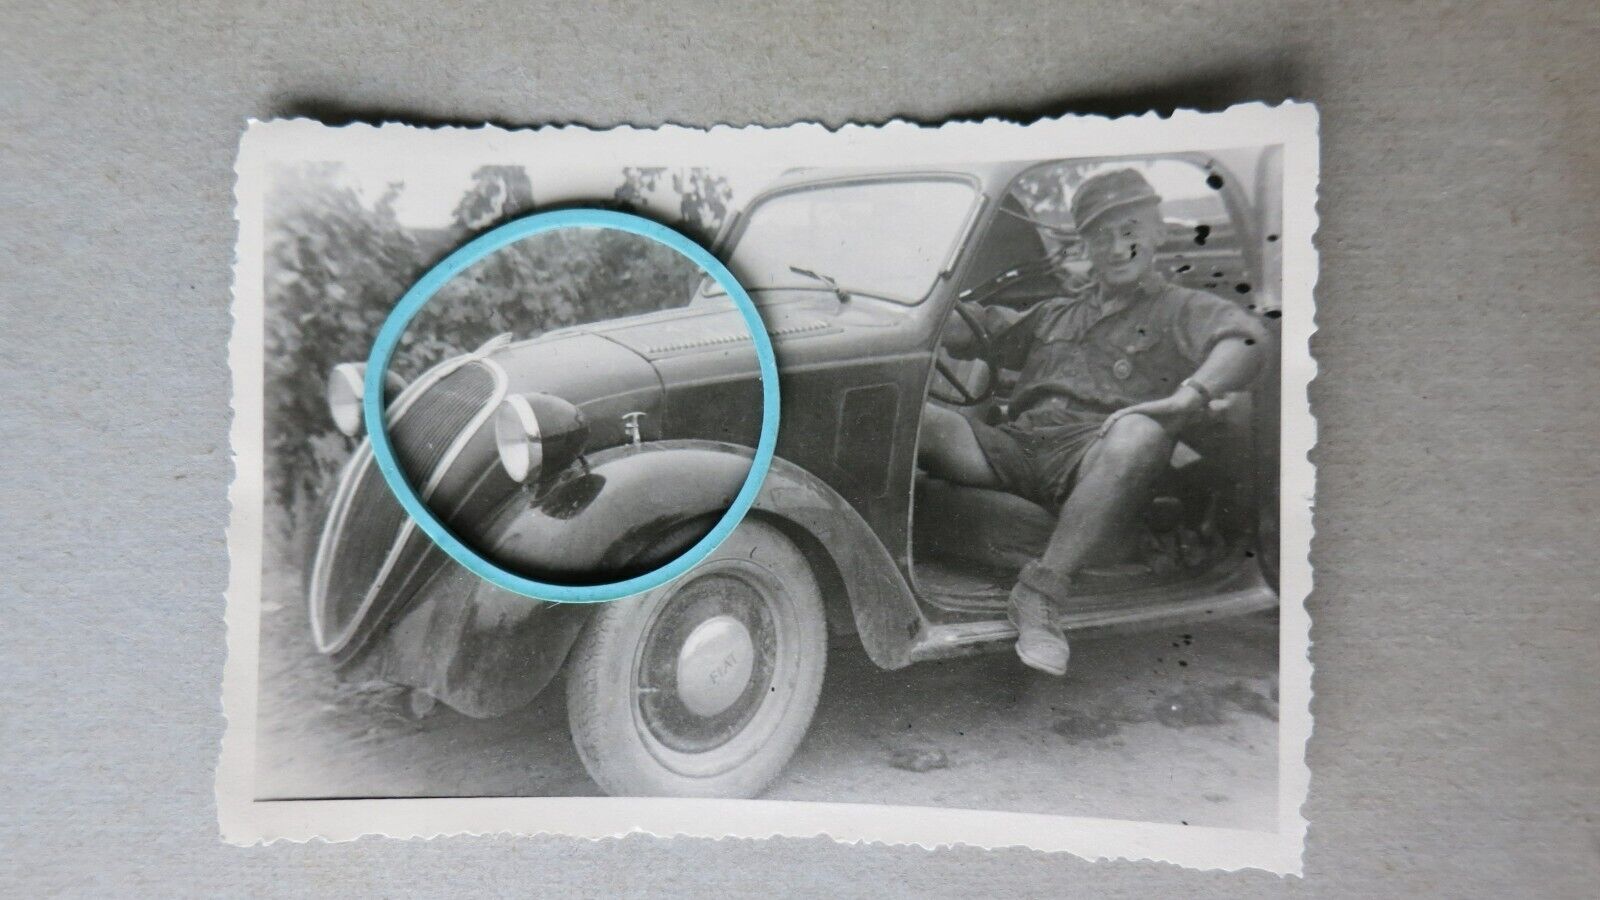
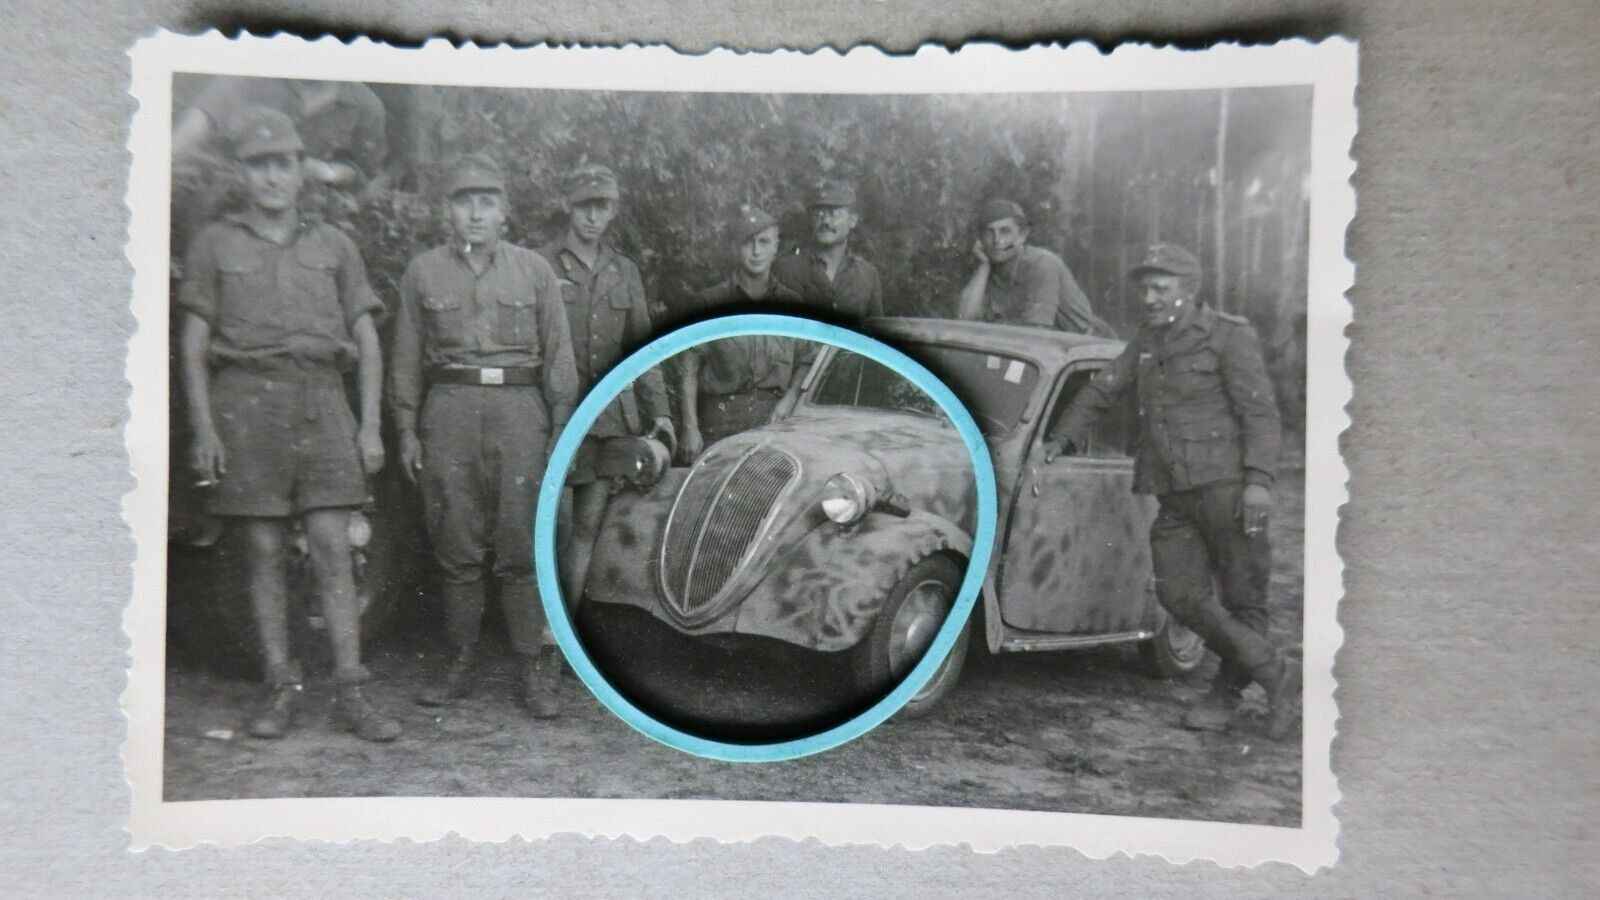
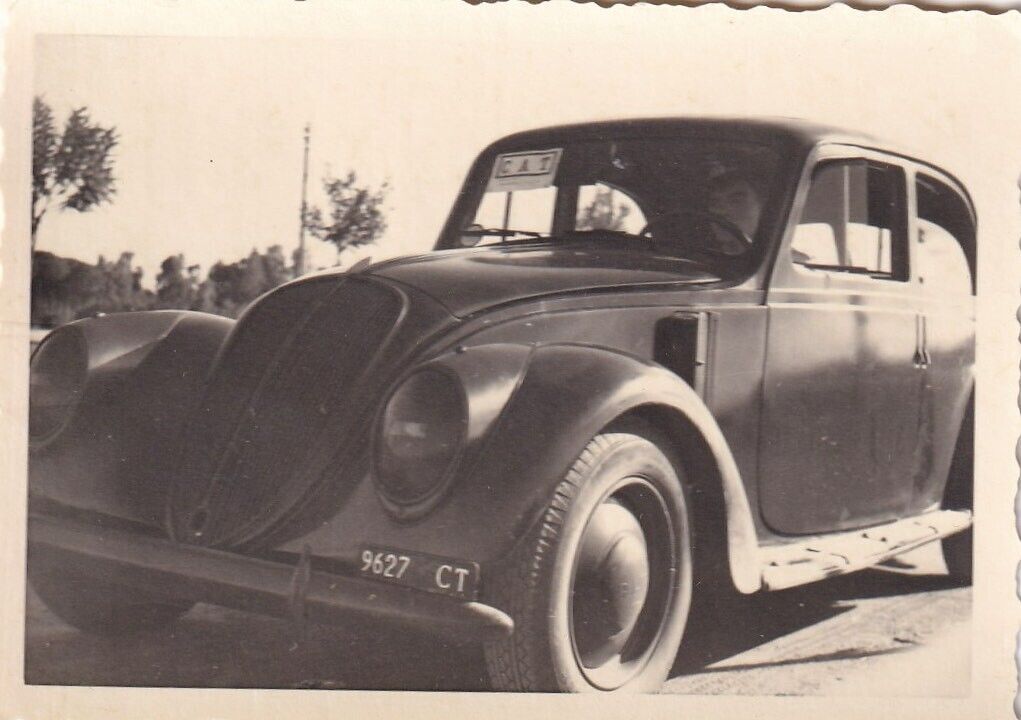
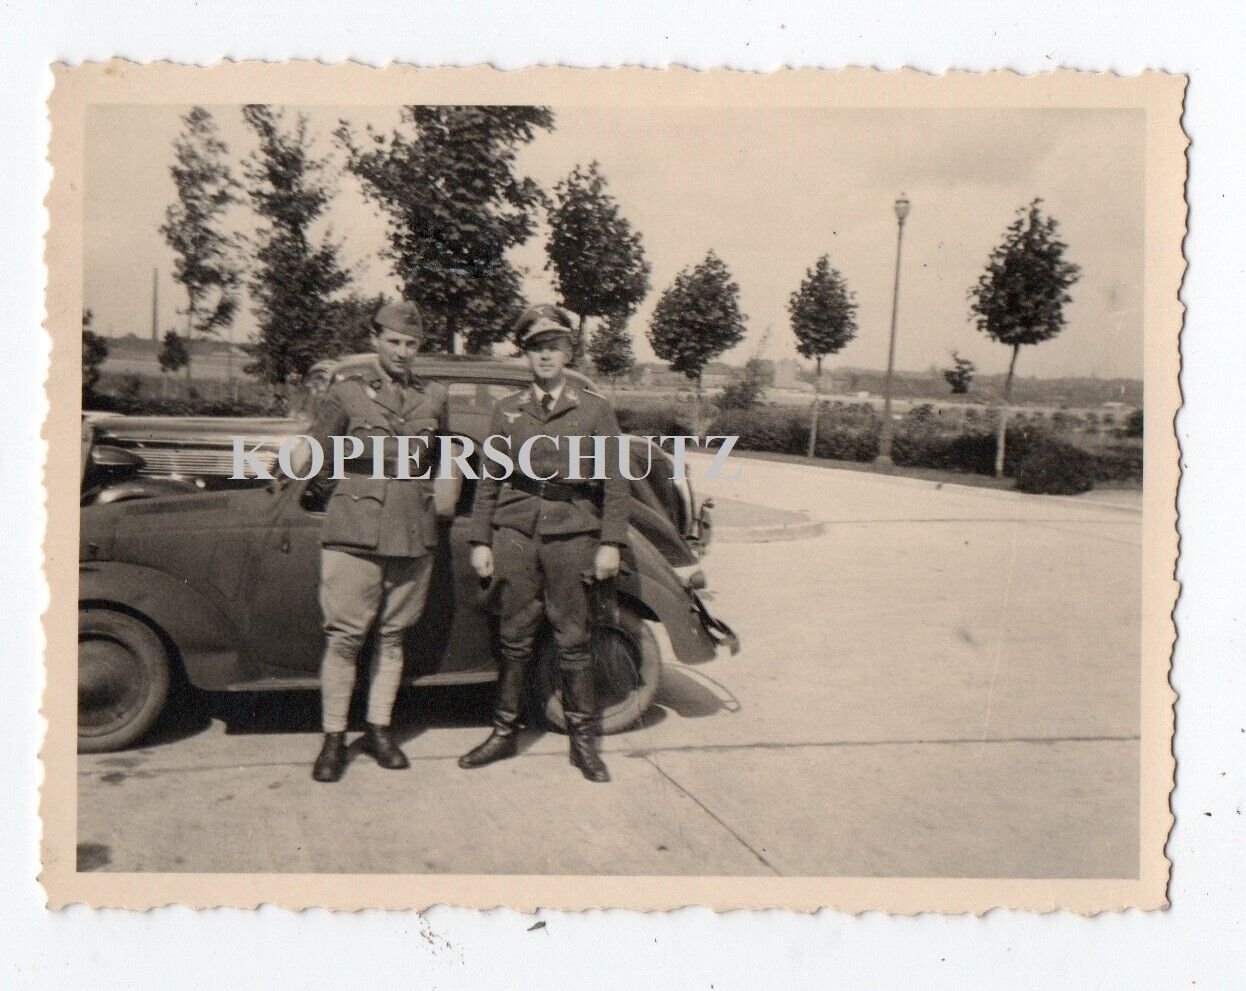
German / Italian Topolino 2025-01

Scale Model Addict - Model Tips, Guides, Tools & Tech, Tutorials, and Community

Help Support Scale Model Addict:

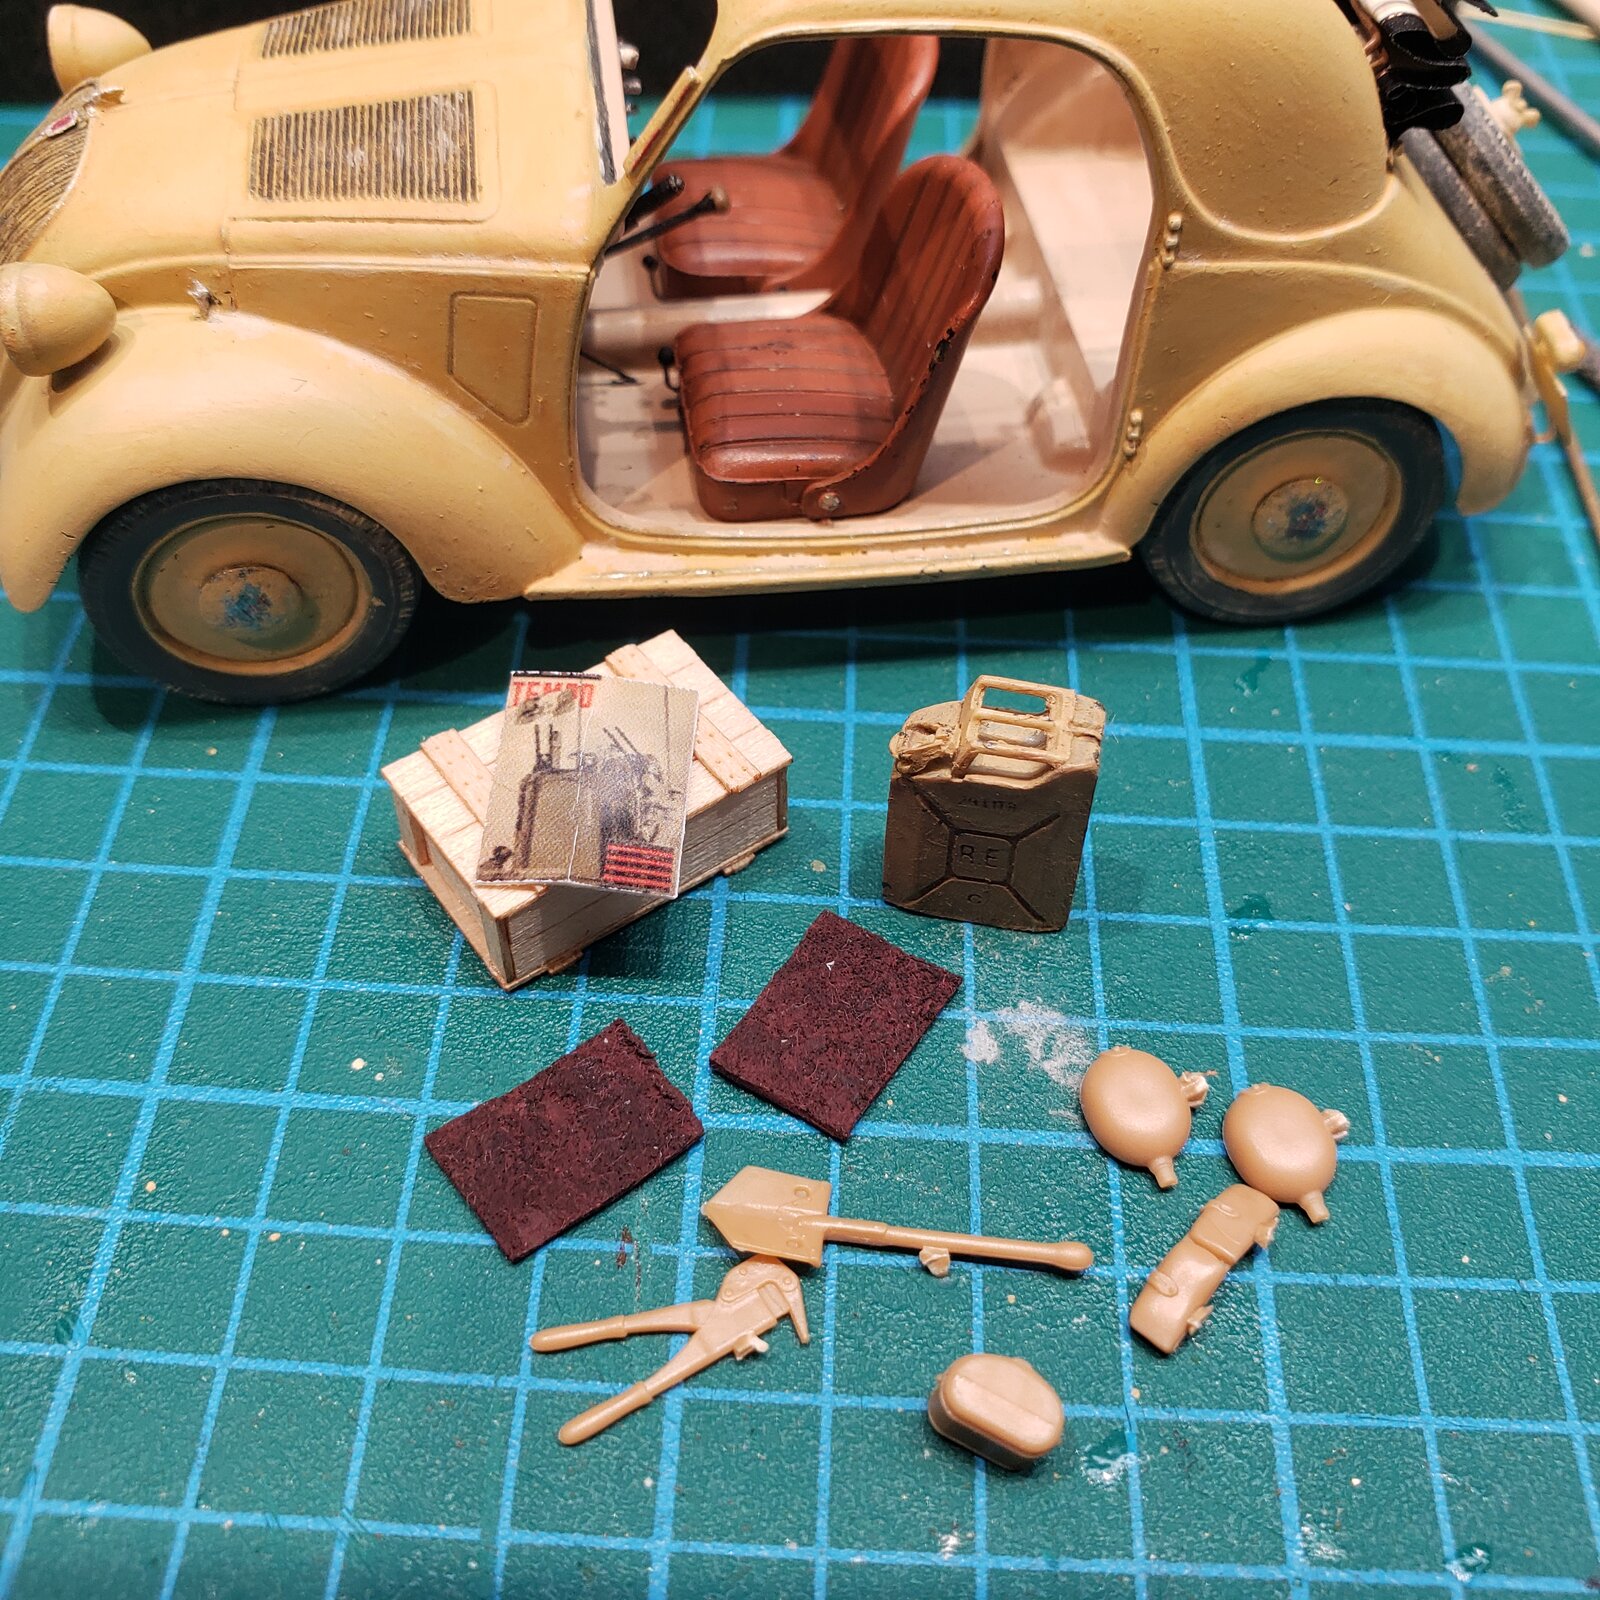
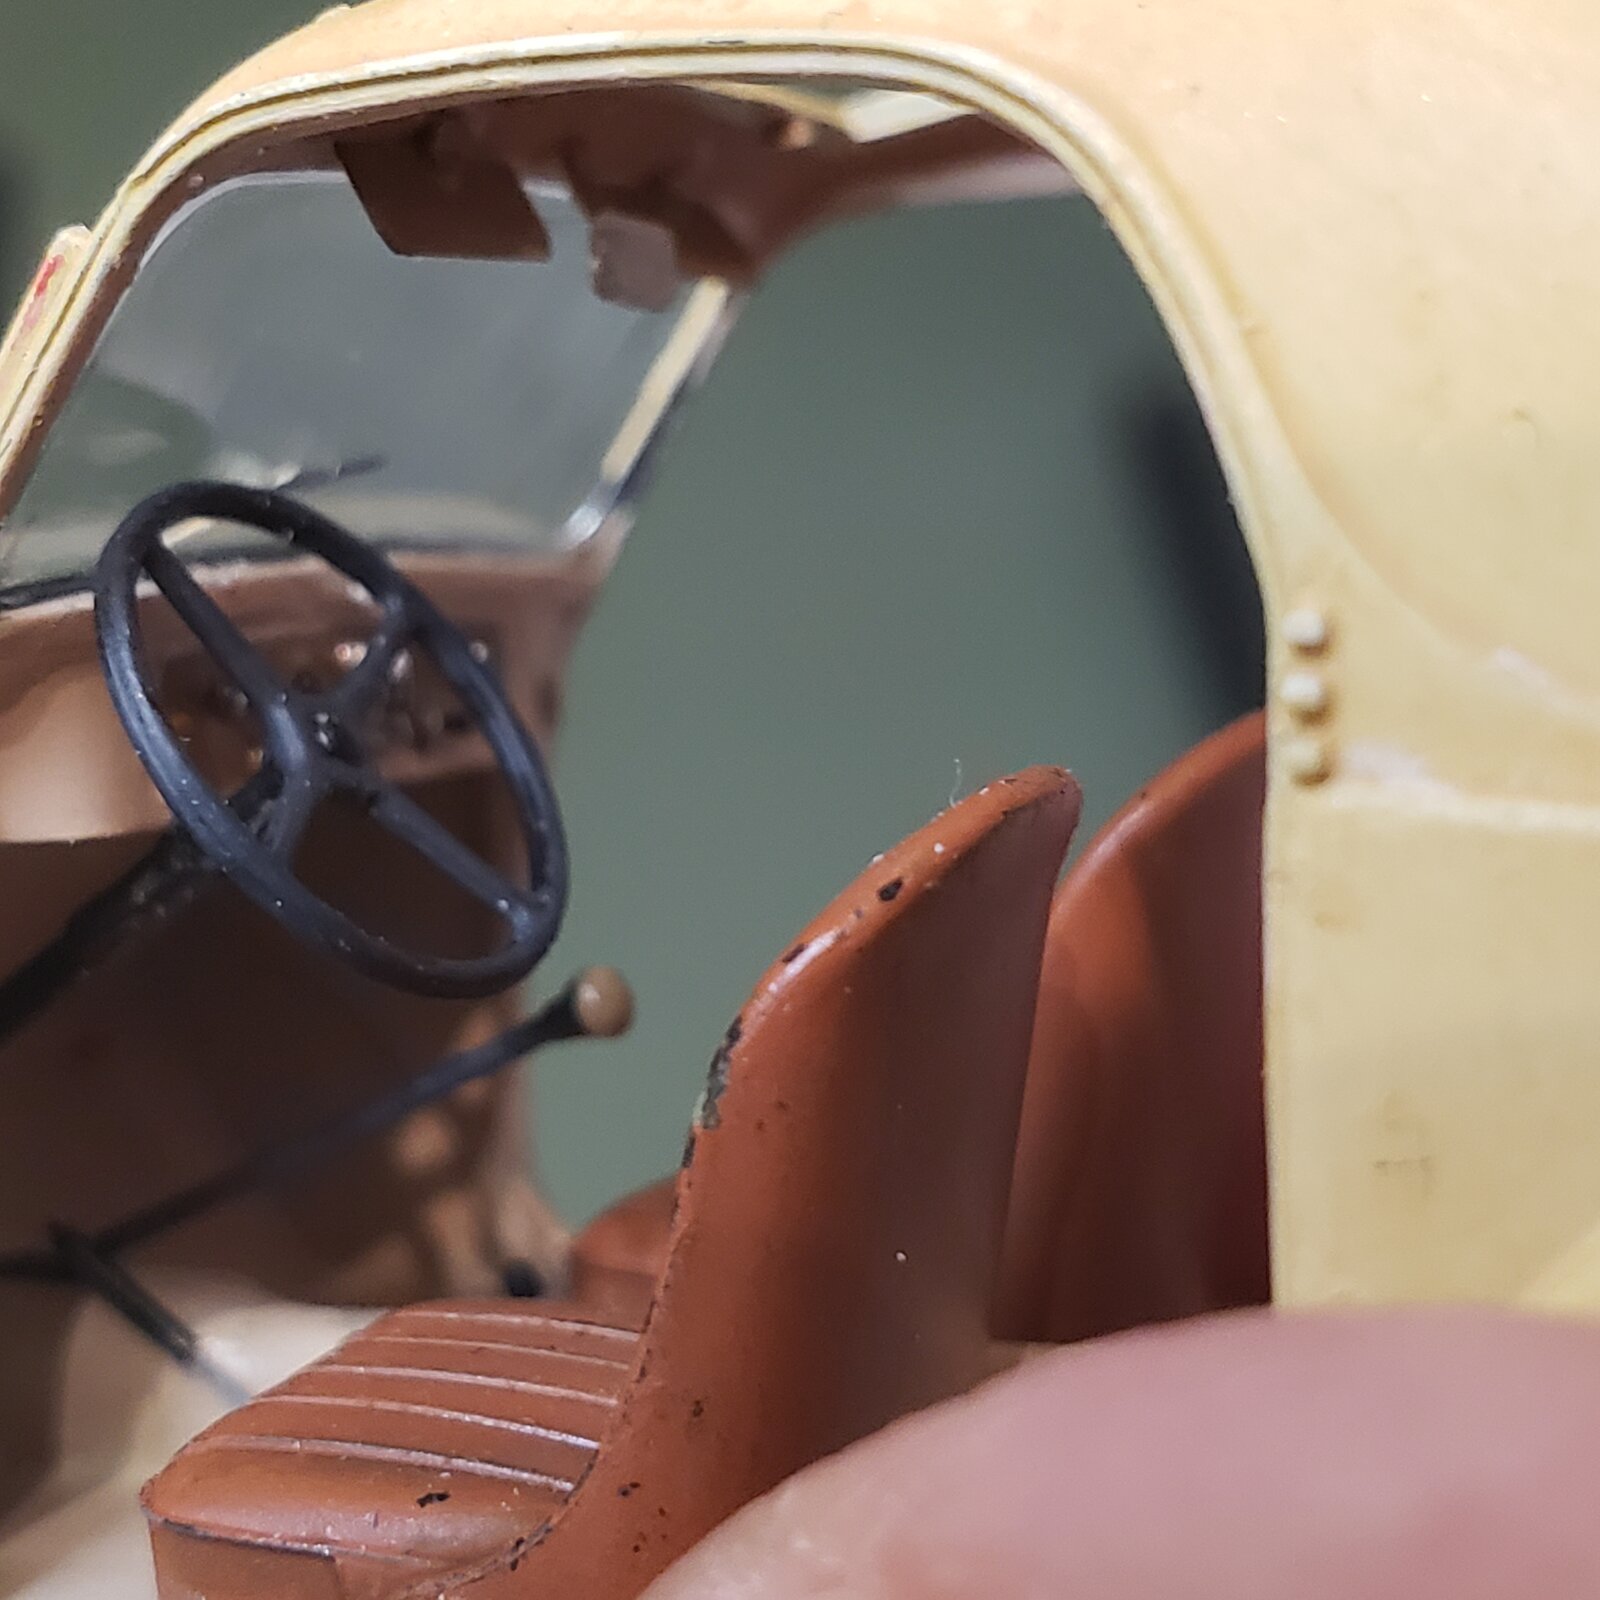
... also time to start thinking about what these two Bersaglieri might have in the car...

Into the tickle trunk I go!

Water, fuel, wire cutters, binocular case, some crappy mats, an issue of Tempo, a shovel, ammo pouches

17421778068379126548255748938127.jpg
 
But I think we're there
So thanks everyone for following along, appreciate the encouragement as I try to work through the HOWS of the crazy WHATS that I commited myself to building!
Next one will be straight OOB! (Any bets on how long that will last?) :rolleyes:
 
How to get ahead in the Regio Esercito
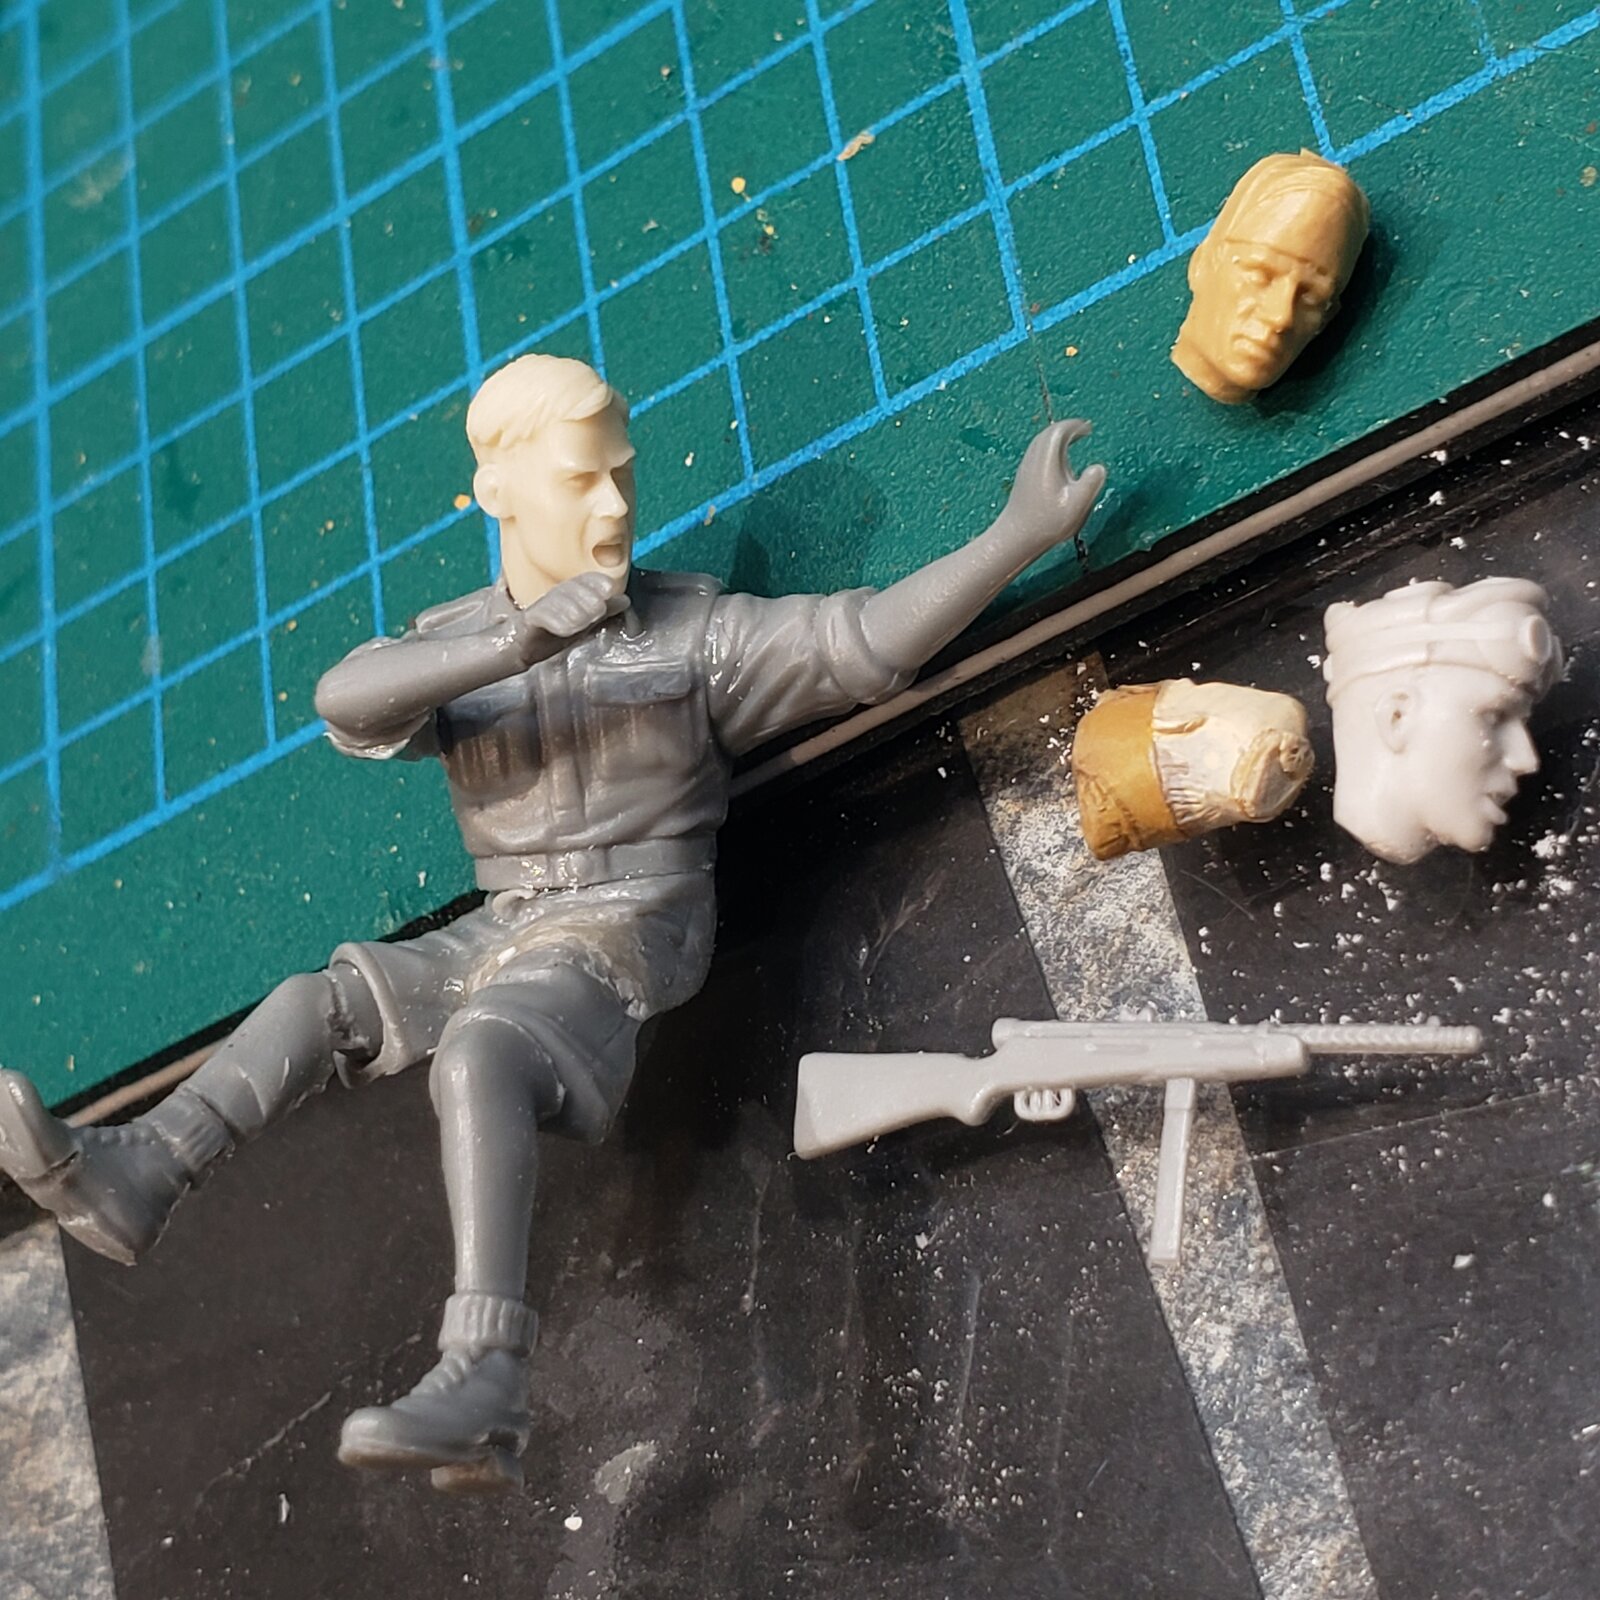
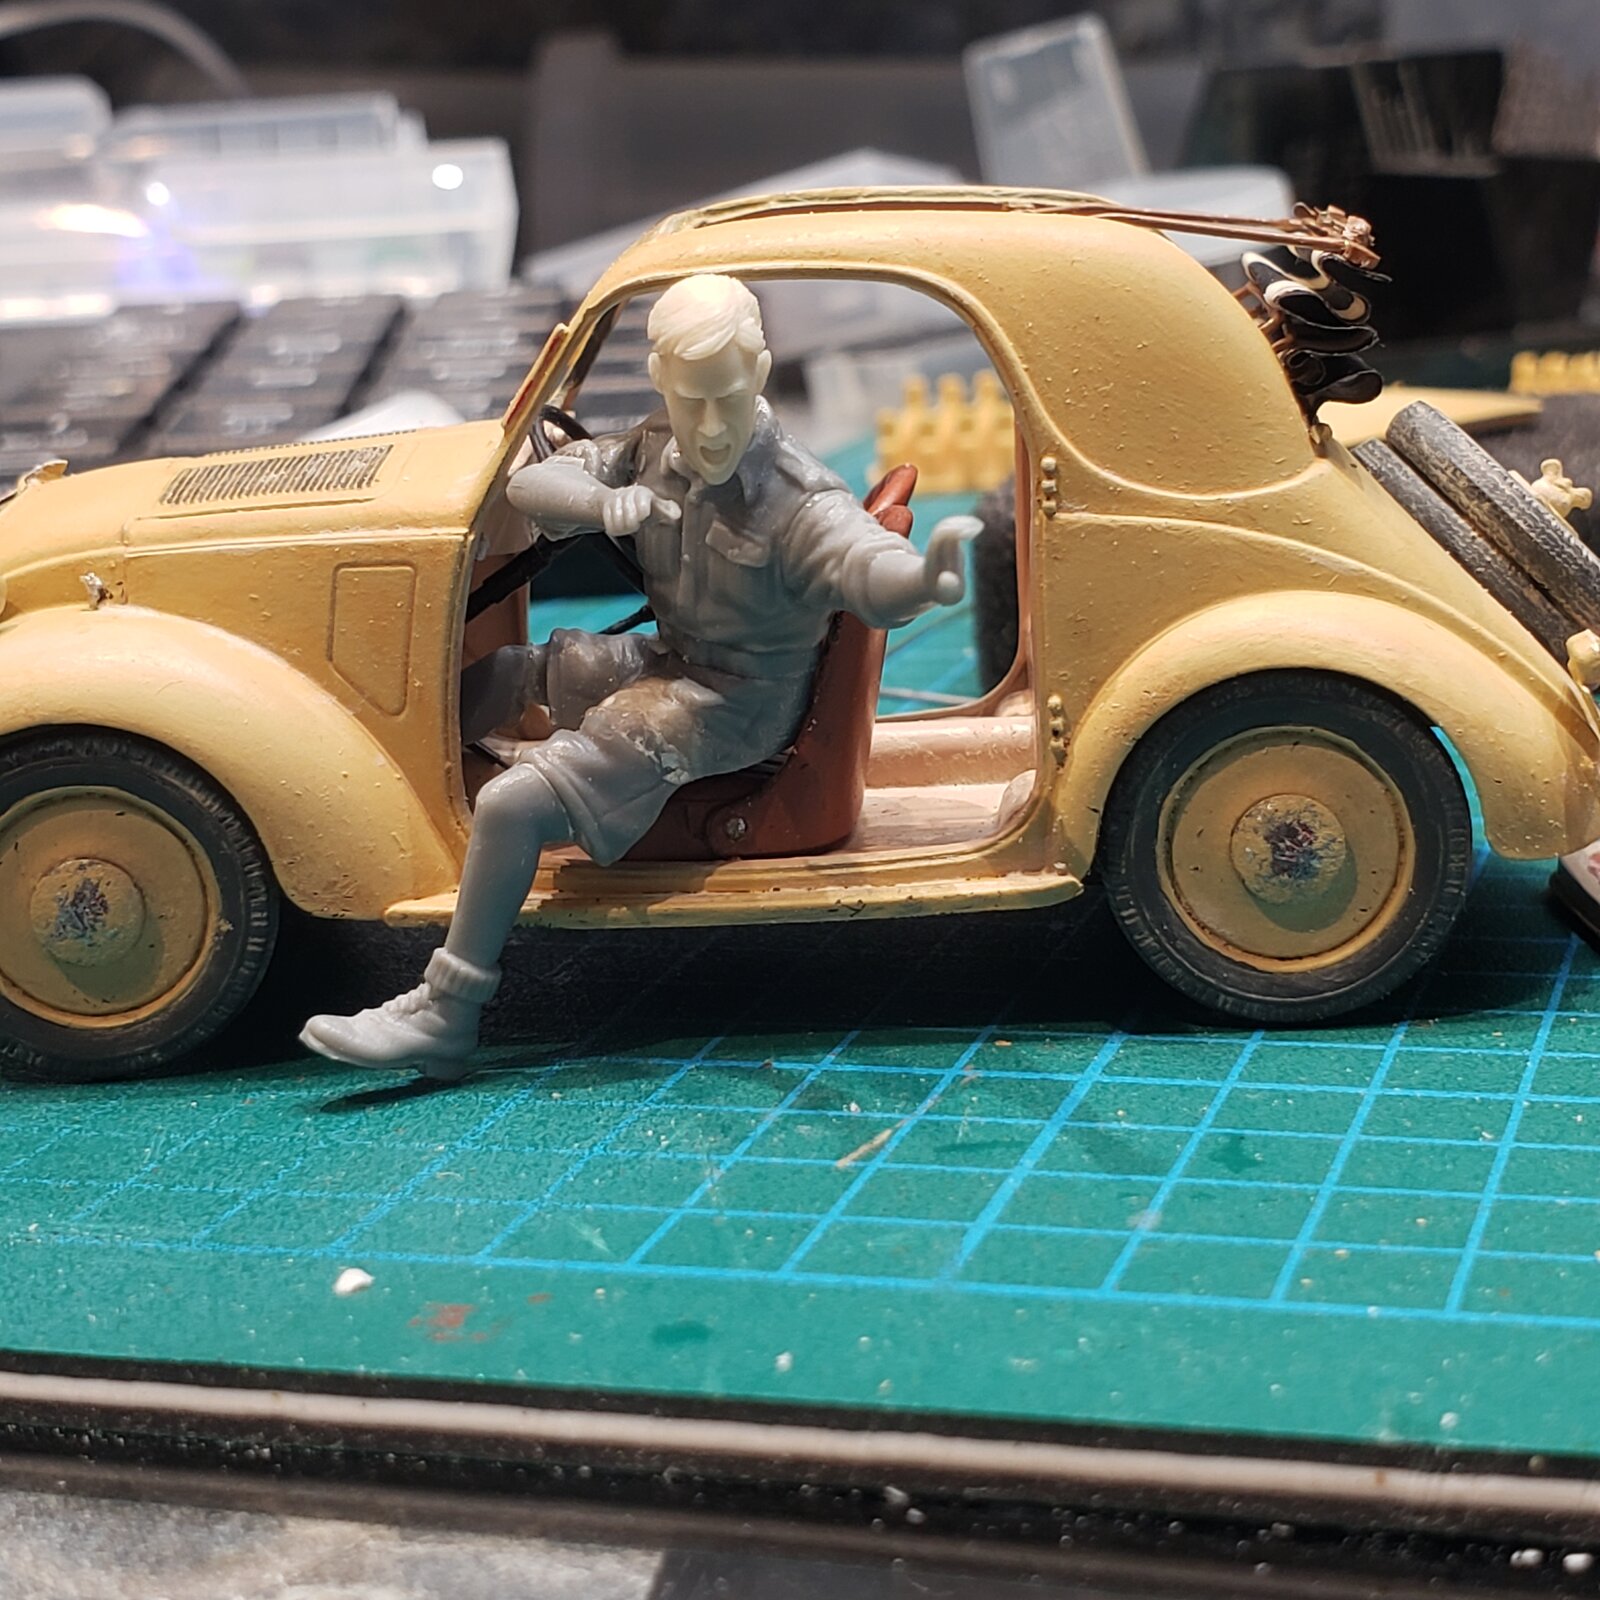
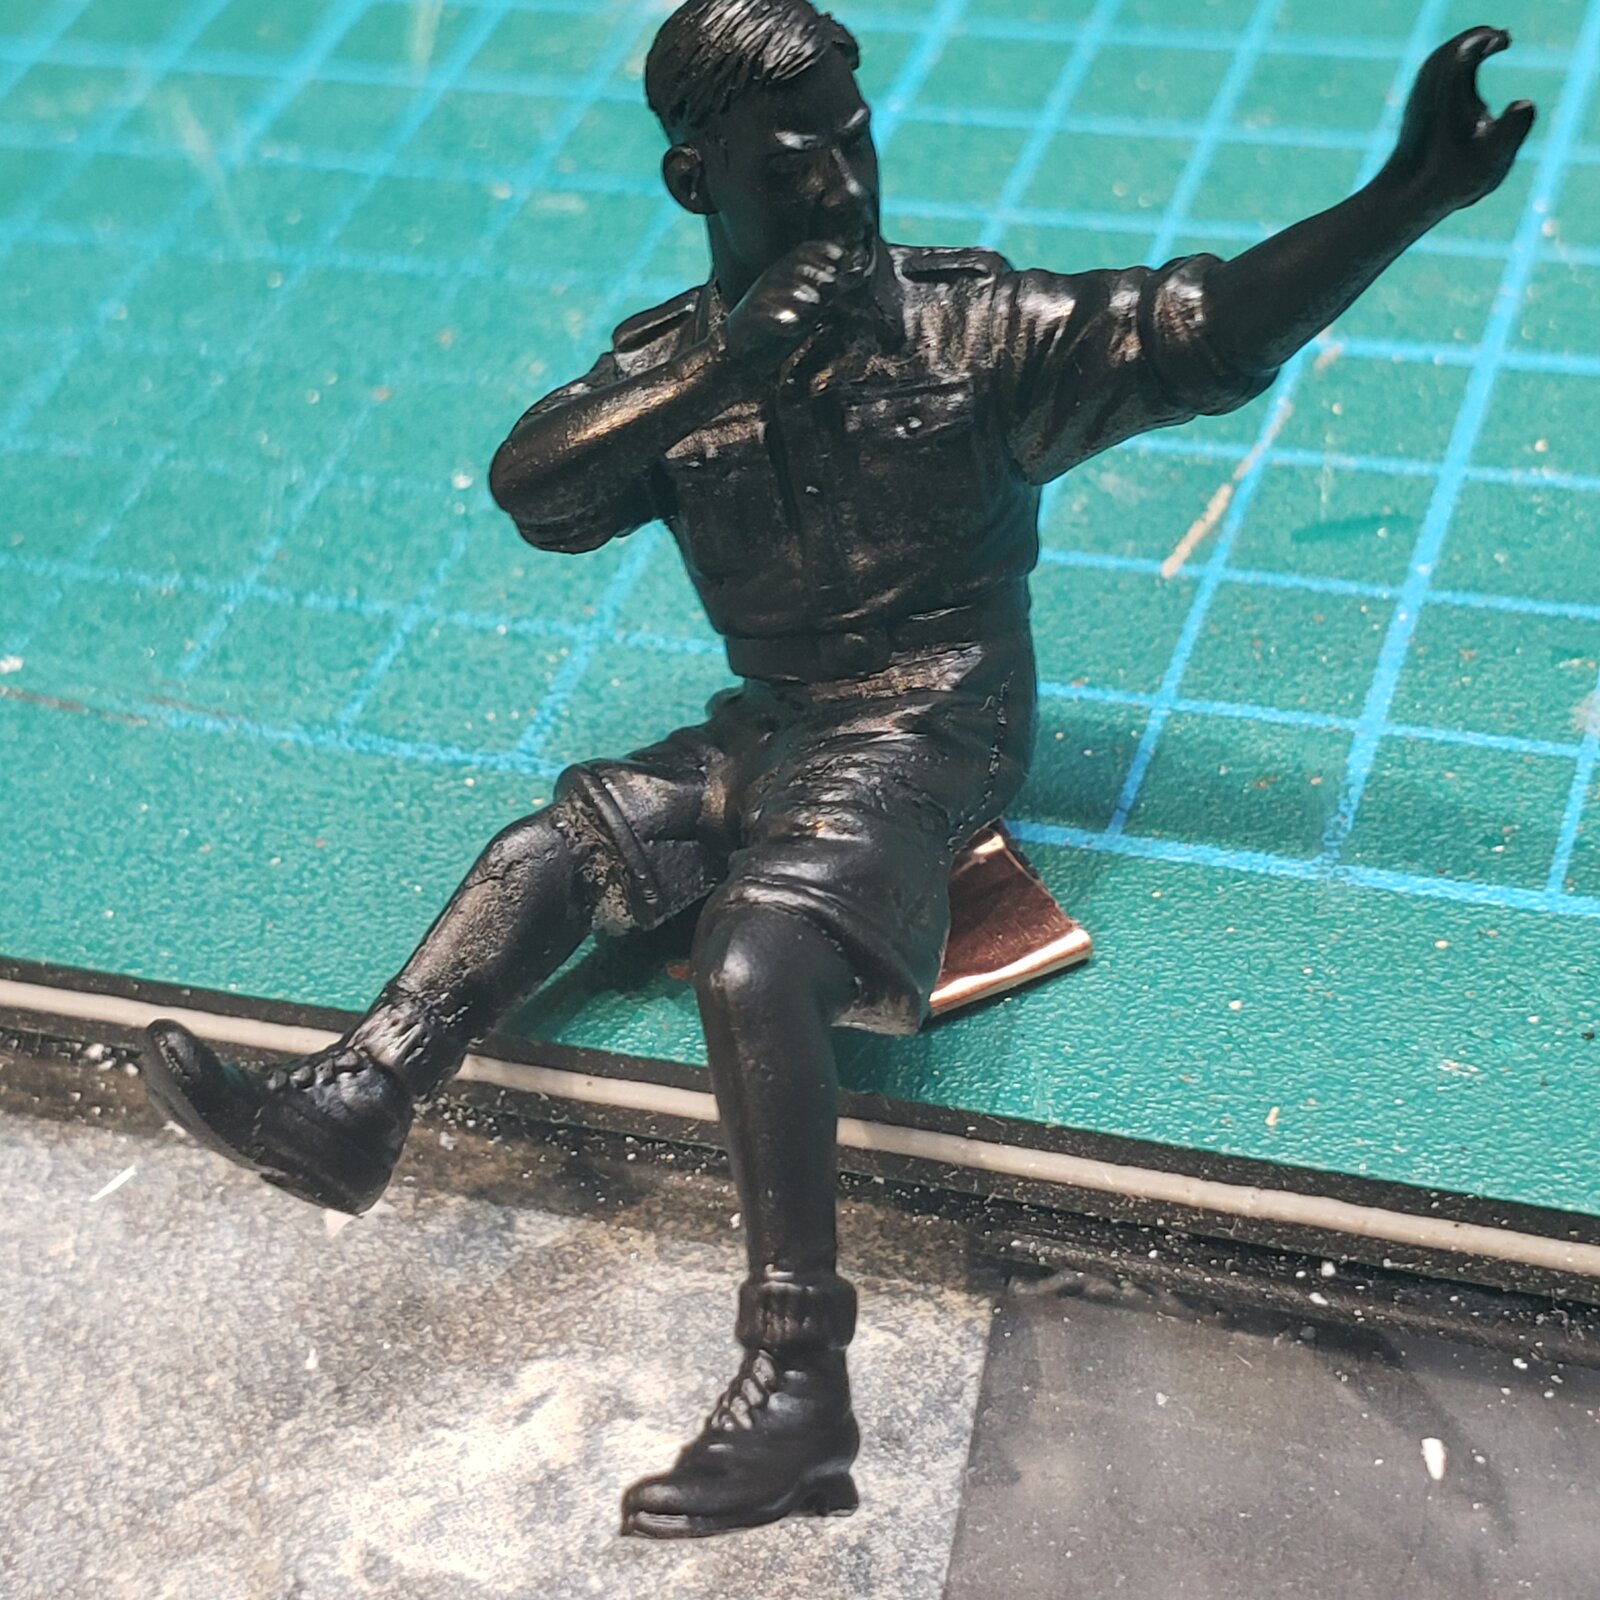
After trying a zillion positions all afternoon, shave a little here, twist a little there, put the steering wheel in so that he clears it, slope his butt so he's leaning outta the car, opening the door and pulling through his firearm...
Head is just too big!
Back to the tickle trunk, finally settle on bare head yelling, with his feathery helmet on the seat.

17422436762503642787427275775901.jpg


This head is from Hornet... they have a great selection.
Tomorrow I will fill some gaps, put creases back in clothes, sand and prime.

In case you are wondering why it took all afternoon:

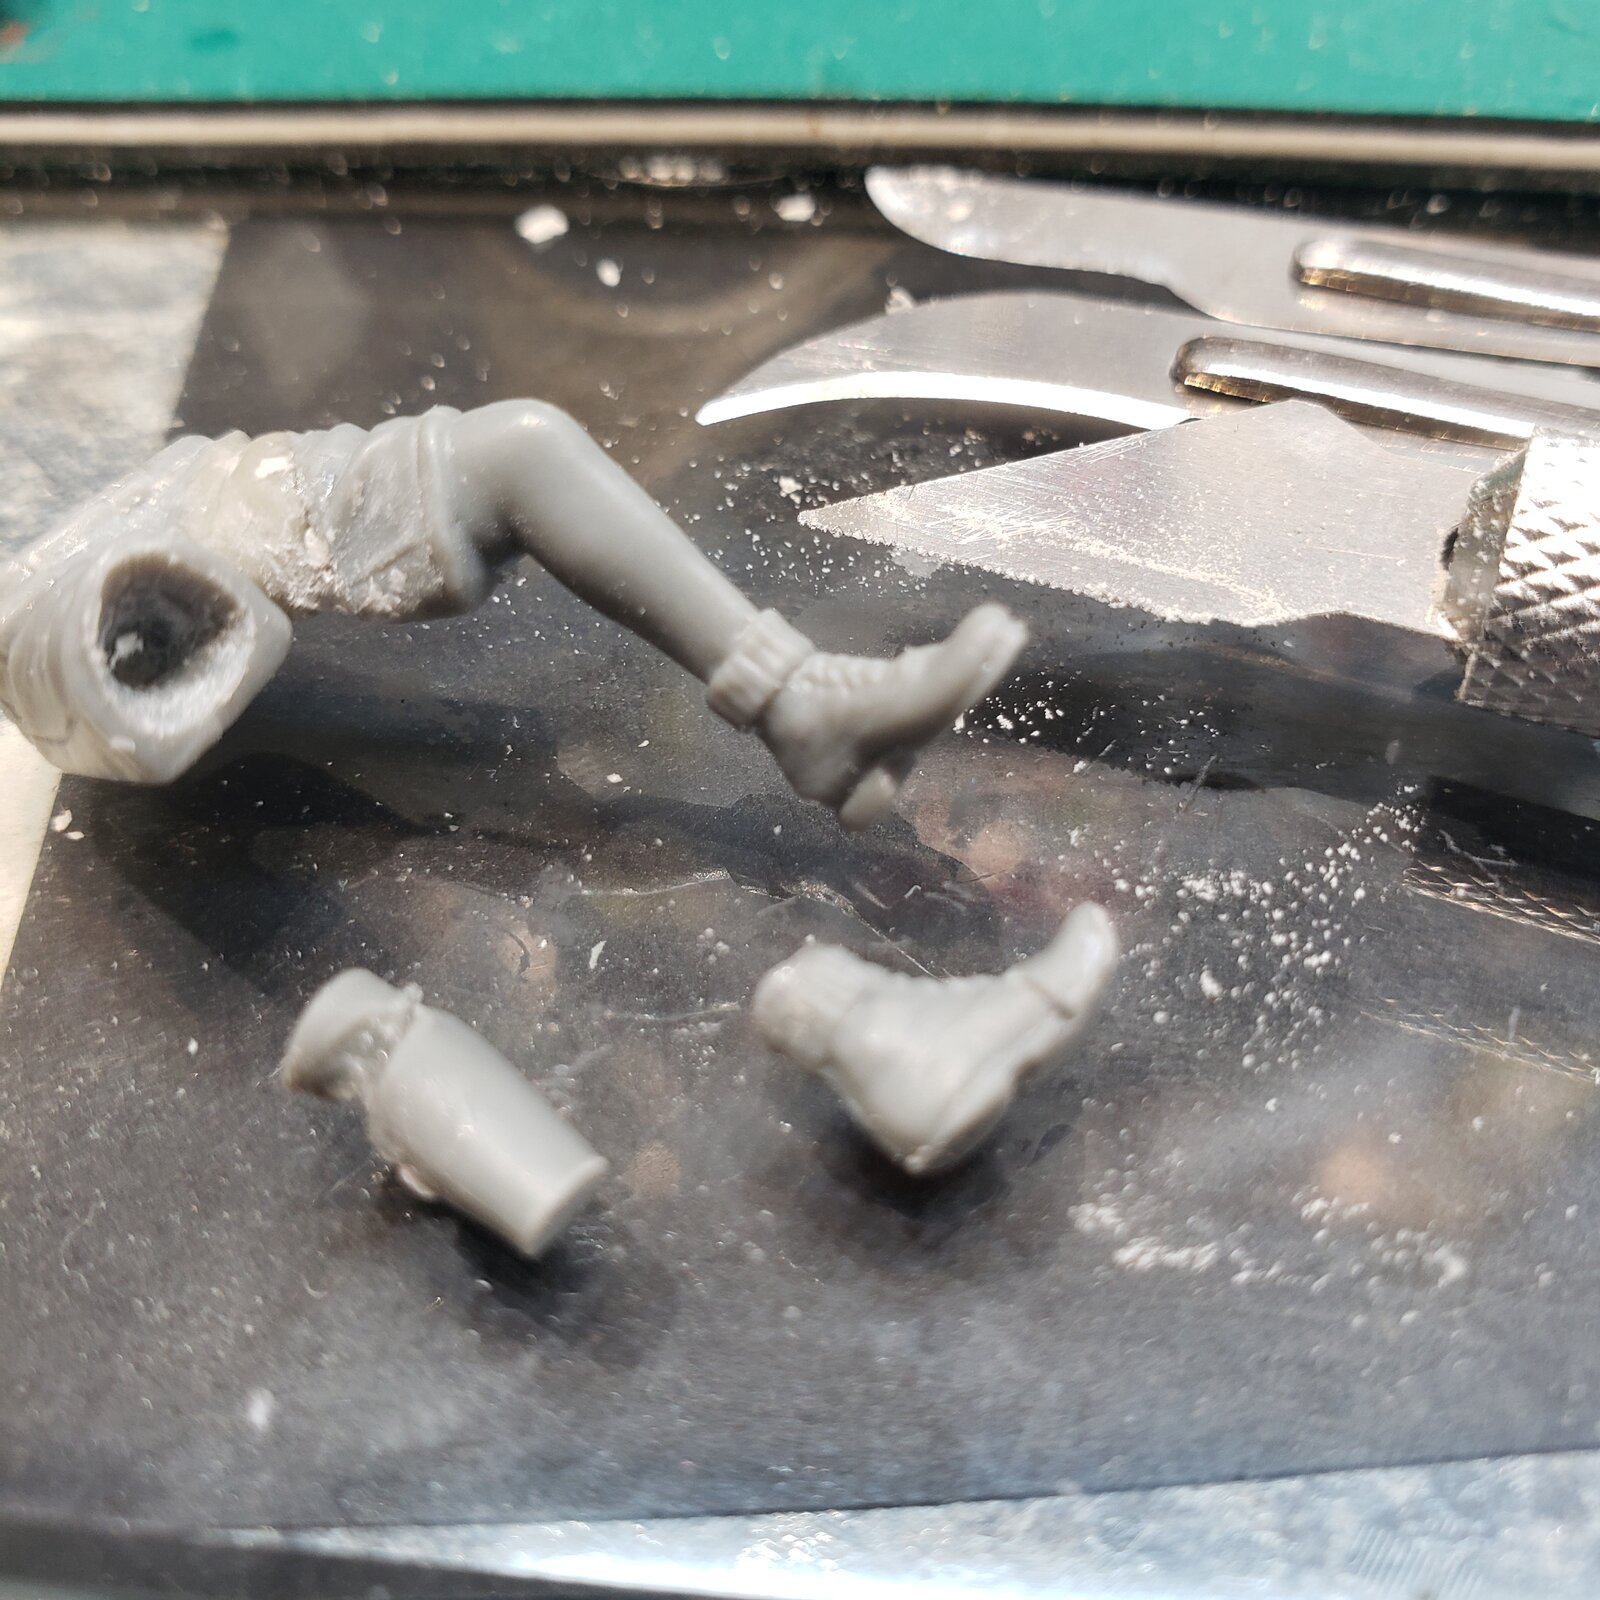
I cut his right mid sole, ankle, knee, and drilled out his shorts.
The left leg rotated from the cut knee so he can put his weight down, and severed his hip to swing the leg out.
The torso is rotated a bit
Butt was reshaped so it contacts the seat in New position
Right arm was cut at wrist, elbow and shoulder and I must of played with that over an hour so that it cleared the steering wheel, looked relatively normal, and he could grasp his weapon.
Bored out his neck and shaped the new neck and head to be looking to his left,
Oh, and have the hand land in right spot on the door!


17422443131753272615608095317766.jpg


Enough for today!
 
As an Amazon Associate we earn from qualifying purchases. Product prices and availability are accurate as of the date/time indicated and are subject to change.
When I started back into models, I didn't expect that I would spend as much time researching as building. Not so much that I'm looking for historical accuracy, more that I got drawn into the stories of the machines and the people that built and used them.

A case in point: while looking for accessories for my Italian vehicles and figures, there weren't that many kits available.
However, reading about the state of the Italian army in North Africa, I learned that they had the same problem: for the most part poorly trained, sparsely equipped with mostly inferior vehicles and weapons. They had numbers (in the hundreds of thousands + colonials), but often didn't have the trucks to effectively move them.
A lot of their equipment was from the interwar period, with a significant amount of WW1 gear!
Libya had been colonized by Italy from 1911...

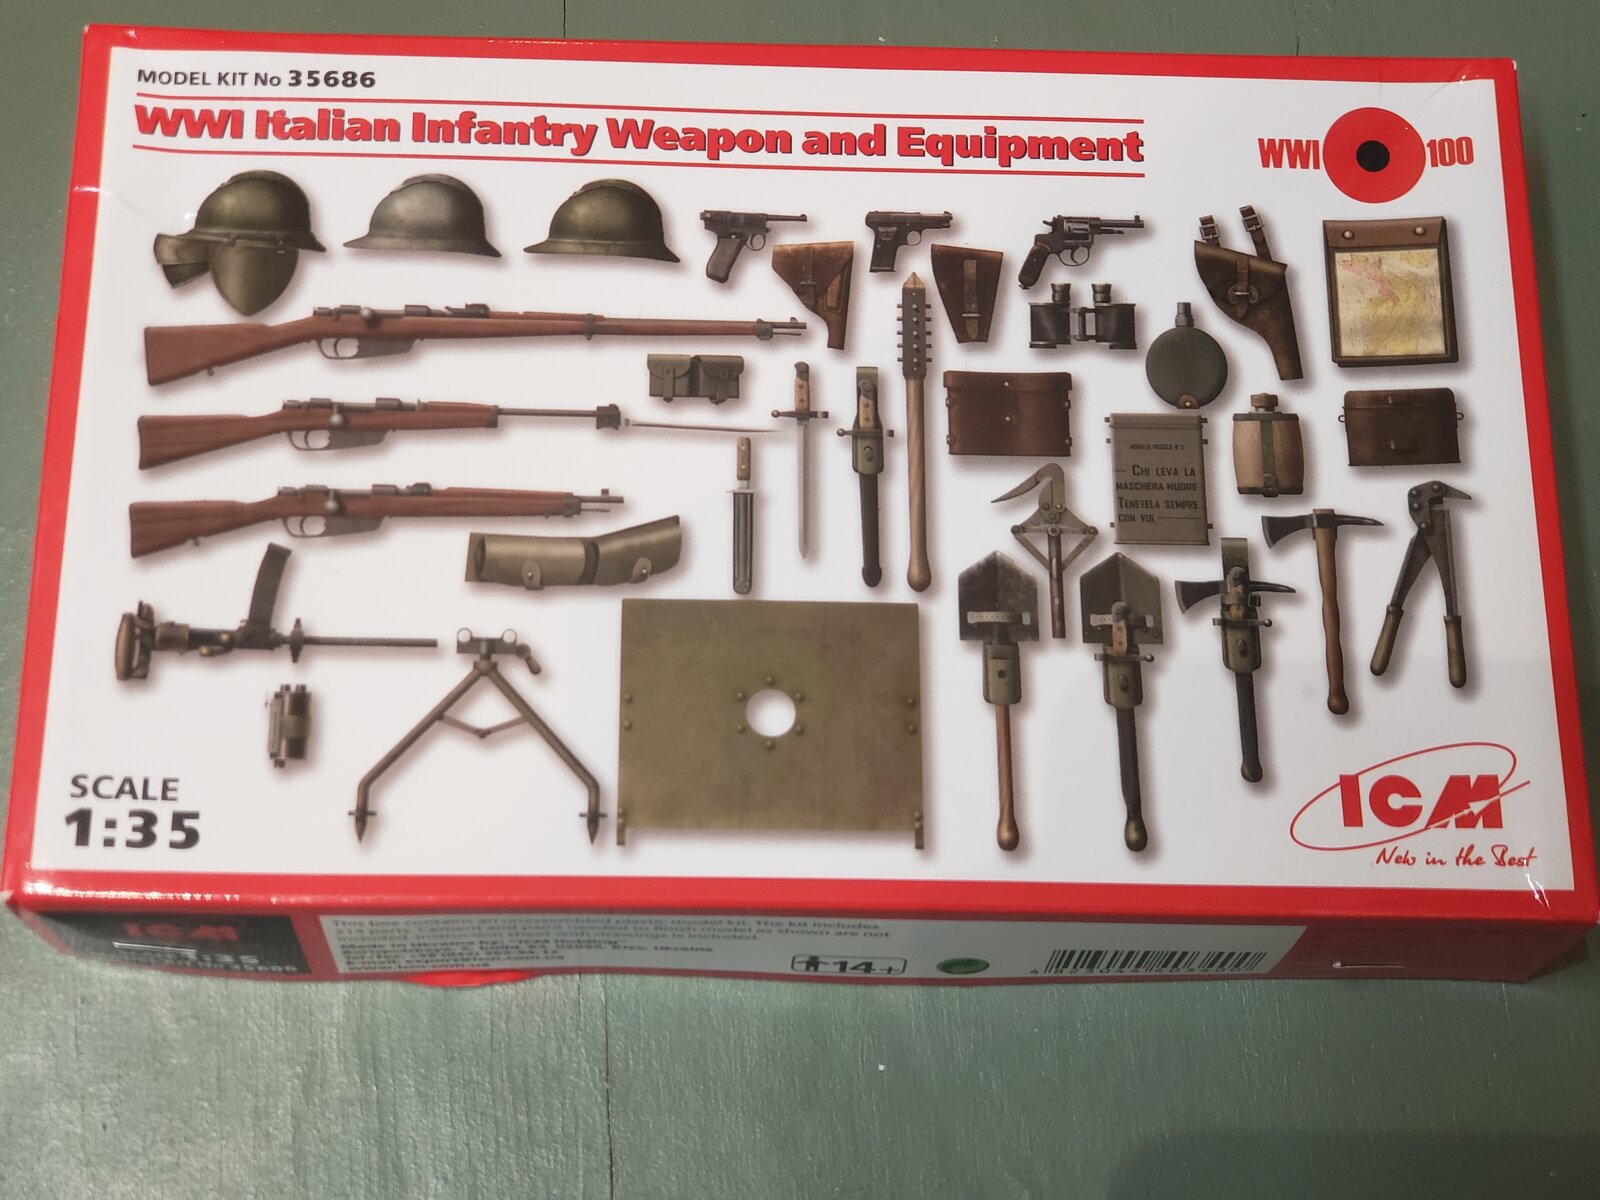
So that knowledge led me to this:

17423461844927339707409121572226.jpg


Many articles are unusable, but a little digging pointed to several items that I can use.
Evviva!
Now I also know how to say Hurrah in Italian
 
mostly inferior vehicles and weapons.
Vehicles, yes. Weapons, no, not really — the only poor weapon the Italians had was the Breda model 30 light machine gun. Everything else was at least on a par with that of their allies and opponents, or even of higher quality (Beretta model 38 SMGs for example).

Part of the problem appears to be the low opinion that both the Germans and the British had of the Italians, which appears to have been largely because the rank and file didn't feel much like fighting a war out in the desert for no obvious reasons.

Another reason for the bad reputation of Italian weapons of the war seems to be a misunderstanding of those weapons and their intended use. According to some modern historians, what was actually going on is that the Italian army was ahead of its time by recognising the uselessness of having rifles capable of hitting man-sized targets at a kilometre away. This is why they went to carbines as the main infantry weapon, many with fixed sights set for 200 m (off the top of my head) because that's a much more realistic combat range and it simplifies training a lot. Of course, then they went and fought a war in one of the few places in the world where having sights with markings out to 2 km may actually be useful …

several items that I can use.
Certainly if you're ever going to build the biplane from Indiana Jones and the Last Crusade in 1:35 scale ;)
 
Of course, then they went and fought a war in one of the few places in the world where having sights with markings out to 2 km may actually be useful …
Yup.
I probably overstated my case, but my understanding is that because of the 'colonial' nature of their long occupation, they were not as prepared to fight a modern army when the need arose.
Good point about the quality of some of their firearms, if only the rank and file were all so equipped.
I read that in the conflict, the British and the Germans were impressed with their artillery units though.
 
So I tried something...
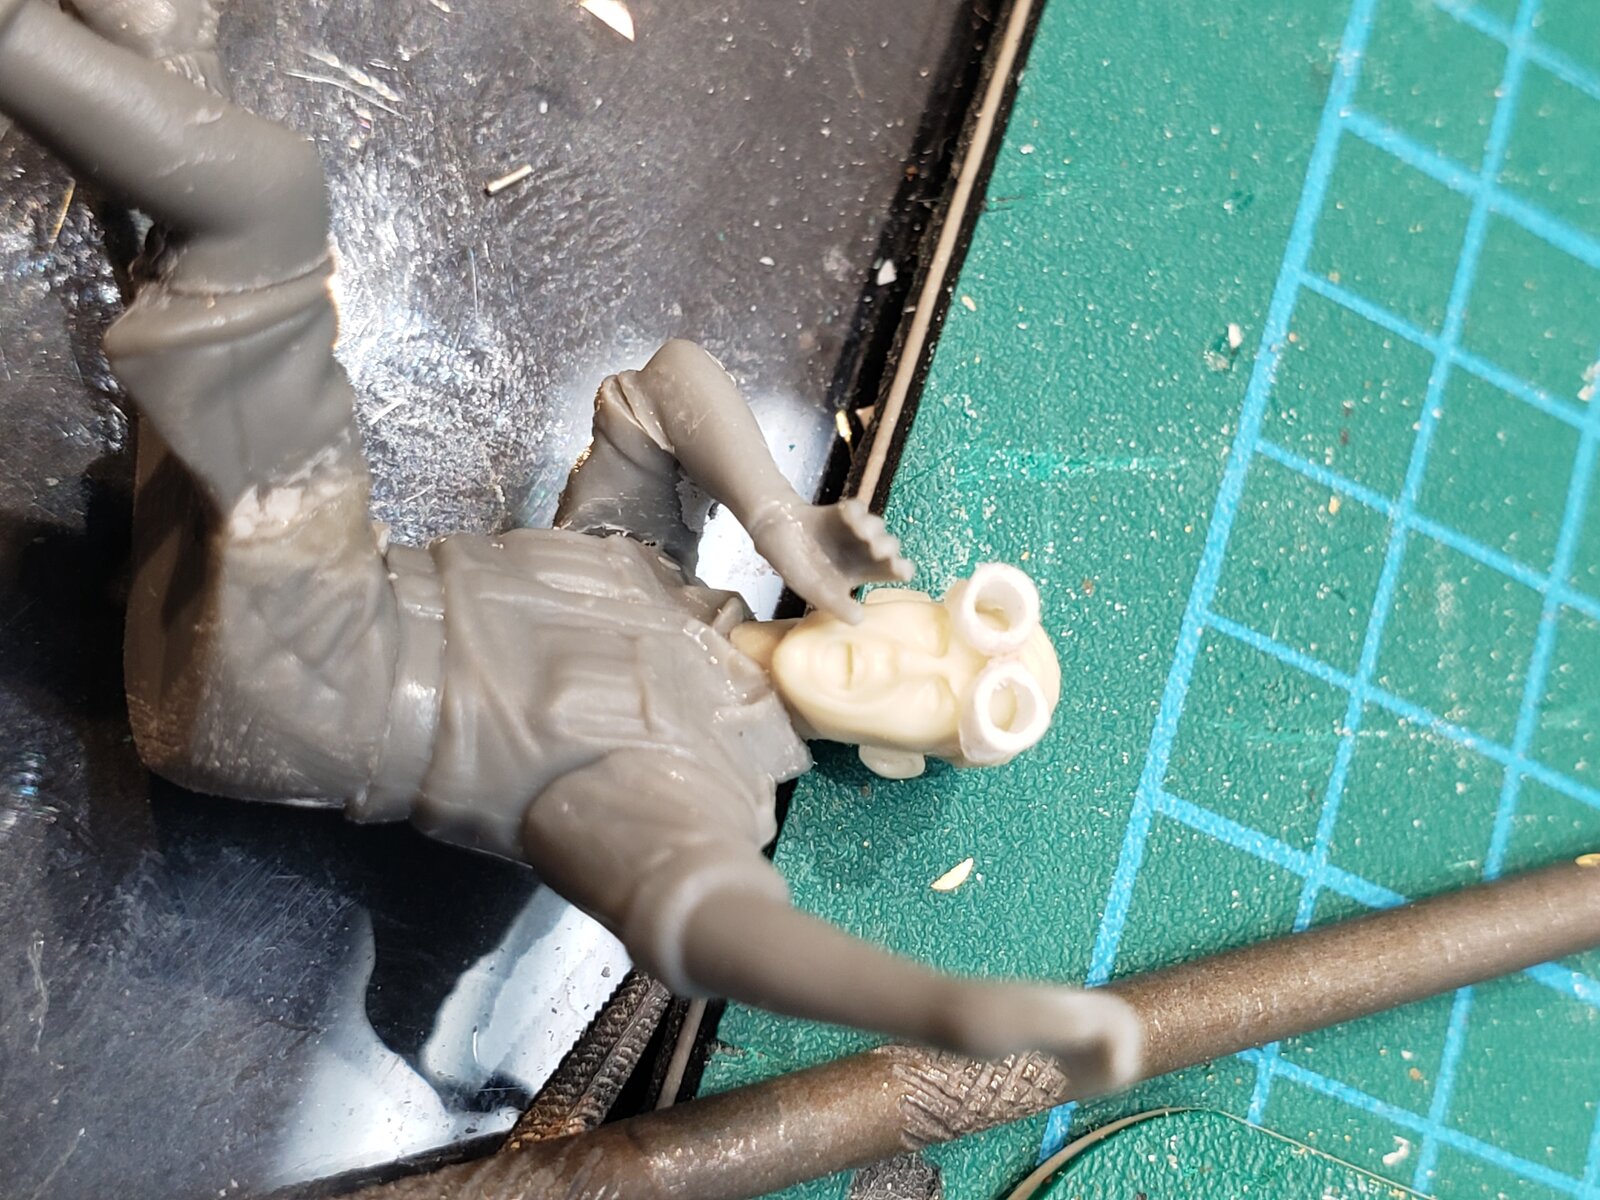
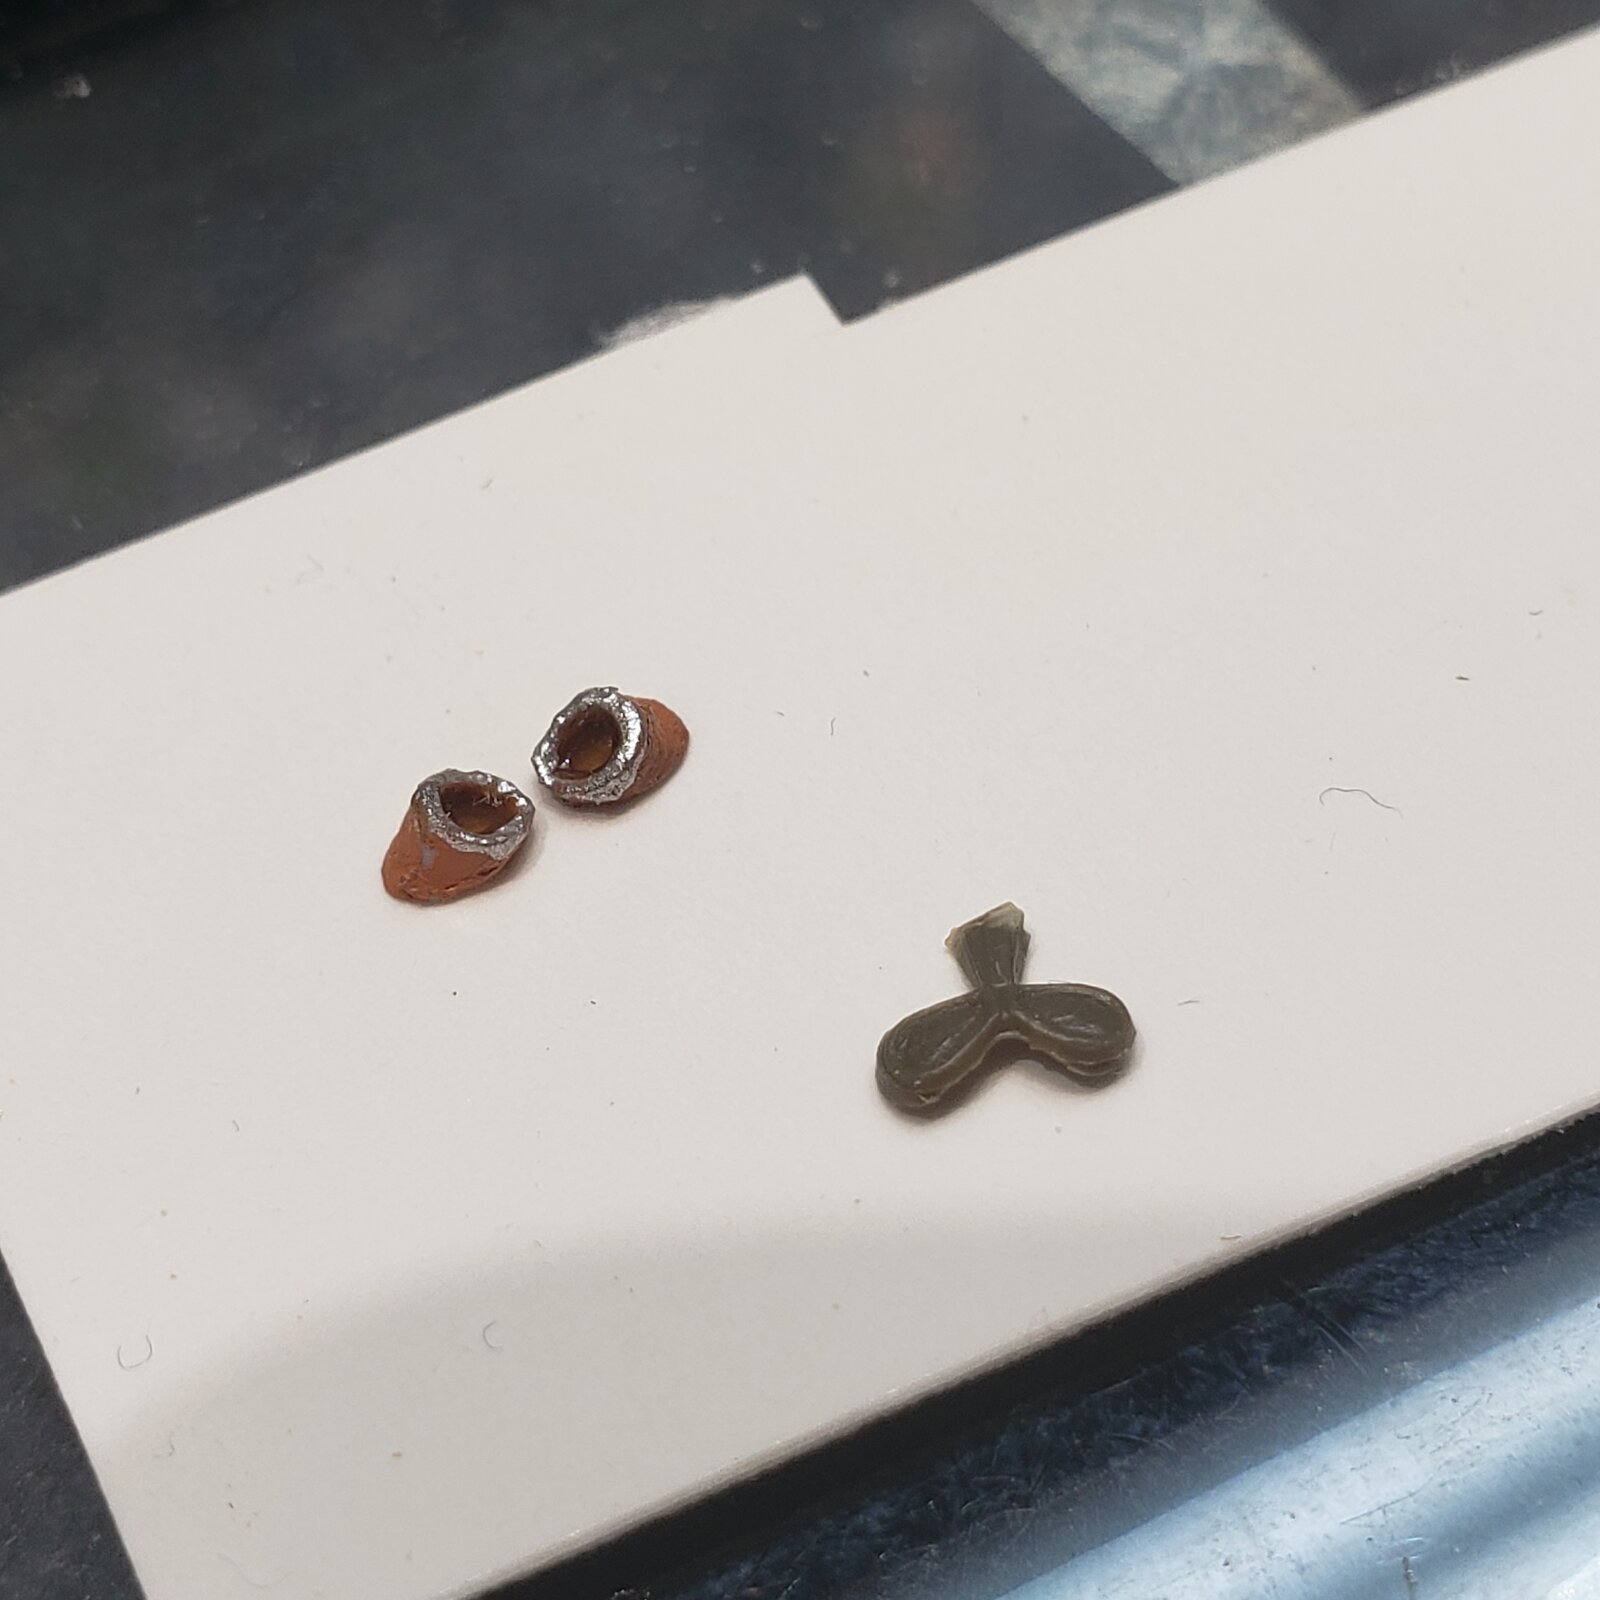
Caledonia, your feets (goggles) too big!

20250319_145004.jpg

I know I have goggles somewhere... no luck finding them.
So I tried paring down and thinning styrene tubing I had on the bench, a tad too big!
I guess I'll have to sculpt them outta putty.

His buddy in the car is wearing a kerchief over his face, so this guy should have something!
 
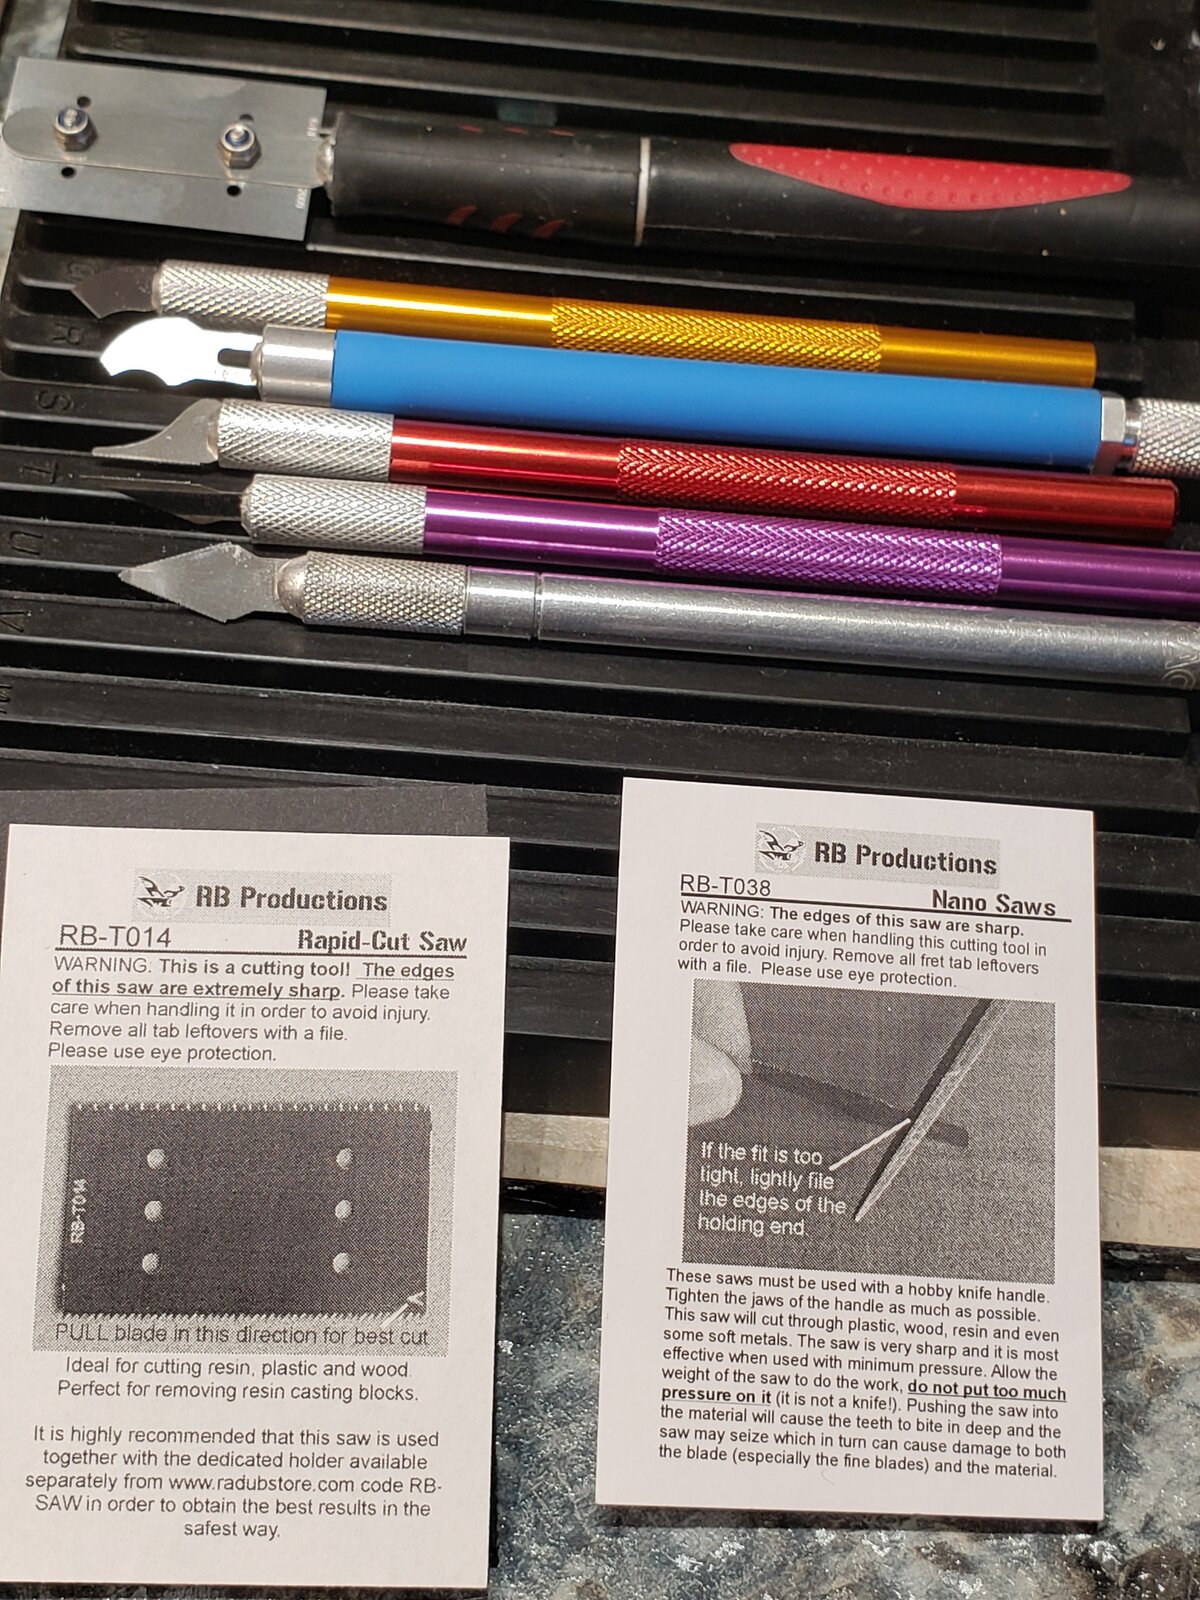
one of those wee saw blades

You bet! They are thin, so a bit delicate, but pretty aggressive. And the kerf so thin that it removes a minimum of material. The set I have came on a metal sprue, with a variety of blades. My favourite is double sided in a point, so really good when plunge cutting.

17424162720081921720935476075054.jpg


Eventually, I bought a set of inexpensive handles, so that the blades are always available, without the hassle of changing them out (tight fit).
 
... so here he is, at first glance looking like a little boy sitting on the curb.
I like and dread this step, after primer goes on... in some sense all that rework of the pose, new body parts, sanding, filling and prepping get unified under a new skin of paint.
But the scary part (just like thinking you did a good job of taping and mudding drywall) is that the even coat of primer will highlight every bump, gap and rough detail that you missed!

20250320_201002.jpg

So, more filling, scraping and sanding!

Oh, and the goggles?
I kept the ones that looked too big, sanded and bored, painted, and filled them with some of that tinted Kristal Klear... they still need some paint touch up to narrow the metal rims.

The real test will be when the figure is painted and we see how they look on it. I did find some rather boring ones on a remnant sprue after all, so that is the backup plan.

17425180558155546328416323044170.jpg

The angle of the eye cups conform to his rather narrow face, so that the lenses are on a similar plane. I may reduce the angle if that looks better on his face.

Cheers
 
Looking great Brian, terrific details. Those Beretta MP 38/42s Jakko mentioned were very popular with German troops after the Armistice.
Thanks John. This little mouse was supposed to be done in a few weeks... as usual, I got sucked into details - but loving it.
Great pics!
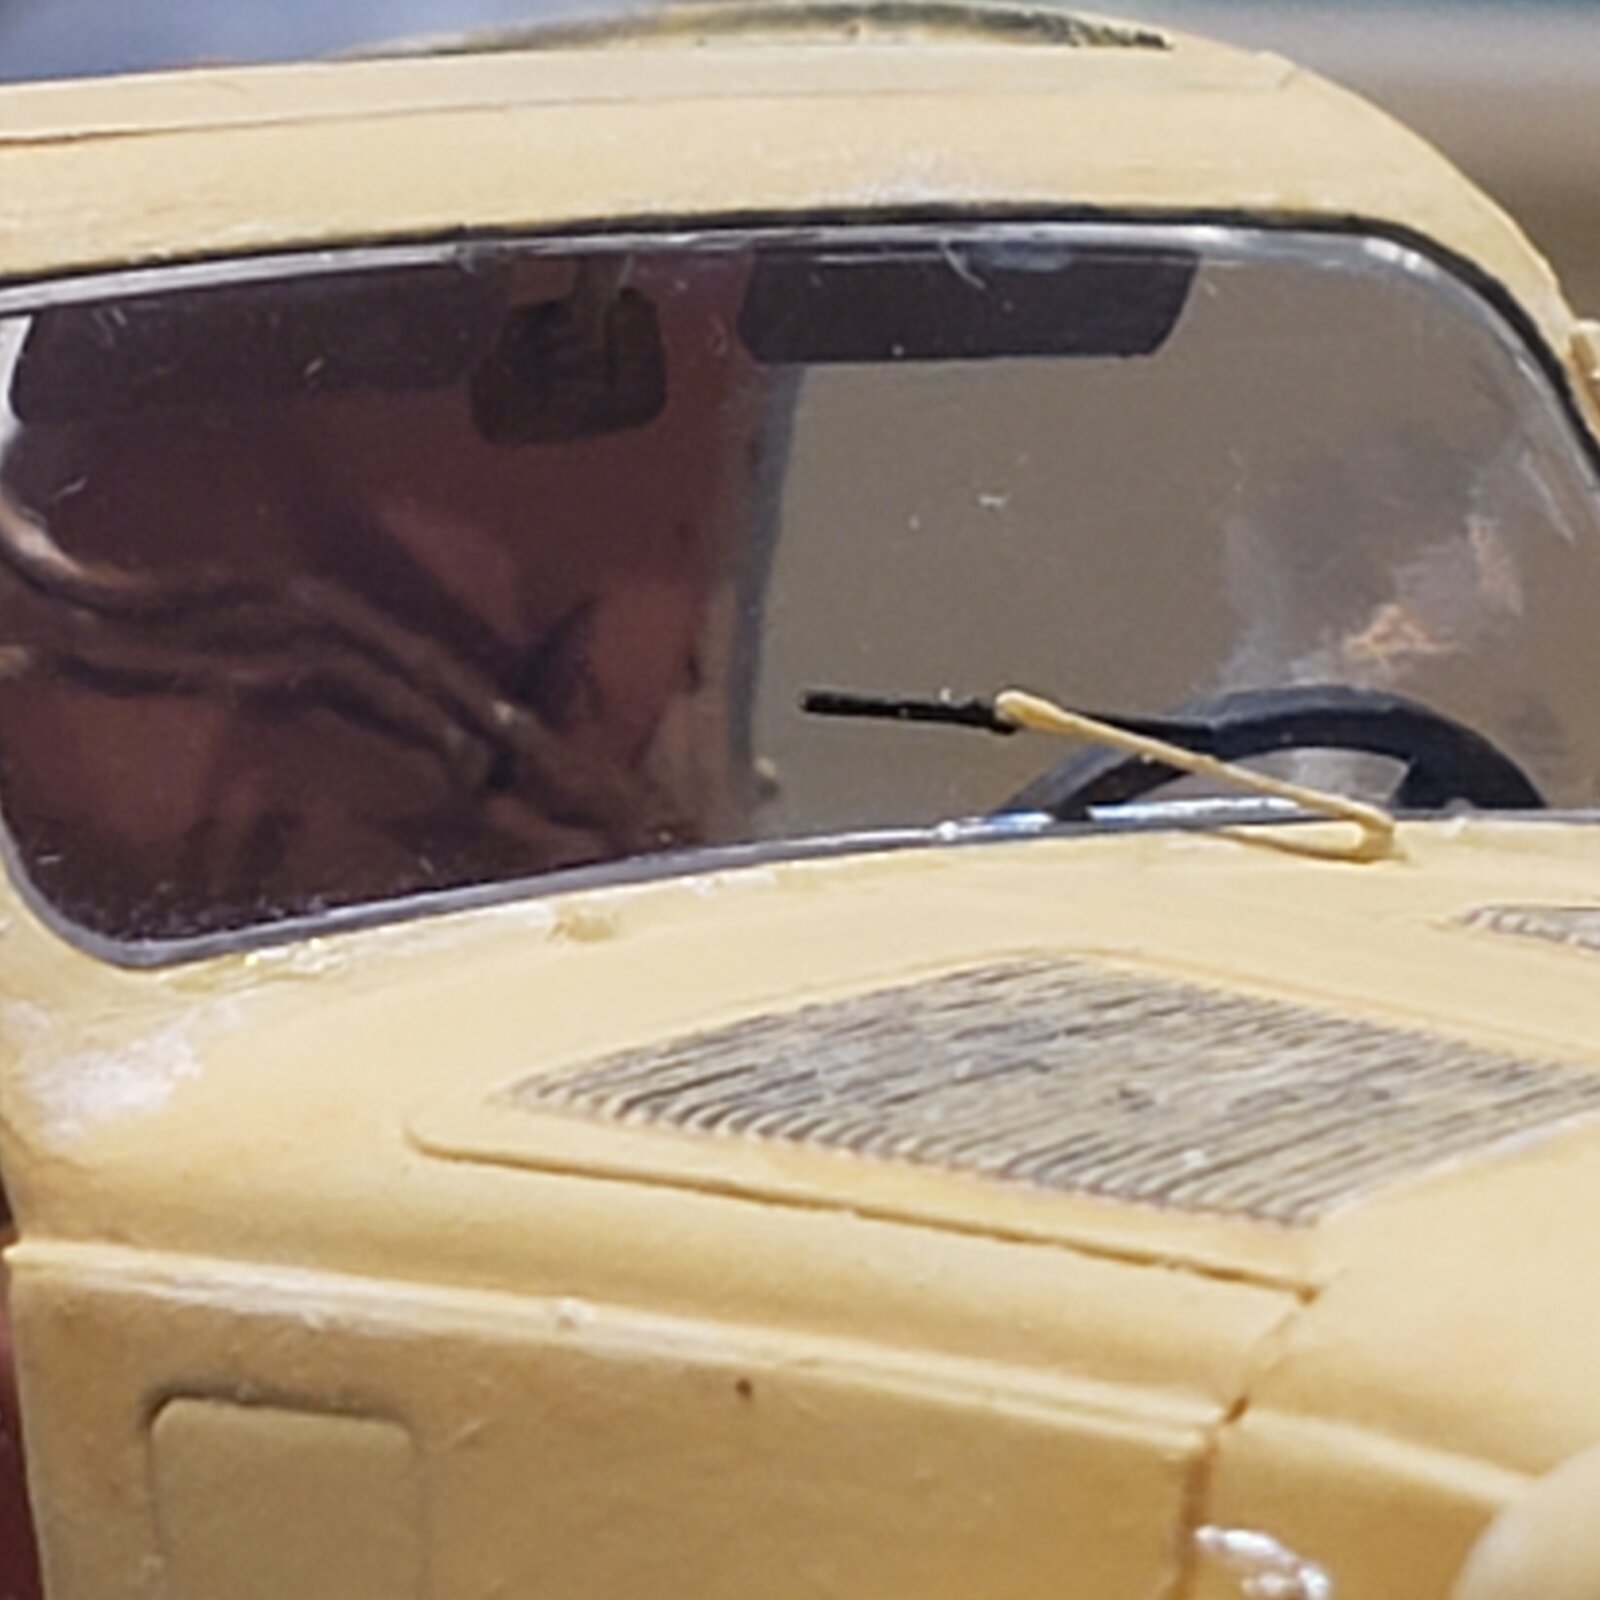
And interestingly, the vehicle shots illustrate one of the decisions I agonized over: bumpers or no? Well, you can see which way I went.

Cheers!
 
So more filler, shaping and sanding, next a quick second go with primer.
Example of a lucky accident: I removed the nozzle from the plastic putty tube to clean it out, under running water. As it happens, even though I thought blowing air through would be sufficient, a bit of humidity was trapped and overnight, 'conditioned' the next bit of putty I used today.
It went on really well and flowed into the little crevices without being too thin.
Praise to the model gods!

17425992896136390721098739897309.jpg
 
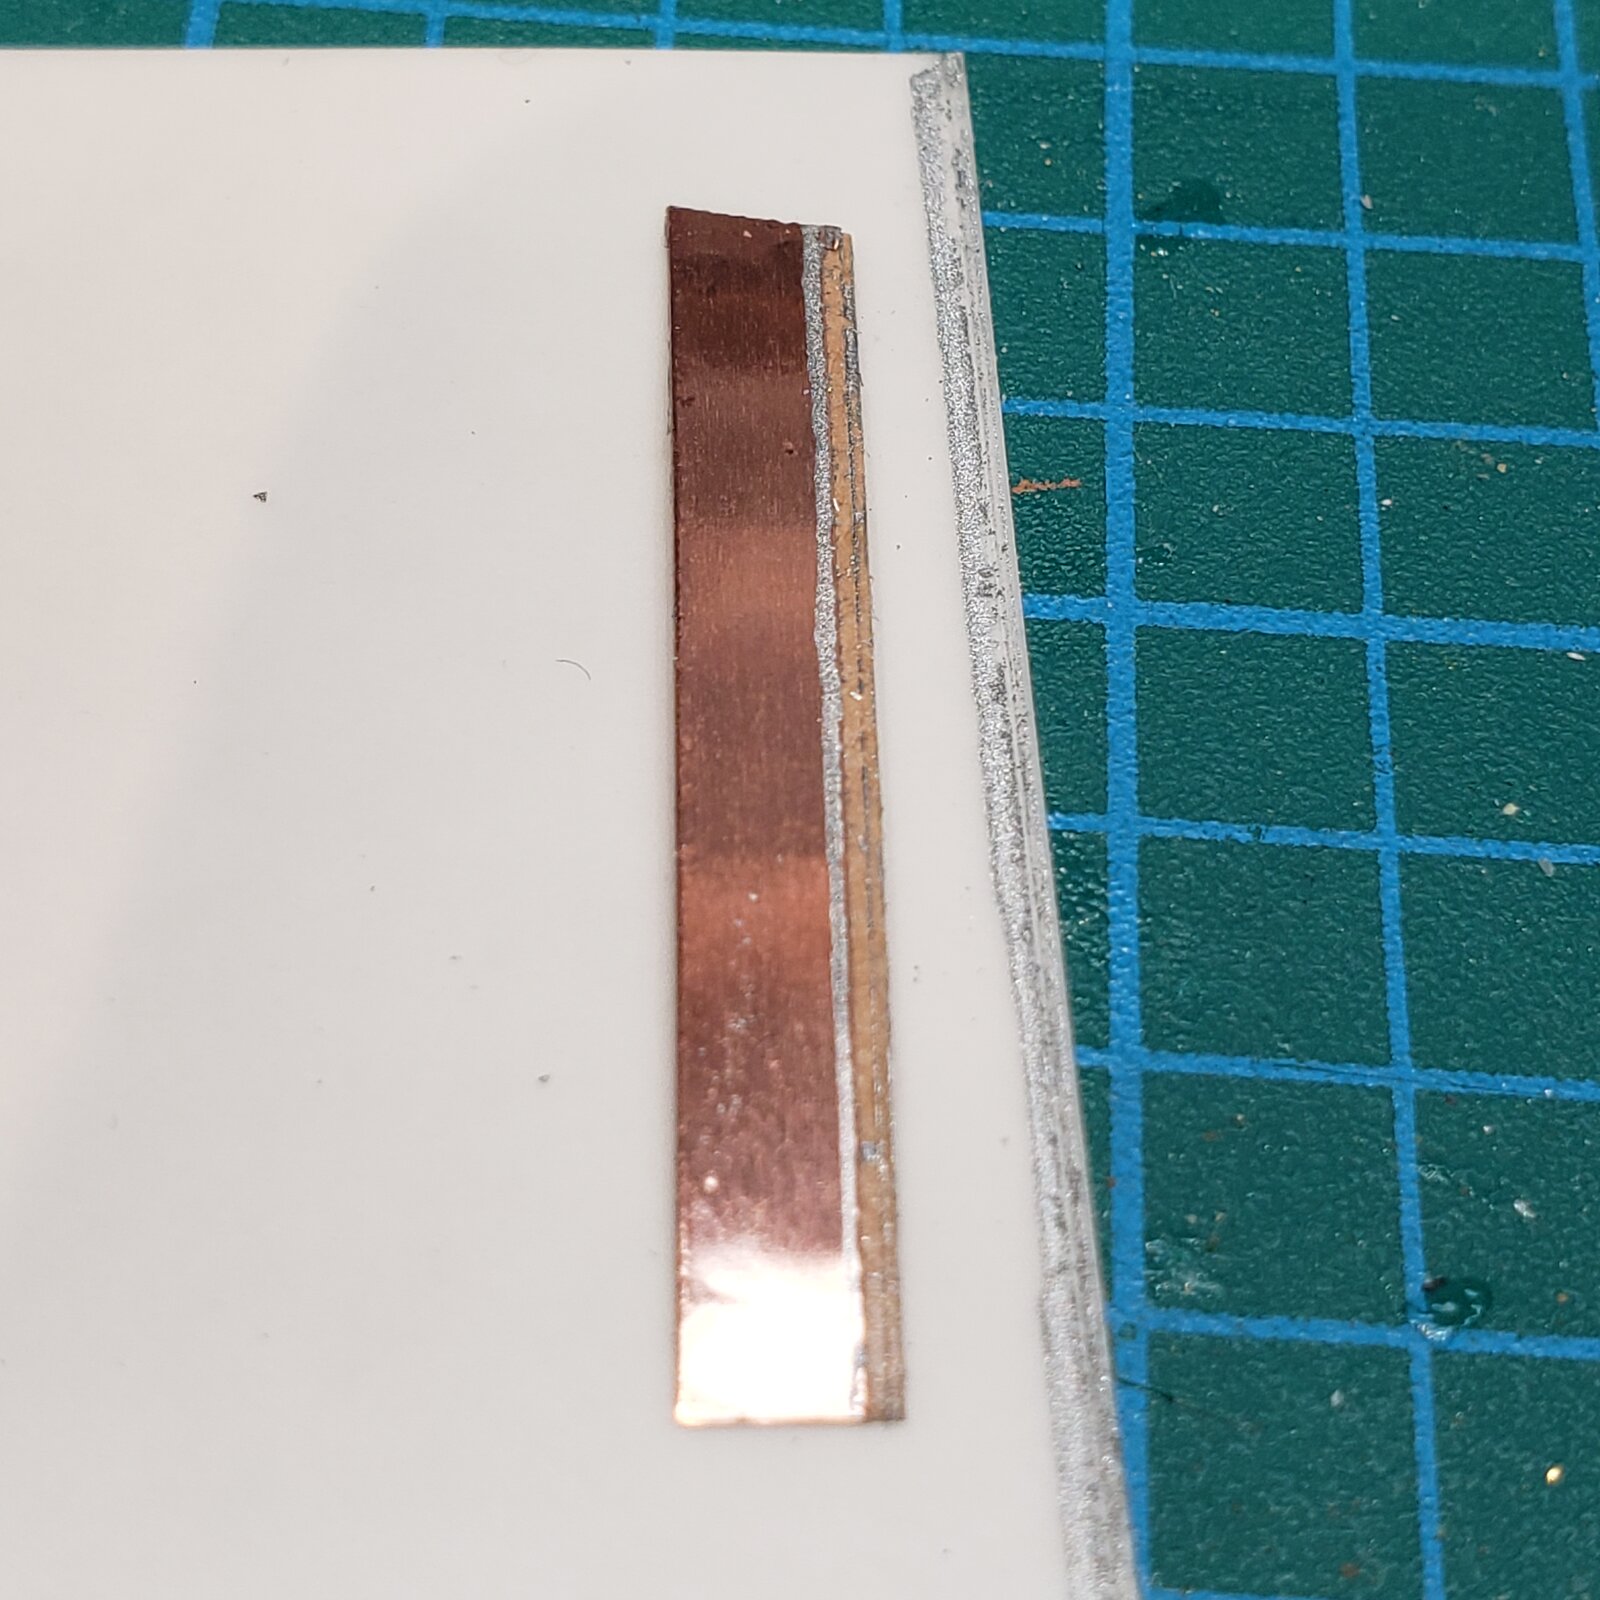
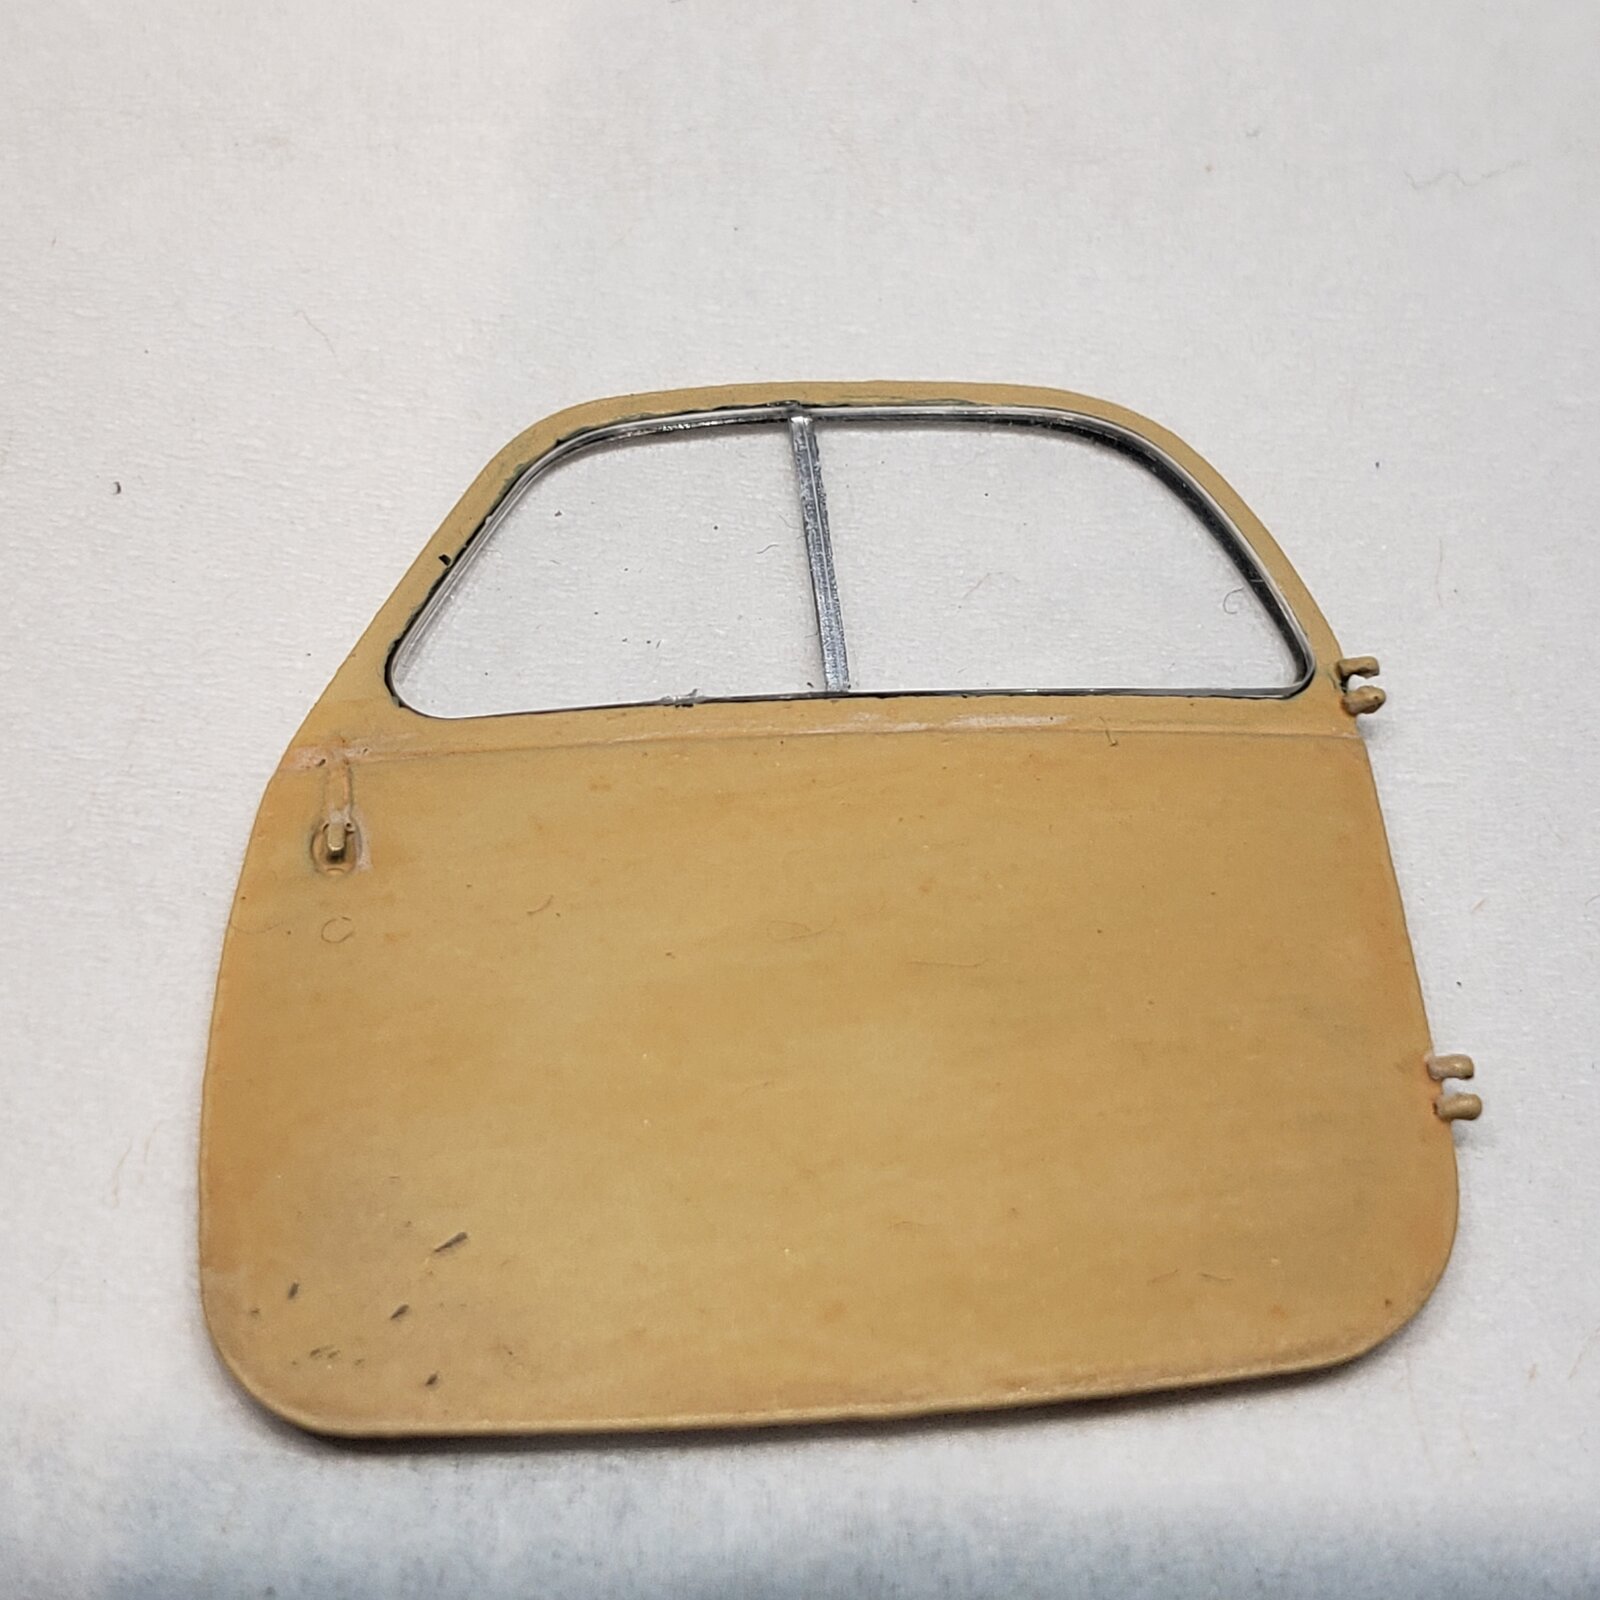
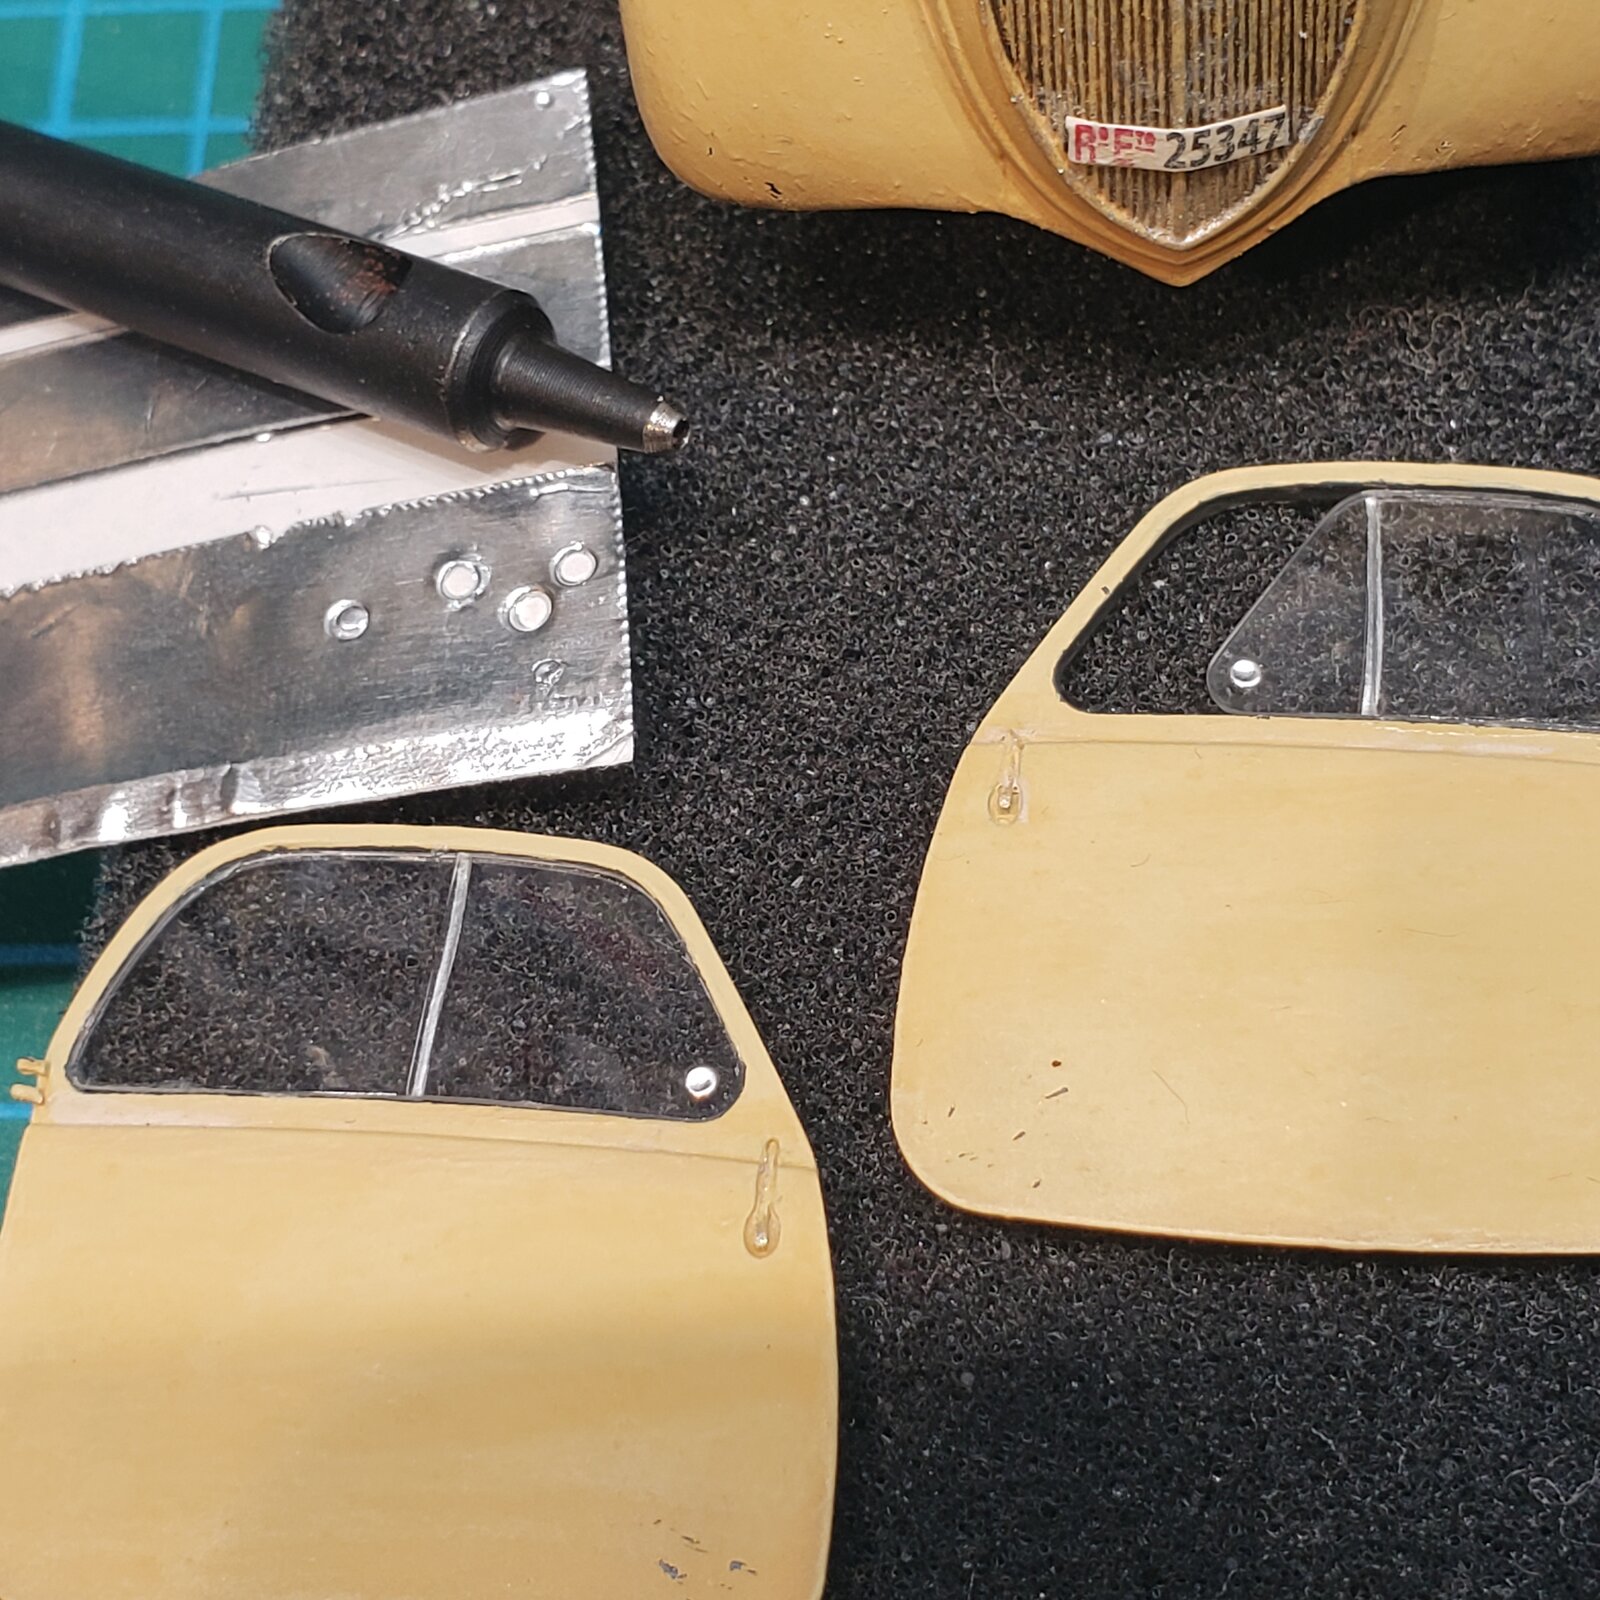
After seeing @Tommergun use that foil, thought I would try something similar for the small piece of chrome right in middle of side windows...
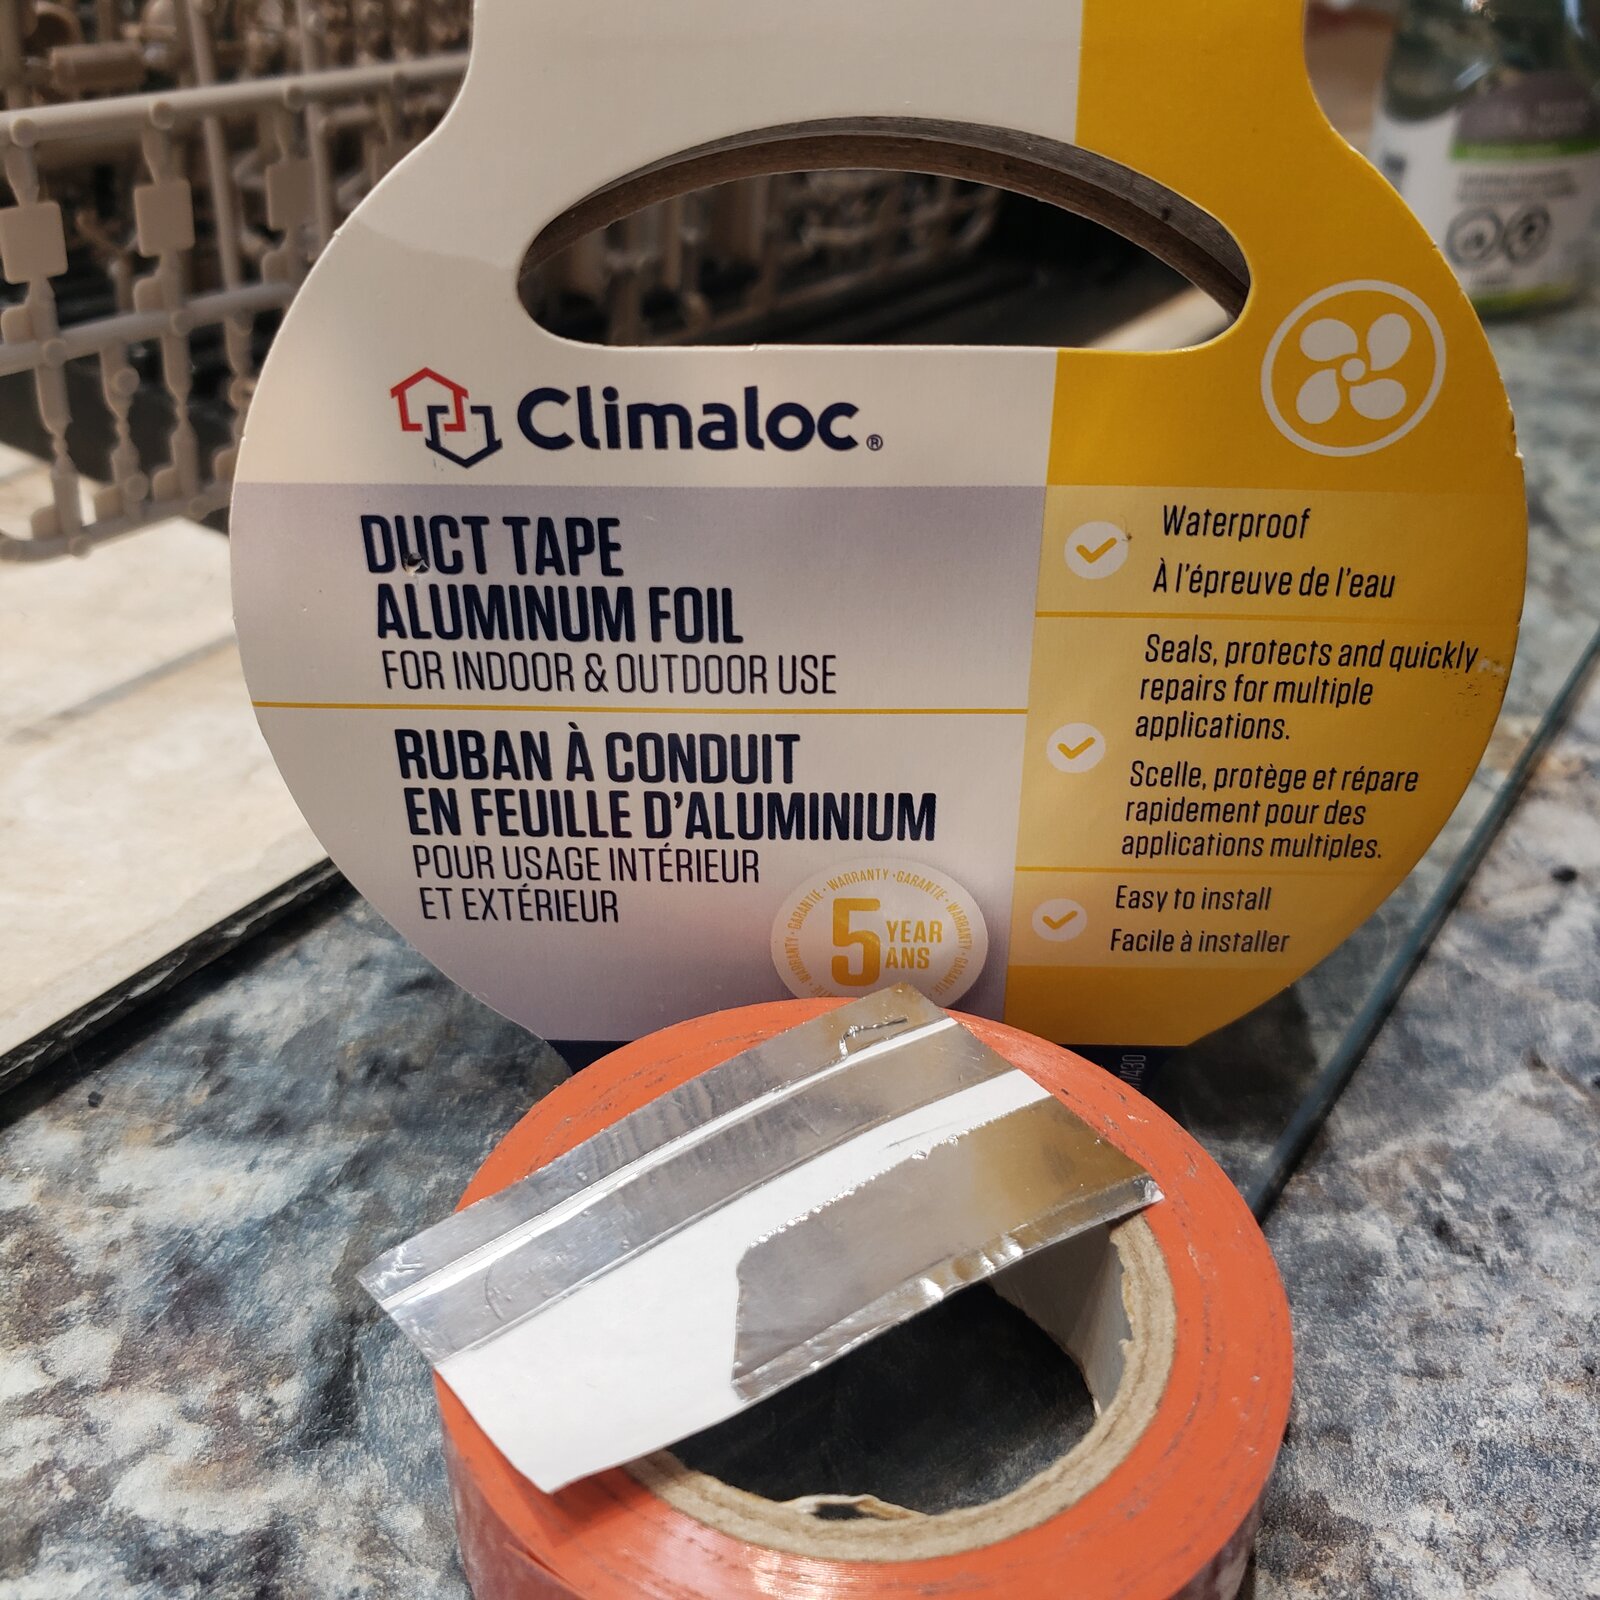
So tried my copper tape, frisket and then remembered the roll of aluminum duct tape!

Copper foil works great, but copper colored and doesn't stick as well as I would like (lifting on the ends):

20250325_150756.jpg

Problem with copper tape and frisket is the paint lifts when I cut...

20250325_151248.jpg


Aluminum tape hard to cut, but its self adhesive and the right colour both sides! Sturdy scissors work best and don't bunch up the foil.

Bonus was finding long lost orange electrical tape that was in the spool!
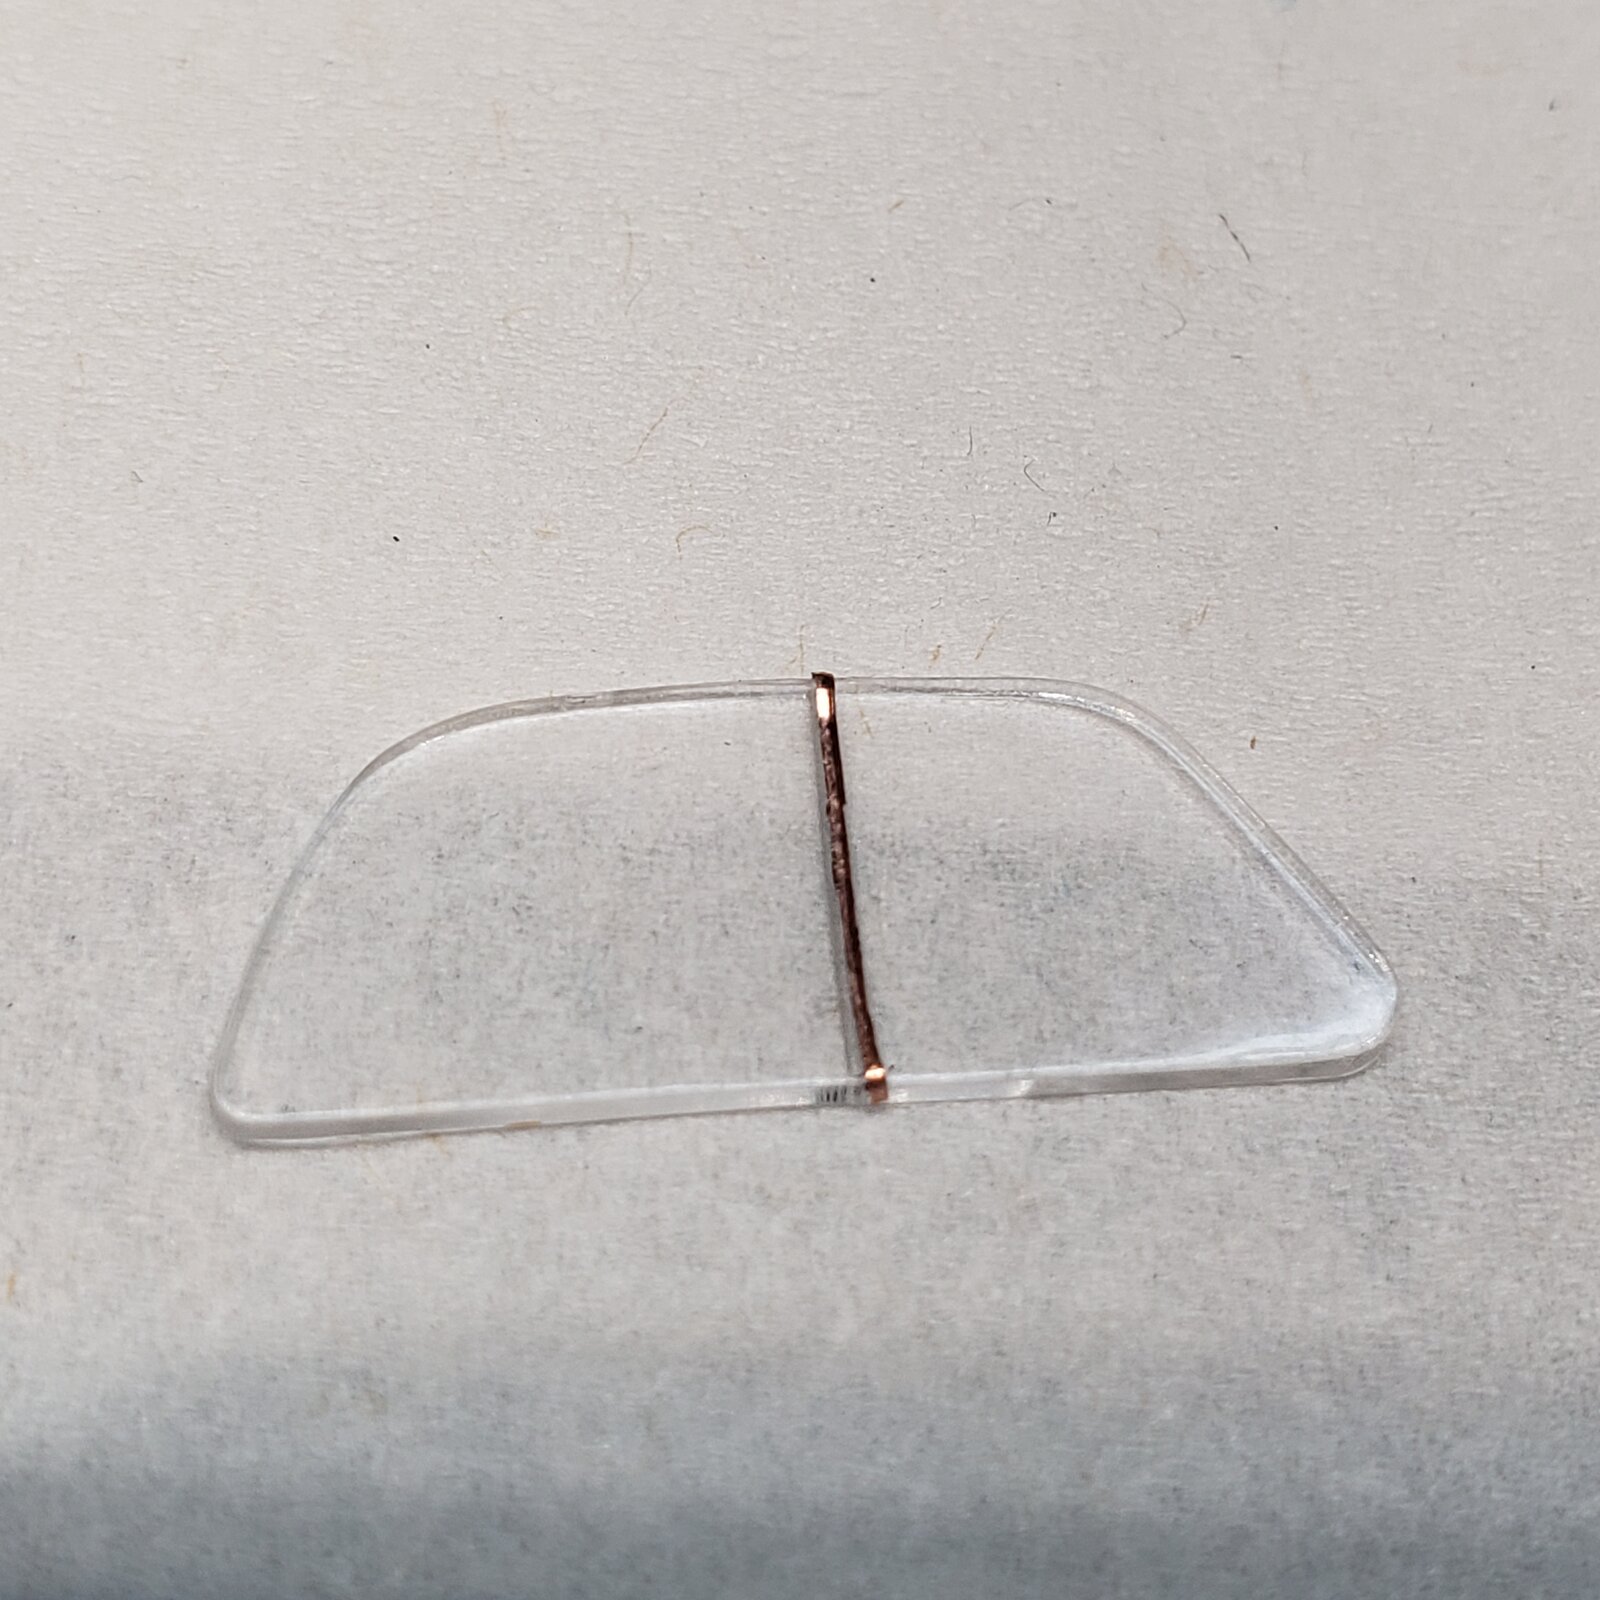
20250325_153457.jpg


Test on window I won't be using... mounted behind, will use narrower piece for real deal.

20250325_153540.jpg
 
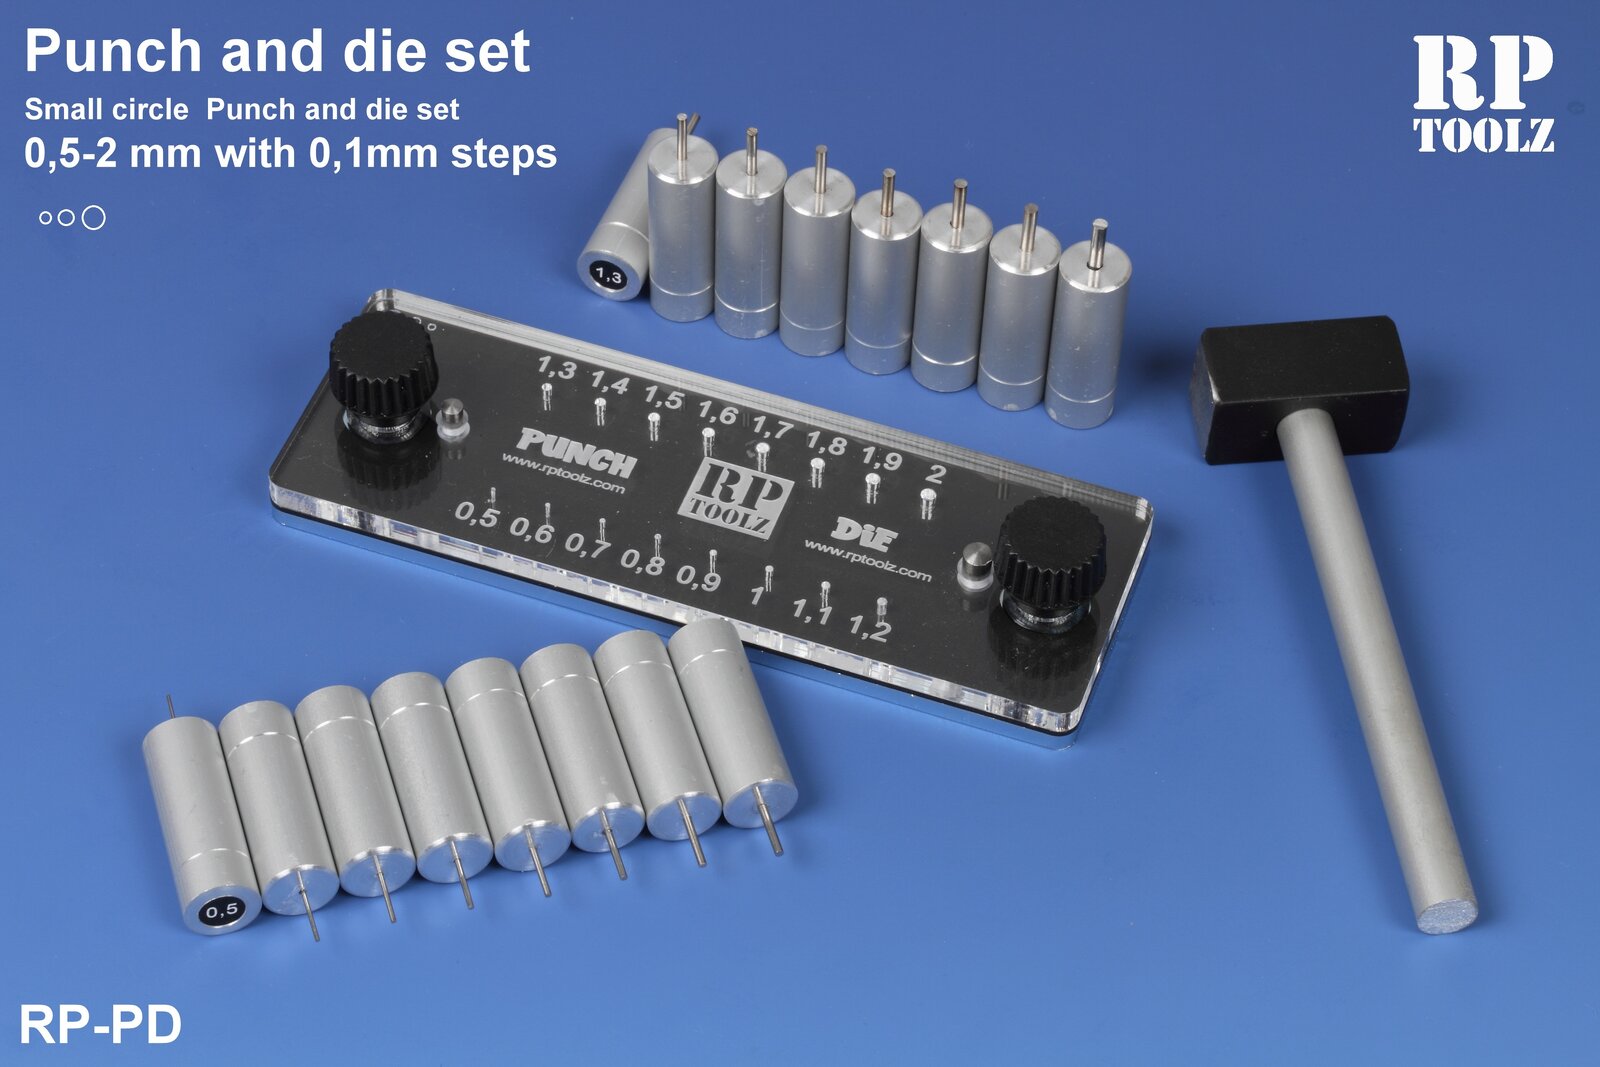
If you find yourself needing to make small discs a lot, you may want to invest in a punch-and-die set. They're not cheap, but if you buy approximately two kits less, you can easily afford one. As a further tip, if you also want to make domed rivets, buy a regular punch-and-die set plus separate (replacement) domed punches for use in the die from the first one, which will be much cheaper than getting a second complete set of domed punches and the associated die.
 
I did get a small inexpensive set, that's how made these discs for the side windows. I also have an assortment of resin domed rivets, which I use from time to time.
I've seen other guys completely replace all the rivets on armour... not sure I'll ever go there, but with some poor castings, that might be an option!
 
What you have is a punch, but a modeller's punch-and-die set looks like this:

Punch-an-die-set.jpg


You place the sheet (plastic, pewter, decal sheet, whatever) between the clear and the steel plates, tighten the screws at least somewhat, insert a punch into the appropriate hole, and tap it with the hammer to create a neat little disc.

It's a tedious job, and glueing a bunch of those discs or rivets onto a model is often even more tedious, but depending on what you build, it can be a life sanity saver :) Like when you find yourself having the brilliant idea to build something like this:
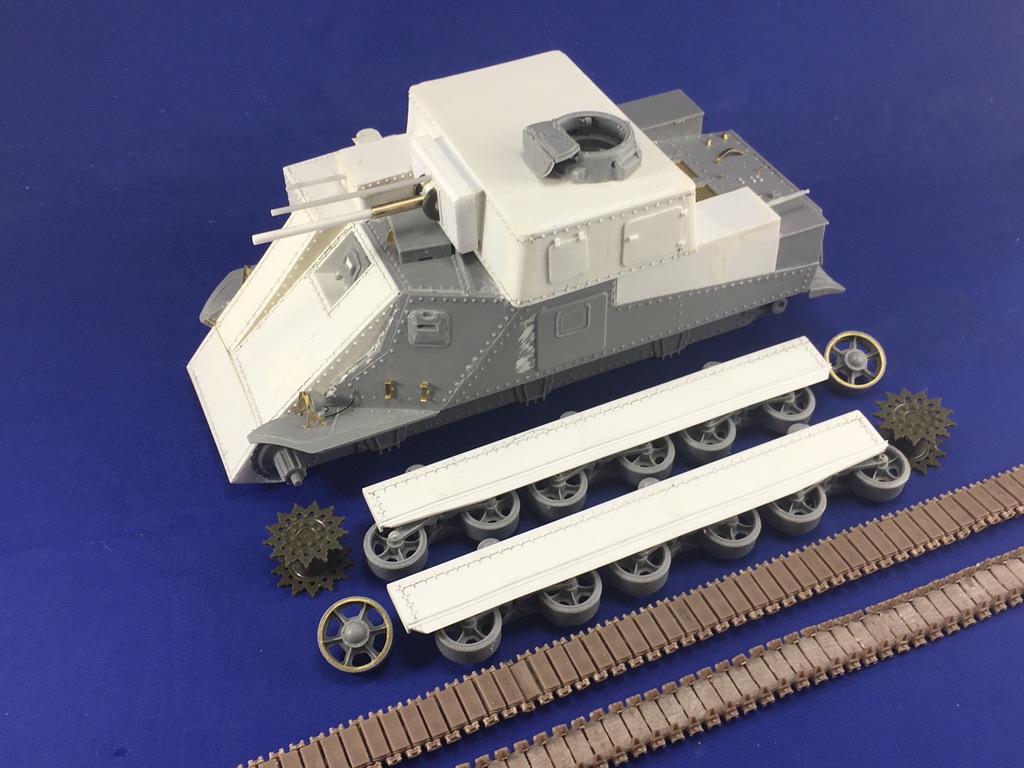
C8AEA853-E29F-4EB0-9565-8E8613AEE6D6_1_105_c.jpeg
 
Like I said, they're not cheap. Some years ago I paid around €80 for the type shown in the photo, and checking just now, I see it costs closer to a hundred now. So definitely not something most modellers really need, but for the kind of modelling I do, it's a good investment because it will save a lot of work and aggravation trying to make little discs in other ways. If you only need the occasional one, your punch will be quite sufficient, or for example cutting discs from plastic rod.
 
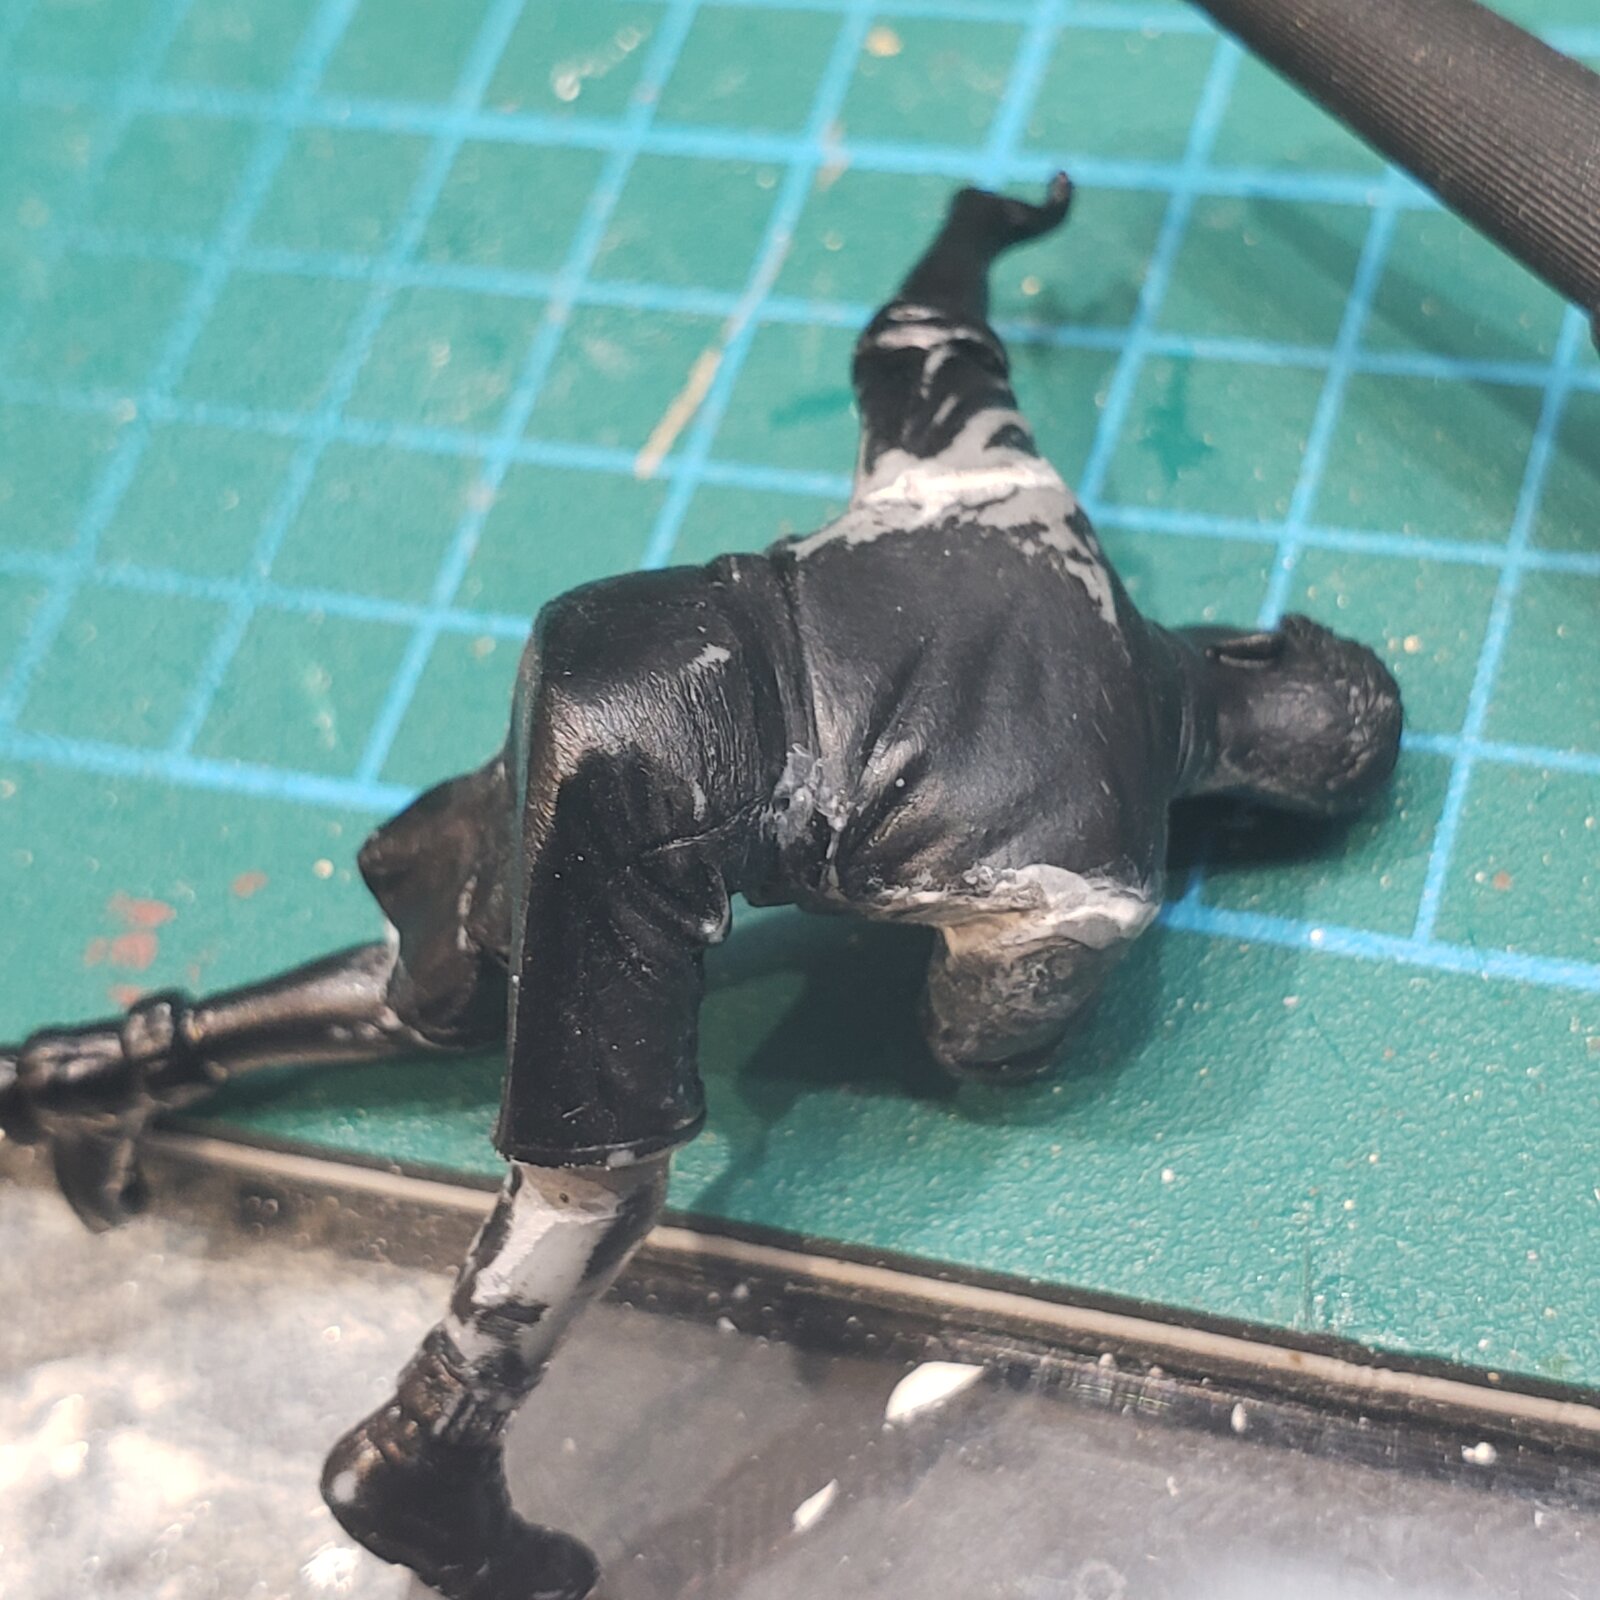
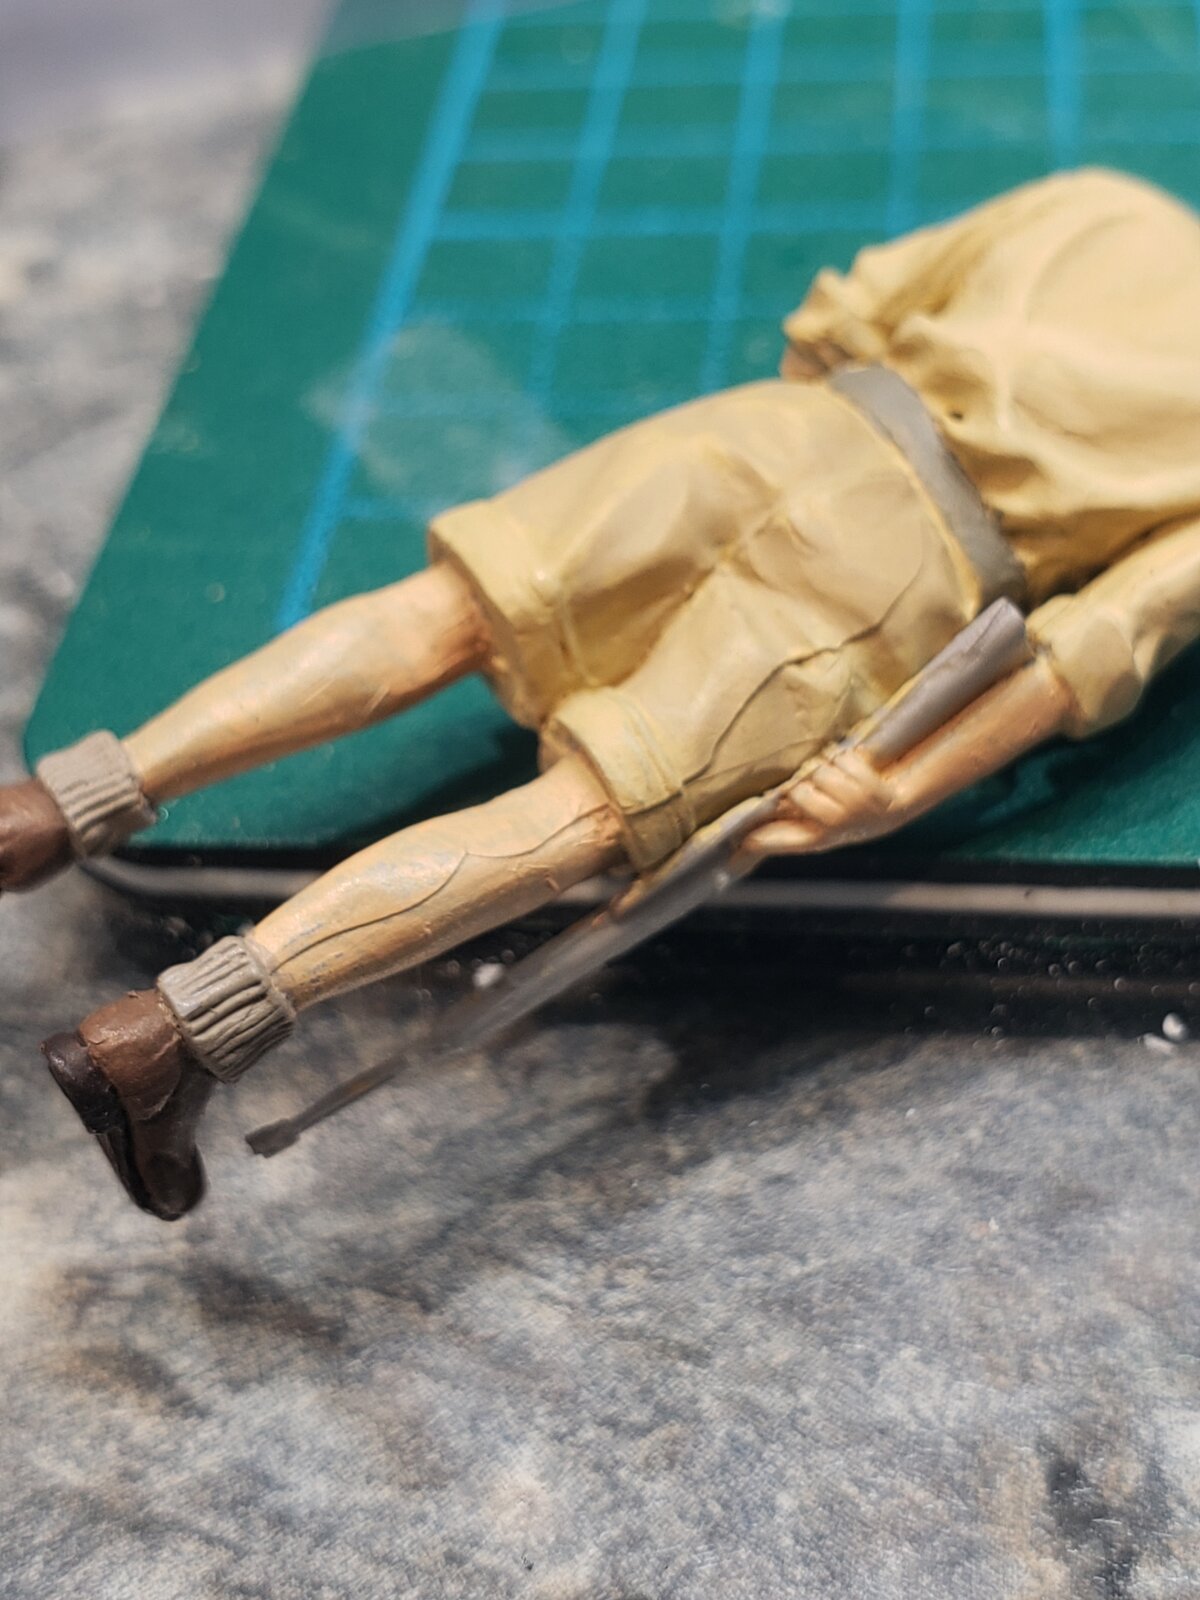
... so I'm putting down some base colours on my figures, sitting at a different spot, the light hits it differently and I spot the San Andreas fault running up his leg to his waist!
I'd spent so much time tweaking the seated chap that I never noticed...
FIAB: Fix It Again Brian

17430426255137144079078770333560.jpg


And the rifle and fingers too! :rolleyes:
 
Back
Top