Group Build: Historical Warships of WWII

Scale Model Addict - Model Tips, Guides, Tools & Tech, Tutorials, and Community

Help Support Scale Model Addict:

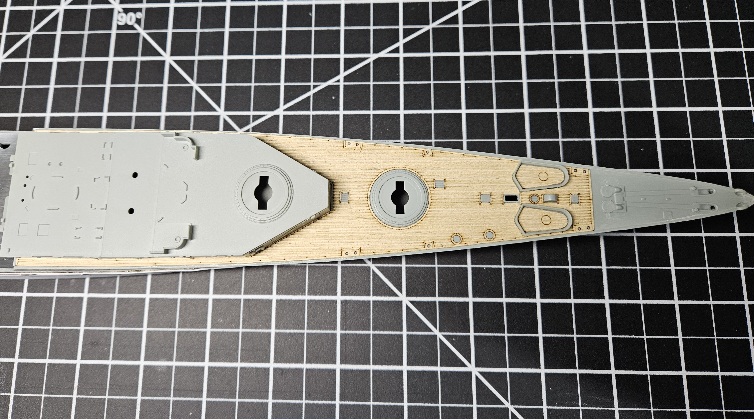
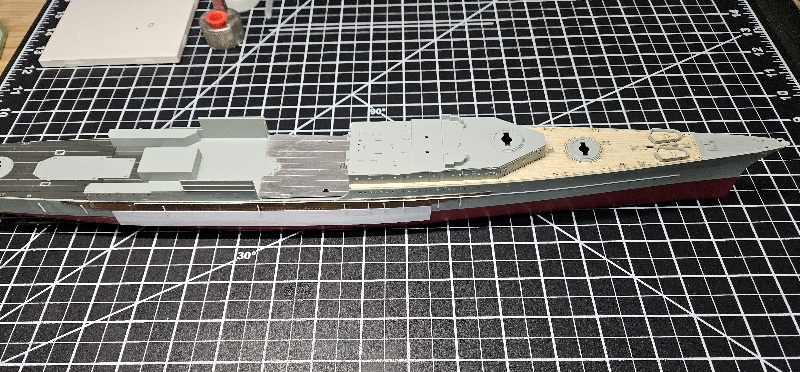
@scottrc78 Man that deck looks great, good coloring and all. It's looks super nice to have a great mask set like that to make it easier for painting the rest. Who manufactured the mask?
Hunter, purchased through eBay. This is the second time I used masks. The first was with the masks supplied by Academy for their 1/700 USS Missouri. Those were a challenge because they were thick and some of the die cuts were off. These masks were thinner and peeled and applied really well and the die cuts were 100% right on. I applied them with tweezers and a lot of patience.
 
Well Hello everyone, it's been a while. I'm still on the tail end of my lovely upper respiratory infection and a second round of antibiotics, but I've mended enough and tired of not getting anything done.

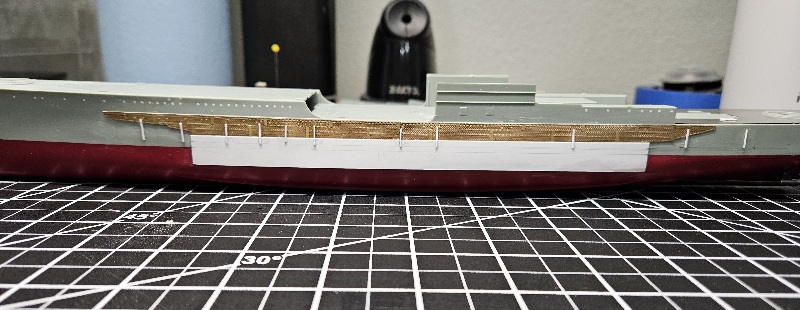
So back to the bench to get something done! So it was back to the port side plating and plumbing. I have it roughed in and just need to add the final details to button that up. It's a good break away from the portholes, which resume last on the hull work.
1000014724.jpg

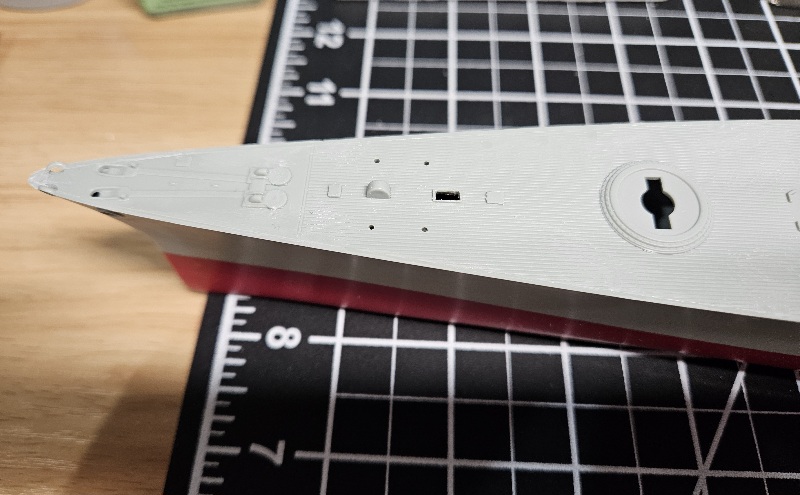
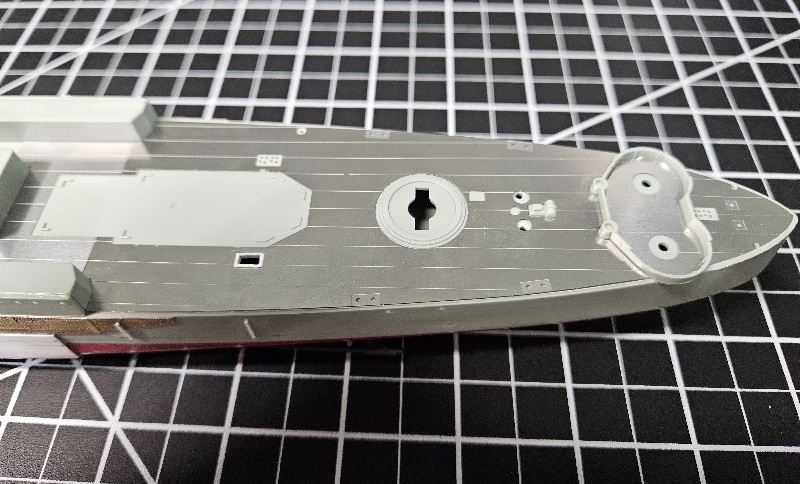
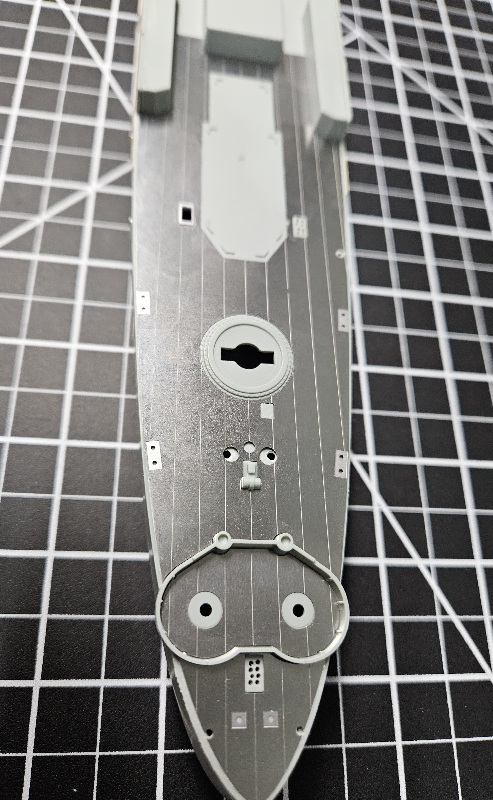
Next up is cleaning off the decks and ready them for PE steel decking plates, and the forward deck for the wood decking section. I decided to open as many of the main deck hatches, as this was done just before her sinking to find some relief from the heat that fateful trip.
1000014727.jpg

1000014726.jpg

1000014725.jpg


Once I get that all tidied up, I will be scratch building the hangers to have them open and aircraft arranged accordingly. Much to do here, but hopefully soon I will have the hull and deck sorted to get some paint on her.
 
As an Amazon Associate we earn from qualifying purchases. Product prices and availability are accurate as of the date/time indicated and are subject to change.
Well it doesn't seem like much to brag about on this update, but I put down the main forward wood decking. It was a very tedious process, but I can live with the results. I still have some tiding up to do on the hull details, scratch the hanger bays, and finish up deck fittings throughout, then it will be time to prime and paint. Hopefully I'll have much more to share next update.
1000014780.jpg

1000014781.jpg
 
I can definitely relate to that! I'm still working my way through my first Pontos wood deck set.
It's looking pretty good Jack, your cut outs are sharp and clean.
Thank you Sir. I always use a fresh #11 and the tip guided by the body of the blade centered along the line. For ovals, just the tip in short cuts rotating the work so I'm always cutting the same way around the circle. I hope that makes sense...lol.
 
I had the old BB set aside for a bit, but am still working on her.

Getting pretty close to done actually. Am not happy at all with the Kingfishers, ordered a aftermarket set.

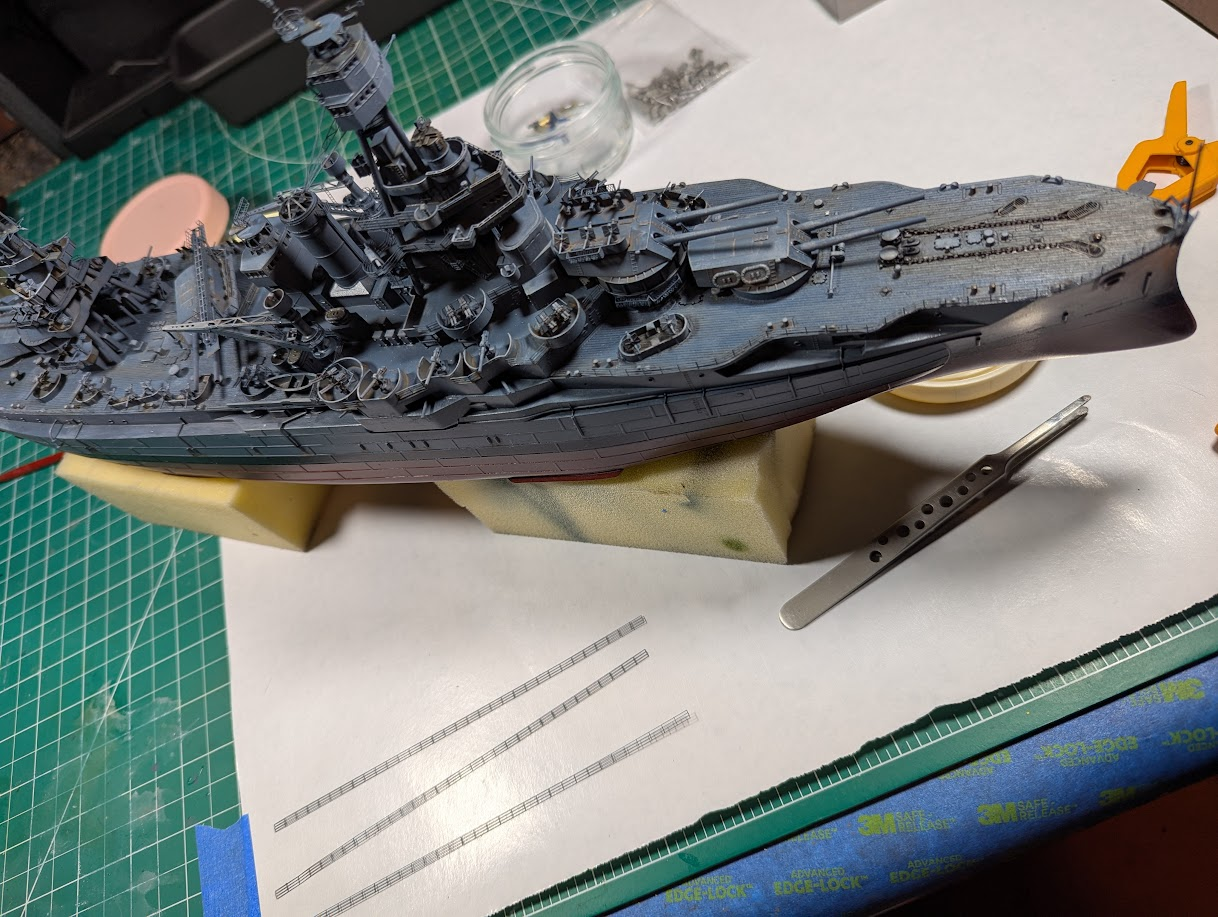
This is a picture after the deck railing was started.

View attachment 142712
Looking great! That is some of the hardest railings on the Texas. I'm not too fond on the aircraft on my build either. I make look to Trumpeter for replacements.
 
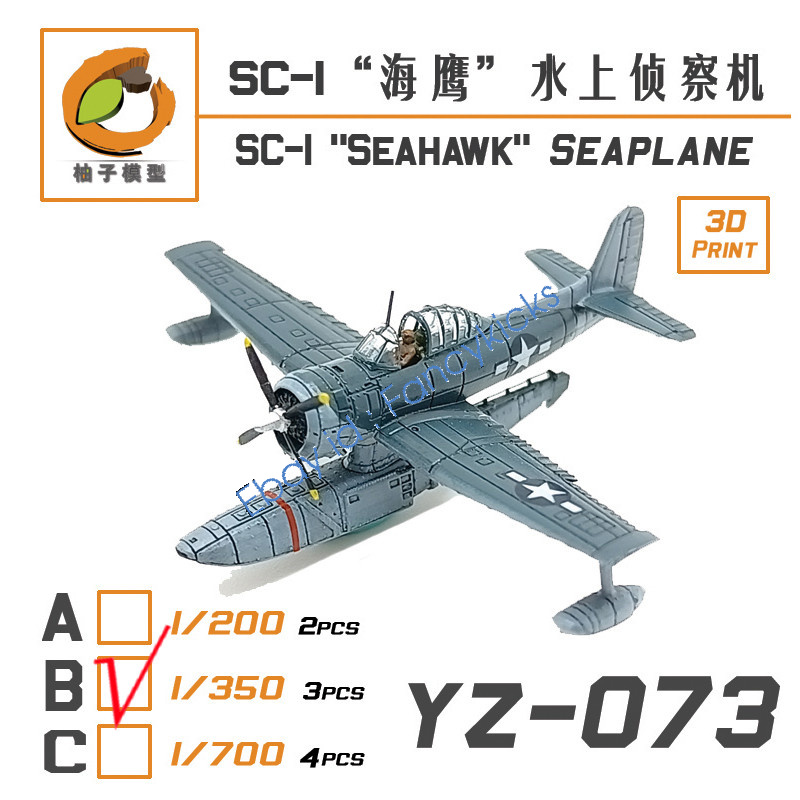
@Edbert or anyone else that may be in the market for nicely detailed 1/350 Kingfishers, these are a great upgrade over 99.9% of kit supplied aircraft. They also have them in 1/700 & 1/200 scales as well and other float plane types.

OS2U Kingfisher
 
Last edited:
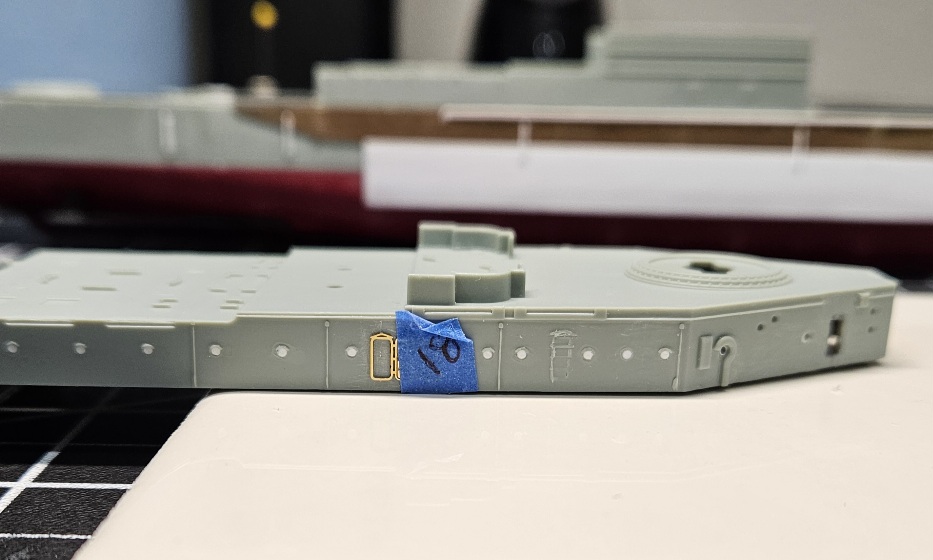
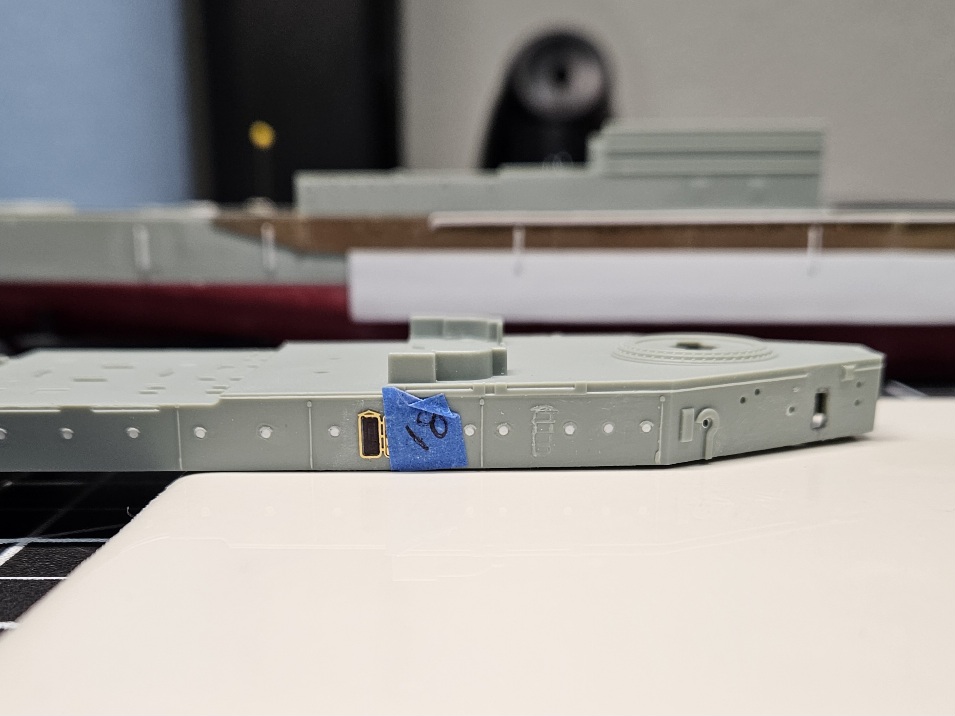
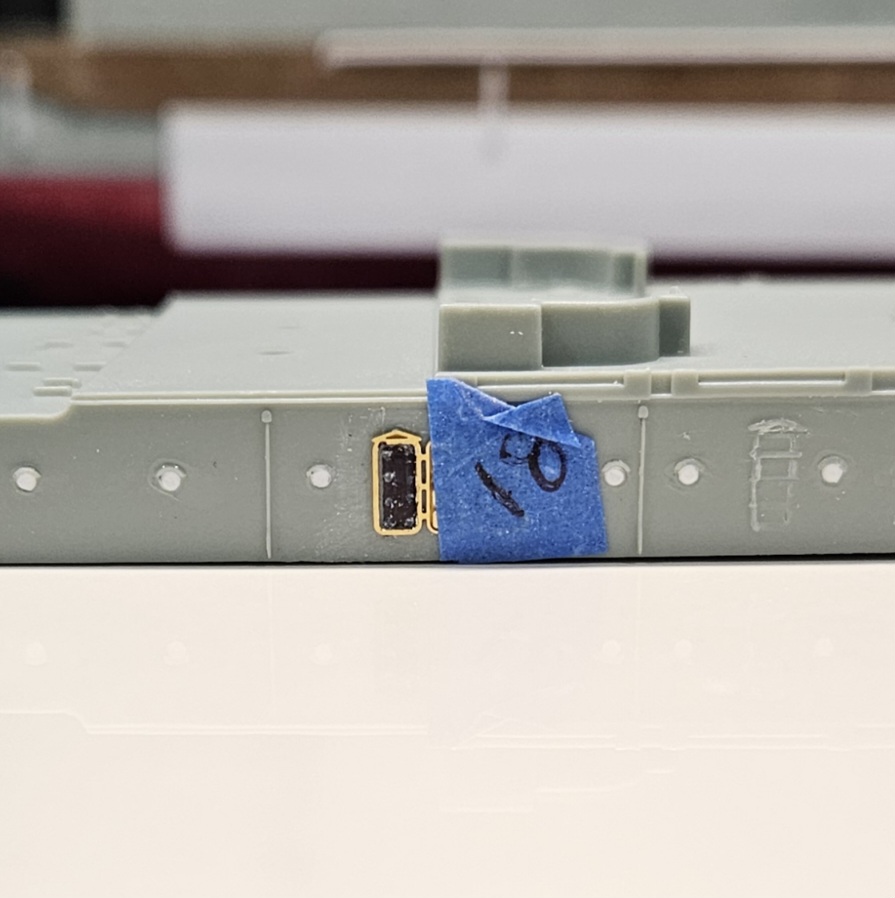
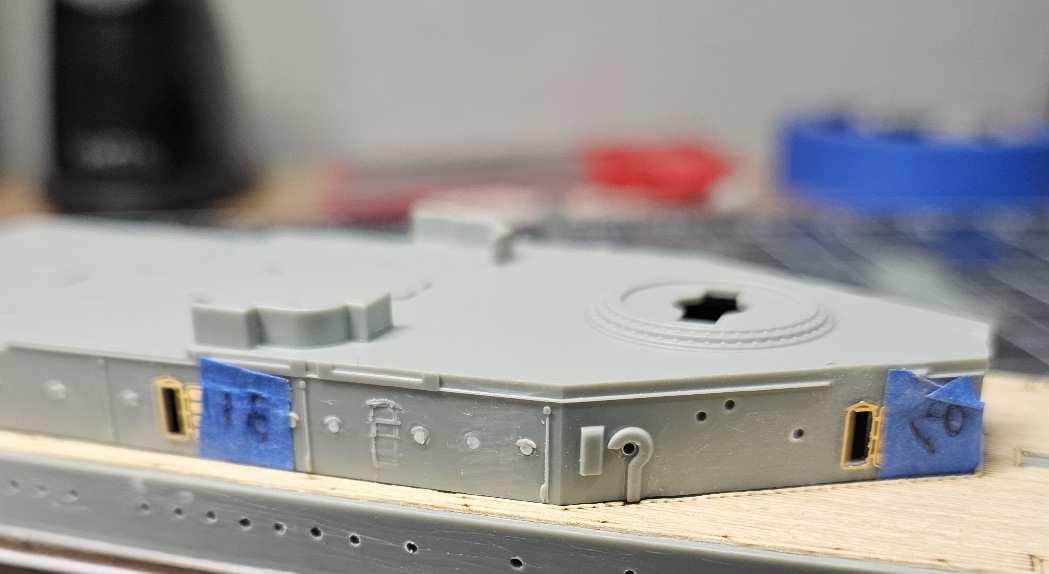
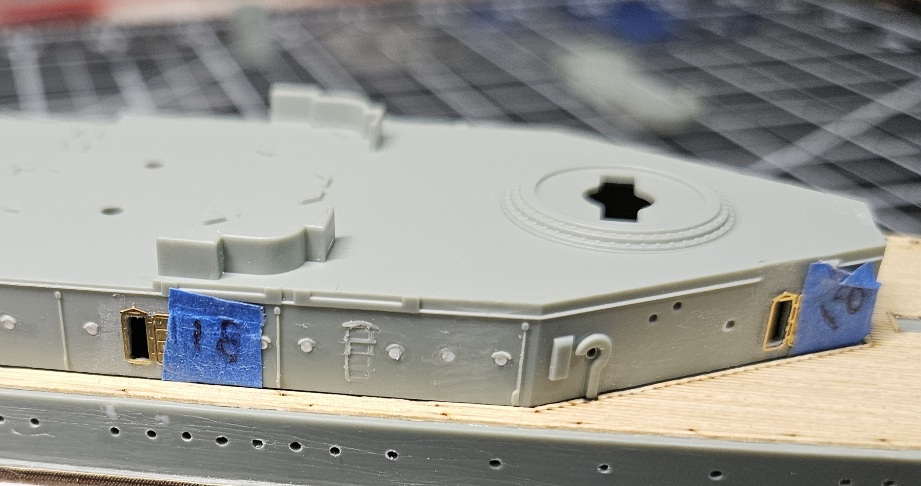
So back at the bench and wanted to start cleaning up O1 deck level to prep it for all the PE that will go in place. Sticking with the theme of having as many doors and hatches open to simulate how she would have been, I opened two of the three watertight doors on her starboard side. I decided to take some photos to show my process of opening doors in case anyone needed the info.

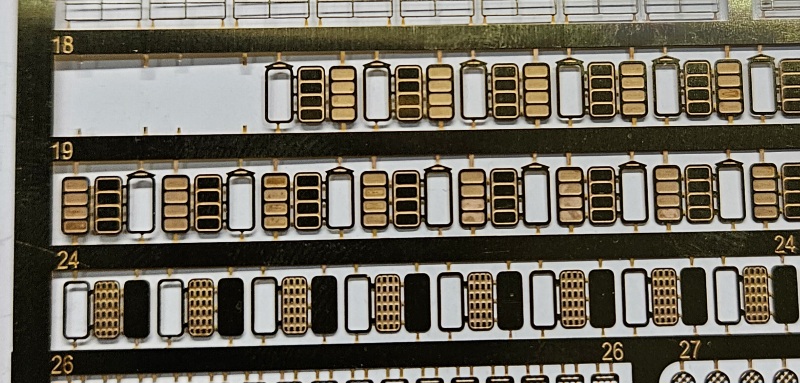
I am using both Eduards and Pontos photo etch sets to compliment the ship with parts I want to add more detailed depth. The Eduard doors all more detailed in that they fold giving both interior detail as well as the exterior. They also have the door framing so they can be modeled open or closed or ajar.

1000014911.jpg


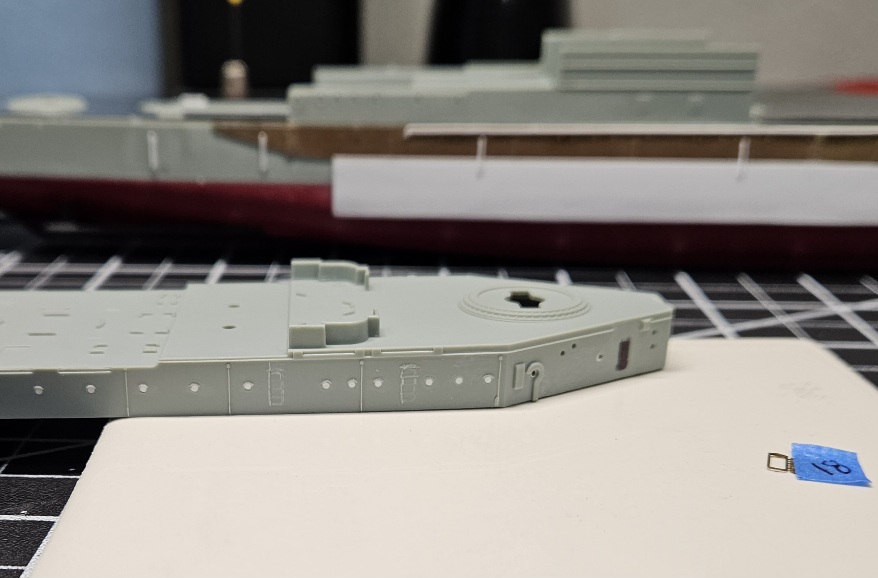
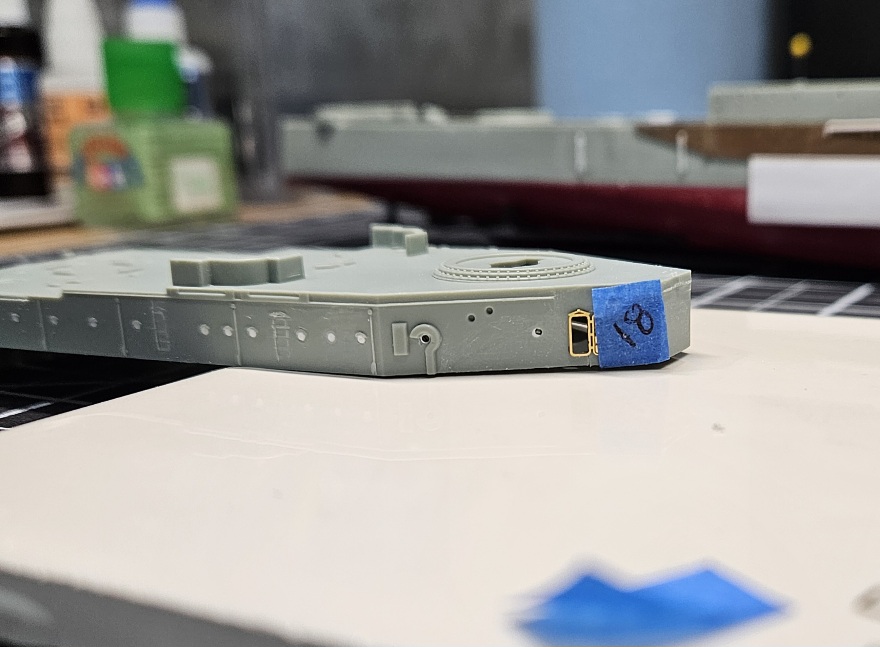
First I removed the door from the fret and use blue painters tape for the low tack residue and position the open framed door in position. I then use a fine Sharpie to color in the frame where I want to open the bulkhead.

1000014904.jpg


At this point I drill out the four corners as close as possible to the black marked door location. I also drill out each side so cutting with an #11 exactly, I can have a clean door opening. Then using a tapered file, I clean up the lines so that they are flush and square. Afterwards, I run Tamiya extra thin along the cut edges which smooth out the opening edges so it looks very clean. When ready, the doors can be added.

1000014905.jpg


If need be, you can scratch in interior walls or details as needed. Next, the second starboard door...
 
Here's a little more detail on the process I use on the second door. First, determine the location and height of the door and afix in place.

1000014906.jpg


I then use a black Sharpie and color in the frame so I have an exact location to open the bulkhead wall.

1000014907.jpg


I then take my drill bit and lightly start pilot marks inside the frame starting in each corner and then down the sides.

1000014908.jpg


Then it's simply drilling out and using an exacto and file to clean up the cut out. Finish off with Tamiya extra thin to smooth out the plastic and you are ready to mount your PE doors when ready.

1000014909.jpg

1000014910.jpg


I hope this helps for anyone that would like to add open doors or hatches using photo etched parts.
 
Awesome!

Why are some portholes drilled and others plugged? I think I missed something.
LOL, you haven't missed anything. The portholes are galore throughout, so it's just that I have to manage my mental health by not doing portholes constantly :p So the process is plug up the over-sized molded portholes, then redrill them the correct size, then go back and place all the correct PE porthole types.
 
Here's a little more detail on the process I use on the second door. First, determine the location and height of the door and afix in place.

View attachment 142957

I then use a black Sharpie and color in the frame so I have an exact location to open the bulkhead wall.

View attachment 142958

I then take my drill bit and lightly start pilot marks inside the frame starting in each corner and then down the sides.

View attachment 142959

Then it's simply drilling out and using an exacto and file to clean up the cut out. Finish off with Tamiya extra thin to smooth out the plastic and you are ready to mount your PE doors when ready.

View attachment 142960
View attachment 142961

I hope this helps for anyone that would like to add open doors or hatches using photo etched parts.
It's a ton of work, but it sure does look nice
 

Latest posts

Back
Top