Group Build: Historical Warships of WWII

Scale Model Addict - Model Tips, Guides, Tools & Tech, Tutorials, and Community

Help Support Scale Model Addict:

Yeah this GB is pretty relaxed, more of a get to know one another and enjoy some warships builds with no restrictions. That way everyone can get comfortable and enjoy future GB that may be more constraint as to subject matter, scale or other build requirements.
I don't live by any clubs, and when I did, I enjoyed doing builds with other members of like subjects and planned build nights where we would sit around, build, and talk. These Group Builds remind me of when I used to be in a club and the enjoyment I found.
 
...great paint job! The subtle variations of colour and weathering very convincing!
I imagine that making such a large, flat and featureless expanse look interesting must be quite a challenge!

Thanks!

Since they used a stain for the deck, I figure that stain is probably not very durable and would start wearing away fairly quickly in the Pacific environment between sun beating down on it and rain etc...
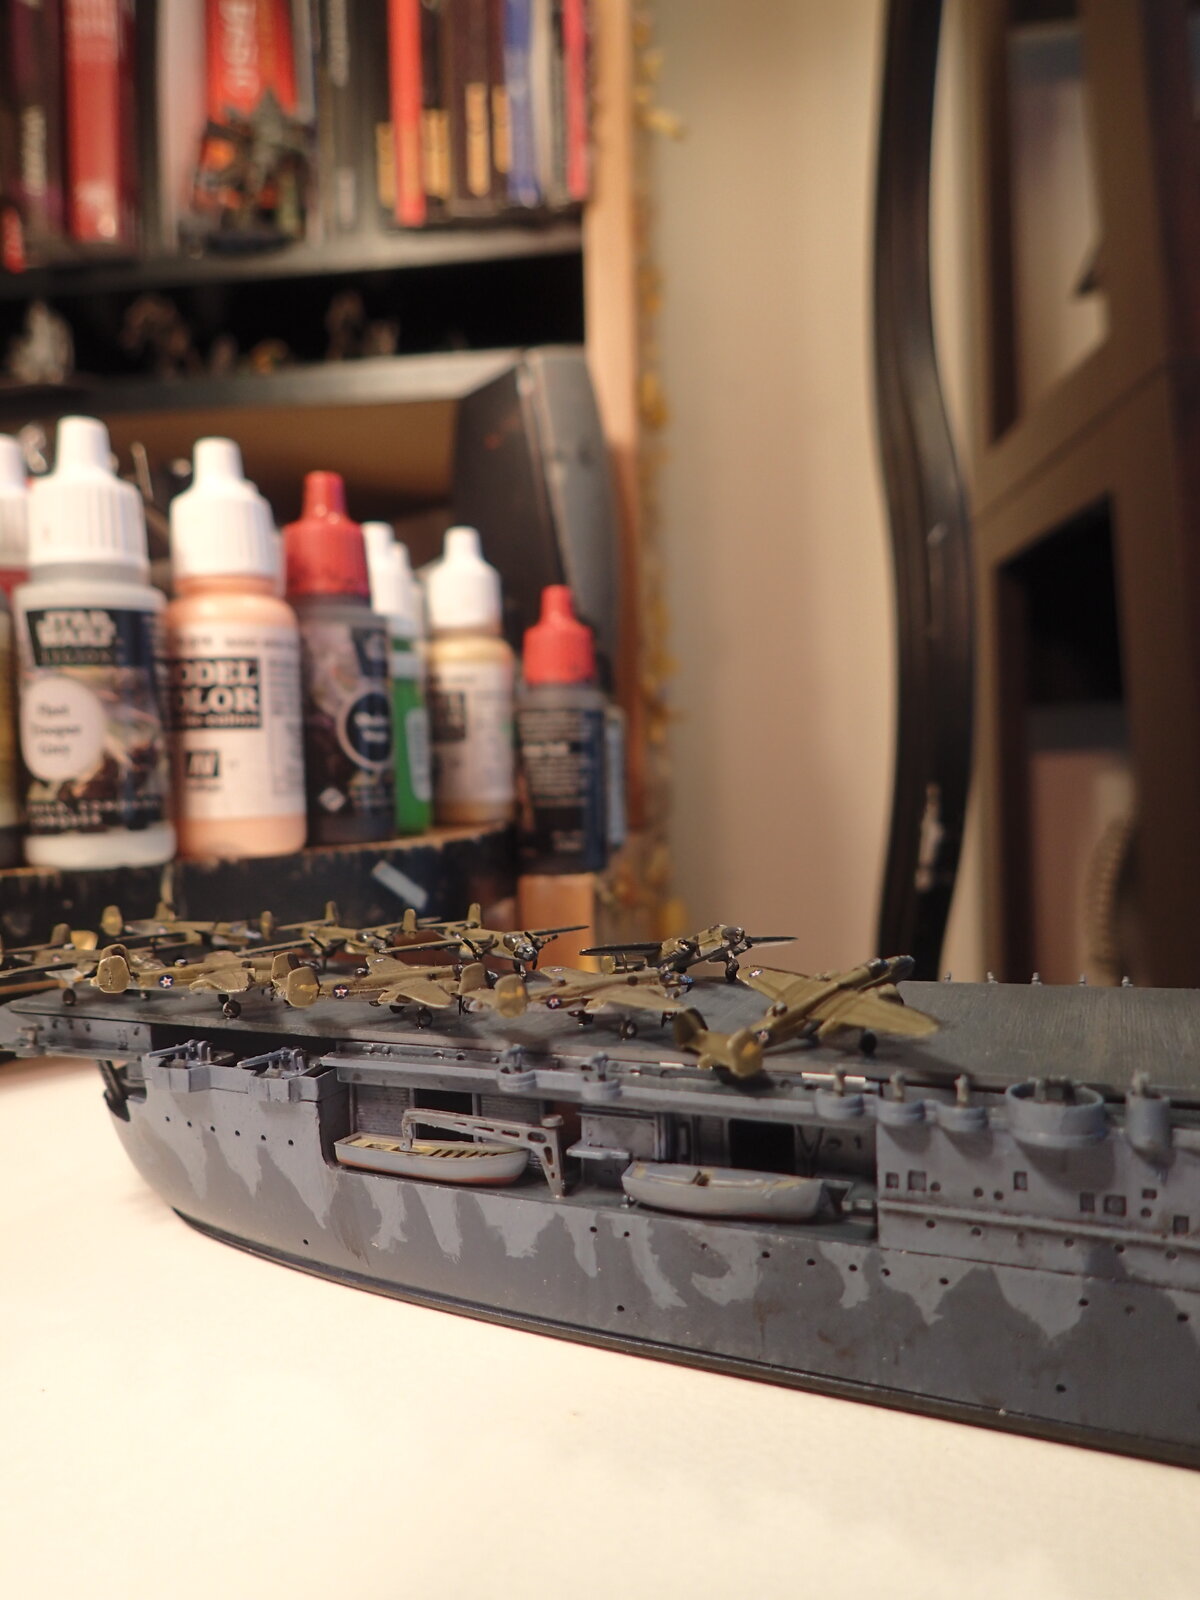
So I tried to simulate the look of the bare wood starting to show through, more in places where the heaviest traffic might be

I did this by using some Raw Umber oil mixed with a bit of white and kind of dry brushed it on in spots and then used a cloth to wipe most of it away, always trying to make sure to apply and wipe from side to side on the deck in the direction of the wood. Then I went back with some Snow and Mud weathering powders to kind, again applied in the side to side direction
 
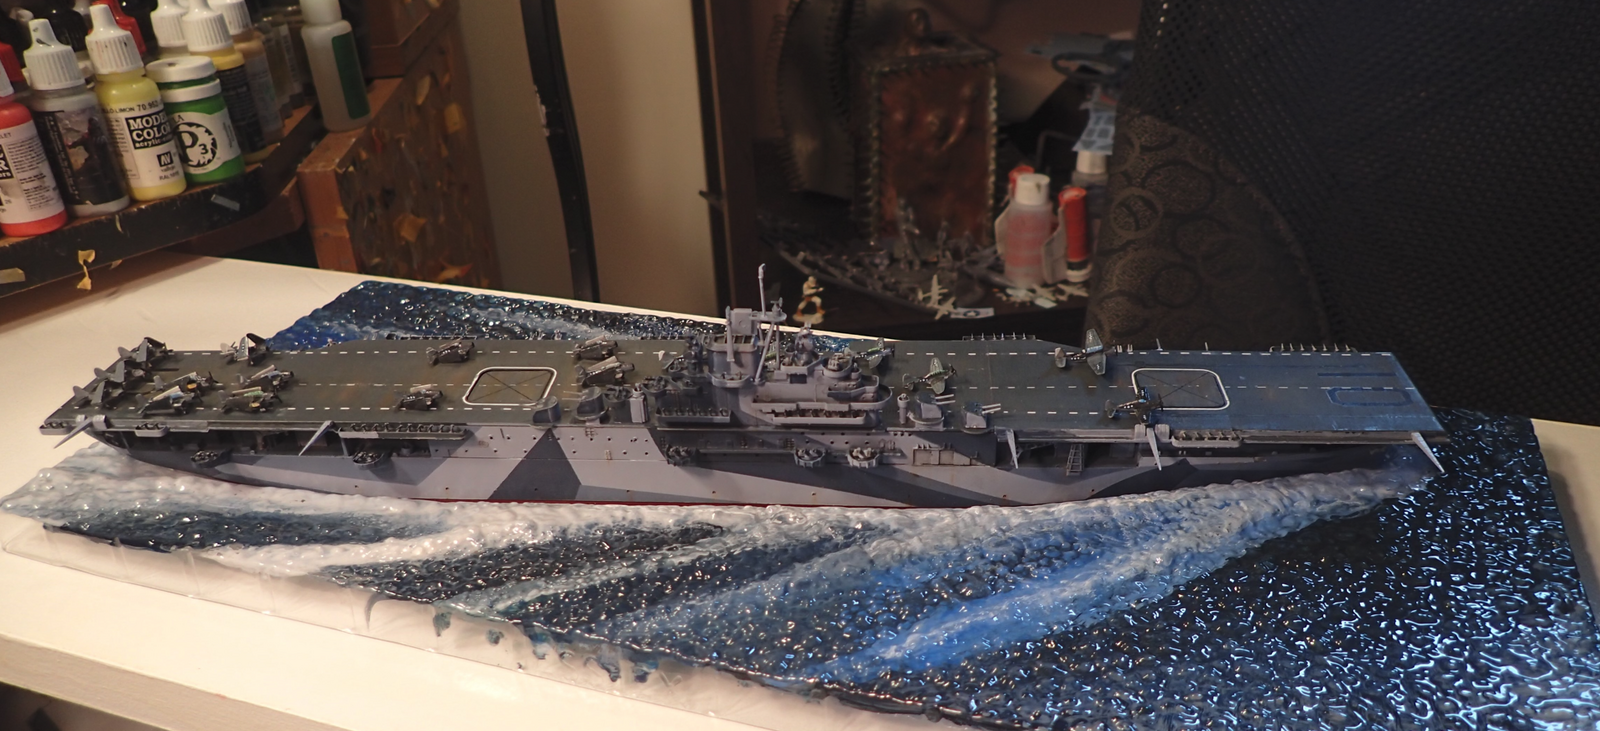
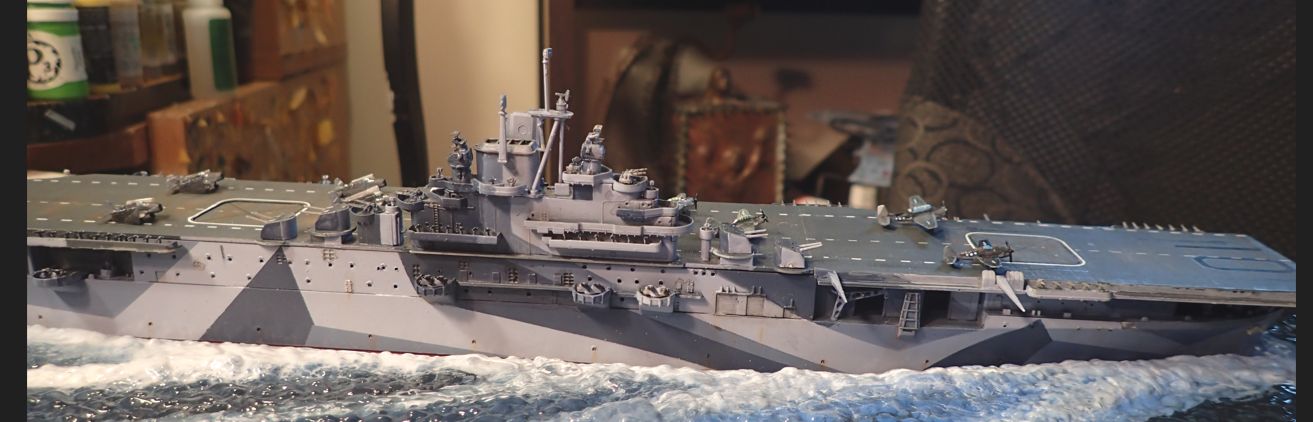
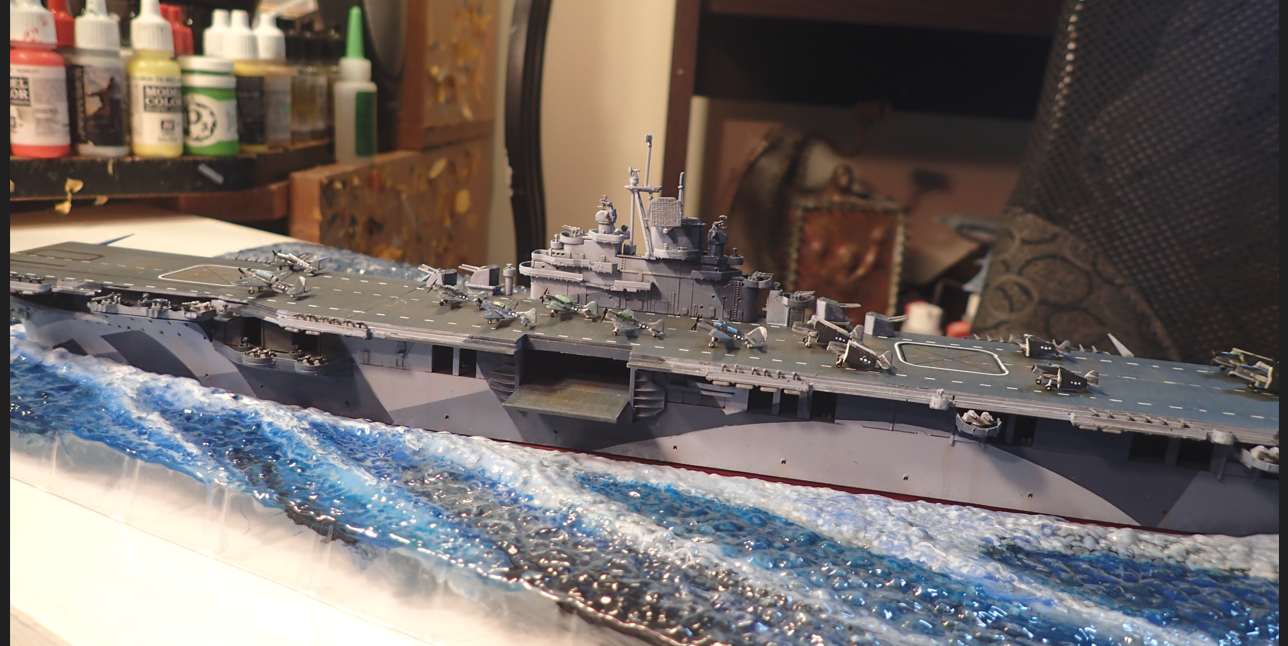
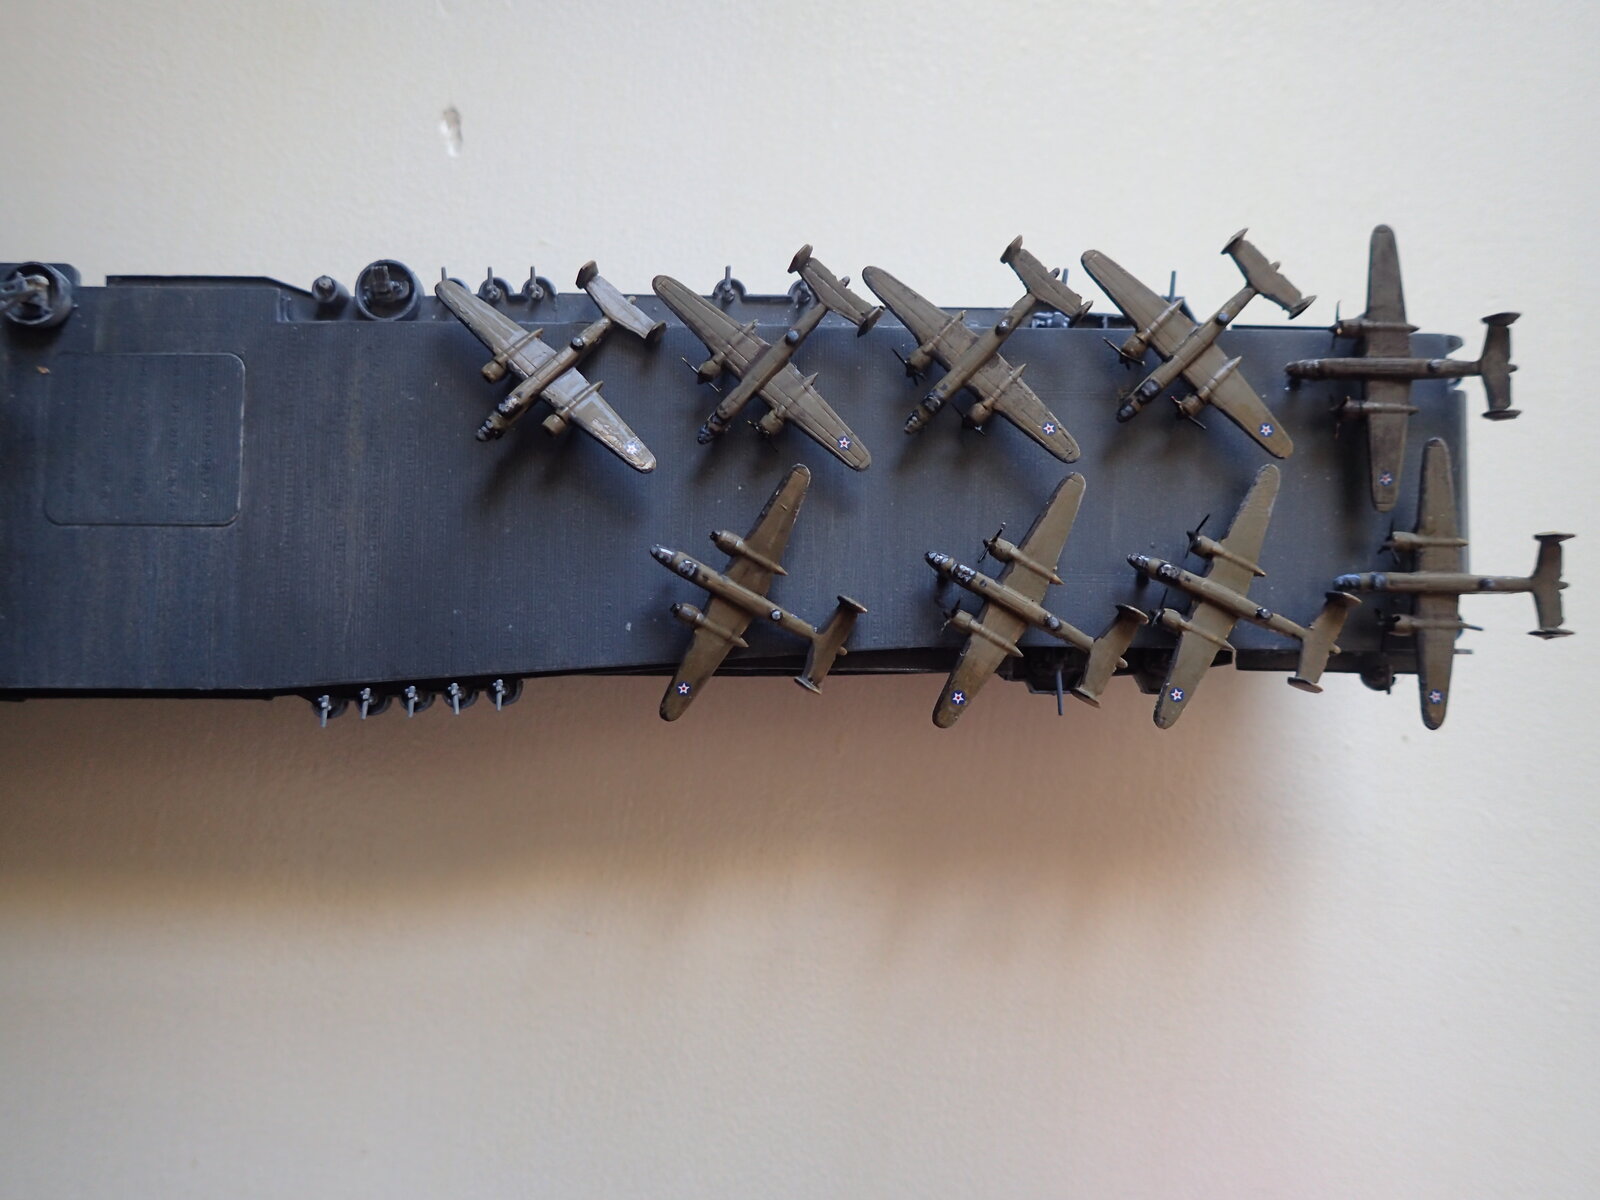
Also finally calling the 1/700 Yorktown finished as well. Deck decals all done, antenna and other little details finally added. I have enough planes painted to make the deck look interesting etc...

1739991083310.png

1739991146034.png

1739991185013.png

Now I can finally move onto the Shinano :D
 
As an Amazon Associate we earn from qualifying purchases. Product prices and availability are accurate as of the date/time indicated and are subject to change.
... nice!
Naval geometric disruptive camo so cool... I tried something similar on a British vehicle with Caunter scheme.
Looks better on a ship IMHO.
And amazing how a few tiny aircraft on the flight deck are give a better sense of the huge scale of a carrier!
 
Last edited:
... nice!
Naval geometric disruptive camo so cool... I tried something similar on a British vehicle with Caunter scheme.
Looks better on a ship IMHO.
And amazing how a few tiny aircraft on the flight deck are give a better sense of the huge scale of a carrier!
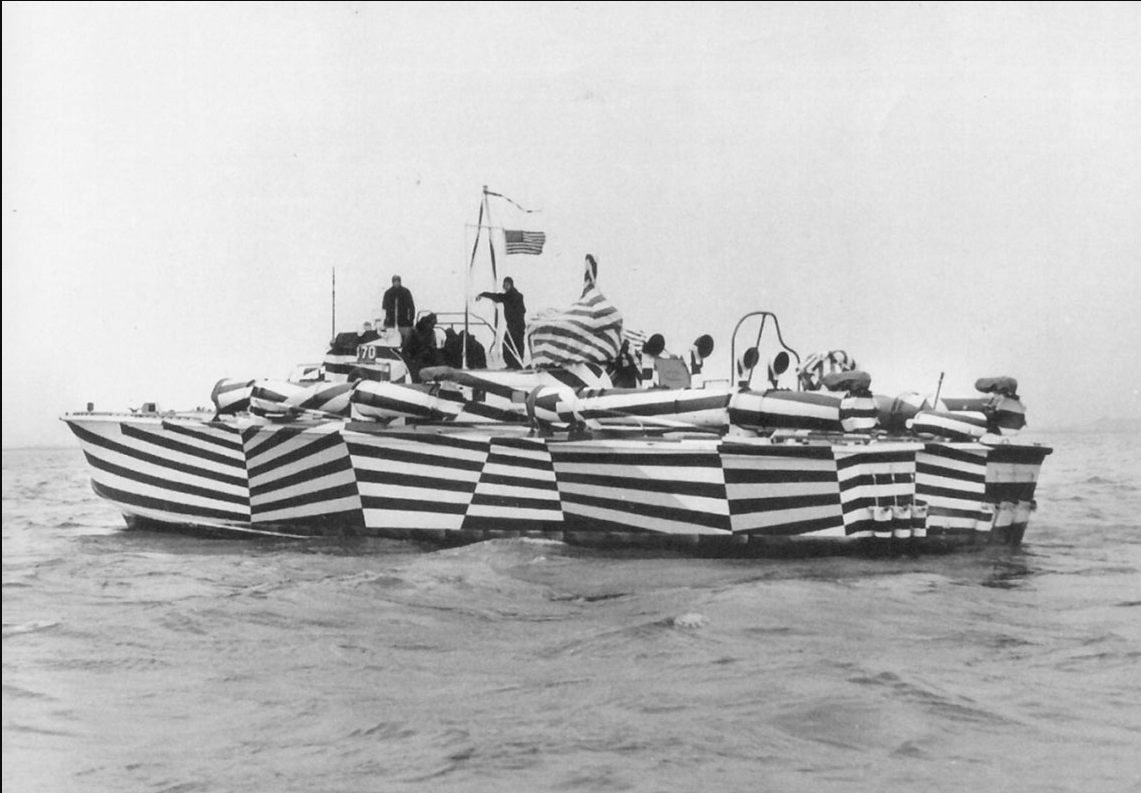
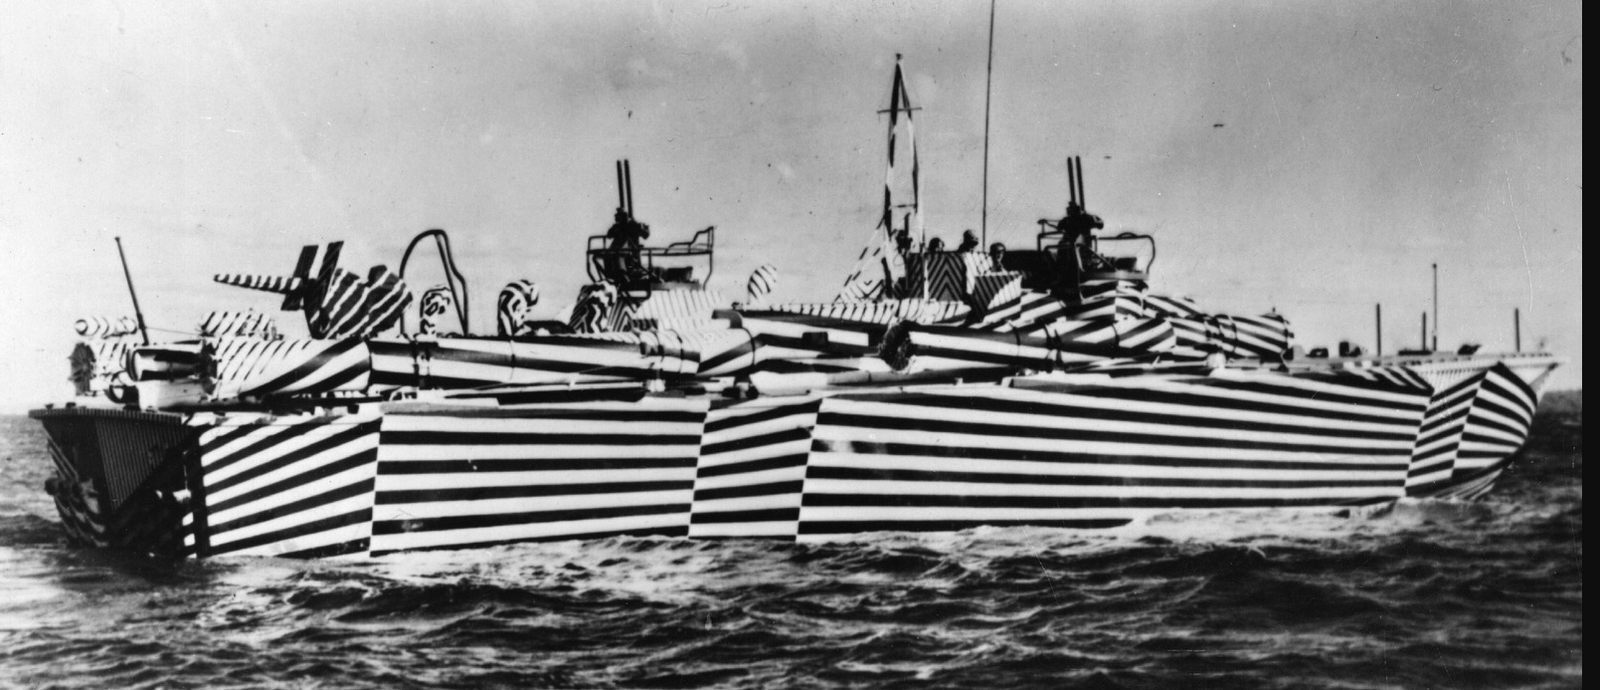
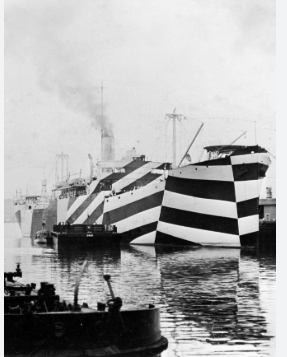
Yeah, I am a sucker for Navy "dazzle" particularly the camo of Measure 32 and 33
I love all the art deco like patterns and it is a fun challenge trying to paint them

some of them can get downright bizarre looking and while I am not sure how effective it was, I can see how it could be hard to figure out which way the ship is oriented or moving, or if it even just one ship, or what type of ship

1739992443291.png

1739992664504.png

1739992555206.png
 
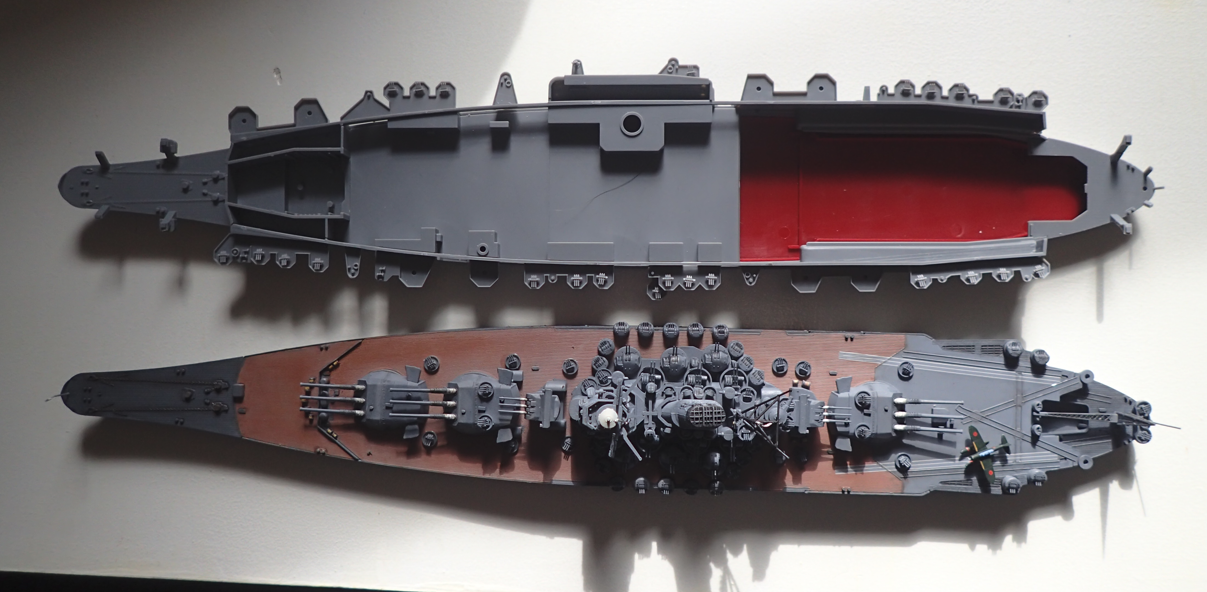
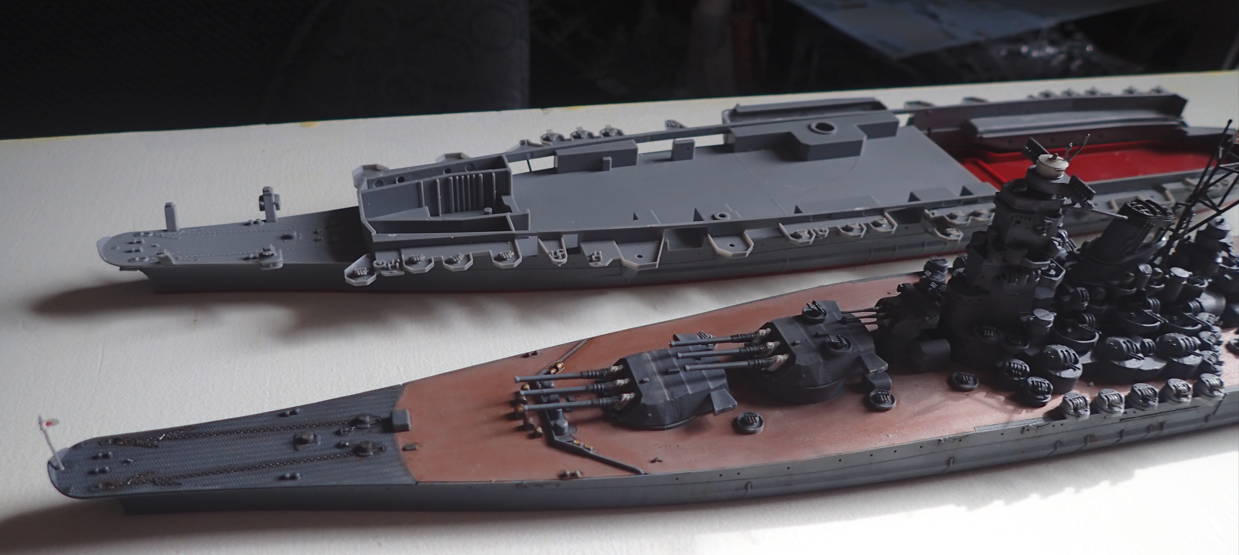
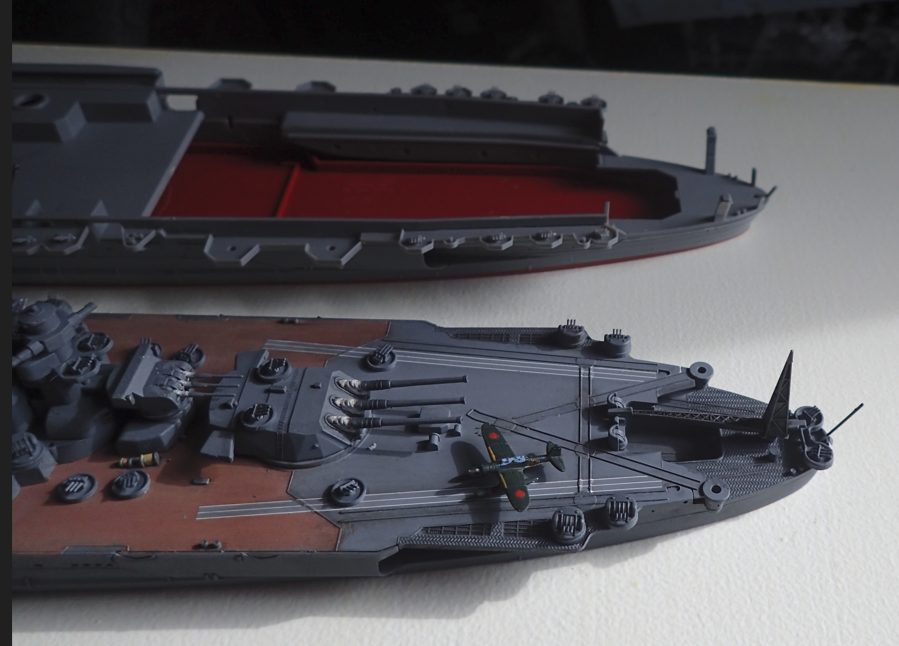
..and speaking of the Shinano, here you can clearly see it's lineage from the Yamato class battleship

Sorry to be spamming the group build, but it has been a productive few days as I had some time off from work

1739993156549.png

1739993201847.png

1739993281083.png


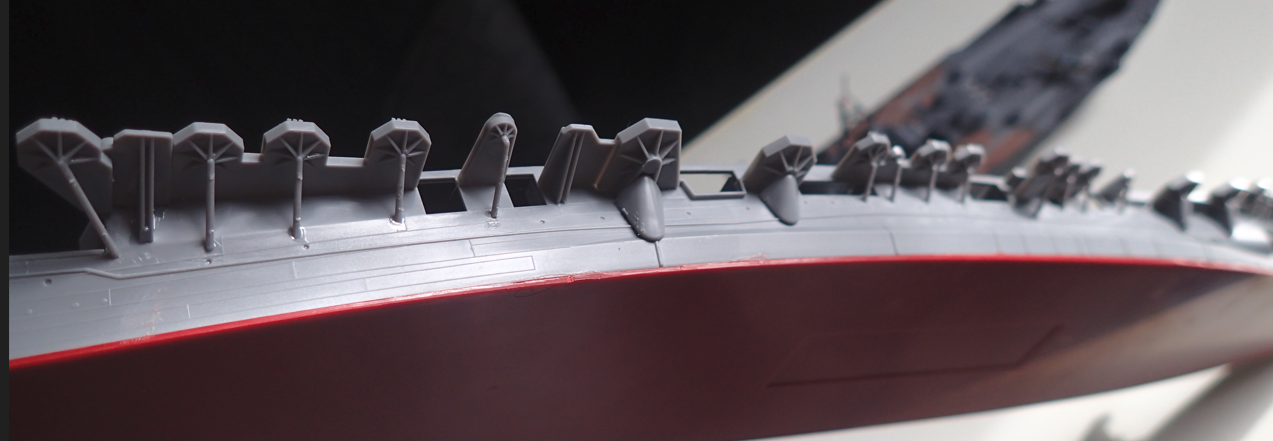
and typical with Japanese carriers, there is lots of tedious supports to be added below the gun placements

1739993385315.png

1739993459091.png
 
Yeah, I am a sucker for Navy "dazzle" particularly the camo of Measure 32 and 33
I love all the art deco like patterns and it is a fun challenge trying to paint them
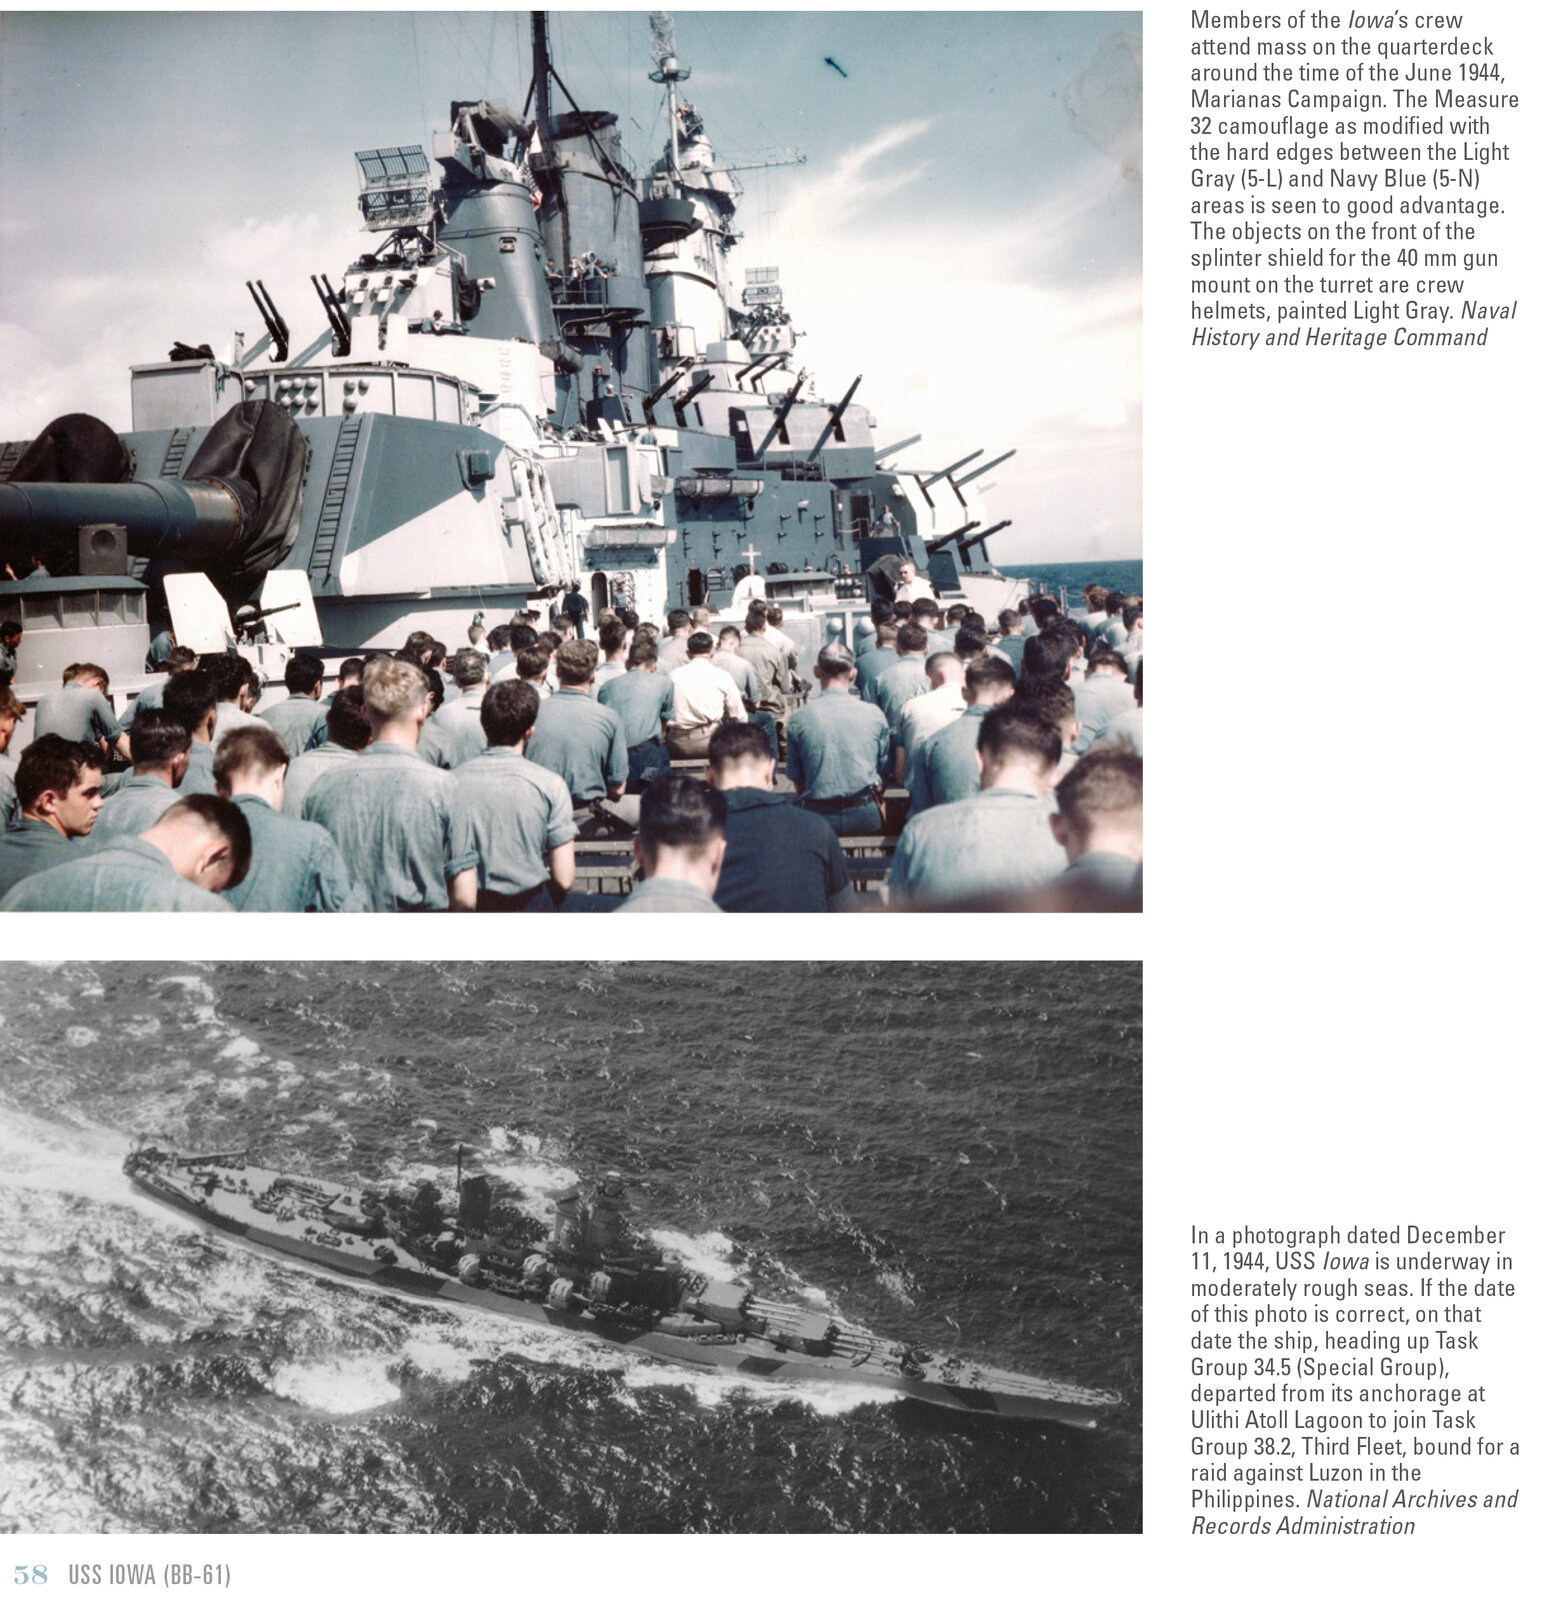
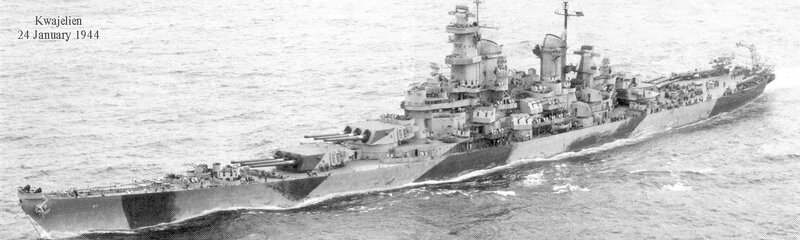
I'm working on the USS Iowa now, my reference book says " starting in January 1944 a dazzle camouflage Measure 32 Design 1B was applied. Iowa was the only ship to ever wear this pattern. "
I got to honor that, so that's the paint job I will attempt.
 
I'm working on the USS Iowa now, my reference book says " starting in January 1944 a dazzle camouflage Measure 32 Design 1B was applied. Iowa was the only ship to ever wear this pattern. "
I got to honor that, so that's the paint job I will attempt.
I did the USS Iowa on 1/700 with that same scheme. It is a fun scheme. Looking forward to your paint job

In case it helps here are some pics of it in that camo
V2_USS+Iowa_INT-58.jpg

imageproxy.jpg
 
Just a quick update. I also would like to ask that someone "release the hounds' in a few days if I'm not heard from in a few days after this update.

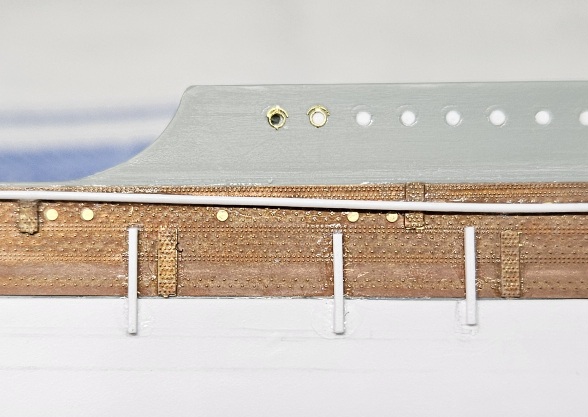
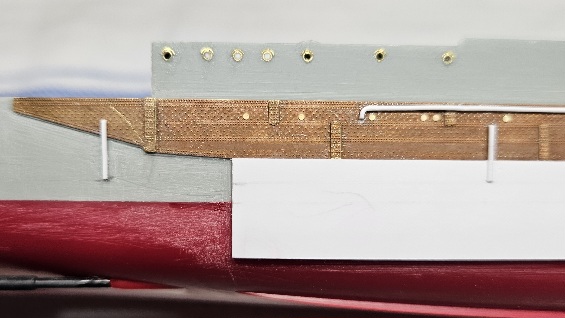
I am in the stage of adding all the hull PE portholes that might as well be 1/1200 scale. So as I plunge into this insanity, I have 90 hull portholes to manage. If all goes well I shall be back in a few days, if not, a padded cell shall be my new home...

1000013760.jpg
 
Just a quick update. I also would like to ask that someone "release the hounds' in a few days if I'm not heard from in a few days after this update.

I am in the stage of adding all the hull PE portholes that might as well be 1/1200 scale. So as I plunge into this insanity, I have 90 hull portholes to manage. If all goes well I shall be back in a few days, if not, a padded cell shall be my new home...

View attachment 138770
Good god, talk about nerve wracking

at least your getting good results though
 
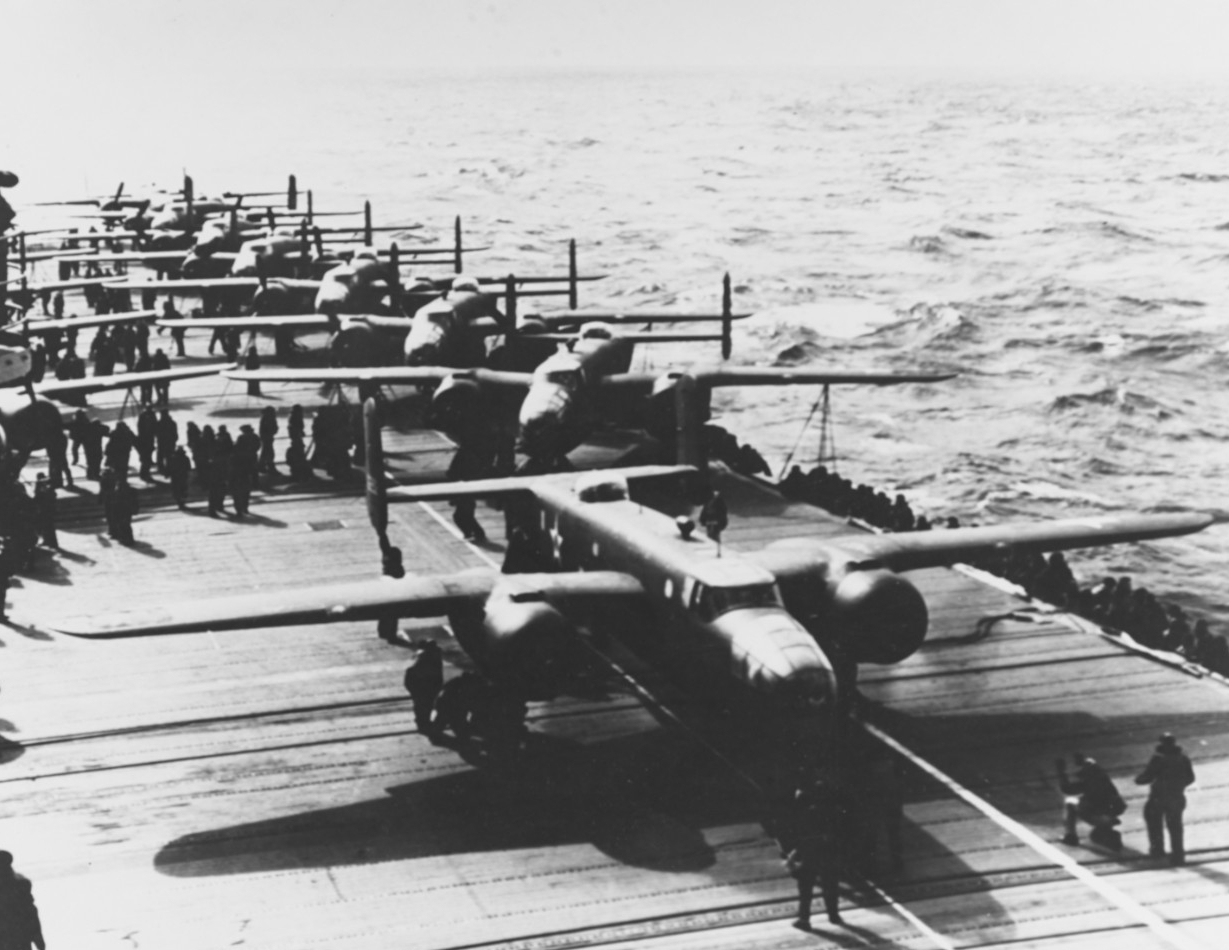
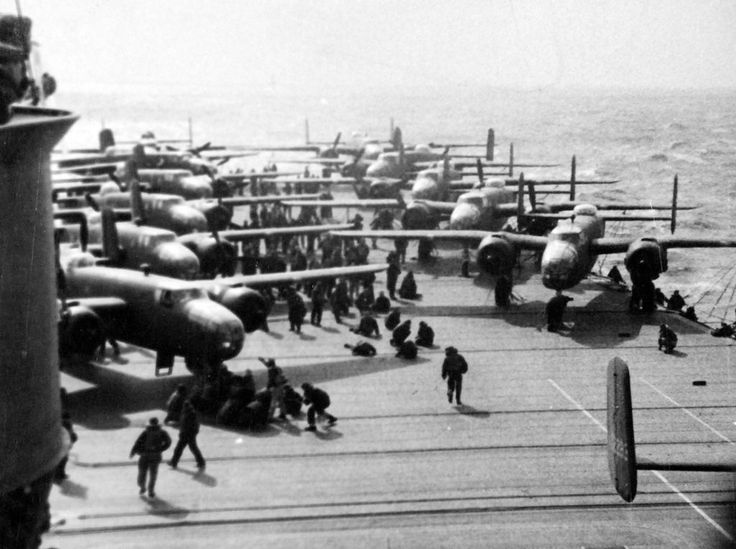
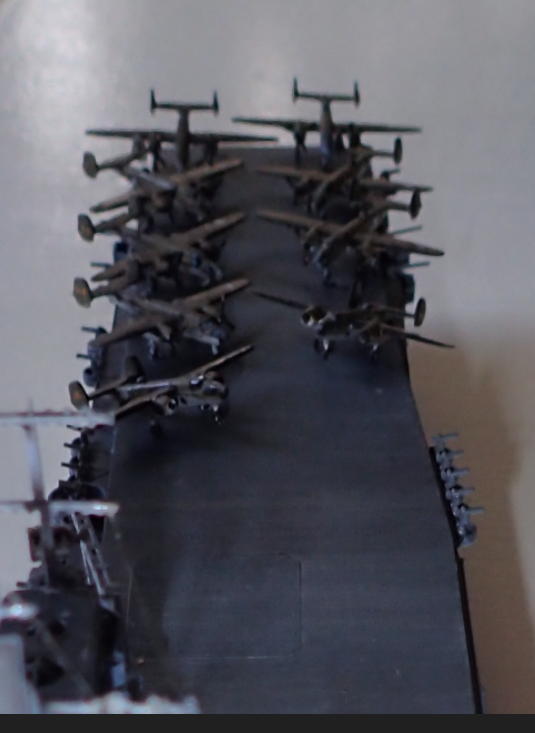
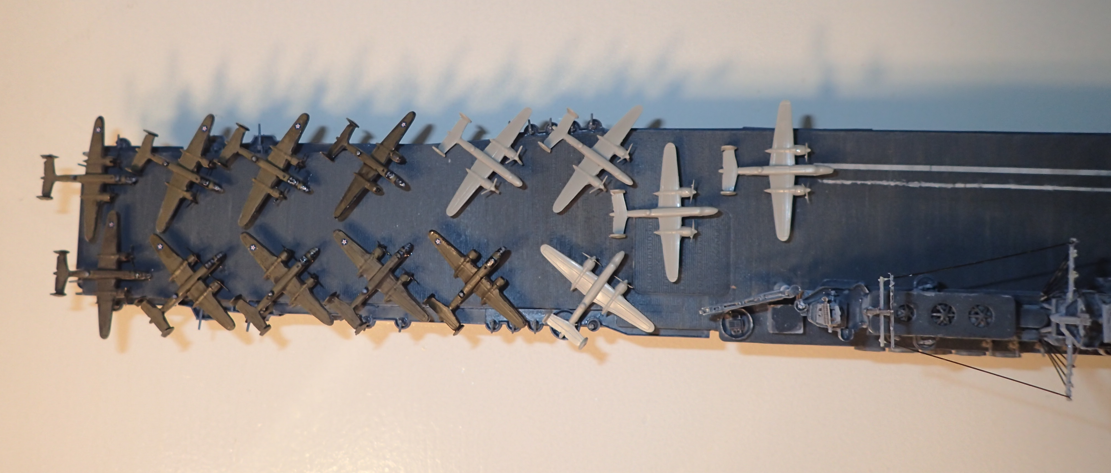
Now decision time on how to arrange the planes since they have to be glued in order to stand without flopping on their tails

I have seen lots of pics which have them them tied down in various positions along the way, in some cases even wit and SBD or Hellcat tucked in among them. Obviously they moved things around deck quite a few times for one reason or another
Unfortunately there is really no good overhead view or other of how the deck positions were on takeoff apart from the two shots below which still leaves some guesswork

However as far as I can tell, for actual launch time, it looks like they angled planes pretty close to each other along each side to allow as much runway room as possible. It also appears only the next two planes to go actually started their engines (for safety, lack of room etc...?), while the farthest one forward would go taking turns alternating to the starboard and port.

There certainly was not a lot of room for error shoving 16 planes as far back as possible

1545331109131.jpg
89771c1f884267ca1a8734163d432562.jpg


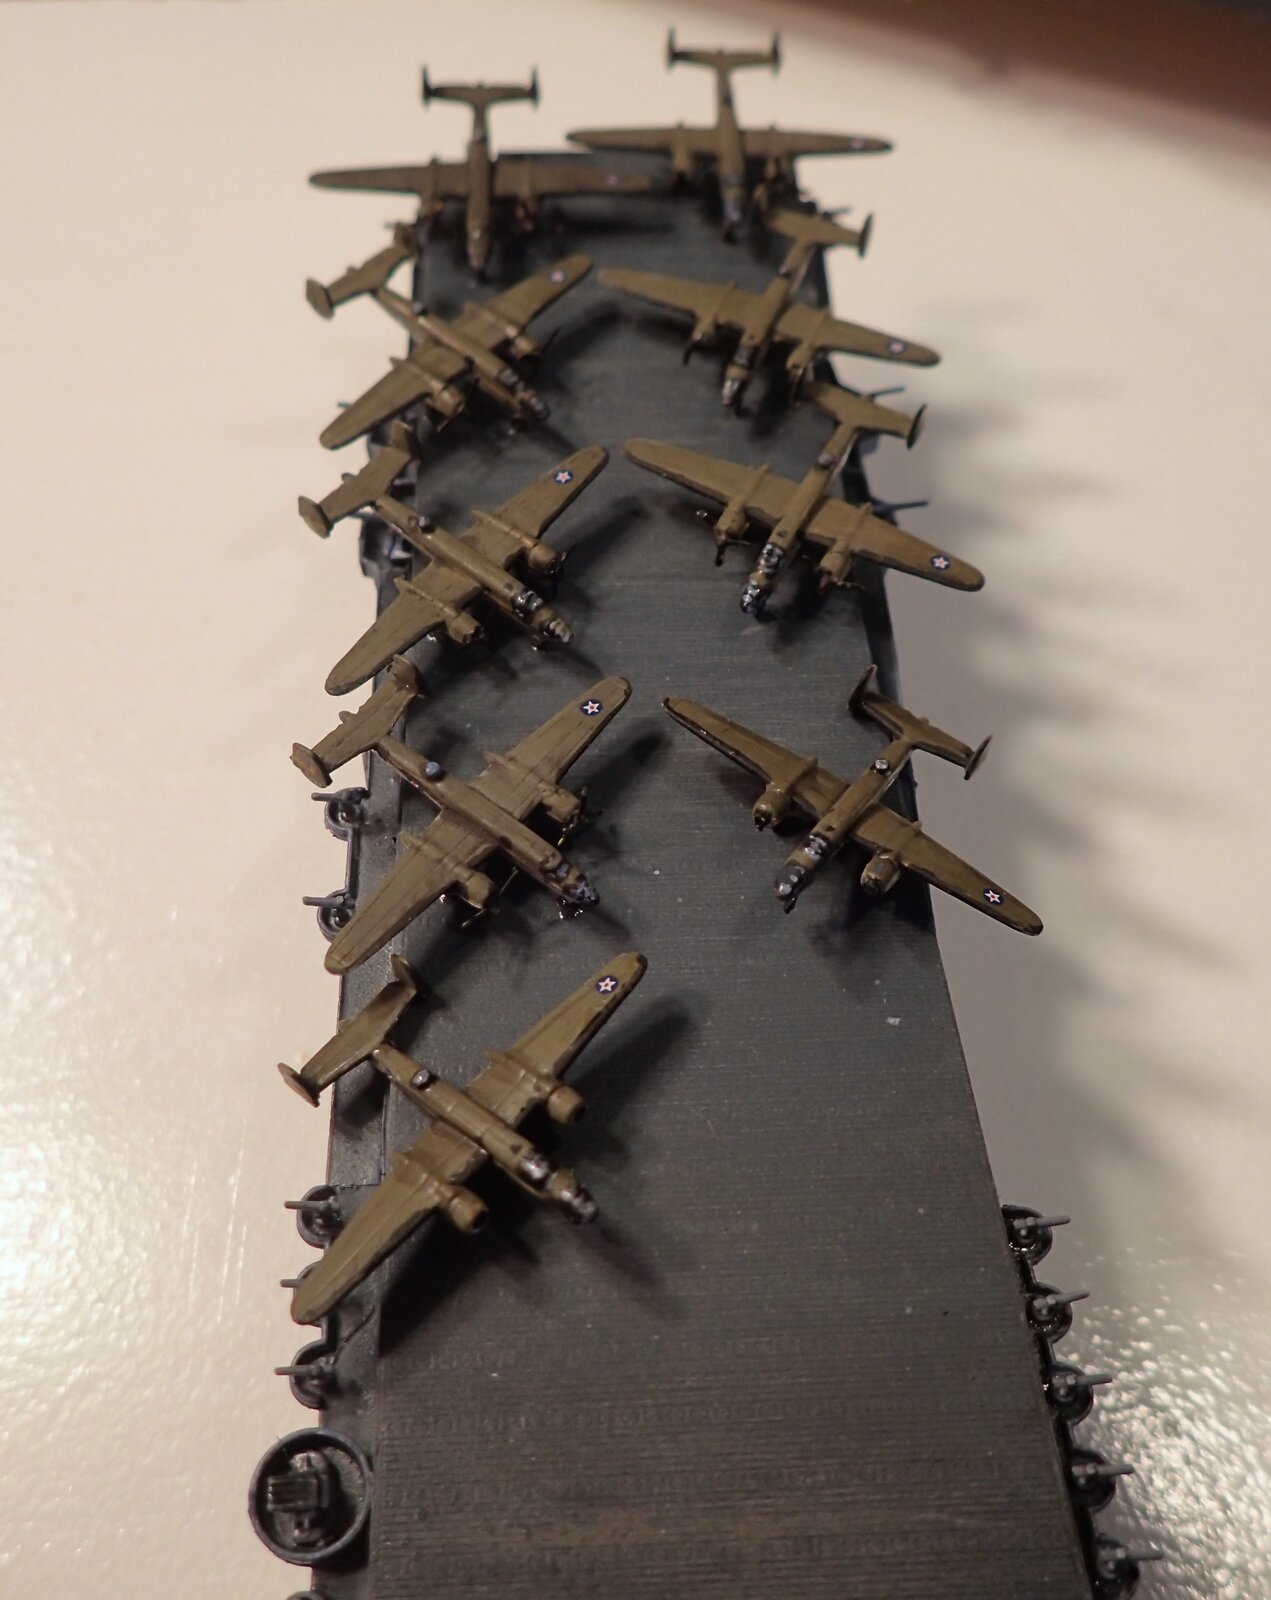
So I have all but t first two here glued down. I used canopy glue since it dries clear. Plus it allows me to adjust lightly while drying, or if I really don't like a spot, it is fairly easy to remove still

Also these are pretty small so painting the canopy was a challenge. It looks rough zoomed in like this, but I just added some light dots to try to simulate the look of frames. The effect came out better on some than others, but at normal viewing distance it is not too bad an illusion

P2223161a.JPG
P2223152a.JPG
P2223148.JPG

P2223159.JPG

1740246819214.png


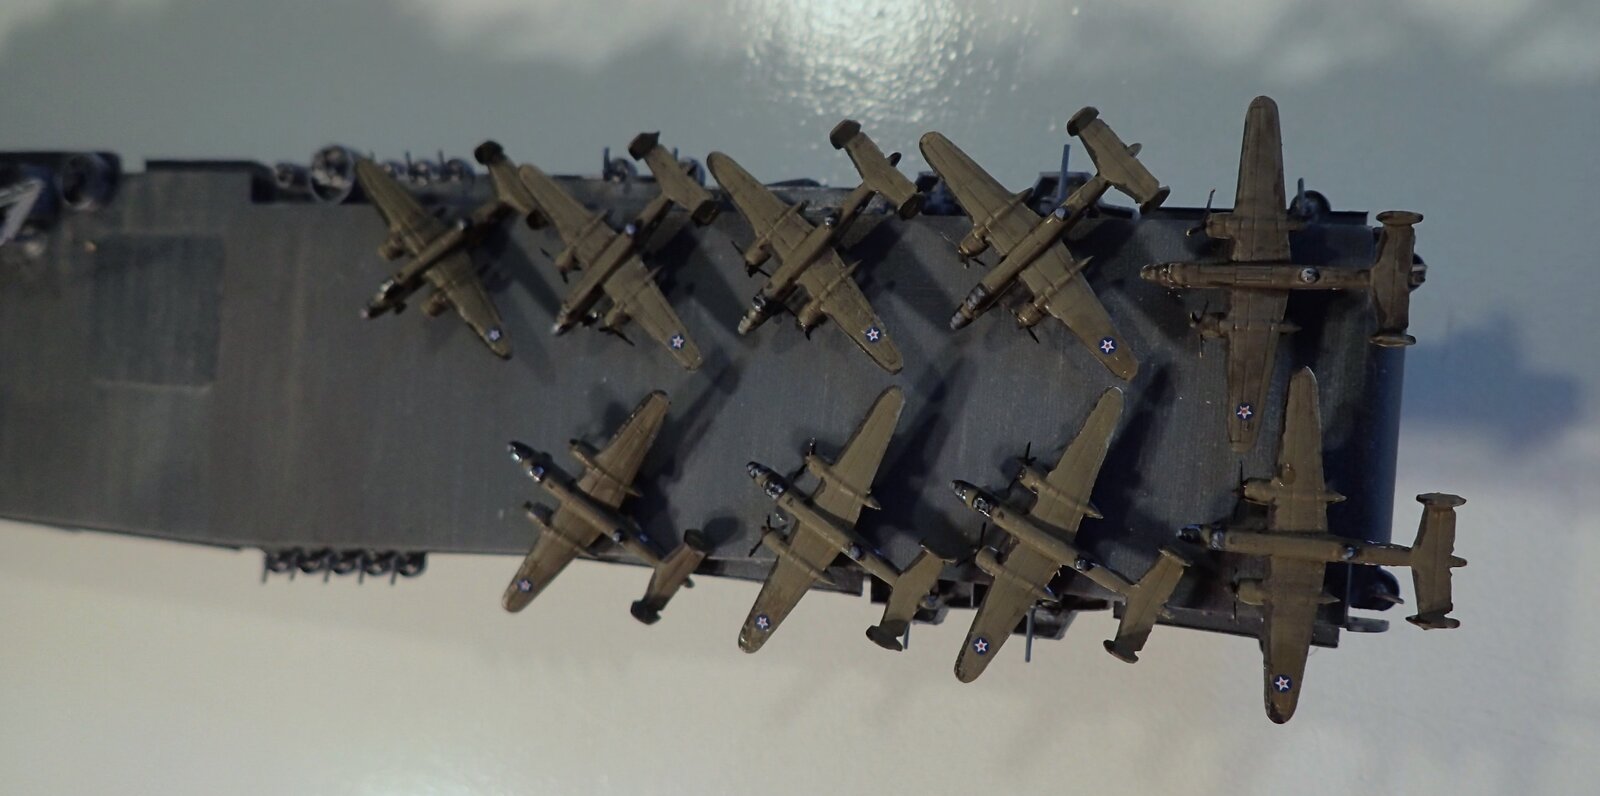
And a few more to paint, but once ready this will be something like the final configuration. Planning on having the lead plane in the air just off the bow

1740246954051.png
 
I hope they come with lots of spares! Do you place them freehand or slide em down a wire placed in the hole?
I have to place them freehand throughout. As you can see, some will be drilled (open) portholes, while others will be closed off or sealed. Last stage of the build, I will fill them all in with tinted resin to simulate the glass.
 
Ok, so this might take a while...lol. In place are 7 aft on starboard. Only 38 to go on starboard side. Might go a litte faster once I get into a rhythem.

1000013762.jpg
 
I am in the stage of adding all the hull PE portholes that might as well be 1/1200 scale. So as I plunge into this insanity, I have 90 hull portholes to manage.
WTF? Am I reading this right that you have to plug all the portholes with evergreen, sand them smooth then drill out smaller versions and apply PE detail, to each one, 90 times?

So much for a GB, we'll see you sometime in 2026.
 
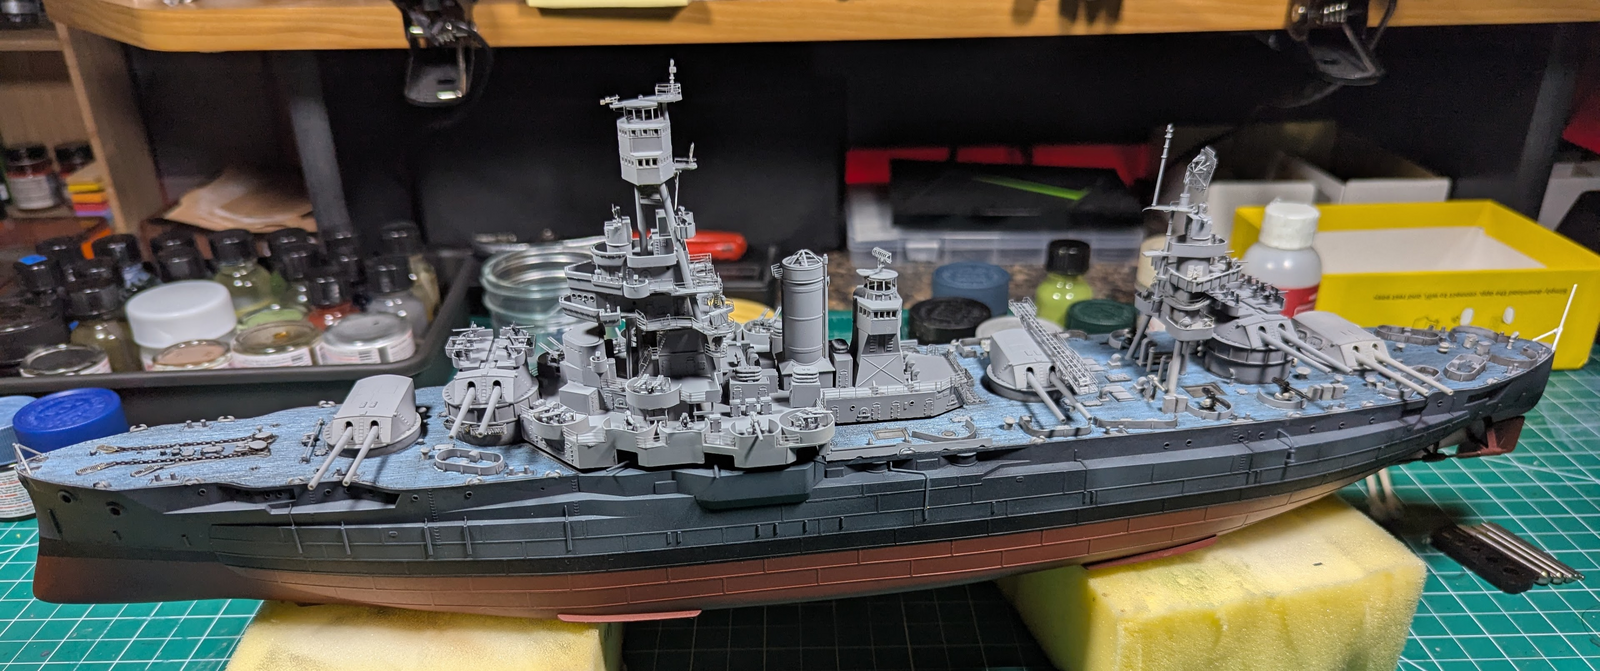
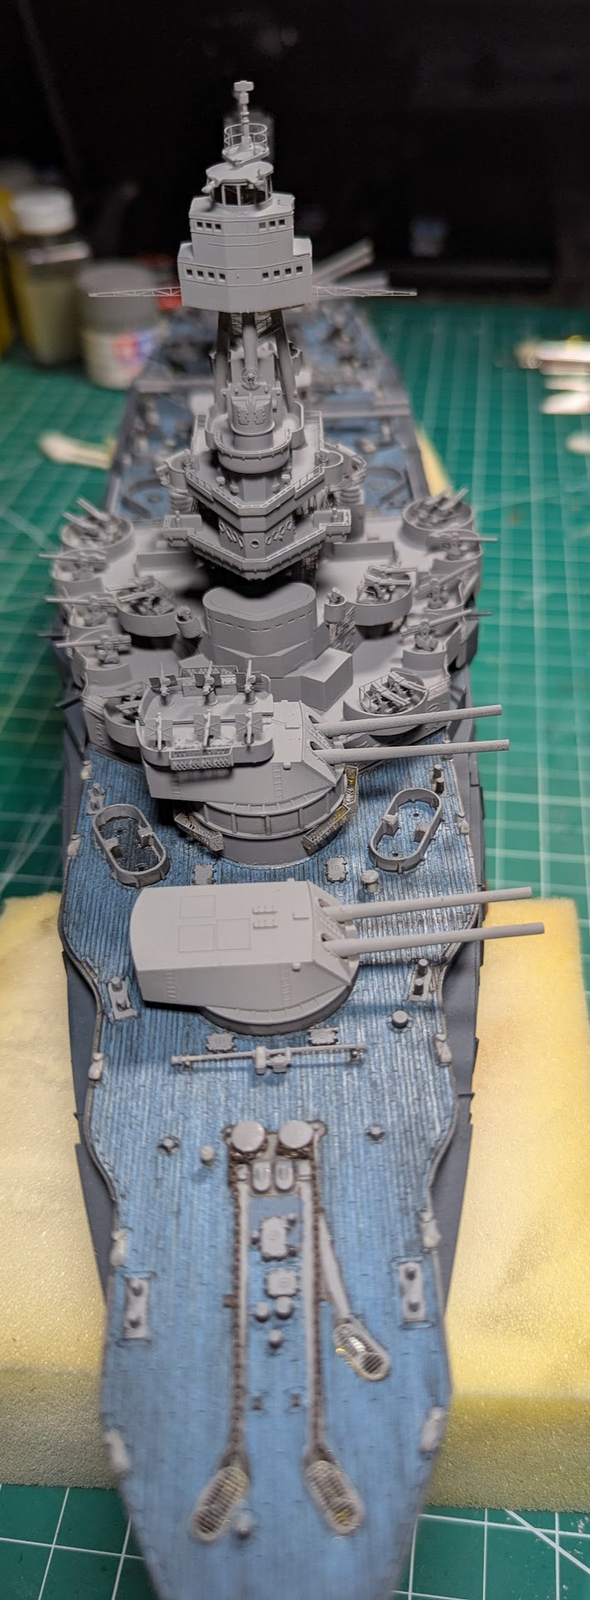
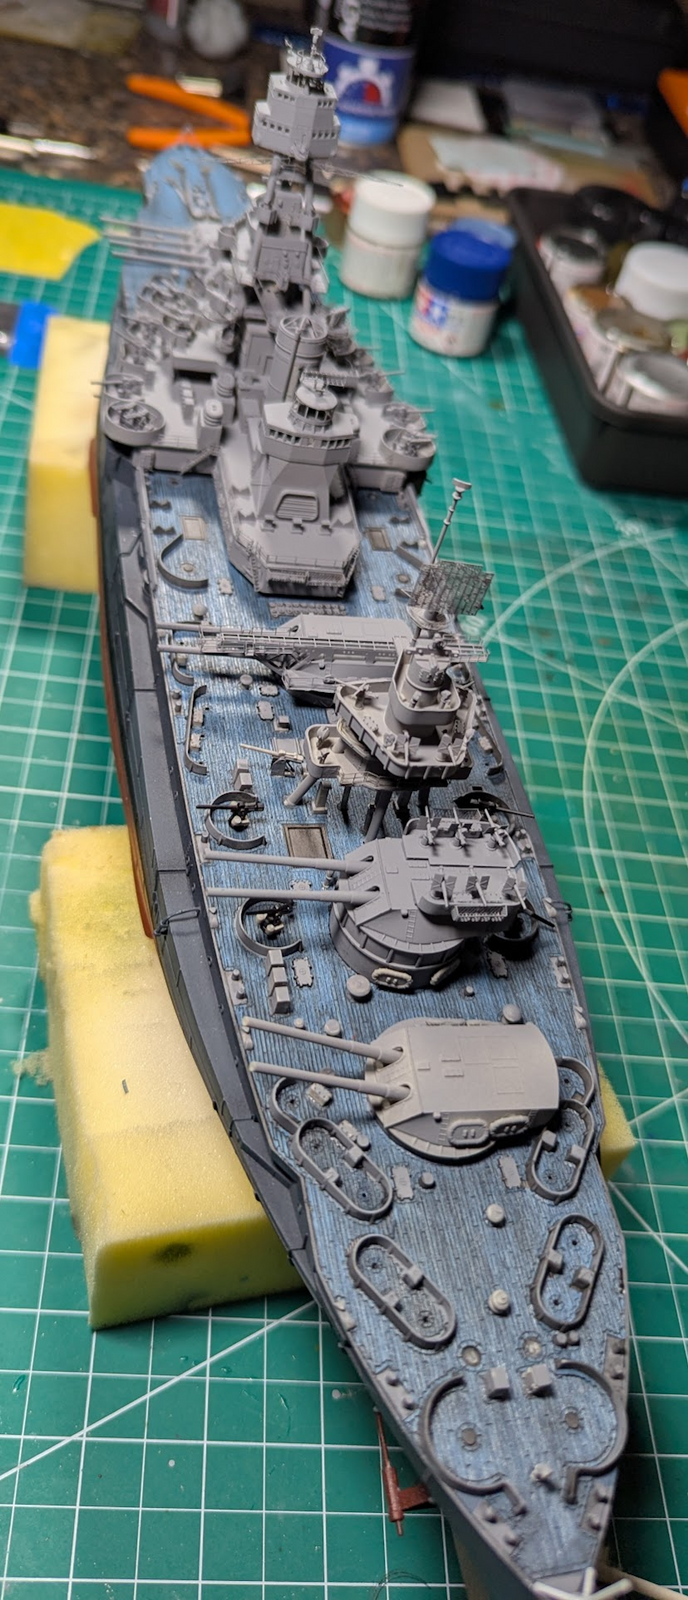
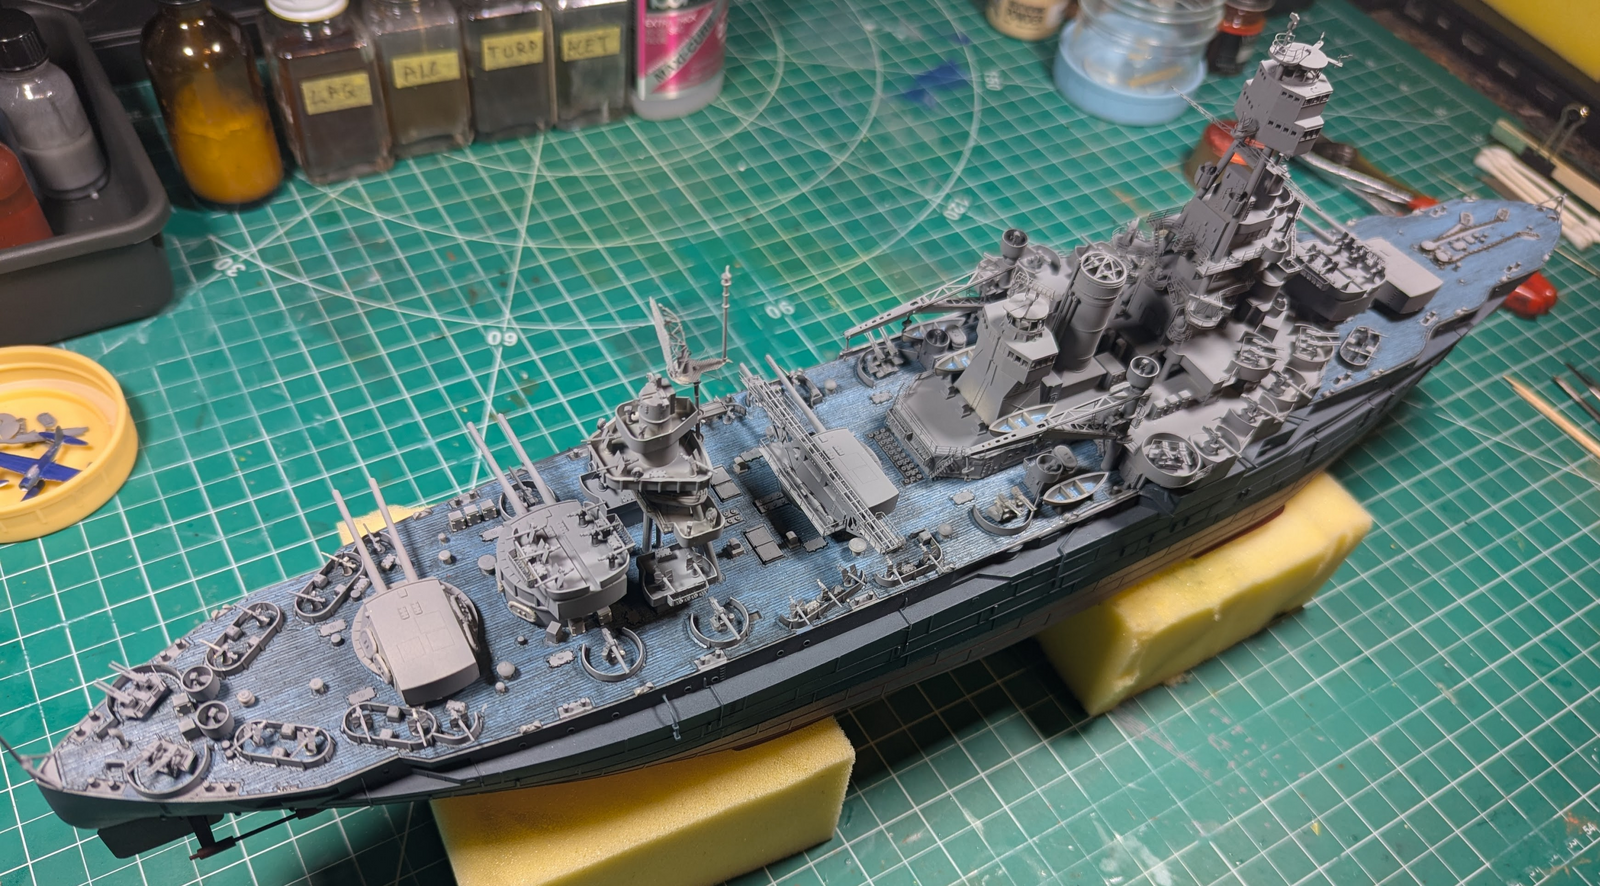
I've not posted in a while, my build portion is winding down fast. I seem to have lost the shield of a single 20mm flak, also decided to make my own mounts for the main antenna (I think it is an antenna, the big thing thing near the top of the main fighting stack) since the ones that it came with were too thin (for me to avoid ruining) and were too short on one side (which probably means I assembled crooked) so I took them out. I can make some wire ones, plan to try with copper, but think steel would be better for this so I might have to buy some tiny straight (stiff) wires.

1740258669736.png


1740258805708.png


1740258822812.png

These are from a few days ago, I had just finished retouching the gray on top after heavily washing the blue decks to tone them down. Note most AAA missing, and the main super-structure is just resting there.

1740259000736.png

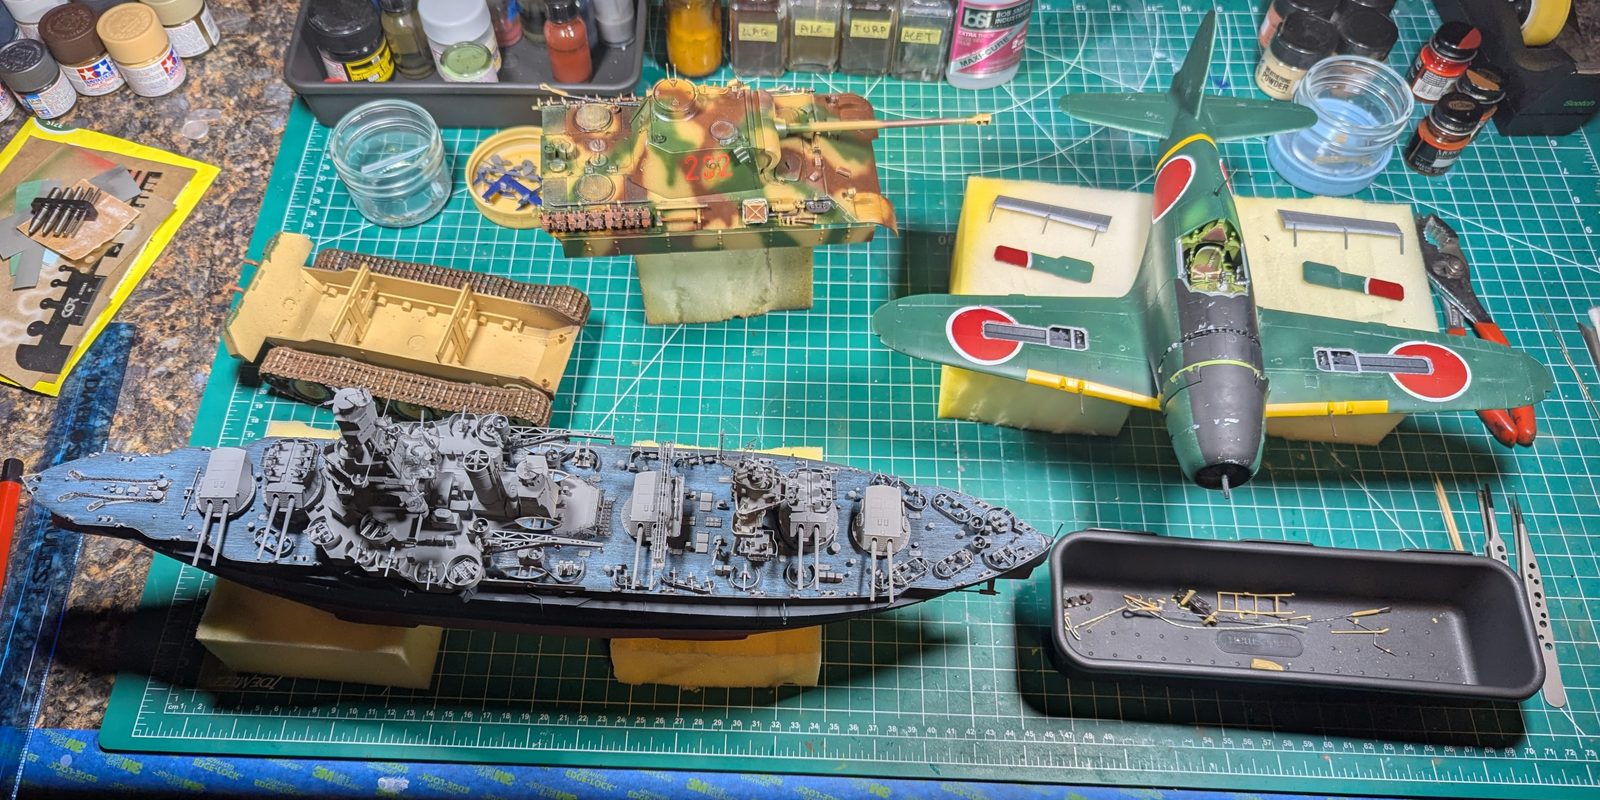
This picture is from today, ten minutes ago actually. The missing 20mm and remaining bits are obvious to me, but I know where to look. I also will add this shot (below) to explain some slow movement. I spend a lot of time switching contexts :cool:

1740259182709.png


Edit to add: I have all the railings set aside and painted, just think I should deal with rigging (deciding if I am up to it) before they get in the way or get bent.
 
Last edited:
WTF? Am I reading this right that you have to plug all the portholes with evergreen, sand them smooth then drill out smaller versions and apply PE detail, to each one, 90 times?

So much for a GB, we'll see you sometime in 2026.
Yes Sir. That would be the facts of the situation, but only in part. There are 90 portholes just on the hull. I have to do the same for the rest of the ship, which should be about another hundred-ish.
 
Looking good......I like the deck weathering....and all the turrets set up for a broadside.
From what I've been reading, her two main duties and overall contribution during WWII were bombardment and anti-aircraft/anti-kamiakaze. Despite having "inadequate" 14-inch rifles by the mainstream Naval standards of 1944/45, each was quite formidable to land forces, which were the primary target in almost all engagements.
 
Last edited:
I've not posted in a while, my build portion is winding down fast. I seem to have lost the shield of a single 20mm flak, also decided to make my own mounts for the main antenna (I think it is an antenna, the big thing thing near the top of the main fighting stack) since the ones that it came with were too thin (for me to avoid ruining) and were too short on one side (which probably means I assembled crooked) so I took them out. I can make some wire ones, plan to try with copper, but think steel would be better for this so I might have to buy some tiny straight (stiff) wires.

View attachment 138854

View attachment 138855

View attachment 138856
These are from a few days ago, I had just finished retouching the gray on top after heavily washing the blue decks to tone them down. Note most AAA missing, and the main super-structure is just resting there.

View attachment 138857
This picture is from today, ten minutes ago actually. The missing 20mm and remaining bits are obvious to me, but I know where to look. I also will add this shot (below) to explain some slow movement. I spend a lot of time switching contexts :cool:

View attachment 138858


Edit to add: I have all the railings set aside and painted, just think I should deal with rigging (deciding if I am up to it) before they get in the way or get bent.

Great details on that for sure. The photo-etch really added a lot
 

Latest posts

Back
Top