
You are using an out of date browser. It may not display this or other websites correctly.
You should upgrade or use an alternative browser.
You should upgrade or use an alternative browser.
Star Wars A-A5 Speeder Truck
- Thread starter Nikati
- Start date


Nikati
Well-Known Member
- Joined
- Dec 26, 2023
- Messages
- 119
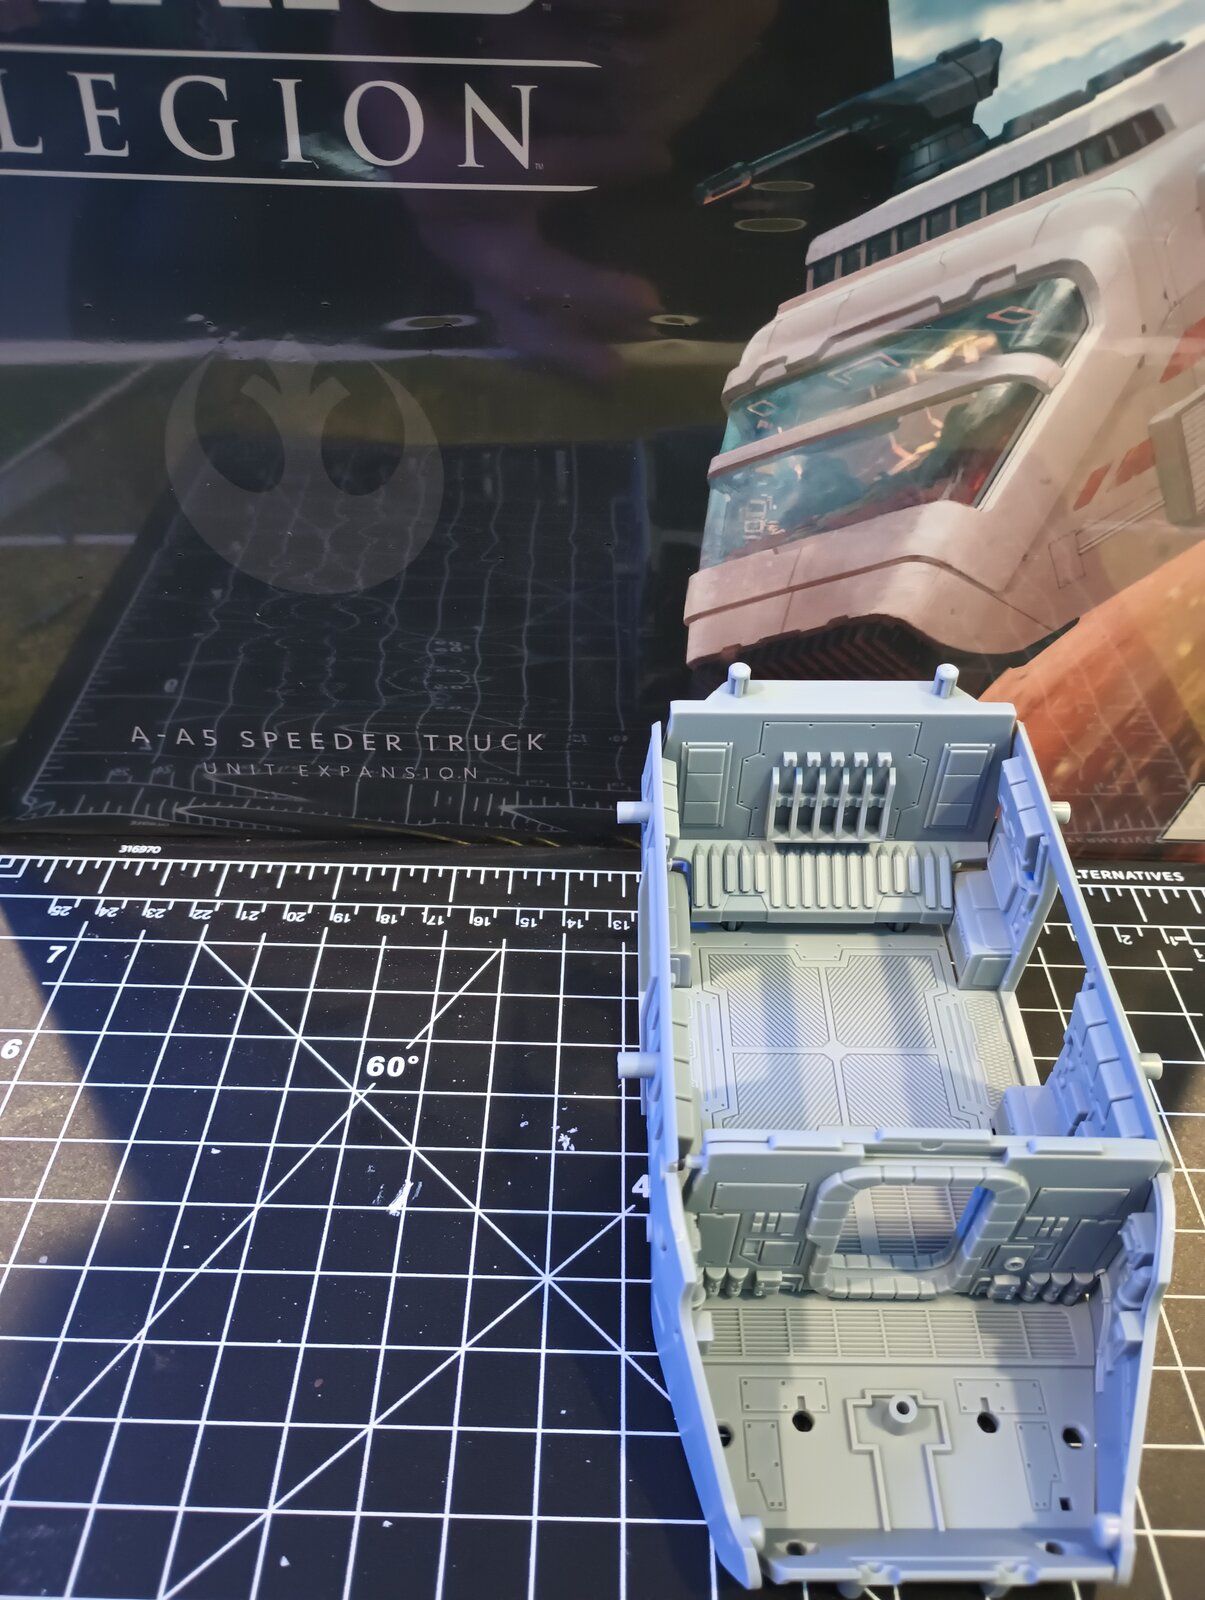
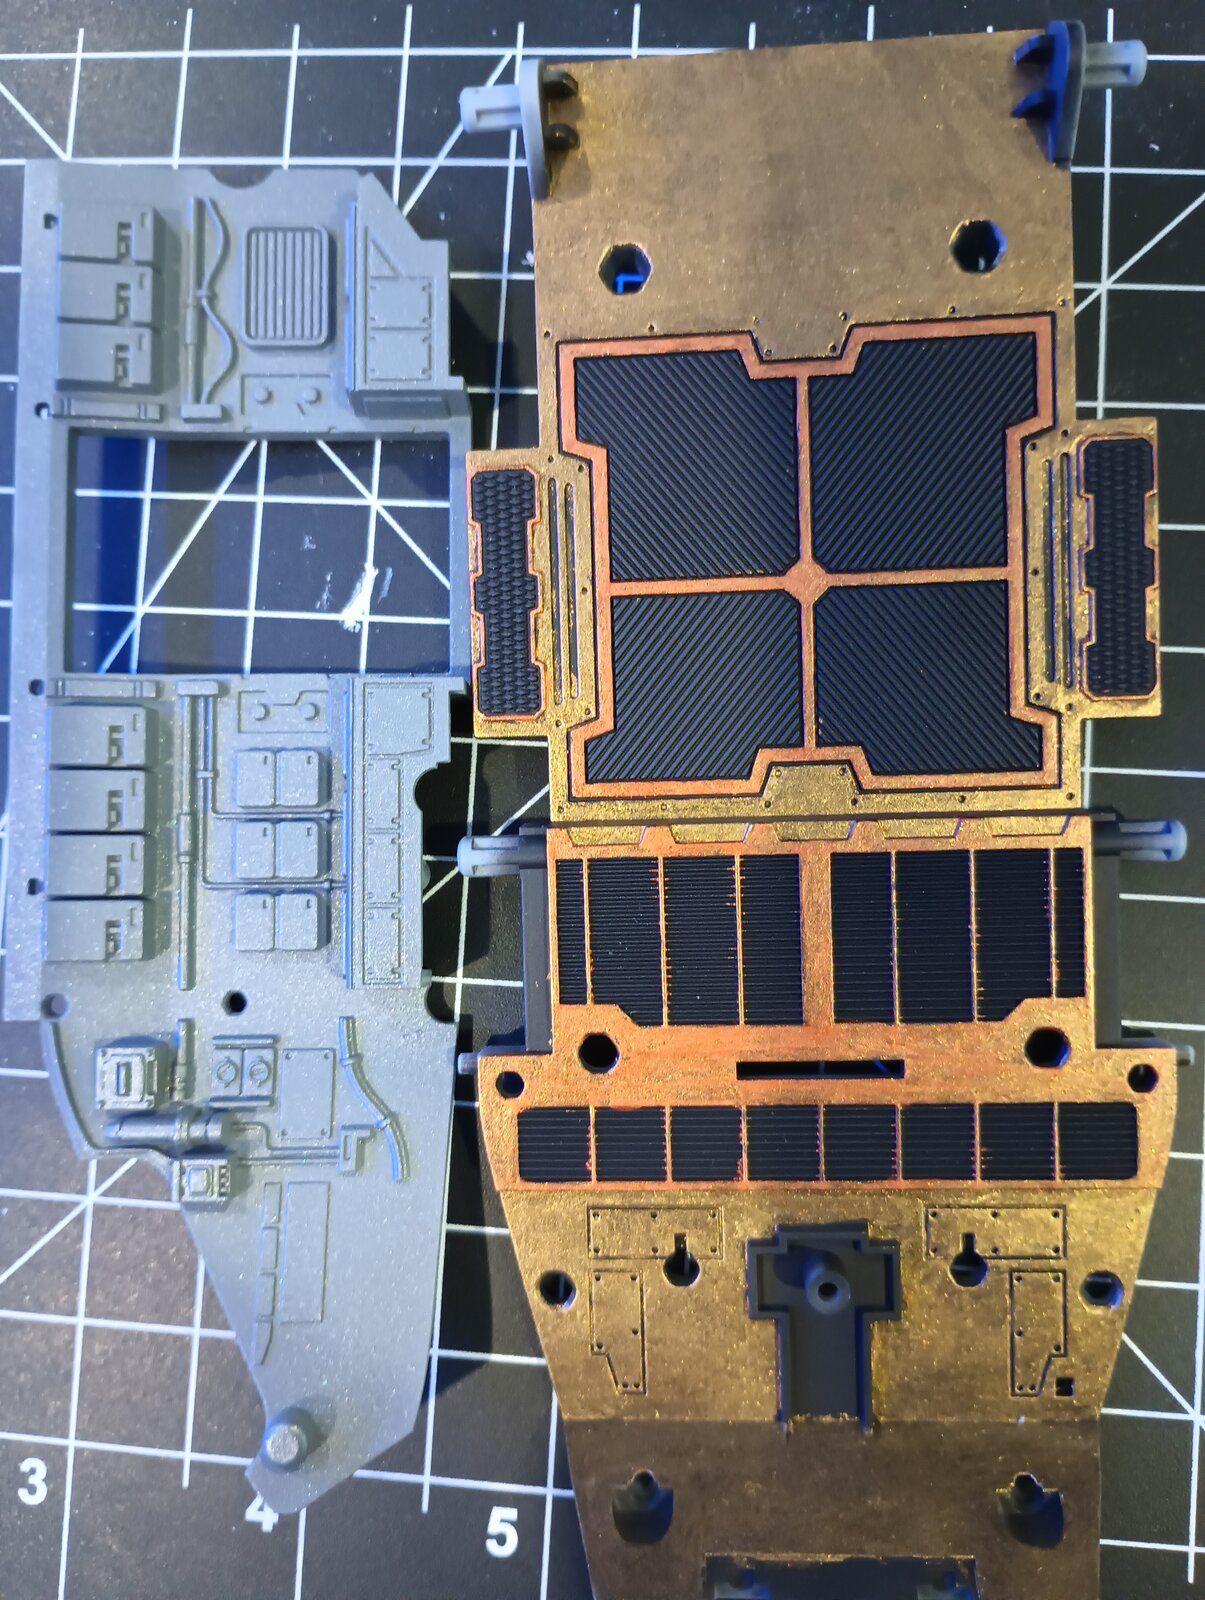
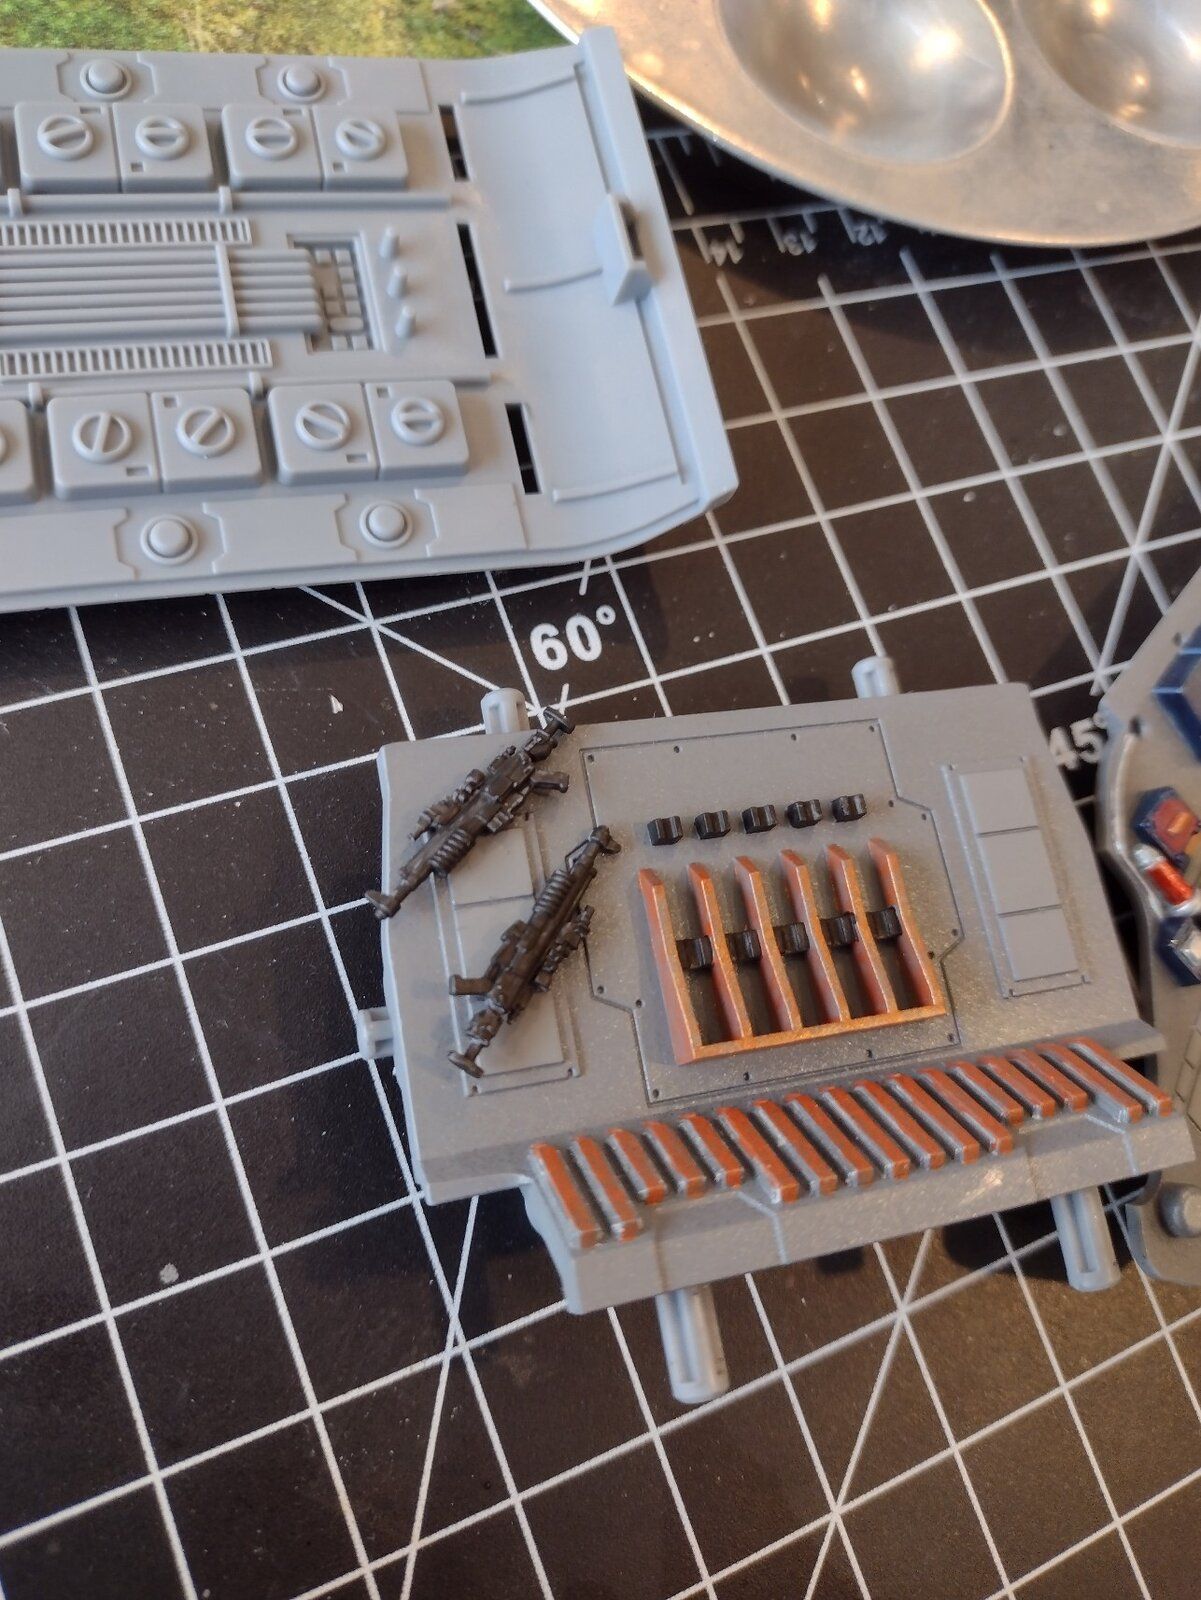
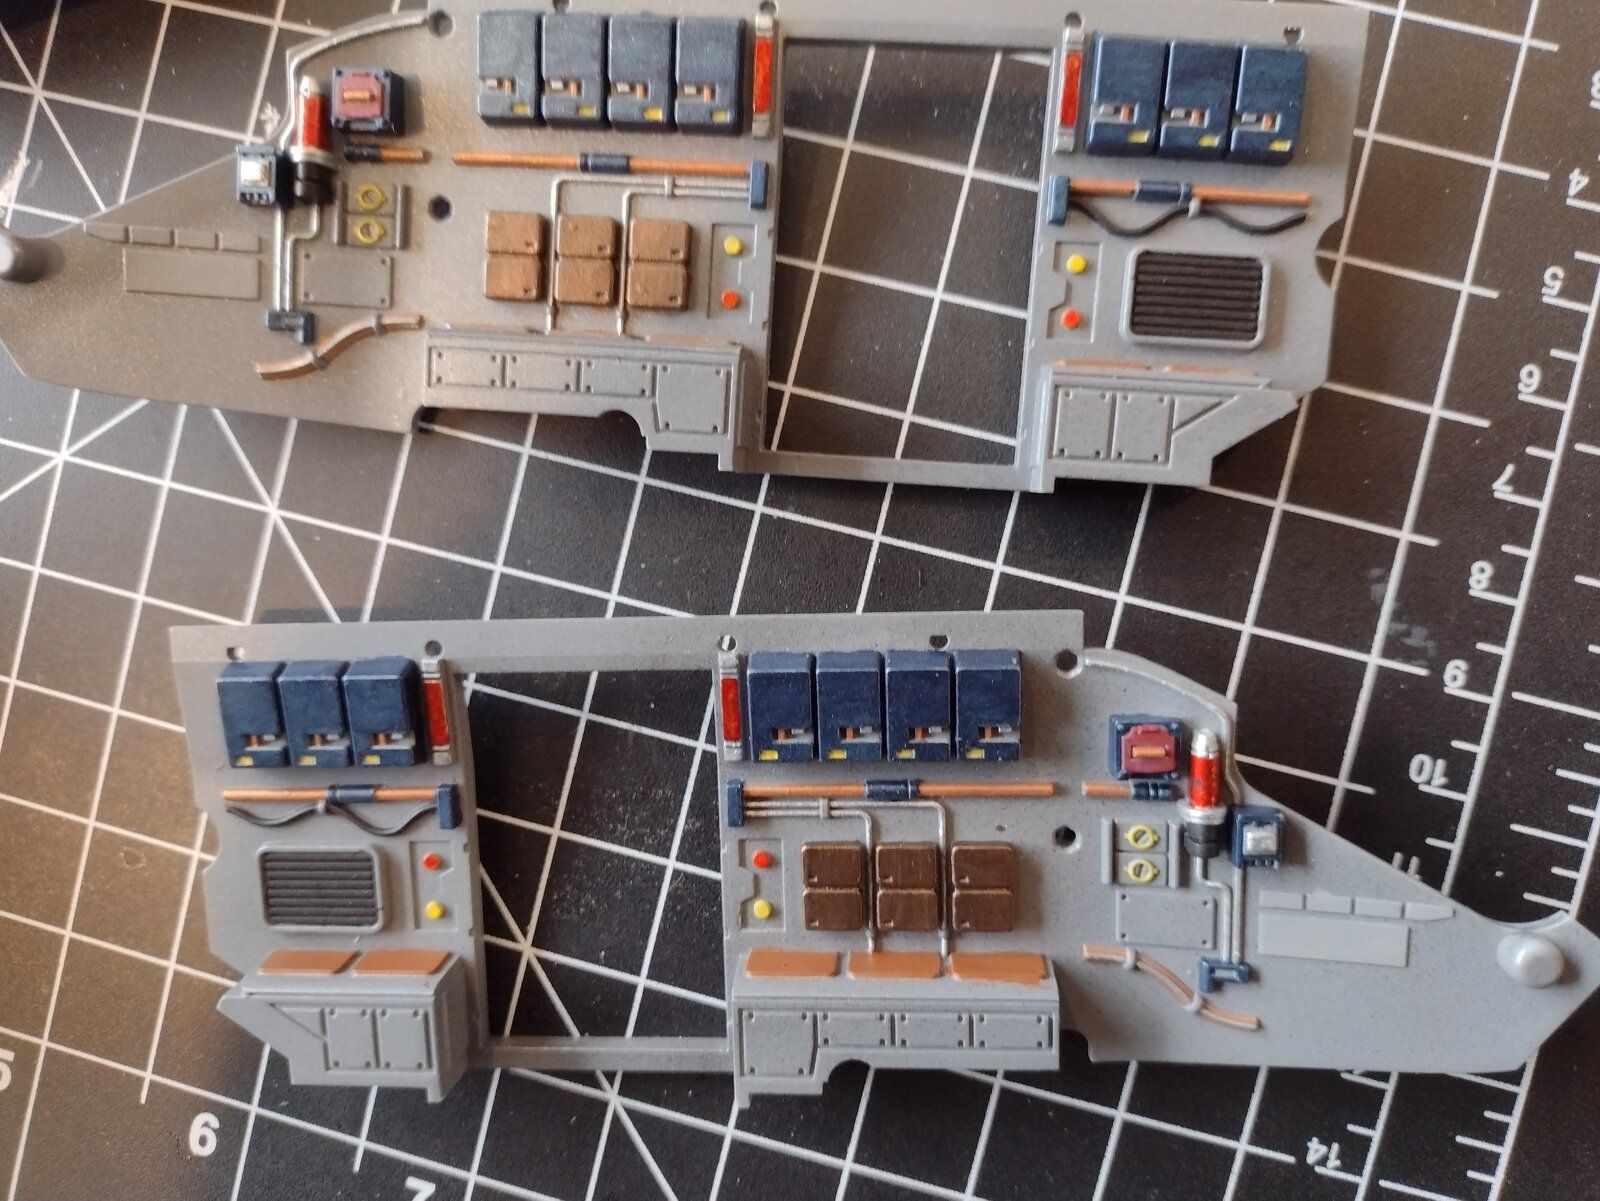
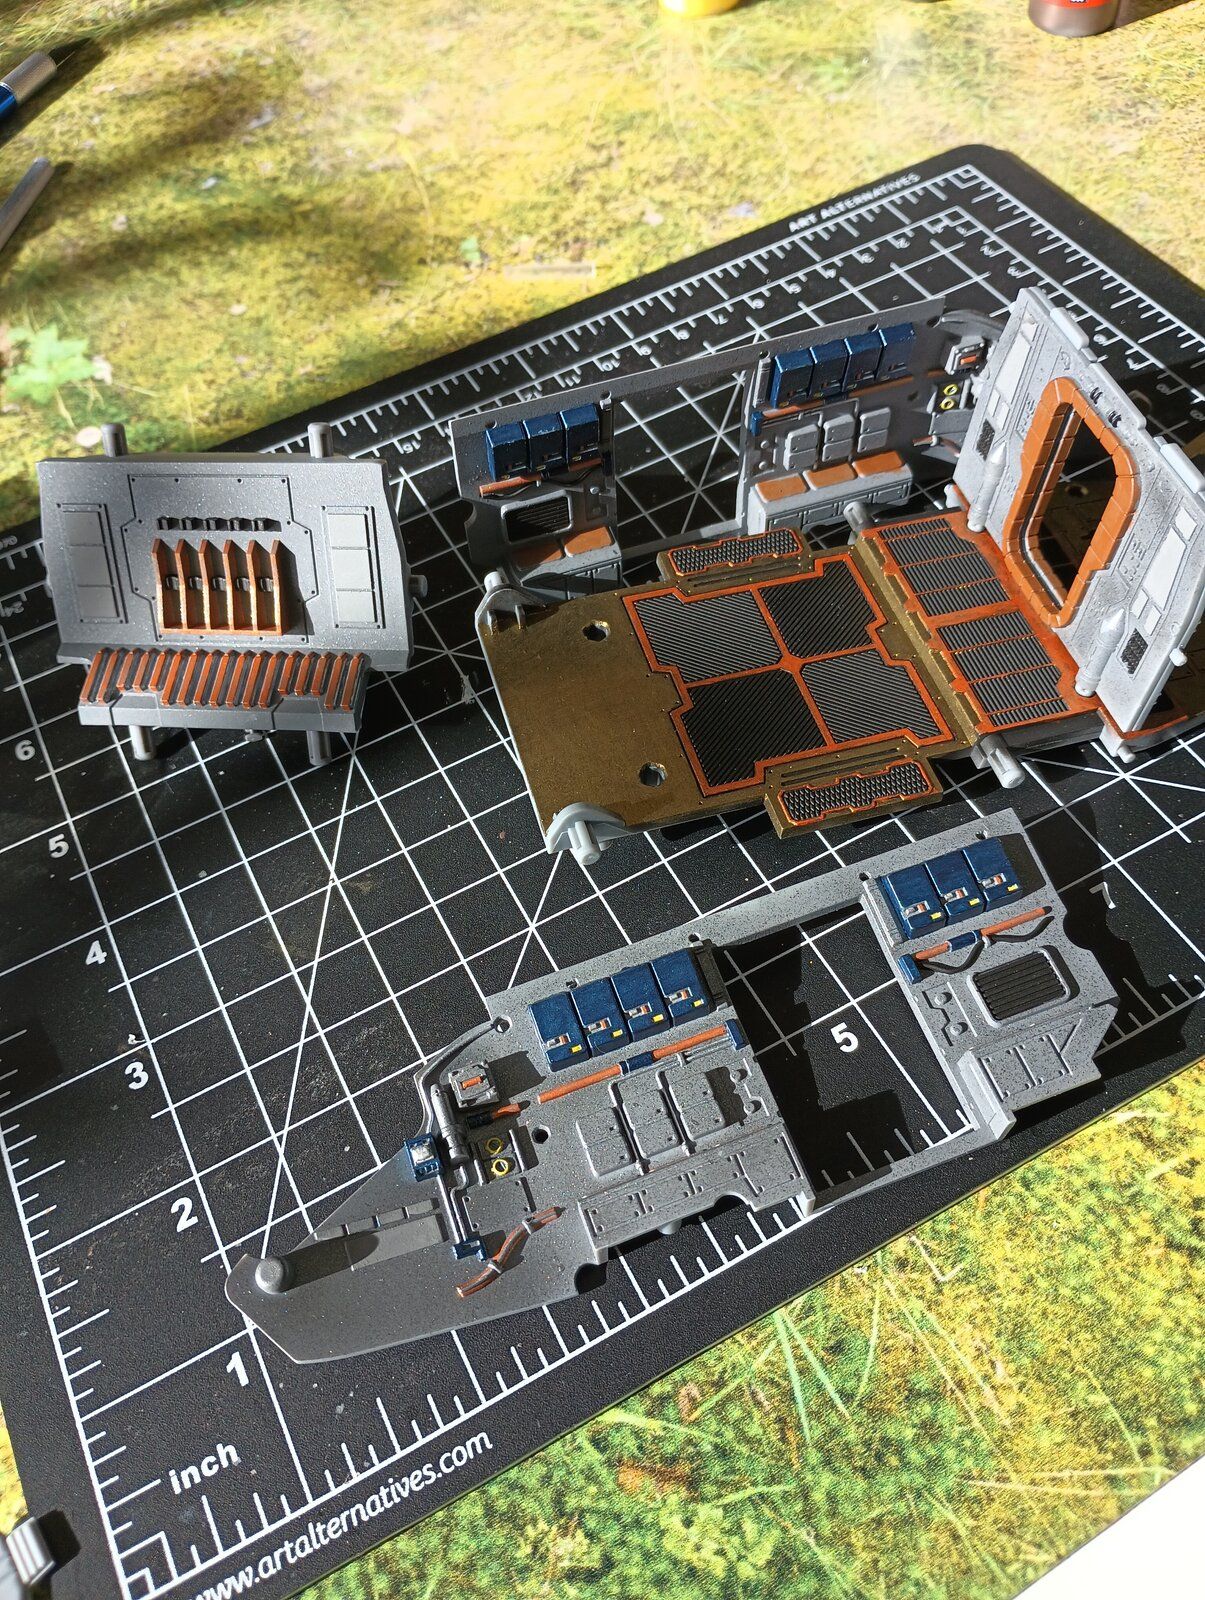
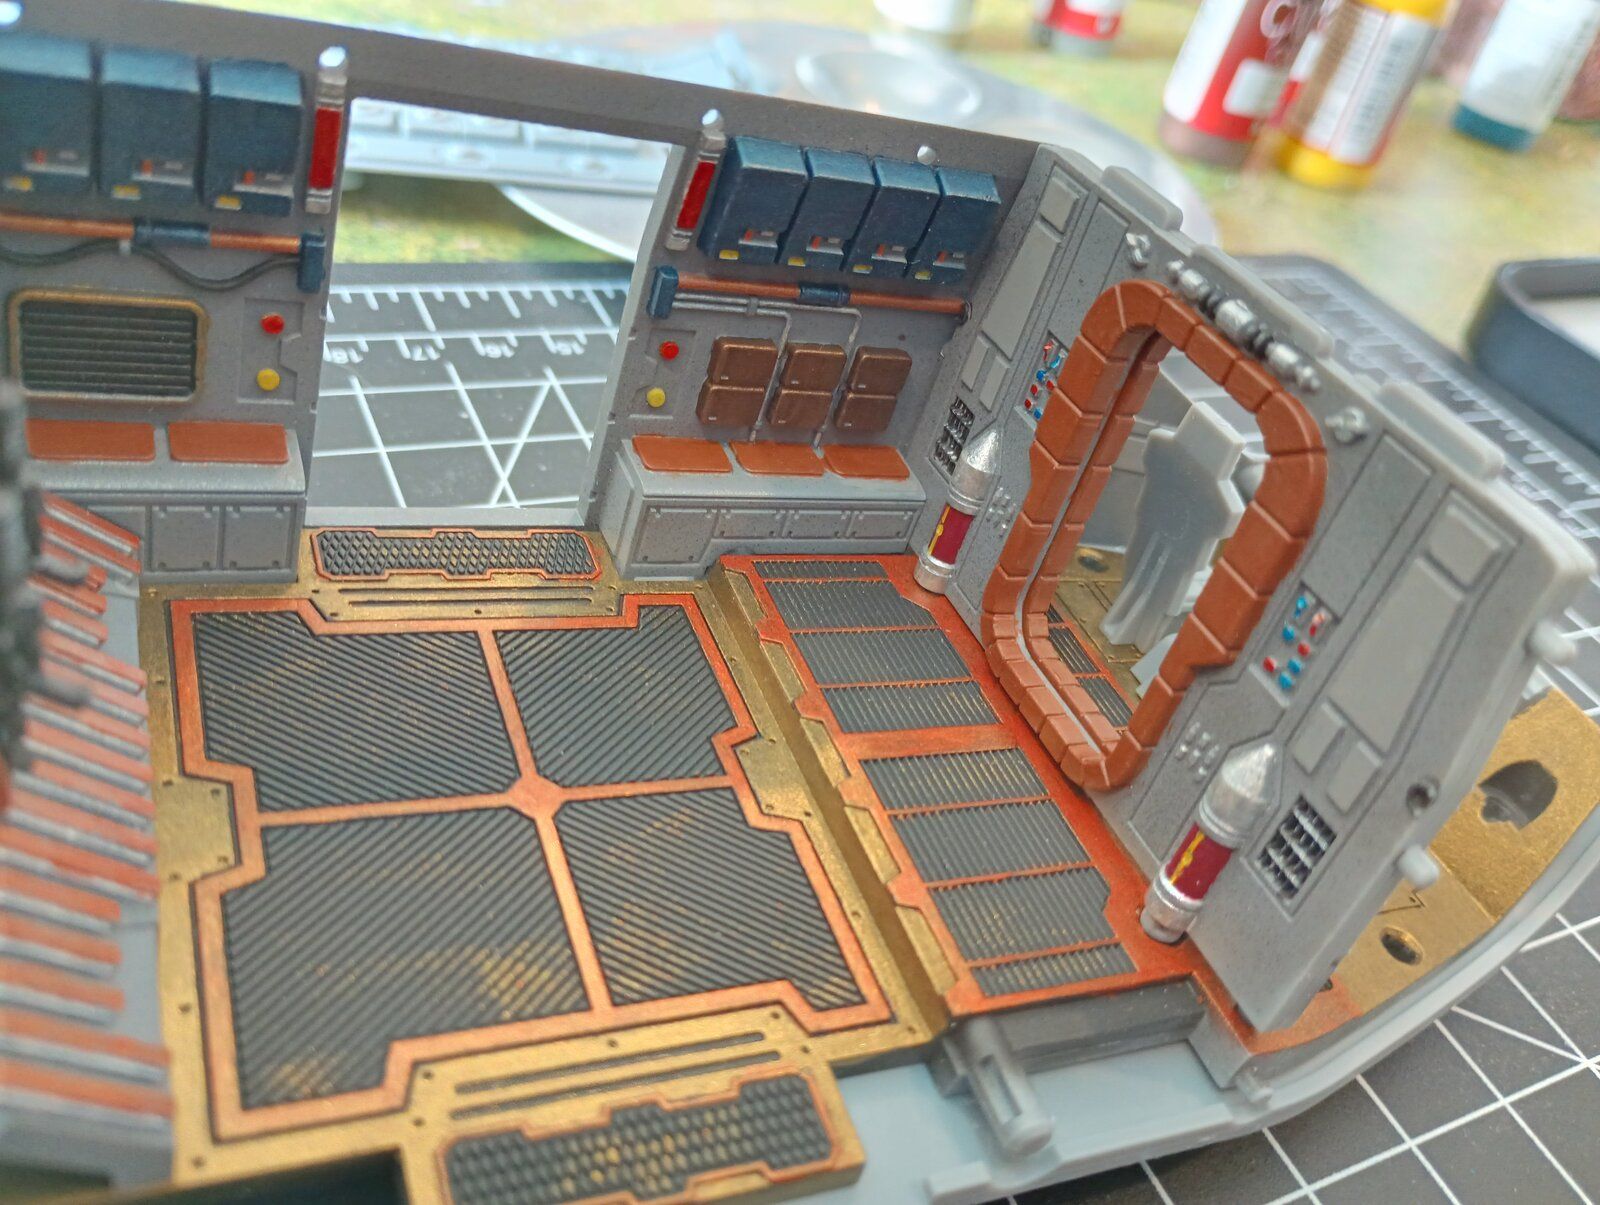
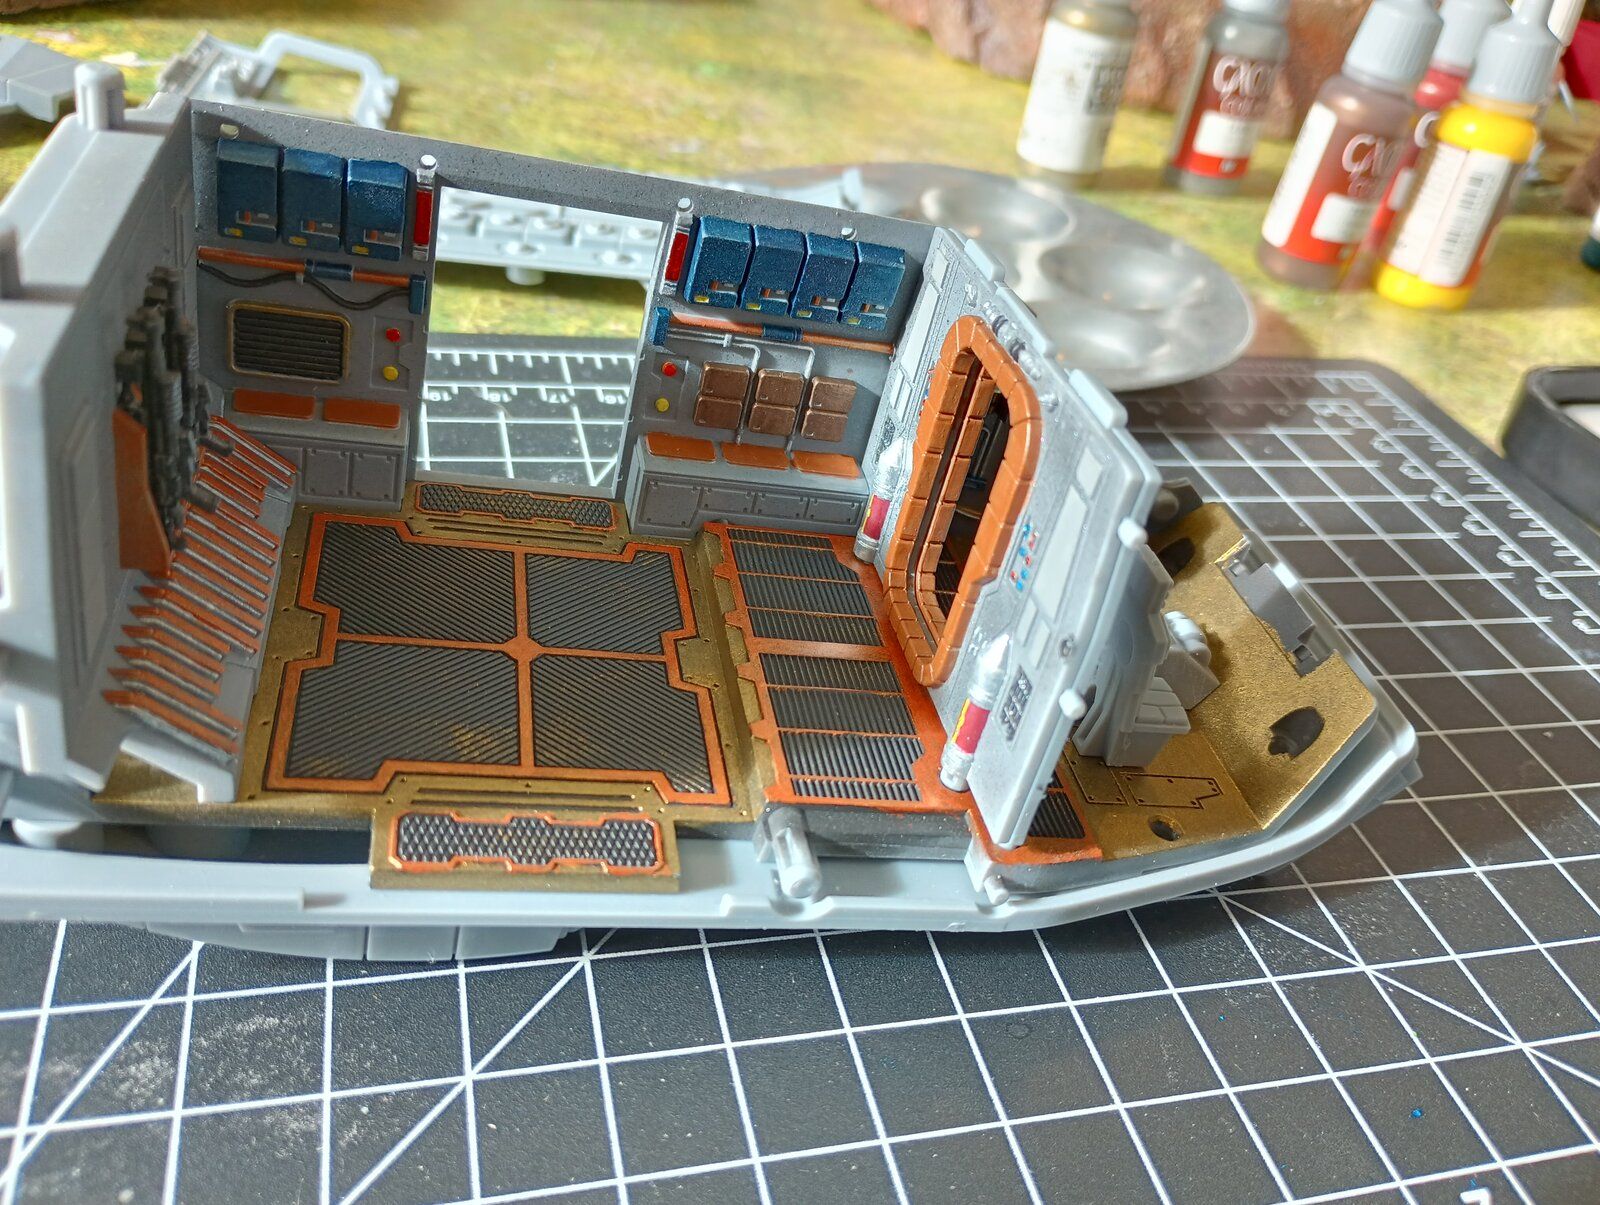
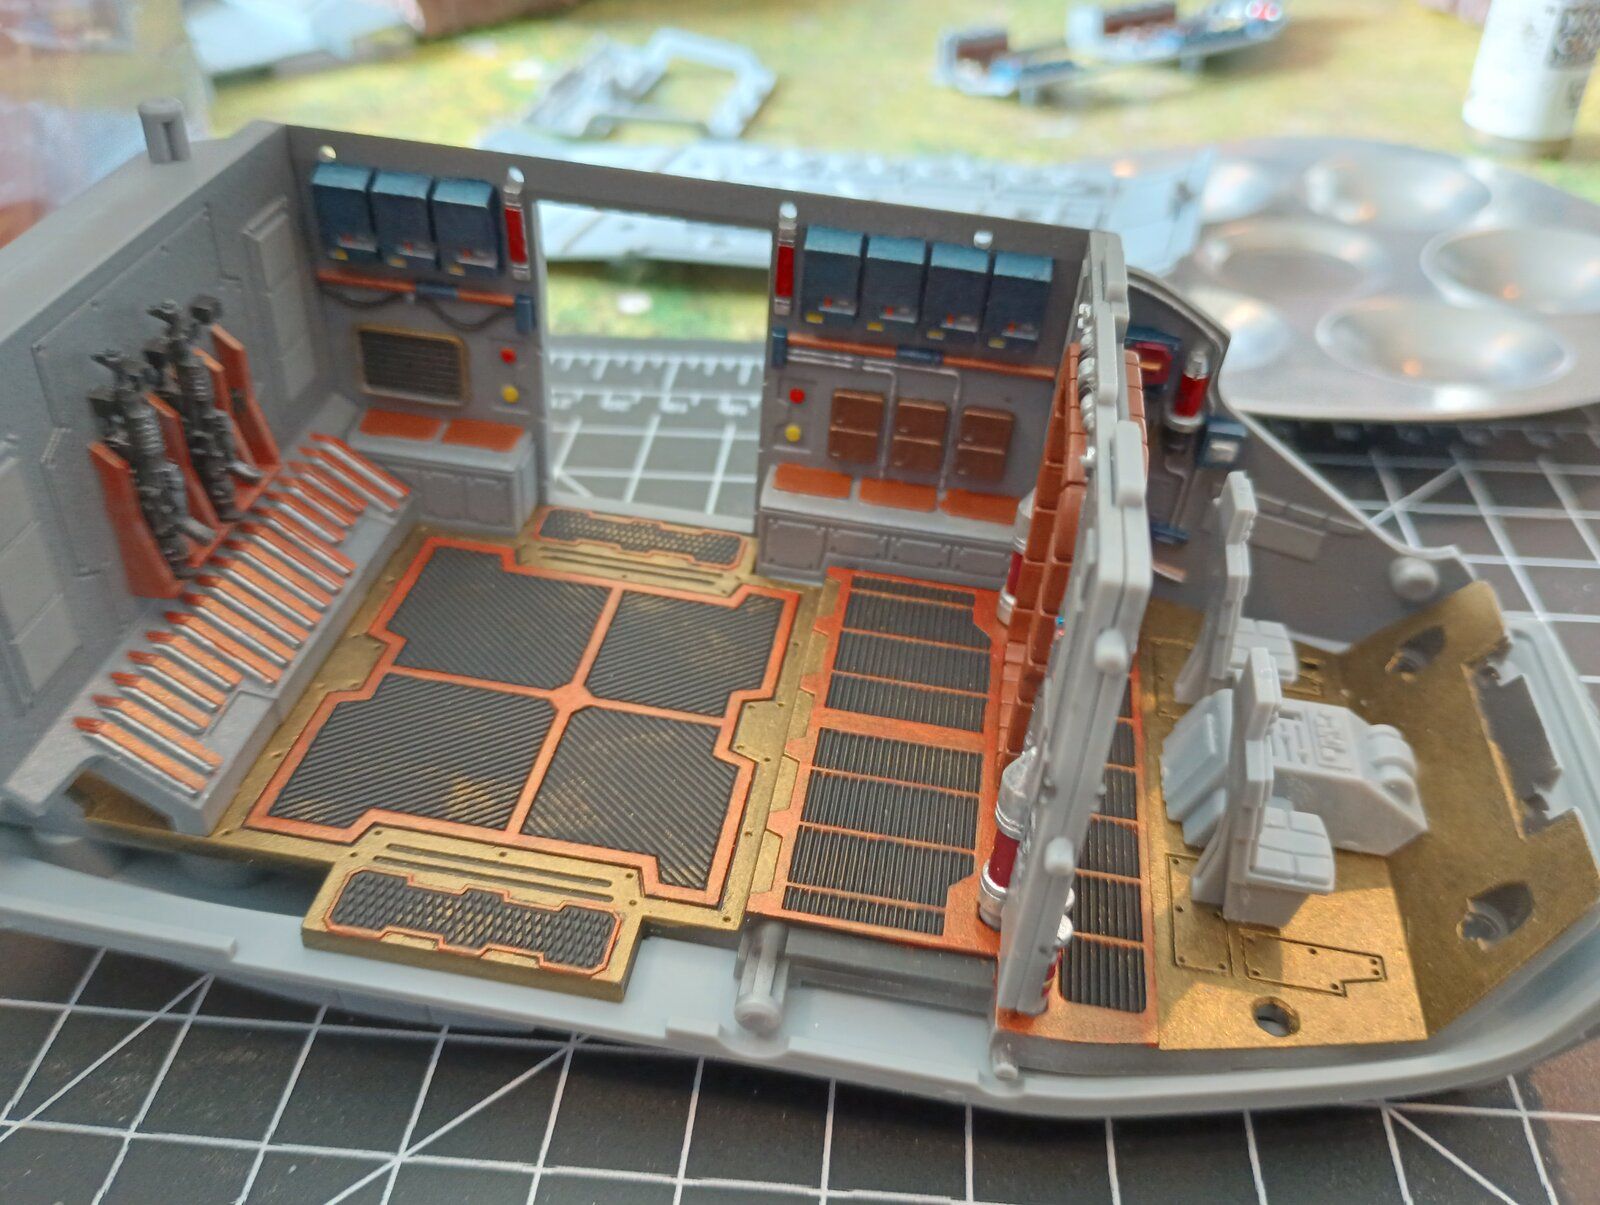
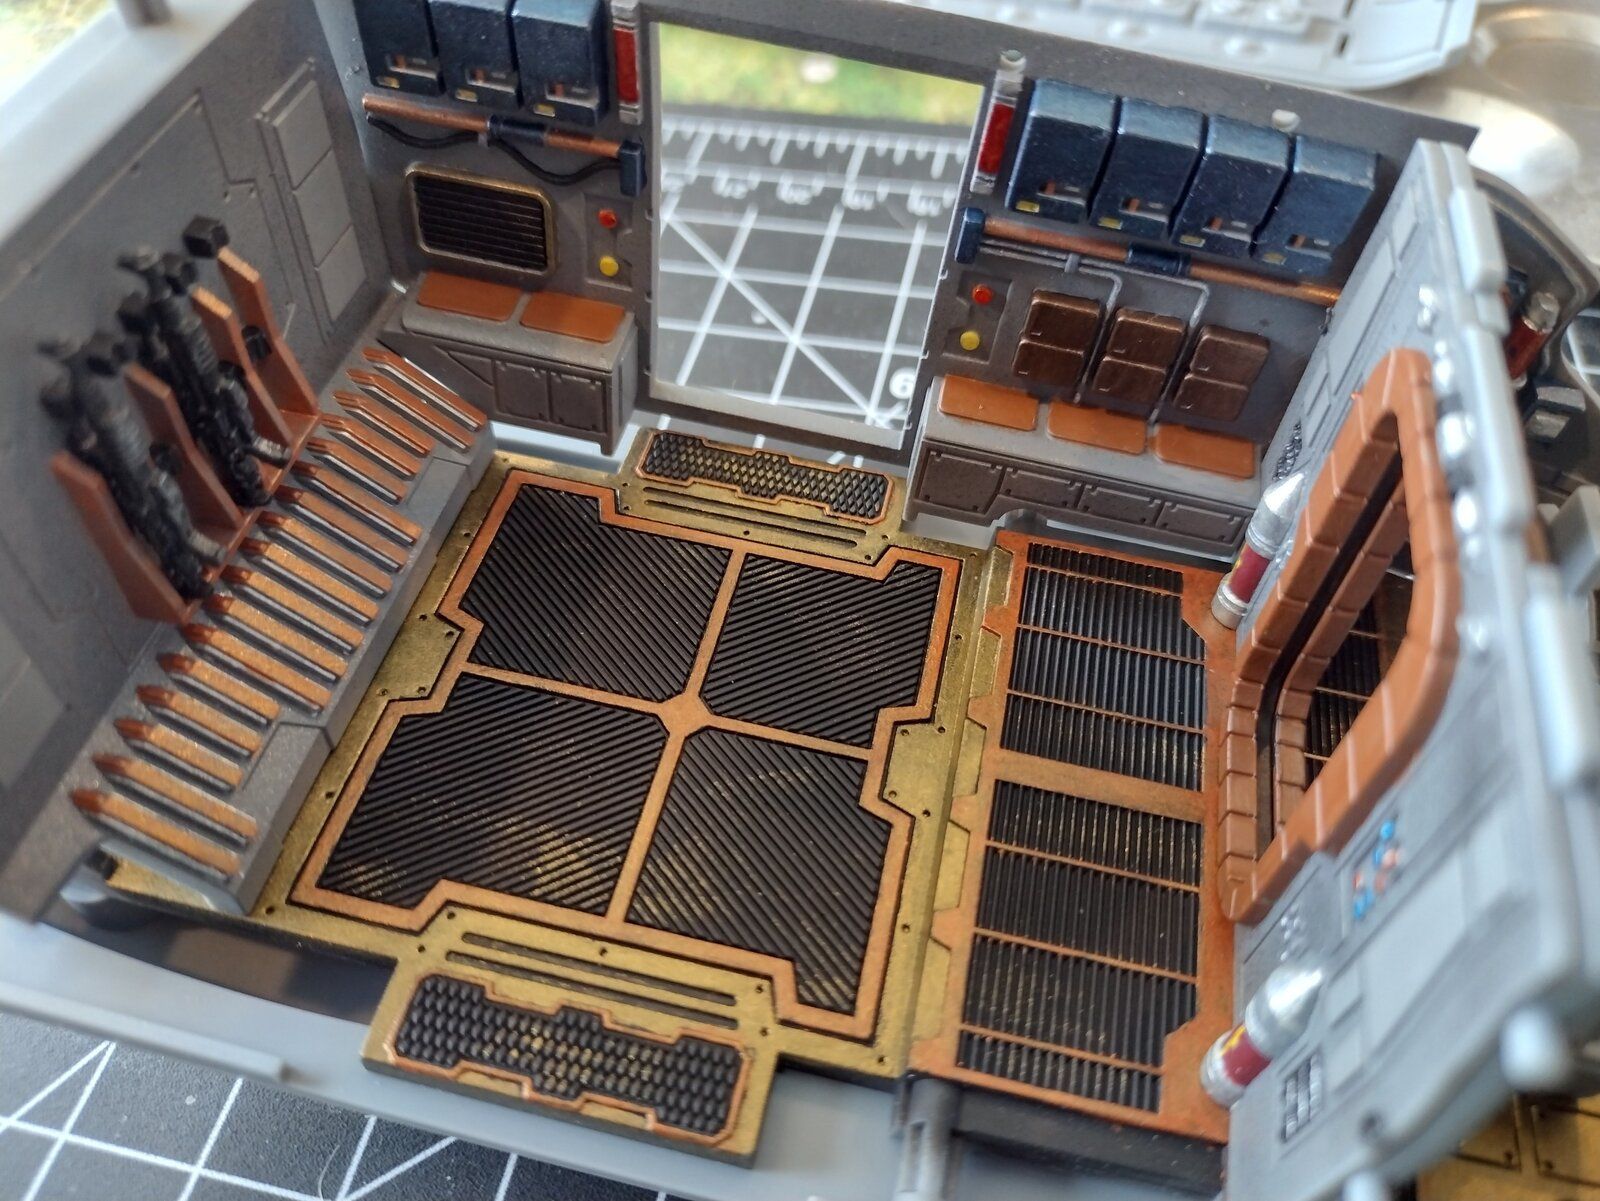
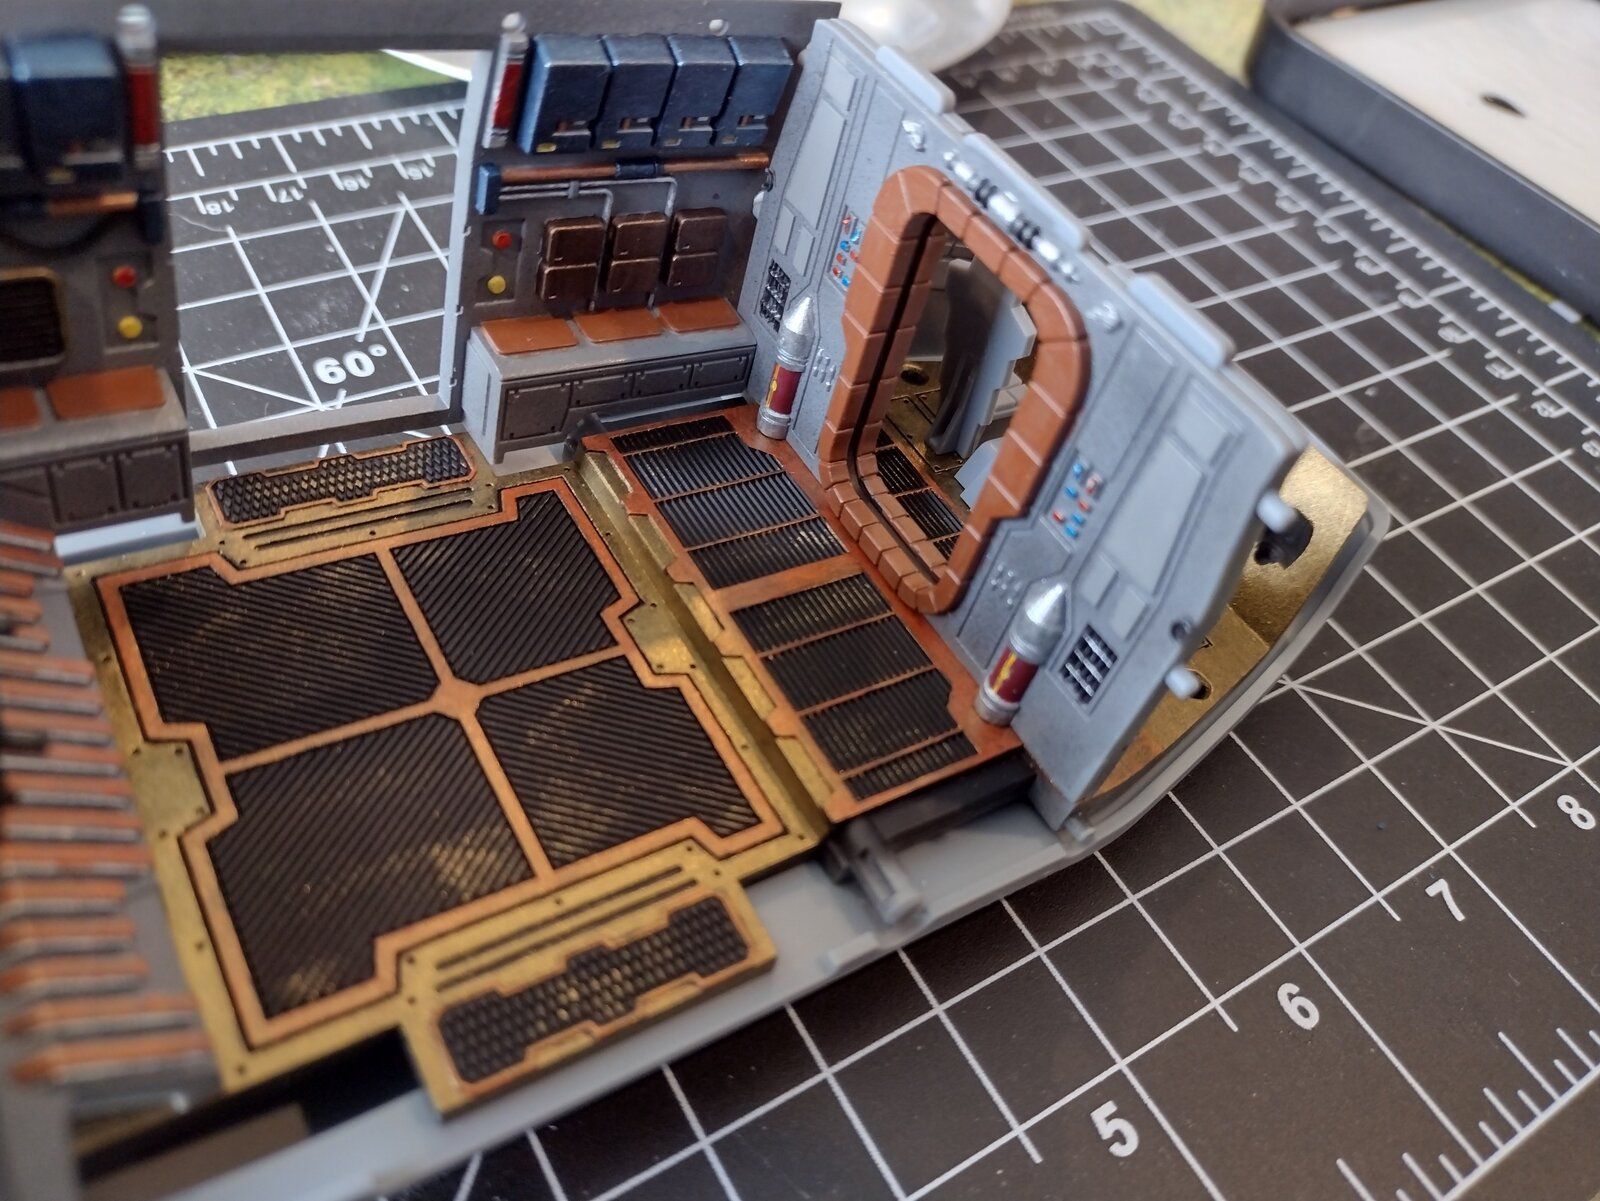
Working on a speeder truck from the Star Wars Universe. Just finished the back crew compartment of the transport. I believe it's to 1/47th scale. I decided to go a different route and have at least the inside metal material be more of a bronze instead of steel or aluminum. Not sure if I'm going to have it that you can take the roof off or not, or if you will only be able to see inside through the side doors.The build itself is simple, which is why I'm putting so much into areas that might not be seen, or at least seen well.

It's a pity to hide that great work. If you can find a way to lift the roof it will be good. PanthermanWorking on a speeder truck from the Star Wars Universe. Just finished the back crew compartment of the transport. I believe it's to 1/47th scale. I decided to go a different route and have at least the inside metal material be more of a bronze instead of steel or aluminum. Not sure if I'm going to have it that you can take the roof off or not, or if you will only be able to see inside through the side doors.The build itself is simple, which is why I'm putting so much into areas that might not be seen, or at least seen well.
Nikati
Well-Known Member
- Joined
- Dec 26, 2023
- Messages
- 119
Thank you, I'm pretty sure I can have the top lift off but the seams will be out in the open and easily seen. I'm not sure how much I would like that or not. I'm kicking around a couple ideas, one of which is dipping into lighting for the first time which looking in the side doors would make it easier to see most of the detail I believe. I still have the drivers compartment to finish before I need to think seriously about it.It's a pity to hide that great work. If you can find a way to lift the roof it will be good. Pantherman
I have just done my first lighting on a sub, wow, what a learning curve but great fun. I would recommend having a go. PanthermanThank you, I'm pretty sure I can have the top lift off but the seams will be out in the open and easily seen. I'm not sure how much I would like that or not. I'm kicking around a couple ideas, one of which is dipping into lighting for the first time which looking in the side doors would make it easier to see most of the detail I believe. I still have the drivers compartment to finish before I need to think seriously about it.

JordanBluAstro
Active Member
- Joined
- Jan 4, 2024
- Messages
- 30
The bronze is excellent, and I agree it would be a shame not to see the great detail inside.


![Pampers Sensitive Baby Wipes, Clinically Proven, Fragrance Free, Unscented, Water Based, Hypoallergenic, Multi-Use, Hand Wipes 336 Wipes Total (6X Flip-Top Packs) [Packaging May Vary]](https://m.media-amazon.com/images/I/41KLBHu9CAL._SL500_.jpg)






As an Amazon Associate we earn from qualifying purchases. Product prices and availability are accurate as of the date/time indicated and are subject to change.
Nikati
Well-Known Member
- Joined
- Dec 26, 2023
- Messages
- 119
Thank youThe bronze is excellent, and I agree it would be a shame not to see the great detail inside.
Nikati
Well-Known Member
- Joined
- Dec 26, 2023
- Messages
- 119
Finally got back to working on this build. everything is dry fitted so far. I believe the inside work is finished other than adding the lighting in the troop compartment. Unfortunately the lighting in the cockpit is above the headrests but the way the windshield is there wasn't much of an option.
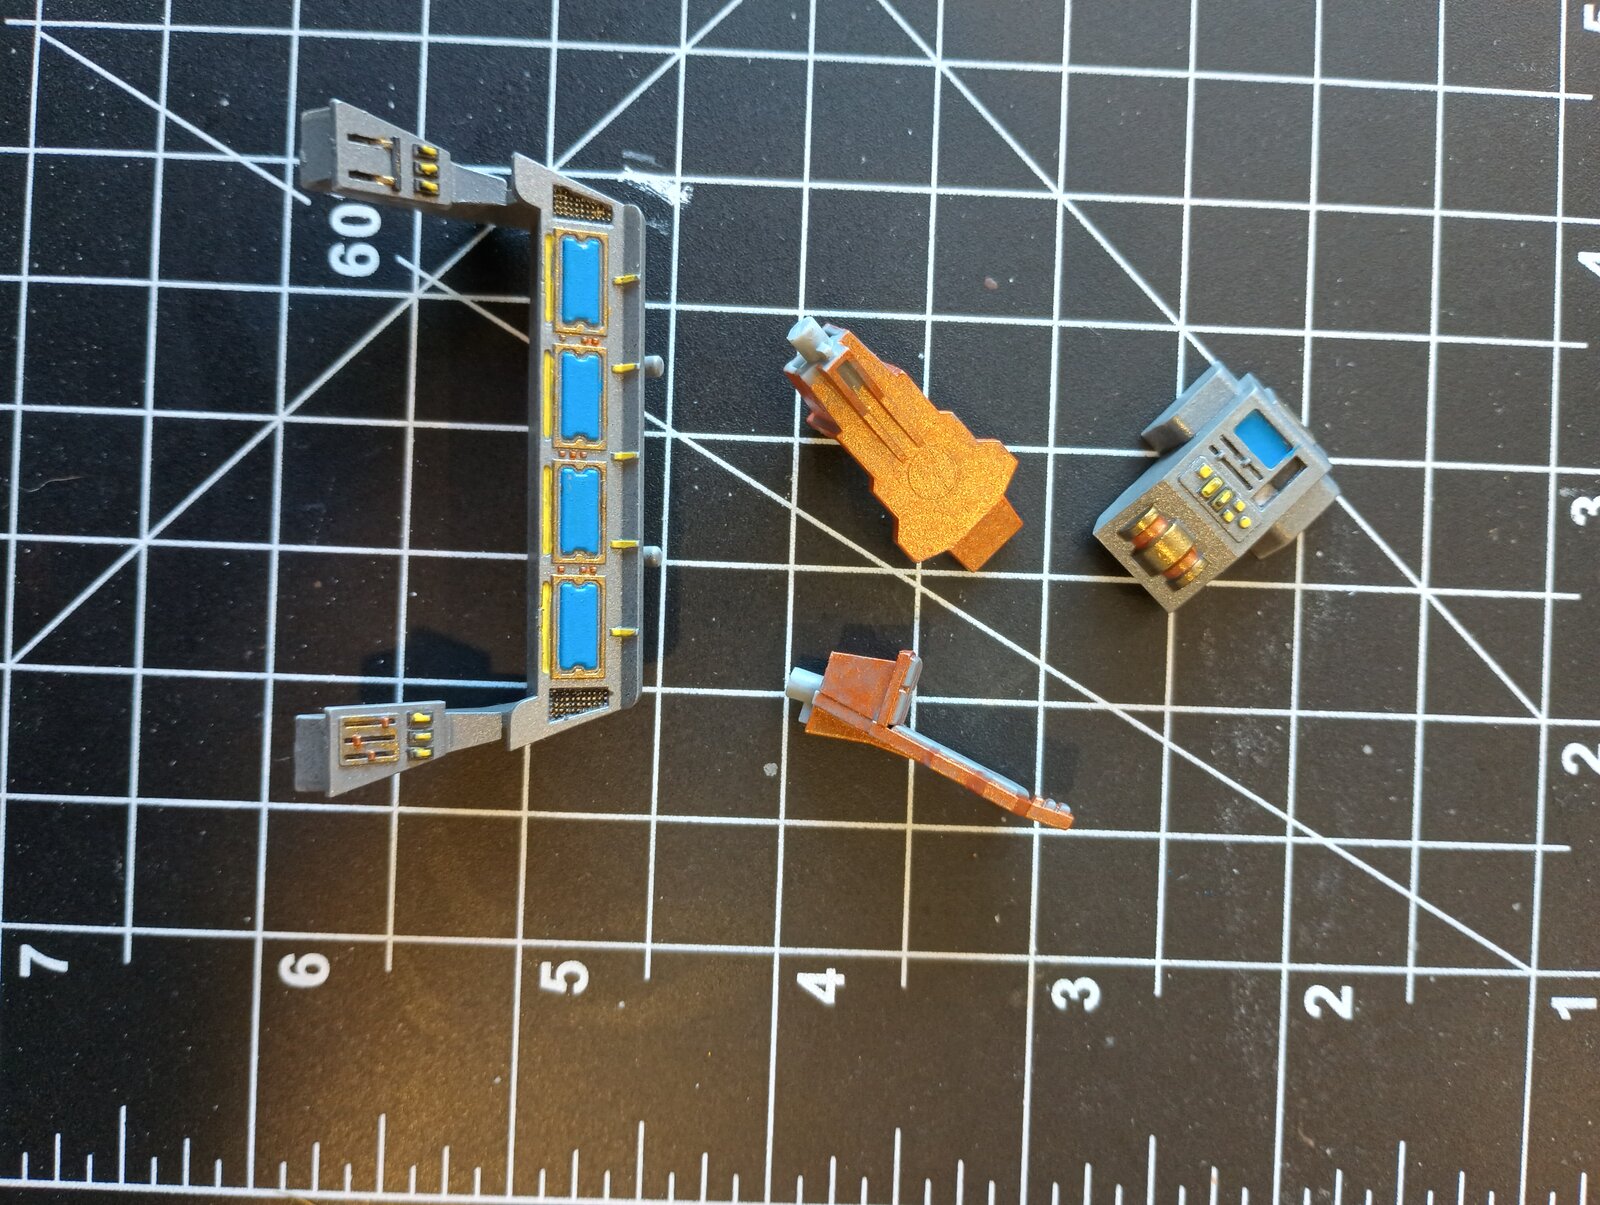
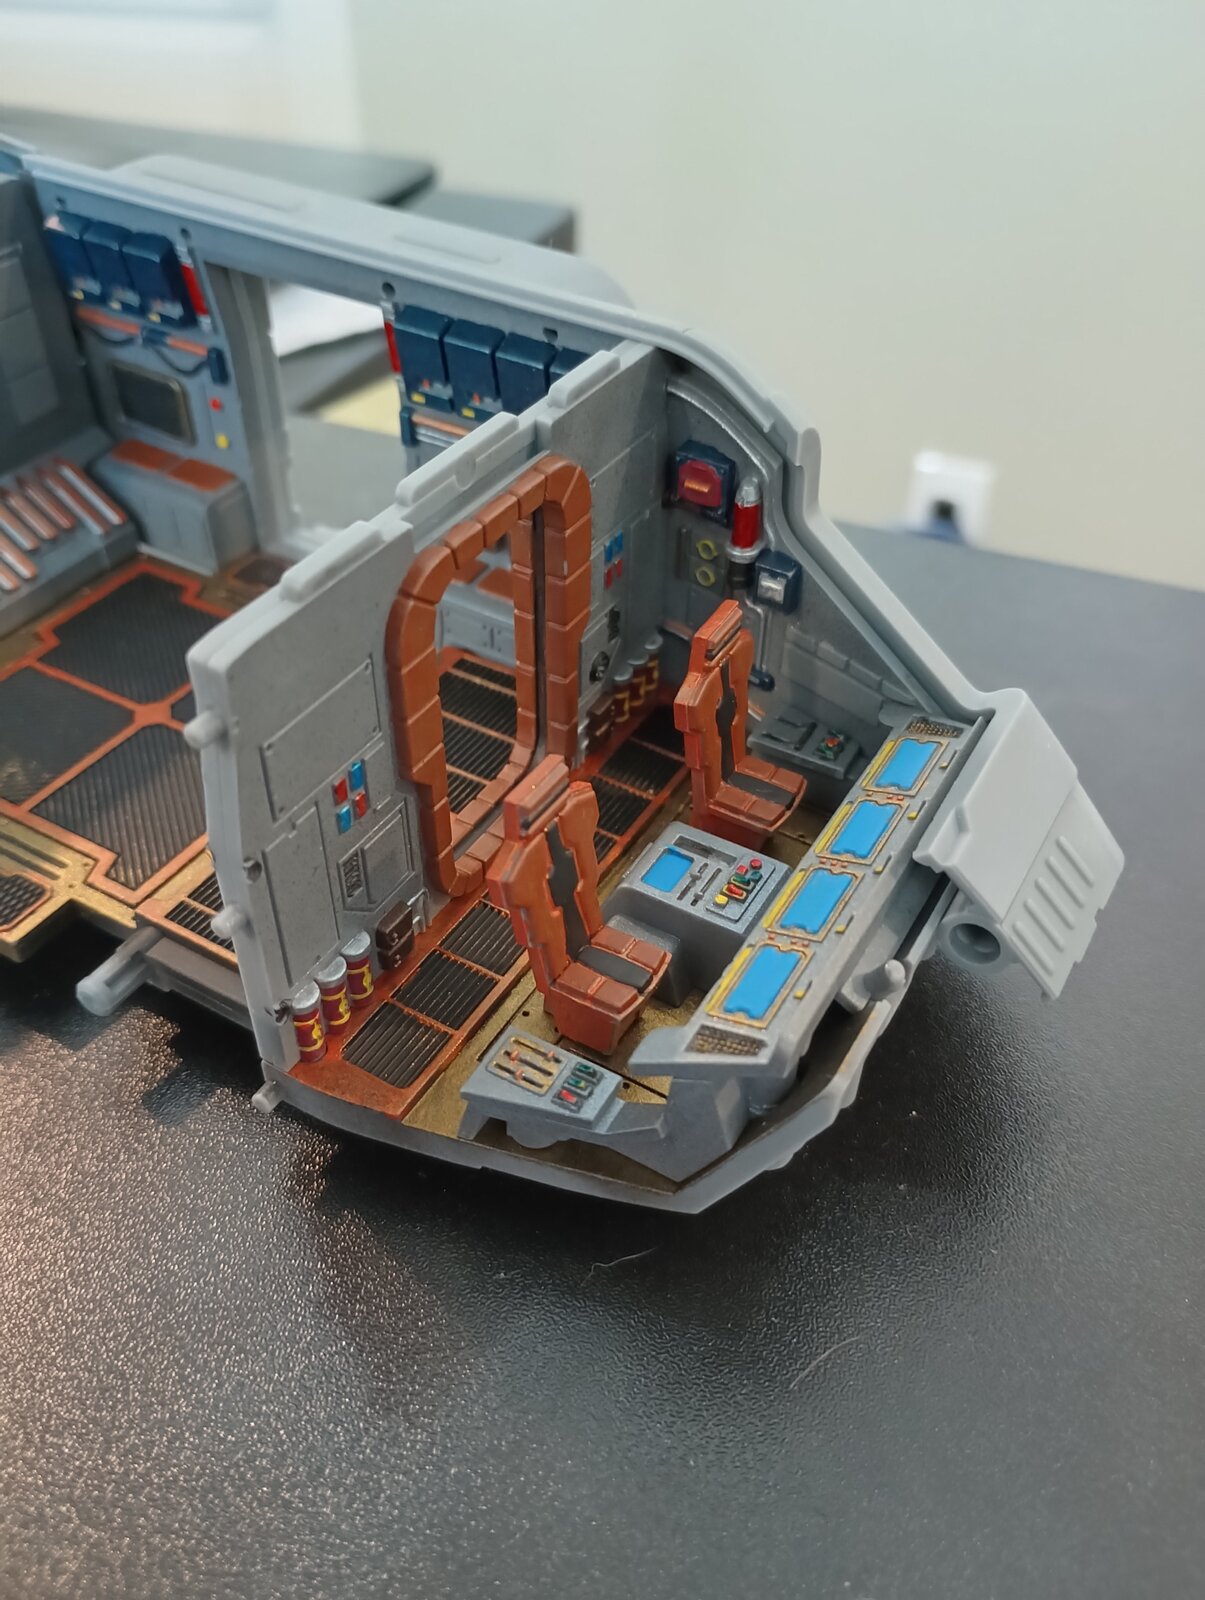
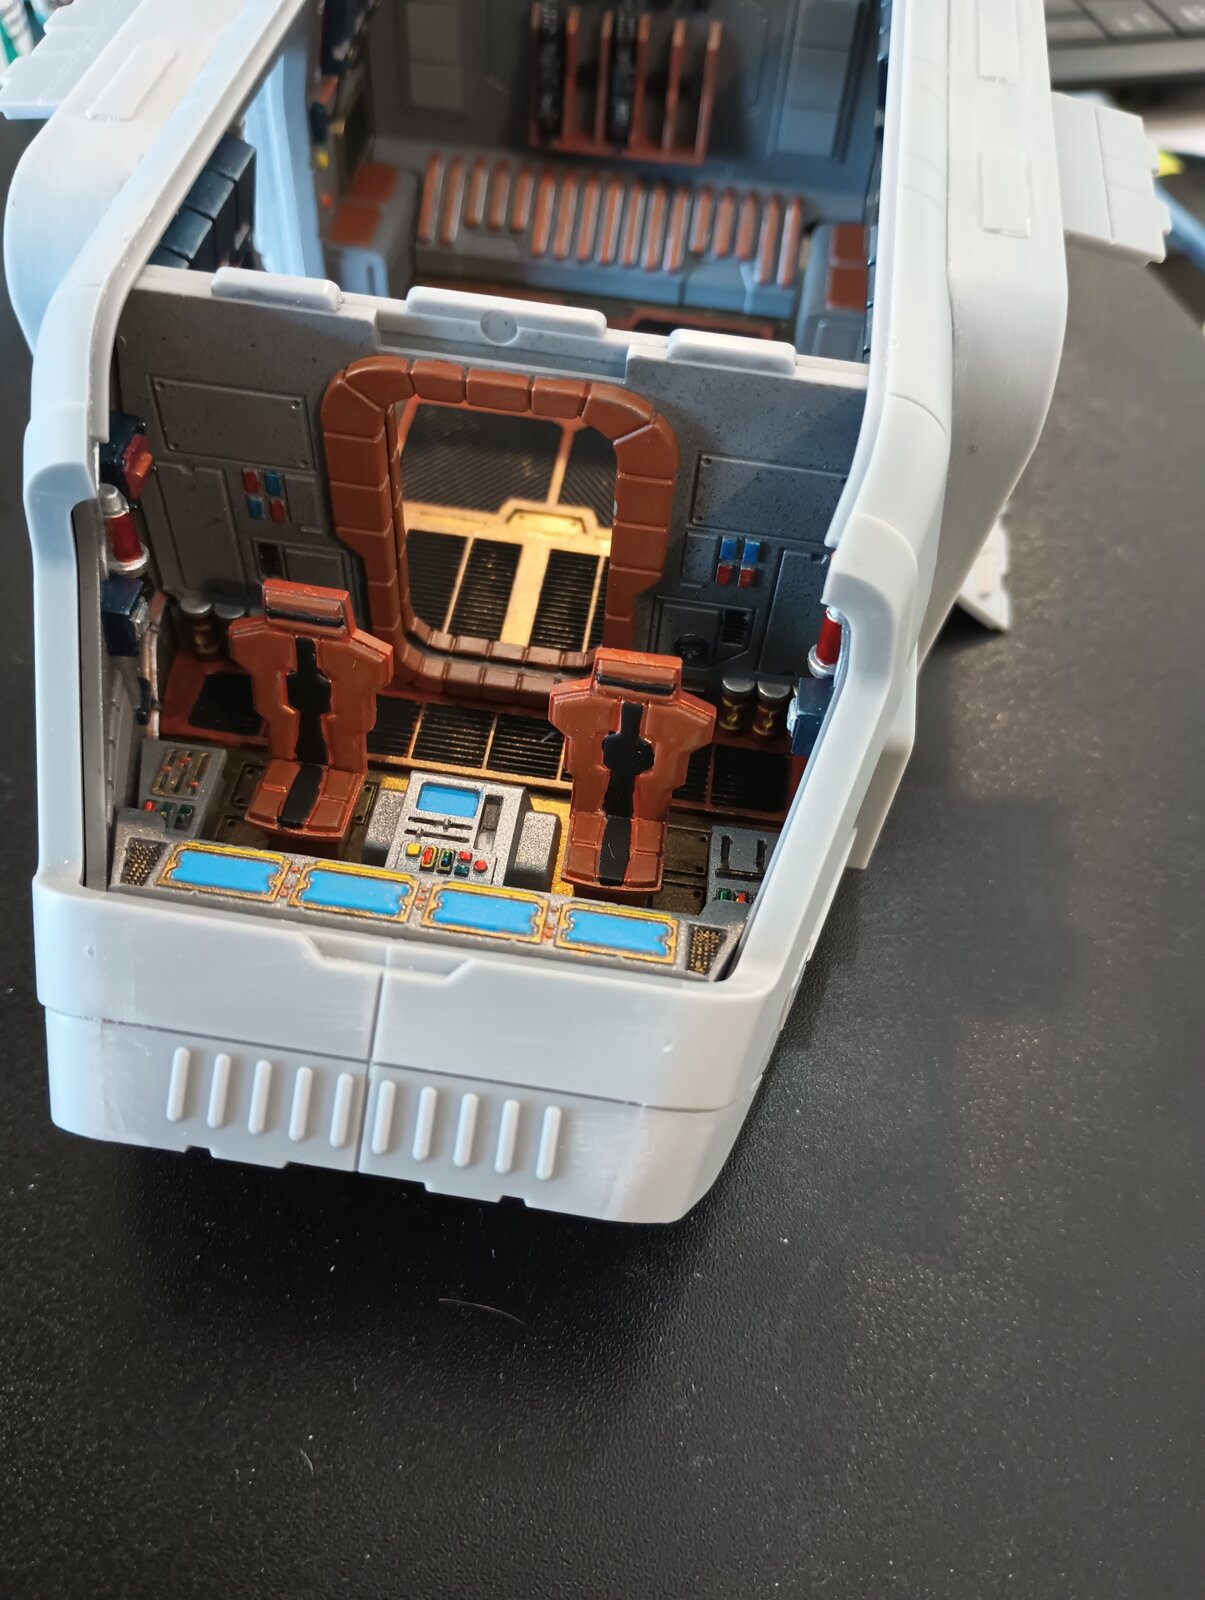
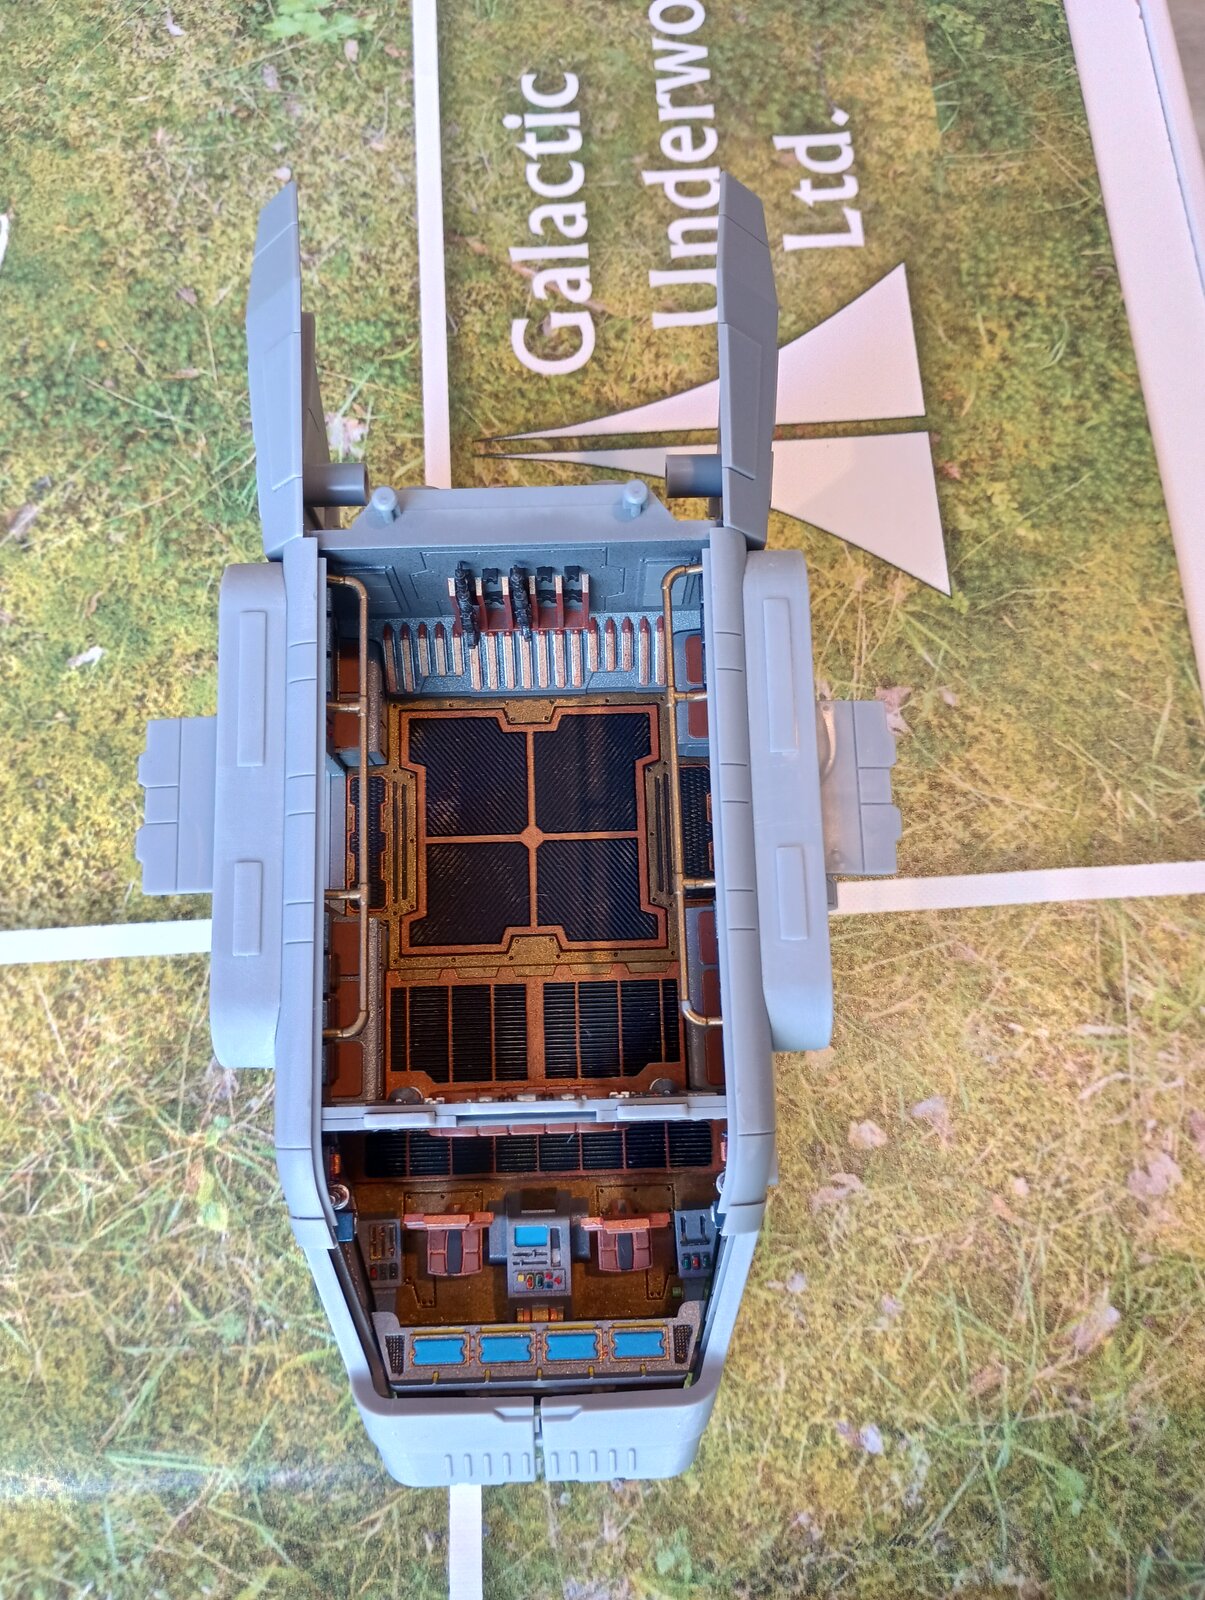
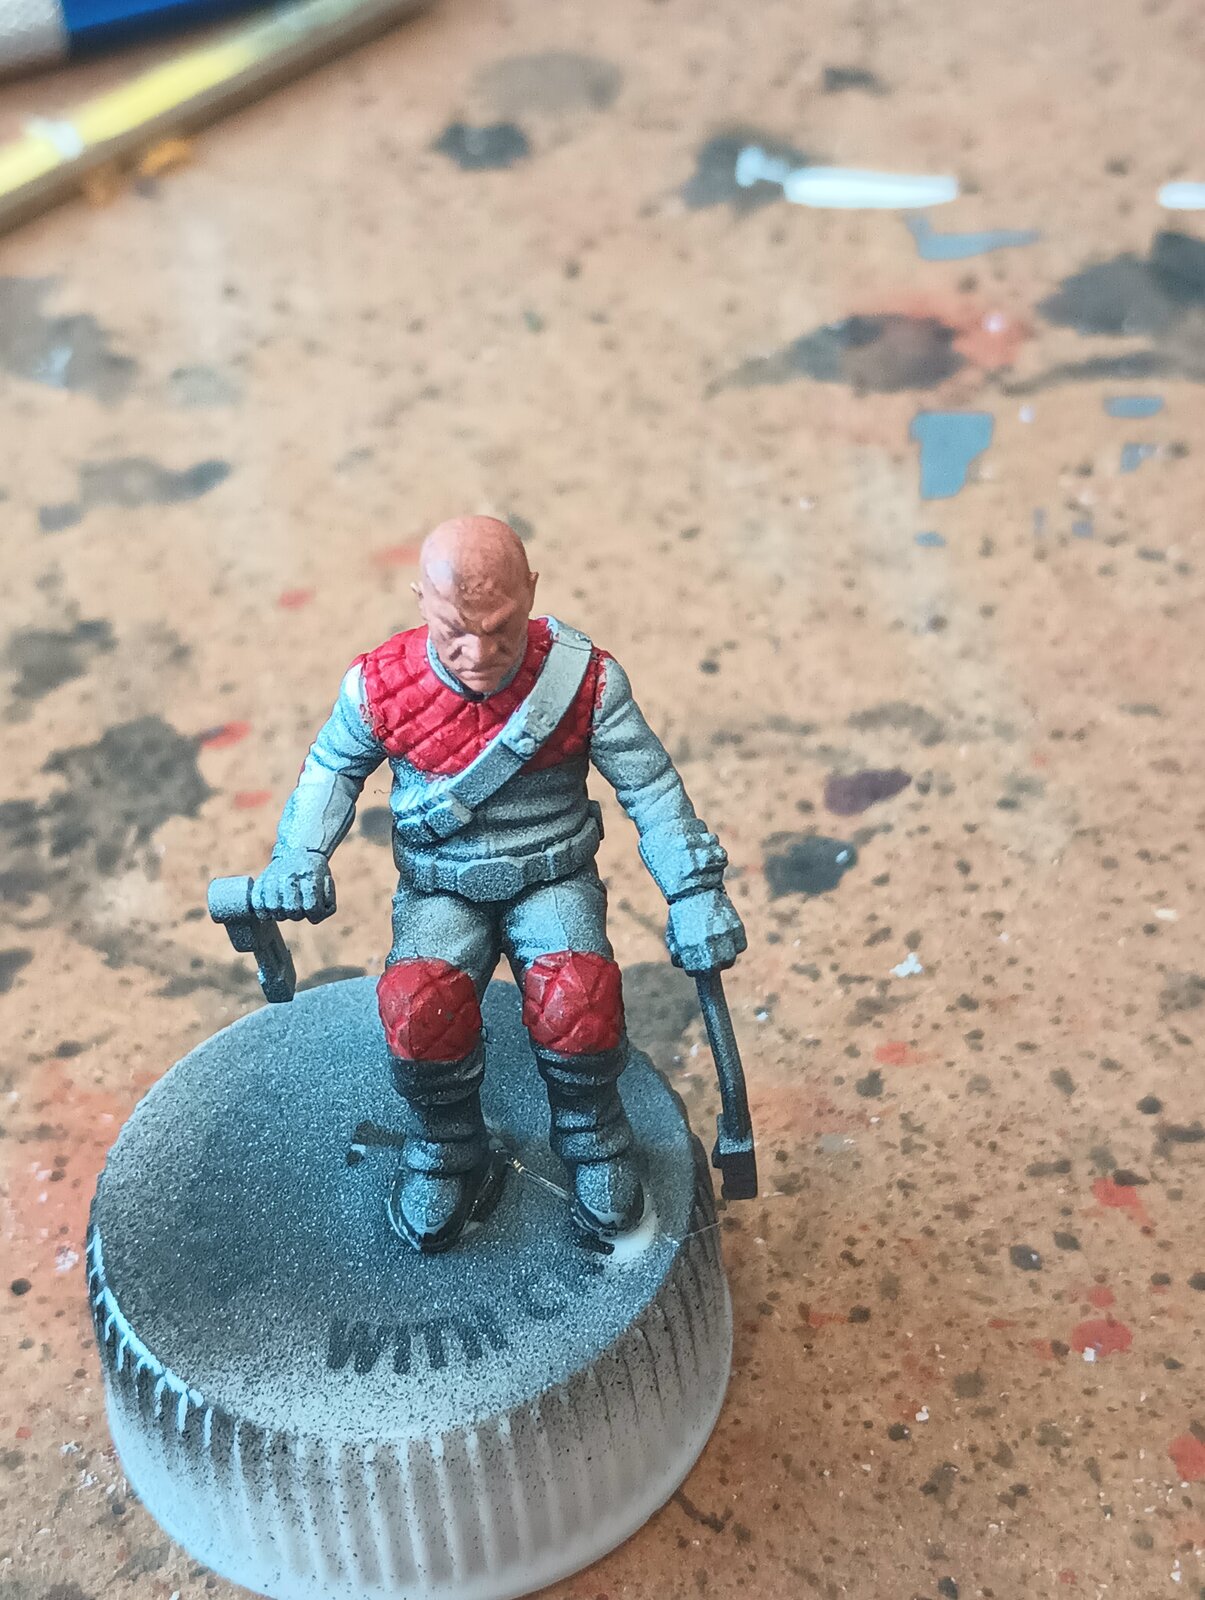
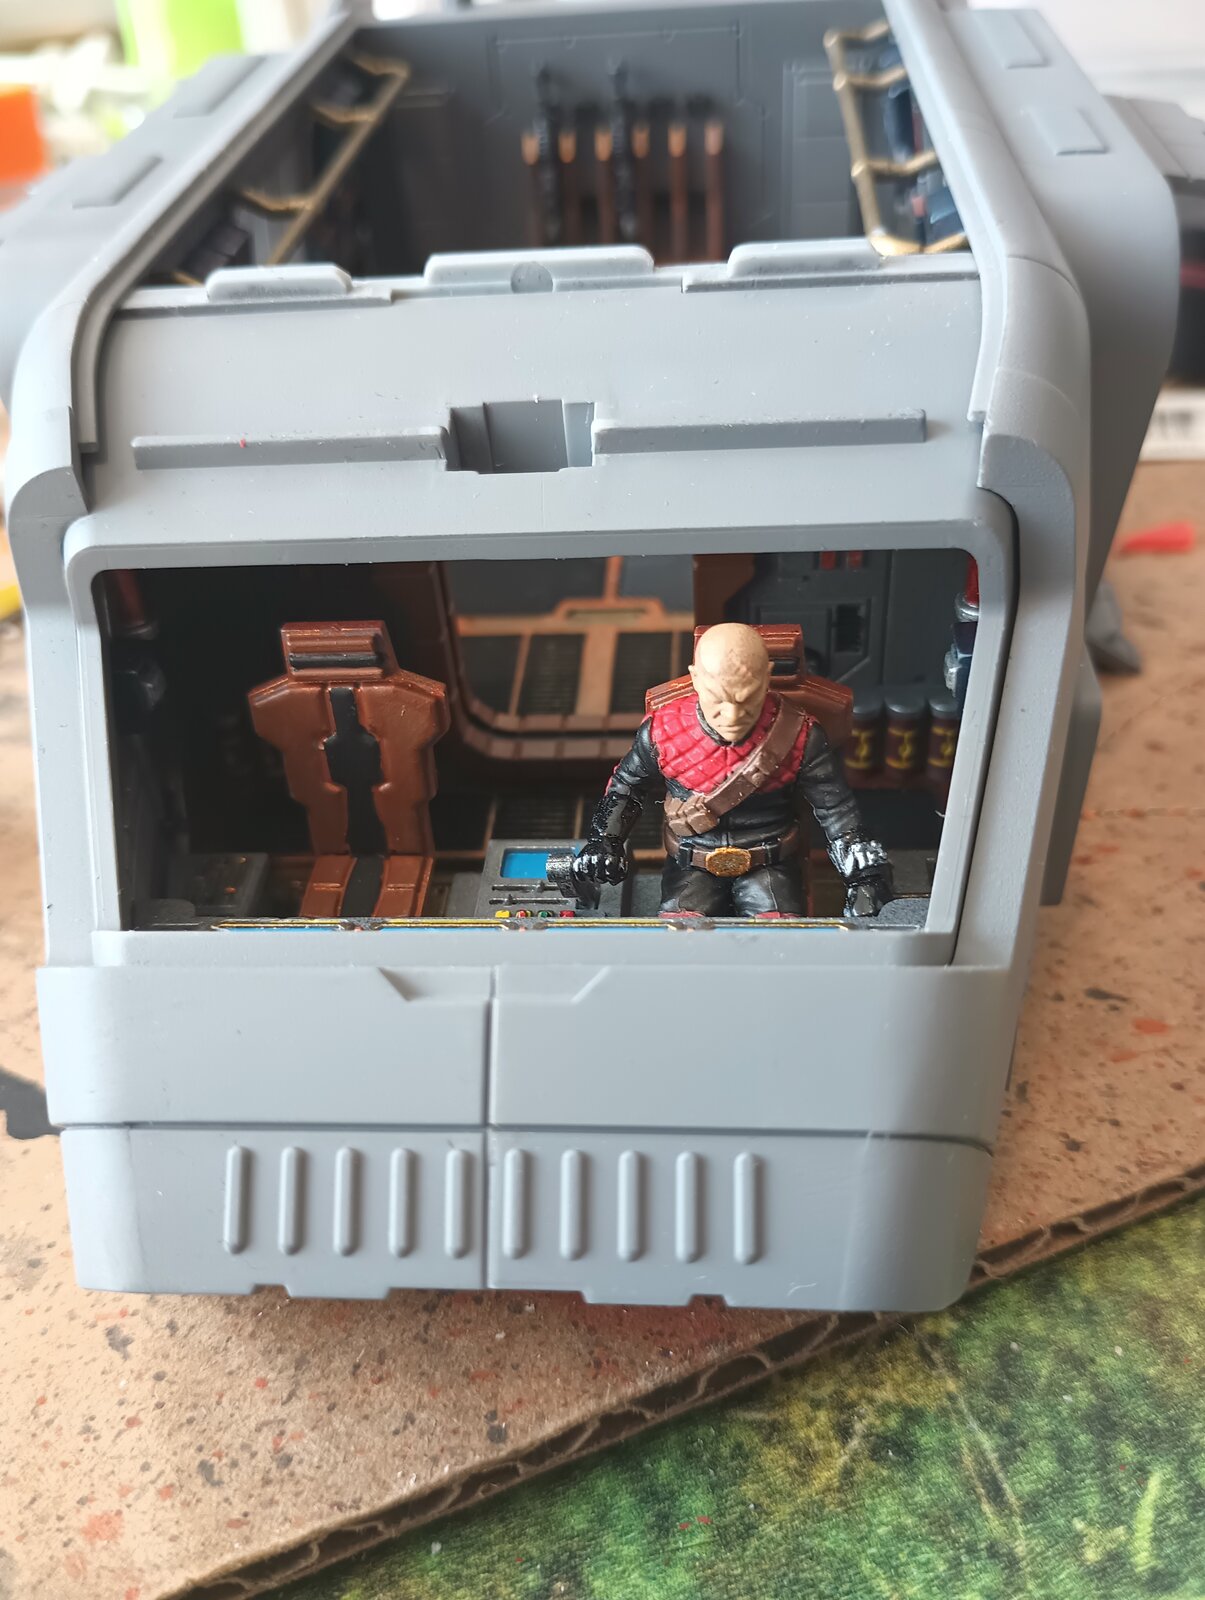
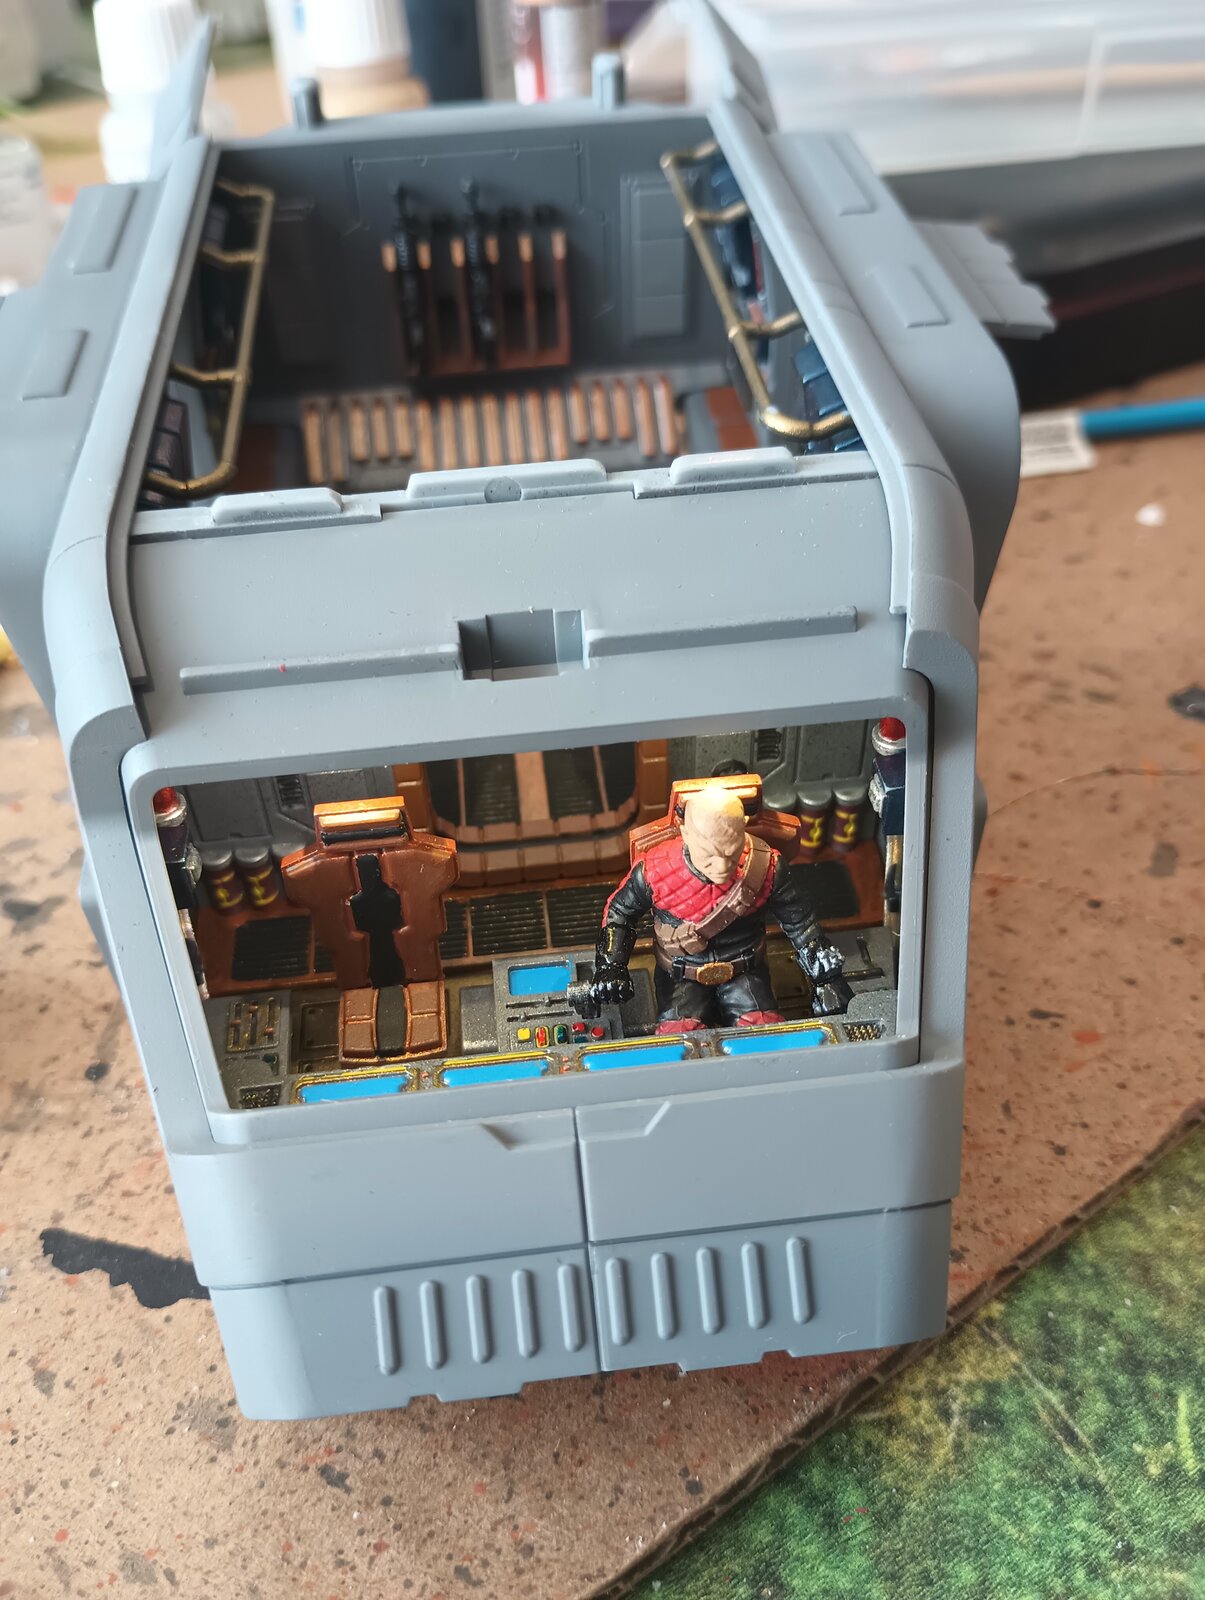
That's some mighty fine work. PanthermanFinally got back to working on this build. everything is dry fitted so far. I believe the inside work is finished other than adding the lighting in the troop compartment. Unfortunately the lighting in the cockpit is above the headrests but the way the windshield is there wasn't much of an option.
View attachment 123054View attachment 123054View attachment 123060View attachment 123059View attachment 123058View attachment 123057View attachment 123056View attachment 123055
Nikati
Well-Known Member
- Joined
- Dec 26, 2023
- Messages
- 119
Thank you PanthermanThat's some mighty fine work. Pantherman

iandrewmartin
Well-Known Member
- Joined
- Jan 19, 2013
- Messages
- 108
Very nice work!
Nikati
Well-Known Member
- Joined
- Dec 26, 2023
- Messages
- 119
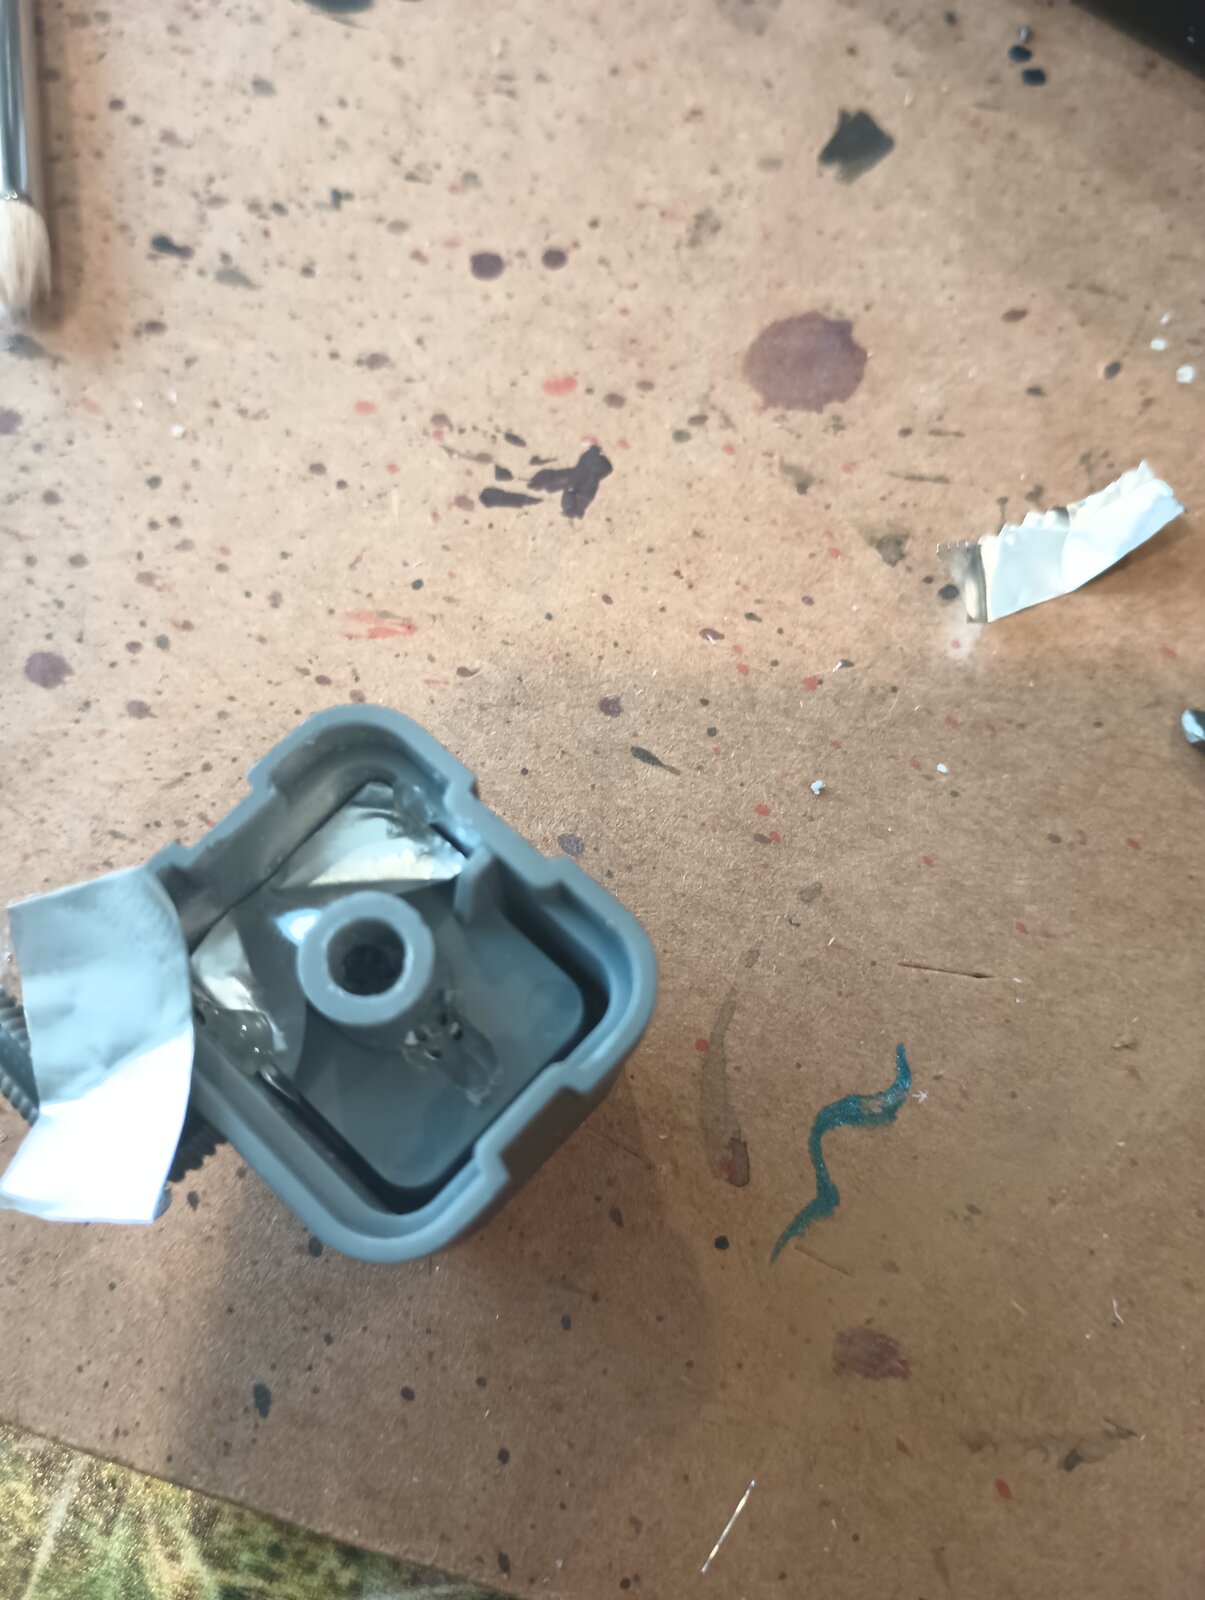
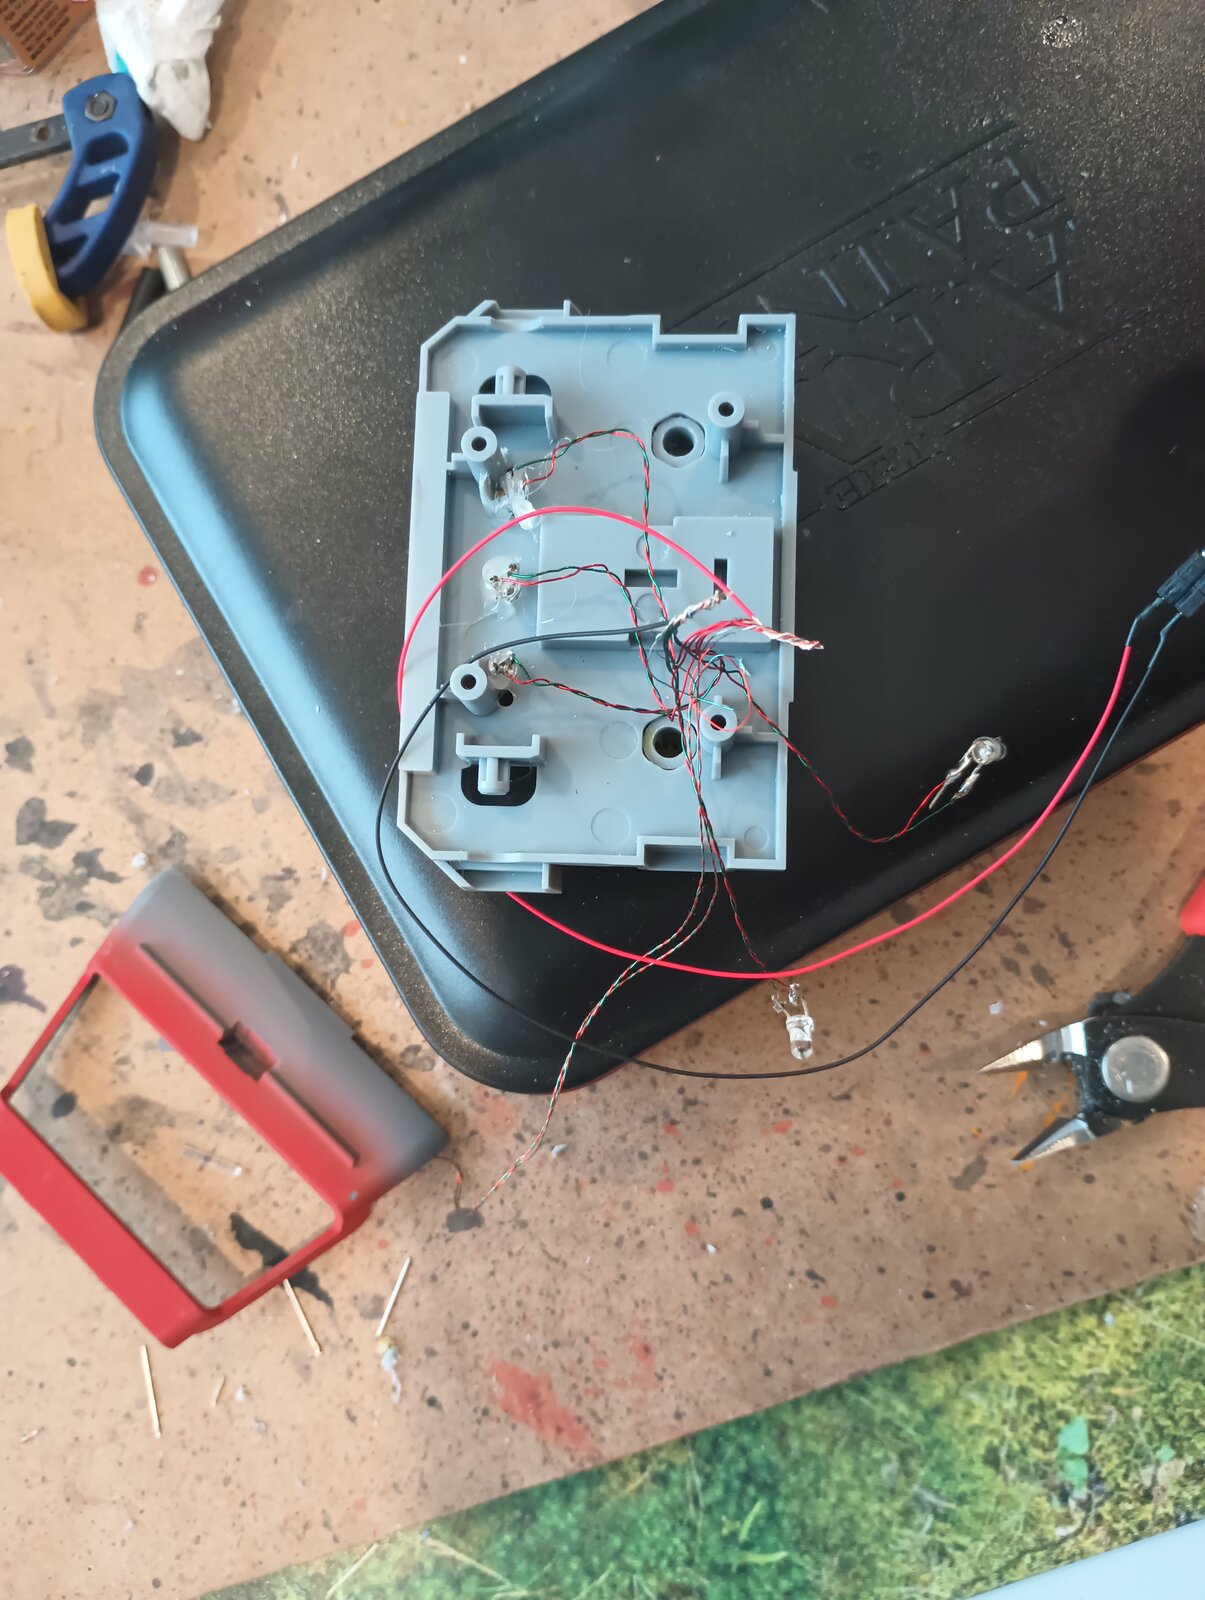
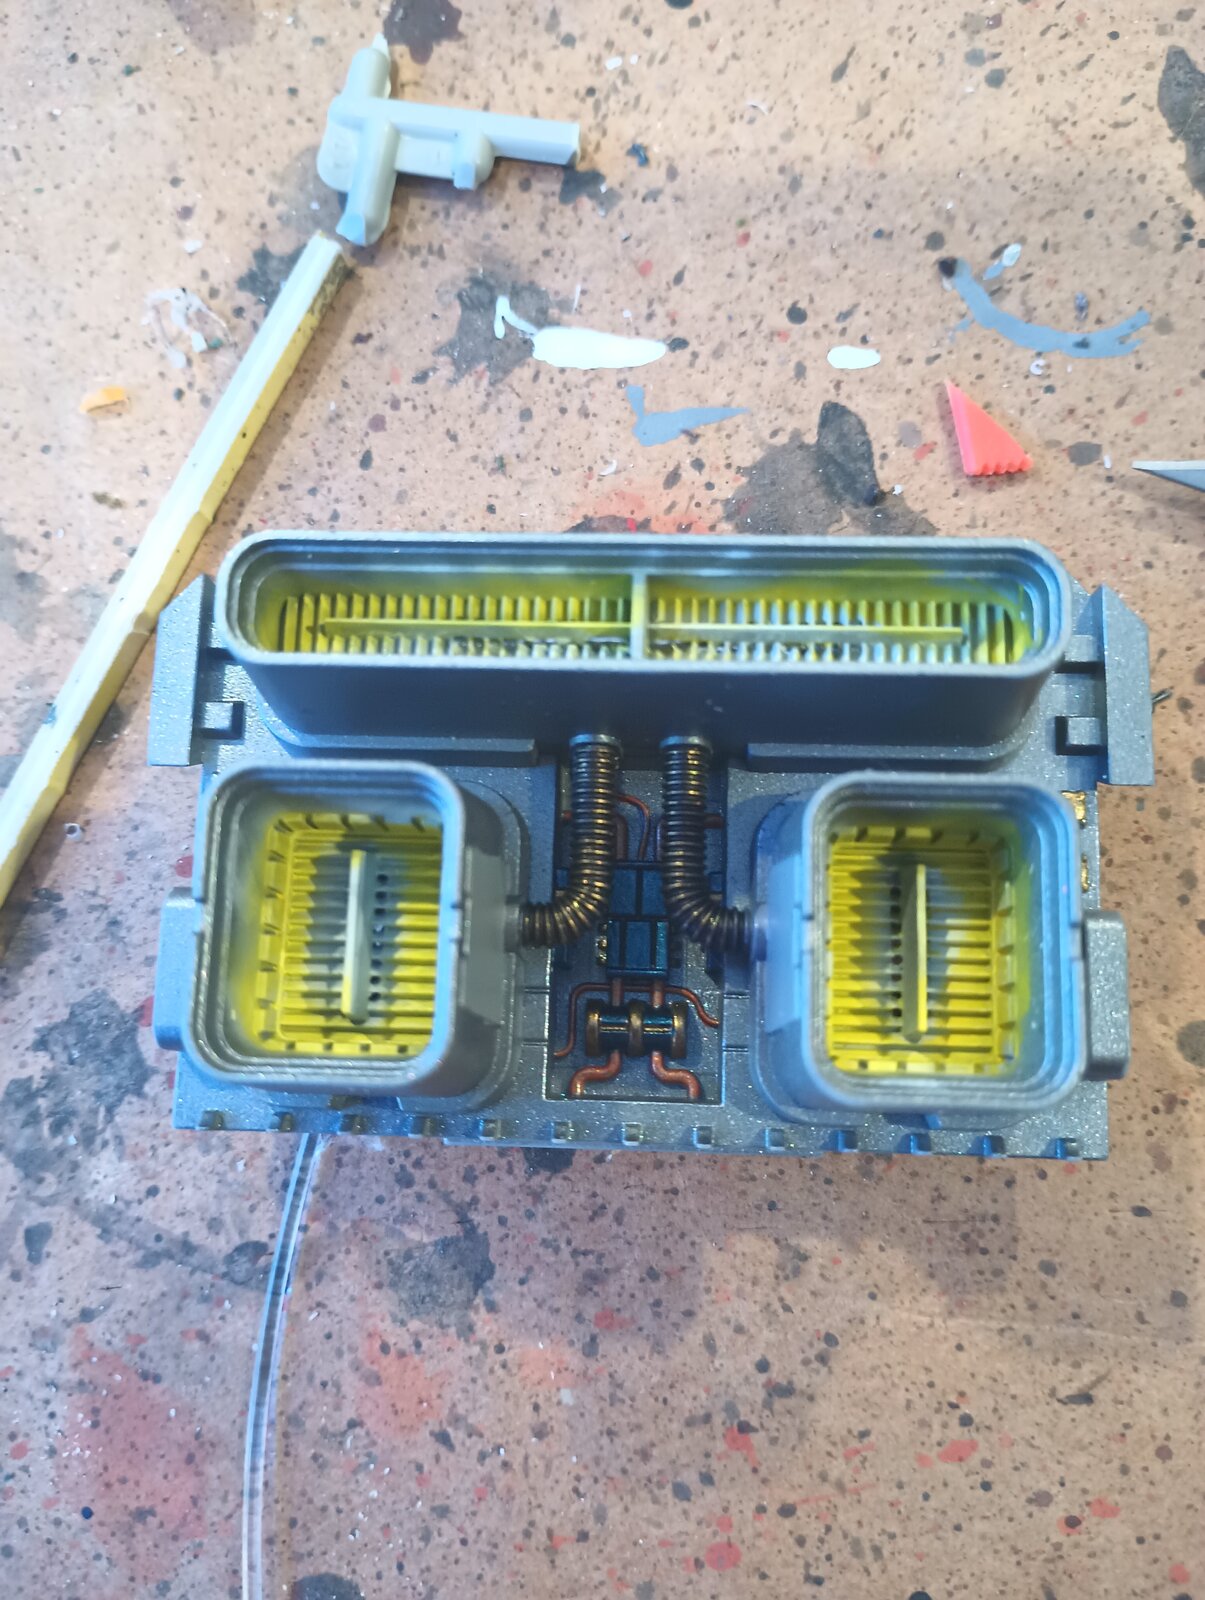
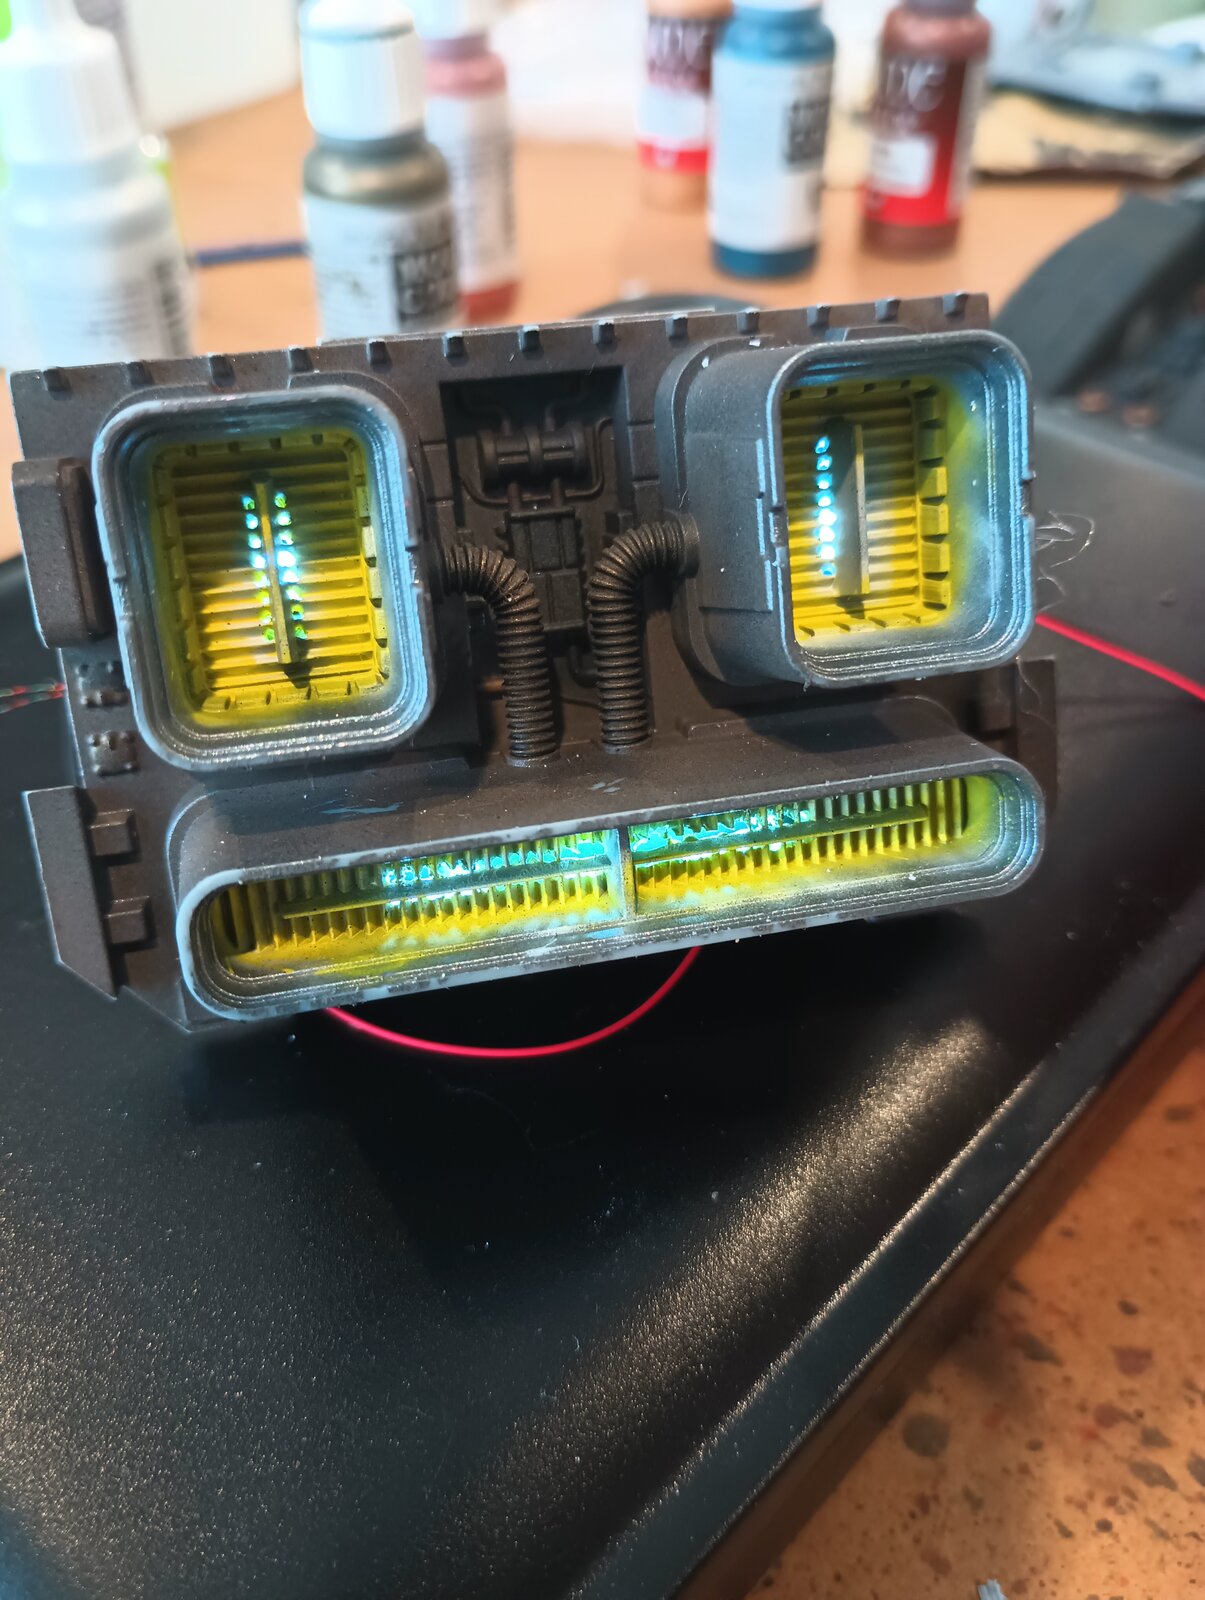
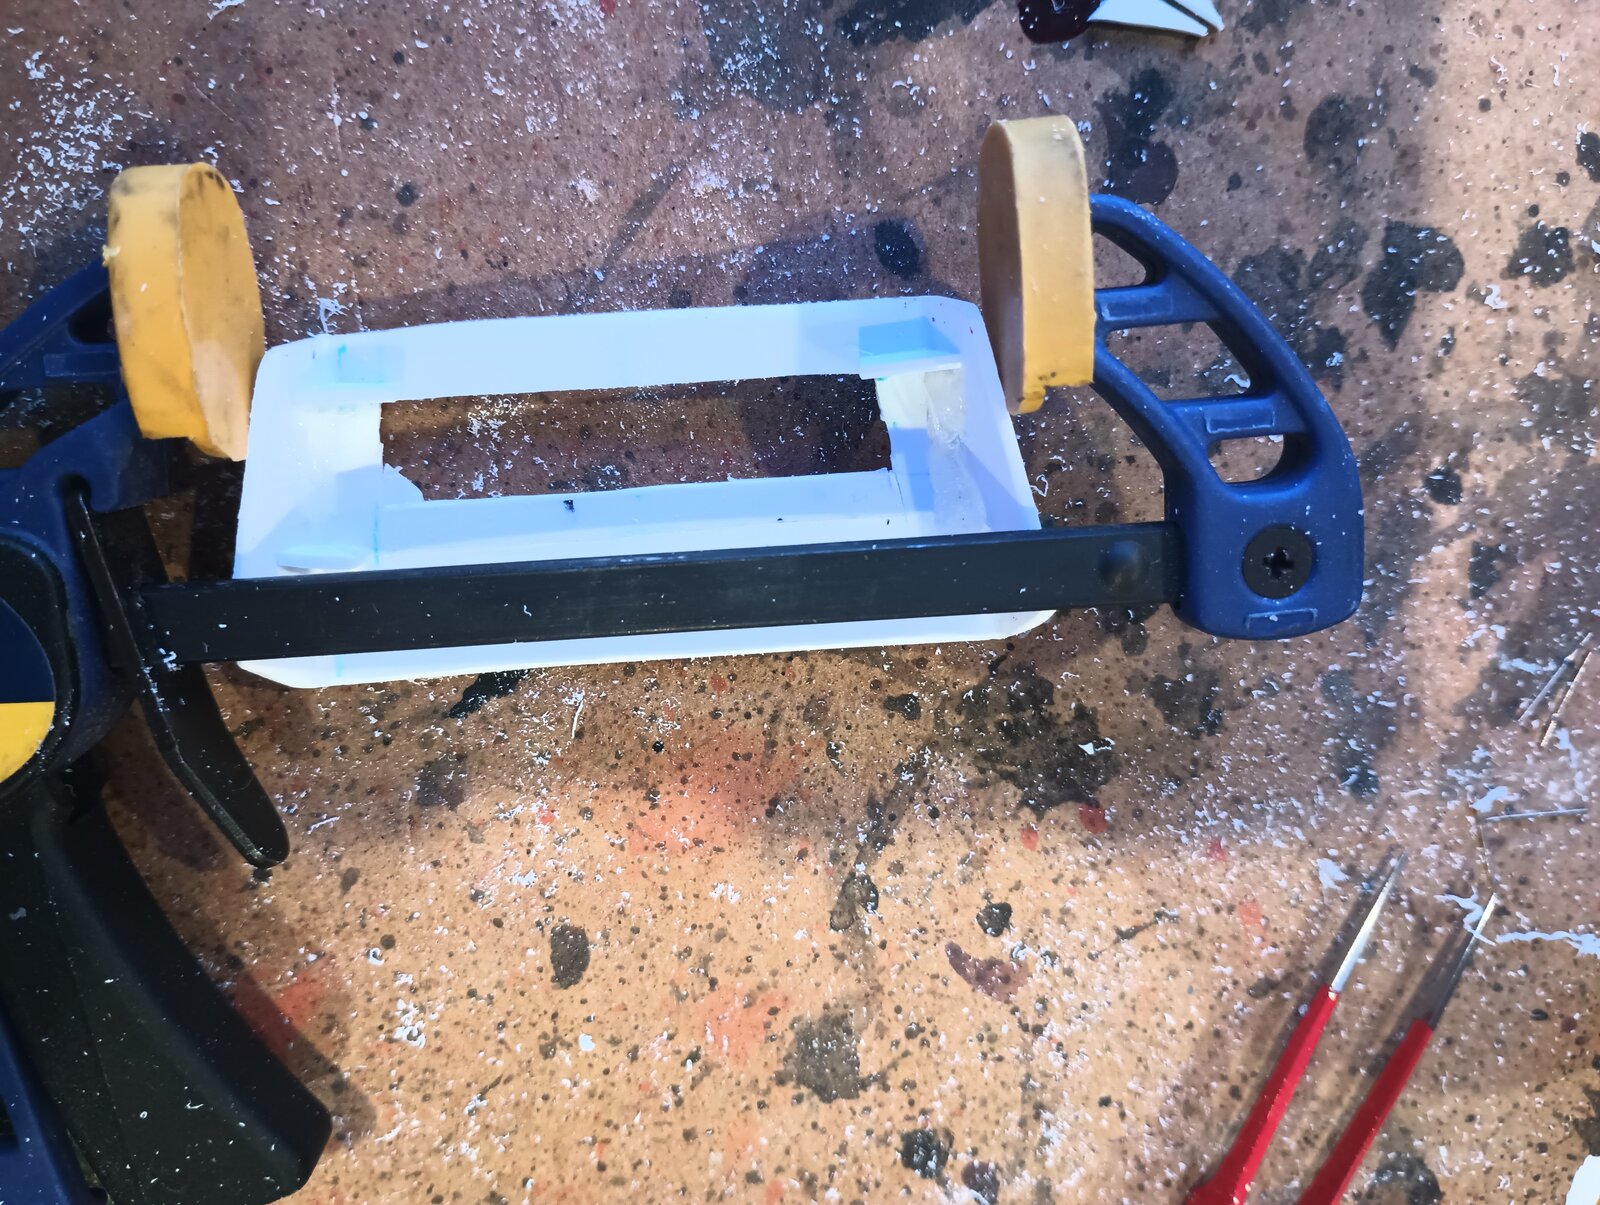
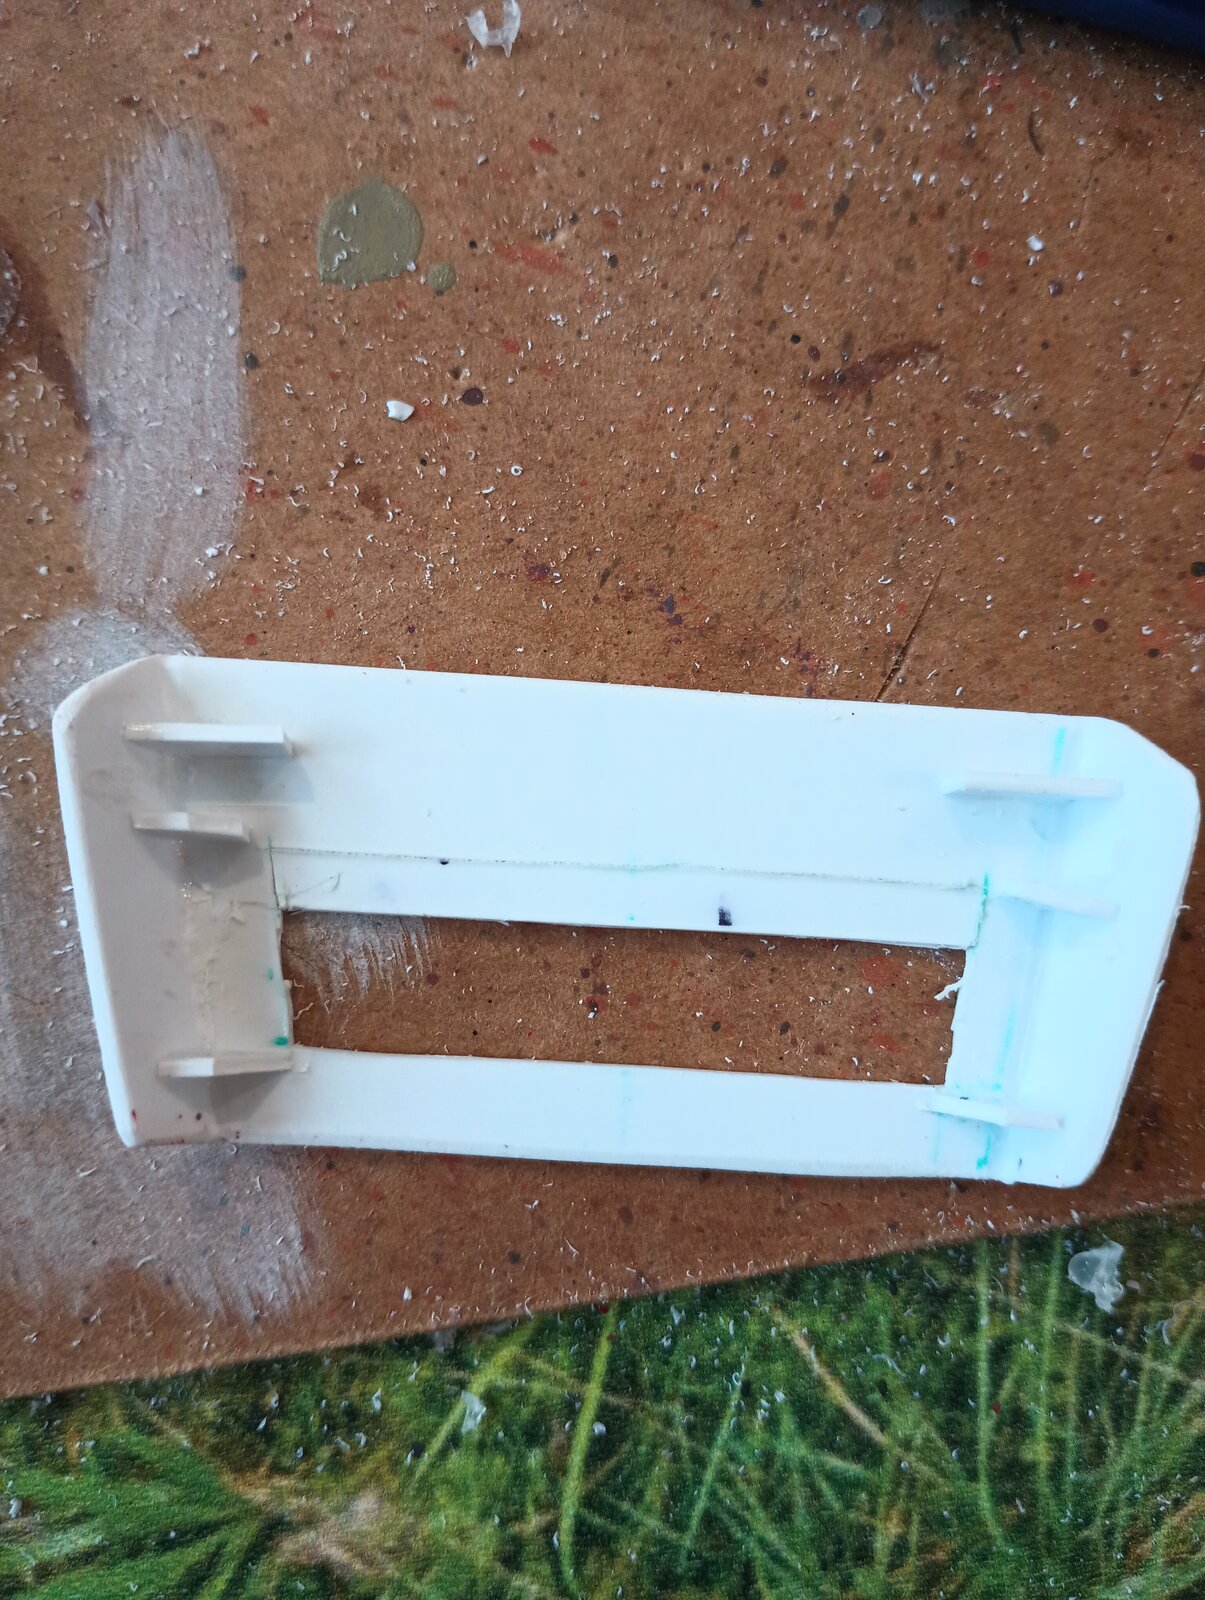
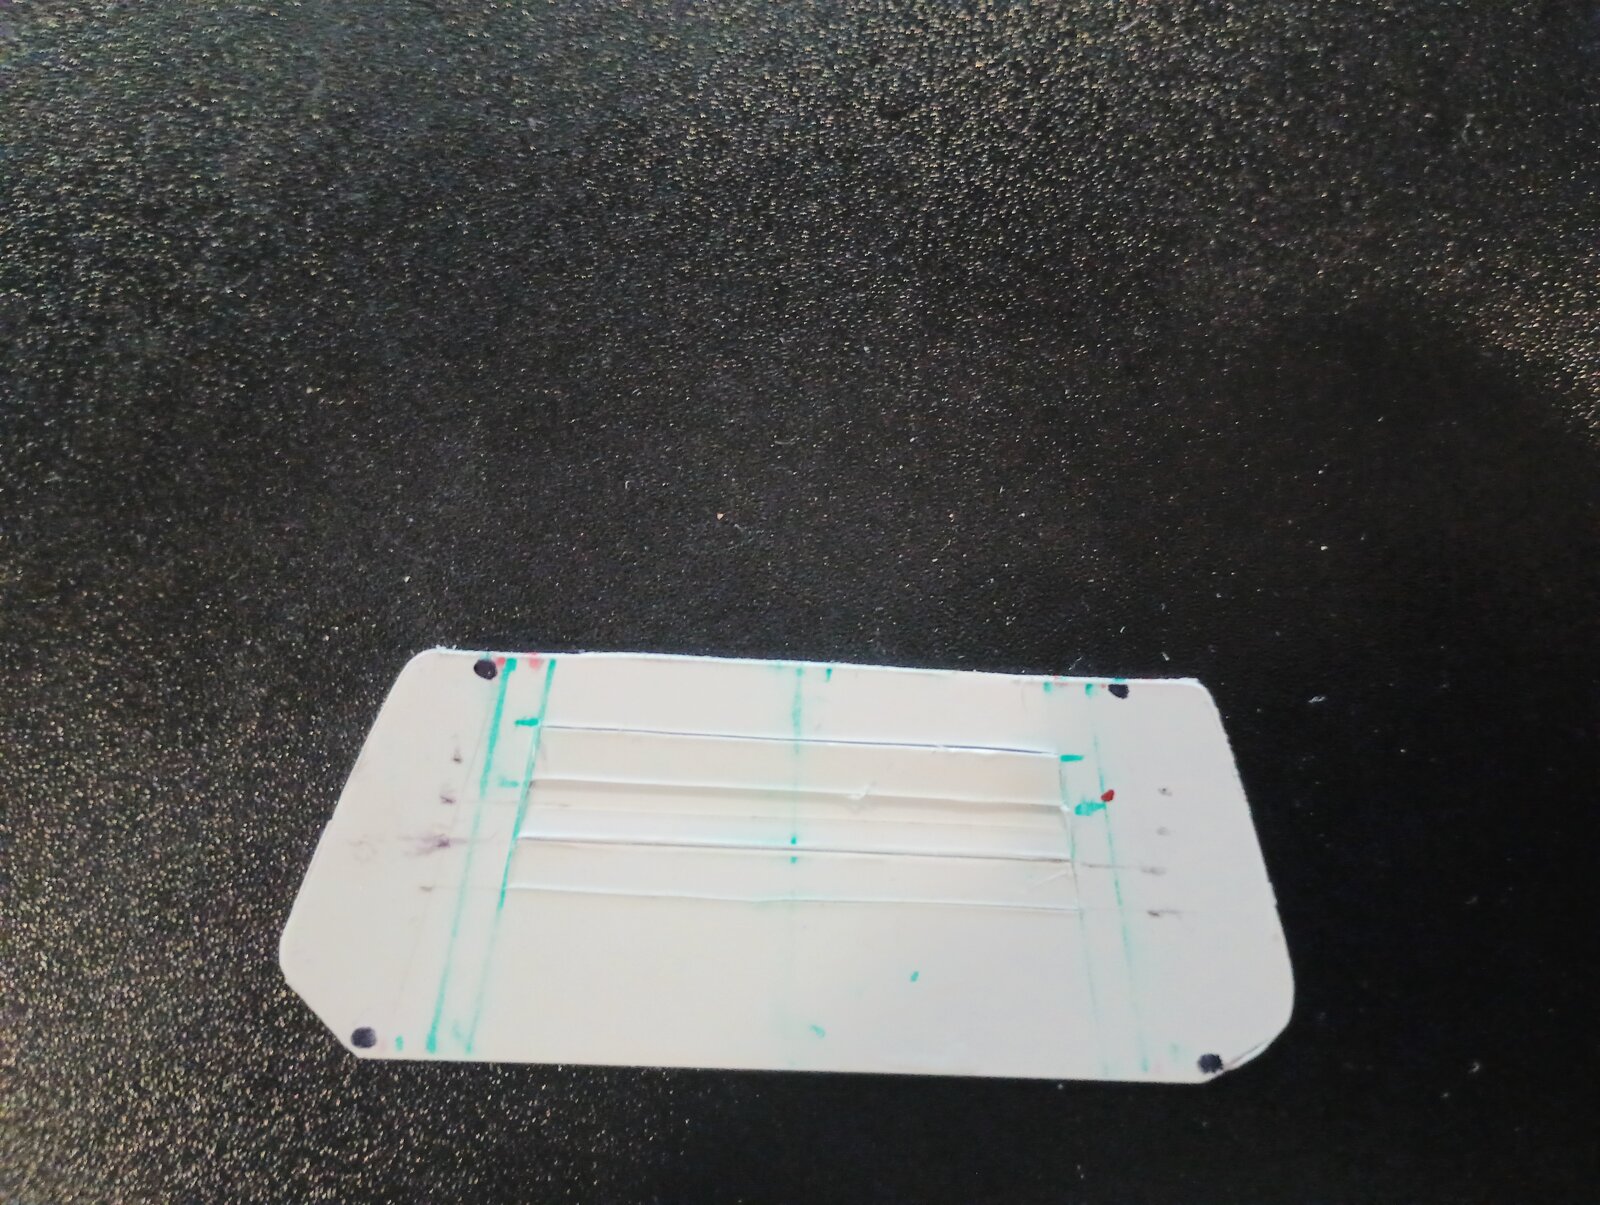
Working on the lighting, just wish my fingers were a bit thinner for this work. I'm just hoping the battery will be enough for all of the LEDs. The side lit fiber optics I origanaly was planing to use was not going to be bright enough, so I am switching it out for three LEDs that will match the two smaller engines.

blakeh1
Well-Known Member
Great job on this. Did not realize the interior was as detailed as it is
Nikati
Well-Known Member
- Joined
- Dec 26, 2023
- Messages
- 119
Thank you. I did not, which is the main reason I had to paint it up. I'm not sure why they put all of the effort into molding it as even with the doors open you can't see much. It had the option to close both side doors and into the cockpit. I figured if they went to the extra work that I could as well.Great job on this. Did not realize the interior was as detailed as it is
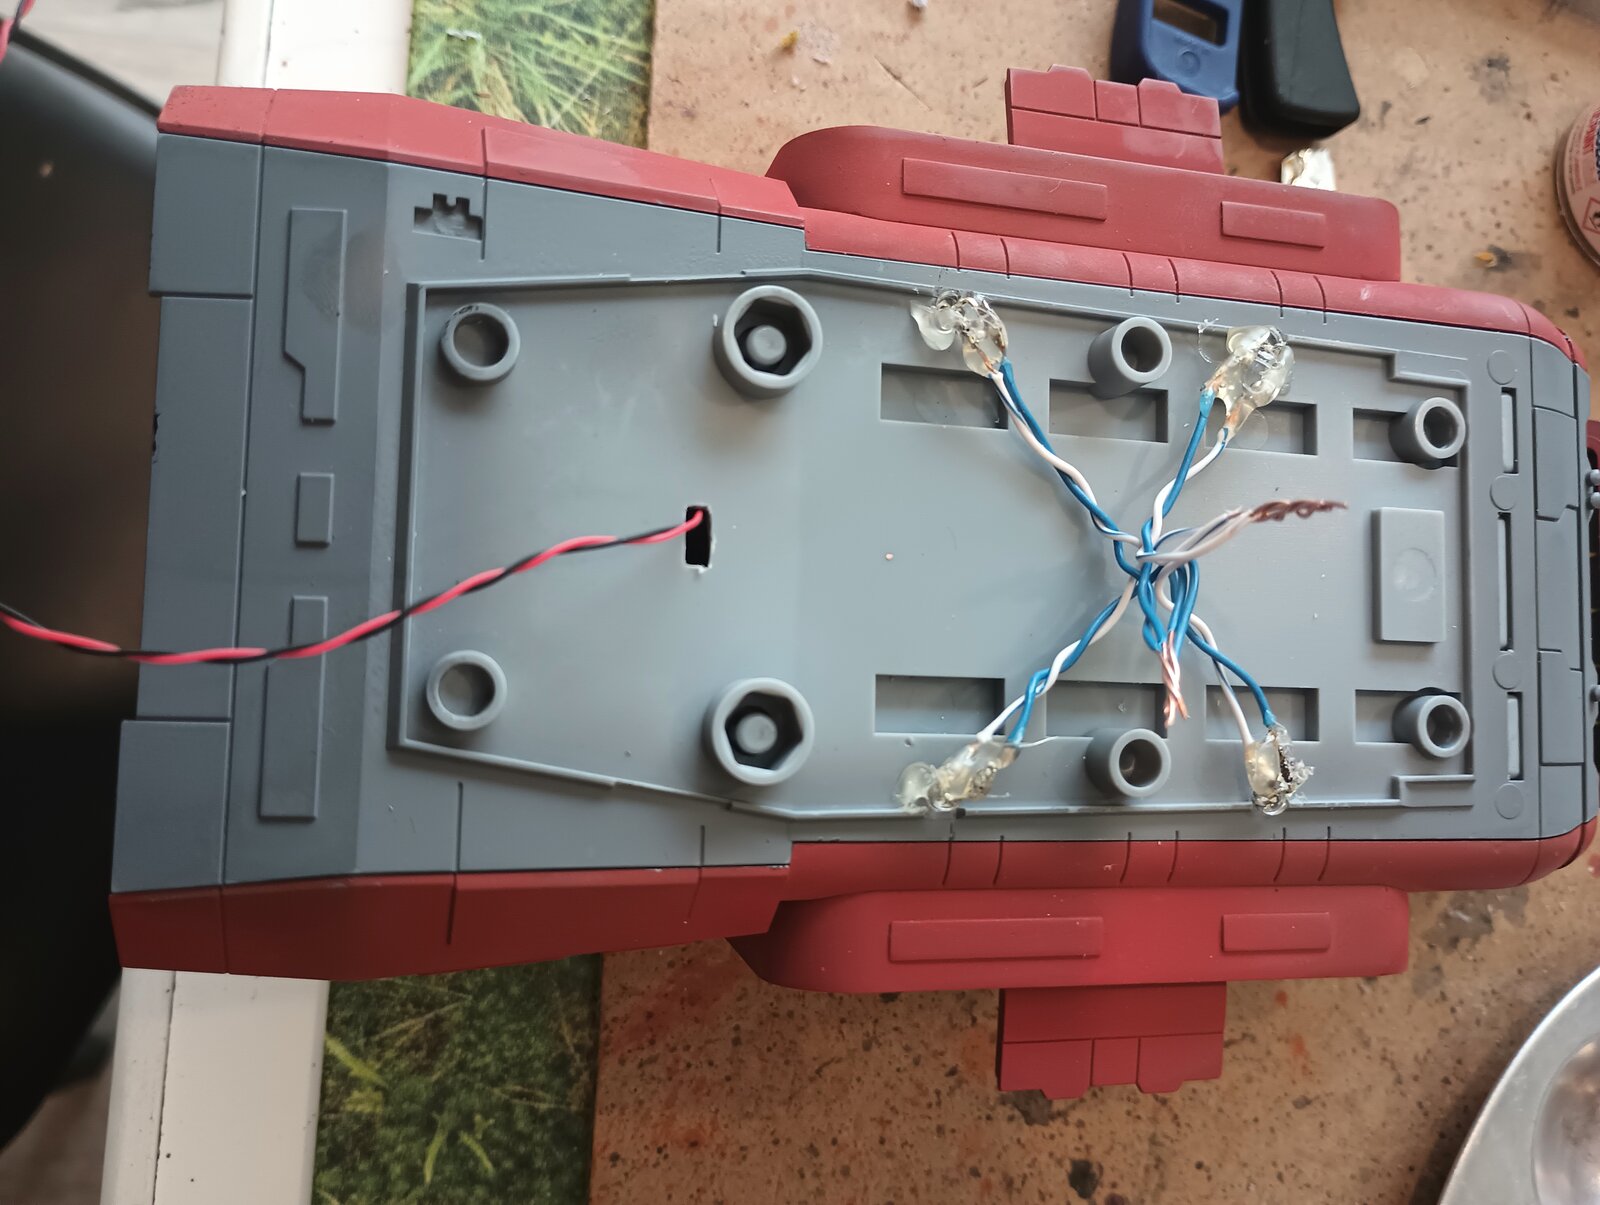
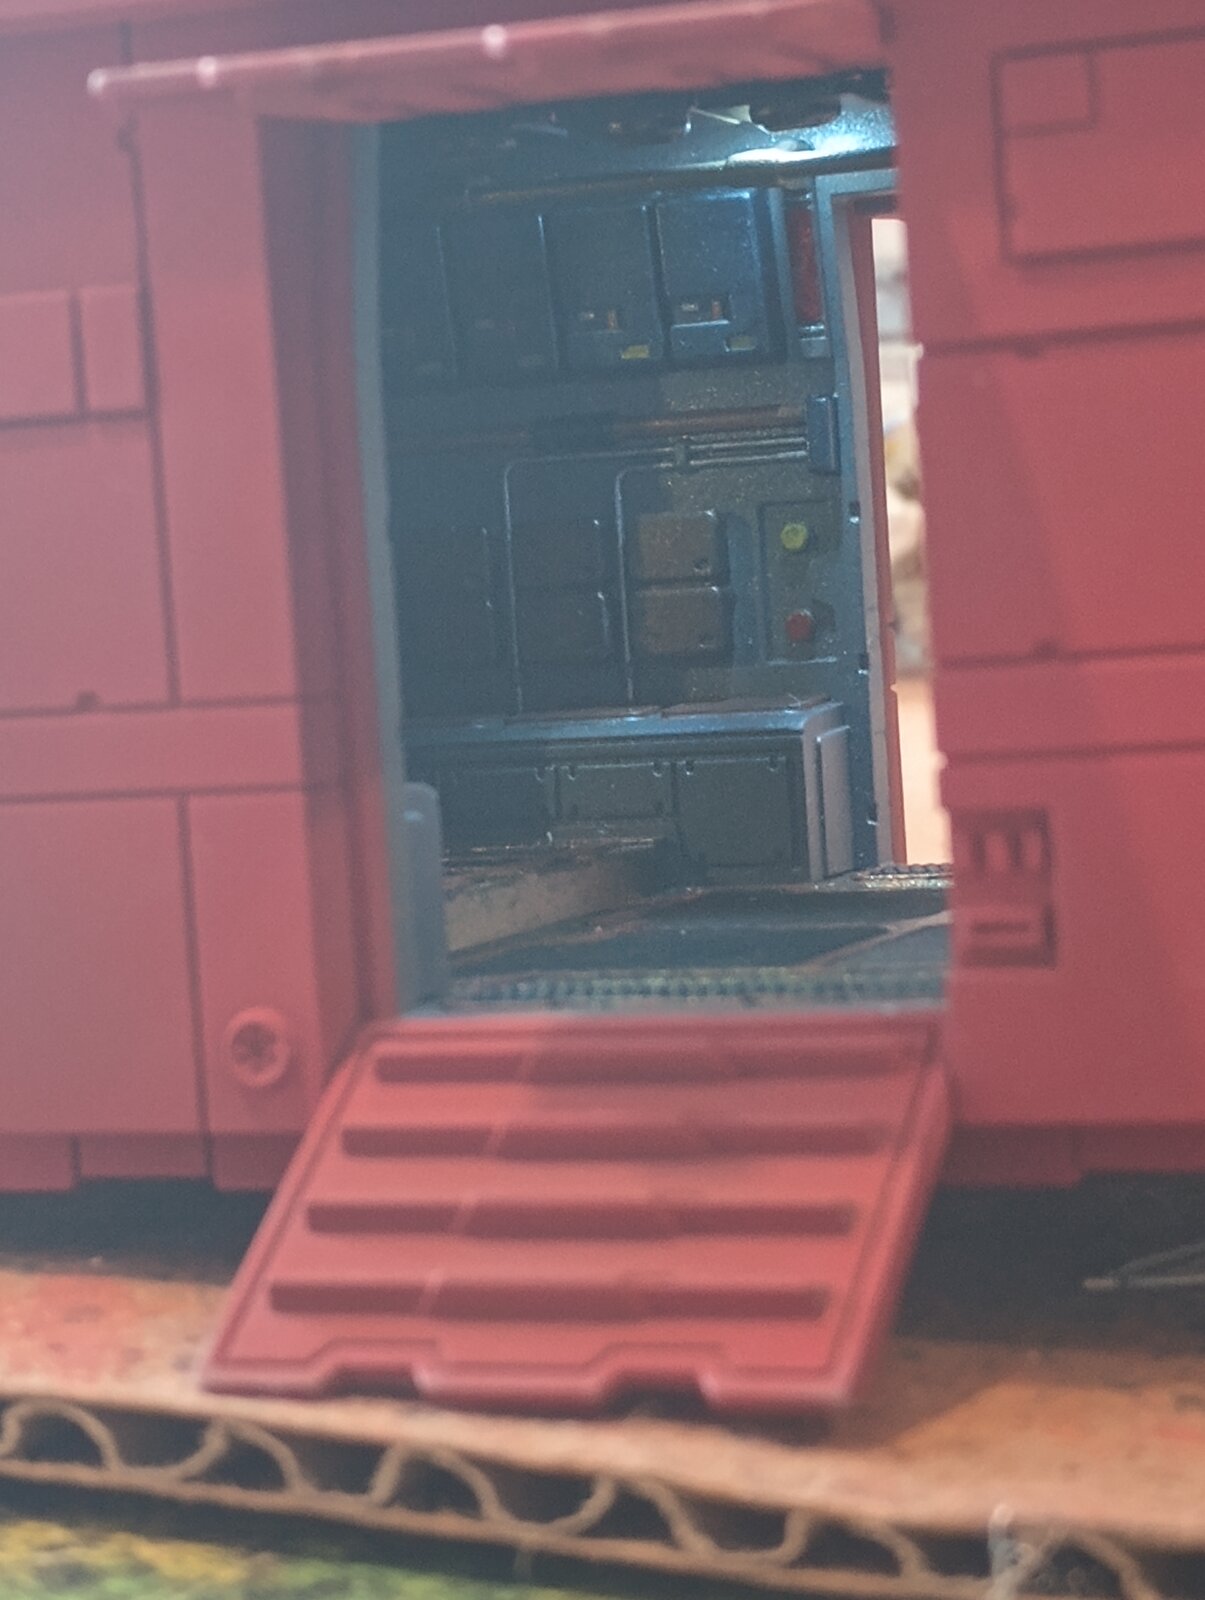
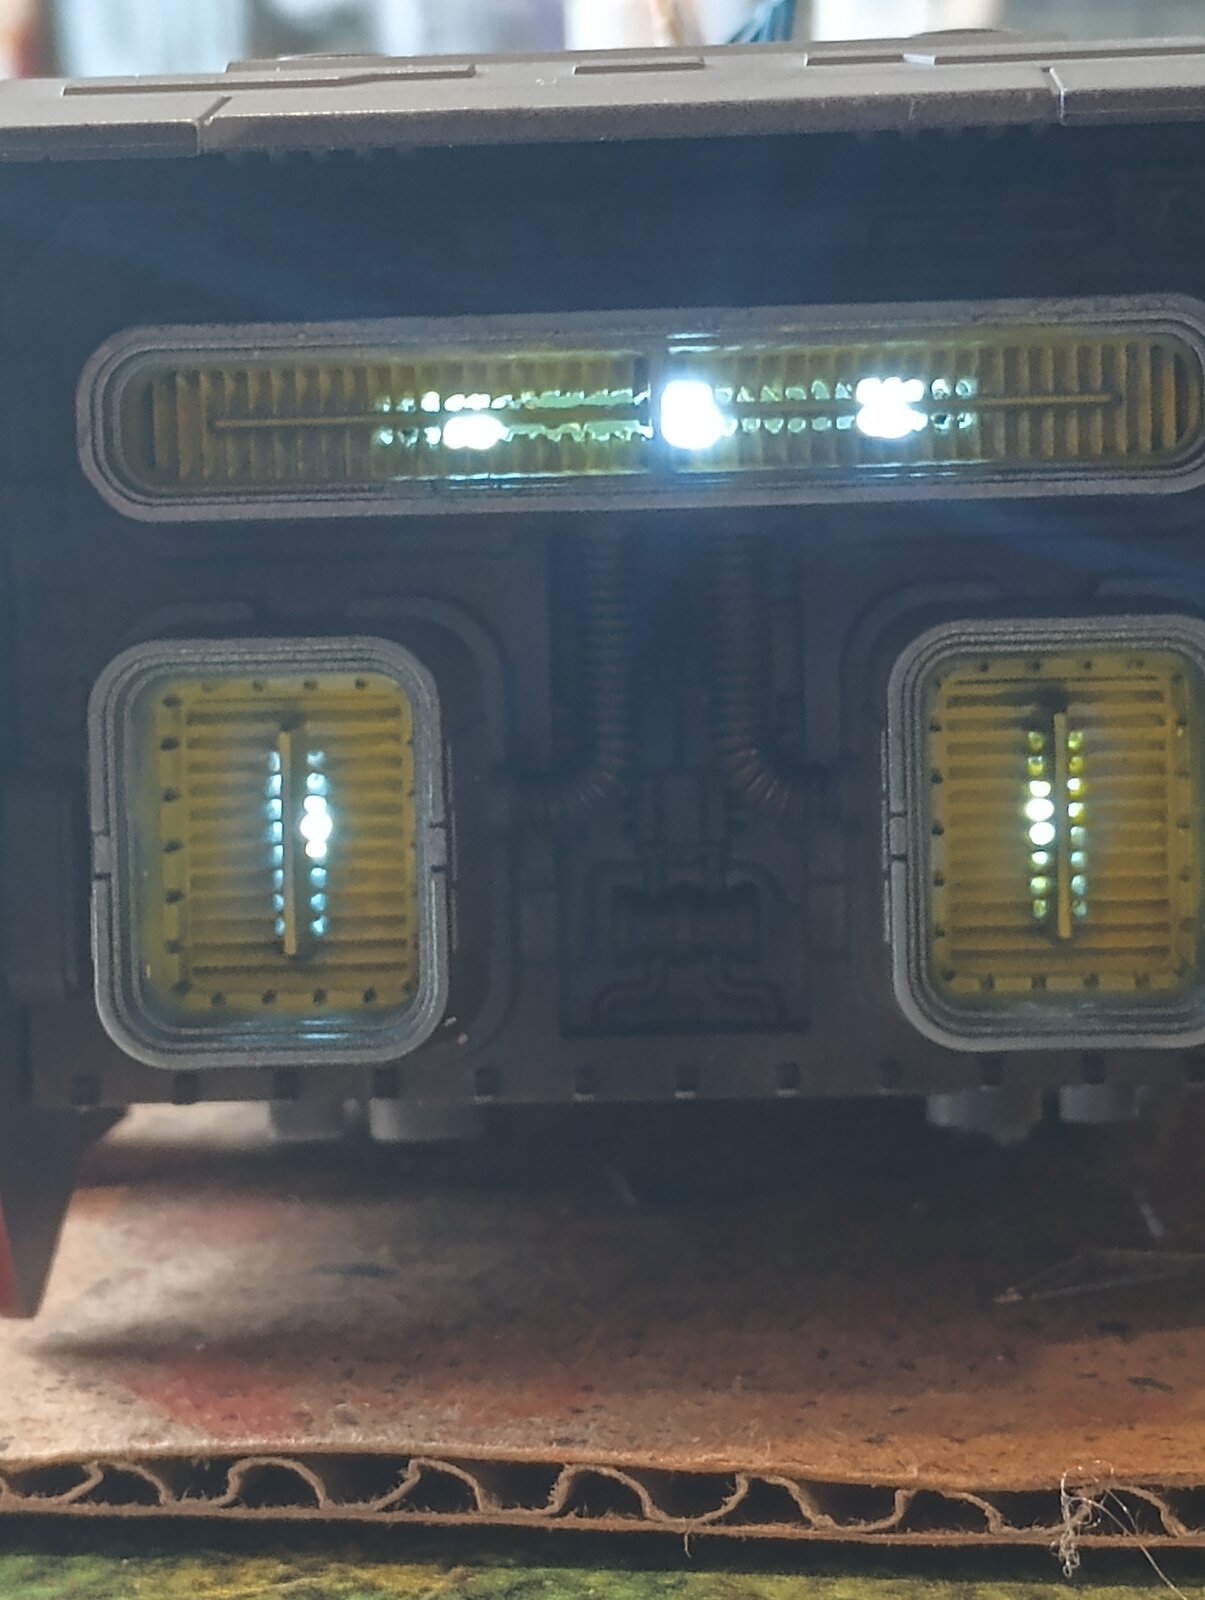
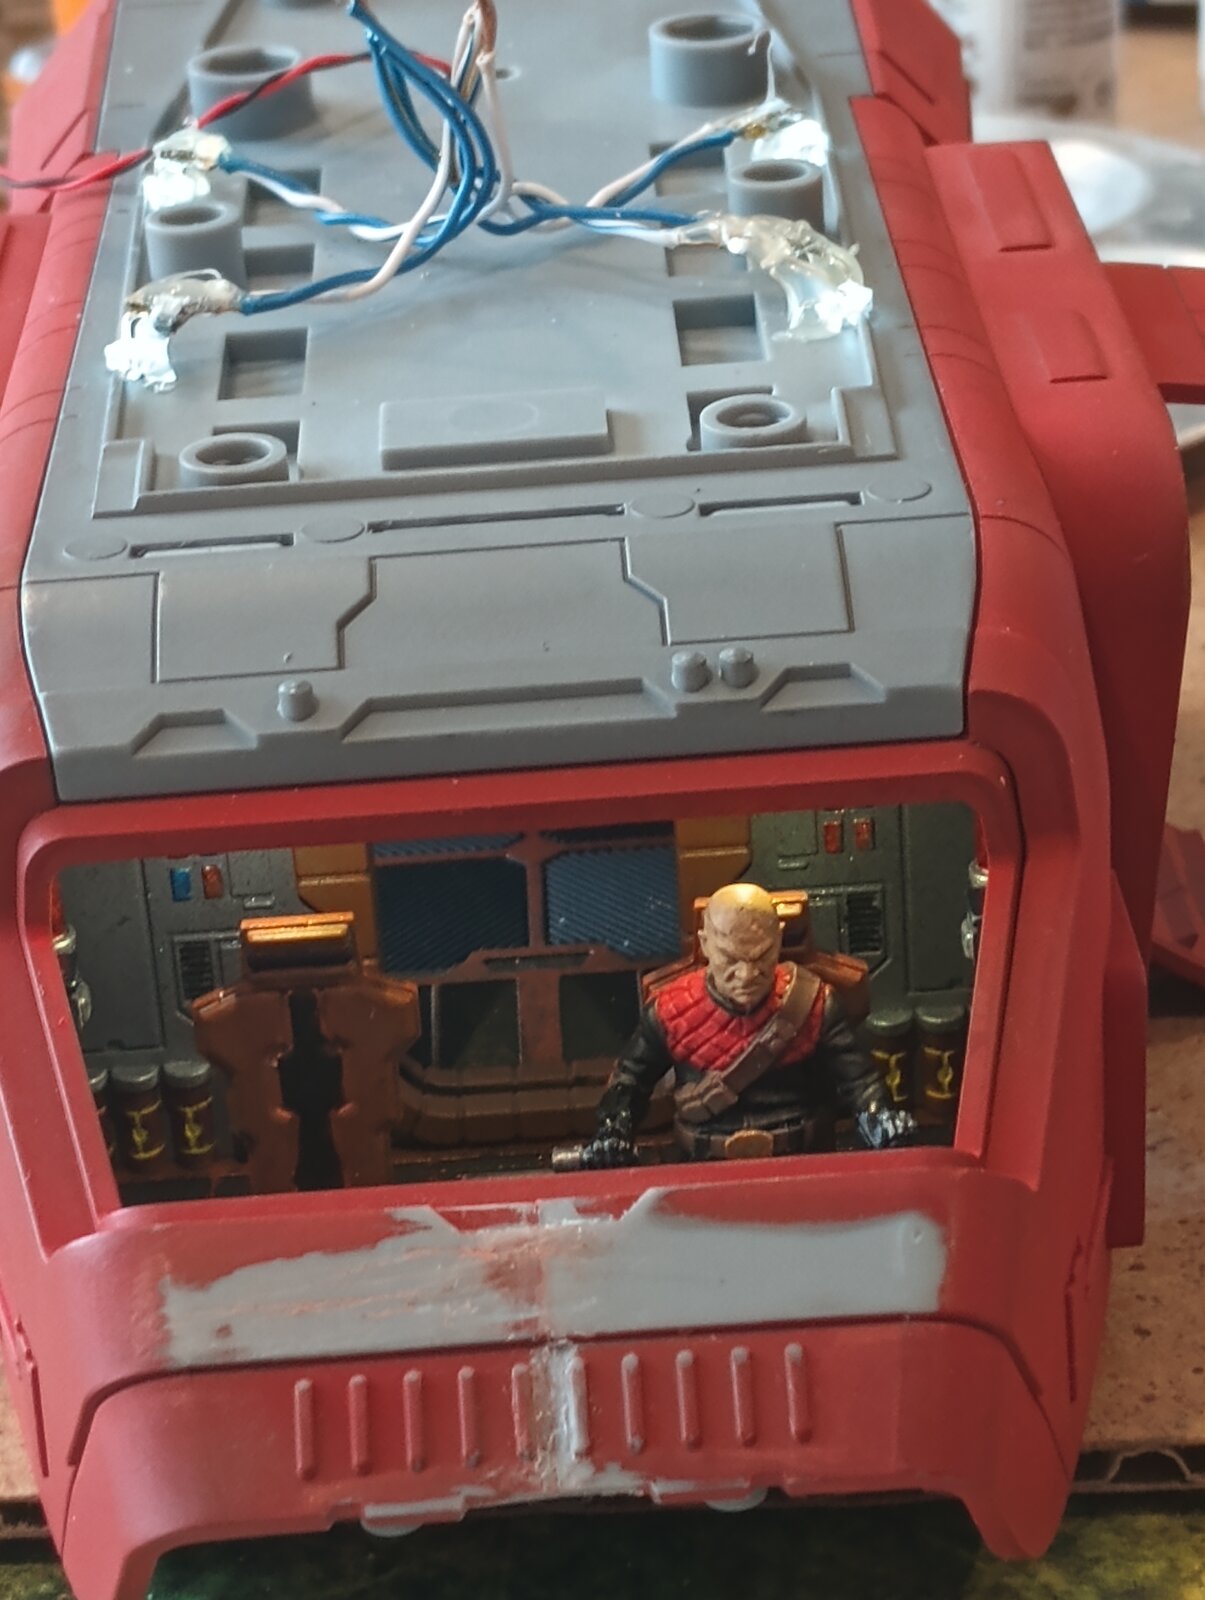
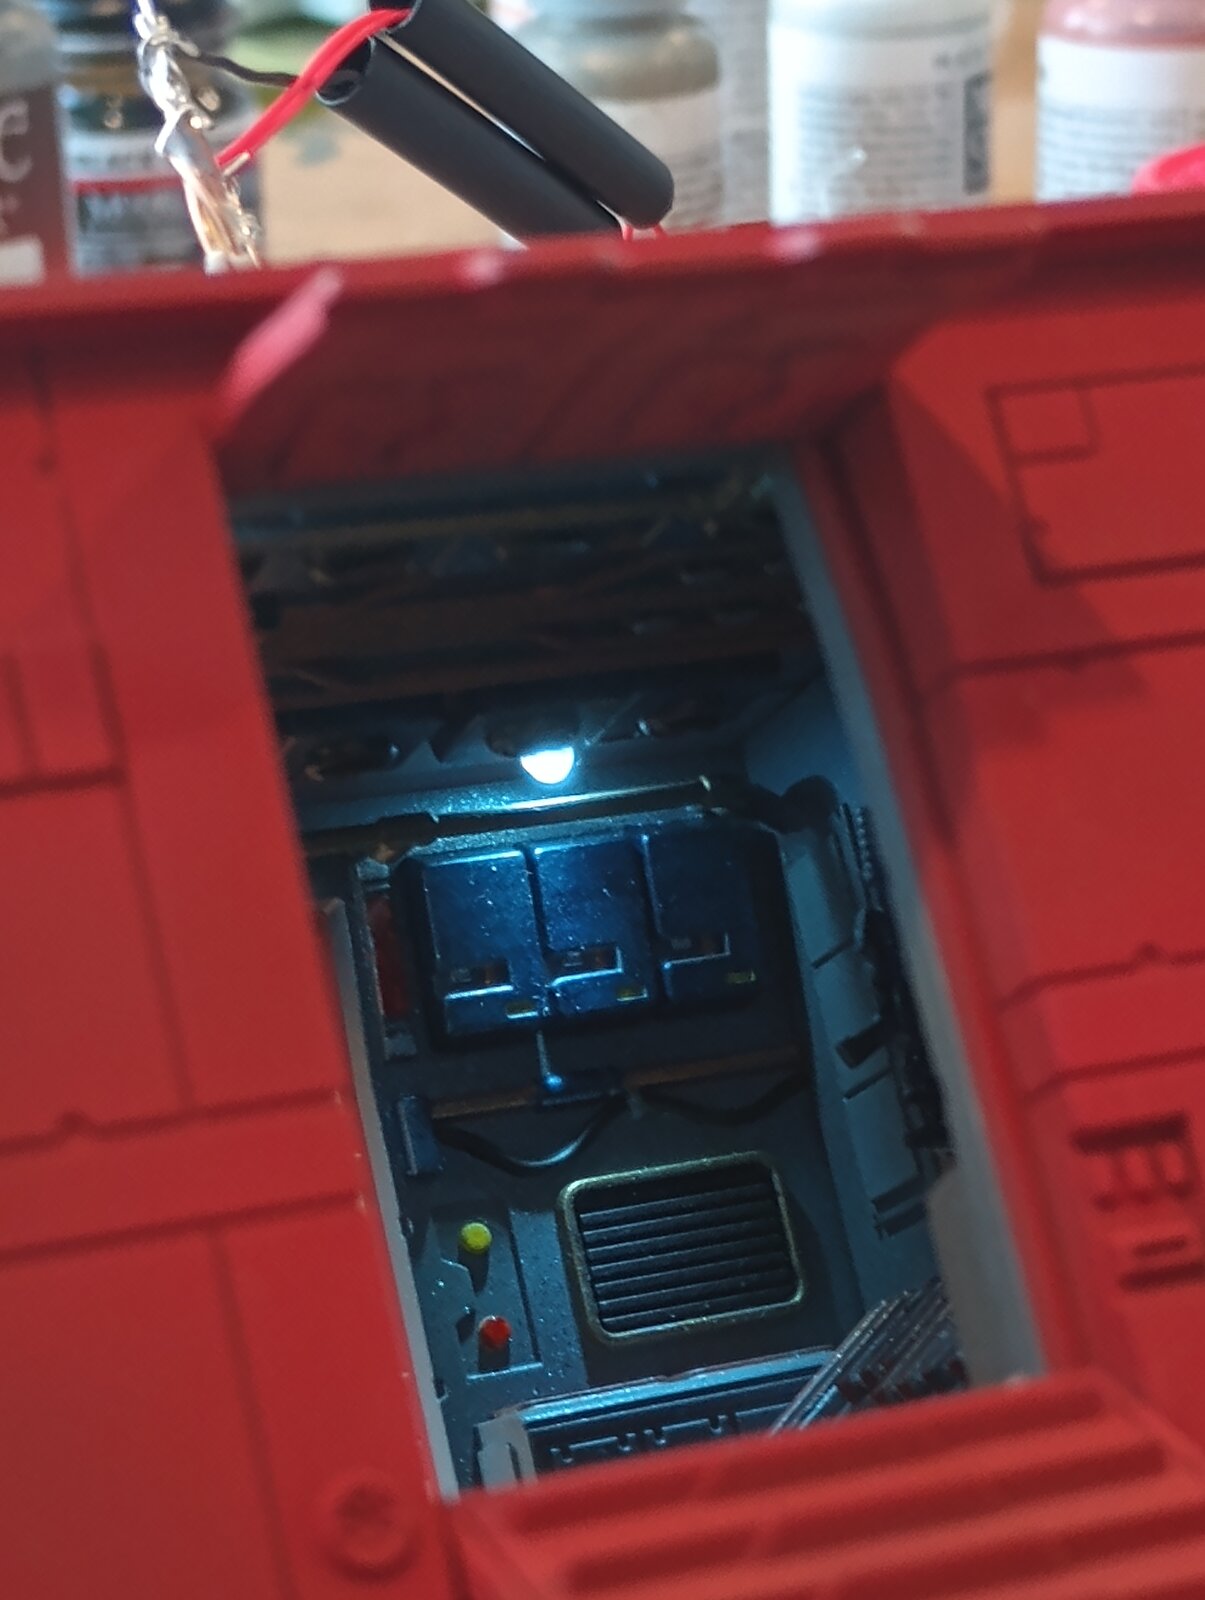
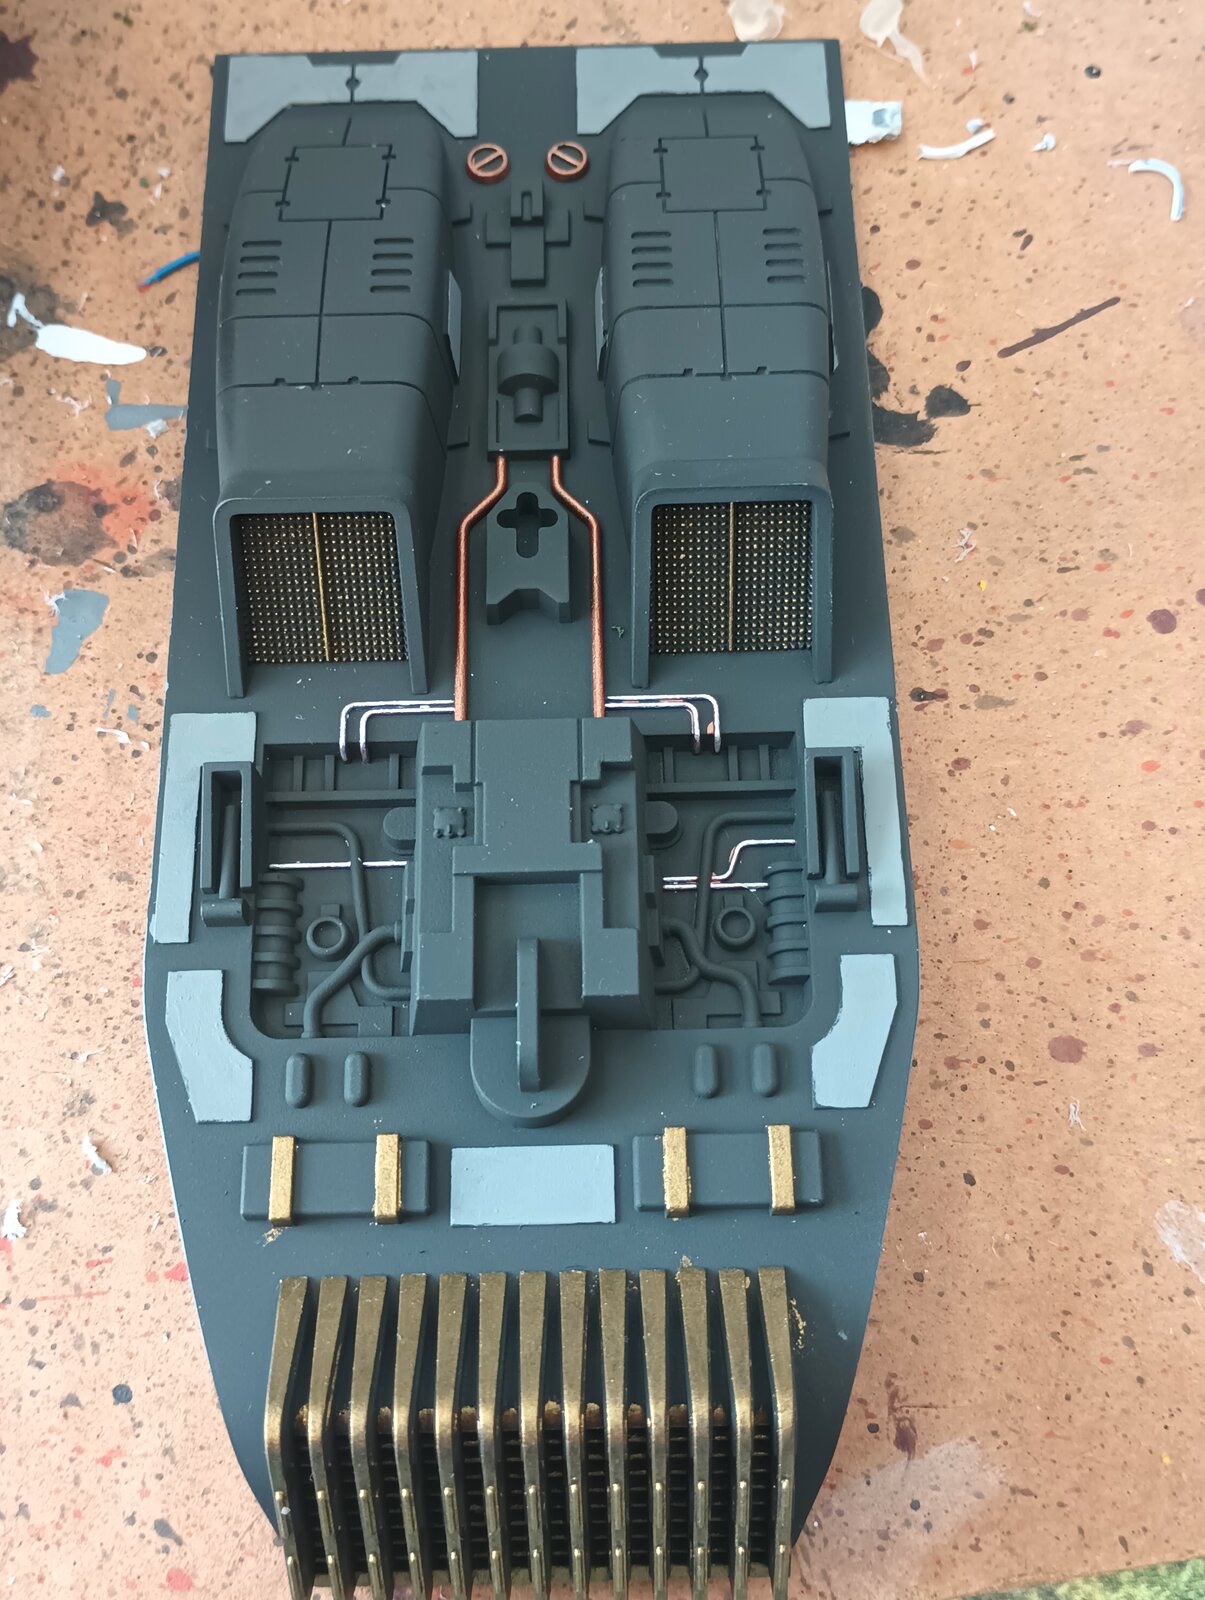
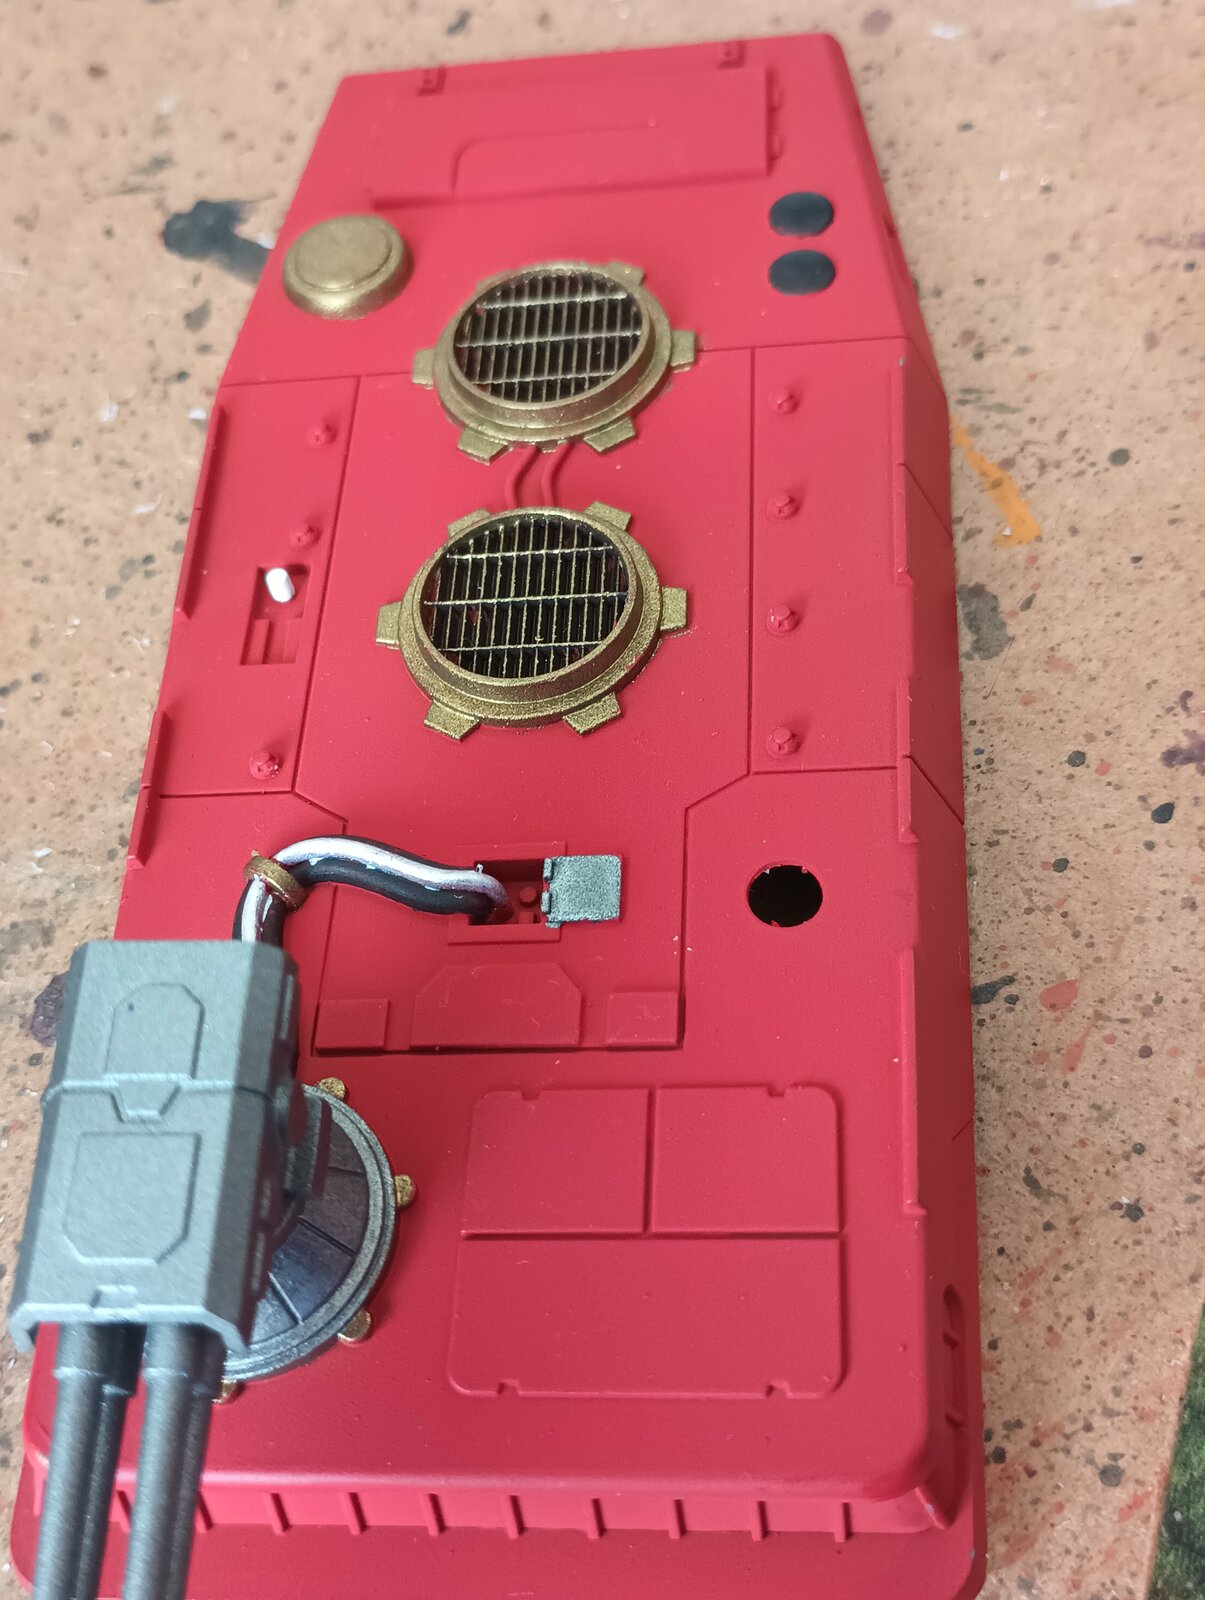
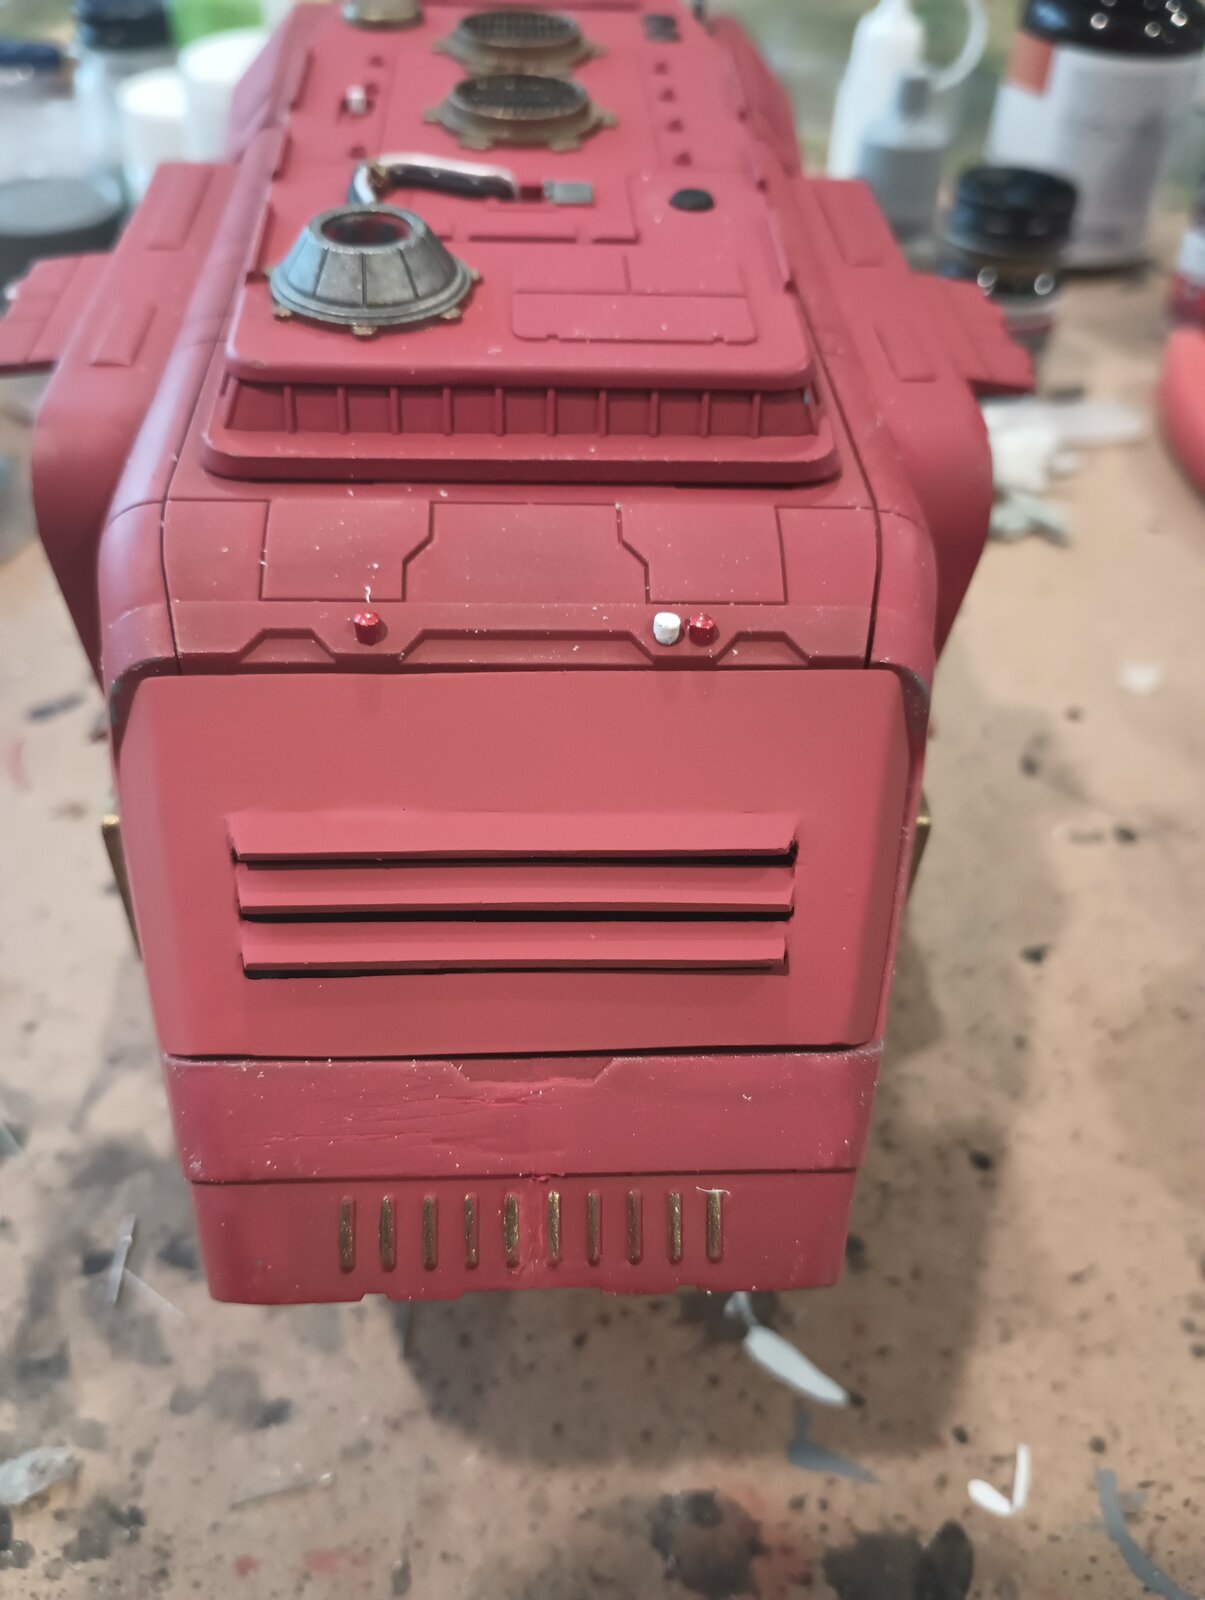
Cool. PanthermanI think I finally finished the lighting. Kinda surprised all of the are running off of one CR2032 3V battery, although I'm sure the run time won't be all that long.
View attachment 124348View attachment 124351View attachment 124350View attachment 124352View attachment 124349
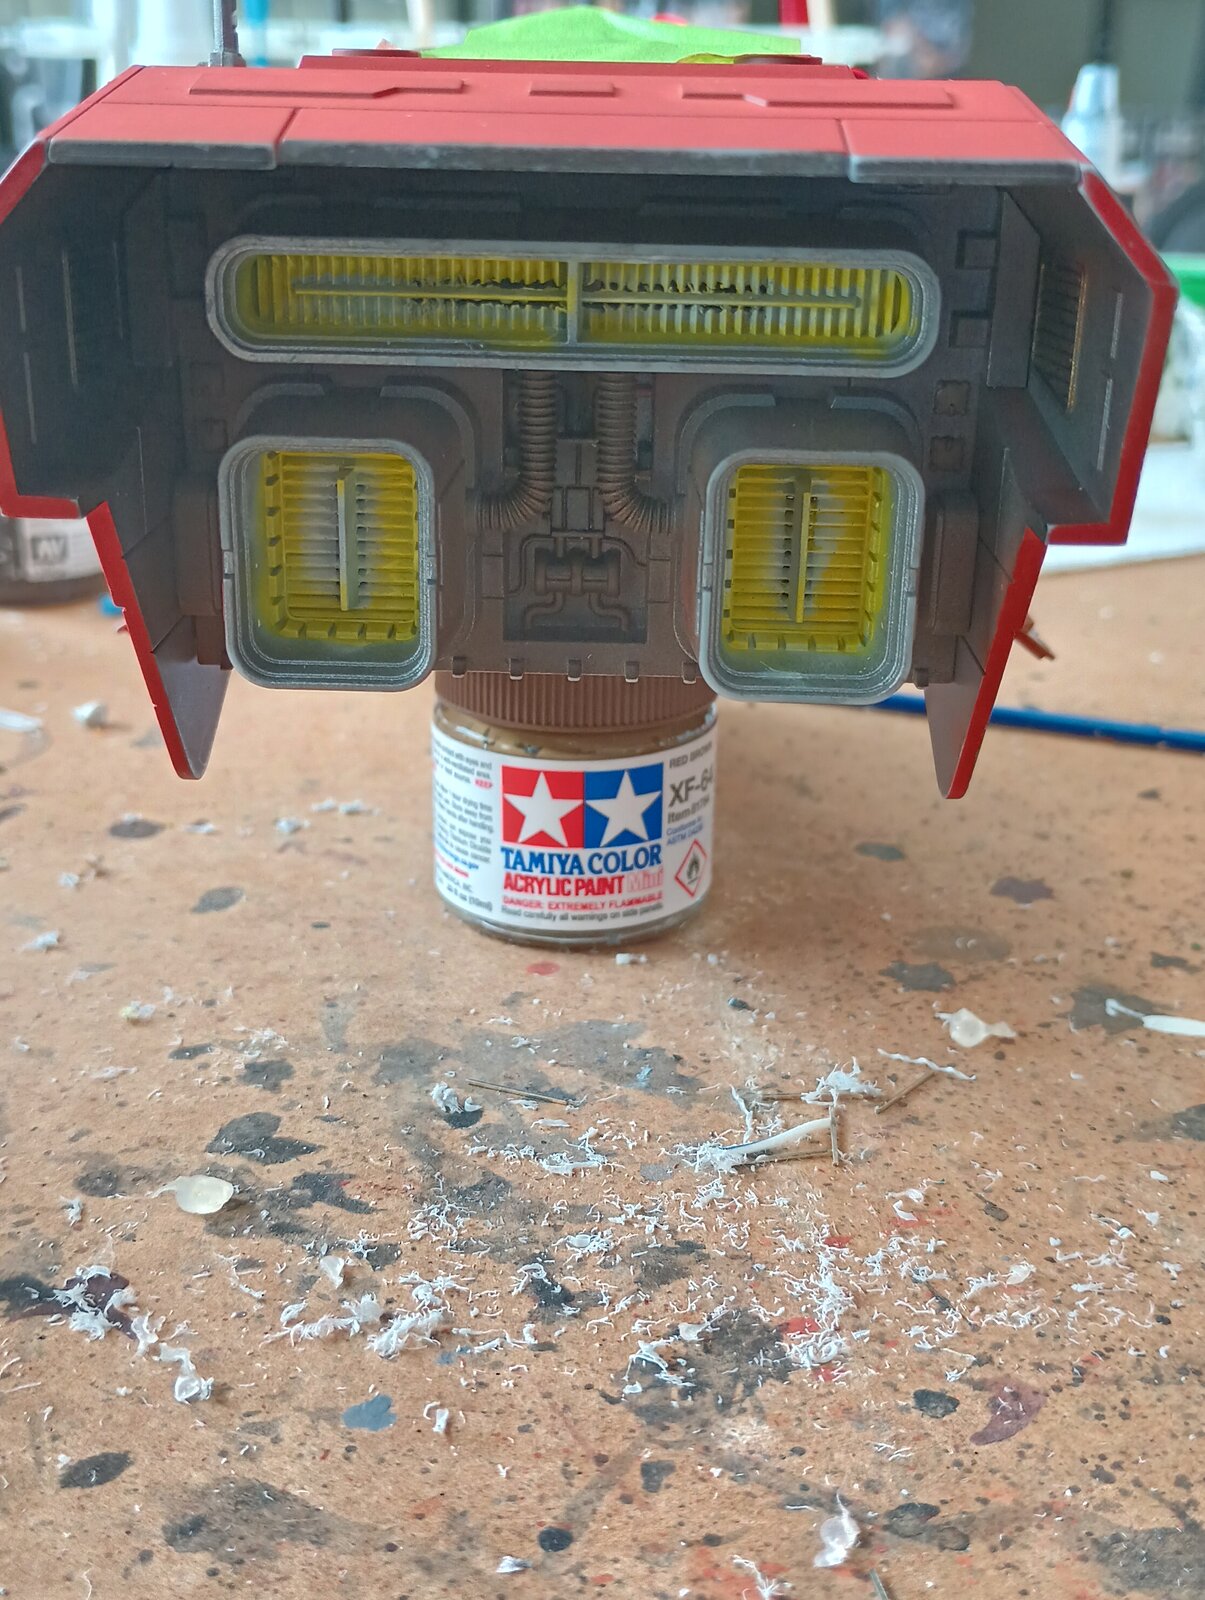
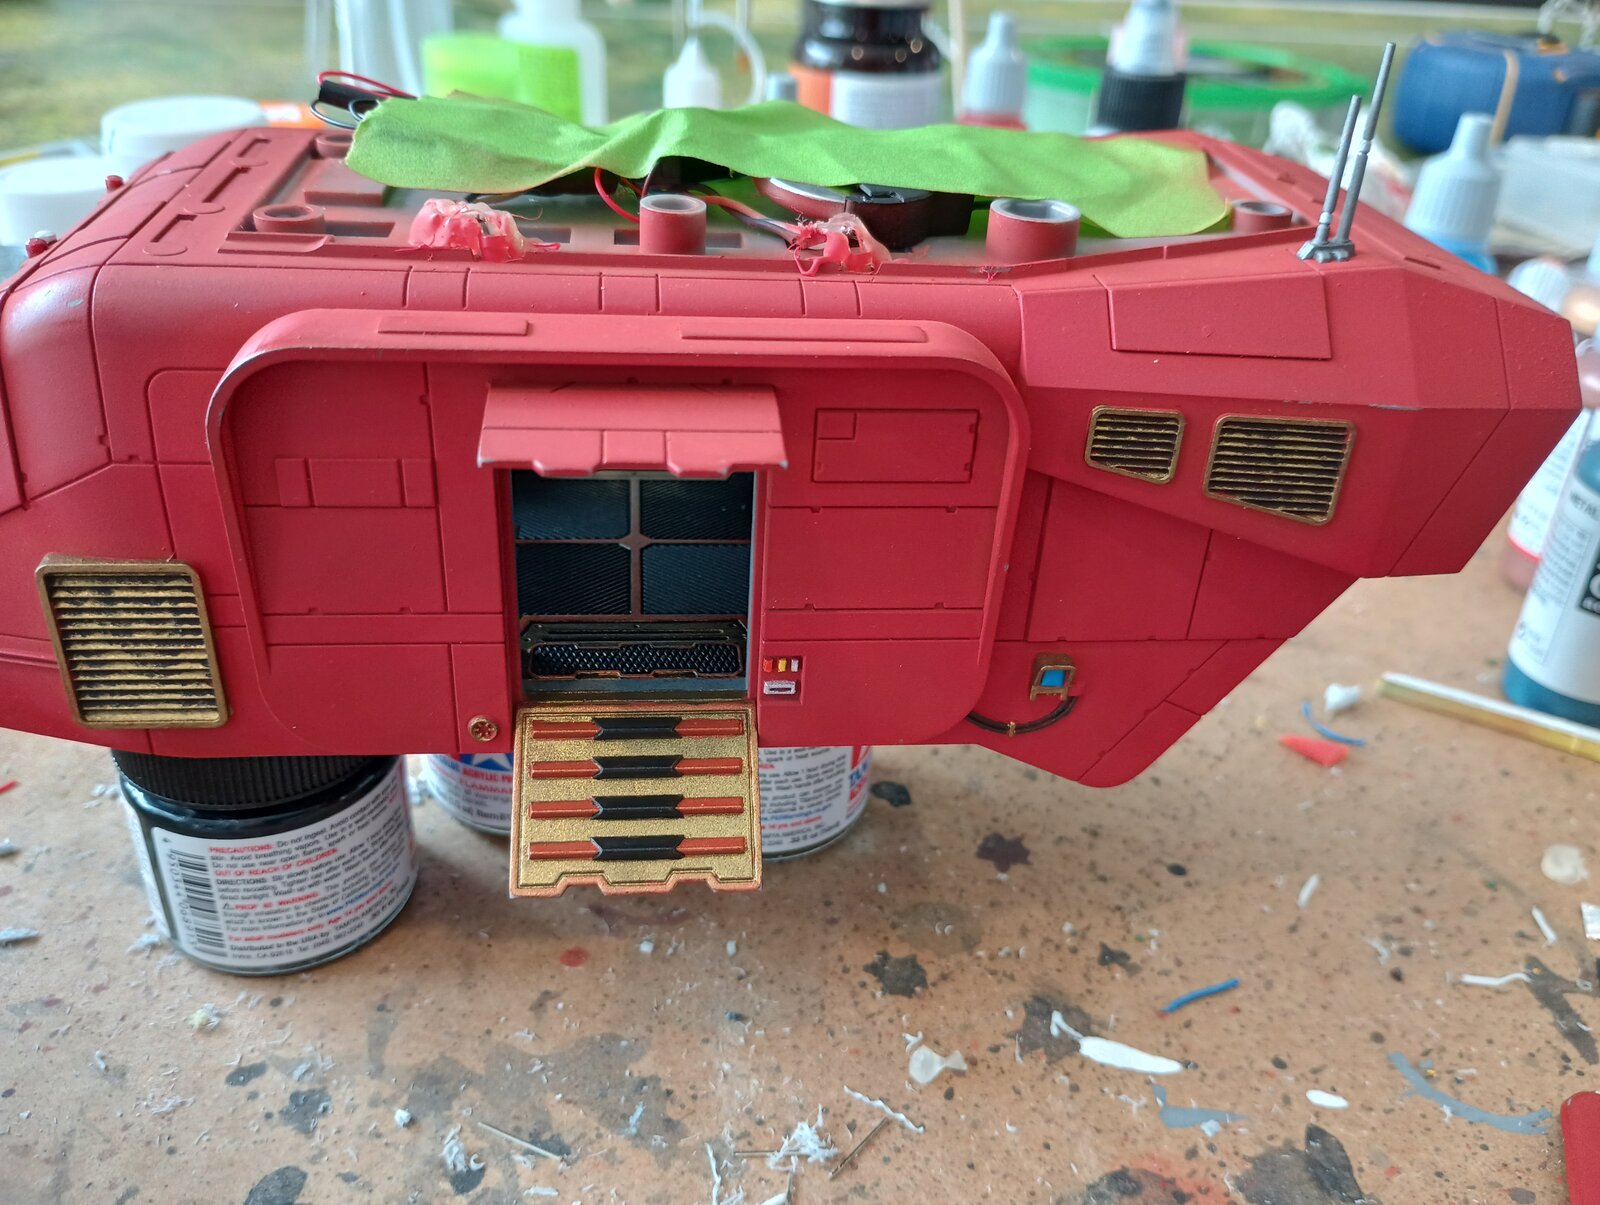
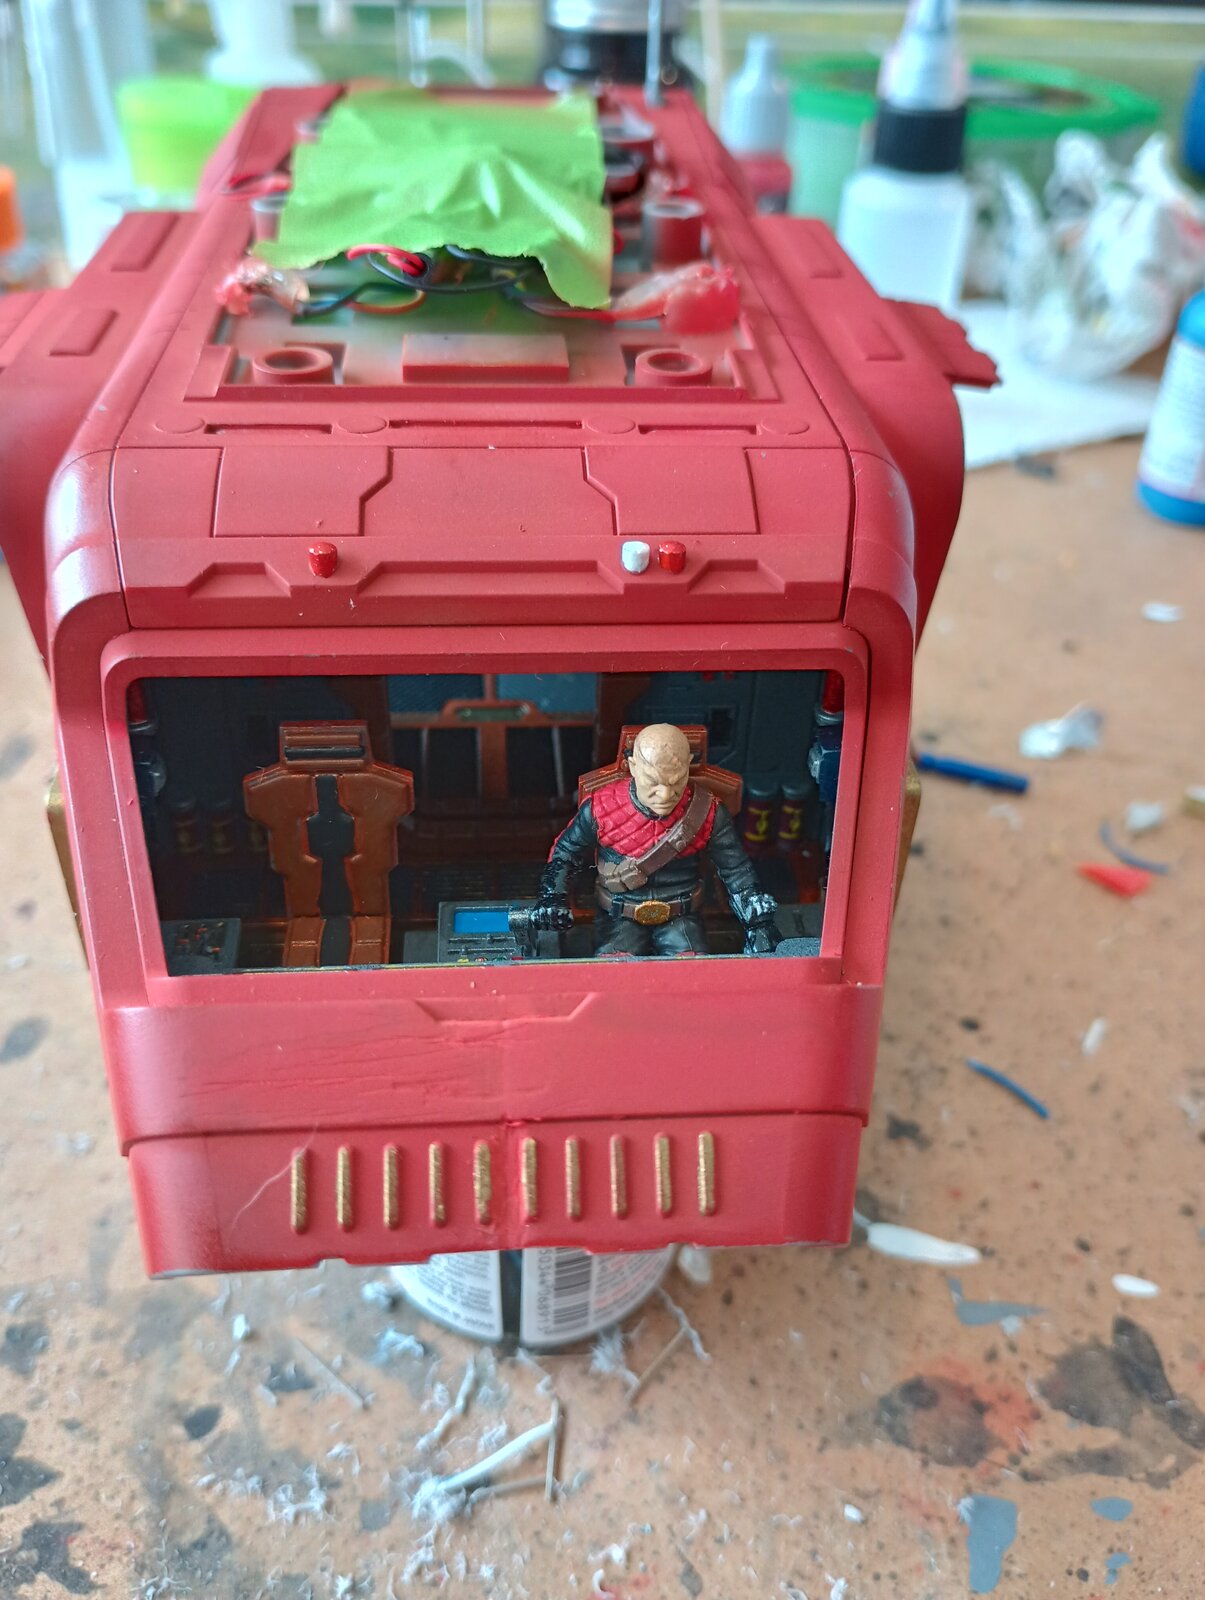
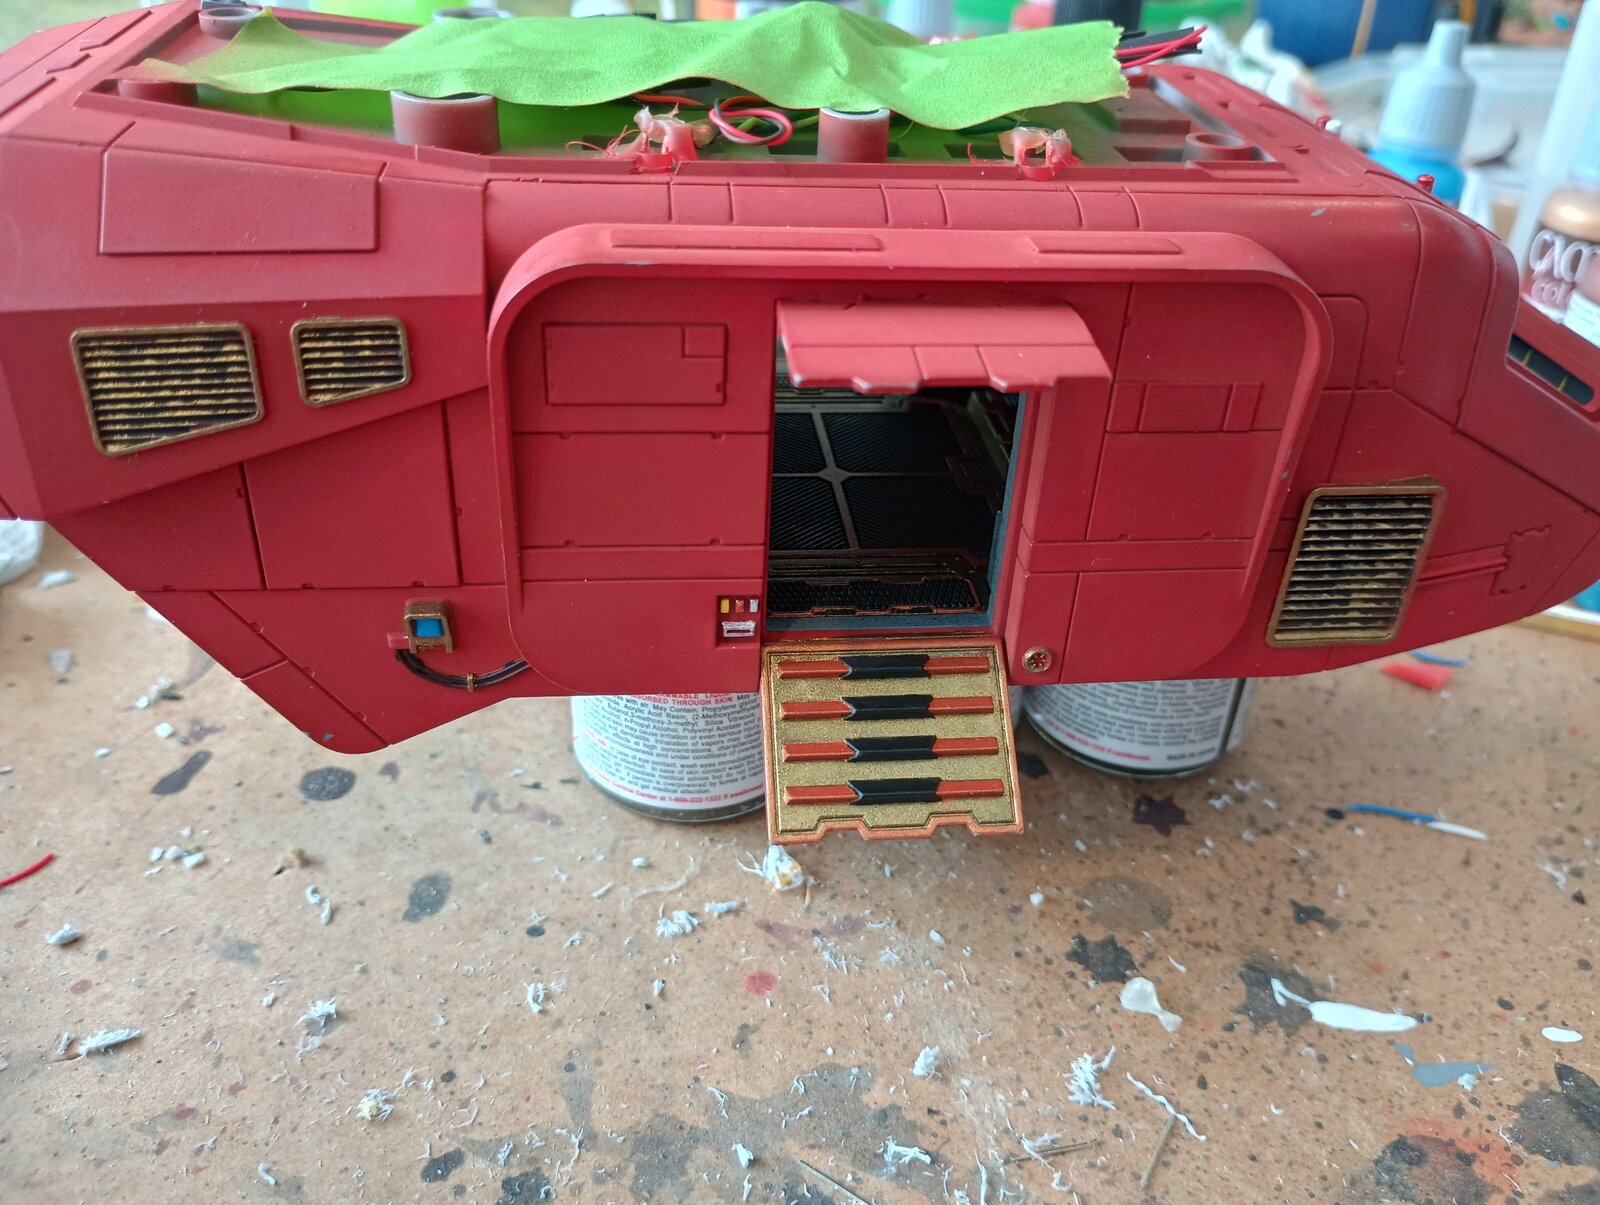
blakeh1
Well-Known Member
Love all the added details and the new windshield looks great
Nikati
Well-Known Member
- Joined
- Dec 26, 2023
- Messages
- 119
THX, The vehicle I am now calling finished and working on the base for it. I will upload more pix after I get the base done.Love all the added details and the new windshield looks great


Steve Jones SMS
Well-Known Member
- Joined
- Oct 9, 2024
- Messages
- 63
Great work my friend. Looking forward to seeing the final reveal

Richard55
Well-Known Member
- Joined
- Oct 3, 2024
- Messages
- 115
Good to see you Steve!!Great work my friend. Looking forward to seeing the final reveal
Steve Jones SMS
Well-Known Member
- Joined
- Oct 9, 2024
- Messages
- 63
You too Richard. I'm glad the gang finally saw the light and left SMF LOL Speak soon my friend and have a great weekend

JOHN R
Well-Known Member
Hi Rich , good to see you .Good to see you Steve!!
Nikati
Well-Known Member
- Joined
- Dec 26, 2023
- Messages
- 119
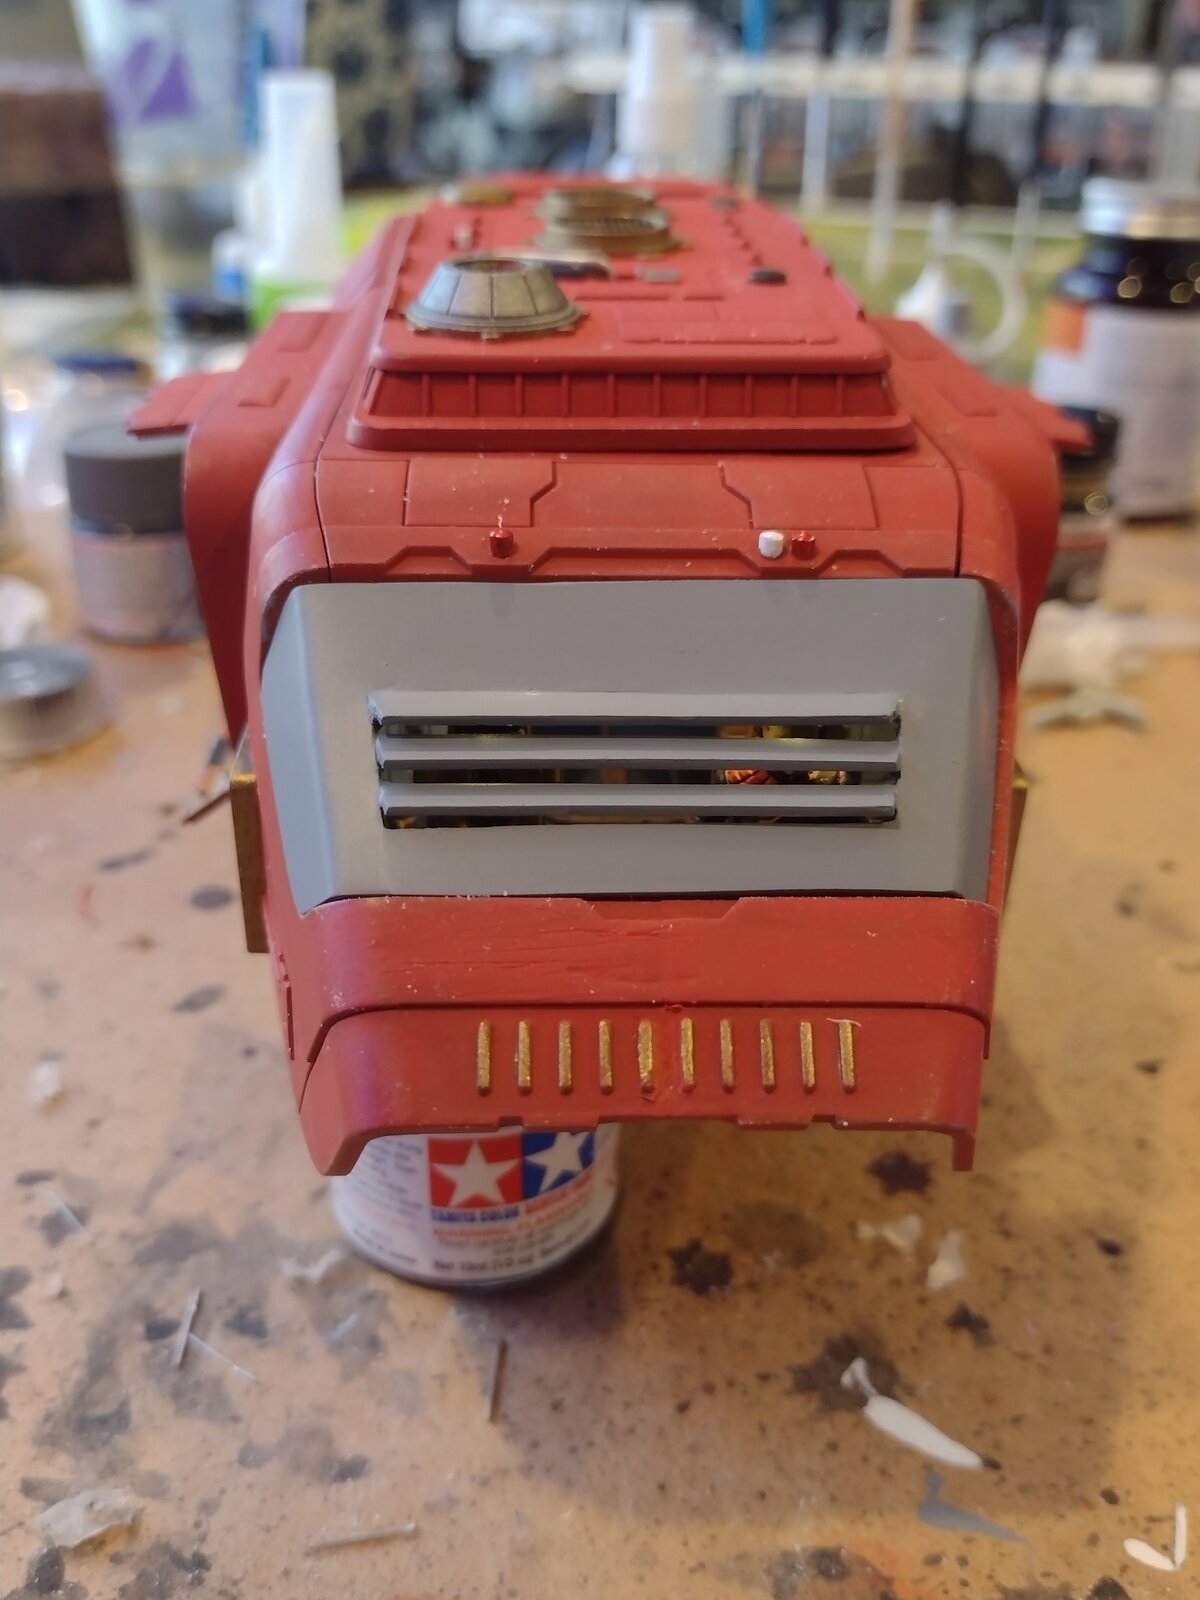
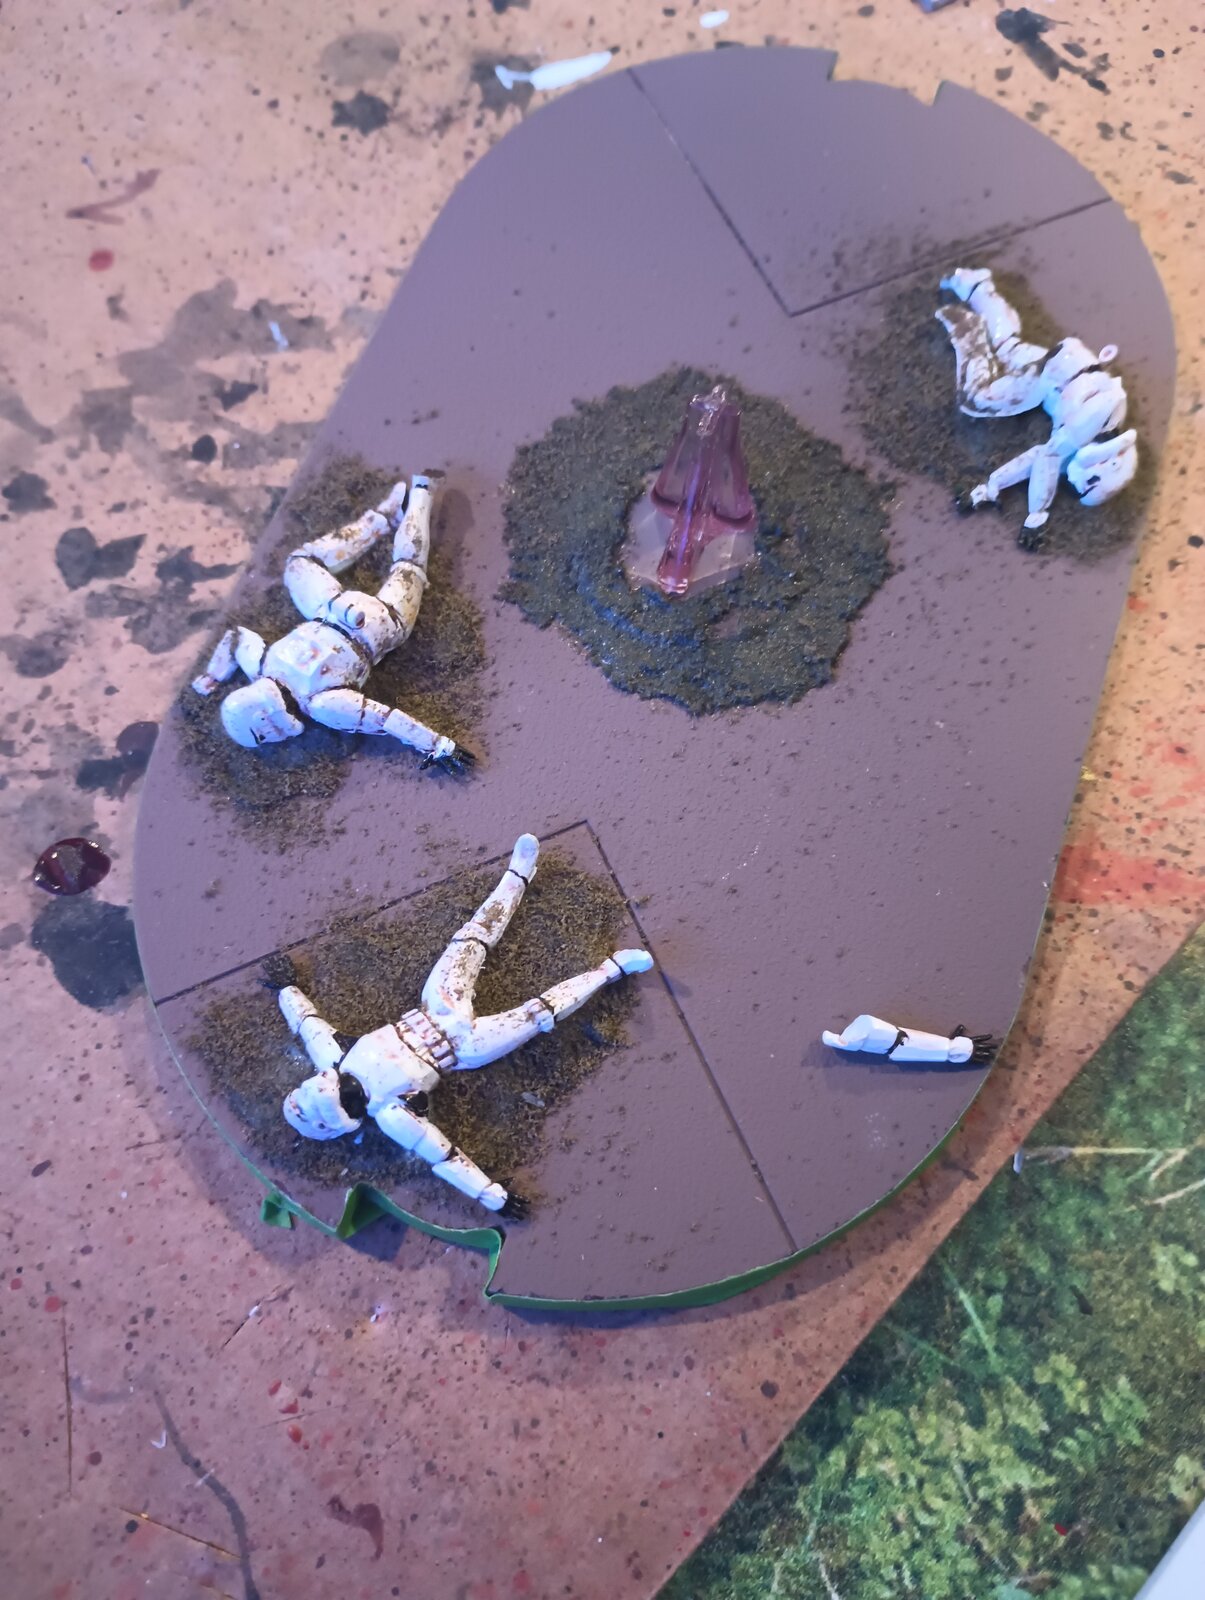
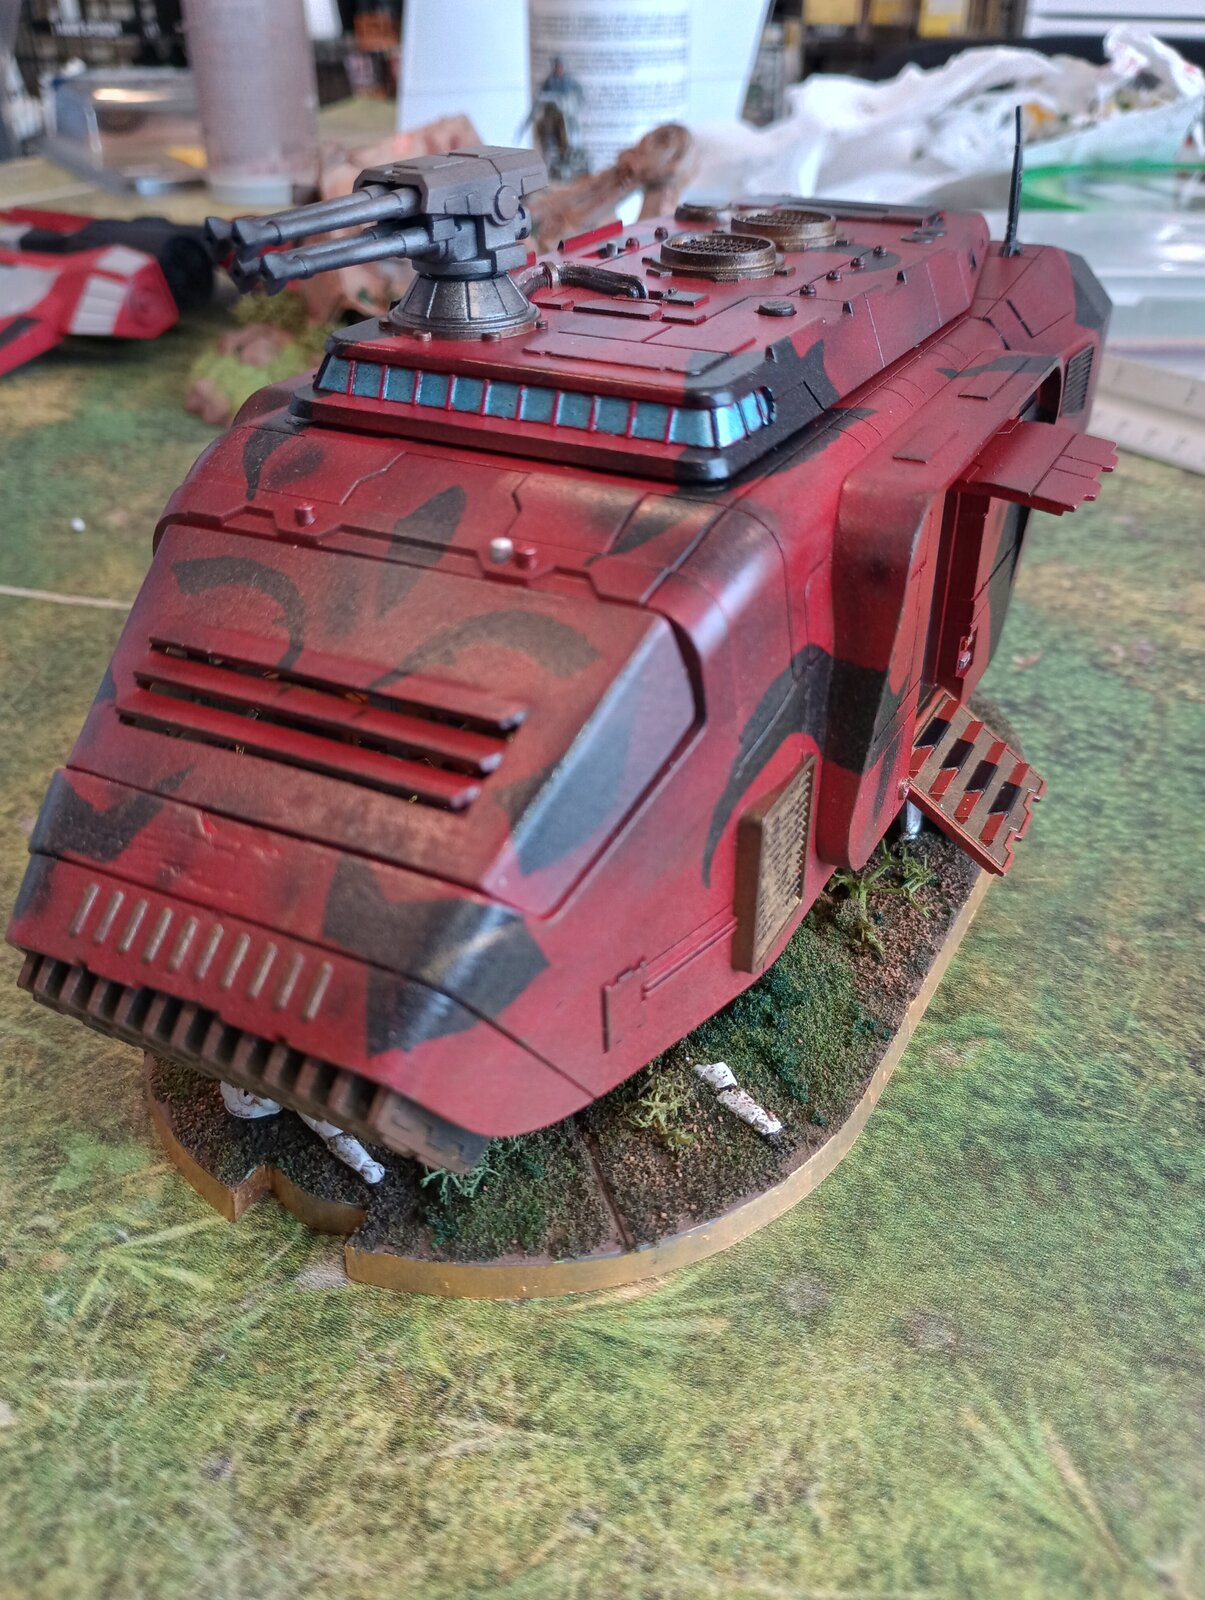
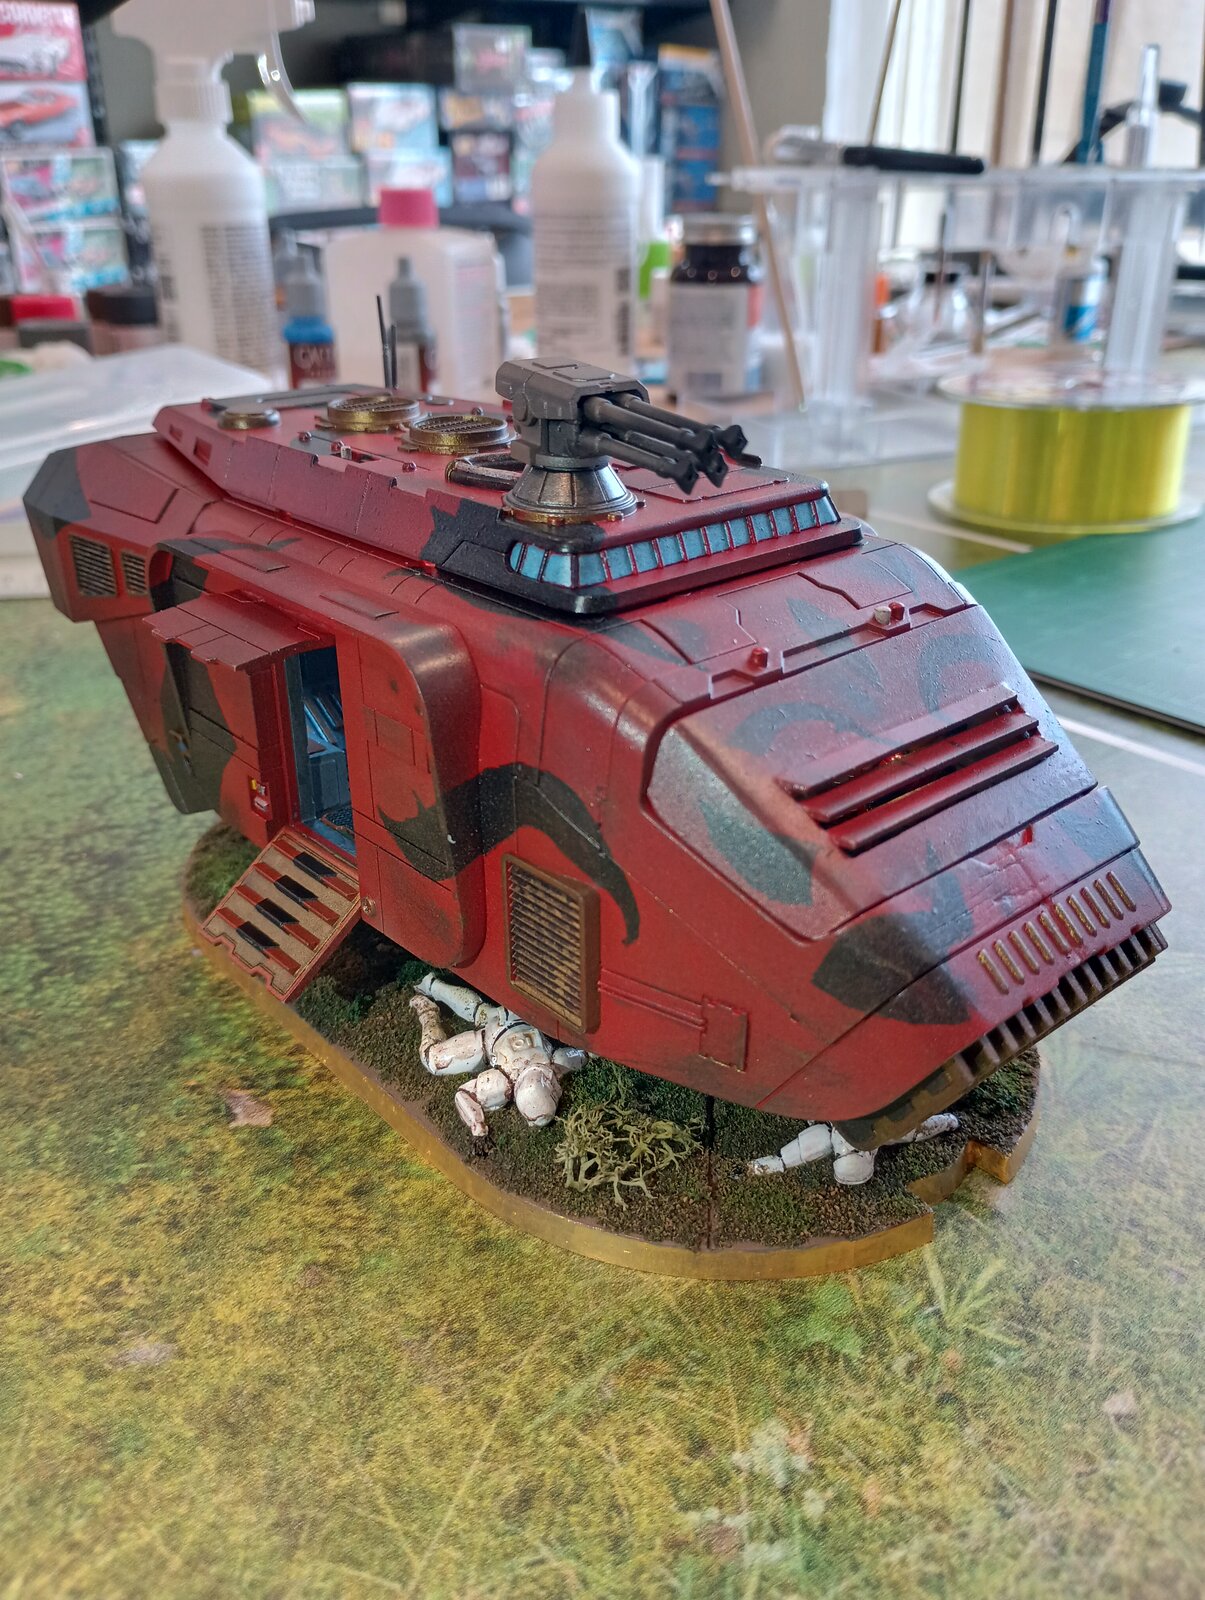
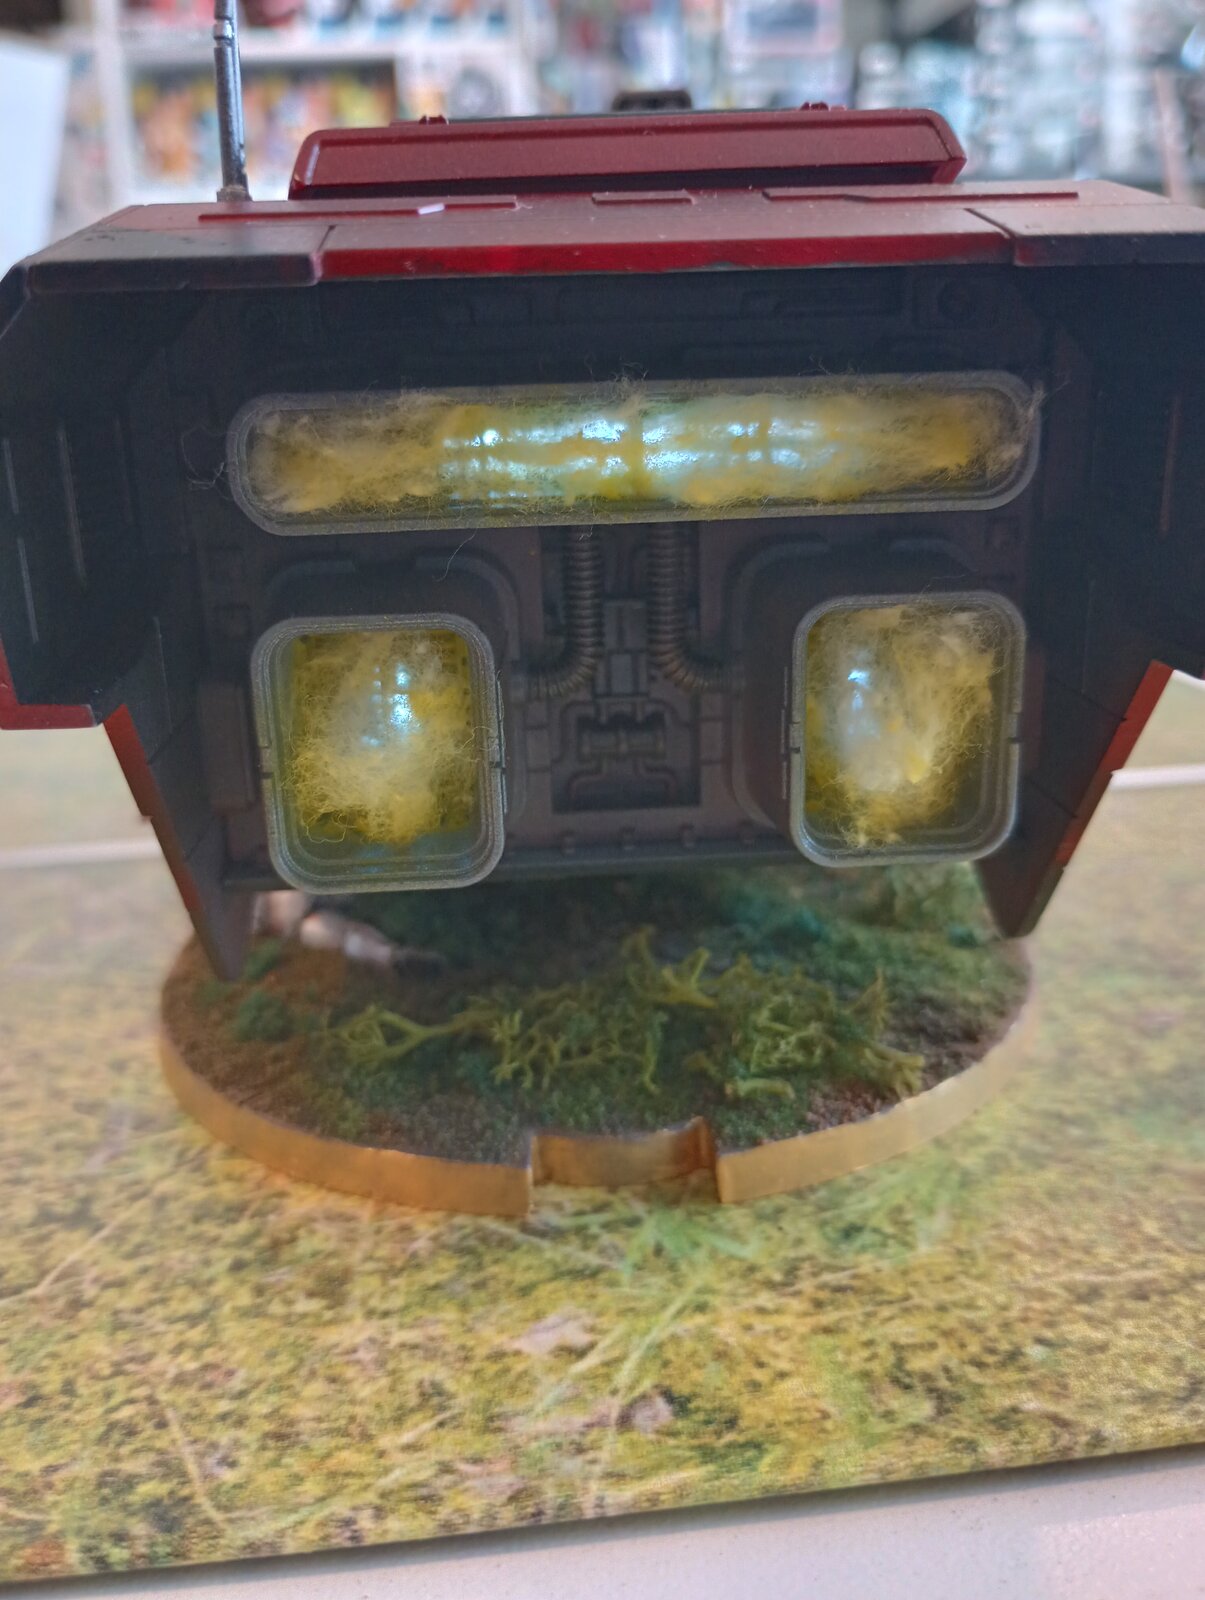
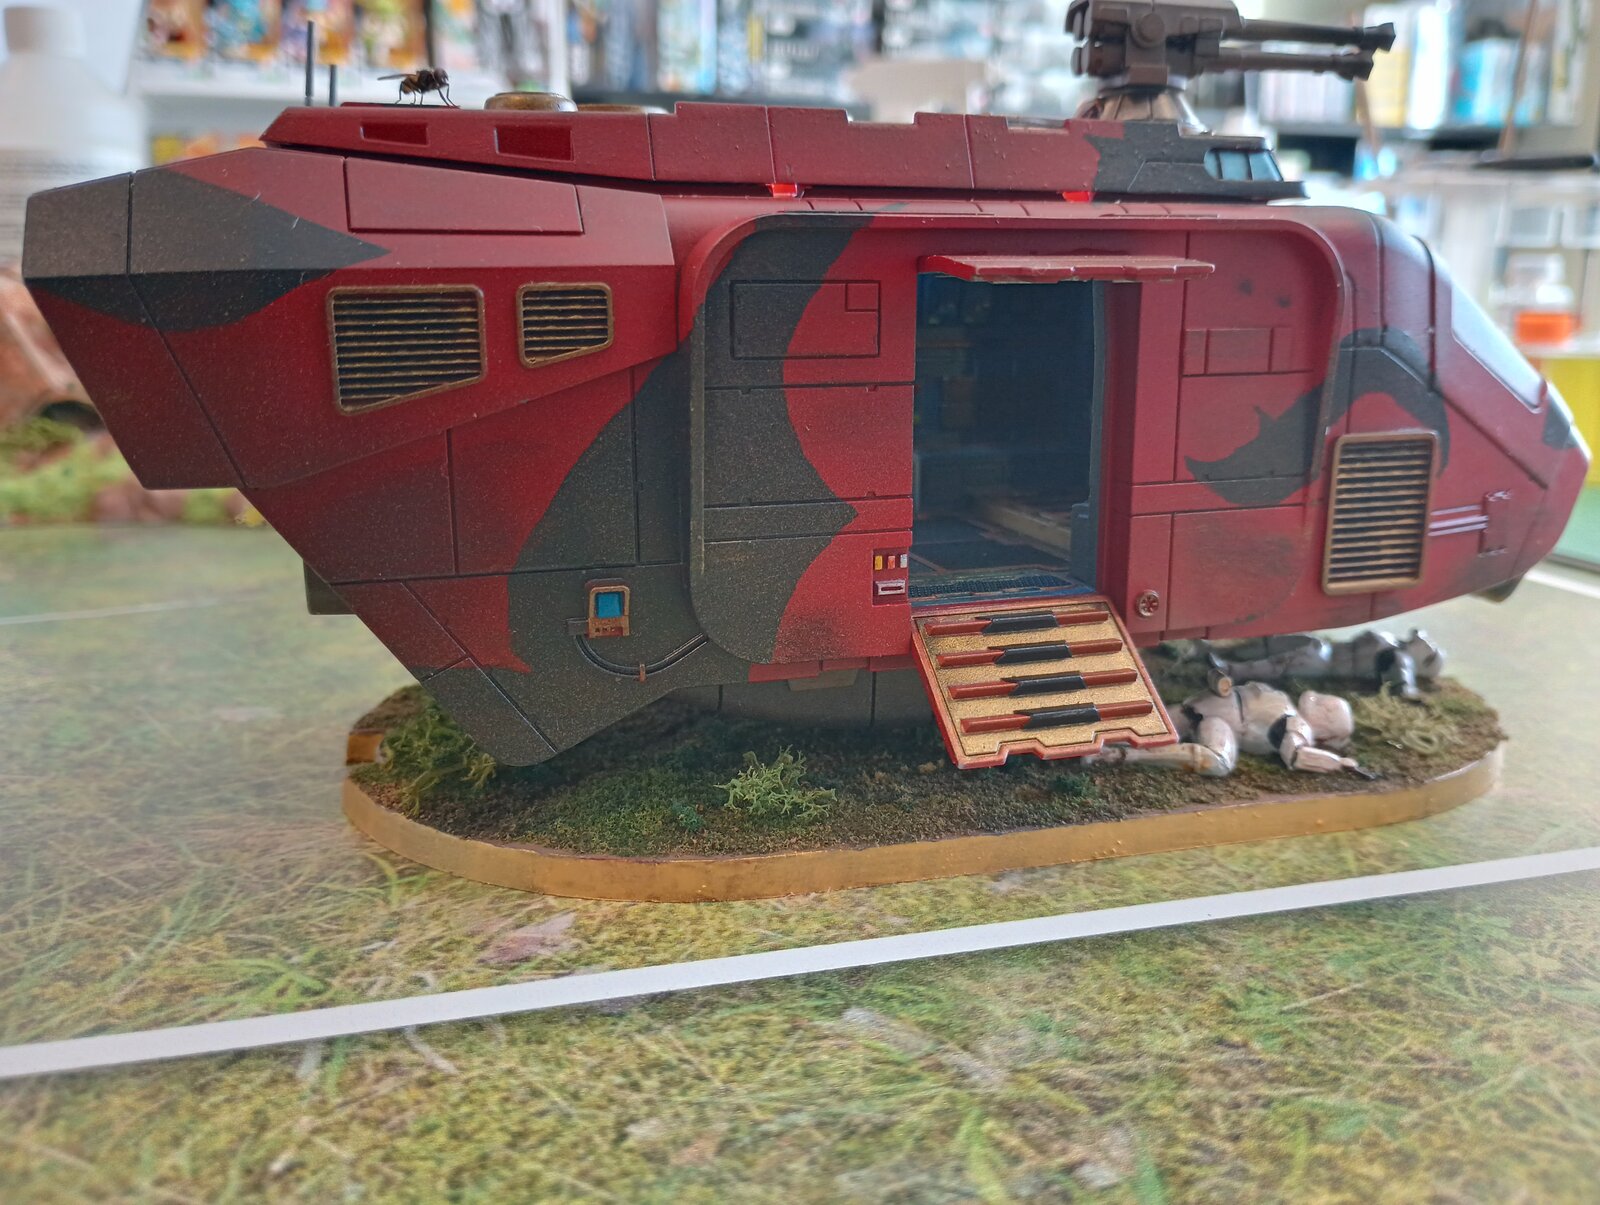
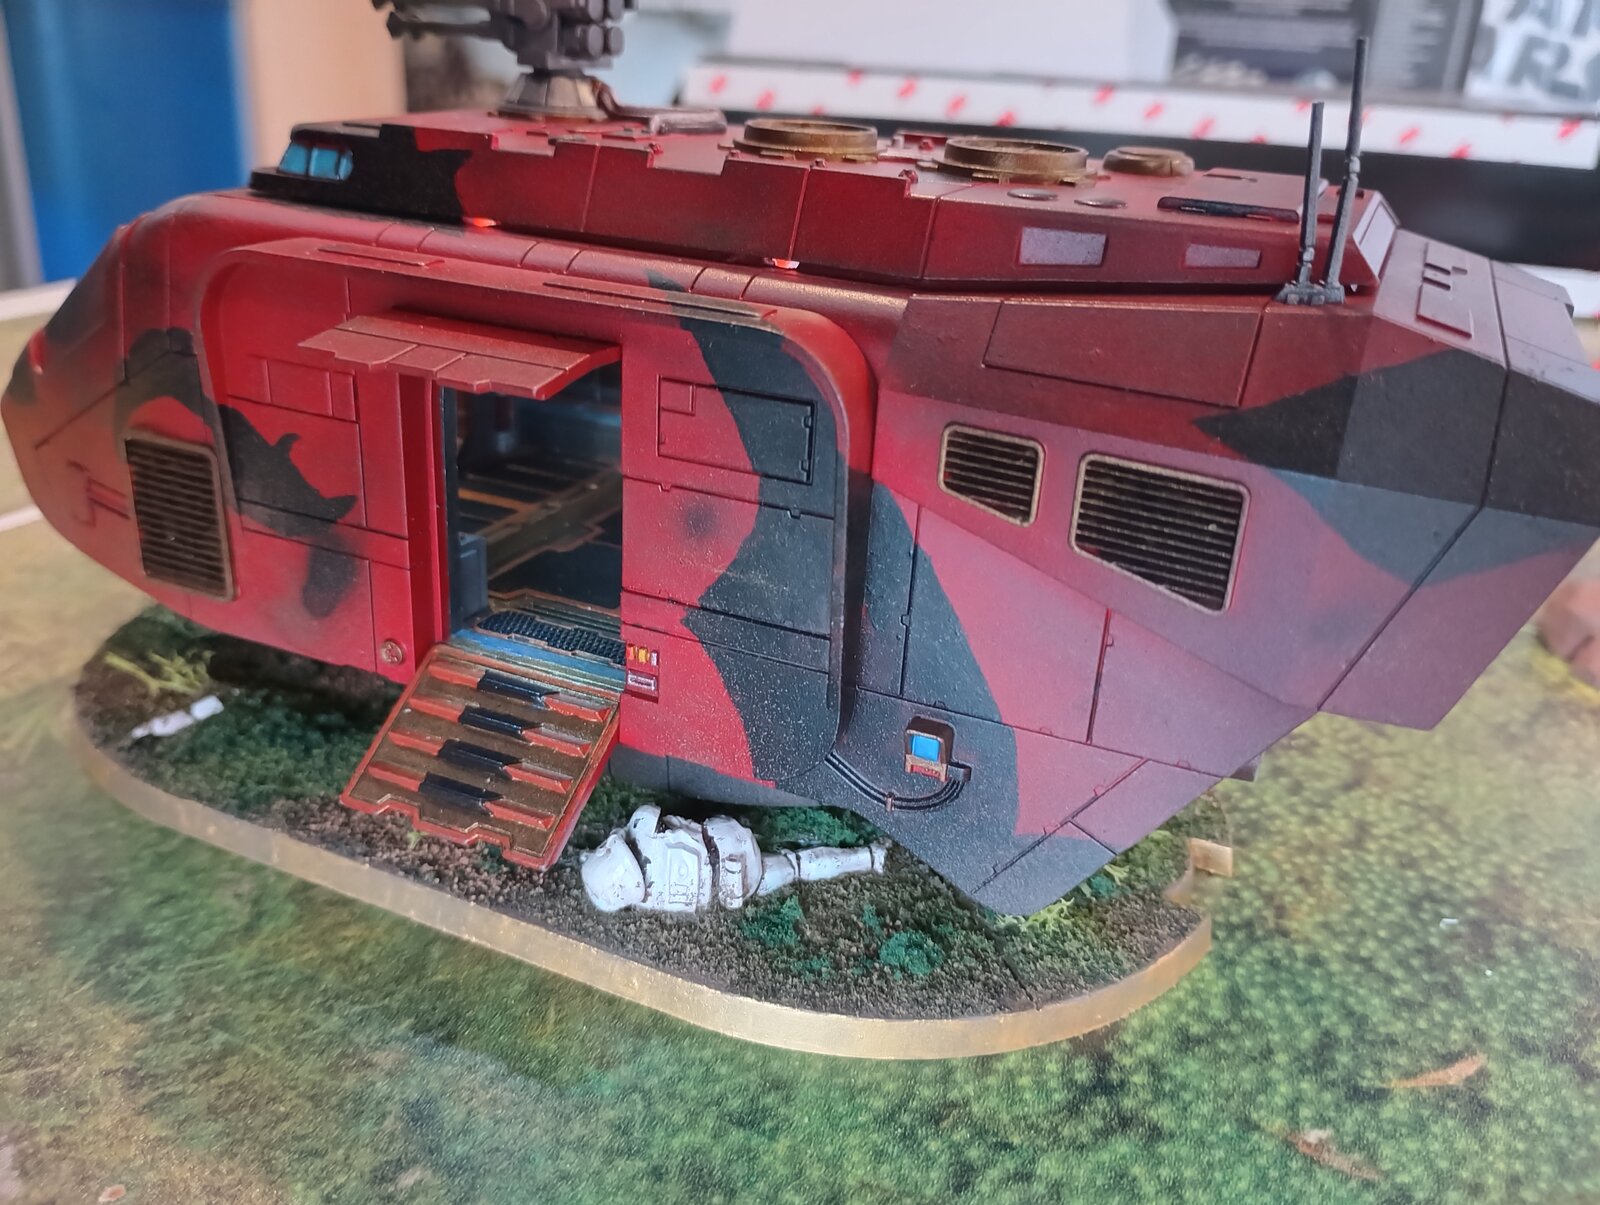
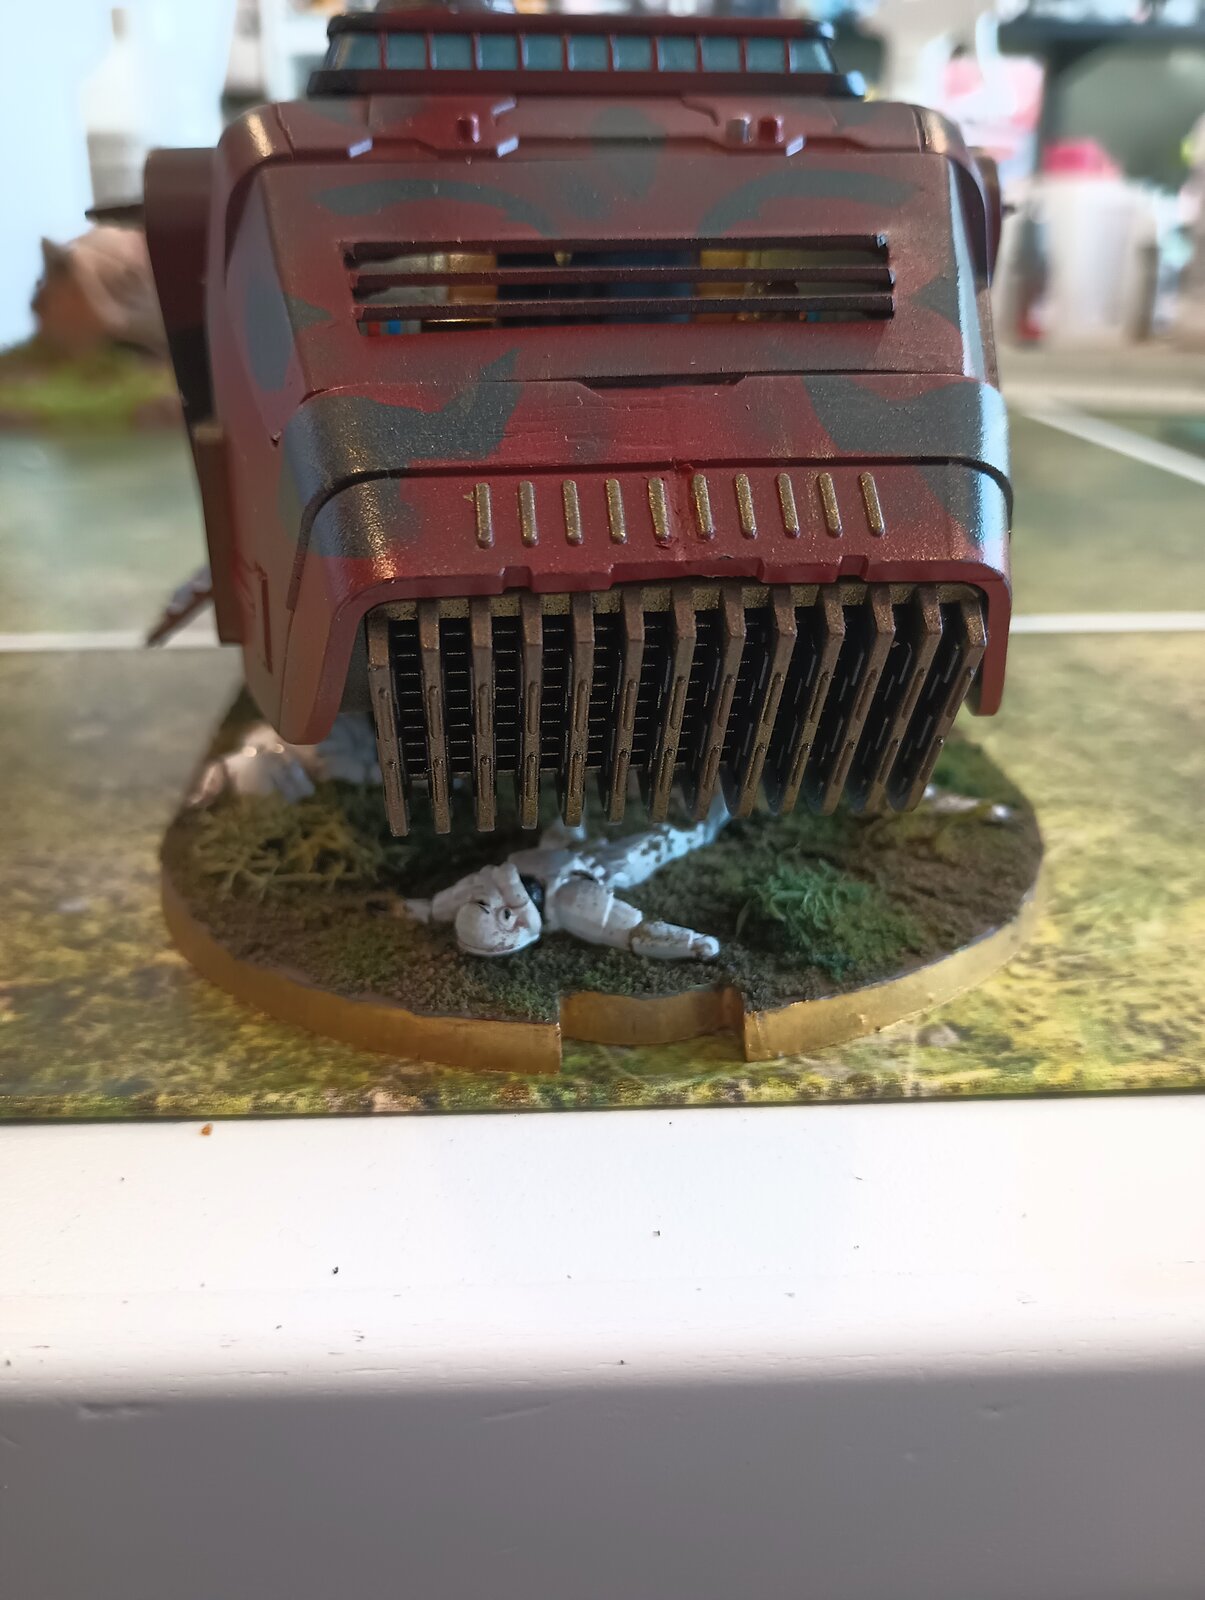
OK finally finished this one, altho I did finish the Slave I build and Planet of the Apes General Ursus during this build. I'm not completely happy with the engine lighting, but it was first attempt with lighting a model. The battery for lighting is under the top panel and it does not close 100%. If I rewired the ceiling lights in the back with 30AWG instead of CAT5 it might close fully. That is something I could do in the future, if I feel like dealing with it. The paint scheme is to mimic Darth Maul.
Steve Jones SMS
Well-Known Member
- Joined
- Oct 9, 2024
- Messages
- 63
Really enjoyed watching this project come together. Great work all round
Great build. PanthermanOK finally finished this one, altho I did finish the Slave I build and Planet of the Apes General Ursus during this build. I'm not completely happy with the engine lighting, but it was first attempt with lighting a model. The battery for lighting is under the top panel and it does not close 100%. If I rewired the ceiling lights in the back with 30AWG instead of CAT5 it might close fully. That is something I could do in the future, if I feel like dealing with it. The paint scheme is to mimic Darth Maul.View attachment 127355View attachment 127354View attachment 127353View attachment 127350View attachment 127351View attachment 127352
View attachment 127349
Nikati
Well-Known Member
- Joined
- Dec 26, 2023
- Messages
- 119
Thank youReally enjoyed watching this project come together. Great work all round


