

banistersmind
Well-Known Member
- Joined
- May 28, 2024
- Messages
- 57
Thanks Pantherman!Now that's a work of art. Pantherman

Thanks Pantherman!Now that's a work of art. Pantherman

Loving your work Foenetik! The impression looks really good.Everyone's builds are looking great!
Made some more progress today:
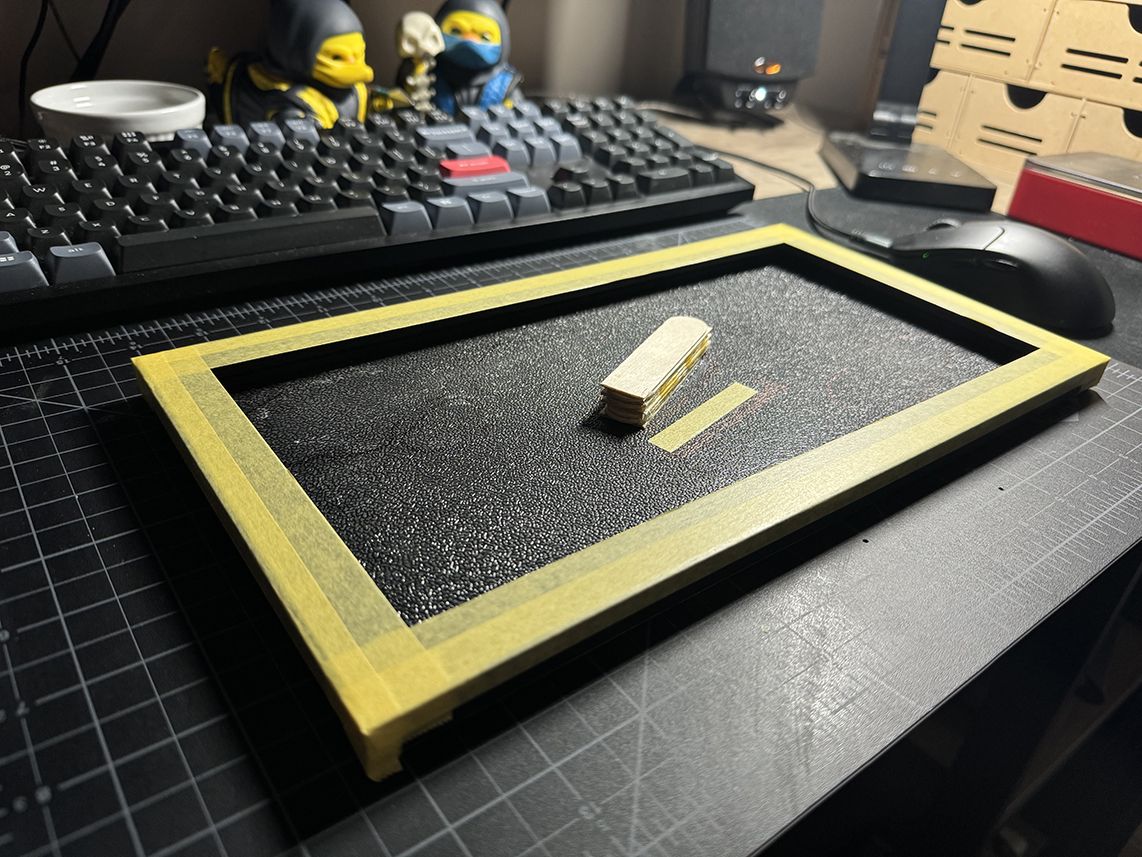
Riser so I could bury one knee joint a bit
View attachment 121347
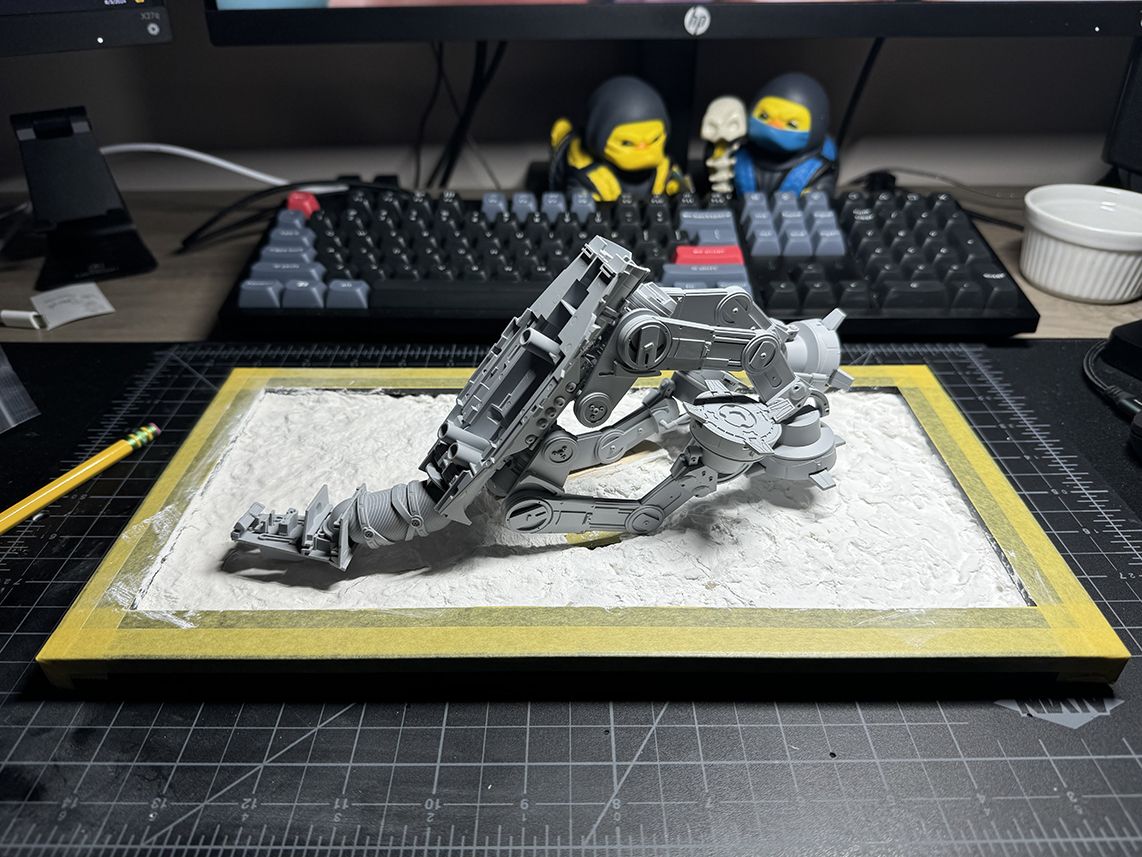
Base layer of Sculptamold. First time using it. Not too bad to work with. Takes a while to dry, but luckily it was 91 F today so I let it bake outside for most of the day while I primed the model.
View attachment 121348
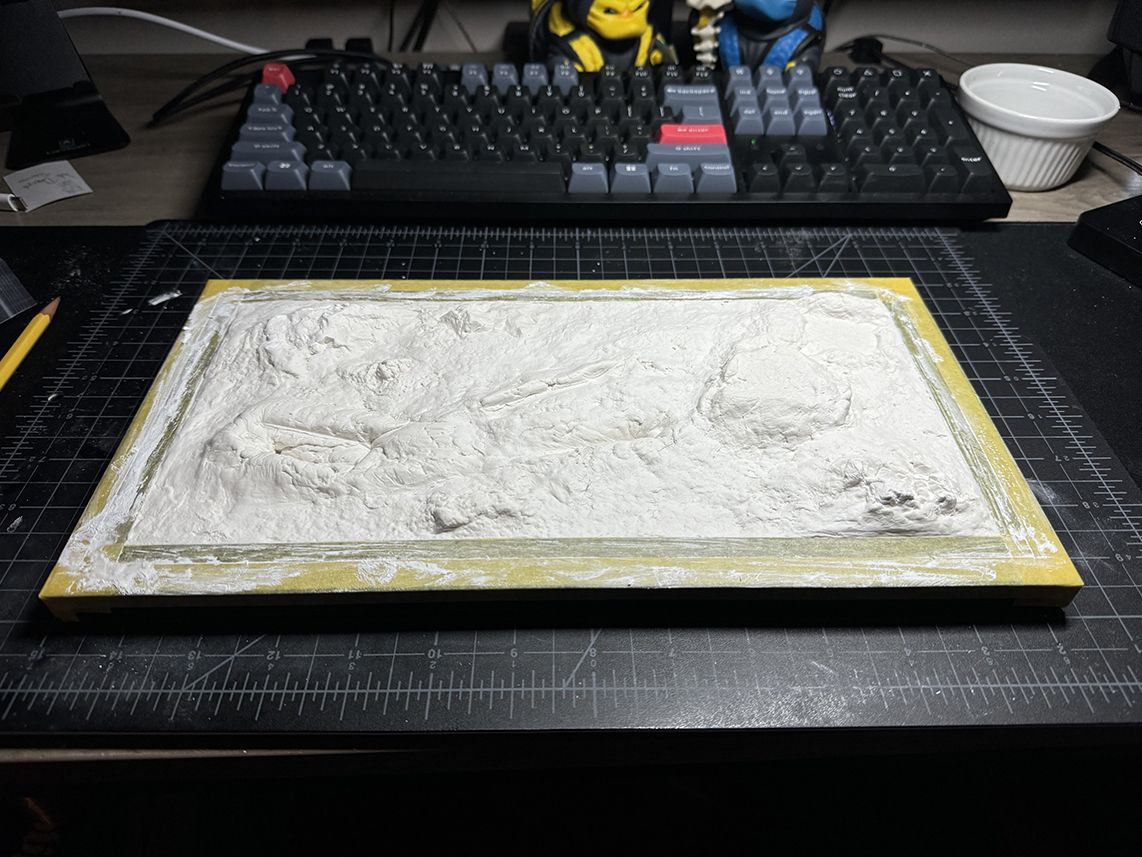
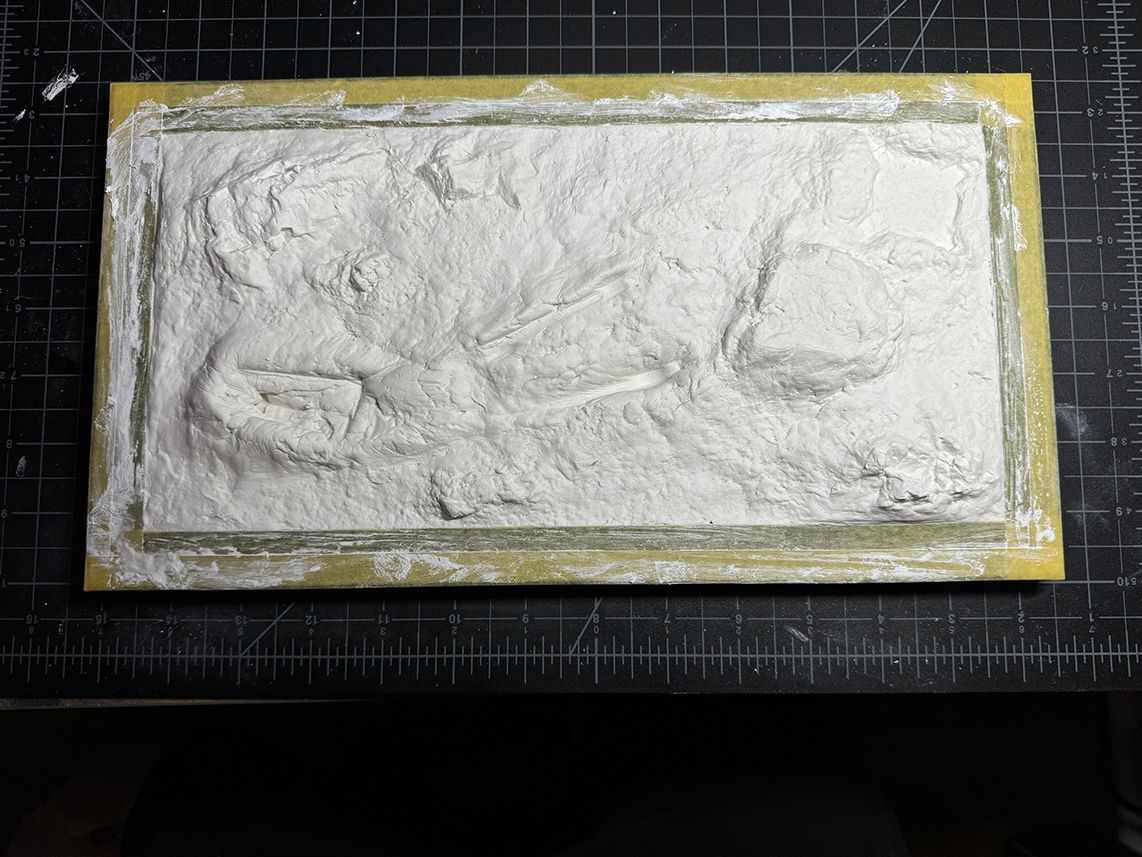
To get the impression, I put a bunch down and then put cling wrap over it and pressed the model down. Worked pretty good. Most of this will be under snow anyhow.
View attachment 121349
View attachment 121350
Glad I joined this GB. Haven't built anything in a while, it's good motivation.
Thanks, I appreciate it.Loving your work Foenetik! The impression looks really good.

Looking good, it's always fun to build while watching others build something similar. It stops you getting side tracked. PanthermanEveryone's builds are looking great!
Made some more progress today:
Riser so I could bury one knee joint a bit
View attachment 121347
Base layer of Sculptamold. First time using it. Not too bad to work with. Takes a while to dry, but luckily it was 91 F today so I let it bake outside for most of the day while I primed the model.
View attachment 121348
To get the impression, I put a bunch down and then put cling wrap over it and pressed the model down. Worked pretty good. Most of this will be under snow anyhow.
View attachment 121349
View attachment 121350
Glad I joined this GB. Haven't built anything in a while, it's good motivation.
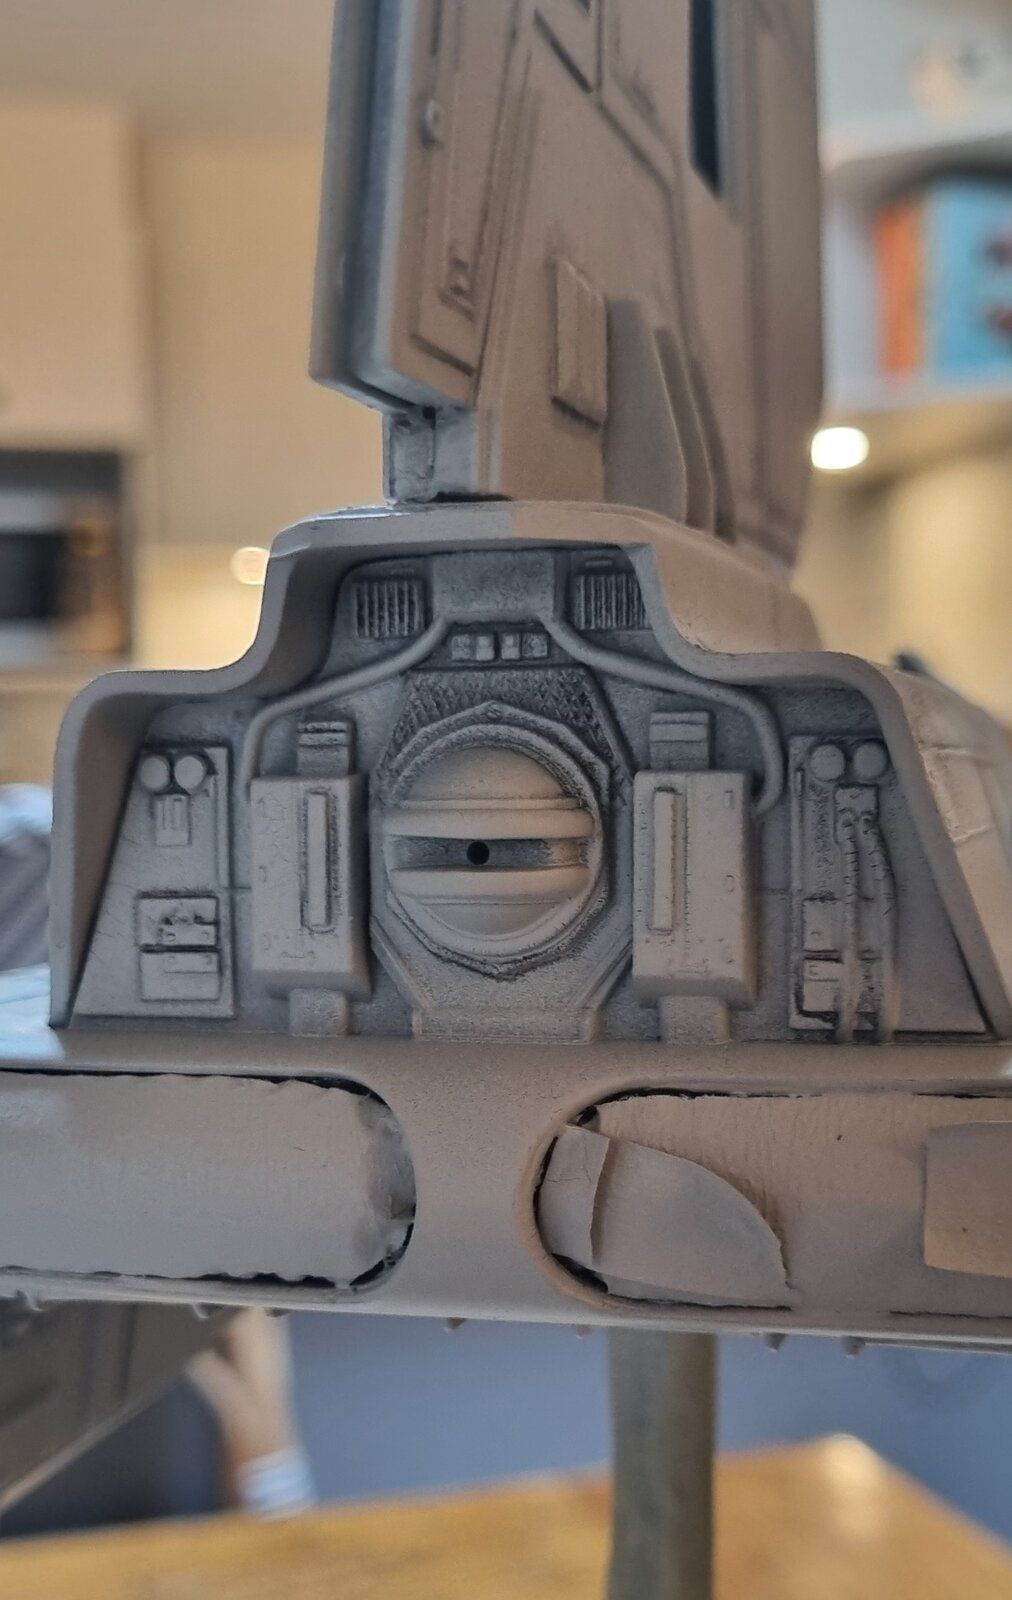
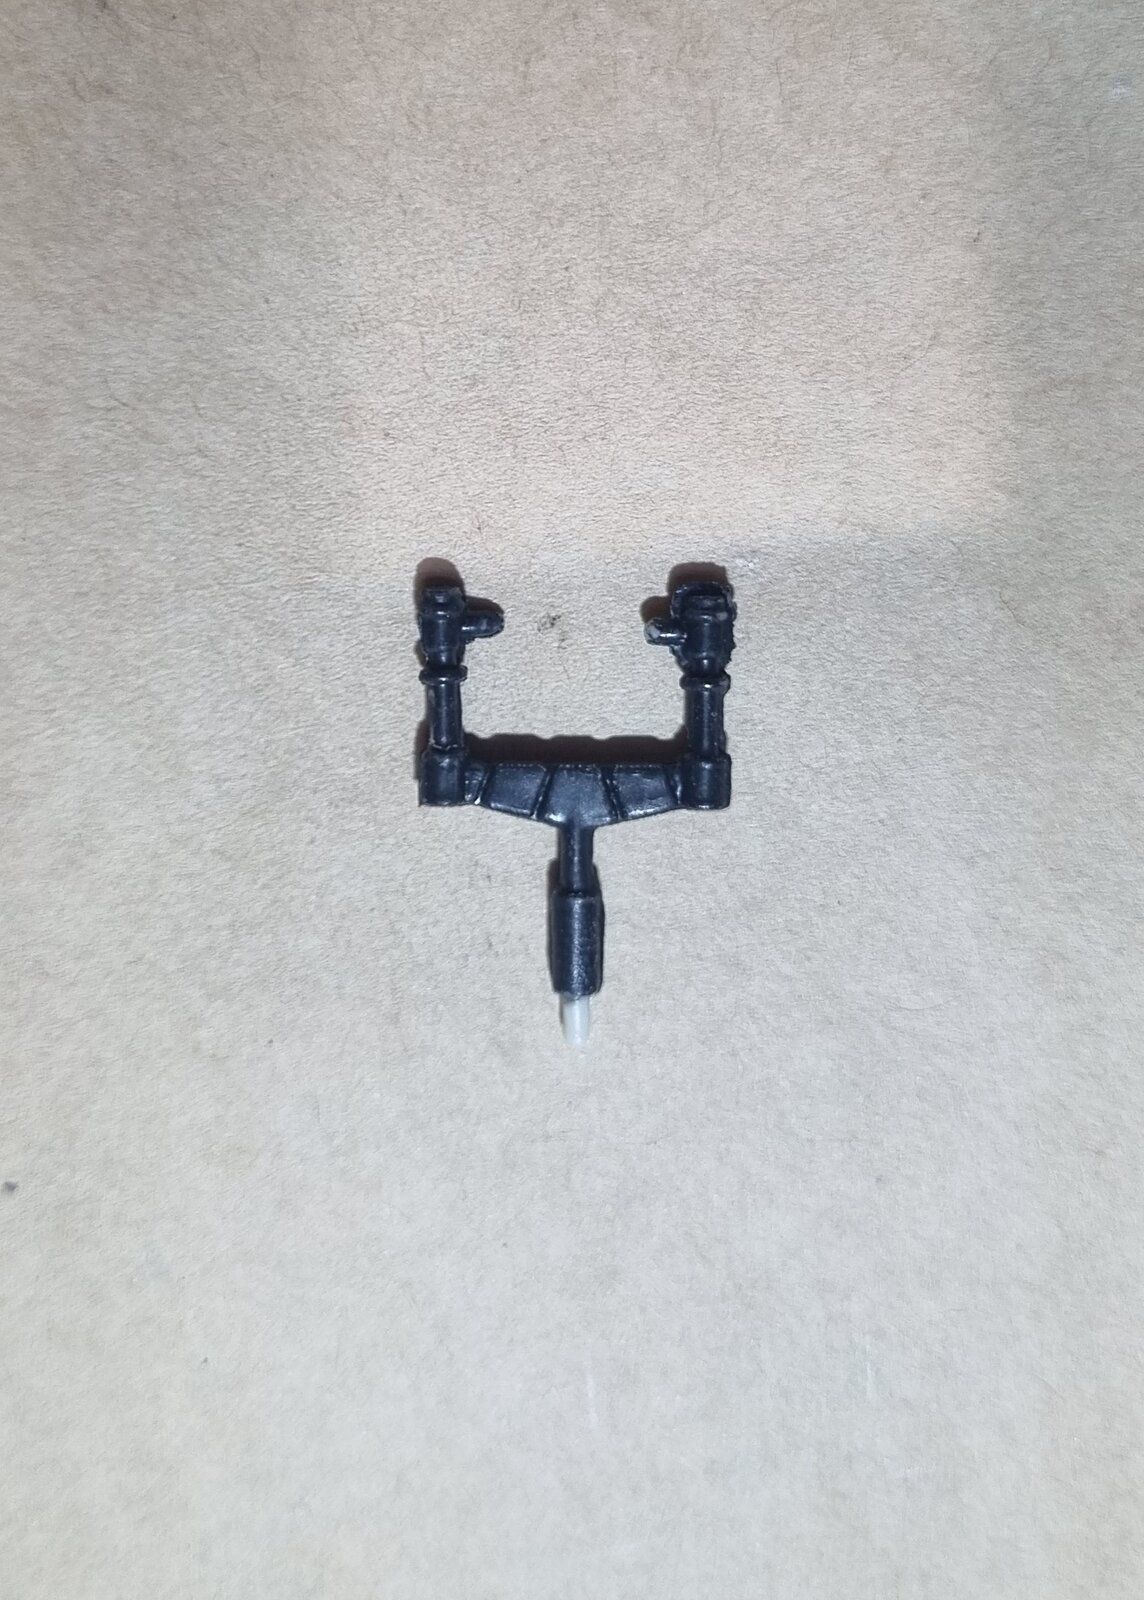
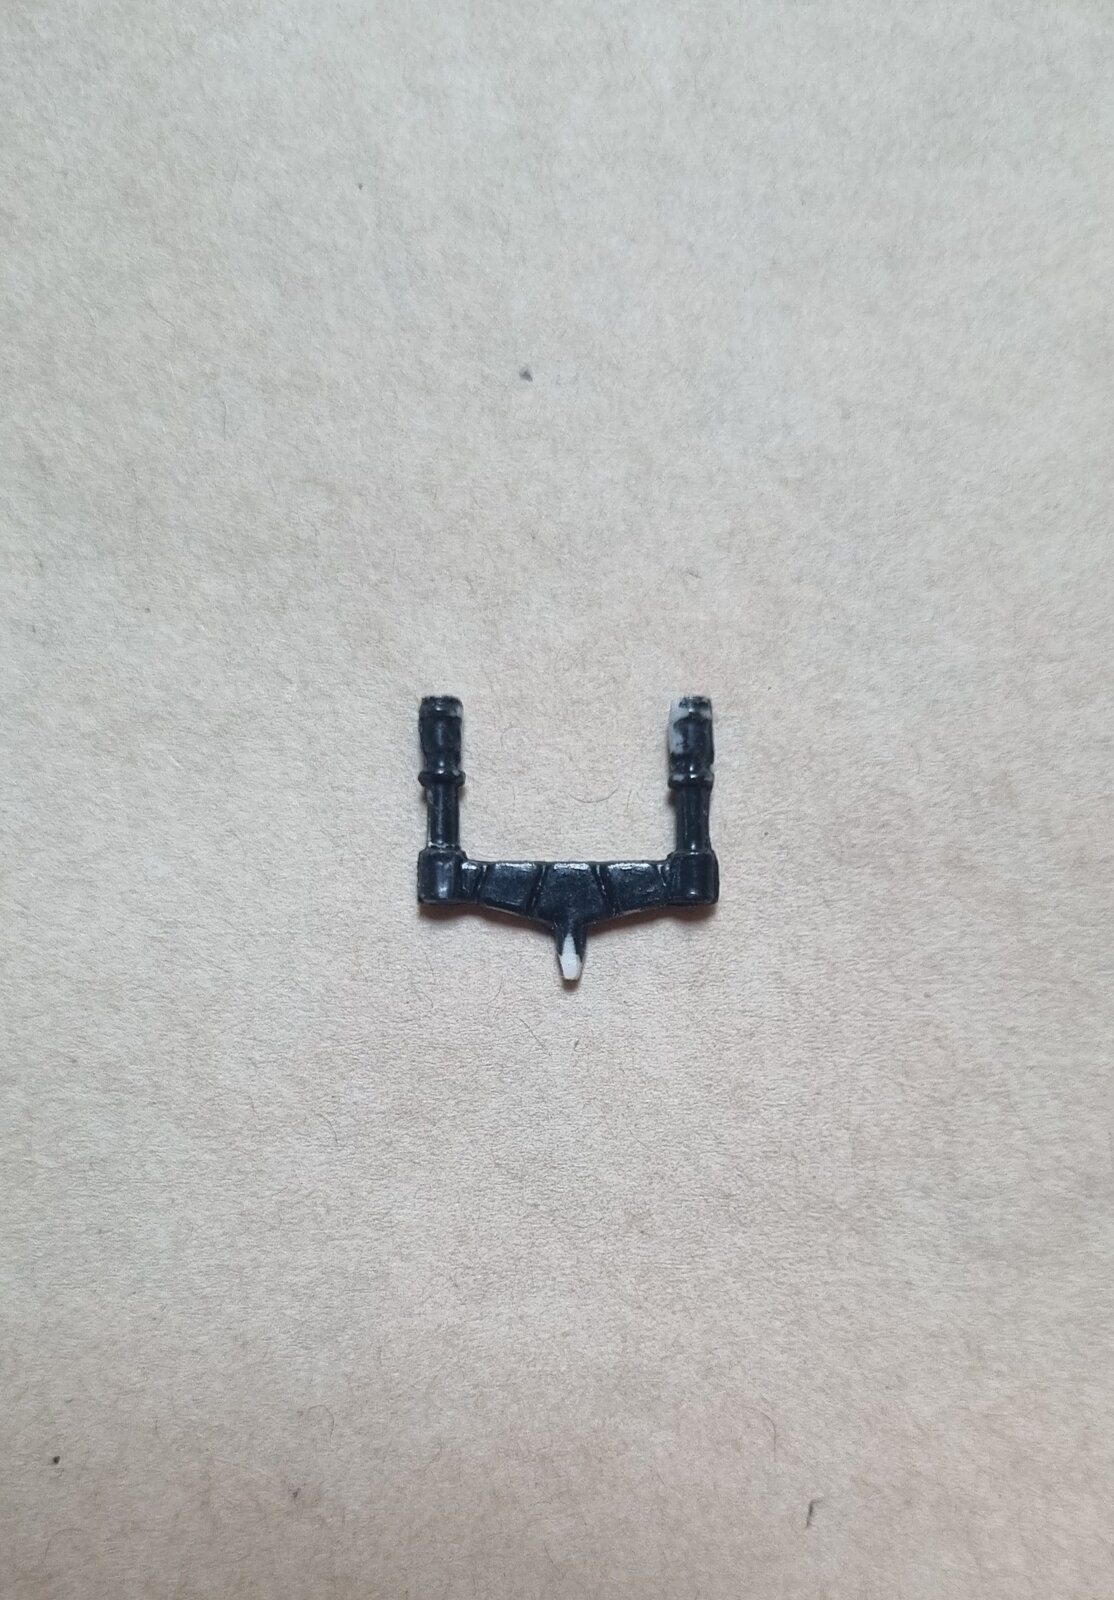
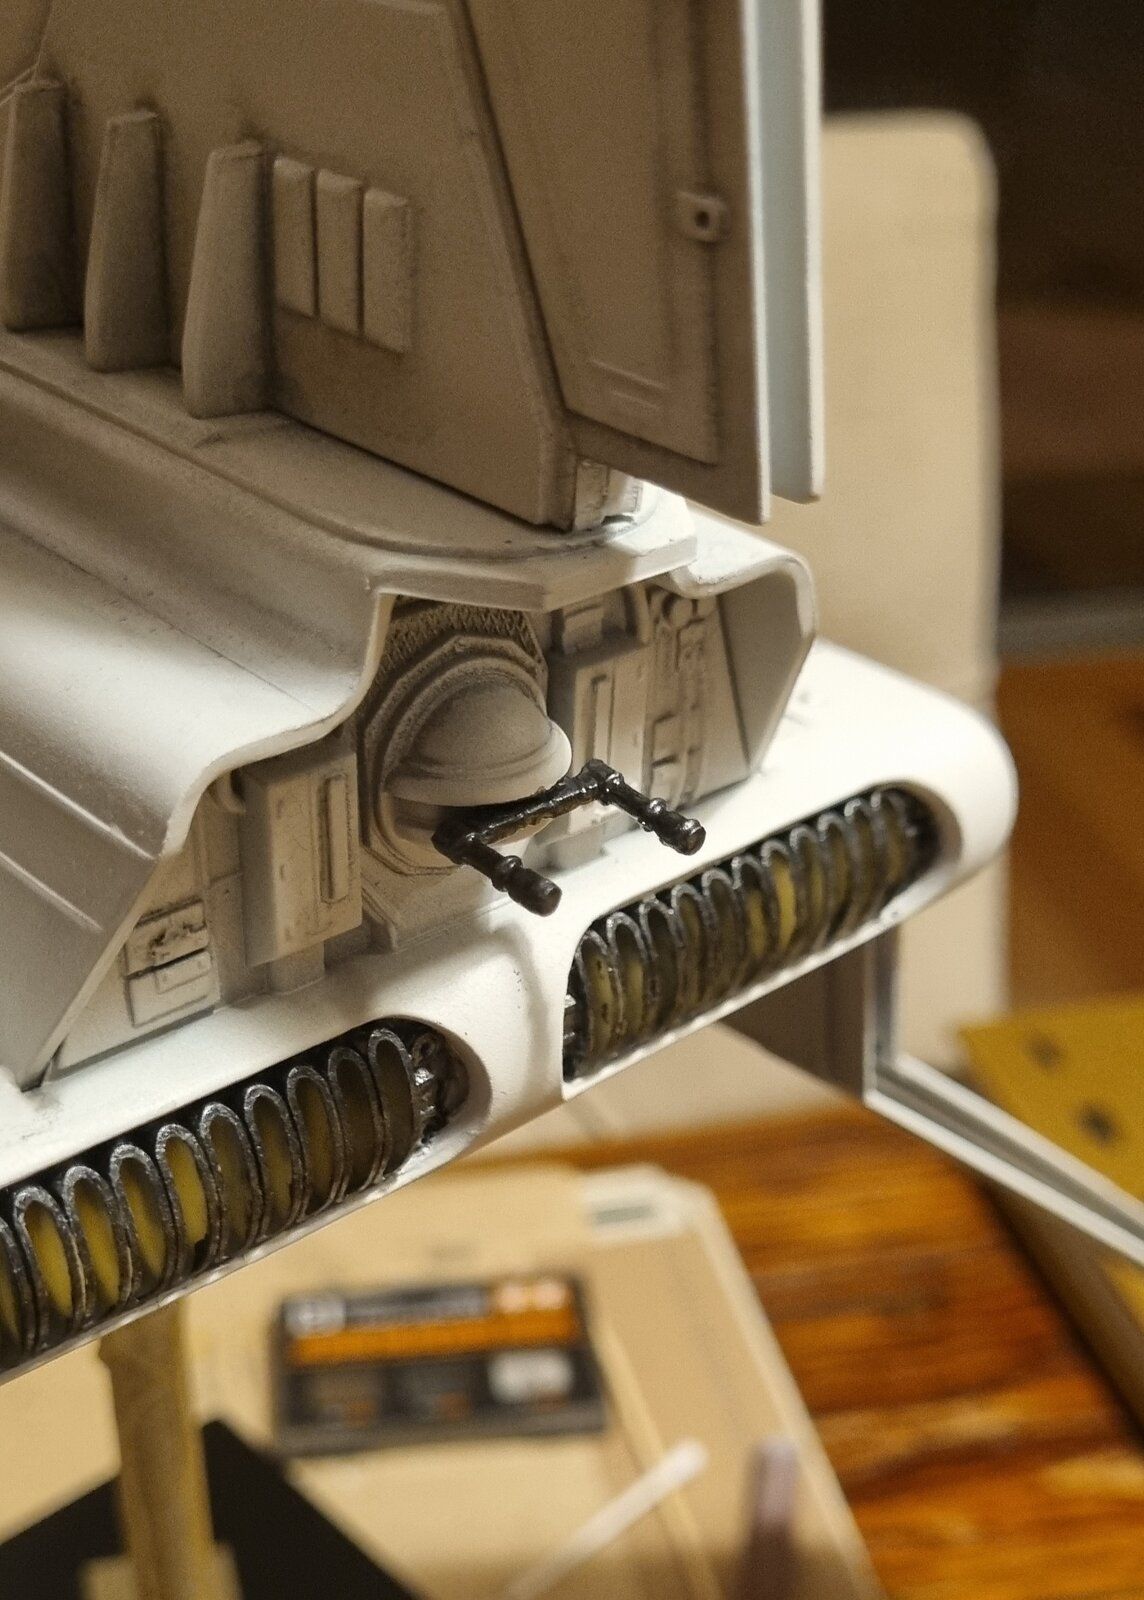
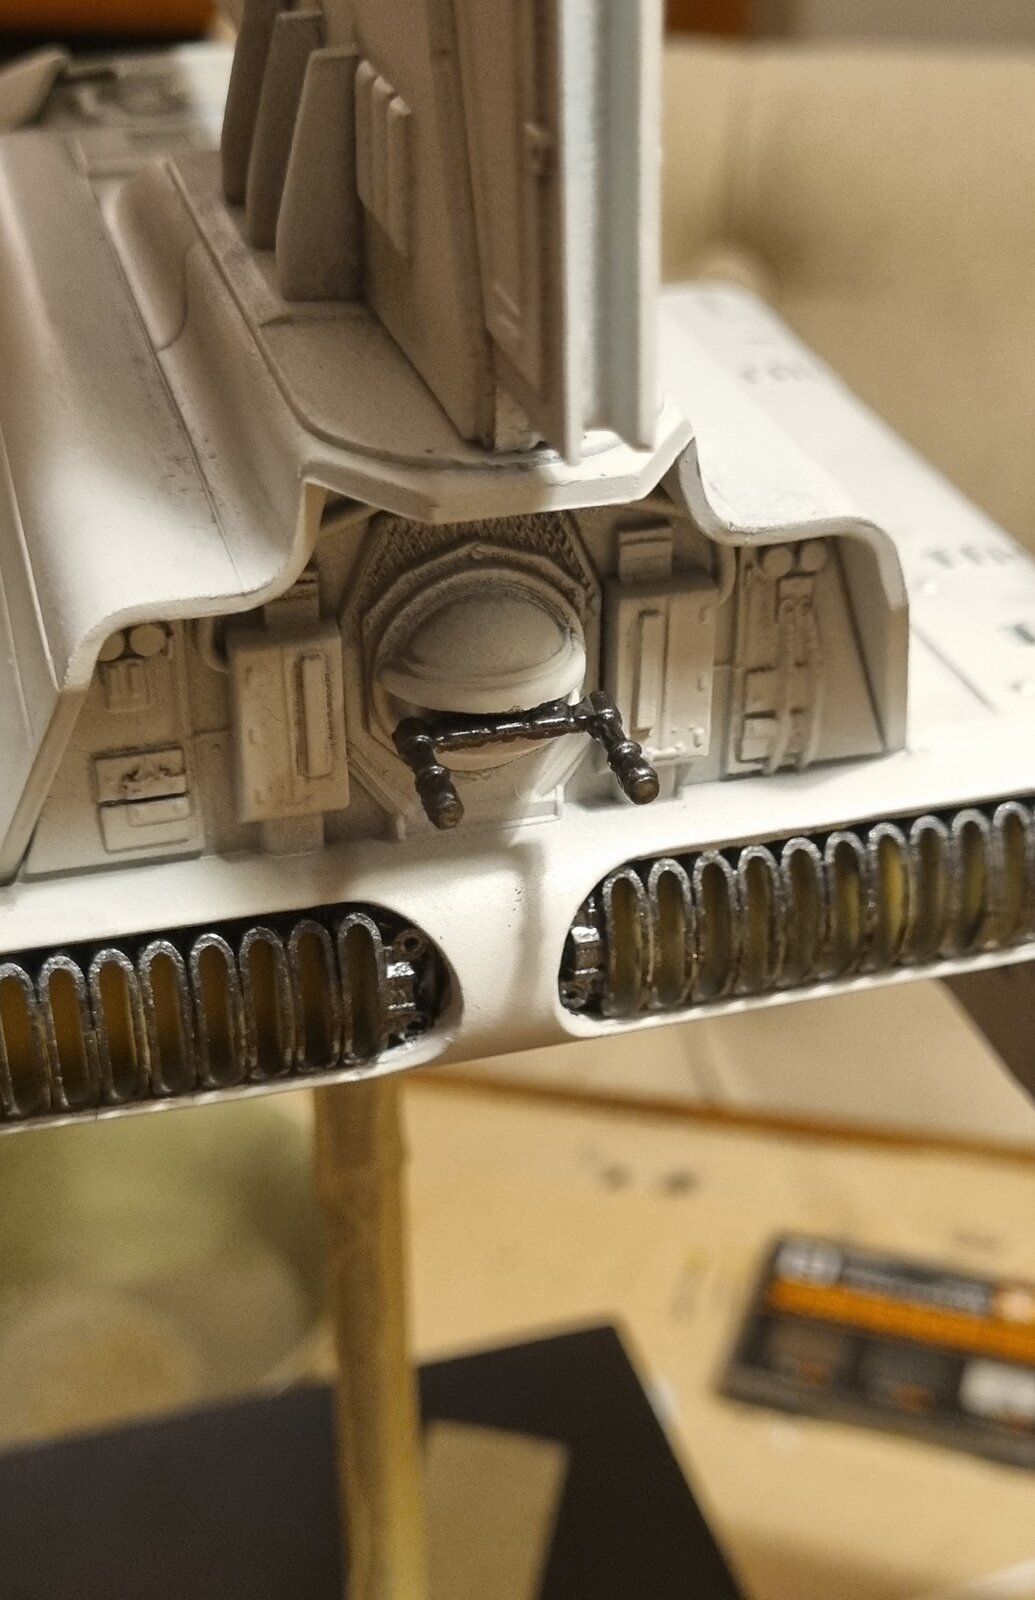
Cool. Great thinking. Looking like it was made to be there. PanthermanHad my first minor disaster in the past day when I discovered I'd lost the rear gun which I was ready to install. A desperate search failed to find it and I was staring down the barrel of not being able to complete the Shuttle (an OCD's worst nightmare).
As I was looking through some miscellaneous greeblies I had stashed away, I came across a missing quad gun from my old Millennium Falcon model kit which has unfortunately seen better days. That gave me an idea for a solution. The wishbone caliper that would have held the quad in place was fortunately still on the model so I decided to grab it and repurpose it. I think it looks pretty good, all things considered.
View attachment 121361
View attachment 121362
View attachment 121363
View attachment 121364
View attachment 121365

The first thing I thought is that this is a troll account. Then that "Are the instructions written in Mandarin?" question solidified my suspicion. Best case scenario, it was someone with a bad sense of humor. Or, it's something nefarious as you put it.On the other hand the red flags are that you may not be who you seem and are using "stolen" images of someone else and are trying to lure someone into something nefarious
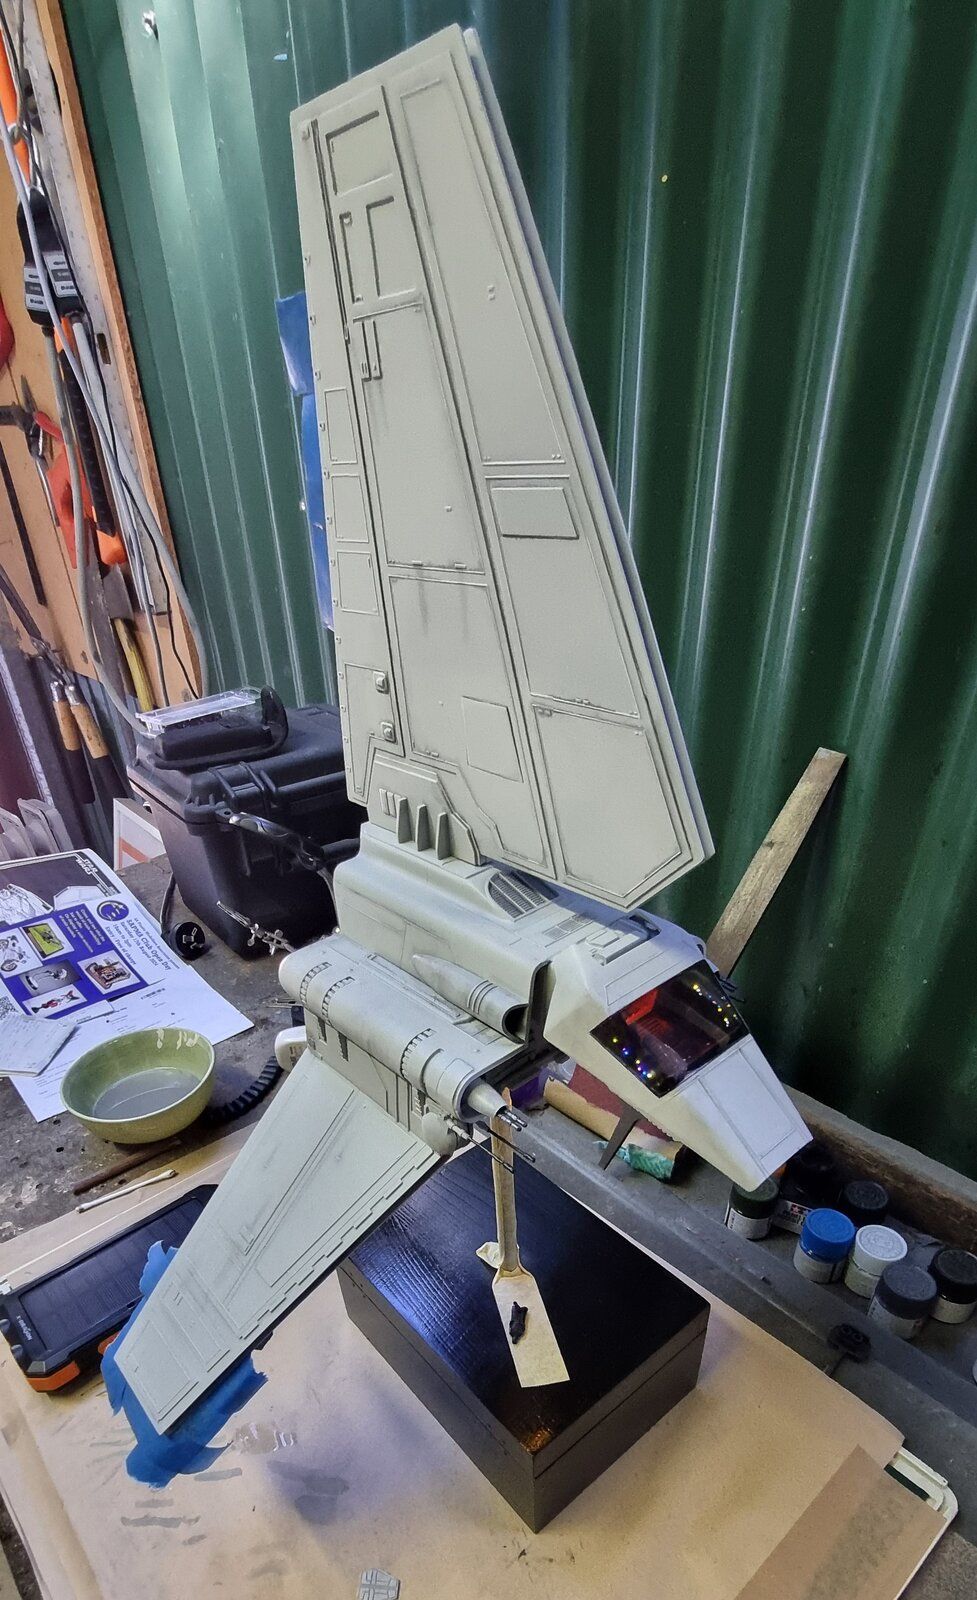
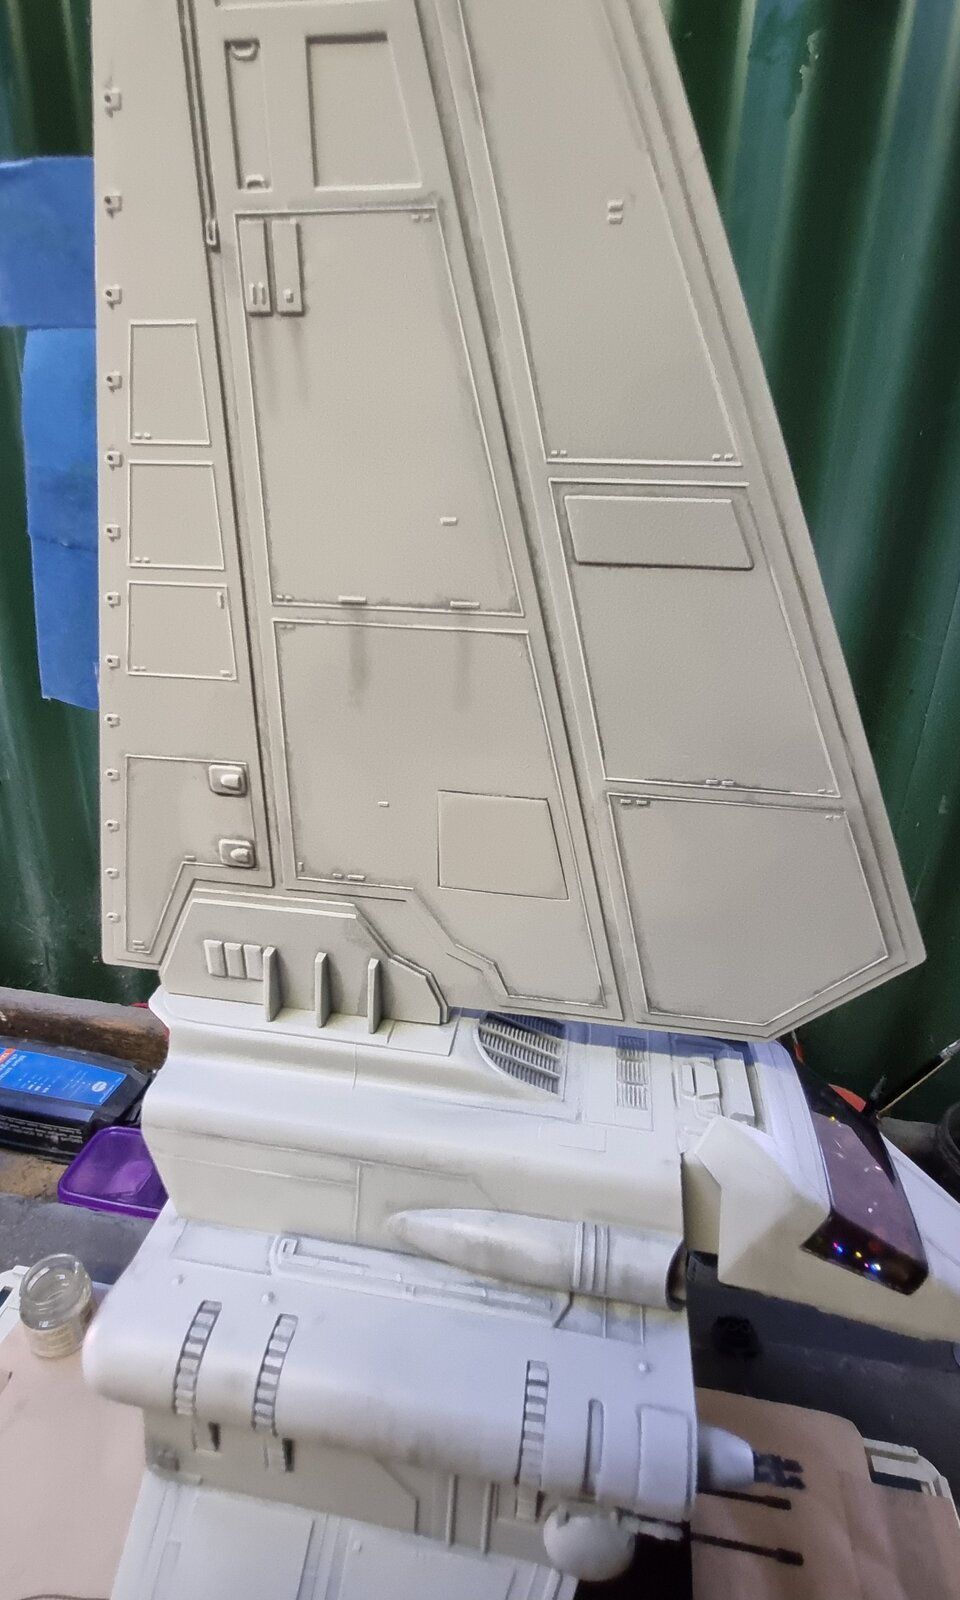
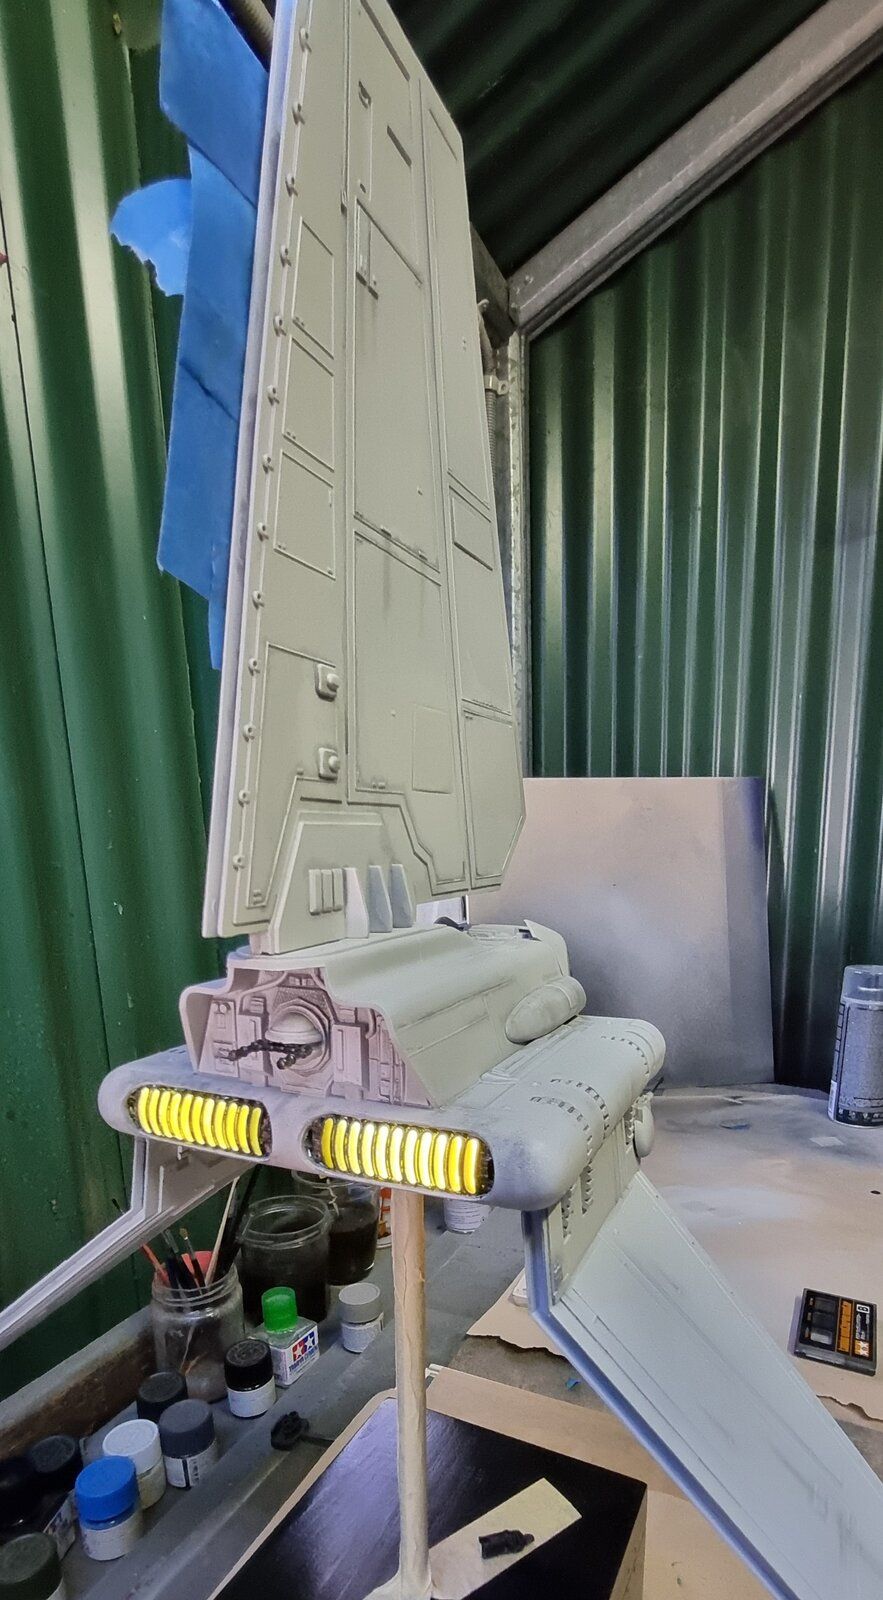
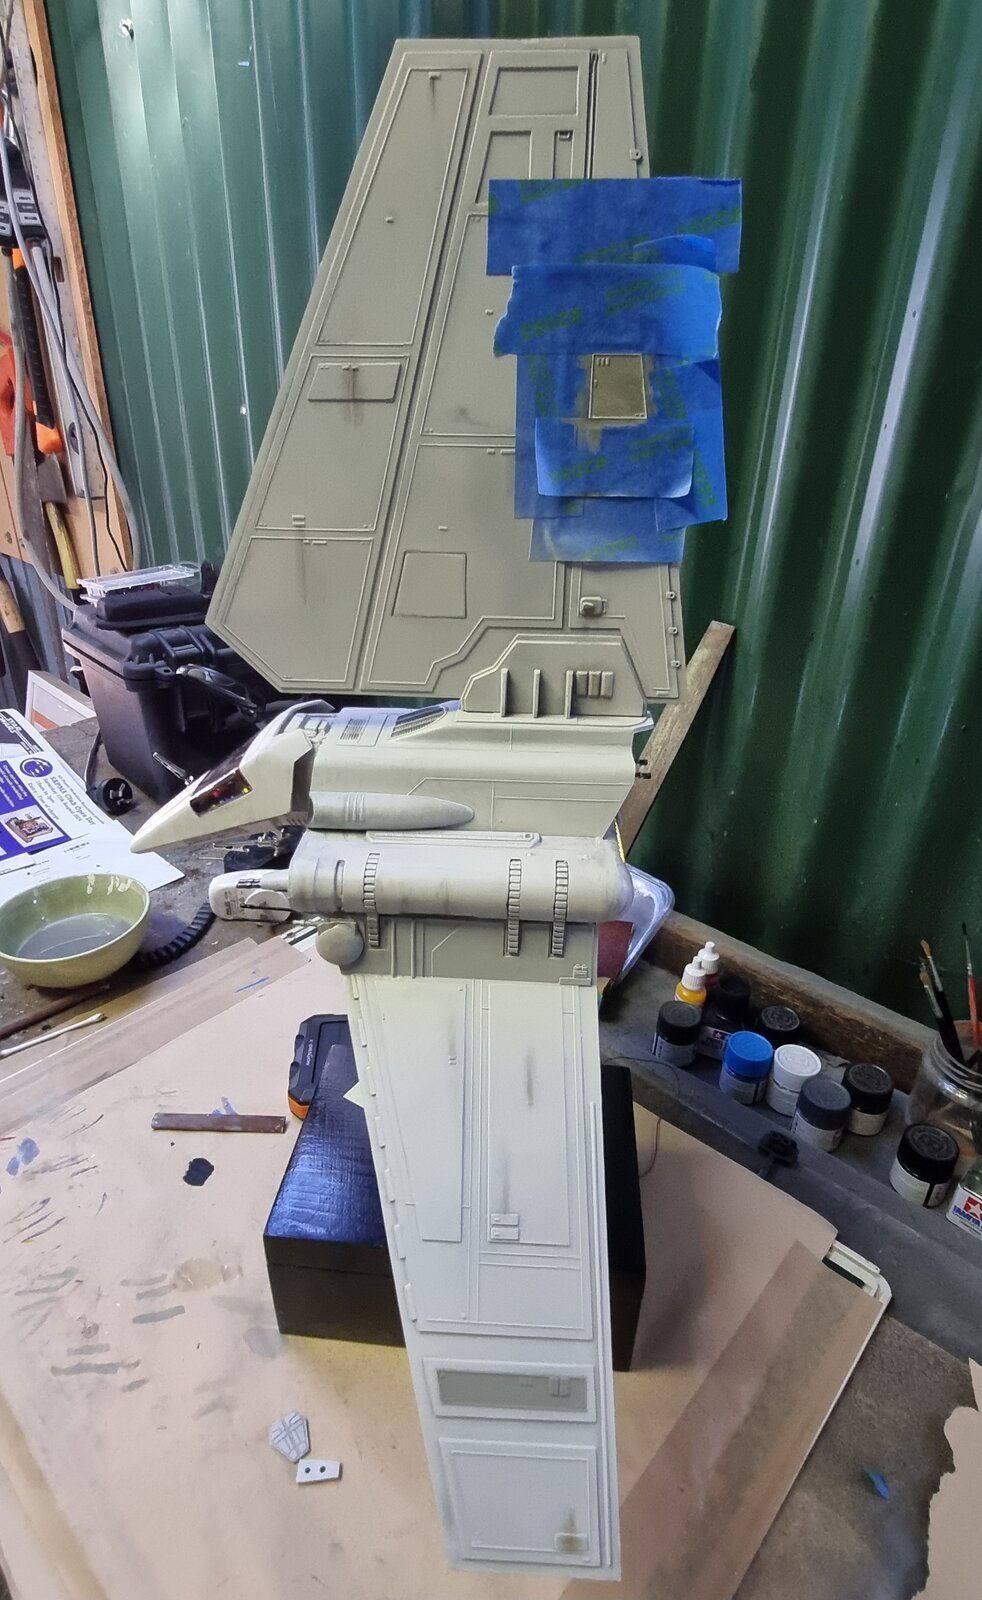
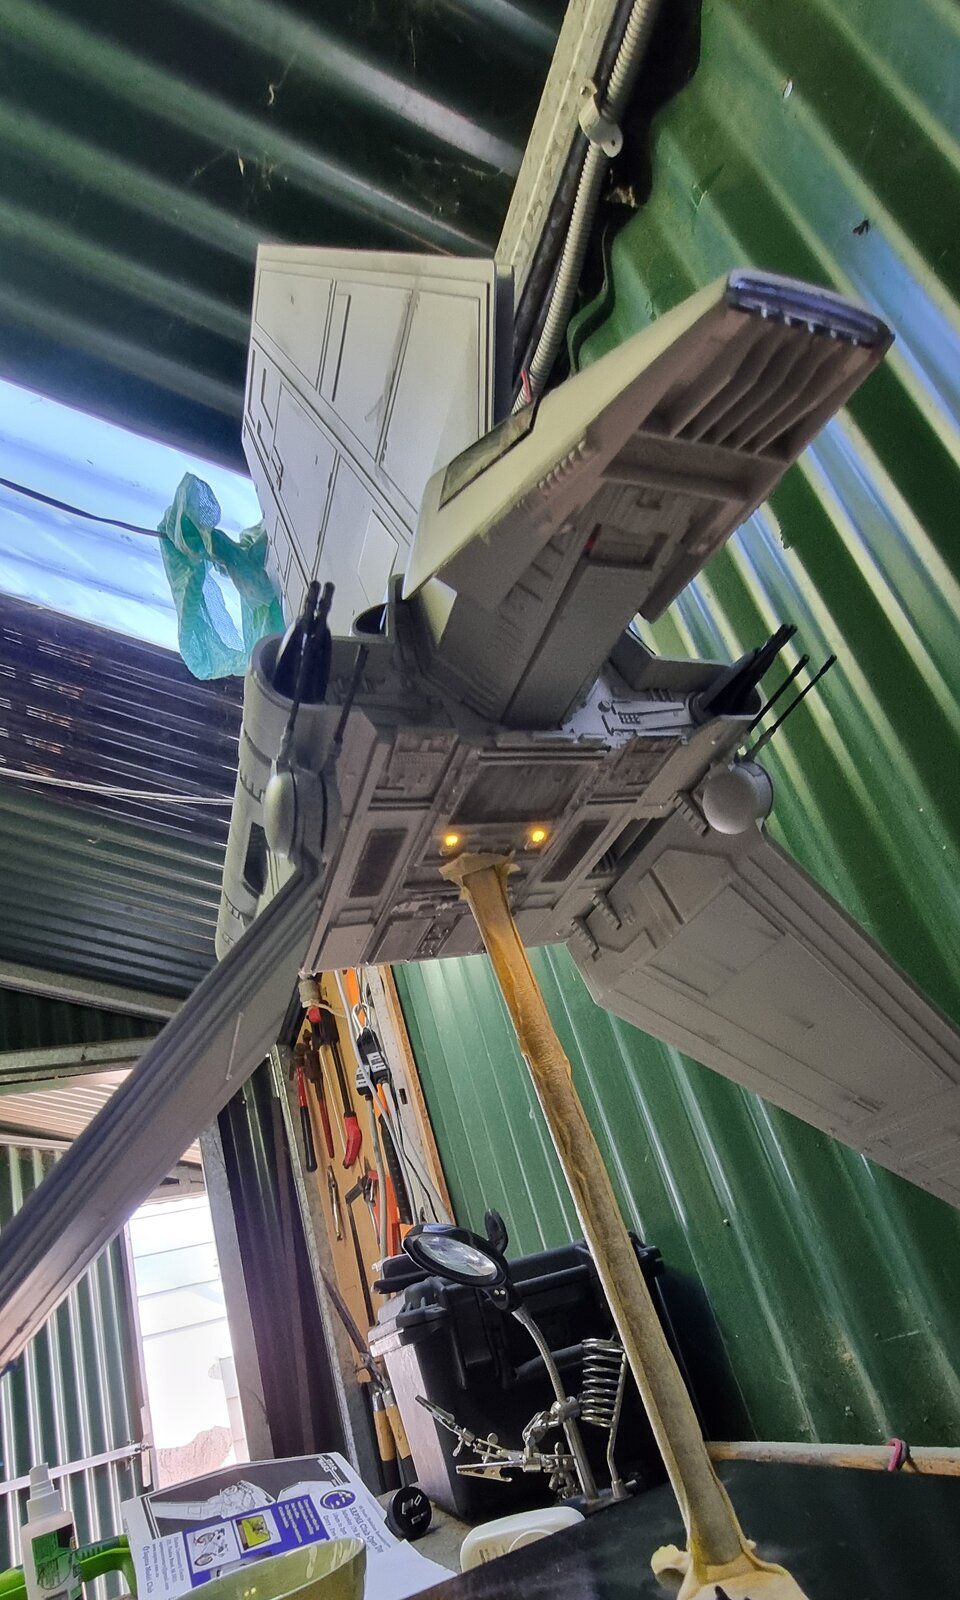
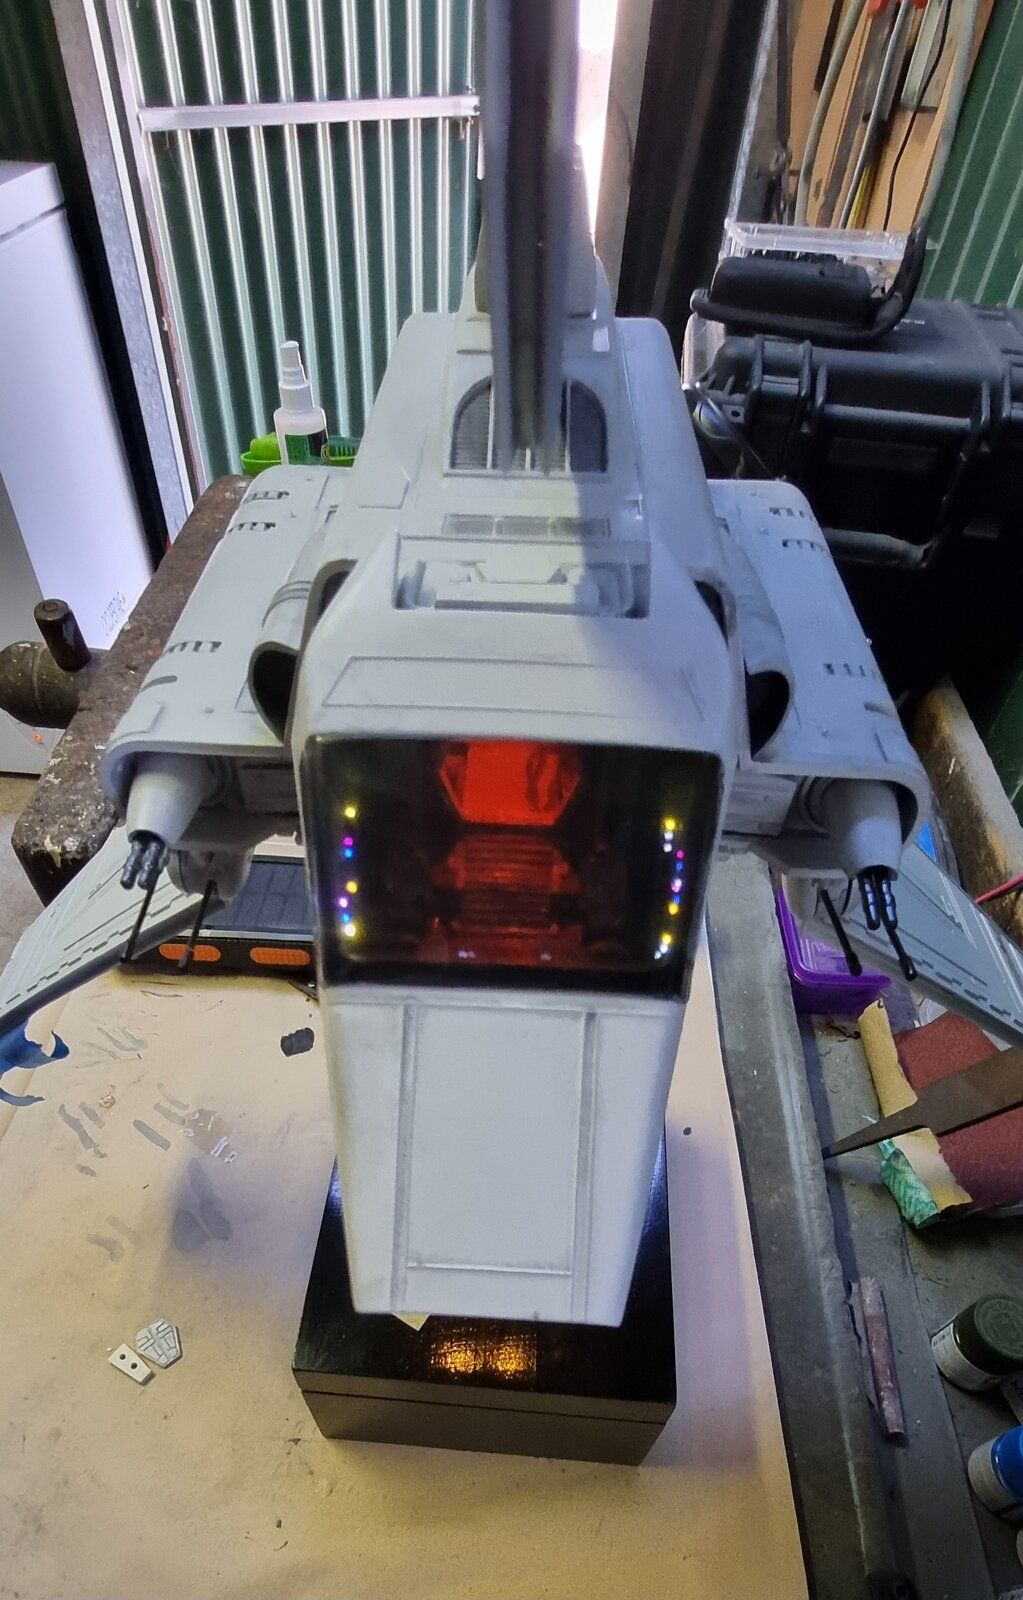
It just looks cool. PanthermanI've spent the weekend working on the weathering and detailing and I have to say, I have found it to be a frustrating process. For some reason, the panel line accent colour kept bleeding out from the lines on the model to the point where it was looking blotchy and kept having to rub them back with some turpentine on a q-tip. Achieving the water run off was also testing because I didn't have a real steady hand and I think the q-tip was too thick so that, too, became trial and error. I eventually swapped over to a paint brush gently used some soot to achieve a better-ish look. I used a Tamiya Smoke to achieve the tint in the cockpit window. Again, it wasn't perfect. I was perhaps too heavy handed with the layerin and some of the paint gathered at the bottom of the window but you don't notice it when the window is installed in place. I'm going to slow down a bit with these final steps and stop work if I find myself getting frustrated with it.
View attachment 121502View attachment 121503View attachment 121504View attachment 121505View attachment 121506View attachment 121507
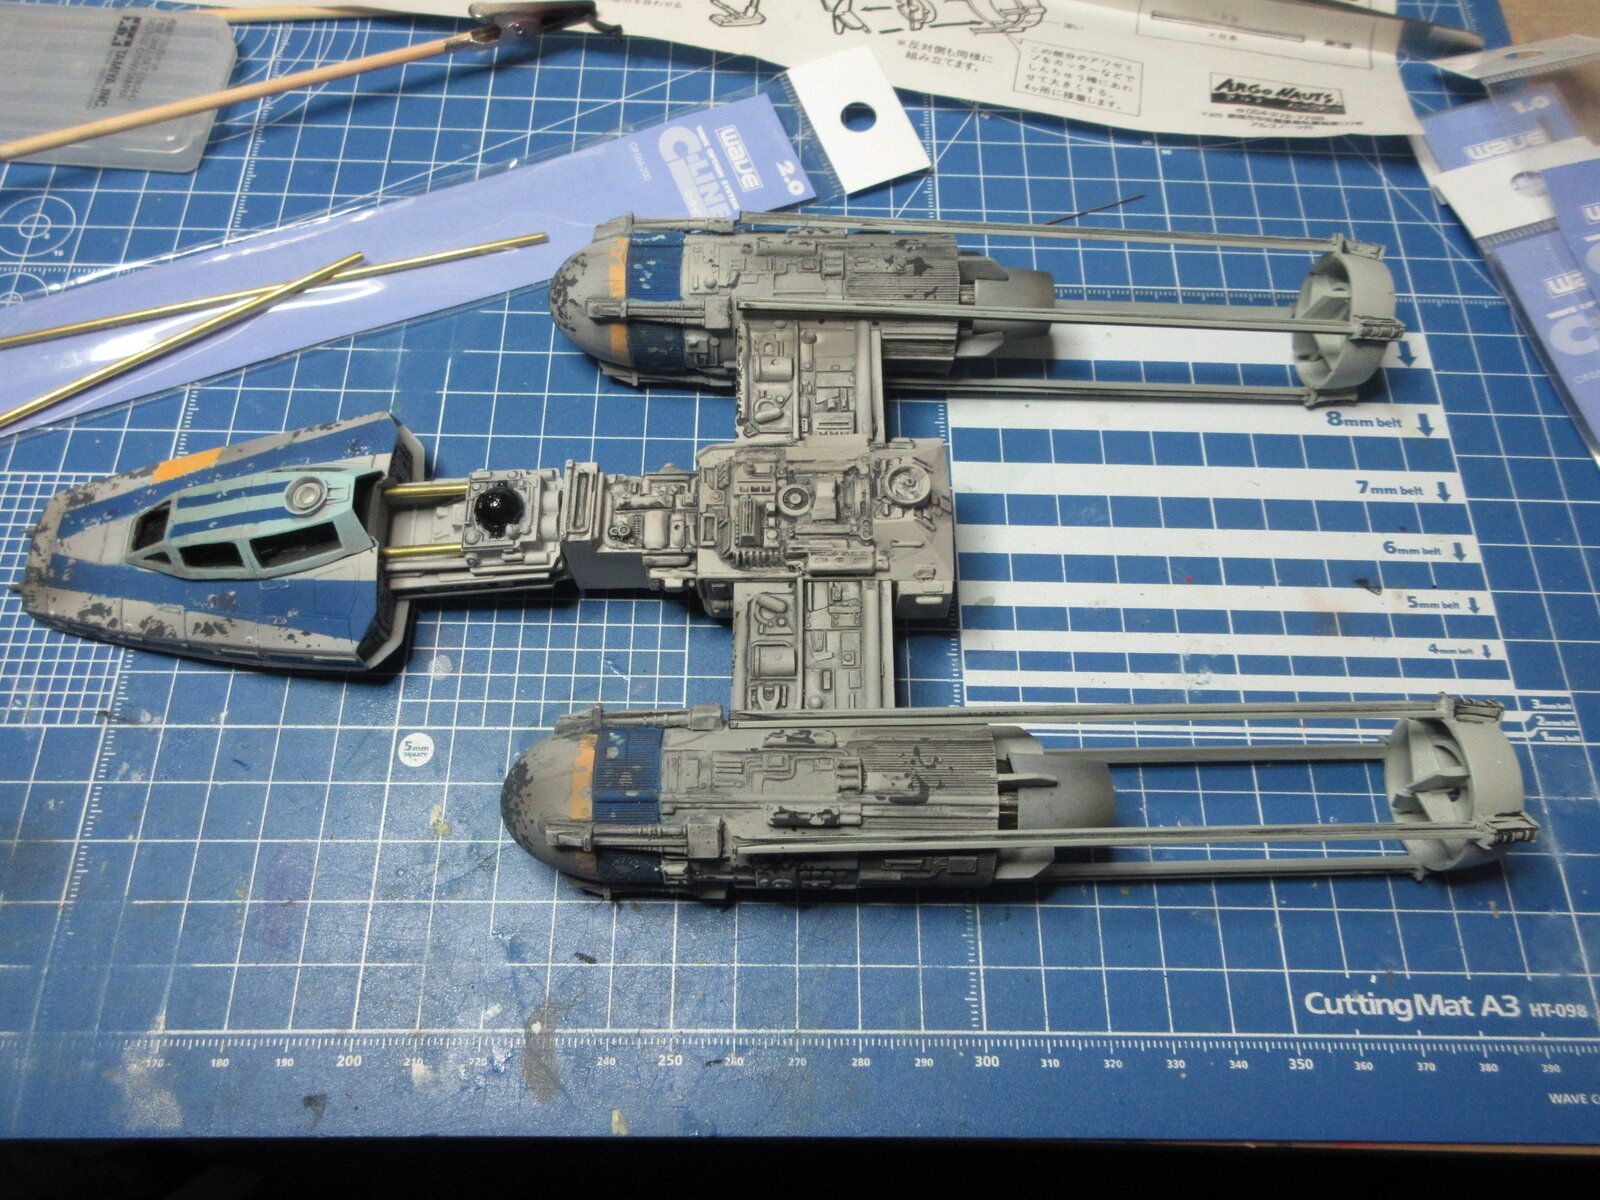
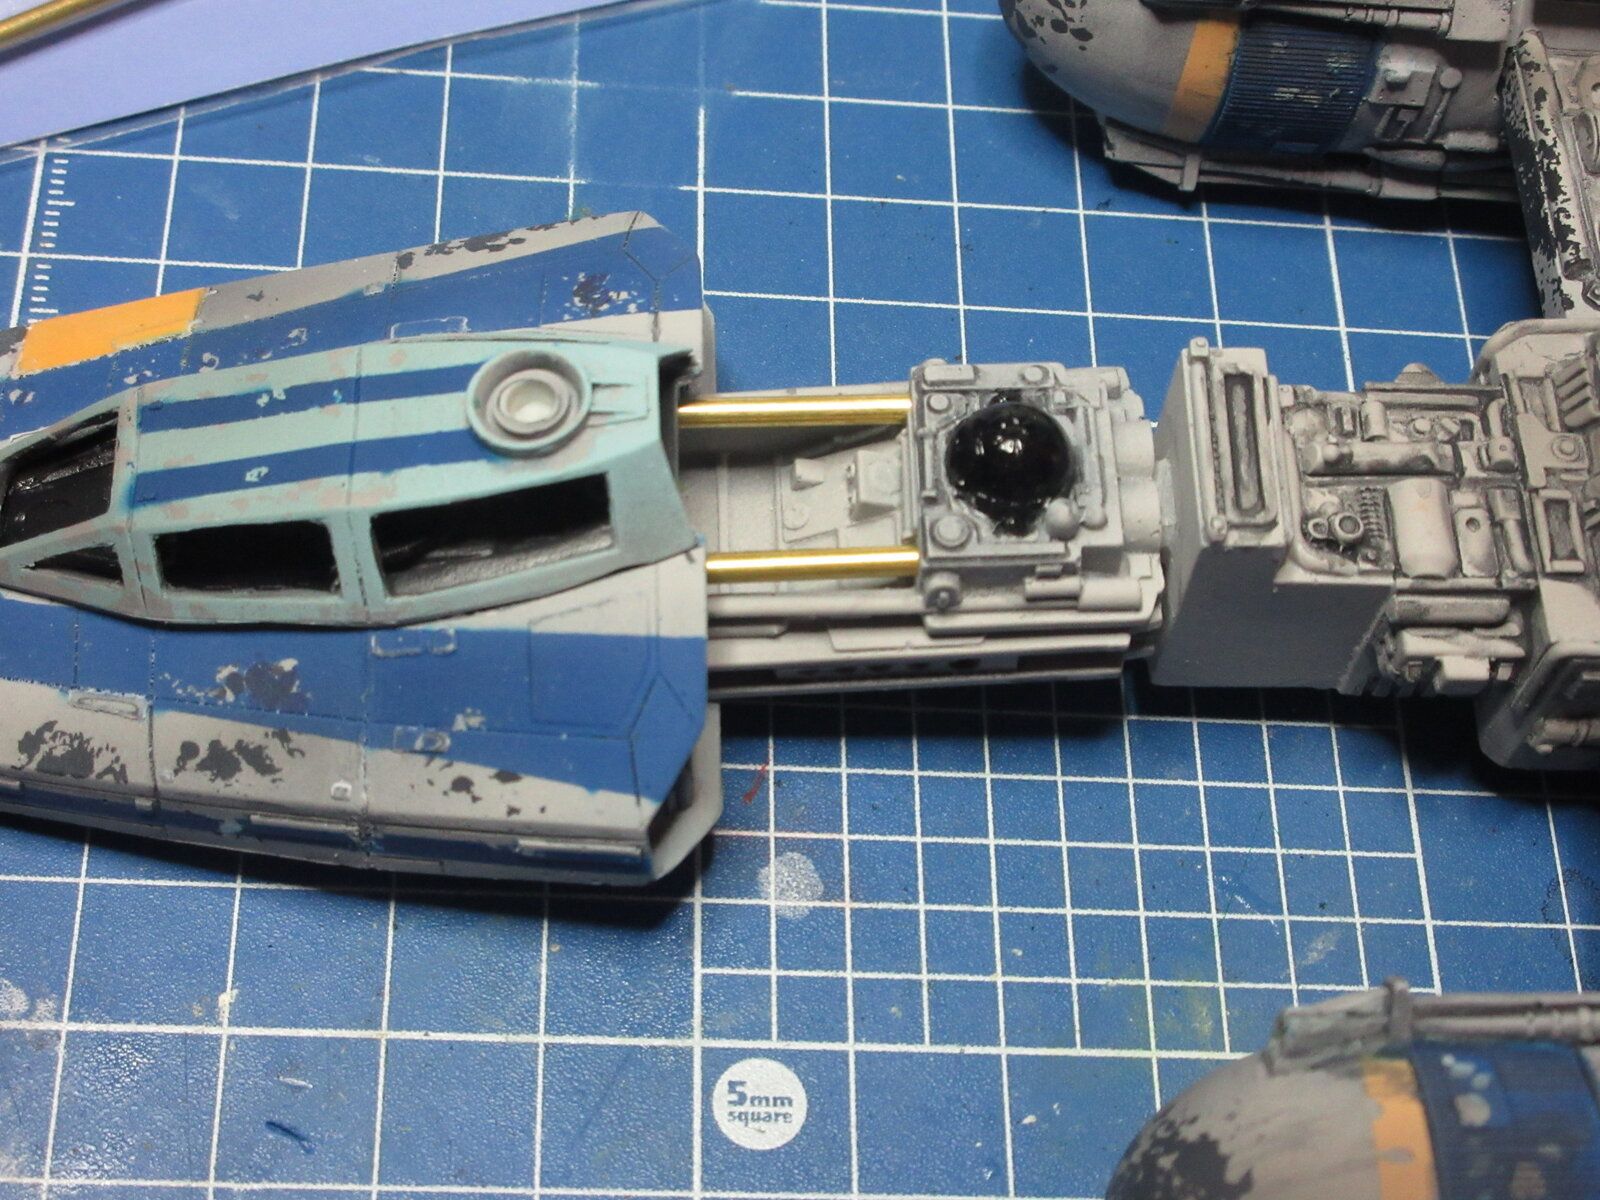

I think the pipes look great. Actual metal instead of metallic paint is a win IMHO. Love the markings too. Looking really good.OK, my turn for an update on my sofubi Y-Wing. I haven't glued it together yet, so this is just a sloppy dry fit. Thus it doesn't look straight. So far I have only glued the nose cannons to the cockpit pod, sensor array domes to the nacelle tips and the engine cans into place, and I have glued the disk vectrals to the support pylons at the ends of the nacelles but I have yet to secure them to the engine pods, which are also not glued to the engine pylons, the fuselage, cockpit, and such.
View attachment 121529
So what do you think about the pipes? This kit has you furnish your own pipes, so I am using Wave's C-Line copper (brass?) rods. Since some are painting theirs a copper color, I think I might just leave mine unpainted. A viewer on YouTube suggested to me to paint the wires a metallic color for scale, but I think it looks fine as it is. What do you think? They look a bit too shiny since the fluorescent light is shining directly onto them in this picture.
View attachment 121530
Unfortunately, the cockpit really should have been made of resin. The disk vectrals at the end of the nacelles' support pylons are made of resin, so they could have made the canopy of resin too, I think.
I'll paint the R2 astromech with white trim as well as cockpit instrumentation. The nose cannons, top ion turret, and landing gears are pewter while the nacelle pylons are copper (brass?).
It's really looking great. I like the pipes as is.OK, my turn for an update on my sofubi Y-Wing. I haven't glued it together yet, so this is just a sloppy dry fit. Thus it doesn't look straight. So far I have only glued the nose cannons to the cockpit pod, sensor array domes to the nacelle tips and the engine cans into place, and I have glued the disk vectrals to the support pylons at the ends of the nacelles but I have yet to secure them to the engine pods, which are also not glued to the engine pylons, the fuselage, cockpit, and such.
View attachment 121529
So what do you think about the pipes? This kit has you furnish your own pipes, so I am using Wave's C-Line copper (brass?) rods. Since some are painting theirs a copper color, I think I might just leave mine unpainted. A viewer on YouTube suggested to me to paint the wires a metallic color for scale, but I think it looks fine as it is. What do you think? They look a bit too shiny since the fluorescent light is shining directly onto them in this picture.
View attachment 121530
Unfortunately, the cockpit really should have been made of resin. The disk vectrals at the end of the nacelles' support pylons are made of resin, so they could have made the canopy of resin too, I think.
I'll paint the R2 astromech with white trim as well as cockpit instrumentation. The nose cannons, top ion turret, and landing gears are pewter while the nacelle pylons are copper (brass?).

I've spent the weekend working on the weathering and detailing and I have to say, I have found it to be a frustrating process. For some reason, the panel line accent colour kept bleeding out from the lines on the model to the point where it was looking blotchy and kept having to rub them back with some turpentine on a q-tip. Achieving the water run off was also testing because I didn't have a real steady hand and I think the q-tip was too thick so that, too, became trial and error. I eventually swapped over to a paint brush gently used some soot to achieve a better-ish look. I used a Tamiya Smoke to achieve the tint in the cockpit window. Again, it wasn't perfect. I was perhaps too heavy handed with the layerin and some of the paint gathered at the bottom of the window but you don't notice it when the window is installed in place. I'm going to slow down a bit with these final steps and stop work if I find myself getting frustrated with it.
View attachment 121502View attachment 121503View attachment 121504View attachment 121505View attachment 121506View attachment 121507
OK, my turn for an update on my sofubi Y-Wing. I haven't glued it together yet, so this is just a sloppy dry fit. Thus it doesn't look straight. So far I have only glued the nose cannons to the cockpit pod, sensor array domes to the nacelle tips and the engine cans into place, and I have glued the disk vectrals to the support pylons at the ends of the nacelles but I have yet to secure them to the engine pods, which are also not glued to the engine pylons, the fuselage, cockpit, and such.
View attachment 121529
So what do you think about the pipes? This kit has you furnish your own pipes, so I am using Wave's C-Line copper (brass?) rods. Since some are painting theirs a copper color, I think I might just leave mine unpainted. A viewer on YouTube suggested to me to paint the wires a metallic color for scale, but I think it looks fine as it is. What do you think? They look a bit too shiny since the fluorescent light is shining directly onto them in this picture.
View attachment 121530
Unfortunately, the cockpit really should have been made of resin. The disk vectrals at the end of the nacelles' support pylons are made of resin, so they could have made the canopy of resin too, I think.
I'll paint the R2 astromech with white trim as well as cockpit instrumentation. The nose cannons, top ion turret, and landing gears are pewter while the nacelle pylons are copper (brass?).
So I'm pretty much done with the slave build. No weathering as wanted this one nice and shiny. Just waiting for my stand to arrive and then I will post some finished photos. PanthermanBit more done, most of the detail painting is done, just got to finish the top section.
Now here is where I am looking for some help. I think I would like to finish this without any weathering and I would like to display it in flight, any ideas on how to make a stand would be welcome.
I will then build the same slave 1 but with all the weathering and on the ground so although both are the same model they should look different.
What do you all think? Pantherman
View attachment 120553View attachment 120554View attachment 120555View attachment 120556View attachment 120557View attachment 120558View attachment 120559
Got a fair bit more of this kit done. It's all either assembled or waiting for painting prior to assembly.I thought I would make a start on my Mandalorian so hope it's OK with you all if I add this to the group build ?
I decided to spray the silver coloured parts in chrome, think it looks much better. Pantherman
View attachment 120654View attachment 120655View attachment 120656View attachment 120658View attachment 120659View attachment 120660
View attachment 120657
Ahh! Good work Pantherman! Looking forward to seeing your completed work!So I'm pretty much done with the slave build. No weathering as wanted this one nice and shiny. Just waiting for my stand to arrive and then I will post some finished photos. Pantherman
Got a fair bit more of this kit done. It's all either assembled or waiting for painting prior to assembly.
I'm so glad I decided to have a go at this snap together kit as being in bed trying to glue bit's together just doesn't work .
I will hopefully post some photos tomorrow of where I am with Mando. Pantherman
Thanks for the kind words. On the mend now and almost back at the bench. PanthermanHope you feel better soon and nothing too serious
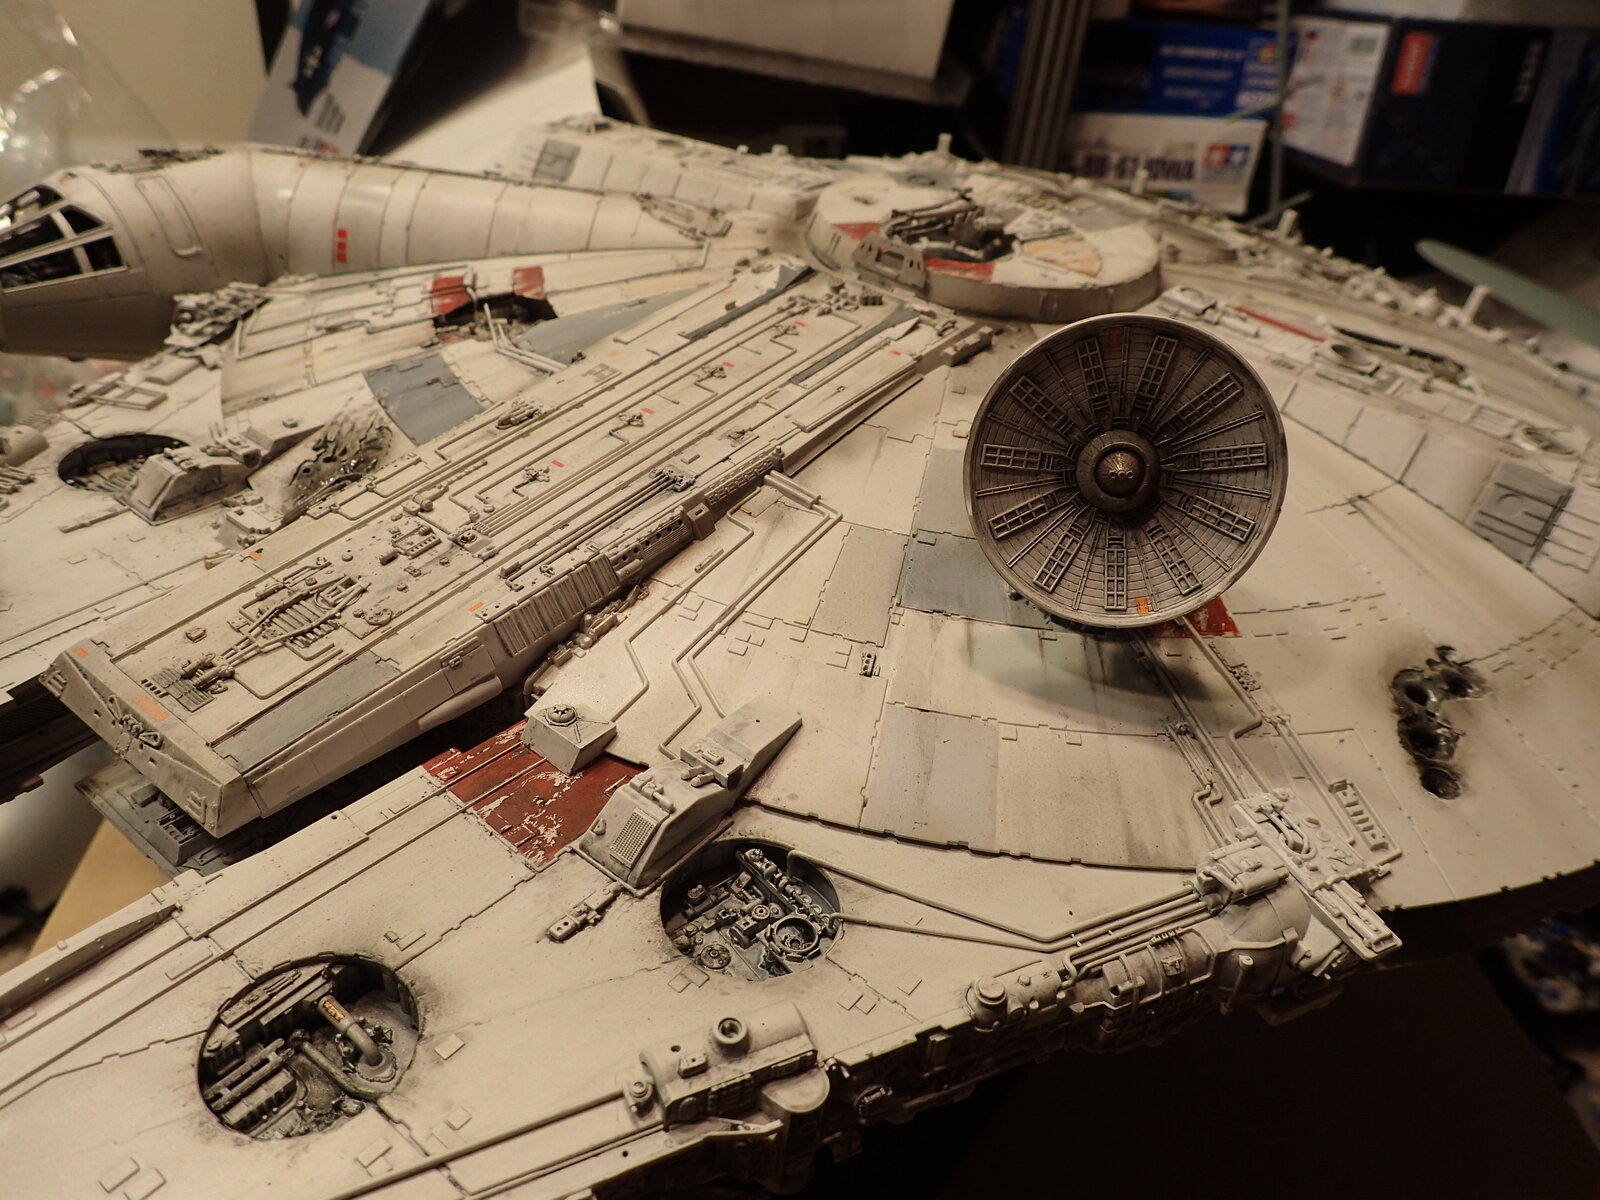
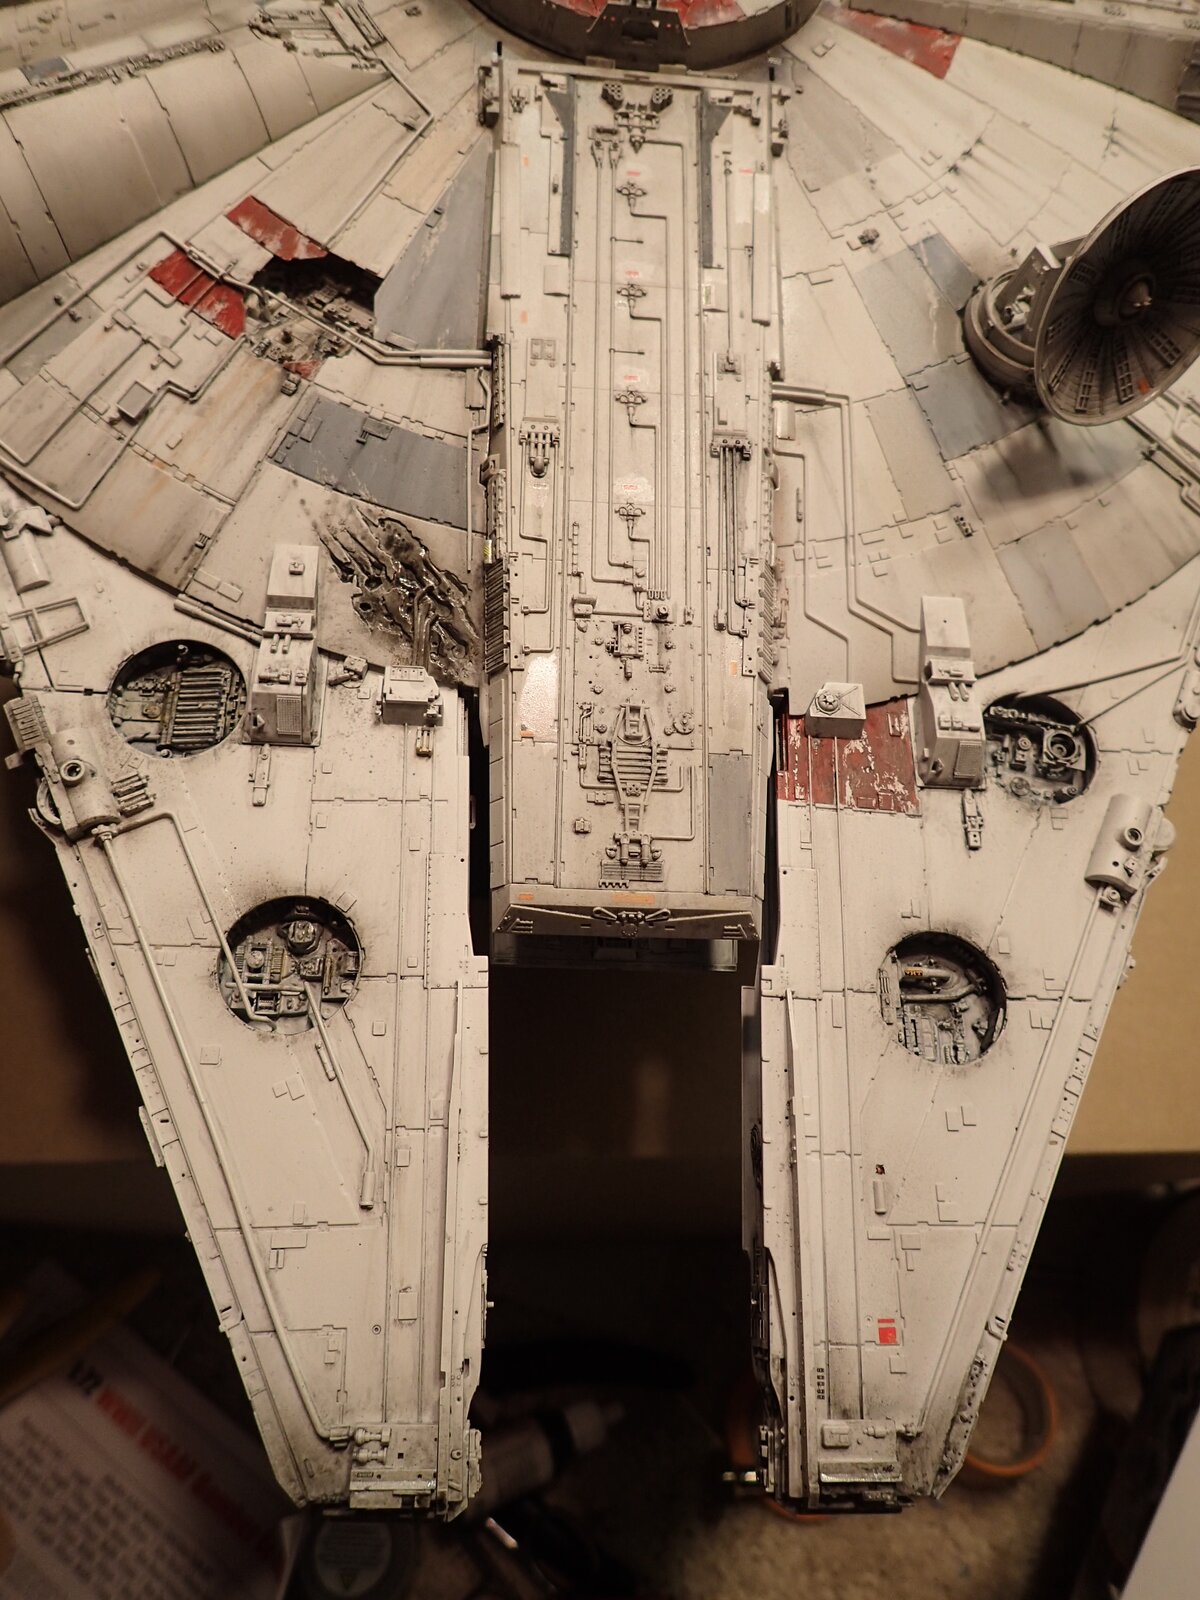
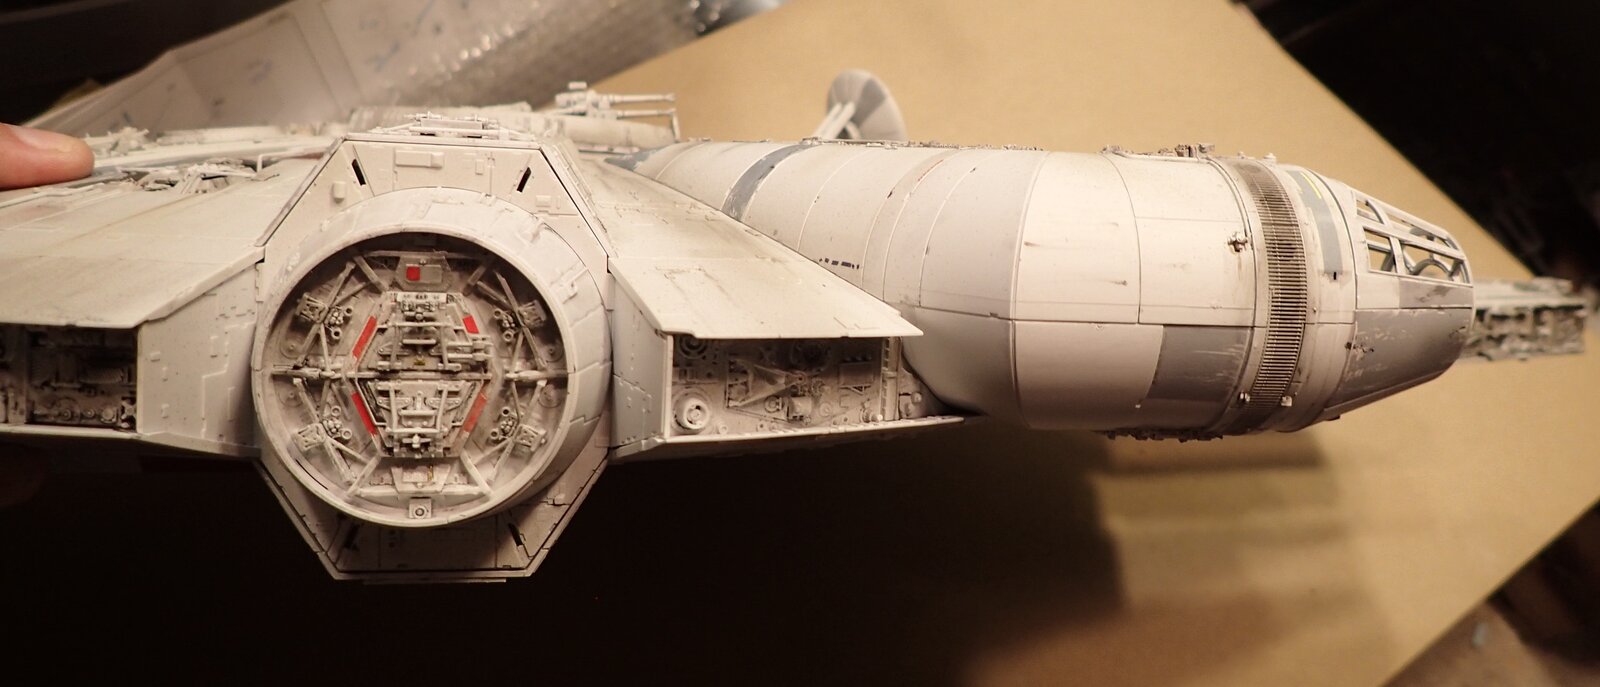
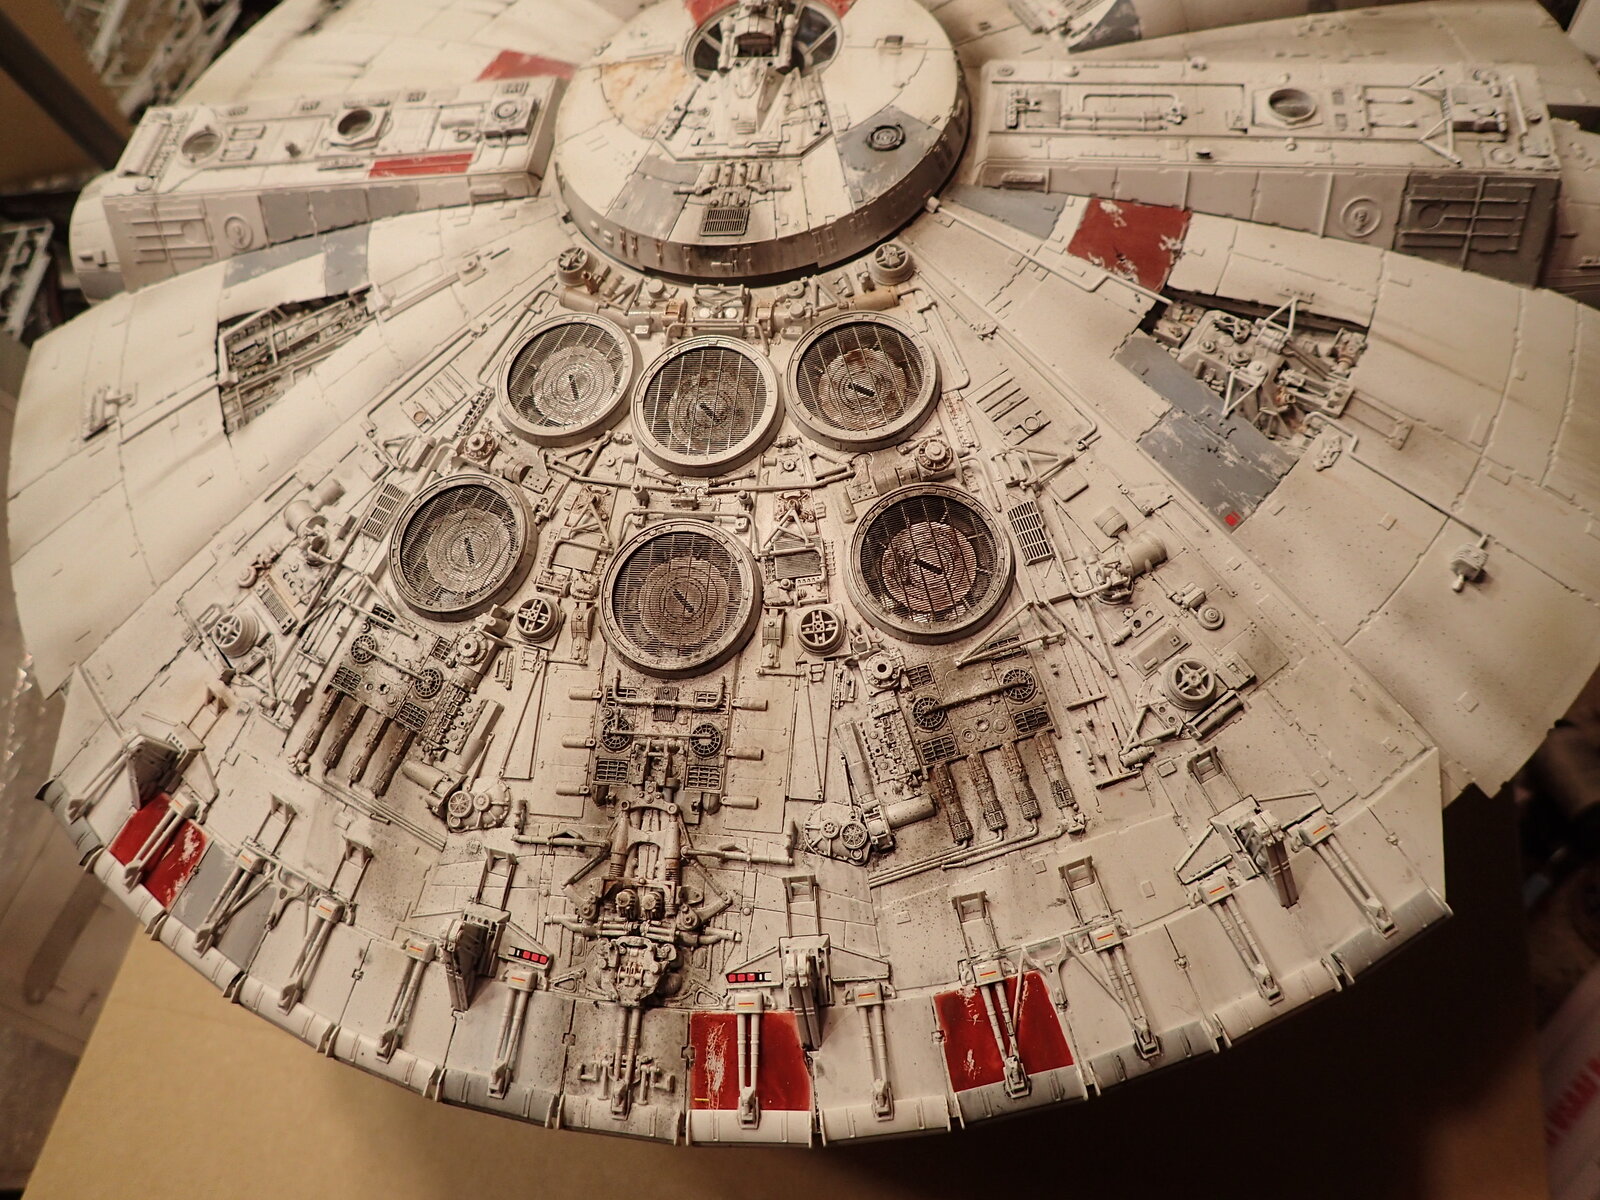

The weathering is looking good. This is an amazing kit, I like it even more as this is one of the only kits based on A New Hope and not Empire. gluing the two halves together will make me nervous as well. When I finally get to mine I want to do as much of the interior as I am able to. I really want the hallway out of the cockpit lit, along with a bunch of lighting in the cockpit area. So Did your kit have over 600 pieces in total?Progress has slowed down, but at least still progress
Got some more of the decals on and refined weathering here and there
Did not realize just how any little decals there are. close to 200 not counting the panel decals (I painted instead of using those)
Although did take a big step ahead by actually putting the two saucer halves together. No more interior access except from the battery area and gun turret wells. A kind of scary step because if I forgot something lighting wise there is no going back. No longer can change my mind mind about doing an interior for the cockpit tube and opening the door. Frankly, I never would have finished I went that route
This finally allowed me to get on many of the missing surface greeblies as well
View attachment 121646View attachment 121645View attachment 121648View attachment 121647
The weathering is looking good. This is an amazing kit, I like it even more as this is one of the only kits based on A New Hope and not Empire. gluing the two halves together will make me nervous as well. When I finally get to mine I want to do as much of the interior as I am able to. I really want the hallway out of the cockpit lit, along with a bunch of lighting in the cockpit area. So Did your kit have over 600 pieces in total?

Haha! Same. I spent an hour sifting through my hardware drawers trying to find something to replace the little round antenna on my Gustav that apparently fell into a black hole on my living room carpet.That's the Y-Wing fighter
Haha! Same. I spent an hour sifting through my hardware drawers trying to find something to replace the little round antenna on my Gustav that apparently fell into a black hole on my living room carpet.Lol
You did such a fantastic job on this kit. I love a good challenge (dropping sacrifices to the carpet gods is my forte.)
Which kit is this?
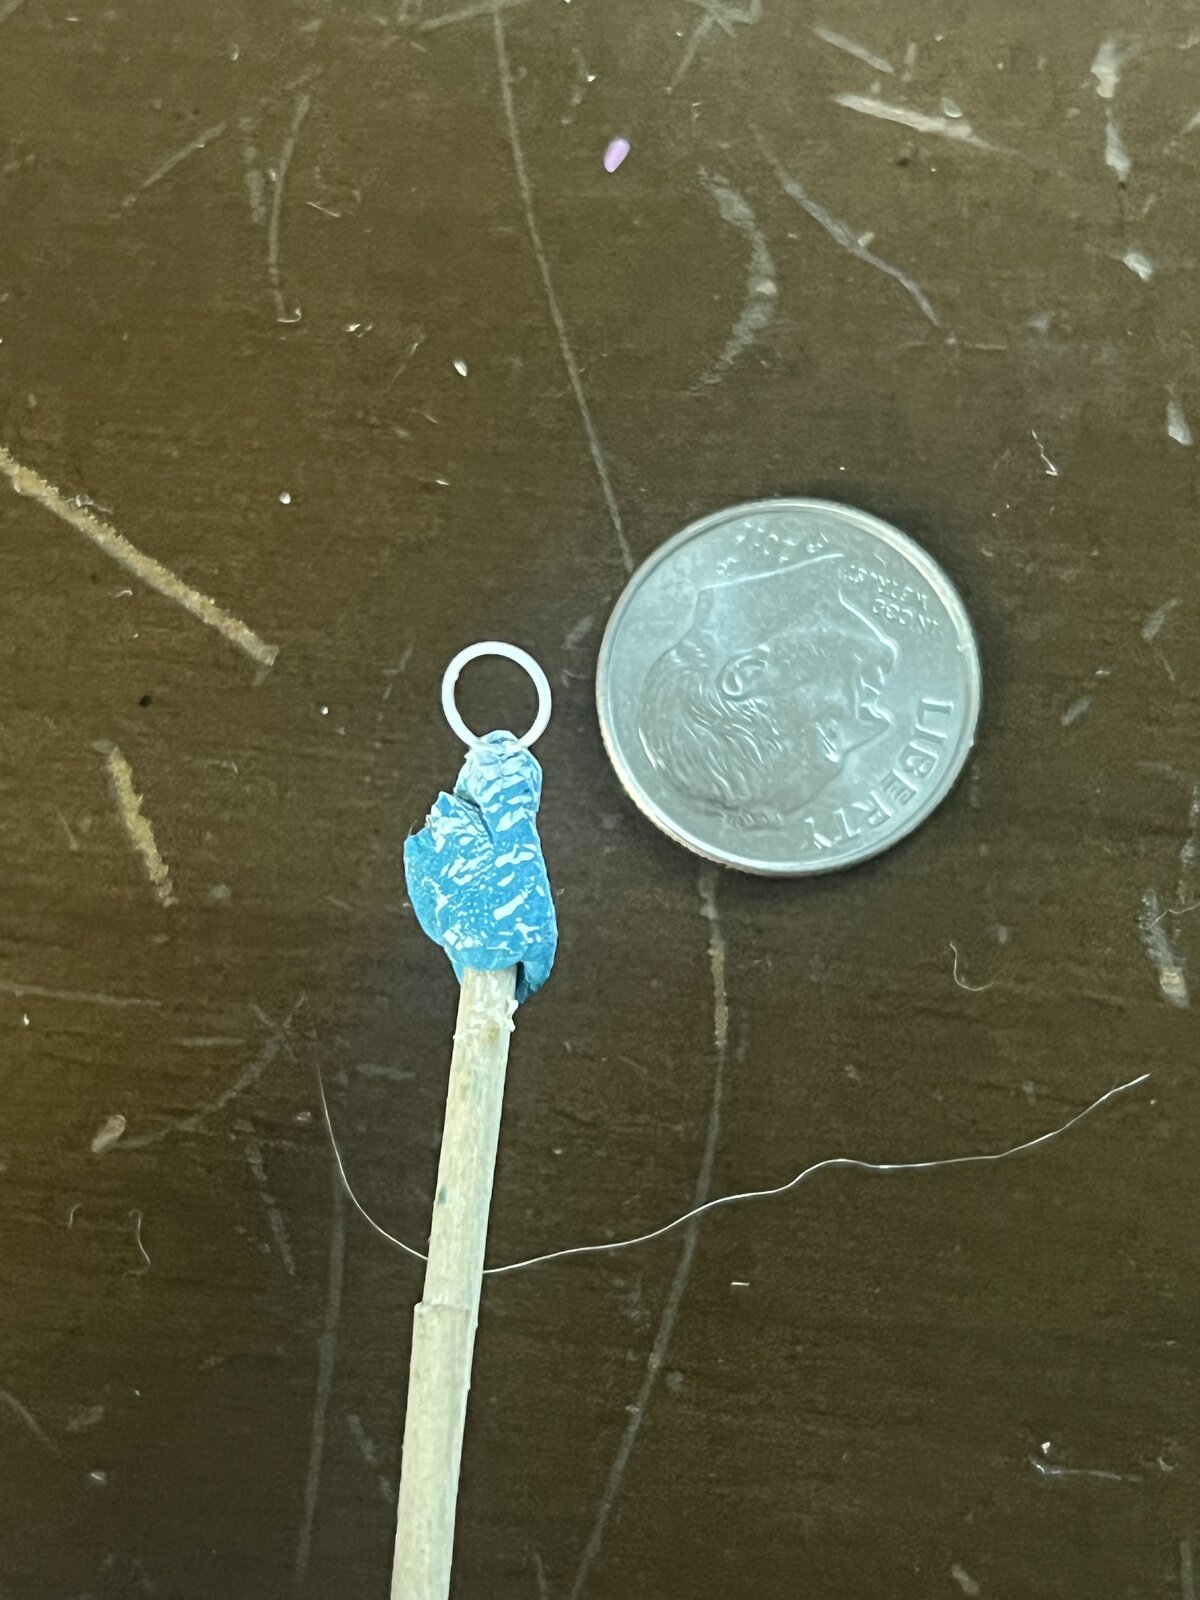
We can use that "thing" which they wanted us to throw away or wonder Why we keep. There is always a need for everything.Haha! Same. I spent an hour sifting through my hardware drawers trying to find something to replace the little round antenna on my Gustav that apparently fell into a black hole on my living room carpet.
Ended up clipping the end of a small spring I salvaged from a broken printer.
I promptly told my wife, "see woman?! this is why I save things like this!"
View attachment 121682

So I have manged to do a bit more on Din. Please excuse the not so tidy workbench on the bed, it's low on the PM scale but works.I thought I would make a start on my Mandalorian so hope it's OK with you all if I add this to the group build ?
I decided to spray the silver coloured parts in chrome, think it looks much better. Pantherman
View attachment 120654View attachment 120655View attachment 120656View attachment 120658View attachment 120659View attachment 120660
View attachment 120657
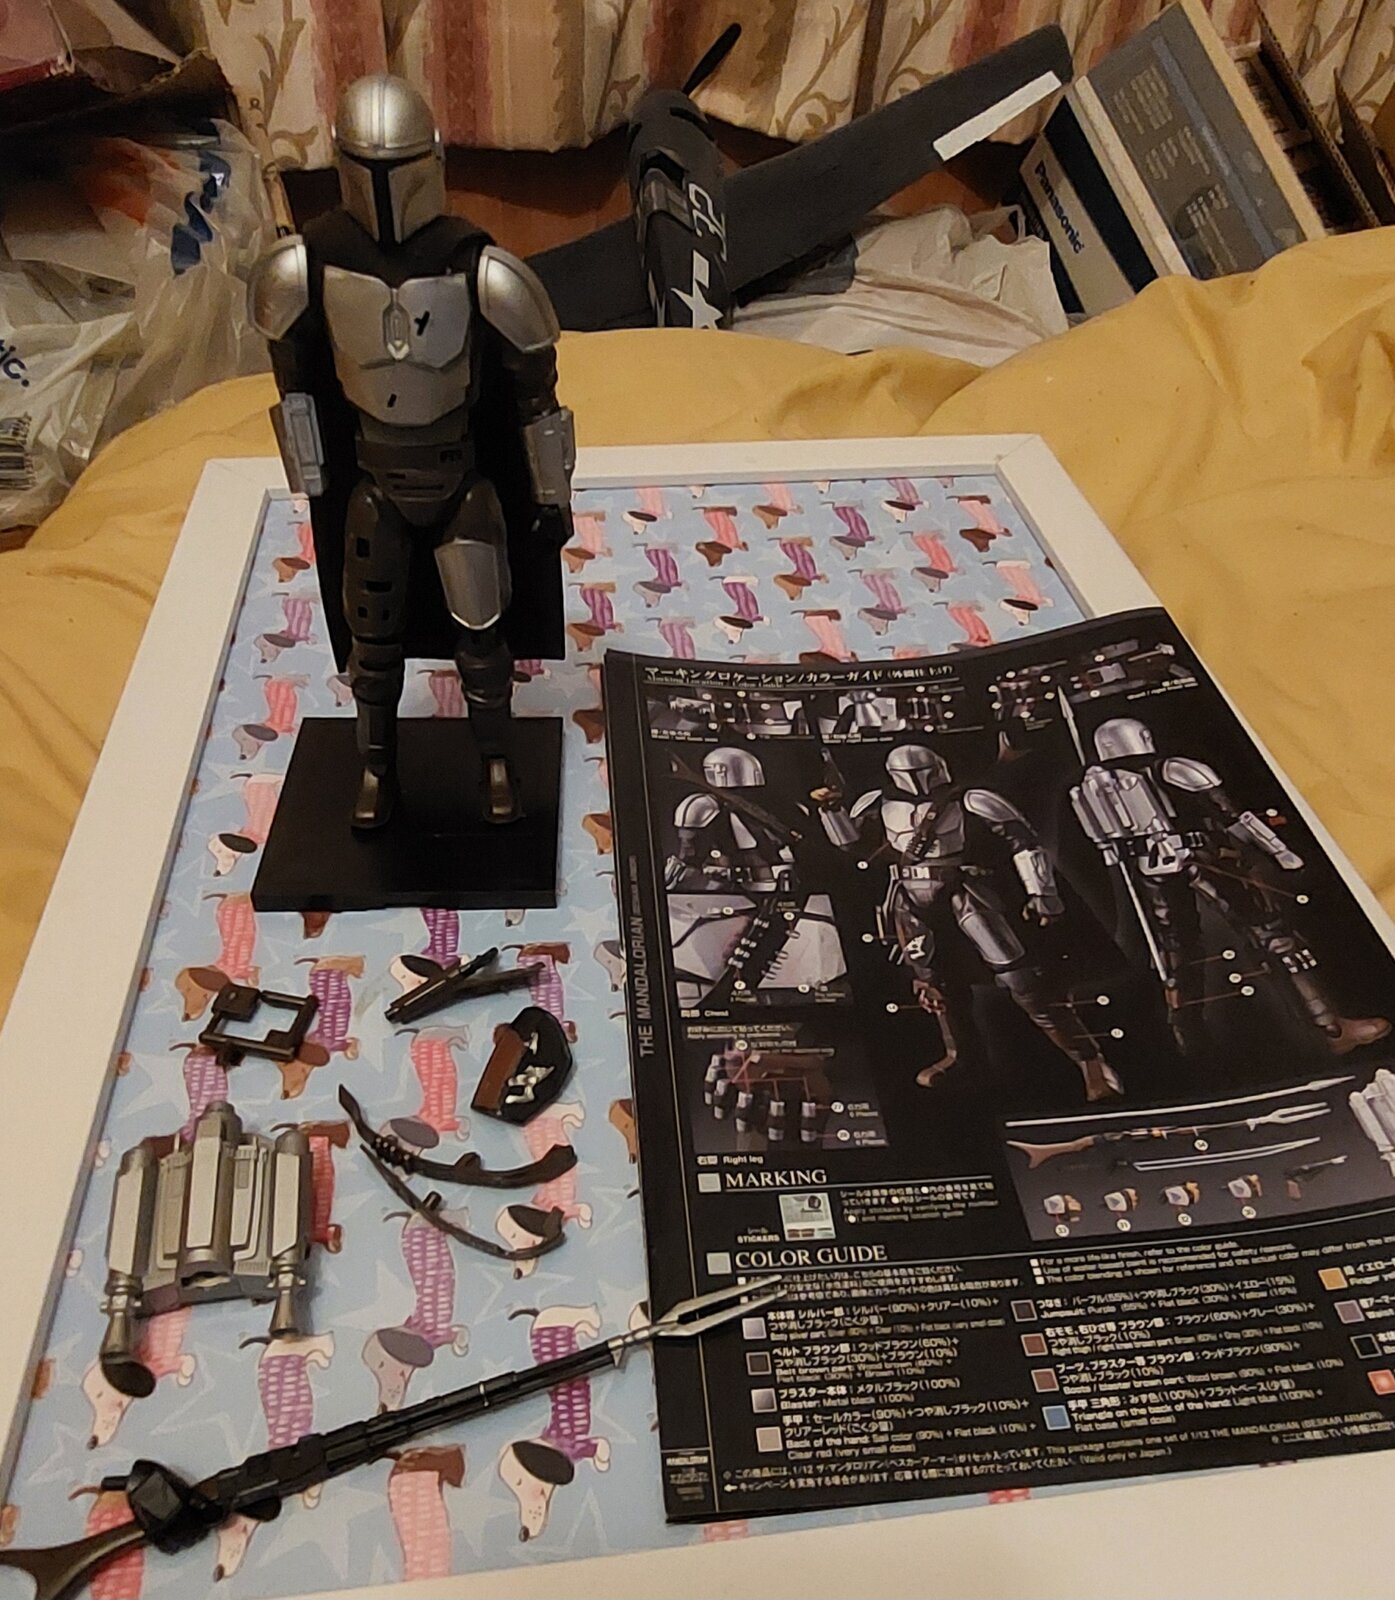
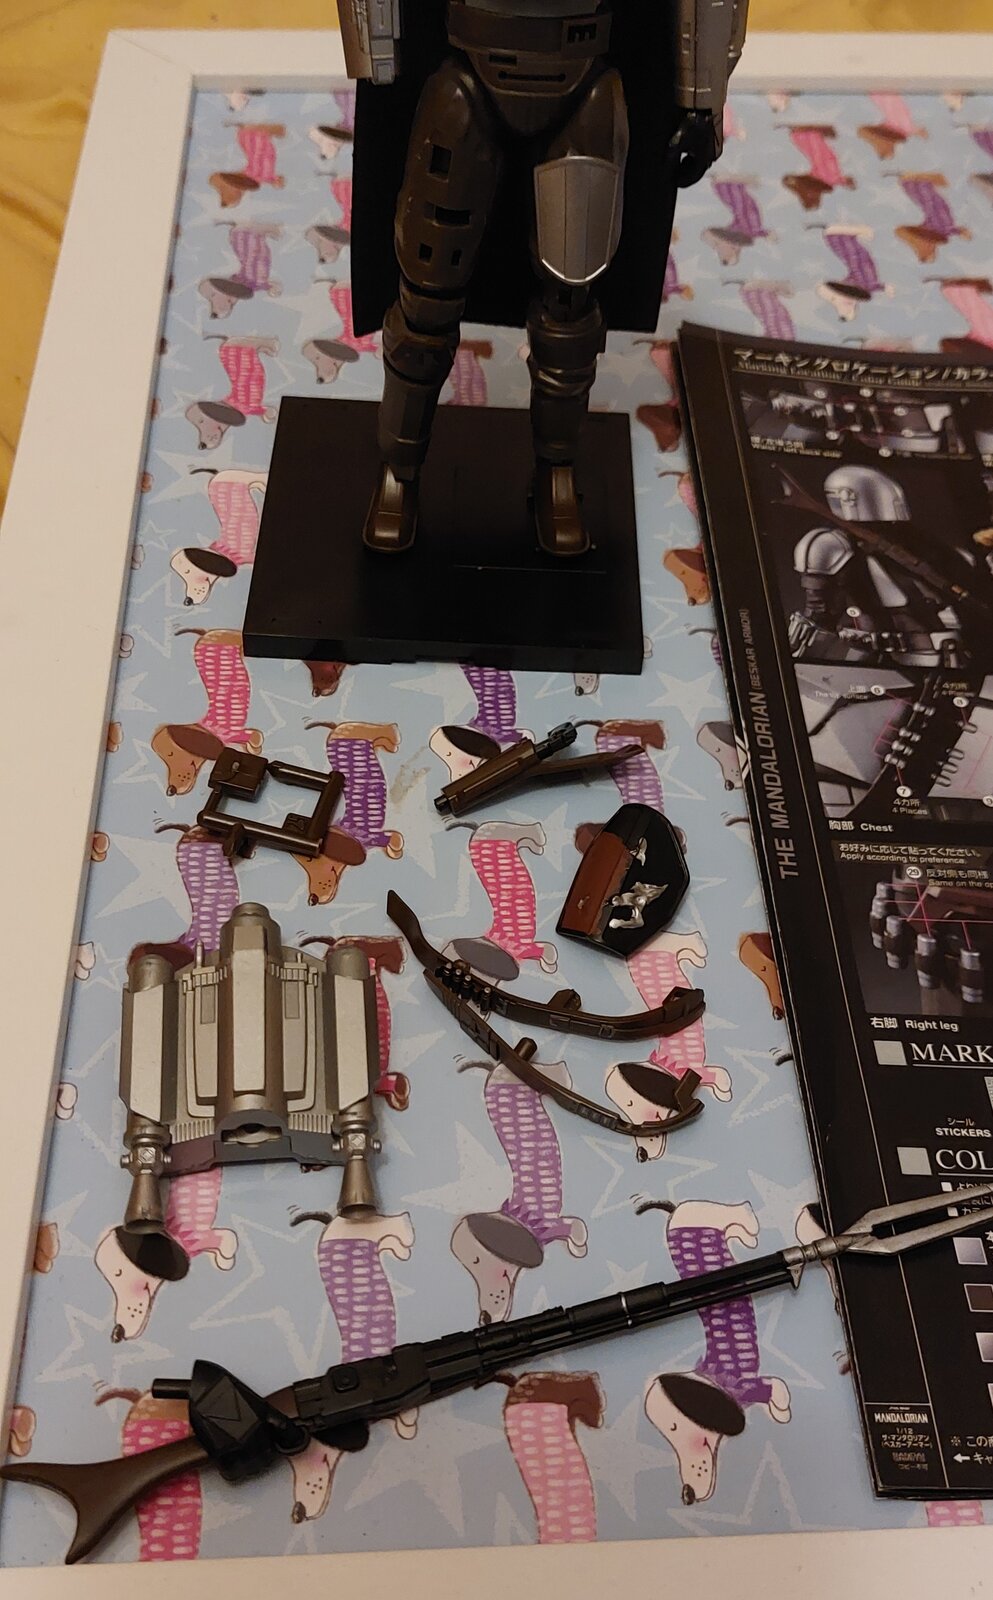
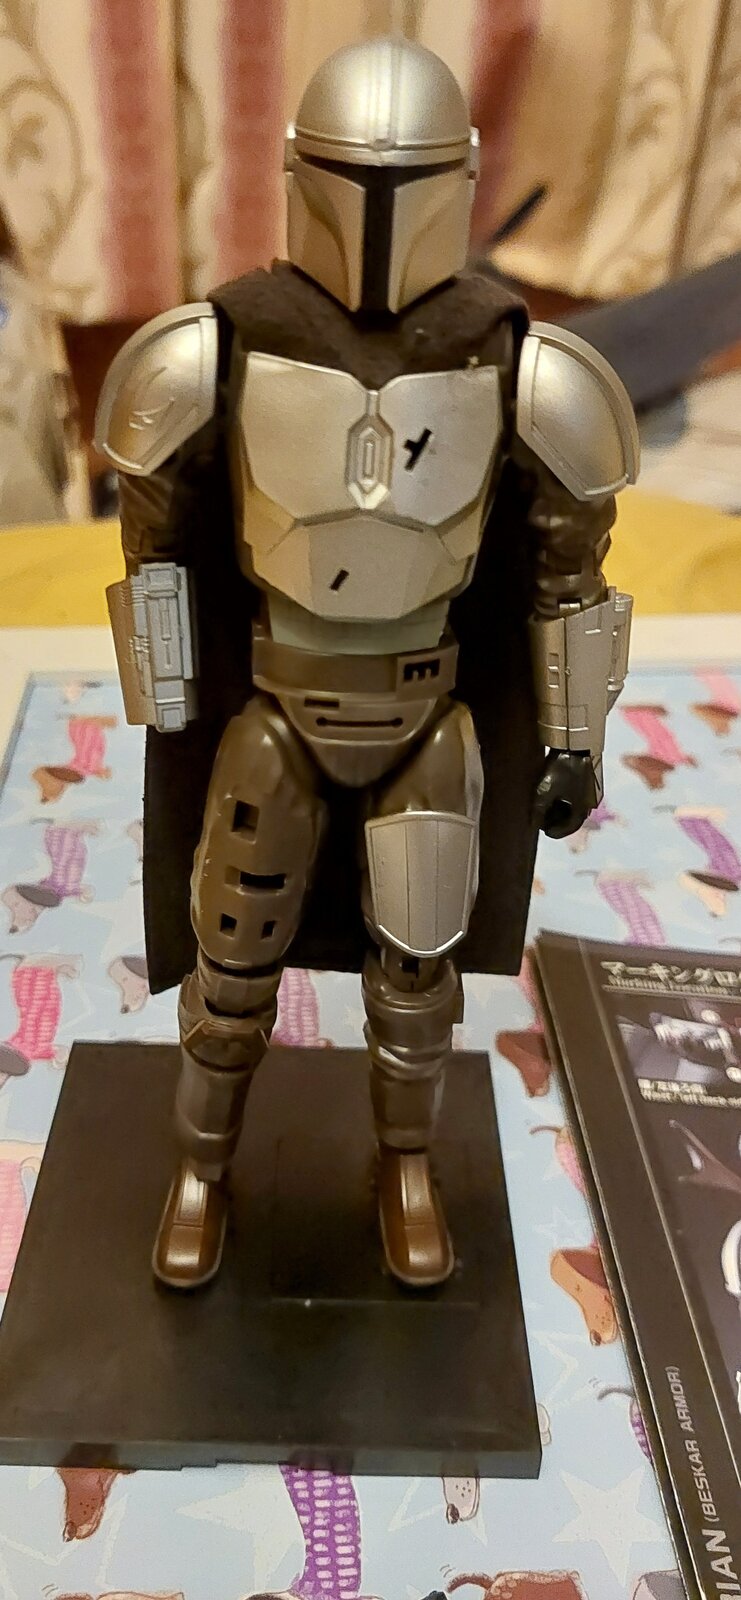
Very nice! I like his cape and accessories. You did another professional job, brother!So I have manged to do a bit more on Din. Please excuse the not so tidy workbench on the bed, it's low on the PM scale but works.
Pantherman View attachment 121700View attachment 121701View attachment 121702
Thanks. It's a beany tray my daughter gave me so no matter how uneven the surface the beany bit always makes the tray level. Stops all those tiny bit's rolling of the tray. PanthermanVery nice! I like his cape and accessories. You did another professional job, brother!
And I like the weenie-dog paper too.


