Star Wars Theme Group Build

Scale Model Addict - Model Tips, Guides, Tools & Tech, Tutorials, and Community

Help Support Scale Model Addict:

Slave I (10).jpg
Slave I (11).jpg

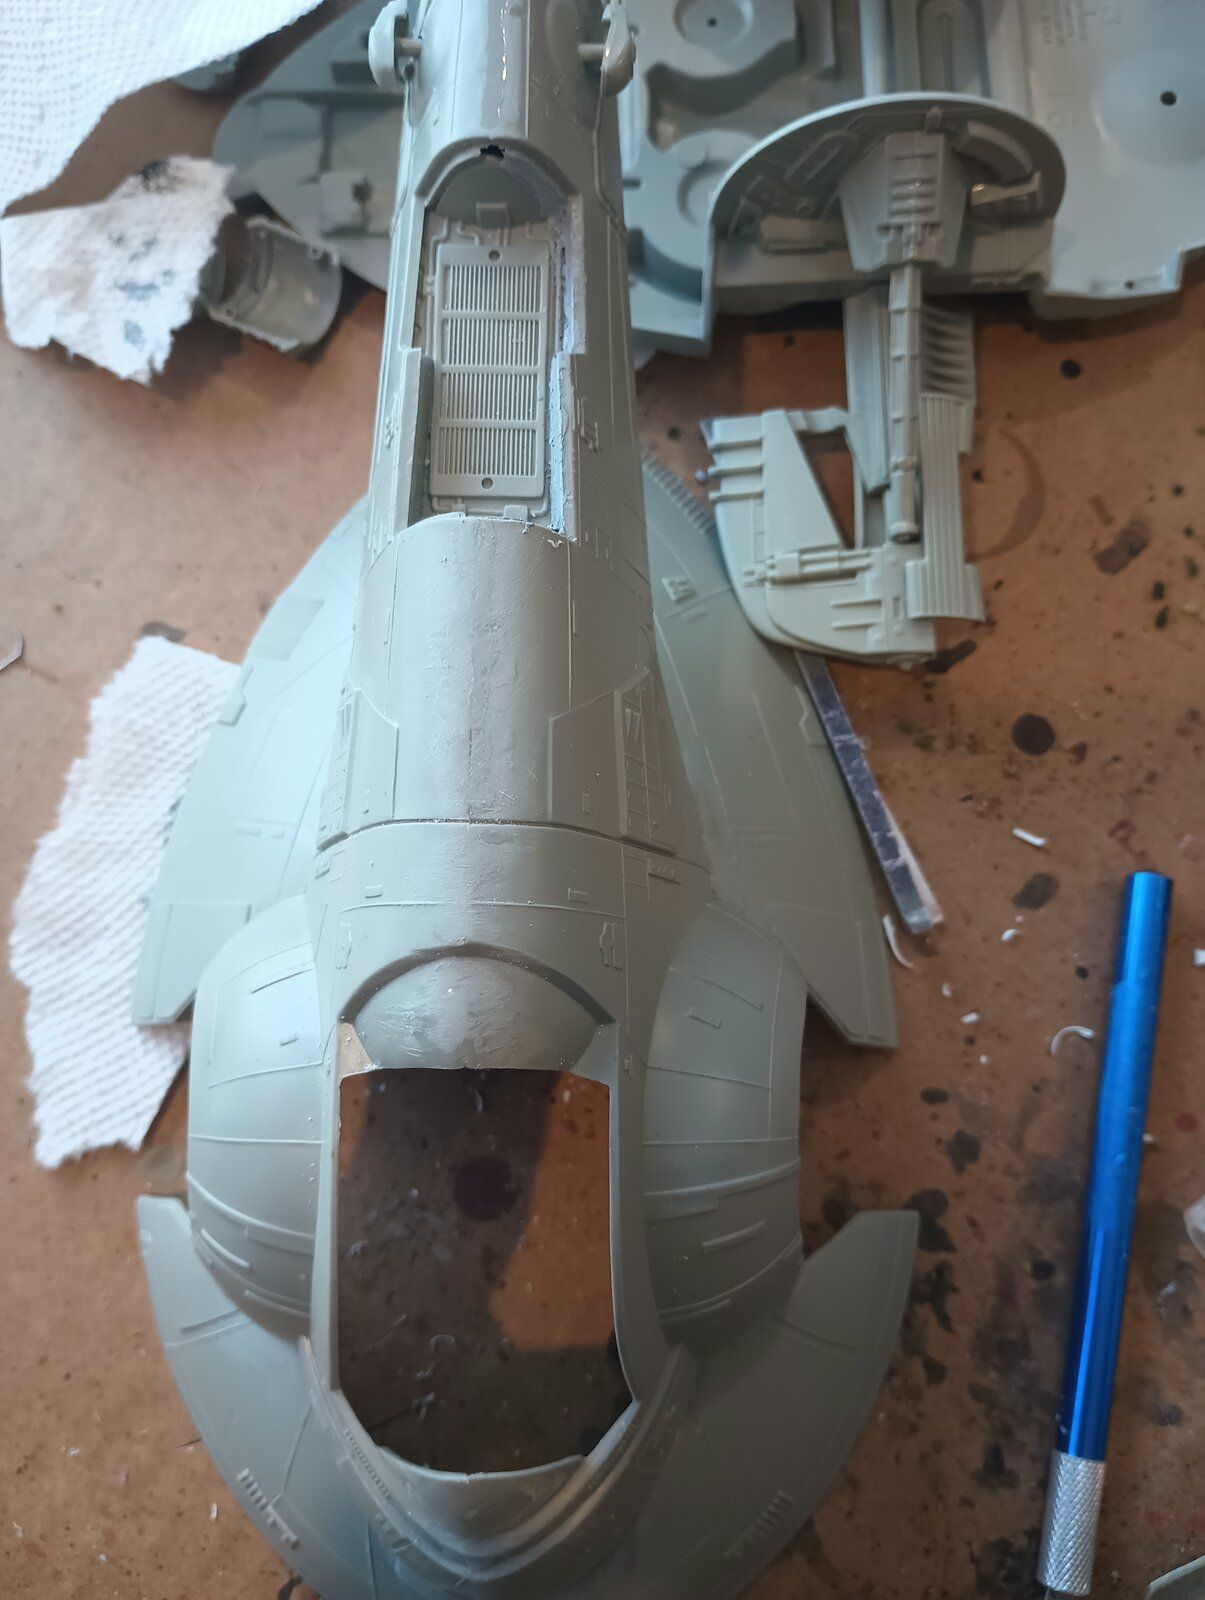
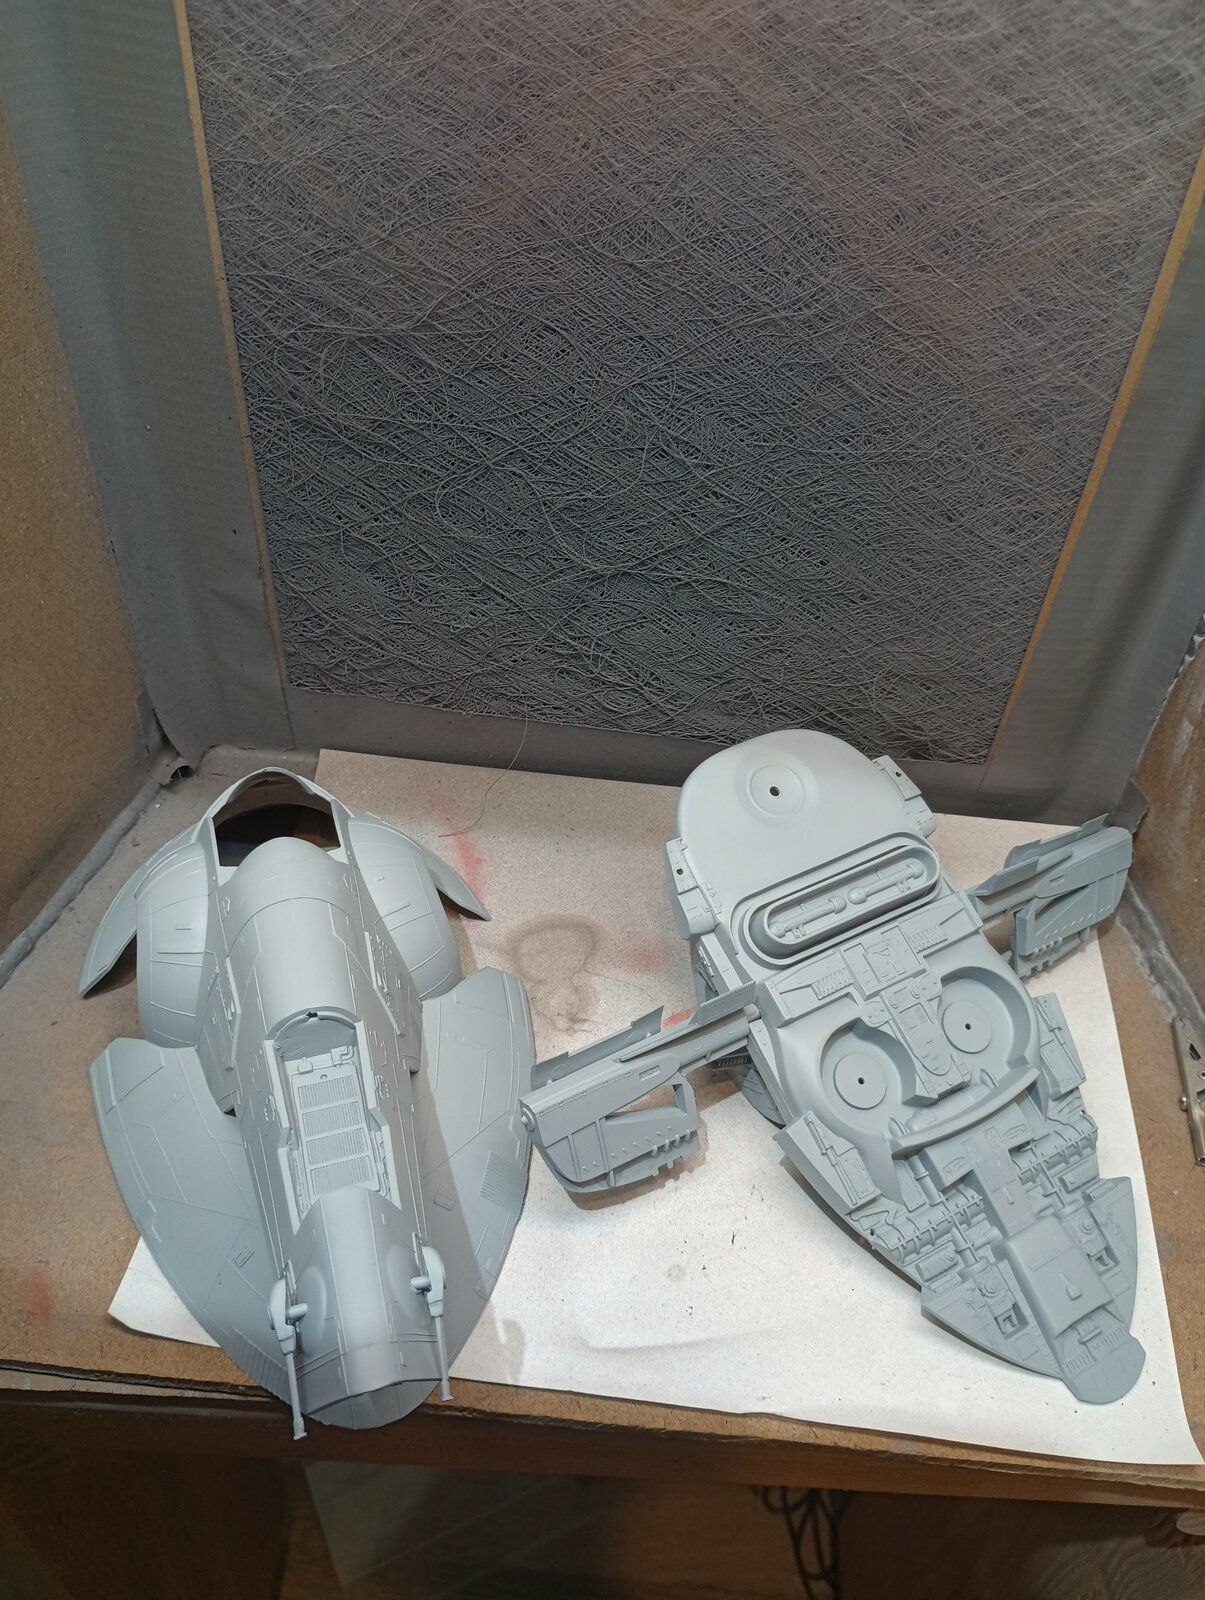
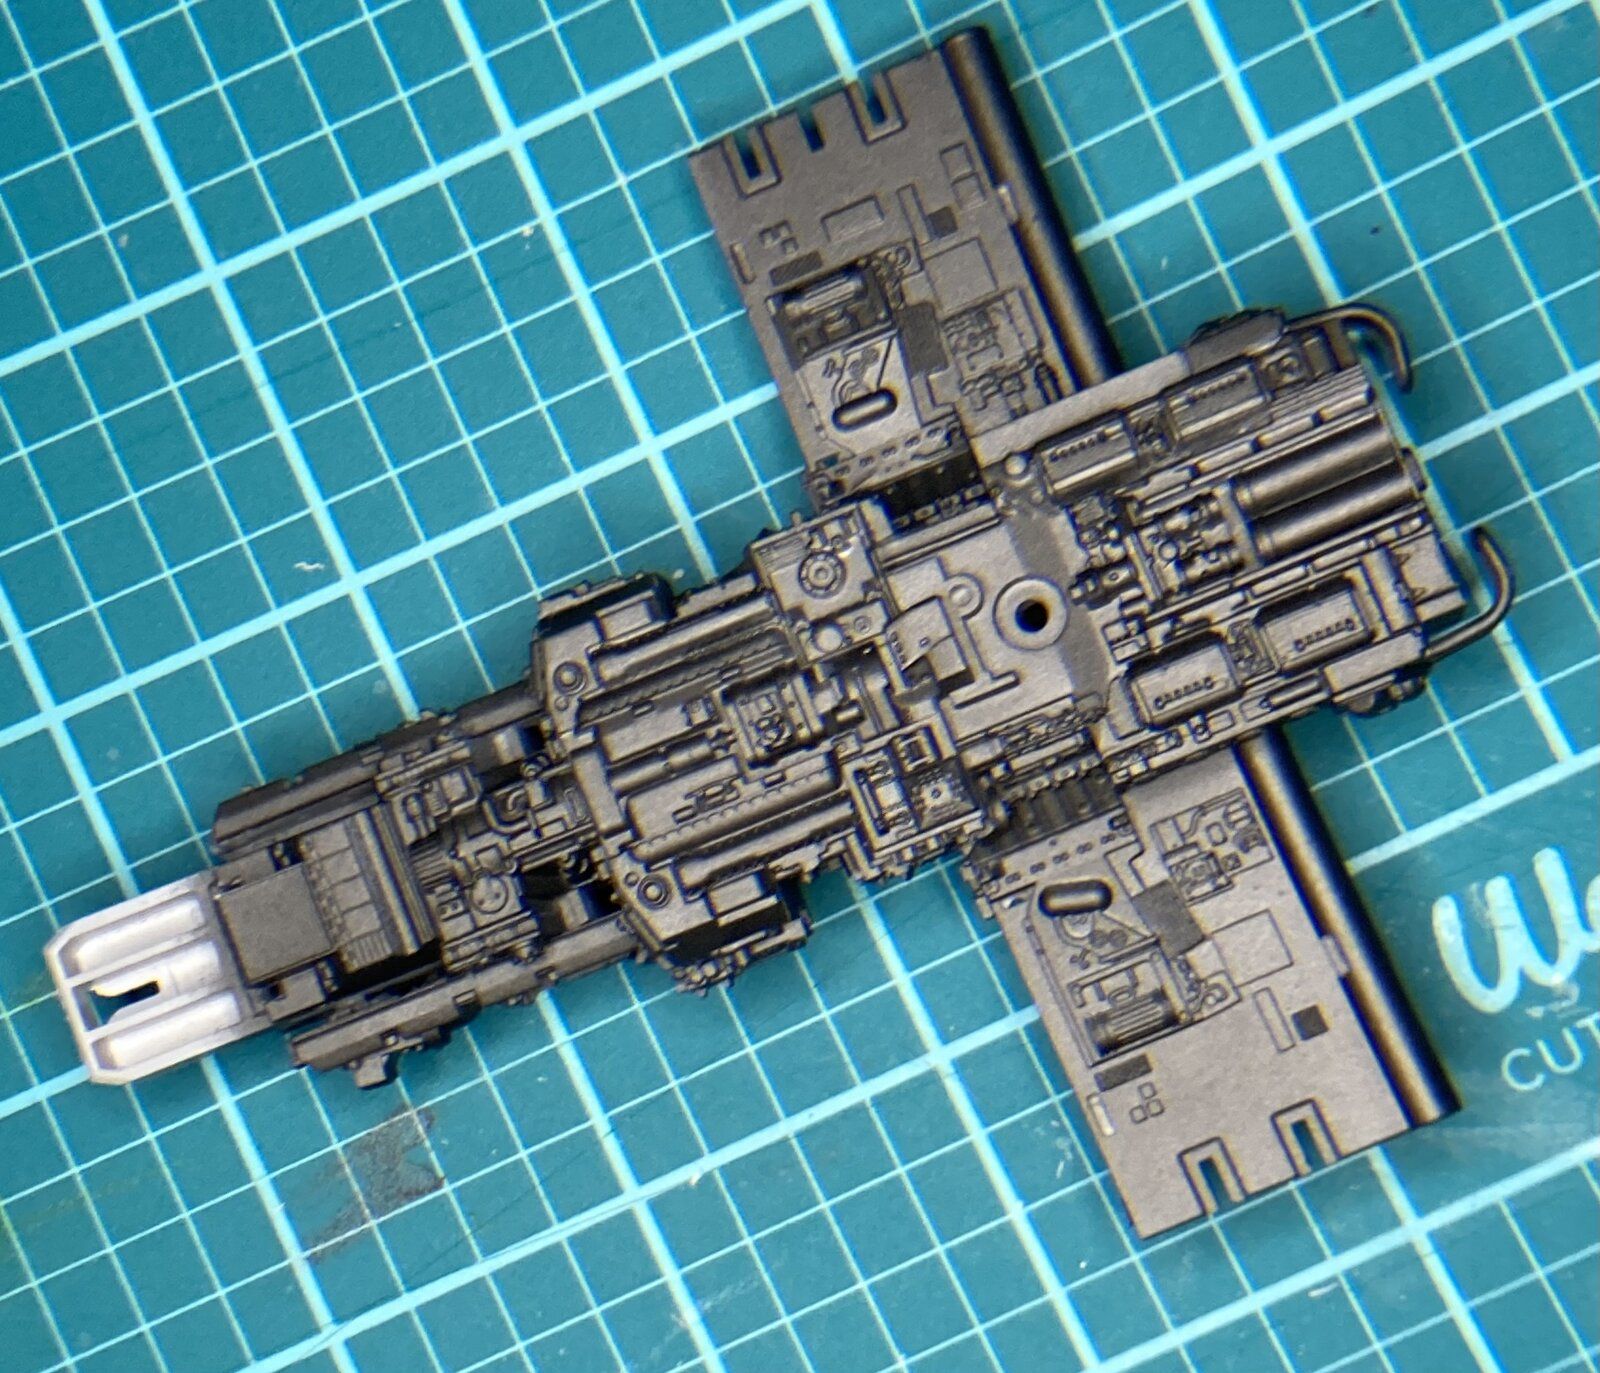
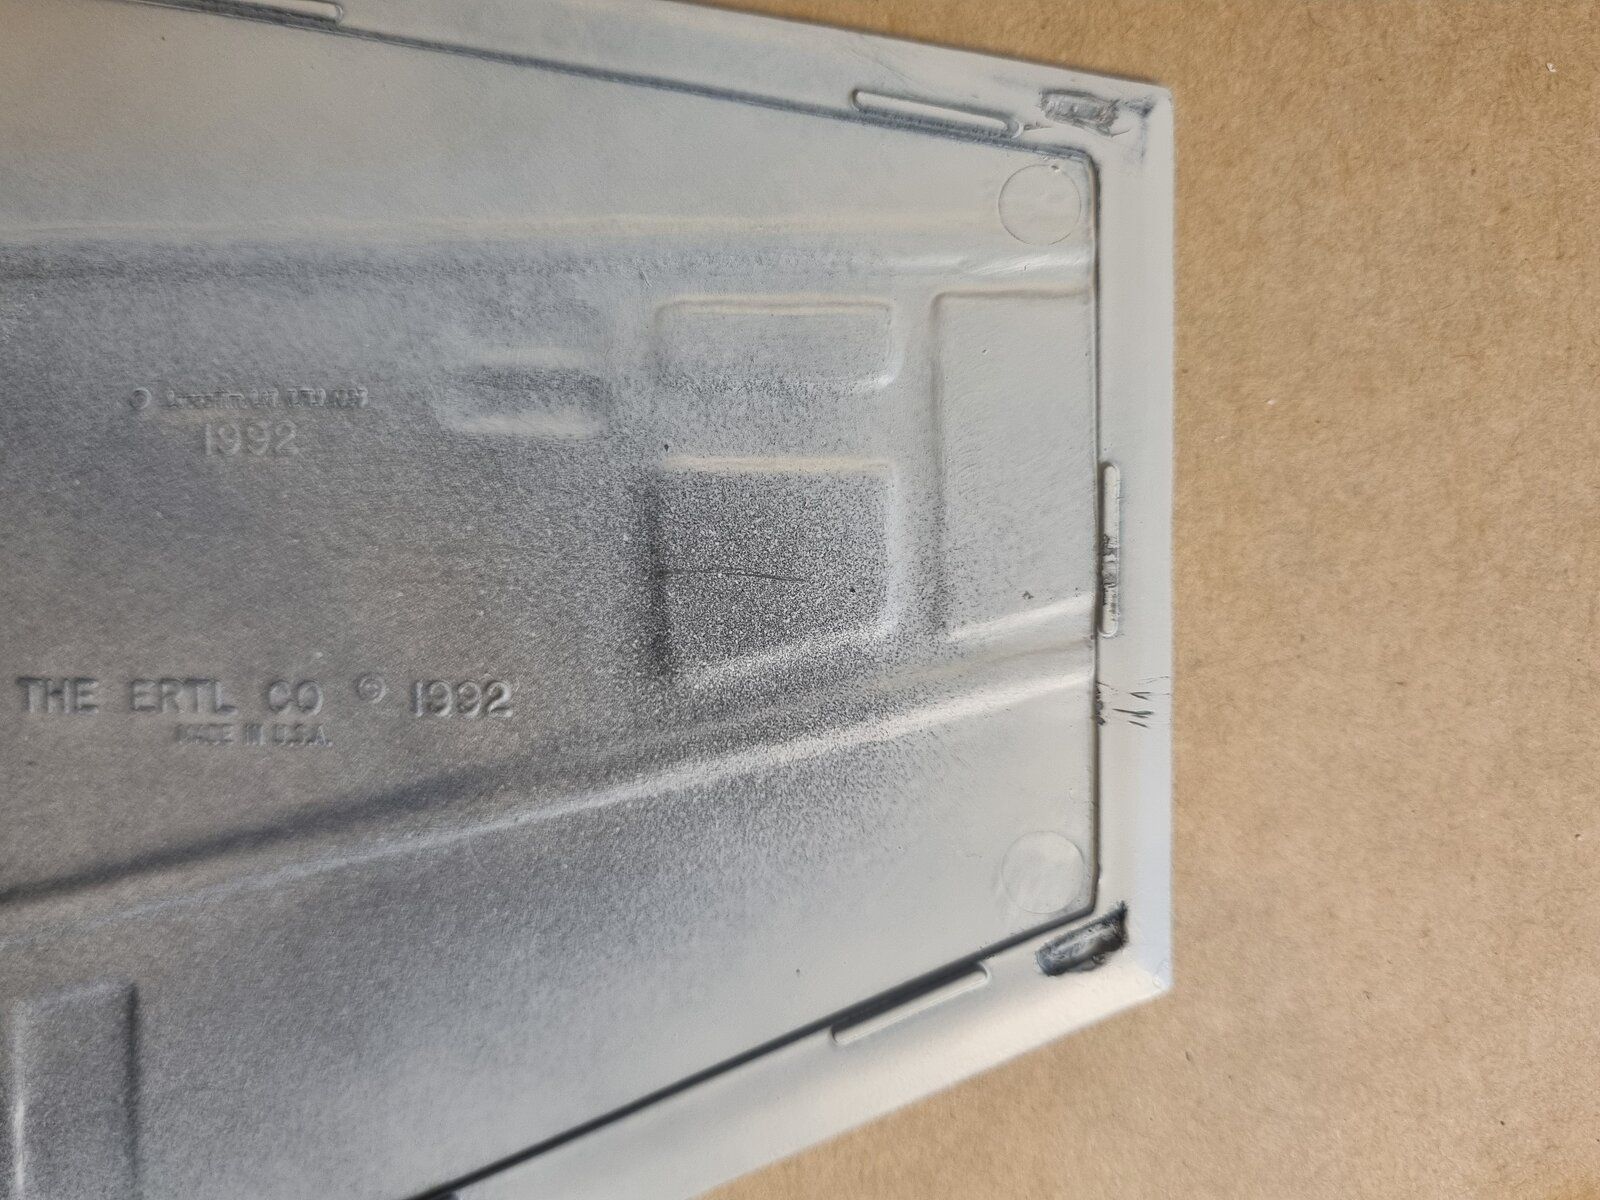
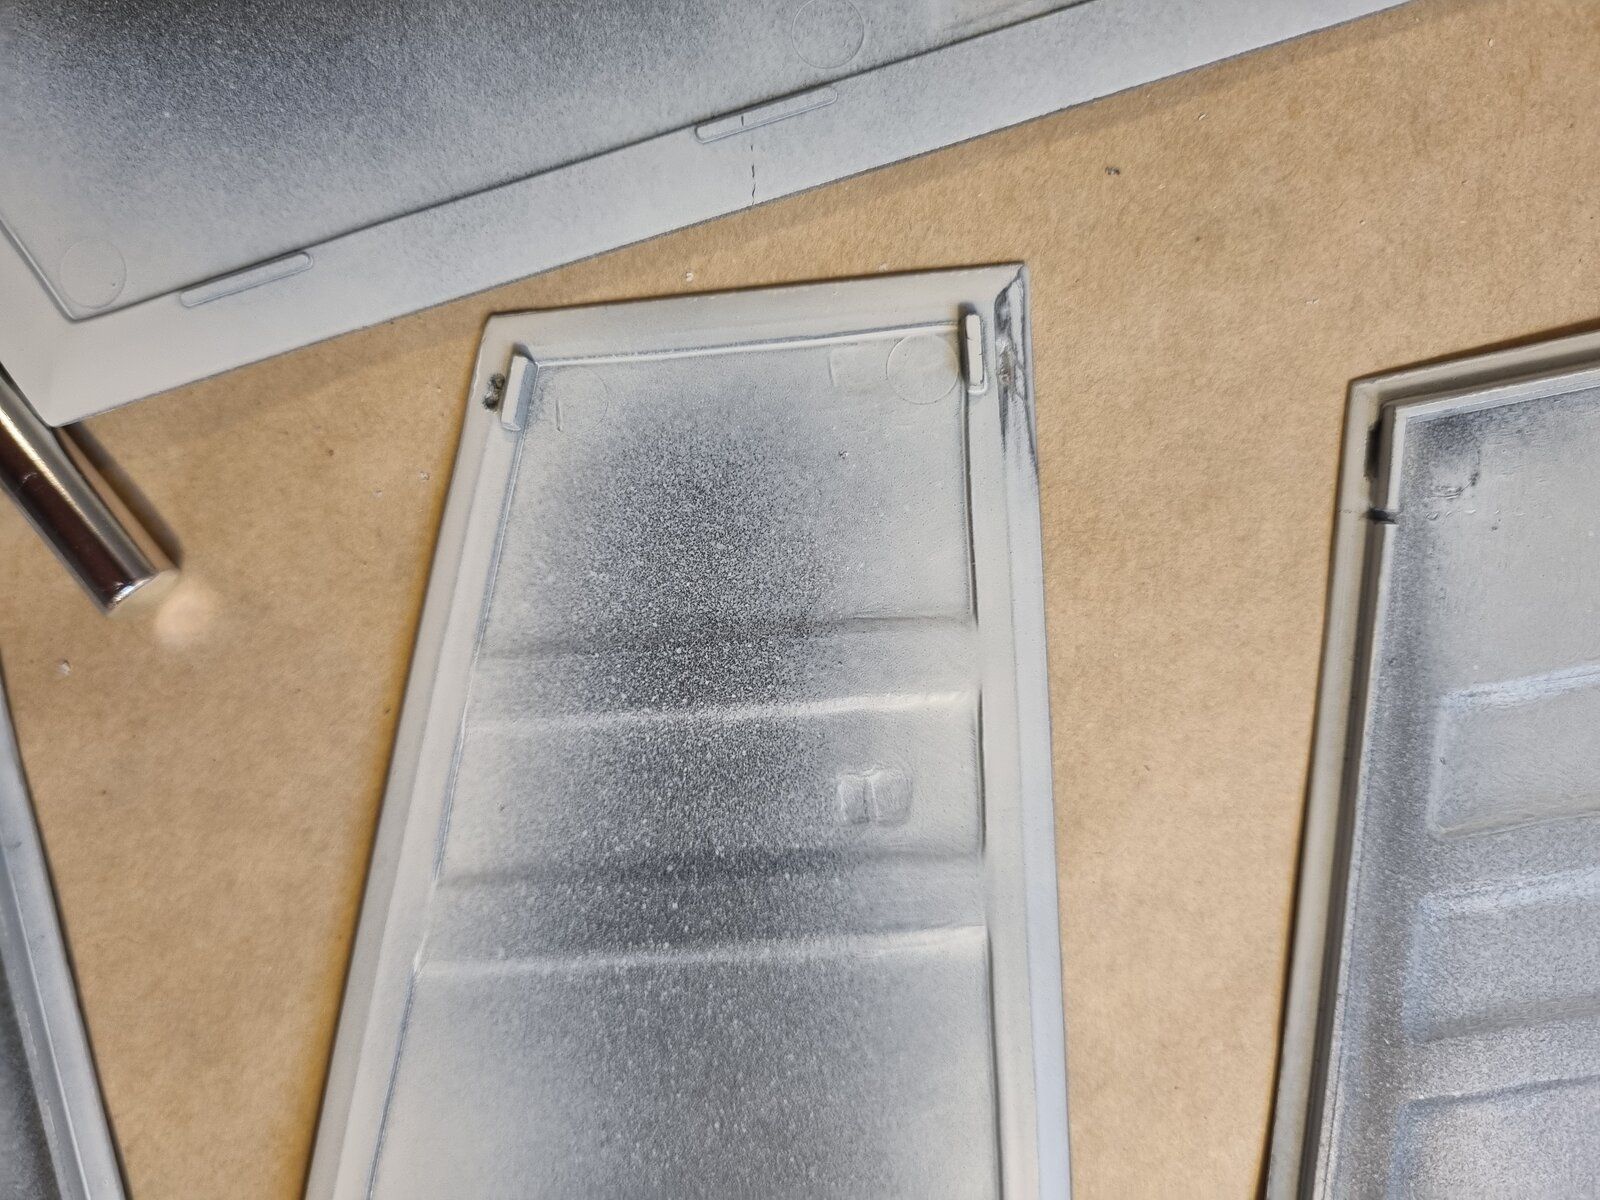
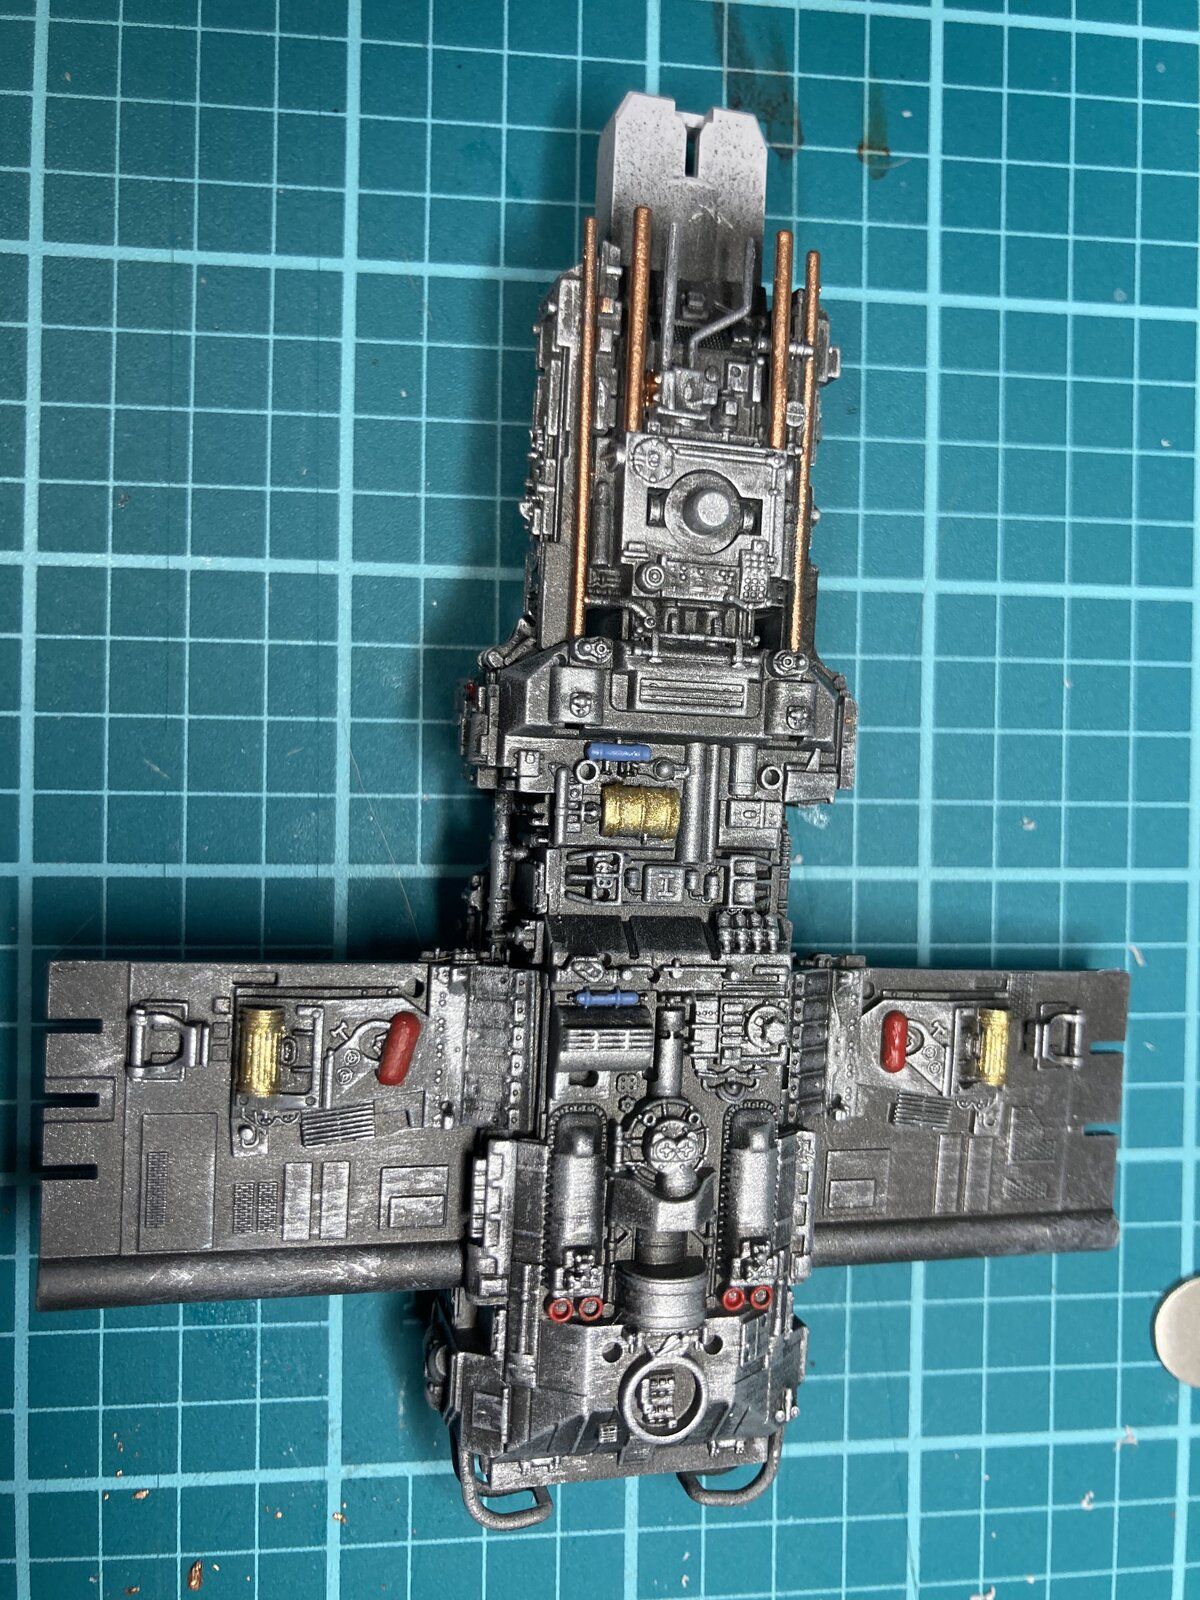
Finally finished the prep and able to prime. I had to mix primer as the gray had was too dark. Did a 1:2 Stynyrez gray to white. I believe it still could've been a few shades lighter. As I have I think 4 other Boba Slave I models this is more of a practice for color and techniques. I'm trying to take notes so I have something to refer to with the next builds with a live finished product. Detail is not great on this kit and the fit wasn't as good as I had hoped. It's coming along slowly. This will be the most complex paint job I have ever done by far.
 
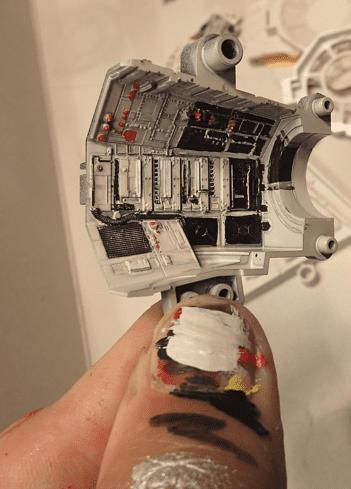
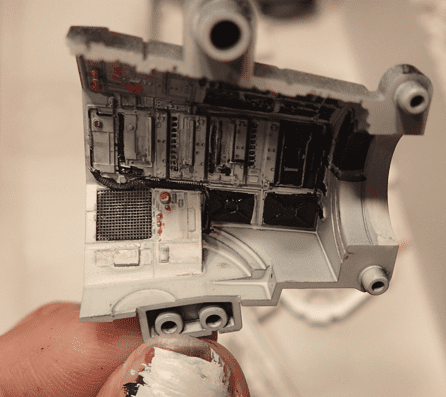
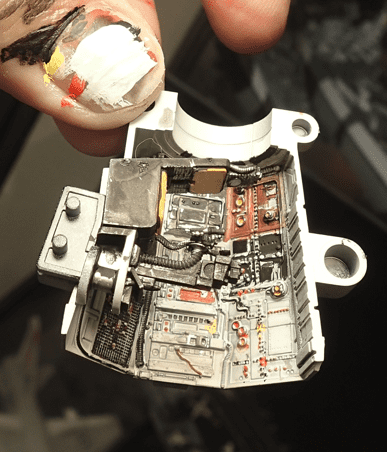
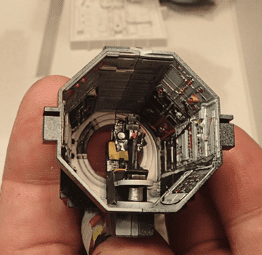
Also finished the other turret. Gave it a bit more time getting the various panel colors to match the set piece

and yes, I use my thumbnail to wipe excess paint off the brush before touching the brush to the model, or test if things are too runny, or check color, or need more thinning etc... :D

Not going to stress to much over neatness/crisp straight lines, since it only needs to look good from the front angle looking back instead of side on
1721334512115.png

1721334792759.png

1721334625809.png

1721334684509.png

1721334699719.png


1721334849796.png

1721334878260.png

1721334917097.png


1721334979501.png


1721335007631.png
 
Last edited:
View attachment 120263View attachment 120264
Finally finished the prep and able to prime. I had to mix primer as the gray had was too dark. Did a 1:2 Stynyrez gray to white. I believe it still could've been a few shades lighter. As I have I think 4 other Boba Slave I models this is more of a practice for color and techniques. I'm trying to take notes so I have something to refer to with the next builds with a live finished product. Detail is not great on this kit and the fit wasn't as good as I had hoped. It's coming along slowly. This will be the most complex paint job I have ever done by far.

That seam was rough to deal with but looking good

What paints are you going to use?
 
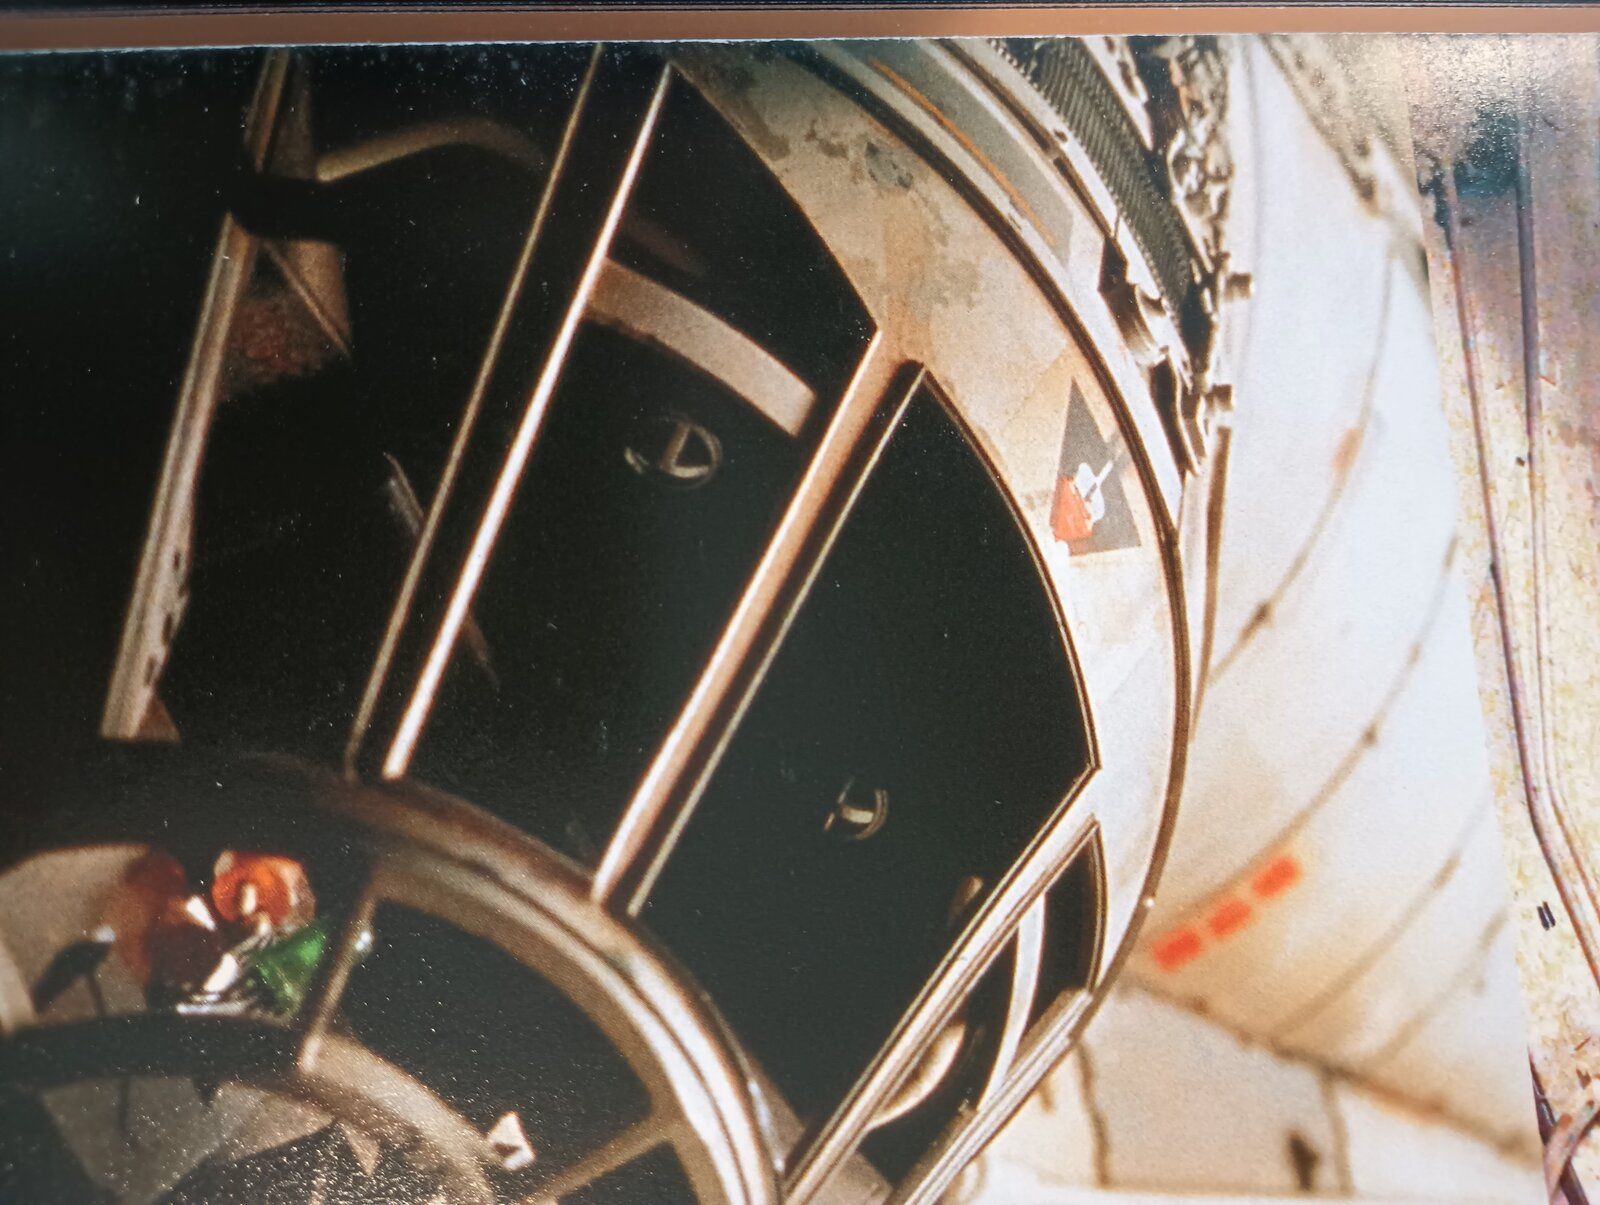
So another decision time that previously led me to procrastination. Use photo-etch or not around the cockpit tunnel to represent the Koolshade parts on the original model?
For any who might not know what that is, Koolshade is same material the Tie Fighters wing panels were made of. Was actually a very fine metal shade that was used as sun blocking window blinds back in the ILM days

Looking closely at the parts, I feel the molded plastic parts are actually better detail than the photo-etch

Left is the plastic parts. These are amazingly fine and crisp and even the holes behind the grilles have depth.

On the right are the alternate parts that you can use to glue the photo-etch onto

View attachment 120259
View attachment 120260

Although I feel the photo-etch while a bit finer detail when it comes to the holes behind it is actually very flat and less overall detailed looking

View attachment 120261

So the original plastic parts it is

View attachment 120262

The only downside I see is there is a noticeable seam/gap between two of the pieces. Maybe I made an error in putting together parts as I know from past experience, some other part being a hair off in some different step like the tunnel construction can cause fit issue with other parts later, but I don't see gaps elsewhere. You can see it off the the right above and then here below as well

View attachment 120266

Should not be too noticeable once paint and weathering go on in this area I am hoping. If not I will have to try filling as best I can without screwing up the details

But then again, from this angle it is hard to tell
View attachment 120265


1000000380.jpg
Personally I think I would lean towards the plastic as the mesh part has more depth.
 
That seam was rough to deal with but looking good

What paints are you going to use?
I am trying to match Tamiya paints by eye as best I can. I will need to custom mix about 8 of them. I'll keep track of the ratios for future builds. As long as I can get kinda close with this one I will be very happy. This one will be more of a trial and error for the rest. No idea what I will do for Jango's then lol.
 
Also finsihed the other turret. Gave it a bit more time getting the various panel colors to match the set piece

and yes, I use my thumbnail to wipe excess paint off the brush before touching the brush to the model, or test if things are too runny, or check color, or need more thinning etc... :D

Not going to stress to much over neatness/crisp straight lines, since it only needs to look good from the front angle looking back instead of side on
View attachment 120273
View attachment 120287
View attachment 120278
View attachment 120285
View attachment 120286

View attachment 120288
View attachment 120289
View attachment 120290

View attachment 120291

View attachment 120292
That is looking awsome
 
BTW that picture is from A New Hope model. Not sure how much different it is on Empire.

Yeah that is definitely the 5 ft rather than the 32" from ESB

On a side note, IIRC apparently that part is there because it was originally built to be able to rotate the cockpit, as well as providing cooling holes for the lights and motors.

In Sculpting a Galaxy, Lorne mentions this..

"At one time, the Falcon's cockpit was to be motorized so that it could be rotated 90 degrees. Lucas had the idea the ship would fly like a sunfish, landing flat, but at take off the body would rotate and the cockpit would remain in the same configuration. Though the end model did not include this feature, the cockpit module remained sleeved and could be rotated"

Of course, not letting it go to waste, they later wound up using the same design concept for the B-Wings
 
Yeah that is definitely the 5 ft rather than the 32" from ESB

On a side note, IIRC apparently that part is there because it was originally built to be able to rotate the cockpit, as well as providing cooling holes for the lights and motors.

In Sculpting a Galaxy, Lorne mentions this..

"At one time, the Falcon's cockpit was to be motorized so that it could be rotated 90 degrees. Lucas had the idea the ship would fly like a sunfish, landing flat, but at take off the body would rotate and the cockpit would remain in the same configuration. Though the end model did not include this feature, the cockpit module remained sleeved and could be rotated"

Of course, not letting it go to waste, they later wound up using the same design concept for the B-Wings
To this point I really only look at the pictures and haven't read that. lol
 
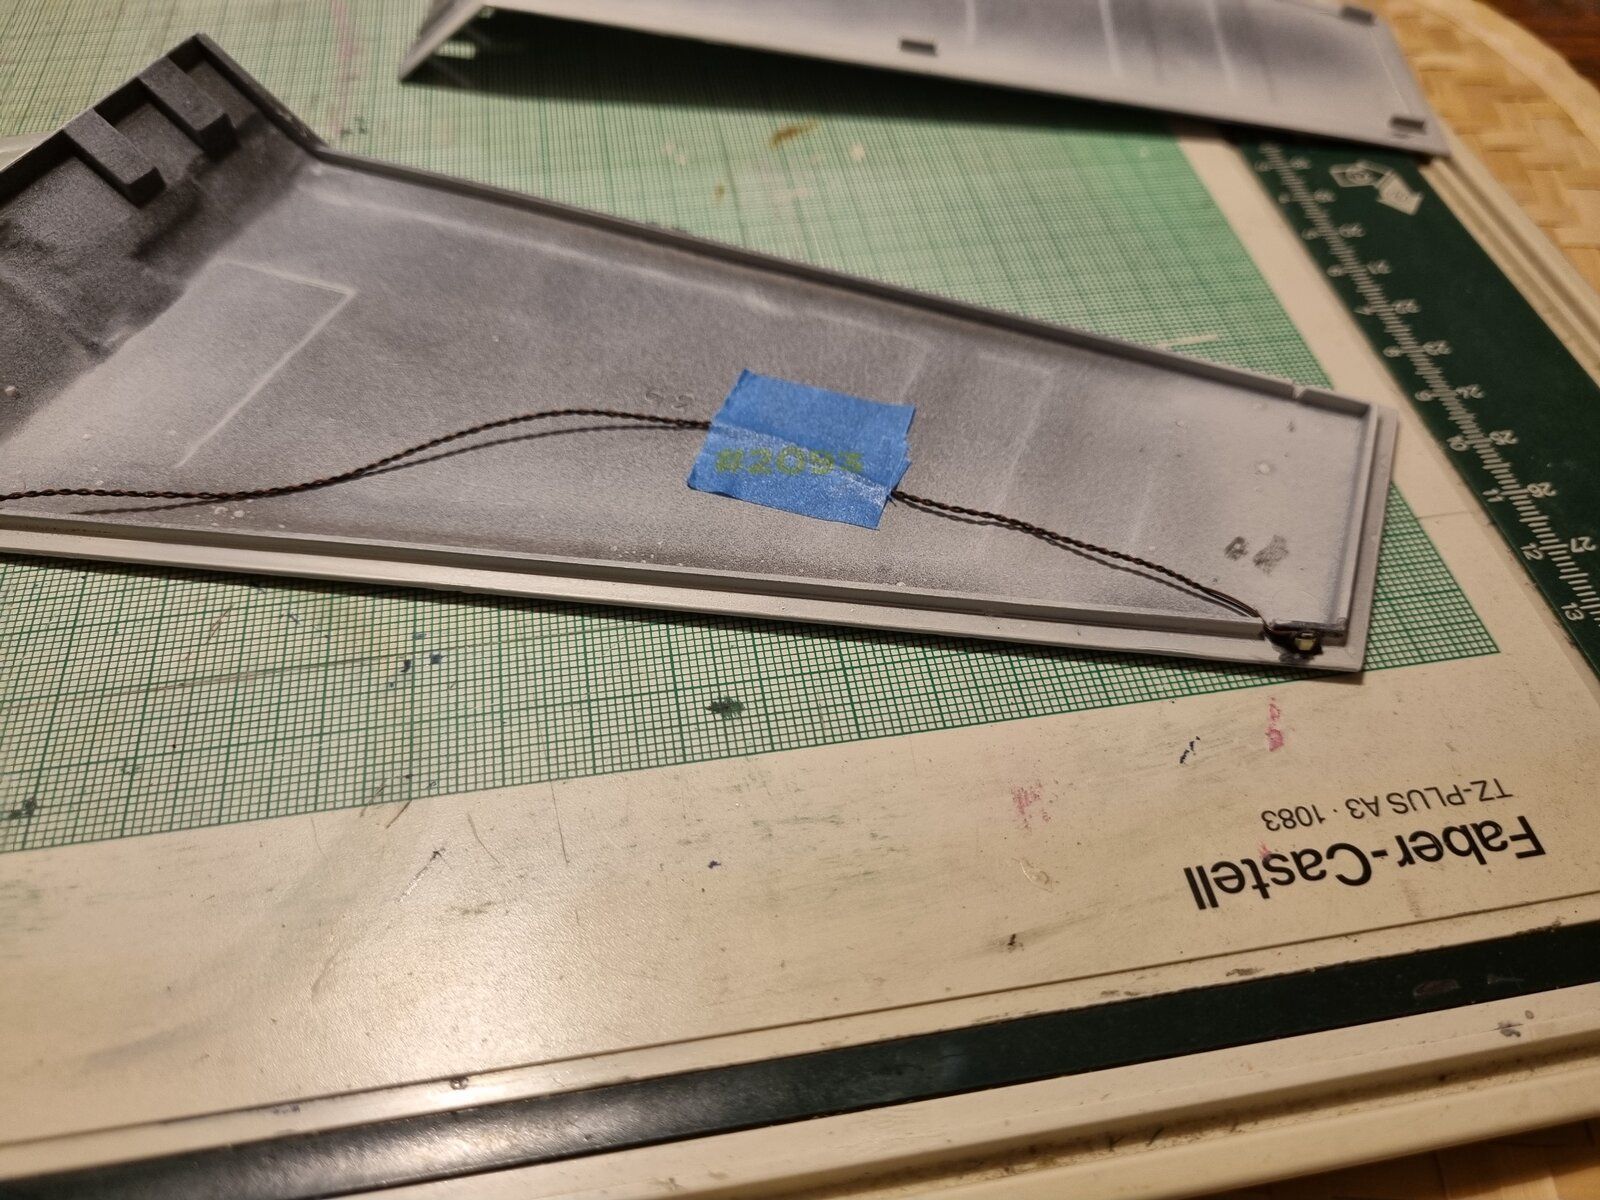
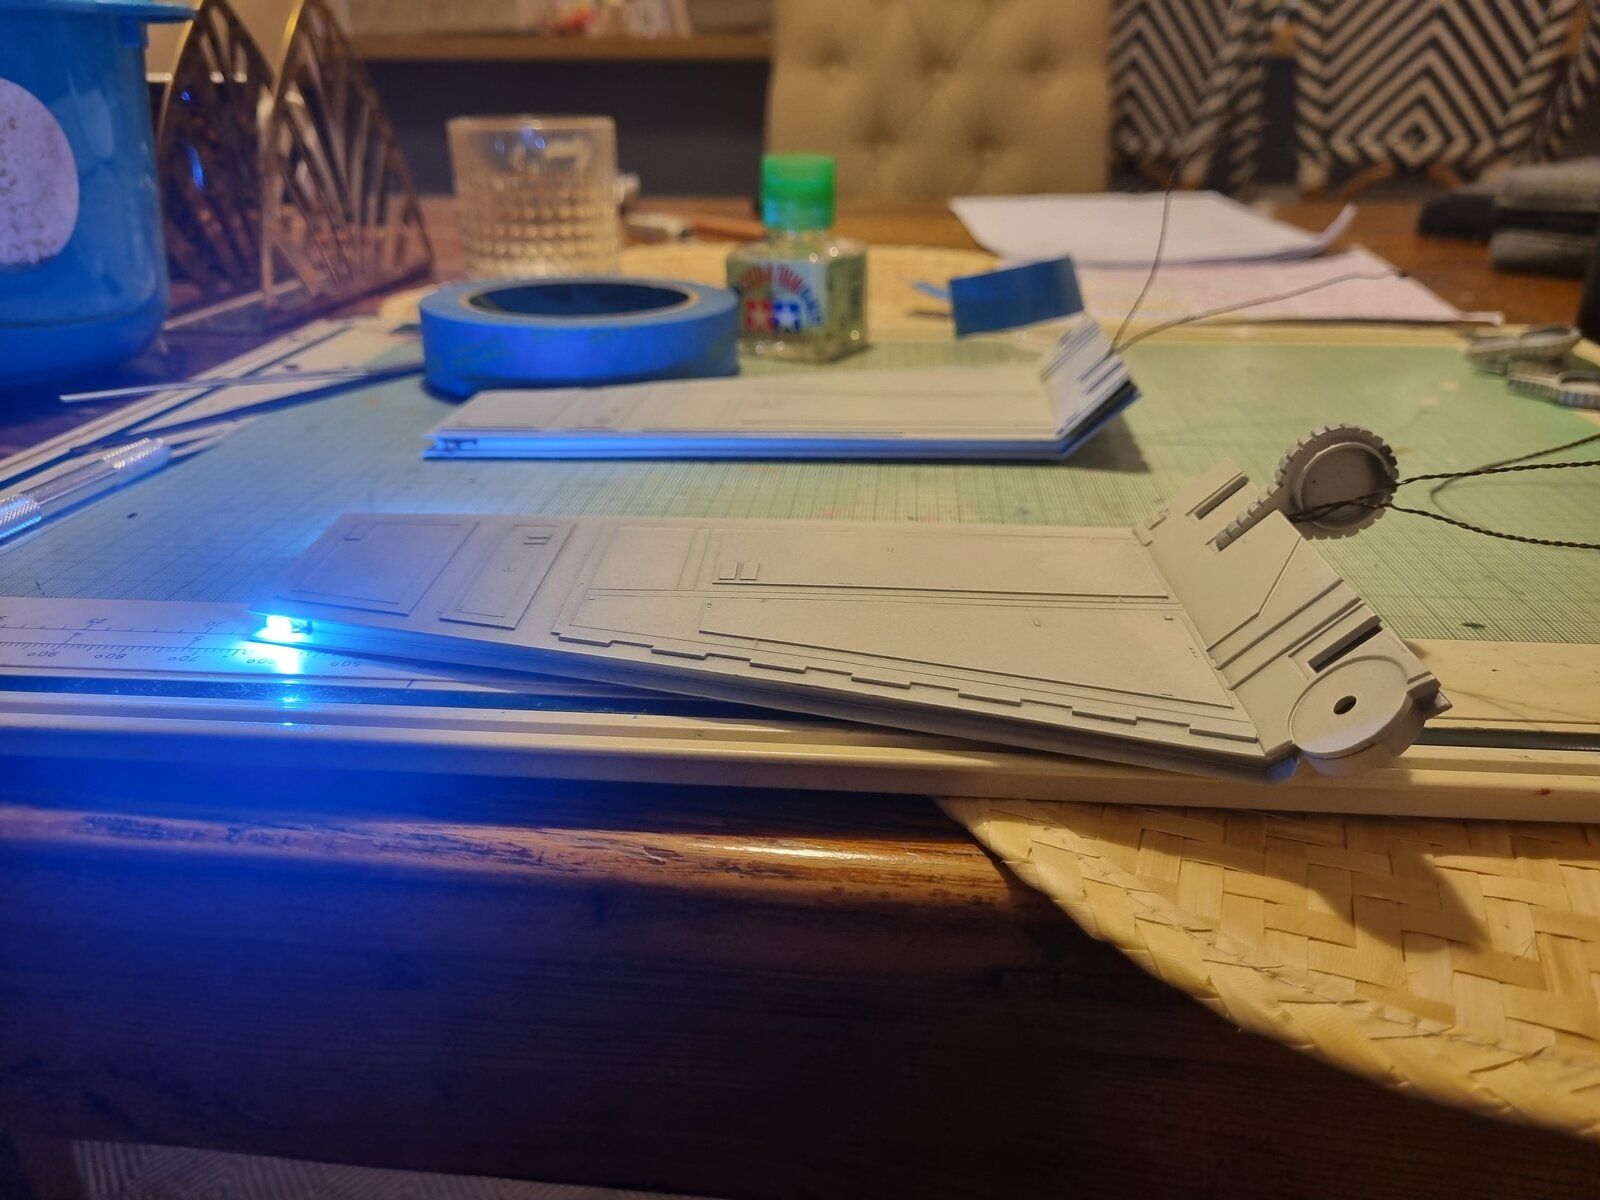
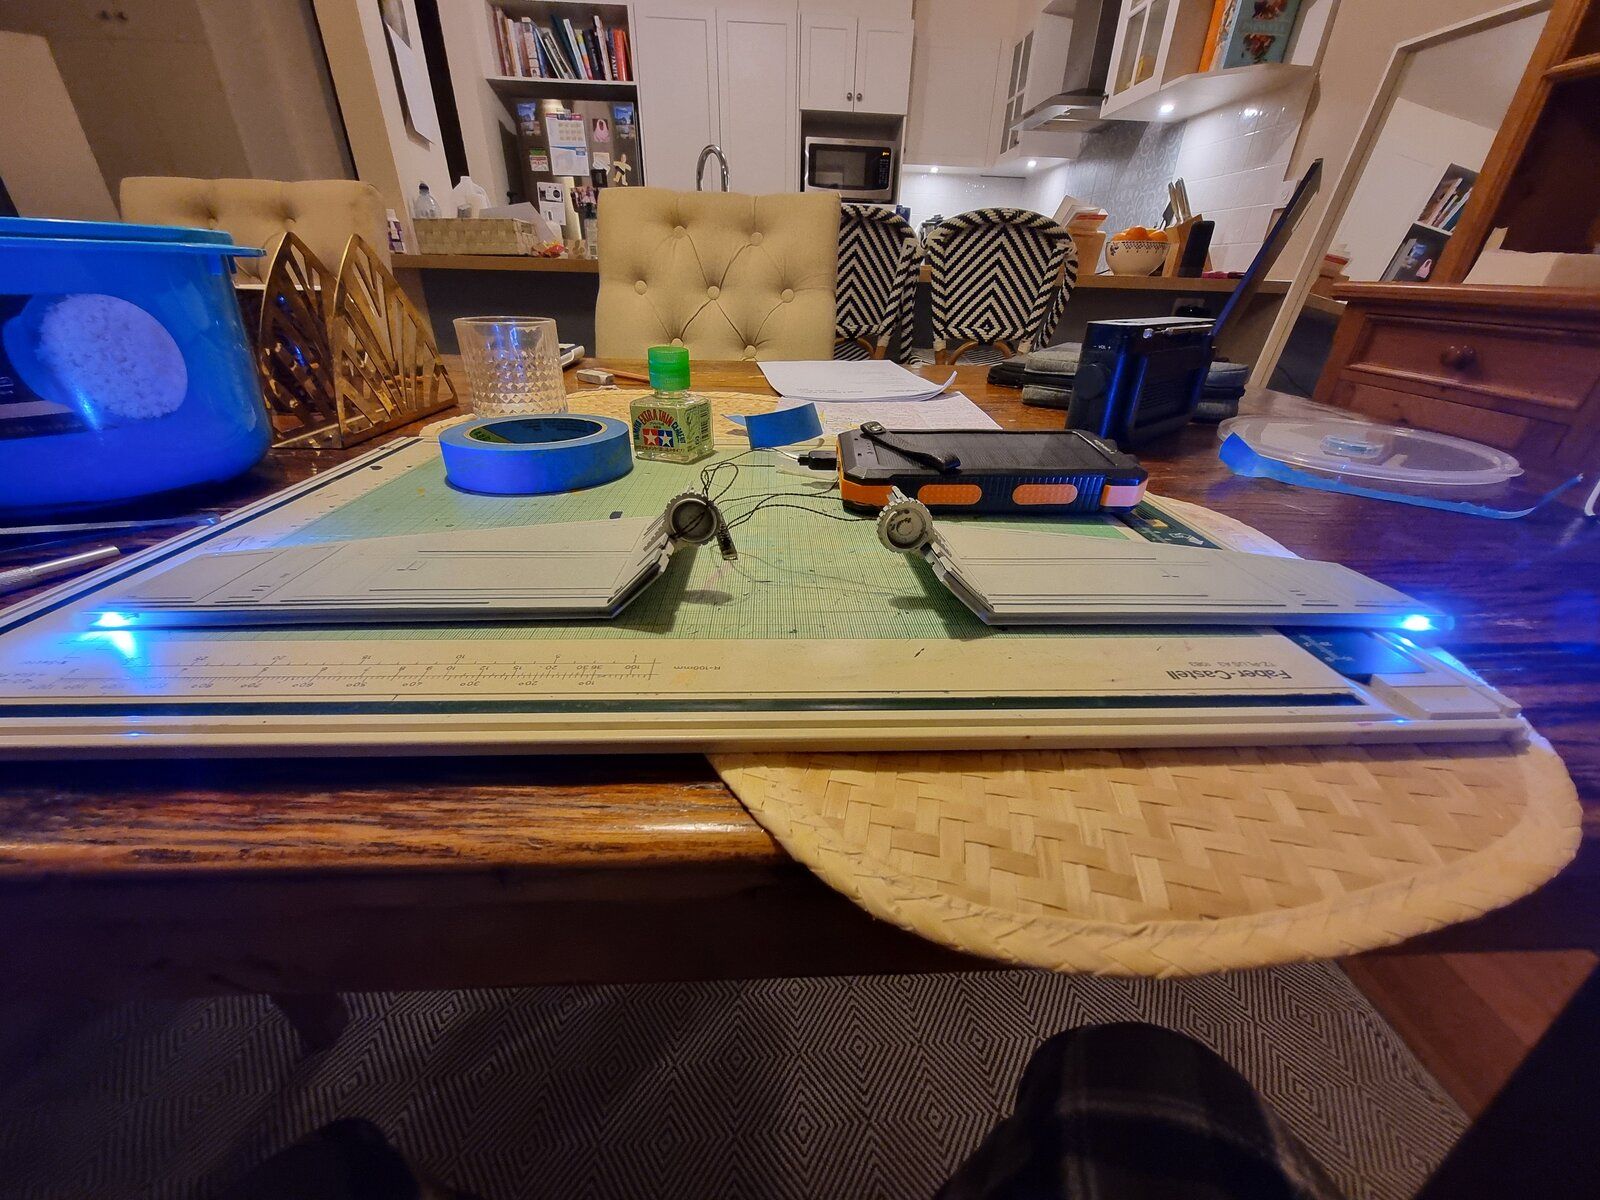
First stage electronics. Wing and stabiliser lighting. For these, I'm using LED's from Light My Bricks. I had to dig channels in the plastic in order for the lights to sit correctly. I'll clean these up once assembled. These lights will pass through a flashing circuit which has a 2 stage switch so I can adjust the flashing speed. As I've mentioned earlier in the thread, this lighting kit is all plug and play and it's super simple to put together. I had to make adjustments to the "grappling claws" that hold the wings to the main hull but these are invisible when put together.

1000019097.jpg


1000019099.jpg


1000019138.jpg


1000019140.jpg


1000019142.jpg
 
Also finished the other turret. Gave it a bit more time getting the various panel colors to match the set piece

and yes, I use my thumbnail to wipe excess paint off the brush before touching the brush to the model, or test if things are too runny, or check color, or need more thinning etc... :D

Not going to stress to much over neatness/crisp straight lines, since it only needs to look good from the front angle looking back instead of side on
View attachment 120273
View attachment 120287
View attachment 120278
View attachment 120285
View attachment 120286

View attachment 120288
View attachment 120289
View attachment 120290

View attachment 120291

View attachment 120292
Great details, I love it. Pantherman
 
Great details, I love it. Pantherman
thanks

Bandai really knocked it out of the park.

I find myself taking a lot of time during assembly looking over the pieces, recognizing some parts from the various WWI tanks and equipment, car parts ships parts as well as scratching my head how thy were able to get these parts cast with certain details
 
First ever attempt at working with fibre optics. I watched a few YT videos to see how other modellers achieved this and I thought I would try it myself. There was one particular video that was really helpful.

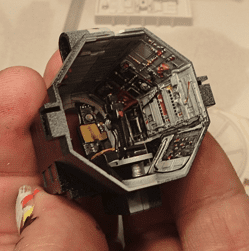
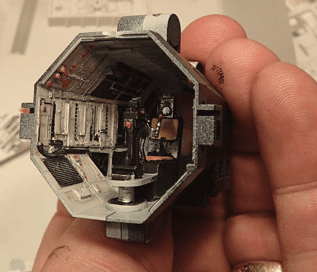
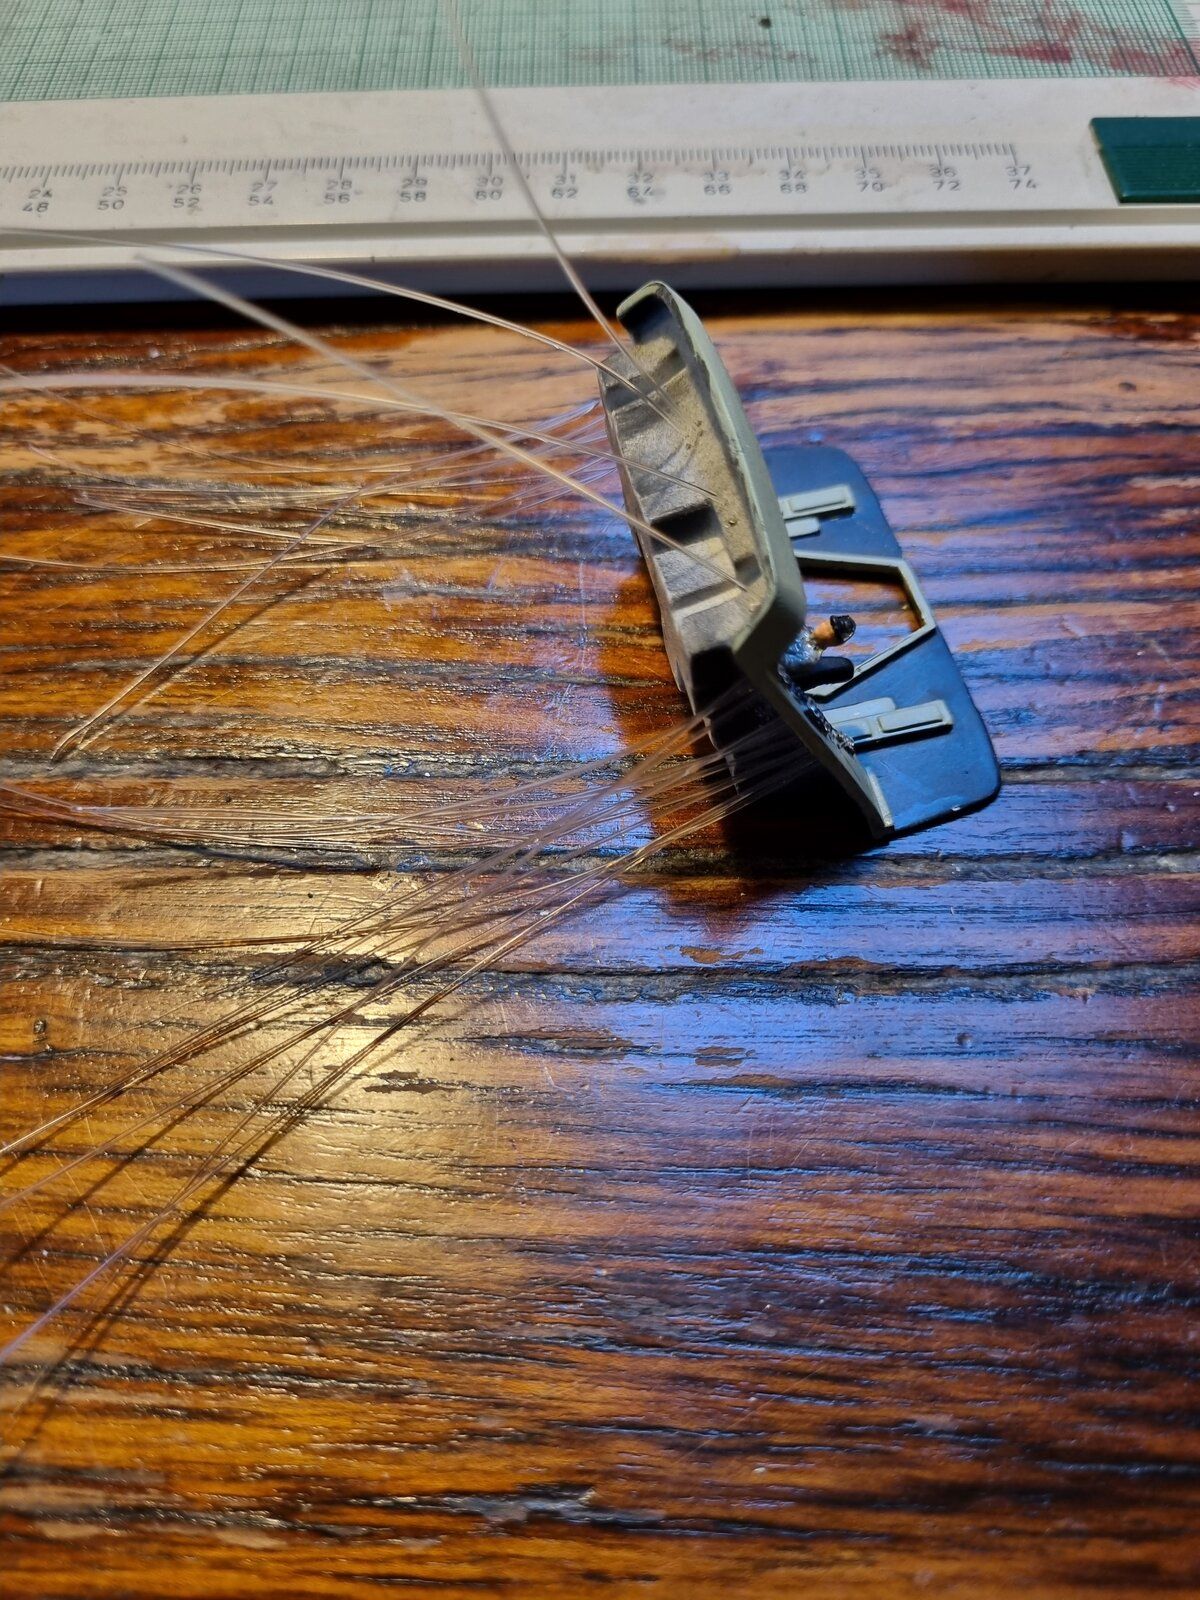
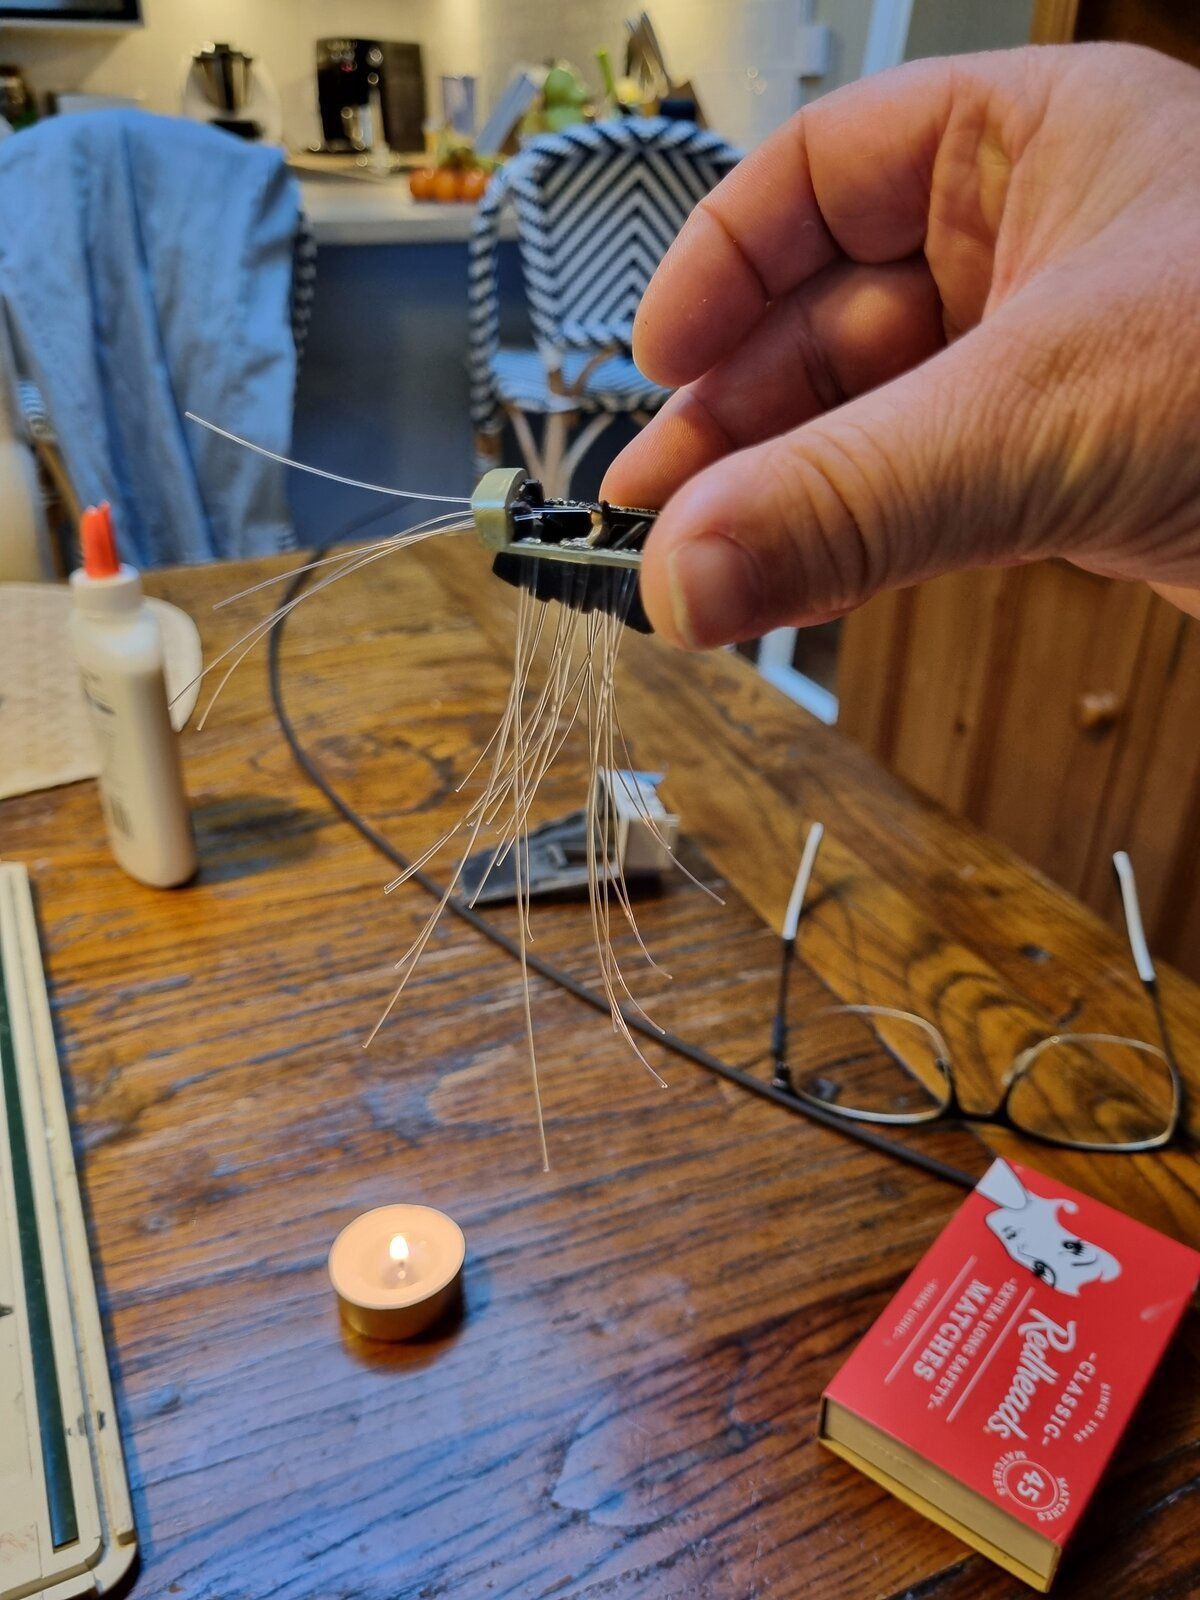
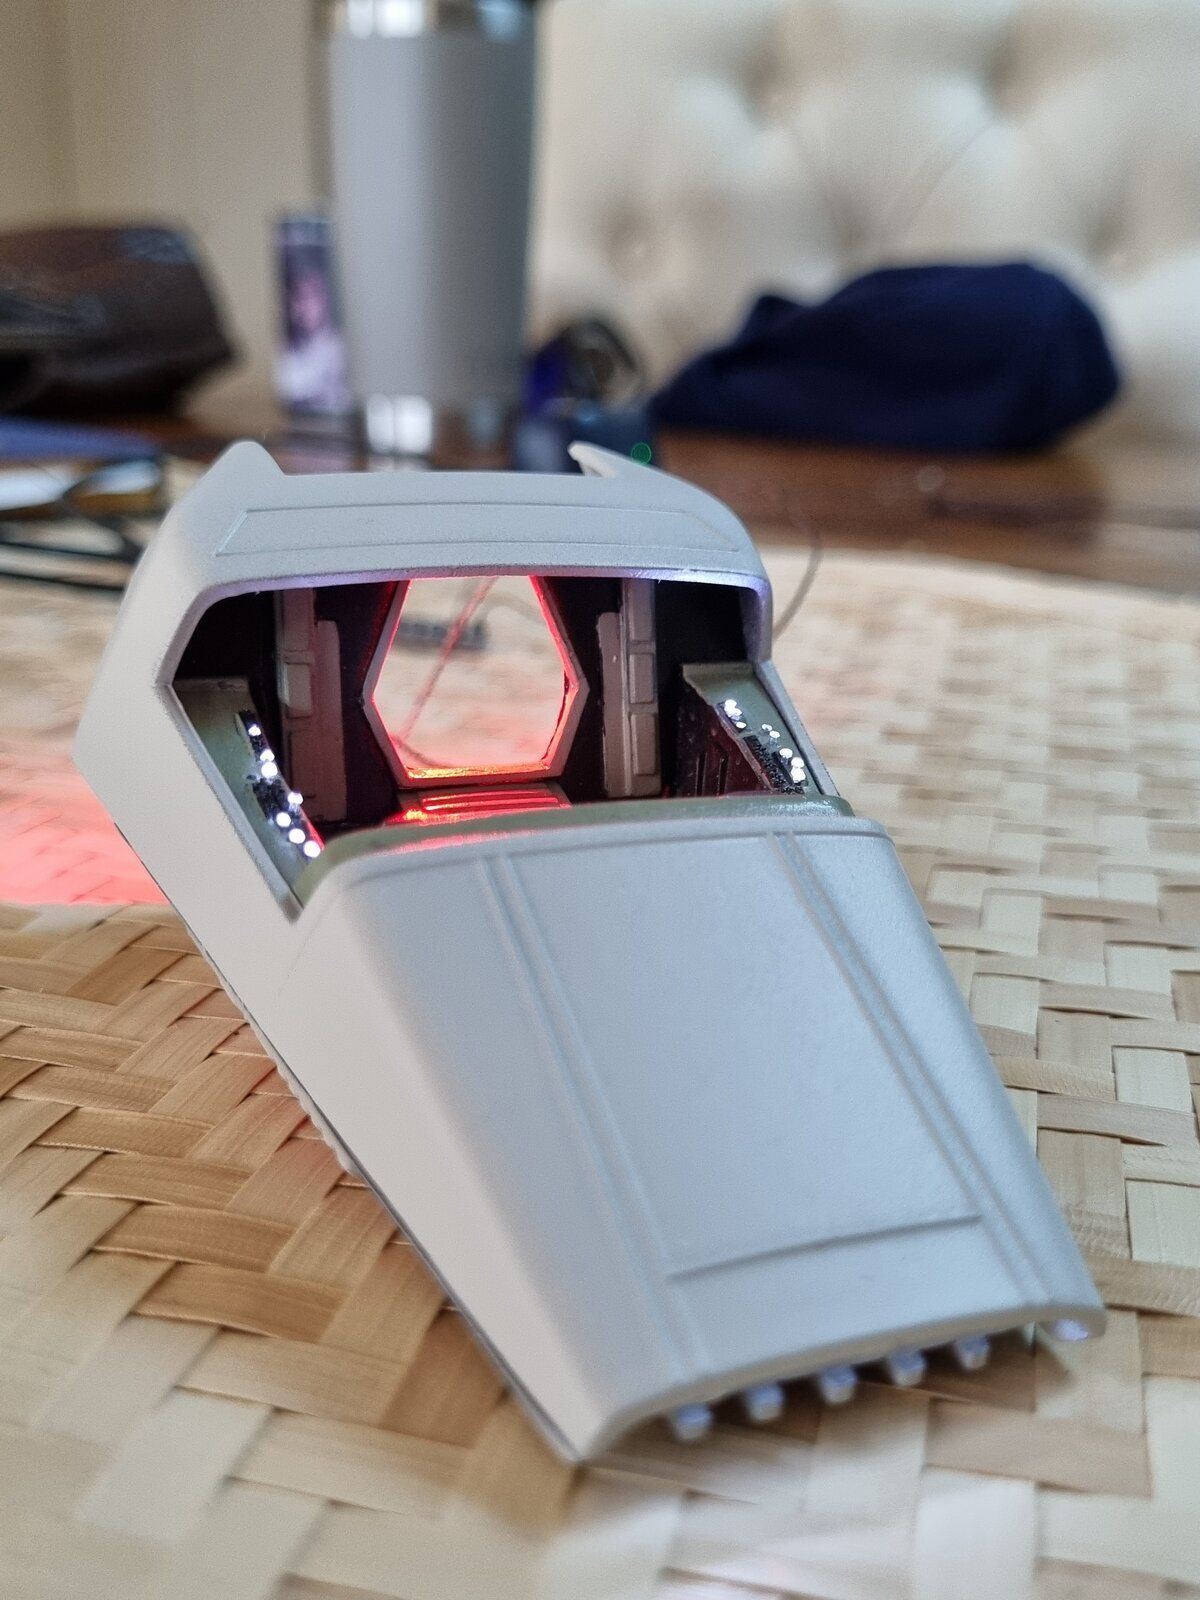
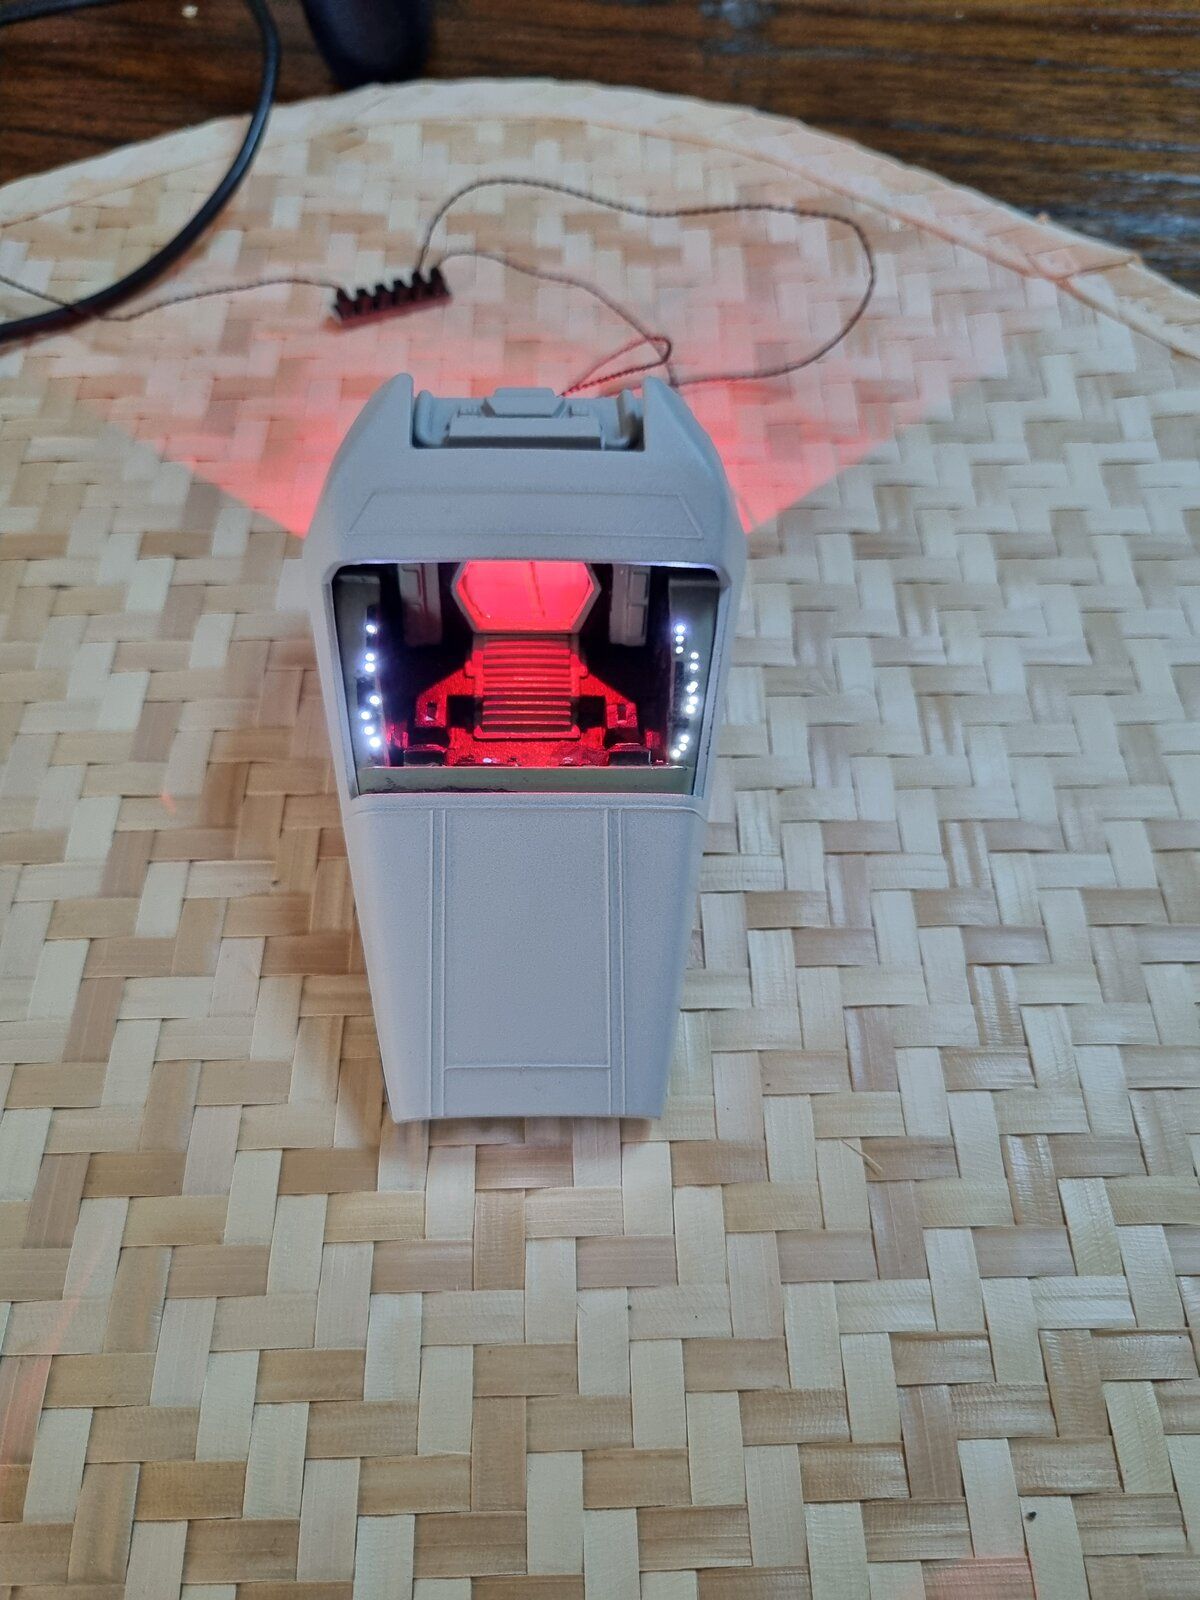
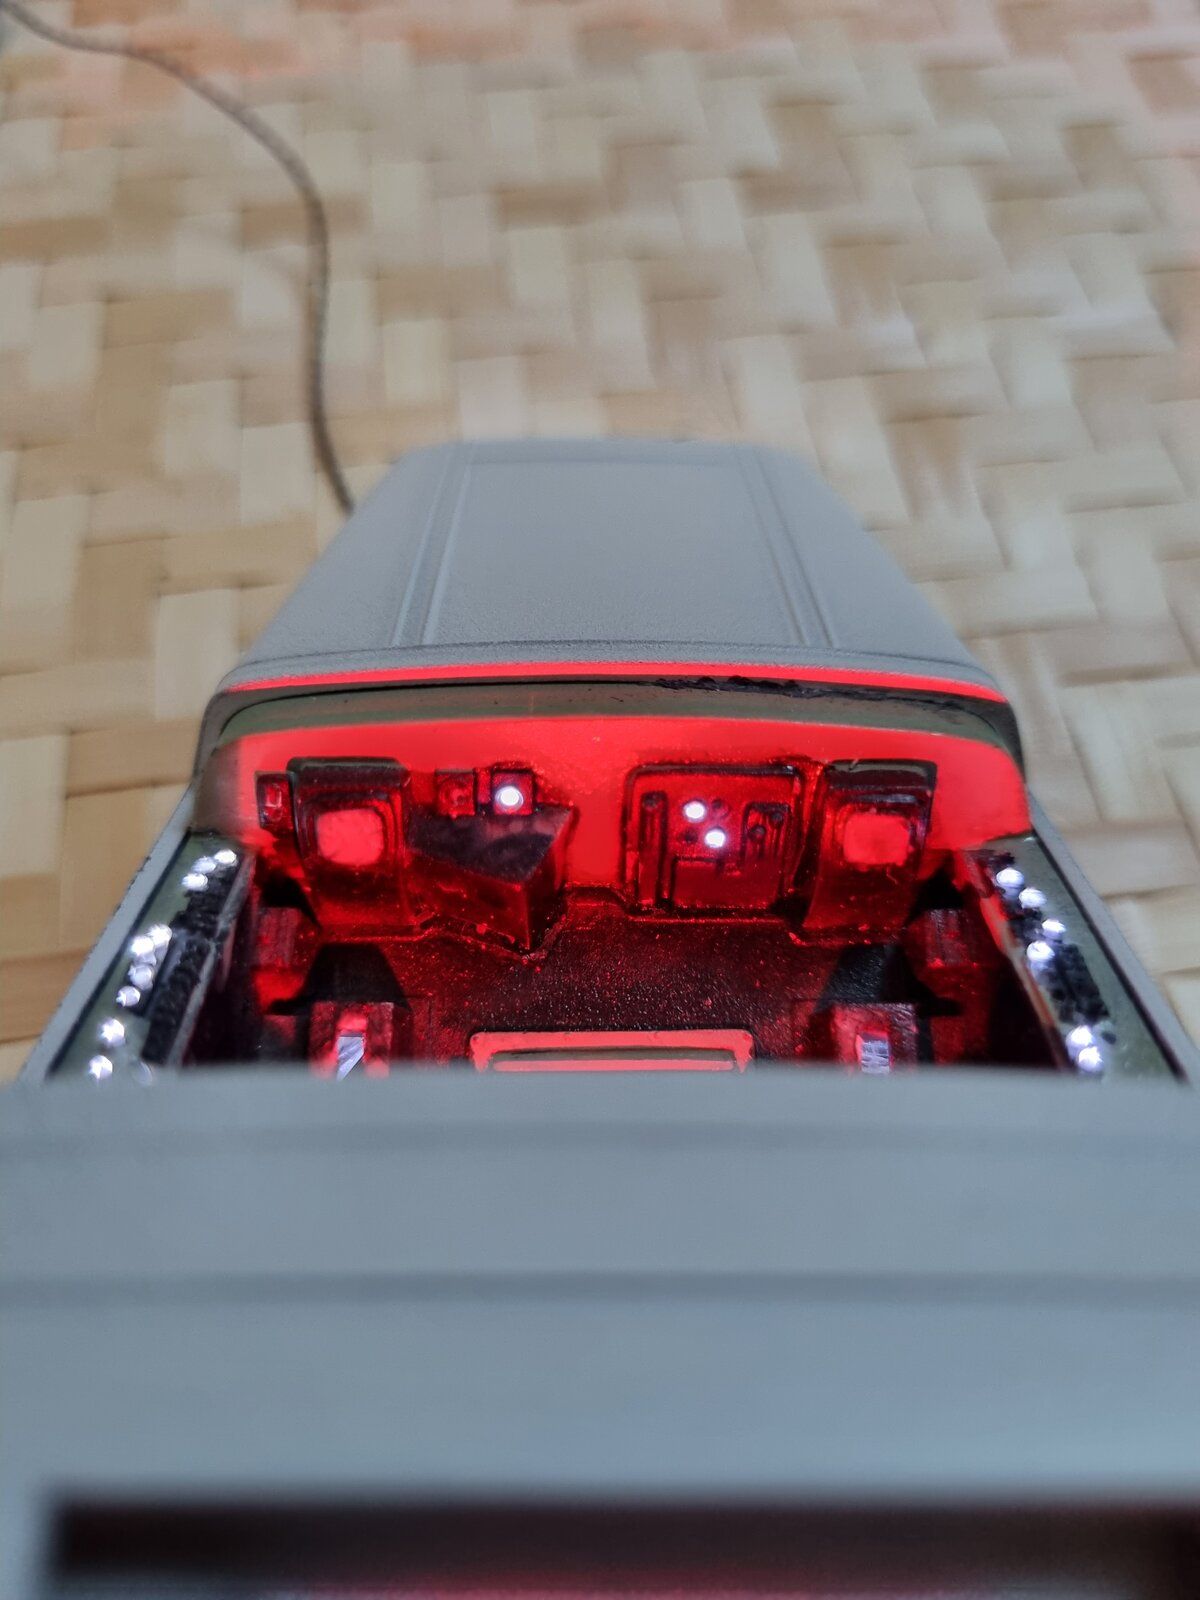
I pre-drilled 0.5mm holes in the cockpit panels while I waited for the 0.5mm filament to arrive from China. I ordered a couple of metres of it and I only just came away with enough. The average length of each filament was about 10cms. I wanted to give myself enough leeway for trimming and mistakes. After threading them through the holes, I flared the ends with a tea light candle then I divided the filaments roughly in two and passed each branch through some 5mm heat shrink tubing. I then used some Elmer's Glue to fix the heat shrink tubing in place. I then lined the underside of the nose with aluminium foil (bearing in mind I primed it as well with black) then I passed both branches into a final single piece of heat shrink tubing and fixed the LED to the other end, ensuring that there was no light bleed from the tube. Once it was all glued in place, I tested it and was surprised at just how successful it came out! Sandwiching the underside of the cockpit proved to be a bit of a challenge but I got there in the end and with a bit of putty and some touching up, I think it will look good. I'll also touch some transparent colours to some of the lights in the cockpit to give a little variation. You can see the 6 plug expansion board there which I've been using with a USB portable charger to test everything. Later on, all the lights will be plugged into a pair of 12 plug expansion boards which I'll mount inside the main hull.

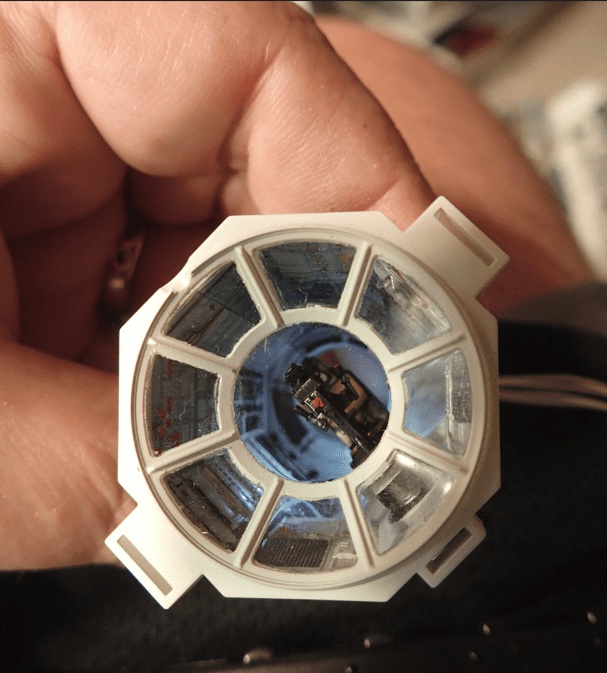
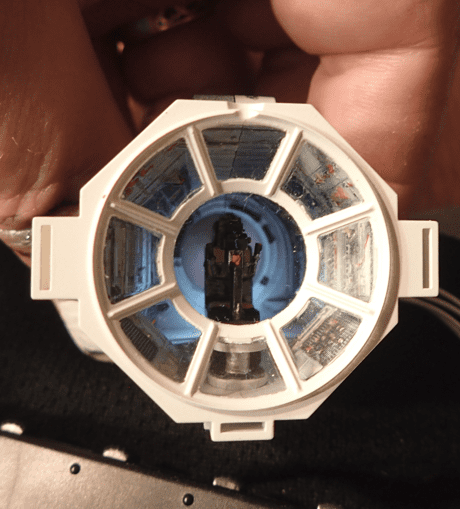
Now, the reason I cut the cockpit door out of the back panel is answered here. I placed a red LED on the ceiling of the collar that connects the cockpit to the main hull. I'm hoping, when lit it will cast an appropriately ominous "Sith-like" glow on Darth Vader and you'll be able to see it when you peek through there.

1000019660.jpg


1000019662.jpg


1000019772.jpg


1000019770.jpg


1000019771.jpg
 
First ever attempt at working with fibre optics. I watched a few YT videos to see how other modellers achieved this and I thought I would try it myself. There was one particular video that was really helpful.

I pre-drilled 0.5mm holes in the cockpit panels while I waited for the 0.5mm filament to arrive from China. I ordered a couple of metres of it and I only just came away with enough. The average length of each filament was about 10cms. I wanted to give myself enough leeway for trimming and mistakes. After threading them through the holes, I flared the ends with a tea light candle then I divided the filaments roughly in two and passed each branch through some 5mm heat shrink tubing. I then used some Elmer's Glue to fix the heat shrink tubing in place. I then lined the underside of the nose with aluminium foil (bearing in mind I primed it as well with black) then I passed both branches into a final single piece of heat shrink tubing and fixed the LED to the other end, ensuring that there was no light bleed from the tube. Once it was all glued in place, I tested it and was surprised at just how successful it came out! Sandwiching the underside of the cockpit proved to be a bit of a challenge but I got there in the end and with a bit of putty and some touching up, I think it will look good. I'll also touch some transparent colours to some of the lights in the cockpit to give a little variation. You can see the 6 plug expansion board there which I've been using with a USB portable charger to test everything. Later on, all the lights will be plugged into a pair of 12 plug expansion boards which I'll mount inside the main hull.

Now, the reason I cut the cockpit door out of the back panel is answered here. I placed a red LED on the ceiling of the collar that connects the cockpit to the main hull. I'm hoping, when lit it will cast an appropriately ominous "Sith-like" glow on Darth Vader and you'll be able to see it when you peek through there.

View attachment 120354

View attachment 120355

View attachment 120356

View attachment 120357

View attachment 120358


Love the lighting. Perfect levels of light
 
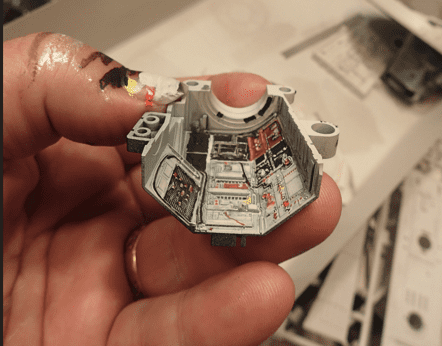
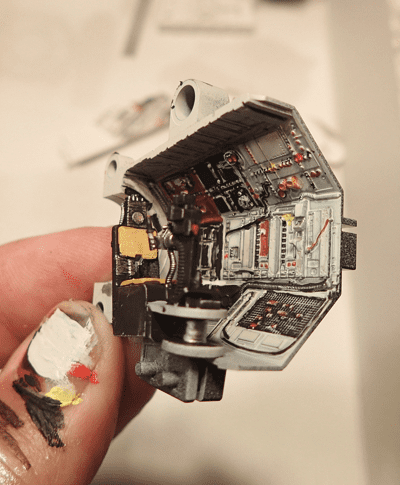
The amount of detail painting on this build is more than I expected although I am enjoying the work. It's just taking waaaaaaaay longer than I thought. Pantherman
View attachment 120377View attachment 120378View attachment 120379View attachment 120380


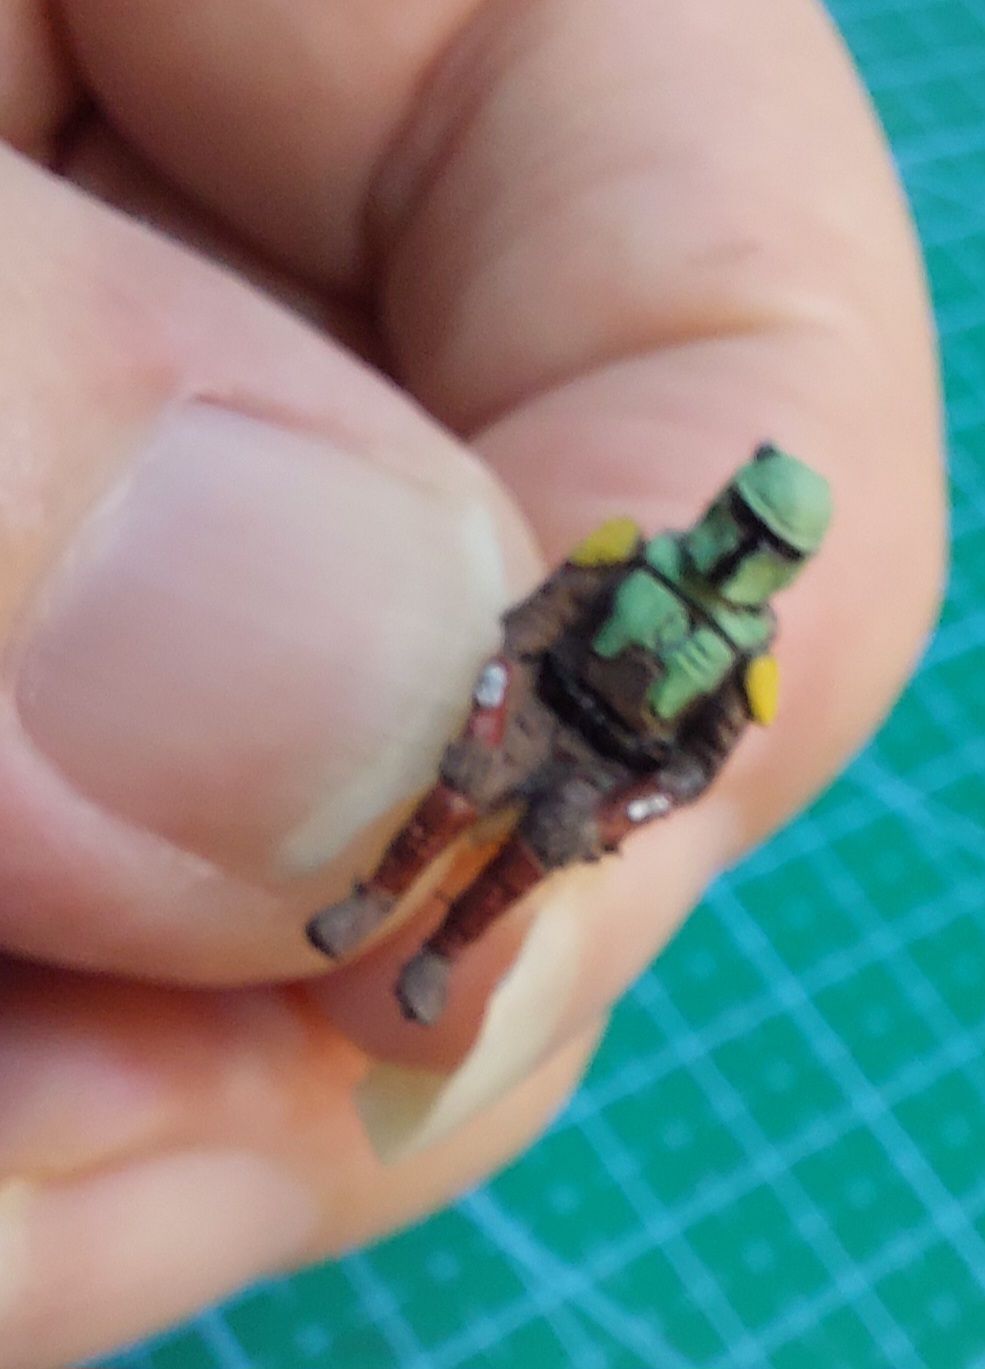
Yes it is very complex if you try to be screen actuate at all. So far the cockpit and Boba are looking awesome.

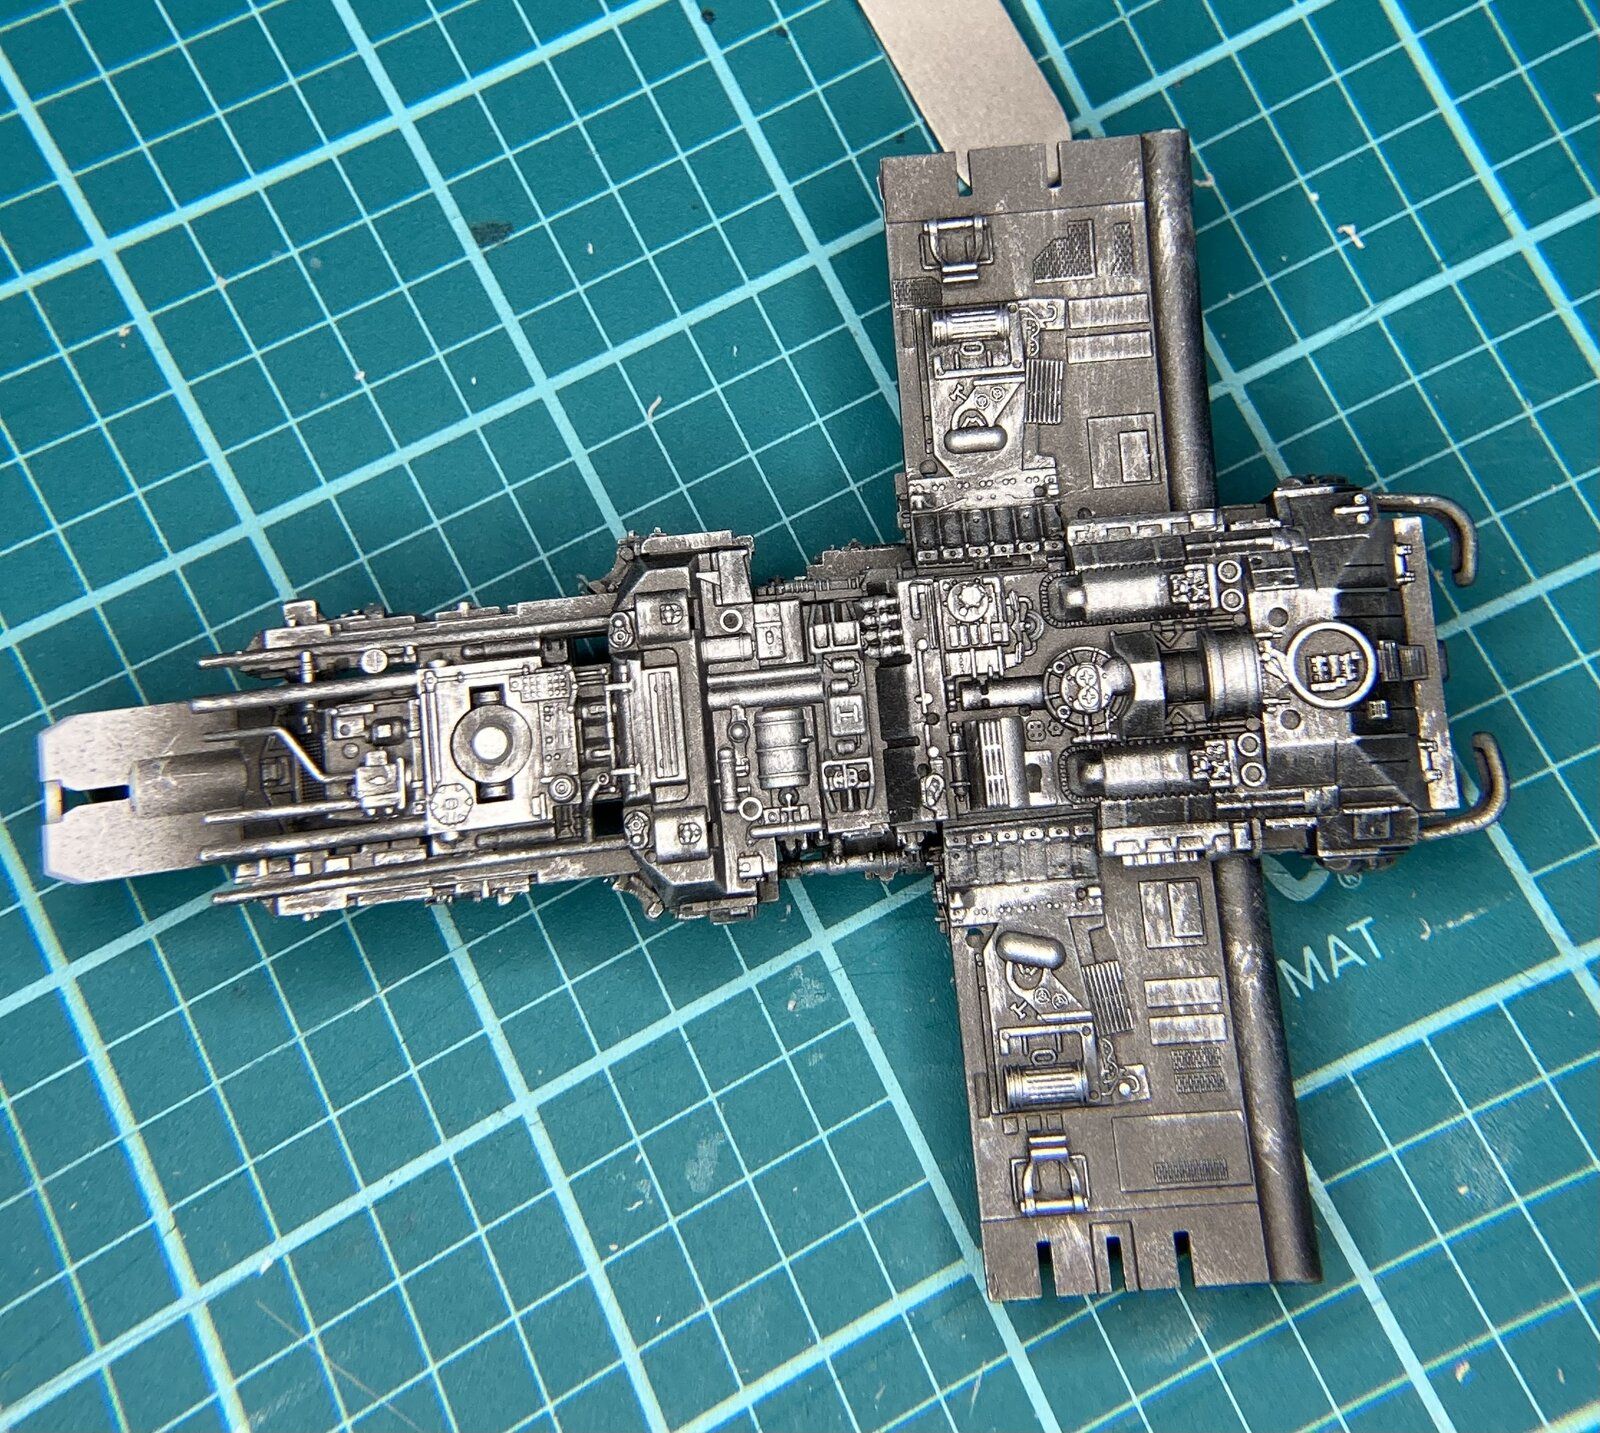
I think I finally got the paints I'm going to use sorted out after 2.5 days of looking at stuff and re looking. I'm finally ready to put the base coat on. The hull is looking like it will be five layers deep. I'm just glad it can all be airbrushed, except may some on the wings and back.
 
Back
Top