Star Wars Theme Group Build

Scale Model Addict - Model Tips, Guides, Tools & Tech, Tutorials, and Community

Help Support Scale Model Addict:

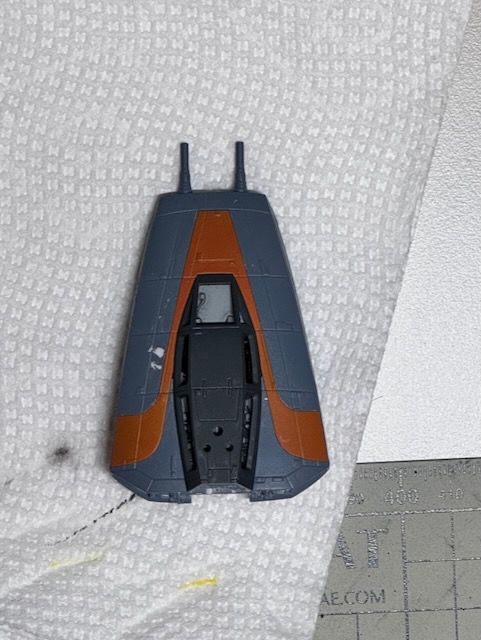
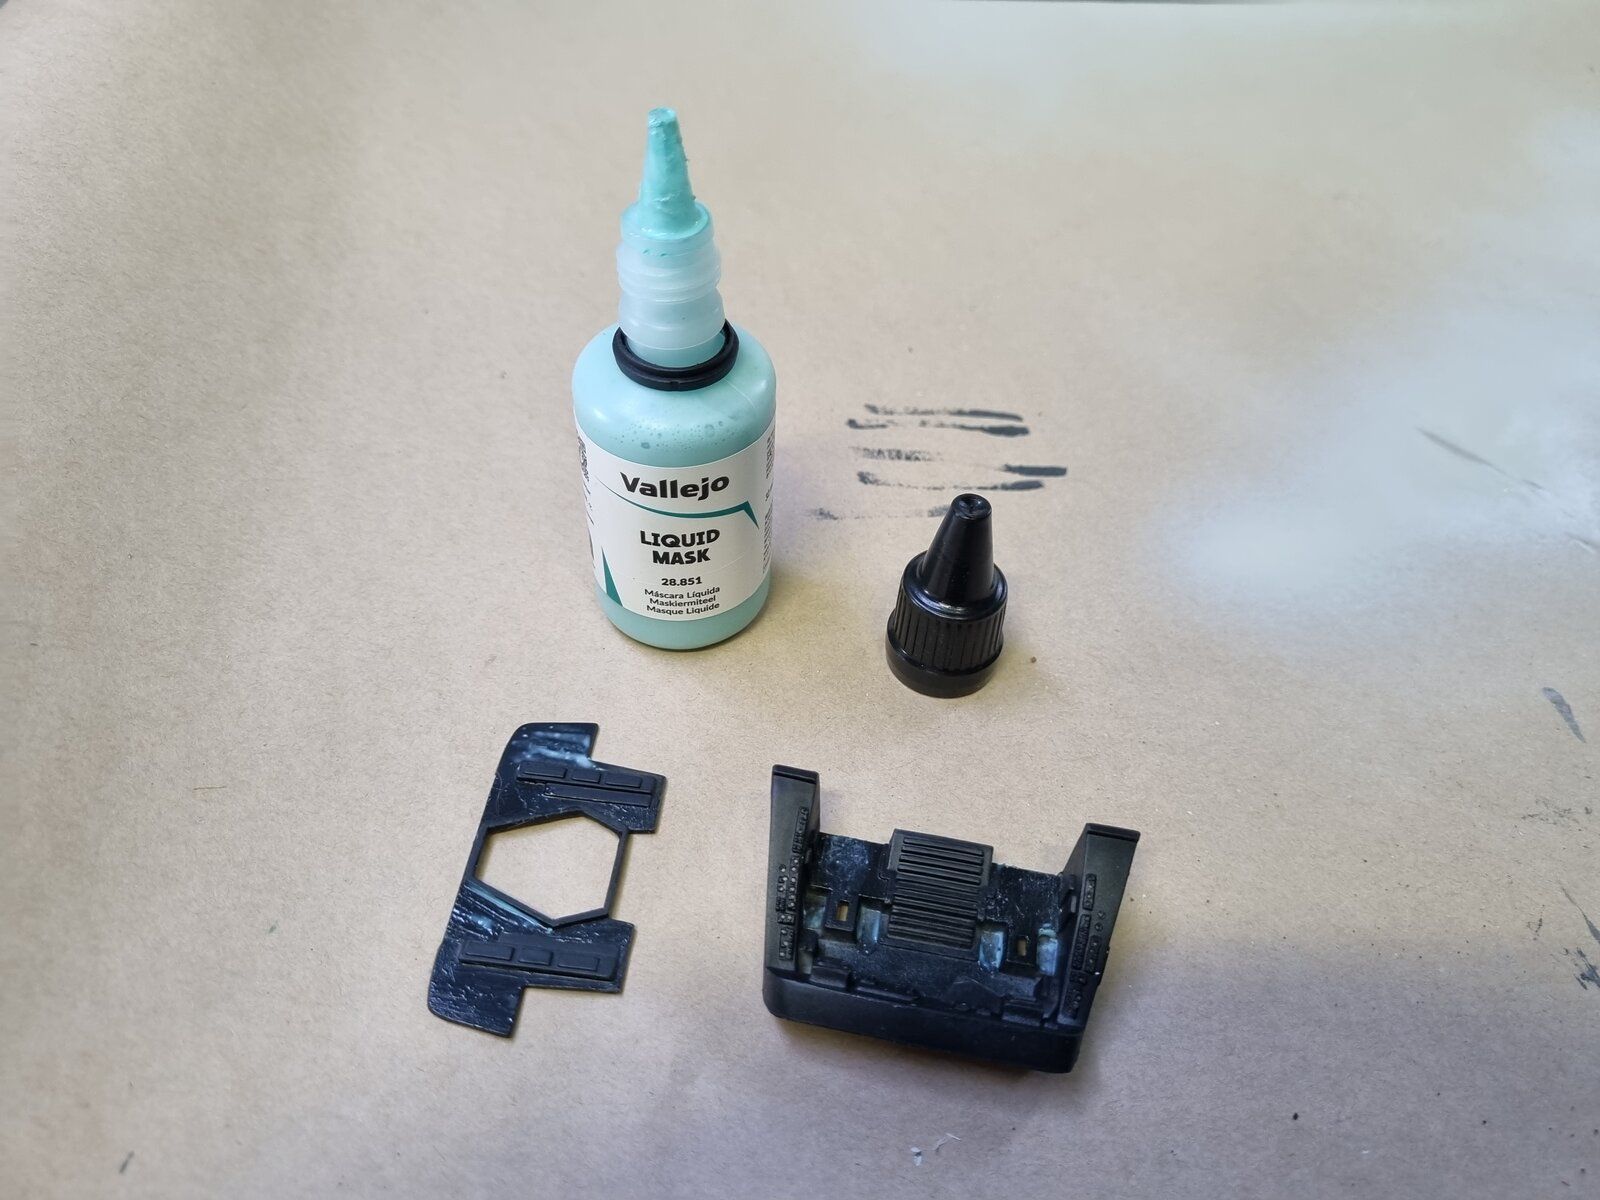
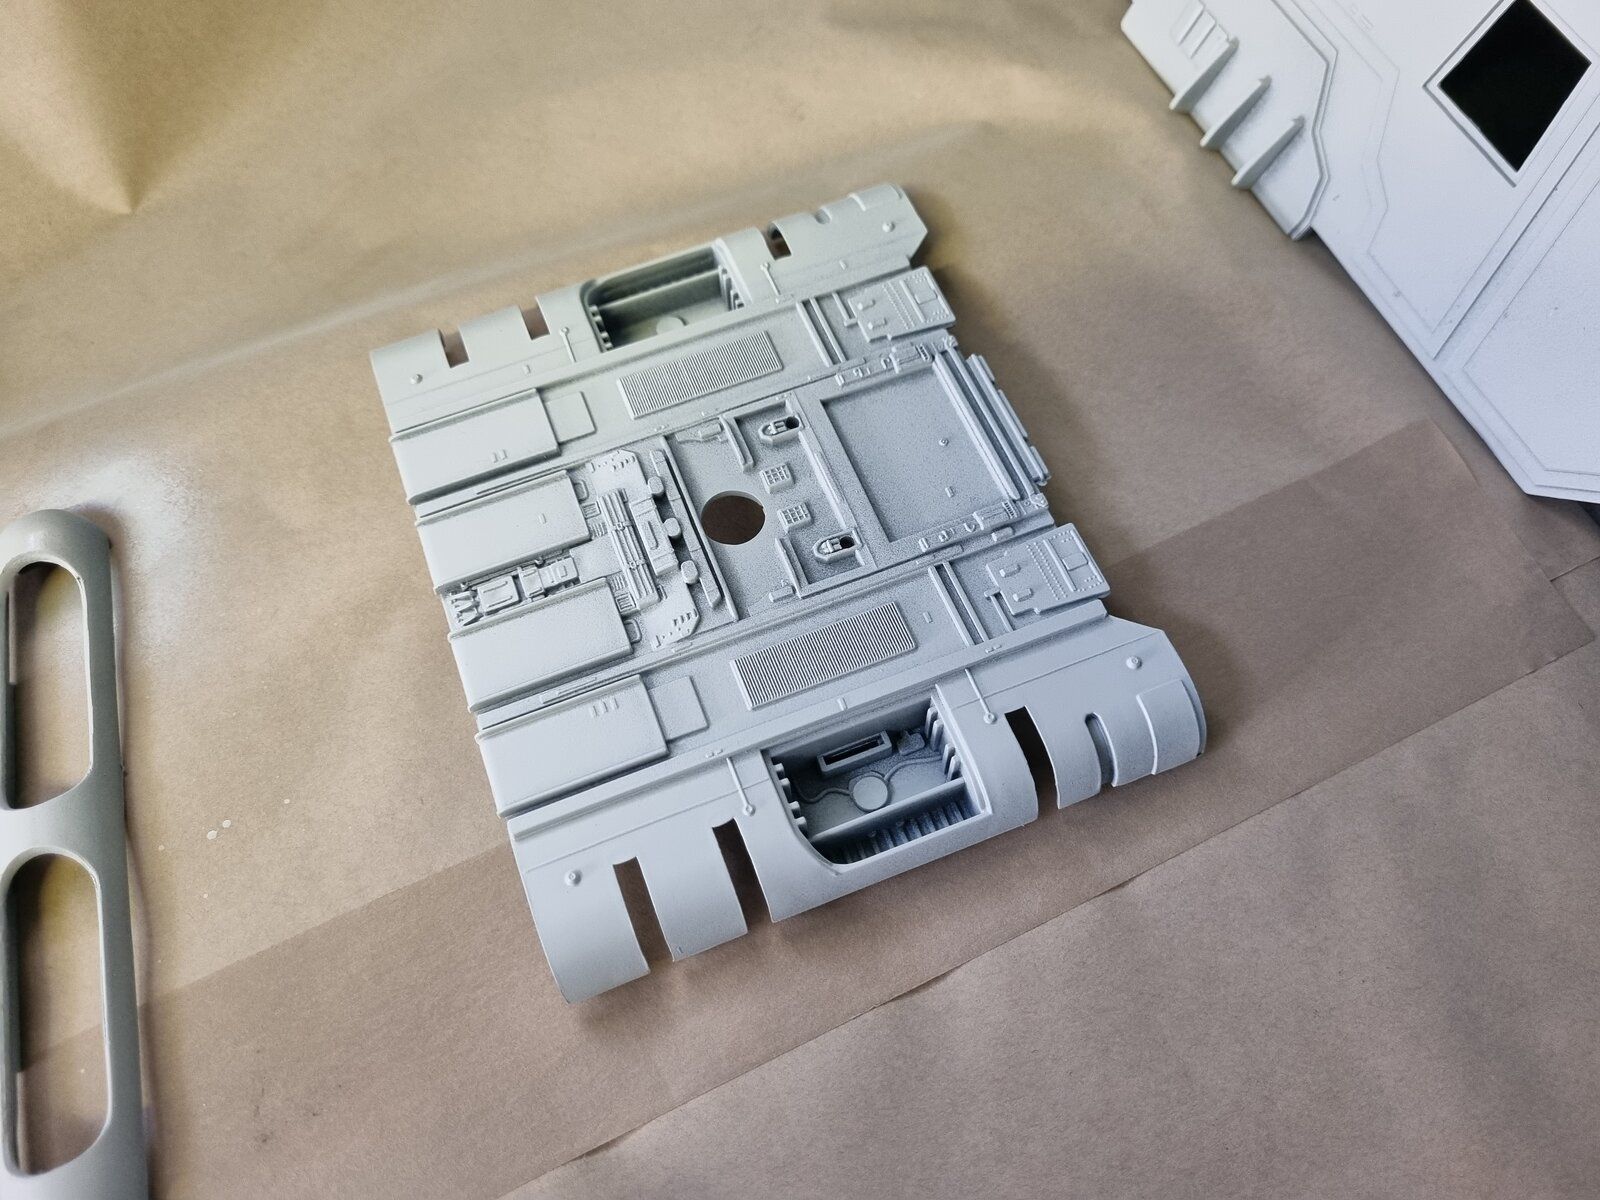
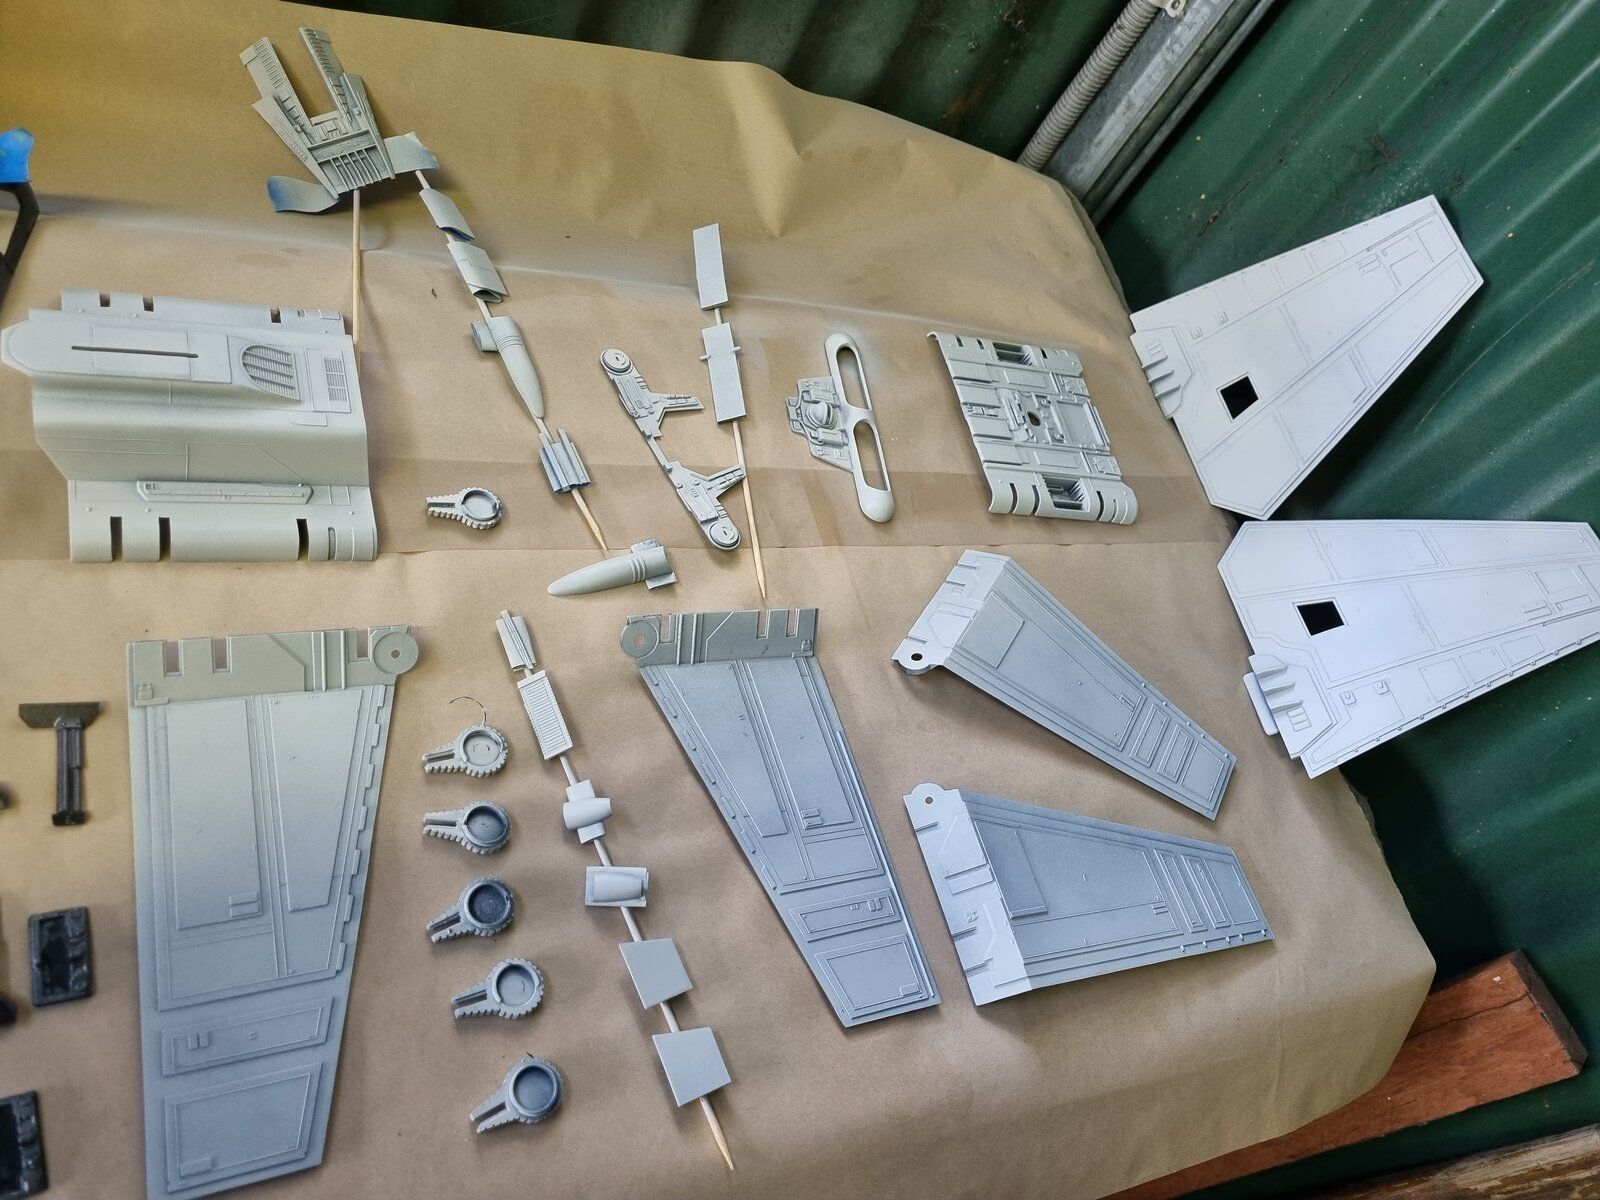
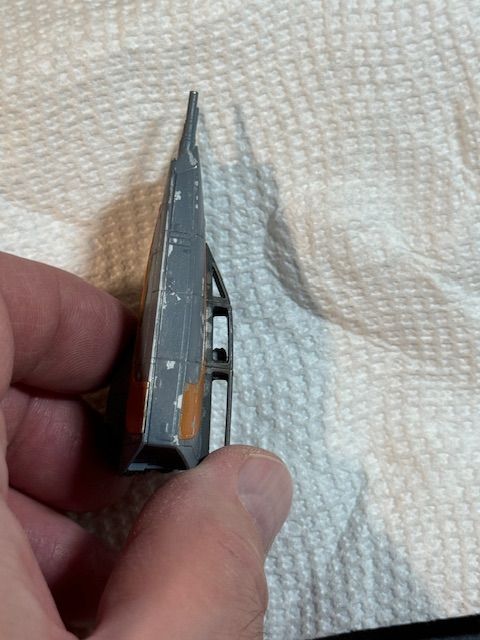
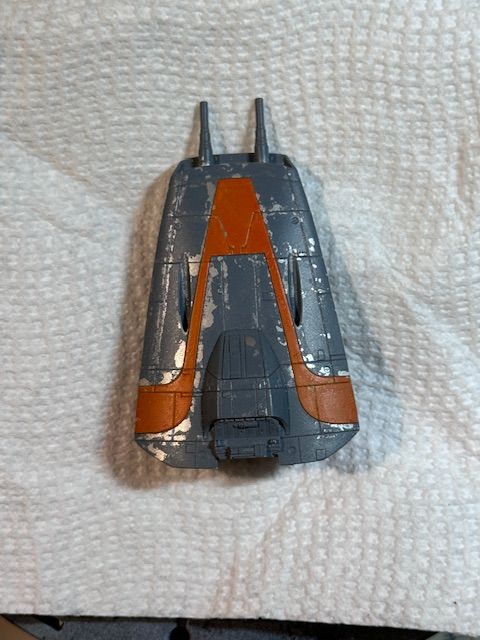
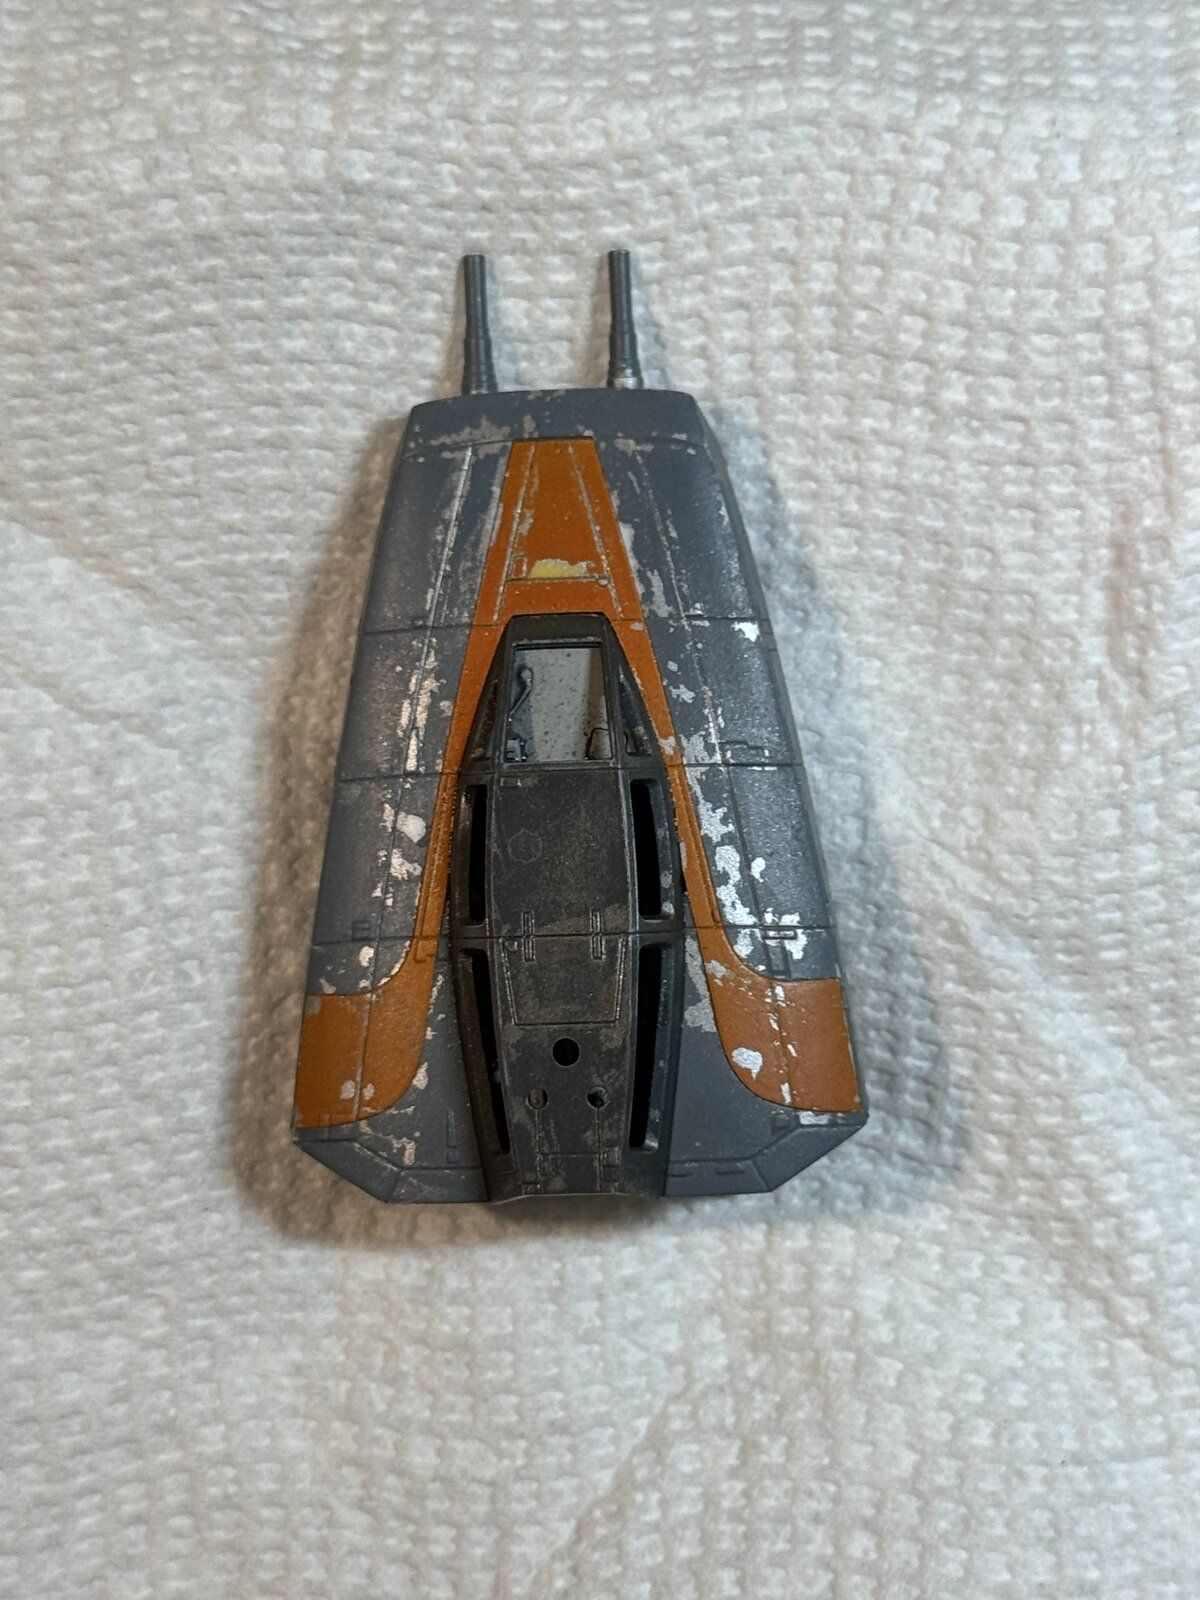
View attachment 120118Anyone here use Vallejo's chipping medium? I am working on my Y-Wing and I have an under coat of duraluminum. I put some chipping medium on the seems, so that when I paint the top coat I can chip away to the under coat.

HERE IS THE ACTUAL QUESTION…
How long can I leave it and still expect it to reactivate? I put the medium on tonight, but I probably won't paint it until tomorrow.

I'm not sure but interested to find out. I did not realize they had that product

There is a local gaming store around here that has all kinds of Vallejo stuff. I have tried their putty and masking, but did missed the chipping fluid

If it is any good I will have to give it a try
 
View attachment 120118Anyone here use Vallejo's chipping medium? I am working on my Y-Wing and I have an under coat of duraluminum. I put some chipping medium on the seems, so that when I paint the top coat I can chip away to the under coat.

HERE IS THE ACTUAL QUESTION…
How long can I leave it and still expect it to reactivate? I put the medium on tonight, but I probably won't paint it until tomorrow.
Essentially forever .
It's similar to the acrylic resin used for decals -- expands and loses all adhesion when wetted .
 
Nice work so far, everyone. Is it too late to get in on this? I didn't see an official start date on the front page. I have a Bandai 1/144 AT-AT lying around I can get going. I'd love to do something more involved, but all my airbrushing stuff is packed. Streaks and smudges will have to do.
The more the merrier. I only really got a start on Saturday. It's gonna be some time till I can get mine finished.
 
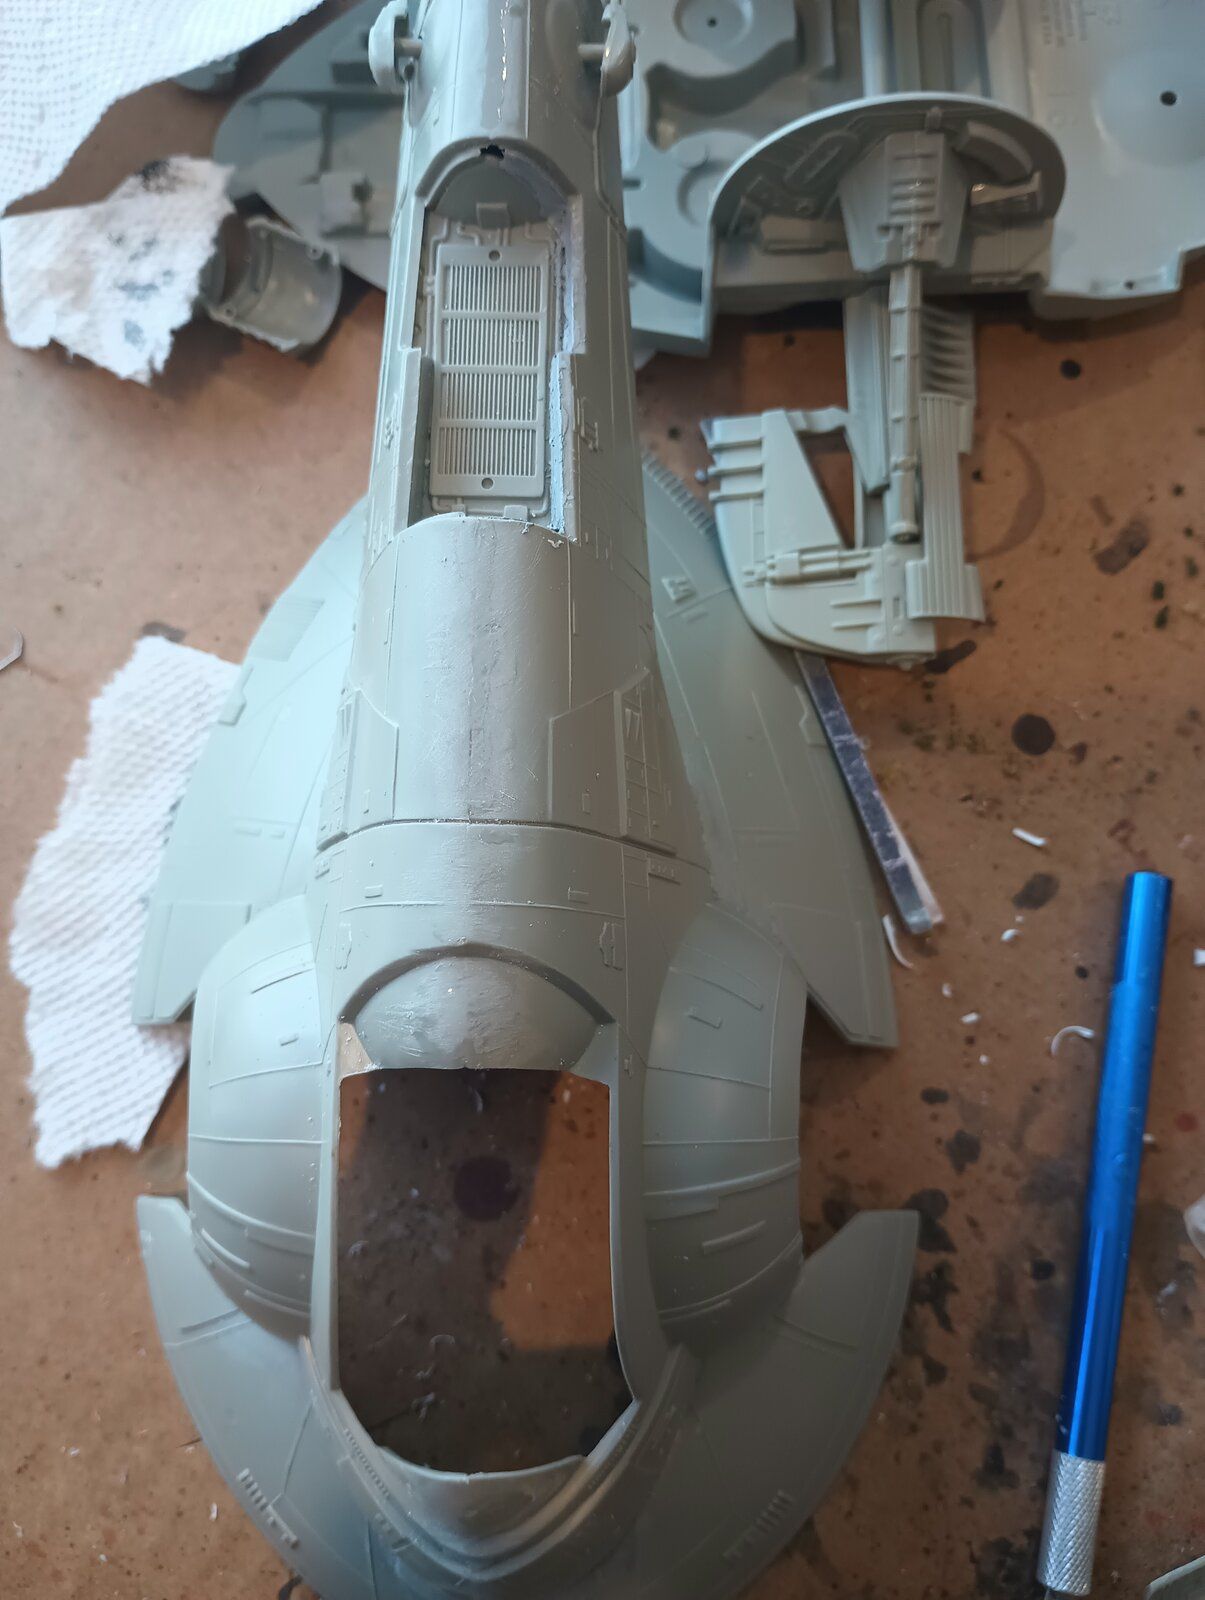
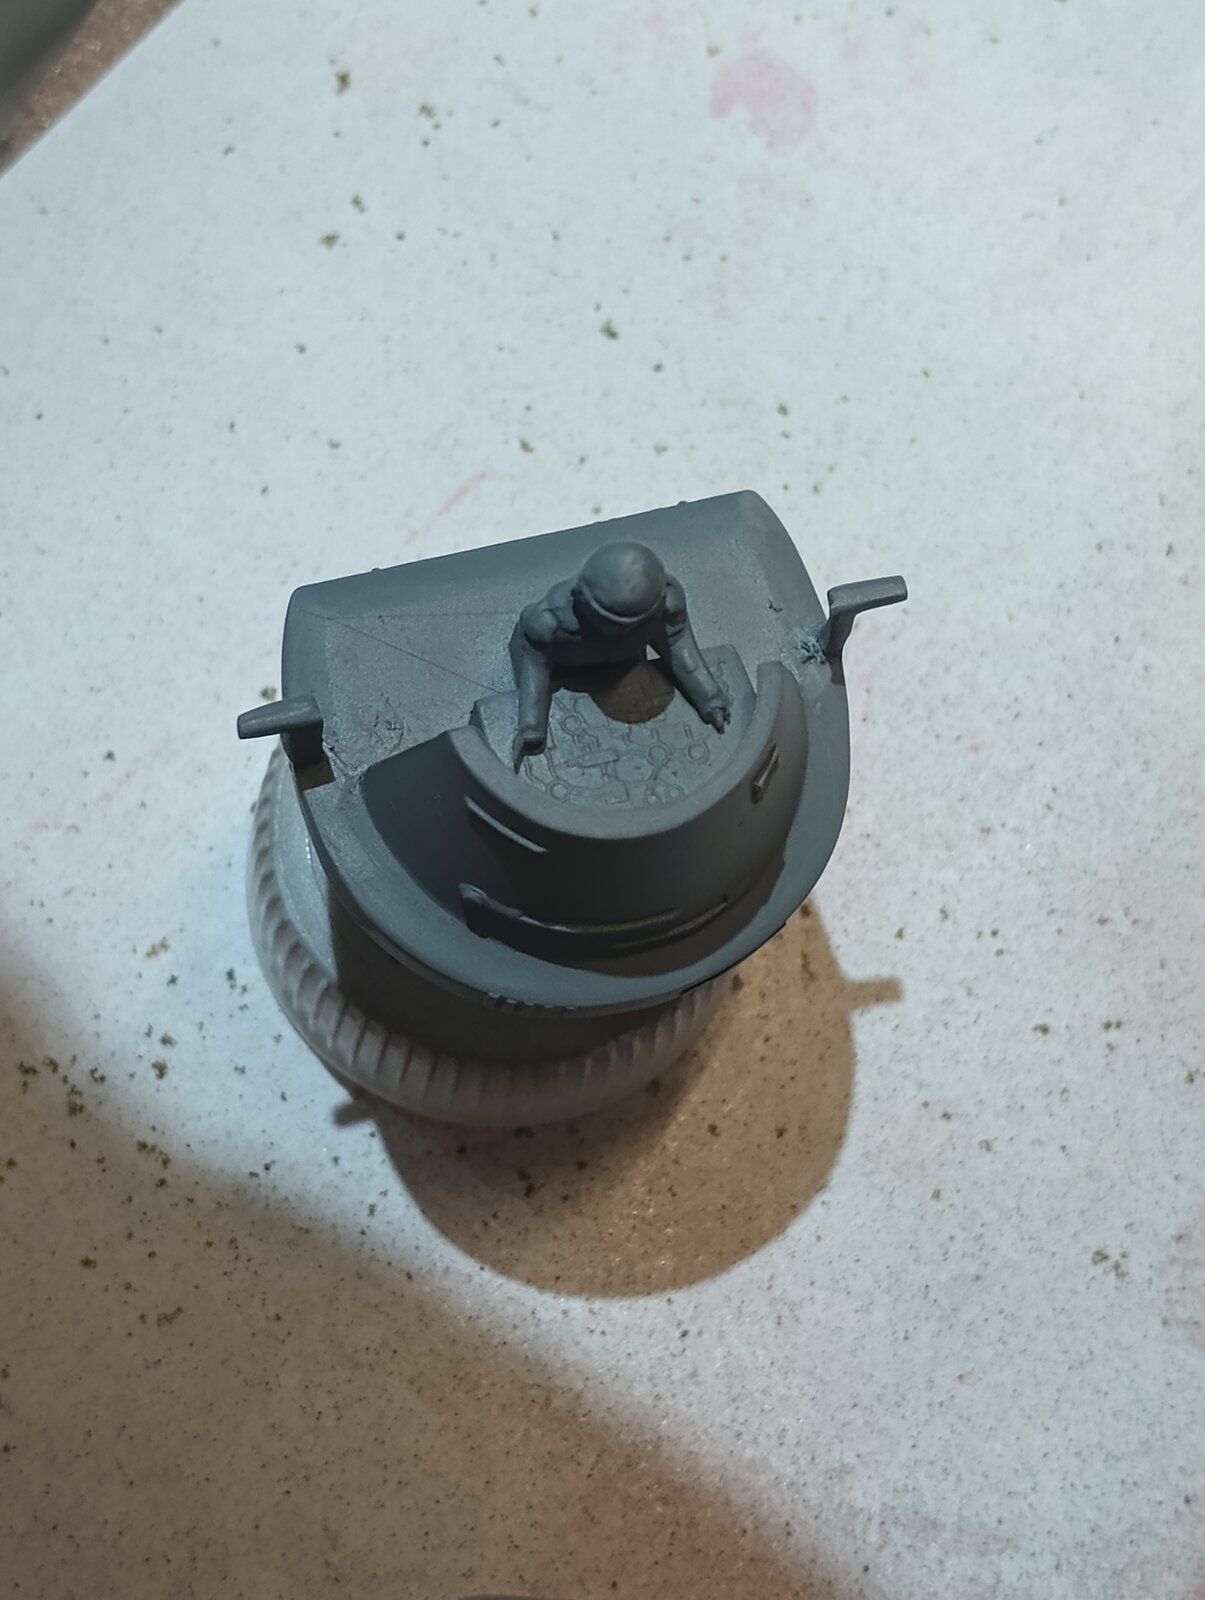
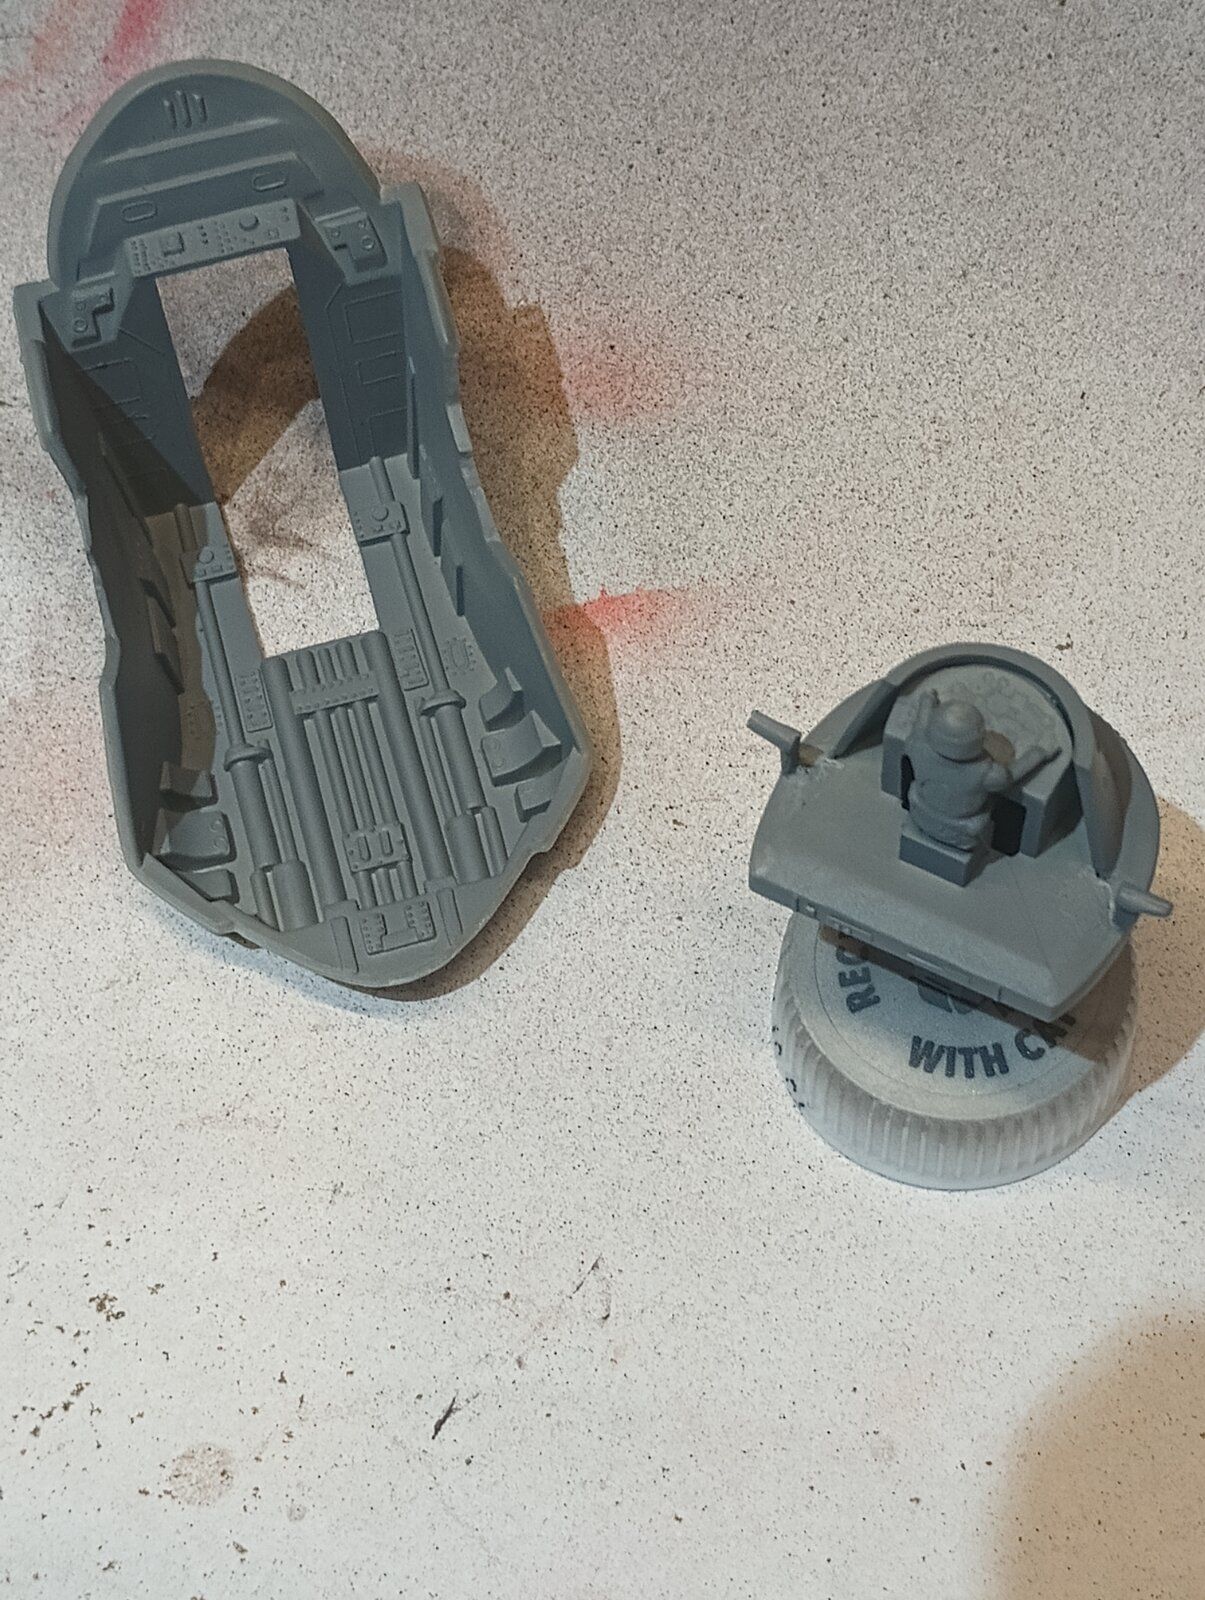
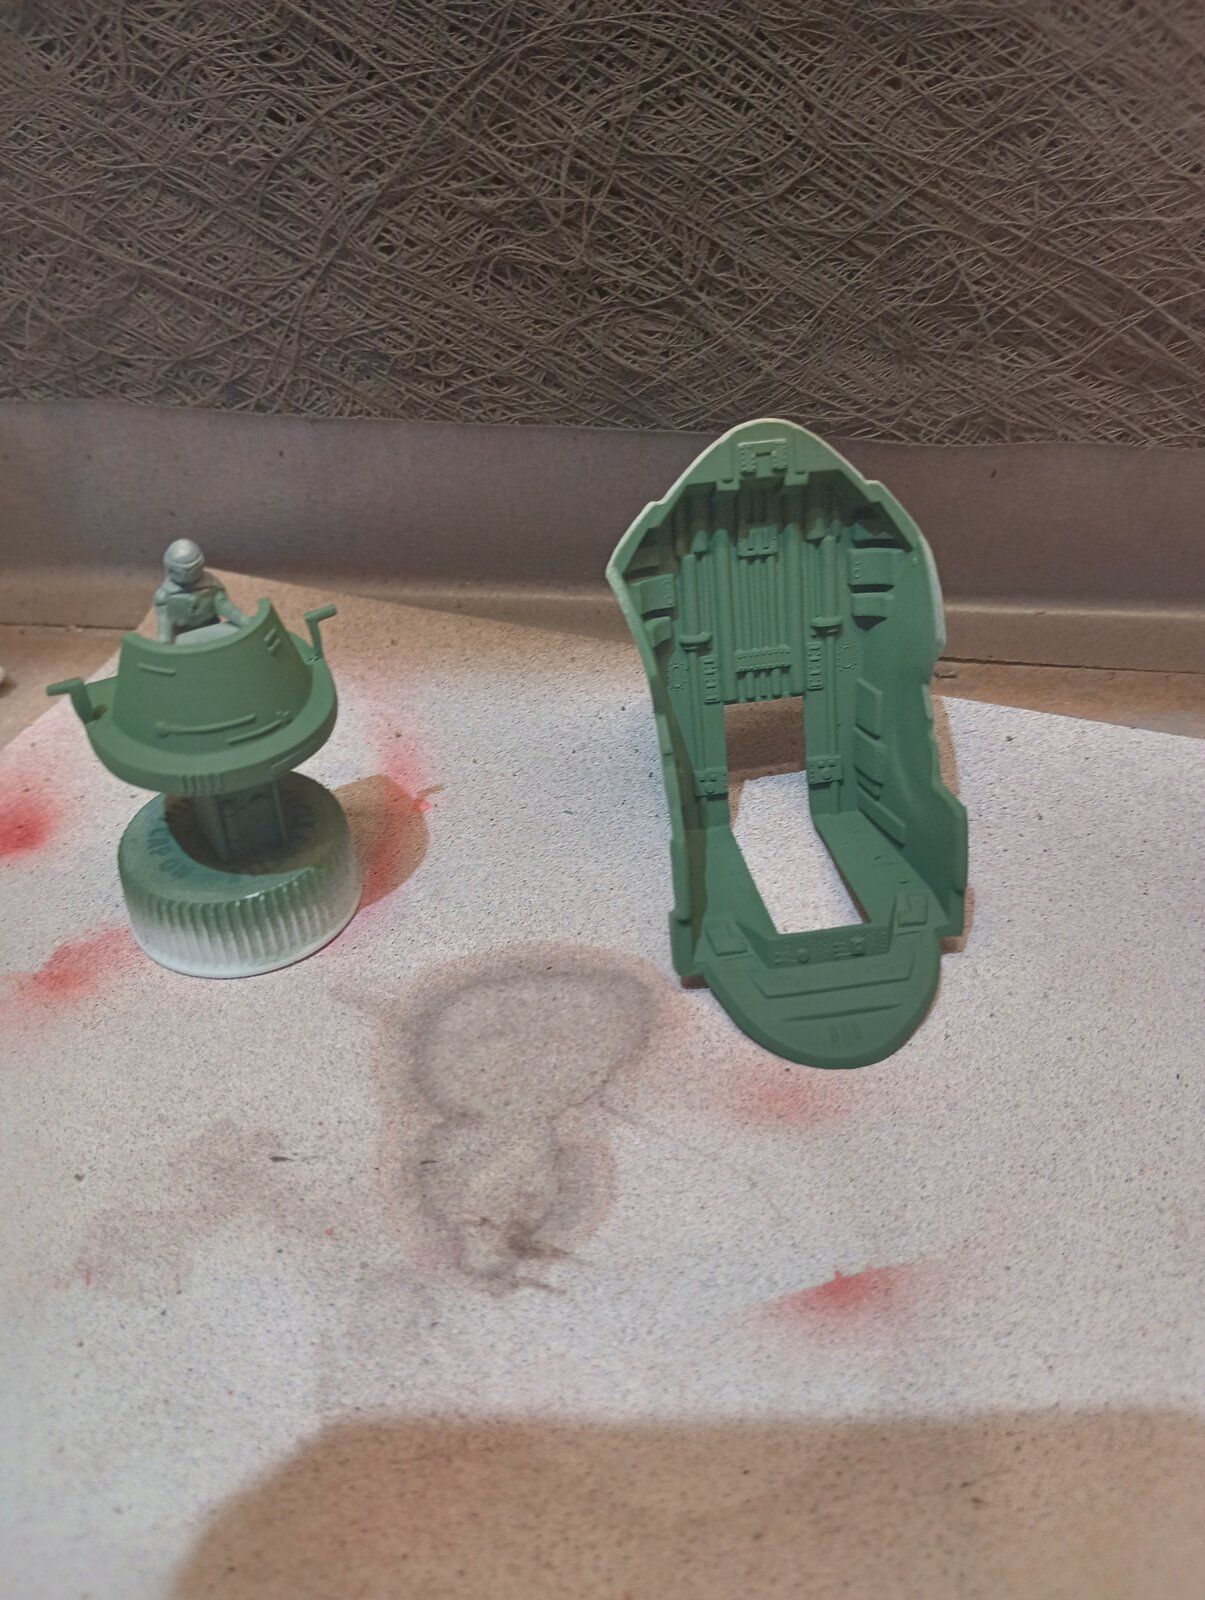
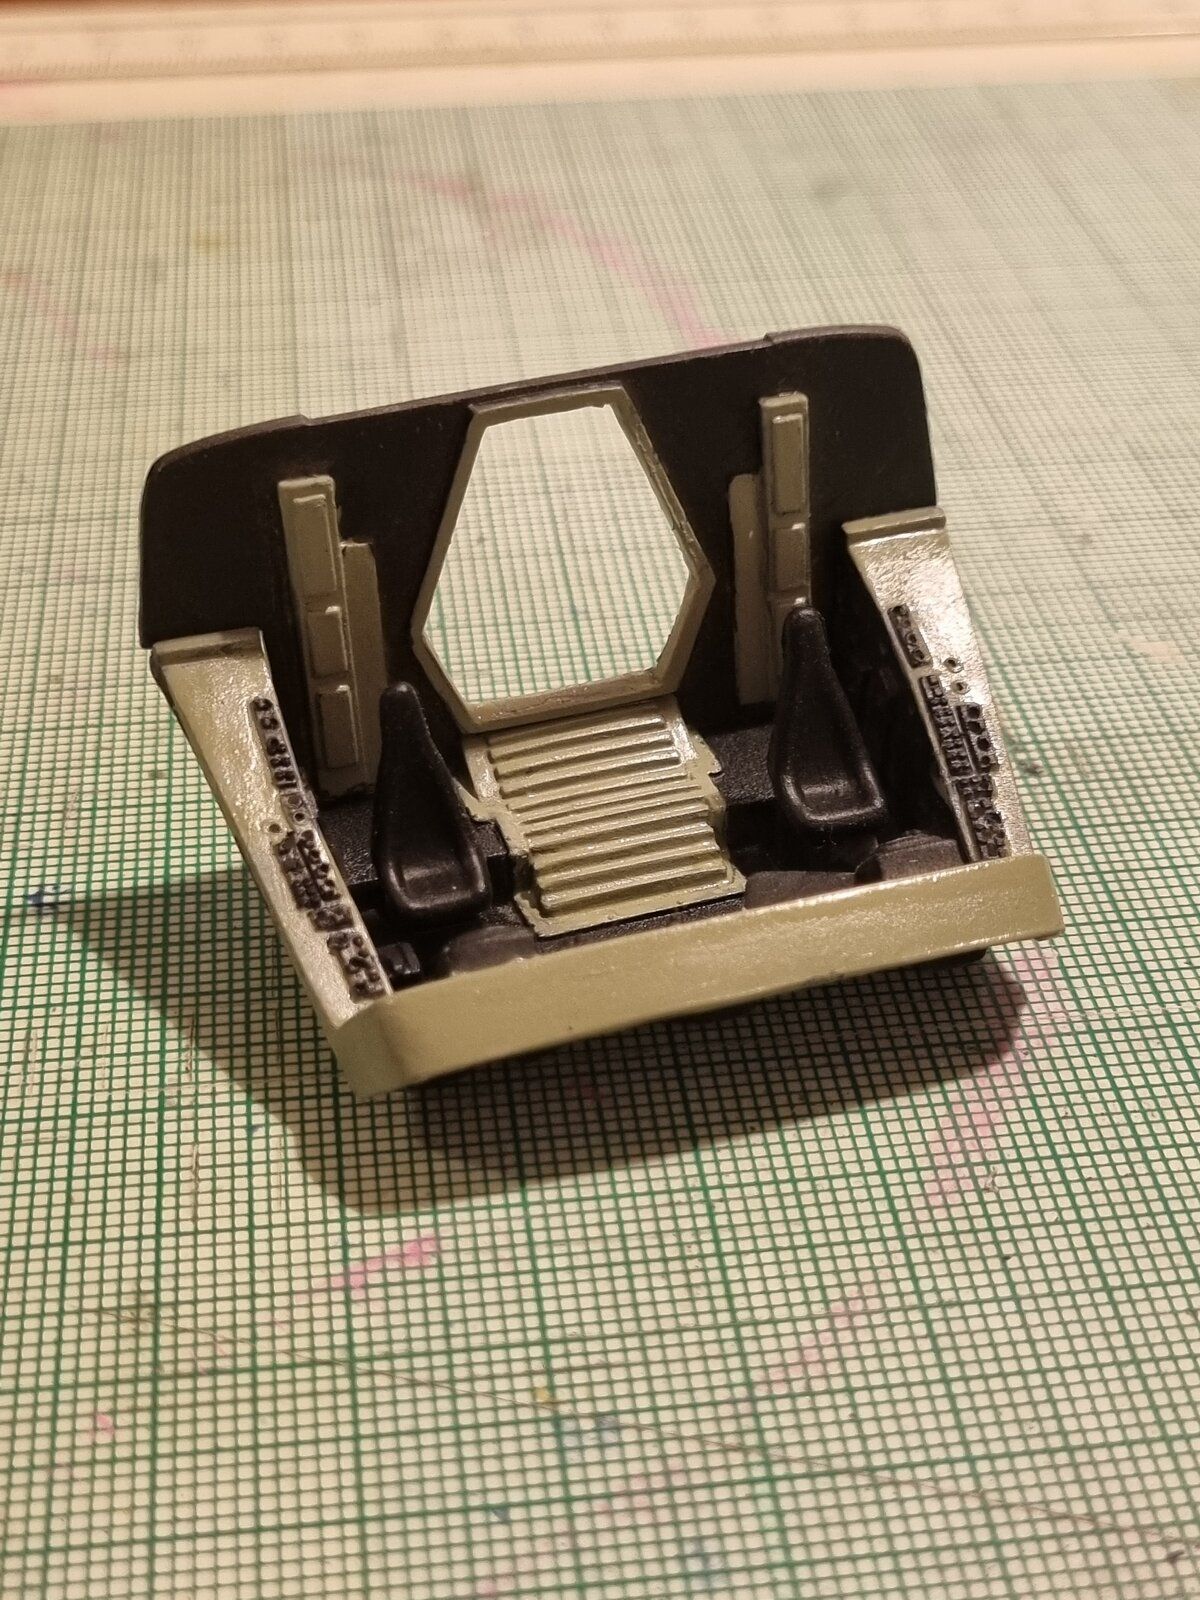
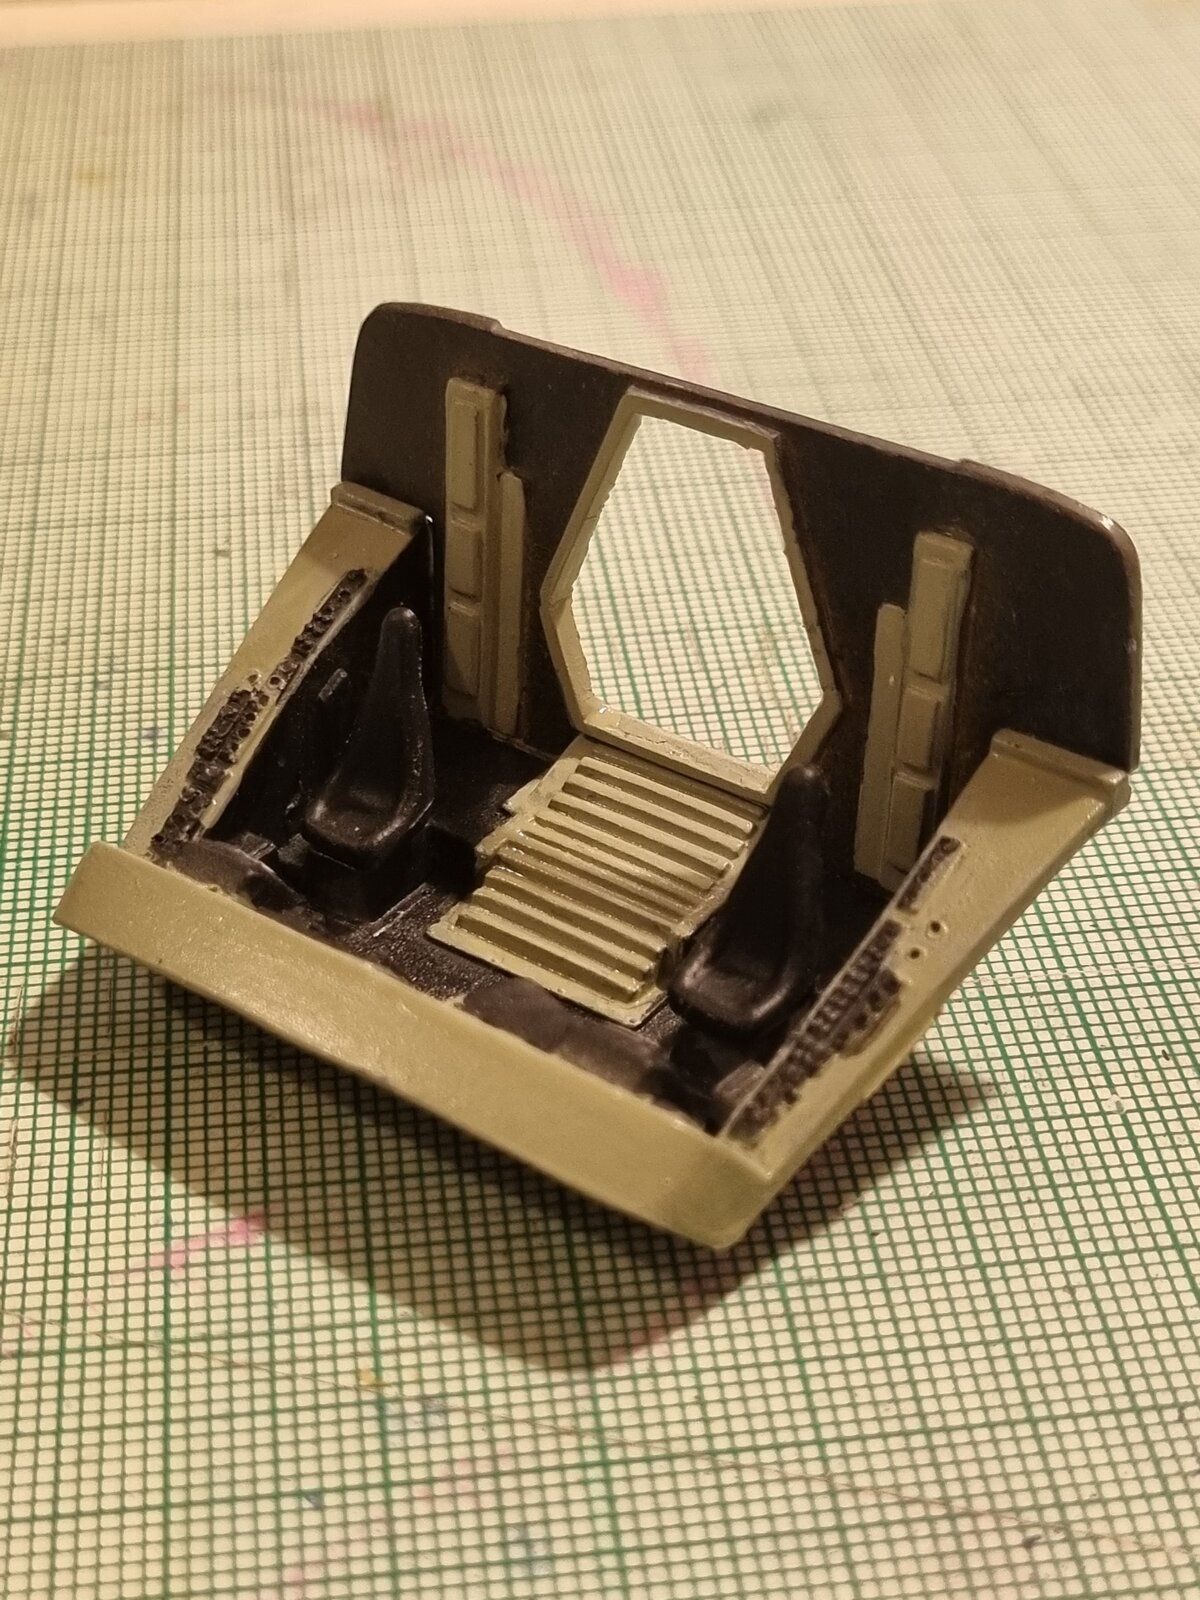
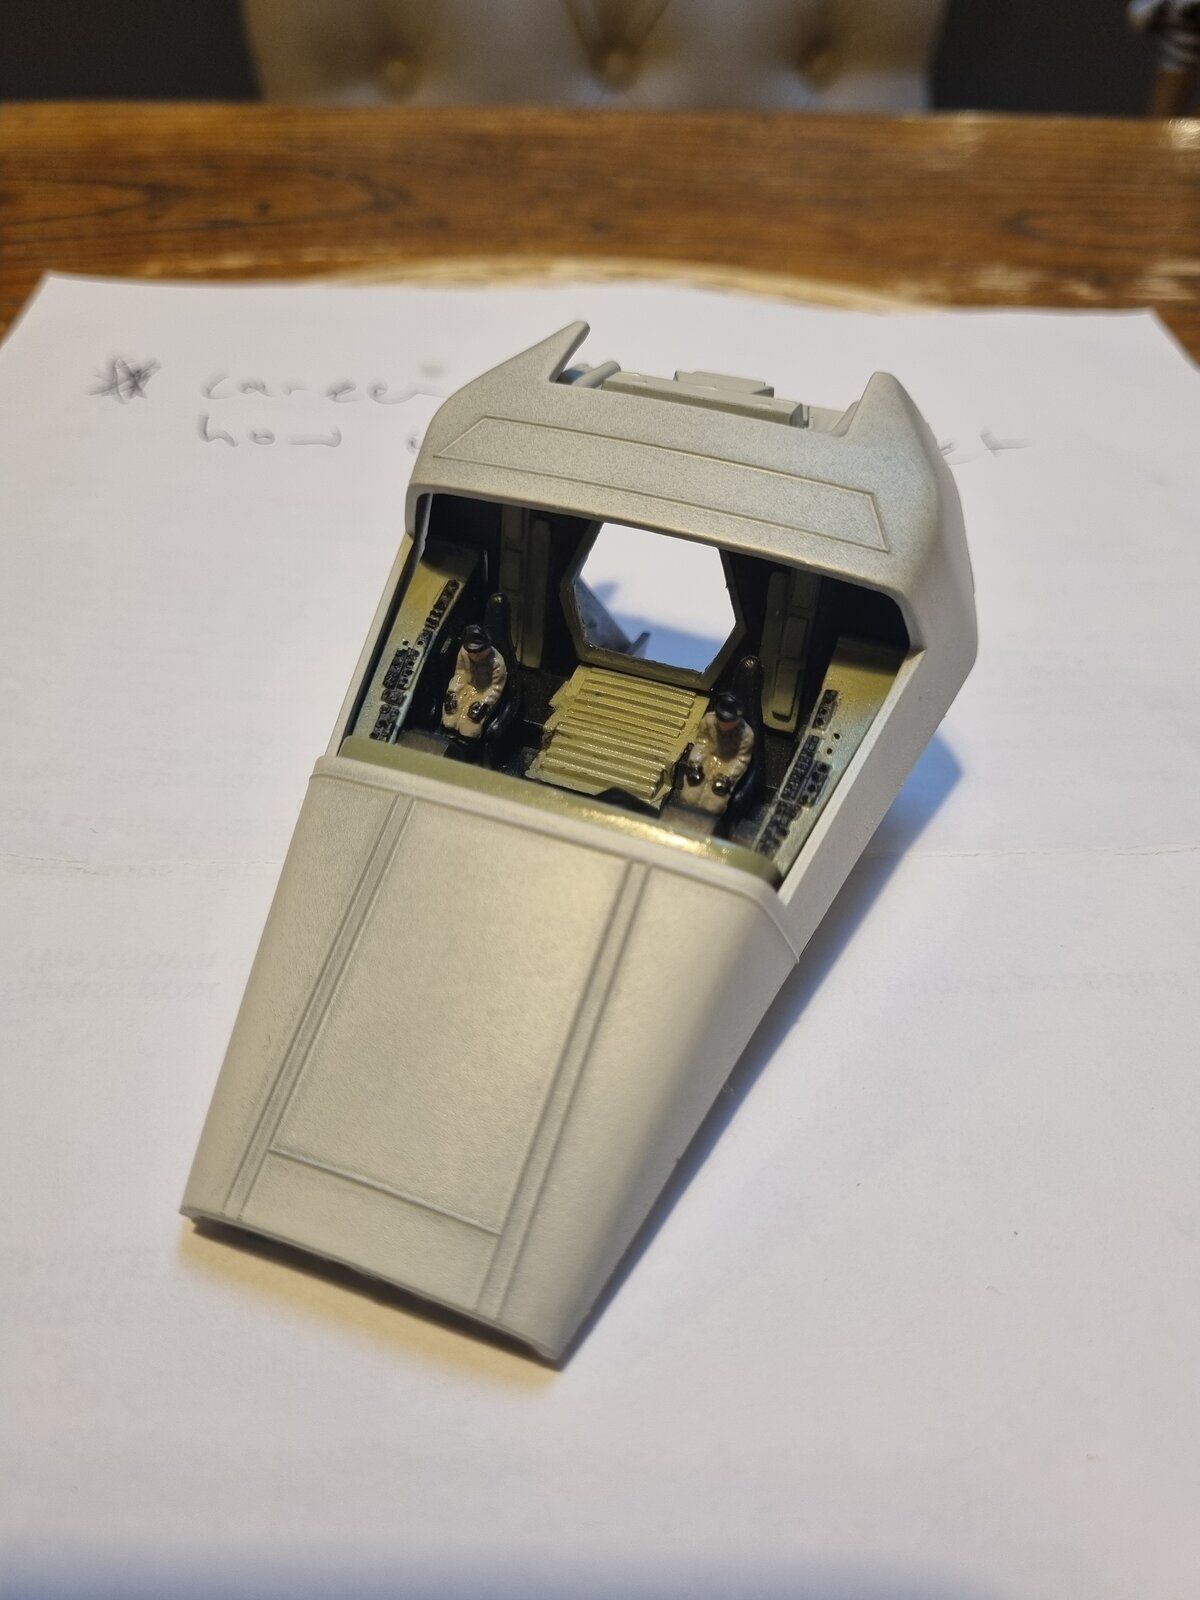
There is a lot more filling than I thought there would be, but then the kit is from the 80's. I ended up installing the lower part of the hull because I thought it would give me too much problems lining up is I installed it on the back instead. The cockpit is primed and base coated.
Slave I (6).jpg
Slave I (7).jpg
Slave I (8).jpg
Slave I (9).jpg
 
I'm not sure but interested to find out. I did not realize they had that product

There is a local gaming store around here that has all kinds of Vallejo stuff. I have tried their putty and masking, but did missed the chipping fluid

If it is any good I will have to give it a try
I am not sure it is any better than old-fashioned hair spray and salt.
 
Over two hours of repetitive masking for both gun turrets, only to be then be removed in less than a few minutes :D

Again, Tamiya AS-20 from the rattle can
1721235642045.png

Although it is always exciting taking off the masking to reveal what is under it, hoping there is no bleeding

1721235768365.png


I could have chosen the easy path, and done the "no glass" version, but while it might be necessary for a filming model, it looks unfinished in my opinion.
I know studio scale modelers are probably rolling their eyes, but I want a model of a "real thing", not a model of a model.
I felt a great disturbance in the force, as if hundreds of studio scale modelers cried out at once....
1721235957252.png


For posterity sake, glass vs no glass
1721236097632.png


had to go out in full sunlight to catch a decently lit glimpse of the interior
1721236319988.png

1721236406284.png


Although it is going to be really hard to see anything anyway once everything is in place, even adding an LED behind the seat

1721236564352.png

1721236602486.png
 
Last edited:
Come on in and join. We are just getting started (except for Gary) LOL!!
Except me. I'll be gearing up for the Phantom build, later when the kit gets here. I had a time finding close enough decals for Col. Stewart's aircraft. And since there aren't any pictures of the entire aircraft I have to kind of guess.
I hope it will be here in a couple of weeks when I'm off
 
I'm too clumsy to do something like that, but I'd happily paint it :)

Painting is my favorite part, everything else is kind of something that has to be done to get to the painting stage

I know some people love the build part more and that is what is great about this hobby, it can appeal just as much to the artist as the engineer and everything between
 
Painting is my favorite part, everything else is kind of something that has to be done to get to the painting stage

I know some people love the build part more and that is what is great about this hobby, it can appeal just as much to the artist as the engineer and everything between
I'm definitely more arty than engineer, painting is quite relaxing and de-stressing. I would end up gluing things wrong or my fingers together if I tried building something like that.
 
I'm definitely more arty than engineer, painting is quite relaxing and de-stressing. I would end up gluing things wrong or my fingers together if I tried building something like that.
Believe it or not, Bandai kits are snap kits. You don't need glue! *

*although some of those tiny parts really could use a drop as sometimes they can come loose

Of course this kit is something ridiculous like 900+ parts, but many of their other kits are quite simple
 
Perfect color choices!

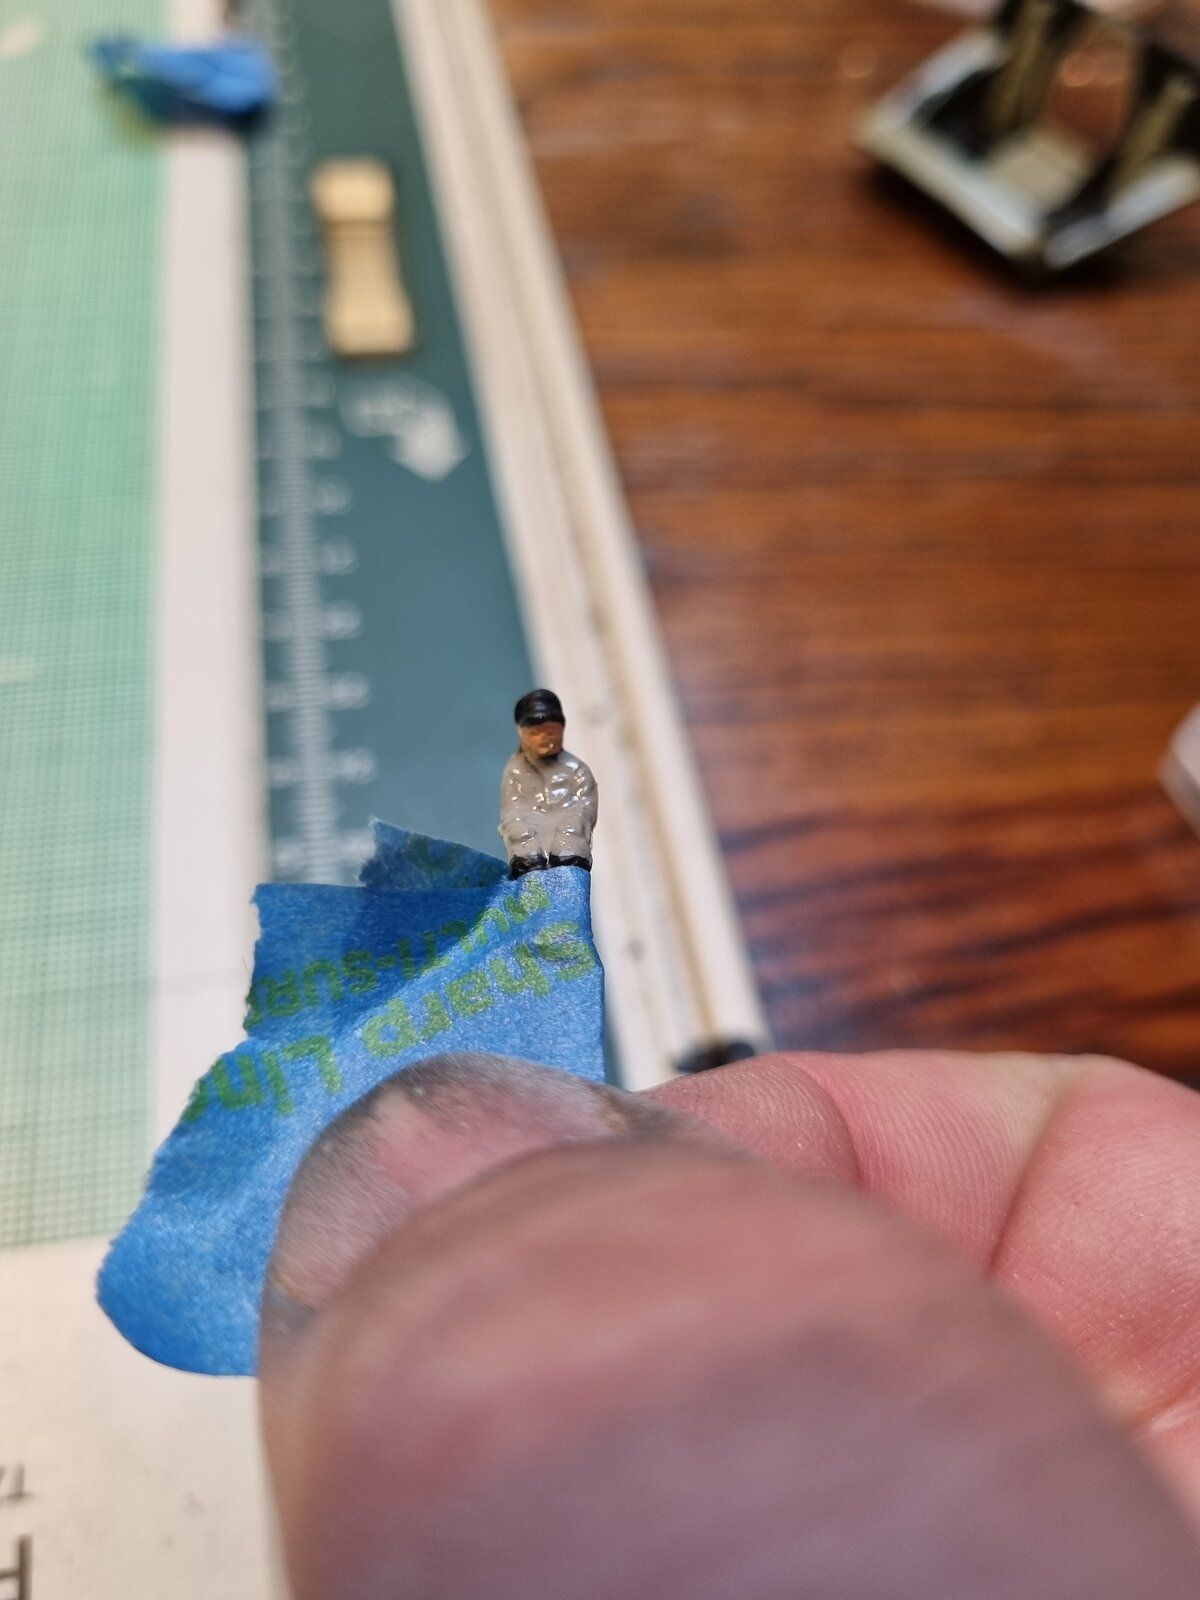
Interior and pilots look great
Thanks friend. For the cockpit interior, I actually mixed down and olive green with a flat white to create an almost khaki-grey colour. I did this because the flat grey I had had gone hard and I wasn't keen to go back to the store. I'm actually really pleased with how it came out.
 
Looks great! I like using the liquid masking fluid too.

It's one of those products I wish I'd known about years ago. It's a life saver for someone with OCD like me.

I forgot to mention, I actually performed another modification to the kit in that I cut out the original door in the back of the cockpit. I intend lighting the "tunnel" between the cockpit and the main cabin, just for a bit of interest.

1000018826.jpg
 
It's one of those products I wish I'd known about years ago. It's a life saver for someone with OCD like me.

I forgot to mention, I actually performed another modification to the kit in that I cut out the original door in the back of the cockpit. I intend lighting the "tunnel" between the cockpit and the main cabin, just for a bit of interest.

View attachment 120225
That would look very cool.
 
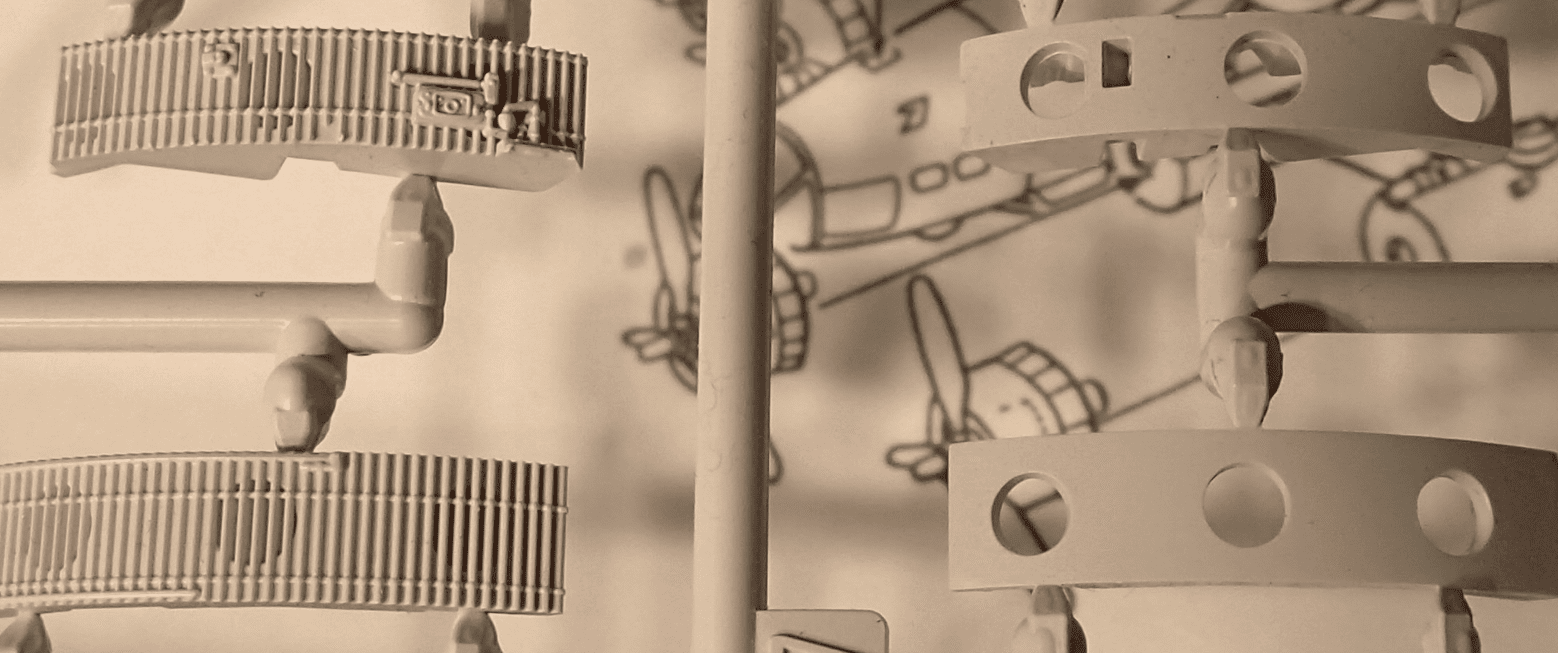
So another decision time that previously led me to procrastination. Use photo-etch or not around the cockpit tunnel to represent the Koolshade parts on the original model?
For any who might not know what that is, Koolshade is same material the Tie Fighters wing panels were made of. Was actually a very fine metal shade that was used as sun blocking window blinds back in the ILM days

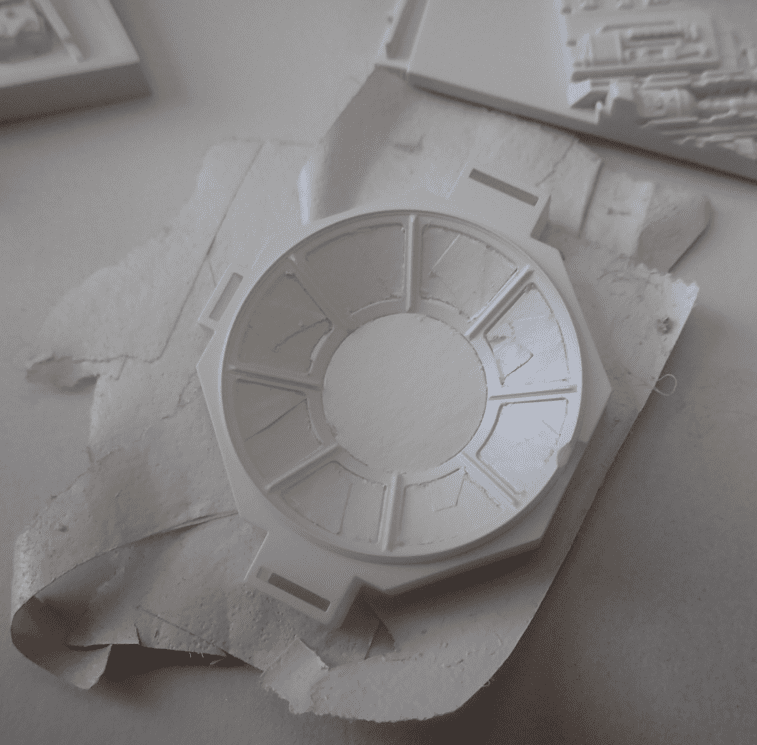
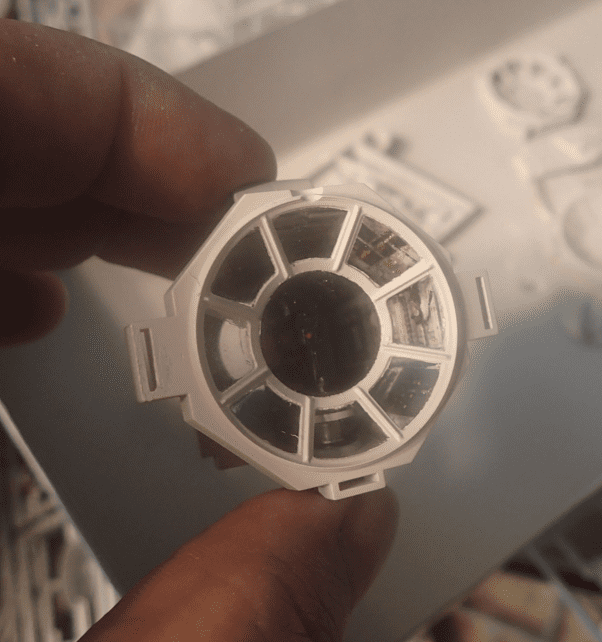
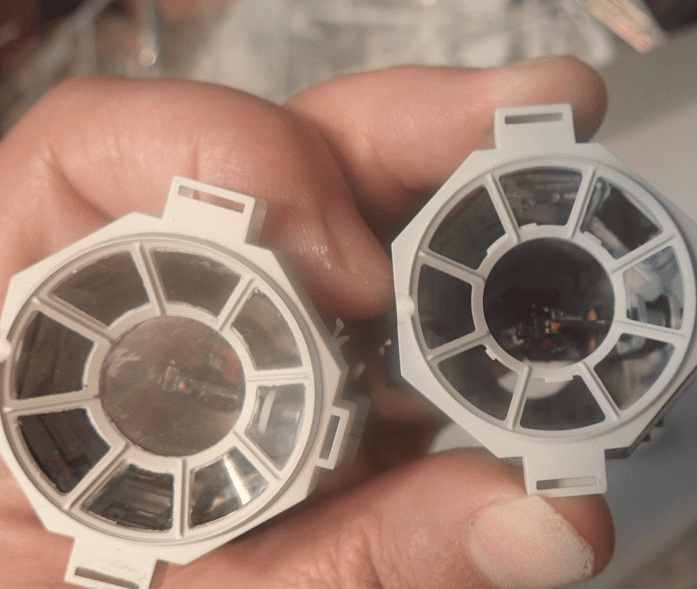
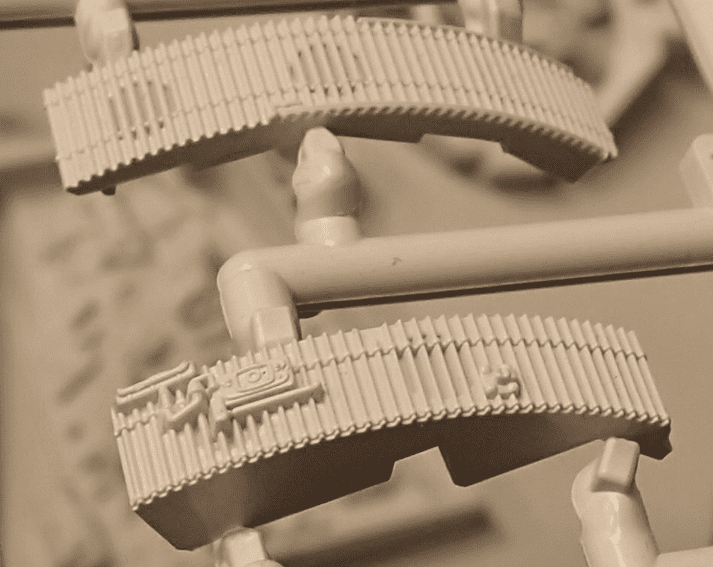
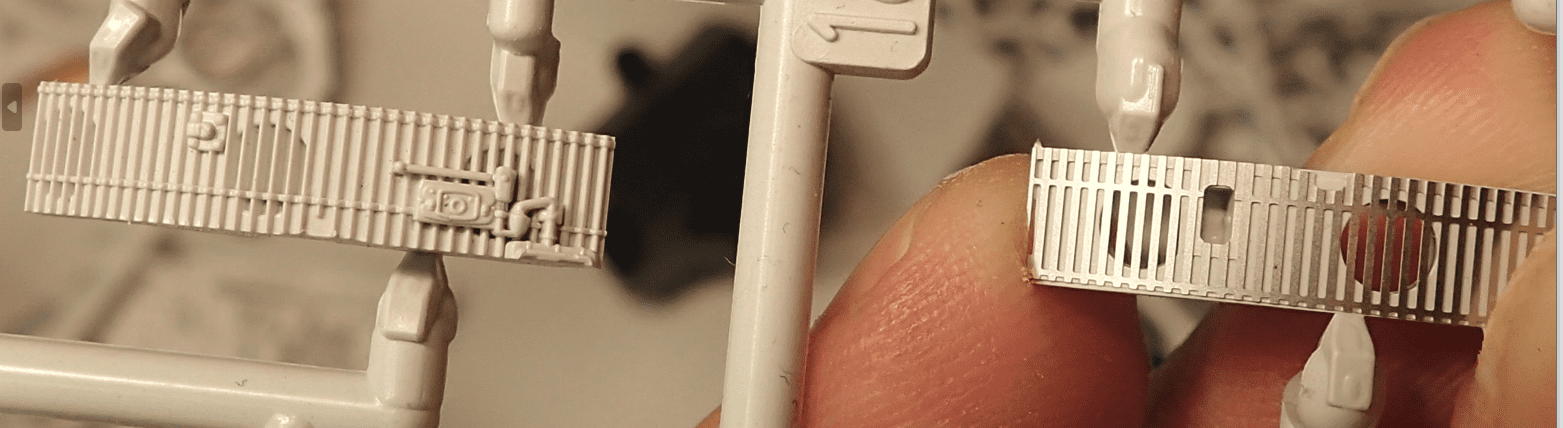
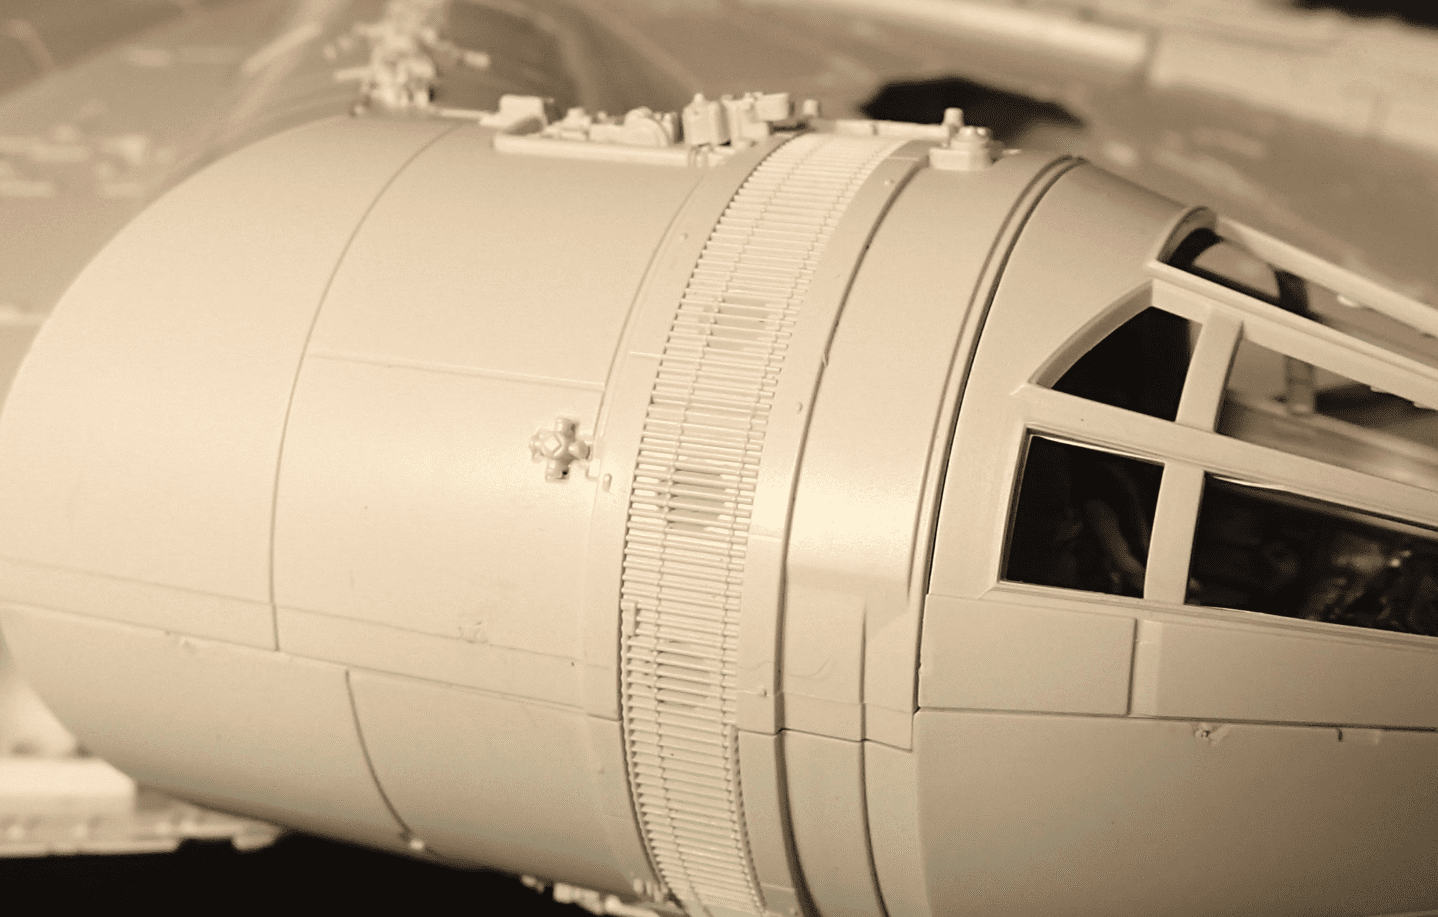
Looking closely at the parts, I feel the molded plastic parts are actually better detail than the photo-etch

Left is the plastic parts. These are amazingly fine and crisp and even the holes behind the grilles have depth.

On the right are the alternate parts that you can use to glue the photo-etch onto

1721333291806.png

1721333512209.png


Although I feel the photo-etch while a bit finer detail when it comes to the holes behind it is actually very flat and less overall detailed looking

1721333563322.png


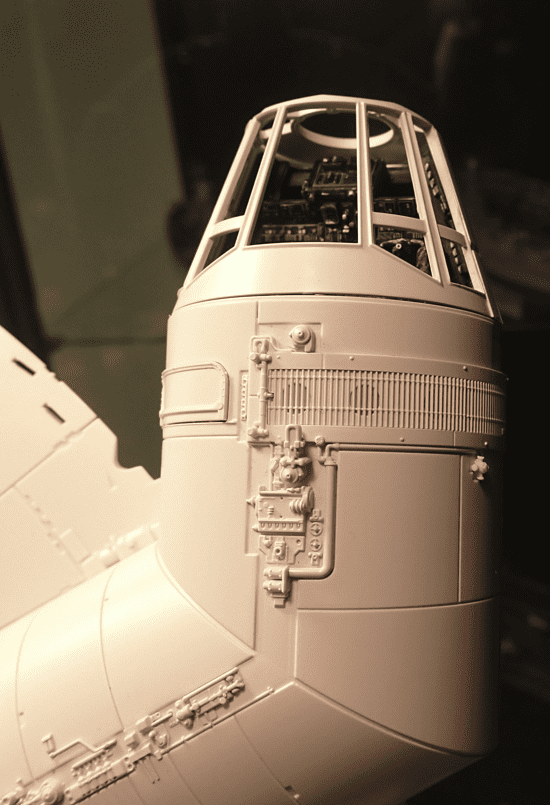
So the original plastic parts it is

1721333633189.png


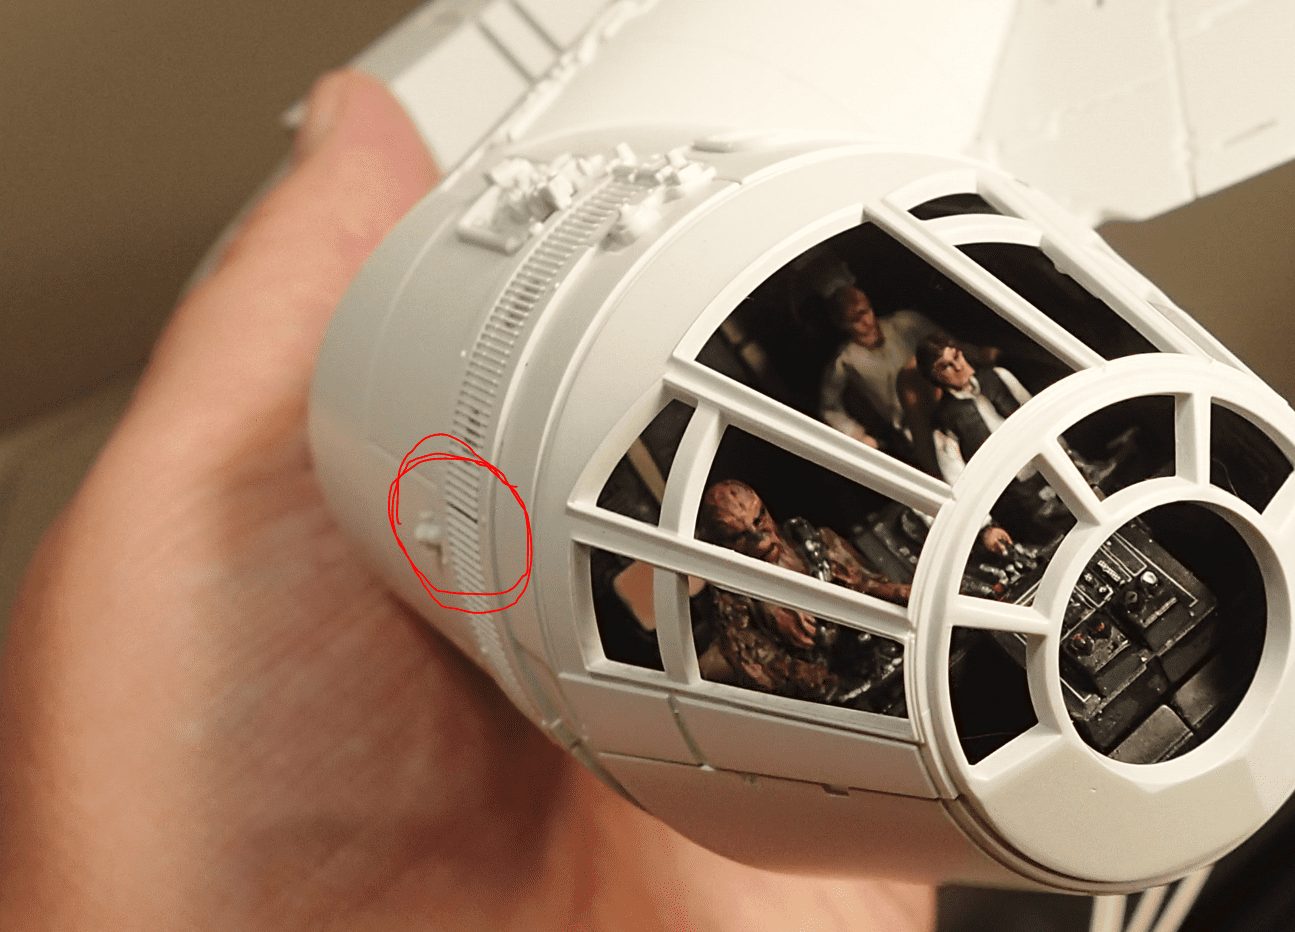
The only downside I see is there is a noticeable seam/gap between two of the pieces. Maybe I made an error in putting together parts as I know from past experience, some other part being a hair off in some different step like the tunnel construction can cause fit issue with other parts later, but I don't see gaps elsewhere. You can see it off the the right above and then here below as well

1721334209951.png


Should not be too noticeable once paint and weathering go on in this area I am hoping. If not I will have to try filling as best I can without screwing up the details

But then again, from this angle it is hard to tell
1721334118239.png
 
Back
Top