Star Wars Theme Group Build

Scale Model Addict - Model Tips, Guides, Tools & Tech, Tutorials, and Community

Help Support Scale Model Addict:

so as a bench mark to where I am at, this is what I have done with the 1/72 Falcon so far

started back in 2017 !!! based on pic dates

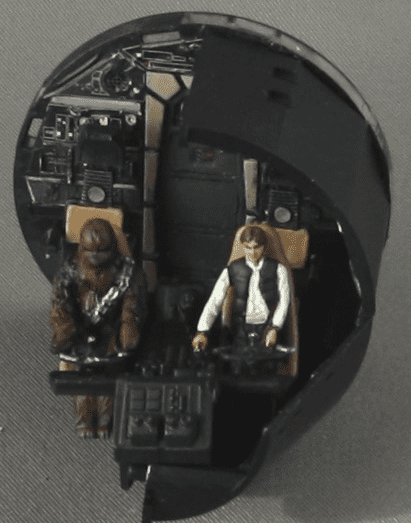
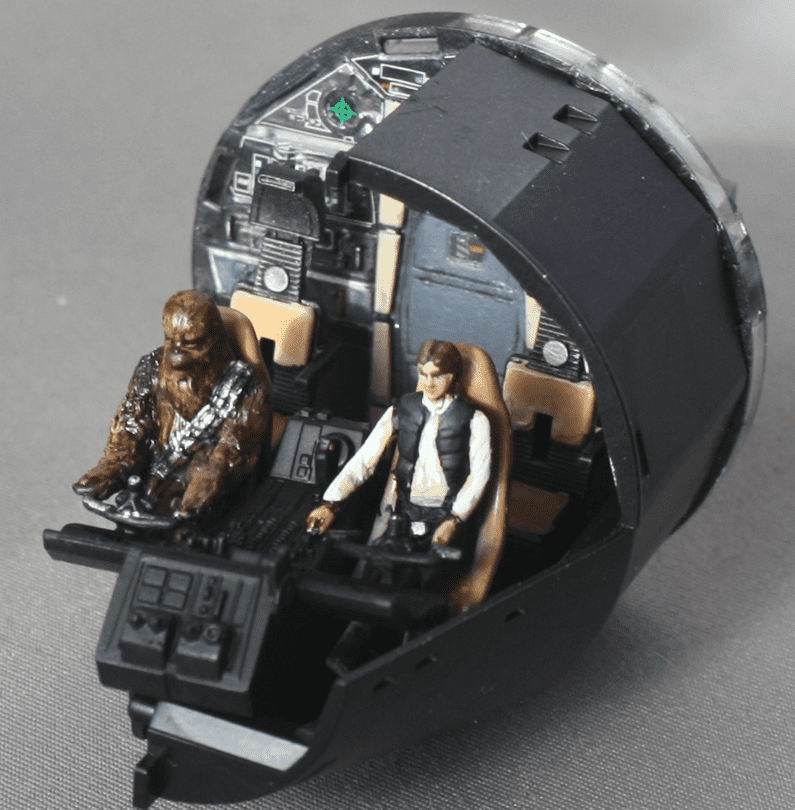
First was to paint all the figures as I had to get the cockpit painted and buttoned up before continuing

They give you seated figures, which have great details, but are very rigidly posed. I have seen some amazing 3-D printed/resin cast figures but having already shelled out
I had got it on pre-order from Amazon way back when the kit was first released. Definitely the most expensive kit I have bought, but at least I got it for a decent discount price compared to MSRP at the time. Timing wise it coincided with my 20th anniversary at work and they gave me a bunch of gift cards otherwise it would have normally been well out of reach.

At any rate, not wanting to spend more I decide to try modifying the poses to make them more life like. So out came the green stuff and chopping off the stiff arms in lap poses
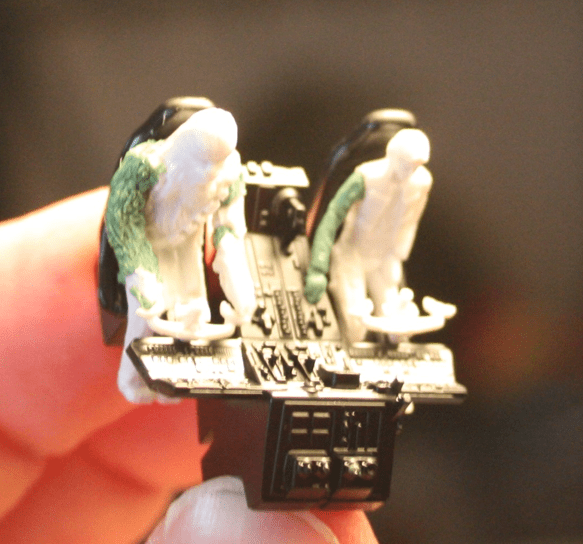
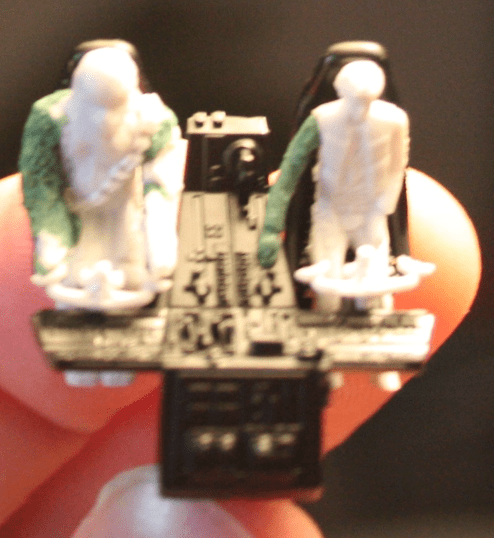
1720632393815.png

1720632445198.png


and finally all painted up

1720632683844.png

1720632741107.png


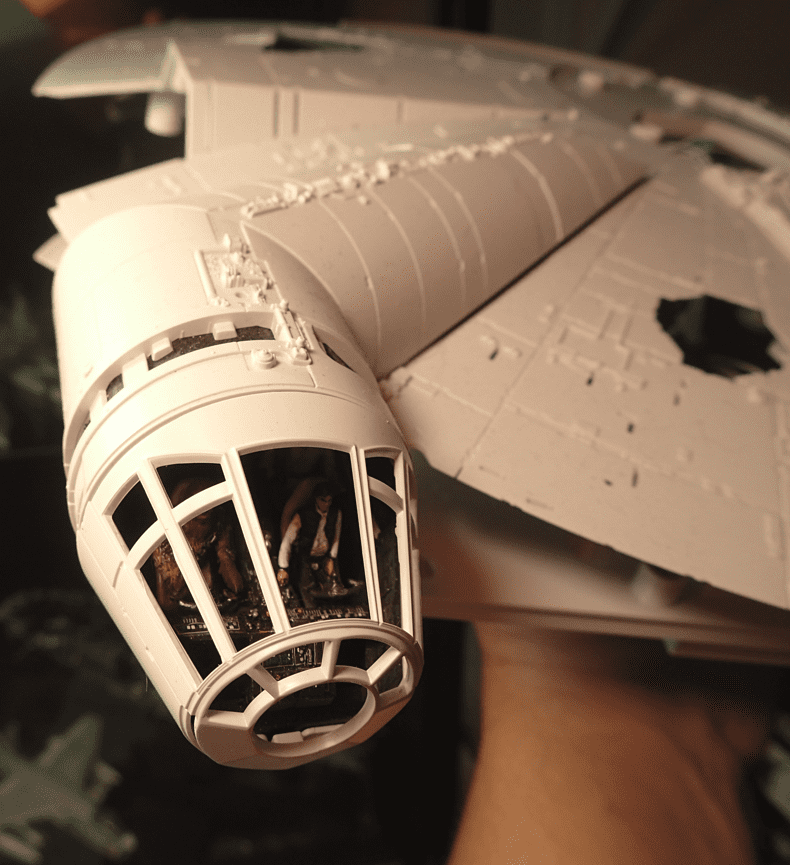
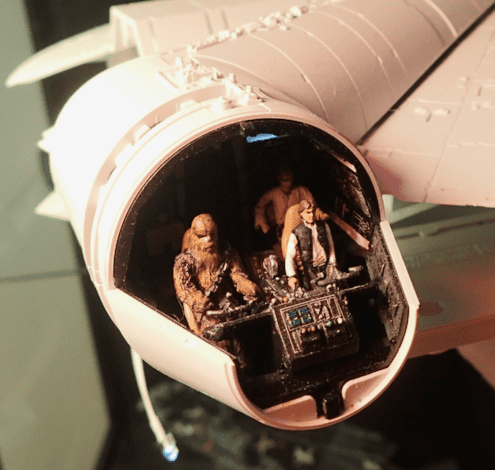
and eventually got Luke in there and just before snapping this picture I hooked up the lighting module that came with the kit

also realizing now how much dust has accumulated. Have to break out the duster
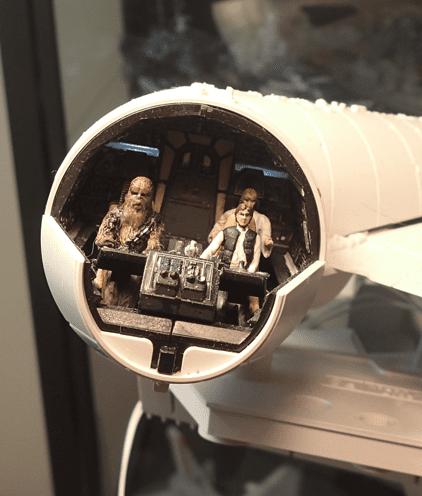
1720640411797.png

1720640956253.png

1720640567683.png


1720641045228.png


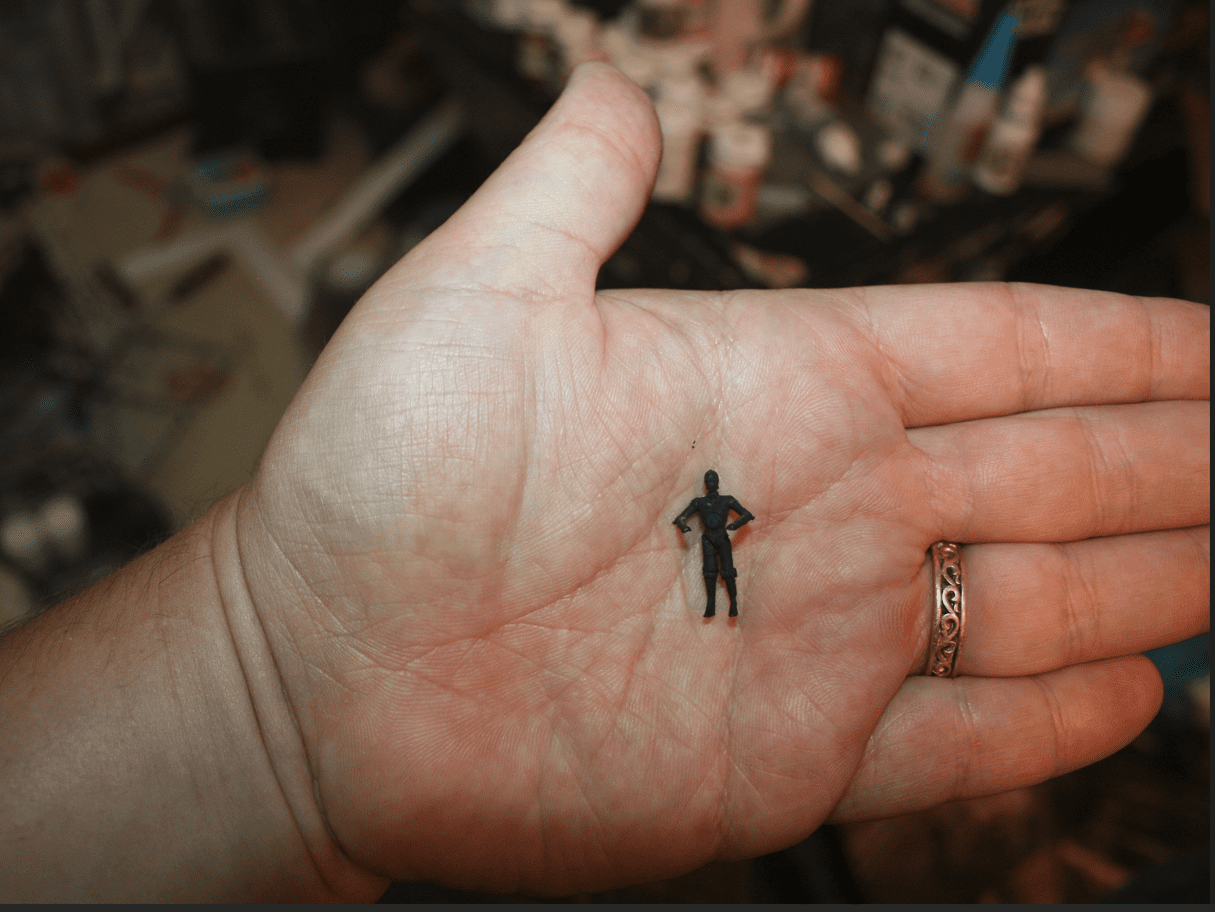
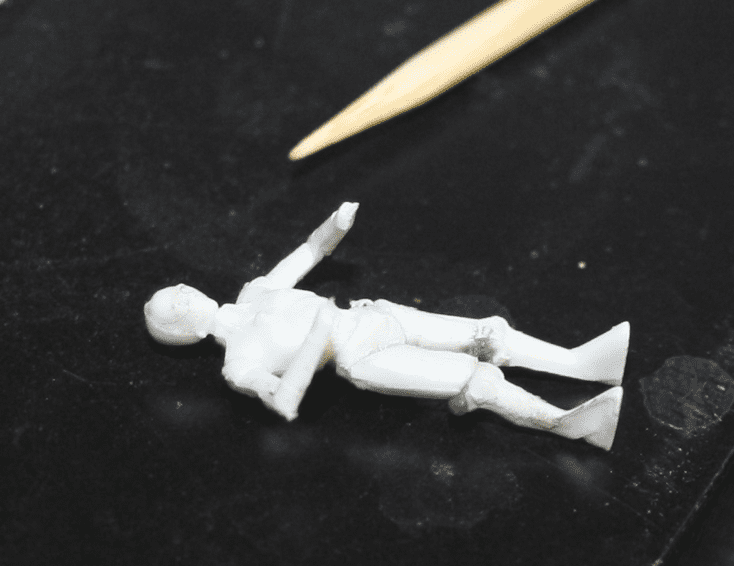
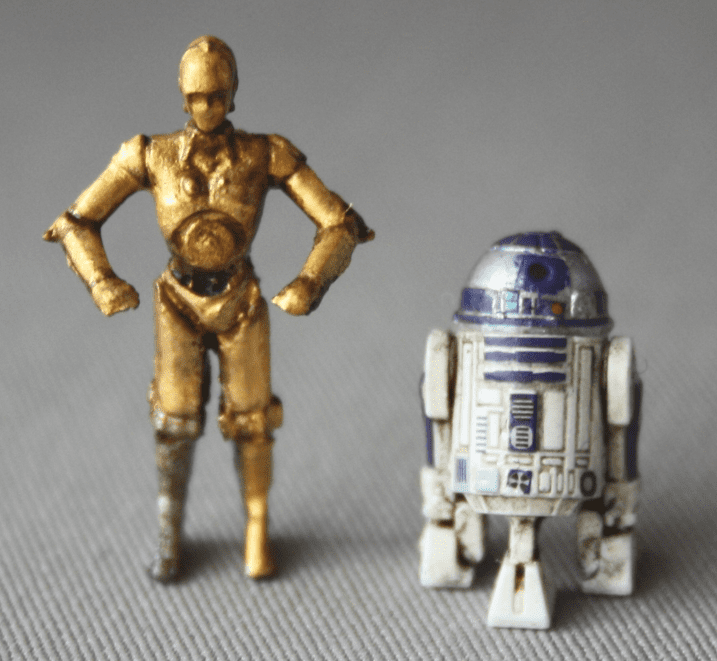
I want to have C-3P0 standing there in the back so I had to convert him from a sitting poses to a standing one

1720640820489.png

1720640850137.png
 
Which version of the fine molds do you have? I picked up the one without Han, I believe that is the only difference. I've looked through the kit some but am holding off on that build for myself. If I can ever find one with Han at a reasonable price I will probably pick it up. I would love to do a diorama on Cloud City loading Han.

Luckily I have 5-6 other versions of the Slave I to choose from. I decided on the MPC for this build. Bought it off ebay a few years ago and hope all of the parts are there.
I have the one that has the white metal Han in carbonite.

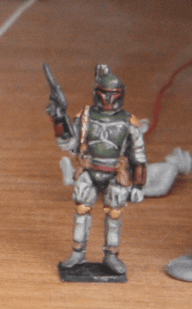
Have Boba painted up, but not Han yet
1720641417942.png


I really wanted to pick up the Jango Fett version as well (which is just a few sprue piece differences) but that is out of my price range at this point
 
When I look at some of the pics of the figures I can't help but think how blotchy the paint job is and how and soft they look, but I keep having to remind myself that is an extreme zoom and these are actually quite small

1720641576075.png


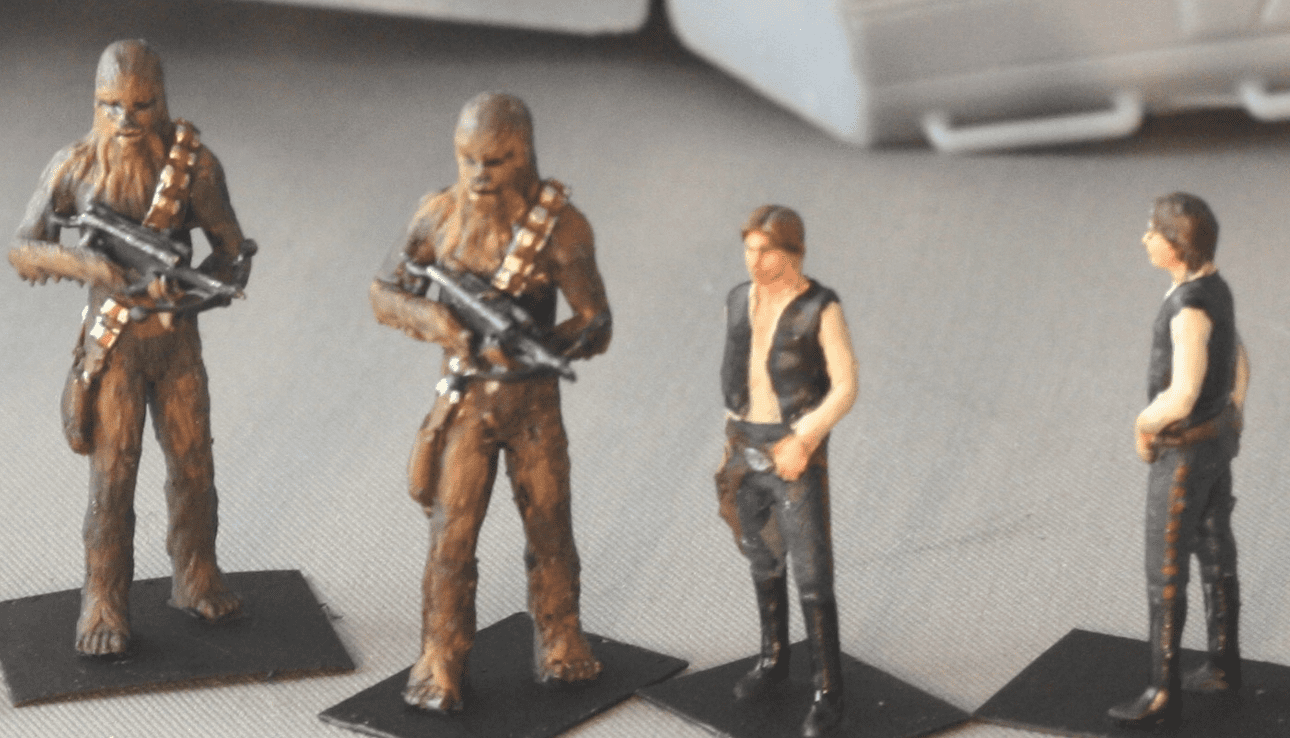
I did 3-D print some Han and Chewbacca's to stand outside if I display in landed mode. Printed out duplicates with different supports since it does not change the print time, and figured I might have a better chance of something coming out if I try different methods of supporting.

Figured I would paint up the ones that turned out the best detail wise and then pick the best paint job. I had sent the duplicate pair off to a friend

1720641815578.png


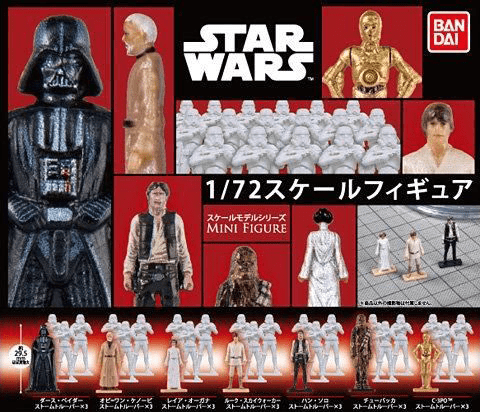
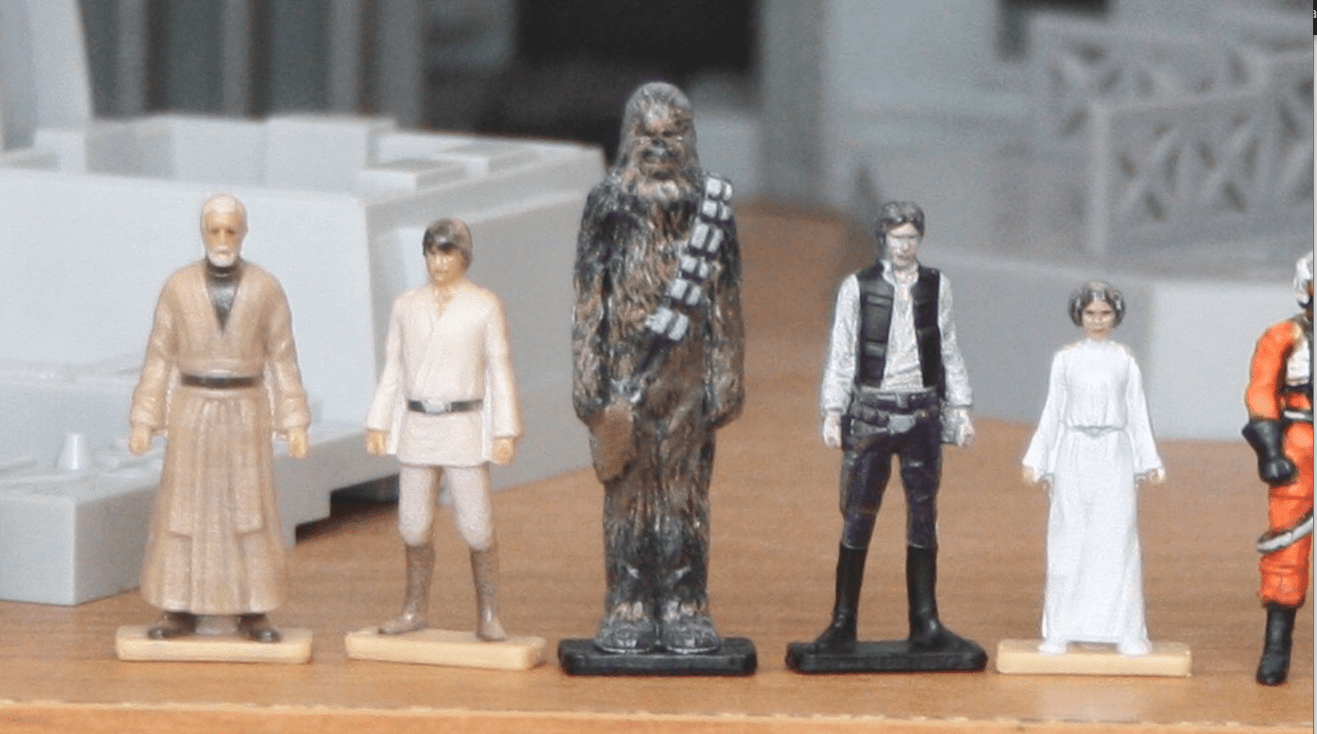
Funny enough, Bandai had produced standing figures which I am certain were originally meant to be included in the kit, but when they had that whole licensing fiasco that forced them to remove standing figures they got scrapped. However, since the design work and probably molds were already done, they released them in Japan only as "gashapon collectibles" (basically vending machine trinket stuff like you would see at the supermarkets here in the US). They were also pre-painted
1720642051142.png


I picked up a set from Tesla Toys

1720642108977.png
 
so as a bench mark to where I am at, this is what I have done with the 1/72 Falcon so far

started back in 2017 !!! based on pic dates

First was to paint all the figures as I had to get the cockpit painted and buttoned up before continuing

They give you seated figures, which have great details, but are very rigidly posed. I have seen some amazing 3-D printed/resin cast figures but having already shelled out
I had got it on pre-order from Amazon way back when the kit was first released. Definitely the most expensive kit I have bought, but at least I got it for a decent discount price compared to MSRP at the time. Timing wise it coincided with my 20th anniversary at work and they gave me a bunch of gift cards otherwise it would have normally been well out of reach.

At any rate, not wanting to spend more I decide to try modifying the poses to make them more life like. So out came the green stuff and chopping off the stiff arms in lap poses

View attachment 119603
View attachment 119604

and finally all painted up

View attachment 119605
View attachment 119606

and eventually got Luke in there and just before snapping this picture I hooked up the lighting module that came with the kit

also realizing now how much dust has accumulated. Have to break out the duster
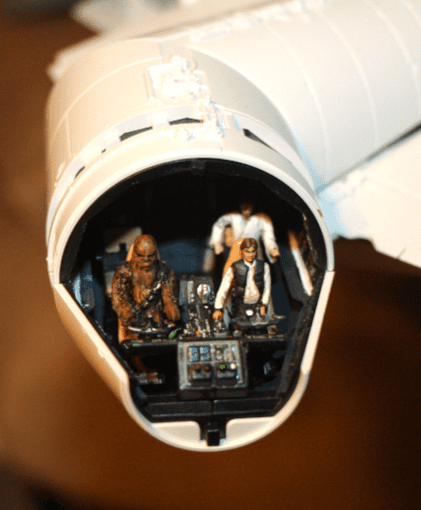
View attachment 119619
View attachment 119629
View attachment 119620

View attachment 119630

I want to have C-3P0 standing there in the back so I had to convert him from a sitting poses to a standing one

View attachment 119627
View attachment 119628
Great work. I love the detail!
 
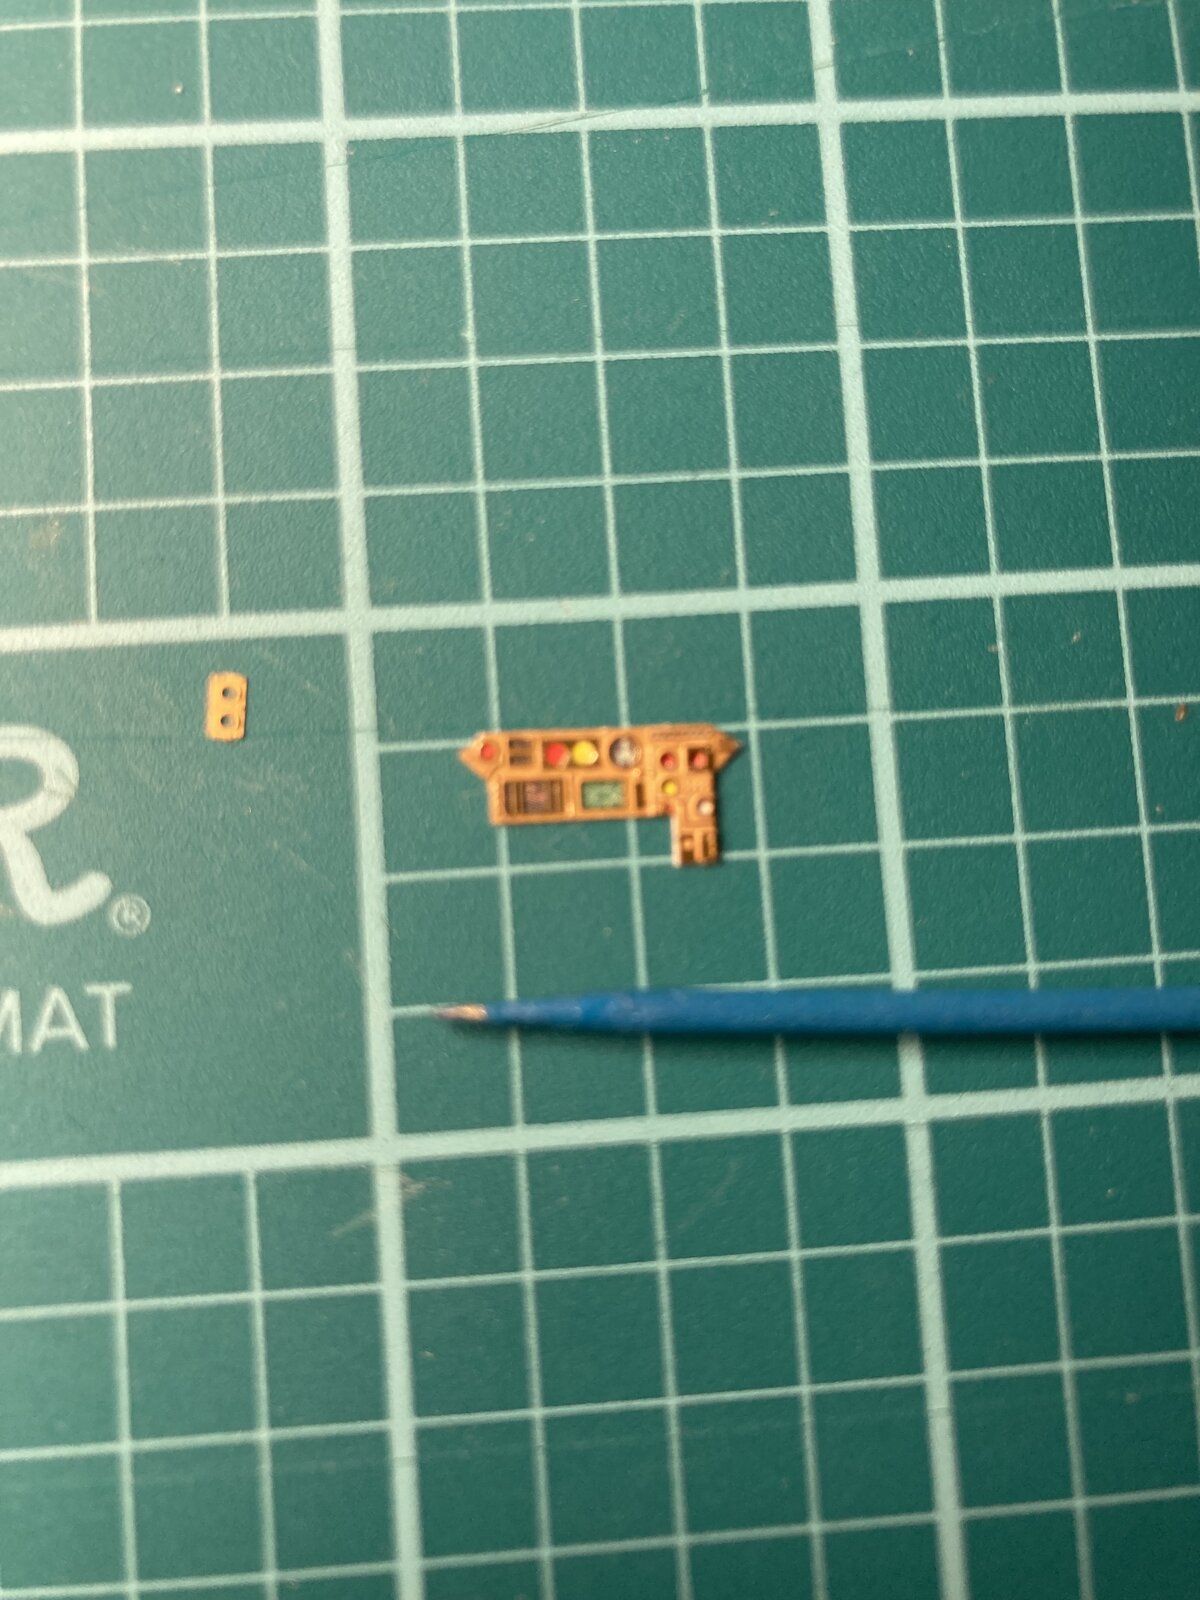
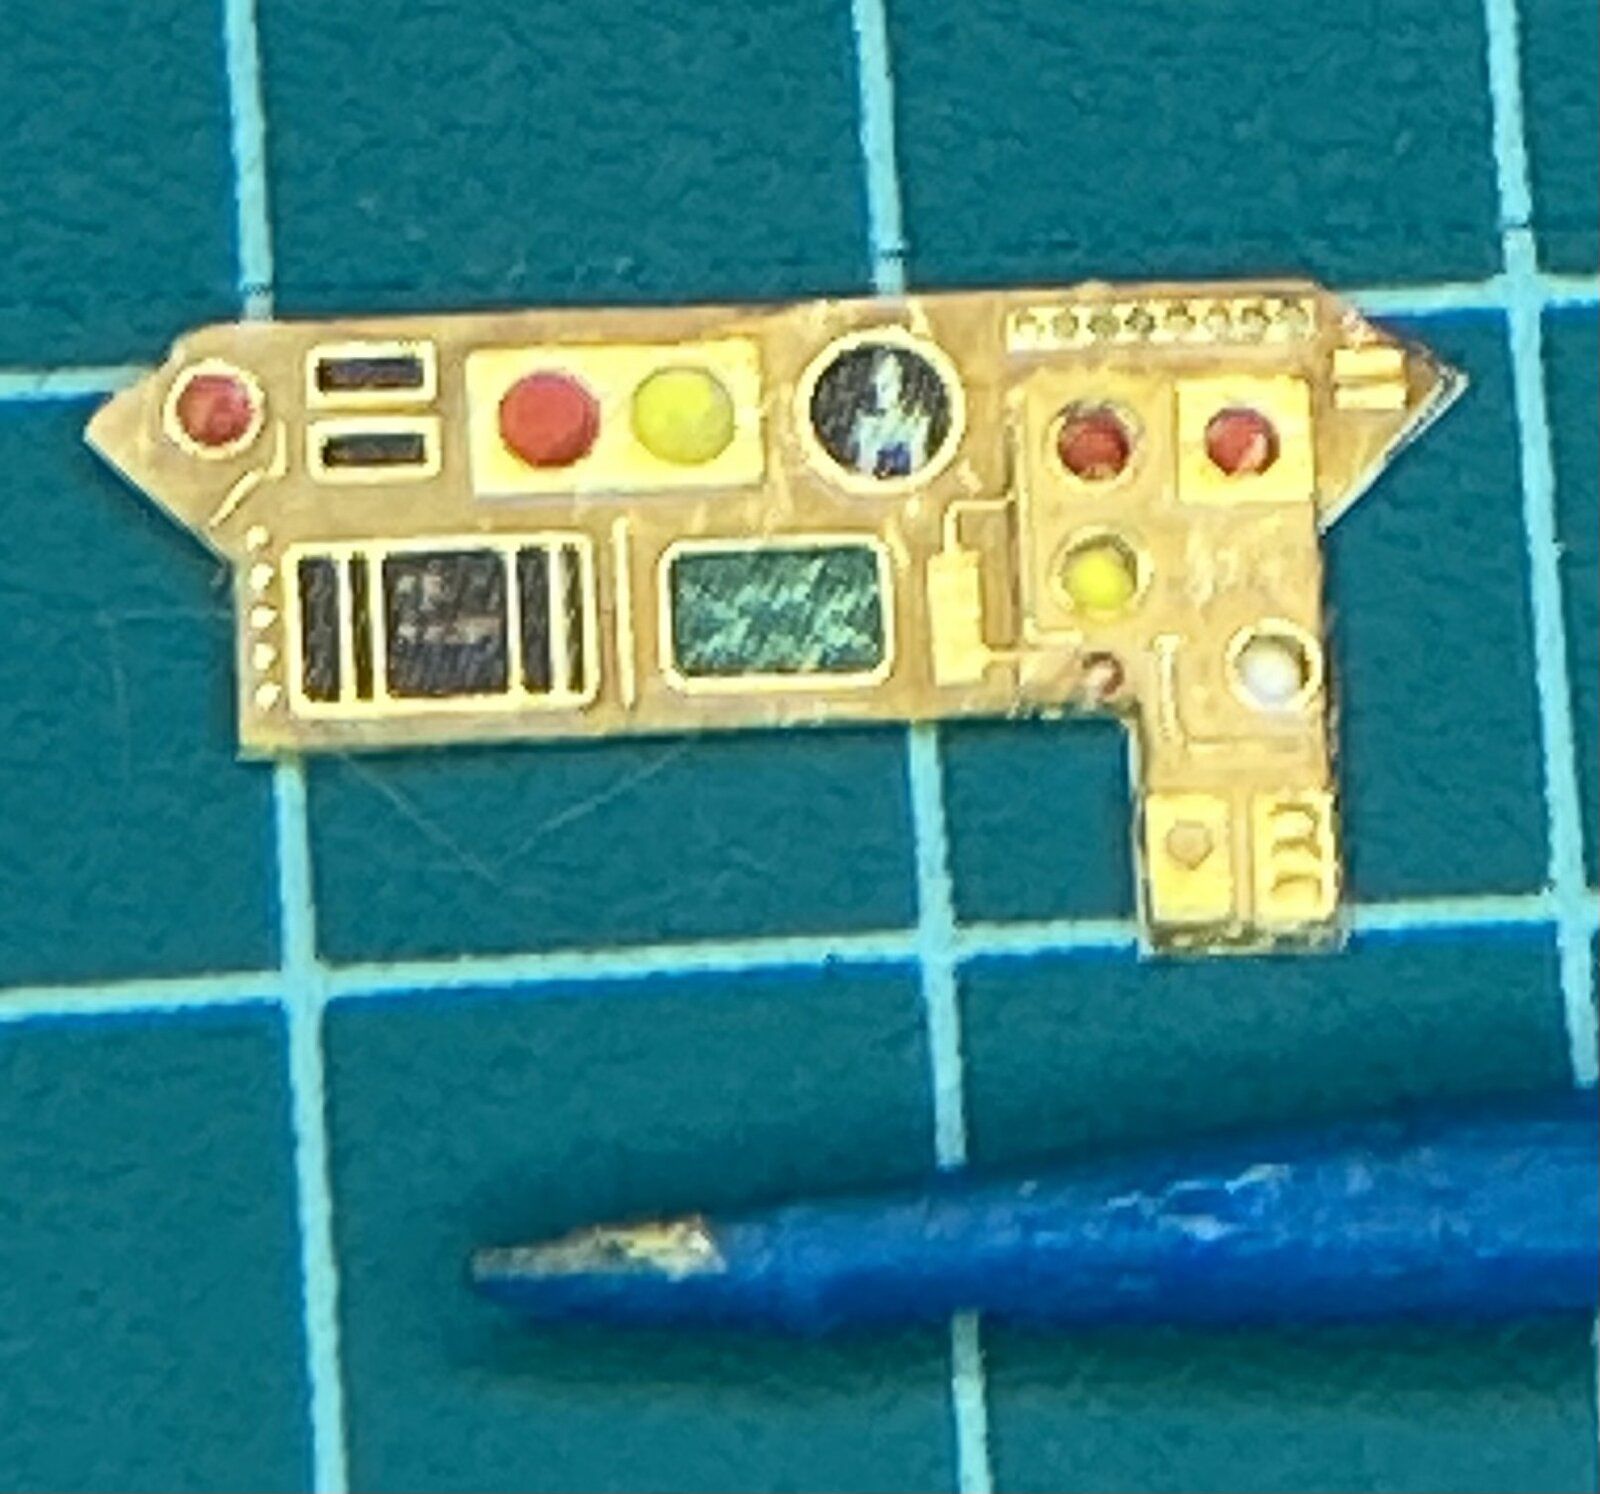
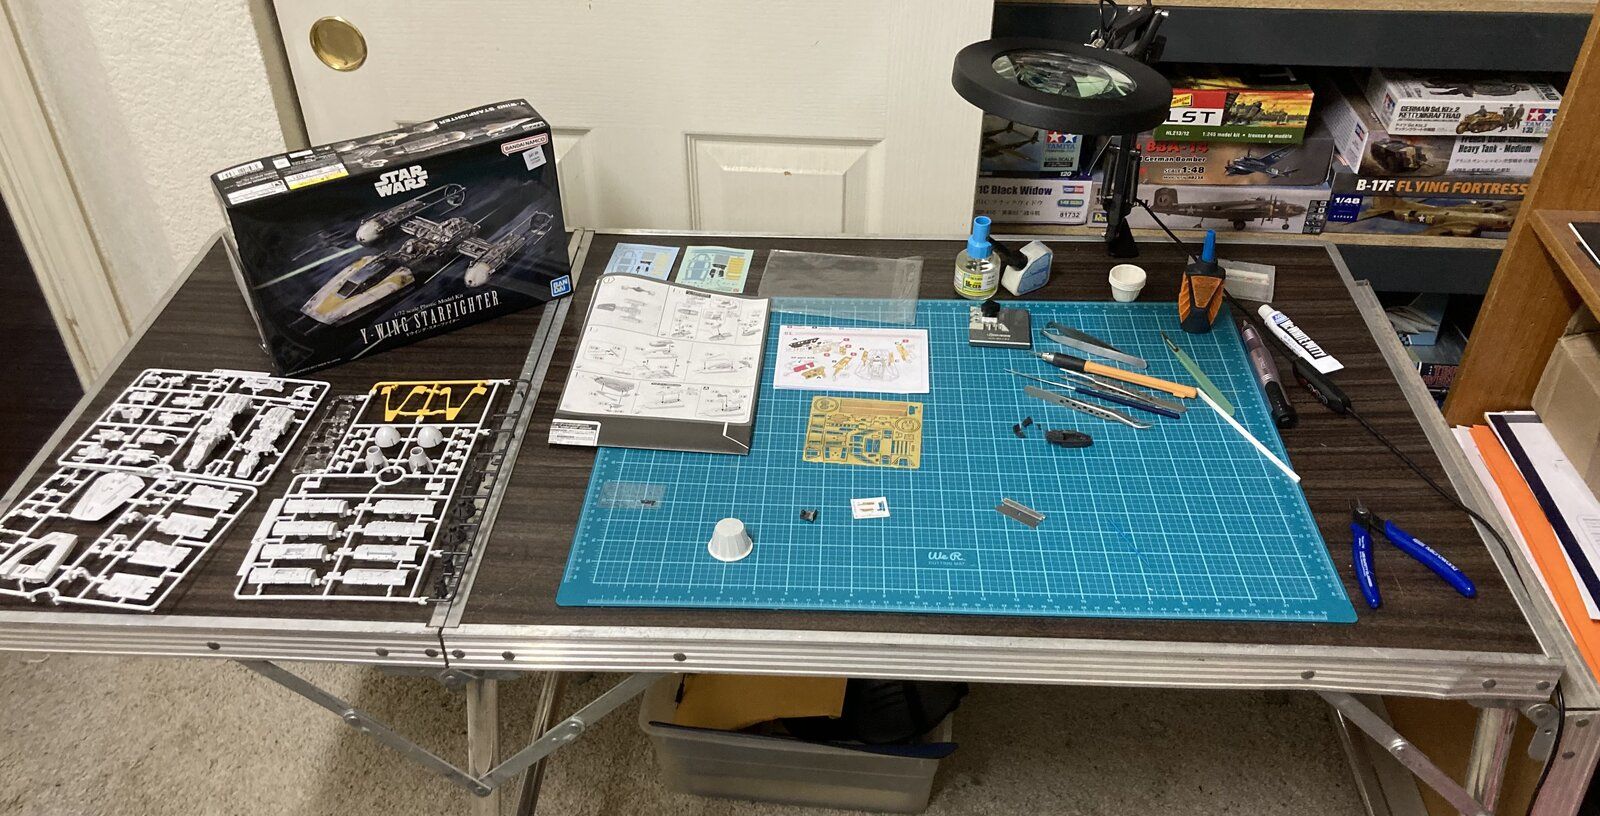
I started on the PE for the 1/72 Y-Wing.
Little teeny bits. The toothpick is for scale.

View attachment 119652

View attachment 119653

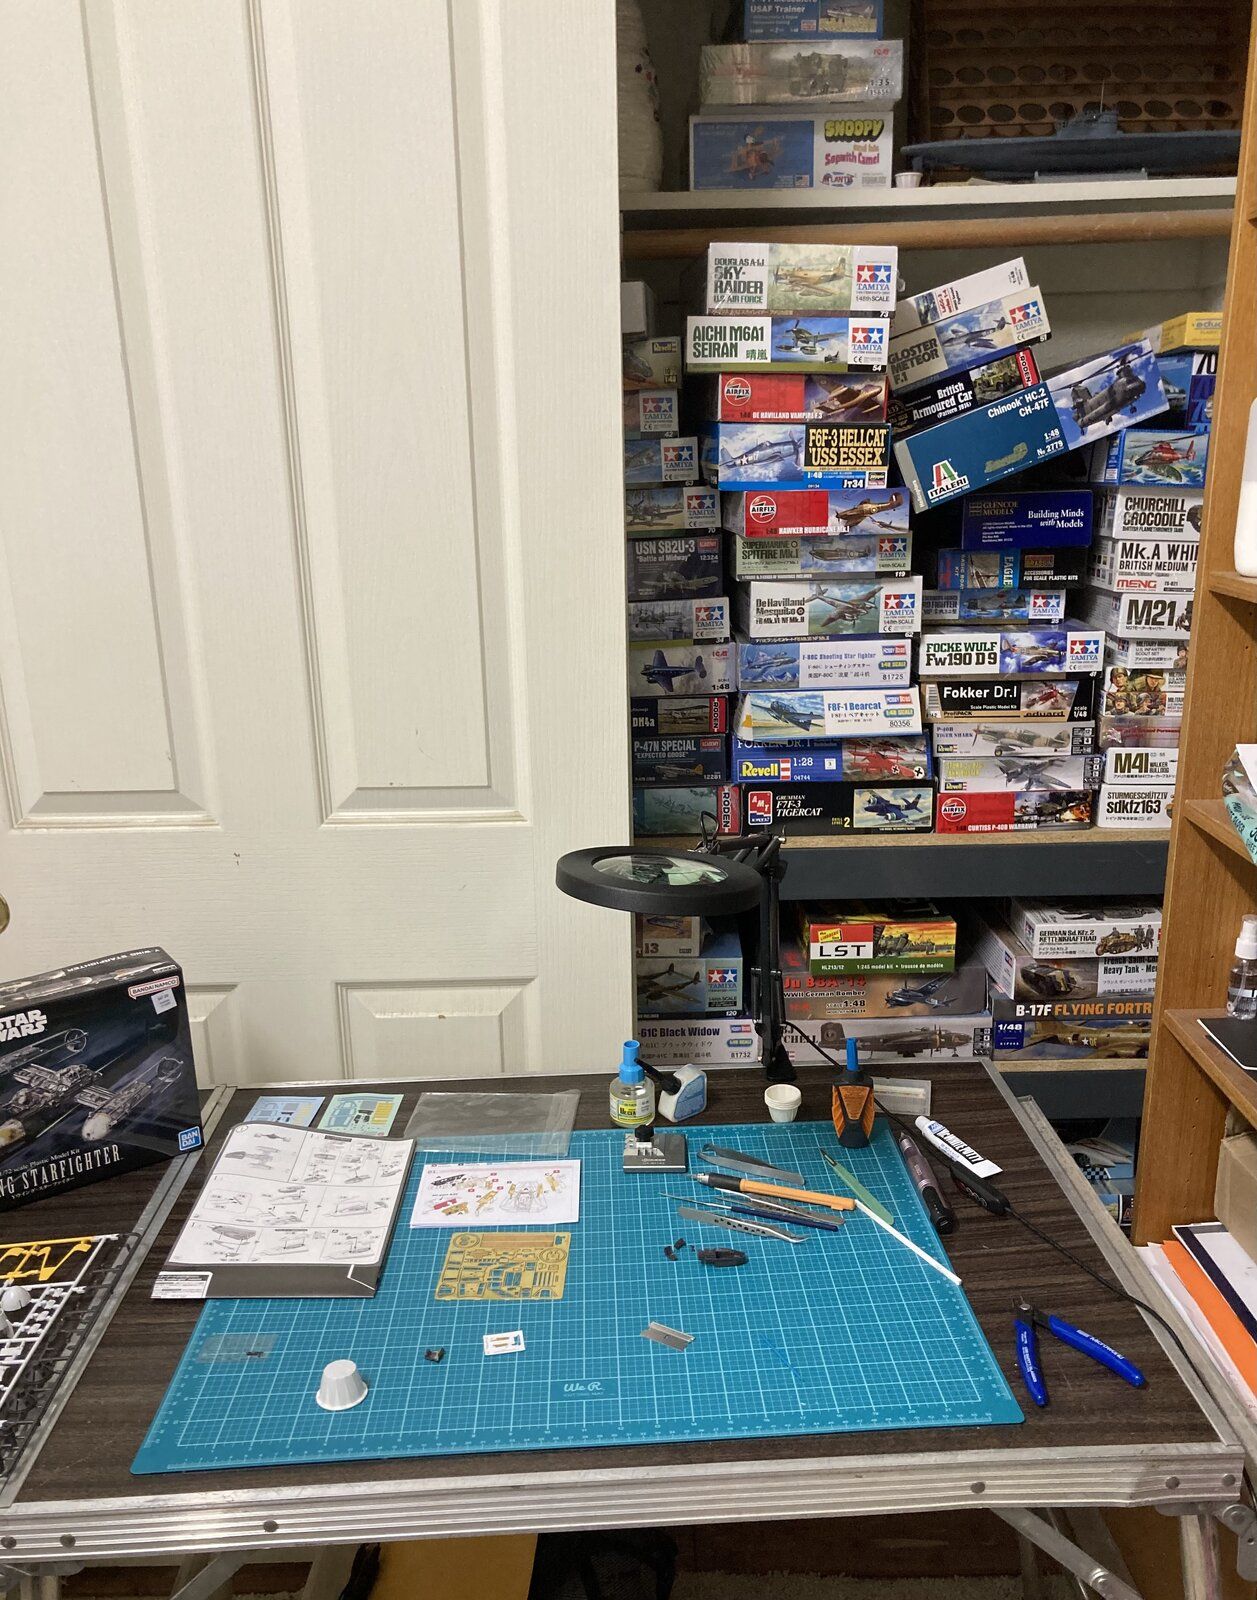
wait until you start planting all the greeblies and piping on the body. Not quite as bad as working with the Fine Molds one, but it is lots of tiny parts.

I think I spent as much time trying to find parts I dropped as I did building that area
 
wait until you start planting all the greeblies and piping on the body. Not quite as bad as working with the Fine Molds one, but it is lots of tiny parts.

I think I spent as much time trying to find parts I dropped as I did building that area
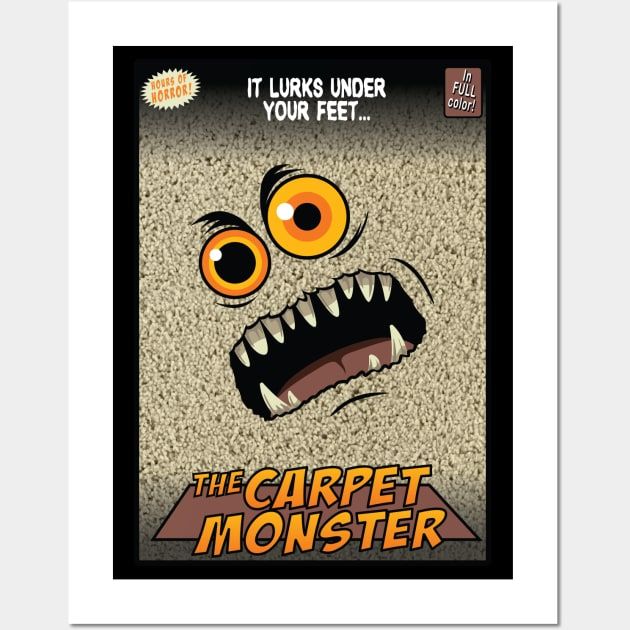
The dreaded carpet monster lives here too.

6009759_1 (2).jpg
 
so as a bench mark to where I am at, this is what I have done with the 1/72 Falcon so far

started back in 2017 !!! based on pic dates

First was to paint all the figures as I had to get the cockpit painted and buttoned up before continuing

They give you seated figures, which have great details, but are very rigidly posed. I have seen some amazing 3-D printed/resin cast figures but having already shelled out
I had got it on pre-order from Amazon way back when the kit was first released. Definitely the most expensive kit I have bought, but at least I got it for a decent discount price compared to MSRP at the time. Timing wise it coincided with my 20th anniversary at work and they gave me a bunch of gift cards otherwise it would have normally been well out of reach.

At any rate, not wanting to spend more I decide to try modifying the poses to make them more life like. So out came the green stuff and chopping off the stiff arms in lap poses

View attachment 119603
View attachment 119604

and finally all painted up

View attachment 119605
View attachment 119606

and eventually got Luke in there and just before snapping this picture I hooked up the lighting module that came with the kit

also realizing now how much dust has accumulated. Have to break out the duster
View attachment 119619
View attachment 119629
View attachment 119620

View attachment 119630

I want to have C-3P0 standing there in the back so I had to convert him from a sitting poses to a standing one
View attachment 119627
View attachment 119628
Very nice, I've thought the same thing when I would take zoomed in shot and later think that they will not be looked at with magnifying glass.
 
I have the one that has the white metal Han in carbonite.

Have Boba painted up, but not Han yet
View attachment 119641

I really wanted to pick up the Jango Fett version as well (which is just a few sprue piece differences) but that is out of my price range at this point
Nice, I know I have a couple Jango Slave I. I have a Fine Molds that is in a blue box that I wanna say is 1/72 but don't remember for sure. I got it considerably cheaper than this Boba one. It has completely different graphics on it.
 
Sorry guys, I had to start. My weekend and coming week will be busy. This weekend I am tasked with repairing our fence that was damaged during the tornadoes/high straight-line wind, earlier this month.
Next week is just busy.
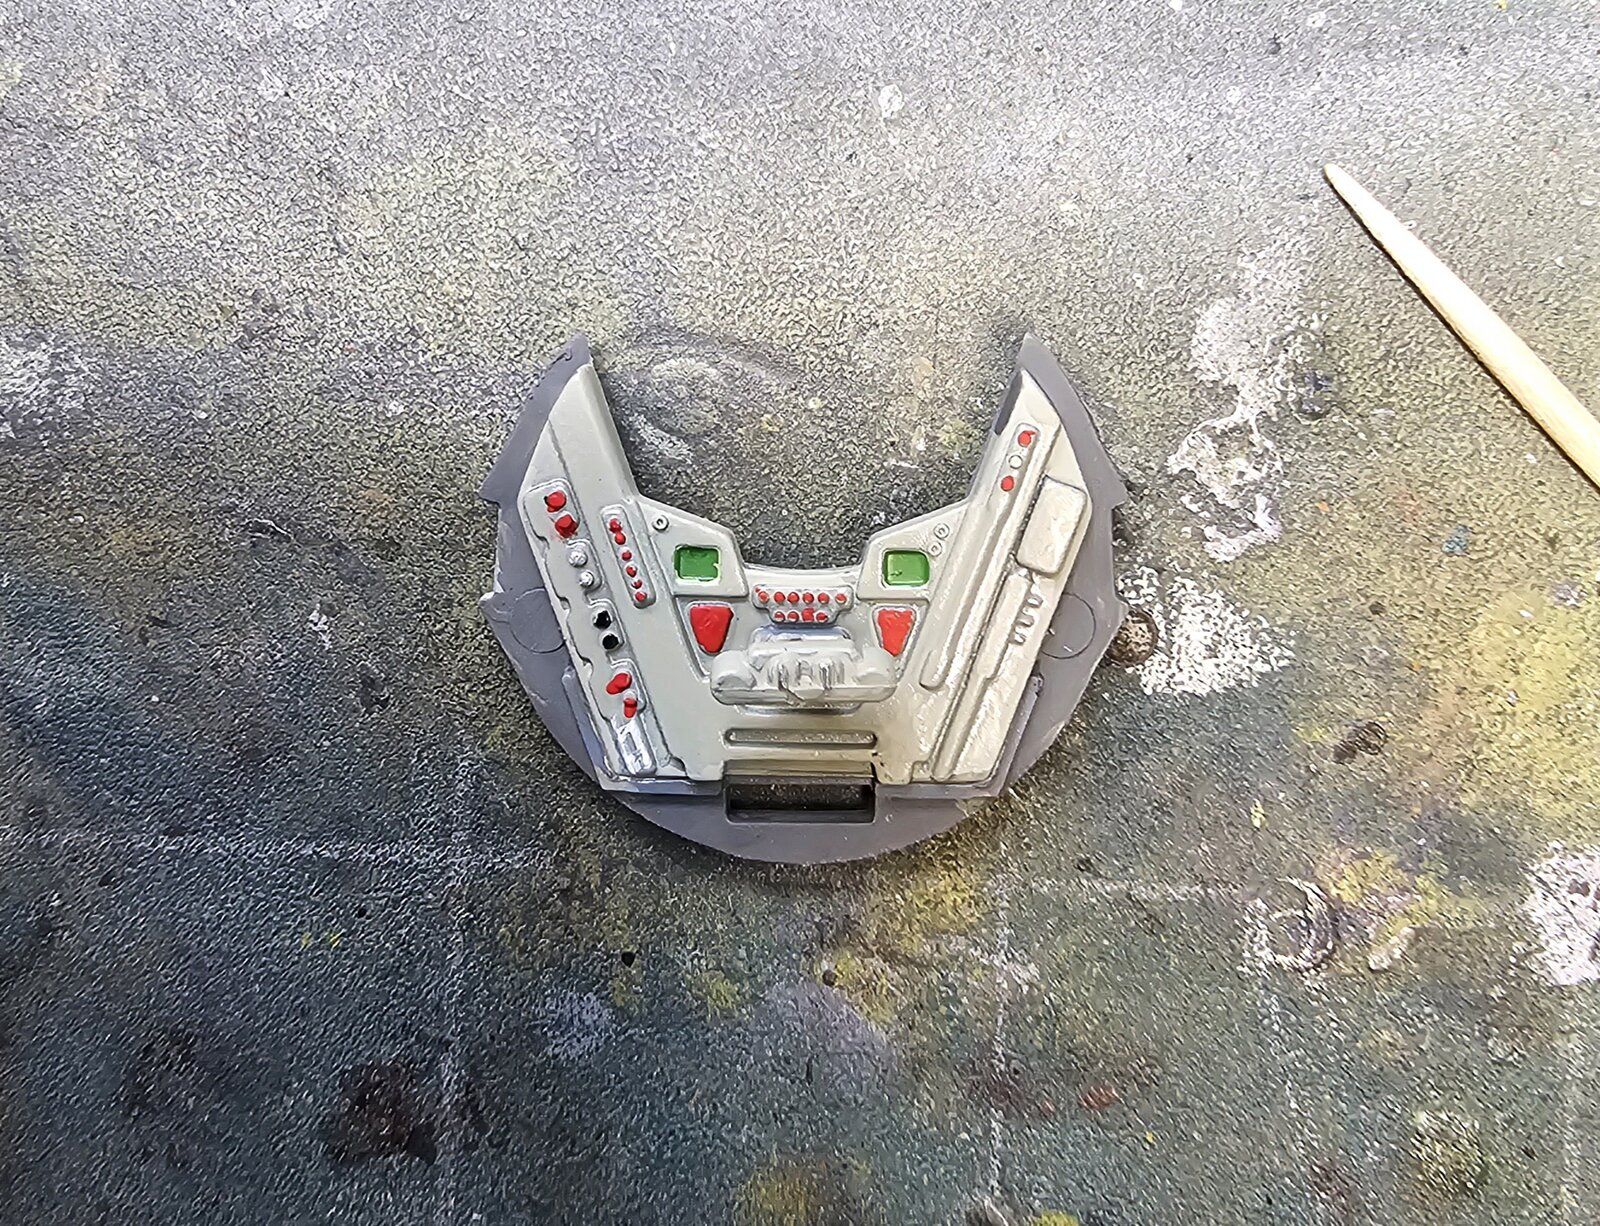
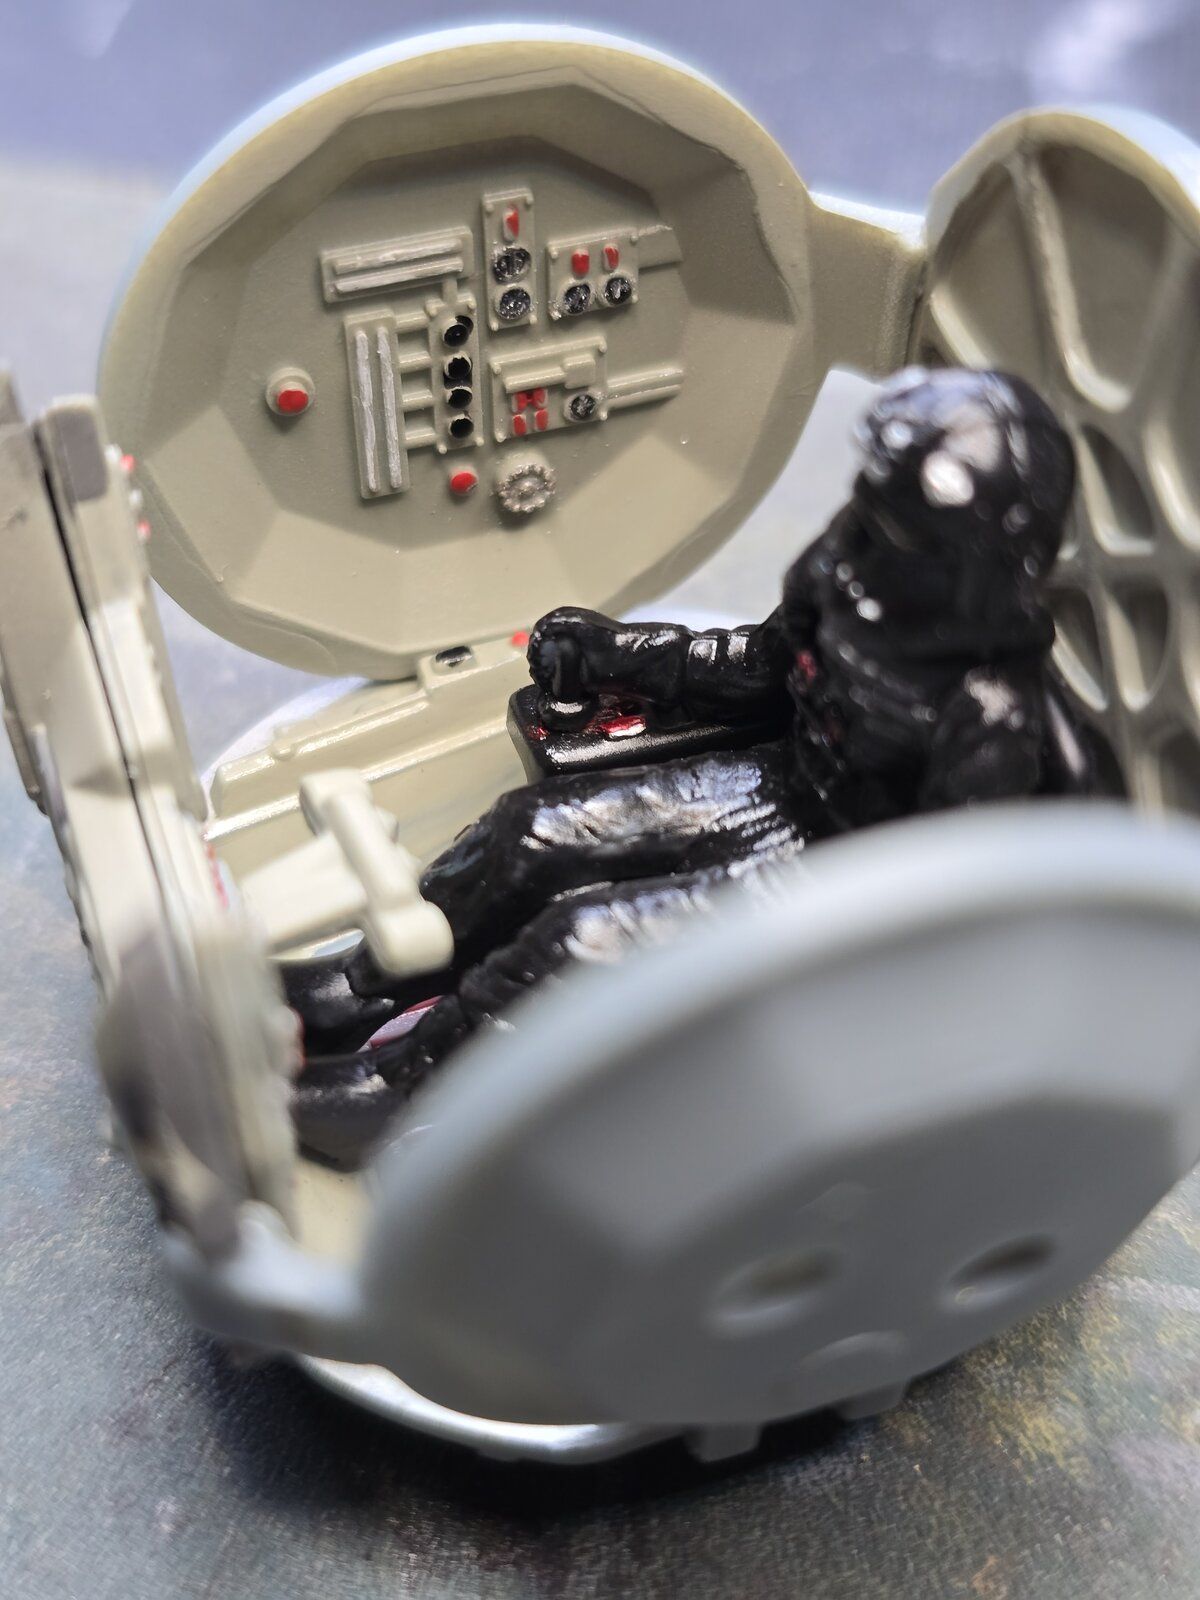
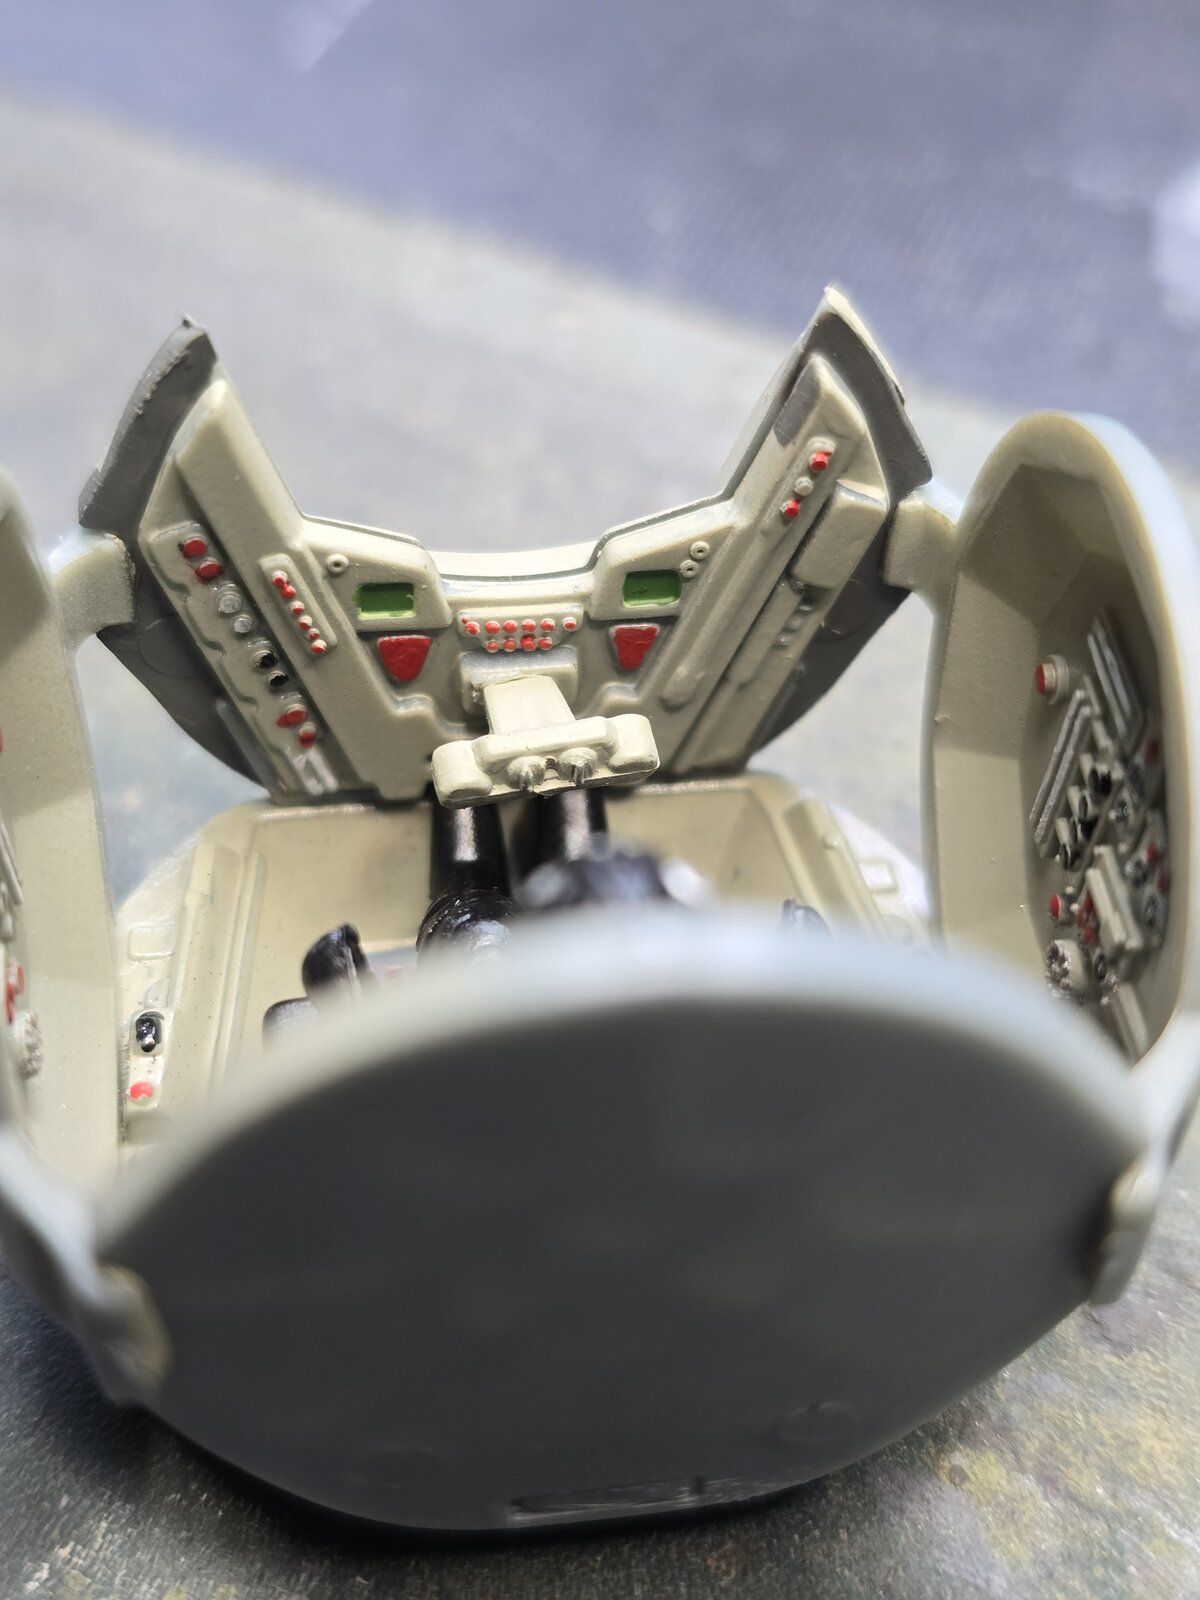
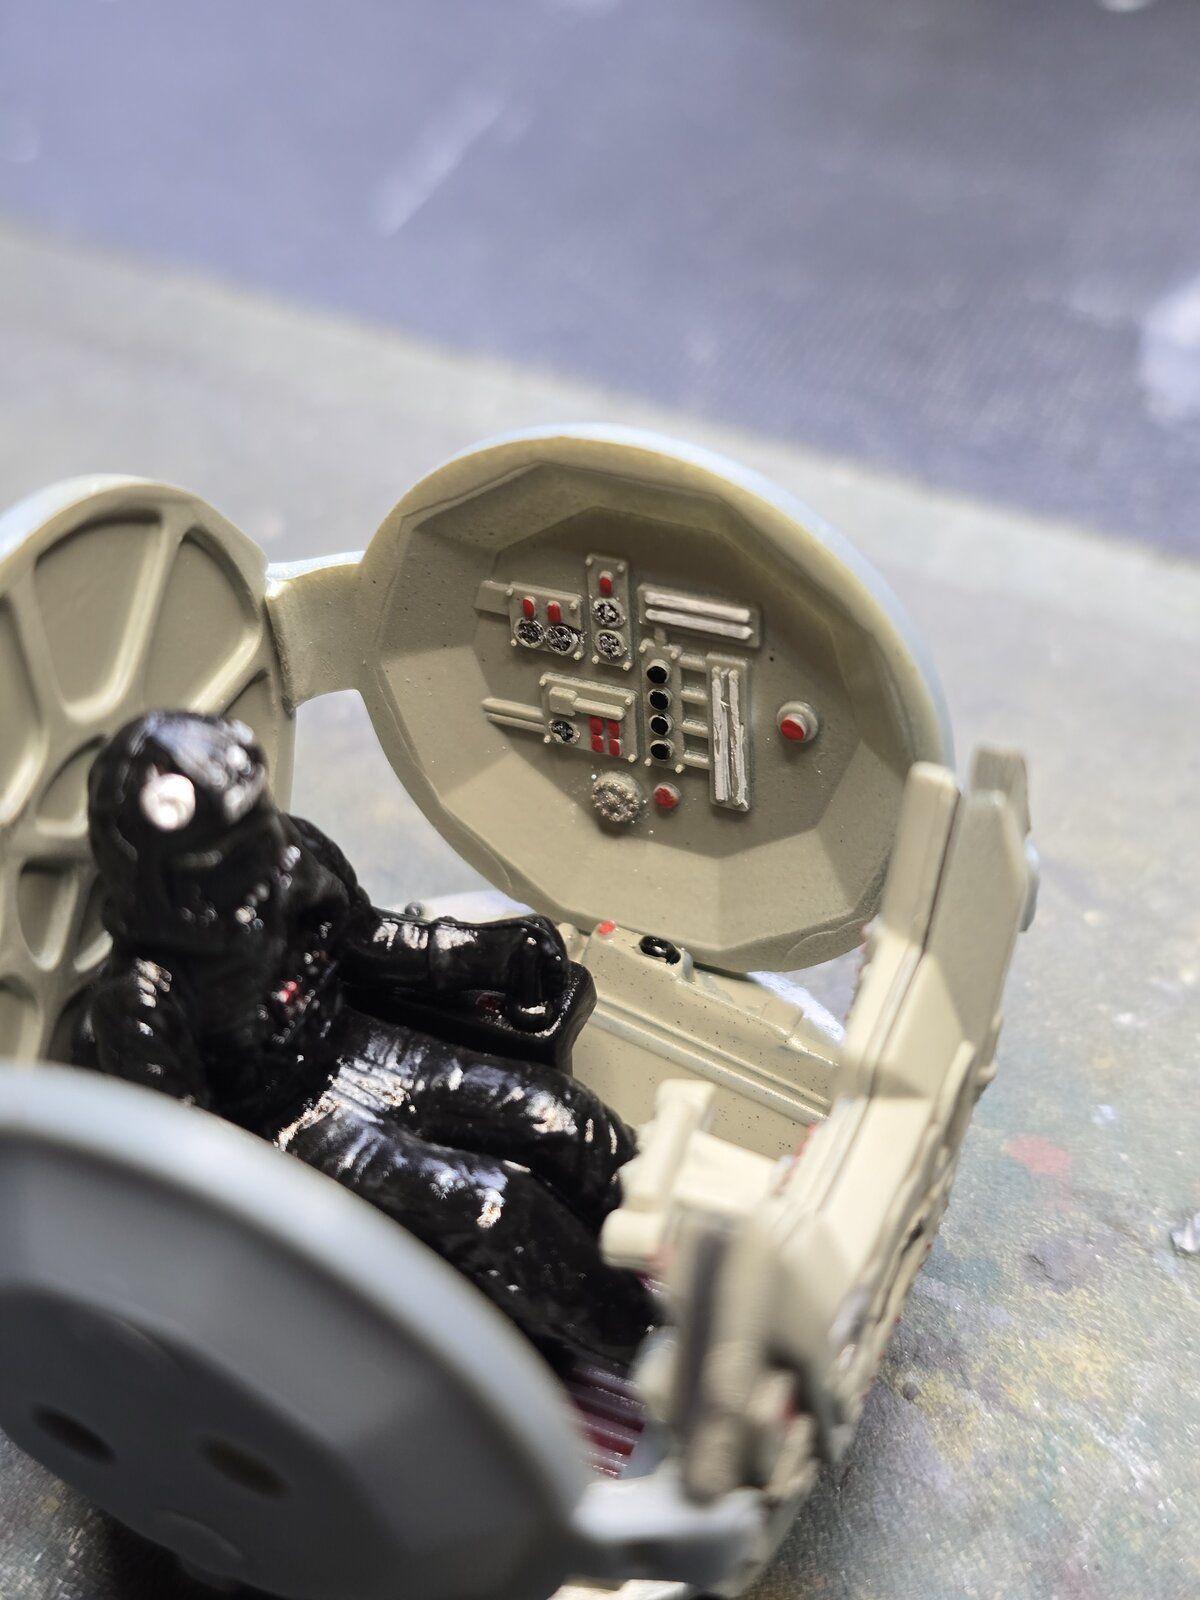
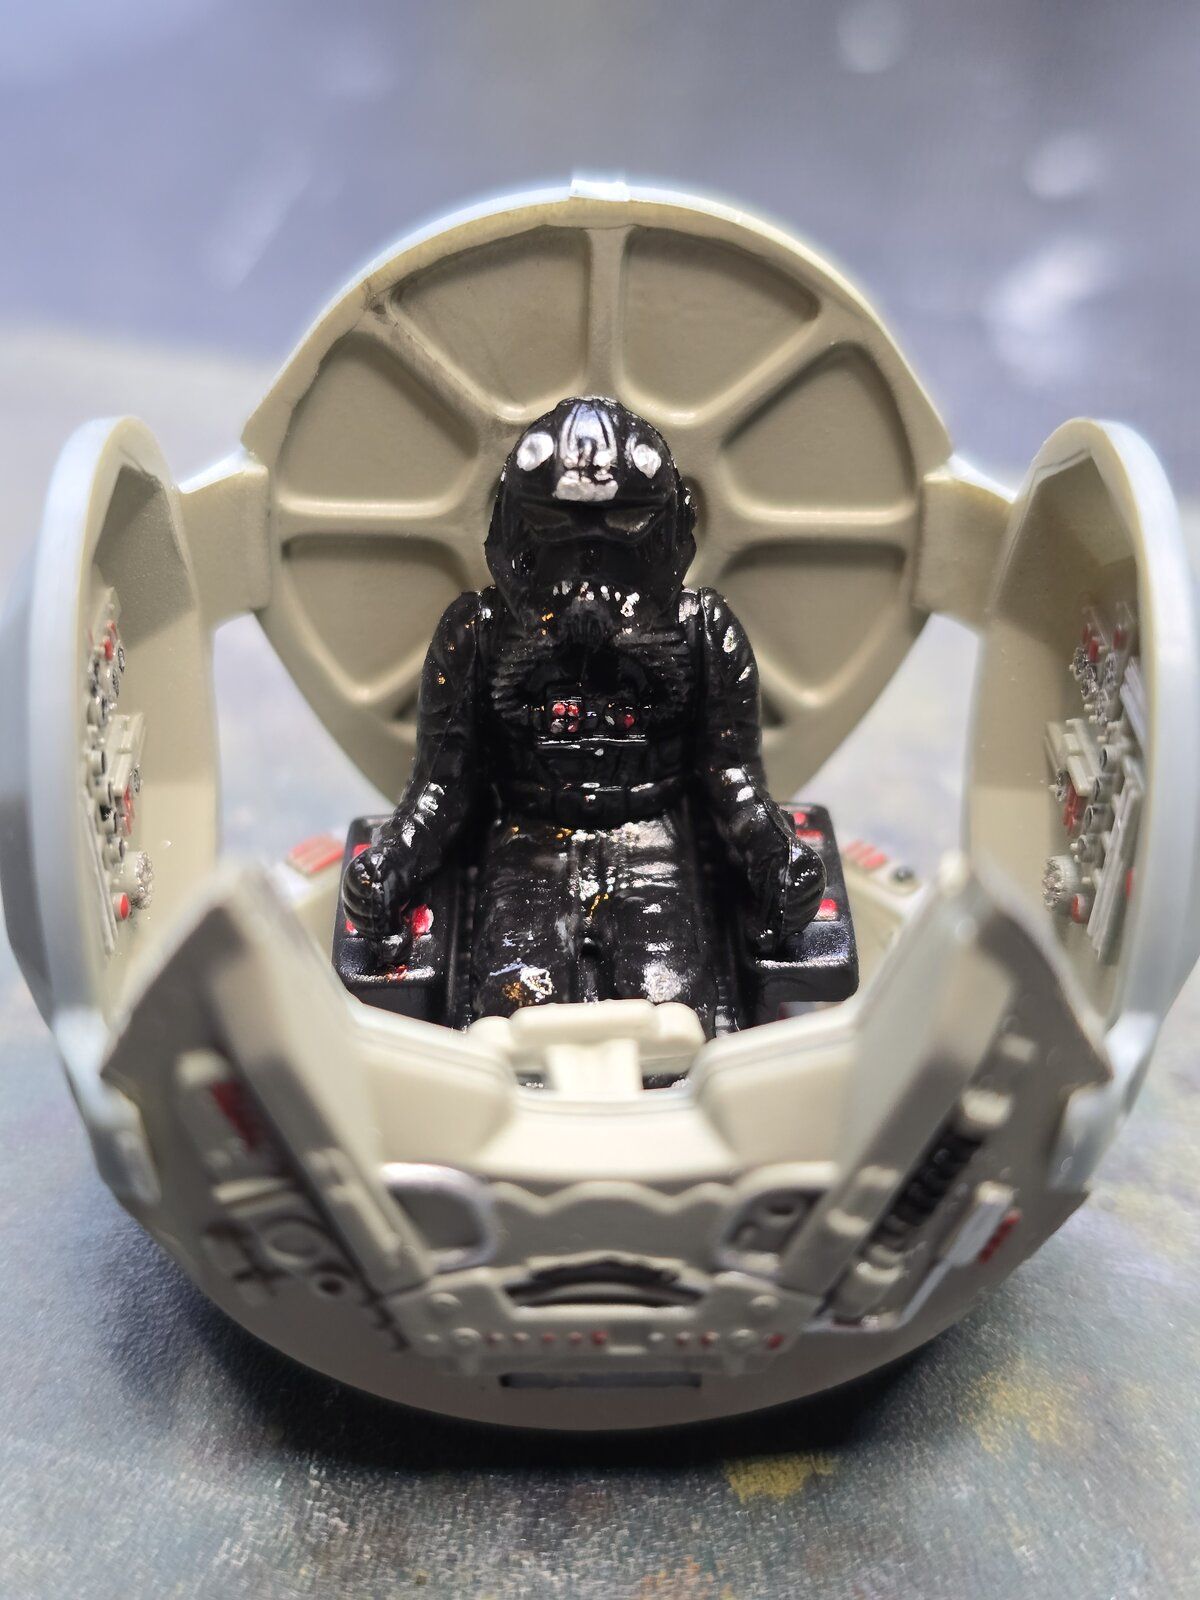
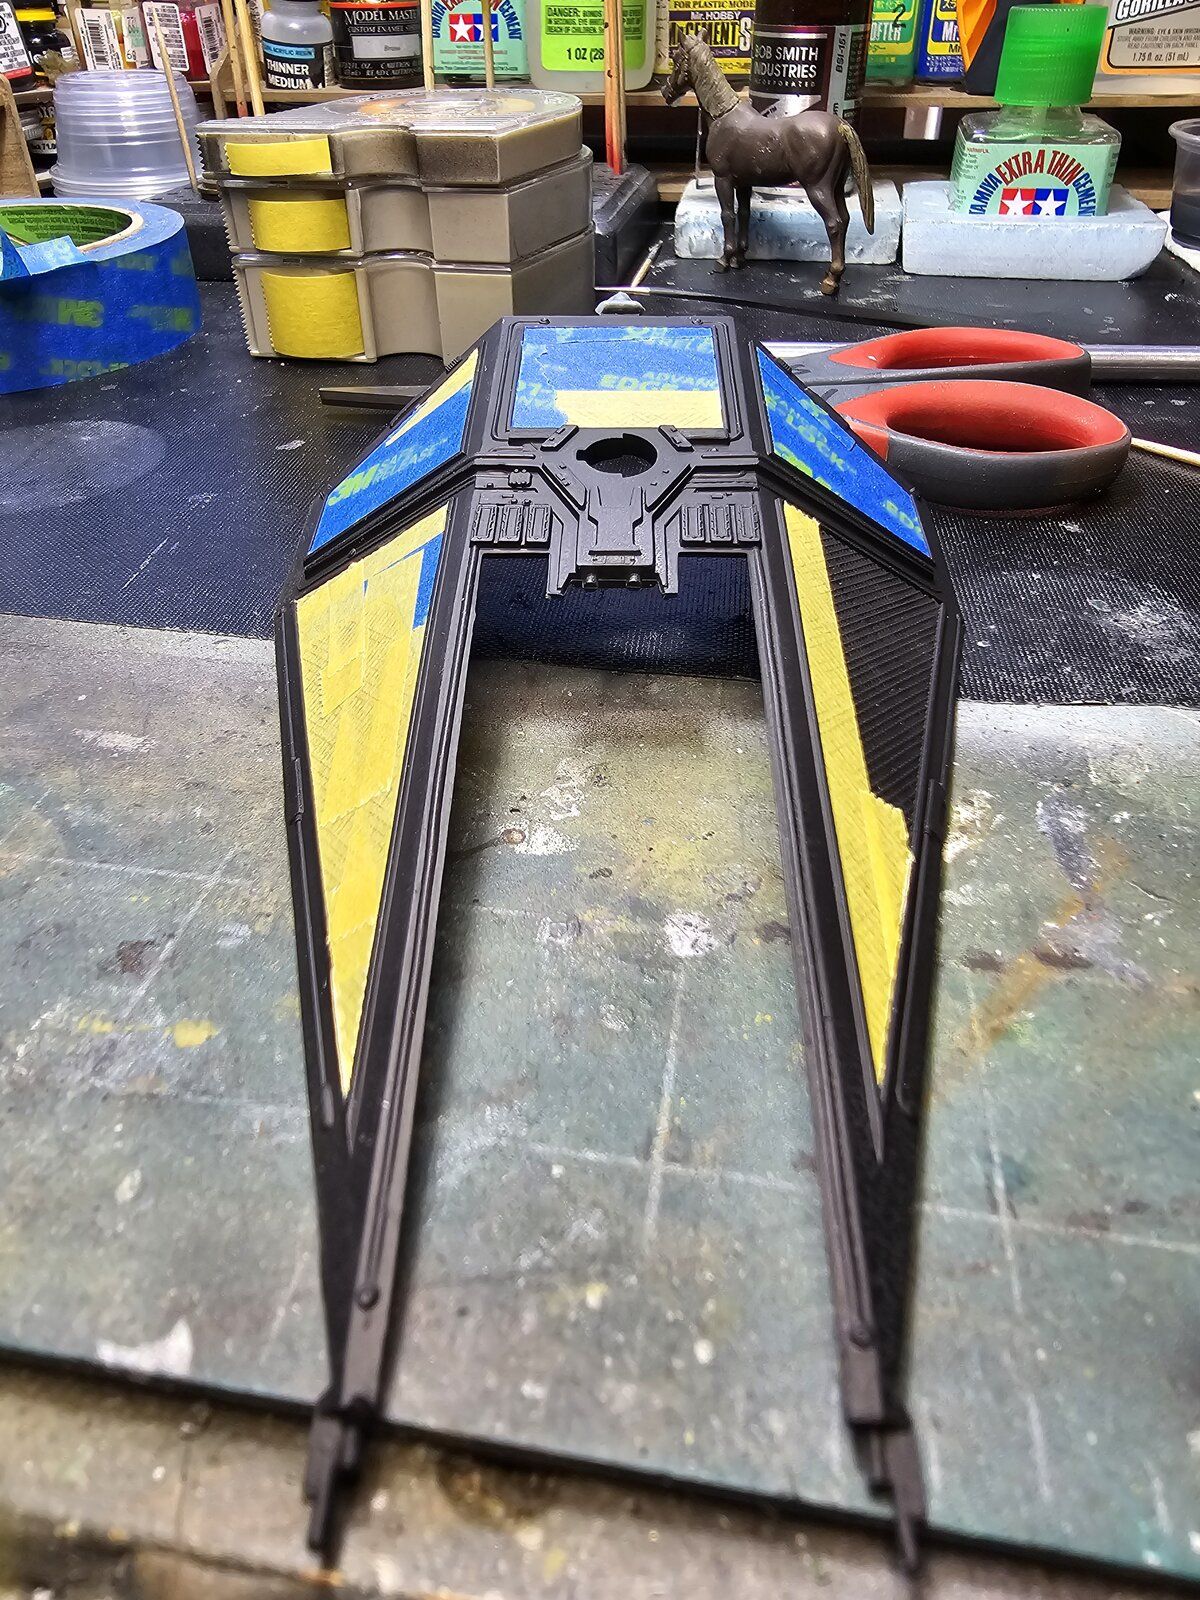
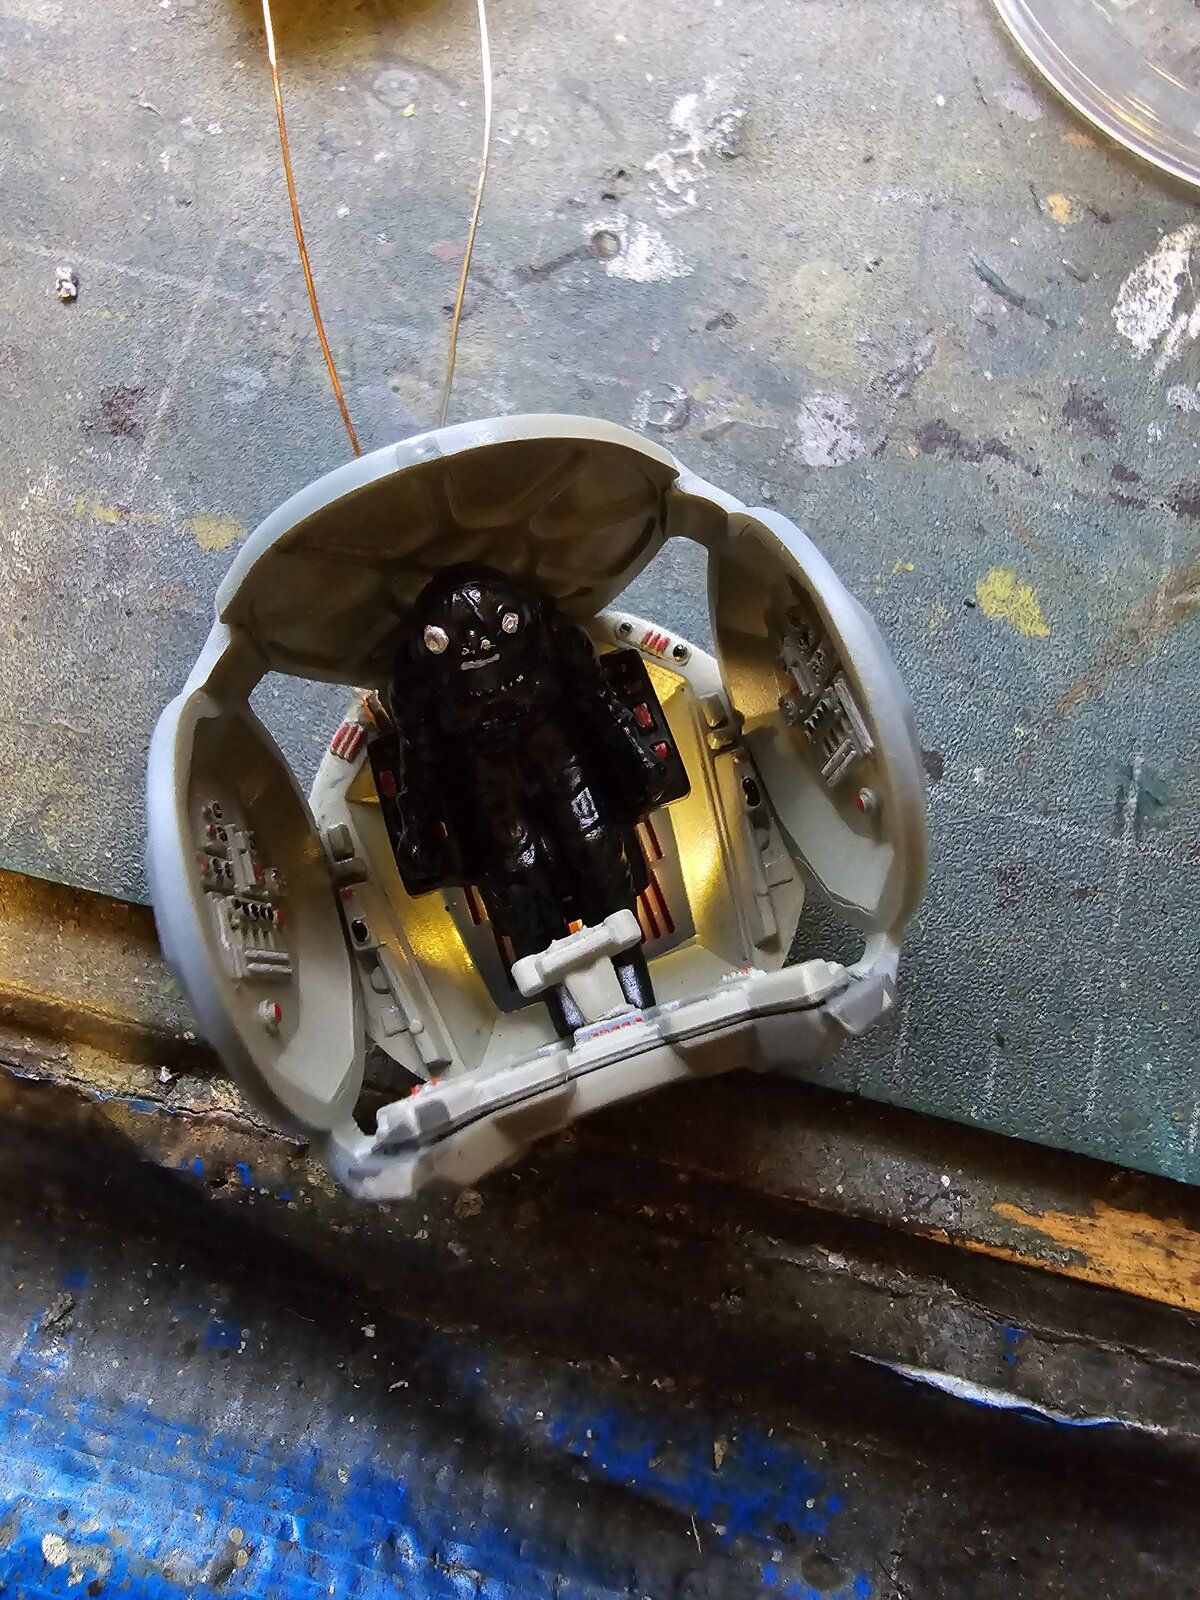
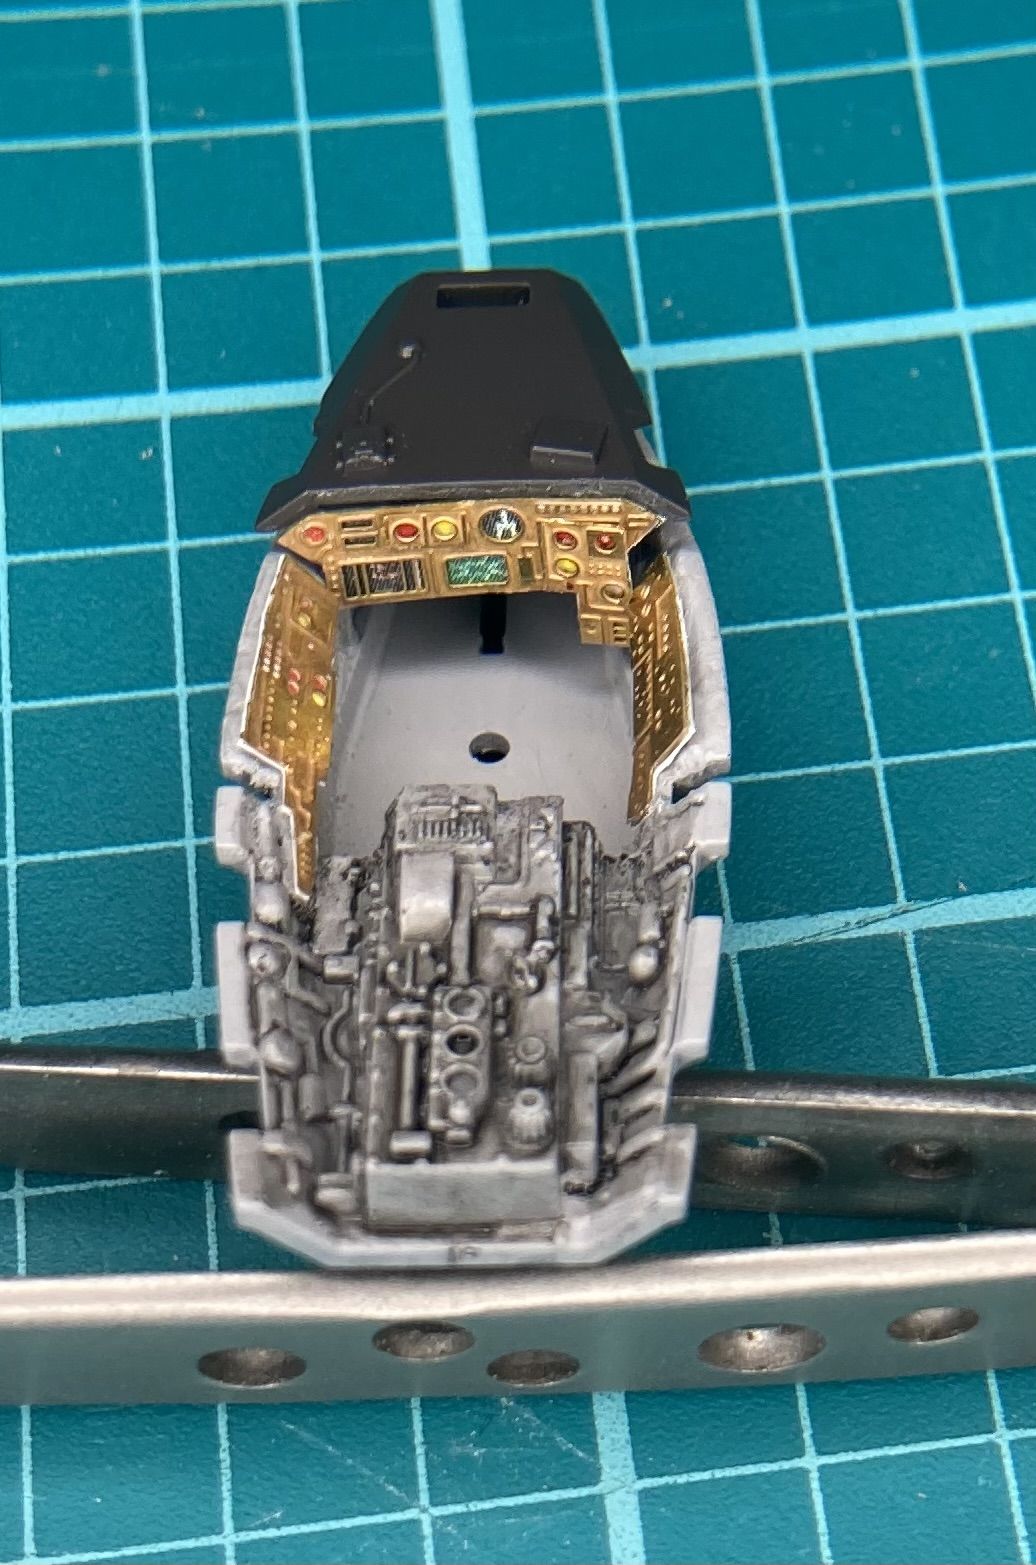
With that said I have my cockpit completed and one wing being taped.
I still want to try lighting inside. My micro LEDs should be here this afternoon.

20240711_123329.jpg


20240711_130723.jpg


20240711_130731.jpg


20240711_130741.jpg


20240711_130748.jpg


20240710_160812.jpg
 
Well, the light idea is a bust. I've been trying for almost an hour to have lights in the cockpit. I think I shouldn't have gotten warm white and should have gotten the bright white or even red, but, live and learn.
I think it will be fine without lights.

View attachment 119744

Are you struggling to position them? Or is it something to do with the wiring? If it's the colour - could you paint the LED's with a super light coating of red? Or even find some red cellophane or transparent plastic?
 
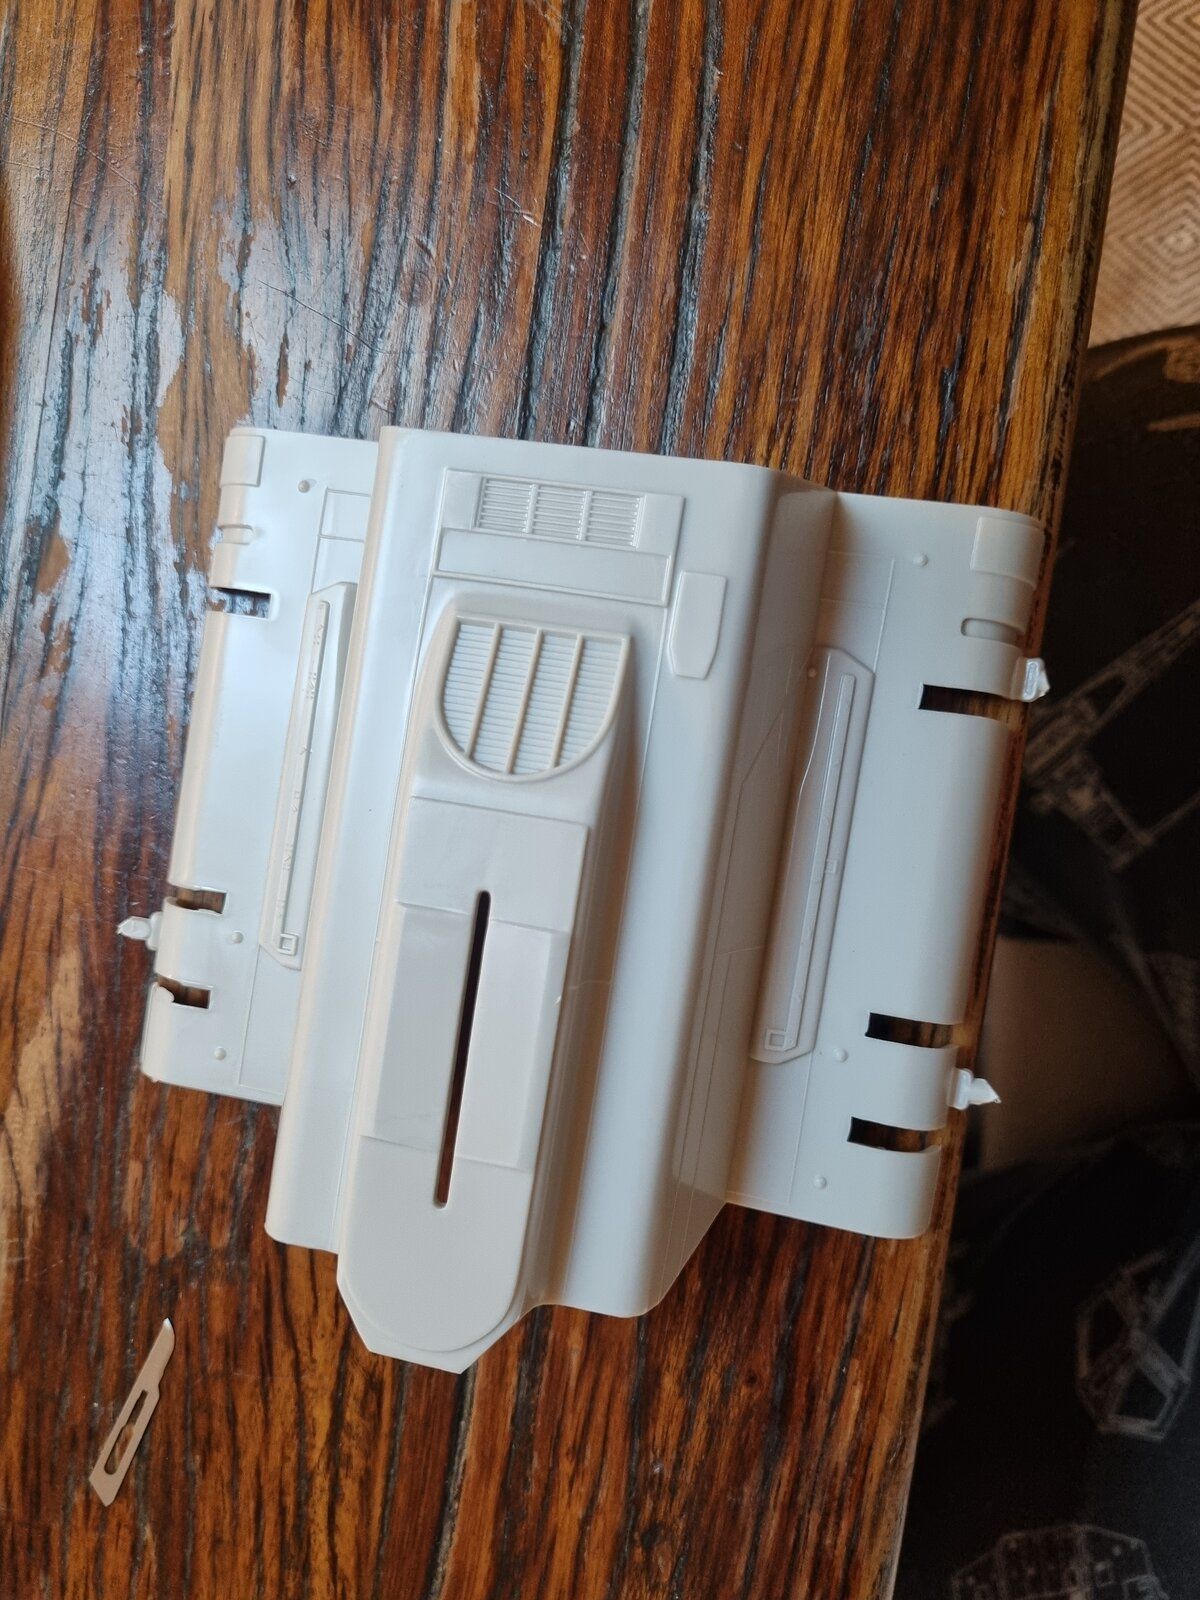
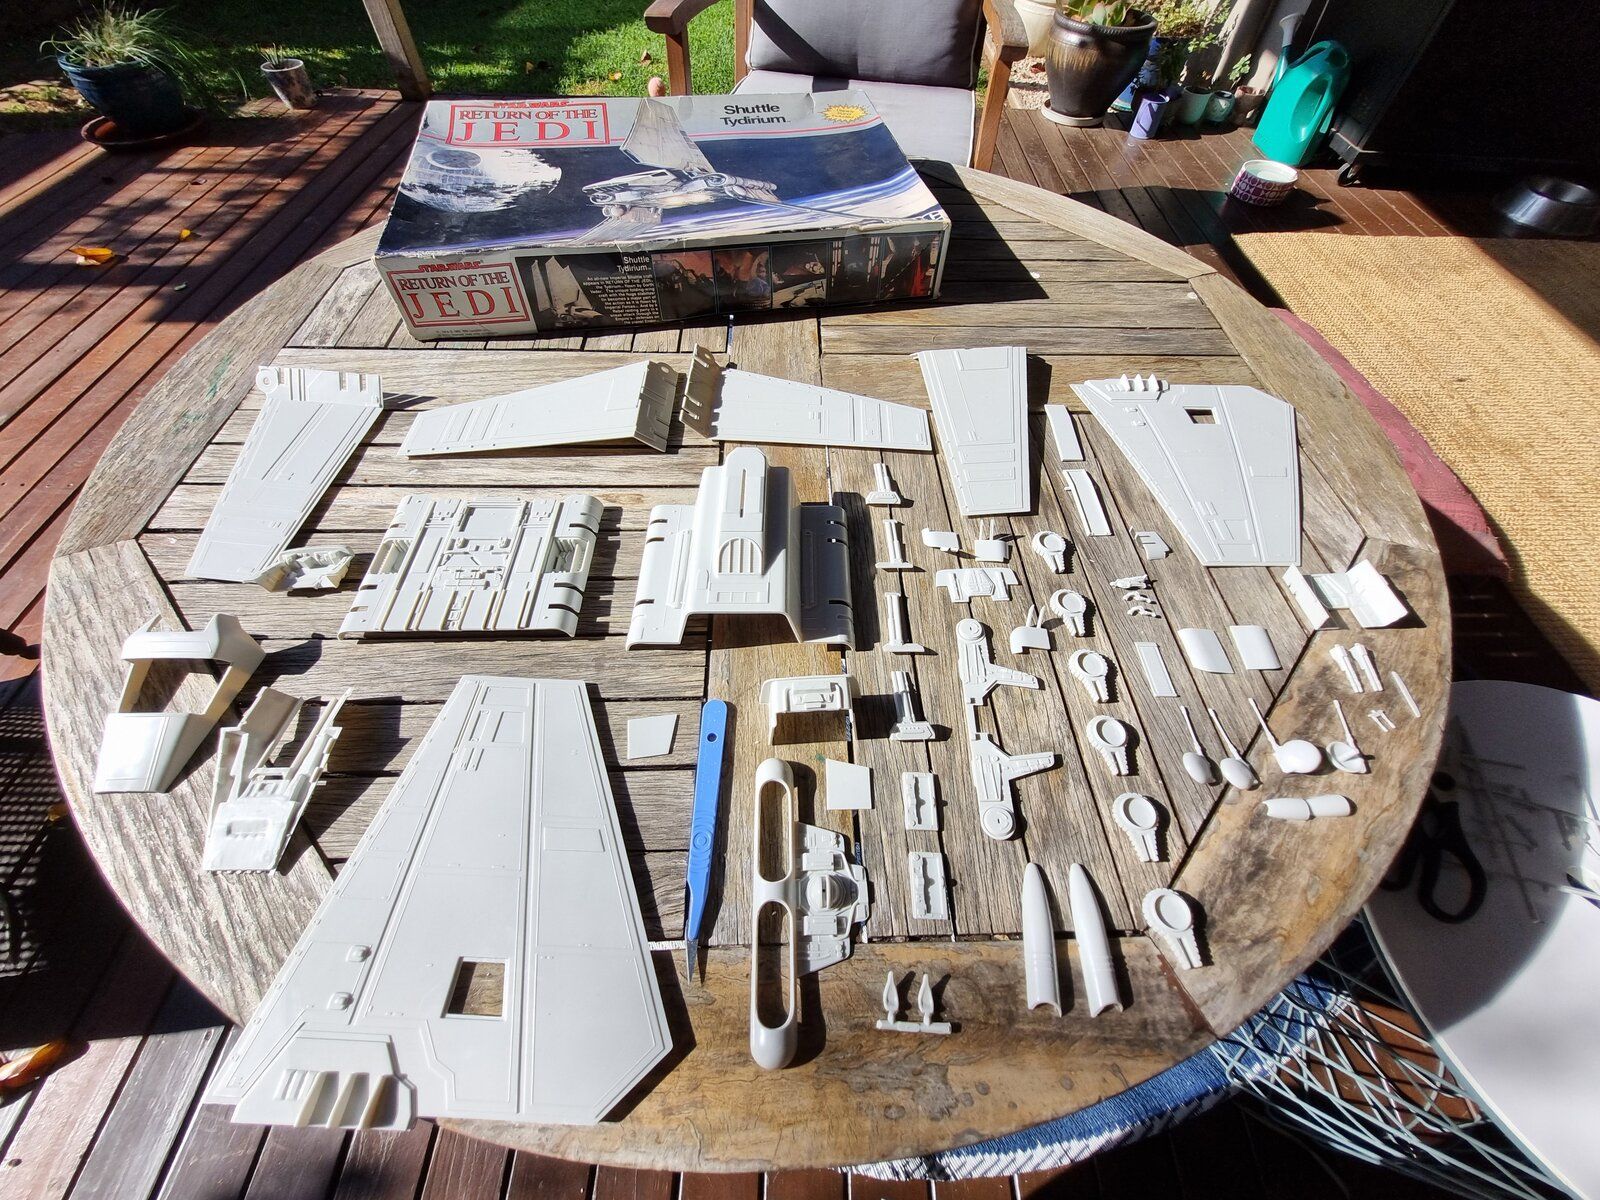
Okay, well - since Gary has made a start, I'll make a start myself. In my introductory post I mentioned I built the ST-321 about 20 years ago but I had no idea what I was doing then and it was a shoddy job. I made it a bucket list item that I would re-do it properly one day and now, here we are. I've learned so much about model building in all the years since so I'm hoping I can realise the dream I had/have.

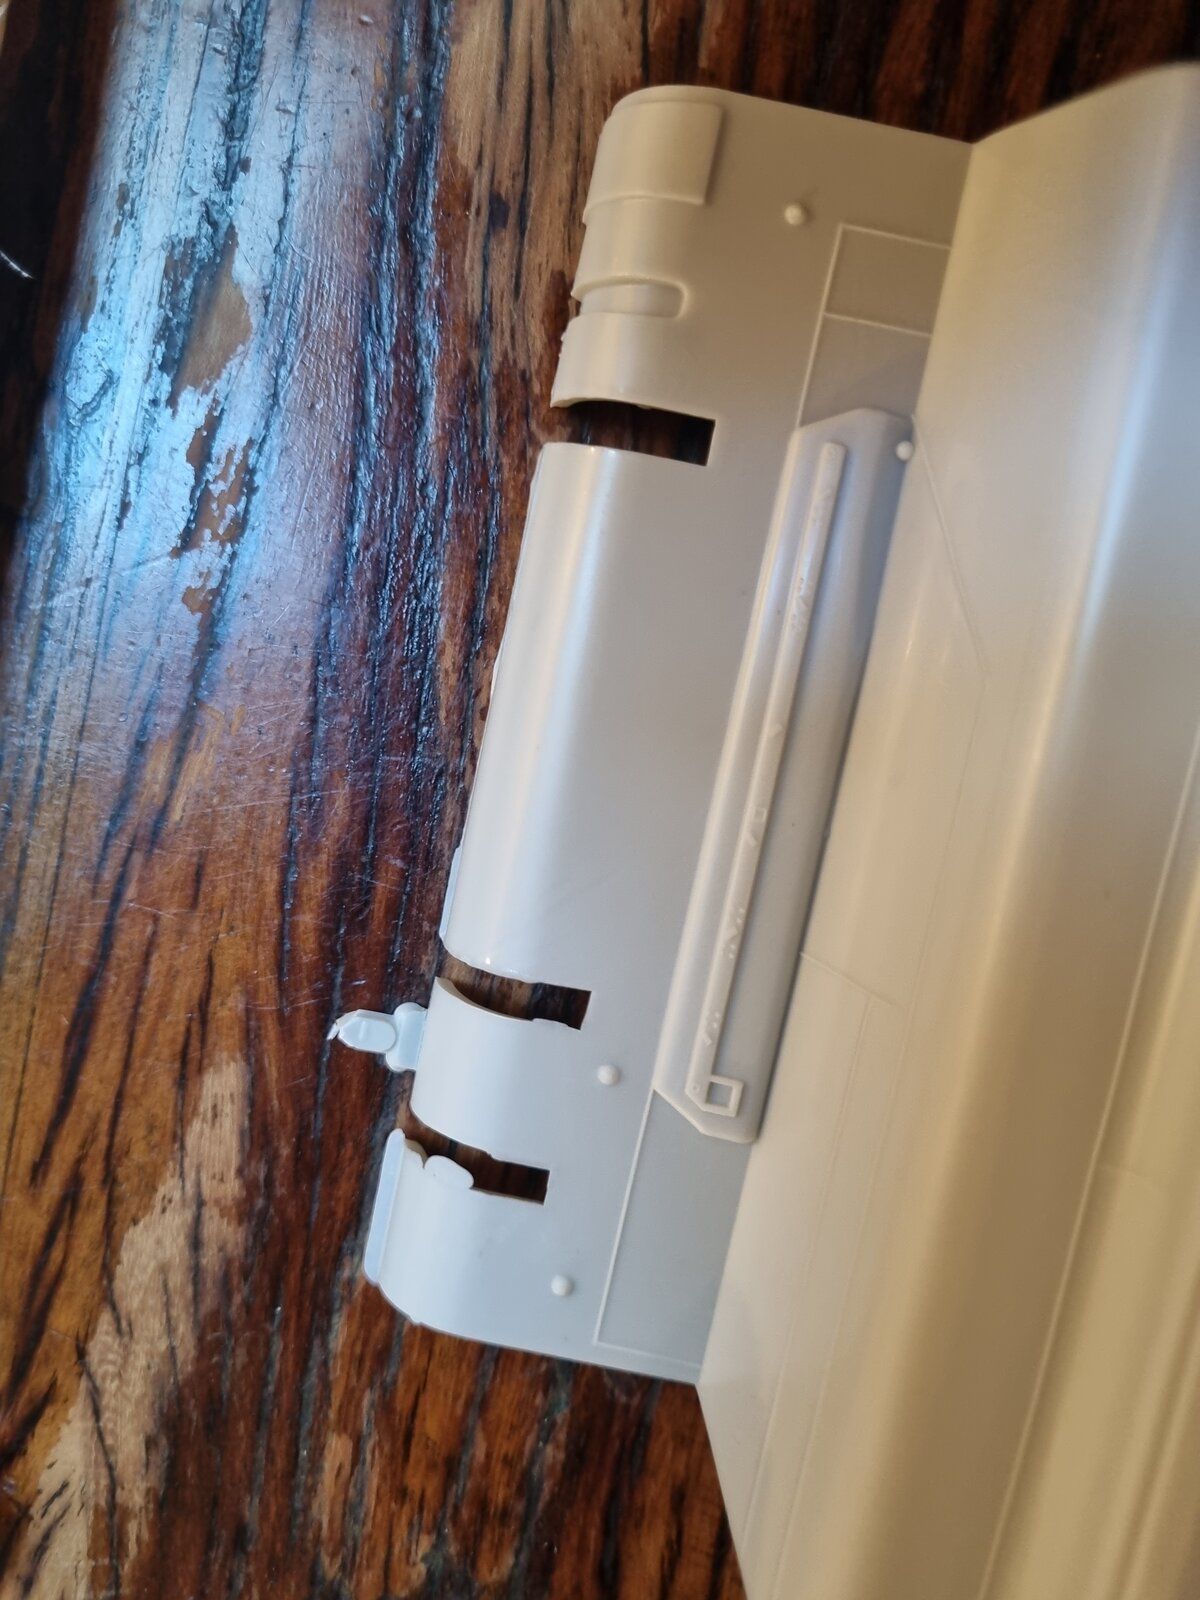
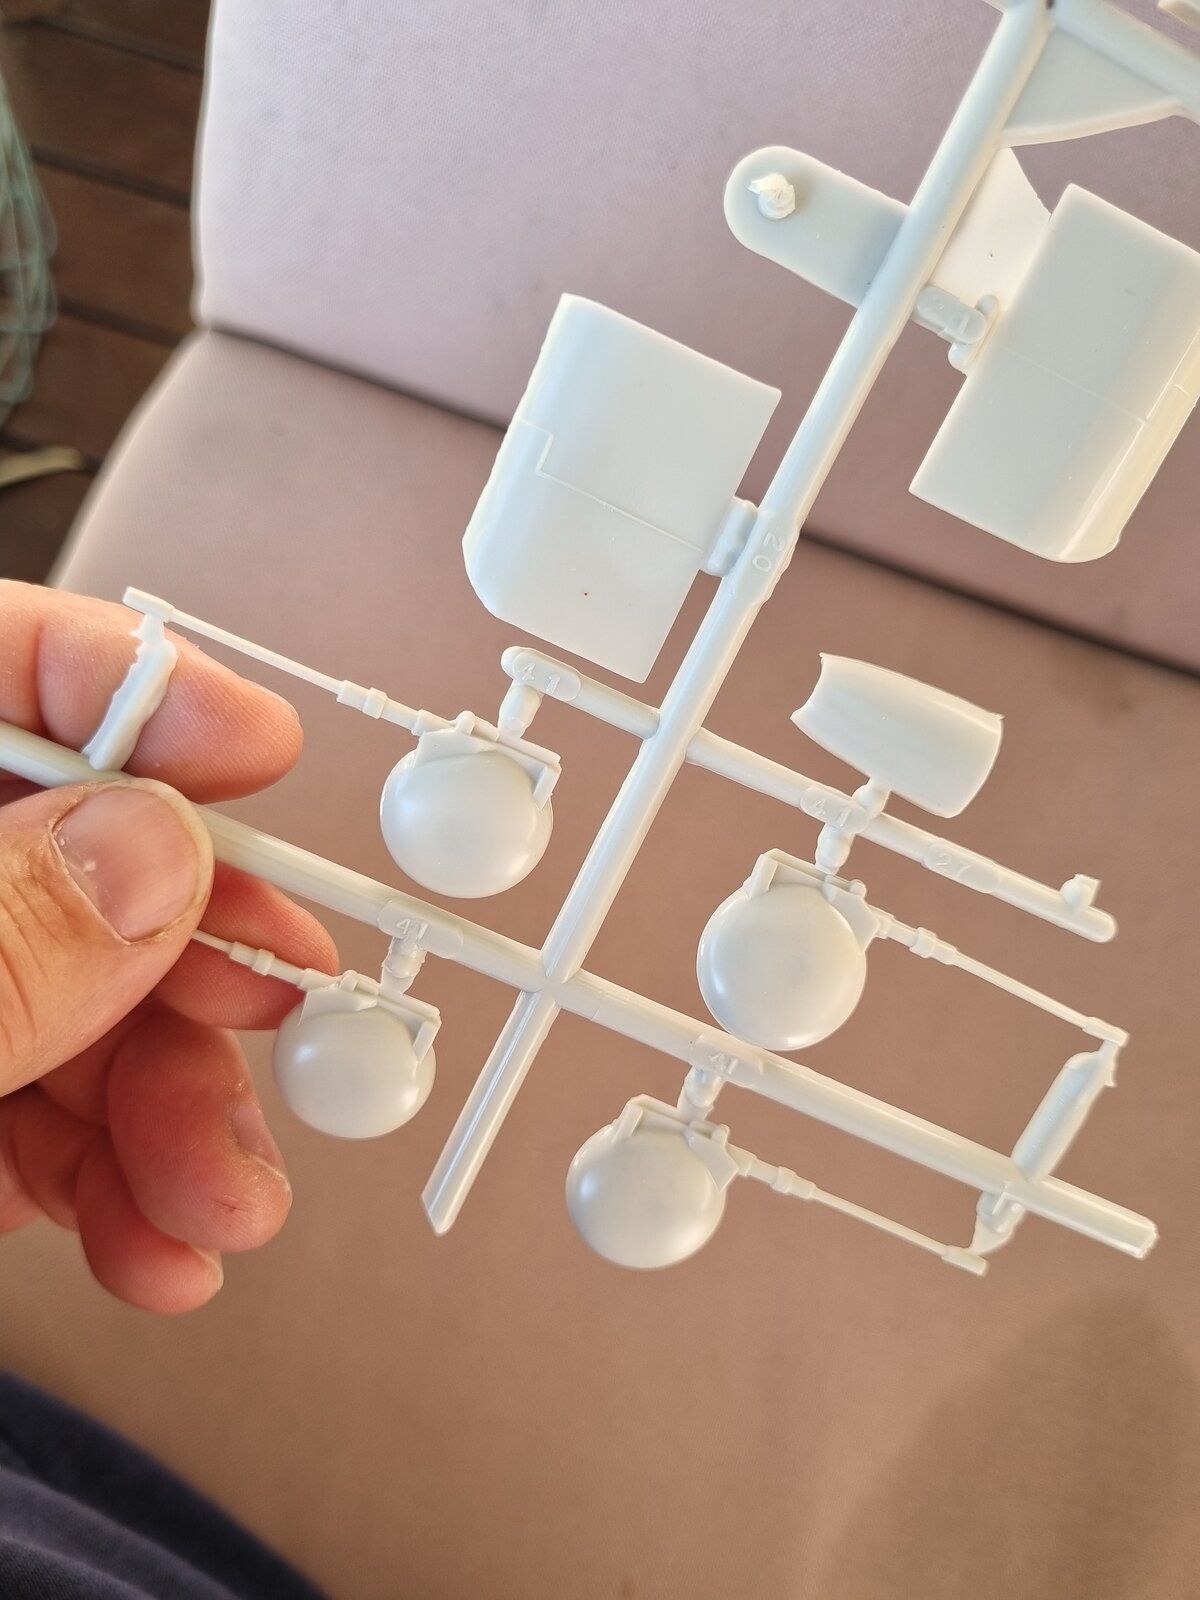
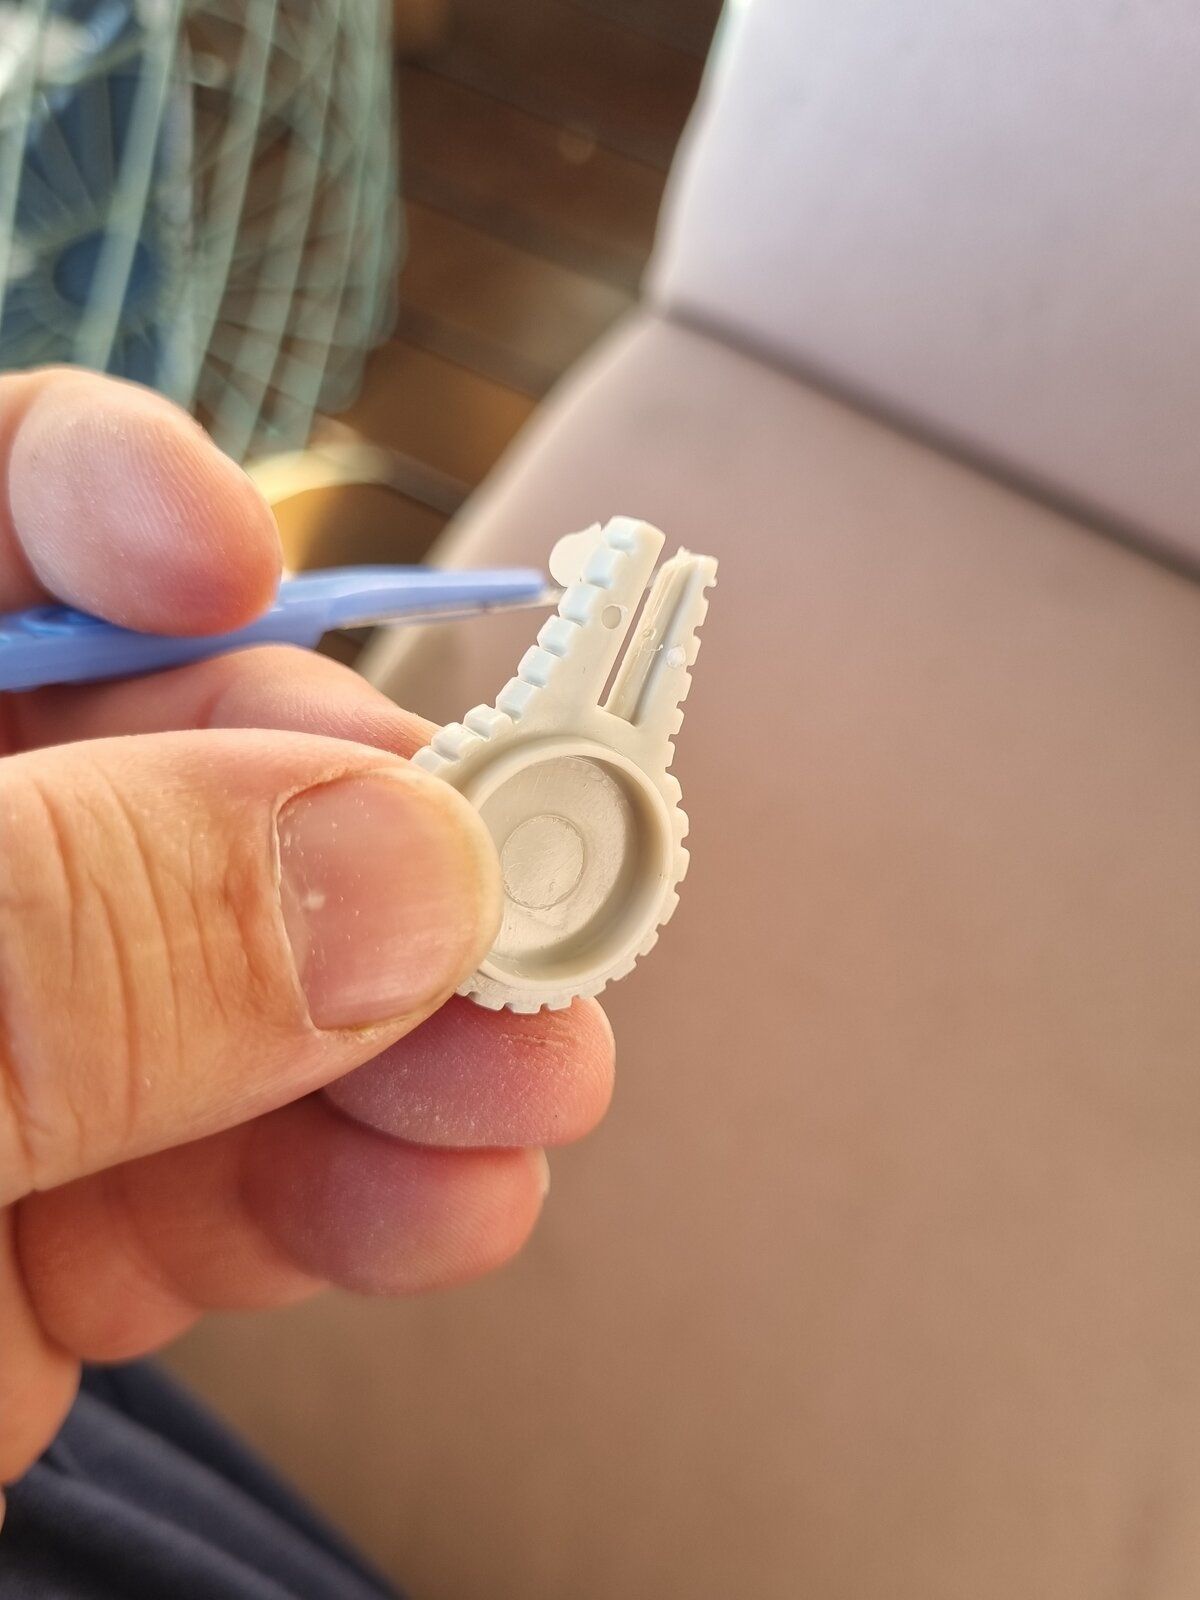
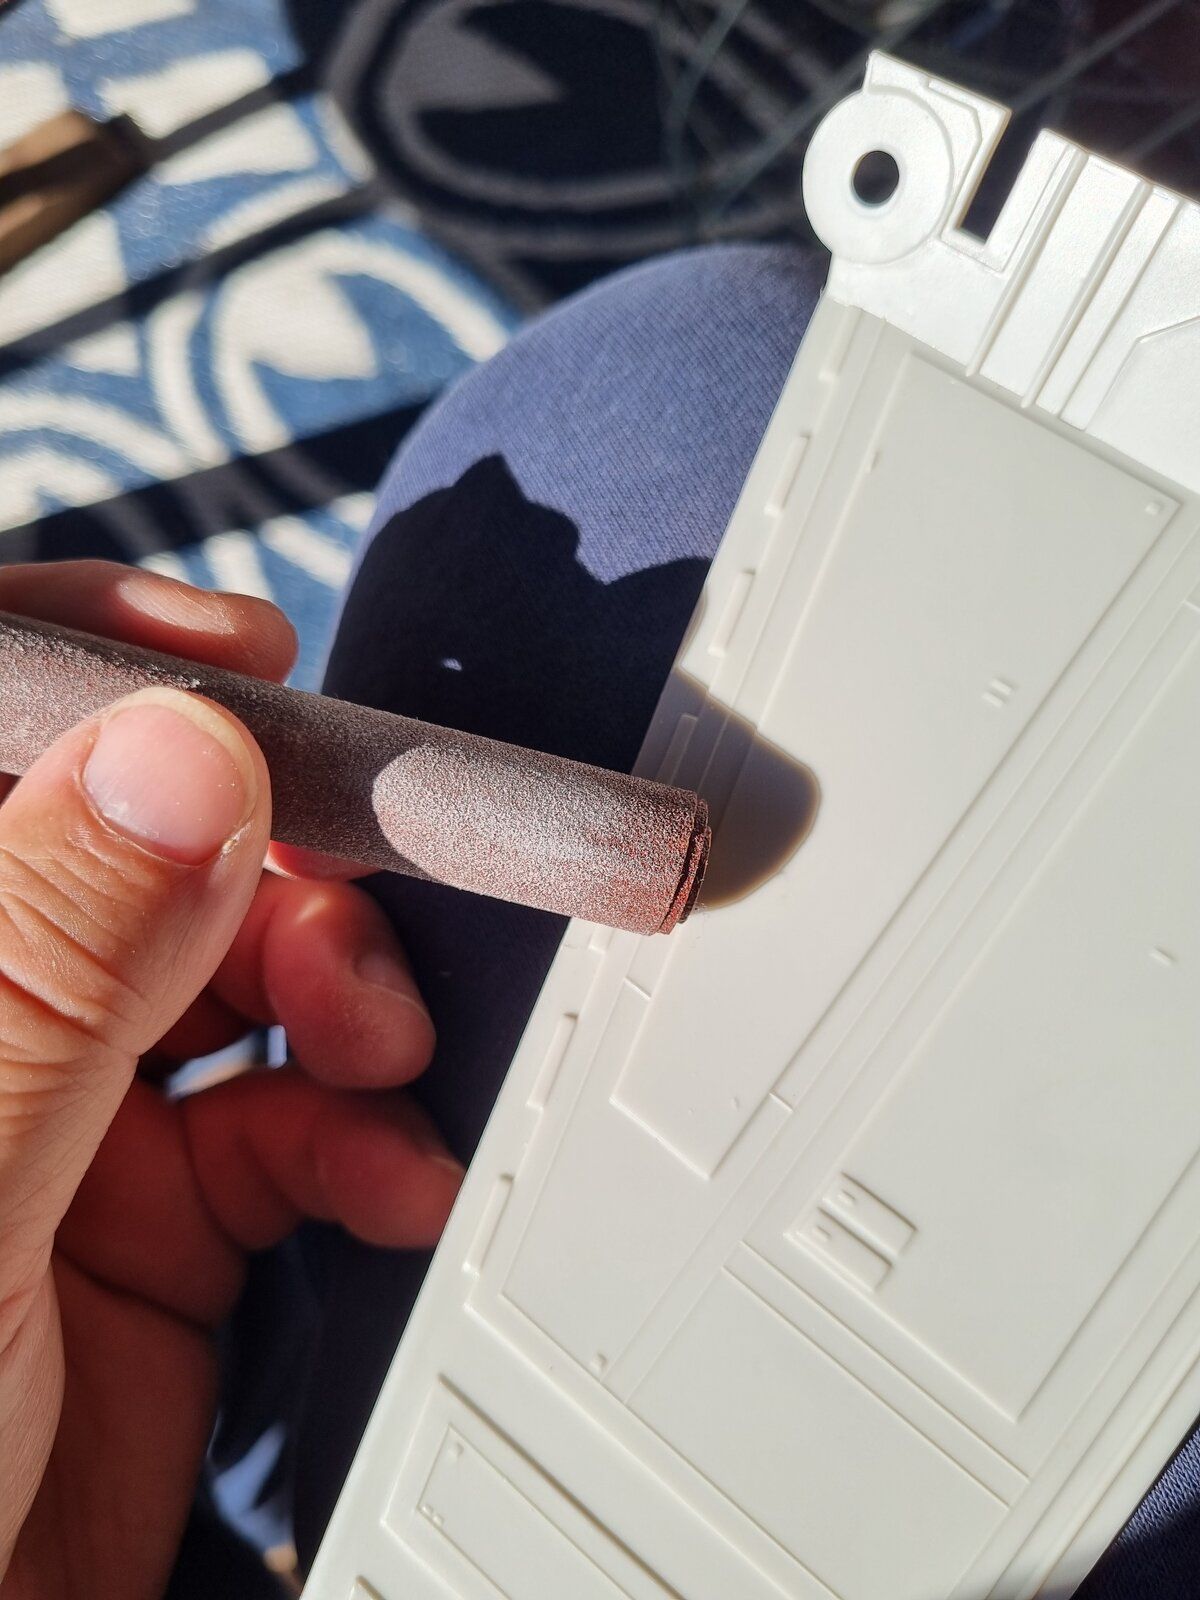
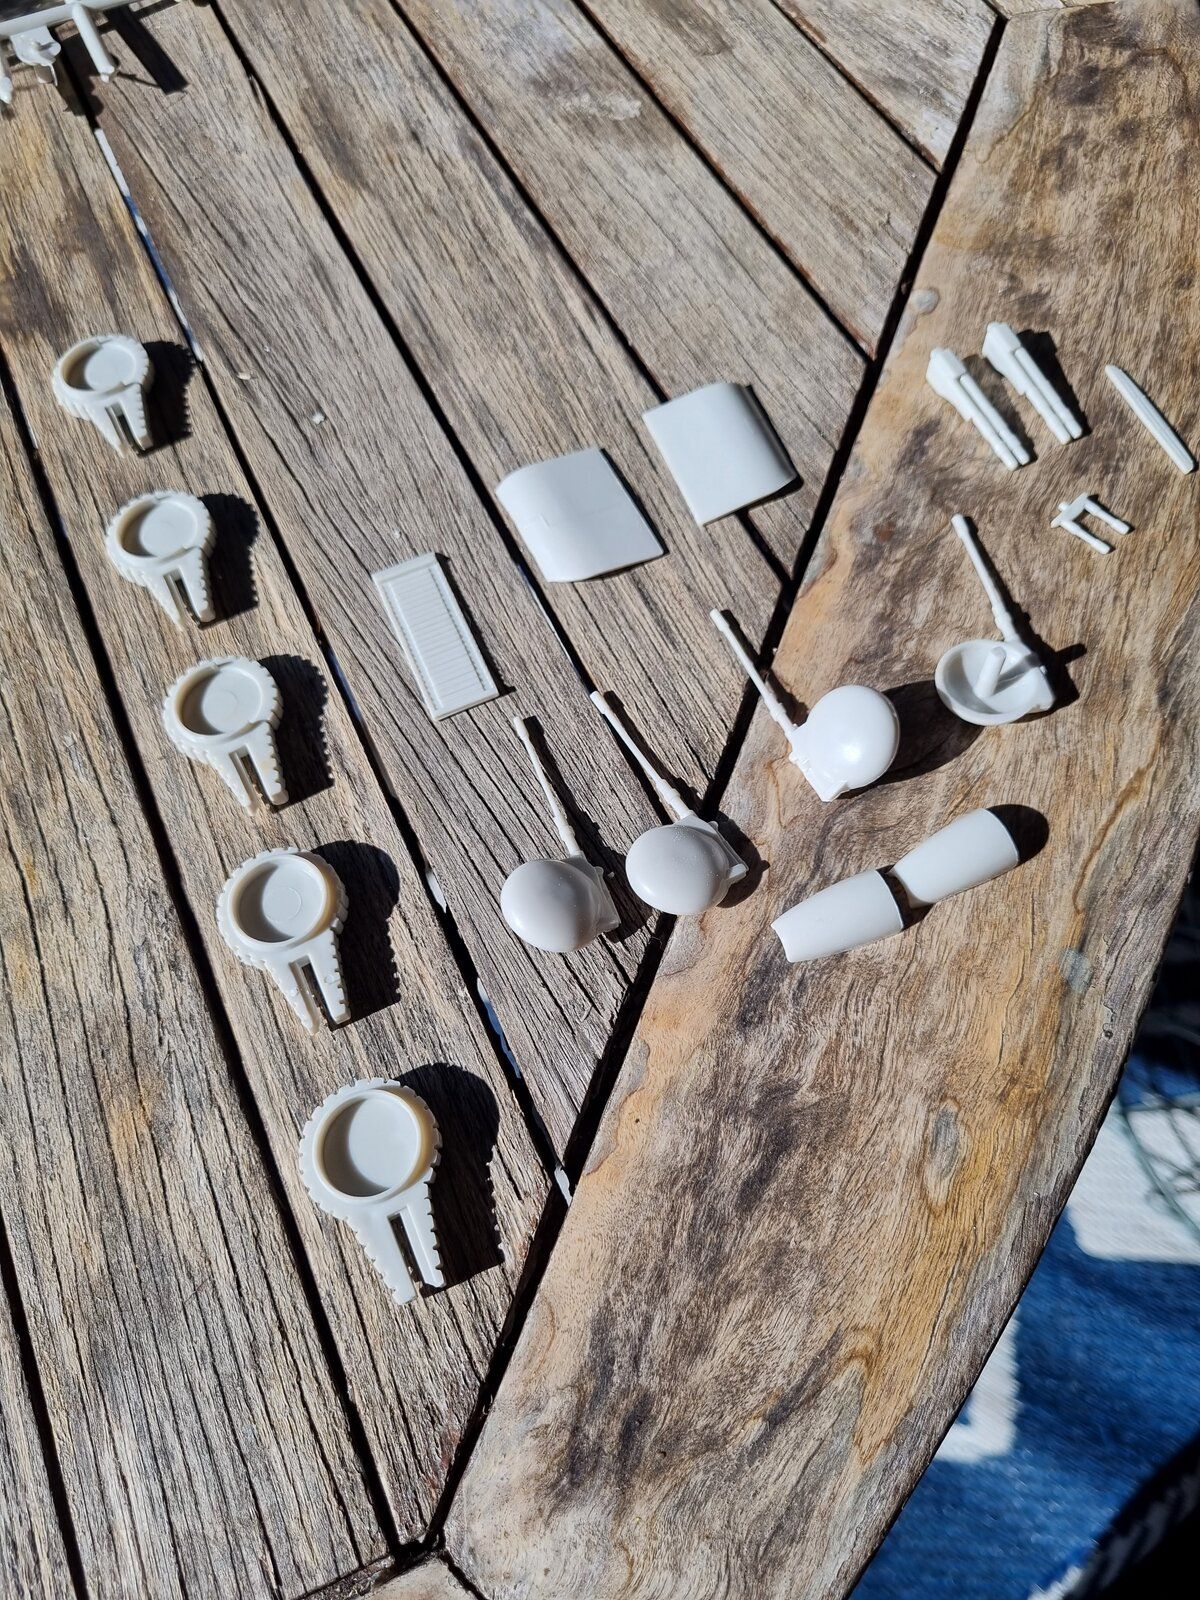
First up - detaching the pieces from the sprues and doing a lot of tidying up, removing flashing and sanding. I was a little worried about the condition of the plastic after 30 years but it seems to have held up well.

The upper stabiliser has a bend in the thinner part which I'll need to deal with later. I've seen some other builders grapple with this and the results have been largely good.

1000018658.jpg


1000018657.jpg


1000018748.jpg


1000018747.jpg


1000018746.jpg


1000018752.jpg


1000018754.jpg
 
Are you struggling to position them? Or is it something to do with the wiring? If it's the colour - could you paint the LED's with a super light coating of red? Or even find some red cellophane or transparent plastic?
It was not really a position issue as much as it was a wiring problem. I wanted 2 lights but they did not want to light together.
I connected both positive wires together and both negative wires to each other. Sometimes one would light but not the other one or neither would light. I connected resistors to them and still nothing, so I settled for just one light. I feel the light I have in there isn't bright enough since it is a warm white instead of a bright white.
I decided to leave it in the cockpit since it is superglue in place, and it would be more trouble to remove it than just leave it. Maybe I'll extend the wiring and try to make what I have work. If not, it's fine. Models are a great stress reliever, except where wires are involved lol :p
 
Okay, well - since Gary has made a start, I'll make a start myself. In my introductory post I mentioned I built the ST-321 about 20 years ago but I had no idea what I was doing then and it was a shoddy job. I made it a bucket list item that I would re-do it properly one day and now, here we are. I've learned so much about model building in all the years since so I'm hoping I can realise the dream I had/have.

First up - detaching the pieces from the sprues and doing a lot of tidying up, removing flashing and sanding. I was a little worried about the condition of the plastic after 30 years but it seems to have held up well.

The upper stabiliser has a bend in the thinner part which I'll need to deal with later. I've seen some other builders grapple with this and the results have been largely good.

View attachment 119757

View attachment 119758

View attachment 119759

View attachment 119760

View attachment 119765

View attachment 119761

View attachment 119763
Thay is going to an awesome build!
 
It was not really a position issue as much as it was a wiring problem. I wanted 2 lights but they did not want to light together.
I connected both positive wires together and both negative wires to each other. Sometimes one would light but not the other one or neither would light. I connected resistors to them and still nothing, so I settled for just one light. I feel the light I have in there isn't bright enough since it is a warm white instead of a bright white.
I decided to leave it in the cockpit since it is superglue in place, and it would be more trouble to remove it than just leave it. Maybe I'll extend the wiring and try to make what I have work. If not, it's fine. Models are a great stress reliever, except where wires are involved lol :p

Gary - have you ever considered lighting kits for Lego? I used them all the time now - having moved away from resistors and soldering. There's a company down here in Australia called Light My Bricks which has an American affiliate. They sell lighting kits which are plug and play - no wiring required - and they have tonnes of options for small areas. I started using them for my Lego builds and have since started using them with my model kits. They are outstanding and I am going to light my Shuttle with them.
 
Gary - have you ever considered lighting kits for Lego? I used them all the time now - having moved away from resistors and soldering. There's a company down here in Australia called Light My Bricks which has an American affiliate. They sell lighting kits which are plug and play - no wiring required - and they have tonnes of options for small areas. I started using them for my Lego builds and have since started using them with my model kits. They are outstanding and I am going to light my Shuttle with them.
Thanks! That's a great idea!
 
Well, the light idea is a bust. I've been trying for almost an hour to have lights in the cockpit. I think I shouldn't have gotten warm white and should have gotten the bright white or even red, but, live and learn.
I think it will be fine without lights.

View attachment 119744
I found that it didn't look that good in daylight with all my extra lighting but when I put the lighting on when it was darker with no extra lights it looked a whole lot better. Pantherman
 

Latest posts

Back
Top