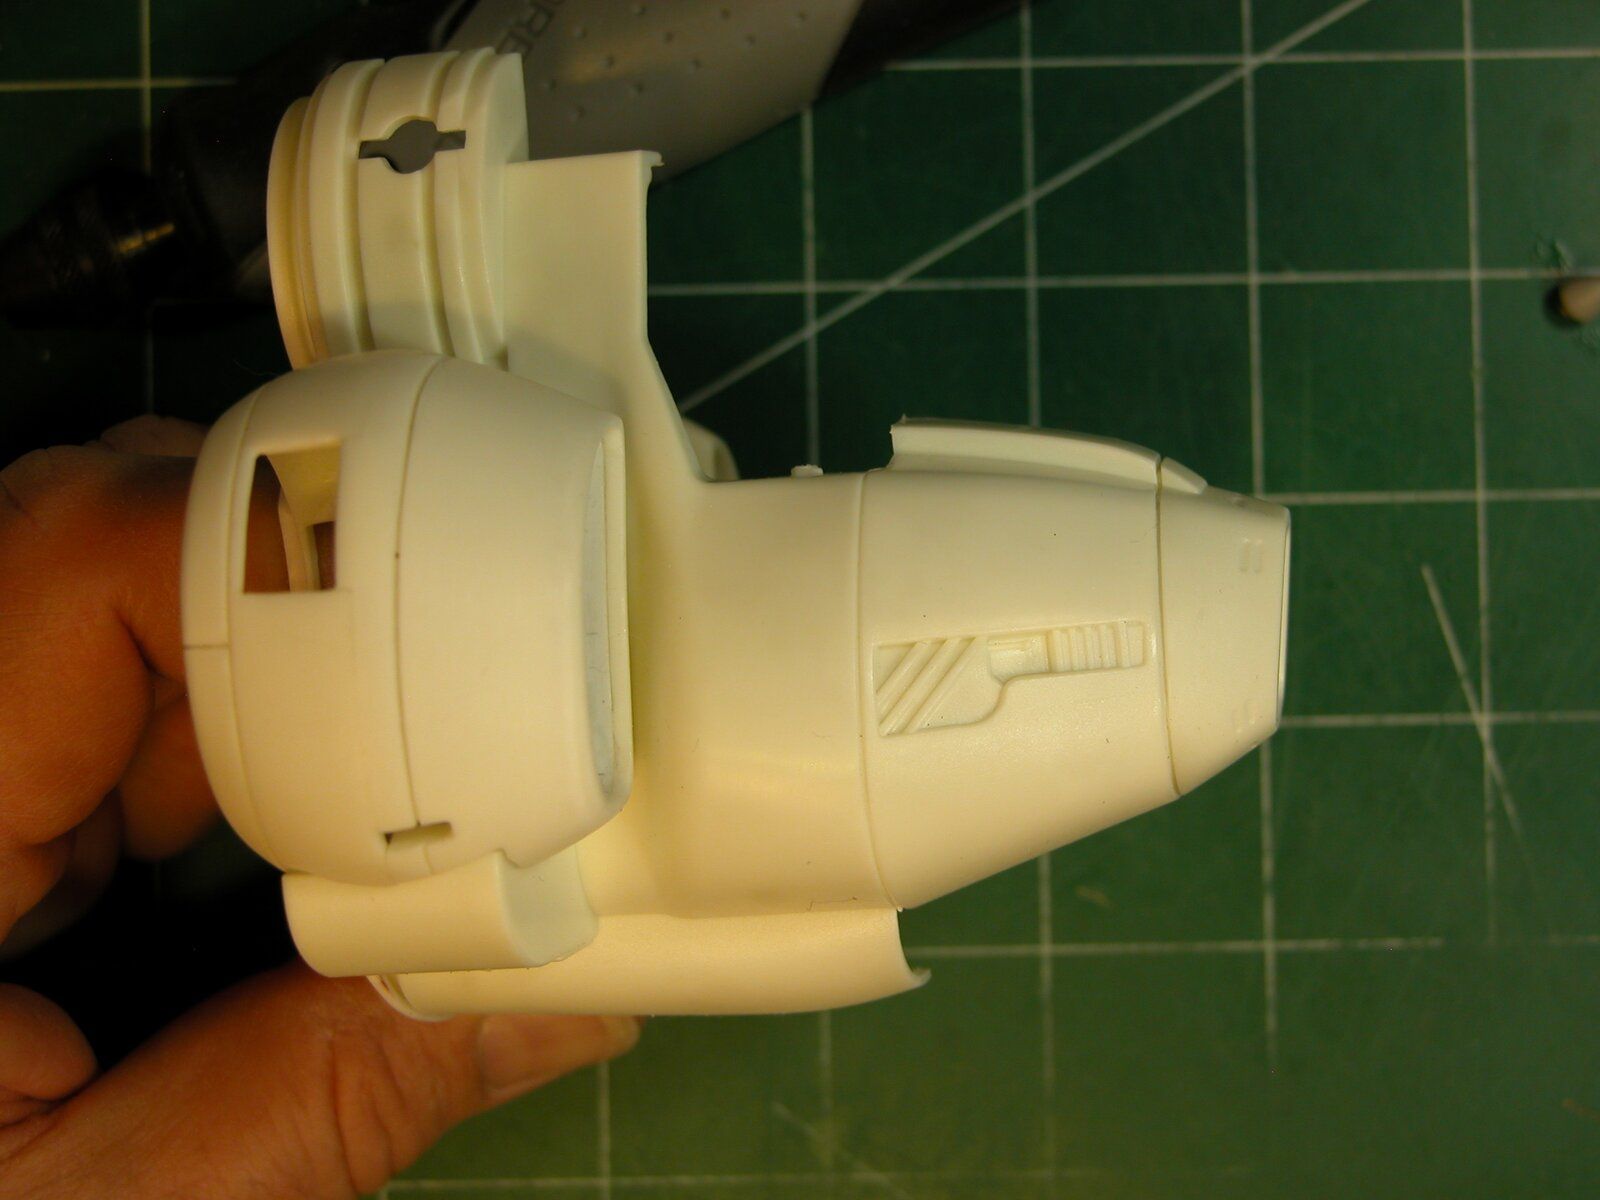
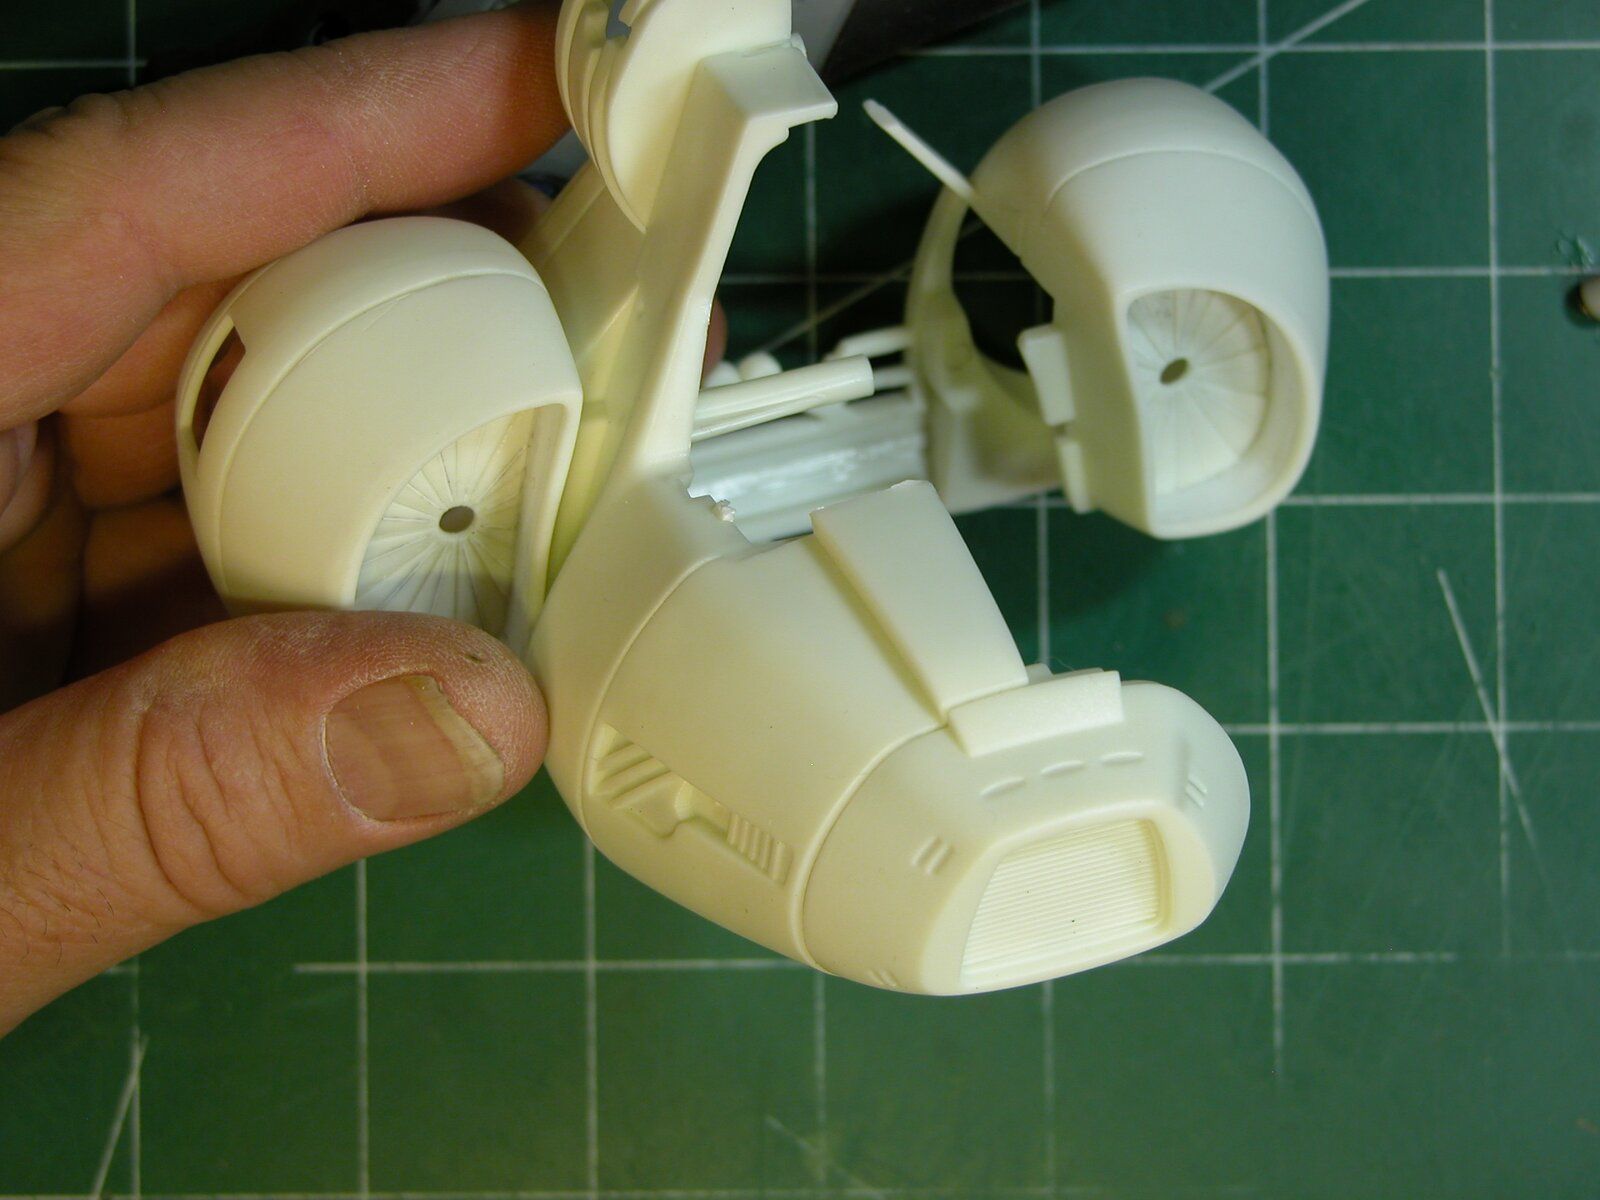
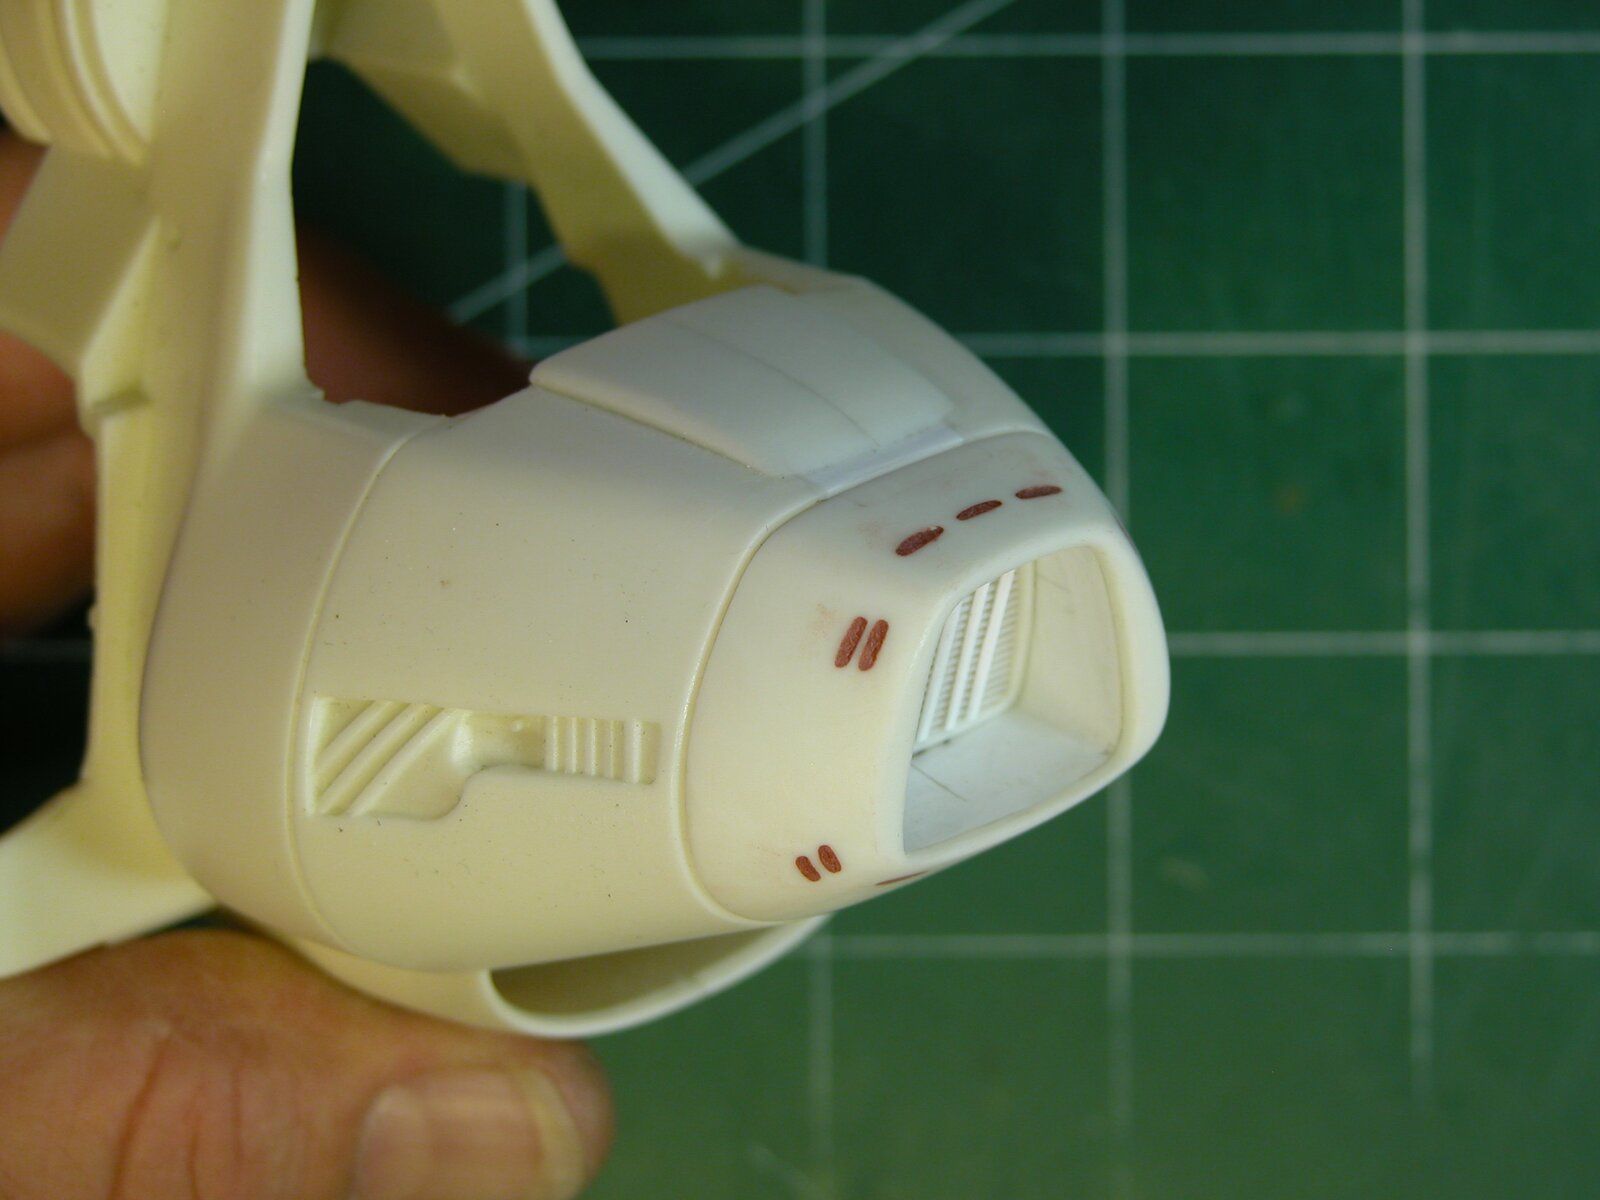
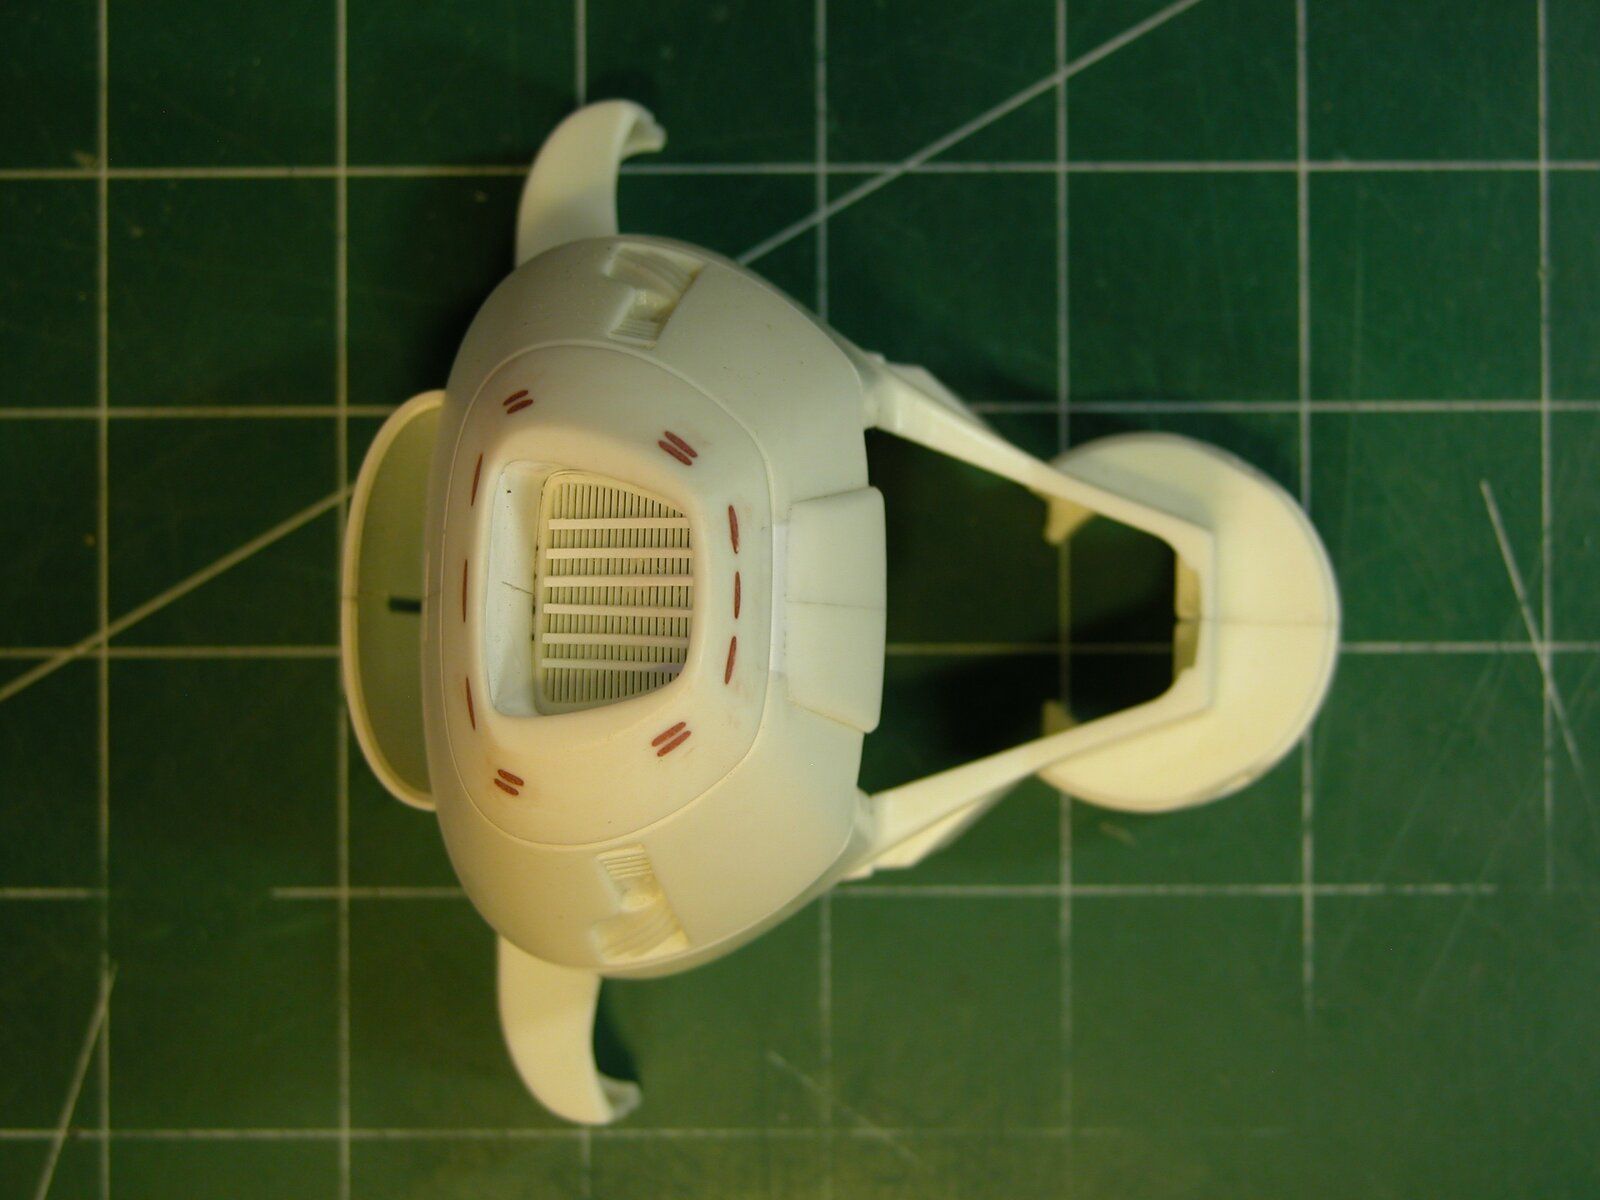
Moebius's Viper they can't call an "egg".

Scale Model Addict - Model Tips, Guides, Tools & Tech, Tutorials, and Community

Help Support Scale Model Addict:

Eagle-1

Well-Known Member
Joined
Jan 16, 2014
Messages
1,142
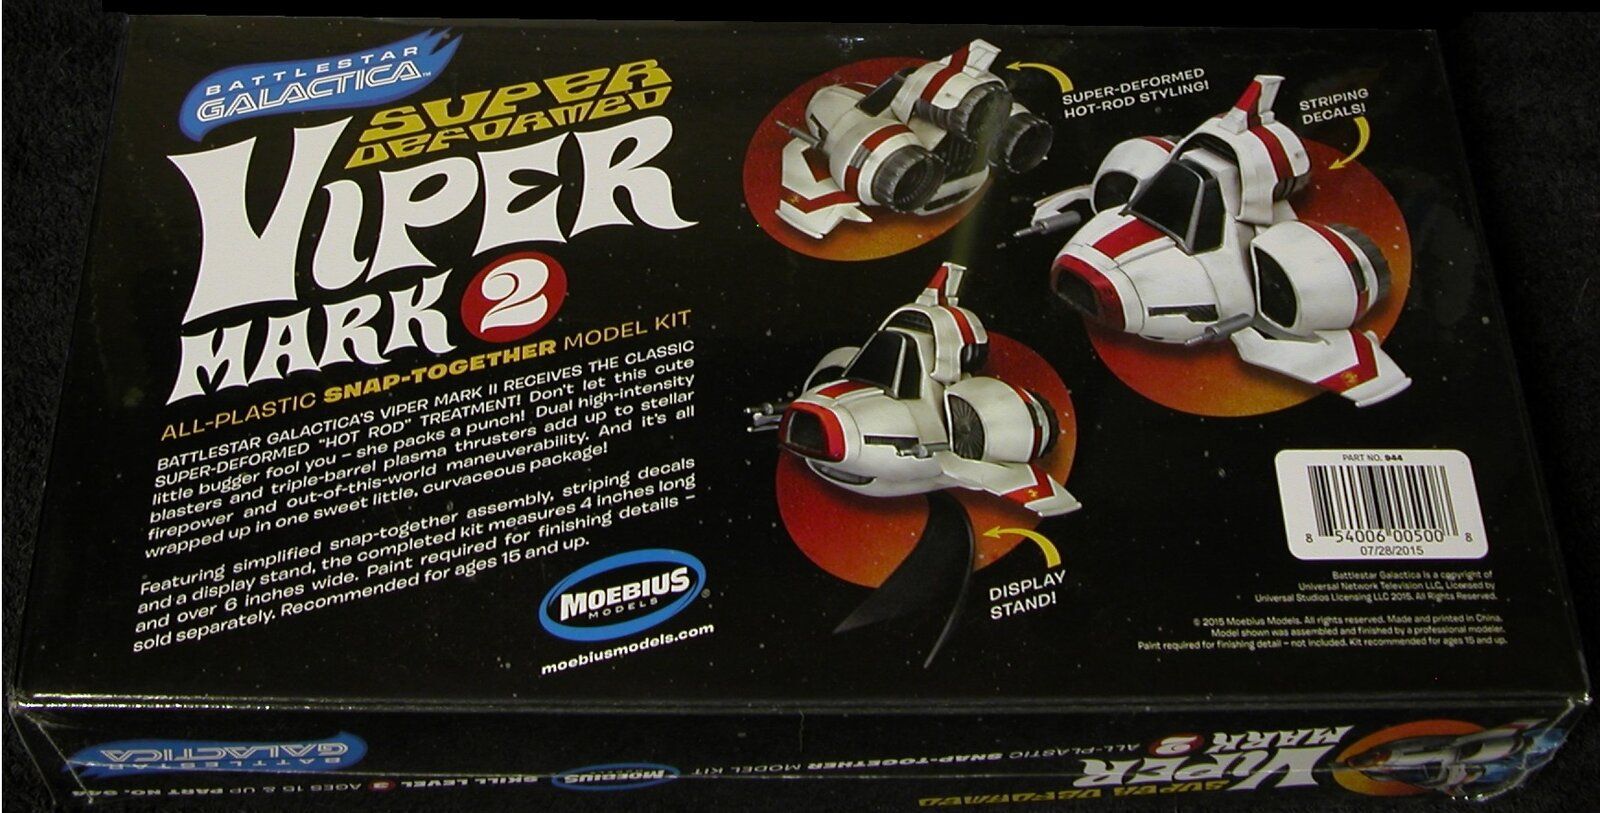
As I mentioned in the "Let me EGG-splain" thread of the Y (Yolk)-Wing fighter from Star Wars I've started, that came with a Cylon Raider I purchased from the new series of Battlestar Galactica. It's a Moebius "Super-Deformed" Mark II Viper. (They couldn't call it an "egg" because Hasegawa has that line) but is most certainly an egg type model. I bought the Raider to fight with this:

DSCN0165-50.jpg

DSCN0542.jpg


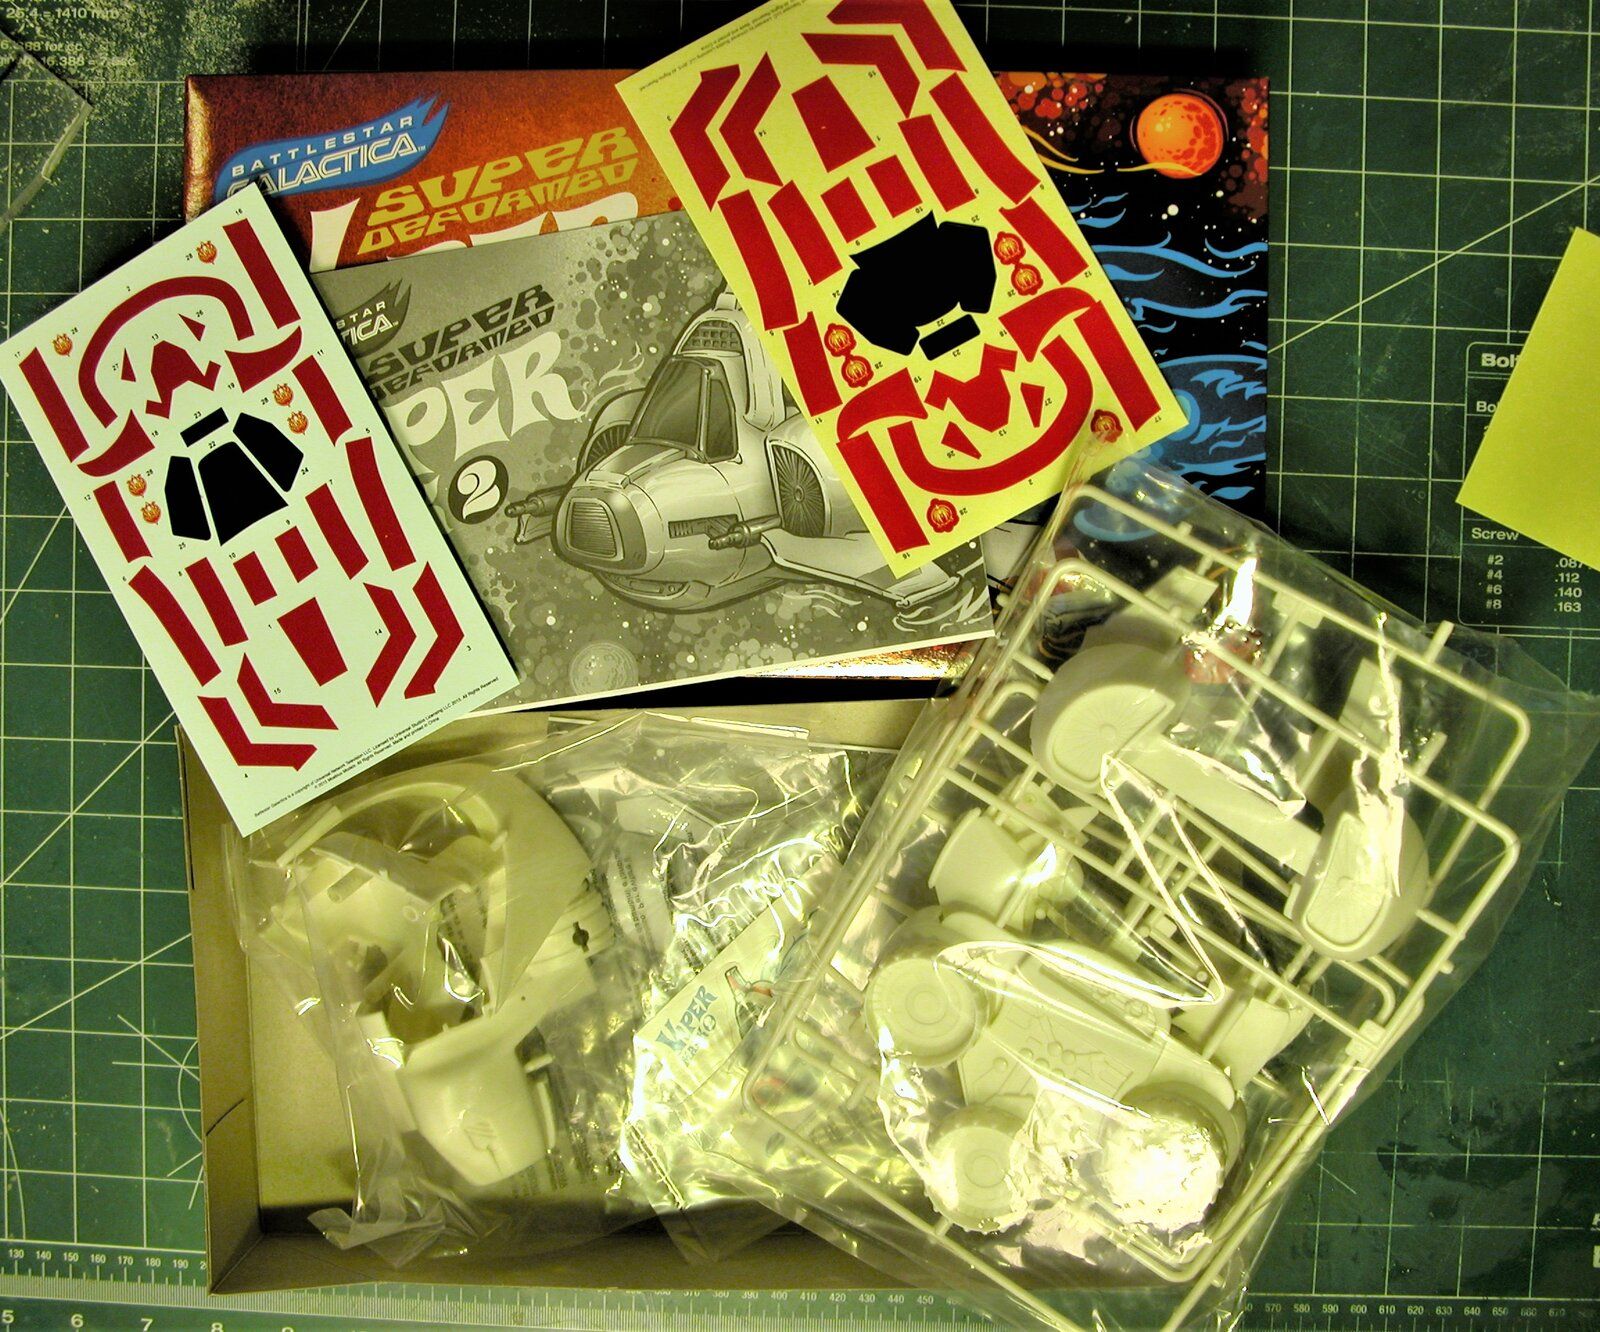
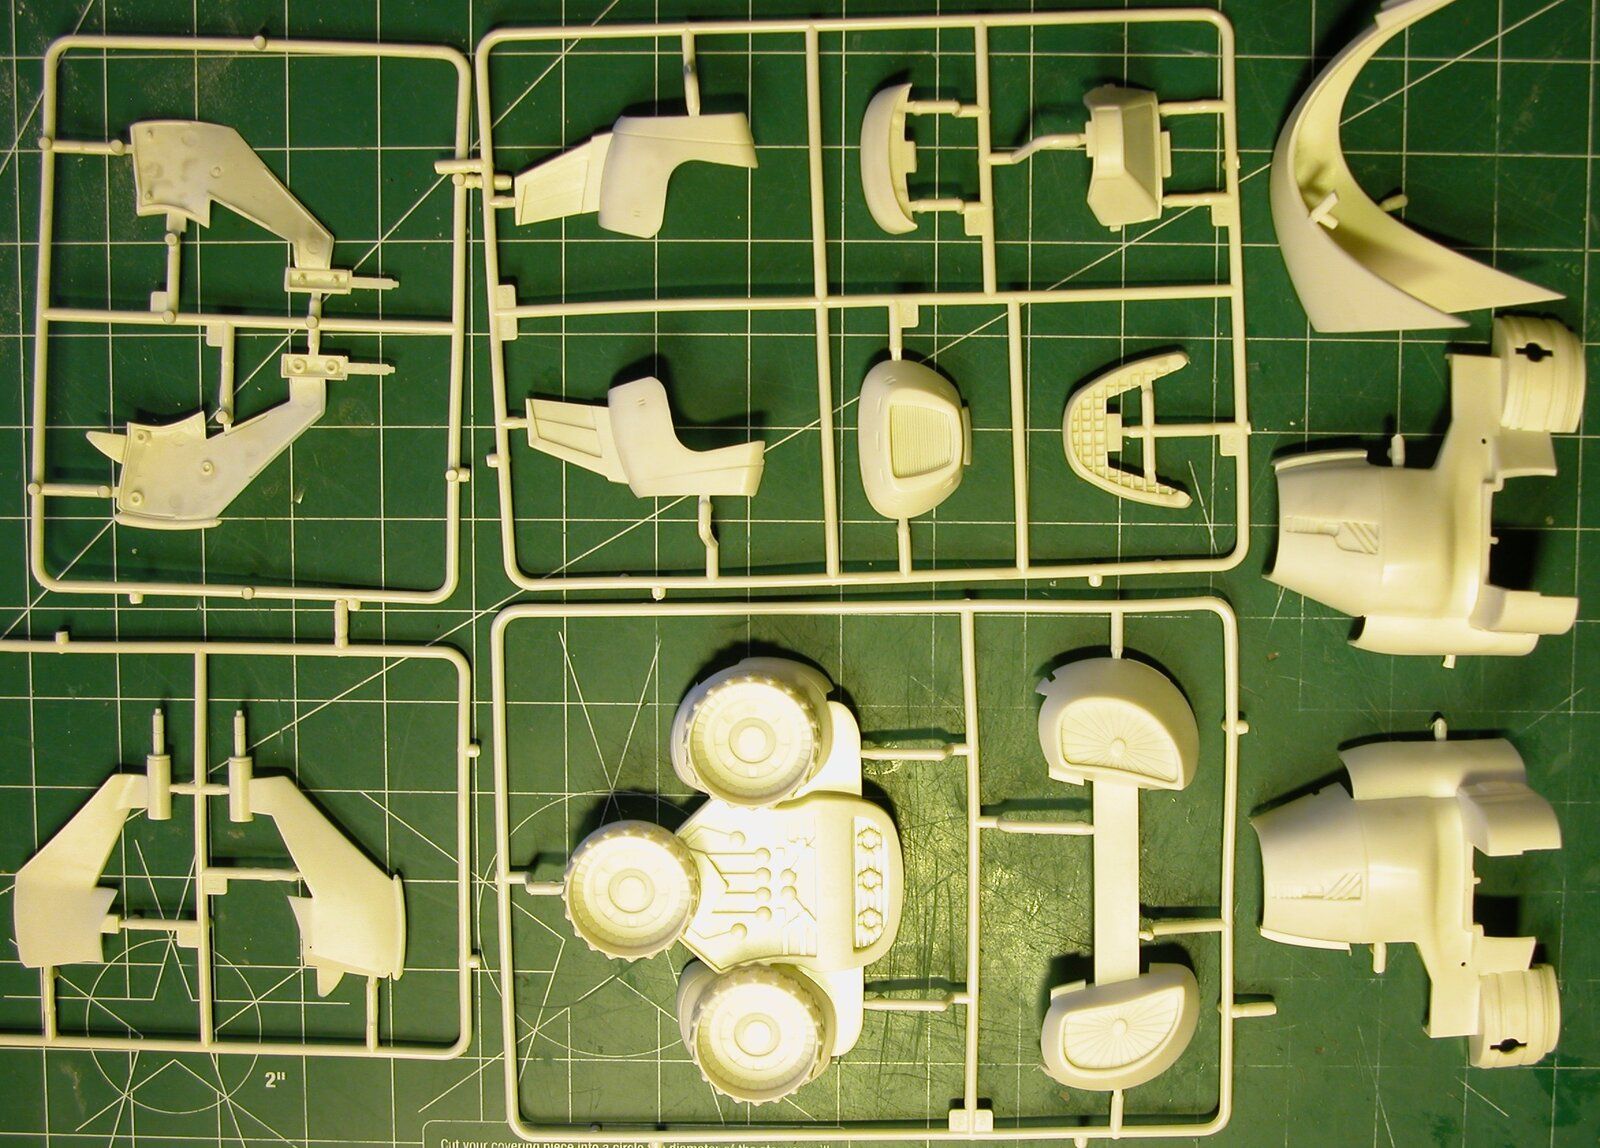
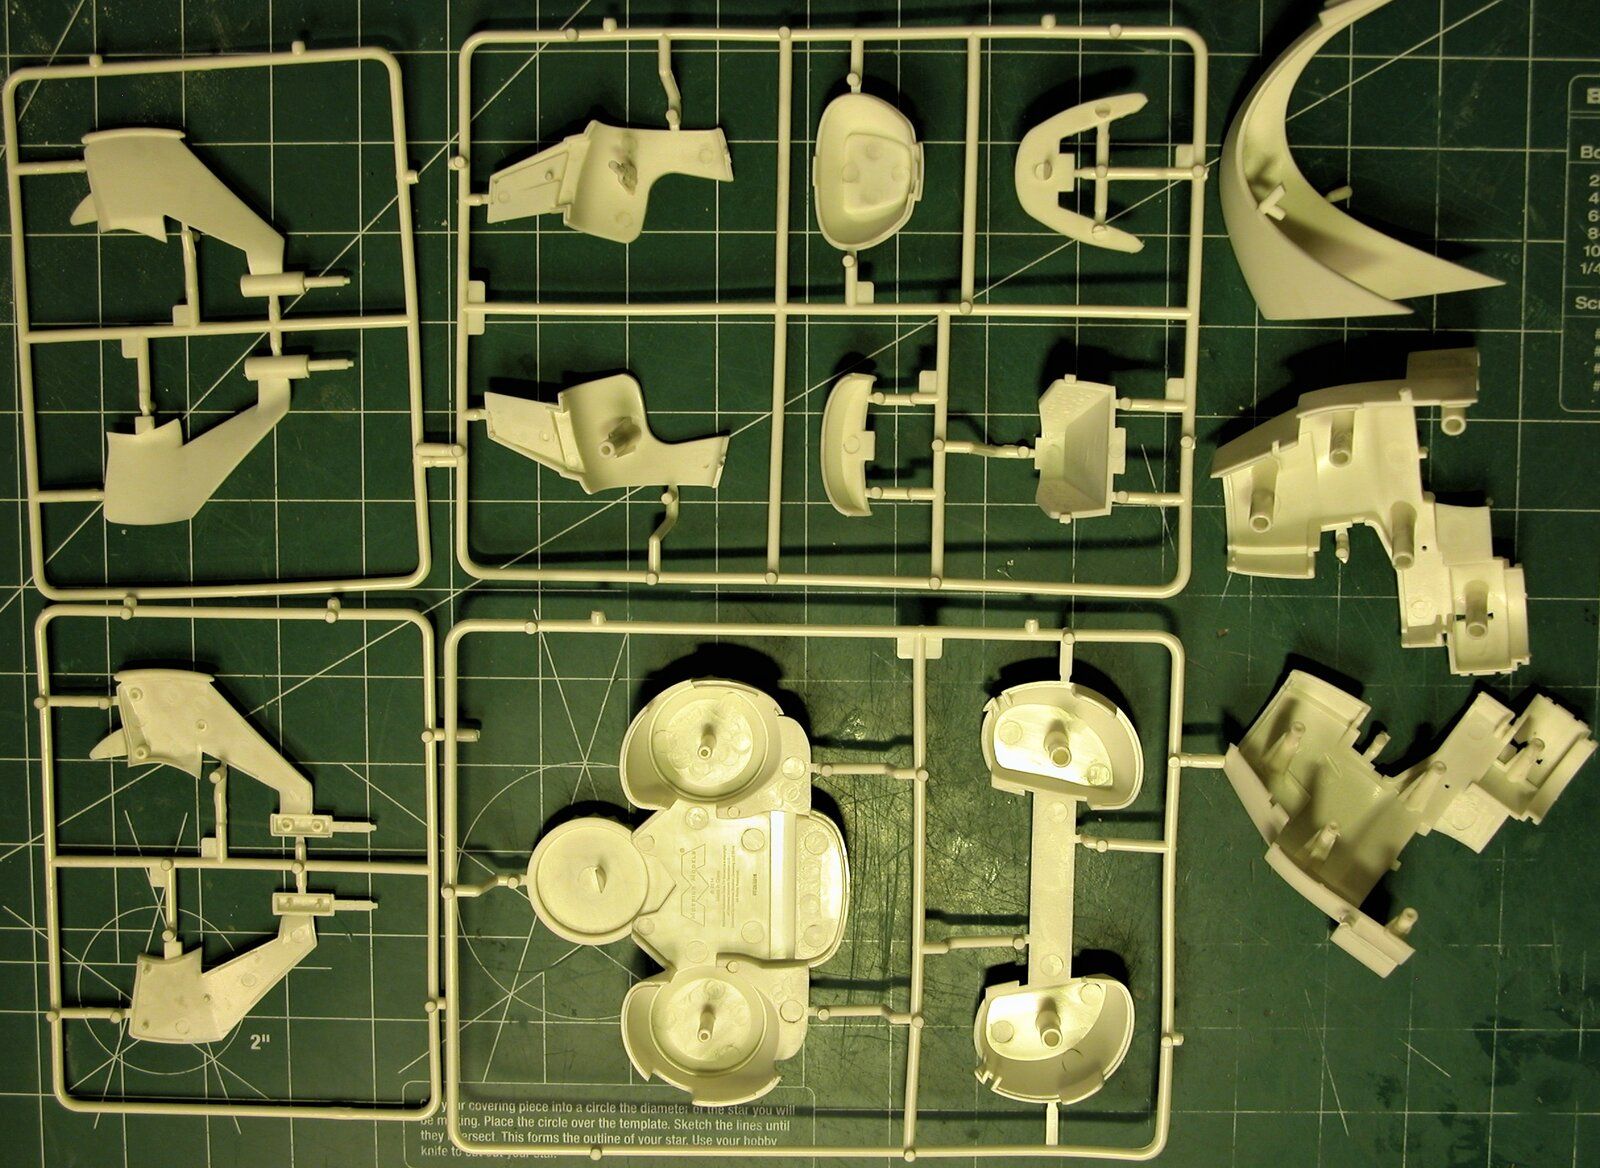
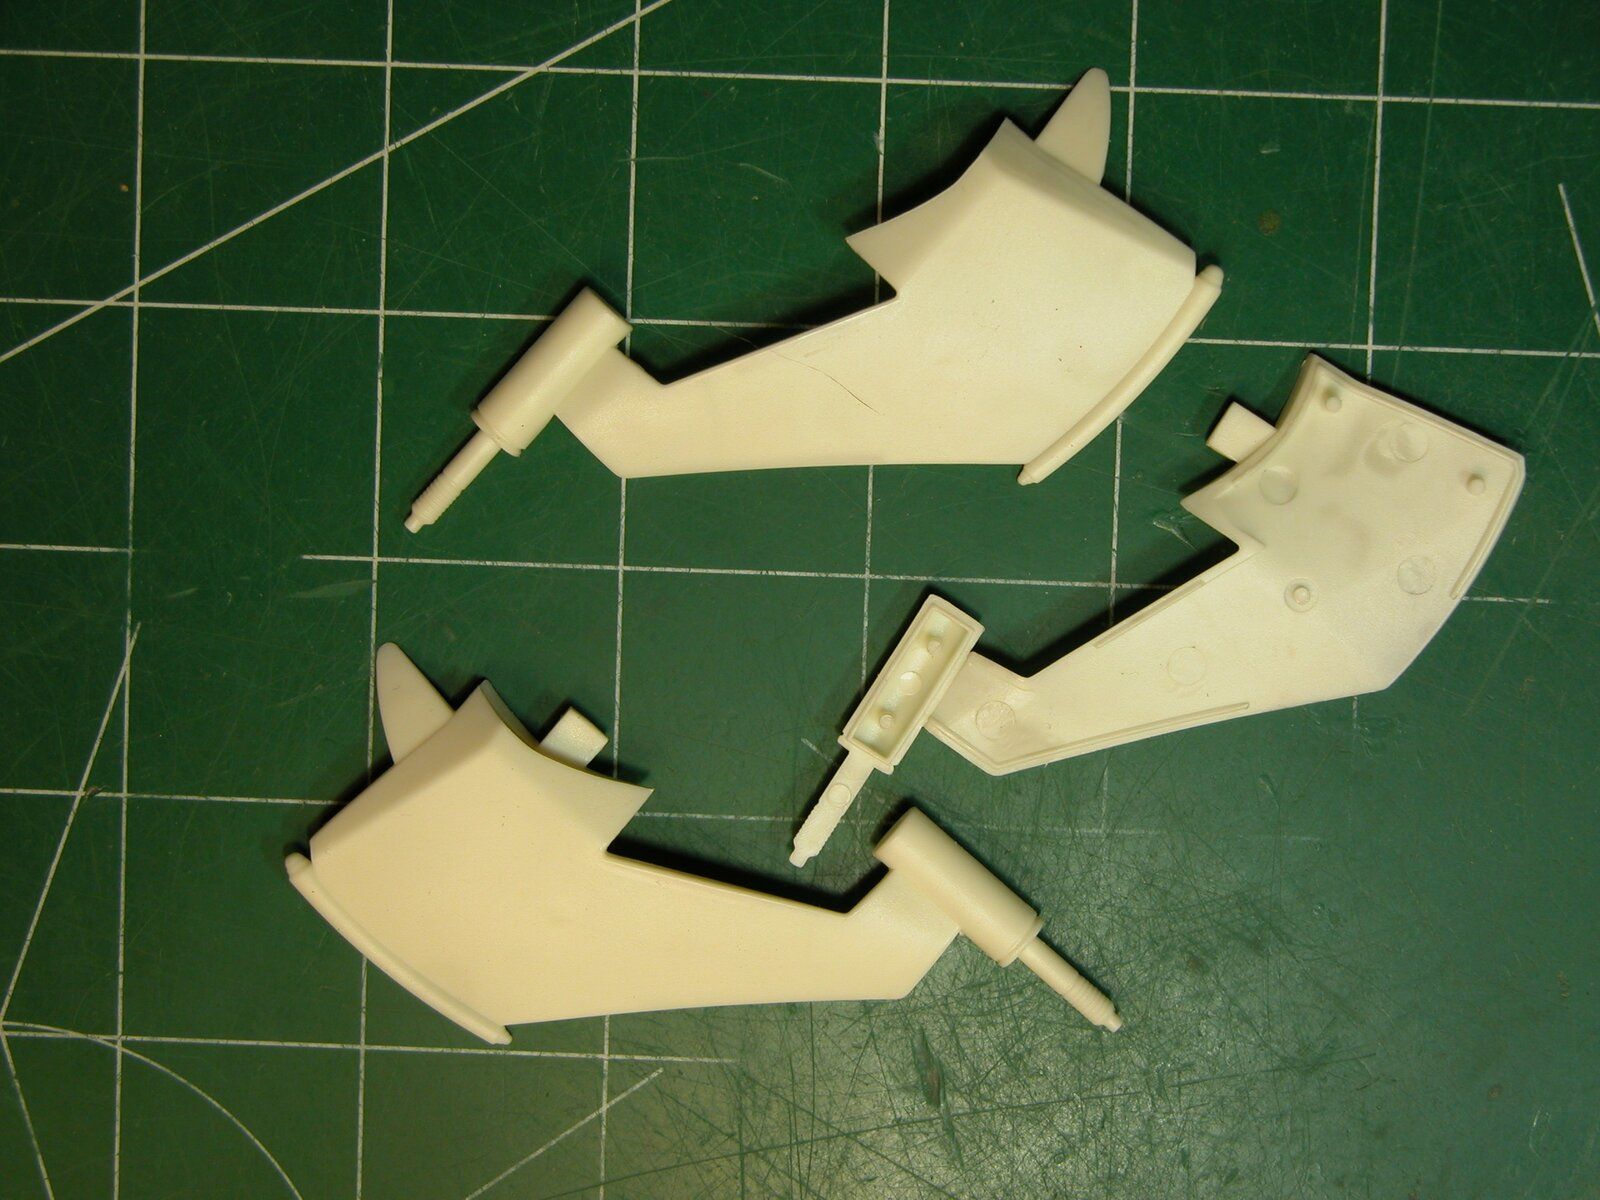
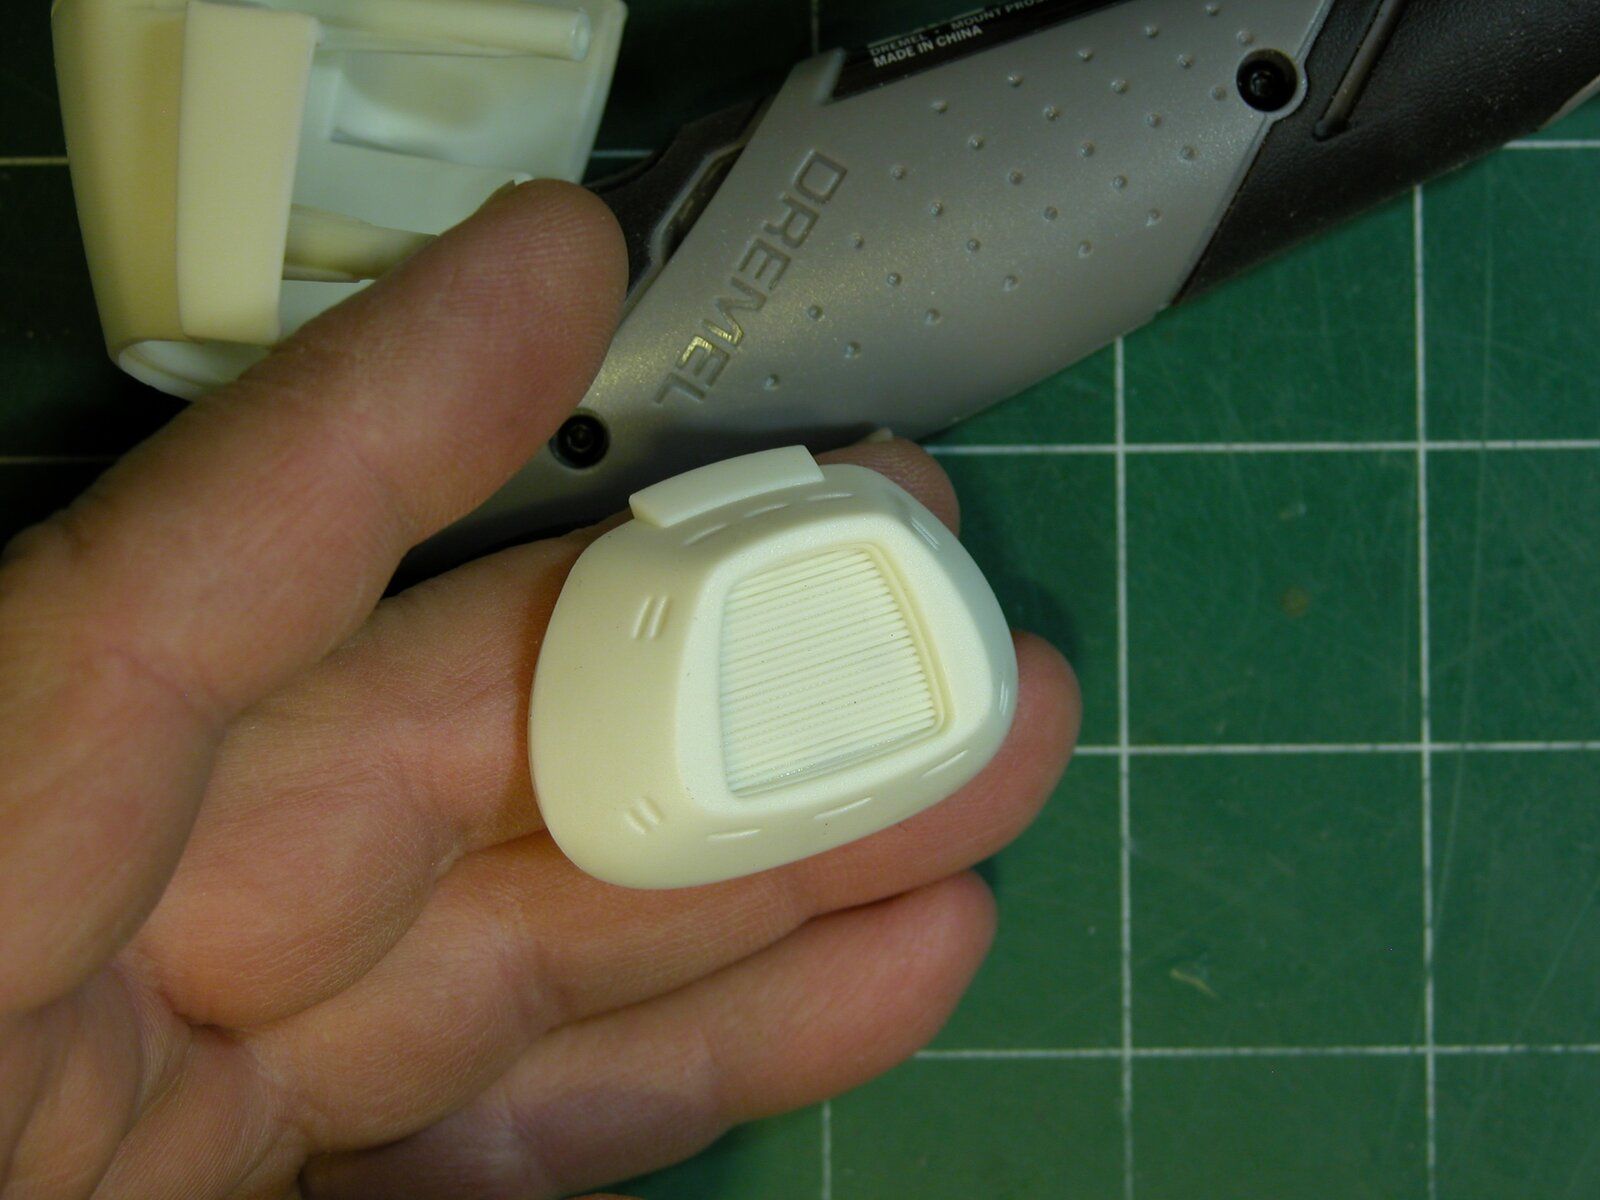
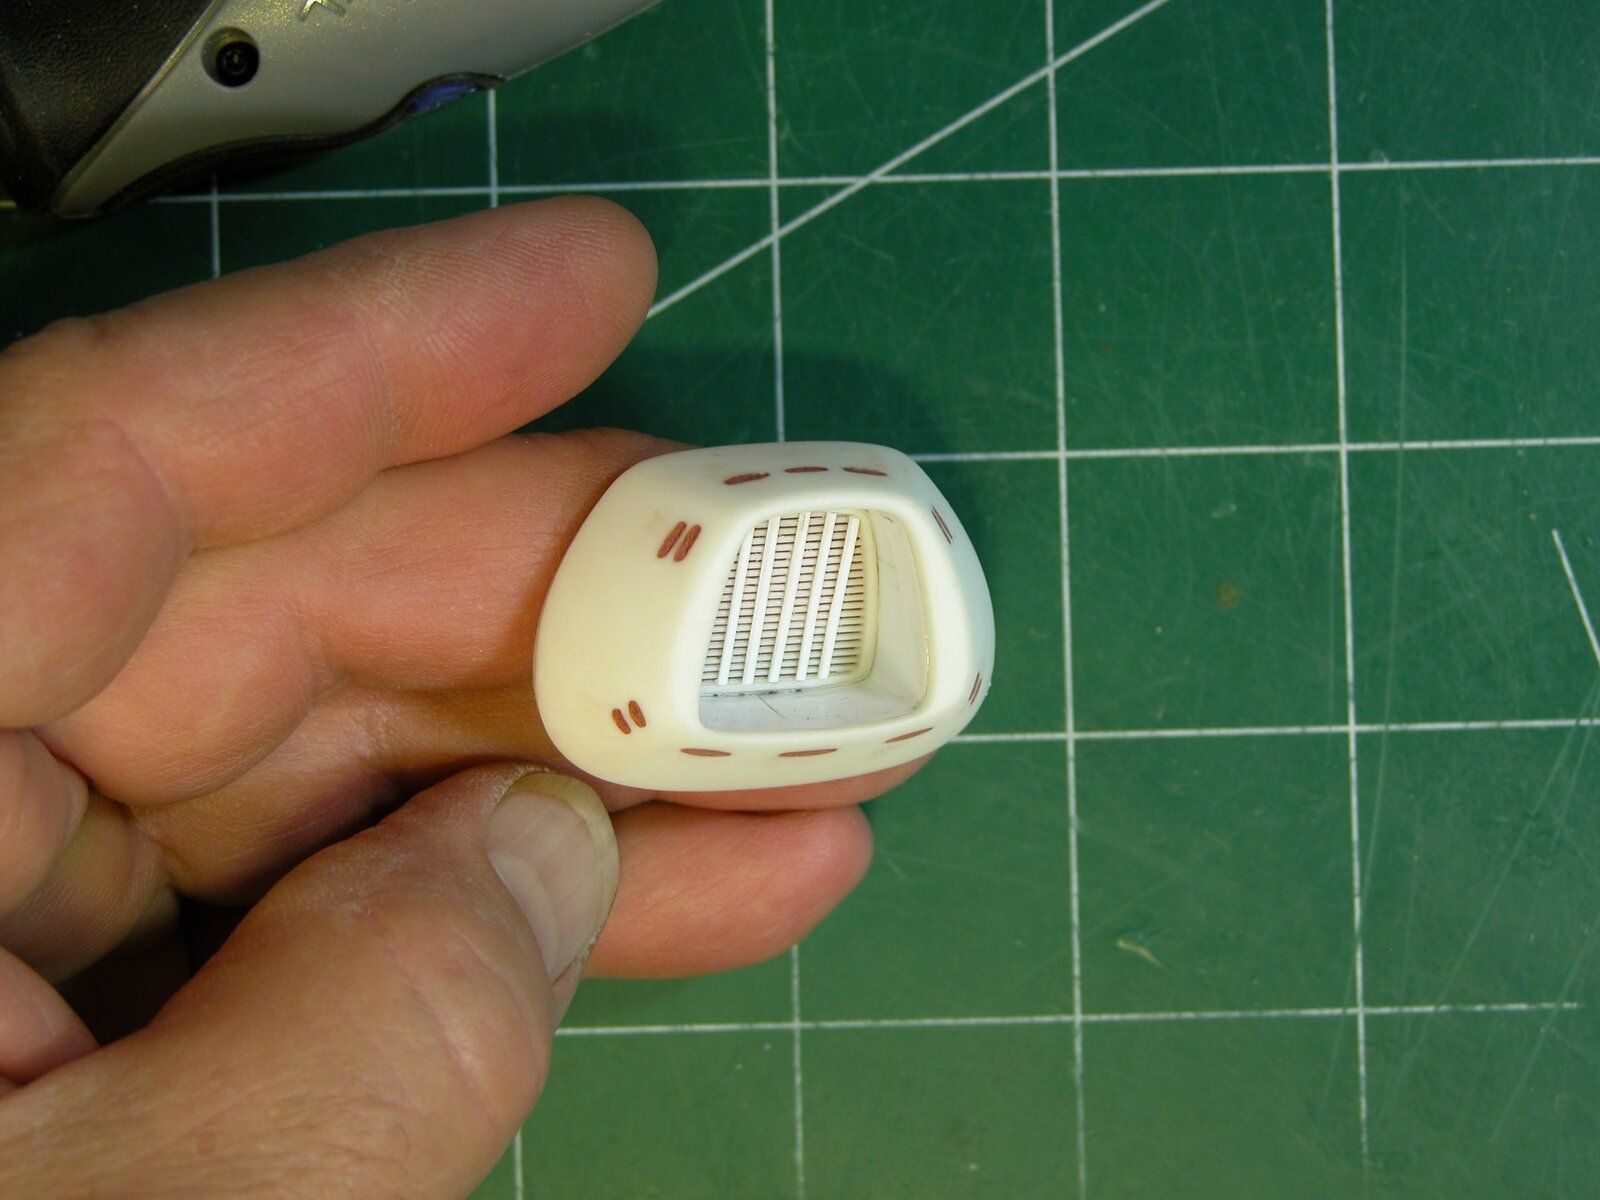
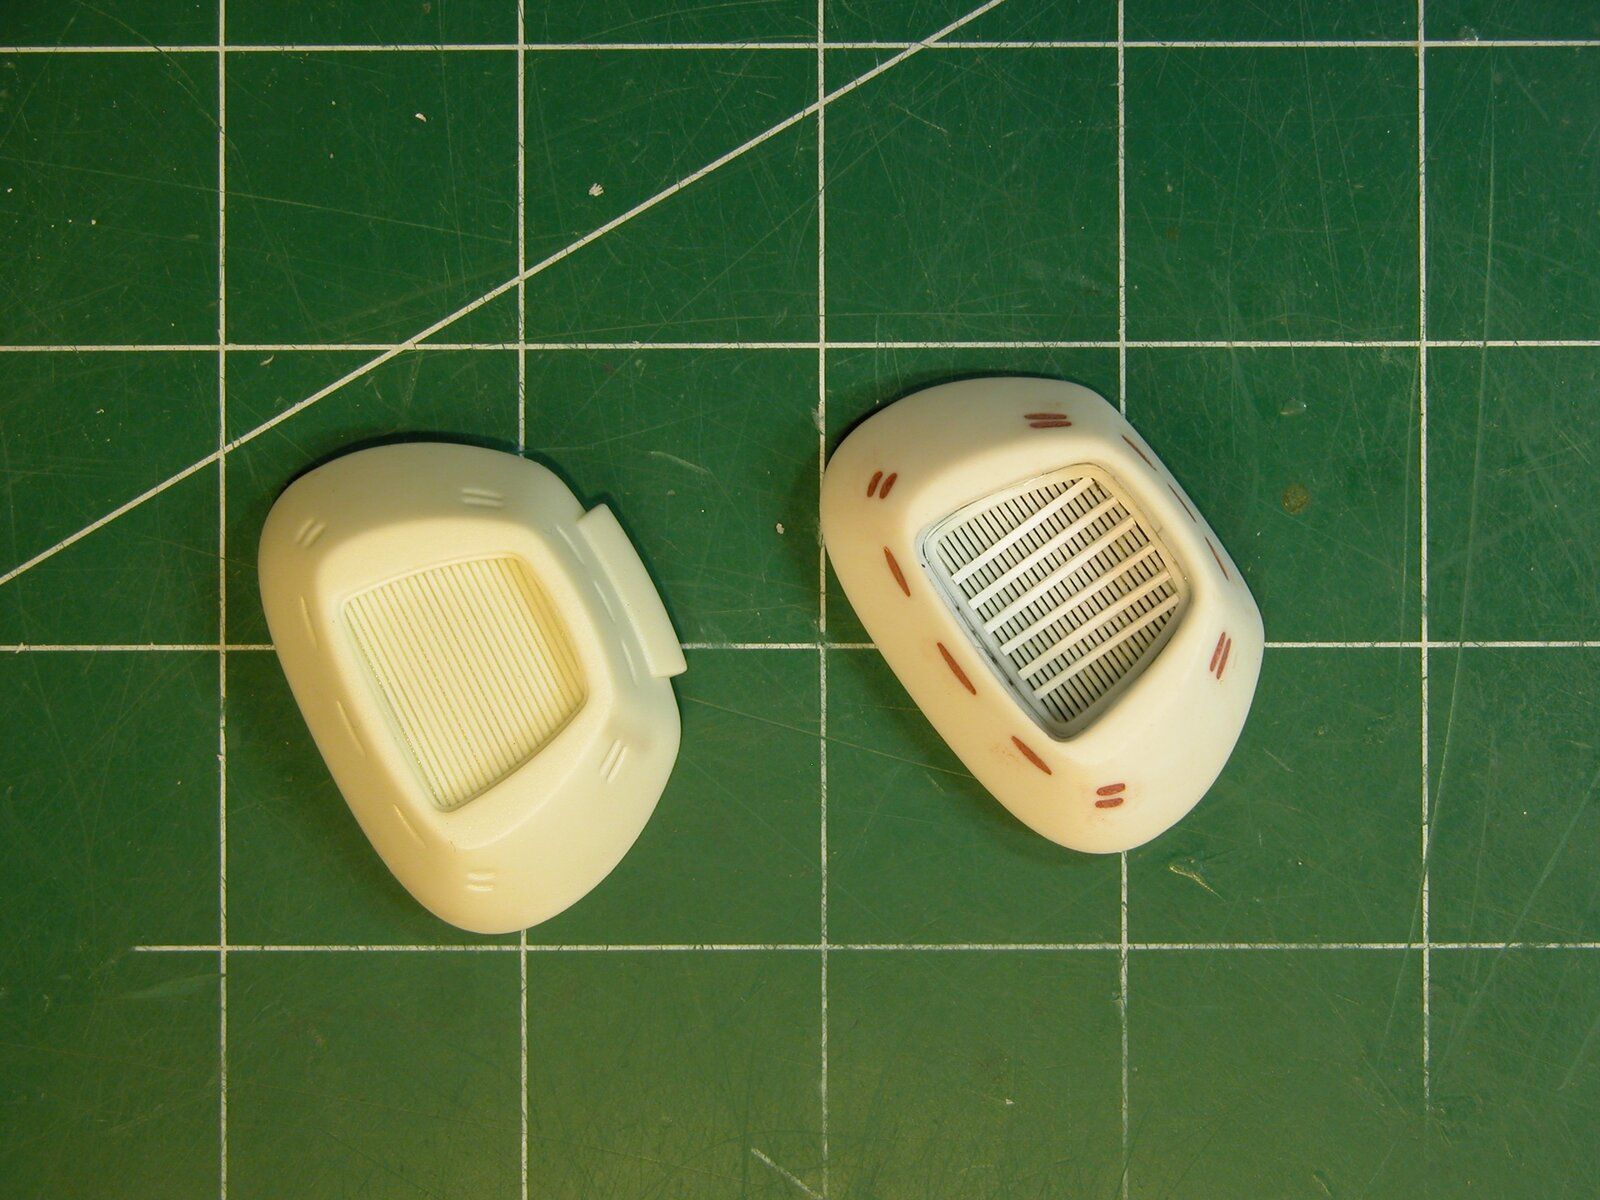
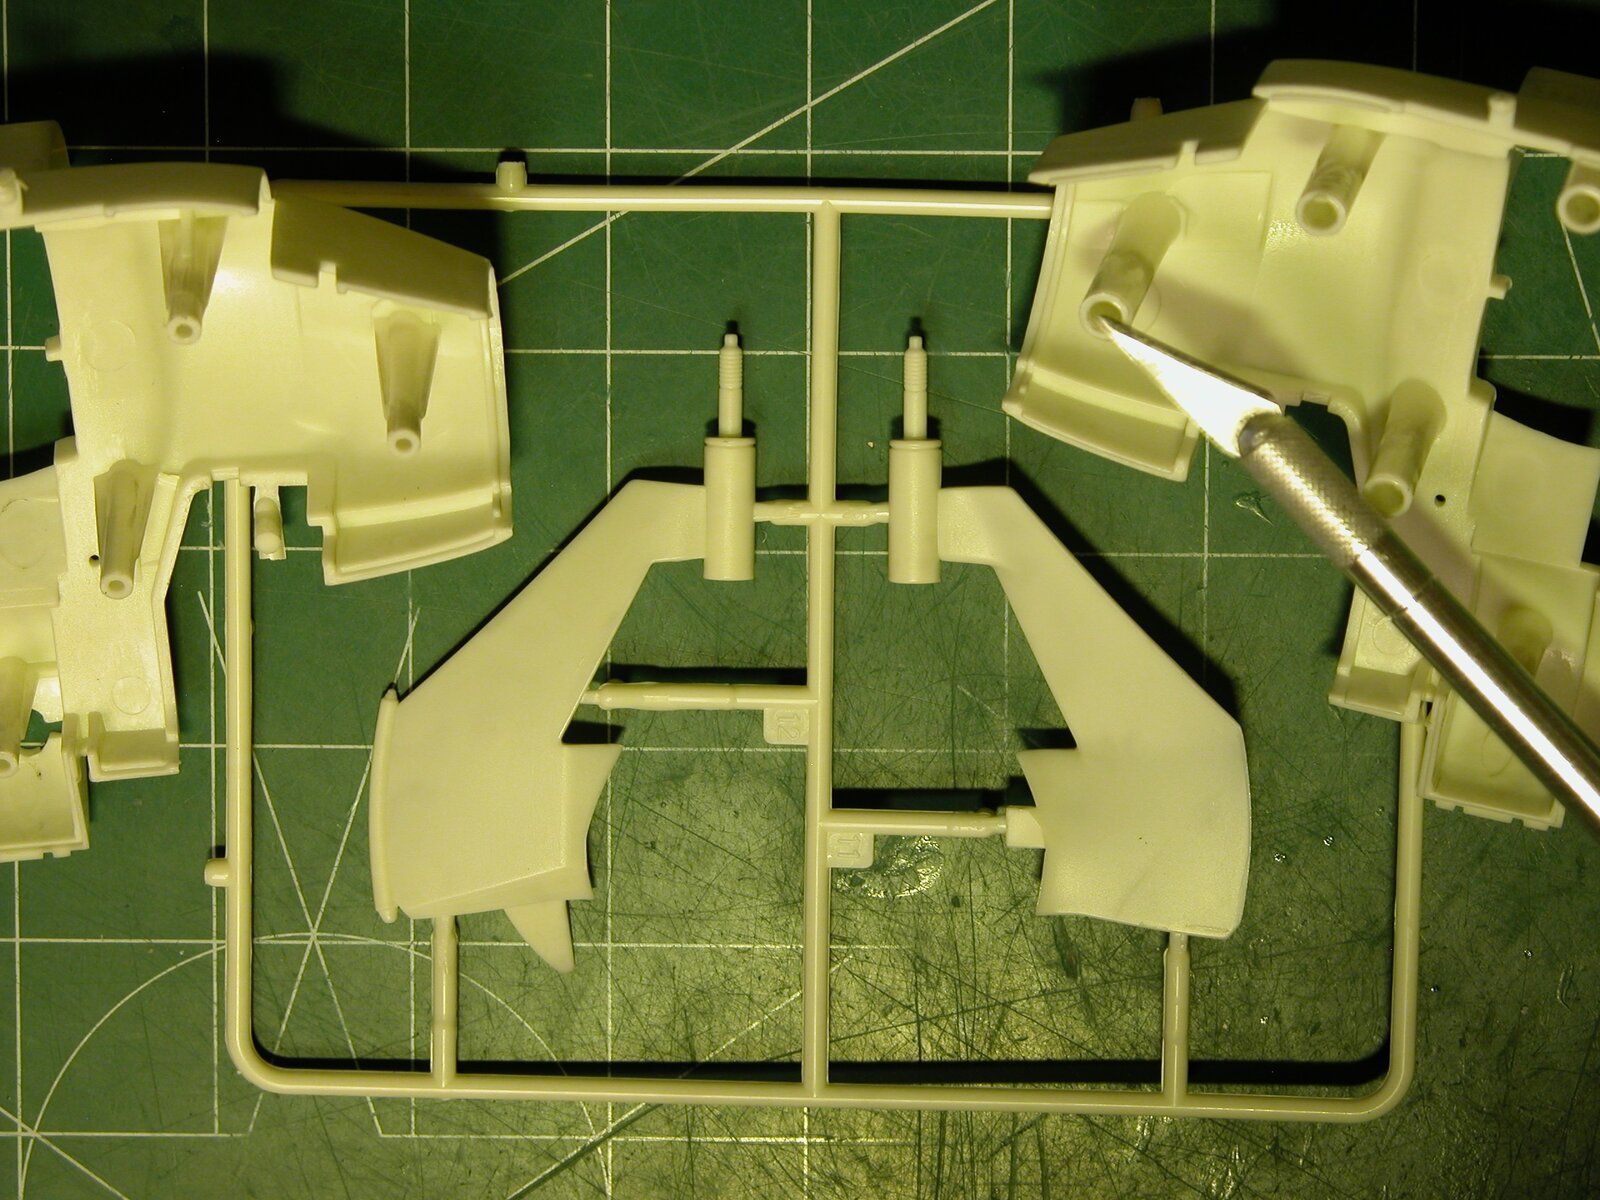
Here's what you get in the box:

DSCN0166.jpg

DSCN0168.jpg

DSCN0169.jpg


As per my usual, I plan to modify this a little to add some details from the Viper from the show. It'll still be an egg, show it will never be 100%, but I hope look a little better on display.

Rob.
 
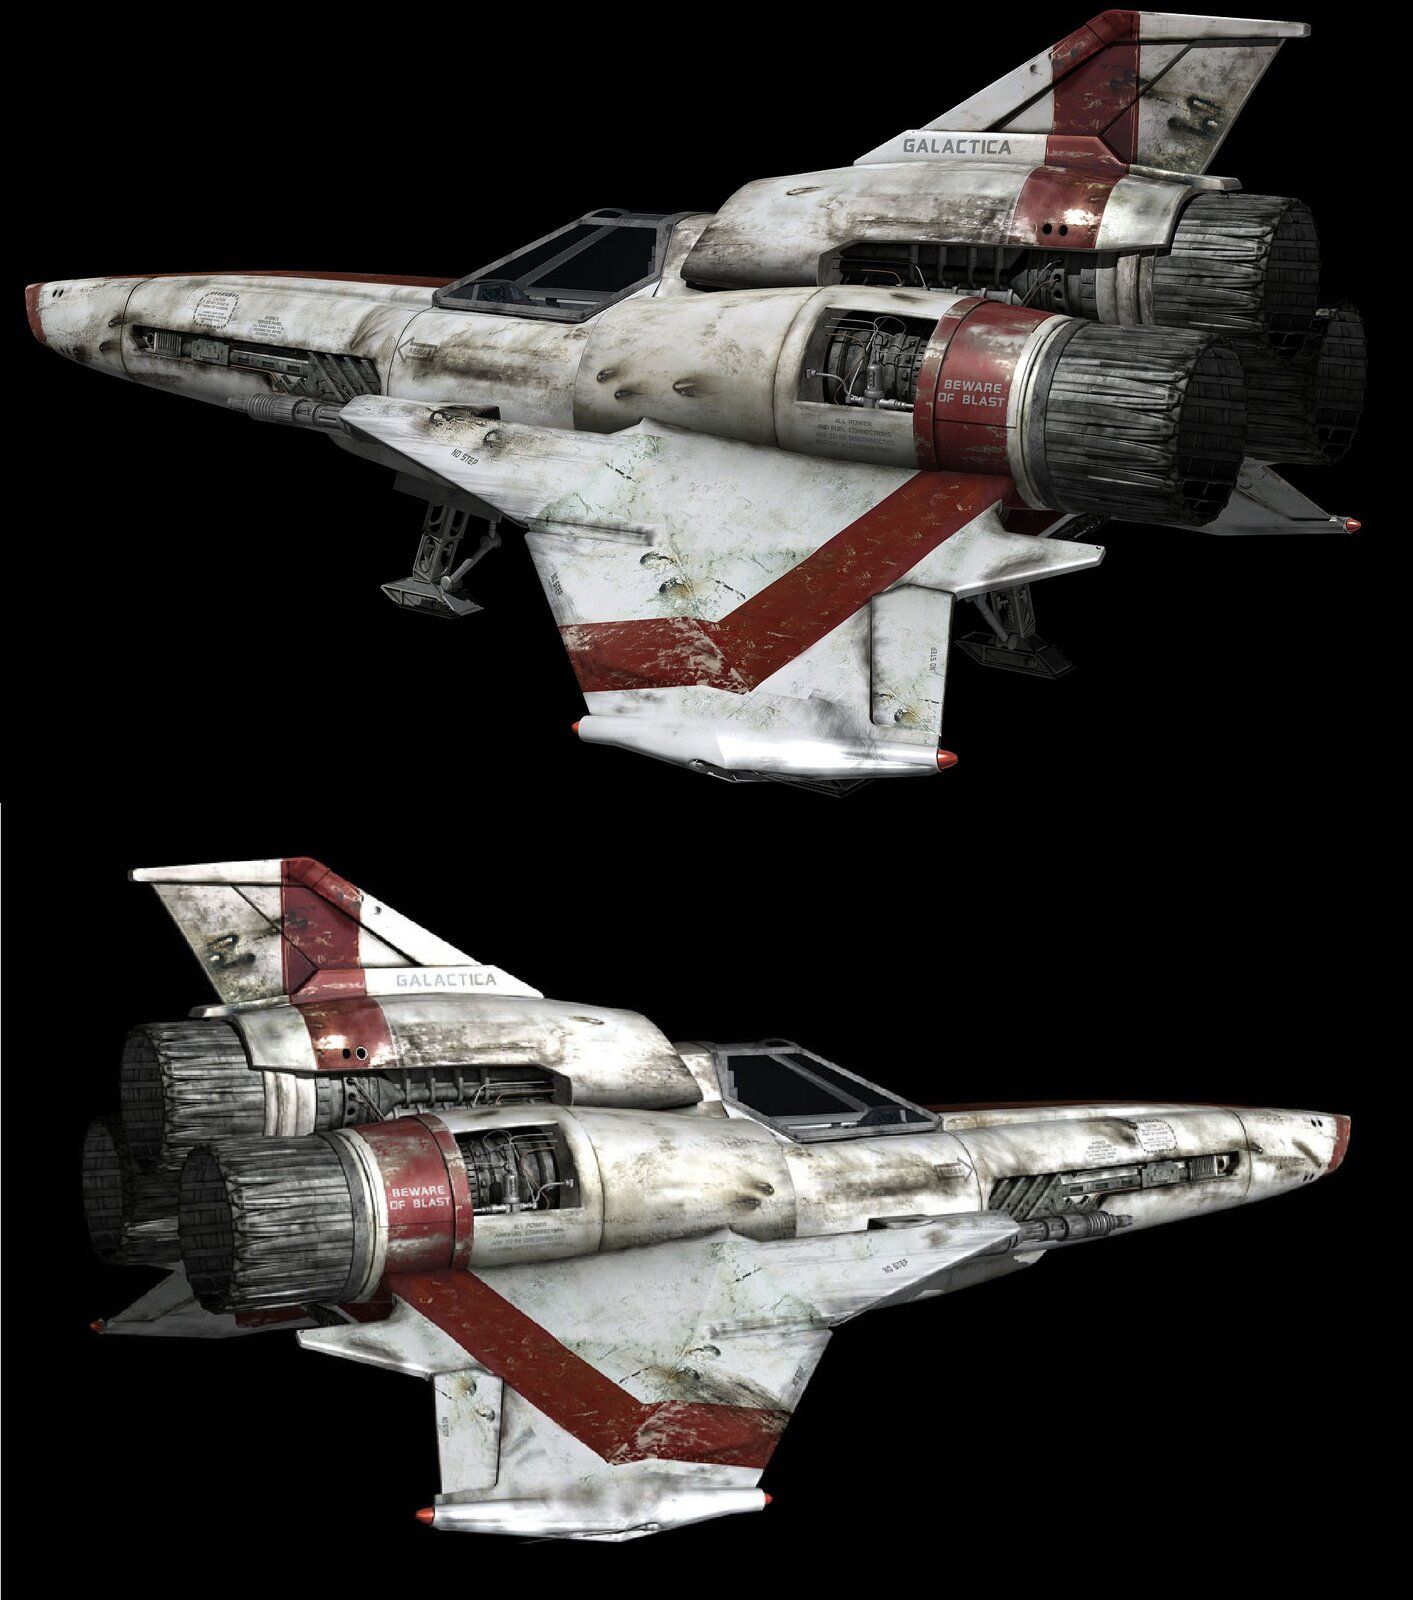
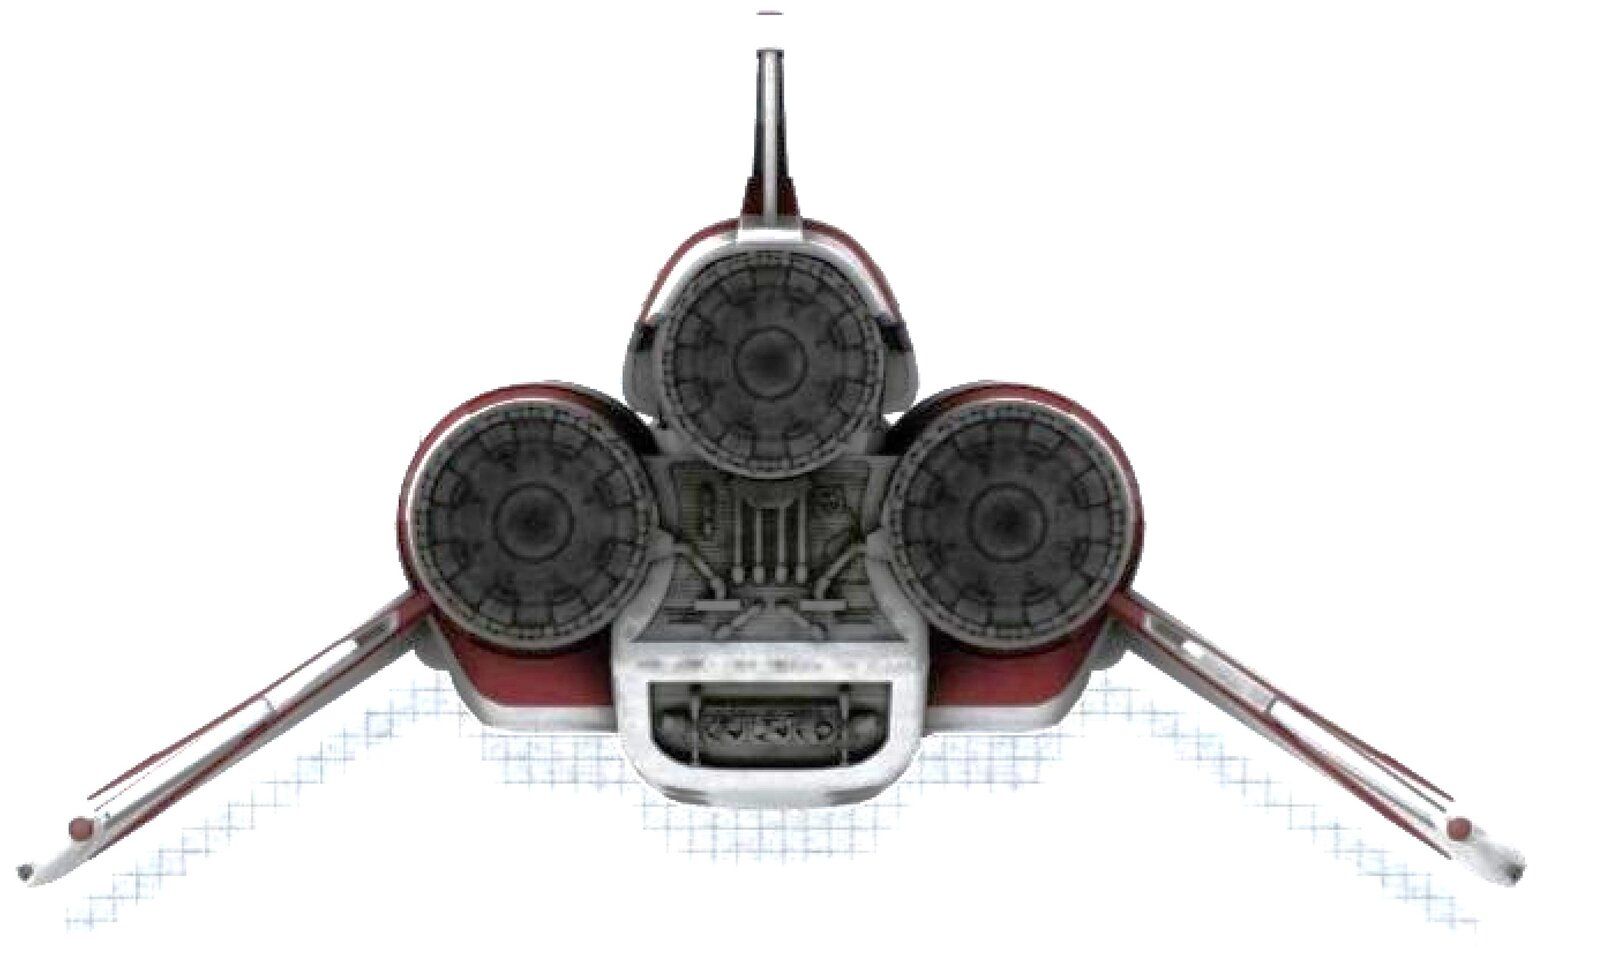
Here's more what I wanted this one to resemble:

Viper Mark II.jpg


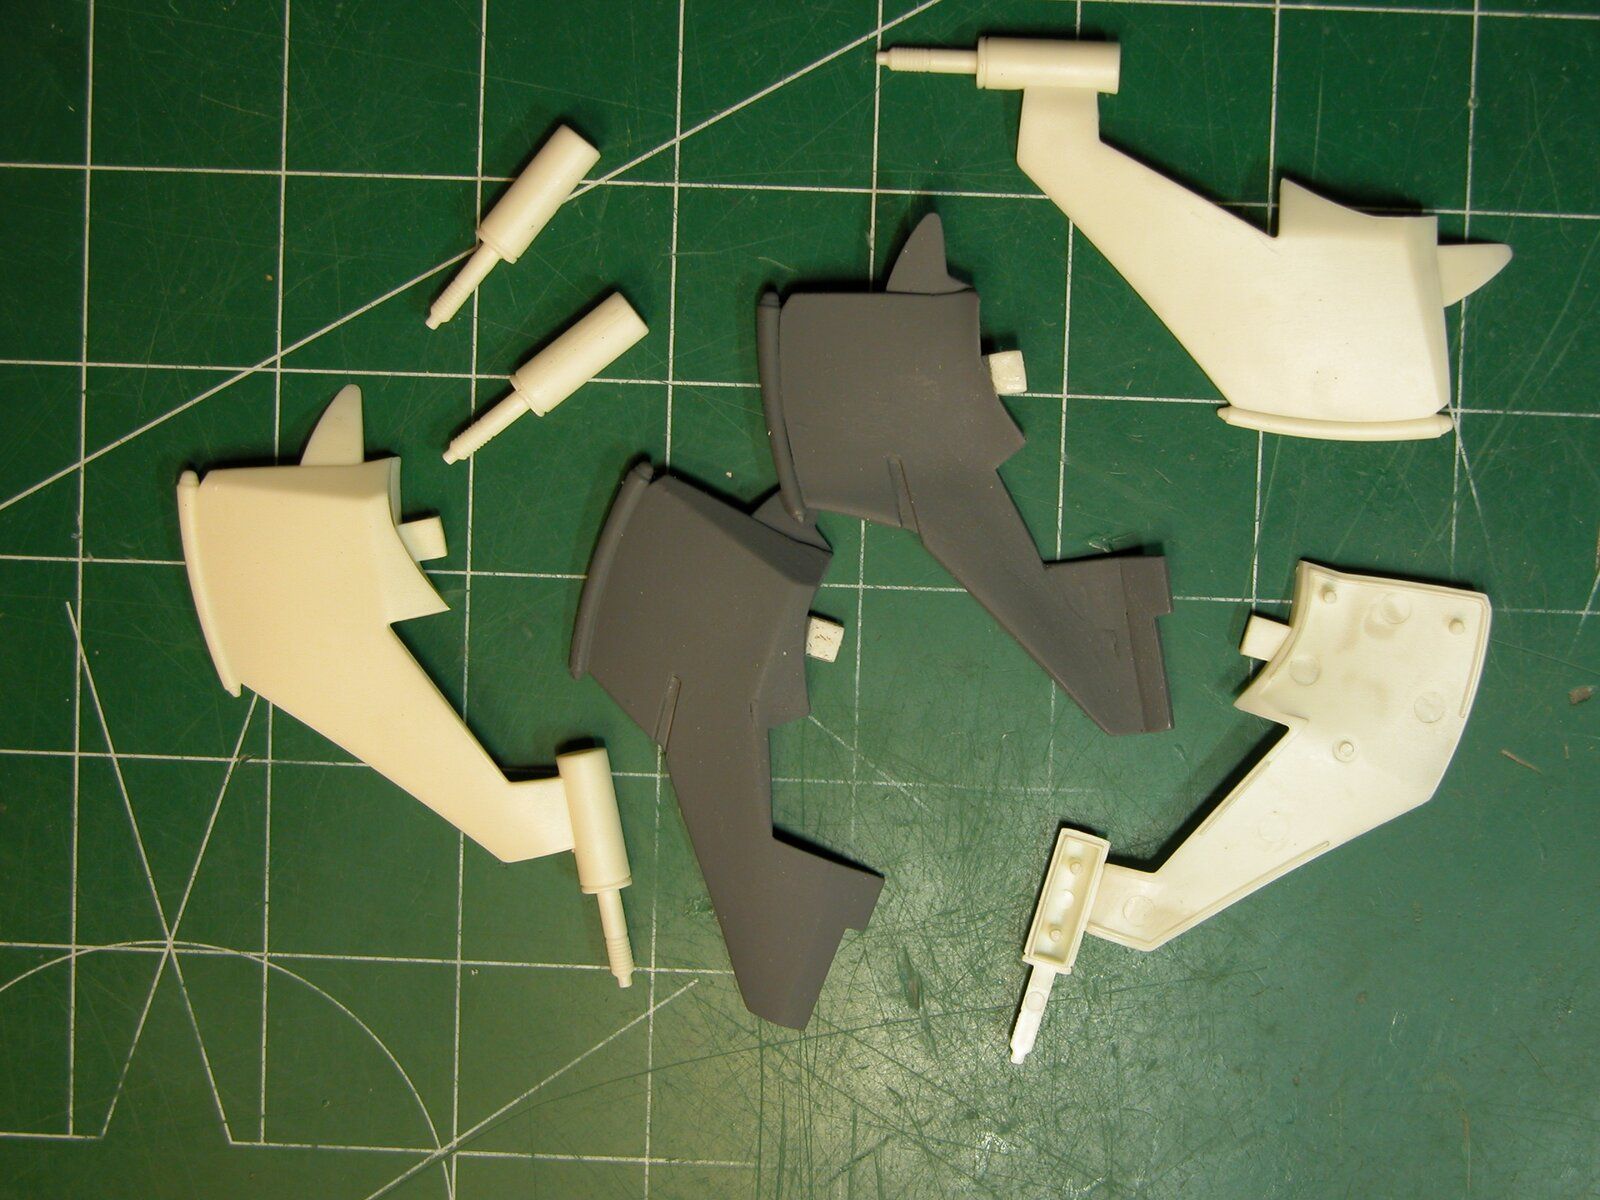
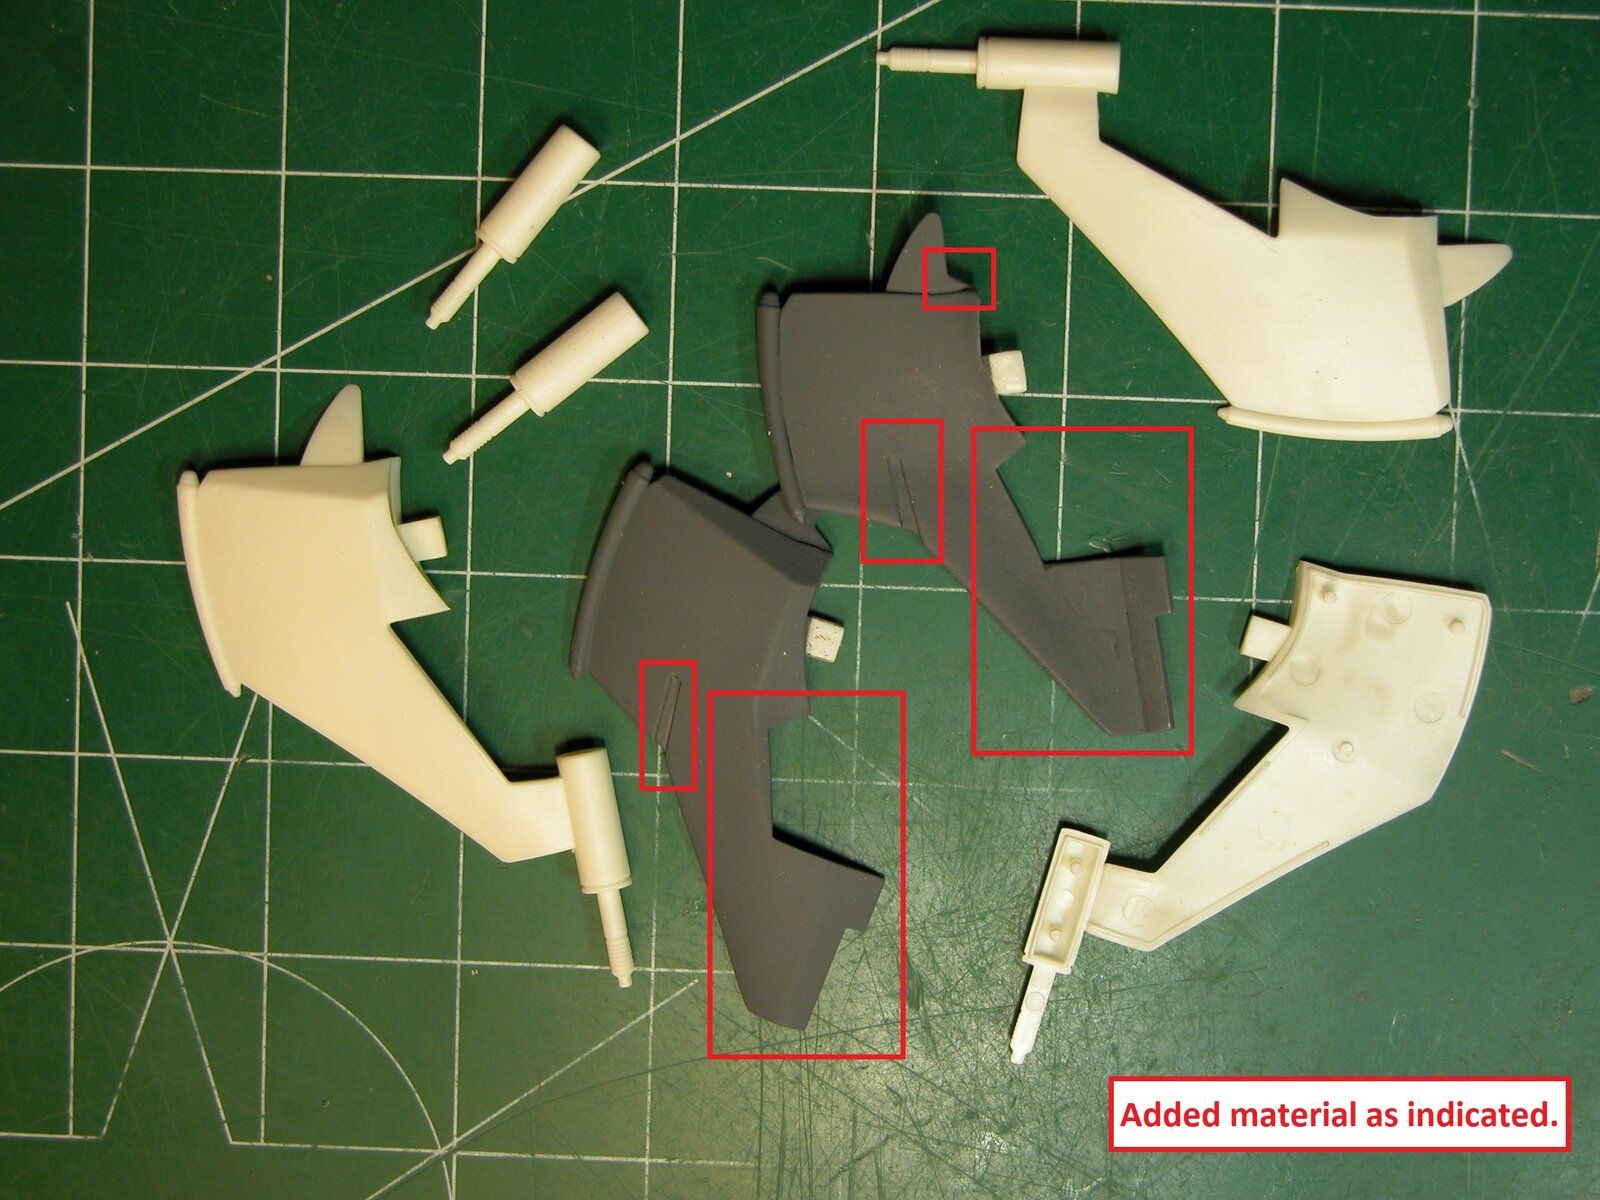
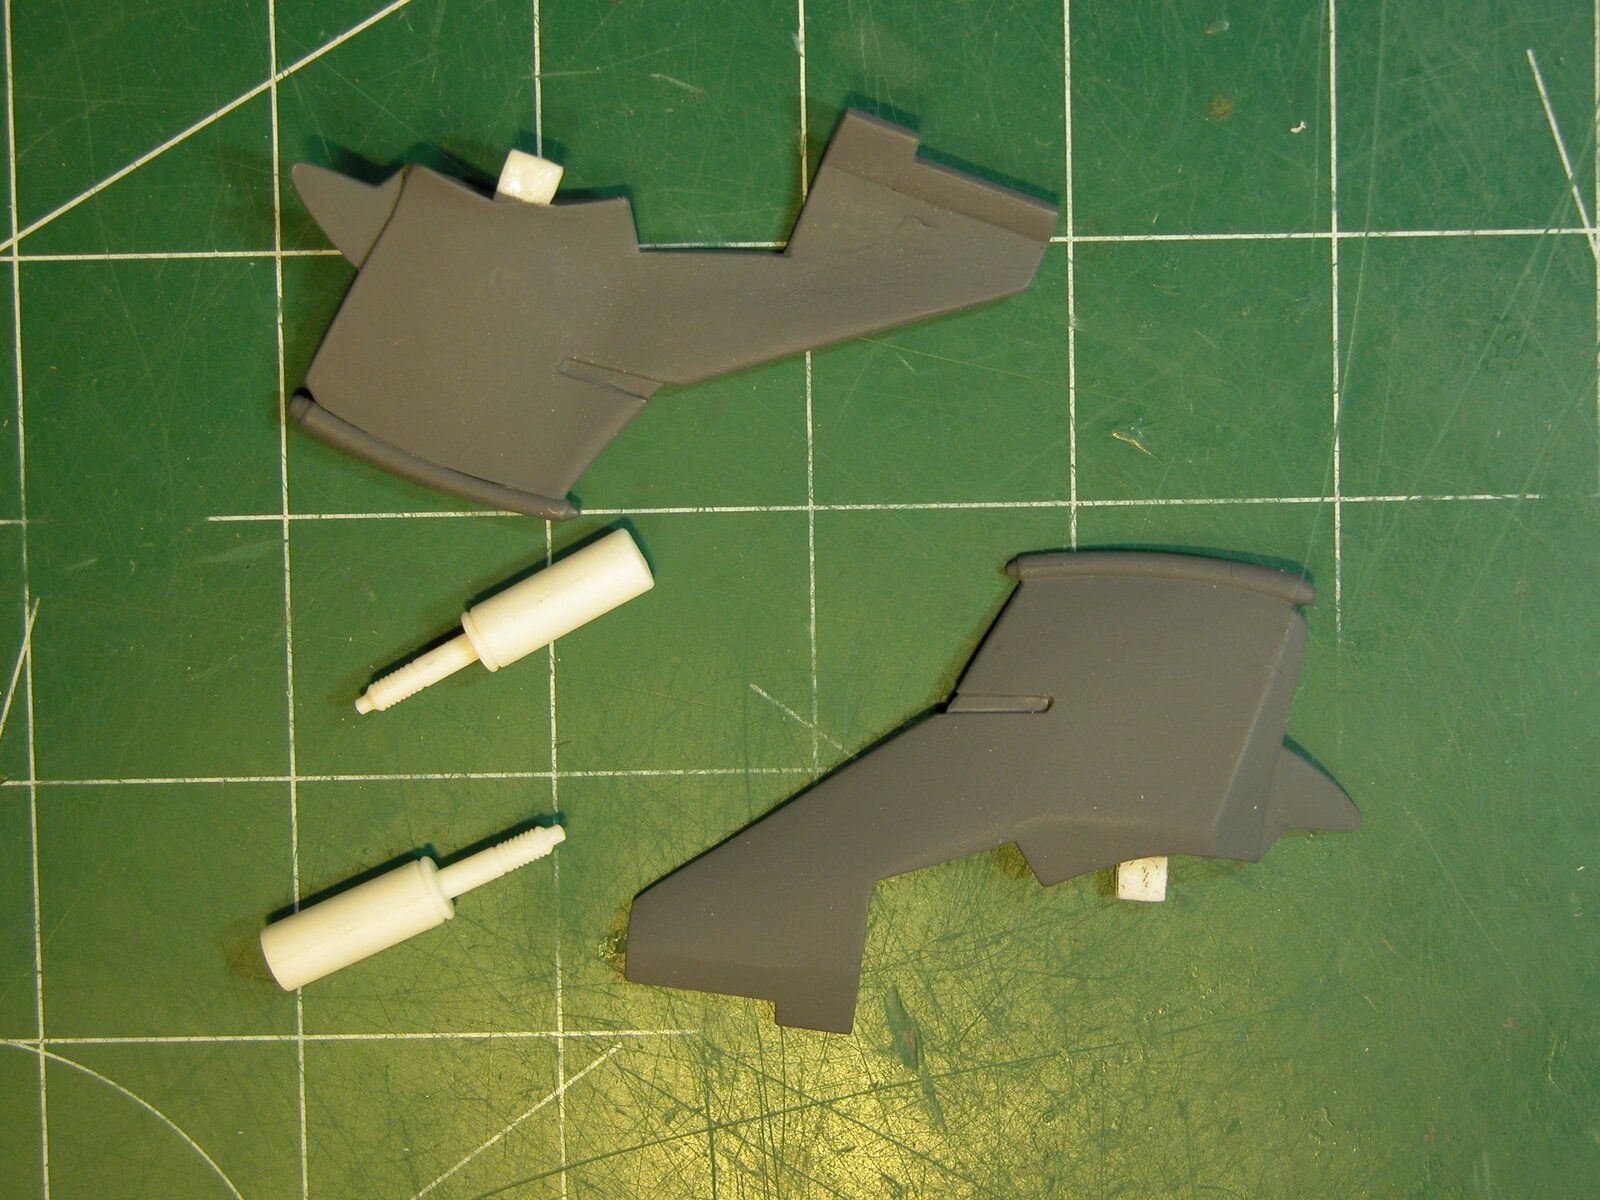
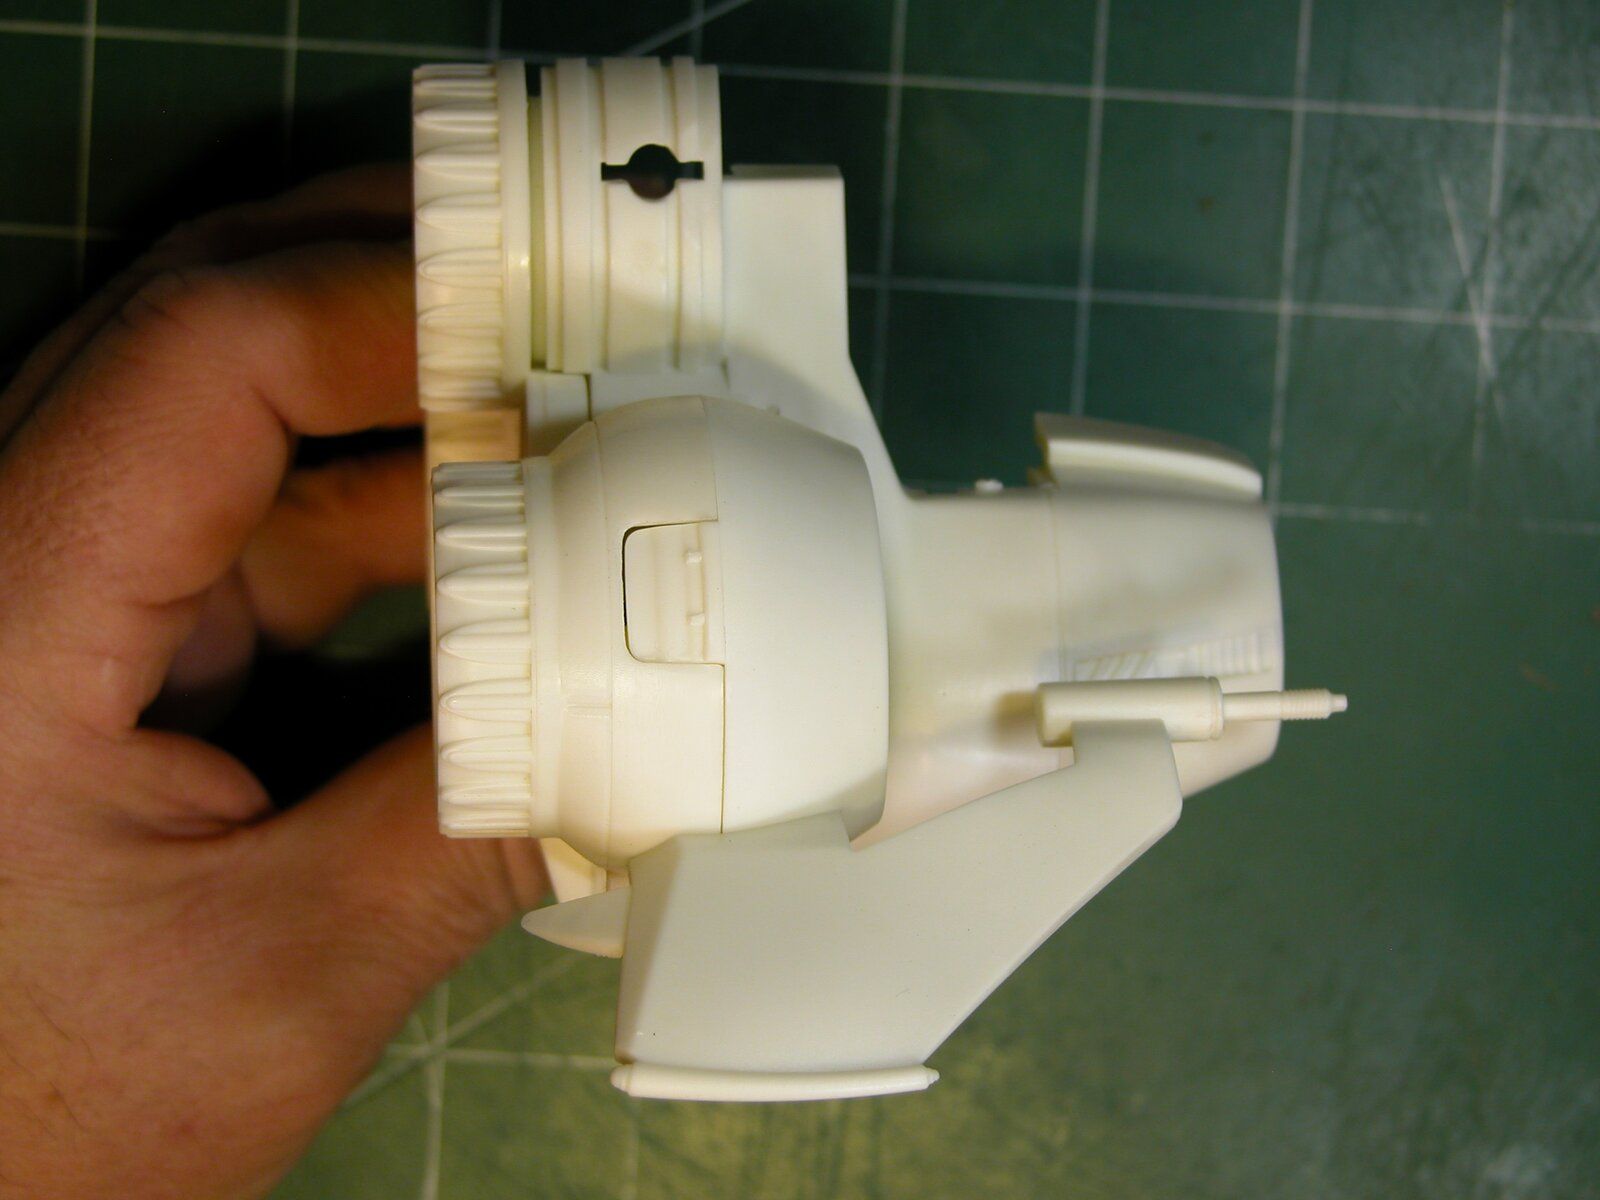
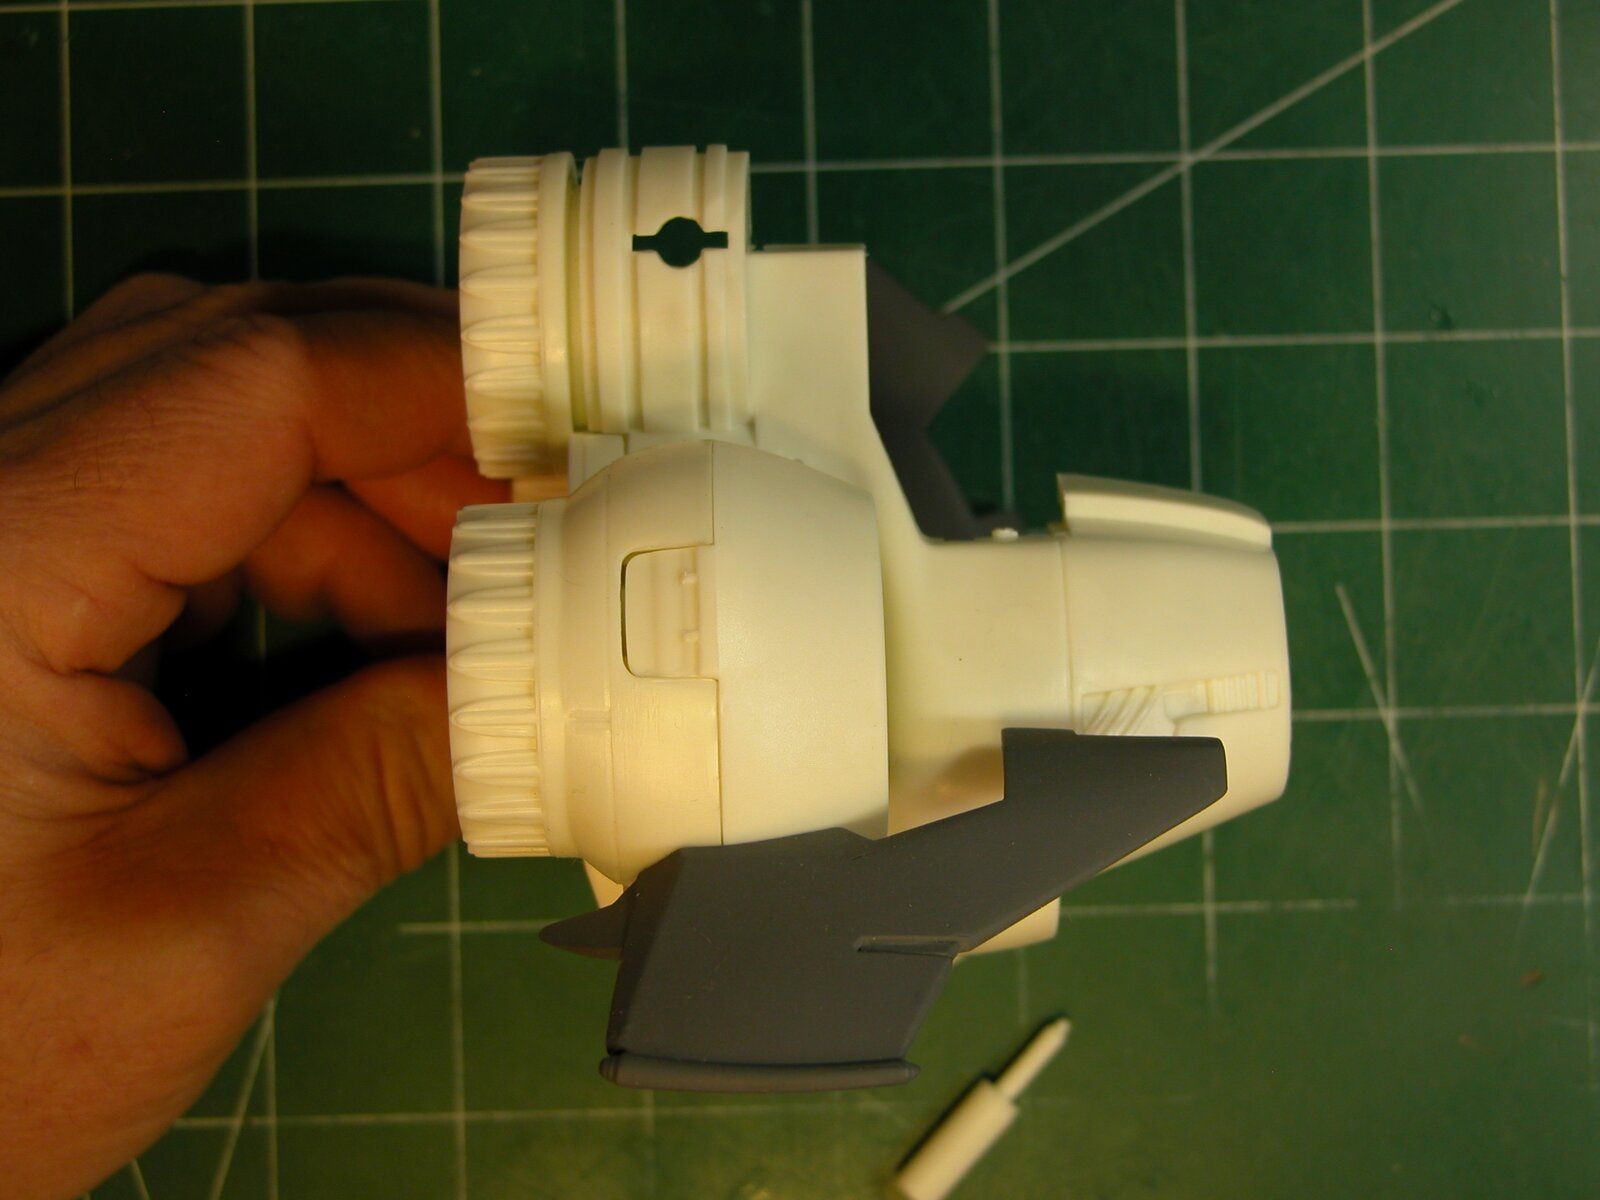
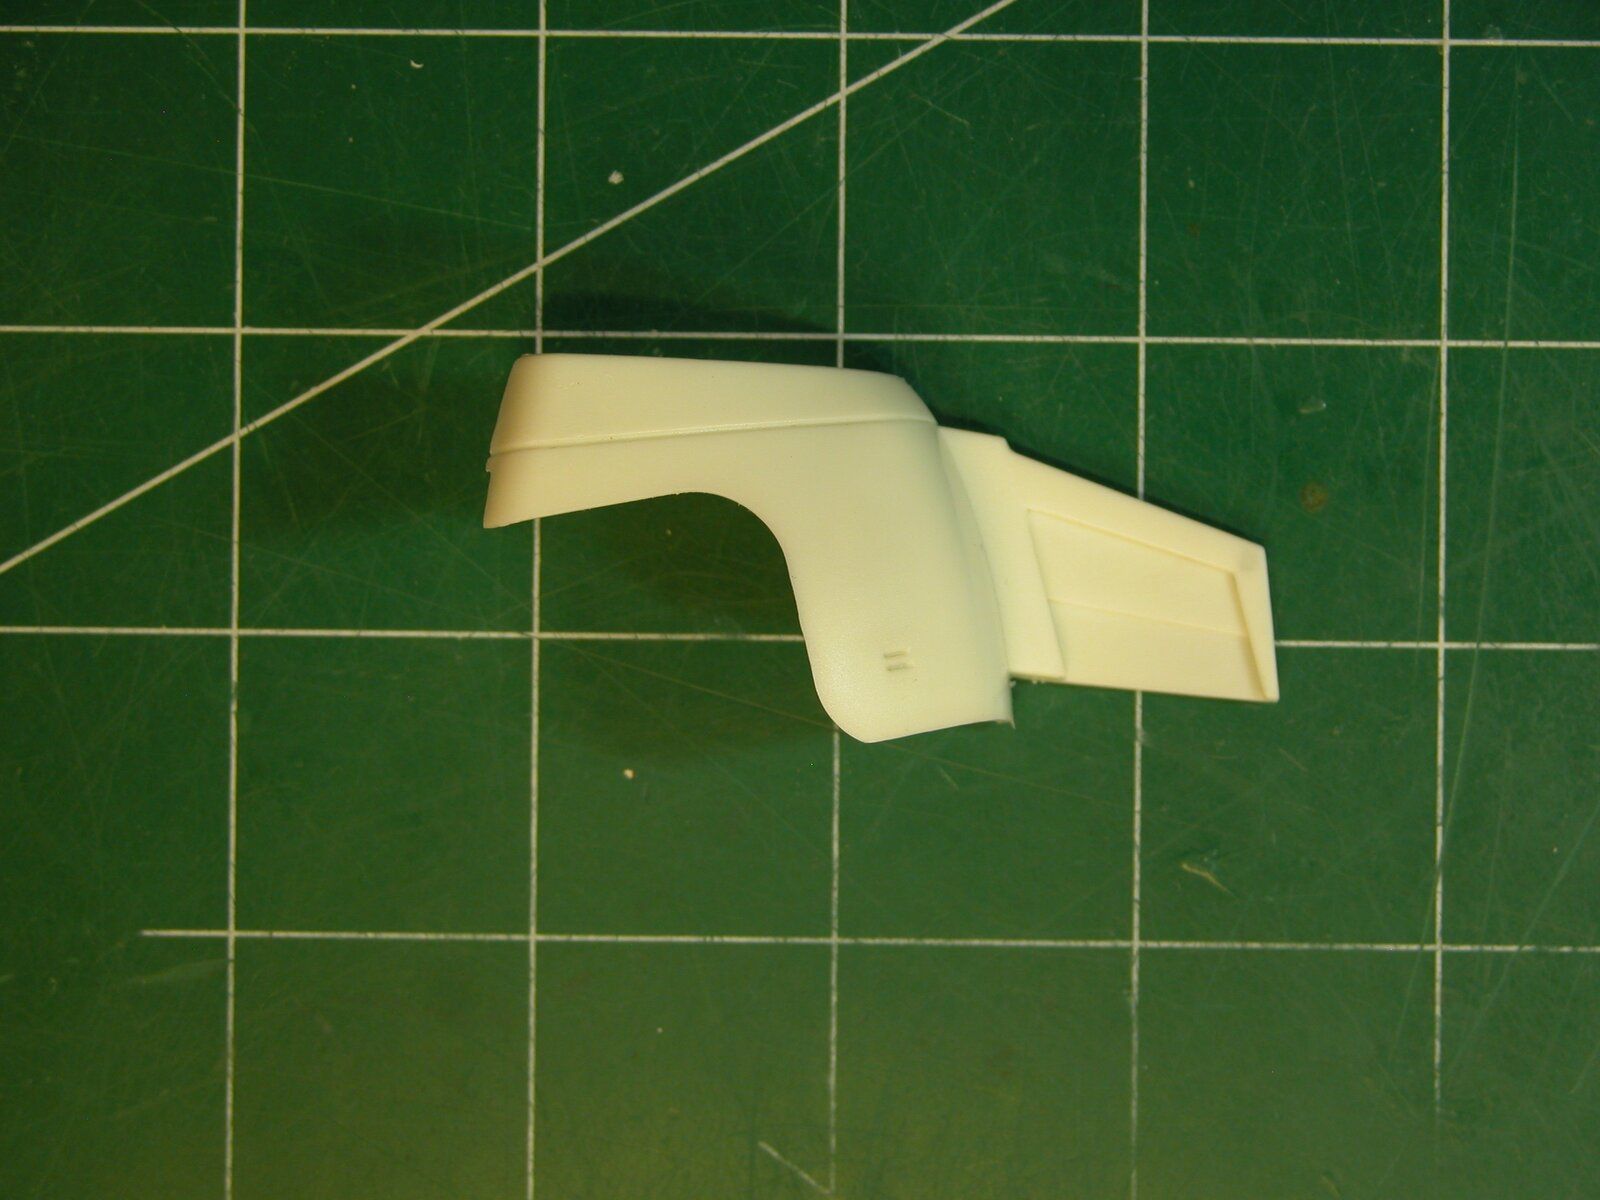
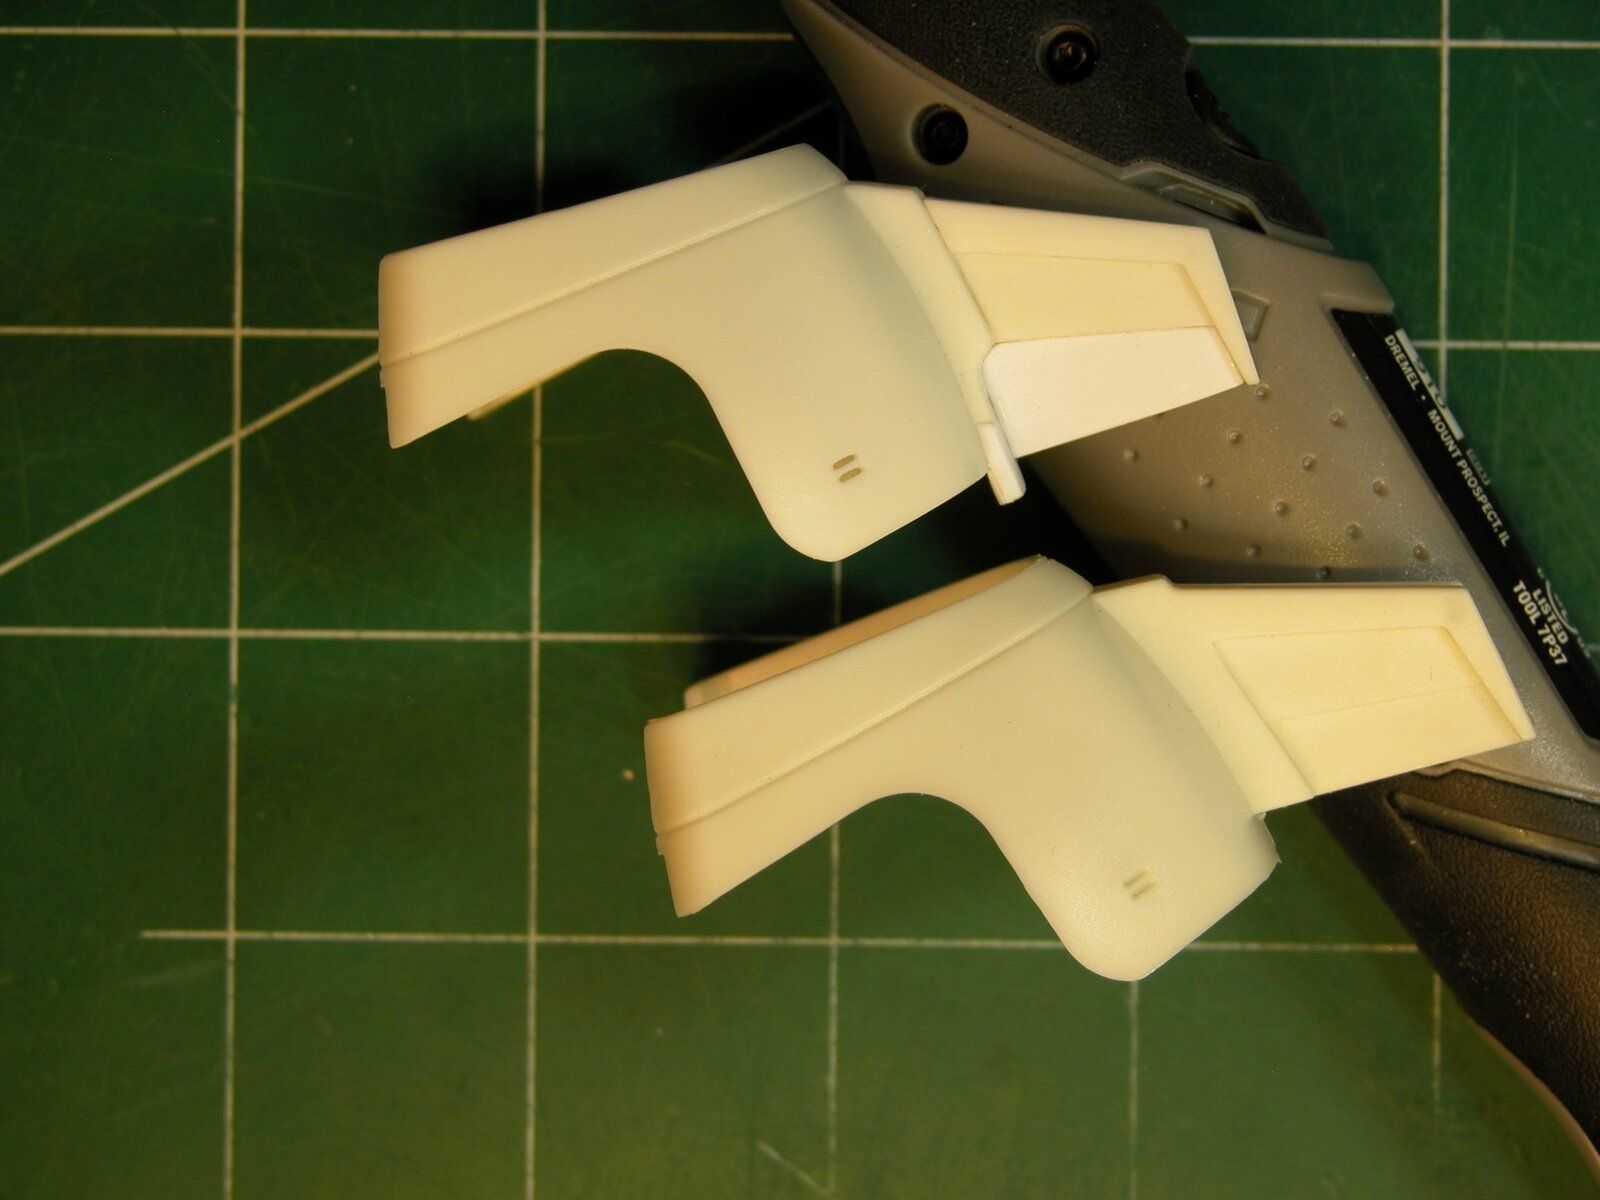
I started out by modifying the wings just a tad. They needed a little reshaping and some material added here and there. The guns didn't line up exactly like they are on the show Viper, so some alignment had to be tweaked as well, so I removed the lasers.

Here's that effort:

DSCN0173.jpg

DSCN0173added.jpg


Original box wings:

DSCN0175.jpg


My hacked up wings:

DSCN0178.jpg


They way they was:

DSCN0178a.jpg


They way the will be:

DSCN0179.jpg


I think they came out alright?

Rob.
 
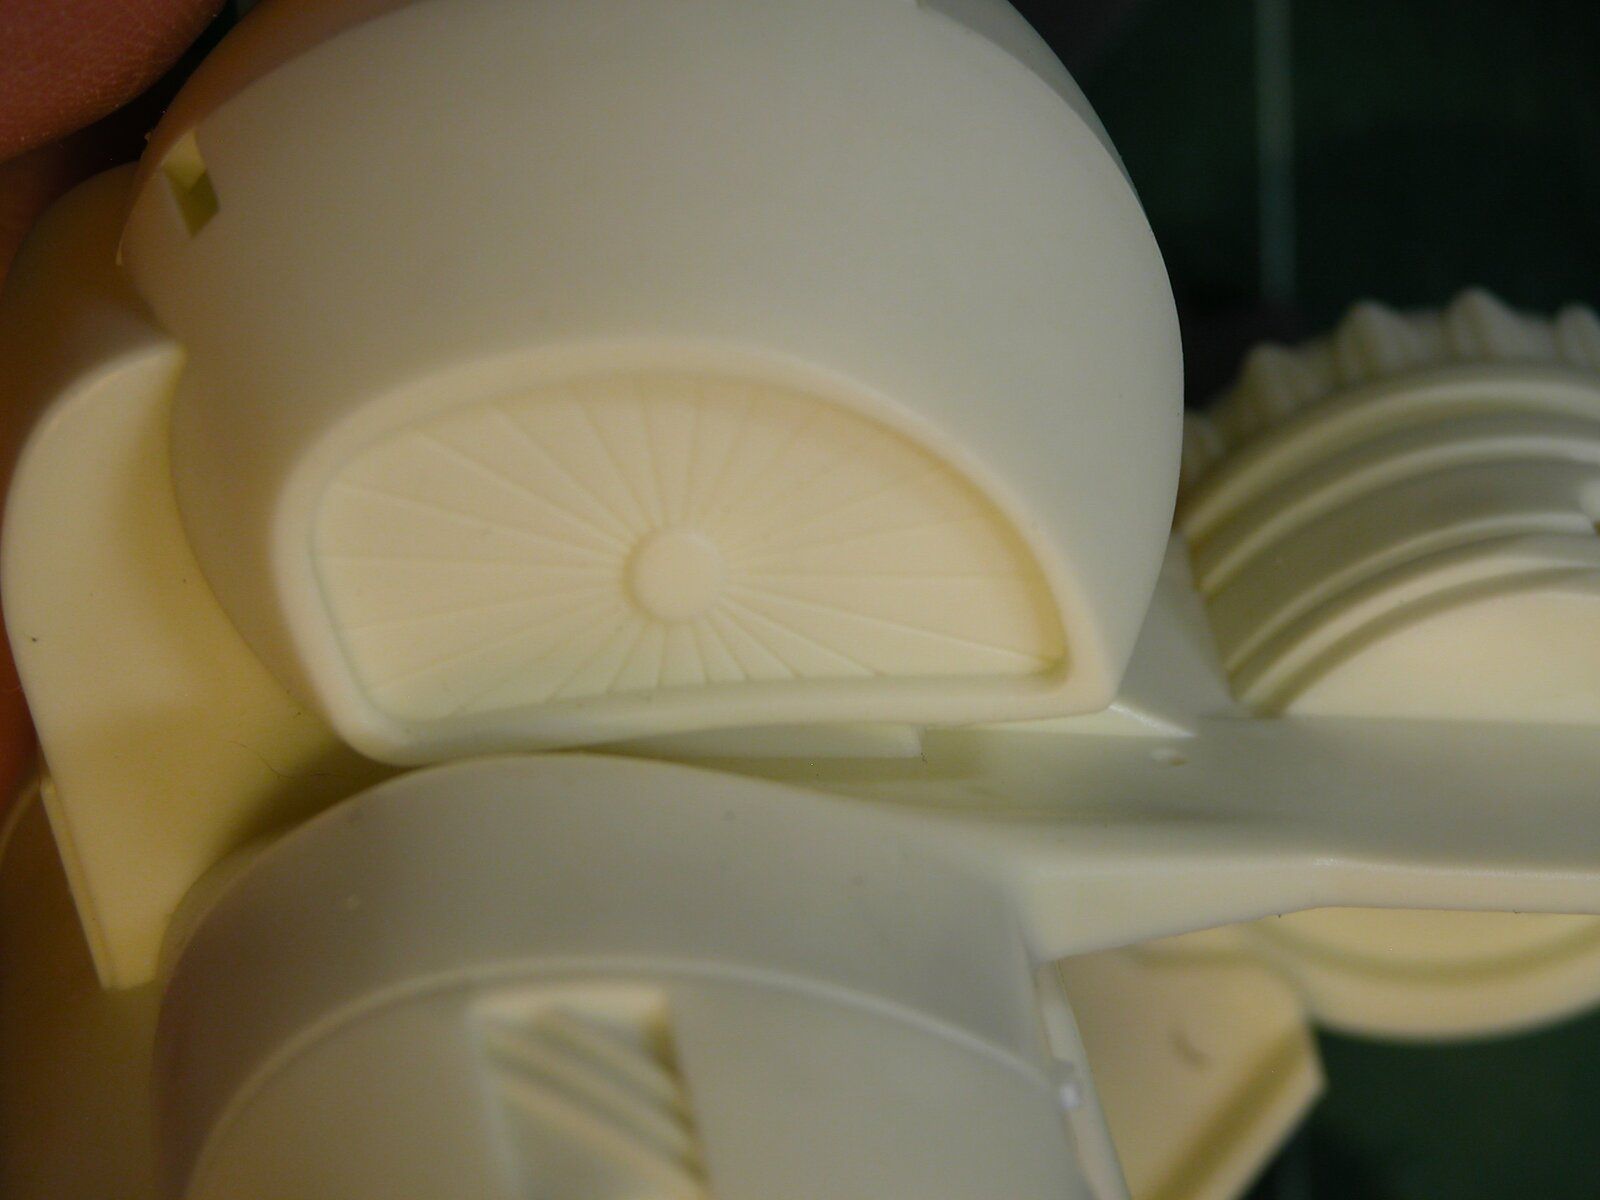
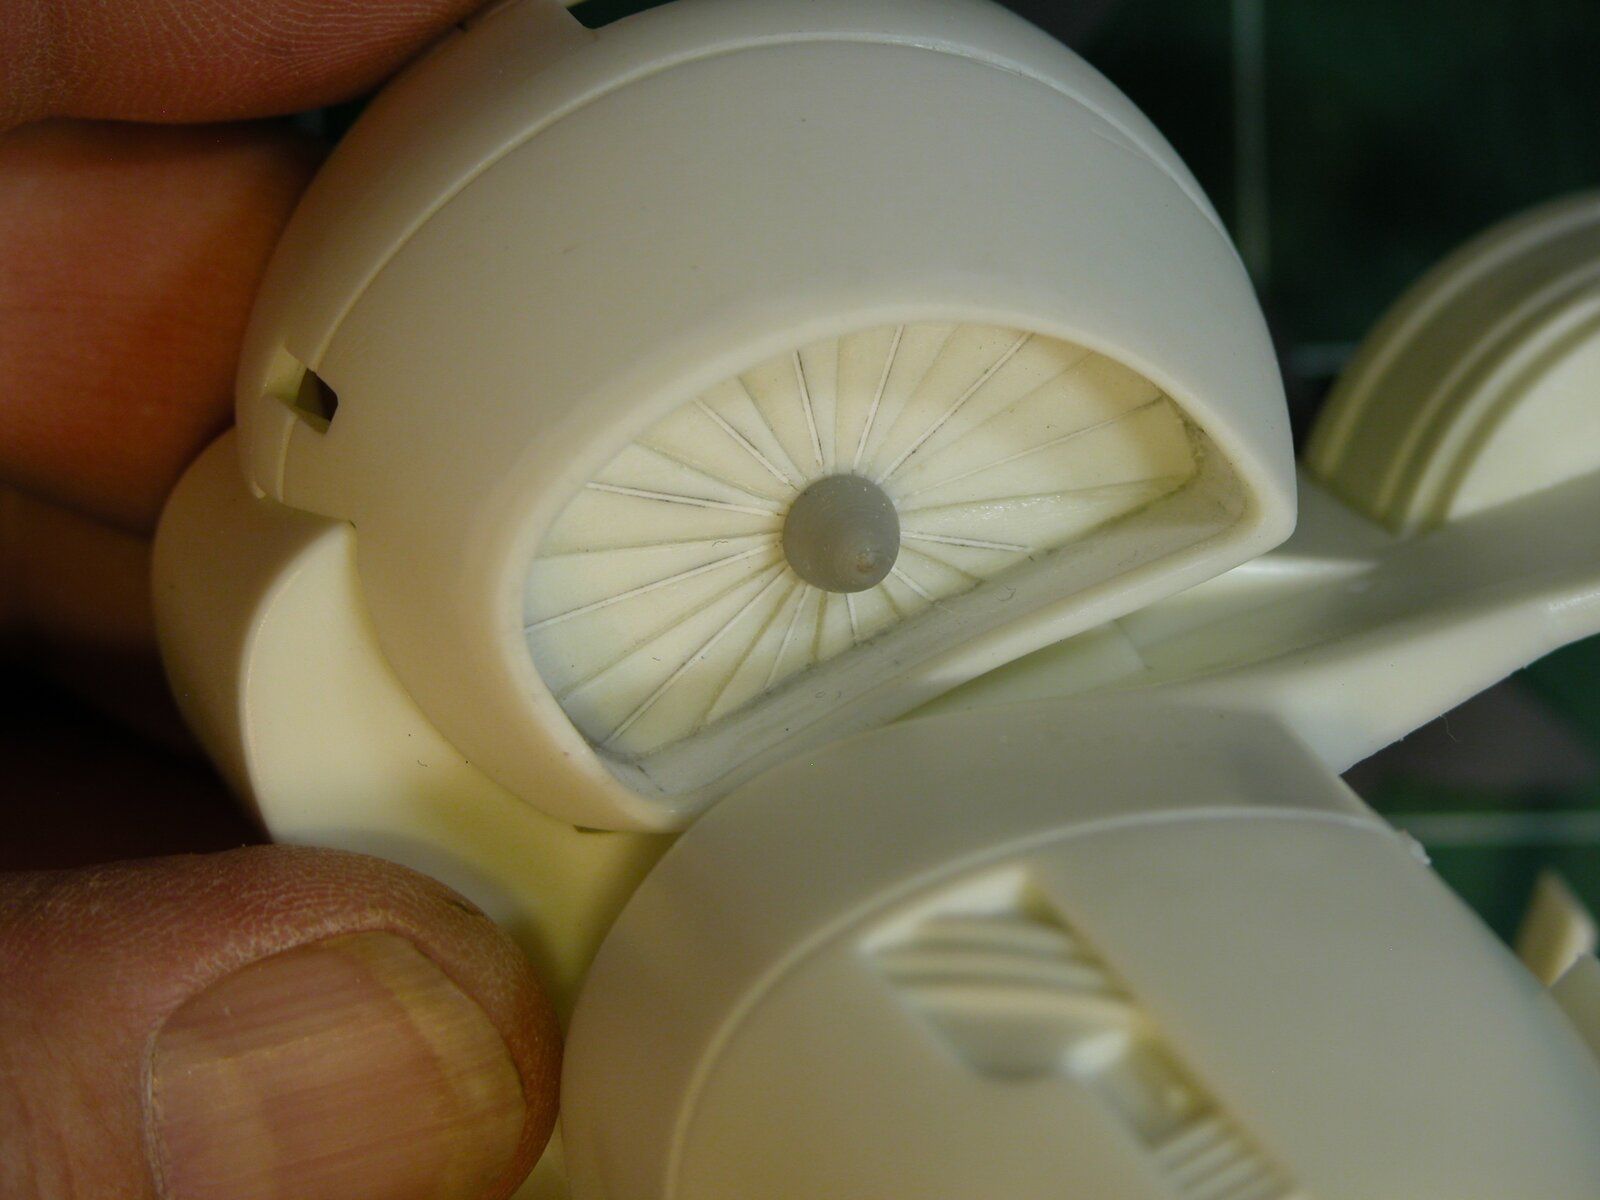
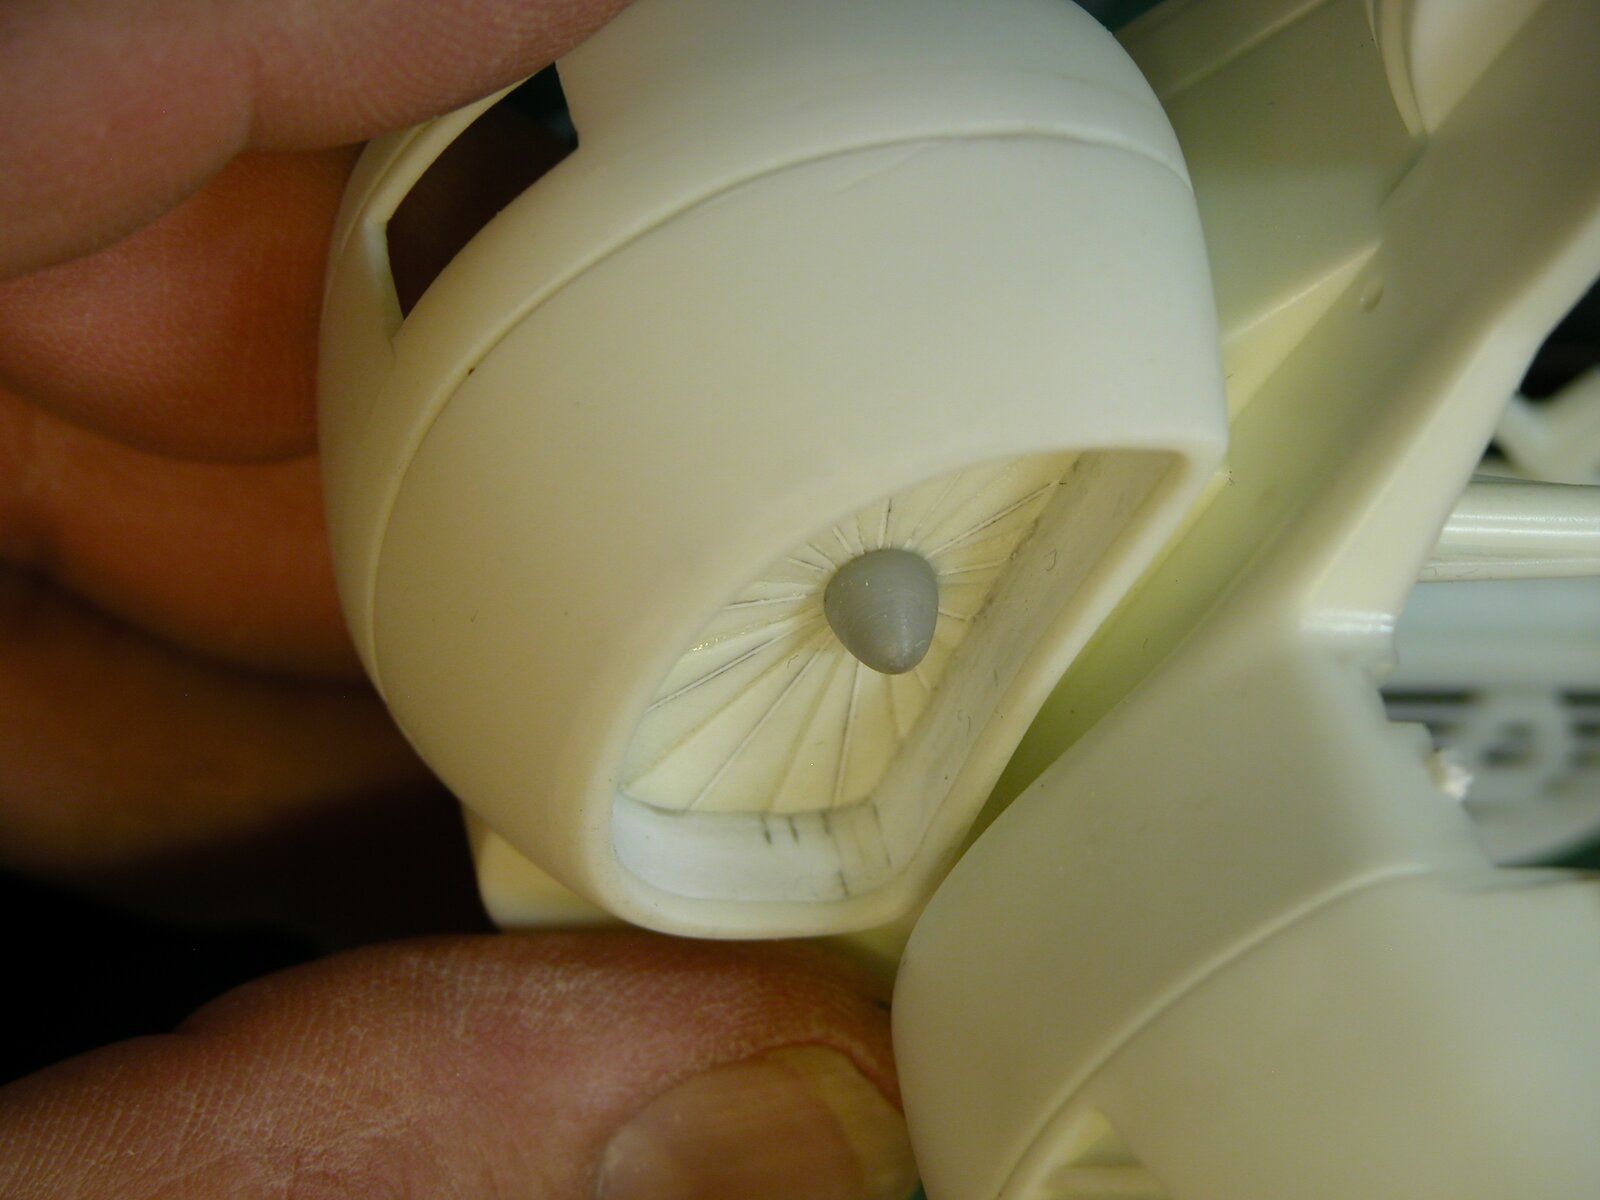
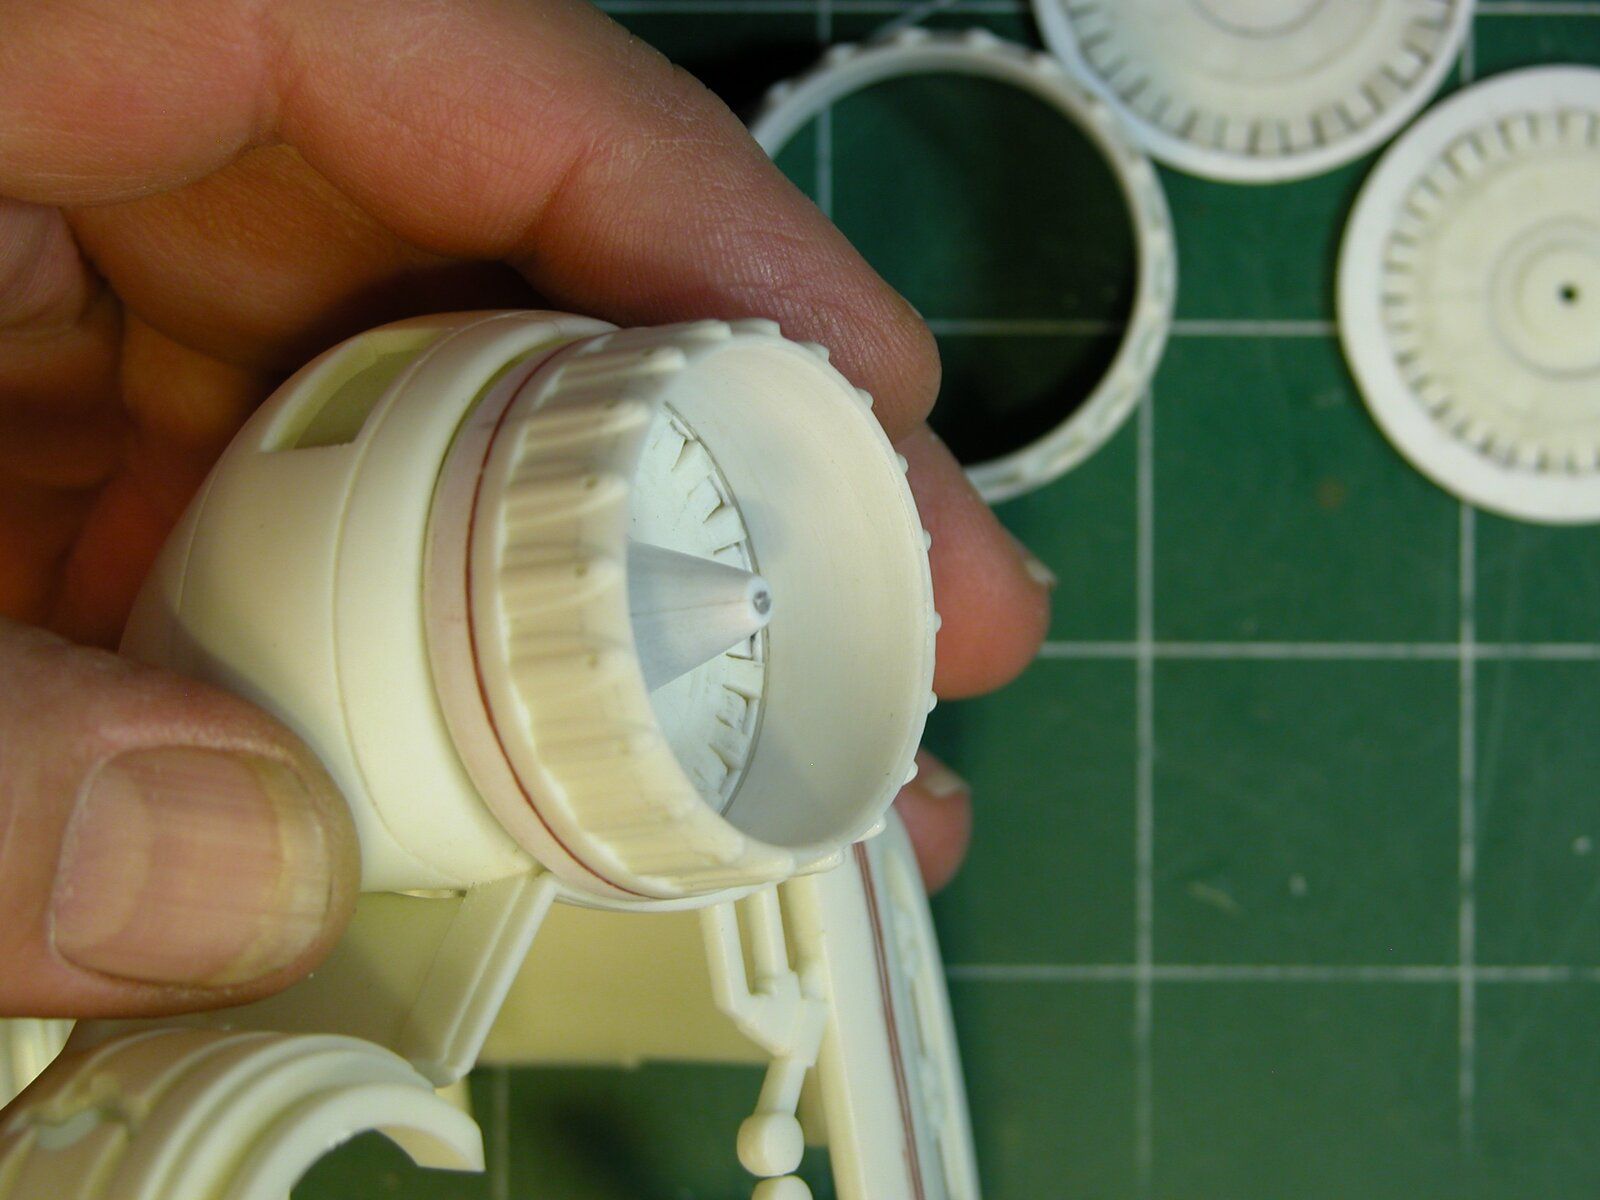
Next, lookin' down the sucky-inny part of the intakes, they are much more recessed on the show thatn this model, so I gave 'em a little more scoop.

Stock:

DSCN0181.jpg


More scoop. I also added that little pointy nub thingy.

DSCN0182.jpg


Although barely noticable, I gave each blade an angle that they didn't have before.

DSCN0183.jpg


Moving right along.

Rob.
 
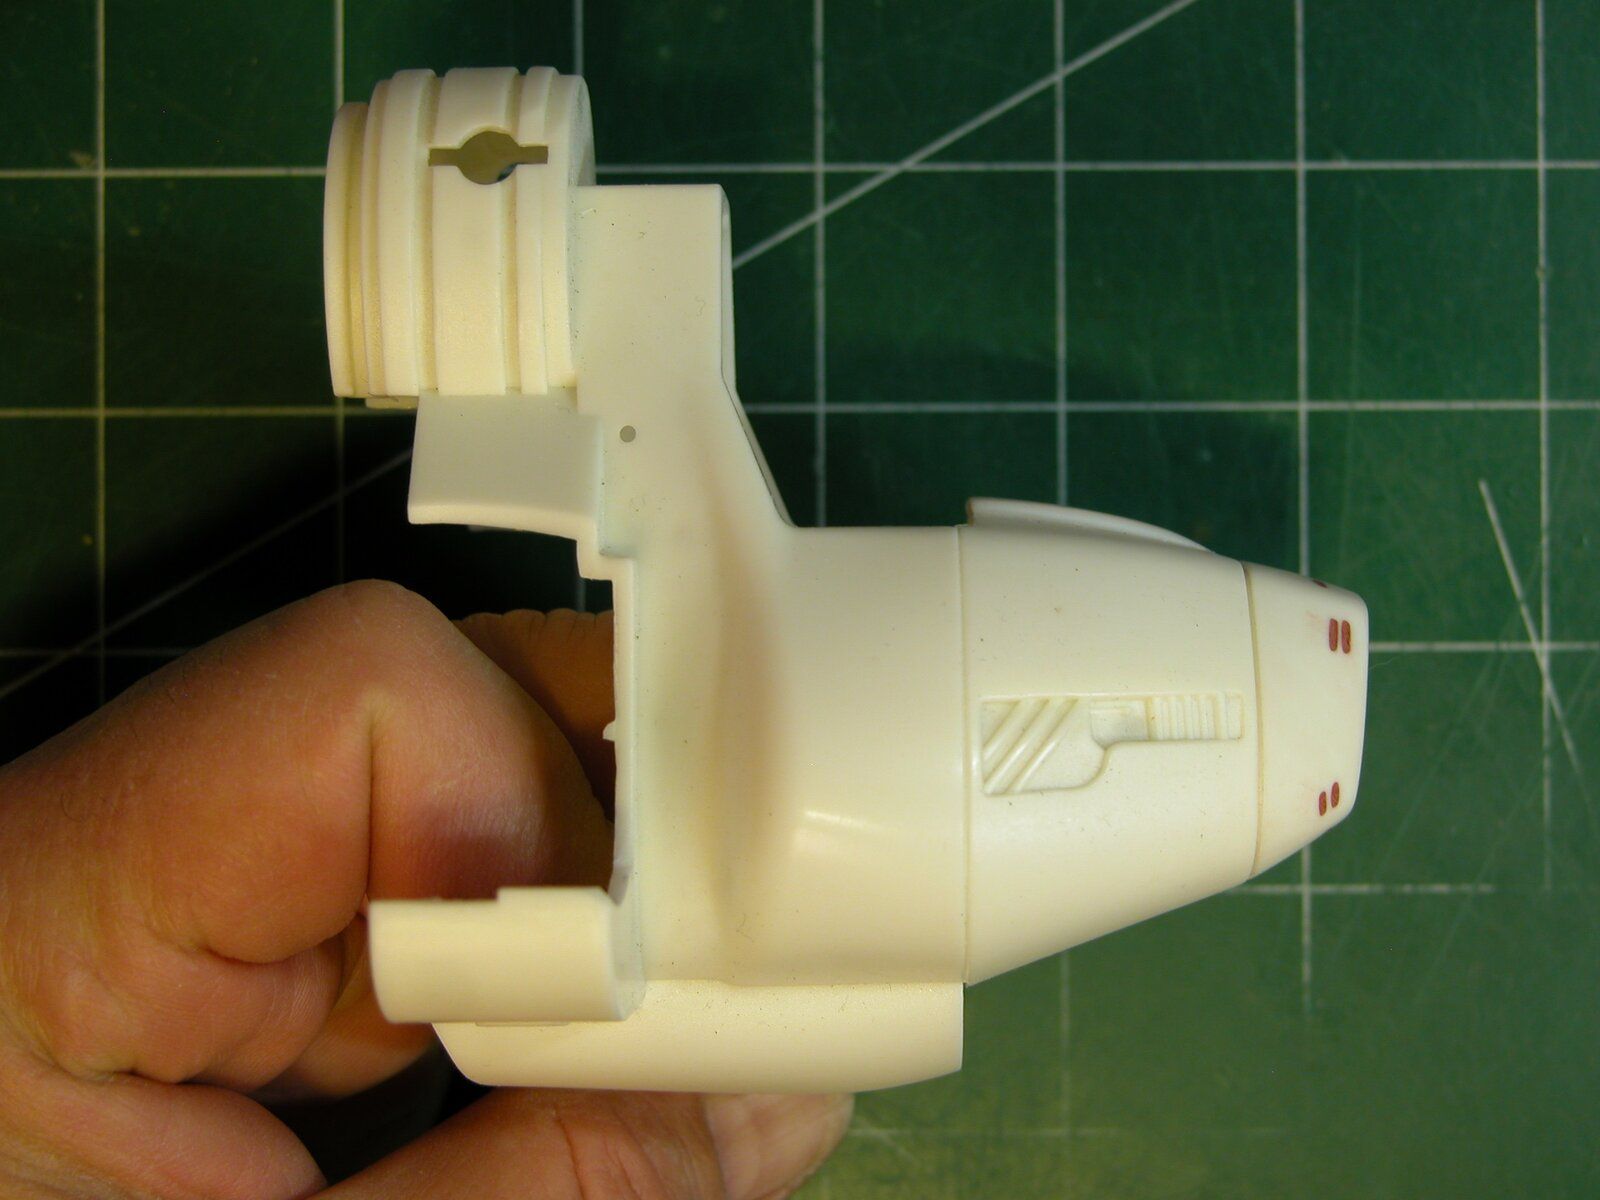
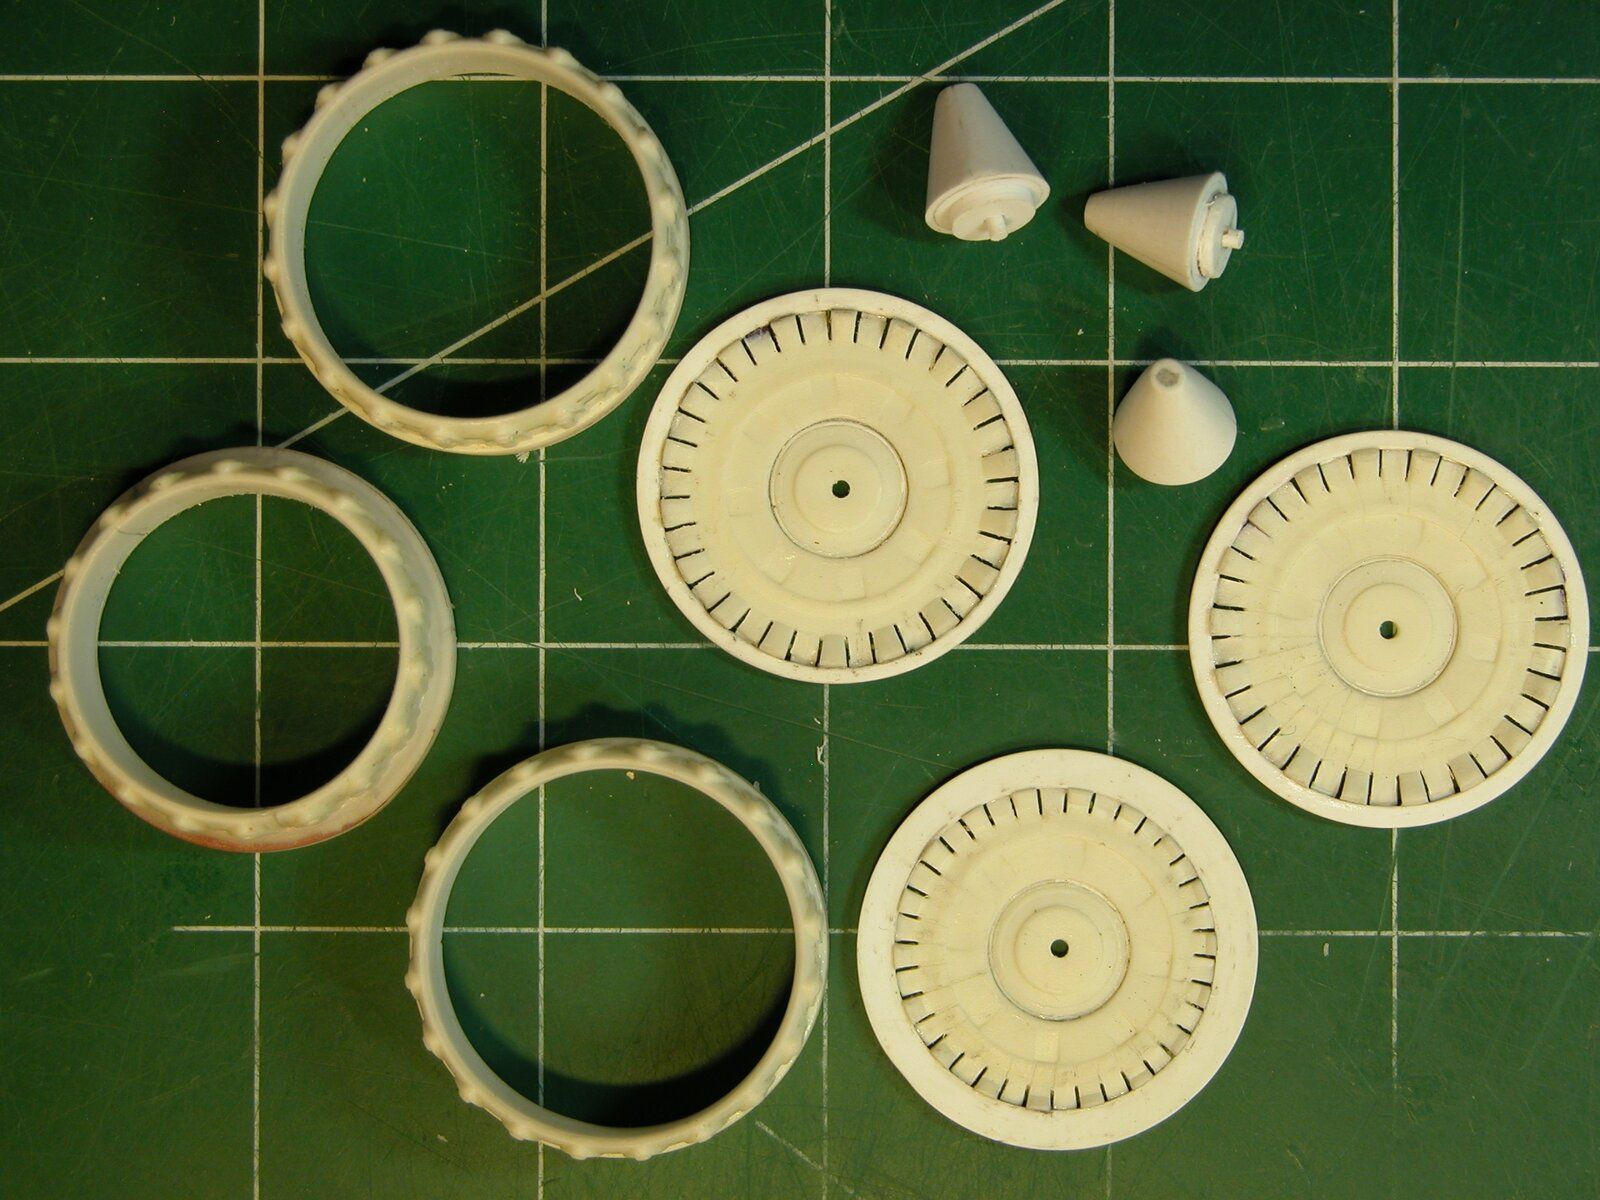
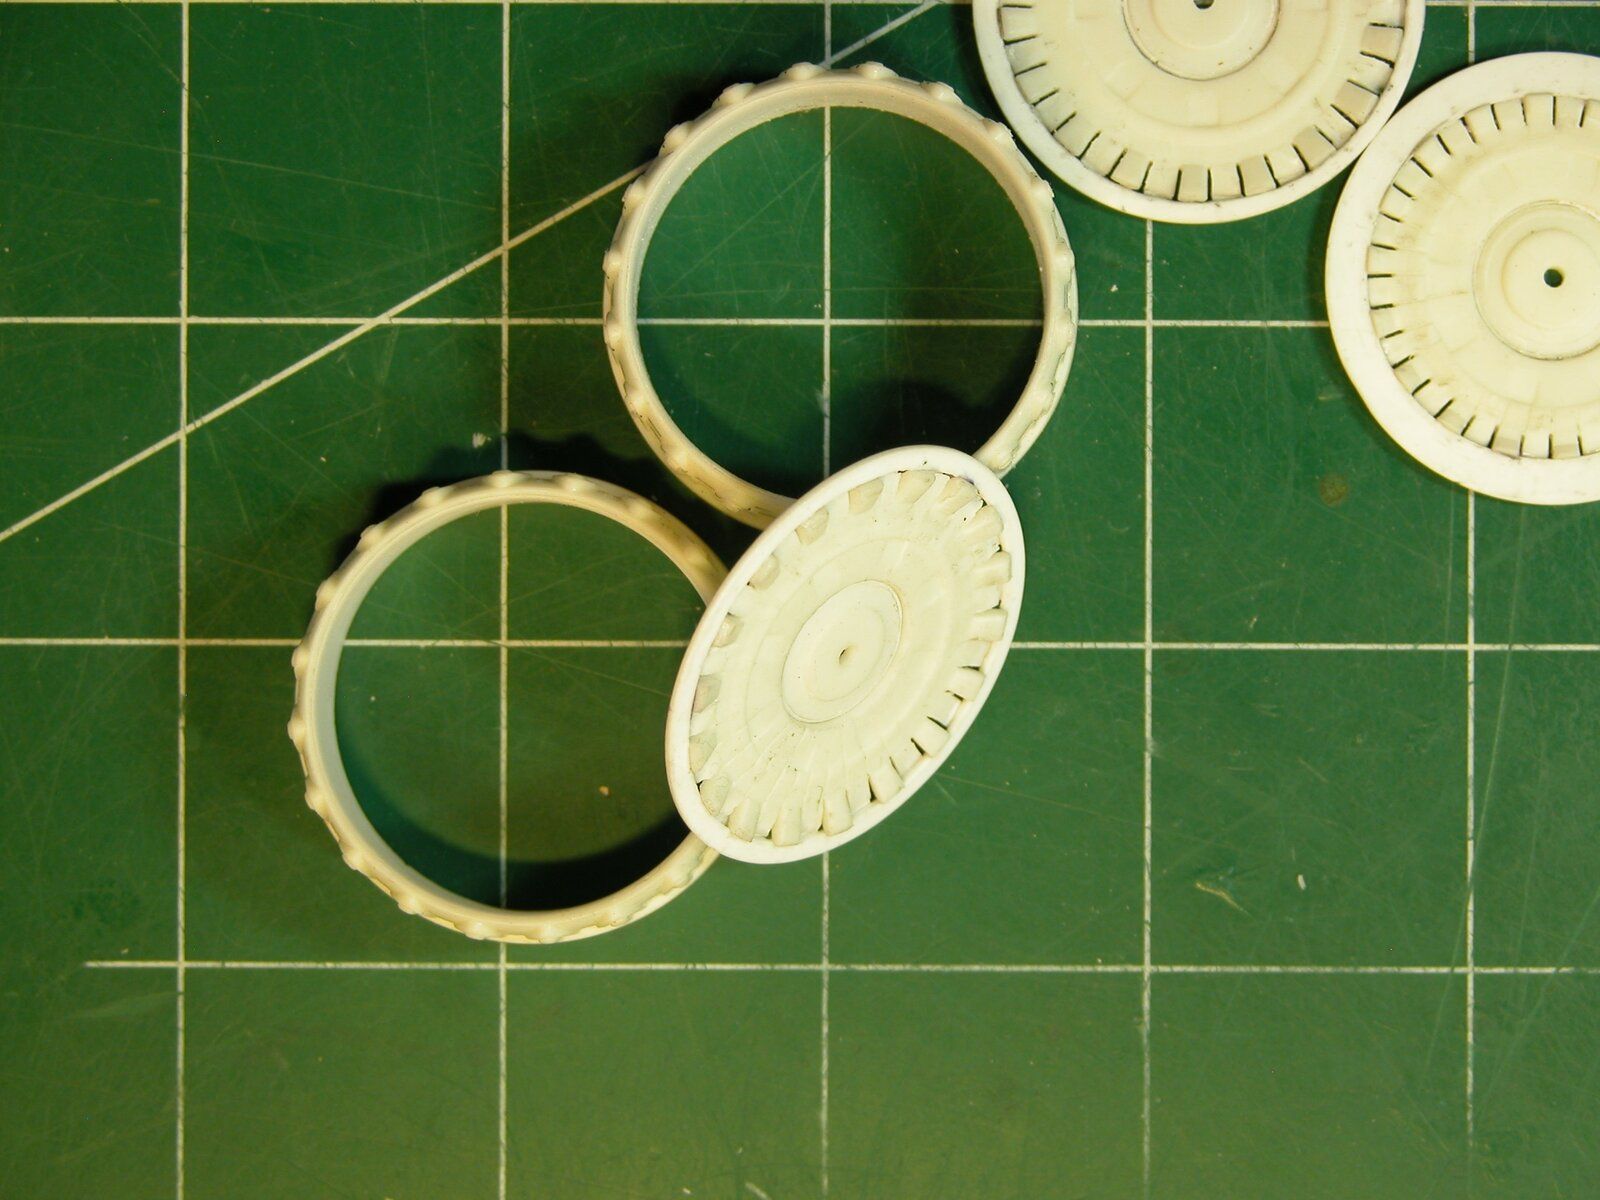
There is a much more recessed engine hole with a fair amount of detail inside that looks nice on the show Viper. Wanting to add some of that later, I removed the original section so that I could fix something in there later. That hole is in a little different place on the show Viper, so I adjusted that too. Also here, you can see I've removed the engine vane ring so that I can help those out later too.

DSCN0184.jpg


Rob.
 
The nose needed some help too. On the show Viper, it's more open and those indentions surrounding it aren't present, so I did that to the model part.

Stock:

DSCN0185.jpg


After a couple hours of drillin', whittlin', fillin' and strip addin':

DSCN0186.jpg

DSCN0187.jpg


Now it can breath through it's nose!

Rob.
 
Getting ready to start putting left and right sections together, I, as a rule, usually remove any locater pins and nubs. It helps me get a perfect alignment and I hear folks mention how bad these usually are, so I always get rid of them:

DSCN0172.jpg


Rob.
 
As an Amazon Associate we earn from qualifying purchases. Product prices and availability are accurate as of the date/time indicated and are subject to change.
Aligning the two halves of the fuselage, the ramp running down the front of the nose needed to be taken way down to match the studio:

DSCN0188.jpg

DSCN0189.jpg


So, I lowered it:

DSCN0192.jpg

DSCN0193.jpg

DSCN0194.jpg


I hated to do it, but sometimes you gotta break some eggs.

Rob.
 
The tail fin didn't match a "real" Viper neither.

DSCN0195.jpg


Added a few bits of styrene and spot/glaze putty for more holes that ain't there and had to do some sanding and smoothing.

DSCN0196.jpg


Closer to what's needed here I think.

Rob.
 
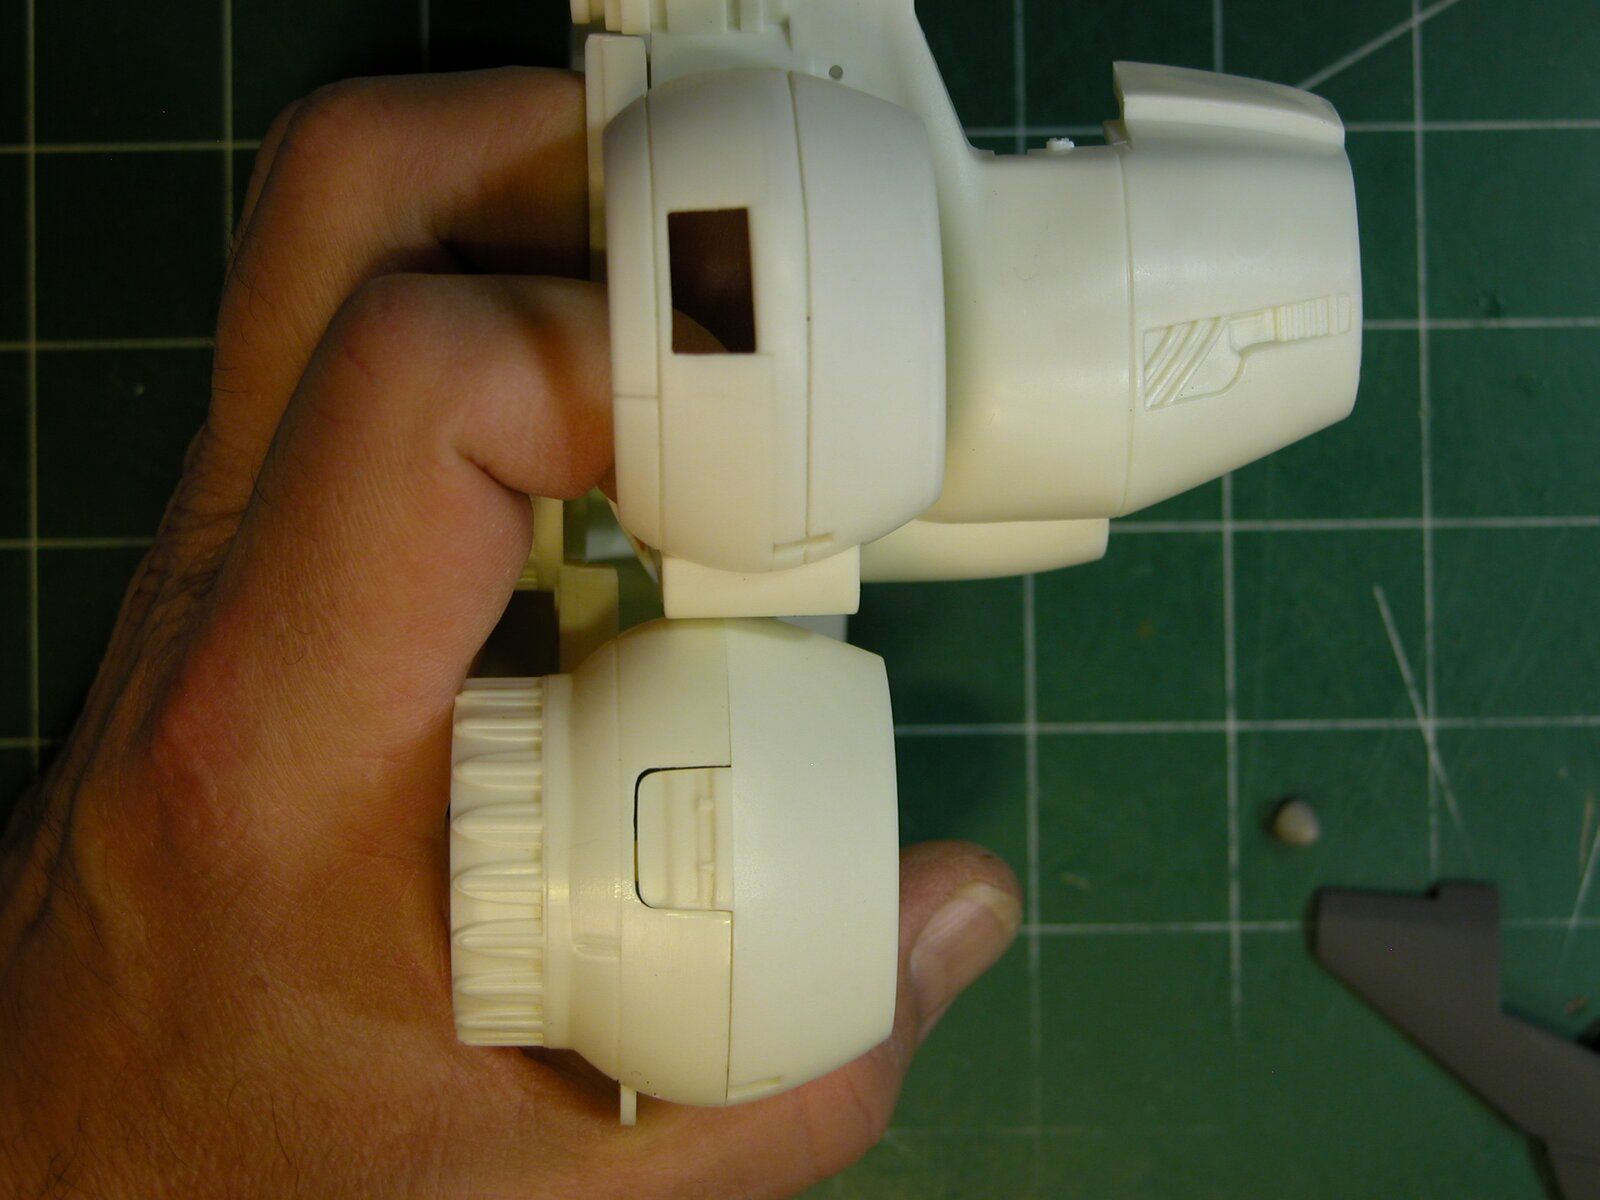
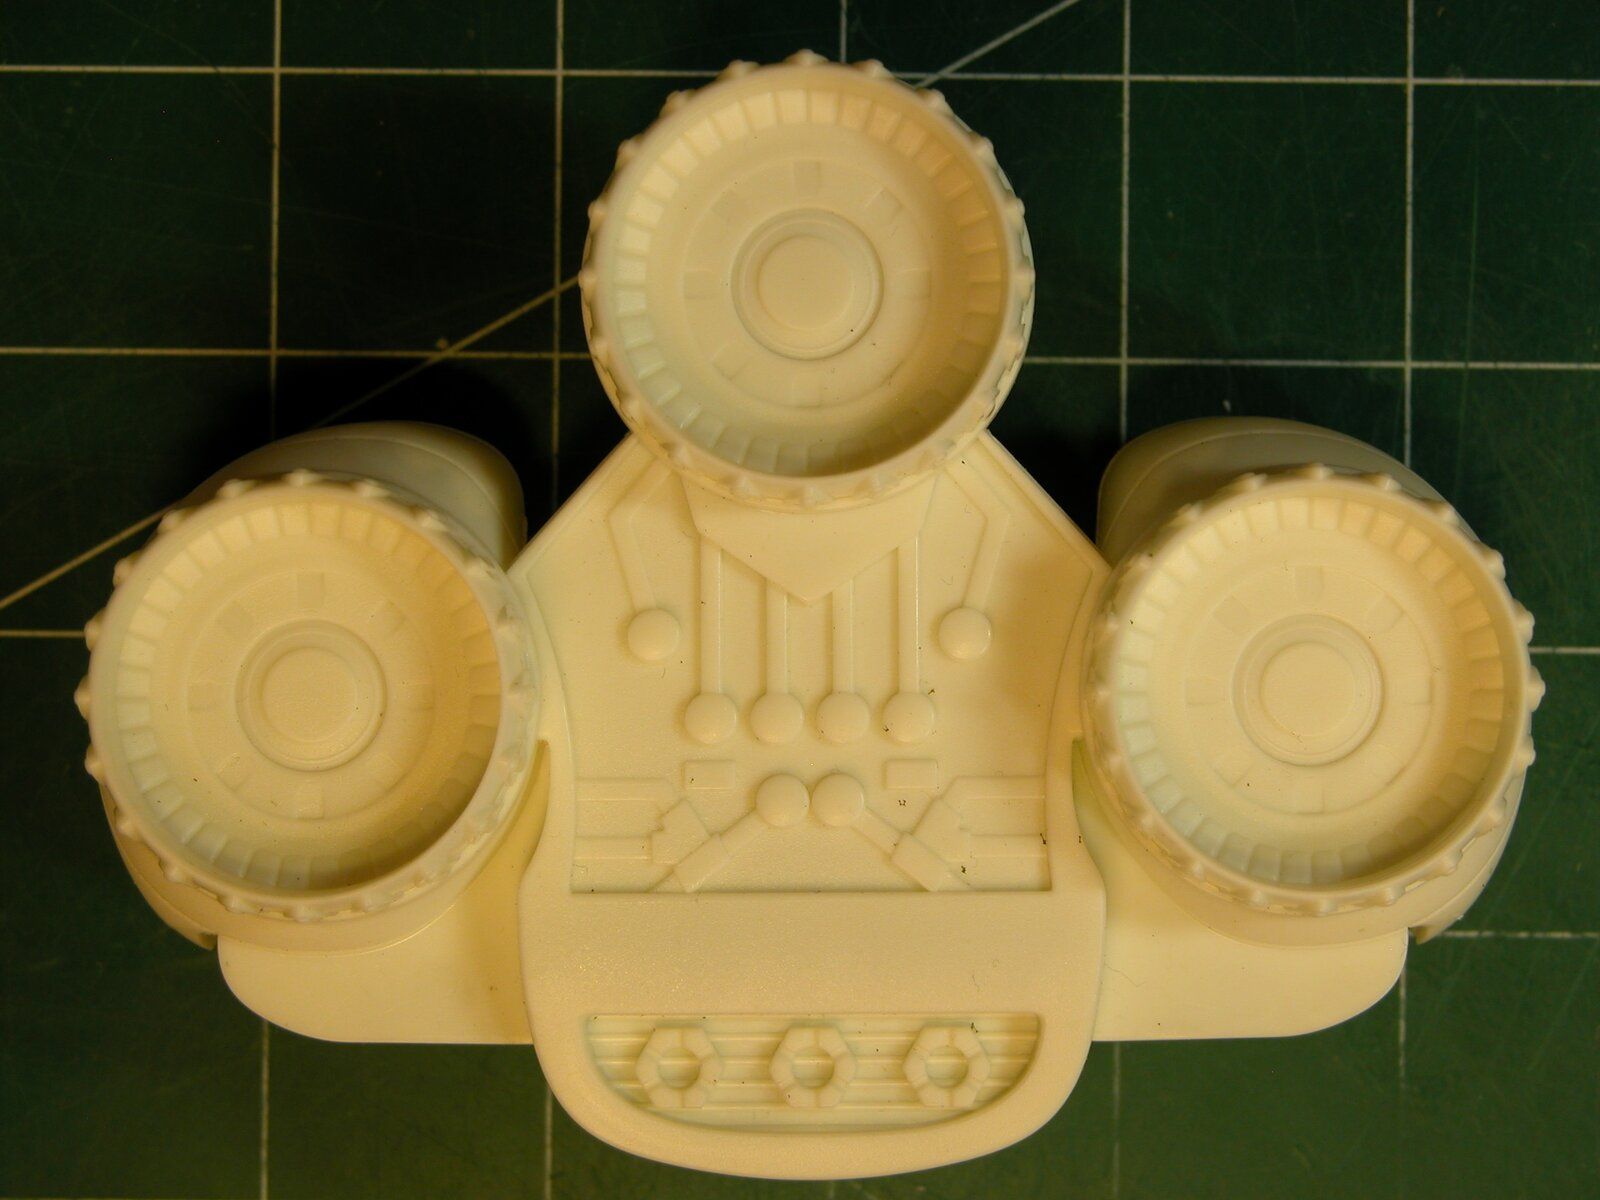
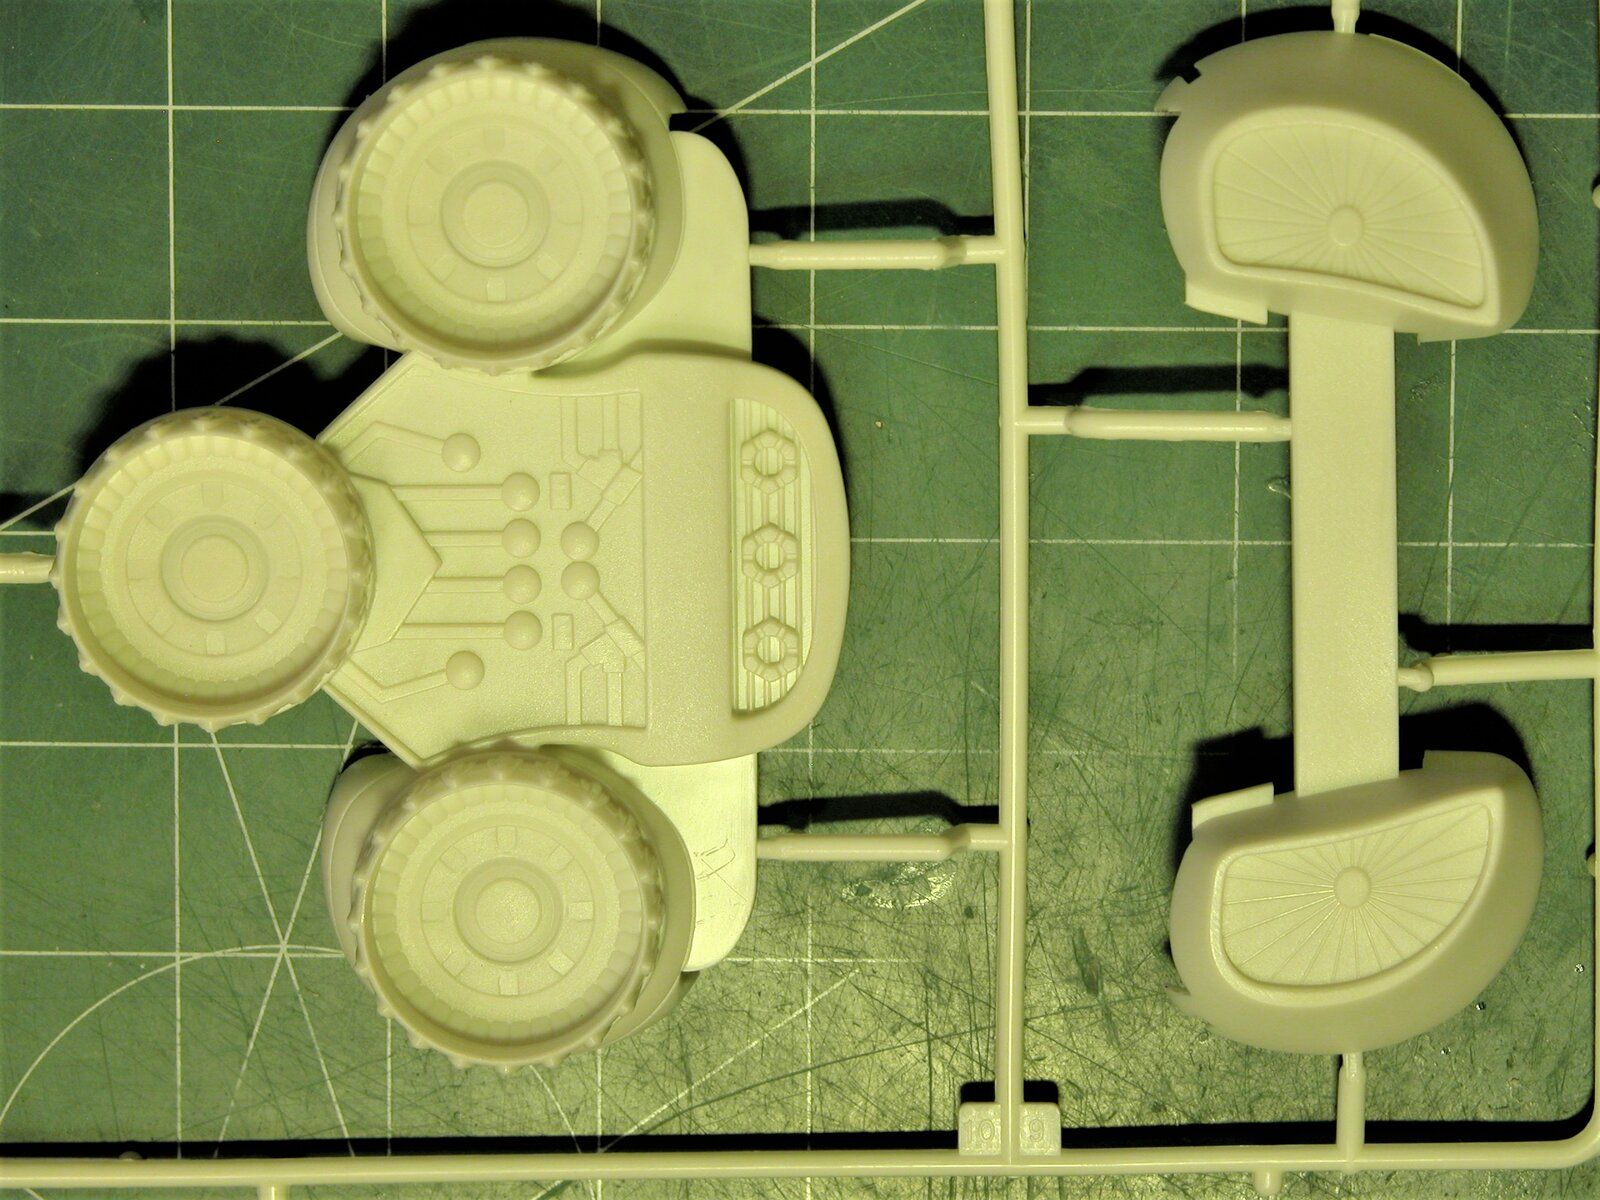
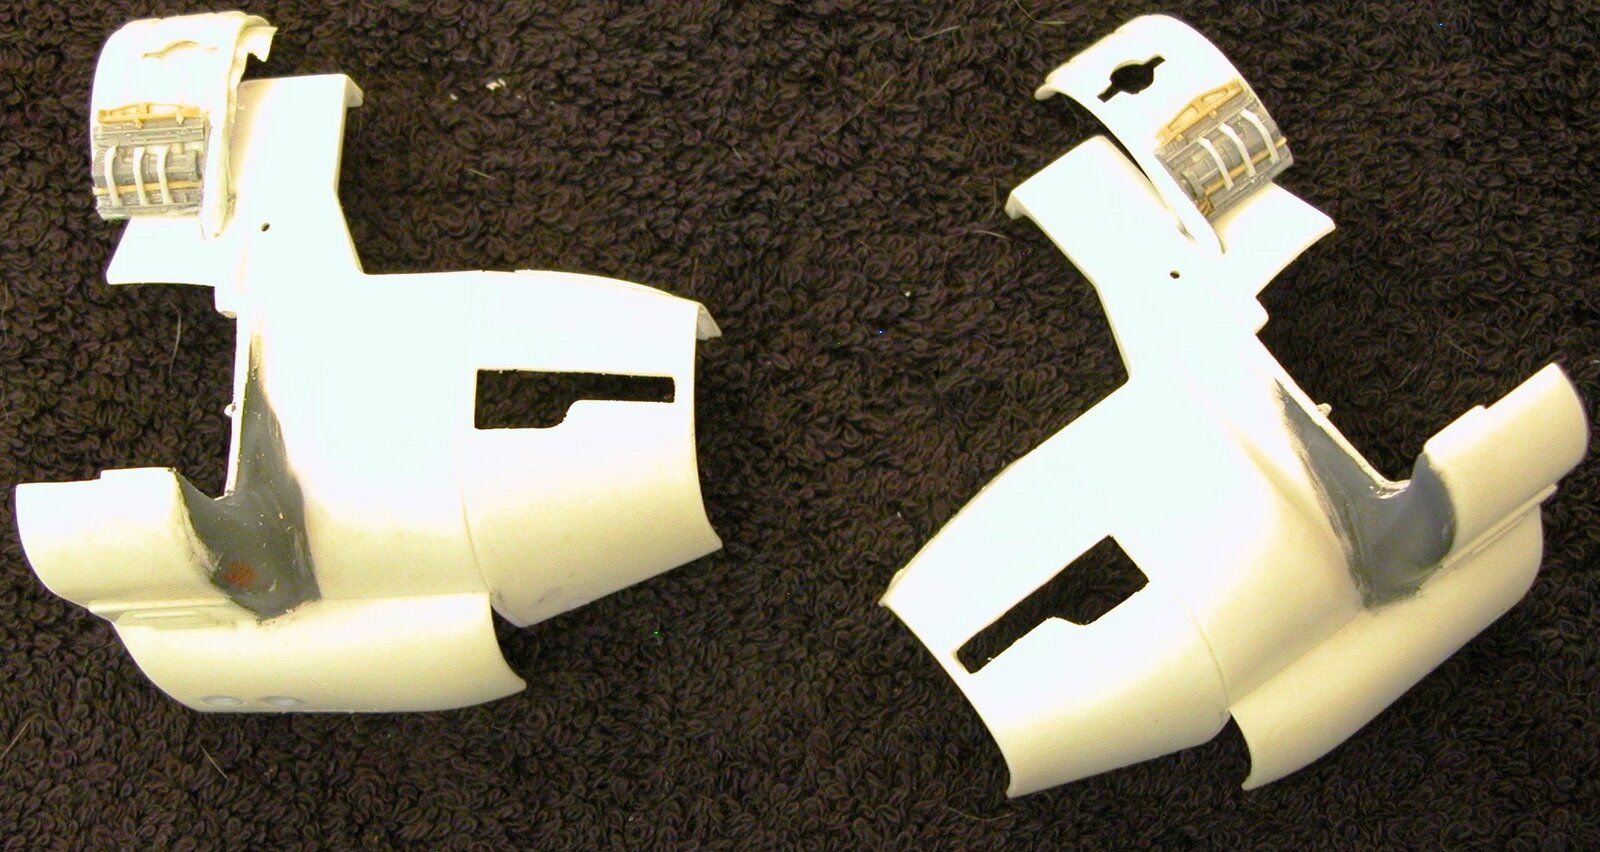
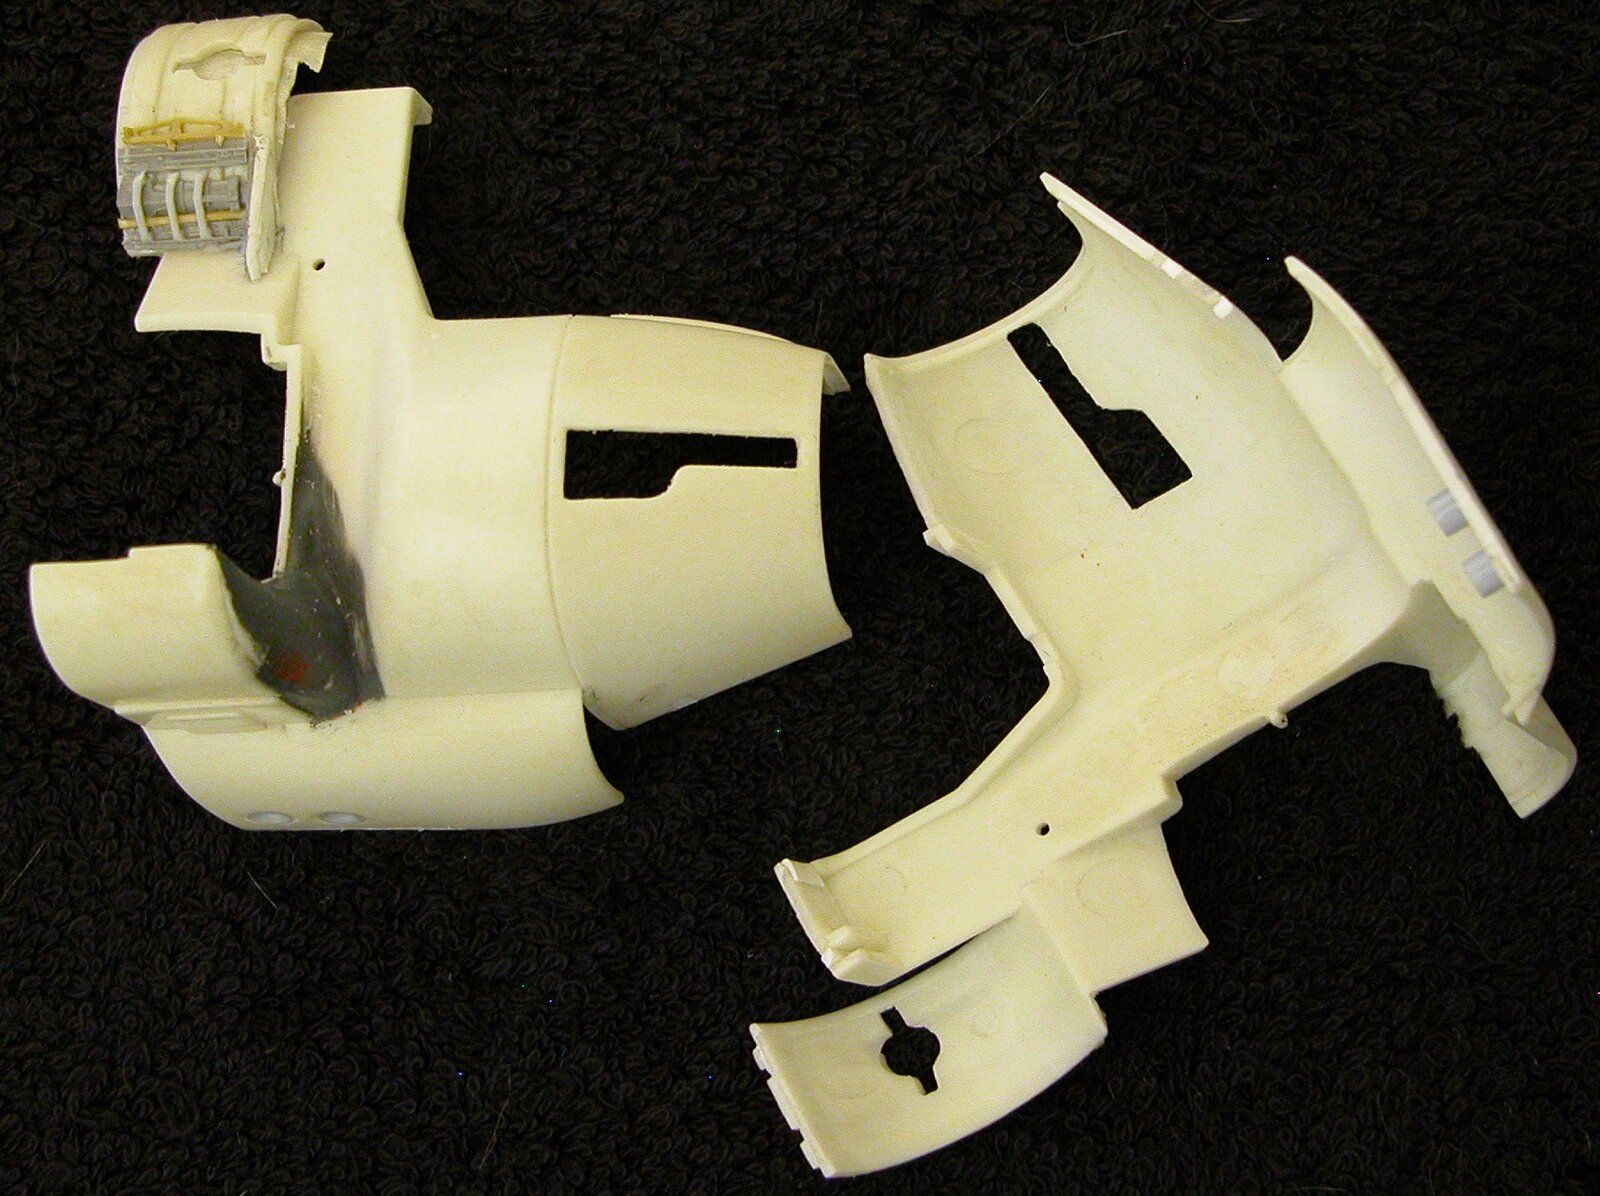
Next up was the rear section and engine cans.

Stock:
DSCN0197.jpg

DSCN0198.jpg


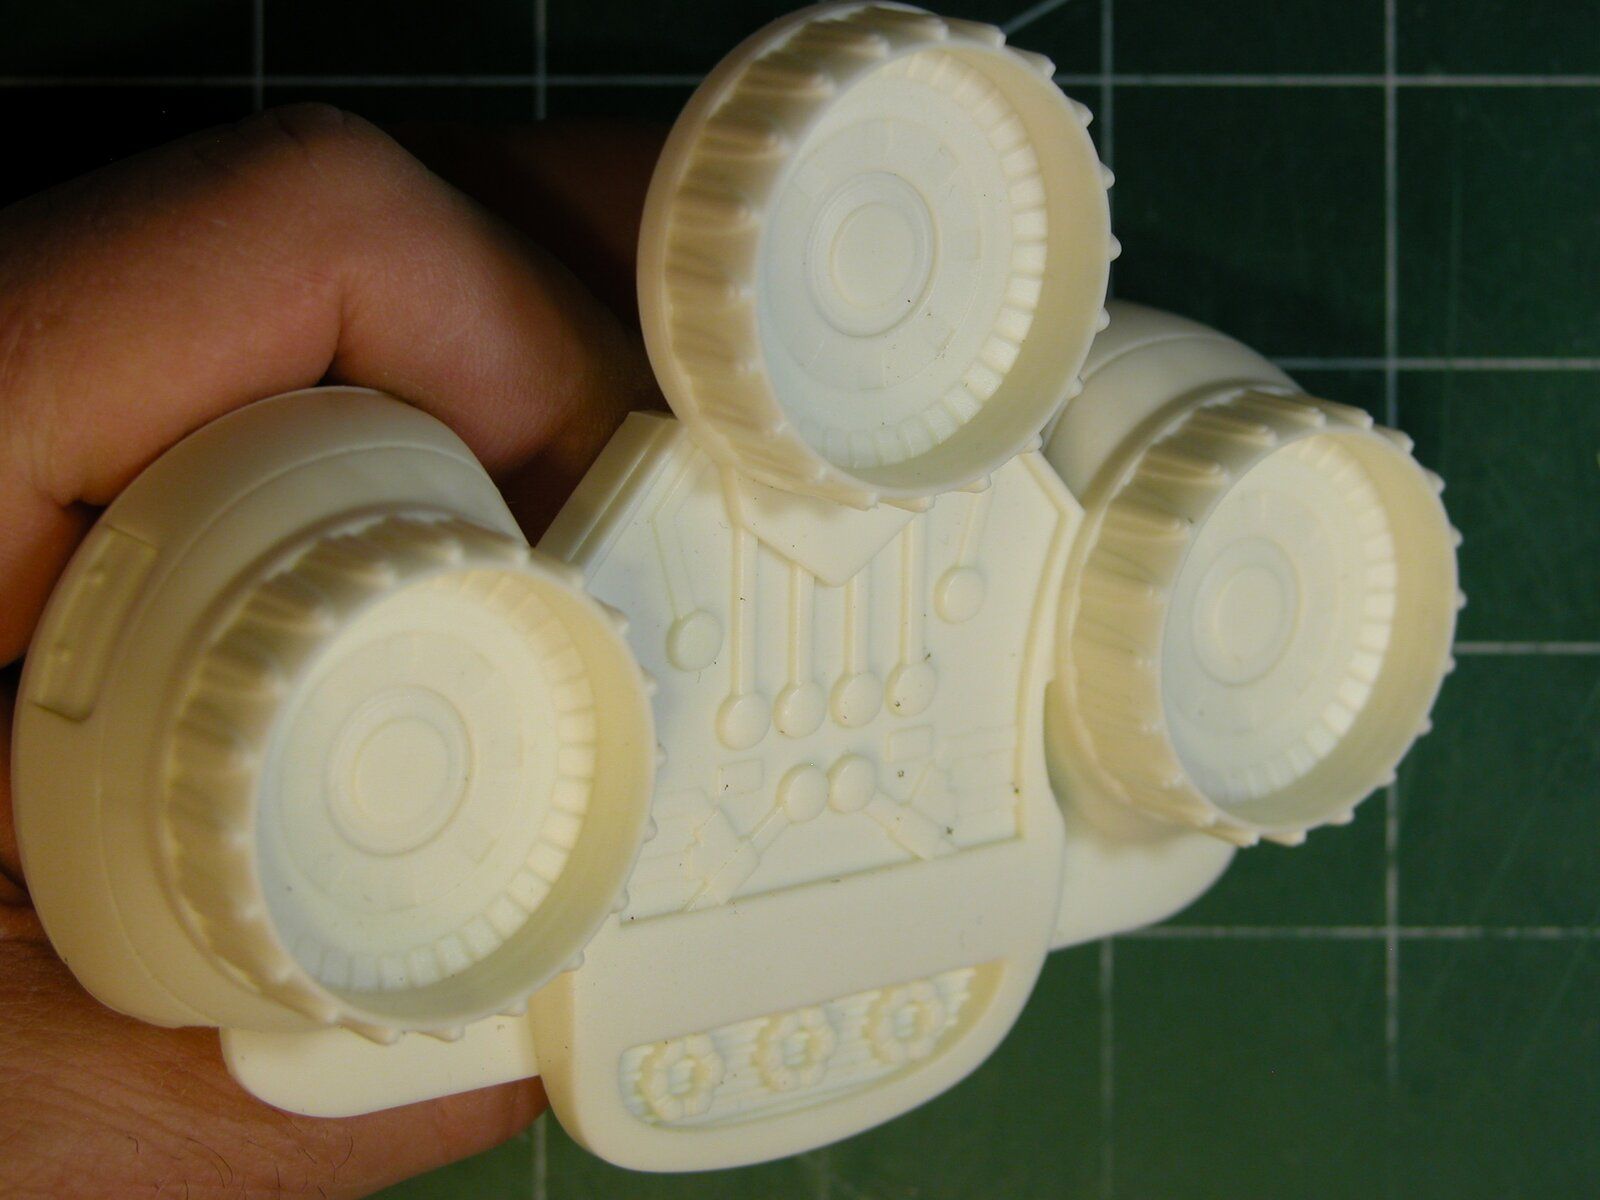
There is a fair amount of doodlies and grubicles on the studio Viper that I wanted to add, so this had to come apart so I could check the rings and valve lashes and see if I can get more compression!

DSCN0199.jpg

Biggest mods so far:
DSCN0200.jpg

This oughta work?
DSCN0201.jpg

DSCN0202.jpg

DSCN0203.jpg


As can be seen in a couple of those last pictures, along with the cans, I have had to modify most of the back end. I will also be adding some depth back here seen in the show too, so the end section had to be carved out.

Rob.
 
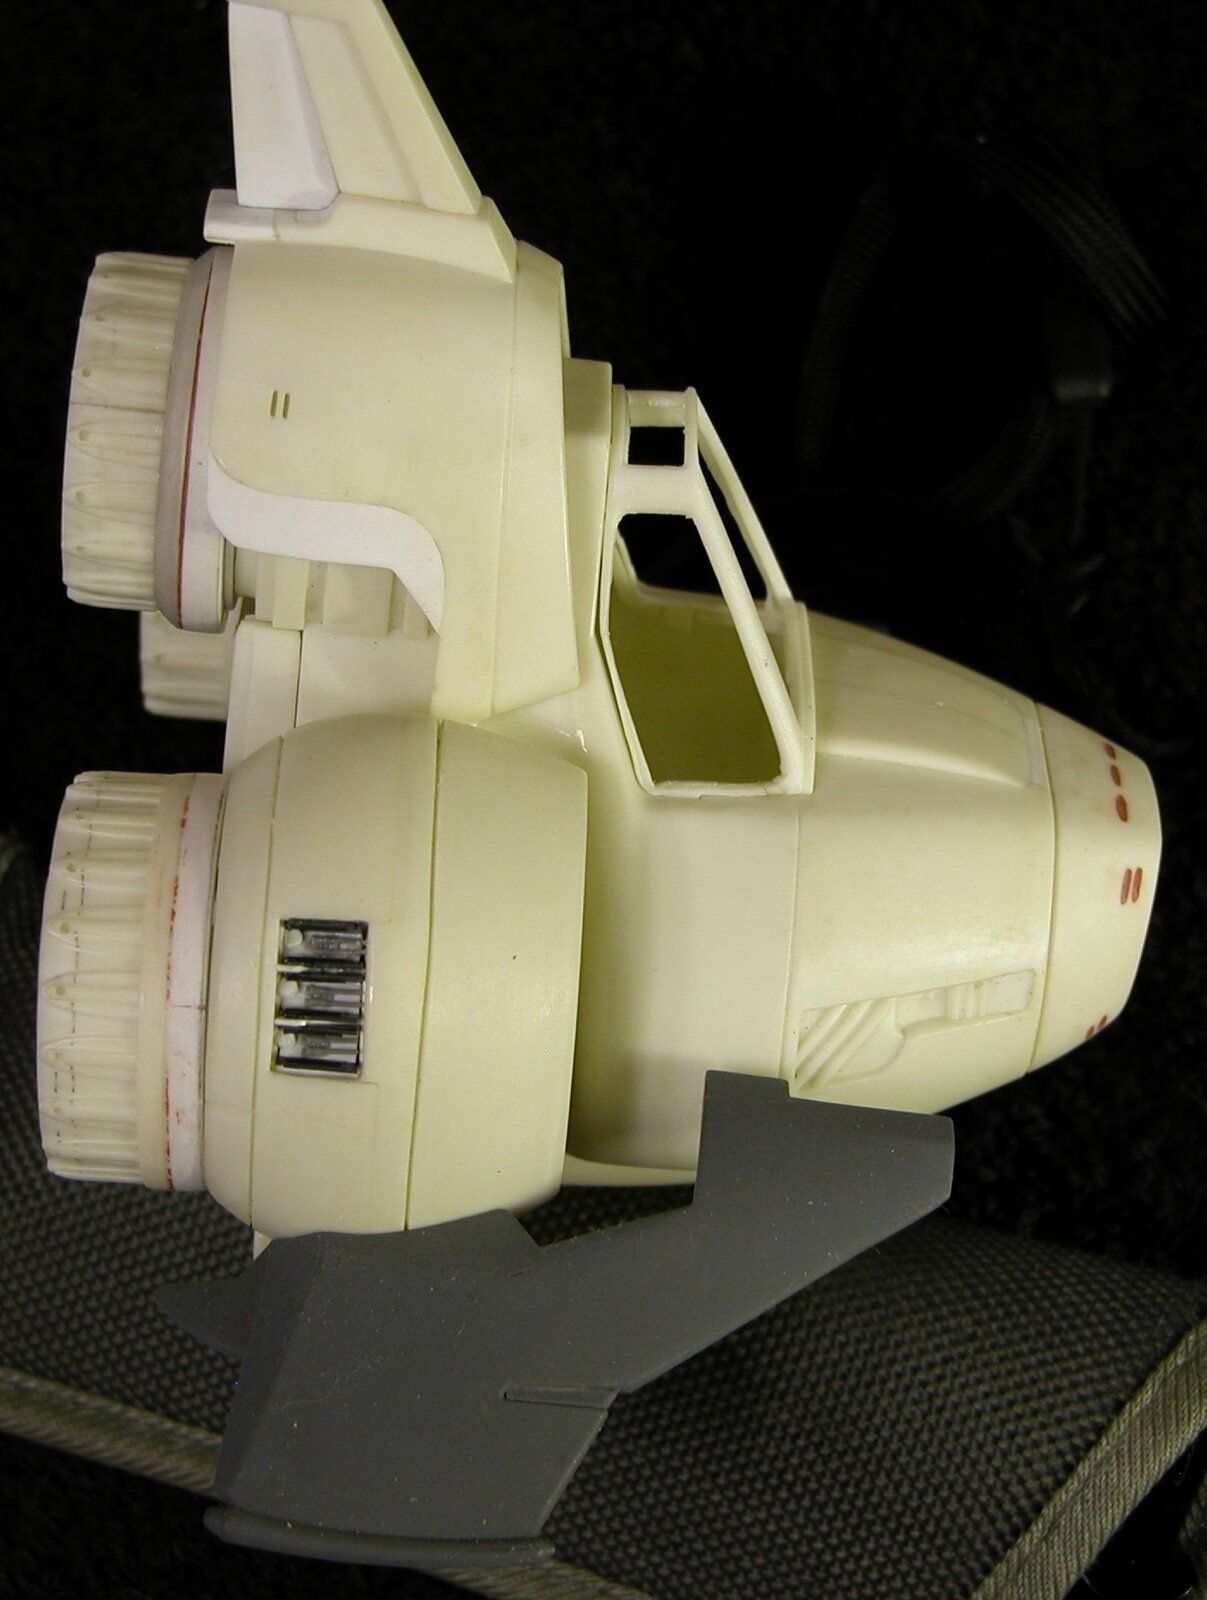
As one of the last things I've done before taking a break from this, the canopy was solid in the kit and I want it open with some clear windows, so I had to do more cuttin'. In these last couple shots, I have also removed the material from the upper intake and I'll be fitting some more appropriate mesh type stuff.

DSCN0204.jpg

DSCN0205.jpg

DSCN0206.jpg


Now, I'm thinkin' all this will look better and even though still an "egg" build, if nothing else, it will end up better on display than box stock. Opinions, comments and critique are always welcome for whatever I'm doing, so y'all speak up.

This is where I'm at on this one. There may not be many who have seen this particular kit as many have said they've never even heard of it, but if anyone has, please drop what you've done to your build in here. It all helps!

Rob.
 
Thank you Mr. blakeh1!

Nah. Just shootin' from the hip. As with most of my builds, I generally figure sumthin' out I wanted to do just after the glue sets.

Or, just after I post a picture.

:oops:

Rob.
 
As one of the last things I've done before taking a break from this, the canopy was solid in the kit and I want it open with some clear windows, so I had to do more cuttin'. In these last couple shots, I have also removed the material from the upper intake and I'll be fitting some more appropriate mesh type stuff.

View attachment 114486
View attachment 114487
View attachment 114488

Now, I'm thinkin' all this will look better and even though still an "egg" build, if nothing else, it will end up better on display than box stock. Opinions, comments and critique are always welcome for whatever I'm doing, so y'all speak up.

This is where I'm at on this one. There may not be many who have seen this particular kit as many have said they've never even heard of it, but if anyone has, please drop what you've done to your build in here. It all helps!

Rob.
I like the mods. Really good work.
 
Alright y'all...

As I said a day or two ago, after I posted some of what I was doing to this build, I got to looking at it and decided to do a little more doo-dags and snubly nub addin'. This is y'all's fault, this thing was tucked away where it's been for some time now and I figured it was time.

Just to catch up a little, here's a couple I never posted from earlier before I put this on the side for awhile:

DSCN0632.jpg

DSCN0634.jpg

DSCN0635.jpg

DSCN0636.jpg

DSCN0641.jpg


Those are actually where it was last time I worked on it.

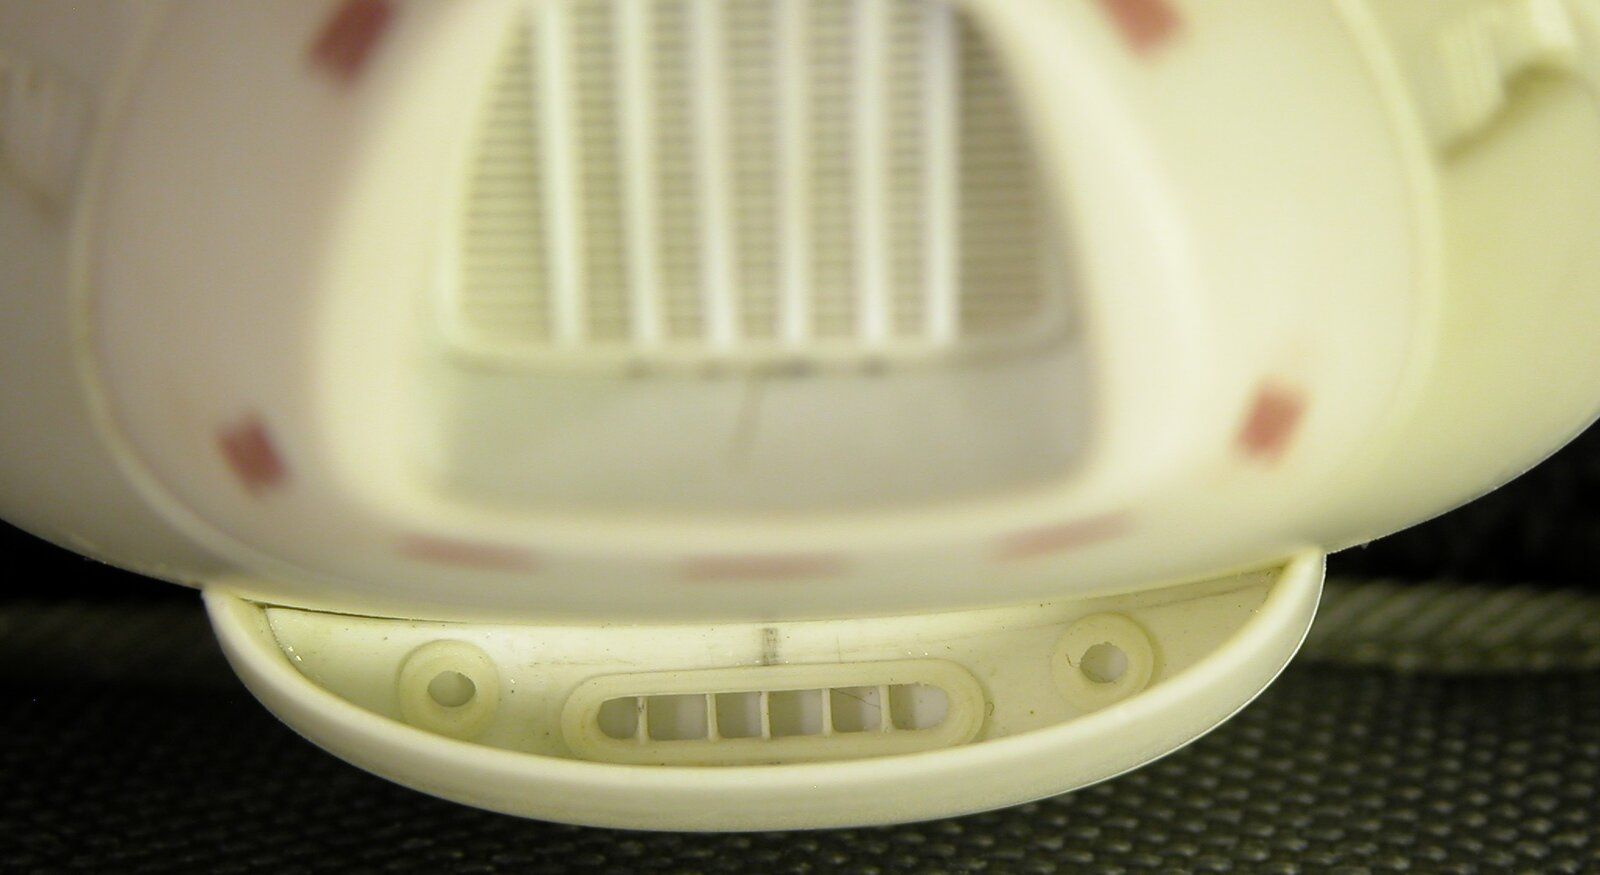
On a couple of the pictures I saw, There are some kinda holes on the bottom? Possibly vent holes? Trash ejectors for gum wrapper type things? Poo? I don't know, but I like 'em and added 'em'

DSCN0633.jpg


I have to make another post, there is a 10 picture limit.

Rob.
 
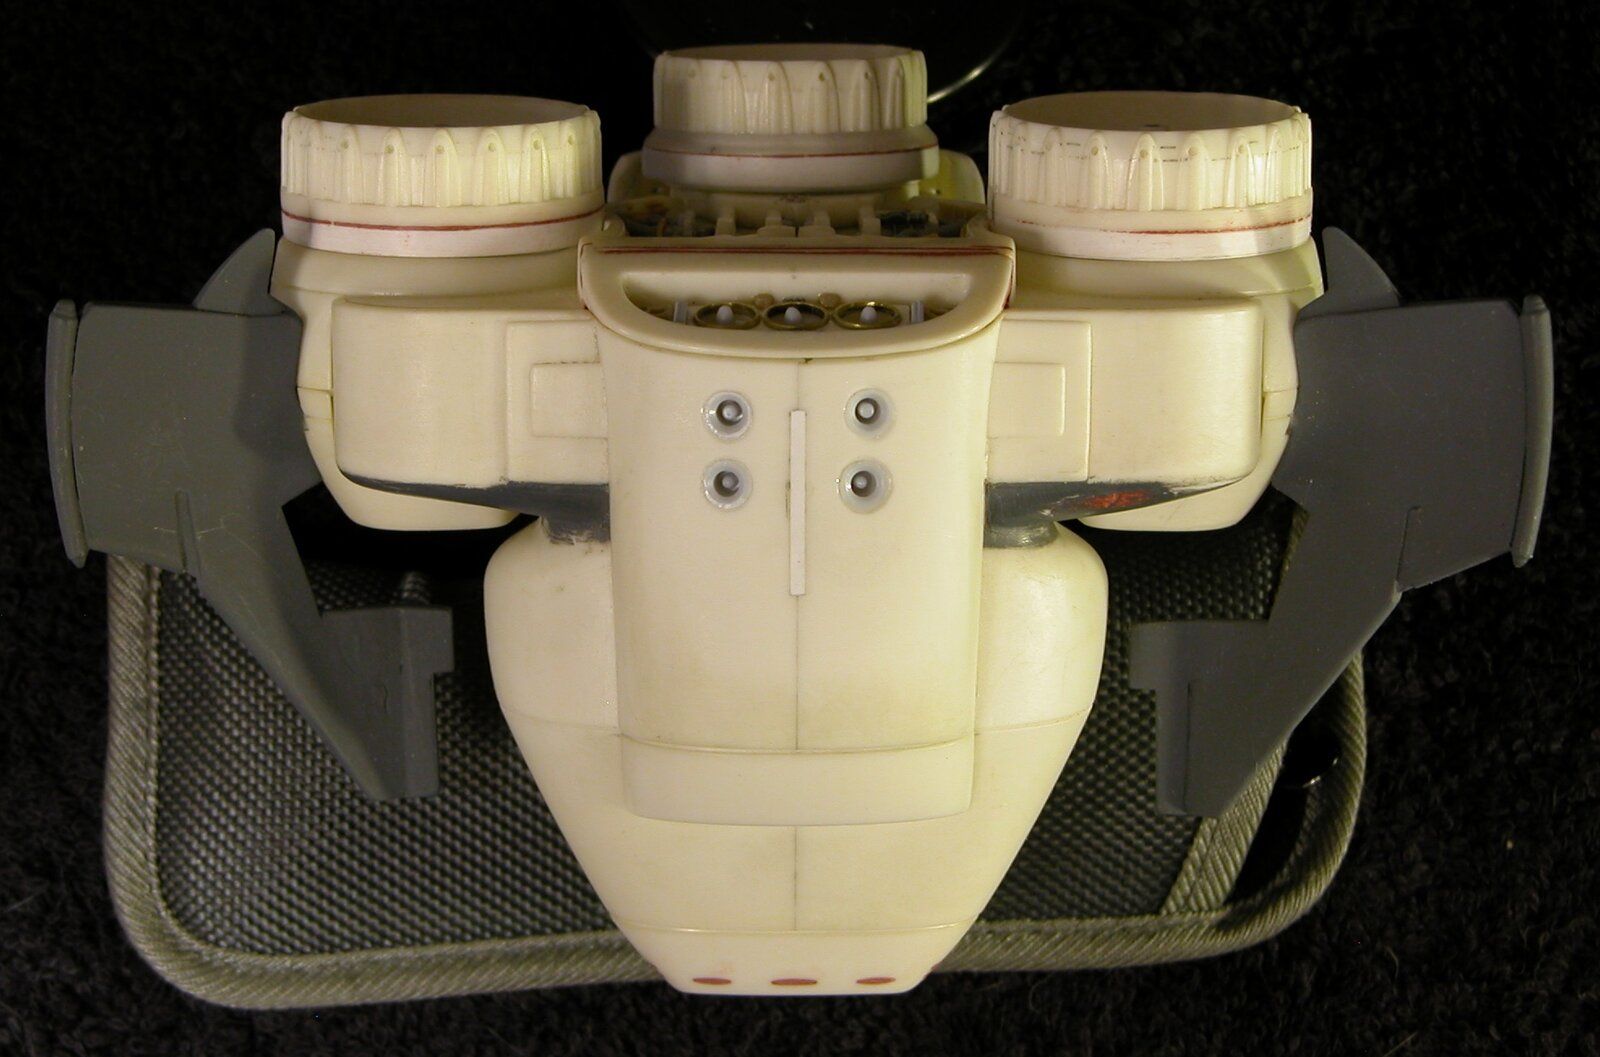
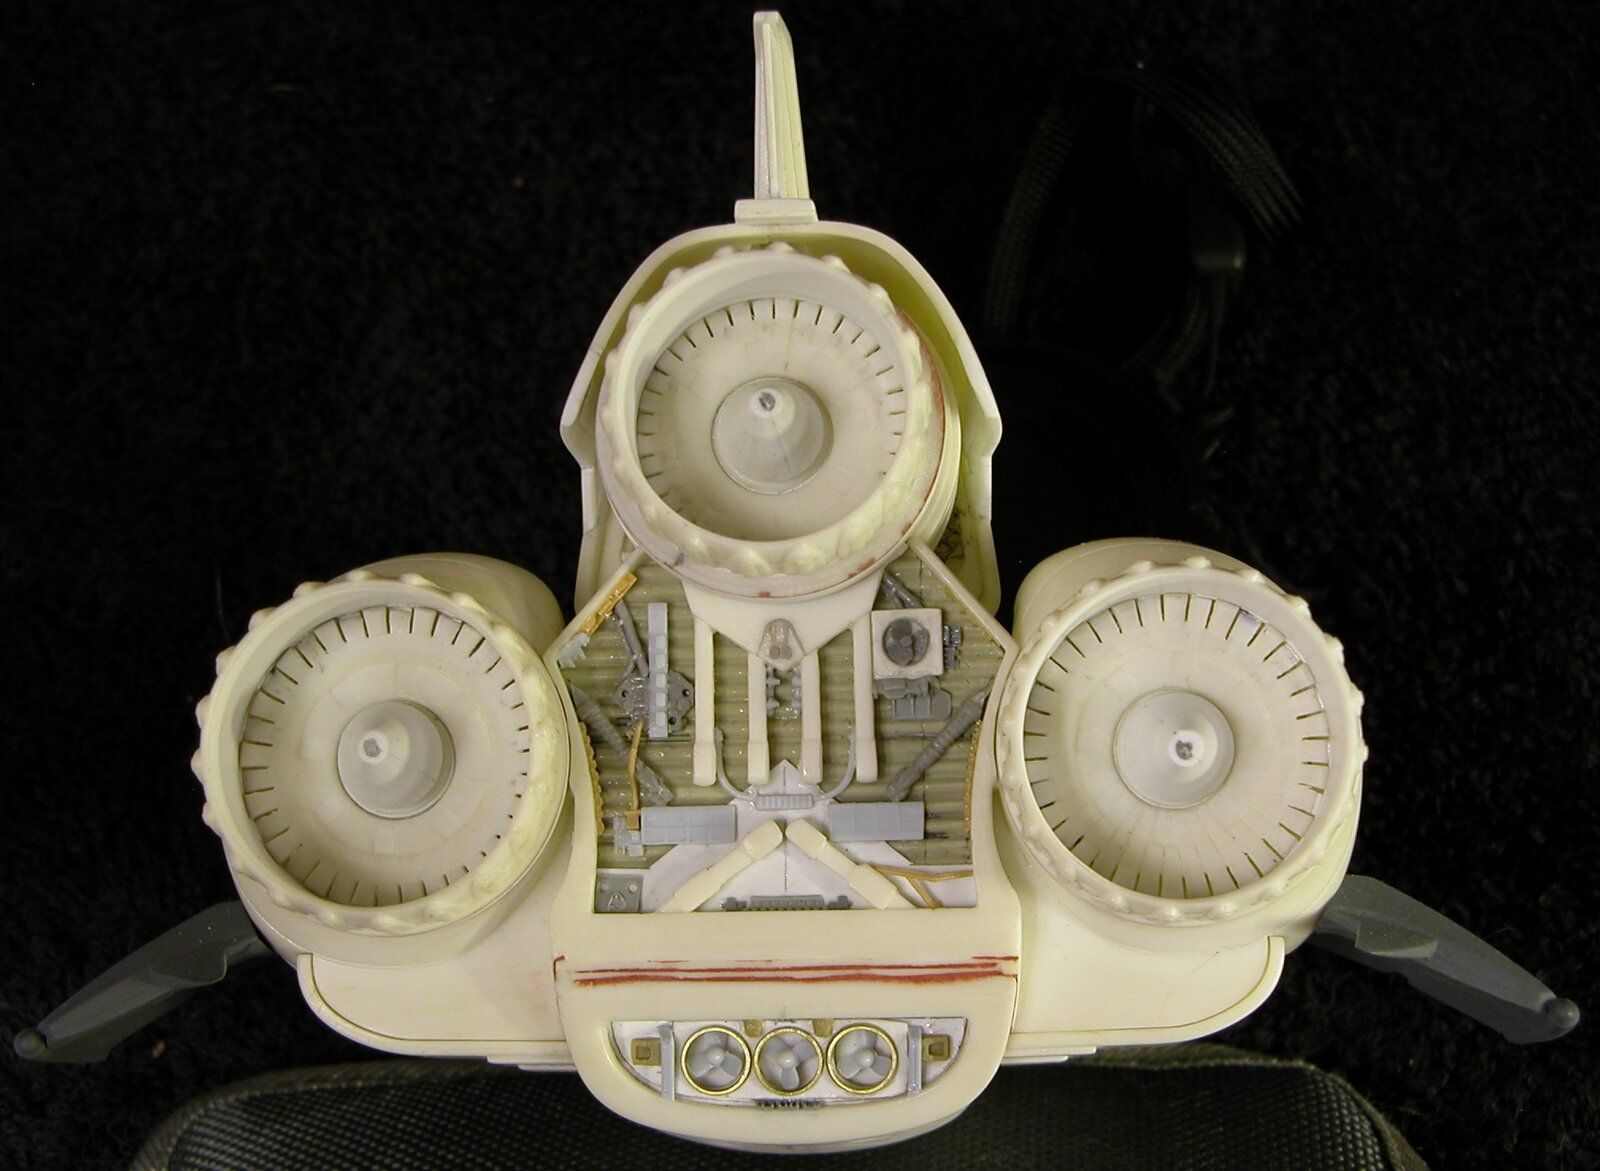
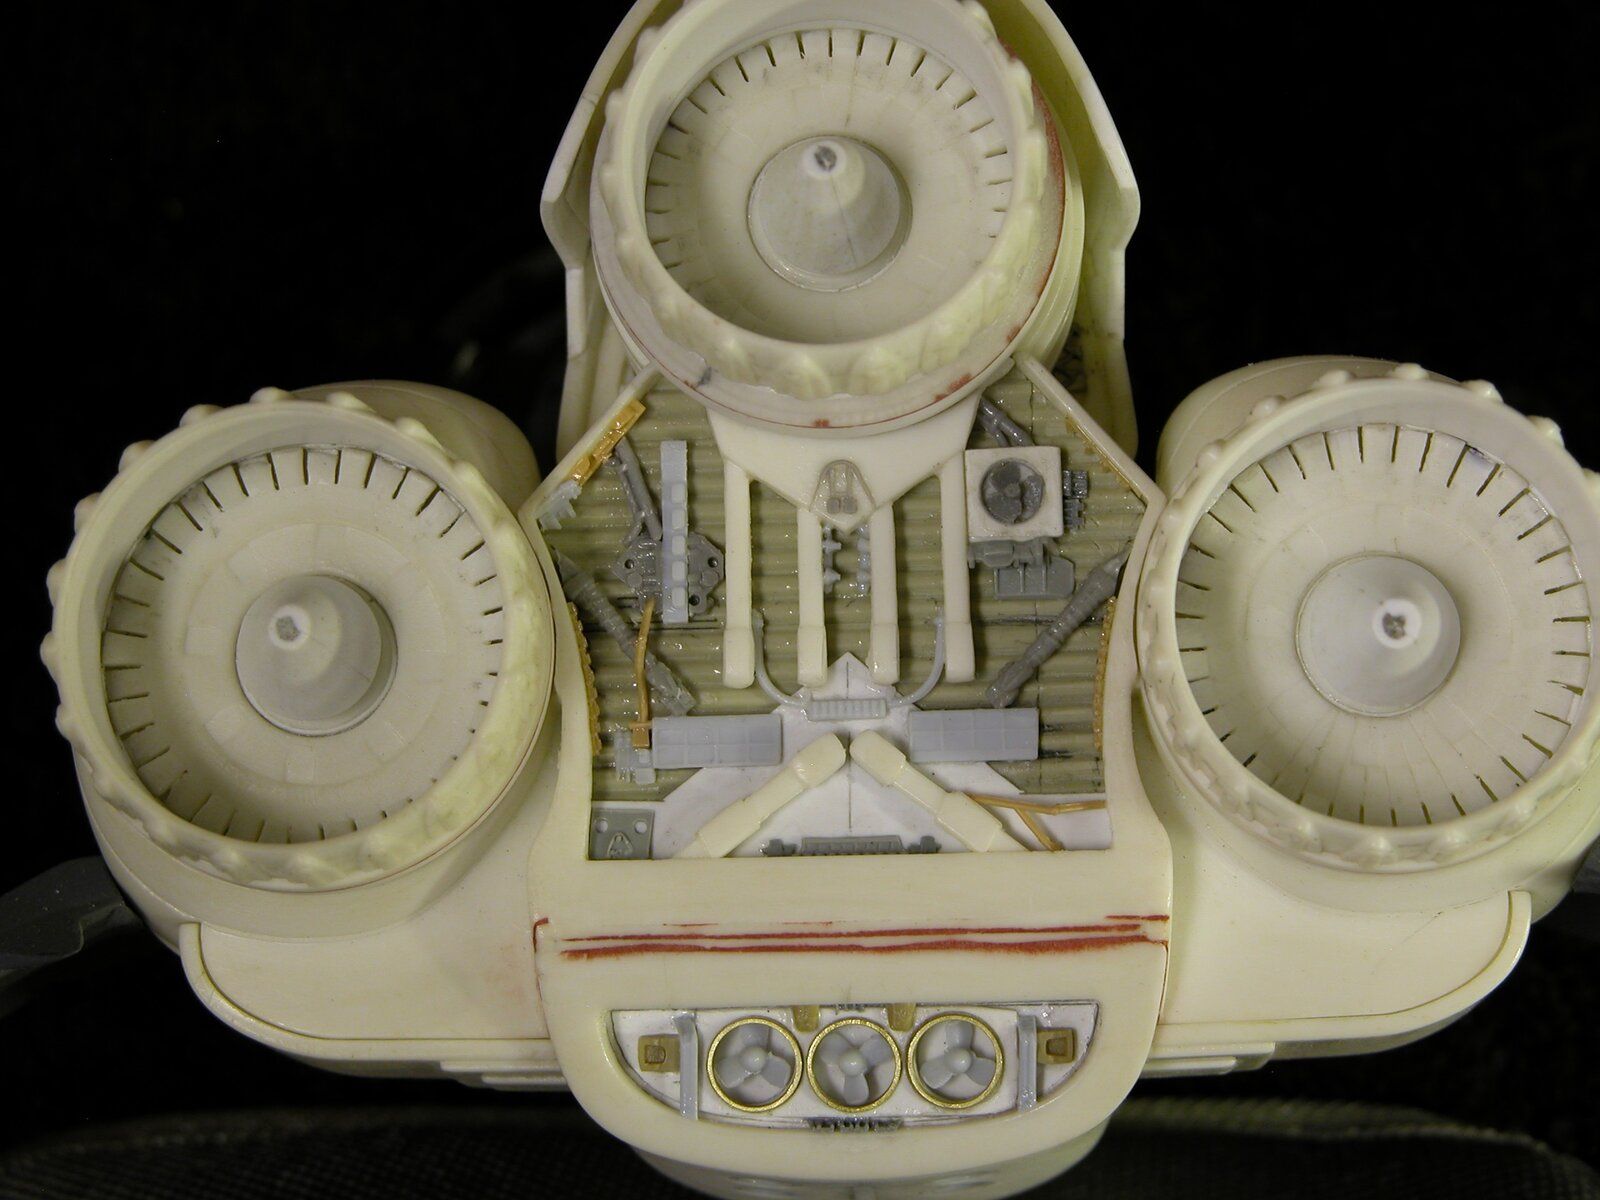
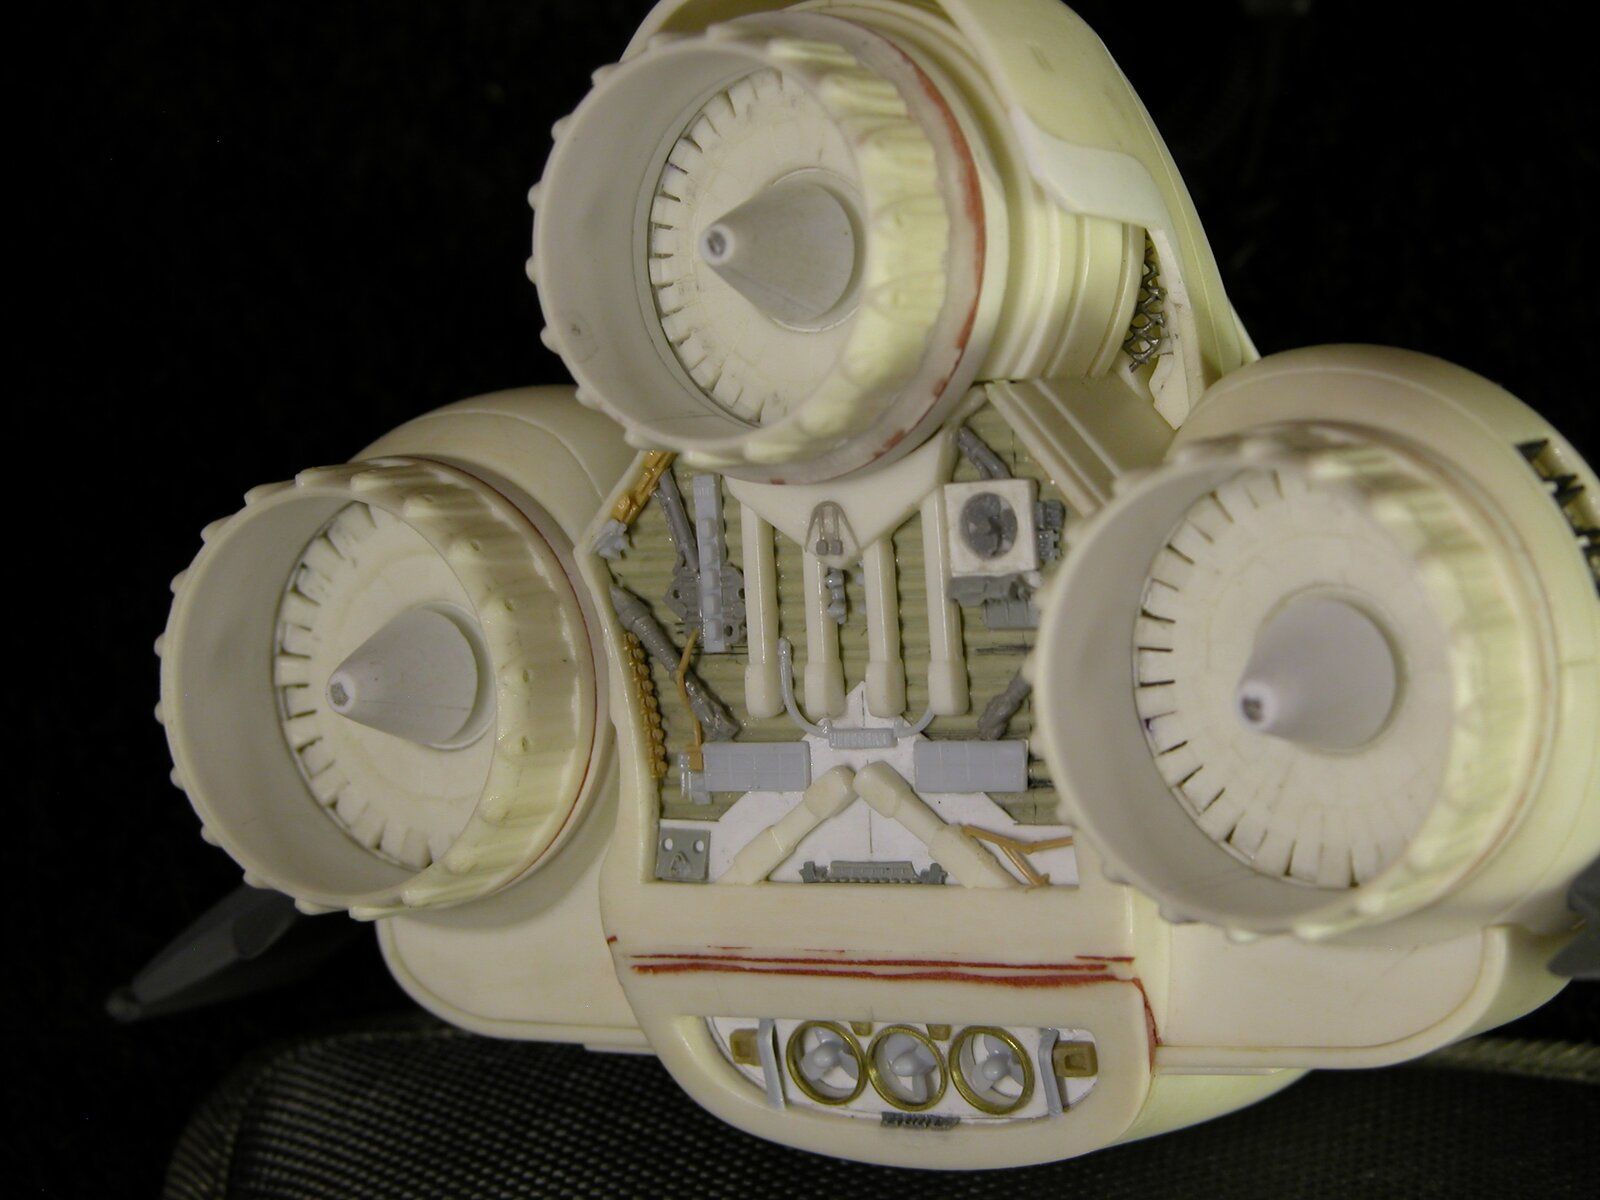
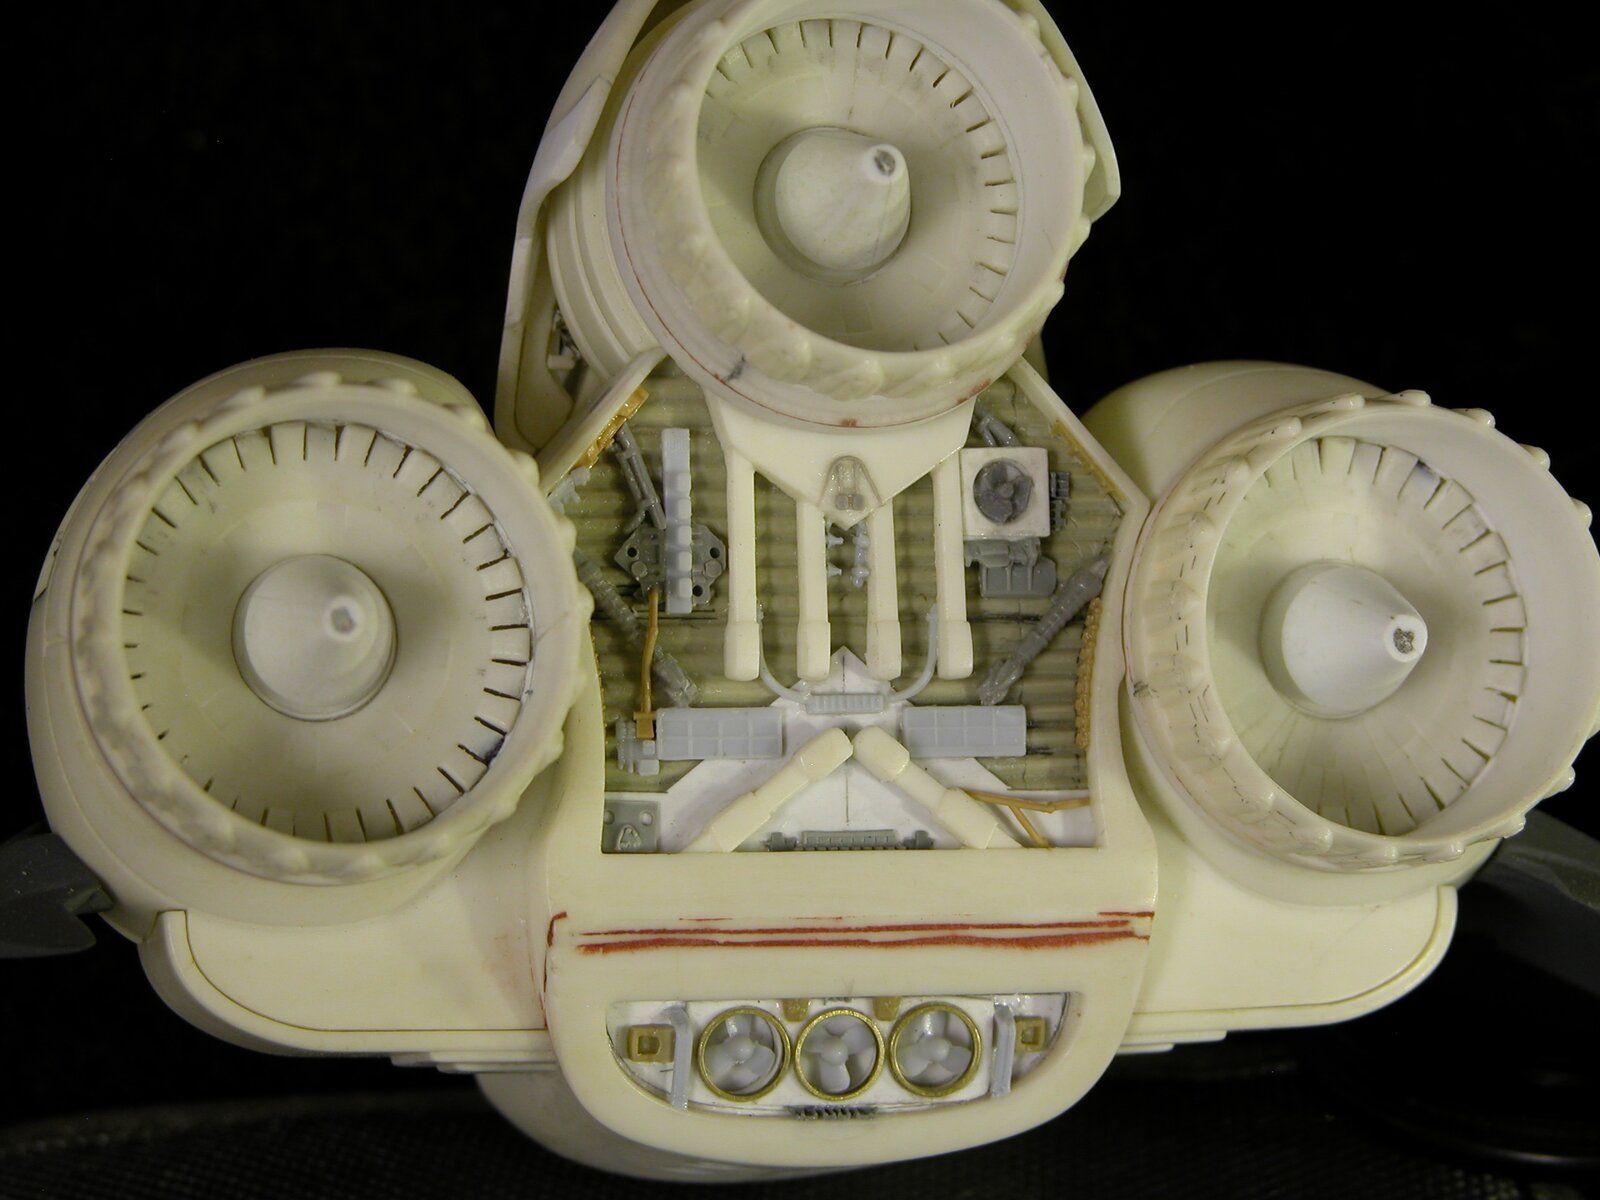
This update, I needed to concentrate on the back/rear end on that section all up in between the engines. Doing a little searching, I found a couple different arrangements back there, but I chose this one:

rear.jpg


Why I chose that one to go by, I don't know, but it's too late now. Even going with that one, I didn't stick 100% to what we can almost see there. Using that though, I cobbled this together. Again, the stock rear as it comes outta the box:

DSCN0170.jpg


Here's my interpretation of that:

DSCN0637.jpg

DSCN0638.jpg

DSCN0639.jpg

DSCN0640.jpg


If anything looks janky or loose or looks like it may be falling off, it very well may. I've very loosely glued it together (to be able to pop it all back apart) so that I could take pictures and posted these for y'all to check out and give me some feedback/critique/criticisms/comments and suggestions of any kind. It's getting close, but I could still change/modify whatever y'all come up with I oughta, so hollar!

Rob.
 
This update, I needed to concentrate on the back/rear end on that section all up in between the engines. Doing a little searching, I found a couple different arrangements back there, but I chose this one:

View attachment 114564

Why I chose that one to go by, I don't know, but it's too late now. Even going with that one, I didn't stick 100% to what we can almost see there. Using that though, I cobbled this together. Again, the stock rear as it comes outta the box:

View attachment 114565

Here's my interpretation of that:

View attachment 114566
View attachment 114567
View attachment 114568
View attachment 114569

If anything looks janky or loose or looks like it may be falling off, it very well may. I've very loosely glued it together (to be able to pop it all back apart) so that I could take pictures and posted these for y'all to check out and give me some feedback/critique/criticisms/comments and suggestions of any kind. It's getting close, but I could still change/modify whatever y'all come up with I oughta, so hollar!

Rob.
I am liking this build alot, can't wait to see the next installment. Pantherman
 
Thank you Pantherman! Stickin' strictly to the instructions on this one, so not much "wandering all over the road" with this build.

Rob.
 
I am always impressed by the amount of details you are able to get

Details? You mean from the same kit boxes most of that Galactica destruction detail is comin' from?

...for y'all to check out and give me some feedback/critique/criticisms/comments and suggestions of any kind. It's getting close, but I could still change/modify whatever y'all come up with I oughta, so hollar!

Now, see, this is the kinda thing I WANT y'all to tell me about when I ask y'all!!!

woah.jpg


I didn't even notice that it's bra strap was showin' until today!

I beg and I plead.

Not a peep. Nuthin.

Rob.
 
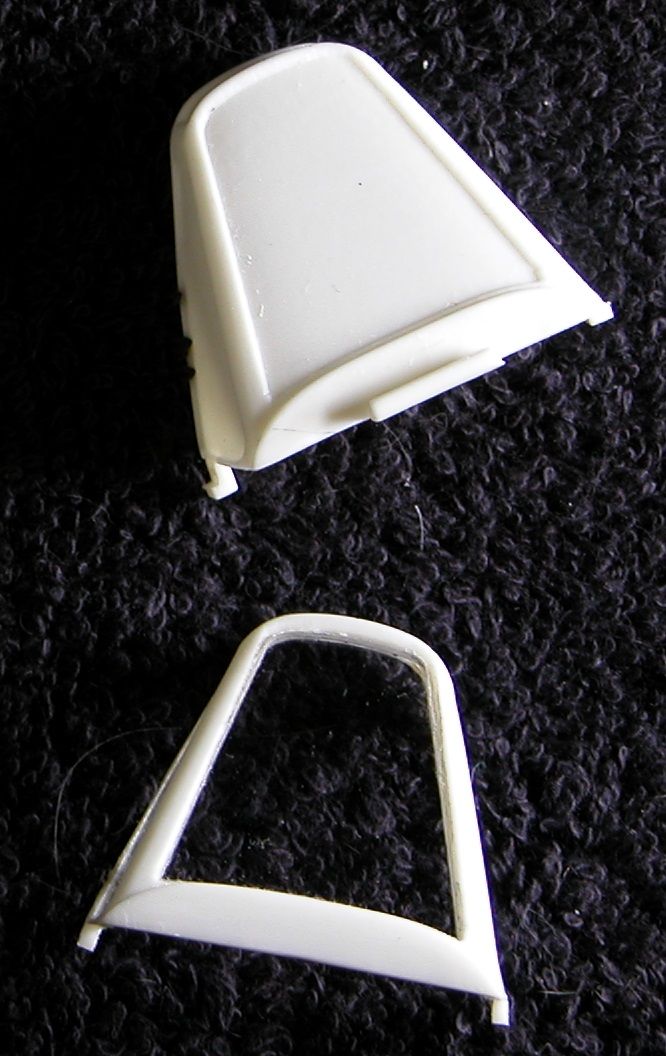
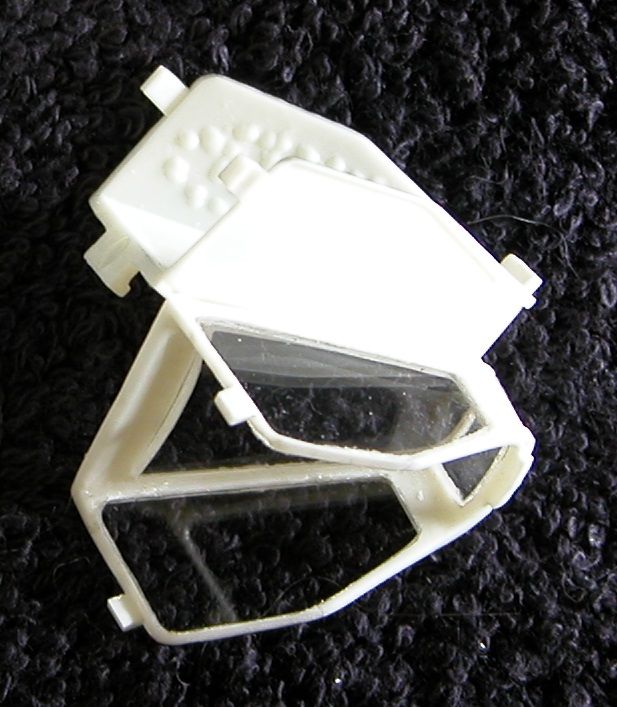
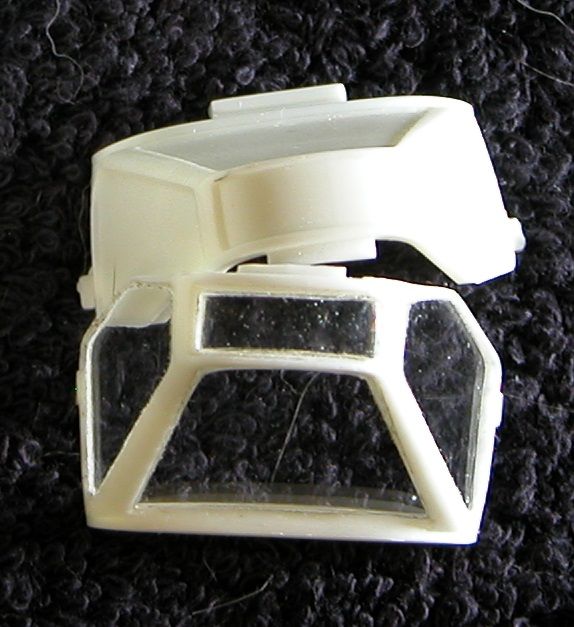
Today's update involves a couple items. By a couple, I really mean three-ish. Four-ish? Anyhow, they are making some clear windows since I opened up the canopy:

DSCN0644.jpg


DSCN0645.jpg


DSCN0646.jpg


Which ended up alright? Alright as I could get it anyway.

DSCN0647.jpg


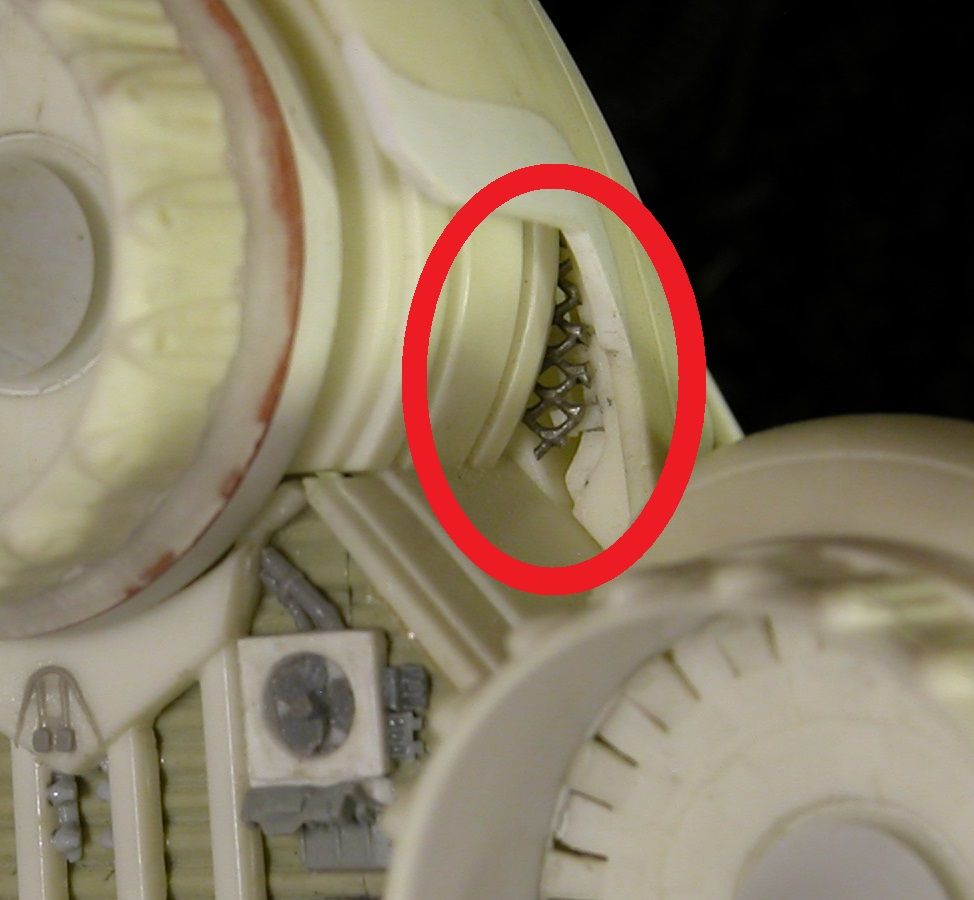
Next, covering up that "flaw" I saw a couple posts back just behind the top engine cowl, the little recess where the screen was showing:

DSCN0648.jpg


DSCN0649.jpg


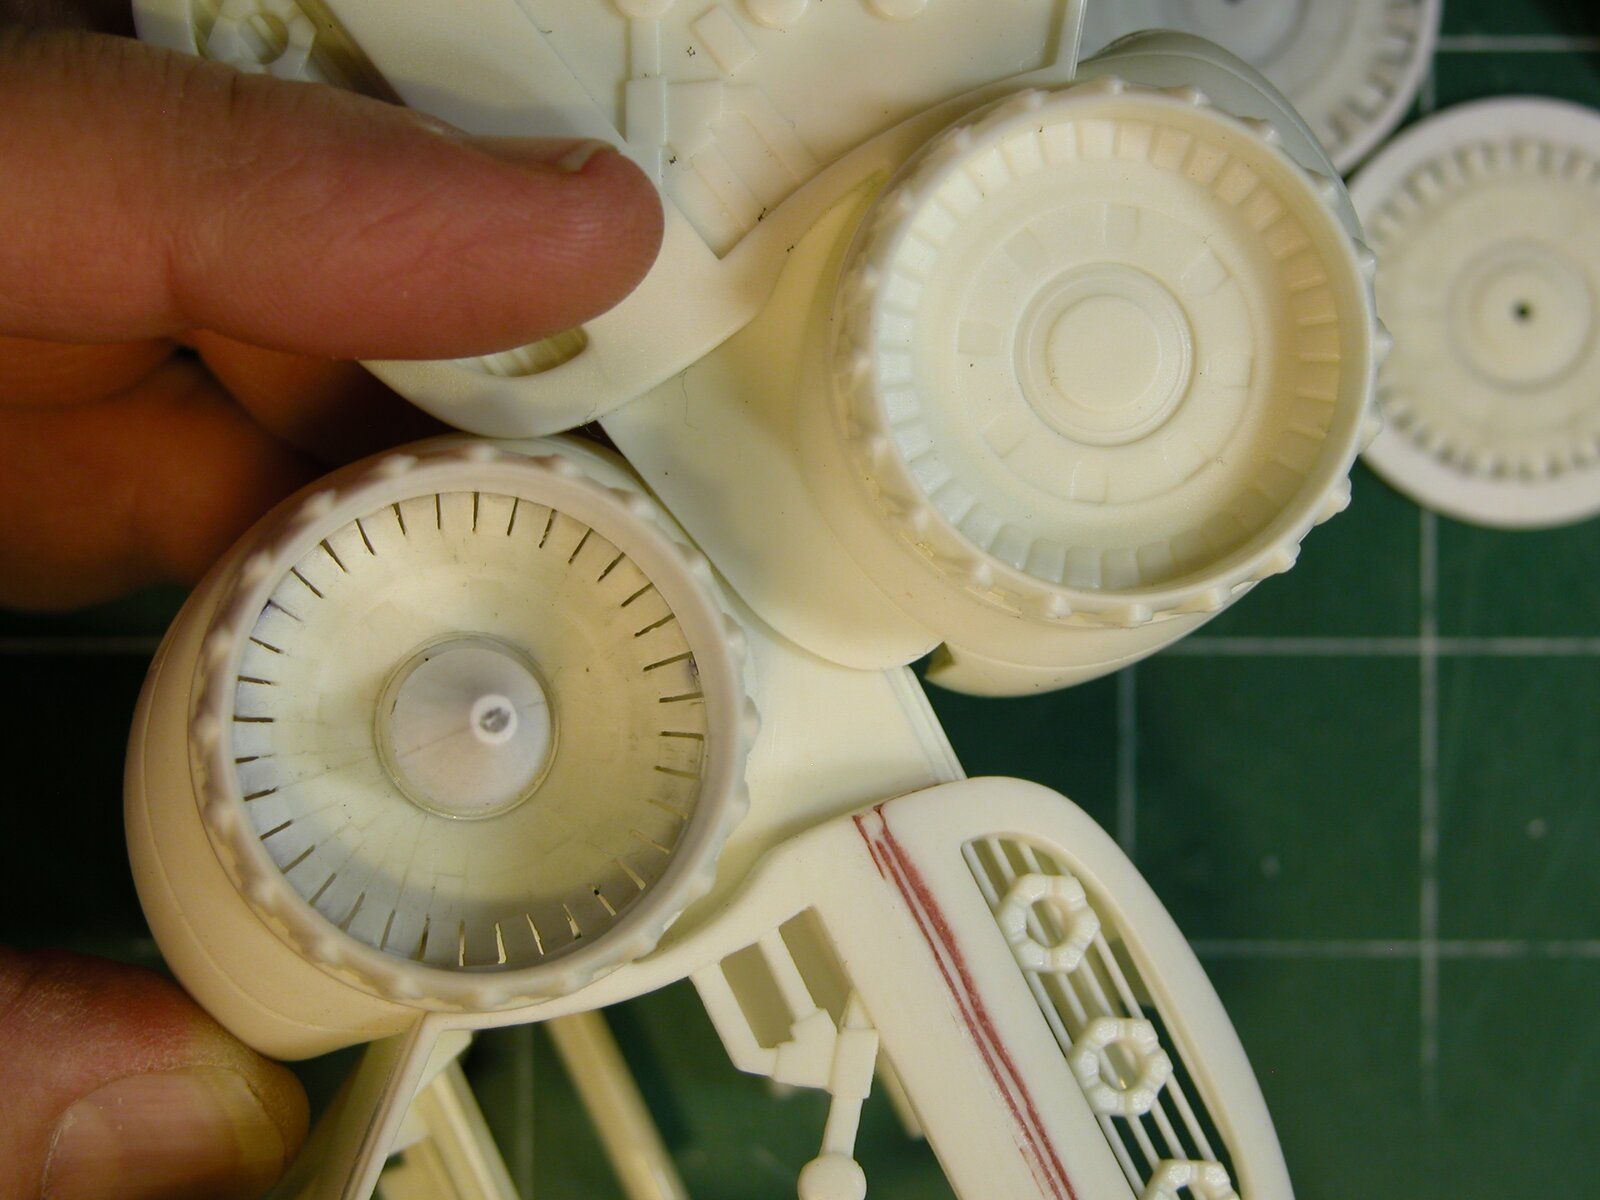
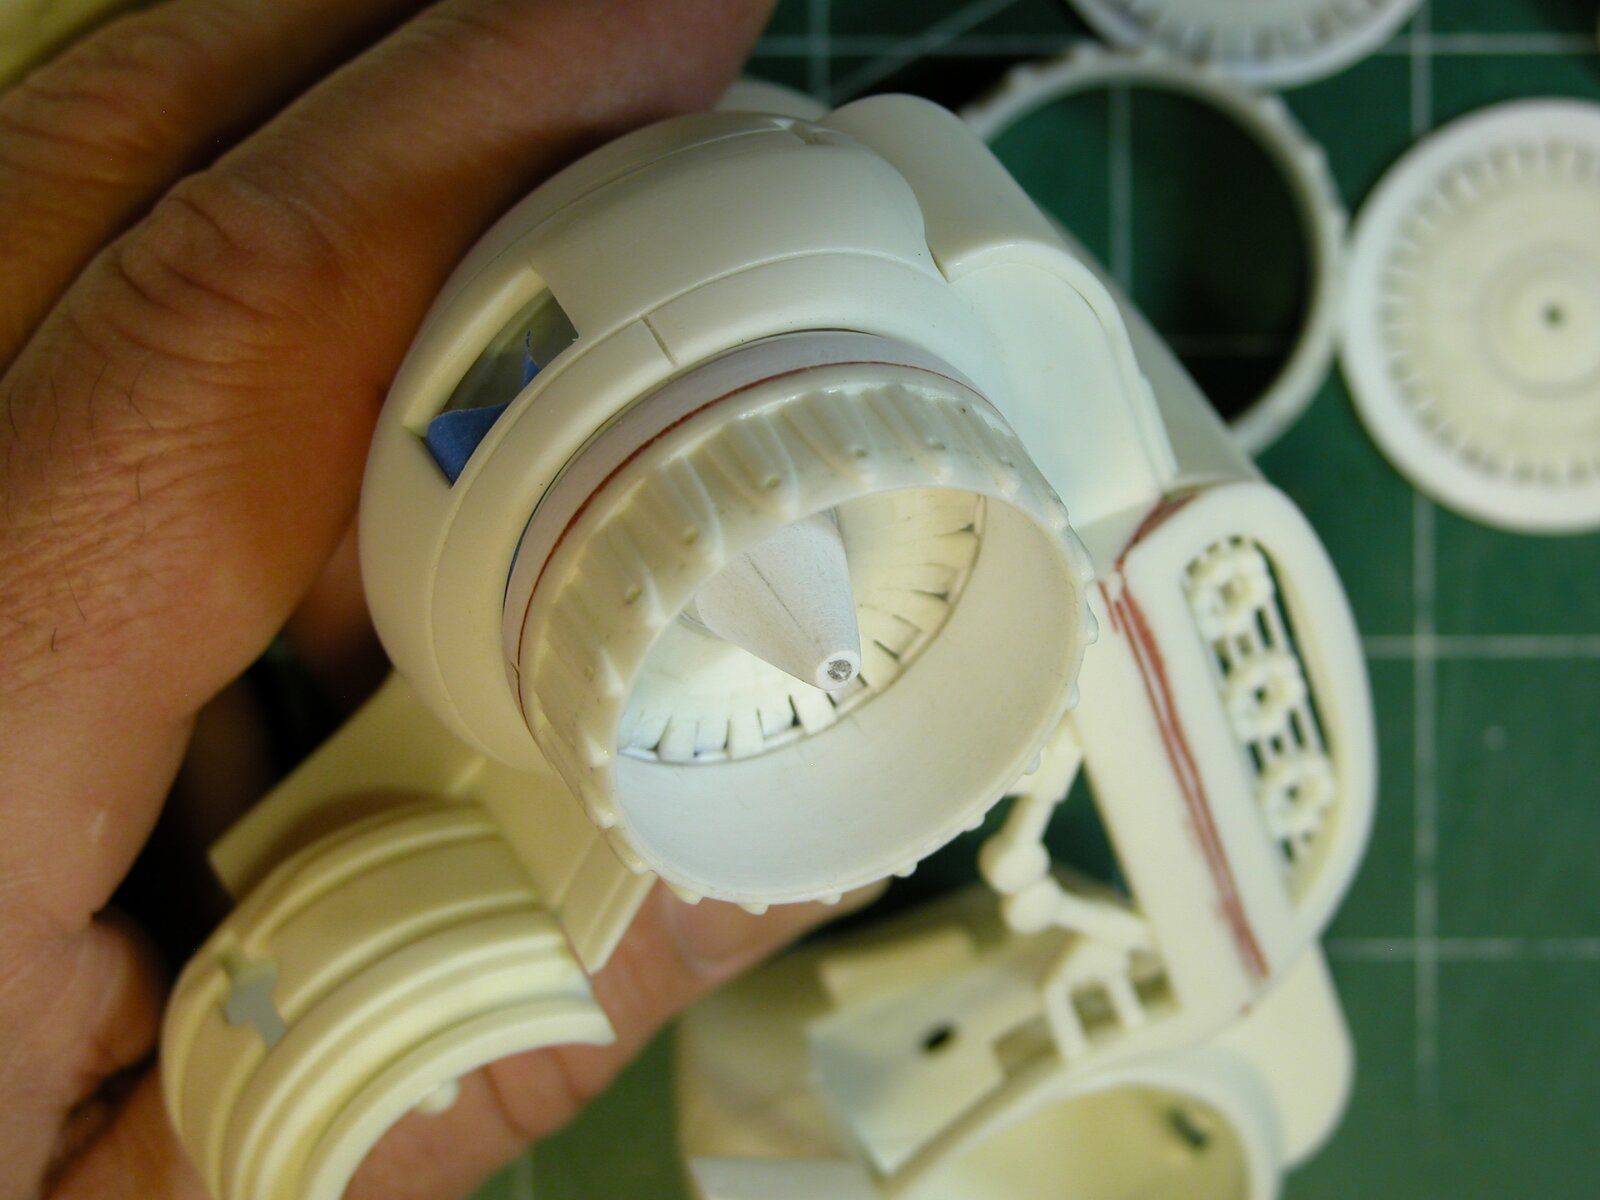
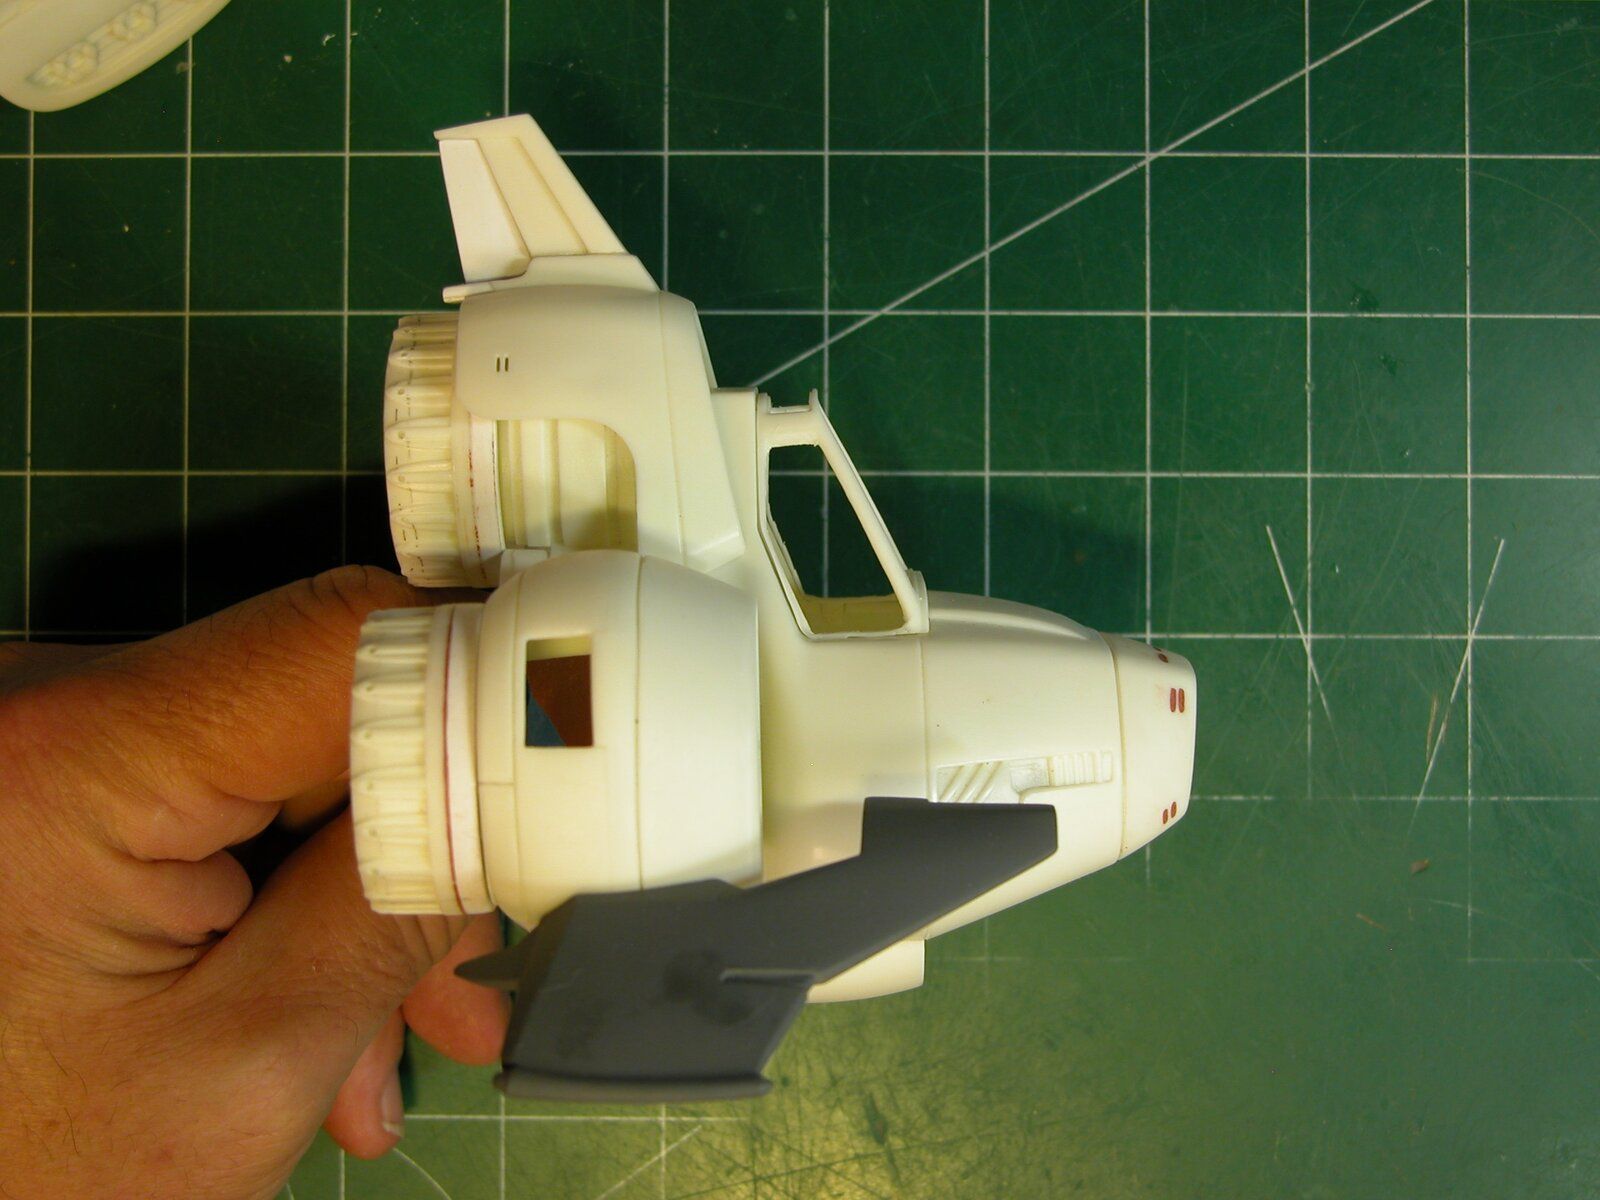
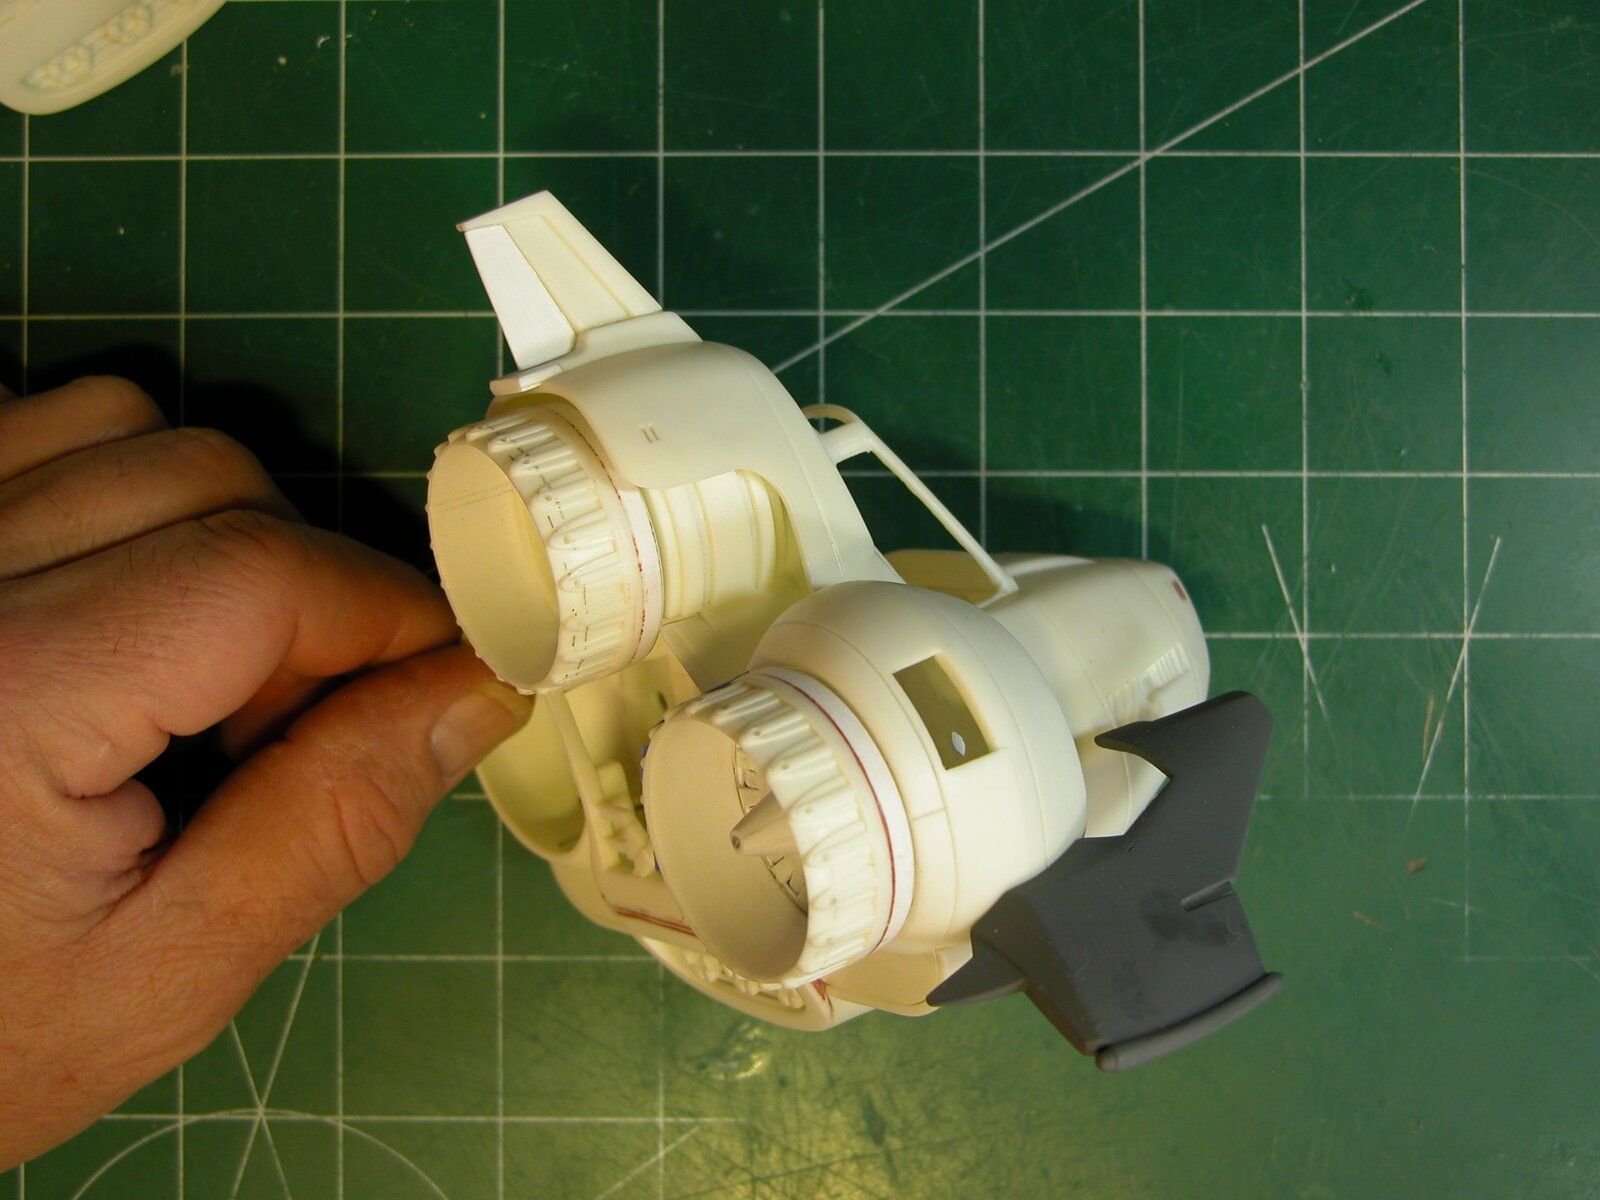
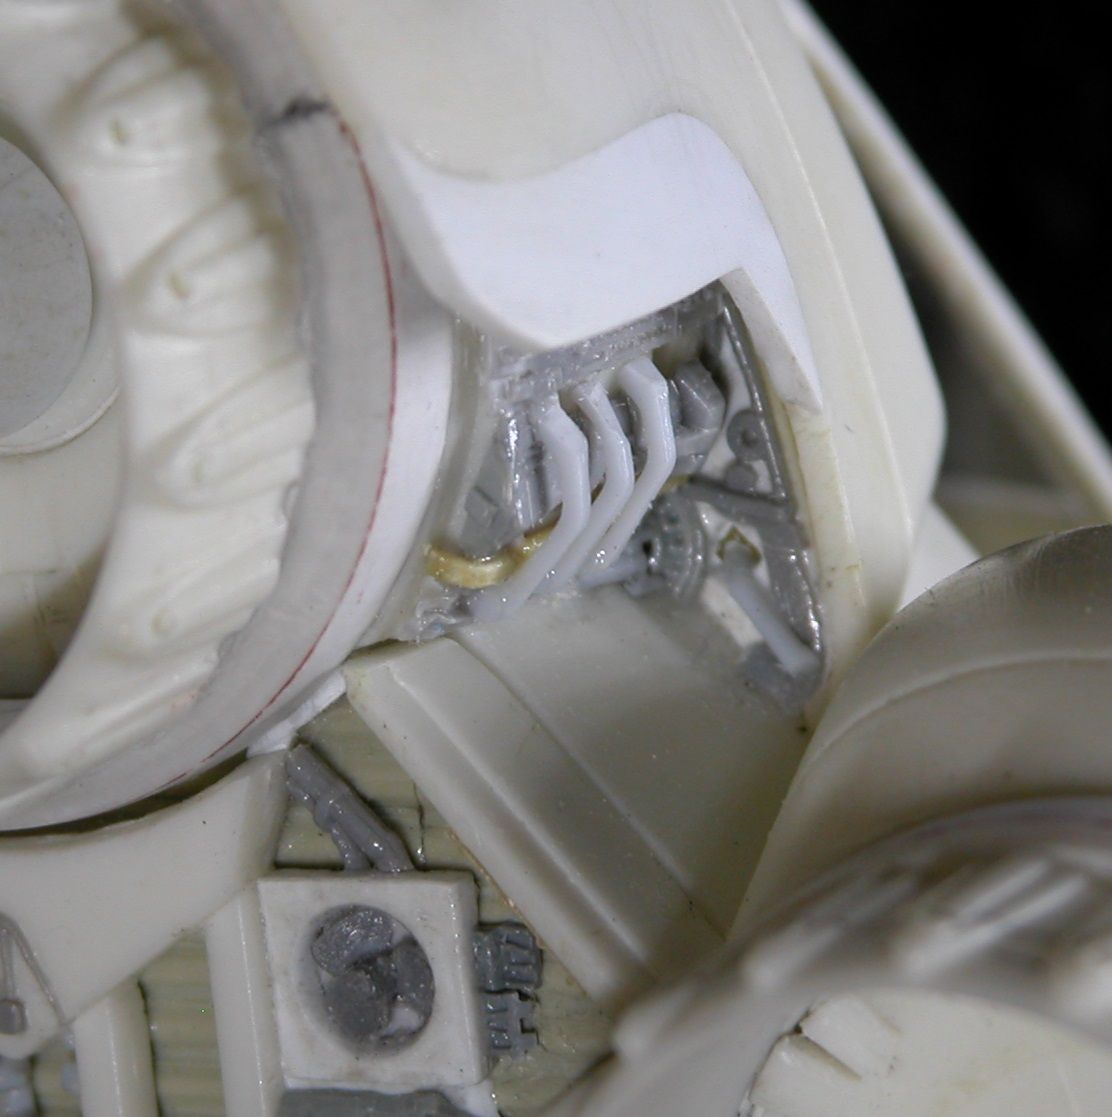
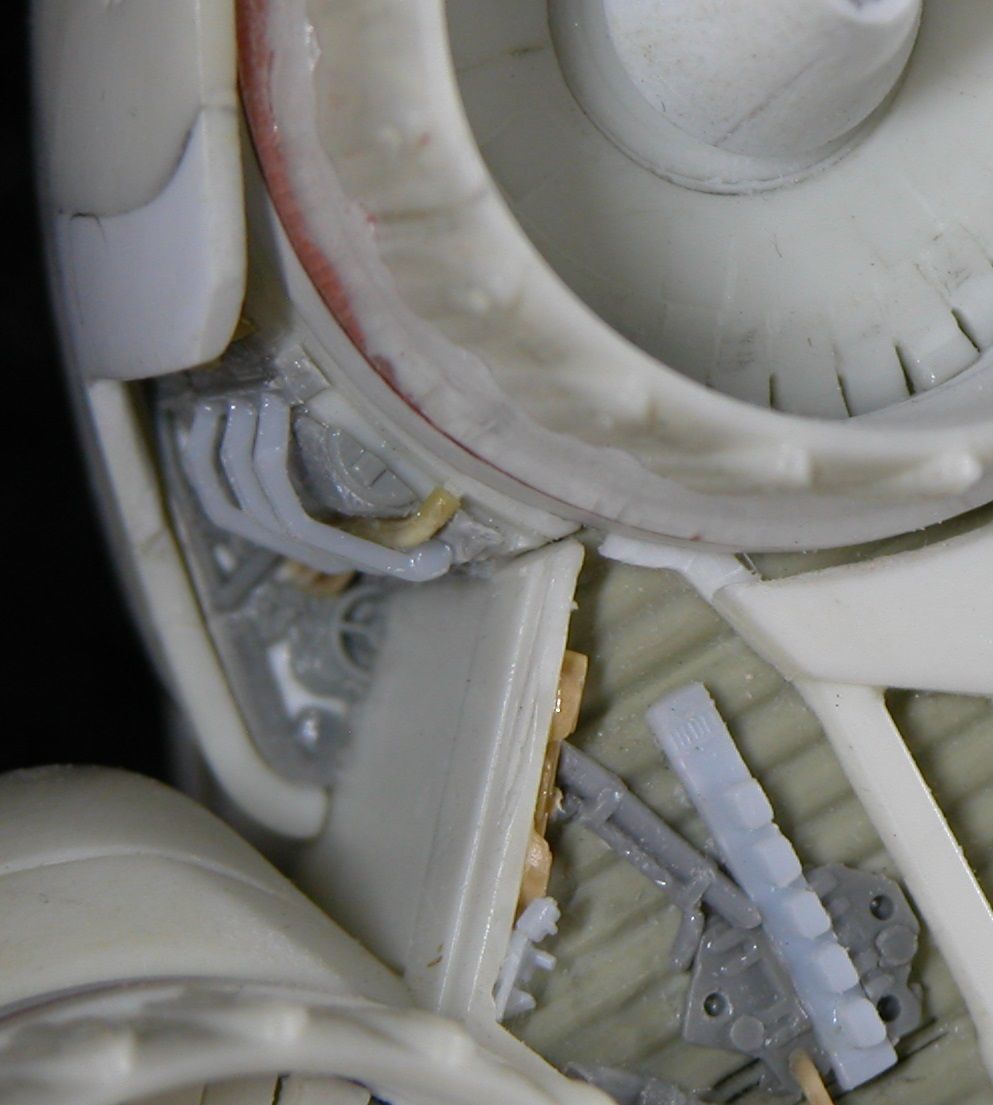
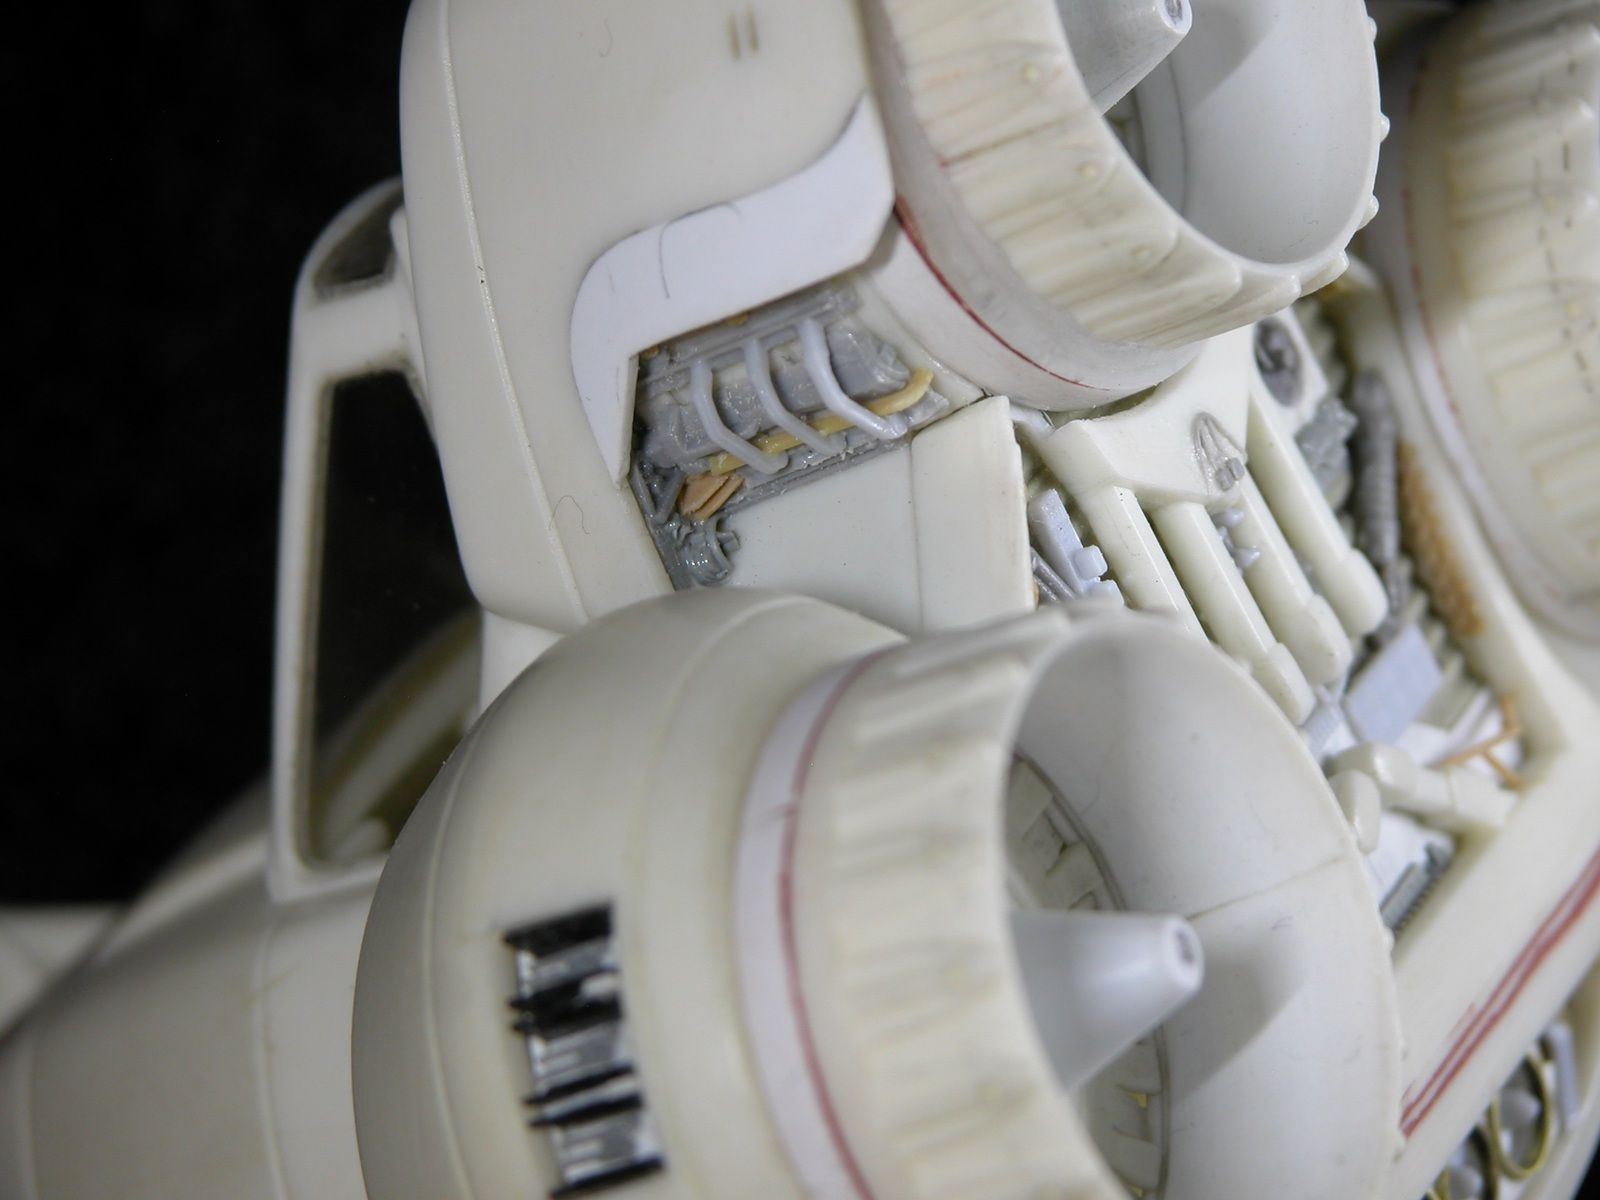
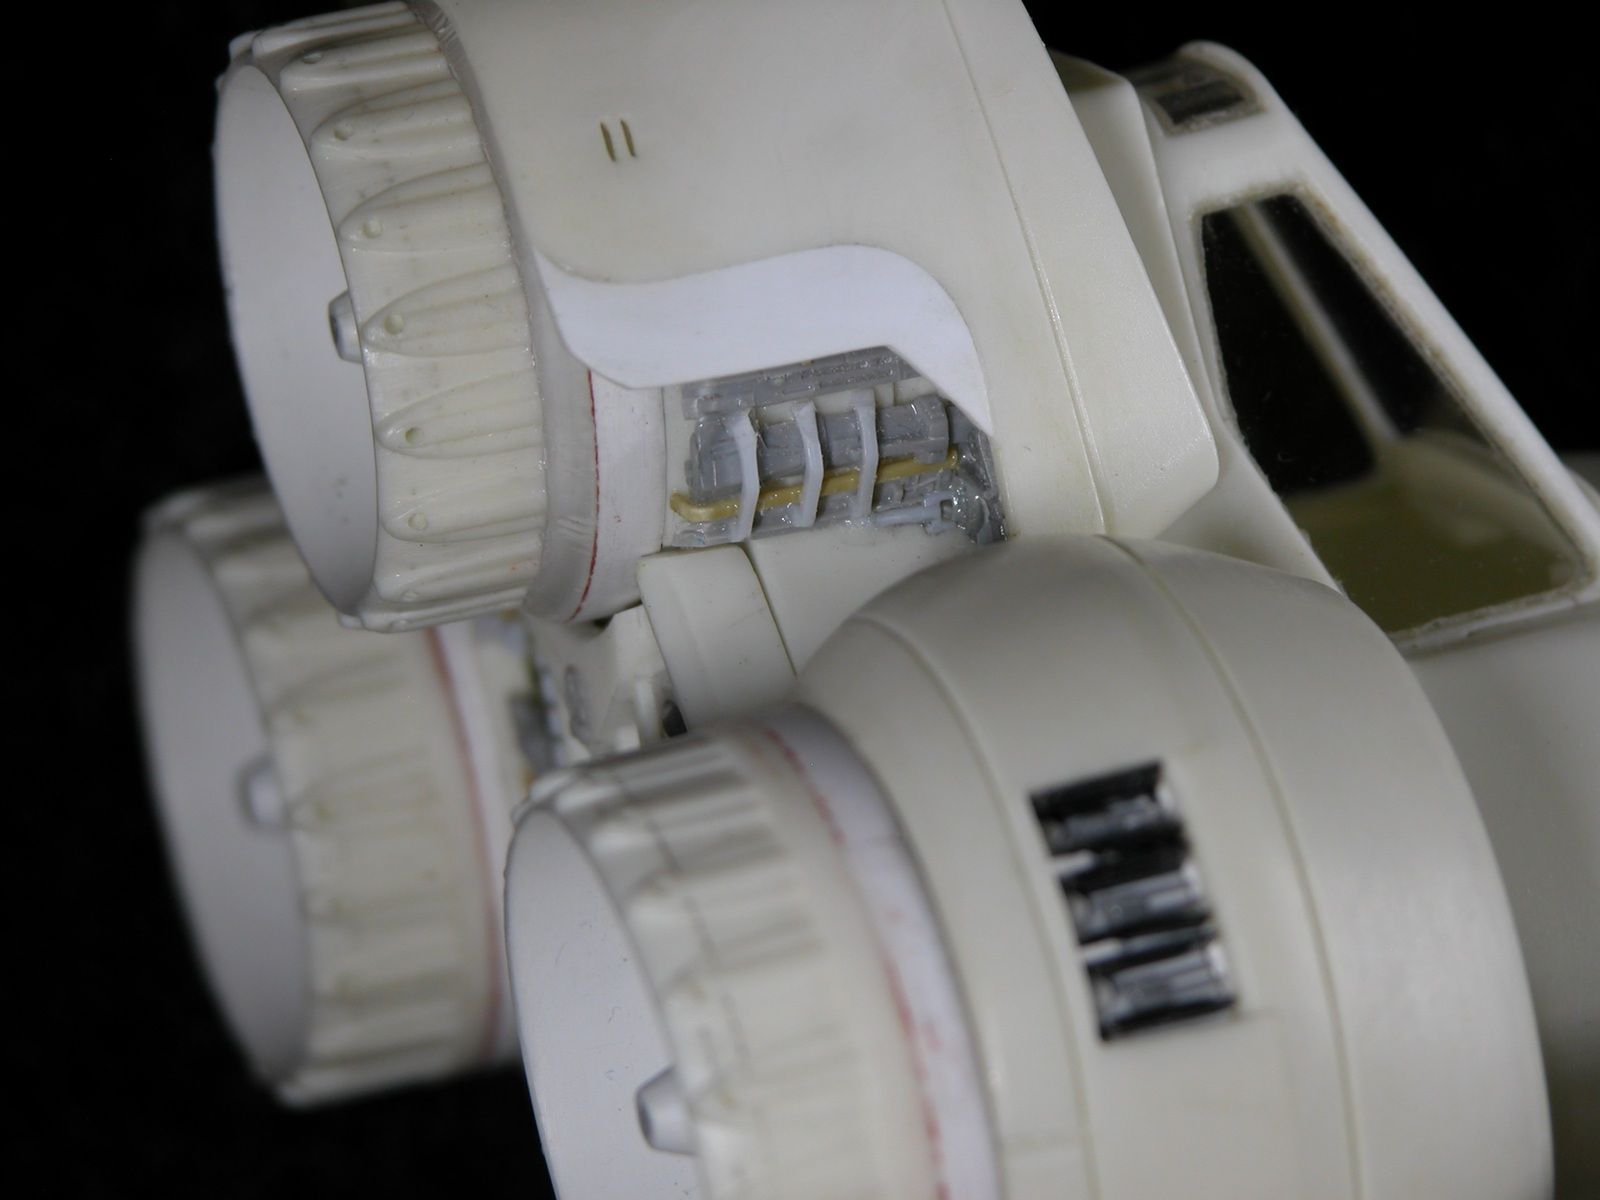
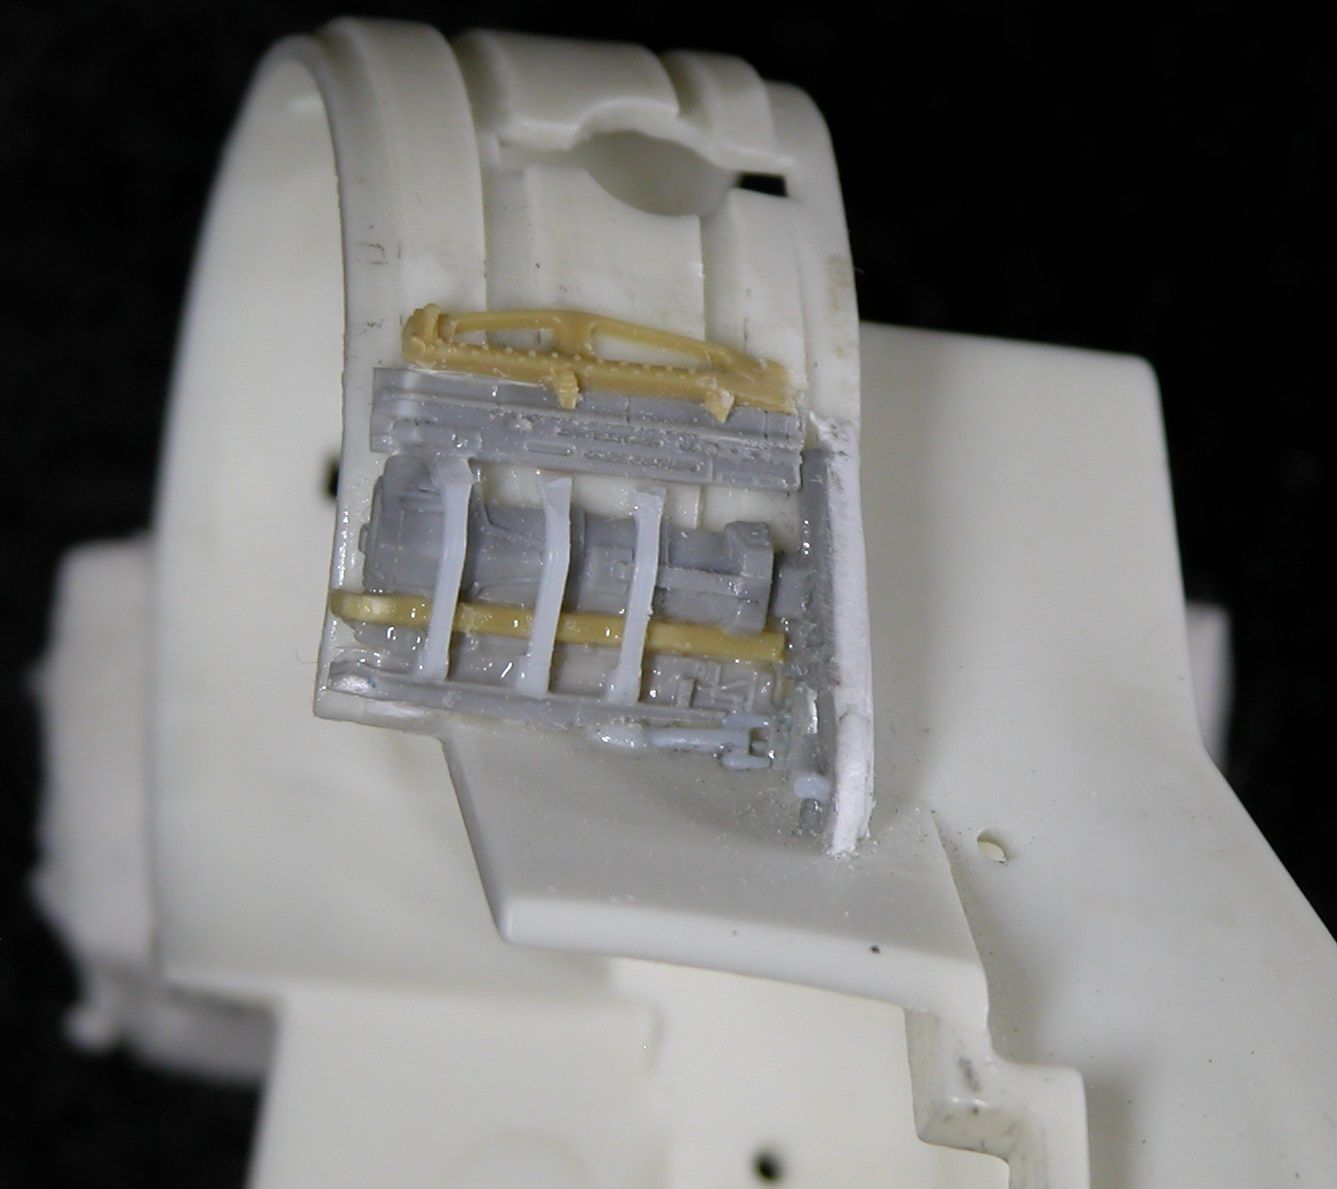
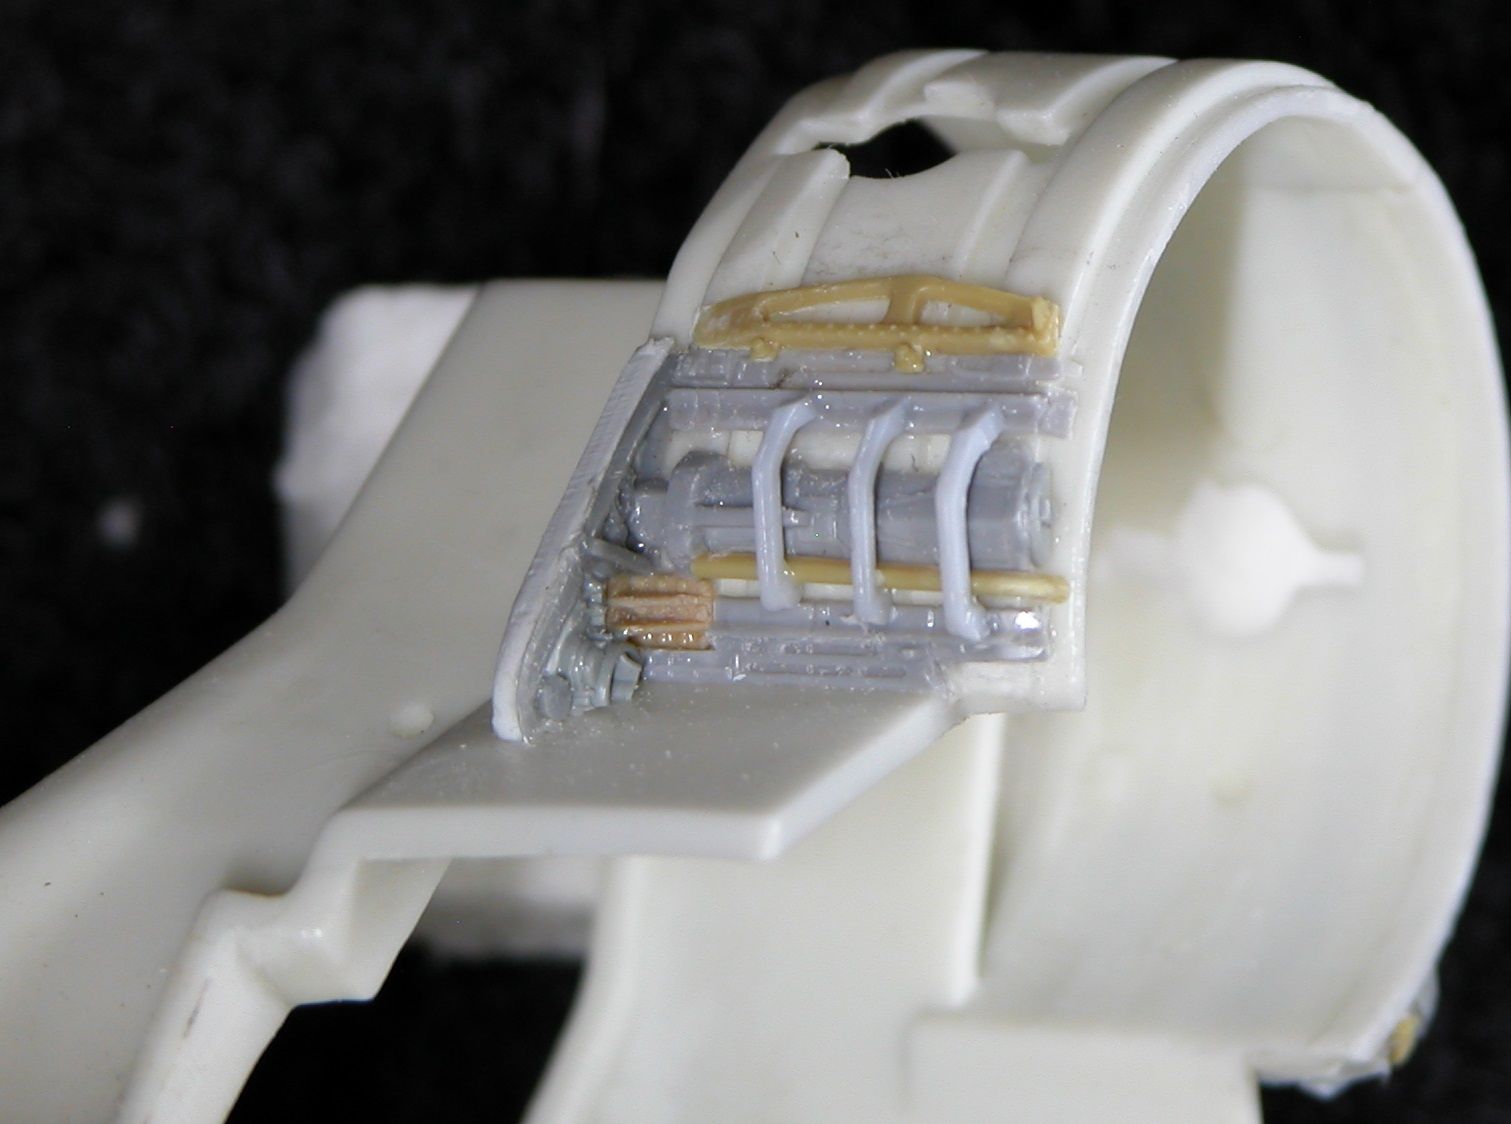
Then, the making of some doodles and noodles for that exposed upper engine section seen on the show Viper:

DSCN0650.jpg


DSCN0651.jpg


DSCN0652.jpg


DSCN0653.jpg


So looks like final tally is three-ish. This is detail on that engine is included in most Mark II Viper models so I don't know why it was left blank on this one just because it's a "toon" type model.

Rob.
 
I guess now that you put in clear windows, you need an interior as well

Well, I didn't think of that until I got it on there and that's the truth. I forgot all about seeing something under there now, so I dread it, but there will have to be some kinda tub built, I reckon. Soon as I looked in on the bottom of the model, I remembered. CRAP! I said. The Wife came running in because she's never heard me cuss before and thought I may have cut my arm off or sumthin'.

Your "flaws" are better than anything I could have done

Thank you, but, I've seen your work. I don't know who you're saying all that for, but I know tain't true.

Rob.
 
Thank you, but, I've seen your work. I don't know who you're saying all that for, but I know tain't true.

Rob.
eh, painting wise sure. Scratch building/greeblifying wise, I am kind of sloppy. Even cleaning up seam lines is not great for me

A lot can be hidden with the paint job :D
 
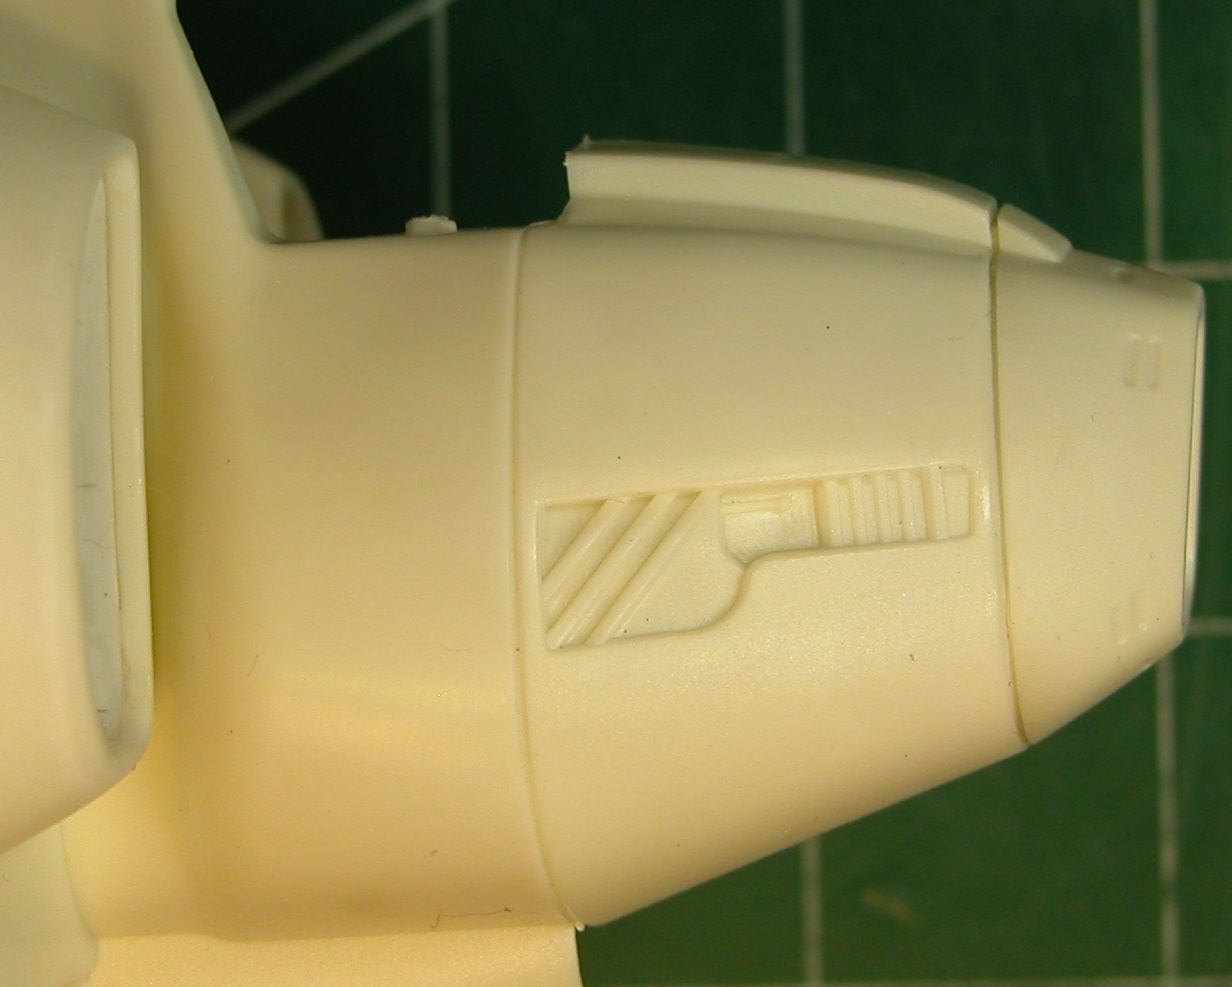
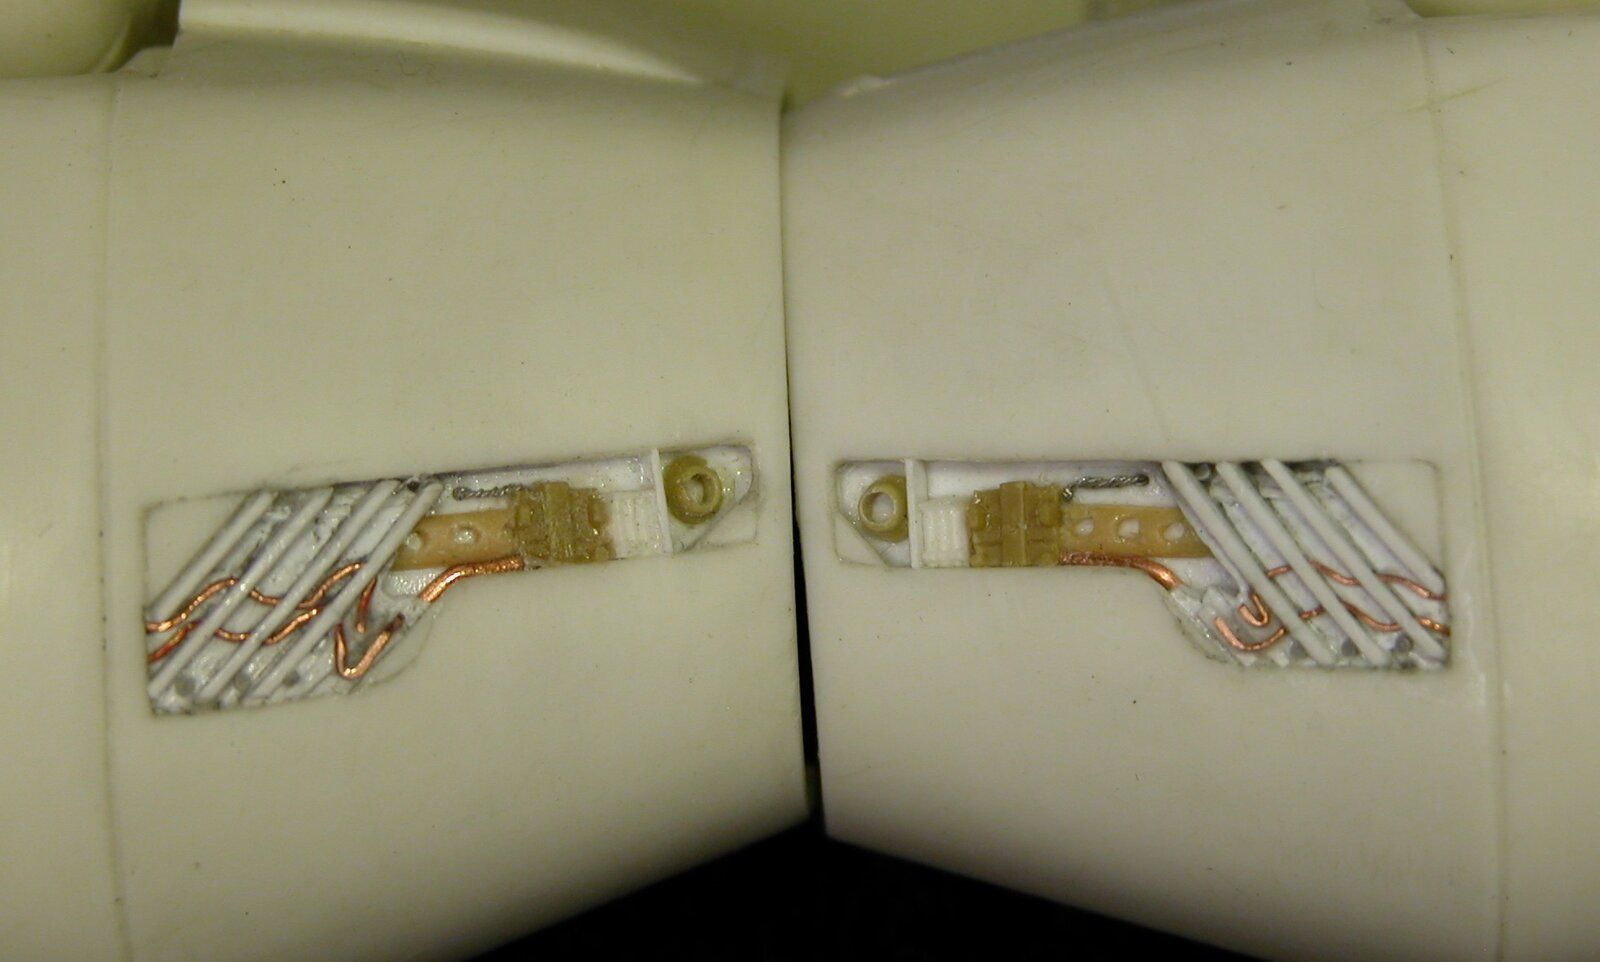
The fella's over at the RPF told me that it really needed something done to the recesses on the sides of the fuselage. By "fella's" , I mean one fella. Once he pointed out that they now looked plain with some of the other things I've done to destroy this model, I said, "Yeah, it does look like it needs something different.

Different started:

DSCN0661.jpg

DSCN0662.jpg


More holes chopped in the model. My advice to everyone who decides to do this kinda thing to their own Moebius Super-Deformed Viper, do this first. I had to tear the model back apart because I honestly didn't plan to do anything to these sides, but the breaking apart of this caused several breaks to occur that I really didn't want!

Can't really leave holes, so I'll be adding something different.

Rob.
 
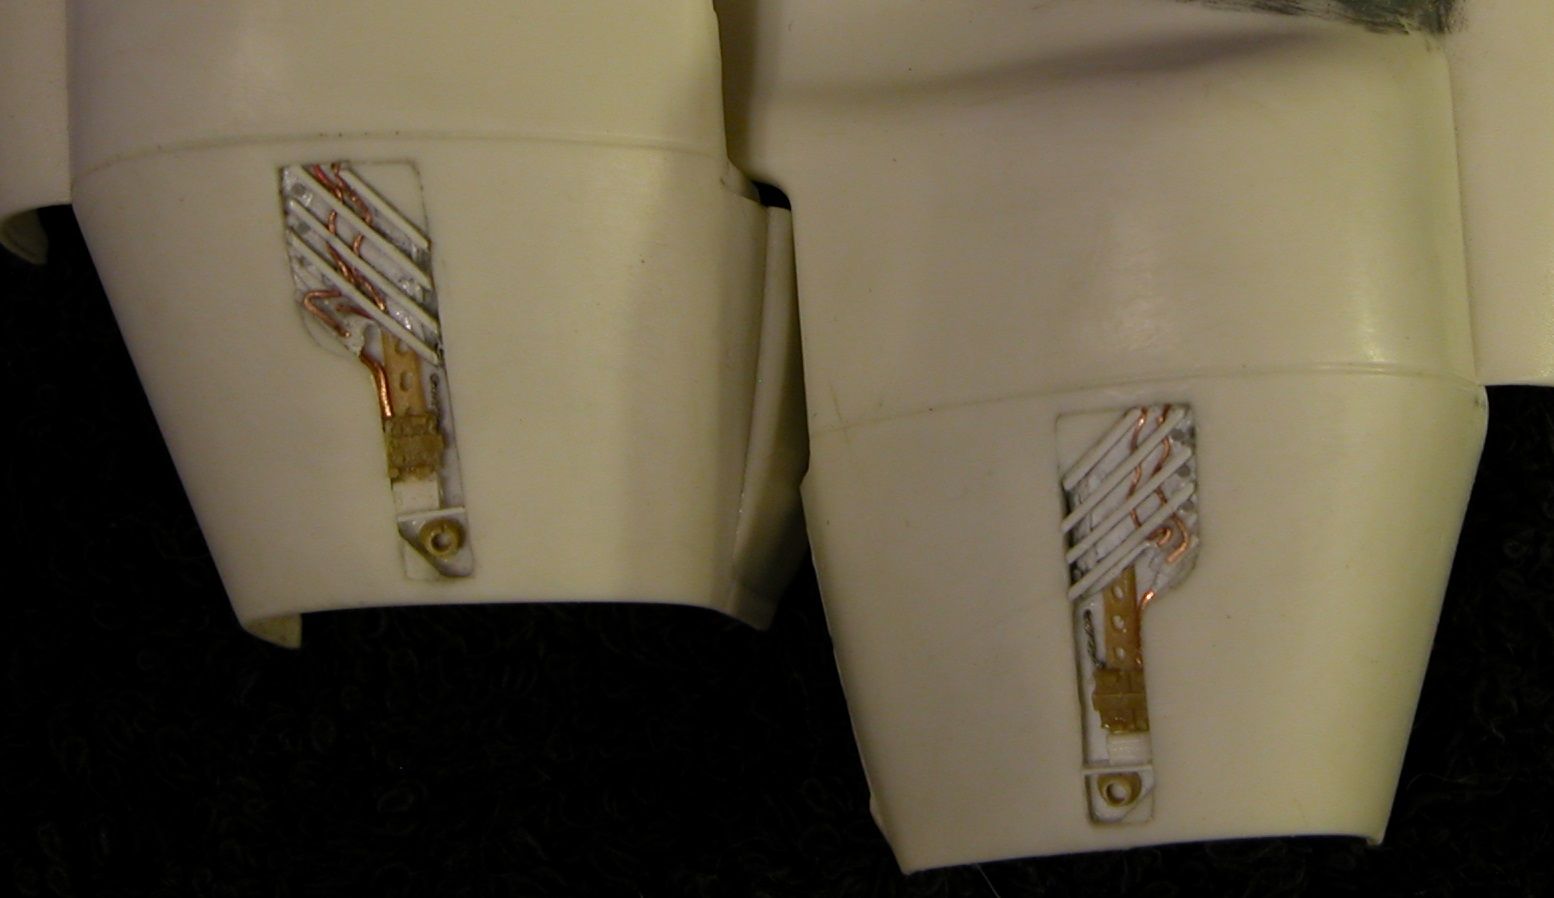
Alright. Different.

Here's what we had:

fuse.jpg


Here's now what we got:

DSCN0663.jpg

DSCN0665.jpg


Y'all, this was tough. This is one of those things that, even though it looks rough and I'm not 100% satisfied with it, I better leave it alone because trying to make it any better ain't working, but making it worse works VERY well. Those areas where the slats are is actually cut outs with the fins sticking through a shaped piece of plastic that looks like a skeleton's rib cage before I shove the slats through. Of course, those ribs tried to break loose every time I touched them and the spacing was very hard to try and get the same. One side is ever so slightly different than the other side, but like I said...

I better stop and leave it just like it is.

Good, bad, better or not.

Y'all think it looks any better? Y'all know me by now, so blast me.

Rob.
 
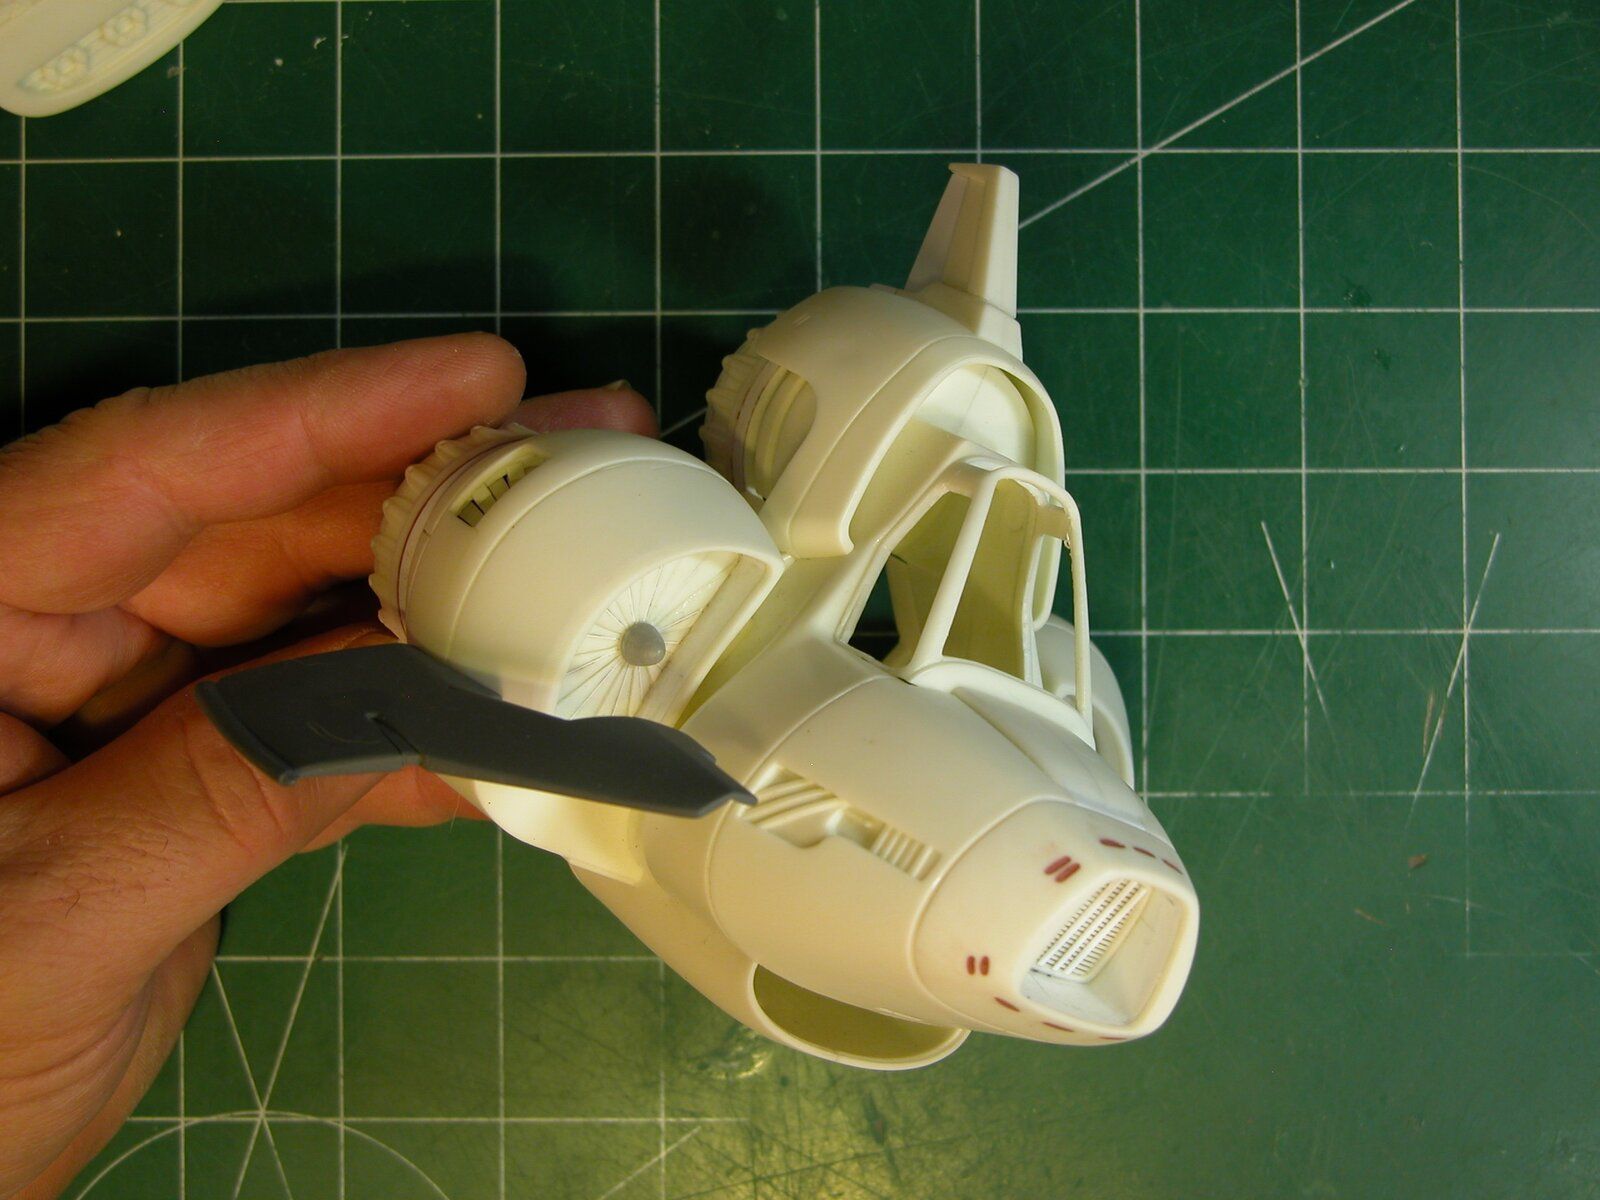
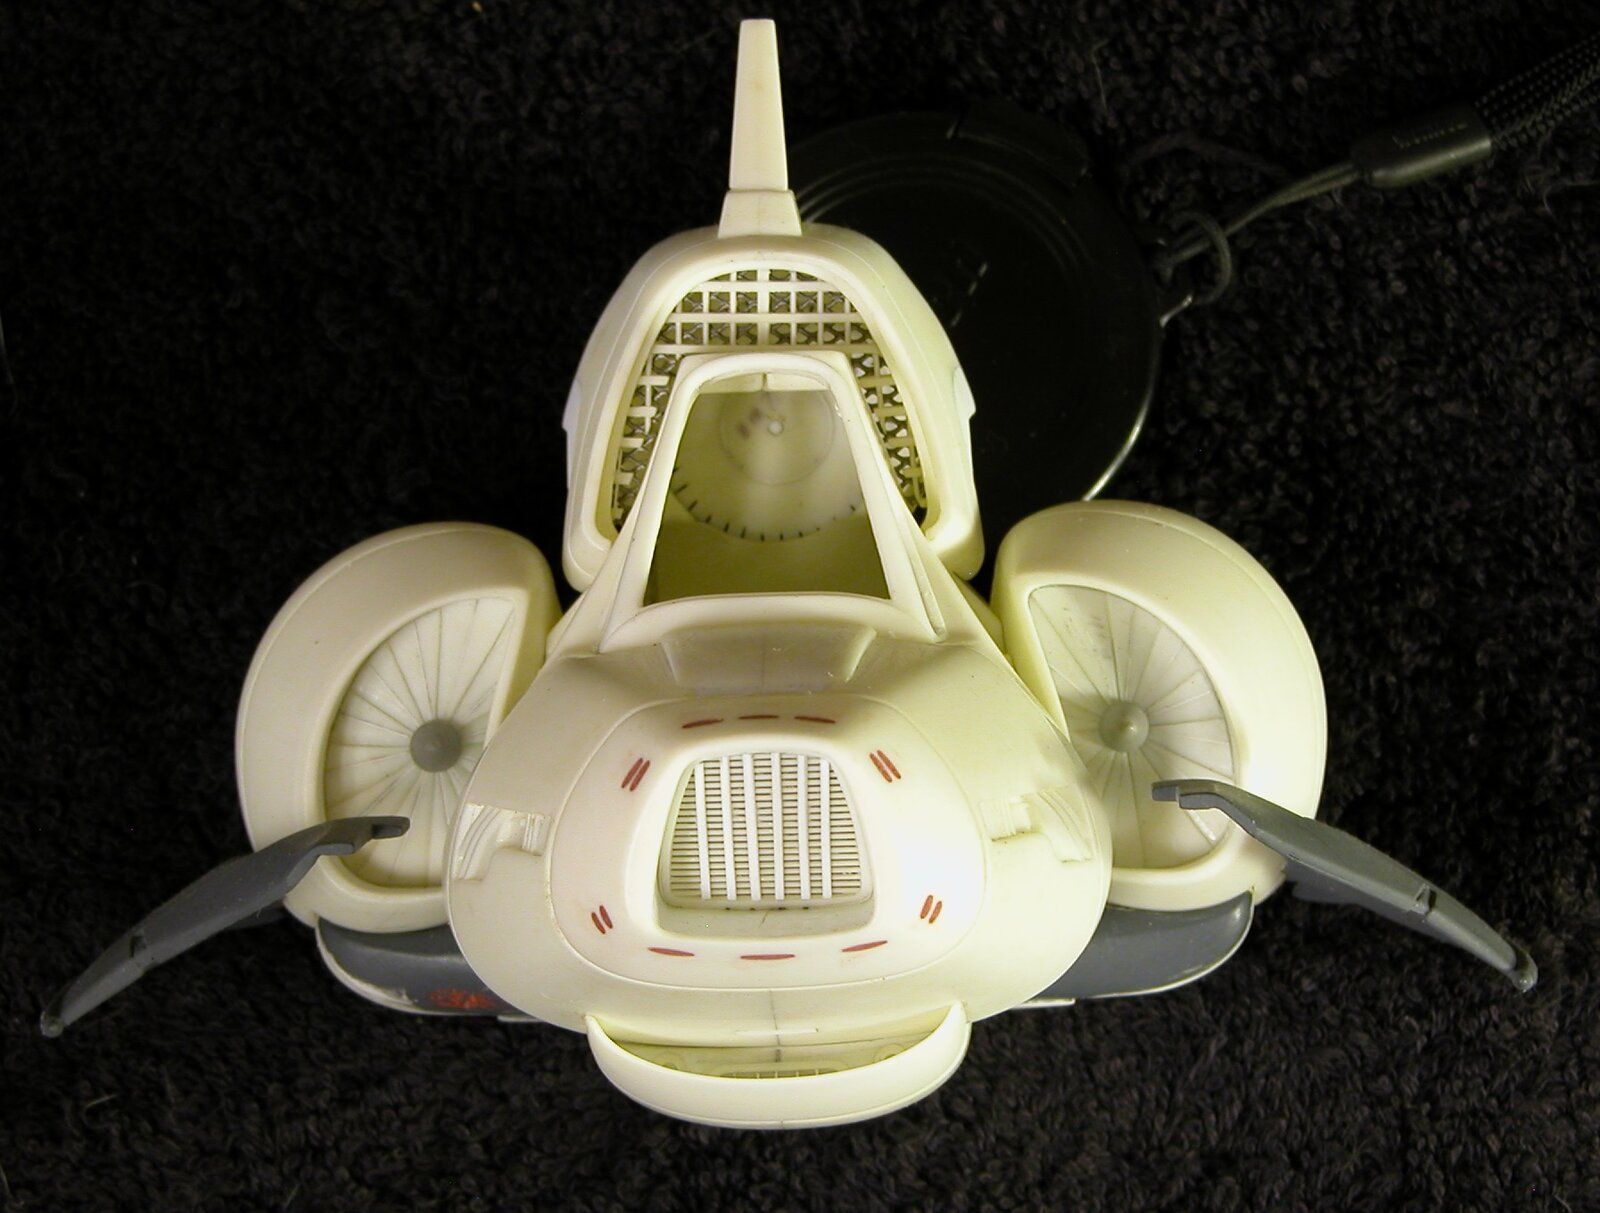
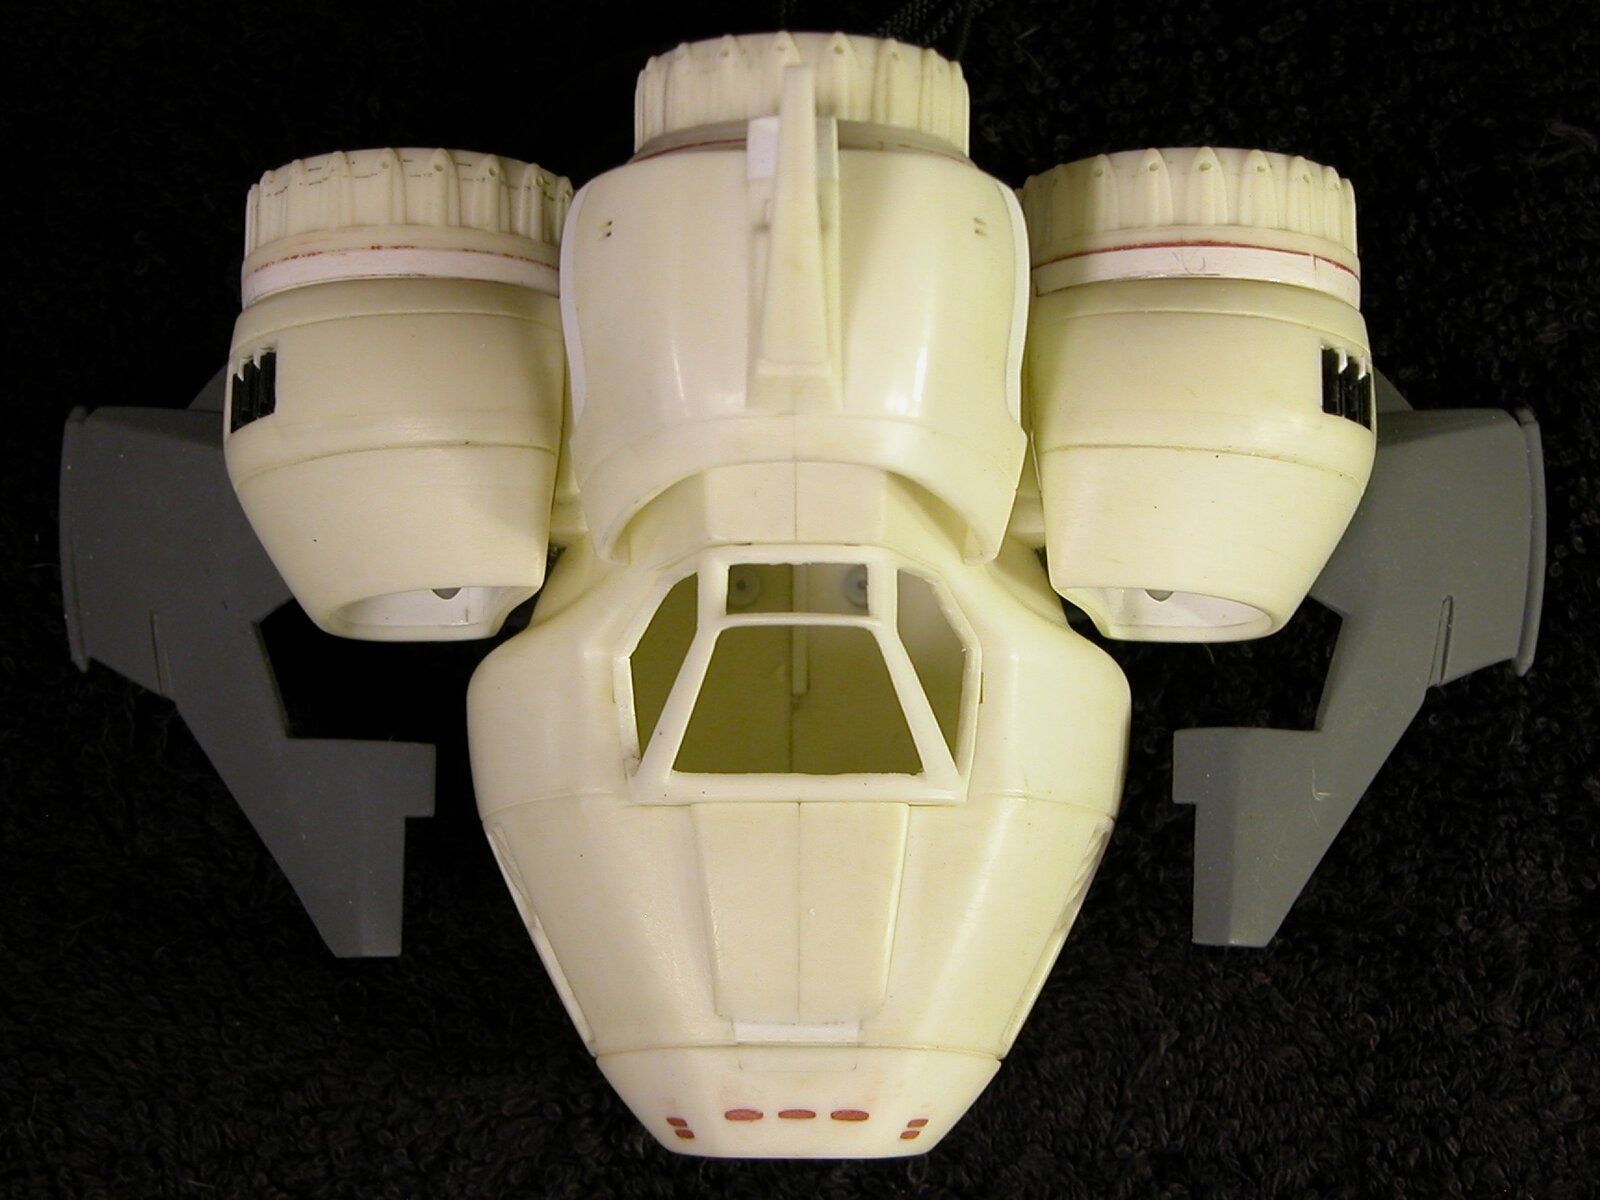
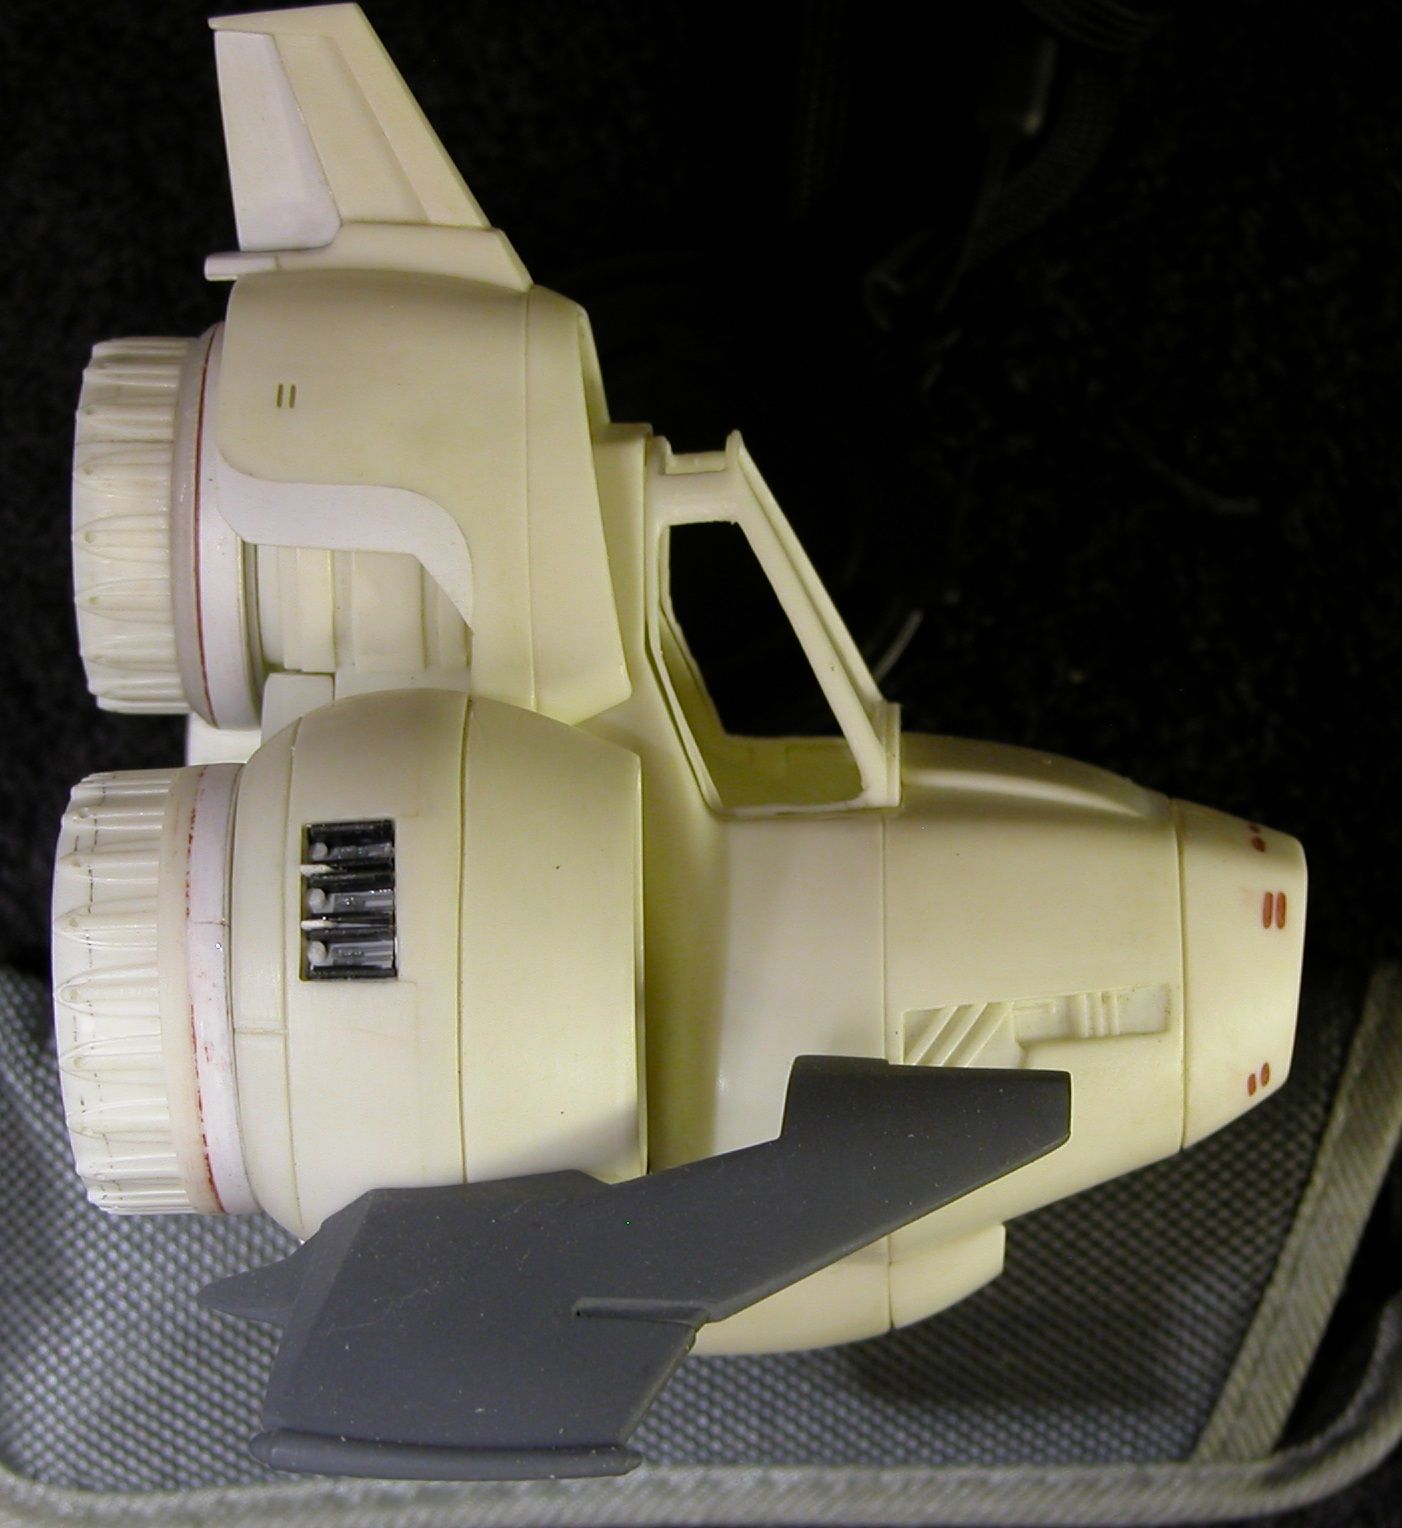
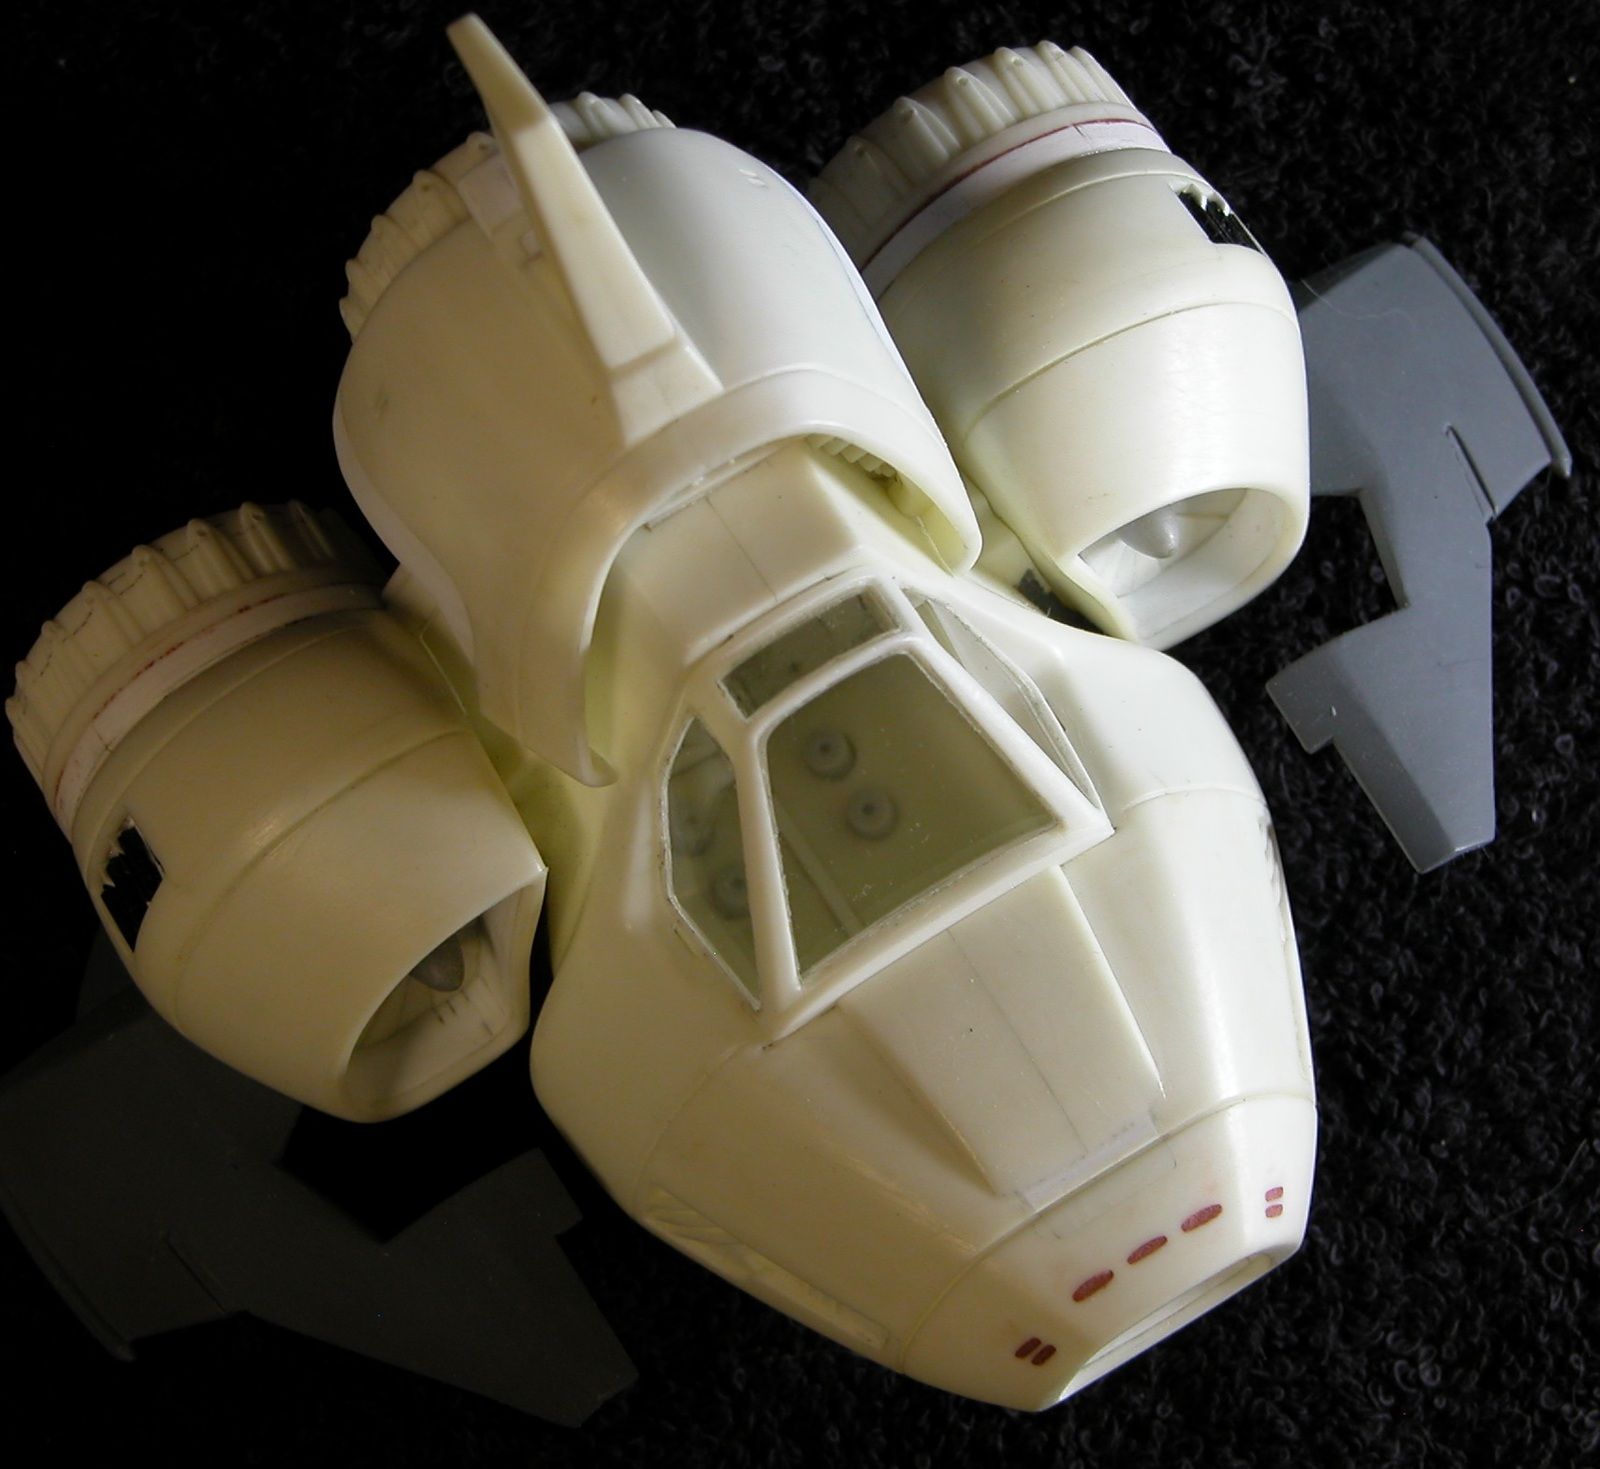
Hey all Y'all! It's me again. Alright, alright, stop grumblin' "Him again" 'cause ya' knowed I was comin' sooner or later, and take a look at the latest. Should be one of the last things before slingin' some paint on this rig.


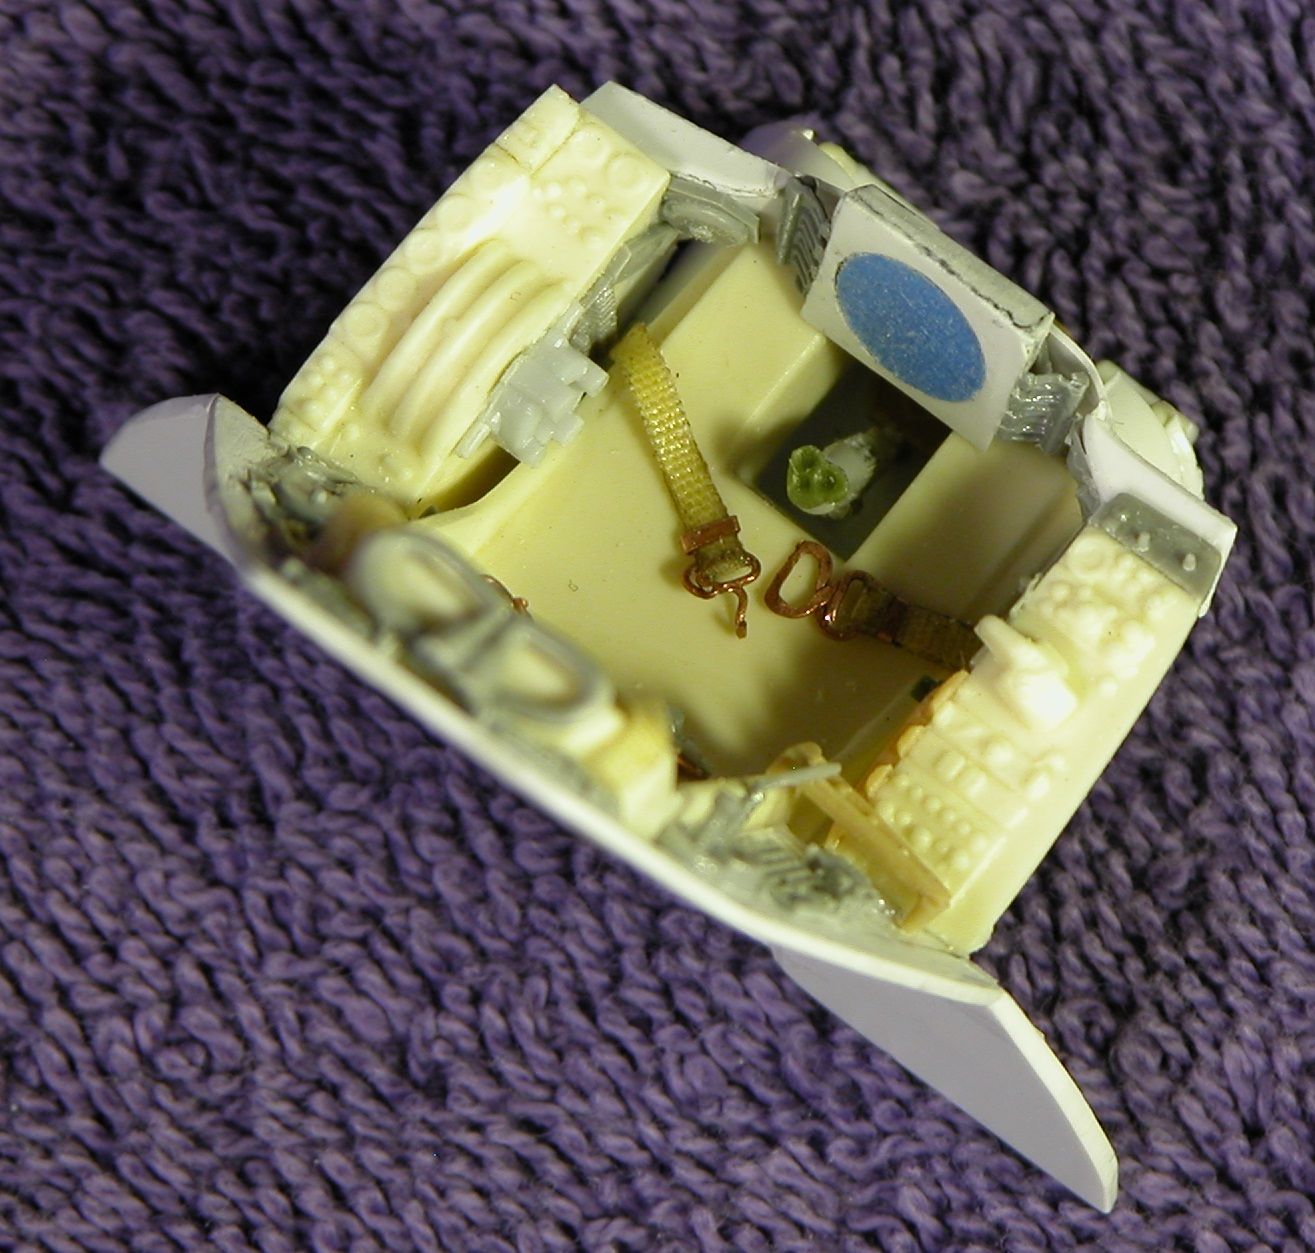
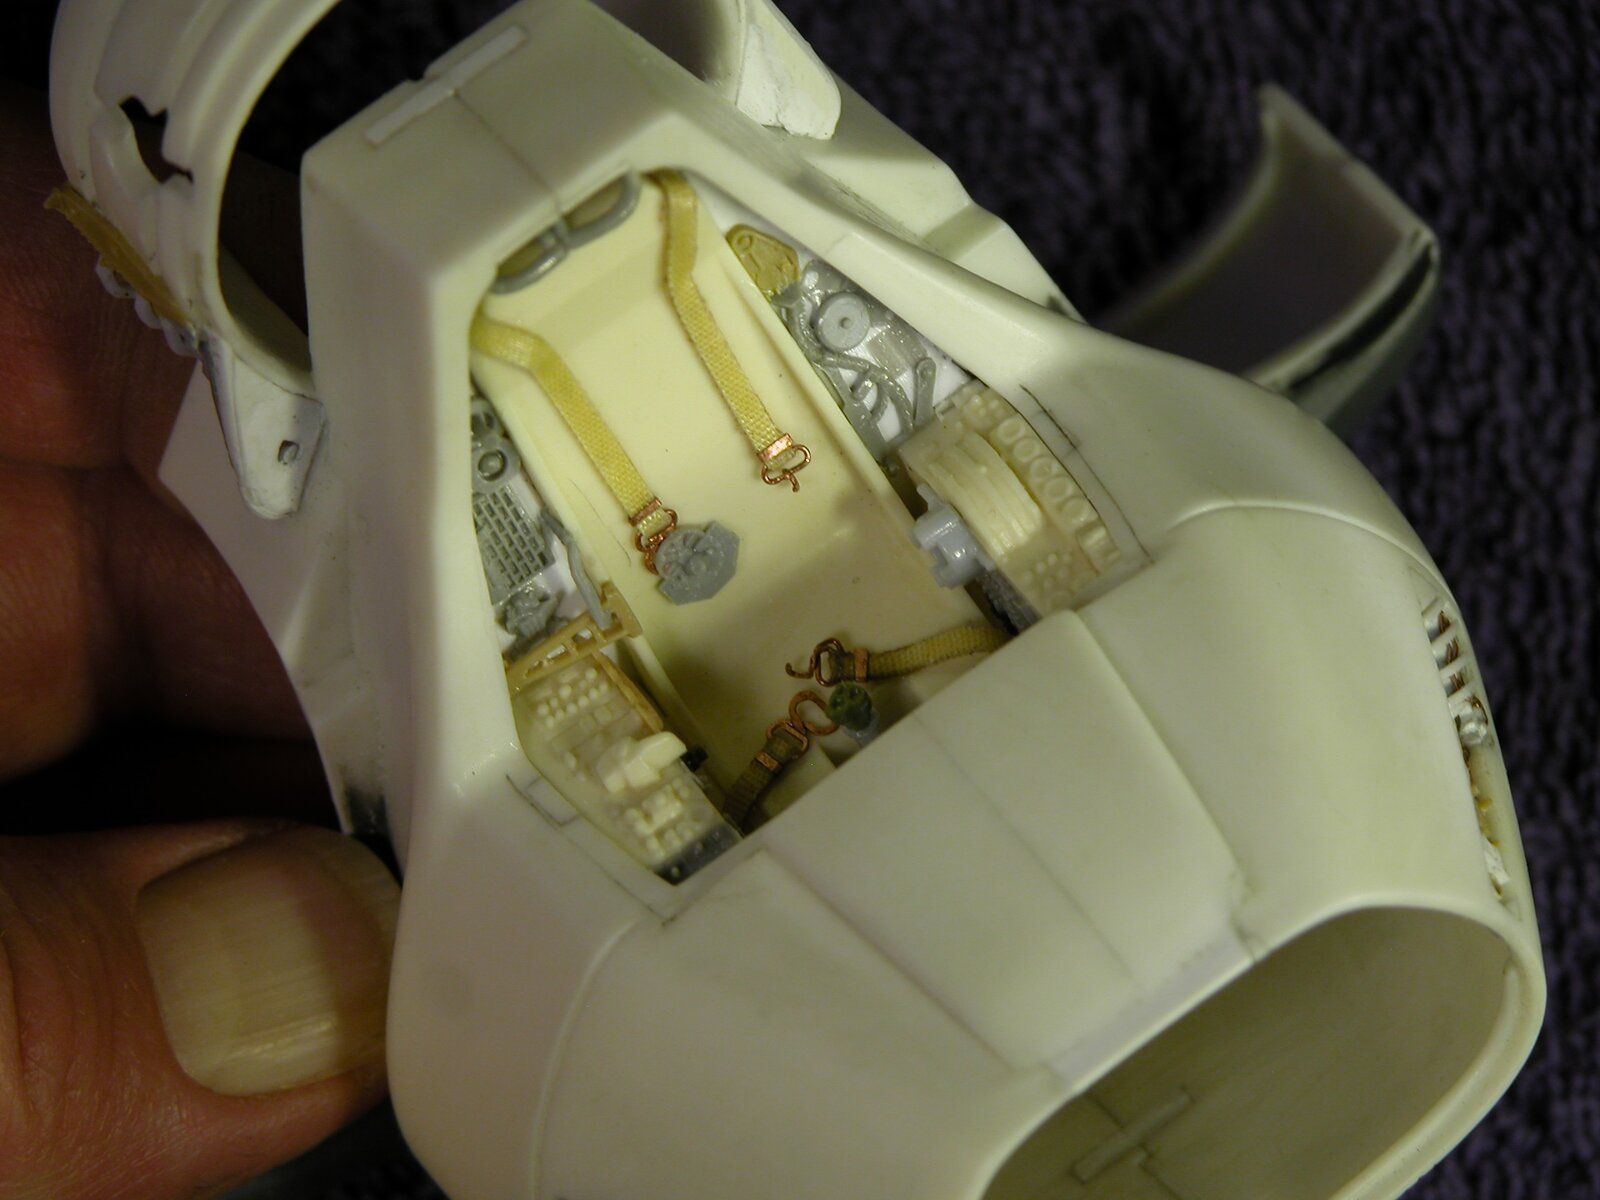
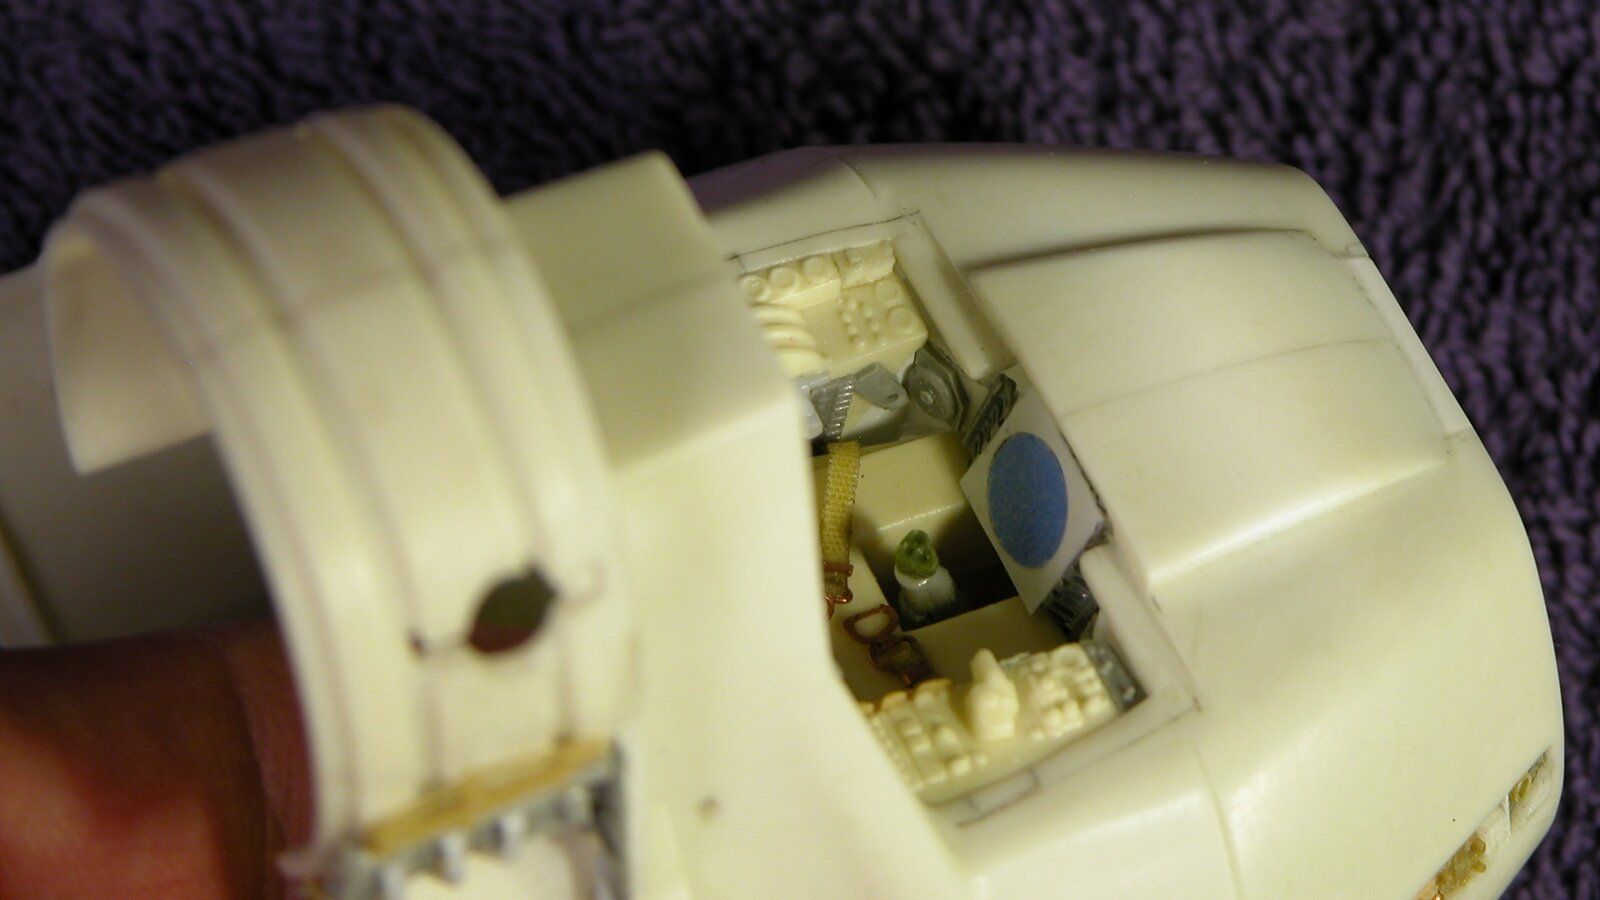
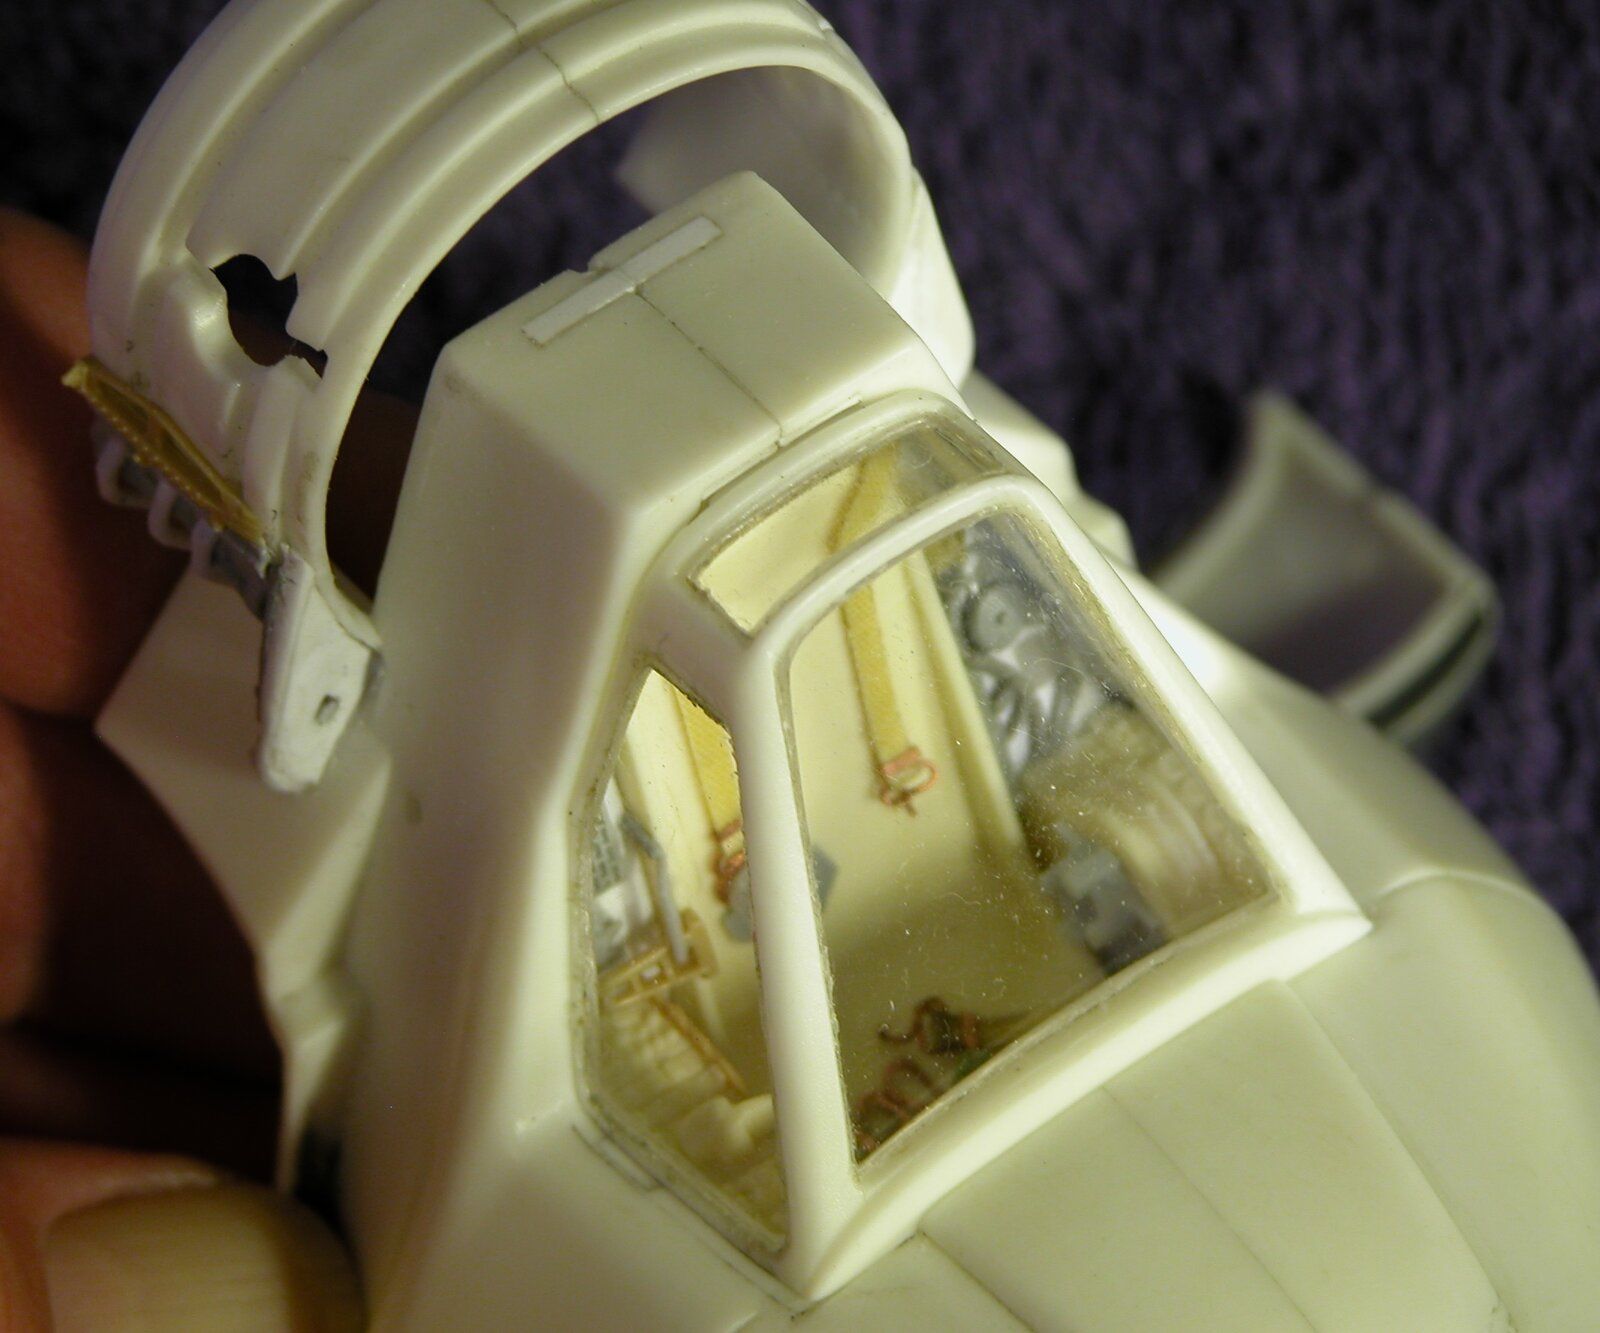
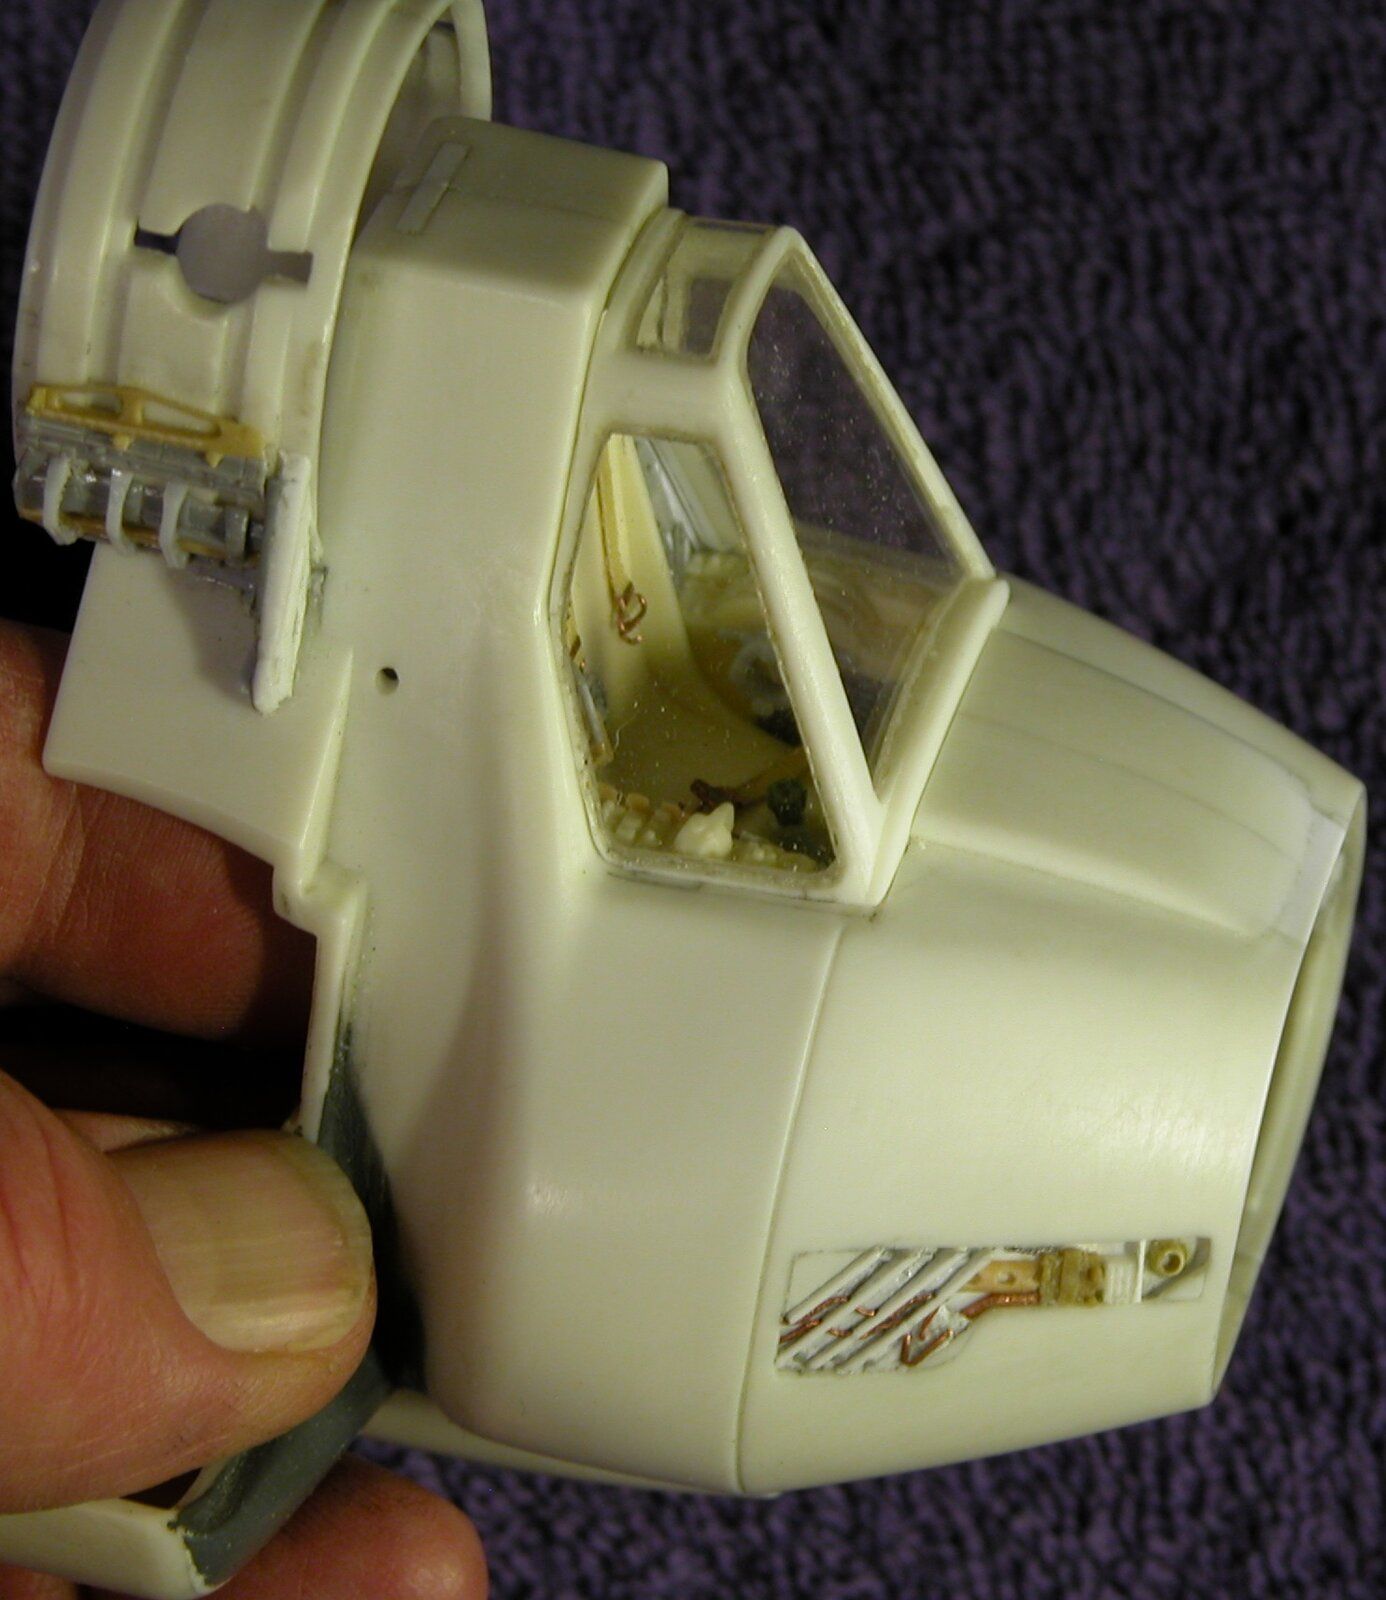
As seen previous, with opening up them windows, a cockpit would now need to be doodled. Now, even if I wasn't able to do that, I did make some place that looks like it would be one.


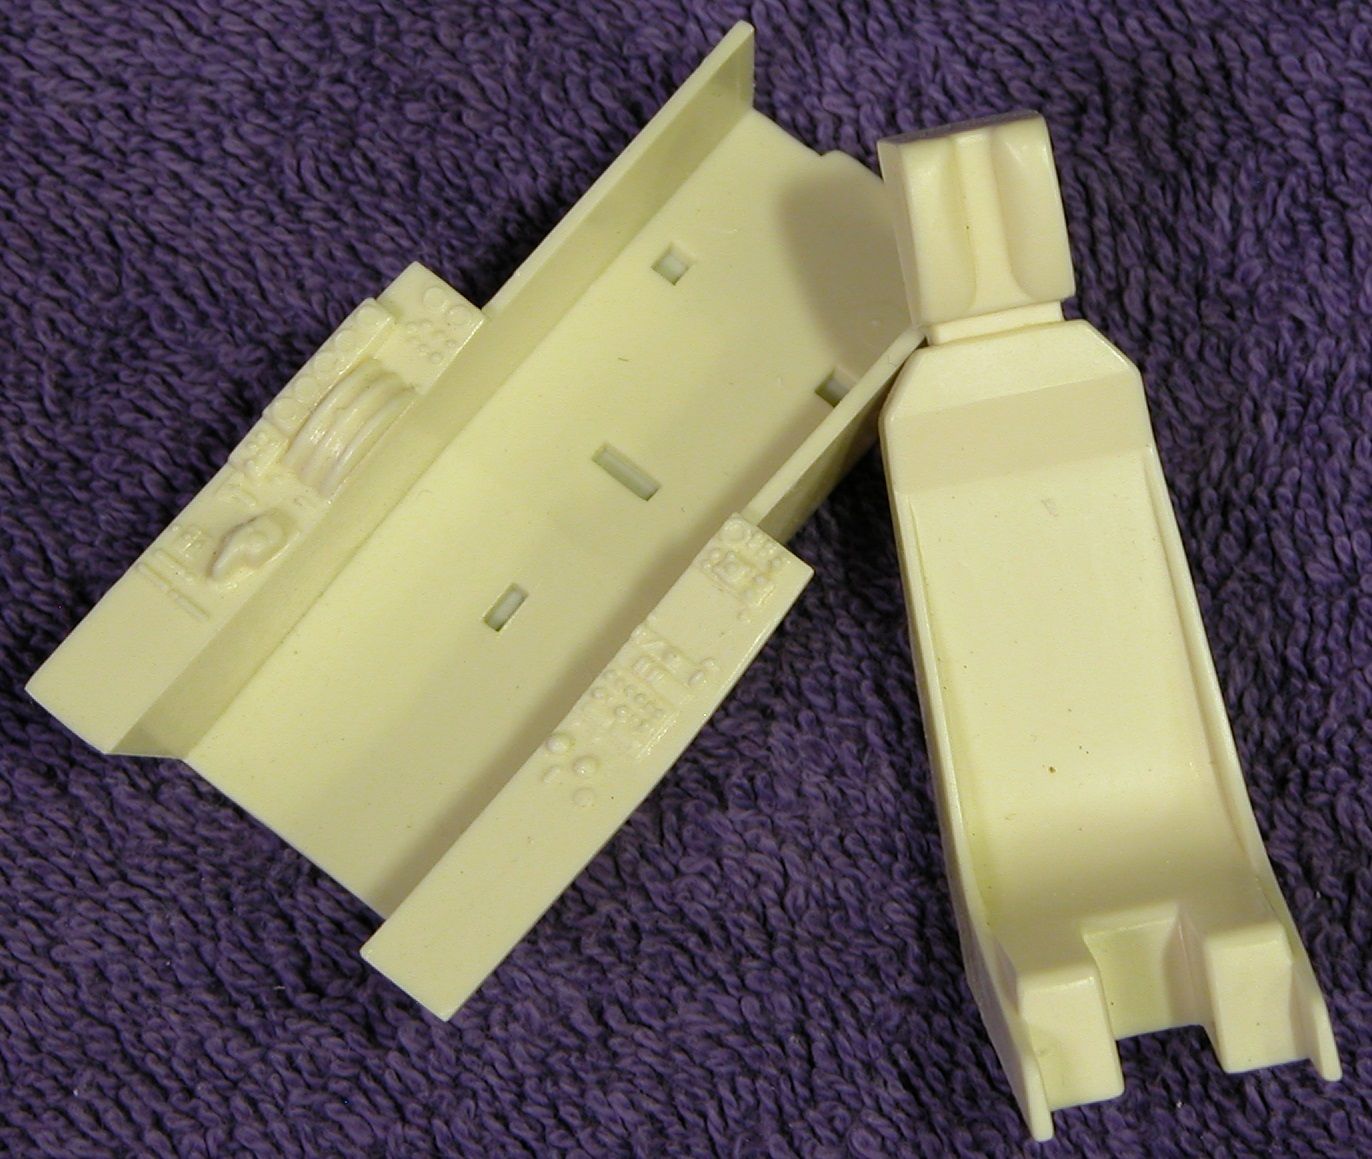
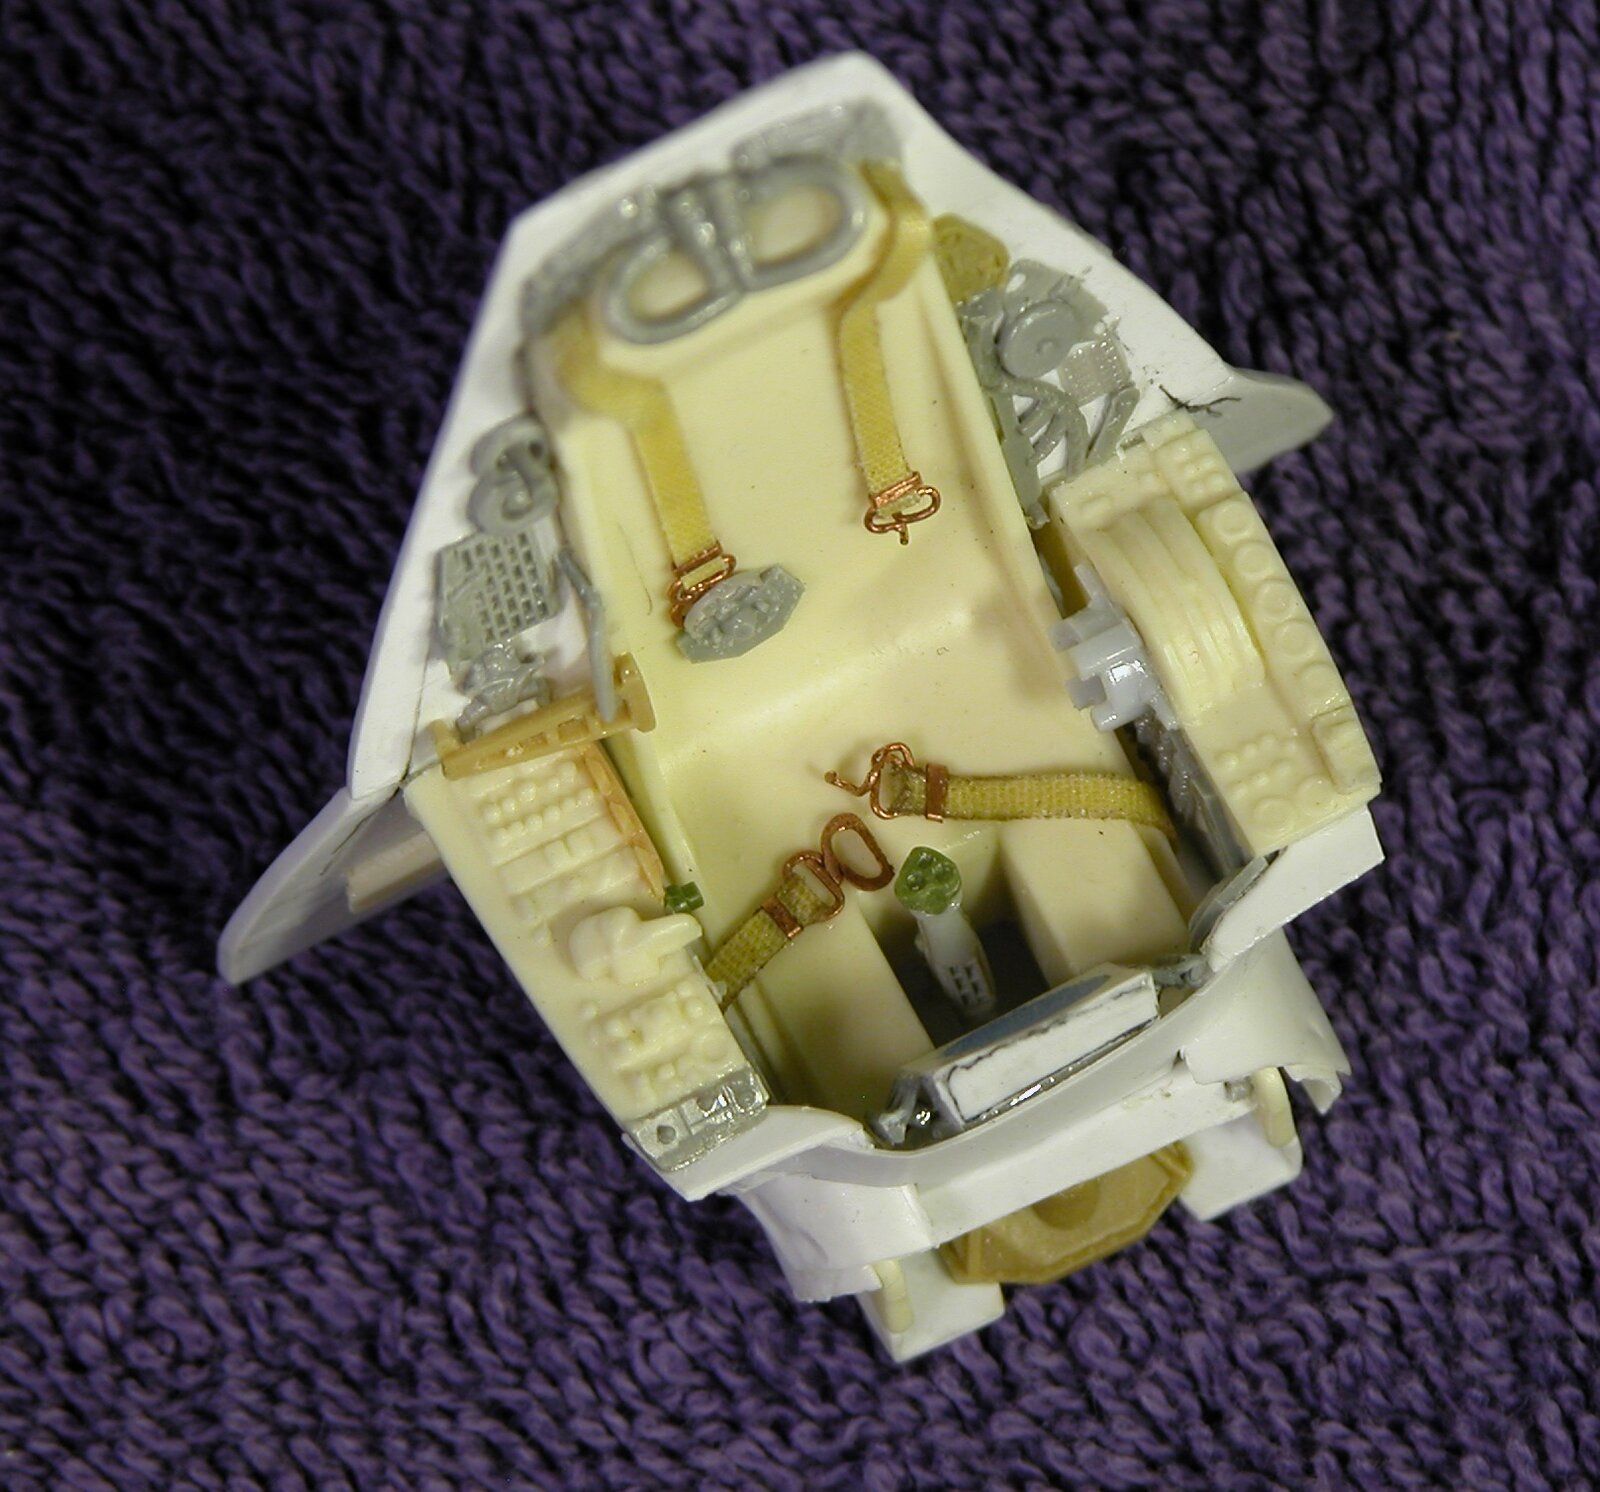
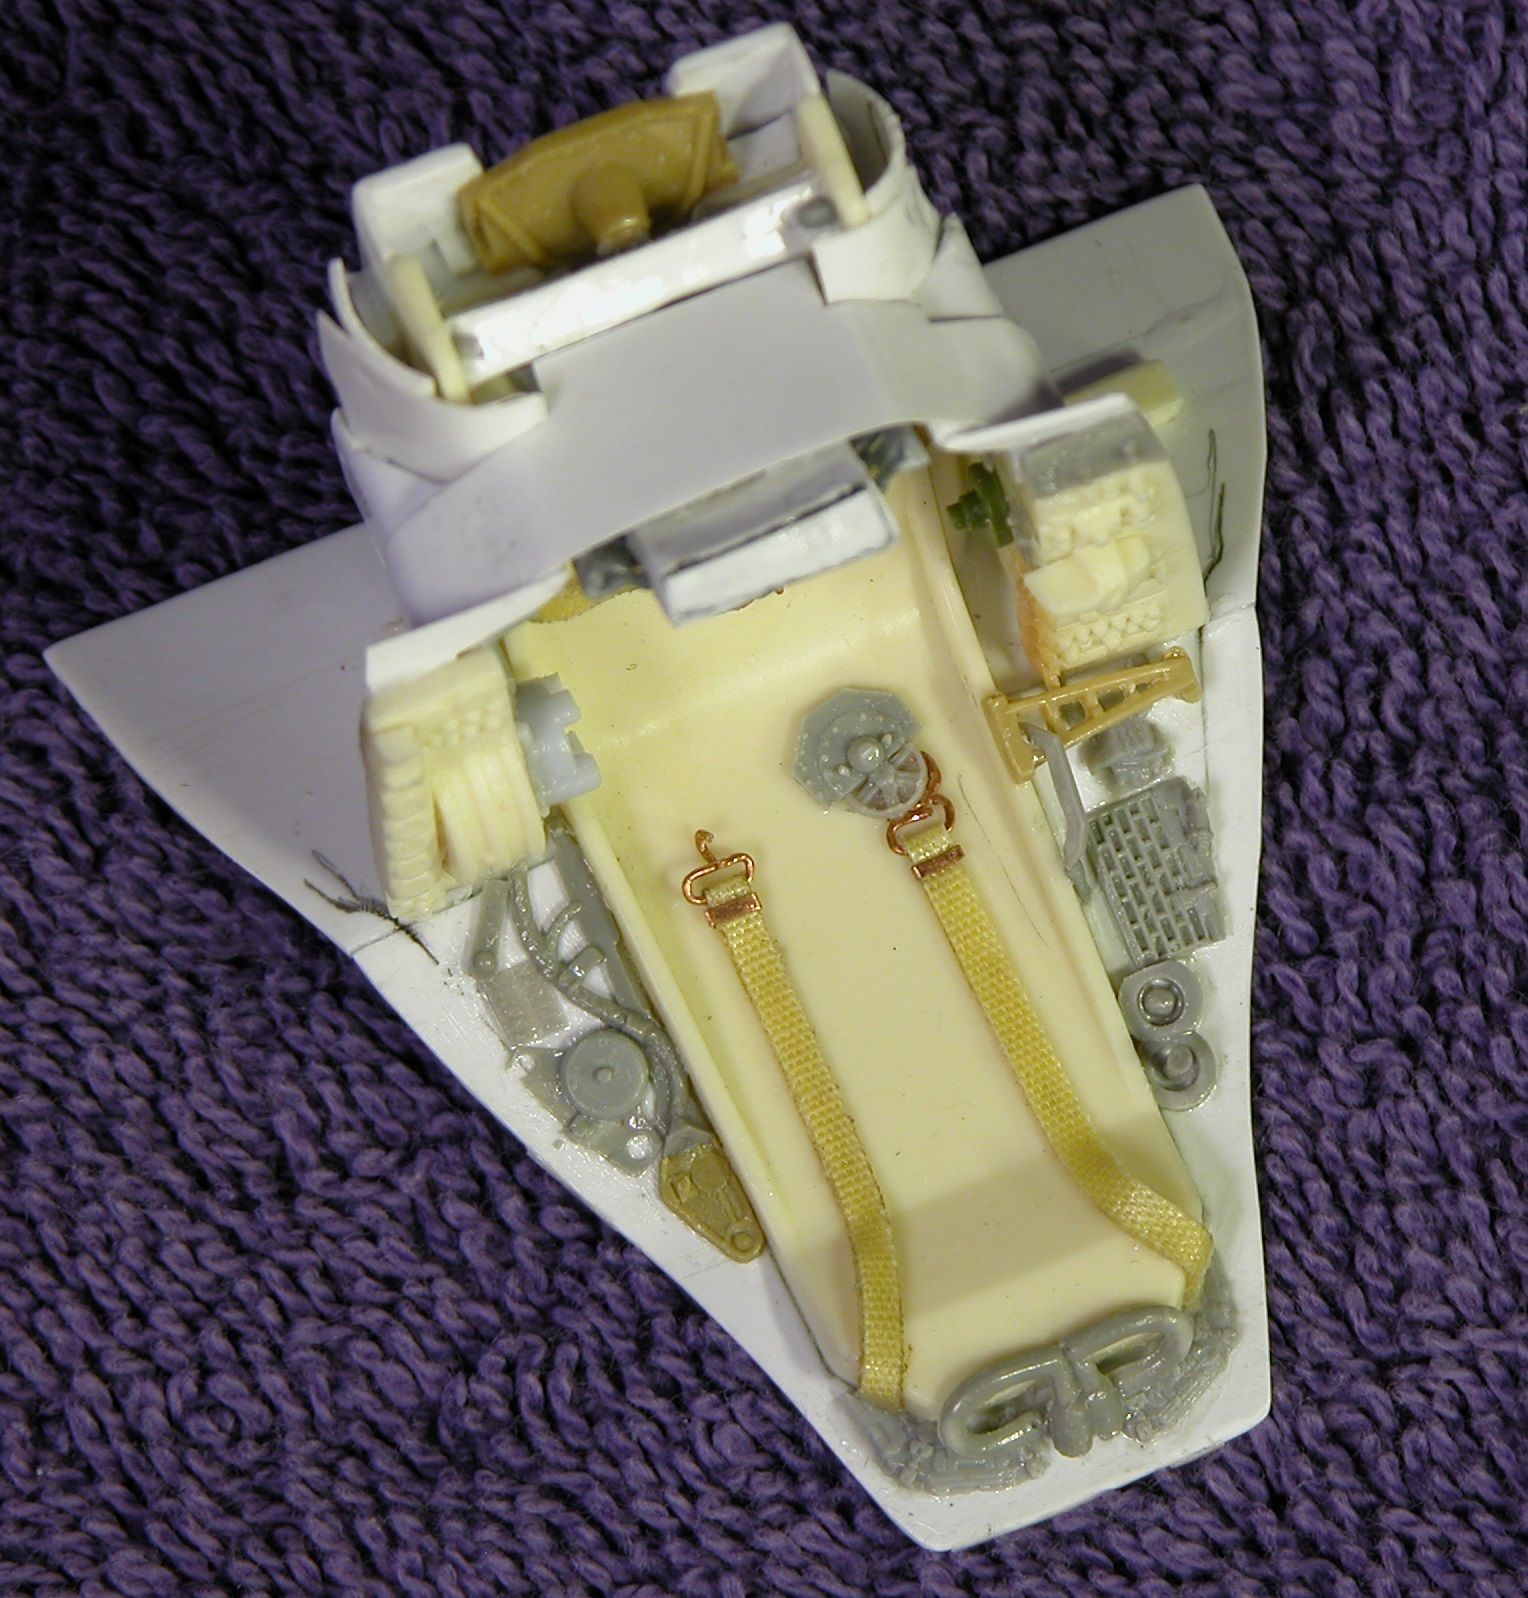
For this, years ago, I made some replicas of the seating area of a 1/24th scale AIRFIX Harrier I needed for some studio scale Laser Tanks from Space:1999. Still having a few of those scattered around, I dug a couple out. I had to dig out a couple because I didn't take this picture of it before I cut it all to pieces, so this one goes back in with all the other cast parts, but here it is before destruction.

DSCN0687.jpg


I really didn't have to make a whole lotta modifications to use most of it and it seems to have fit pretty well all up in that Viper hole. Now, I know this ain't what's in the Viper from the show, but I couldn't actually find much reference for that and I don't think it's major if it don't match. This was just to plug that great big open section of the fighter that would be seen with open windows and this does that.
DSCN0680.jpg

DSCN0681.jpg

DSCN0682.jpg


Installing it inside the model, the fit is very good and will seal up real nice in there and won't let the air get out in the vacuum of space and make the pilots eyeballs get sucked outta his sockets. We know that could happen from Buzz Lightyear years ago, so it's probably true. I know y'all see the tape already stuck on the radar/TV/scope type thingy, but I put some clear in the front of that, so I had to go ahead and paint in there. Of course, I forgot to do that first and had to rip the whole thing back apart which went back together a little wonky, but the wonk is on the back and as can be seen in the pictures... you ain't gonna see that even if you look through the nose grills.

DSCN0683.jpg

DSCN0684.jpg

DSCN0685.jpg

DSCN0686.jpg


And folks, I do believe that about does the actual sticking of bits together, unless y'all see something else I oughta do?

Give me some critique/comments/suggestions. All are welcome!

Rob.
 

Latest posts

Back
Top