
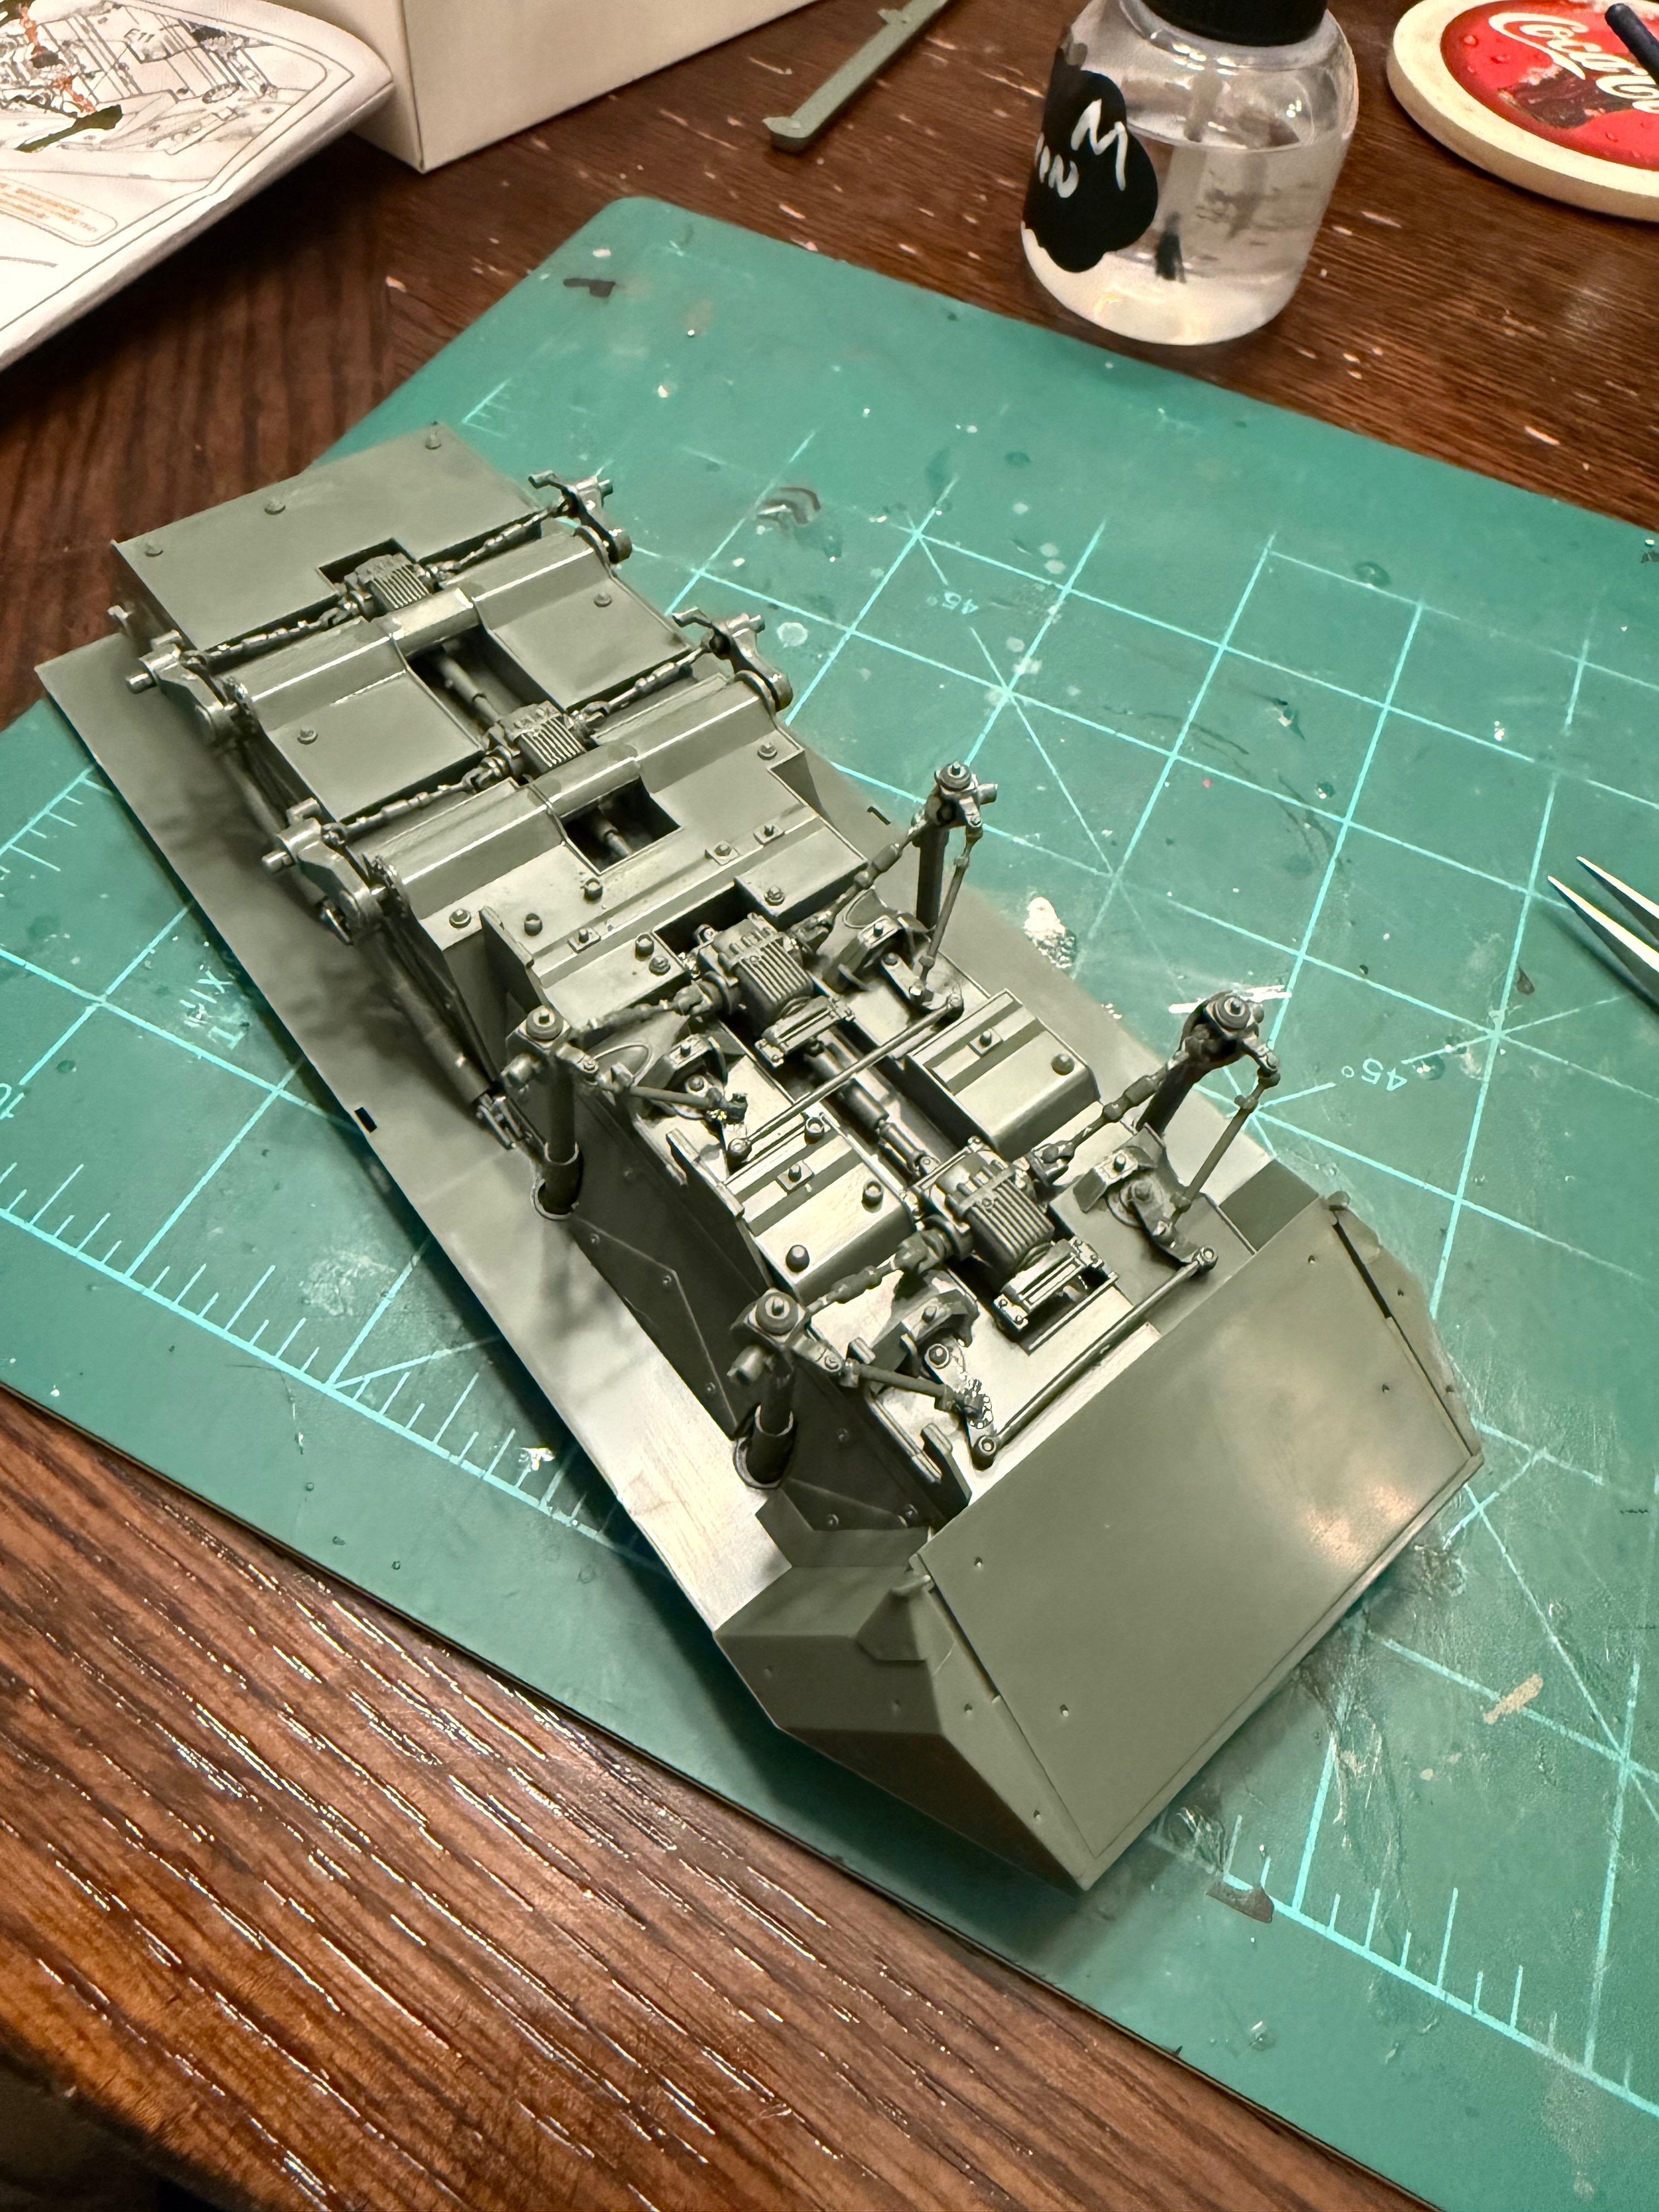
I've never built a zimimodel. Lots of detail. Lots of small parts coming together to form assemblies. Definitely have to look ahead and see how it is all going together which is a mental challenge for me. This model is definitely forcing me to slow down. No engine though- that's disappointing. Most get sealed in but I still enjoy building and painting the engines.

You are using an out of date browser. It may not display this or other websites correctly.
You should upgrade or use an alternative browser.
You should upgrade or use an alternative browser.
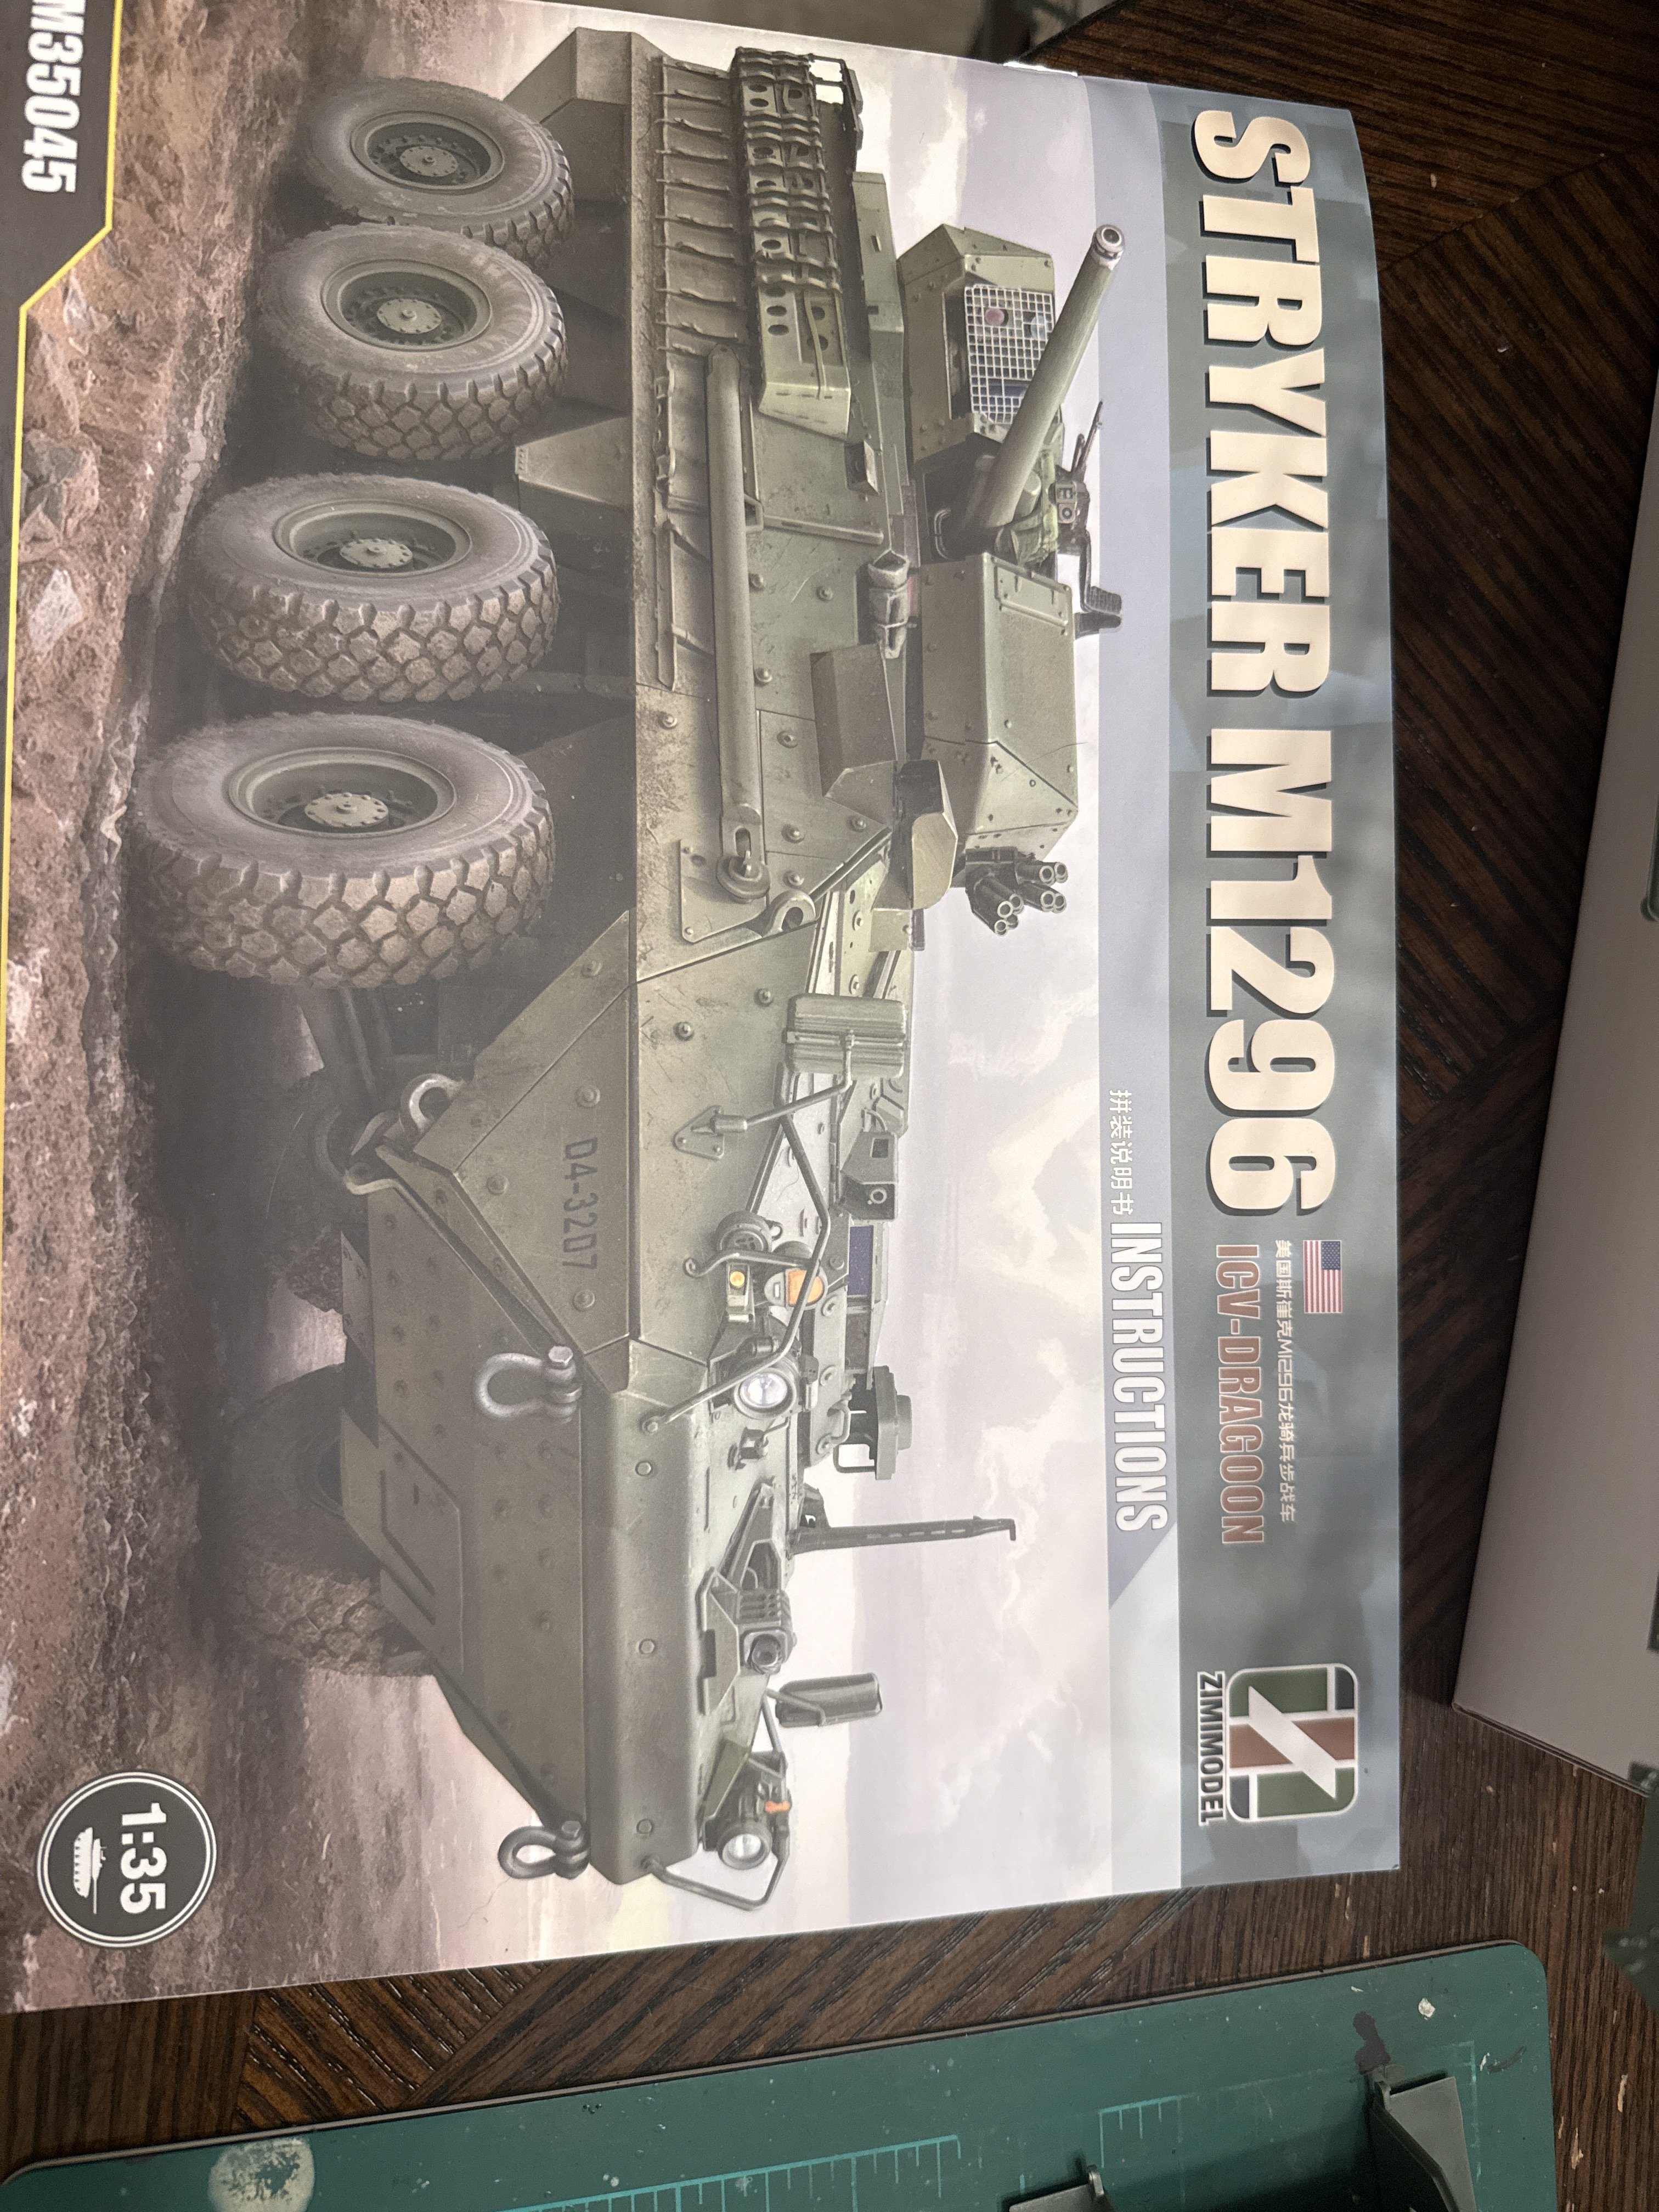
Zimimodel ice-dragoon Stryker m1296 1/35
- Thread starter Ron2
- Start date
- Joined
- Apr 29, 2024
- Messages
- 1,581
That looks like a nice kit. I actually never heard of zimi models until now. I think one or two might be in my future

Jakko
Well-Known Member
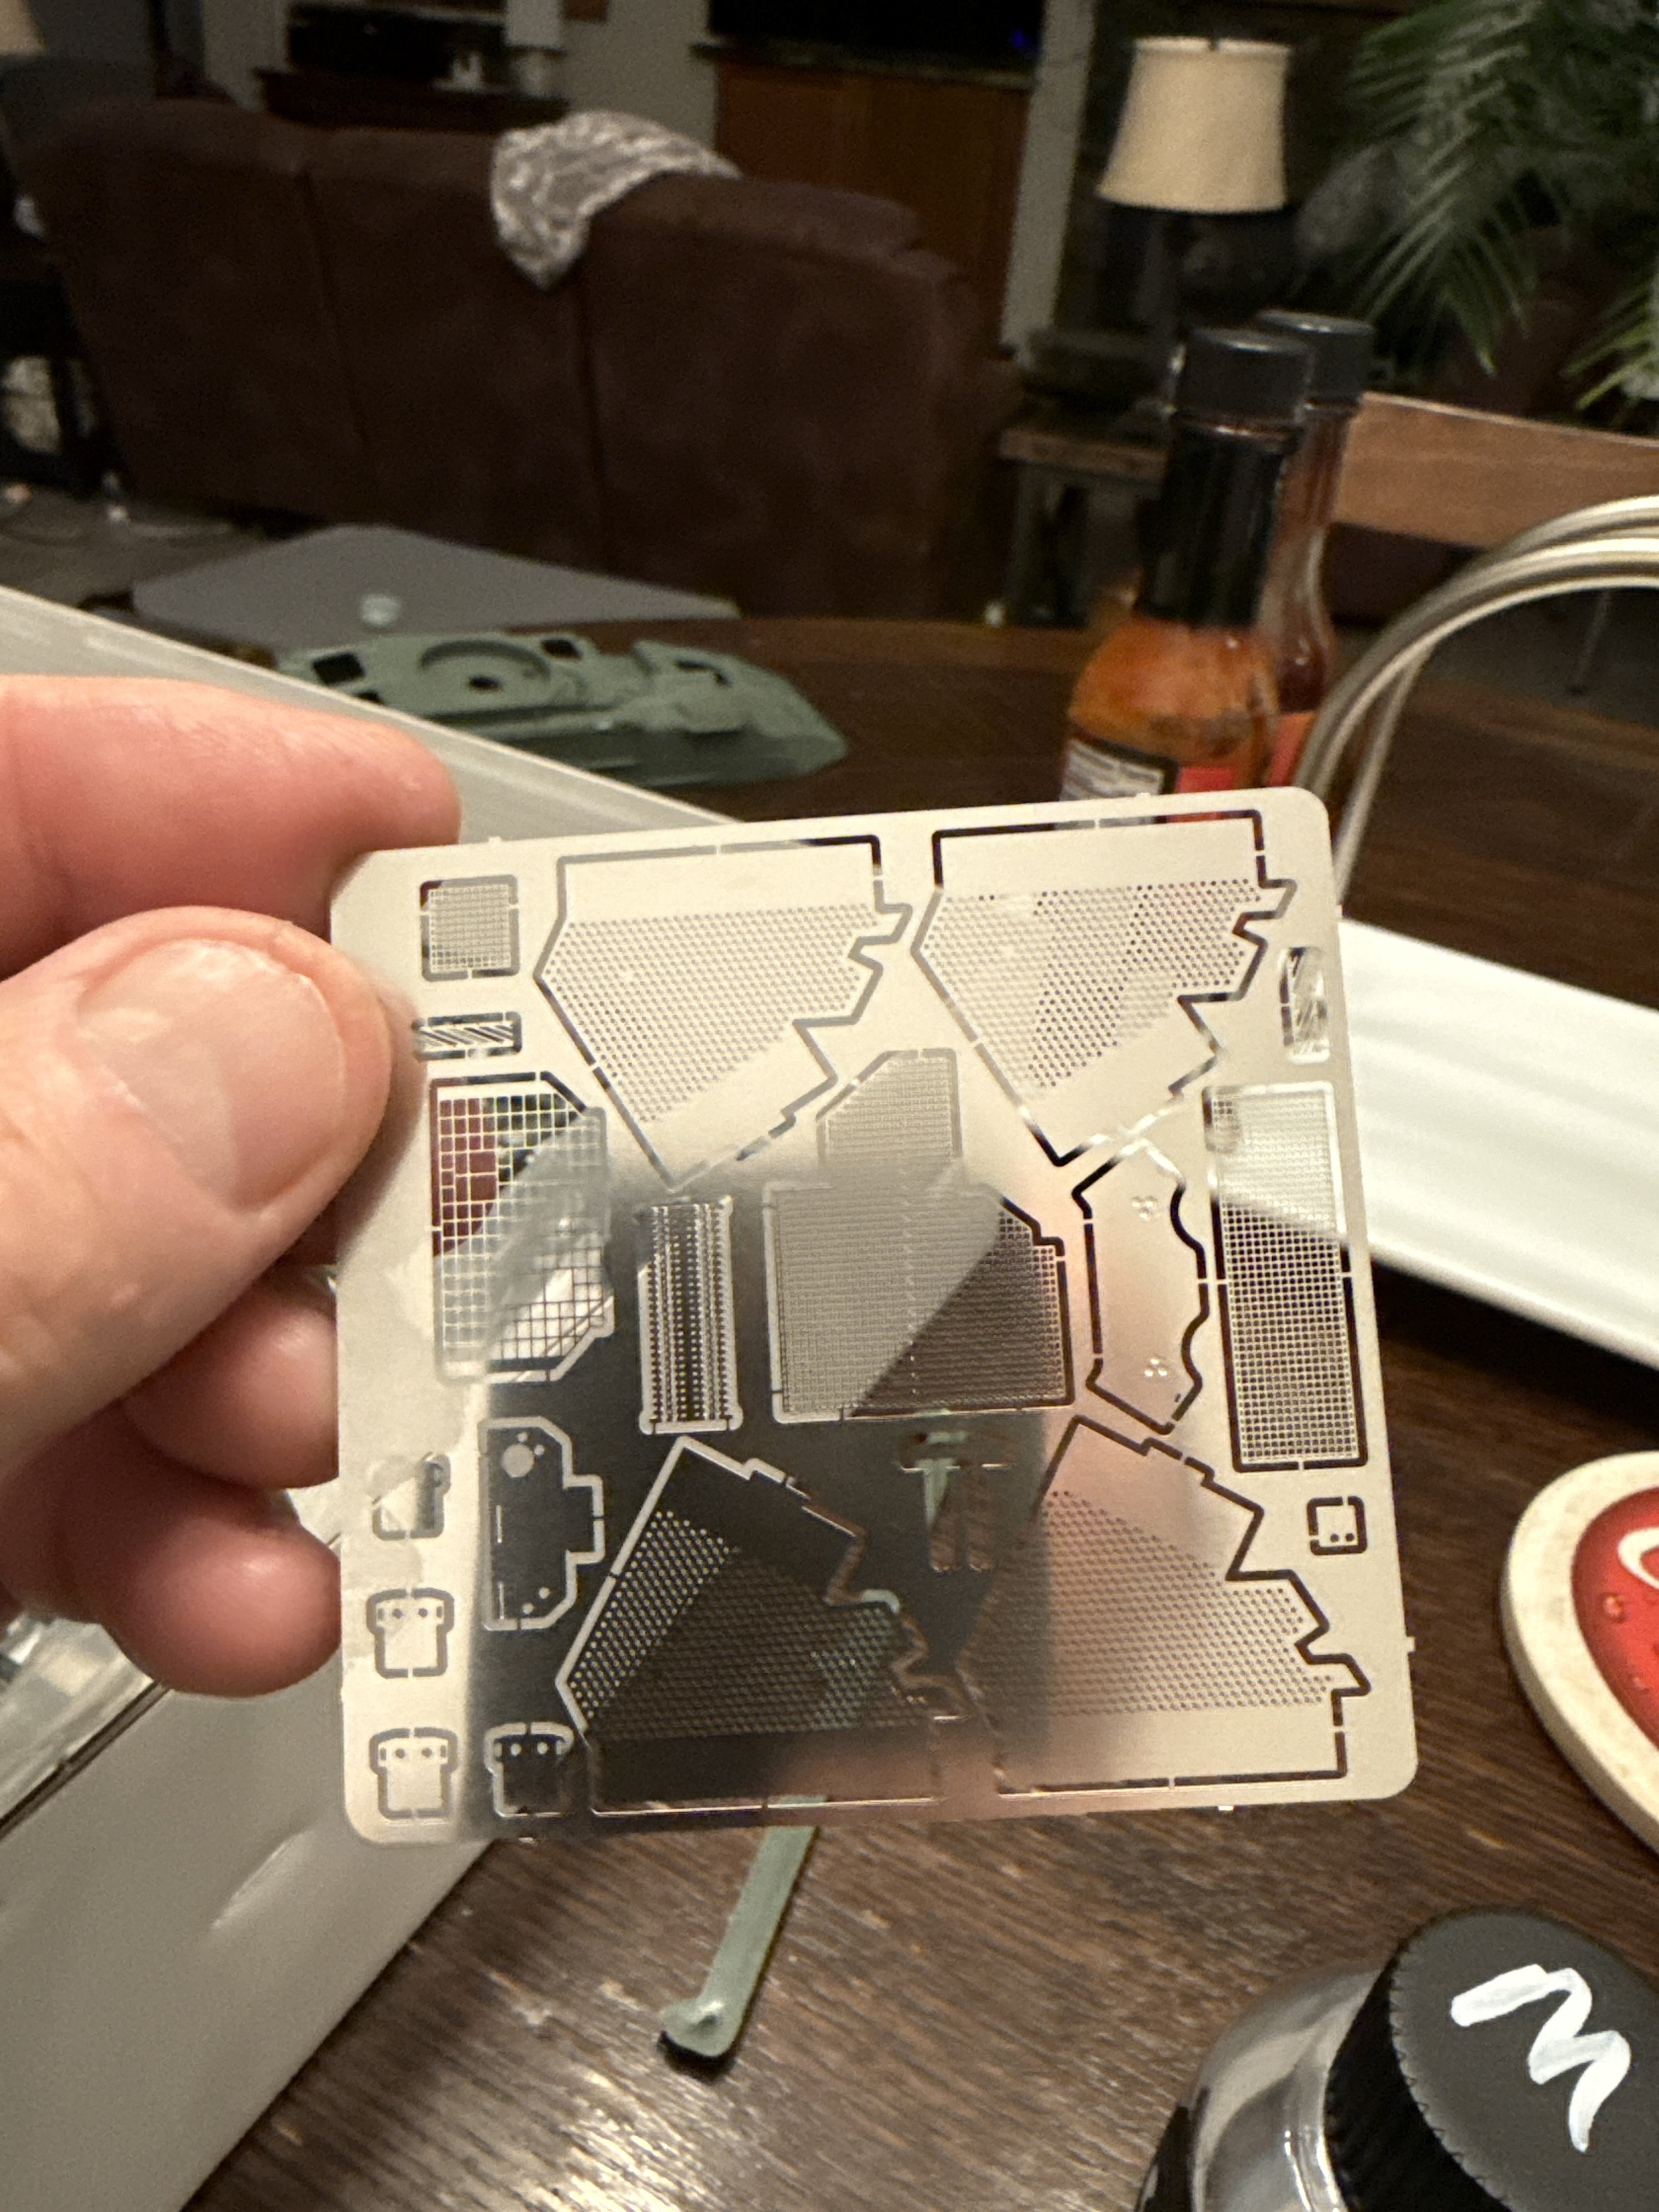
At least it all seems to be something for which etched brass will definitely look better than plasticAnd PE that will allow me to rival Pantherman!

They also make a US Navy double twin 40 mm Bofors mount, which I kind of want but would probably never finishI actually never heard of zimi models
And they have a "label" called Toucan which makes 3D-printed figures and ammunition for that, of which I have some for eventual use on the Bronco M19A1 twin 40-mm GMC that's in my stash.I've never built a zimi before. So far some impressive detail but less impressive excess sprue and poor diagrams. I had trouble understanding the suspension system and now the back door directions, I'm going to have to find some pics of the actual door because o can't tell what they want me to do.That looks like a nice kit. I actually never heard of zimi models until now. I think one or two might be in my future
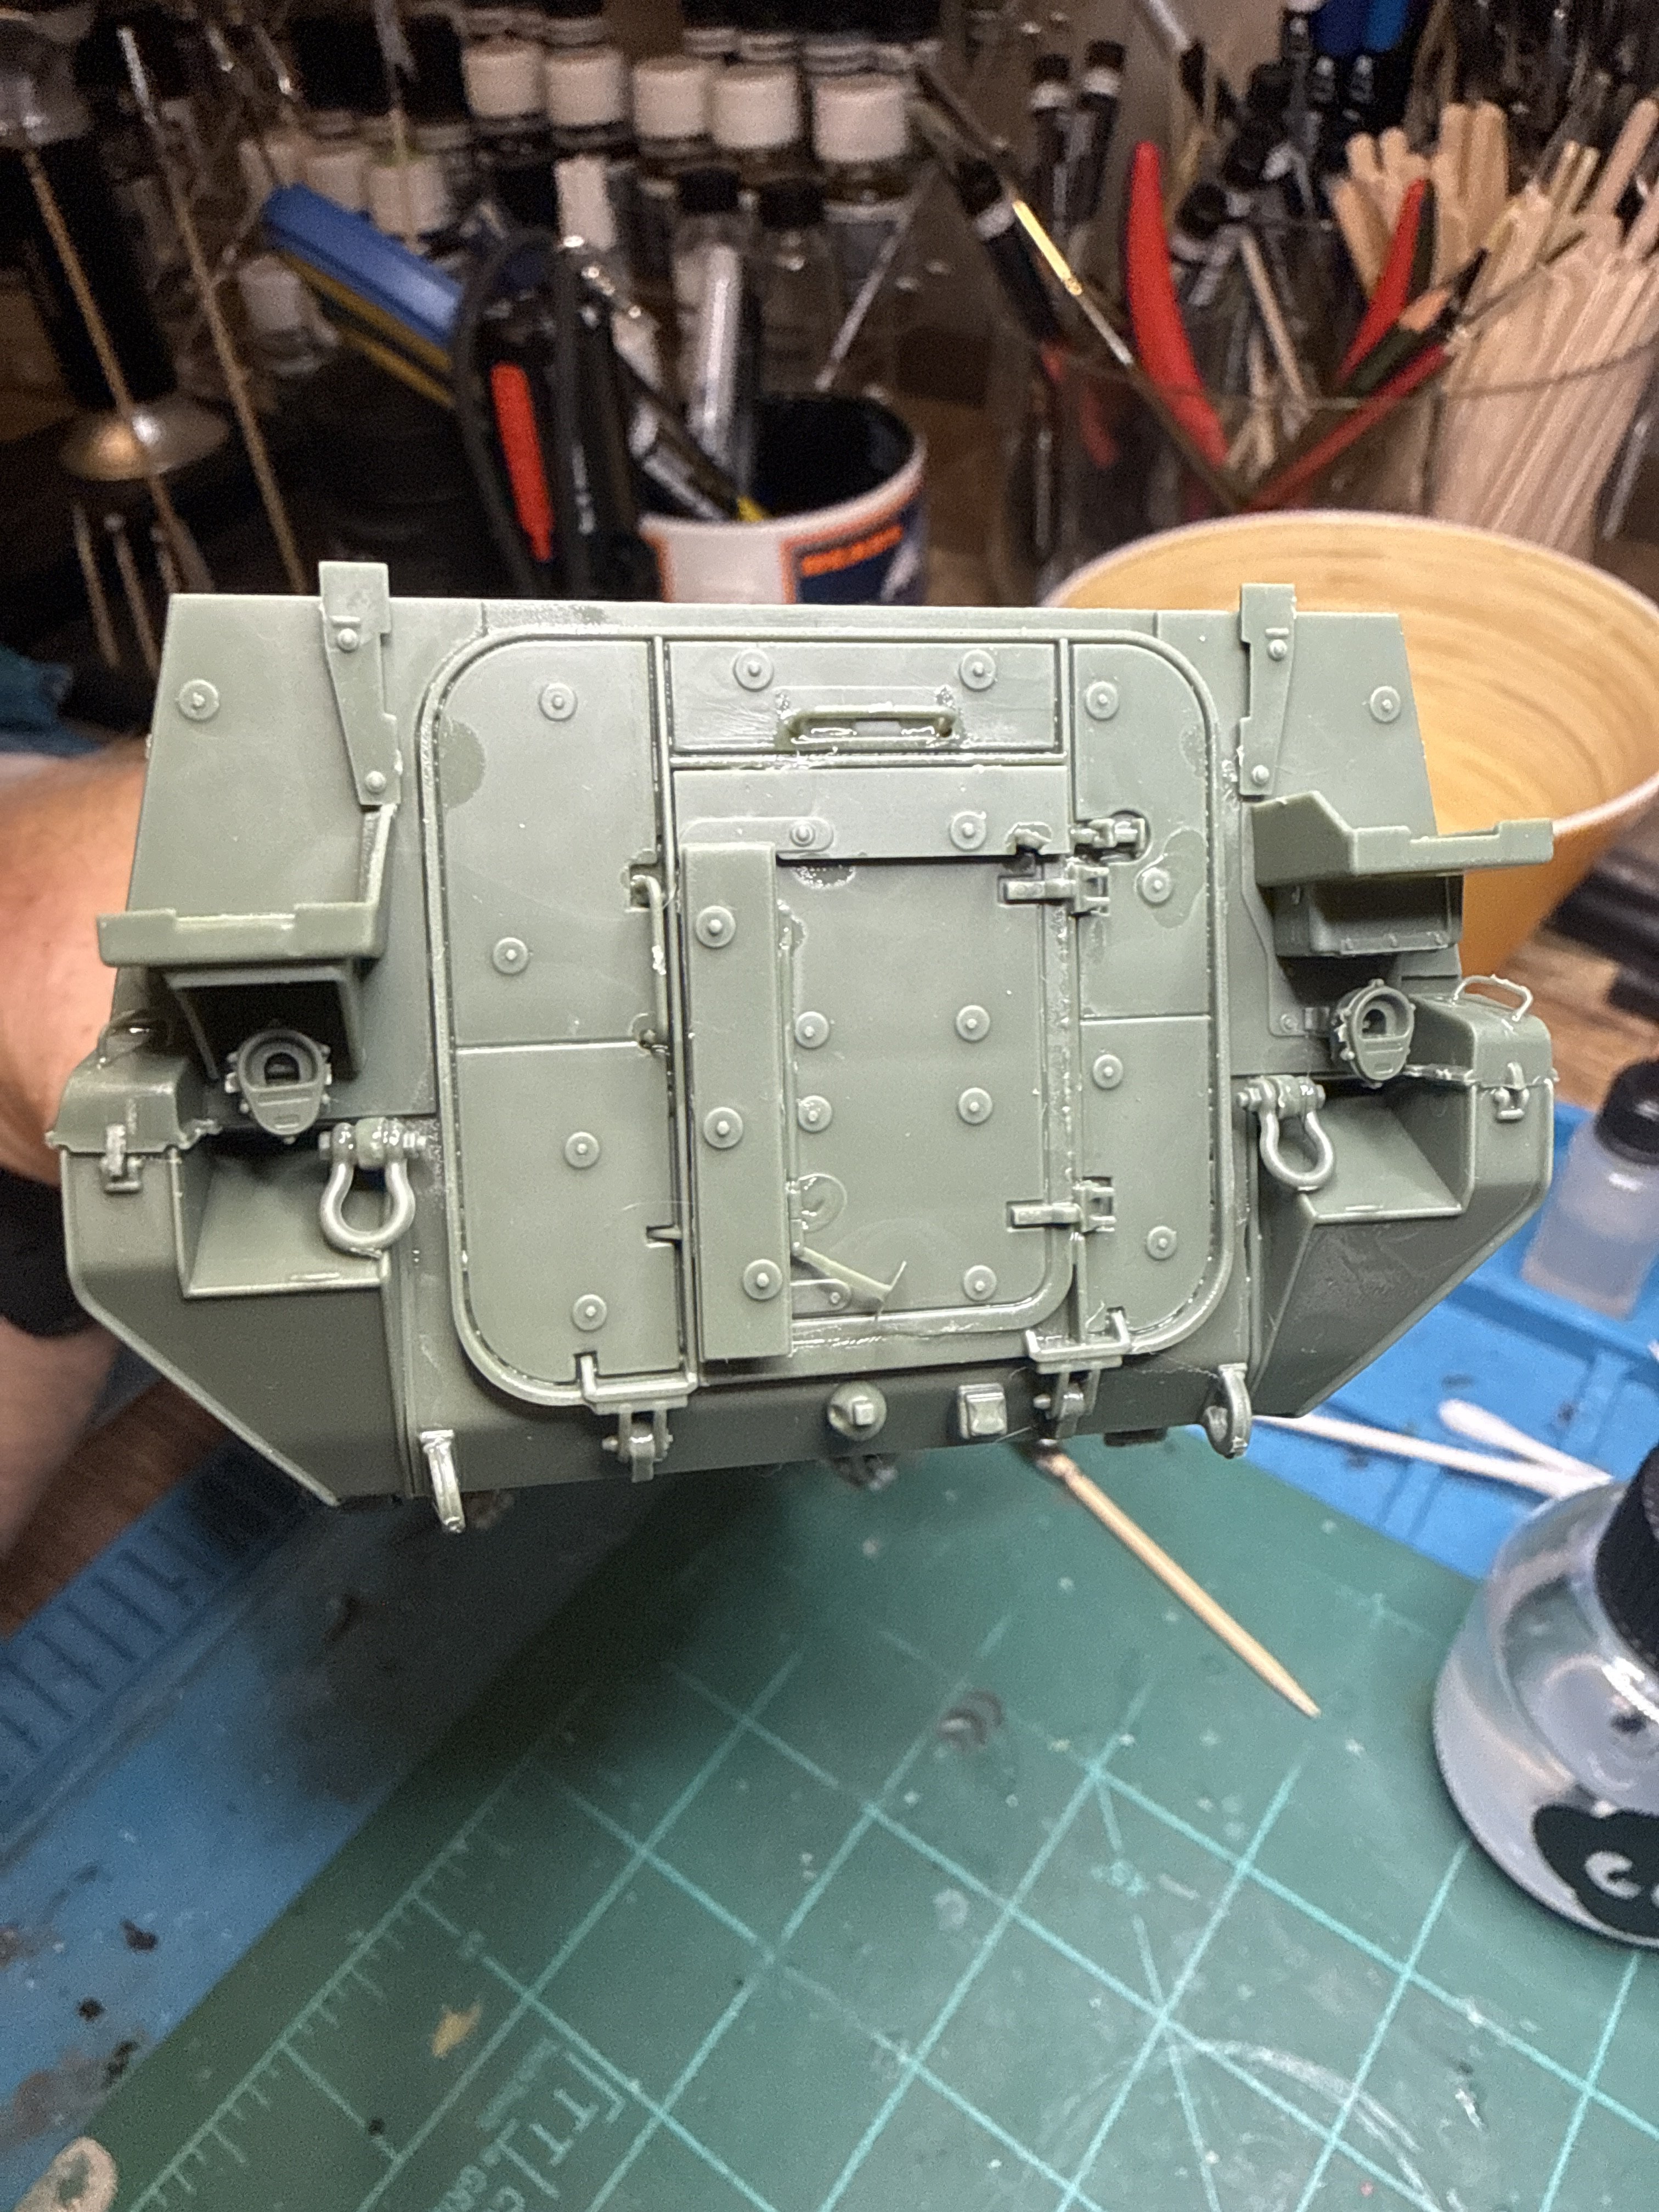
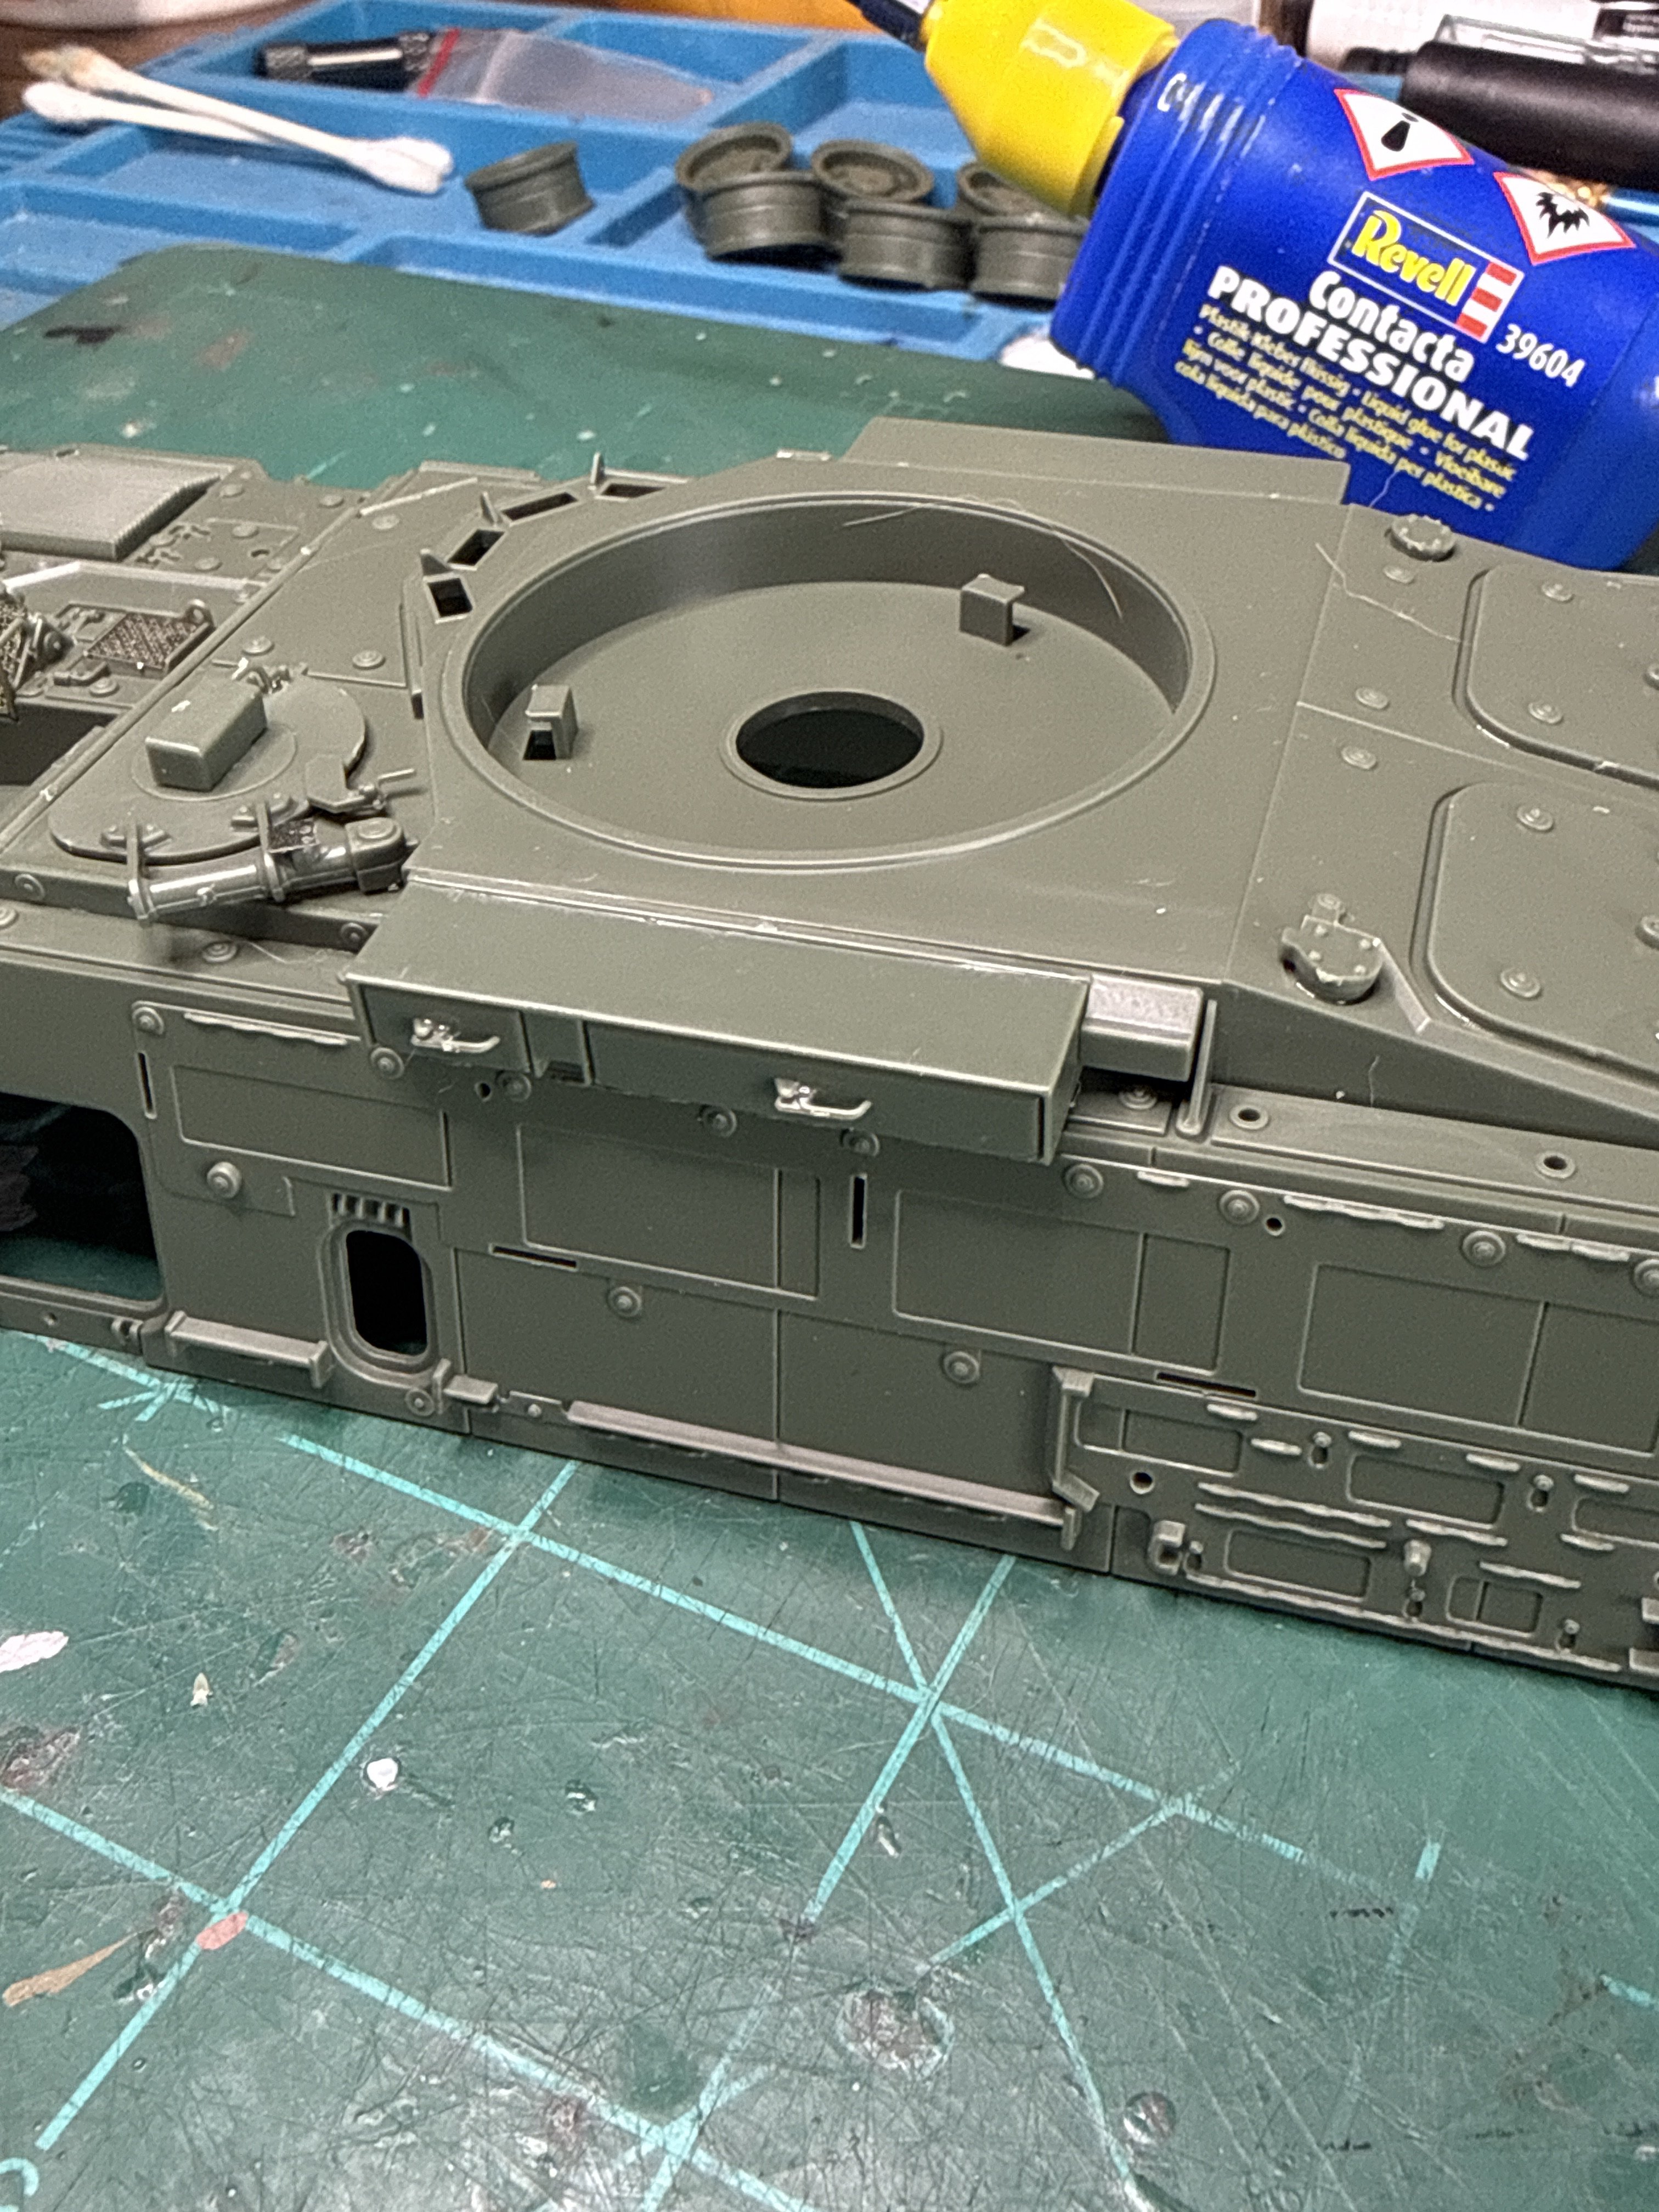
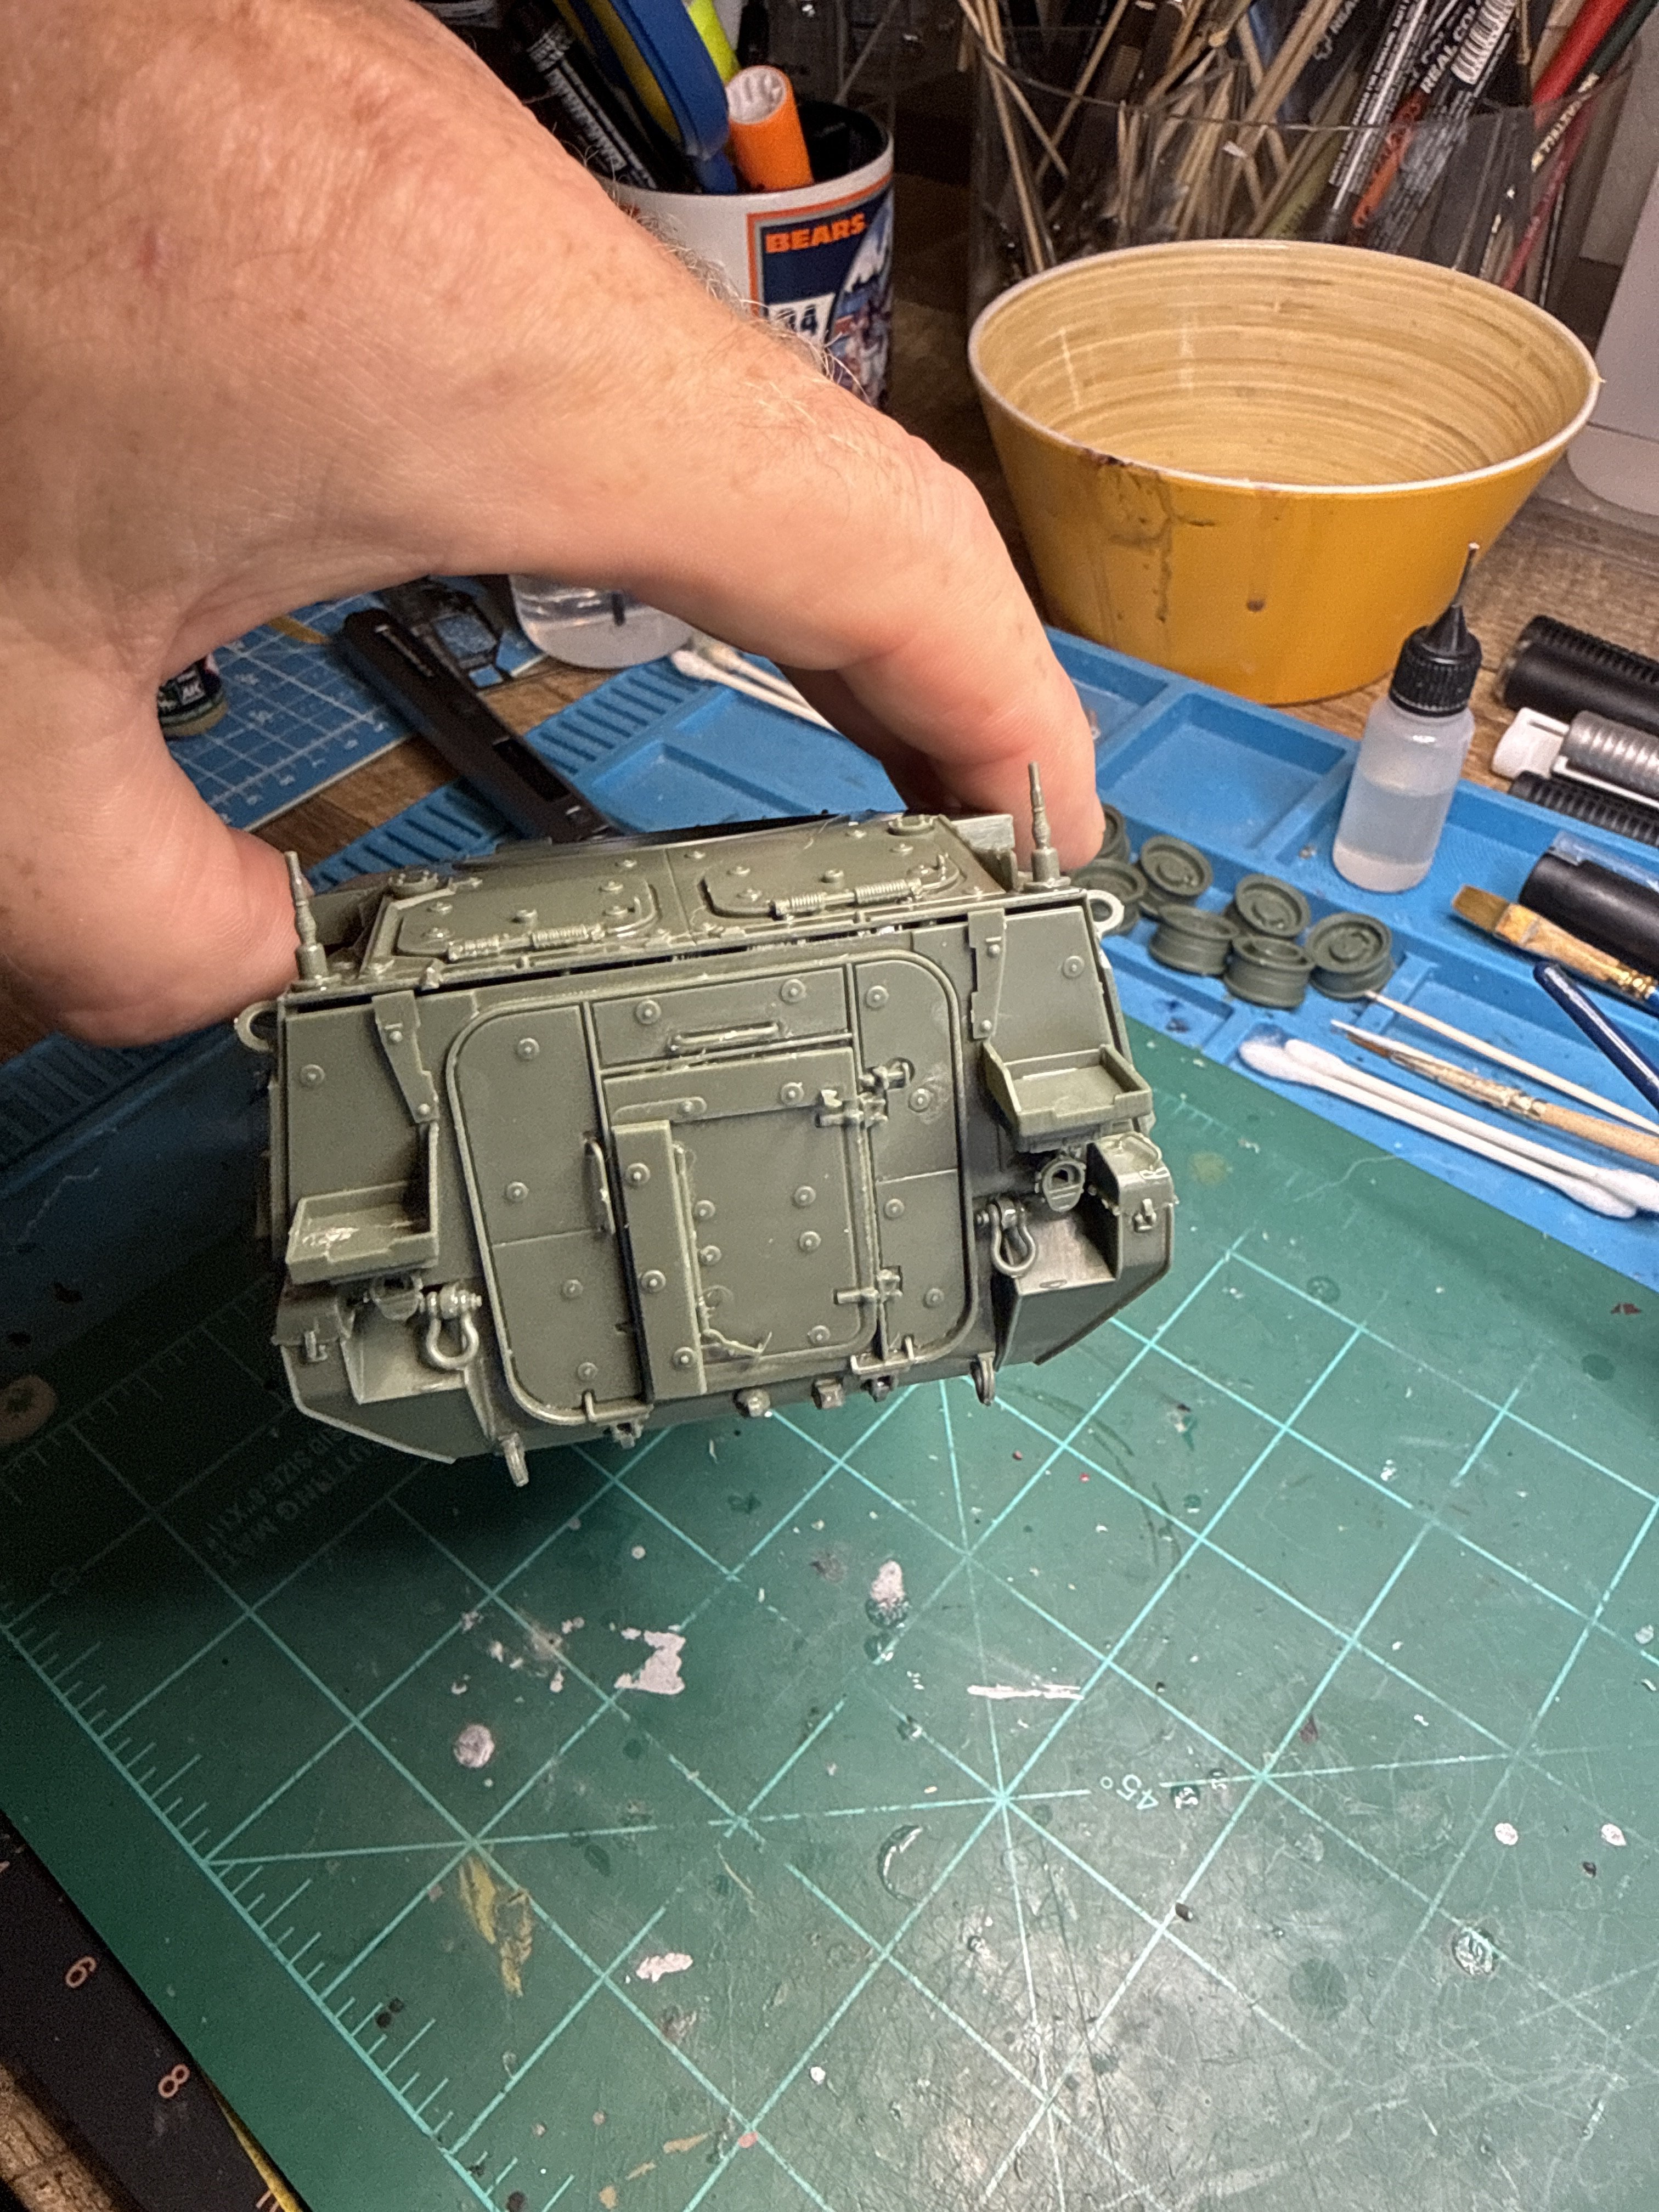
Got home today from CA and am getting a little bench time. Worked on rear door and quite a few bits and pieces to attach. The rear door assembly was 16 pieces total. Then attach another 19 pieces, not including the four fuel cans. Obviously I've kept the cans off and the "glass".
Attachments


![Pampers Sensitive Baby Wipes, Clinically Proven, Fragrance Free, Unscented, Water Based, Hypoallergenic, Multi-Use, Hand Wipes 336 Wipes Total (6X Flip-Top Packs) [Packaging May Vary]](https://m.media-amazon.com/images/I/41KLBHu9CAL._SL500_.jpg)






As an Amazon Associate we earn from qualifying purchases. Product prices and availability are accurate as of the date/time indicated and are subject to change.
- Joined
- Apr 29, 2024
- Messages
- 1,581
That's some impressive detail
Started on the main hull and it's ALOT of adding layers to the base. I'm really liking this kit. The tow hooks all snapped in place w/o needing glue some of the diagrams leave me scratching my head but I've been able to figure everything out. So far so good!That's some impressive detail
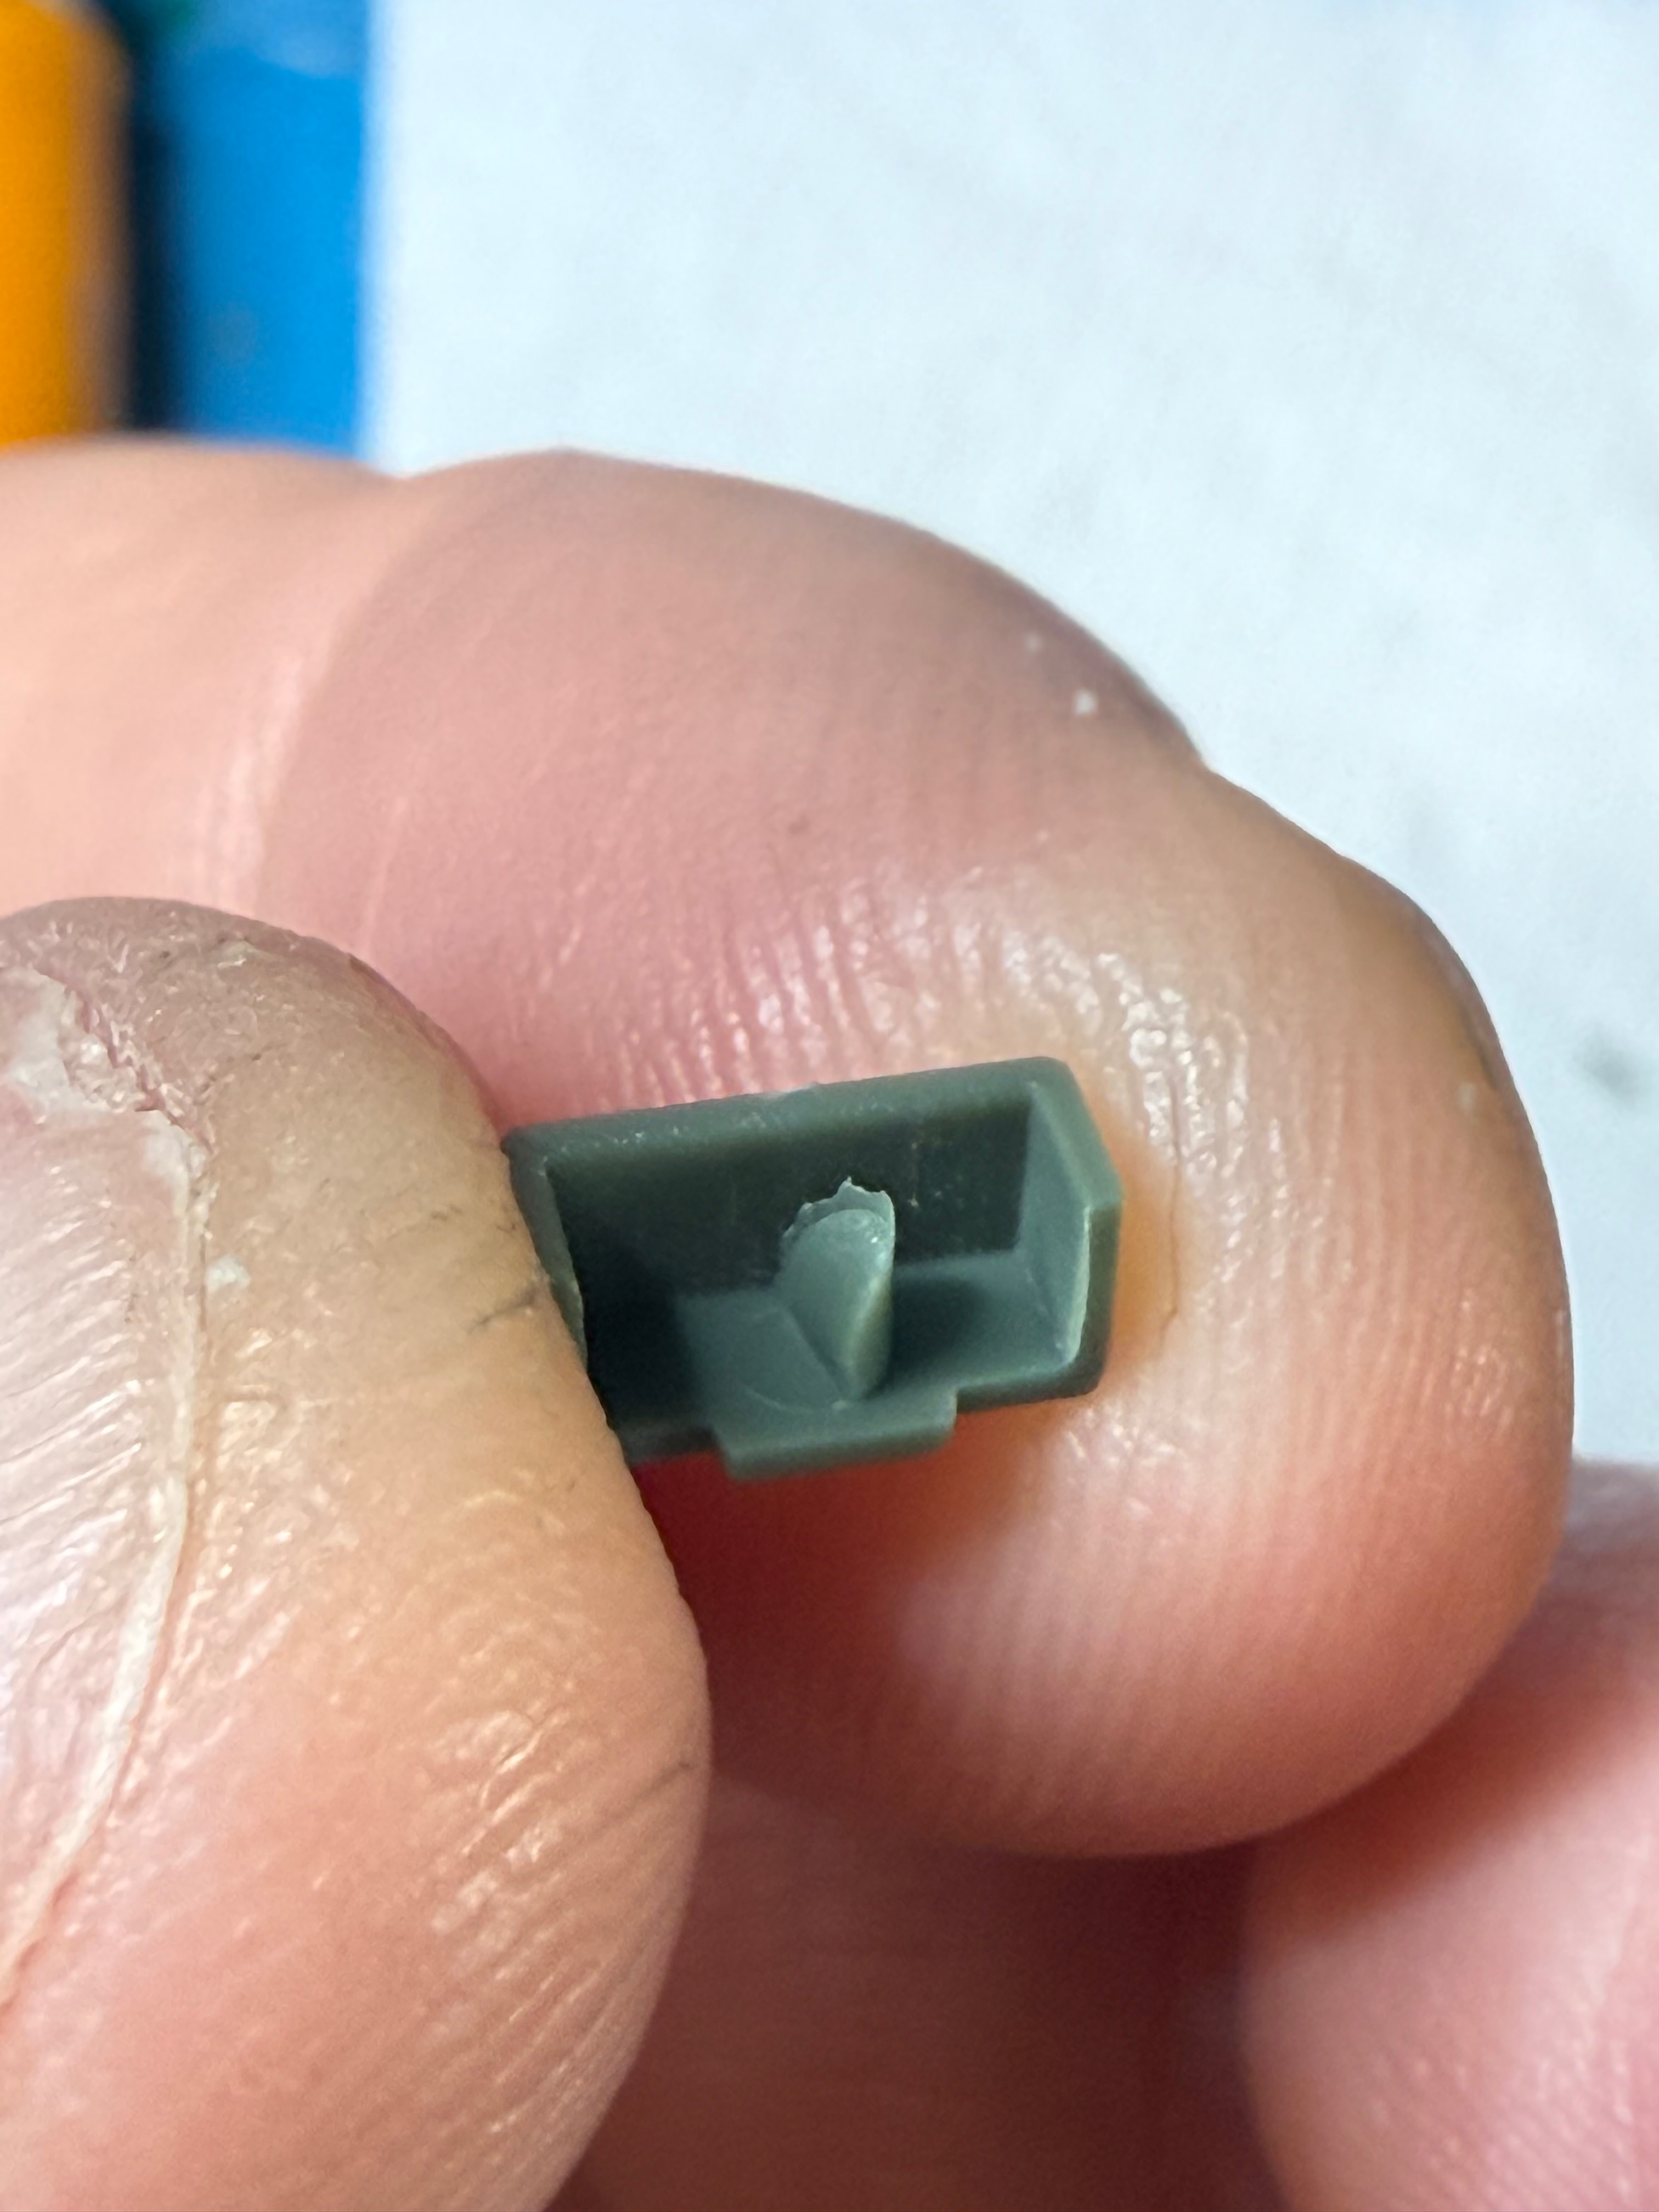
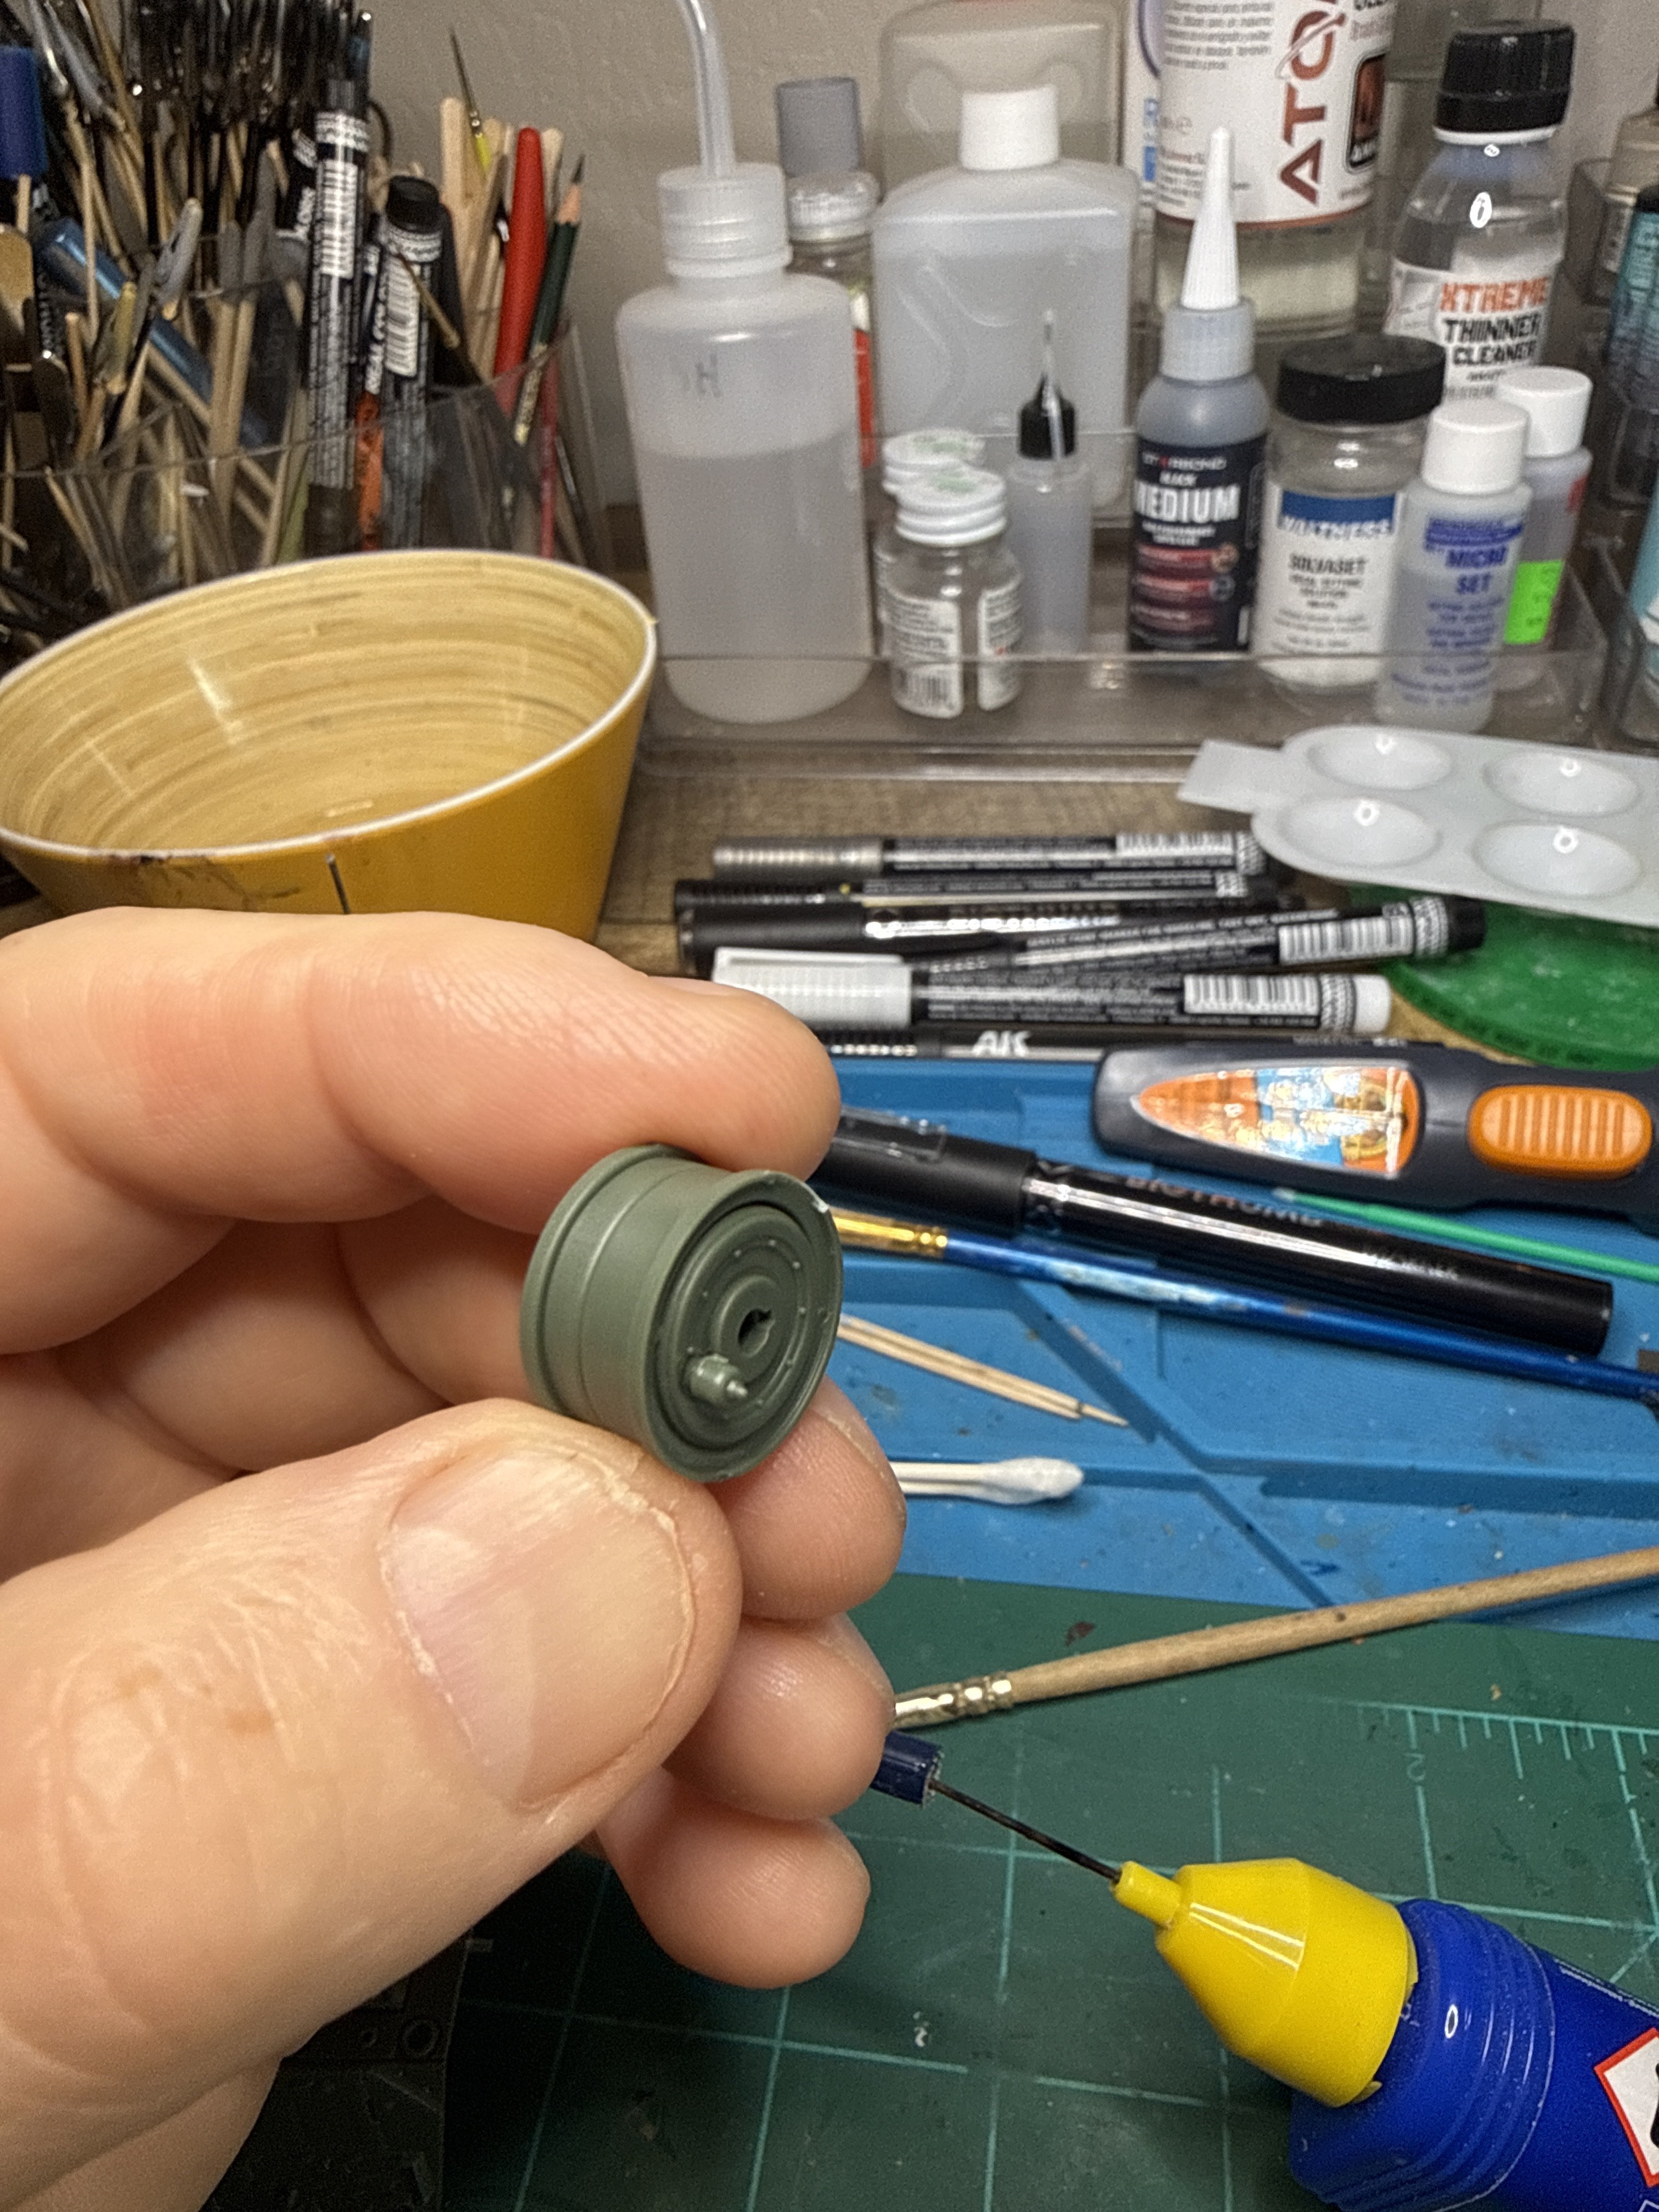
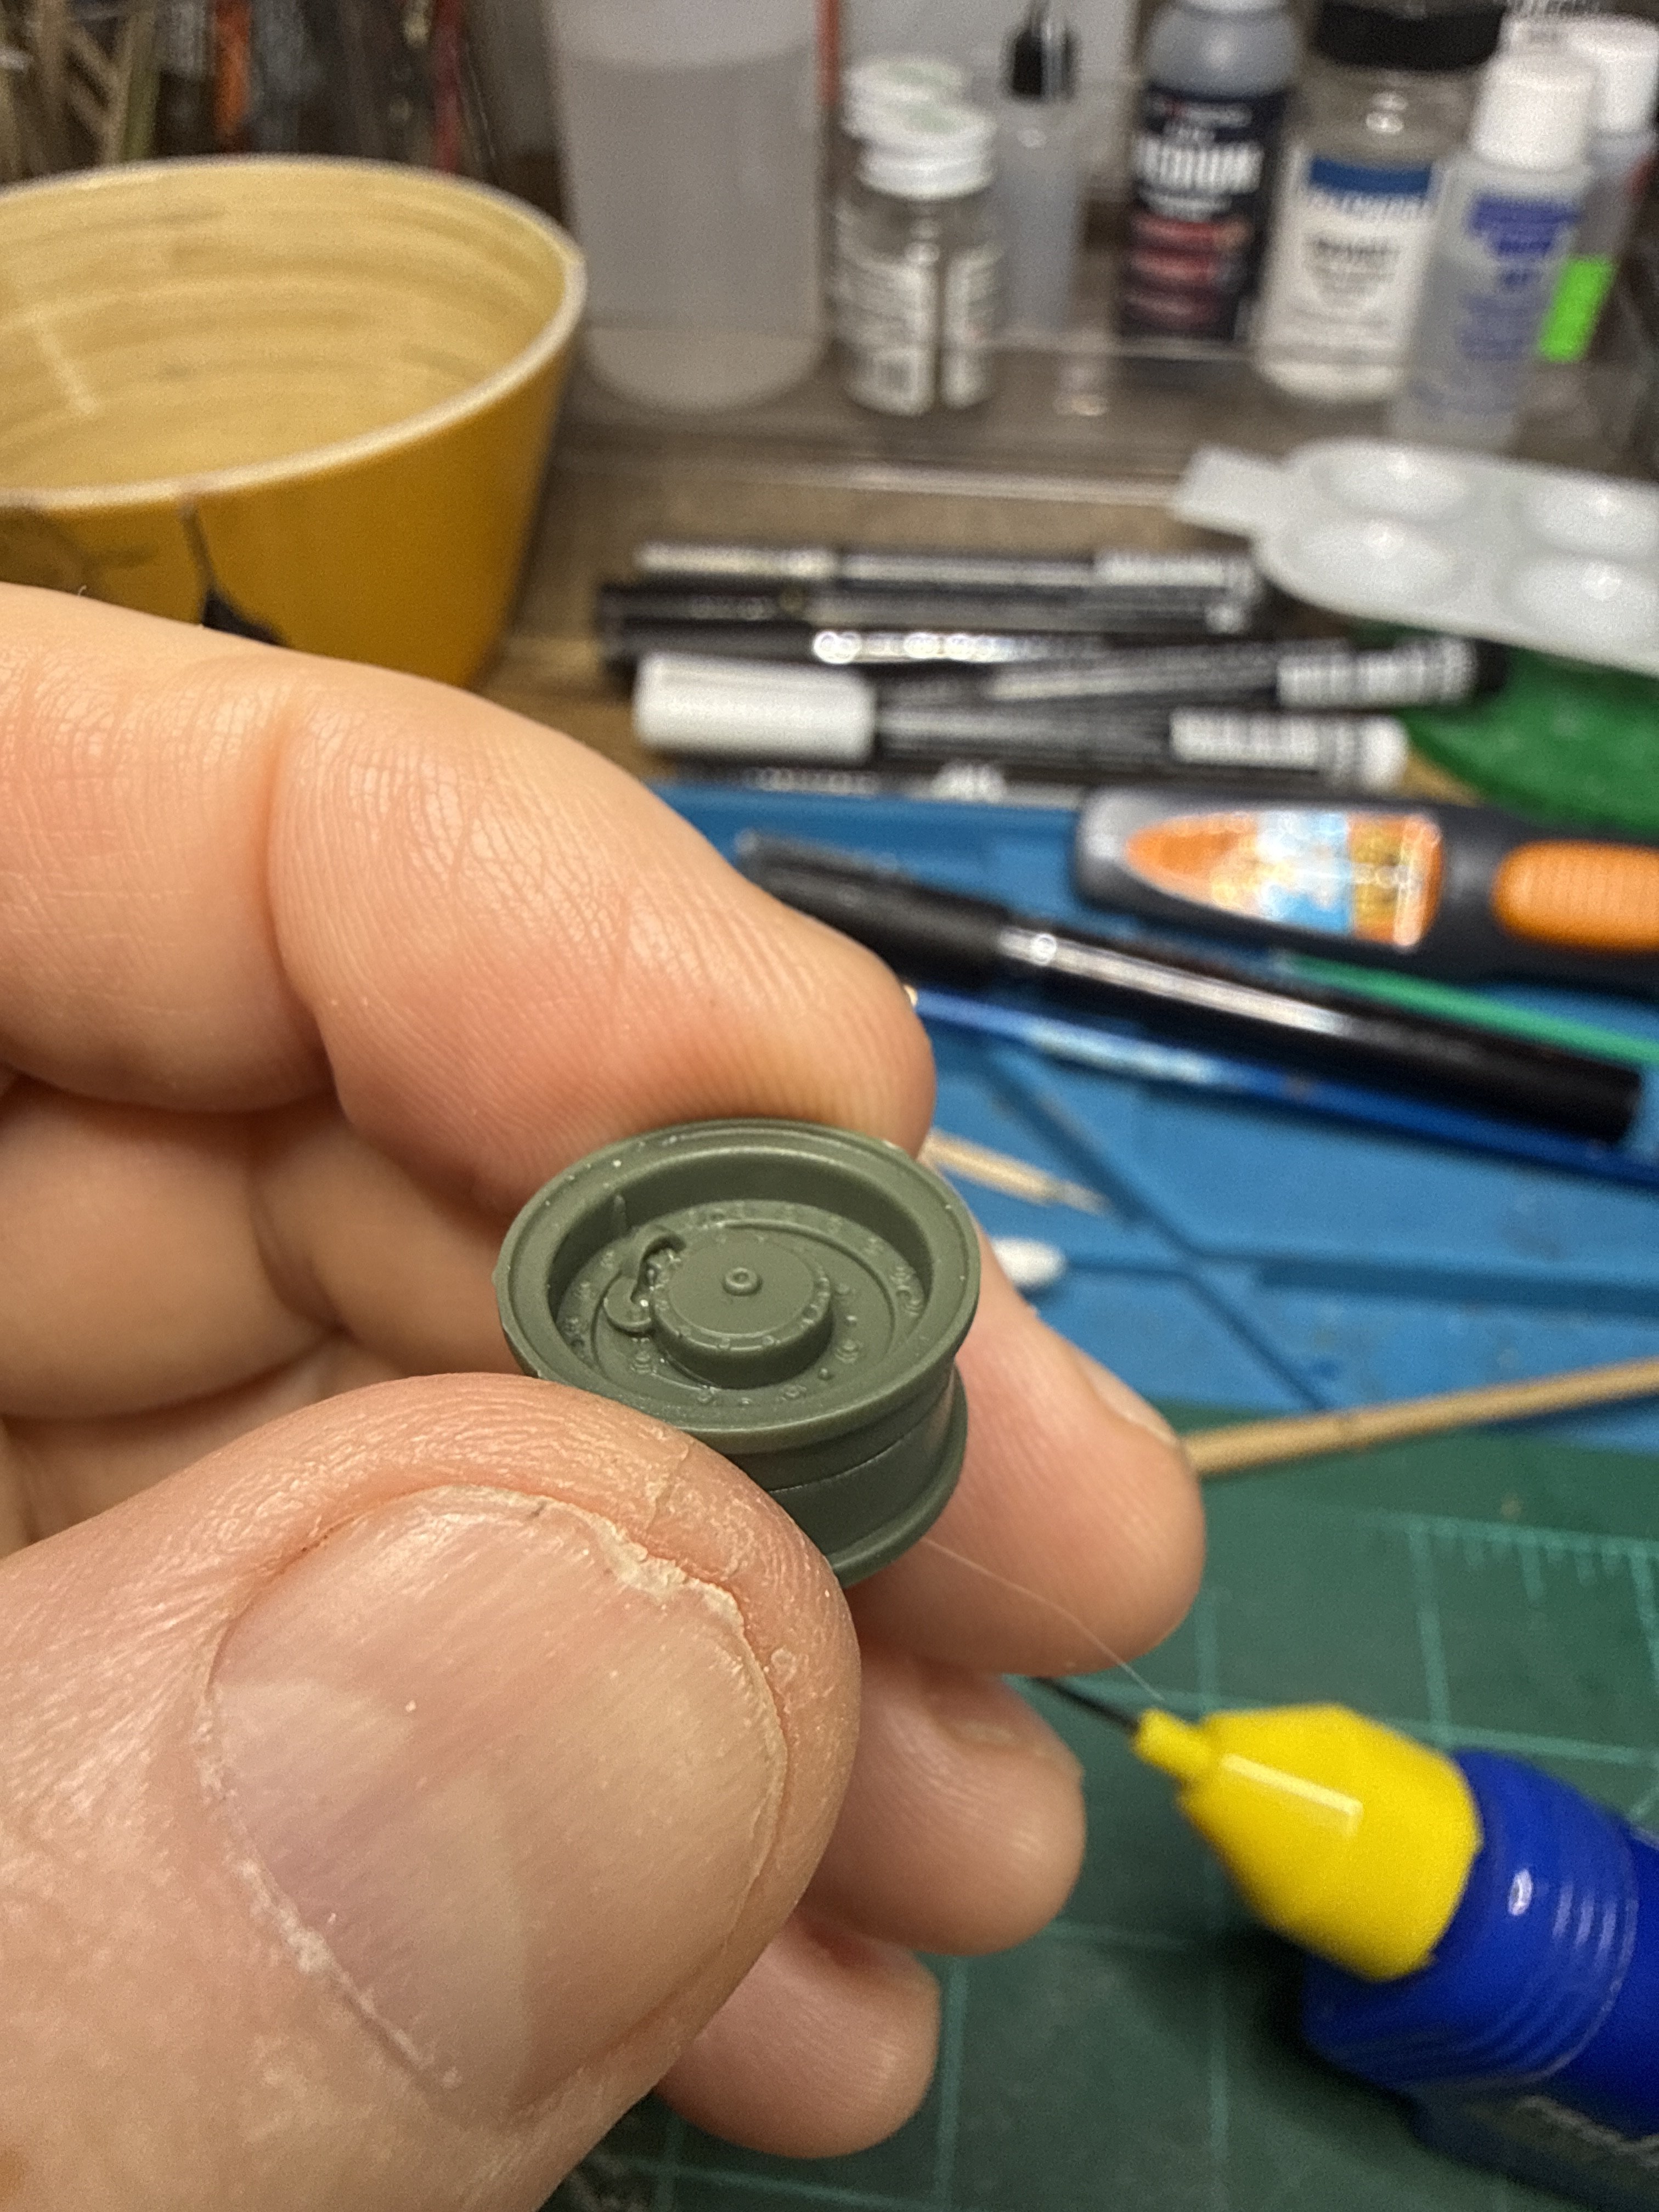
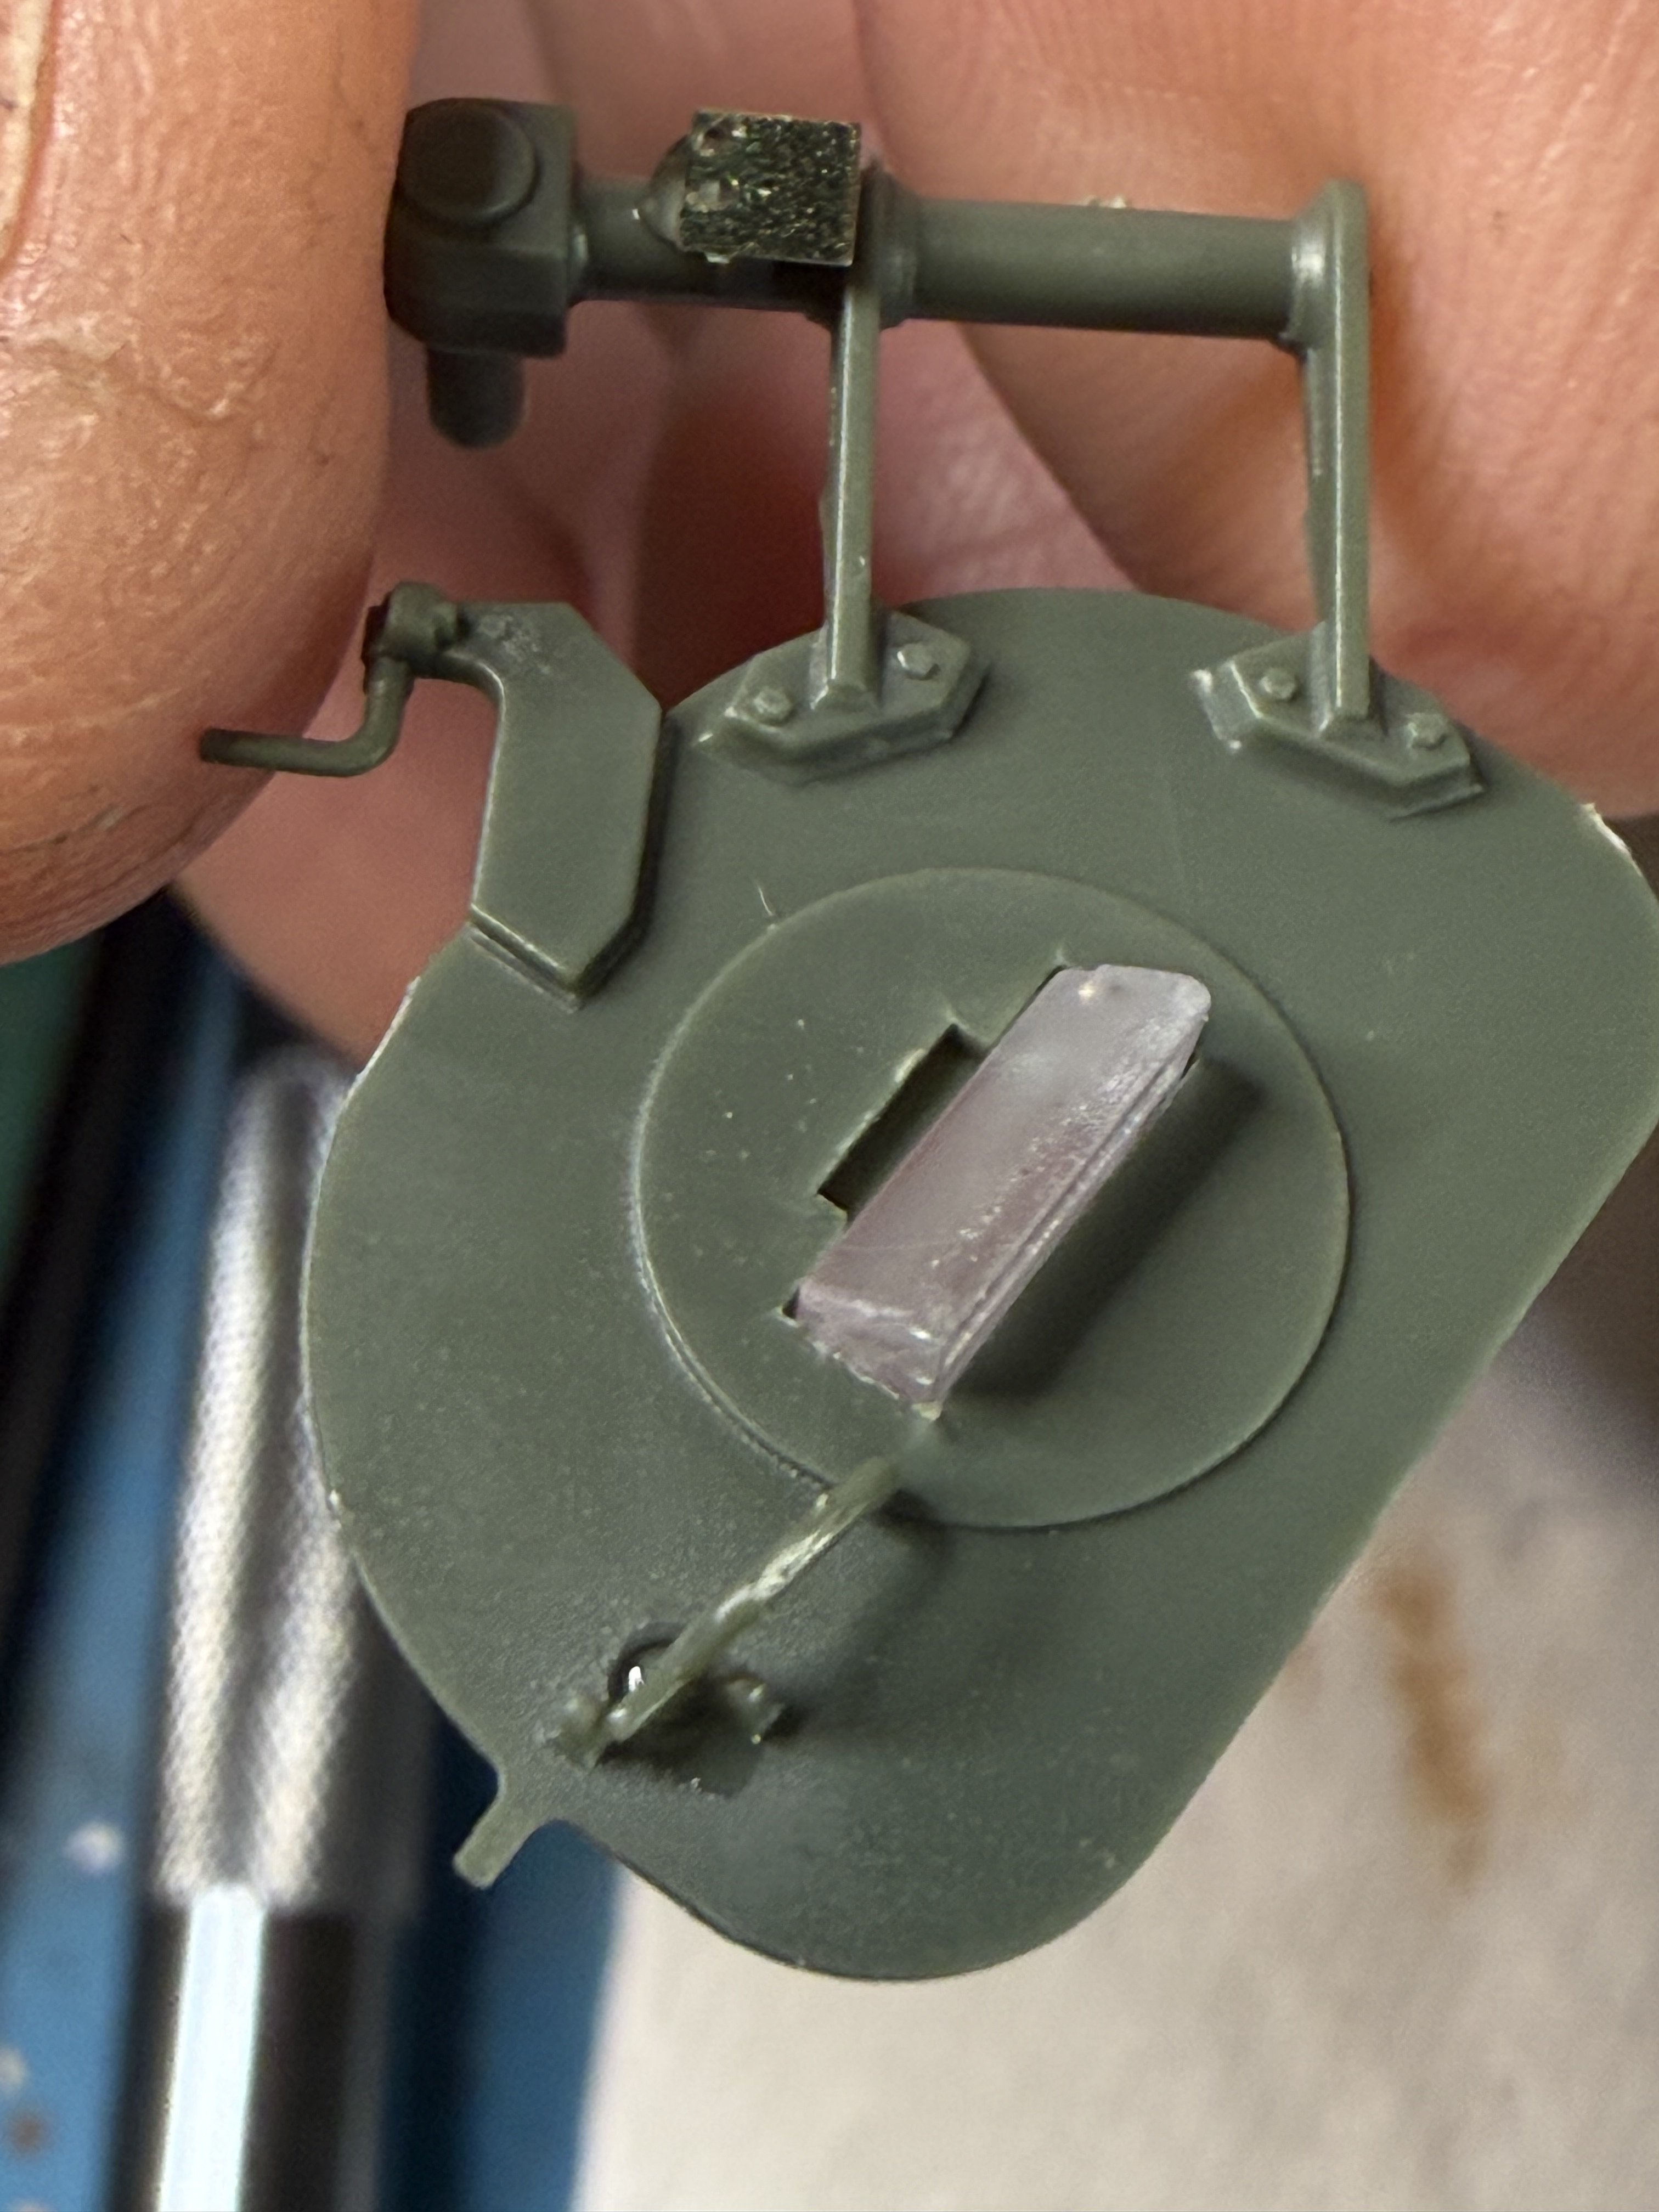
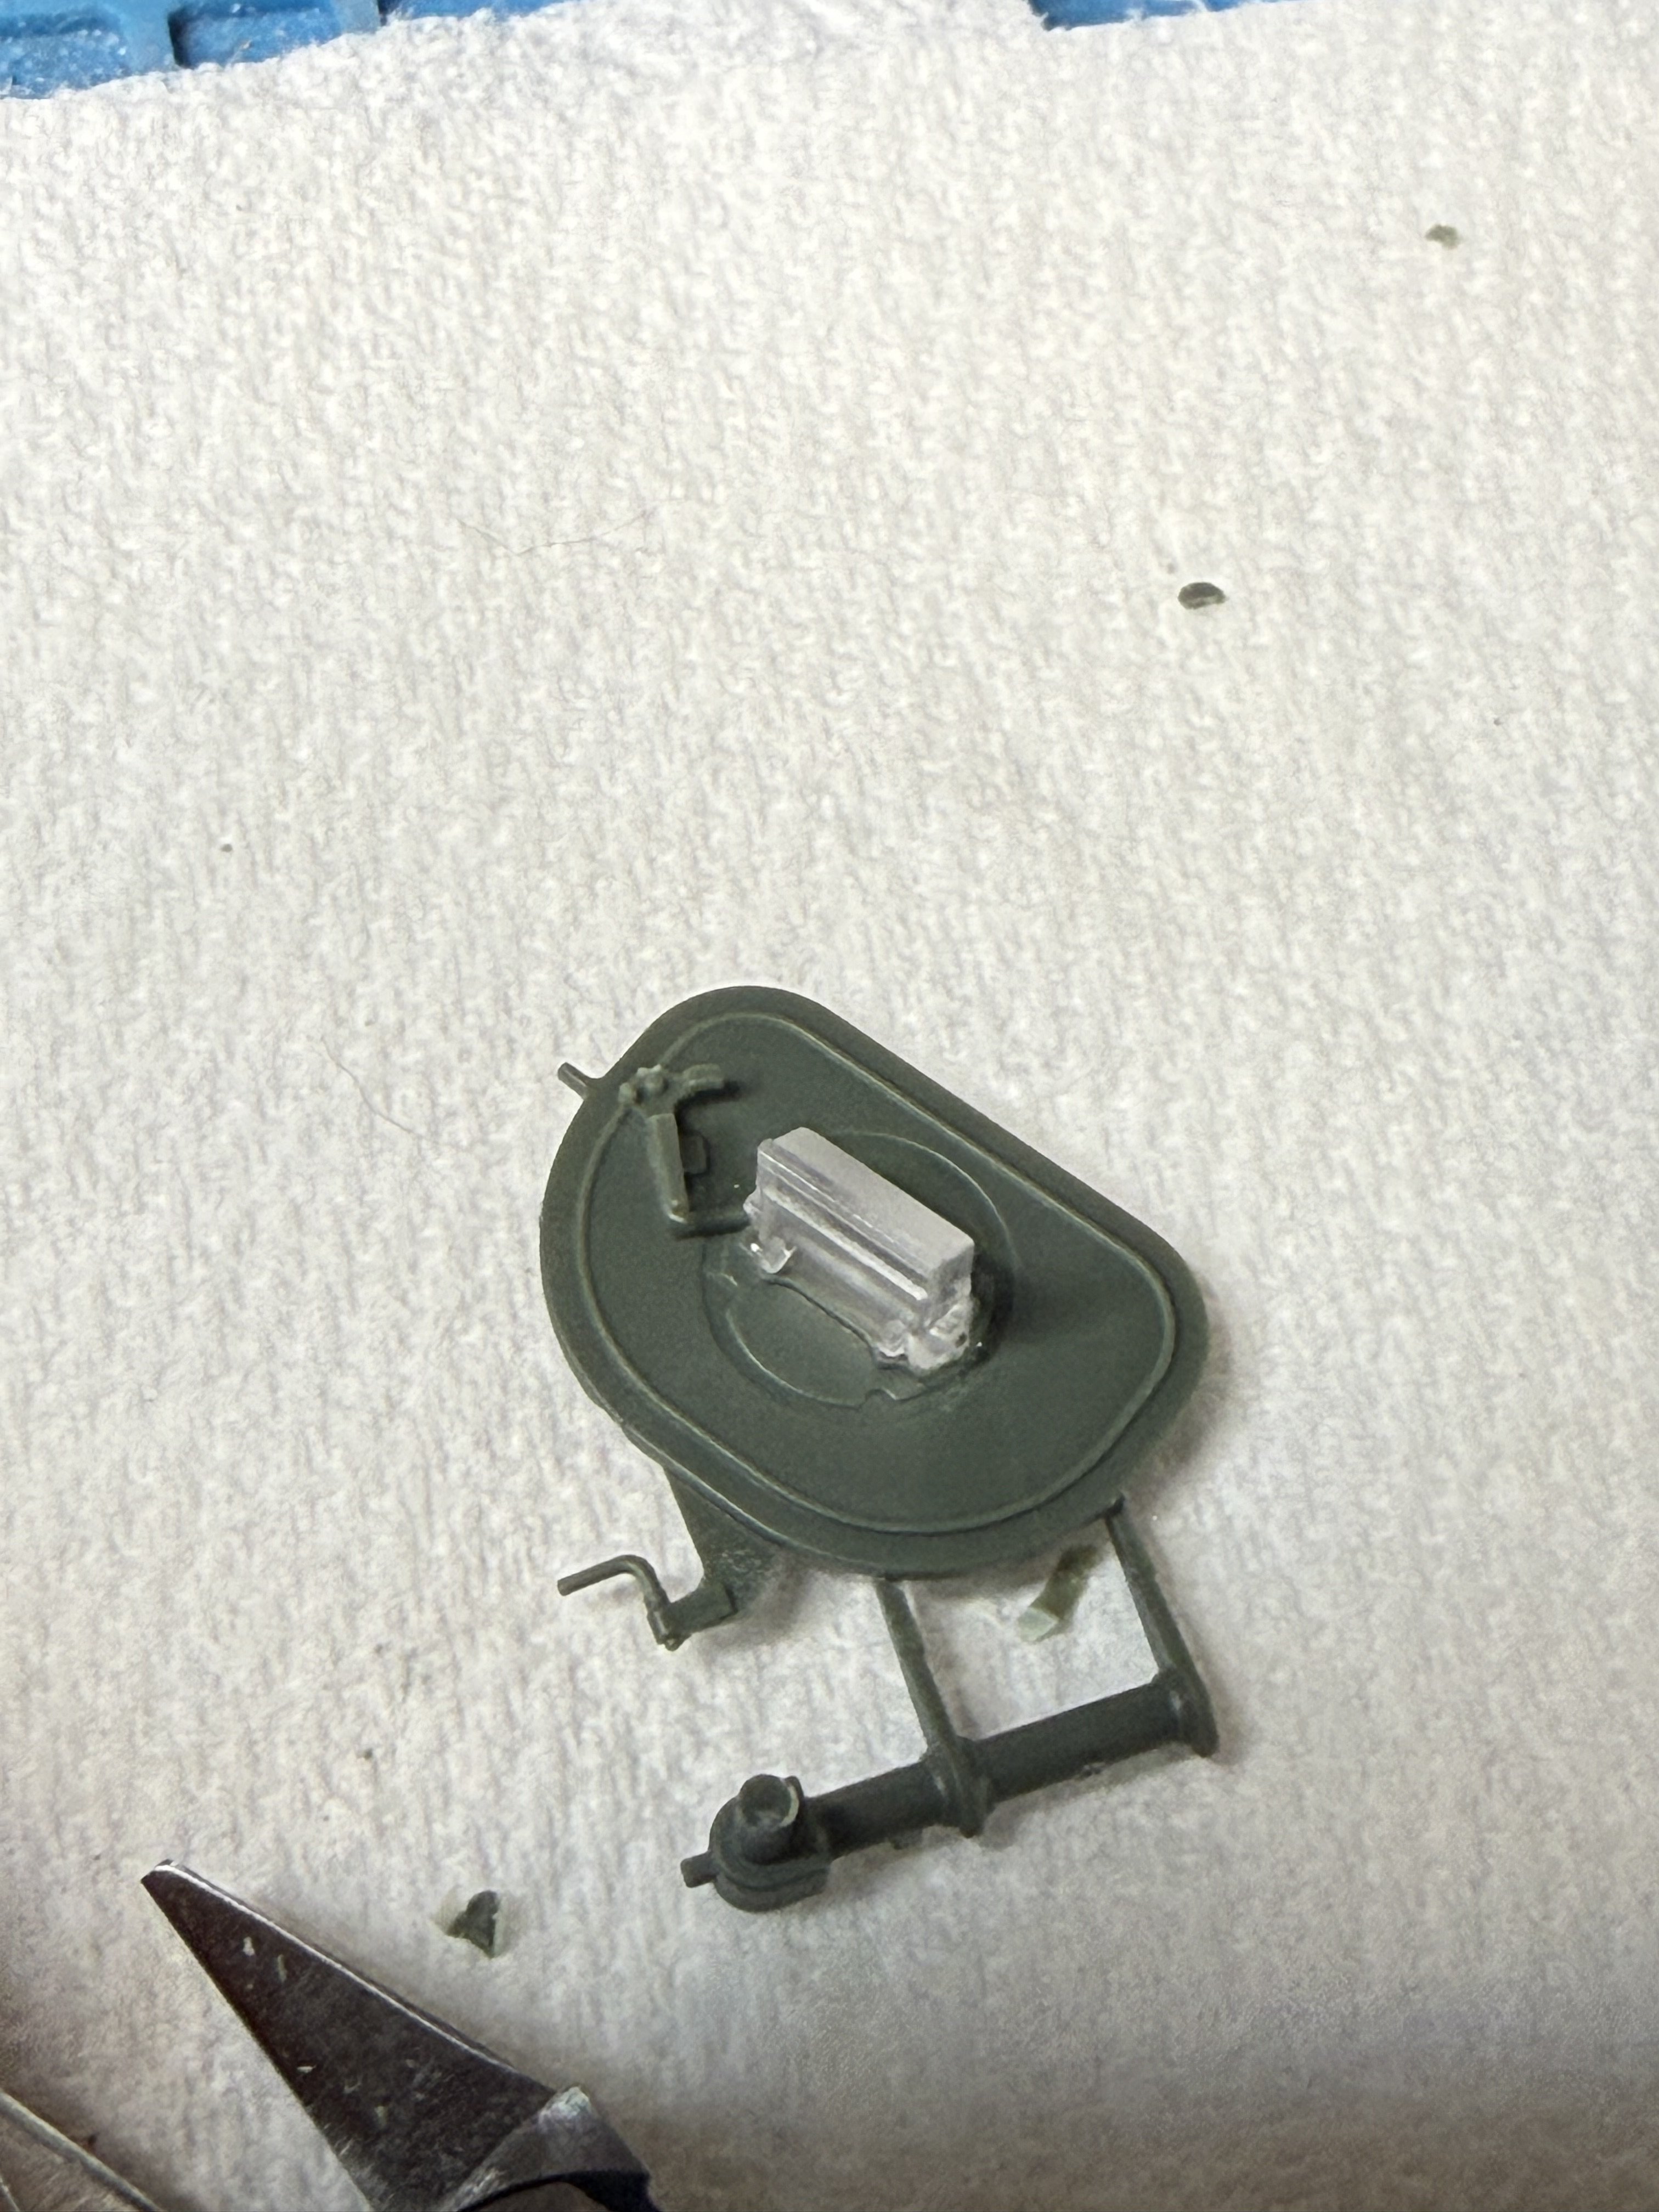
This is a hatch. 6 pieces including PE. But detail is nice. Another "but" is that these tiny hairlike pieces probably don't stand a chance of staying in place through the end! I usually save little pieces until I'm ready to put final coat of varnish on but with this kit I'd be leaving half the pieces off u til then and tolerance is tight so the paint would impact some of the parts fit. I will have to try to move slow and deliberate with this build not an easy task for a "bull in a china shop "! There's even a tiny handle I had to afix to the underside. I usually glue these hatches so it becomes pointless.
Attachments
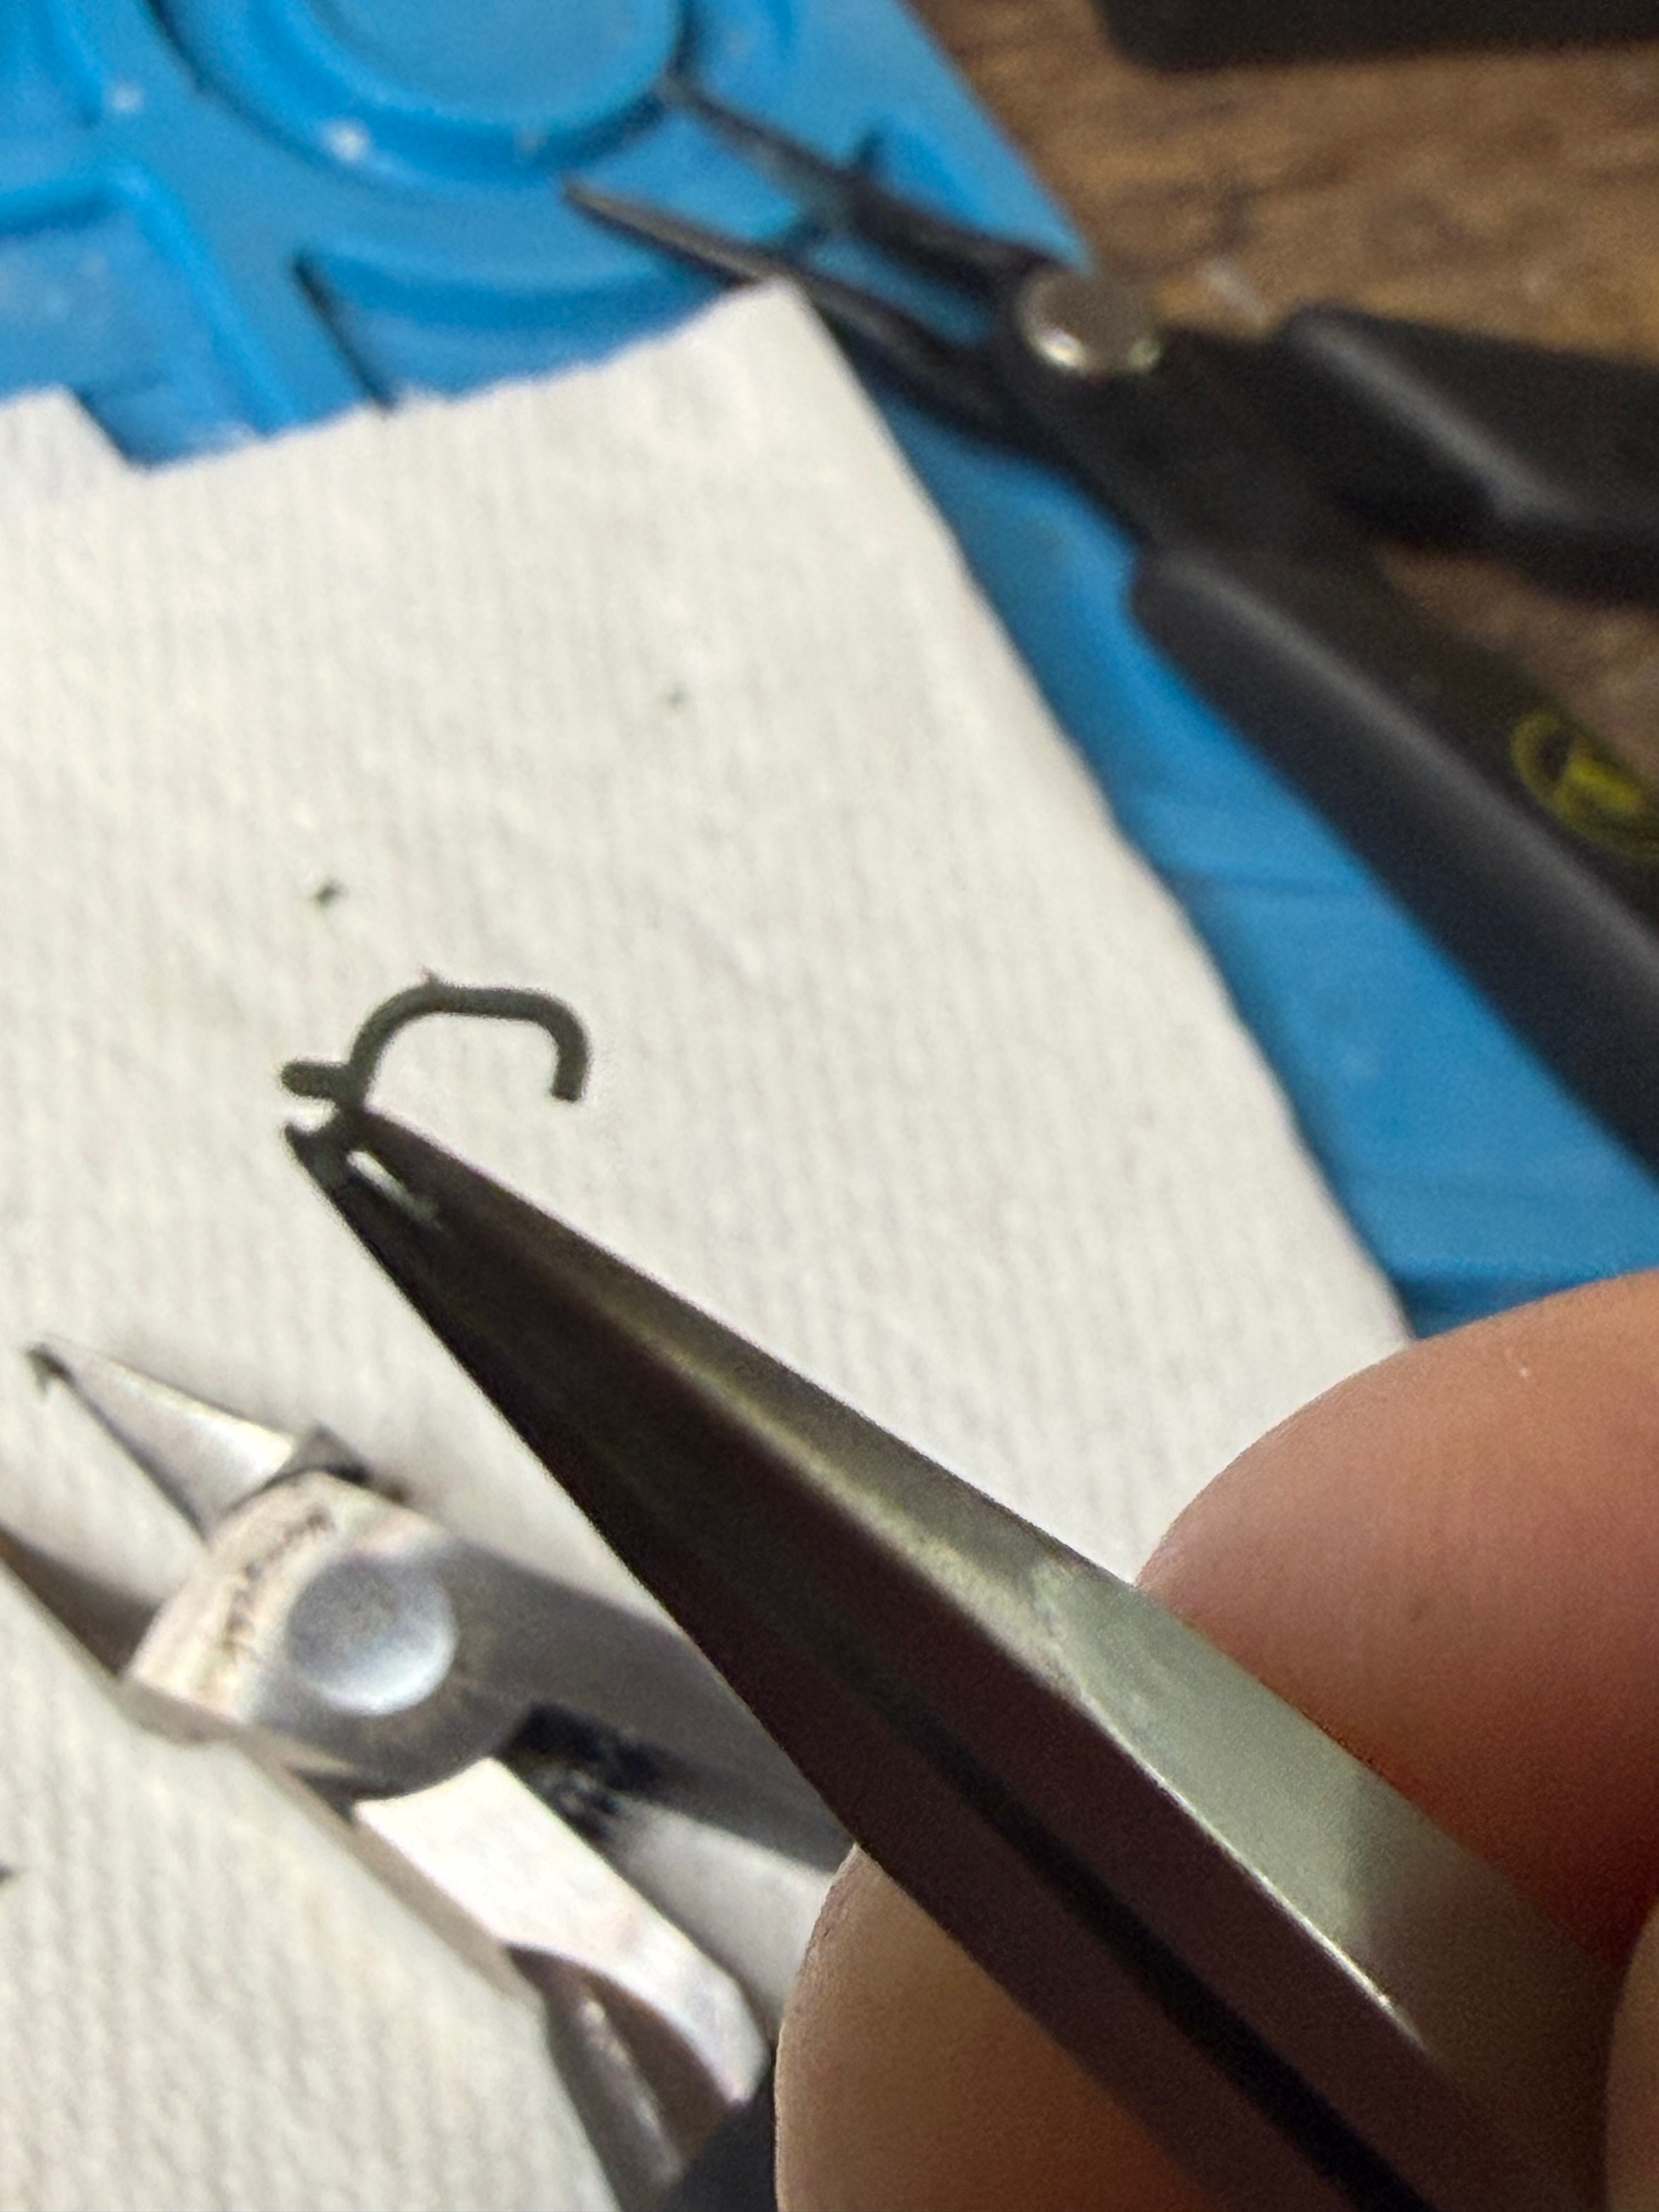
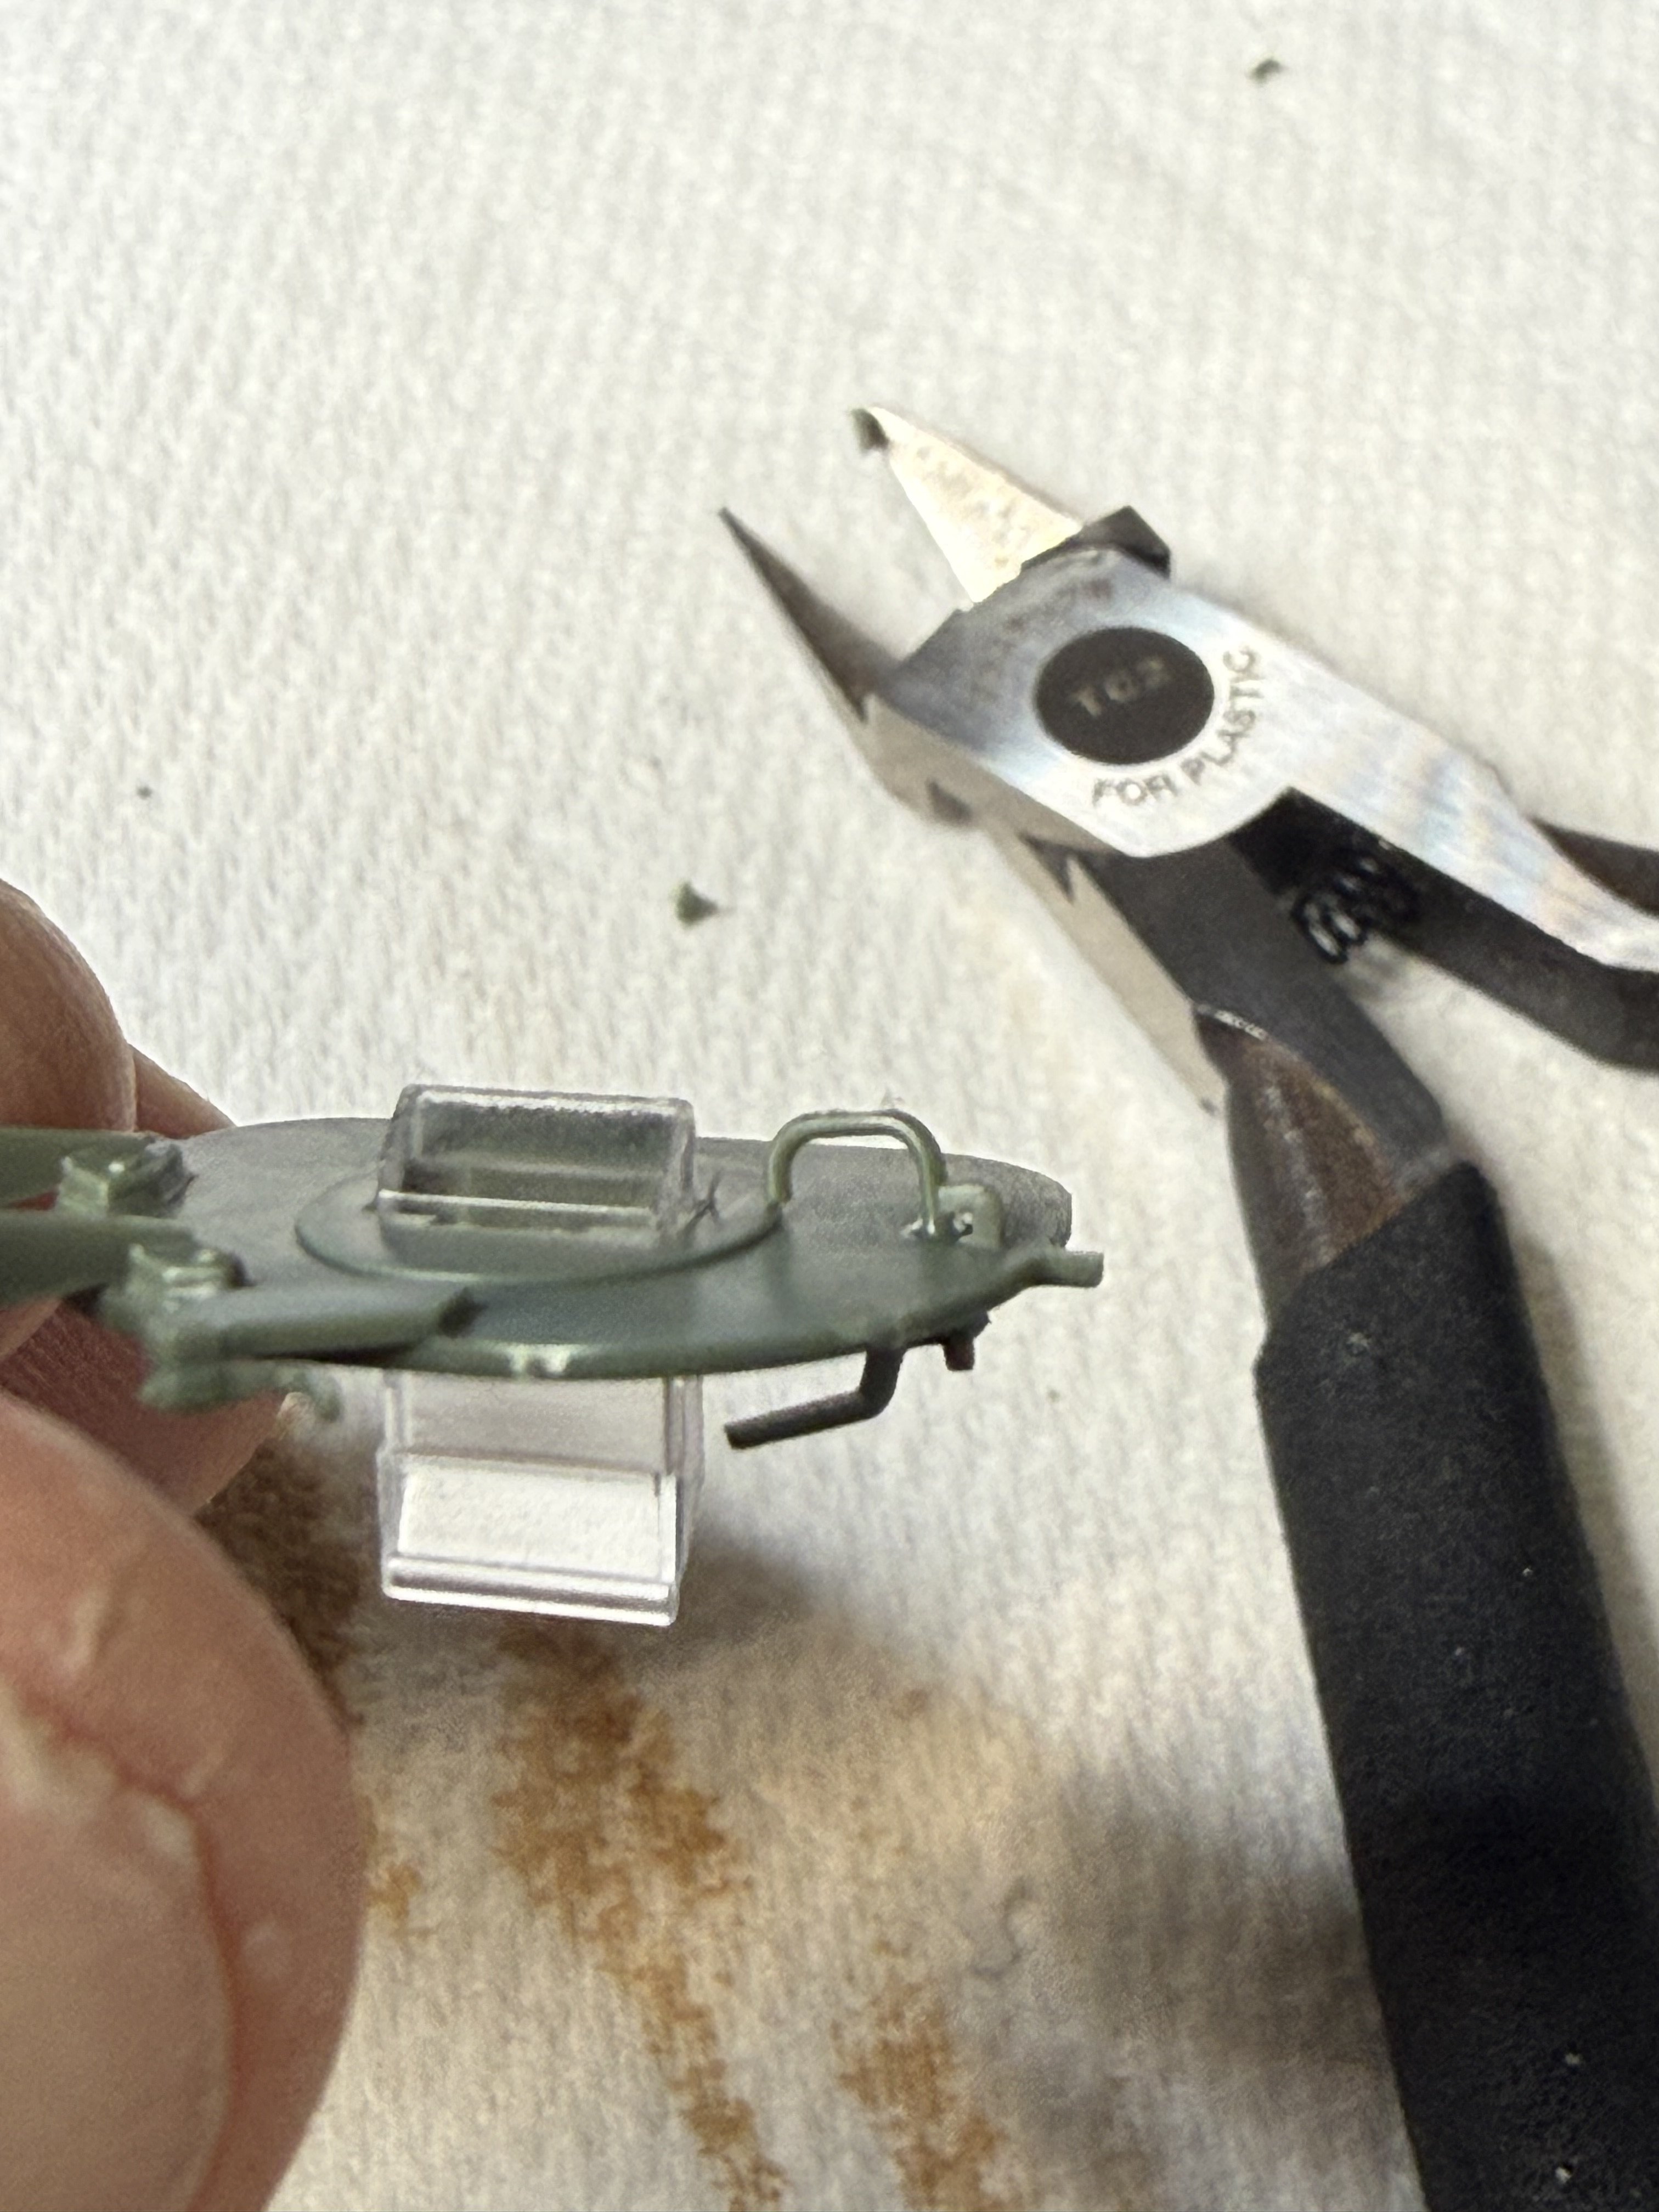
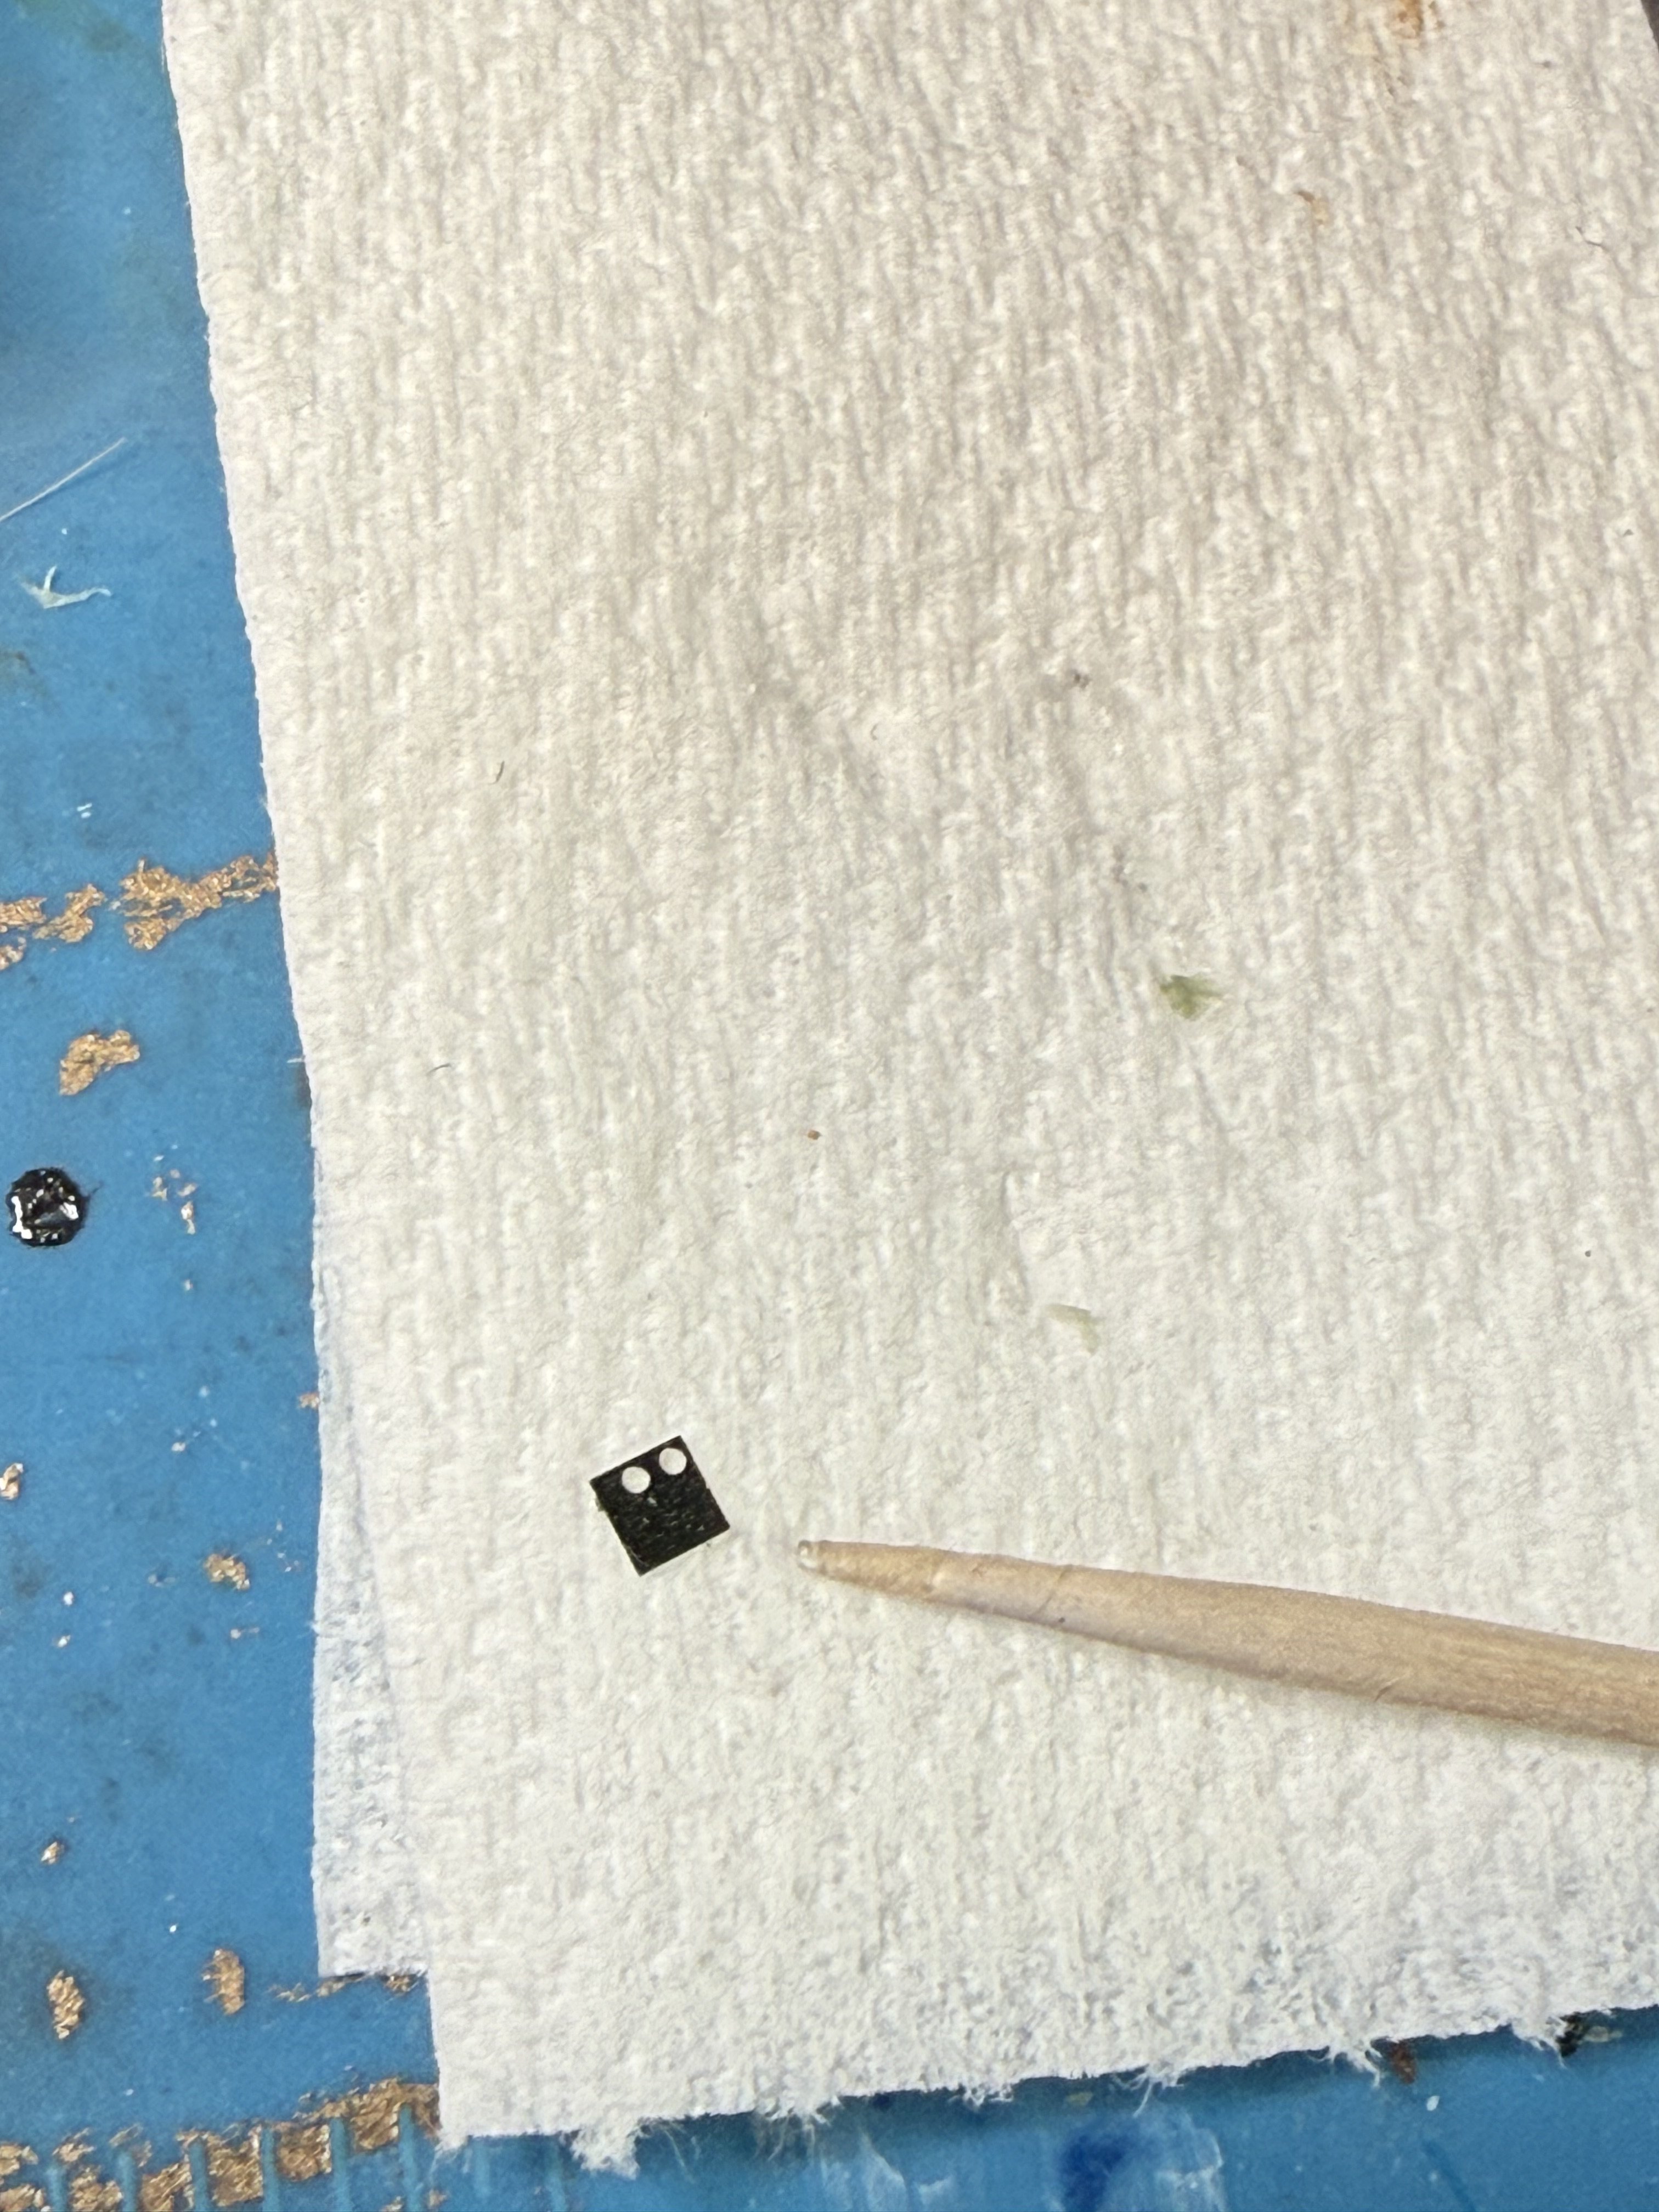
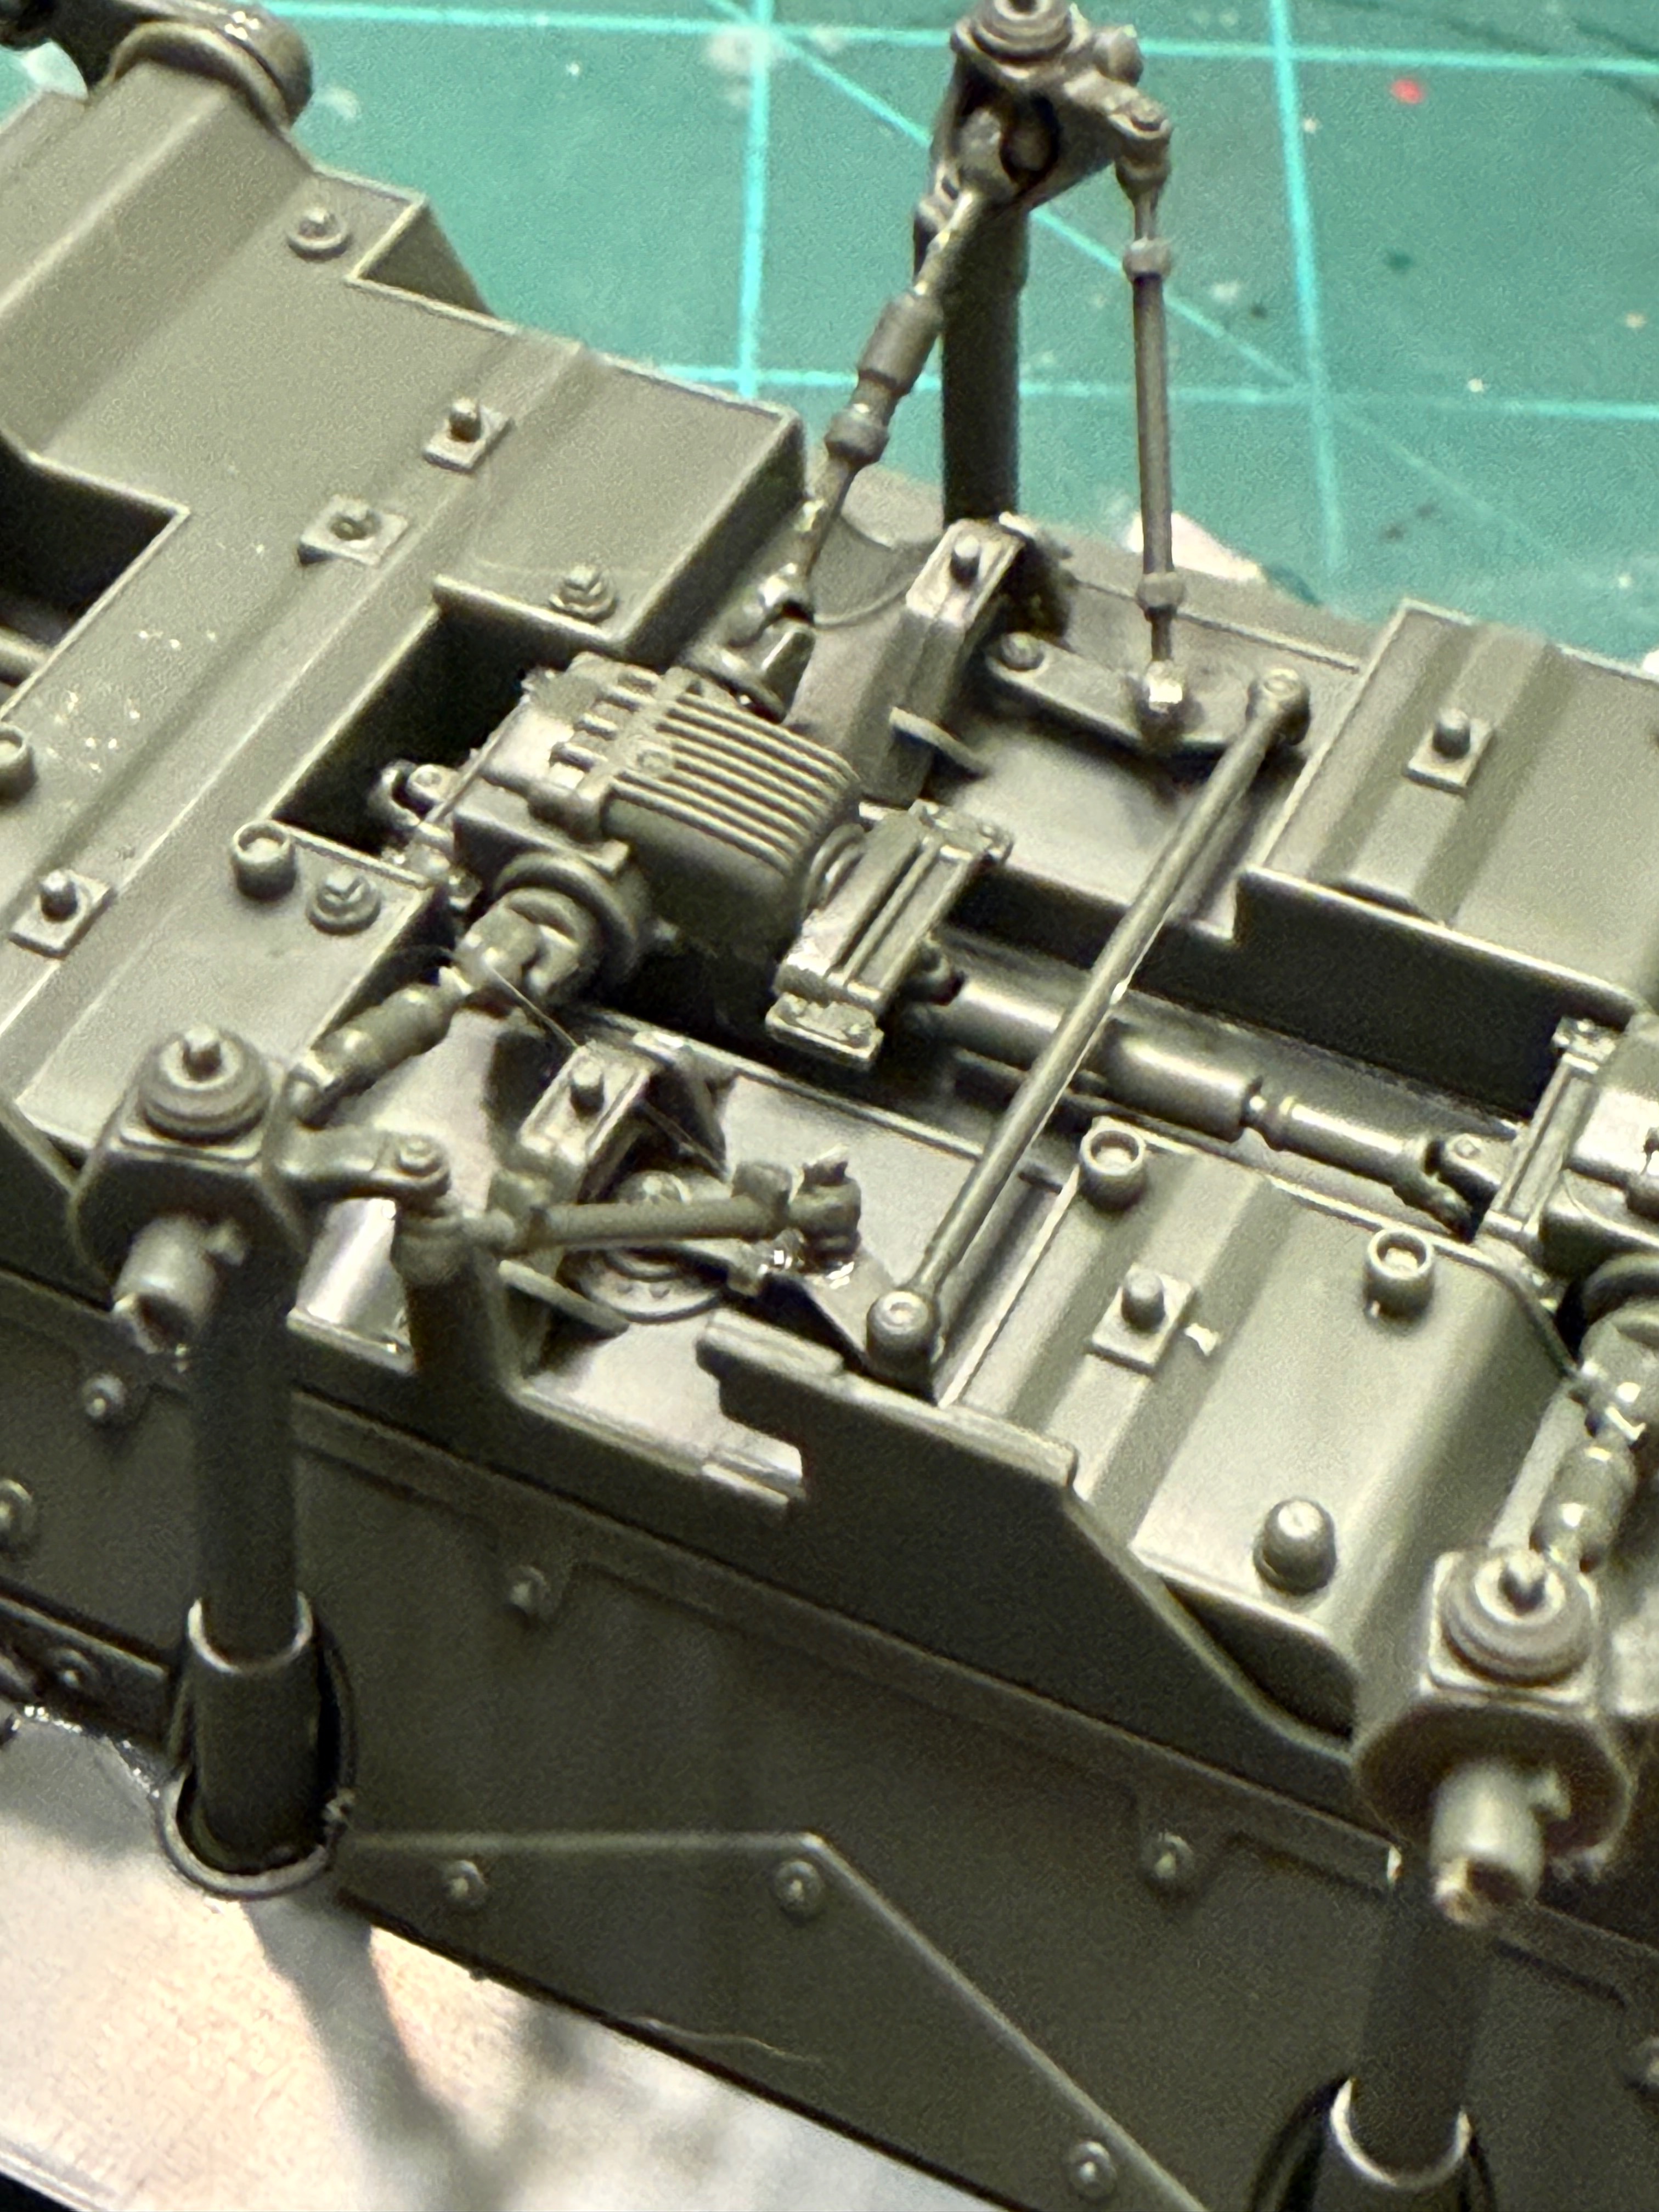
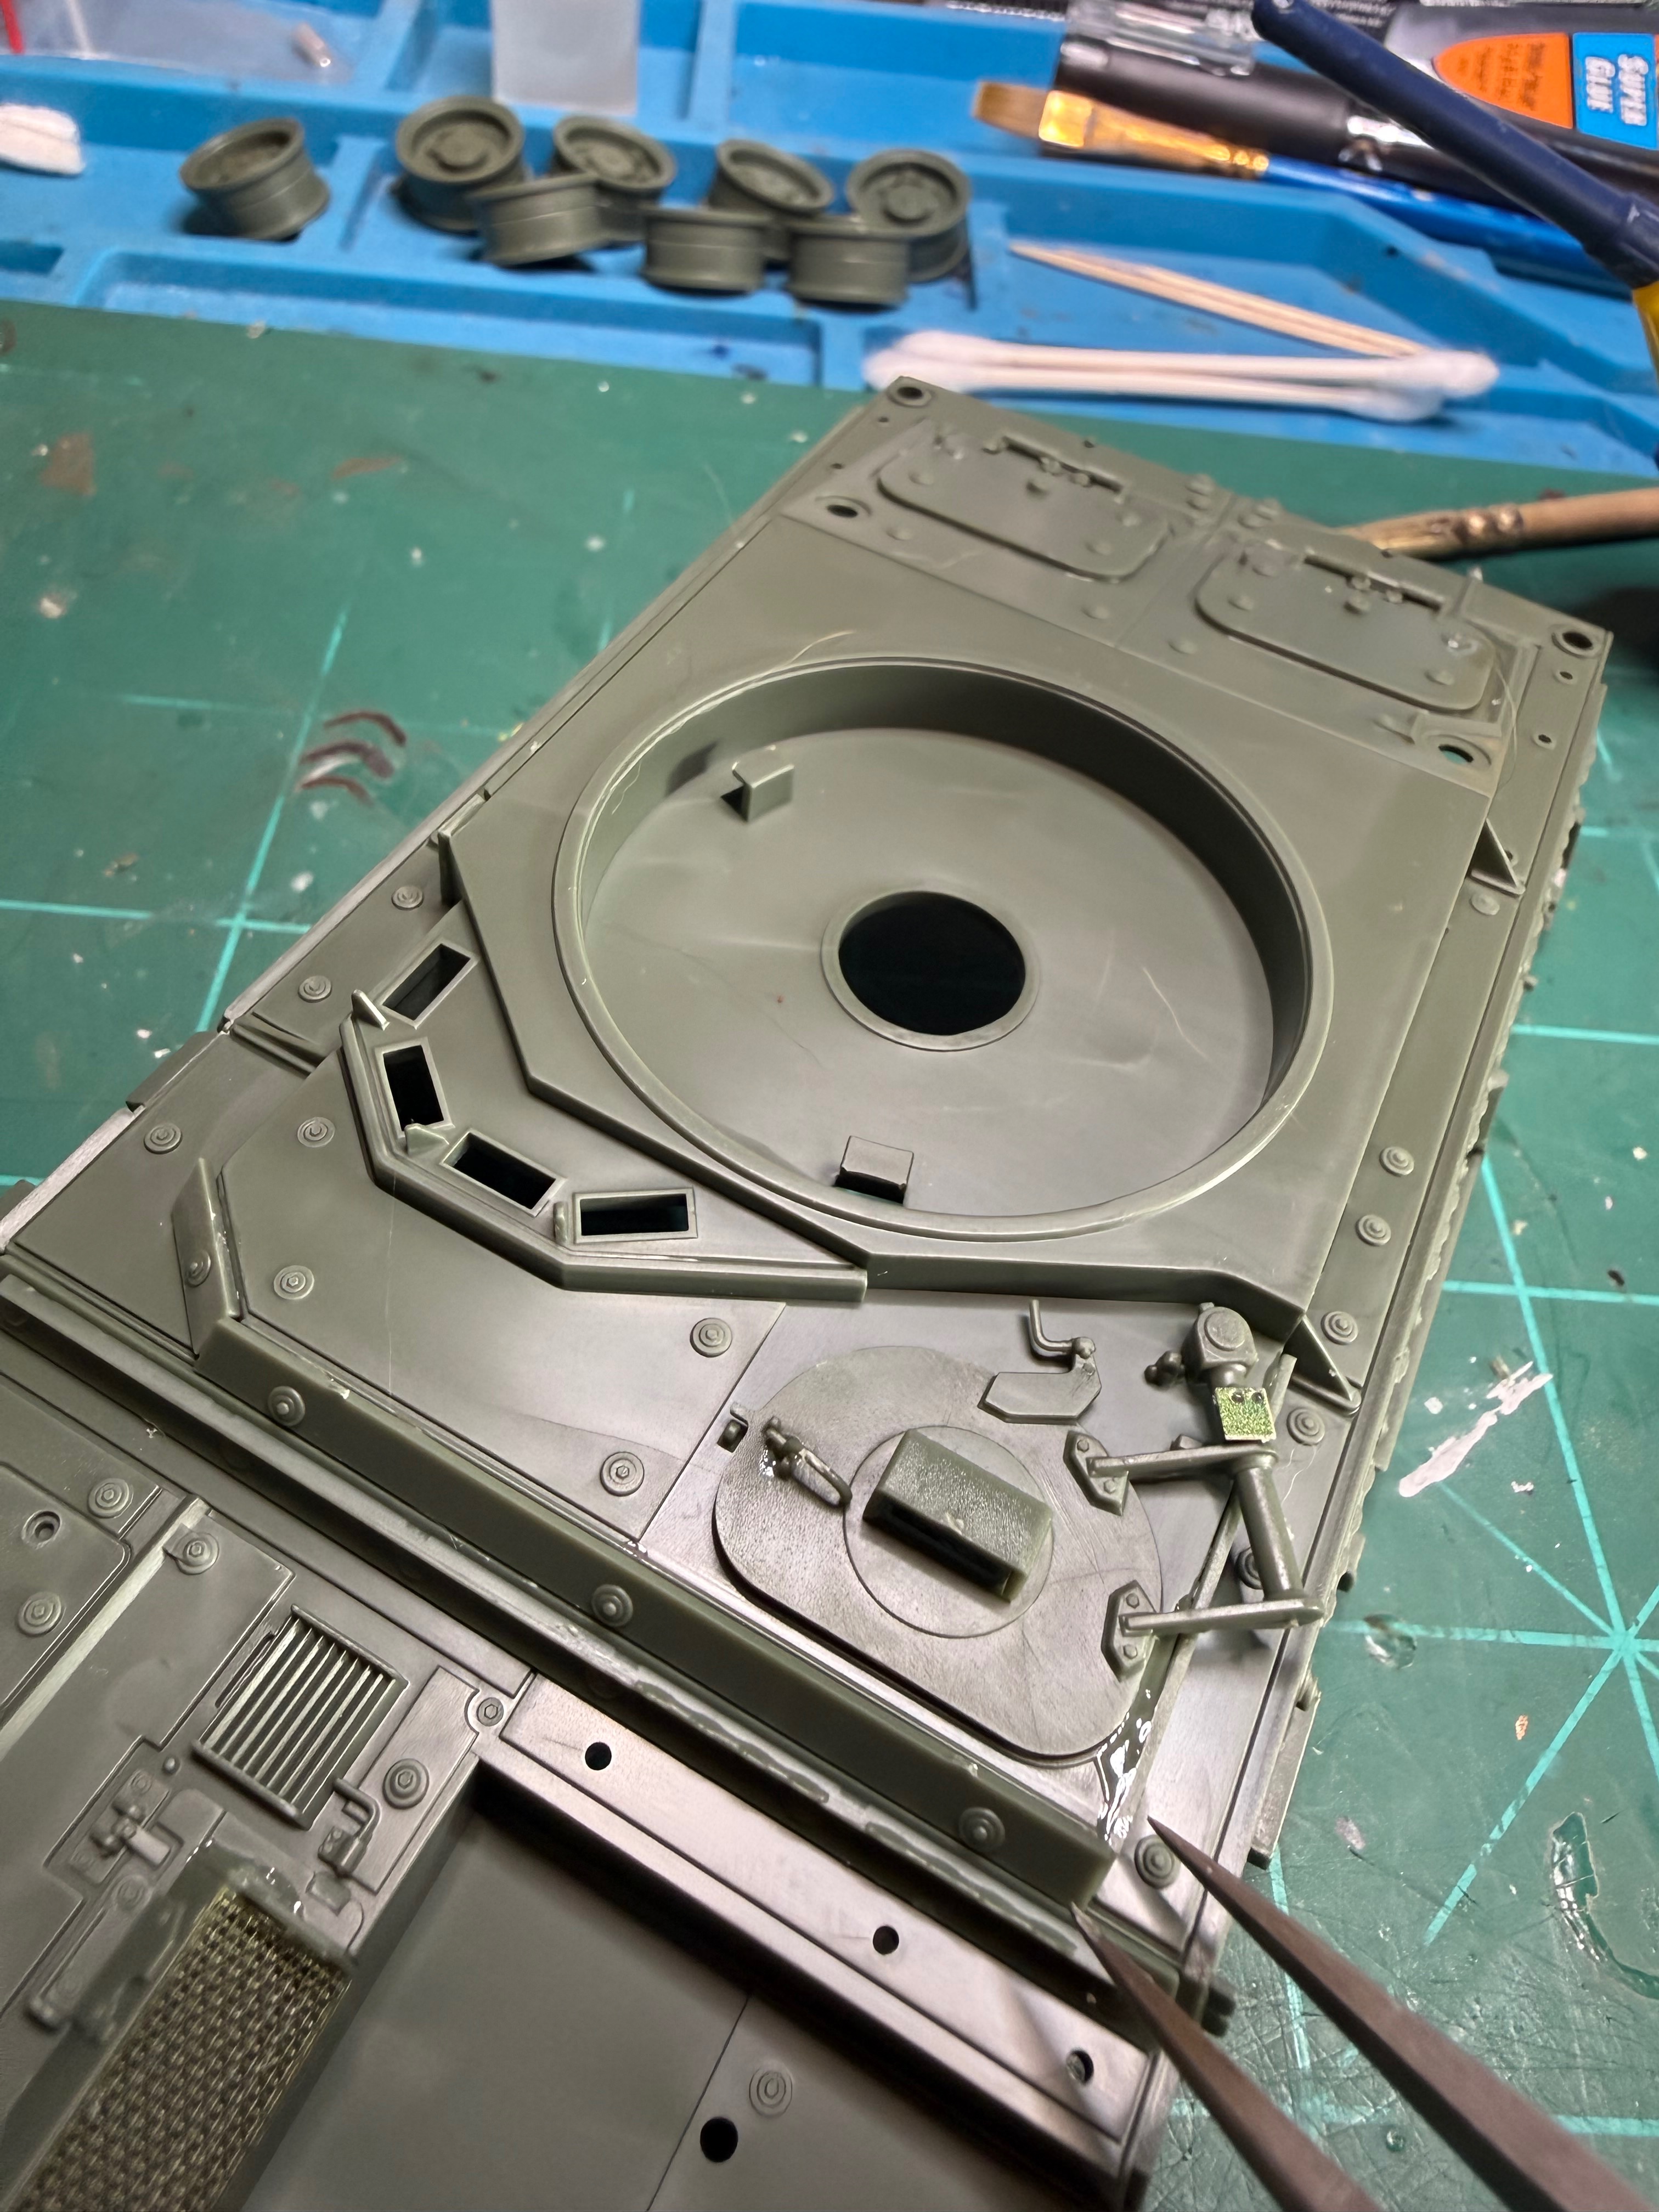
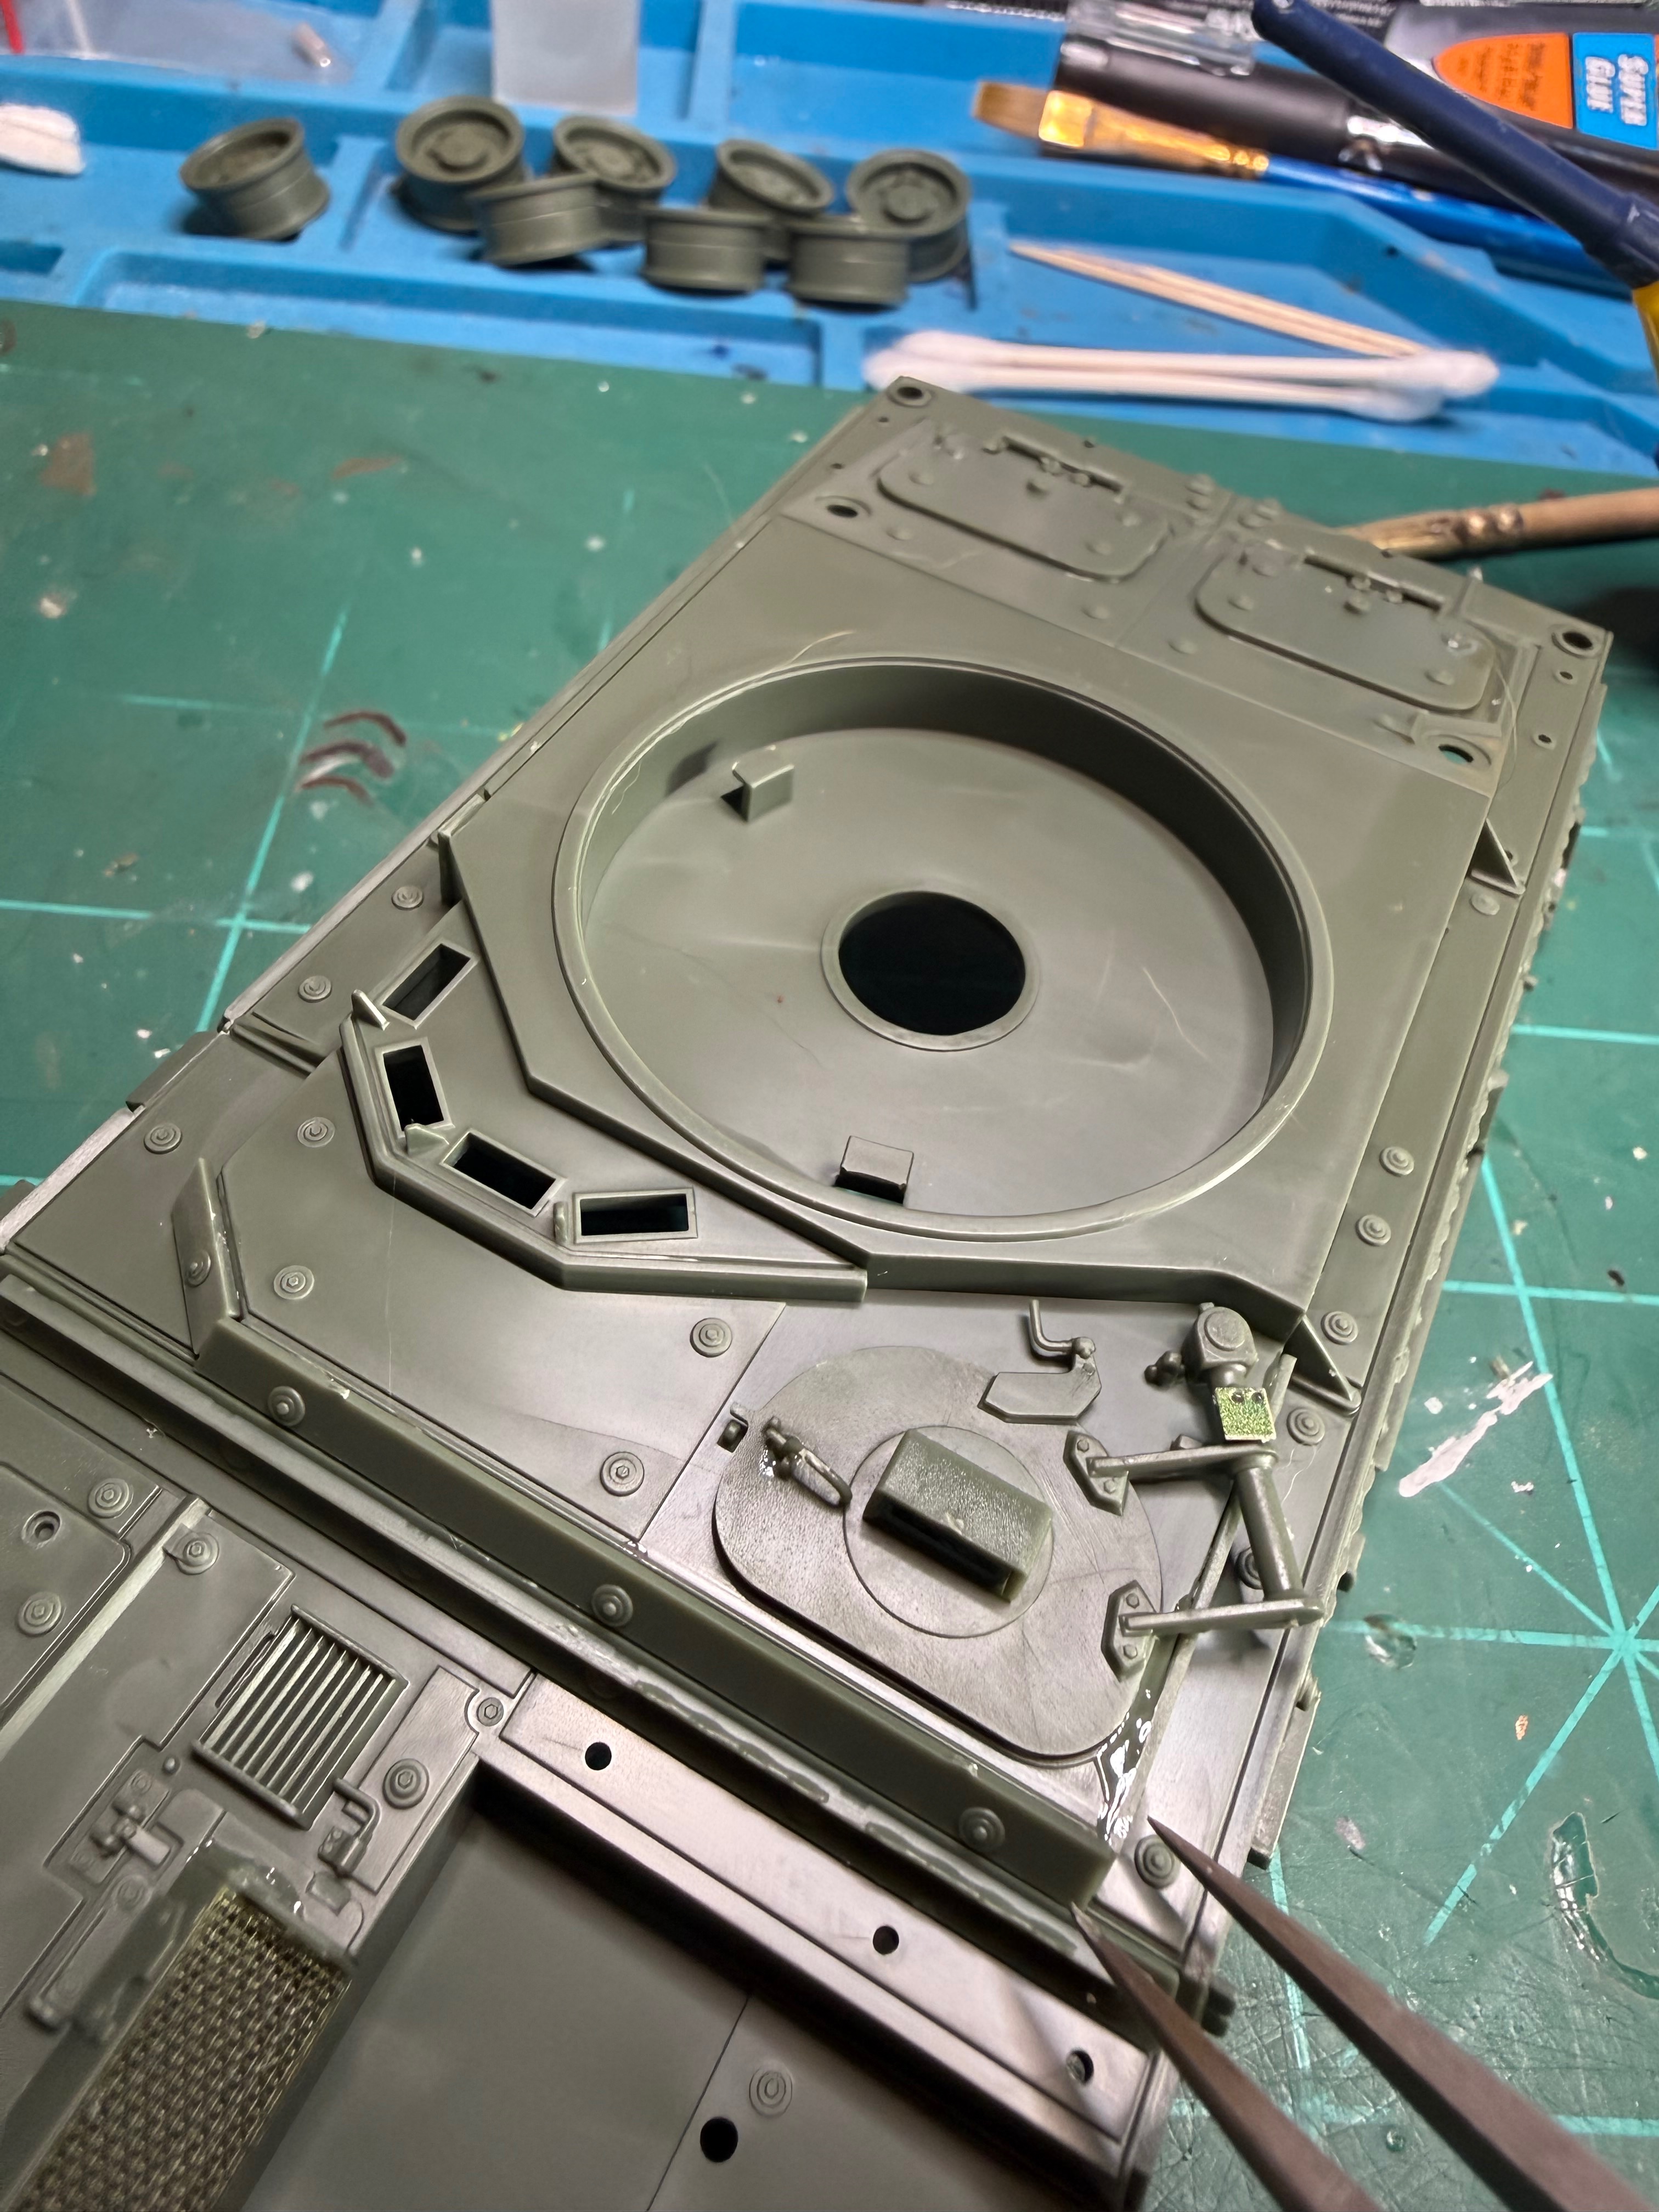
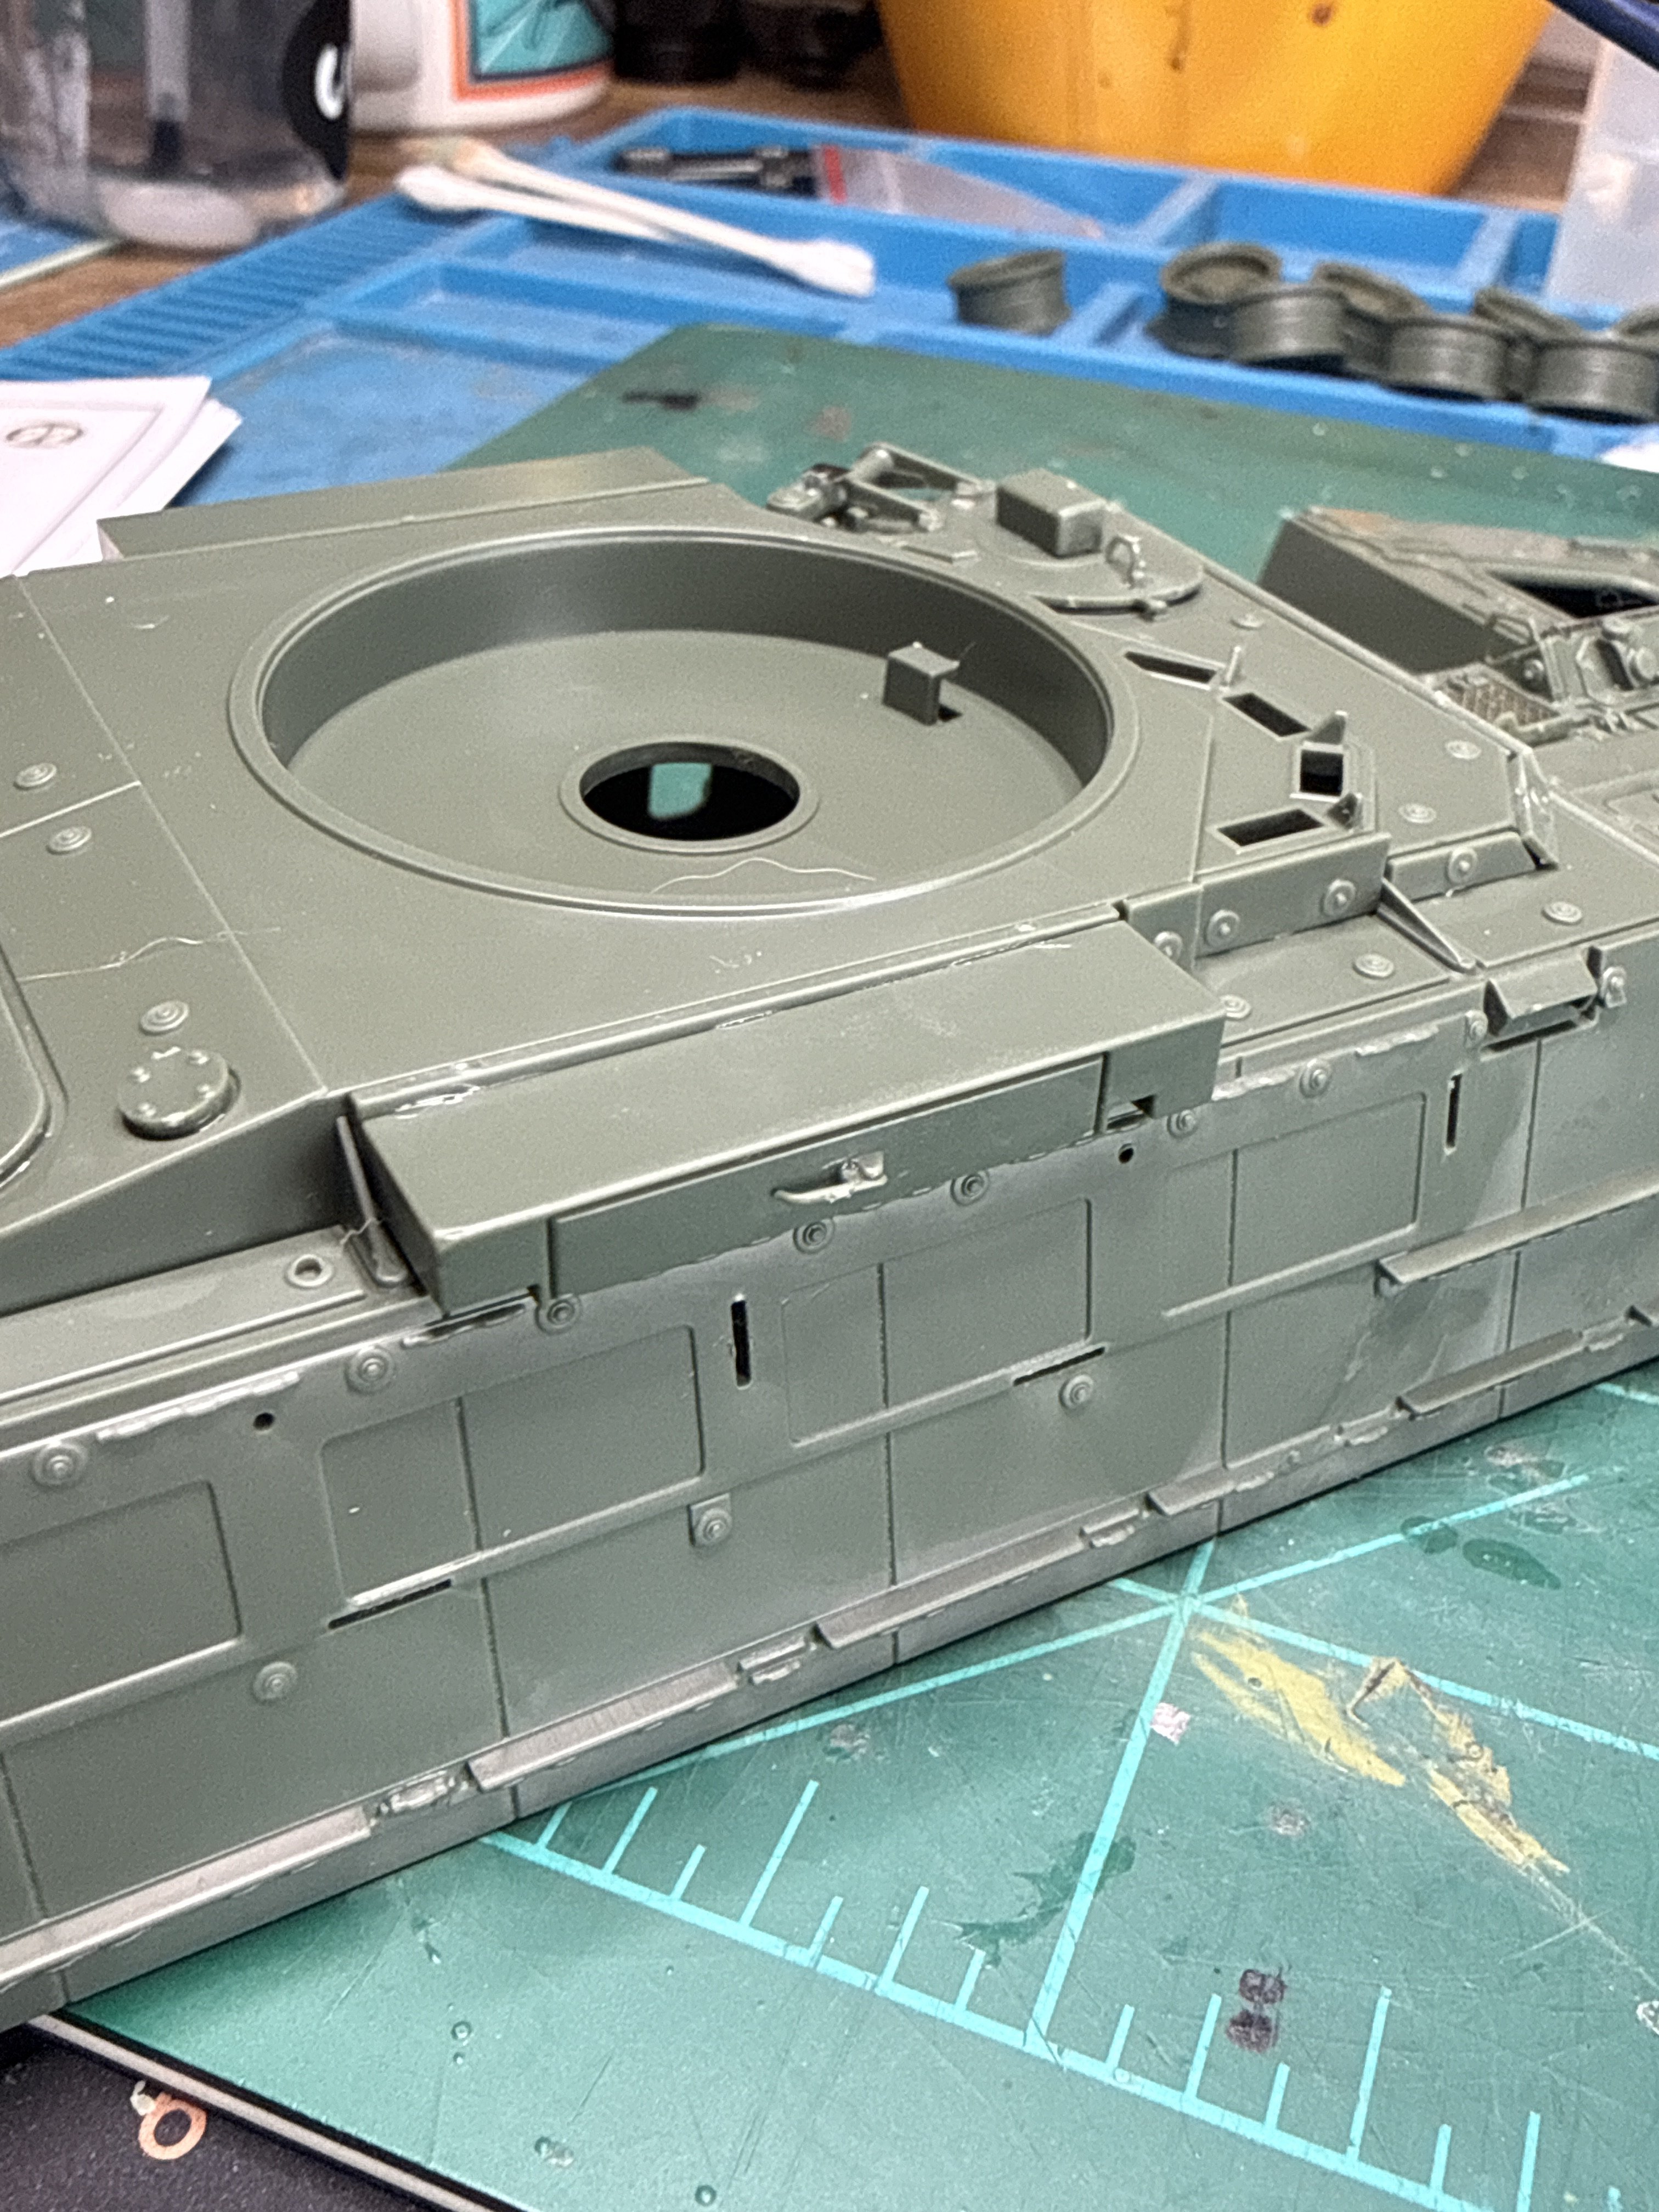
Here the tweezers are pointing to one of the "layers" the entire raised portion had flat stock, with details, that wrapped it creating an armor plated look- and giving me more opportunities to misalign parts! Haha. In a way this build feels more like a detailed ship to me than a typical tank. It's not a kit to do if you're looking for a quick armor build. Stick with Tamiya for that!
Attachments
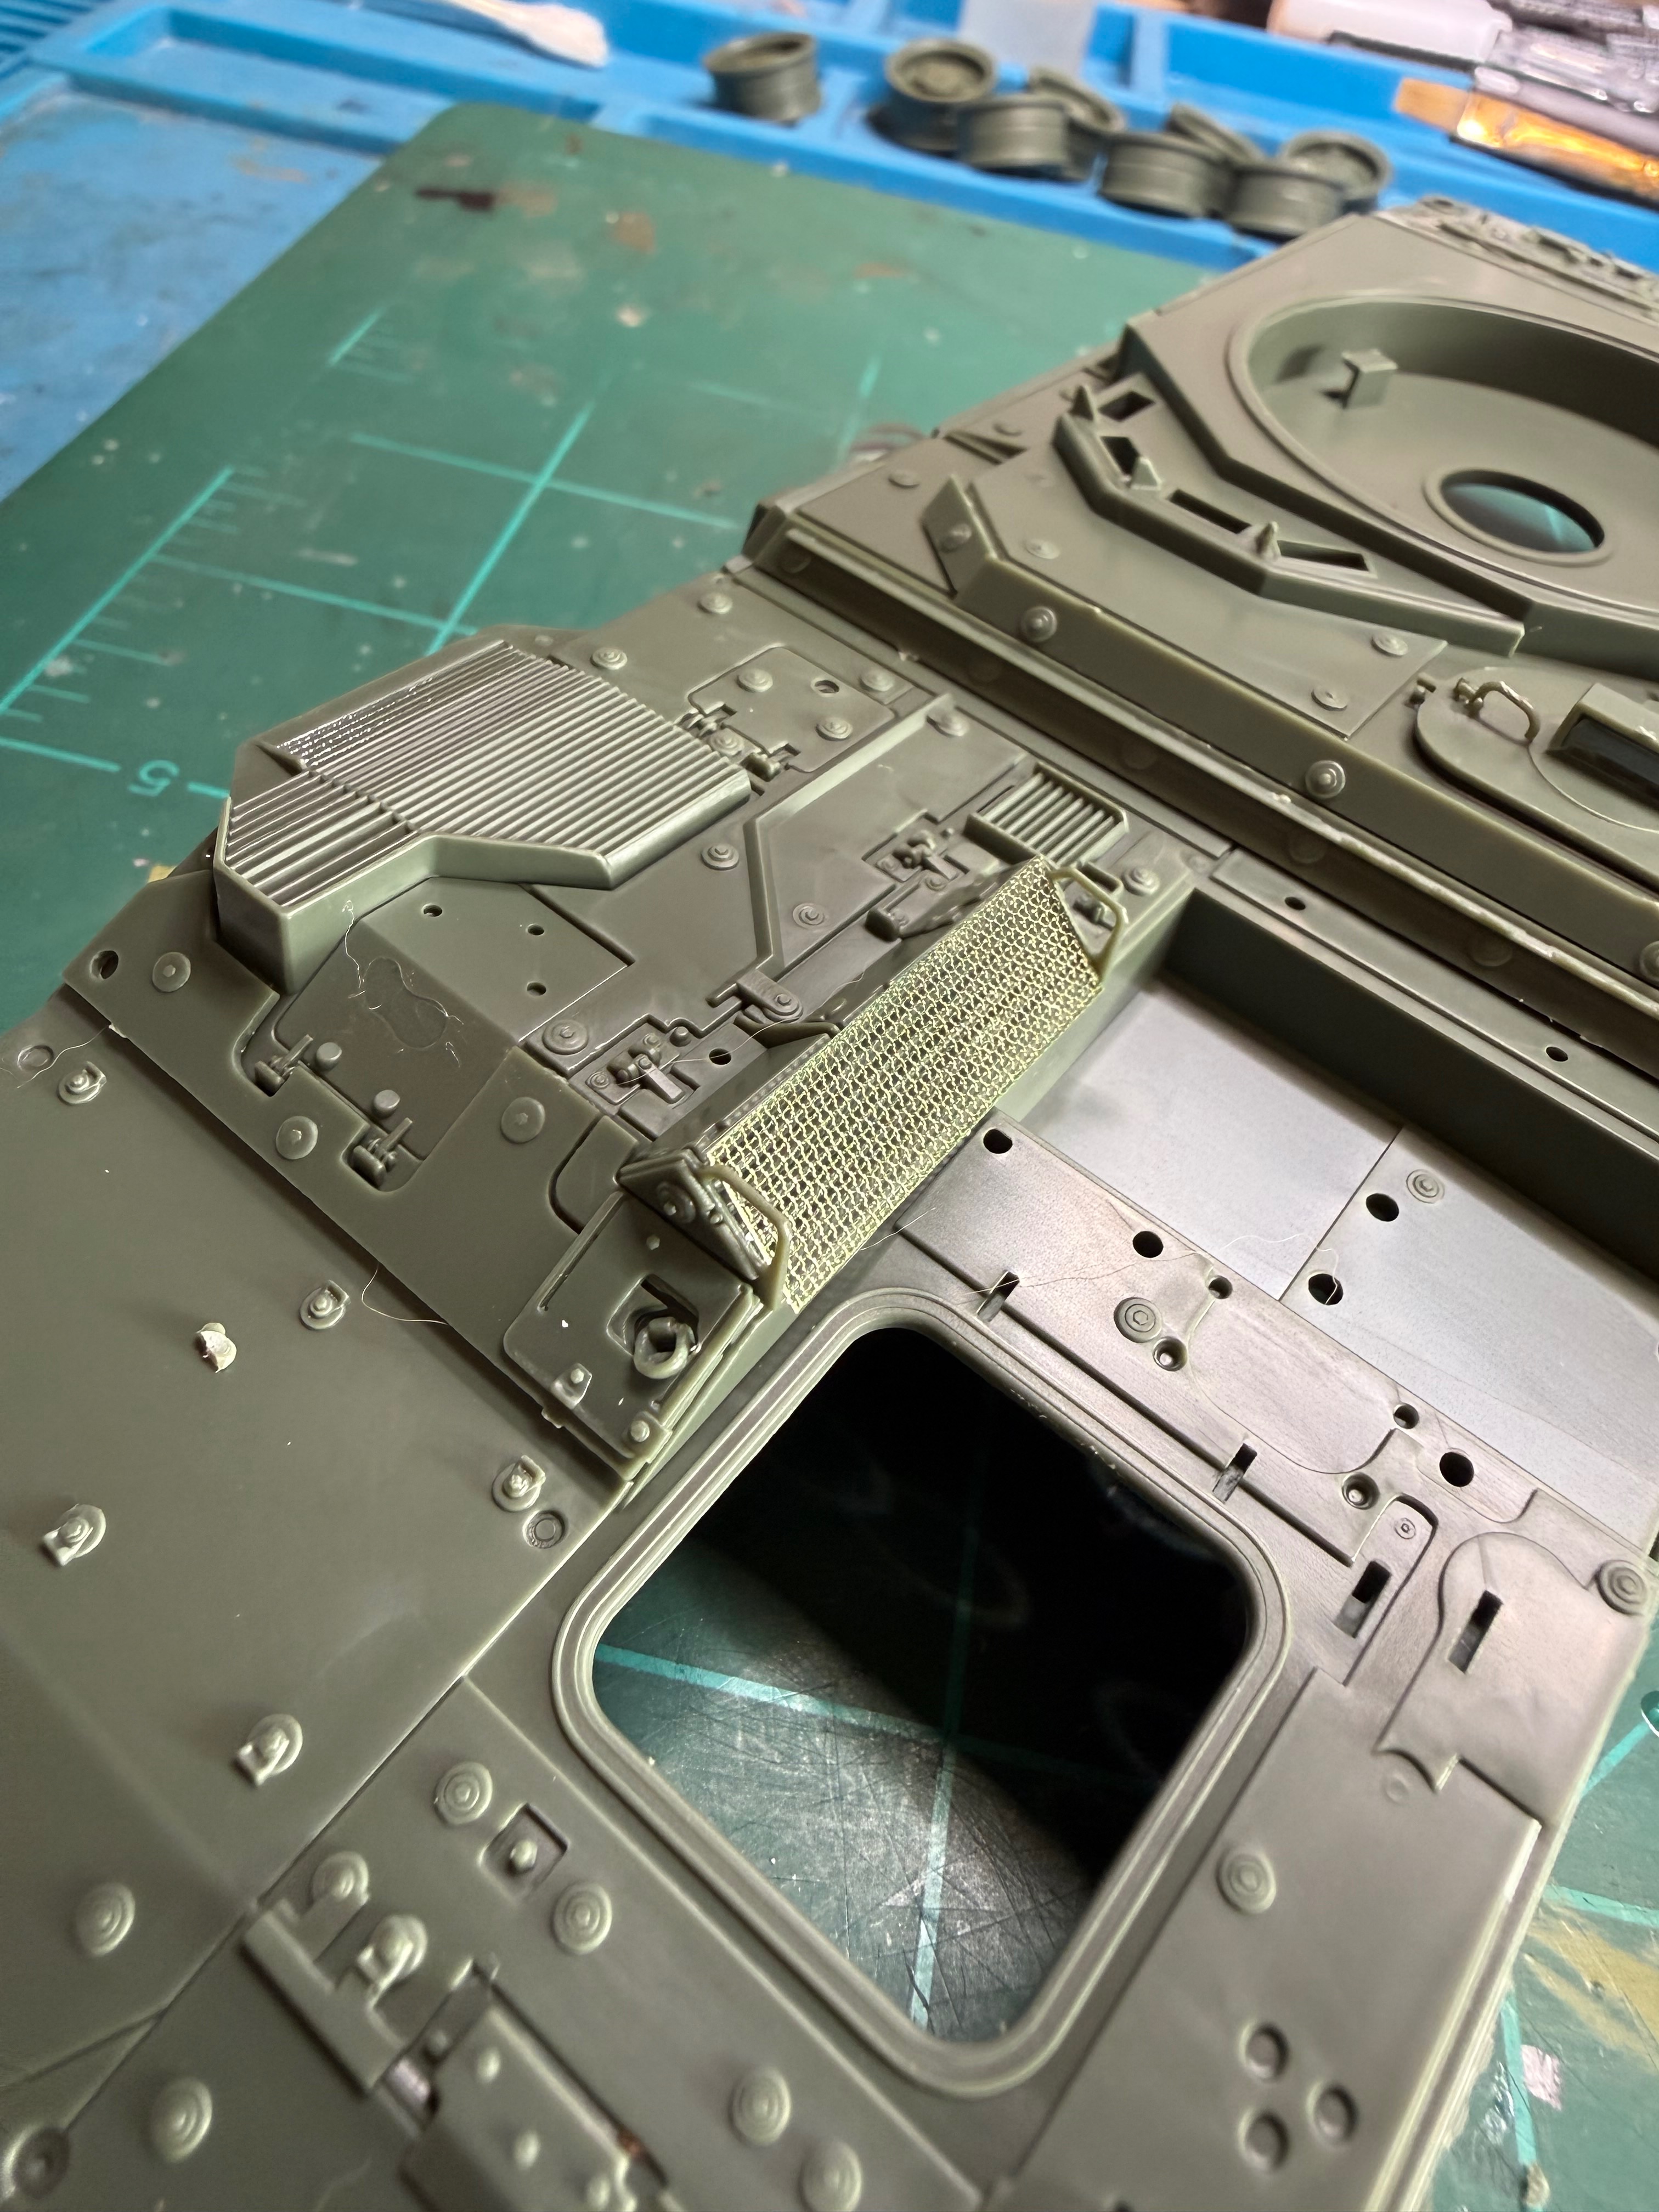
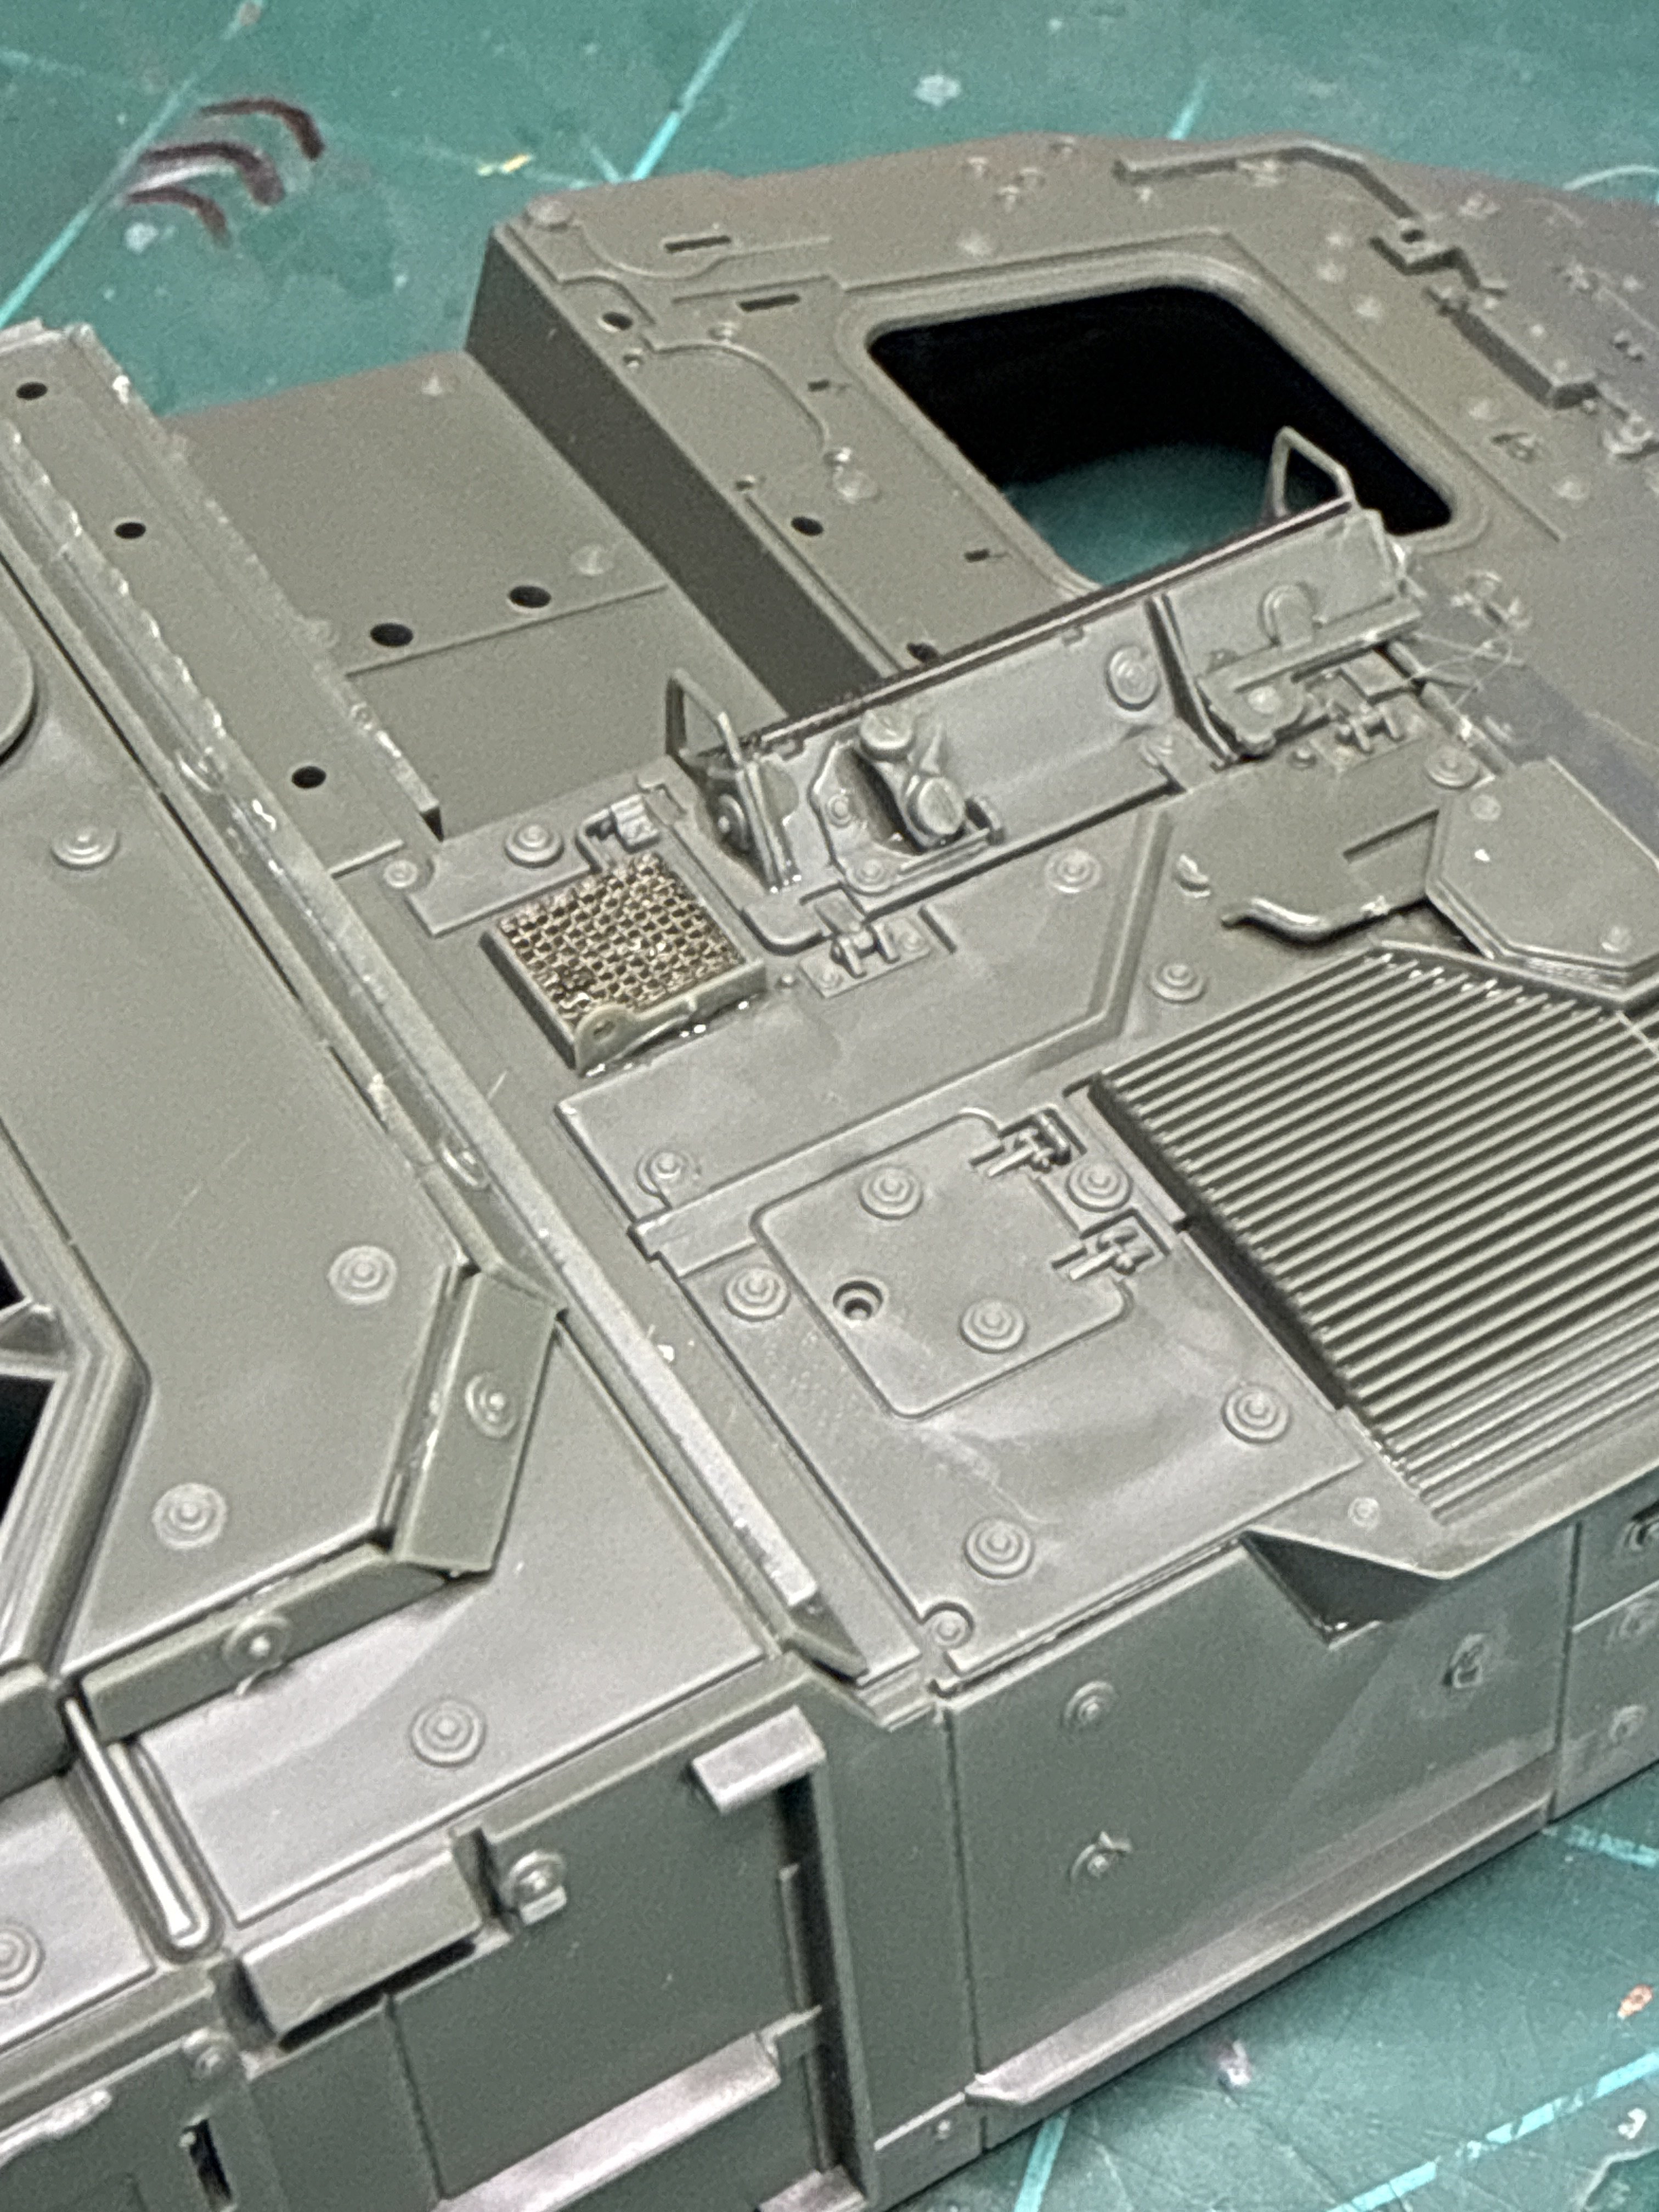
Detailing this kit will be involved as there is a lot to hit with pin washes etc. I've no idea what some of this detail is, such as these round rivet looking segments. I know they're not rivets. Jakko? Feel like a mini-tutorial? AI is telling me it's a mix of bolt heads, armor fastener attachment mounts and recessed attachment points. It also stated that the grouping around hatches indicate hatches are removable. This is one of the ways I like to use AI- problem is I know AI makes mistakes, I frequently will tell it "no, that's wrong. I think…" and then it will correct itself.
Attachments
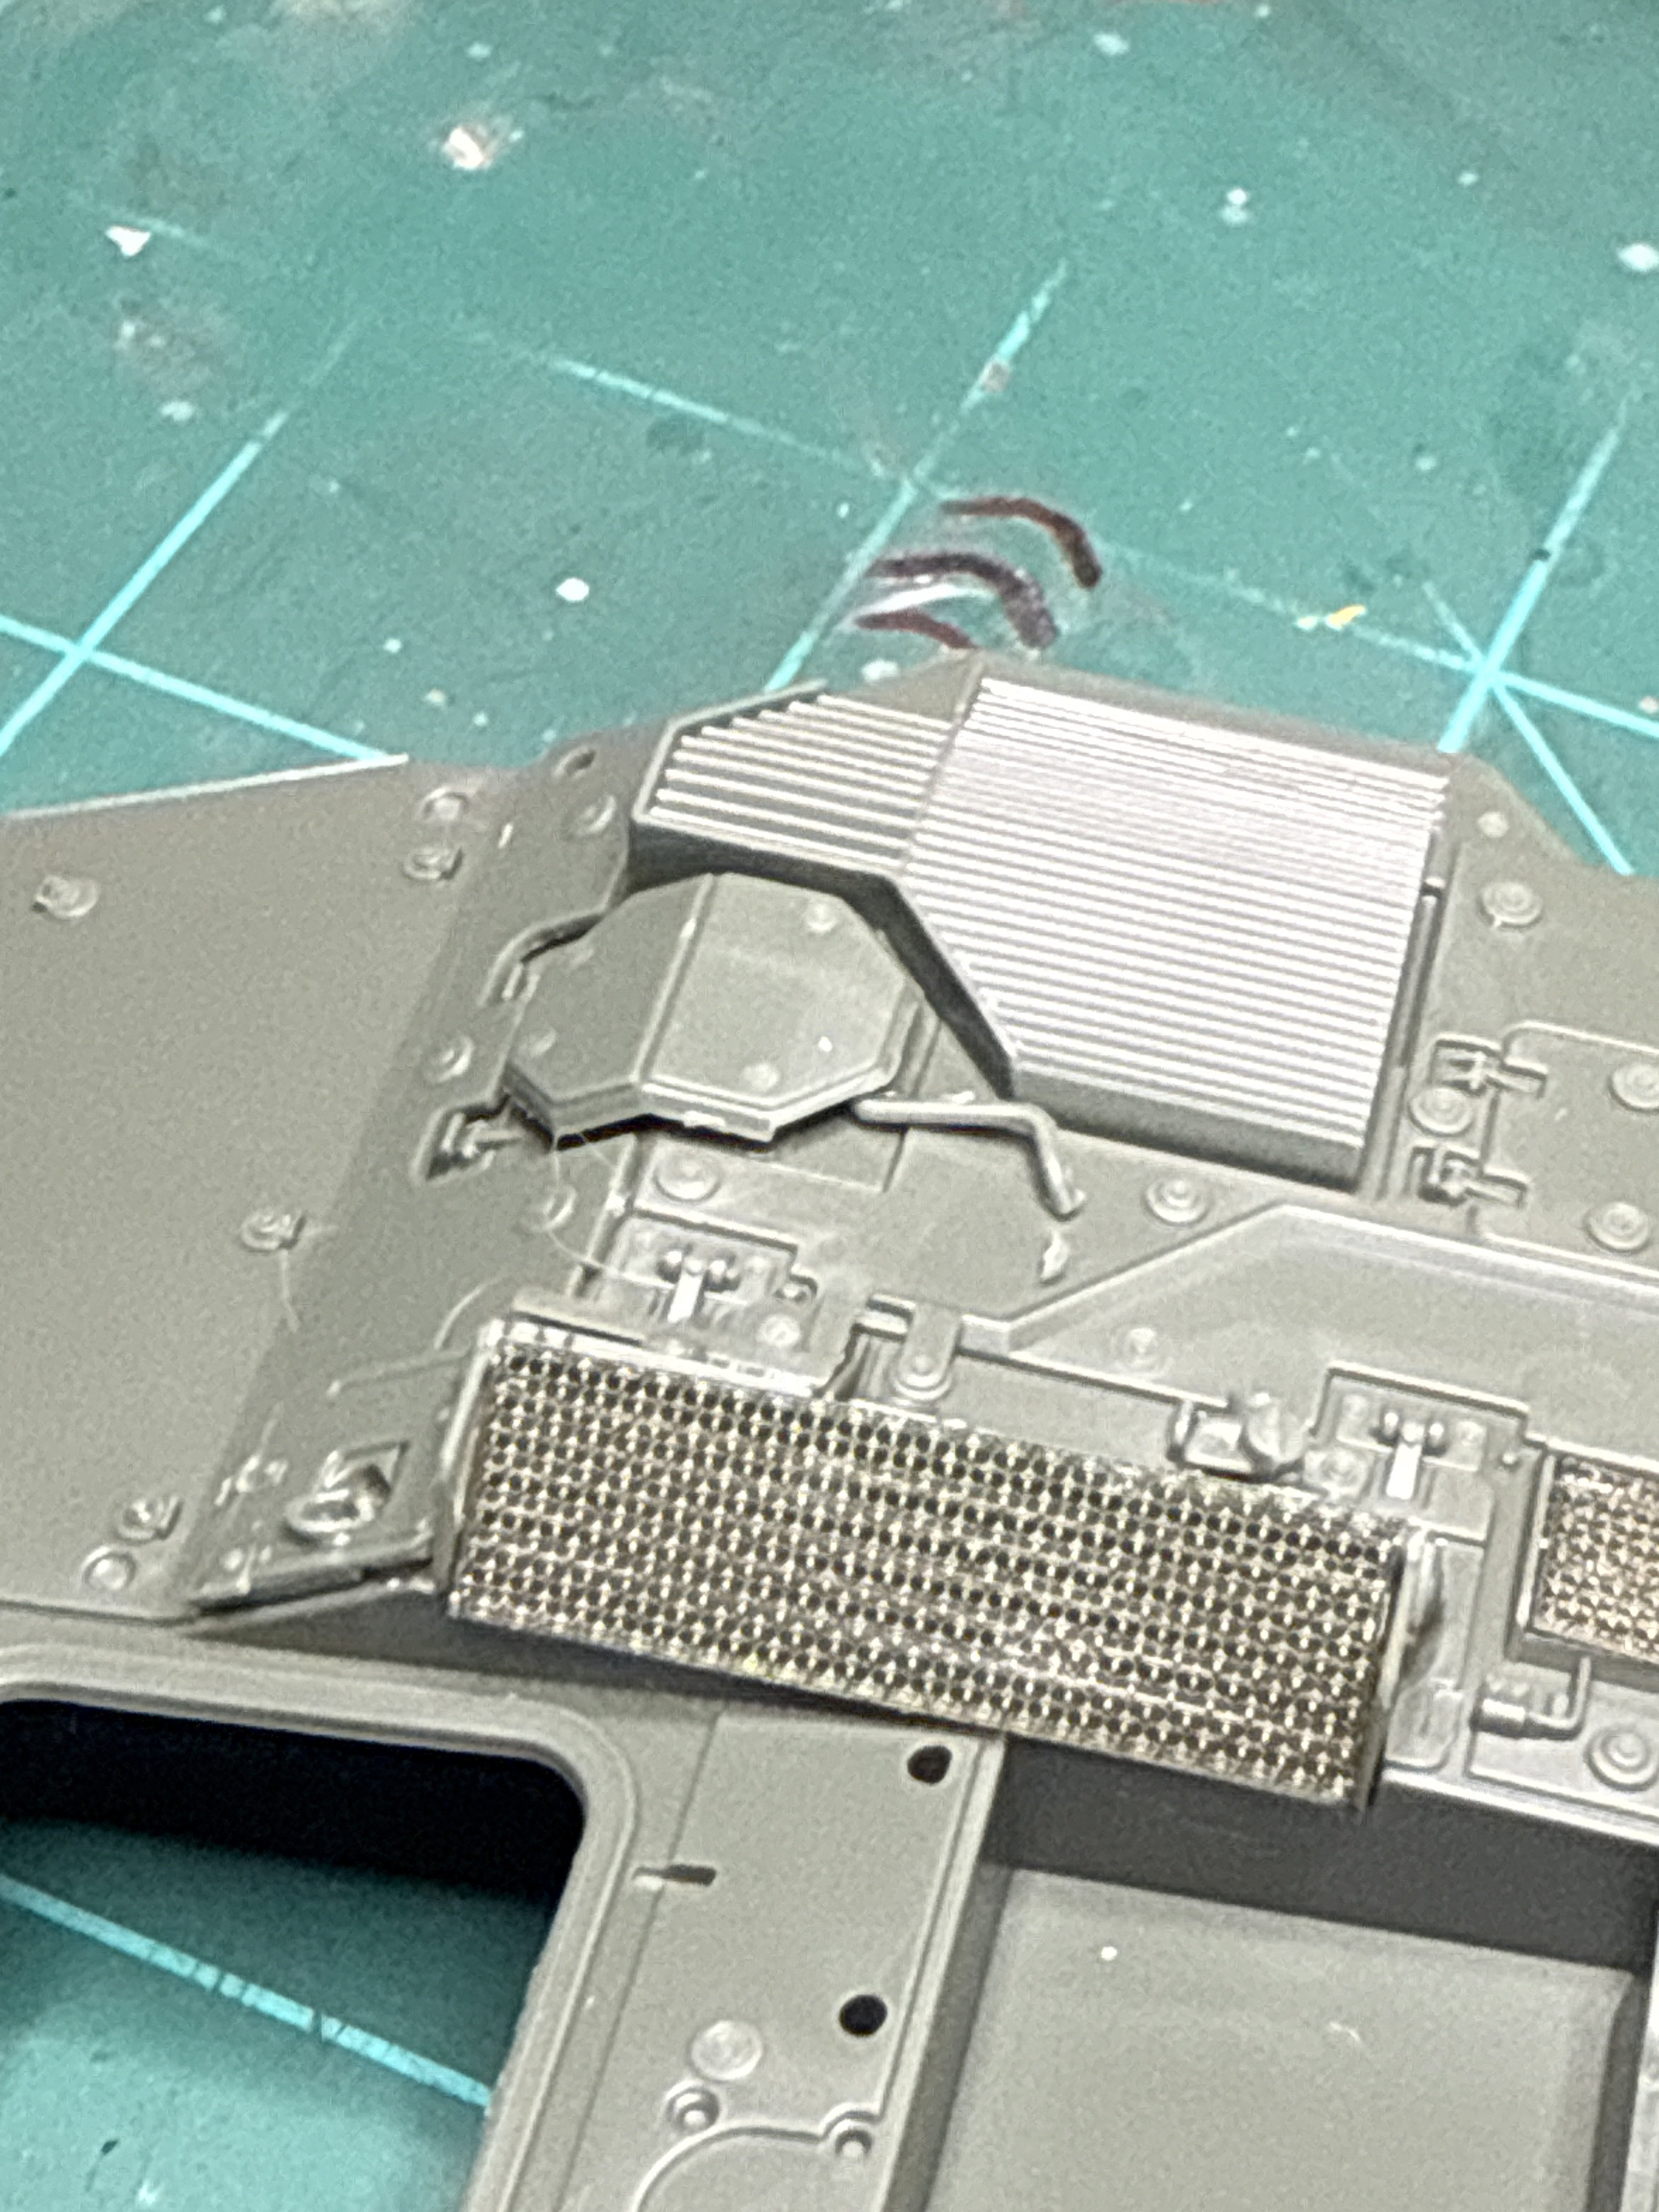
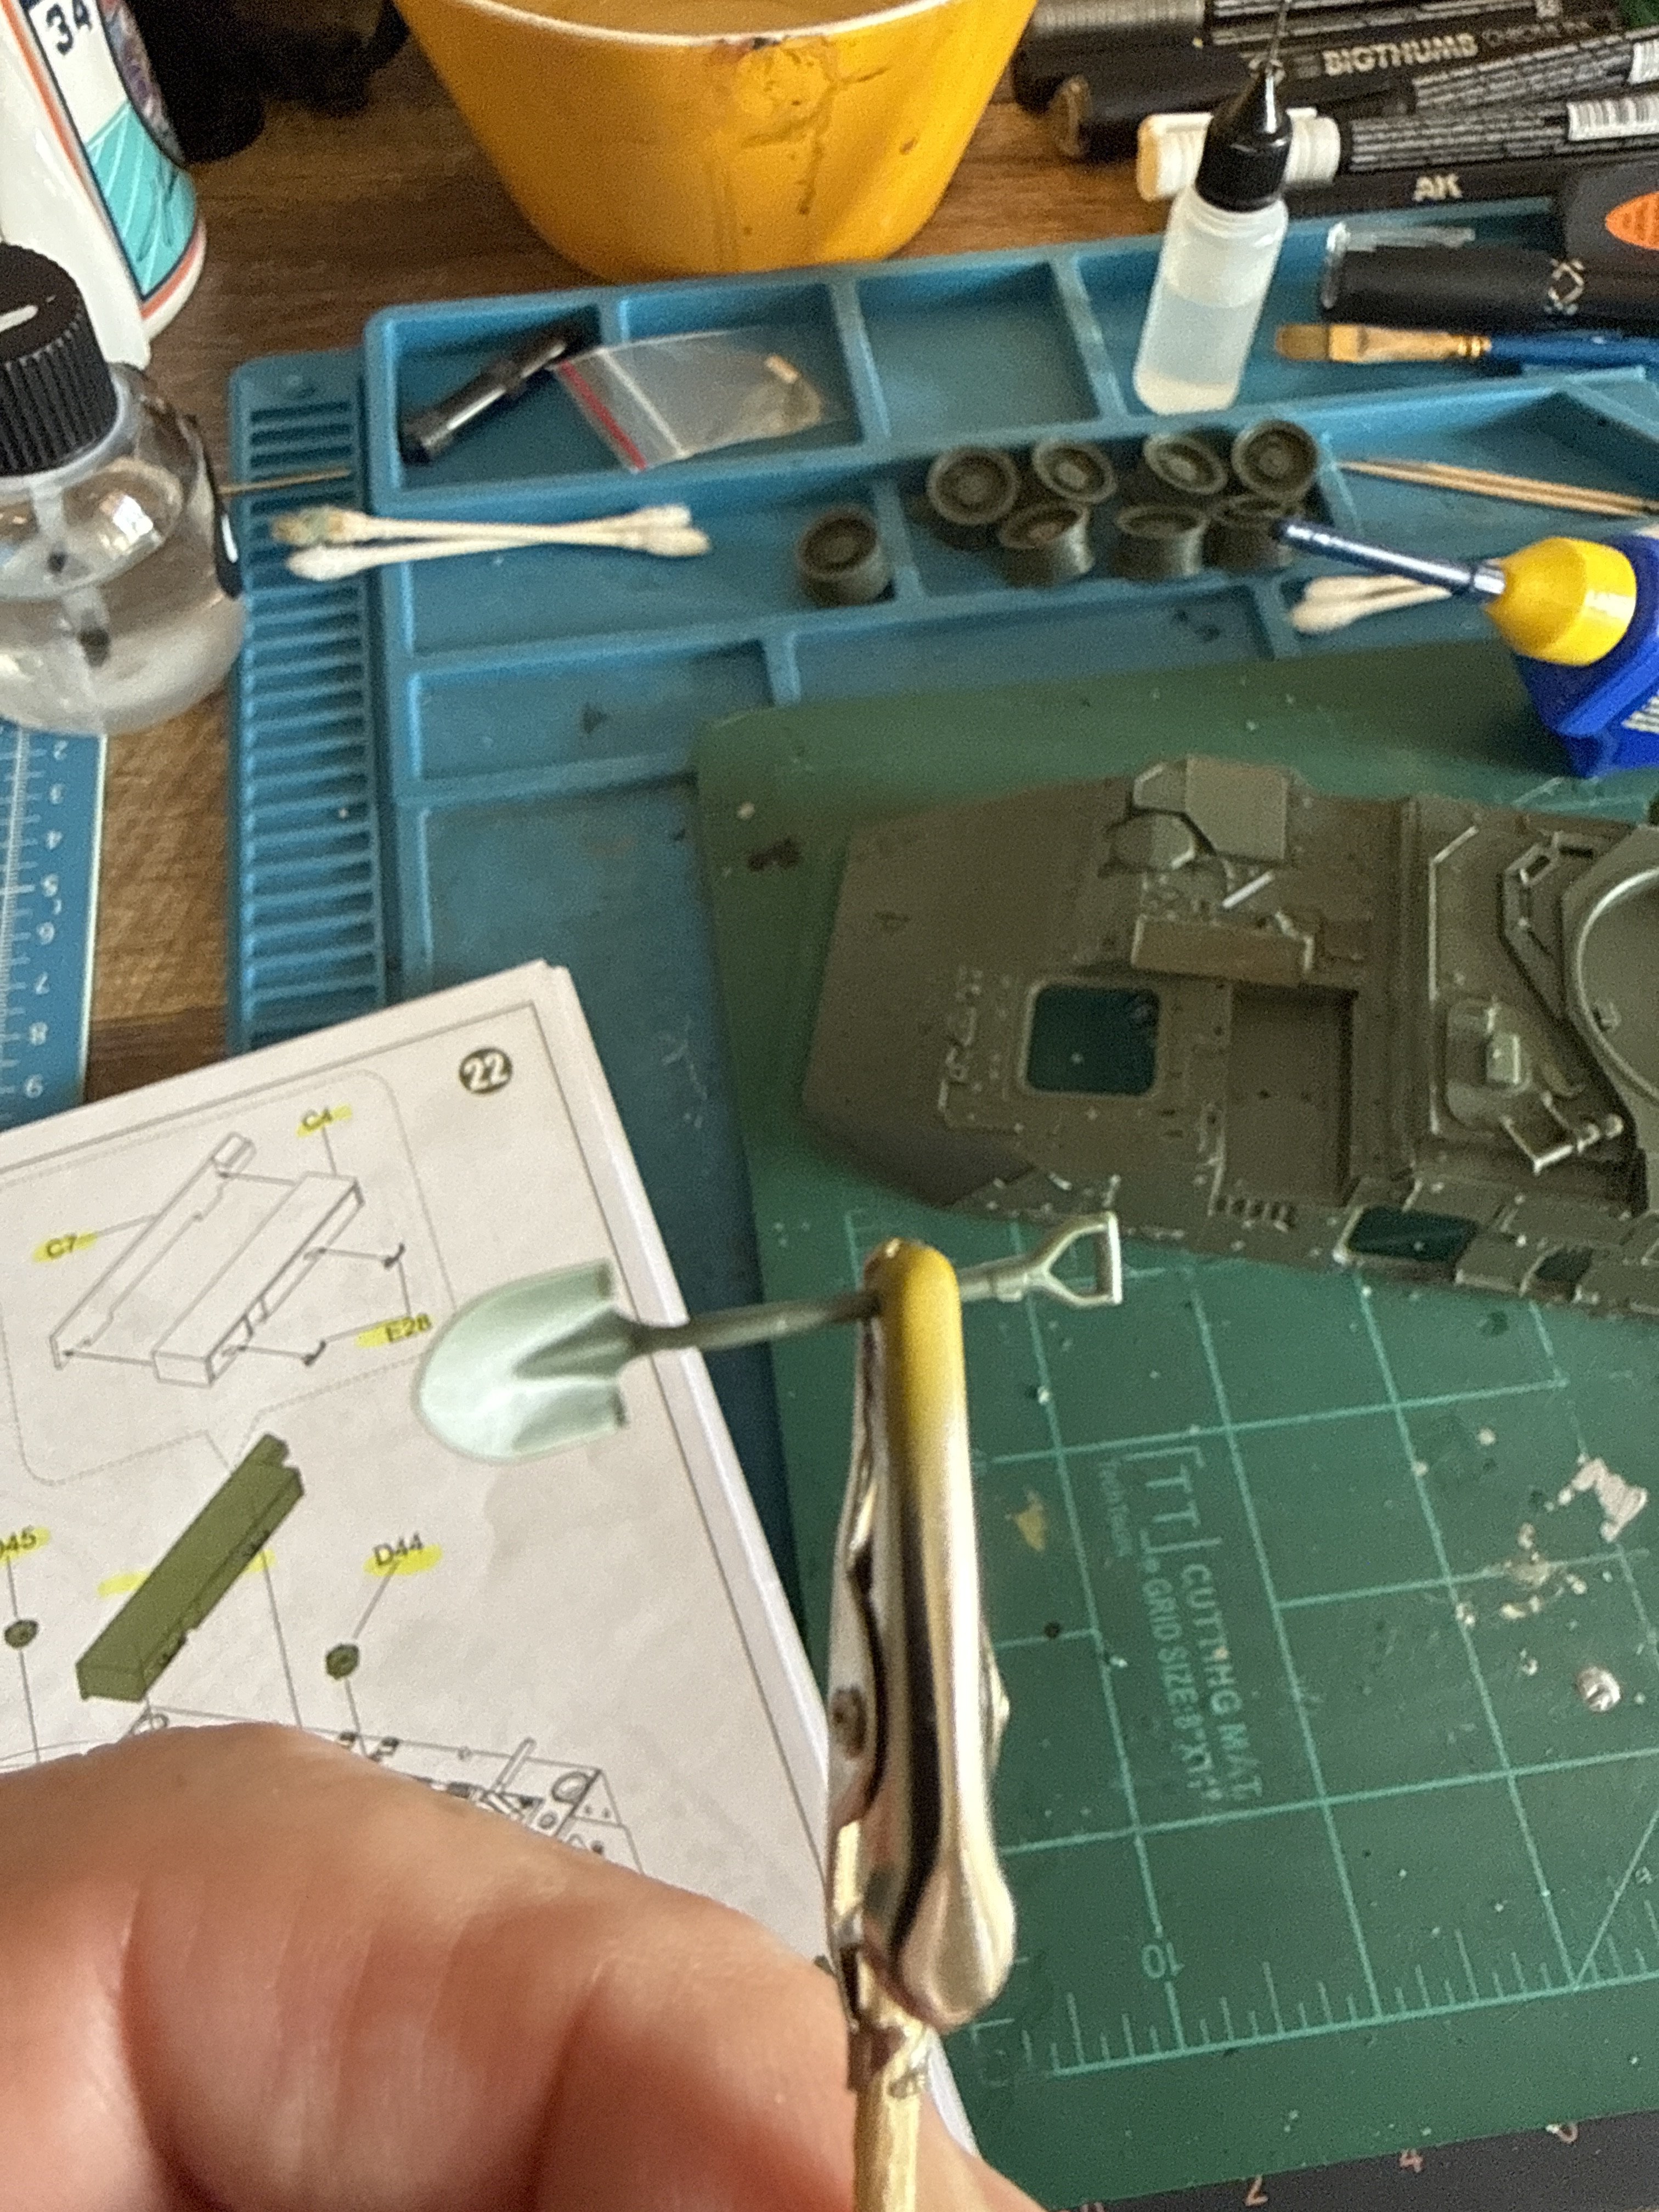
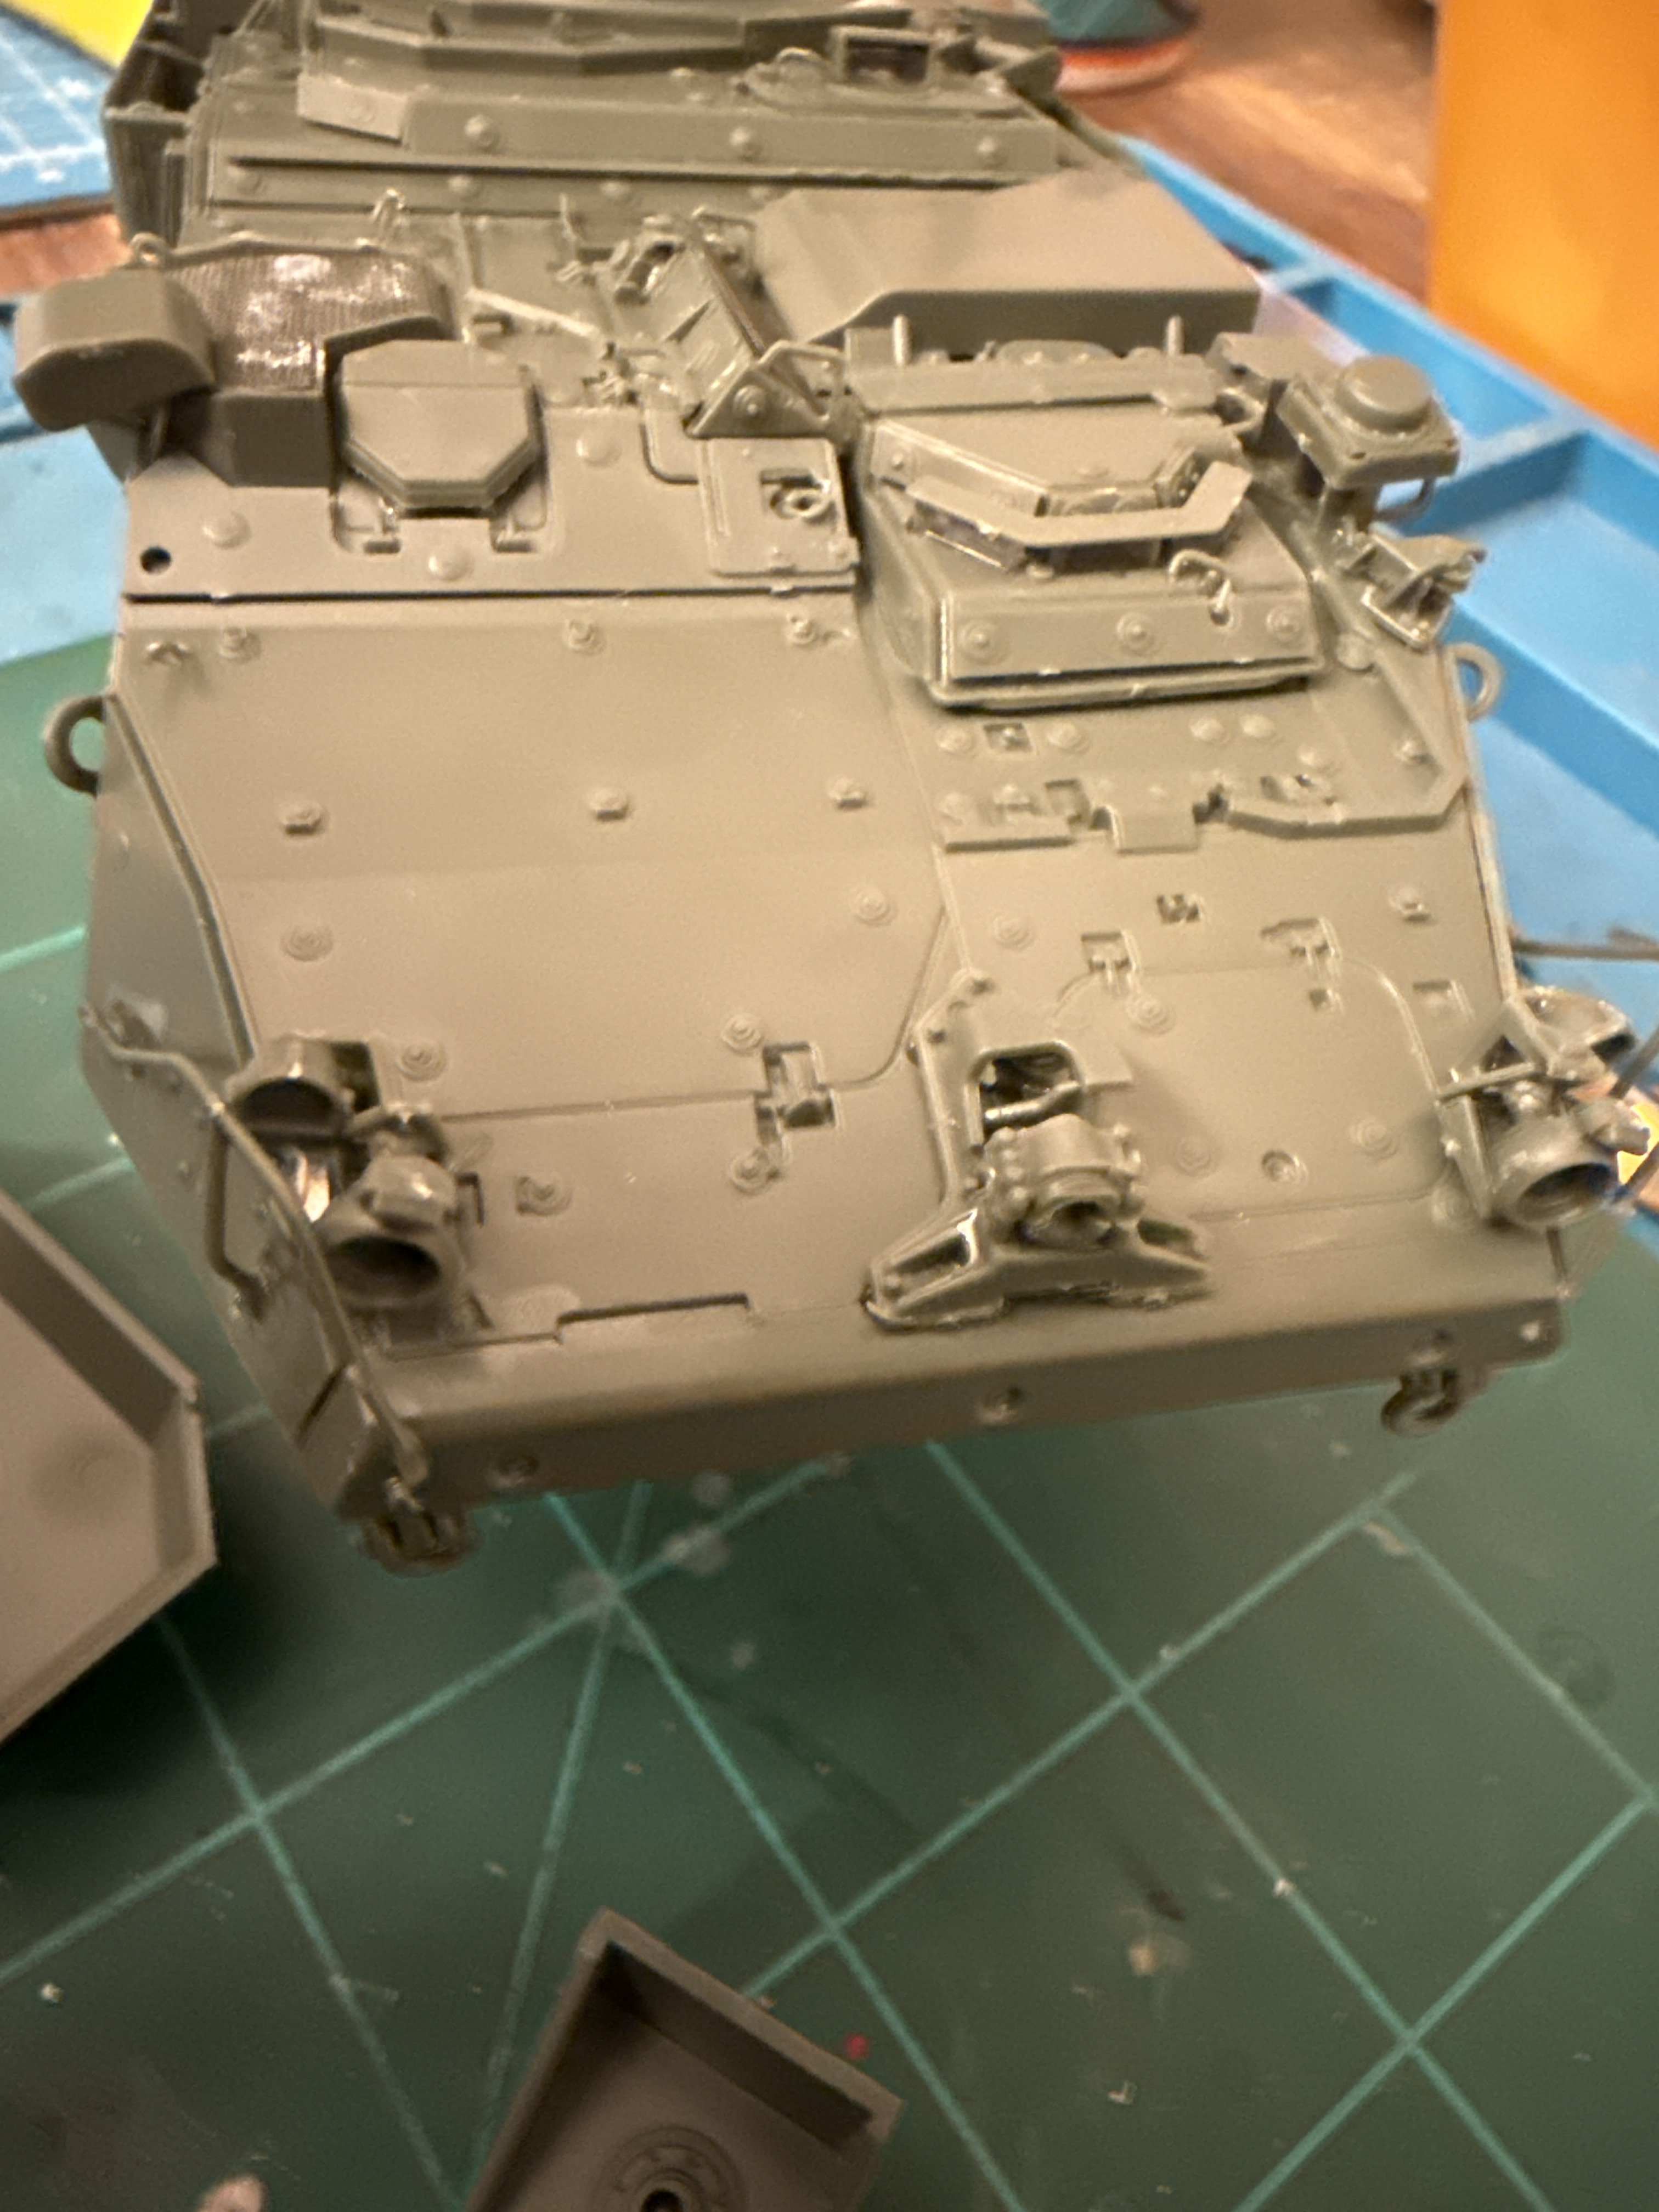
Not much further but this is all I had time for. Front lights were a lot of little parts. Too many in my book. It's hard to keep an assembly looking straight and in-line with too many small parts. One thing about this kit is the parts are not engineered that they only have one correct connection, and the directions can be extremely vague. This becomes a problem in this case, with the light assemblies. I don't think the look bad but it still bothers me- it feels sloppy.
Attachments
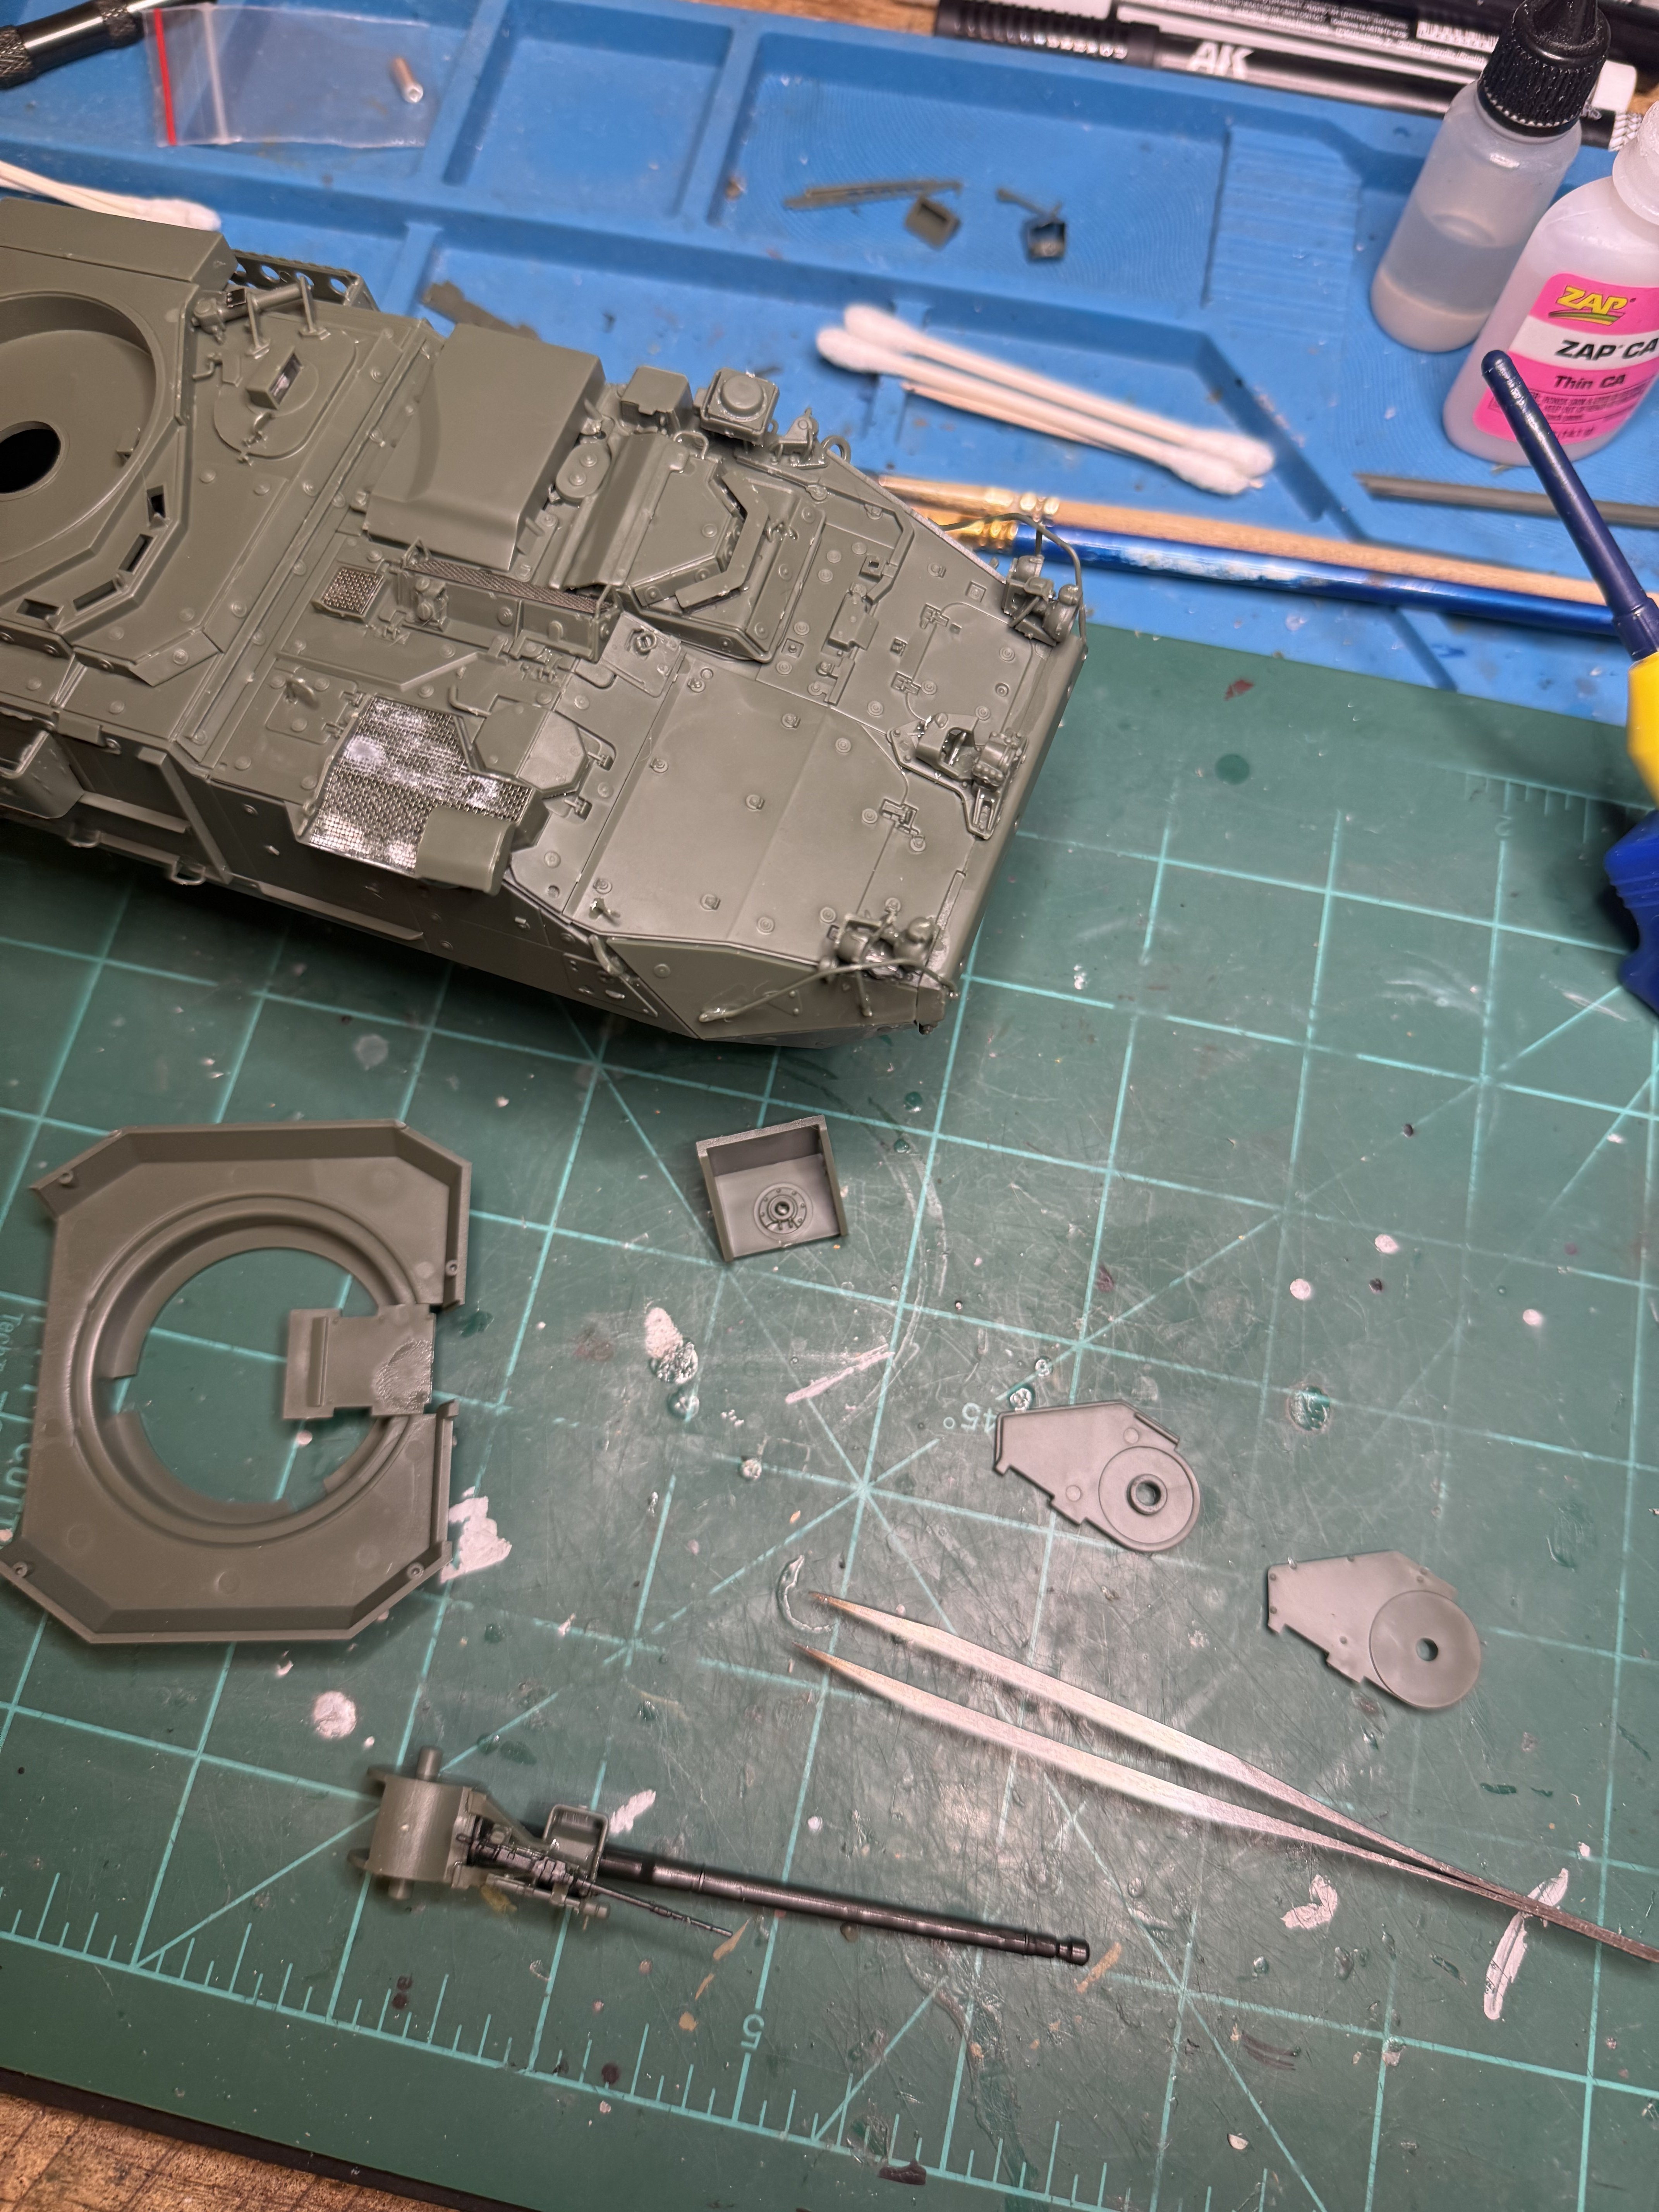
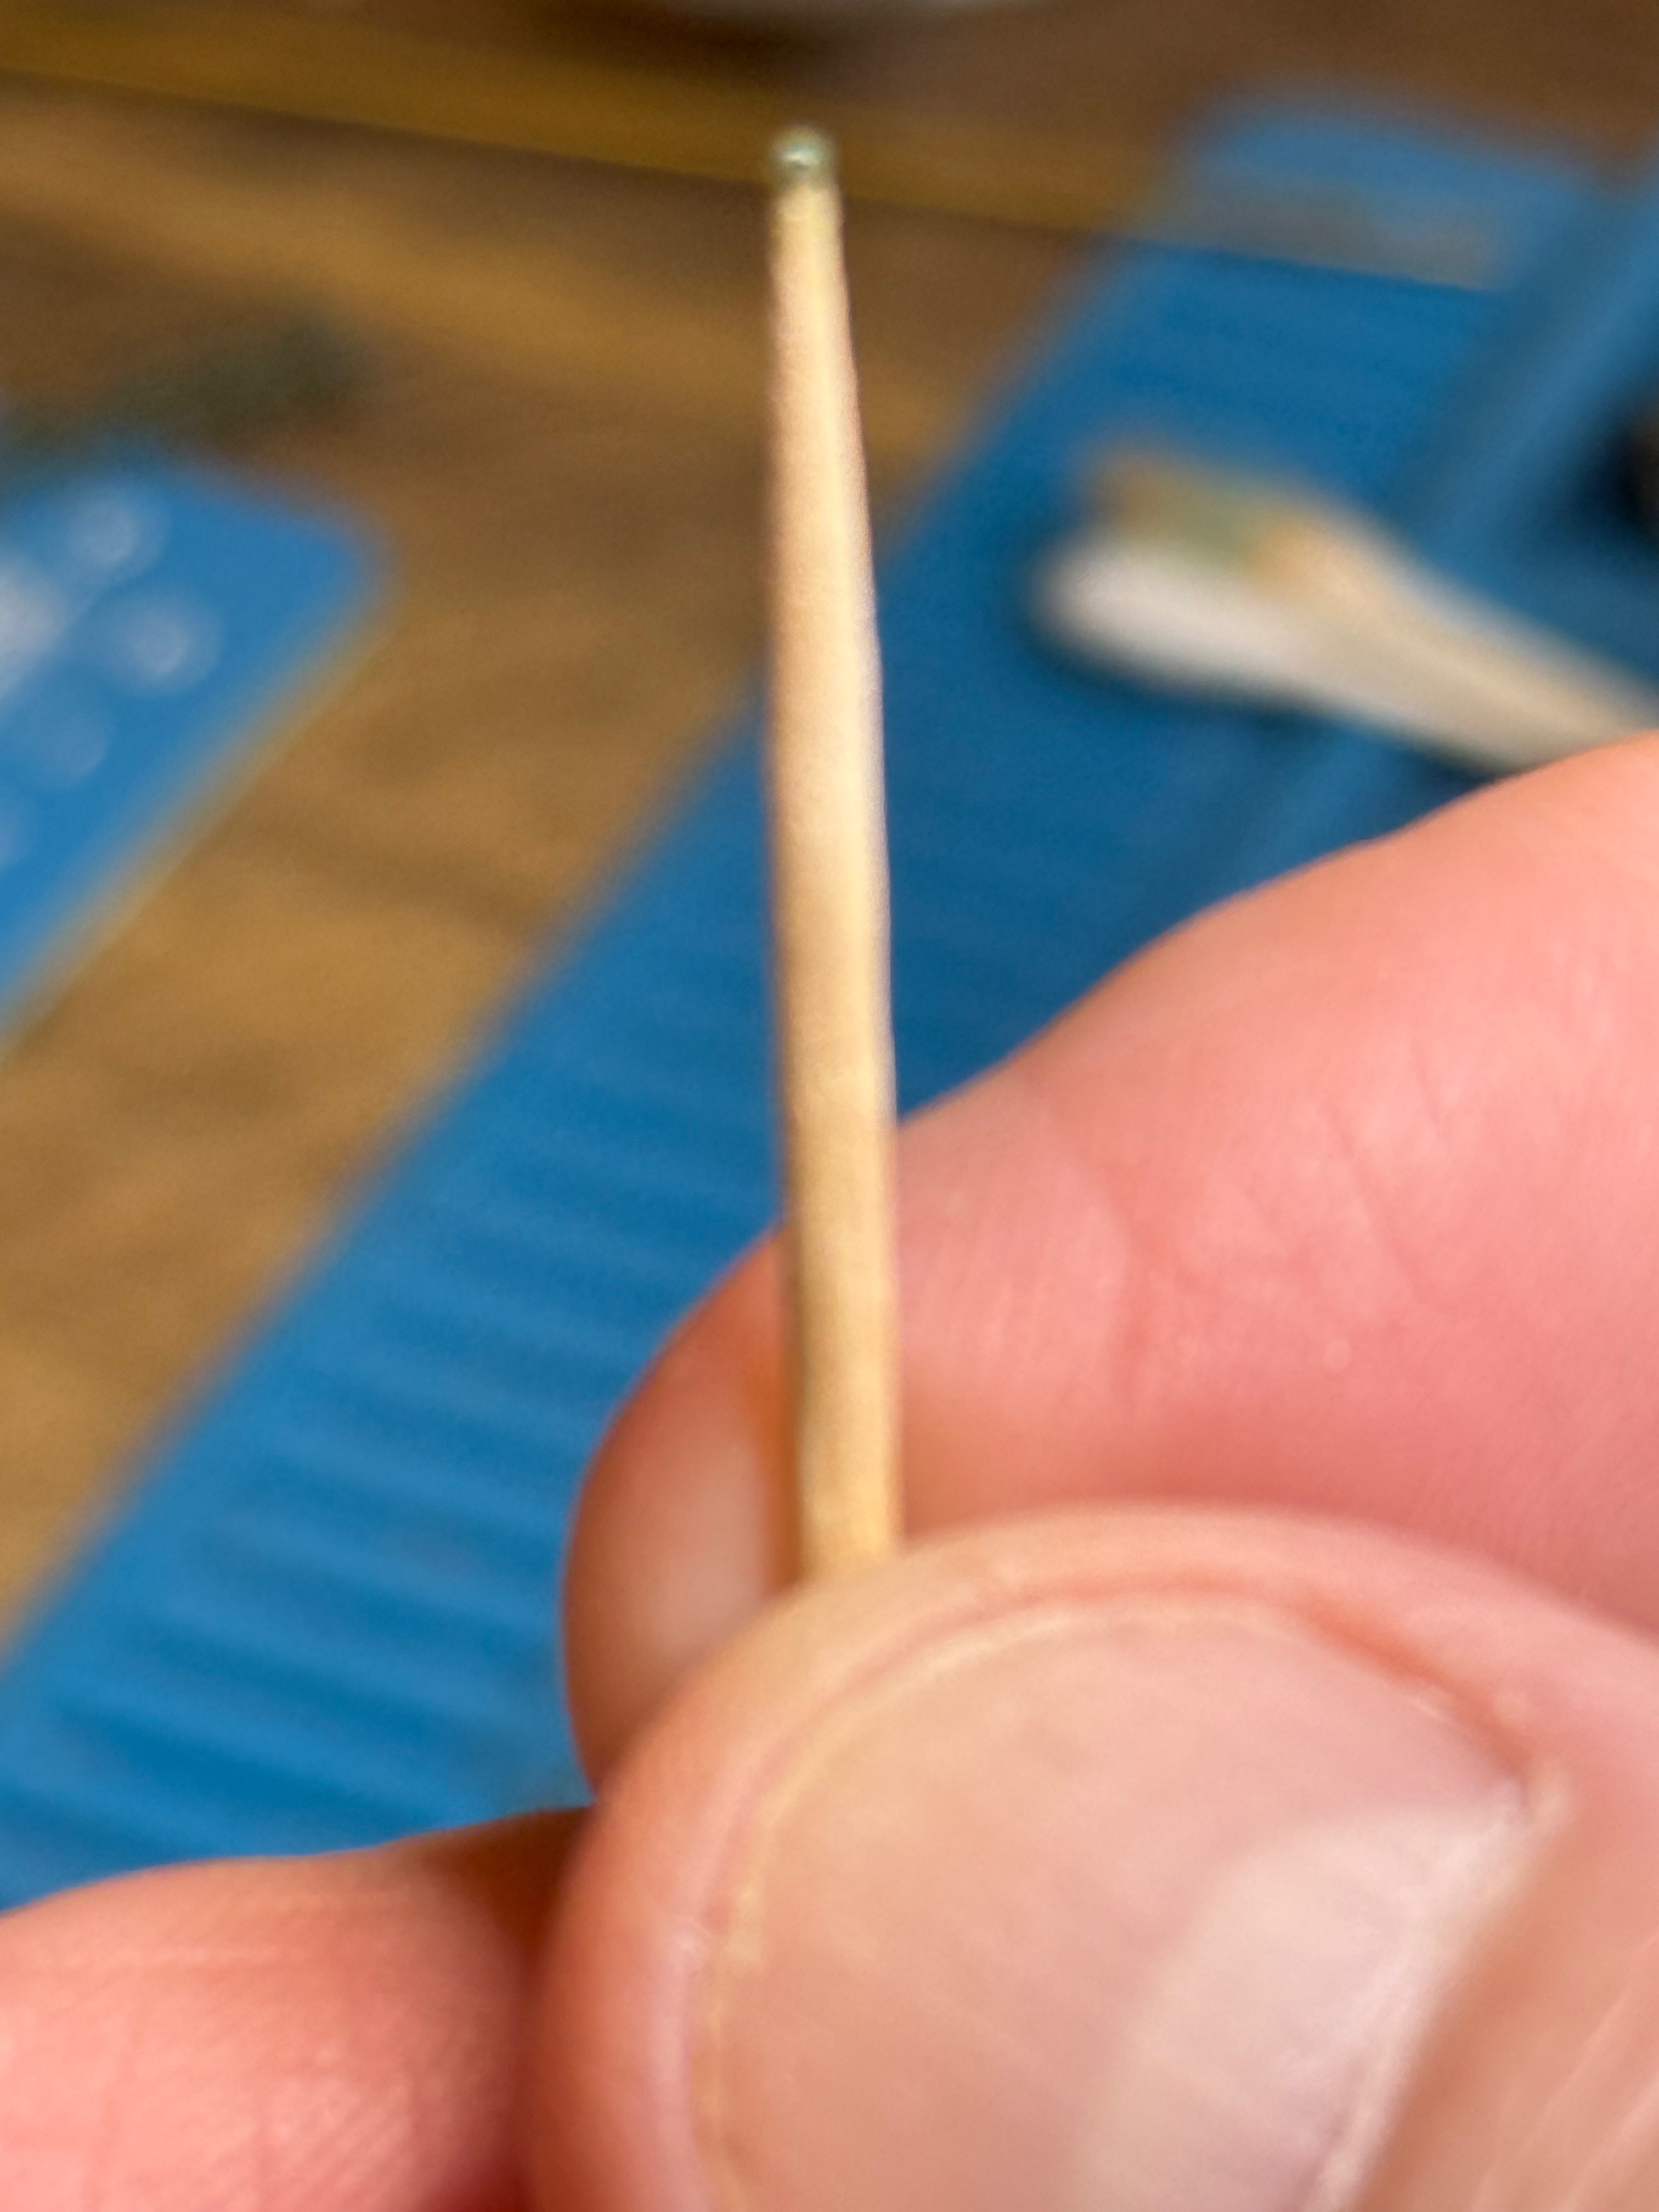
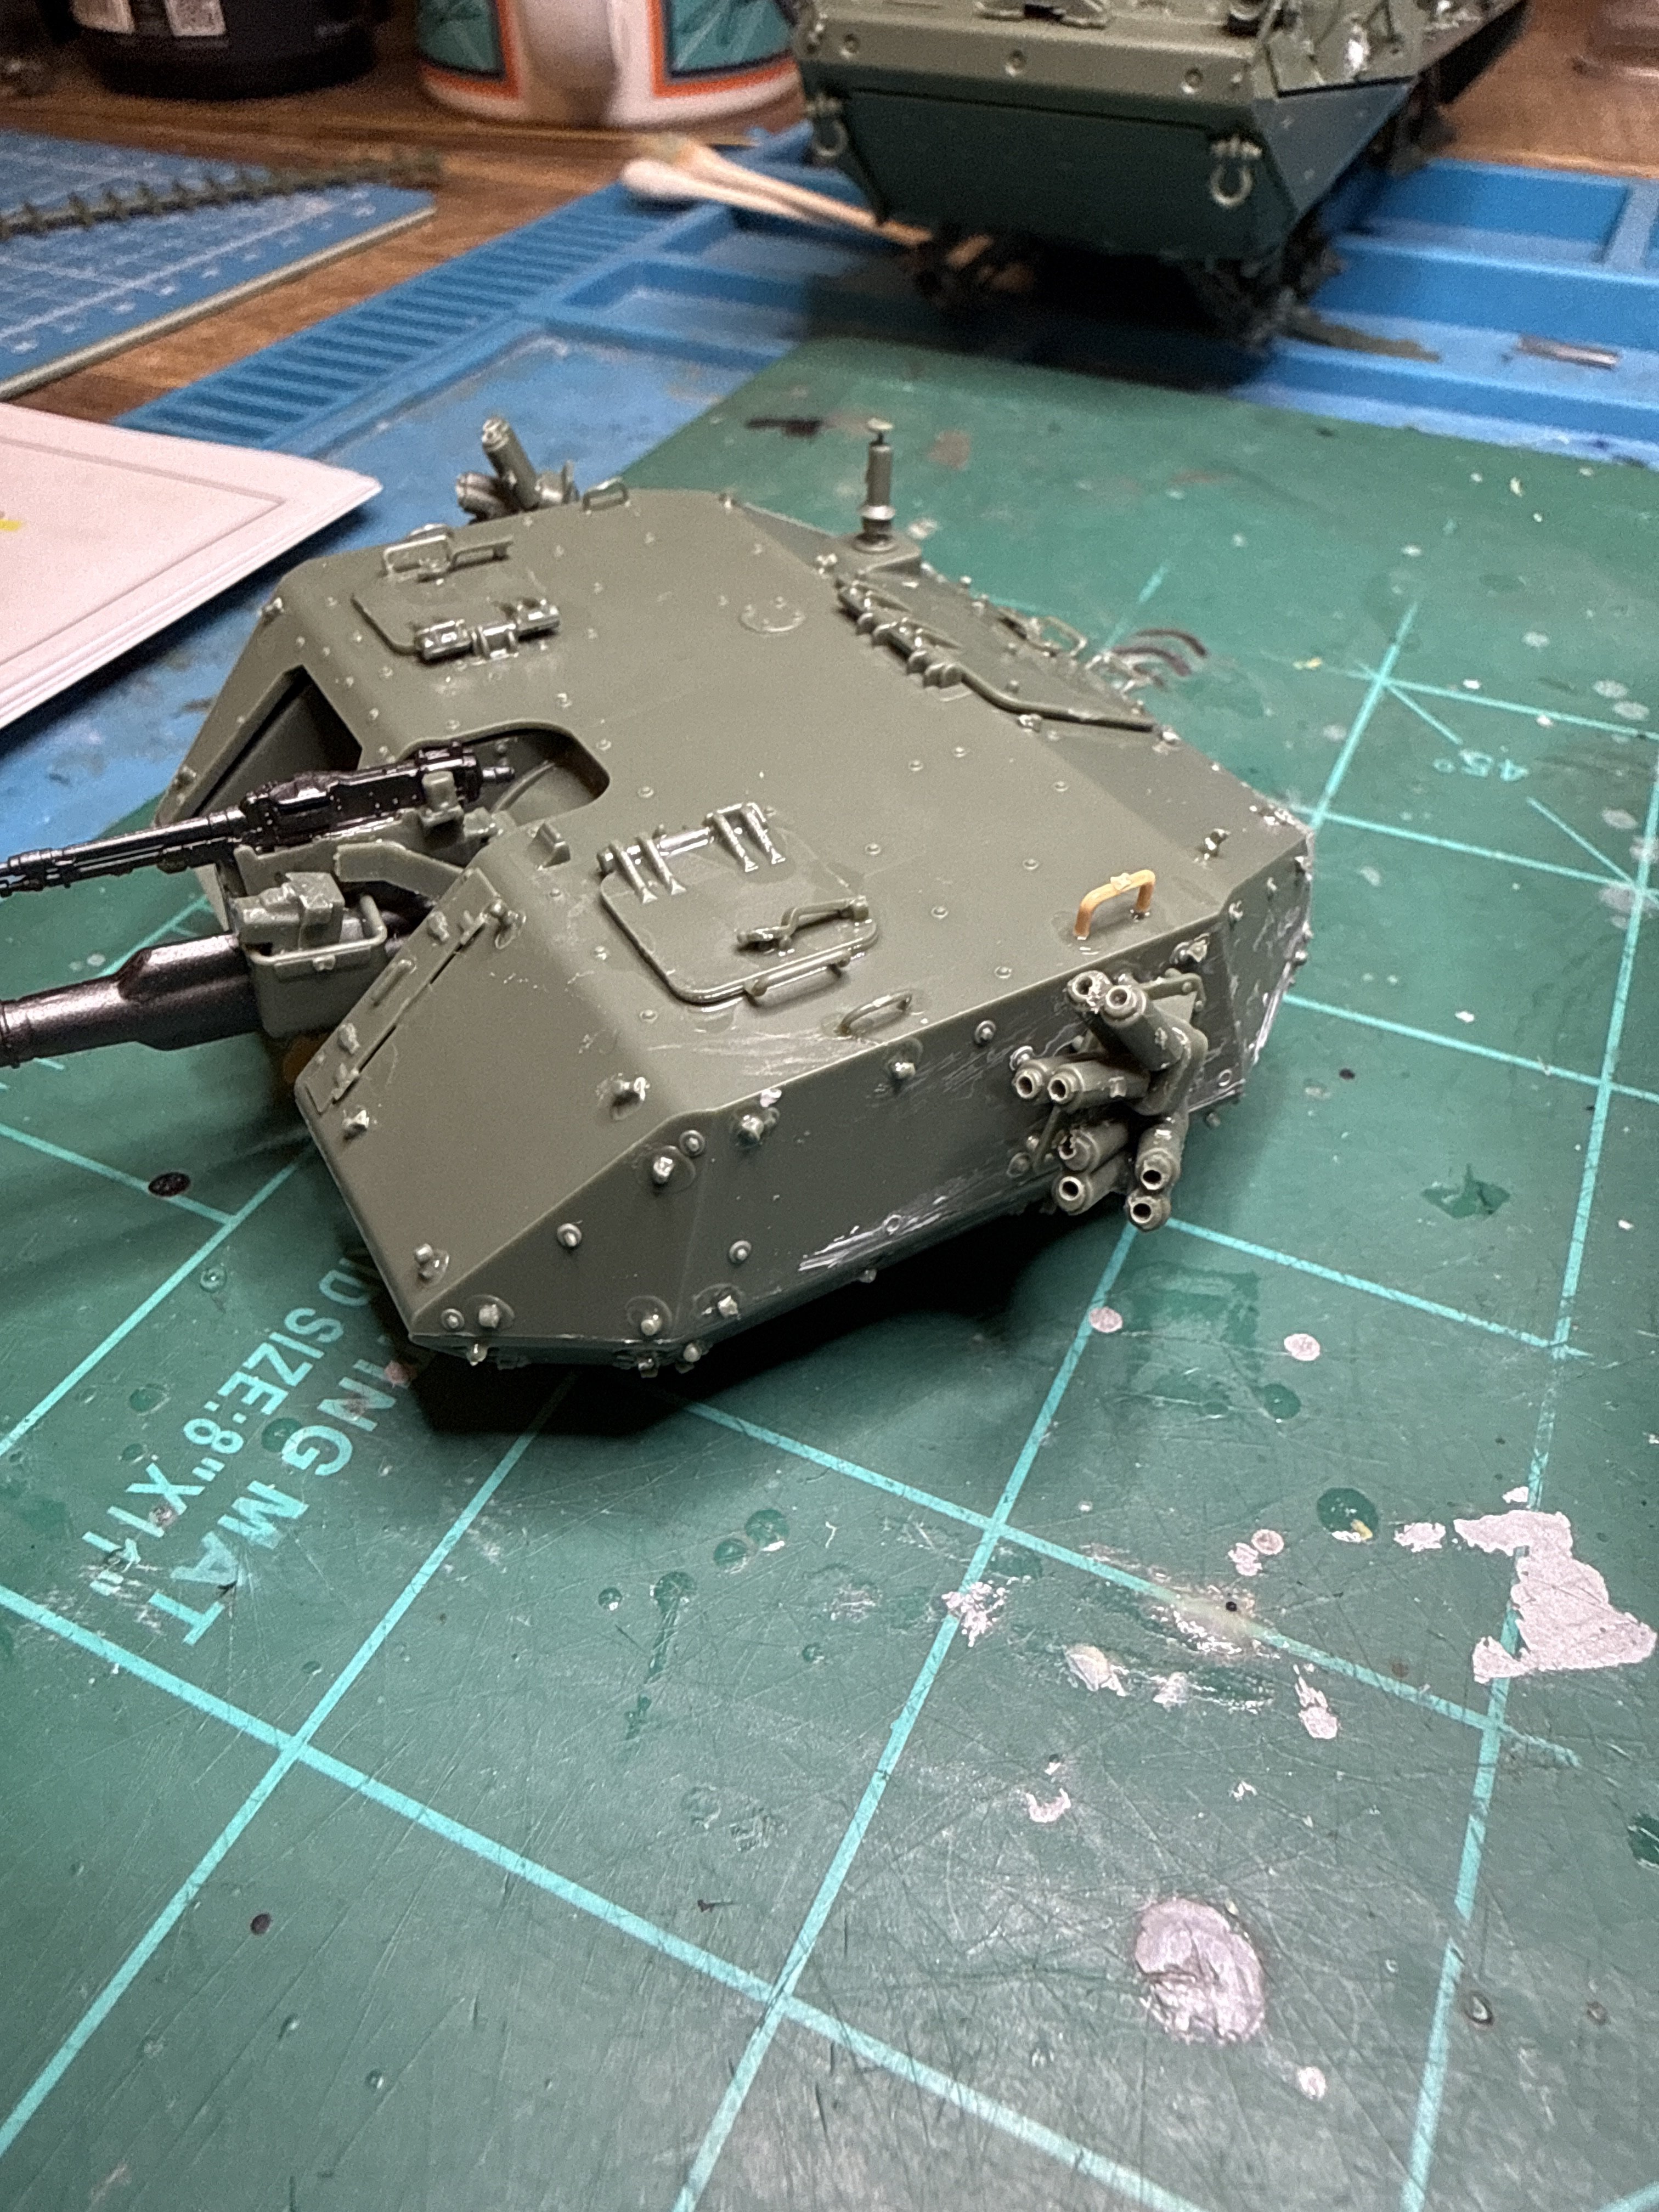
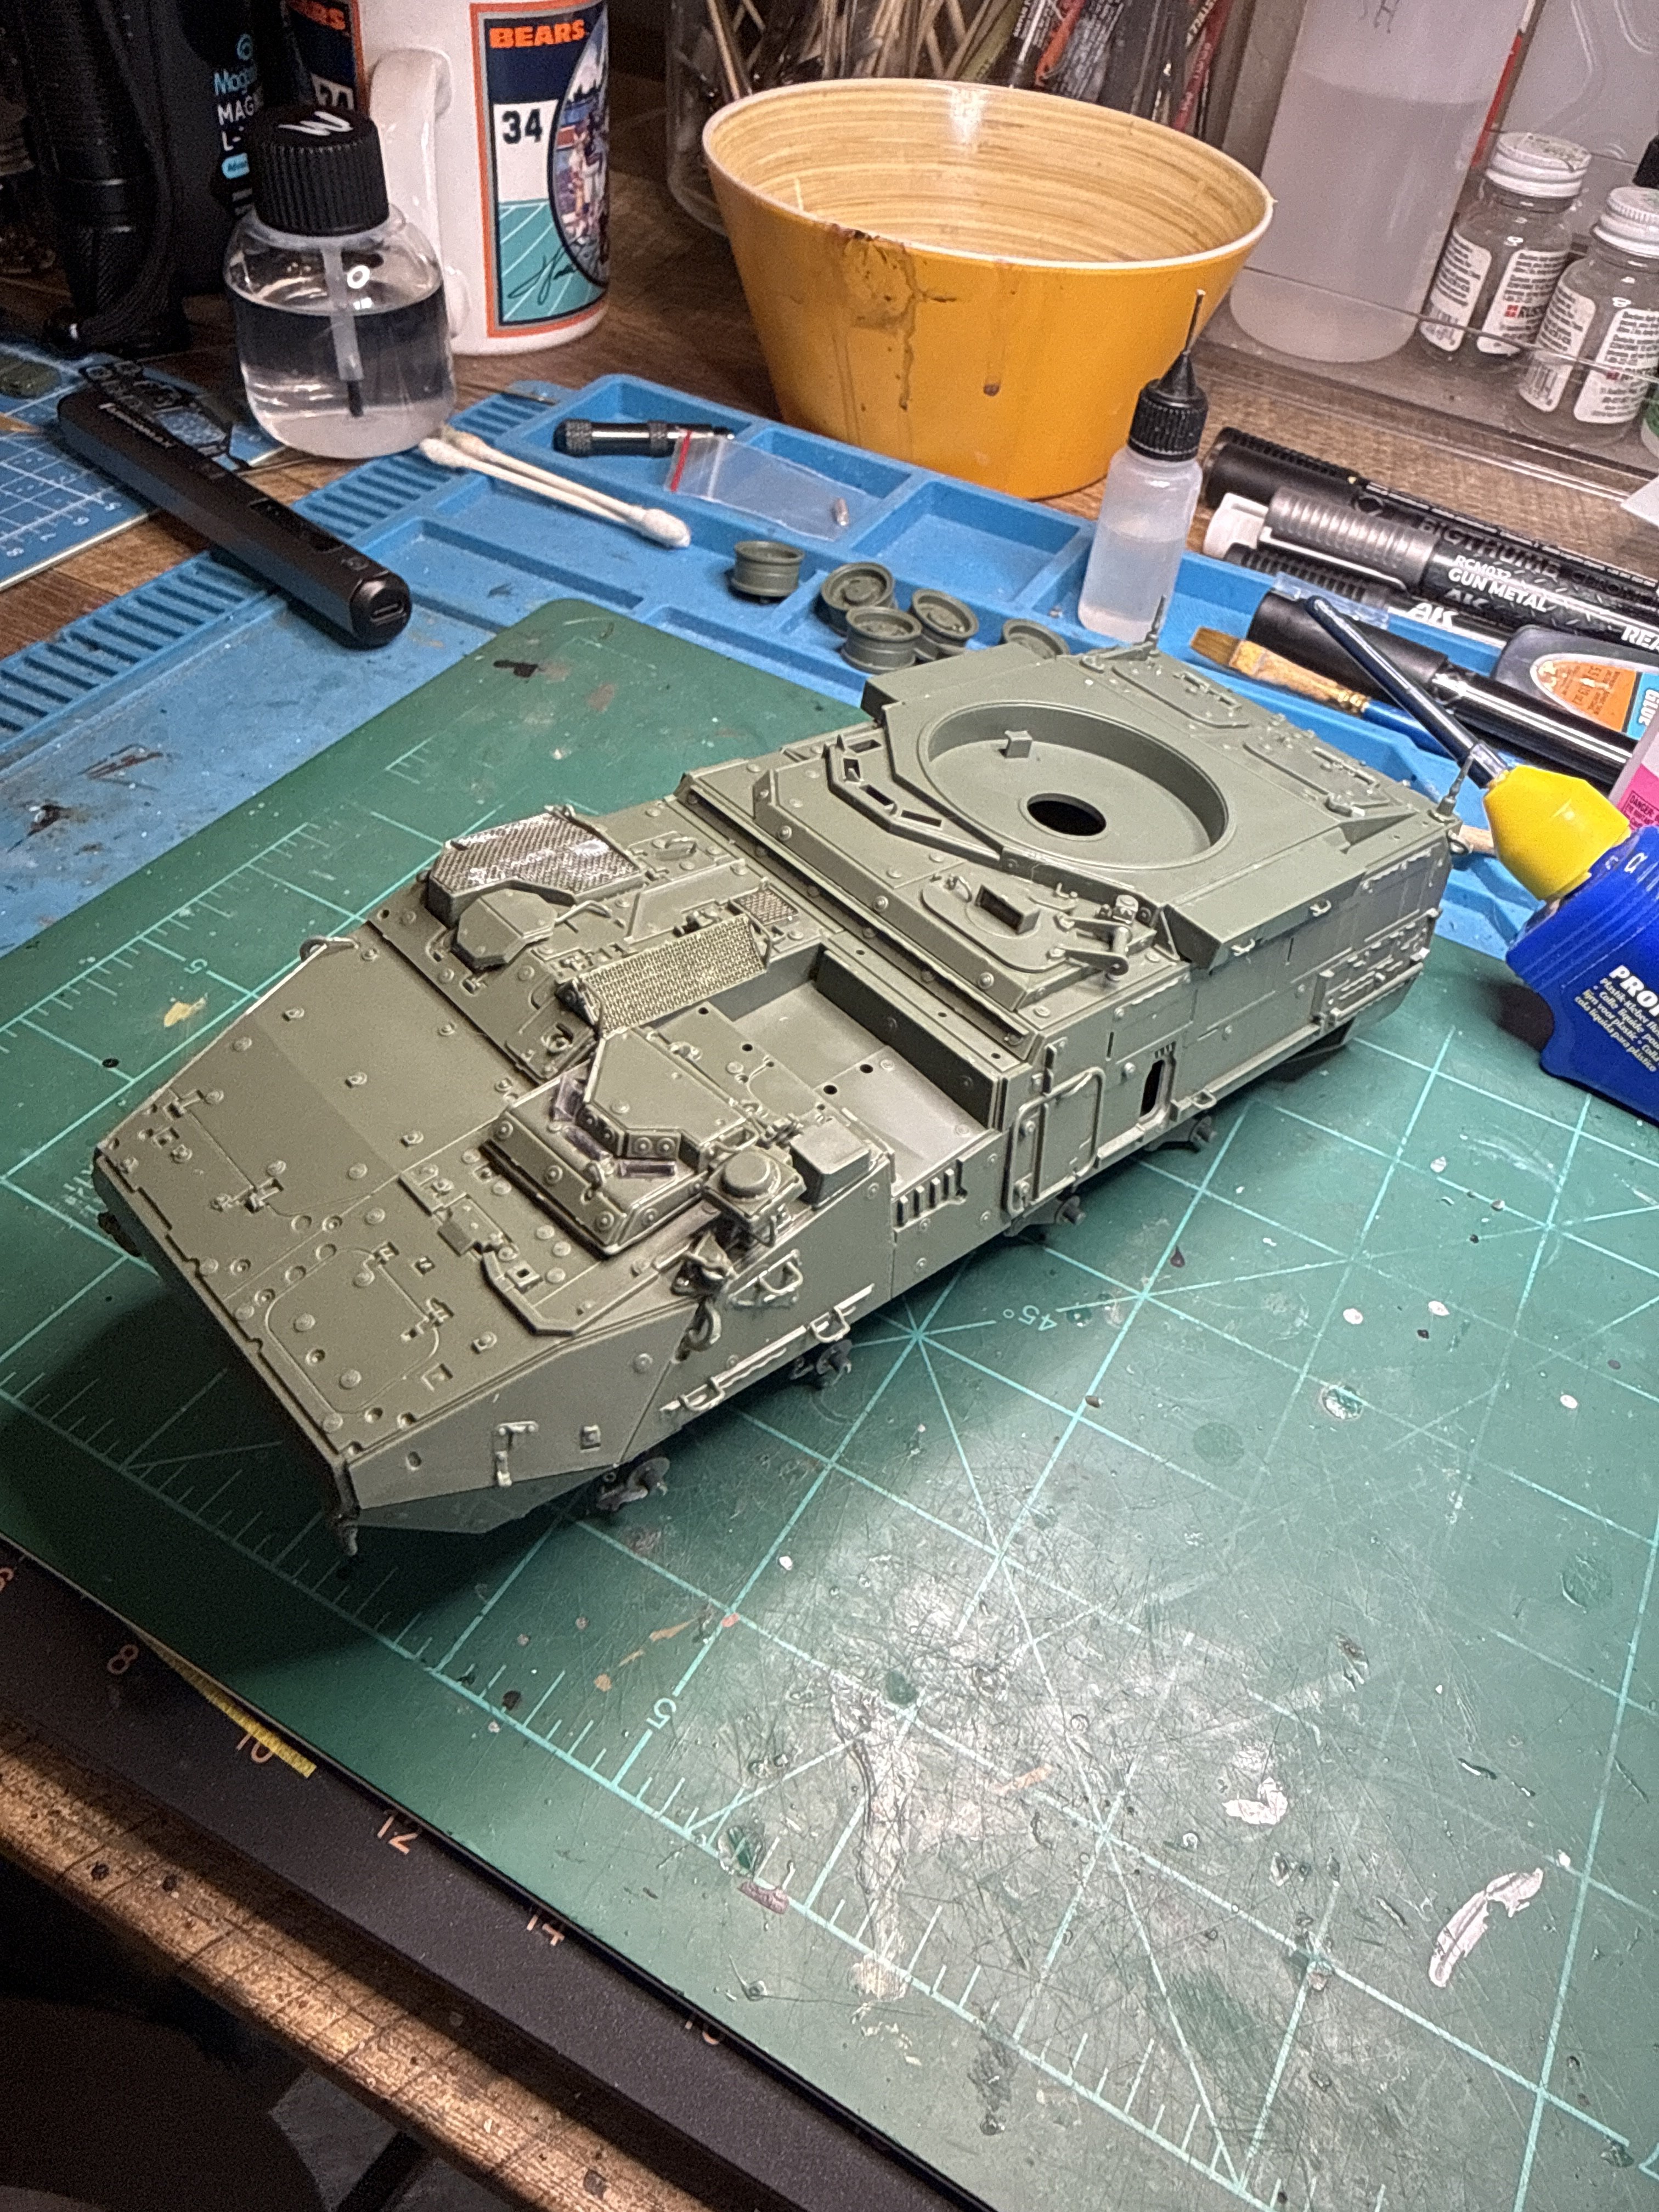
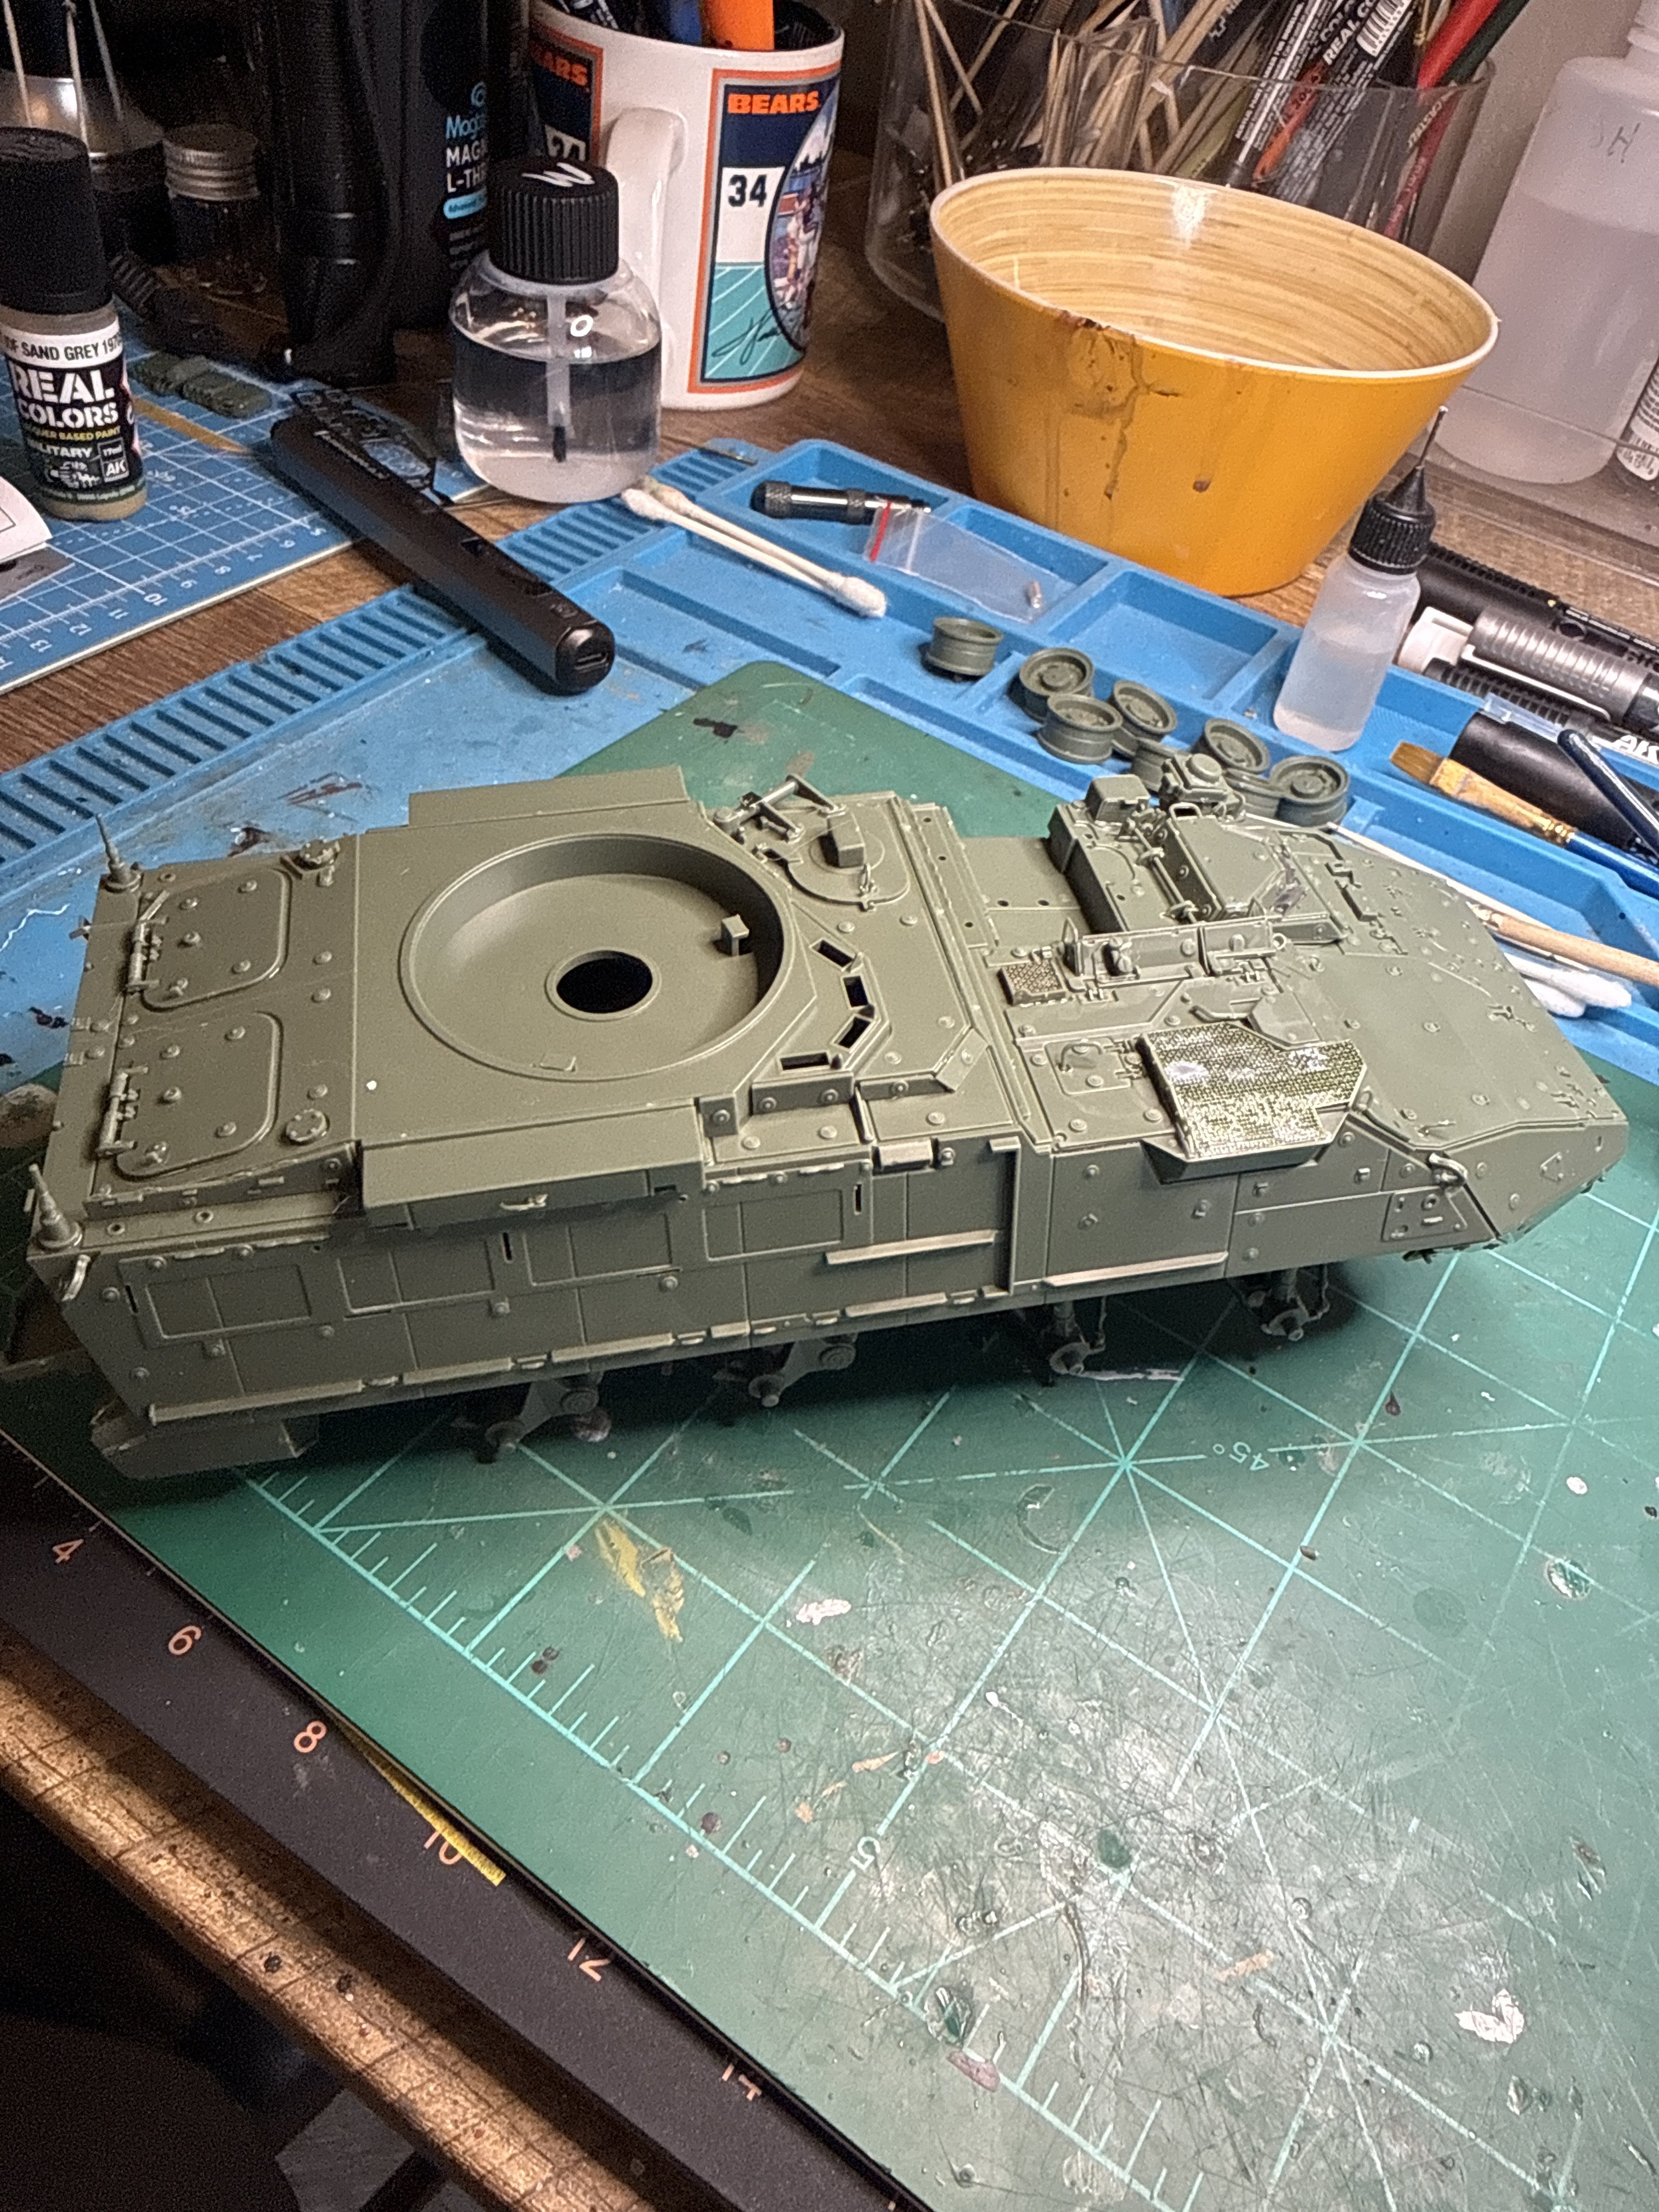
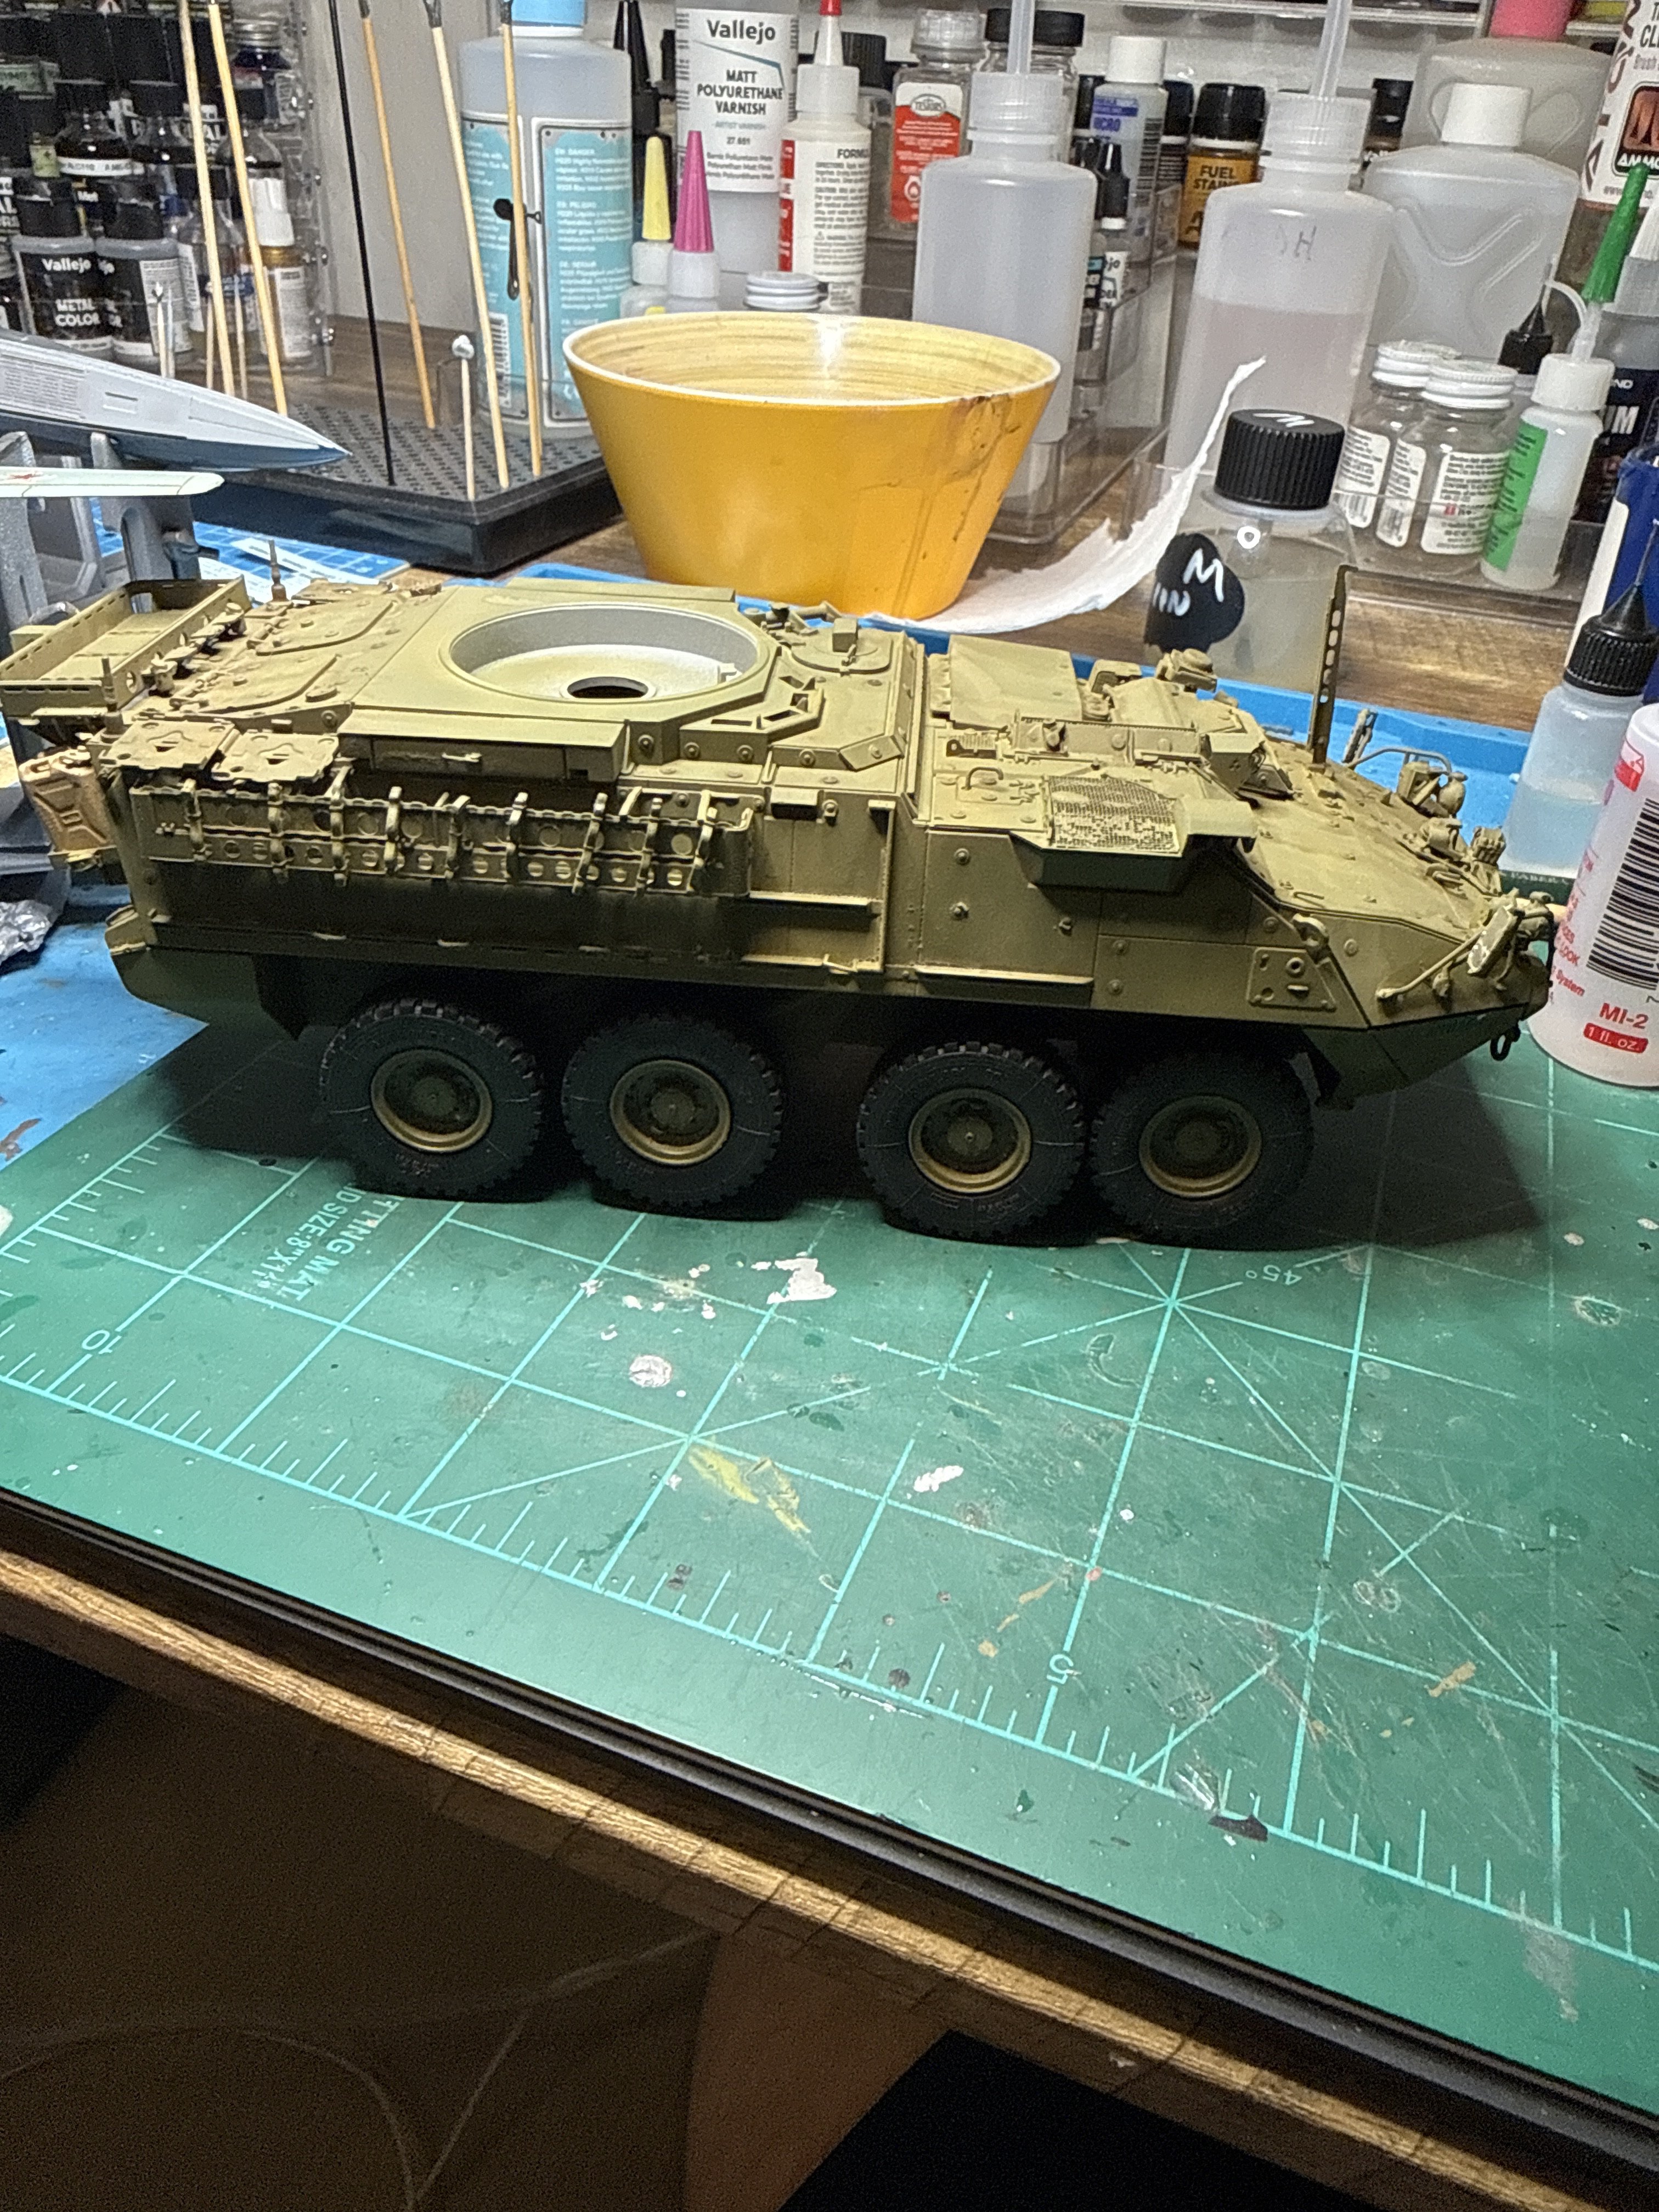
Base coat on today. Working on some details. Messed up royal with missing glass. Forgot to install it before attaching top to base. I'll figure something out. I am handling this like it's a delicate princess because it is. All these detail pieces look great but make it very difficult to handle.
Attachments
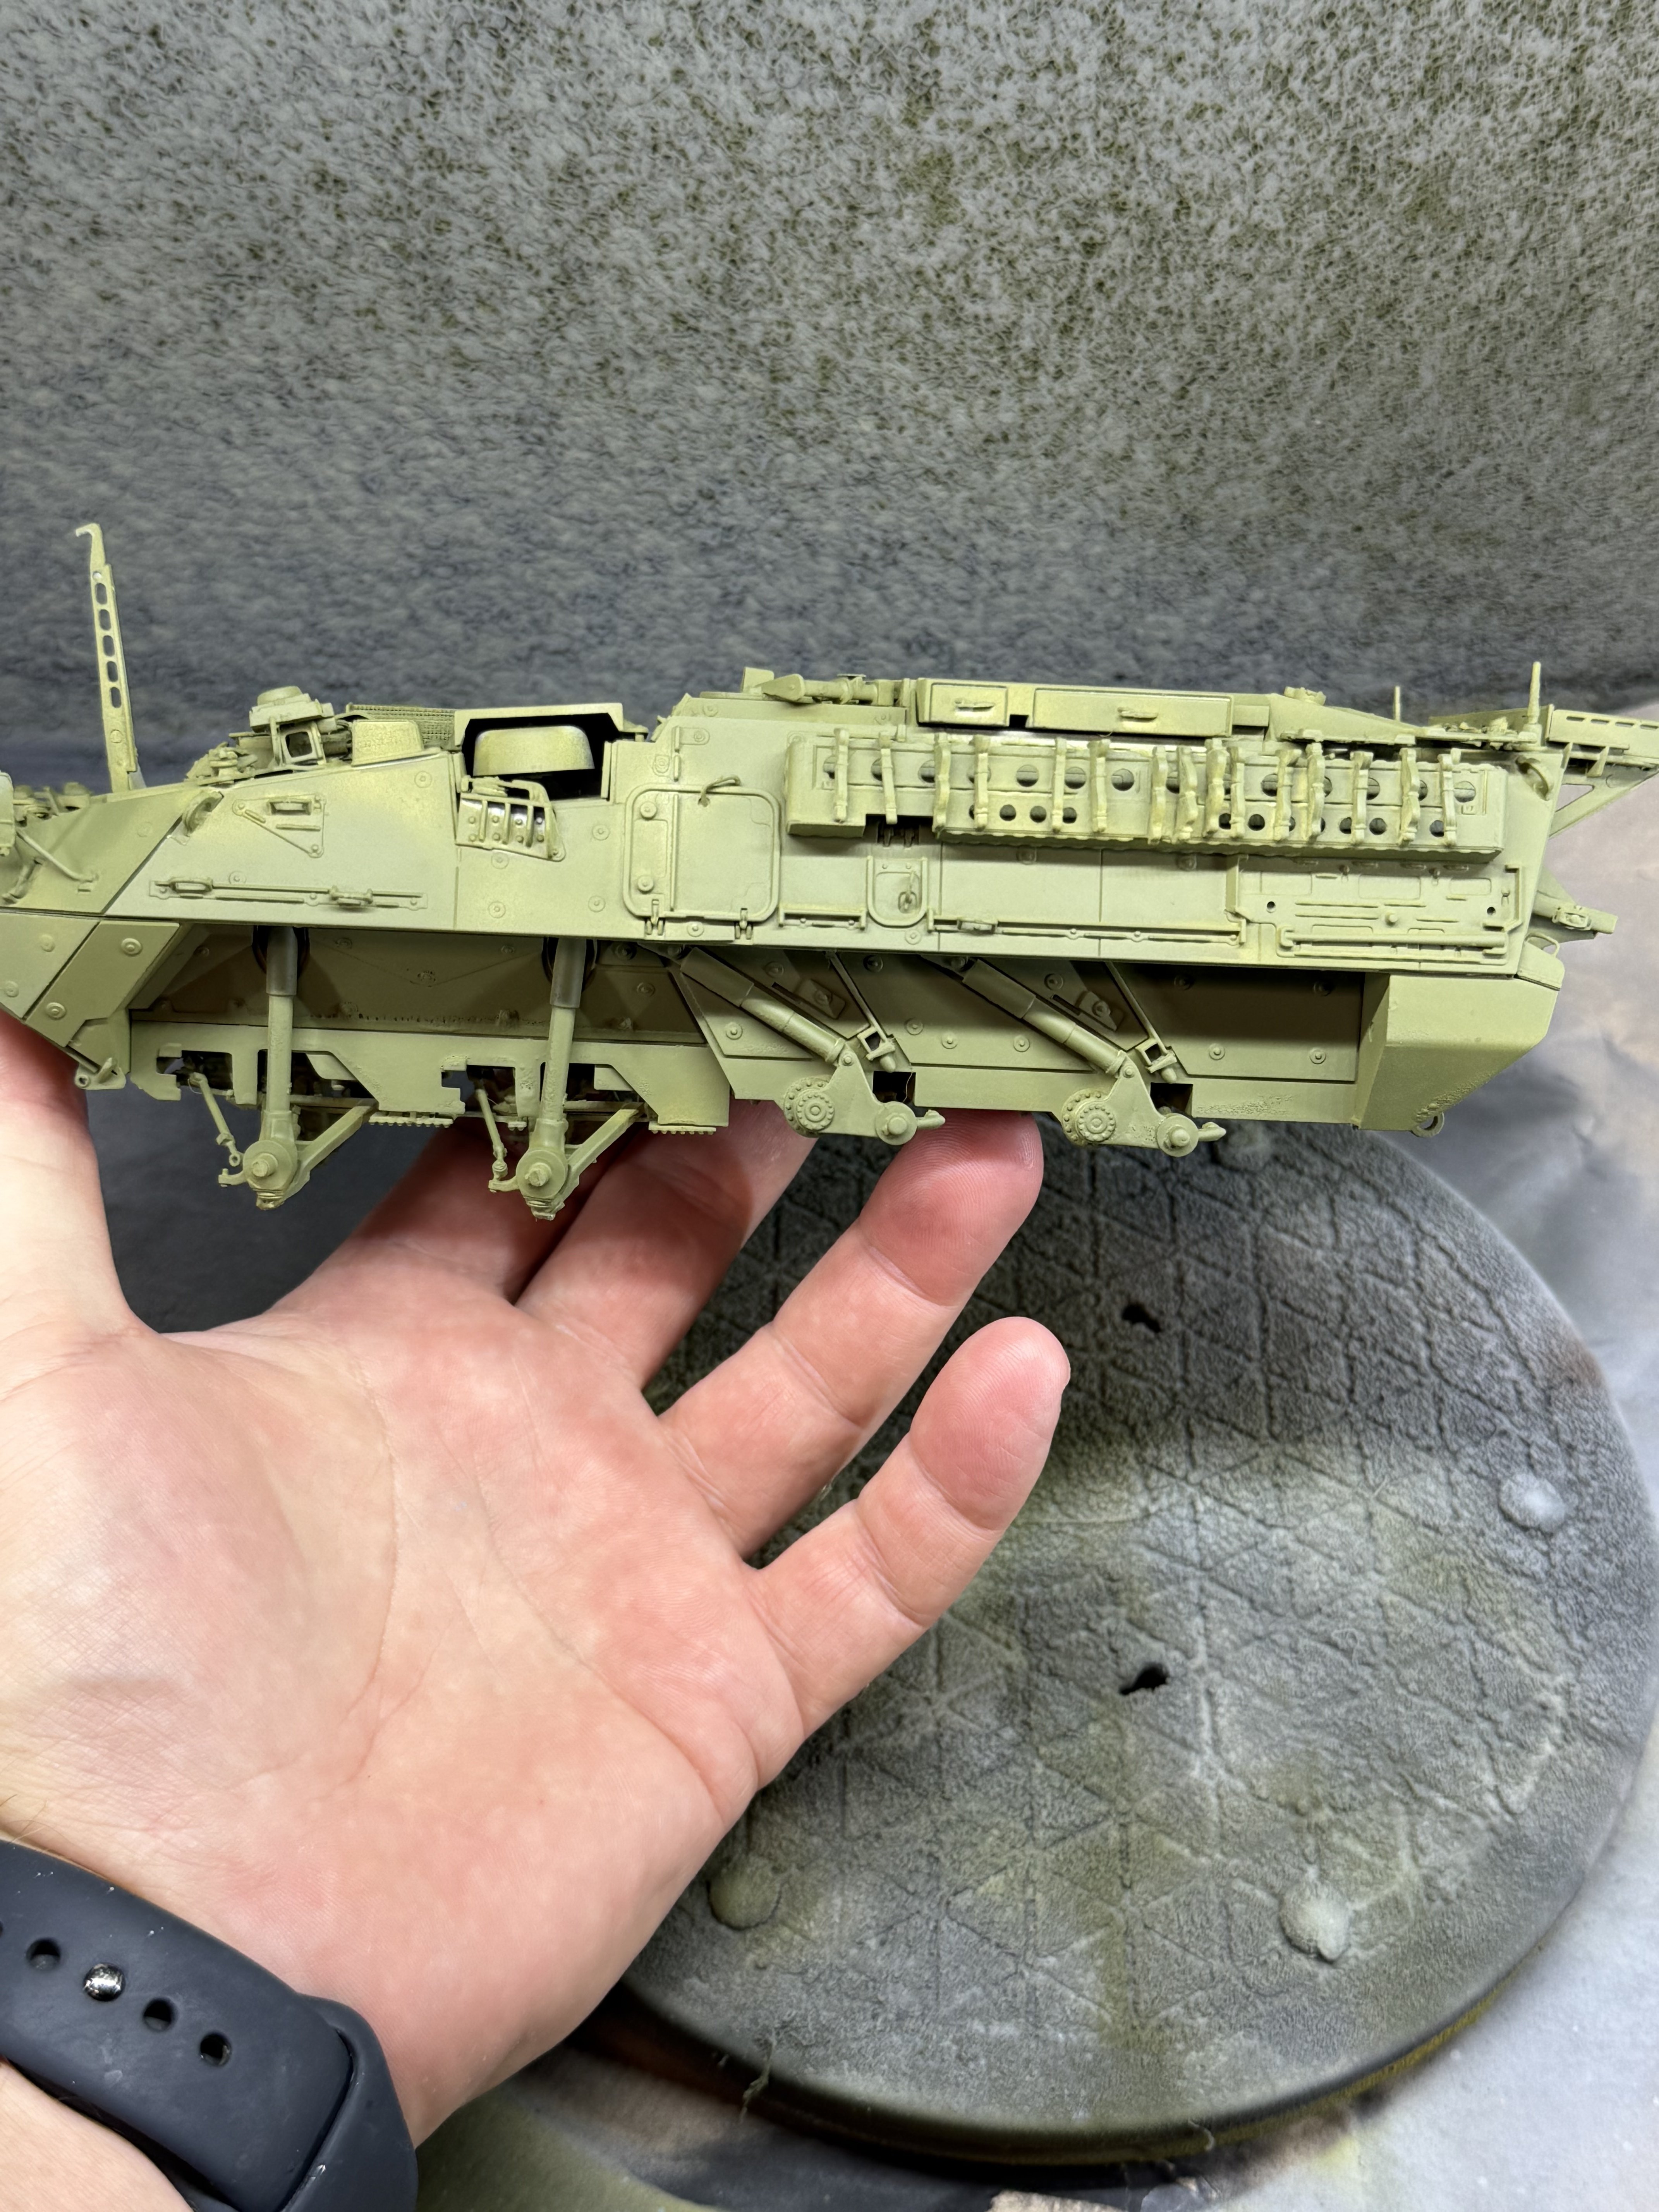
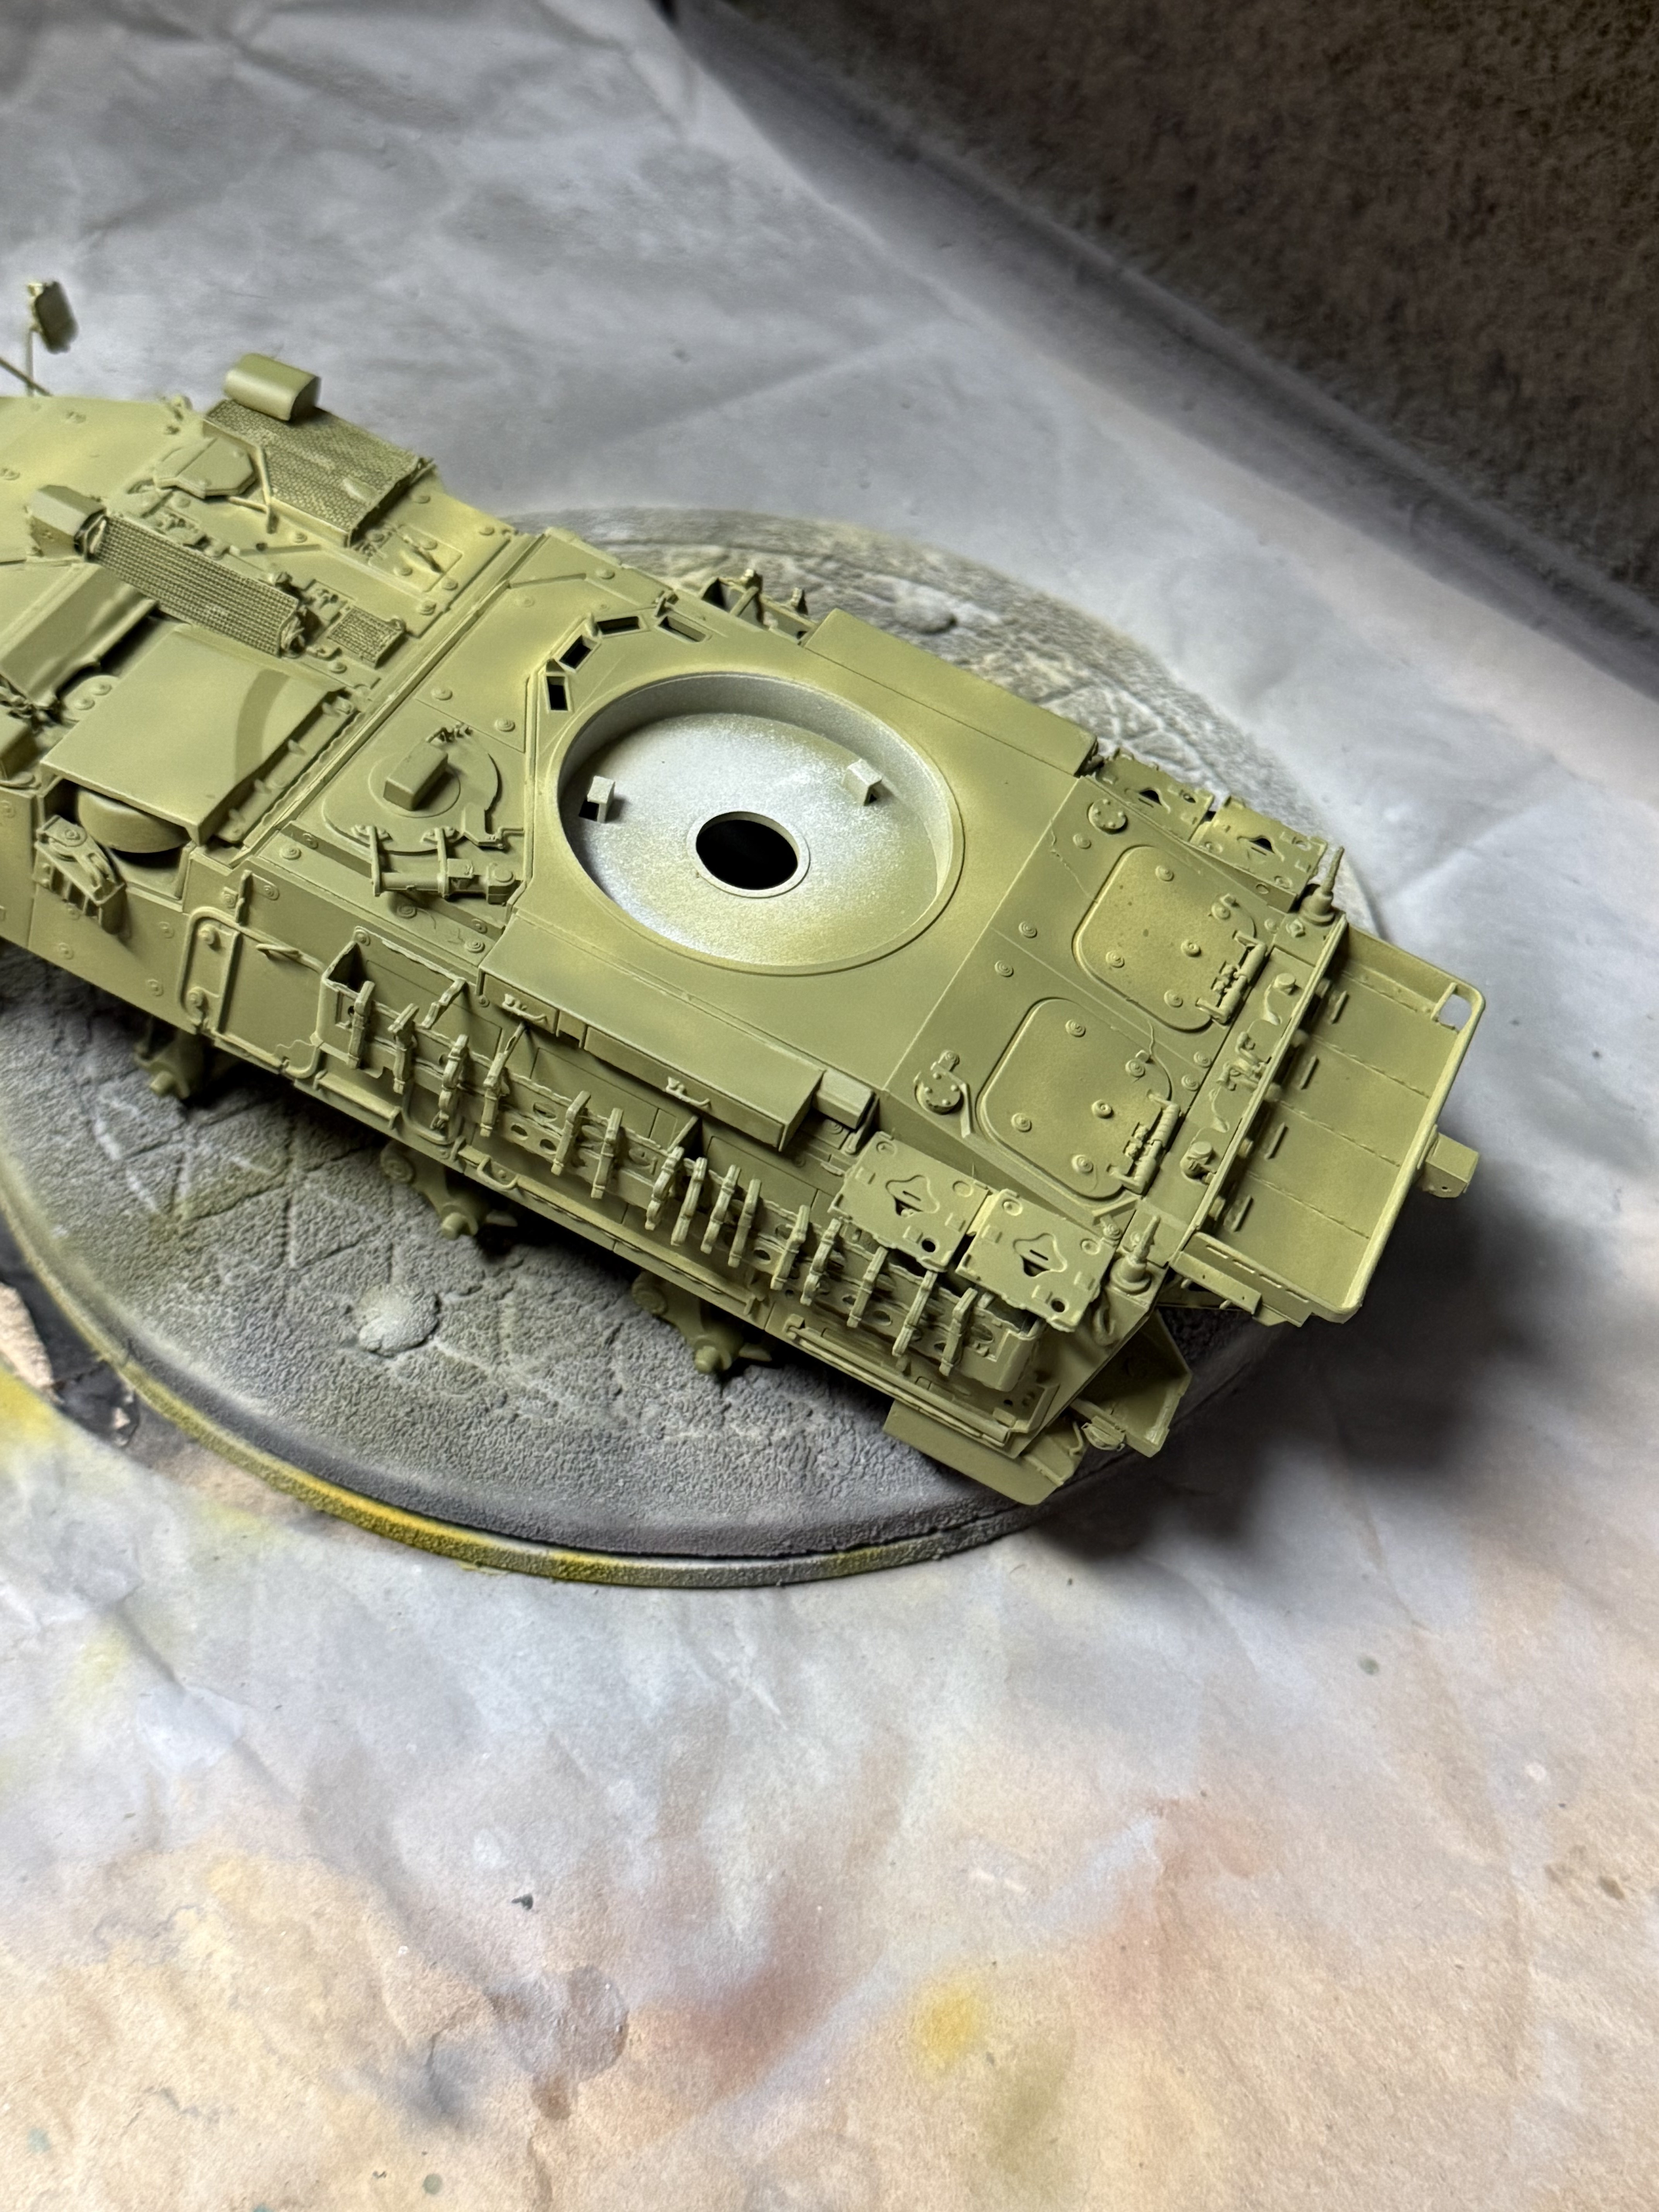
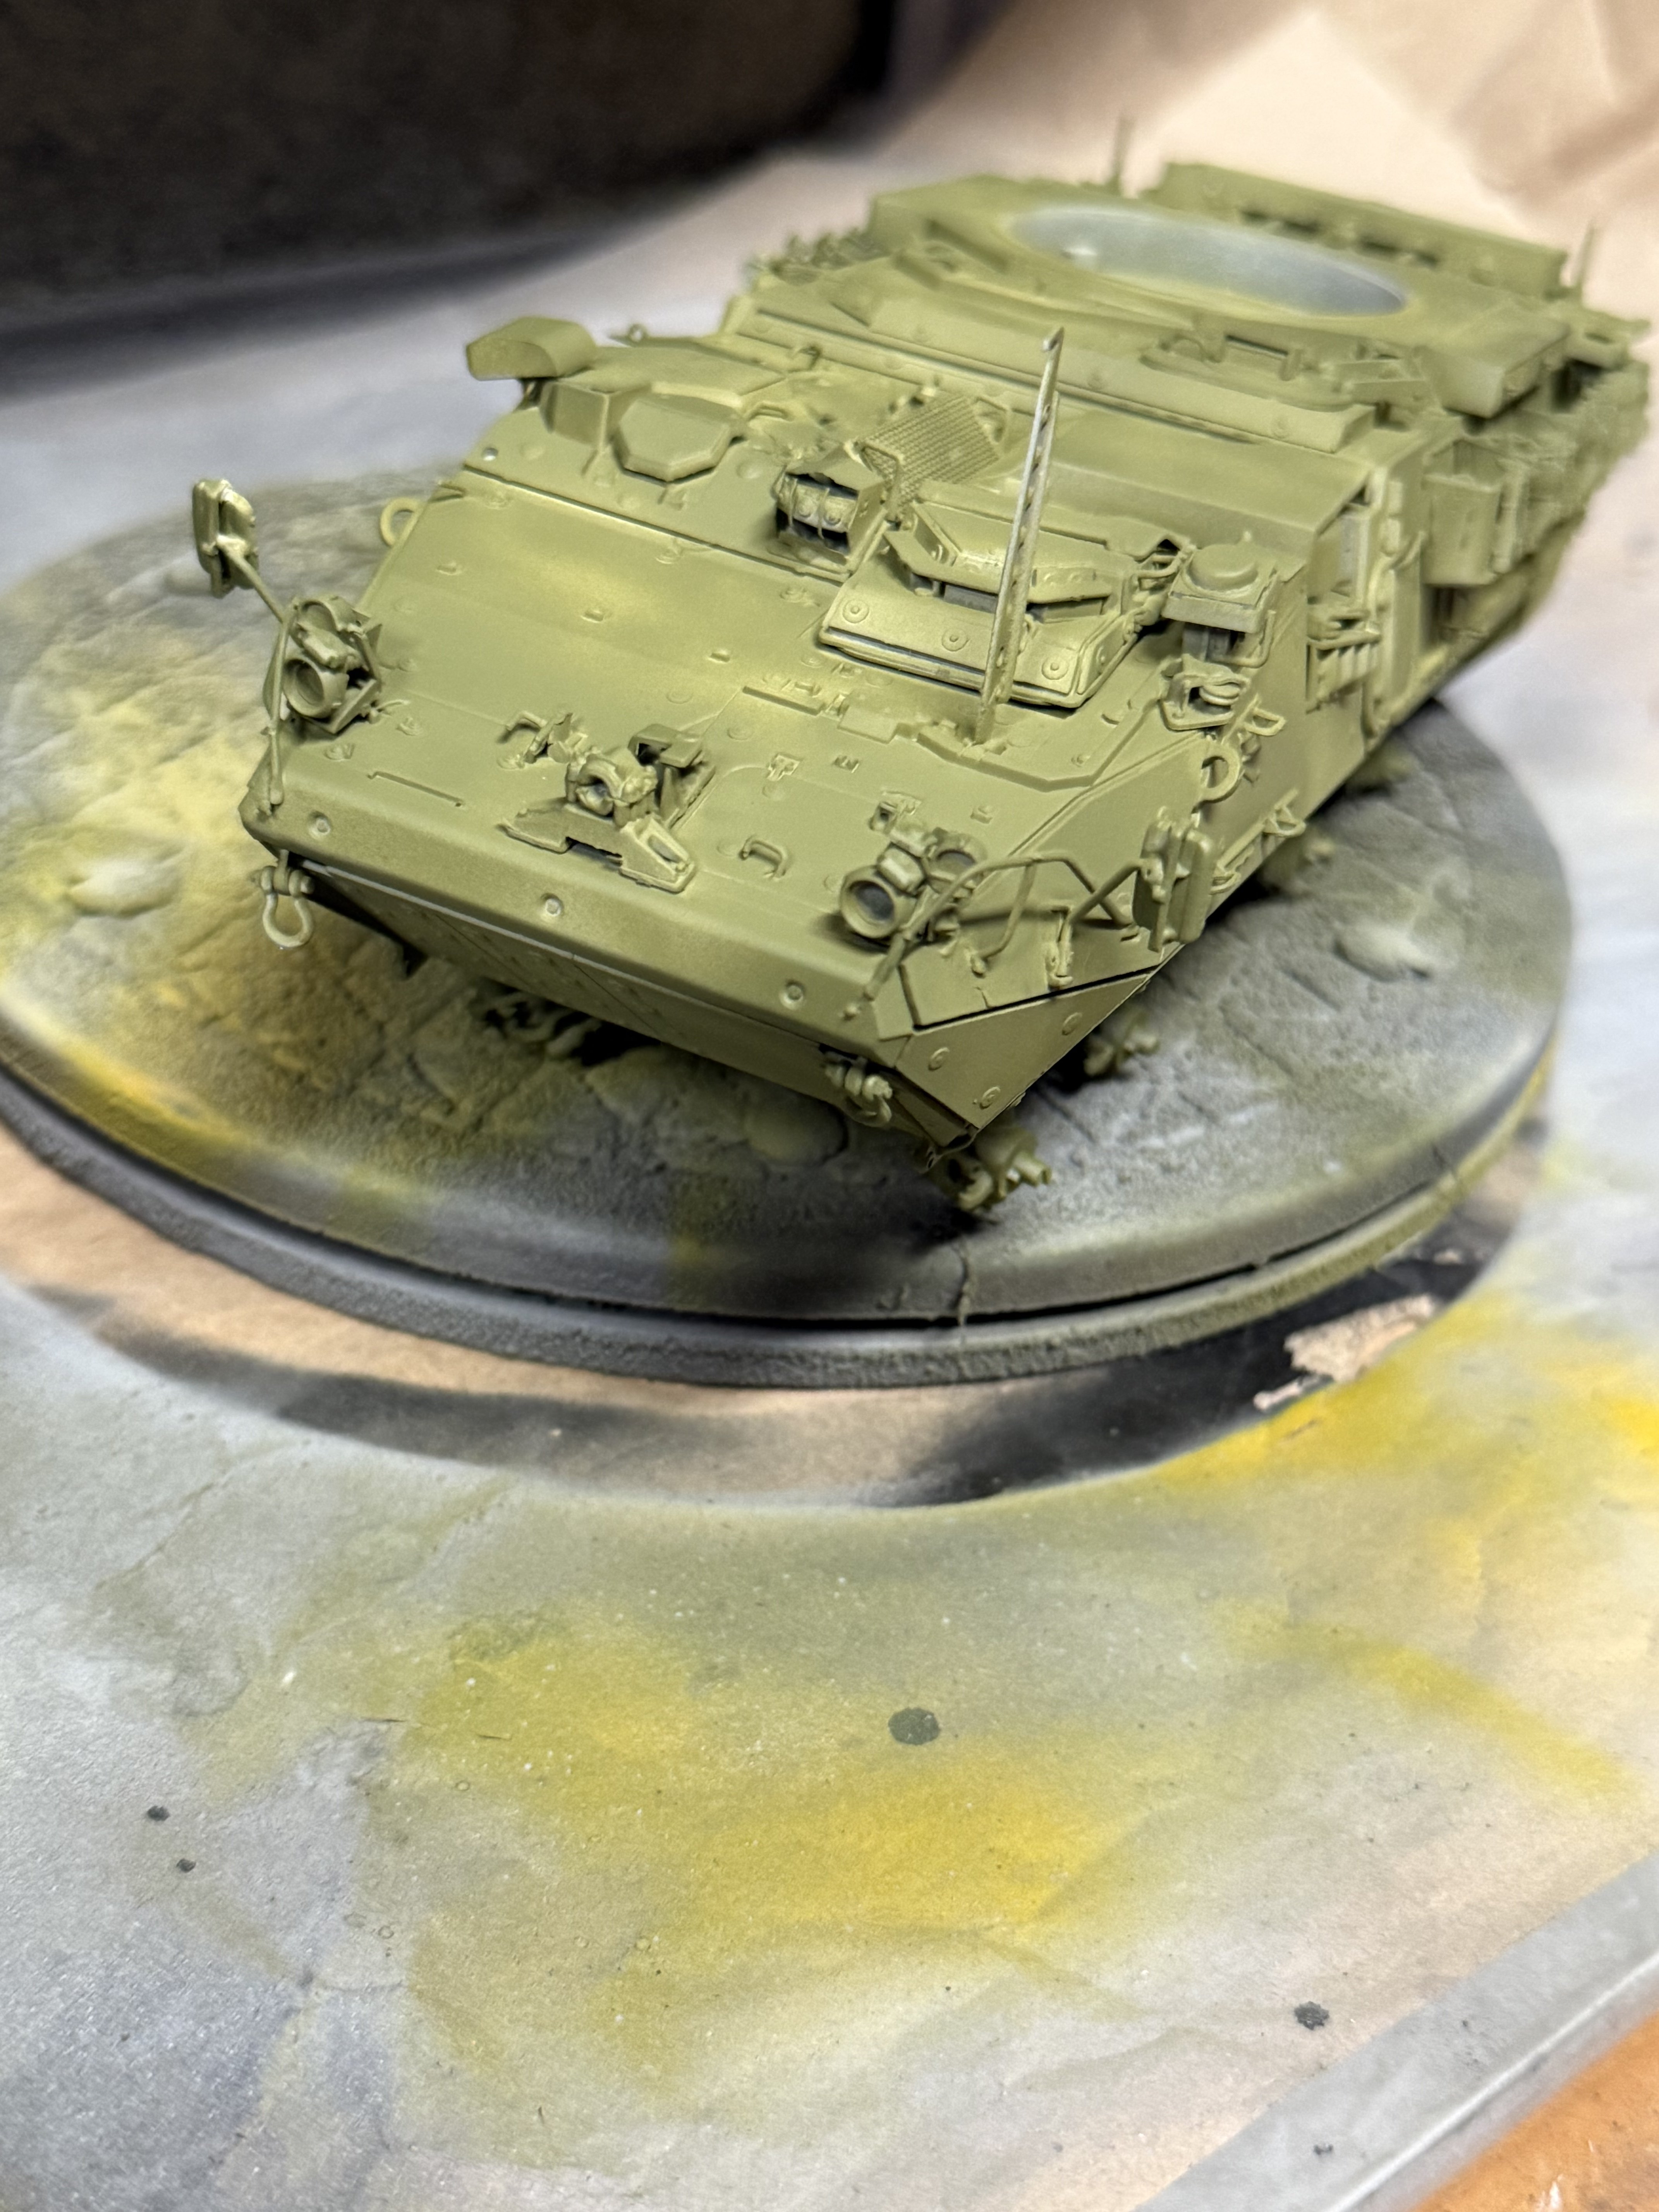
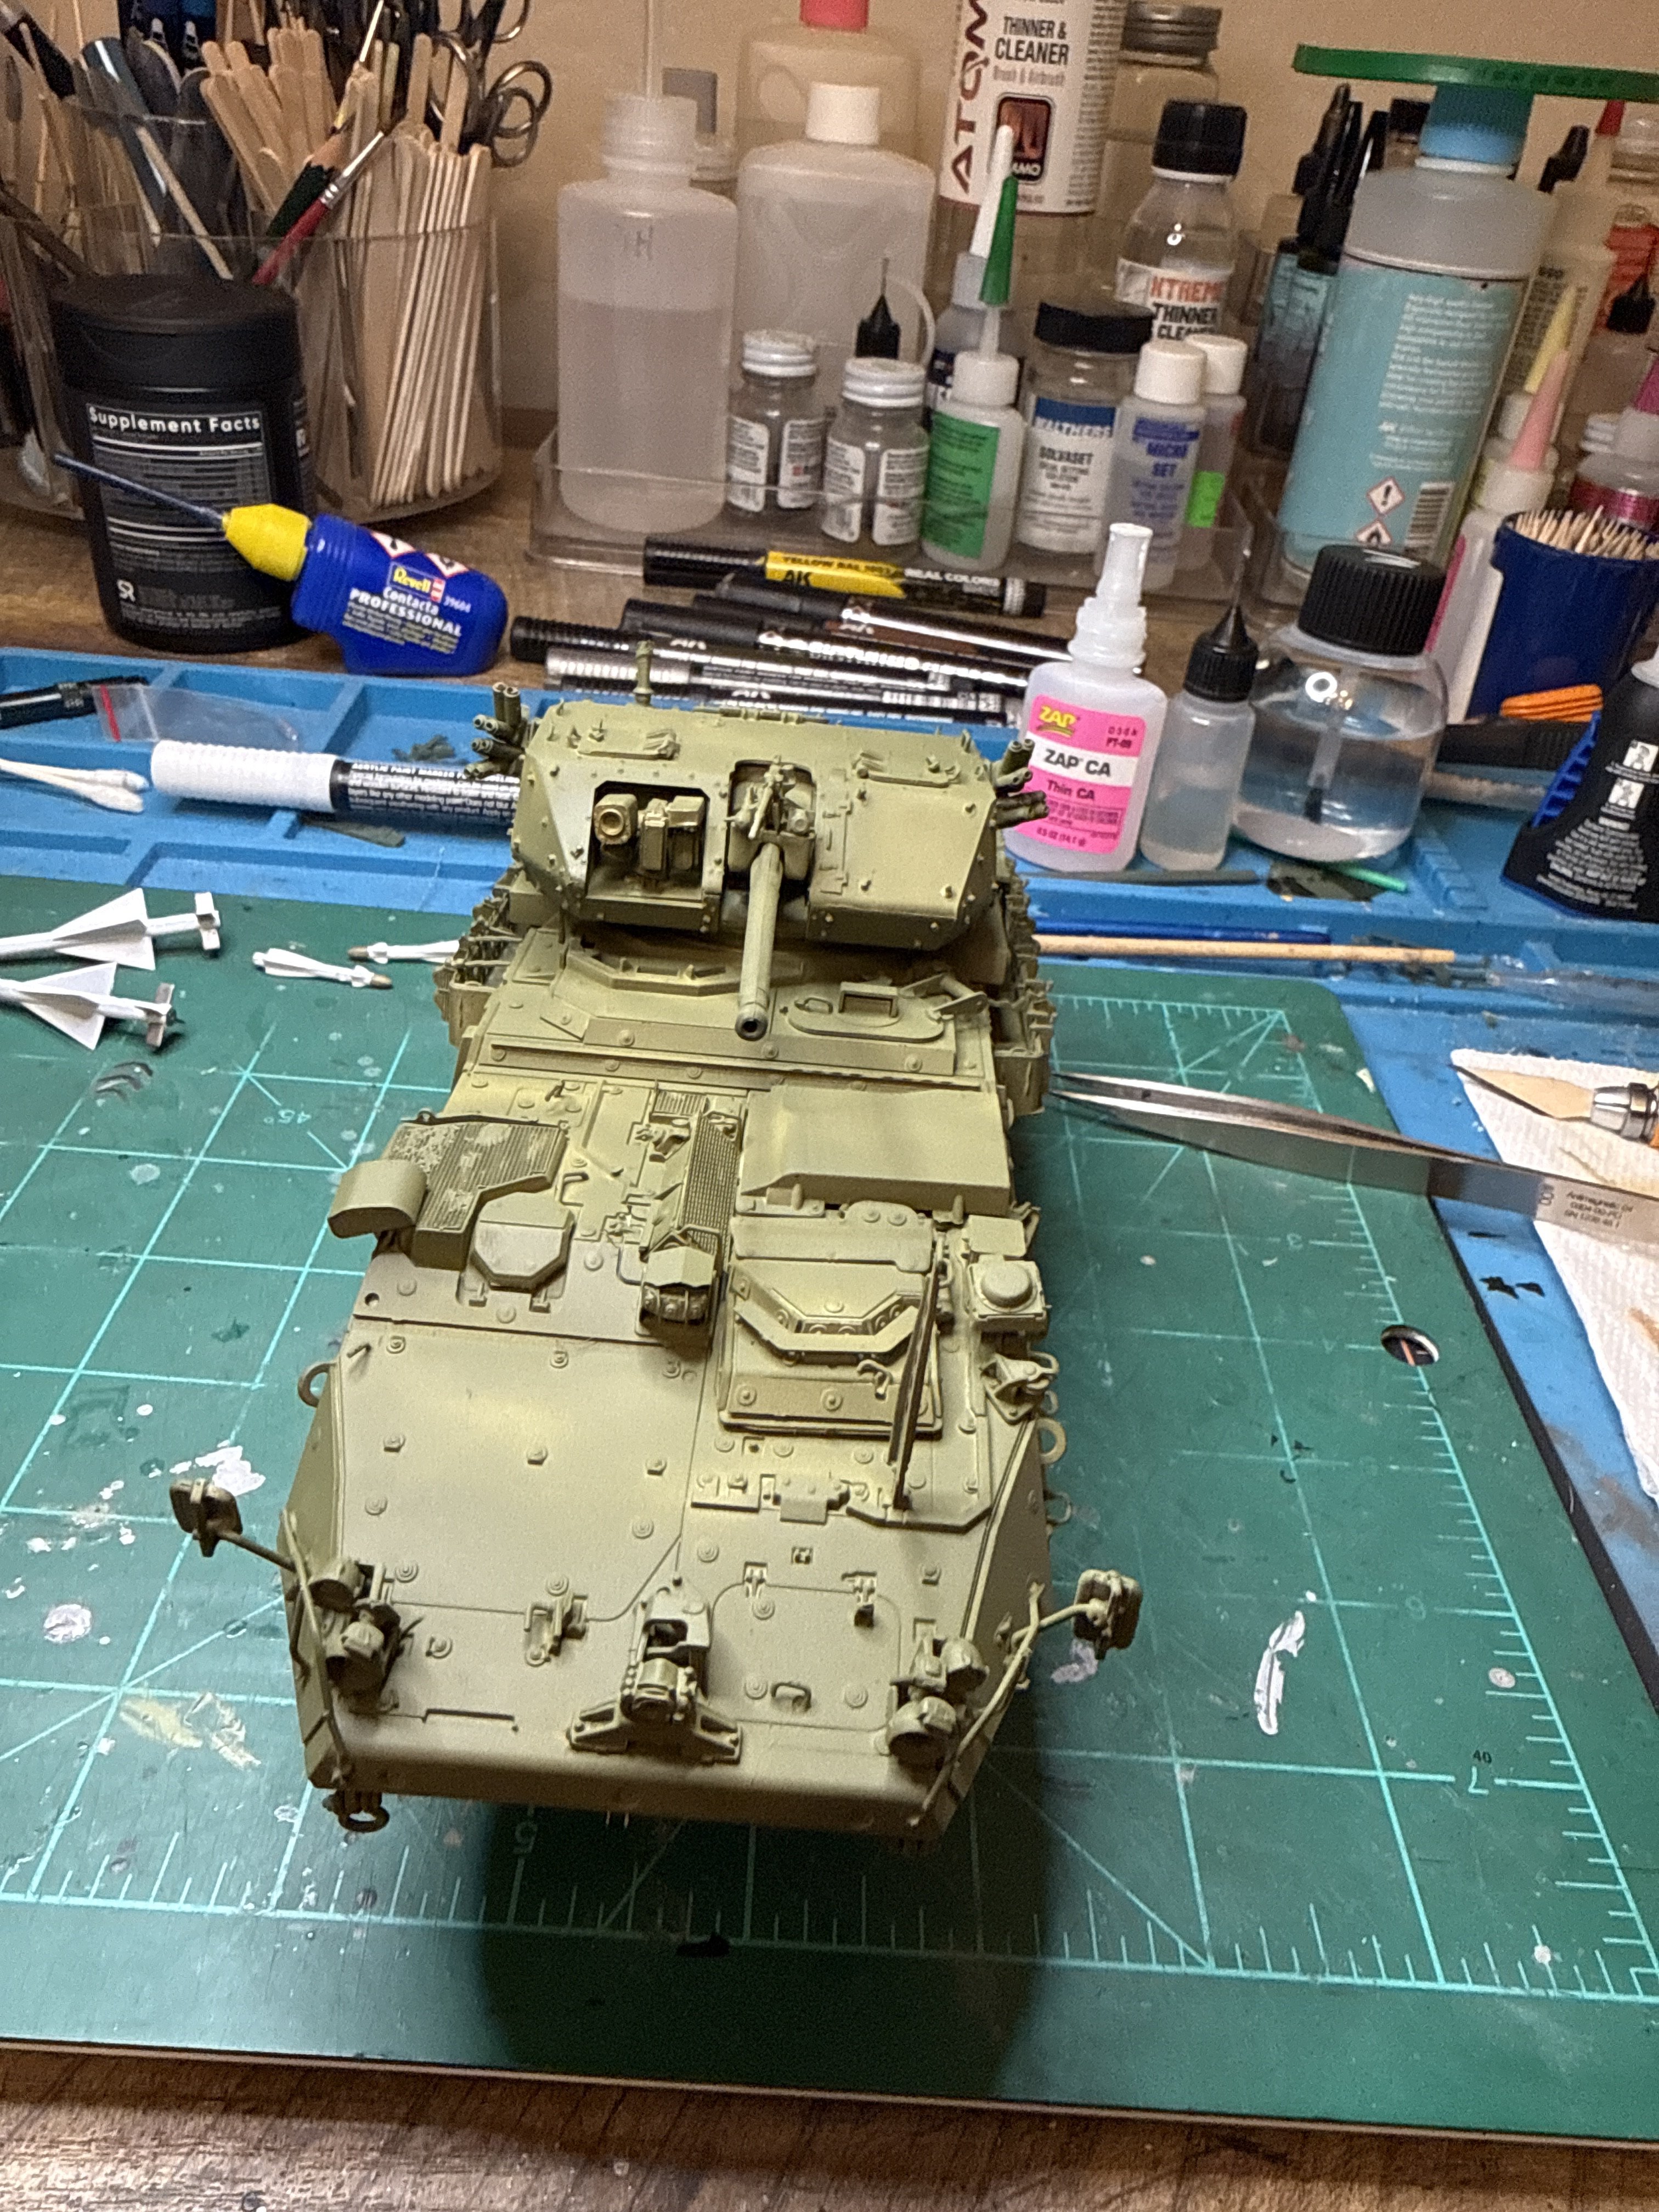
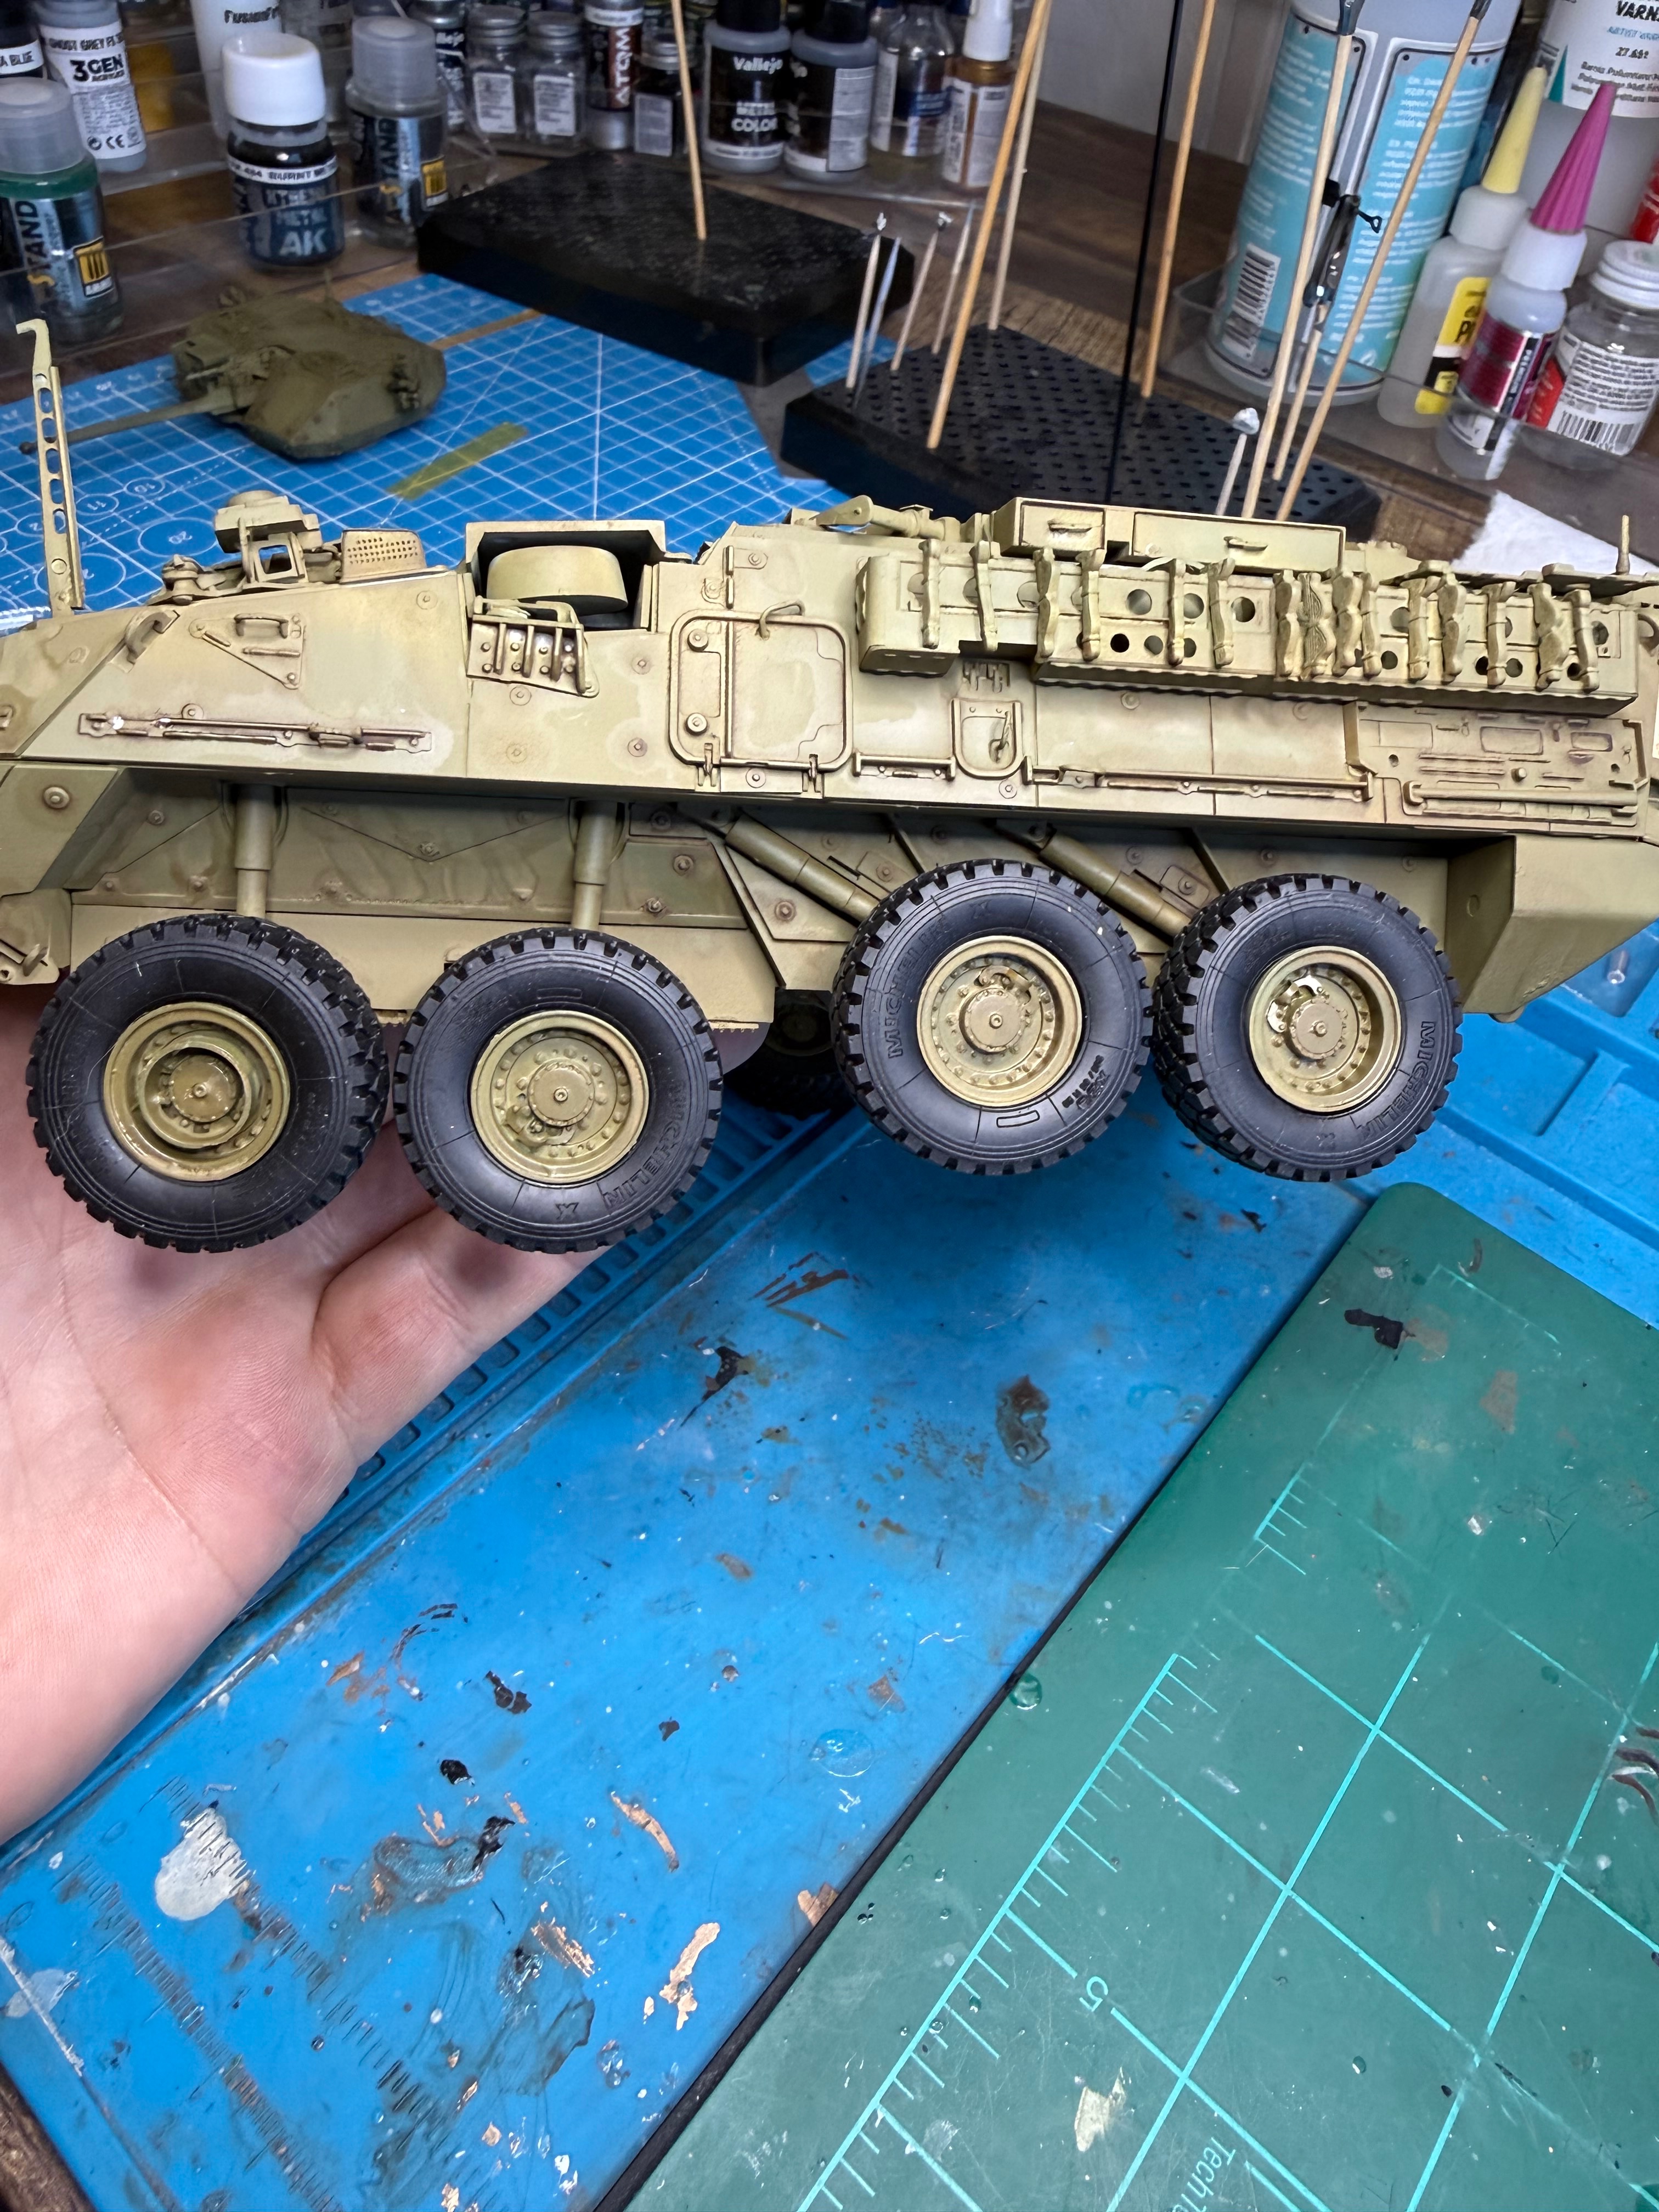
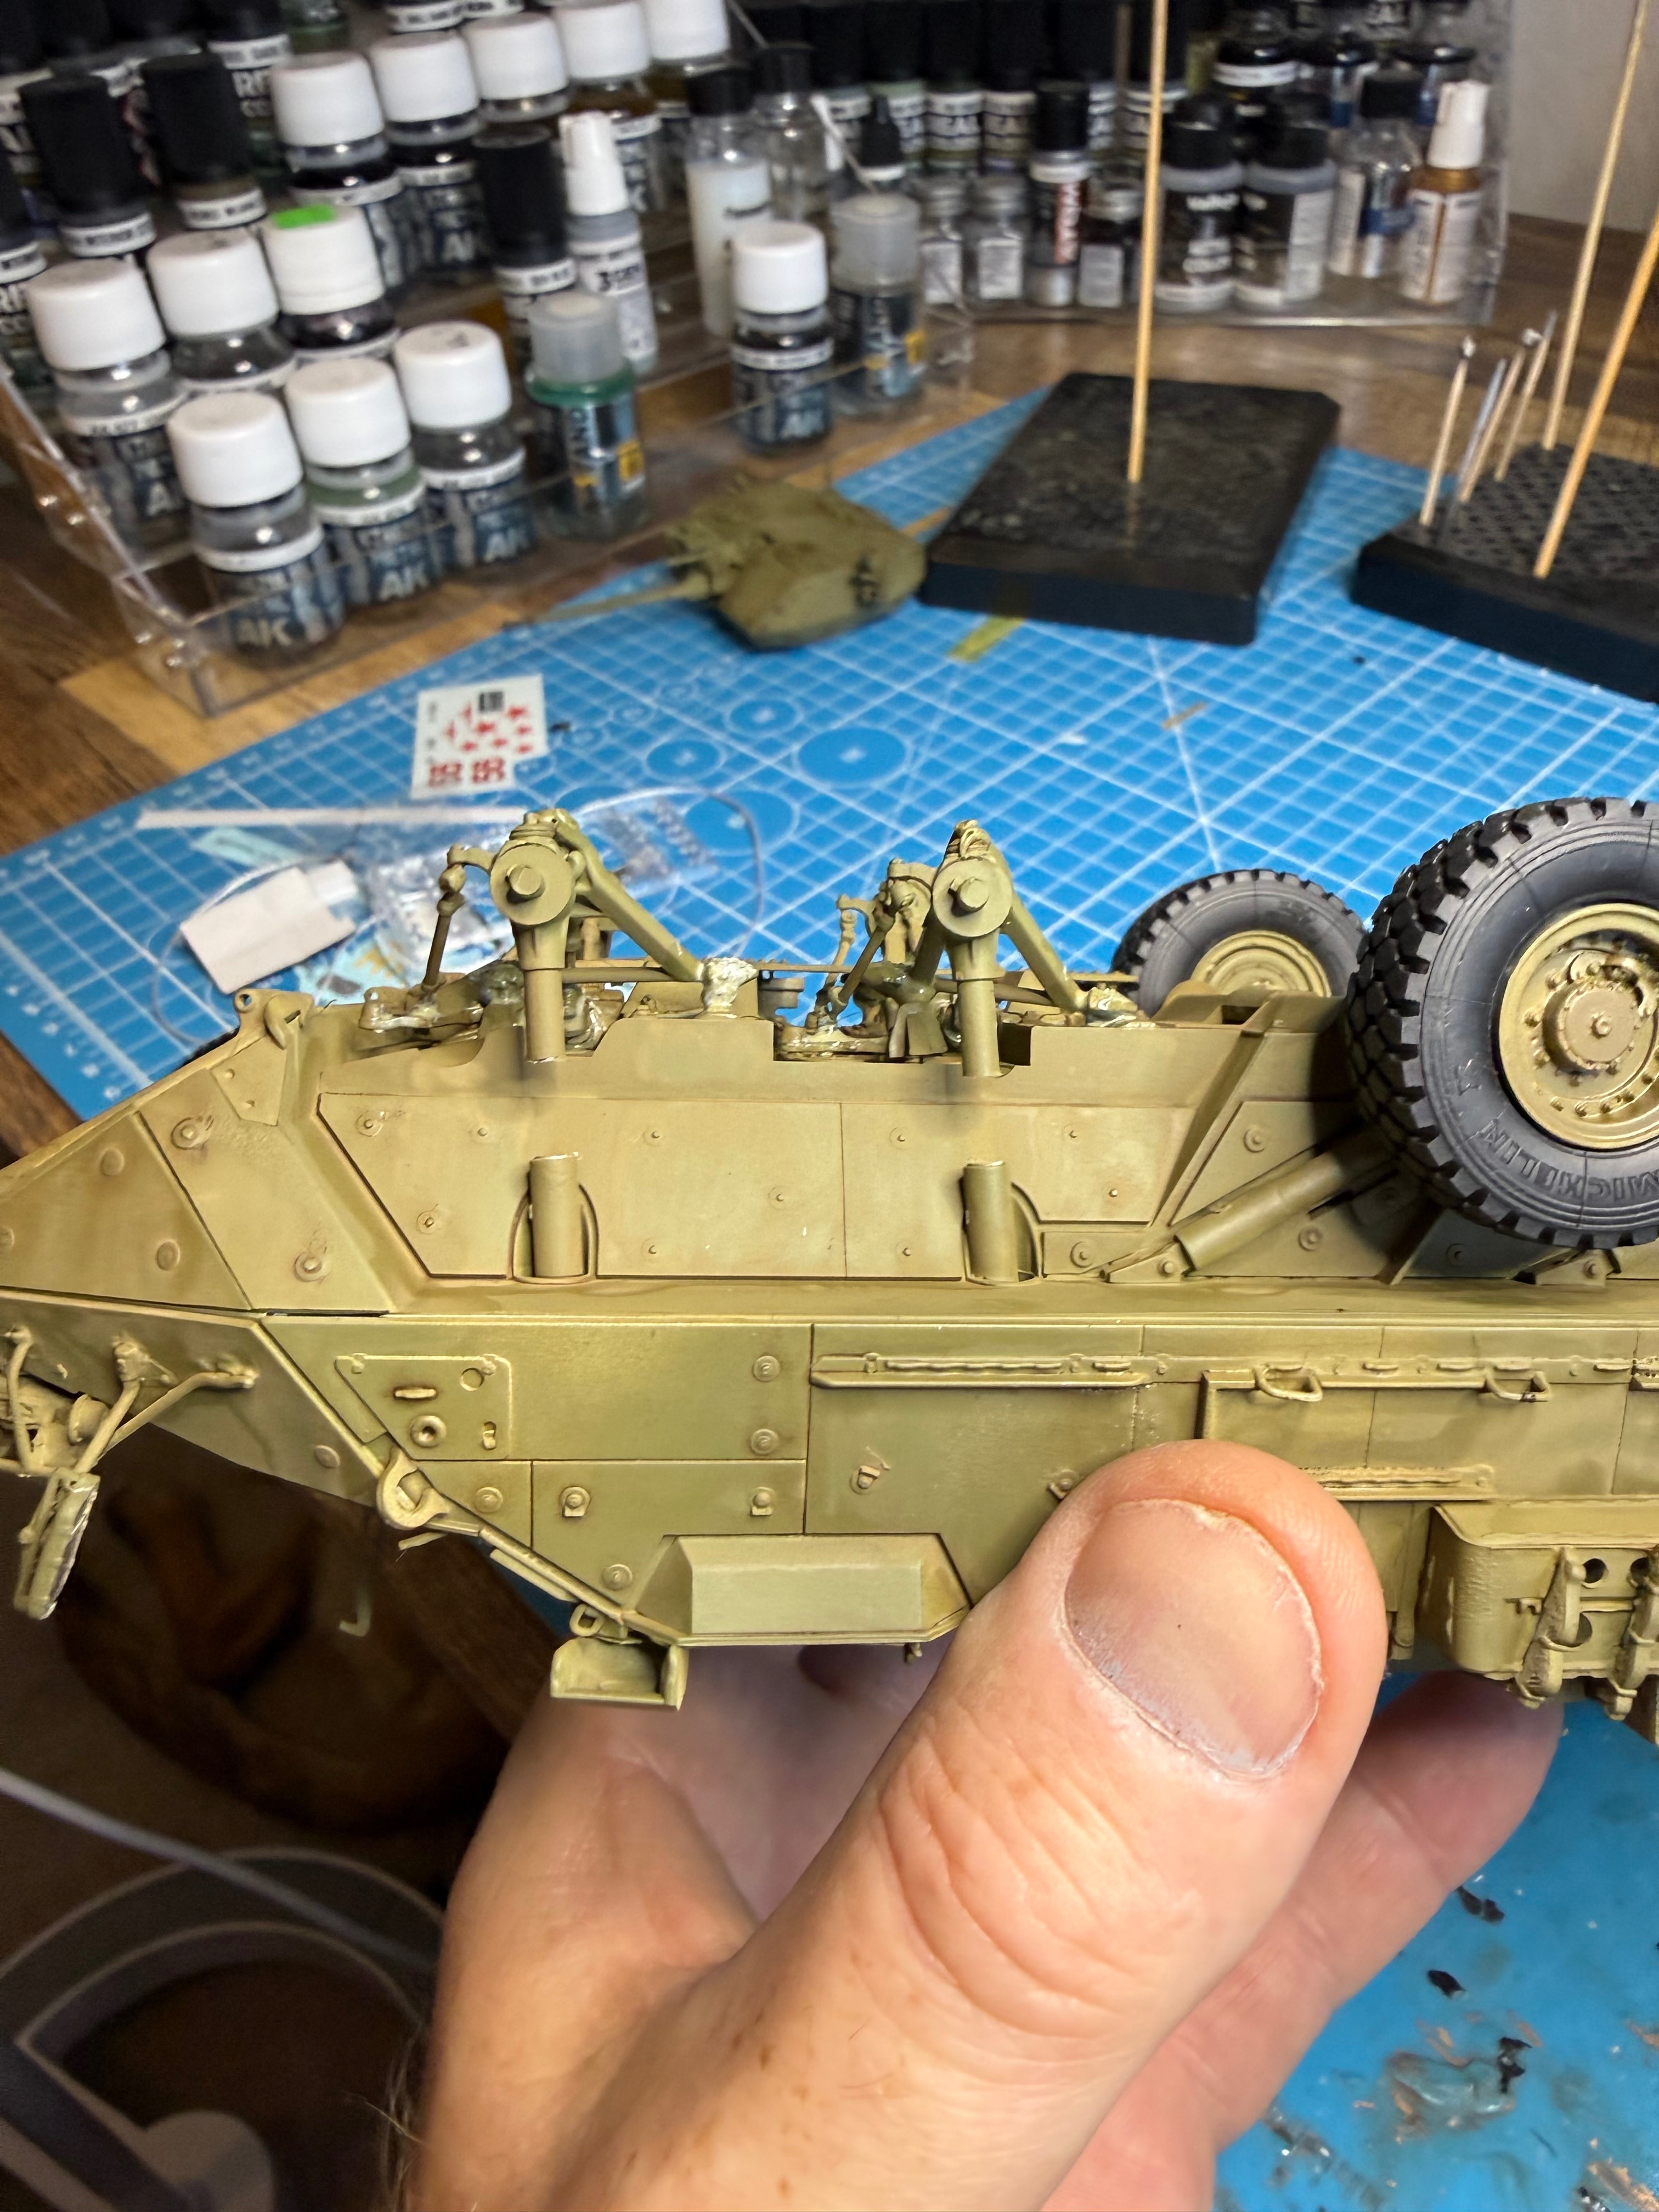
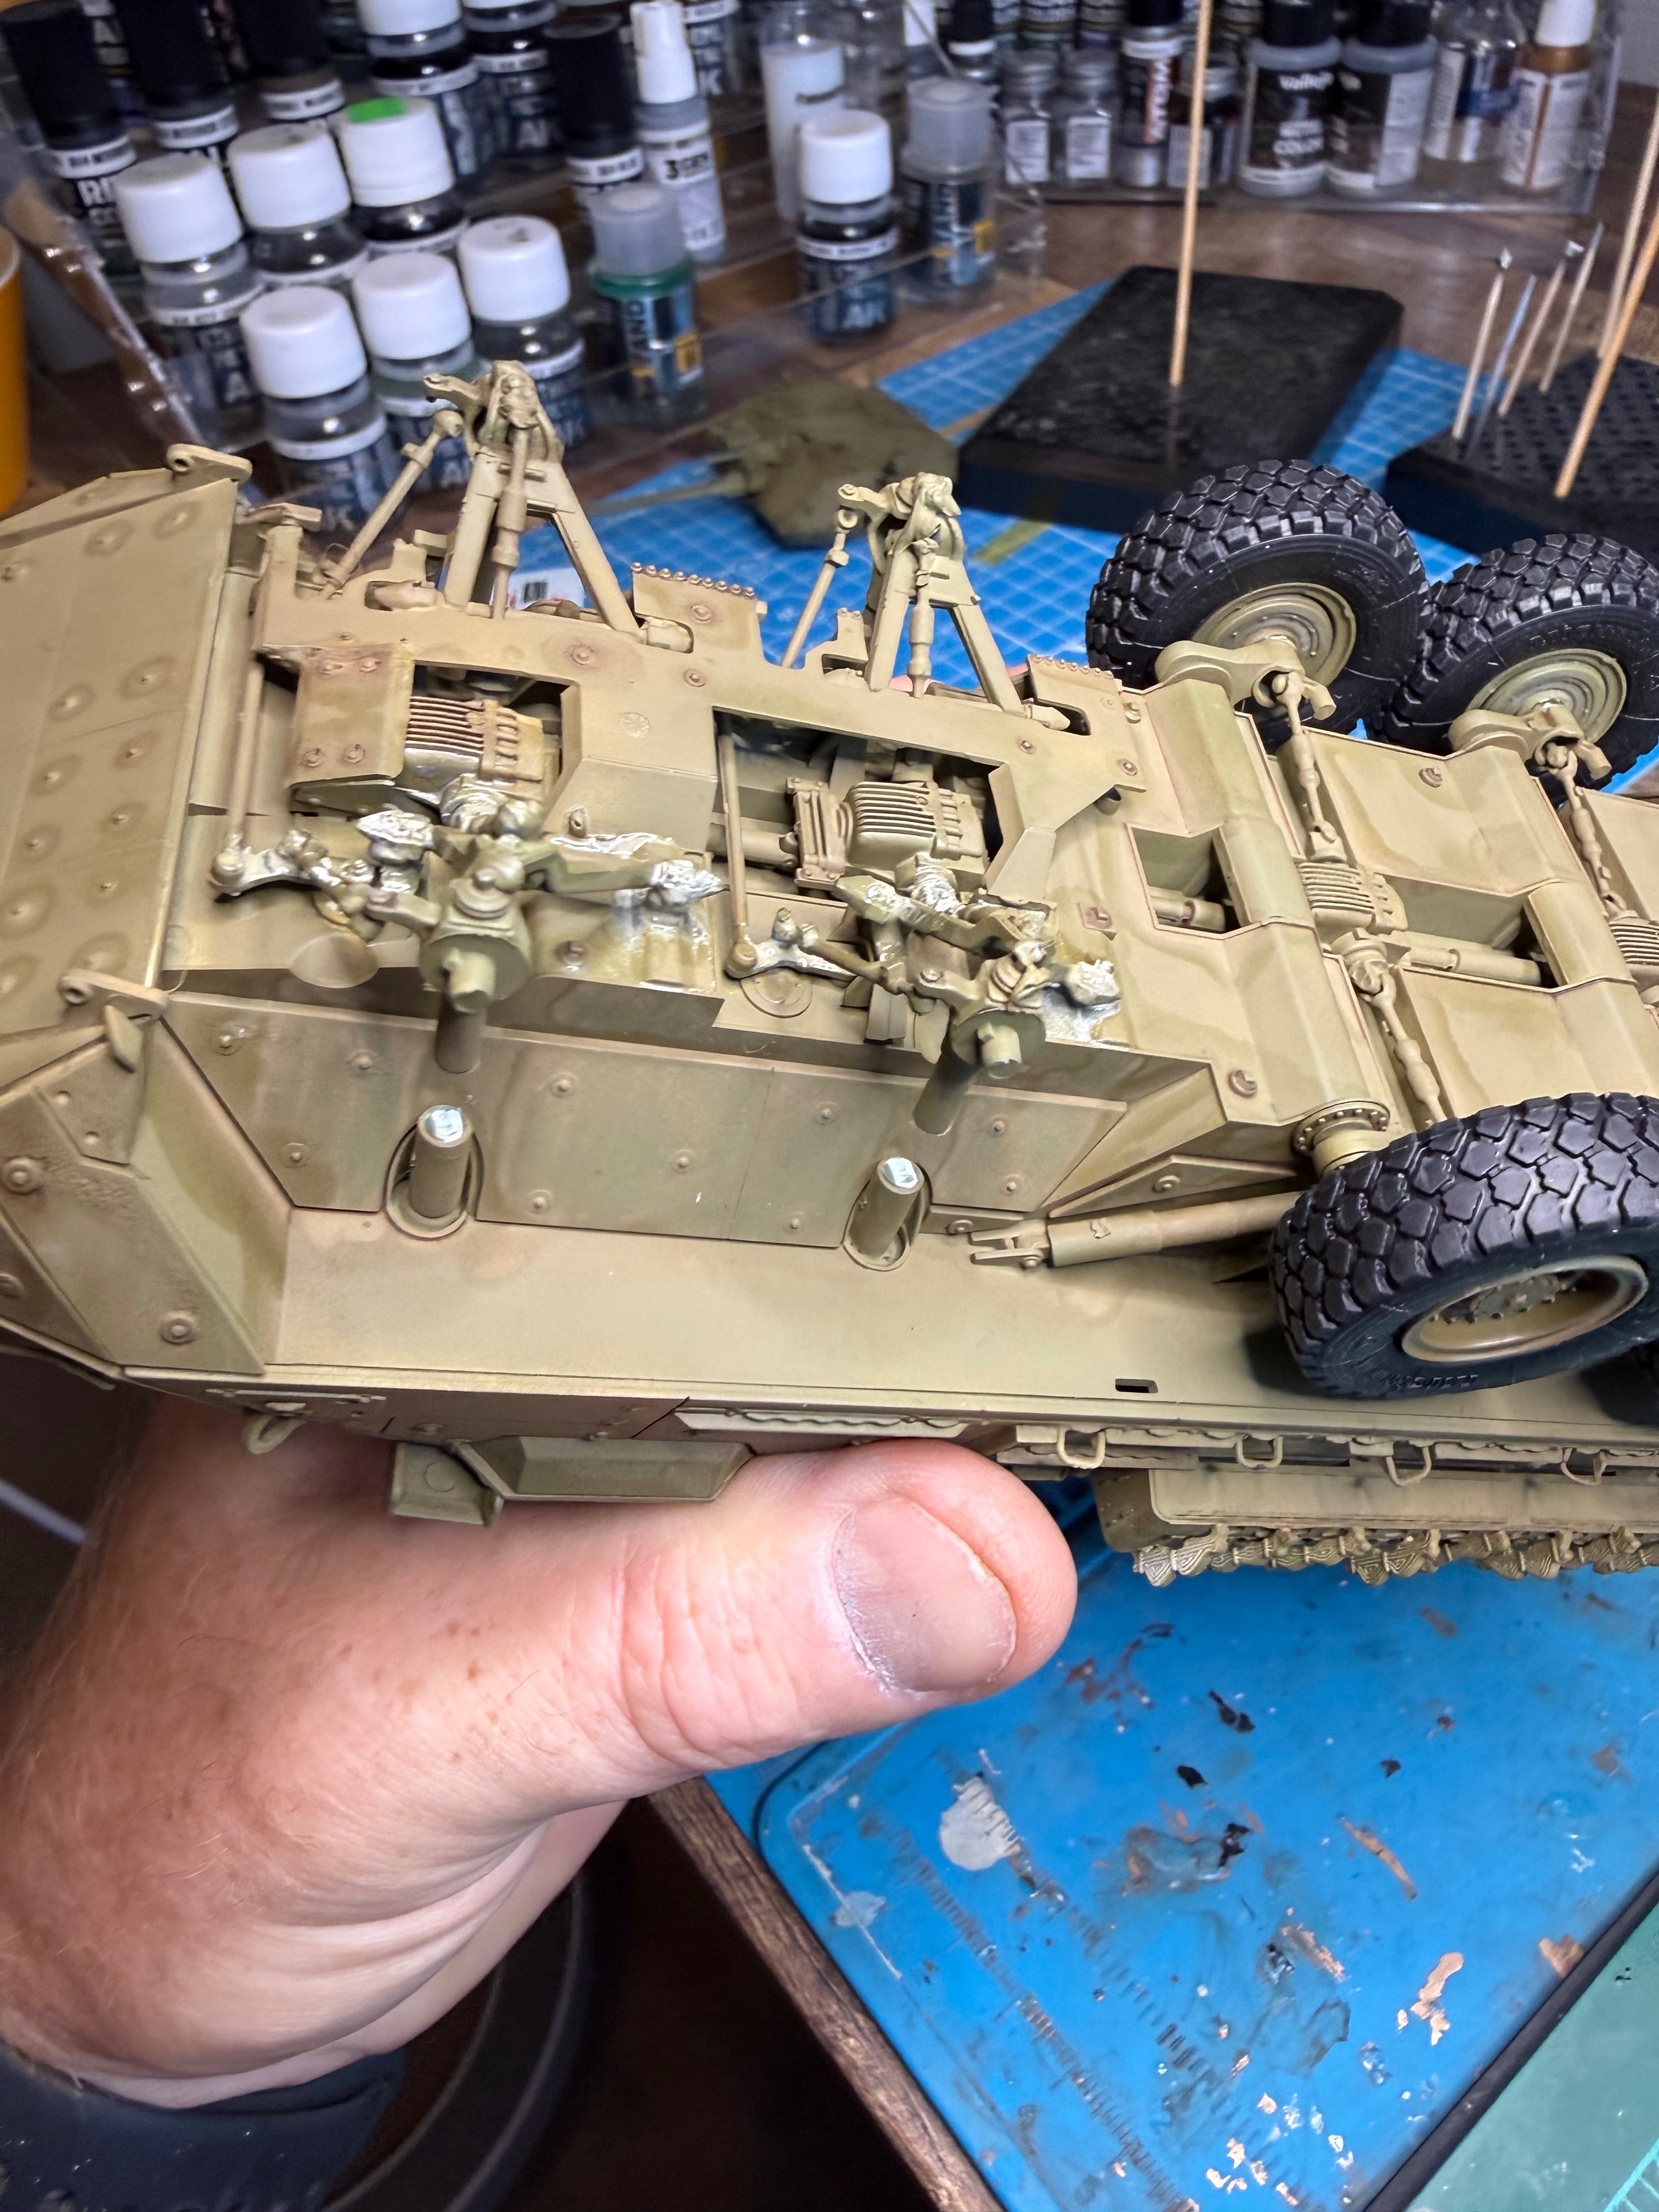
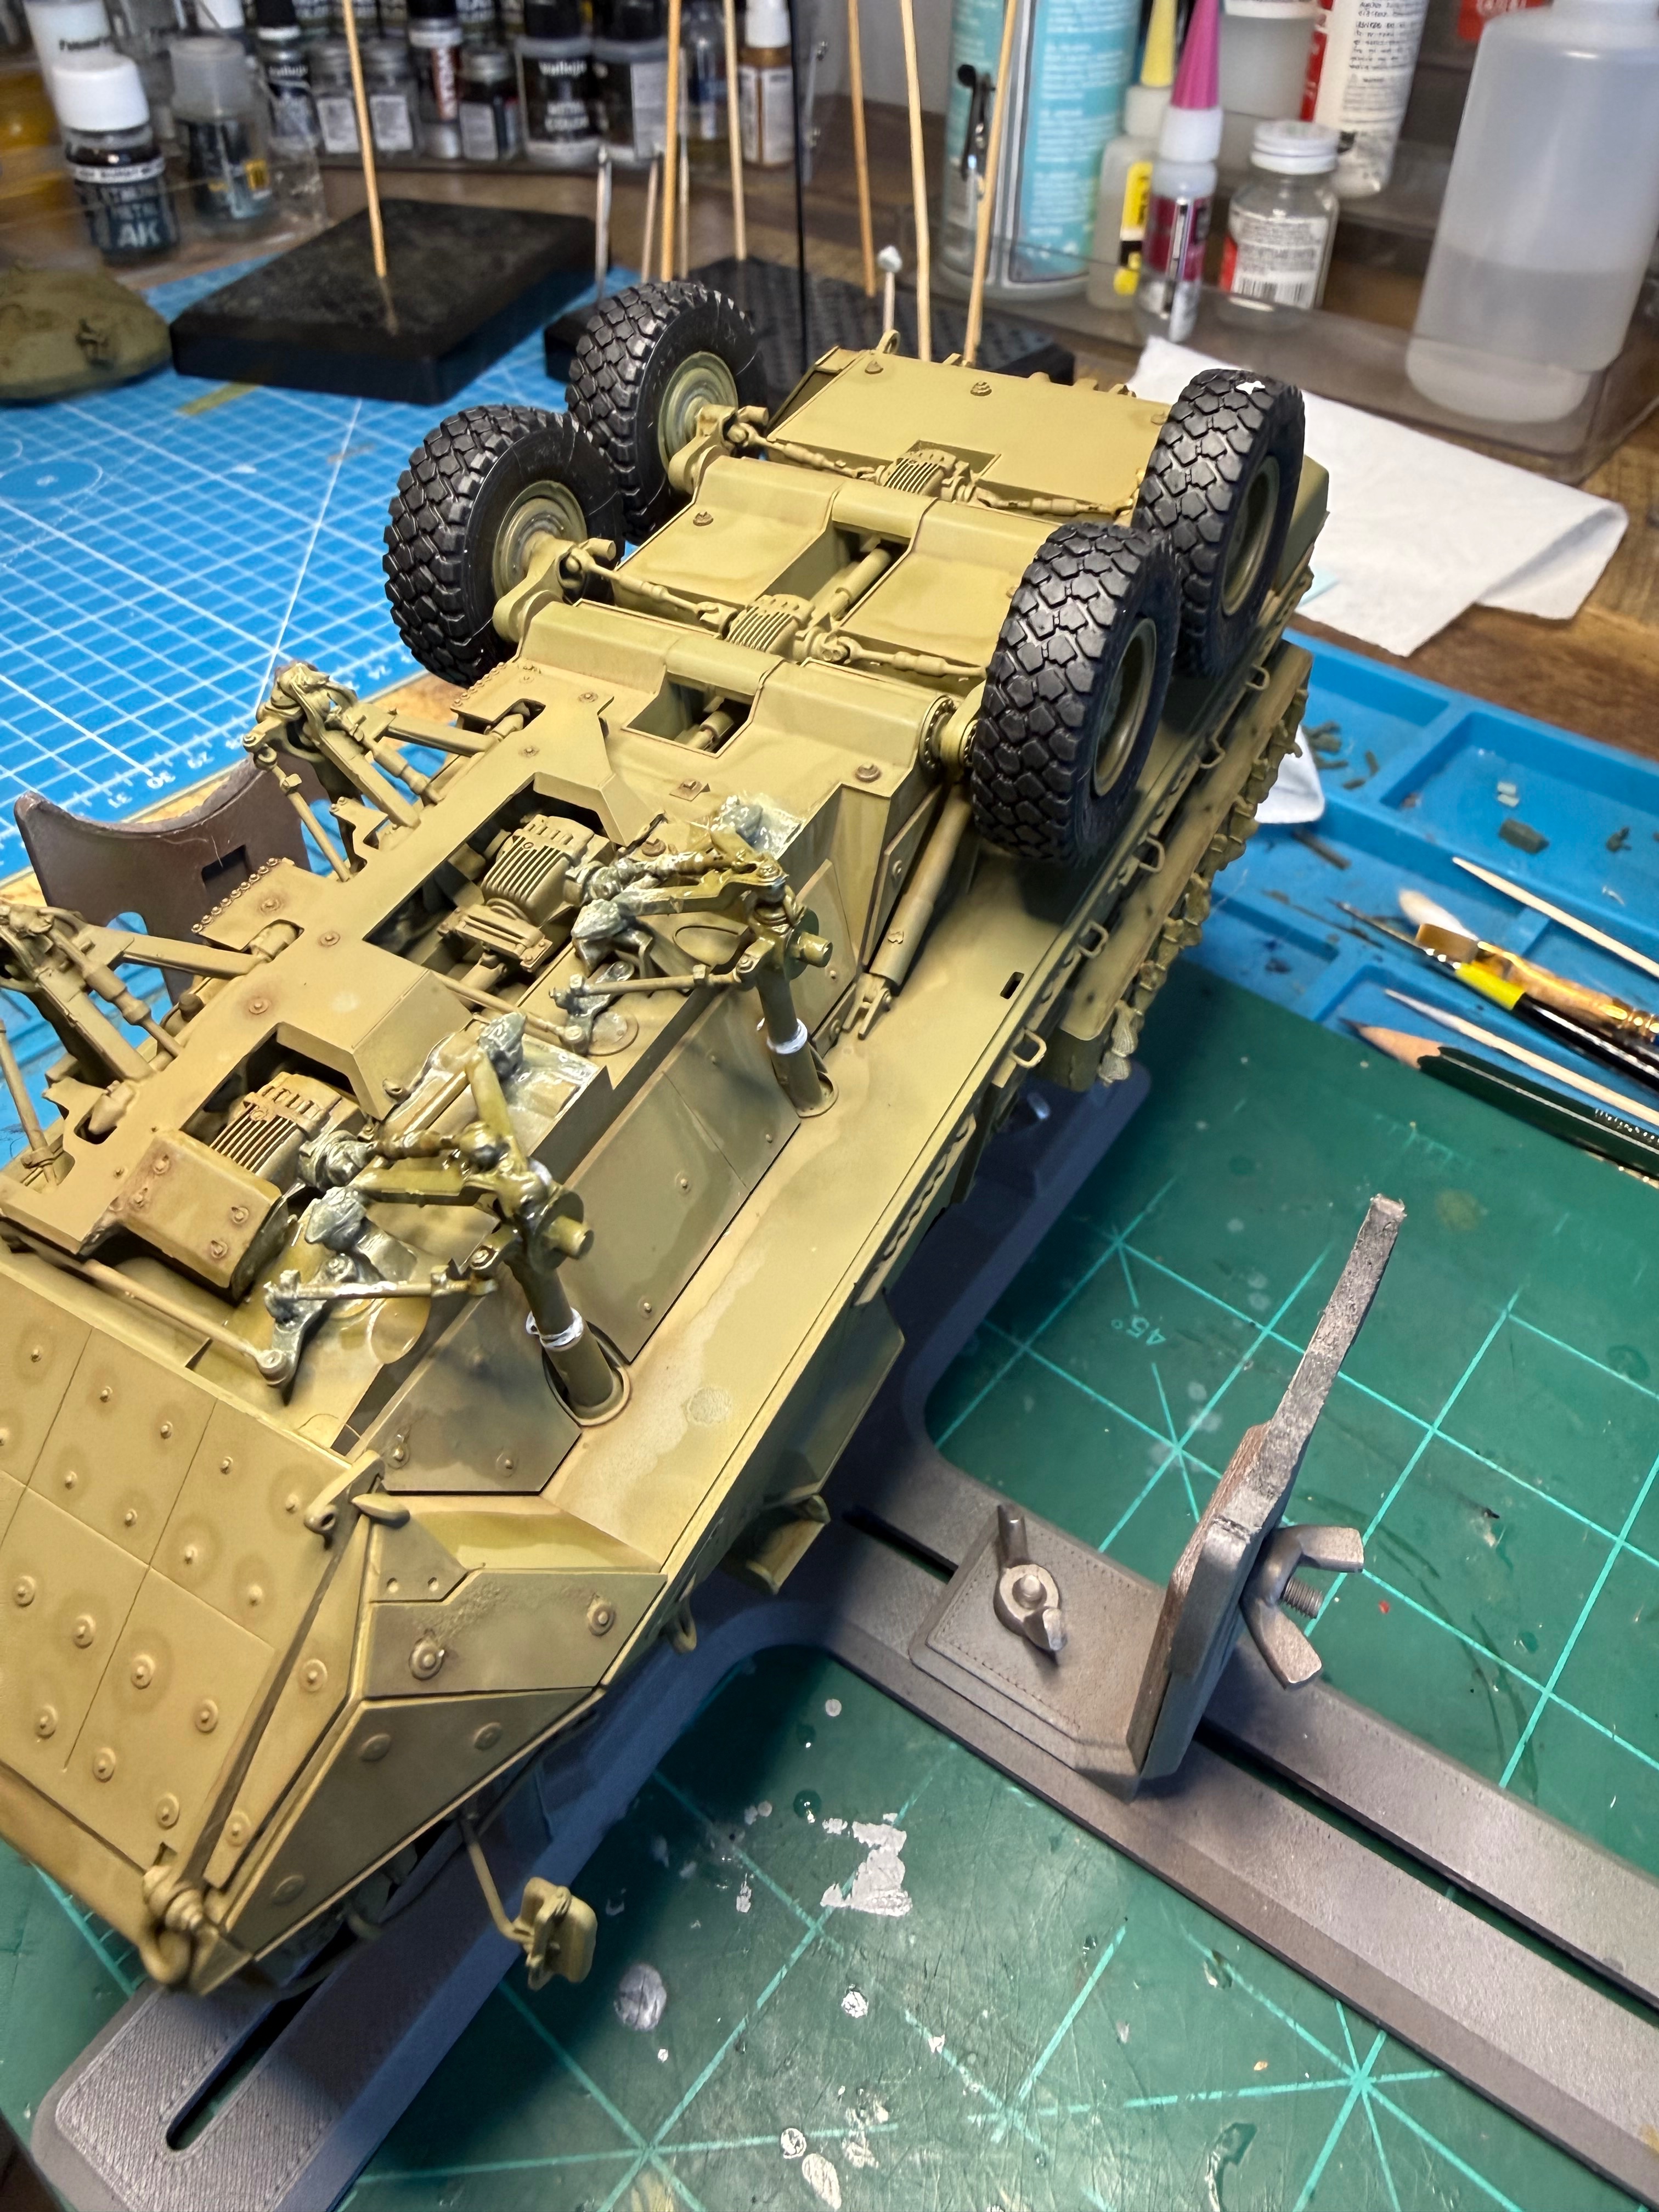
Well I had a total brain lapse. No idea what I was thinking as I noticed the difference when I was assembling the front end and suspension but just kept going for some reason. So today I had to pay the price for being stupid. I looked at directions again and it just doesn't make sense. Anyway I did surgery to make the wheels line up. Just a bit of a delay and I won't be gazing at the undercarriage anymore. Haha.
Attachments

Edbert
Well-Known Member
- Joined
- May 16, 2024
- Messages
- 3,123
What is all the white stuff?Well I had a total brain lapse.
(we've all been there, appreciate showing the mistakes!)
I used my homemade thin set to loosen up the joints and it removed the paint. I don't mind sharing mistakes. Would love to know what I did wrong tho. The main shaft that the wheel attaches to was placed correctly. So I'm clueless.What is all the white stuff?
(we've all been there, appreciate showing the mistakes!)
Edbert
Well-Known Member
- Joined
- May 16, 2024
- Messages
- 3,123
I cannot say. Looked up the destructions, and it looks like all 4 axles should line up.Would love to know what I did wrong tho
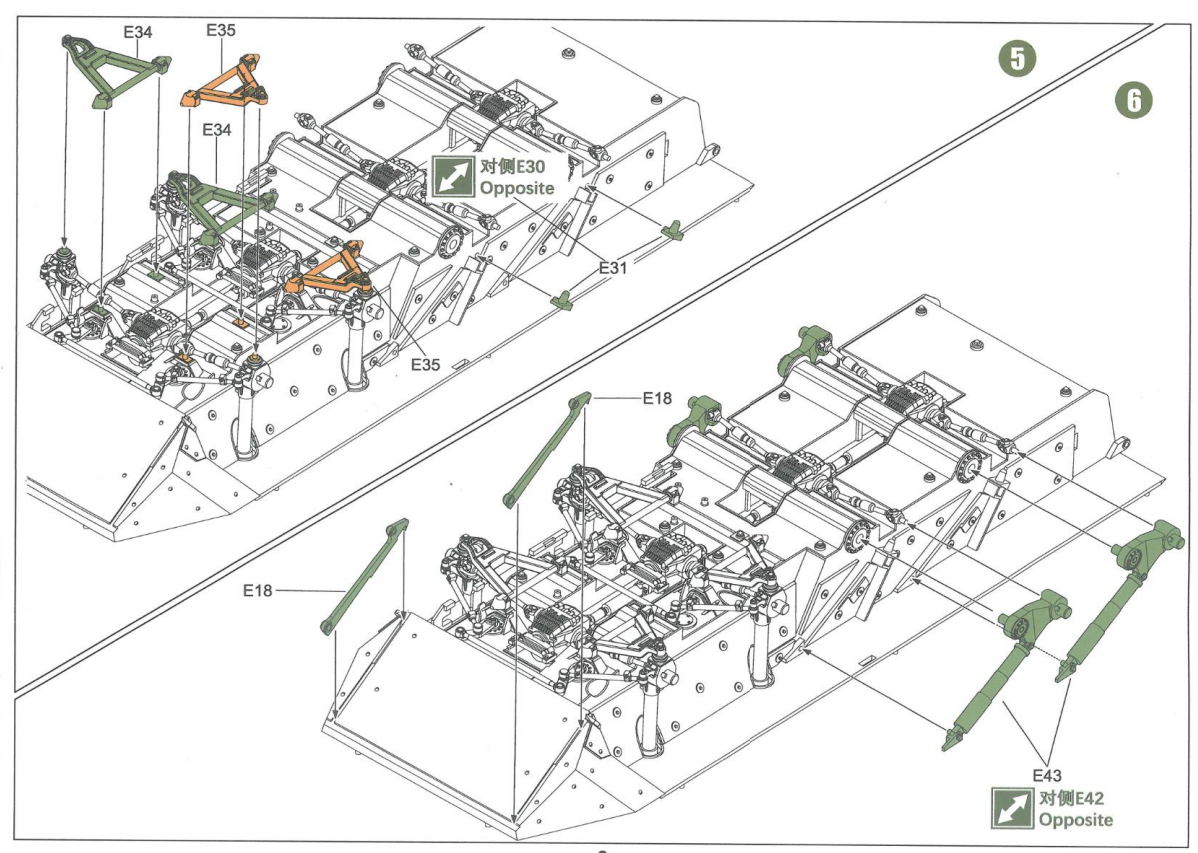
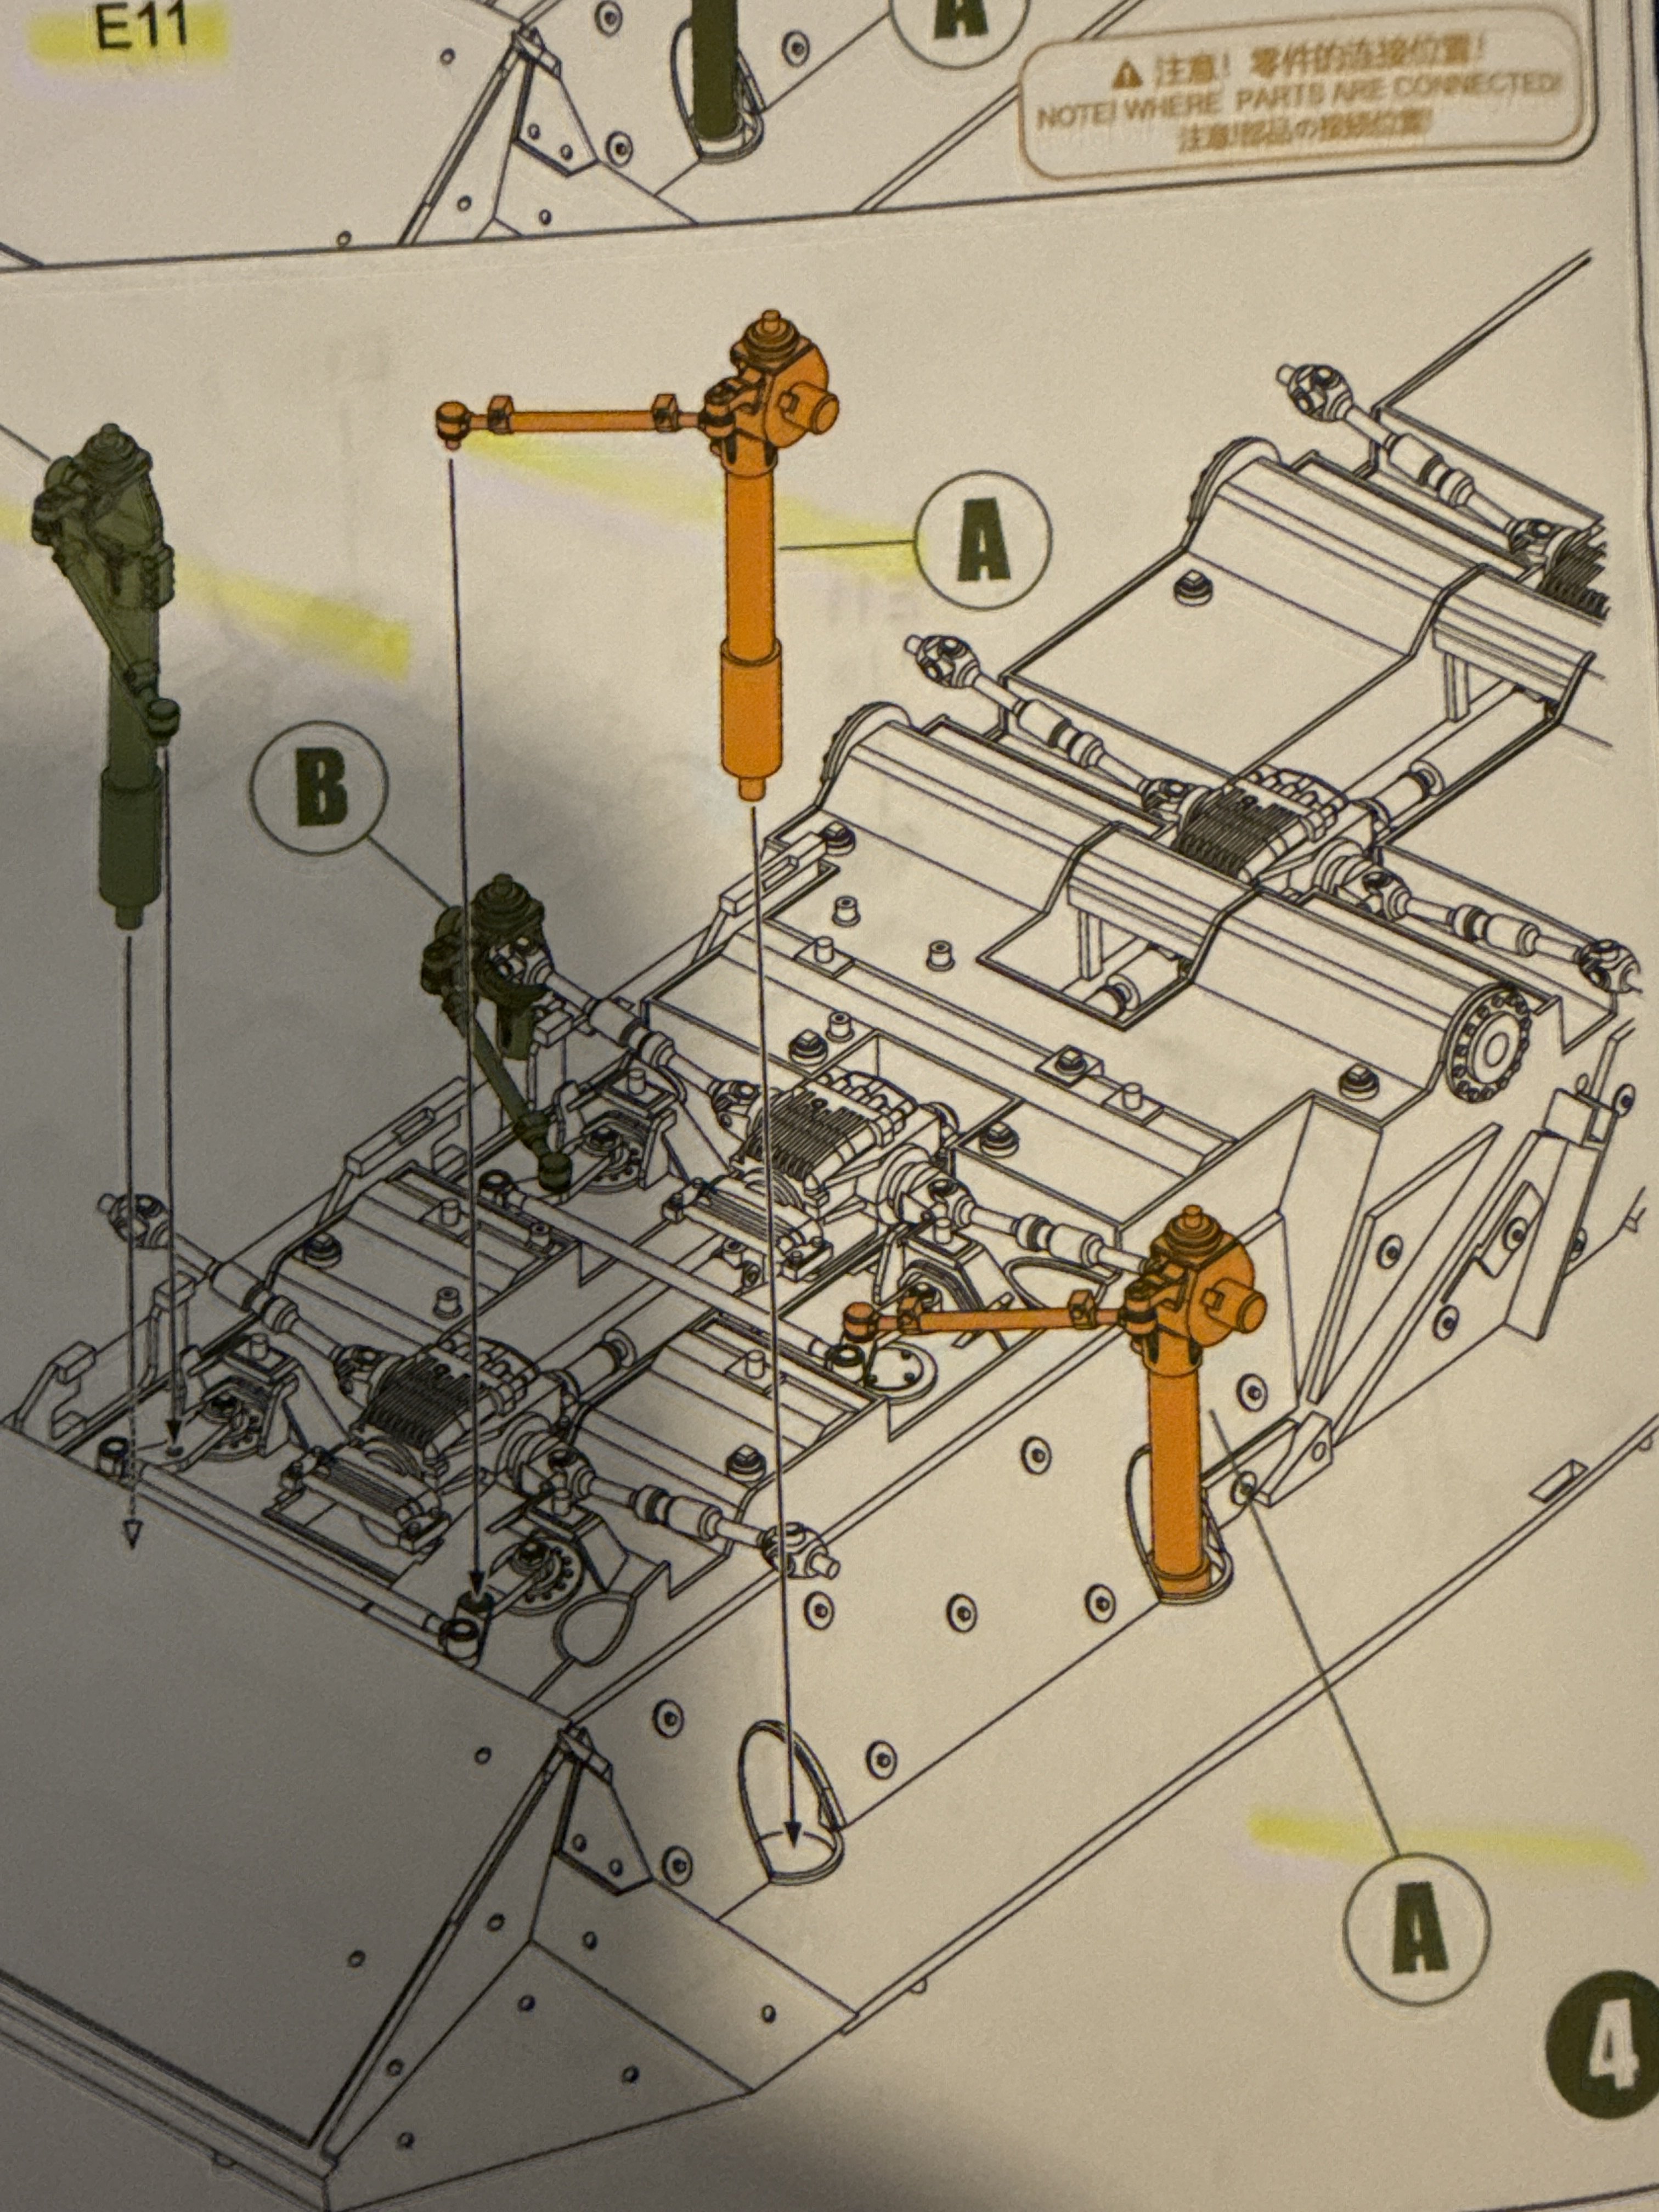
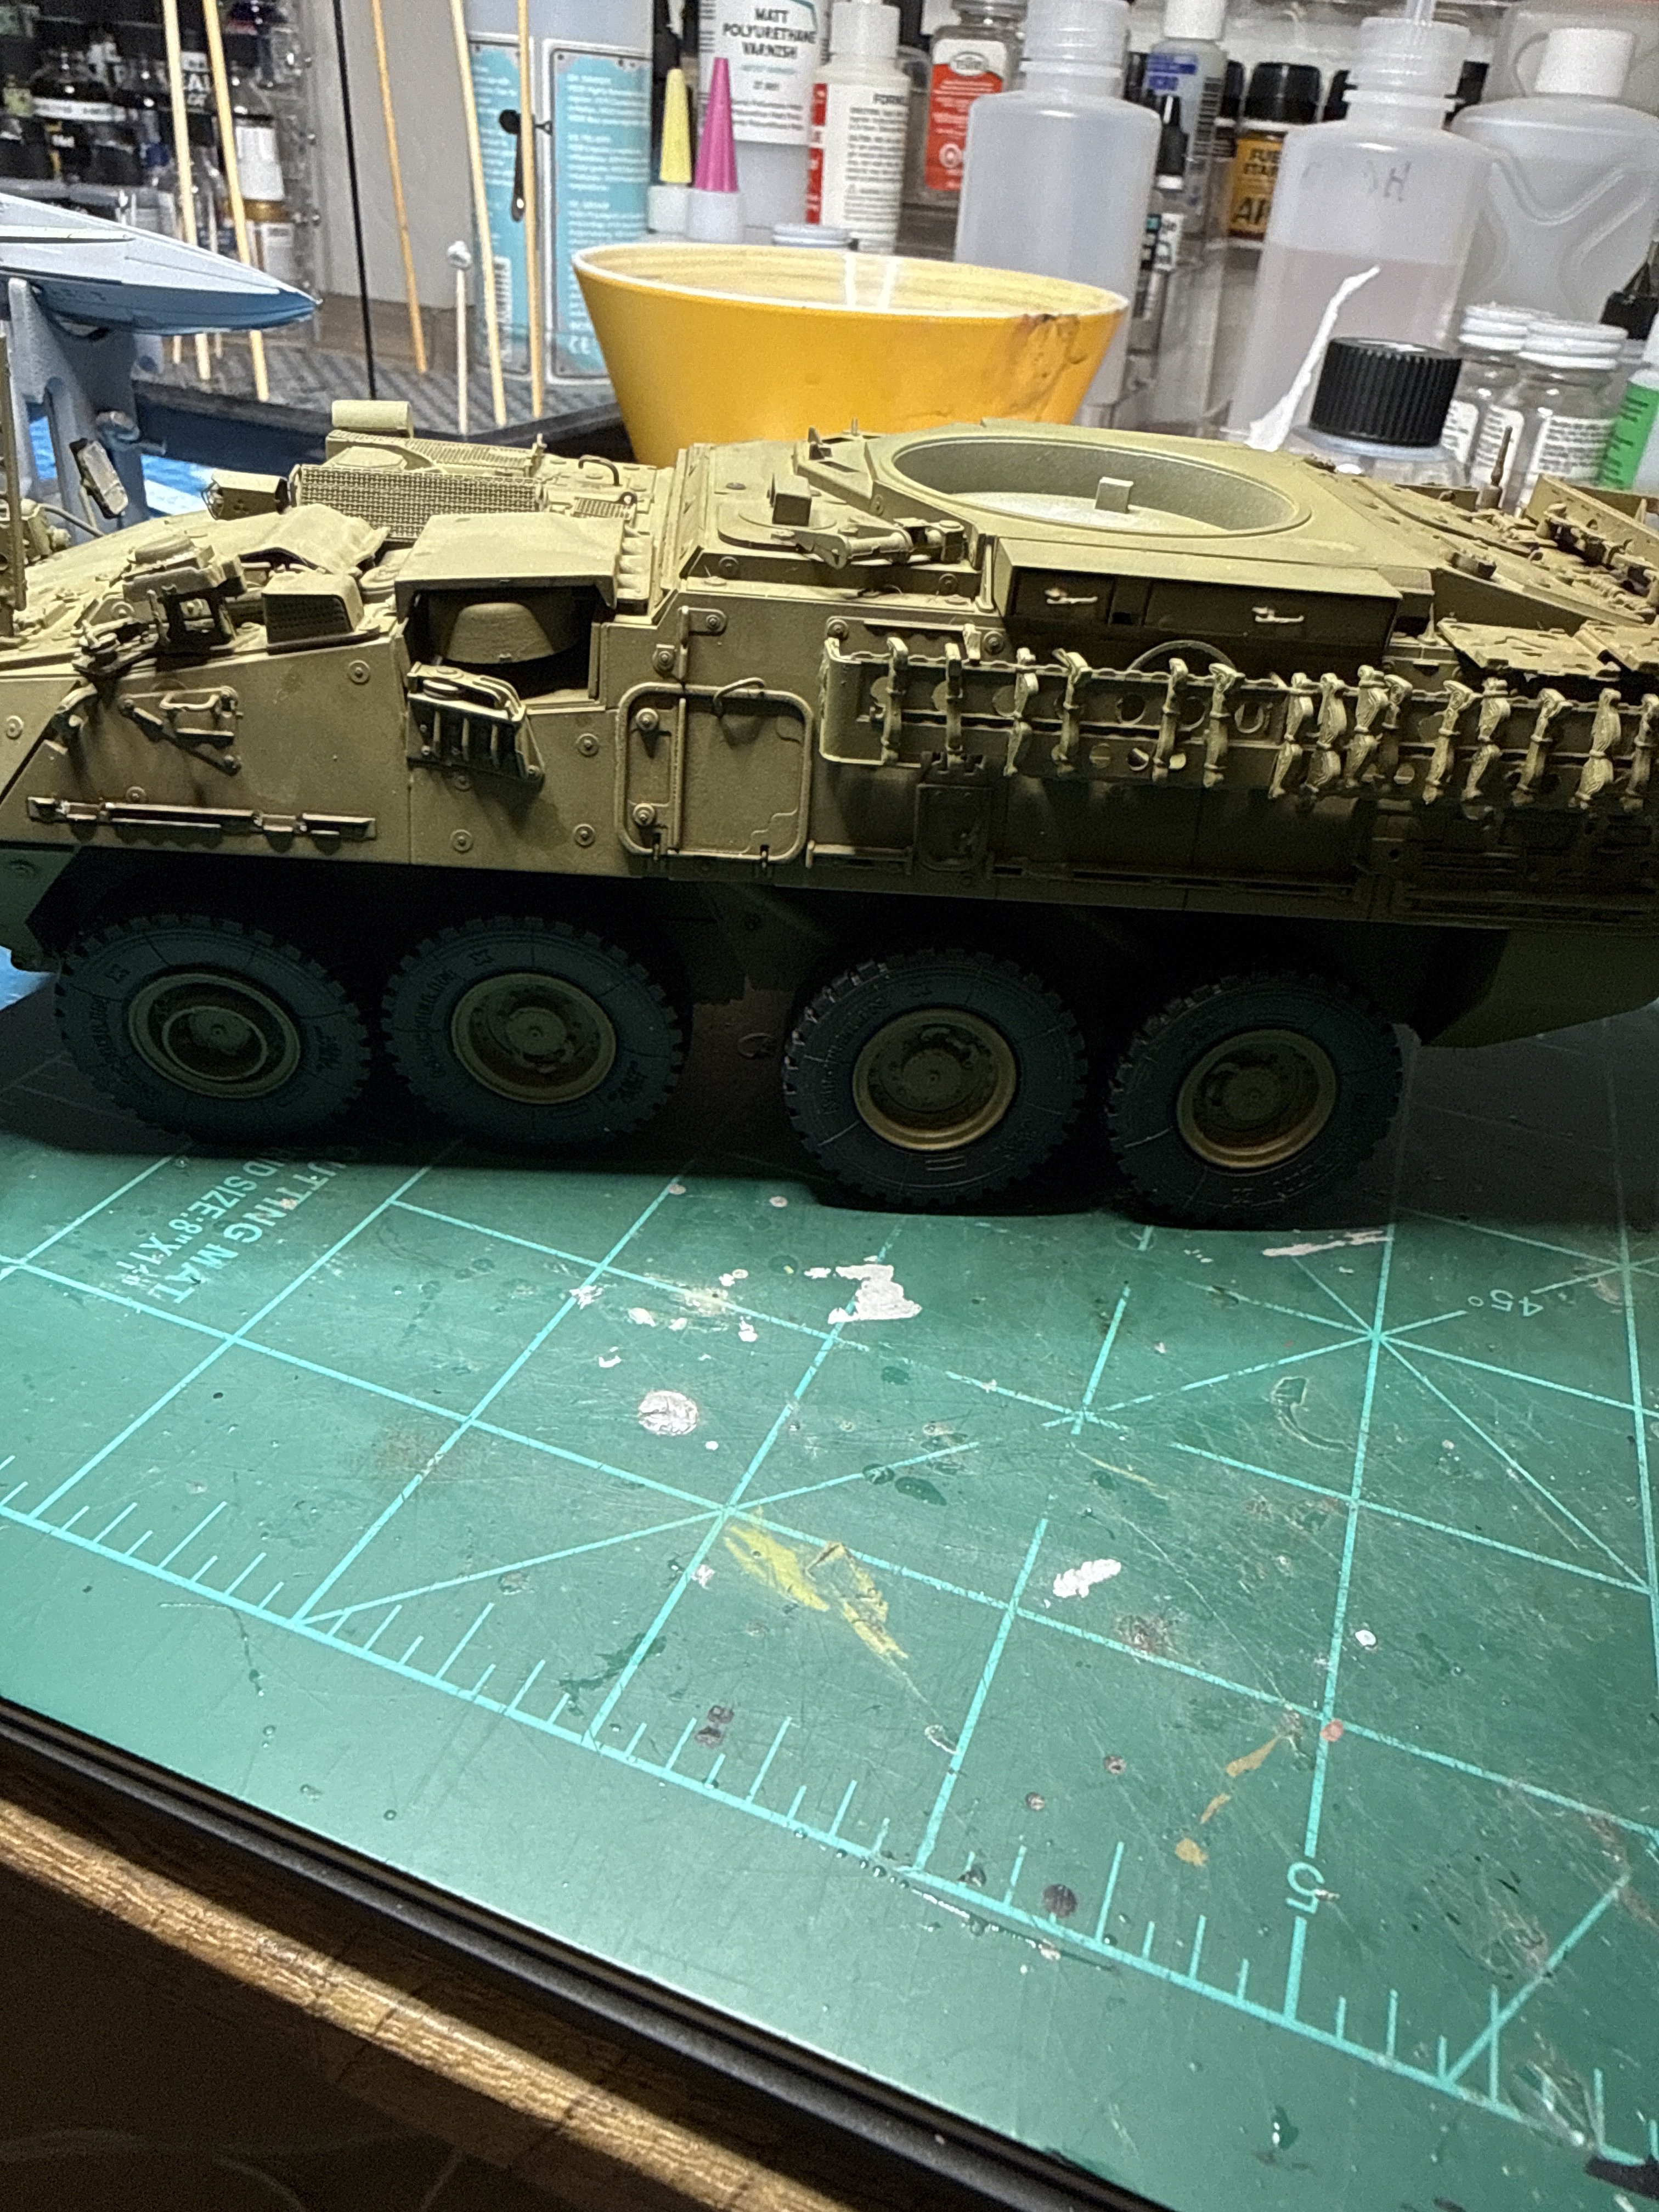
What doesn't make sense is the vertical shaft was seated all the way down just like the pic shows. The rear axles- not room for error, there's no variance in how it sits. Where there was play was in the multiple tie rods etc on the front two wheels. I ended up cutting the shaft and dropping it down, it's not perfectly aligned and probably worse to me but I almost threw the whole thing in the trash. All this work and the front wheels look like crap. Plus I lost the ring off one of the front wheels. Trying to scratch something I stabbed myself real good, took forever to stop bleeding. Had to superglue my finger twice. Anyway I'm done with this mentally. I probably should have shelved it and picked it up later so I'd have more patience with the repair but at this point I just want to be done. Lesson learned. -hopefully! 
Attachments
Jakko
Well-Known Member
IMHO, it's one of the more important things in showing how you built a modelI don't mind sharing mistakes.
It helps others avoid the same mistake, and (possibly even more importantly) it shows people that making mistakes is no big deal. Too much online gives the impression of perfection by deliberately avoiding showing what went wrong, pretending that it didn't, and thereby making viewers/readers feel inadequate.I agree 100%. It's part of the build process. I've never done a project around the house or at work that didn't have mistakes made. The goal is to avoid the same mistakes but also part of sharing mistakes is that it showcases they can be overcome. On a different forum a guy was posting asking for aftermarket suppliers because of mold seam issues. It was apparent he wasn't even considering sanding the parts. Others will complain if everything doesn't fall into place. I call it a LEGO mentality. I'm half tempted to buy this same kit again so I can figure out where I went wrong!IMHO, it's one of the more important things in showing how you built a model
Jakko
Well-Known Member
Do they have different variants of it? Because then you can do its stablemate and avoid your initial mistakes, but without having the exact same model twice.
user 22911
Member
- Joined
- May 25, 2026
- Messages
- 9
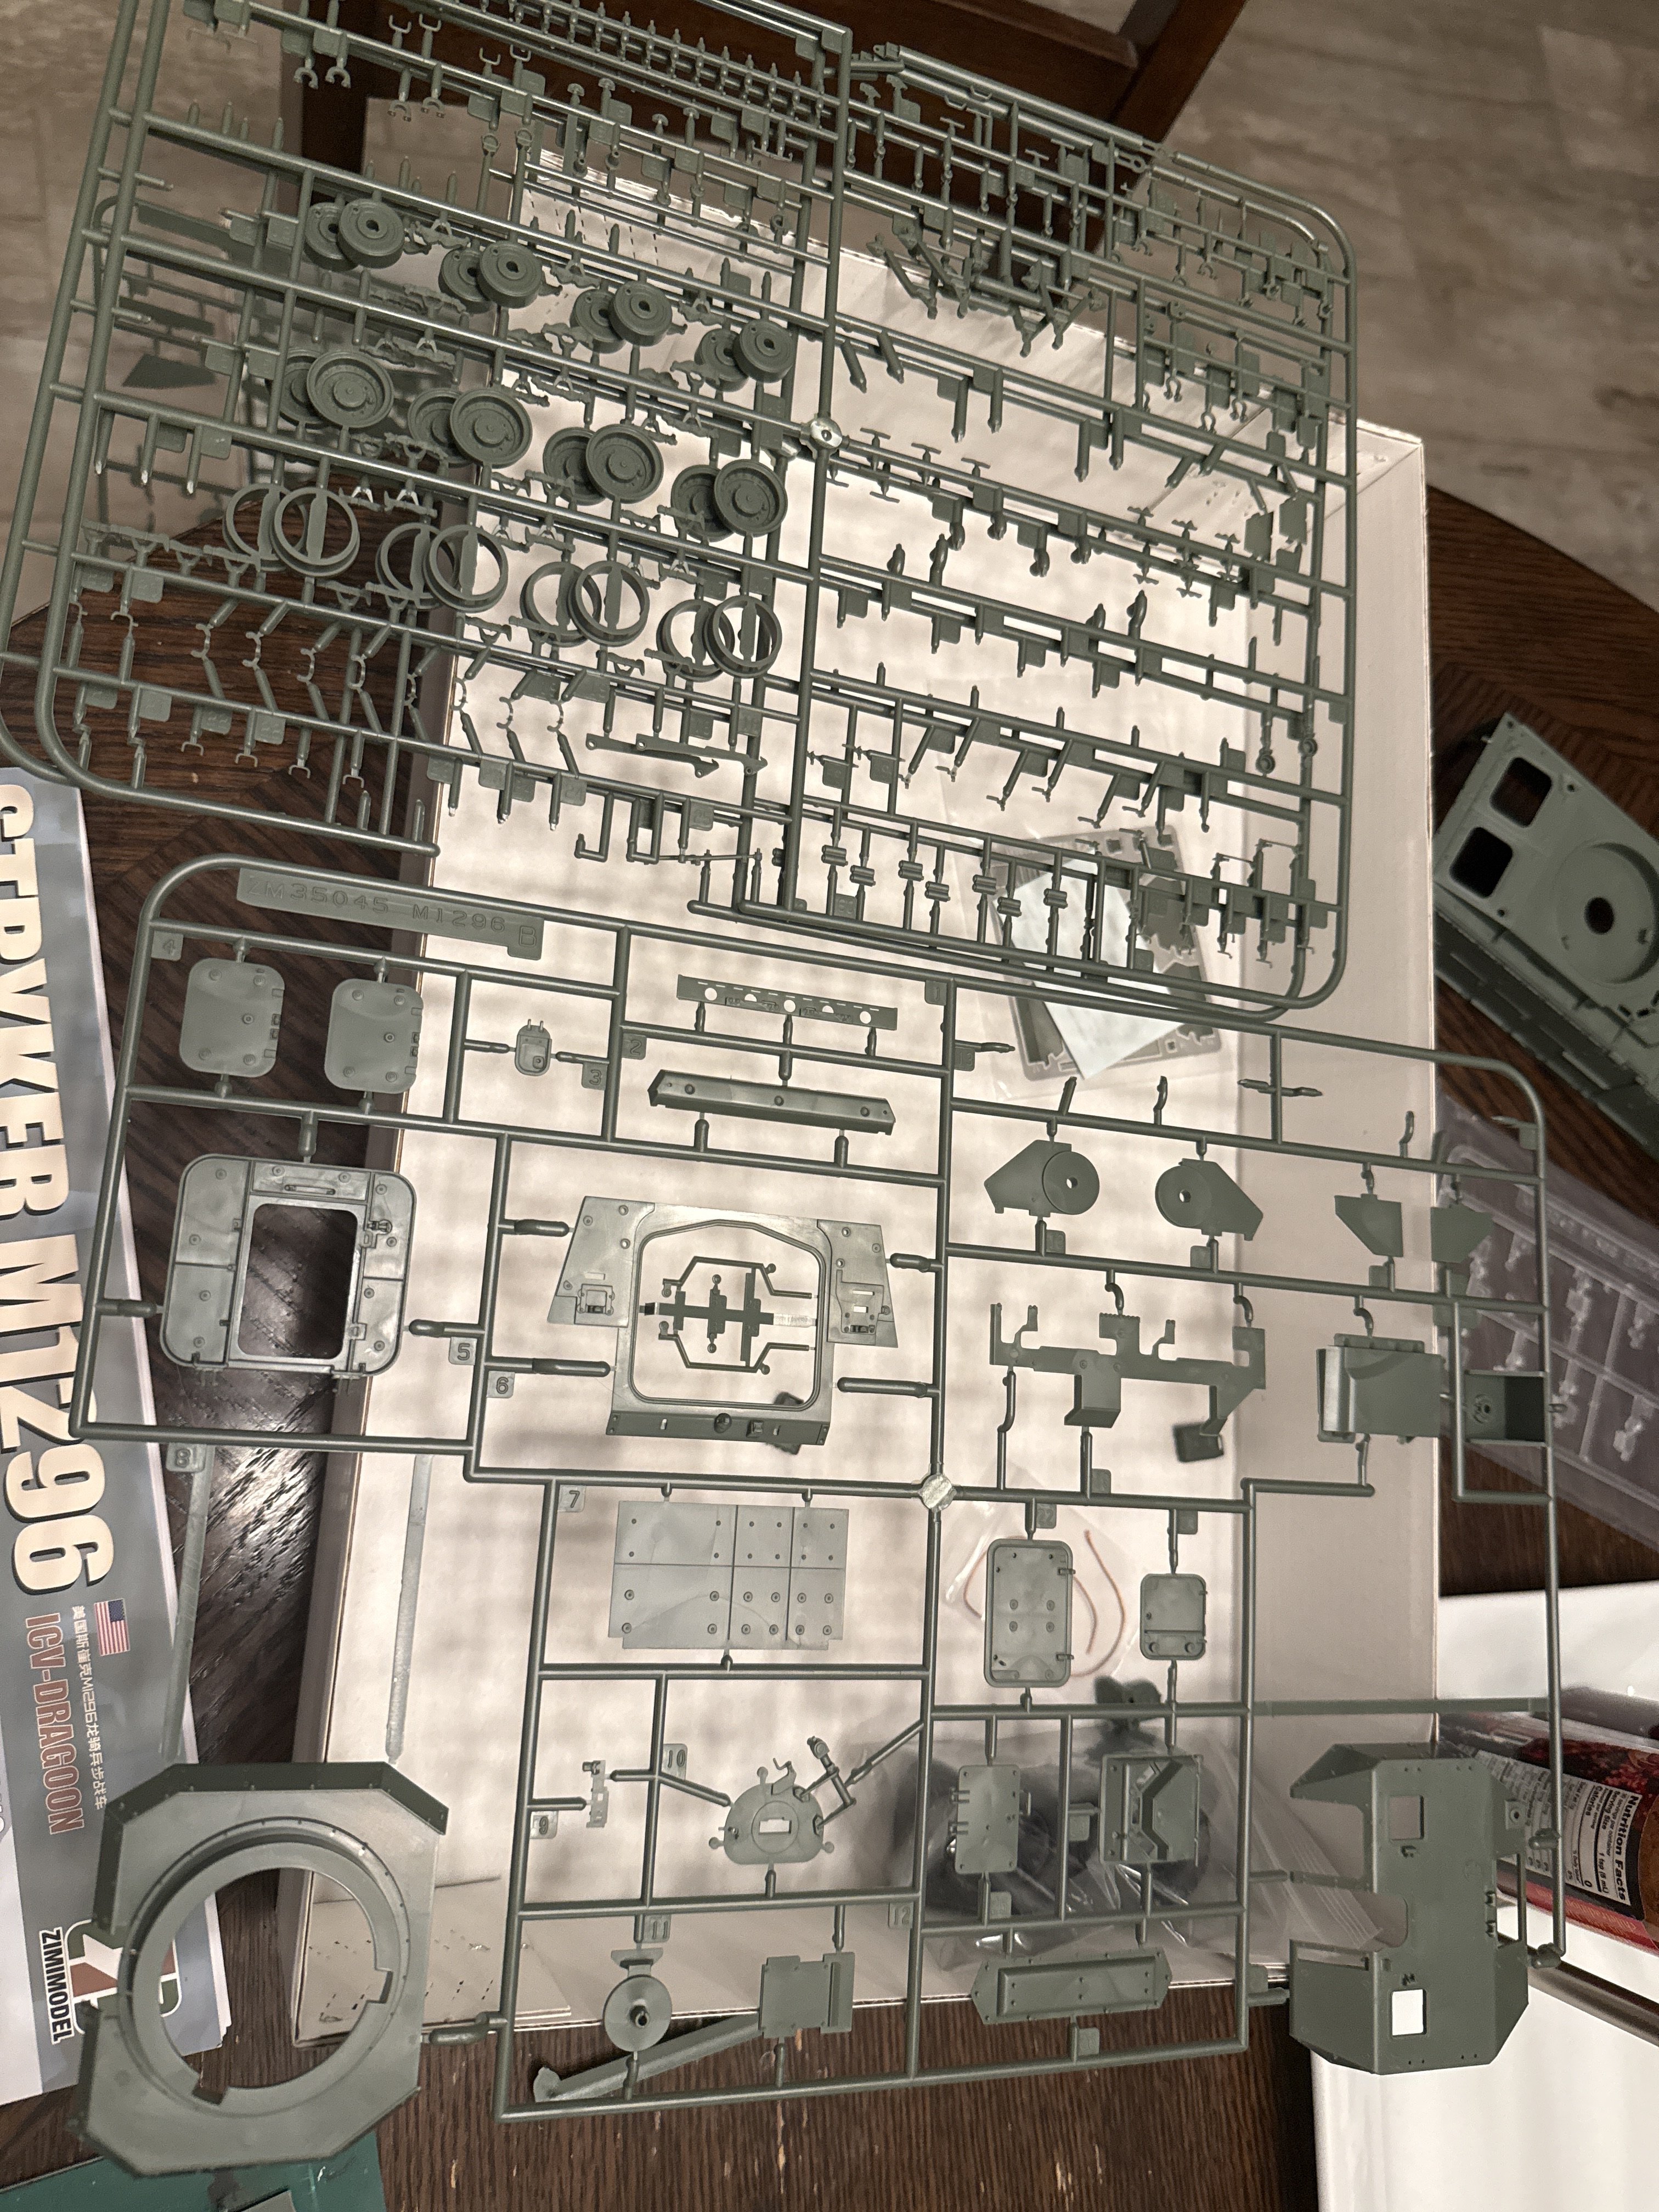
Thought the sprues looked familiar except for the turret, started life as a Trumpeter kit, then Panda got their hands on it and then to Zimi...


