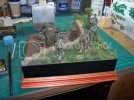
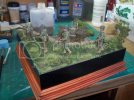
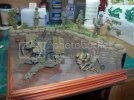
WW II Diorama

thanks Rookie,

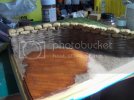
yeah, its better than I expected... just finished the sand bags .... Milliput is hard to work with ....
 
Making sandbags is not a clean job.

I found an article on Armorama (http://www.armorama.com/modules.php?op=modload&name=Sections&file=index&req=viewarticle&artid=116) on making sand bags with Milliput.
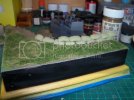
dio_base_16_med.jpg

Not much to say on this process, mix Milliput, shape to something resembling a sandbag, place on diorama base - repeat until finished.

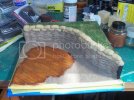
Once all sand bags have been made and placed, I mixed up Papier Mache mixture with PVA glue and Tamiya Diorama Texture Paint Soil Effect and Woodland Scenics Static Grass.

I figured the Germans would have built up dirt from the banker in front of the sand bags - this mixture kinda gives the impression of soil being turn over.

Added the mixture with a paint brush, then changed my mind again and dusted the area with Earth Blend from Woodland Scenics and then randomly spray Woodlands glue and added more Static Grass - blowing this off to get the grass to stand up a bit before shaking off the excess.
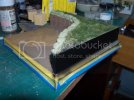
dio_base_17_med.jpg

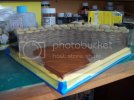
Repainted the diorama sides again with Gloss Black - not as good as before, but it'll do and painted the Wood with Tamiya XF-59 Desert Yellow. I'll go over this later with a stiff brush and oil paints to create the grain effects of wood before weathering it further.
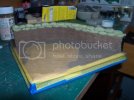
dio_base_18_med.jpg

The slope I've created in front of the Sandbags is effective. Due to re-working the base, I've create more features in the existing ground work, instead of a level area, it looks more what you would see in real life.
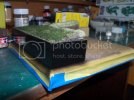
dio_base_19_med.jpg


Thanks

cheers
Cobraleader
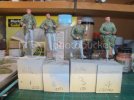
 
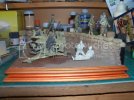
Well, the Diorama Base is almost done, just a few extra scenery details to add, but i'll add those later.

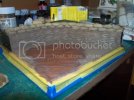
For now, I've just finished painting the sand bags and painted the "wood" base for the Flak gun itself.

The Sandbags are painted with Tamiya Enamel XF-60 Buff and tinted with XF-59 and Humbrol 64 to create variation in the colours of different bags.

dio_base_20_med.jpg

I drybrushed the thatch with XF-60 Buff.


dio_base_21_med.jpg

After all this dried, weathered the sandbags with Raw Umber oil paint wash. Add some grey and buff colours to the wash and added between the sandbags and where they touch the bunker. Removed any excess with a toothbrush.

dio_base_22_med.jpg

dio_base_23_med.jpg

Weathered the wood area with Humbrol 64 that was randomly painted on and then wiped off.

Added some Raw Umber wash to the thatch area.

Aside from a bit extra scenery, it looks about done - now to move to the figures.
 
Great idea you have here. It's coming together very nicely. I look foward to seeing more as you progress.
 
The only way you couldve added more realism would have been to make the boards warped from moisture and adding some spent shells or tin ration cans. Great work so far !
 
Nice work, looking forward to the final.

PS Love the use of wiring for the 'trench' wall.


Regards,


Craig.
 
G'Day All,

Well, after a stretch of personal issues that effected work and personal life, I have finally managed to spend some time on models again.
So back into the Diorama I go ....
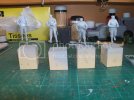
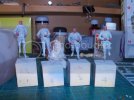
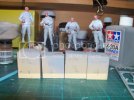
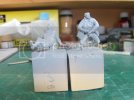
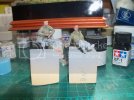
All the figures are together (minus helmets and main weapons).
Primed and started work on the faces ...

figure_02.jpg

figure_19.jpg

figure_20.jpg
 
Good to see some more progress with this. What paints you using on your figures ?
 
g'day all,

I've used Model Master and Humbrol Enamels

Model Master has a "Skin" Colour series. Skin Tone Warm Tint, Skin Tone Shadow Tint and 2 other colours ....
I also used Model Master Tan (FS20400) and Humbrol 73.

Mixed a dark colour mix and slowly worked towards a light tone by mixing the lighter colours. Used the layering technique - about 10 layers and then dry brushed with a Tan and Skin Tone Warm mix.
 
wow - didn't realize I hadn't updated this blog for a while .....

Well, instead of bombarding the thread with a dozen or so pics, i'll post a selection.....

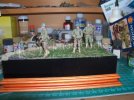
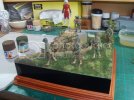
I've added a Nemrod Medic and Wounded GI, drilled out the Flak Gun muzzles, repainted the flak gun, glued everything in place, added diorama scenery......

figure_22_med.jpg

dio_base_24_med.jpg

dio_base_28_med.jpg

figure_27_med.jpg

figure_33_med.jpg

dio_base_42_med.jpg

dio_base_43_med.jpg

dio_base_44_med.jpg

dio_base_46_med.jpg
 
Nice to see an update, looks great.

Not so sure that anime person in red fits the scene though...

lol
 
quality bud love the scene they seen it all before as they walk past..and the detail in the figures the colour is cracking
 
This has come along very well, compostition and layout look great and it flows well. Adding the medic and wounded GI fills in the visual gaps keeps the eye moving thru the scene. Ground work and figures look great too, very well done.

Cheers, Ski.
 

Latest posts

Back
Top