VegasAWACER13
Well-Known Member
- Joined
- Aug 2, 2025
- Messages
- 435
That looks awesome. Well done!


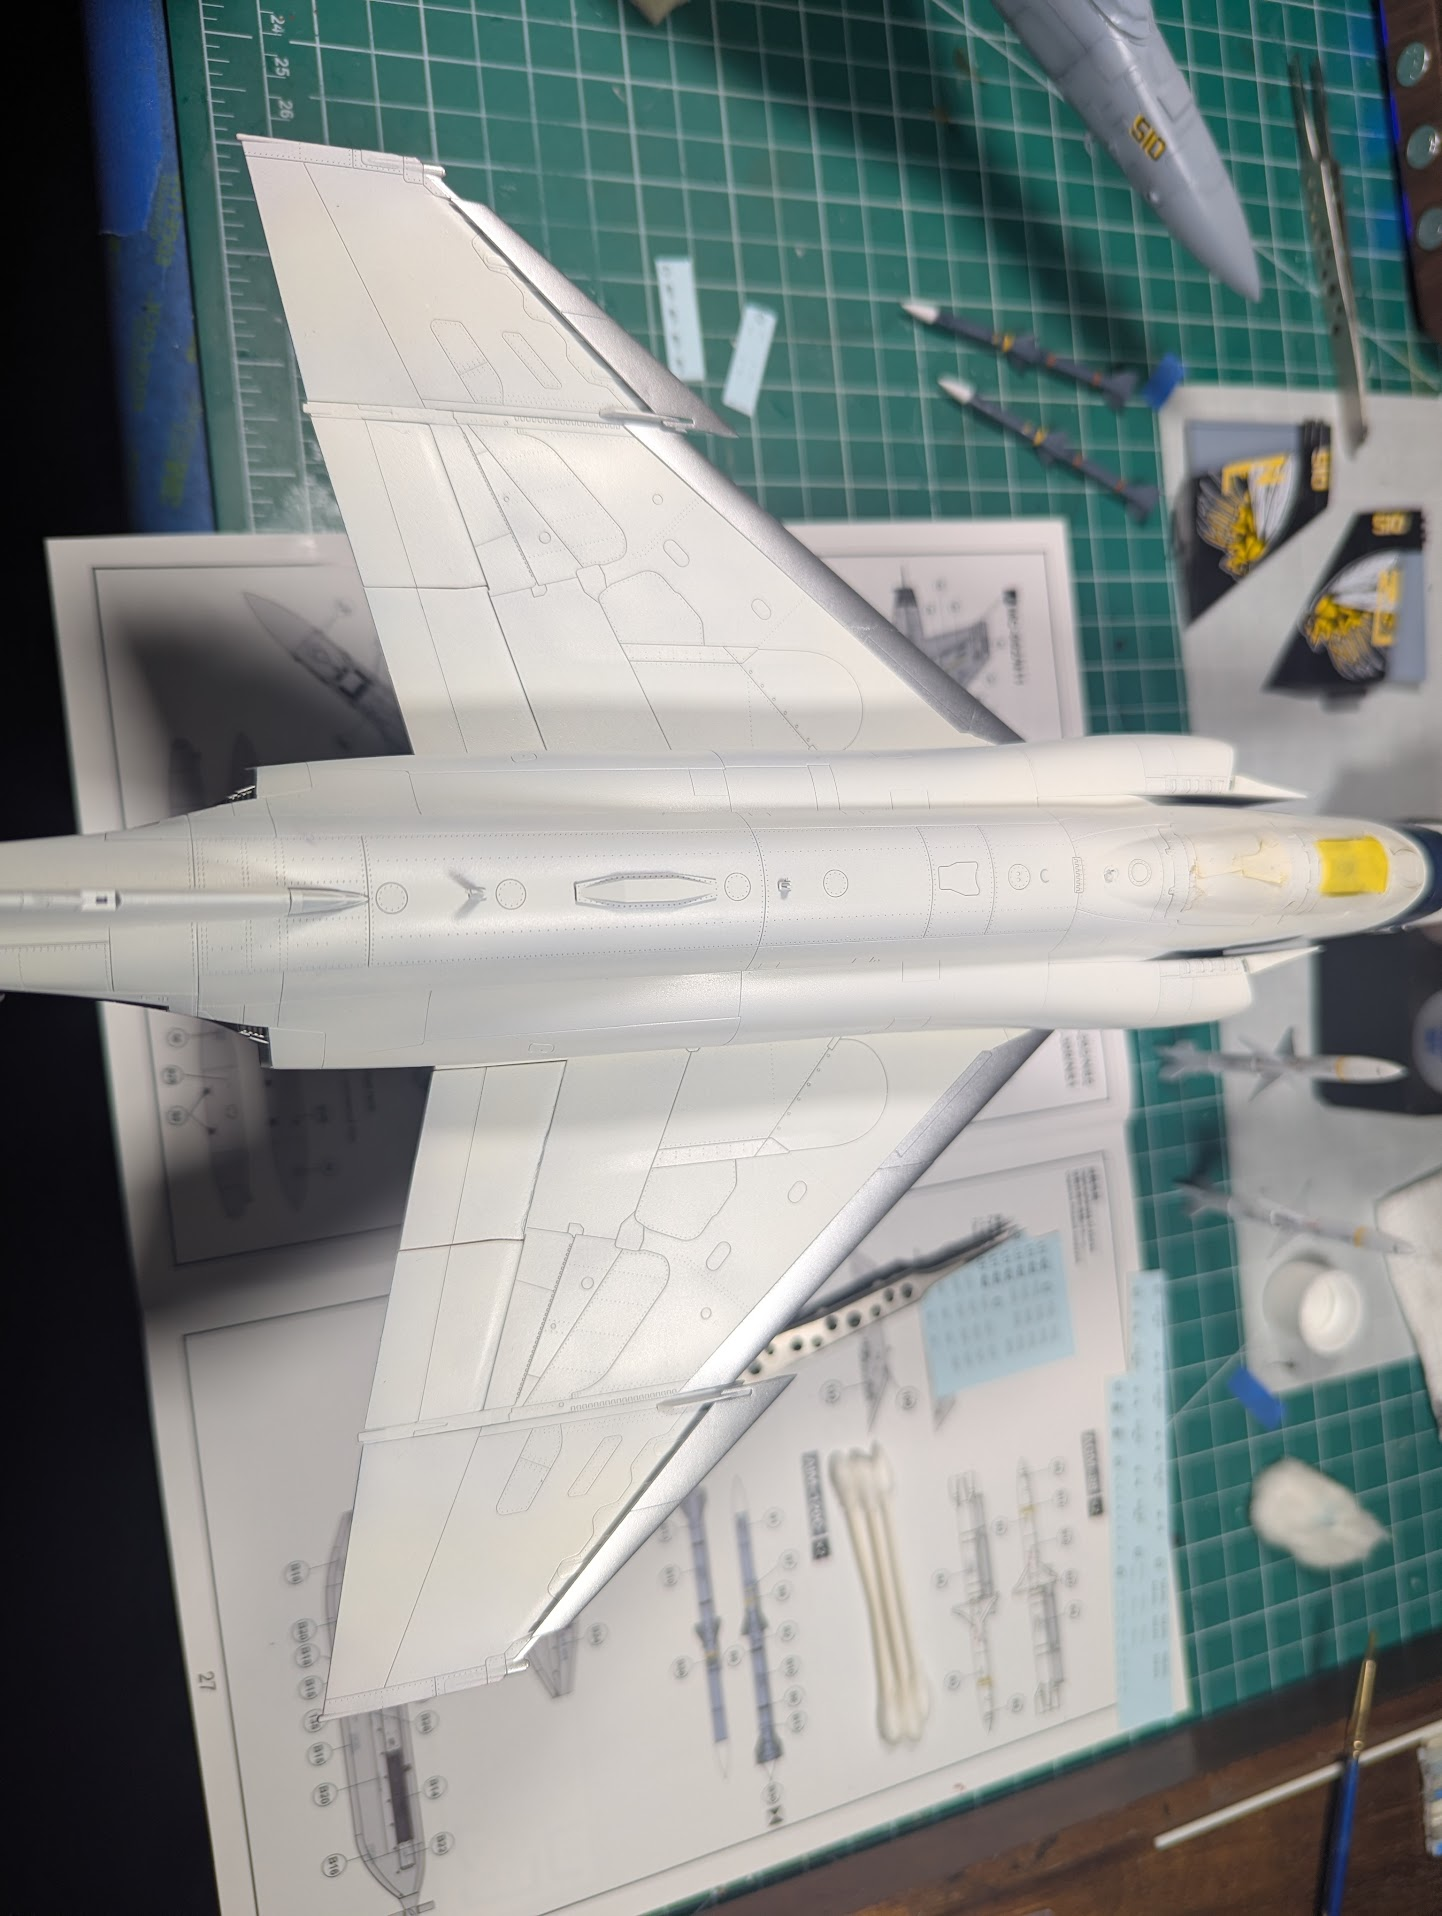
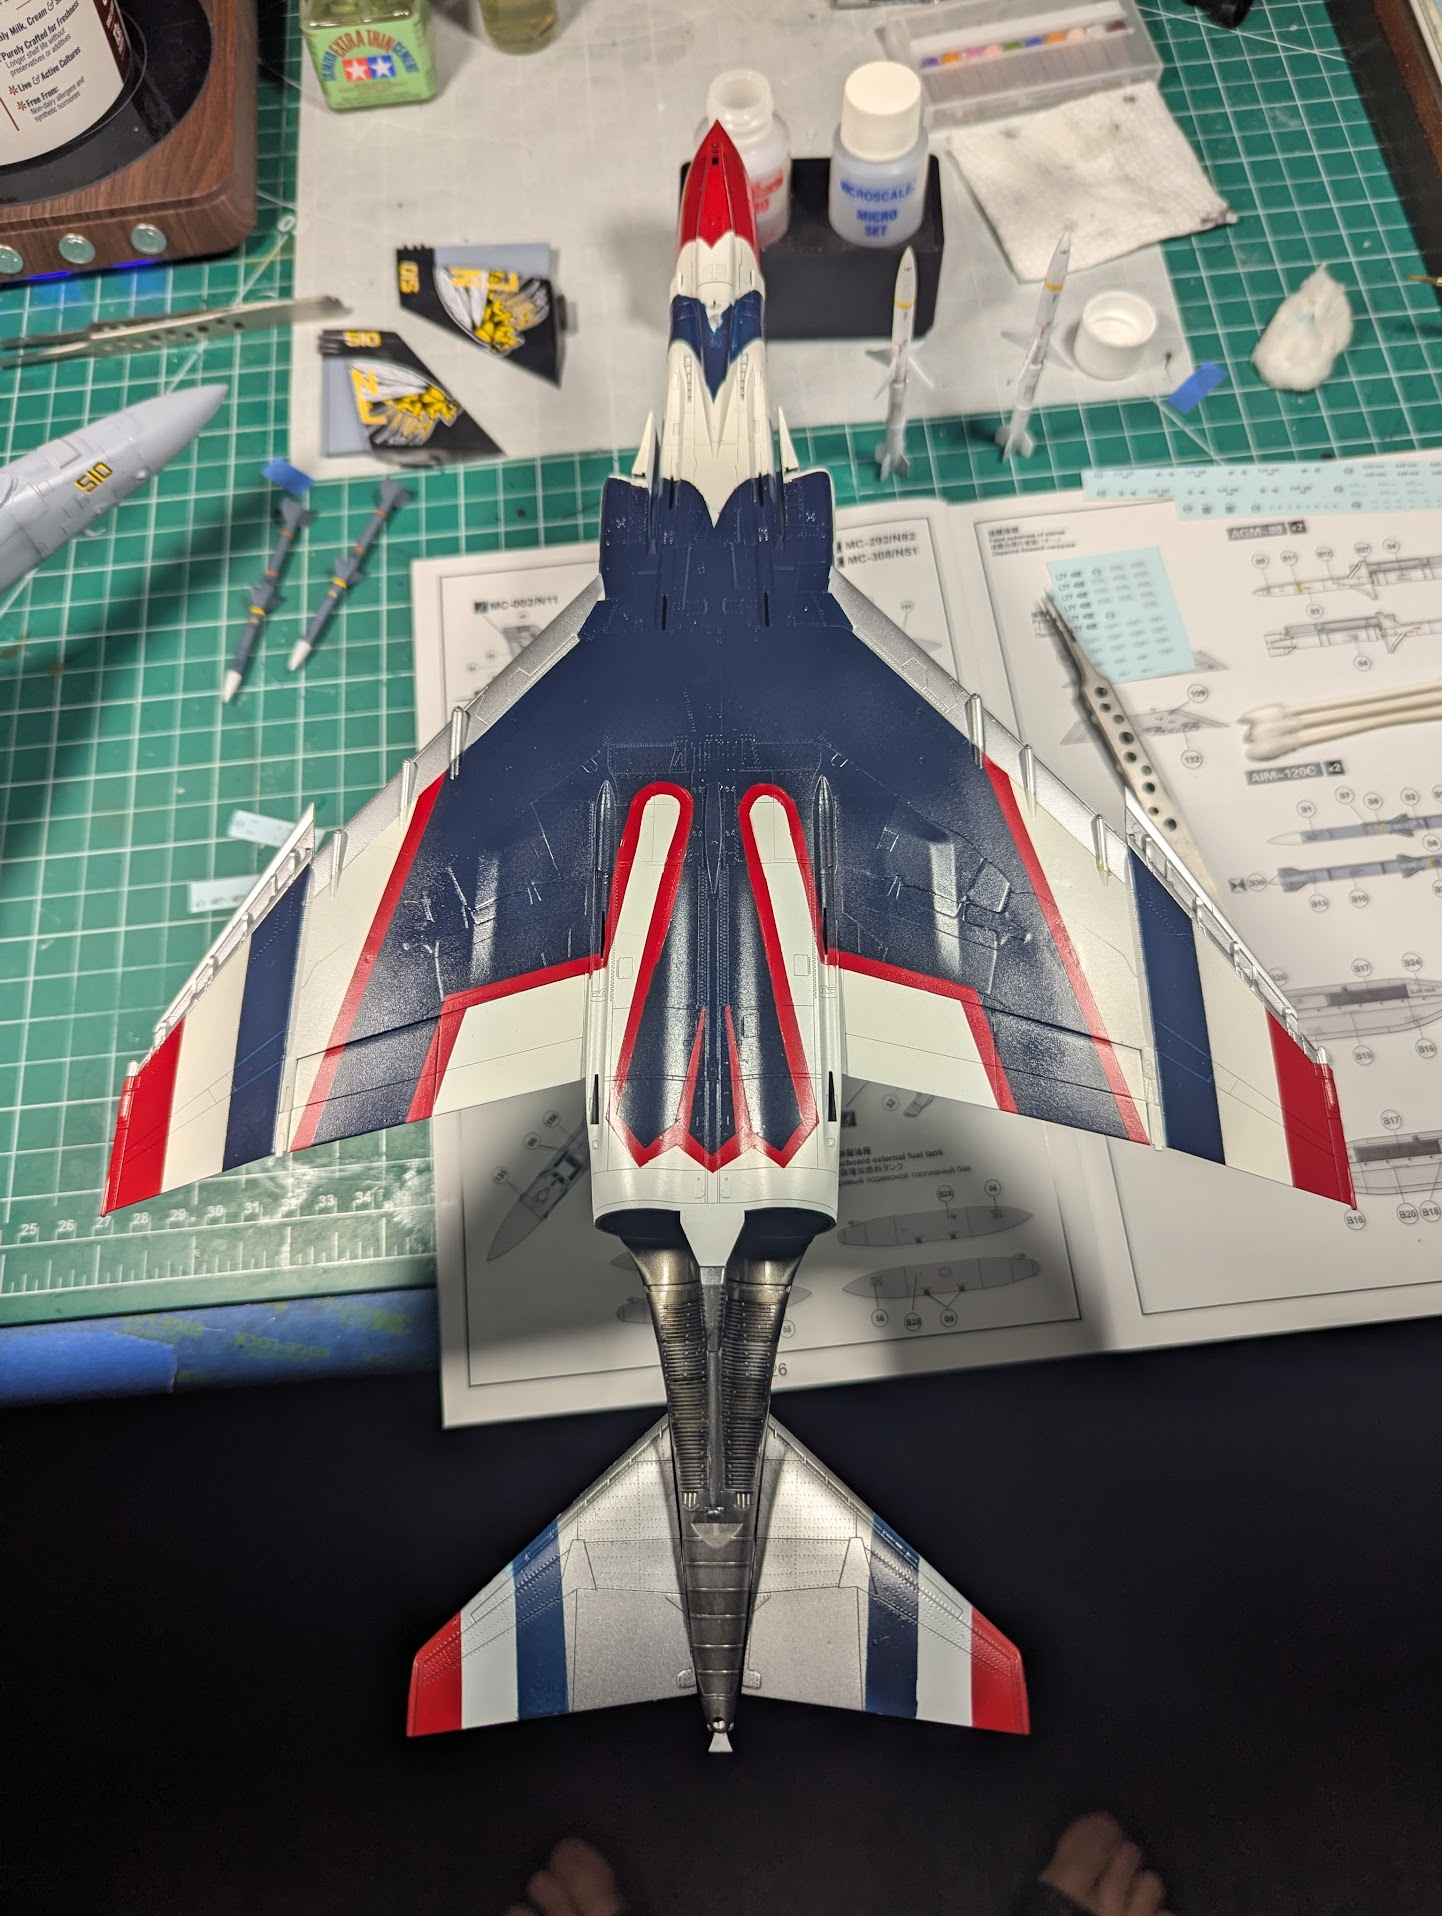
I just got through painting my metal on my f4e. Yours looks great!Pilot uniforms were overall dark blue, usually with red helmets. That was easy enough, but I decided they should have red gloves too. Now it looks like Spiderman is in the cockpit, will have to consider at least painting the gloves.
So I directed attention to the metallic rear section instead.
View attachment 179750
At least this angle shows the reflectiveness (?) of the paint.


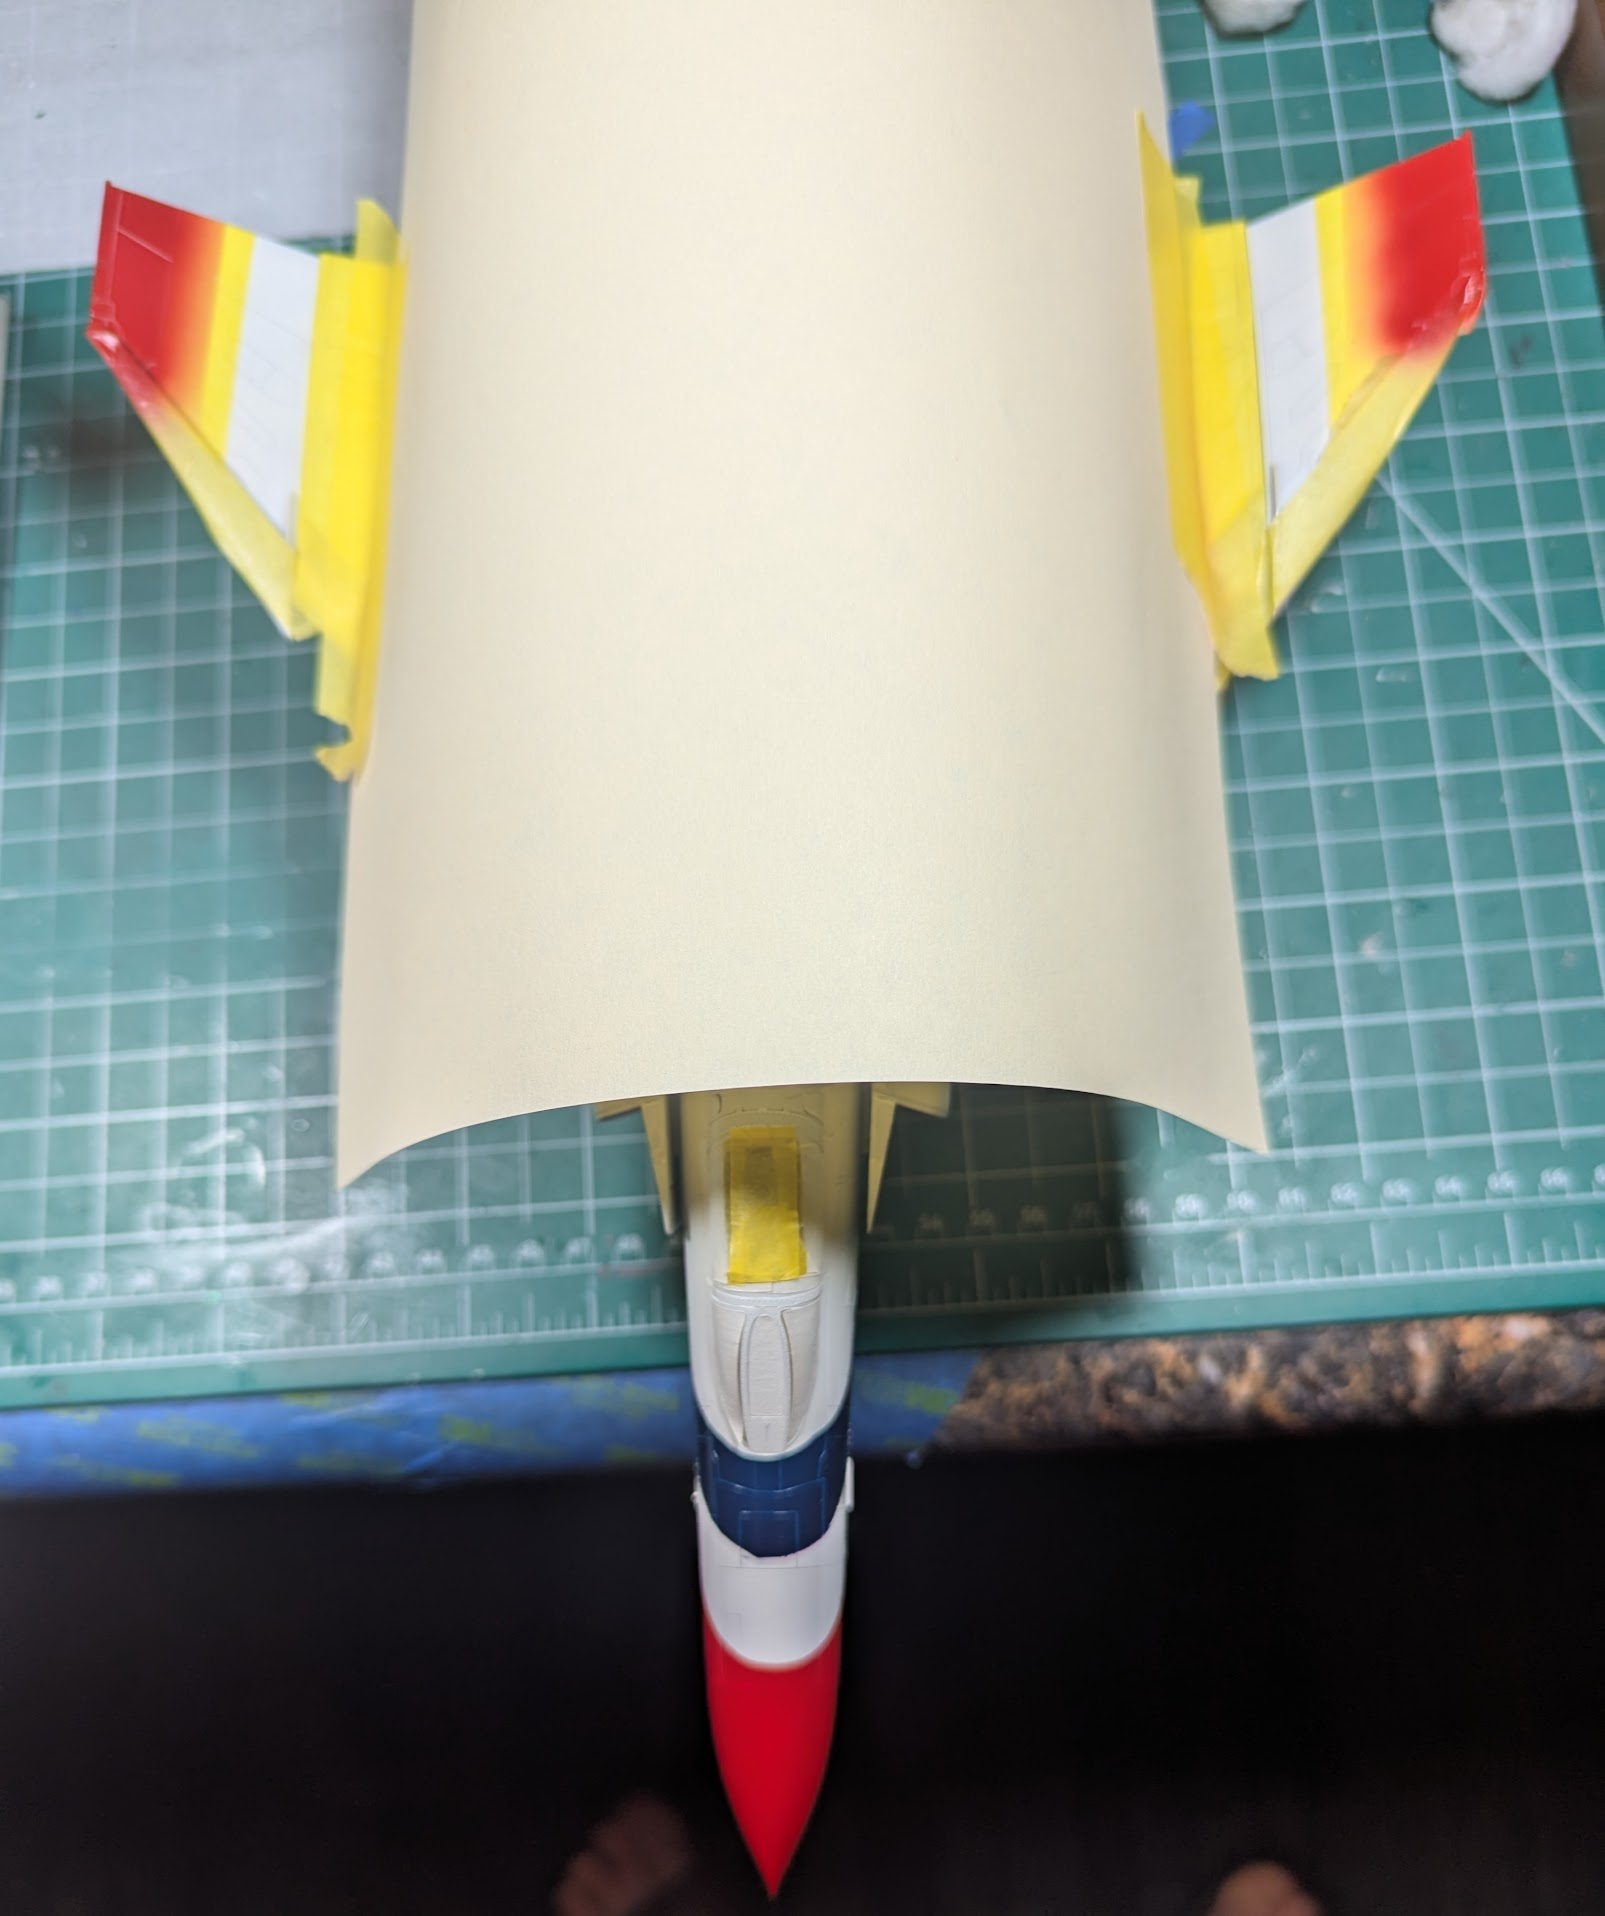
Never said I wasn't lazy!That's a good way to mask the whole of the fuselage in one go
I also use alclad black for base but recently tried AK lacquer black base and I like it much better! Dry time is incomparable. Looks good so far, love that you're mostly painting over decals!I use Alclad Gloss Black Base as a primer, I know it is not, but I do. If you try to thin it out using Alclad thinner it might take 14-days to harden/cure, don't do that
The gloss black is important to make the silver look right when sprayed thin. Once there's a full (enough) covering of silver, I come back in with Tamiya acrylic "smoke" (X-19) with varying levels and masking portions/components in between to get the color variations.
Before applying stickers I use a gloss coat, sometimes X-22 and sometimes floor polish, depending on mood.
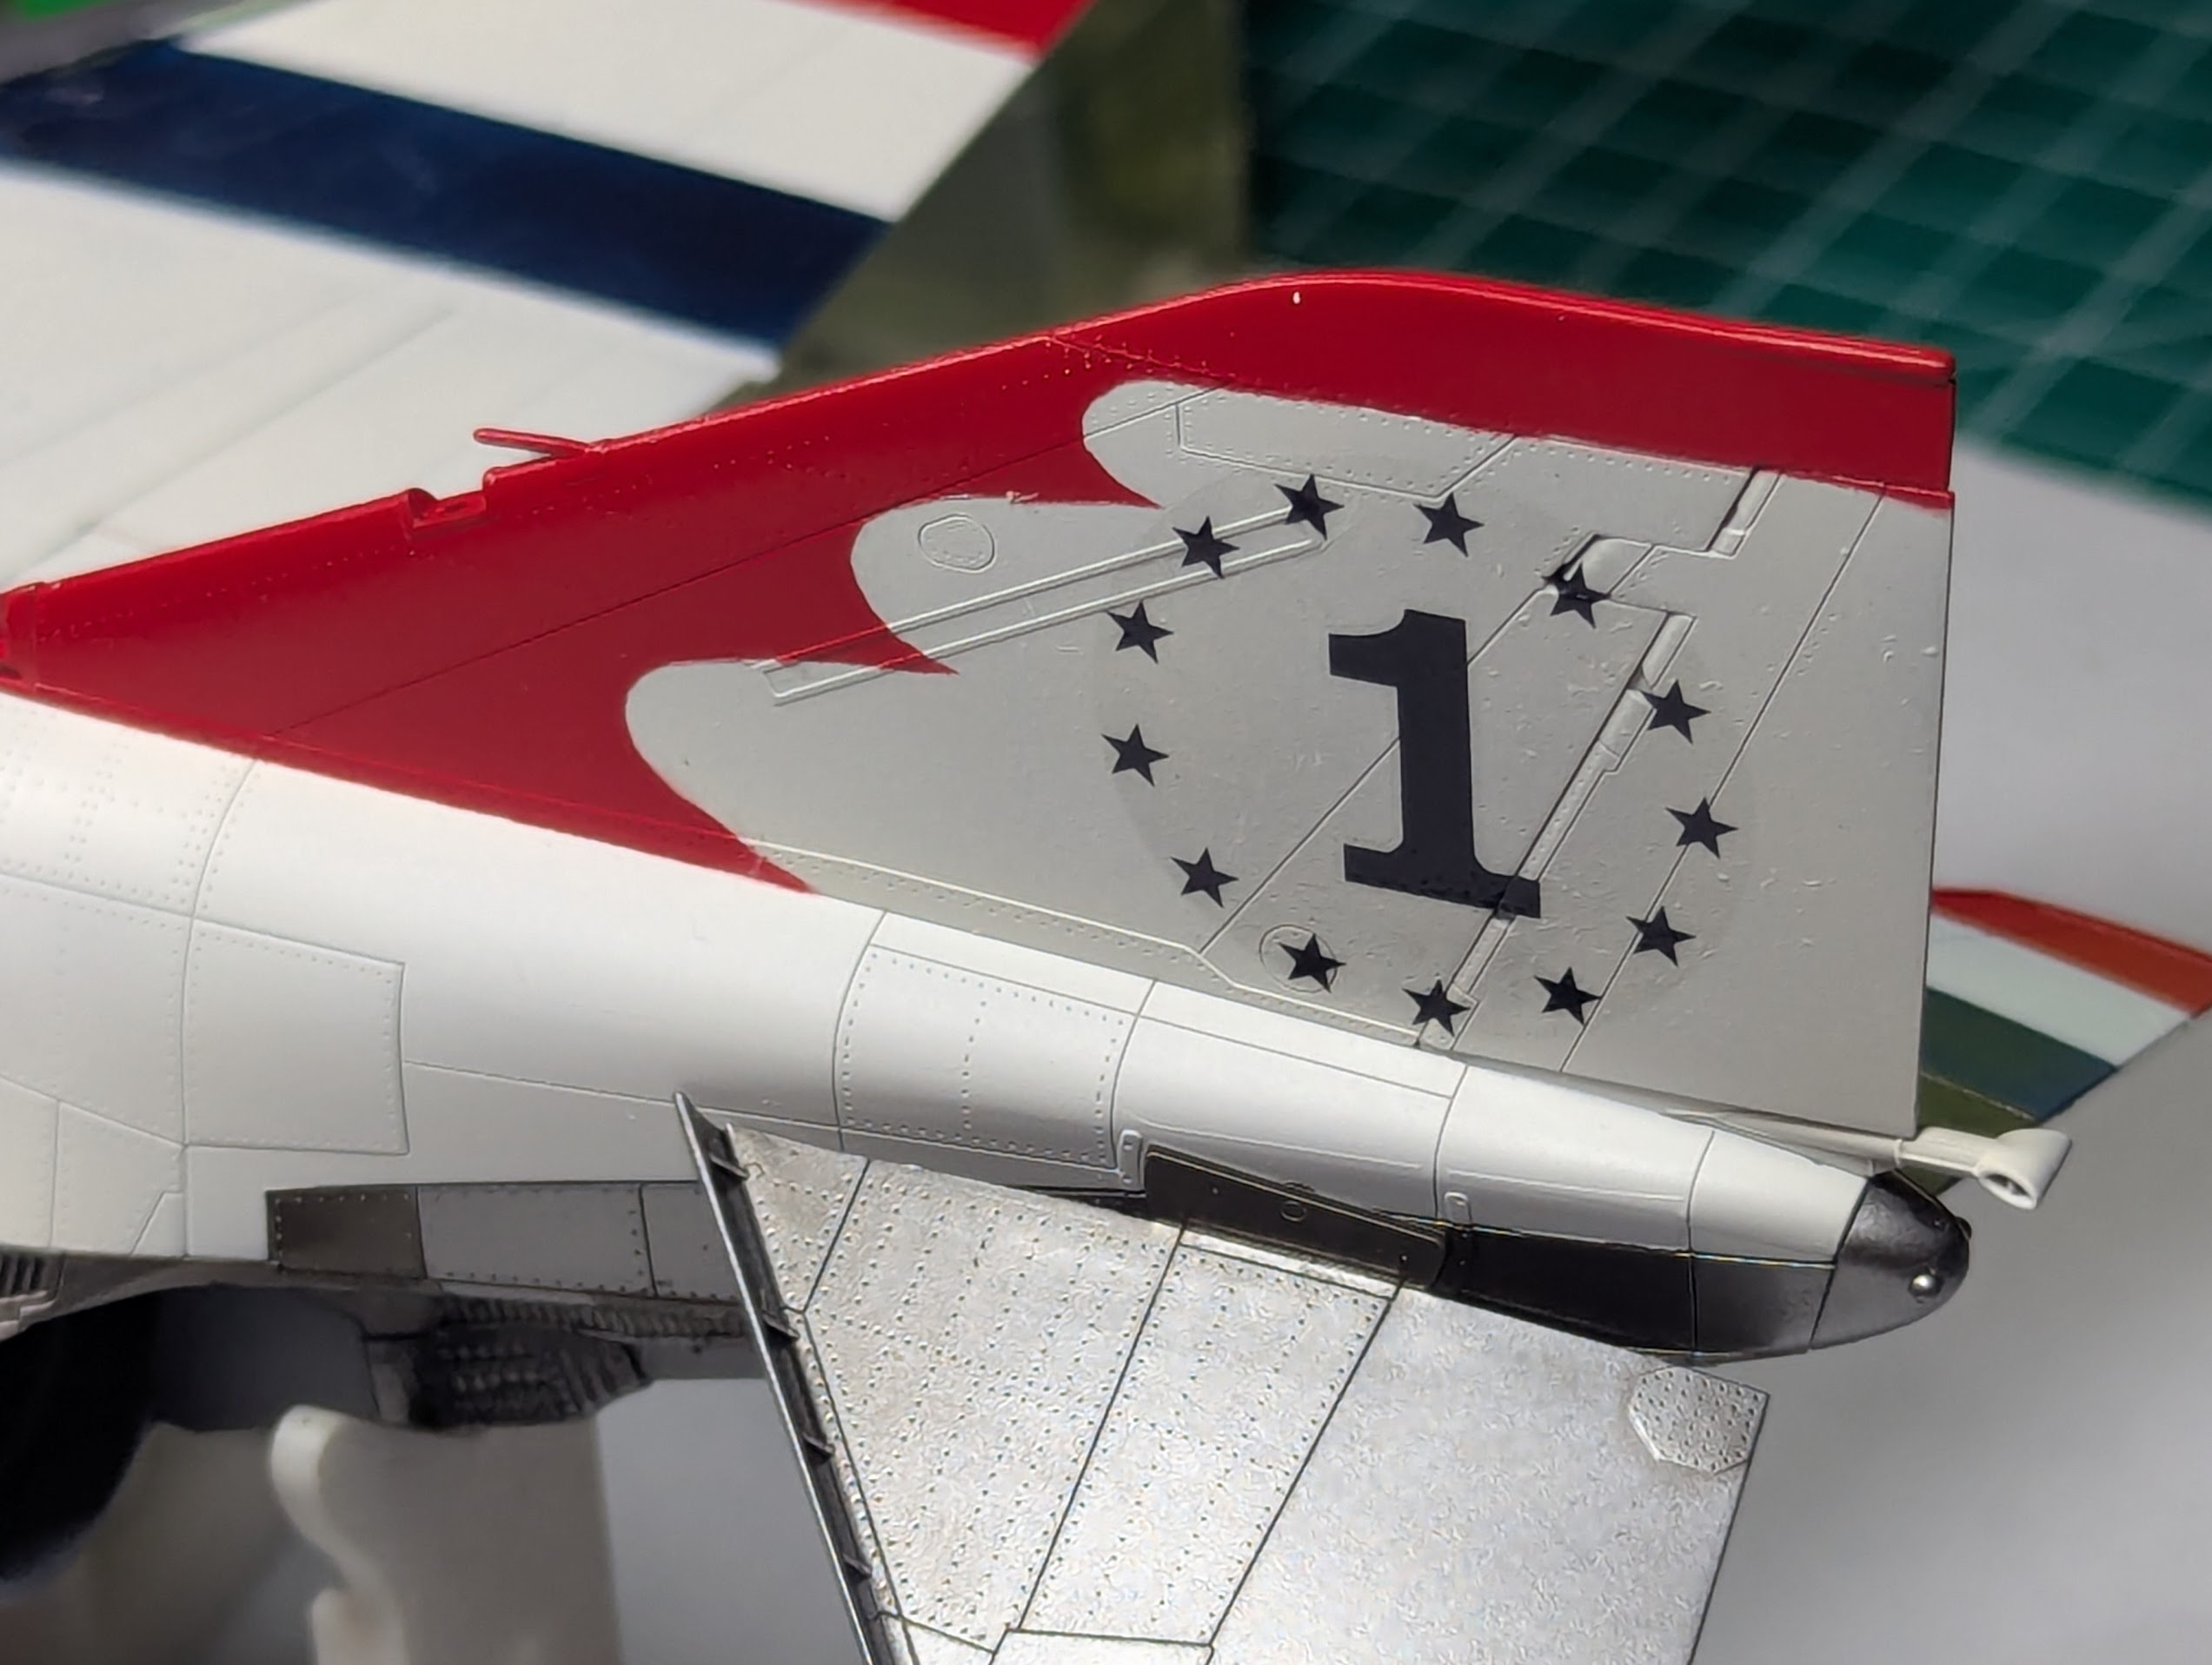
I'm gonna wimp out and use stickers for the vertical stab. I did consider painting the blue swooshes, but no way I'd try the number and circle of stars. So I'll just use the sticker for it and the national flags plus a few itty bits.love that you're mostly painting over decals!

Looking closely, I'm pretty sure it's a transparency, although it might be PE on a transparency. OTOH, 3D printing is getting really good, witness the 3D instrument panels you can now get.n this pic does the P47 have photoetched prop blades or 3rd print resin? Looks very nice.

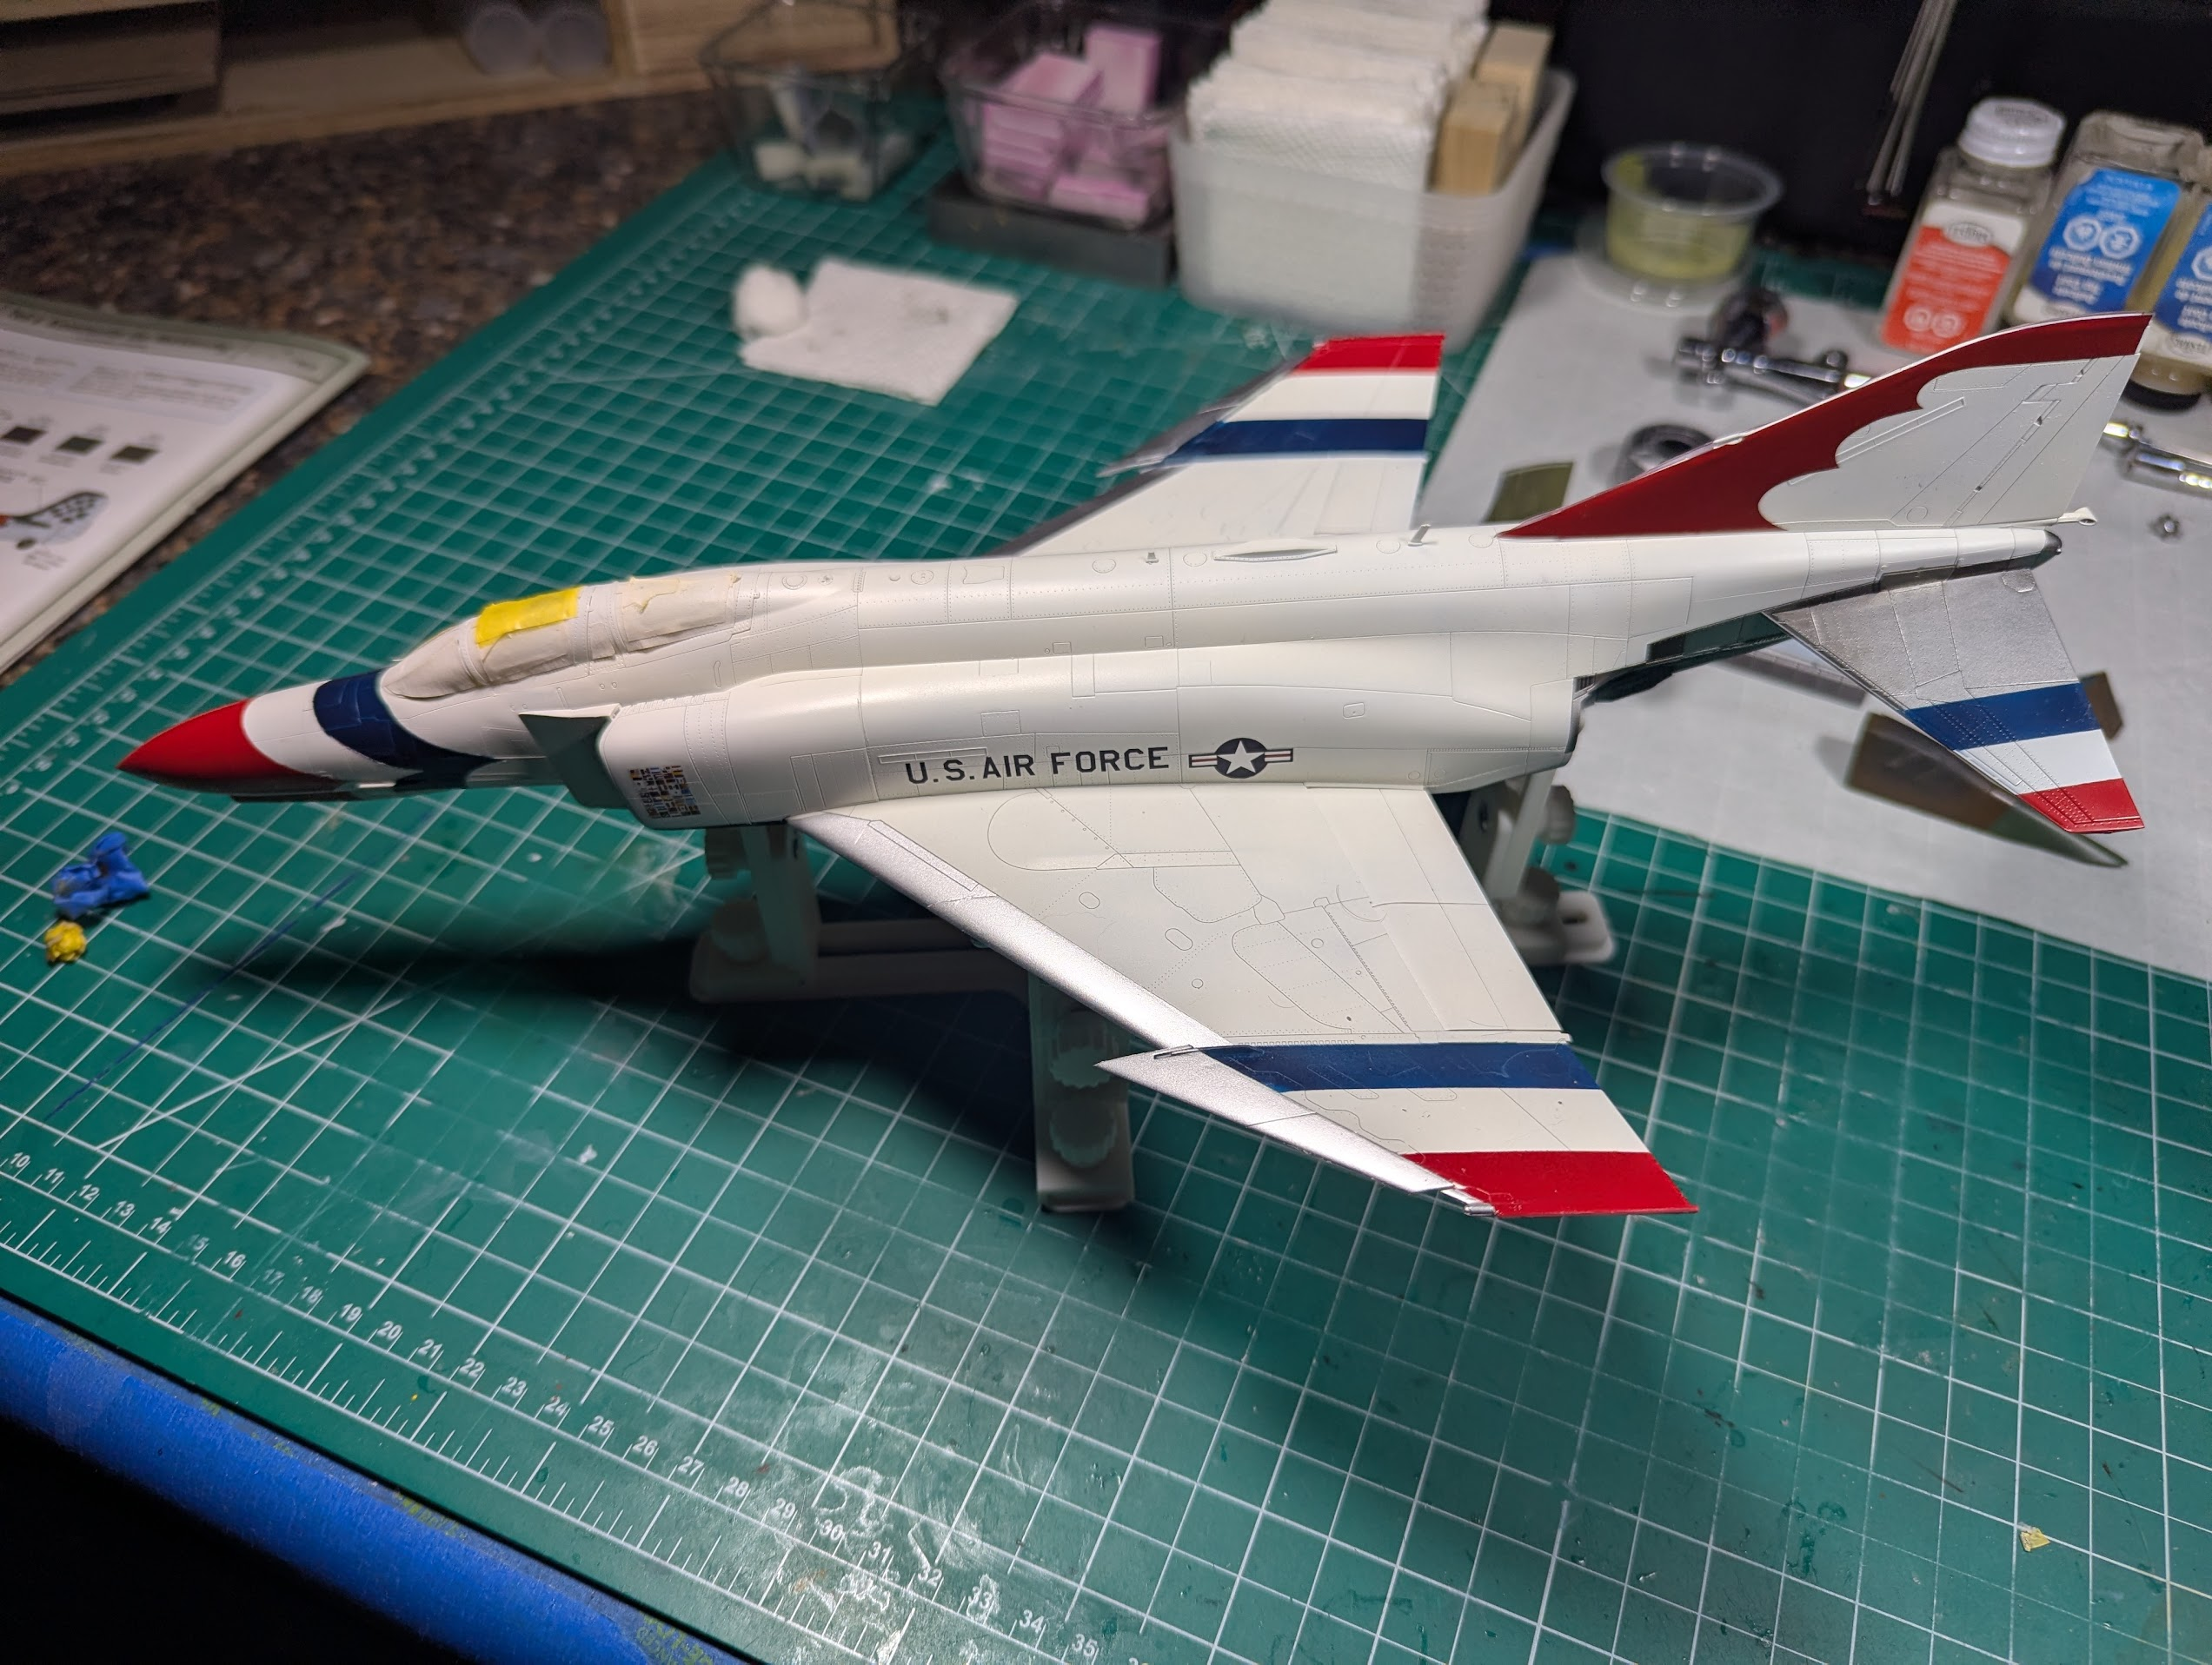
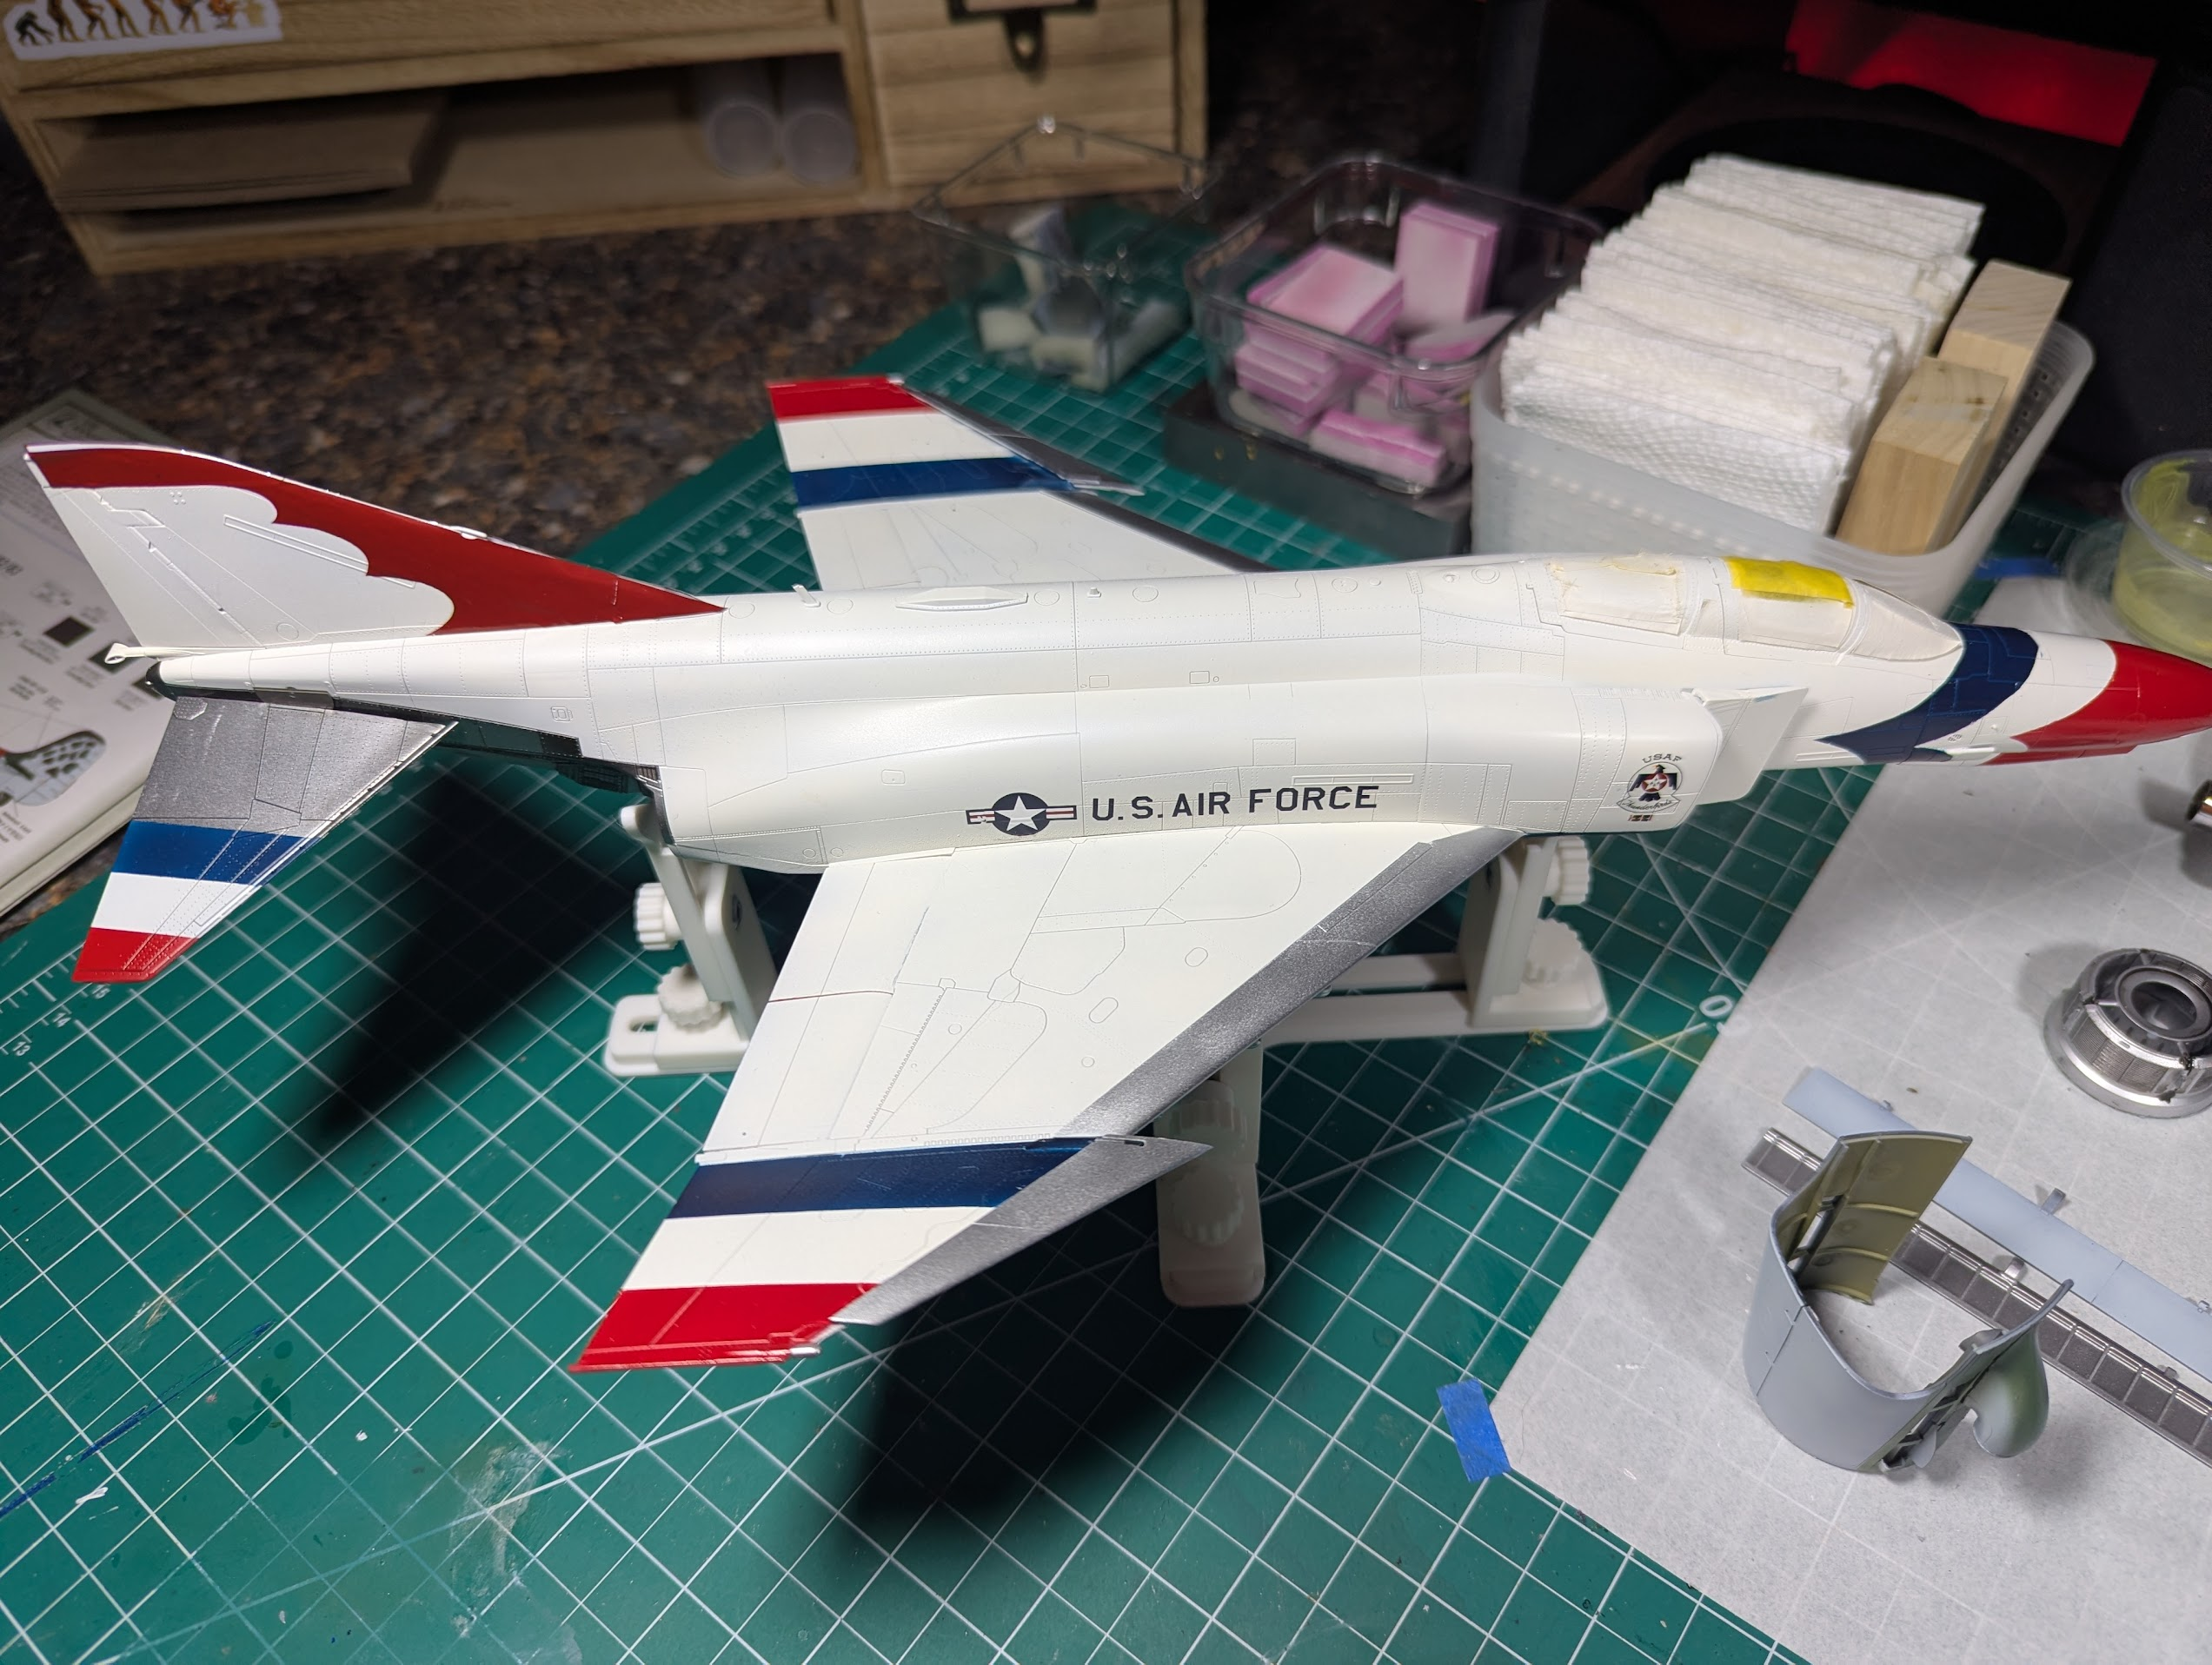
What kit is this?Decals.
The red doesn't match
It also doesn't fit perfectly. I think I should have expected that, the bird on the underside did not fit perfectly either. But the red being off is probably fatal.
The other four items (ring-o-stars and numeral are not used yet) also had issues. The "glue" was really weak, even with micro-set they just kind of sat there, so I just let them dry and came back the next day with micro-sol to get them to lay down better. That stuff almost ate them! You can see a slight wiggliness to the letters on the starboard side, and a glitch in the insignia. I did not use it on the port side having learnt! Instead I put a layer of liquid film on top to keep them there.
View attachment 186647
View attachment 186648
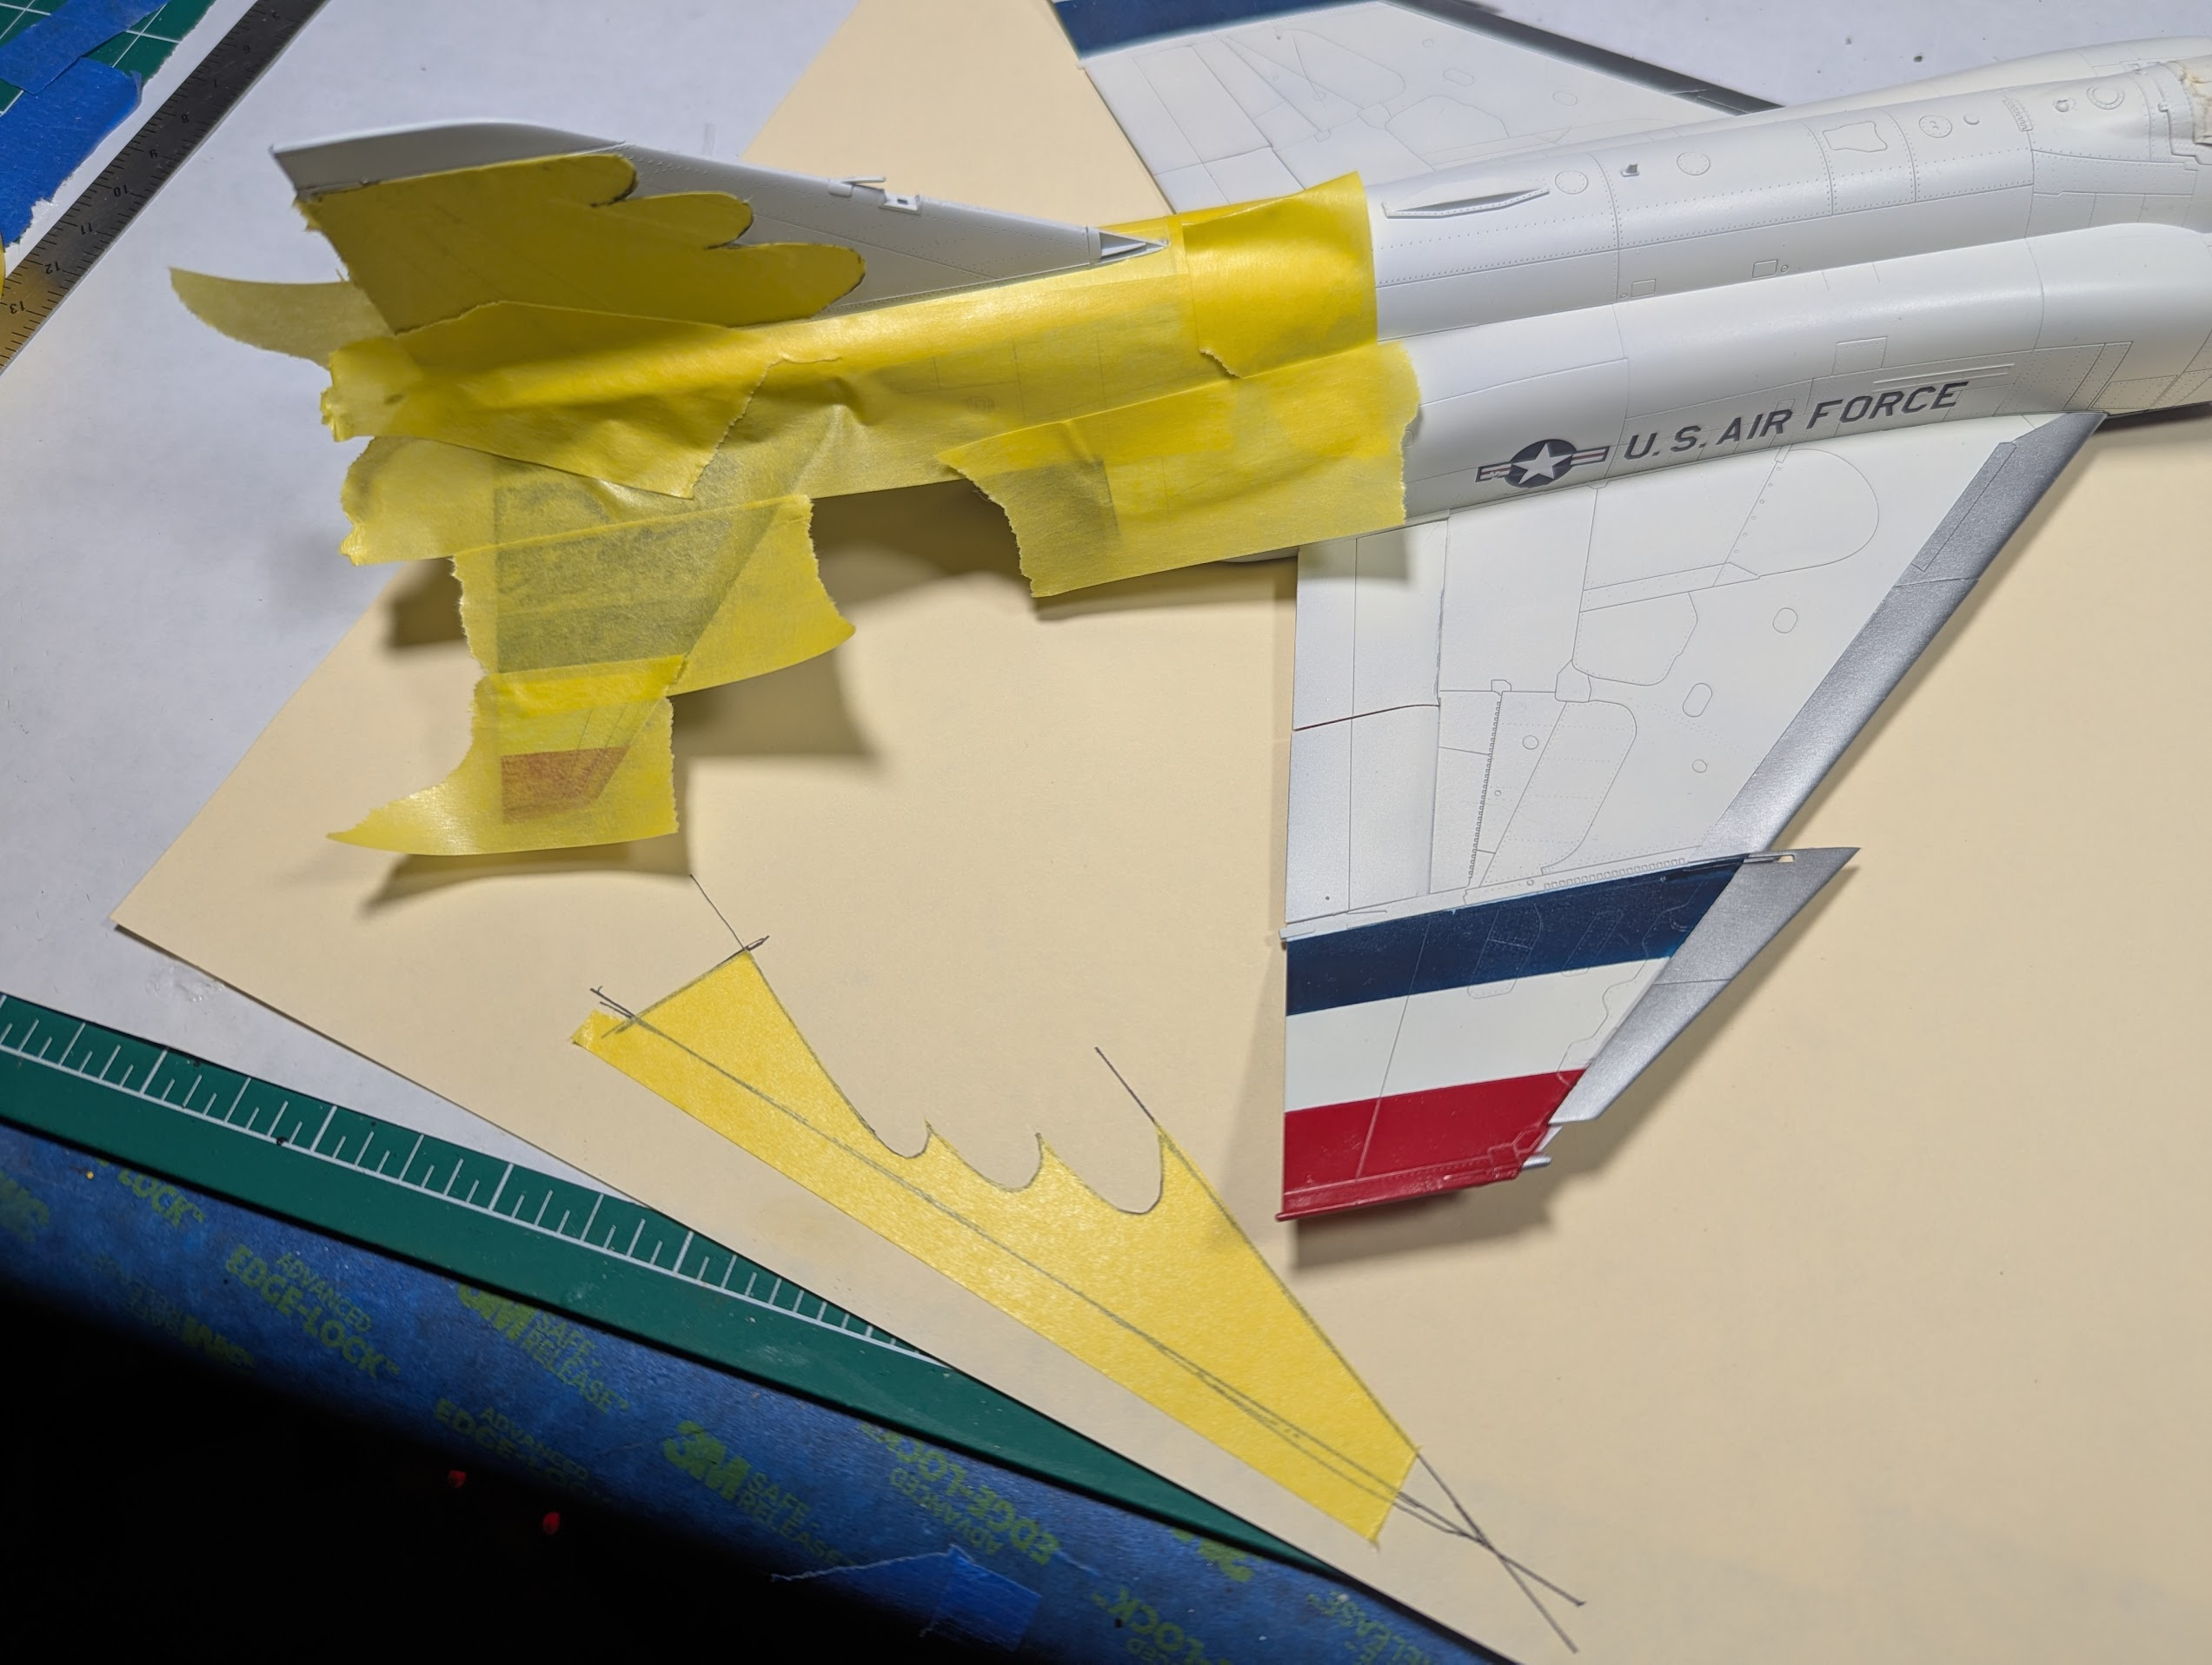
I'm thinking I'll make masks and paint the red swooshes on the vert. For now it is back in the closet while I work on other stuff and make up my mind what to do.
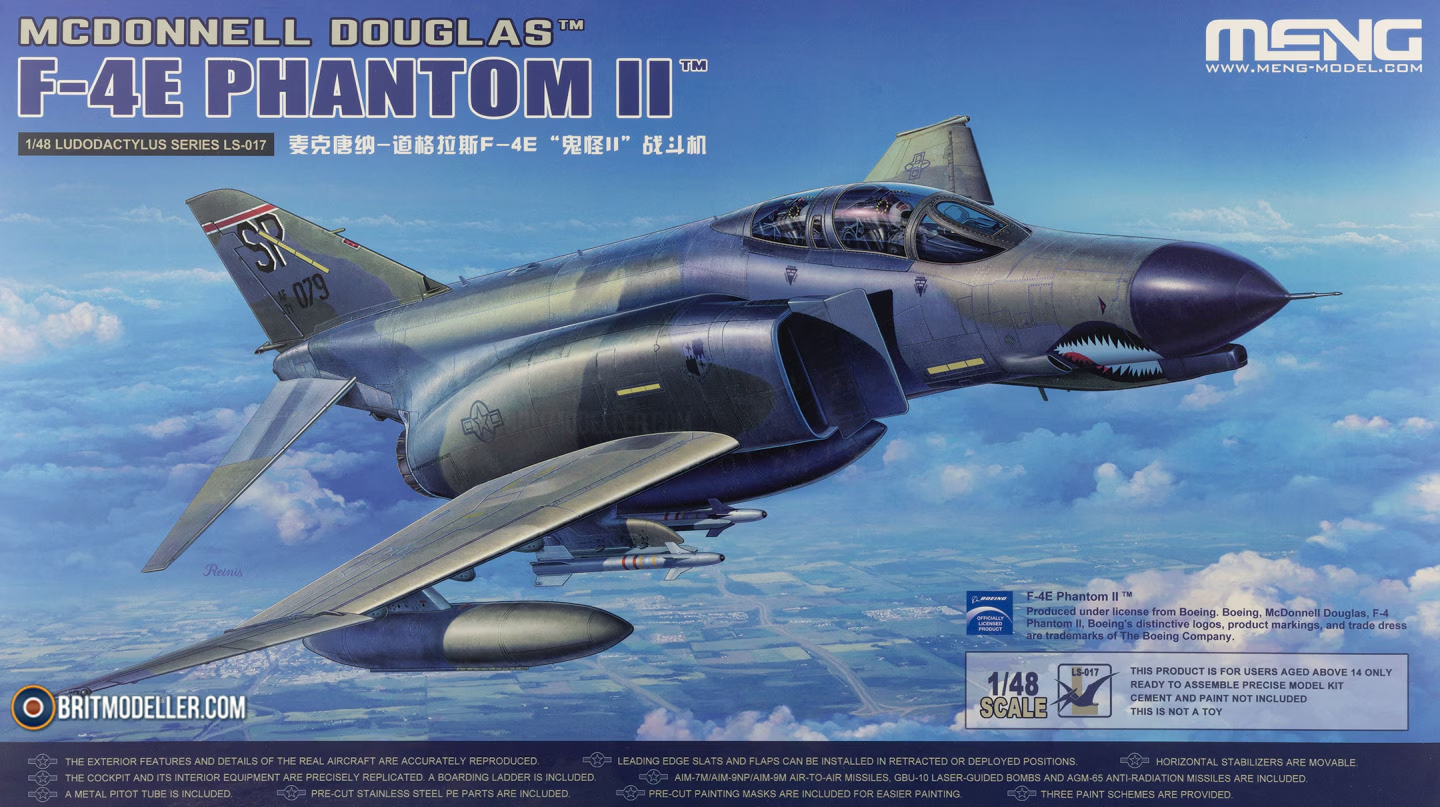
Meng F-4E, the stickers were meant for a different itemWhat kit is this?
Right now I'm leaning towards cutting my own, I did that for the rest of it. I think I could put tape down on top of the stickers, pull them off and cut along the line. The part without a decal stuck to the tape could be put down on the white part, or just left there, but it would be easier to make those curves on a cutting mat than the actual plasticThat sucks. You could see if Kit Masx has a set for it.
I'm a big fan, would say they are nearly the equal of Tamiya on fit. This is my 3rd aircraft from them and their armor is quite good too. Probably not as artistically engineered as the latest offerings from Mr. T., but better than most and excellent instructions too.What do you think of the MENG kit, I've been thinking of getting one?
Cheers for that - that's good to know!I'm a big fan, would say they are nearly the equal of Tamiya on fit. This is my 3rd aircraft from them and their armor is quite good too. Probably not as artistically engineered as the latest offerings from Mr. T., but better than most and excellent instructions too.
I love those guys, even if they are Canadian.That sucks. You could see if Kit Masx has a set for it.
That's awesome. Props for doing your own. You're killing this build so I'm sure it'll look great.I love those guys, even if they are Canadian.
Alas, USAF Thunderbird masks (particulary for 50 year old planes) are hard to find.
I do intend to cut my own, out of tape.
I set them up with "1man army", and he is an awesome human being as well.That's awesome. Props for doing your own. You're killing this build so I'm sure it'll look great.
For future reference, Kit Masx will make whatever they don't have in stock. I don't know what their setup fees are though.
US$50?! Yeah. I'll cut my own for that price.Reached out to talk about the recent kit from Border, the 1/35 He-111, so far only one eurotard copmpany sells canopy masks for $50+ USD...uh huh.



![Pampers Sensitive Baby Wipes, Clinically Proven, Fragrance Free, Unscented, Water Based, Hypoallergenic, Multi-Use, Hand Wipes 336 Wipes Total (6X Flip-Top Packs) [Packaging May Vary]](https://m.media-amazon.com/images/I/41KLBHu9CAL._SL500_.jpg)