Klaus not Santa
Member
- Joined
- May 15, 2013
- Messages
- 281
Hi all,
Here's my start for the Spring contest.
Usually I'm working on Warhammer 40K stuff, with a trend to steampunk and armor. But for this one I'll leave my comfort zone a bit
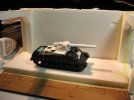
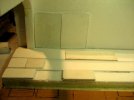
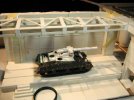
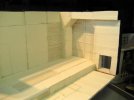
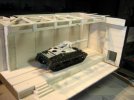
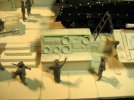
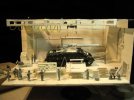
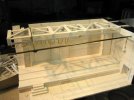
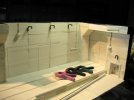
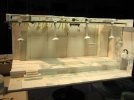
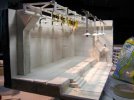
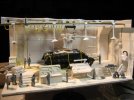
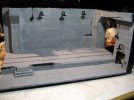
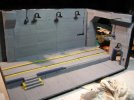
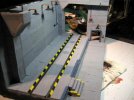
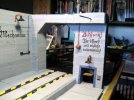
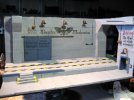
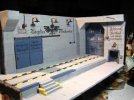
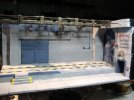
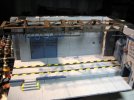
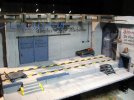
My idea is to create a scene with a very distinct Third Reich/Iron Sky flair and a sprinkle of WH40K. I envision an underground research facility, looking a bit like an old U-Boot bunker, a "prototype" in the center, with soldiers and researchers around it, while a group of officers take the "dog-and-pony-show"
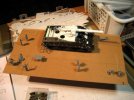
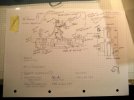
In this early sketch you can see that I intended to use a bare-skeleton Pollux walker (without the weapons and armor) with an open cockpit, so one can see the "wired-in" pilot, and a whole bunch of people around it.
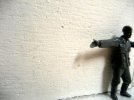
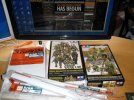
In addition to my usual WH40K soldiers I decided to use some 1:48 Tamiya WWII German soldiers for this scene. They are a mis-purchase, as they usually don't fit the WH40K figures.
But for this I can mix the two, as the prototype is either built on a special planet, where the inhabitants are slimmer, or if on Dencara, these guys are from a different race with a different build, while the "real soldiers" are of the sturdy, bulky type.
Fluff for the win
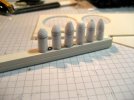
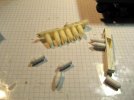
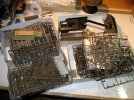
But the more I thought about it the less I liked the idea to use another Pollux-pattern walker. And looking through my closet (I'm a real "messy" when it comes to hobby parts) I came across these Sherman and Lee boxes I purchased on e-Bay - solely for the purpose of salvaging the road wheels.
So why not build a prototype based on a Sherman?
This way I have the option to enter in the armor, Sci-fy, and diorama categories (if I can afford it that is).
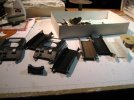
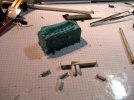
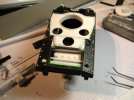
Decision made, I opted for this Sherman hull.
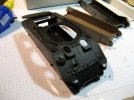
I quickly shaved off the deck, to make room for some modifications.
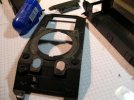
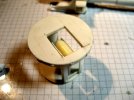
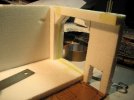
Since the prototype will be mostly without hatches (open) I also added some side walls to the lower hull.
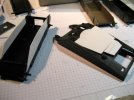
Then I cut out the new openings for the turret and the crew hatches.
The rear central hatch is for the commander, left for the loader, right for the gunner.
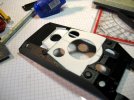
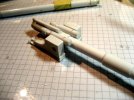
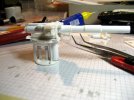
Then I worked on the gun.
Since it's still a prototype, most of the armor and covers are missing and many pieces be visible.
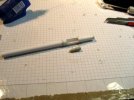
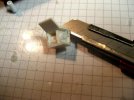
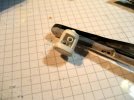
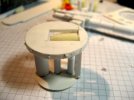
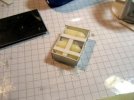
So I added a movable breech - the breech opens downwards, so there will be a auto loader from inside the vehicle.
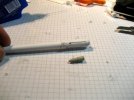
This is how the gun looks in comparison to the hull.
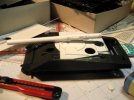
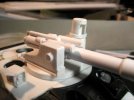
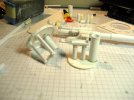
Next I worked on the actual gun mount
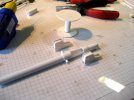
and it's position on the vehicle.
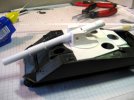
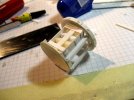
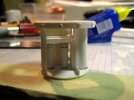
To compensate for the recoil I added a set of rails on which the gun mount can move - I'm not sure if I'll add visible dampeners....
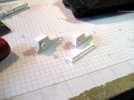
I'm still undecided if I mount the rails forward like this
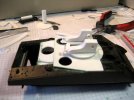
or rather rearwards (gun mount aligns with the front of the turret base, or the rails align with the rear)
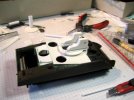
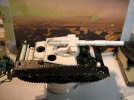
The whole gun mount on the vehicle.
As you can see I aim for a low silhouette and great depression (so the gun can fire from the backside of a hill).
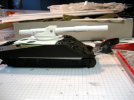
I also added some modifications to the rear - with a section of the engine being visible.
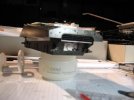
Most likely I will also keep the actual engine deck open, so a section of the engine may be visible.
But I'll decide on this later, so no details added yet.
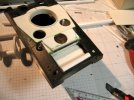
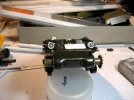
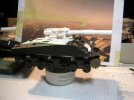
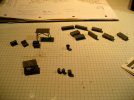
Finally I added most of the running gear last night.
This will be pretty much out of the box.
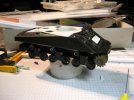
I also added a WH40K Imperial Guard driver (sans the head so far).
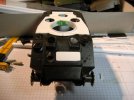
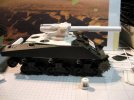
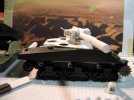
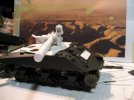
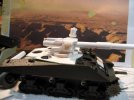
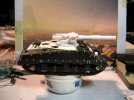
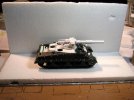
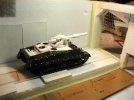
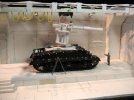
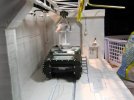
And this is how the vehicle looks so far.
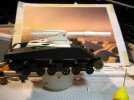
What do you think?
I have no name for this baby yet, but I think I will break with the Greek Deity tradition and use a more mundane naming approach.
Any suggestions?
I hope you like today's update and I look forward to your comments and feedback.
Cheers
Klaus
Here's my start for the Spring contest.
Usually I'm working on Warhammer 40K stuff, with a trend to steampunk and armor. But for this one I'll leave my comfort zone a bit
My idea is to create a scene with a very distinct Third Reich/Iron Sky flair and a sprinkle of WH40K. I envision an underground research facility, looking a bit like an old U-Boot bunker, a "prototype" in the center, with soldiers and researchers around it, while a group of officers take the "dog-and-pony-show"
In this early sketch you can see that I intended to use a bare-skeleton Pollux walker (without the weapons and armor) with an open cockpit, so one can see the "wired-in" pilot, and a whole bunch of people around it.

In addition to my usual WH40K soldiers I decided to use some 1:48 Tamiya WWII German soldiers for this scene. They are a mis-purchase, as they usually don't fit the WH40K figures.
But for this I can mix the two, as the prototype is either built on a special planet, where the inhabitants are slimmer, or if on Dencara, these guys are from a different race with a different build, while the "real soldiers" are of the sturdy, bulky type.
Fluff for the win

But the more I thought about it the less I liked the idea to use another Pollux-pattern walker. And looking through my closet (I'm a real "messy" when it comes to hobby parts) I came across these Sherman and Lee boxes I purchased on e-Bay - solely for the purpose of salvaging the road wheels.

So why not build a prototype based on a Sherman?
This way I have the option to enter in the armor, Sci-fy, and diorama categories (if I can afford it that is).

Decision made, I opted for this Sherman hull.

I quickly shaved off the deck, to make room for some modifications.

Since the prototype will be mostly without hatches (open) I also added some side walls to the lower hull.

Then I cut out the new openings for the turret and the crew hatches.
The rear central hatch is for the commander, left for the loader, right for the gunner.

Then I worked on the gun.
Since it's still a prototype, most of the armor and covers are missing and many pieces be visible.

So I added a movable breech - the breech opens downwards, so there will be a auto loader from inside the vehicle.

This is how the gun looks in comparison to the hull.

Next I worked on the actual gun mount

and it's position on the vehicle.

To compensate for the recoil I added a set of rails on which the gun mount can move - I'm not sure if I'll add visible dampeners....

I'm still undecided if I mount the rails forward like this

or rather rearwards (gun mount aligns with the front of the turret base, or the rails align with the rear)

The whole gun mount on the vehicle.
As you can see I aim for a low silhouette and great depression (so the gun can fire from the backside of a hill).

I also added some modifications to the rear - with a section of the engine being visible.

Most likely I will also keep the actual engine deck open, so a section of the engine may be visible.
But I'll decide on this later, so no details added yet.

Finally I added most of the running gear last night.
This will be pretty much out of the box.

I also added a WH40K Imperial Guard driver (sans the head so far).

And this is how the vehicle looks so far.

What do you think?
I have no name for this baby yet, but I think I will break with the Greek Deity tradition and use a more mundane naming approach.
Any suggestions?
I hope you like today's update and I look forward to your comments and feedback.
Cheers
Klaus

