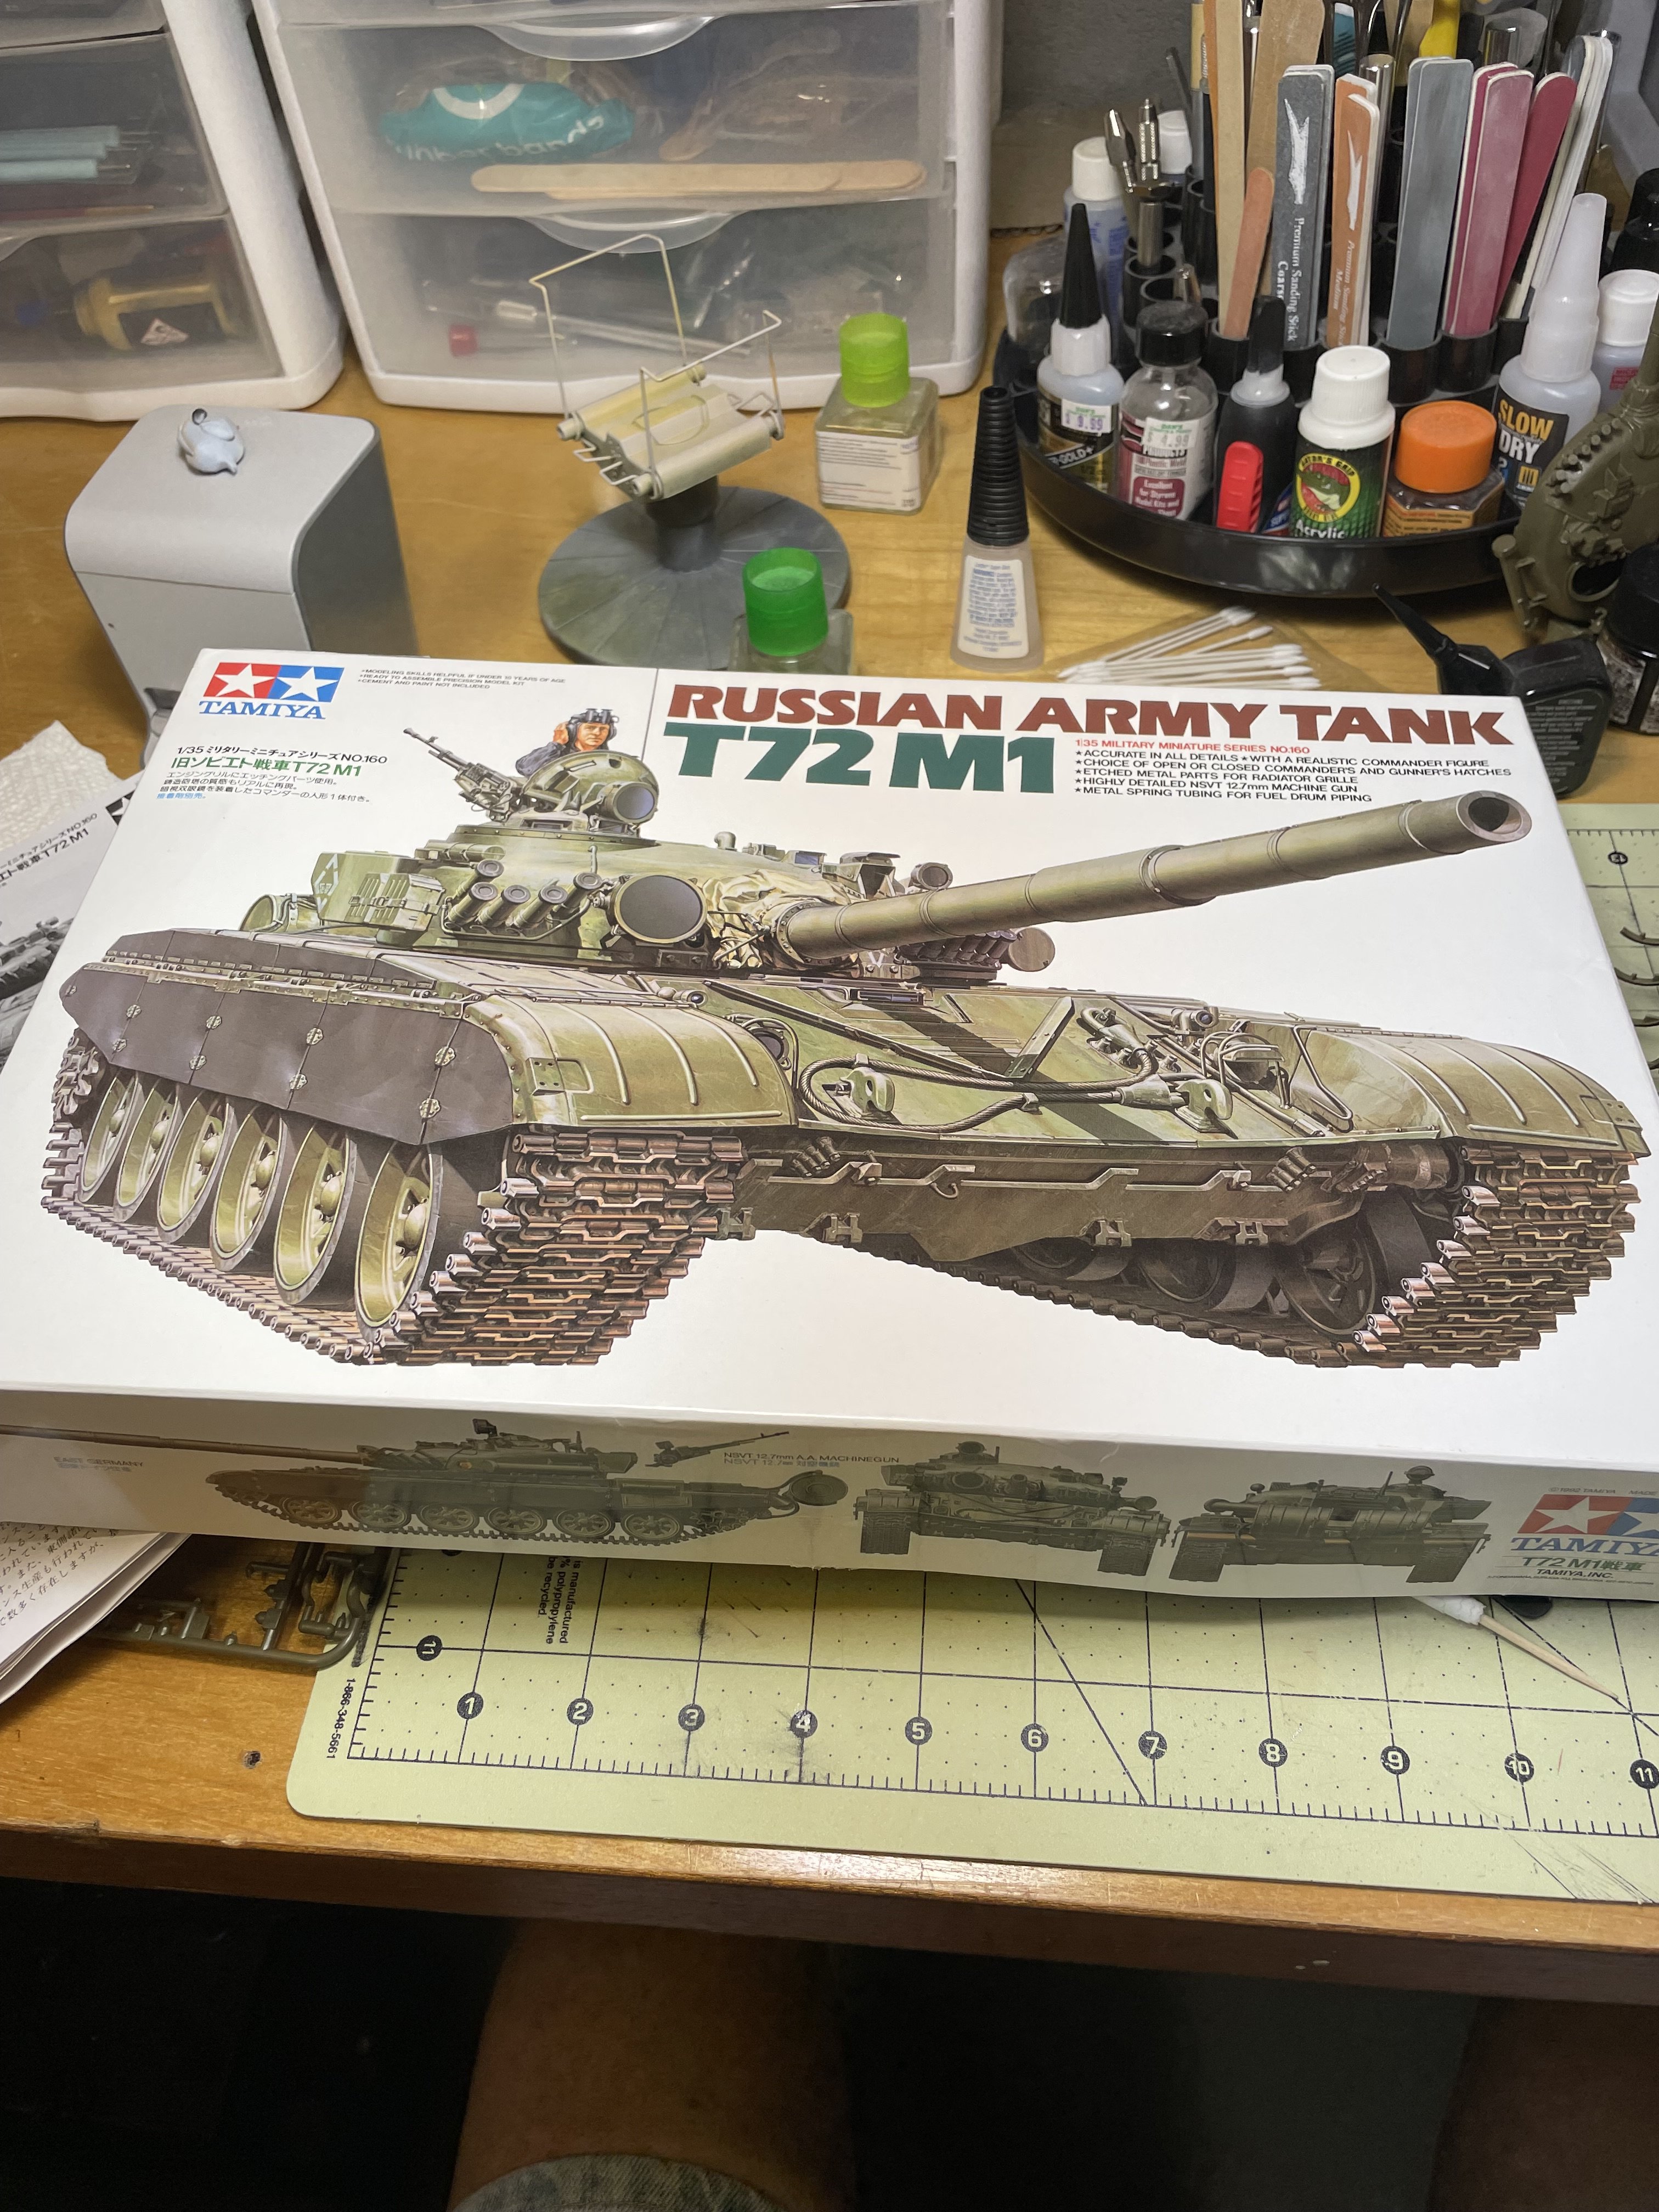
Tamiya T-72M1

Scale Model Addict - Model Tips, Guides, Tools & Tech, Tutorials, and Community

Help Support Scale Model Addict:

Wig41

Well-Known Member
Joined
Oct 30, 2023
Messages
327
City & State/Province
Rochester, NY
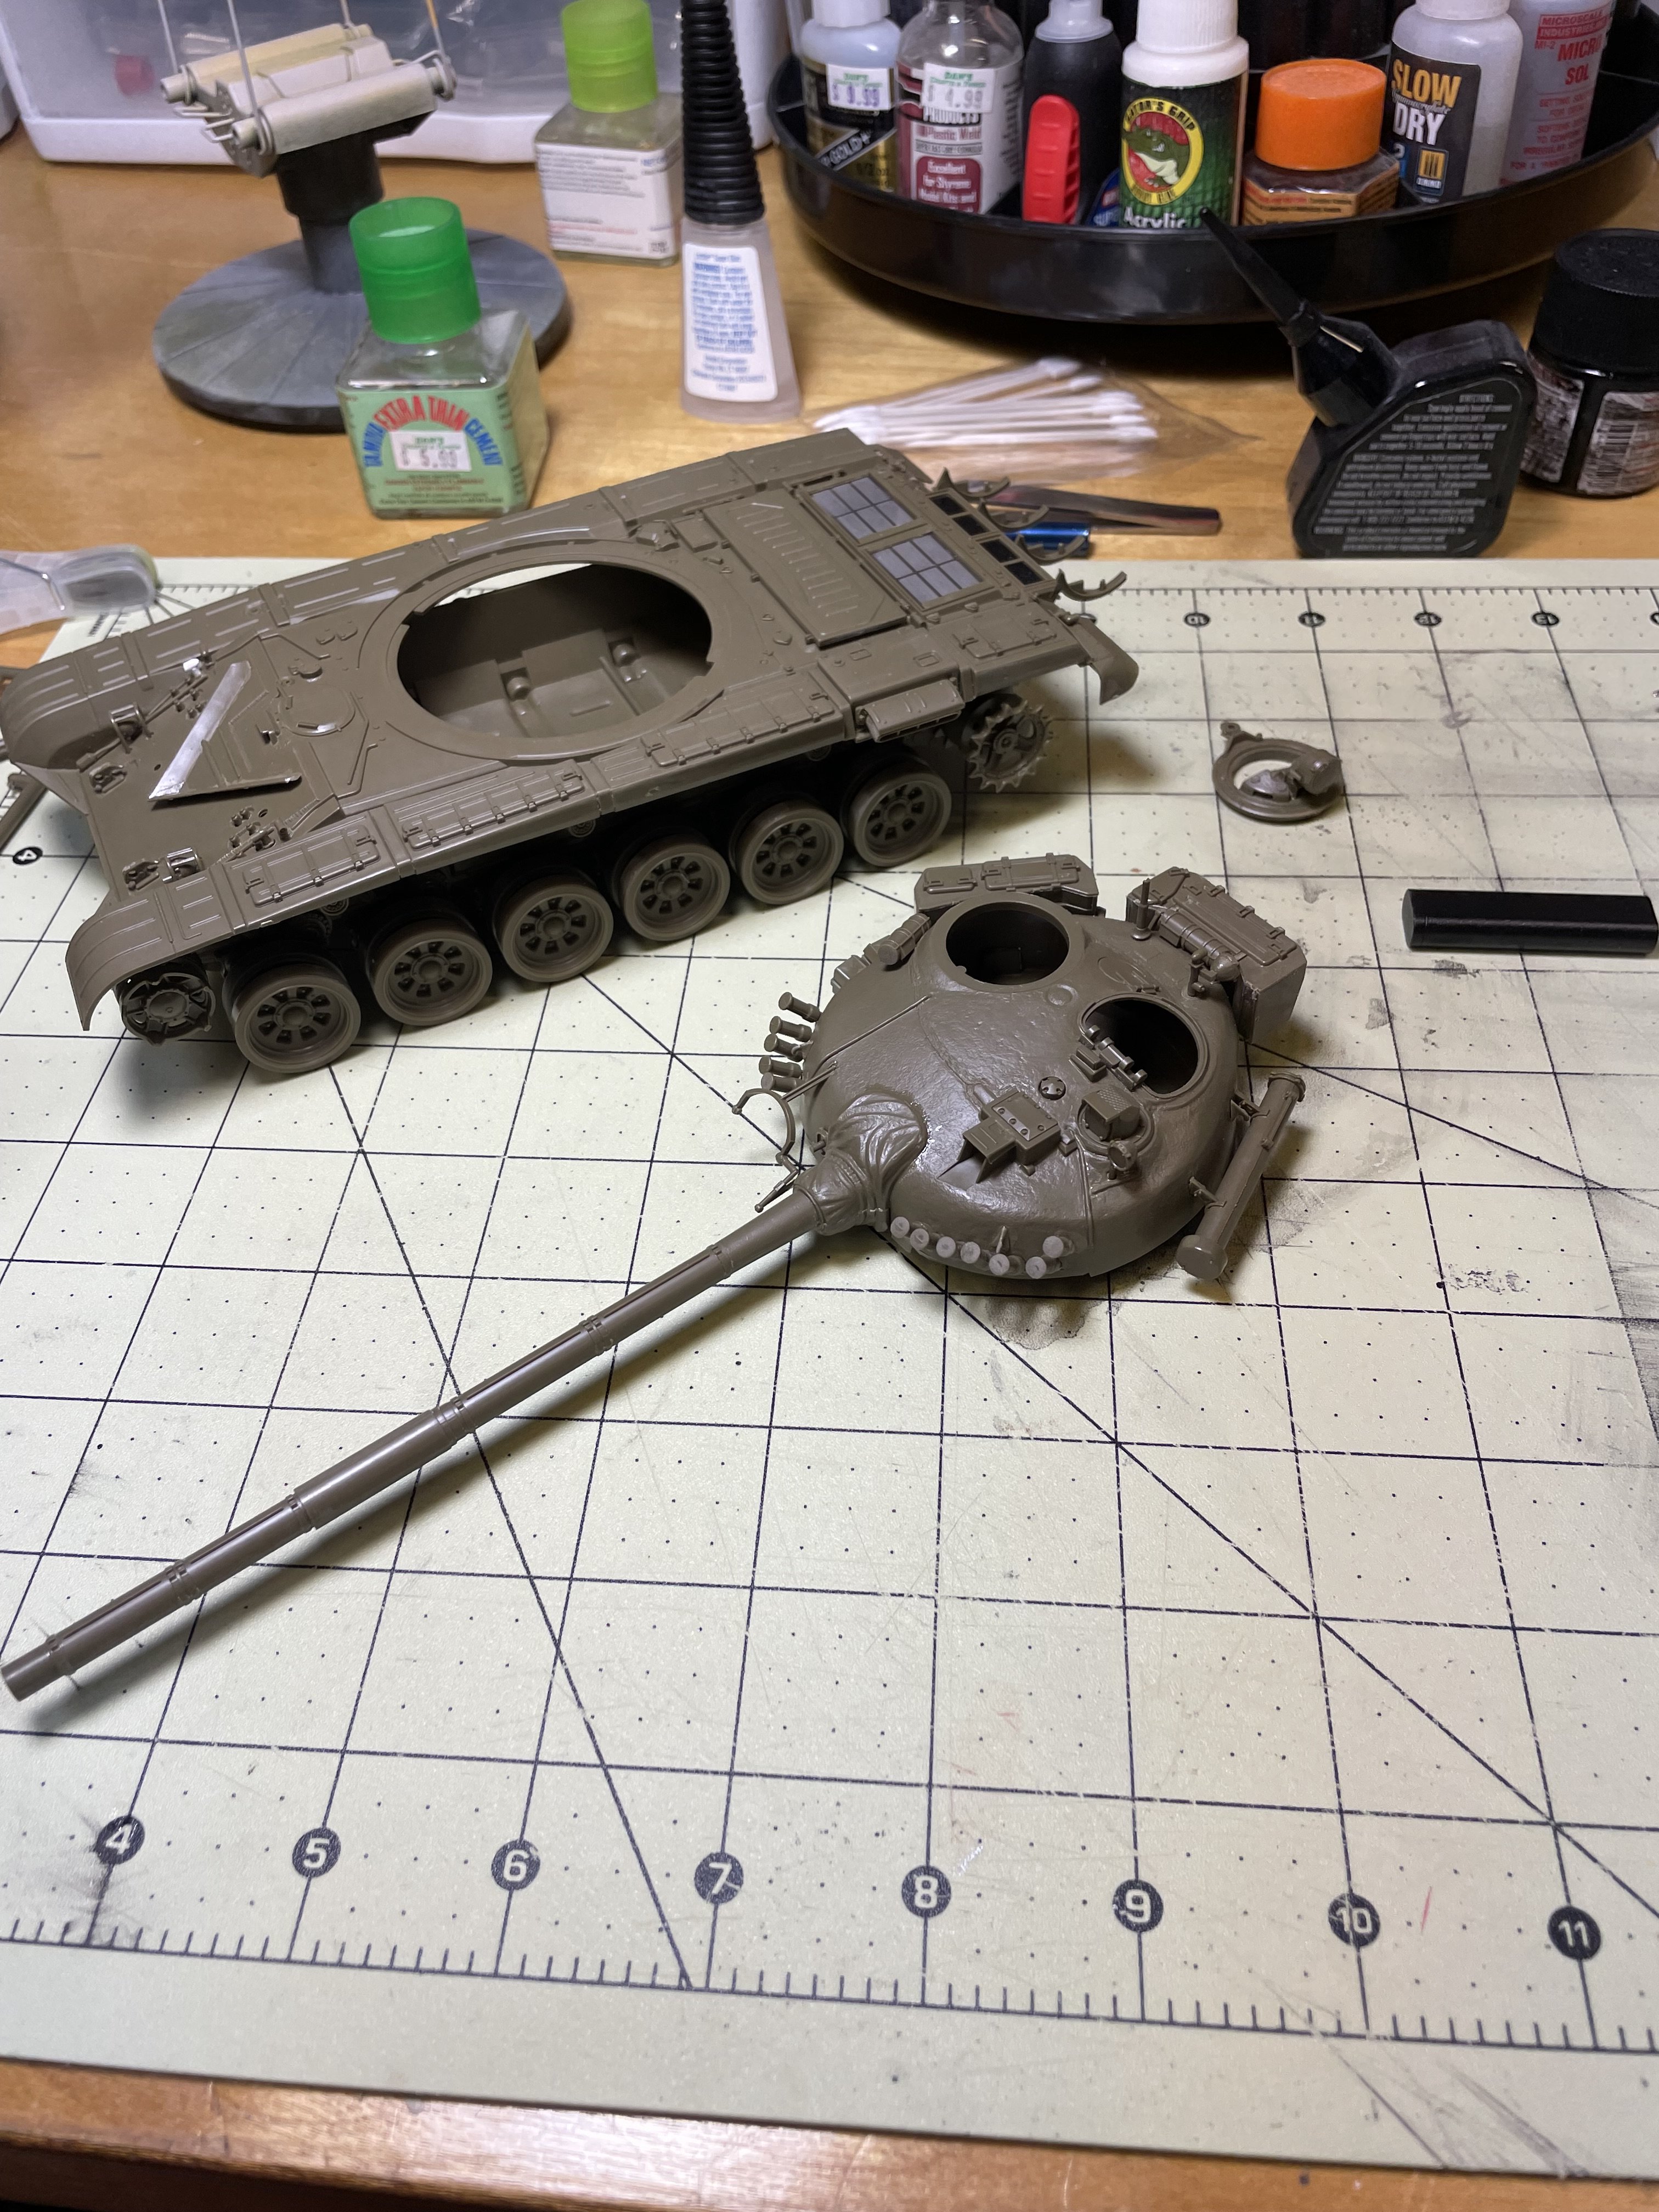
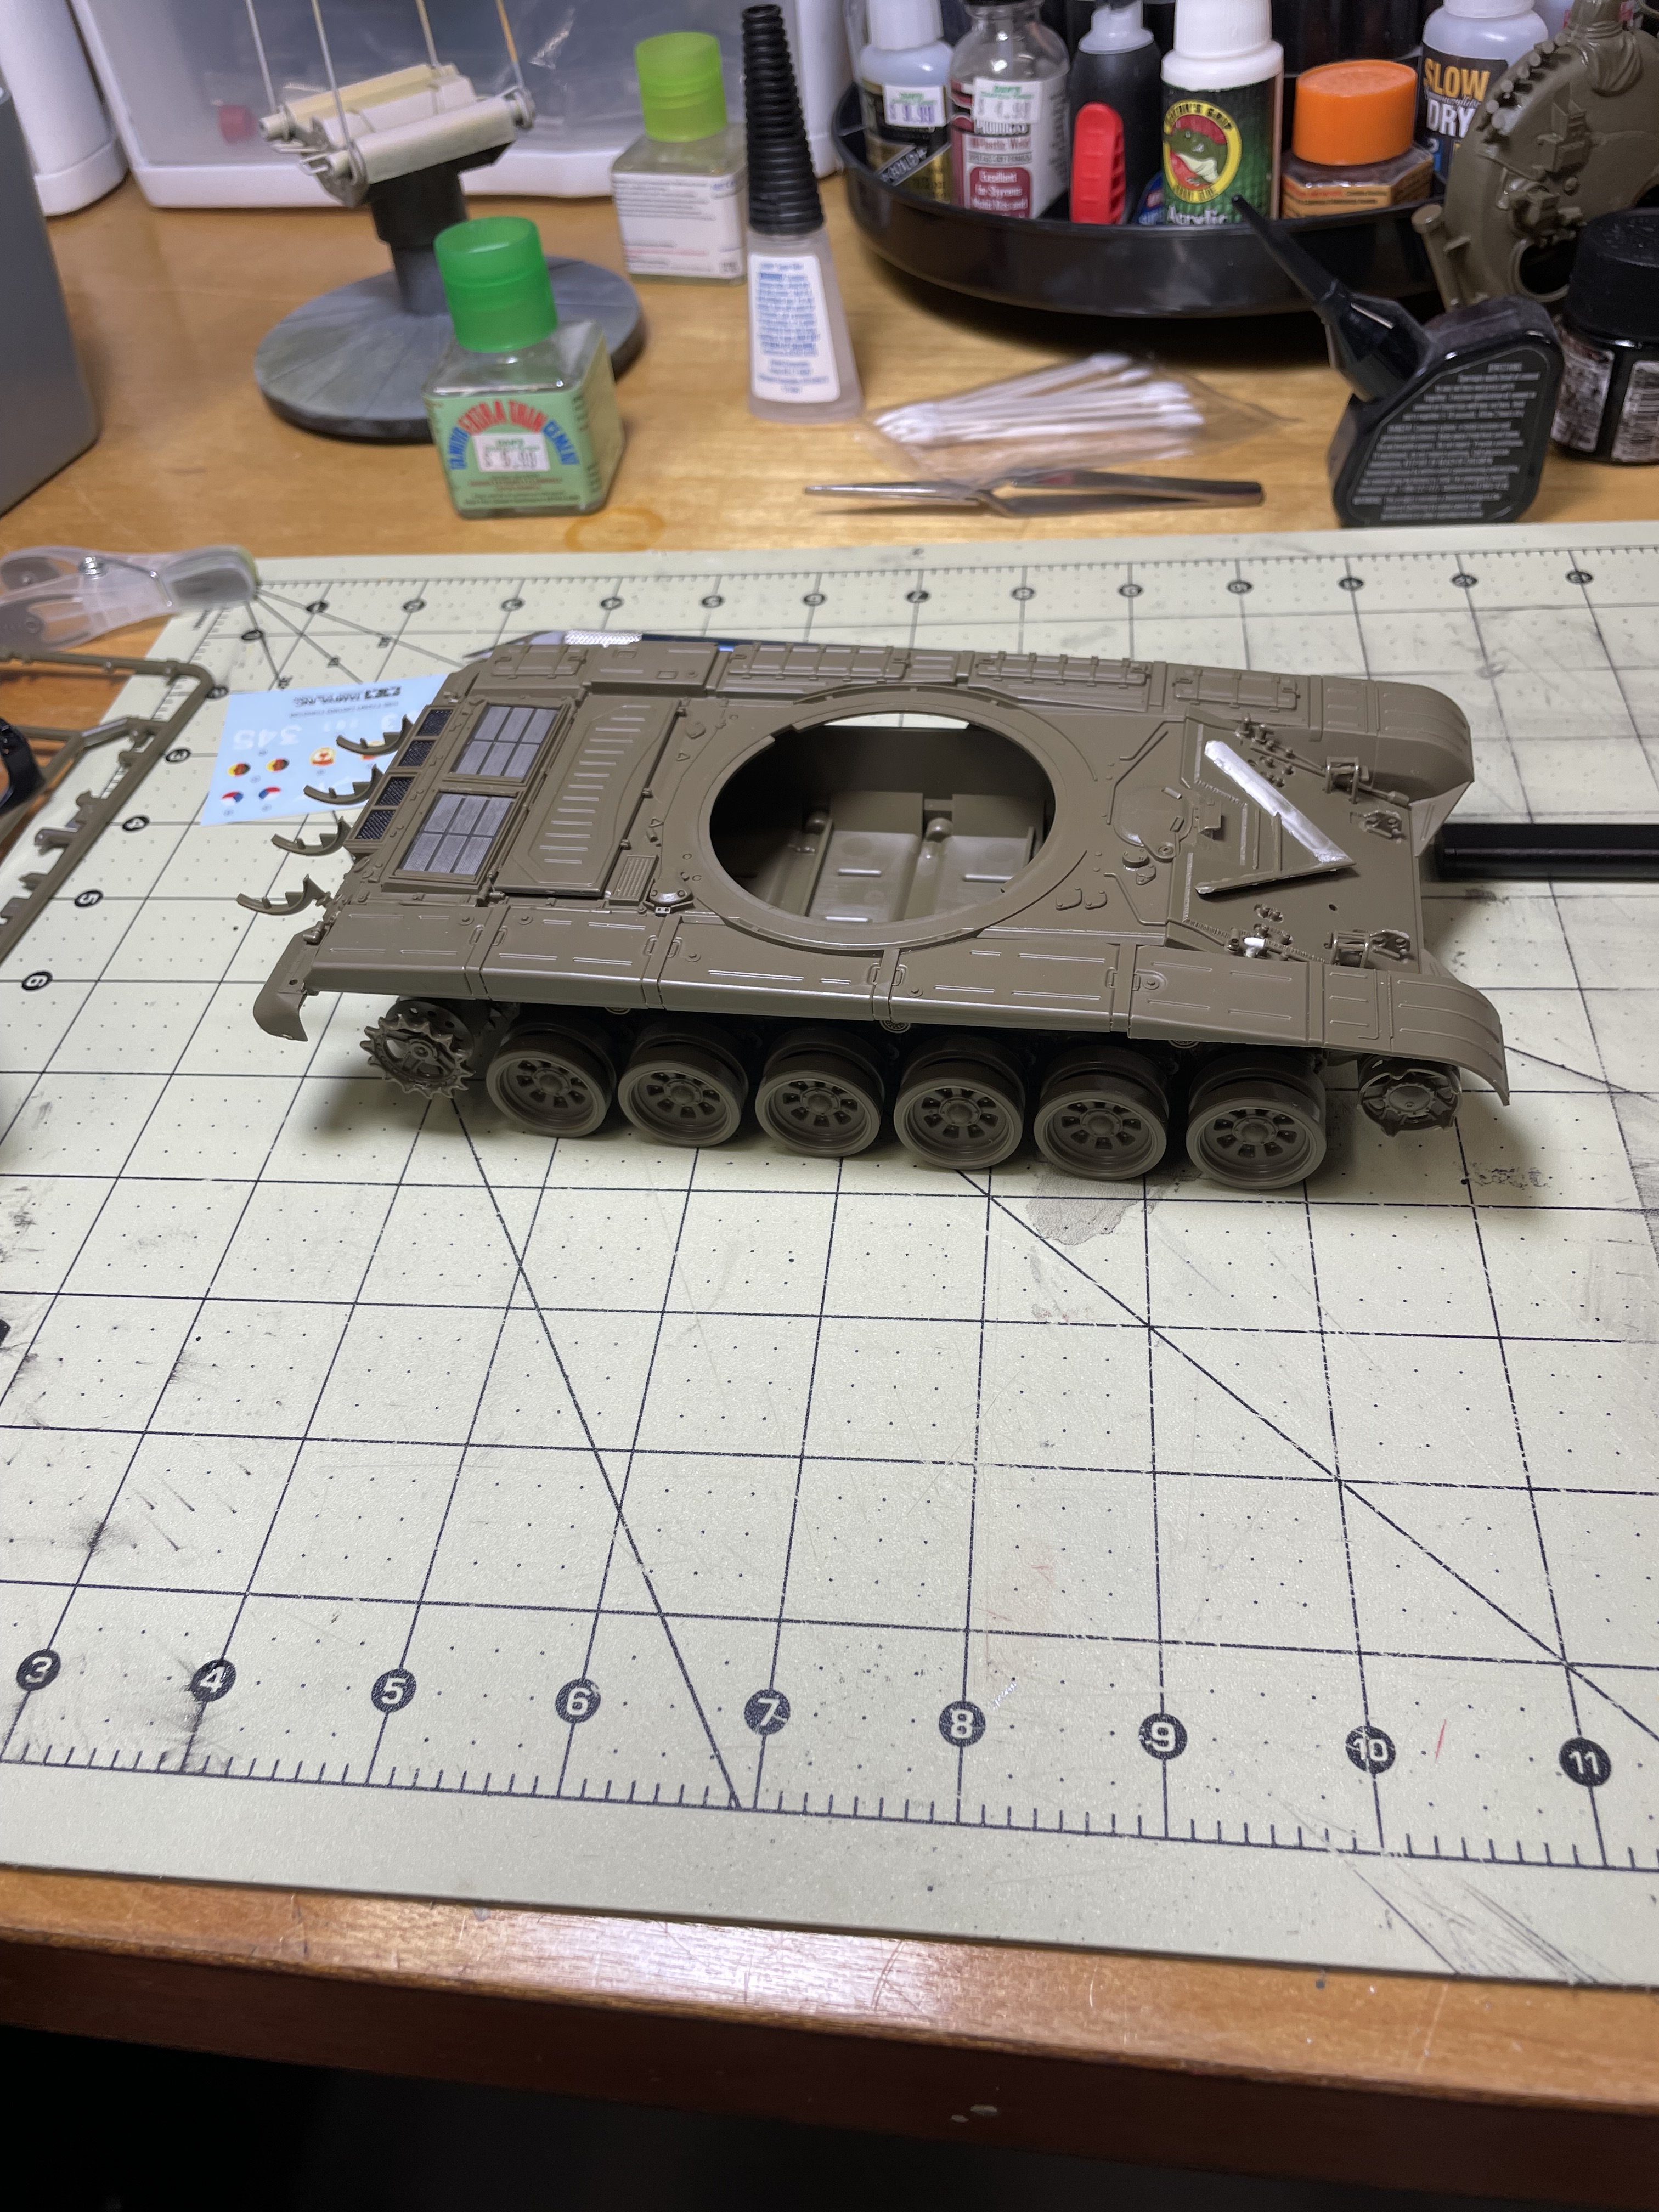
I usually build 1/48 jets but I found building these at my club's build night to be a problem. We can only brush paint there and there is way too much airbrushing that needs to be done during each step. I found that most of the others there each night were building armor, so I picked up this kit and joined in.

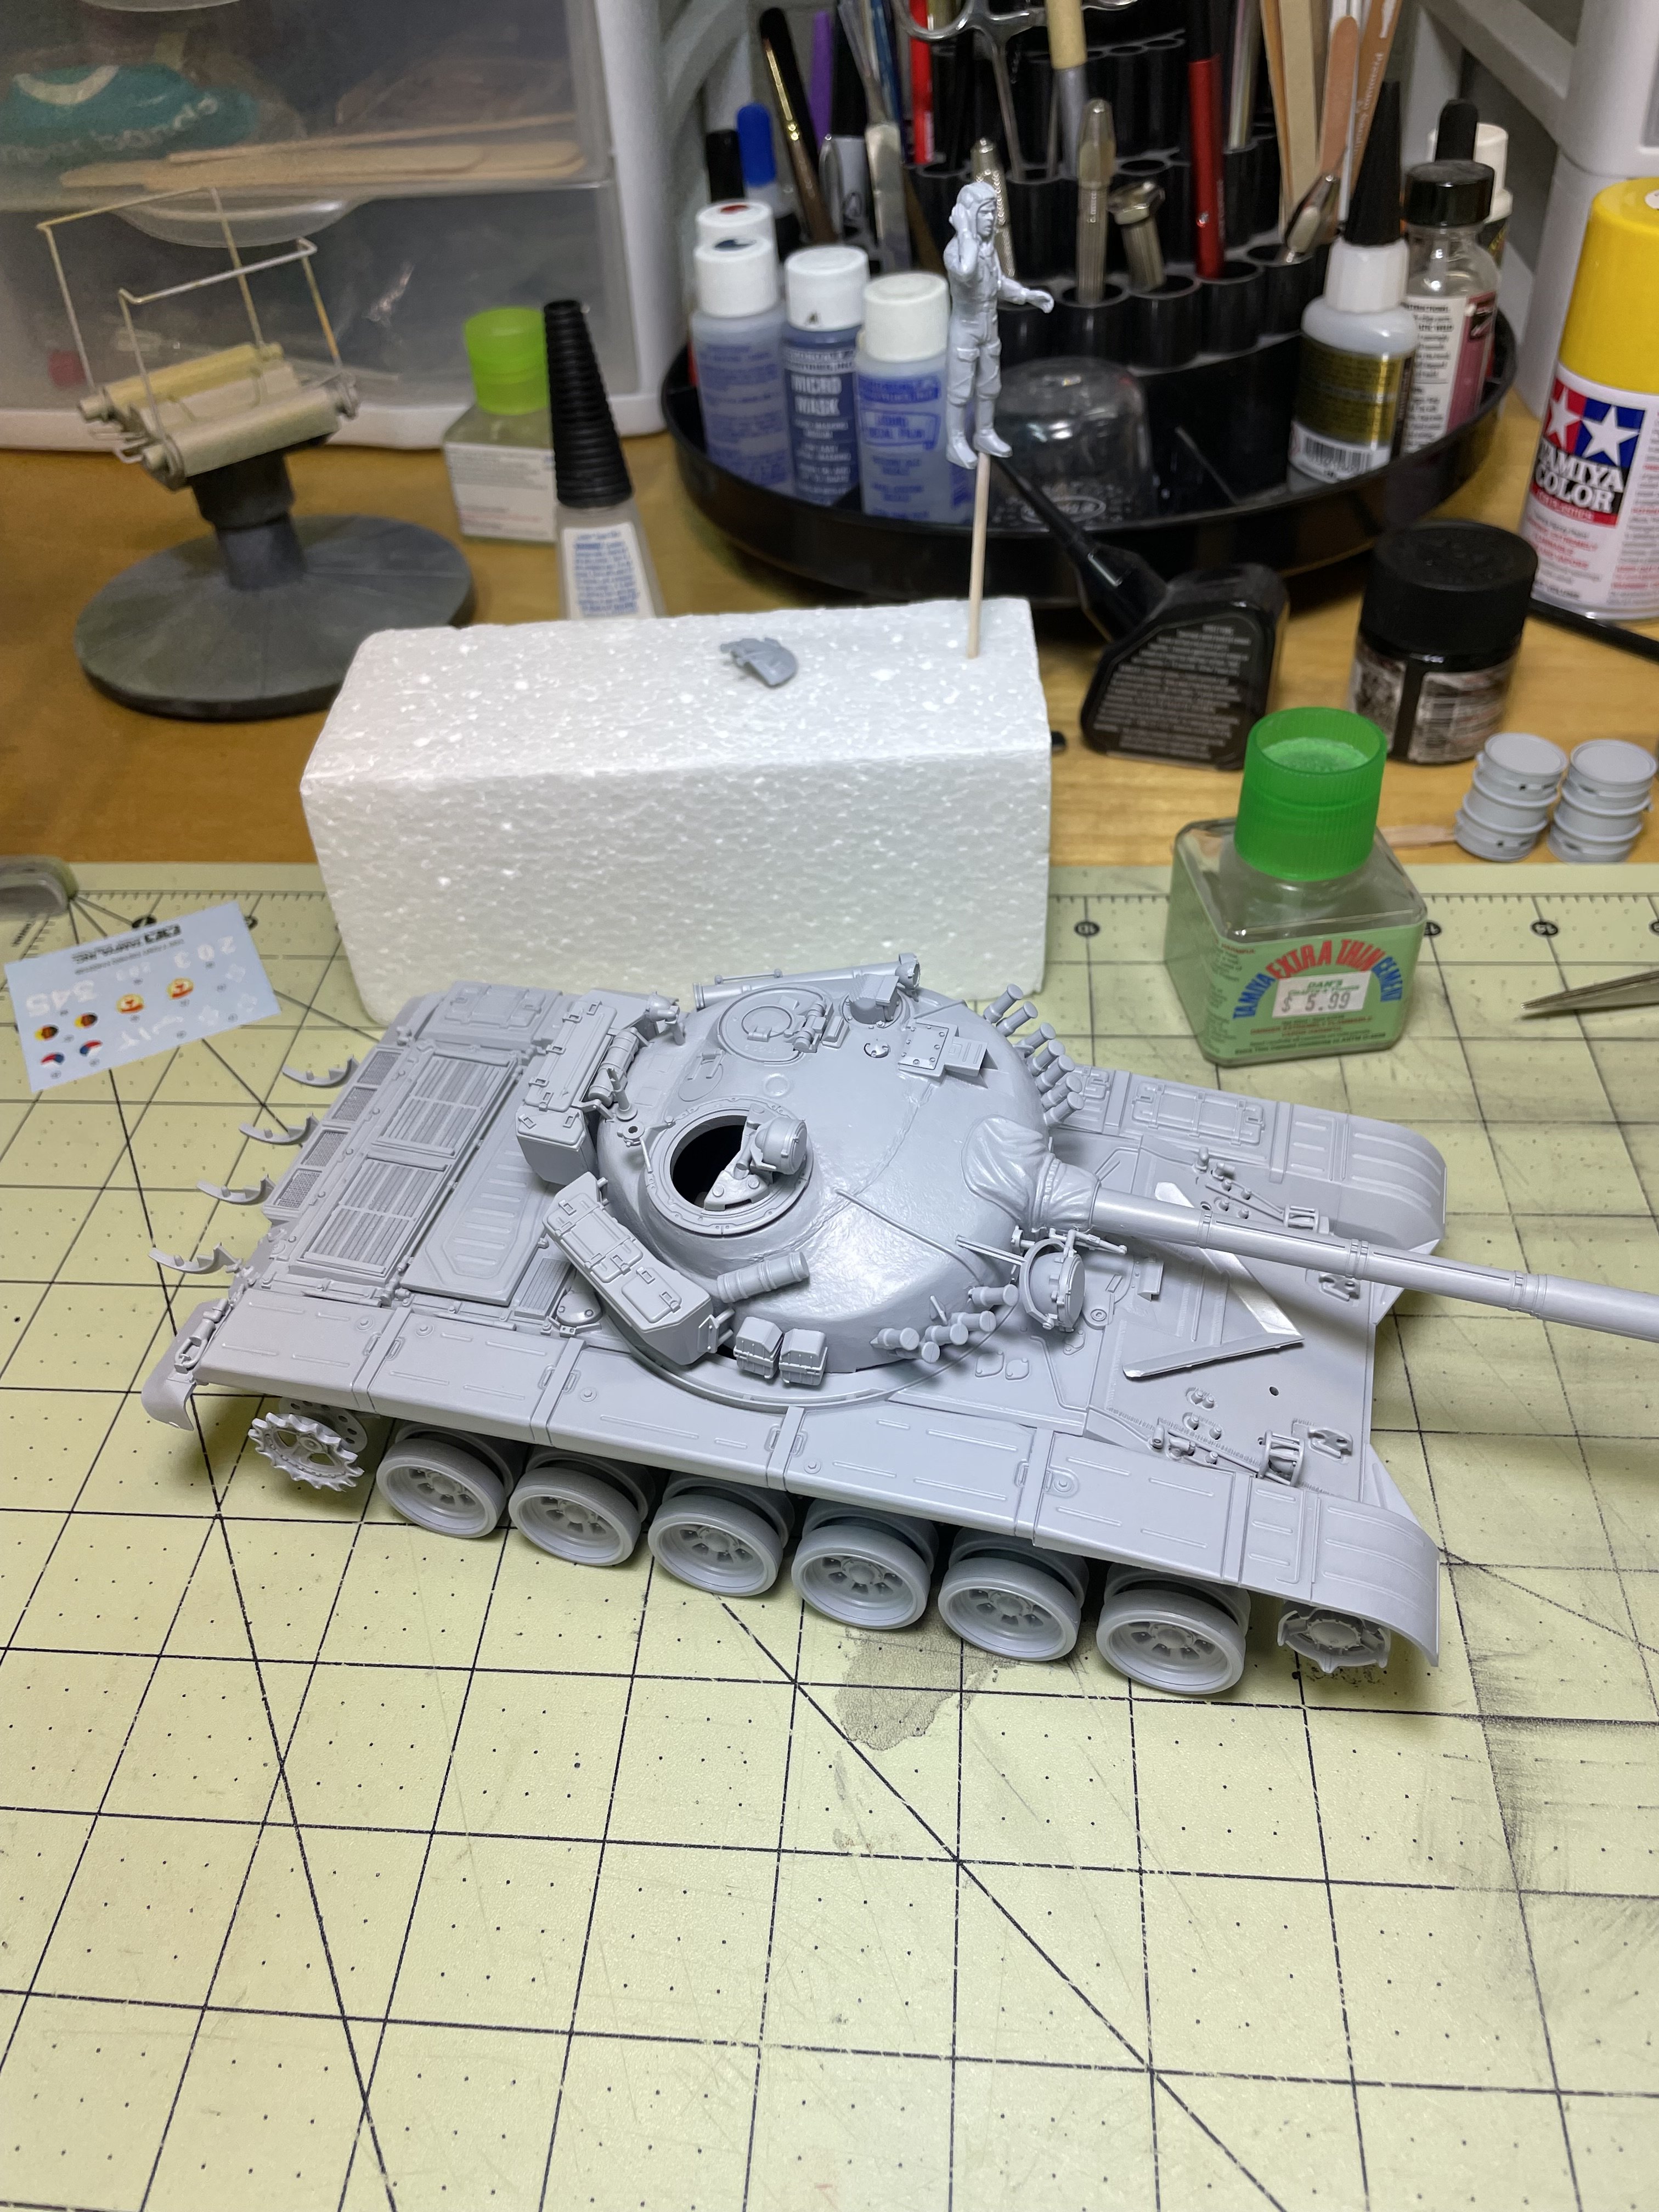
After about four nights I was up to the point where I needed to add a few little fiddly parts at home and then prime.

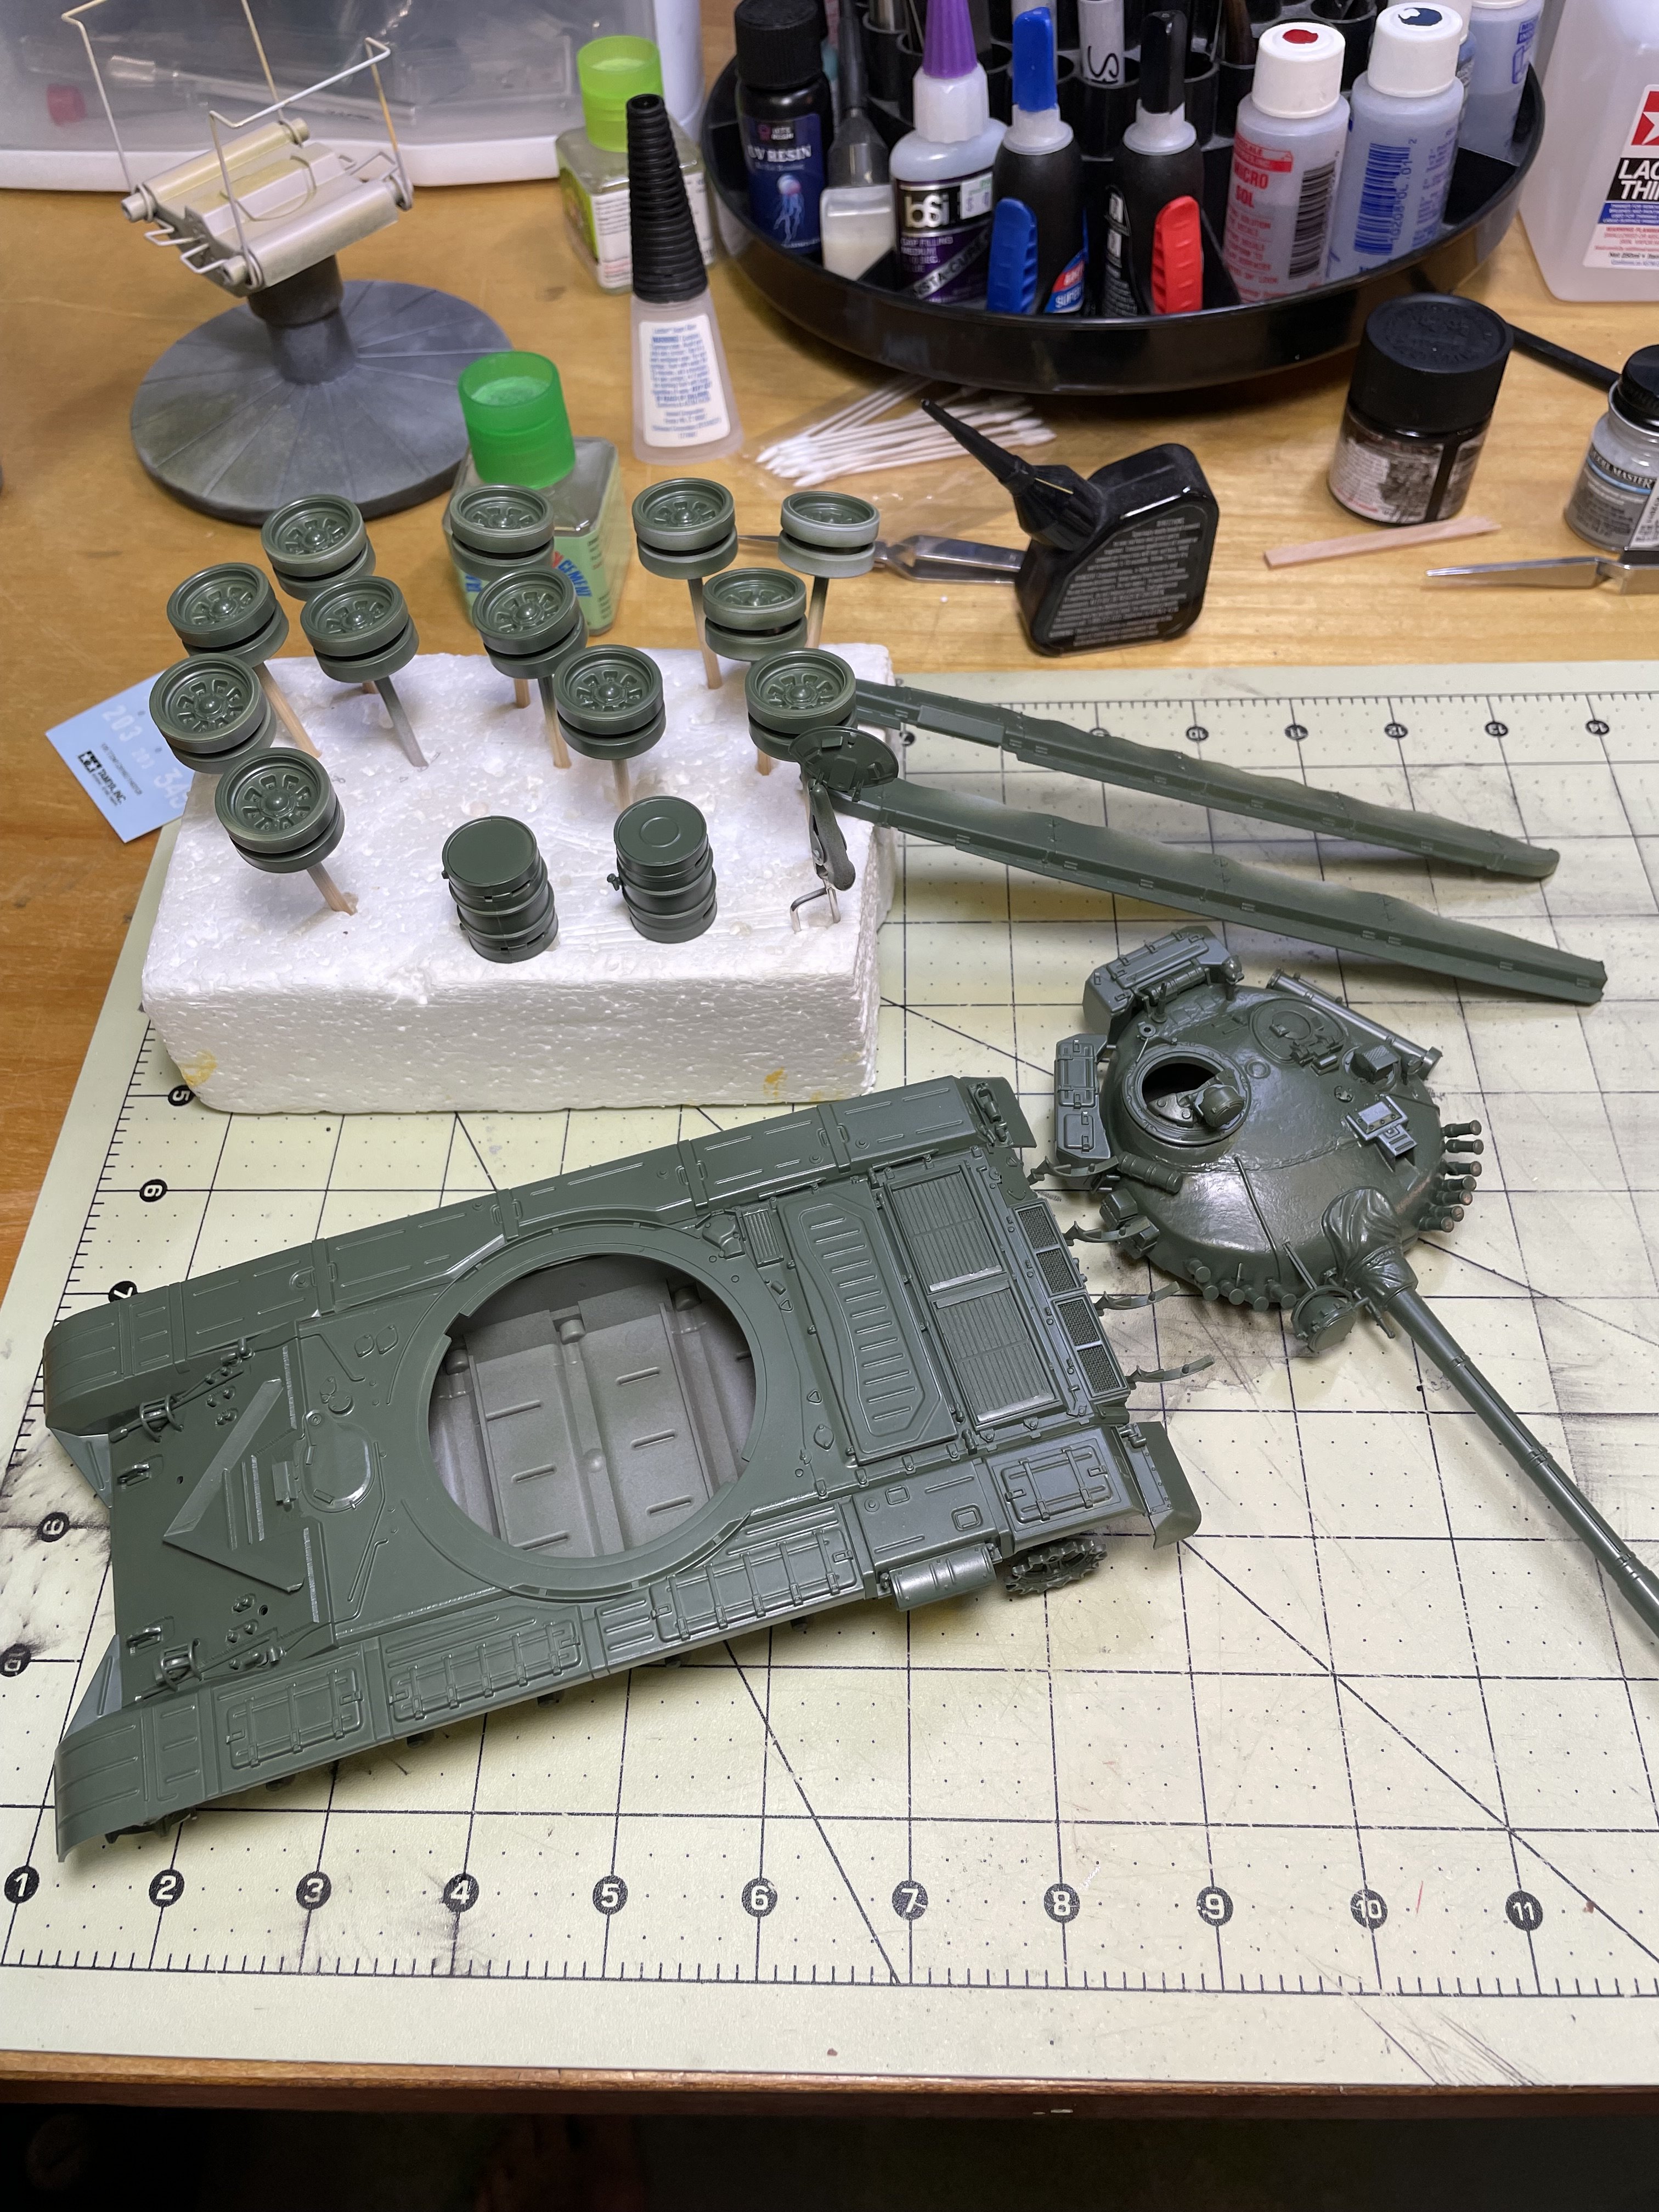
Armor is so easy. Slap it together and paint it green … or tan. I don't have any real plans for this thing. Maybe I'll try to weather it some. Anyway … just wanted to post it.
 

Attachments

  • IMG_4737.jpeg
    IMG_4737.jpeg
    1.8 MB
  • IMG_4738.jpeg
    IMG_4738.jpeg
    1.8 MB
  • IMG_4739.jpeg
    IMG_4739.jpeg
    1.8 MB
I usually build 1/48 jets but I found building these at my club's build night to be a problem. We can only brush paint there and there is way too much airbrushing that needs to be done during each step. I found that most of the others there each night were building armor, so I picked up this kit and joined in.

After about four nights I was up to the point where I needed to add a few little fiddly parts at home and then prime.

Armor is so easy. Slap it together and paint it green … or tan. I don't have any real plans for this thing. Maybe I'll try to weather it some. Anyway … just wanted to post it.
Nice. I agree armor is probably the best route for a club build.
 
If I may give a tip: take the wheels off before painting (assuming you haven't glued them on, of course). You'll be able to reach the hull sides much better without them on, and you will be able to spray between the wheel halves more easily as well.
 
If I may give a tip: take the wheels off before painting (assuming you haven't glued them on, of course). You'll be able to reach the hull sides much better without them on, and you will be able to spray between the wheel halves more easily as well.
Thanks for the tip and I'll give it a go. Pretty sure I didn't glue them on.
 
Isn't the M-51 an Israeli tank?
It is: an Israeli-upgraded version of the Sherman, equipped with a French M-51 gun (hence the name: Israel used what they called M-1, M-50 and M-51 Shermans, all named after their main guns and with the hyphen).
 
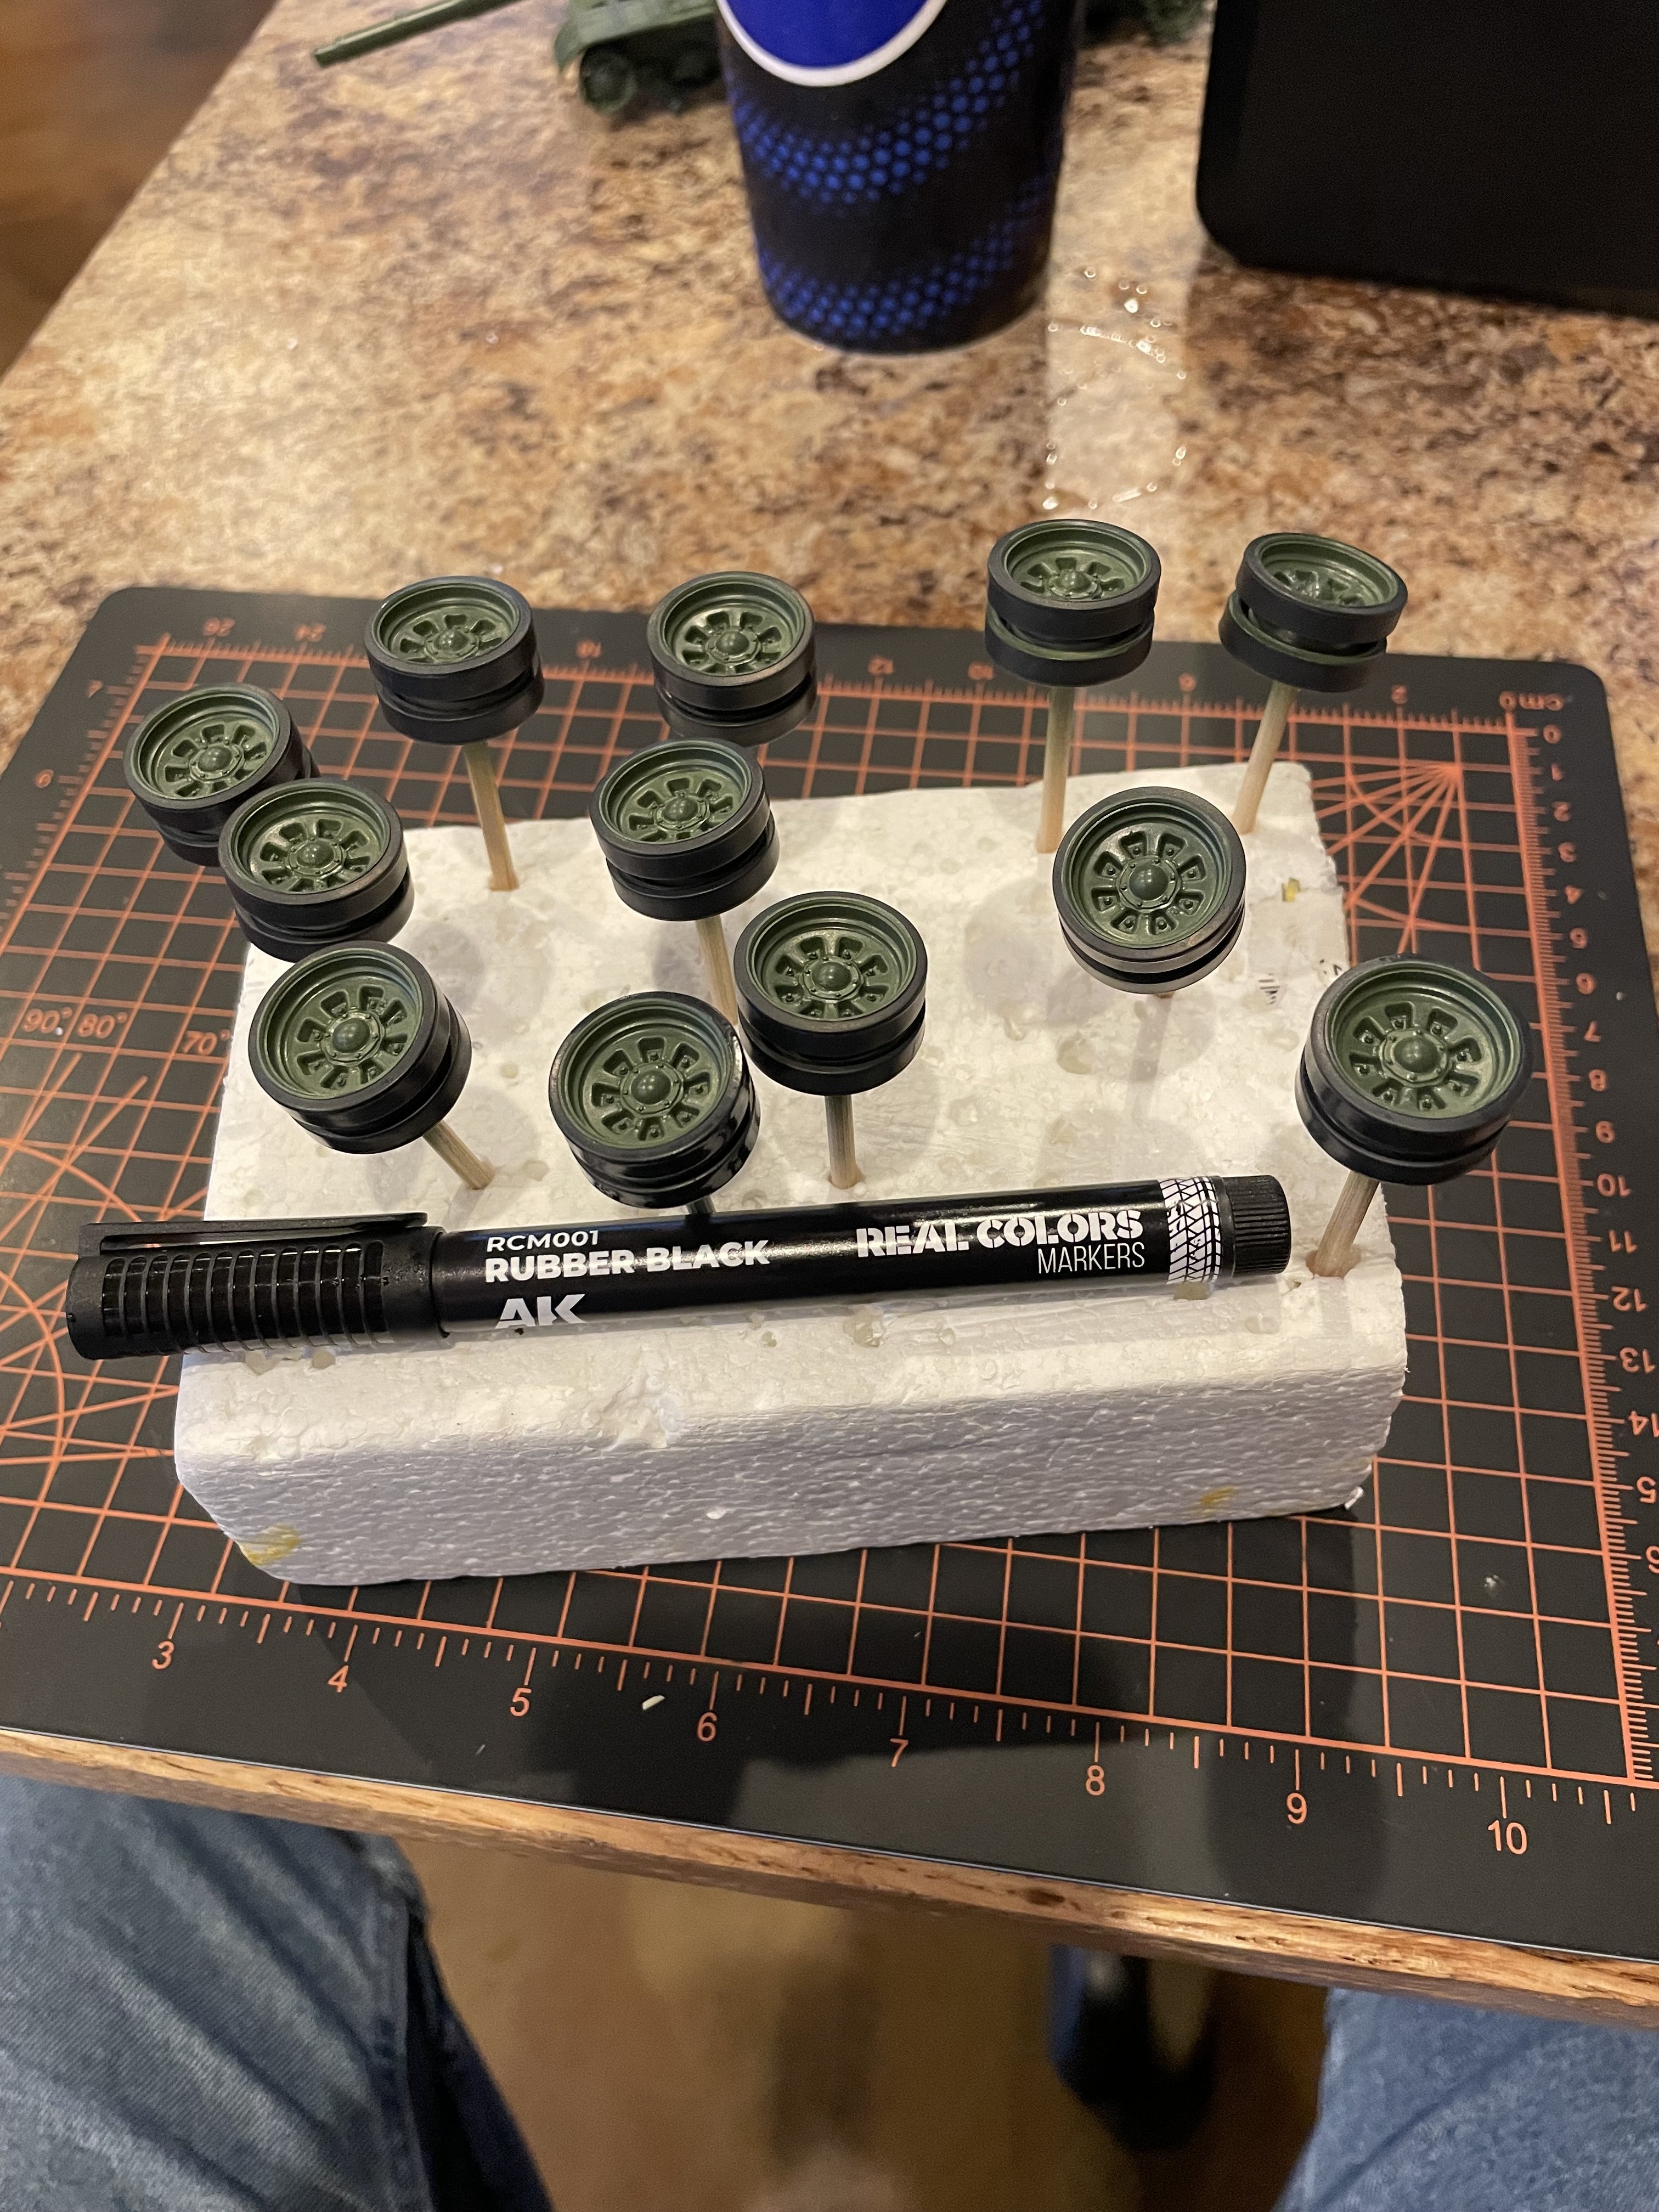
Tonight was build night so I took my road wheels and AK marker with my only goal to be getting them done. The marker worked great. So much easier than masking and airbrushing and for me better control than brush painting. I will be using this method on future armor builds.
 

Attachments

  • IMG_4742.jpeg
    IMG_4742.jpeg
    2.1 MB
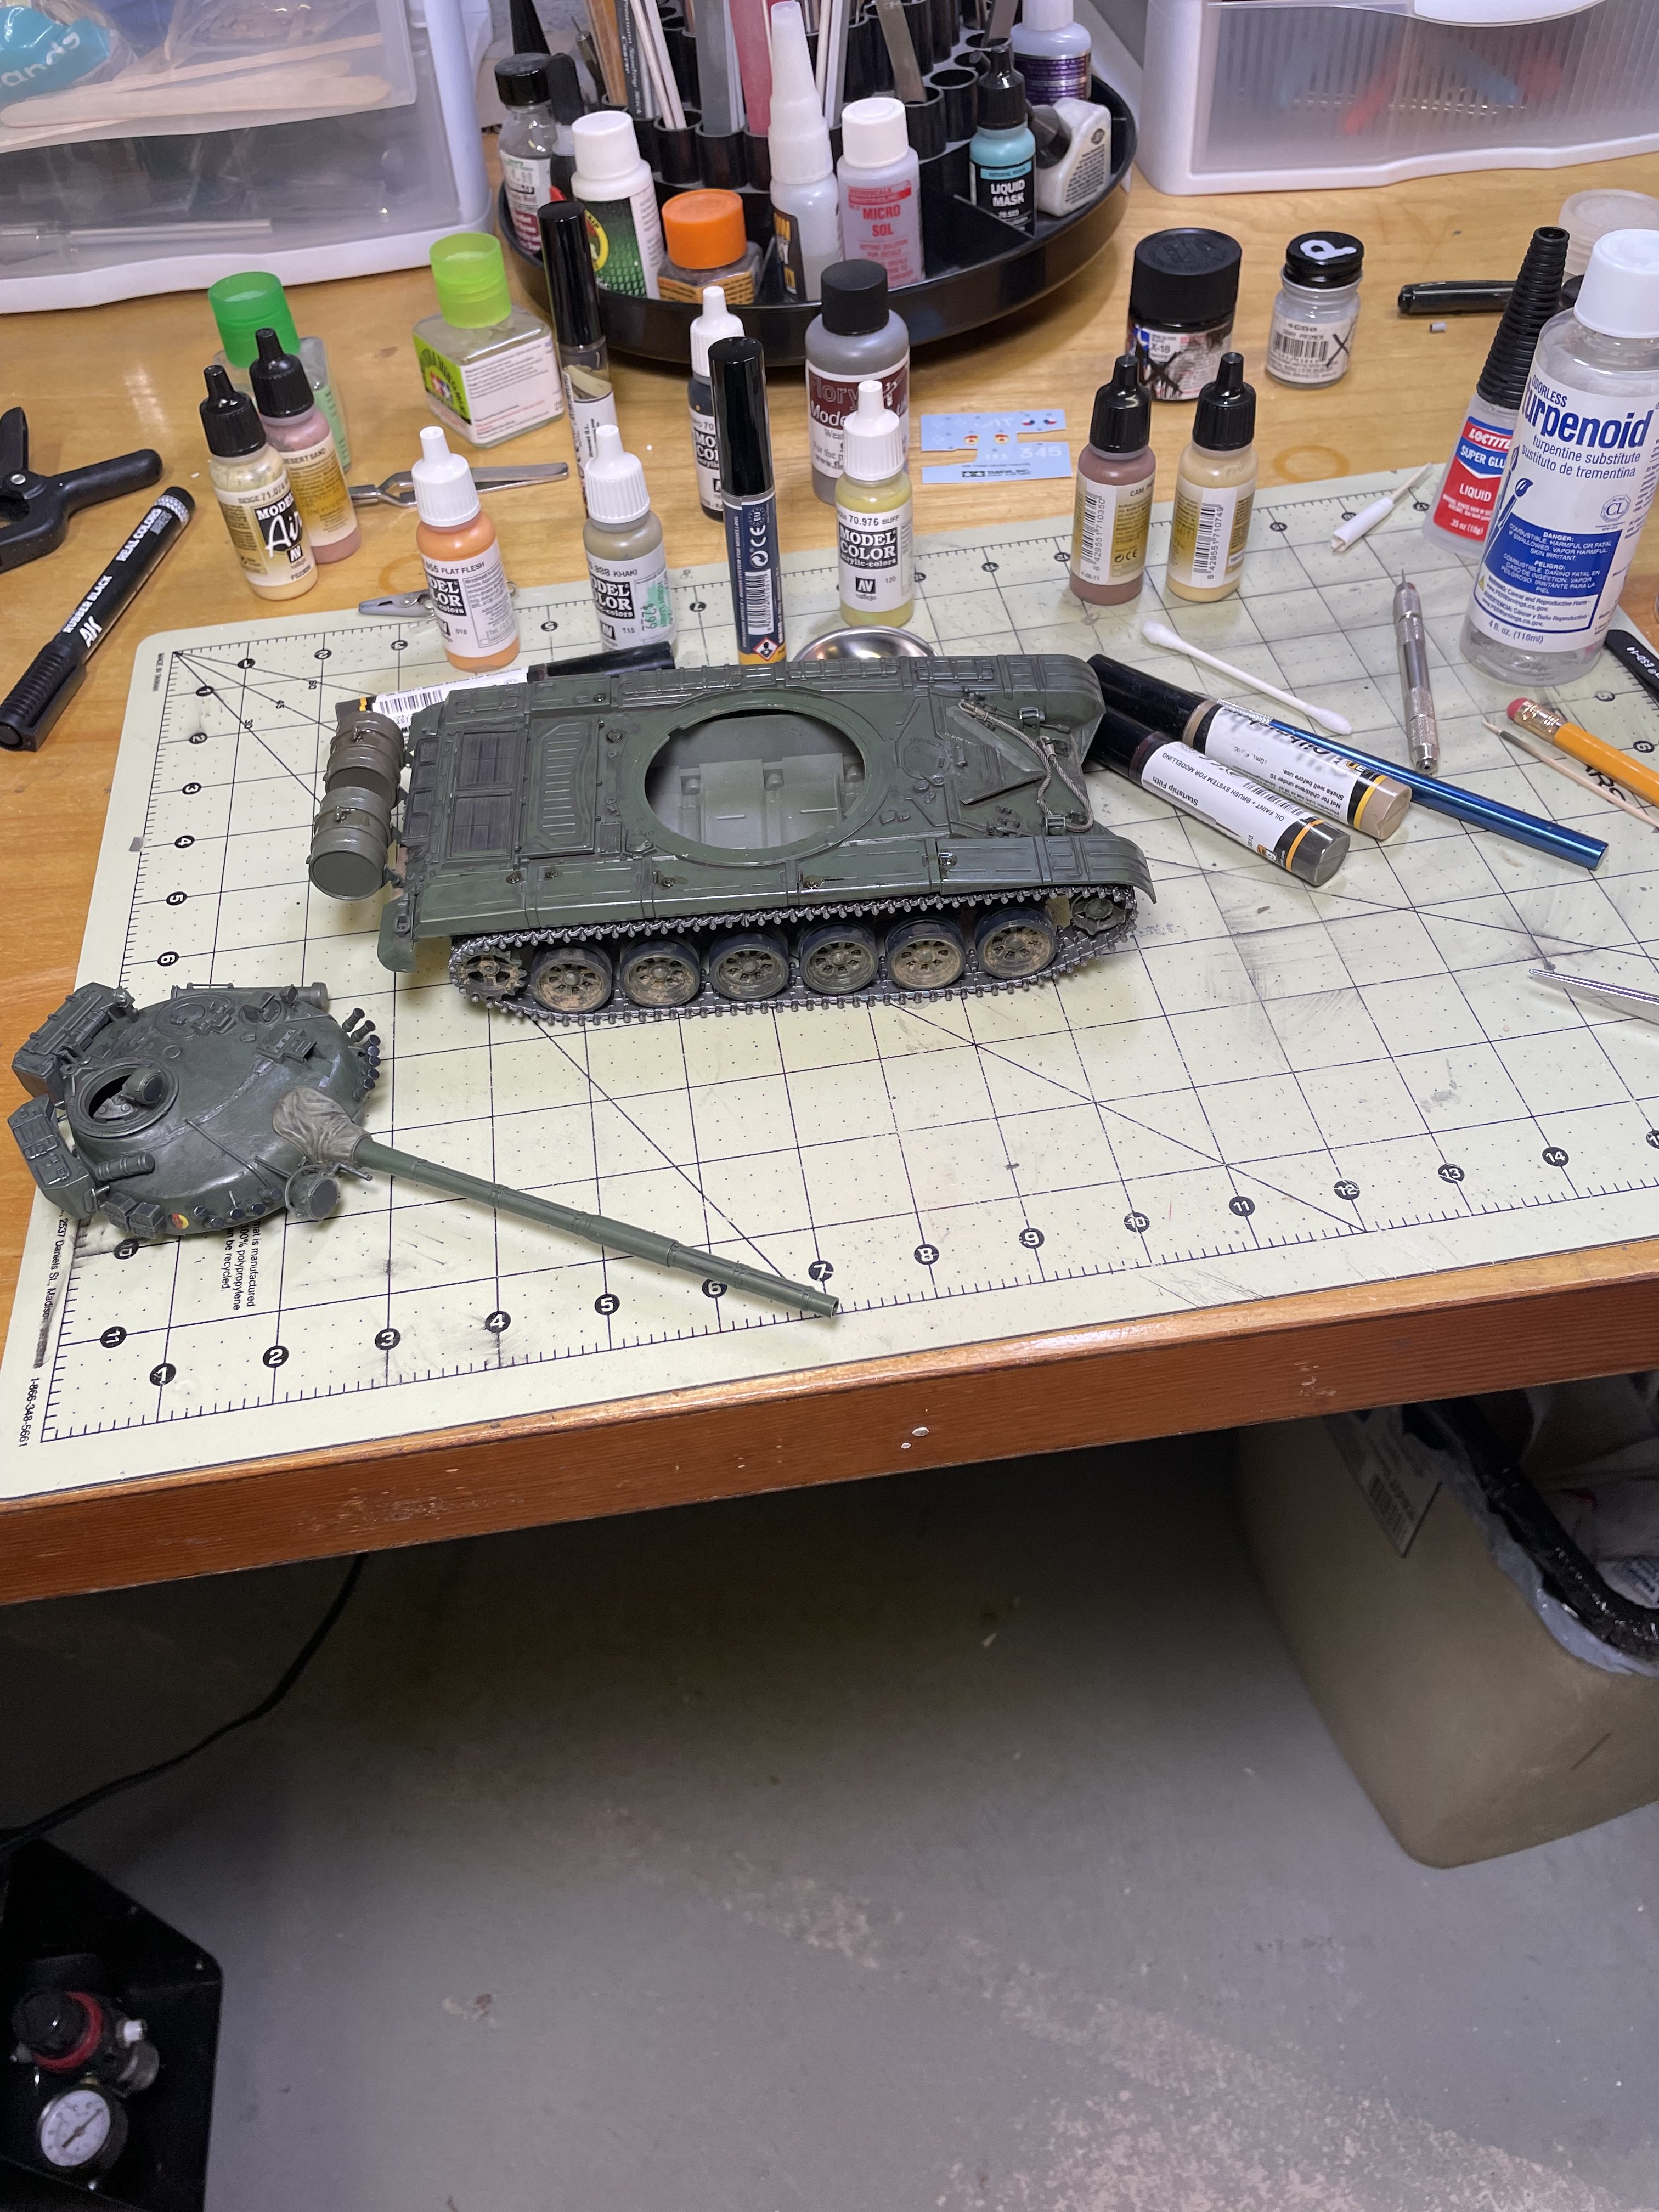
So I've managed to make some progress. I've painted the tracks with Tamiya metallic gray and got them onto the tank. Added the tow cable on the front and the fuel cans on the back. That was a difficult decision to put them on as most of the photos I've seen show the fuel drums NOT mounted, but since I already had the brackets in place I went ahead and added the fuel drums. I started doing some weathering. Still a ways to go but it's getting there.

IMG_4801.jpeg
 
FWIW, you could also have just the mounting brackets with no fuel tanks in them. Though you would want to remove any mounting lugs visible that way, of course :)
 

Latest posts

Back
Top