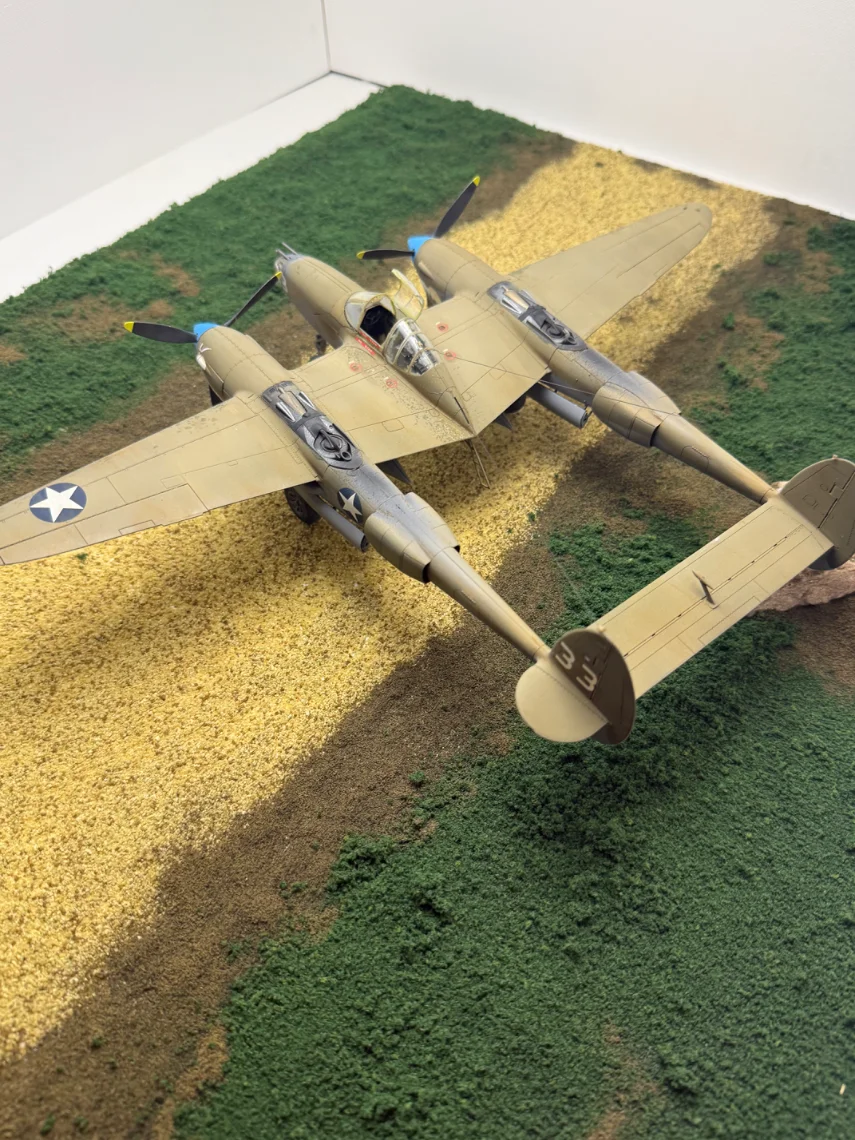
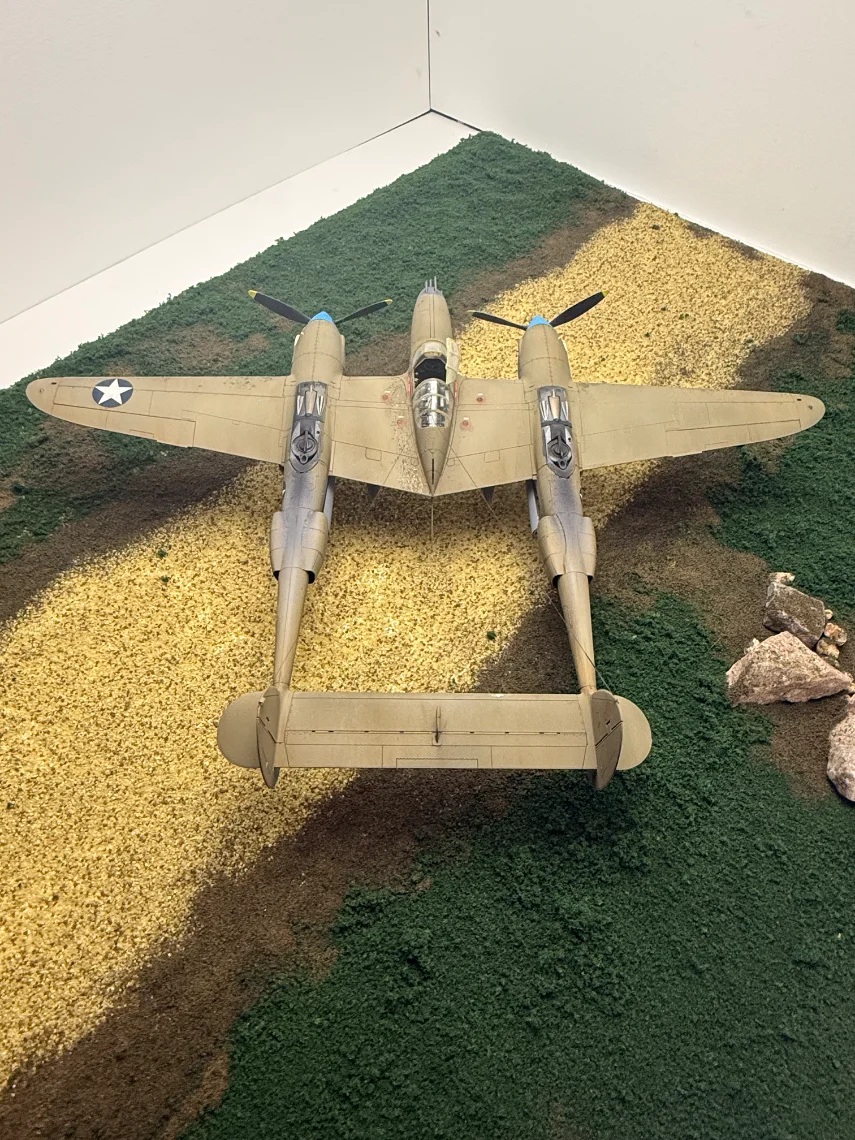
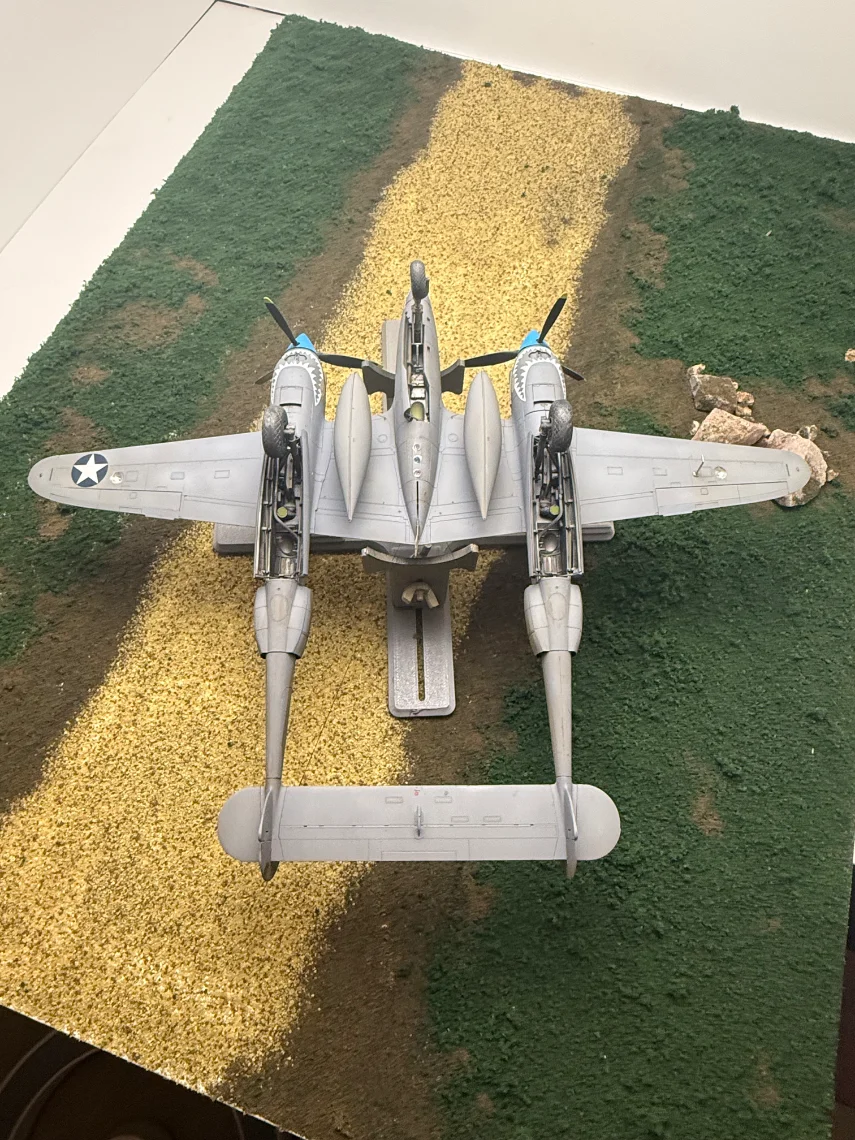
Tamiya Lockheed p-38 F/G Lightning 1/48

Scale Model Addict - Model Tips, Guides, Tools & Tech, Tutorials, and Community

Help Support Scale Model Addict:

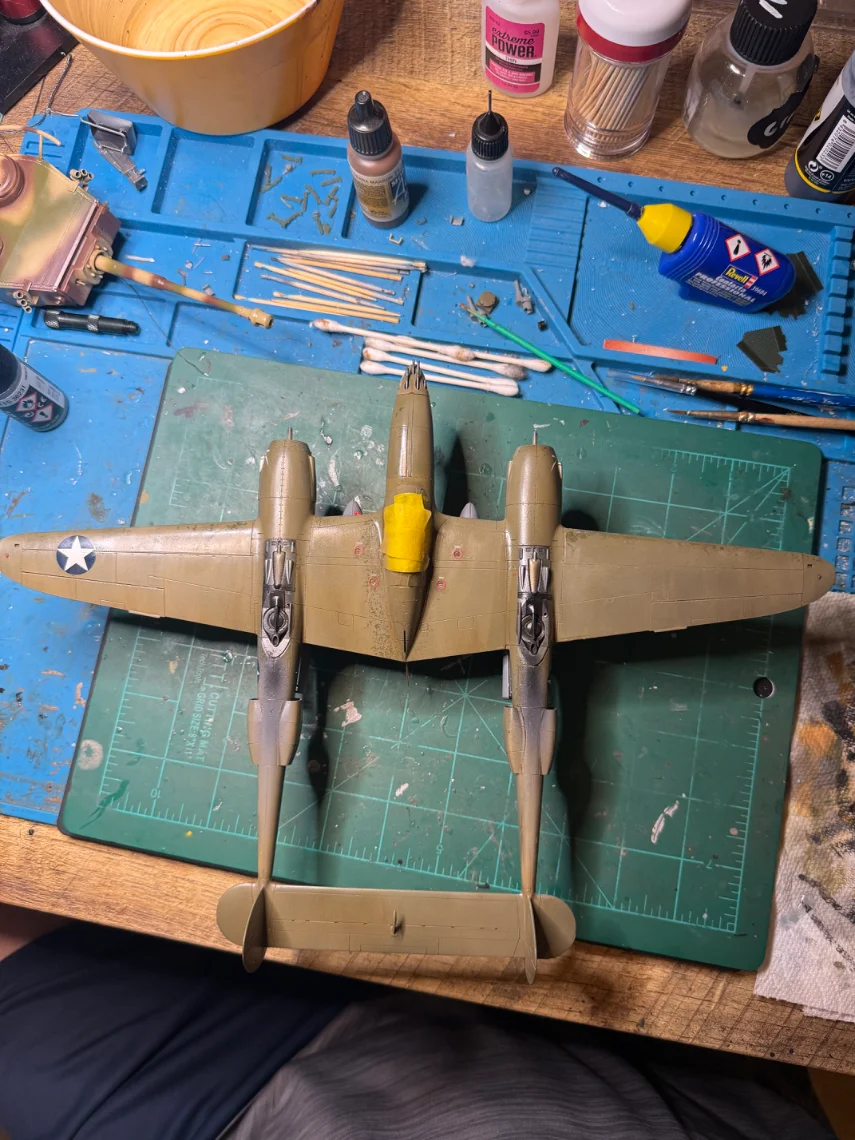
Nice. I've been thinking of using similar technique since my Gladiator had camo painted over the original aluminum dope... And then a very rough time on and over Malta.
 
Nice. I've been thinking of using similar technique since my Gladiator had camo painted over the original aluminum dope... And then a very rough time on and over Malta.
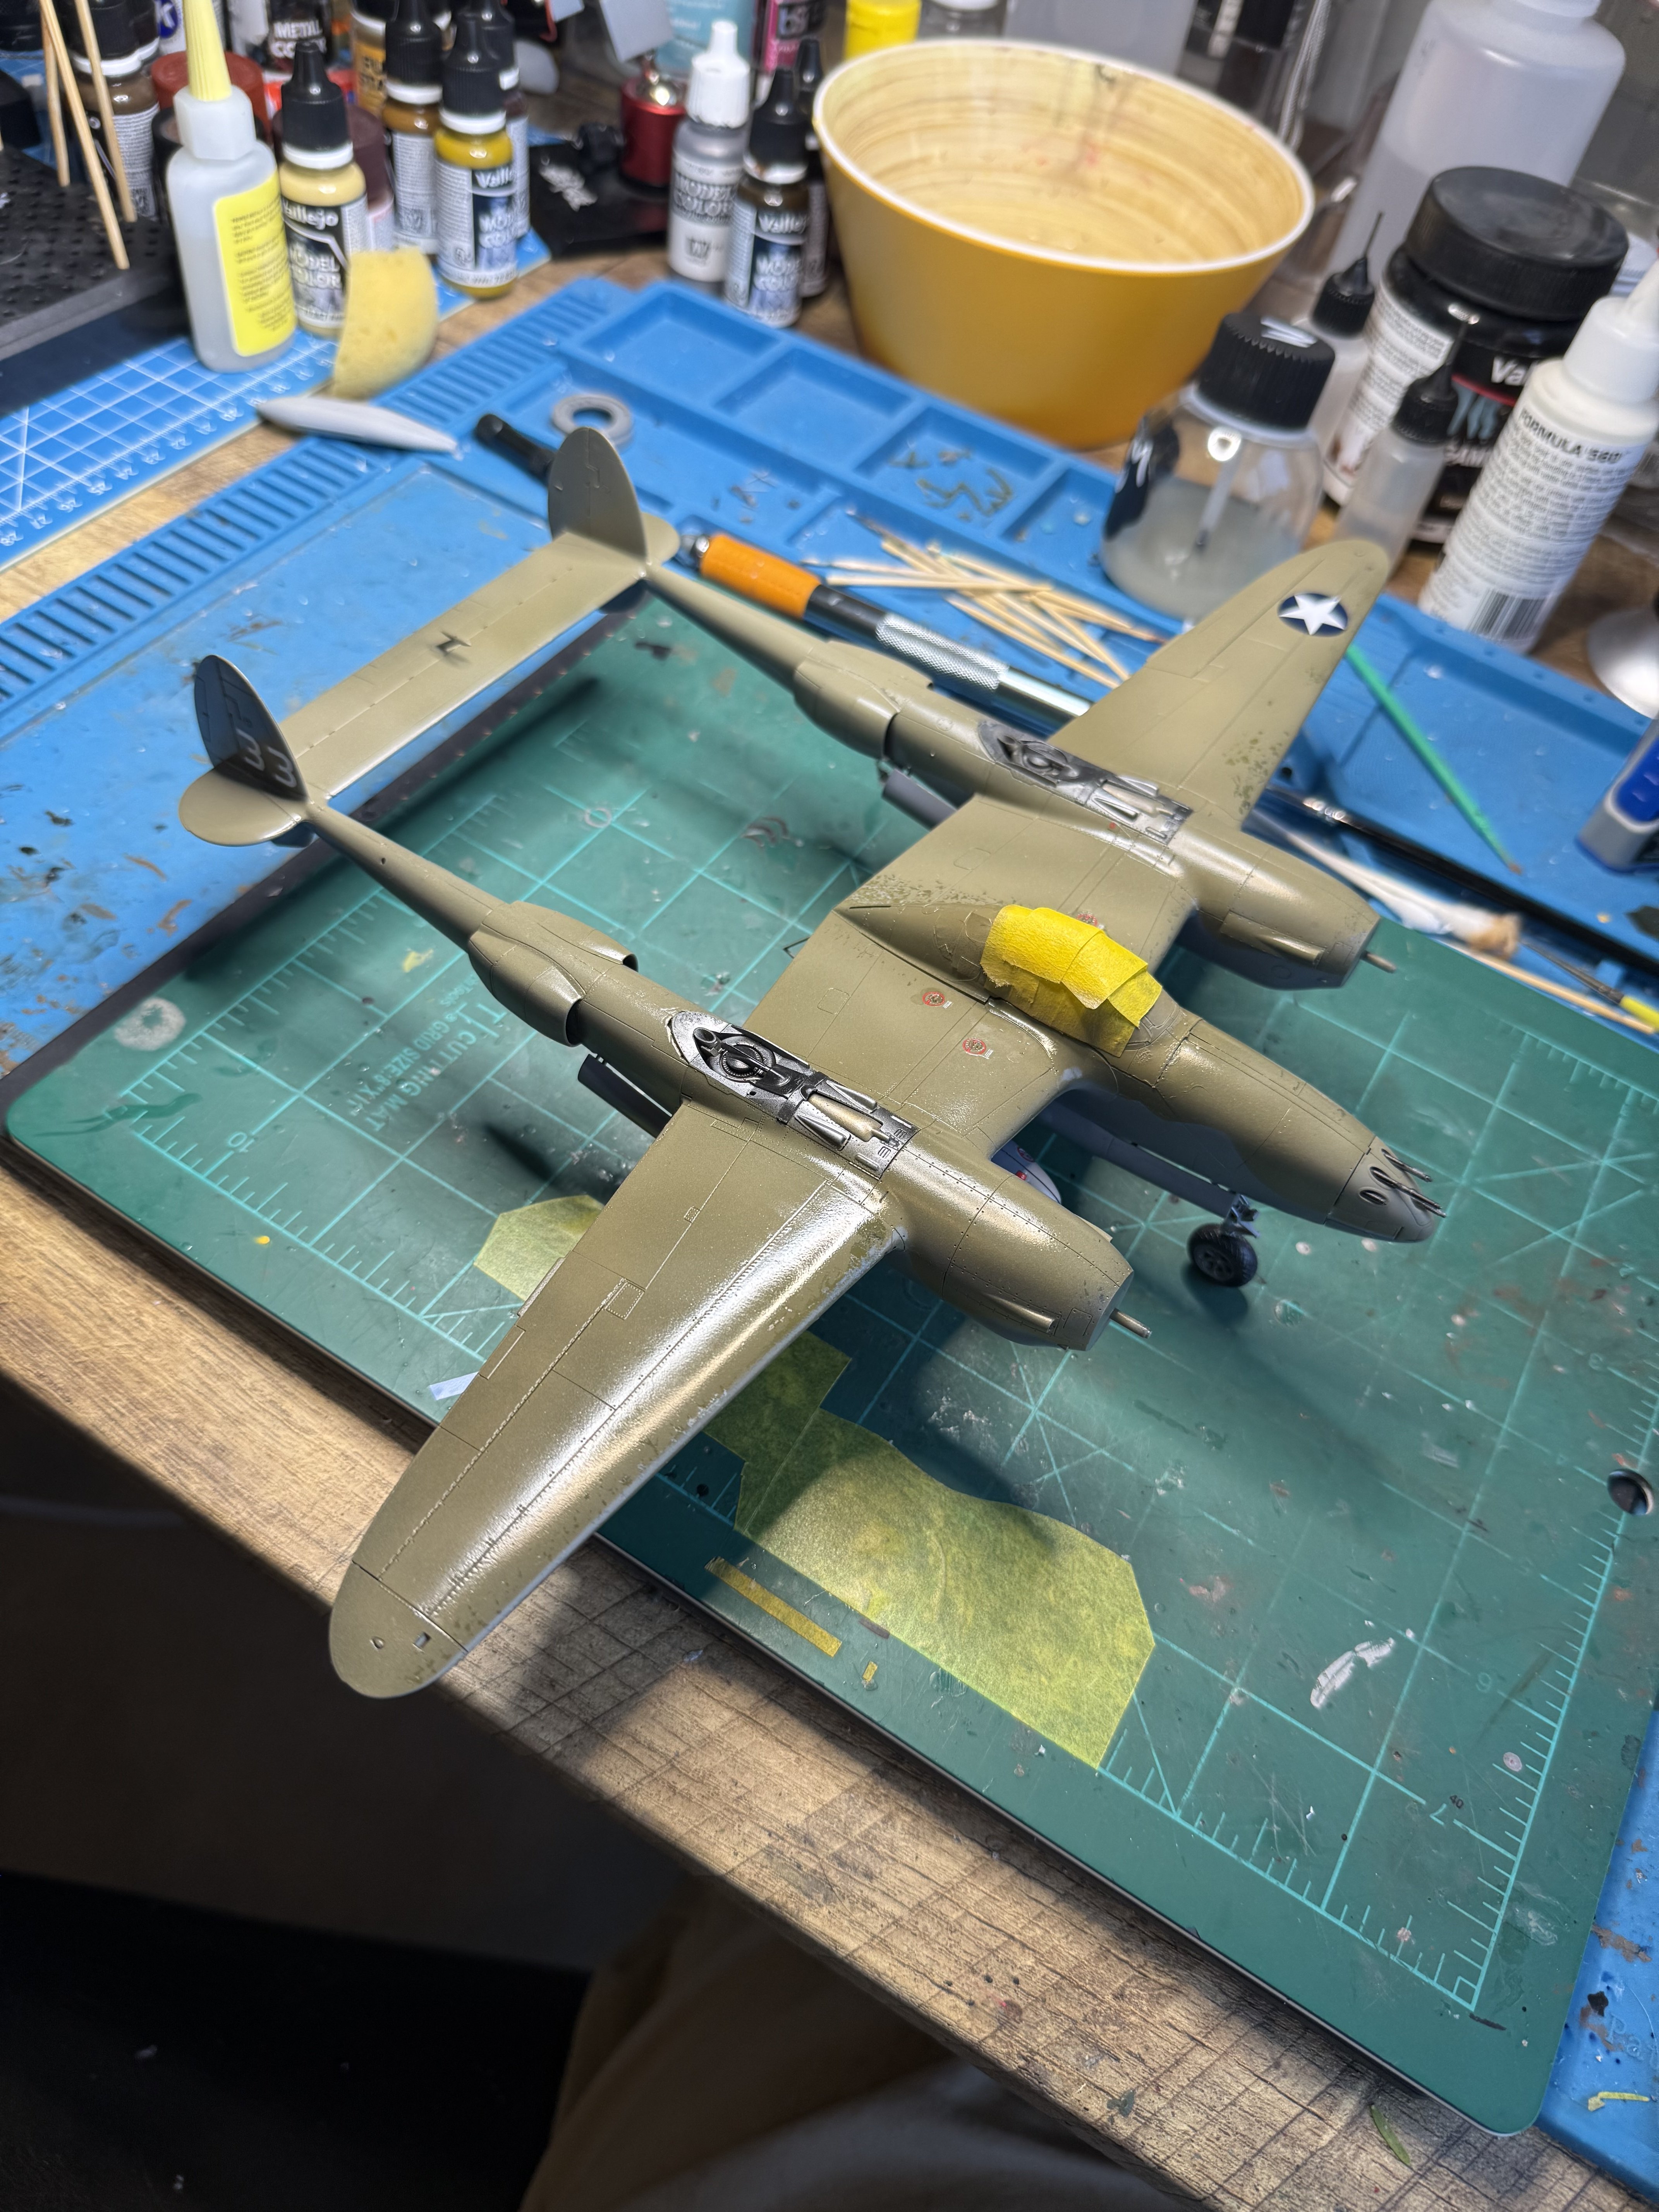
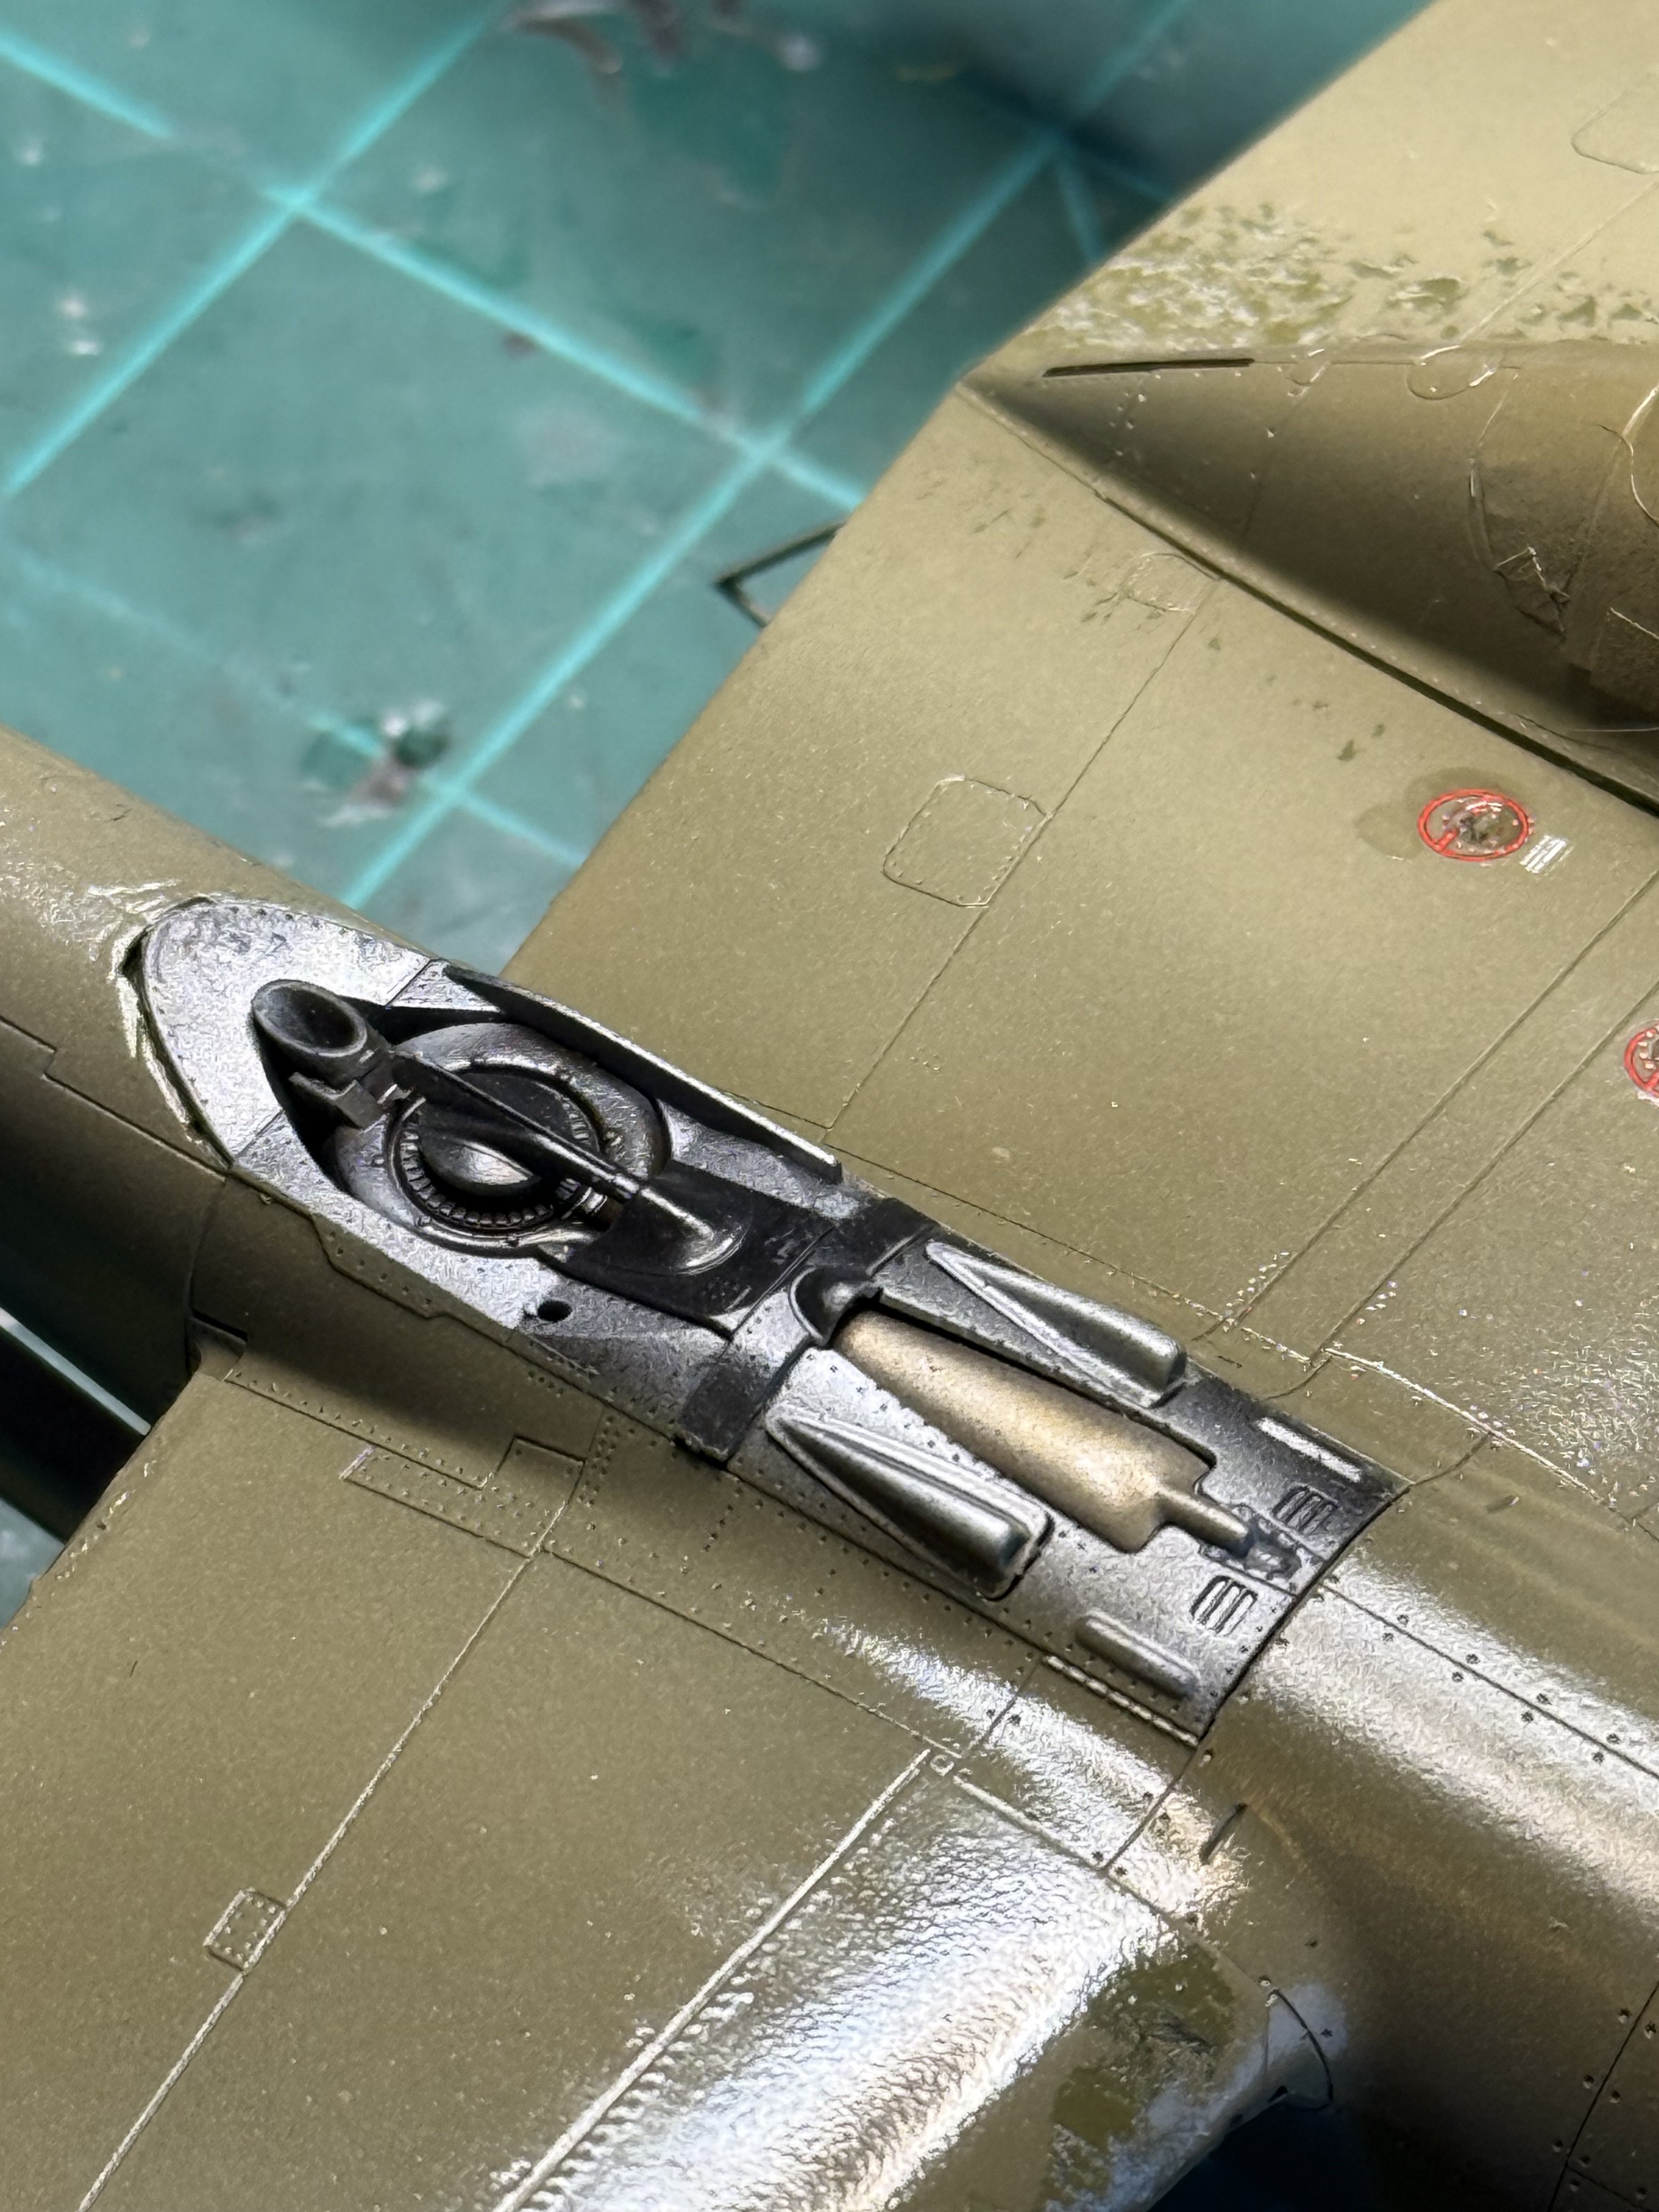
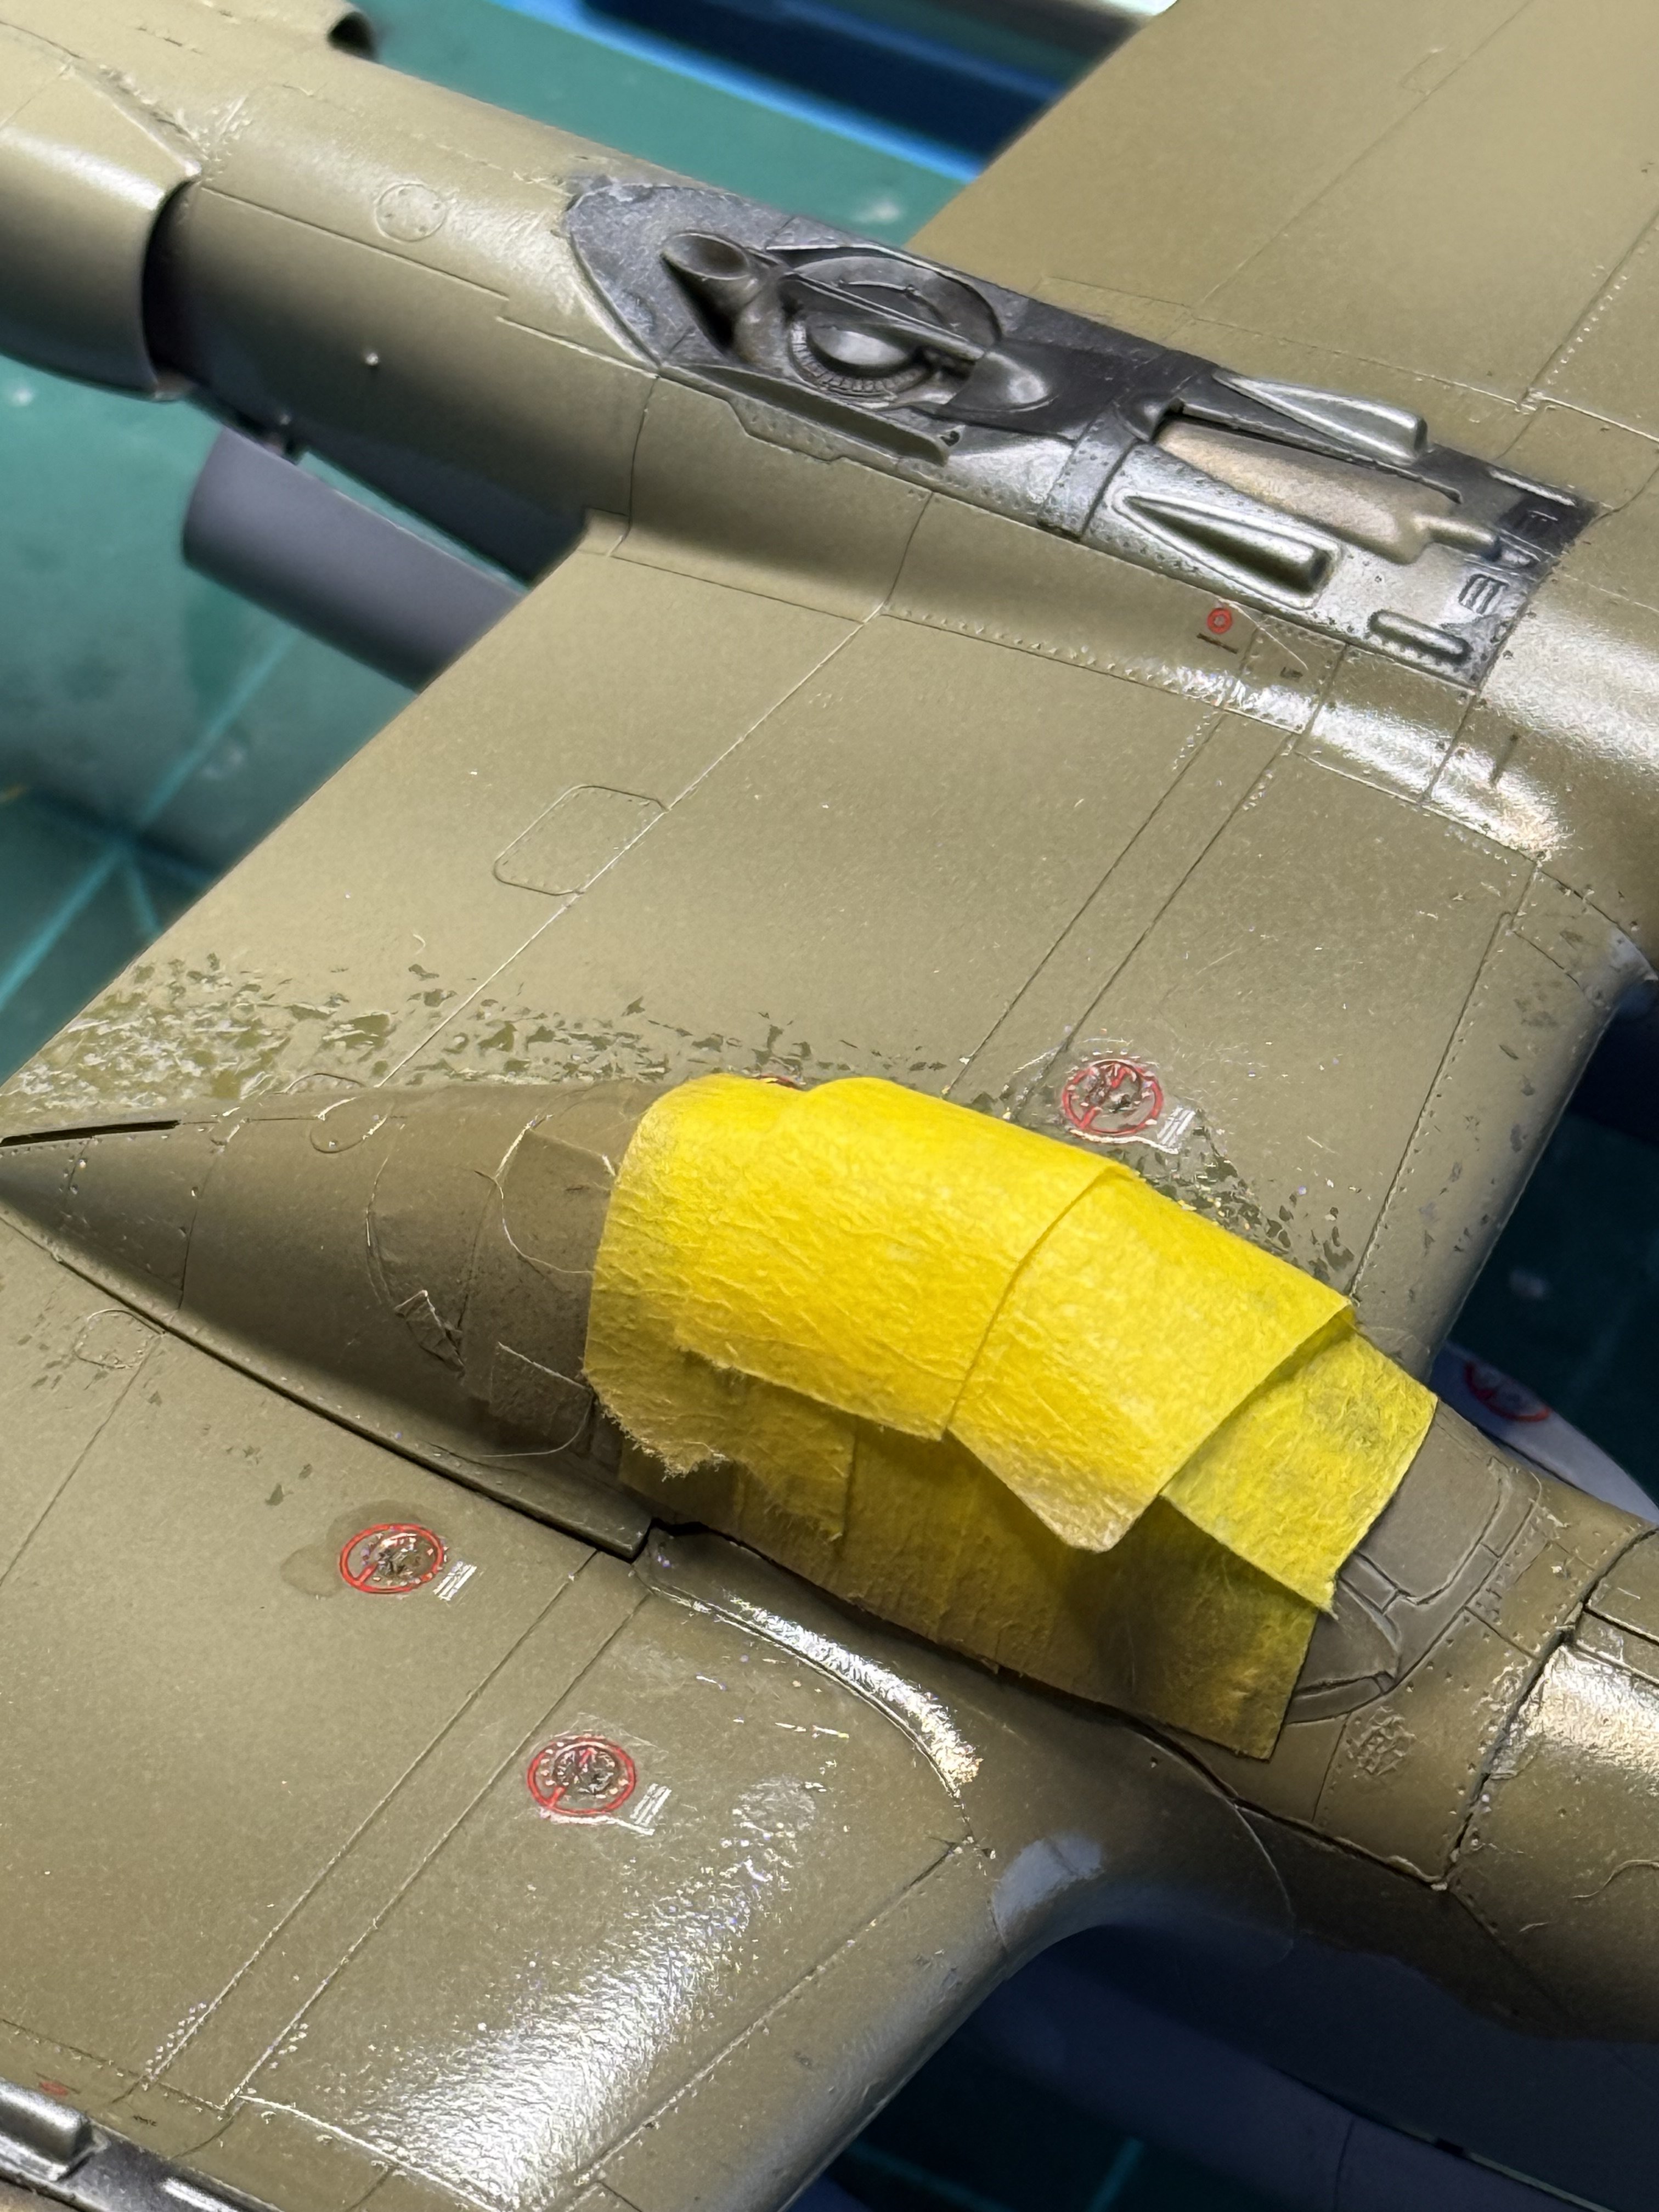
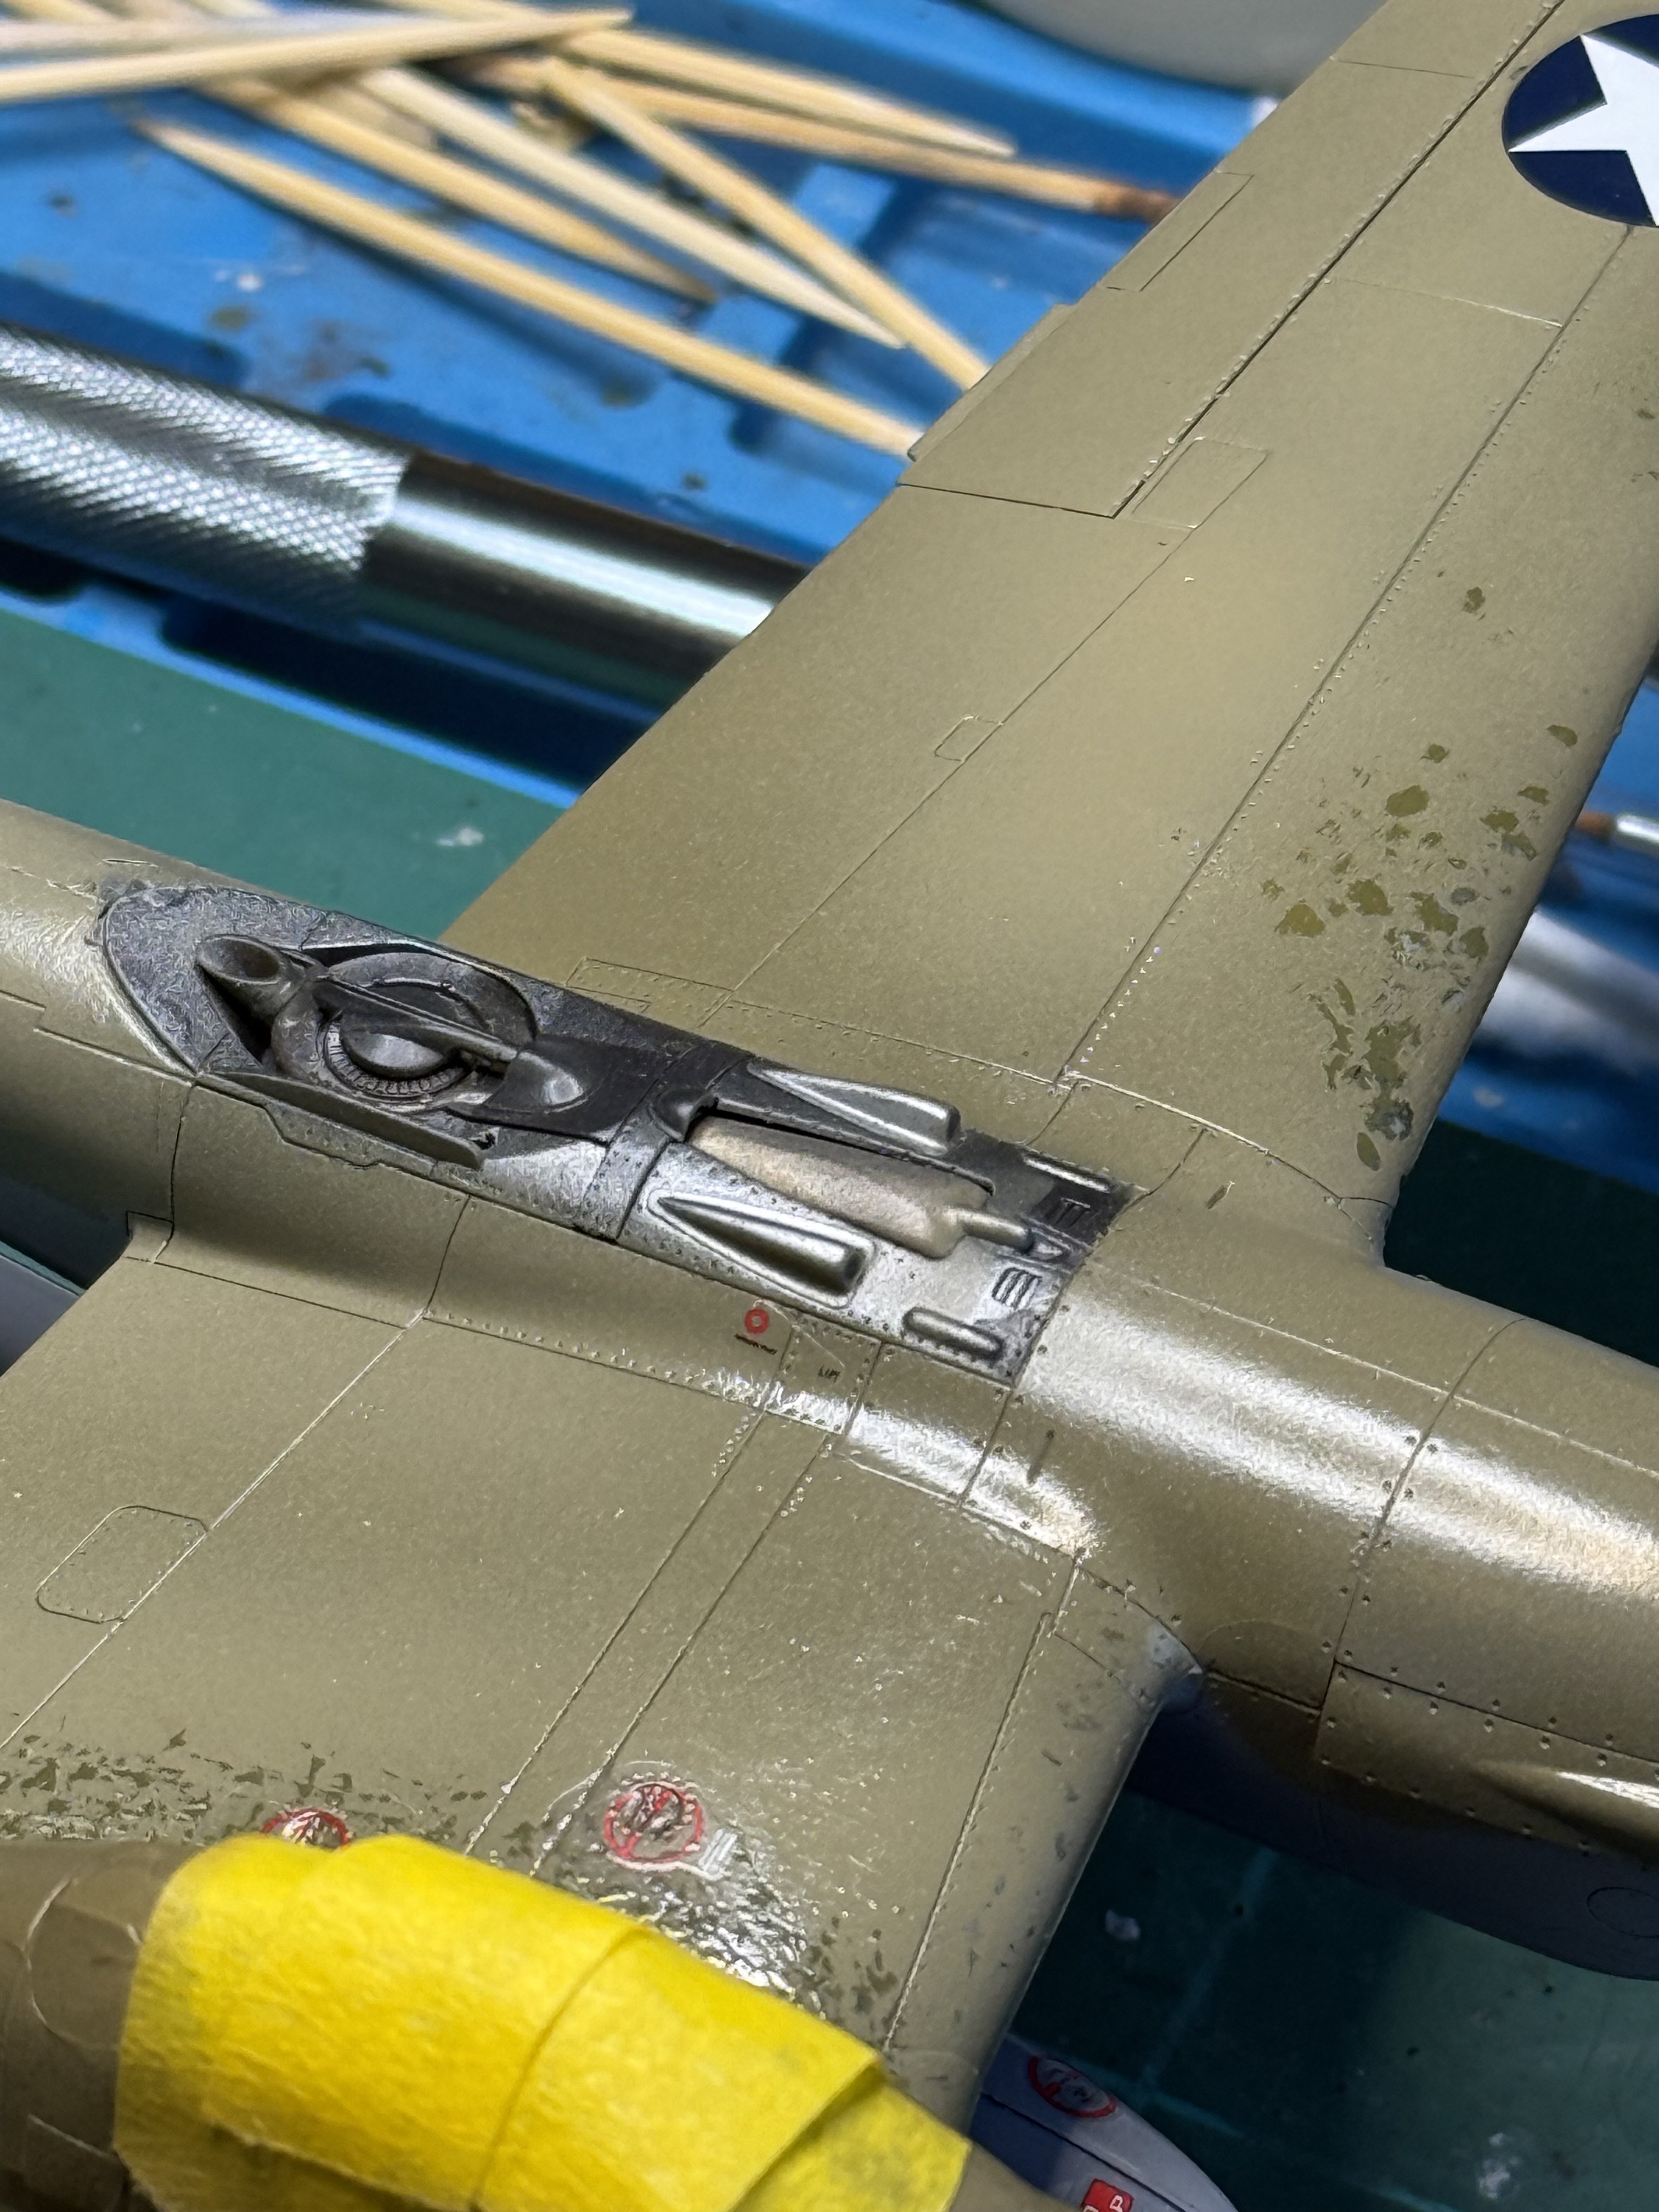
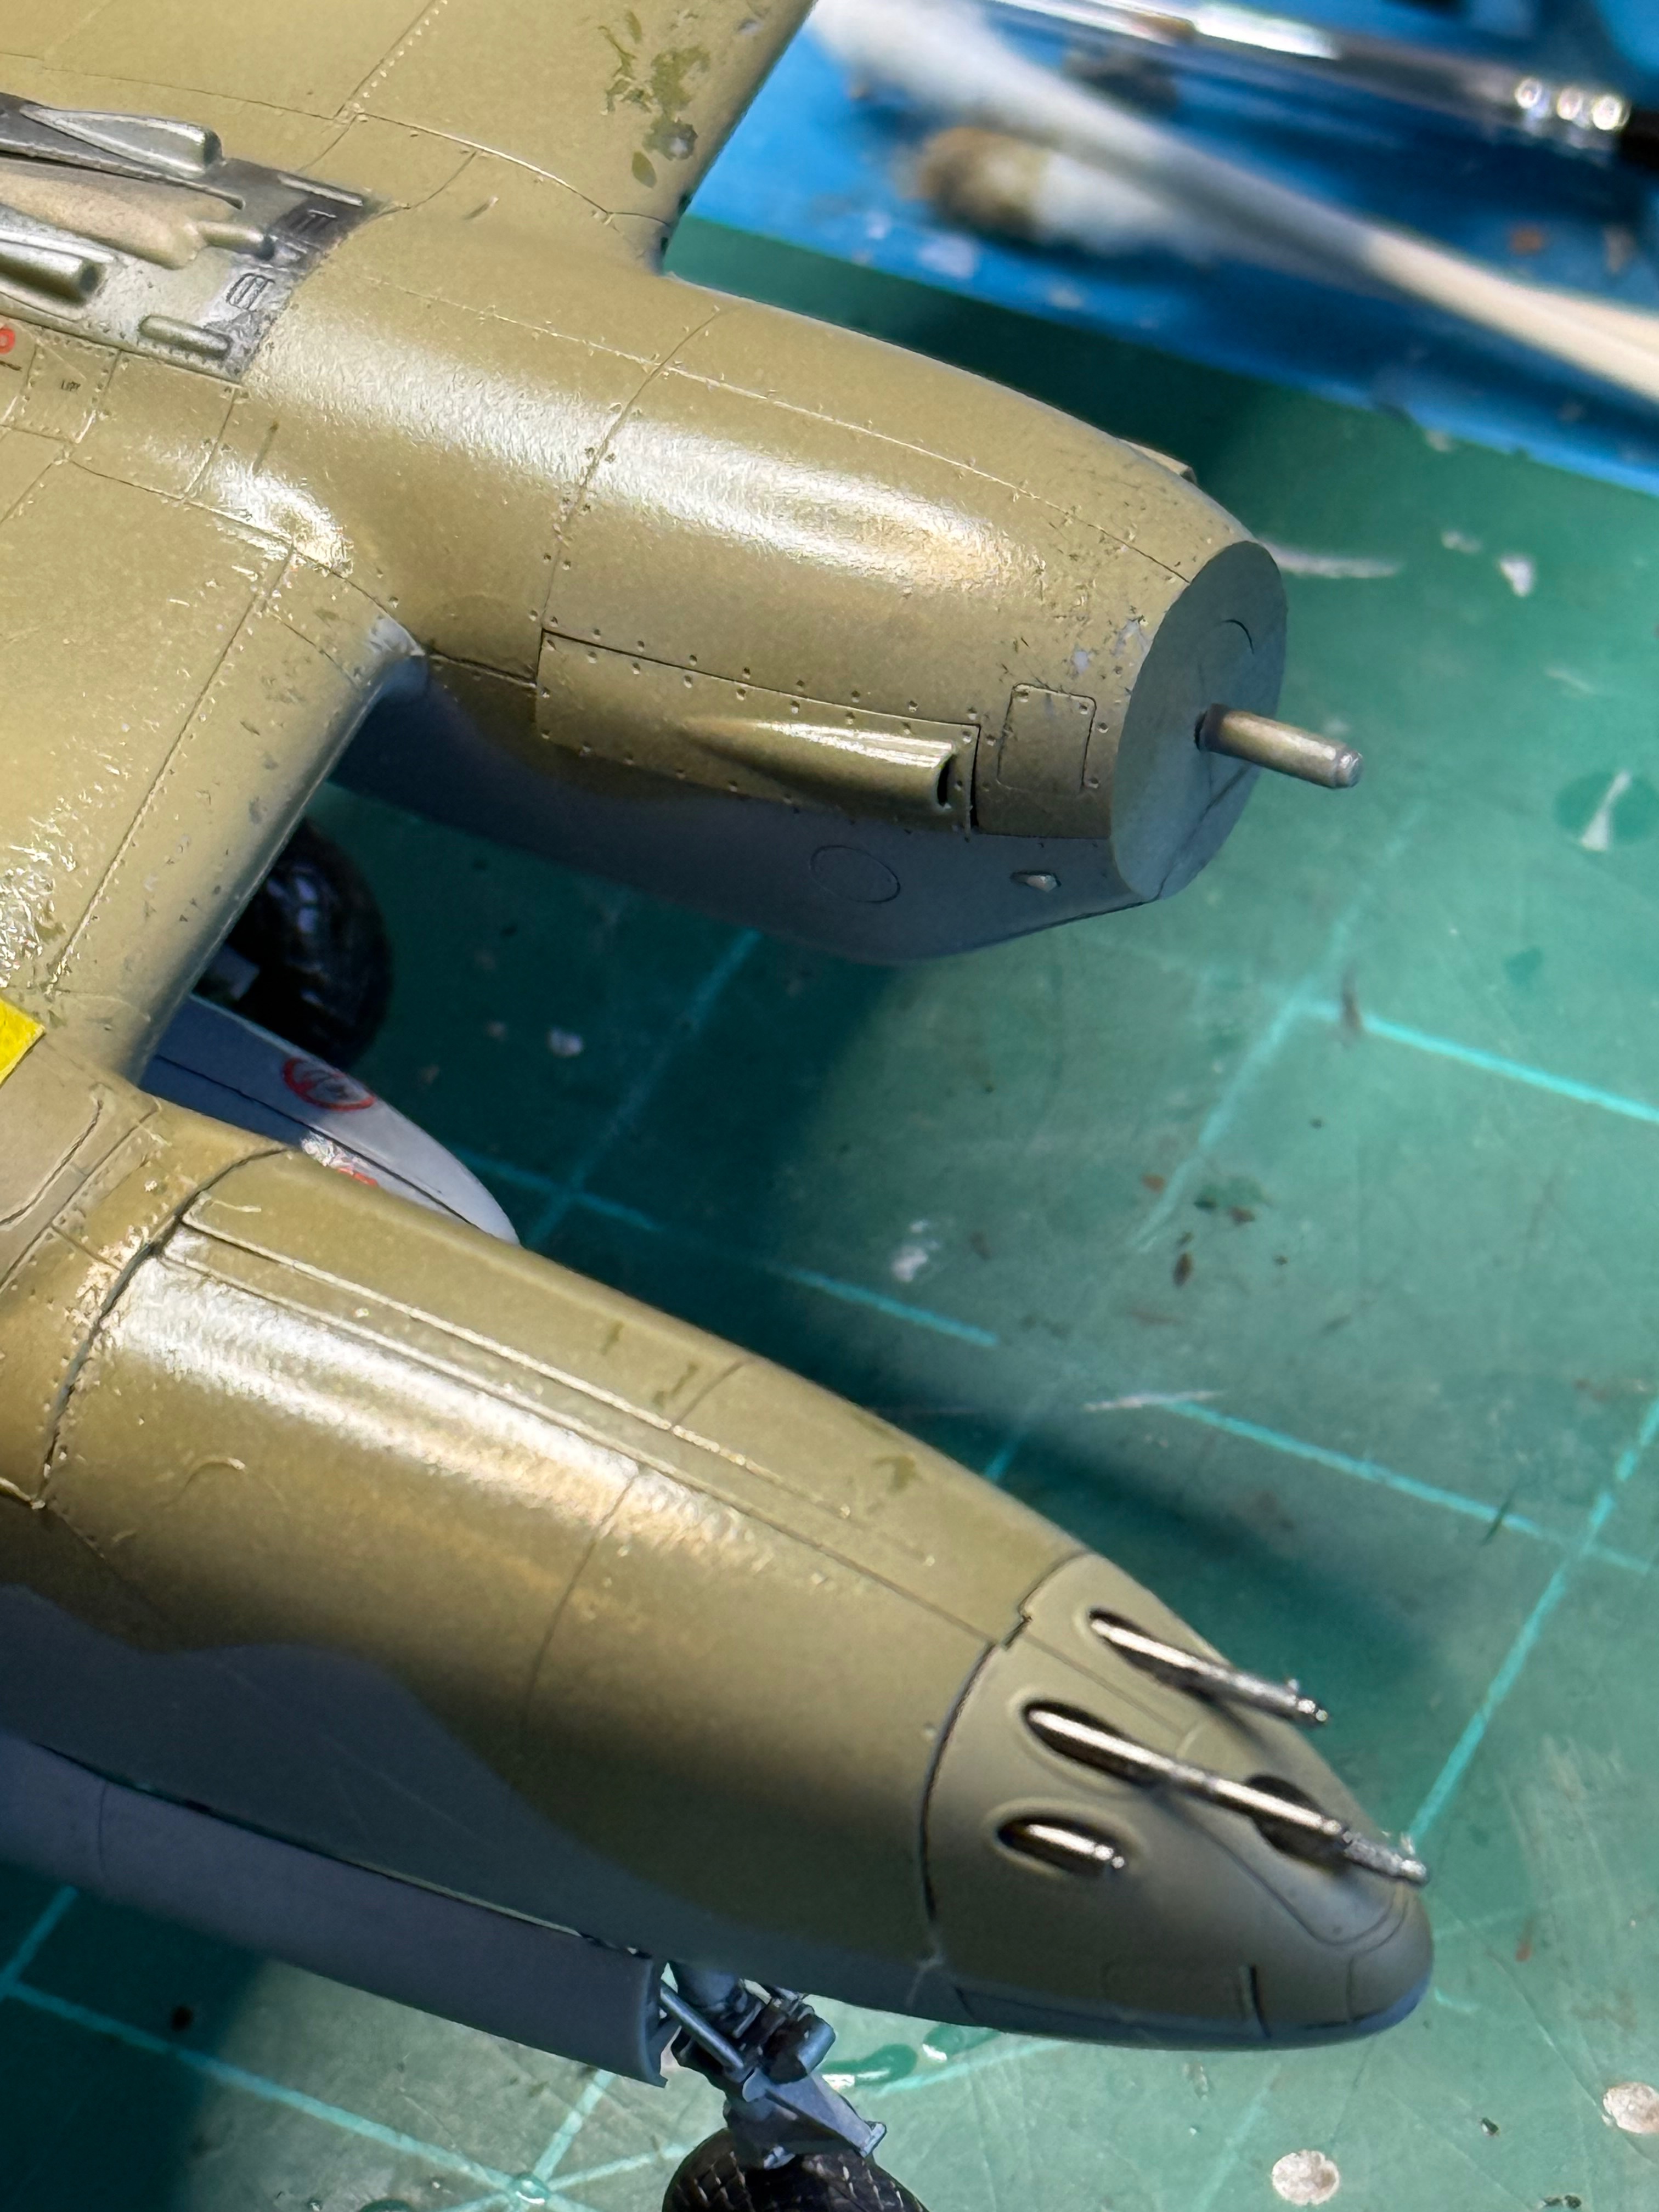
I like it because it gives you the opportunity to incorporate several different stages of the weathering: bare metal, faded and worn bottom coat and top coat.
 
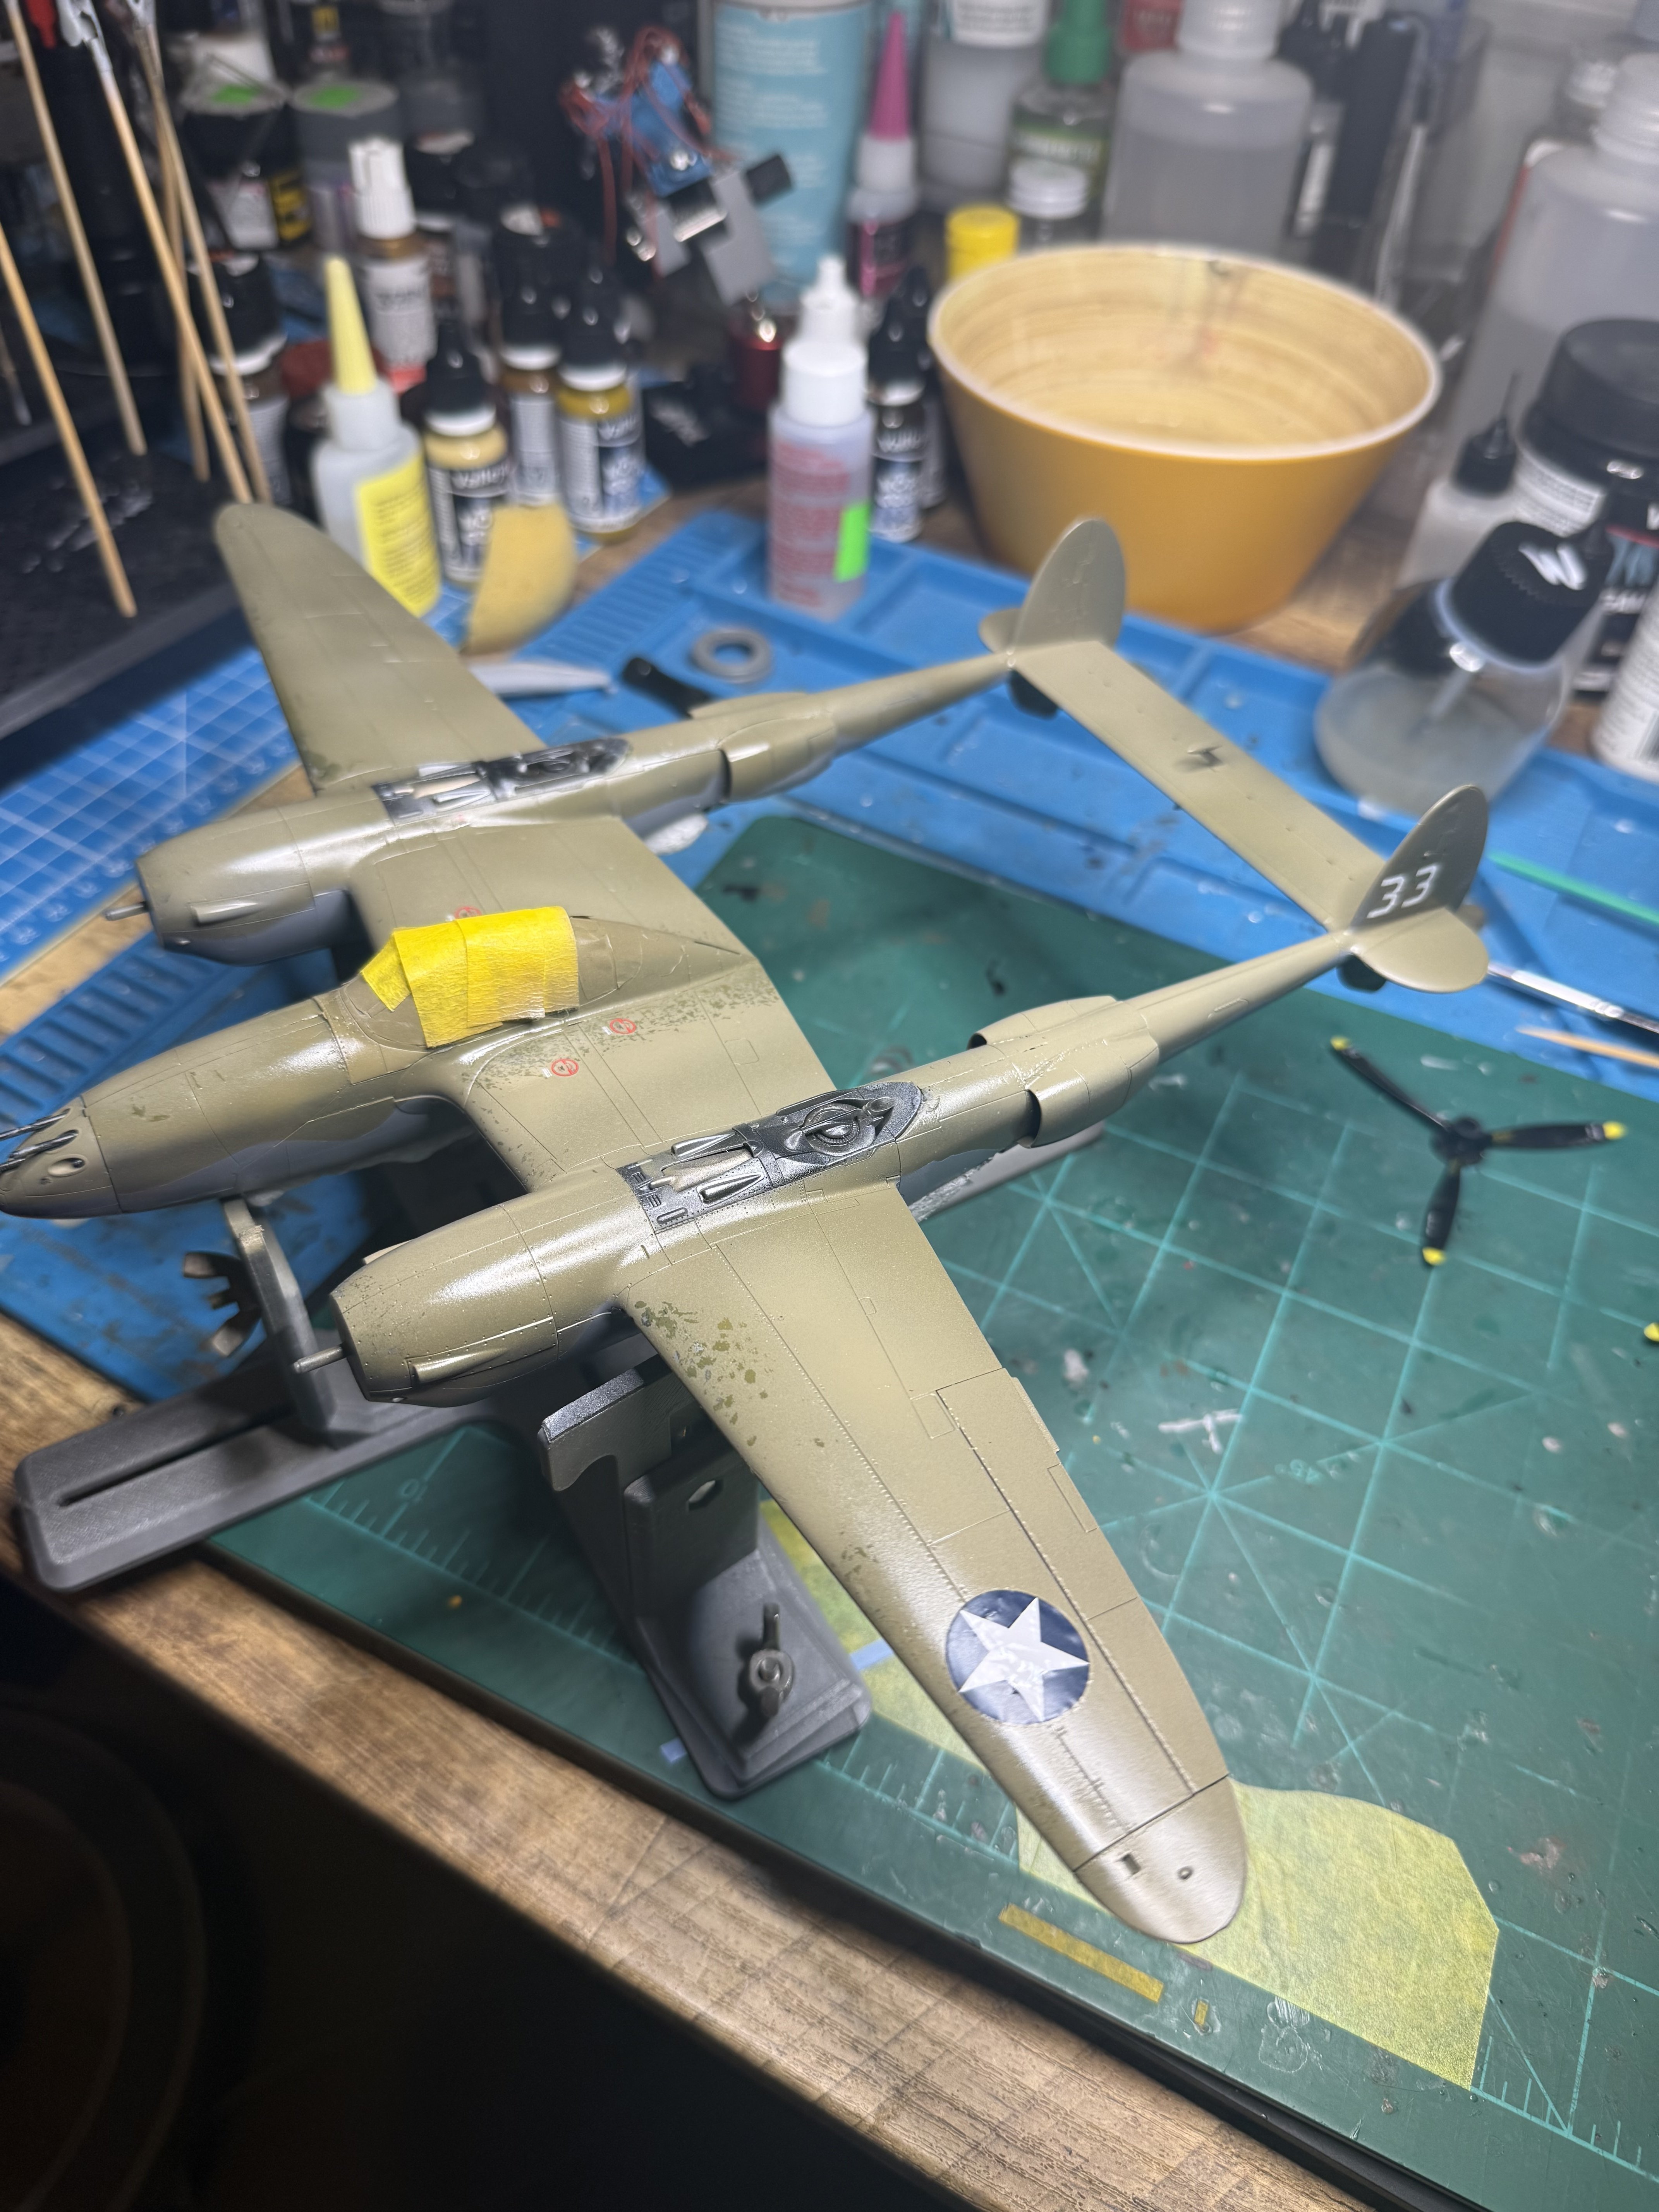
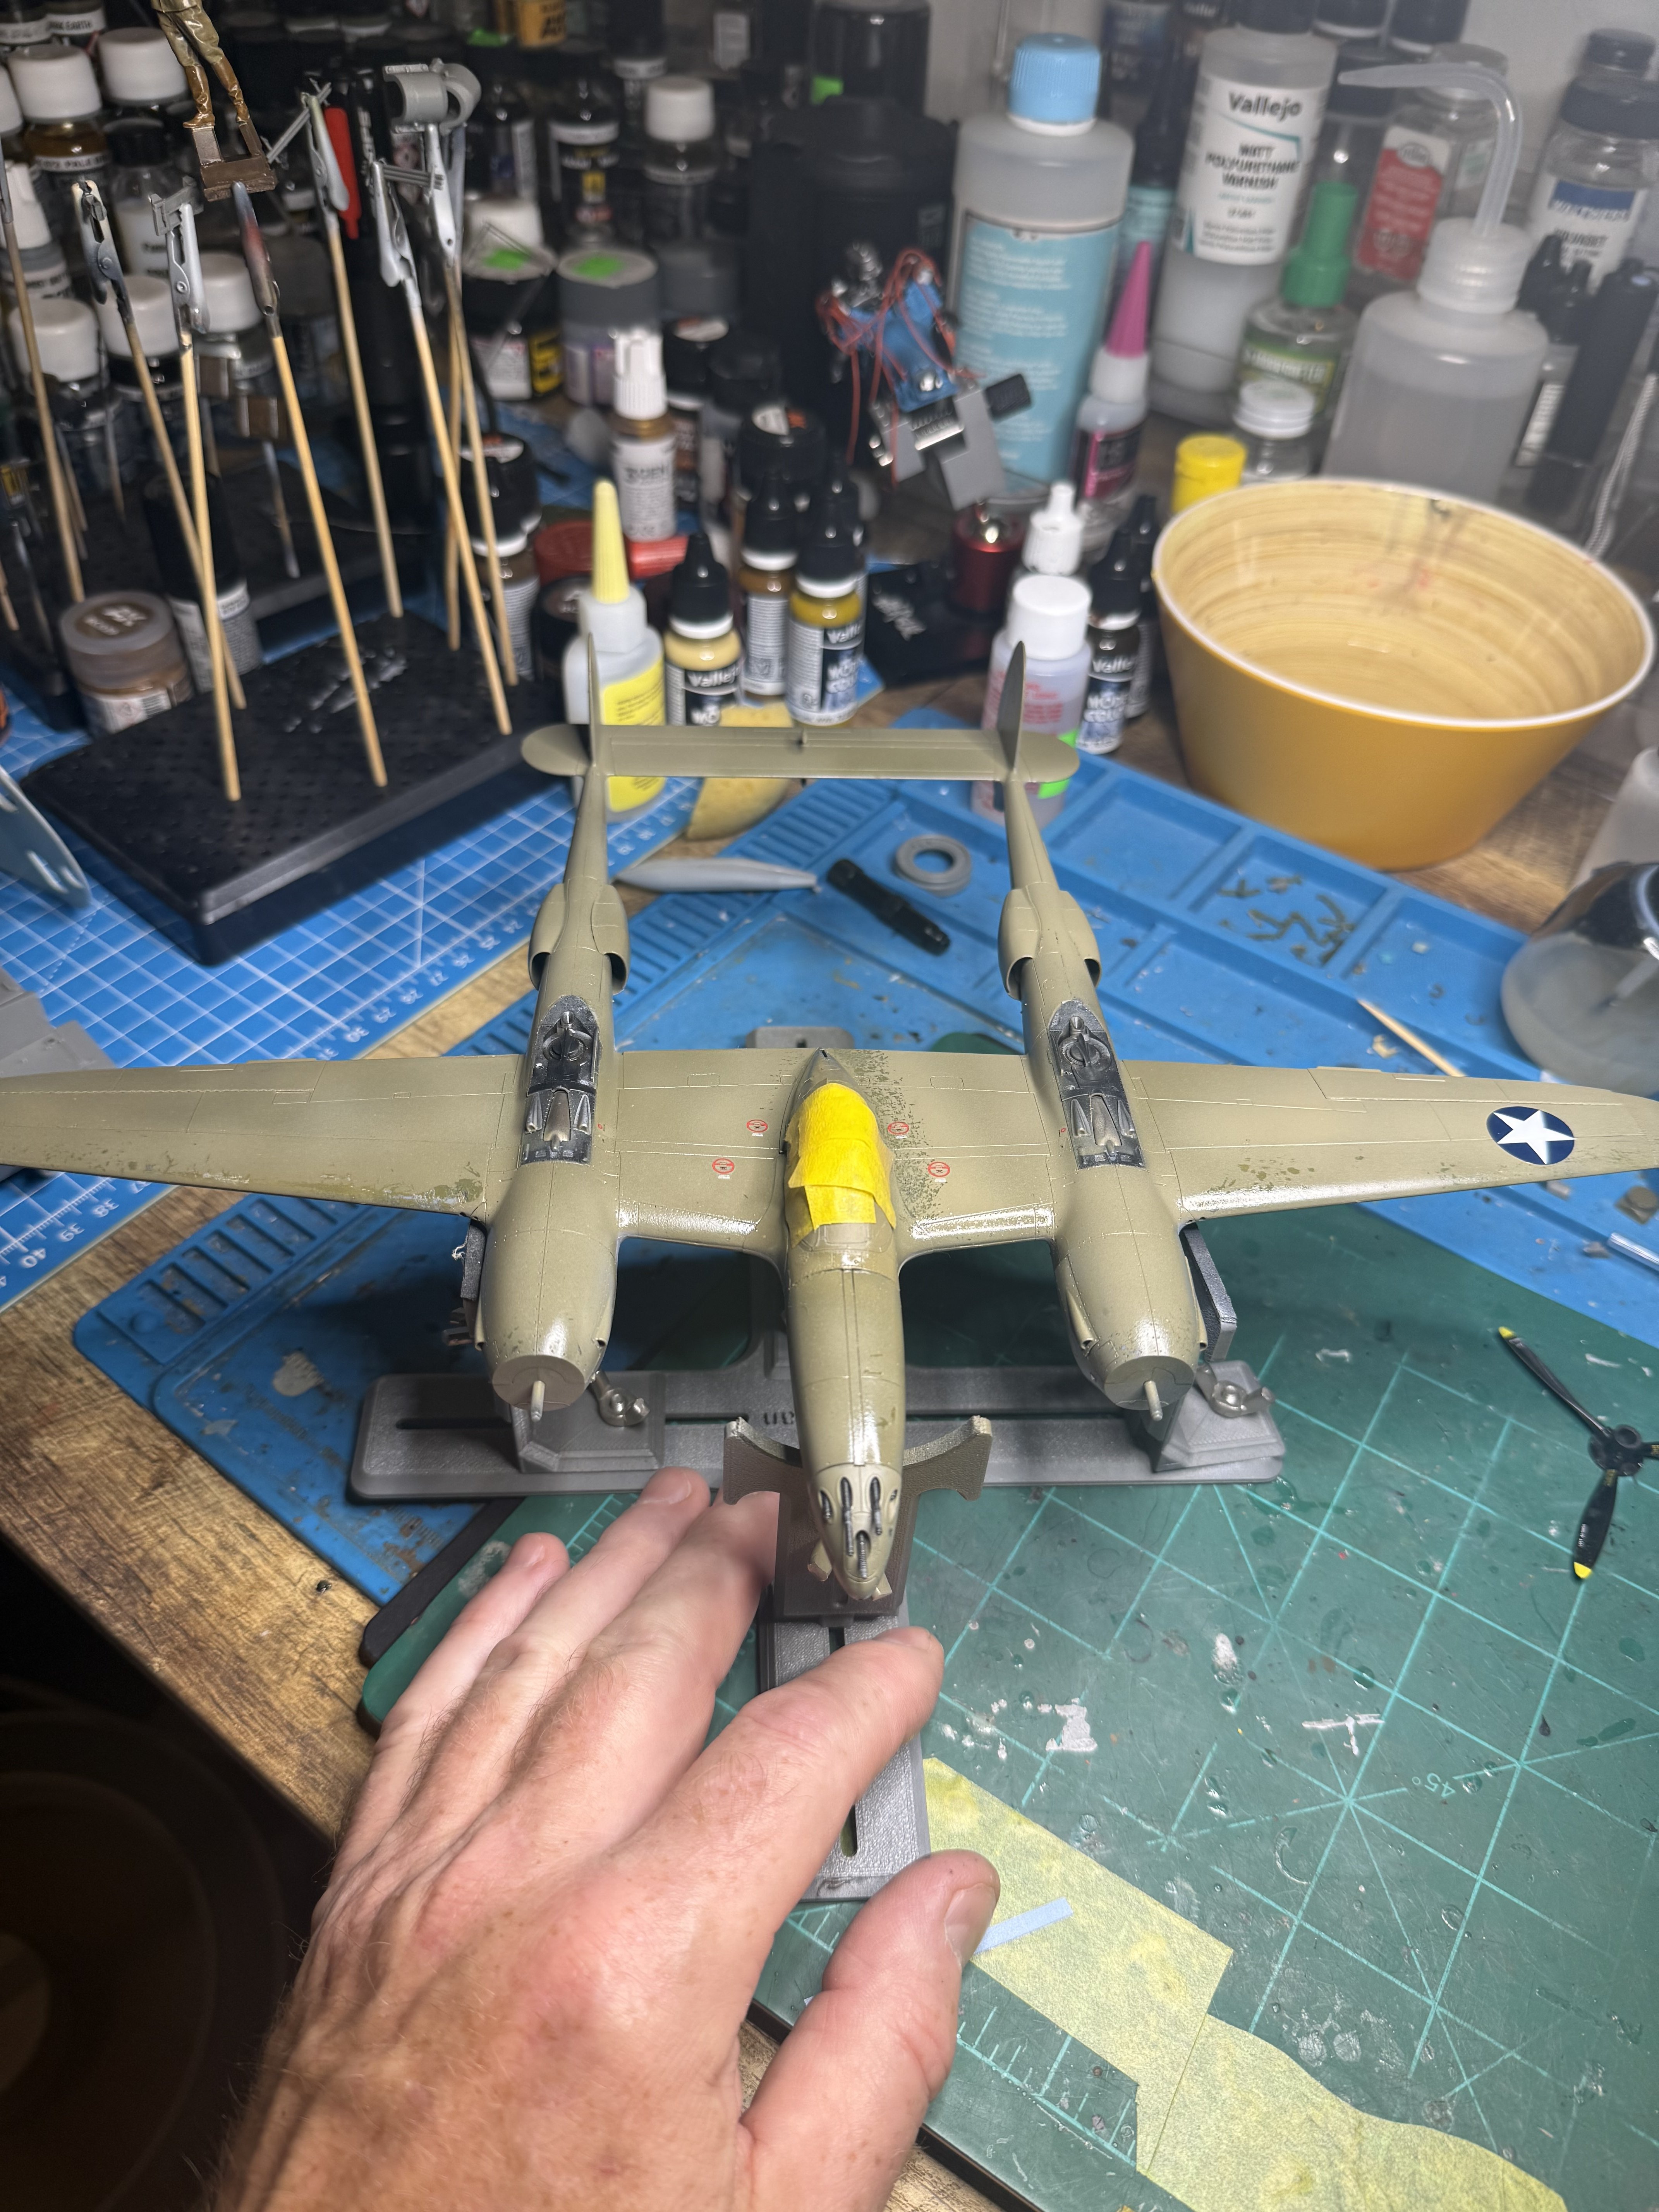
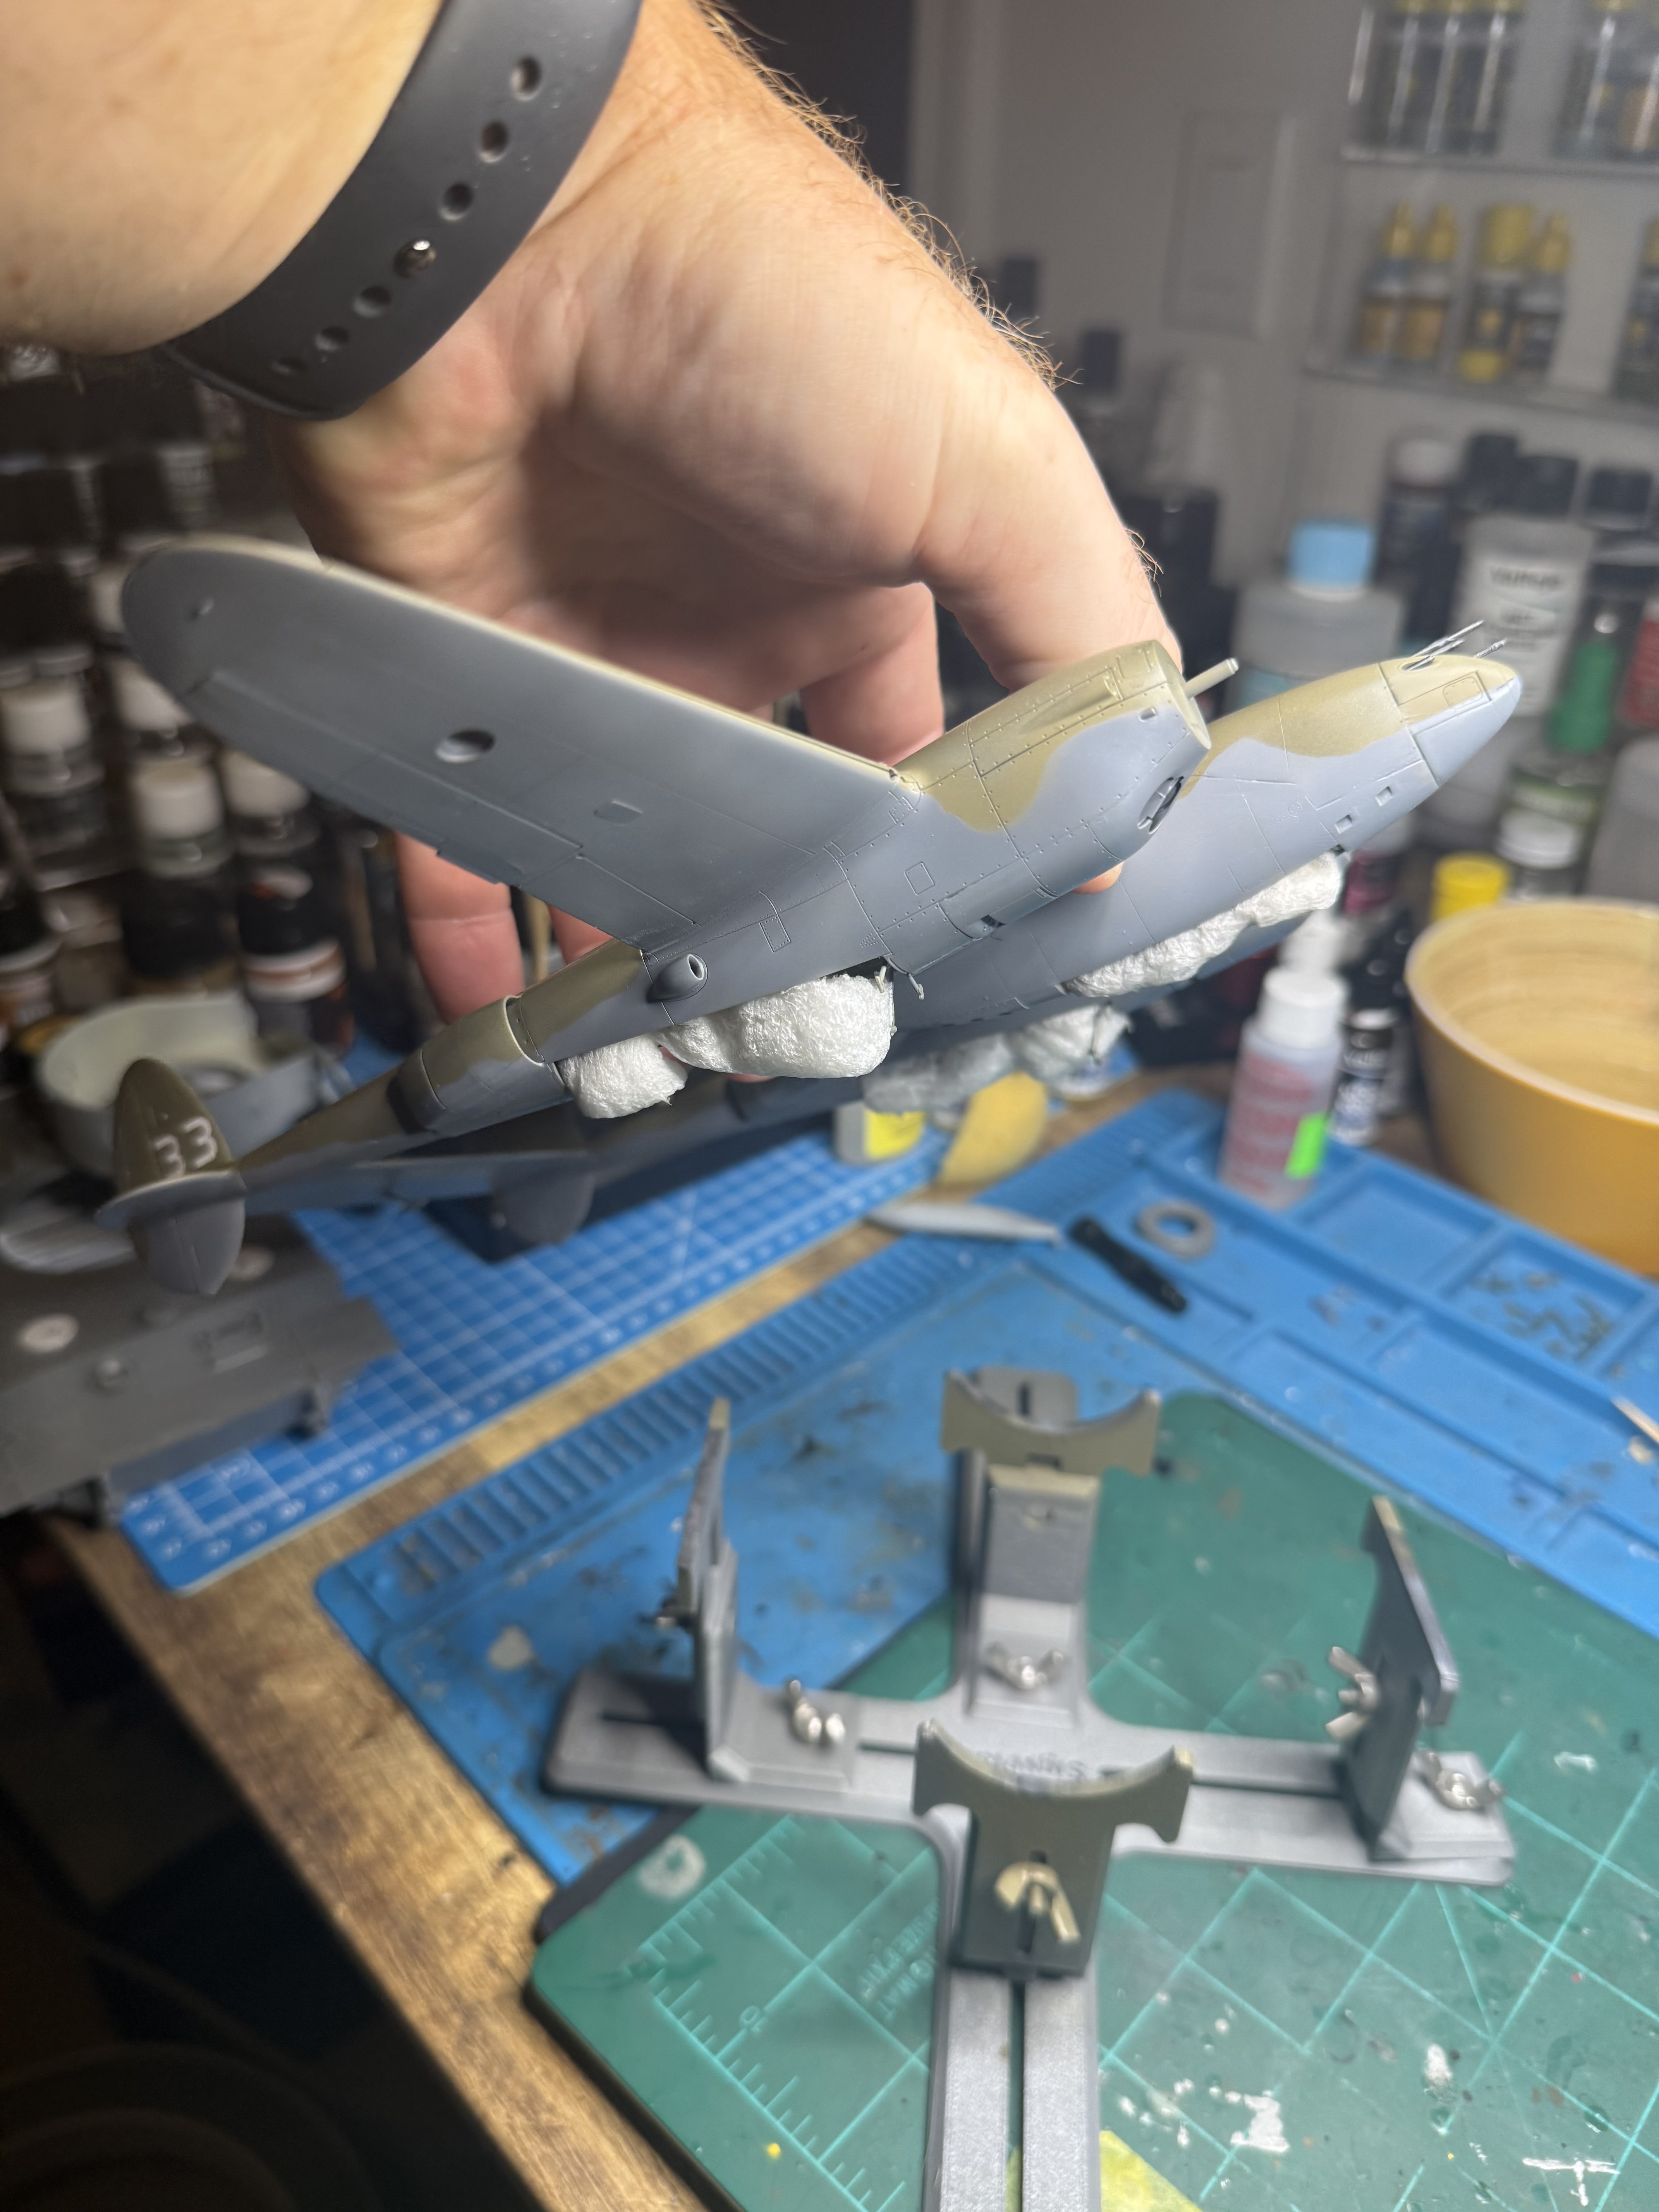
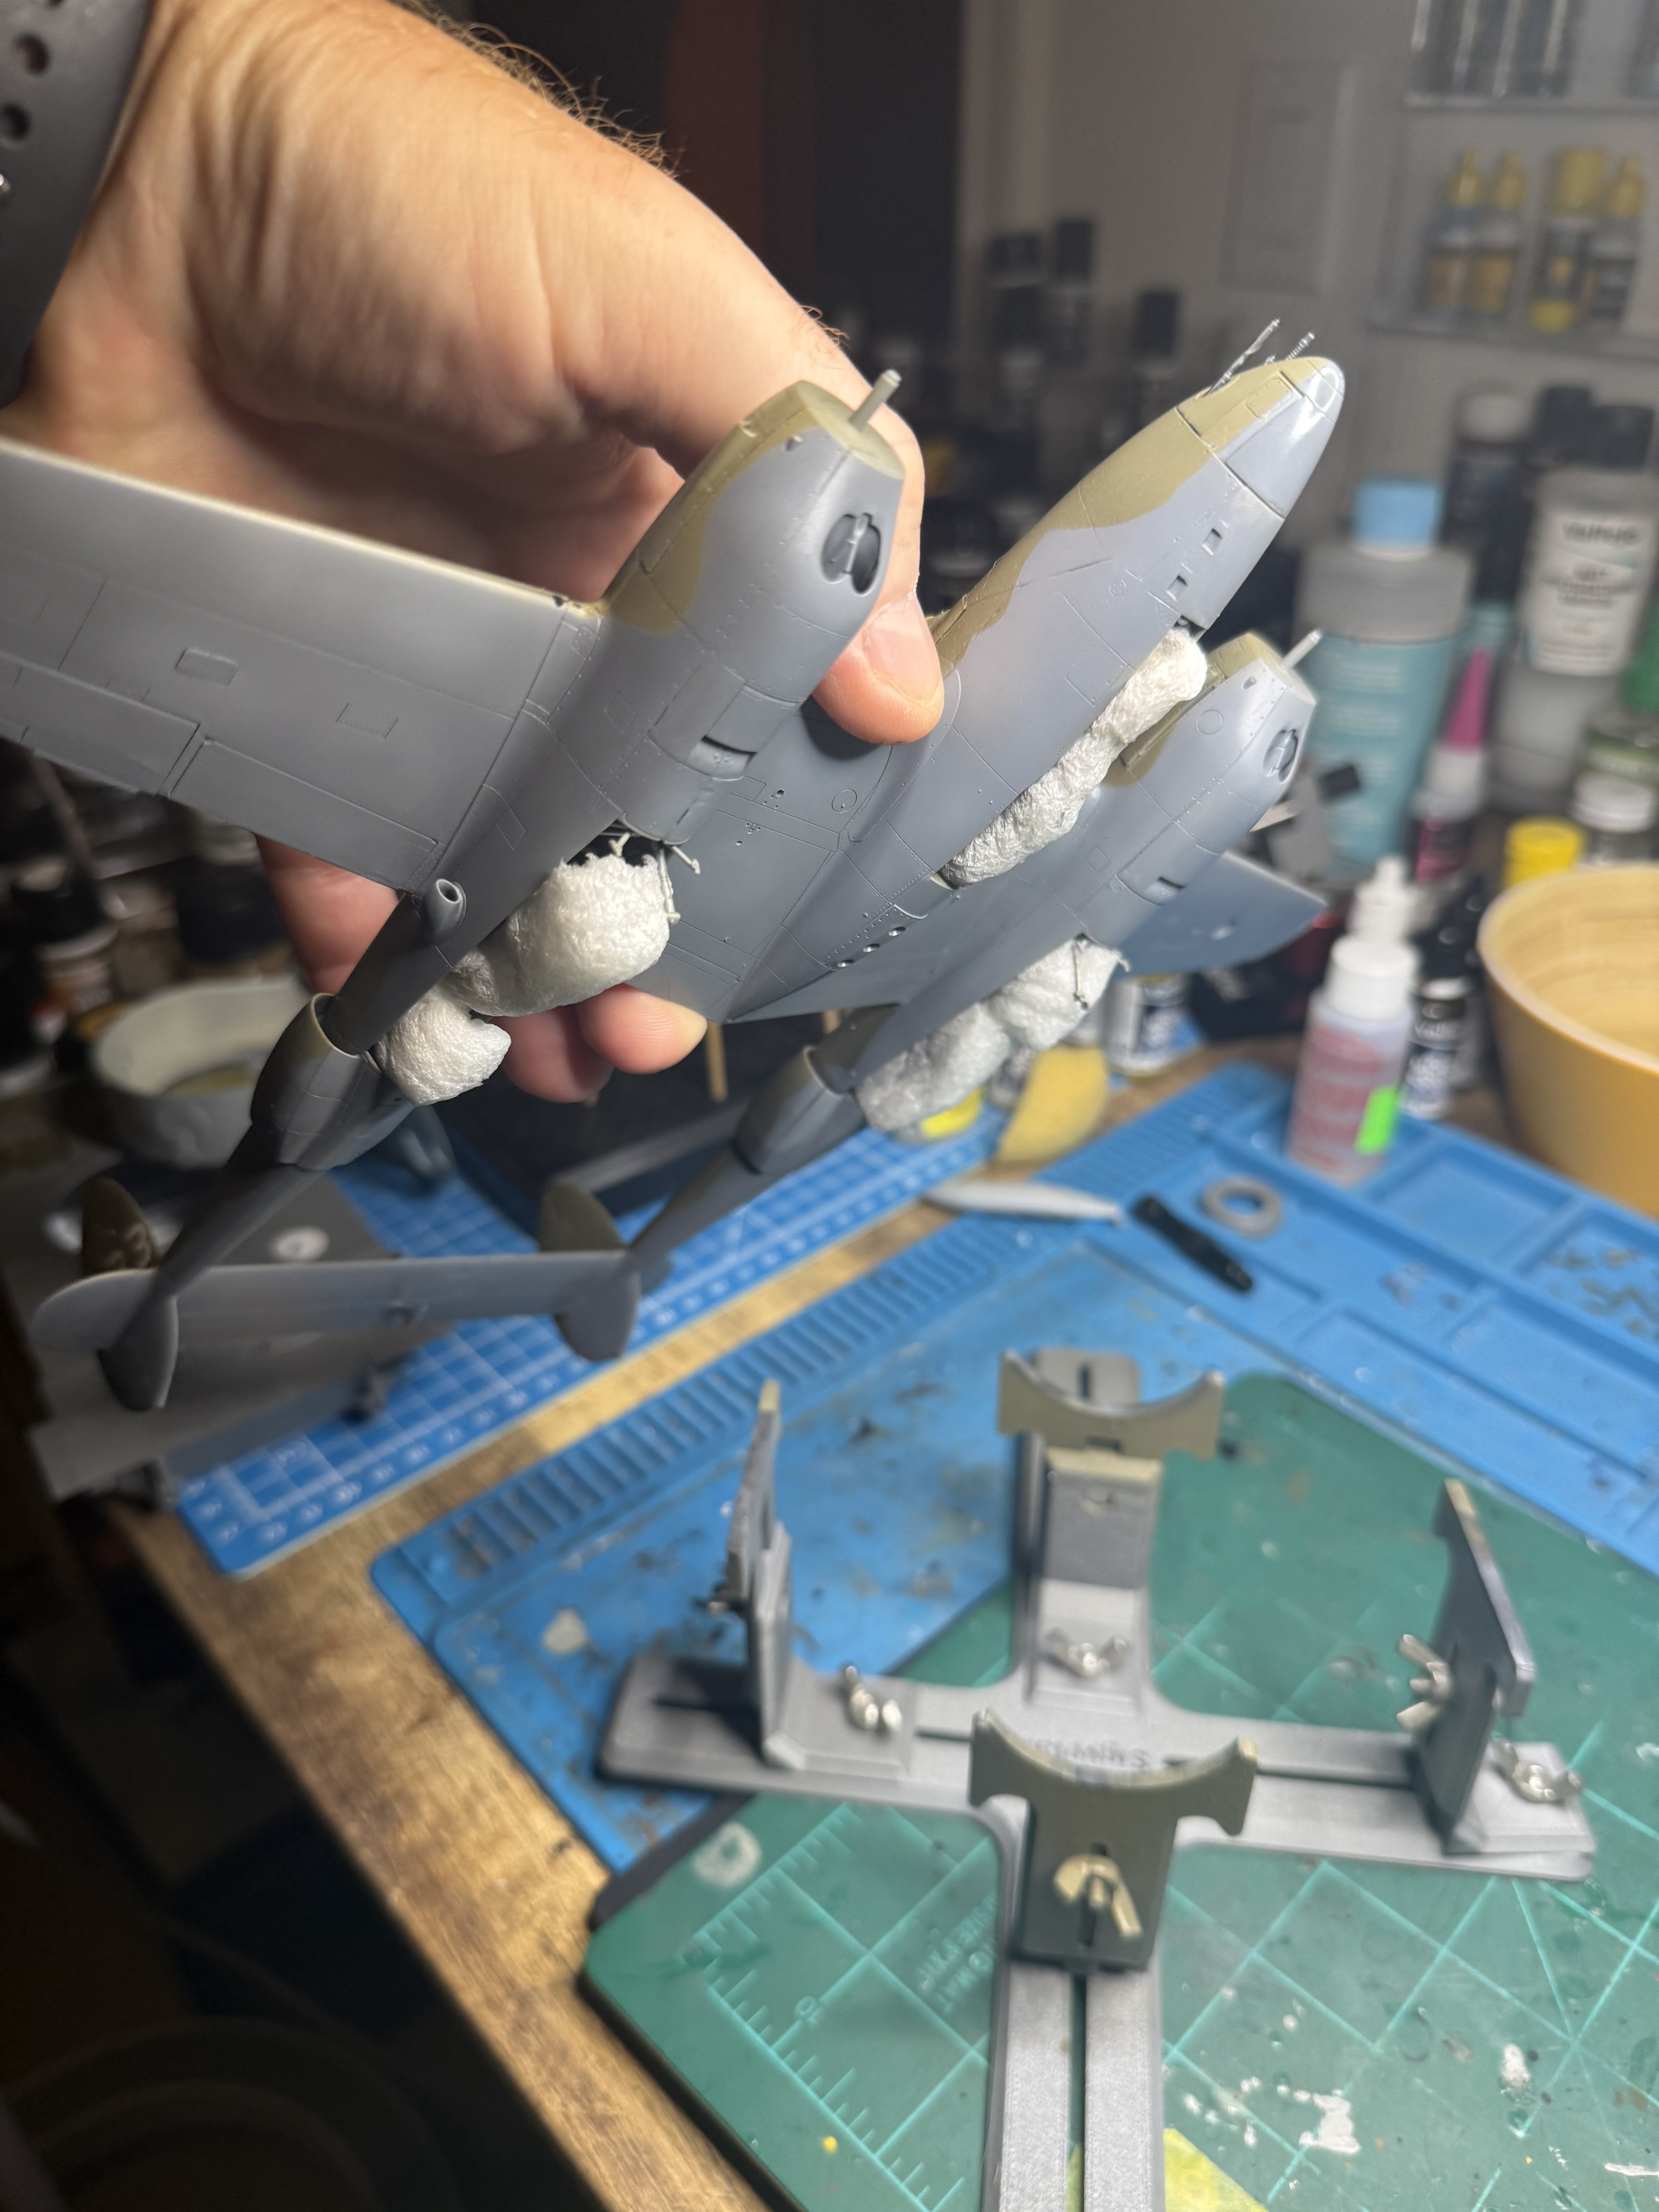
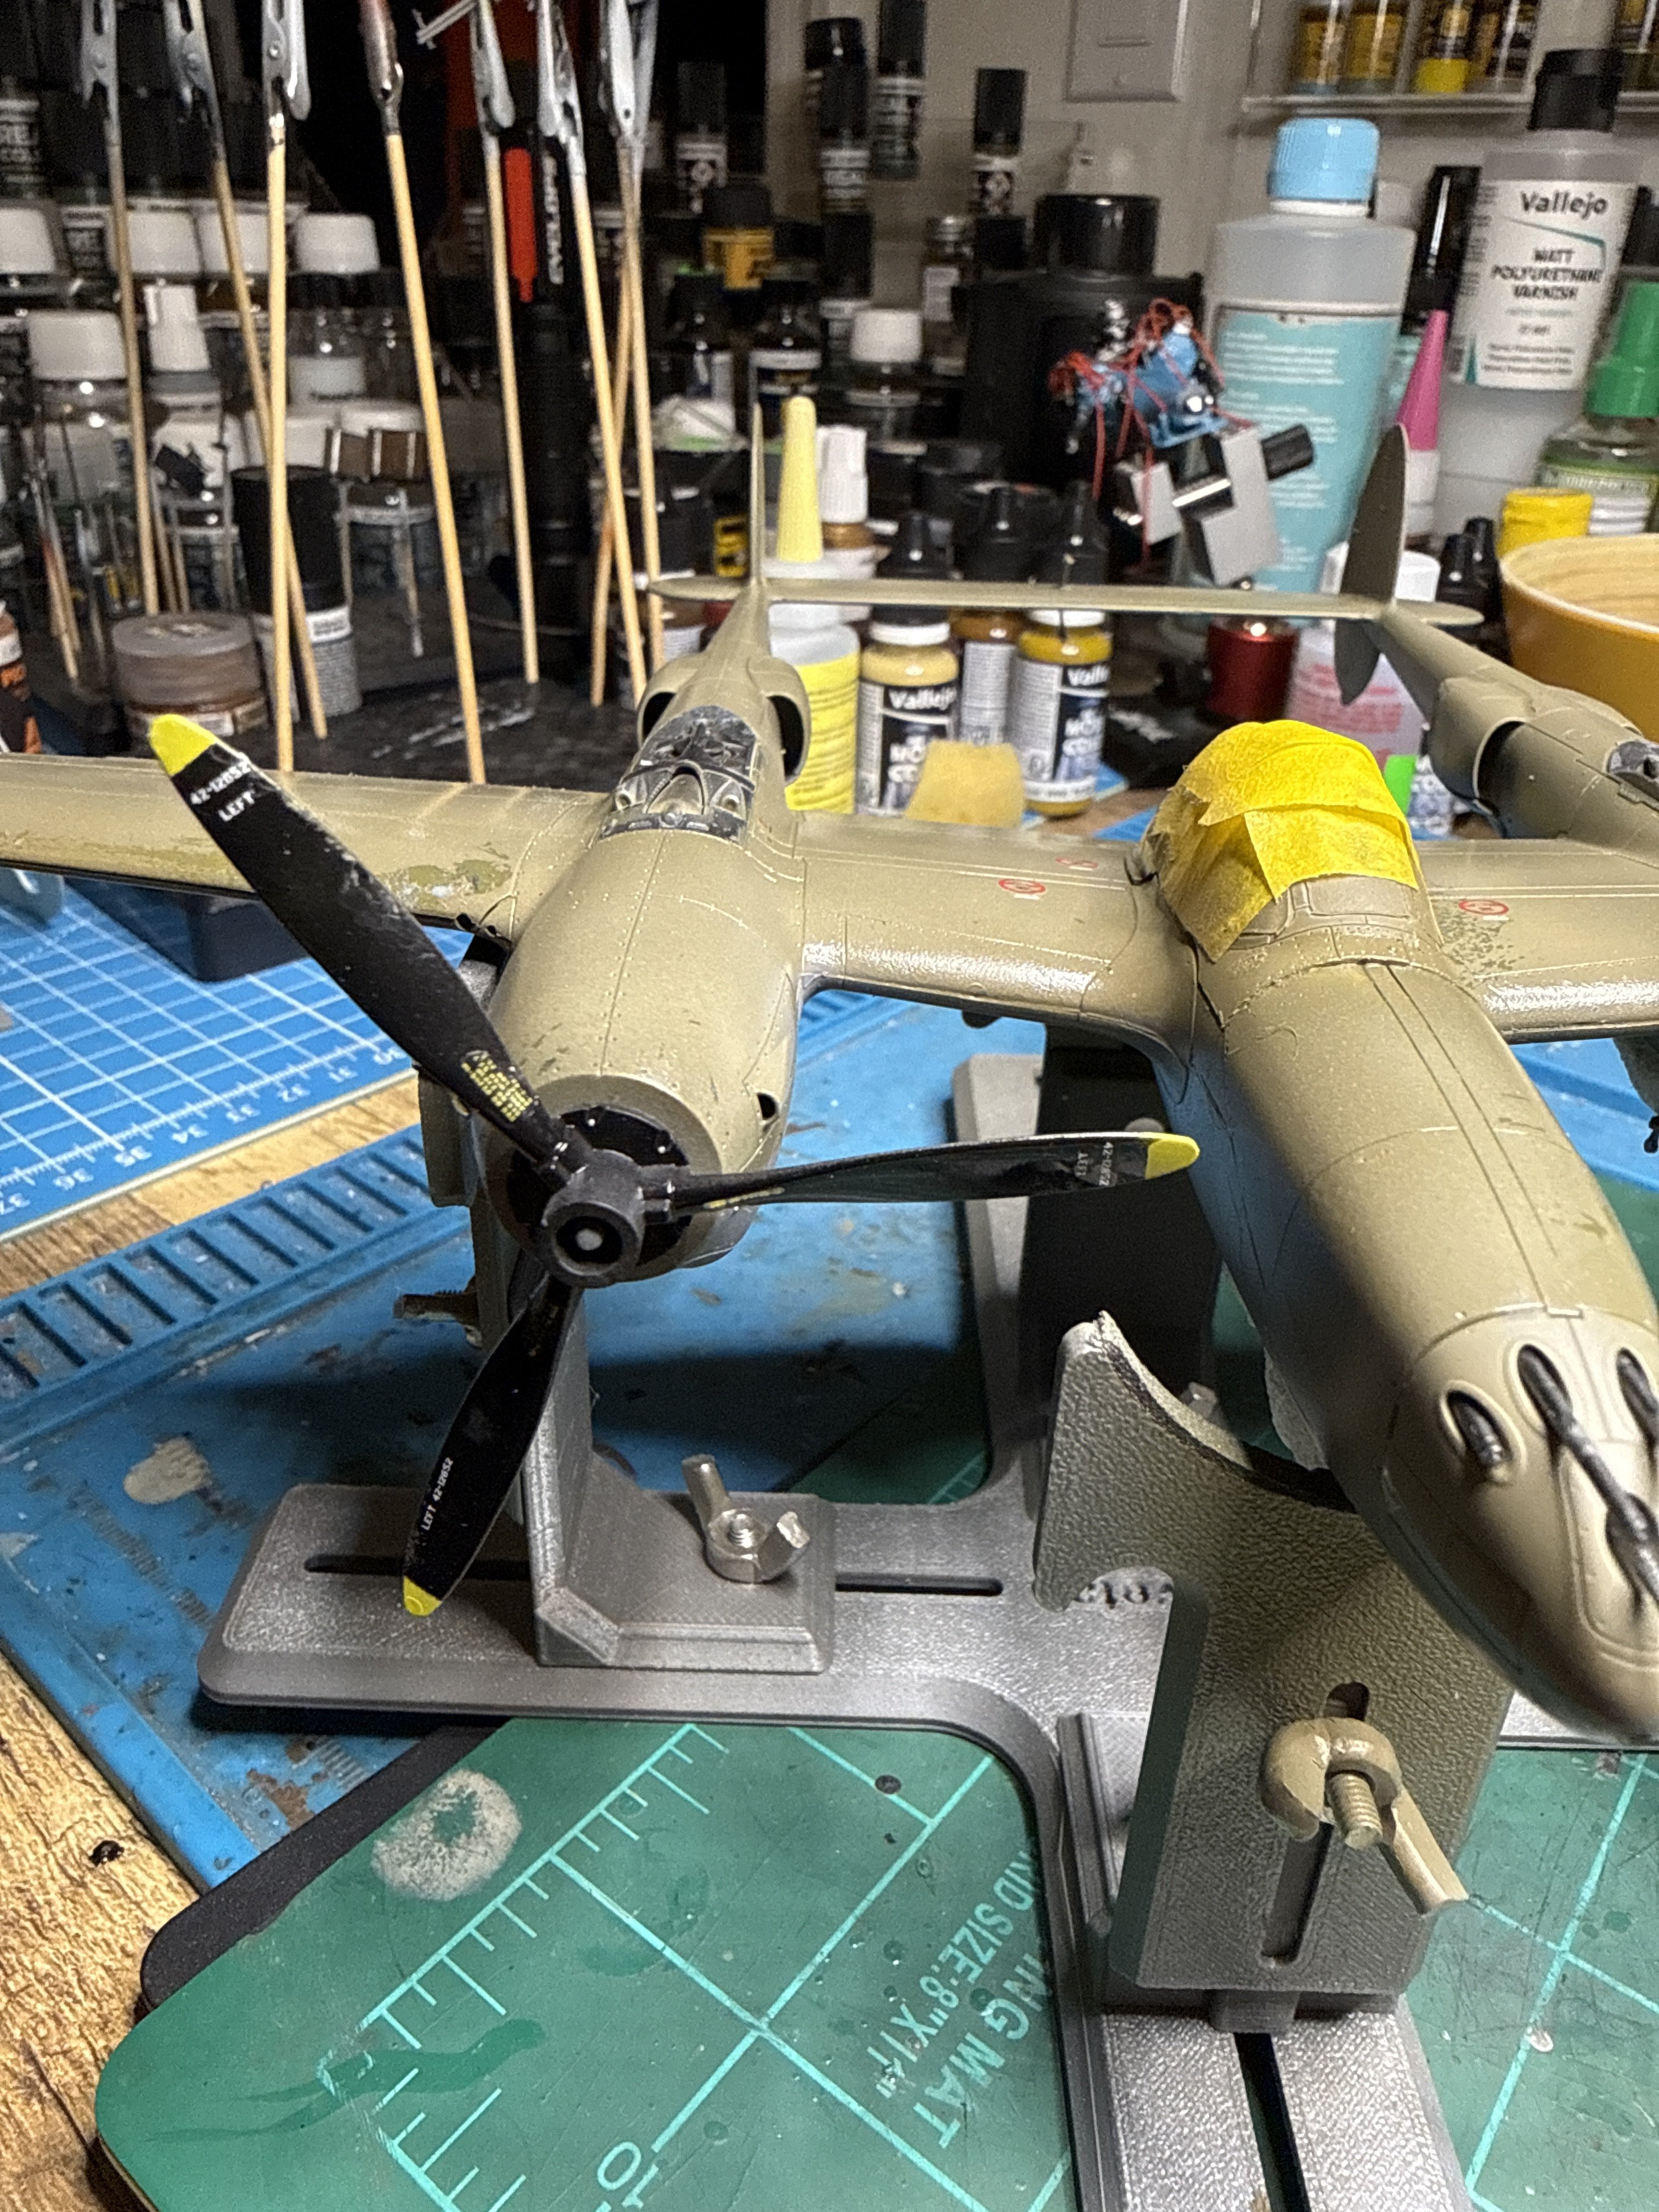
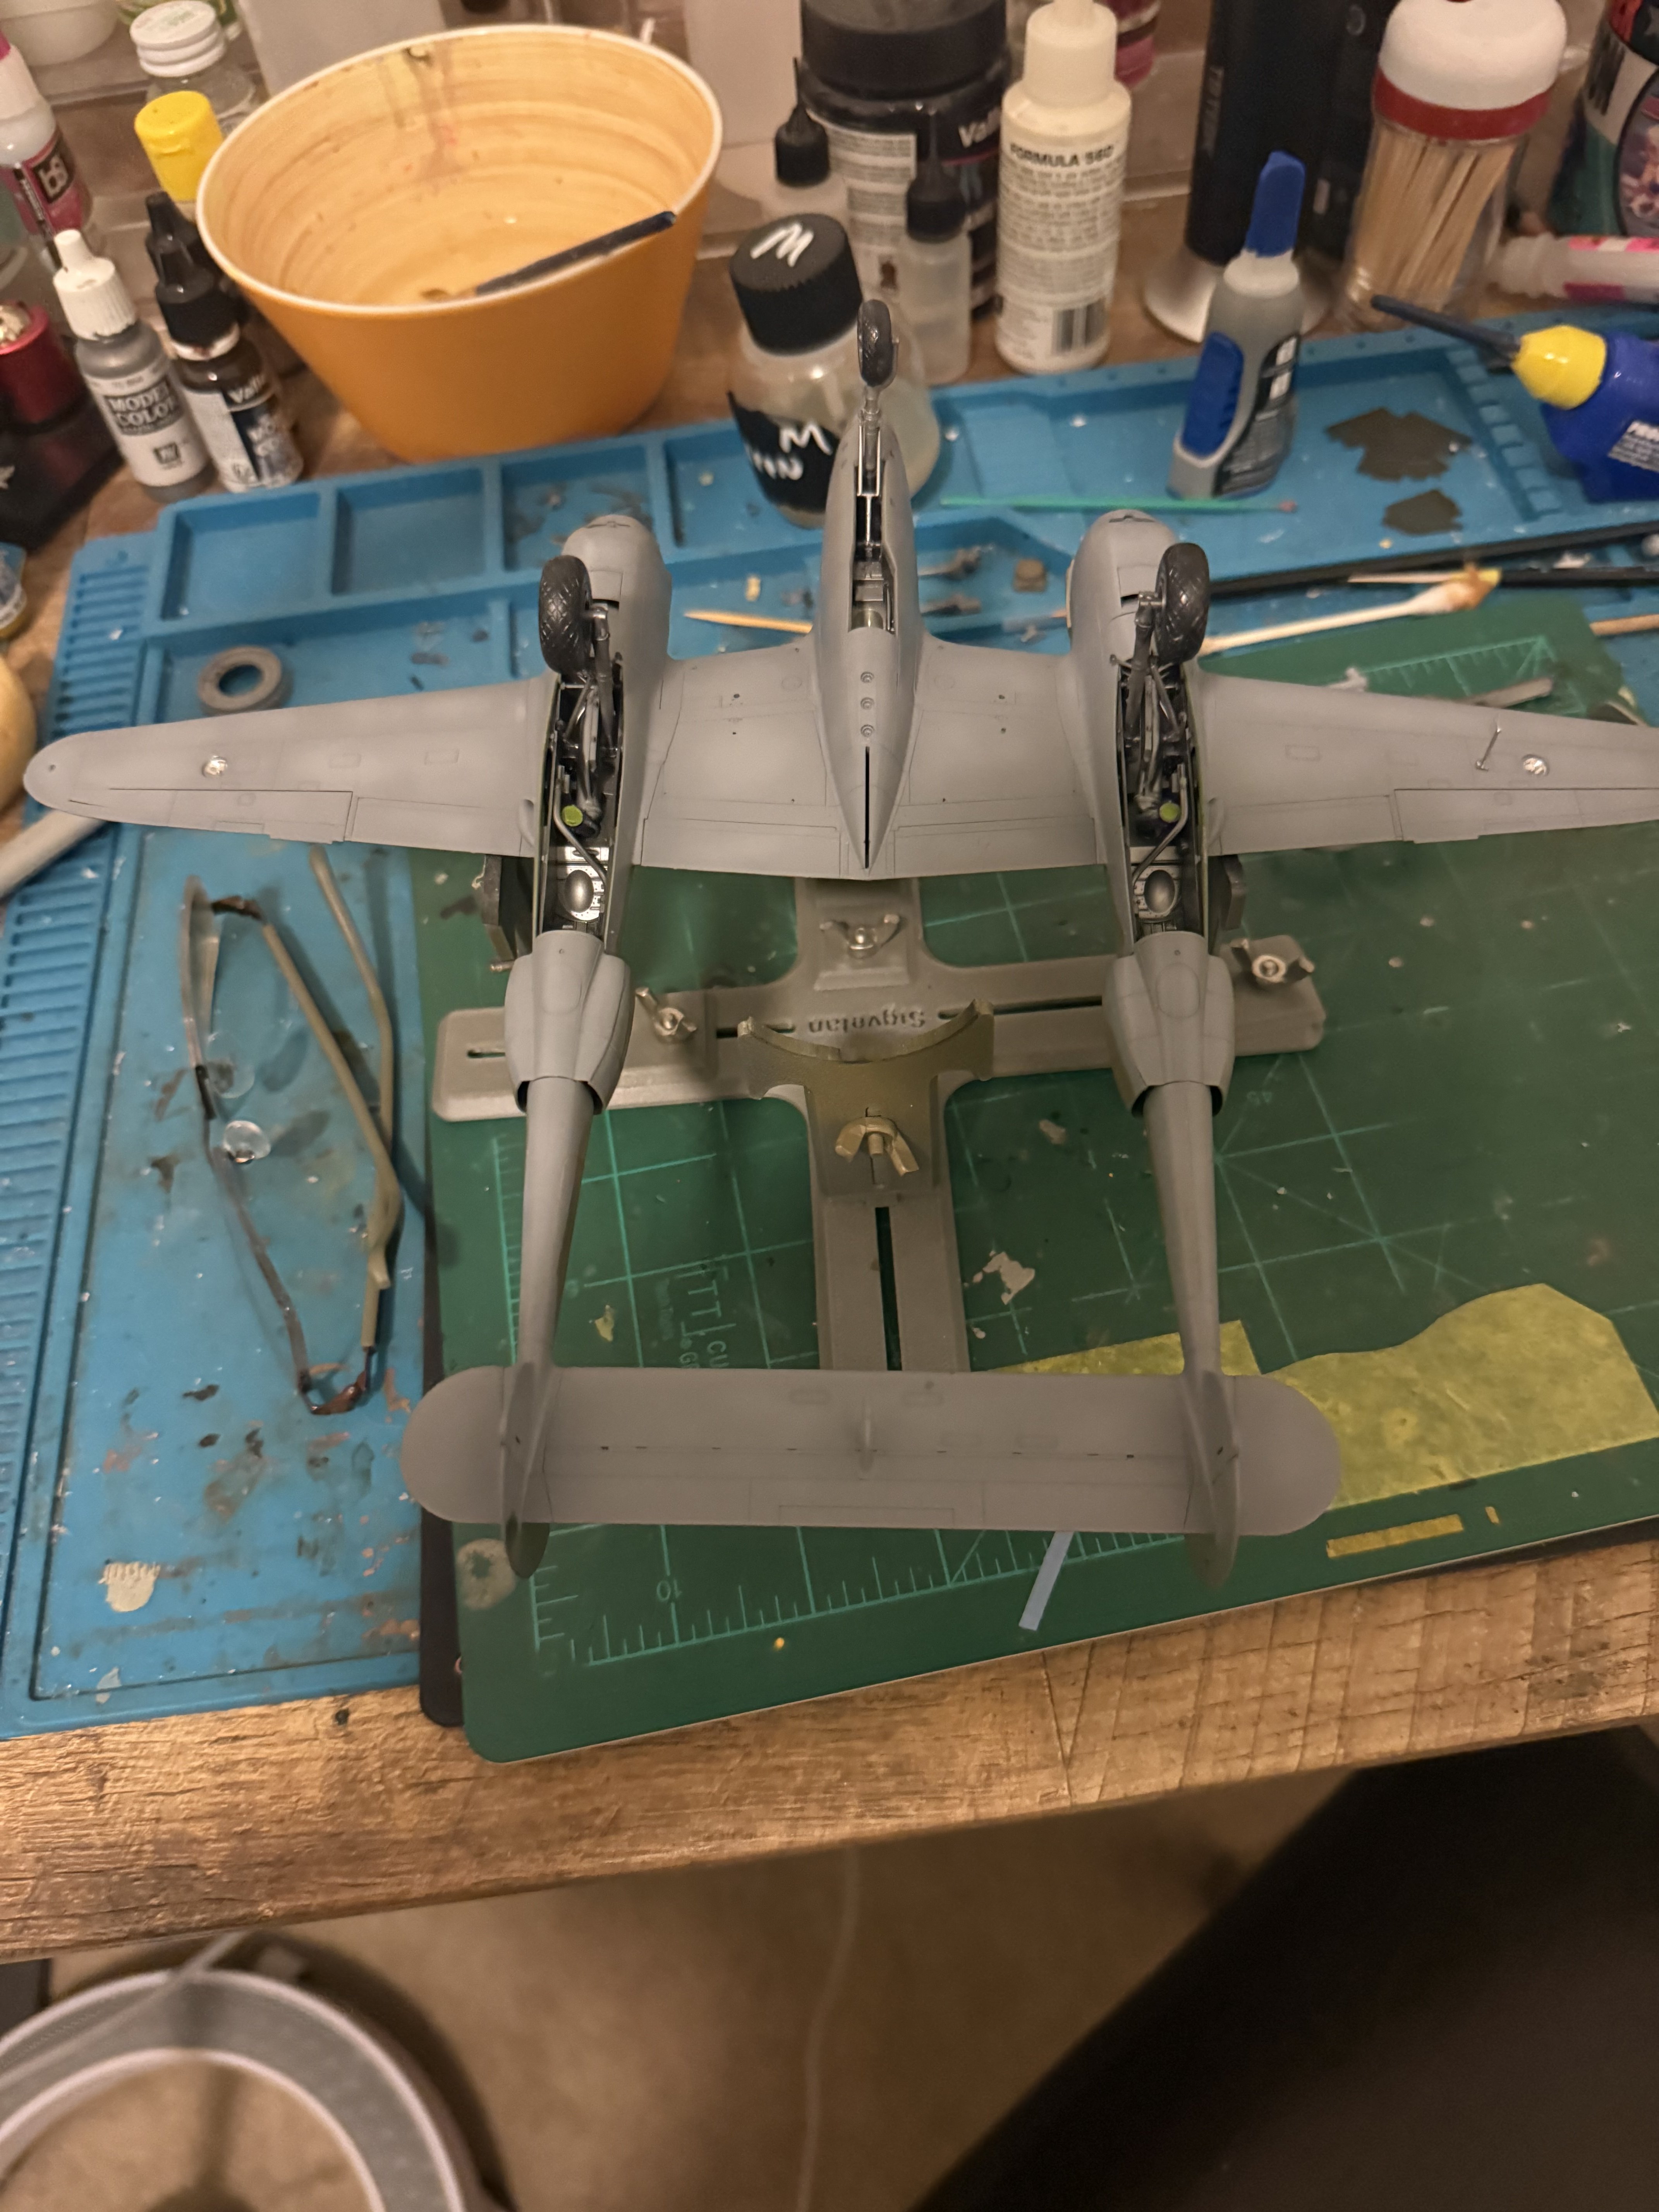
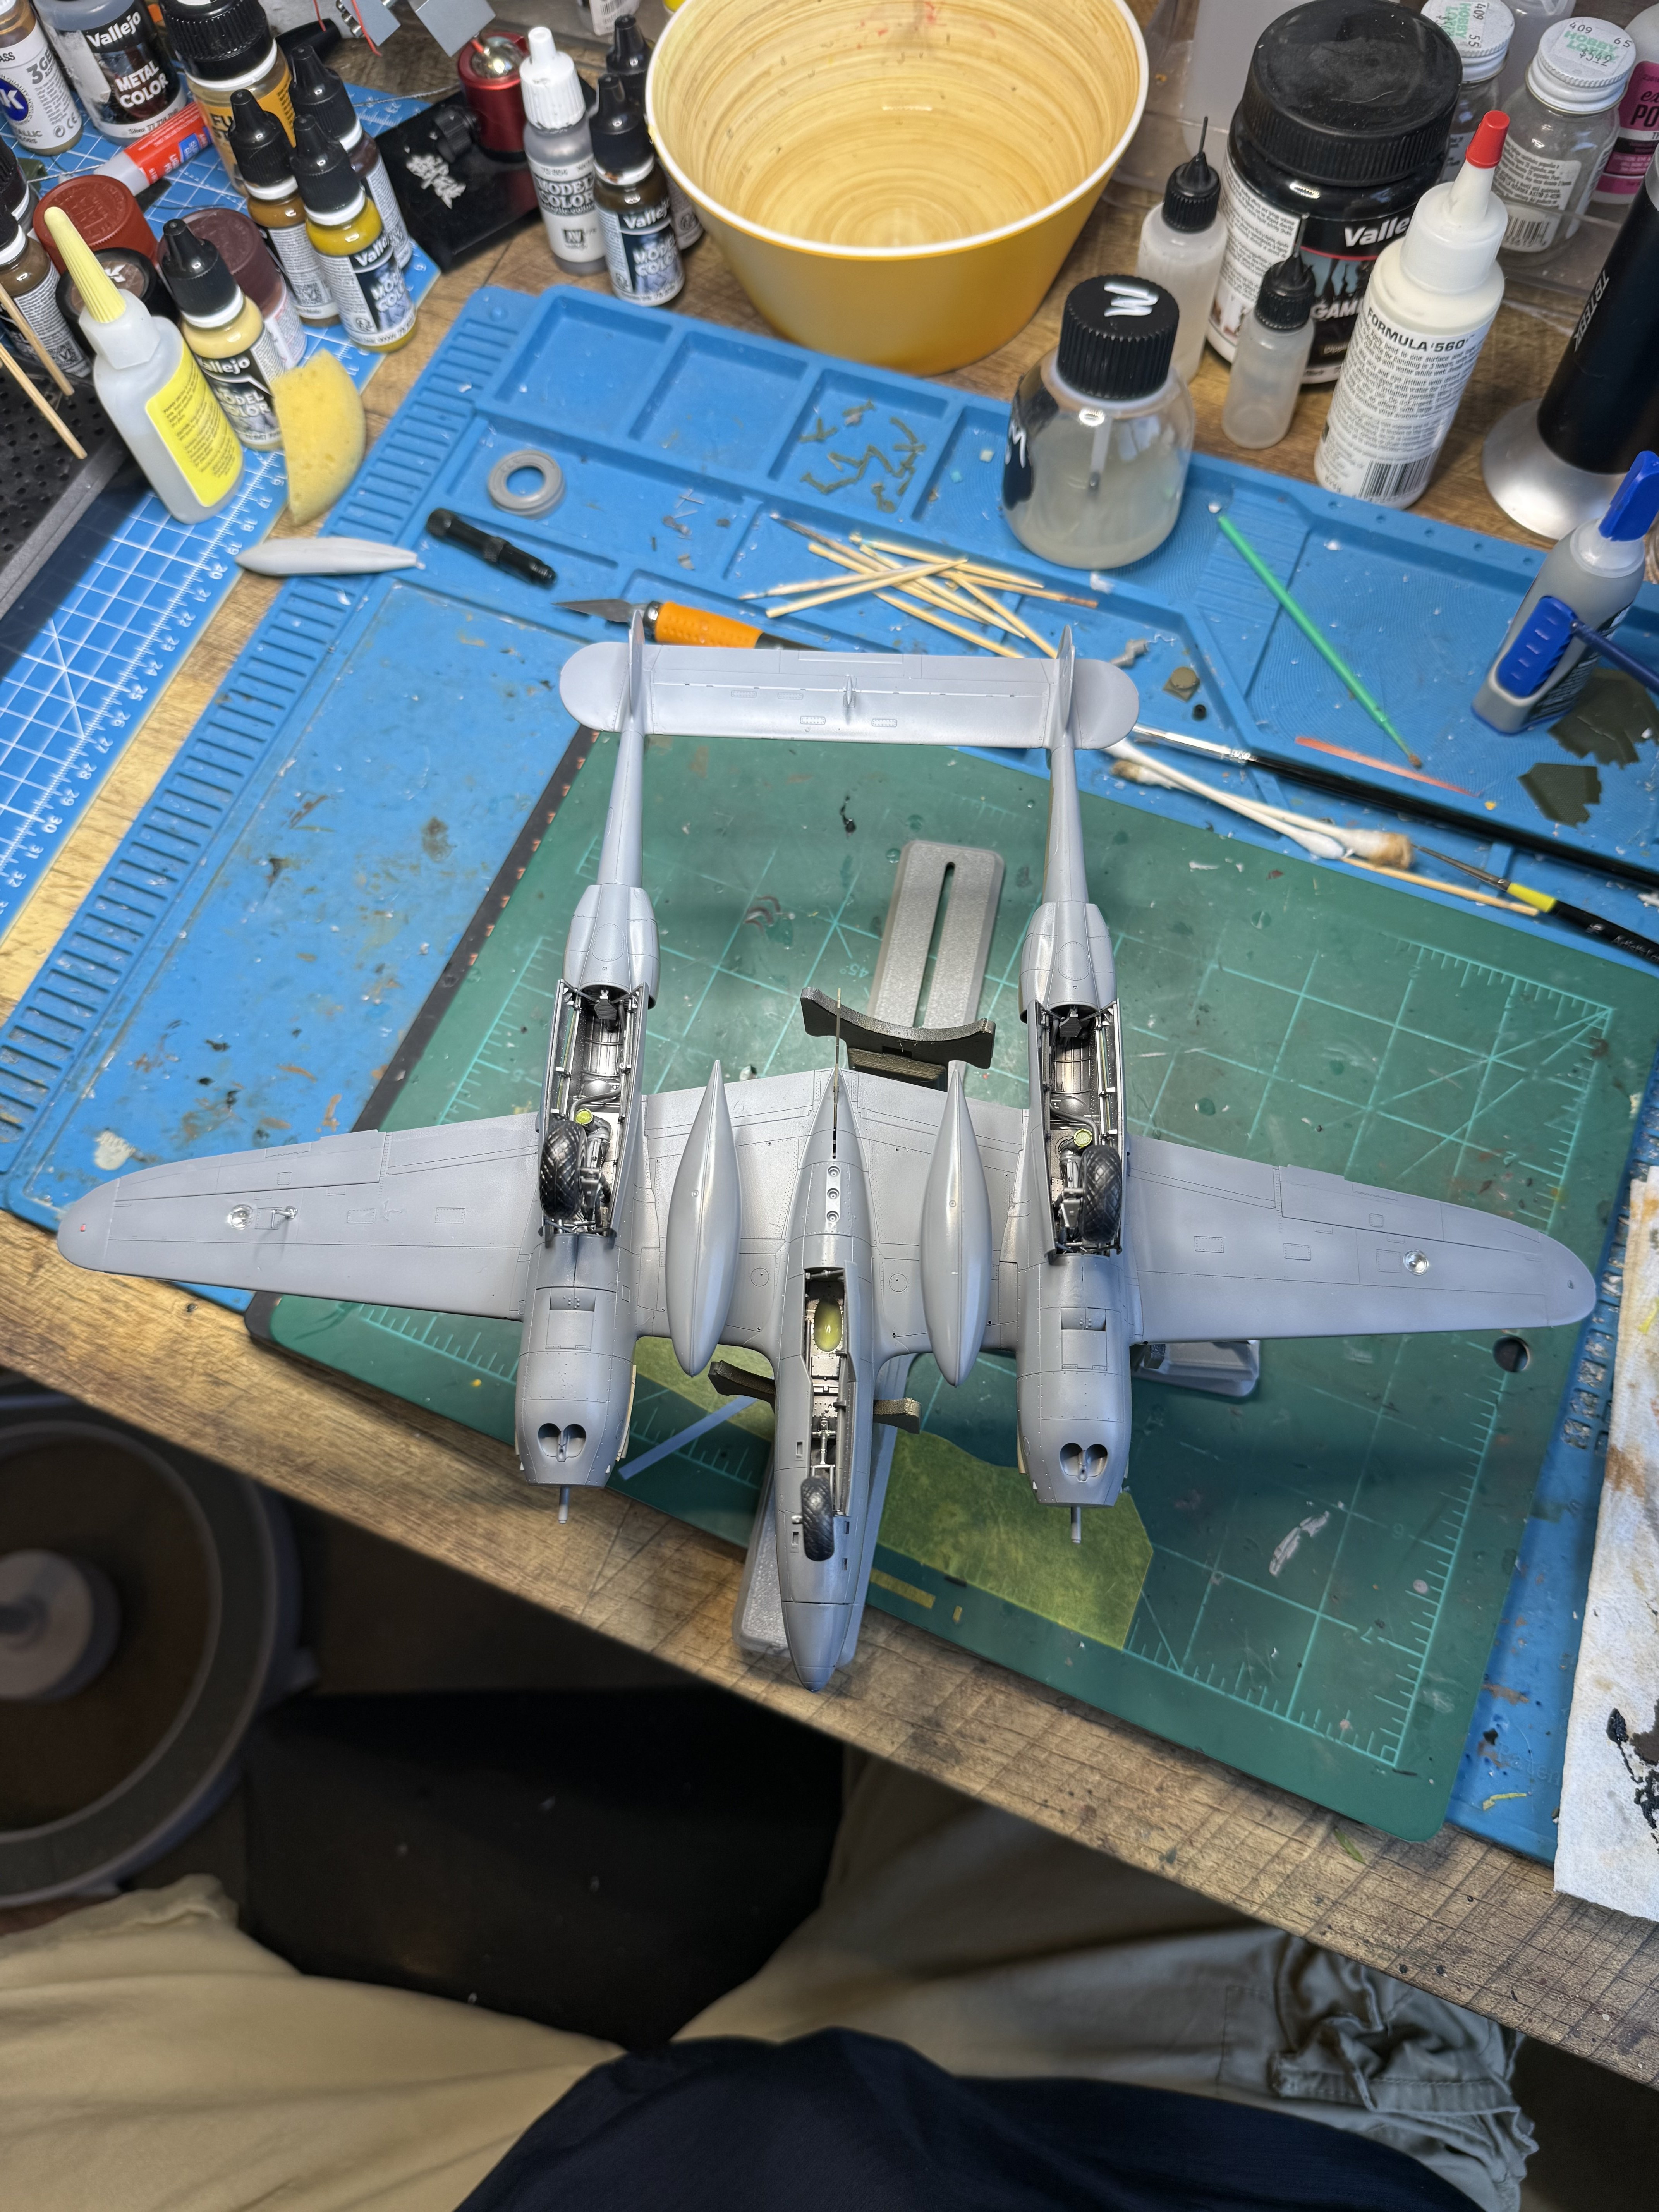
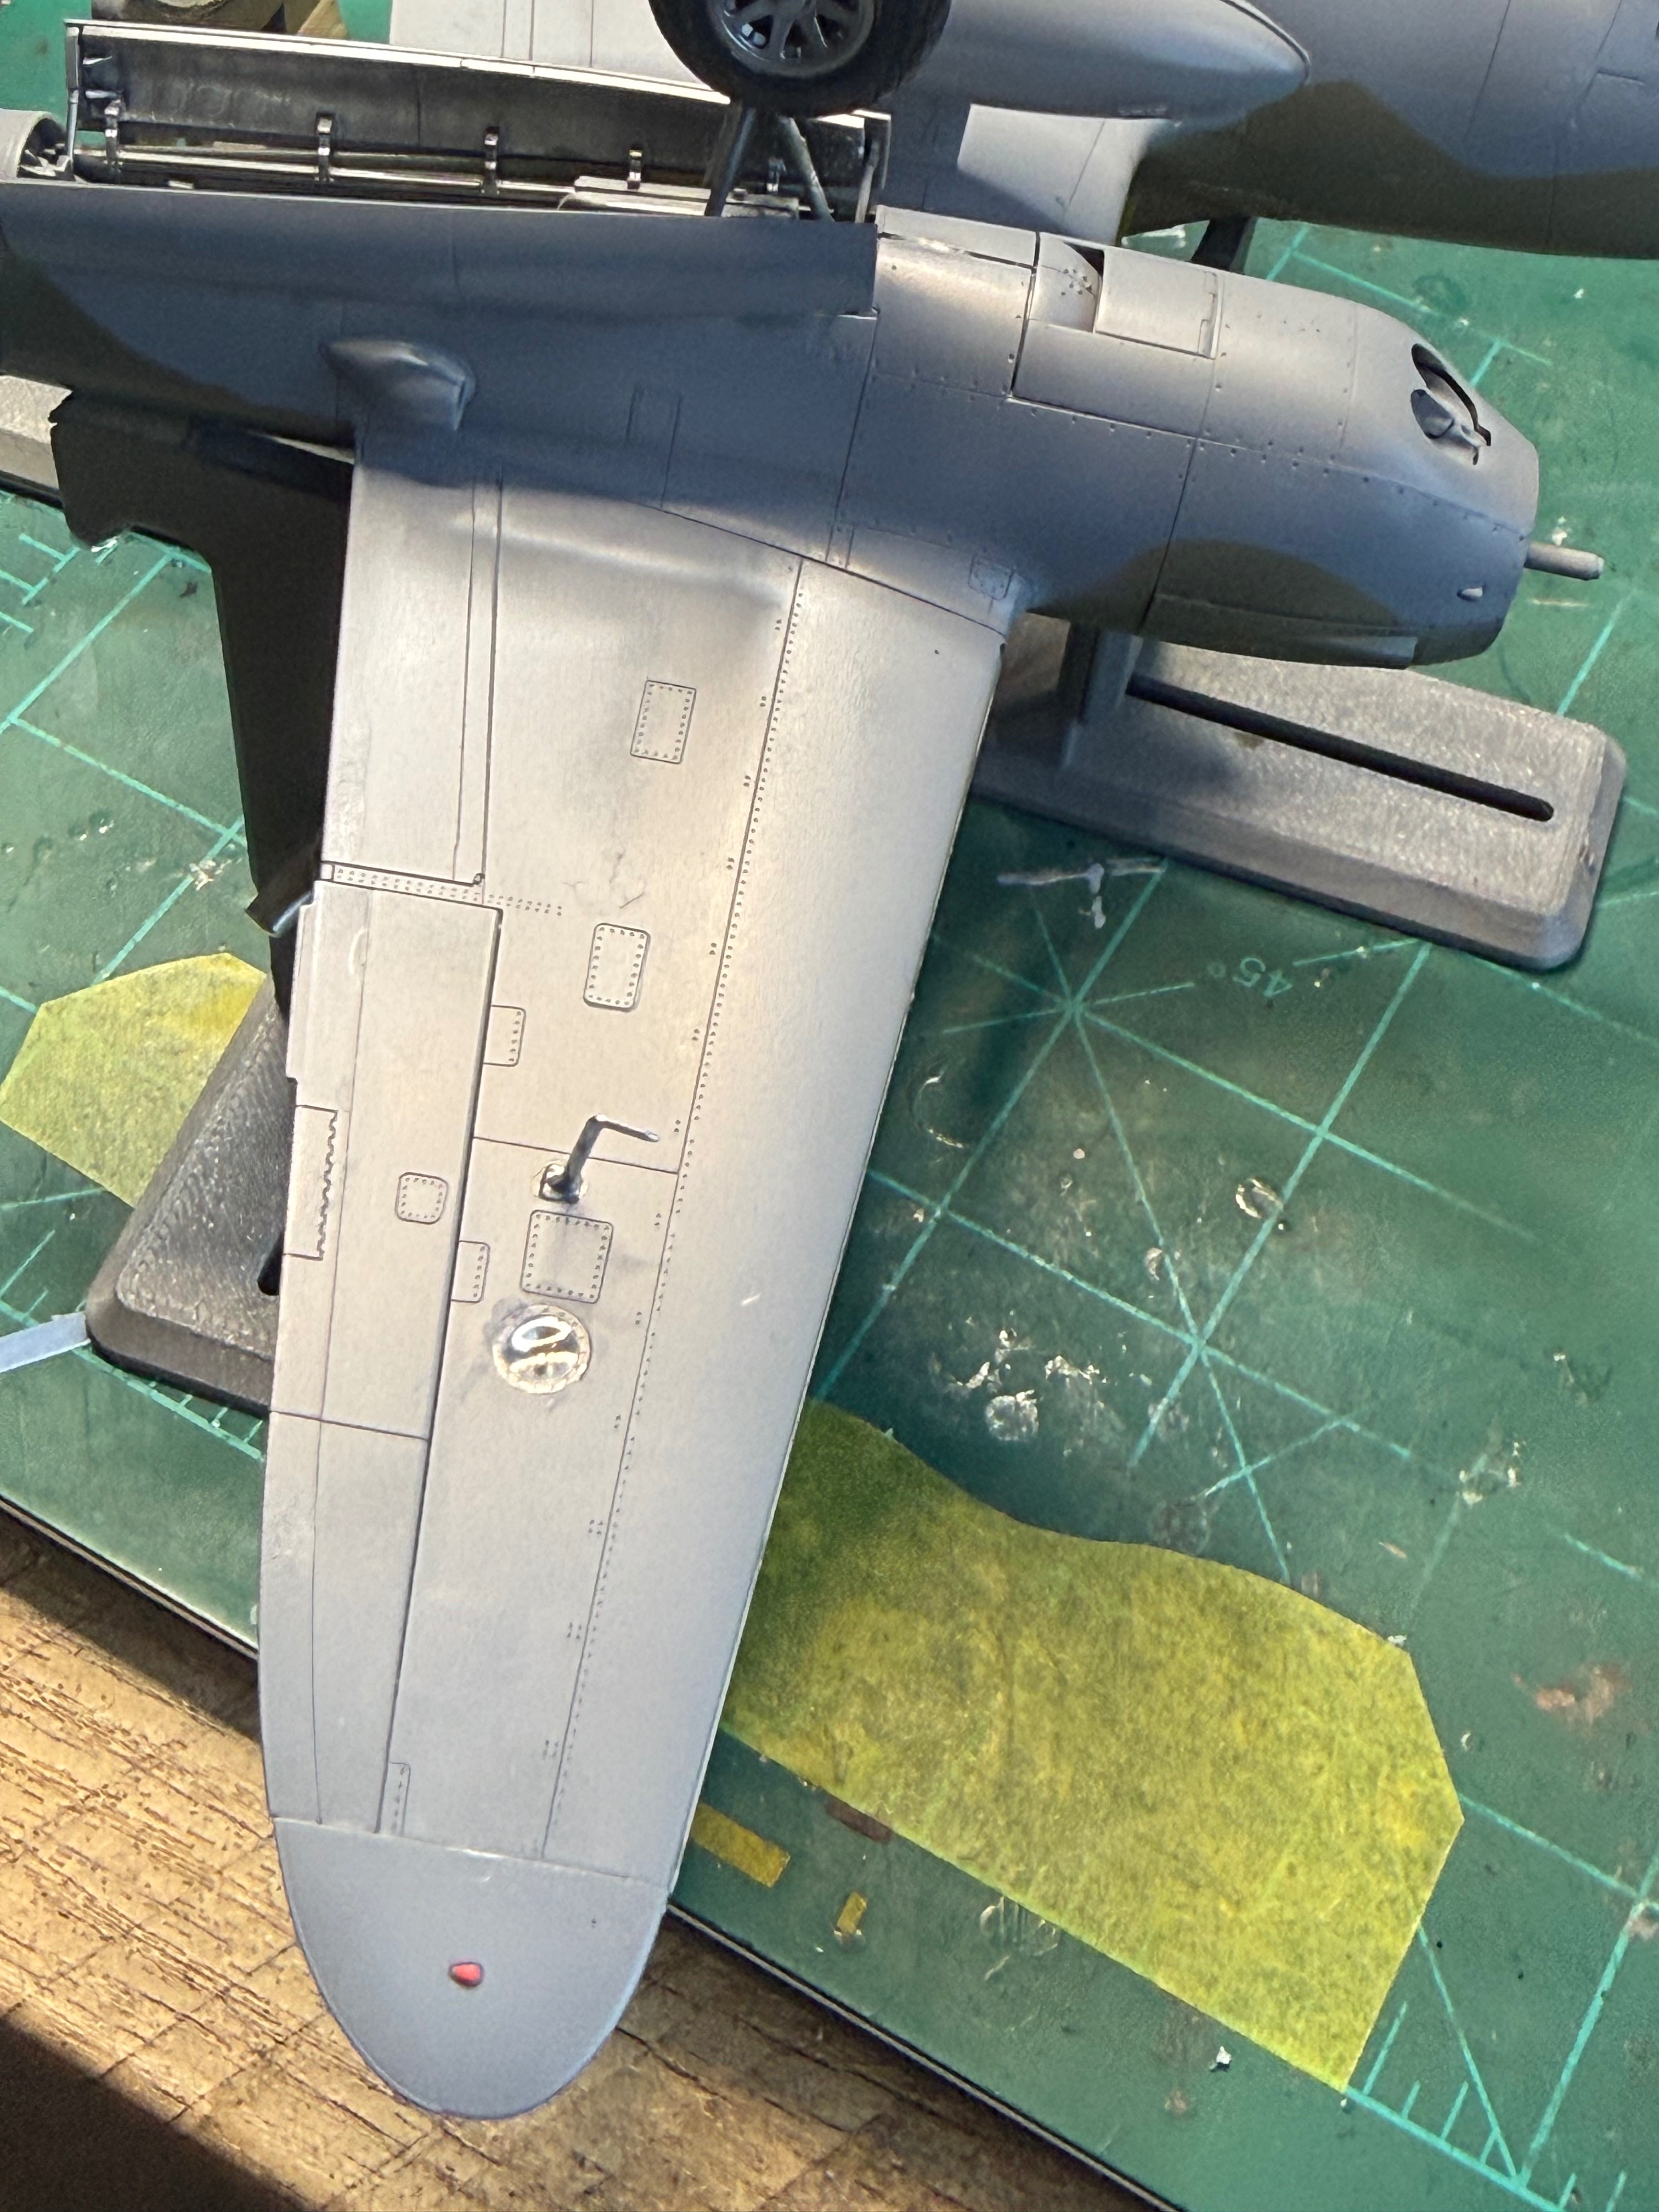
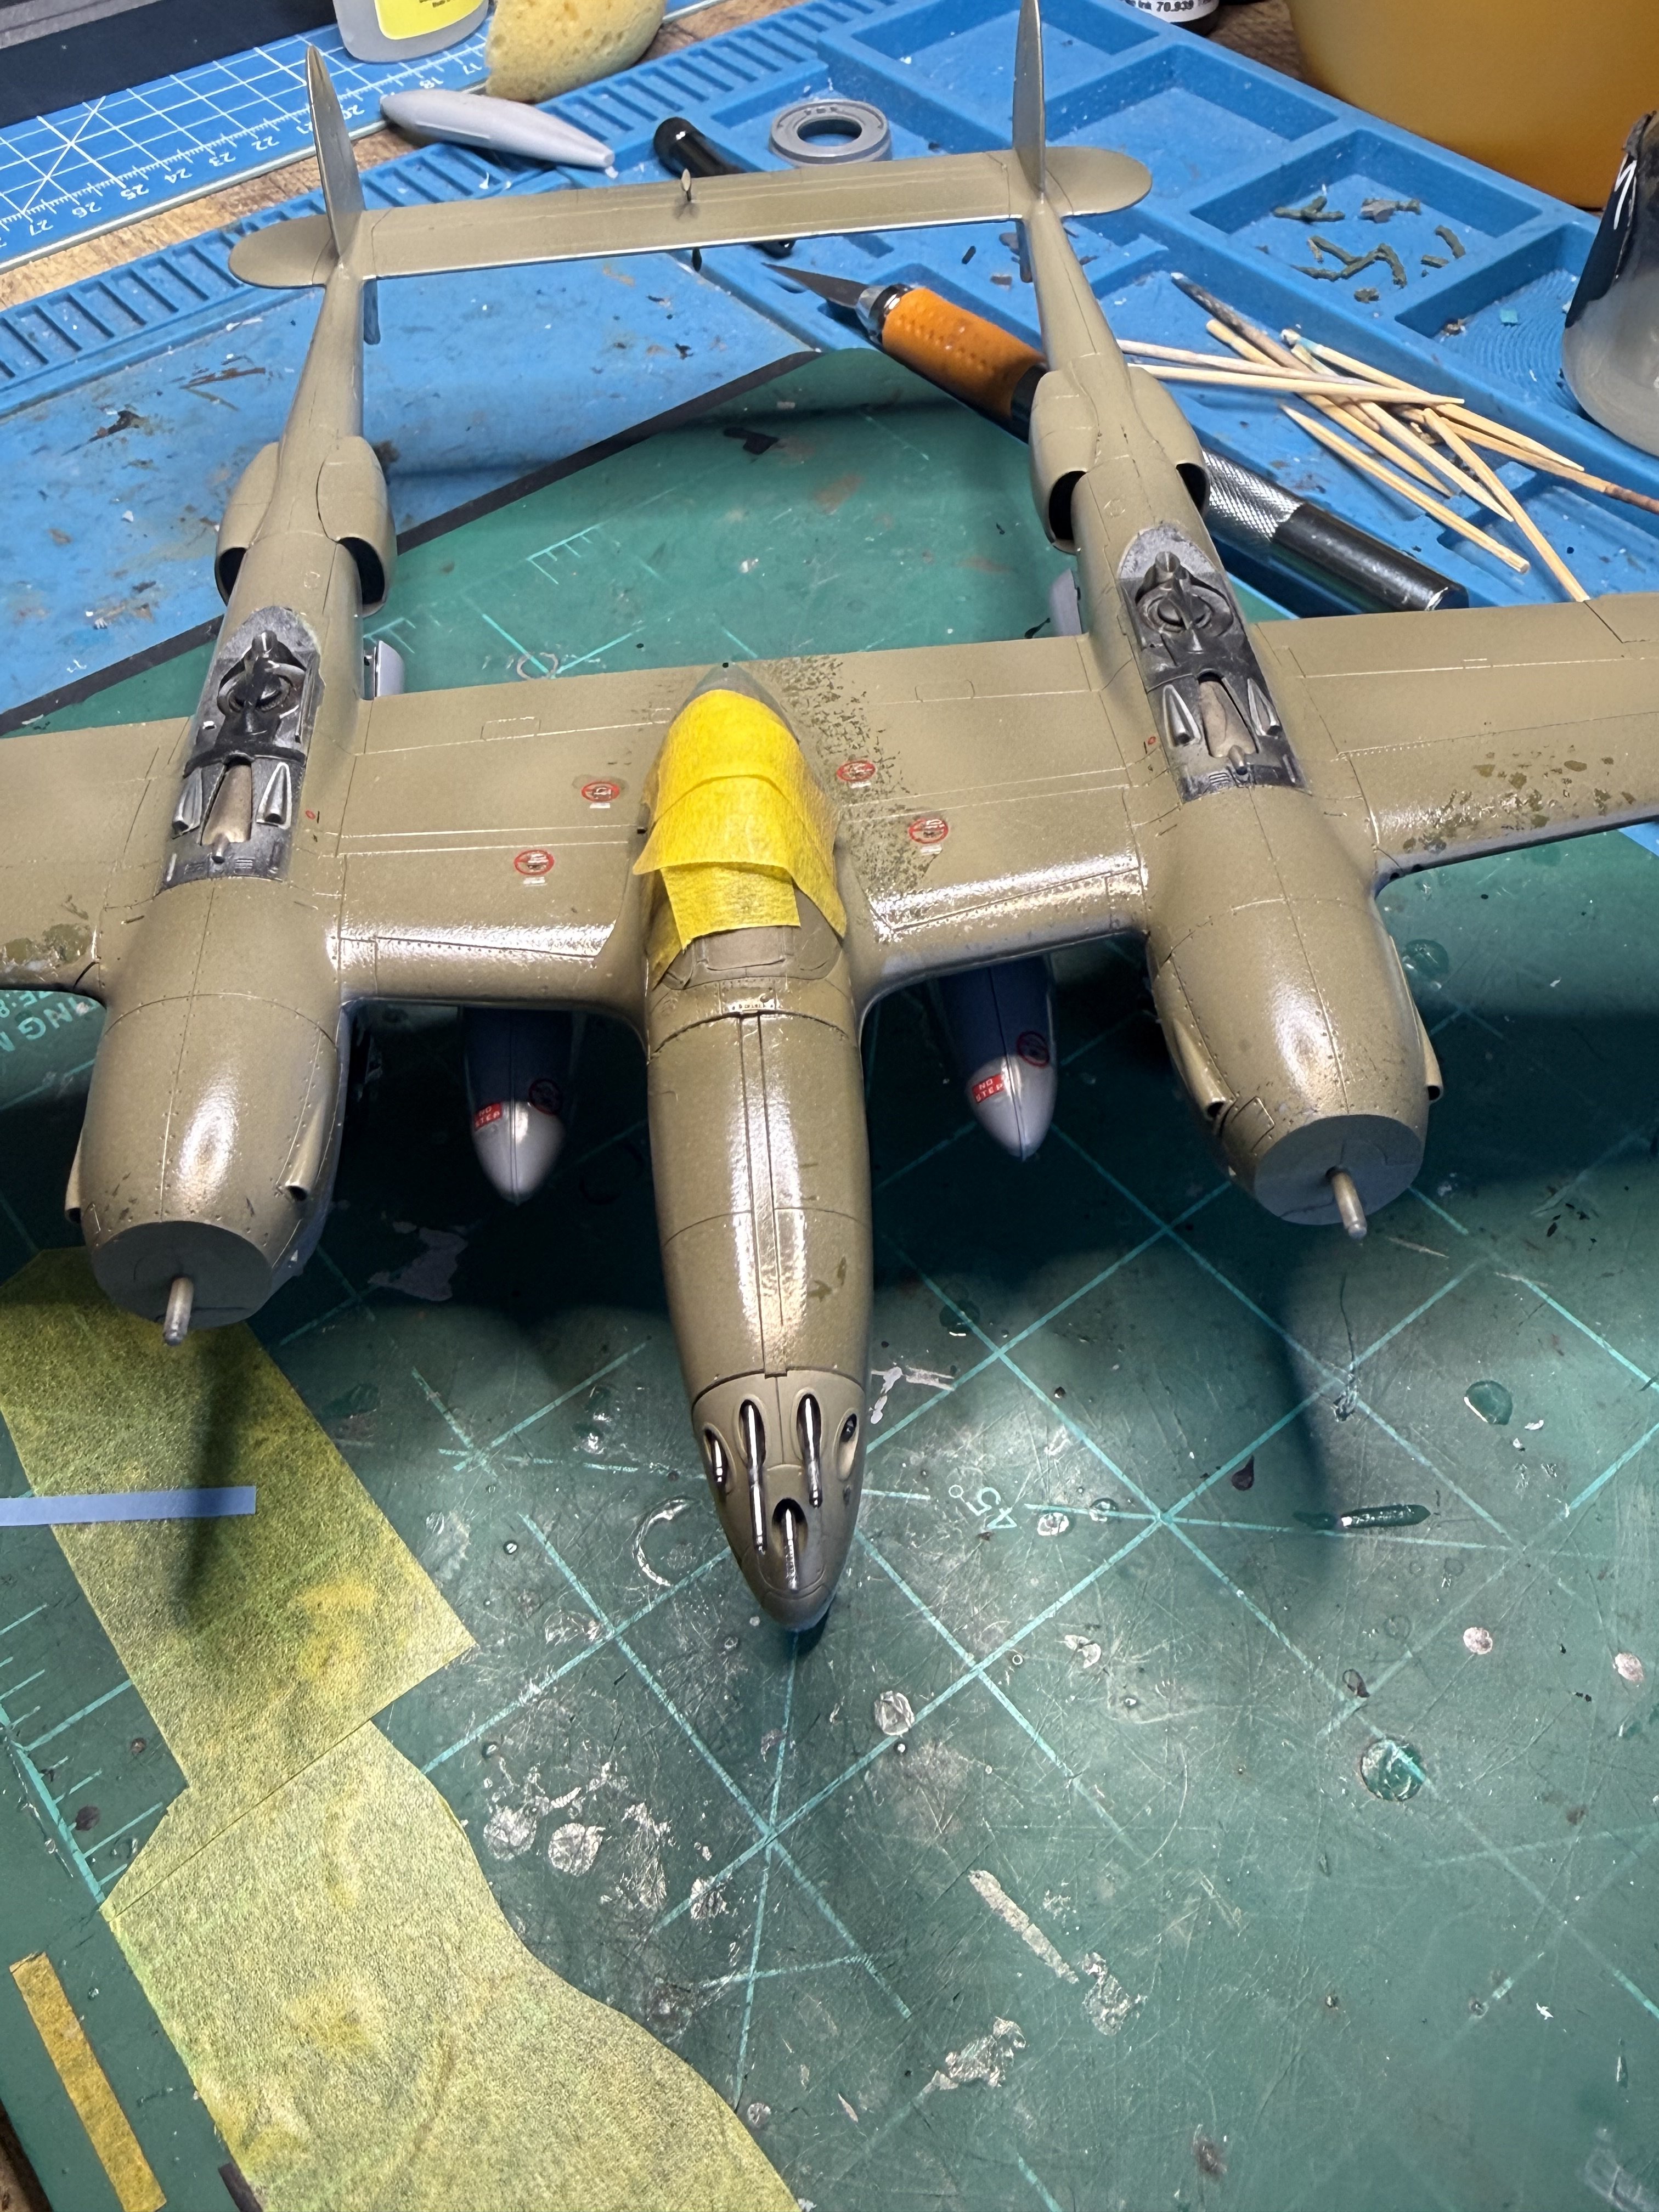
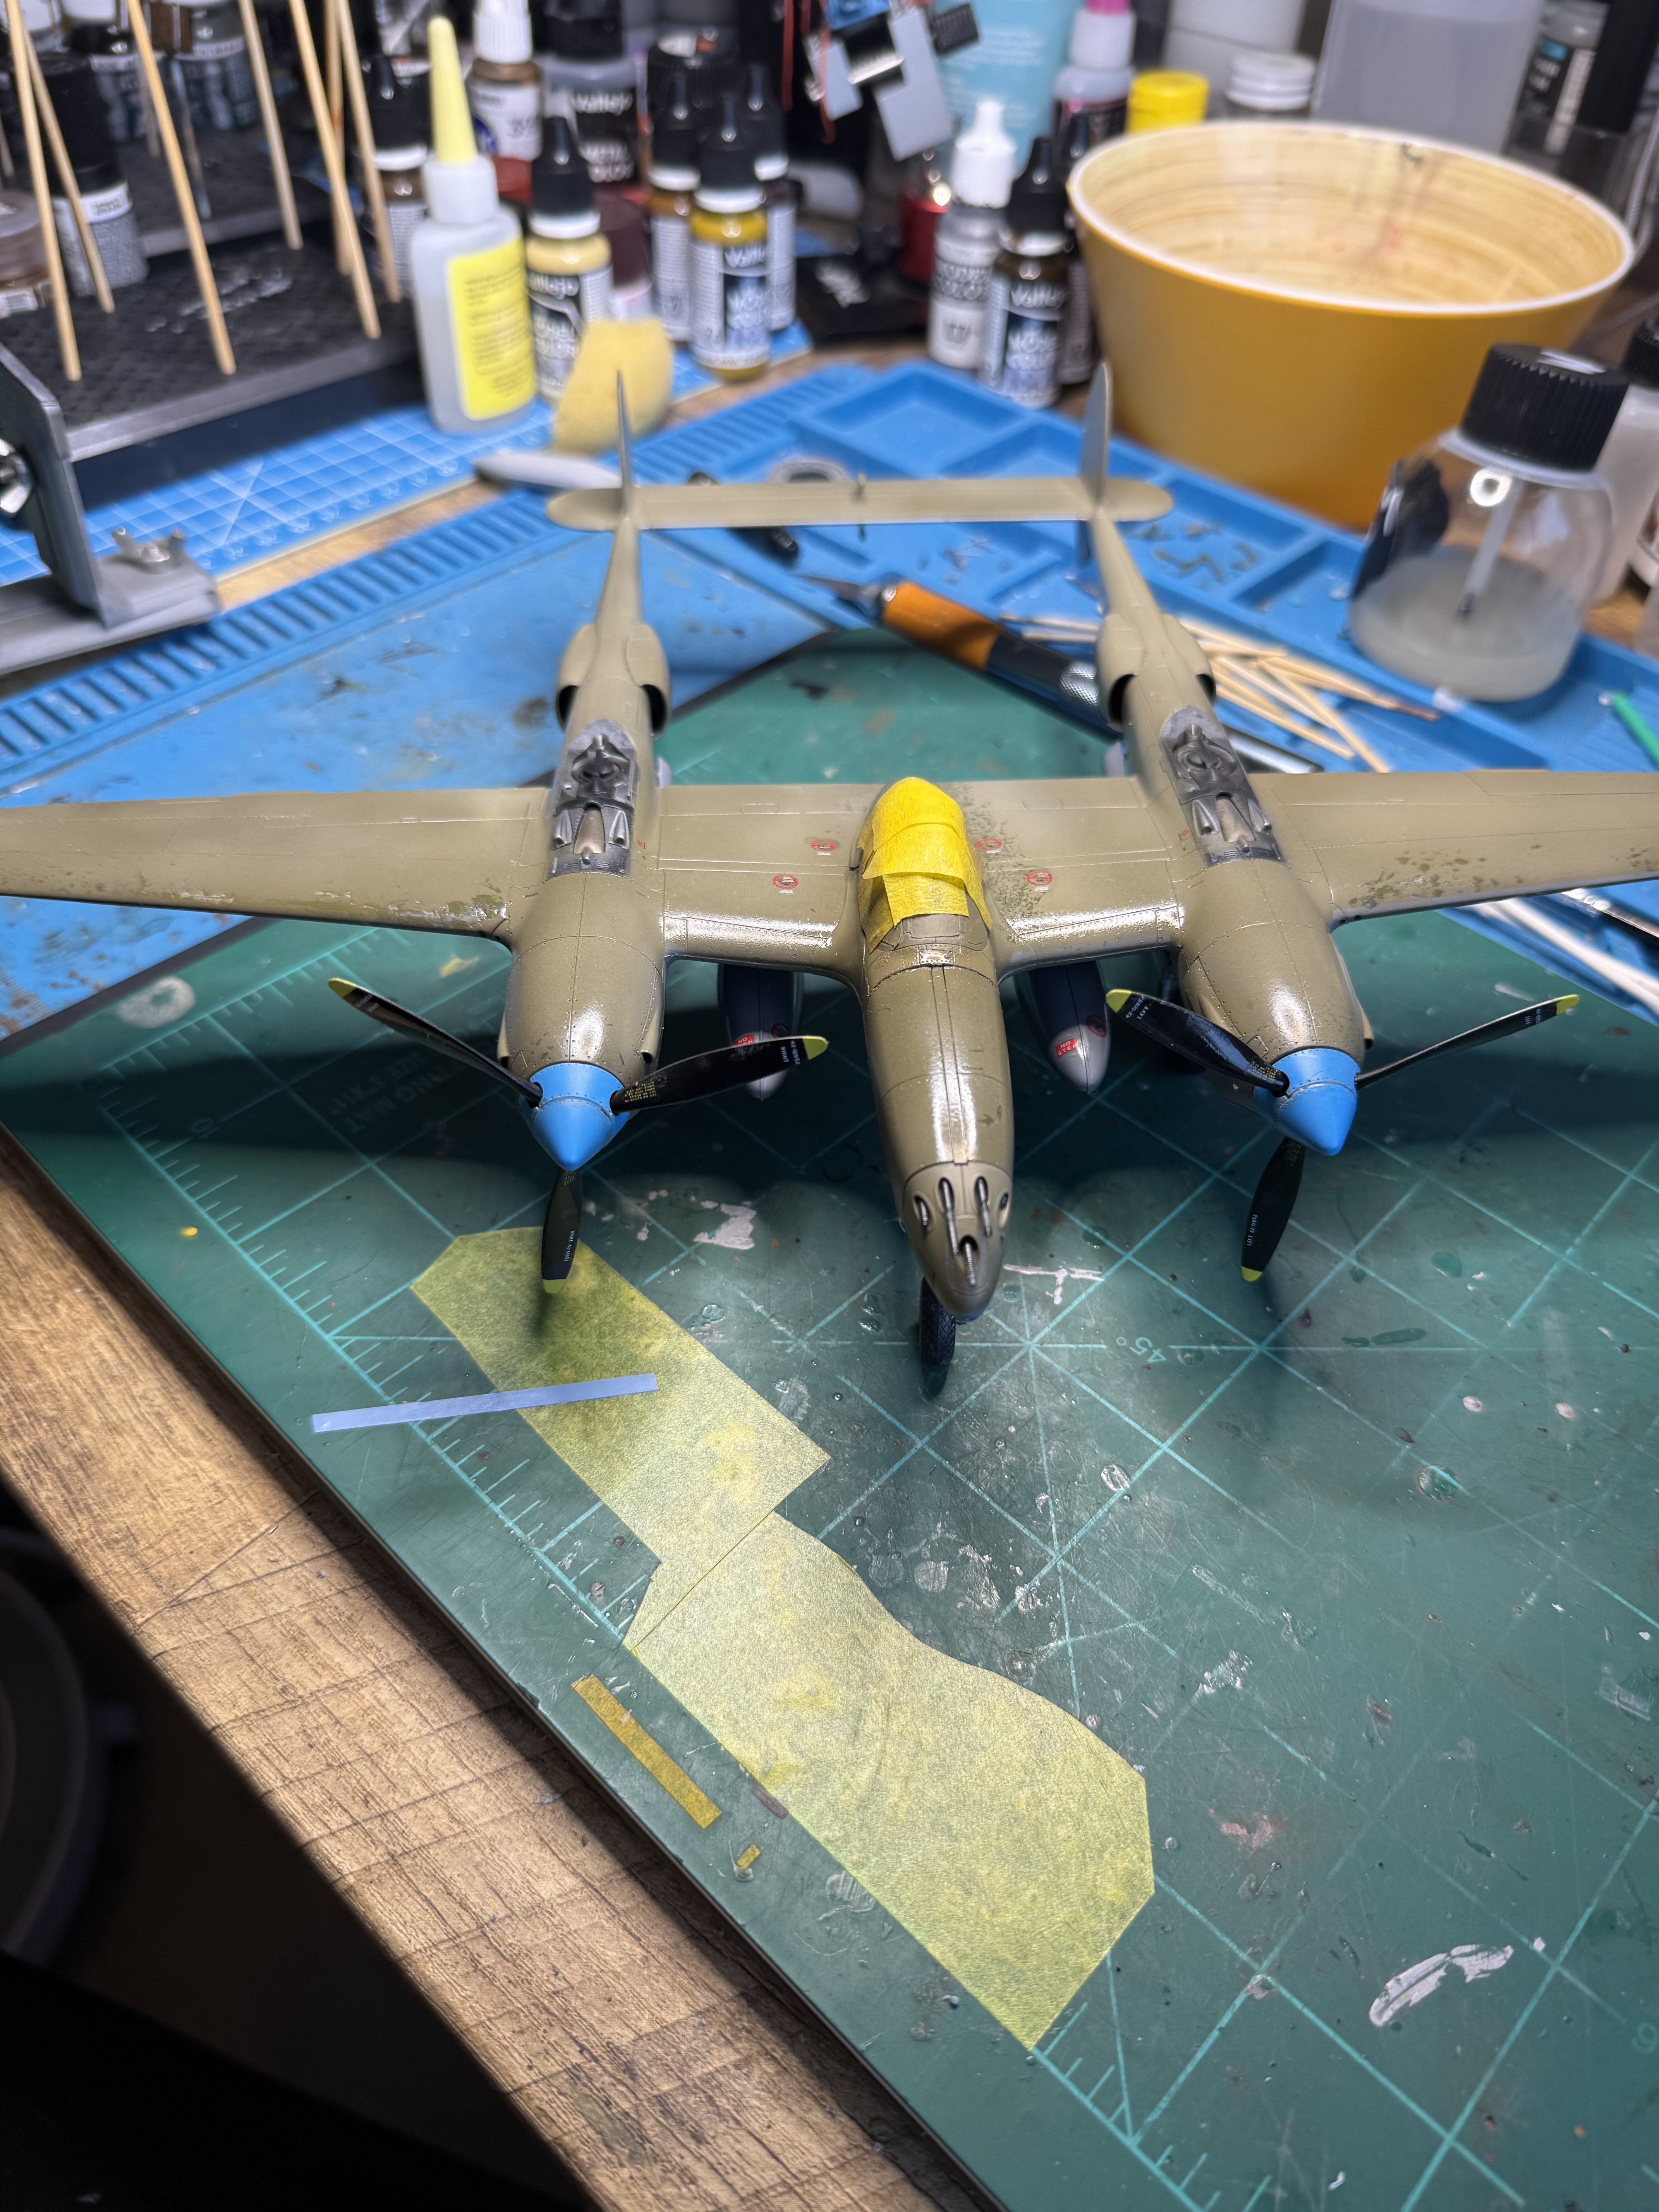
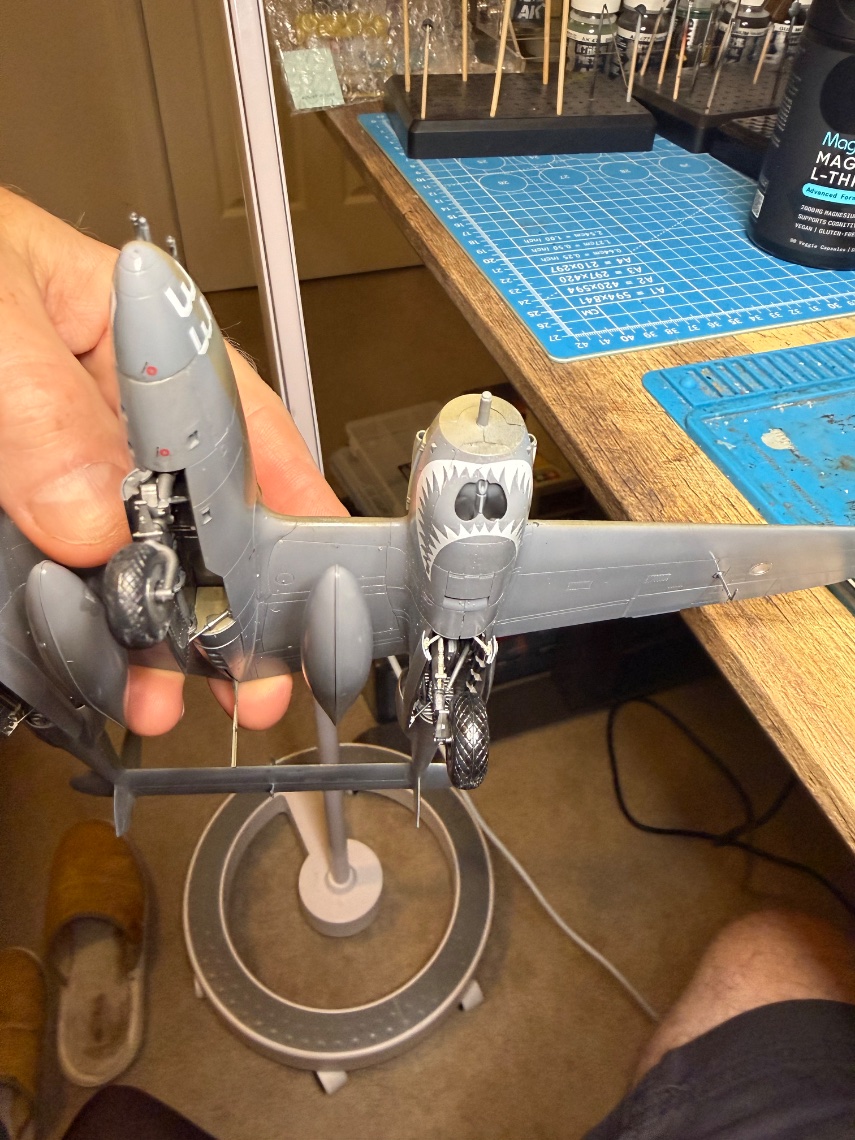
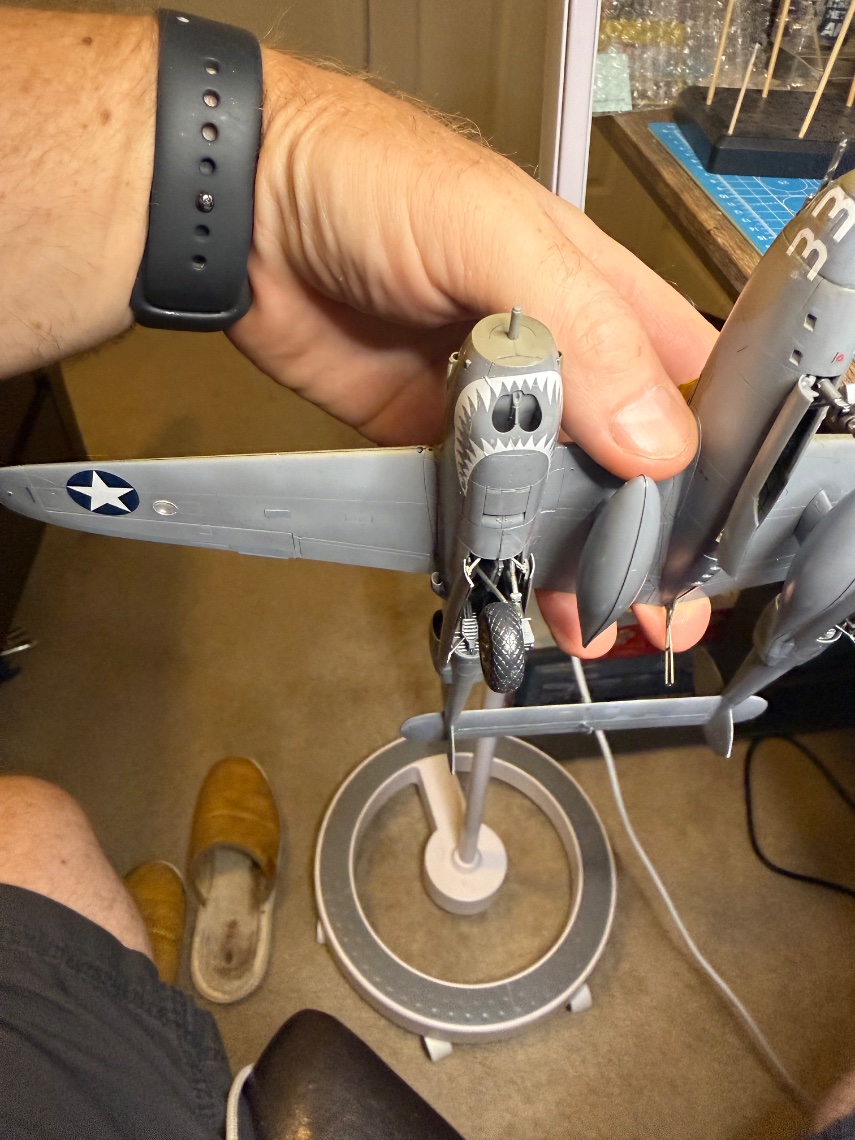
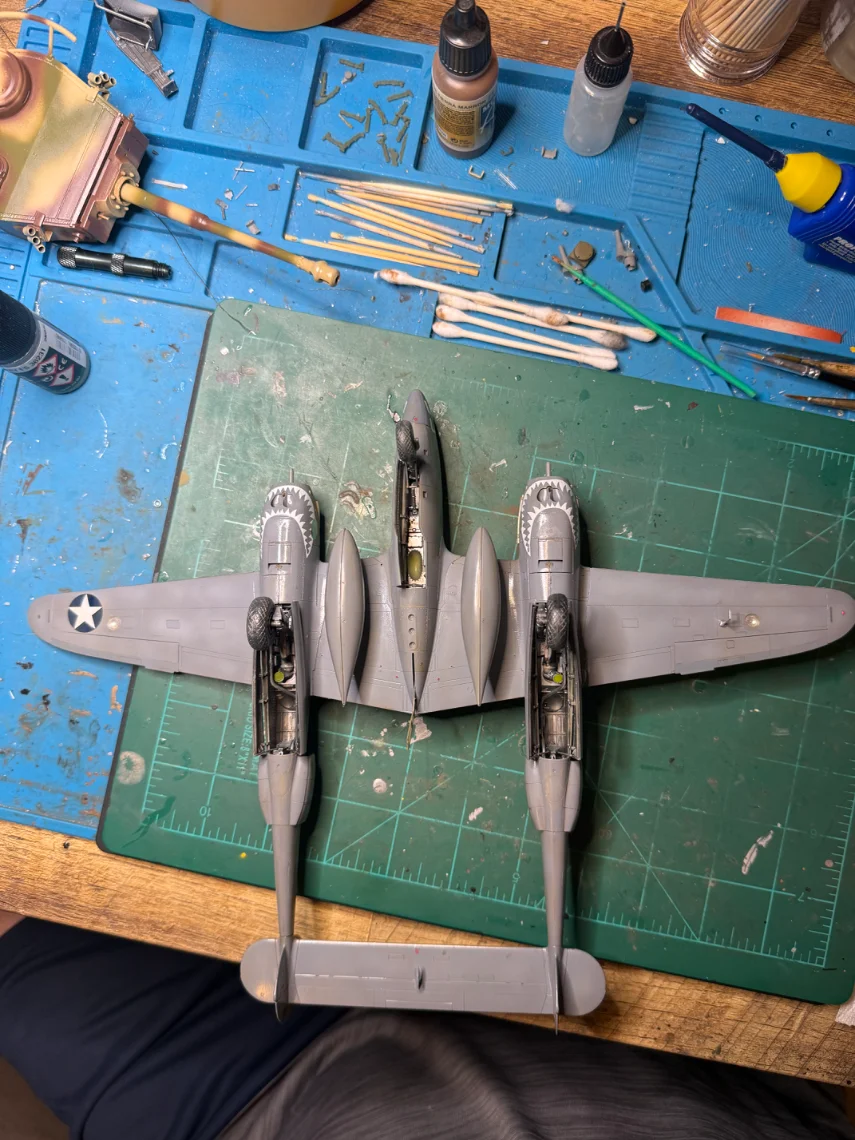
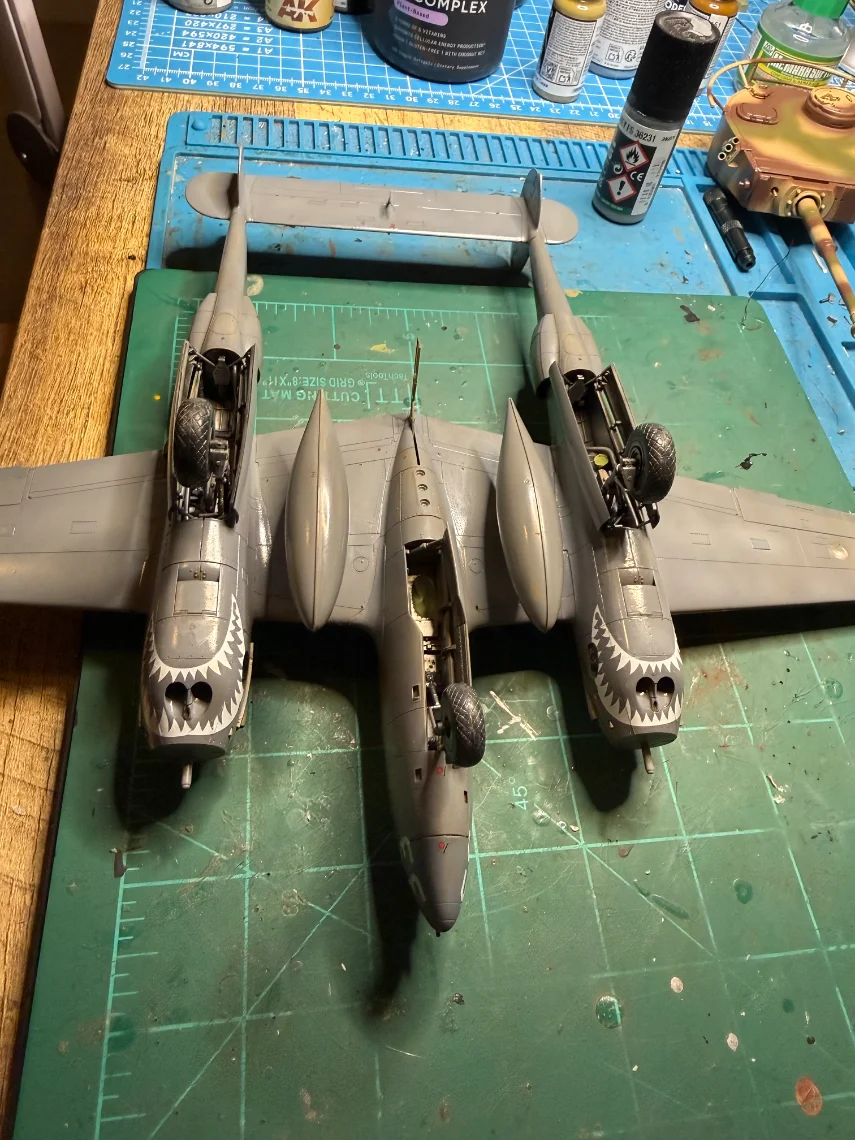
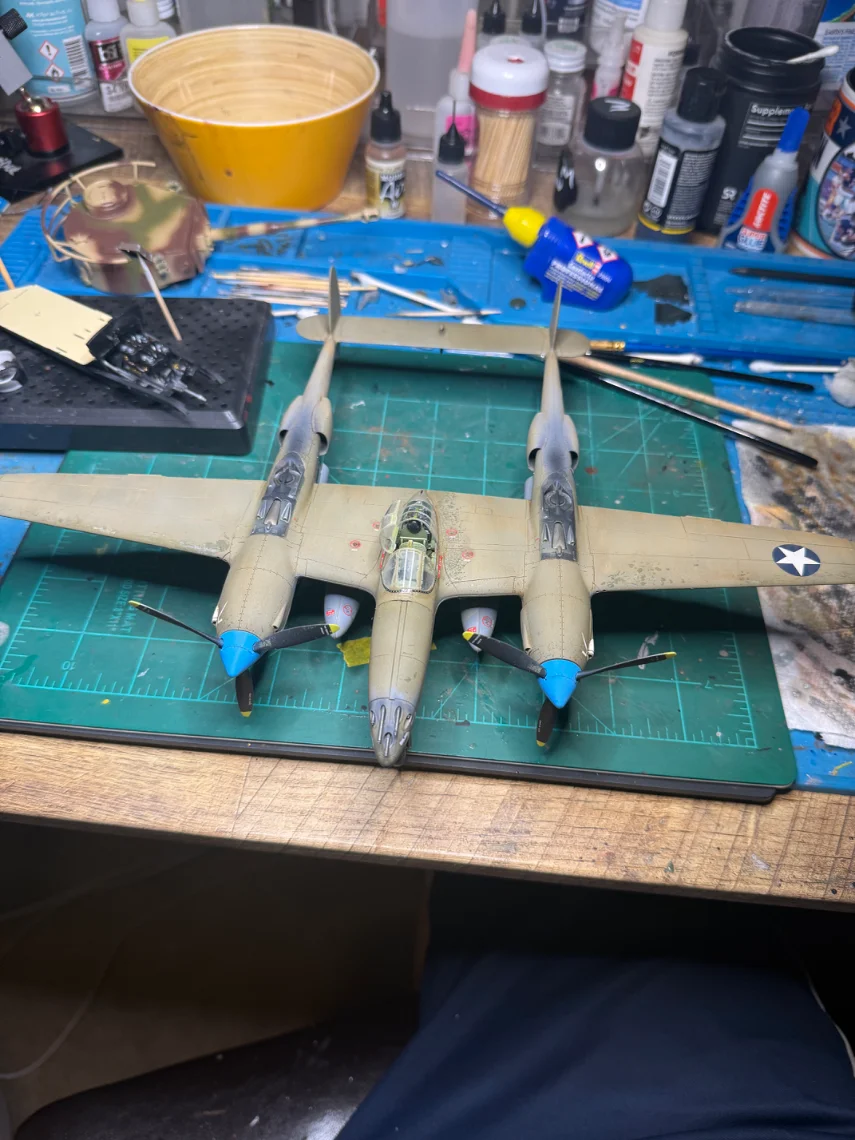
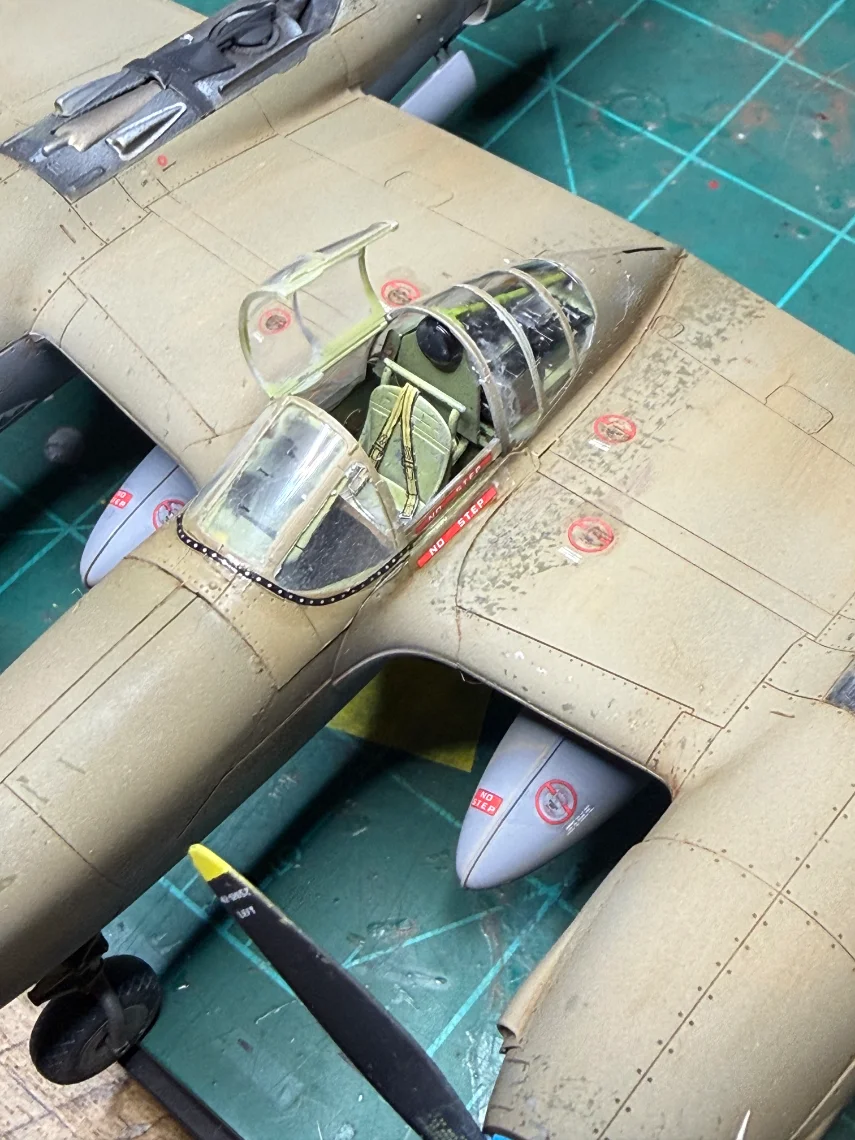
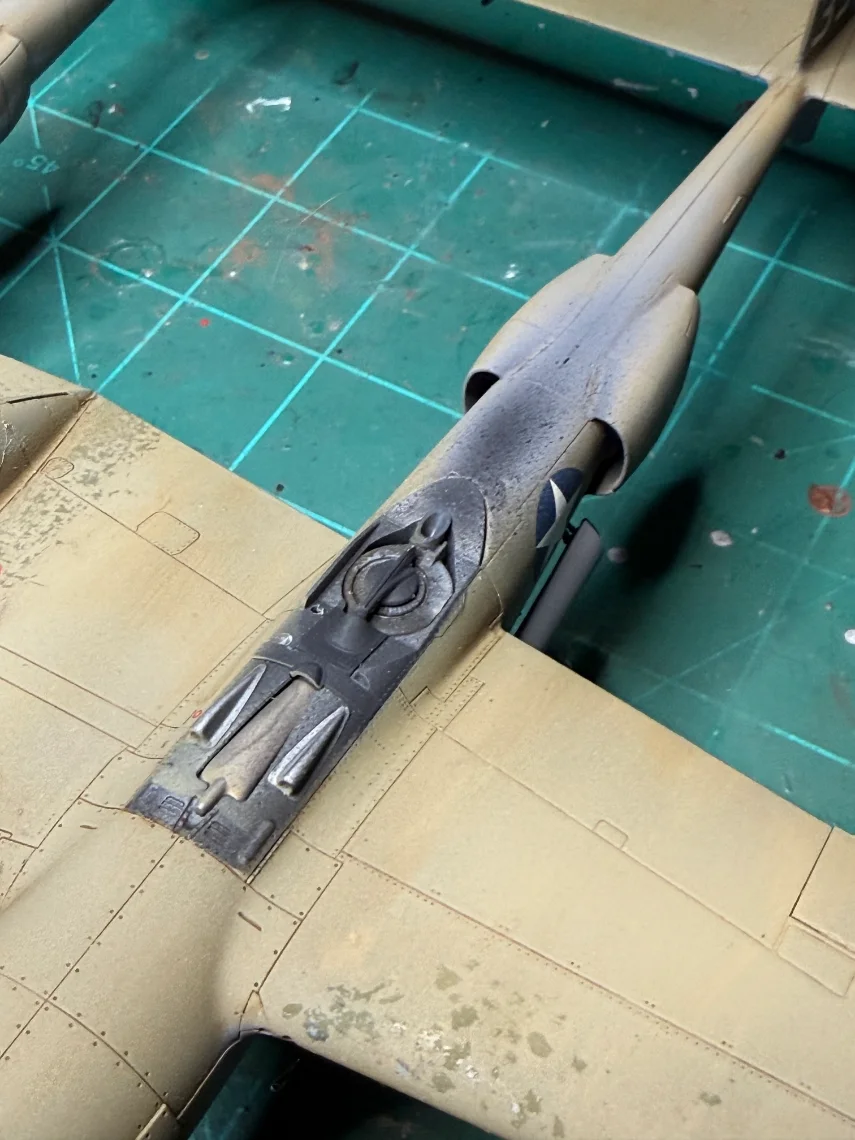
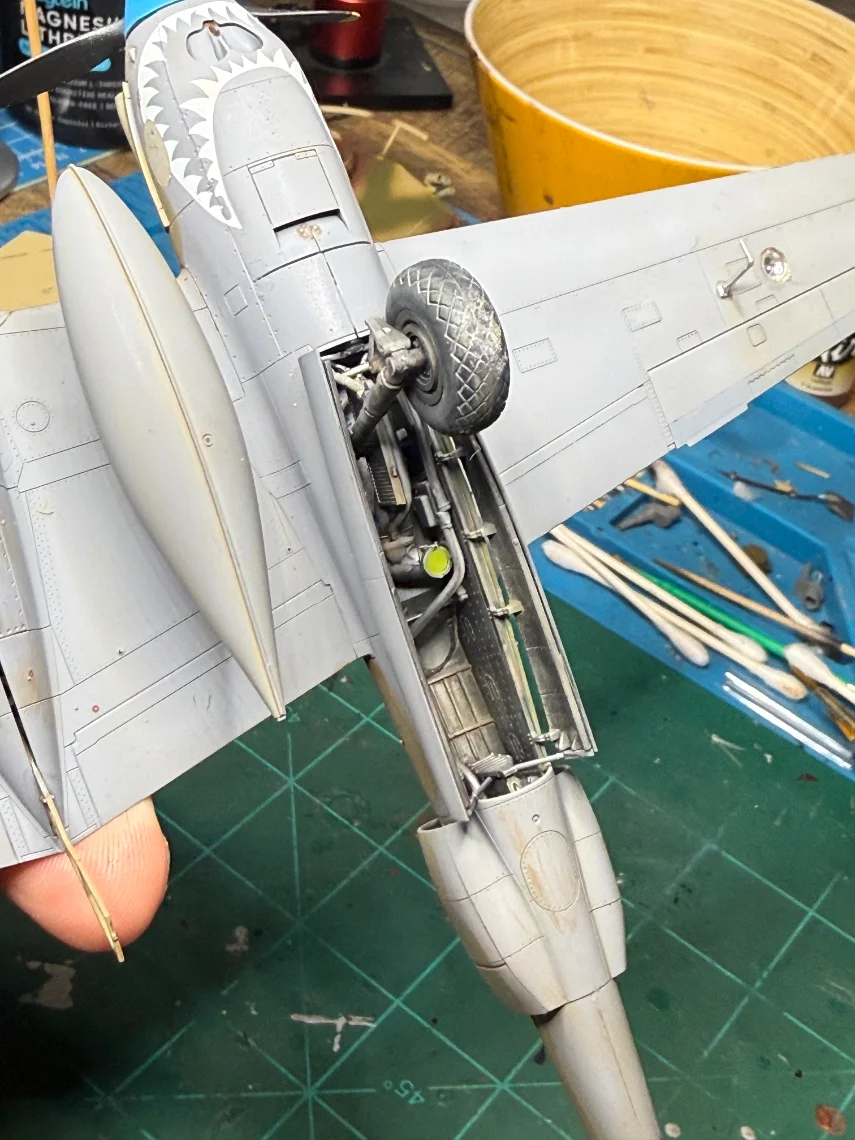
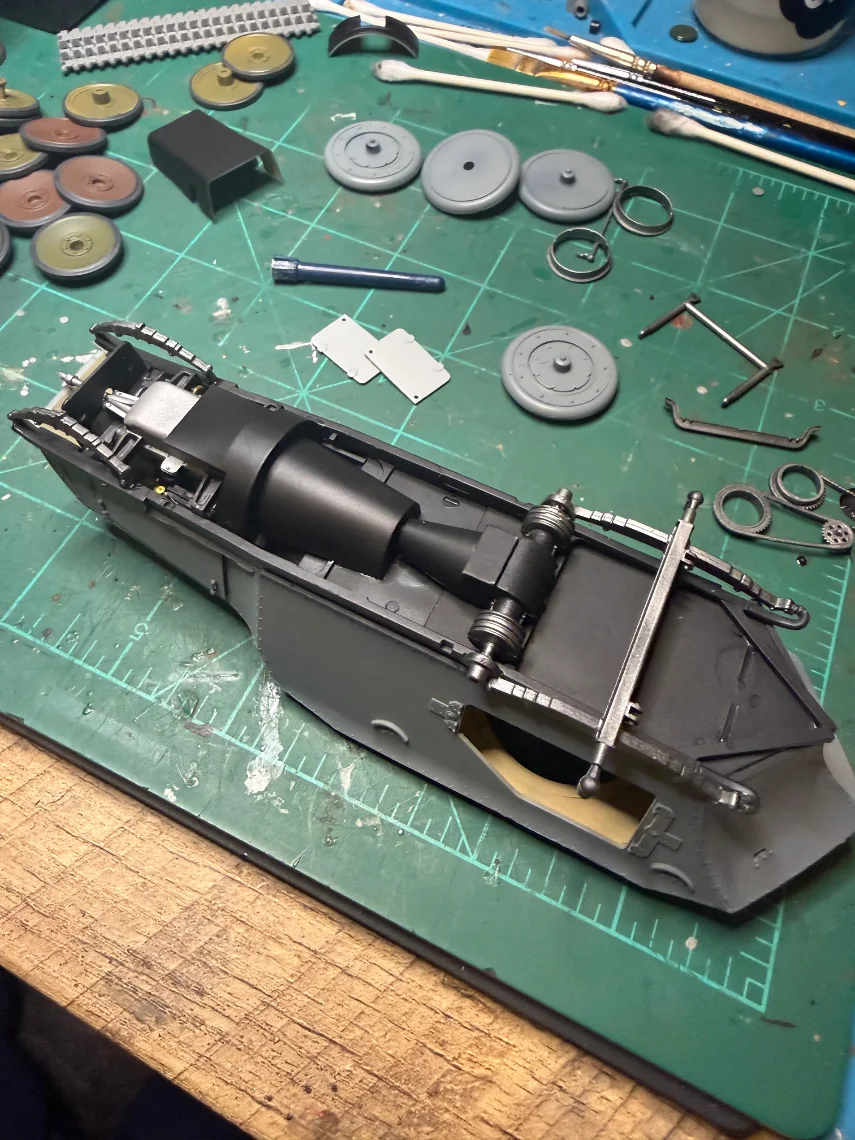
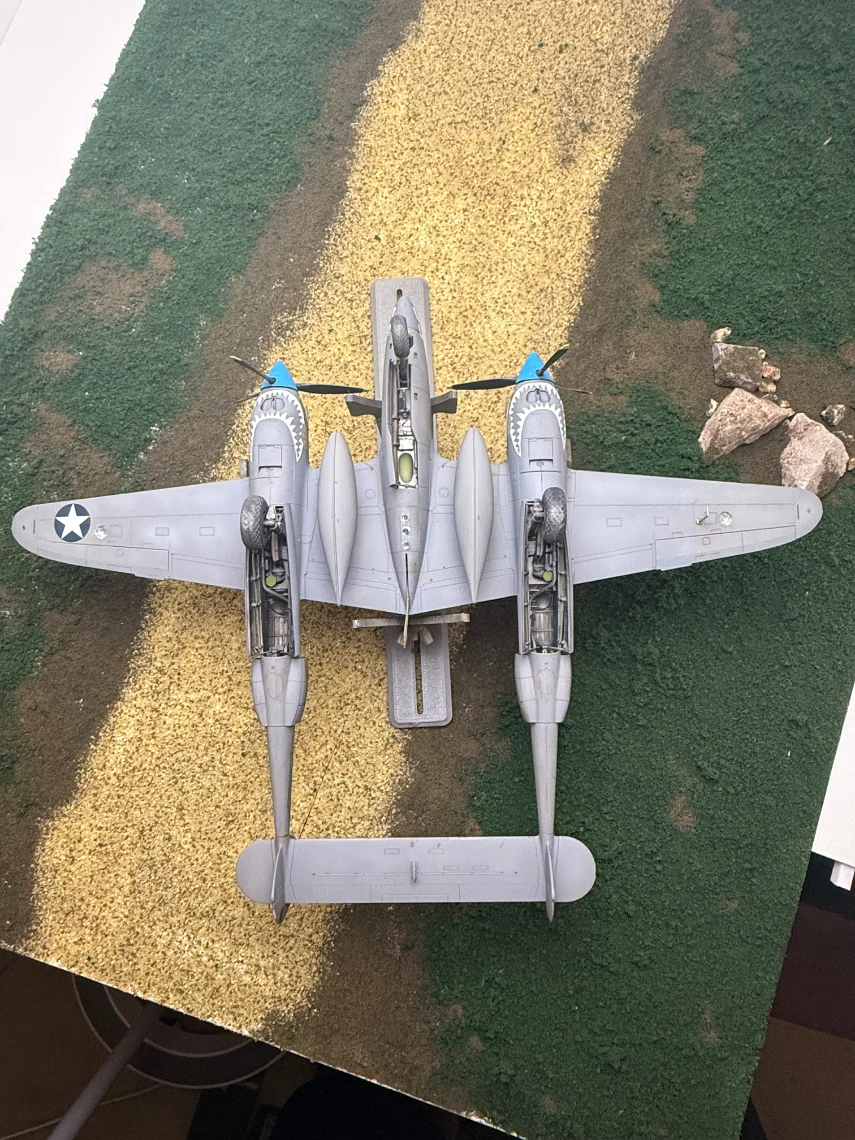
Top has had gloss coat. Painted the bottom neutral grey and applied some of the decals on top side. Guns and front cap ? Applied. Decals on props. Coming together nicely. Tomorrow I'll get landing gear installed and varnish bottom side. Then finish decals on top side.
 

Attachments

  • IMG_8989.jpeg
    IMG_8989.jpeg
    2.1 MB
  • IMG_8990.jpeg
    IMG_8990.jpeg
    2.4 MB
  • IMG_8991.jpeg
    IMG_8991.jpeg
    1.7 MB
  • IMG_8992.jpeg
    IMG_8992.jpeg
    1.7 MB
  • image.jpg
    image.jpg
    2.2 MB
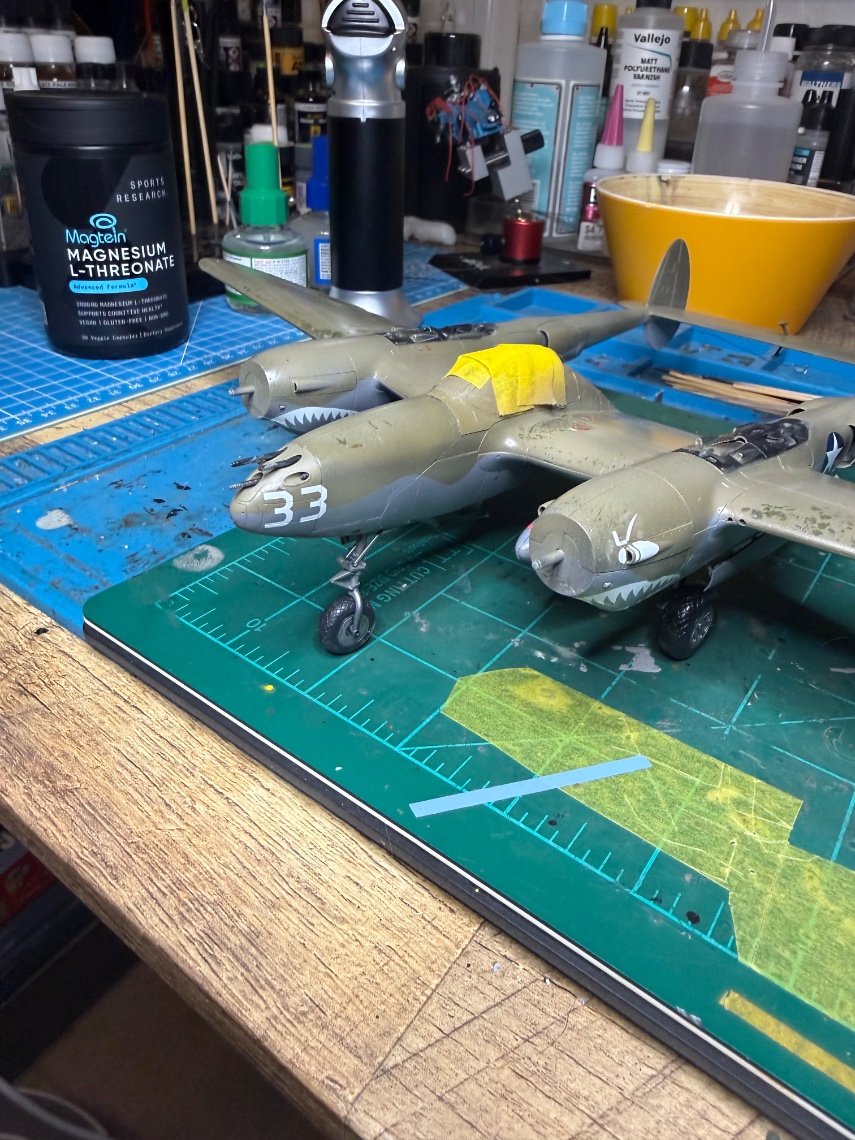
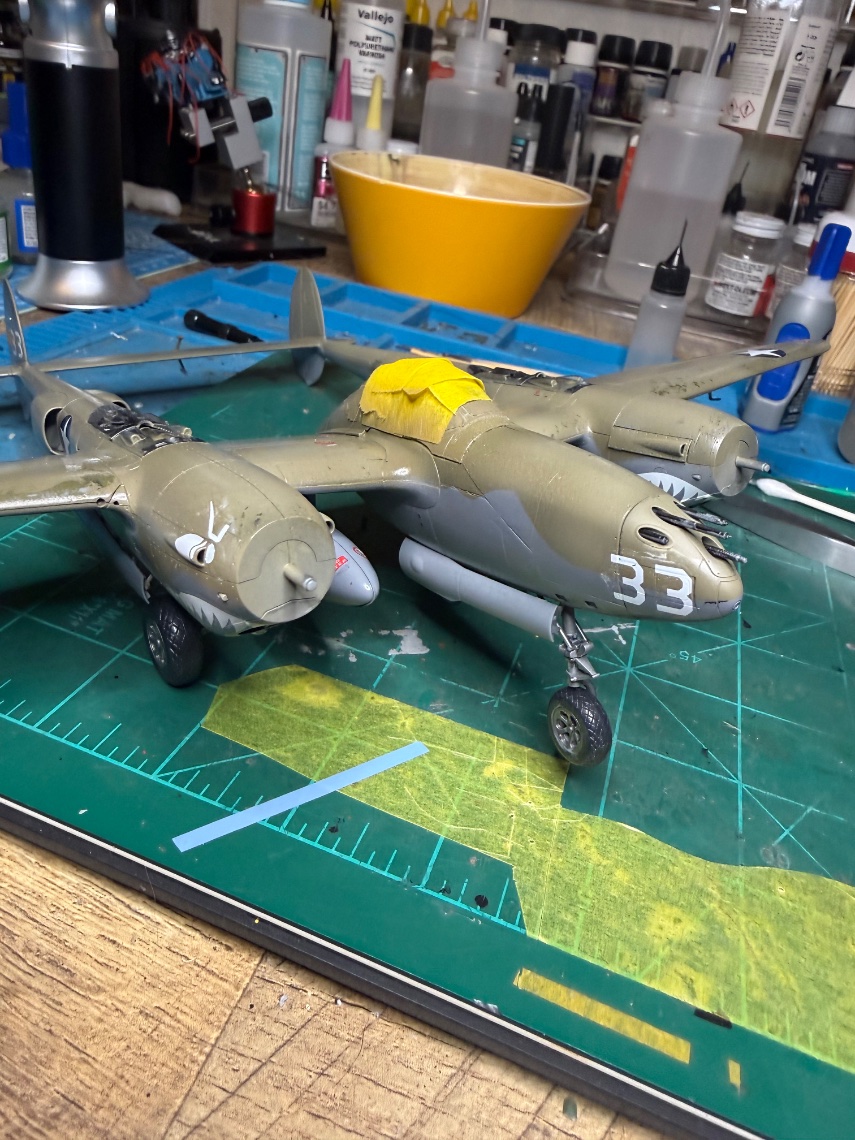
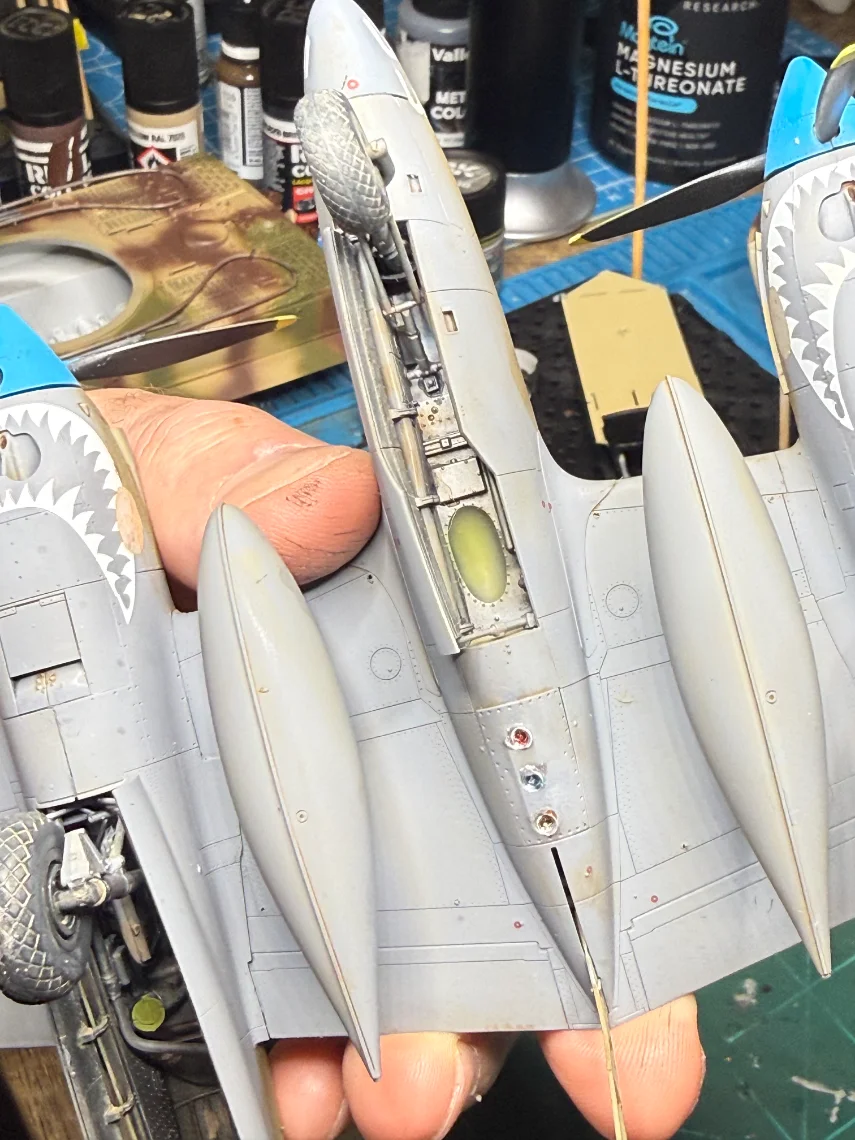
I've gotten quite a bit done this morning. I need to touch up the nose cones, finish decals on uppers, and hit the underside with a varnish today. I can't believe I put this model off- everything has been Tamiya smooth! Tomorrow I plan to do some final weathering.
 

Attachments

  • IMG_9011.jpeg
    IMG_9011.jpeg
    2.6 MB
  • IMG_9012.jpeg
    IMG_9012.jpeg
    1.3 MB
  • IMG_9013.jpeg
    IMG_9013.jpeg
    1.9 MB
  • IMG_9014.jpeg
    IMG_9014.jpeg
    870.3 KB
  • IMG_9015.jpeg
    IMG_9015.jpeg
    1.1 MB
  • IMG_9016.jpeg
    IMG_9016.jpeg
    2 MB
  • IMG_9017.jpeg
    IMG_9017.jpeg
    2.1 MB
  • IMG_9018.jpeg
    IMG_9018.jpeg
    2.5 MB
I've gotten quite a bit done this morning. I need to touch up the nose cones, finish decals on uppers, and hit the underside with a varnish today. I can't believe I put this model off- everything has been Tamiya smooth! Tomorrow I plan to do some final weathering.
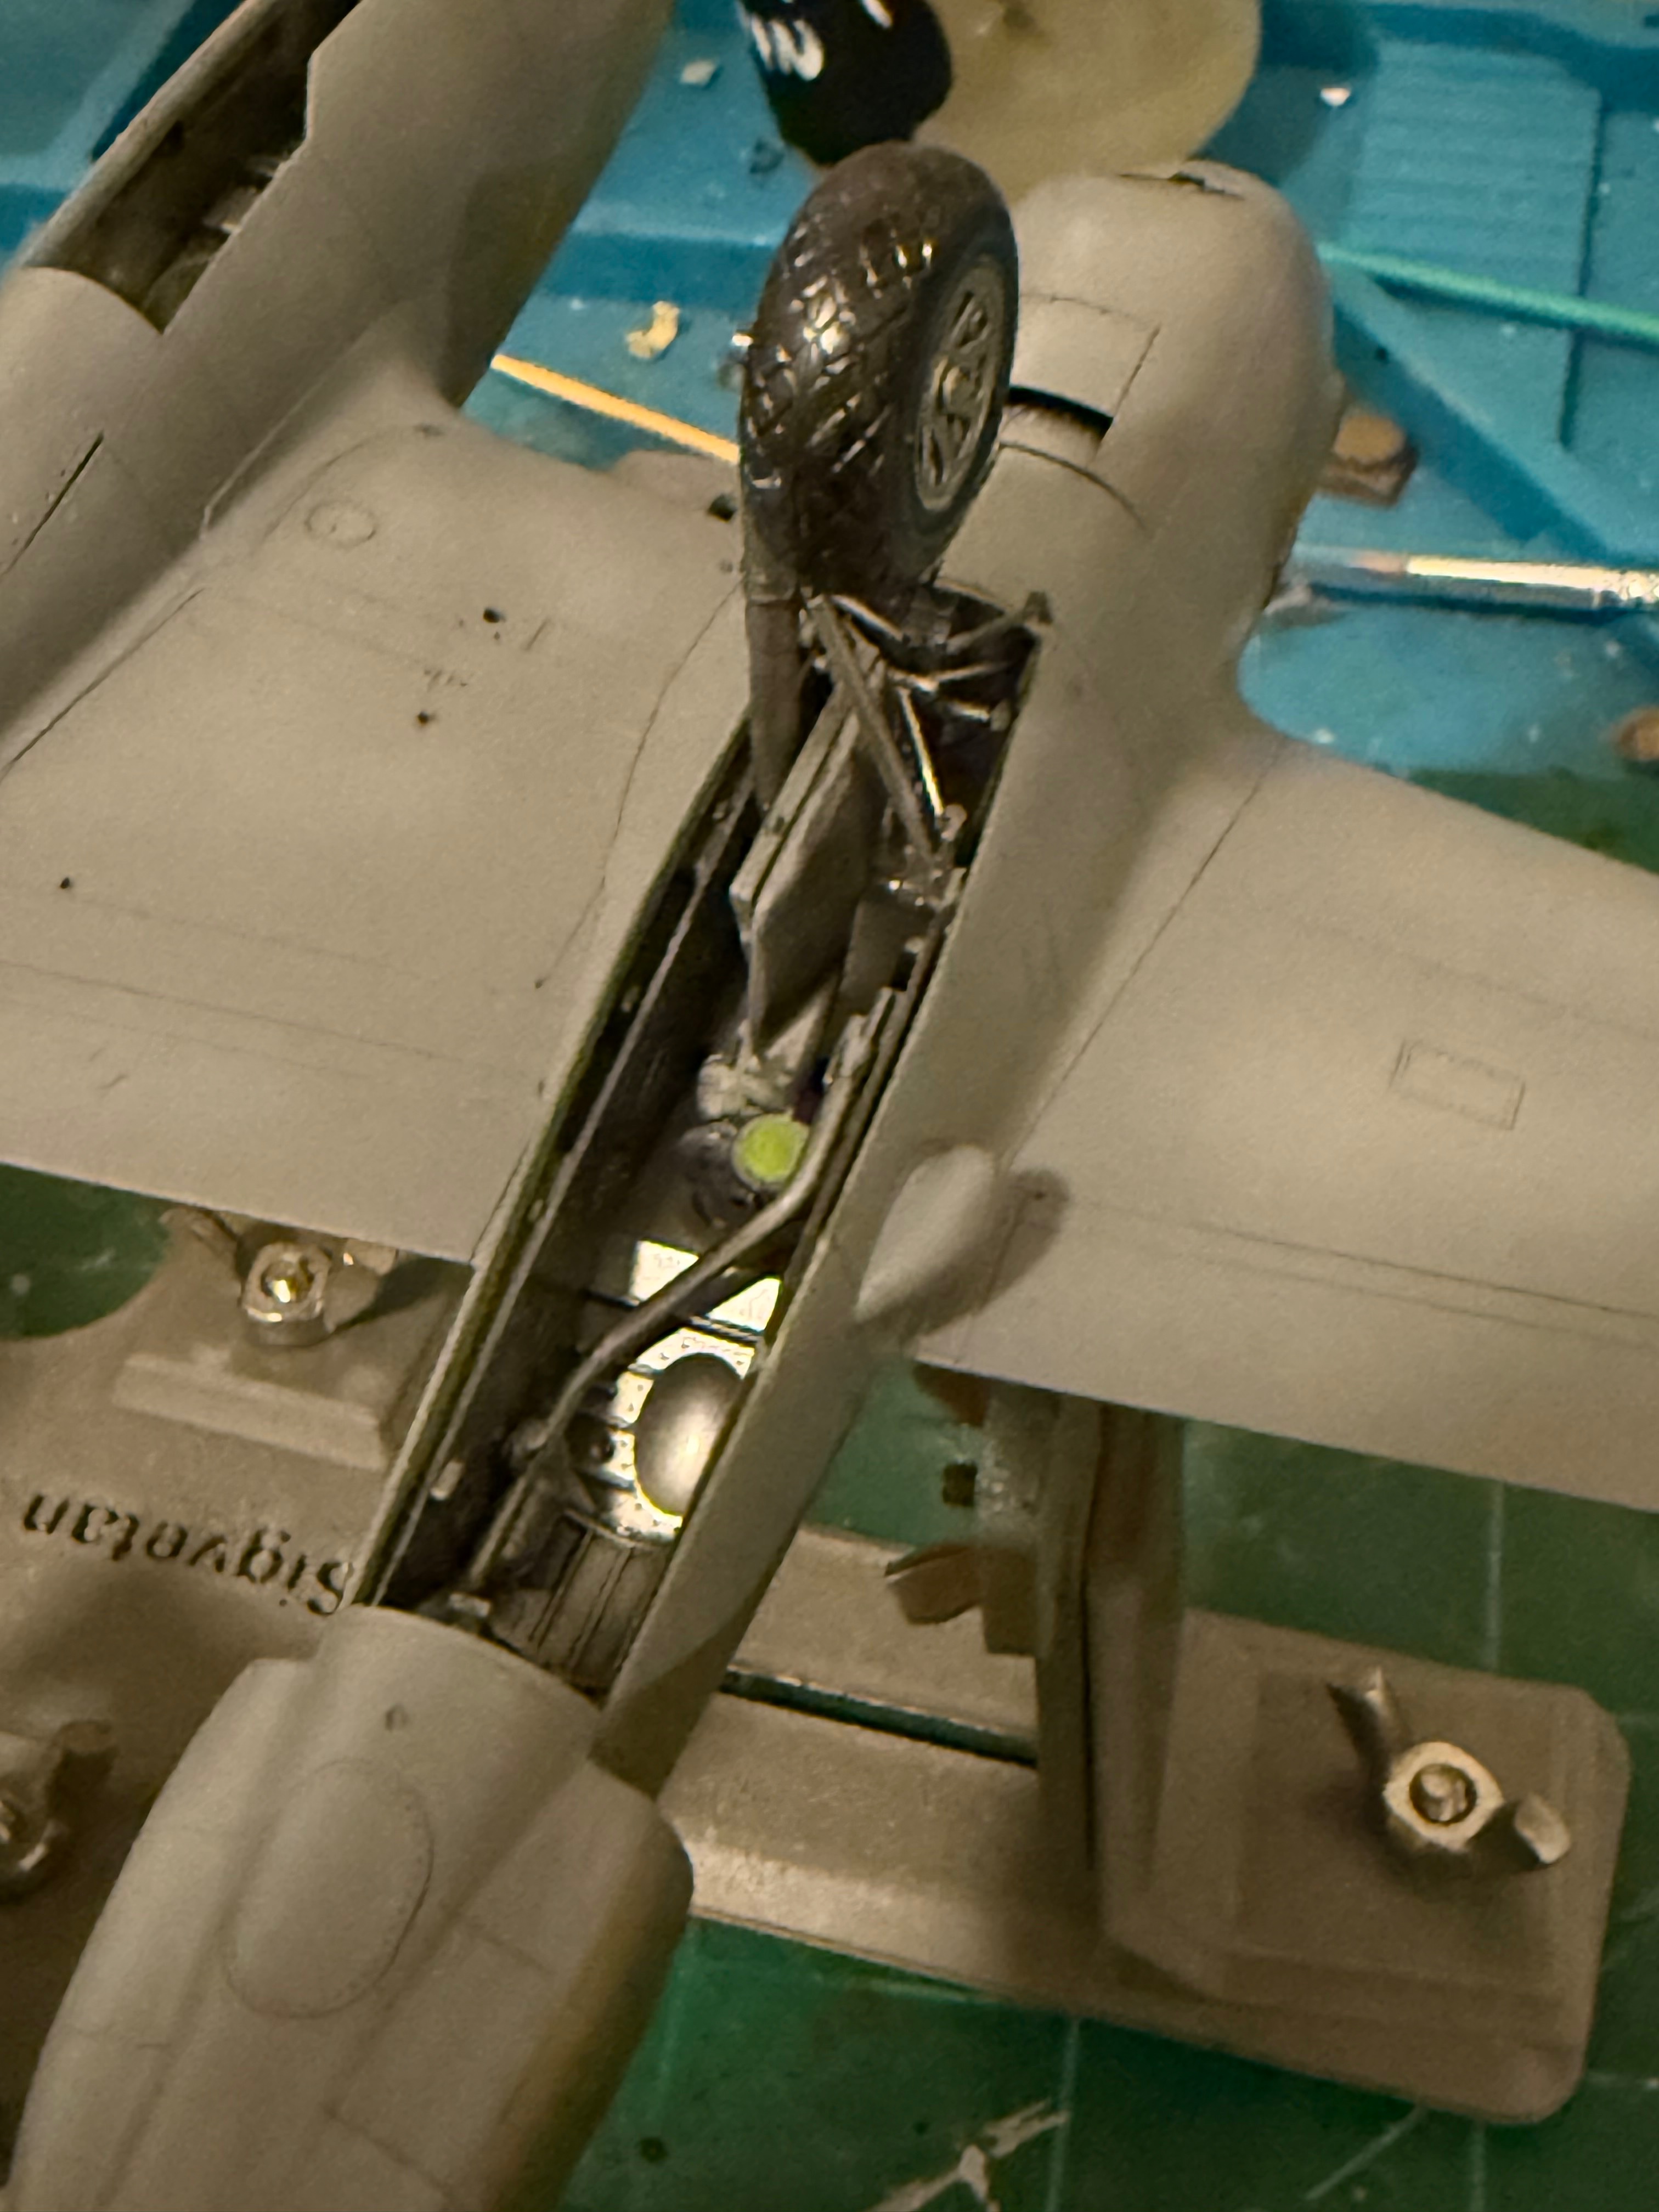
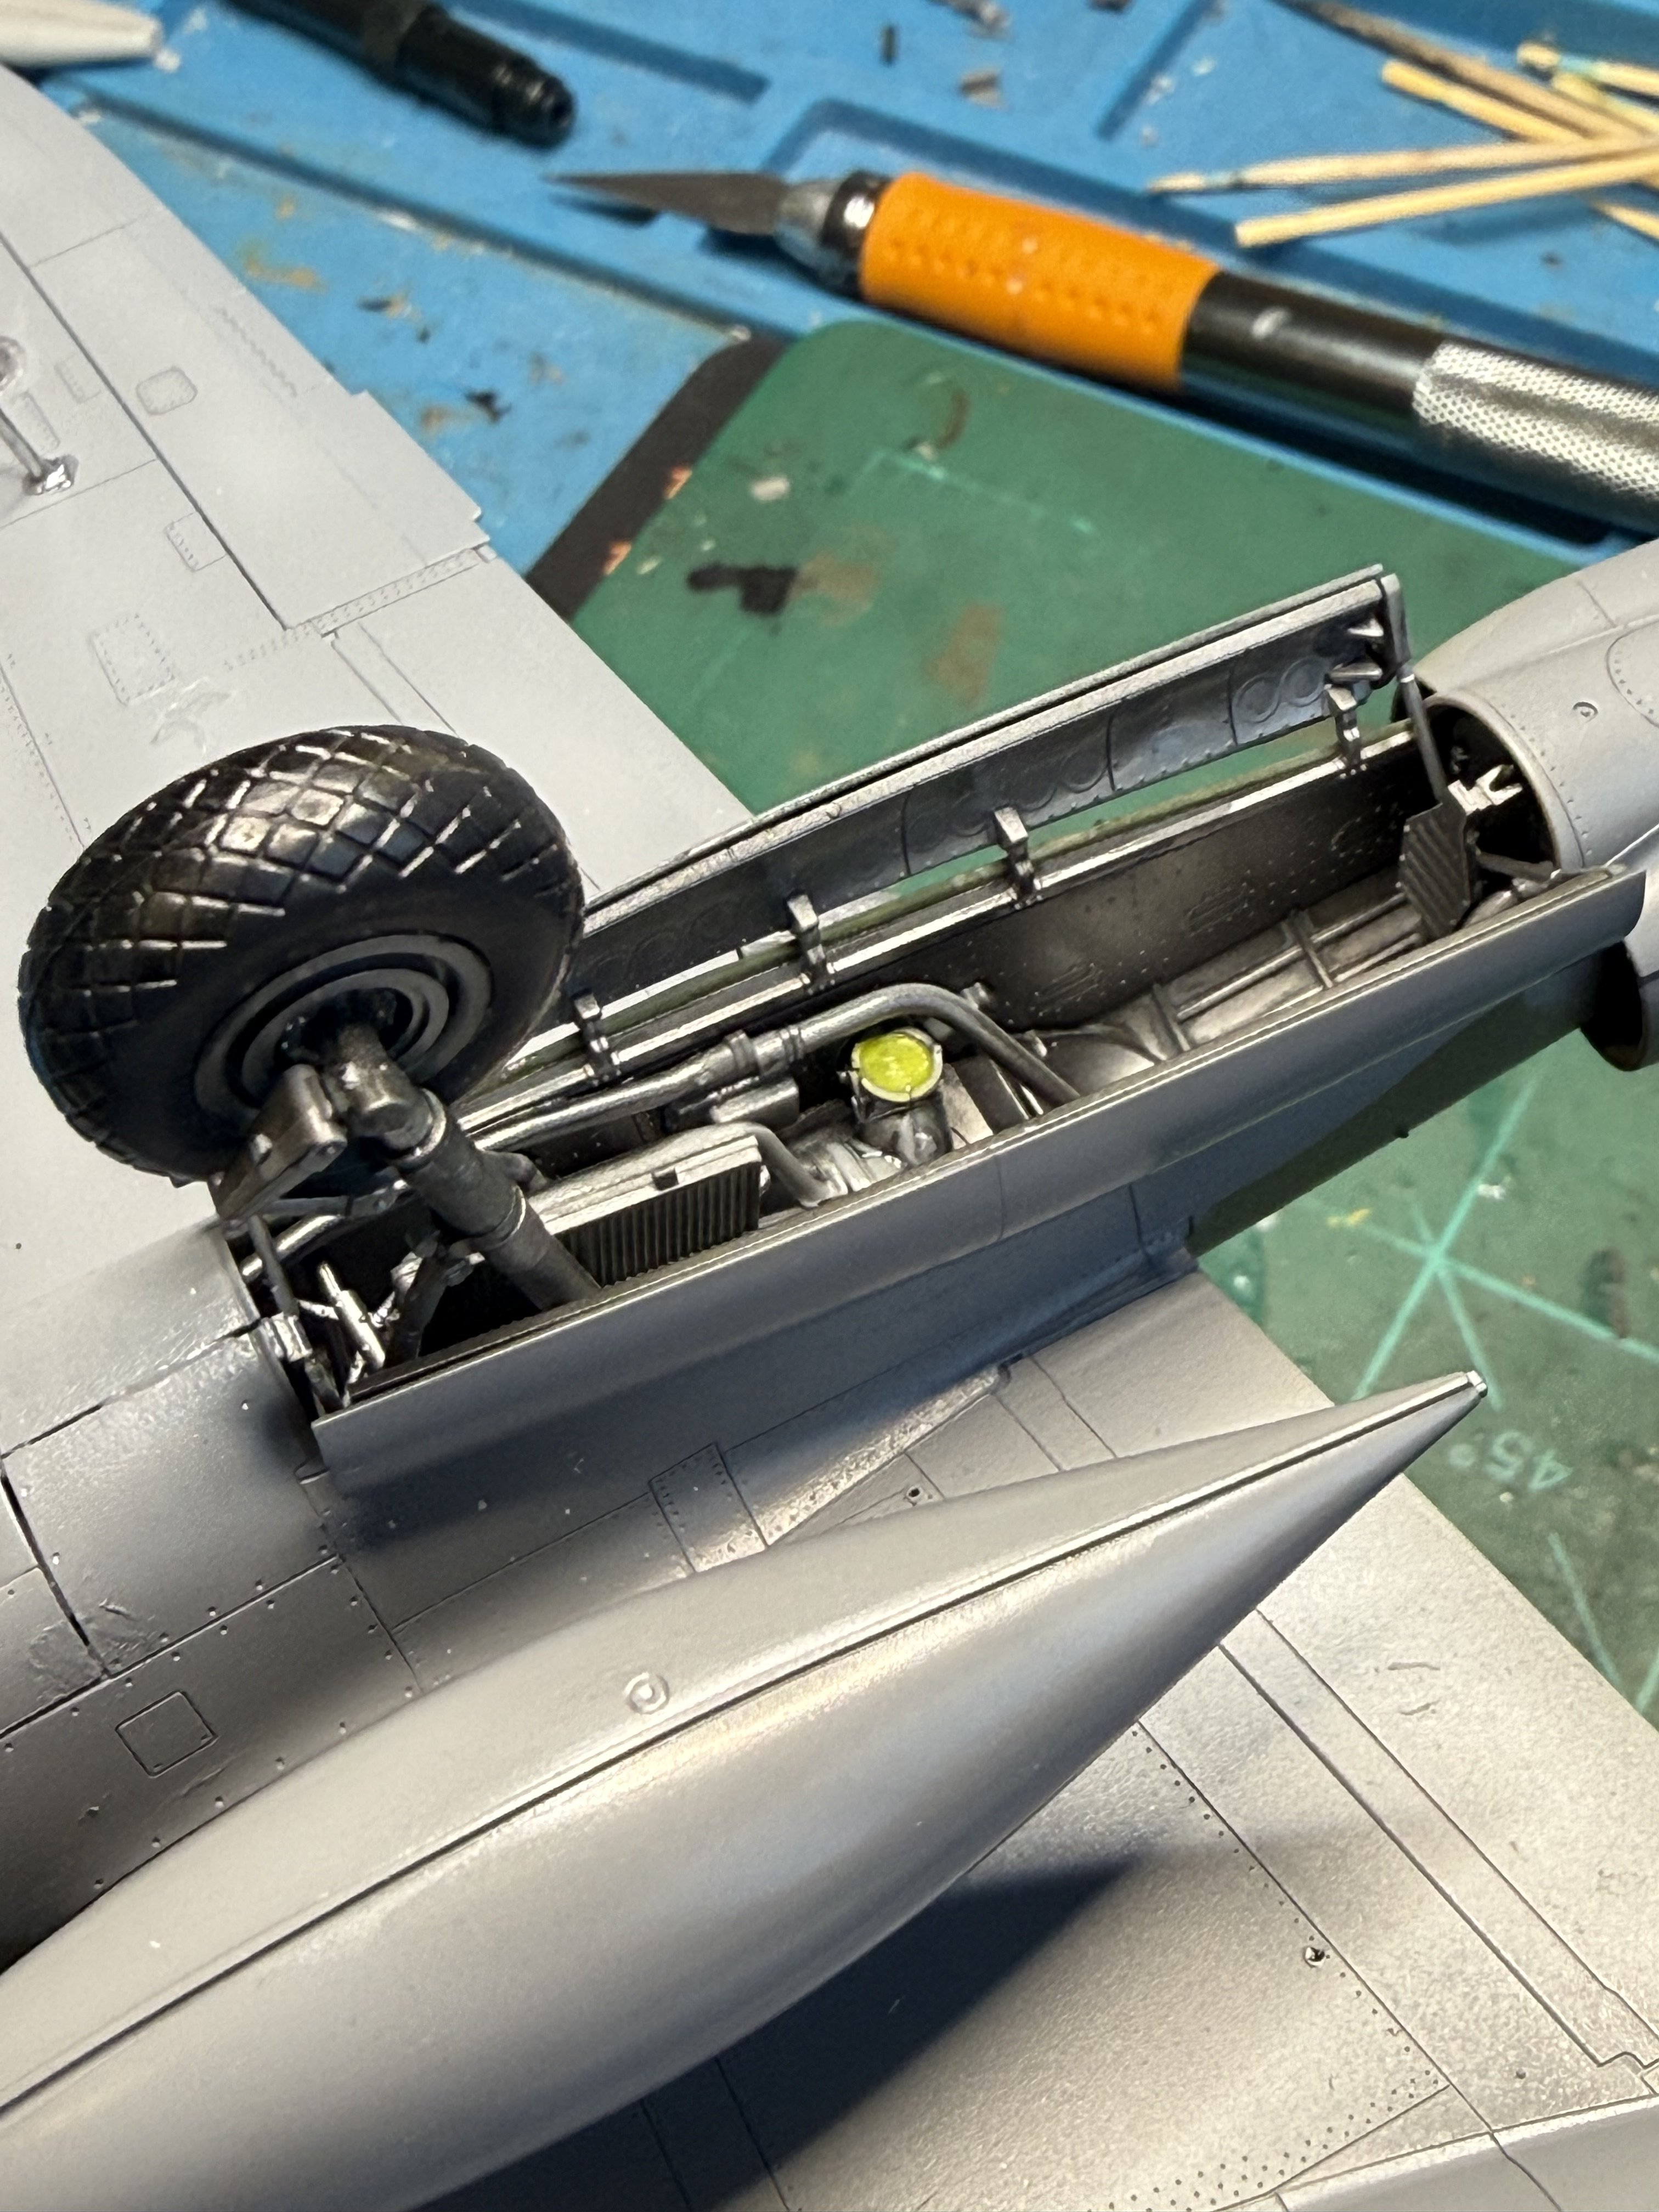
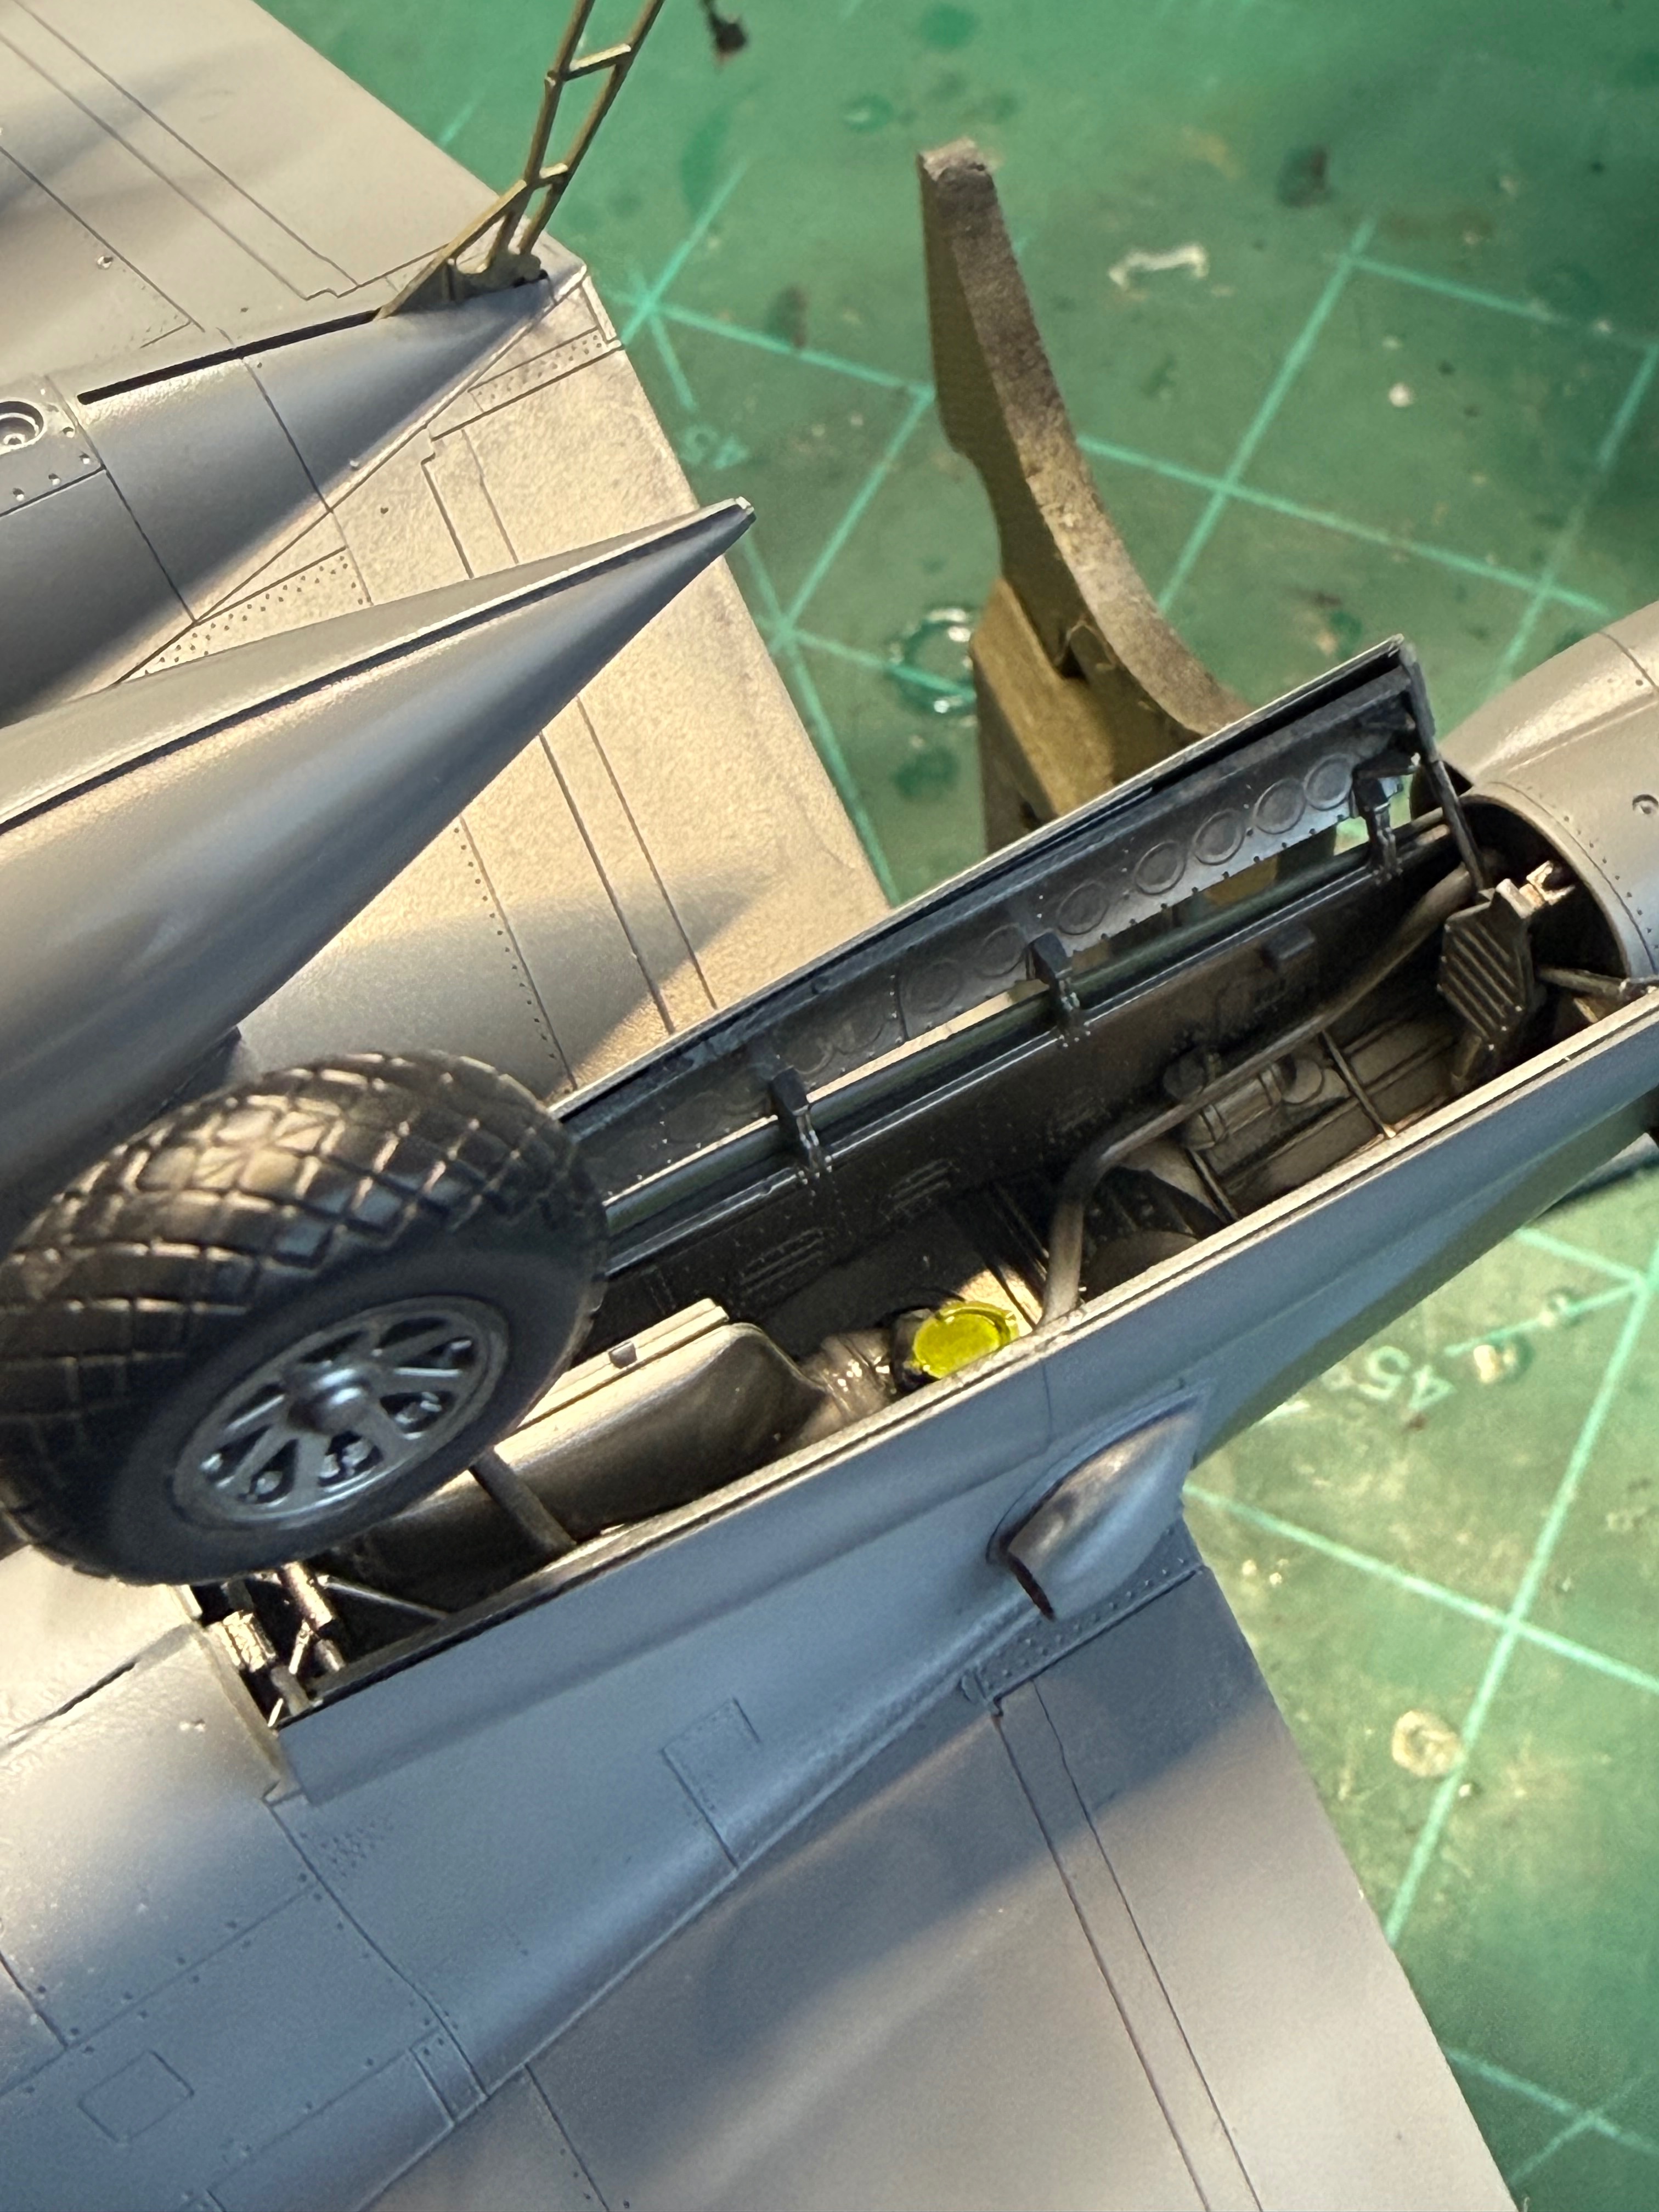
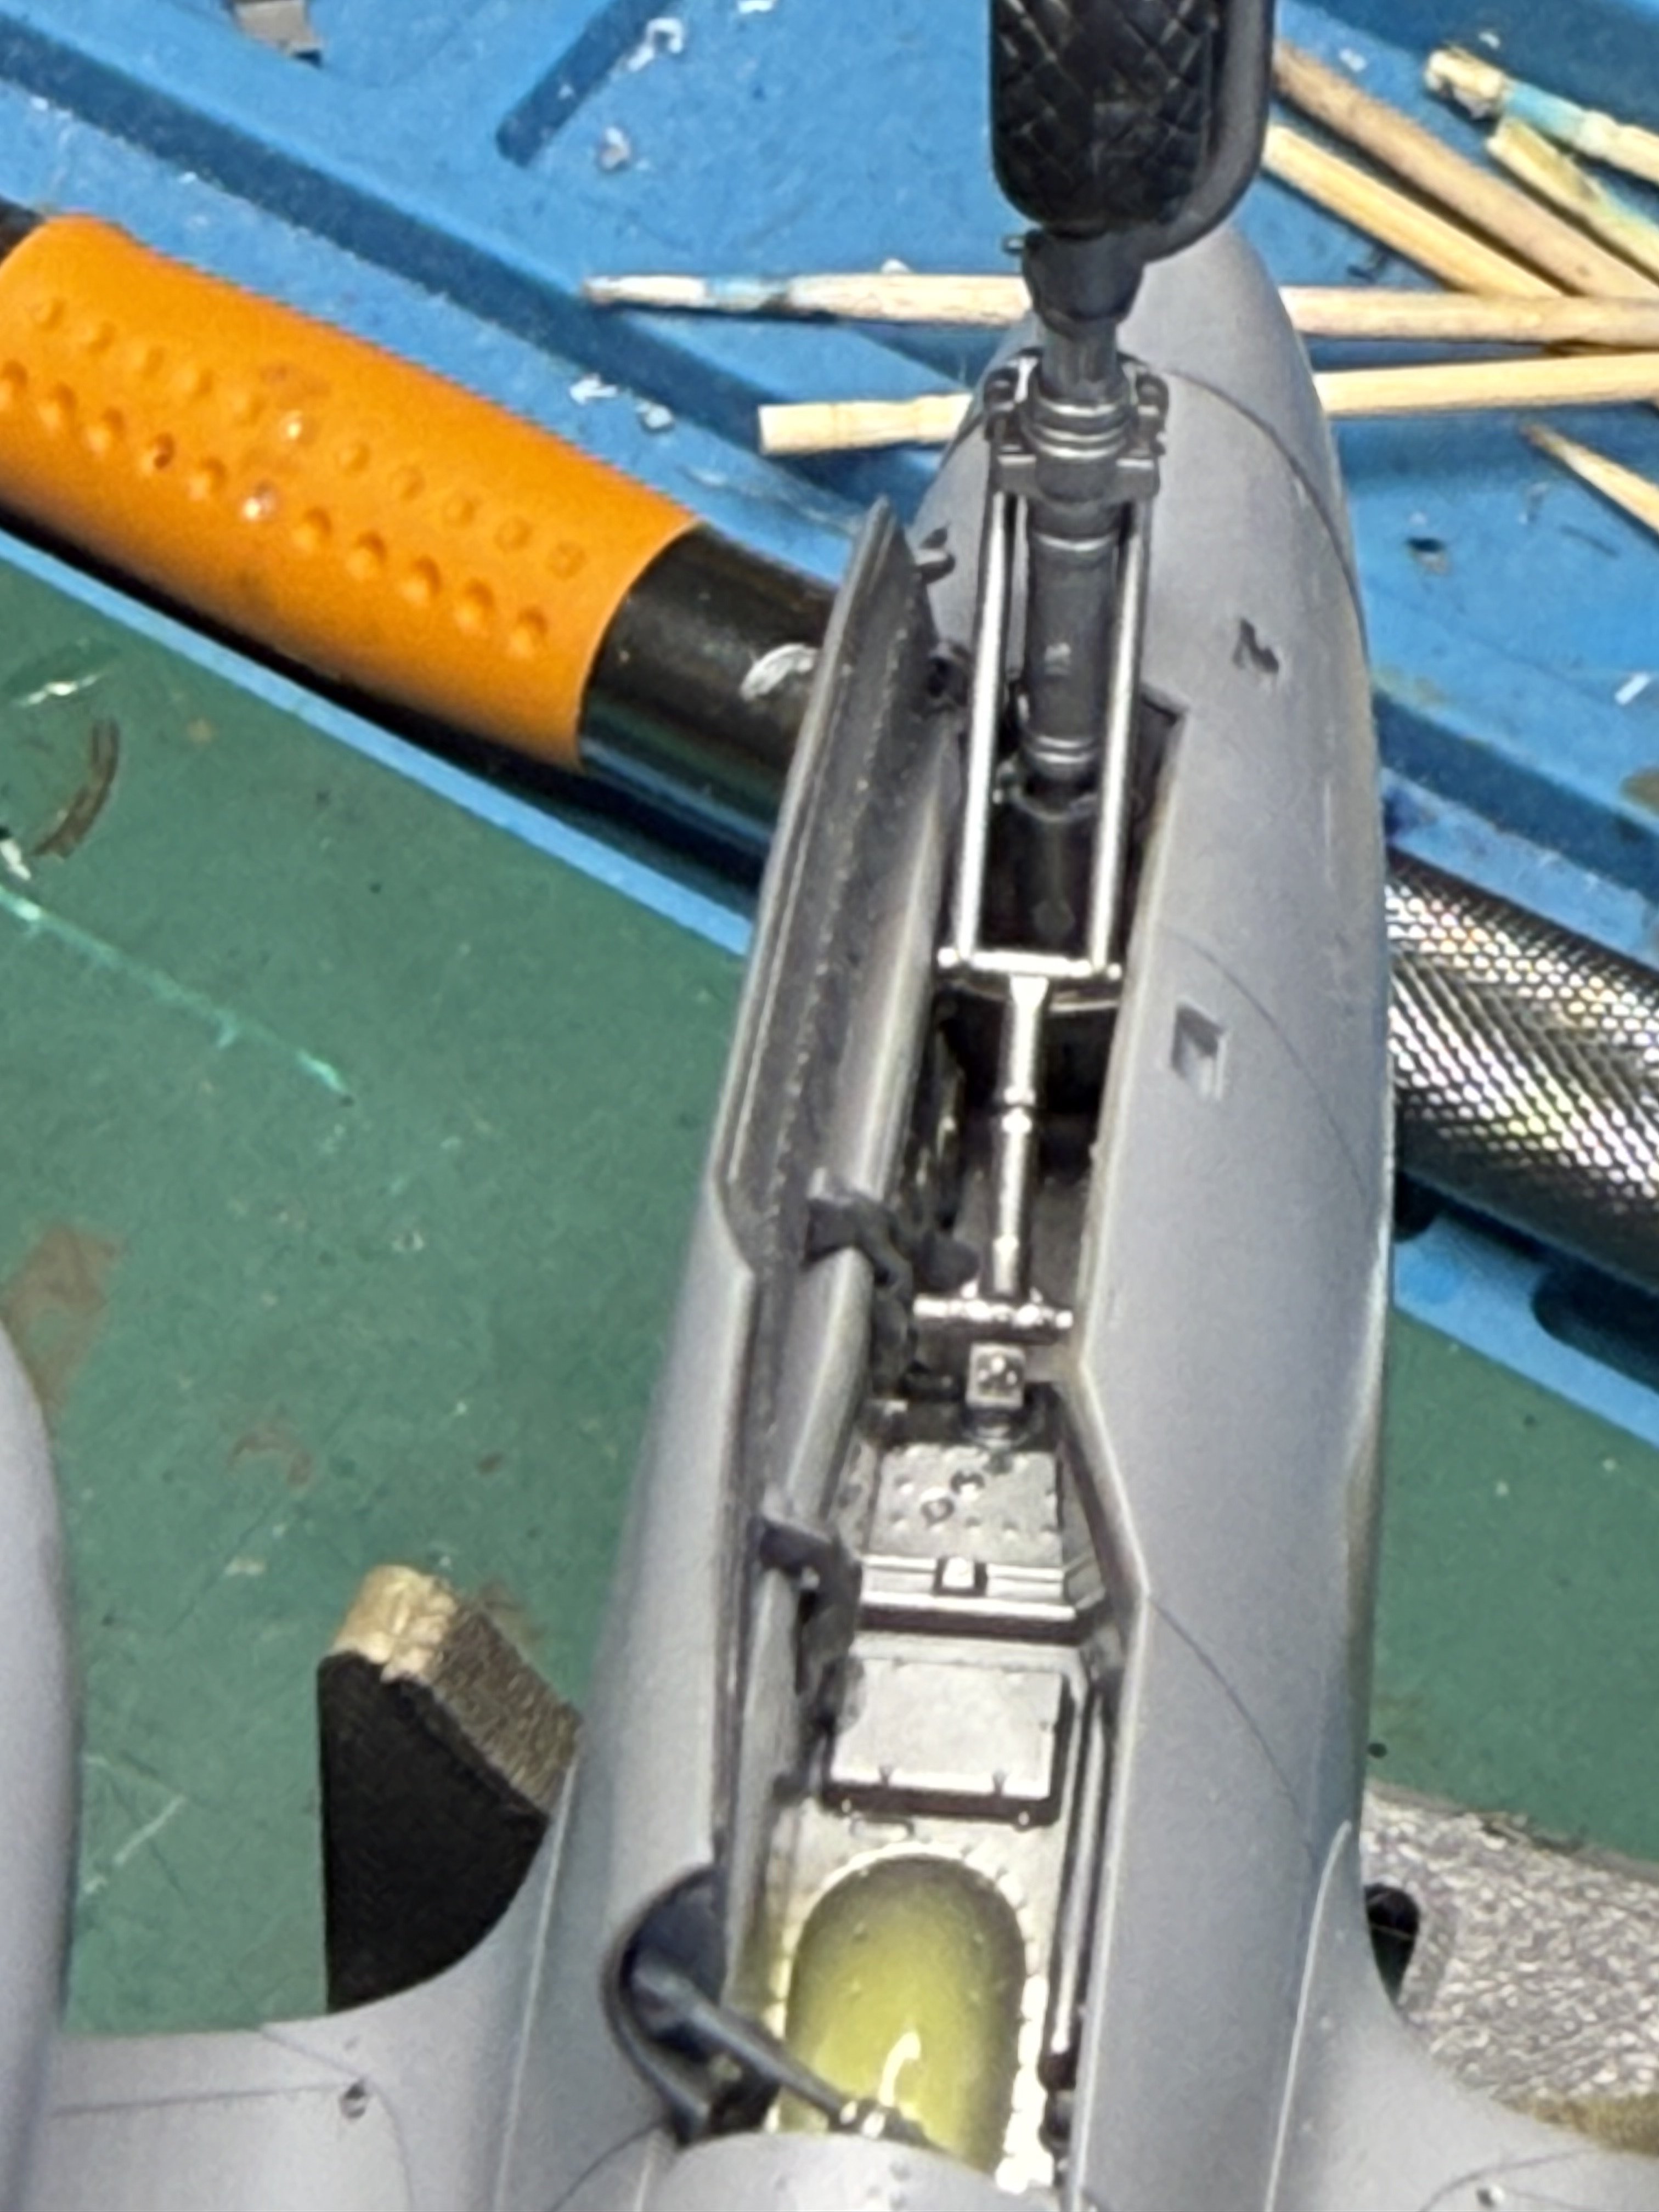
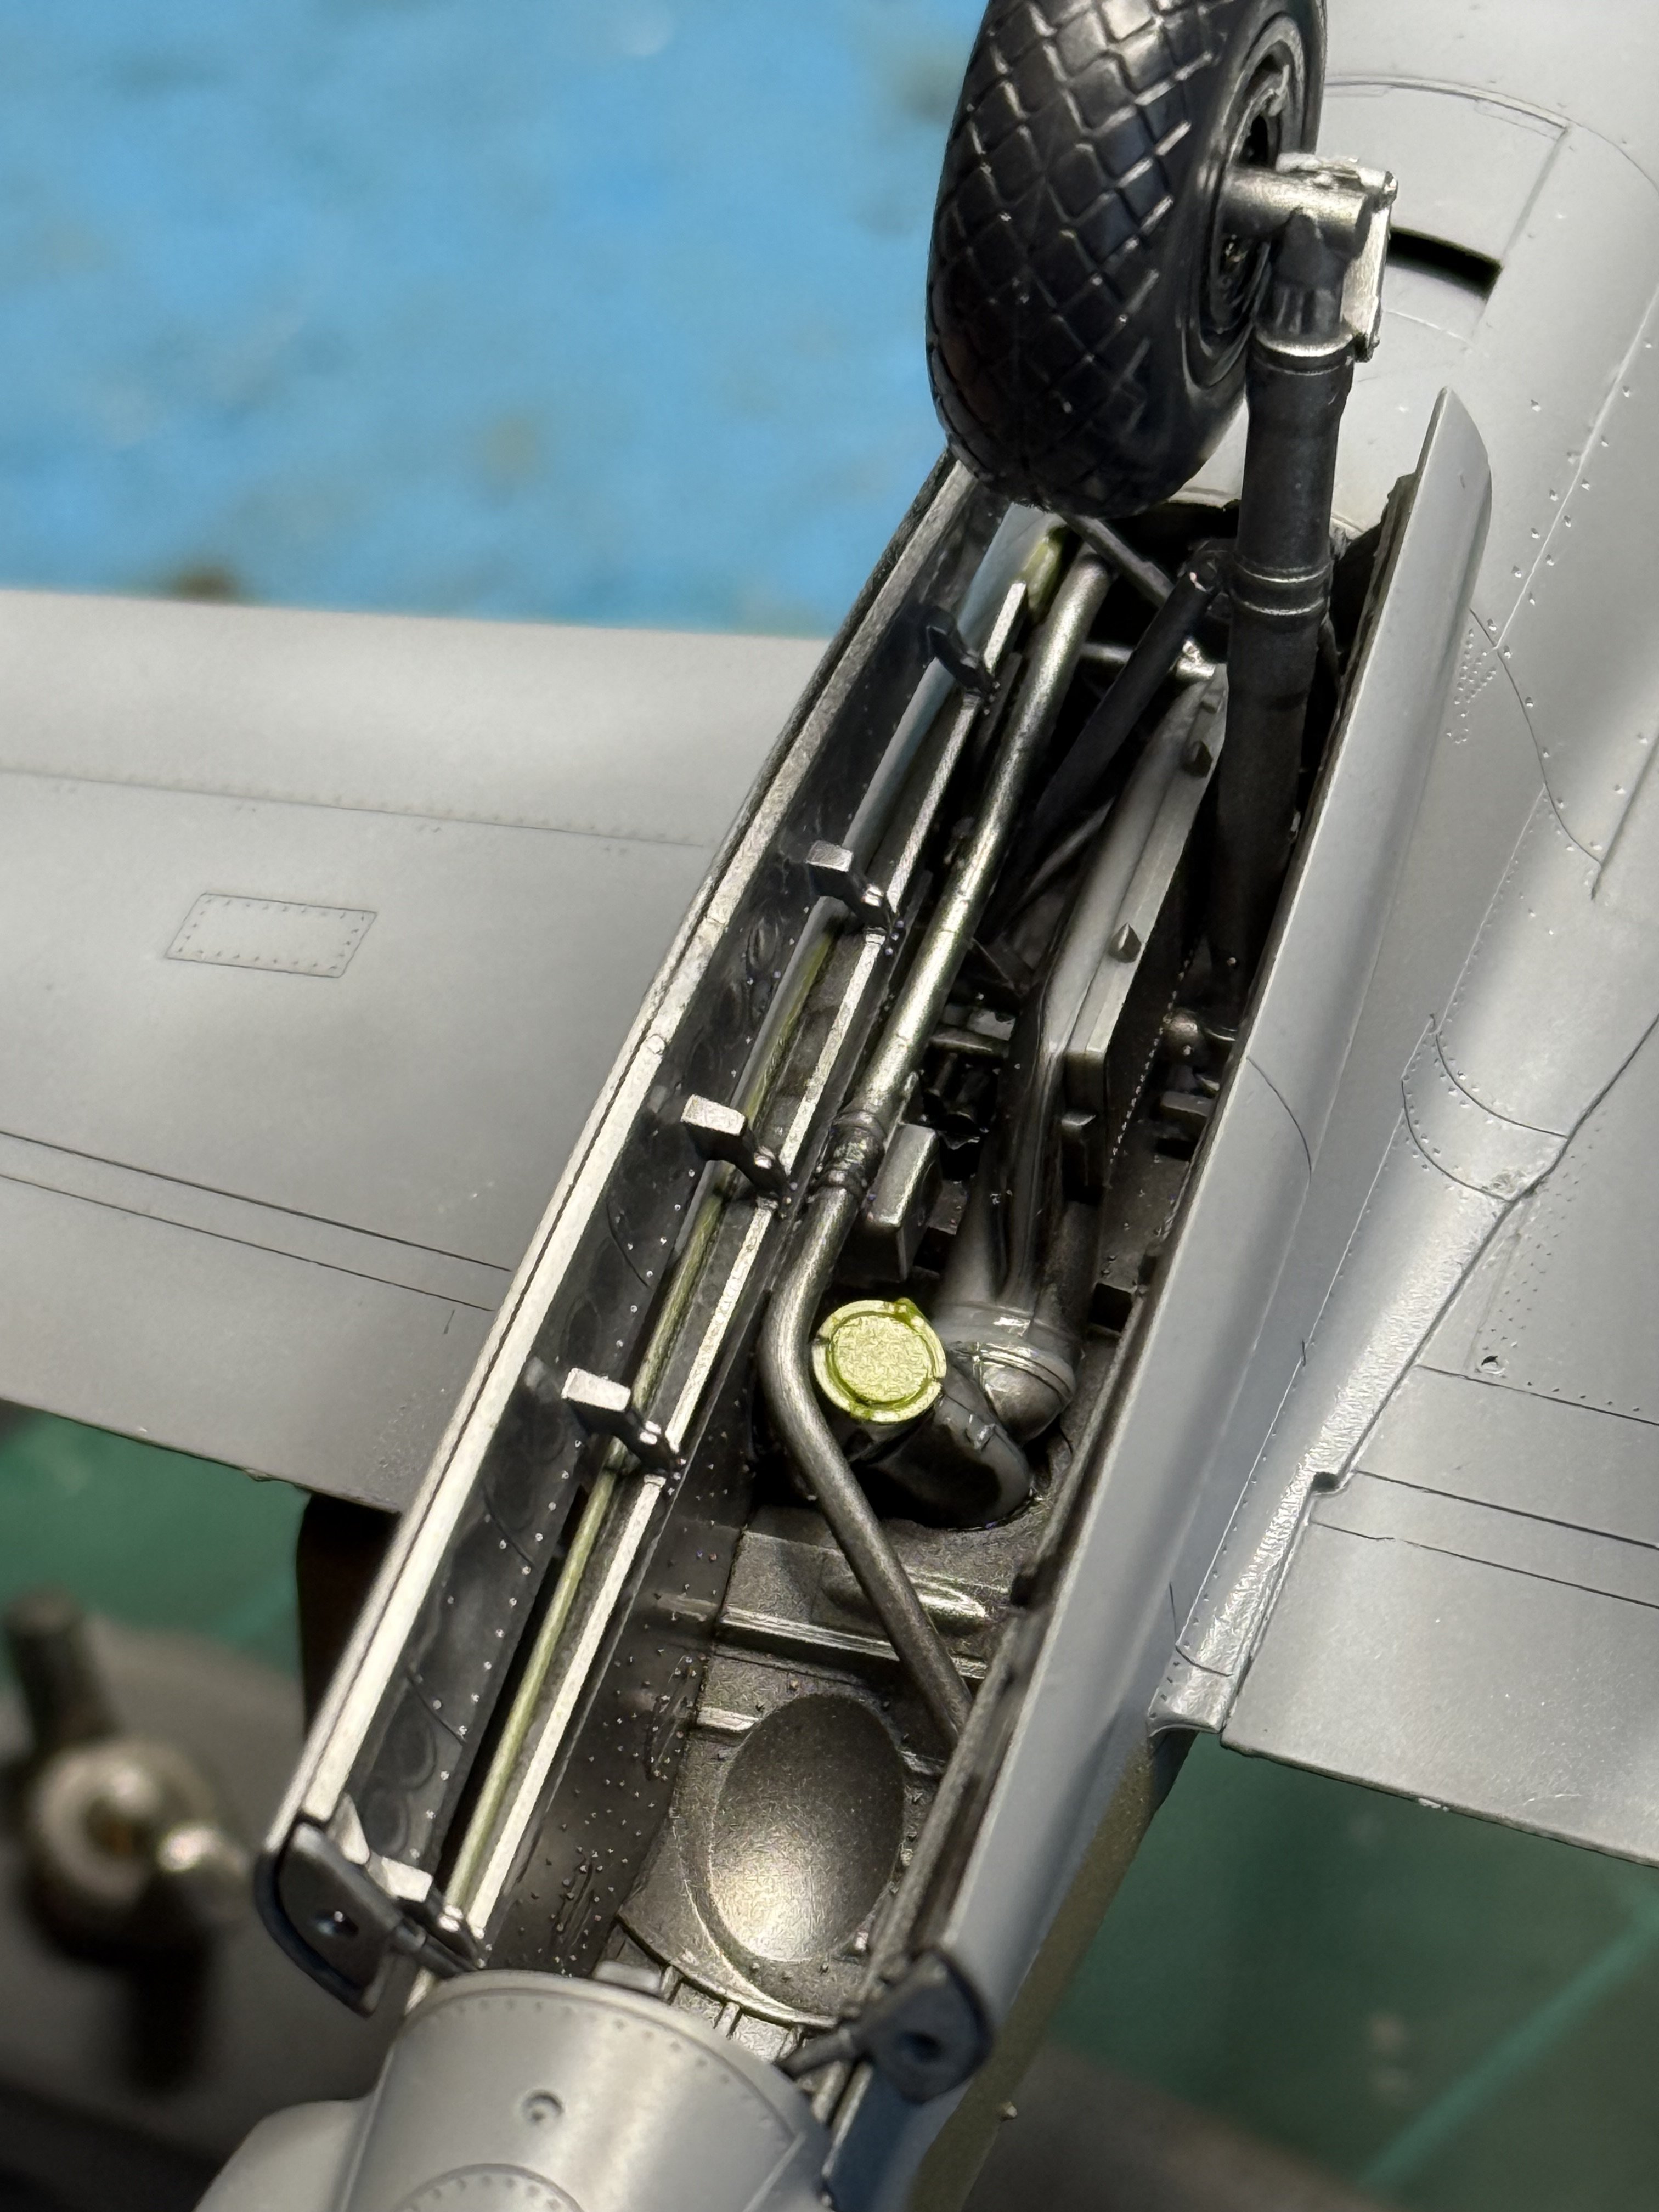
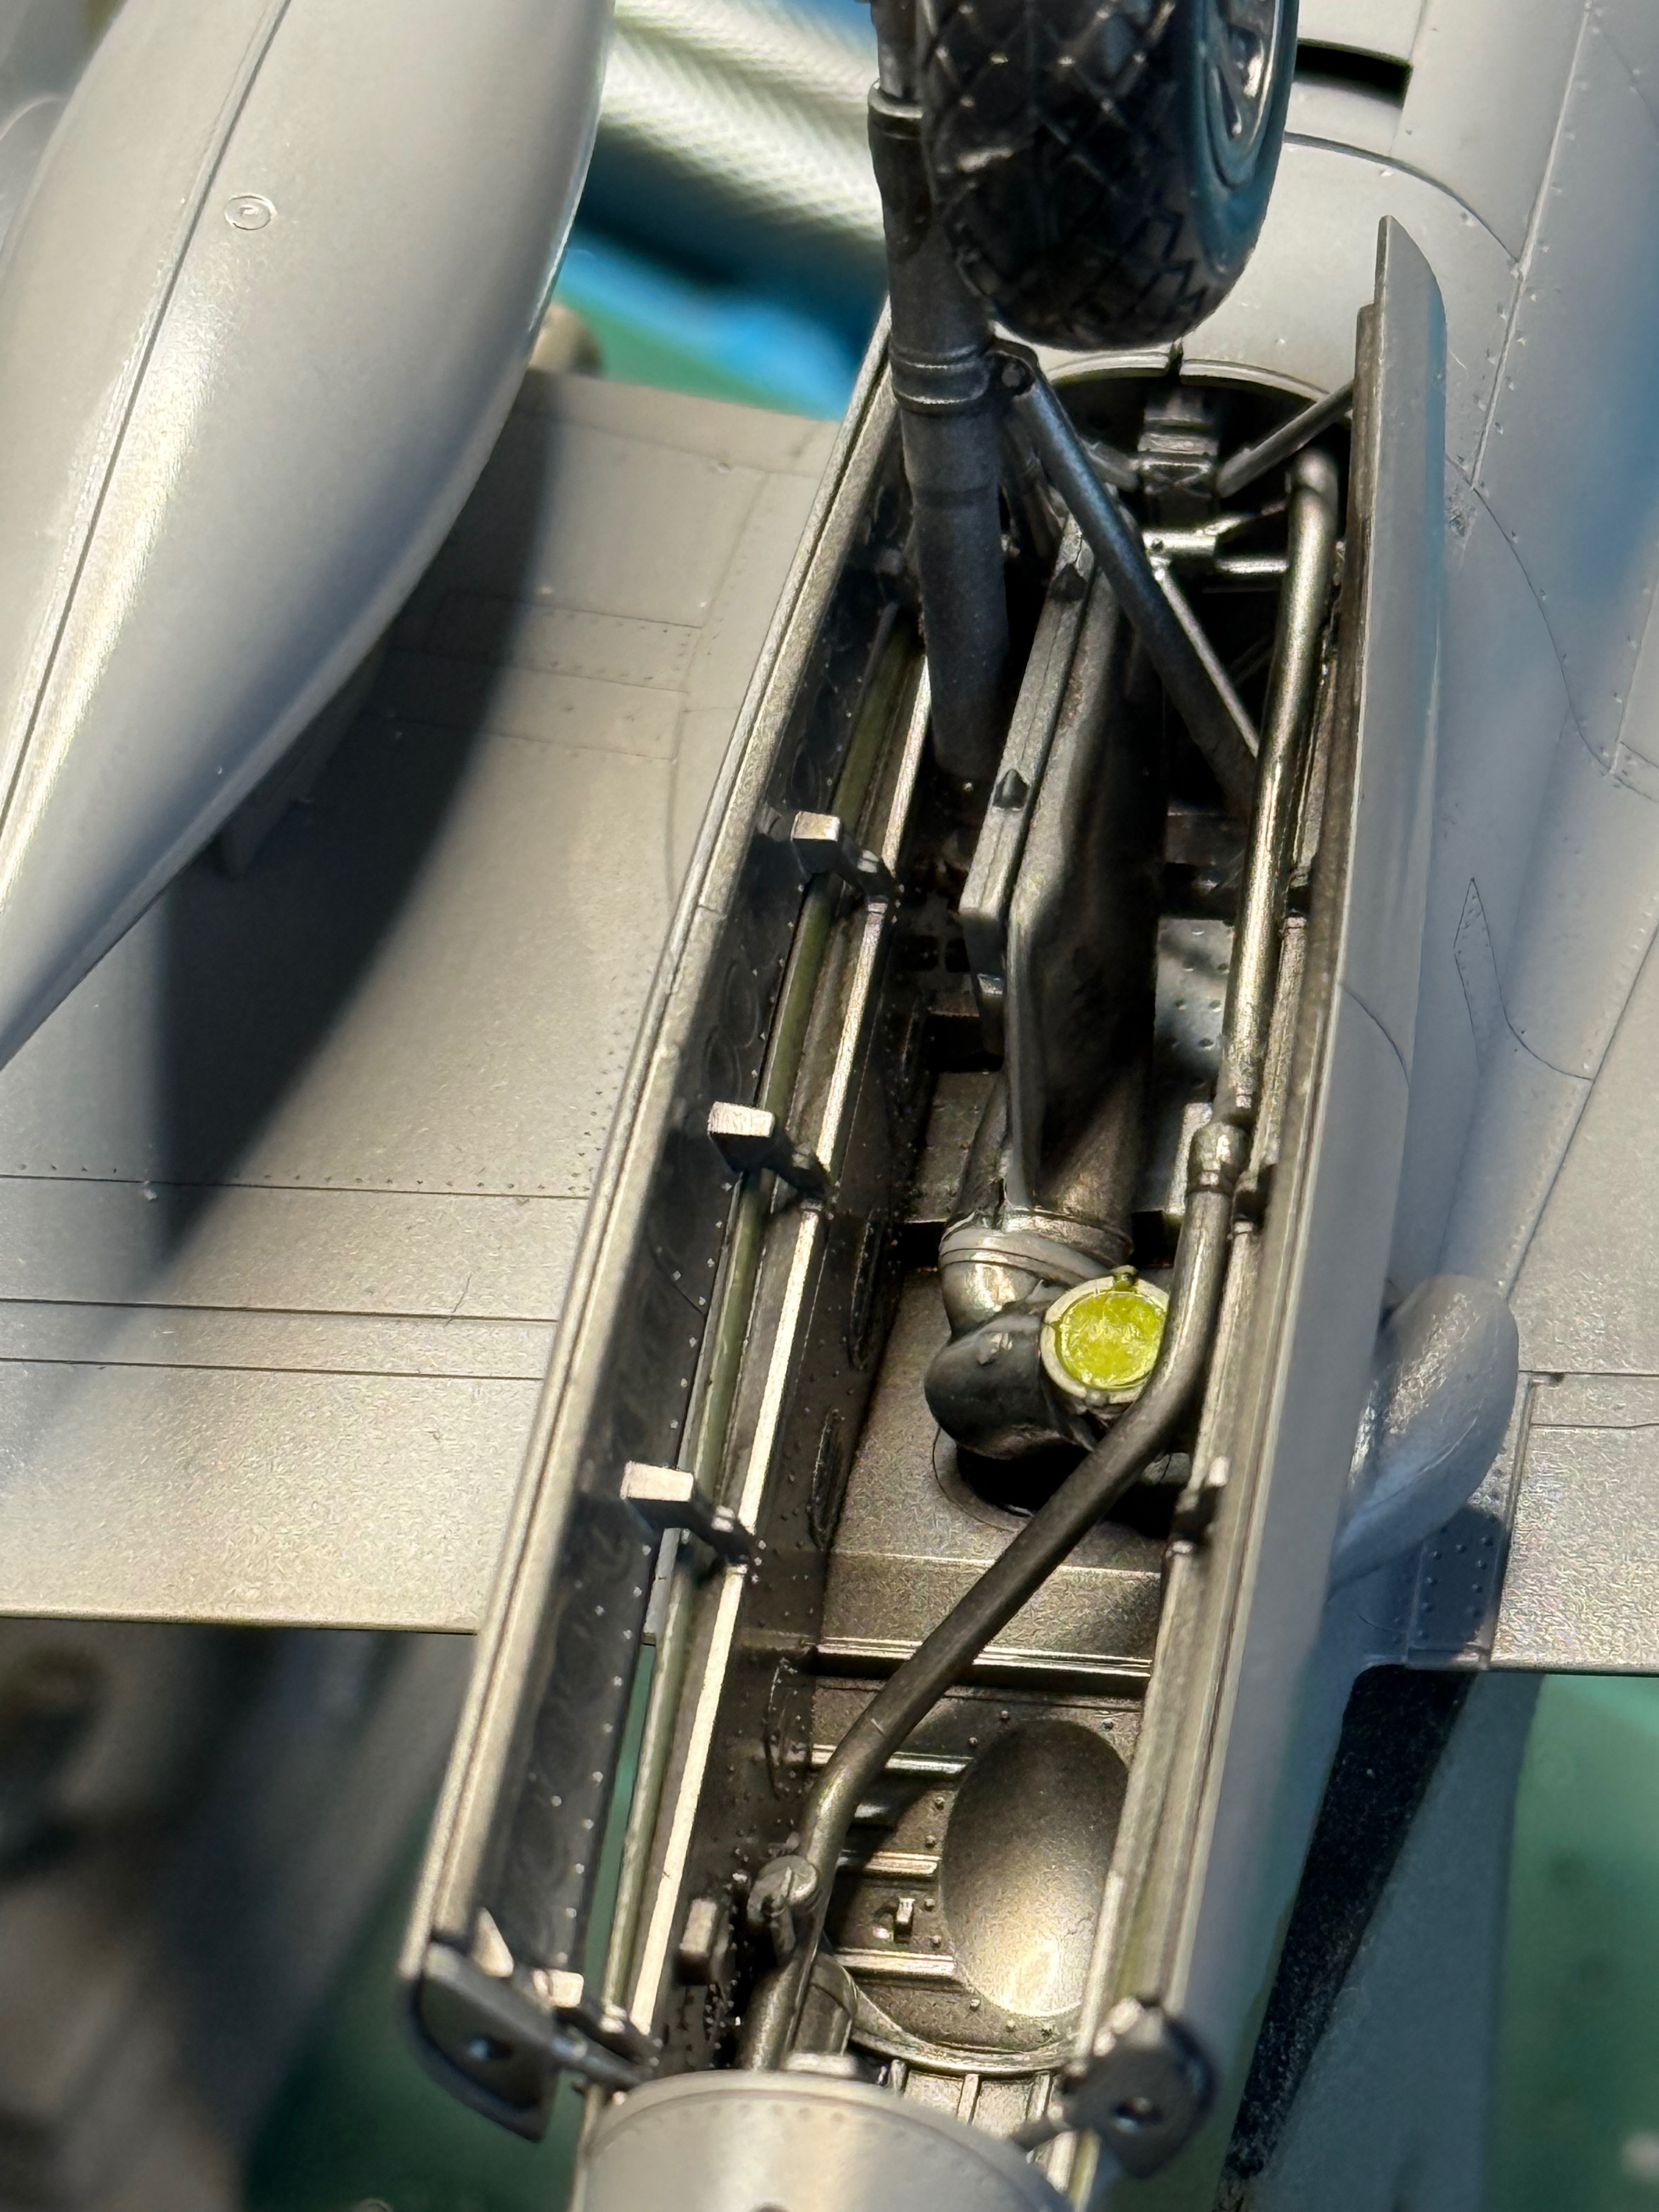
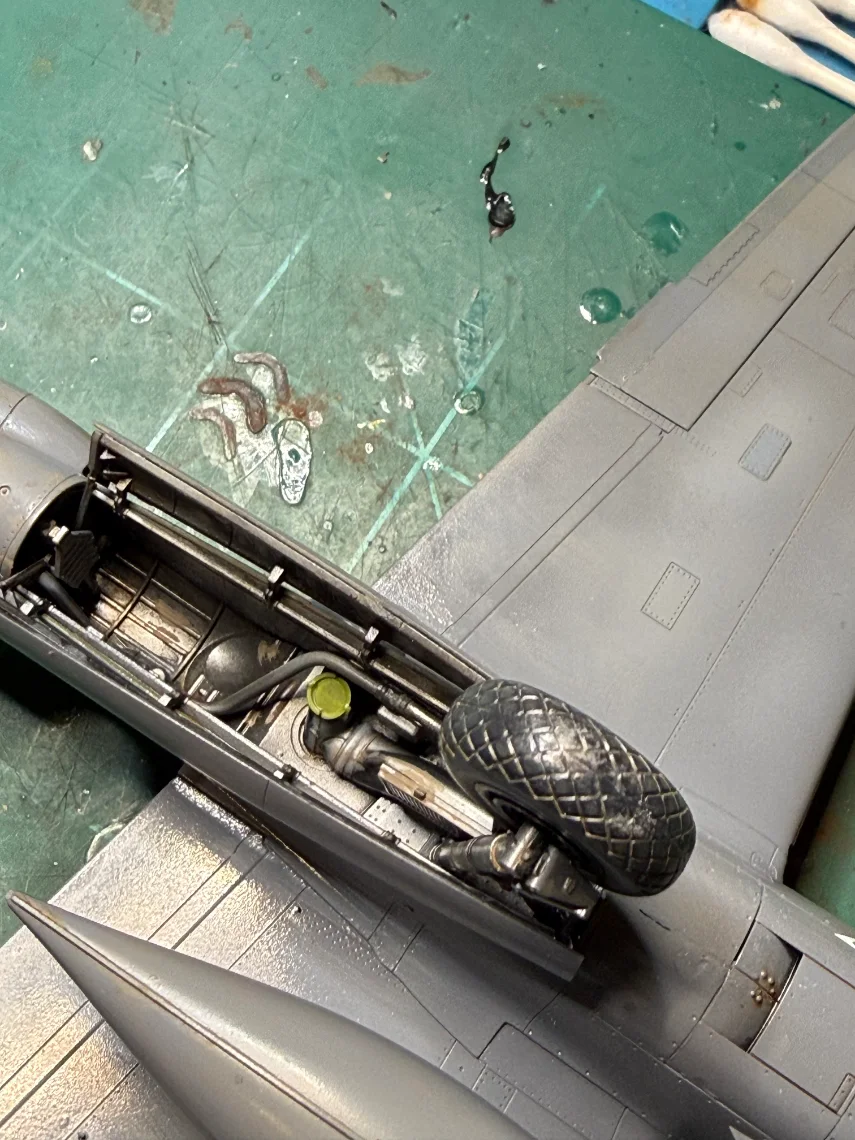
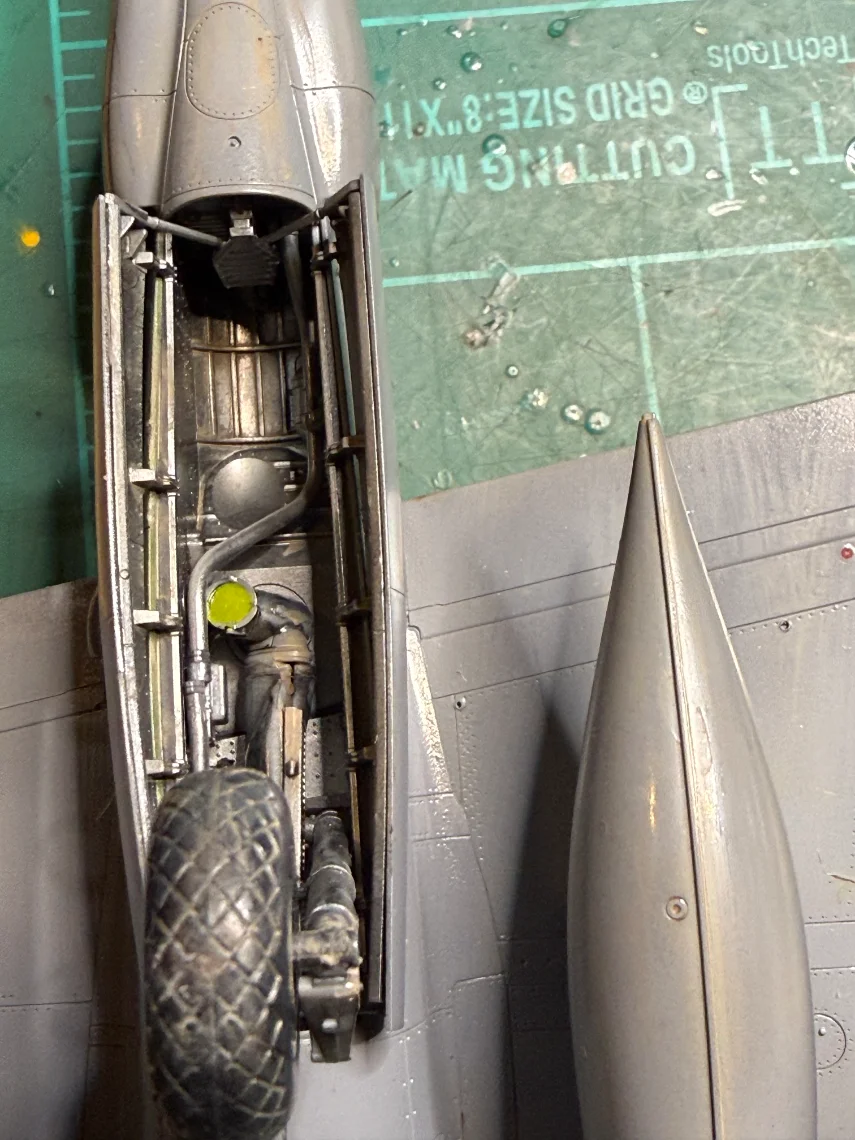
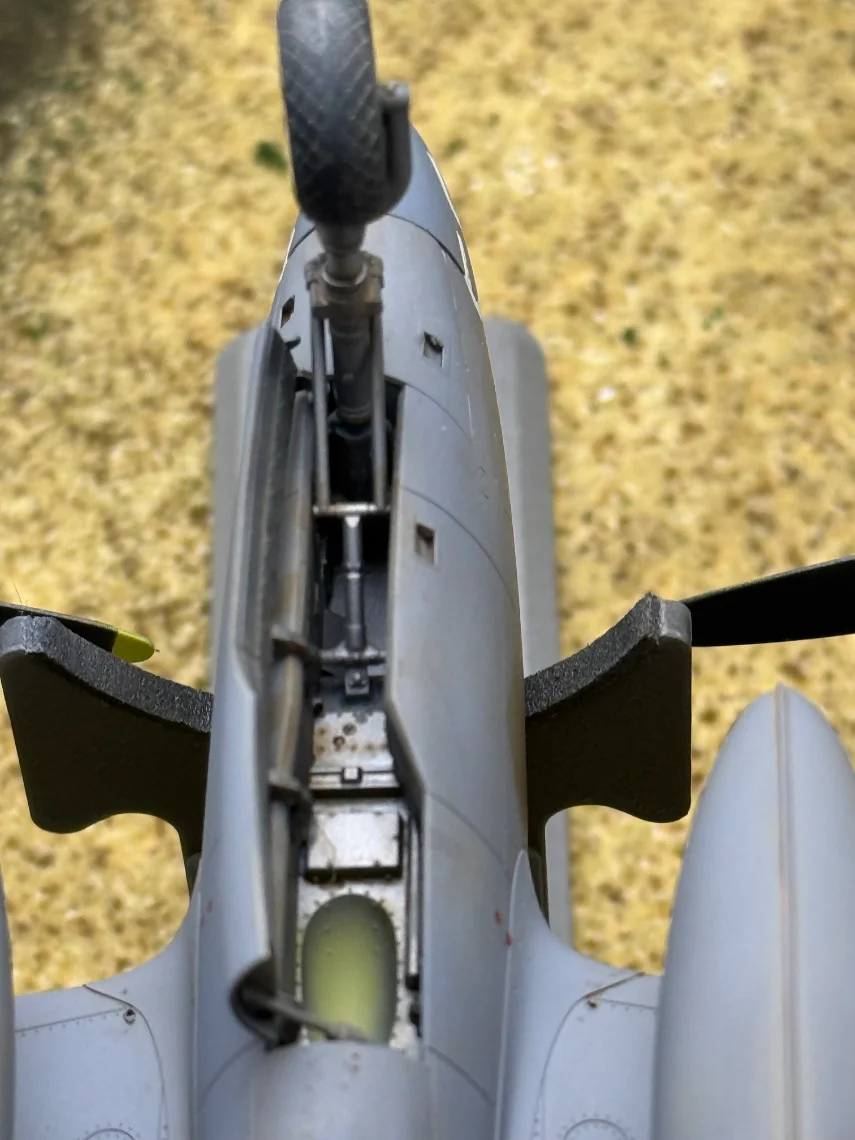
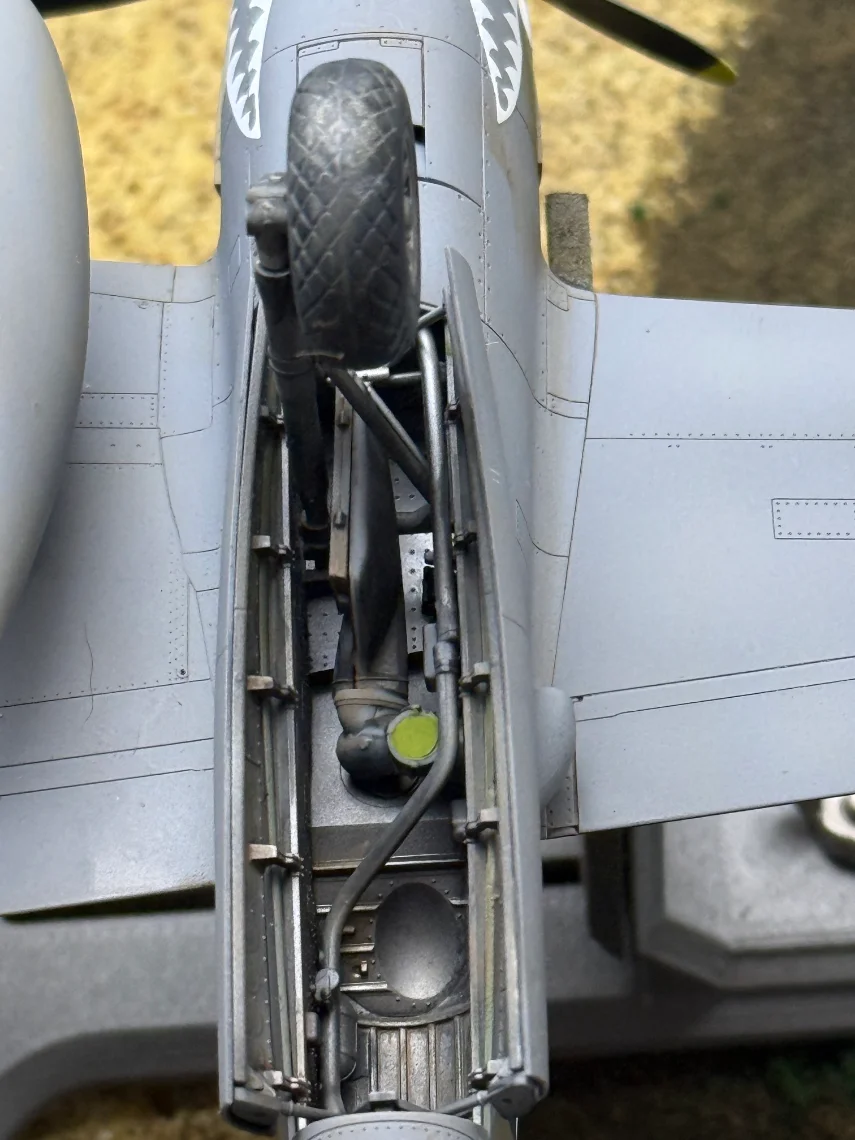
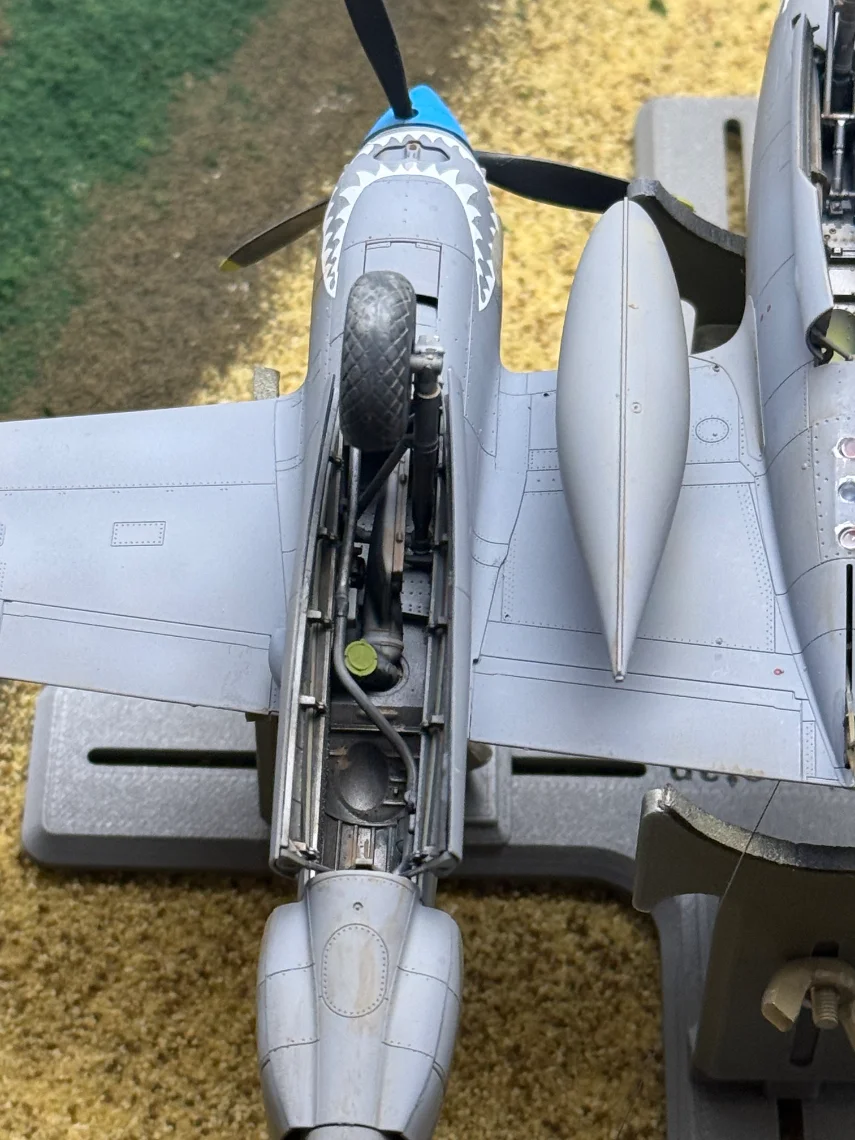
I love the detail on the main gear wheel wells. They even made the hinges! So nice to see.
 
When you get around to stickers, avoid a mistake I made...

The big chrome ovals, those are mirrors that go on the inside so the pilot could see if his gear were down.

:-)
 
When you get around to stickers, avoid a mistake I made...

The big chrome ovals, those are mirrors that go on the inside so the pilot could see if his gear were down.

:-)
Seriously? The diagram shows them going on the outside fuselage! I was wondering why. Where do they go inside??? The box art shows them on outside. As does the paint guide. Why do you say otherwise?
 
Seriously? The diagram shows them going on the outside fuselage! I was wondering why. Where do they go inside??? The box art shows them on outside. As does the paint guide. Why do you say otherwise?
They go on the inside of each engine nacelle so that the pilot can see whether his landing gear is down. The pilot looked at the right mirror to see his left landing gear, and in the left mirror to see his right landing gear.
 
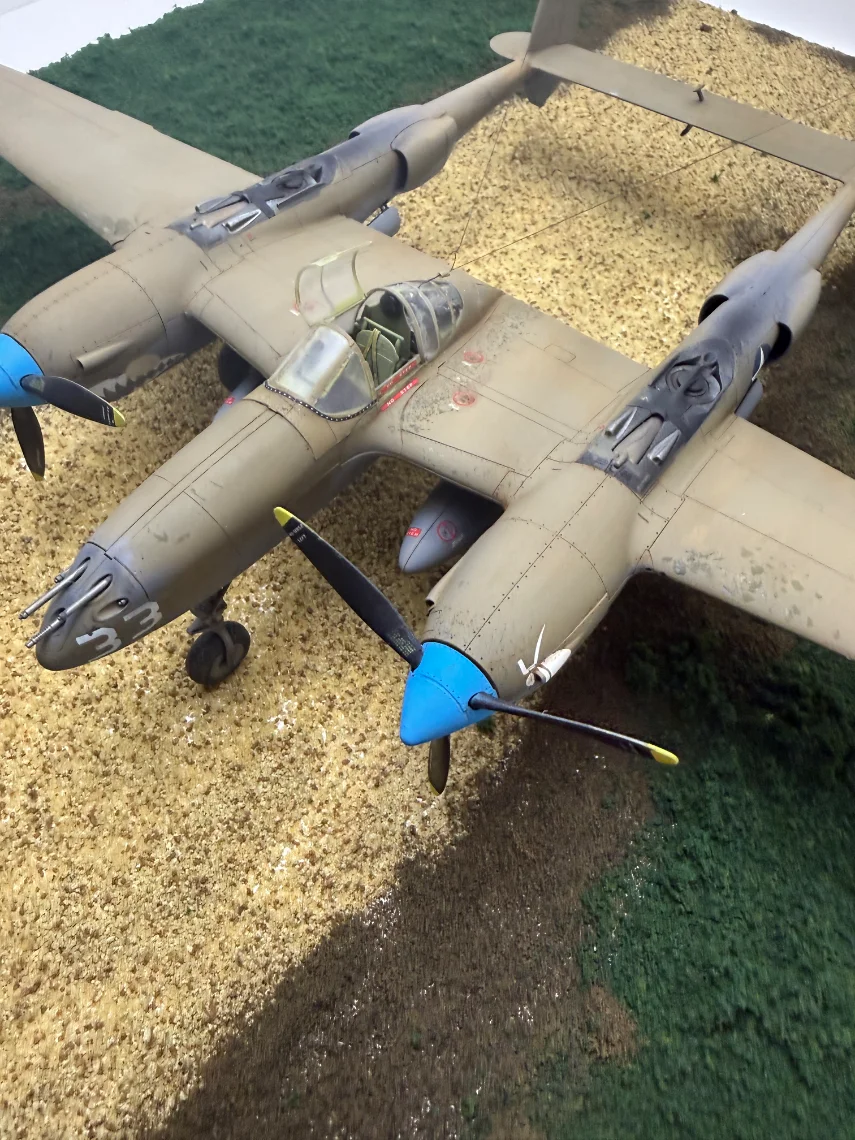
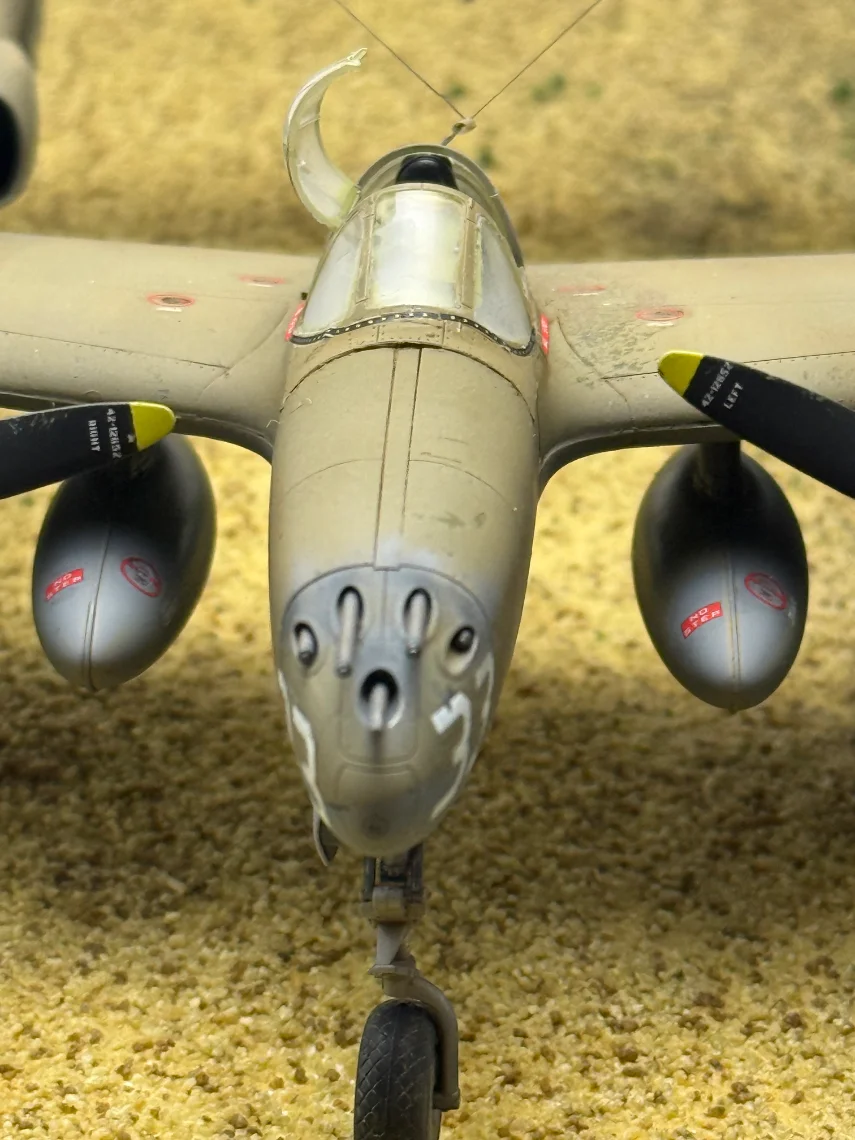
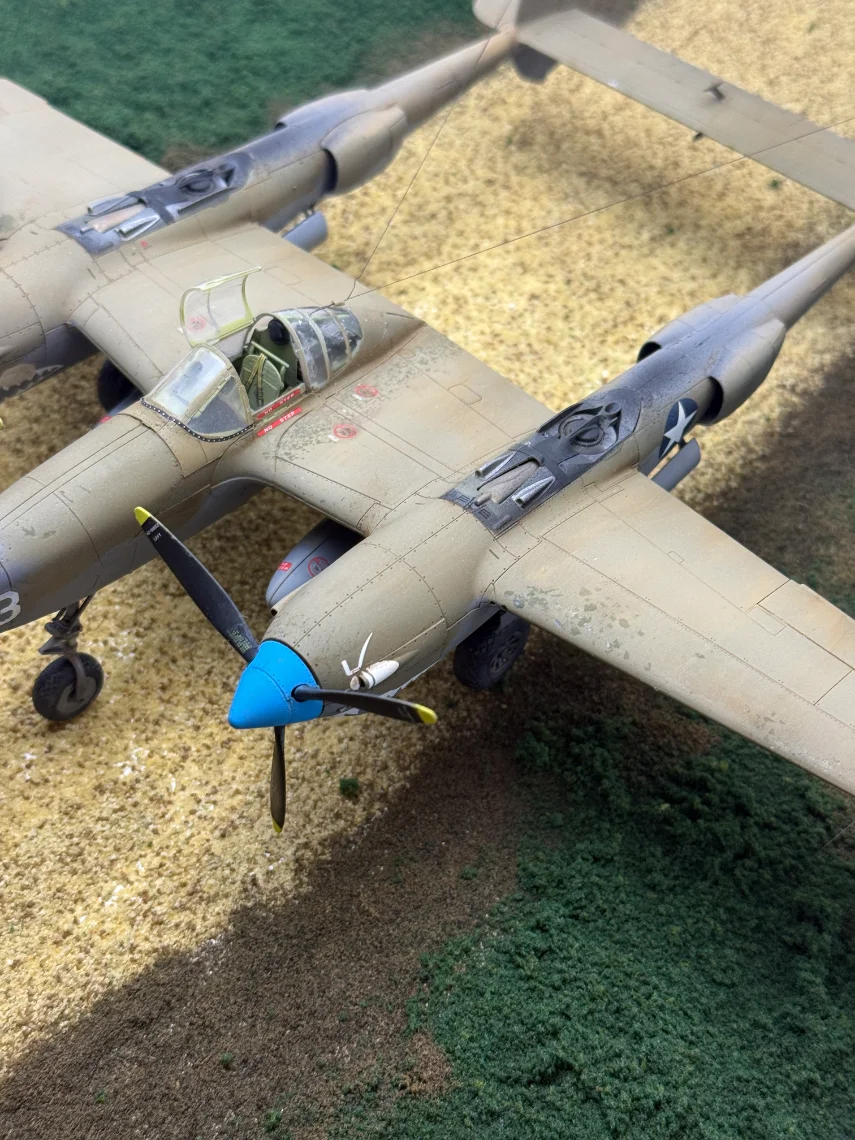
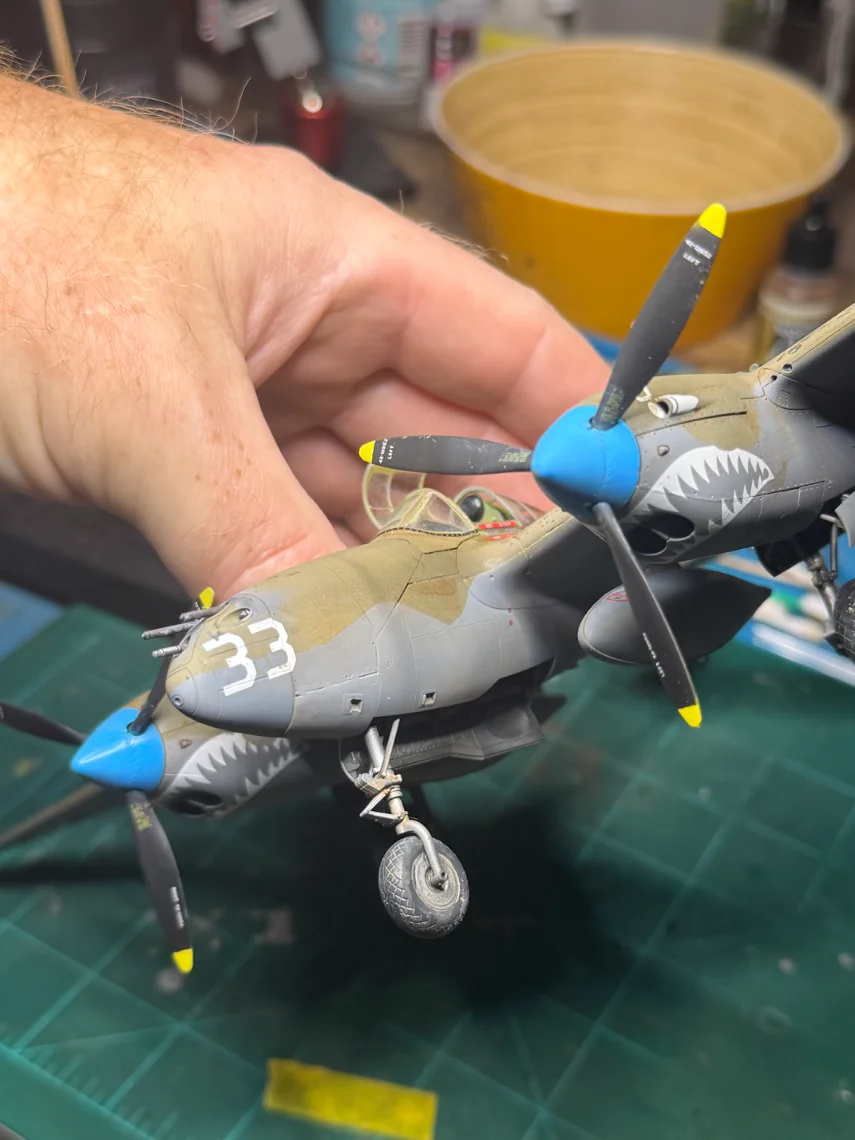
Applied decals today. Not sure that I'm going to do all of these. At this scale the wording just ends up looking like flaws in the paint. I've applied all the decals that have contrasting color. Screwed up on the right side mouth alignment, left boom was much better. The steel weights they provided for this kit really make the plane feel much more substantial when I pick it up. Funny because it's still just flimsy plastic…or has it become a p38?
 

Attachments

  • IMG_9046.jpeg
    IMG_9046.jpeg
    409.7 KB
  • IMG_9047.jpeg
    IMG_9047.jpeg
    364.5 KB
  • IMG_9048.jpeg
    IMG_9048.jpeg
    355.9 KB
  • IMG_9049.jpeg
    IMG_9049.jpeg
    299.5 KB
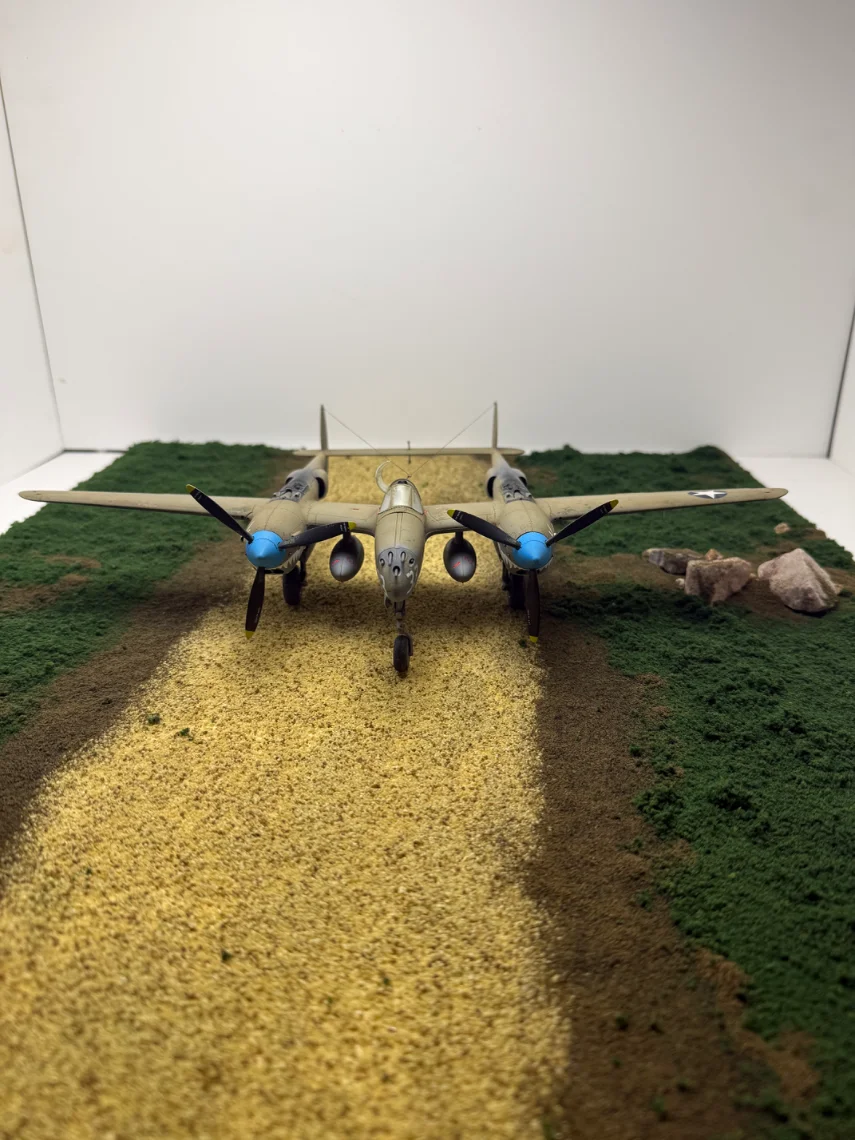
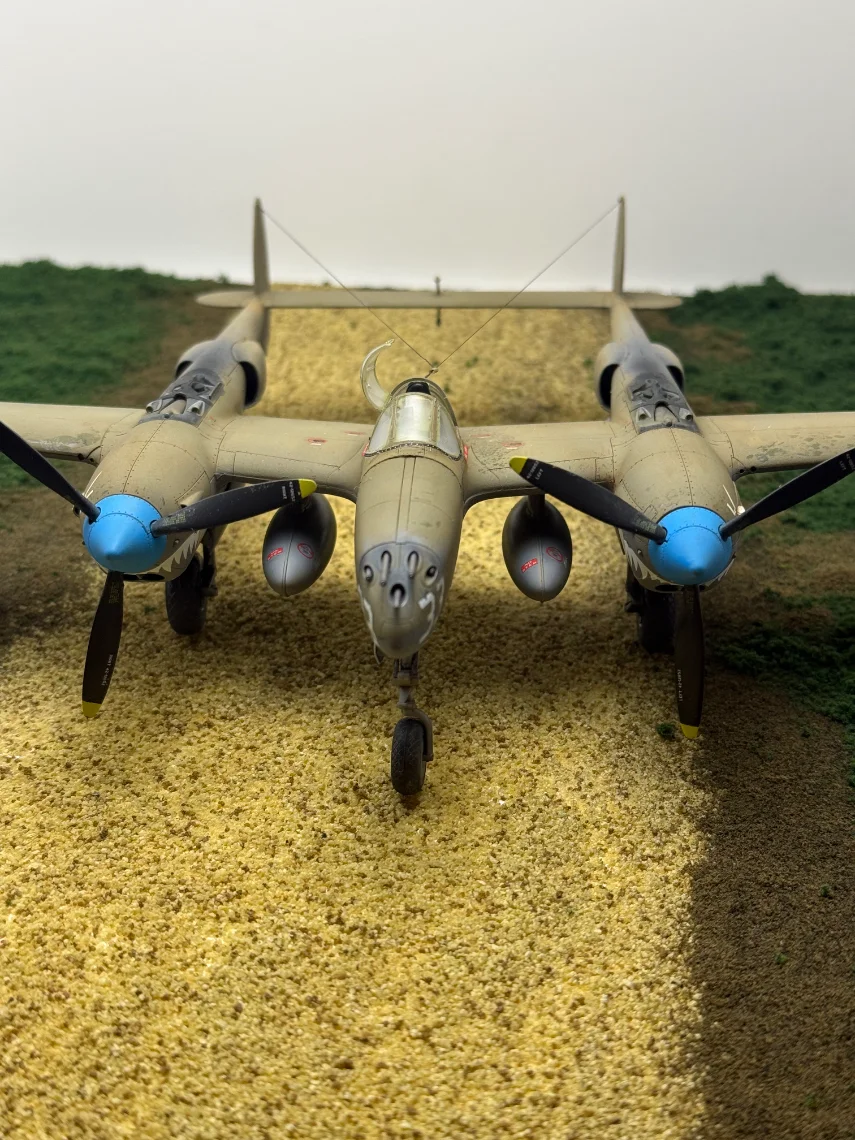
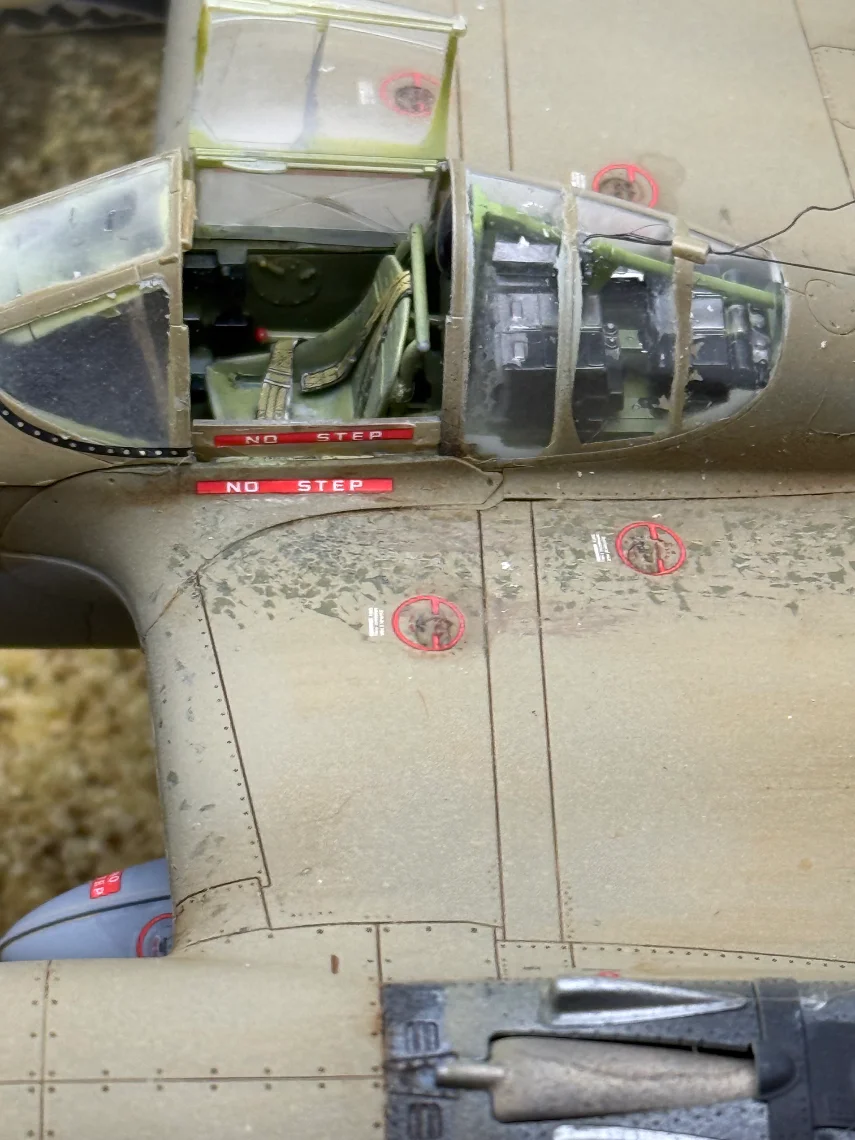
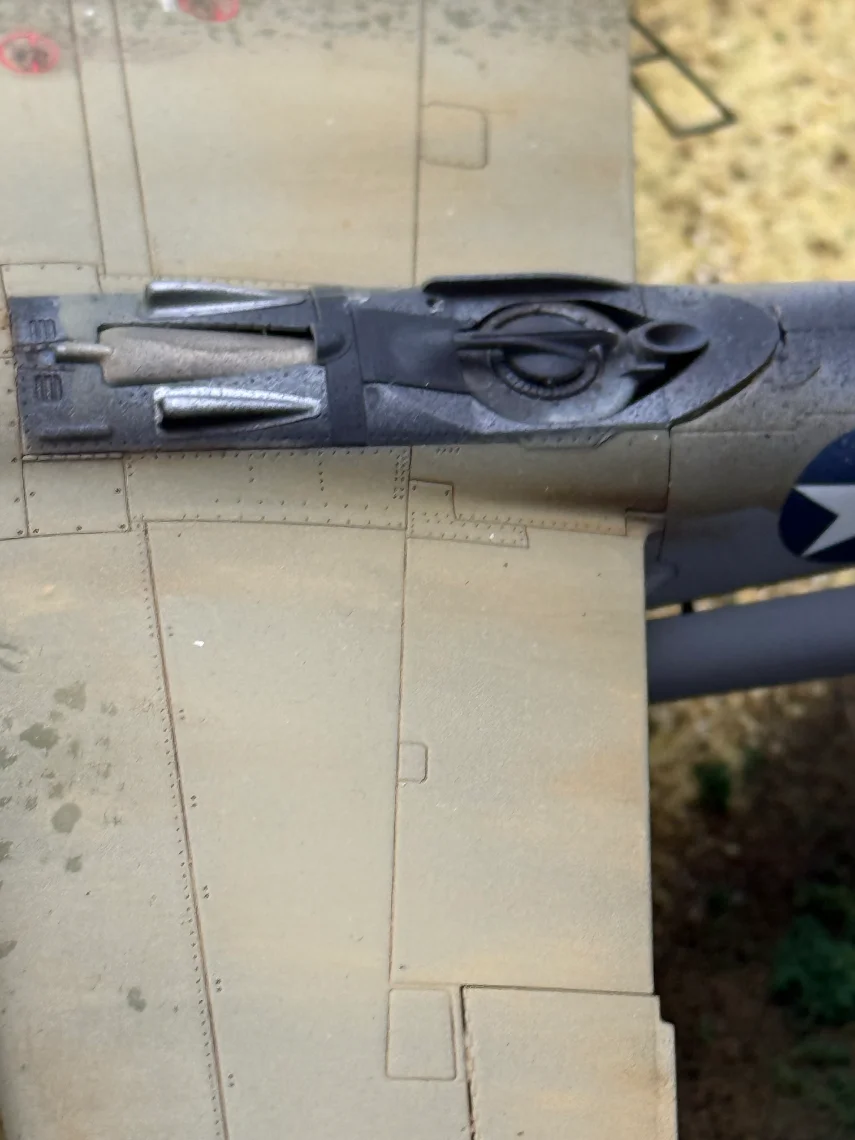
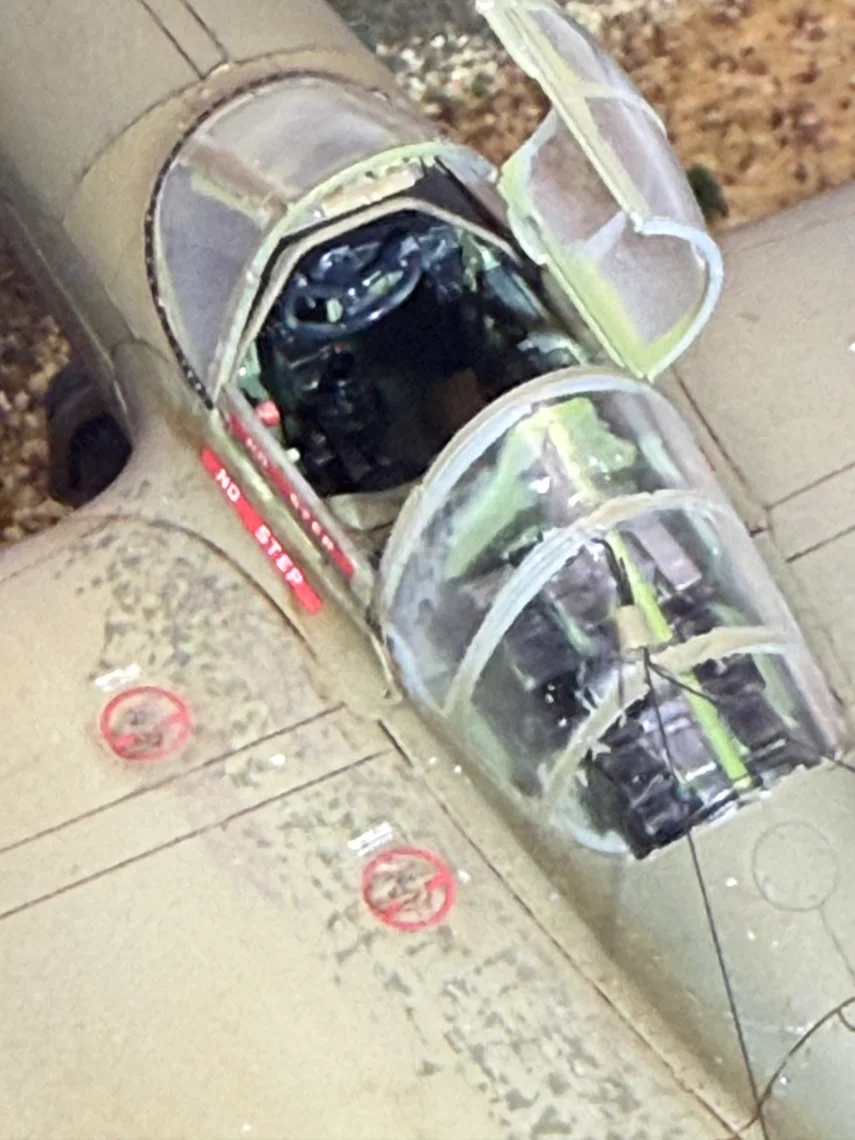
Used some glue applicator tubing to make insulators , applied a bit more varnish and did some touch up. Frustrated because the canopy frosted on me. I should have removed it but by the time I had thought to do so had applied the decals around the canopy so I couldn't. Except for the foggy glass I'm very pleased with this build.
 

Attachments

  • IMG_9152.webp
    IMG_9152.webp
    156.9 KB
  • IMG_9162.webp
    IMG_9162.webp
    209.5 KB
  • IMG_9163.webp
    IMG_9163.webp
    129.7 KB
  • IMG_9164.webp
    IMG_9164.webp
    187.6 KB
  • IMG_9165.webp
    IMG_9165.webp
    100.5 KB
  • IMG_9166.webp
    IMG_9166.webp
    201.6 KB
  • IMG_9167.webp
    IMG_9167.webp
    107.7 KB
  • IMG_9168.webp
    IMG_9168.webp
    61 KB
  • IMG_9169.webp
    IMG_9169.webp
    211.7 KB
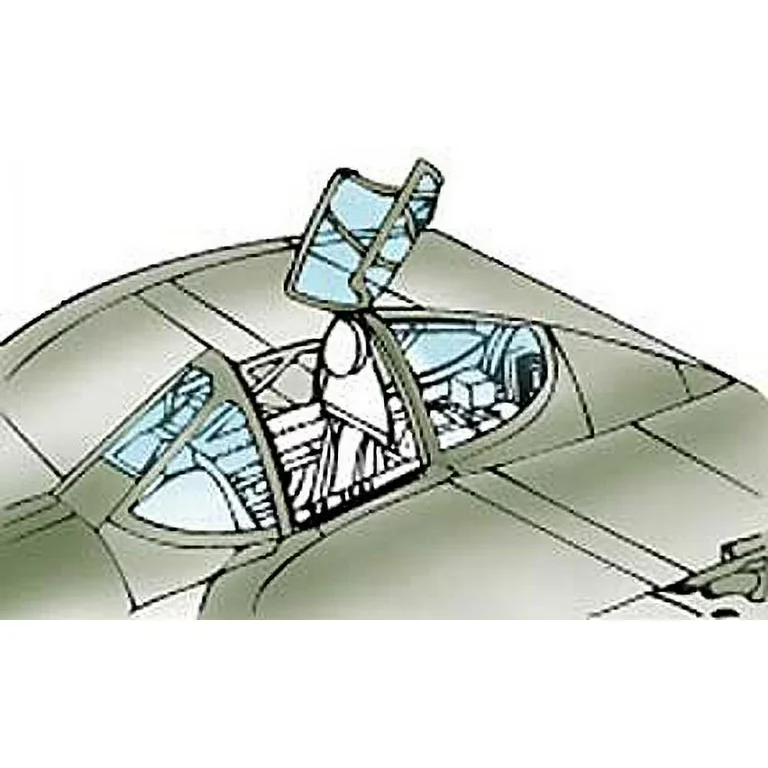
Check your references, I'm not positive about the F model, but I'm pretty sure all the canopies were similar in their opening mechanism.

The two side panels "rolled down" into the fuselage similar to an automobile, and the top part was hinged in the back. A latch was released up in the front and it flipped backwards on that hinge.

1785760454734.webp
 

Latest posts

Back
Top