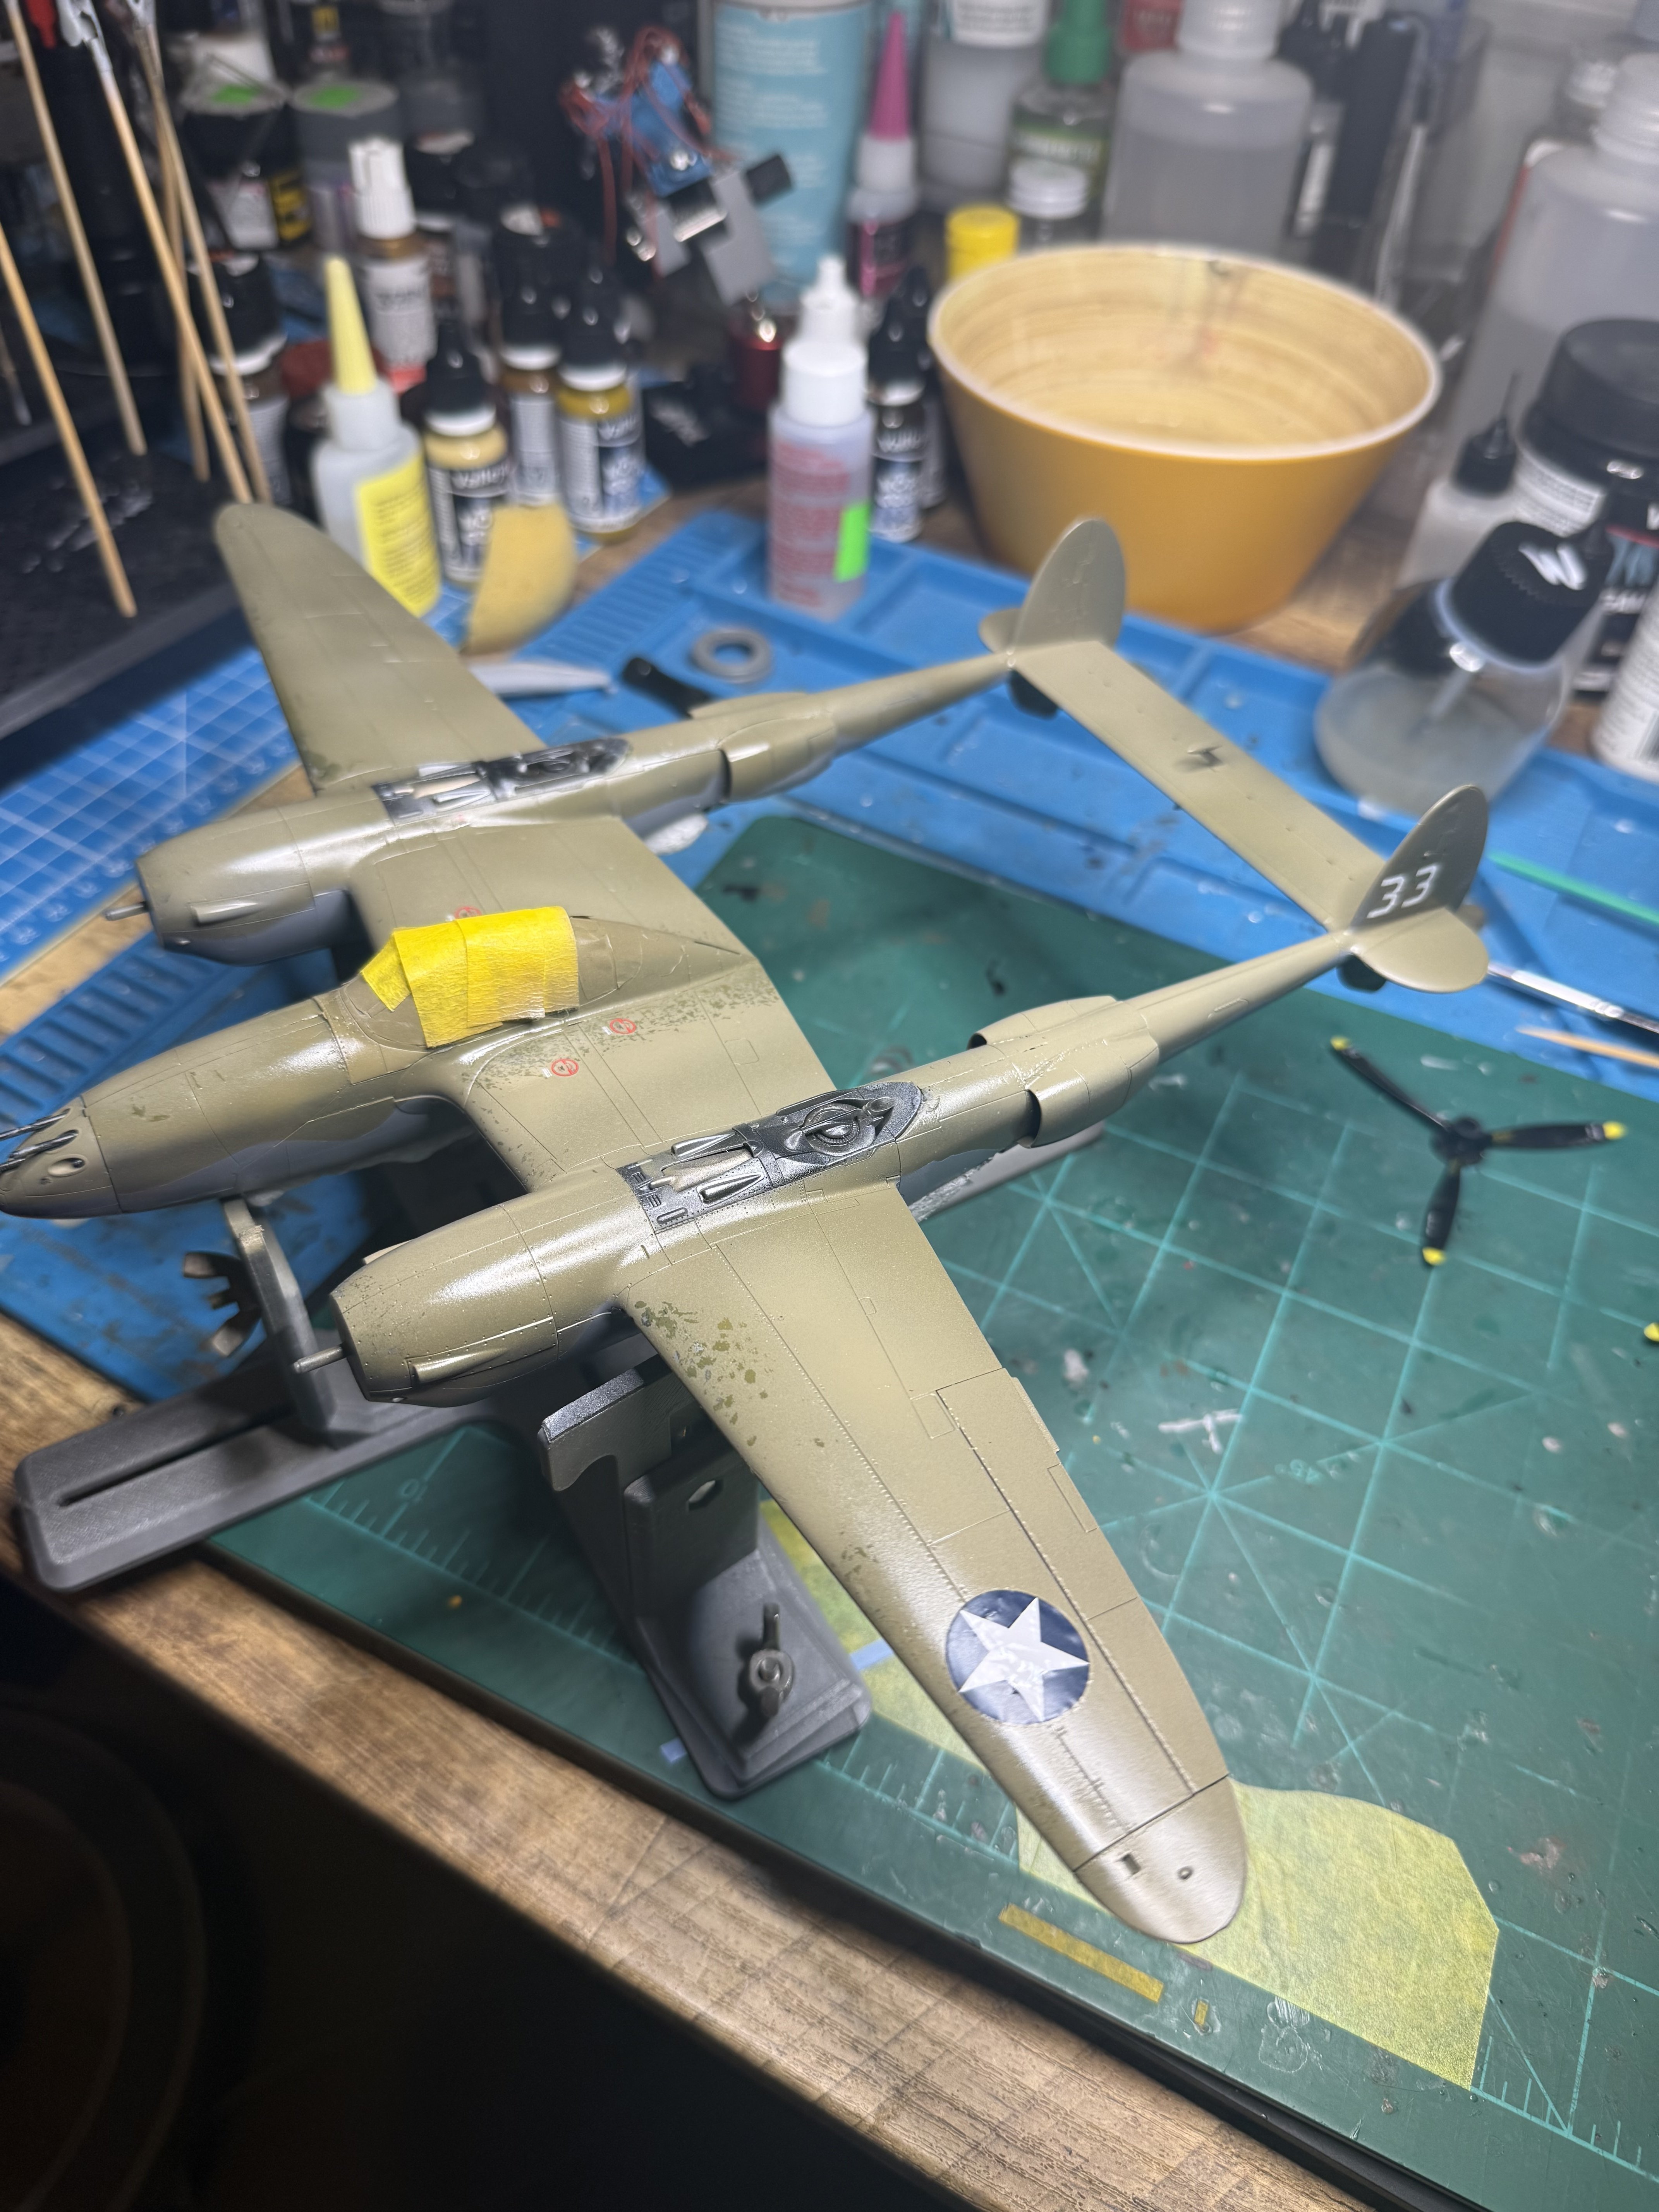
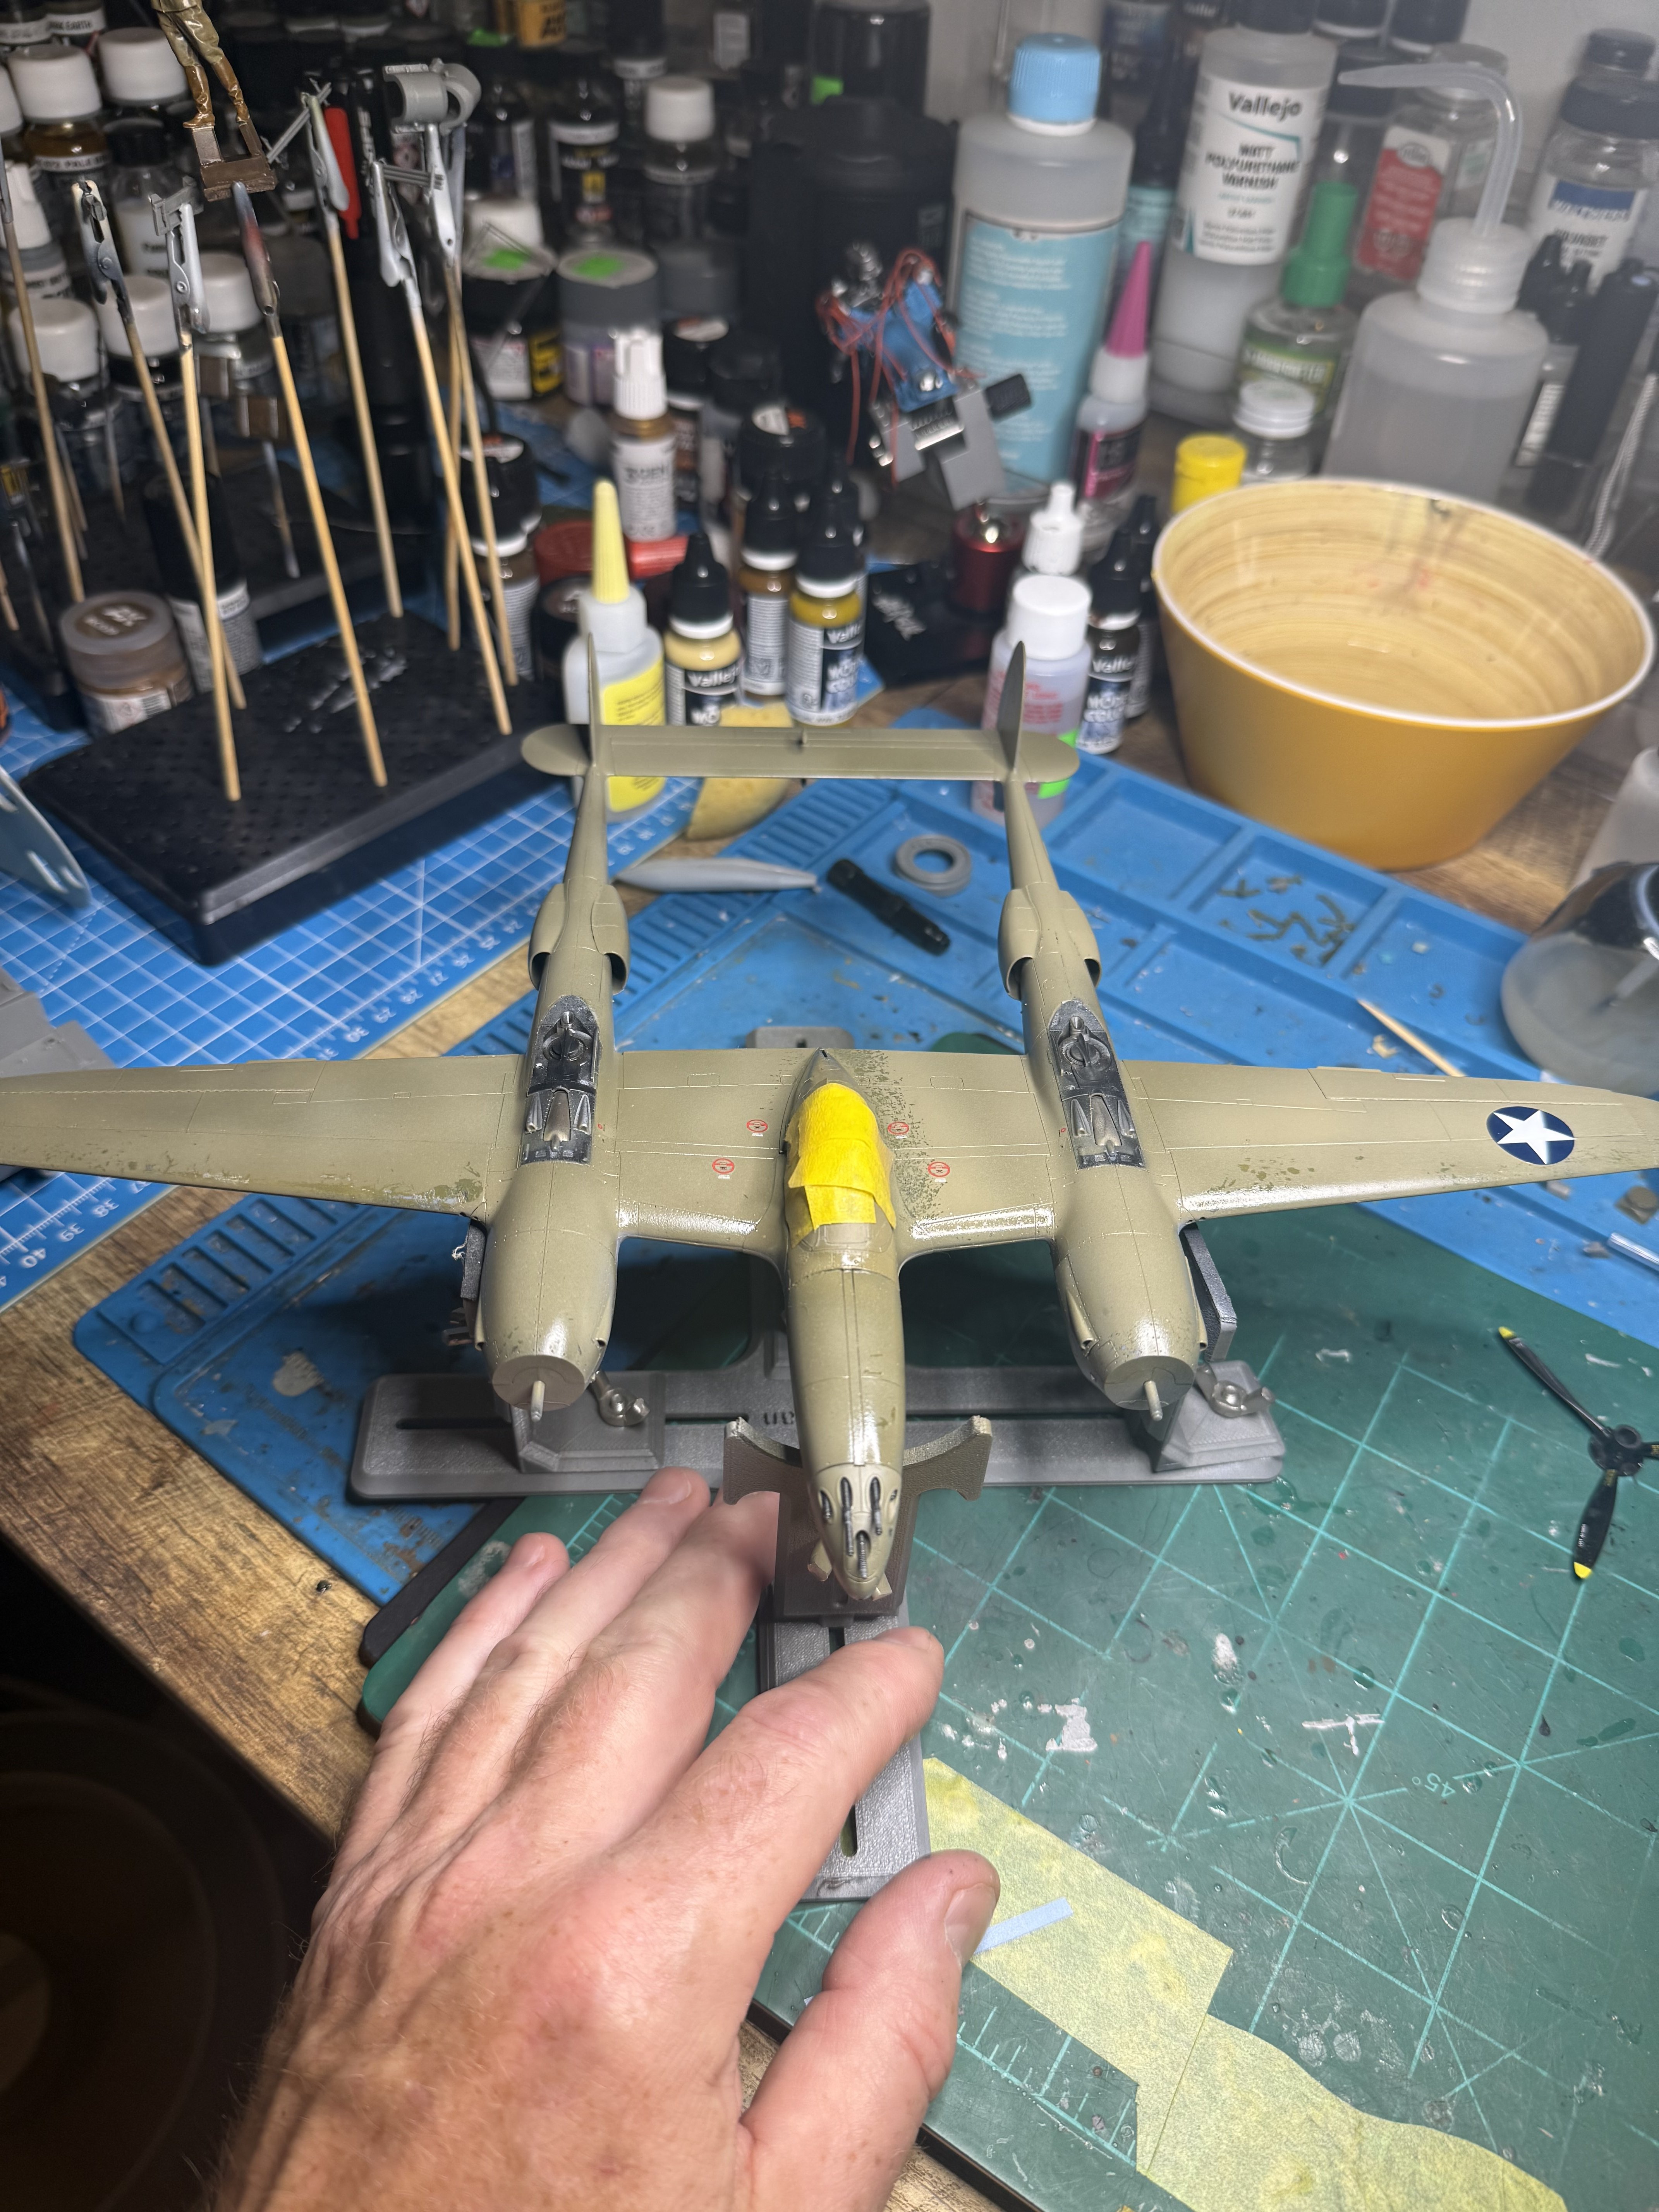
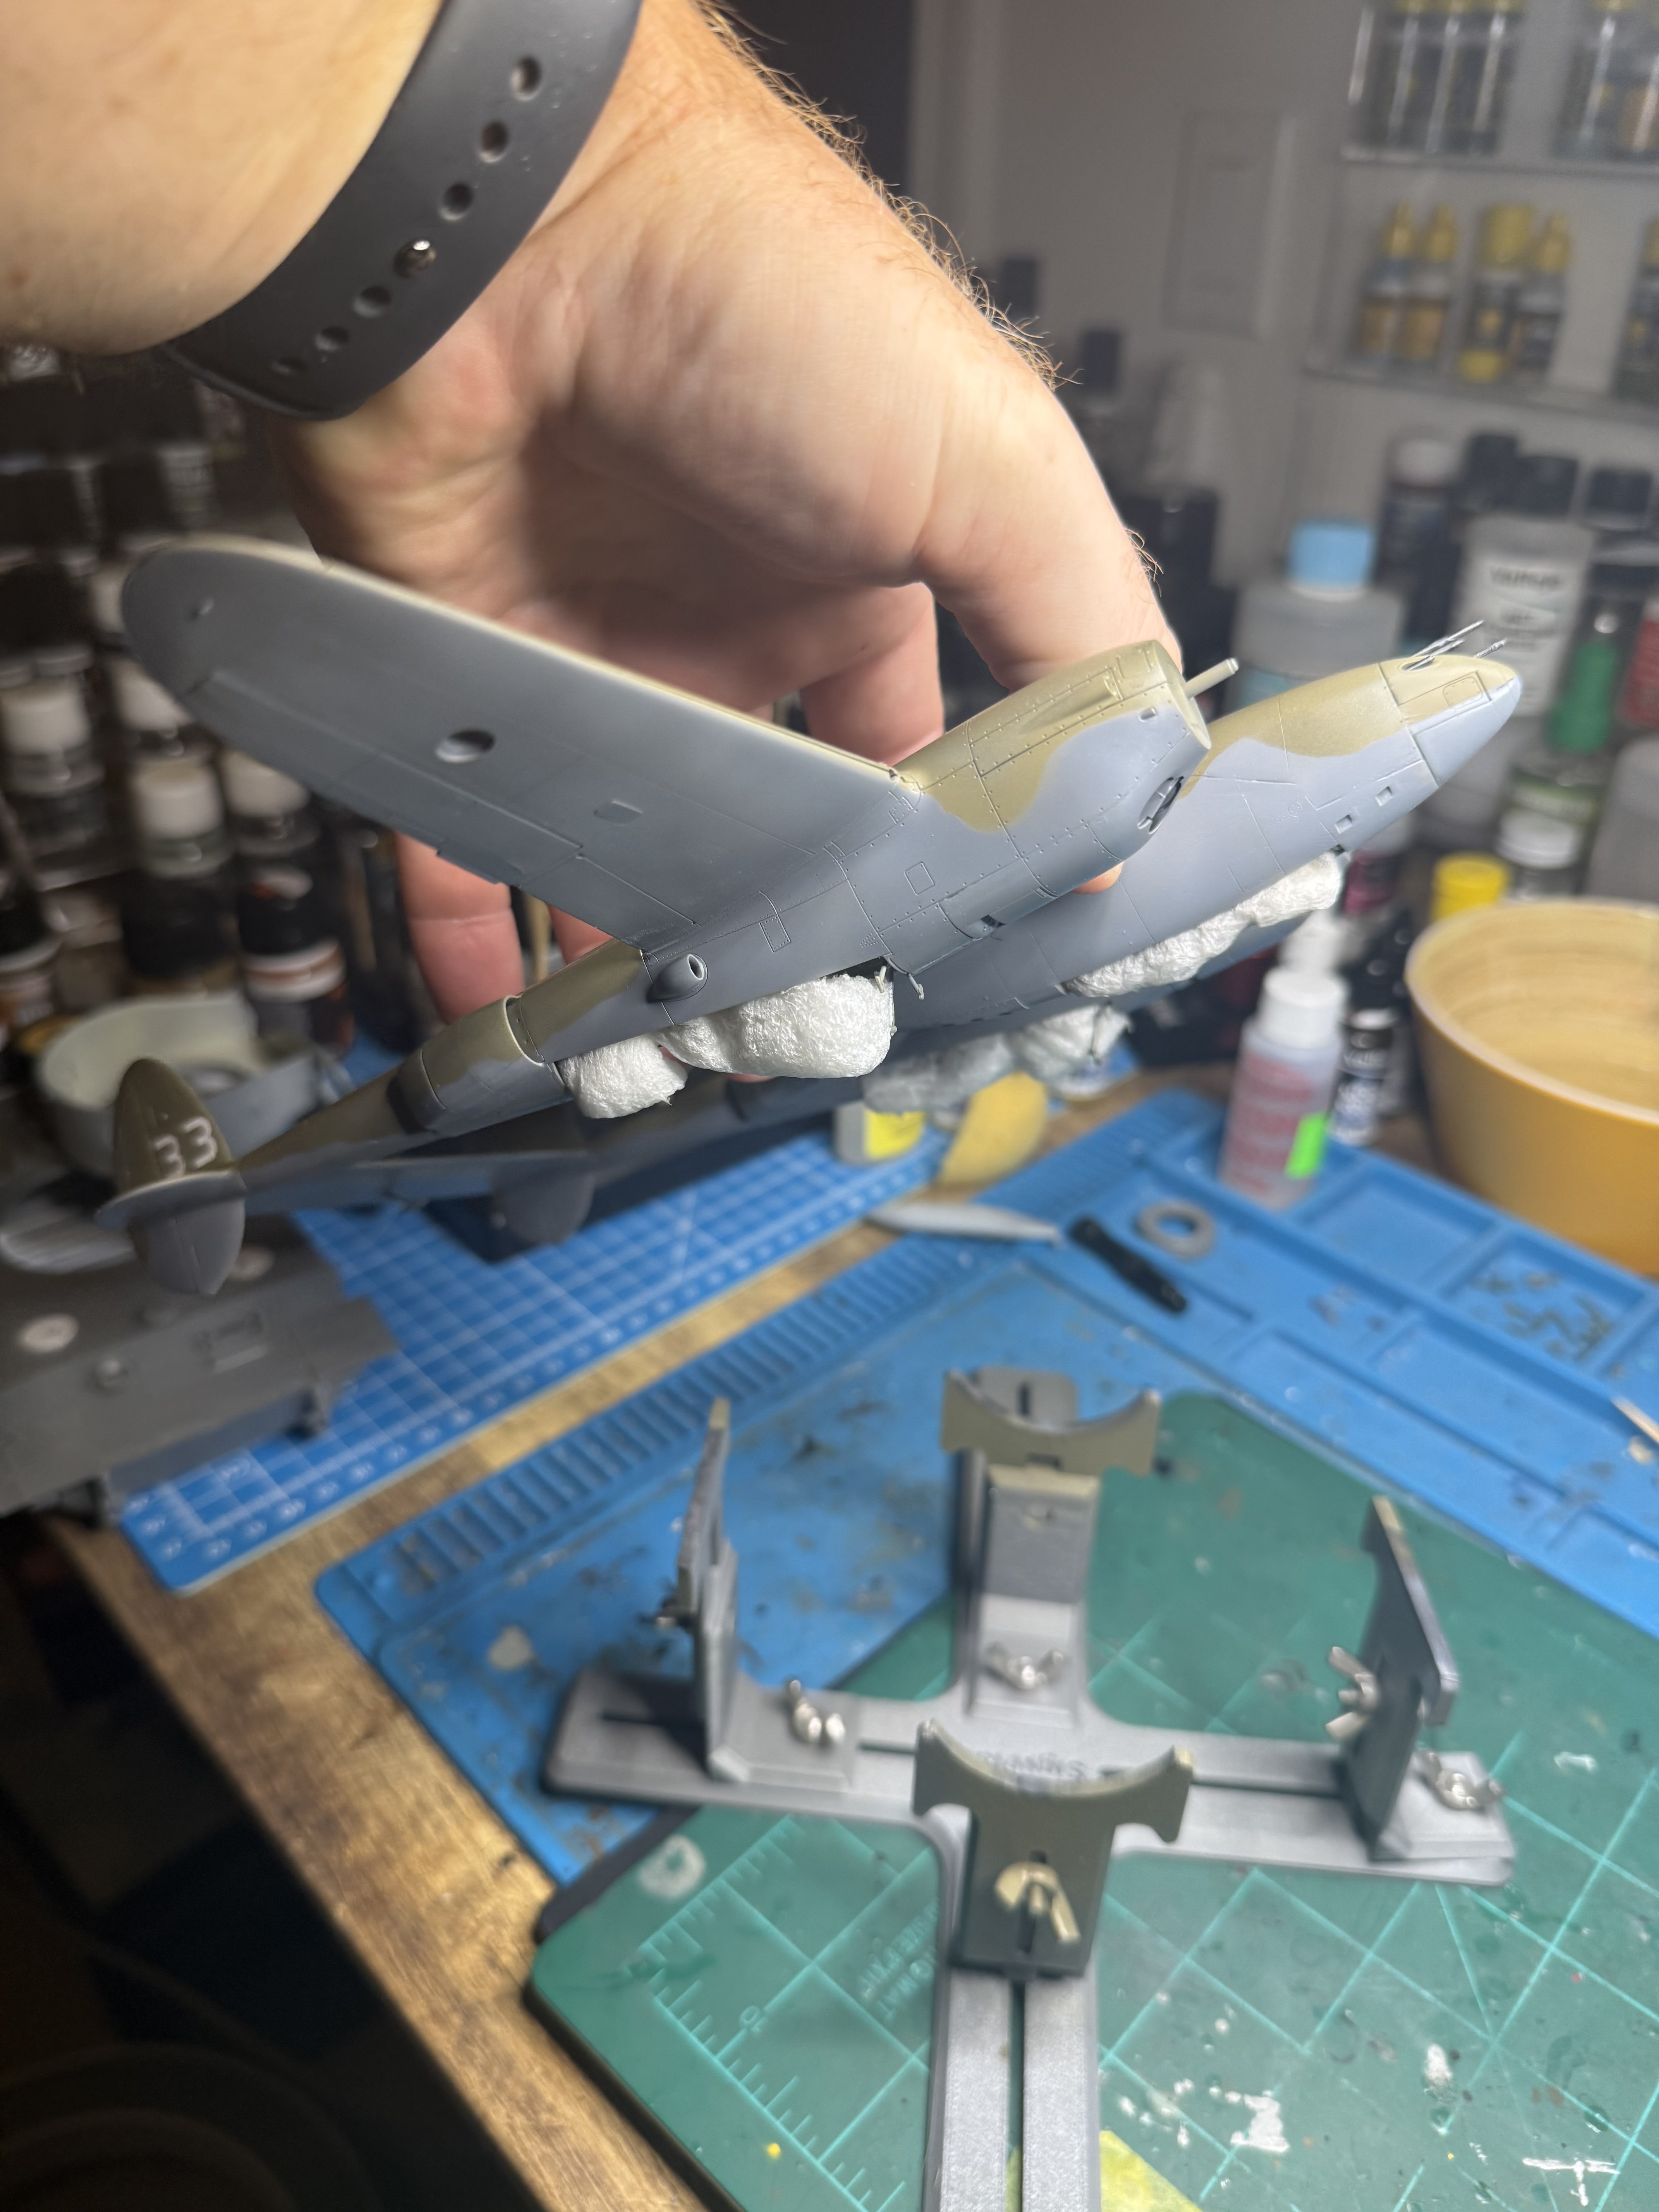
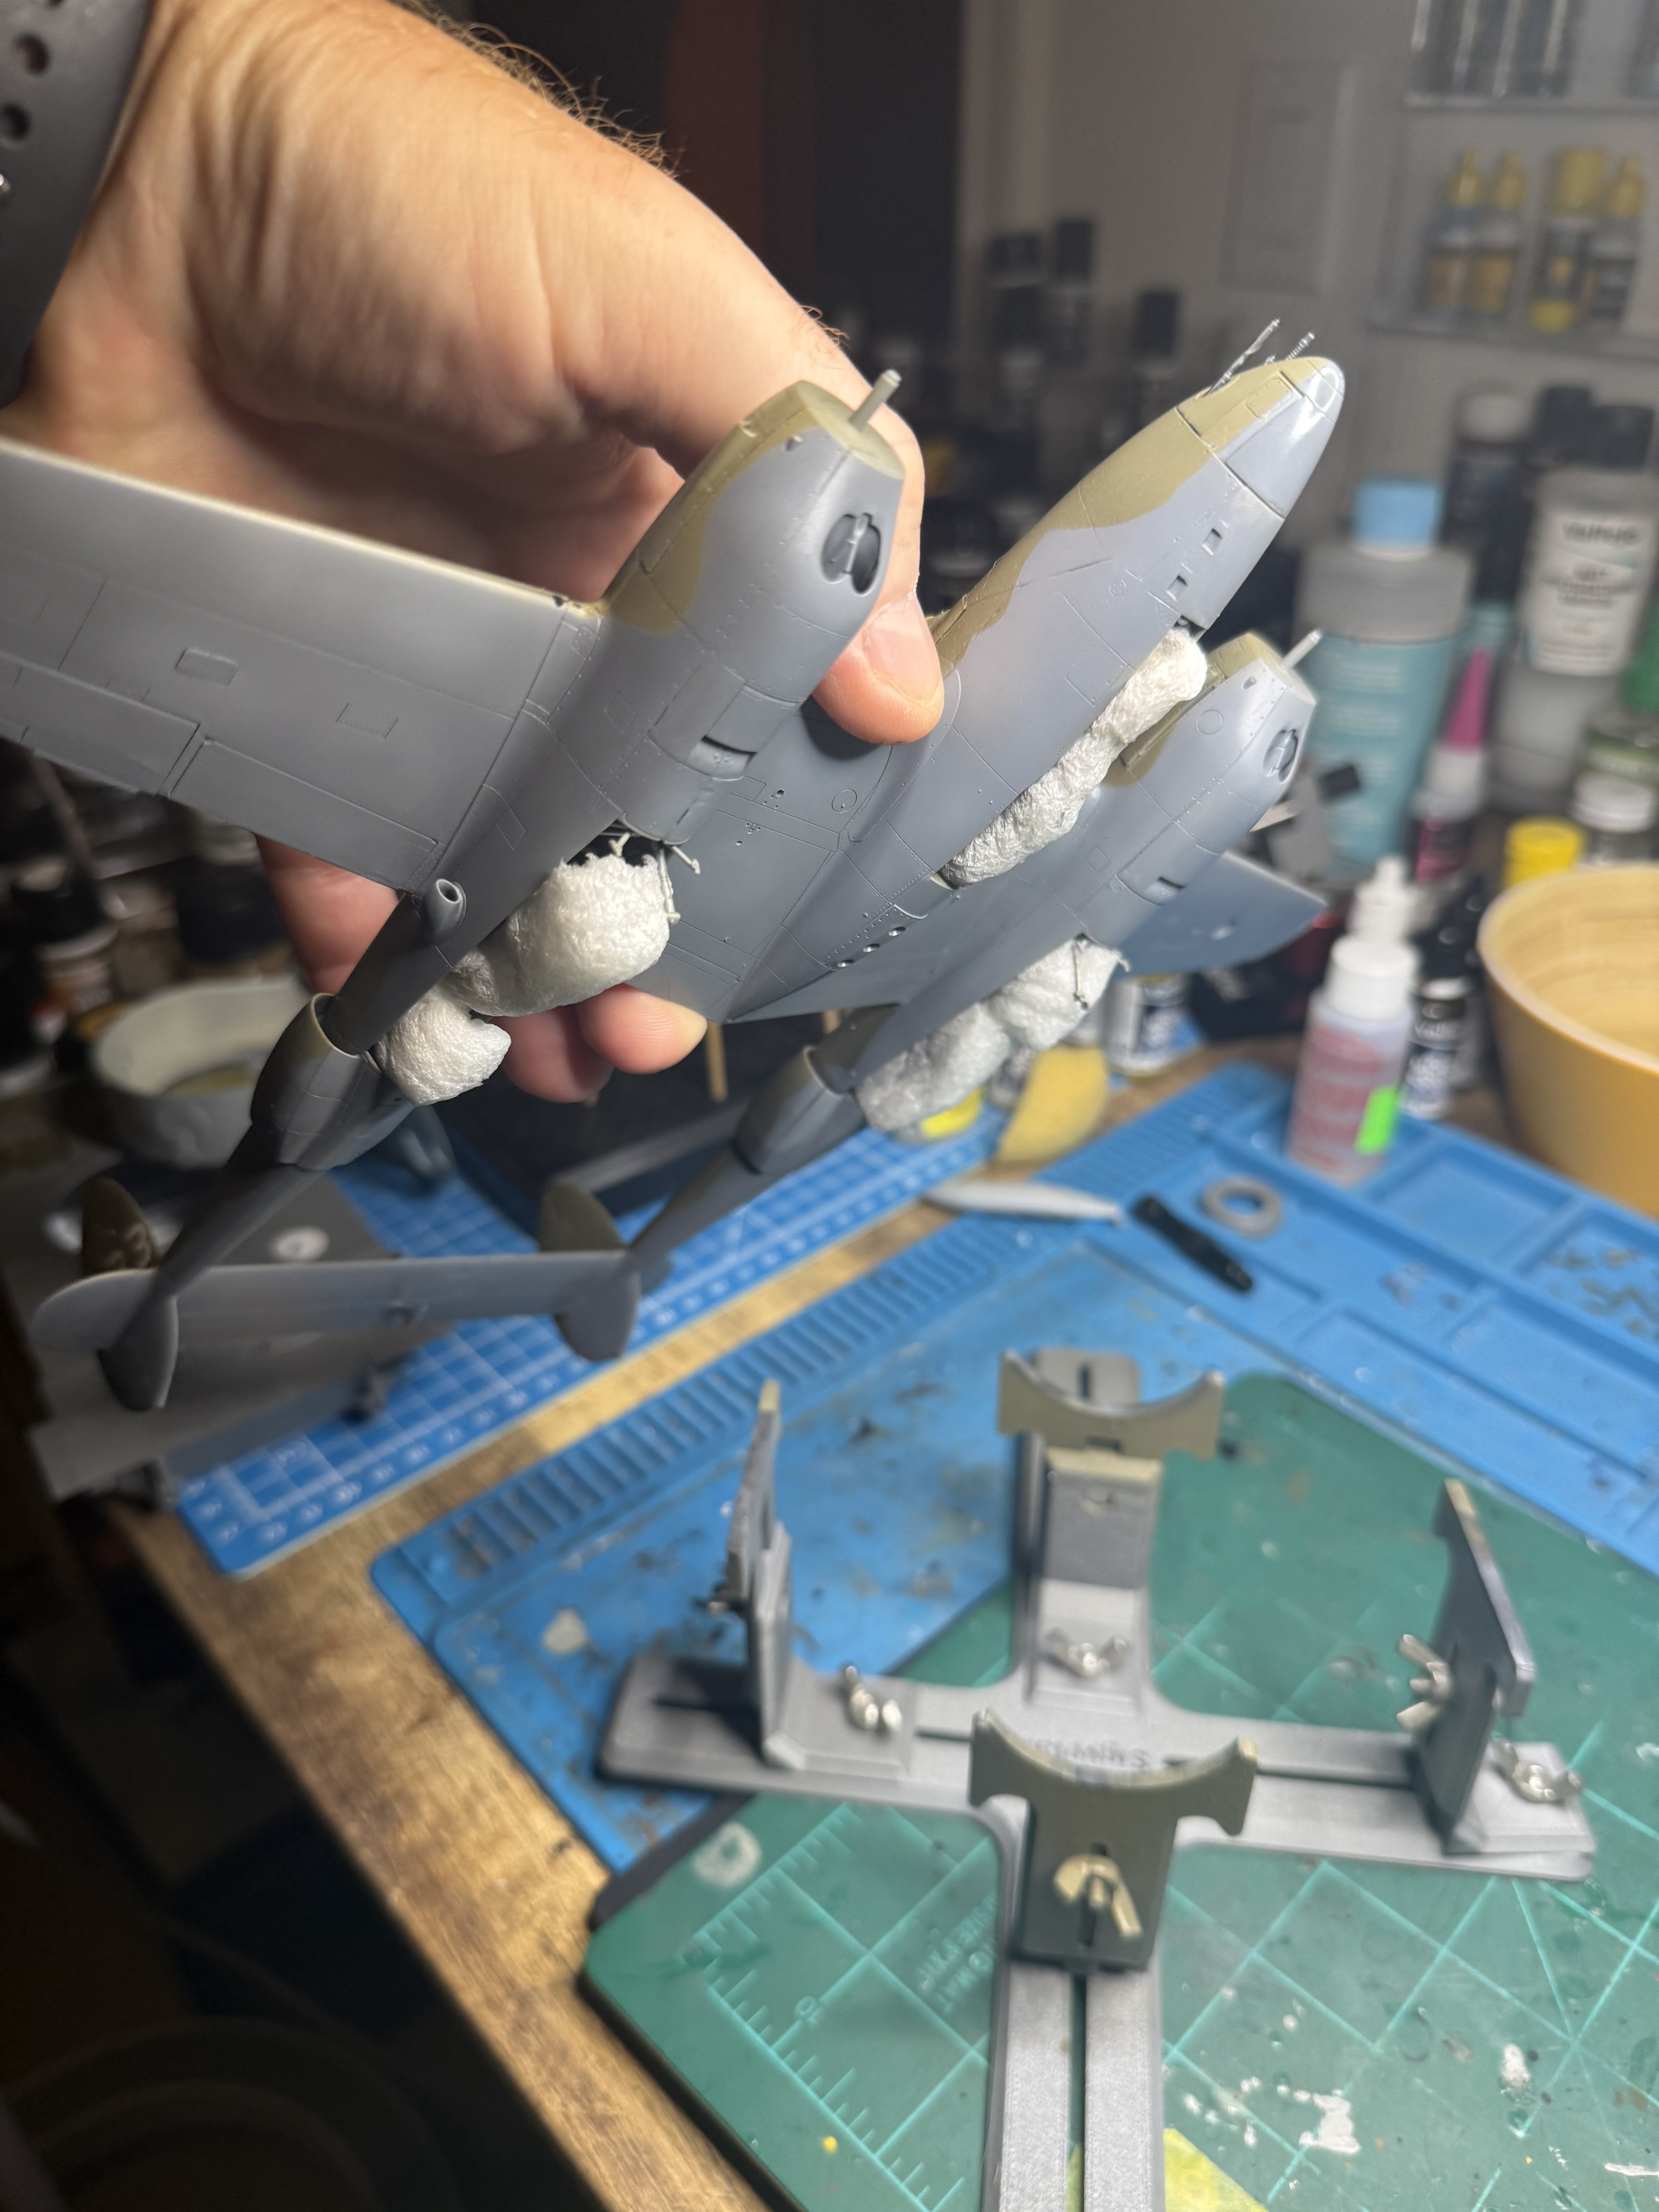
Nice. I've been thinking of using similar technique since my Gladiator had camo painted over the original aluminum dope... And then a very rough time on and over Malta.
Nice. I've been thinking of using similar technique since my Gladiator had camo painted over the original aluminum dope... And then a very rough time on and over Malta.
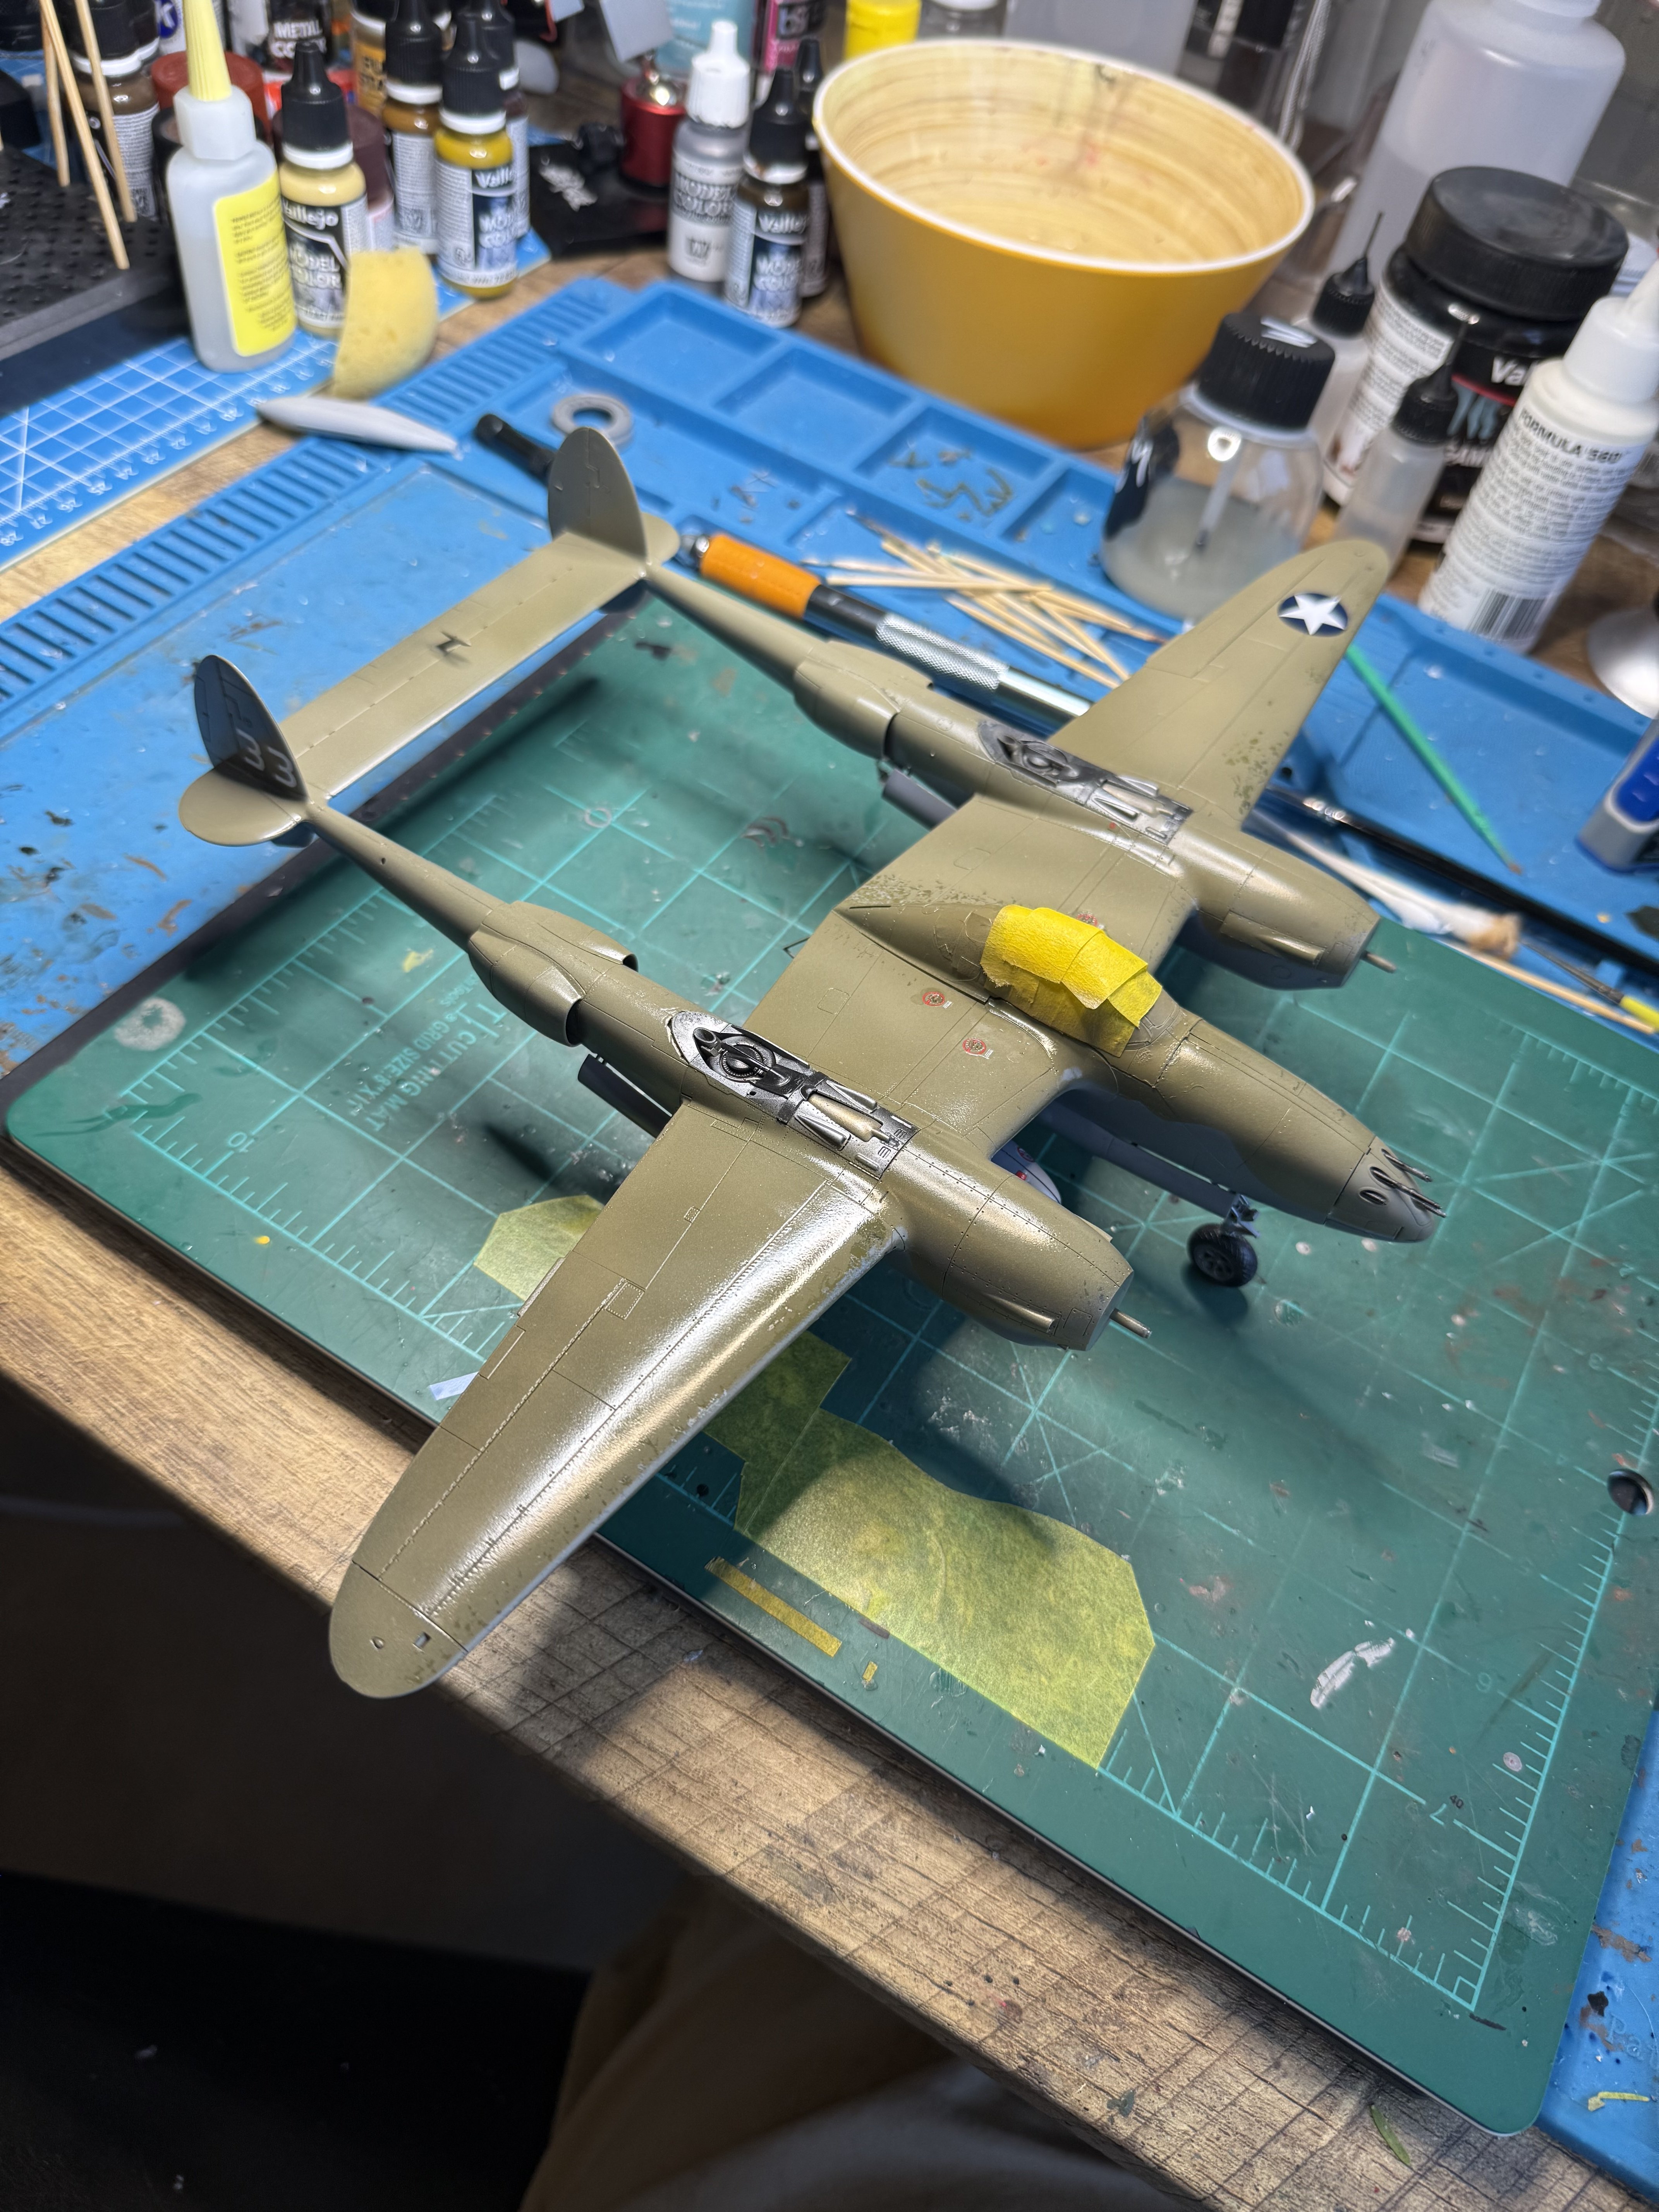
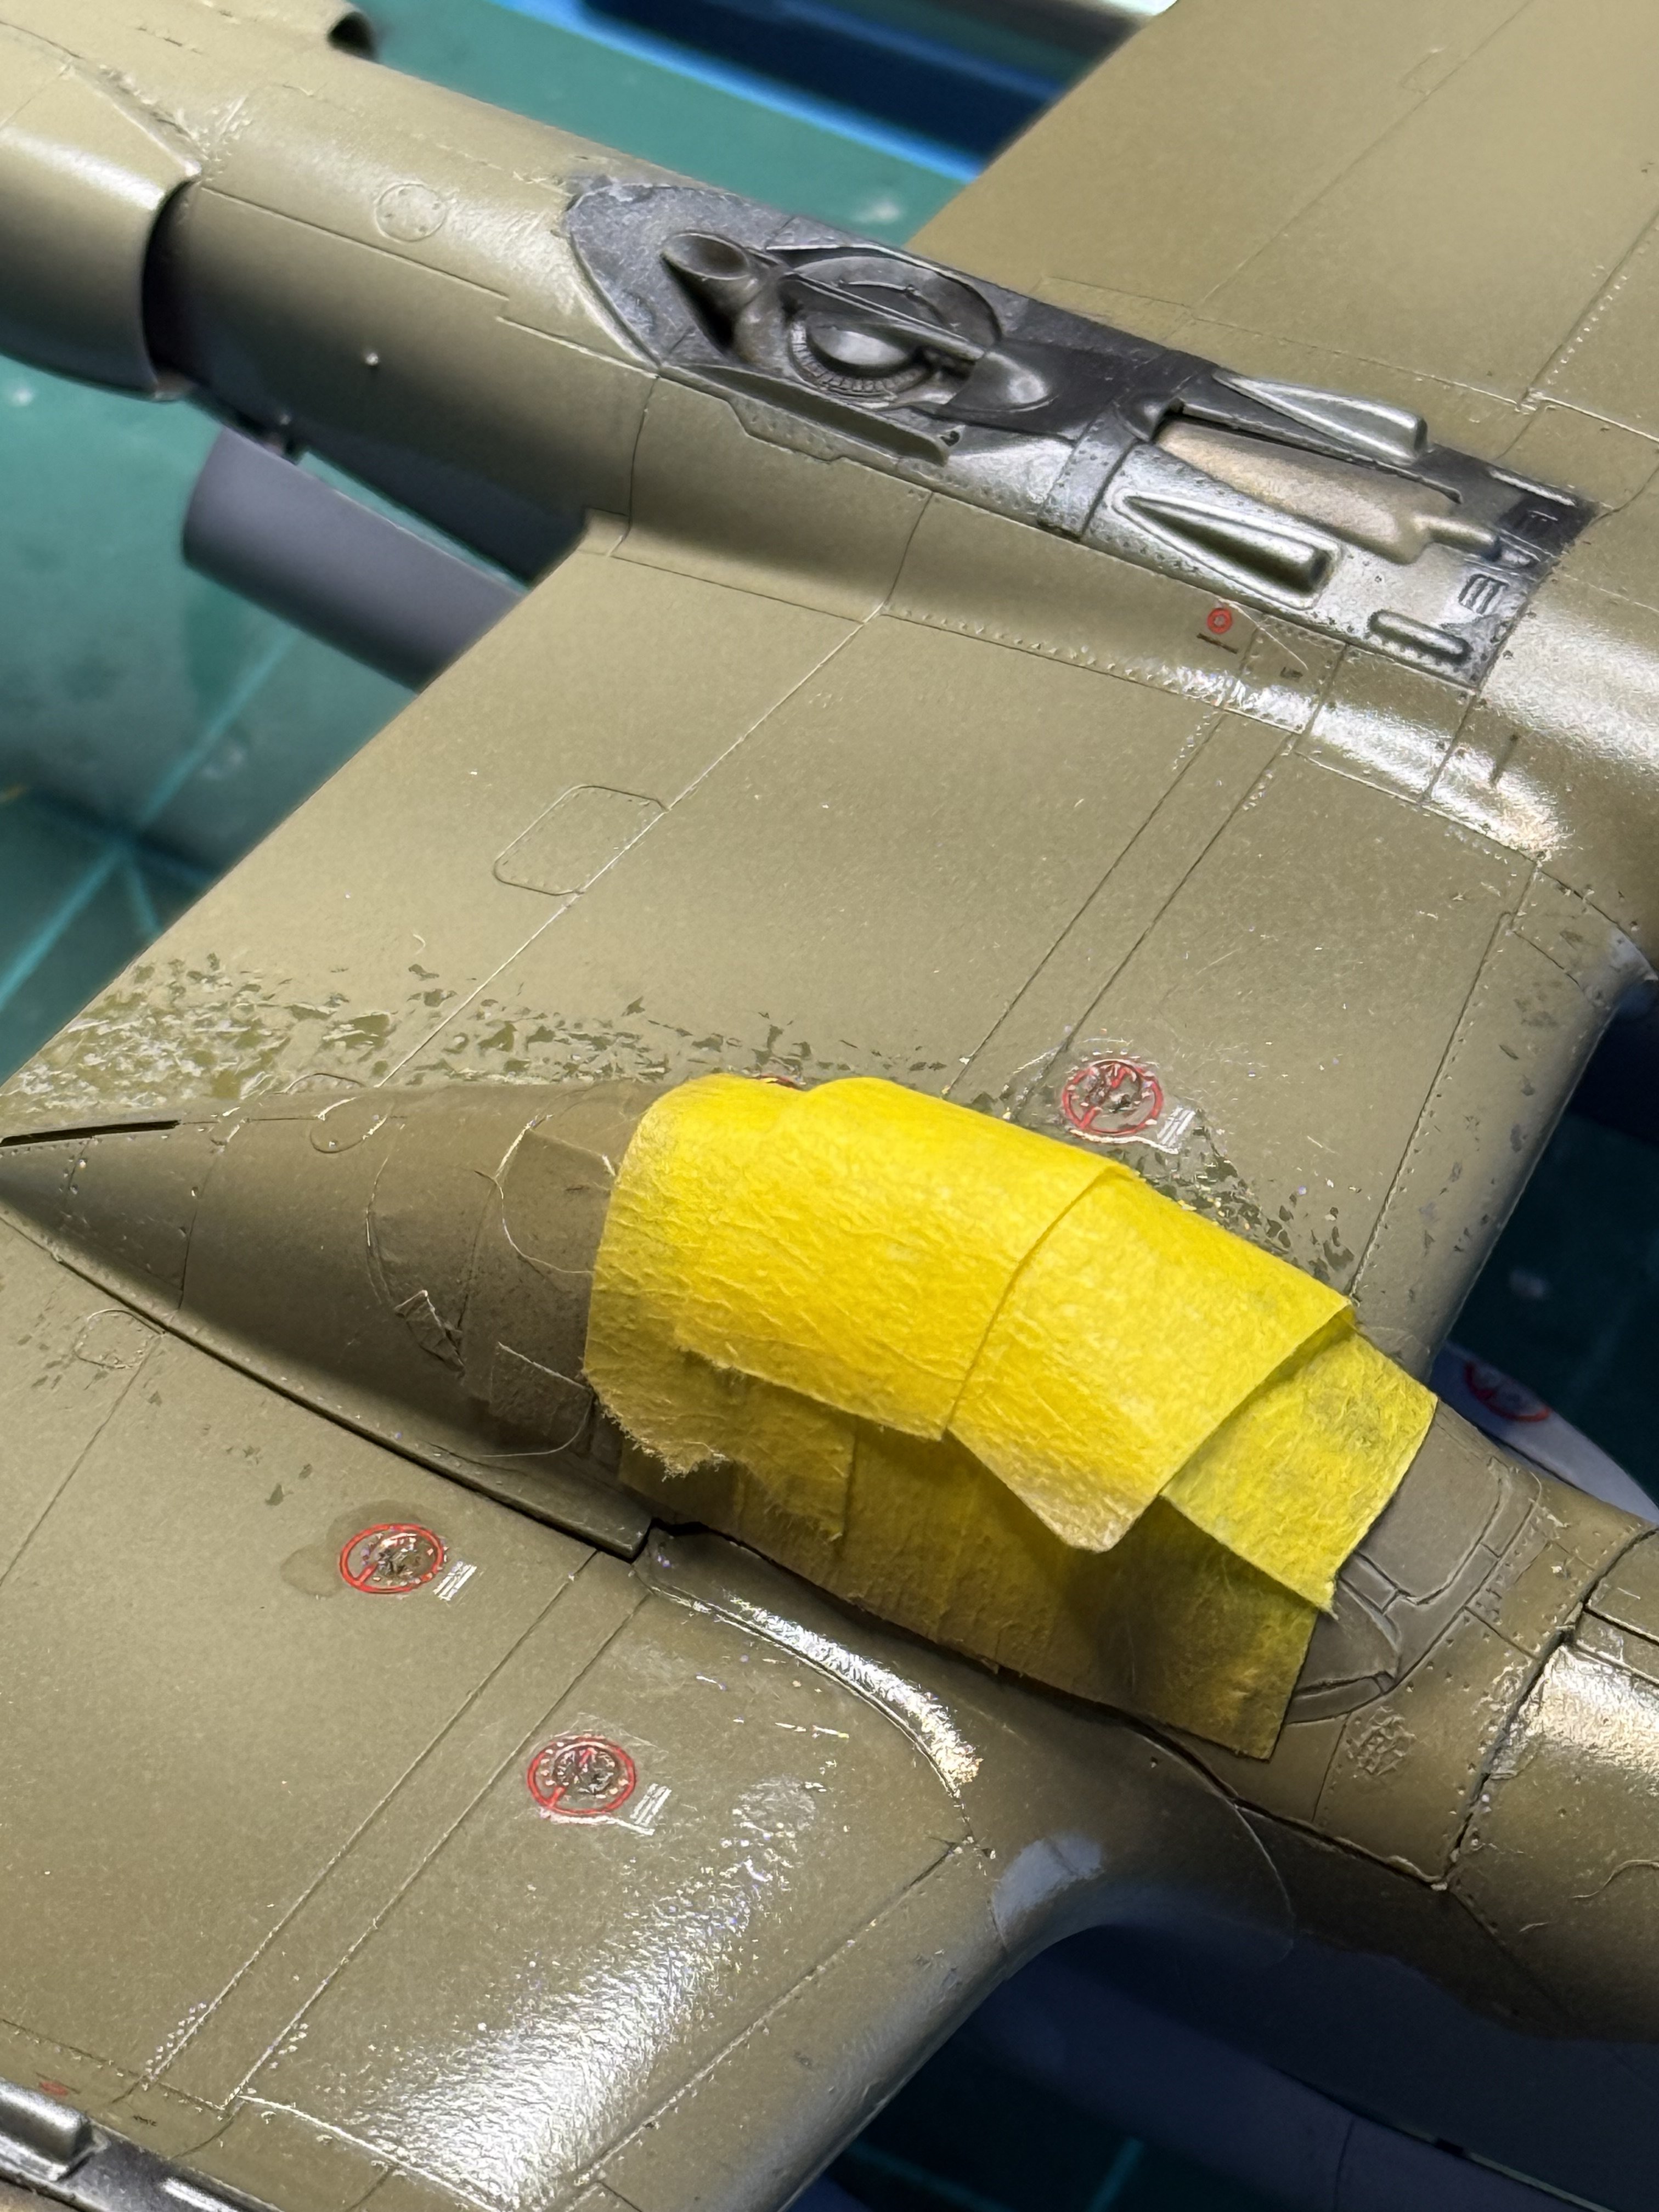
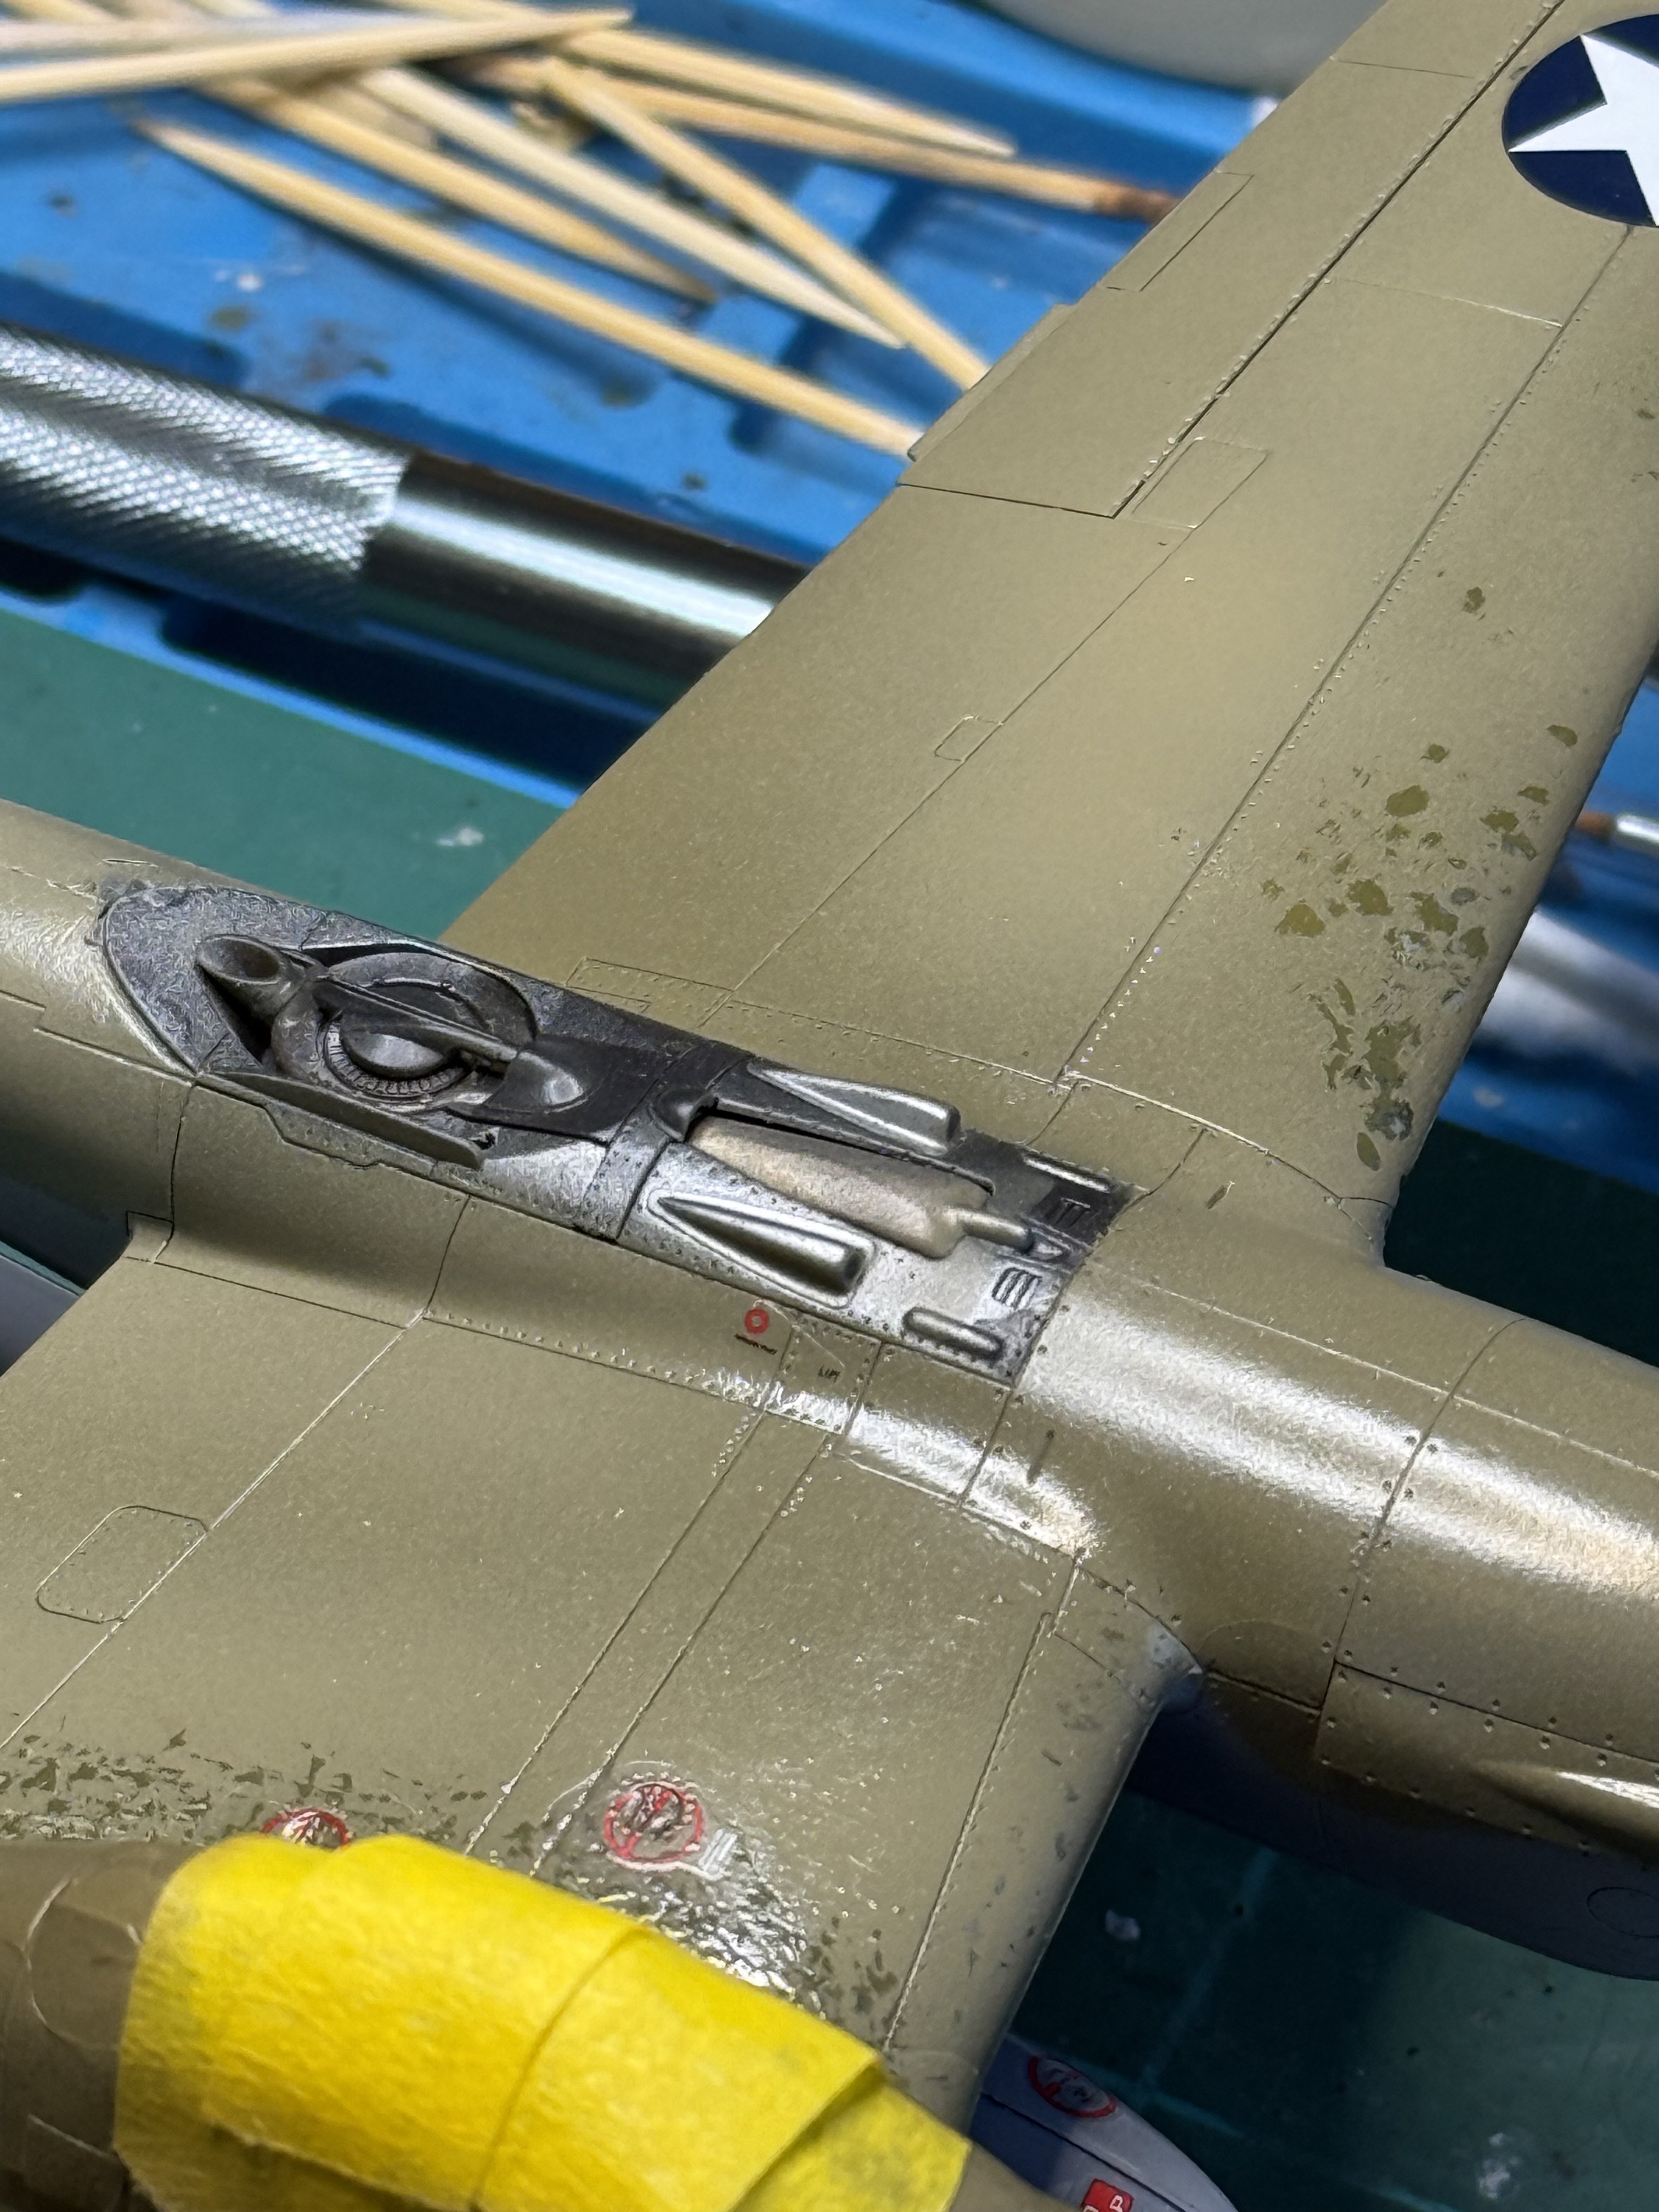
I like it because it gives you the opportunity to incorporate several different stages of the weathering: bare metal, faded and worn bottom coat and top coat.
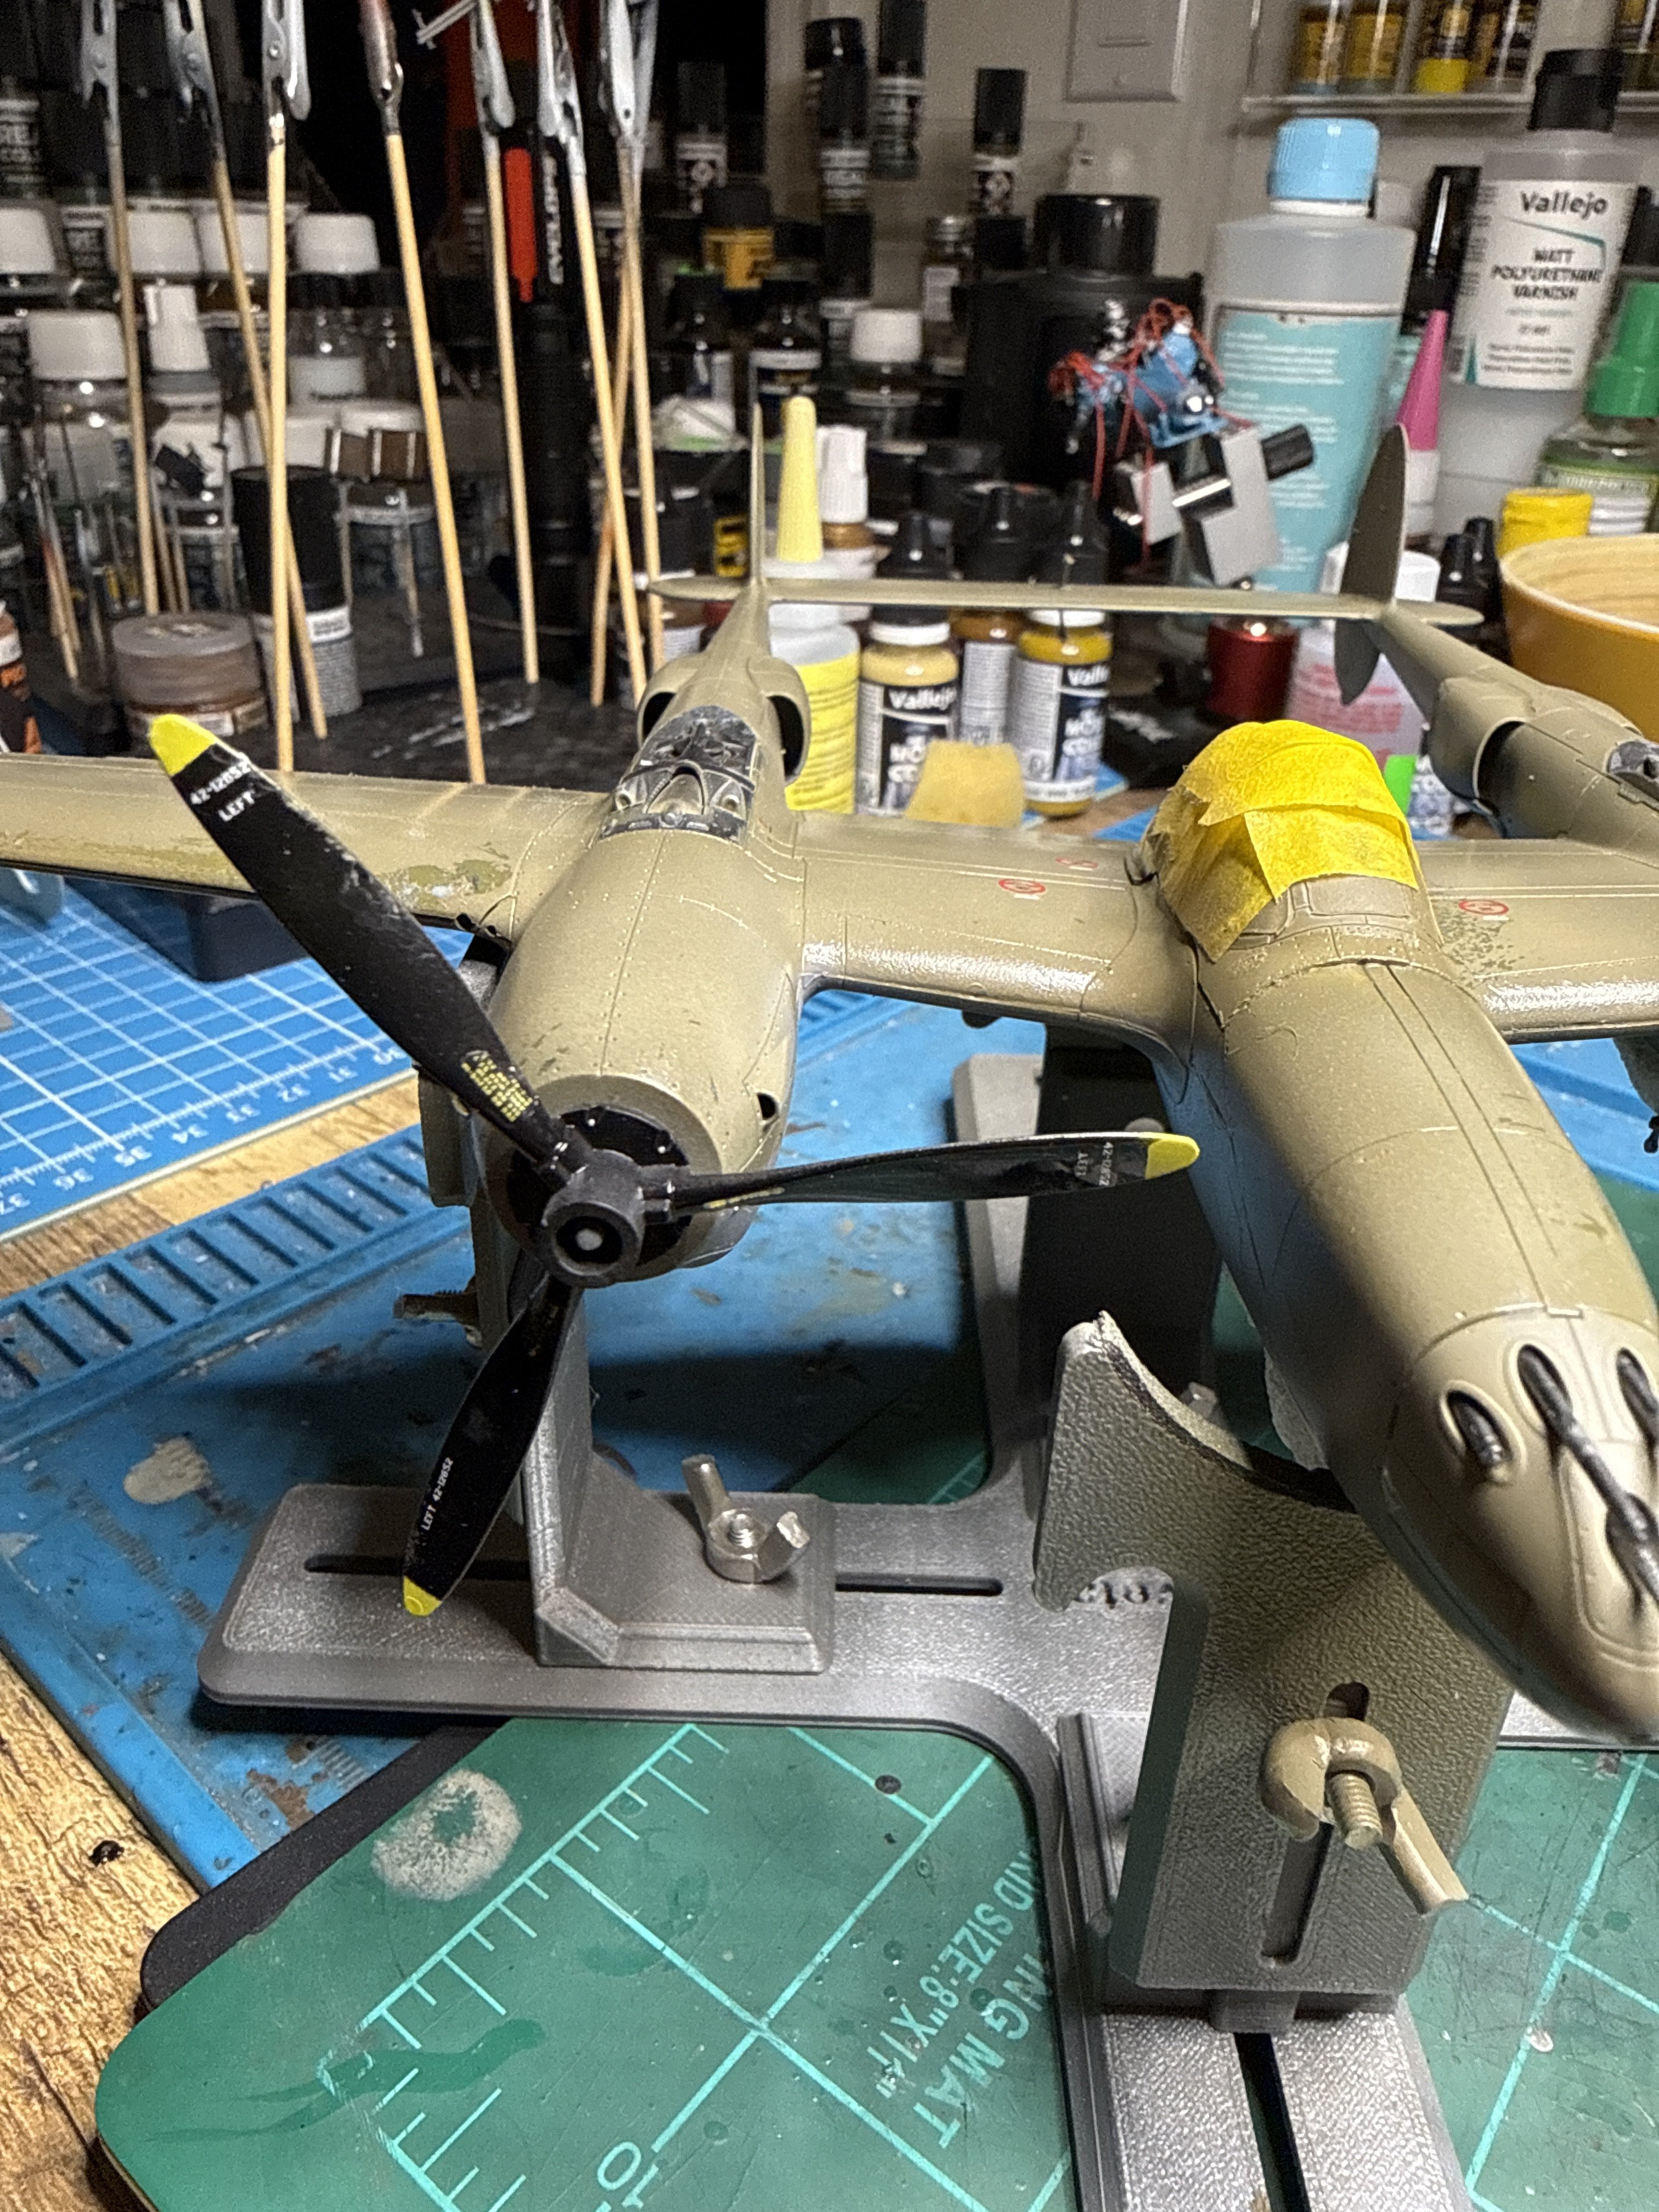
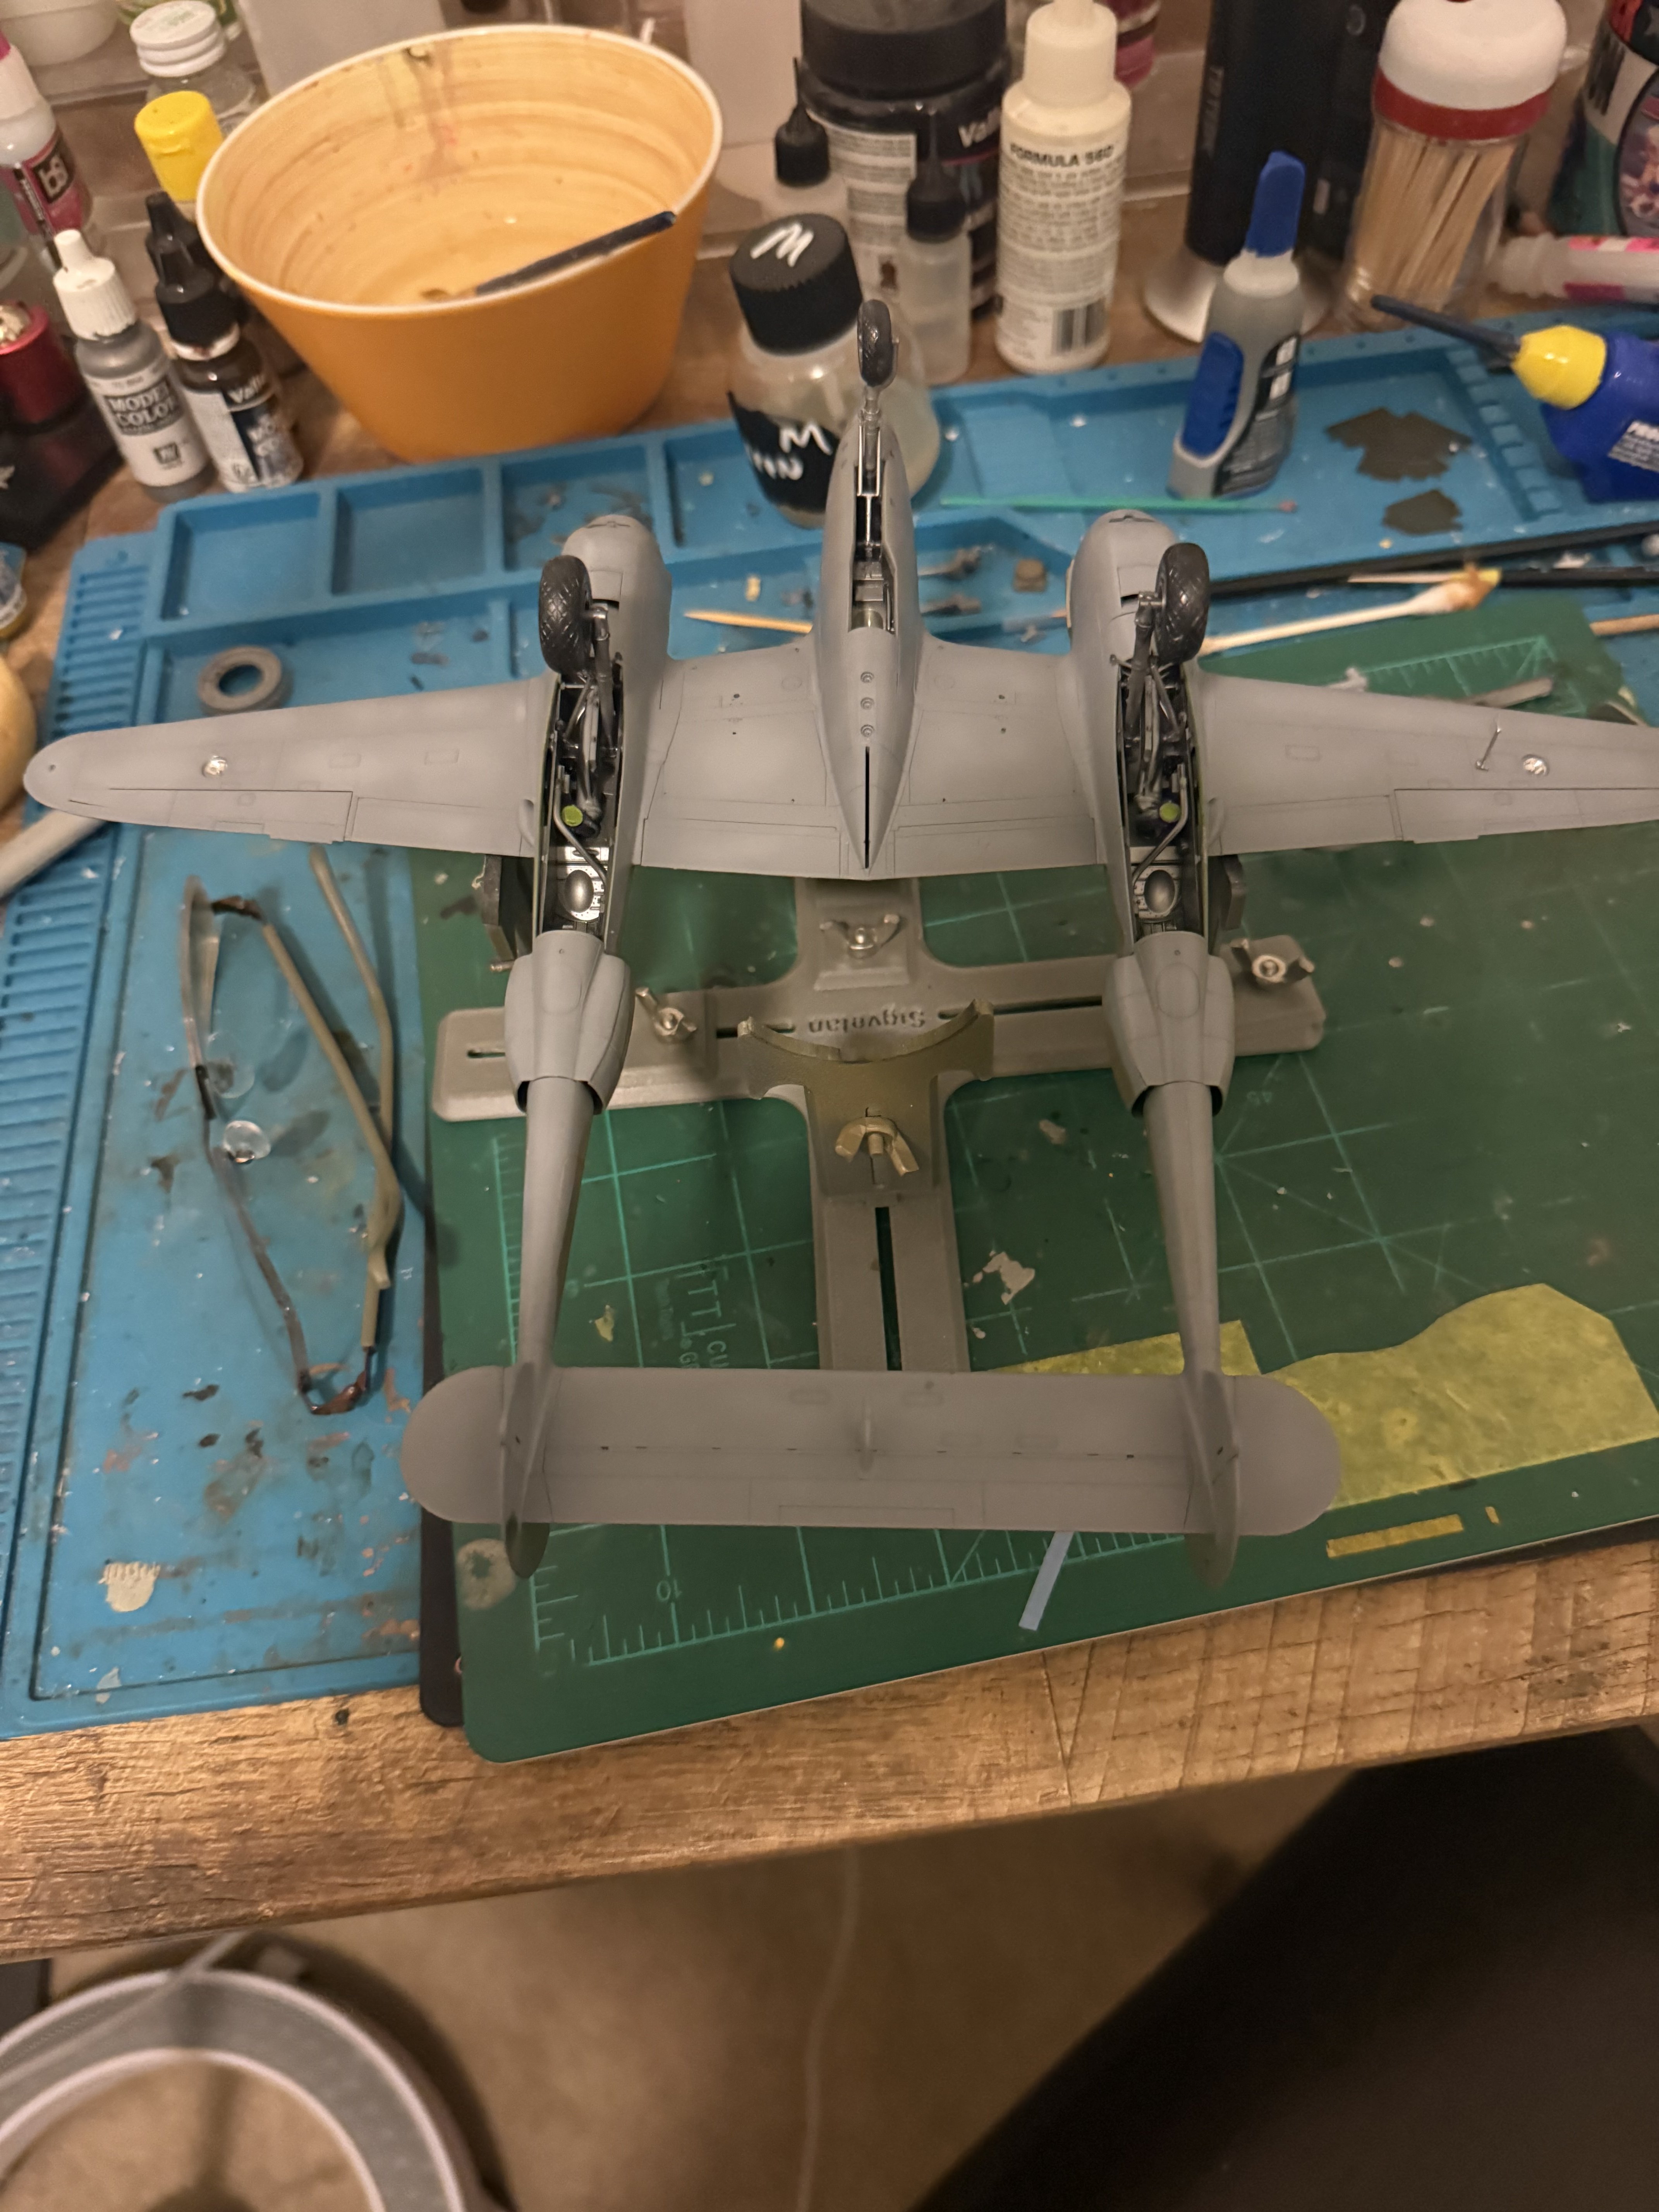
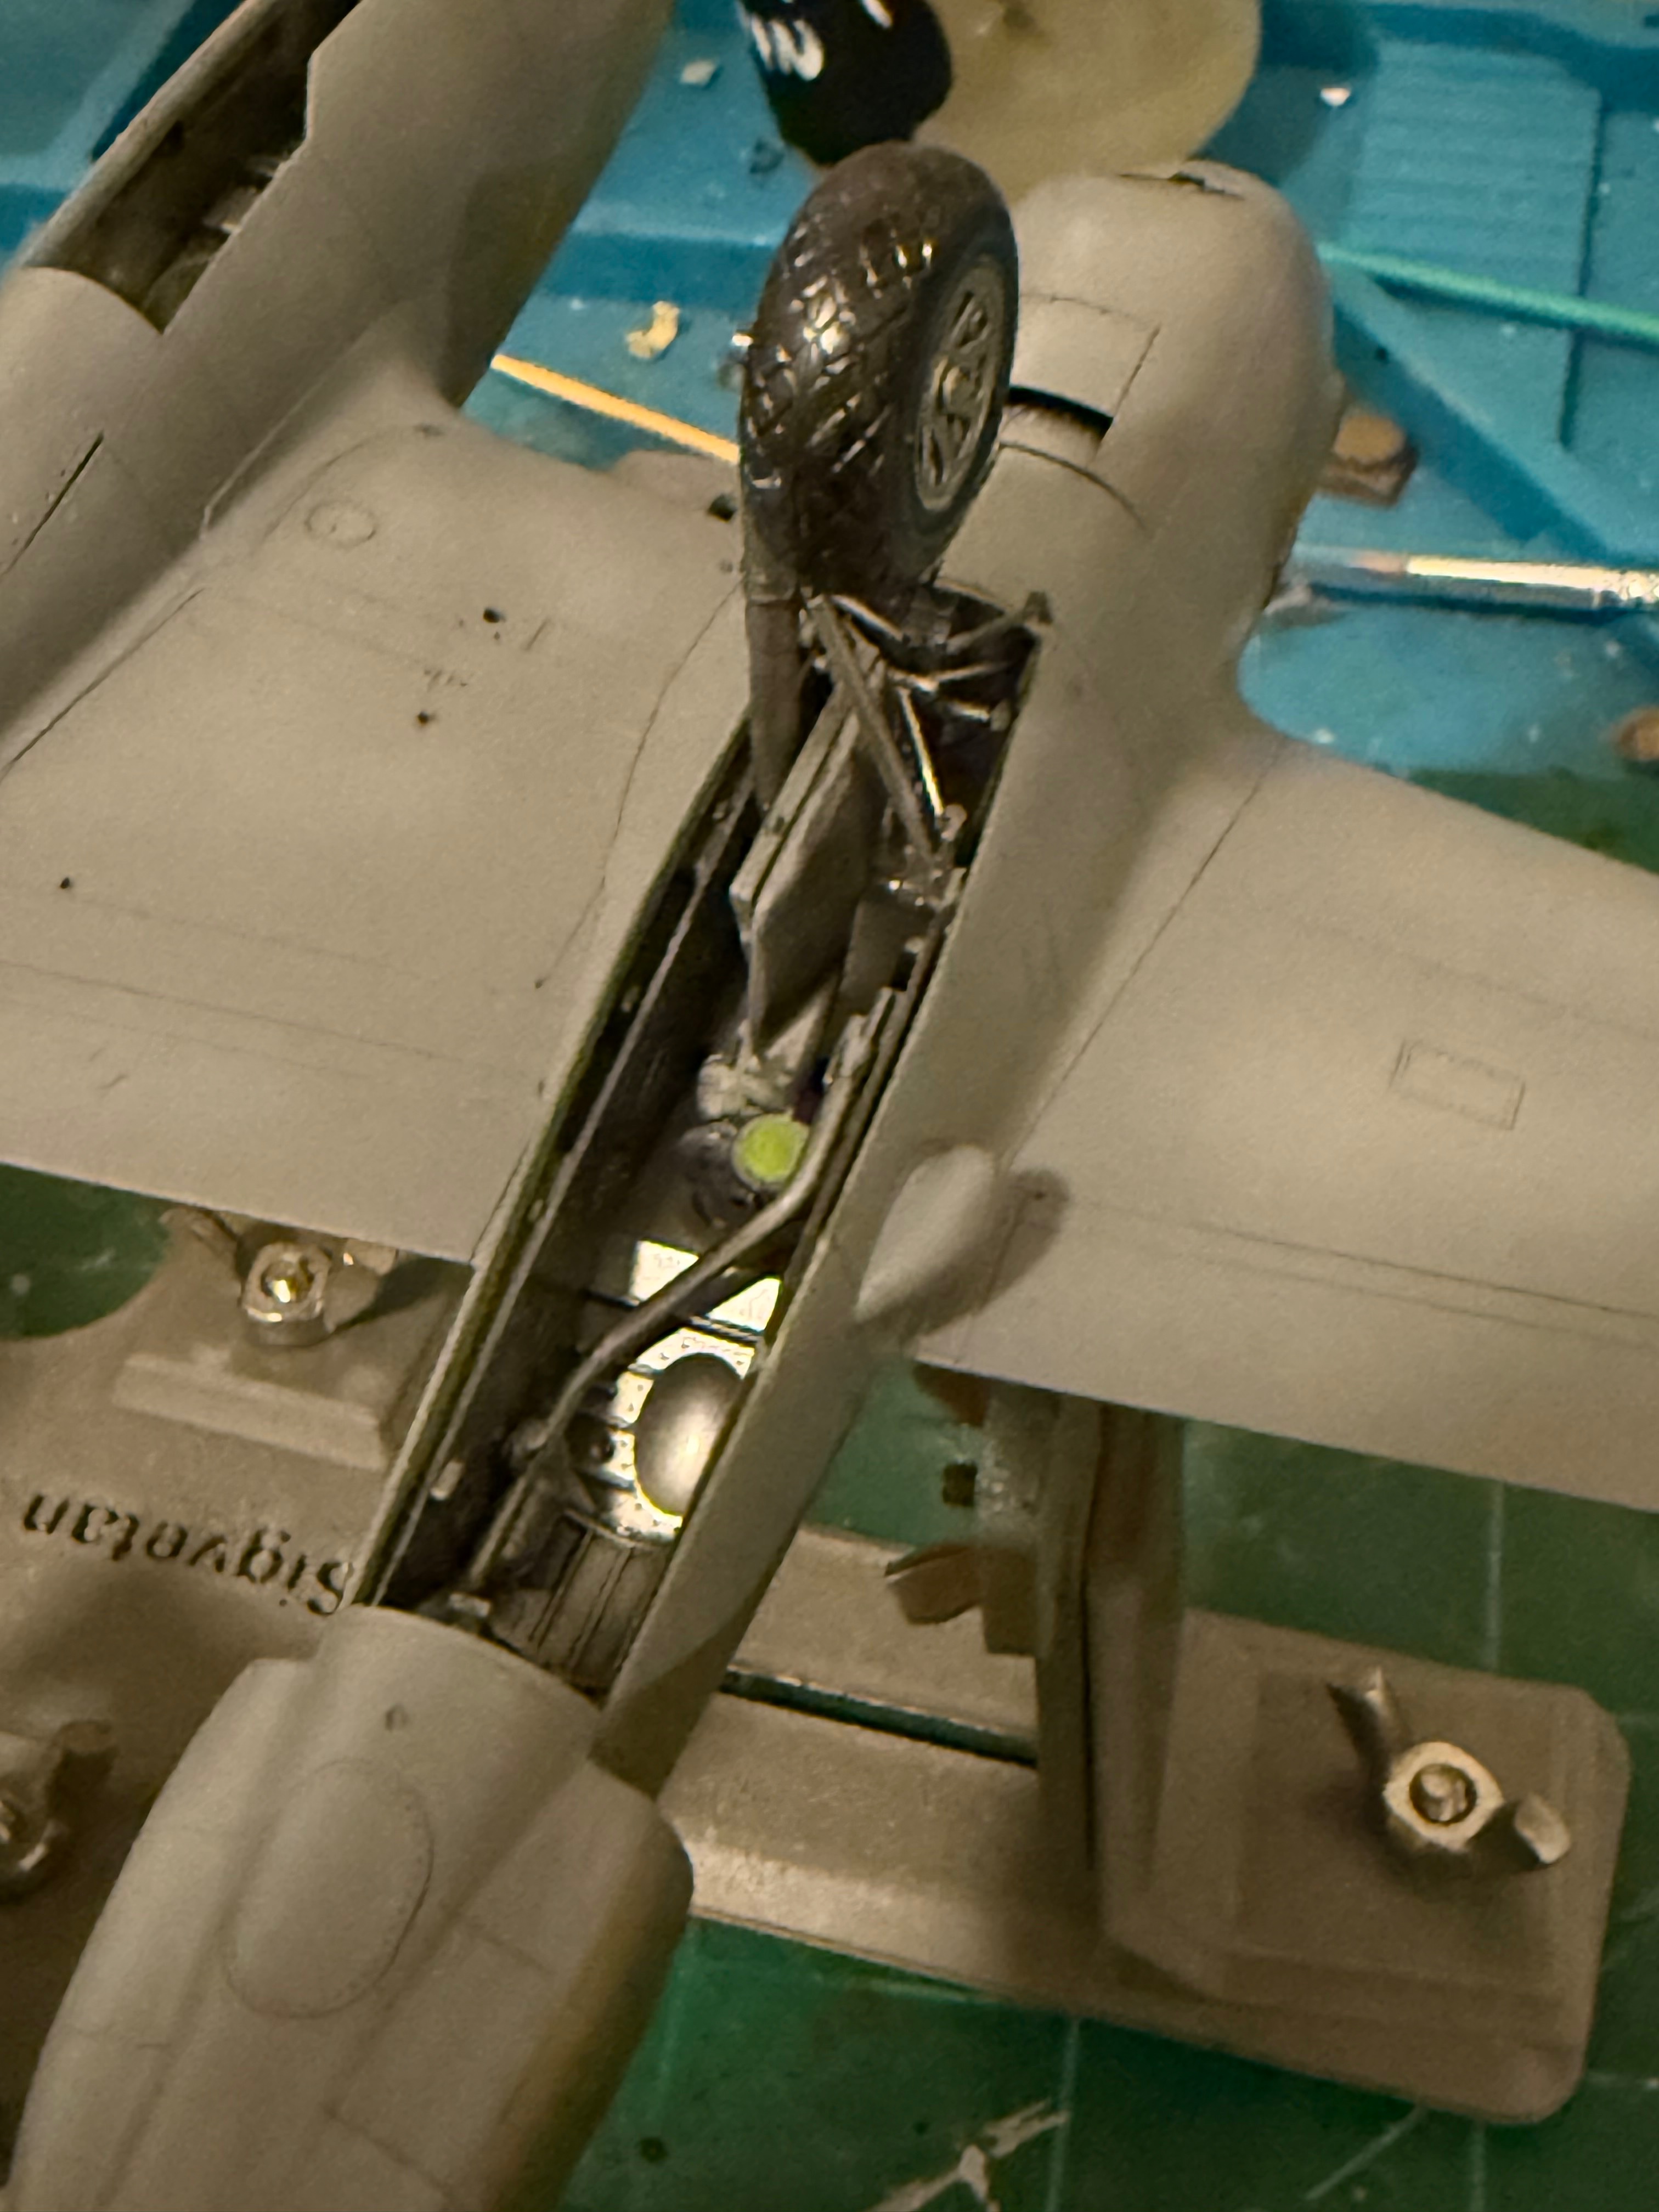
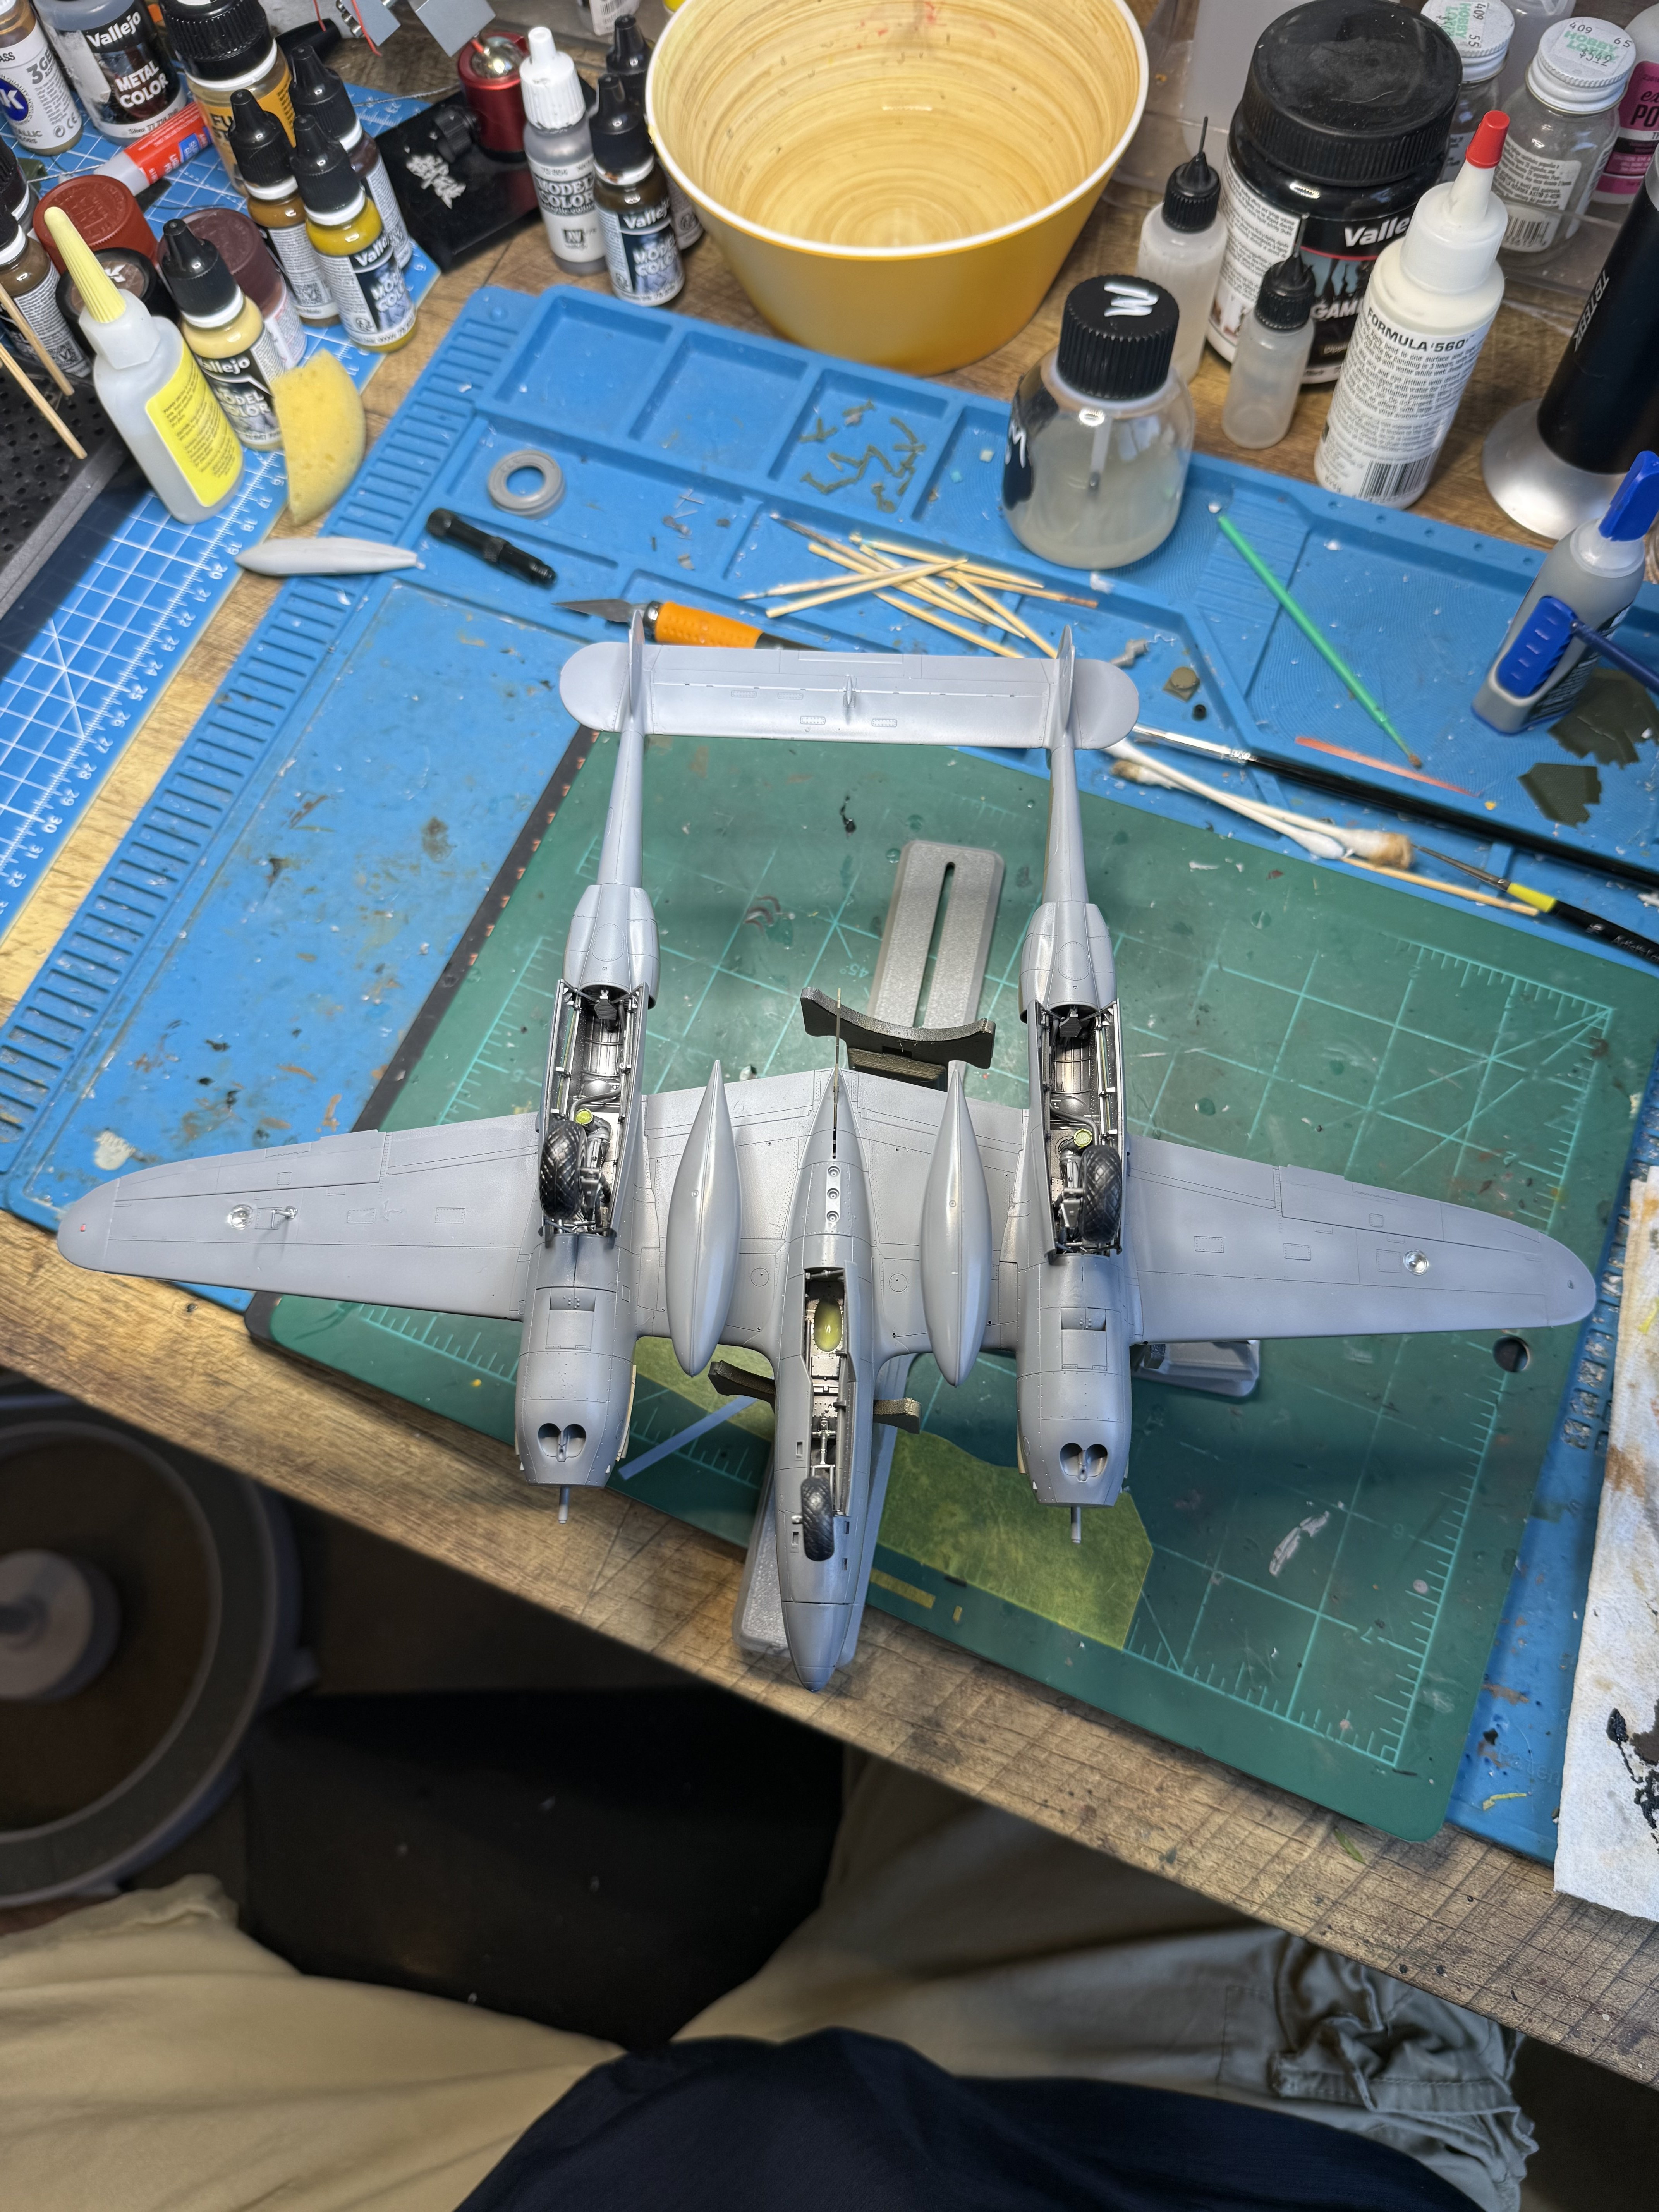
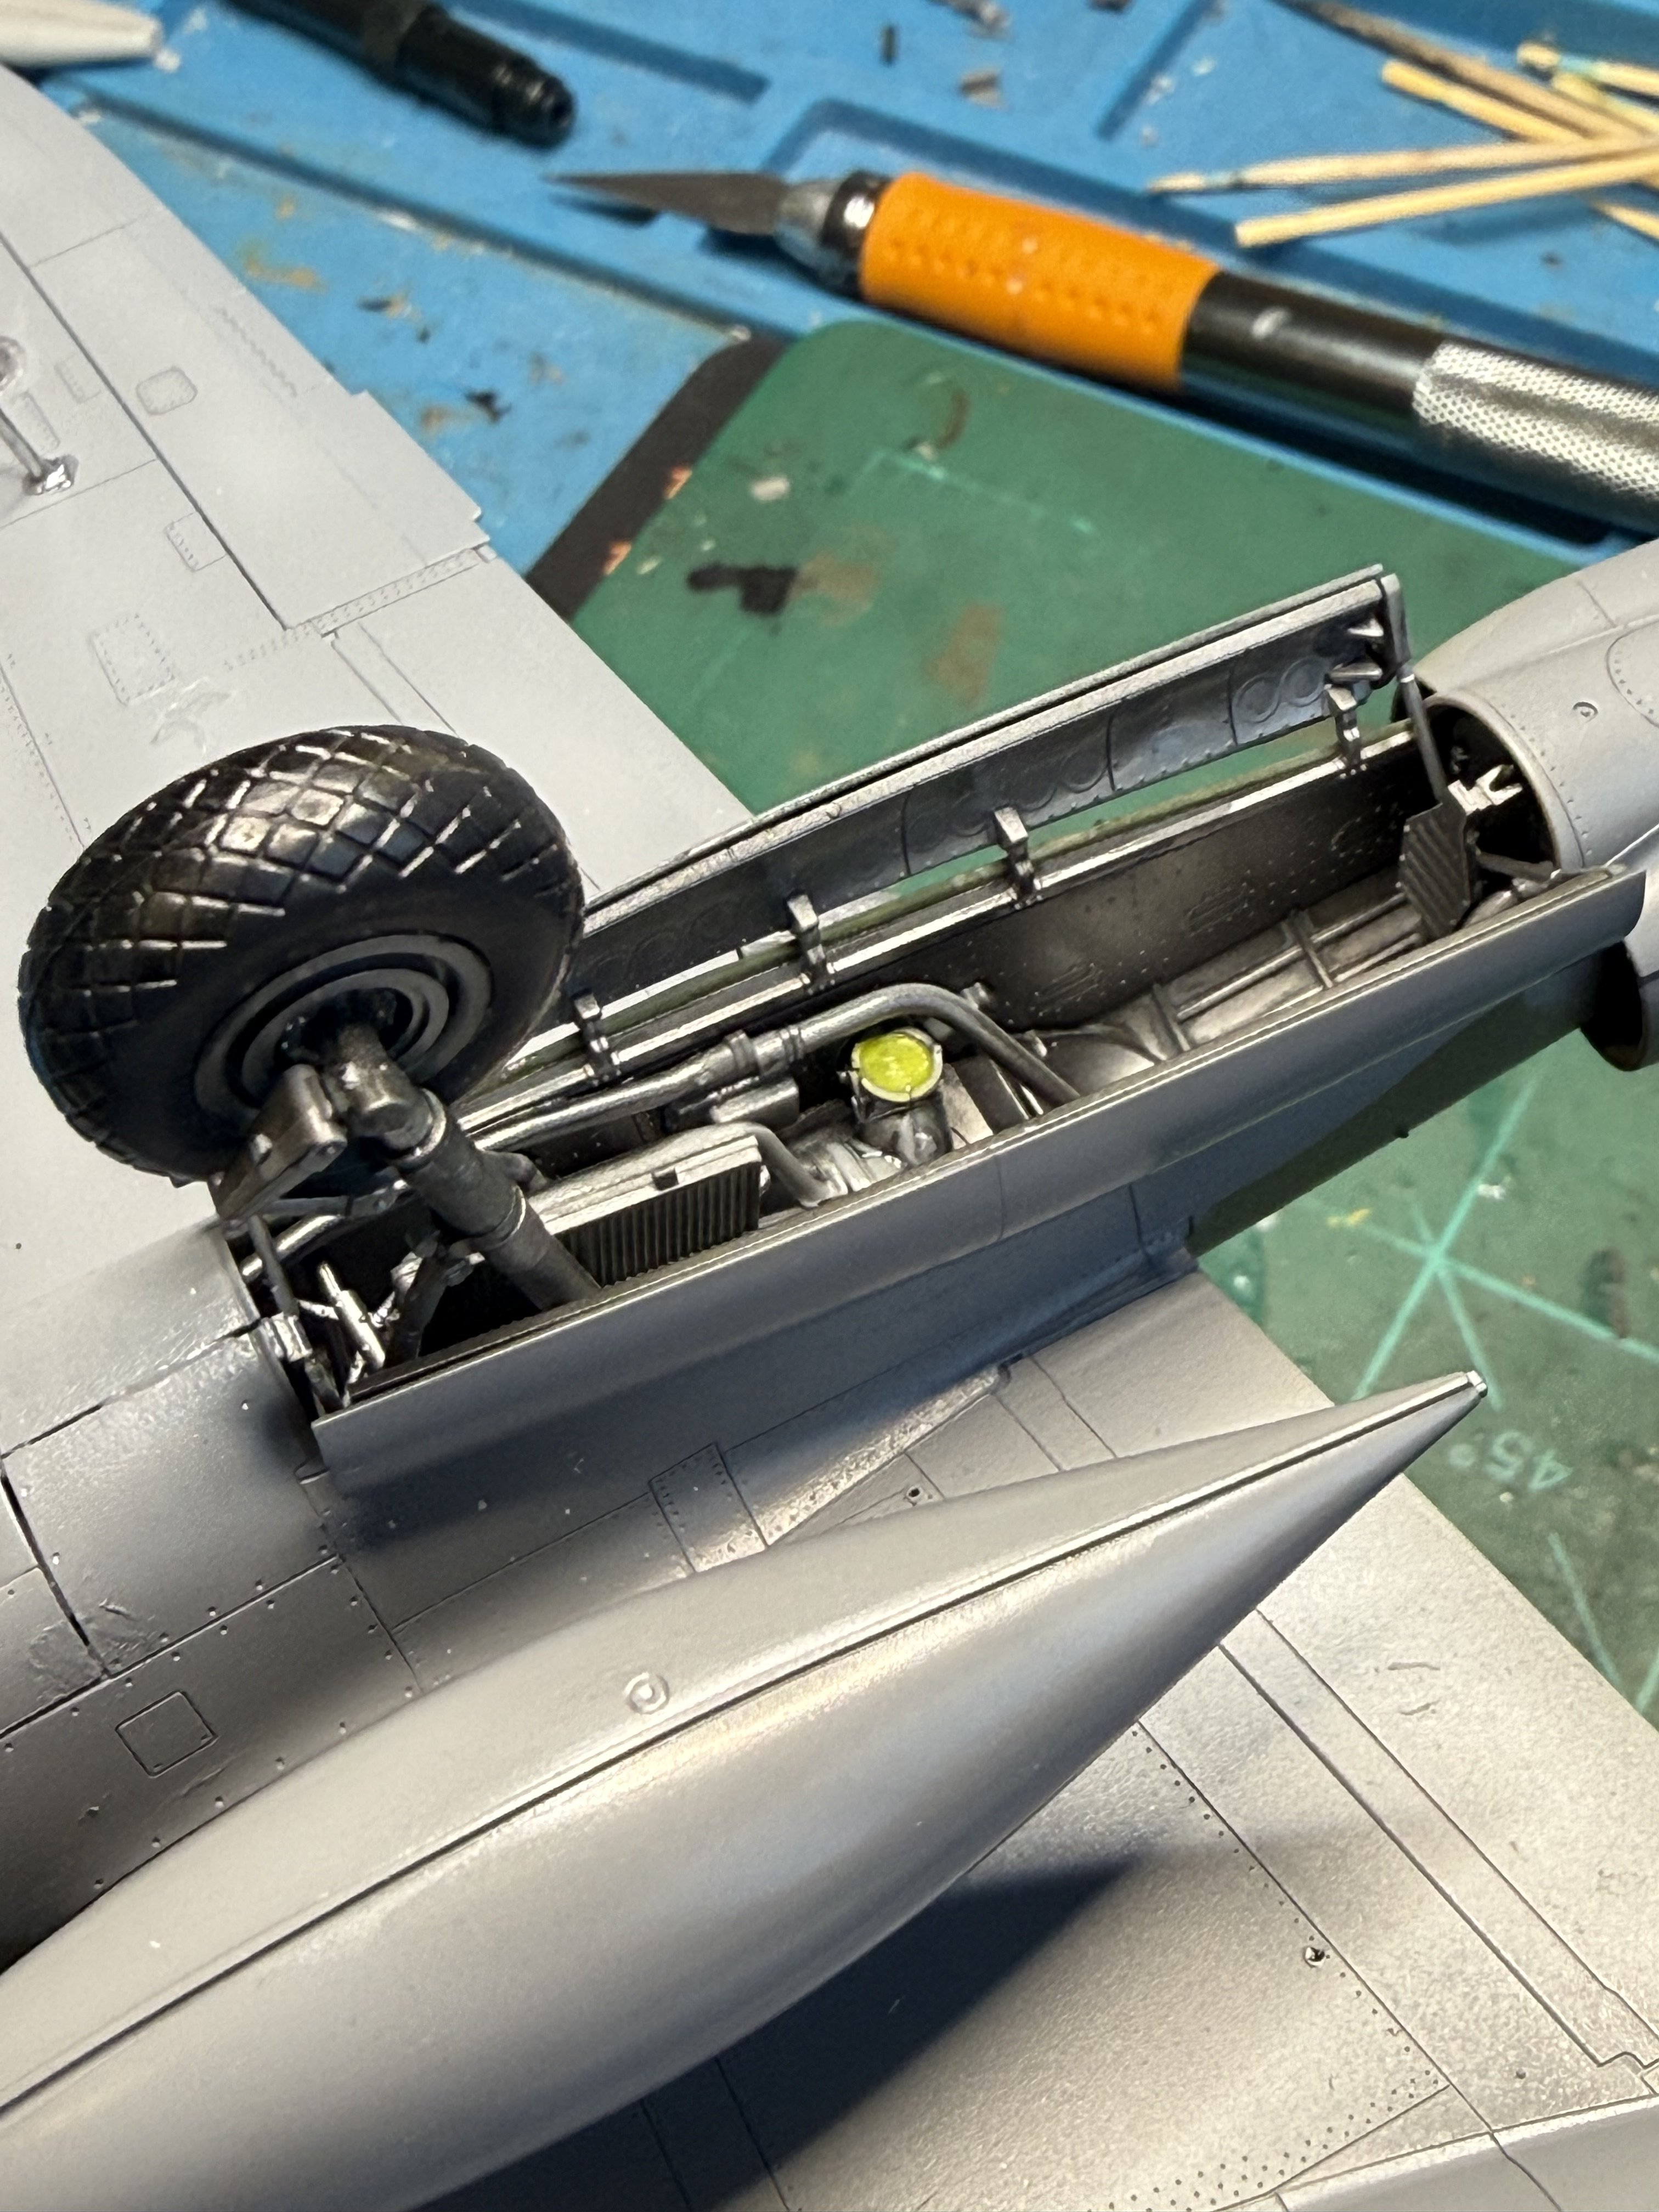
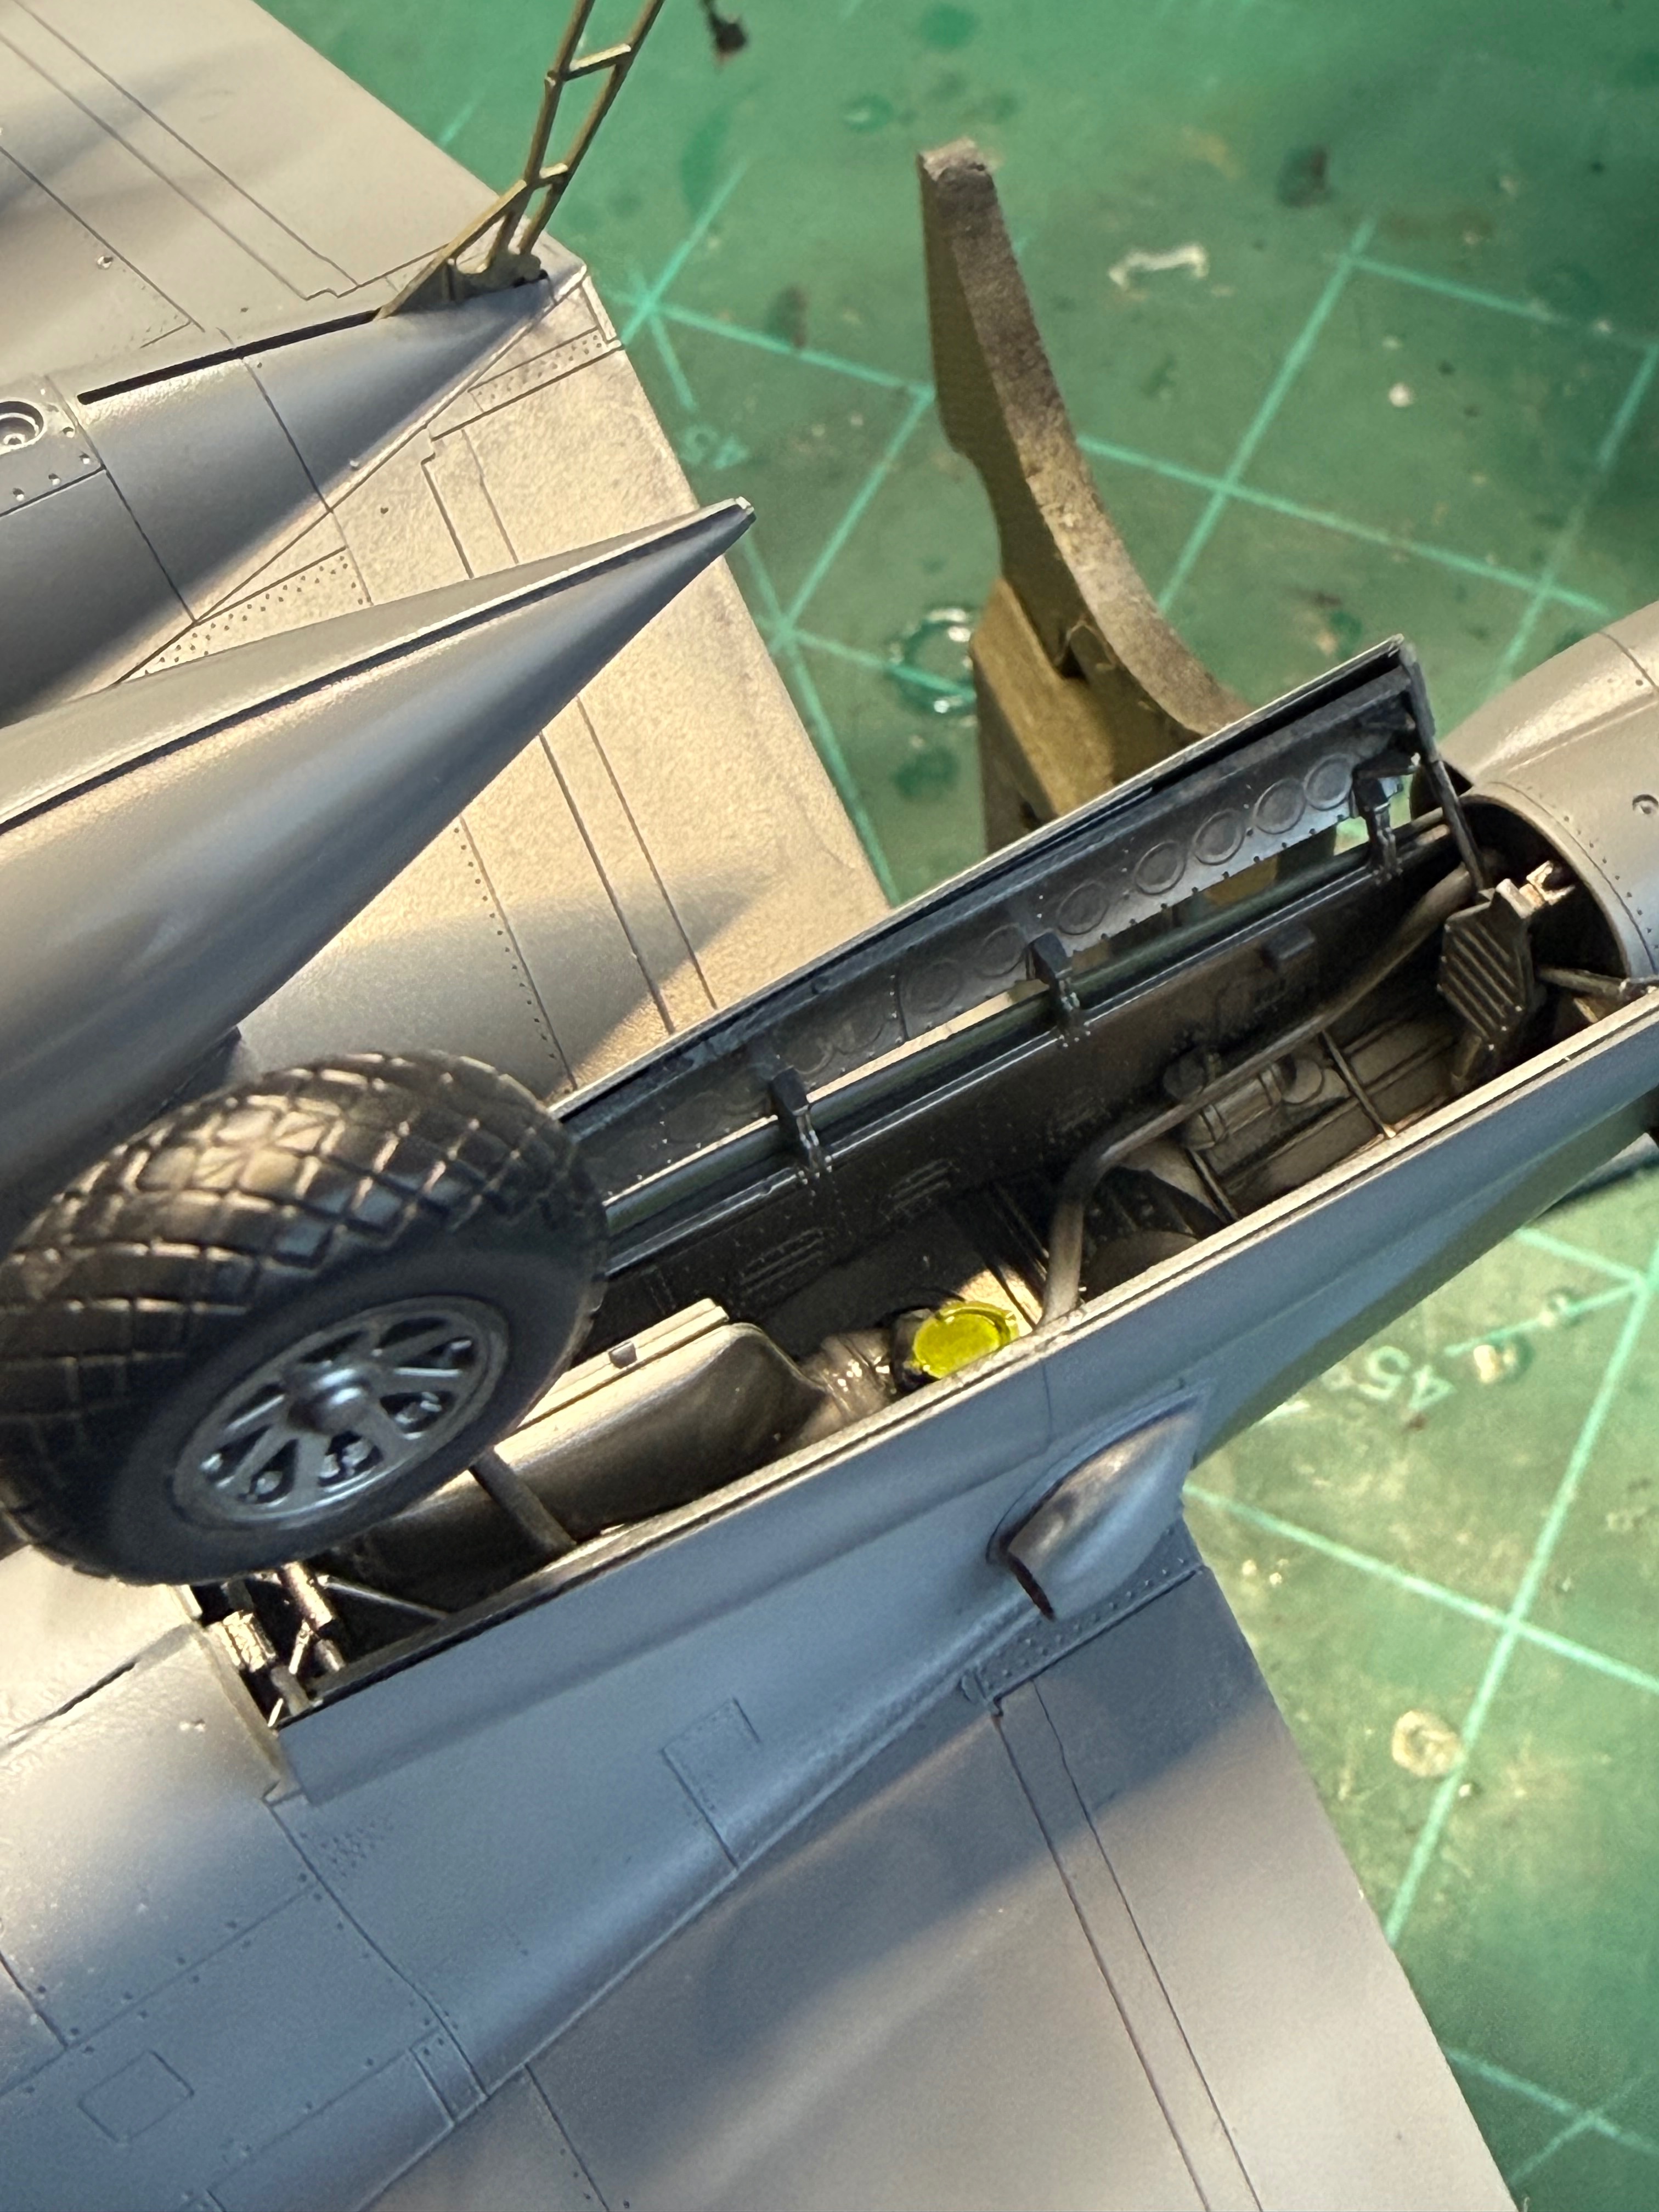
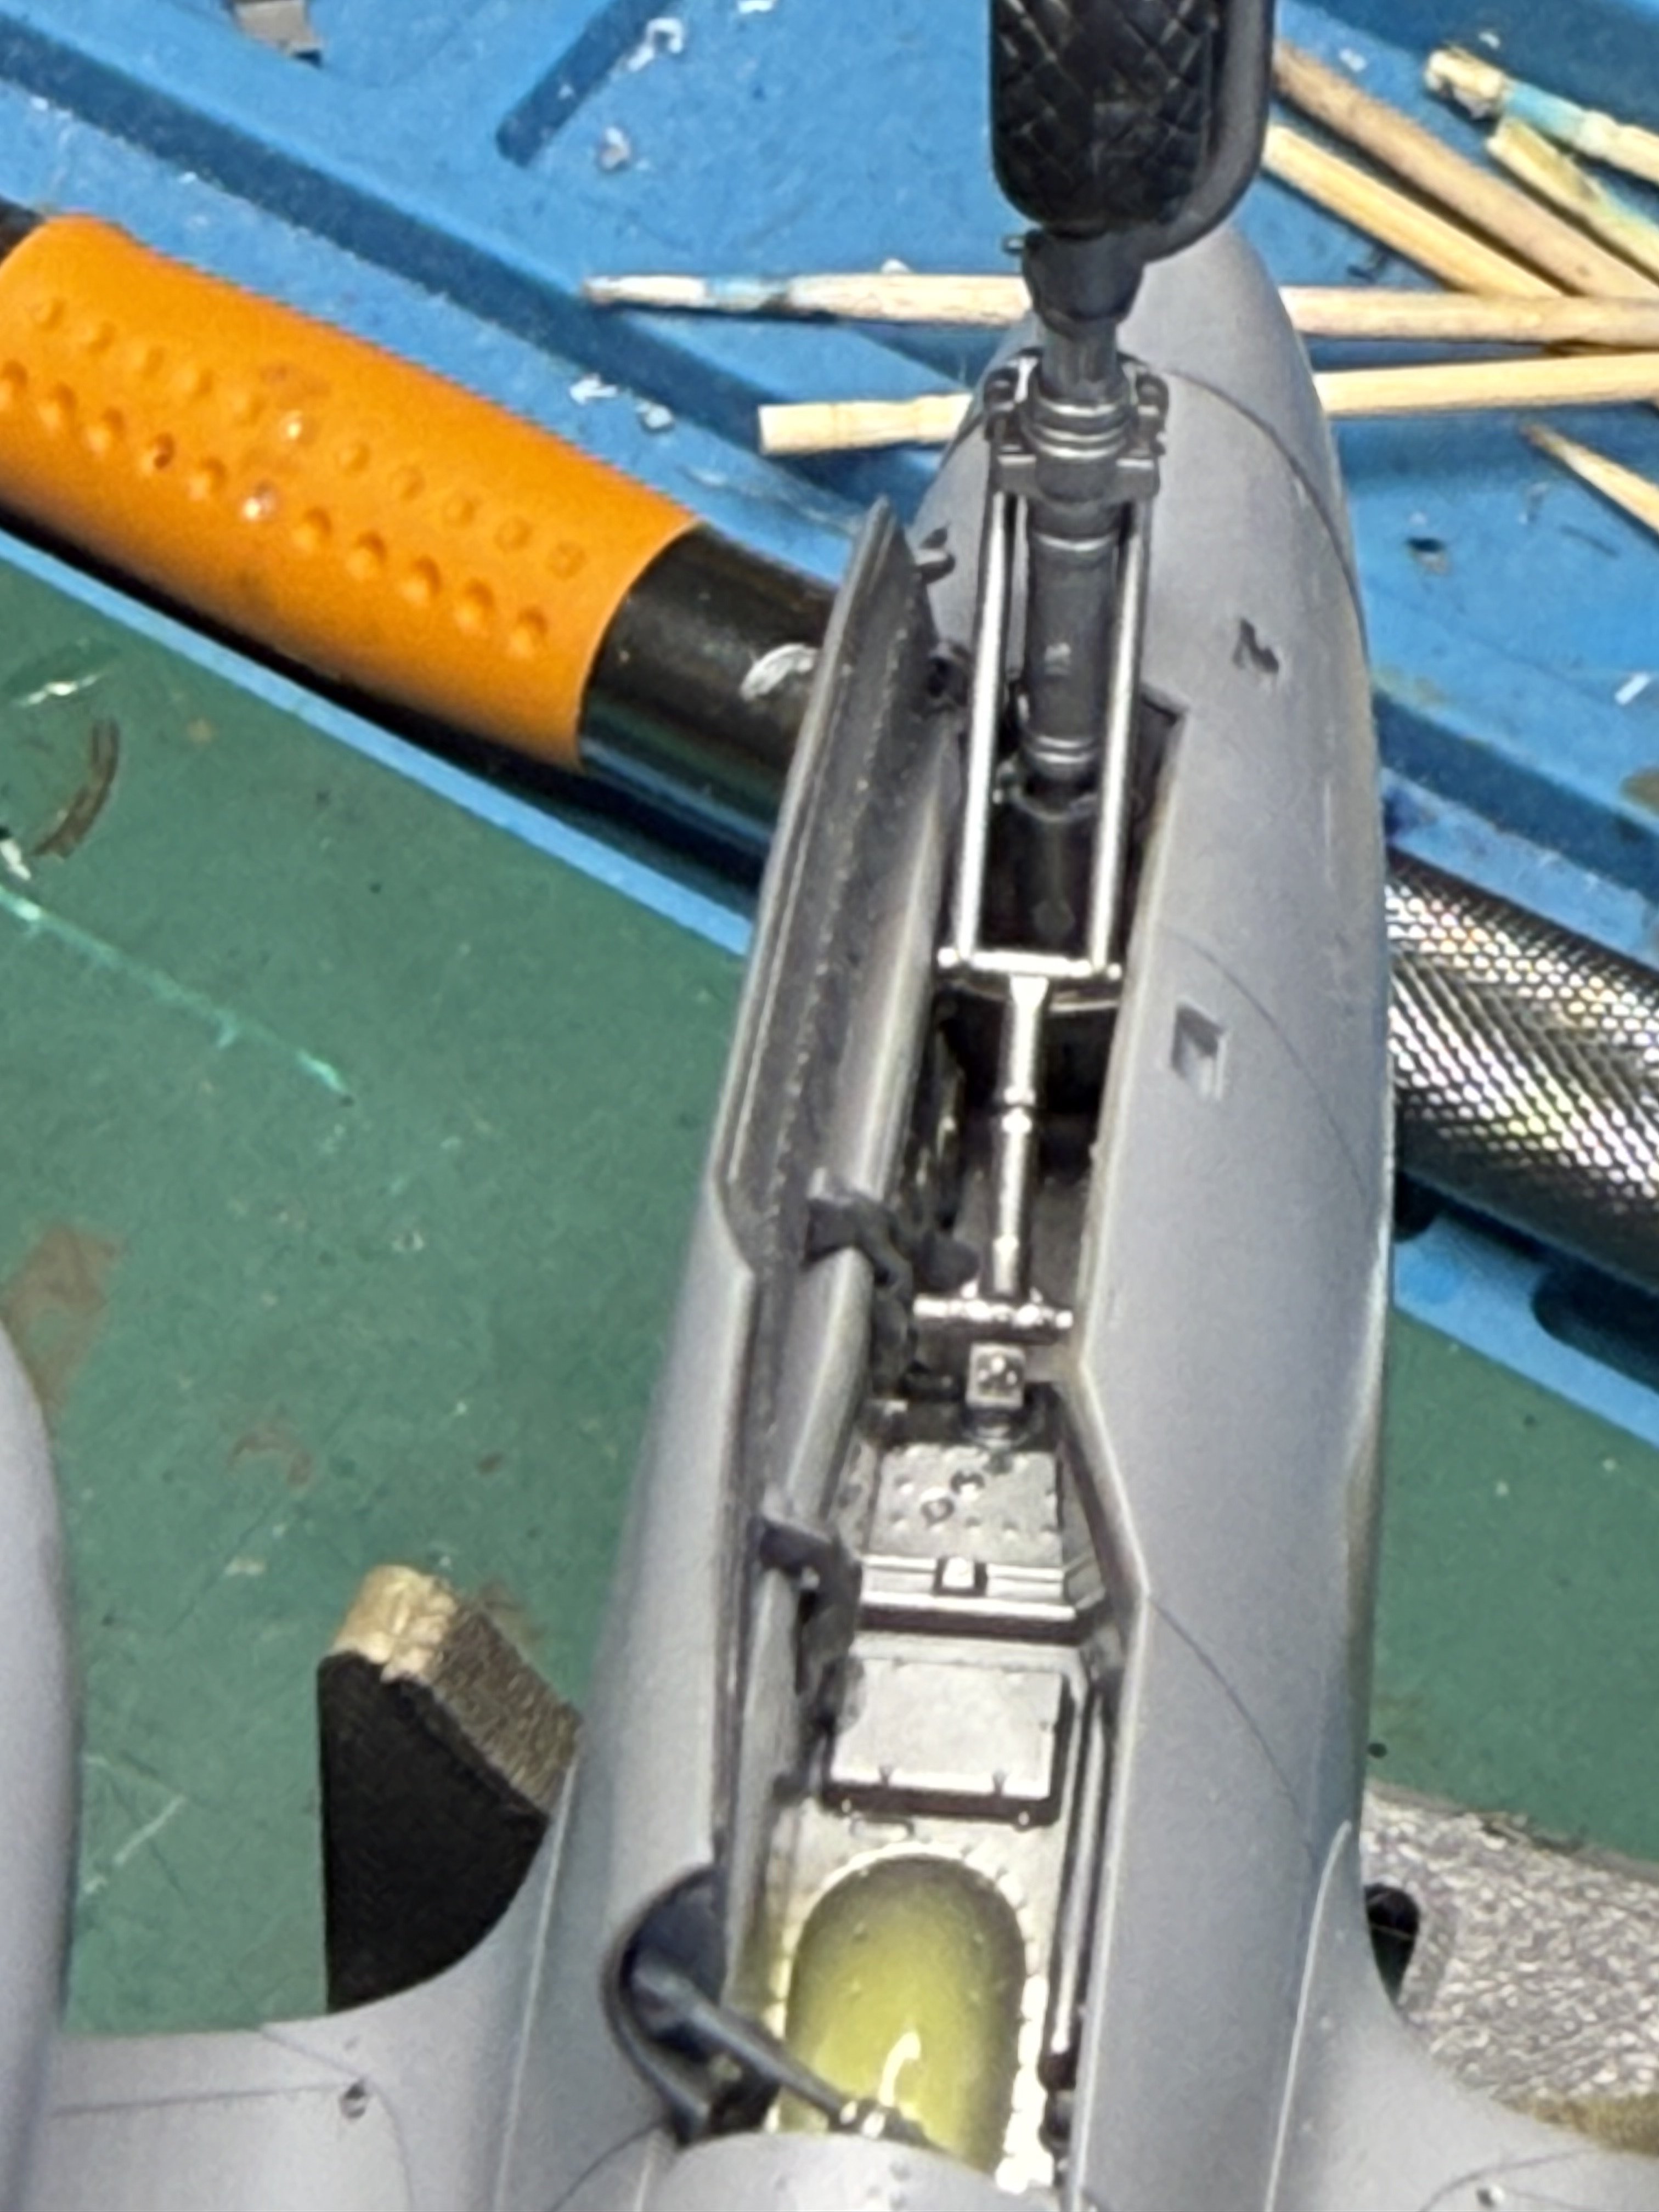
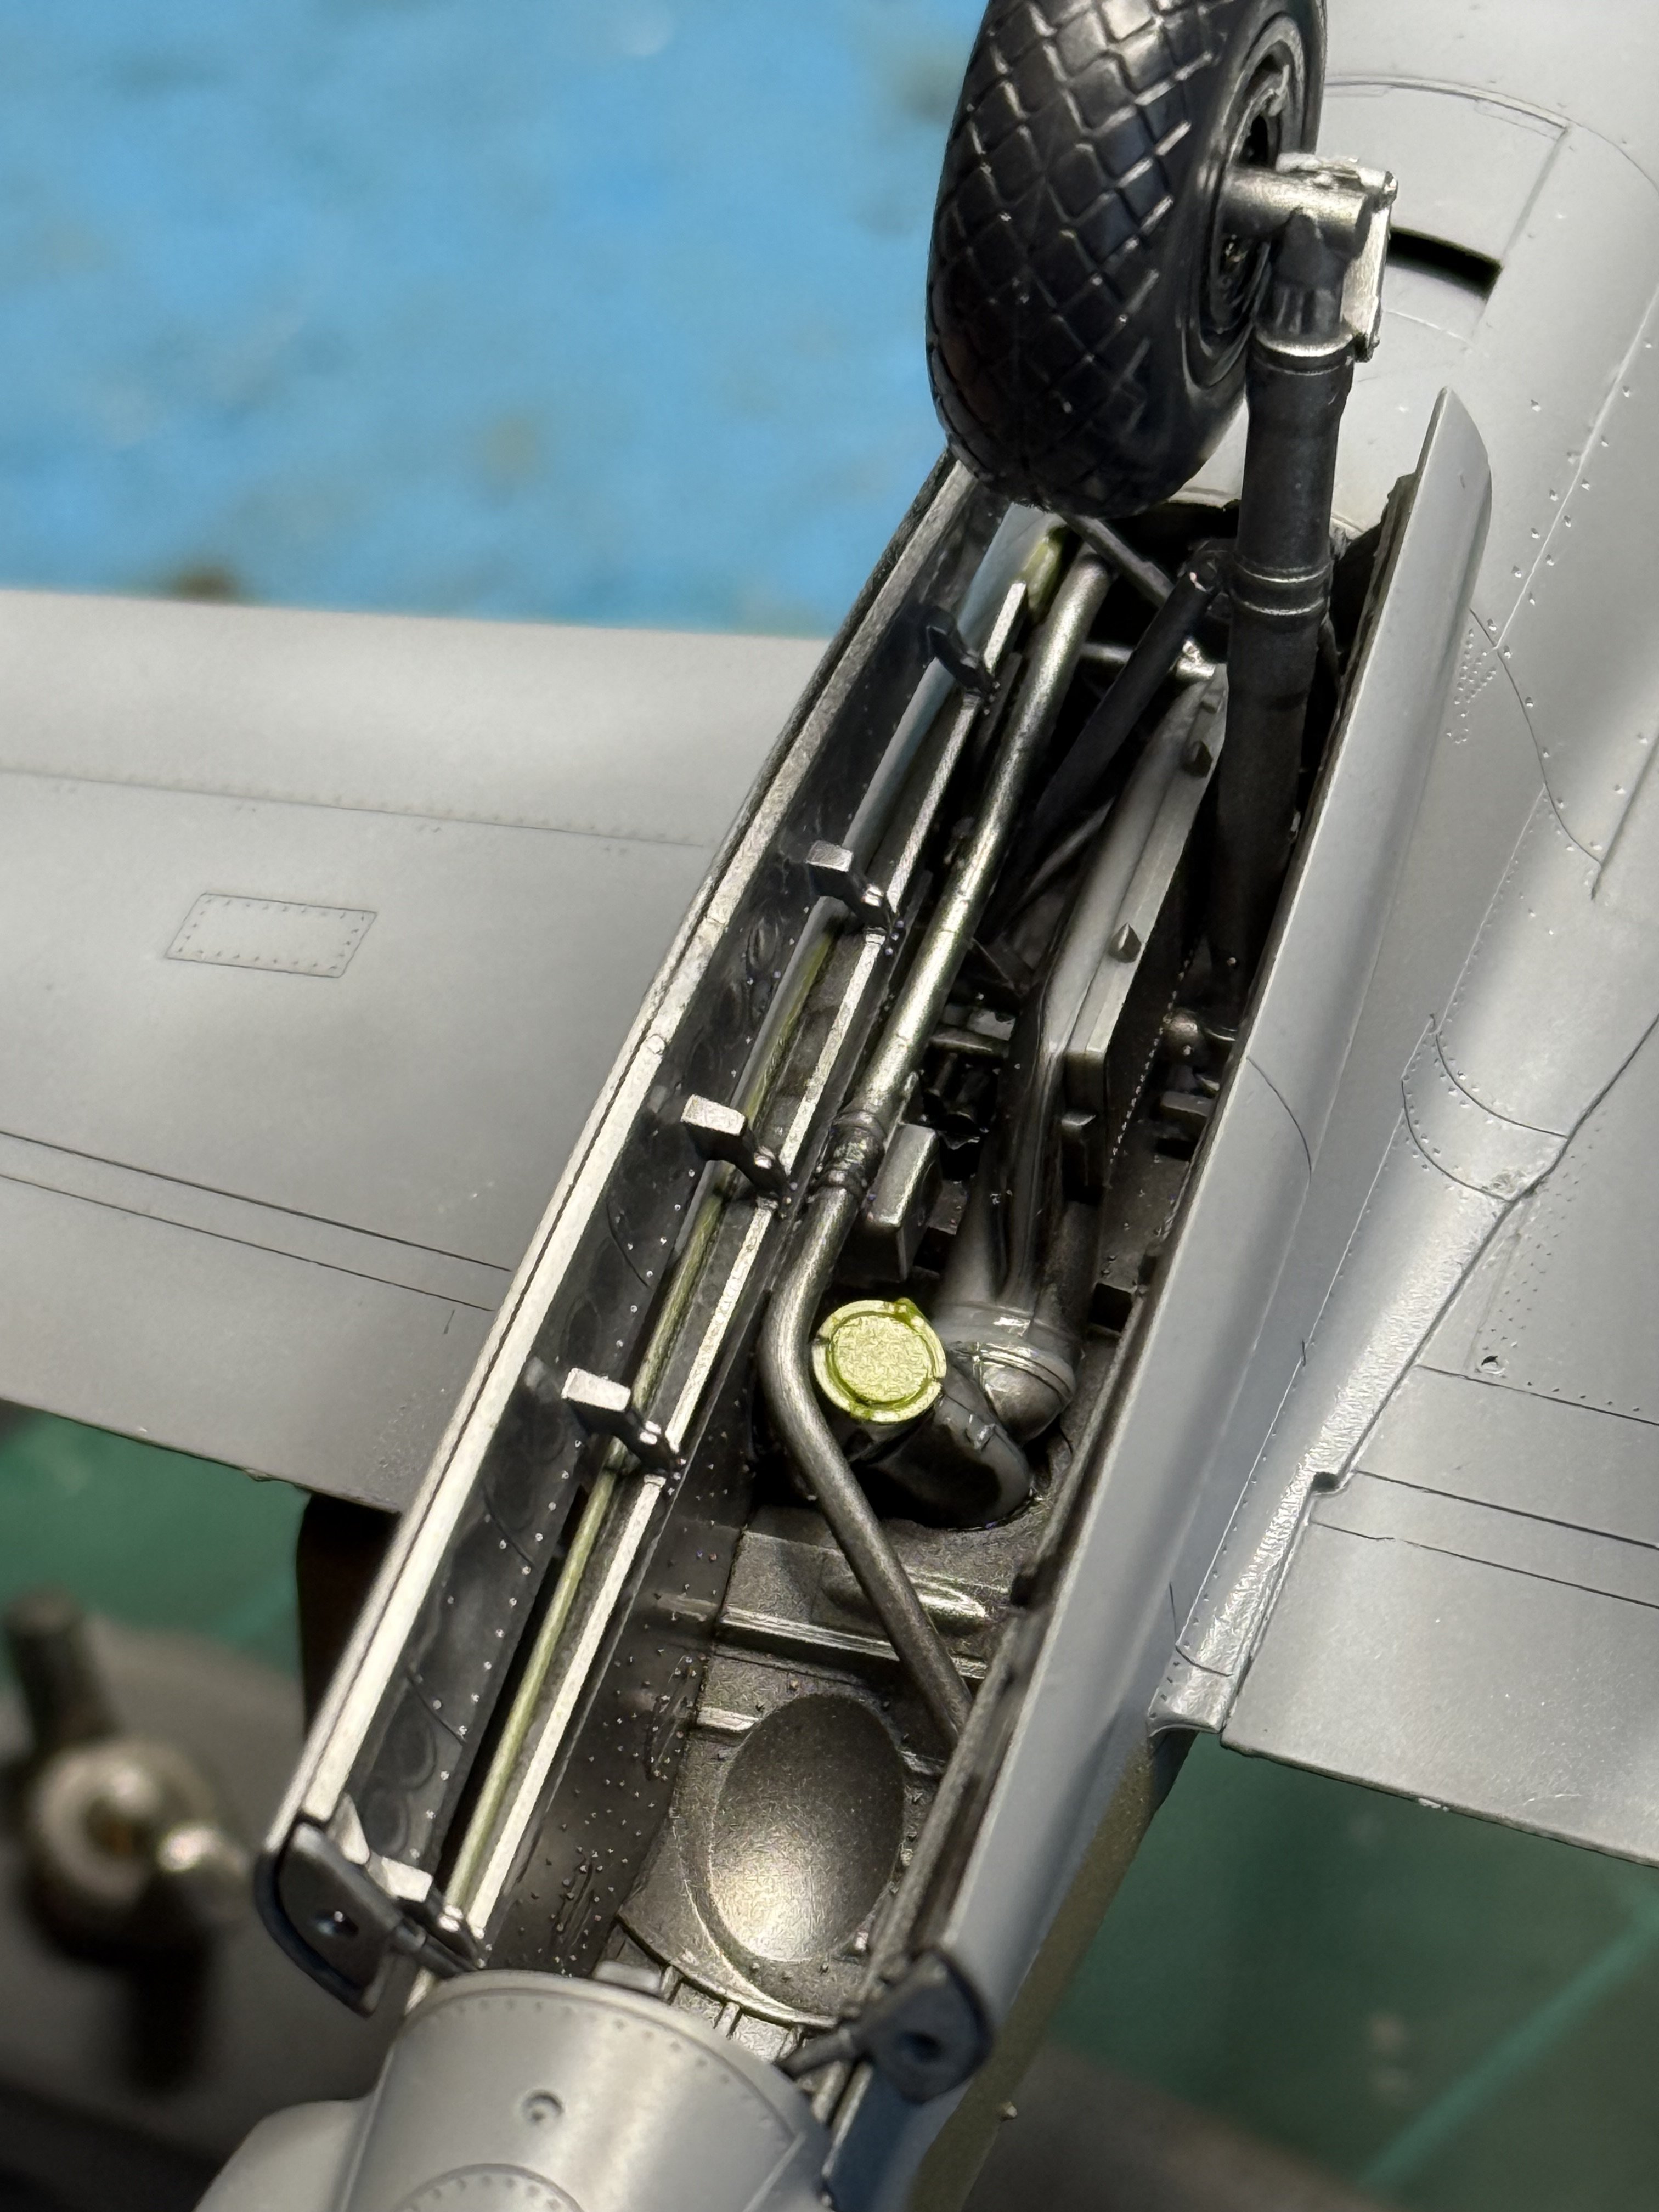
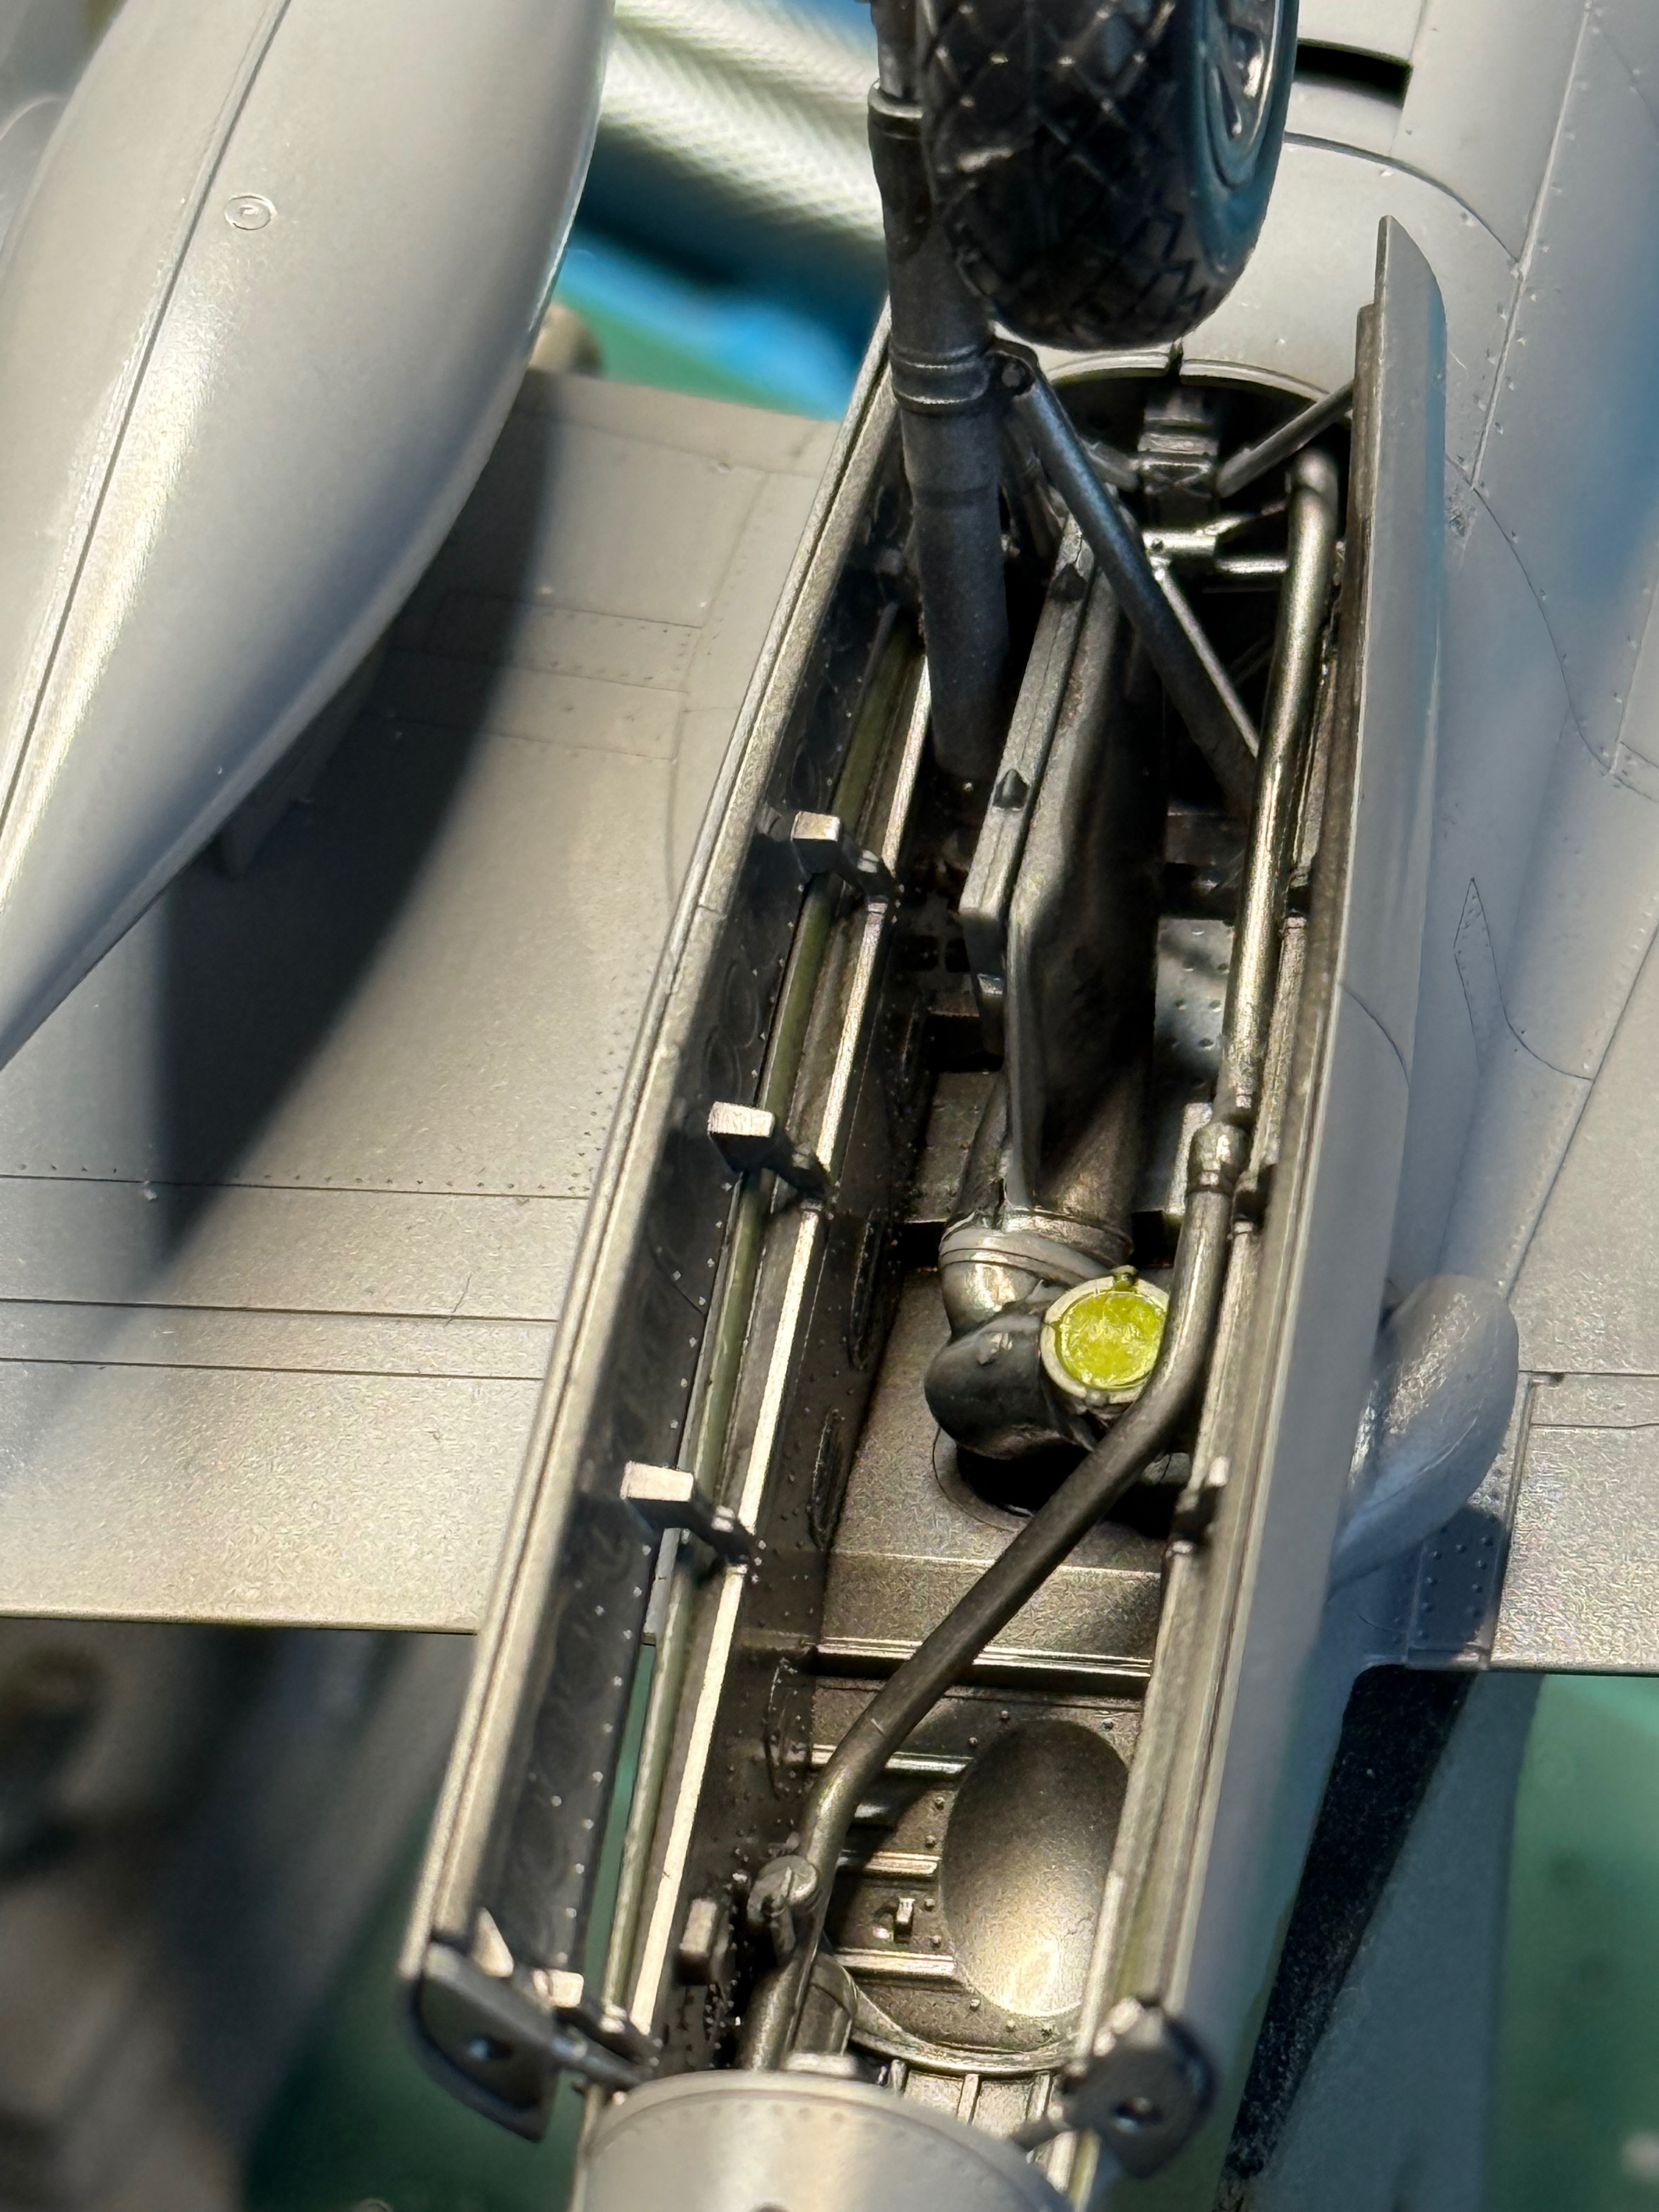
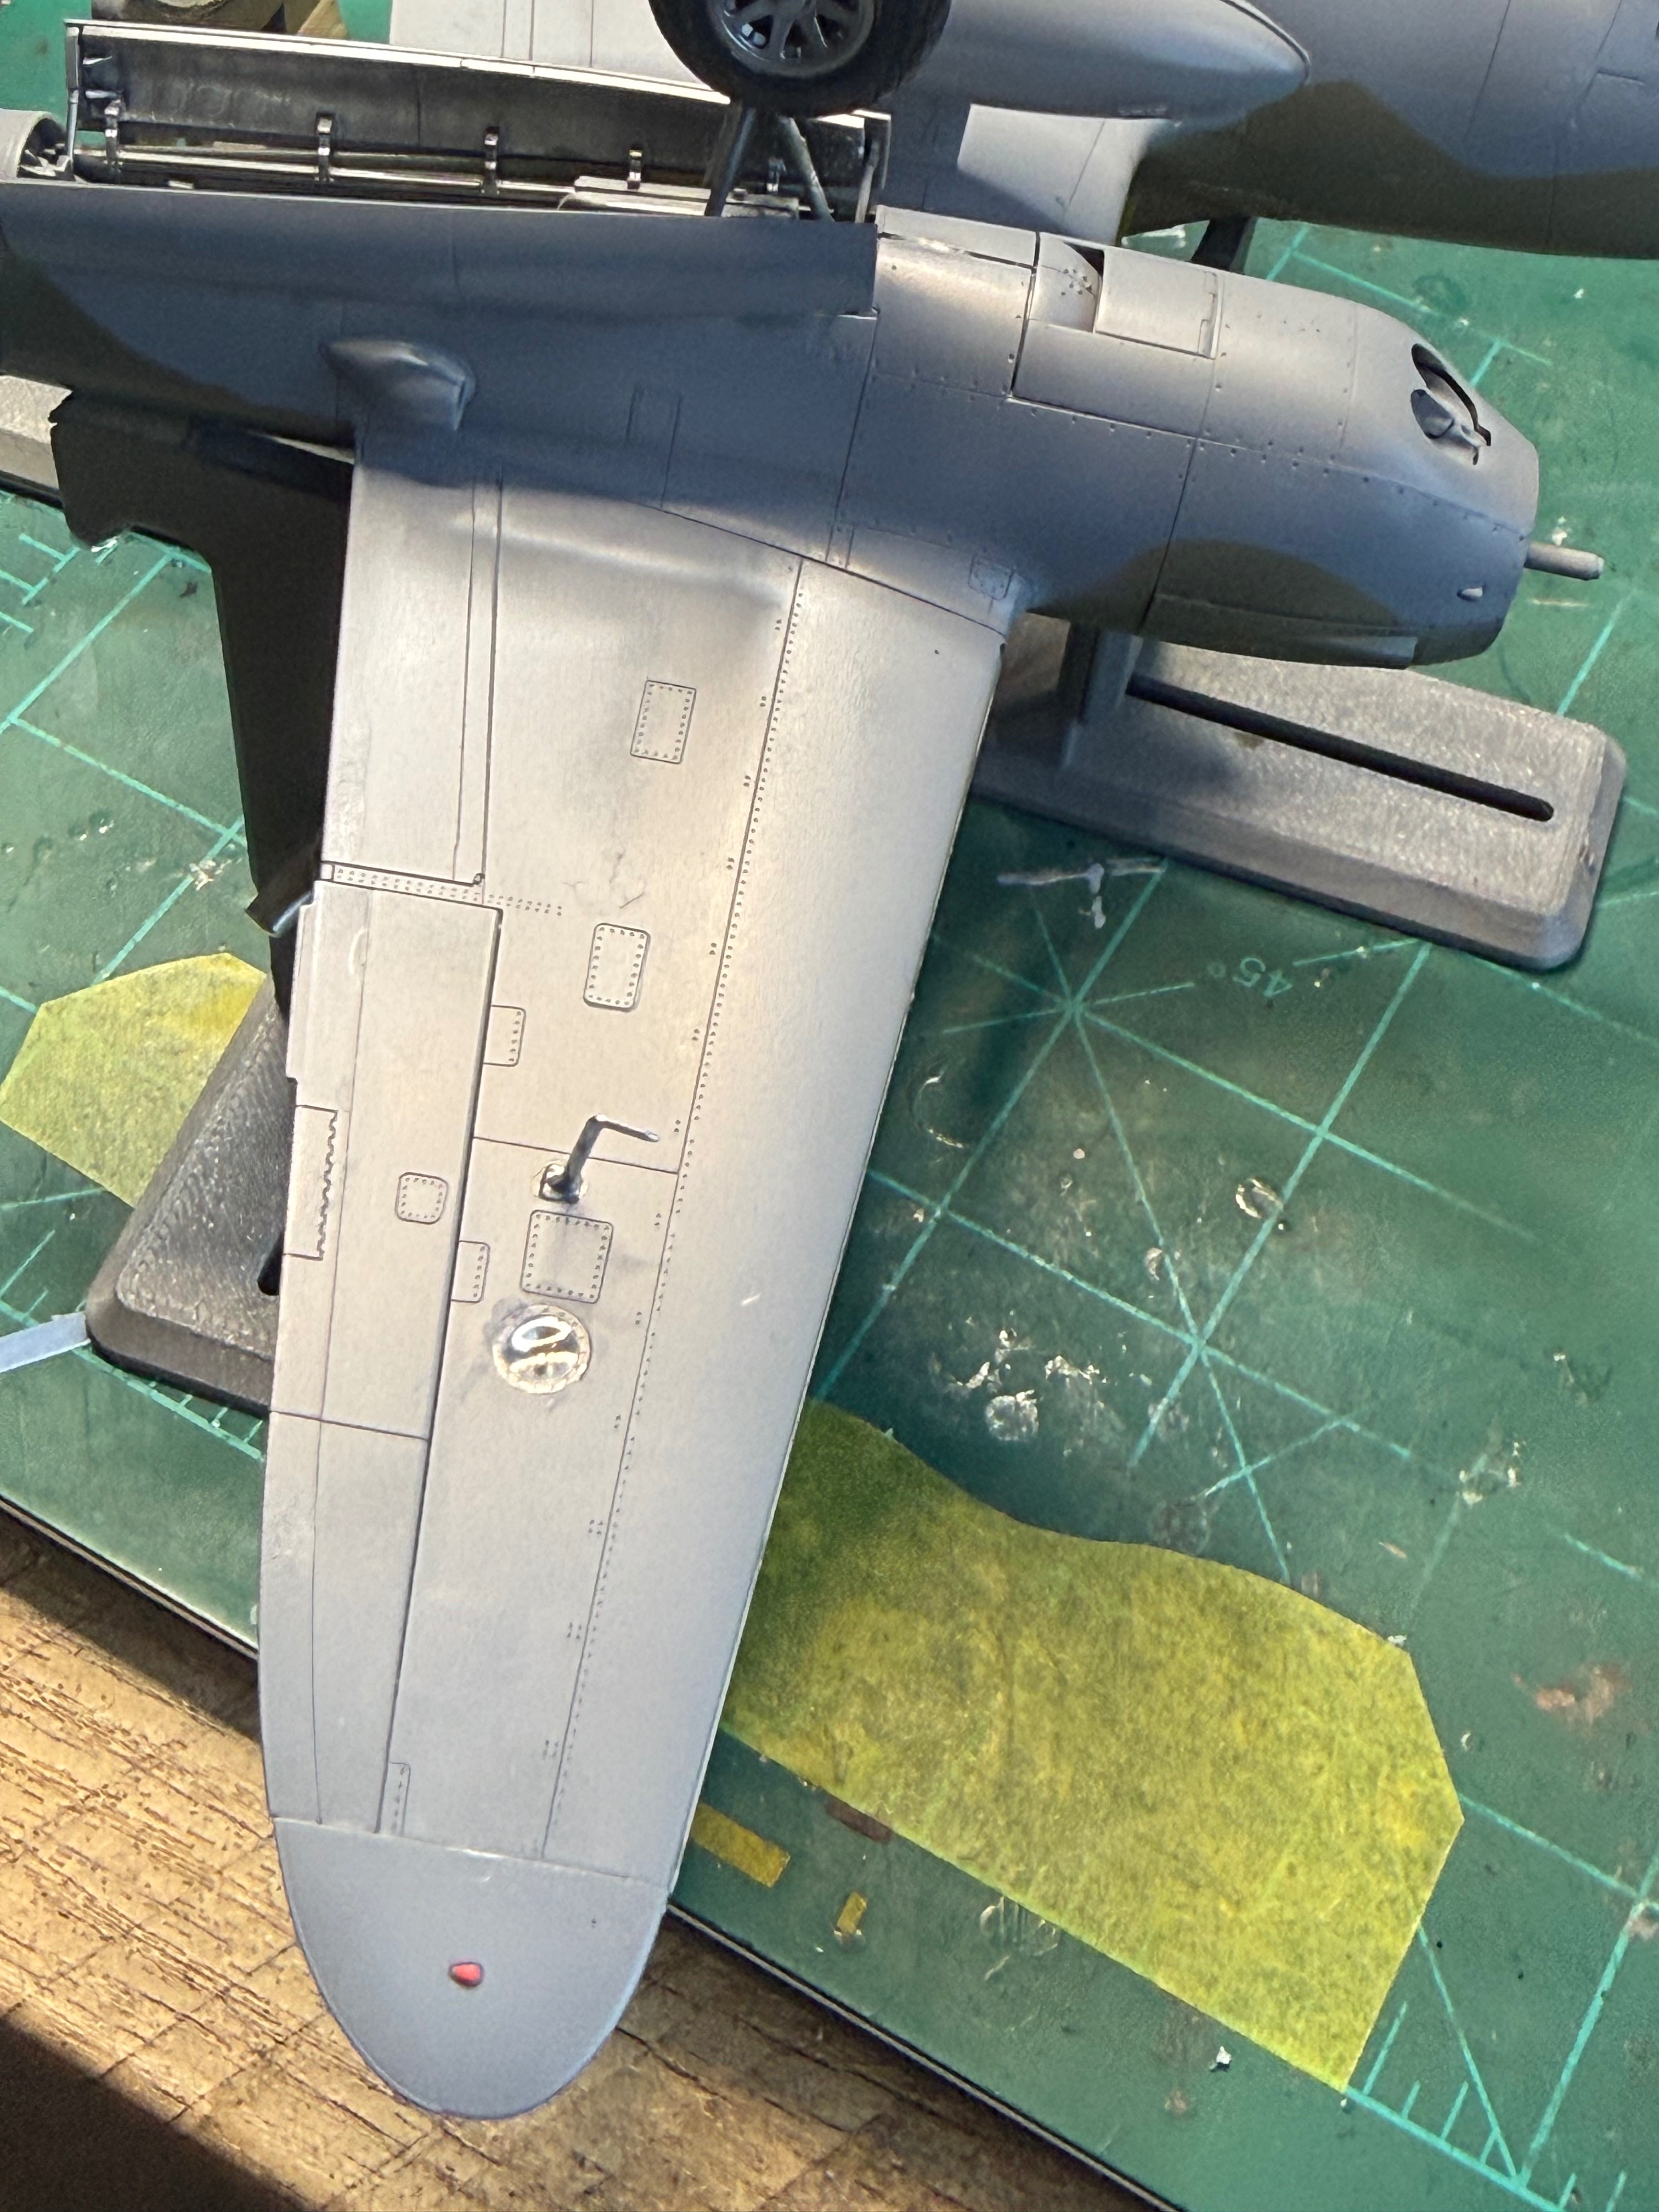
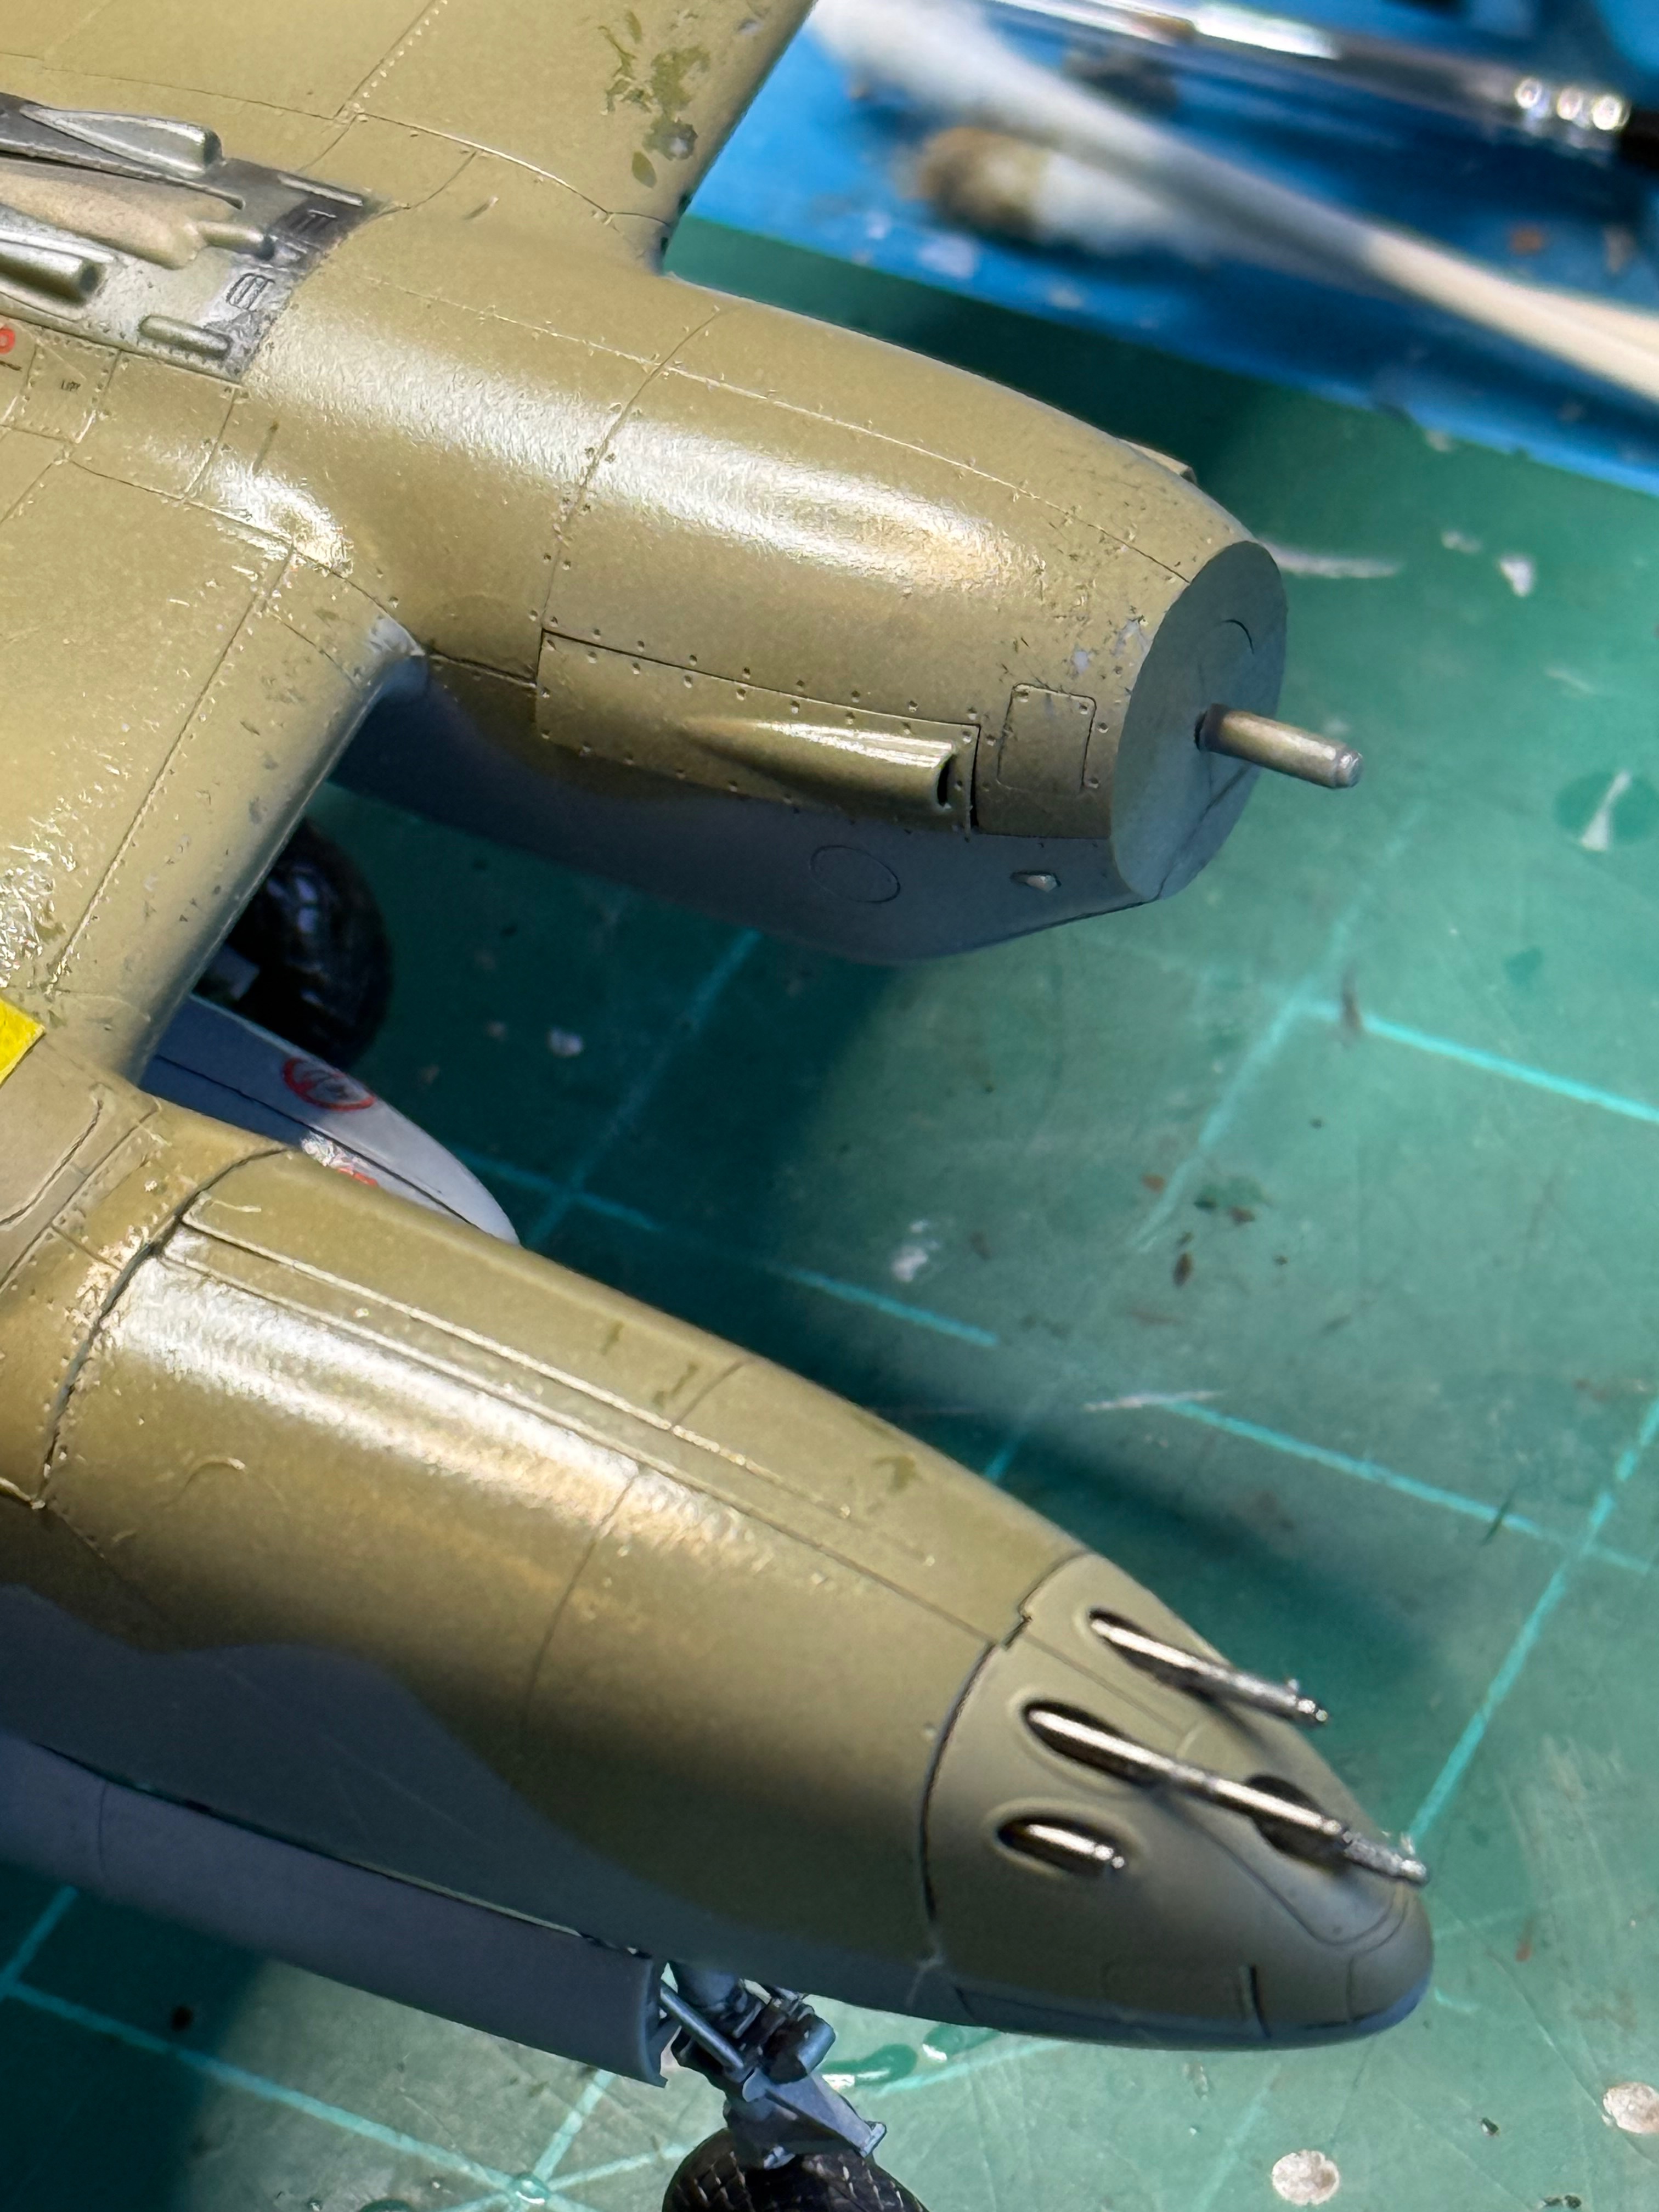
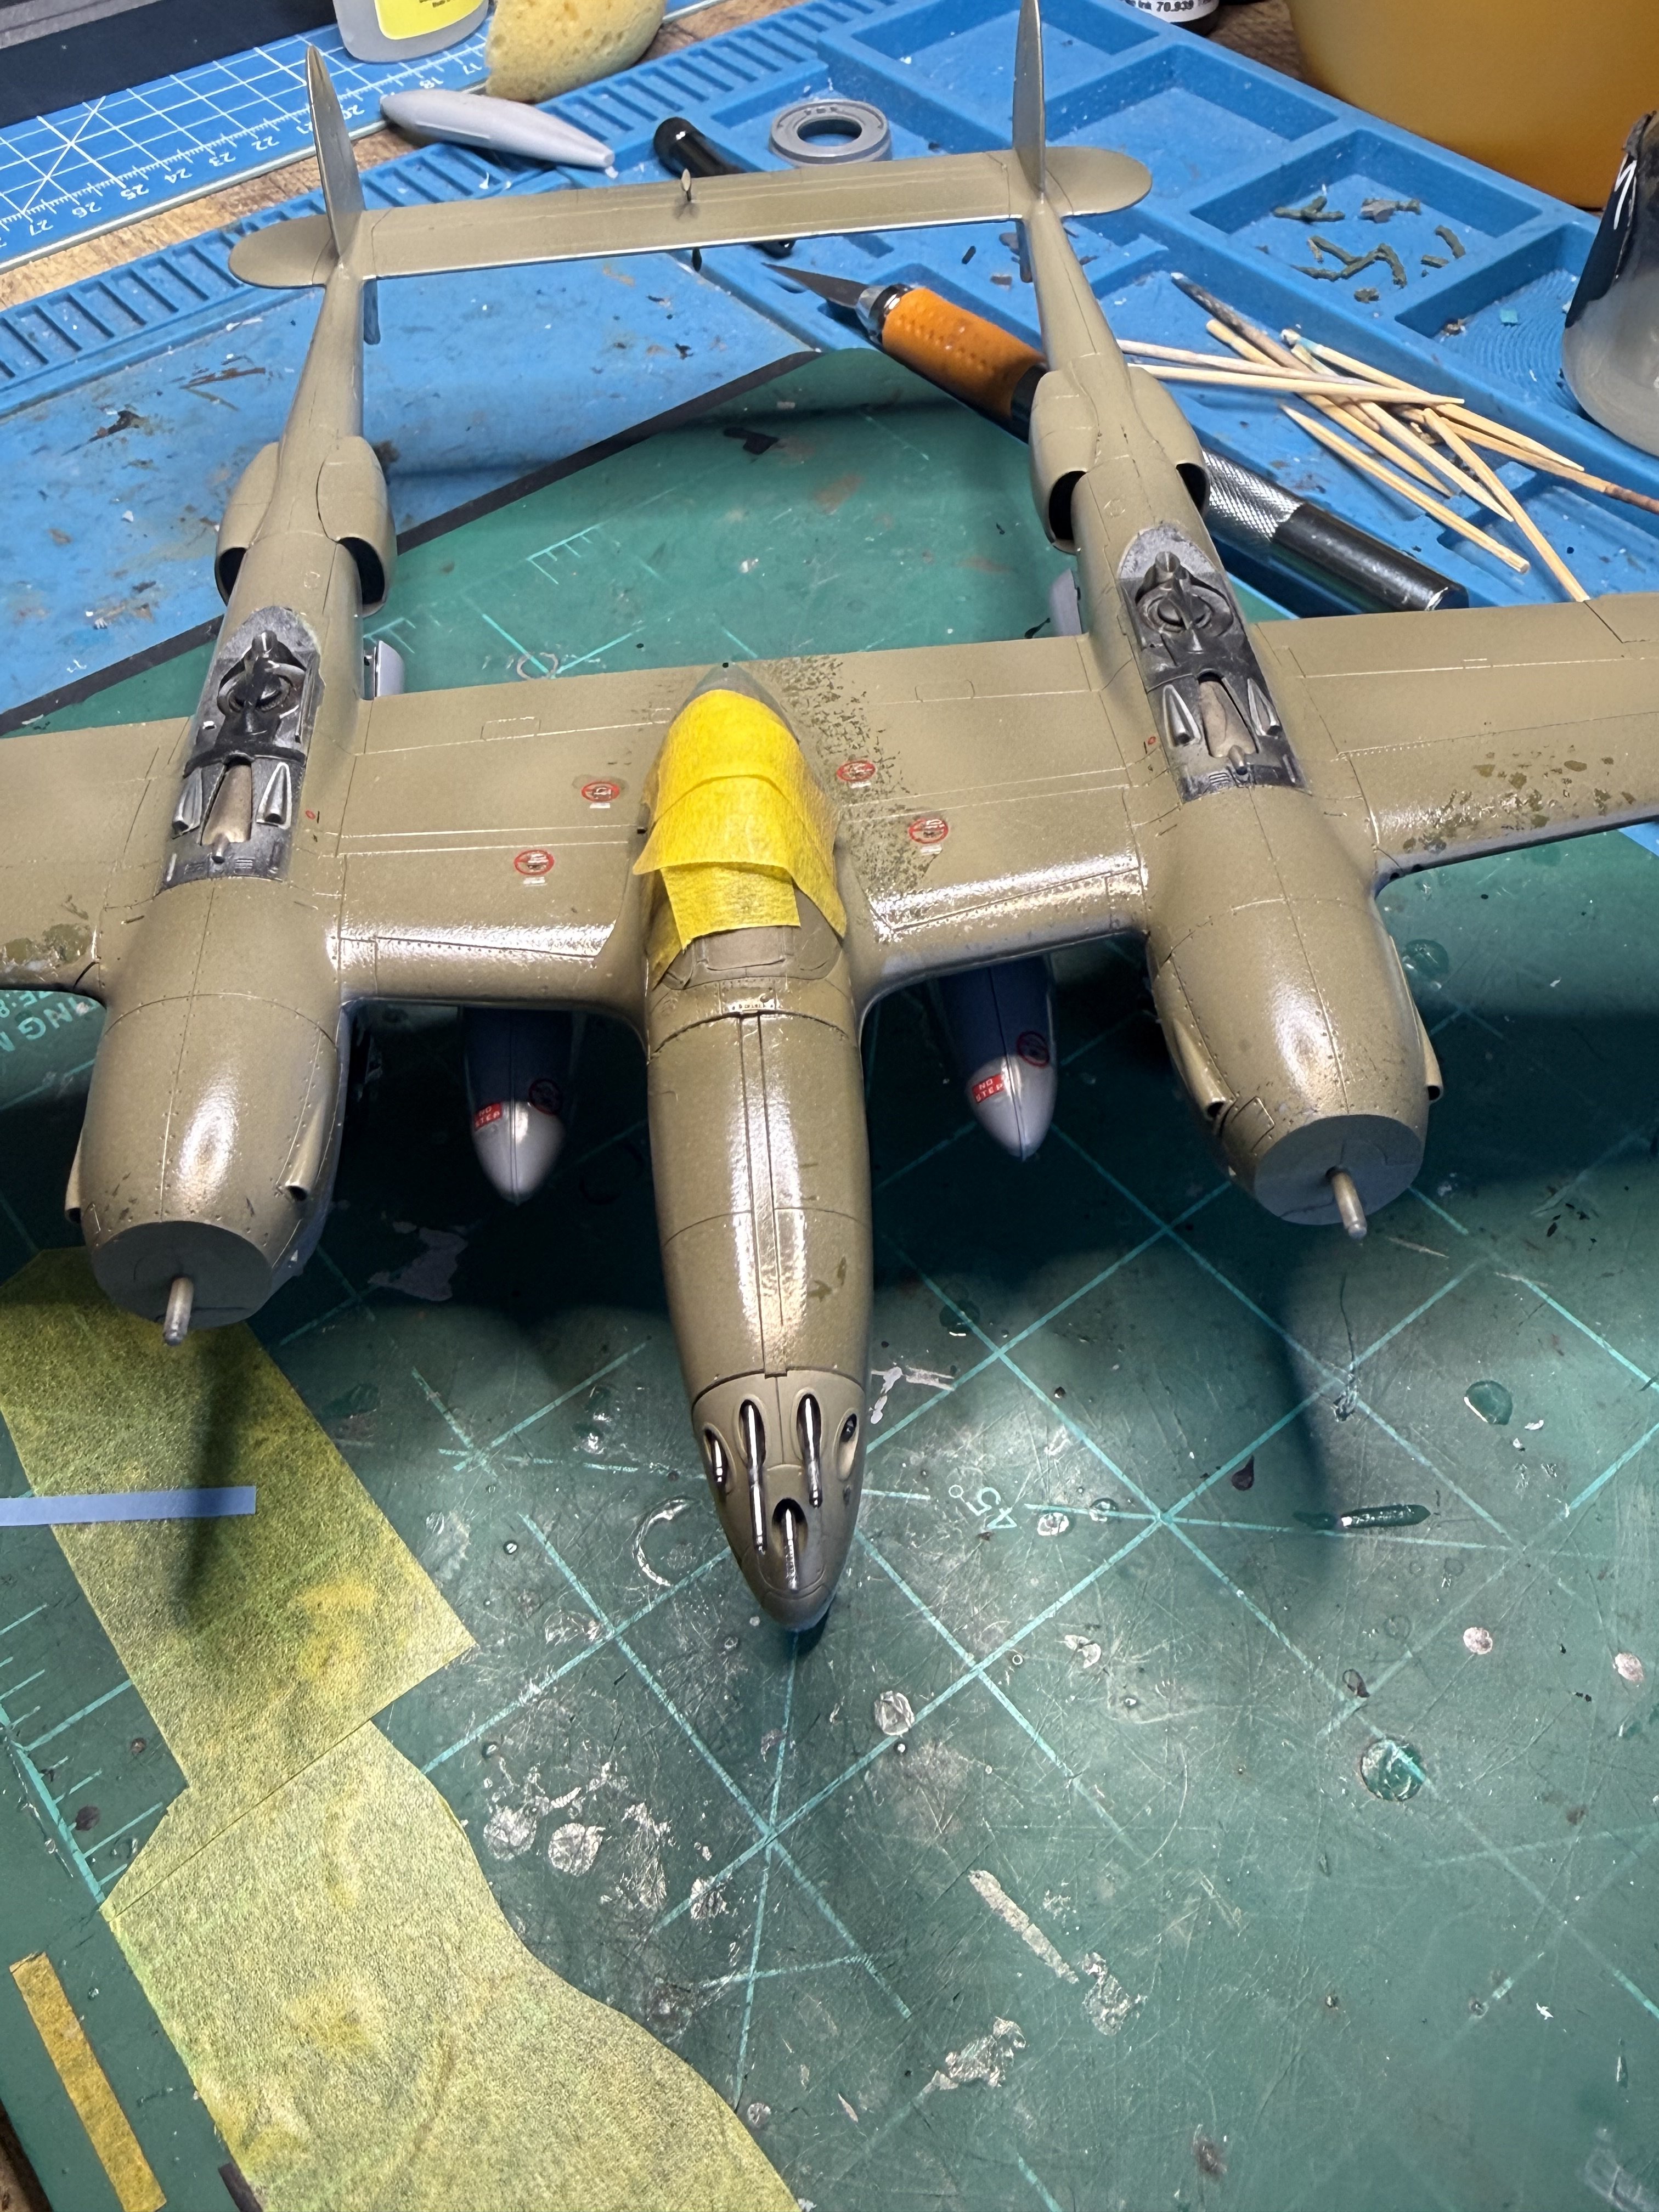
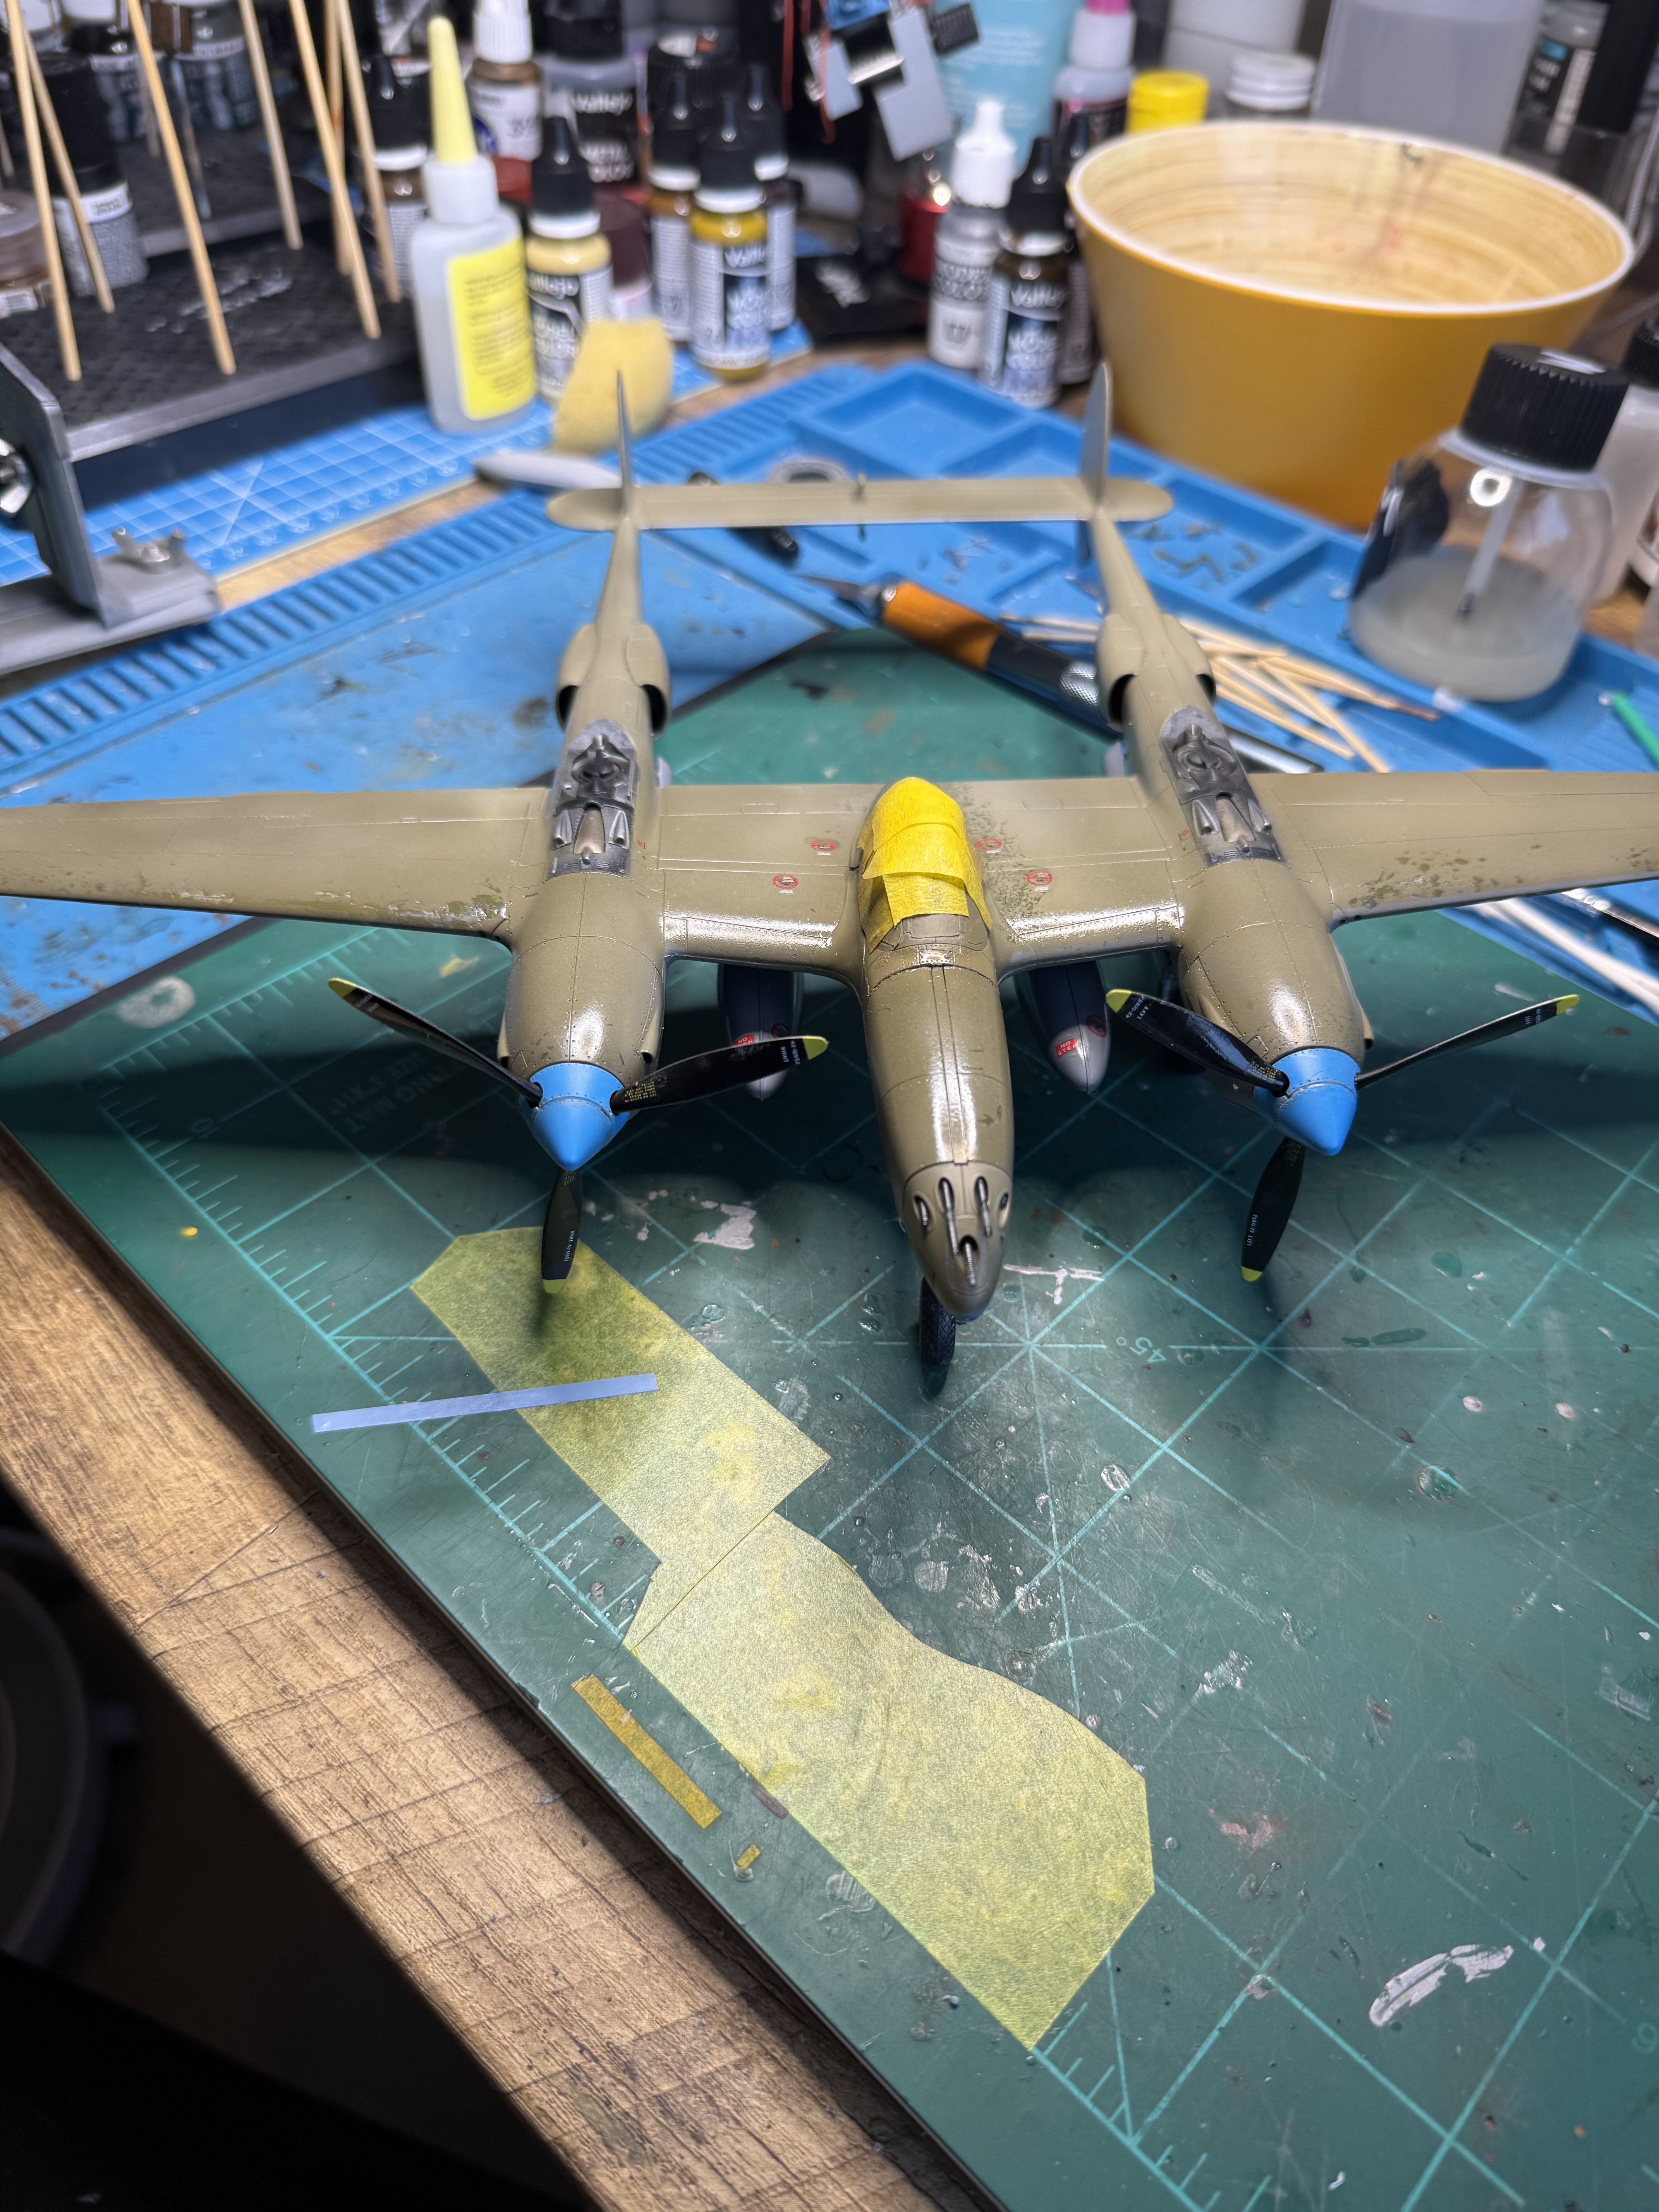
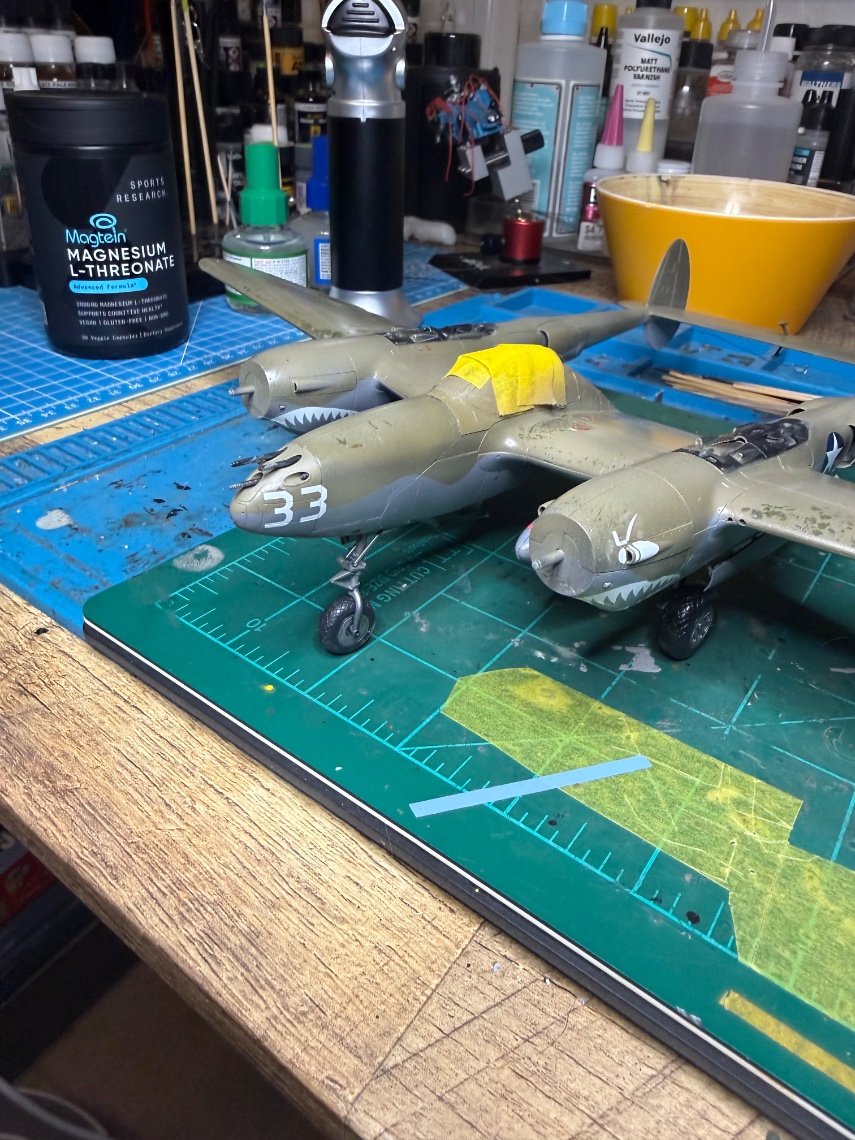
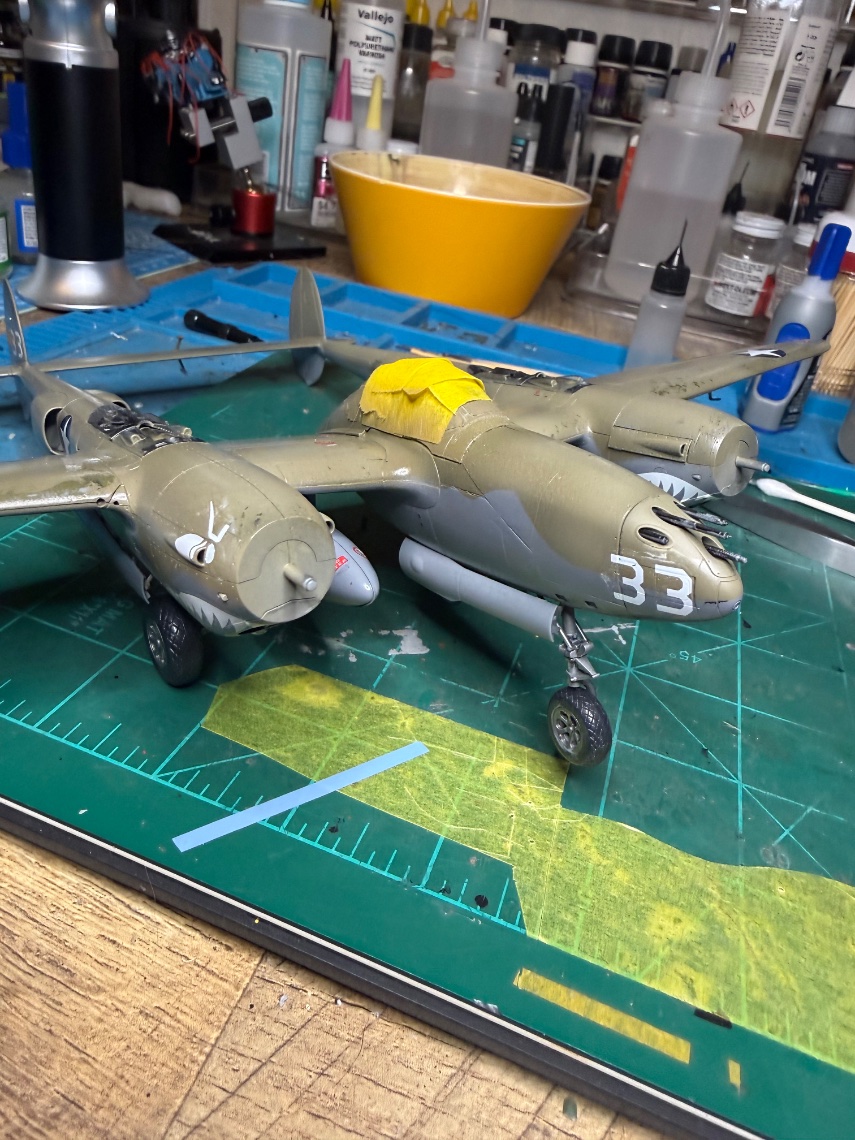
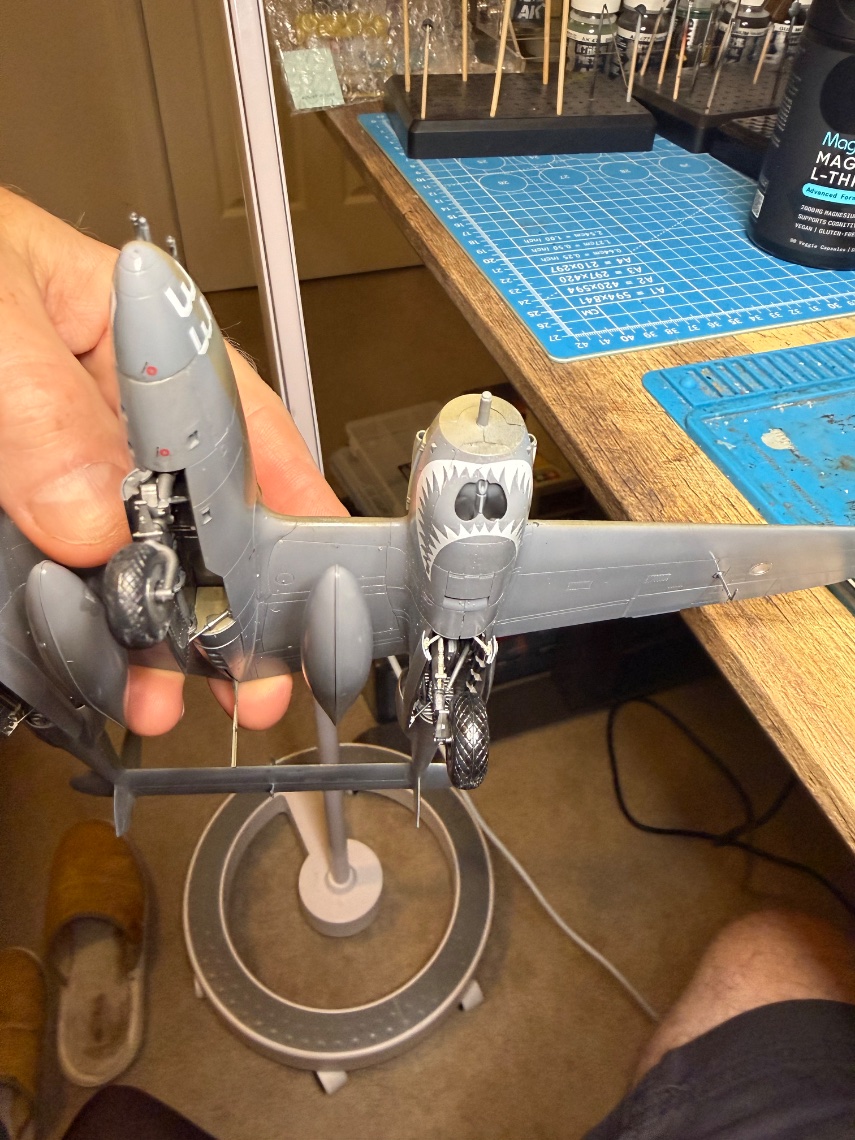
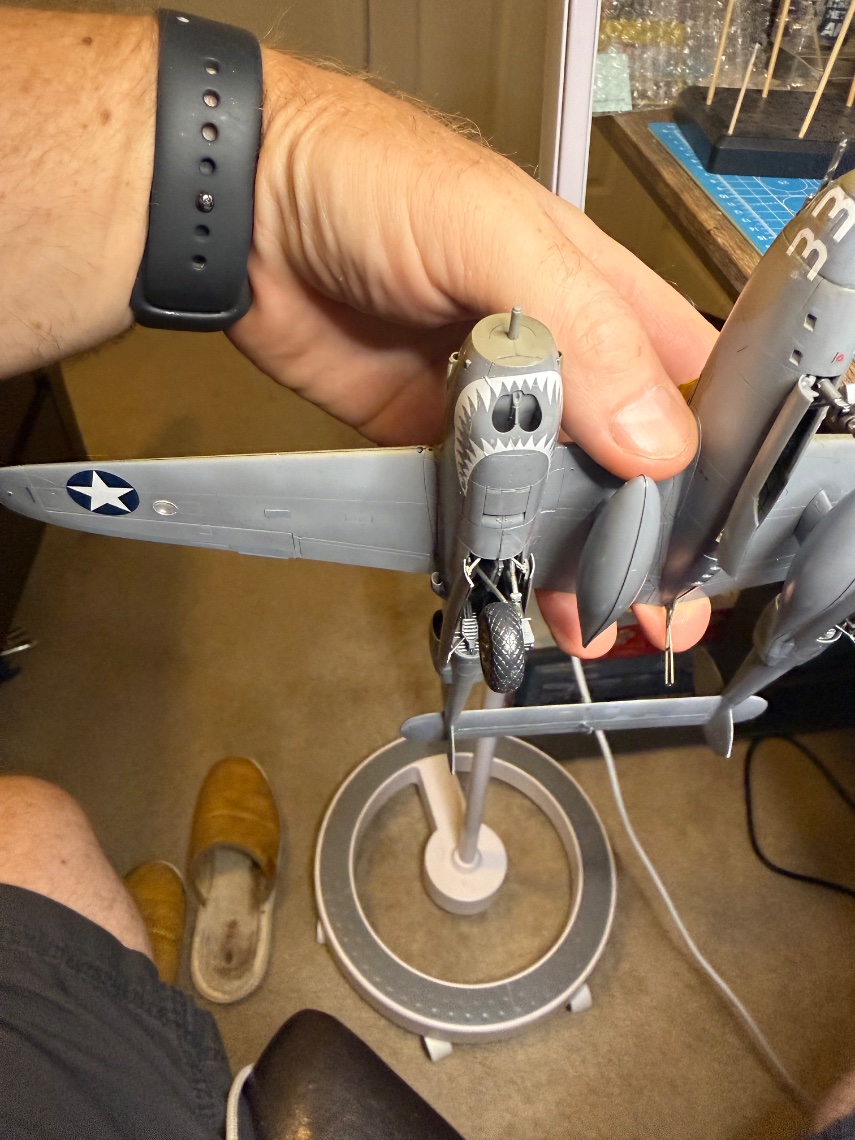
Top has had gloss coat. Painted the bottom neutral grey and applied some of the decals on top side. Guns and front cap ? Applied. Decals on props. Coming together nicely. Tomorrow I'll get landing gear installed and varnish bottom side. Then finish decals on top side.
I've gotten quite a bit done this morning. I need to touch up the nose cones, finish decals on uppers, and hit the underside with a varnish today. I can't believe I put this model off- everything has been Tamiya smooth! Tomorrow I plan to do some final weathering.
I've gotten quite a bit done this morning. I need to touch up the nose cones, finish decals on uppers, and hit the underside with a varnish today. I can't believe I put this model off- everything has been Tamiya smooth! Tomorrow I plan to do some final weathering.
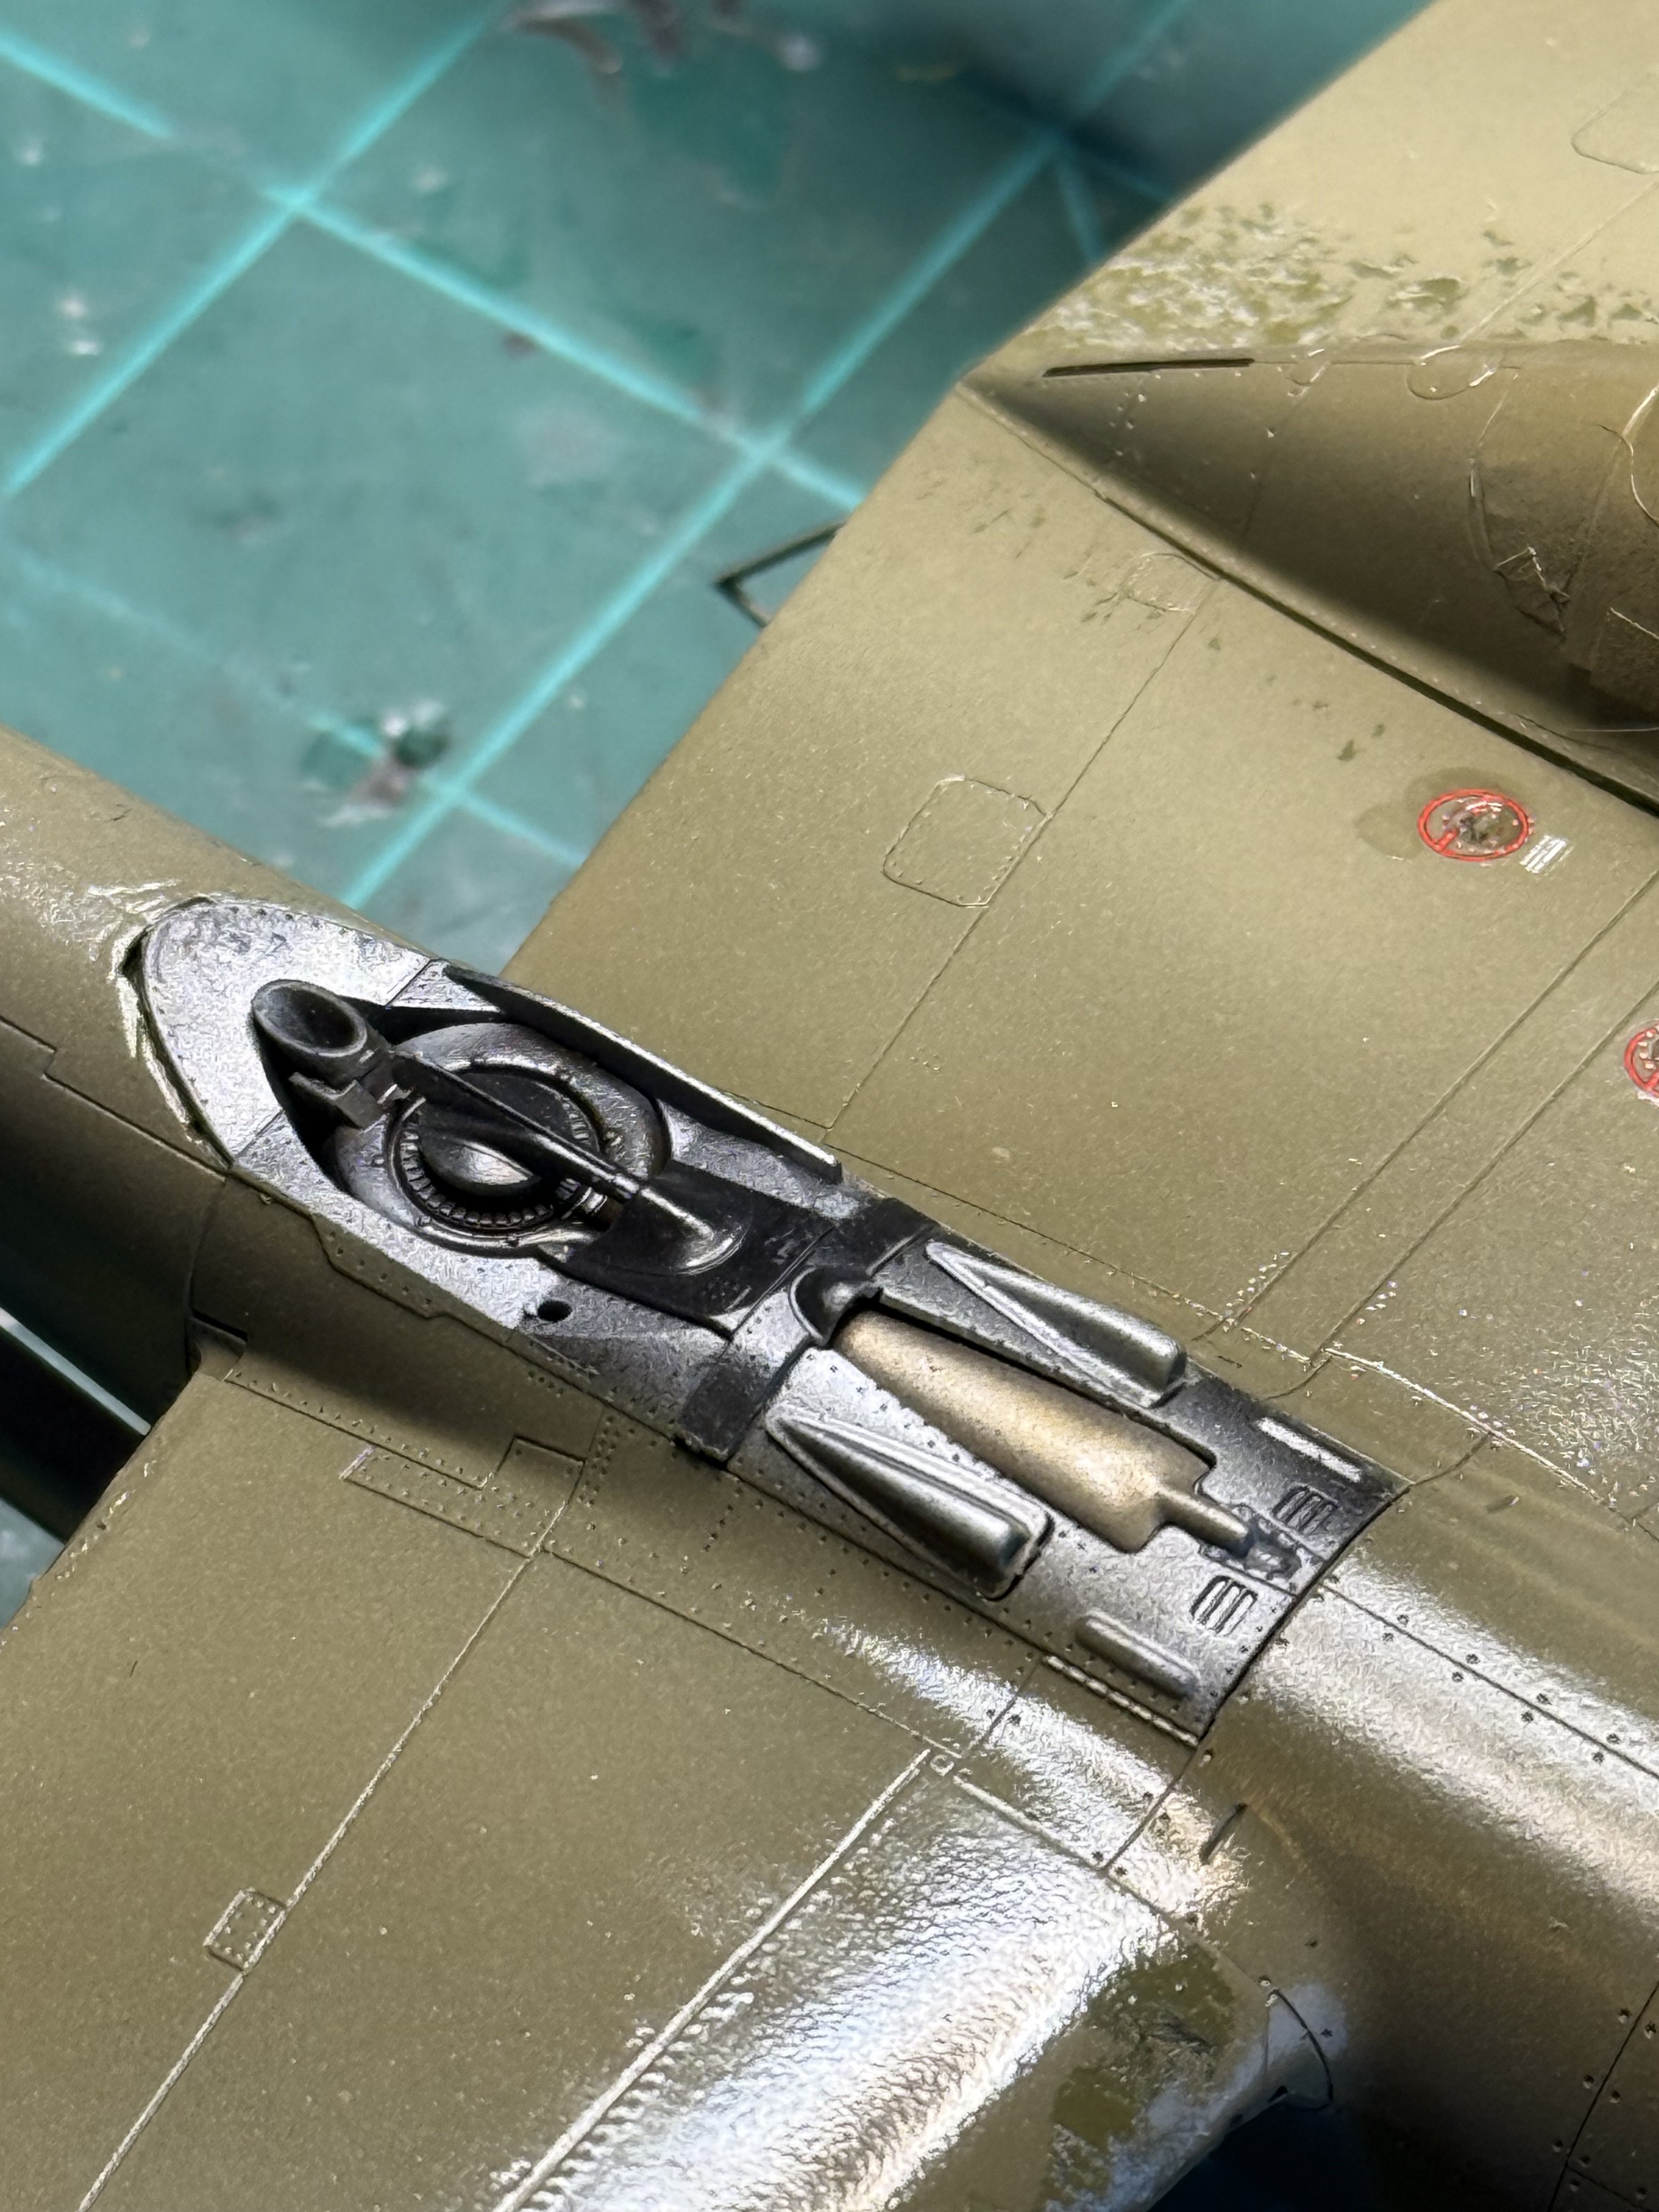
Seriously? The diagram shows them going on the outside fuselage! I was wondering why. Where do they go inside??? The box art shows them on outside. As does the paint guide. Why do you say otherwise?
Seriously? The diagram shows them going on the outside fuselage! I was wondering why. Where do they go inside??? The box art shows them on outside. As does the paint guide. Why do you say otherwise?
They go on the inside of each engine nacelle so that the pilot can see whether his landing gear is down. The pilot looked at the right mirror to see his left landing gear, and in the left mirror to see his right landing gear.
Applied decals today. Not sure that I'm going to do all of these. At this scale the wording just ends up looking like flaws in the paint. I've applied all the decals that have contrasting color. Screwed up on the right side mouth alignment, left boom was much better. The steel weights they provided for this kit really make the plane feel much more substantial when I pick it up. Funny because it's still just flimsy plastic…or has it become a p38?