
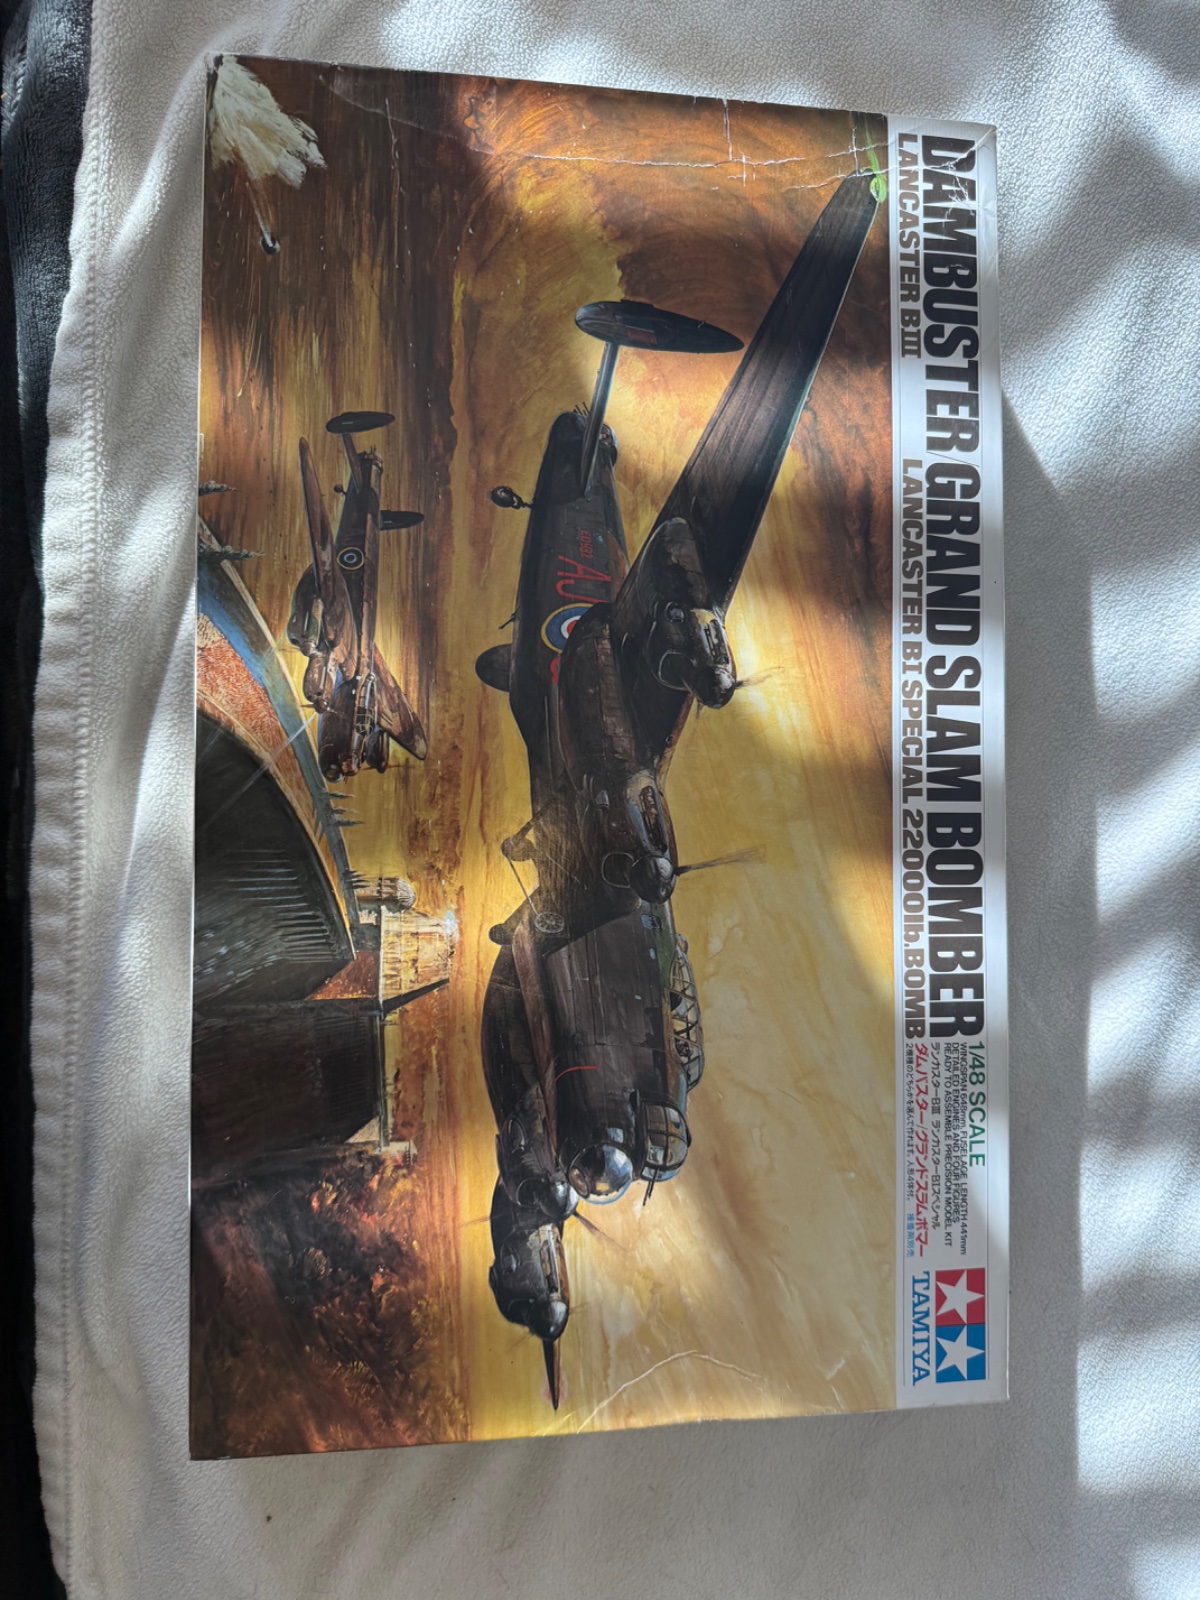
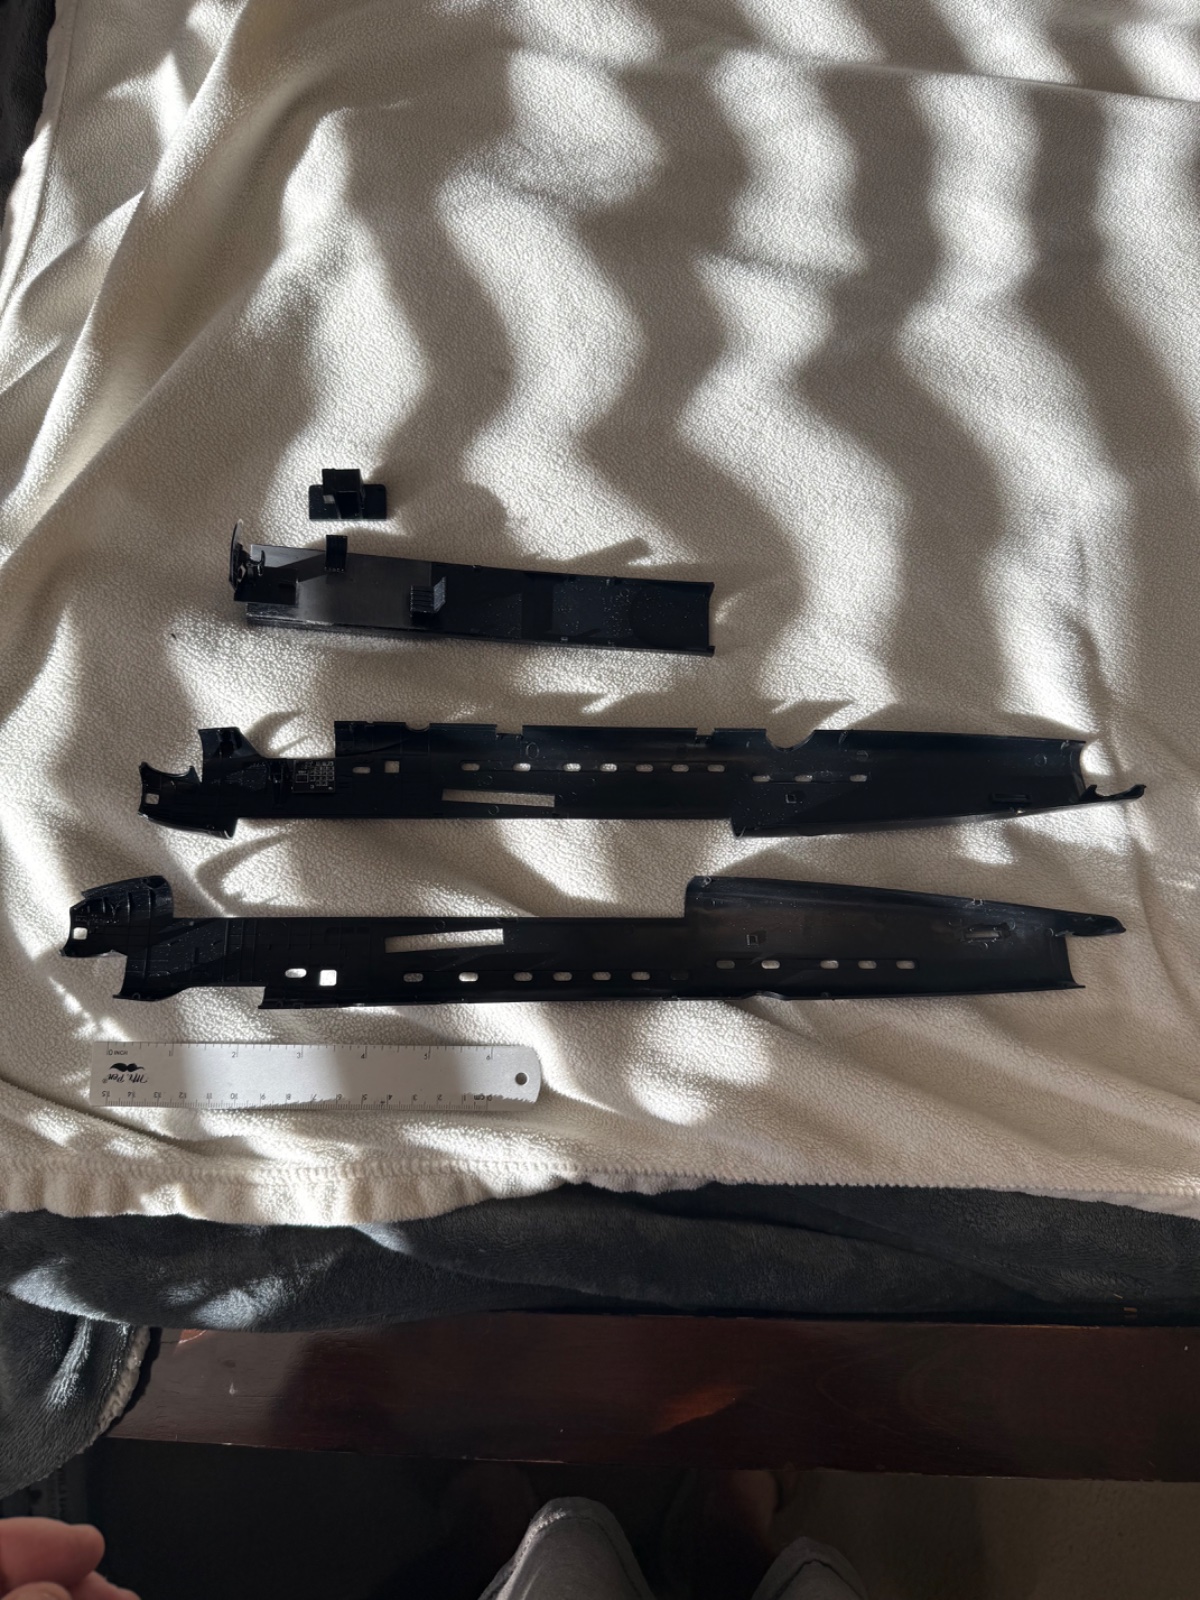
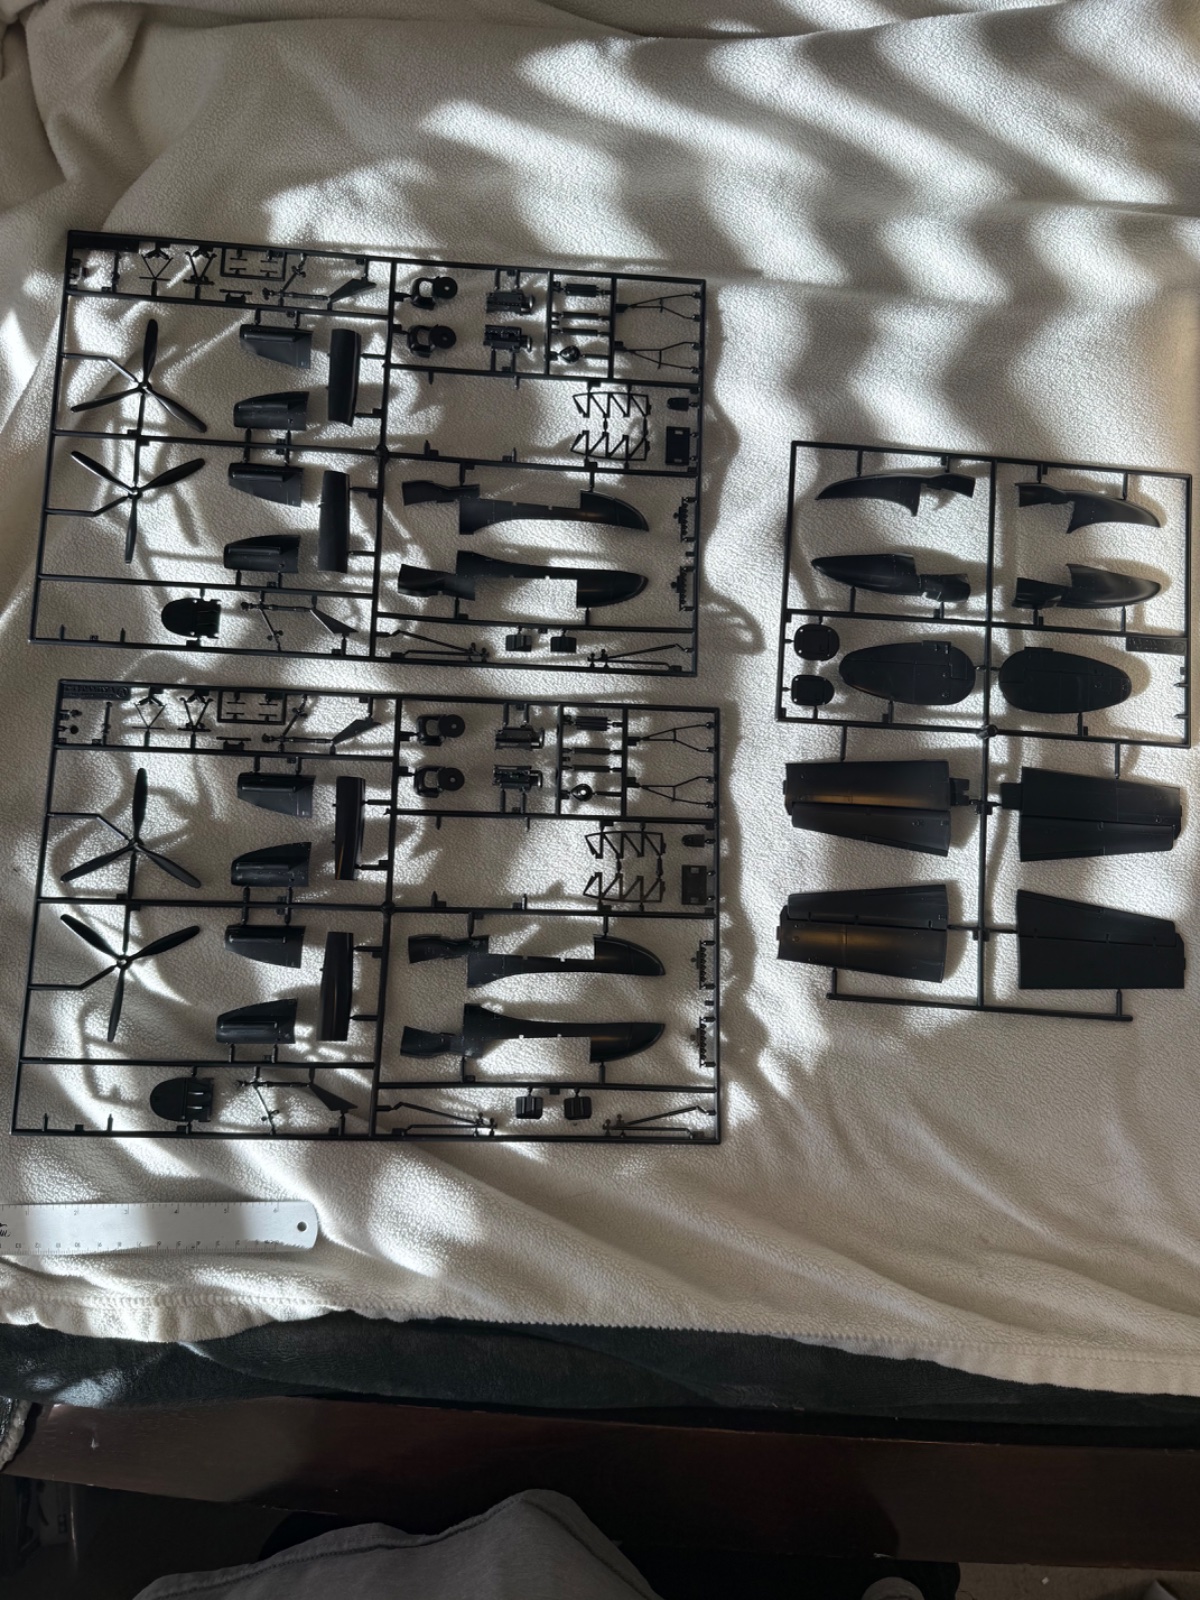
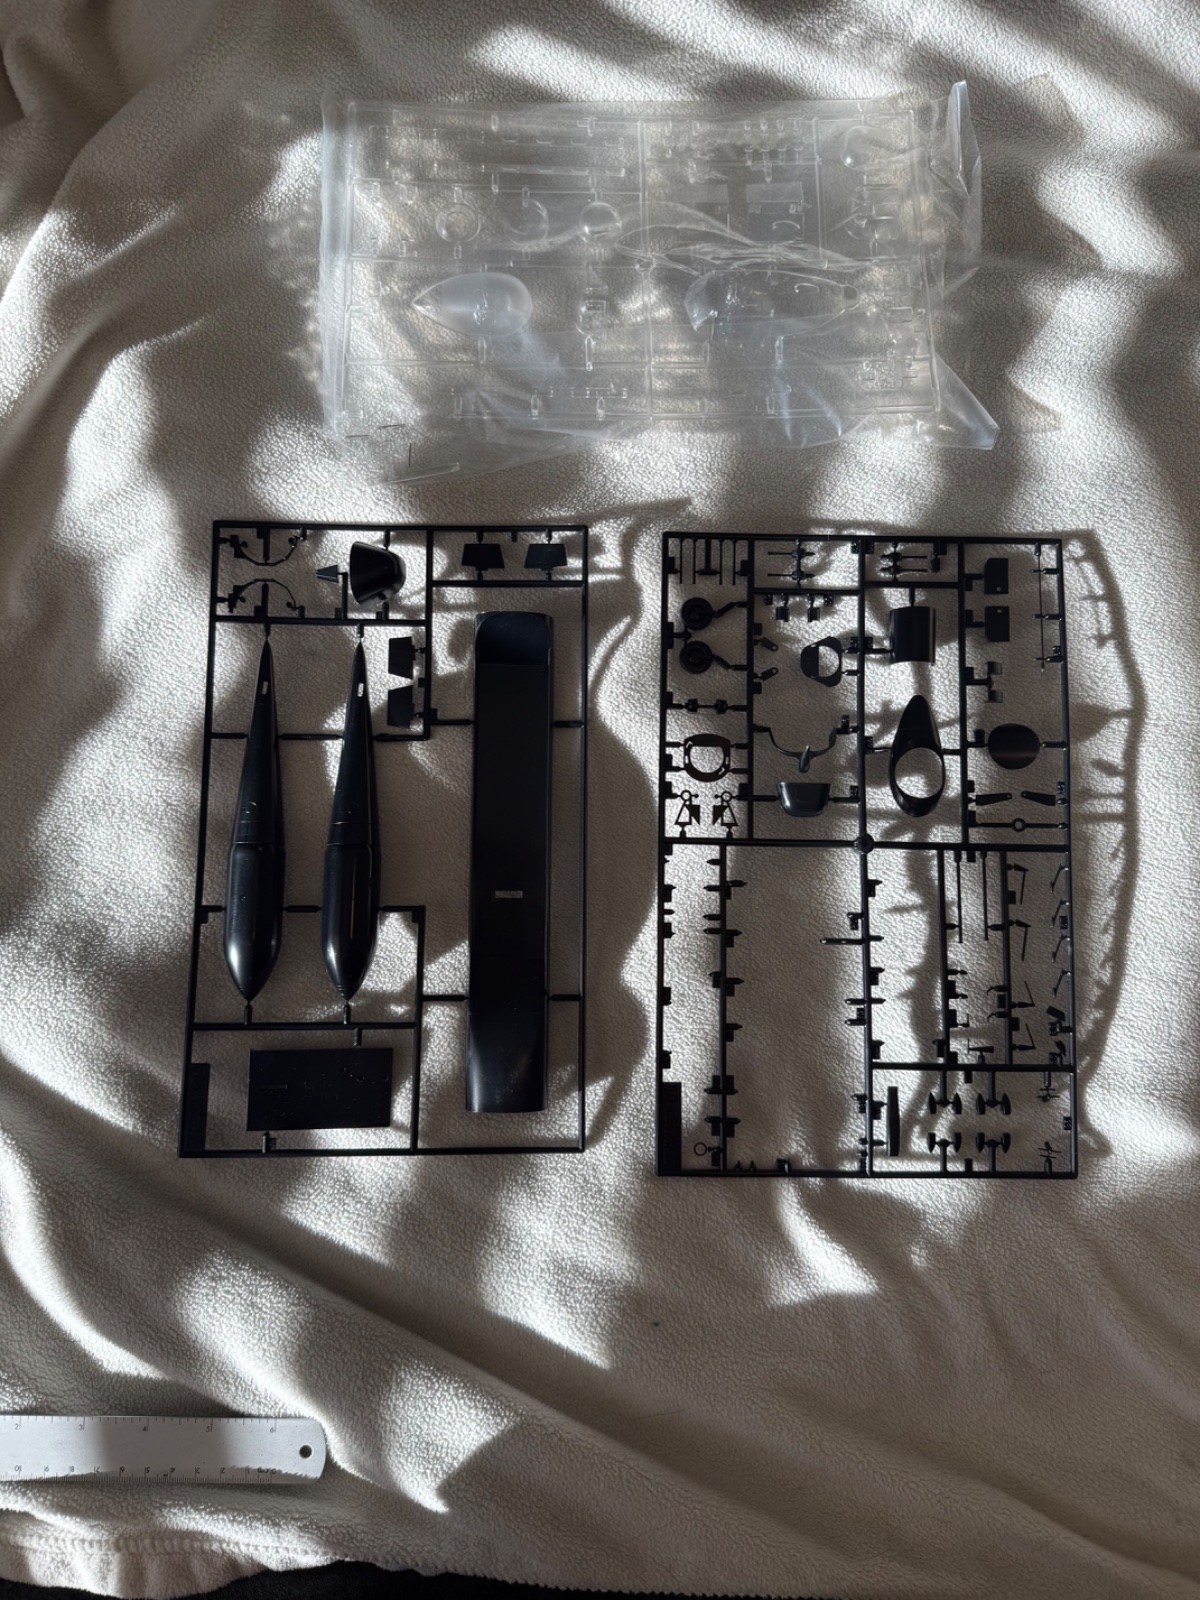
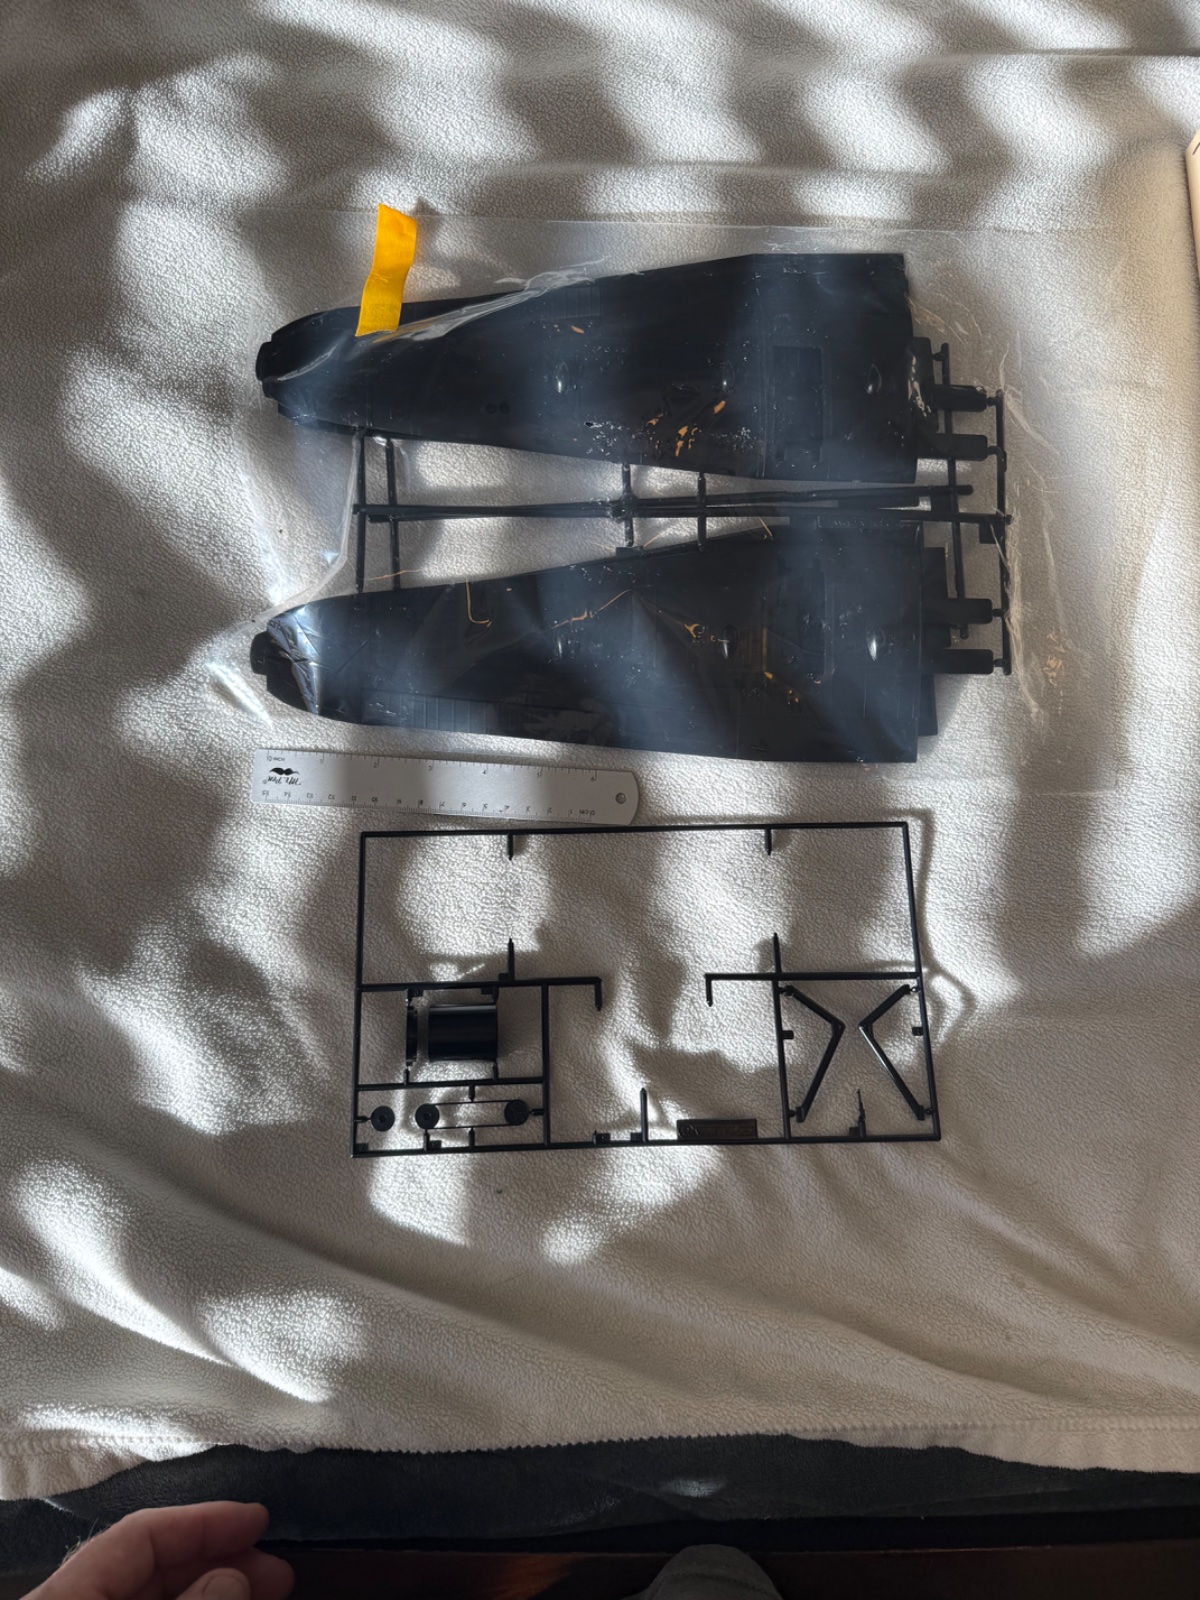
I'm actually slightly embarrassed to post this as I have so many projects I've running. I should be wrapping up 3-4 over the next week though. I picked this used kit up at a local hobby shop , don't remember the price as it was a few months back but do remember it was a deal. I have been wanting to build a bomber and have been watching a lot of blogs about the role GB played in ww2 so I wanted to do an English plane. This thing is huge. Spraying it will be interesting. Any tips on spraying (airbrush) very large models? For reference I have a 6" ruler, 15cm for the rest of the world. Am I correct in my assessment that most of you are " across the pond"? - and a Canadian! I've also the Eduard Bloody Hundreth" kit I started and stopped out of nervousness- plus I want to look into aftermarket or scratch built options for that.

You are using an out of date browser. It may not display this or other websites correctly.
You should upgrade or use an alternative browser.
You should upgrade or use an alternative browser.
Tamiya Dambuster Grand Slam Bomber 1/48 Lancaster BIII
- Thread starter Ron2
- Start date
Jantk14
Well-Known Member
Cool looking plane

VegasAWACER13
Well-Known Member
- Joined
- Aug 2, 2025
- Messages
- 435
Paint the wings and fuselage separately. Attach the wings once the painting is complete.Any tips on spraying (airbrush) very large models?
Looks like a cool kit. I have a 1/72 Lanc in the stash. I'd be intimidated by a 1/48 lol.

There's a few of us here, buried under the snow somewhere!and a Canadian
I thought most of Canada was here in AZ during the winter!There's a few of us here, buried under the snow somewhere!


![Pampers Sensitive Baby Wipes, Clinically Proven, Fragrance Free, Unscented, Water Based, Hypoallergenic, Multi-Use, Hand Wipes 336 Wipes Total (6X Flip-Top Packs) [Packaging May Vary]](https://m.media-amazon.com/images/I/41KLBHu9CAL._SL500_.jpg)





As an Amazon Associate we earn from qualifying purchases. Product prices and availability are accurate as of the date/time indicated and are subject to change.
user 22148
Well-Known Member
- Joined
- Oct 3, 2024
- Messages
- 497
Well you go wrong with a Lancaster! I shall look forward to seeing this go together as I fancy getting this kit.
VegasAWACER13
Well-Known Member
- Joined
- Aug 2, 2025
- Messages
- 435
Which one is it? I've been eyeing the Eduard kit. At some point I really want to go all out on a B-17.I've got a 1/48 B-17 I want to start on, very interested to see how this goes for you.

Edbert
Well-Known Member
- Joined
- May 16, 2024
- Messages
- 3,121
Which one is it? I've been eyeing the Eduard kit.
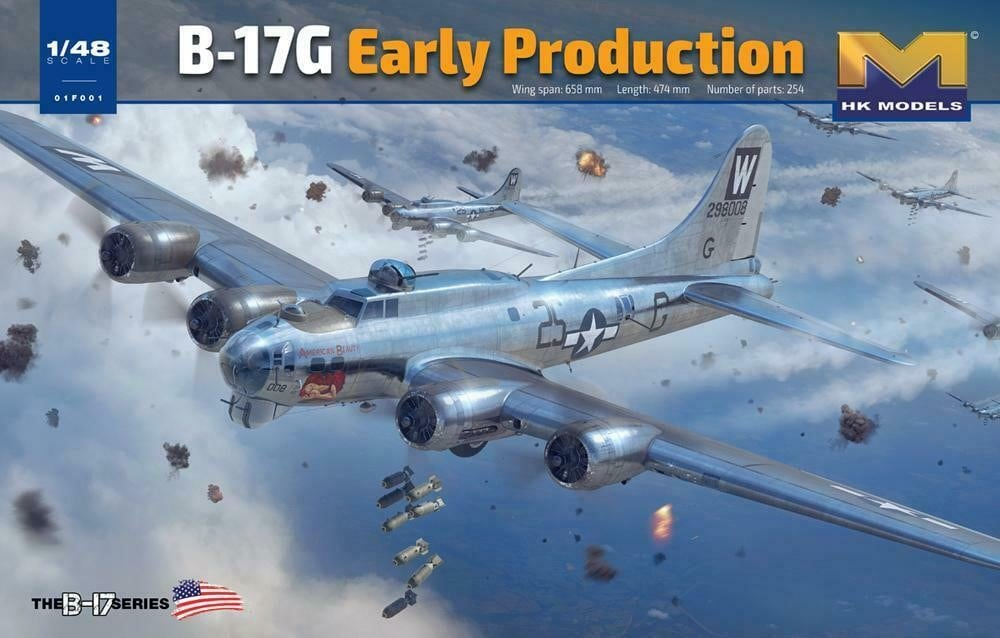
There was a lengthy thread here a while back with lots of photos of a bomber from HKM. Gave me a VERY positive impression. This will be my first experience with that brand. If I can clear out the started kits and make room that is.
Thank you. Hopefully I do it justice! The Lancaster was an incredible plane!Well you go wrong with a Lancaster! I shall look forward to seeing this go together as I fancy getting this kit.
I've got the Eduard kit. Would you like me to send you pics? It has two huge instructional books.Which one is it? I've been eyeing the Eduard kit. At some point I really want to go all out on a B-17.
When do you plan to start your kit?View attachment 179517
There was a lengthy thread here a while back with lots of photos of a bomber from HKM. Gave me a VERY positive impression. This will be my first experience with that brand. If I can clear out the started kits and make room that is.
Edbert
Well-Known Member
- Joined
- May 16, 2024
- Messages
- 3,121
Hopefully this summer, by then I can clear the backlog of started/stalled projects. Some of them are close but stuck with a problem of some kind.When do you plan to start your kit?
VegasAWACER13
Well-Known Member
- Joined
- Aug 2, 2025
- Messages
- 435
That's awesome. Wonder how it stacks up compared to the Eduard? Also a G model. Cooler than the F.There was a lengthy thread here a while back with lots of photos of a bomber from HKM. Gave me a VERY positive impression. This will be my first experience with that brand. If I can clear out the started kits and make room that is.

Thank you so much for the offer! Very kind. I've seen the pix on the Eduard website. Have you built it?I've got the Eduard kit. Would you like me to send you pics? It has two huge instructional books.
I've started it and keep putting it on hold. Very impressive kit.That's awesome. Wonder how it stacks up compared to the Eduard? Also a G model. Cooler than the F.
Thank you so much for the offer! Very kind. I've seen the pix on the Eduard website. Have you built it?
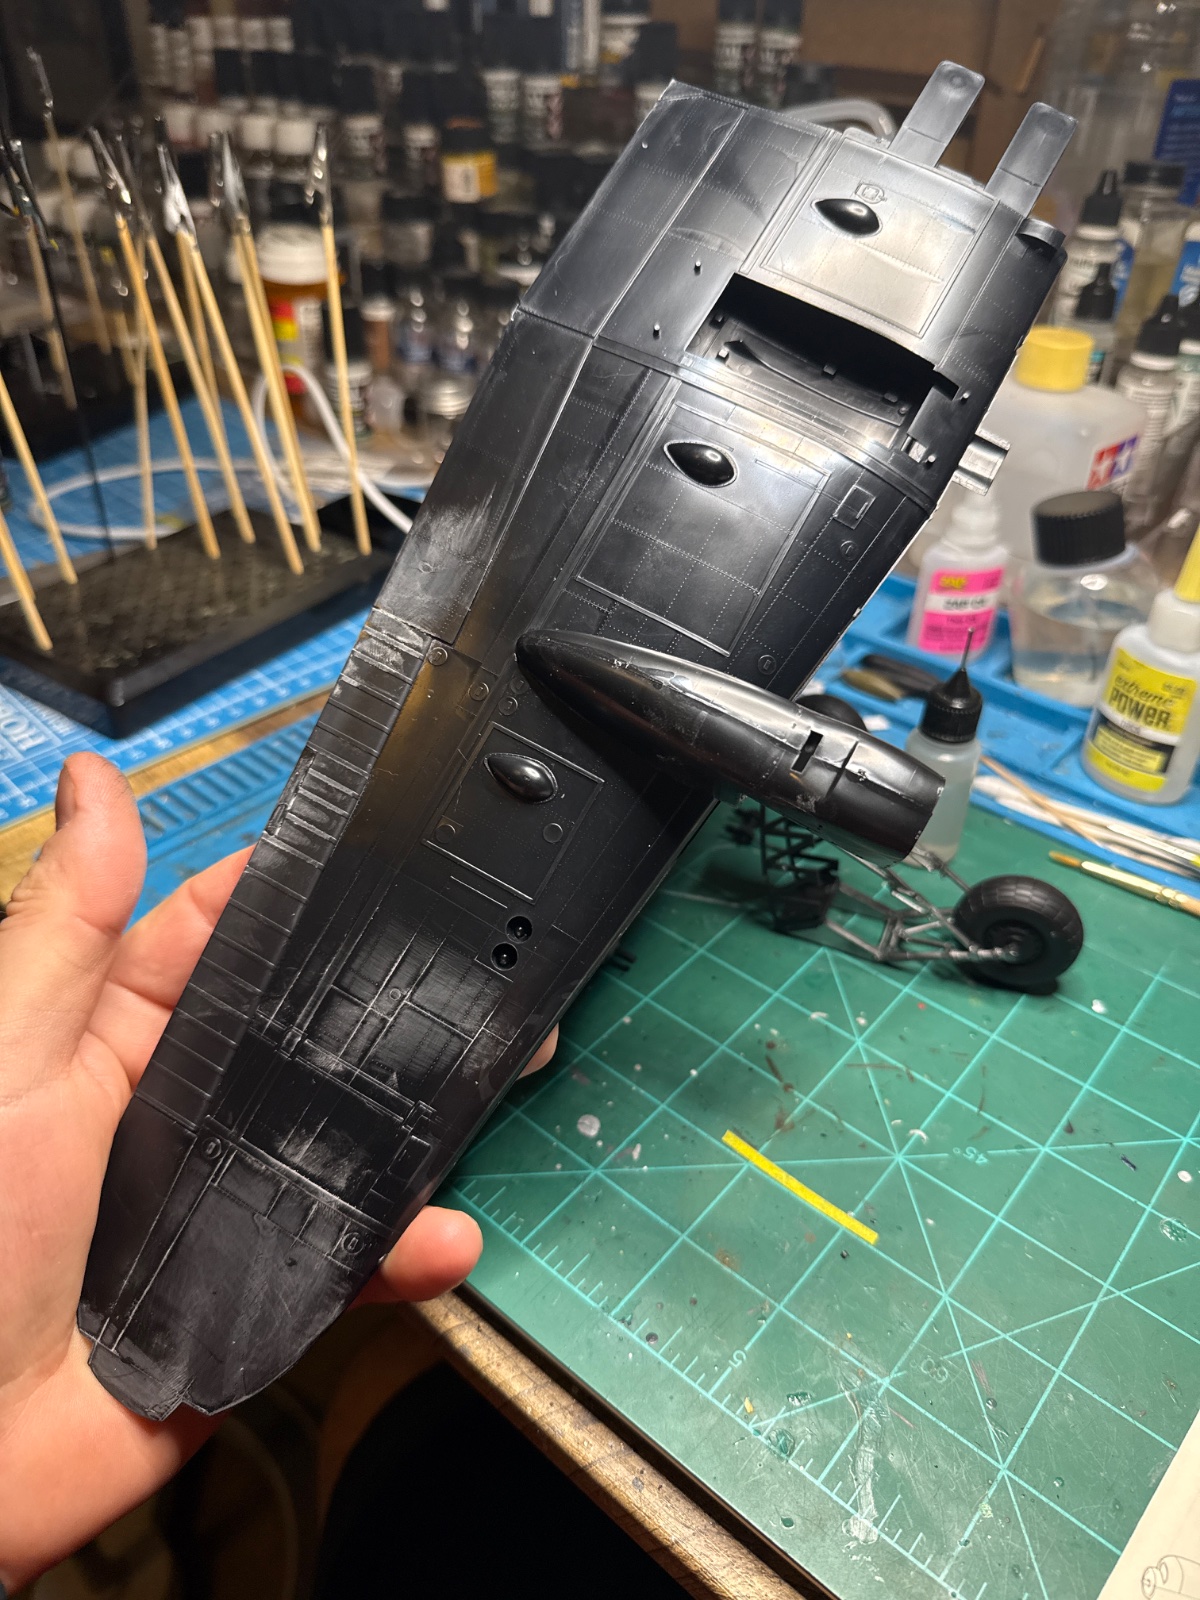
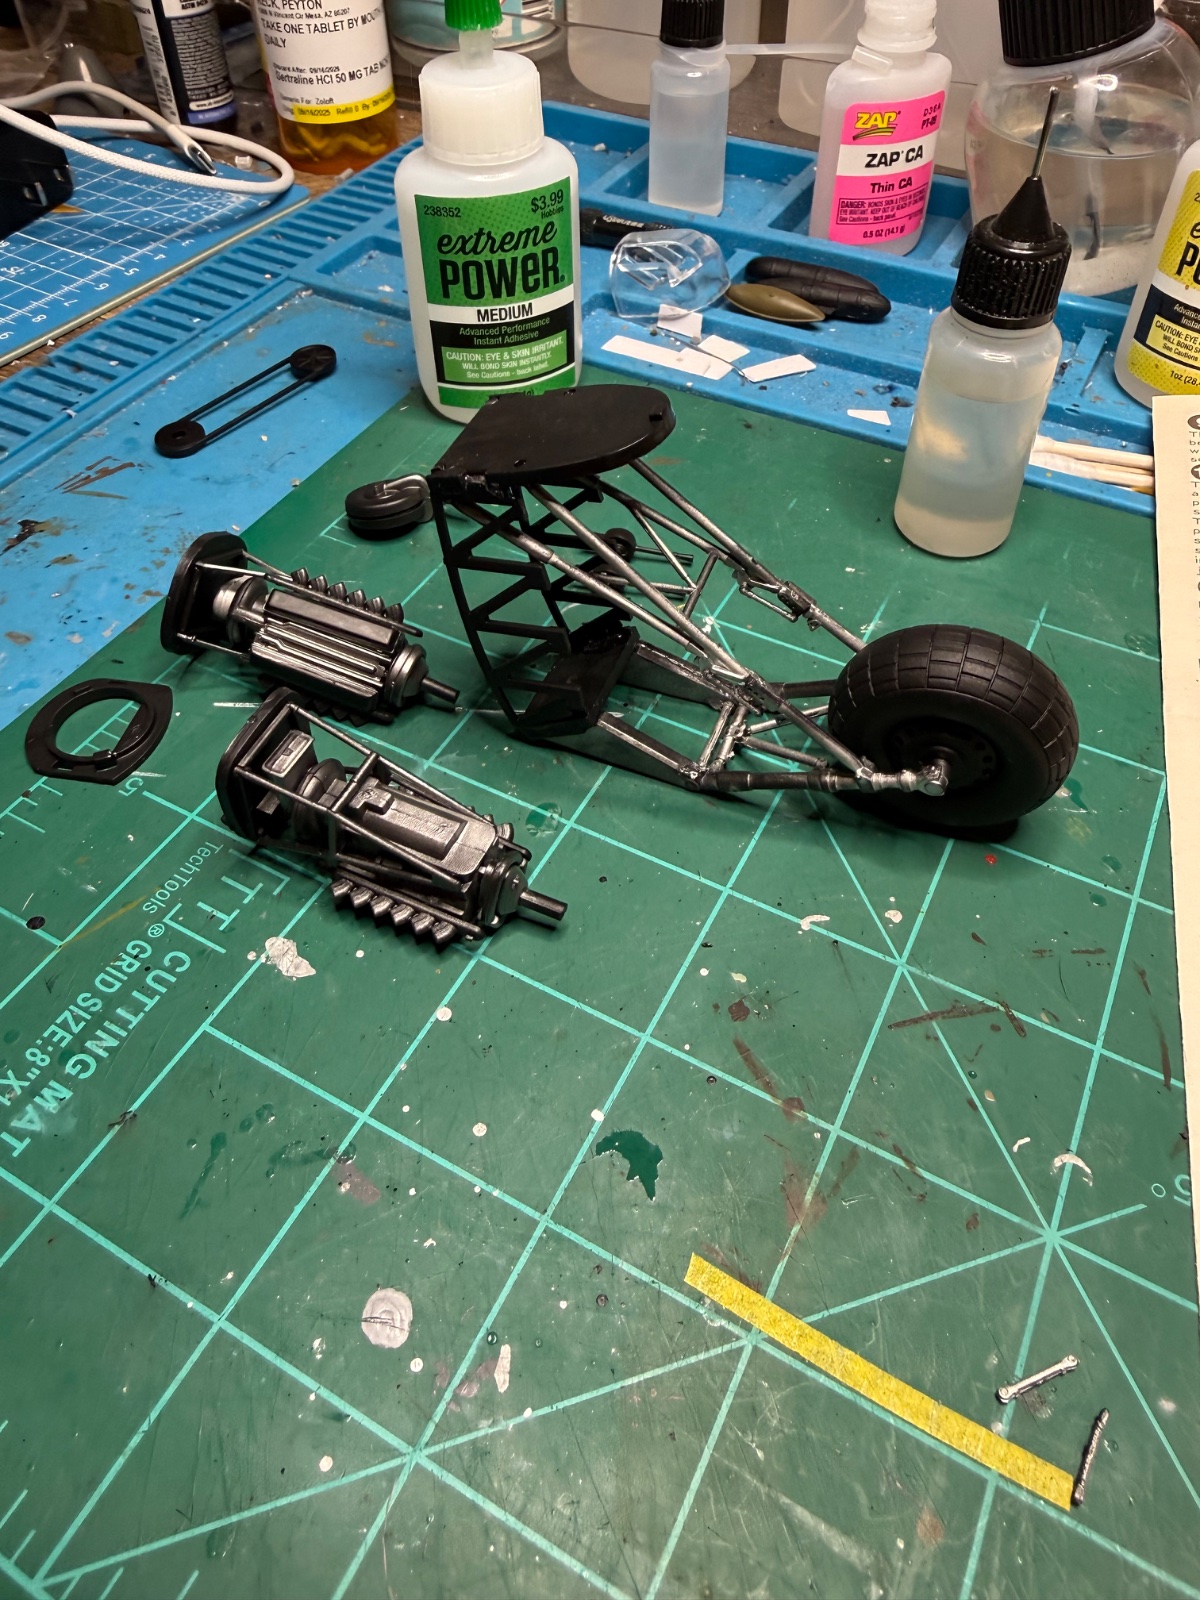
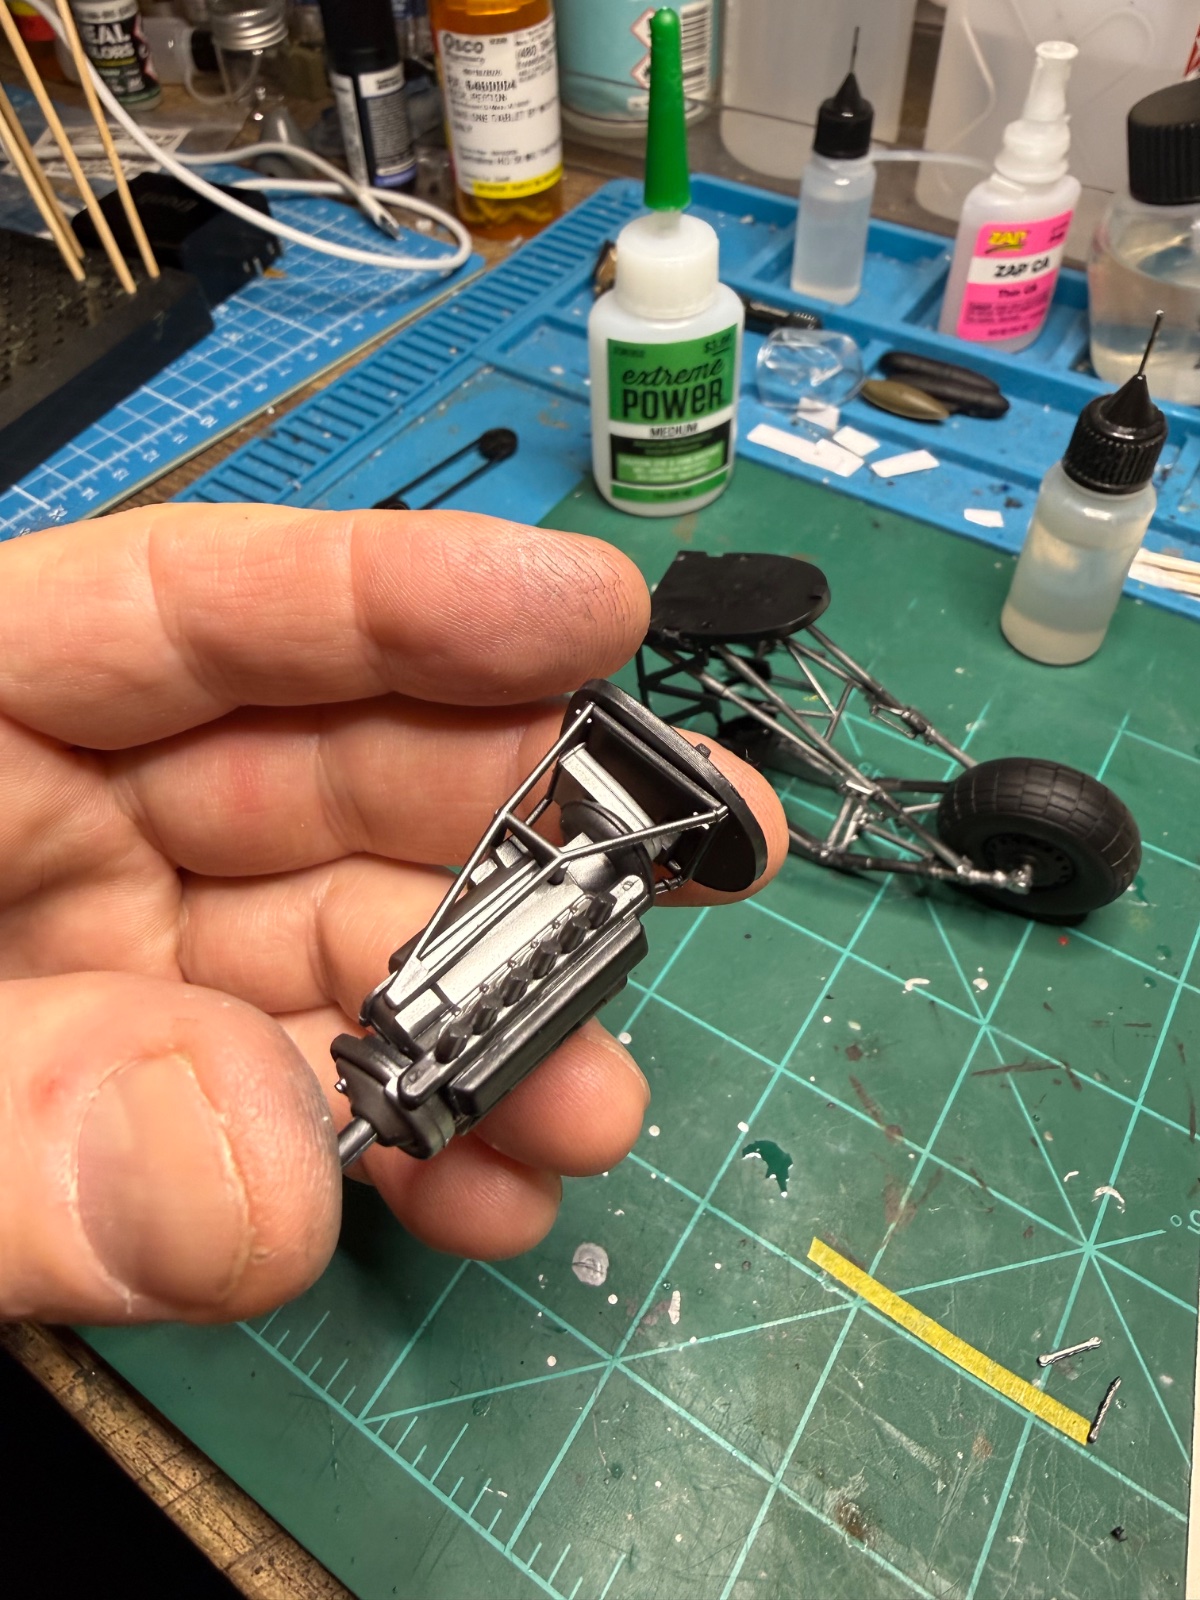
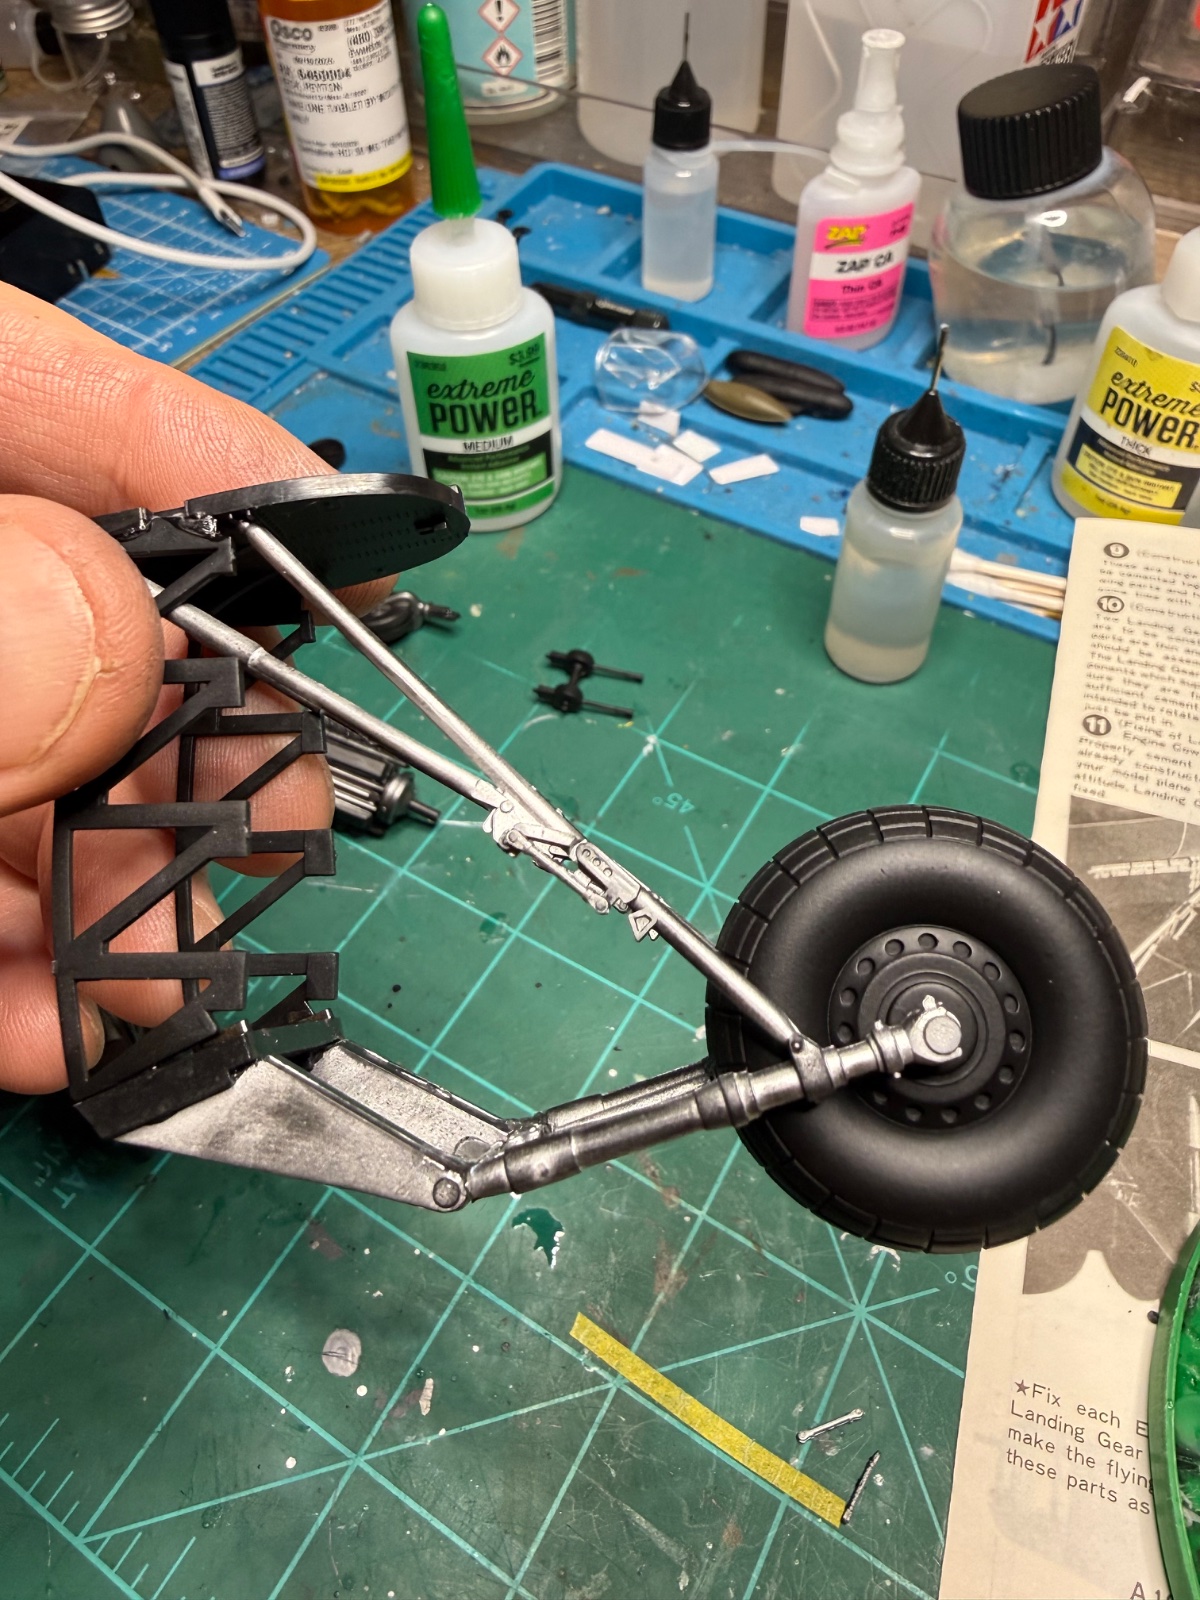
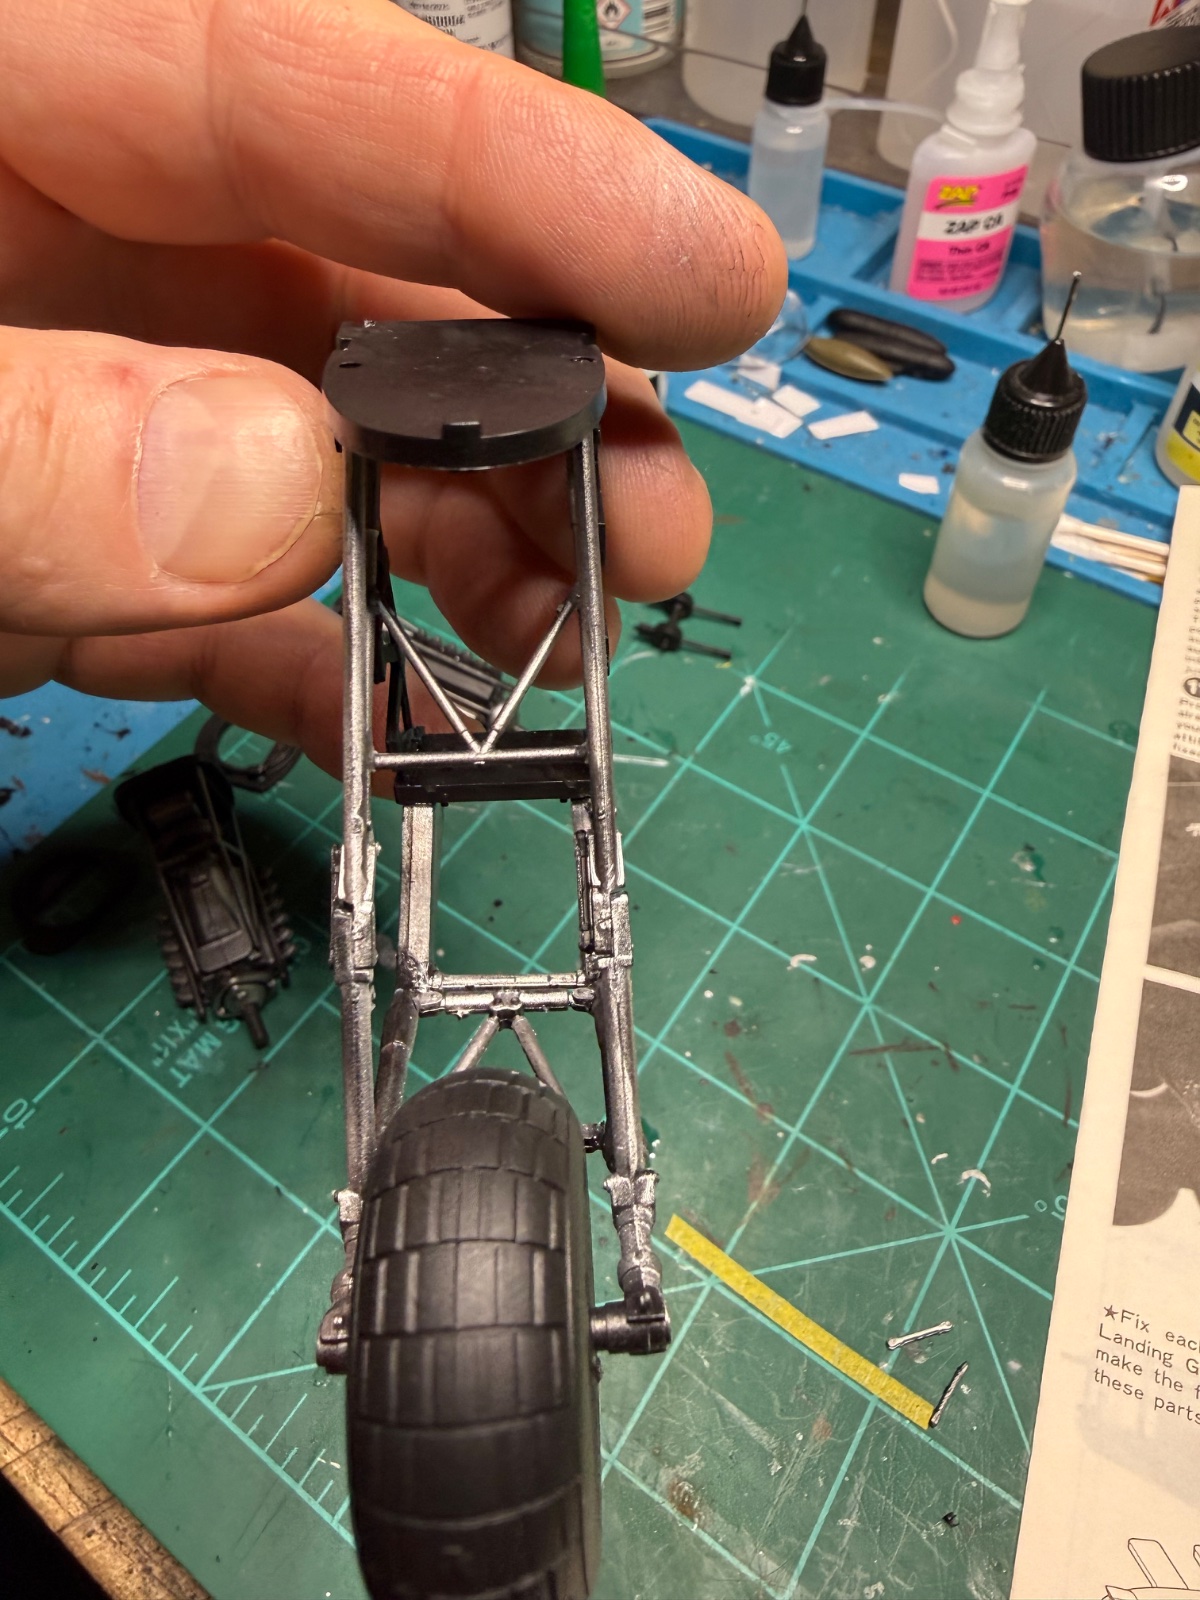
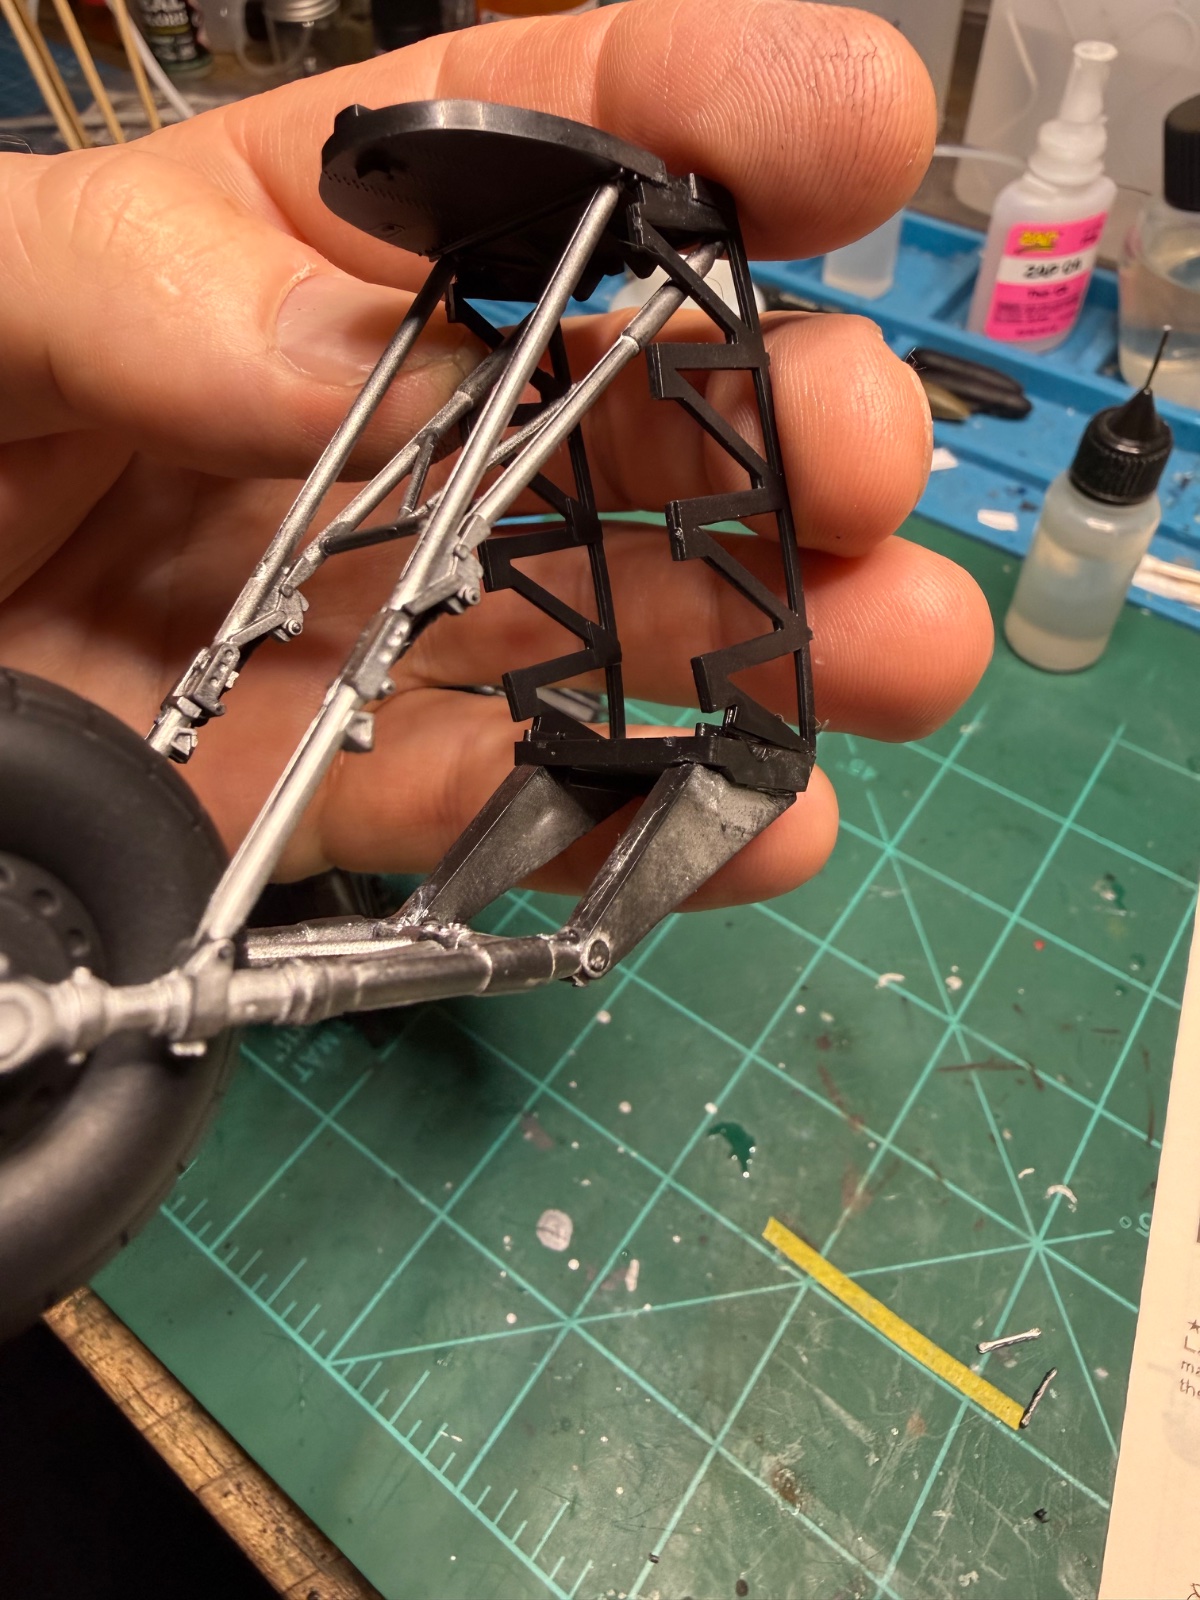
So this kit is pretty simple not a lot of detail. I actually painted two of the crew members but pilot wouldn't fit in the seat. Maybe too many donuts. I ended up pulling the radioman out as well because I could not get the cockpit to fit in the fuselage with him and -does it really matter considering he's completely out of sight? Two engines were very simple affairs. The landing gear, well lots of struts etc and I ended up with more glue on my fingers and second gear will need to be sanded now. Pretty cool landing gear though and it did go together well. Not snap on place though. Two wings are together and I expect to have this together in next few days and then on to paint shop it goes!I'm actually slightly embarrassed to post this as I have so many projects I've running. I should be wrapping up 3-4 over the next week though. I picked this used kit up at a local hobby shop , don't remember the price as it was a few months back but do remember it was a deal. I have been wanting to build a bomber and have been watching a lot of blogs about the role GB played in ww2 so I wanted to do an English plane. This thing is huge. Spraying it will be interesting. Any tips on spraying (airbrush) very large models? For reference I have a 6" ruler, 15cm for the rest of the world. Am I correct in my assessment that most of you are " across the pond"? - and a Canadian! I've also the Eduard Bloody Hundreth" kit I started and stopped out of nervousness- plus I want to look into aftermarket or scratch built options for that.
Attachments
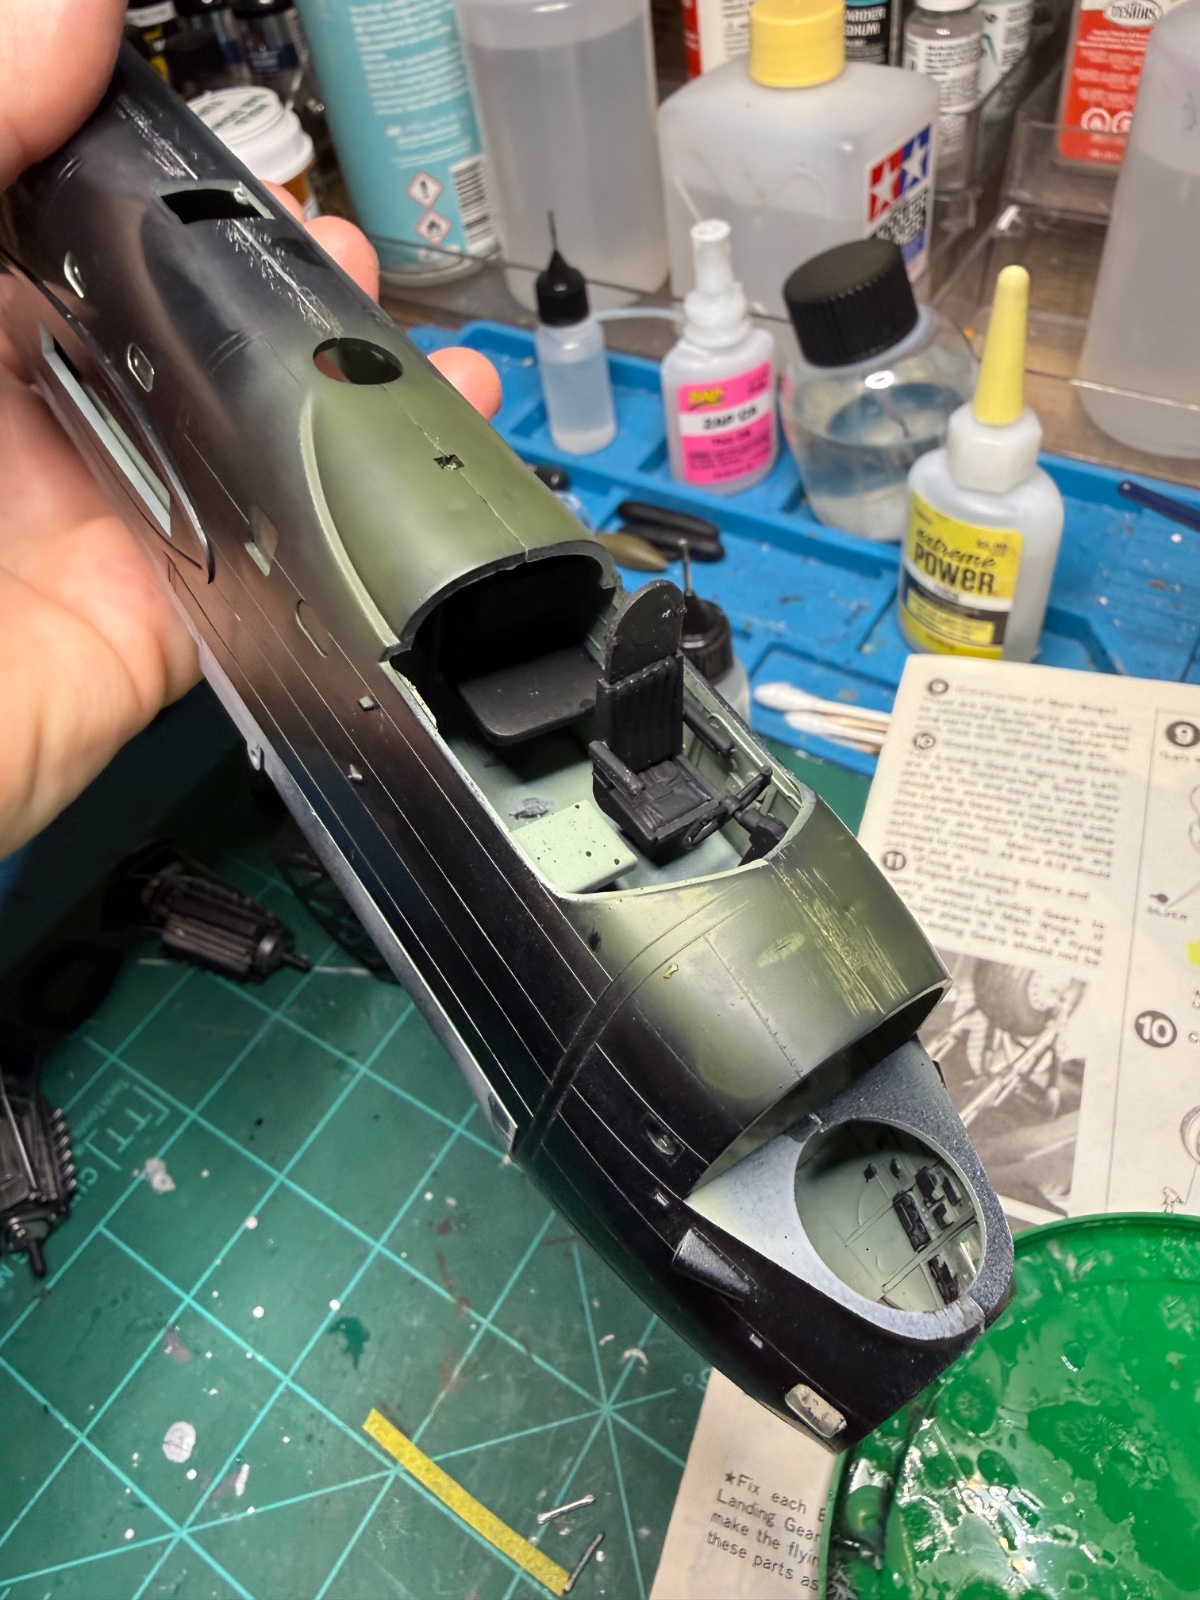
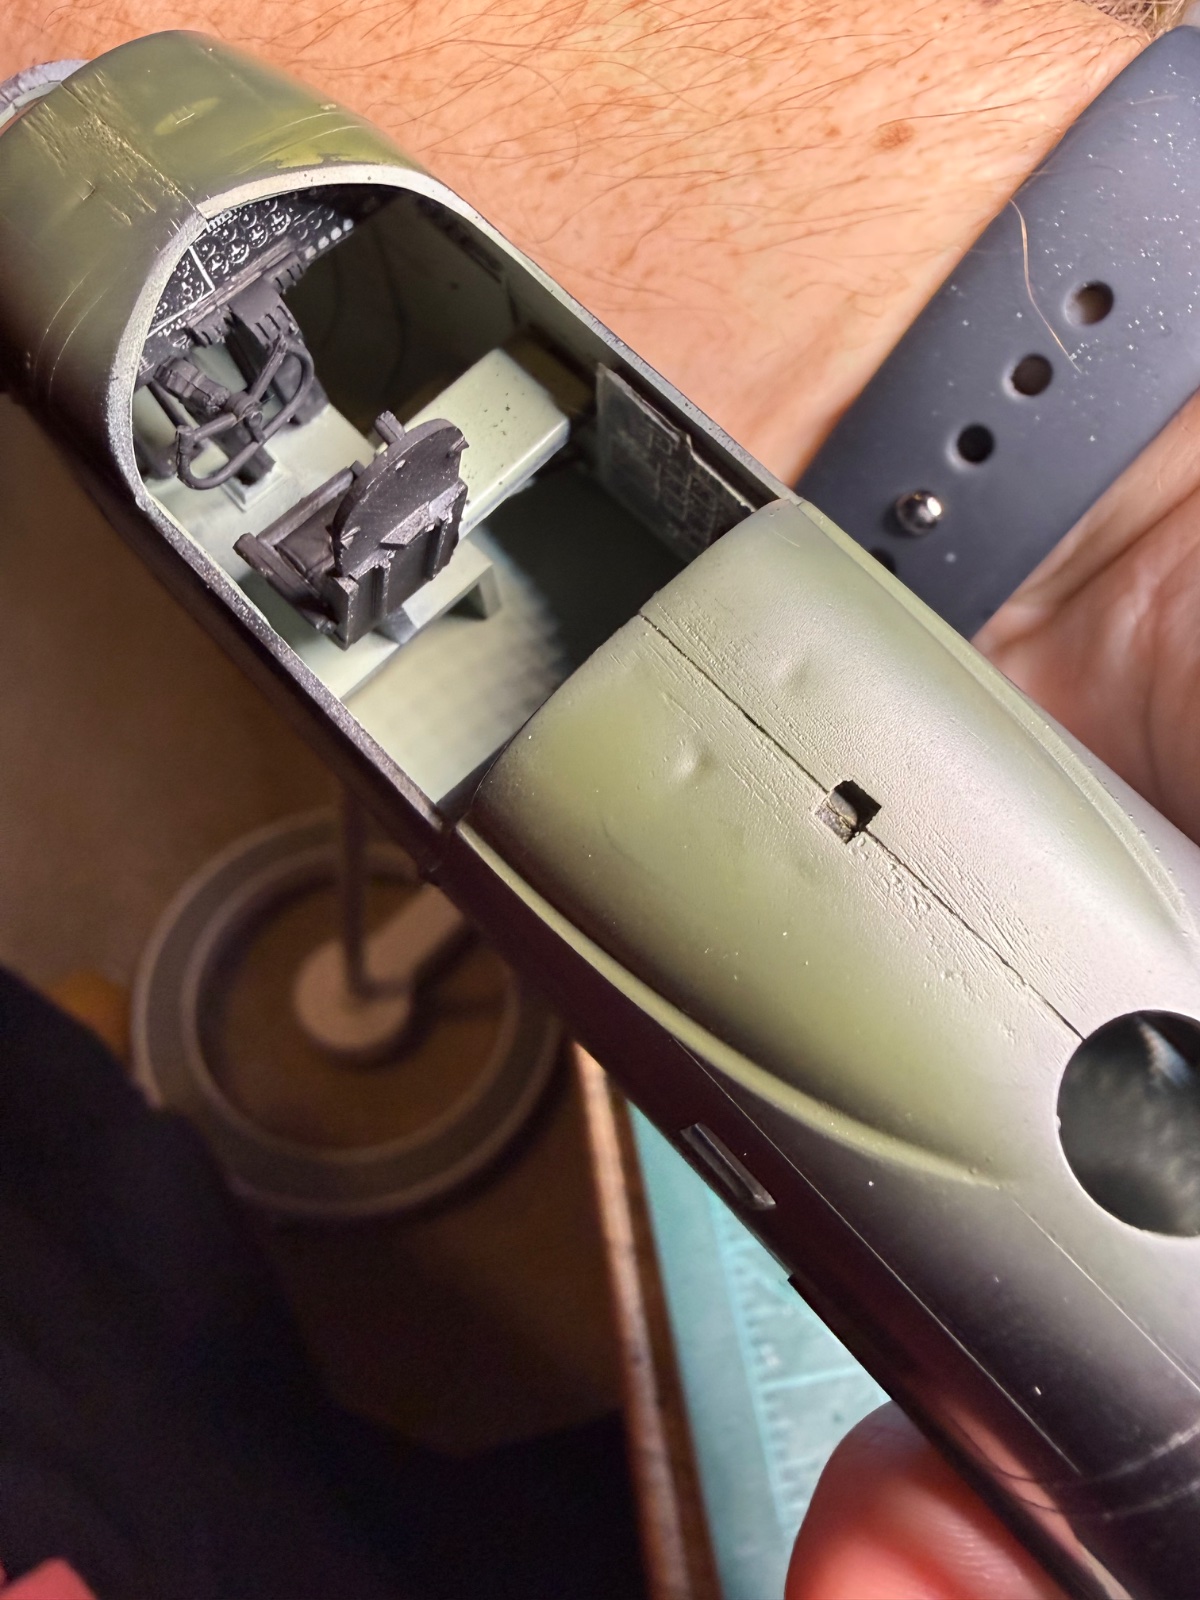
No kidding. And wing span! How big is your spray booth?Pretty cool landing gear though

So I stayed up and did some more because I'm so close. This thing is BIG ! I'm going to have to add this to my future builds but will plan on detailing it. Beautiful plane. I enjoyed reading up on it.So this kit is pretty simple not a lot of detail. I actually painted two of the crew members but pilot wouldn't fit in the seat. Maybe too many donuts. I ended up pulling the radioman out as well because I could not get the cockpit to fit in the fuselage with him and -does it really matter considering he's completely out of sight? Two engines were very simple affairs. The landing gear, well lots of struts etc and I ended up with more glue on my fingers and second gear will need to be sanded now. Pretty cool landing gear though and it did go together well. Not snap on place though. Two wings are together and I expect to have this together in next few days and then on to paint shop it goes!
Attachments
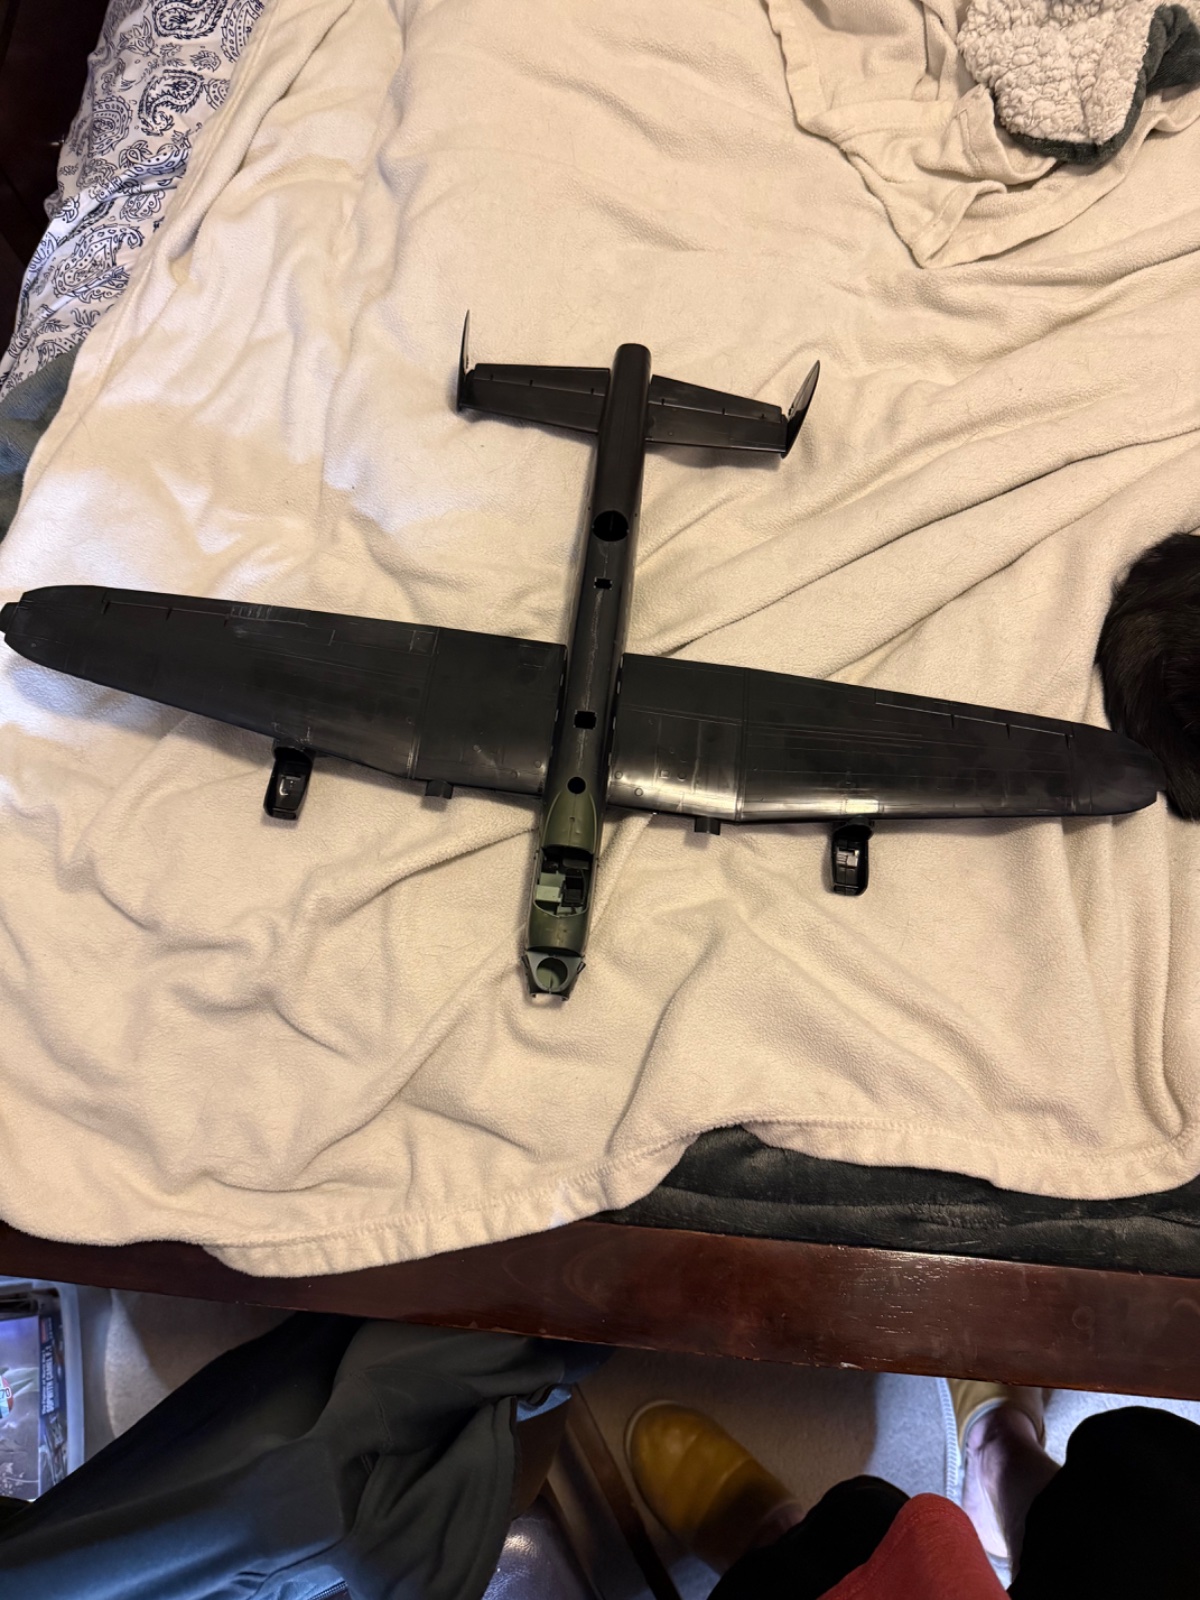
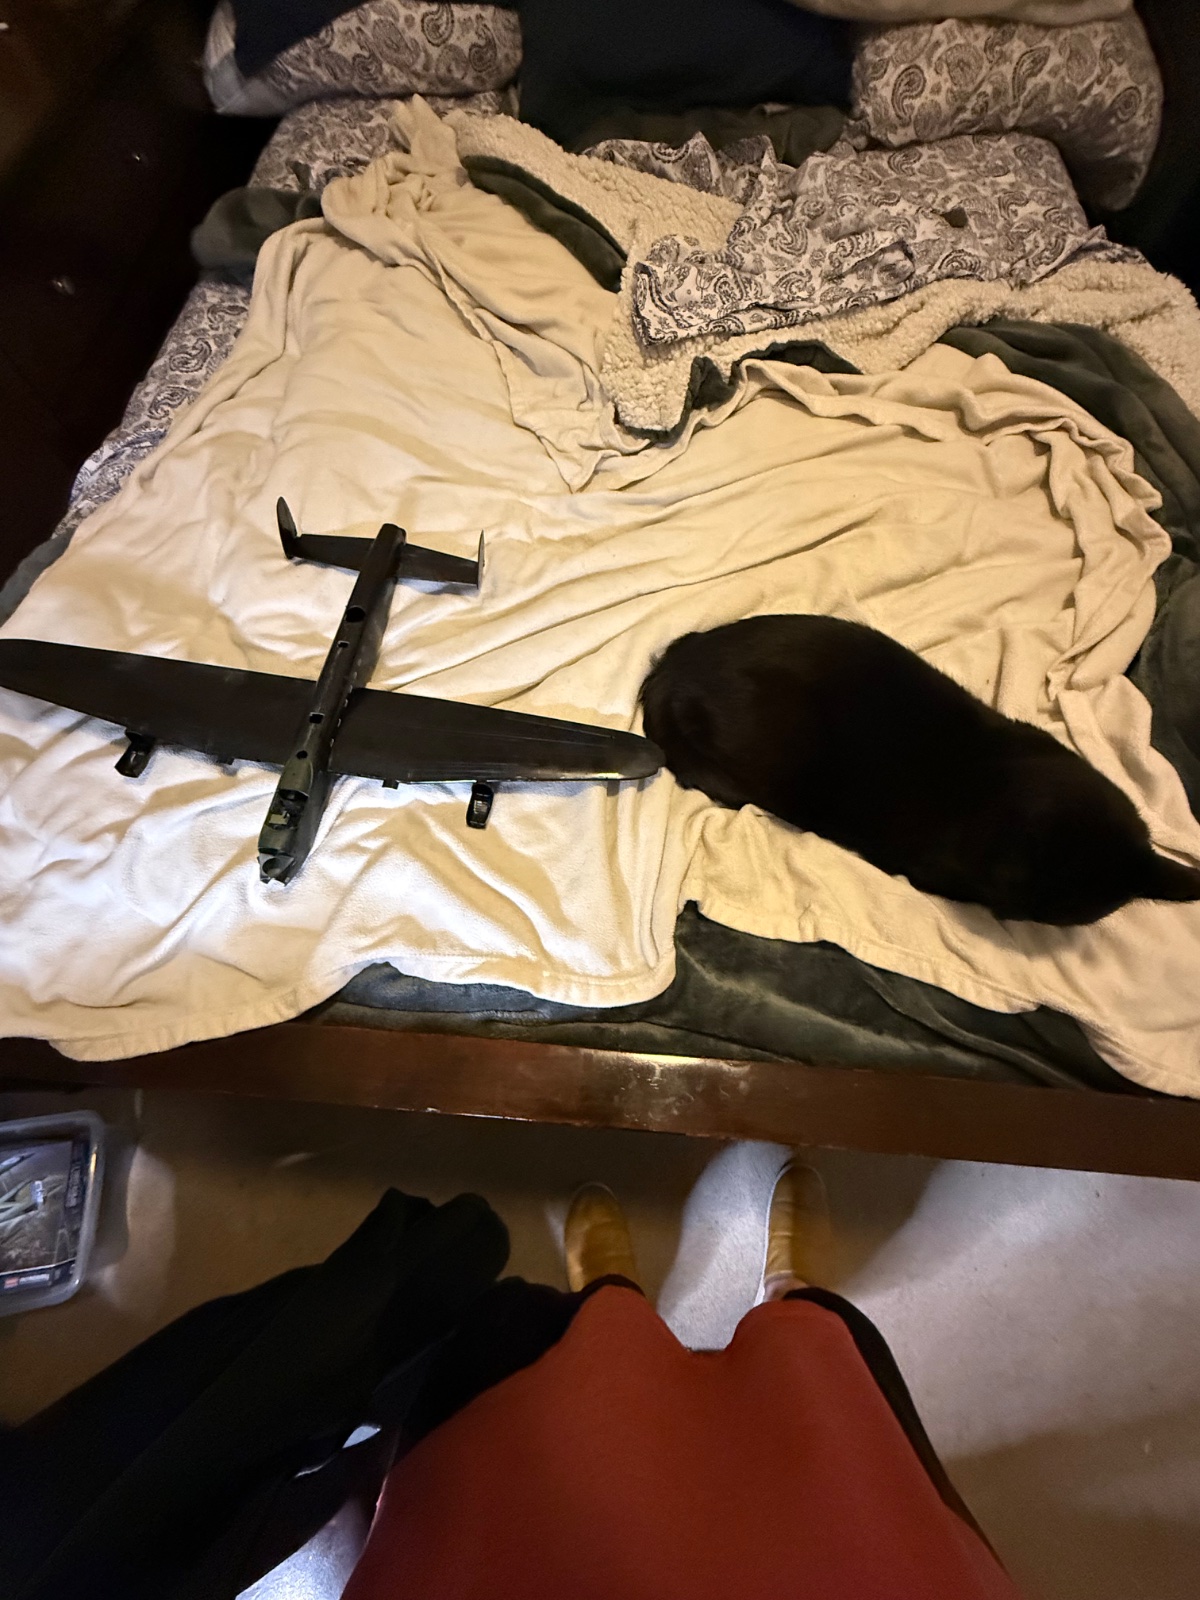
Not big enough. I'll be spraying this outside. I was going to do it in pieces but decided against that and as luck would have it, didn't need to putty or sand!No kidding. And wing span! How big is your spray booth?
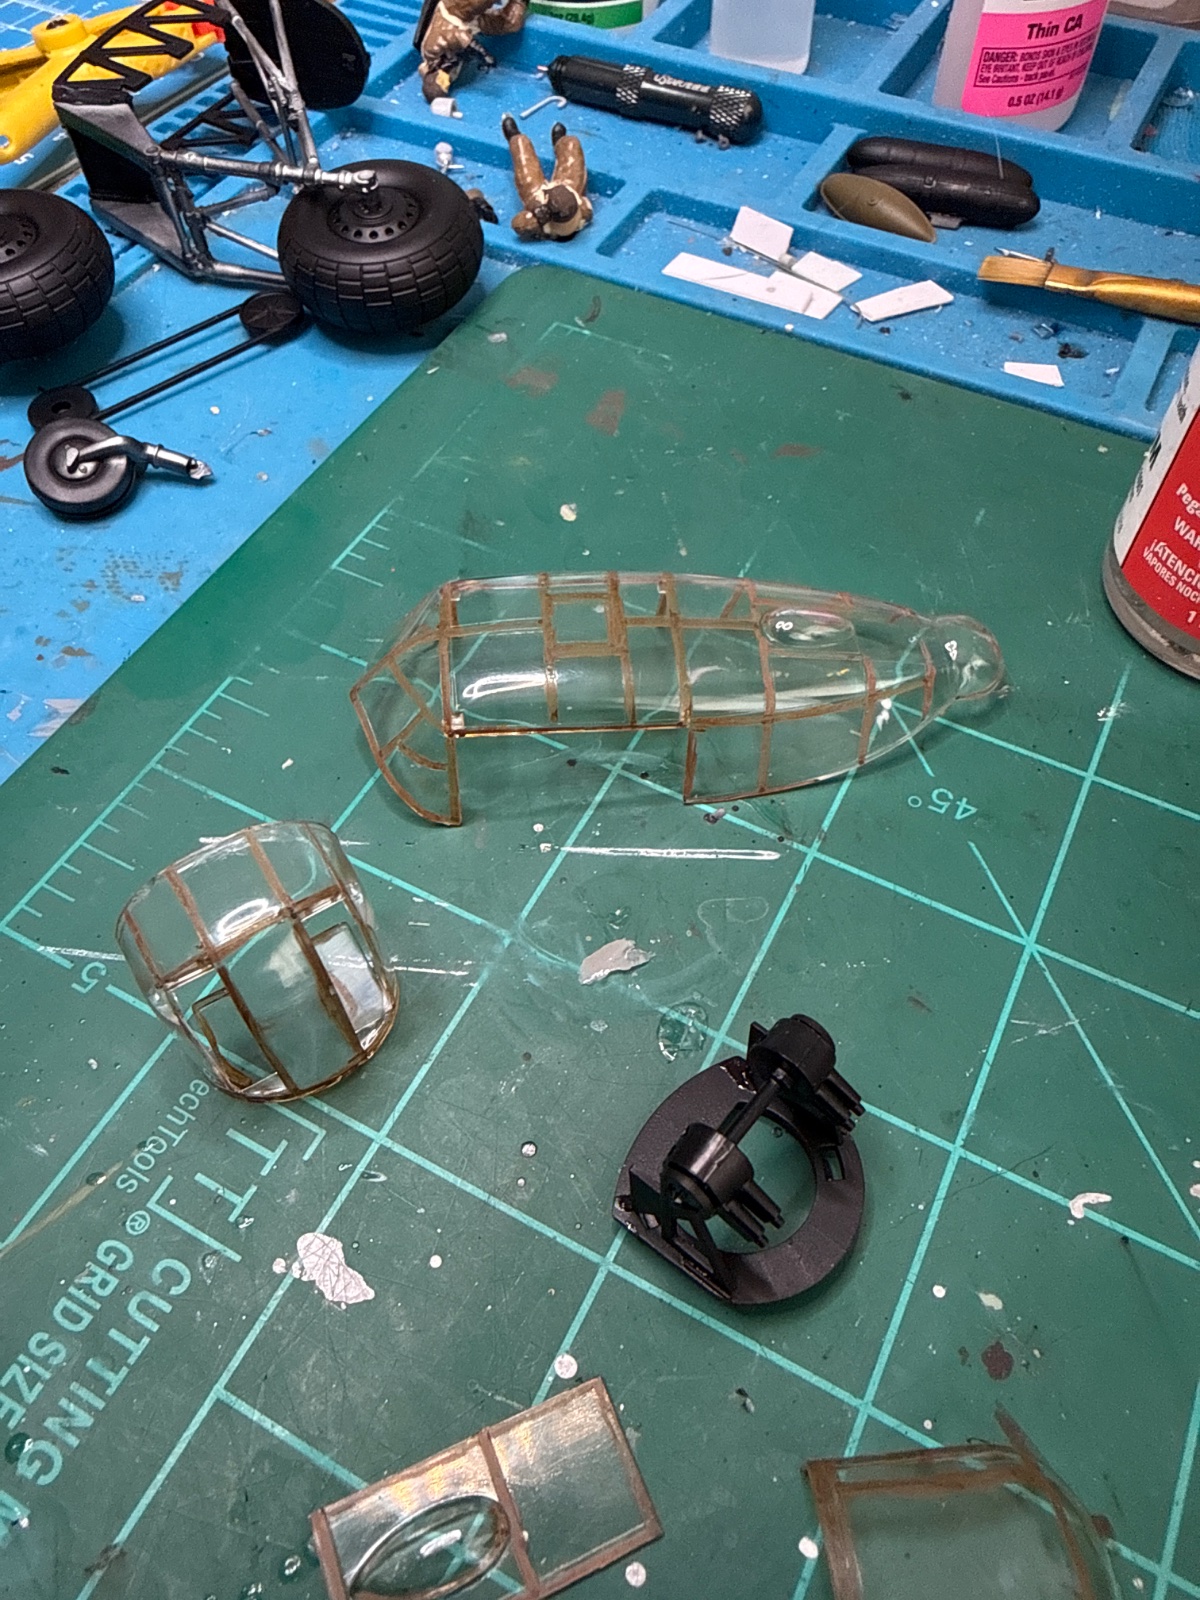
Working on the turrets this morning pain in the butt for my fat fingers. Drilled out the gun barrels with a 0.6mm bit- that was a bit tense. I am really liking using these pant markers for doing canopies though- so much easier! I'm hoping to prime this today. I did have to sand the fuselage as it is so long that the underside ended up being uneven and I hadn't noticed- probably was working too fast again. Anyway I made the mistake of using too low a grit sandpaper , I know better but it was so much to sand, worked my way to 3000 grit but still have some marks. I'm hoping this primer with micro filler does the trick. I don't know how you guys scribe in straight lines. I guess that will be my next skill to work on.So I stayed up and did some more because I'm so close. This thing is BIG ! I'm going to have to add this to my future builds but will plan on detailing it. Beautiful plane. I enjoyed reading up on it.
Attachments
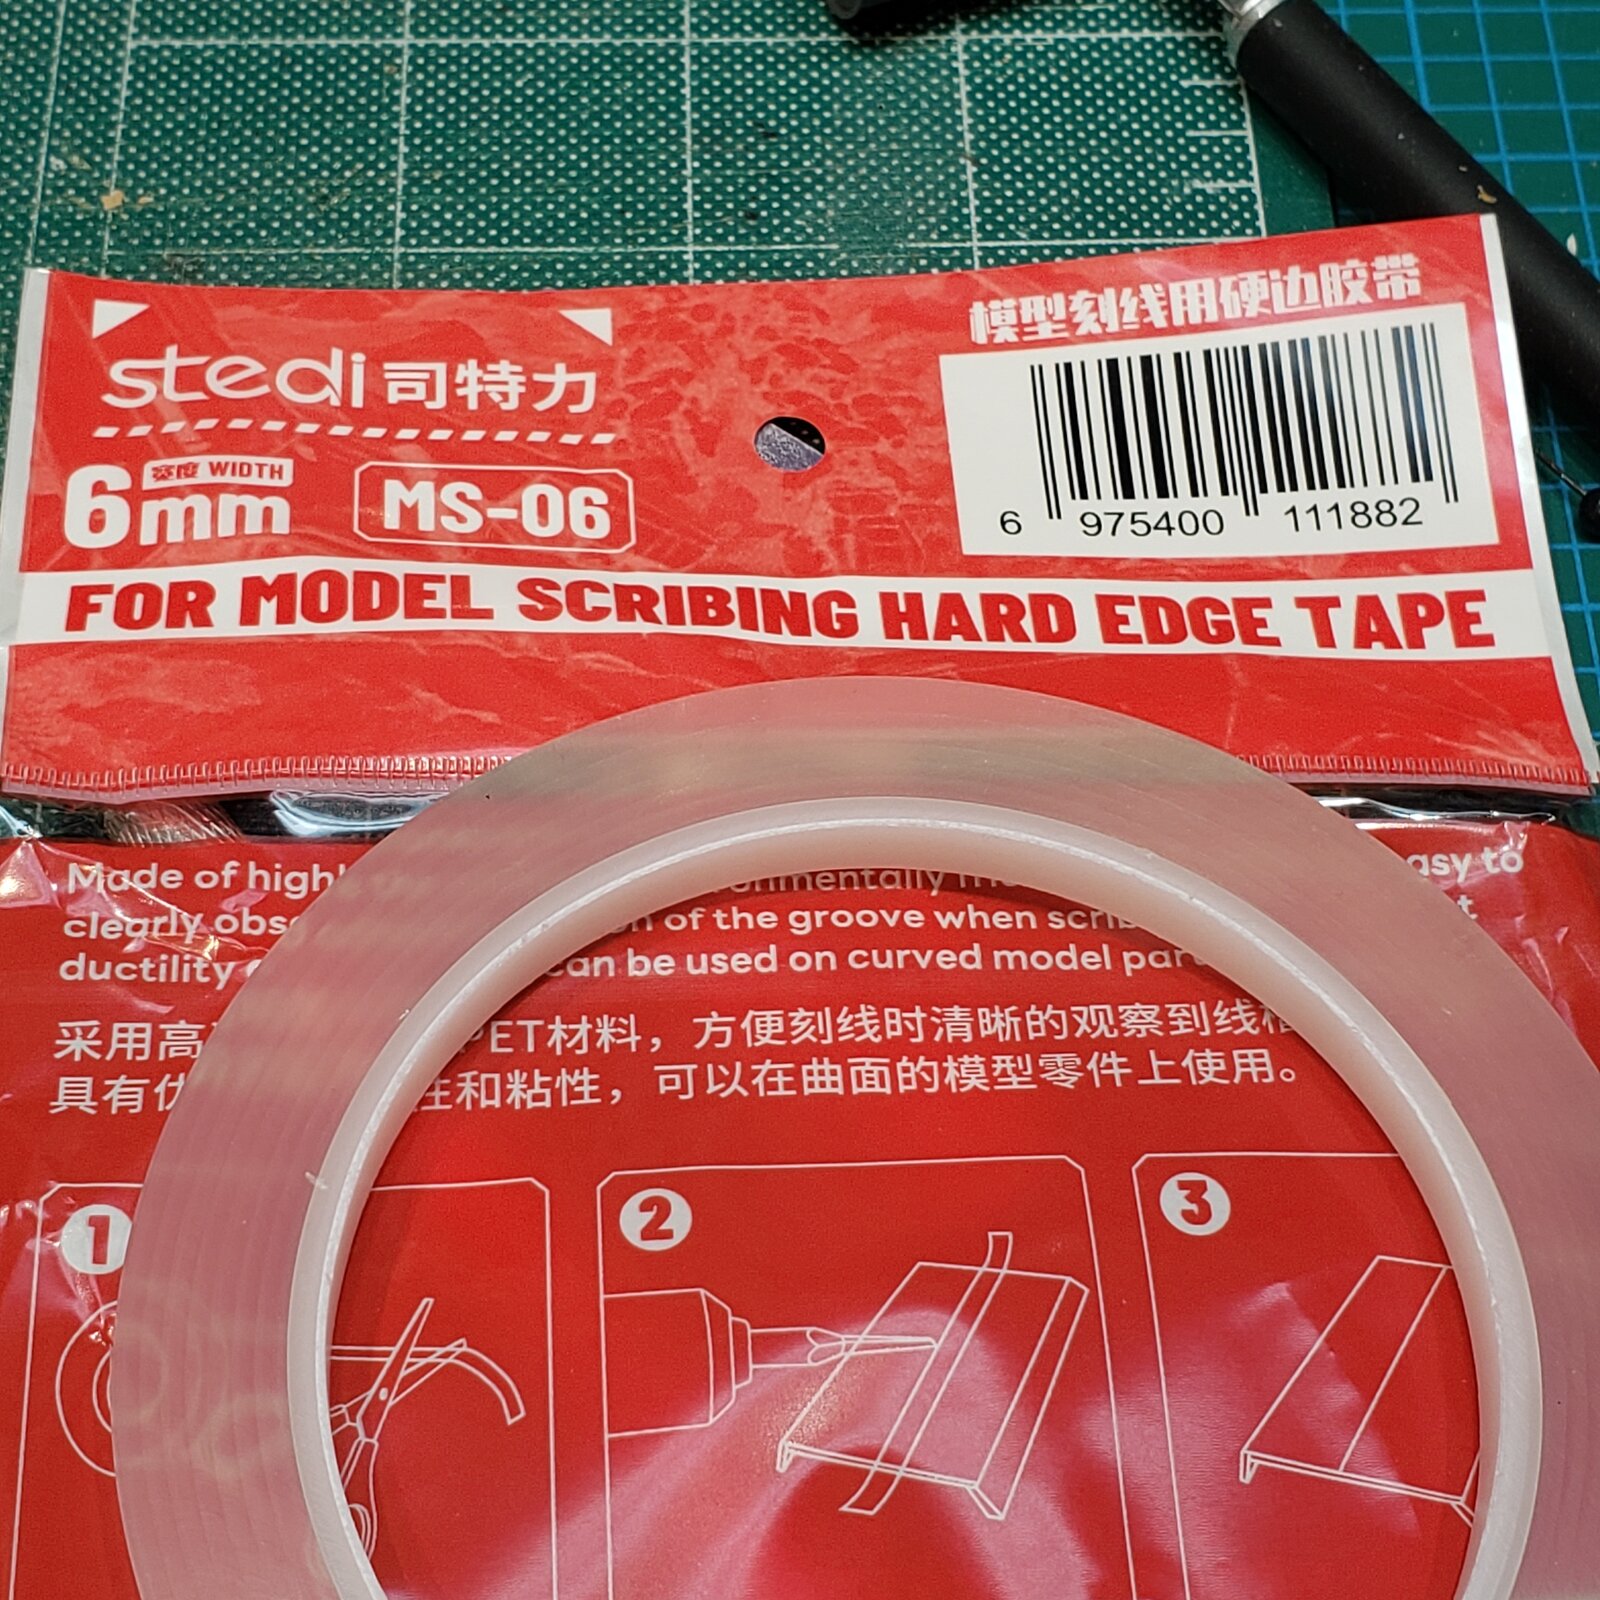
I suppose that with practice and a very steady hand it can be done...scribe in straight lines.
However, it seems folks use a variety of tape, from automotive stripe tape to model scribing tape.
The trick is that you are able to cleanly remove it afterwards, and that it is thick/hard enough not to cut into.
I've used this as a guide for cutting, but it is intended for scribing:
user 22148
Well-Known Member
- Joined
- Oct 3, 2024
- Messages
- 497
That all seems to be coming together well.
Thanks! And I thought all of you had magic hands! Now I have something else to mask- my favorite job!I suppose that with practice and a very steady hand it can be done...
However, it seems folks use a variety of tape, from automotive stripe tape to model scribing tape.
The trick is that you are able to cleanly remove it afterwards, and that it is thick/hard enough not to cut into.
I've used this as a guide for cutting, but it is intended for scribing:
View attachment 180315

Dymo Embossed Label Tape—and a light touch as you start.I don't know how you guys scribe in straight lines. I guess that will be my next skill to work on.
VegasAWACER13
Well-Known Member
- Joined
- Aug 2, 2025
- Messages
- 435
I'm amazed by guys who can freehand panel scribing. Without guiding tape my tool is guaranteed to go sliding off across the plastic.Dymo Embossed Label Tape—and a light touch as you start.
That was my first attempt. Plus I was pressing too hard.I'm amazed by guys who can freehand panel scribing. Without guiding tape my tool is guaranteed to go sliding off across the plastic.
This was a second hand kit and old. Some of these parts were a bit warped- yup I'm blaming the parts for the poor fit. Except one - something I glued and had thought was set appears to have moved overnight so I did a little putty work today and did apply a micro filler primer to most of the plane as I was very curious if my sanding up to par. Hopefully I can do some sanding tonight with my new homemade sander. Oh, and that's my booth with about 75% of the plane fitting!Working on the turrets this morning pain in the butt for my fat fingers. Drilled out the gun barrels with a 0.6mm bit- that was a bit tense. I am really liking using these pant markers for doing canopies though- so much easier! I'm hoping to prime this today. I did have to sand the fuselage as it is so long that the underside ended up being uneven and I hadn't noticed- probably was working too fast again. Anyway I made the mistake of using too low a grit sandpaper , I know better but it was so much to sand, worked my way to 3000 grit but still have some marks. I'm hoping this primer with micro filler does the trick. I don't know how you guys scribe in straight lines. I guess that will be my next skill to work on.
Attachments
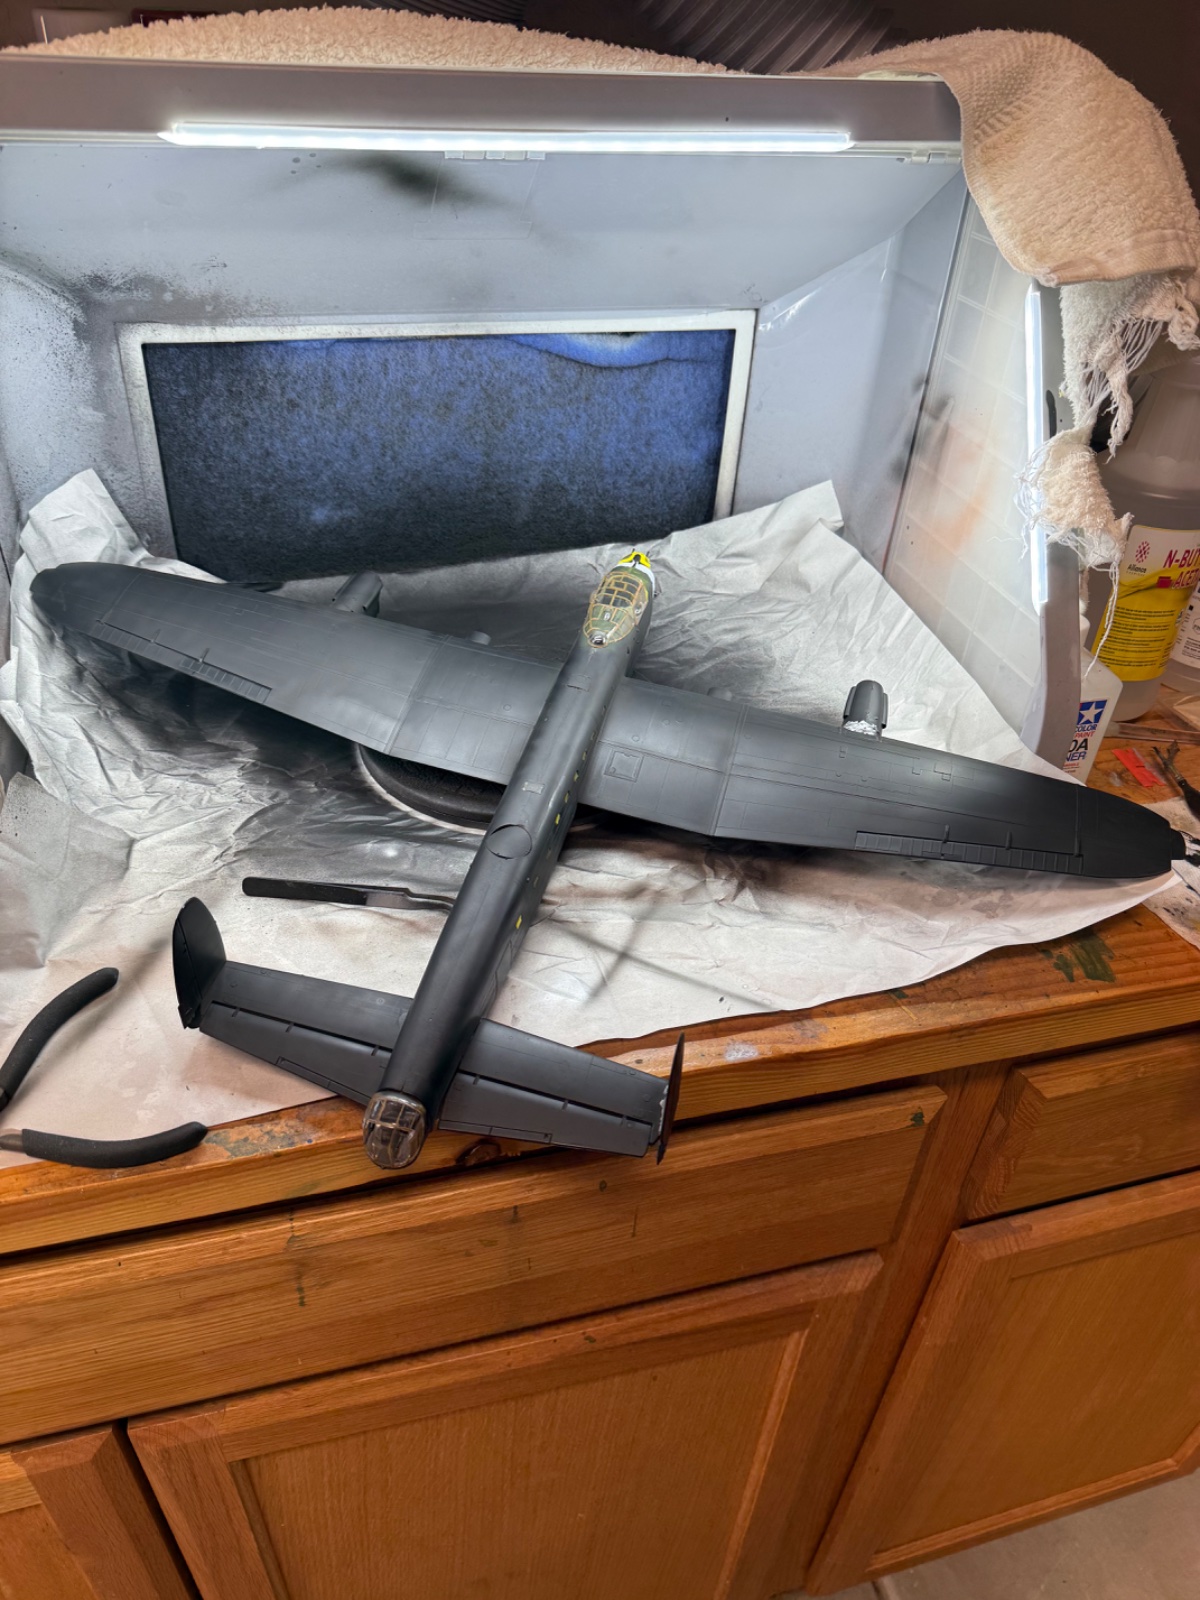
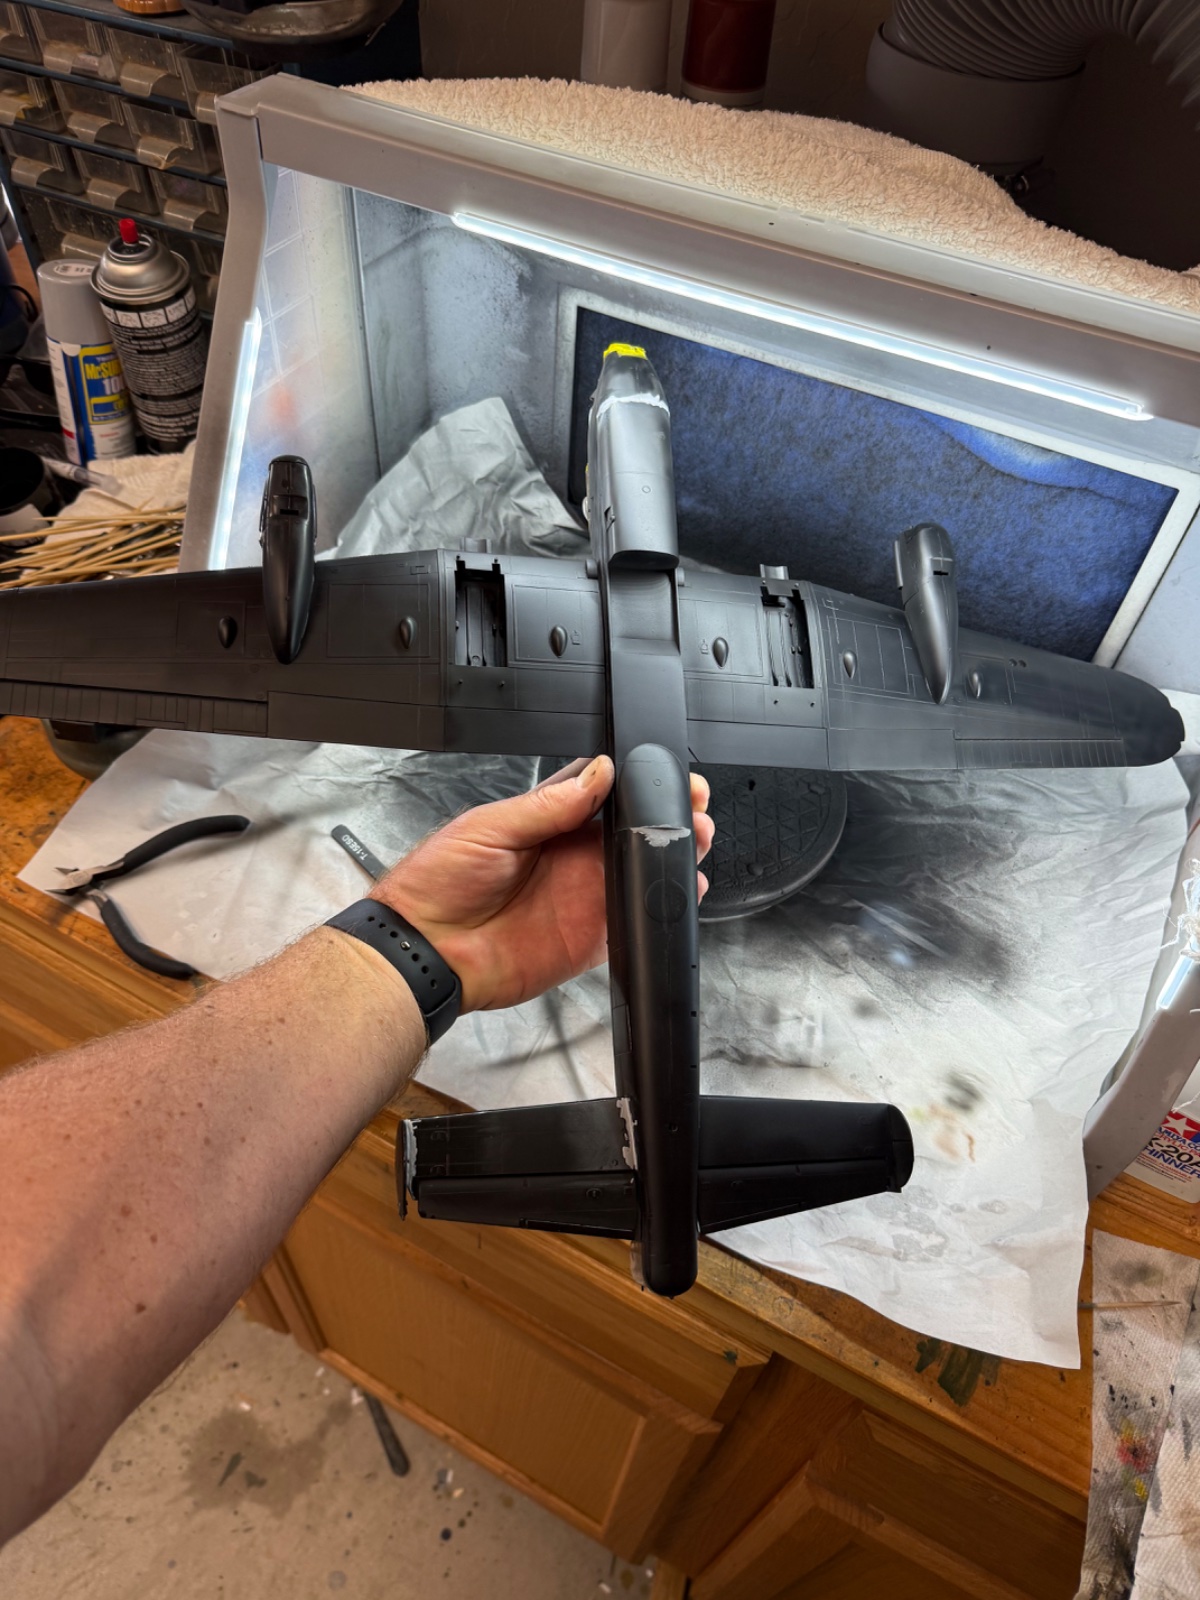
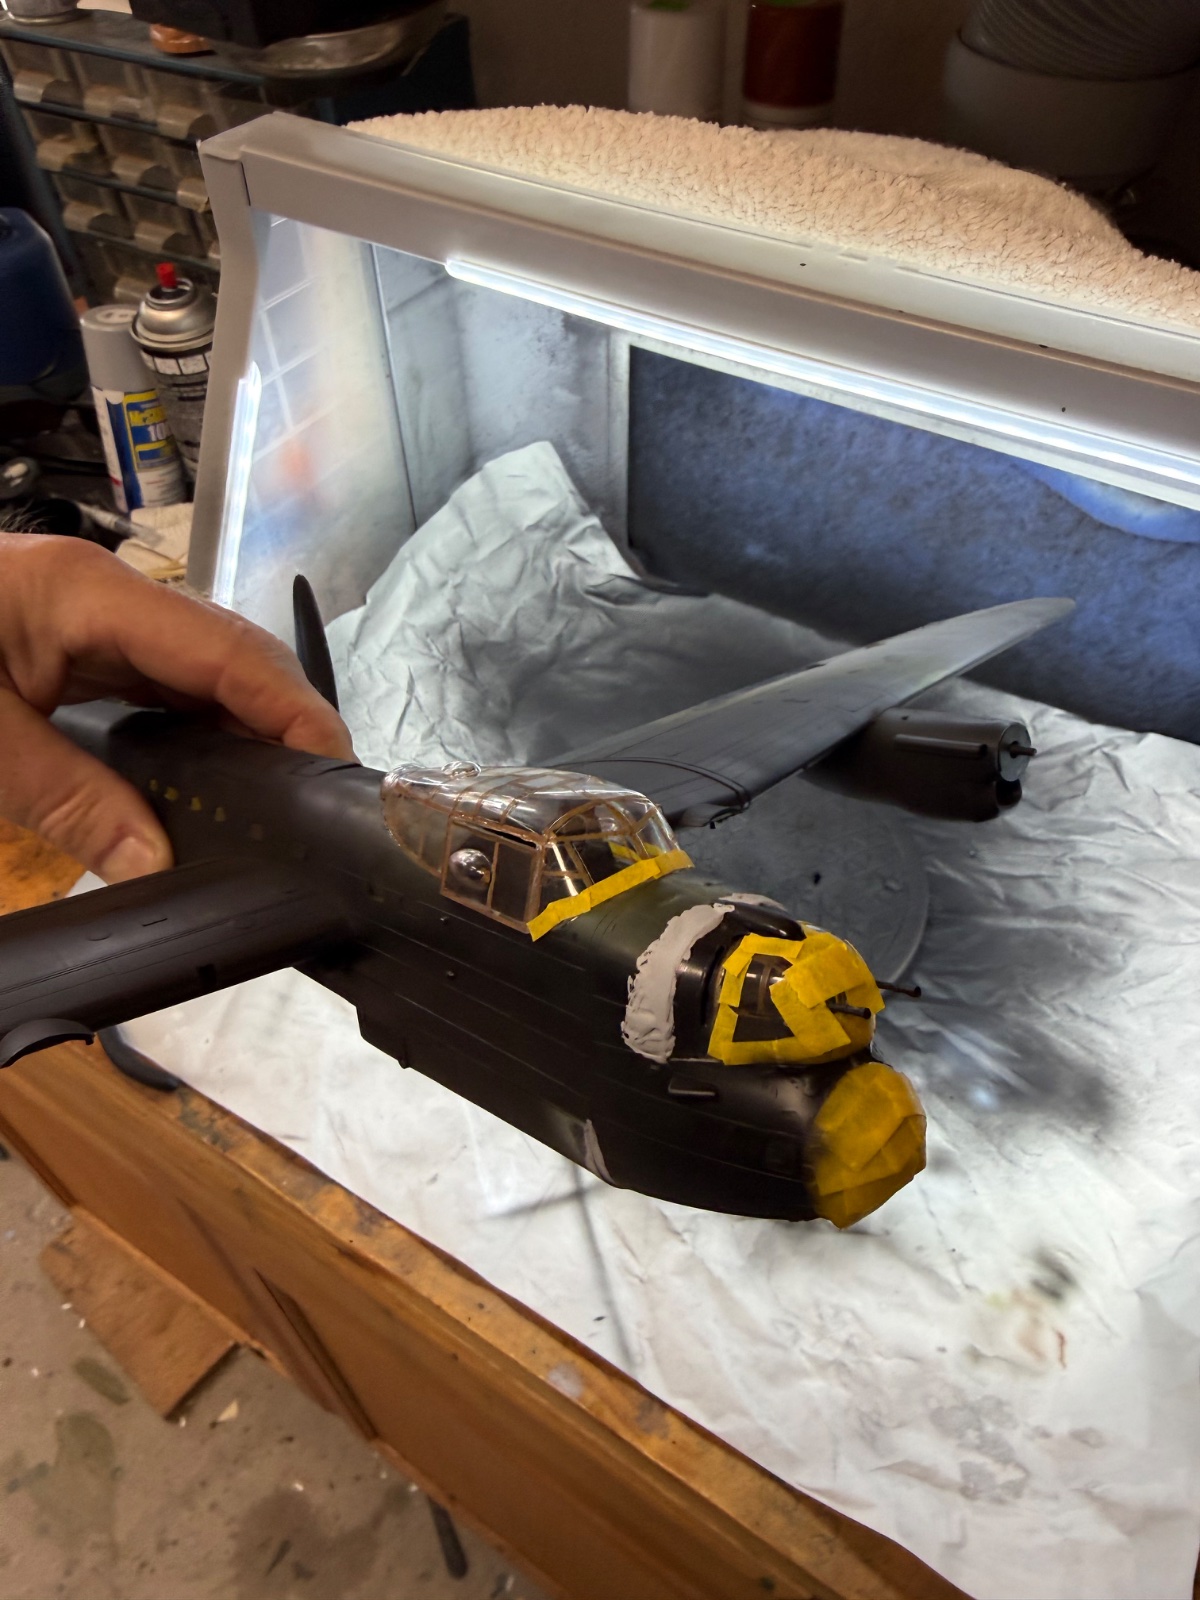
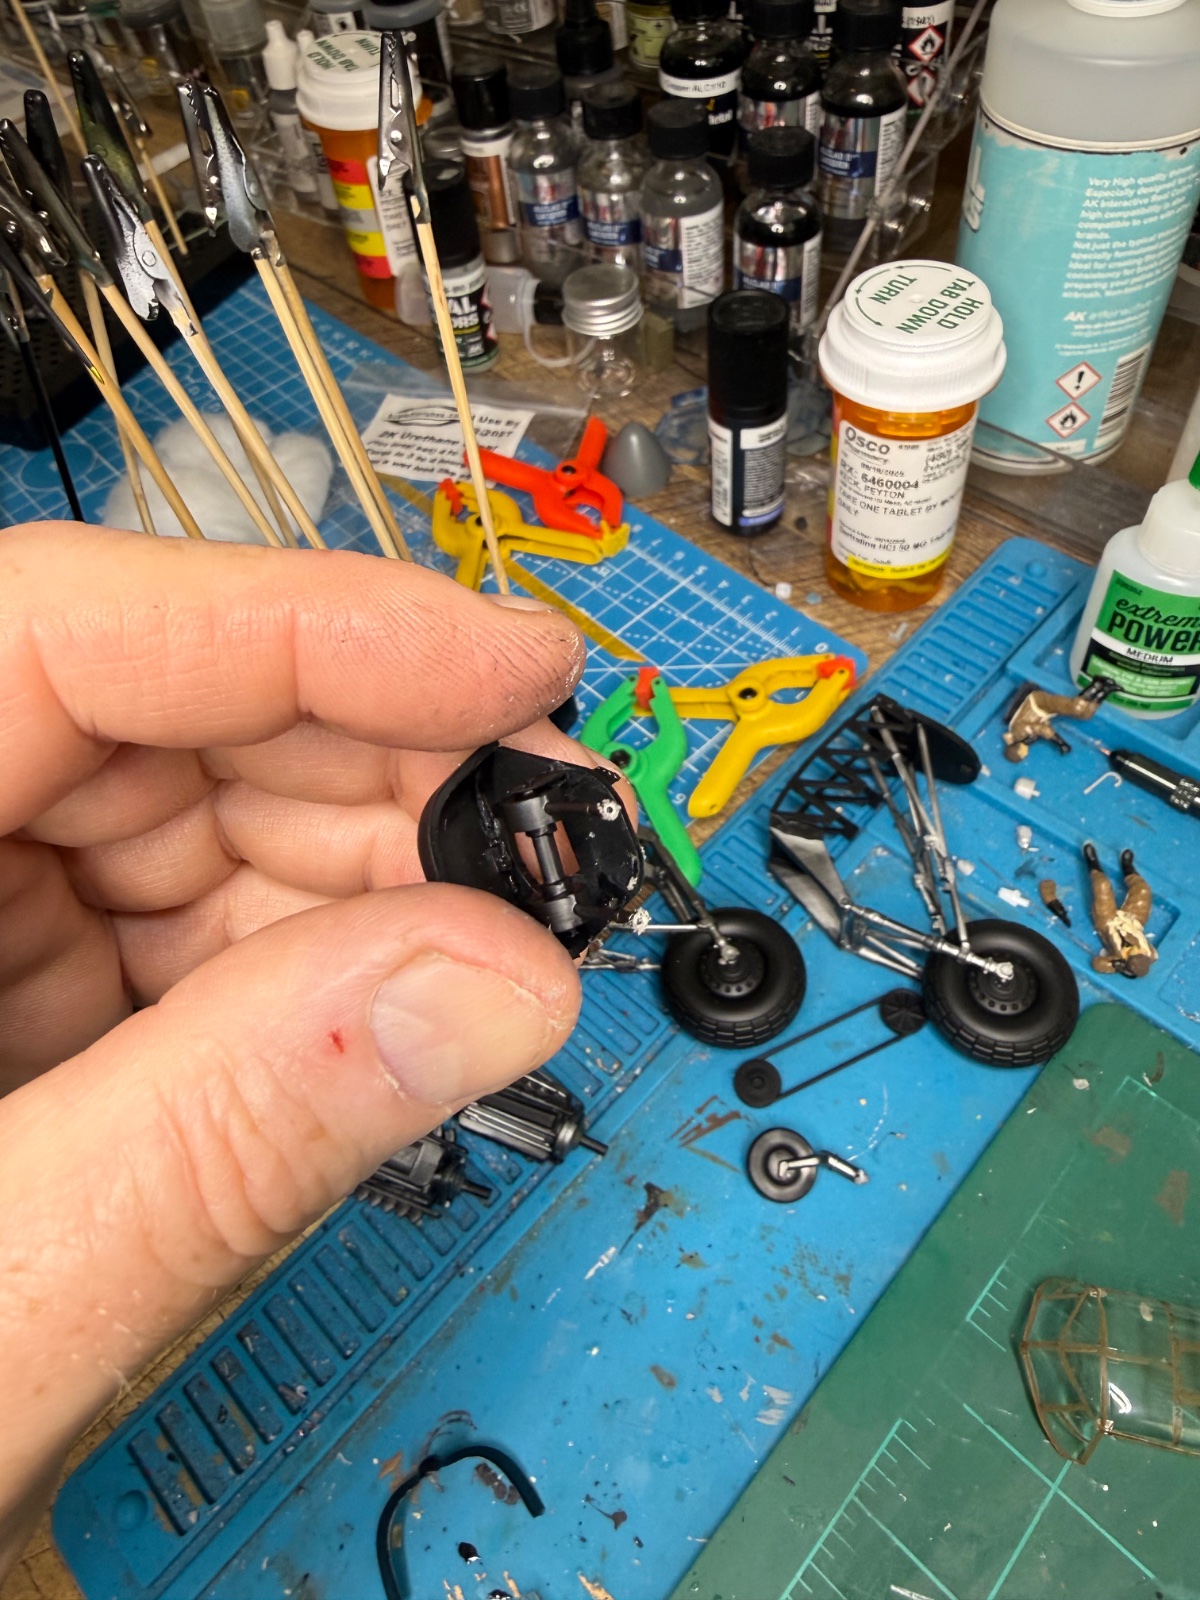
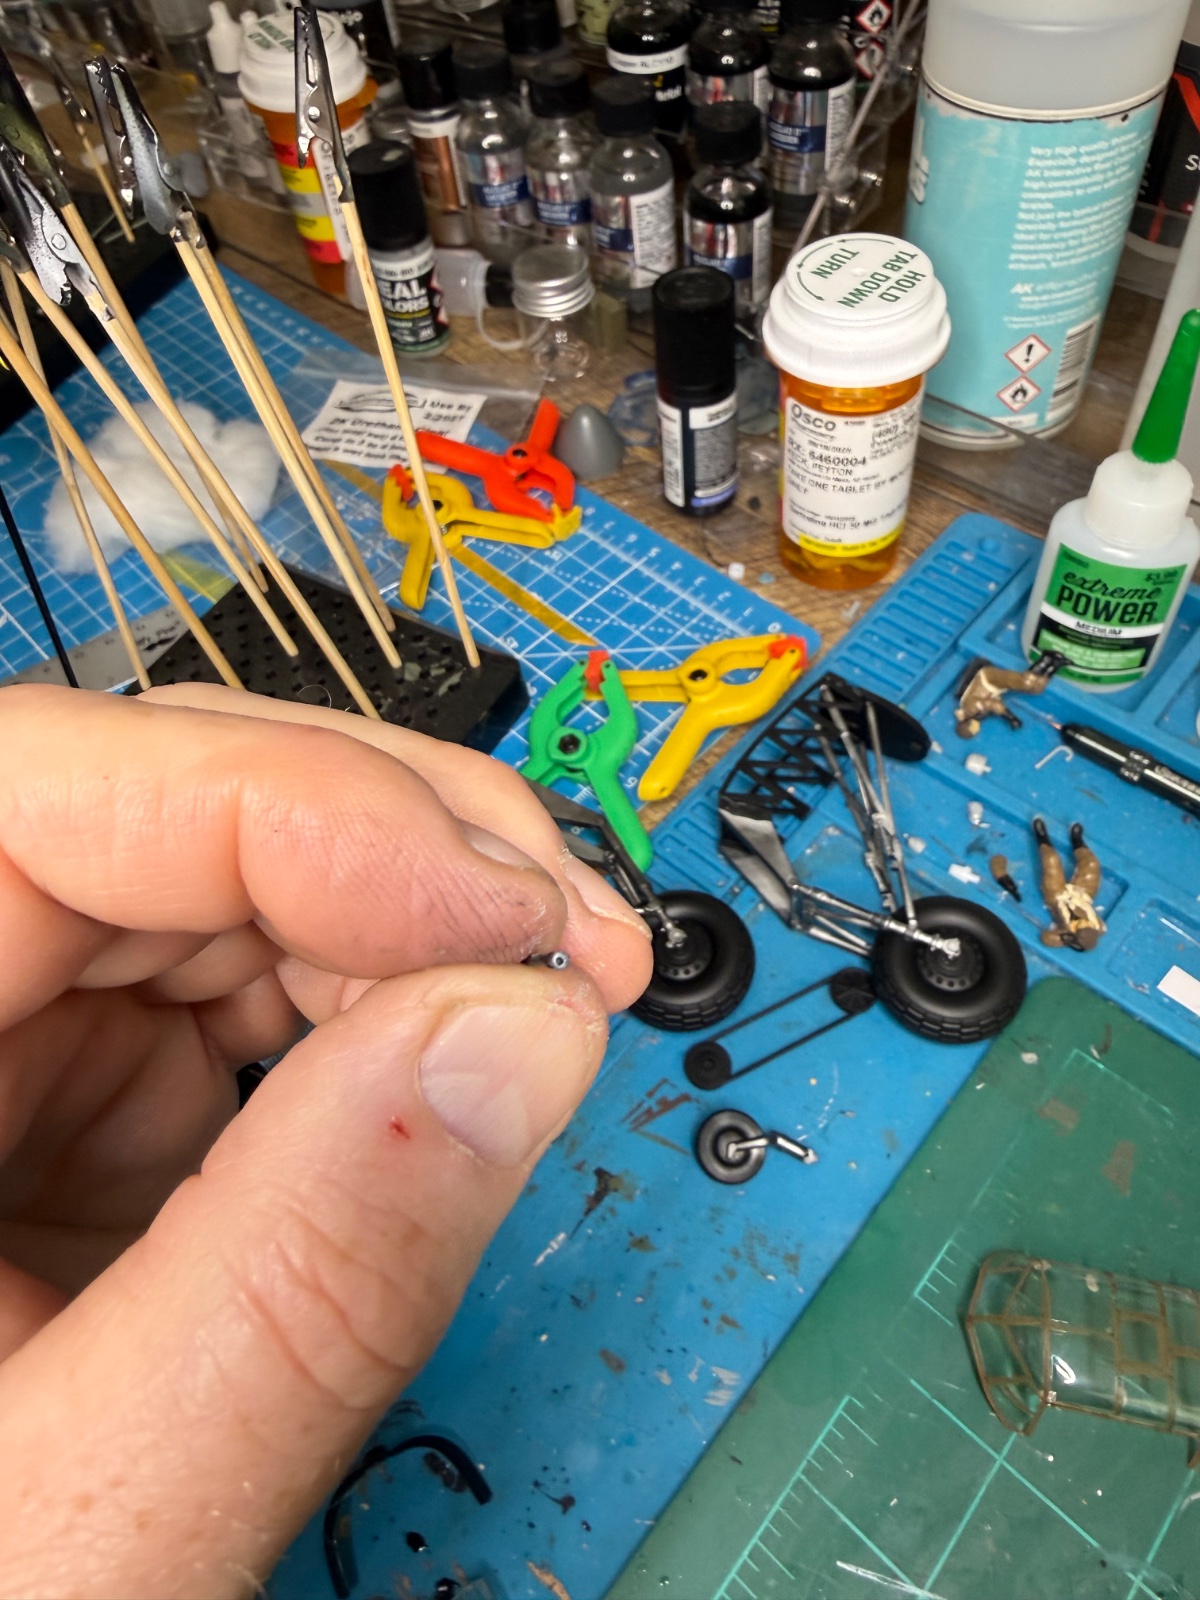
Well today I'm in danger of losing my temper and tossing this in the garbage. I glued the ever loving plastic out of the wheel assembly because the instructions warn this is important but the damn covers do not fit. I've messed with this and messed with it, finally broken one assembly completely apart. I cannot for the life of me figure out what the issue is and now the wings are separating from the fuselage due to my manipulating everything trying to figure out this mess. I'm beyond irritated at this point. For a moment I thought about breaking out the second set of landing gear and making this wheels up except I didn't plan for that so have no way to support it. Holy crap I'm irritated. Guess I'm chucking this into its box and setting it aside for a day when I have the patience of a saint.This was a second hand kit and old. Some of these parts were a bit warped- yup I'm blaming the parts for the poor fit. Except one - something I glued and had thought was set appears to have moved overnight so I did a little putty work today and did apply a micro filler primer to most of the plane as I was very curious if my sanding up to par. Hopefully I can do some sanding tonight with my new homemade sander. Oh, and that's my booth with about 75% of the plane fitting!
Edbert
Well-Known Member
- Joined
- May 16, 2024
- Messages
- 3,121
Speaking only for myself here...but that is when I gently put everything into a box and put it into the closet for an undetermined period of time.trying to figure out this mess. I'm beyond irritated at this point.
Thanks. Thats exactly what I did. Sorry for my melt down. It's been a bad past two weeks and I guess it caught up to me tonight.Speaking only for myself here...but that is when I gently put everything into a box and put it into the closet for an undetermined period of time.


