nicholassagan
sippin on gin + juice
- Joined
- Dec 28, 2011
- Messages
- 2,013
So while I have to two 1/2256 commission builds on my desk, they are at a stage that requires using either my Dremel for routing and sanding or a small power sander to smooth down the putty. Since I use both of those tools with a shop vac running, it makes a lot of noise…and my downstairs neighbor doesn’t like noise. At least that type of noise in the evening. I’ve been getting home too late during the week to do this power tool work so I’ll have to do a bunch of it this coming Friday morning/early afternoon.
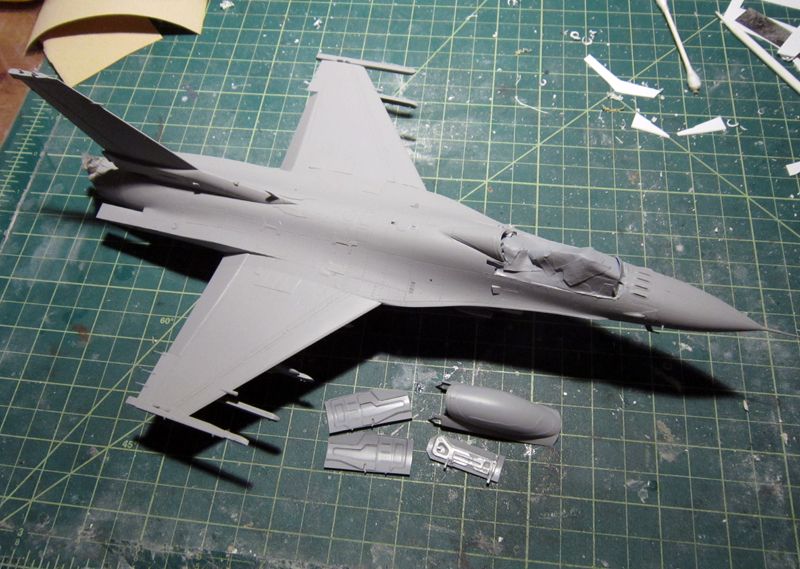
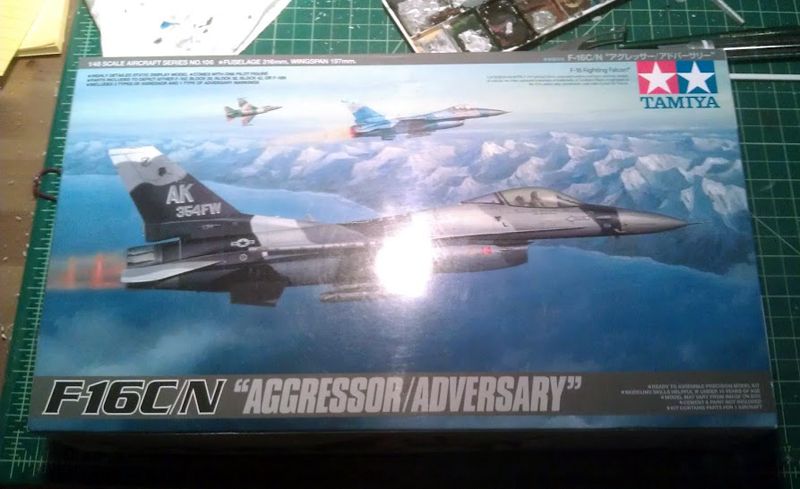
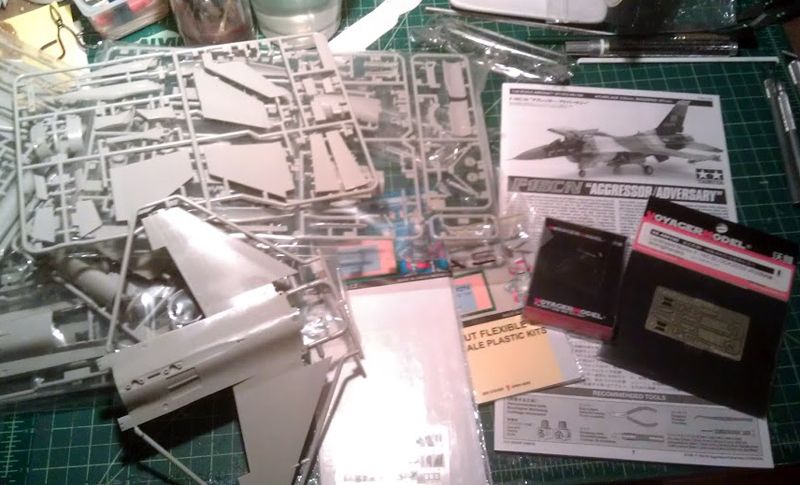
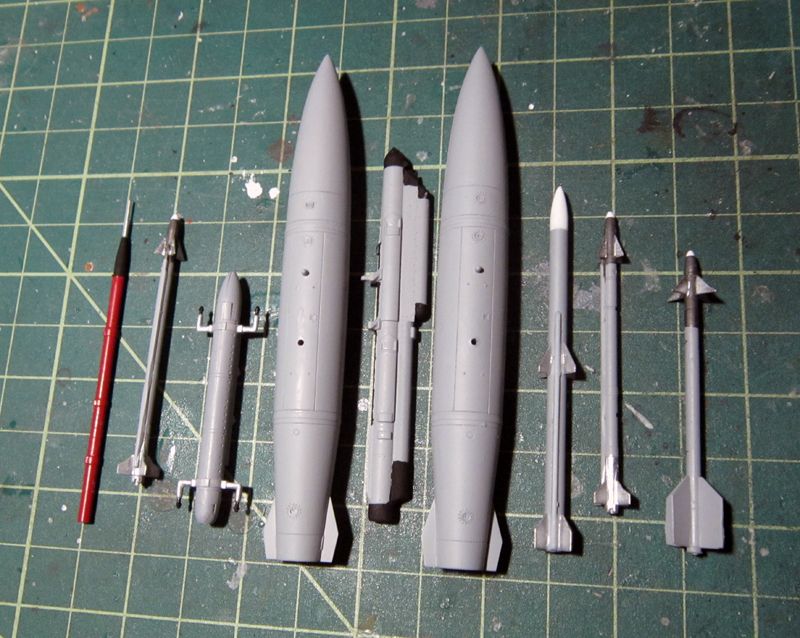
In the downtime my itch to BUILD has been strong…I find myself daydreaming of getting down and dirty with a kit. There are a few selections in my inventory that have all the aftermarket components collected and I narrowed it down to two: Eduard’s 1/48 MiG-21MF in Egyptian markings or Tamiya’s 1/48 F-16C/N Aggressor/Adversary. I presented the choices to my fiance as “Alaska†or “Egypt†and thus this build choice was made. She liked the colors better. I'll be using Eduard's cockpit and external PE set, masks and undercarriage PE set as well as Voyager's pitot and angle of attack set and Voyager's reinforcement plates.
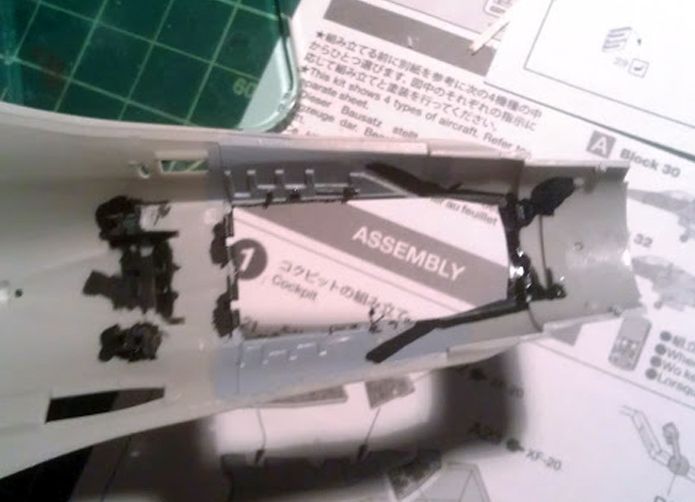
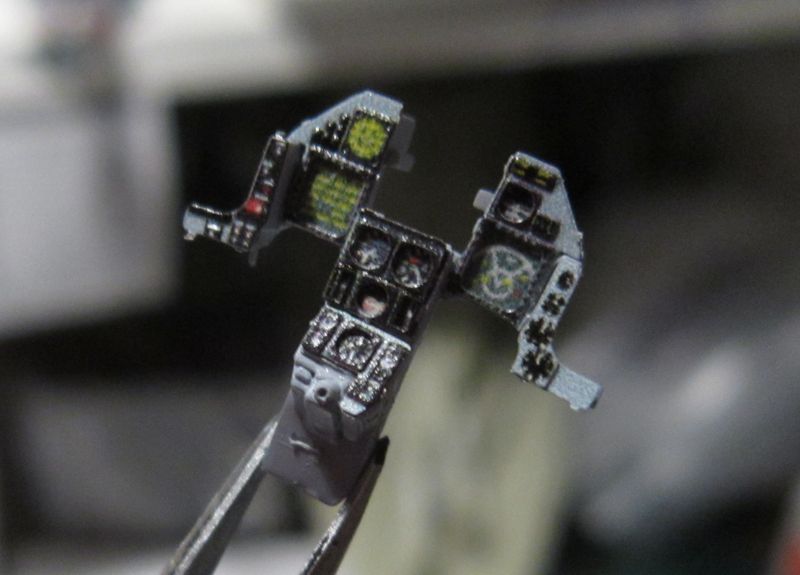
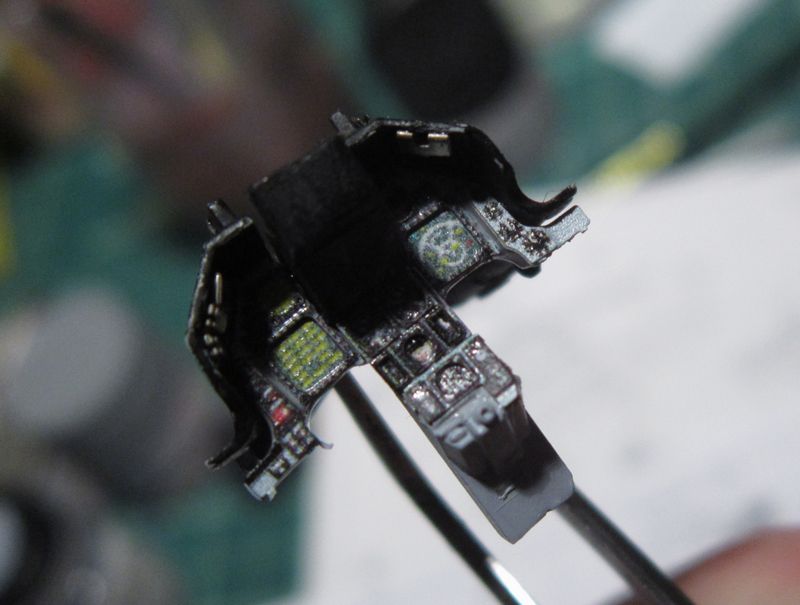
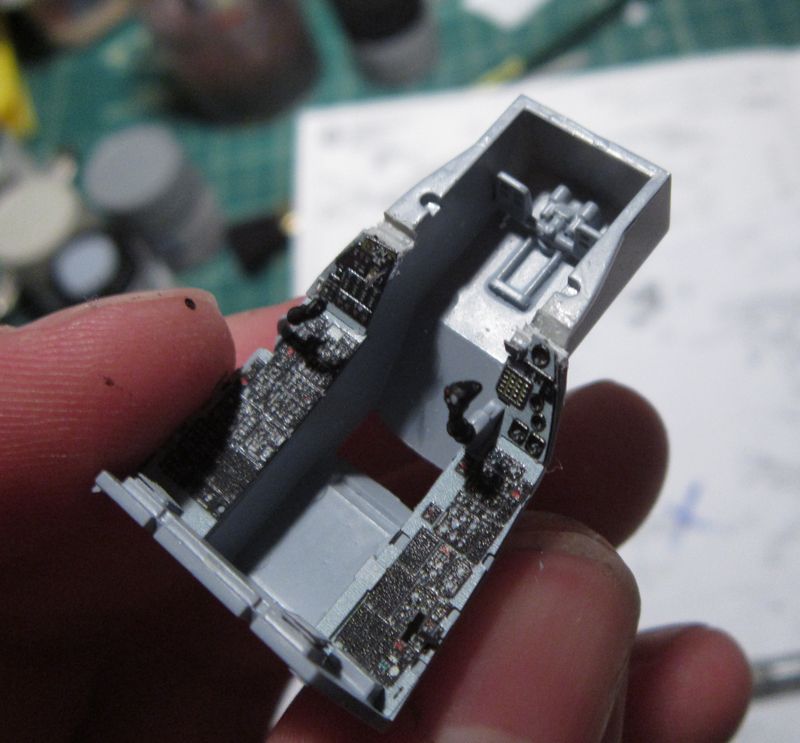
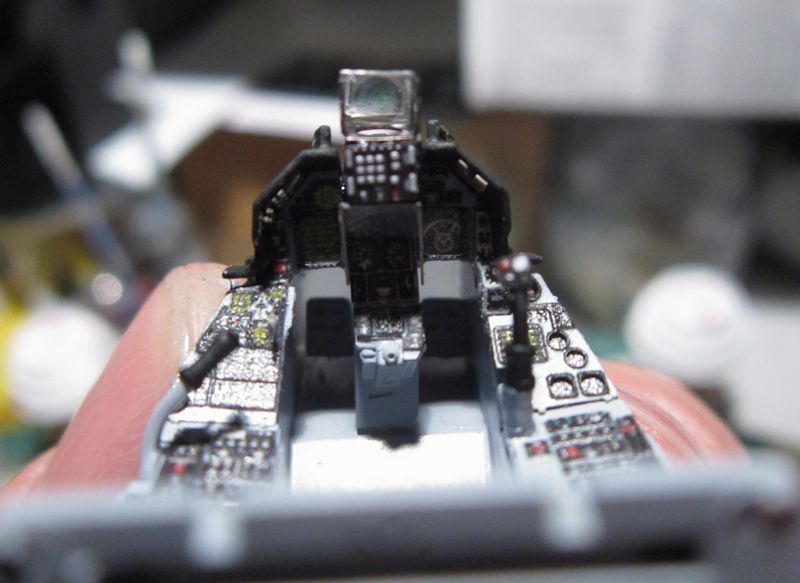
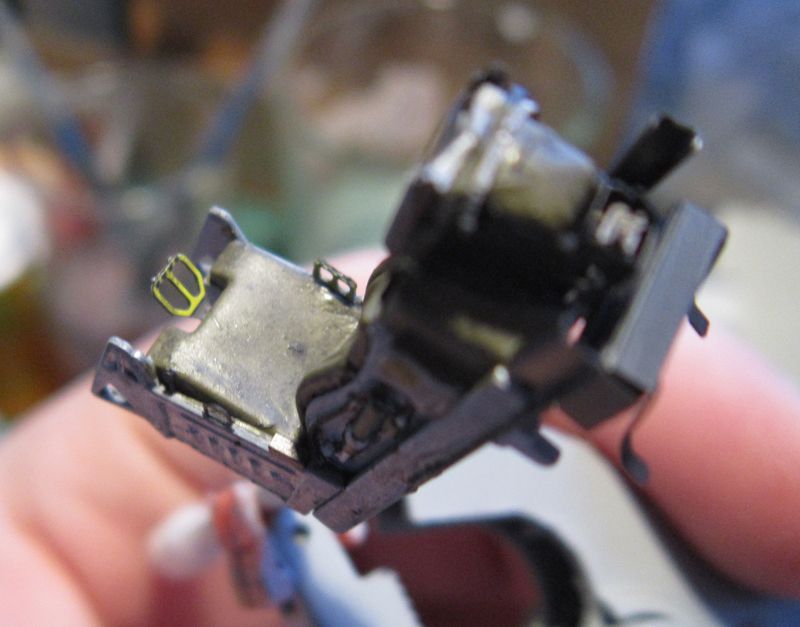
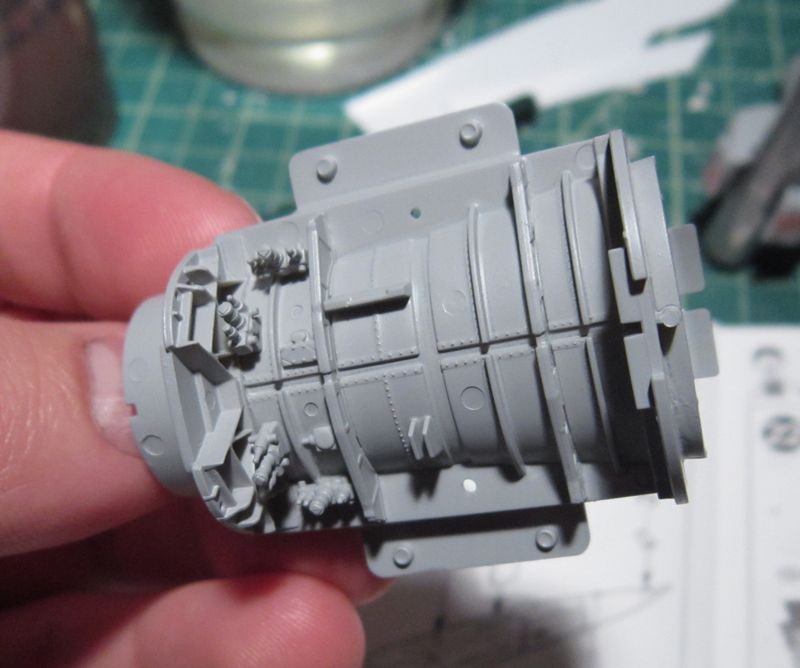
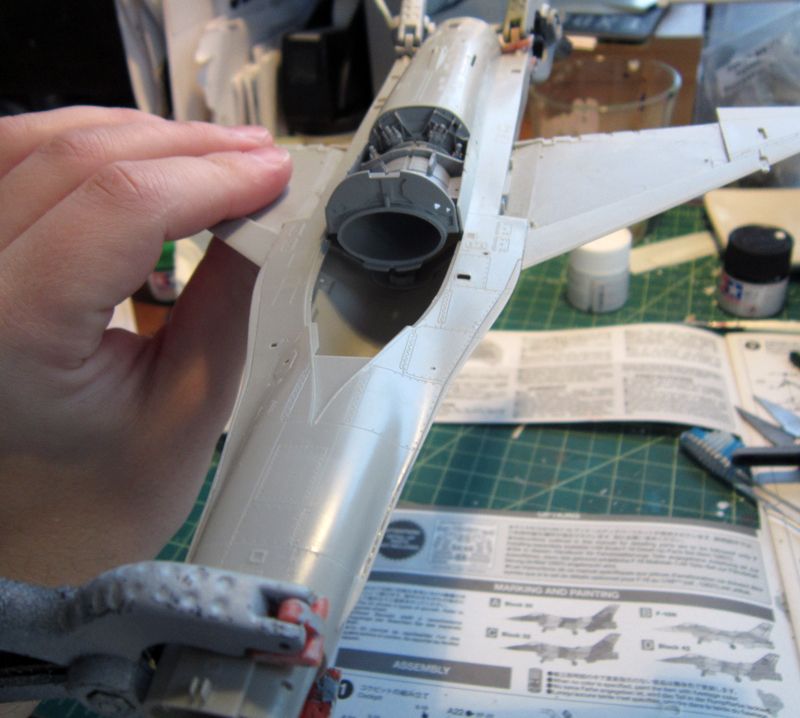
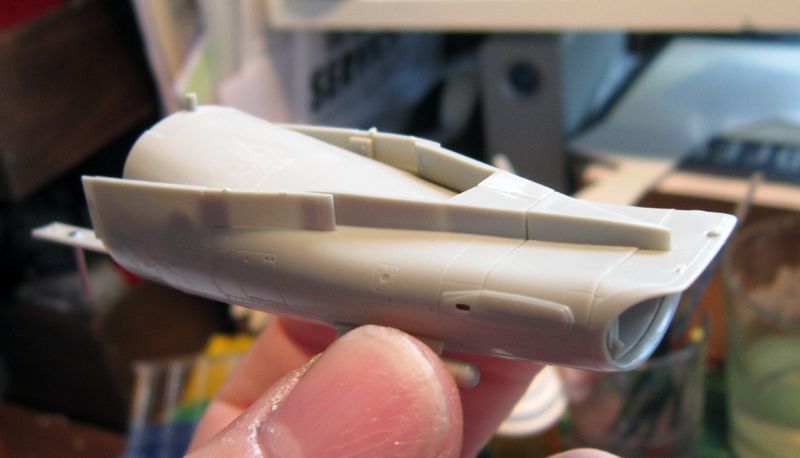
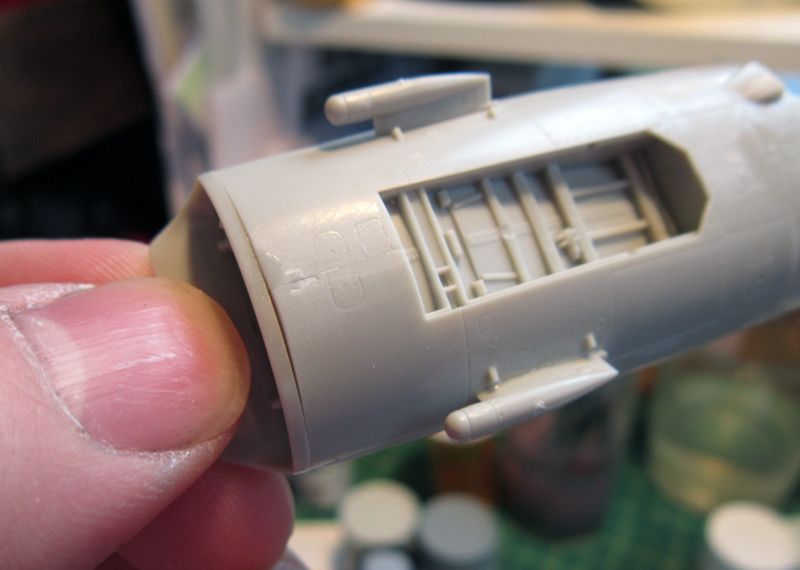
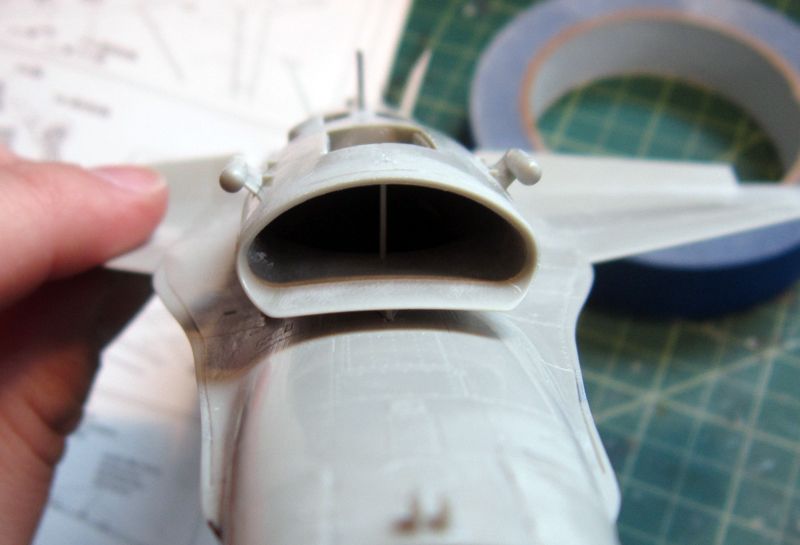
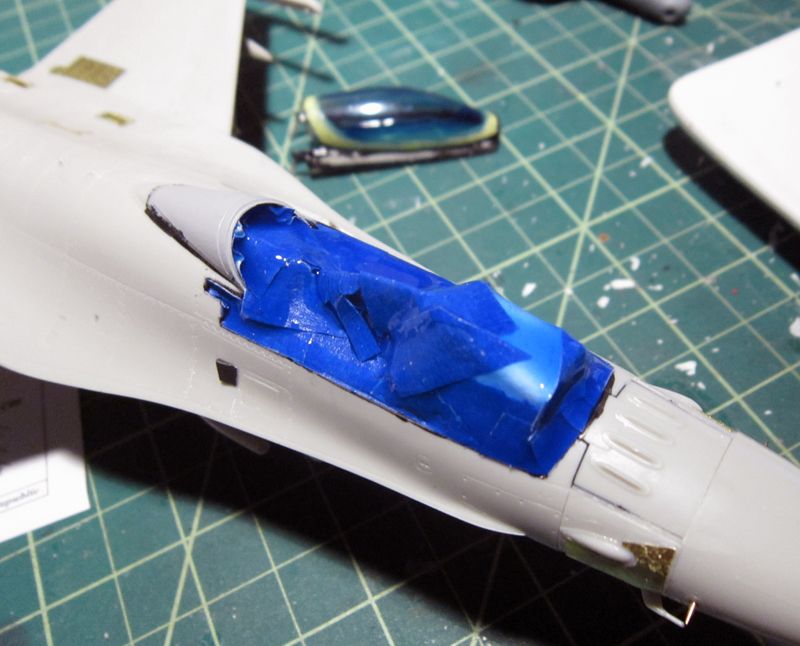
As with any aircraft, the starting point is the cockpit. While the detailing on the kits parts is really nice, it had to be removed to make room for the Eduard PE, which has far better detailing when taking my hand painting out of the equation! I found that Testors Acryl Haze Gray 1/2 is a 90% match to the color of the PE parts so the tub and the fuselage interior was painted with that.
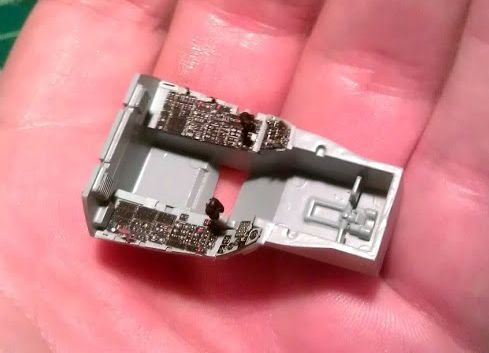
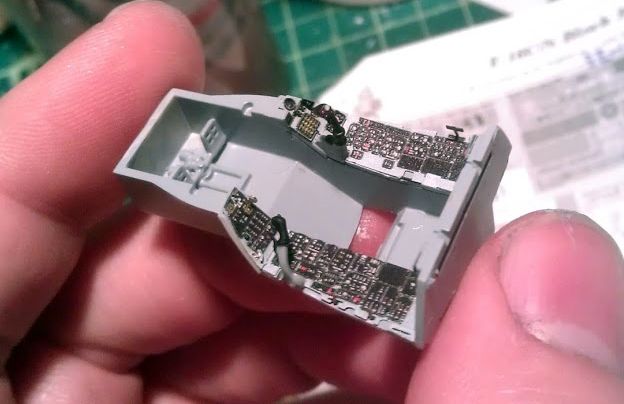
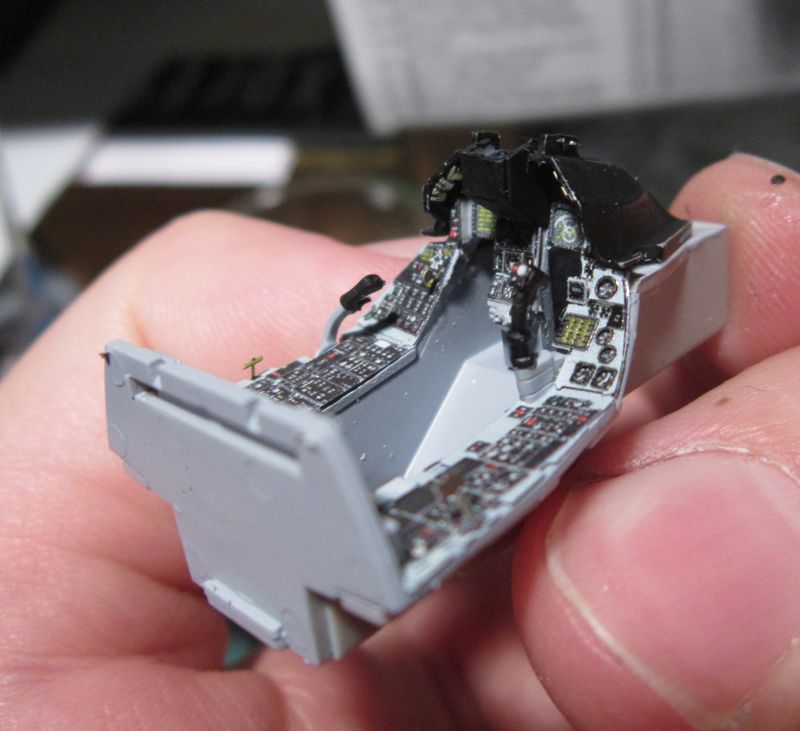
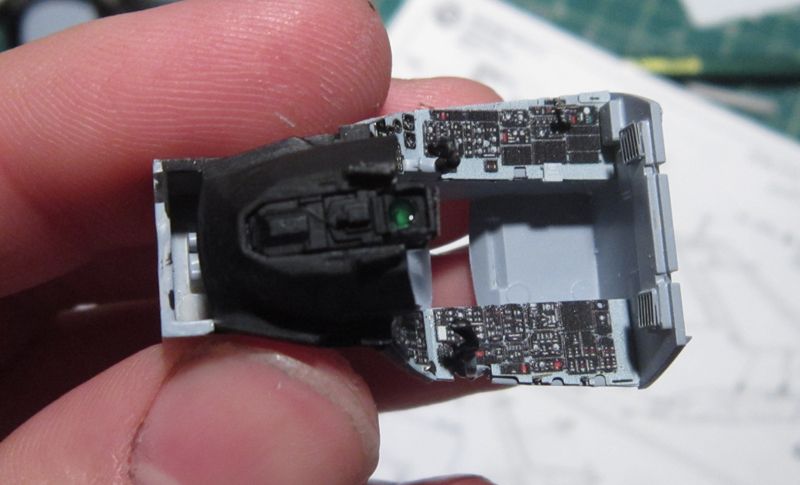
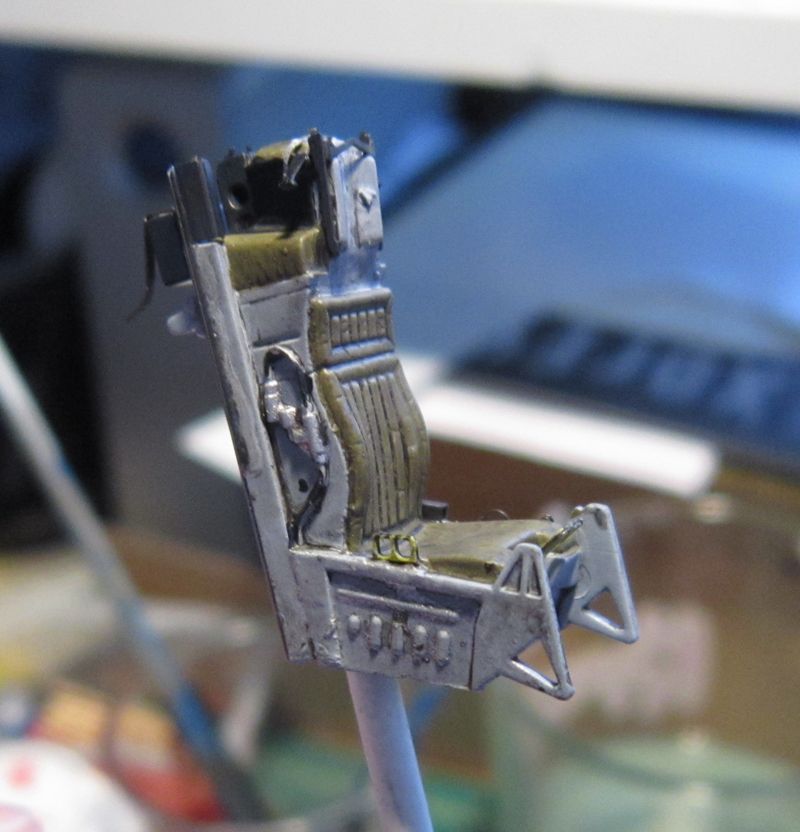
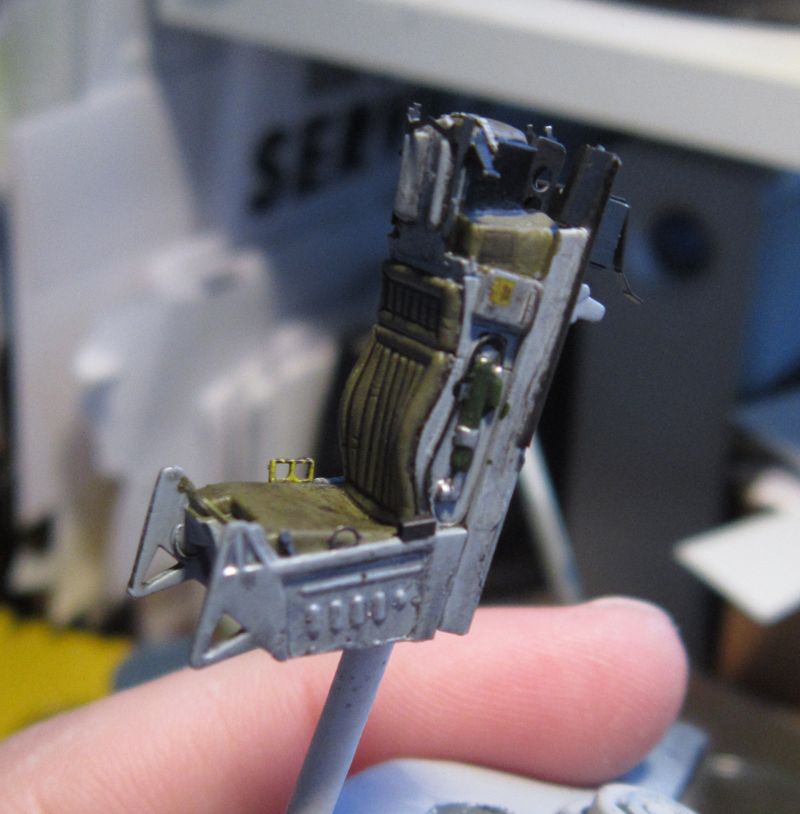
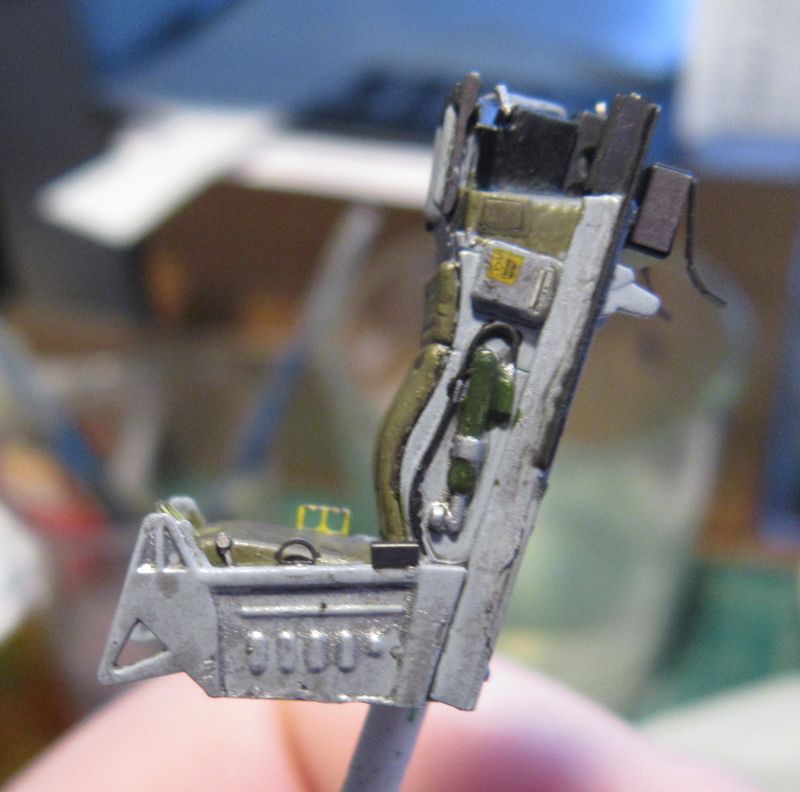
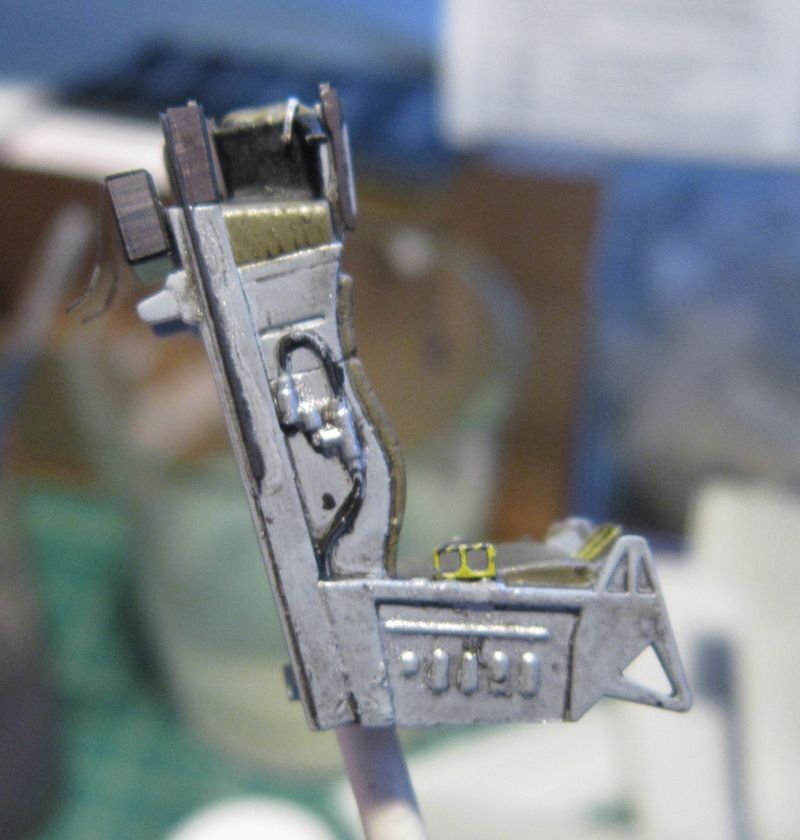
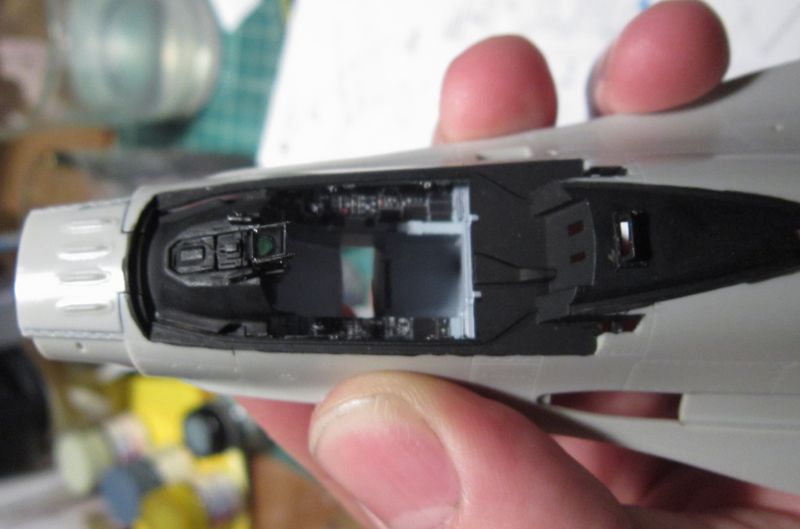
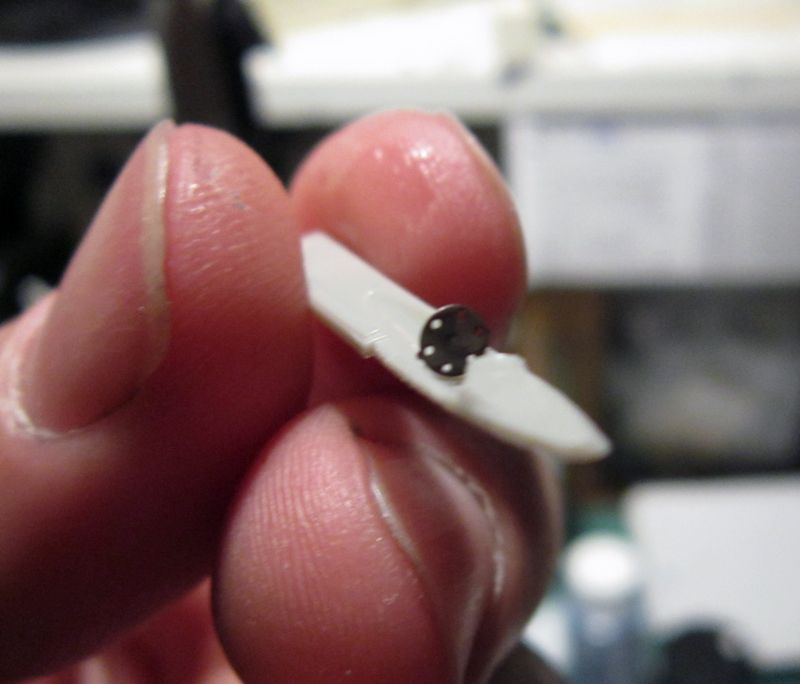
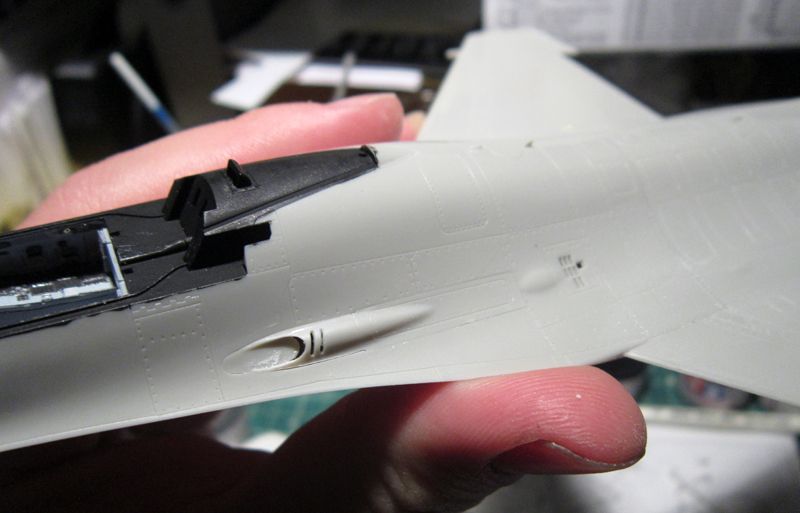
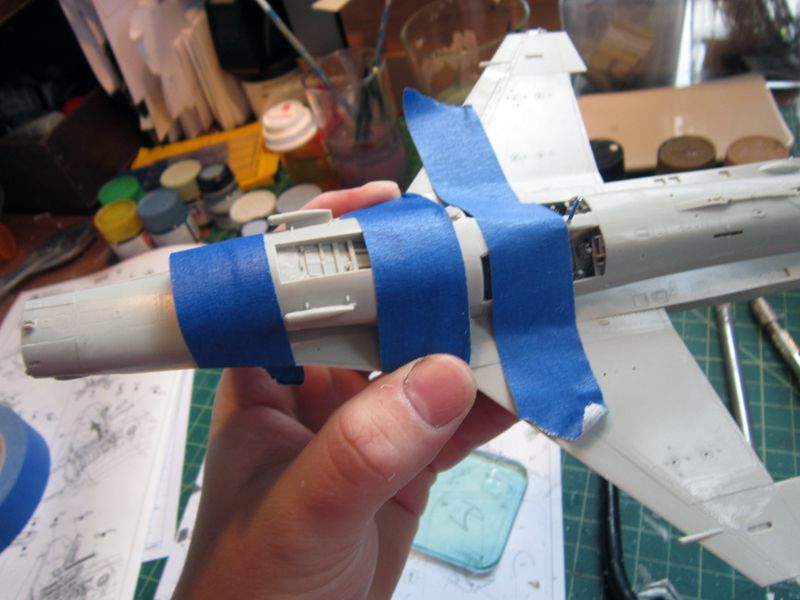
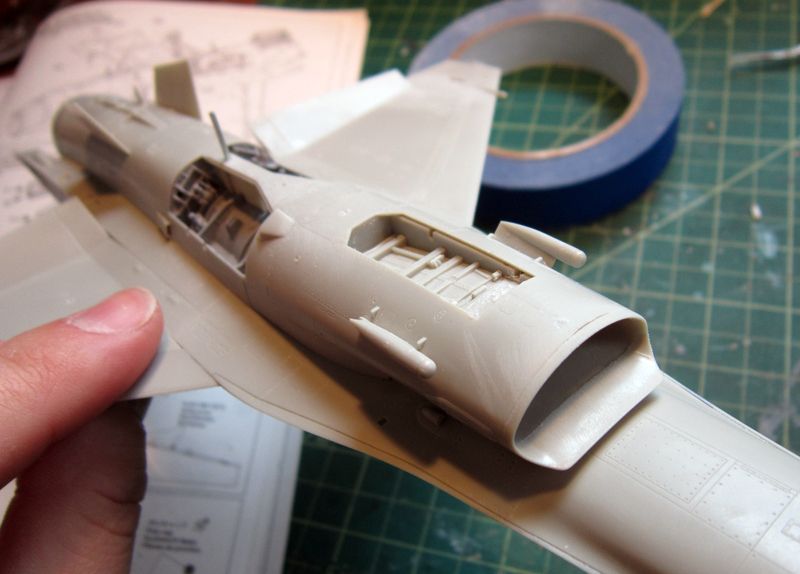
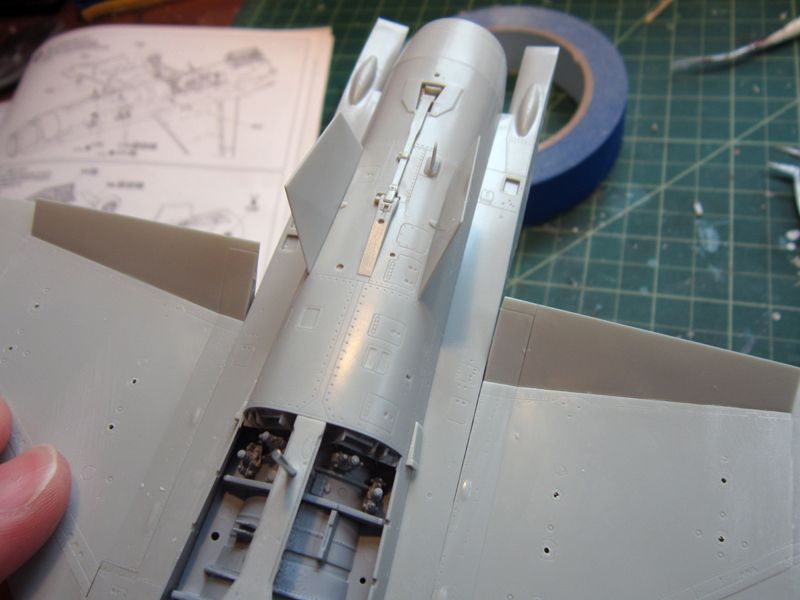
The exterior rim that the canopy will sit on is black. I also figured I’d paint up the seat and dashboard before adding the other PE bits…the unfinished bits add a nice little touch of variation for me. Being able to see the details is important at this scale!

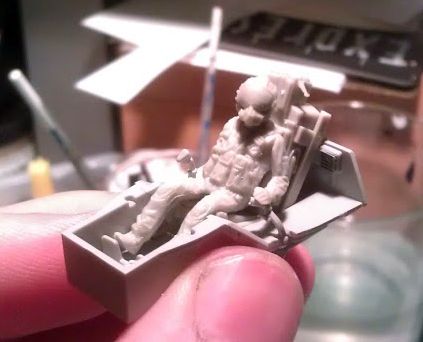
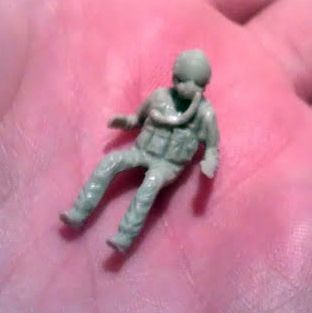
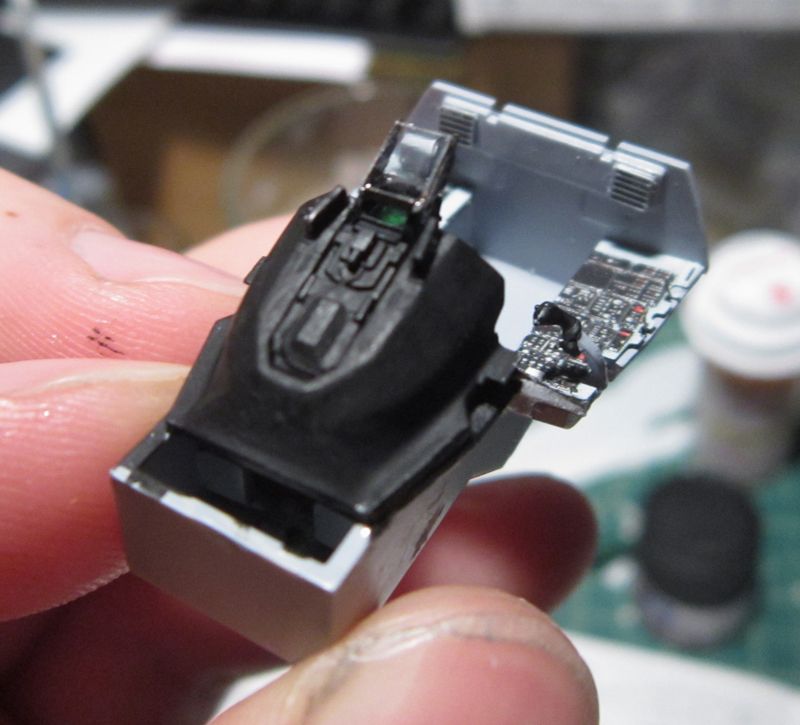
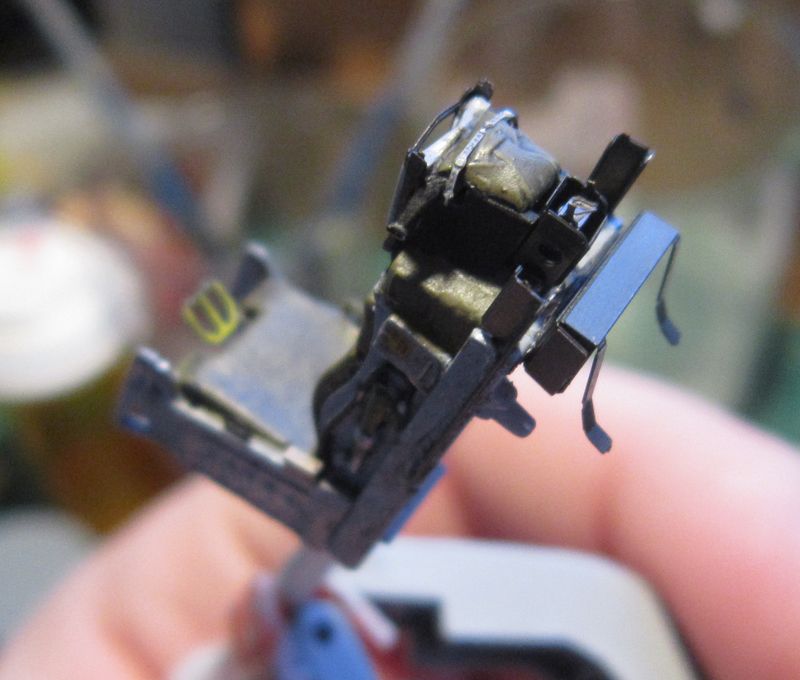
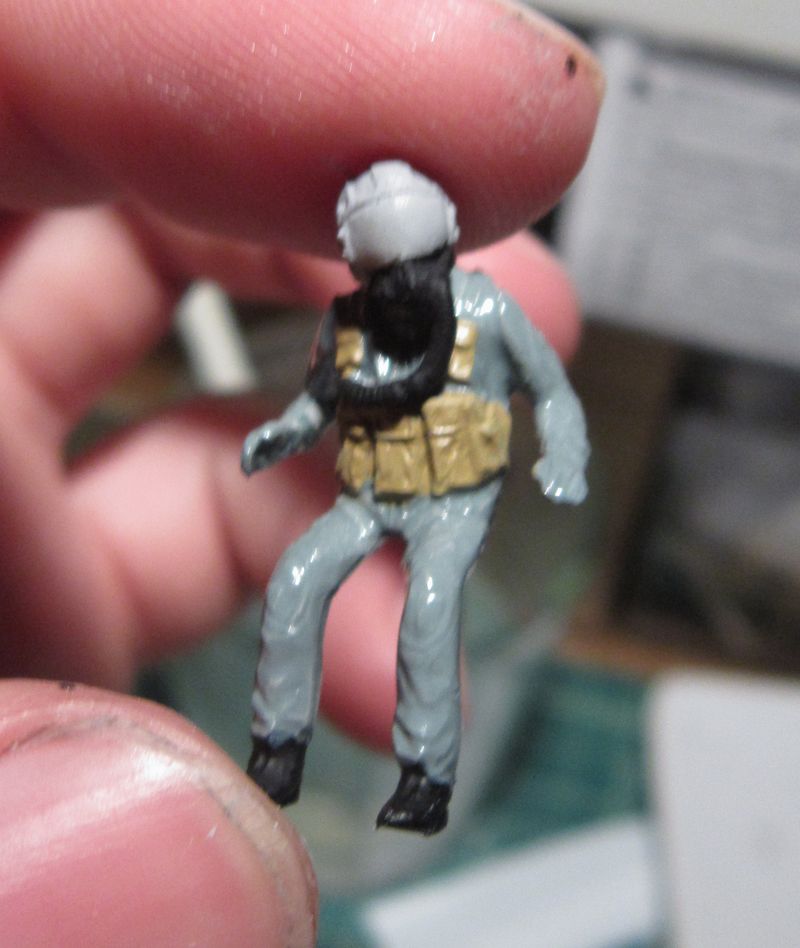
The pilot was also slightly modified to fit in the seat with hands actually IN USE! The armpits were sanded at angles so the hands could rest on the controls and the gaps were filled with Elmer’s. The air hose also had to be heated and bent to match the angle of the turned head.
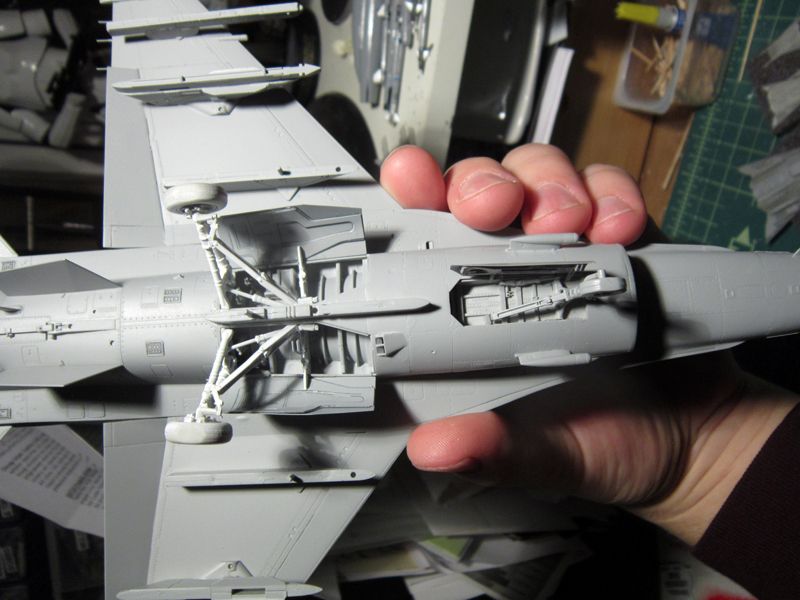
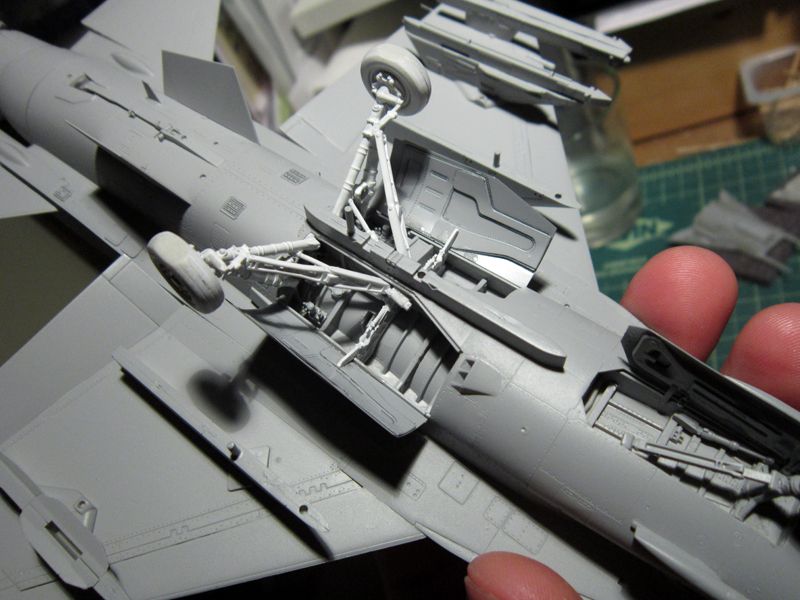
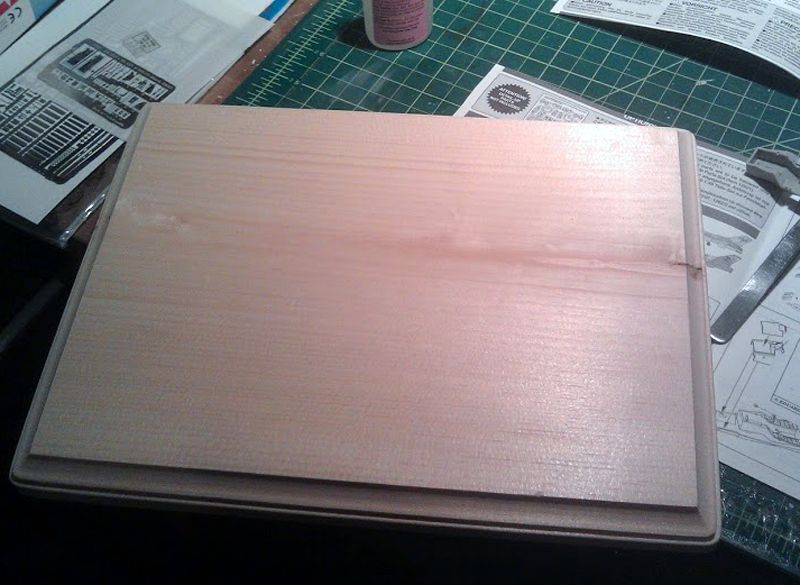
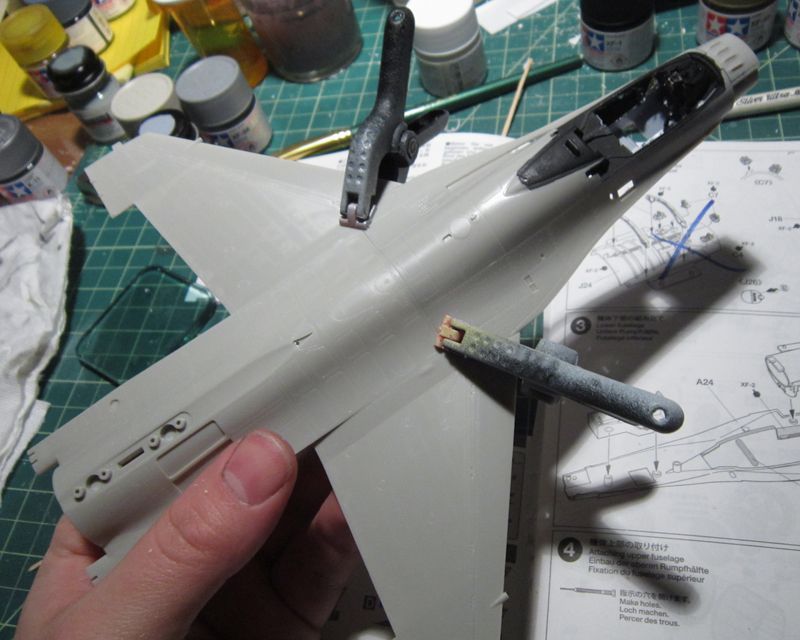
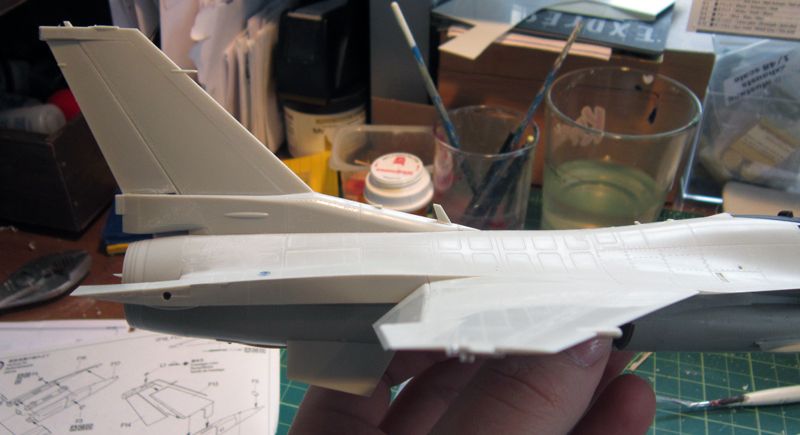
Oh, and I decided to do this one as a display on the tarmac so there’s a nice big wooden base! Eduard’s undercarriage PE is also en route for super detailing the gear…also pardon the lower-quality pics. I left my camera’s memory card at work so I had to use my cell phone. Better pics to come later…
In the downtime my itch to BUILD has been strong…I find myself daydreaming of getting down and dirty with a kit. There are a few selections in my inventory that have all the aftermarket components collected and I narrowed it down to two: Eduard’s 1/48 MiG-21MF in Egyptian markings or Tamiya’s 1/48 F-16C/N Aggressor/Adversary. I presented the choices to my fiance as “Alaska†or “Egypt†and thus this build choice was made. She liked the colors better. I'll be using Eduard's cockpit and external PE set, masks and undercarriage PE set as well as Voyager's pitot and angle of attack set and Voyager's reinforcement plates.
As with any aircraft, the starting point is the cockpit. While the detailing on the kits parts is really nice, it had to be removed to make room for the Eduard PE, which has far better detailing when taking my hand painting out of the equation! I found that Testors Acryl Haze Gray 1/2 is a 90% match to the color of the PE parts so the tub and the fuselage interior was painted with that.
The exterior rim that the canopy will sit on is black. I also figured I’d paint up the seat and dashboard before adding the other PE bits…the unfinished bits add a nice little touch of variation for me. Being able to see the details is important at this scale!
The pilot was also slightly modified to fit in the seat with hands actually IN USE! The armpits were sanded at angles so the hands could rest on the controls and the gaps were filled with Elmer’s. The air hose also had to be heated and bent to match the angle of the turned head.
Oh, and I decided to do this one as a display on the tarmac so there’s a nice big wooden base! Eduard’s undercarriage PE is also en route for super detailing the gear…also pardon the lower-quality pics. I left my camera’s memory card at work so I had to use my cell phone. Better pics to come later…


")