


You are using an out of date browser. It may not display this or other websites correctly.
You should upgrade or use an alternative browser.
You should upgrade or use an alternative browser.
Tamiya 1/35 Panzerkampfwagen IV
- Thread starter Jantk14
- Start date

Jantk14
Well-Known Member
Thanks. Appreciate that.

I mostly just leave my builds at the " just out of the factory " stage. PanthermanPre weathering. Considering doing the figures and calling it done. See how I feel in the morning. I'm afraid I'll bust the tracks and other pieces off weathering it.View attachment 177563


Demolition
Well-Known Member
Nice recovery!Fixed it. Most of the track broke off but I was able to get the piece off easily. Some touch up needed but it will get plenty of mud so it won't be seen.
Jantk14
Well-Known Member
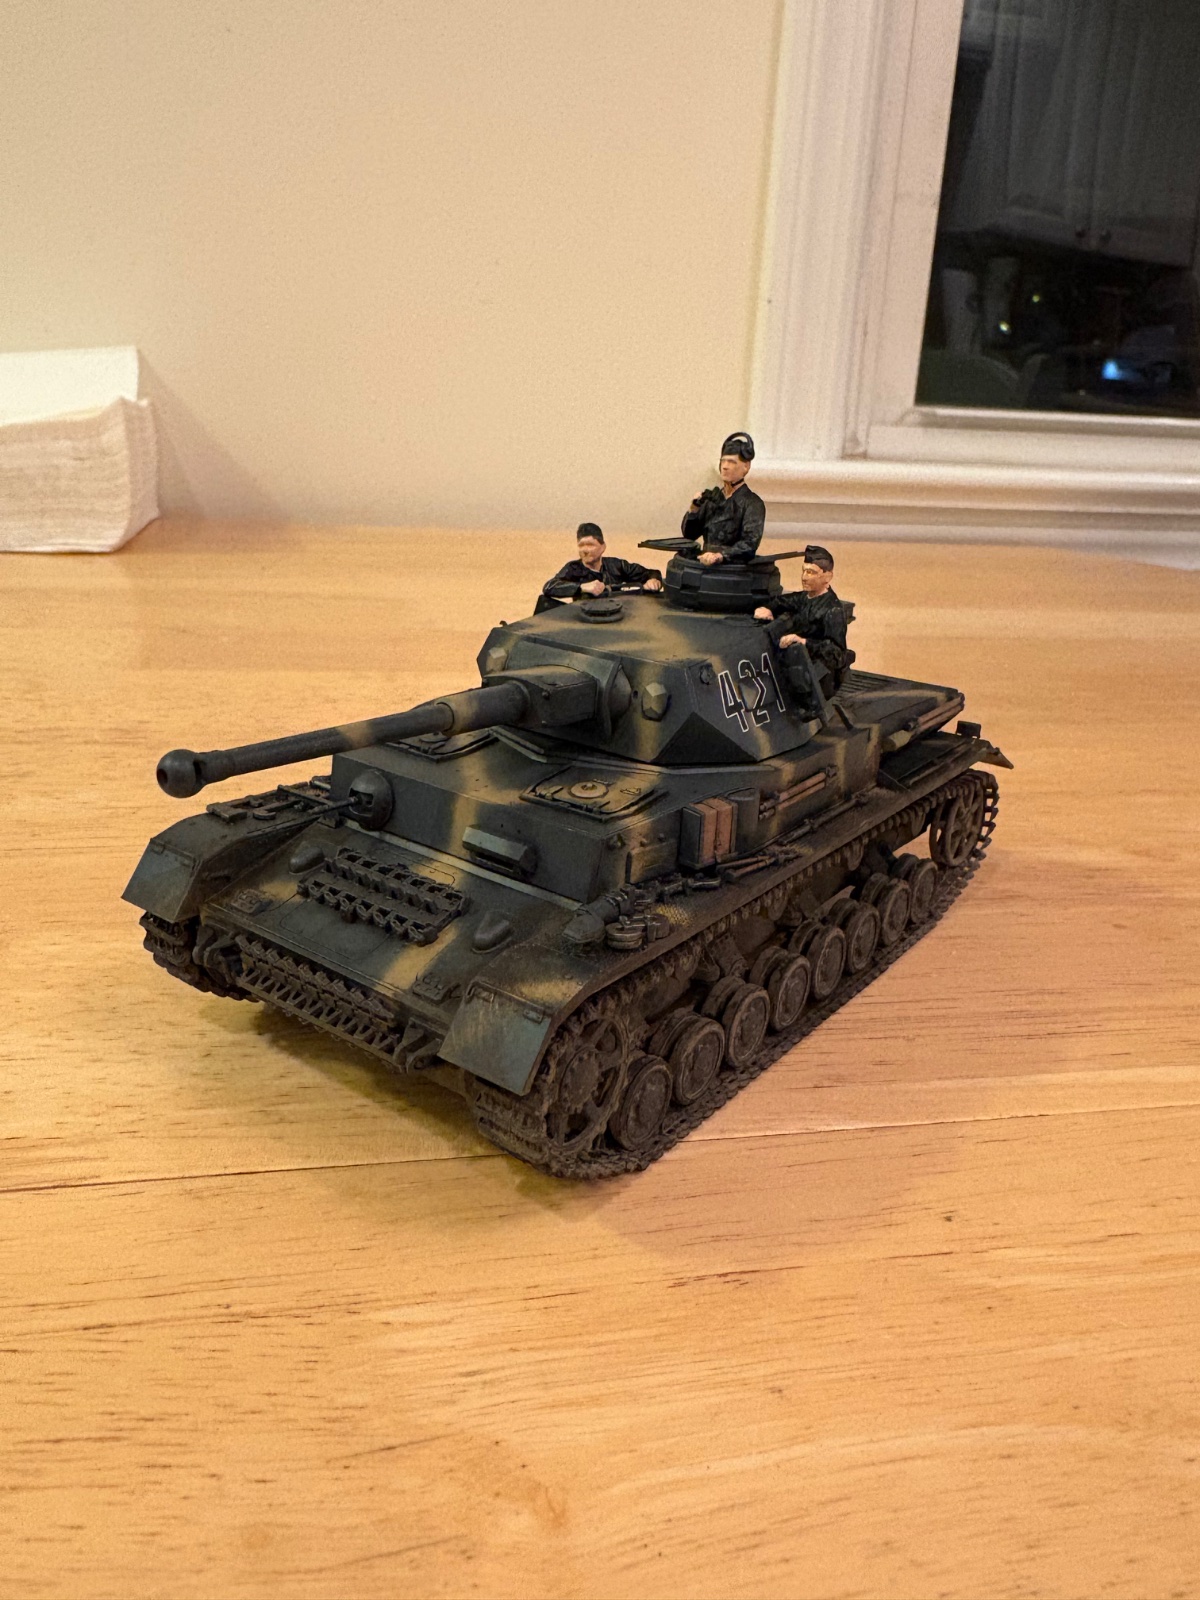
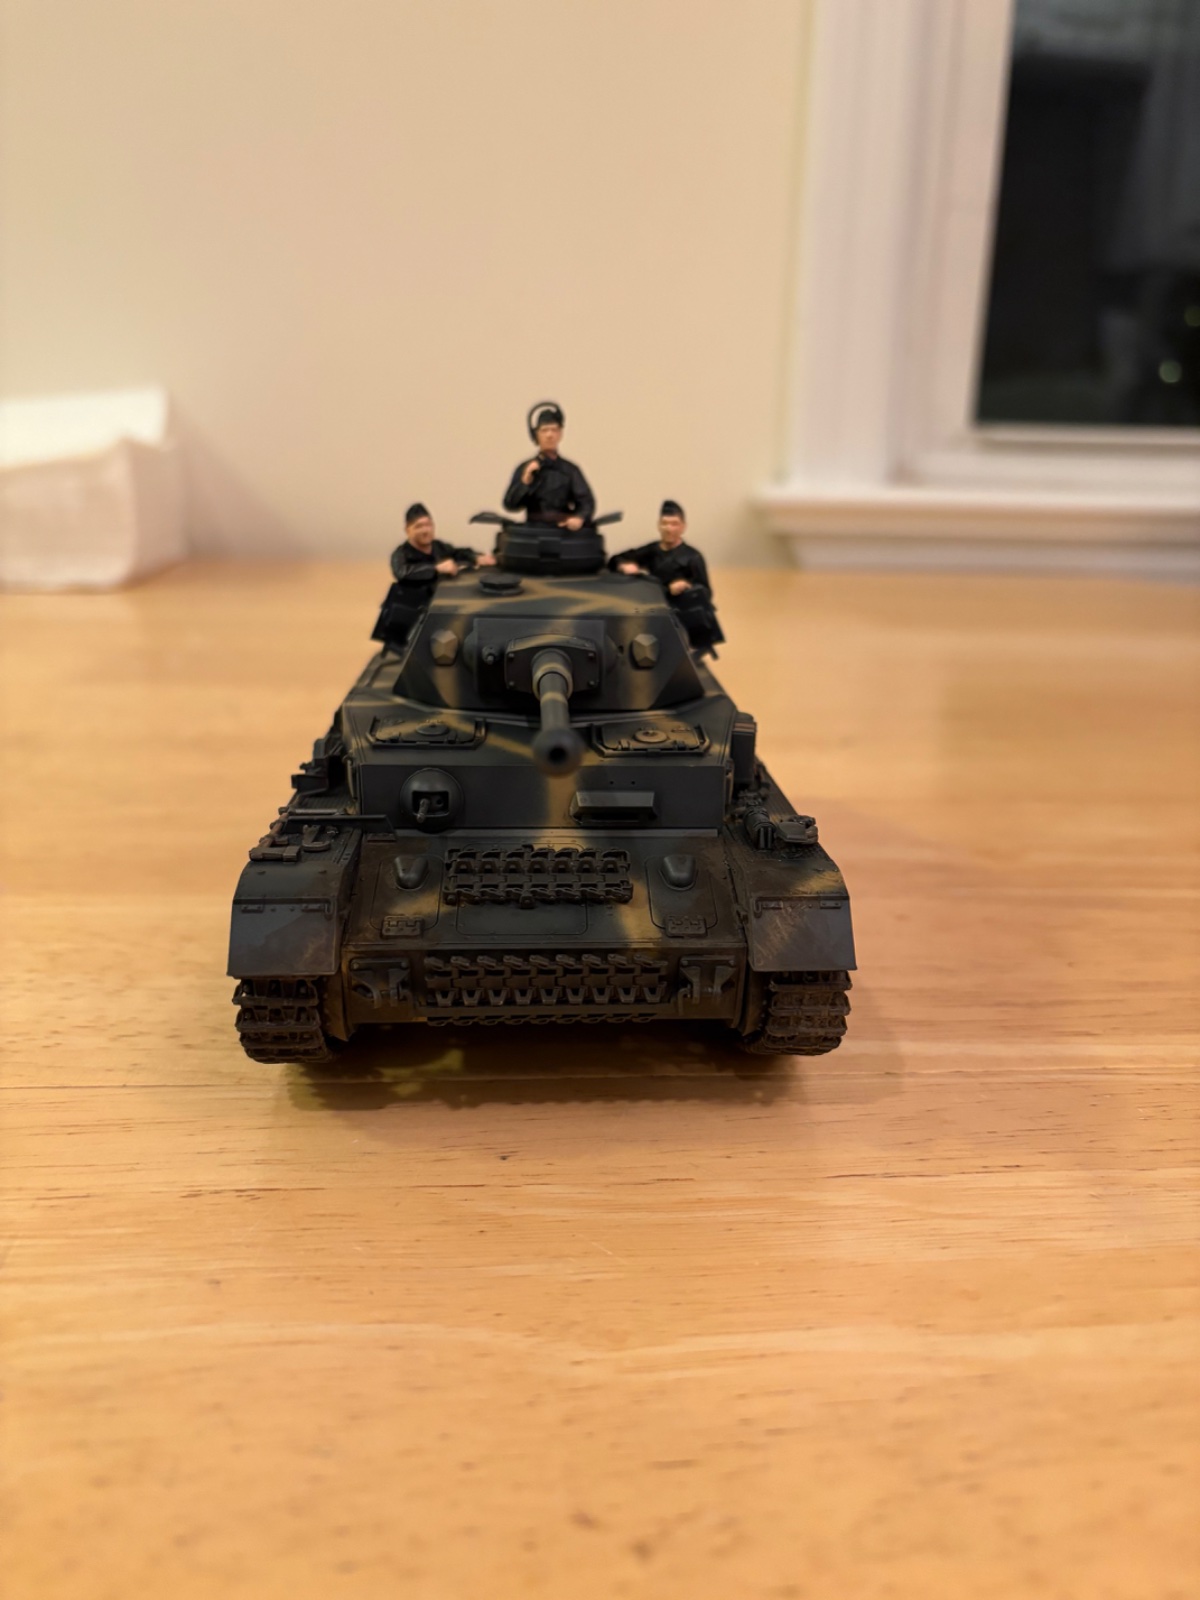
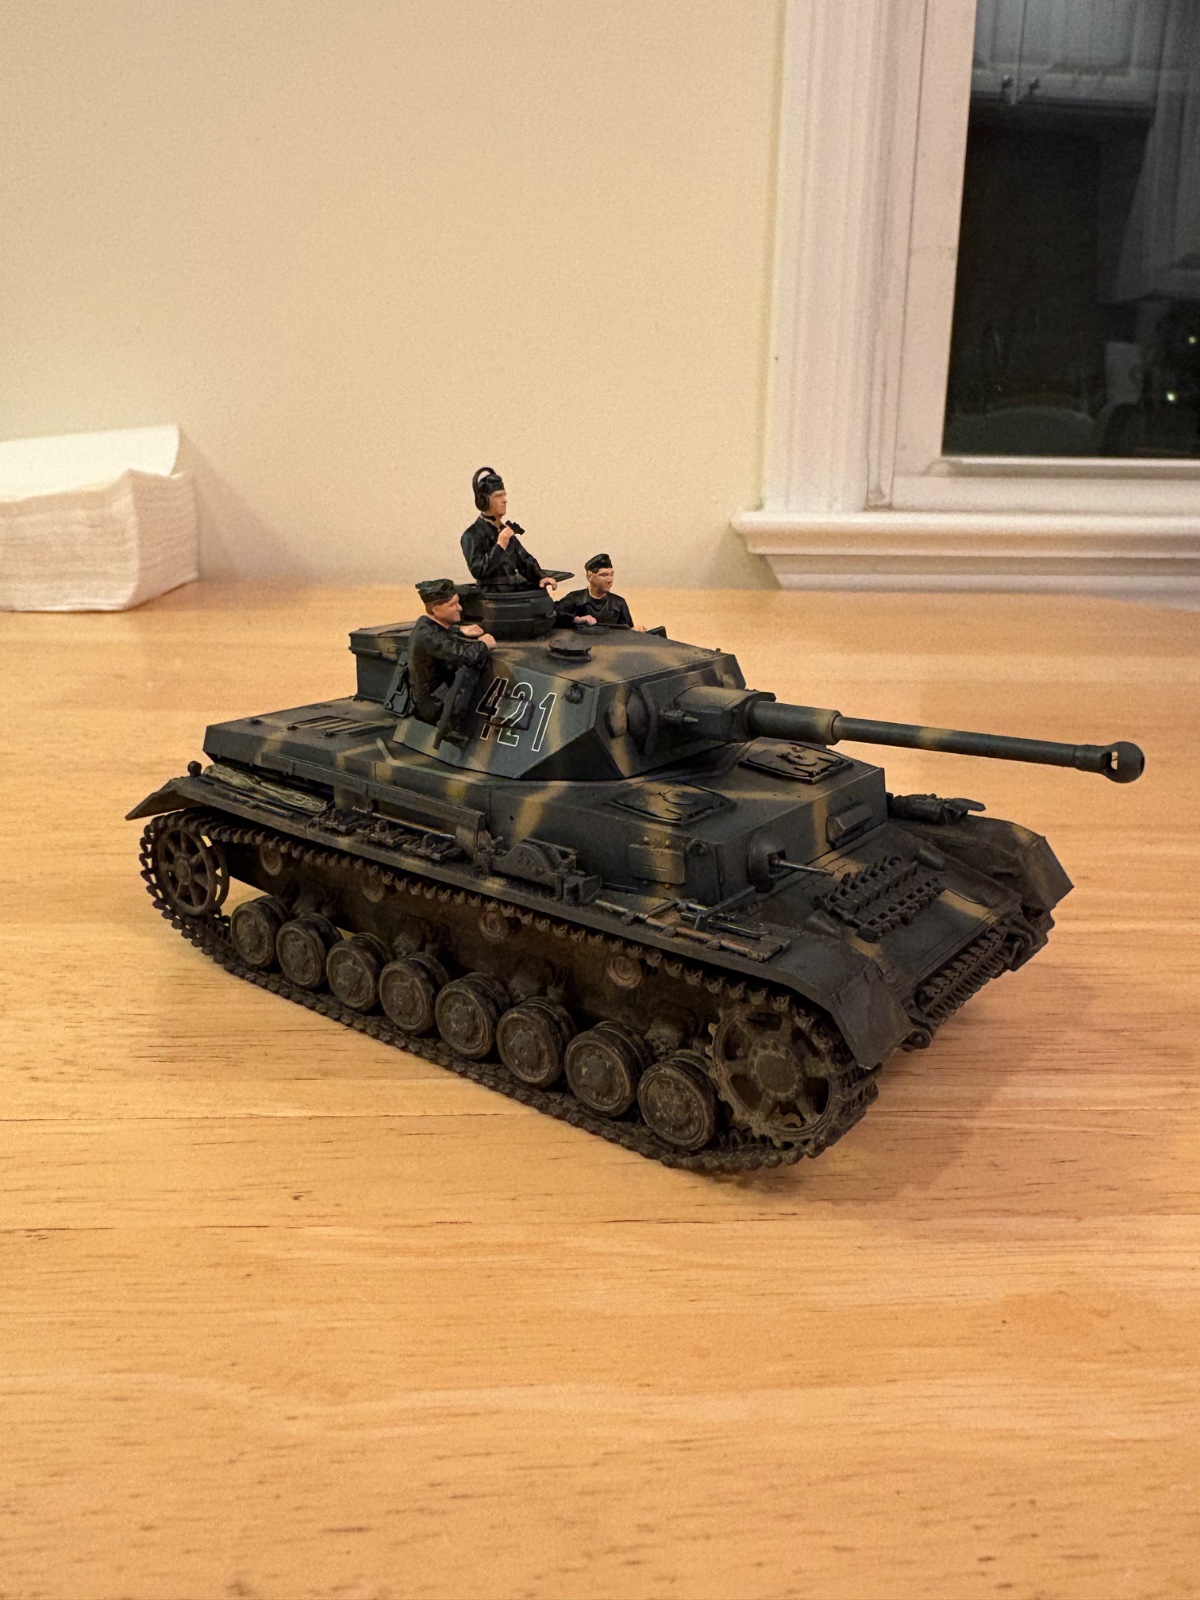
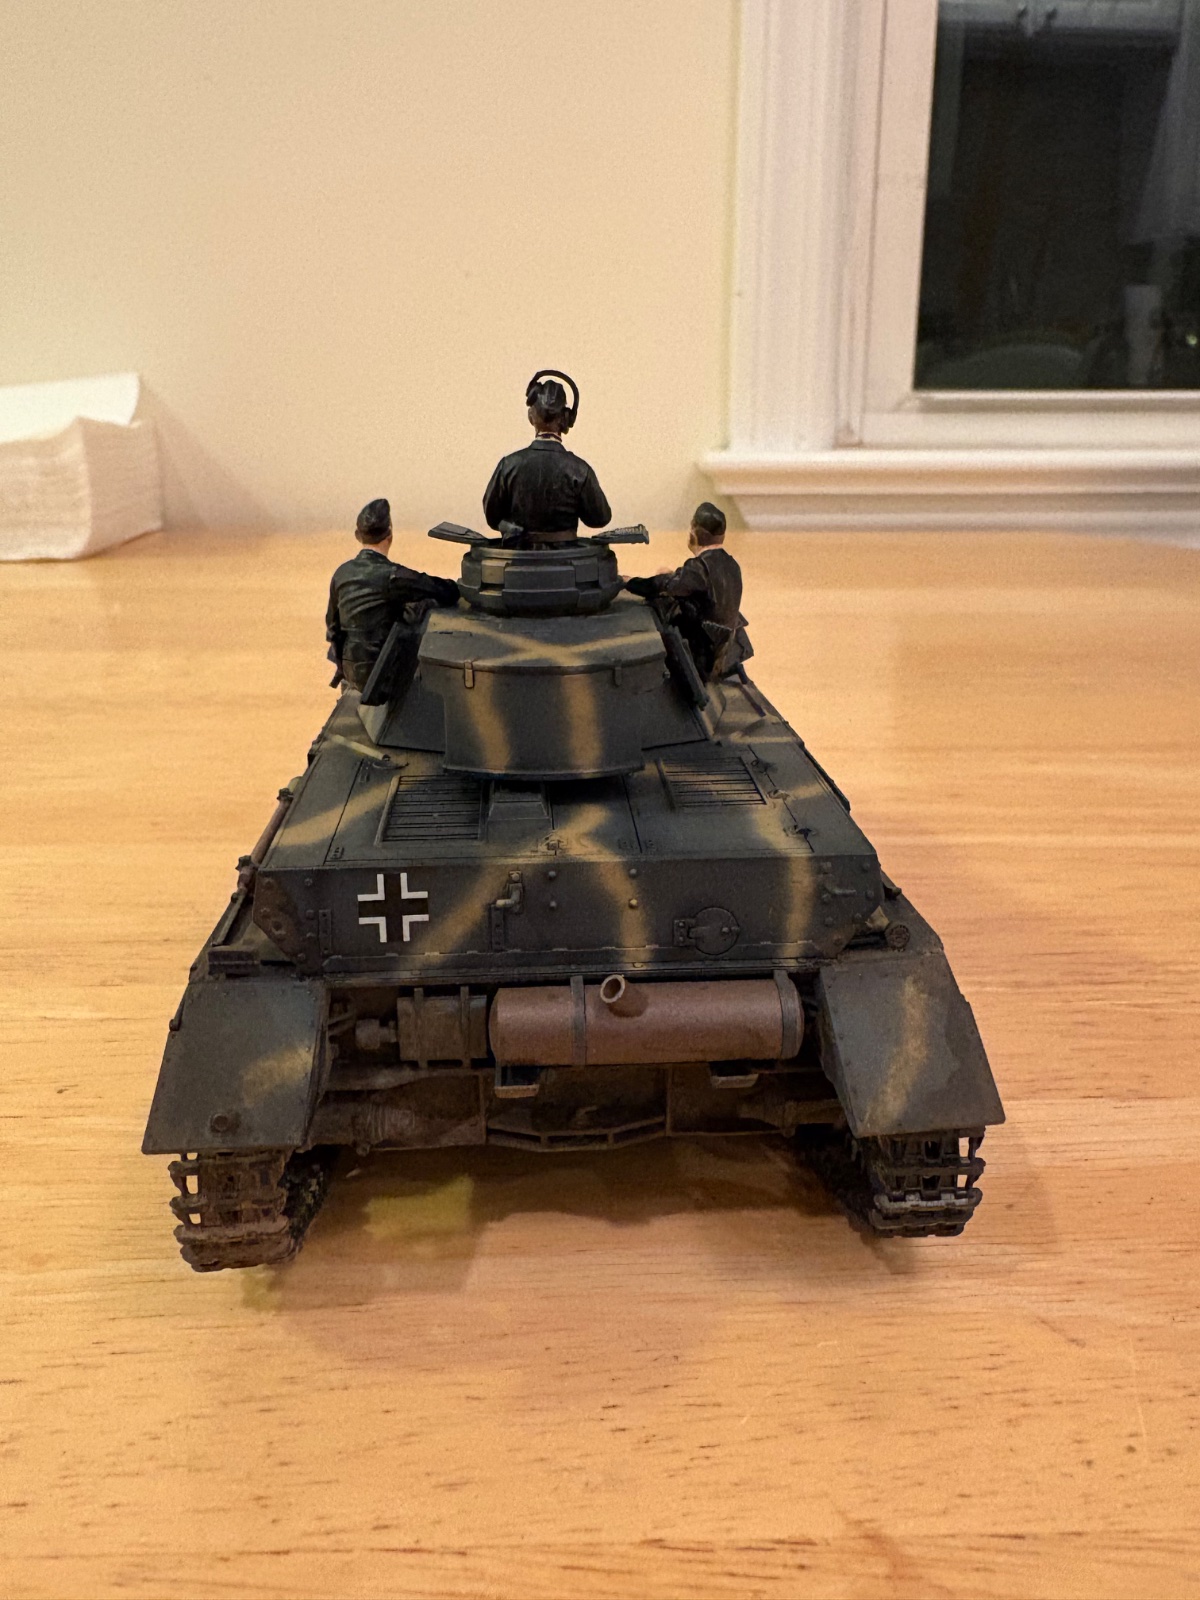
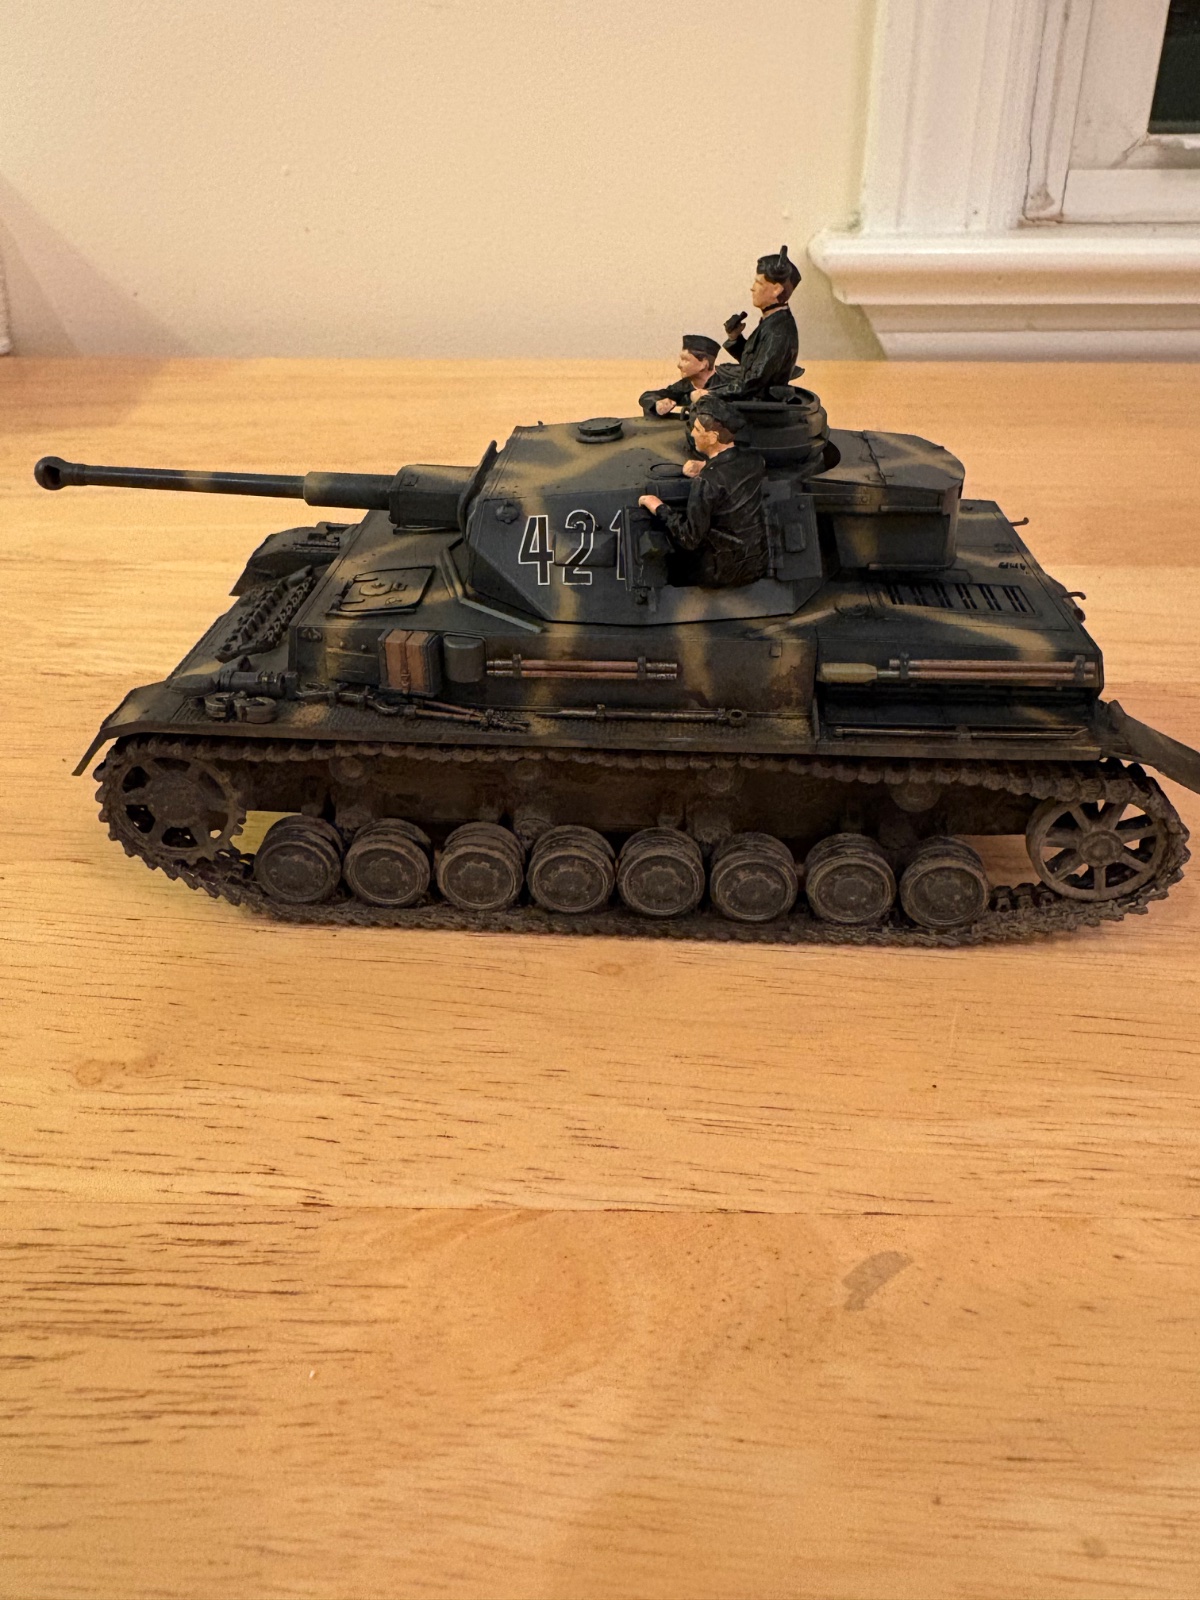
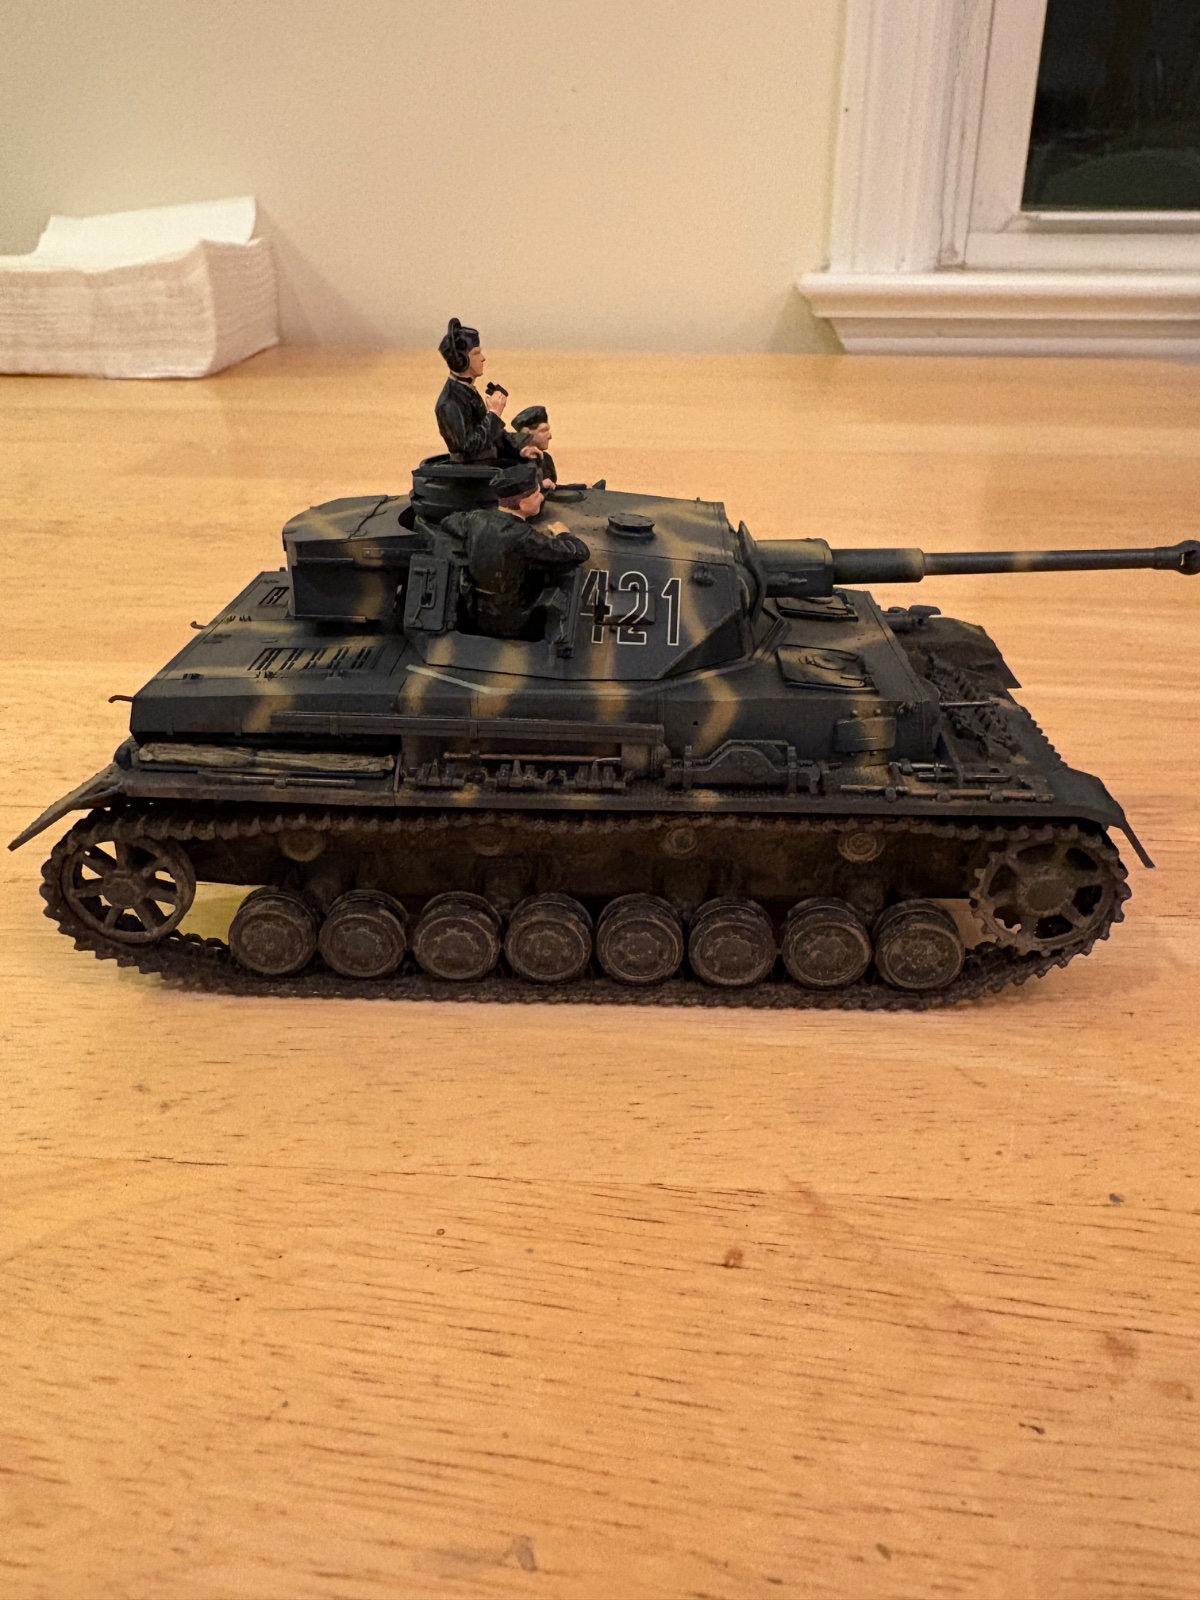
All done. Went with some light dirt and mud effects. I'm not sure if I like it better clean or dirty. Wish I was better at weathering.


![Pampers Sensitive Baby Wipes, Clinically Proven, Fragrance Free, Unscented, Water Based, Hypoallergenic, Multi-Use, Hand Wipes 336 Wipes Total (6X Flip-Top Packs) [Packaging May Vary]](https://m.media-amazon.com/images/I/41KLBHu9CAL._SL500_.jpg)






As an Amazon Associate we earn from qualifying purchases. Product prices and availability are accurate as of the date/time indicated and are subject to change.

Jakko
Well-Known Member
Nothing wrong with it. Maybe it rained earlier and the dirt got washed off the tank? 
However, you'll never get better at weathering if you don't try it A simple way to get a tank to look dirty is to put a wash of dirt-coloured paint on it. Just take some acrylic paint, put it in a palette and thin it until it flows like water, then brush it all over the model. Make it thicker on the lower hull and over the suspension, thinner on top — with which I mean to use less water in the wash for the lower parts and more water for the upper ones.
If the wash covers too well, obliterating the paint where you don't want it to, brush plain water straight onto the model there (before the wash sets, of course). Another thing to look out for is pooling of the wash at the bottom of (near-)vertical surfaces, which you can wick away with your brush before it dries (probably repeatedly). If you don't, you'll get a horizontal line of "dirt" there which will look unrealistic.
The result of this will be a dusty/dirty colour over the paint, and especially in grooves and around detail, where dirt would accumulate on the real thing.
A second step can then be to remove some of the dirt again where it might rub off on the real tank, for example because the crewmen walk or sit there, grab handles, open hatches, etc. You can do this by drybrushing there with the colour of the paint underneath the wash.
Real tanks get very dirty very quickly, so you can't really overdo this kind of weathering. The only thing you'll want to avoid, IMHO, is to totally obliterate the paint underneath all over the model Well, that, and add paint chips and tons of rust — in the real world, all these vehicles were so new that chipped paint and/or rust anywhere would be almost always unrealistic.
However, you'll never get better at weathering if you don't try it
A simple way to get a tank to look dirty is to put a wash of dirt-coloured paint on it. Just take some acrylic paint, put it in a palette and thin it until it flows like water, then brush it all over the model. Make it thicker on the lower hull and over the suspension, thinner on top — with which I mean to use less water in the wash for the lower parts and more water for the upper ones.If the wash covers too well, obliterating the paint where you don't want it to, brush plain water straight onto the model there (before the wash sets, of course). Another thing to look out for is pooling of the wash at the bottom of (near-)vertical surfaces, which you can wick away with your brush before it dries (probably repeatedly). If you don't, you'll get a horizontal line of "dirt" there which will look unrealistic.
The result of this will be a dusty/dirty colour over the paint, and especially in grooves and around detail, where dirt would accumulate on the real thing.
A second step can then be to remove some of the dirt again where it might rub off on the real tank, for example because the crewmen walk or sit there, grab handles, open hatches, etc. You can do this by drybrushing there with the colour of the paint underneath the wash.
Real tanks get very dirty very quickly, so you can't really overdo this kind of weathering. The only thing you'll want to avoid, IMHO, is to totally obliterate the paint underneath all over the model
Well, that, and add paint chips and tons of rust — in the real world, all these vehicles were so new that chipped paint and/or rust anywhere would be almost always unrealistic.
Demolition
Well-Known Member
All done. Went with some light dirt and mud effects. I'm not sure if I like it better clean or dirty. Wish I was better at weathering.View attachment 177665View attachment 177666View attachment 177667View attachment 177668View attachment 177669View attachment 177670
That looks great, weathering takes a lot of practice, while I was trying to find my place in the model world I built some tanks, jets, helicopters, and vehicles, ( always been a vehicle model guy) I tried weathering all the military models and I was quite surprised how well I did but it was way too much and the rust was way too bright, ( and it wasn't as good as the YouTubers) I never spent enough time mastering it as I enjoy auto building more but the weathering technique is a tough one and requires practice and YouTube videos . I want to build an old rusted out car one of these days. Point being If you're not happy with the results then keep working on it but keep your standards realistic because trying to achieve perfection and holding yourself to that standard will drive you nuts and kill the fun.

Edbert
Well-Known Member
- Joined
- May 16, 2024
- Messages
- 3,123
Yes.better clean or dirty
I feel the same with aircraft, they look good if rendered as the day they were delivered or if rode hard and put away wet after a year in service.
Nicely done!All done.
Really like the look of the camo pattern and colours... and the figures fit right in.
Too often, figures can look like afterthoughts, but these guys are well posed, painted and complement the build very well. Maybe its the colour scheme...
Jantk14
Well-Known Member
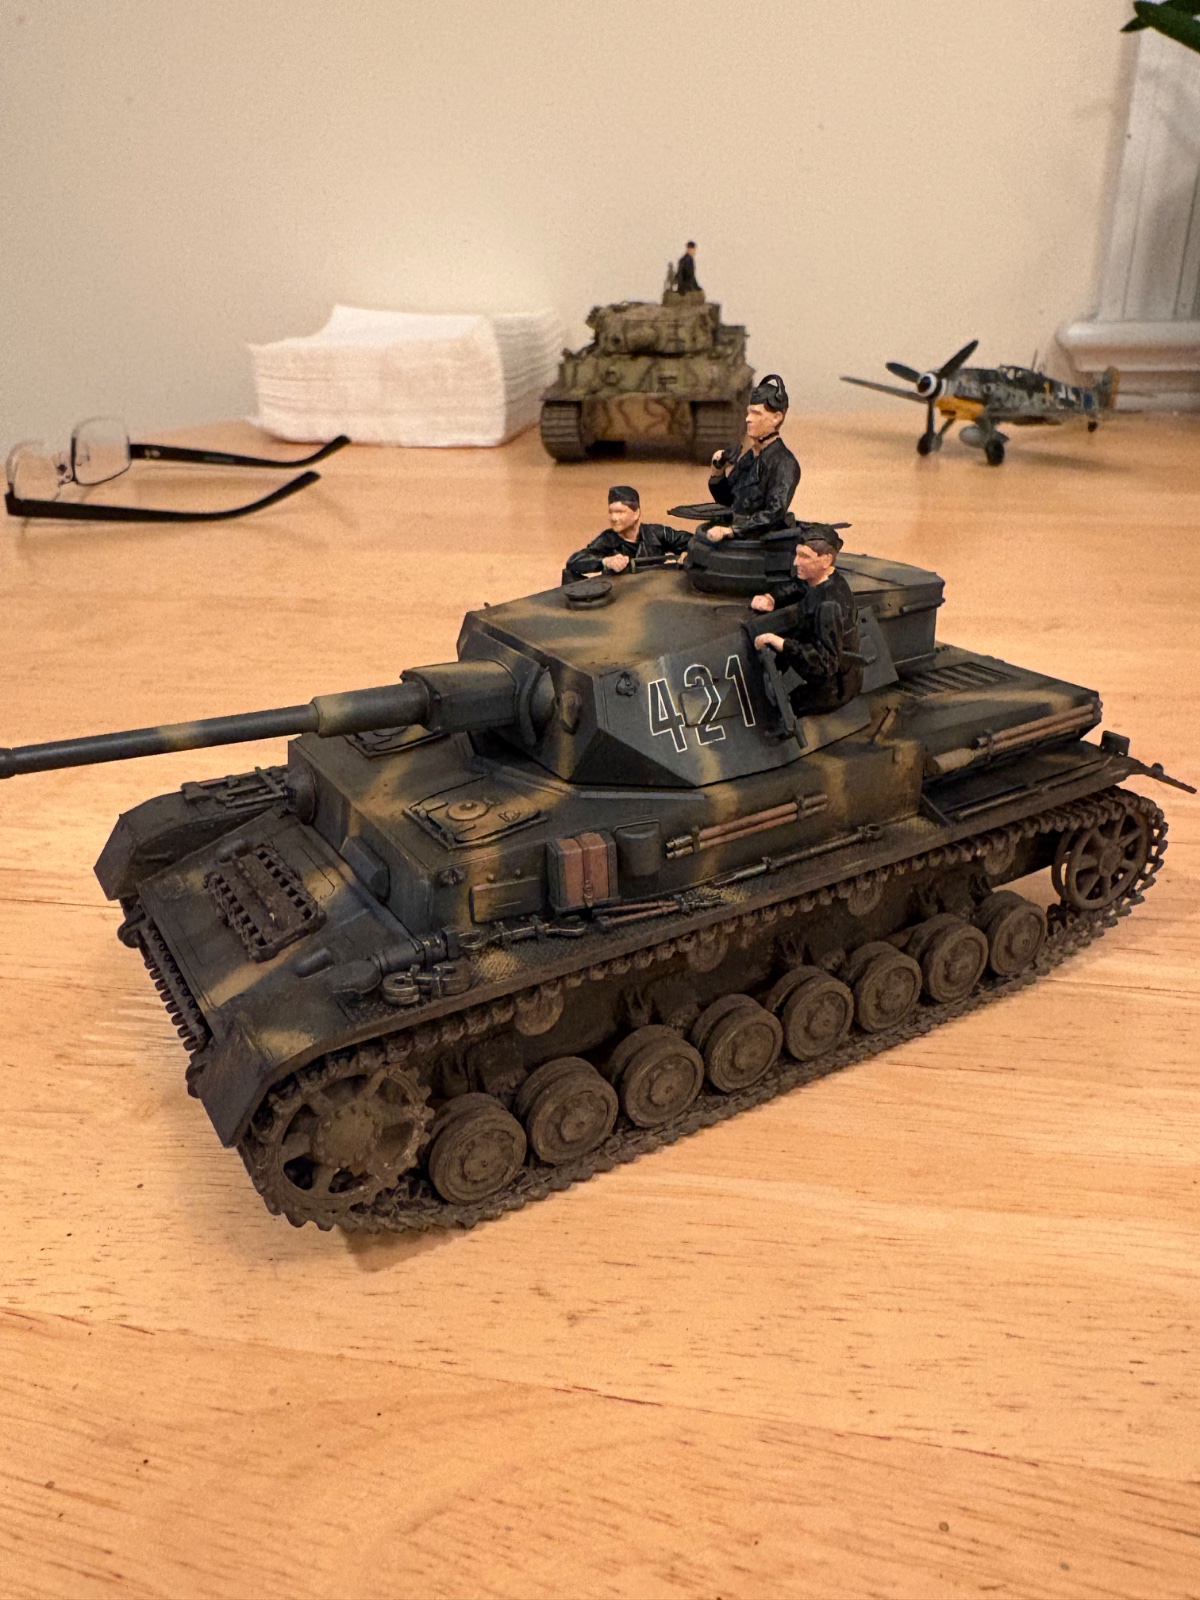
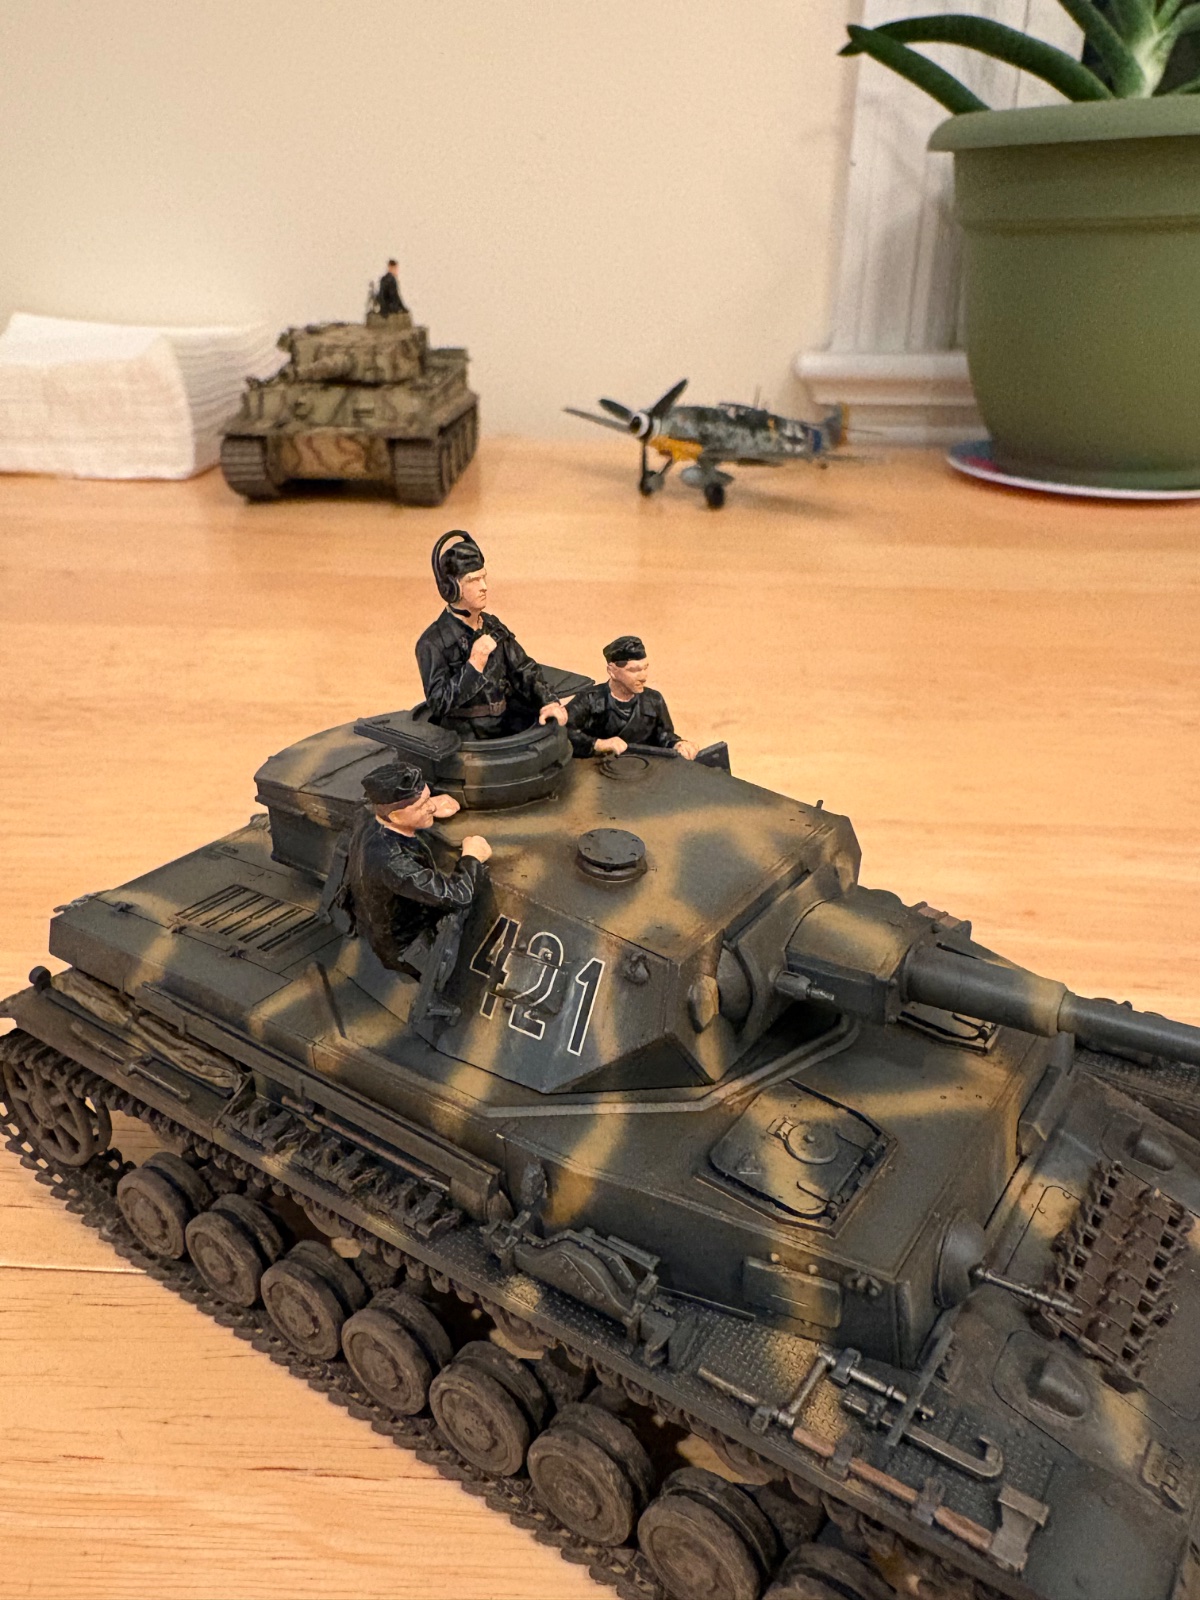
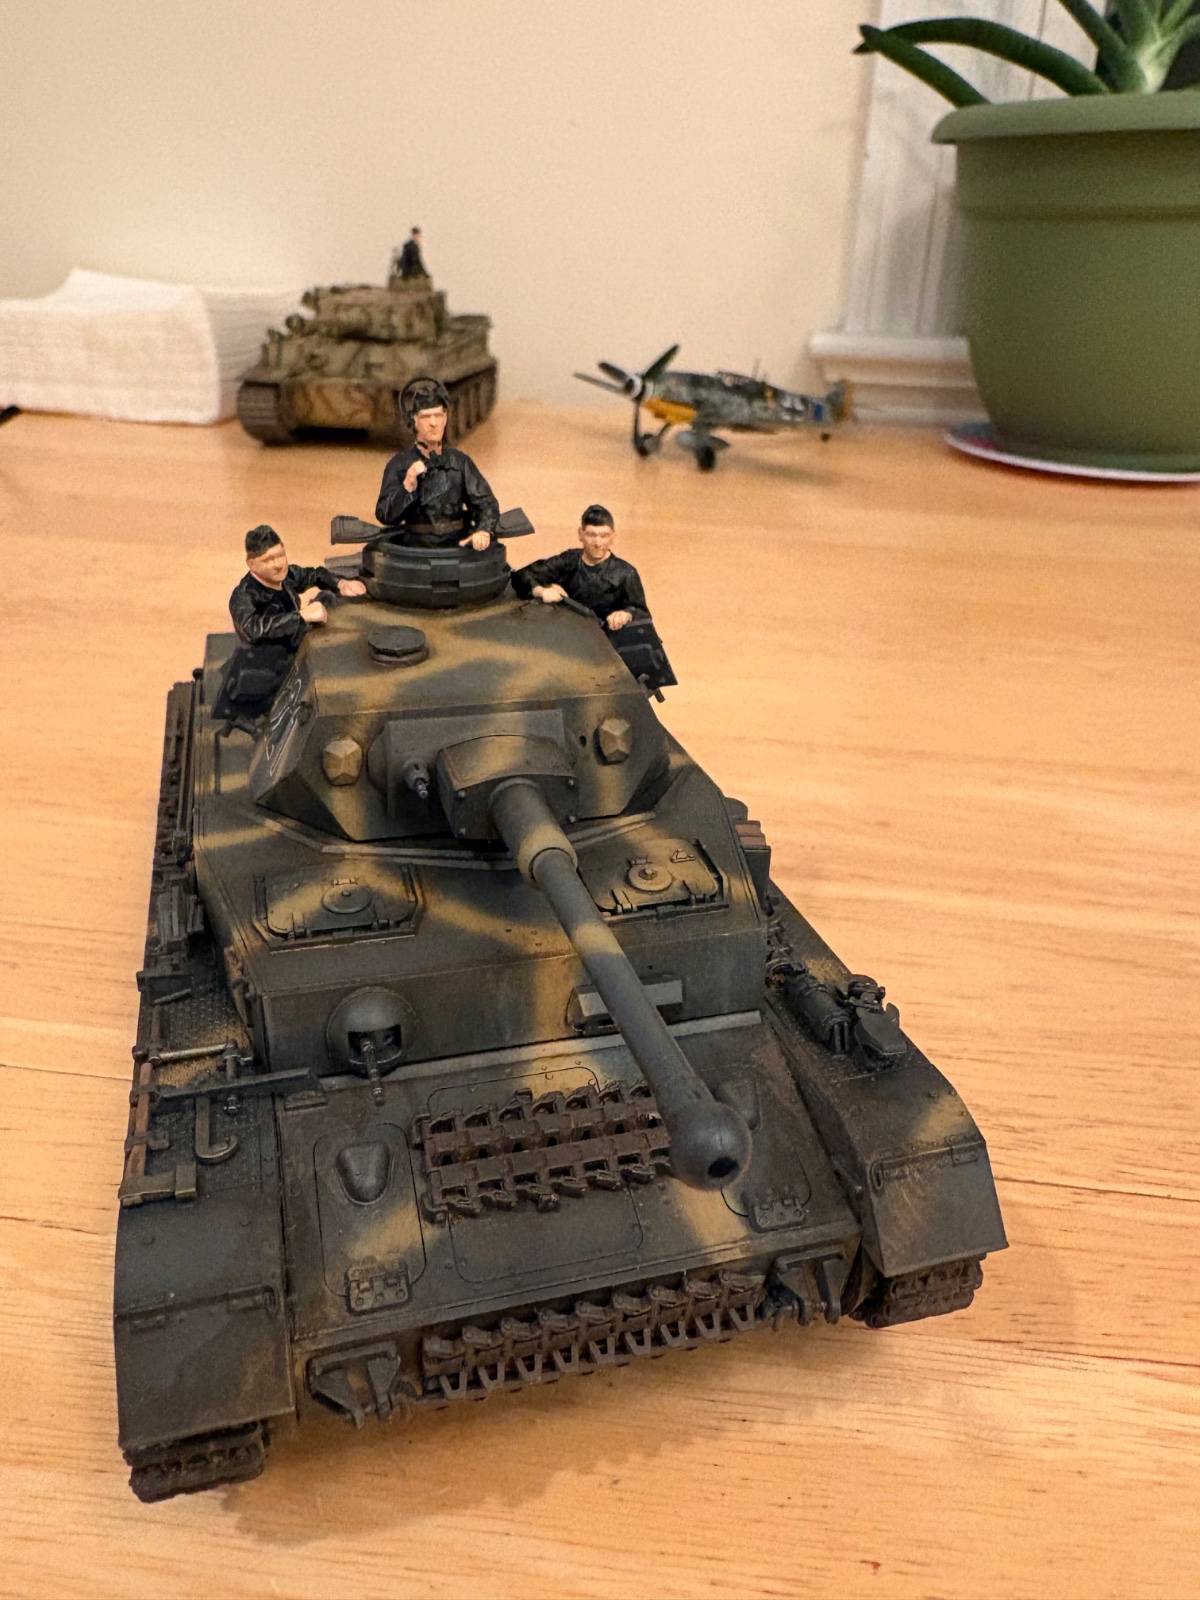
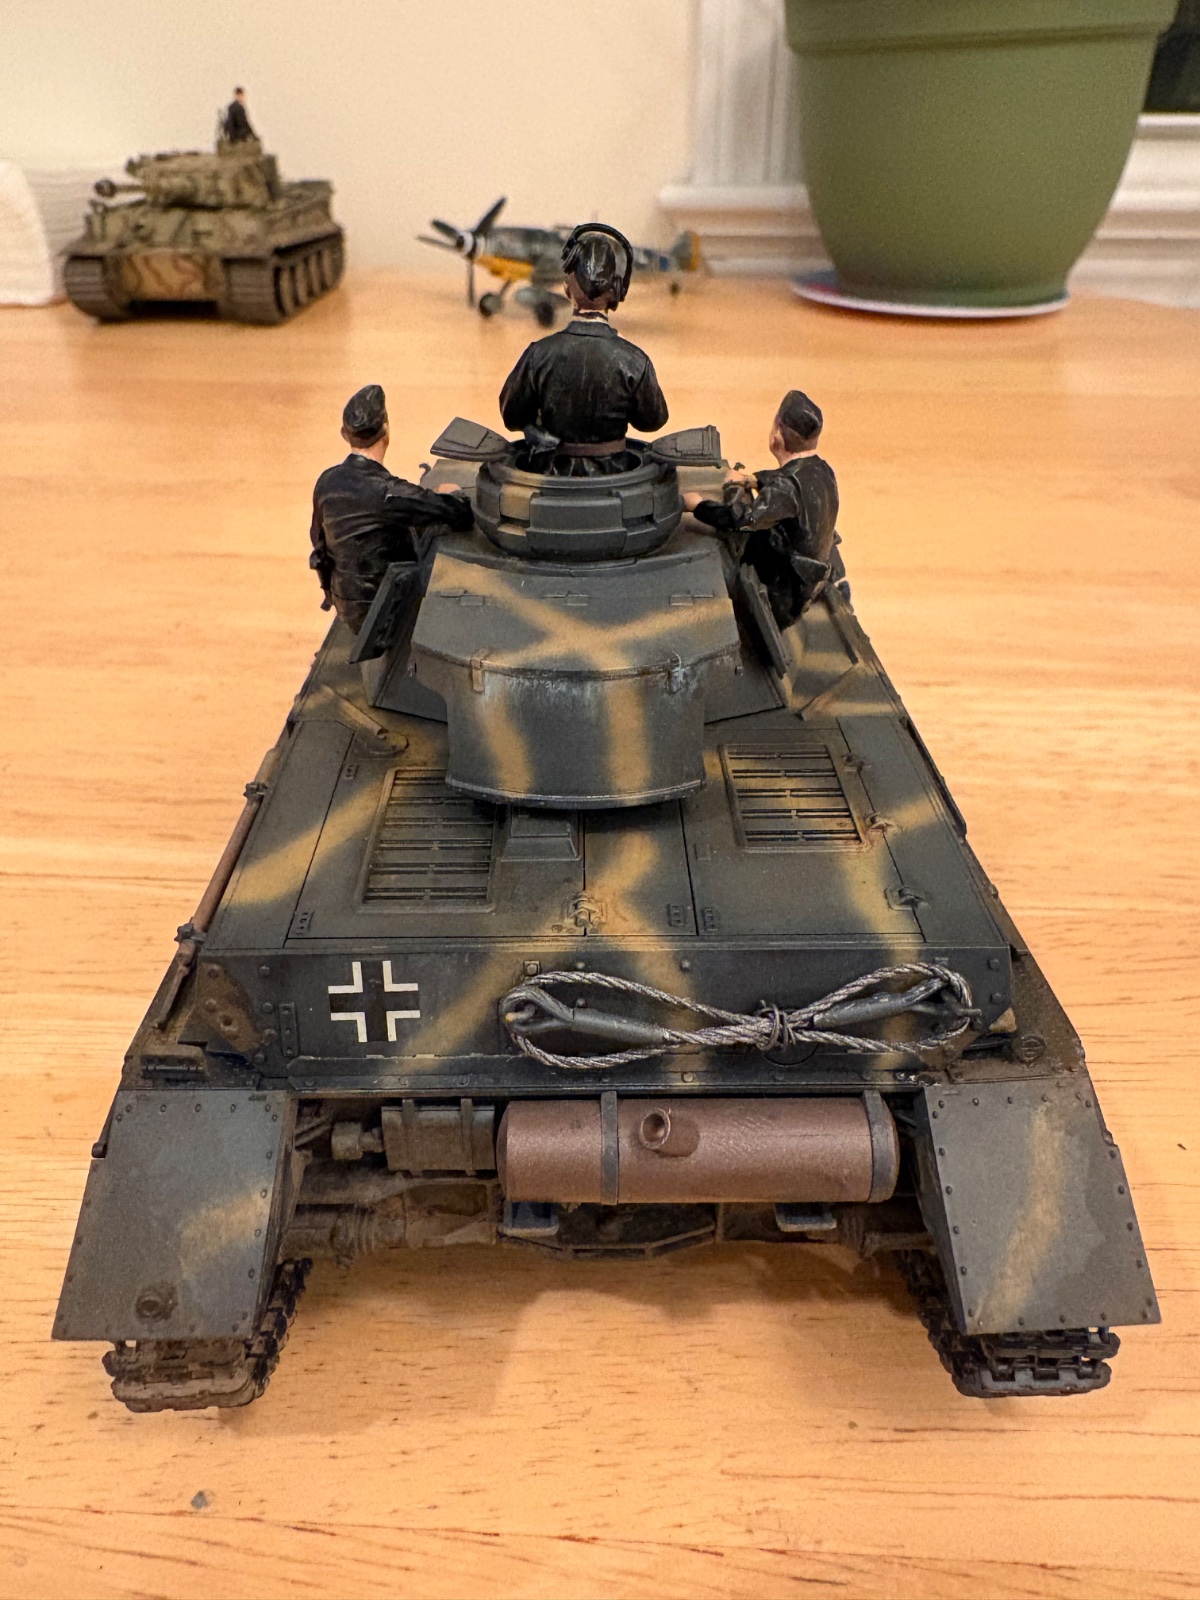
So it was bugging me the top was so clean and the bottom dirty, so I got the oils out and added some dirt, streaking and some water marks. Hard to see on the gray paint but I'm happier now.
Last edited:
Nice... Subtle but consistent as you say with the rest.

kevin
Well-Known Member
Looking good 
Jantk14
Well-Known Member
I think I need a few more tips on how to make my tank look more used. Looking at the other panzer in this forum, it has a very "used" look to it. Whereas mine looks mostly like a new car someone took out in the mud. Any ideas would be helpful. I did put a wash on it but it was a clay based wash and mostly got wiped off. I skipped any chipping but I think some around the edges would show "wear". Then I used oils and pigments to add dirt effects which I'm pretty happy with. I wasn't going for a filthy tank as I like my paint job to show through. I think over did the pigments on the lower hull around the running gear. Should I do some dry brushing on the edges with a metal color? Maybe mix in some different color oils?
... I've only ever done one tank, and all my vehicles have been from North Africa campaigns.
If I were bothered enough, I might consider some of these things I have seen done (though I like where you took your build to this point):
- bringing a bit of that dirt from the undercarriage up onto the track fender/protectors, especially where the crew might clamber aboard
Hope that helps!
If I were bothered enough, I might consider some of these things I have seen done (though I like where you took your build to this point):
- bringing a bit of that dirt from the undercarriage up onto the track fender/protectors, especially where the crew might clamber aboard
- not full on chipping but light 'scuff marks' here and there, from branches and such (basically lighter version of paint colour,)
- very sparse application on some the sharpest edges with something like Tamiya Weathering Master Titanium, just a hint to suggest metal
- dirty up the figures a bit as they have been sweating and toiling in that thing
- using a wash to suggest fading on the top surfaces - again, subtle variation of tones add 'dimensionality' and wear...
Hope that helps!
Last edited:
Jantk14
Well-Known Member
Thanks. I gave the figures a buff dry brushing. What else can I do with them?
... I guess it depends on how much you want to detail them.What else
You seem comfortable with your oils, maybe deeper shadows in the folds, or lighter on the raised bits?
I'm just brainstorming with you...
... if their uniforms are cloth, then perhaps a matte spray?
...looking at photos and illustrations, sometimes the caps are a slightly different colour
...sometimes the individual uniforms are slightly different hues (bluer or greyer) or tops and bottoms differ; perhaps issued at different times, or different batches.
... now I feel like I'm nitpicking, so I'll stop!
Jantk14
Well-Known Member
Thanks. Not not picking. All what I'm looking for.

mustang1989
Well-Known Member
- Joined
- Aug 6, 2022
- Messages
- 552
Looks like you're rockin' this build so far @Jantk14 . Looks like you now have a good balance of weathering going on with this. What is most striking to me about your build is the camo pattern that you pulled off on it. VERY good work on that. Kudos go out to you for getting those link and length tracks built and looking as good as you did. My hat goes off to you.
Jantk14
Well-Known Member
Thanks


