steamer "Bandirma" 1/87 scale - wood

Scale Model Addict - Model Tips, Guides, Tools & Tech, Tutorials, and Community

Help Support Scale Model Addict:

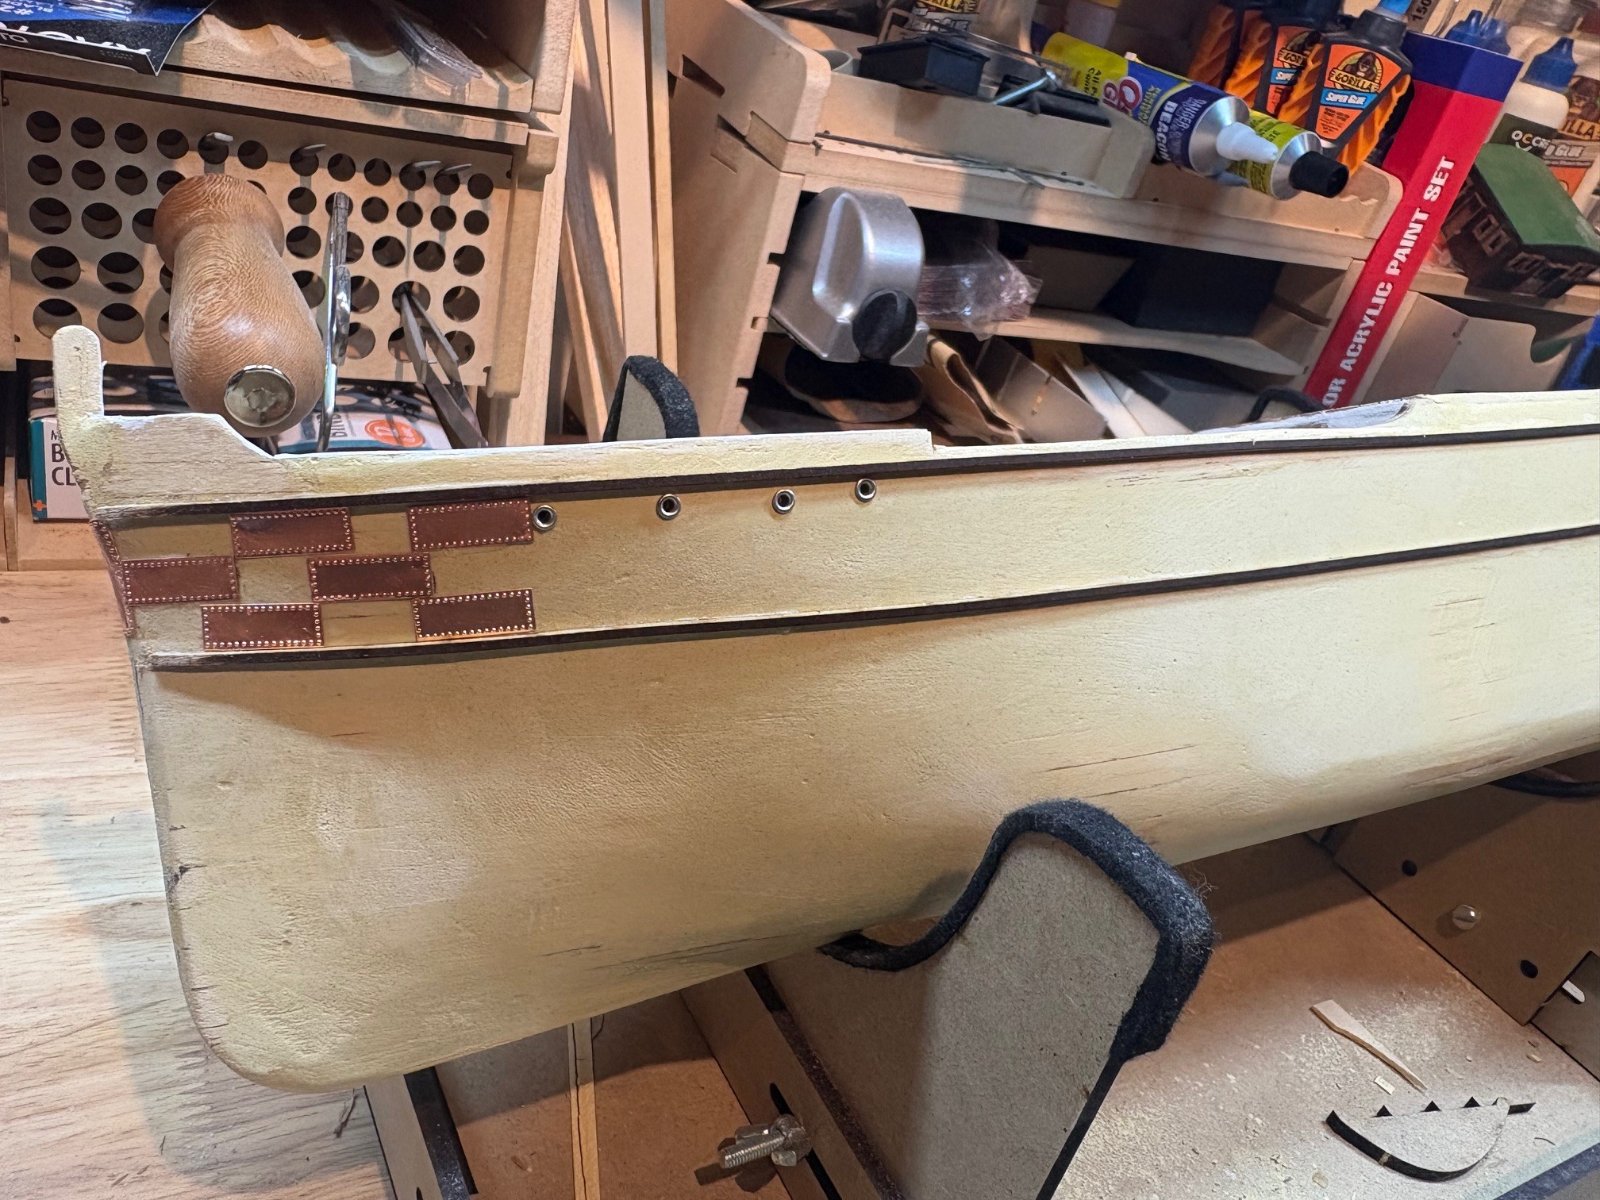
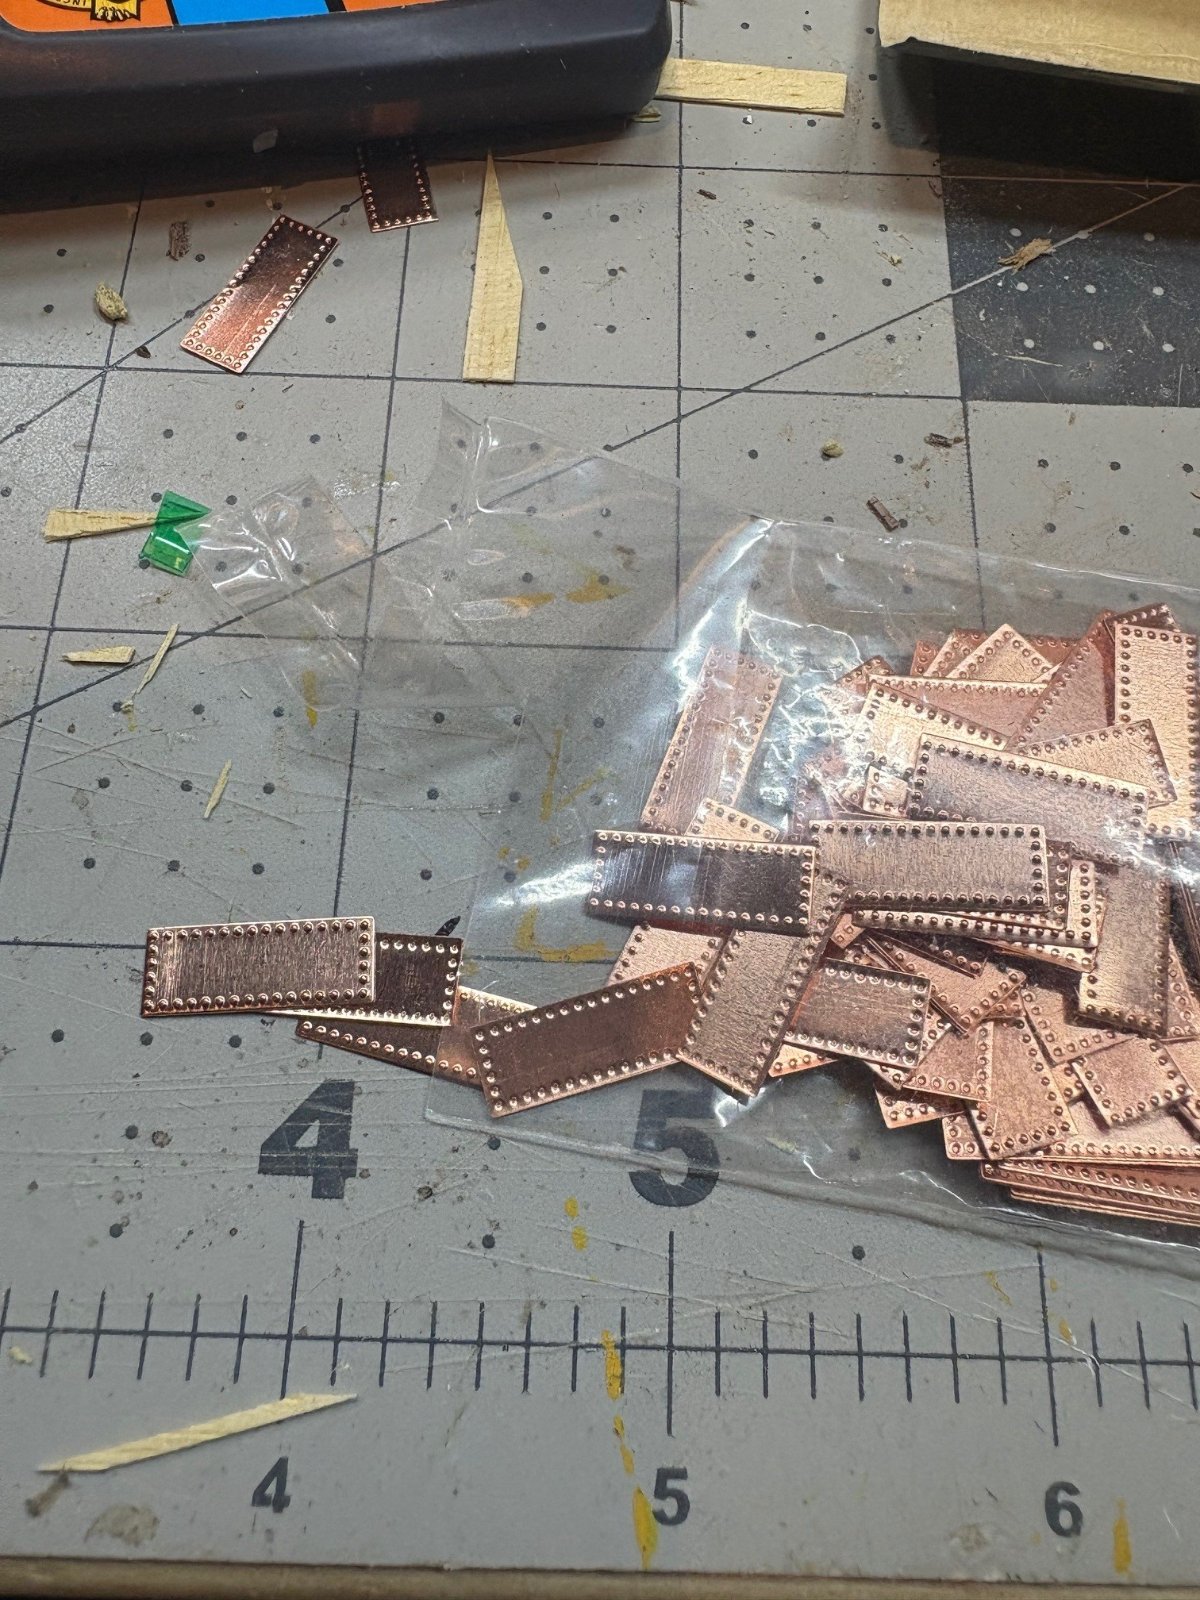
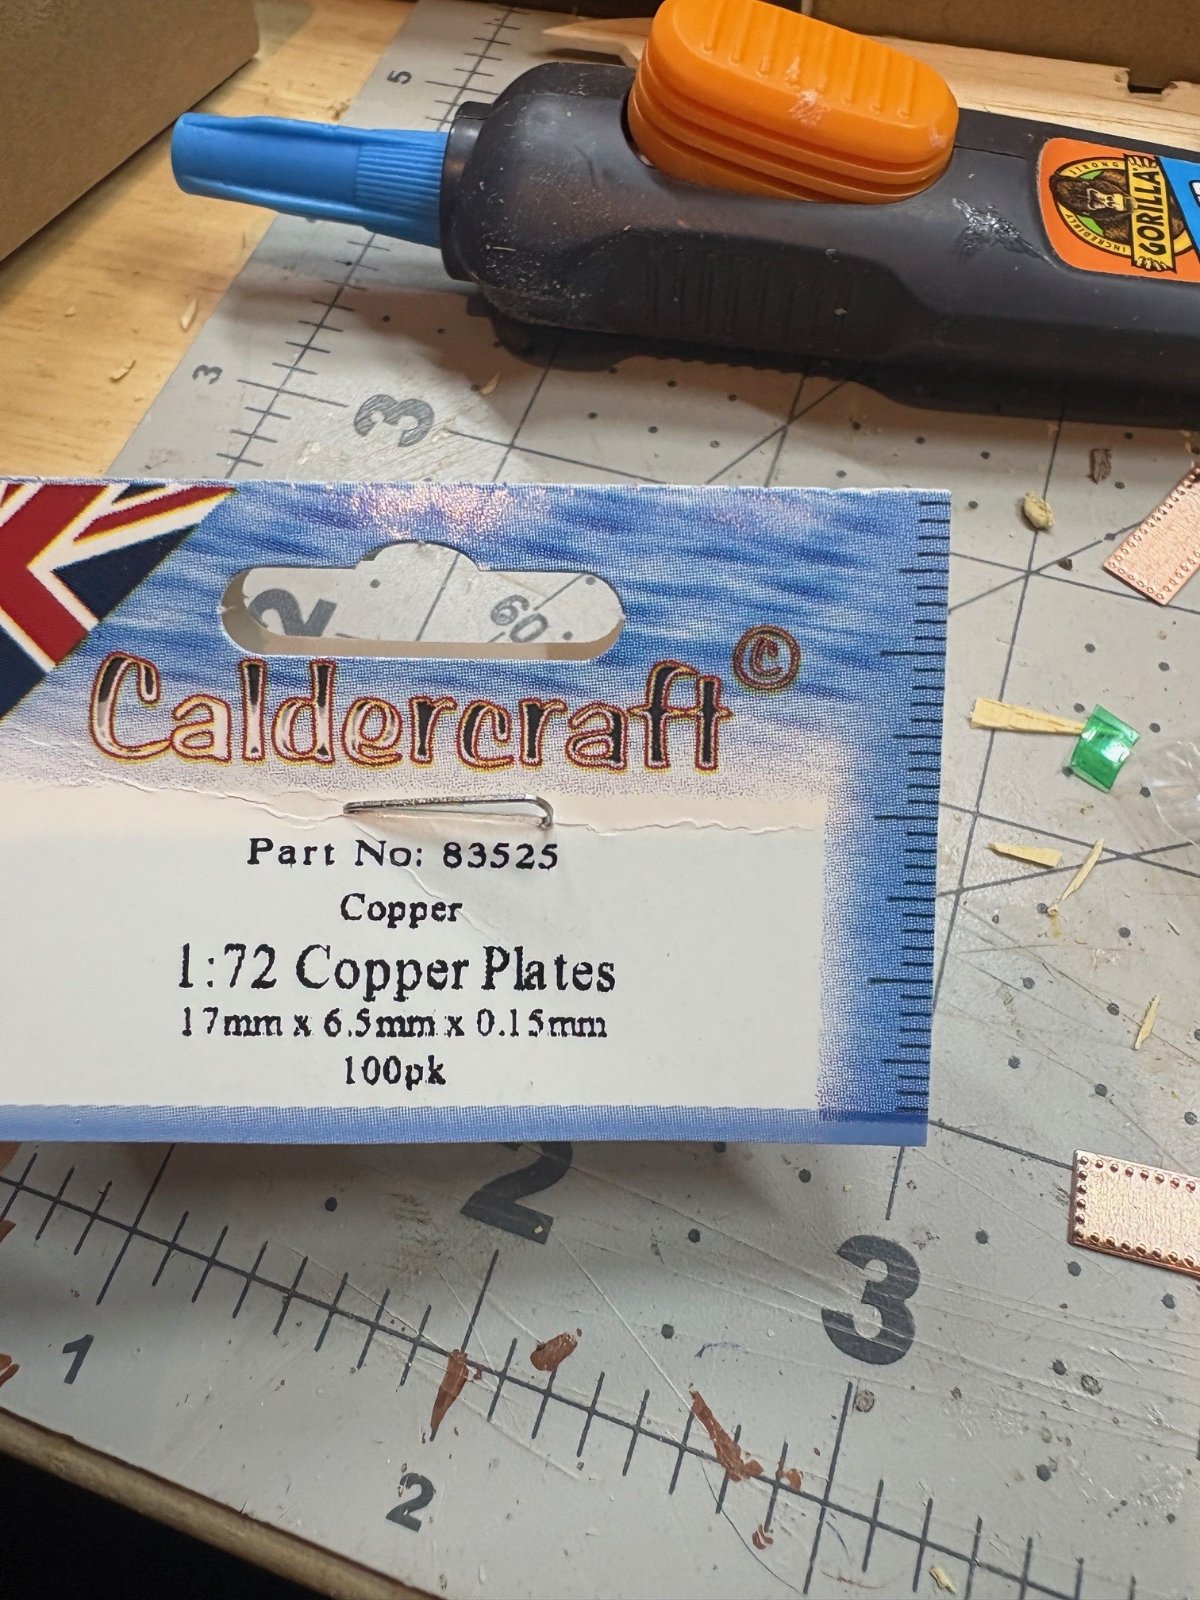
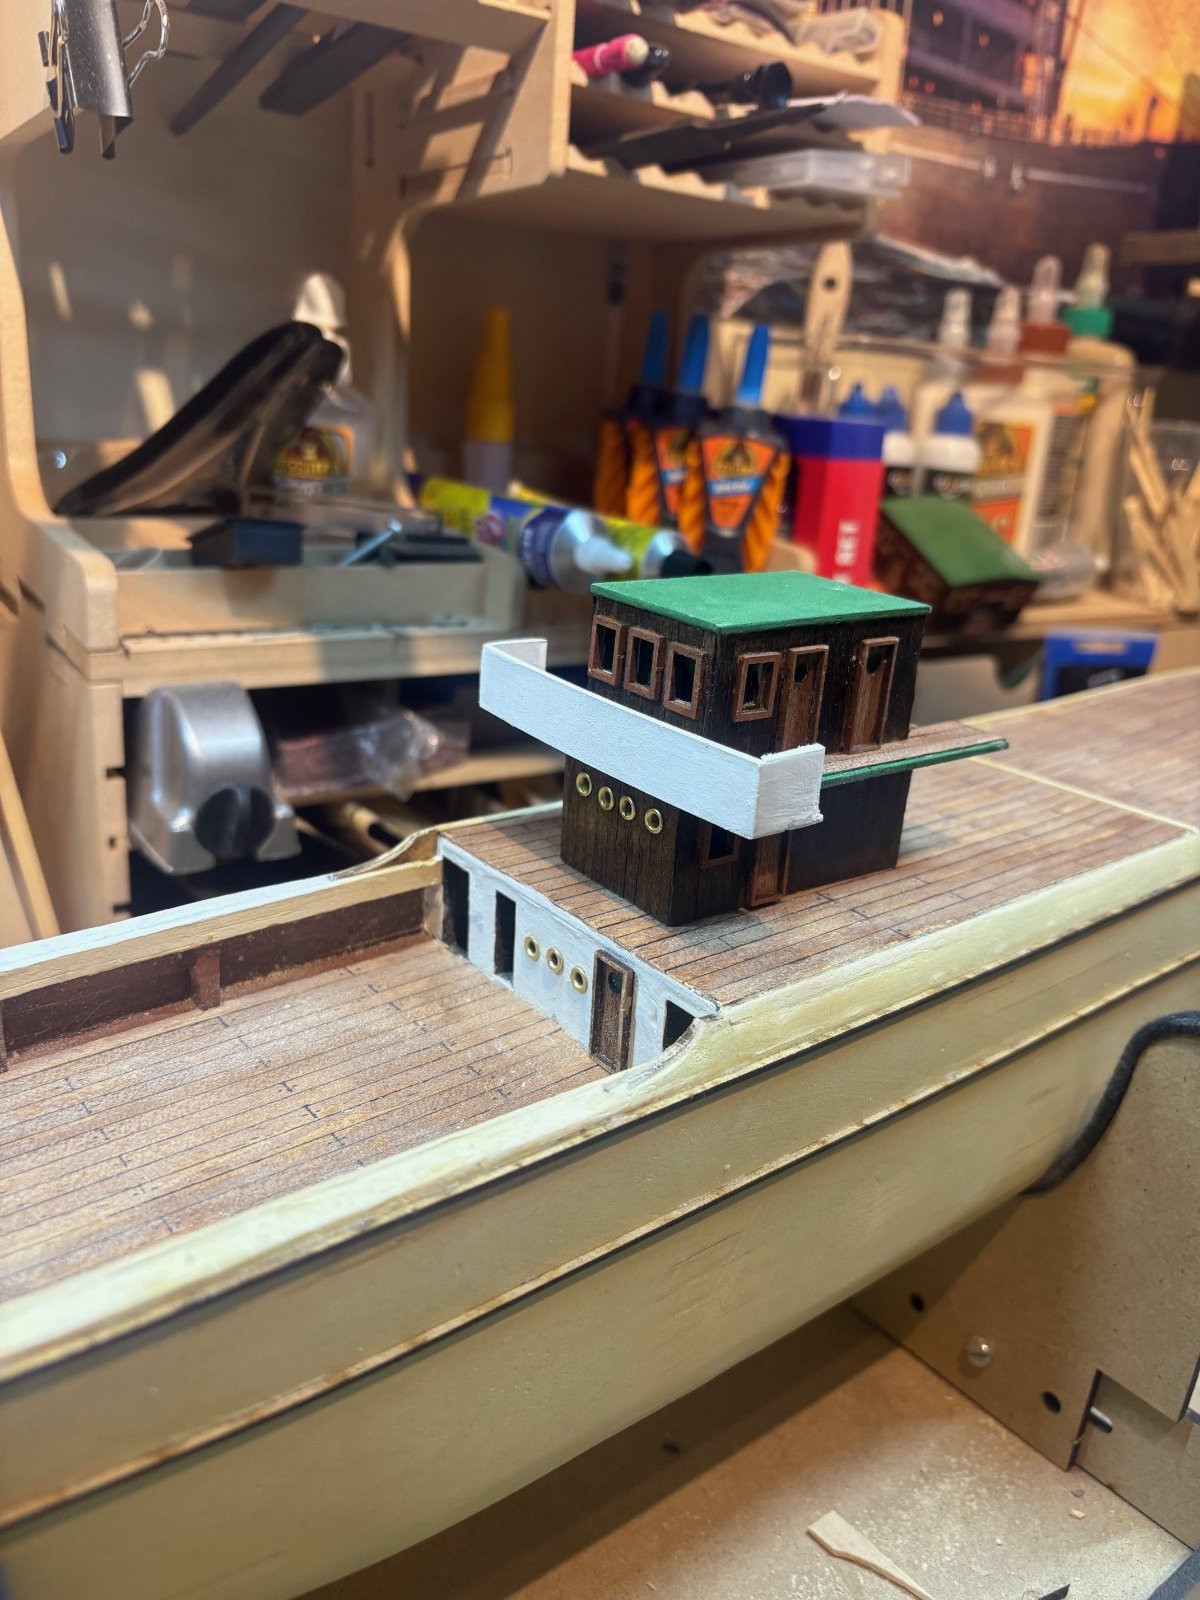
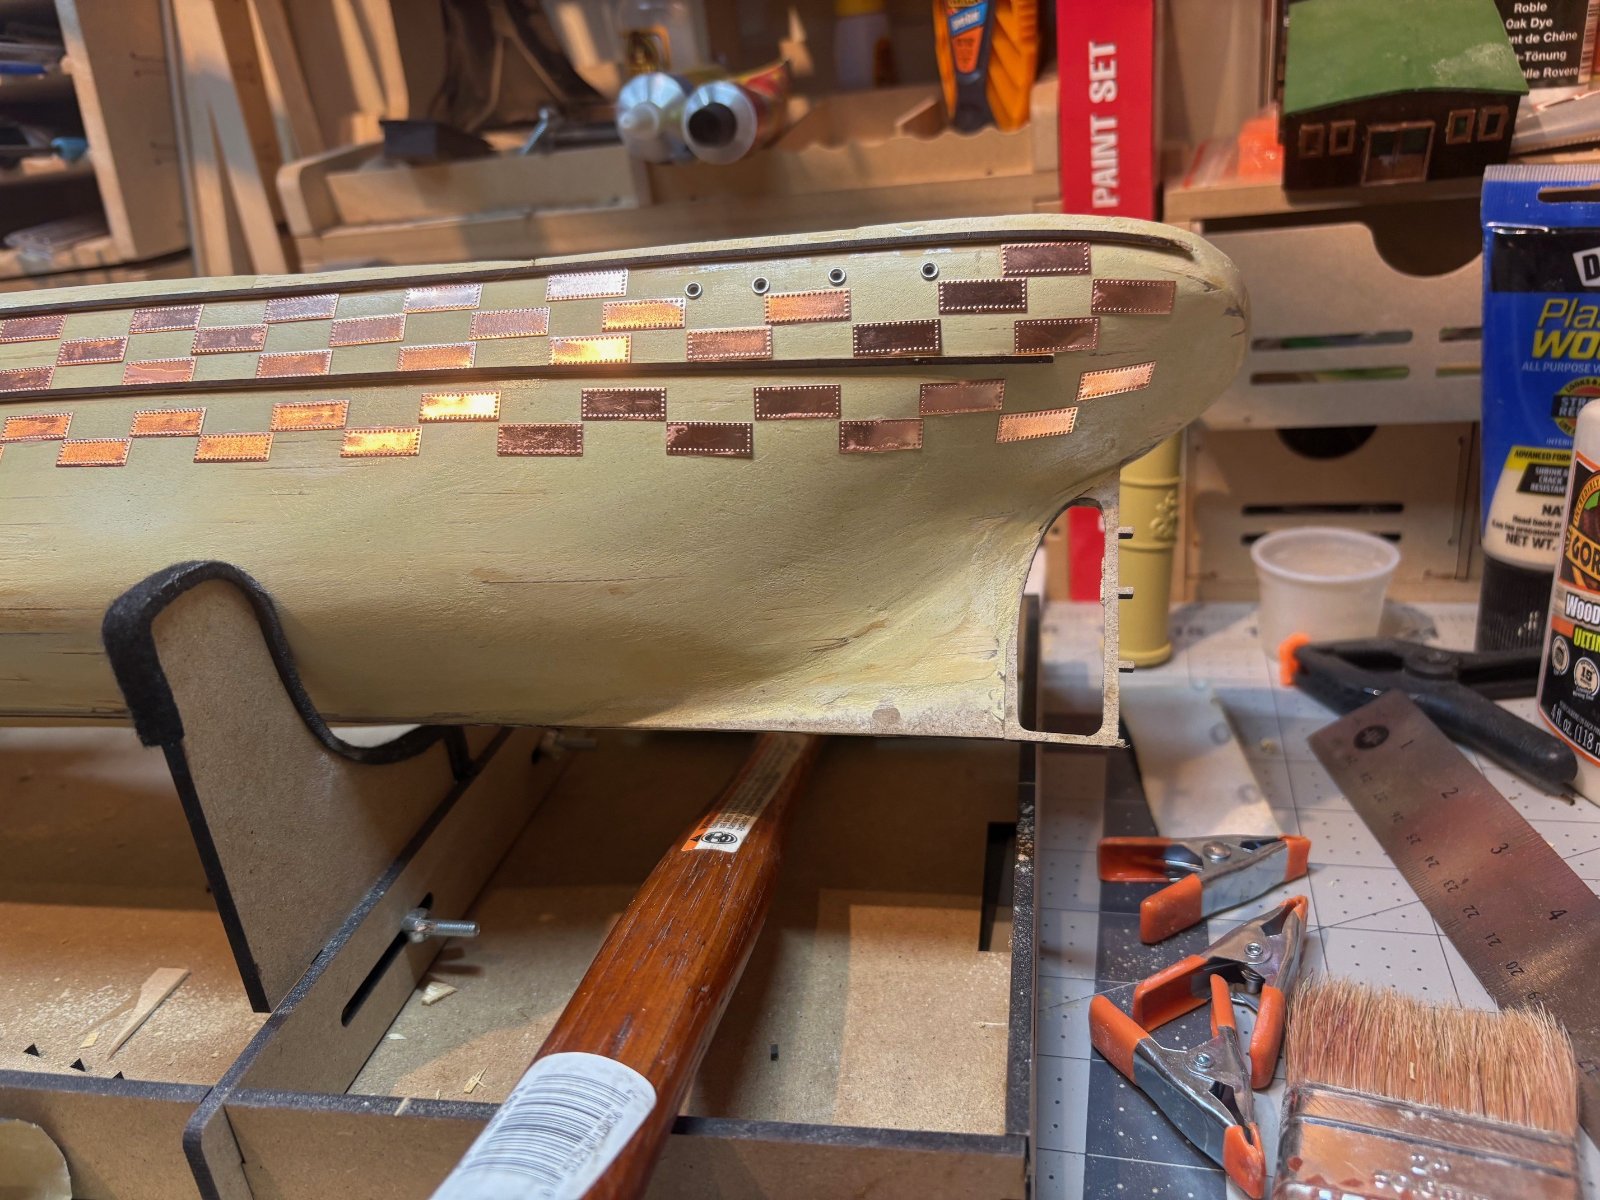
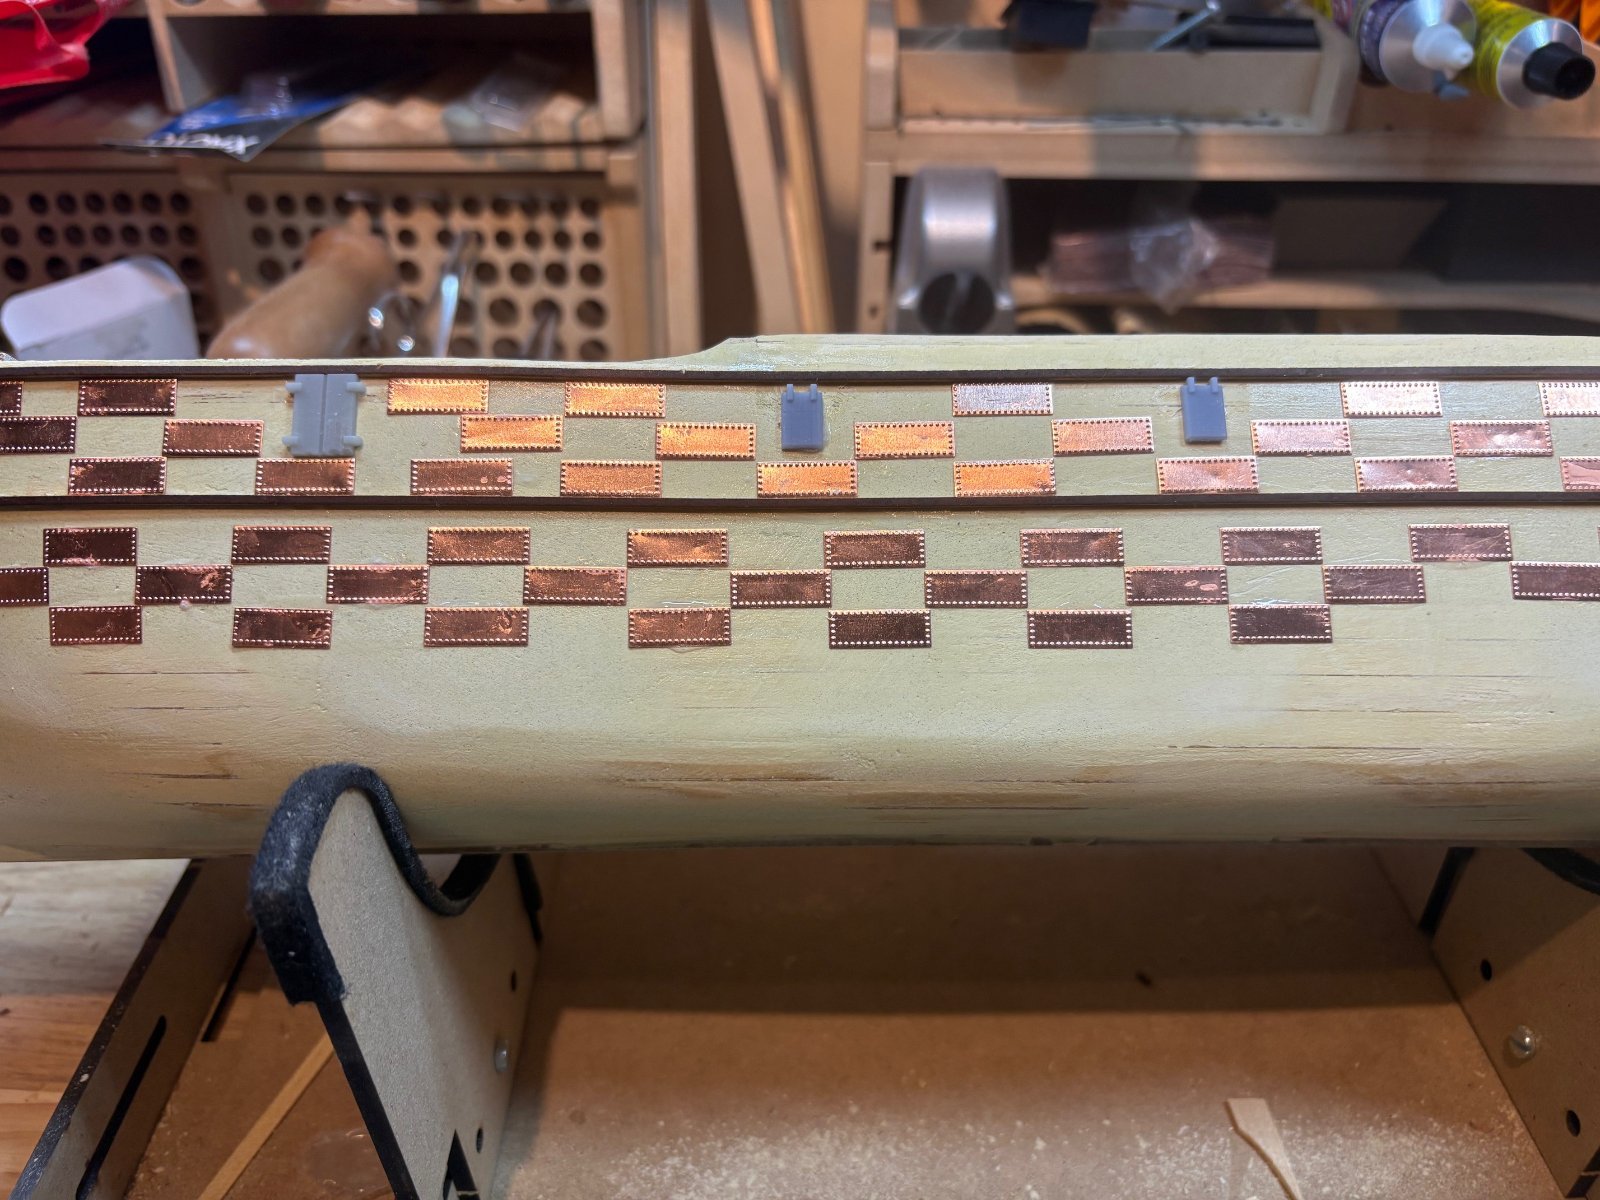
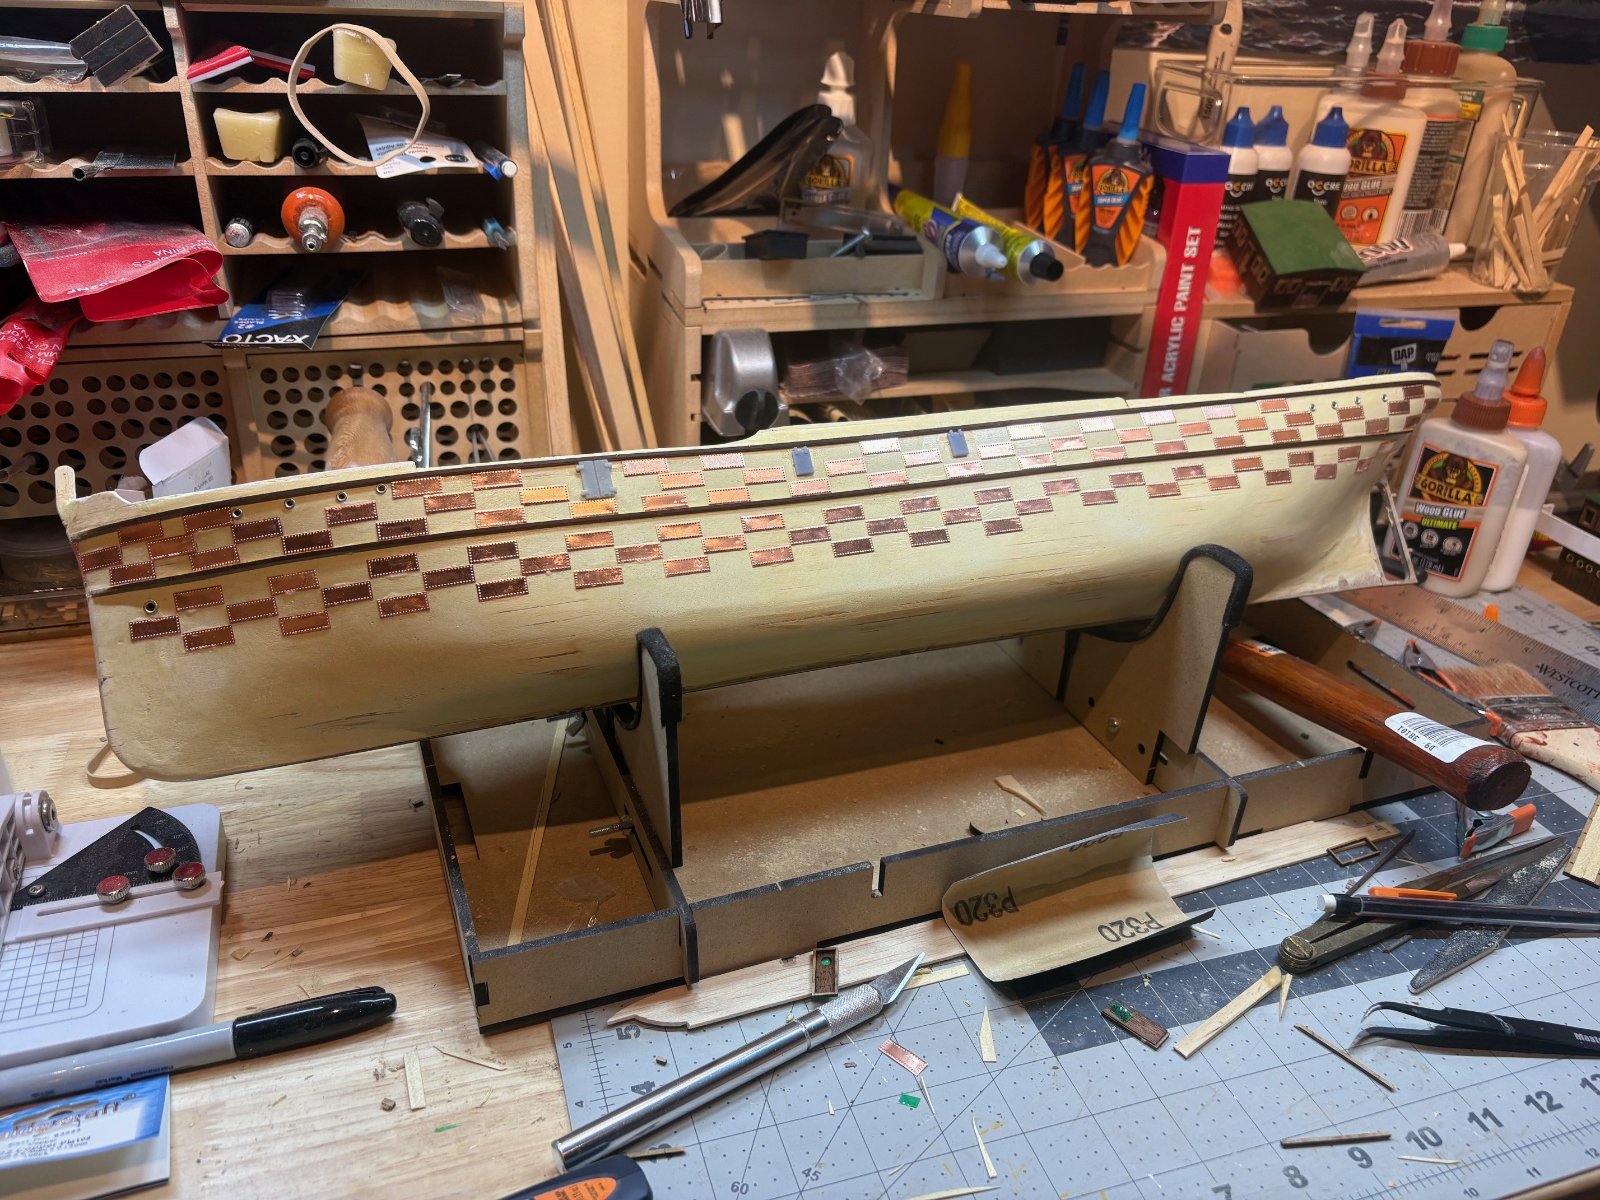
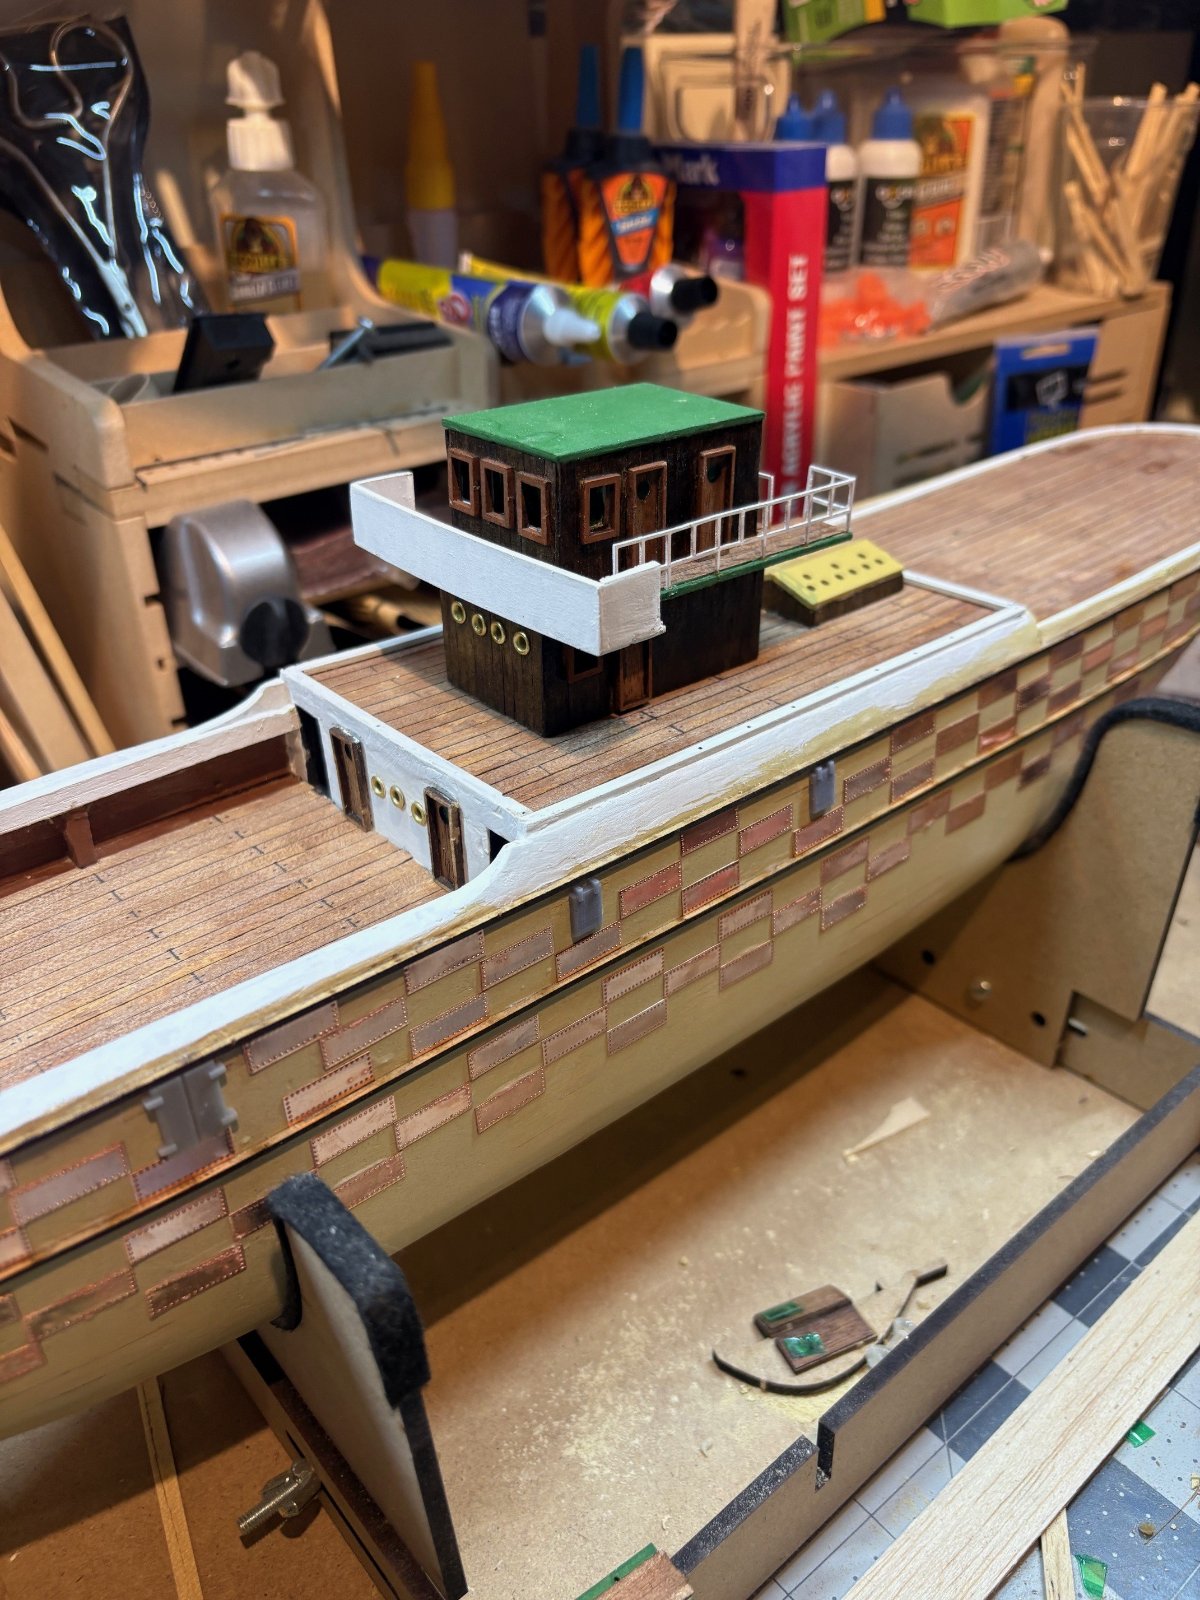
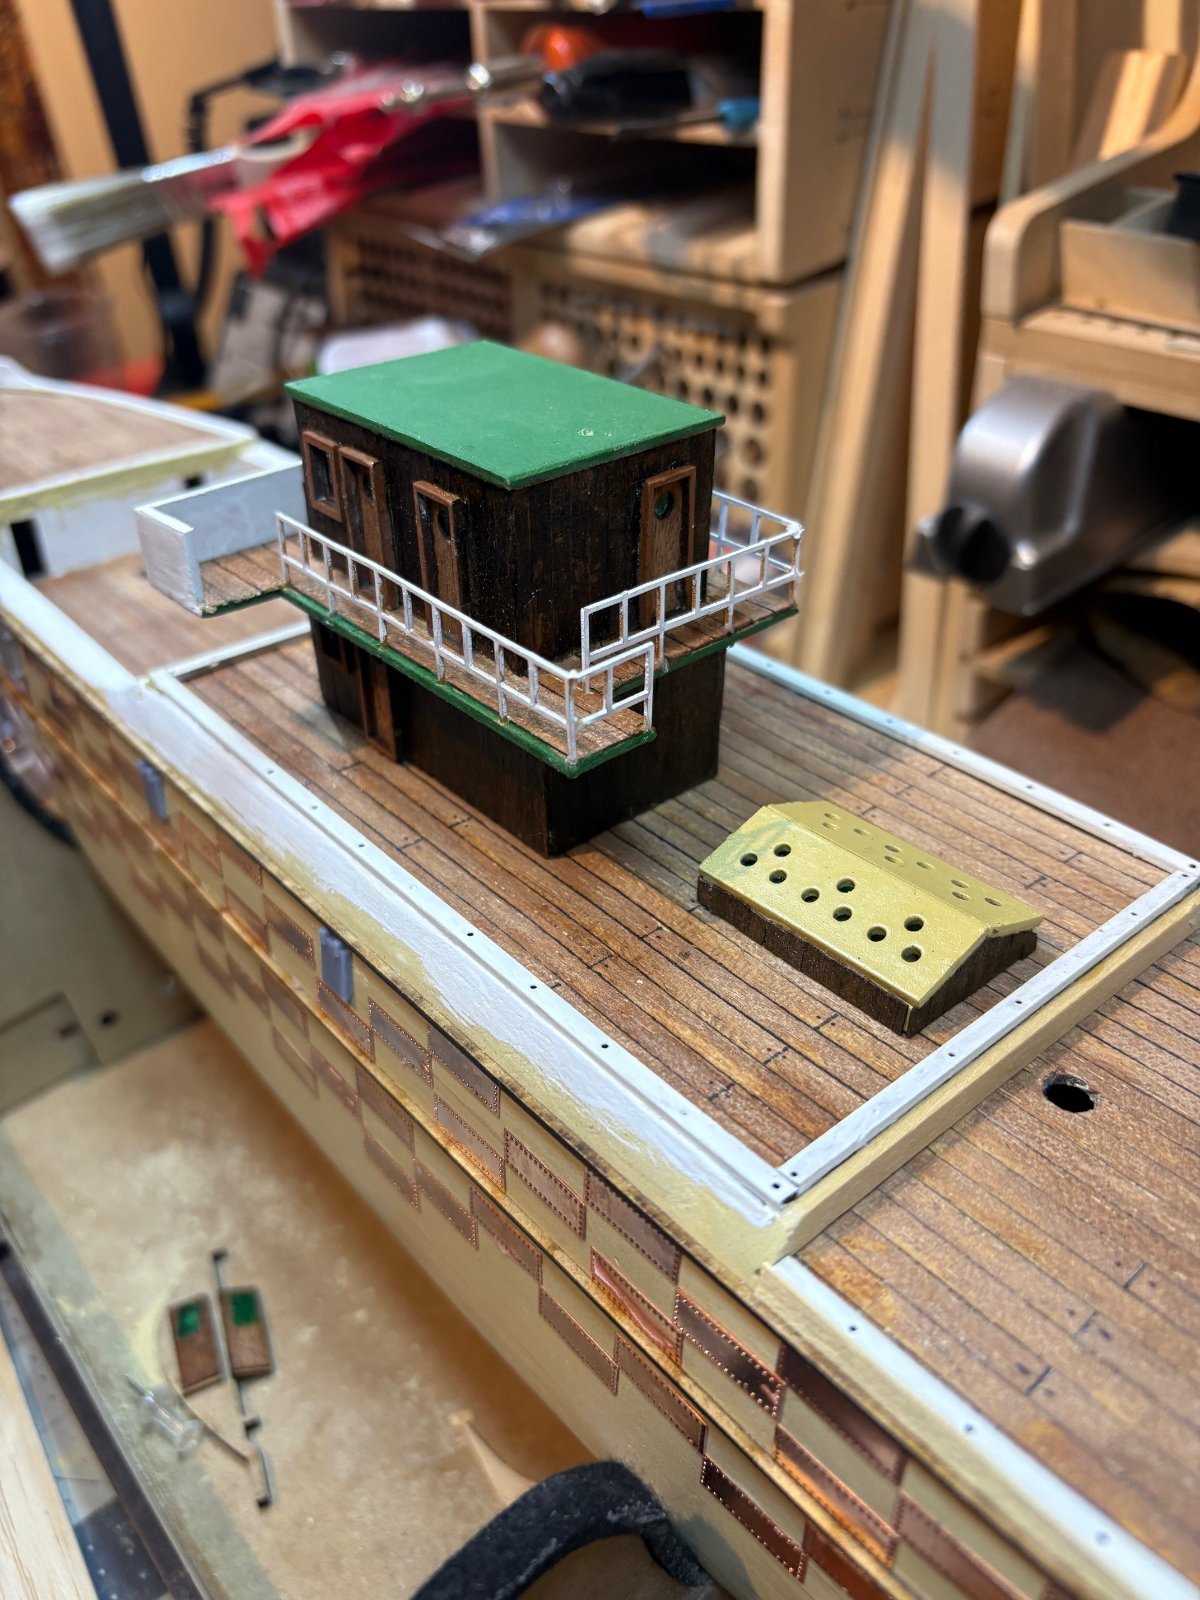
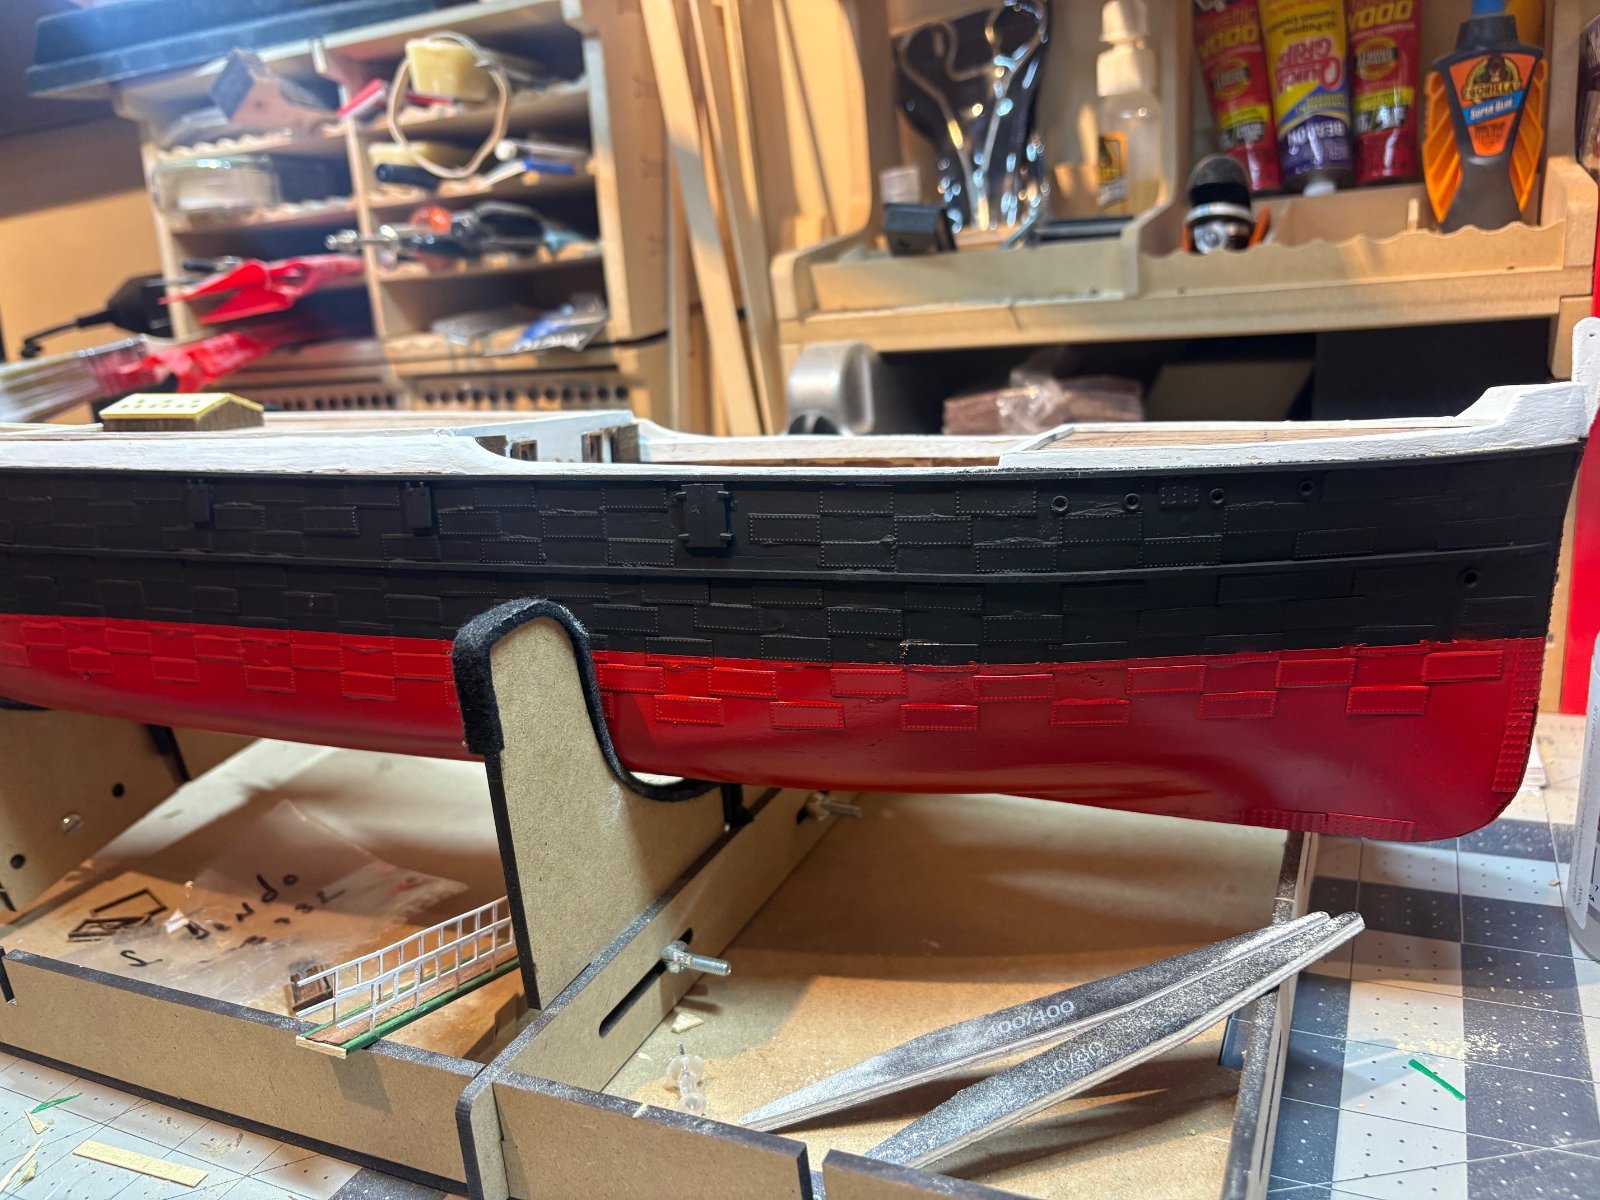
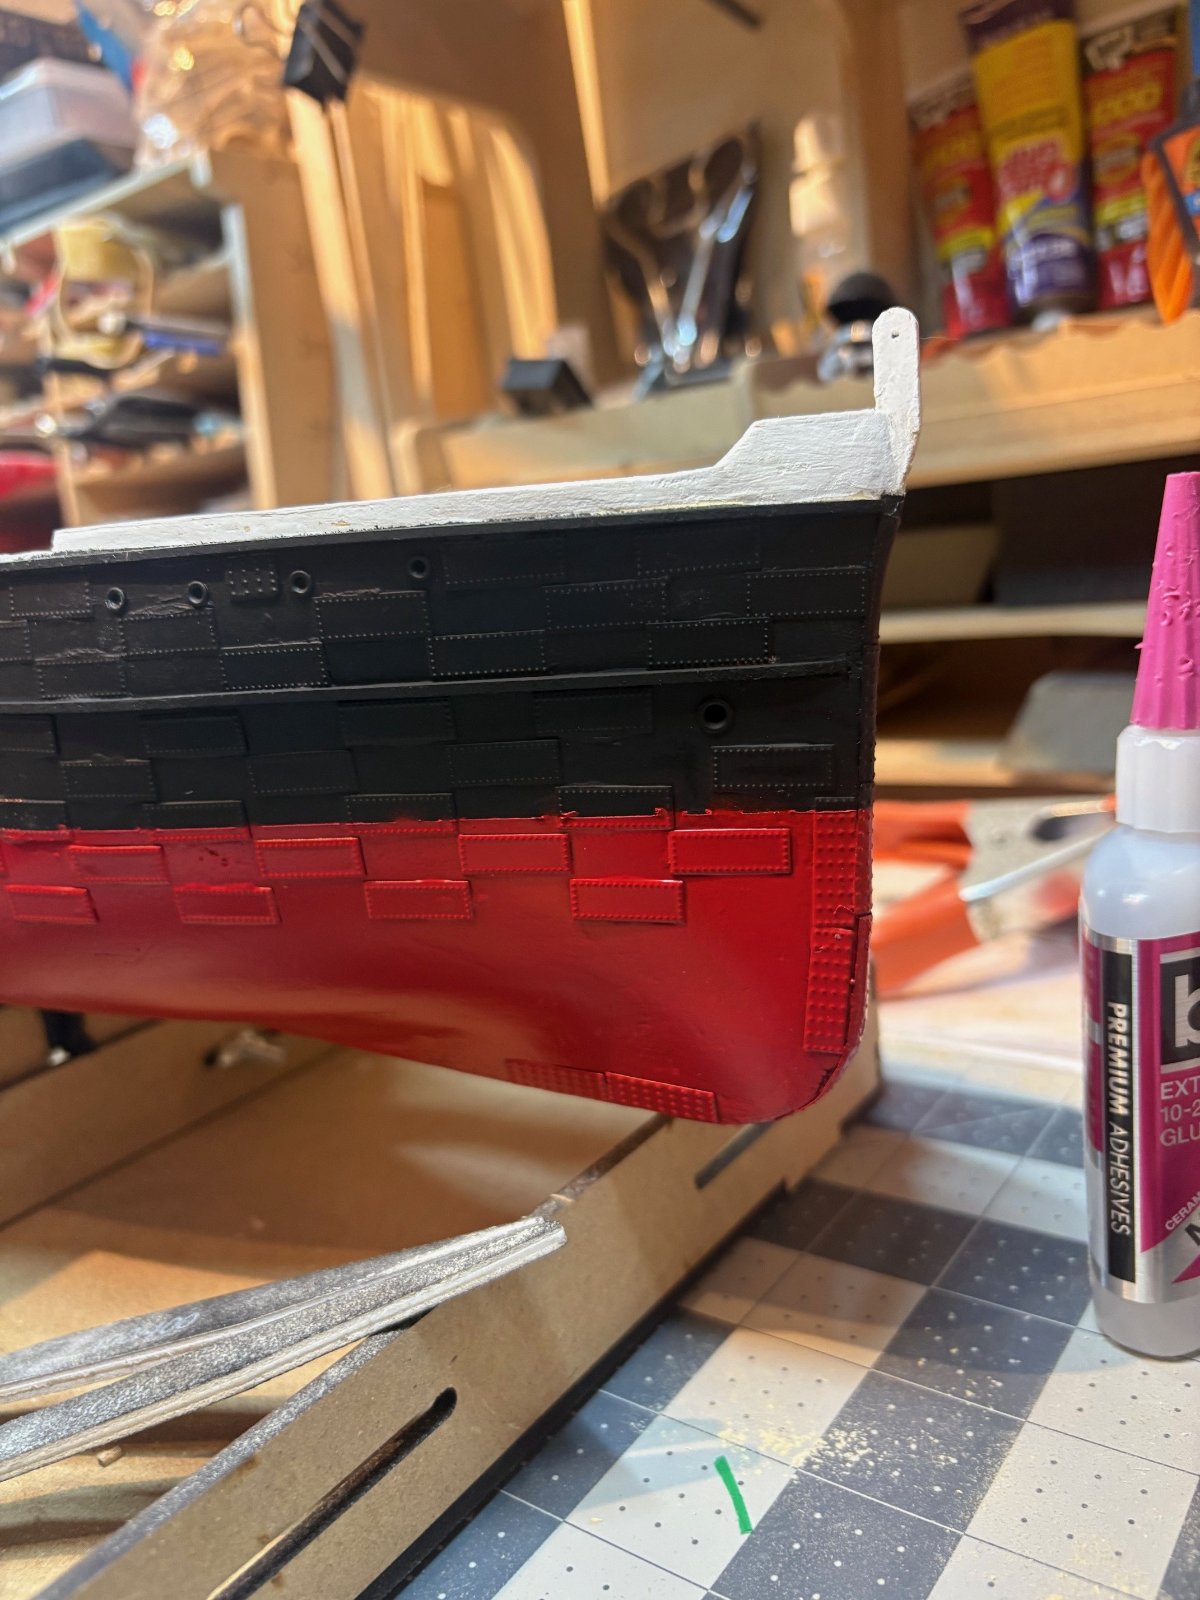
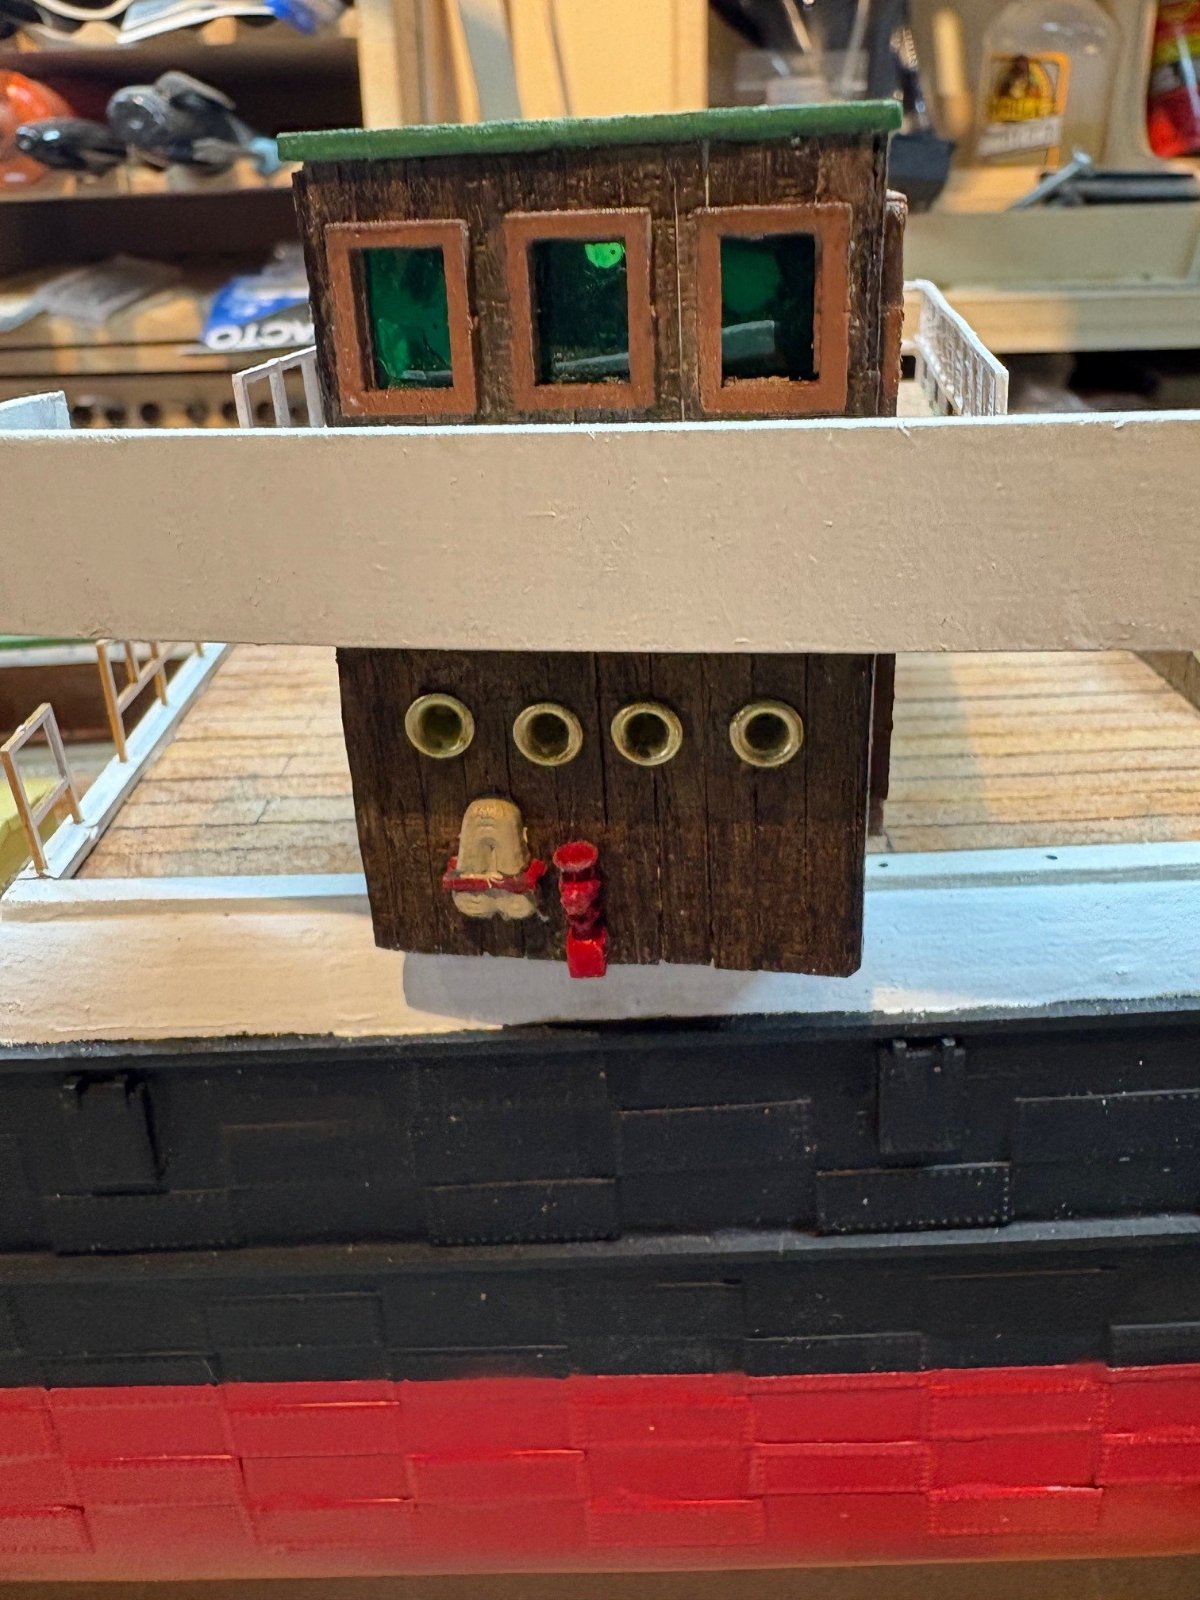
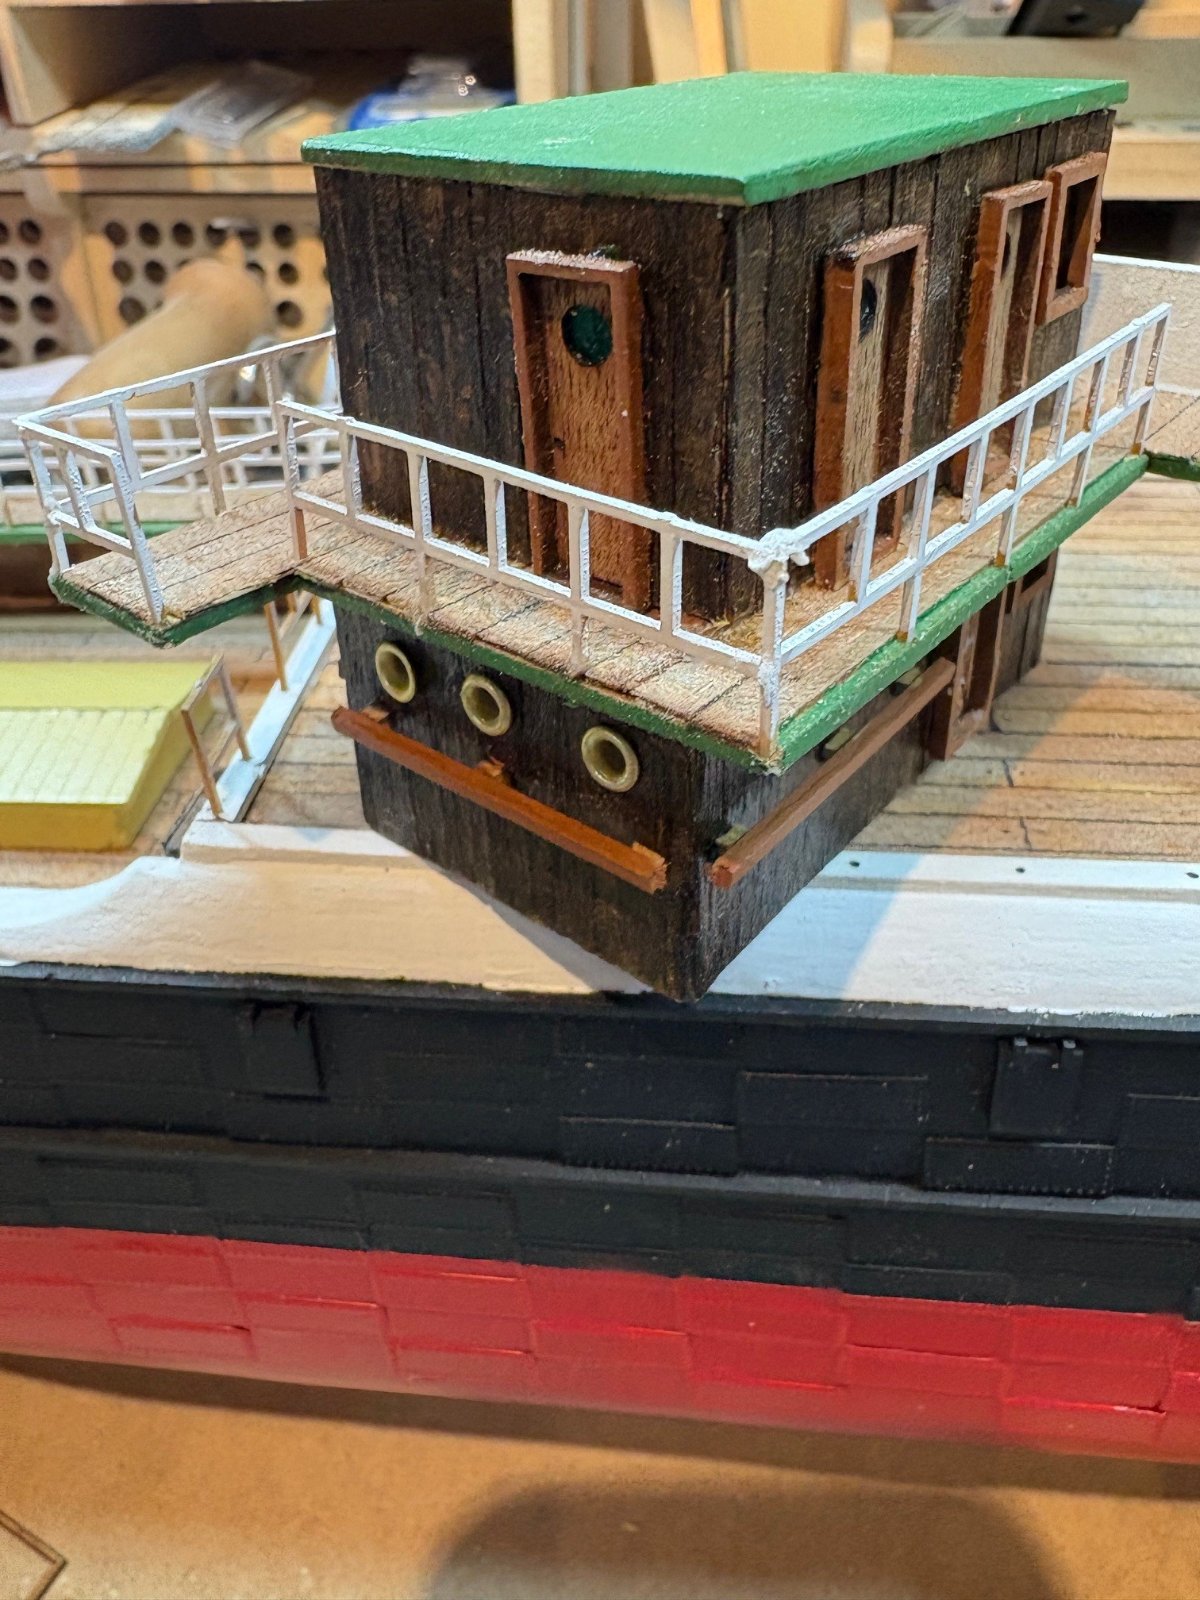
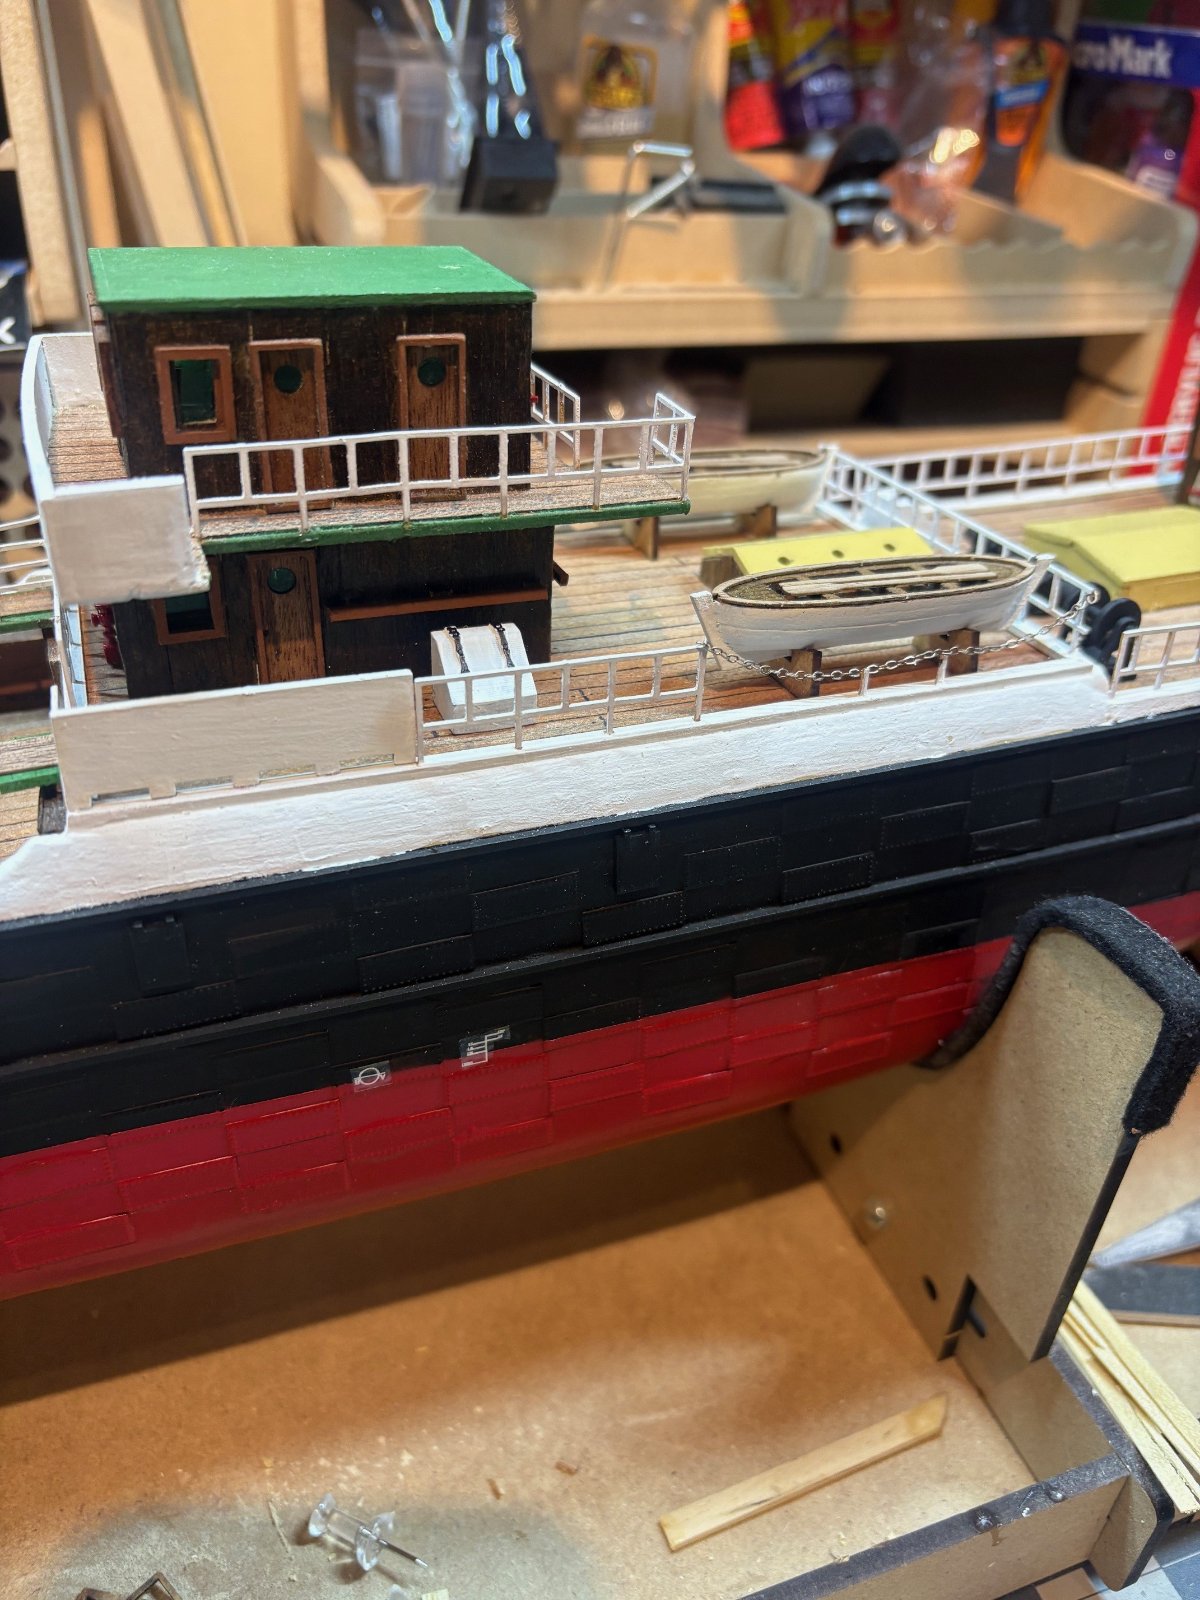
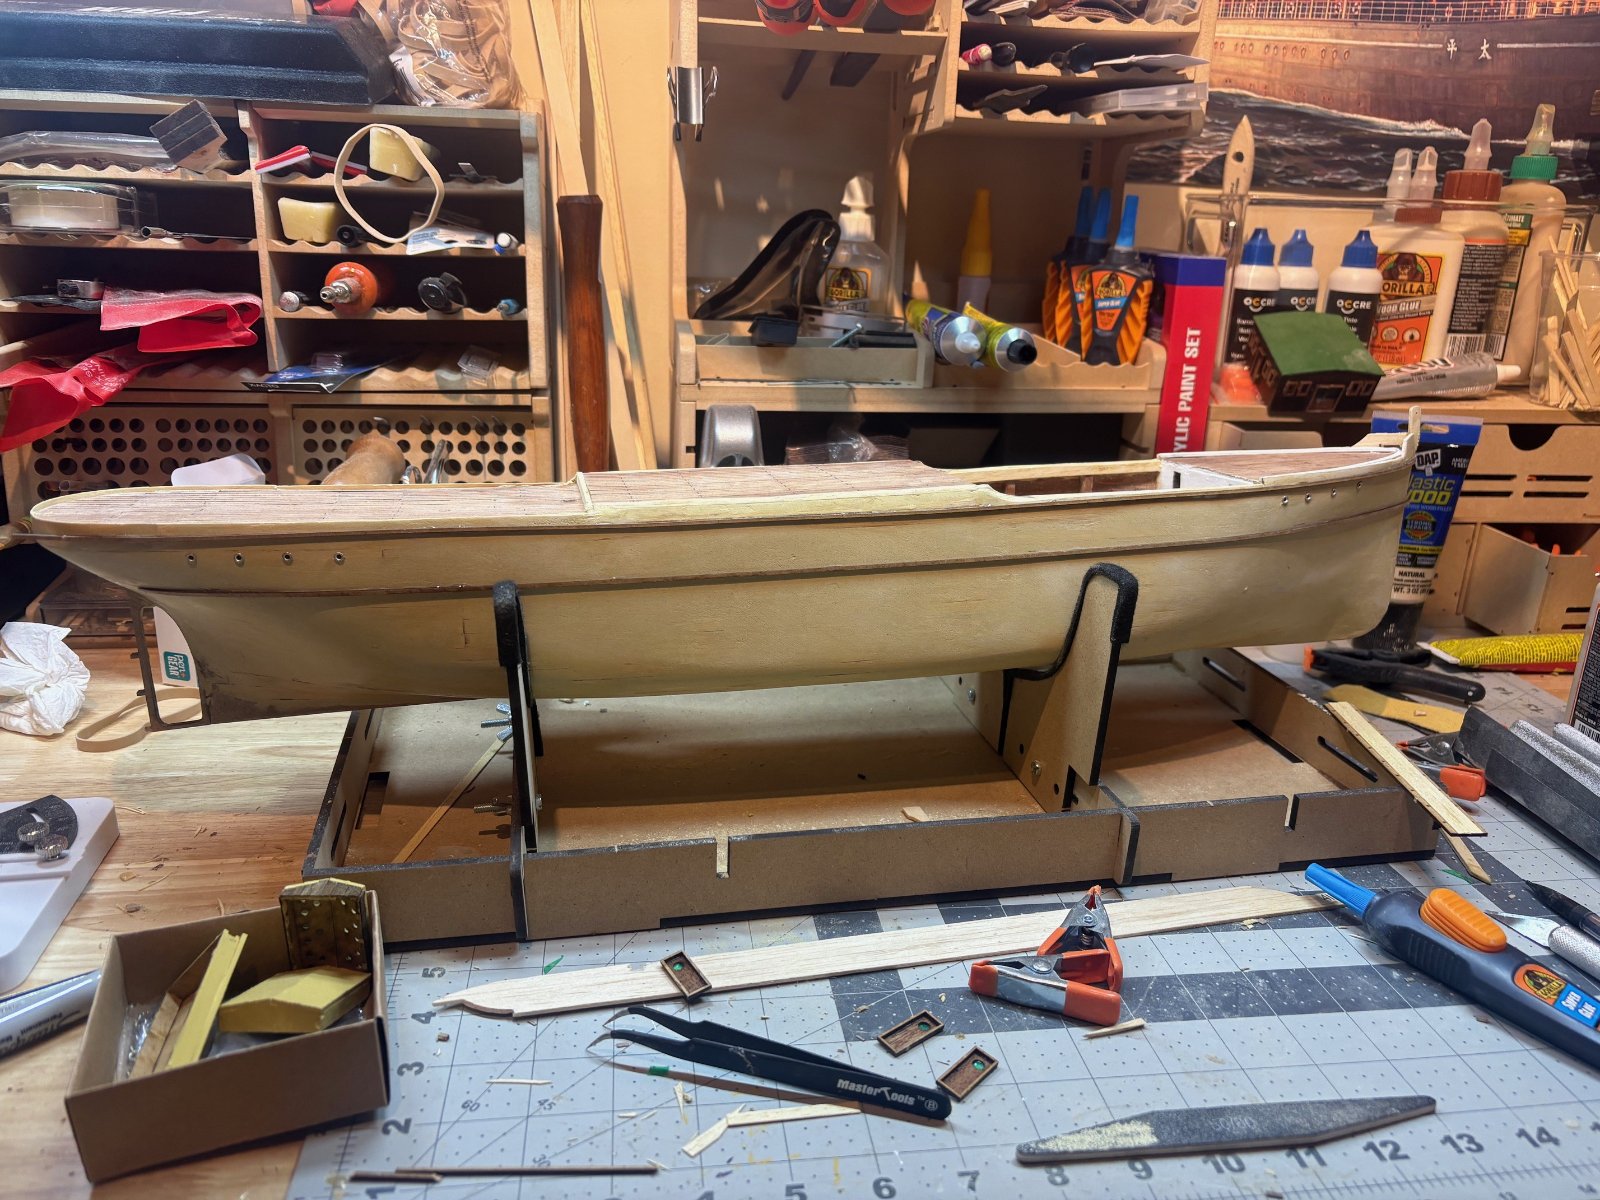
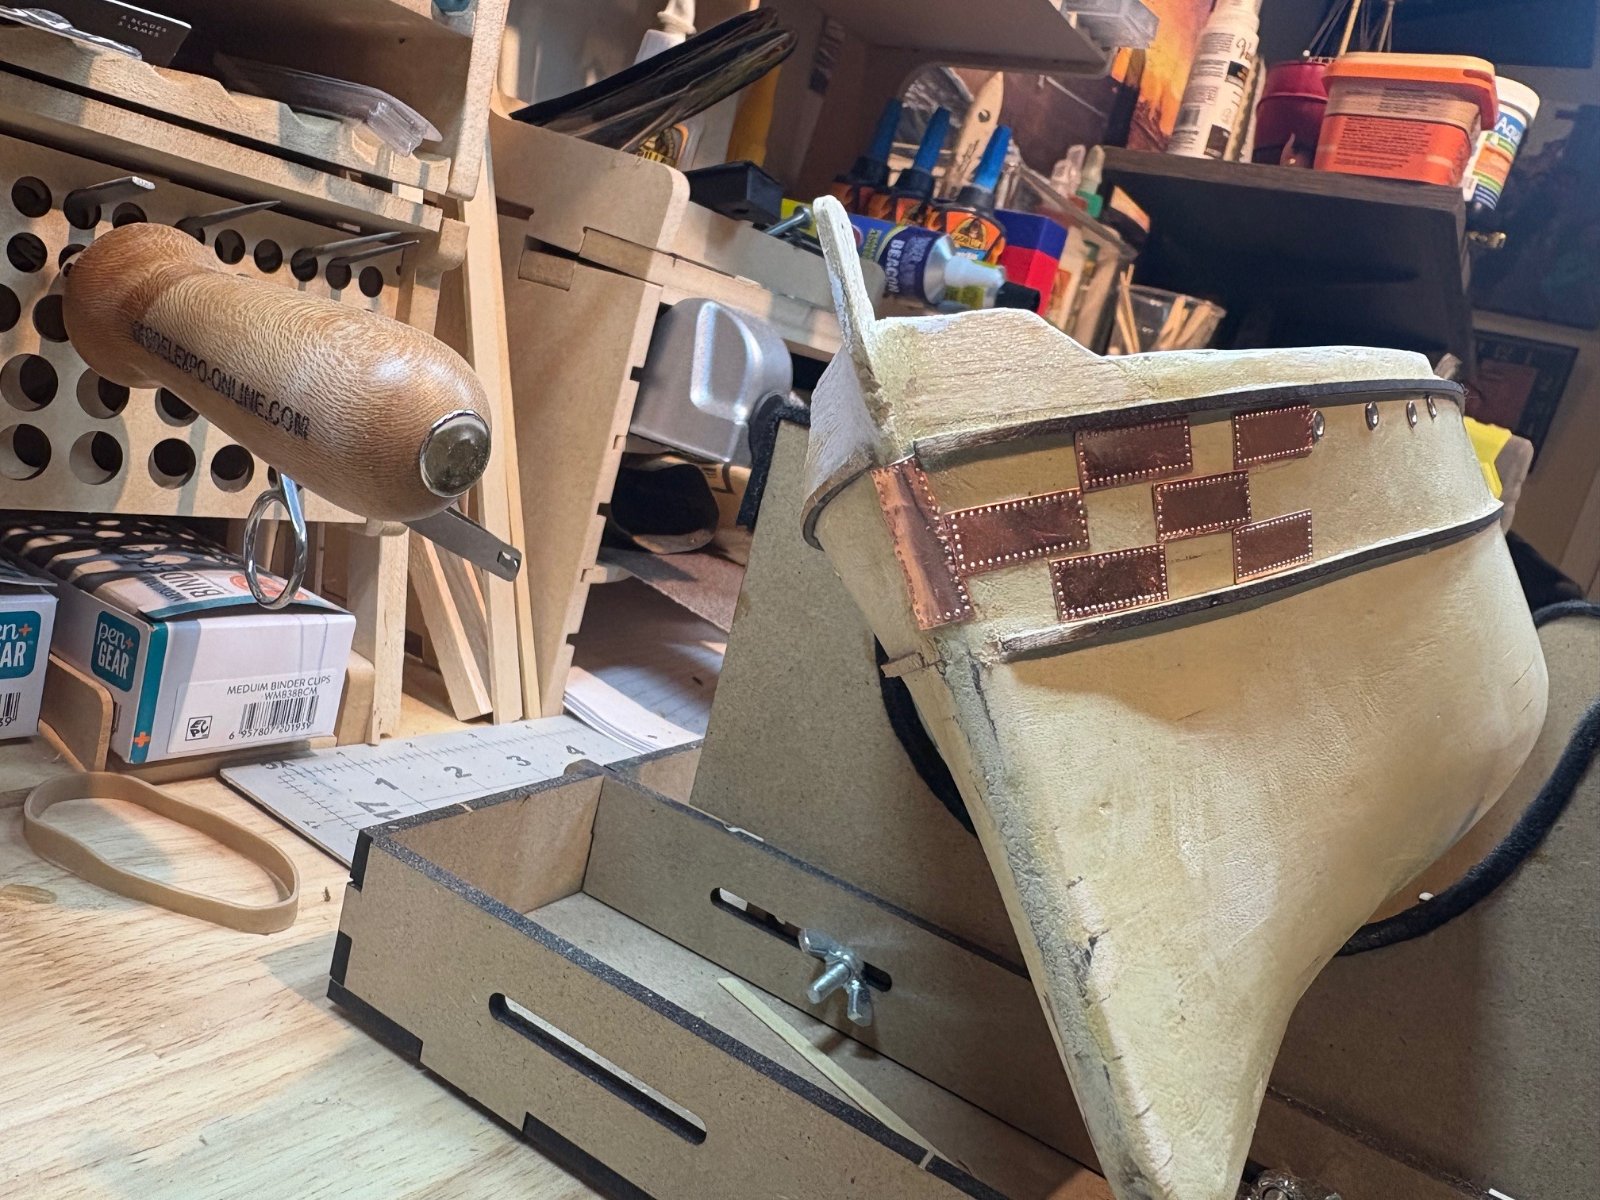
installed the whales / rub rails. finished off the bridge / bridge wings. put in the portholes , then decided to try to add some plating effect. i saw some pics of other models online which used thin strips to create the plate effect , but it looked out of scale. i found these copper plates and decided to try a staggered look that would simulate overlapped rivetted plates. was tempting to leave the hull smooth , but this era steamer needs some roughness. it may look a bit off right now , but i believe once painted black , the effect will be as intended (i hope). going to see how dar this bag of 100 pieces gets me... i ordered another bag today
122255.jpg


122251.jpg


122252.jpg


122253.jpg


122254.jpg


122256.jpg
 
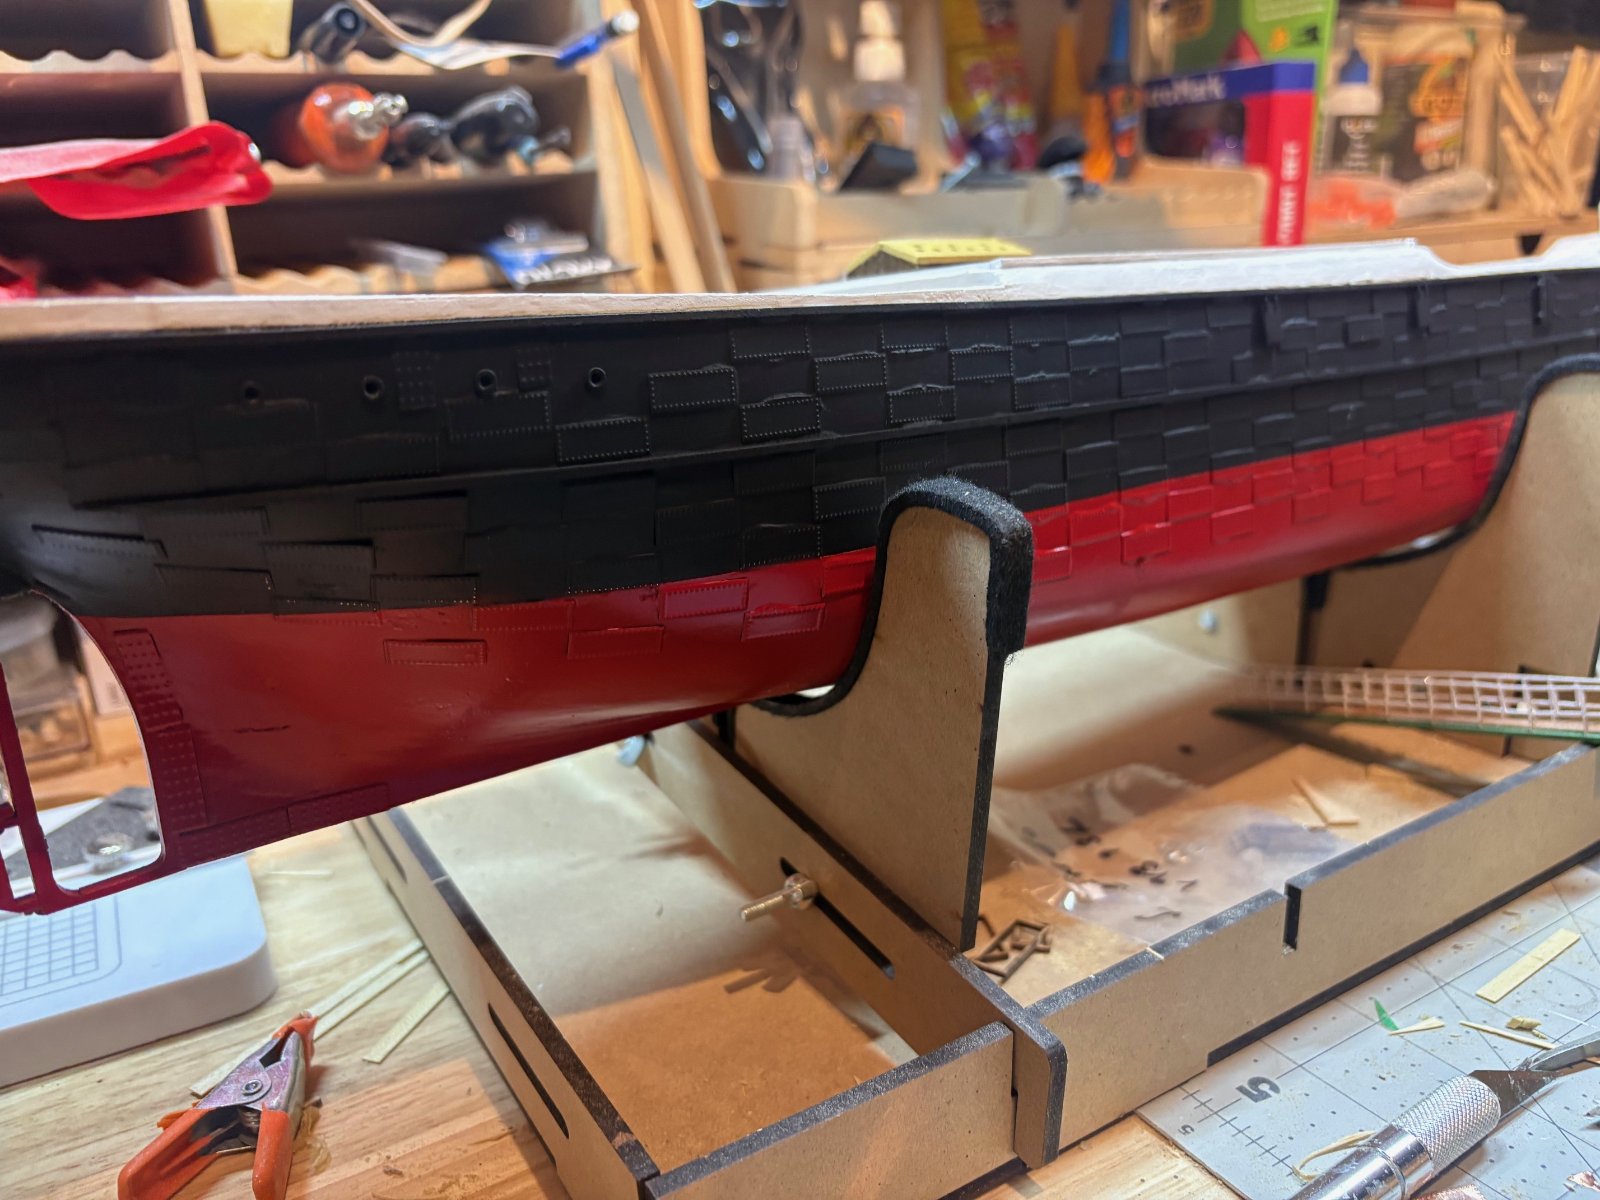
well this is how far 100 plates got me... im waiting on 2 more bags. looks a bit weird right now , but once painted flat black , i think the desired effect will be achieved. i will cover the stem and counter with another type of plate. going to try to pick away at some other stuff while im waiting for the parts

124251.jpg


124252.jpg


124253.jpg
 
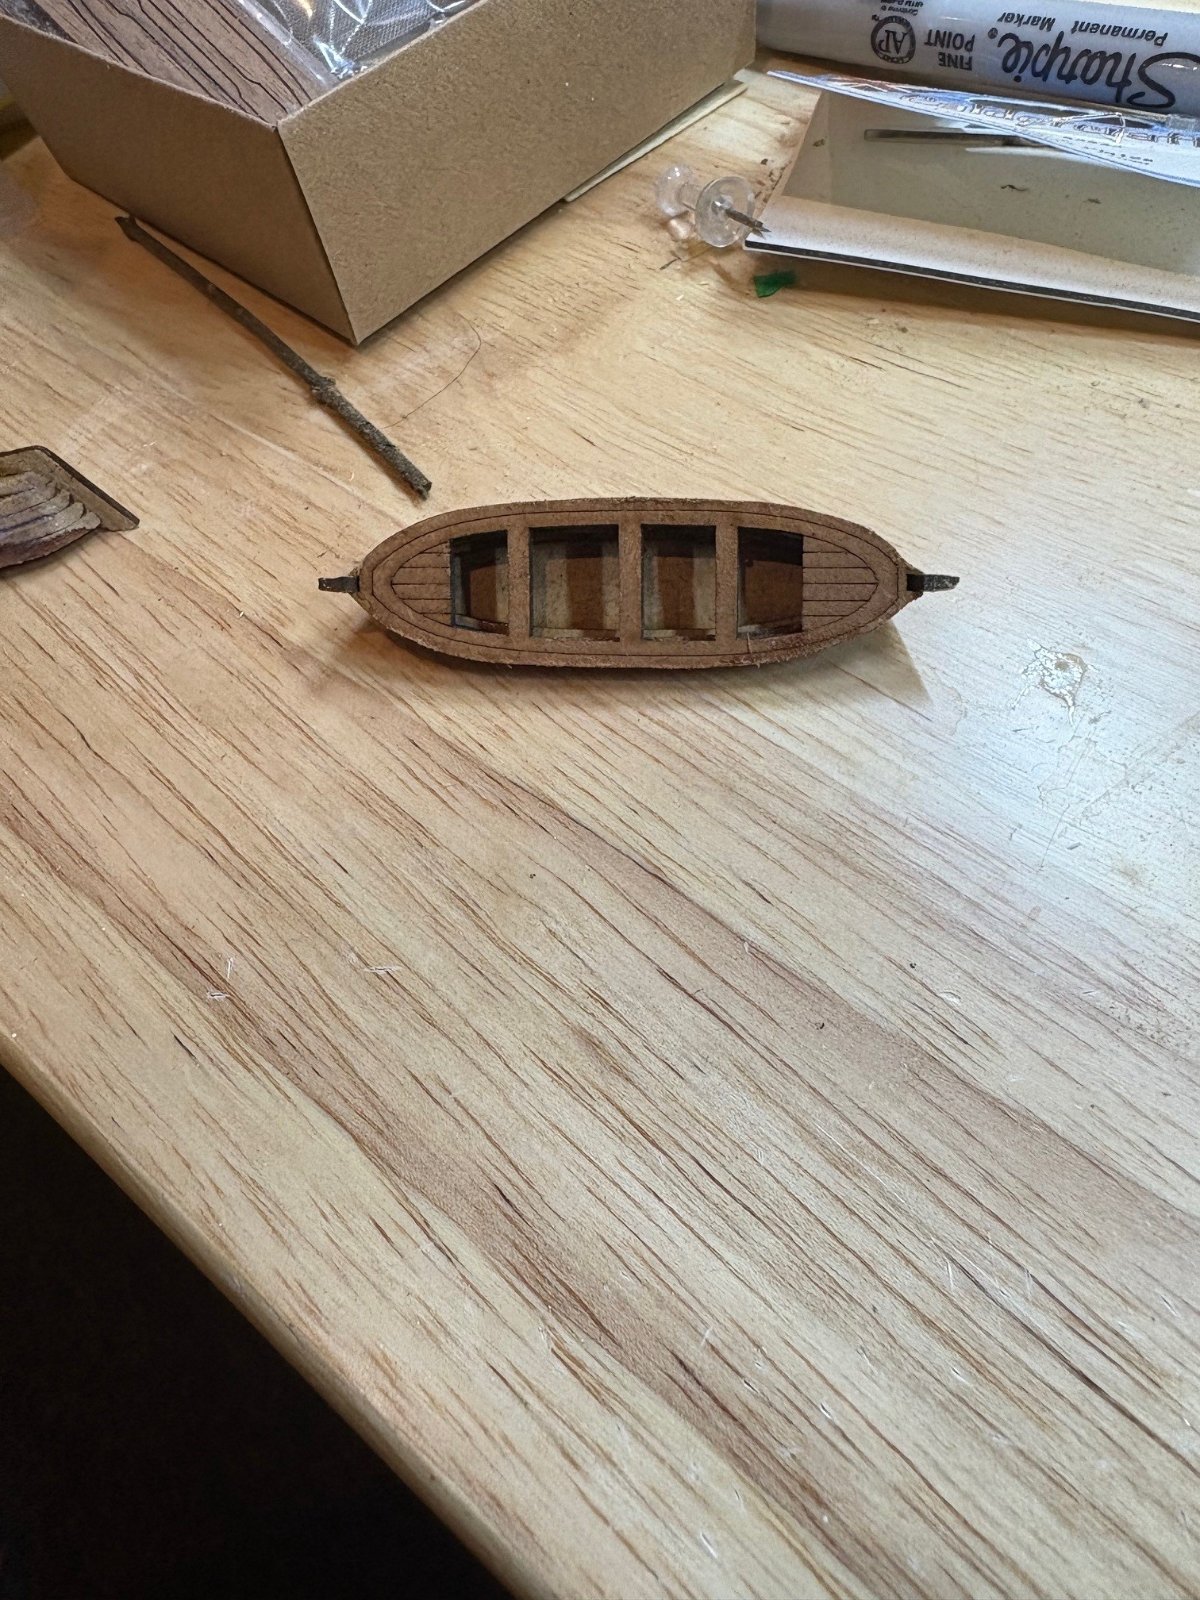
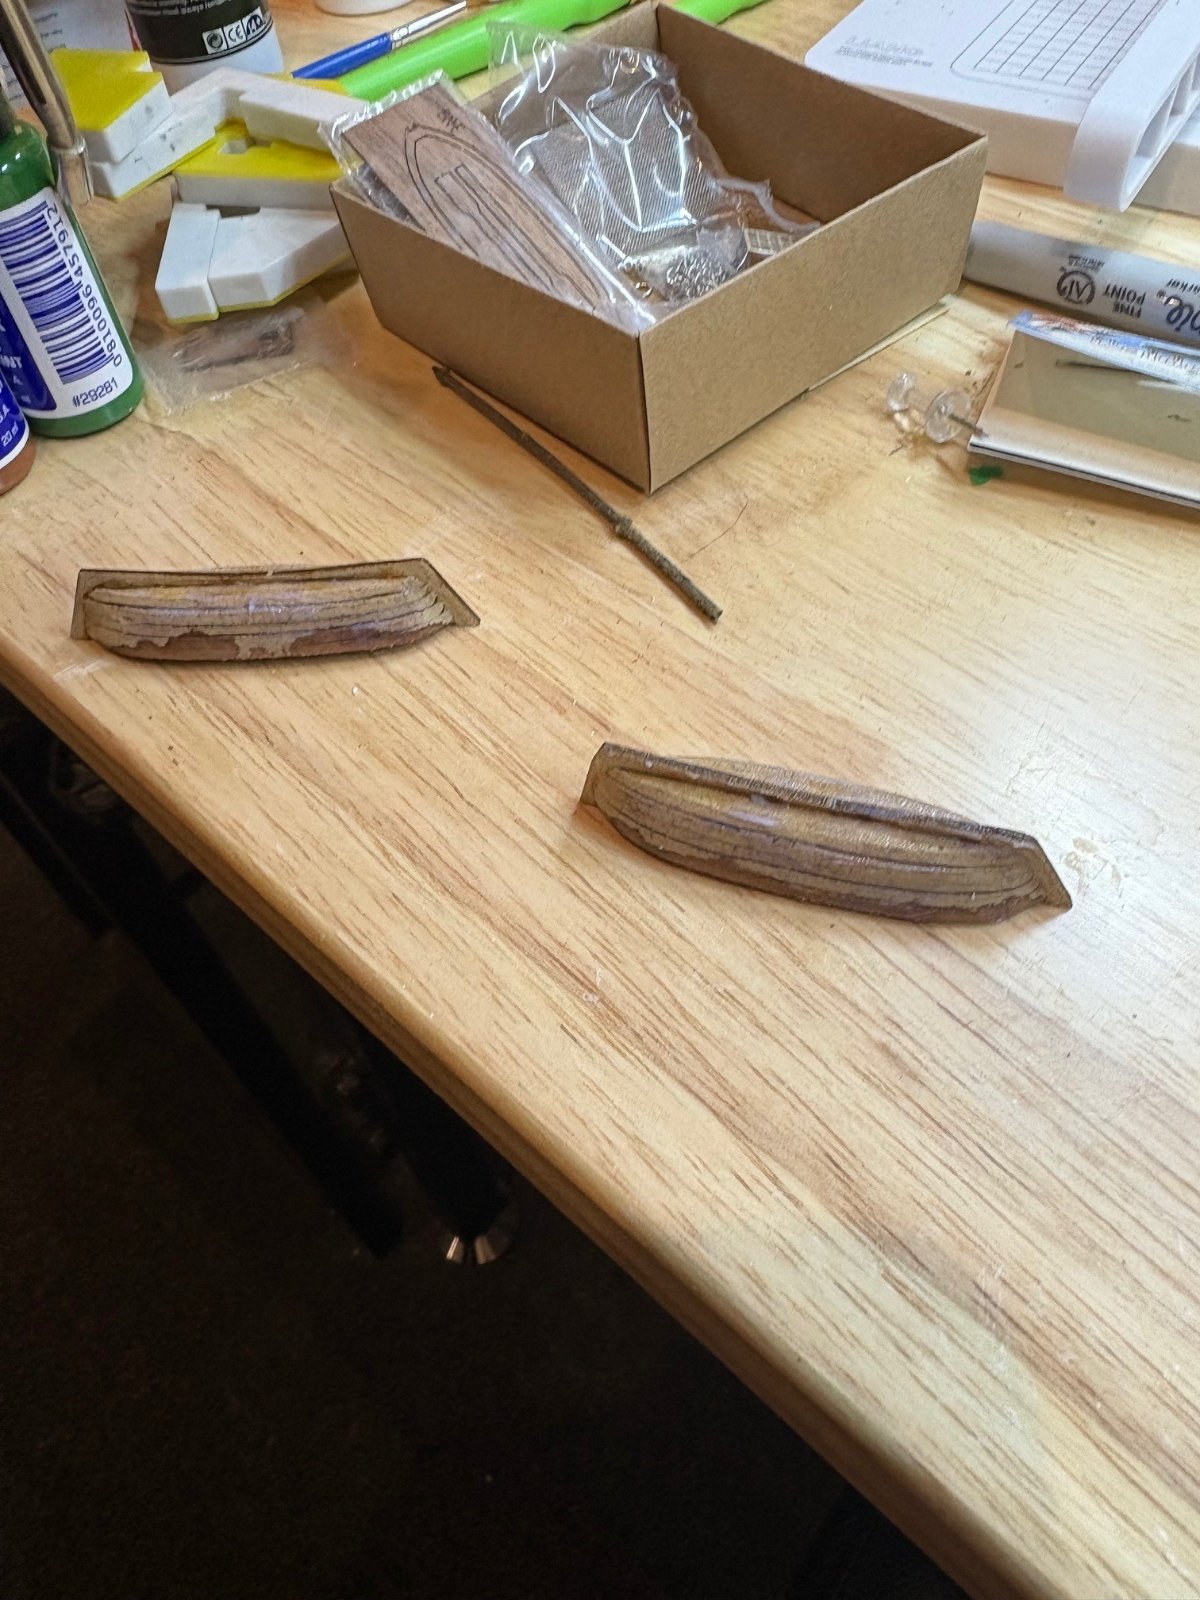
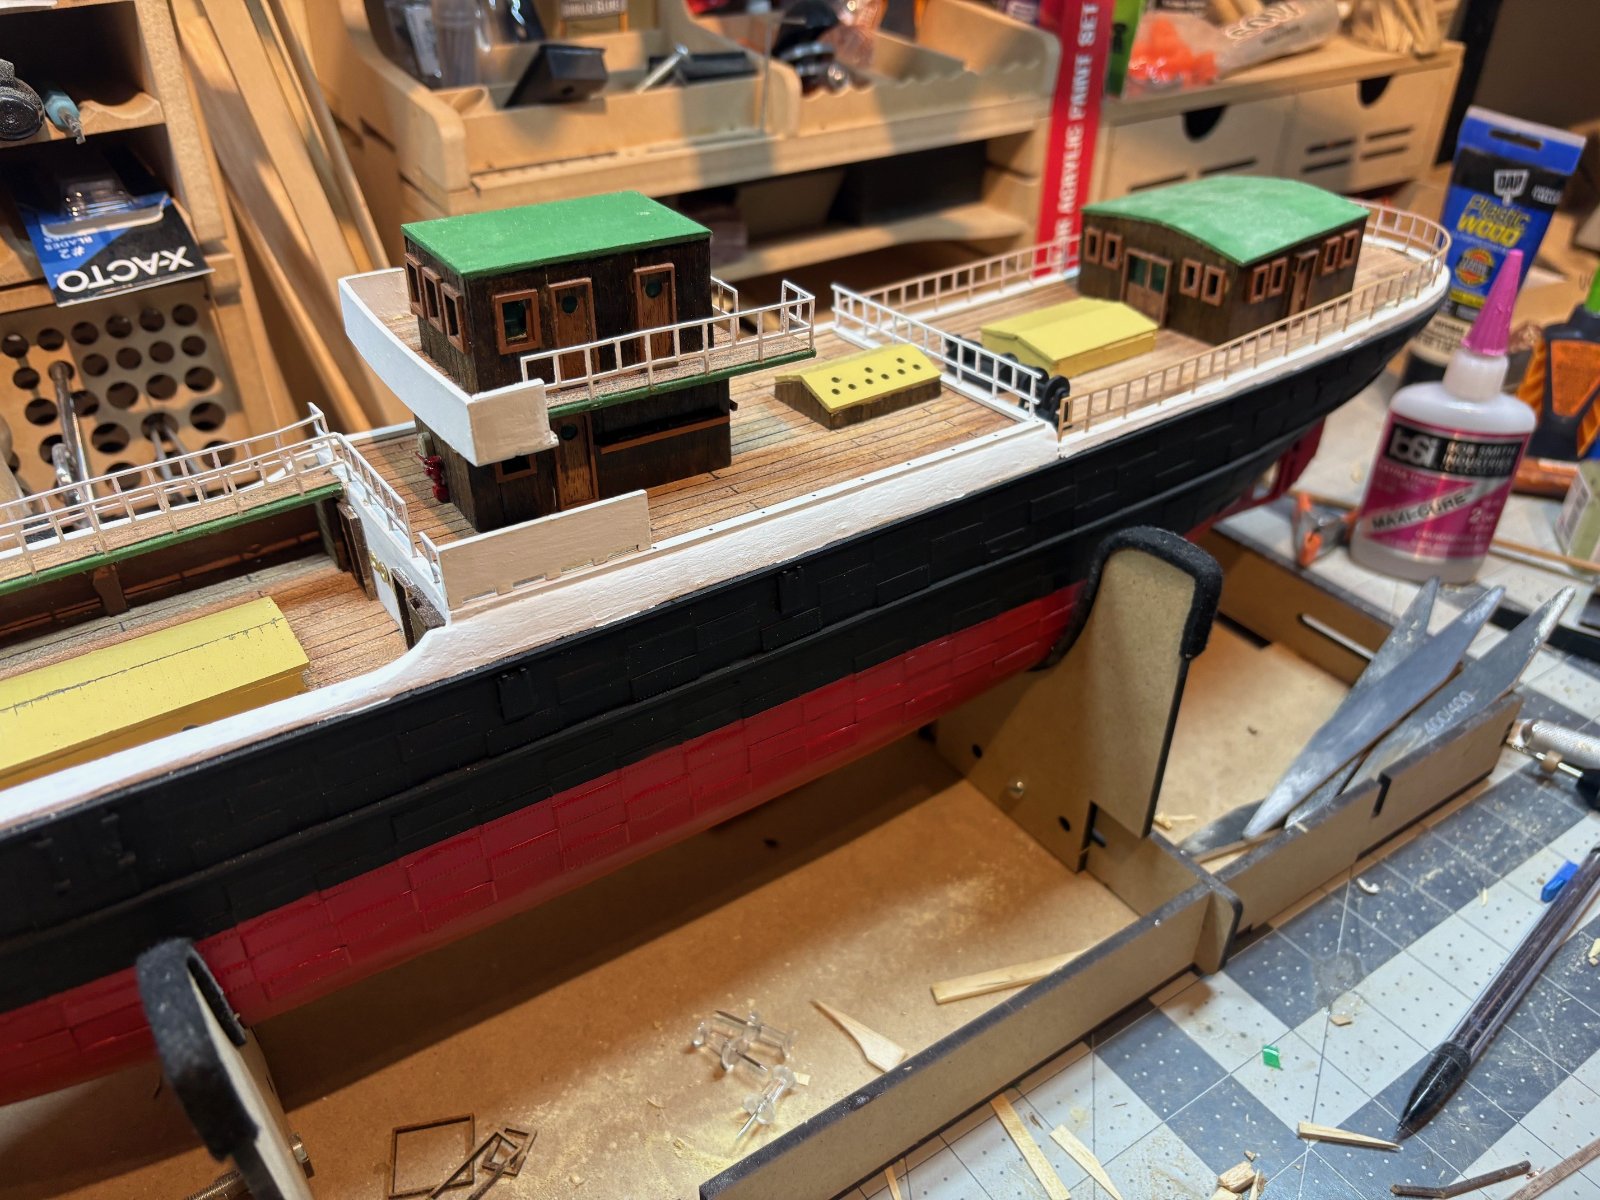
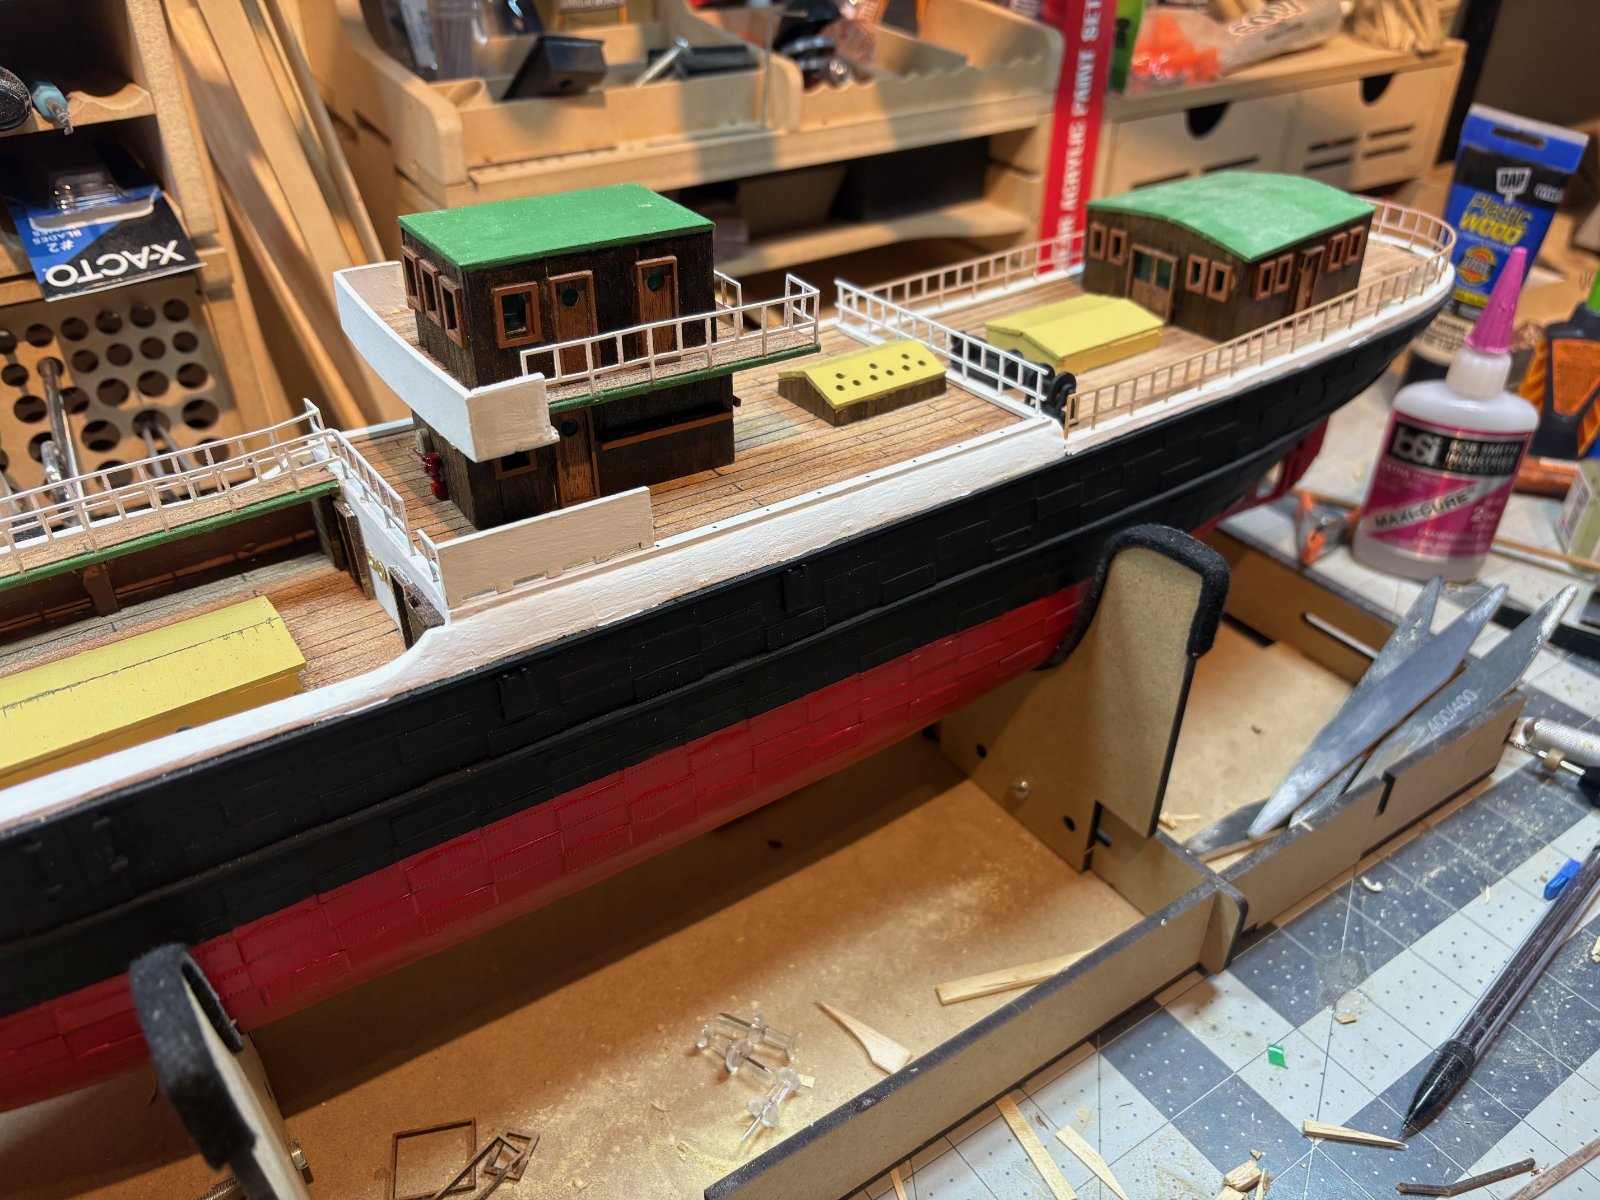
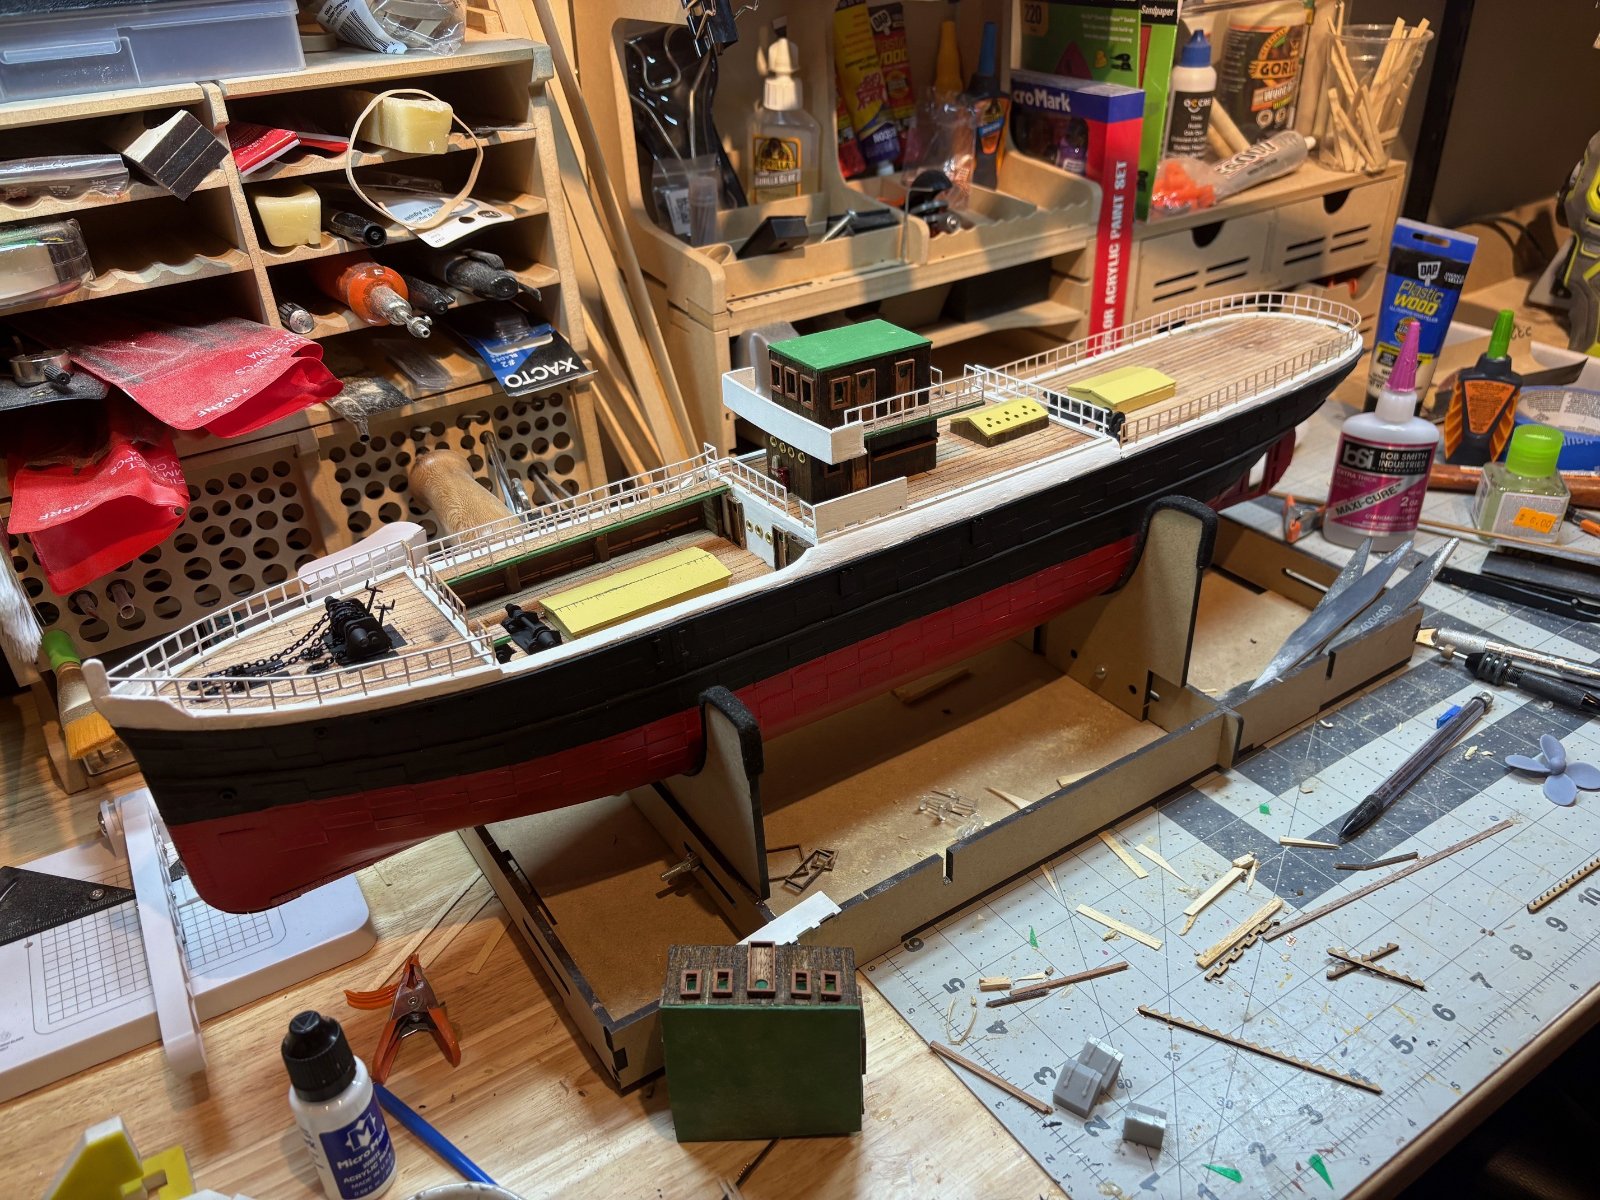
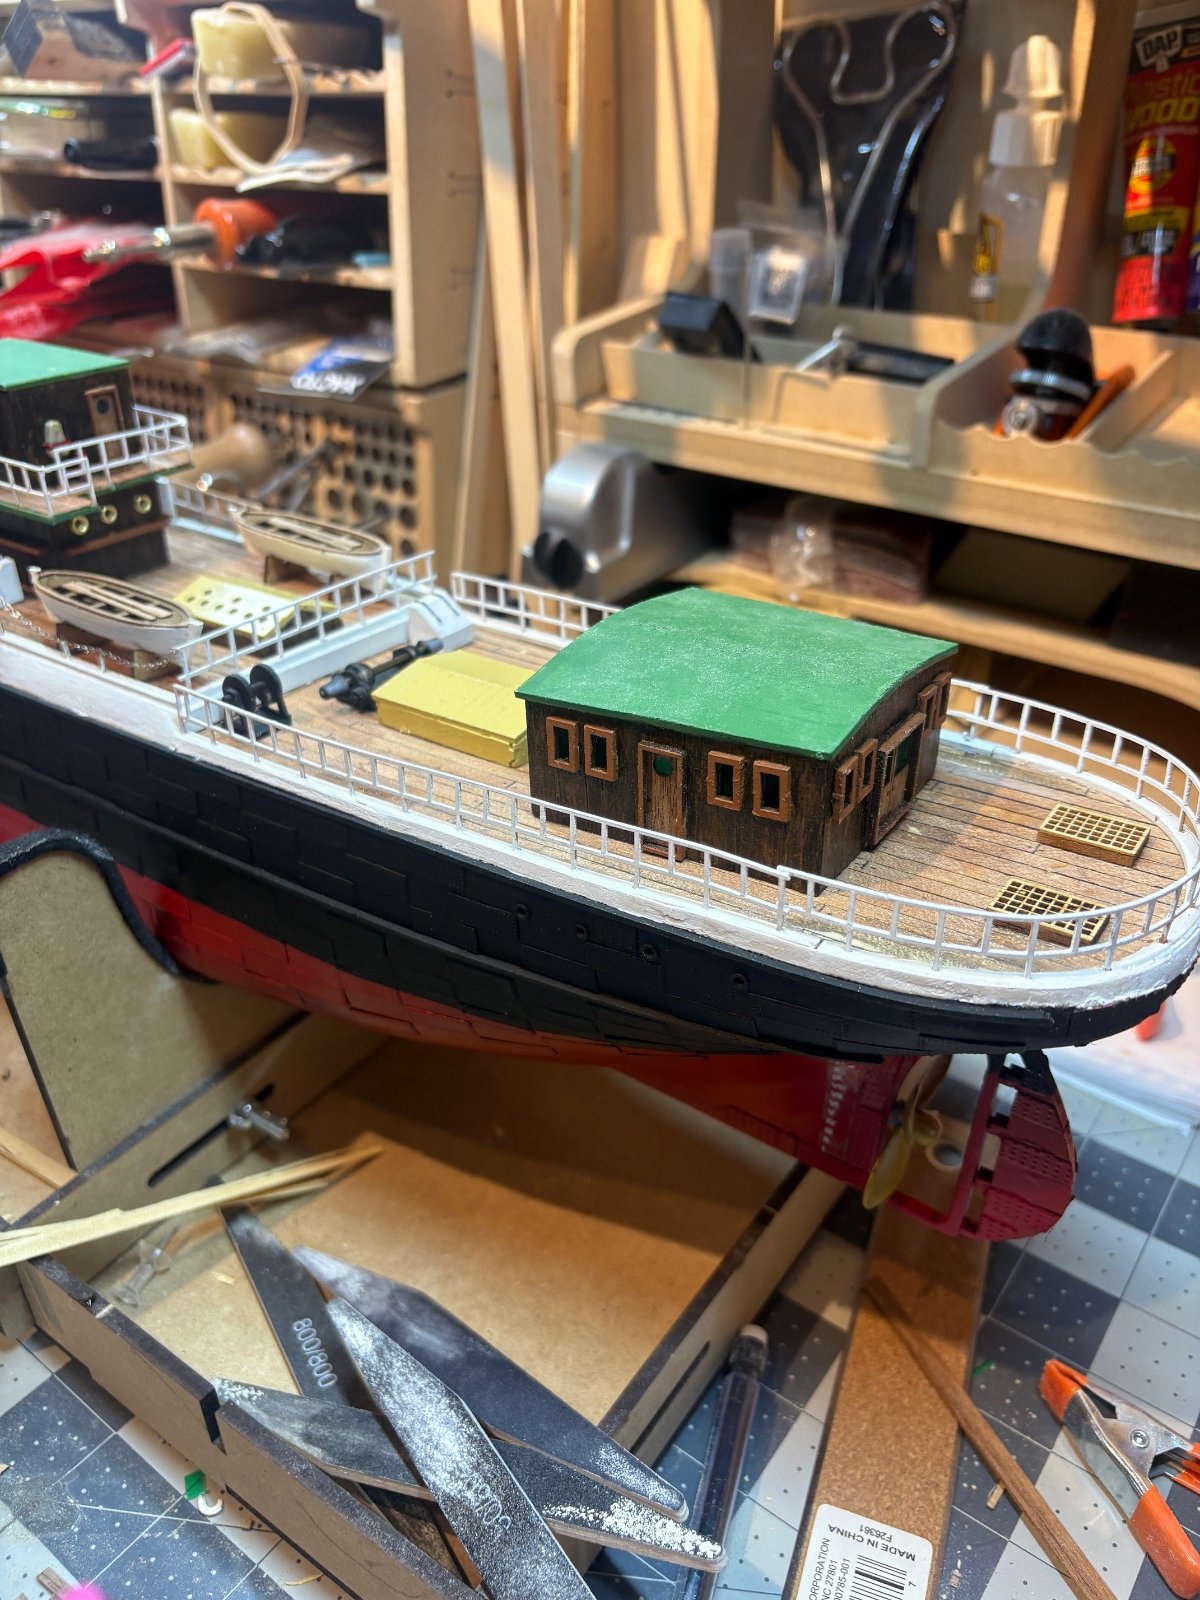
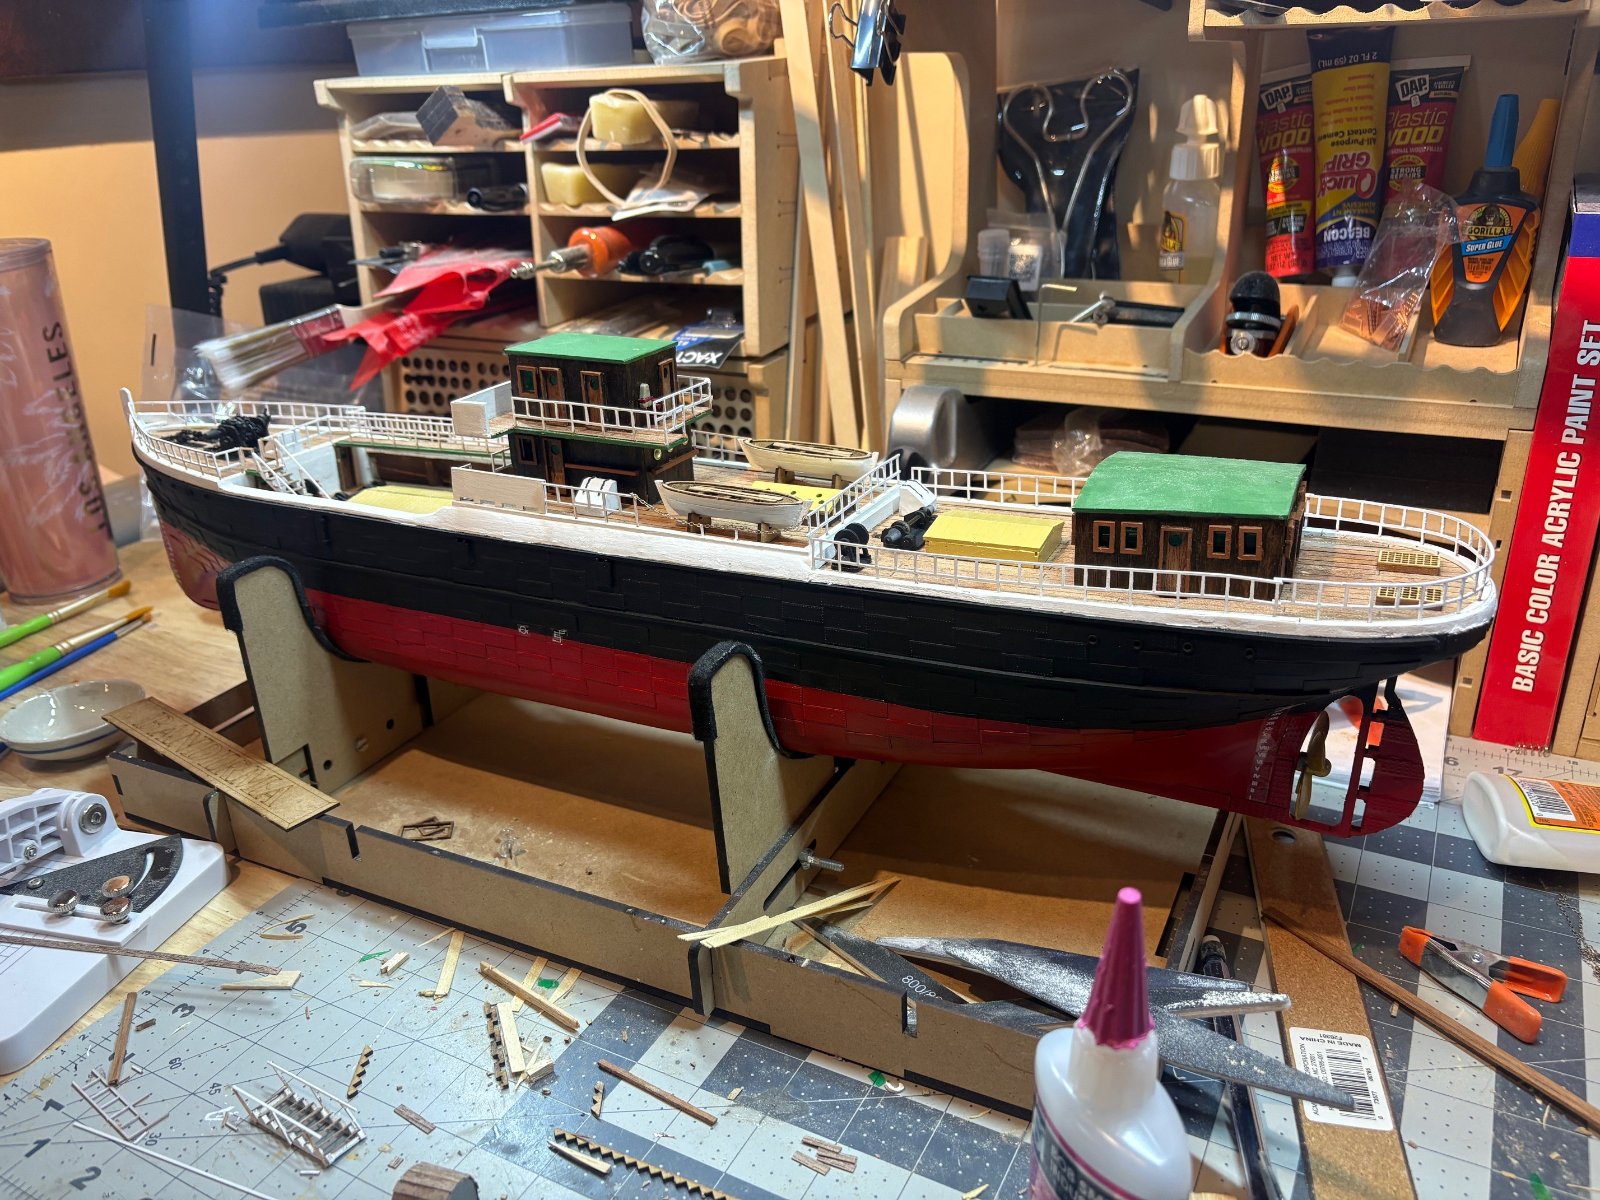
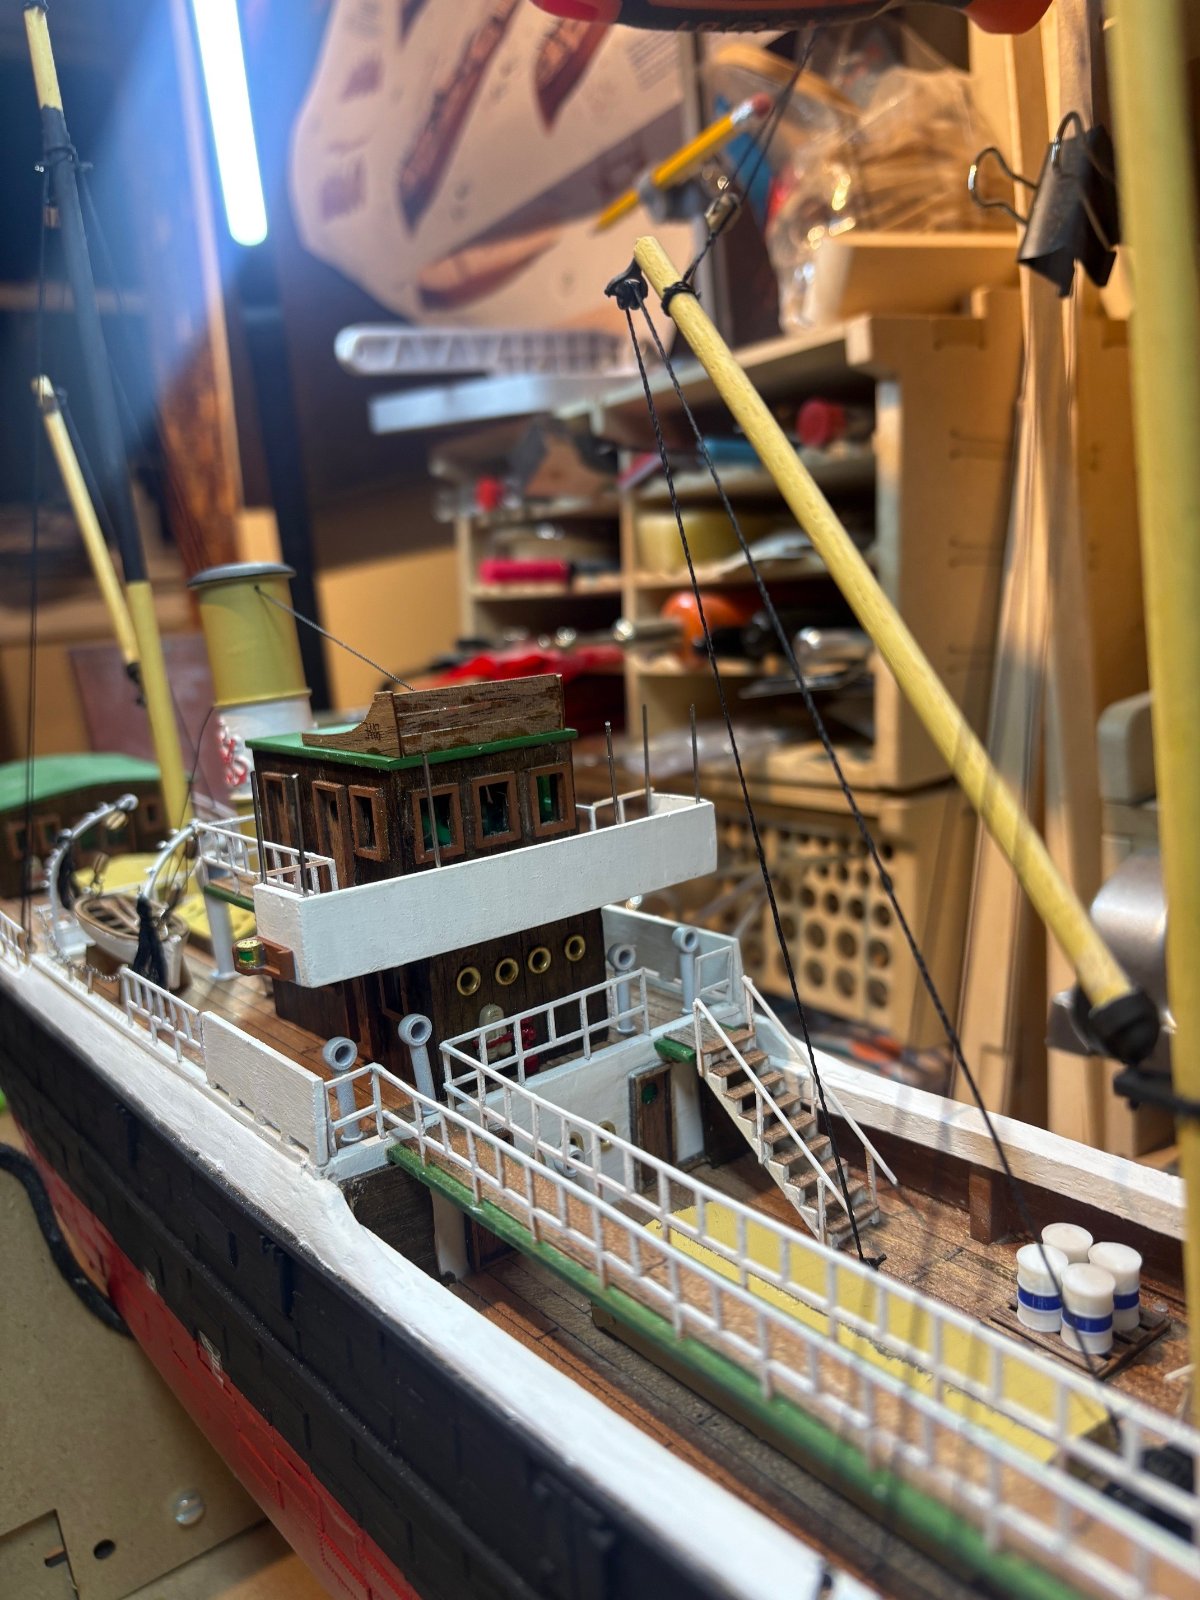
picking away at side jobs while i wait for the plates to arrive... fitted some railings on the wheelhouse structure , glued down the engine room skylight , installed the railing bases for the rest of the vessel. put together the winches which came in clear lexan parts.. have to airbrush. finally the lifeboats.. they came as a bread-and butter type of construction. need to do some more sanding and smoothing before paint

127251.jpg


127252.jpg


127253.jpg


127254.jpg
 
As an Amazon Associate we earn from qualifying purchases. Product prices and availability are accurate as of the date/time indicated and are subject to change.
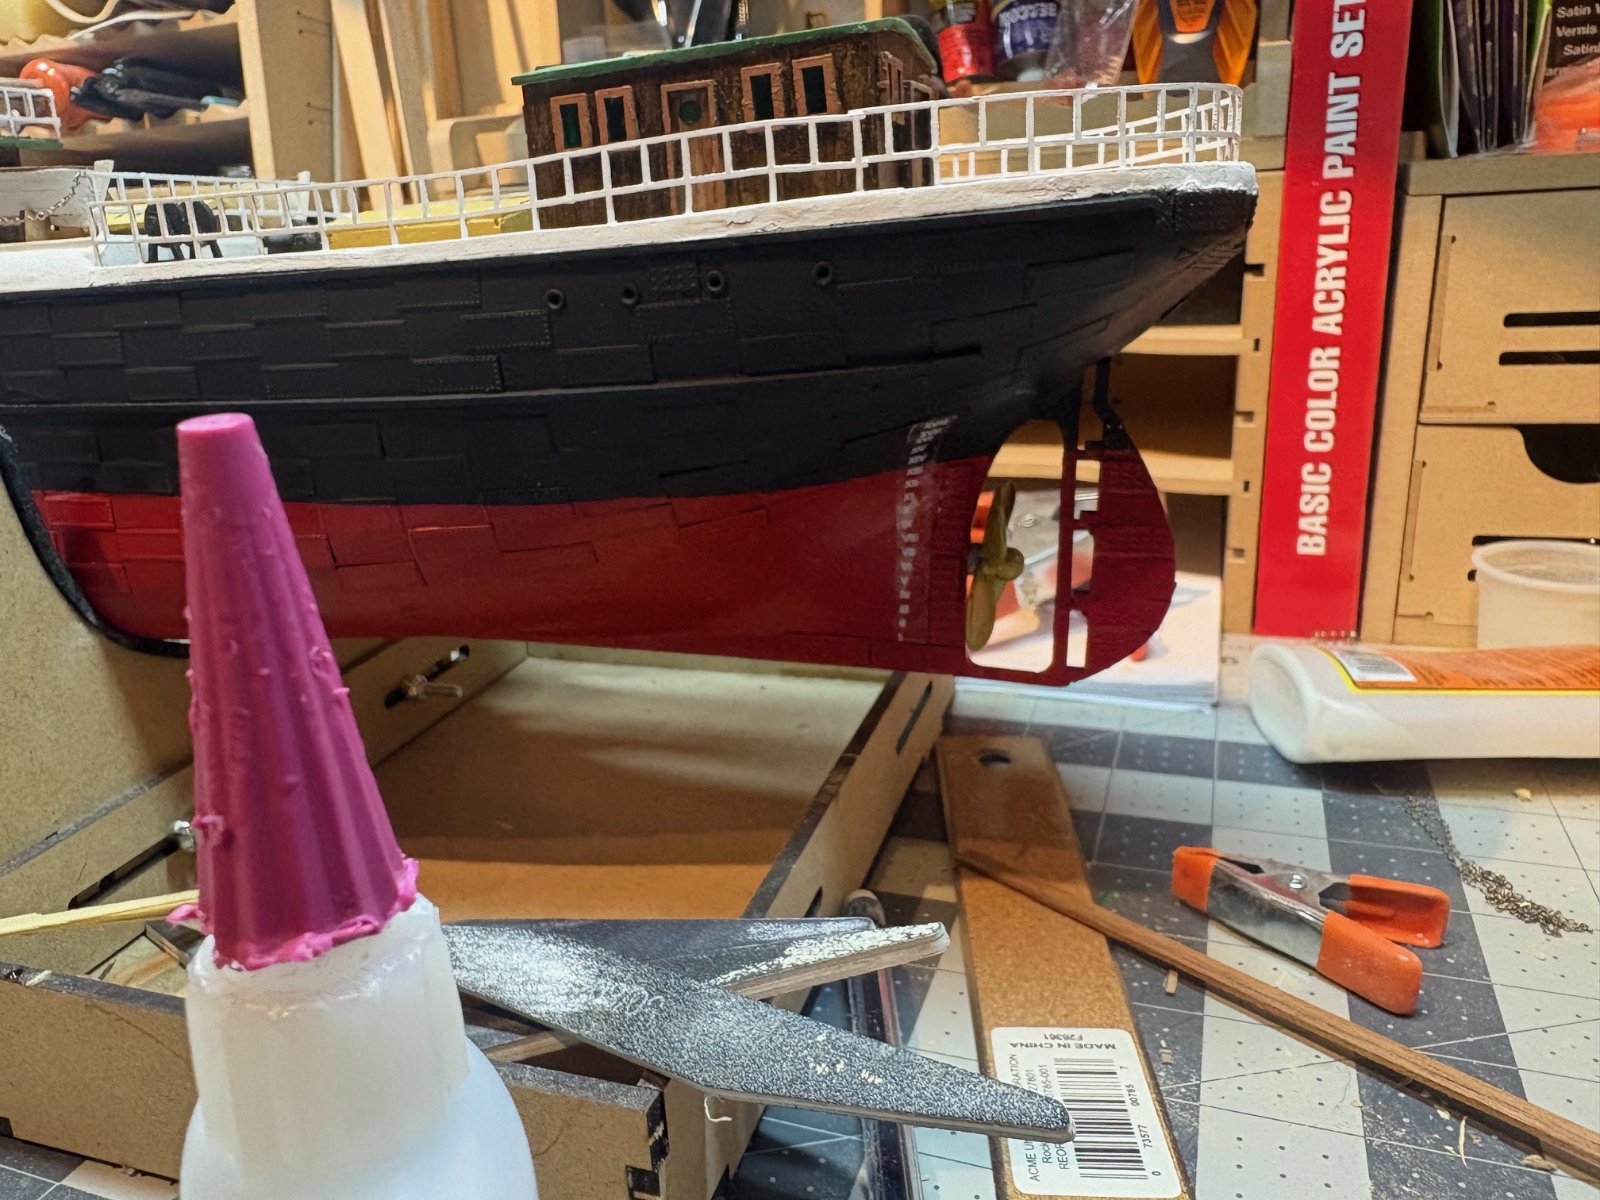
finally got some color on the hull. going to get the prop mounted then start work on the uppers. i didnt have enough plating to do all the way to the keel , but i think there is enough on there for the eye to make the jump
 

Attachments

  • 1228252.jpg
    1228252.jpg
    258.9 KB
  • 1228253.jpg
    1228253.jpg
    337.7 KB
  • 1228251.jpg
    1228251.jpg
    256.8 KB
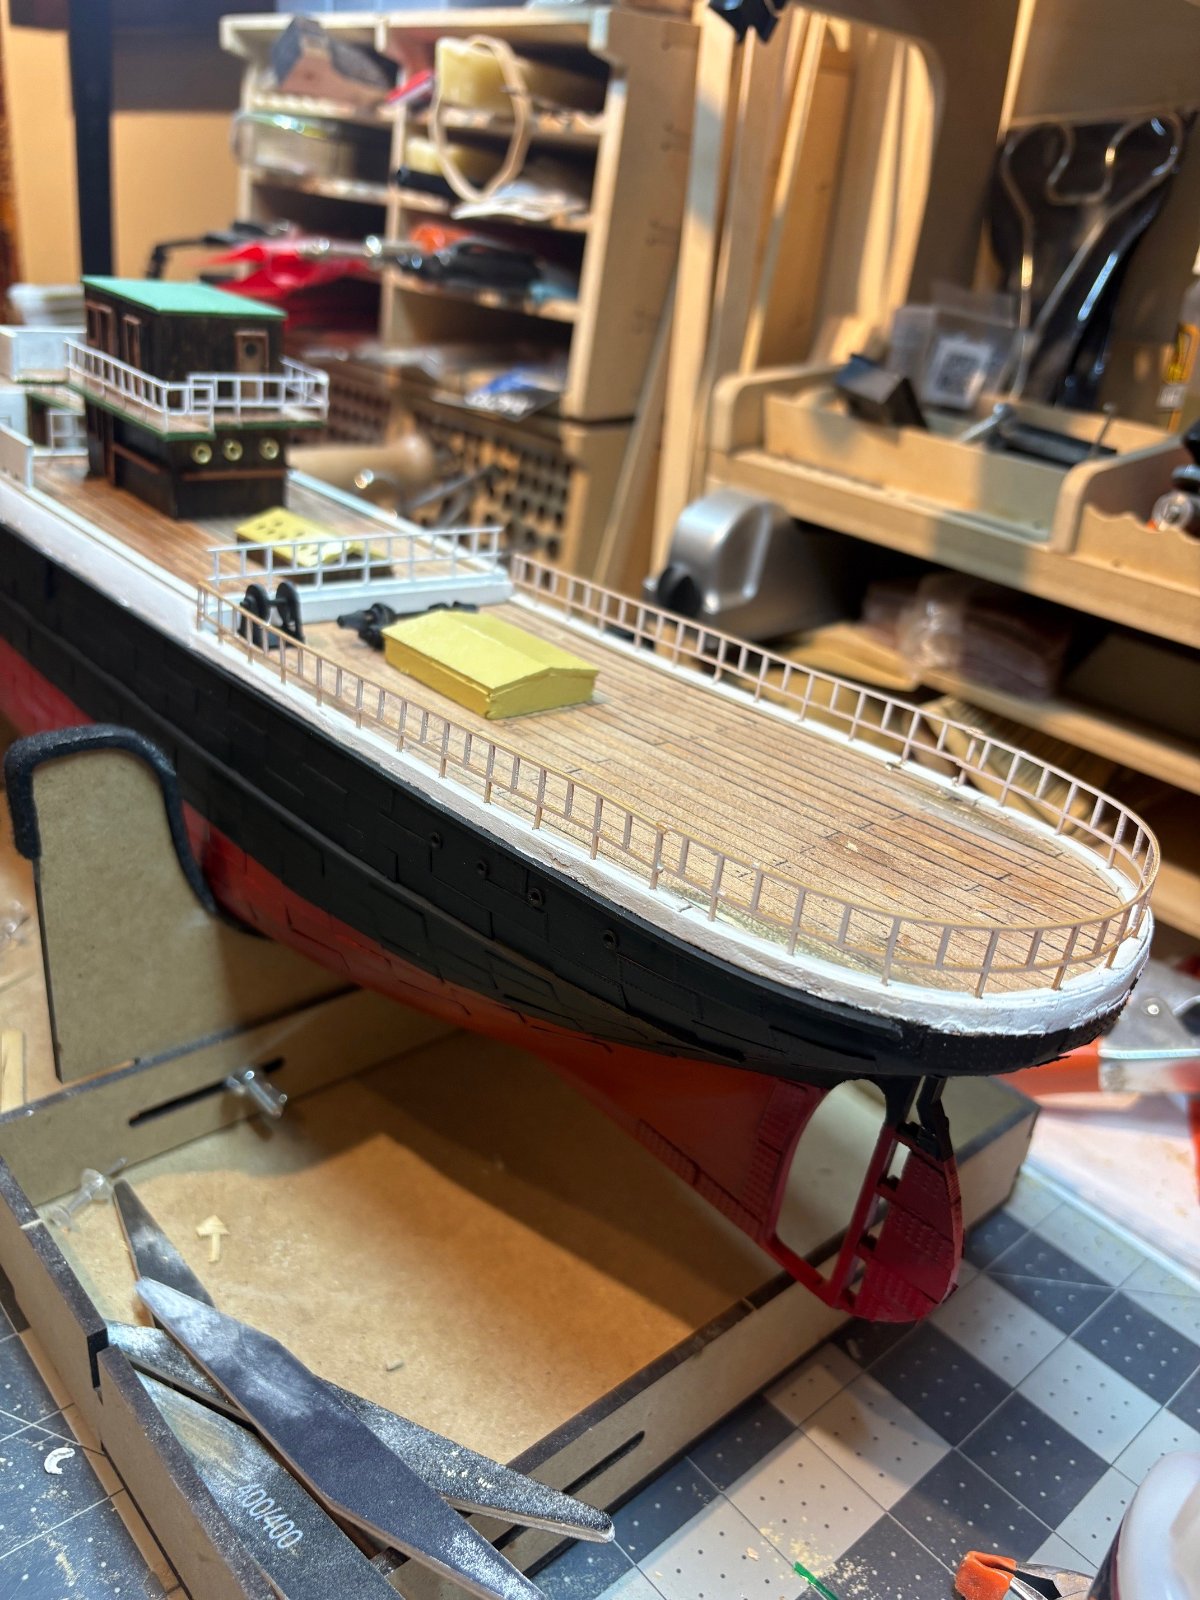
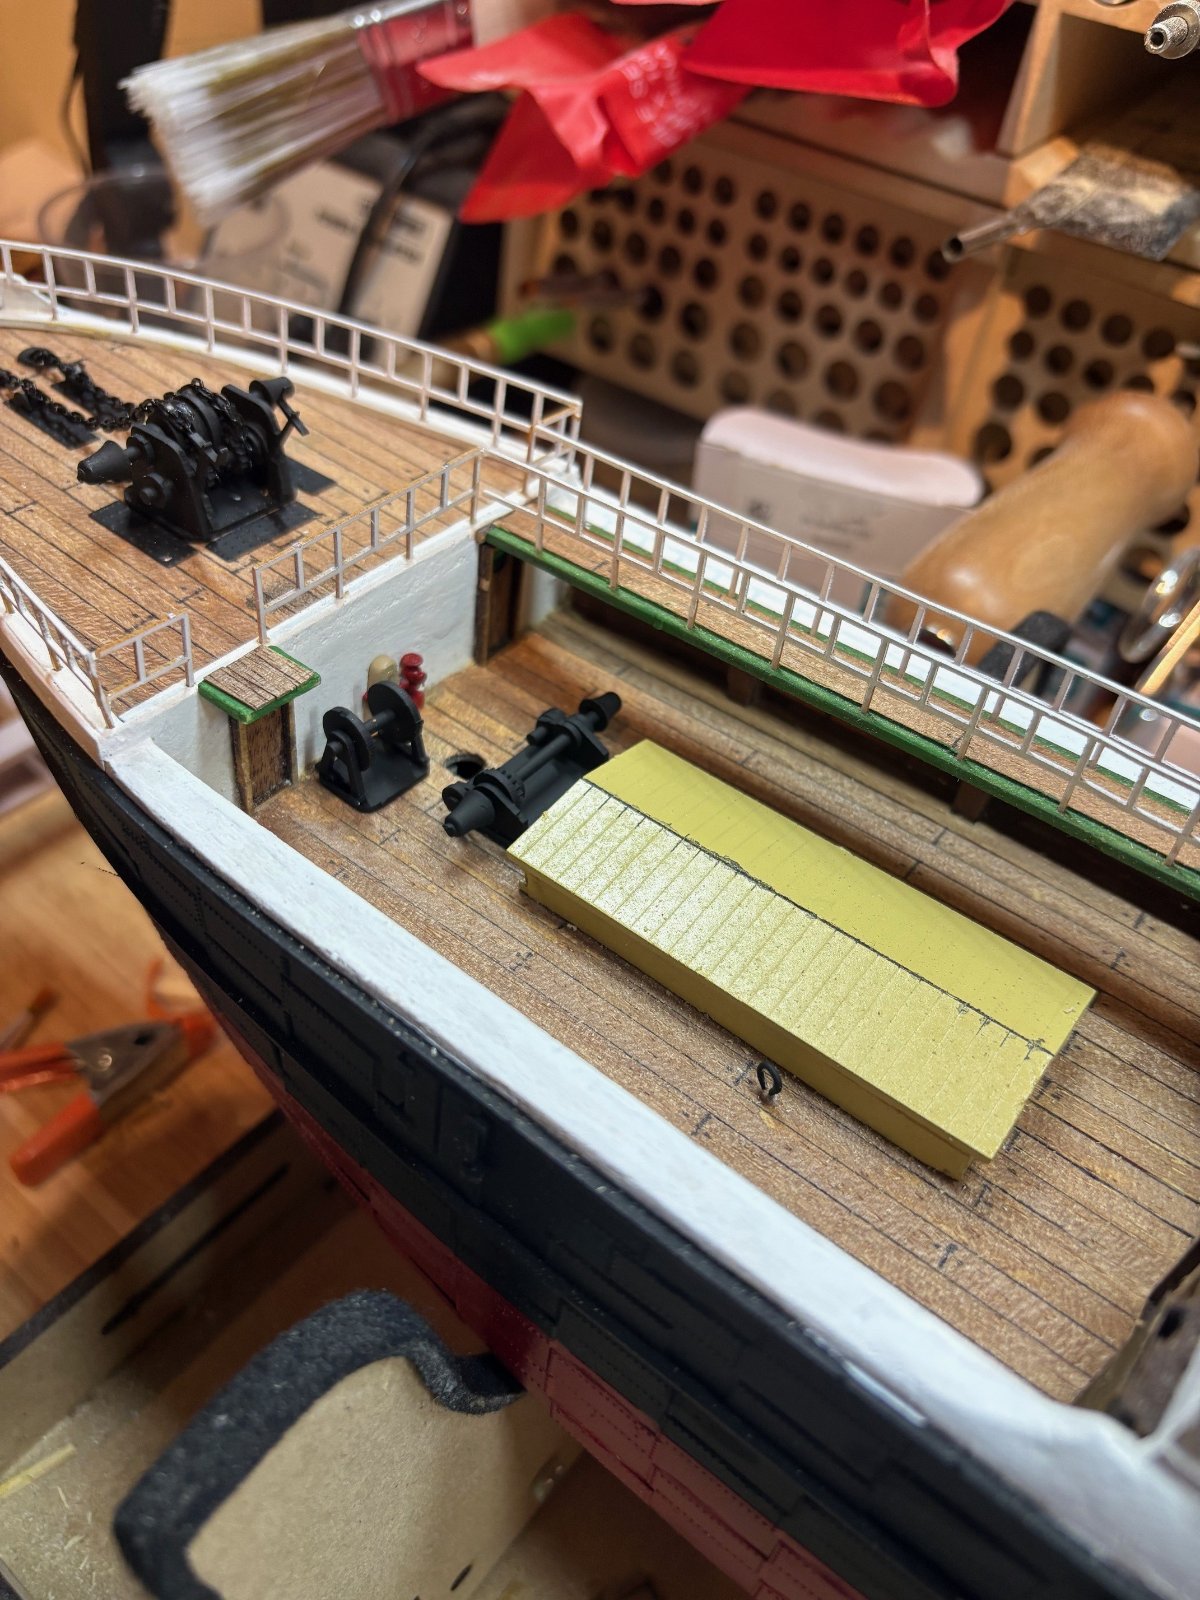
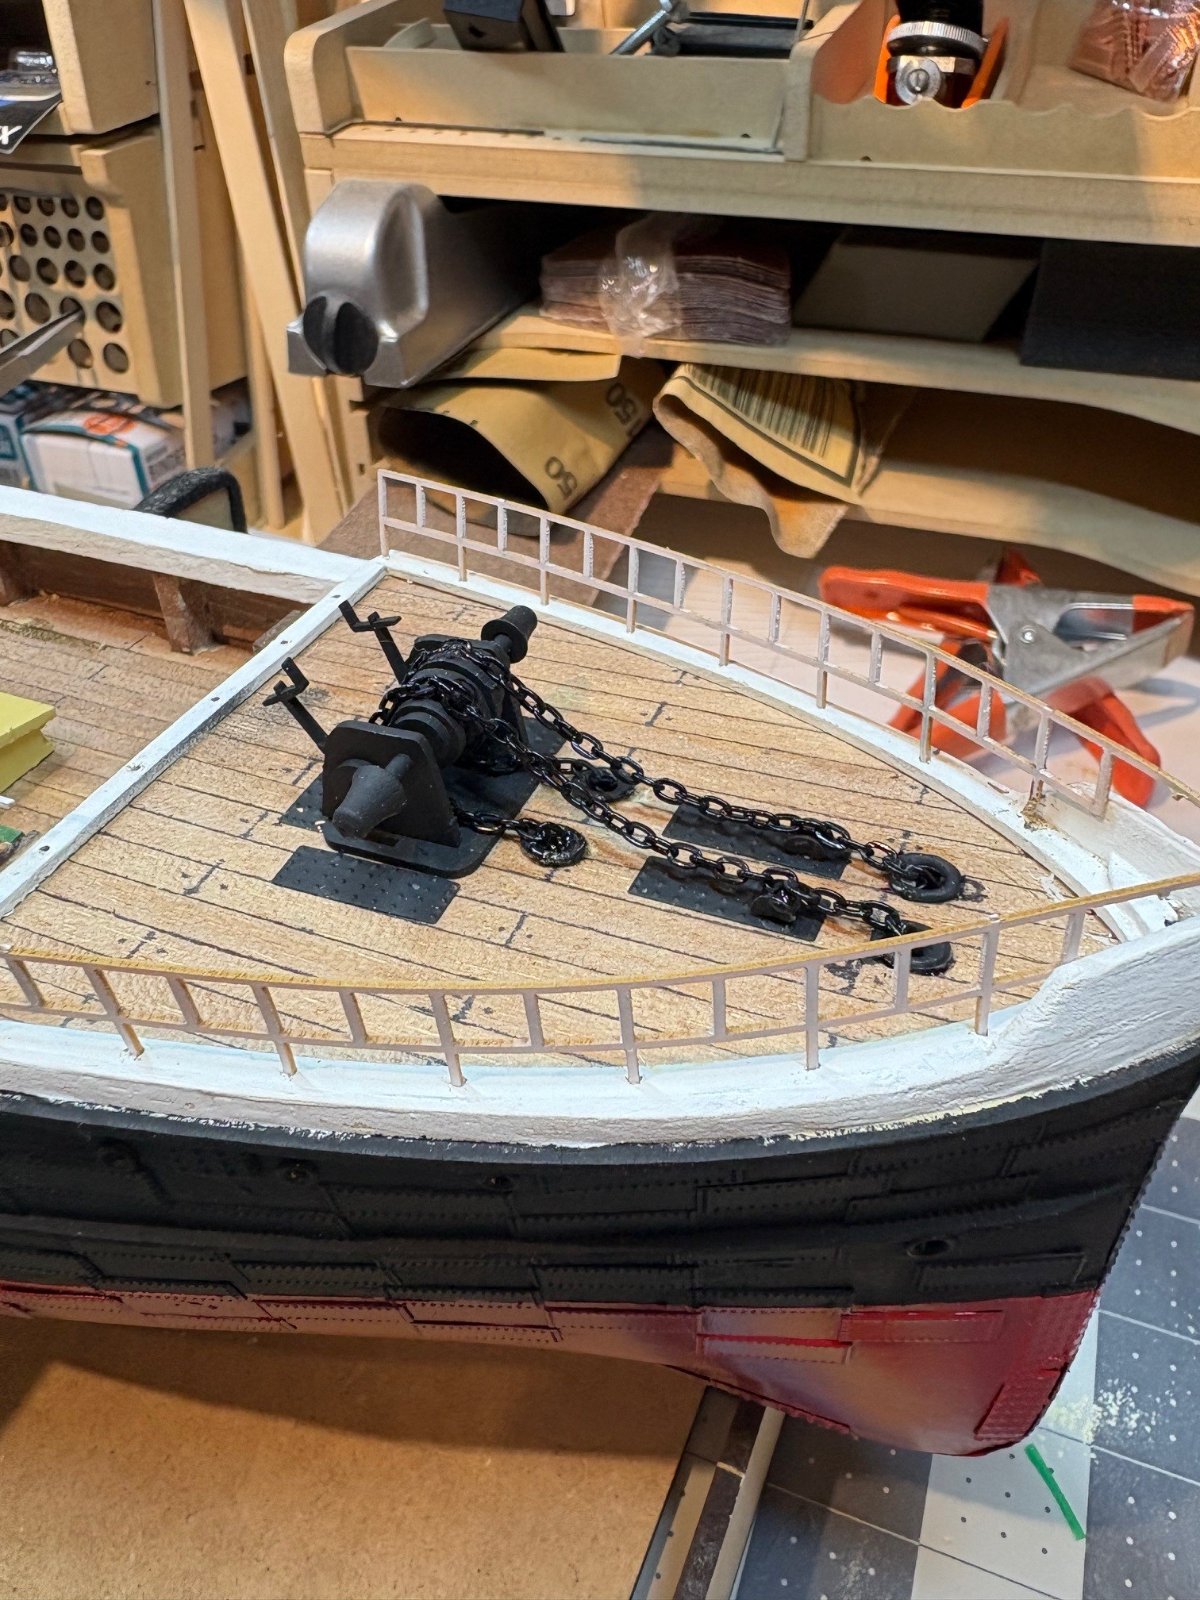
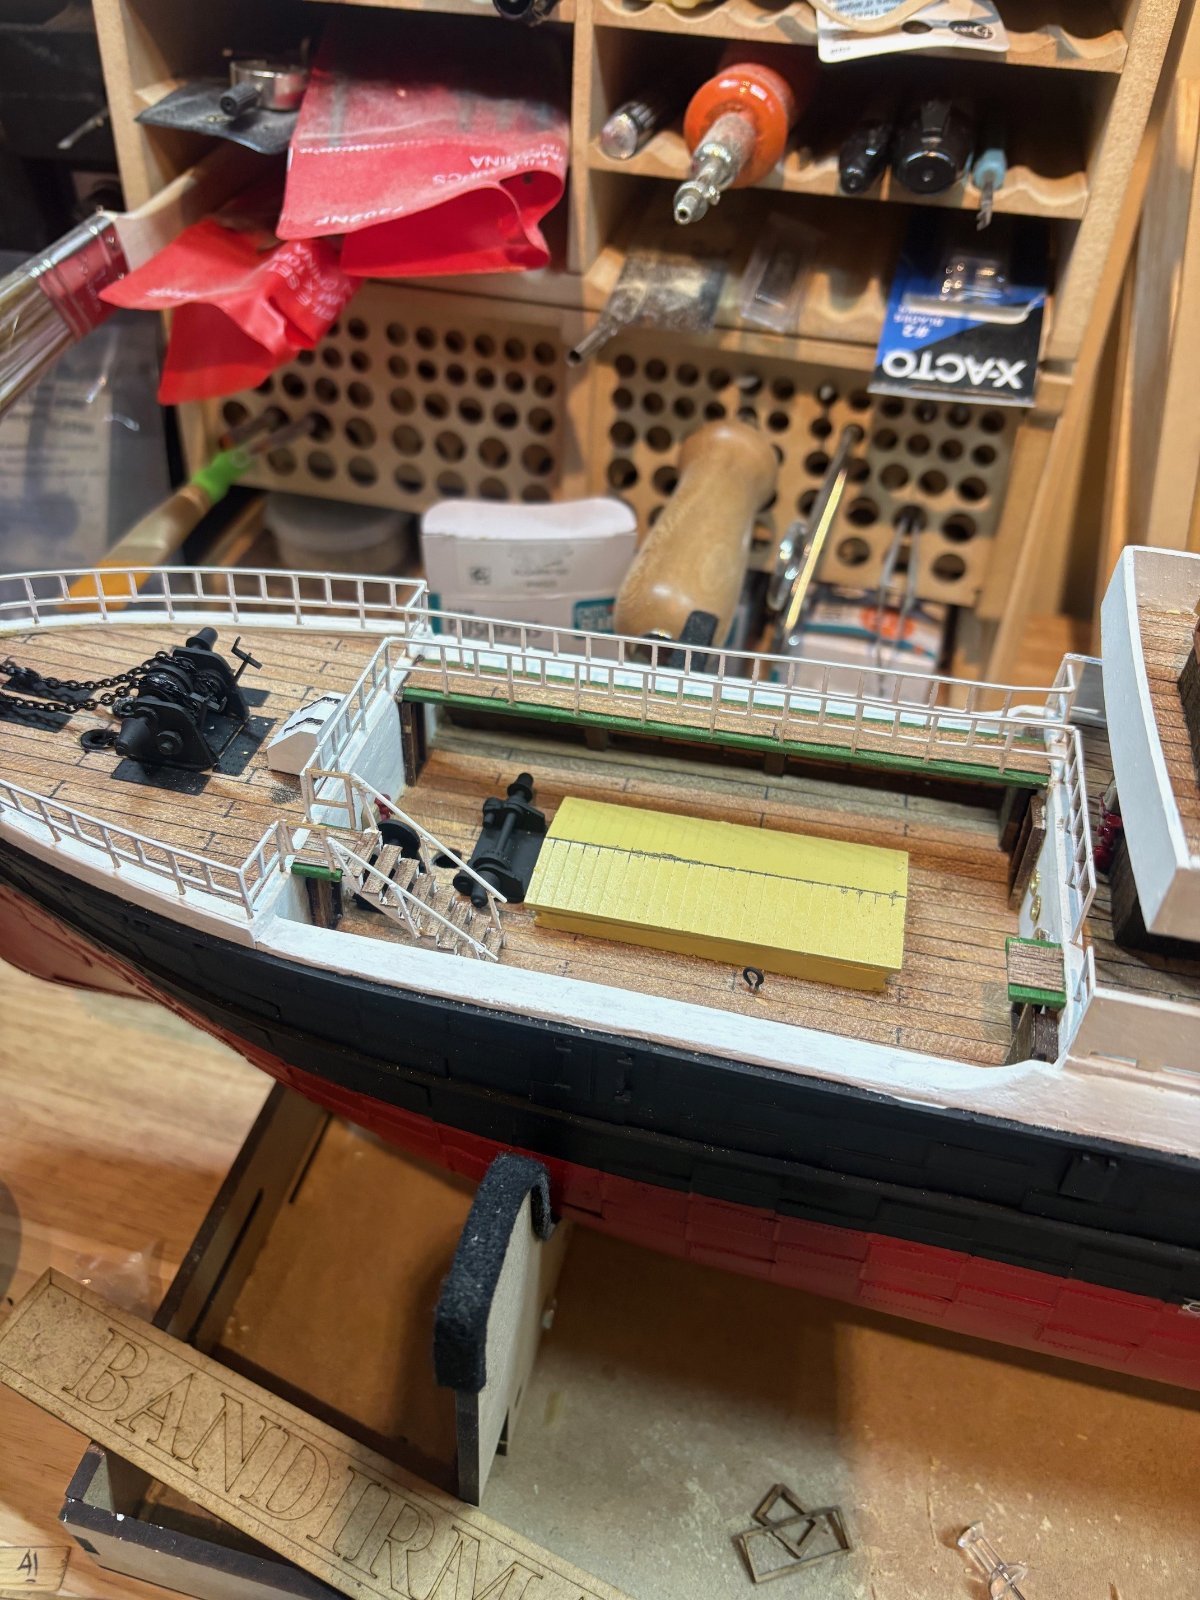
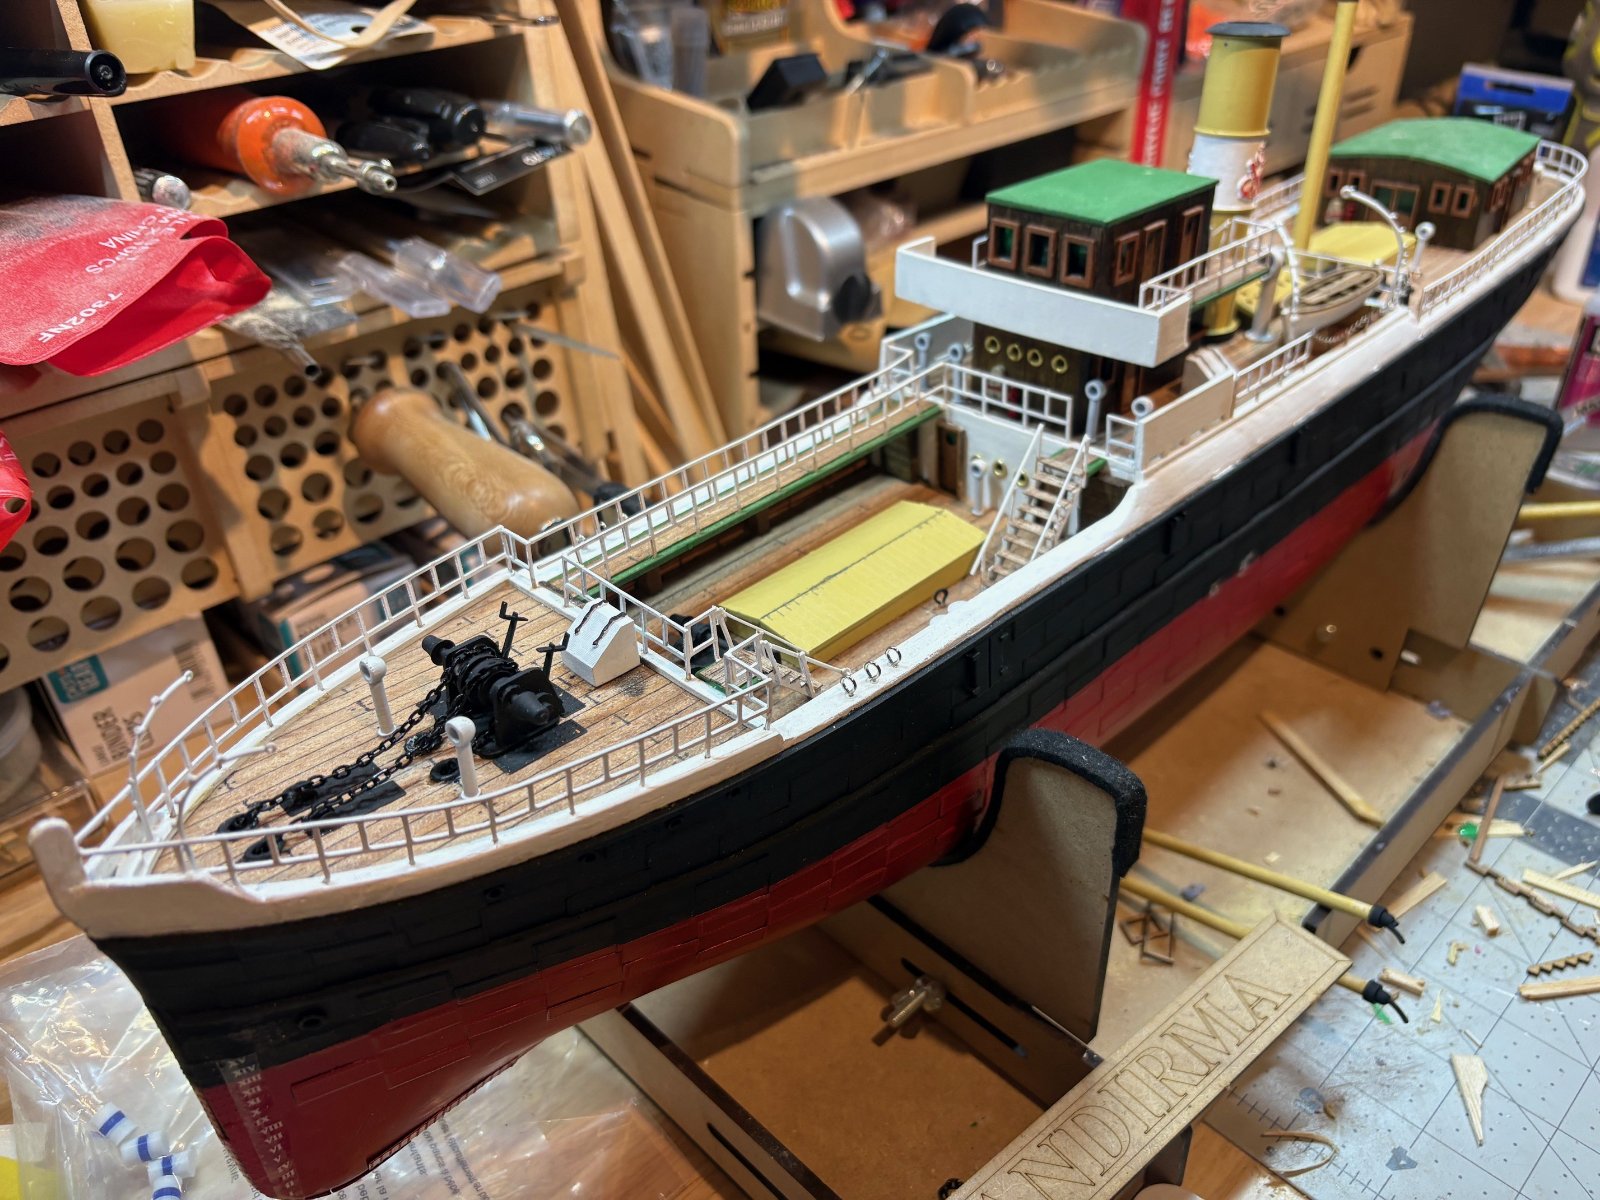
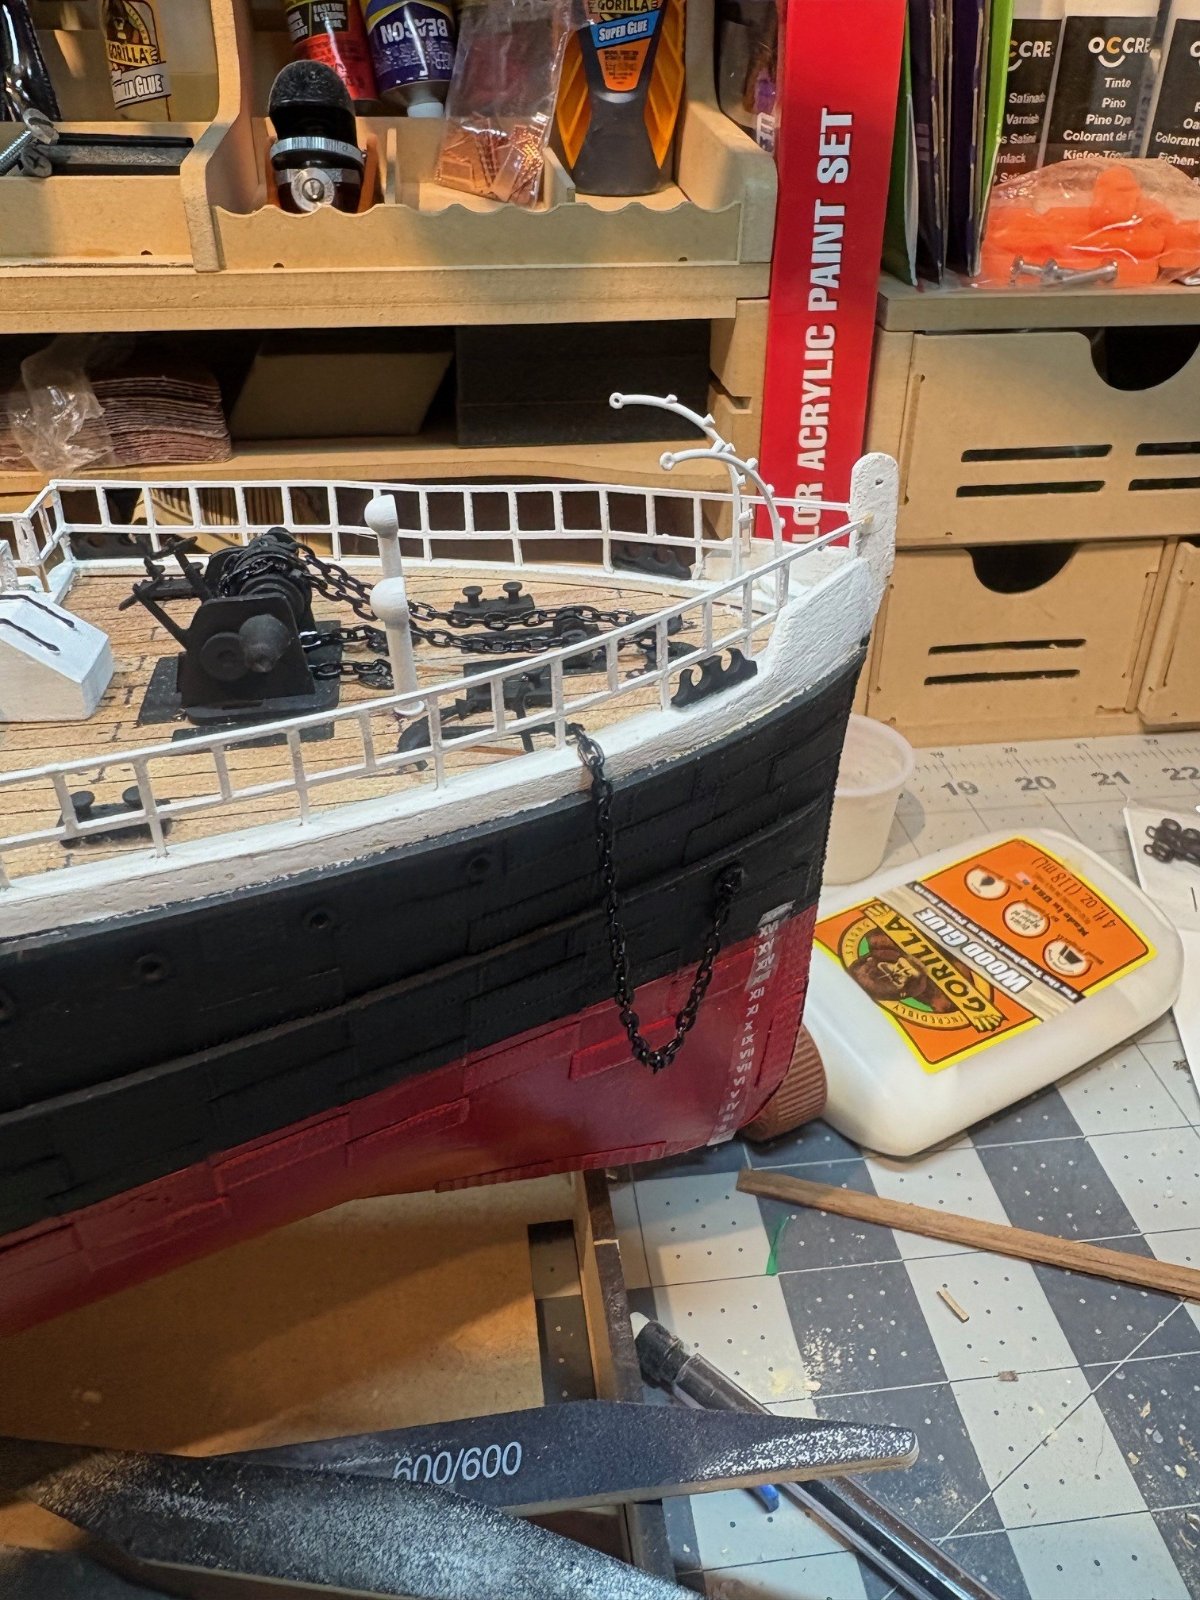
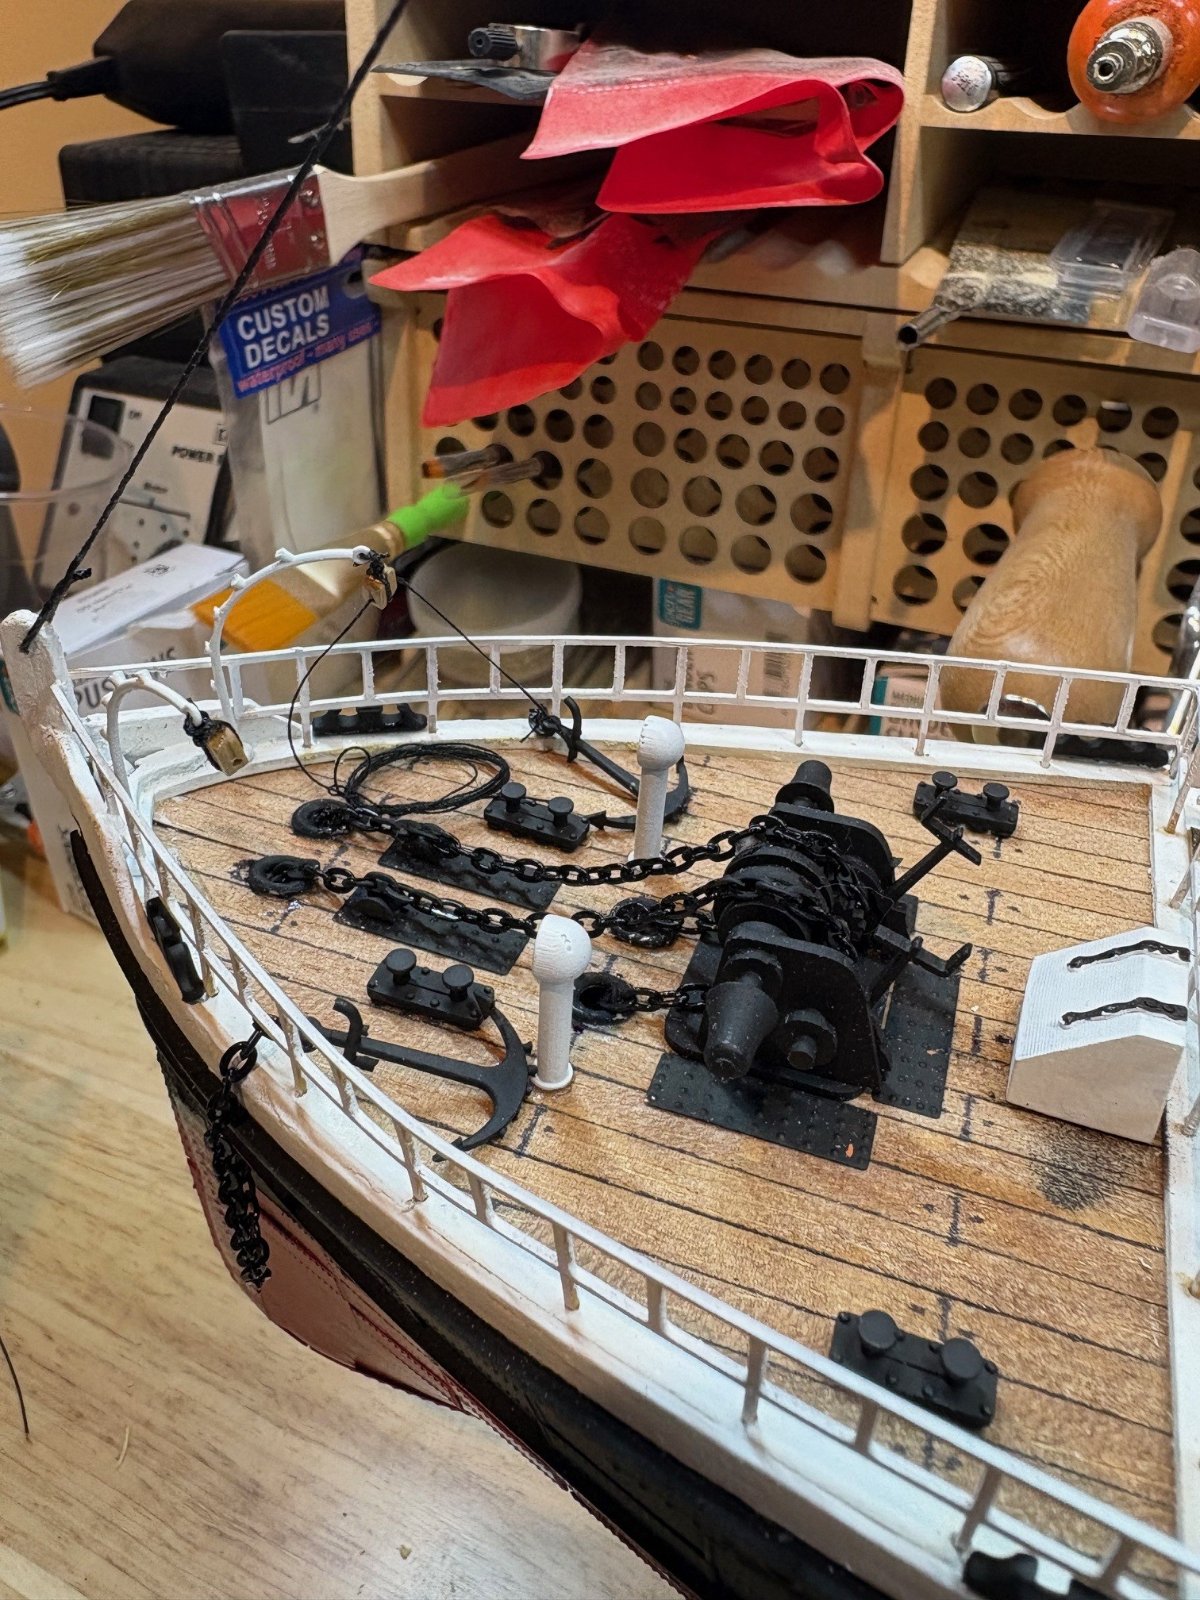
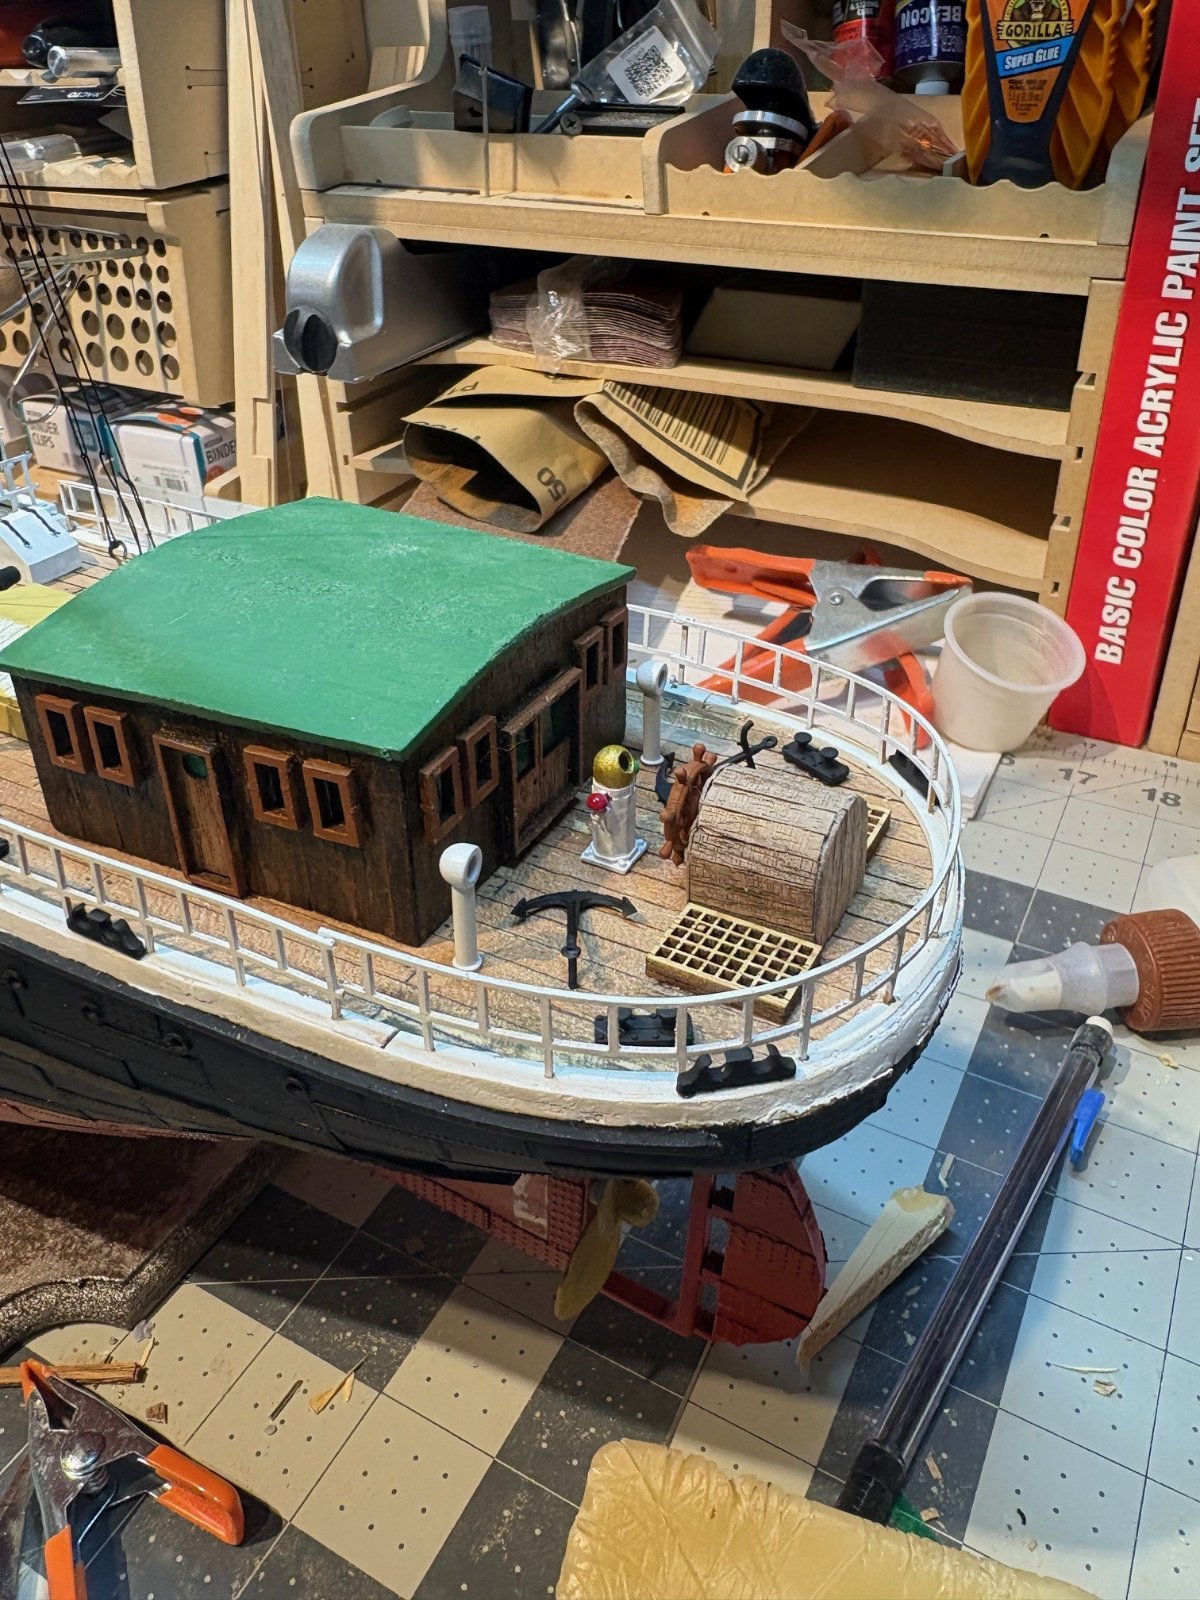
made some good progress on the "dandyfunk". shes starting to look like a ship ... focsle , anchor windlass and chain and i added some steel plates where the machine would need reinforcement and where the chain would ride along the deck to the hawsepipe. the hawsholes and spillpipes were pieces sourced from bluejacket as the kit only had the round portholes for that location which didnt look right. actually the plans didnt provide for the spillpipes so i created them just forward of the windlass (the chain has to come from someplace). i mounted some fire hose stations i found on ebay in 1/96 scale. i scratched up some grab rails on the side of the forward house.. just needed it. was looking at the way they had the ladder going from the focsle deck to the foredeck and it was right over the door... didnt make sense as somebody would not be able to open it to get on deck! so i will have to scratch up a platform landing that will push it out just a bit.
 

Attachments

  • 11261.jpg
    11261.jpg
    337 KB
  • 11262.jpg
    11262.jpg
    356.7 KB
  • 11263.jpg
    11263.jpg
    318.8 KB
  • 11264.jpg
    11264.jpg
    344.1 KB
  • 11265.jpg
    11265.jpg
    387.5 KB
  • 11266.jpg
    11266.jpg
    296.7 KB
  • 11267.jpg
    11267.jpg
    341.7 KB
  • 11268.jpg
    11268.jpg
    456.6 KB
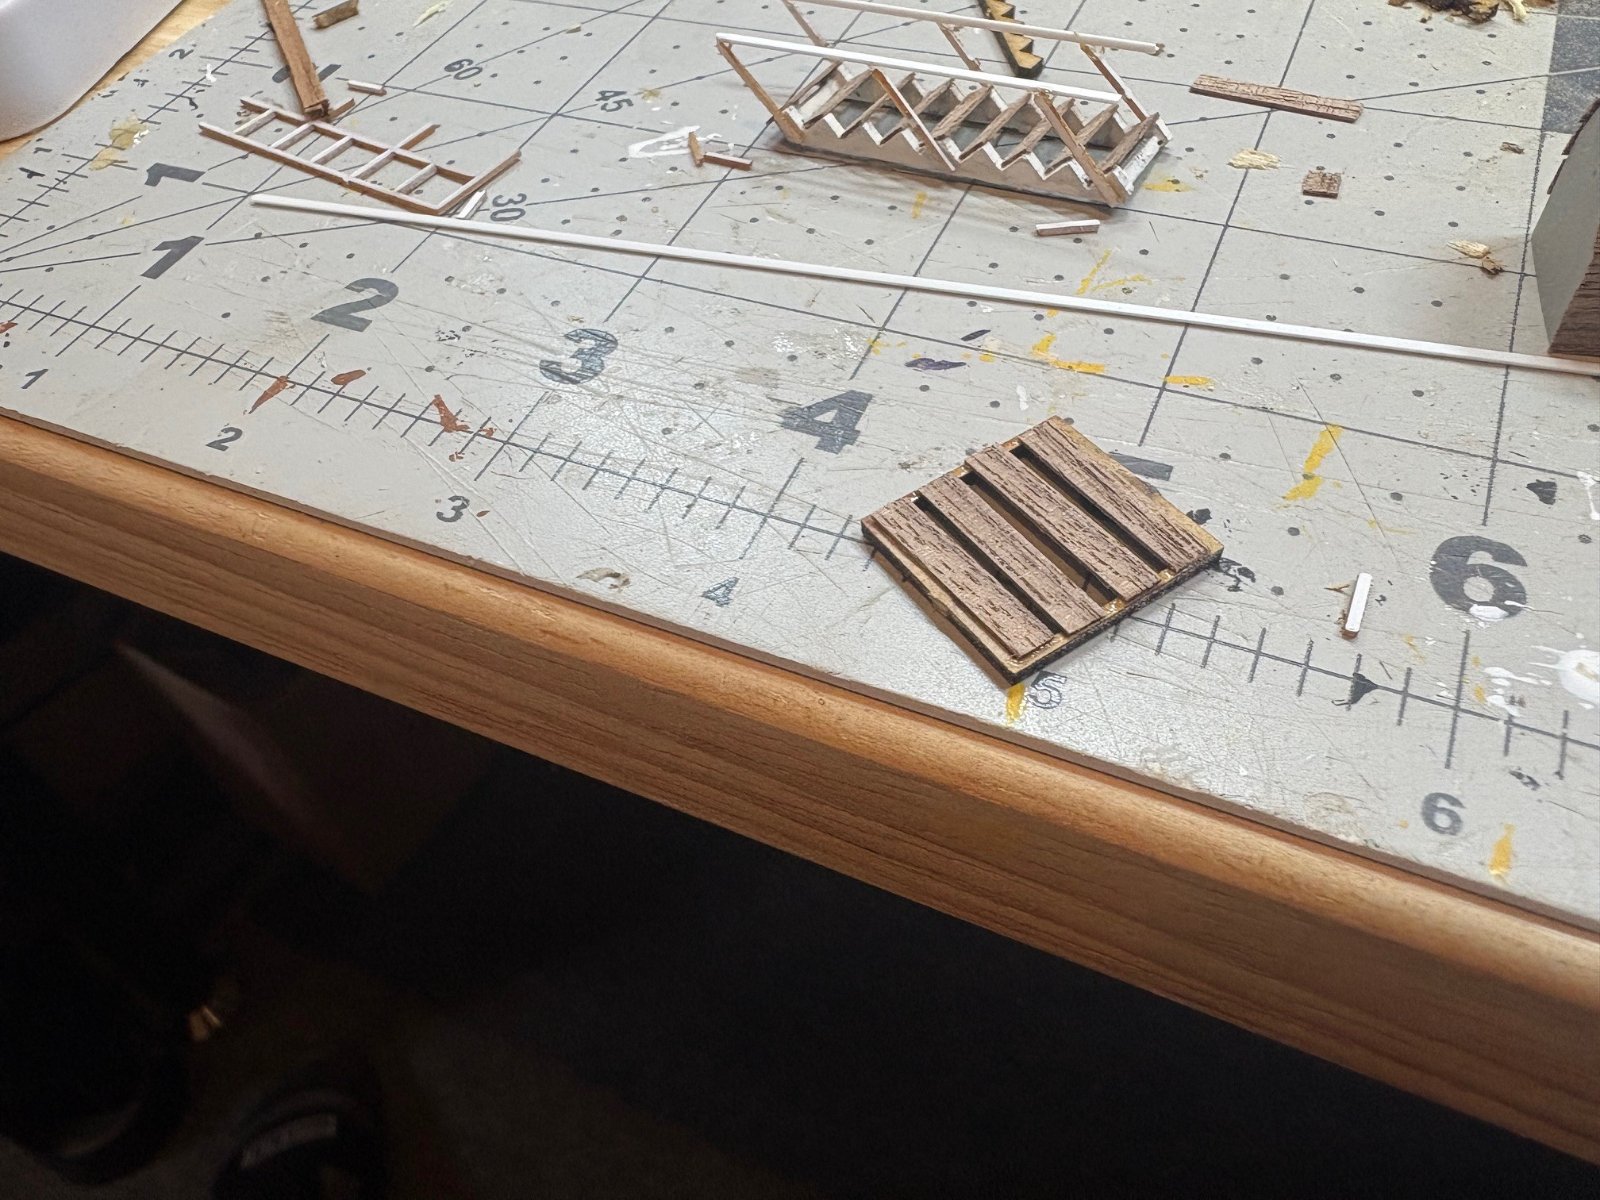
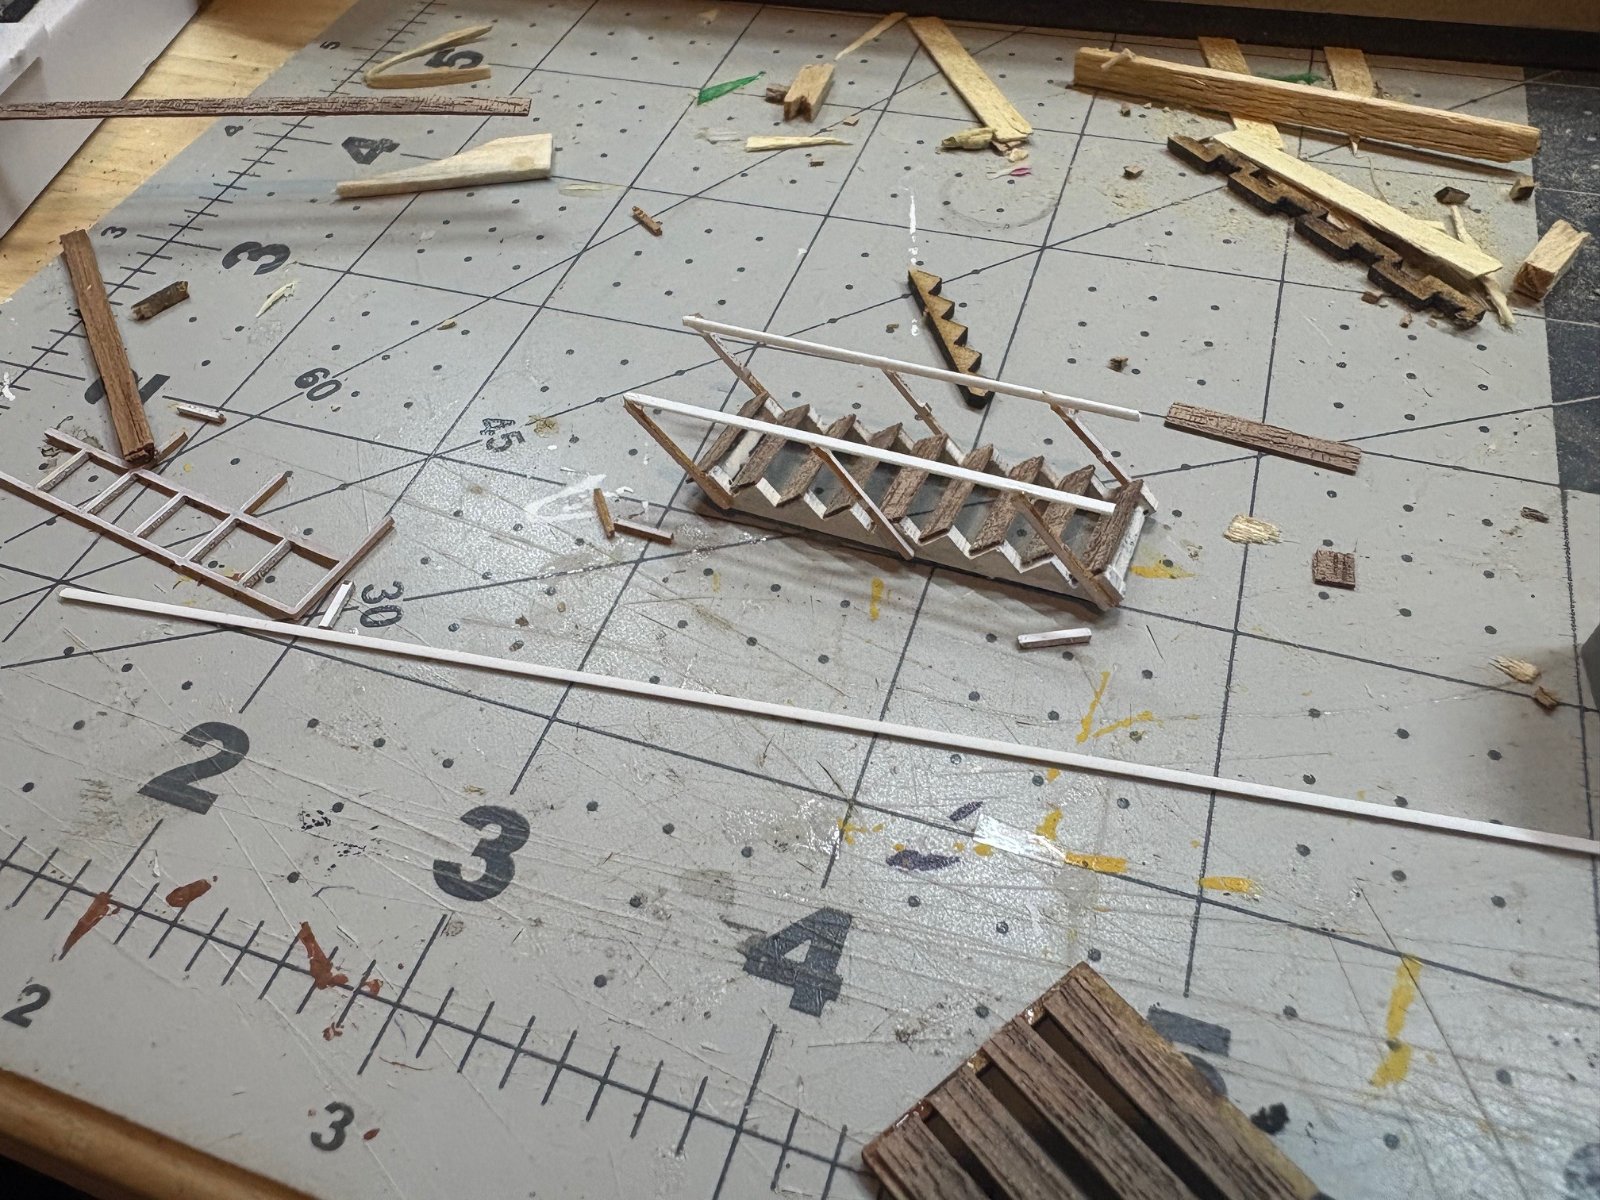
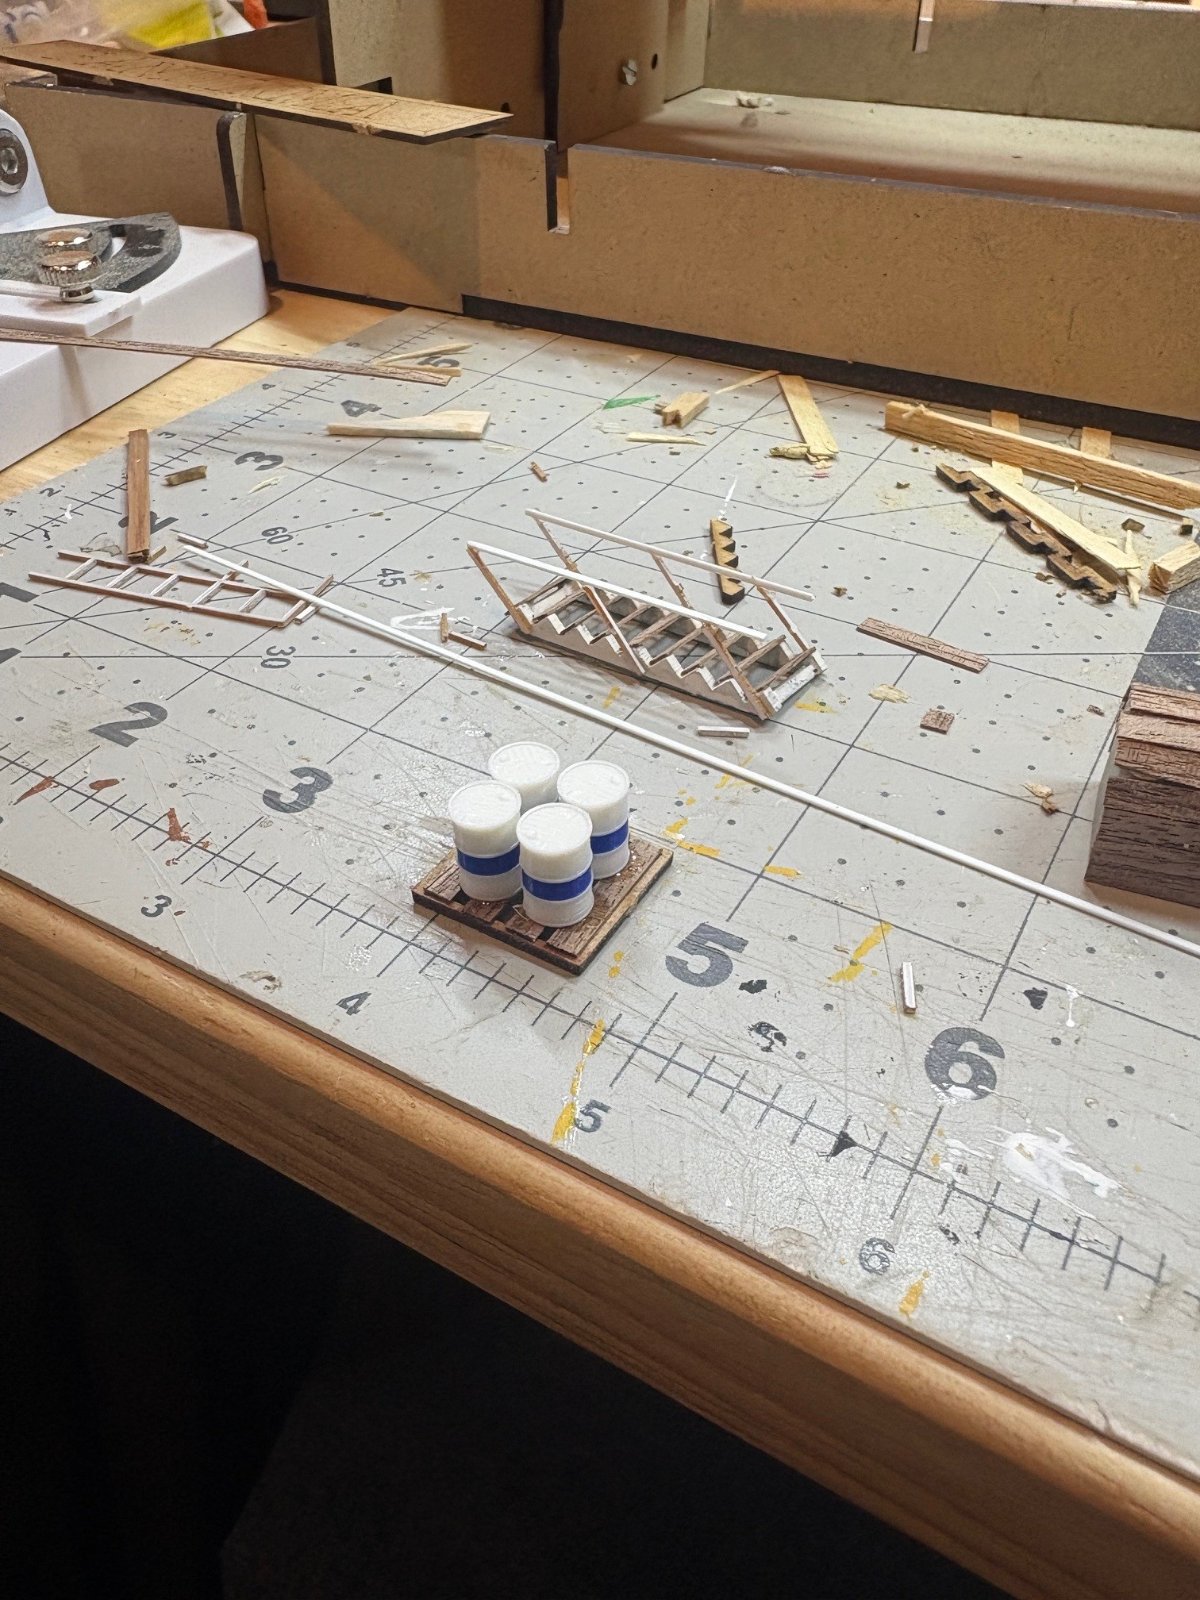
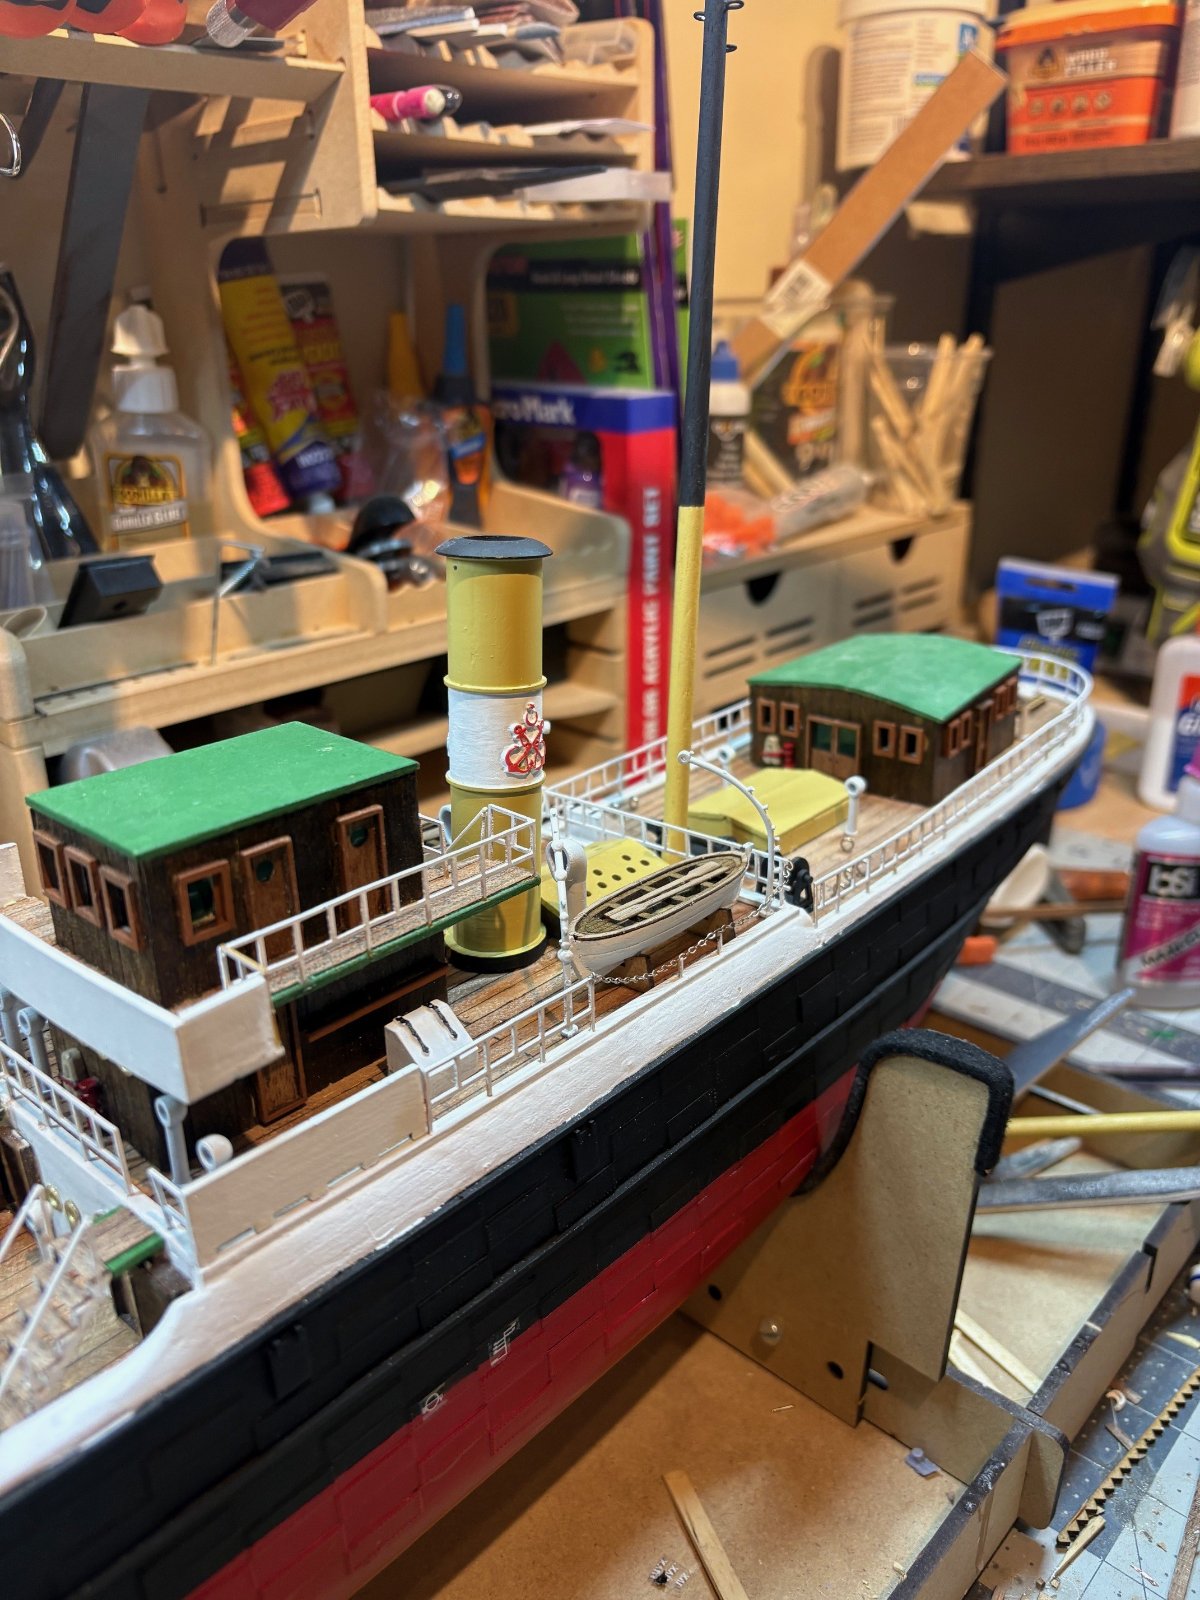
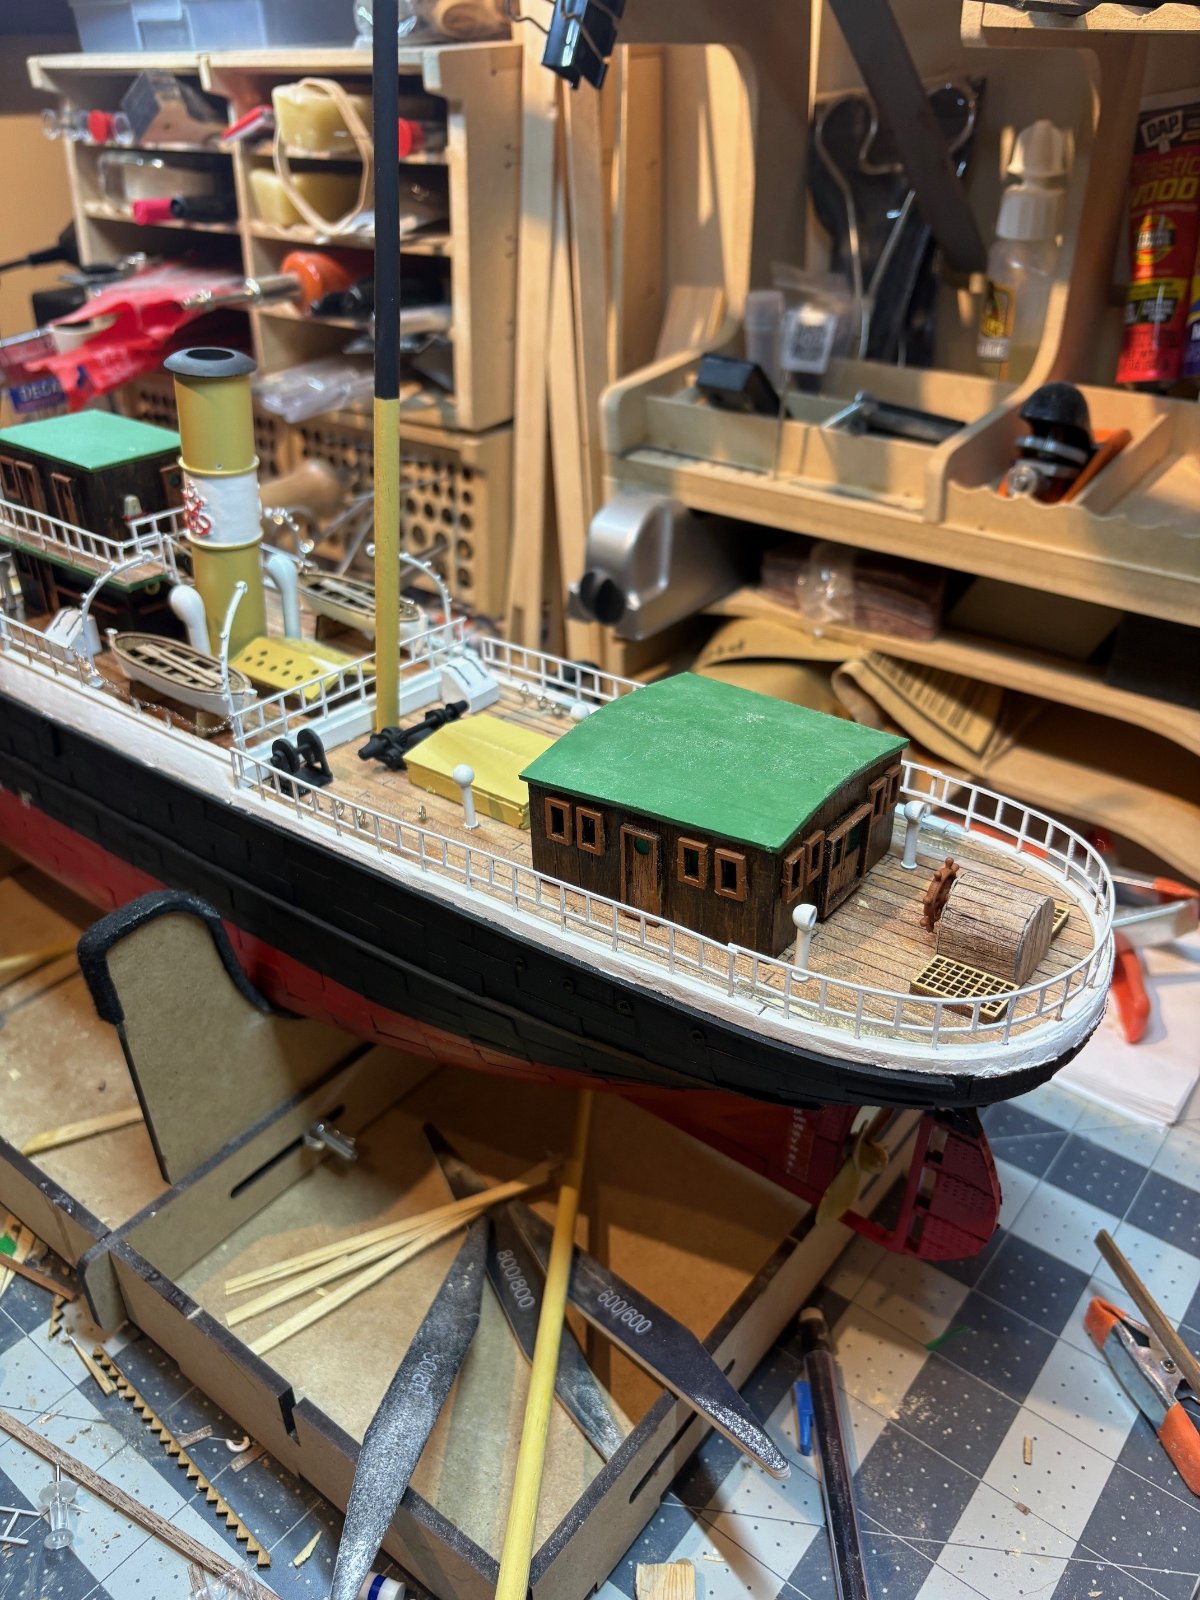
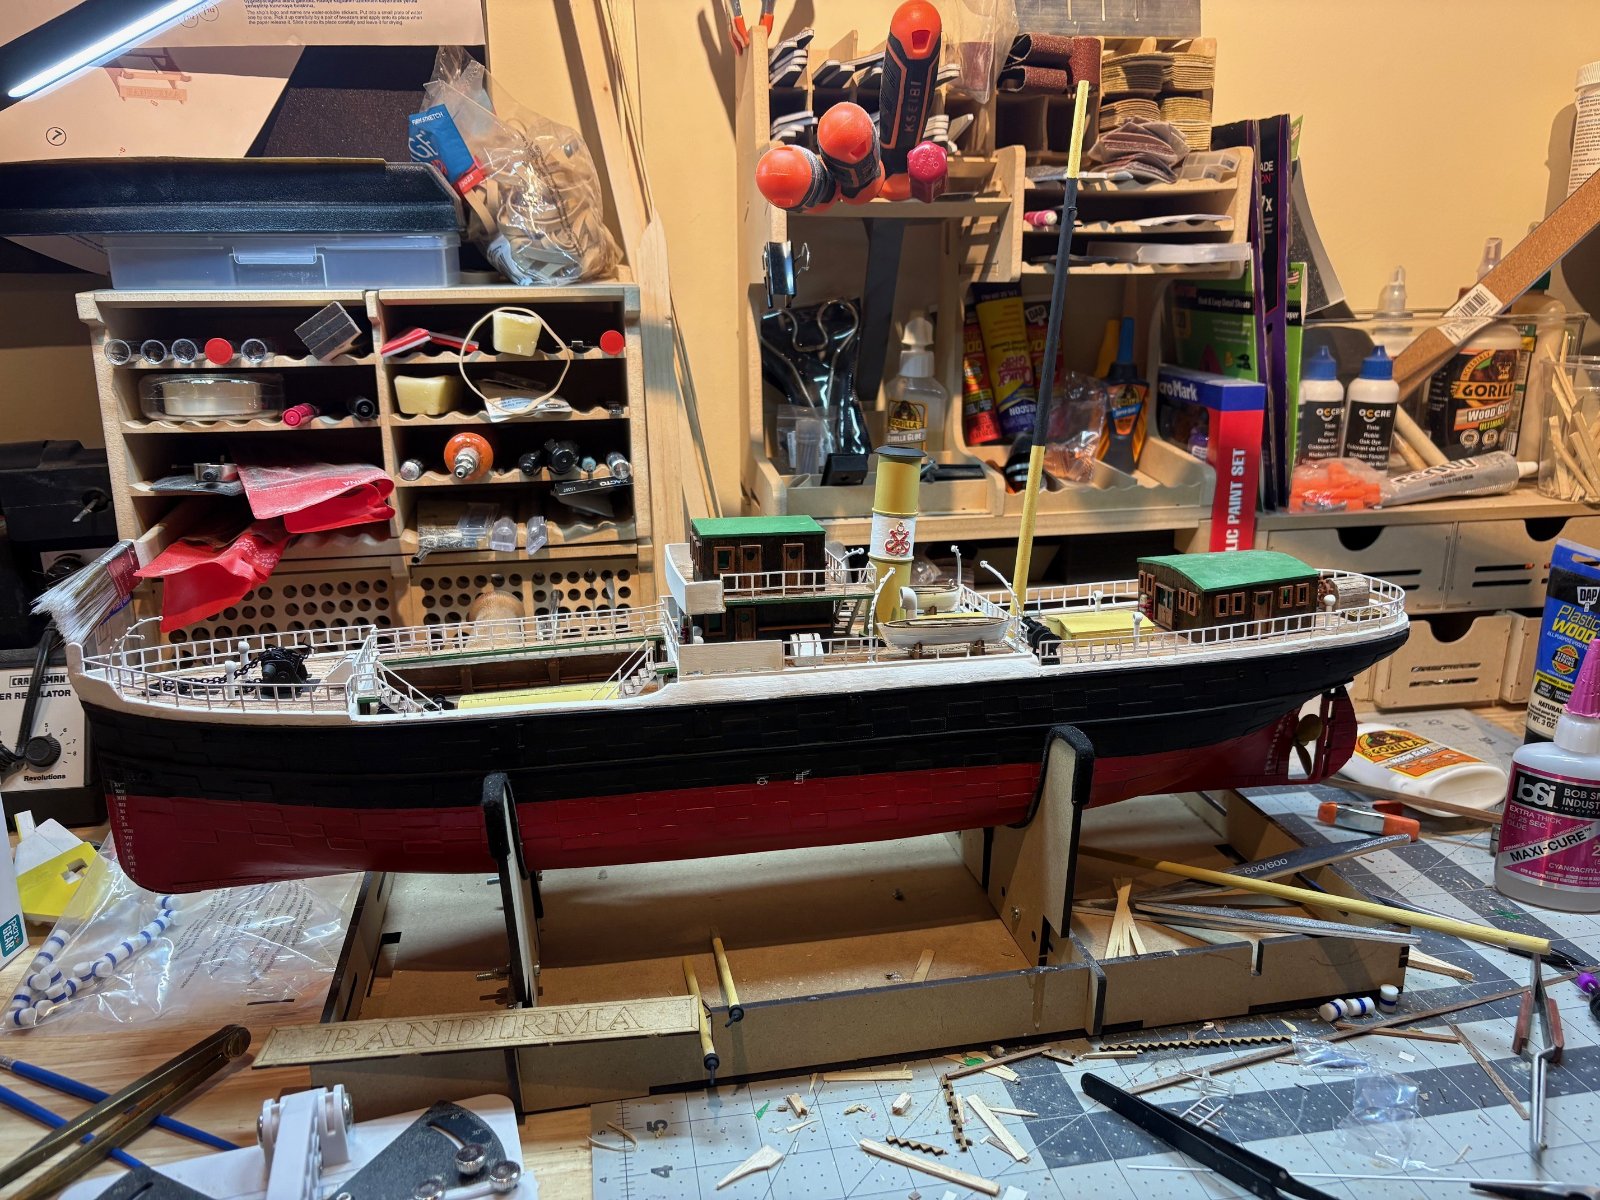
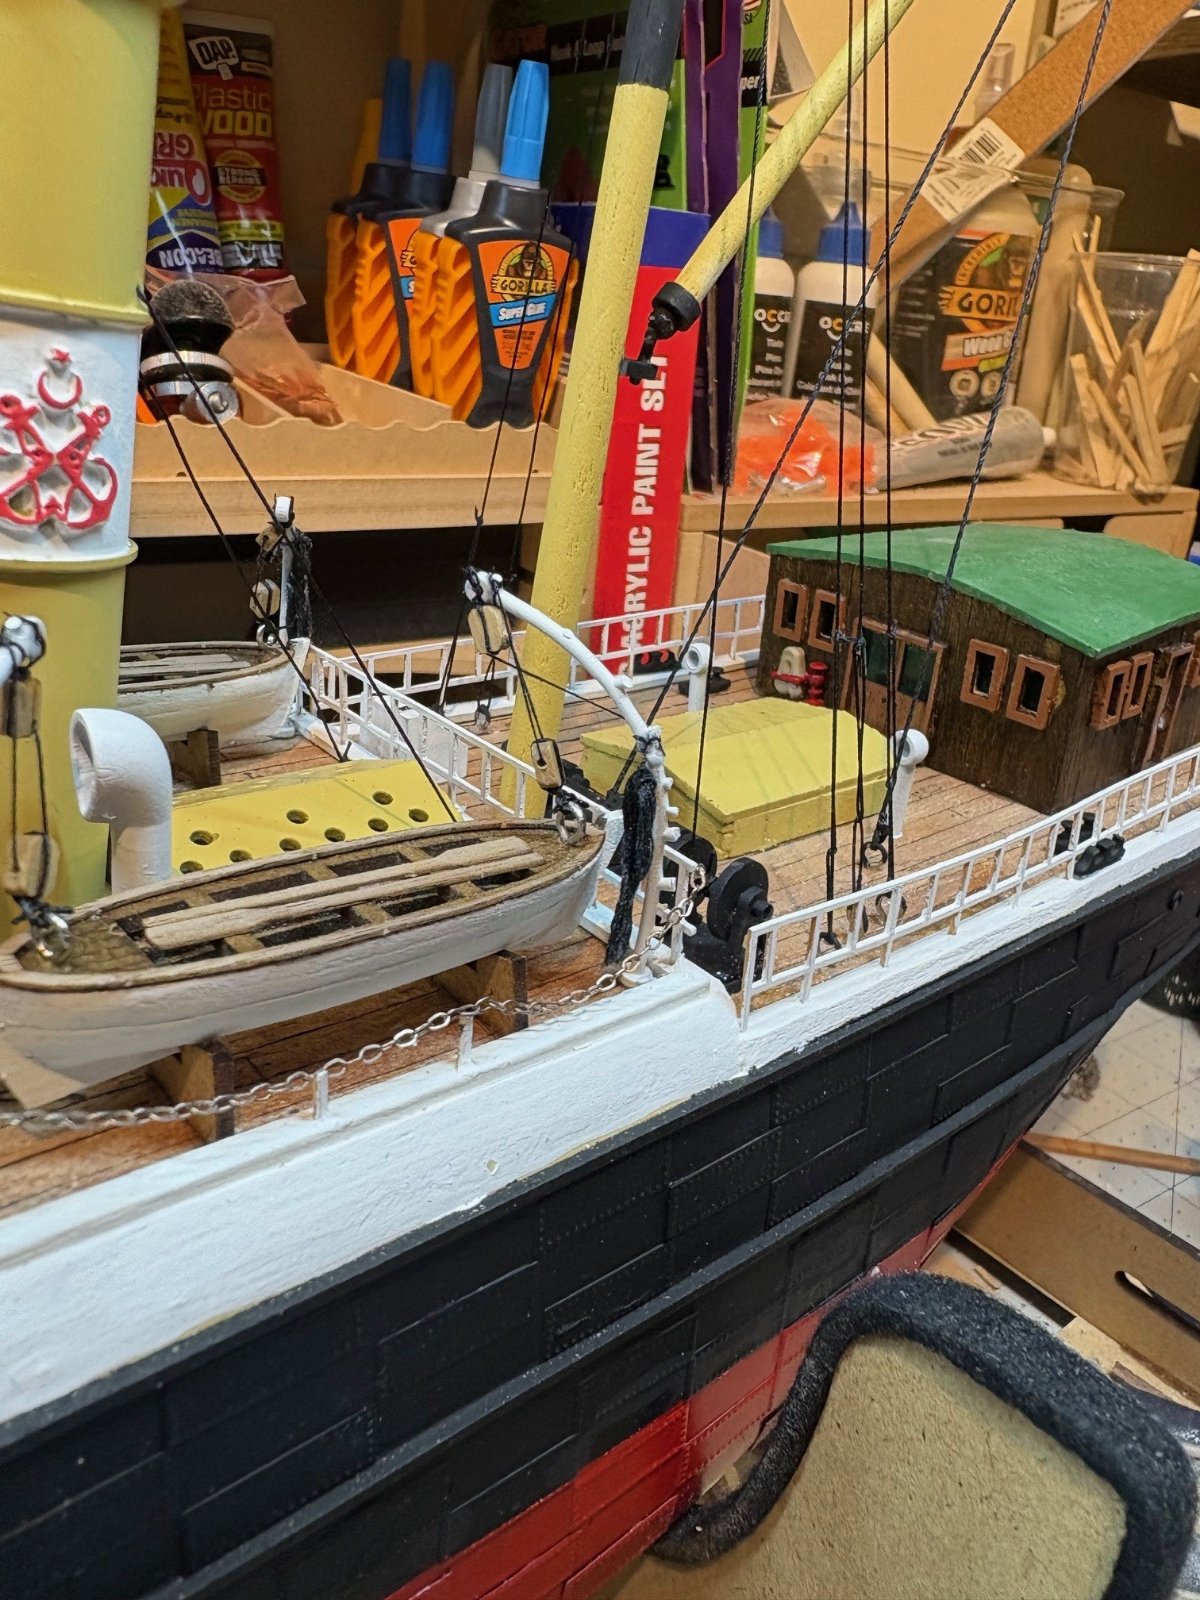
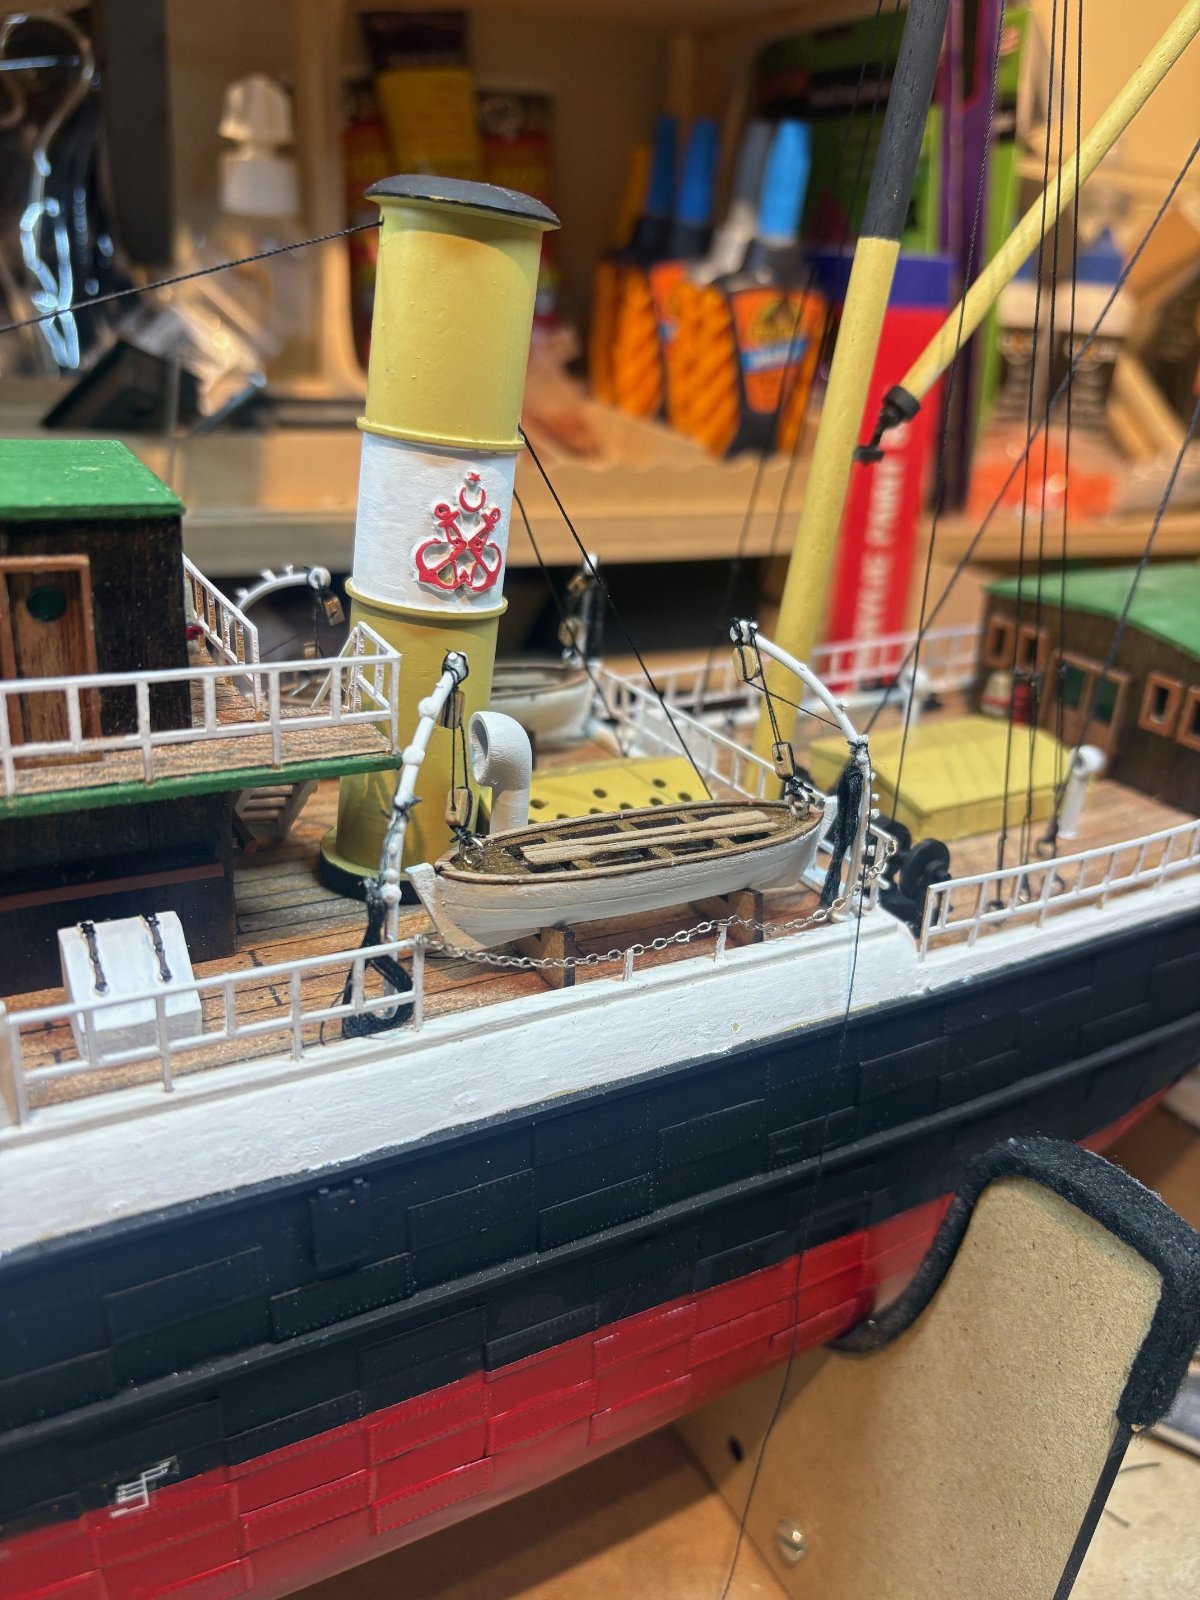
got some more detail work done. added draft marks / load lines, mounted the prop. on deck i had to scratch up handrails out of evergreen material and left over kit railing for the ladders as the kit only had bare steps which doesnt make sense. permanently mounted the lifeboats and house structures and added a chain rail to where the boats would swing out. the kit had solid rail in front of the boats which wouldnt allow for them to swing over the side. shes really starting to come together now. finally , built a pallet with scraps for some obligatory oil drums to go on deck. i have the stack , ventilators, masts and rigging to go
 

Attachments

  • 13266.jpg
    13266.jpg
    355.8 KB
  • 13268.jpg
    13268.jpg
    342.9 KB
  • 13267.jpg
    13267.jpg
    299.5 KB
  • 13265.jpg
    13265.jpg
    429.5 KB
  • 13263.jpg
    13263.jpg
    345.8 KB
  • 13262.jpg
    13262.jpg
    419.8 KB
  • 13261.jpg
    13261.jpg
    358 KB
  • 13264.jpg
    13264.jpg
    343.3 KB
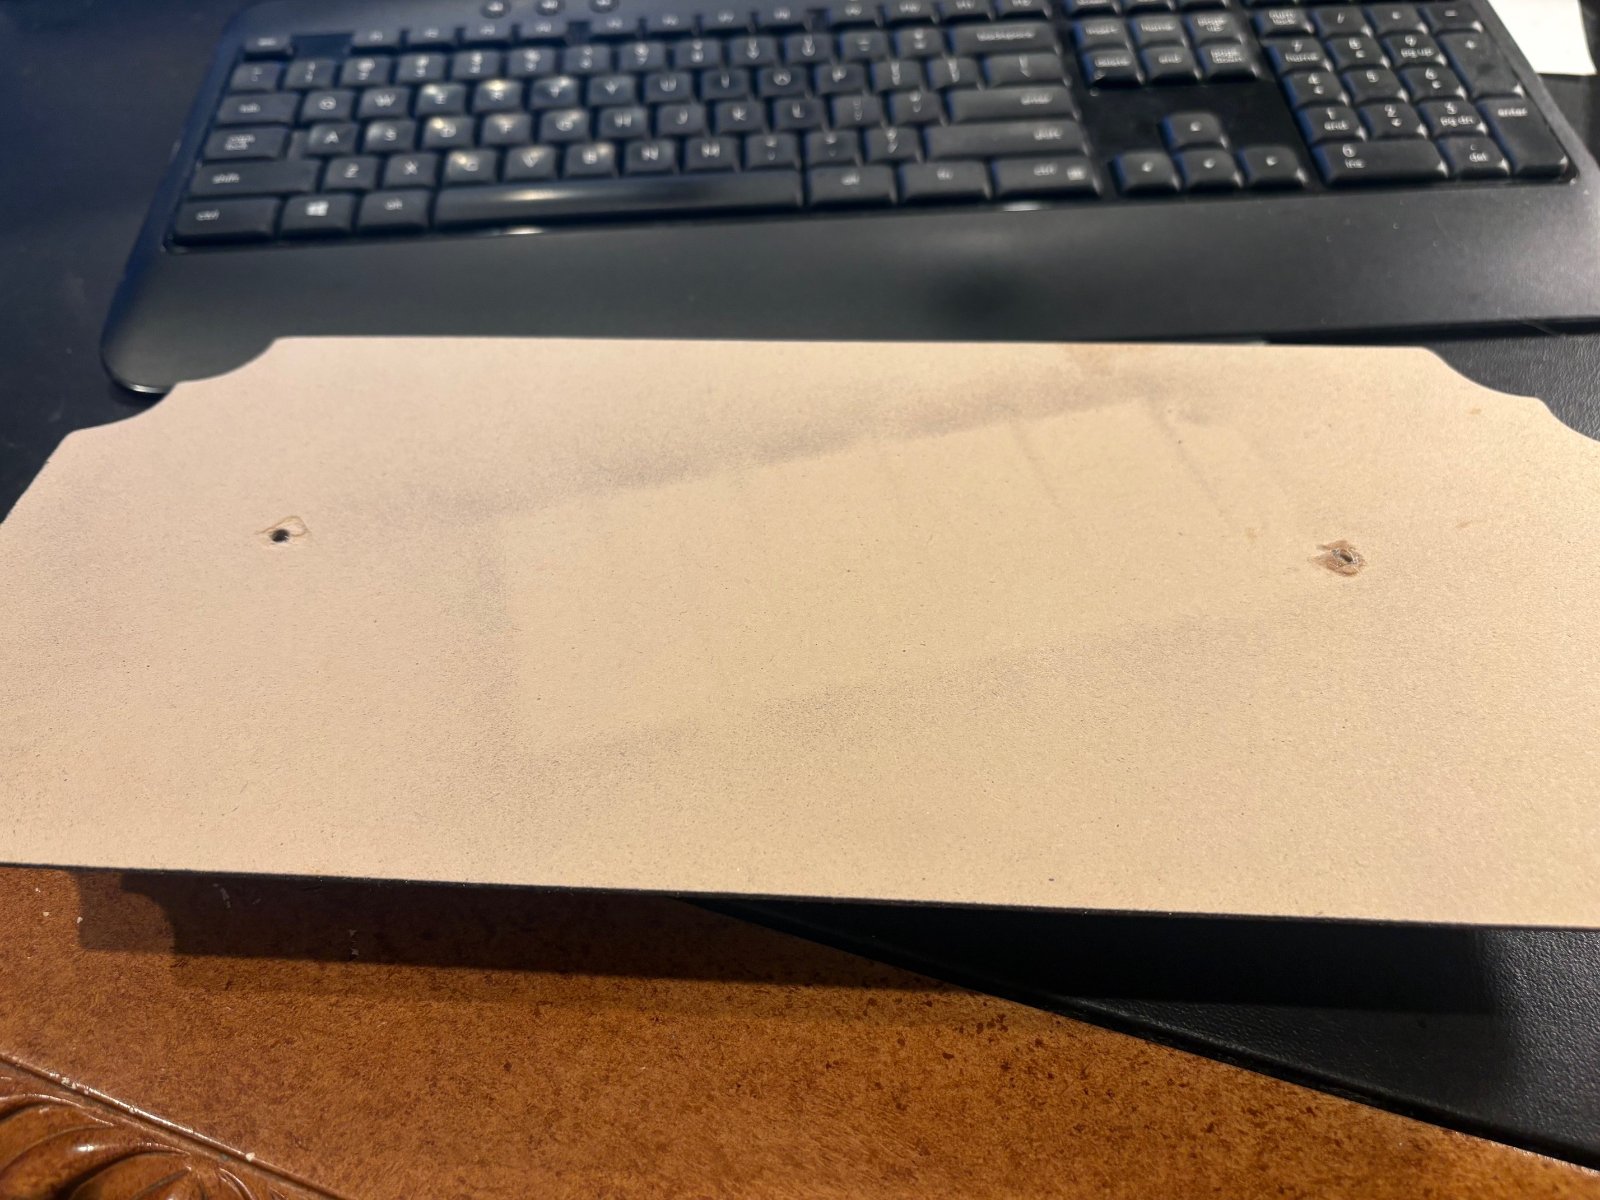
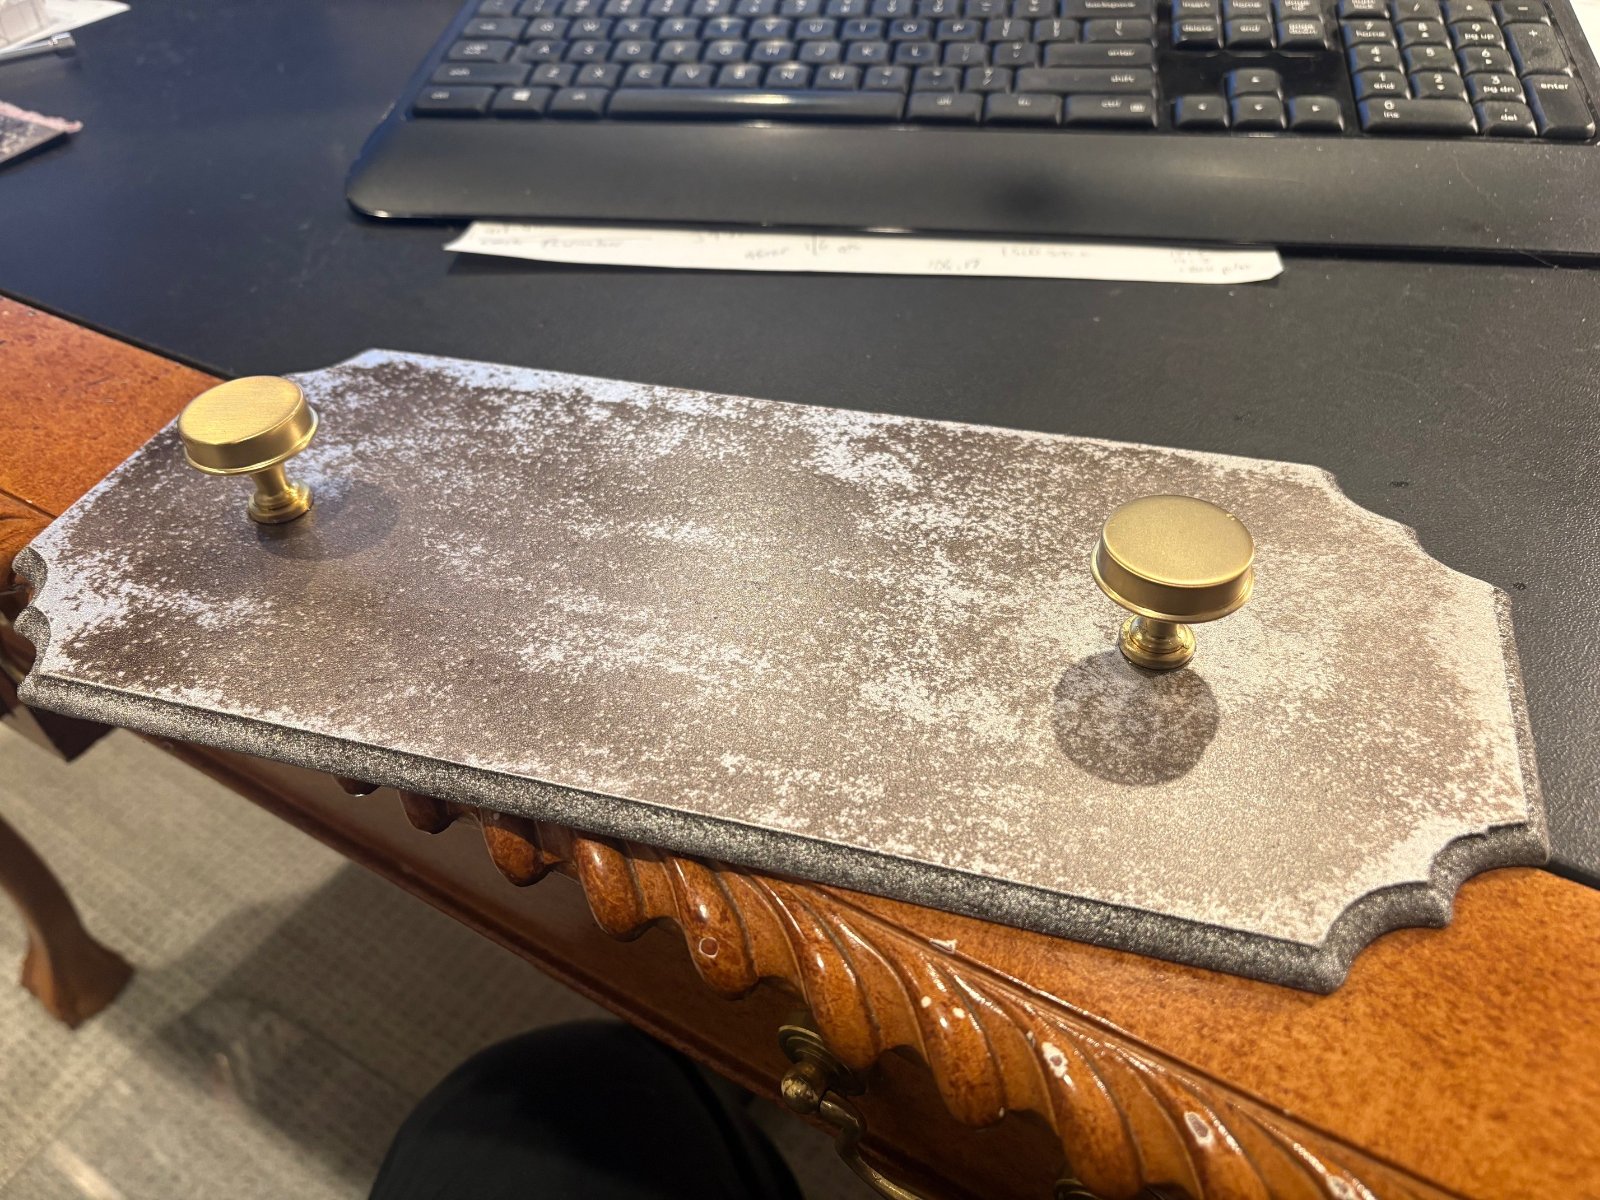
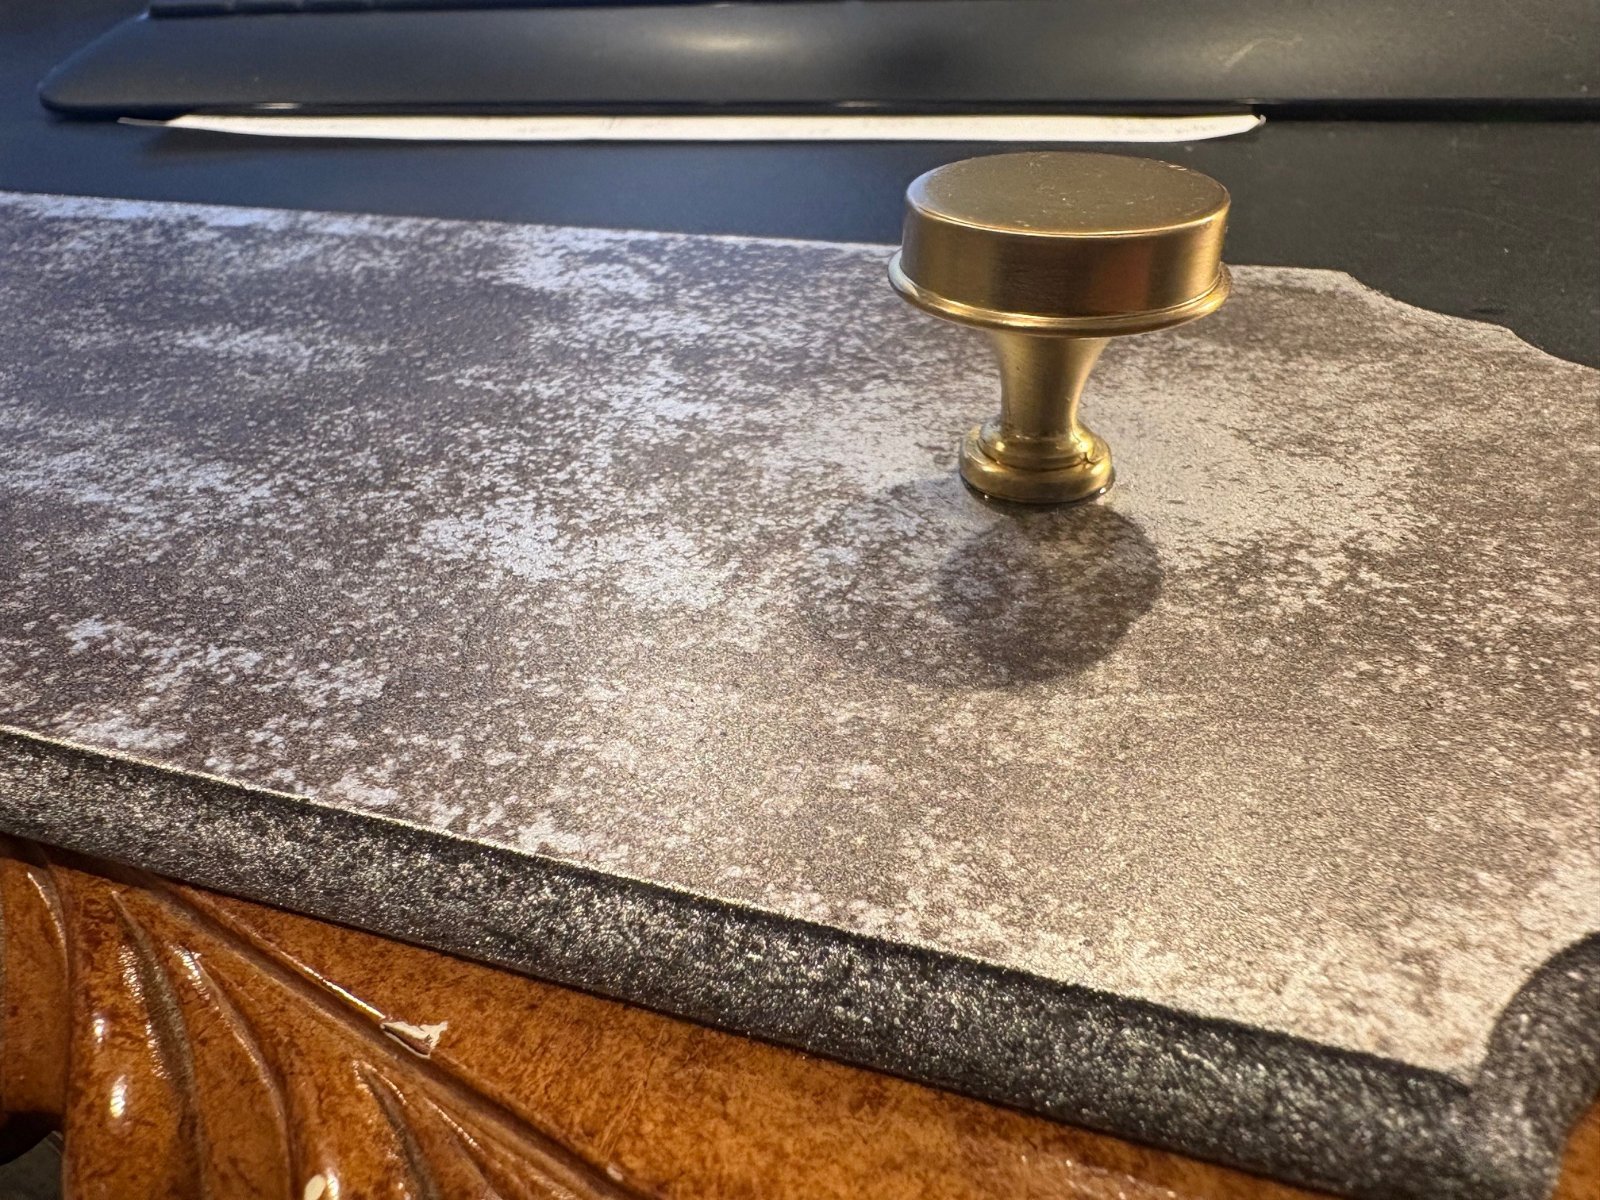
put together a display stand... i bought a bunch of these wood blanks on amazon... tried some metallic bronze effect rattle can from home depot which i think came out unique. the pedestals are cheap drawer pulls gorilla glued to the stand. i will gorilla glue the hull to them when ready. i prefer this to drilling into the hull and screwing... ive used the gorilla glue method with others and believe me , the model wont budge.
 

Attachments

  • 13269.jpg
    13269.jpg
    282.4 KB
  • 132610.jpg
    132610.jpg
    437.8 KB
  • 132611.jpg
    132611.jpg
    523.9 KB
Last edited:
some more knicknacks and doodads on deck..... added draft marks, loadlines , plimsol mark. going to get to the rigging soon
 

Attachments

  • 115261.jpg
    115261.jpg
    316.9 KB
  • 115262.jpg
    115262.jpg
    351.1 KB
  • 115263.jpg
    115263.jpg
    362.4 KB
  • 115264.jpg
    115264.jpg
    448.9 KB
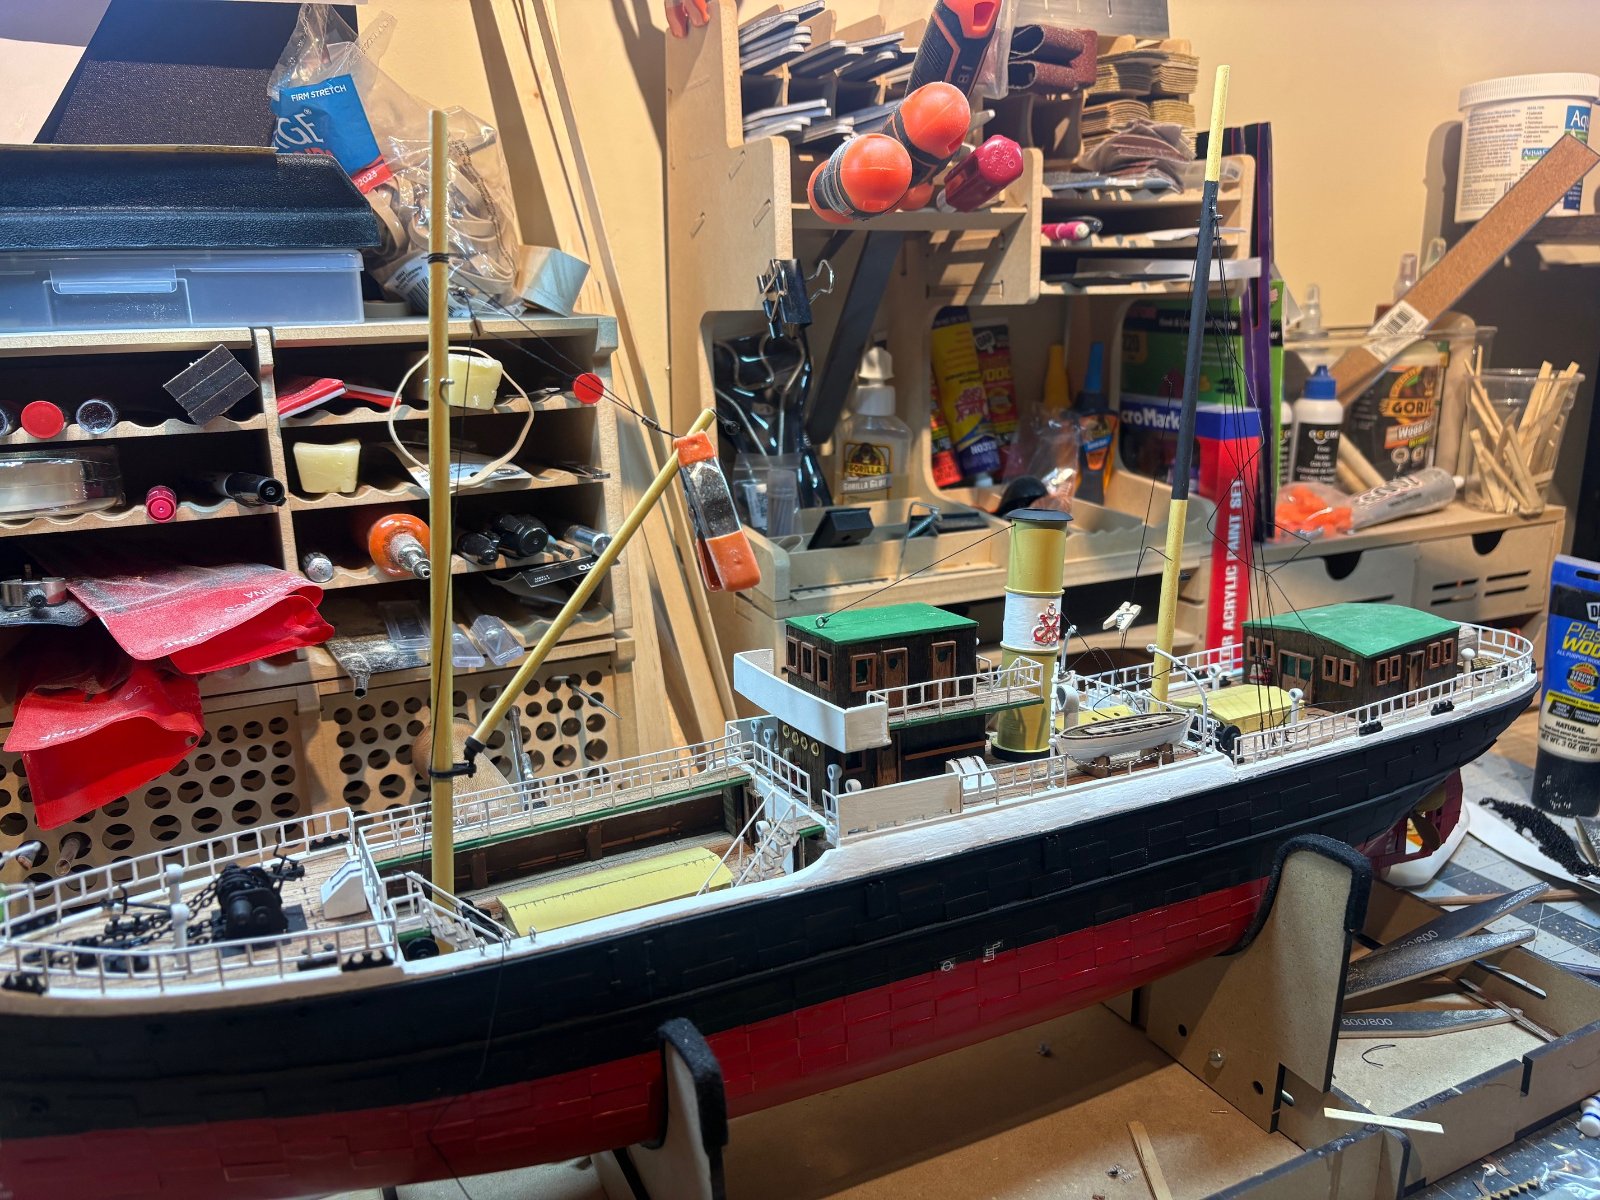
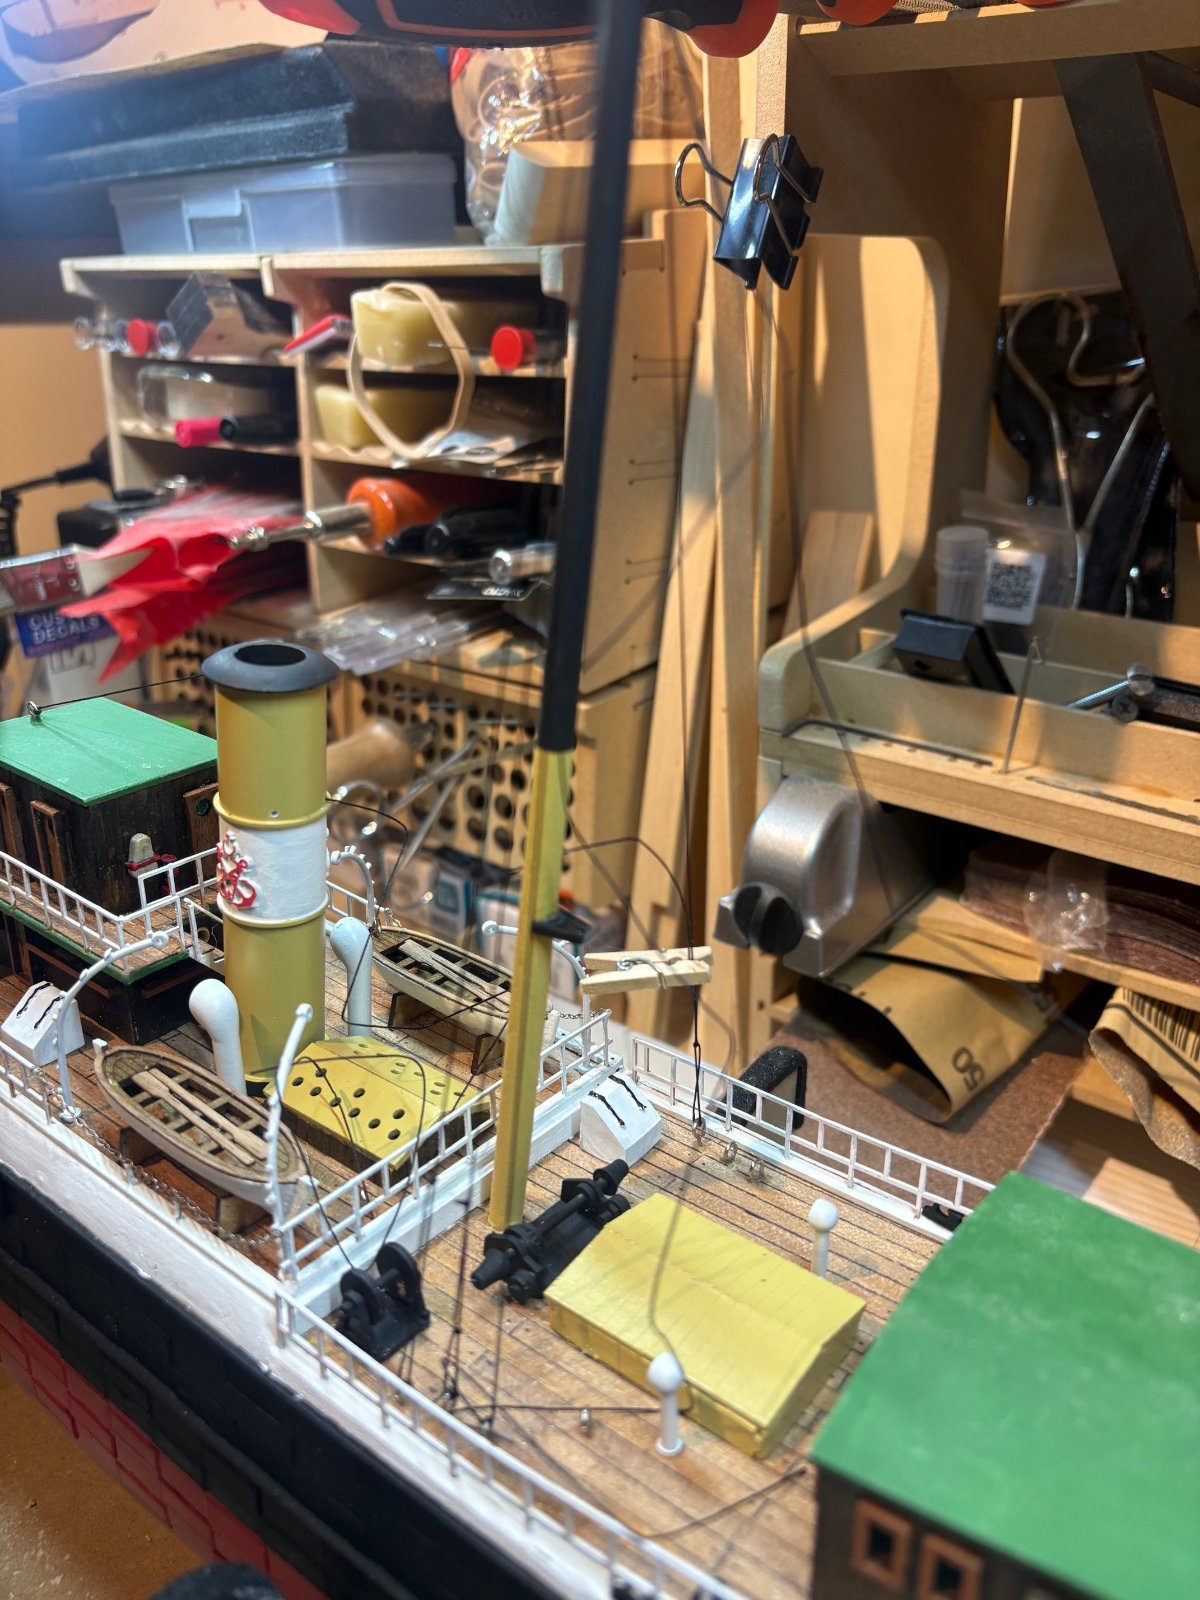
started the rigging process tonight. both masts installed. one anchor and chain in place. glued in chocks and bitts...
 

Attachments

  • 120261.jpg
    120261.jpg
    383.6 KB
  • 120262.jpg
    120262.jpg
    424.7 KB
  • 120263.jpg
    120263.jpg
    322.1 KB
  • 120264.jpg
    120264.jpg
    399.4 KB
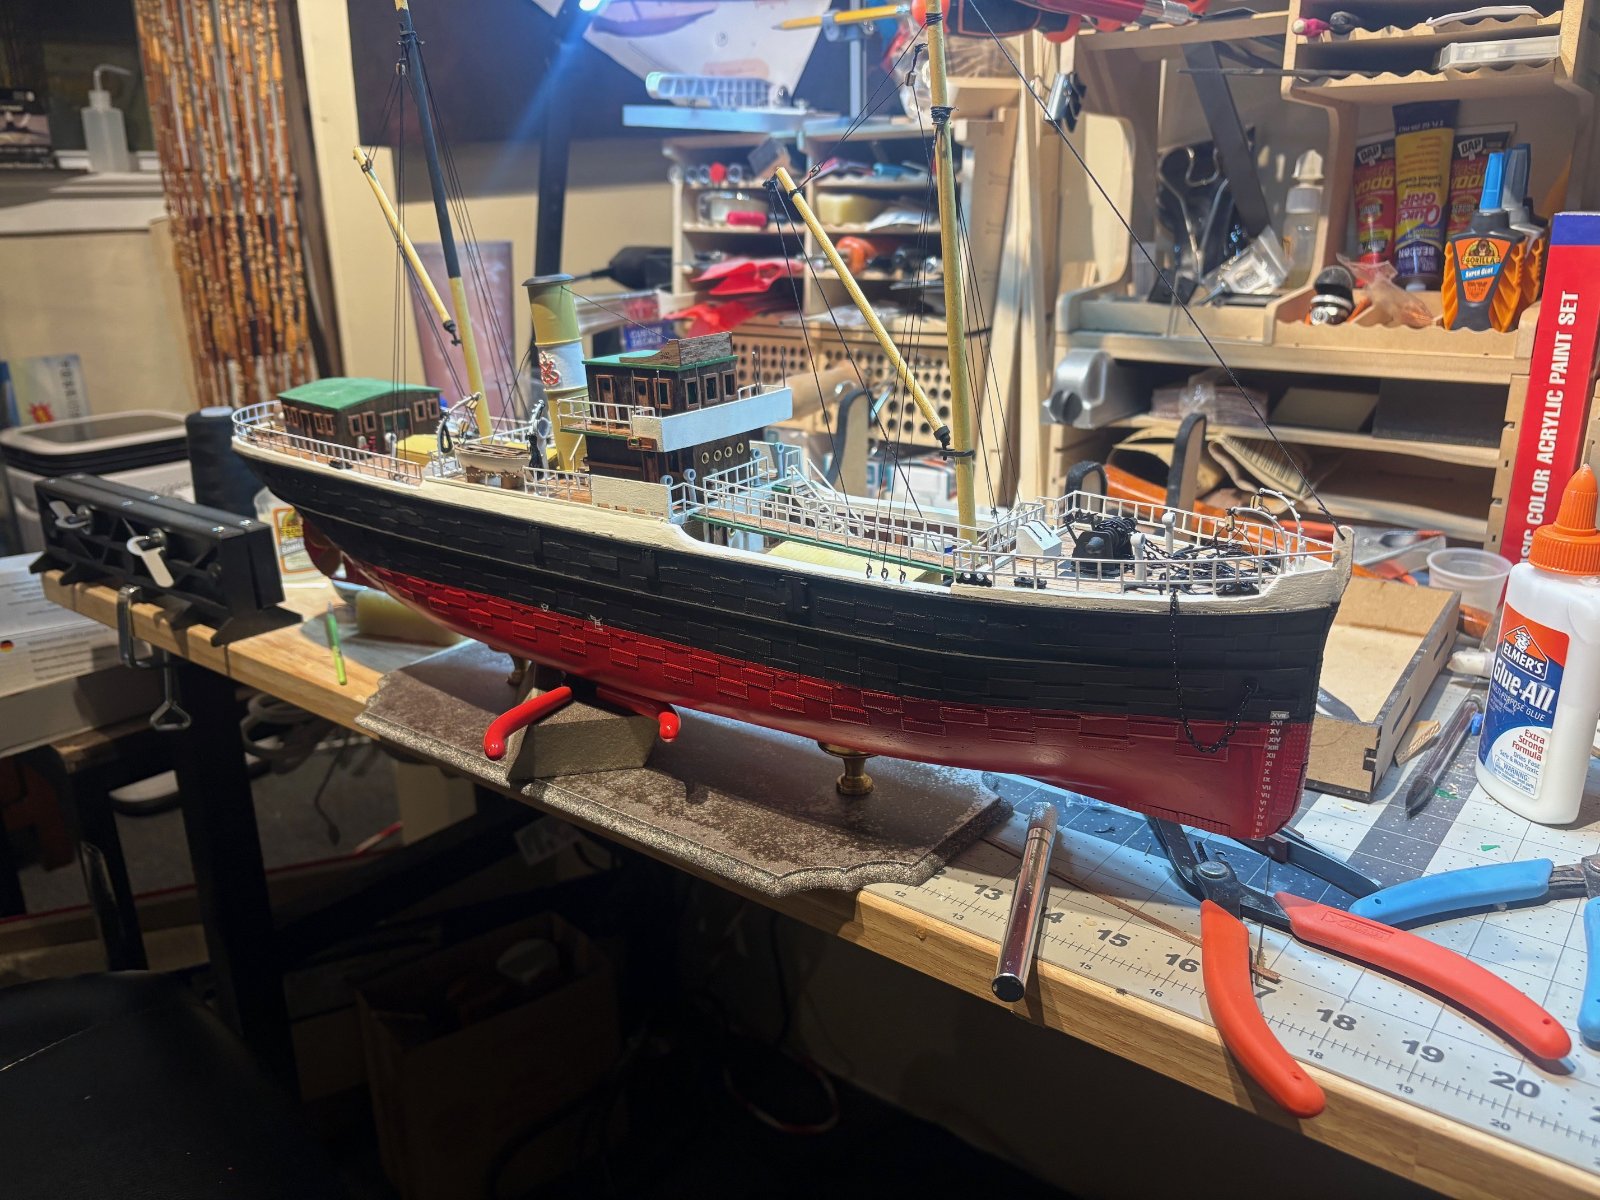
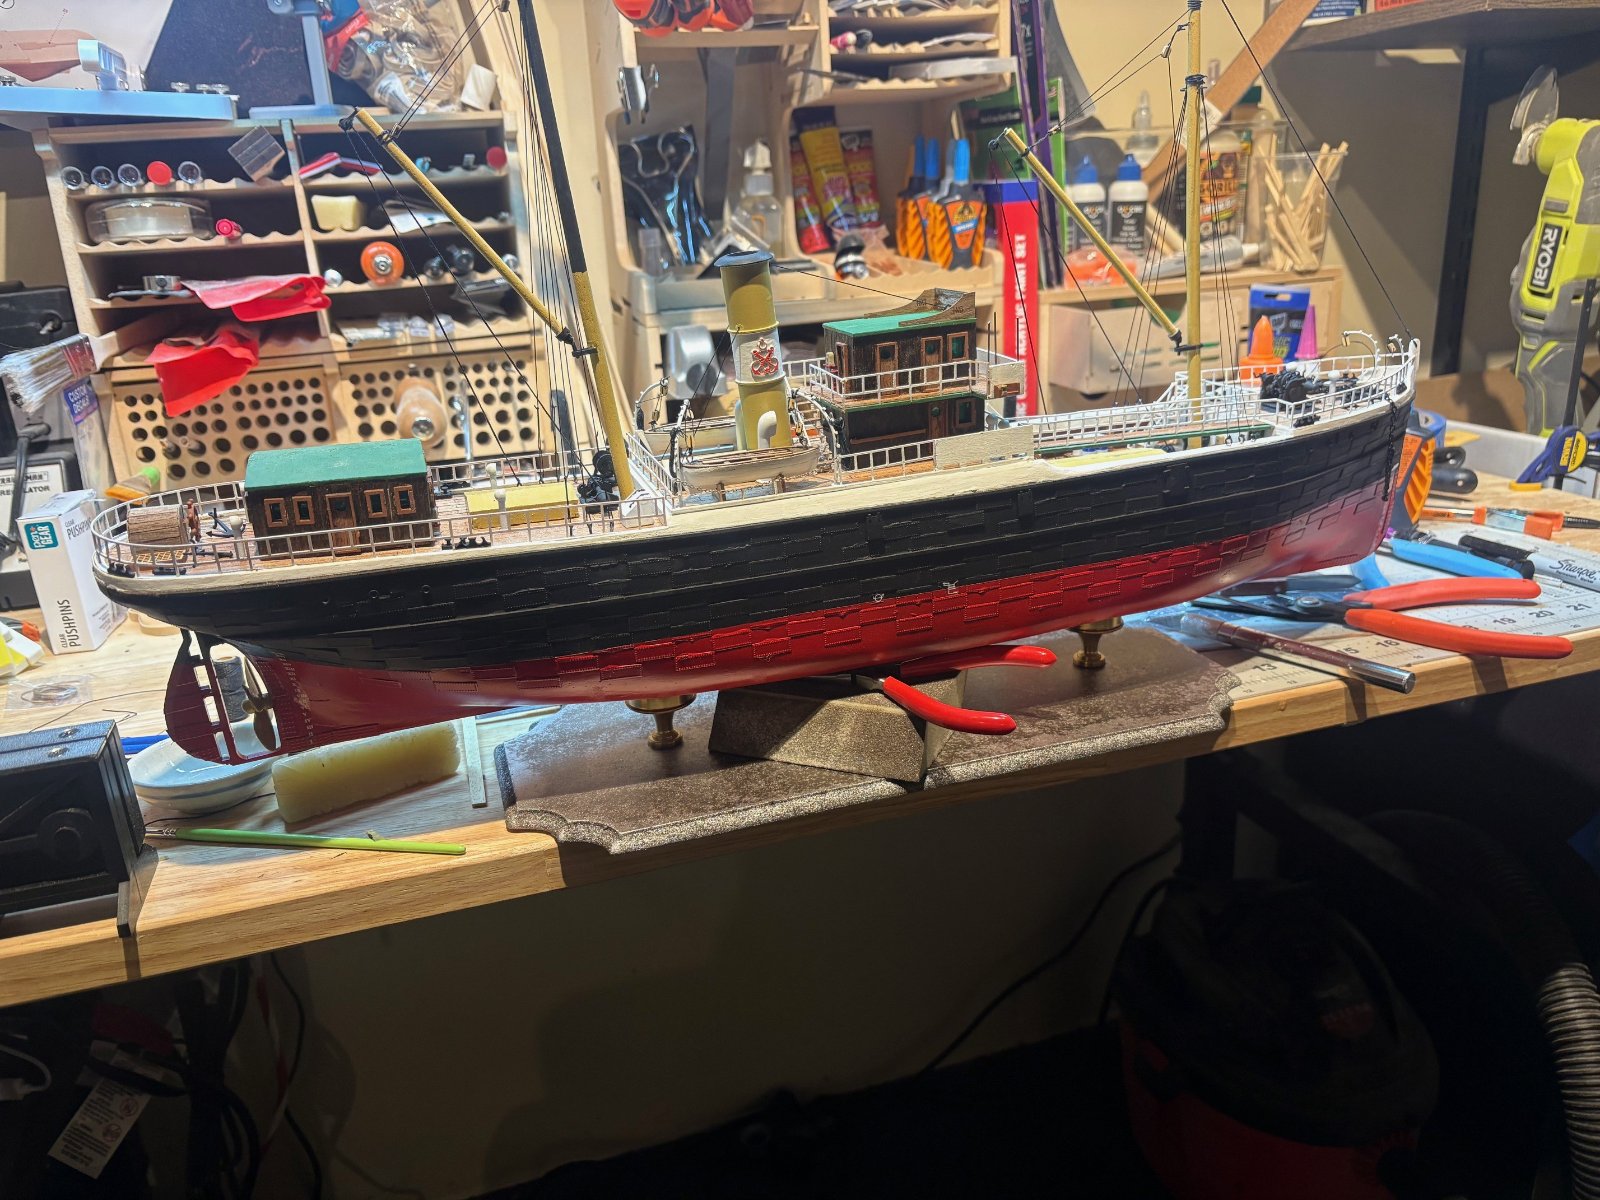
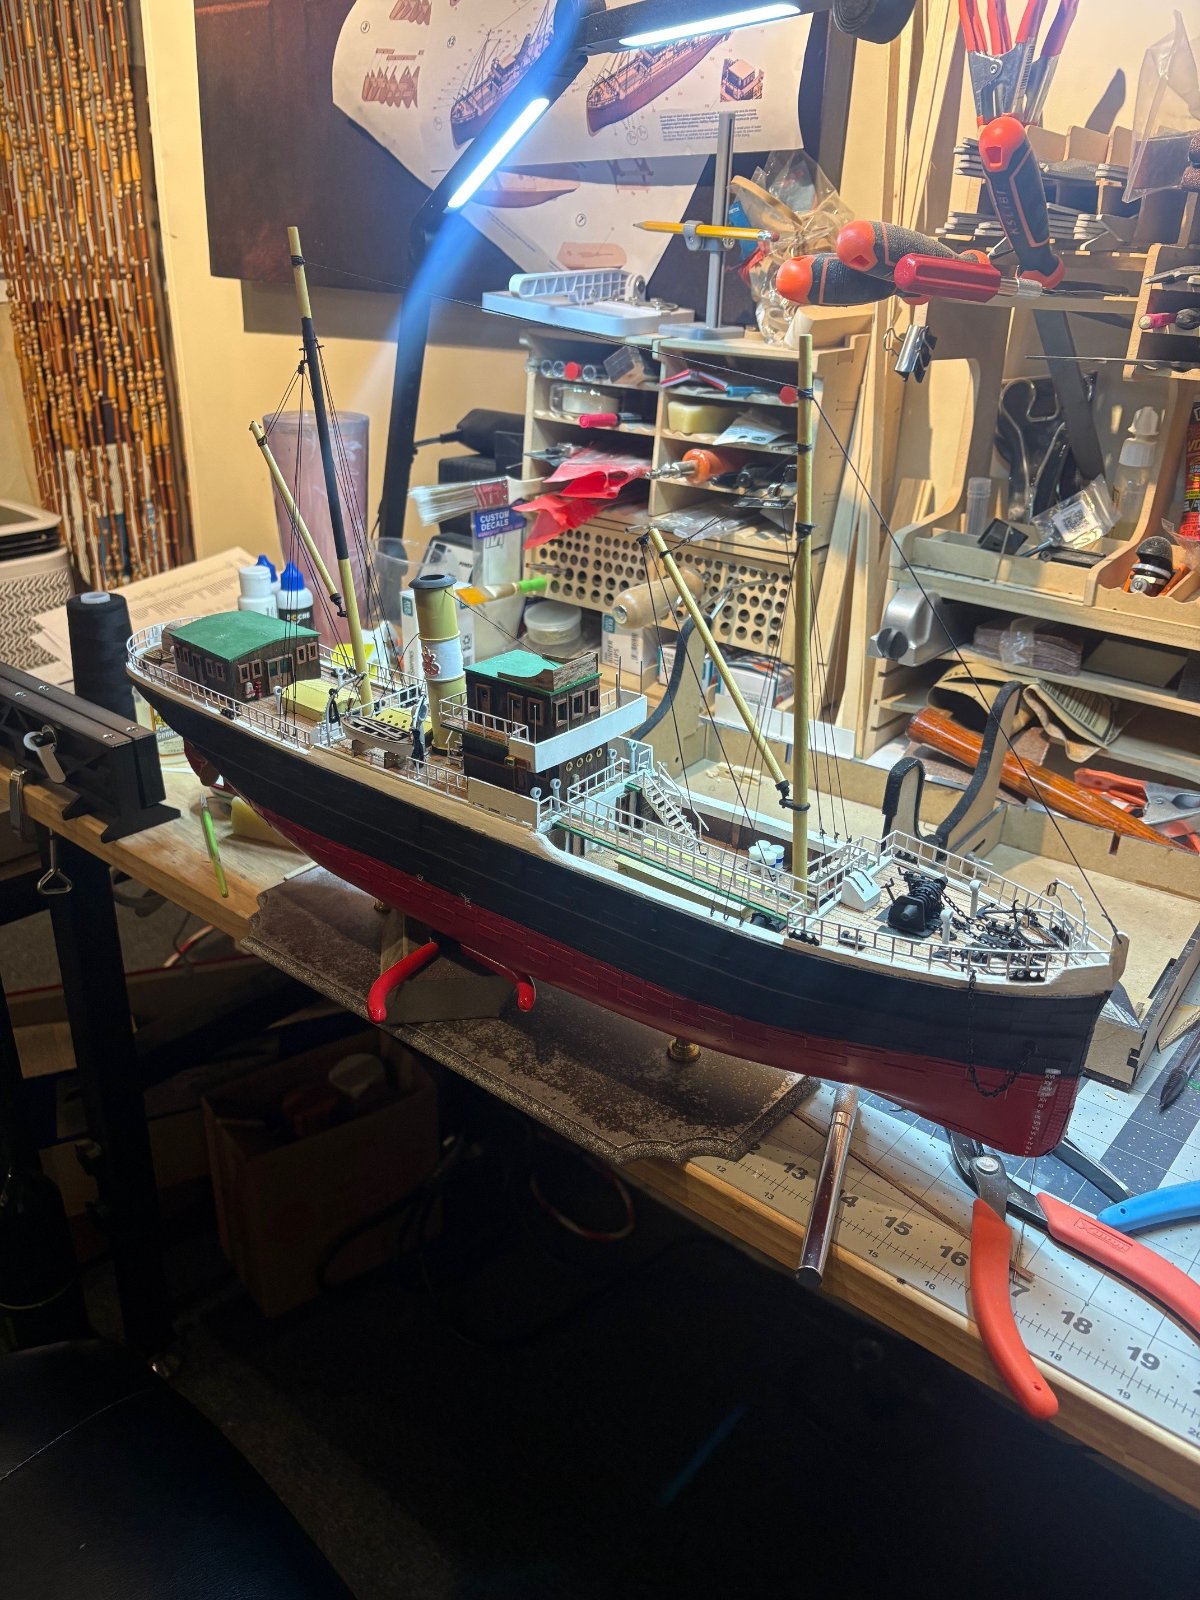
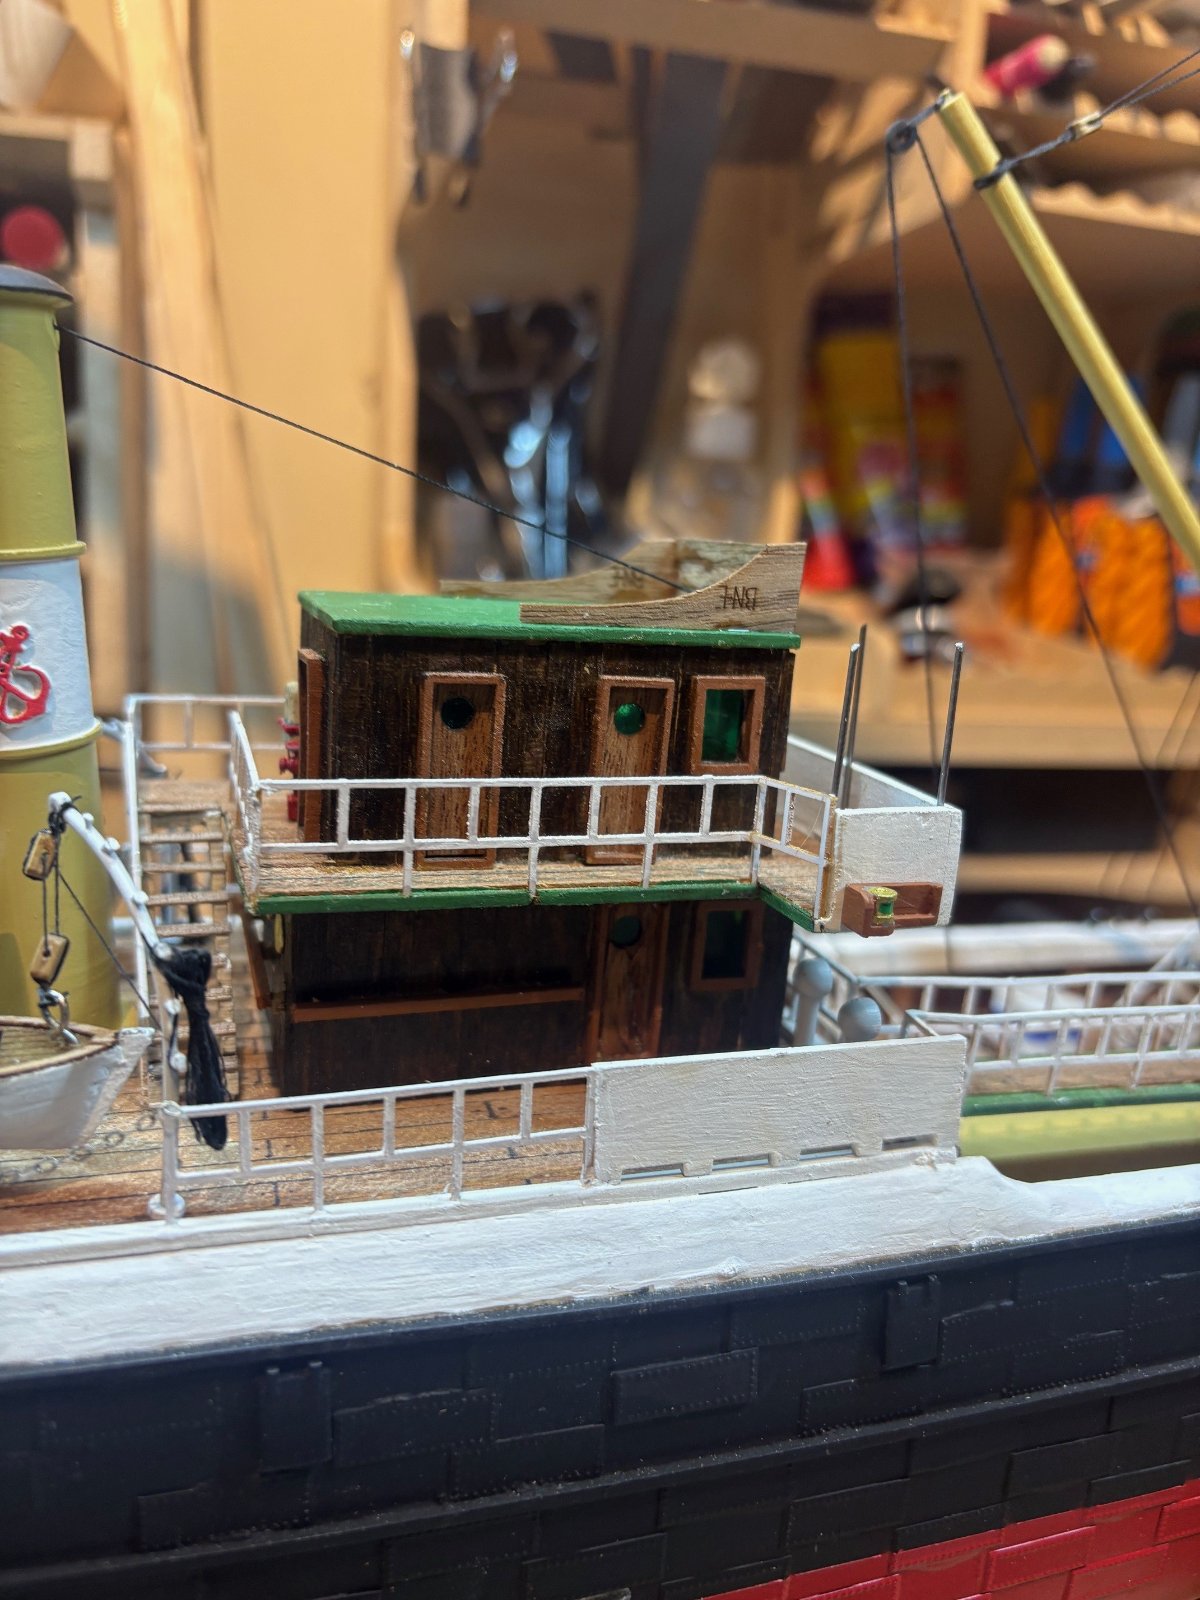
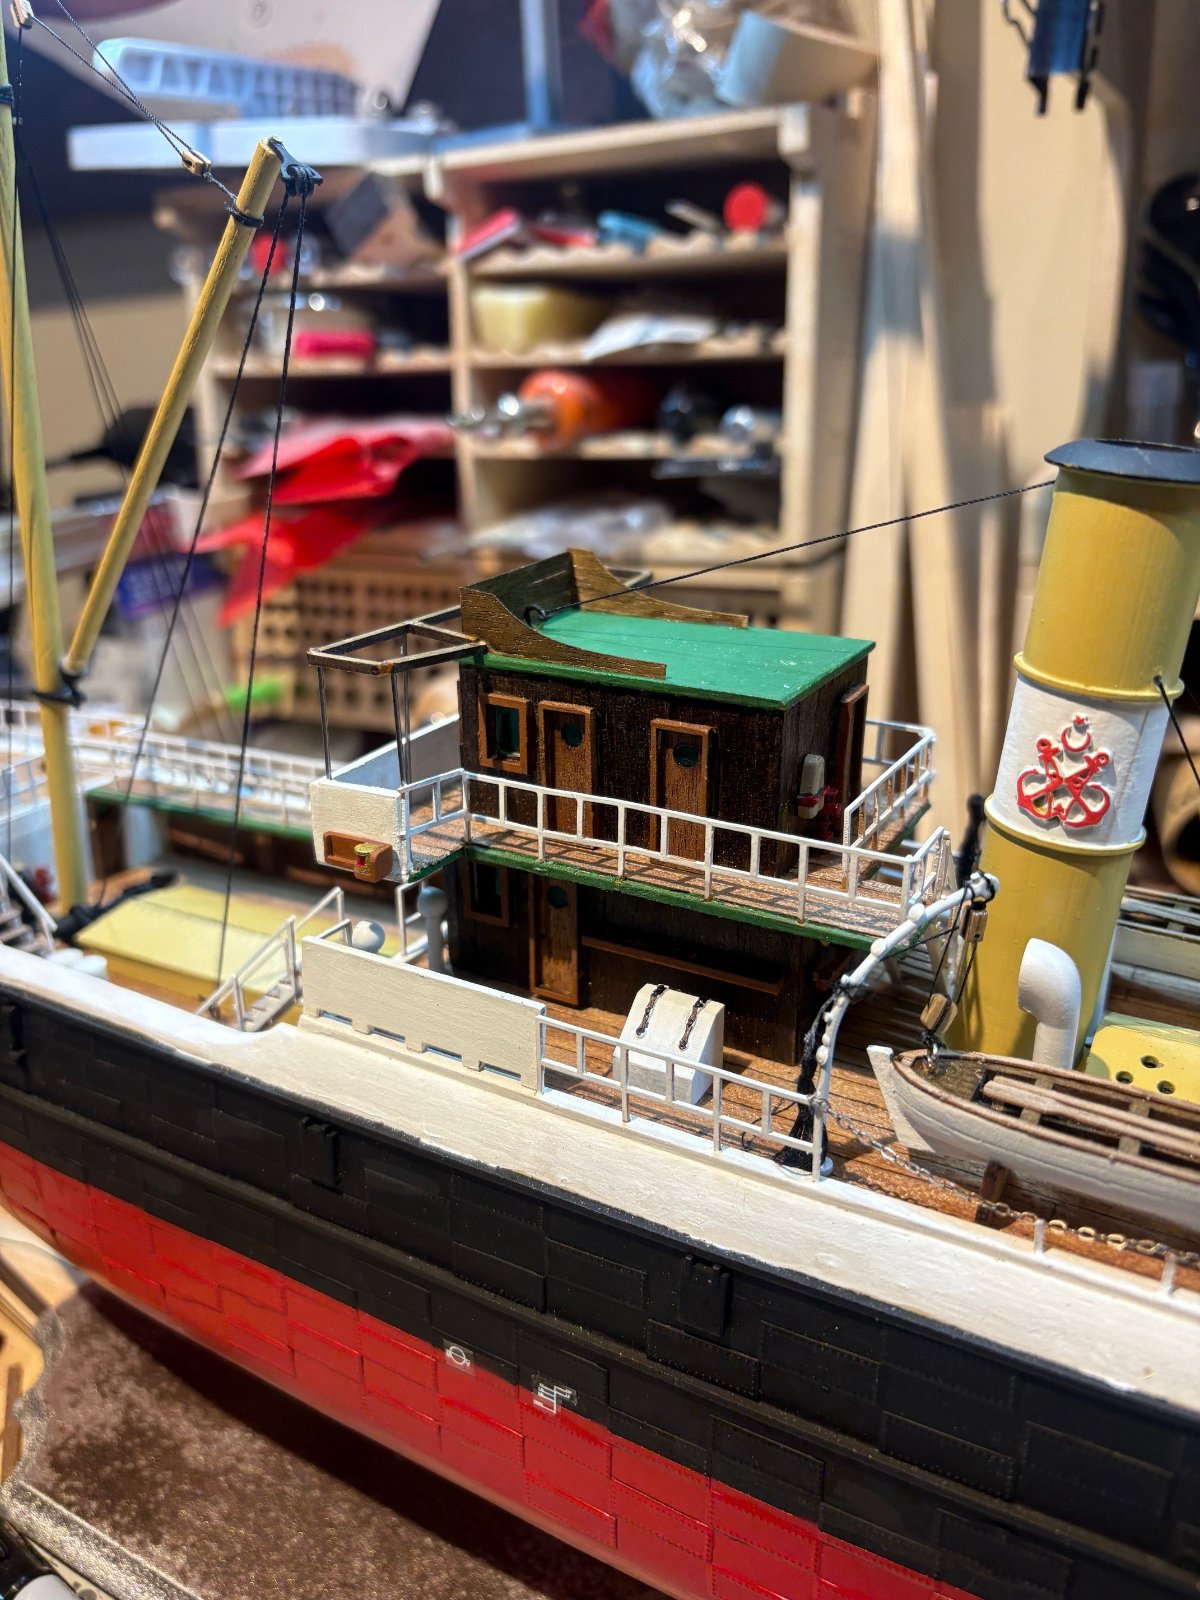
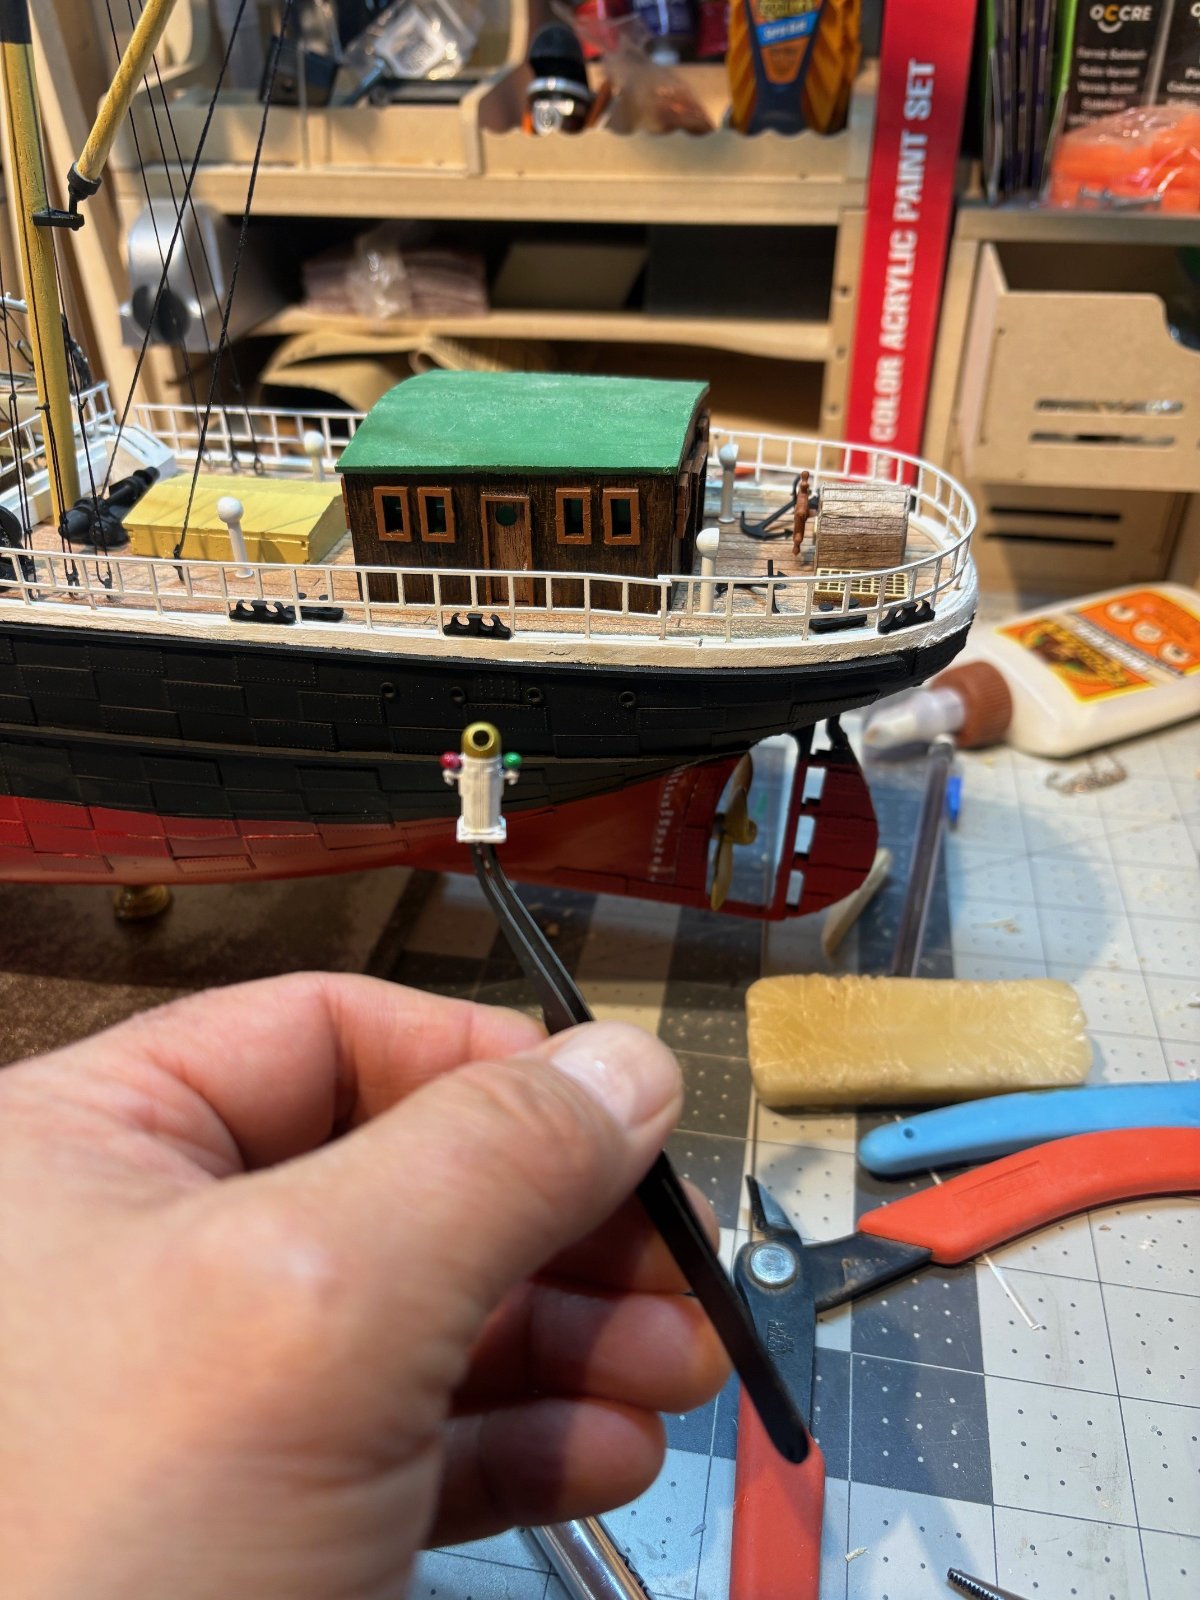
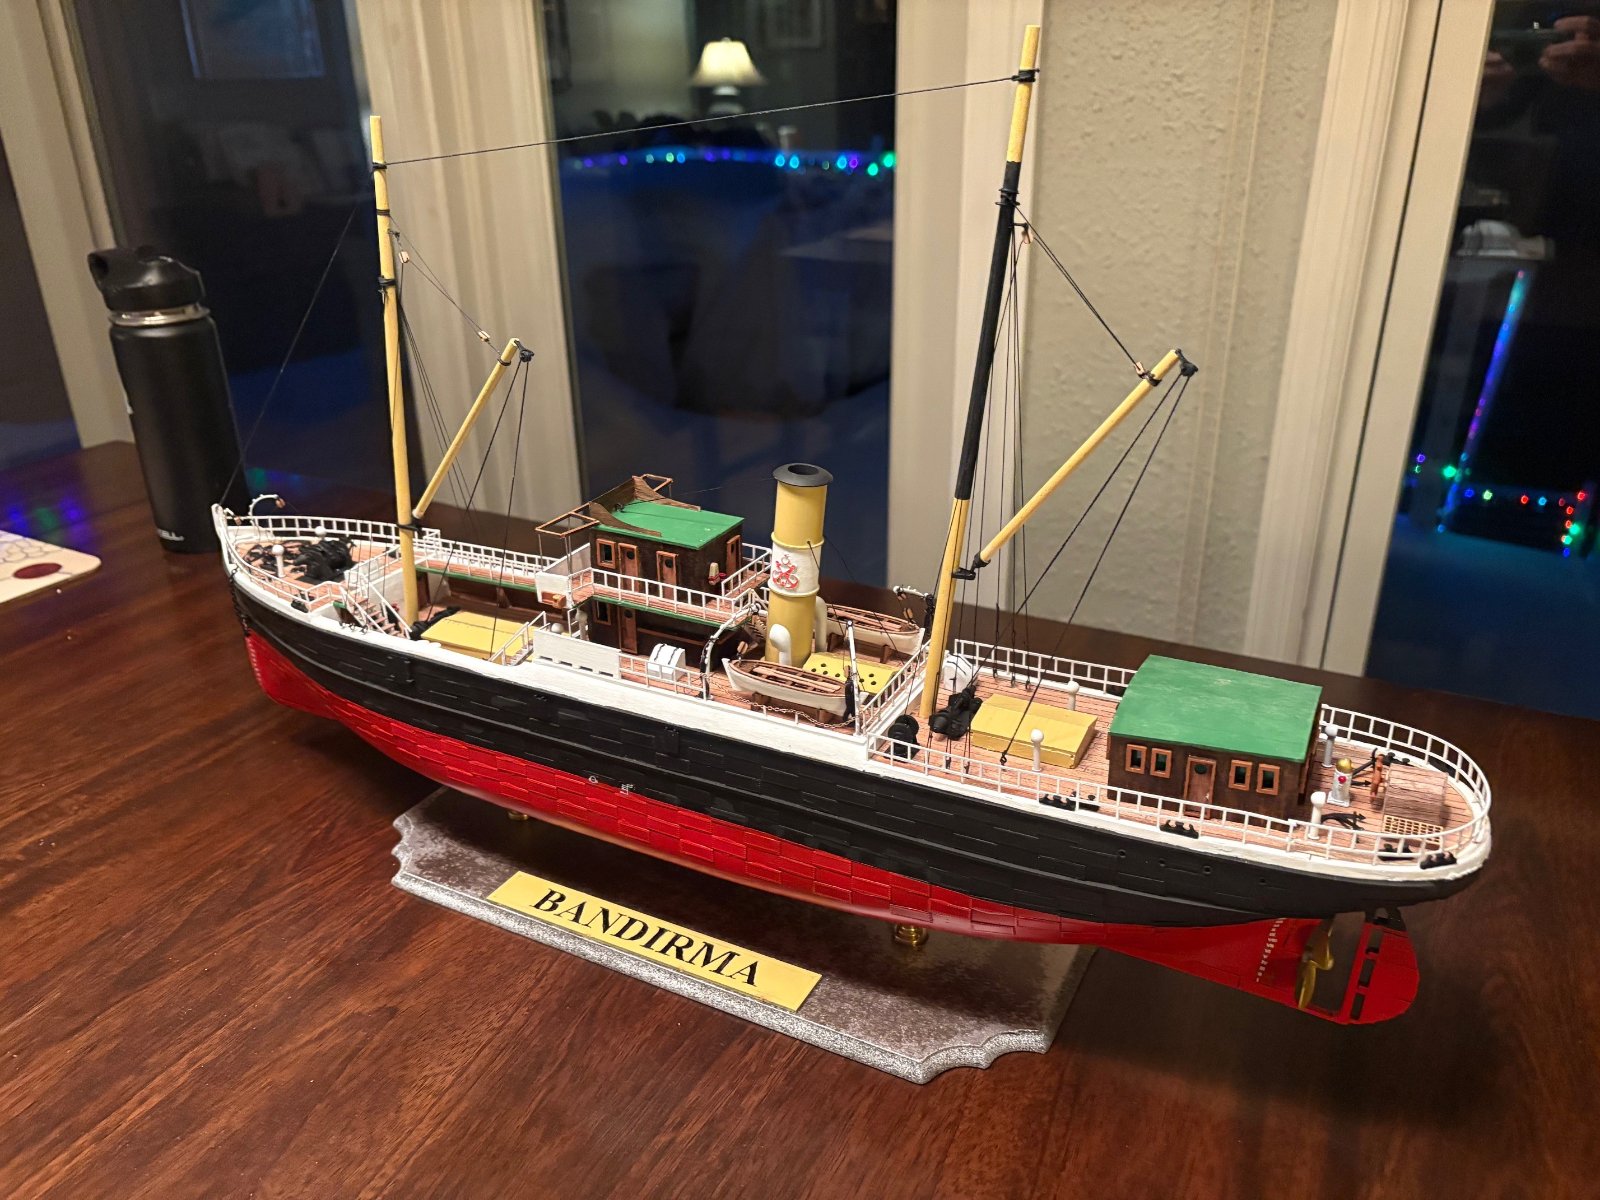
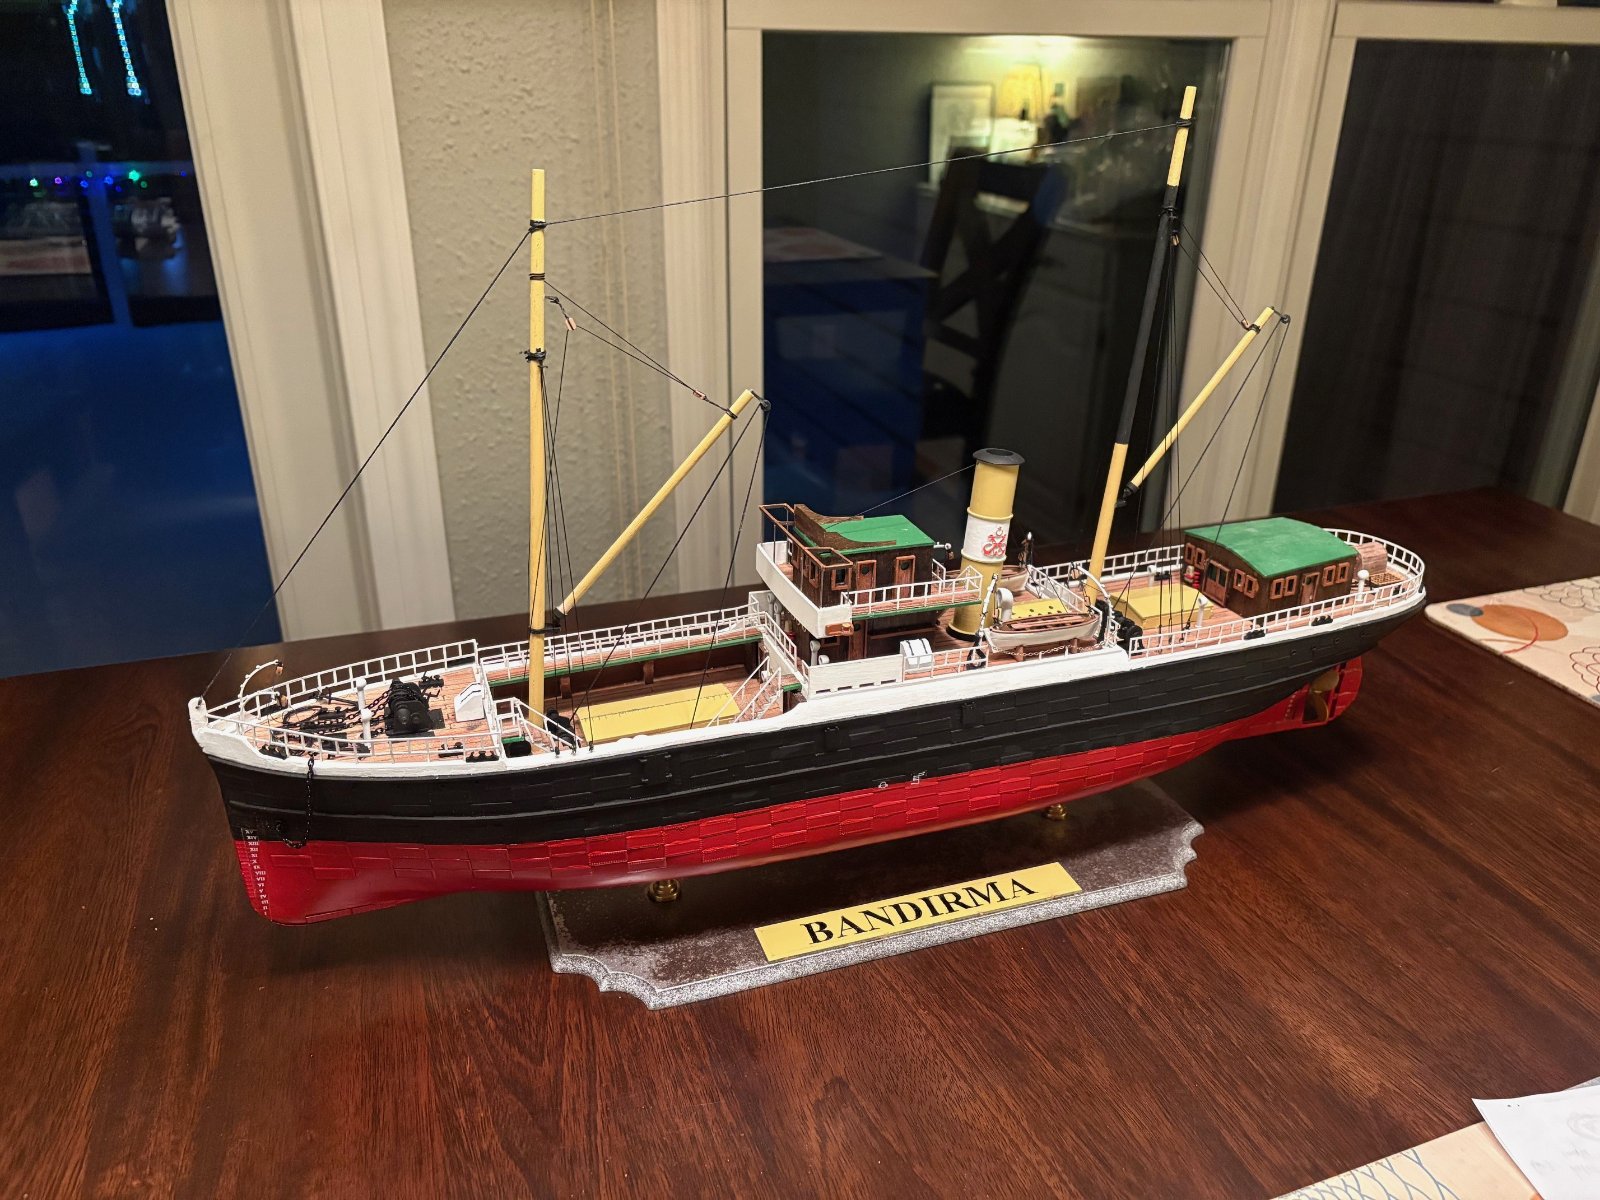
ok gents... getting down to the brass tacks. did the final bits of rigging tonight.. boat falls , anchor tackle. i came across some interesting pieces of scrap and decided to create a "flybridge" of sorts atop the wheelhouse... i felt it needed some sort of shape to it. painted and mounted the running lights. finally mounted on its stand... its sitting on a nice dollops of gorilla glue and will have to set up overnight. i decided to build the sun shade framing on the bridge... the model called for framing over the focsle and stern as well , but to me i think it will clutter the model so i made an executive decision to just do the bridge. the metal uprights are drying overnight. so i have the life rings and steering binnacle to mount , then its the nameplate and done!
 

Attachments

  • 126261.jpg
    126261.jpg
    360.6 KB
  • 126262.jpg
    126262.jpg
    368.6 KB
  • 126263.jpg
    126263.jpg
    392.4 KB
  • 126264.jpg
    126264.jpg
    274.9 KB
  • 126265.jpg
    126265.jpg
    297.1 KB
  • 126266.jpg
    126266.jpg
    407.1 KB
  • 126267.jpg
    126267.jpg
    435.7 KB
  • 126268.jpg
    126268.jpg
    312.8 KB
brass tacks.
Looking great! I finally 'looked it up', very interesting piece of history you have there!

And on a different note, there was something about the ship that seemed familiar; in 2006, I toured the harbour in Singapore on a wooden boat...
... the green and yellow!

1769482546885.jpeg

Incidentally, from a young age (probably crossing to PEI from Caribou Island with my Gamps) I've been fascinated with ferries and maritime vessels, they being favourite subjects for photos.
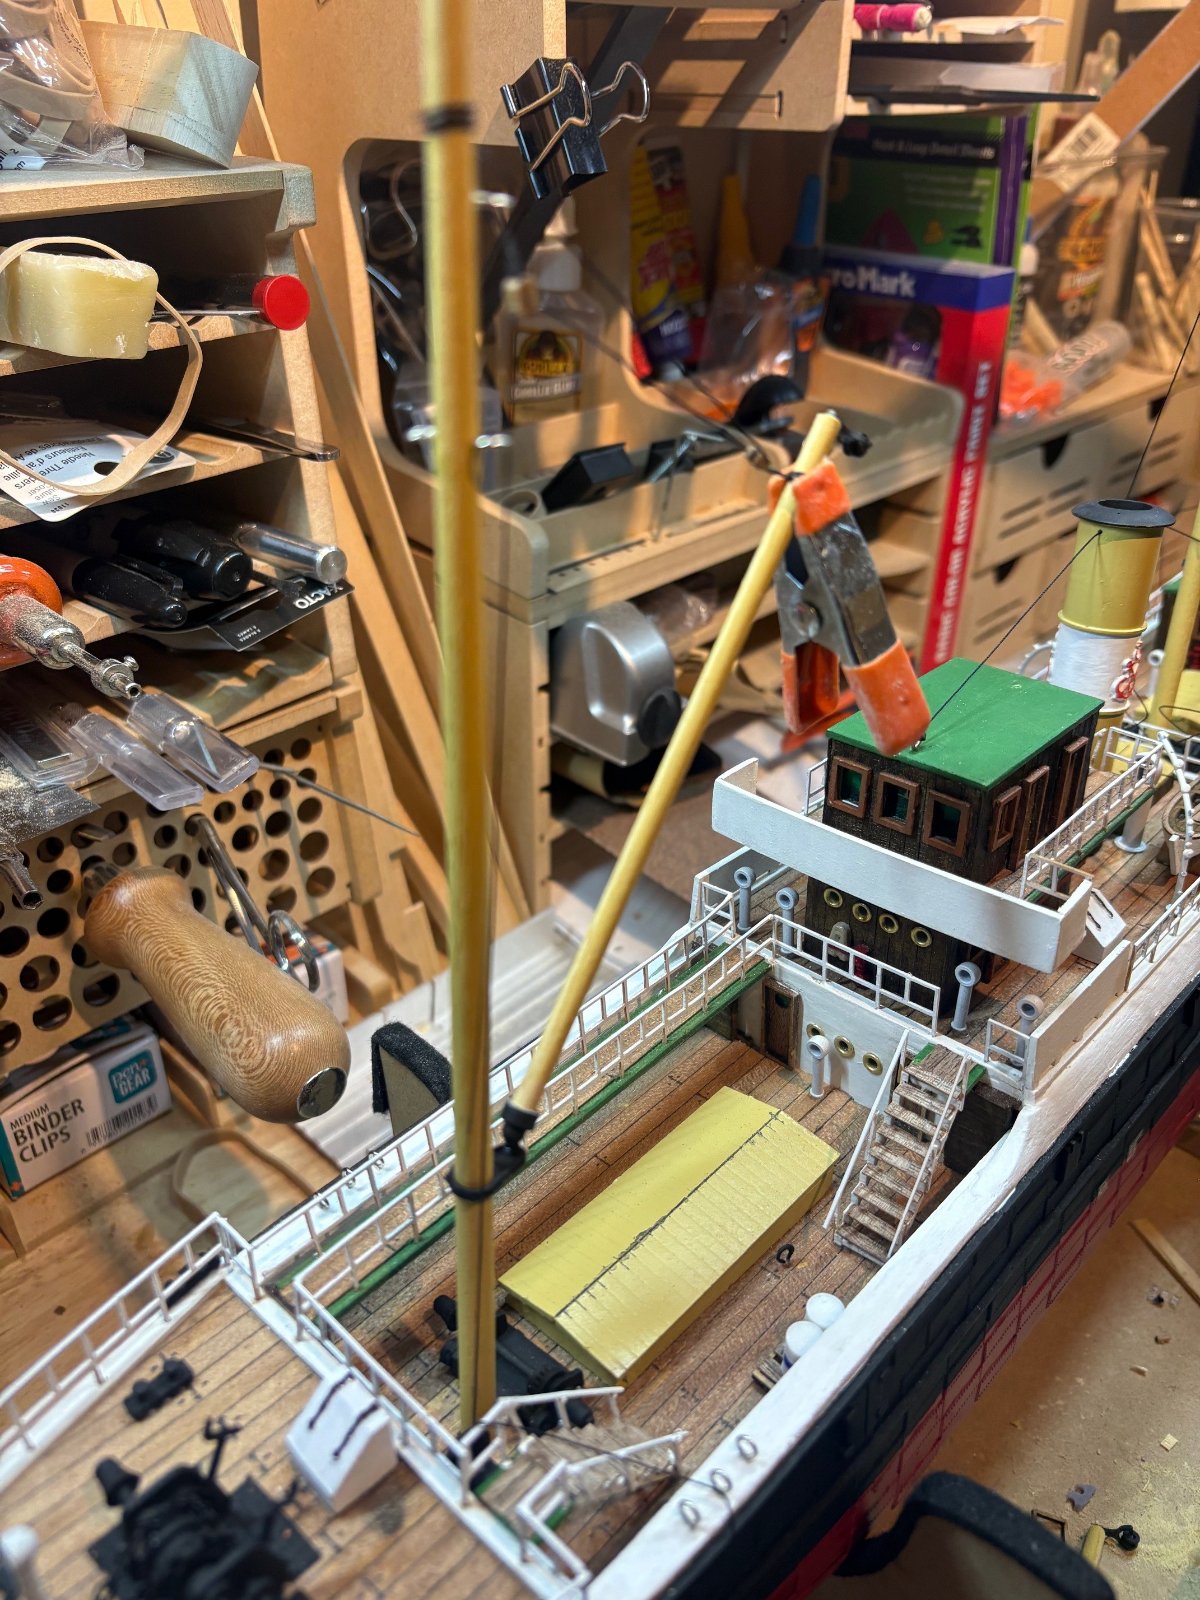
While everyone is focused on the scenery, I can't stop looking at all the details of the craft! :rolleyes:
 
Last edited:
Barleybop i know what you mean... at a young age when going on the NYC tourboats, i was always examining the vessel and wanting to check out what the crew was doing and peek in the engine room. all that stuff gets stored away in the brain and comes out in these hobbies. Singapore harbor... definitly a vessel lovers environment. i felt that way working at sea when in the med , you see all sorts of different merchant craft of different design and function. it never got old.
 
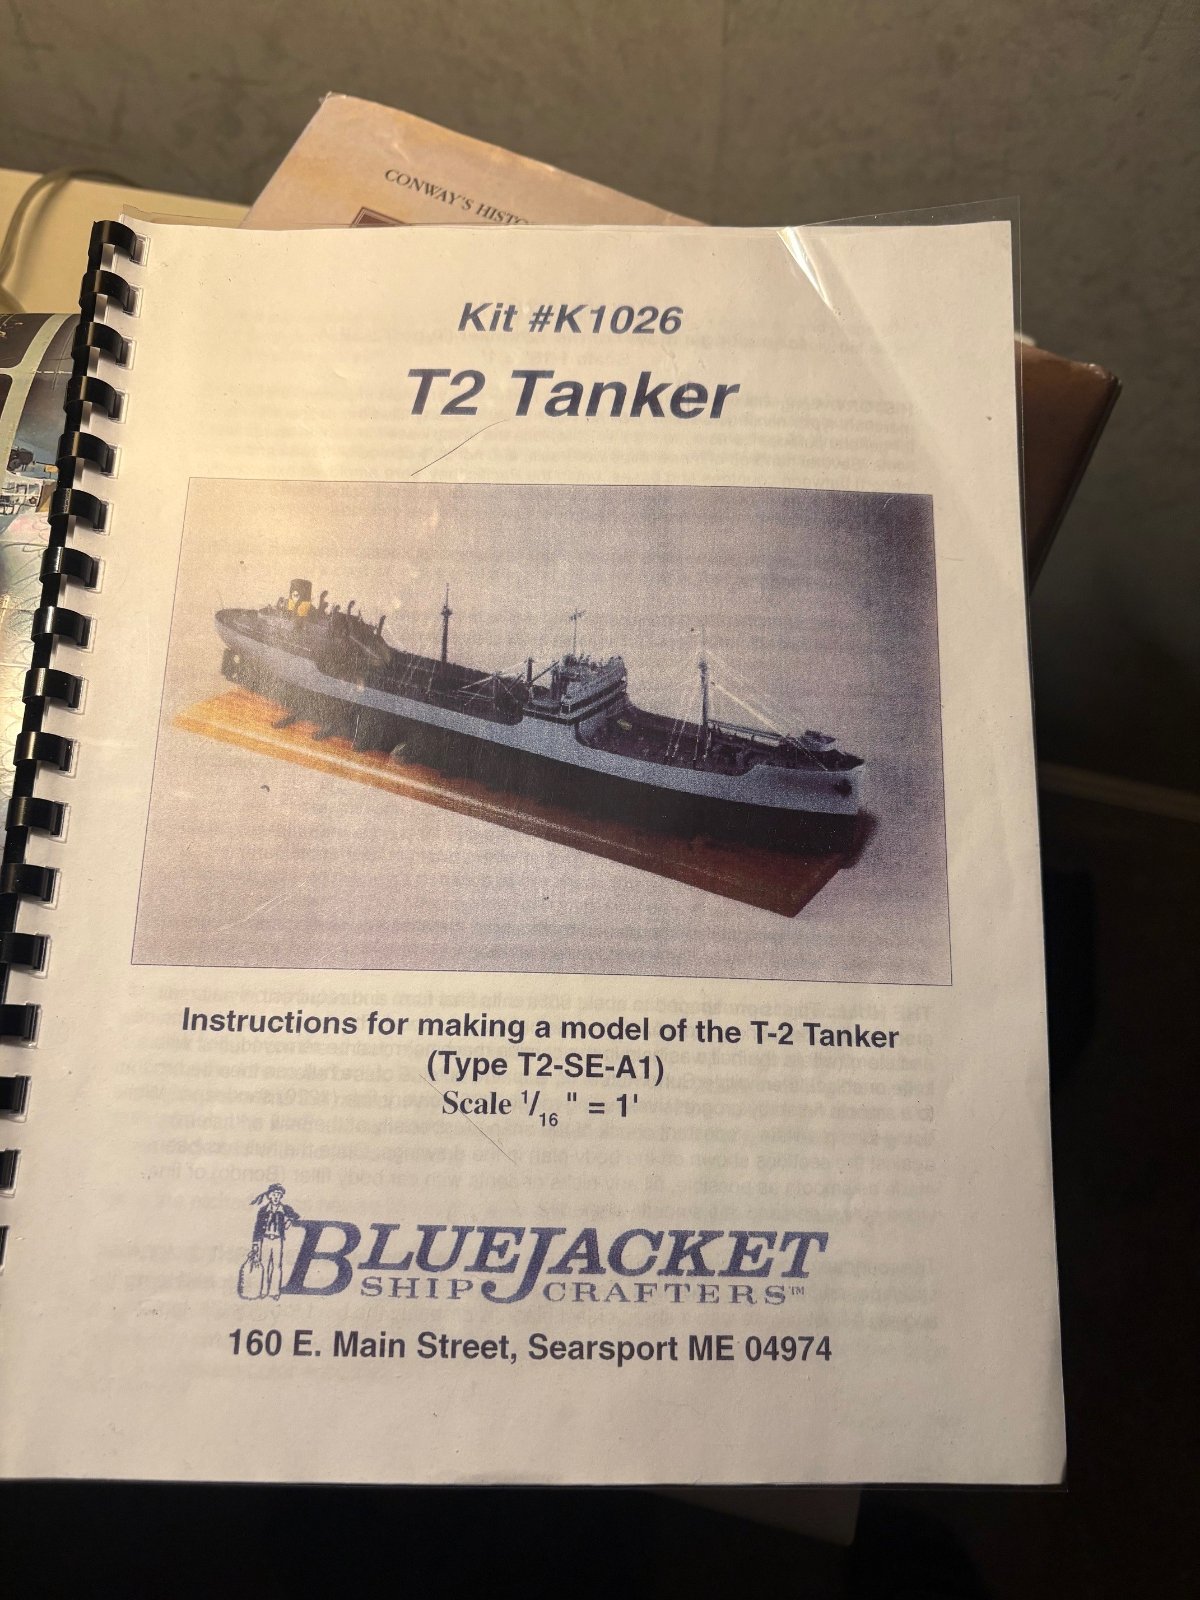
well , tonight i laid the golden spike... finished the bridge shade frame and last piece was the binnacle back aft. she is officially mounted on her stand and off the bench. taking a place on the dining table for now. ive decided which one will be next... i found a bluejacket T2 tanker in great shape on ebay.. never touched. this is a solid hull kit... i figured i would see how this one goes since ive done a couple of planked hulls already. going to do her in commercial livery.. either texaco or esso...
 

Attachments

  • 128263.jpg
    128263.jpg
    454.3 KB
  • 128265.jpg
    128265.jpg
    346.7 KB
  • 128266.jpg
    128266.jpg
    287.5 KB
  • 128264.jpg
    128264.jpg
    424.2 KB
  • 128261.jpg
    128261.jpg
    332.3 KB
  • 128262.jpg
    128262.jpg
    345.9 KB
  • 128267.jpg
    128267.jpg
    288.9 KB
Last edited:
Another awesome build!

Large scale ship and locomotive models.
Nothing can touch these, to my mind.

I must've been imprinted with a 19th century mind! 🚂

Can't wait for the tanker!
 
Very cool, beautiful work. I loved following this, looking forward to the next one.
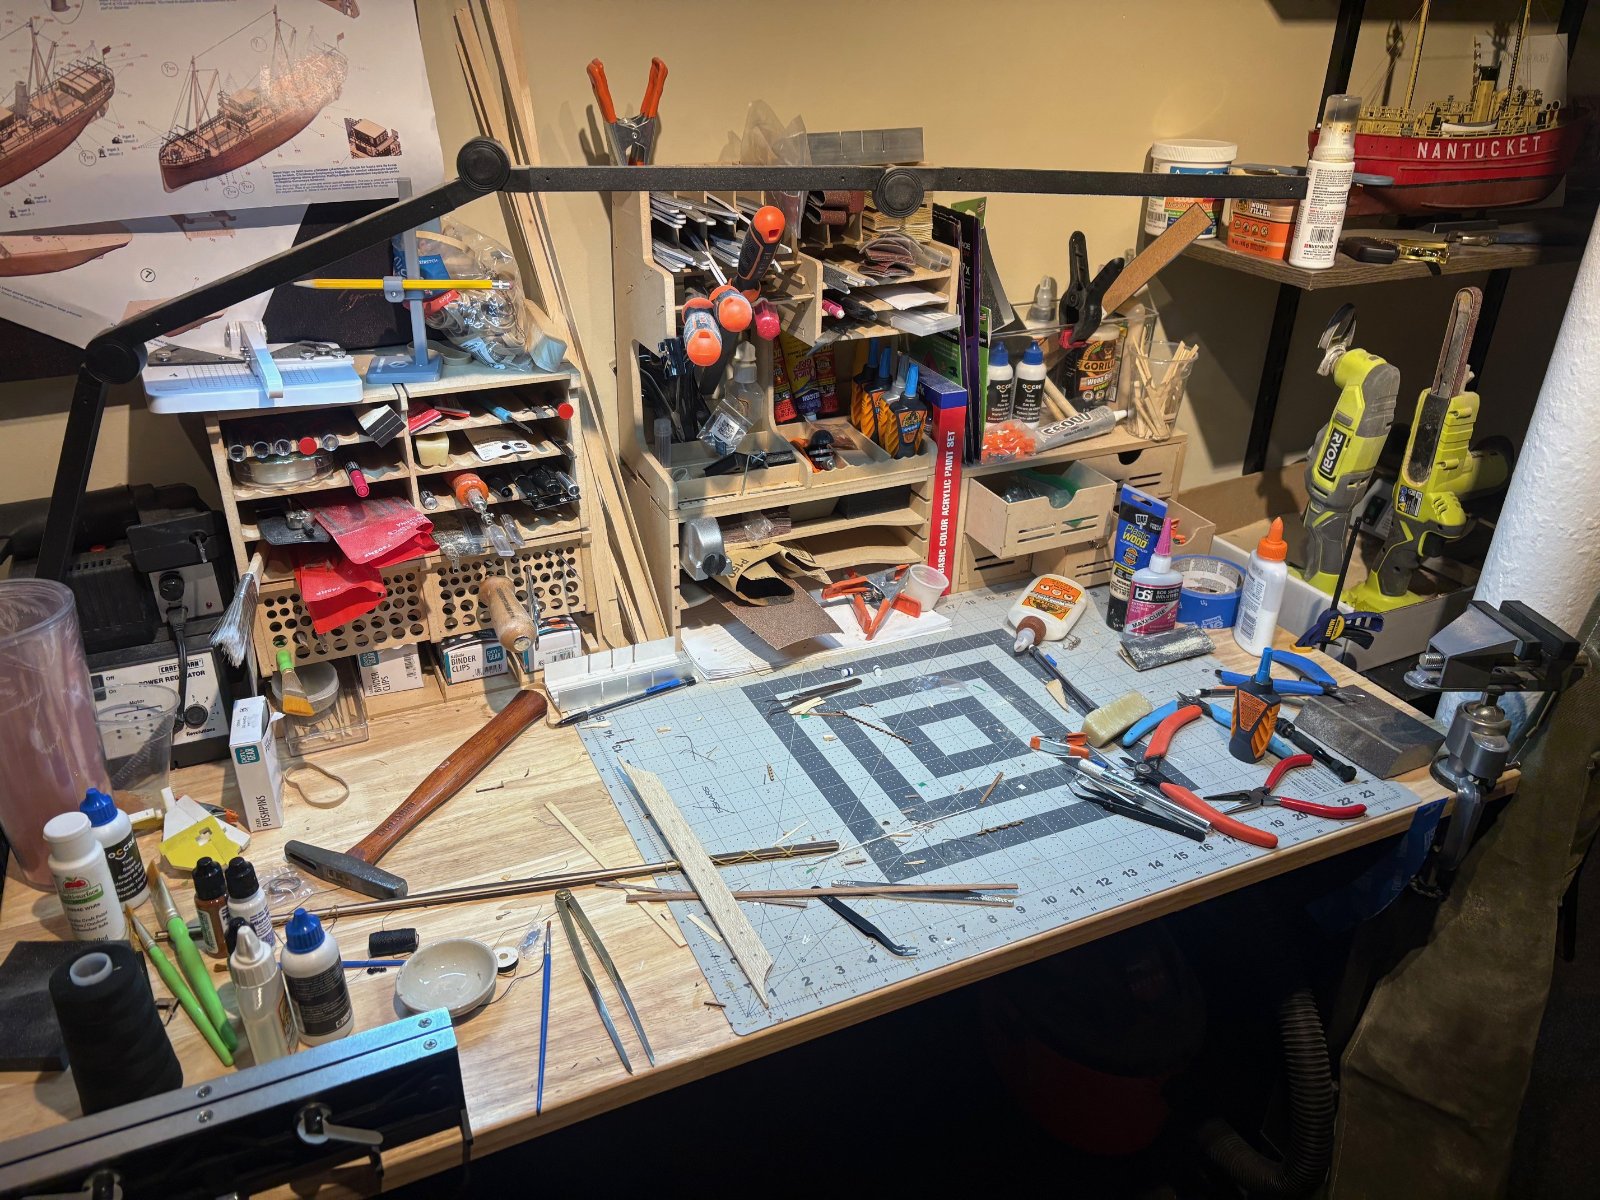
the plan on this 10 degree bomb cyclone day is to clean off the bench, get it ready and get acquainted with the next build... its always a "process " as we all know. like getting to know w new friend...
 

Latest posts

Back
Top